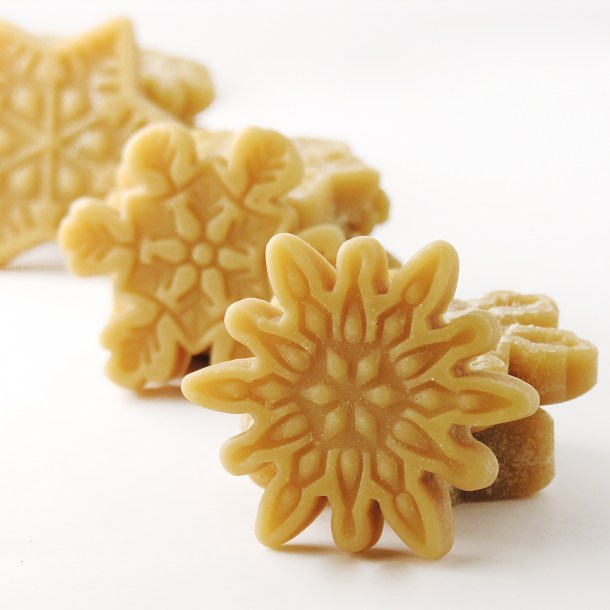
These adorable maple candy snowflakes are made with only one ingredient- maple syrup! Such a delicious and easy-to-make winter treat!
Every winter for most of my life, my mom would tell us about making maple snow candy. It involved pouring hot maple syrup into snow, and it would harden into delicious candy bits. She said they made it at school when she was little, and she loved it.
I’ve never made it- and the thought of pouring anything edible into snow from my backyard? I don’t think so. 🙂 I was thinking about the candy and saw cute snowflake silicone molds online and decided I would try my hand at maple candy. It is a well-known technique, probably made for many years in some families, but a new technique for me- and I learned some things about how to make them well! 🙂
Here is how we made them: (printable recipe here)
INGREDIENTS/SUPPLIES:
- 1 cup of pure maple syrup (grade A)- I used Wal-Mart brand because it was the least expensive 🙂 Worked great!
- A few drops of vegetable oil- if desired to prevent boiling over
- Silicone molds (the ones I got are discontinued- which is so sad!!! I just got them about 2 weeks ago!) Here is a link to very similar sized ones
(2 inch diameter).
- A candy thermometer
DIRECTIONS:
- Prepare molds by setting them on a small cookie sheet (to keep them flat). One cup of syrup will make about 8, 2 inch diameter and 1/3 inch deep candies.
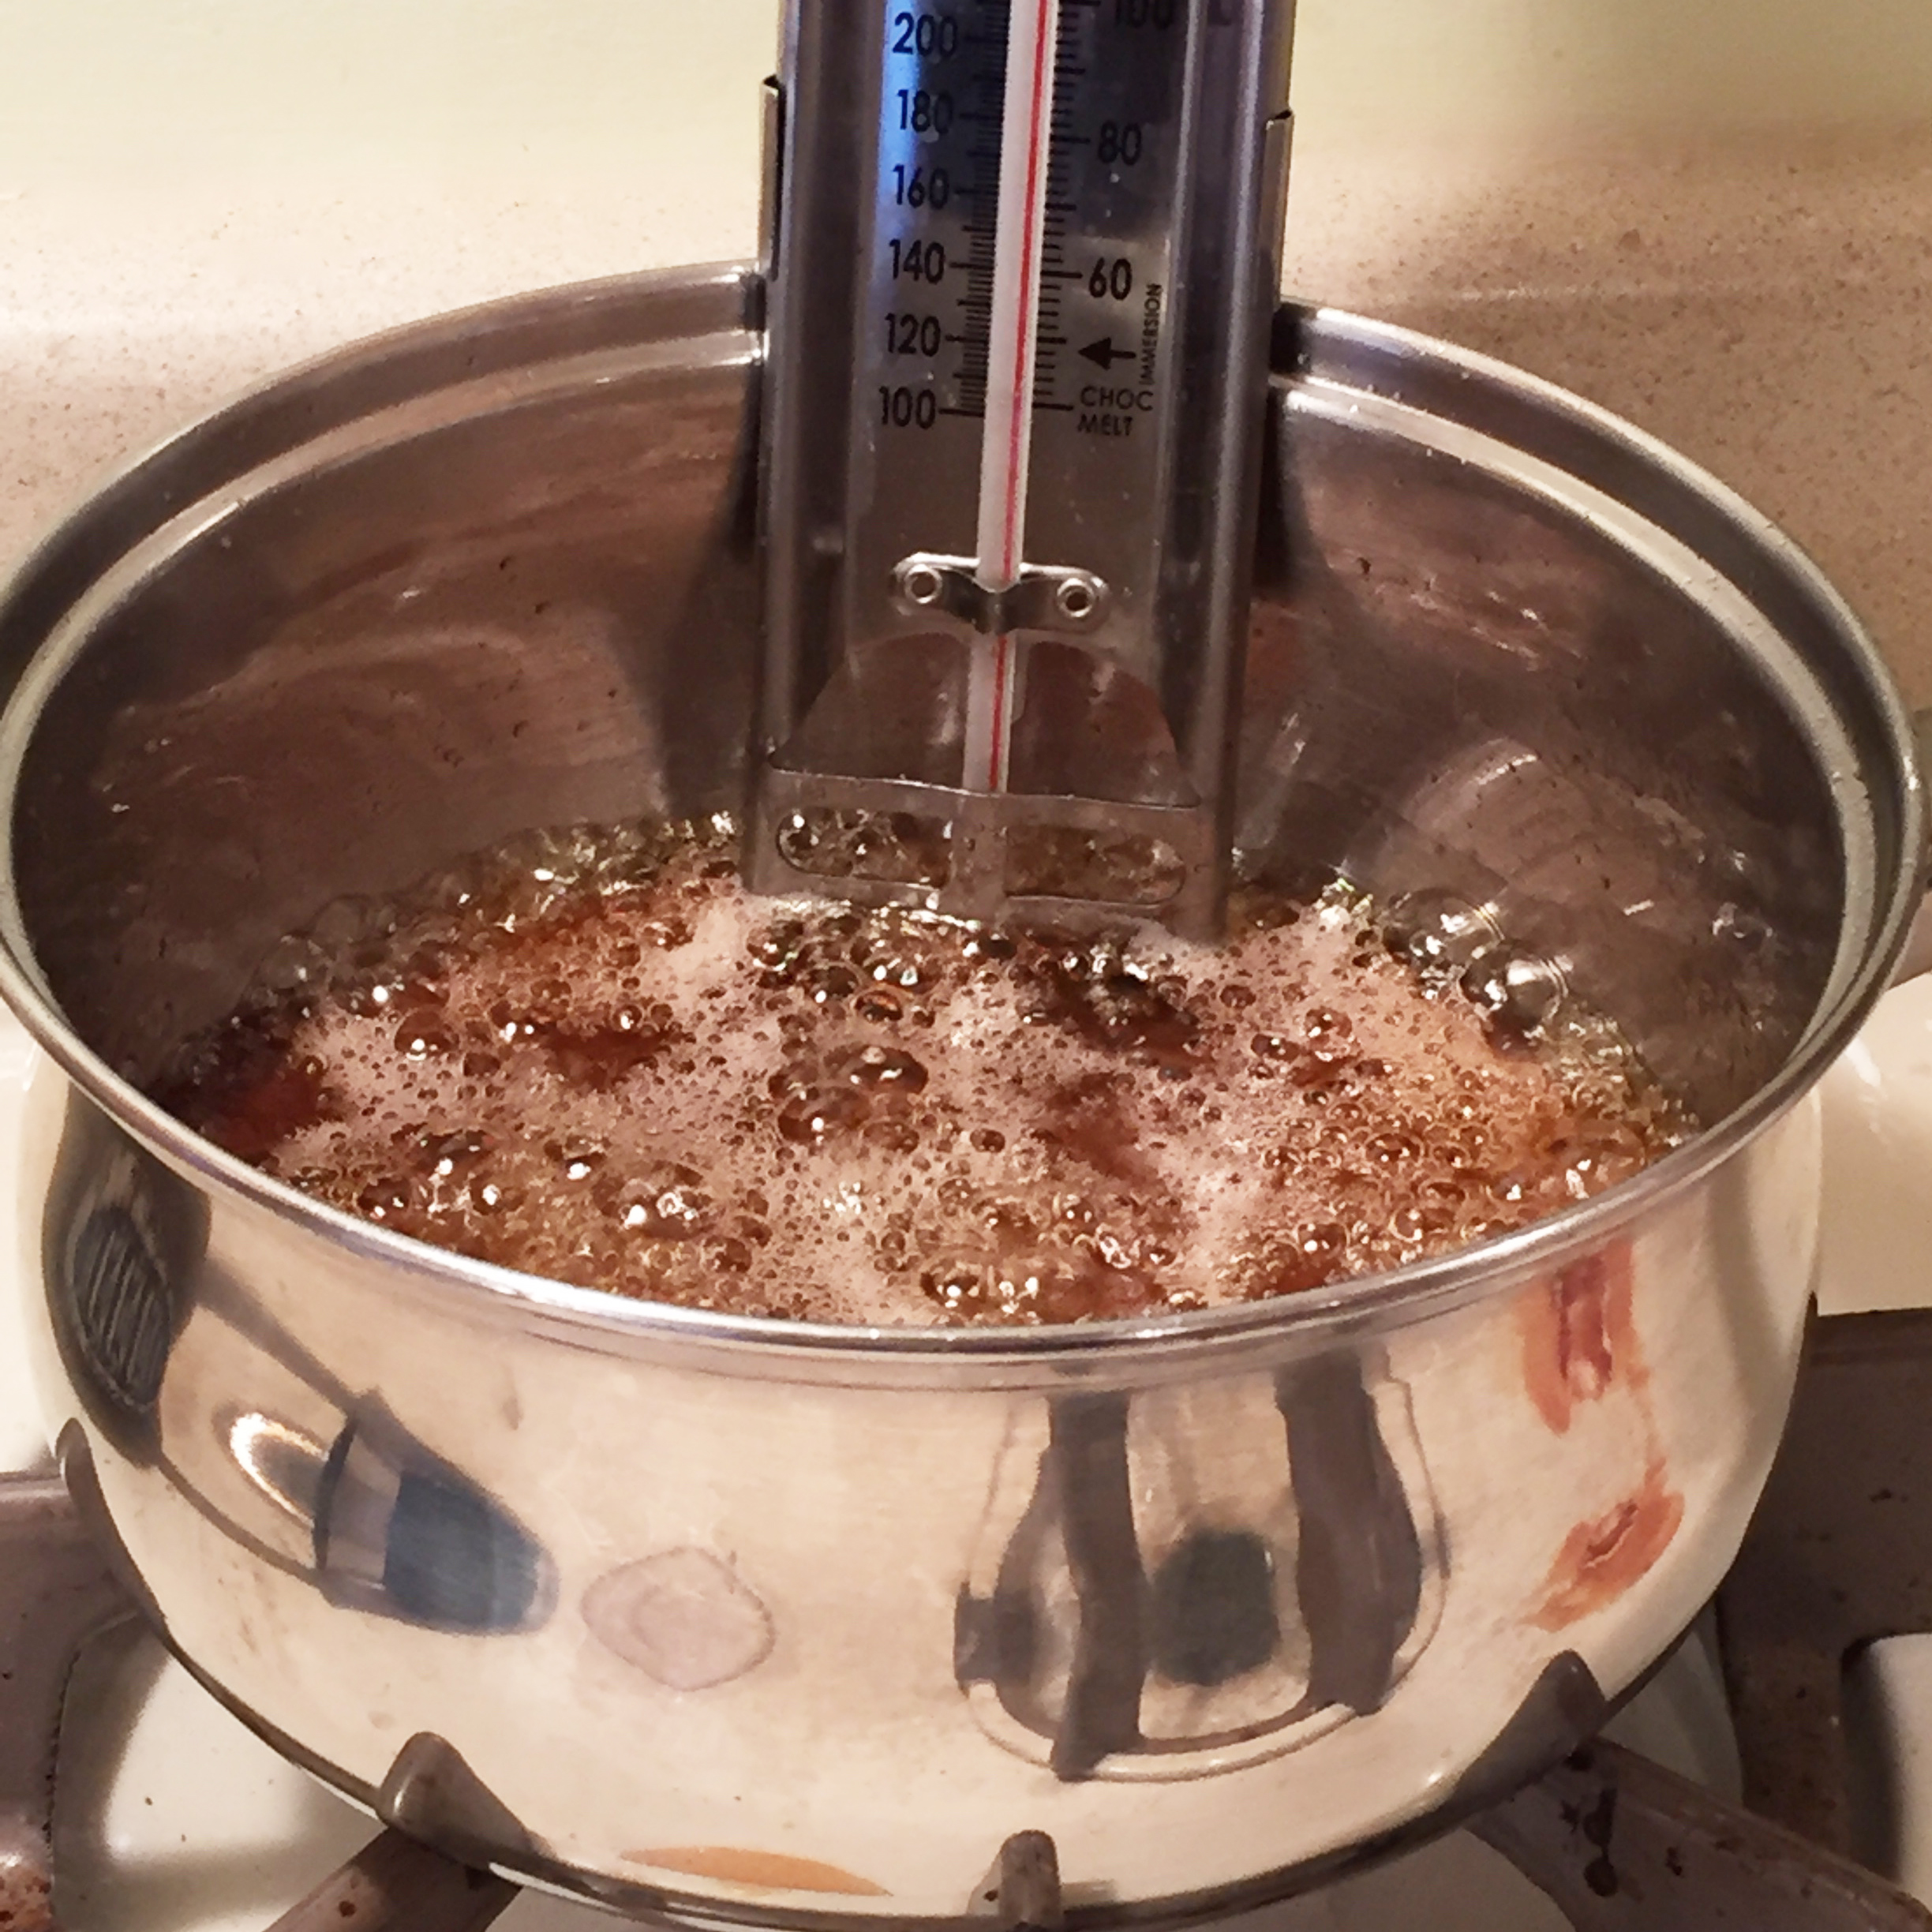
- Pour syrup into a medium saucepan. Clip a thermometer on the side with tip in syrup.
- Add a few drops of oil on the top to keep it from foaming up when it heats.
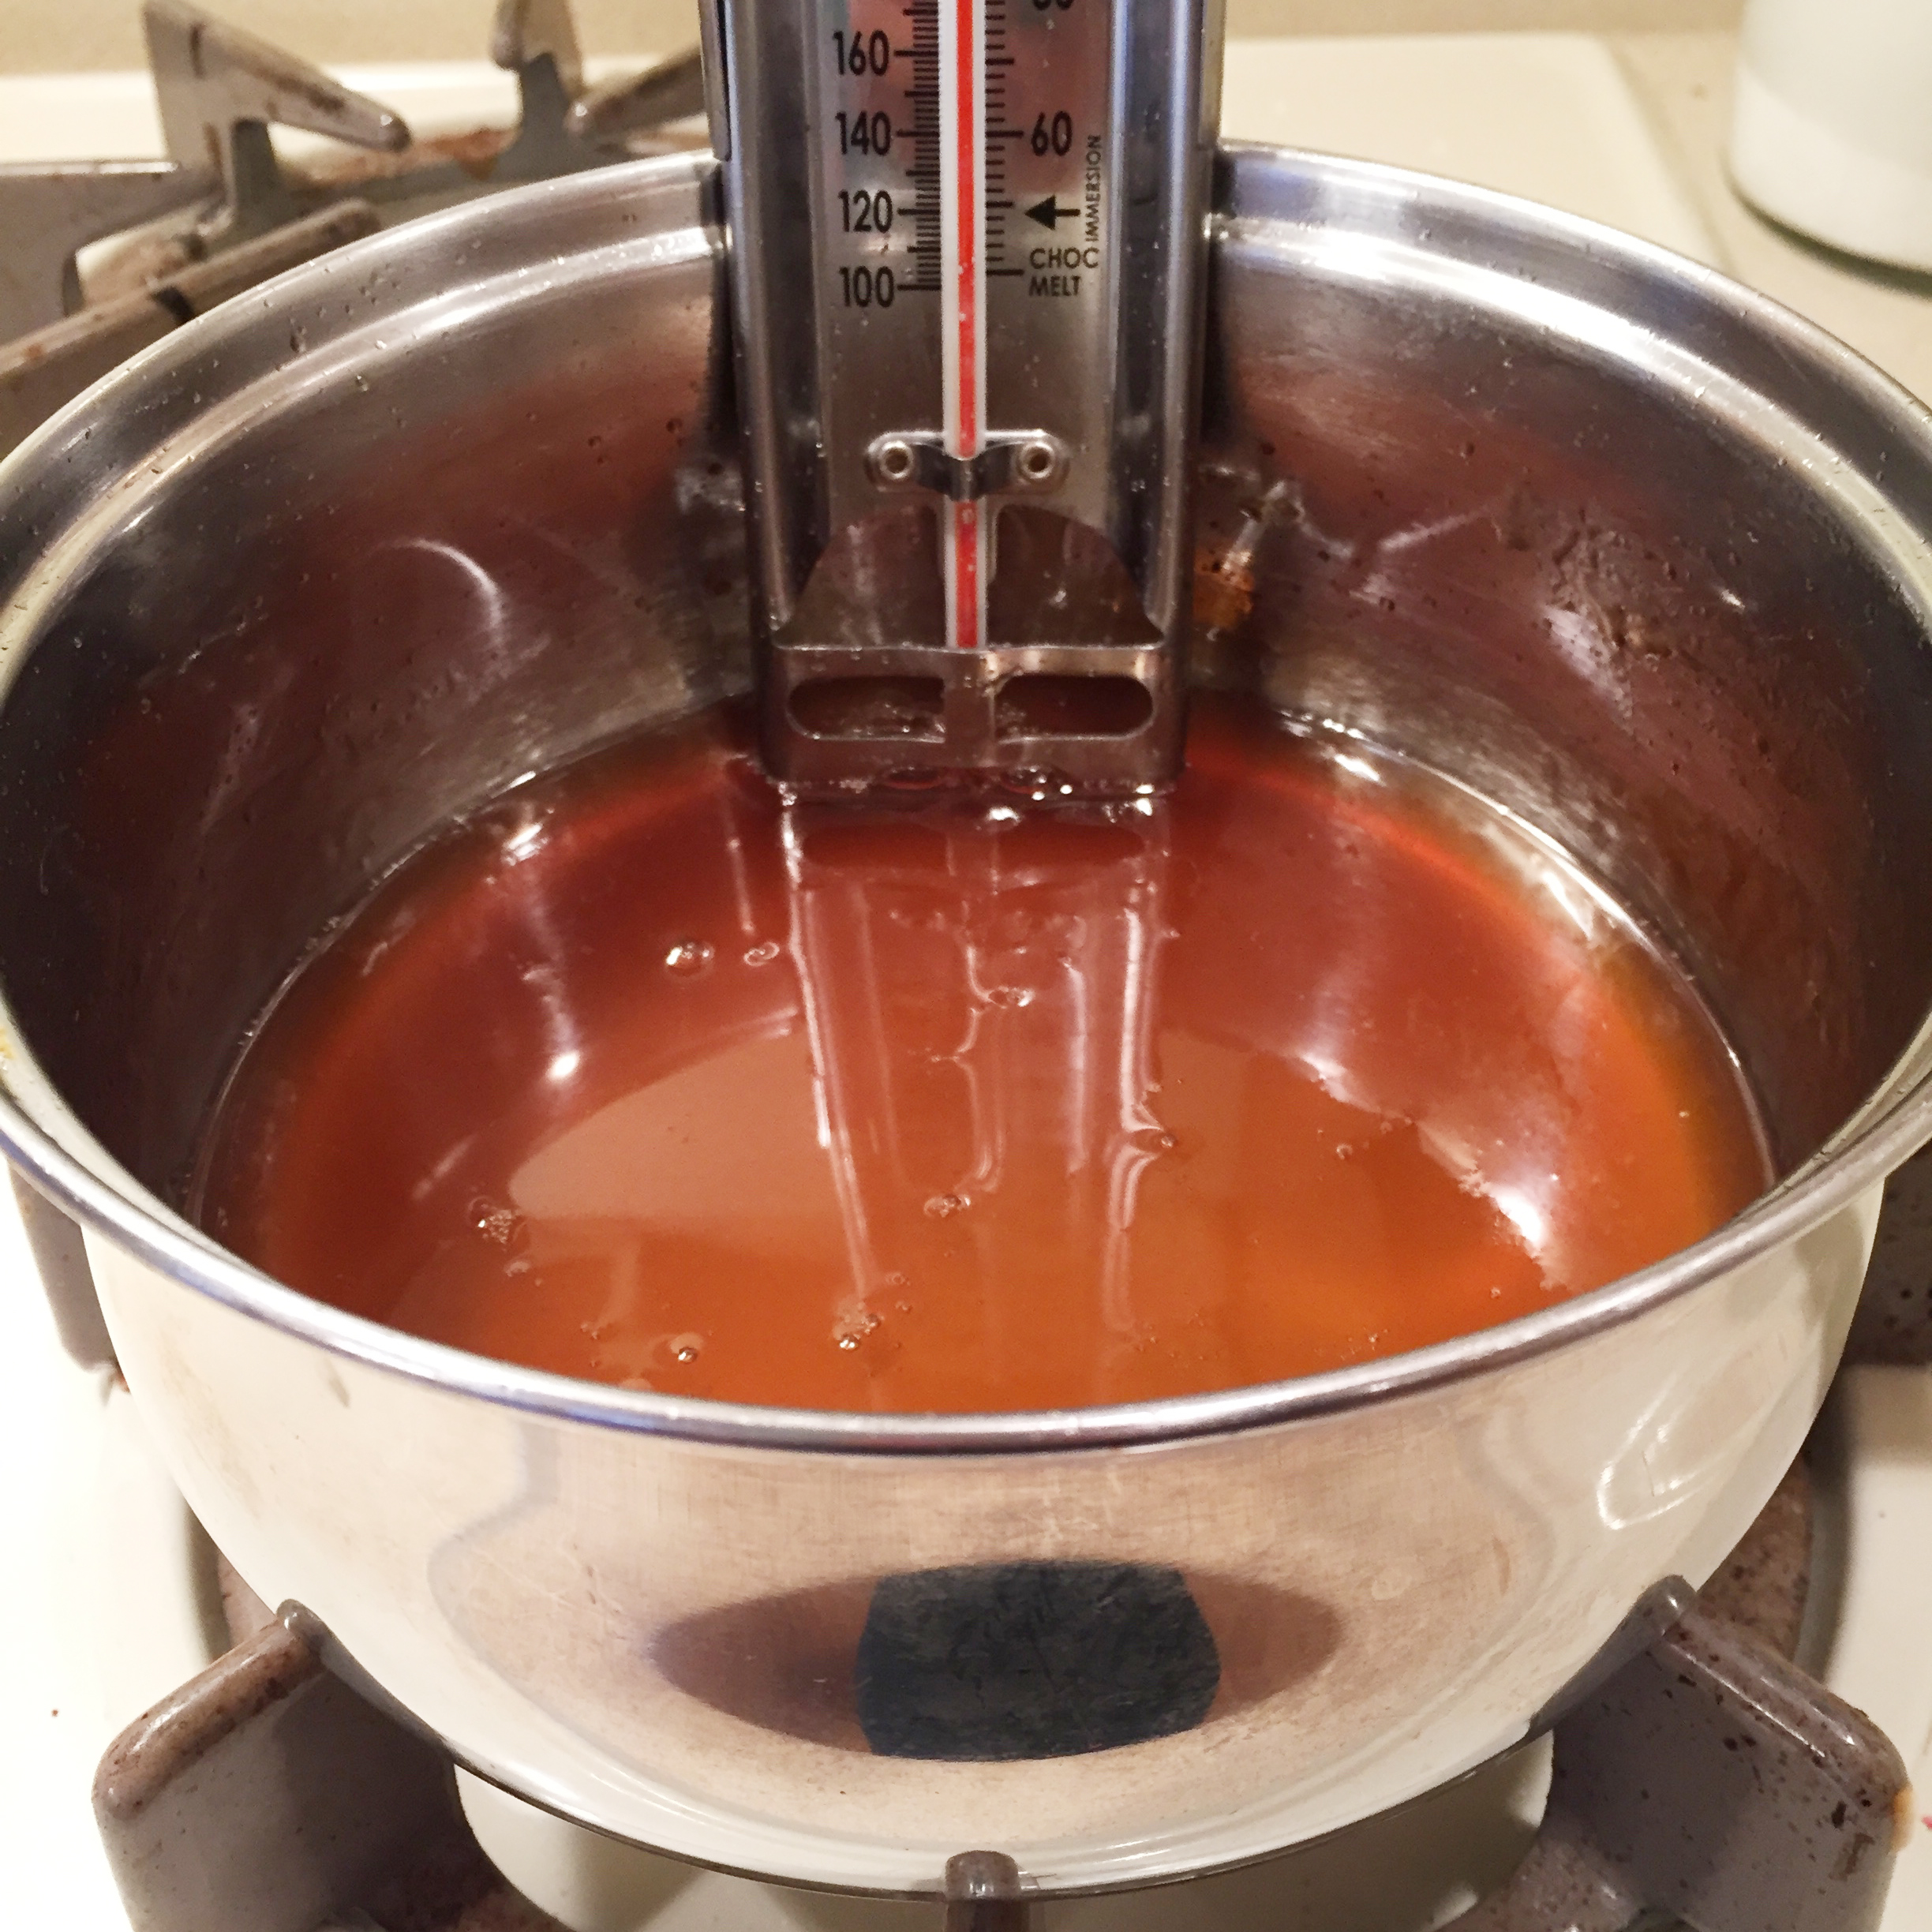
- Heat to soft-ball stage(about 240F degrees on the candy thermometer), stirring slightly to prevent scalding .
- Remove from heat, remove thermometer, and do not stir for 5 minutes.
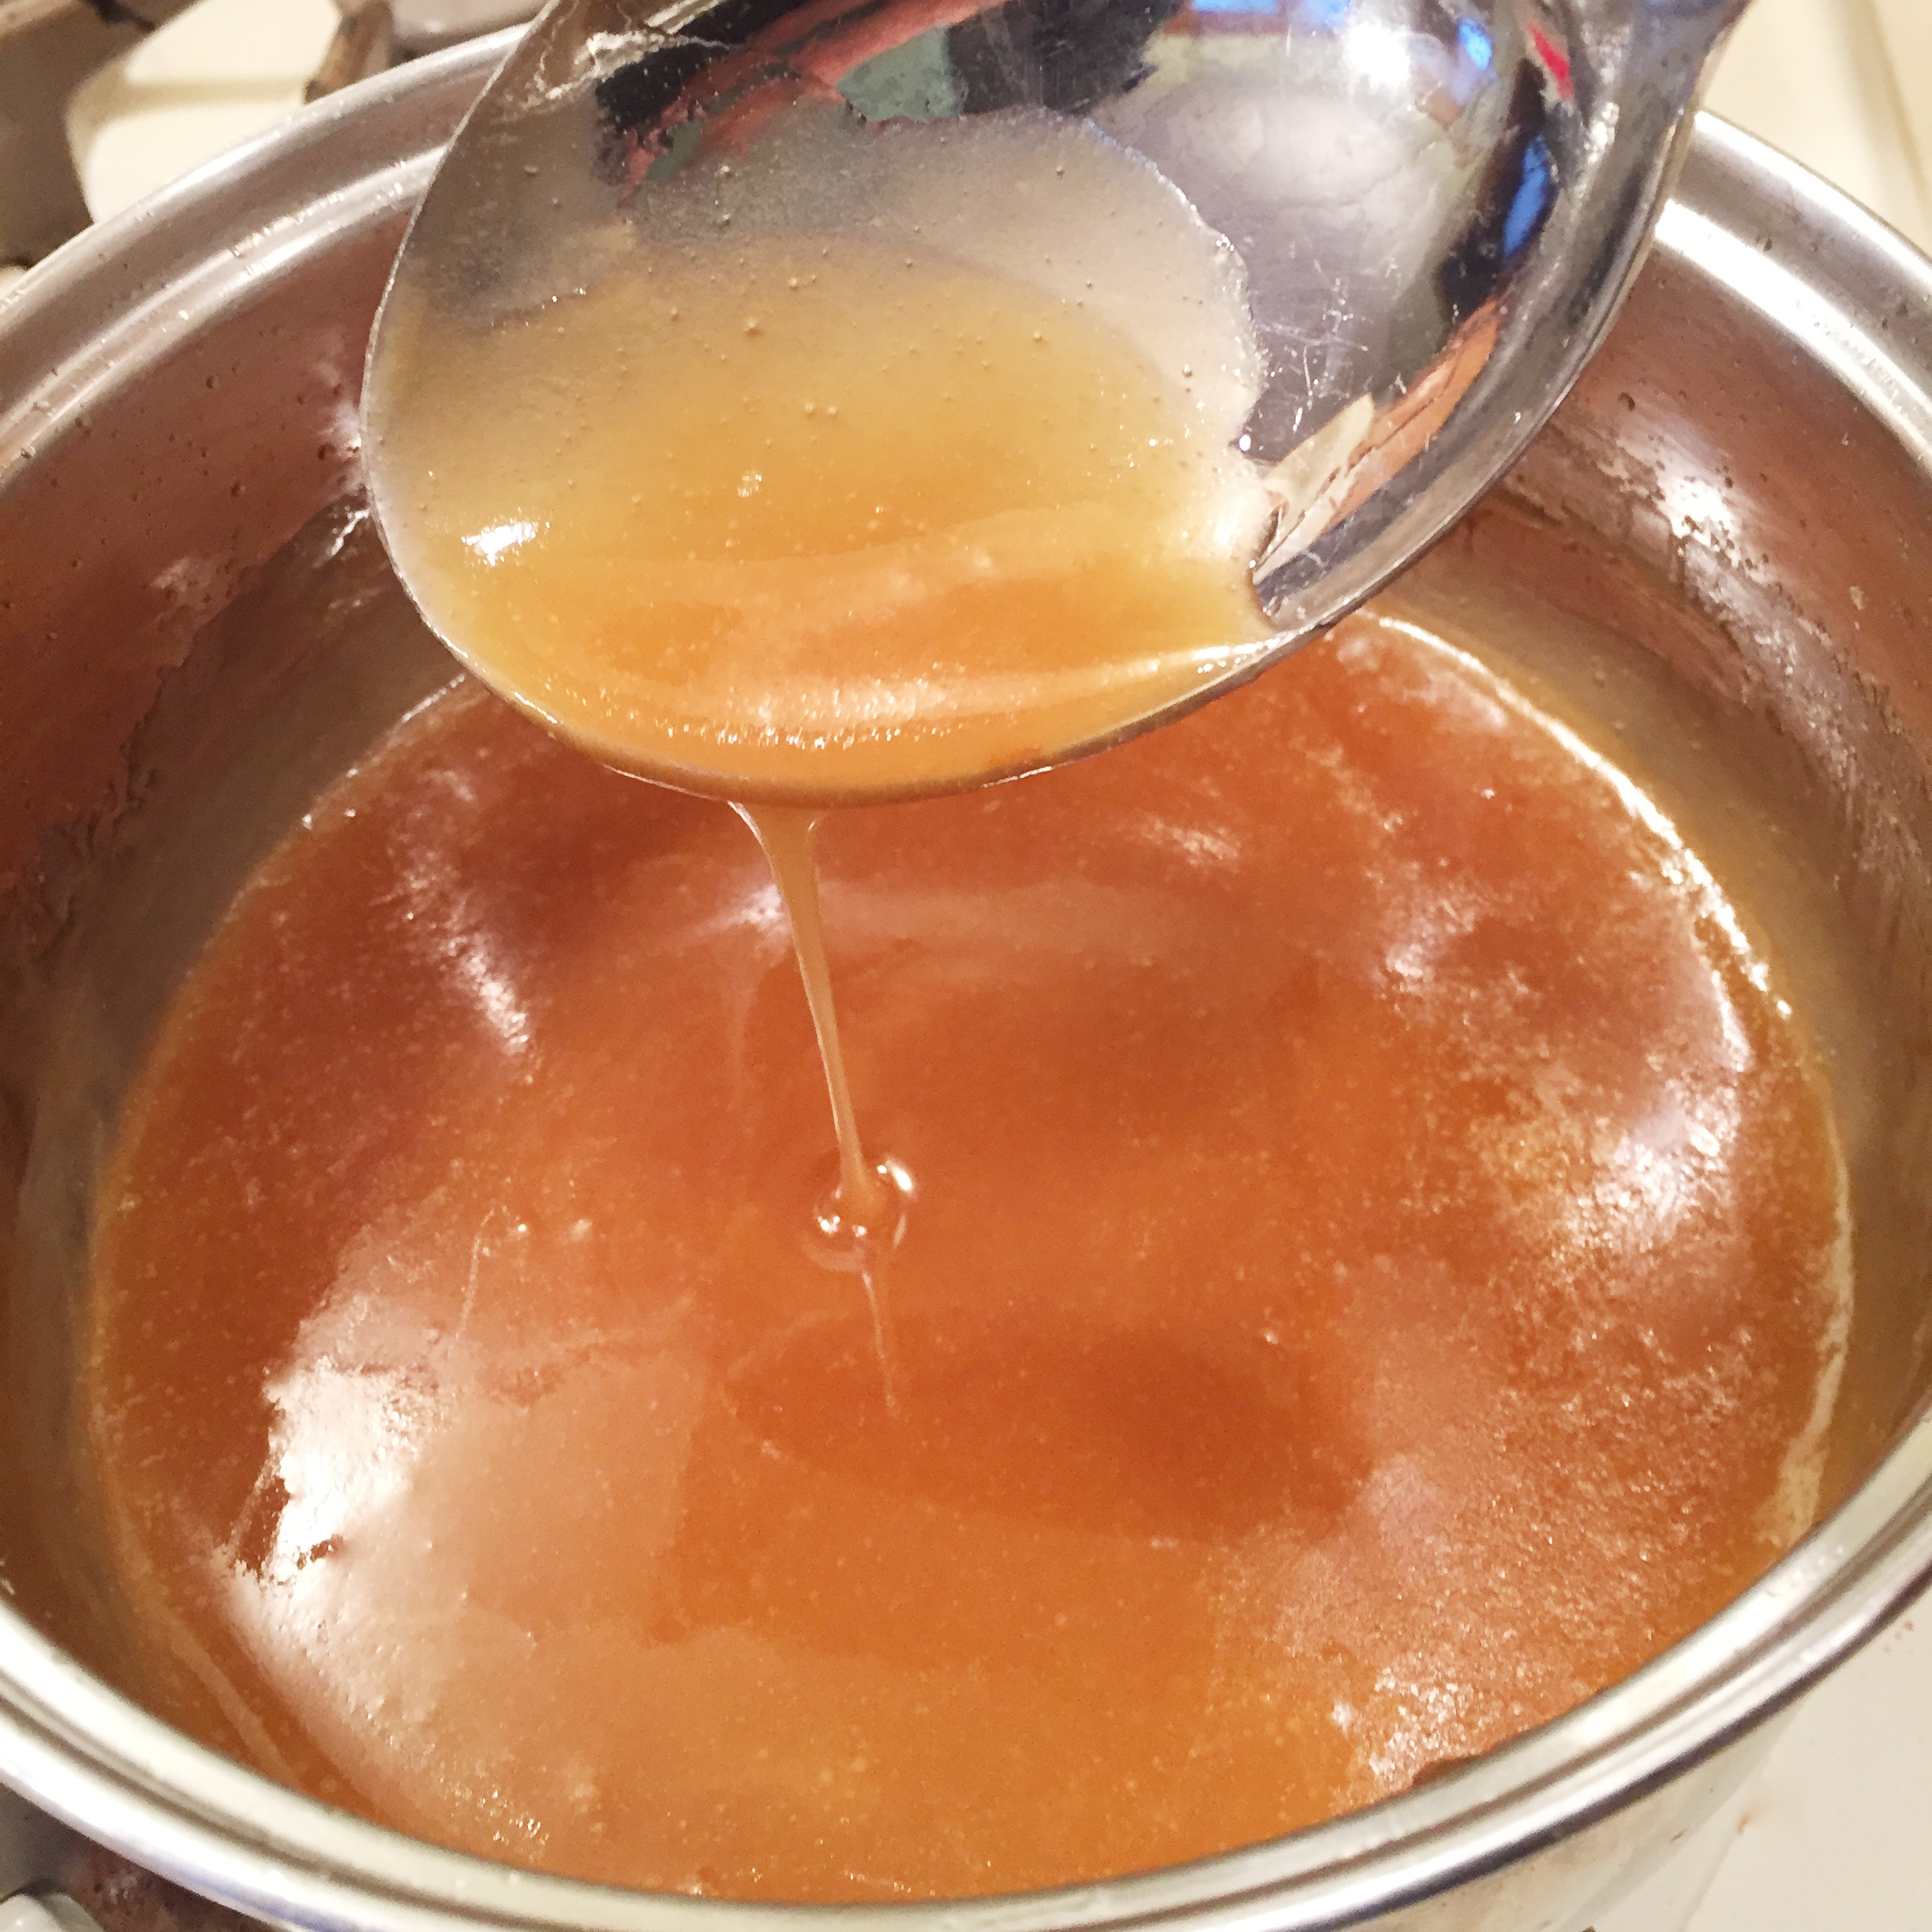
- After 5 minutes, start to stir the mixture. It will (fairly quickly) start to form little bubbles and change color. It will feel like you are scraping sugar off the bottom of the pan. At this point, quickly spoon into molds and then tap the entire cookie sheet on the counter to flatten out the candy in the molds.
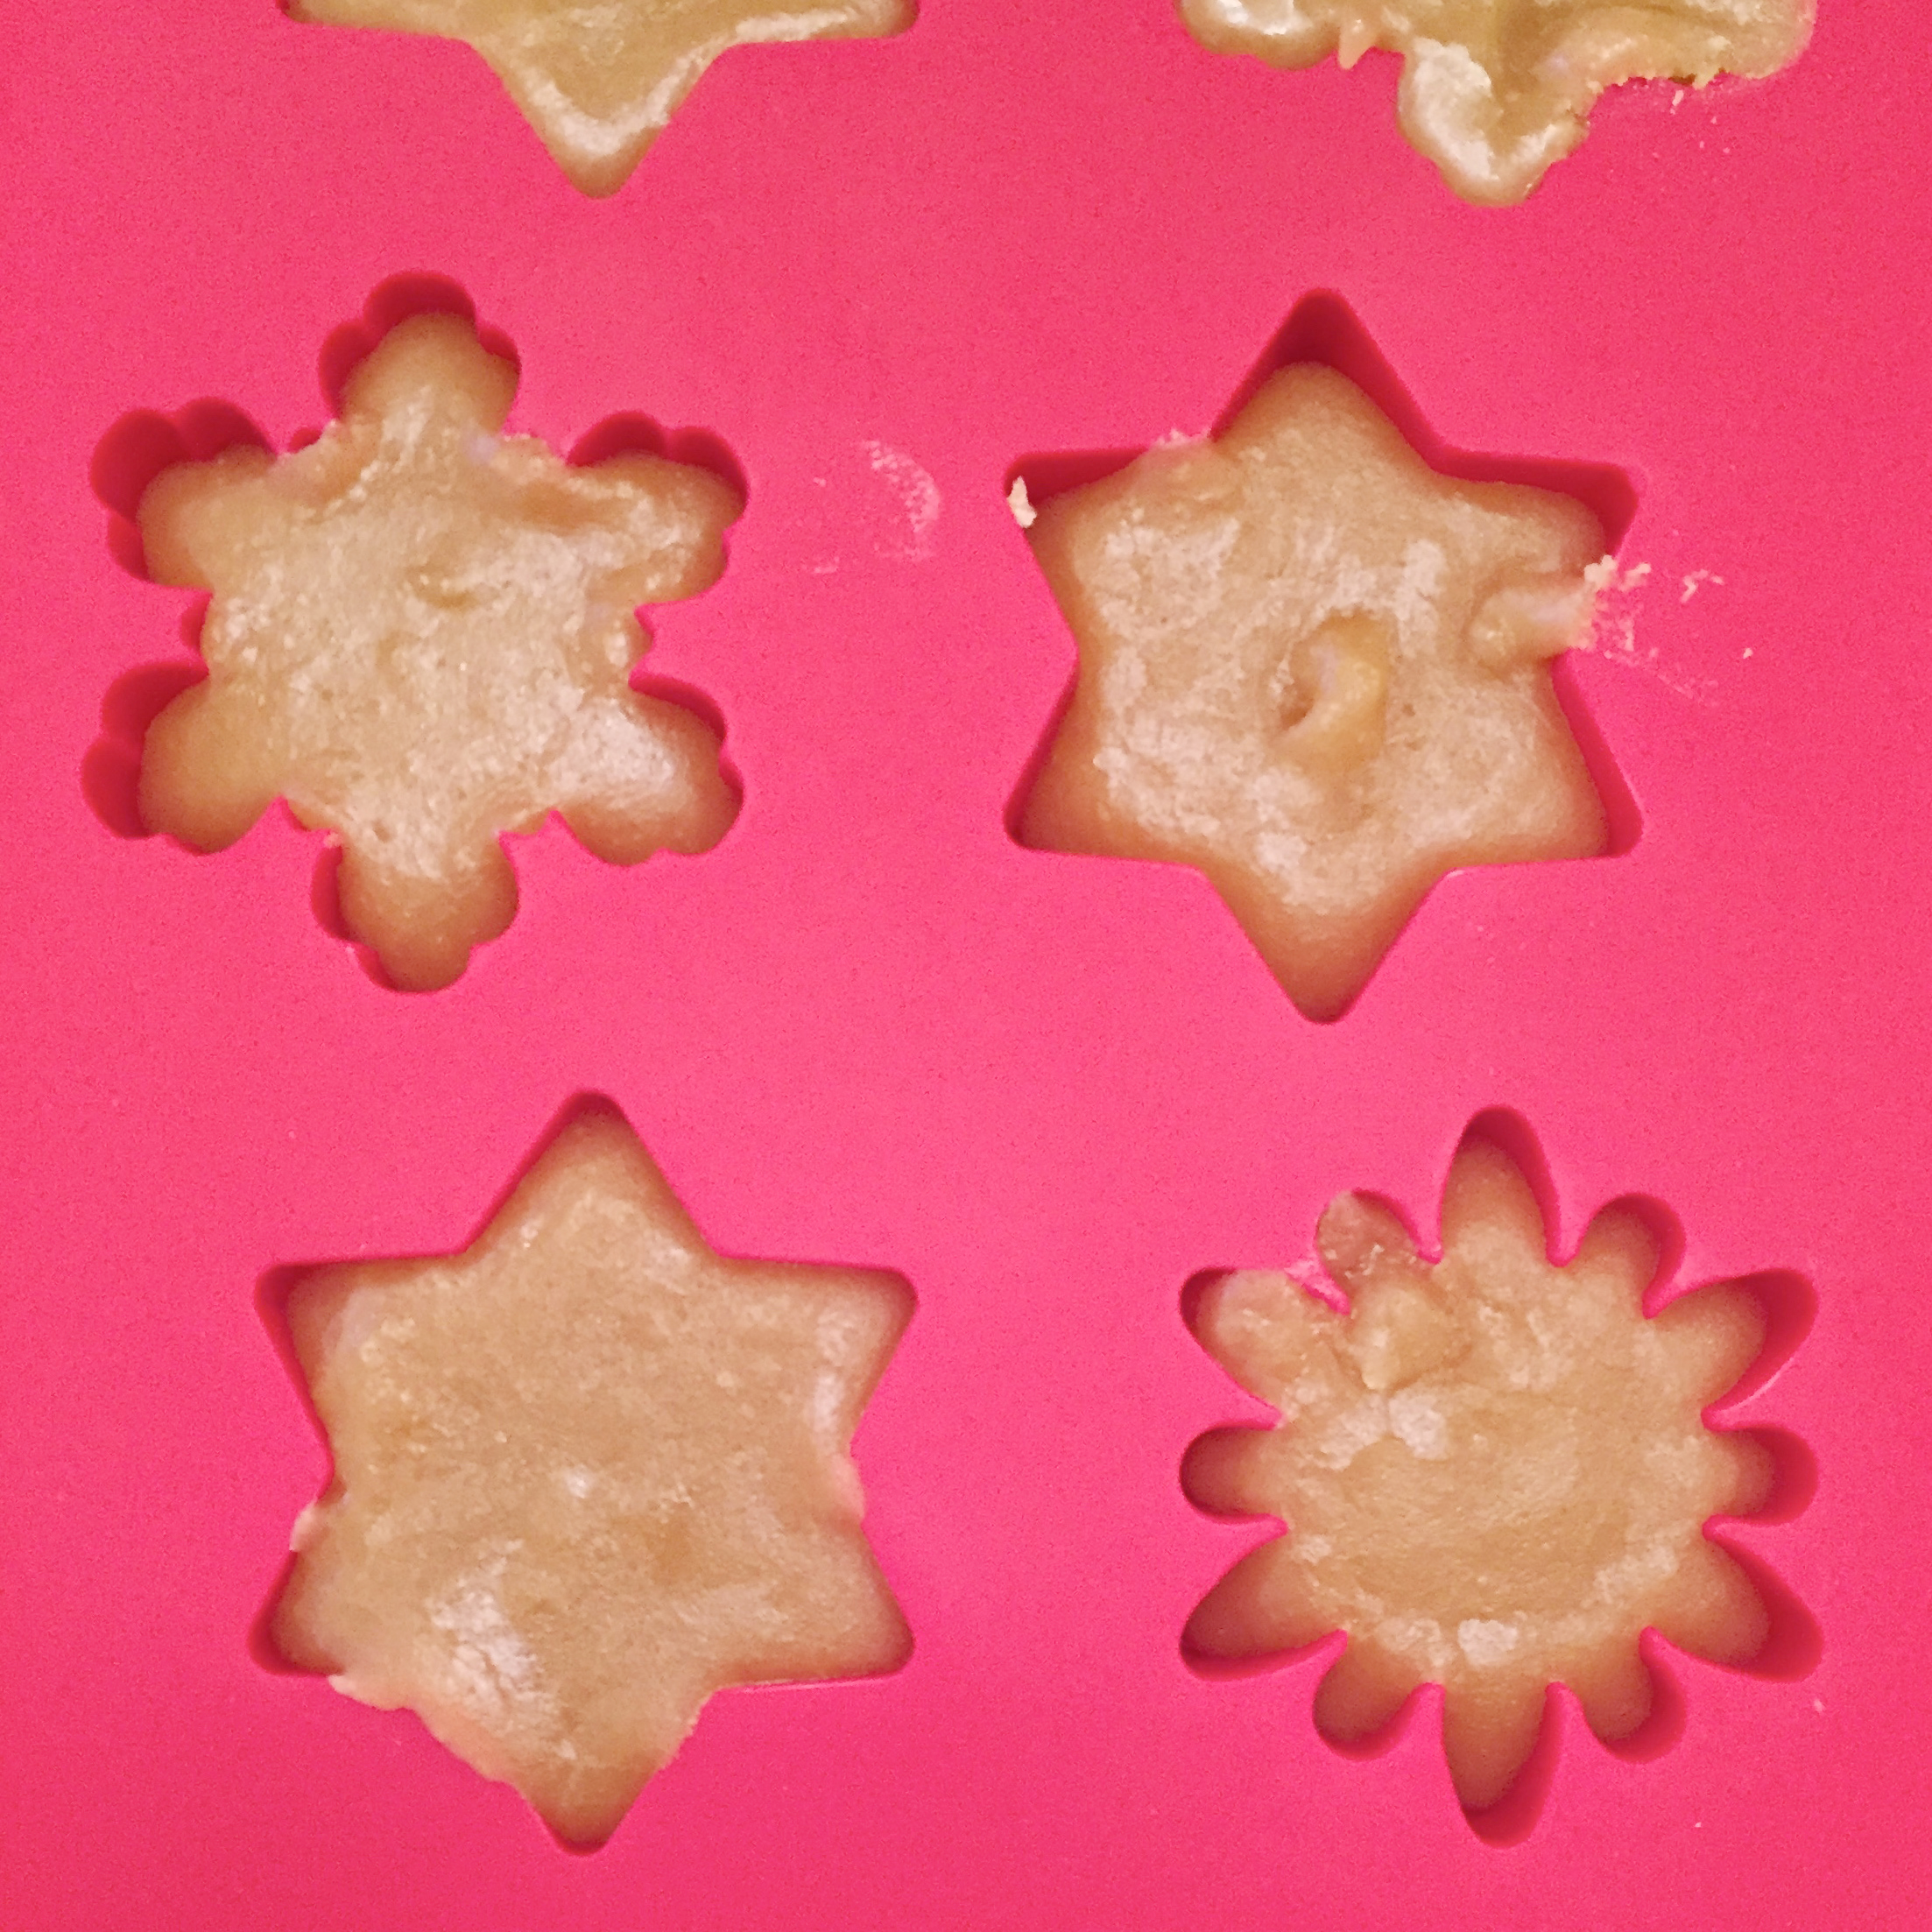
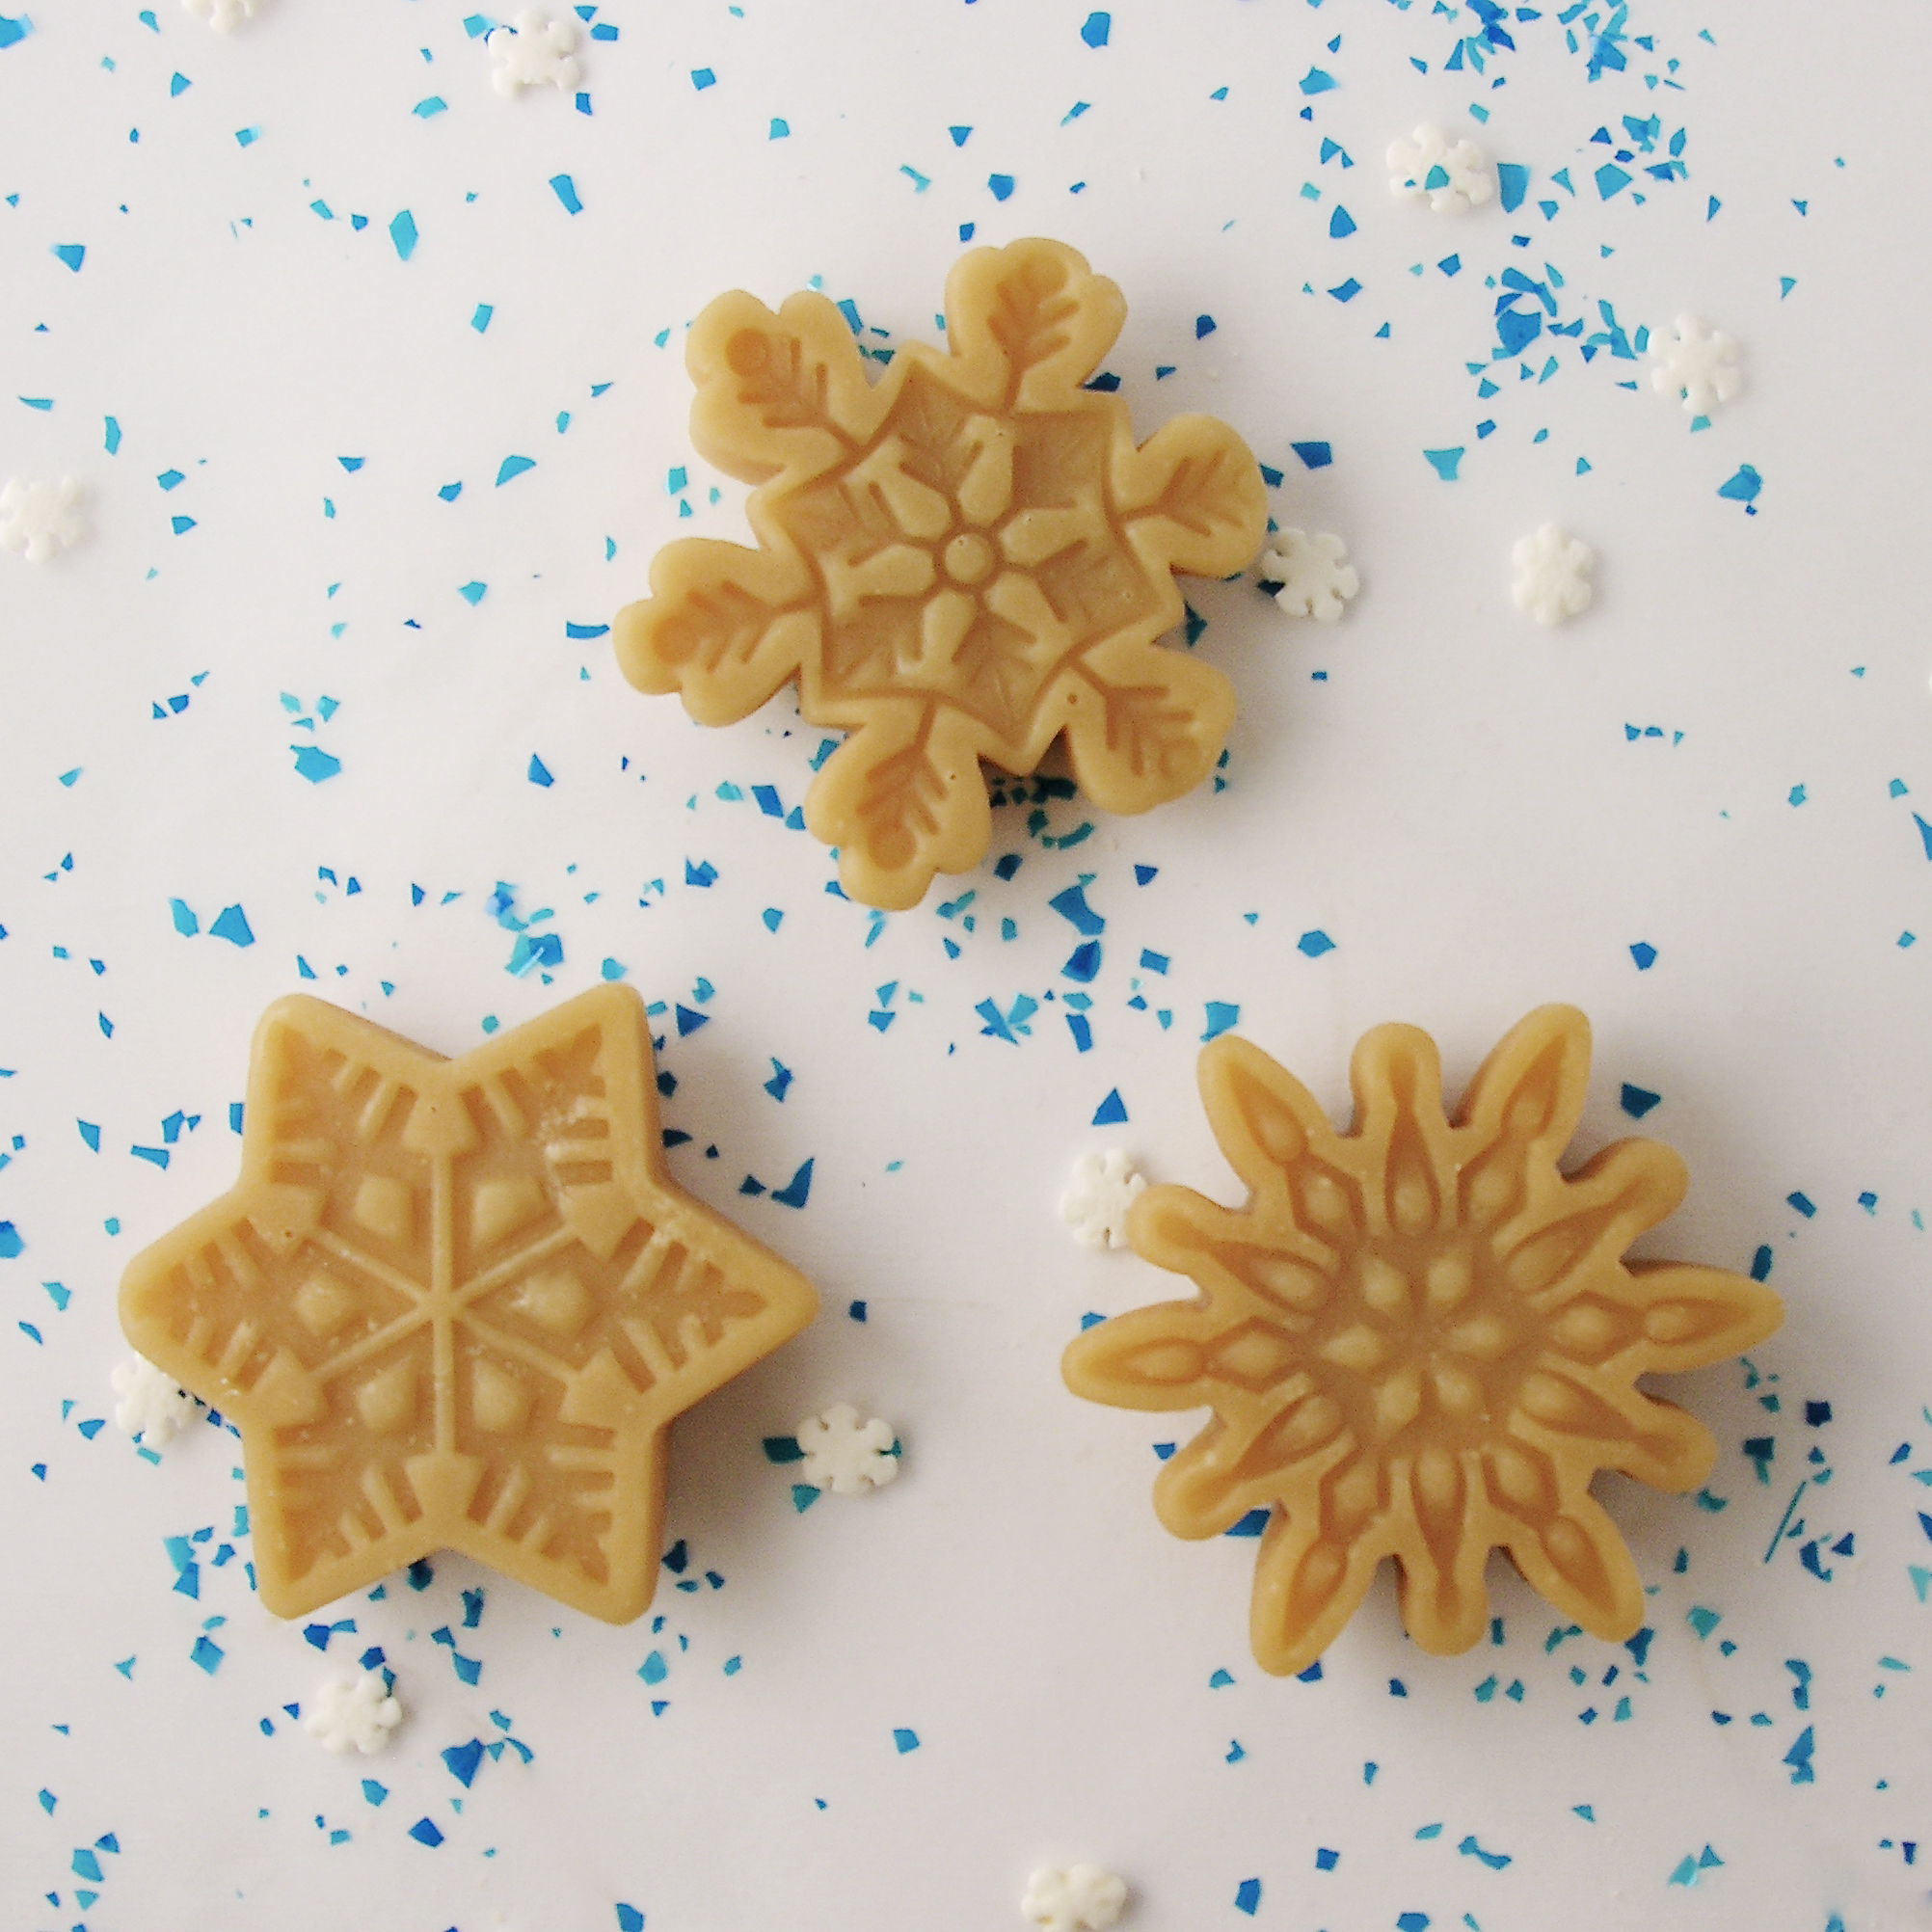
Now. I experimented with this a little. I placed my 1st batch in the freezer to harden for about 15 minutes and they had a sugary film on them when I took them out. I left my second batch in the freezer while I went out for dinner (several hours) and they came out beautifully. I repeated this with 3 more batches and it worked perfectly every time. If you are going to make a lot of these, get a couple of molds to save time!
Here’s a photo of the second batch (several hours in freezer) vs the 1st batch (15 minutes in freezer)

- Just pop these out of the molds and keep them in a sealed container for up to several weeks.
- Enjoy!!
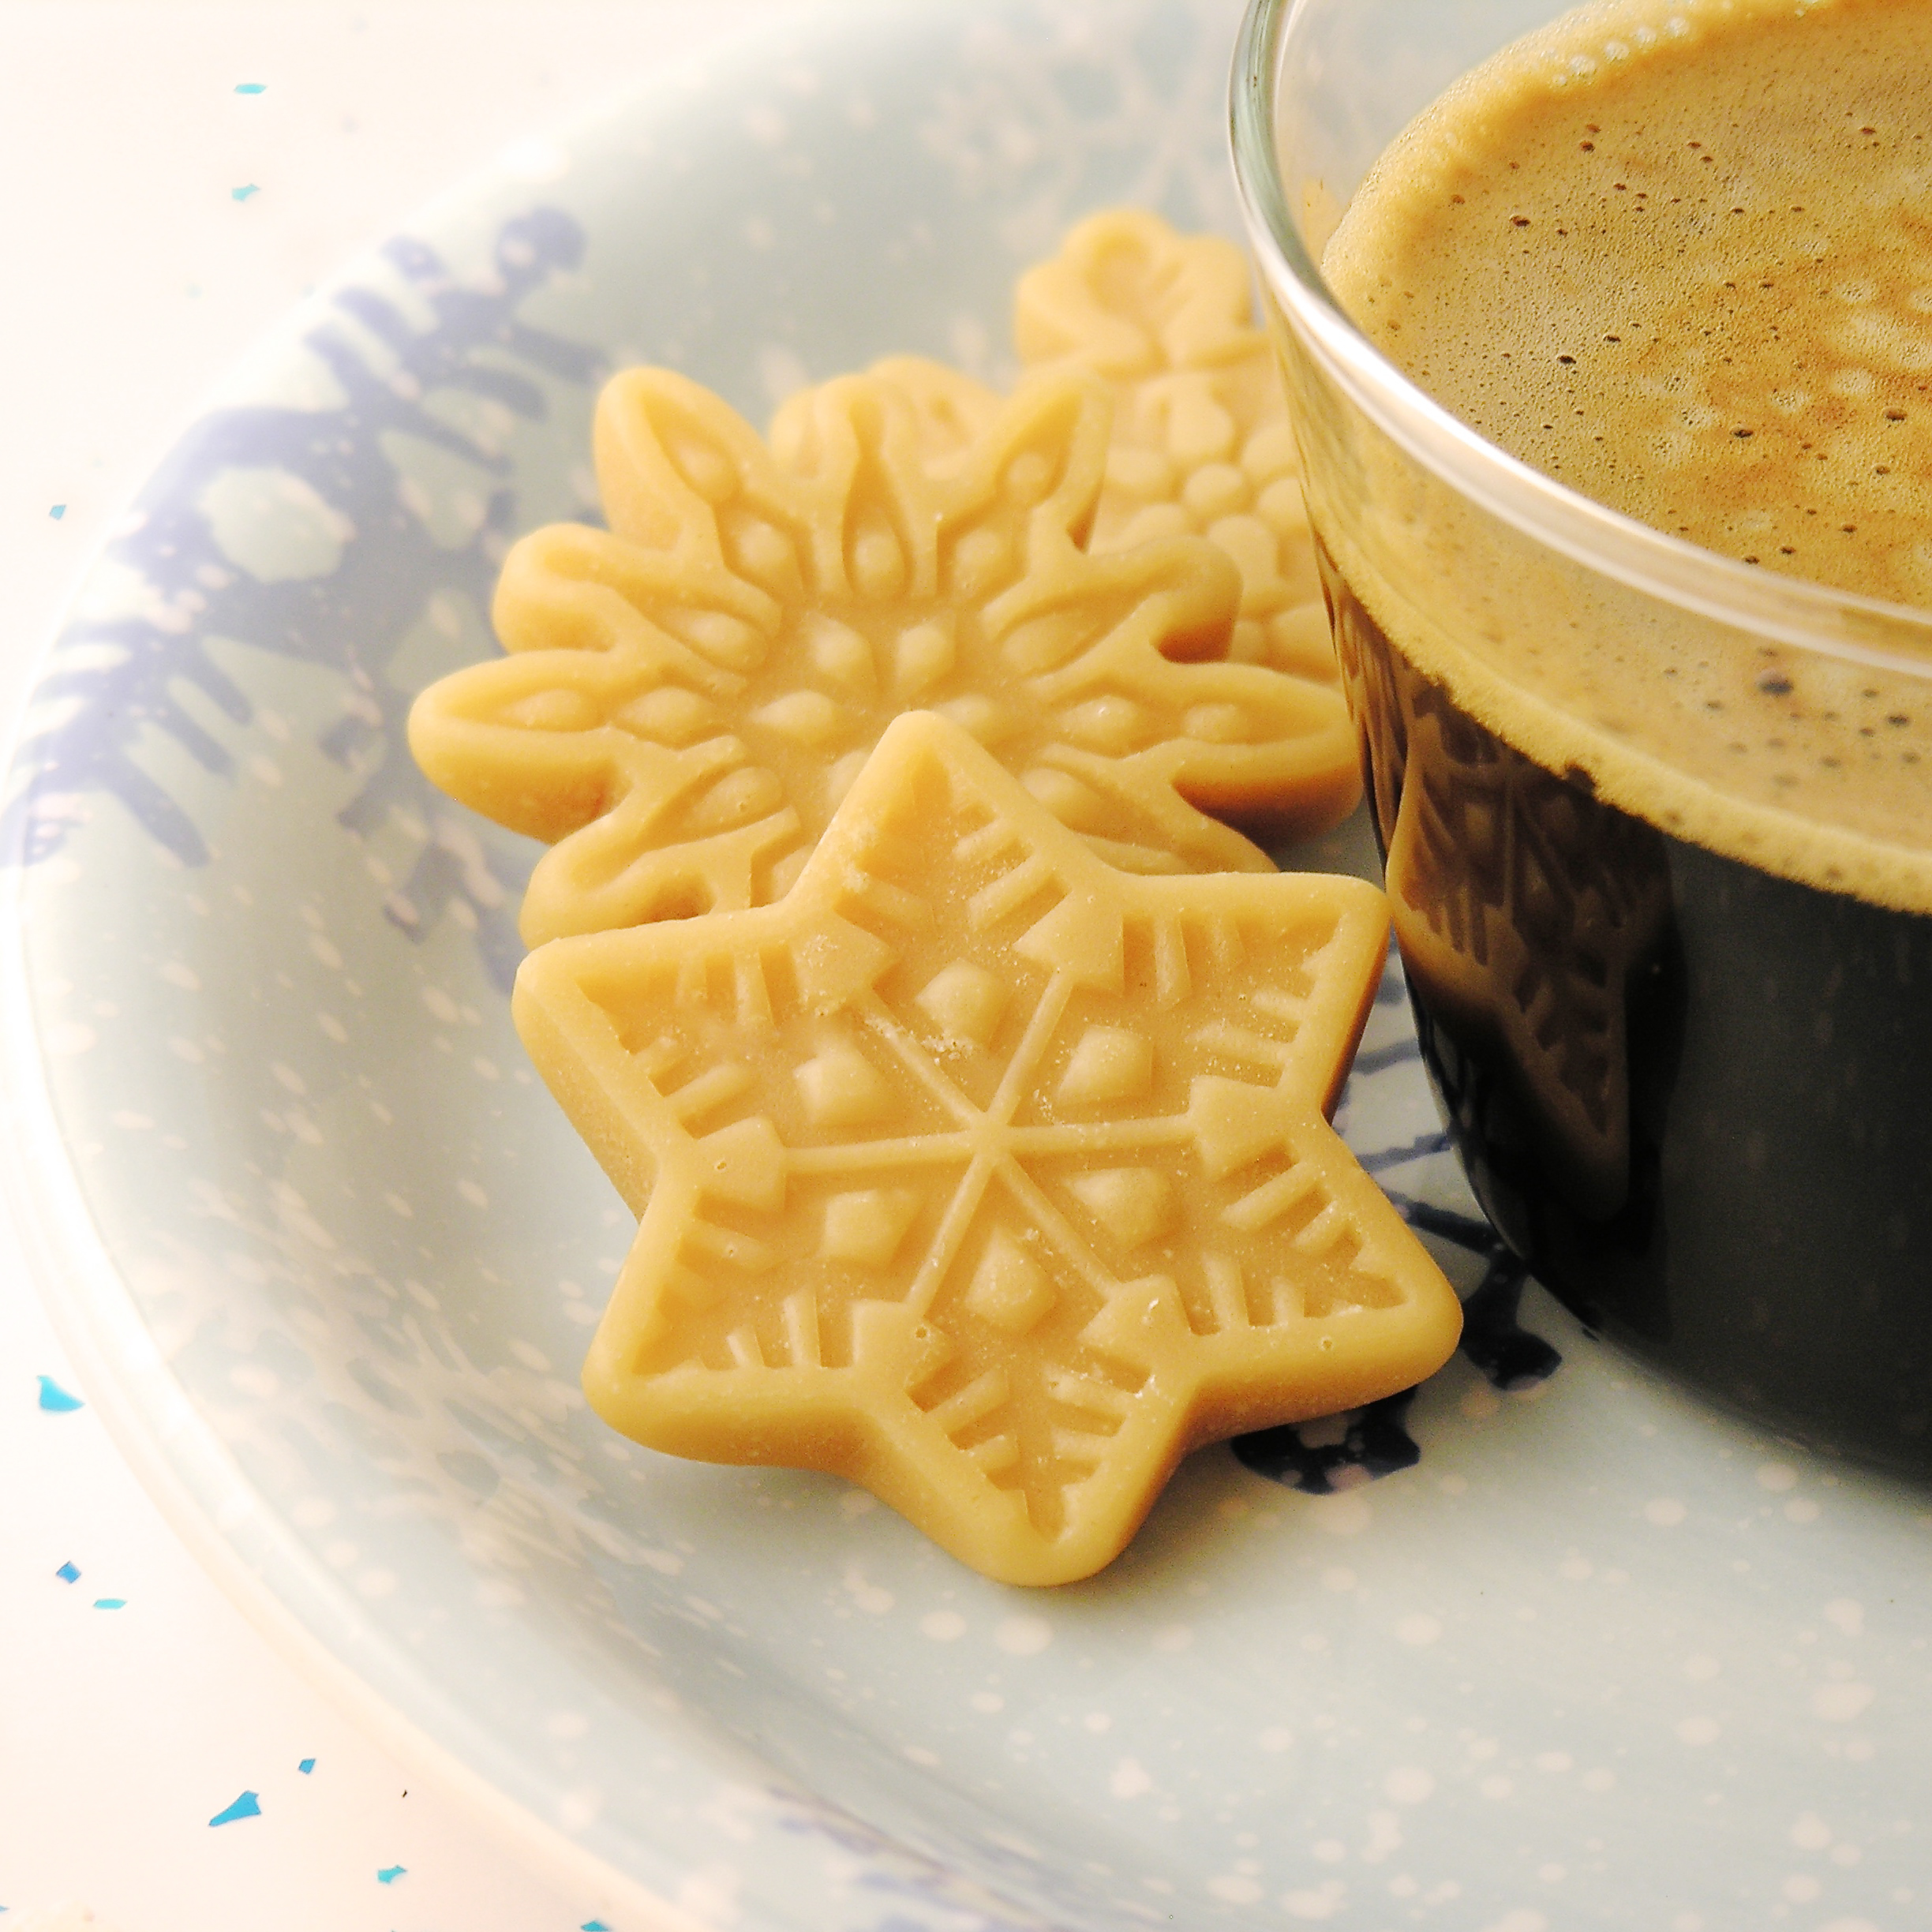
My thoughts: These are particularly good with a cup of coffee… the sweet and the sugar… yum! I put these on my Christmas cookie trays for friends and they LOVED them. My gluten-free friends were particularly excited about them 🙂
Since the syrup is so expensive, I just did one-cup batches for the 1st two sets- so I could experiment without ruining a whole 2 cups of syrup. My remaining batches, I boiled 2 cups at once and used 2 sheets of molds. You have to pour very quickly when you use 2 cups- so that it doesn’t thicken up before you get it into the mold. Other than that, it worked great and was actually a VERY easy and fun treat! Hope you get a chance to try them! ~r
Other snowy day desserts here on Easybaked: (click a photo to see the recipe)