Coconut Passion Fruit Cupcakes

Posted on

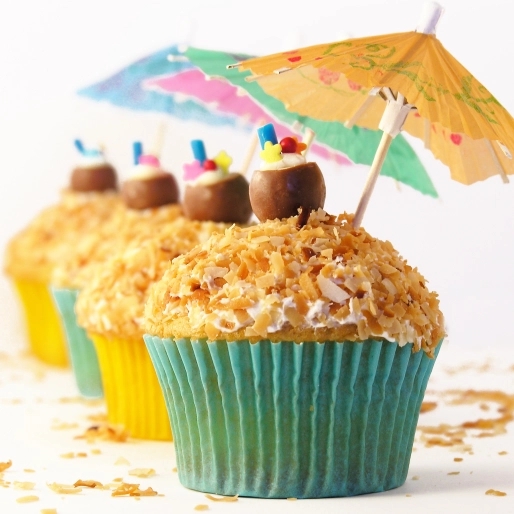
These pretty little cupcakes are a perfect spring treat! A delicious passion fruit filling inside the coconut cupcake puts them over the top with flavor, and it is SO easy to make (forget all those little passionfruit seeds!) These are a must-make recipe to celebrate the beginning of summer!

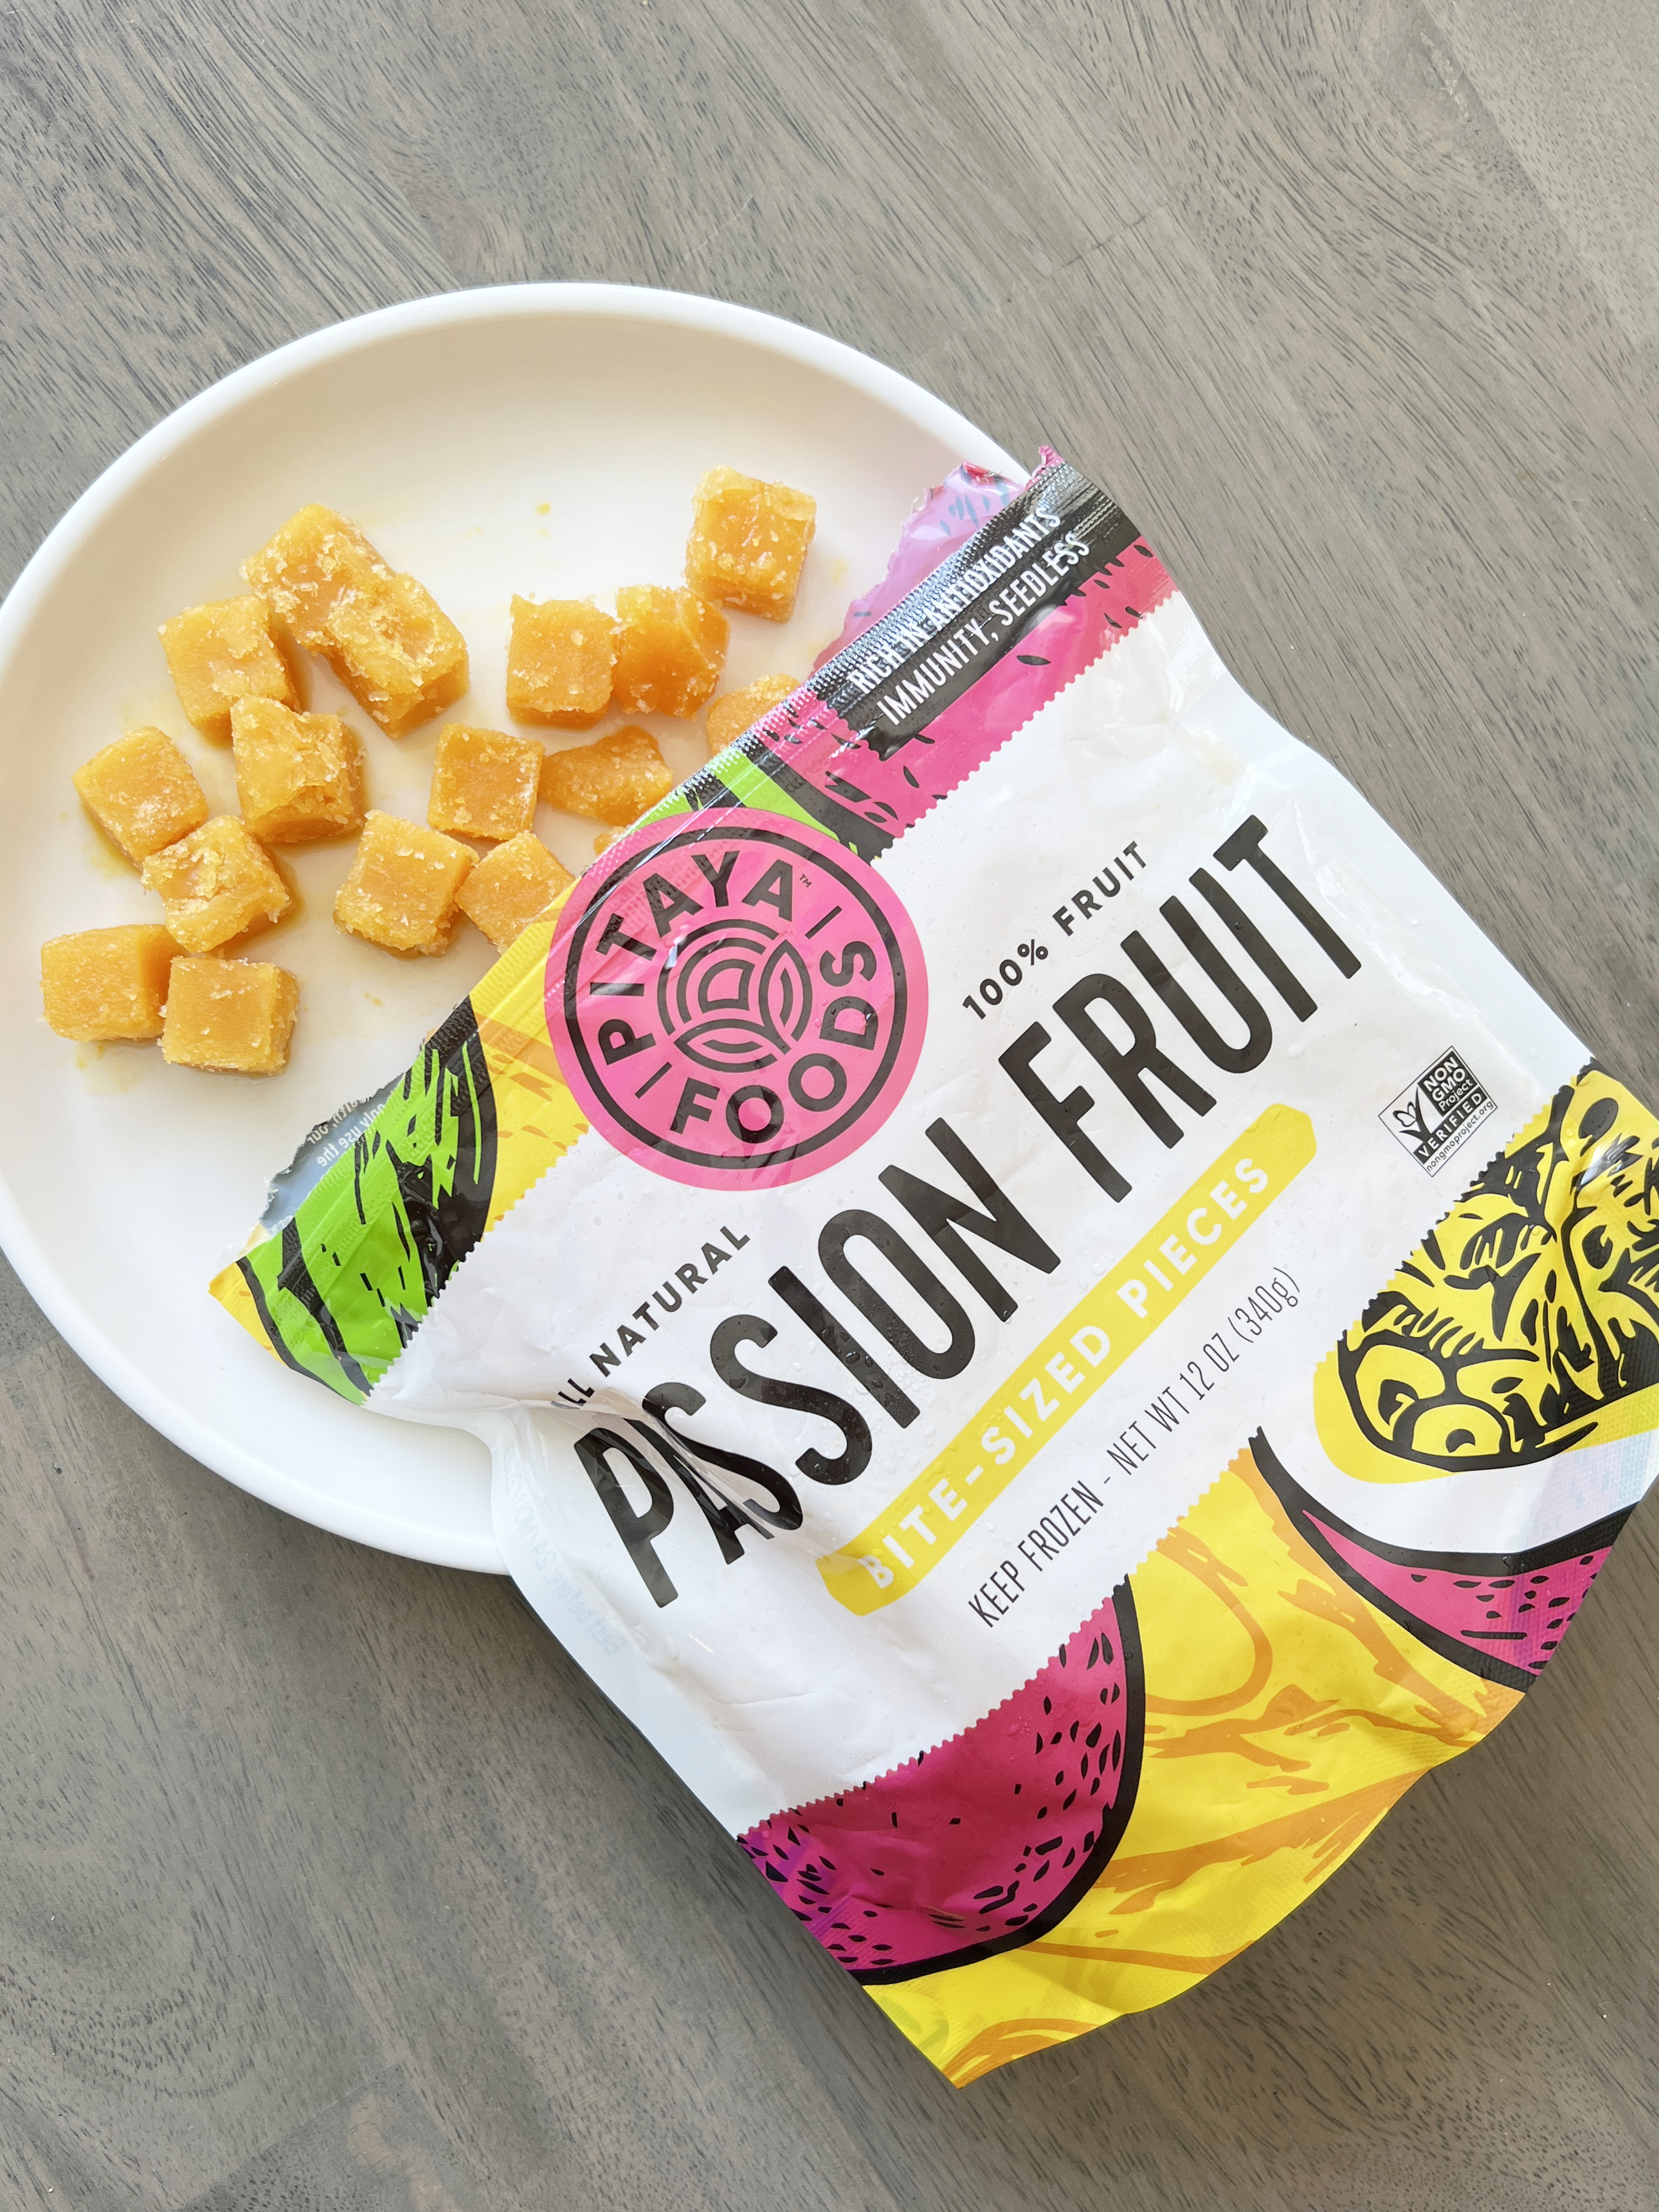
I already posted a recipe for this cupcake flavor combo a year or so ago, but then I noticed something in the freezer at Walmart recently. I was picking up frozen raspberries to have on my oatmeal in the mornings, and there it was: a bag of frozen passionfruit purée frozen into tiny cubes. I got some, used them on my oatmeal, and fell in love with this product! No seeds, so mess, just a sprinkle of cubes on my warm oatmeal and…. perfection! 

CM6

So… here’s a second go-around with these flavors except that this time it is WAY more real-fruity, and a totally different feel than the first time I combined these ingredients in a cupcake! The first time was more flavoring from a passion fruit syrup. This time it’s all fruit! My husband says they are like a fruit-filled doughnut and that the filling is “SO good!” I like the decorations on my first cupcakes better, but had no time to make meringues today. Check it out for inspiration though!

Want to know how to make these? Here you go (printable recipe): 
INGREDIENTS: 

Filling: 

  • 1 12oz bag of frozen passionfruit (available at Walmart). This is equal to about 1 1/2 cups or passionfruit purée, if you are unable to find the frozen. 
  • 1 cup granulated sugar (more or less to taste- you can decide how sweet you want these!)
  • 1 cup water
  • 1/2 cup cornstarch

Cupcake:

  • 1 boxed white cake mix
  • 1/2 cup unsalted butter (1 stick) – melted
  • 1 can (15-16oz) of coconut milk (not cream!)
  • 4 eggs (whites only!)
  • 1 cup shredded sweetened coconut

Frosting: 

  • 1 stick (1/2 cup) unsalted butter, softened to room temperature
  • 2 sticks (1 cup) salted butter, softened to room temperature
  • 2 1/2 cups of powdered sugar

DIRECTIONS:

Filling: make this first, so that it has time to chill before you need it.

  1. Mix water and cornstarch in a small bowl and set aside.
  2. Place entire package of frozen passion fruit cubes and sugar into a small saucepan.
  3. Heat and stir until all cubes are melted and edges are bubbling.
  4. Stir cornstarch slurry together again (it will settle) and gradually pour into fruit and sugar, stirring constantly. You may not need it all- so add it slowly, pause and stir. You want the sauce to be thick enough to not run out of the cupcake center (like the filling in a fruit pie). When it reaches this consistency, stop adding cornstarch, take off stove, pour into a bowl and pop into the refrigerator to cool.

Cupcakes: 

  1. Preheat oven to 350 F degrees.
  2. Place cake mix, eggs and melted butter in large mixing bowl and beat on low for about 1 minute until well-incorporated. 
  3. Add can of coconut milk and beat on low until incorporated, and then on high for about a minute more.
  4. Gently stir shredded coconut in using a spoon.
  5. Scoop batter into cupcake liners placed in a cupcake tin. 
  6. Bake at 350F degrees for 14-18 minutes. Check, and when an inserted toothpick comes out clean, they are done. 
  7. Cool completely. 

Frosting: 

  1. Place powdered sugar and softened butter into a large mixing bowl and beat on medium until well incorporated and starting to get fluffy (a couple minutes). 
  2. Add about half of the cooled passion fruit filling to the mixture and beat on high until light and fluffy. 
  3. Place in a zip-top bag fitted with a piping tip. 

Assembly: 

  1. Hollow out a little core in each cupcake using a knife or a cupcake corer, (affiliate link) and saving the top portion to use as a “lid”.
  2. Place remaining filling into a small zip-top bag and clip a corner off. 
  3. Pipe filling into each cupcake, and top with “lid”.
  4. Pipe icing on top of each cupcake, sprinkle with coconut, and top with a little drop of filling, if you have enough left.
  5. Enjoy!!!

My thoughts: I really enjoyed making these and sharing them with people. They are such cheery little cupcakes and that pop of flavor from the passionfruit in the middle is amazing! I really hope you get a chance to try these! ~r

Other fun summer cupcakes to try- just click on a photo to see the recipe! 

banana-split-cupcakes5 root-beer-float-cupcakes1 strawberry-lemonade-cupcake-7 pina-colada-cupcakes4

Monster Mash Treats

Posted on

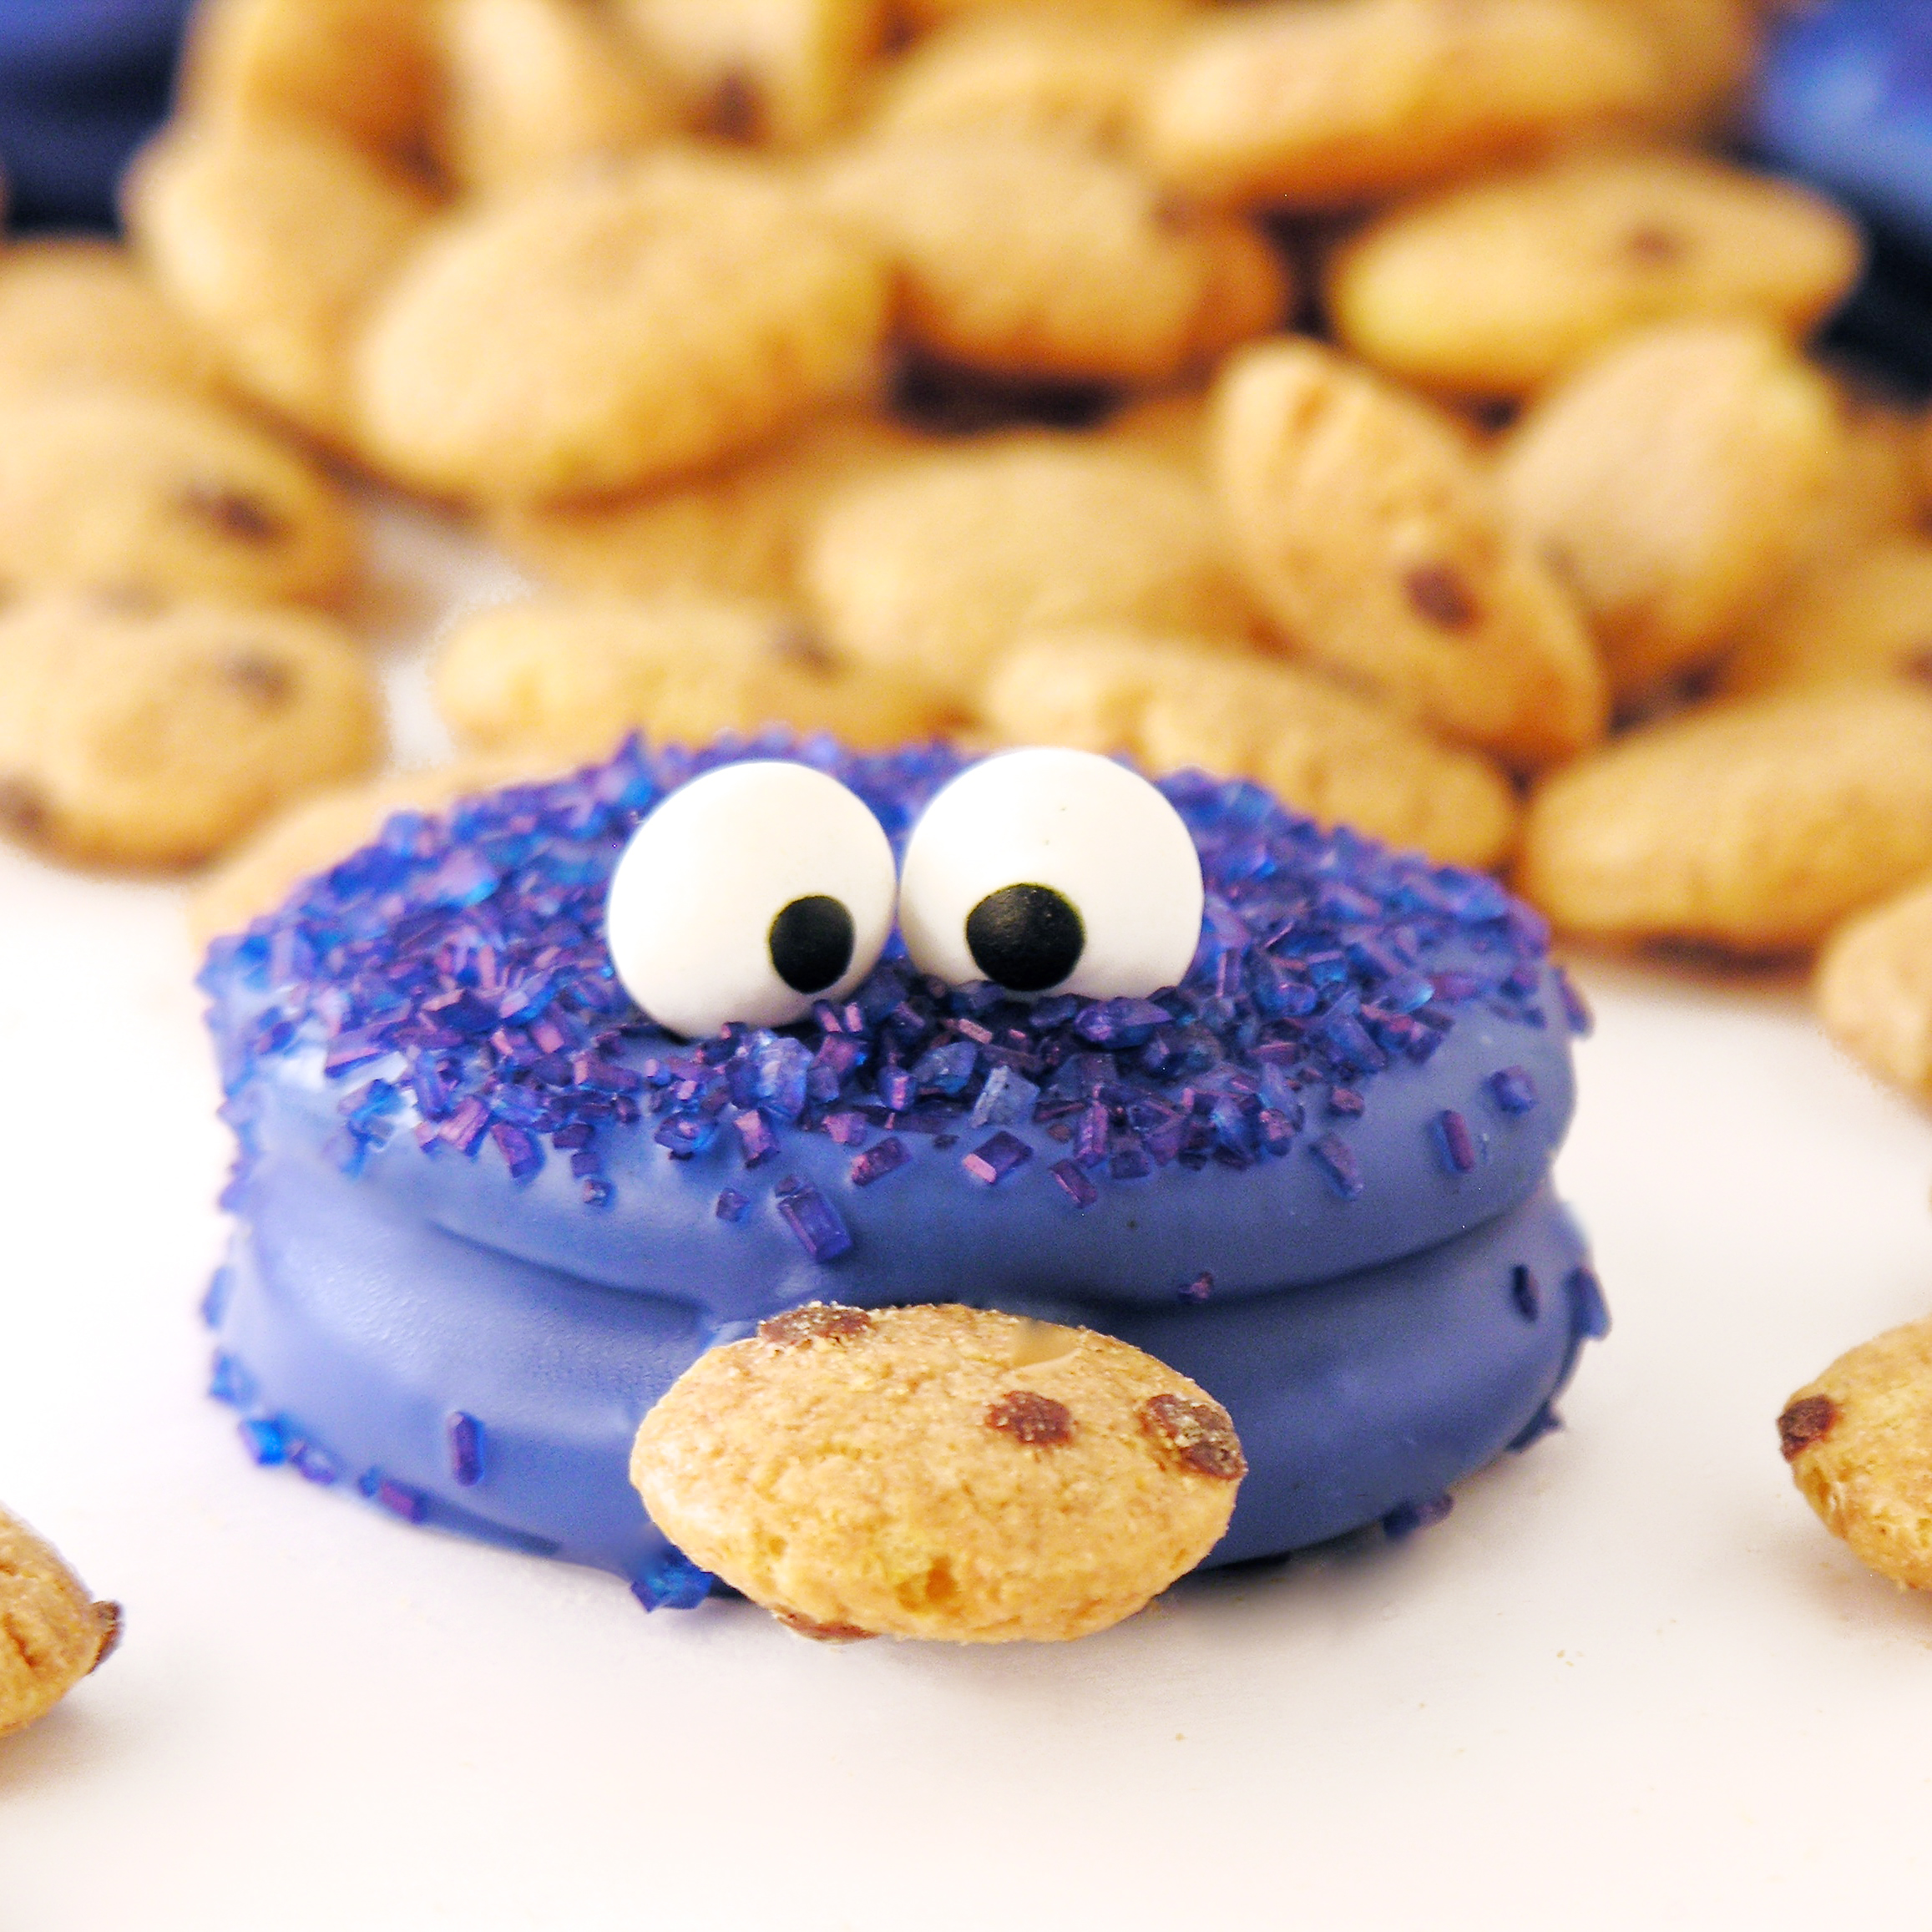
Cookie Monster 1-2

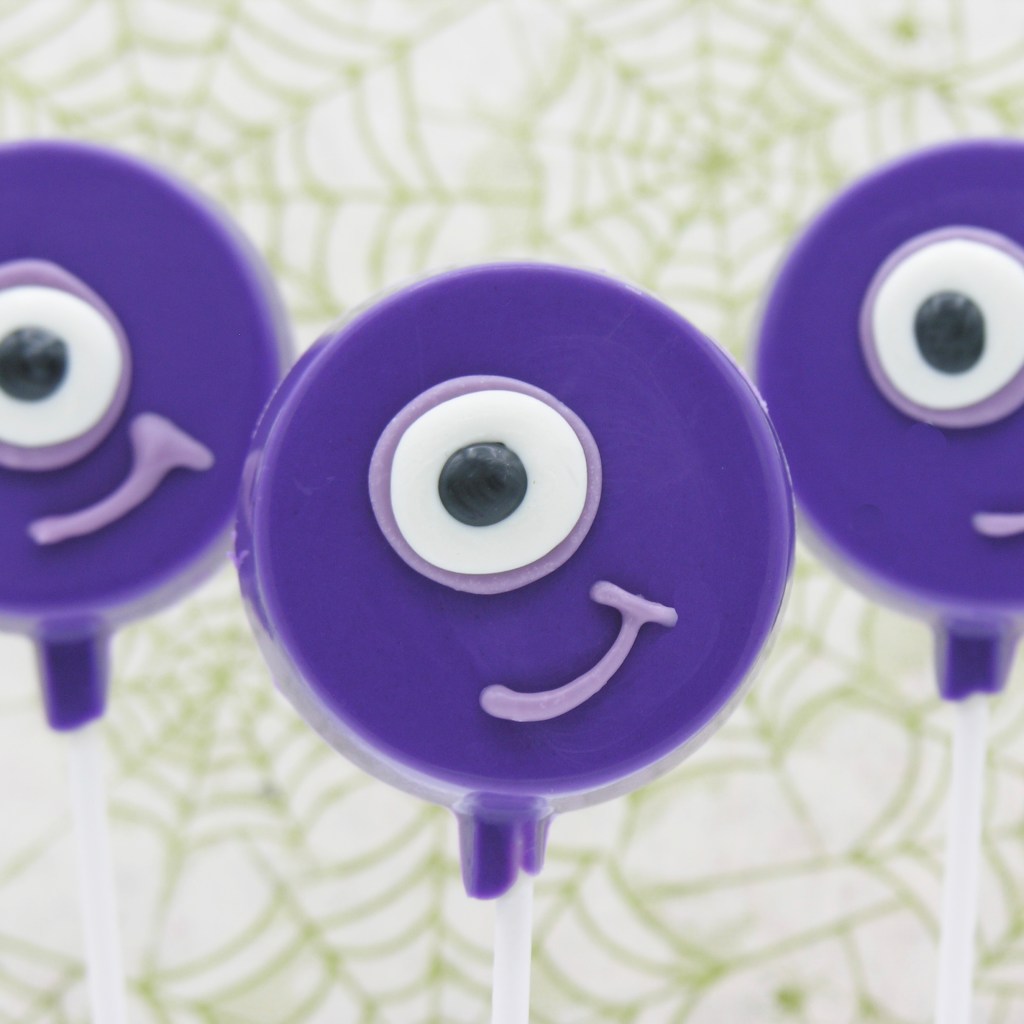
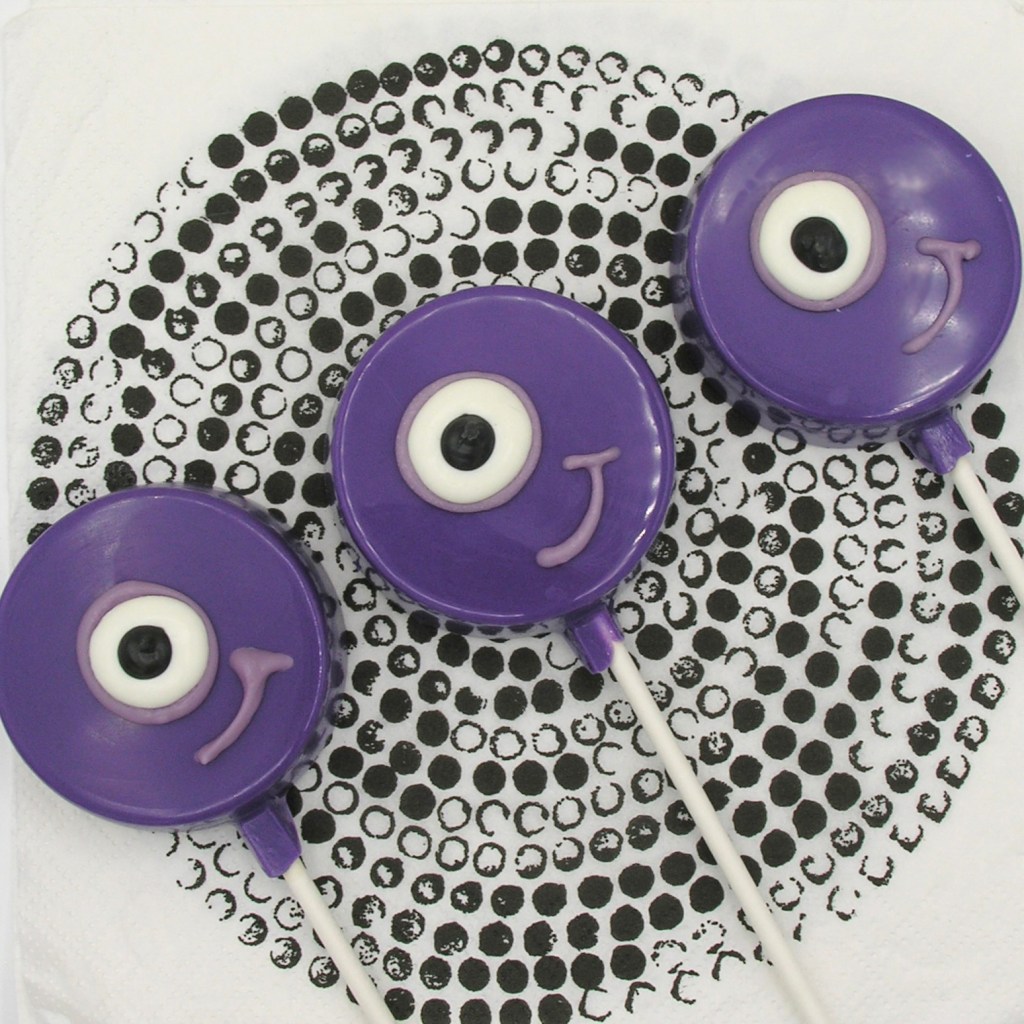
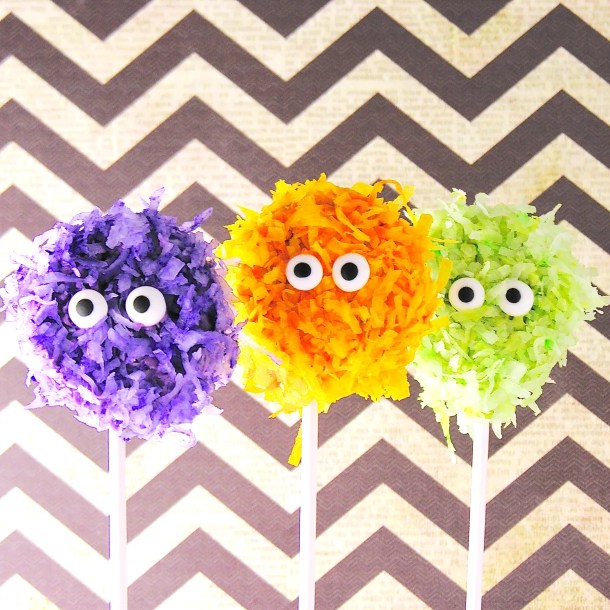
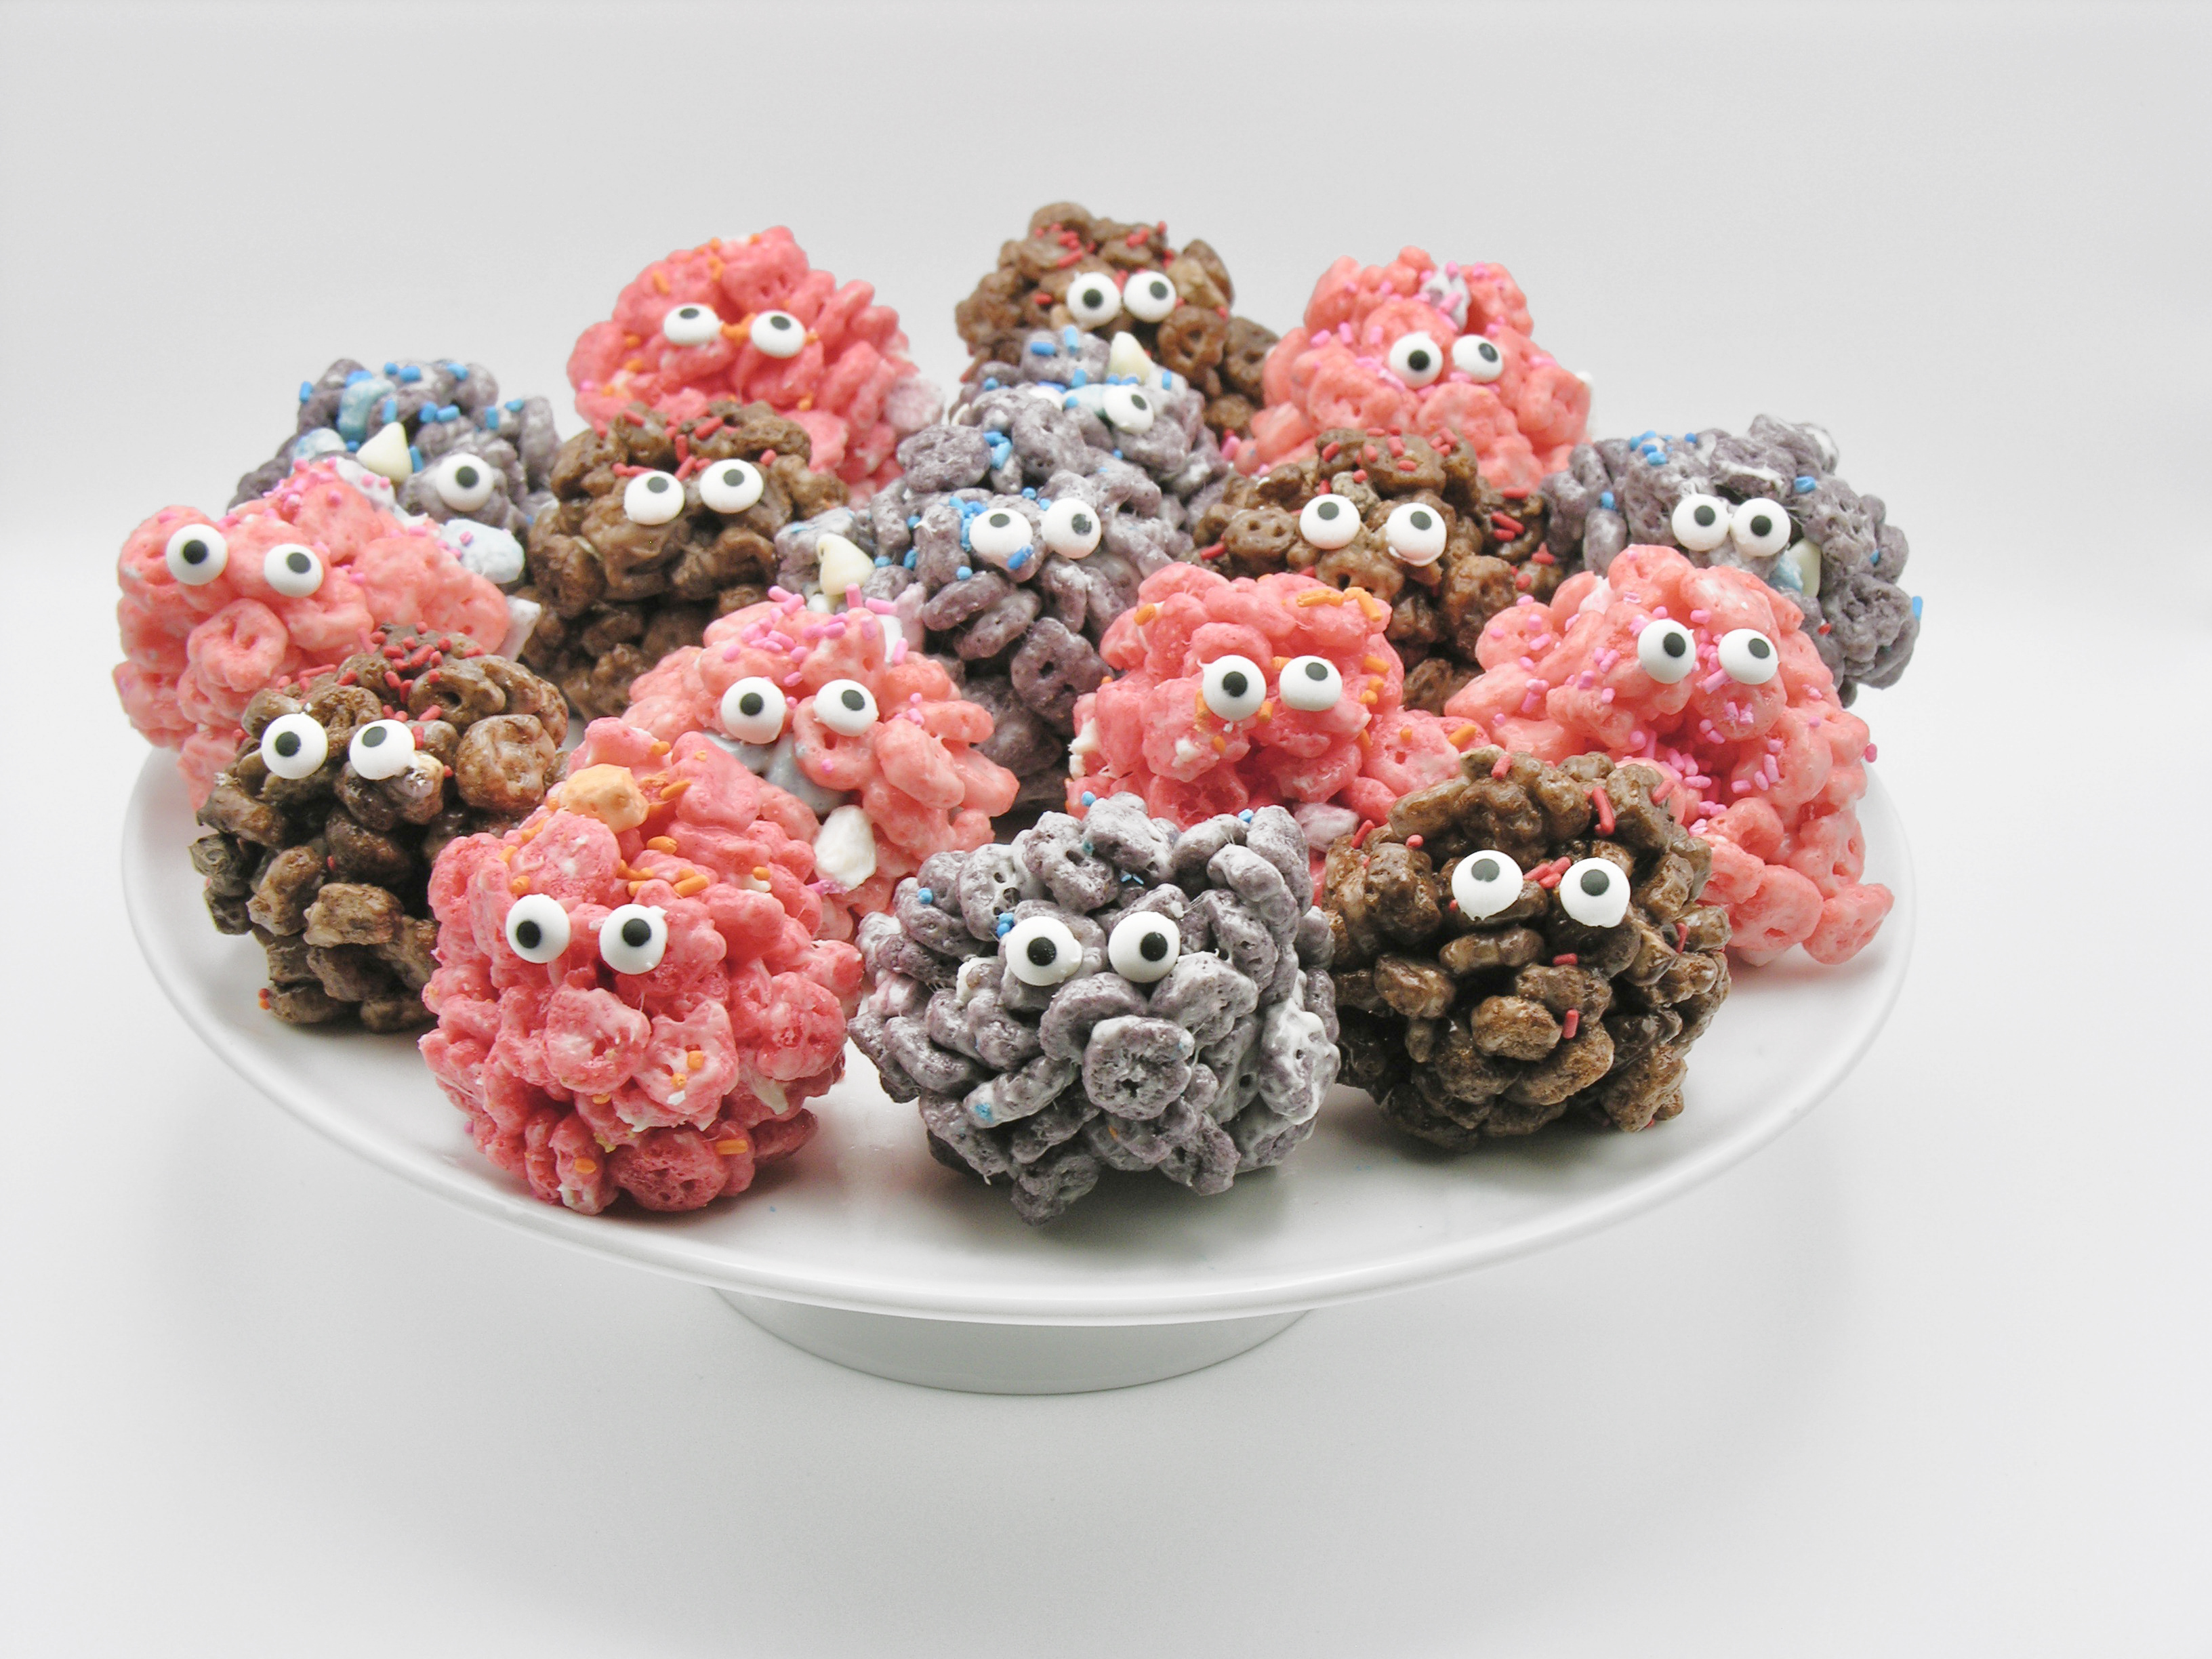
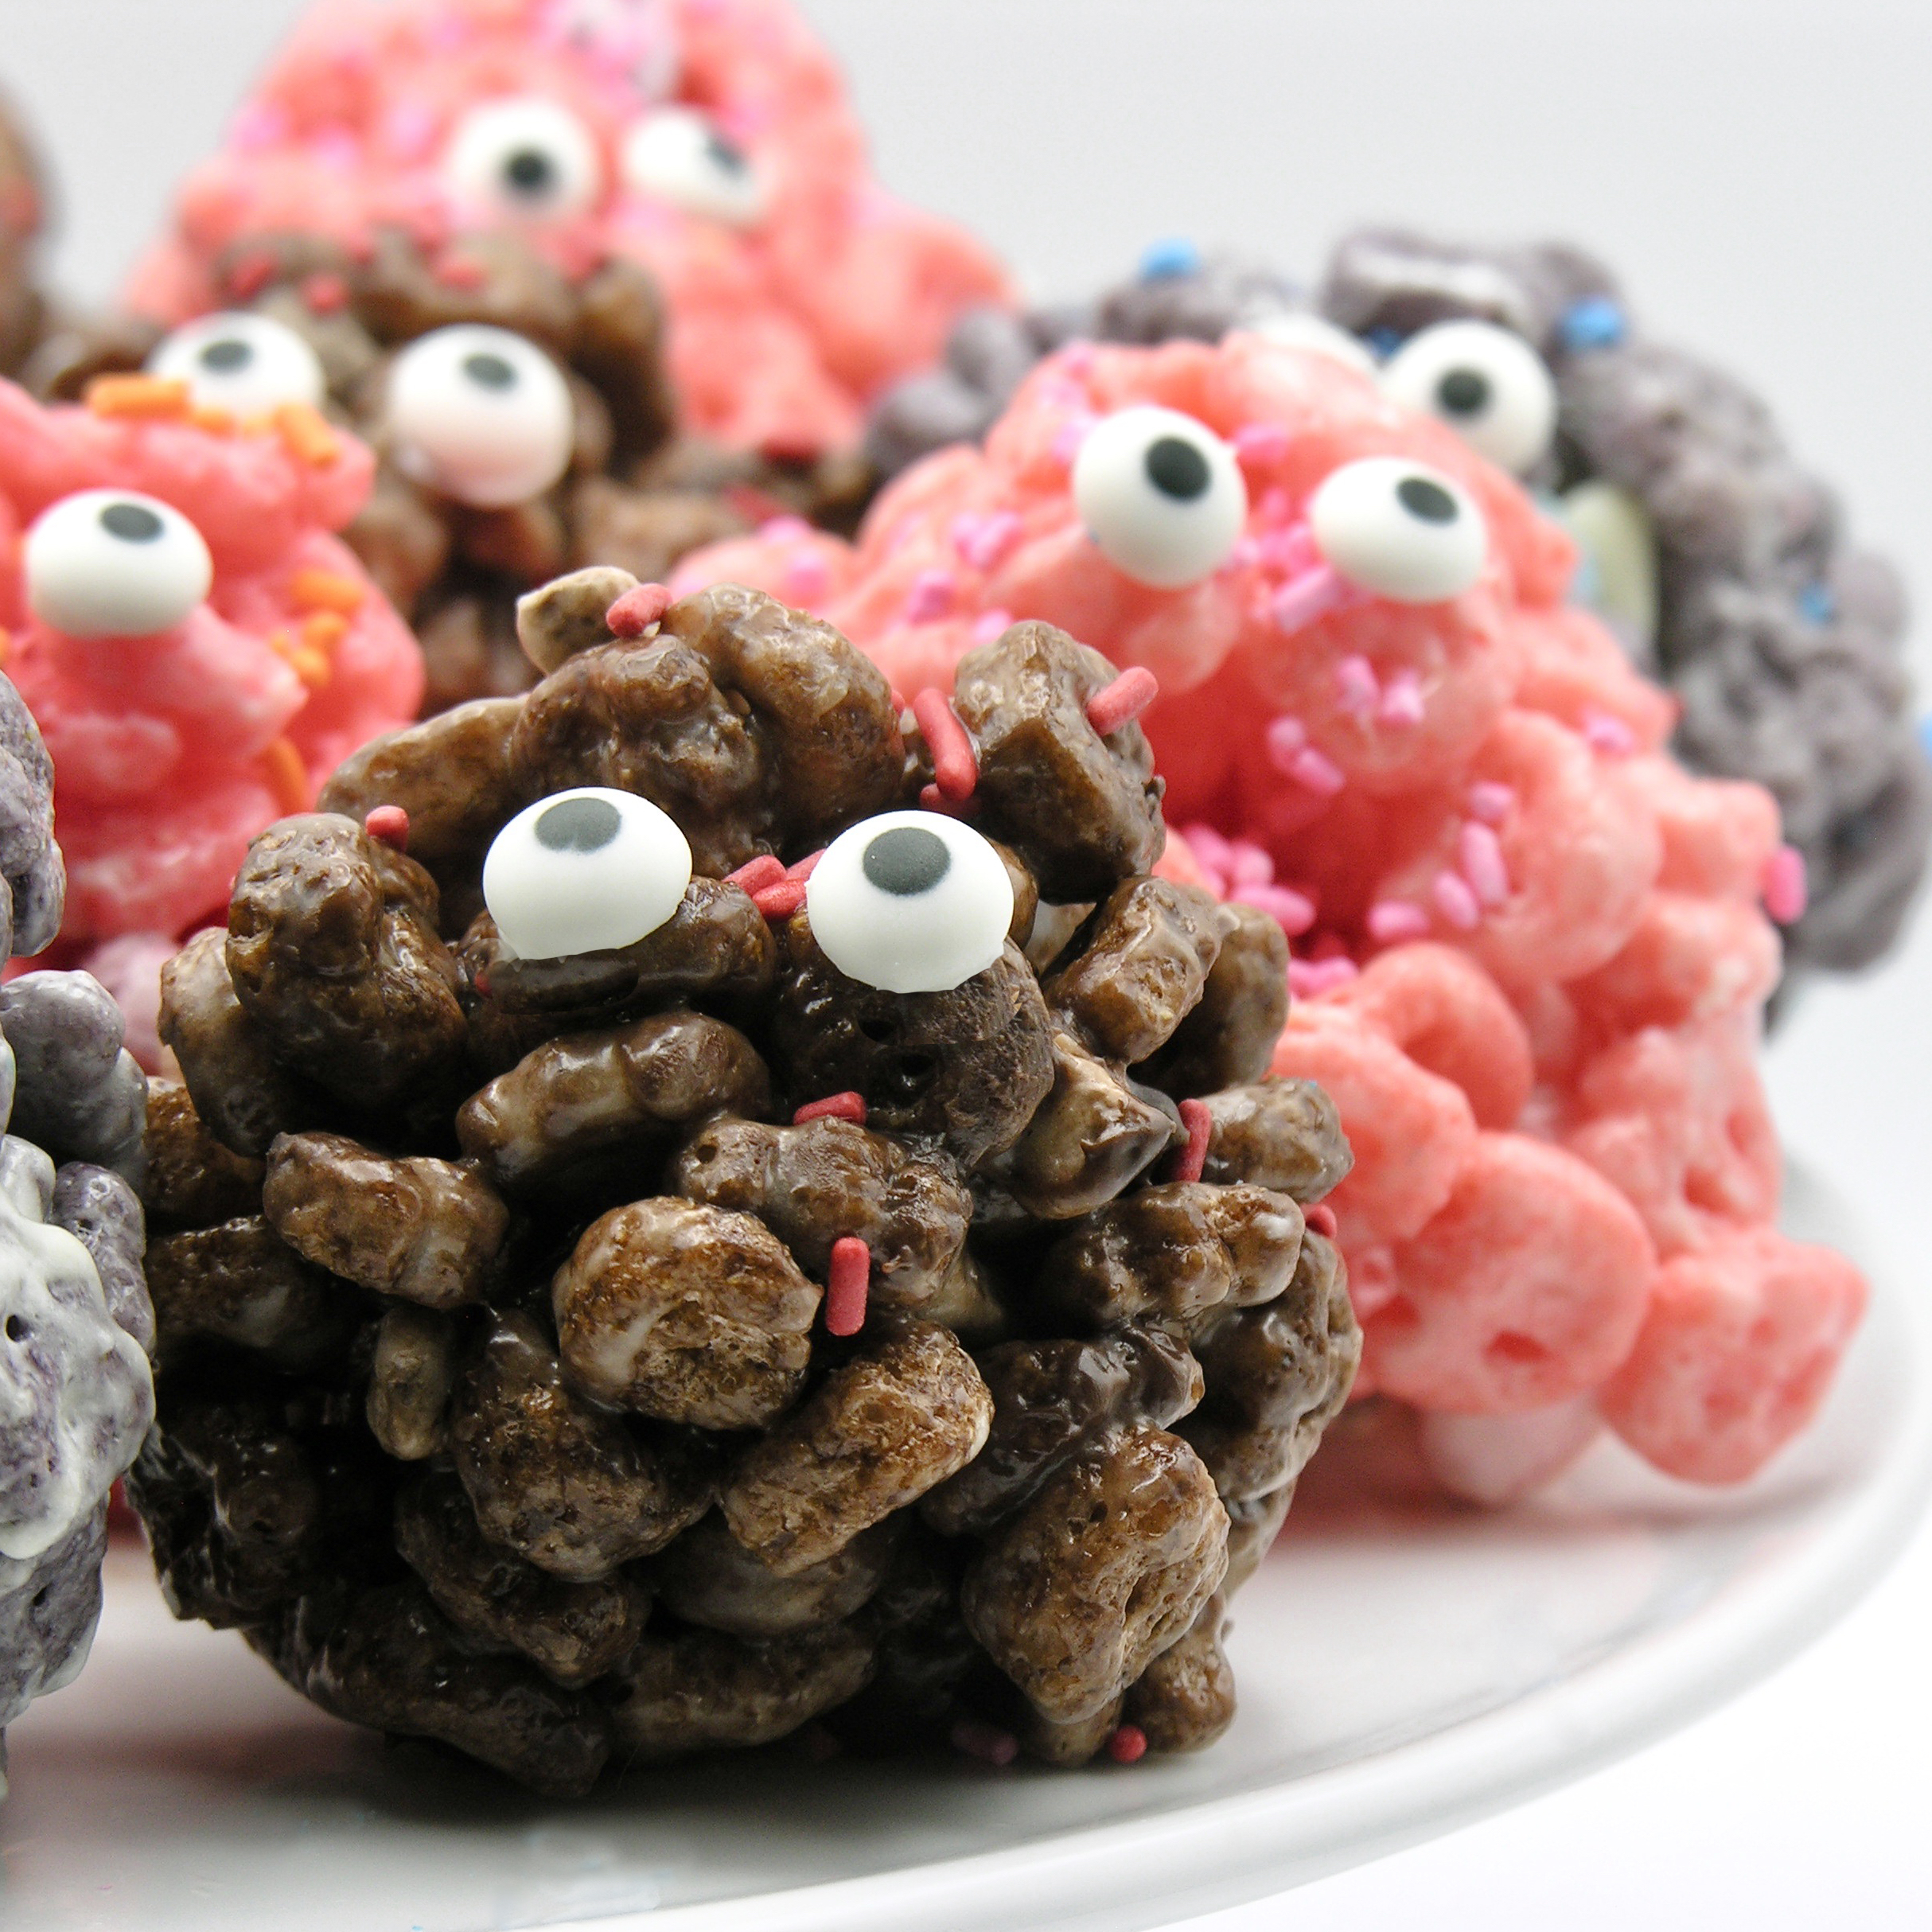
Take your favorite MONSTER cereal (or any other favorite cereal) and make these cute little monsters with it. Delicious and such a fun treat for Halloween!

Monster Mash2-2

Have you ever tried the fun “Monster” cereals from General Mills? As a kid, these were available all year long, but I only see them at Halloween now (so if you want to try this recipe with these cereals, you’ll need to get them in September and October- sorry friends in other countries!). I’m certain that this same recipe will work with a variety of other cereals. I was thinking that Reese’s Puffs might be fun and super yummy.

Read the rest of this entry

Gingerbread Turkey Cookies

Posted on

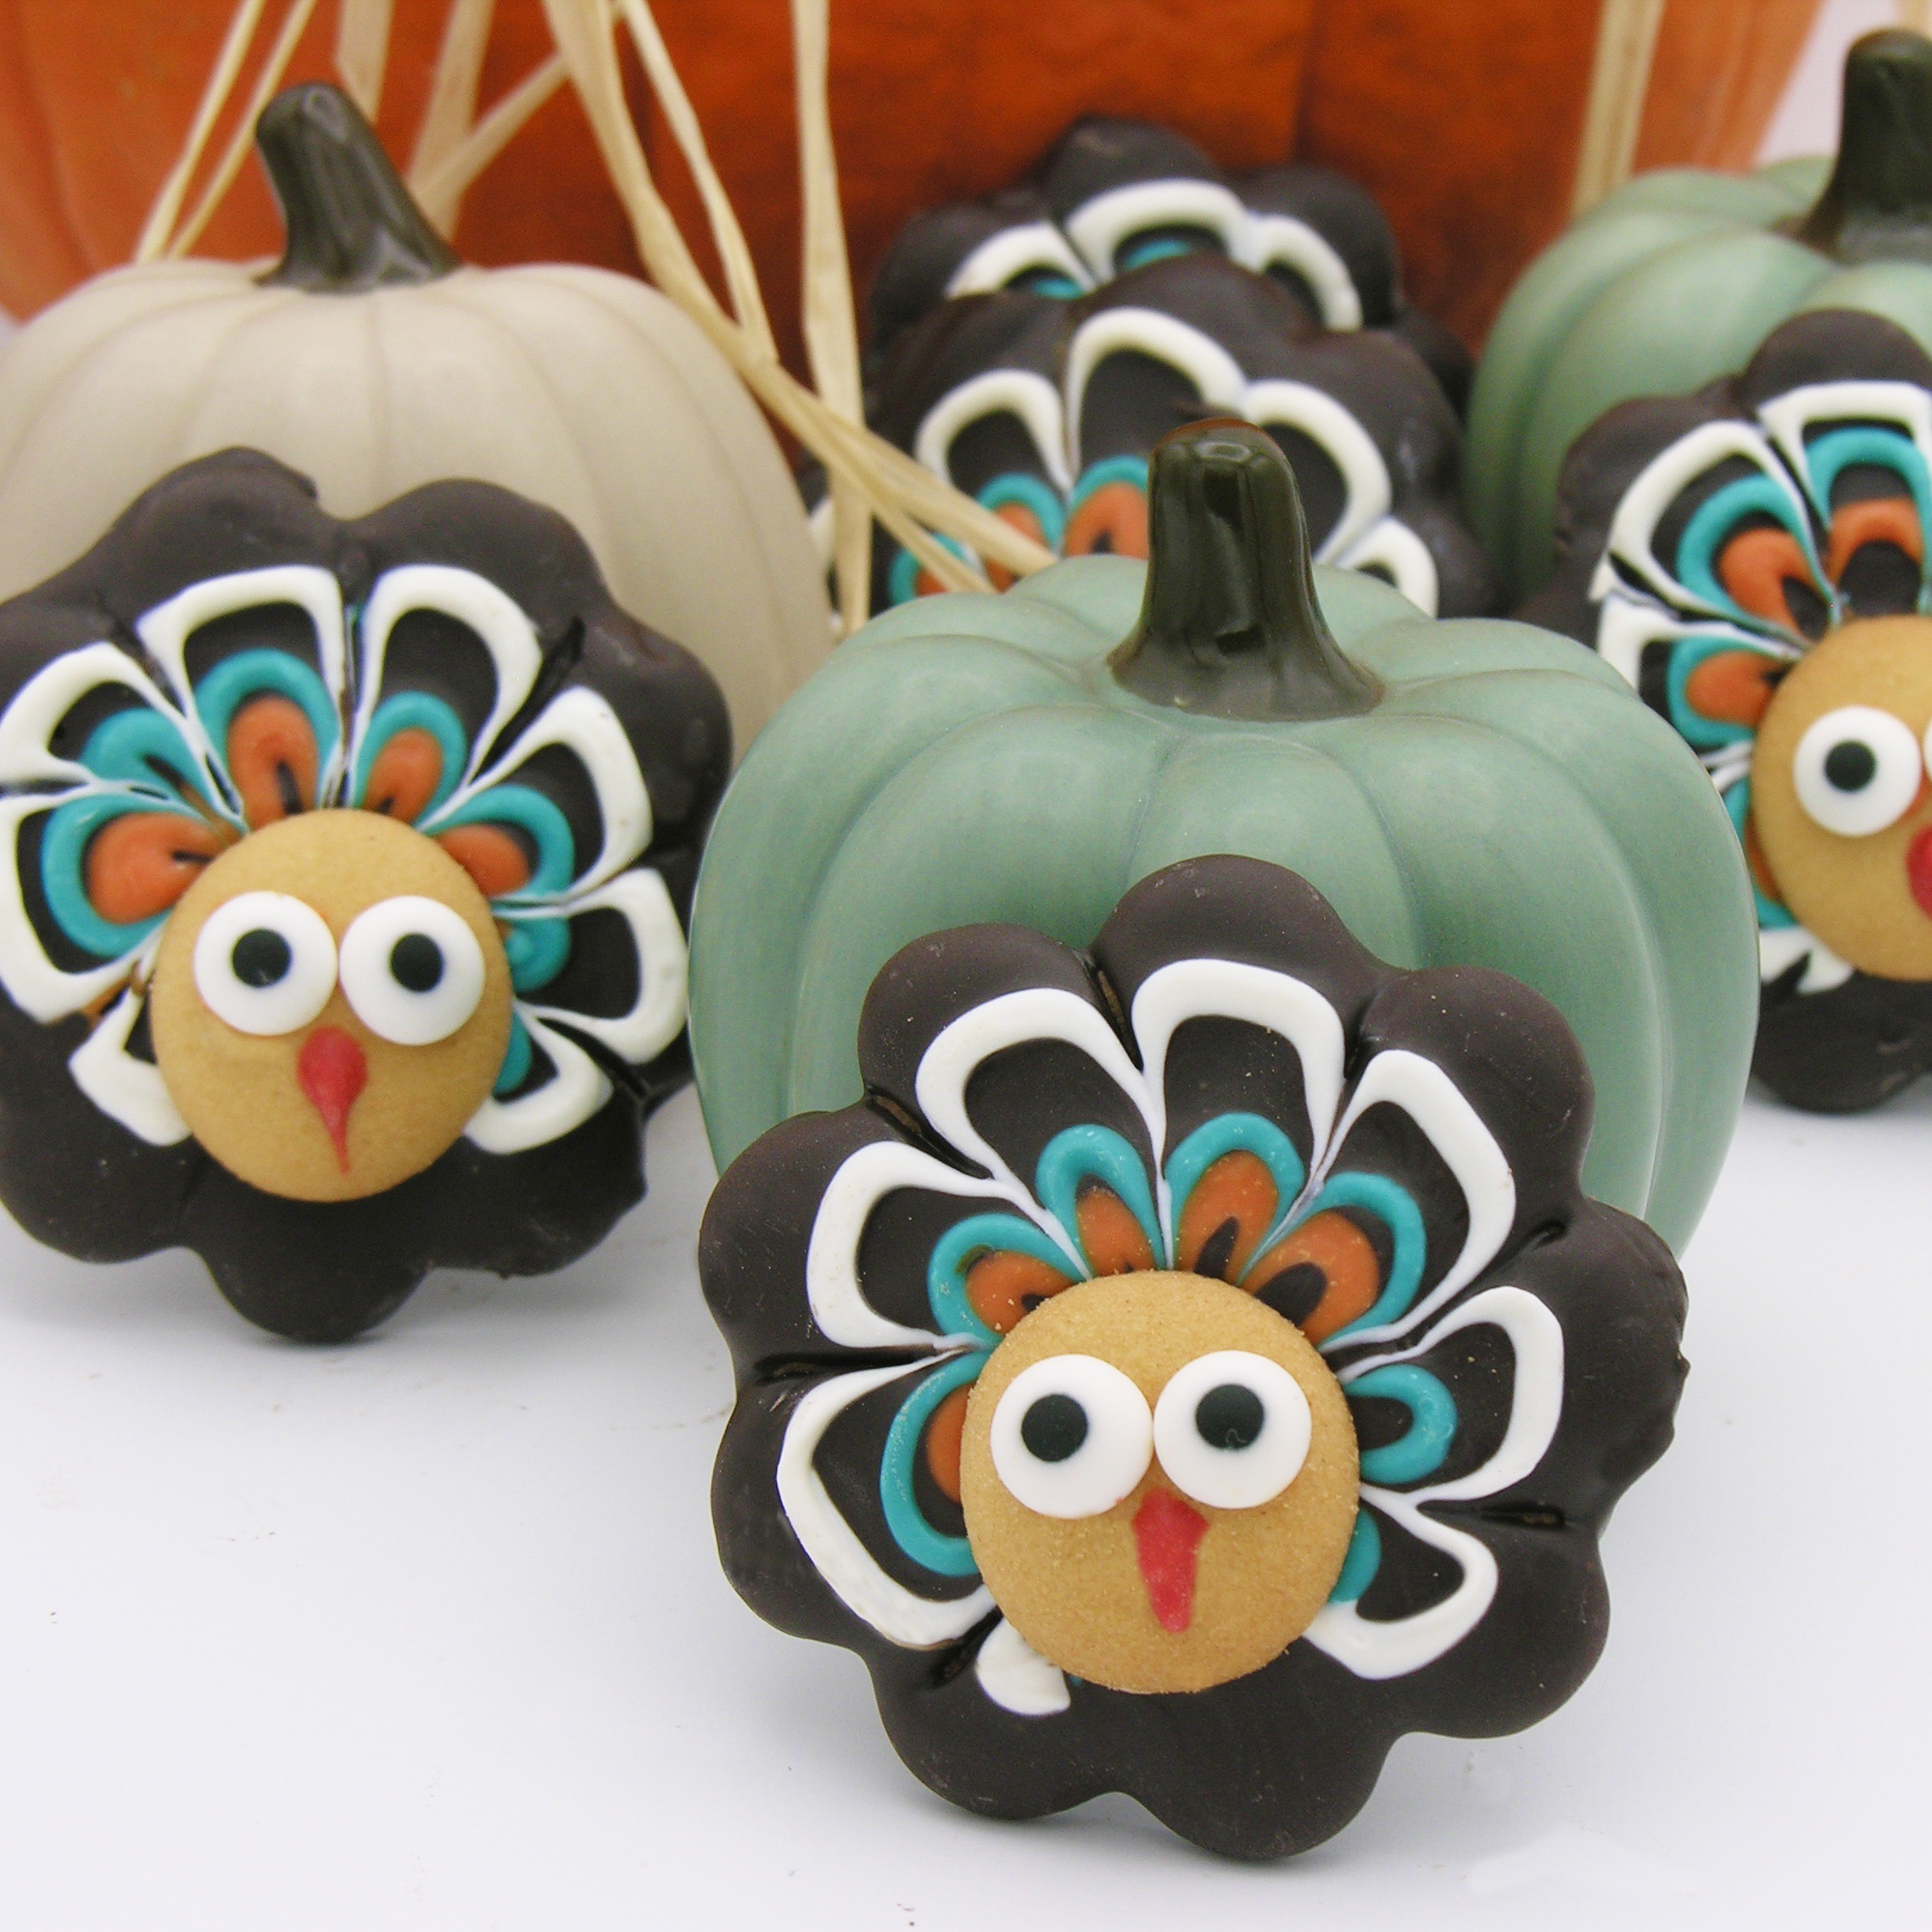
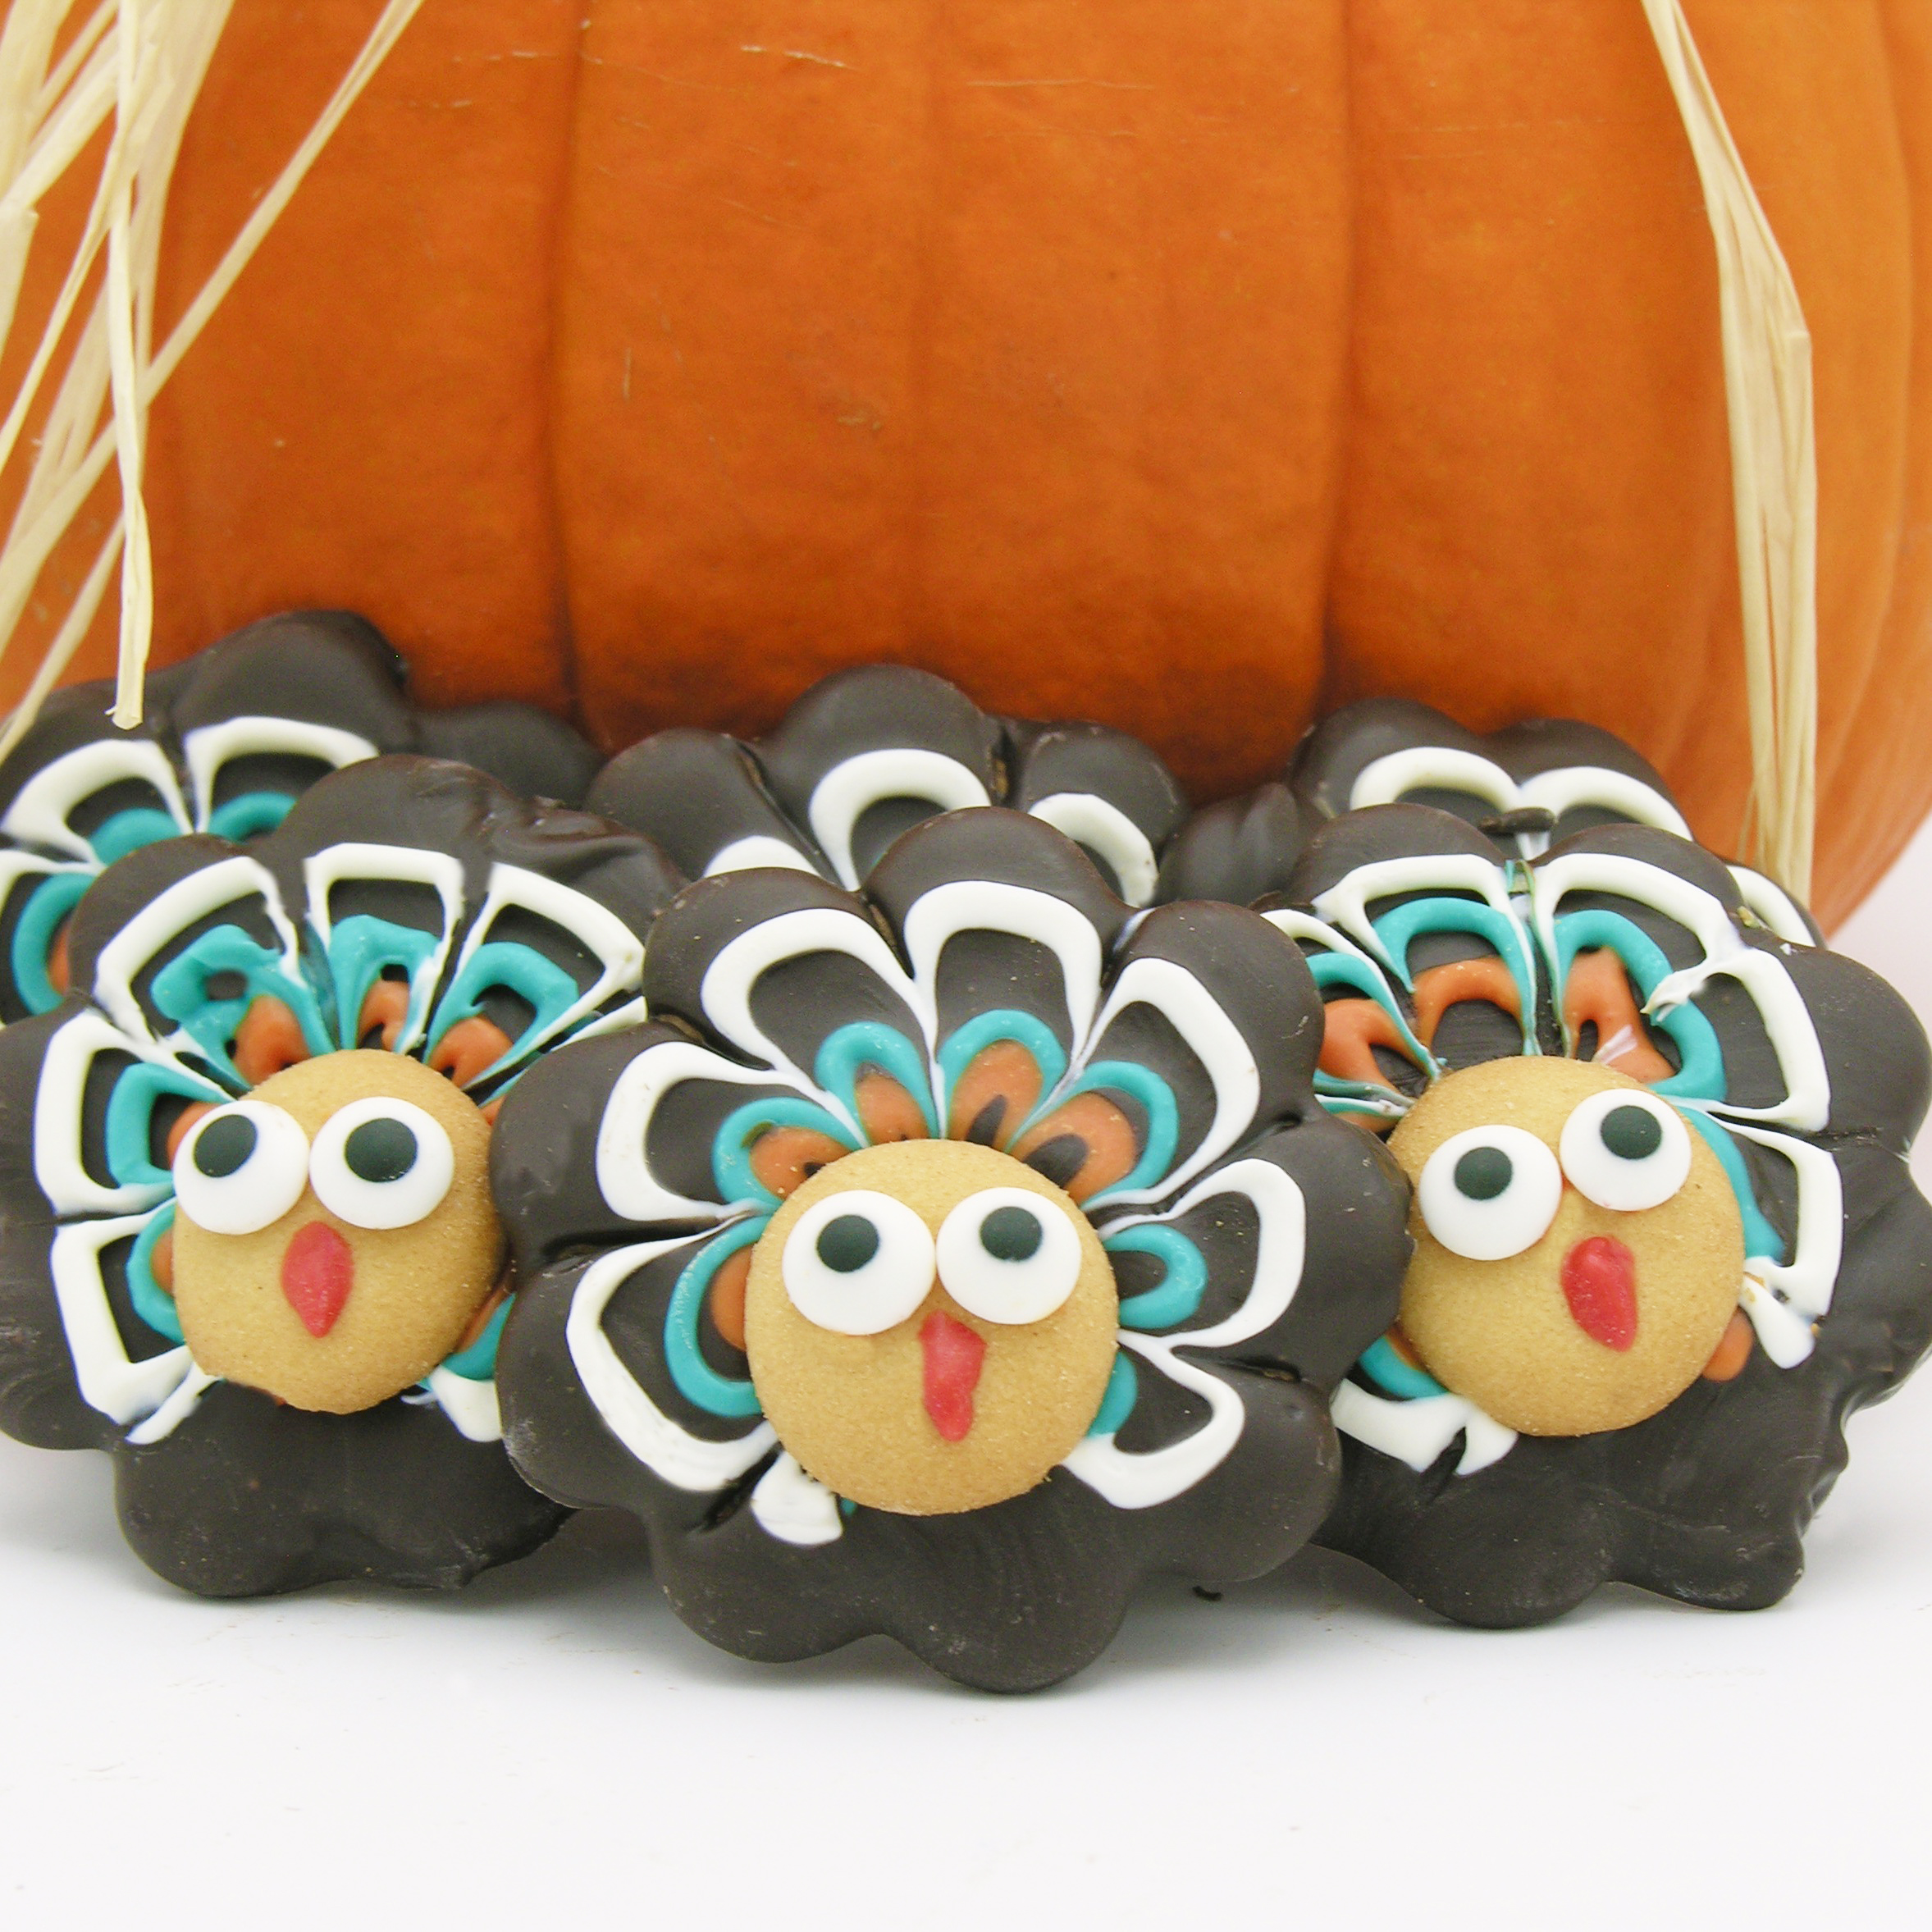
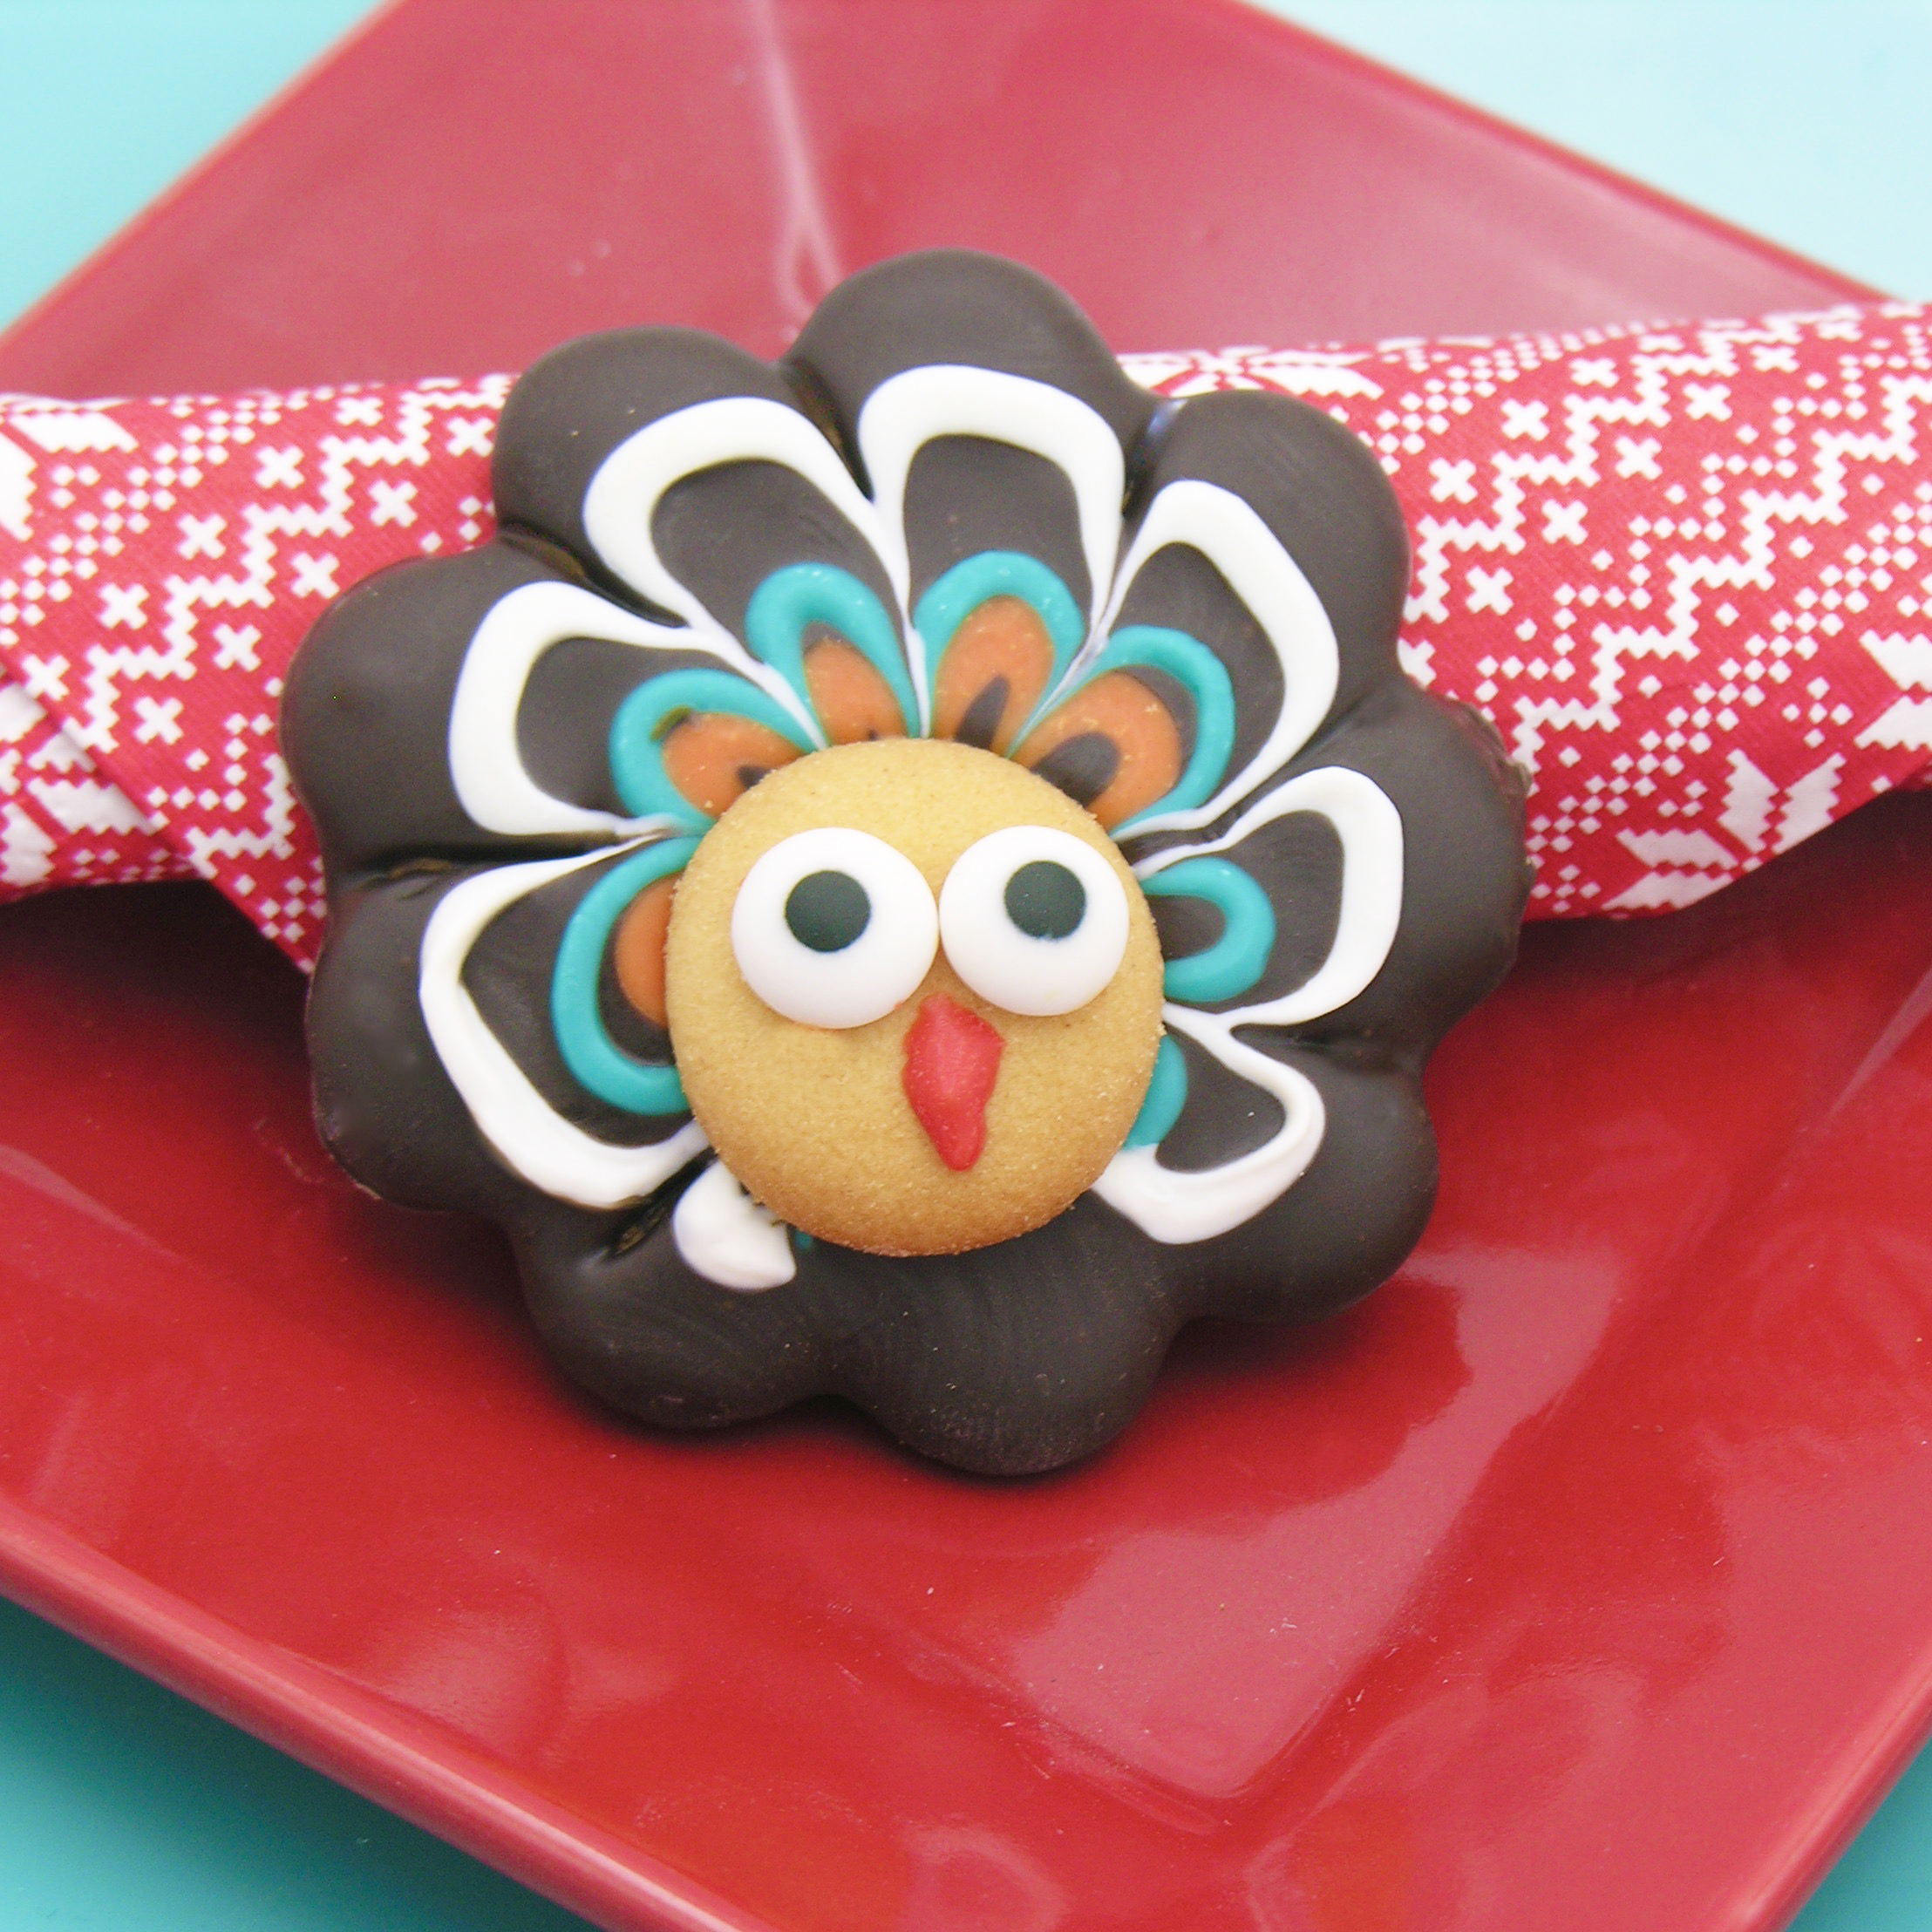
Turkey Cookie4-1These no-bake turkey cookies have a blast of ginger, vanilla and chocolate in each bite. Plus aren’t they cute? And not a single piece of candy corn in sight!

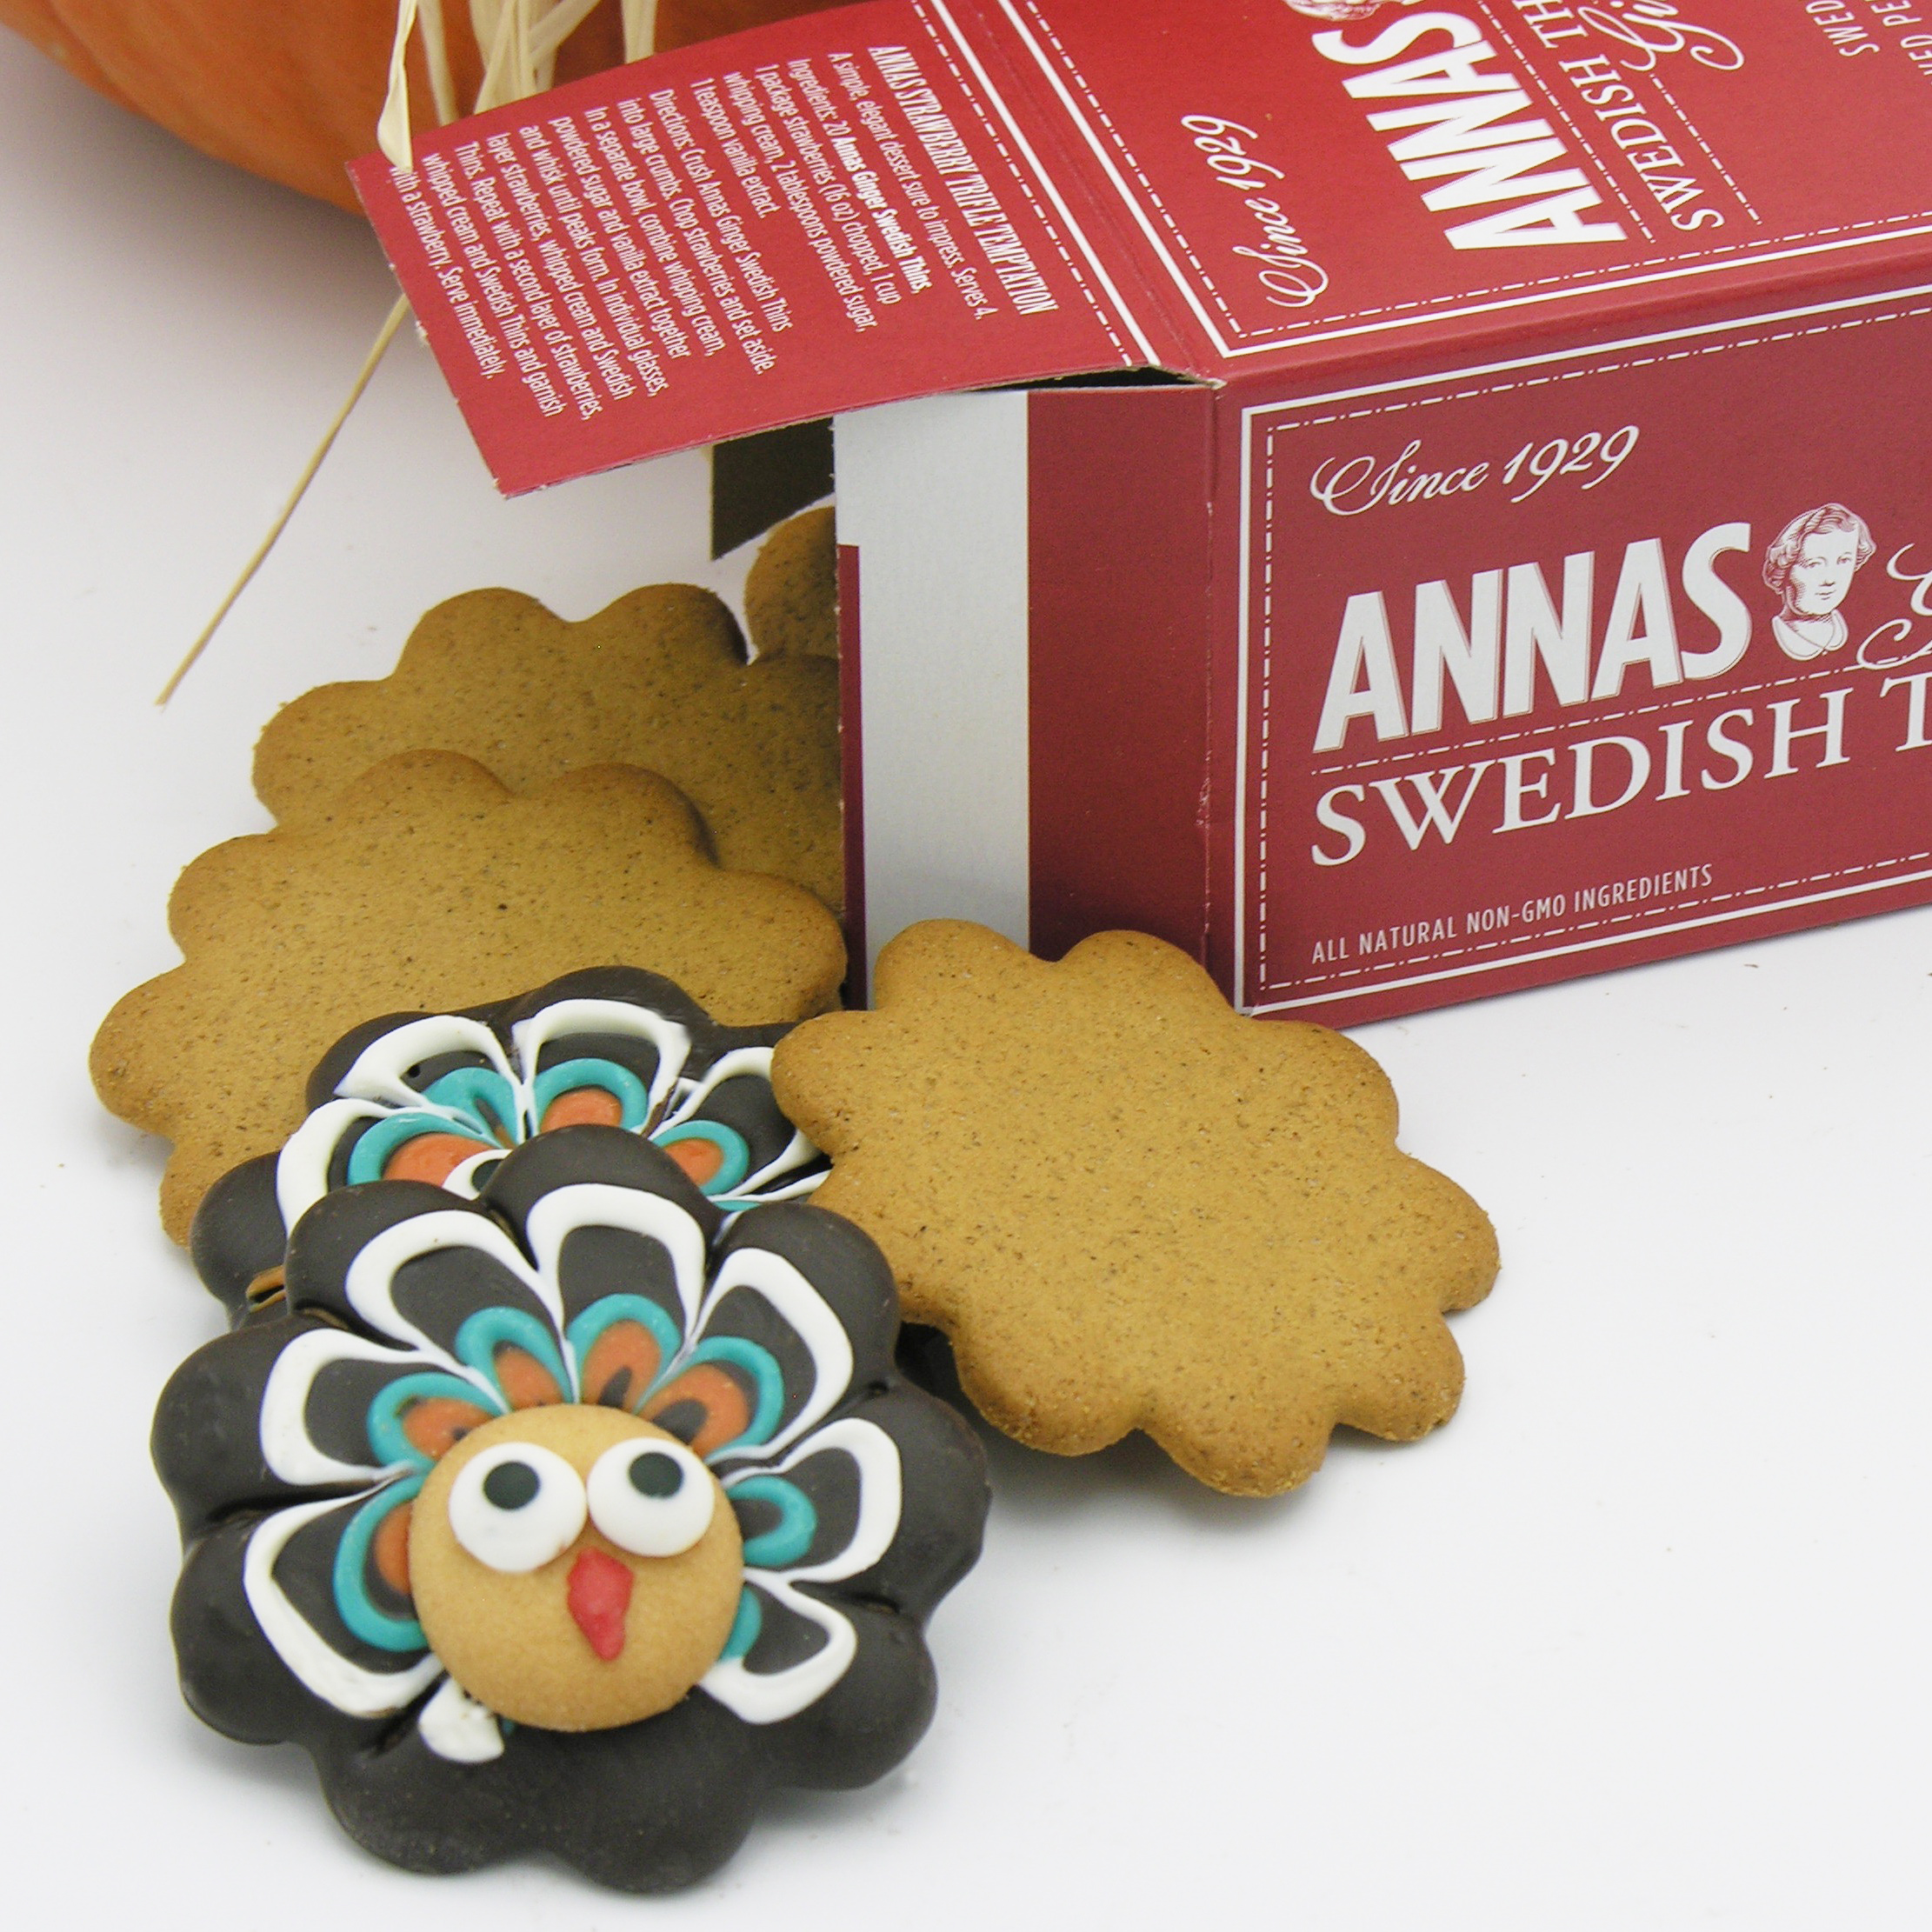
Turkey Cookie1-1I set out on a mission this week. To create a cute turkey cookie without using candy corn. Because candy corn is gross, in my opinion, and it seems to be the staple of all things “turkey” in the baked goods realm. I knew I wanted to use Anna’s Swedish Thin Cookies as my base, because they have that beautiful scalloped edge, and they are DELICIOUS. They come in ginger, orange, almond and (maybe?) mint- I haven’t seen the mint recently, so maybe not. And- before you think you won’t be able to find them, they are at most Walgreens, Walmarts, and (of course!) at Amazon- you maybe haven’t ever noticed them before.

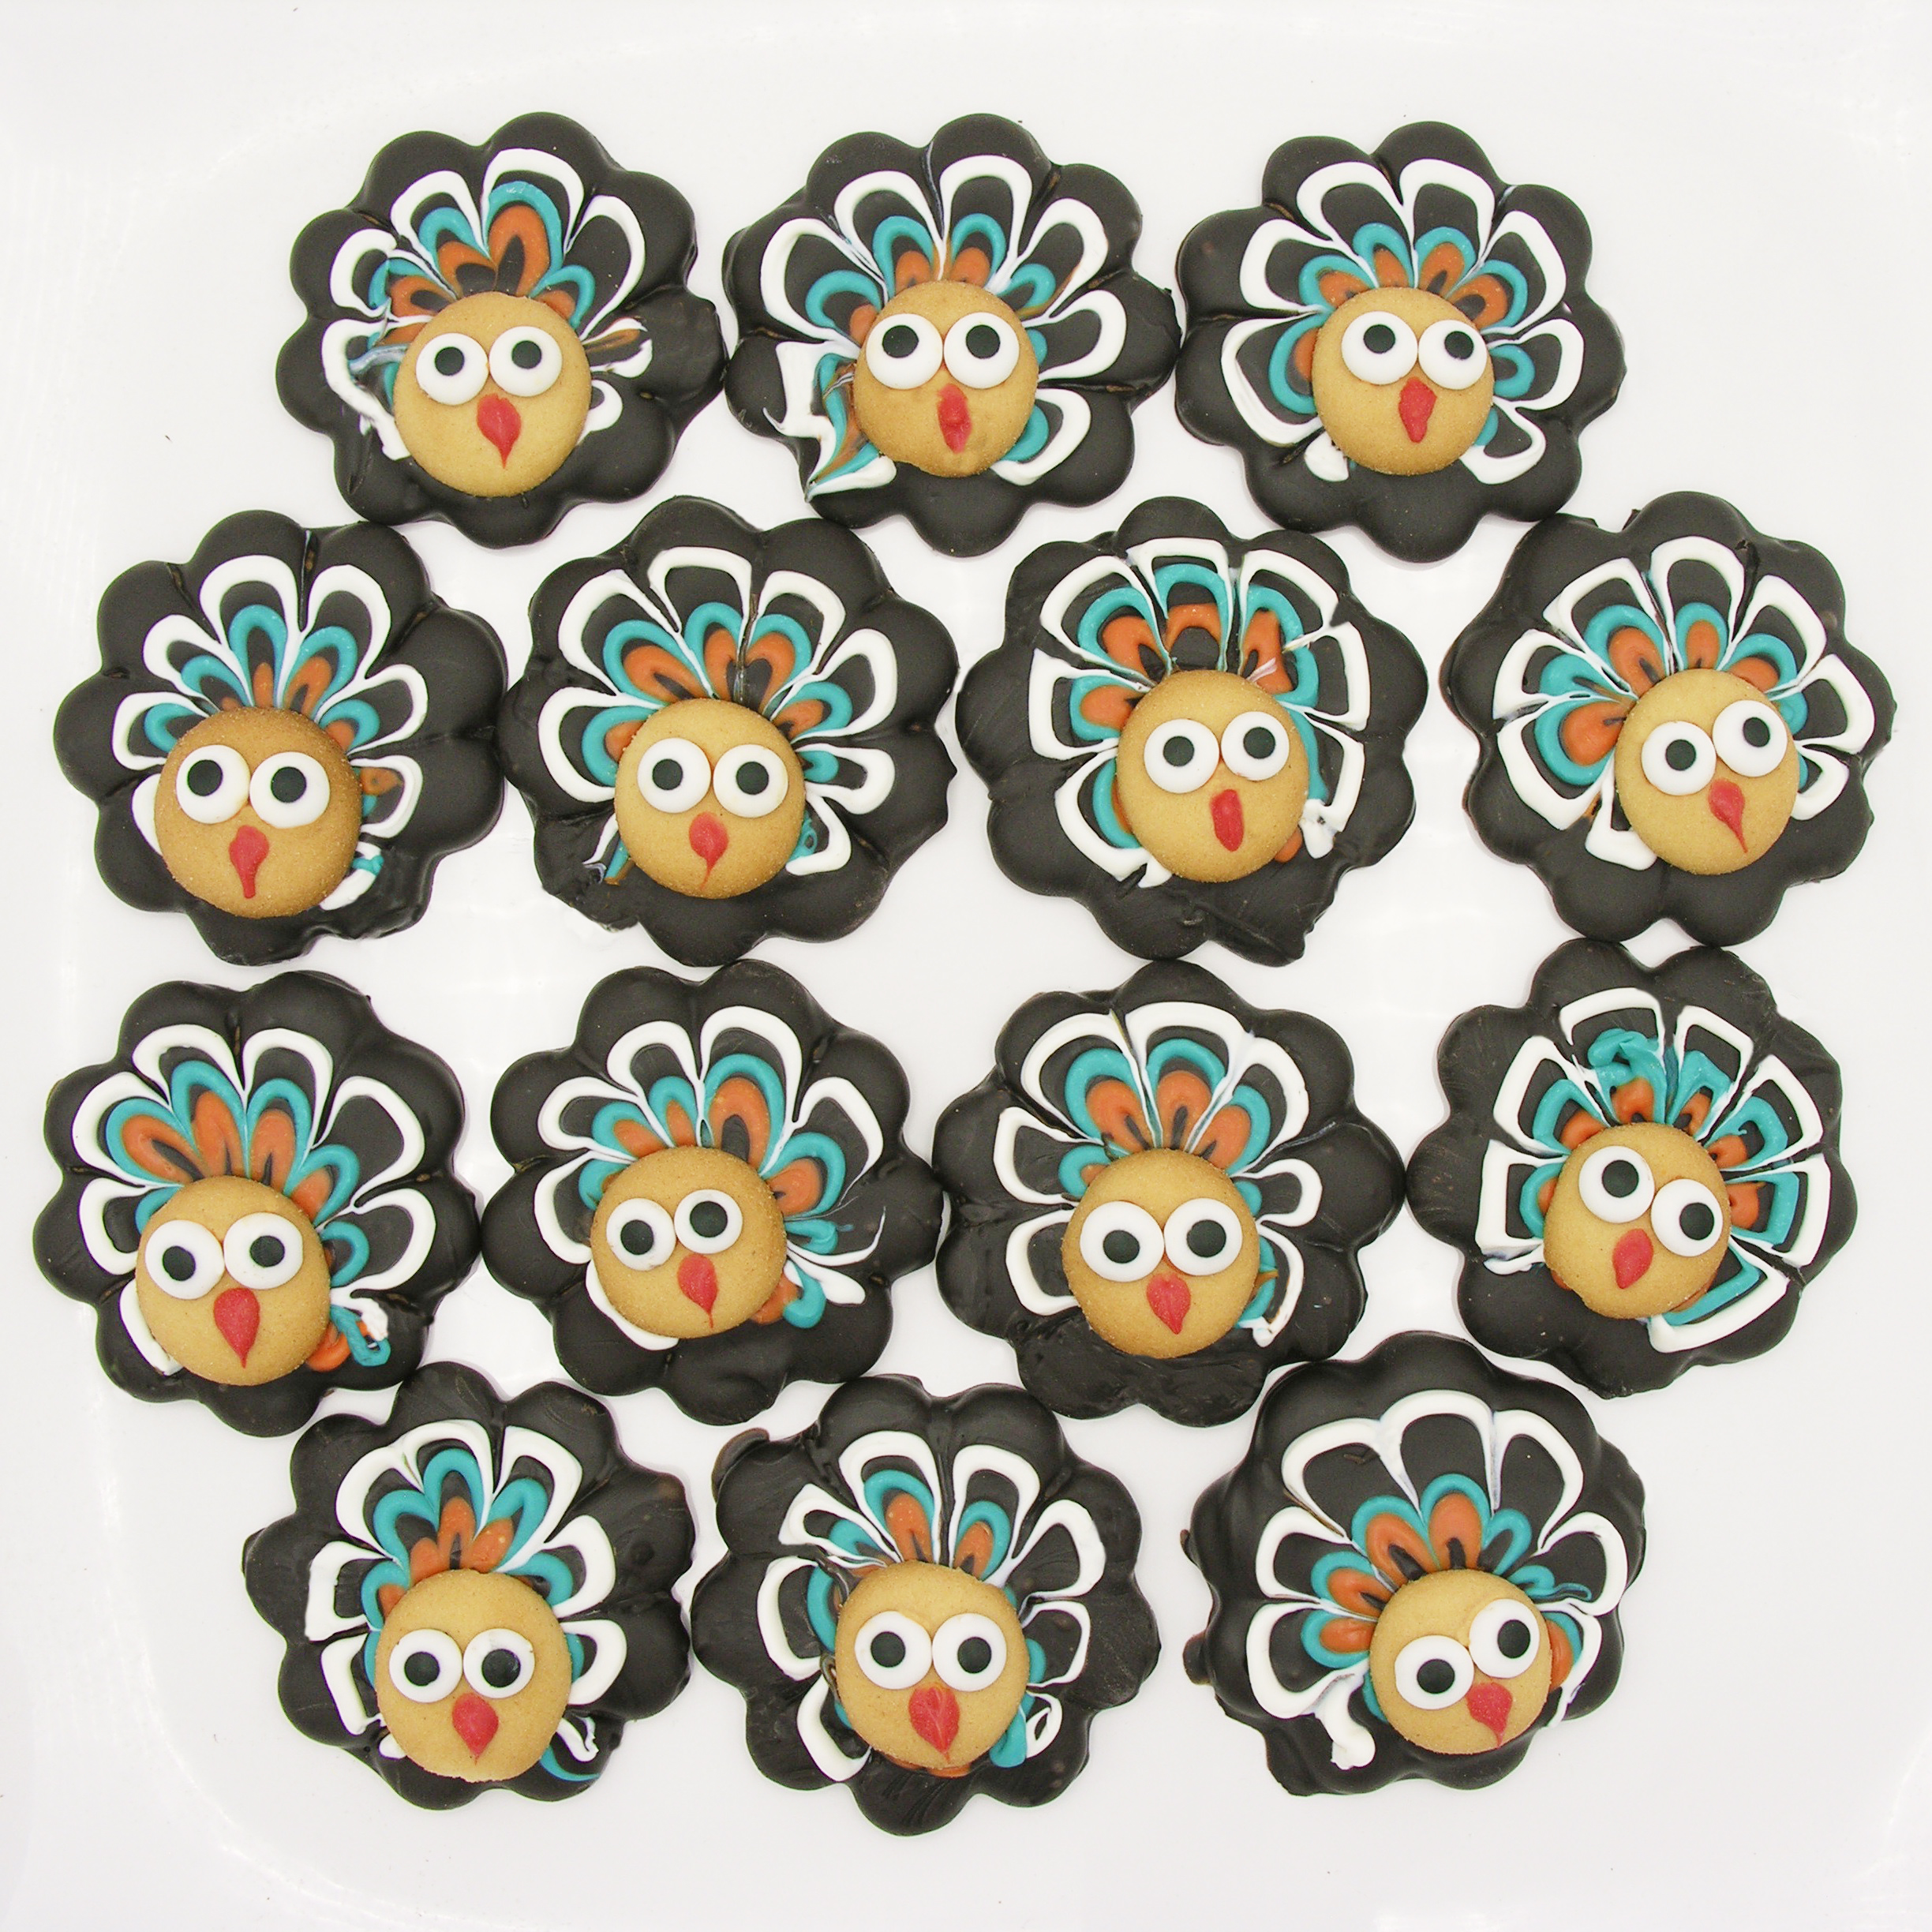
So one Anna’s cookie, one mini Nilla Wafer, a little colored chocolate, candy eyes, and voila! An adorable and tasty turkey cookie- just in time for Thanksgiving!

I also want to say- once you get your chocolates melted, these go together fast. They are a super quick way to make people smile over the holidays.

Turkey Cookie5-1Want some instructions? (Printable version here)

Ingredients: (makes about 32 turkey cookies)

  • One box of Anna’s Swedish Thins in whatever flavor you like best
  • One box of mini Nilla Wafers
  • One bag of Wiltons Candy Melts in dark chocolate
  • 1/4 bag of Wilton’s candy melts in blue, white and orange
  • 3 small zip-top bags
  • Toothpicks
  • Just a few Wilton’s candy melts in red.
  • Candy eyeballs (2 for each cookie)

Directions:

  • Unwrap Anna’s cookies and Nilla wafers and place in small bowls for easy reach.
  • Lay a piece of parchment paper on your countertop.
  • Place dark chocolate candy melts in a large bowl, and blue, white and orange melts each in their own smaller bowls.
  • Melt all candy melts (except red) in the microwave (30 second increments, stirring between, until melted and smooth).
  • Carefully spoon the blue, white, and red melts into individual zip-top bags, zip them shut, and clip a small corner off the bottom of the bag with scissors. 
  • Place these warm bags of melts on a warm plate, and cover with a warm towel (to prevent them from hardening up while you use them). 
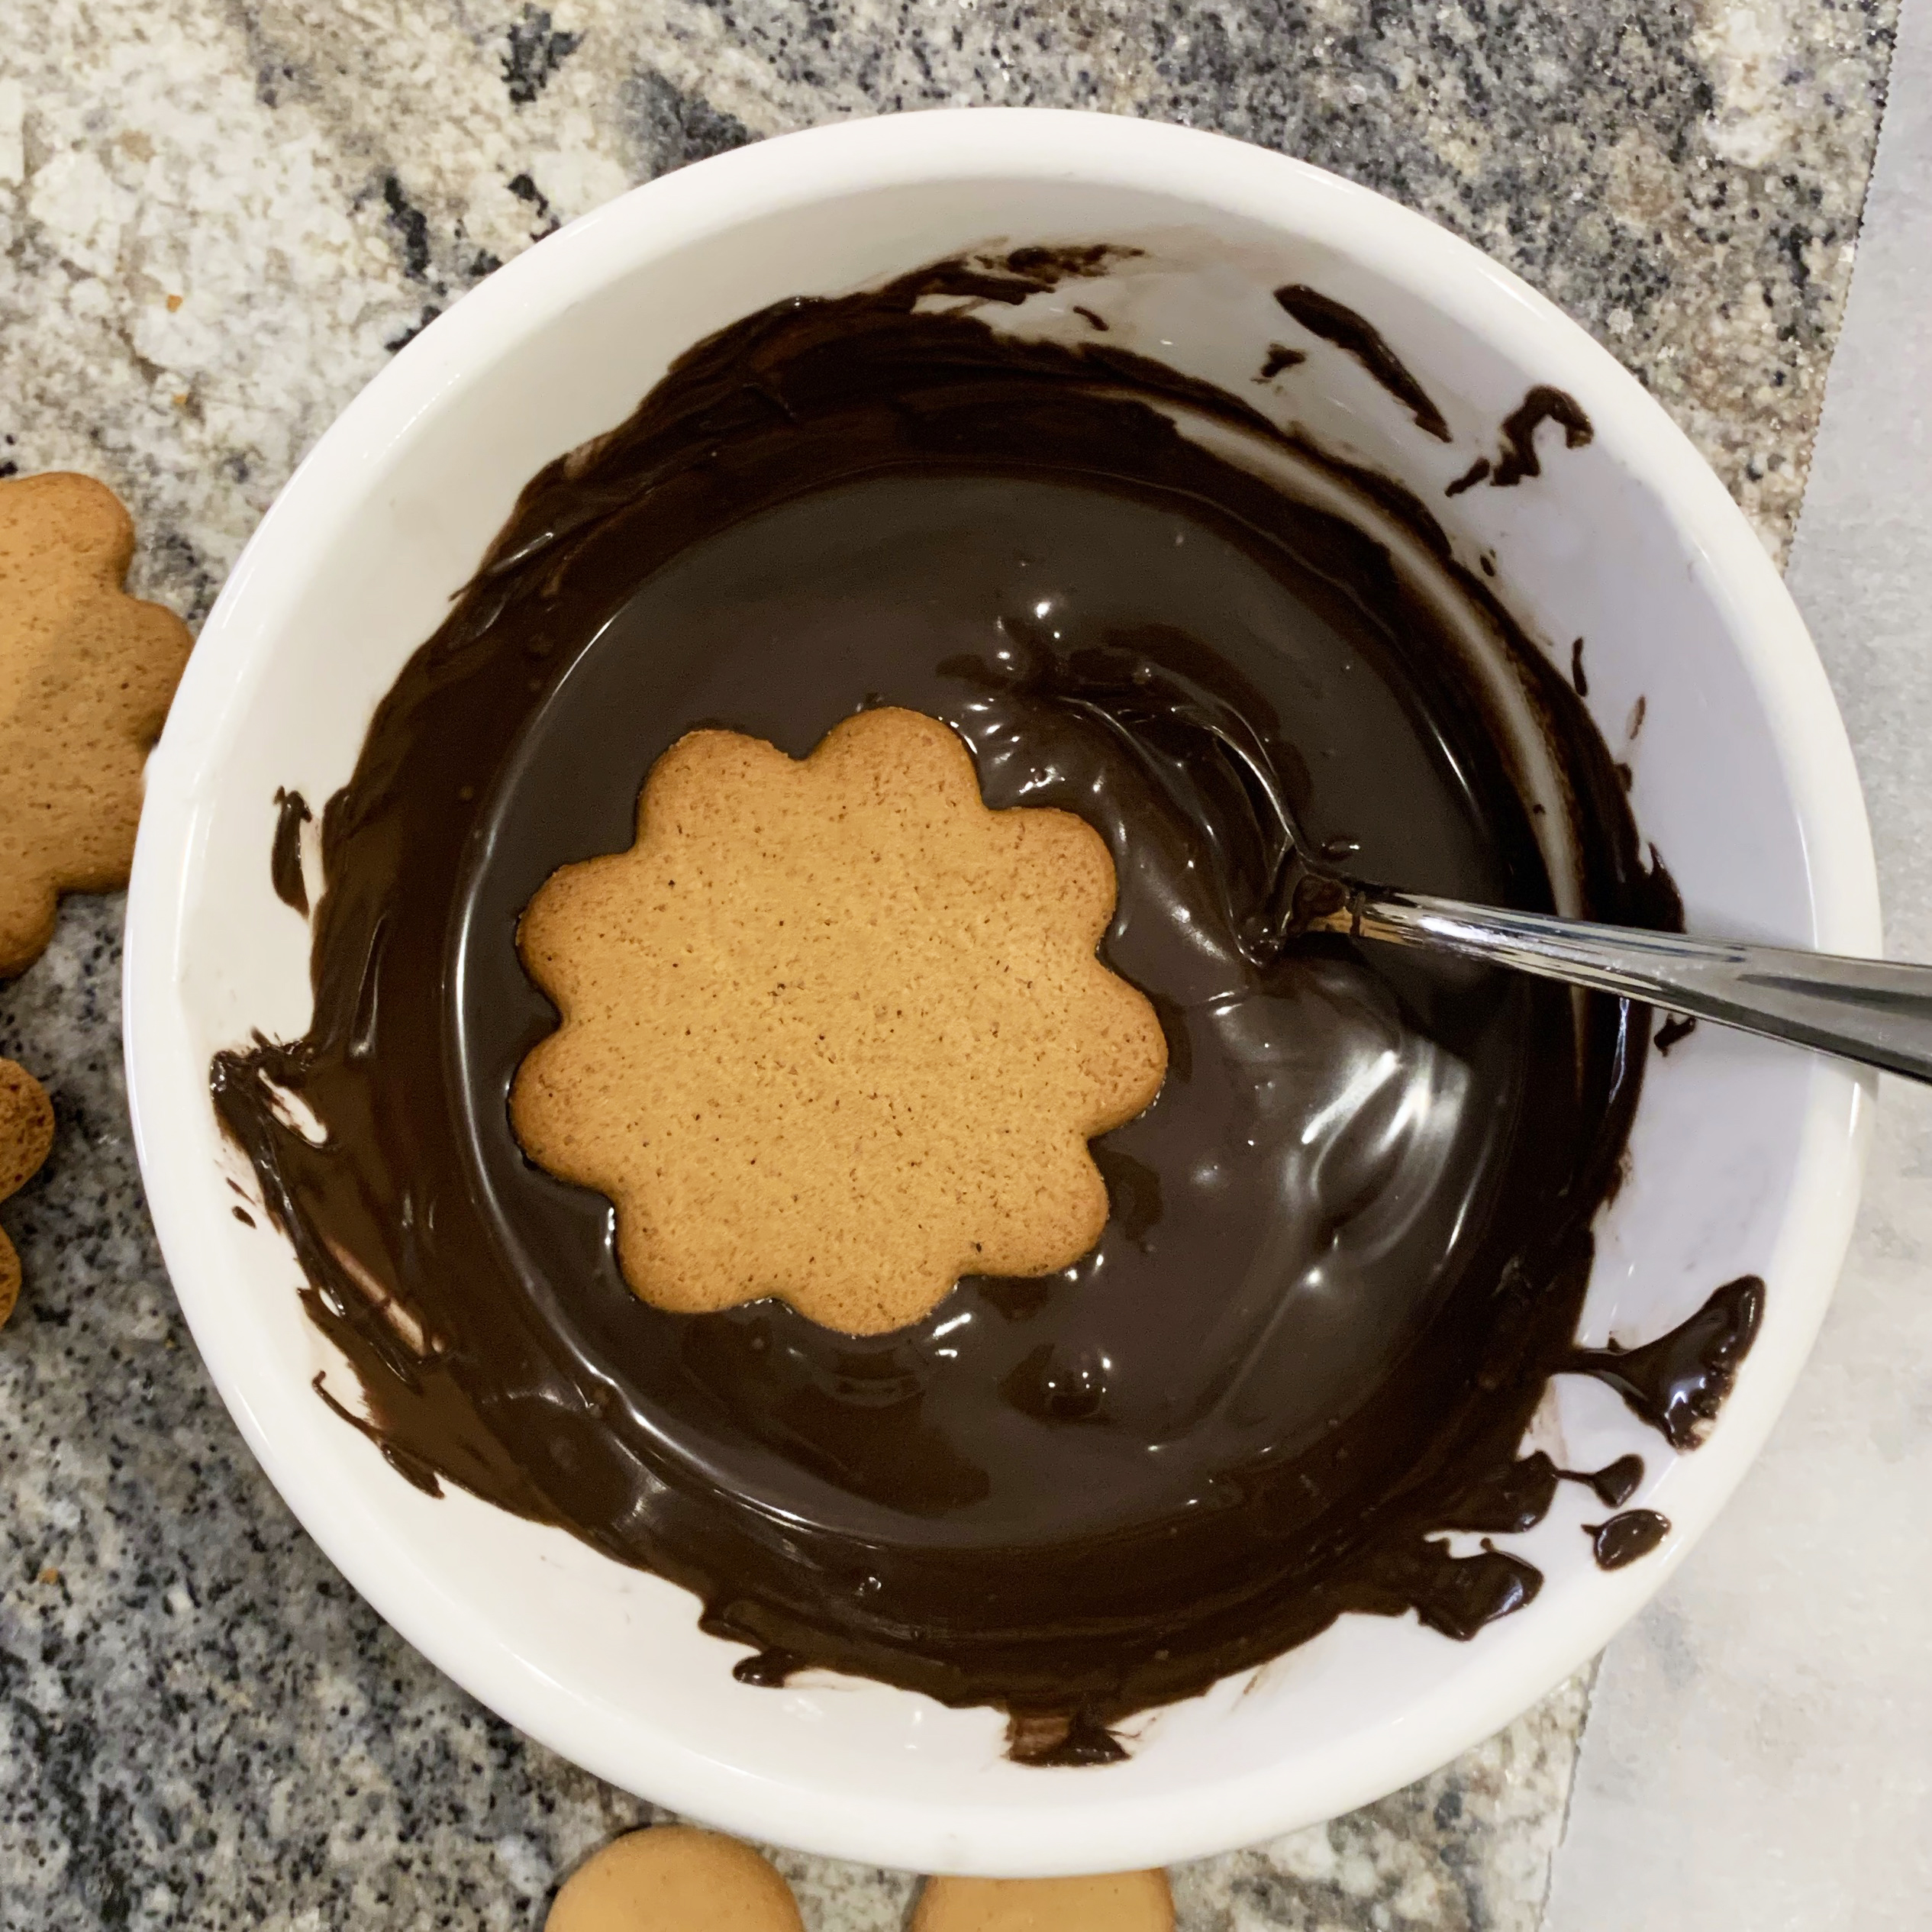
  • Place one Ginger Thin in the dark chocolate melts- top down. Turn it over with a fork (covering both sides with chocolate), and then lift it up on the fork and tap the fork against a side of the bowl to allow excess chocolate to drip off cookie. Slide covered cookie off fork and onto parchment paper. 
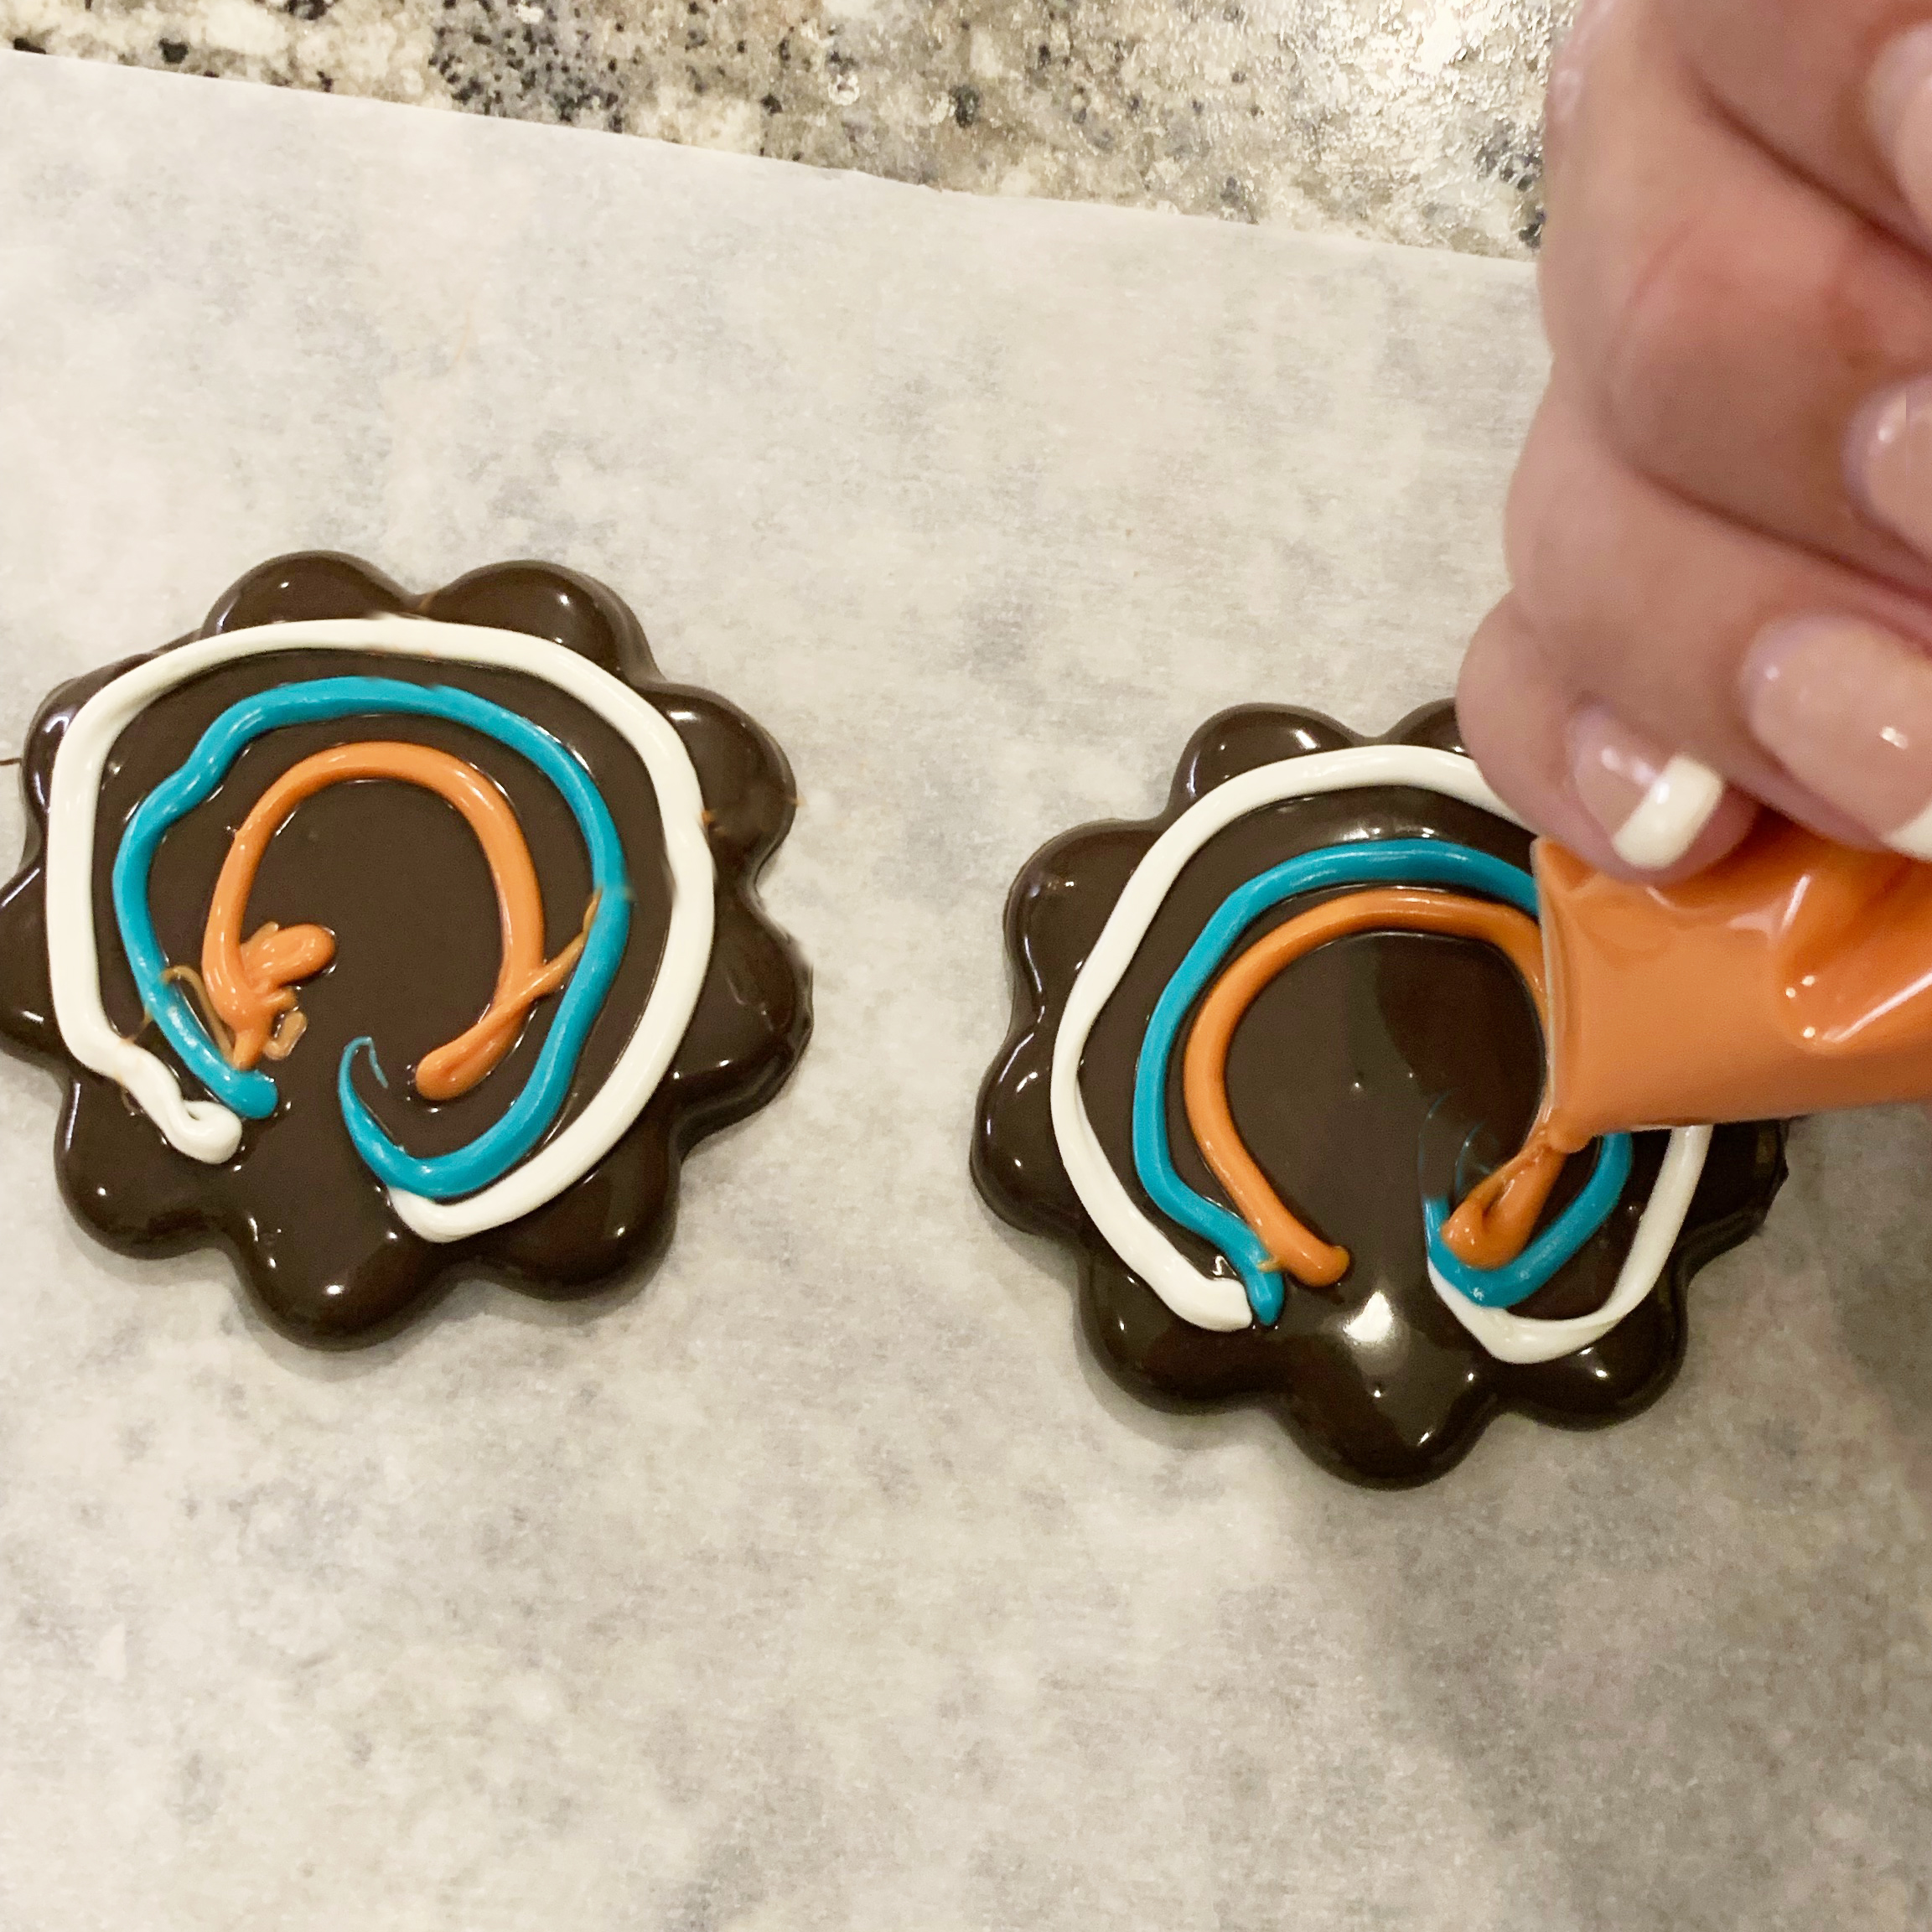
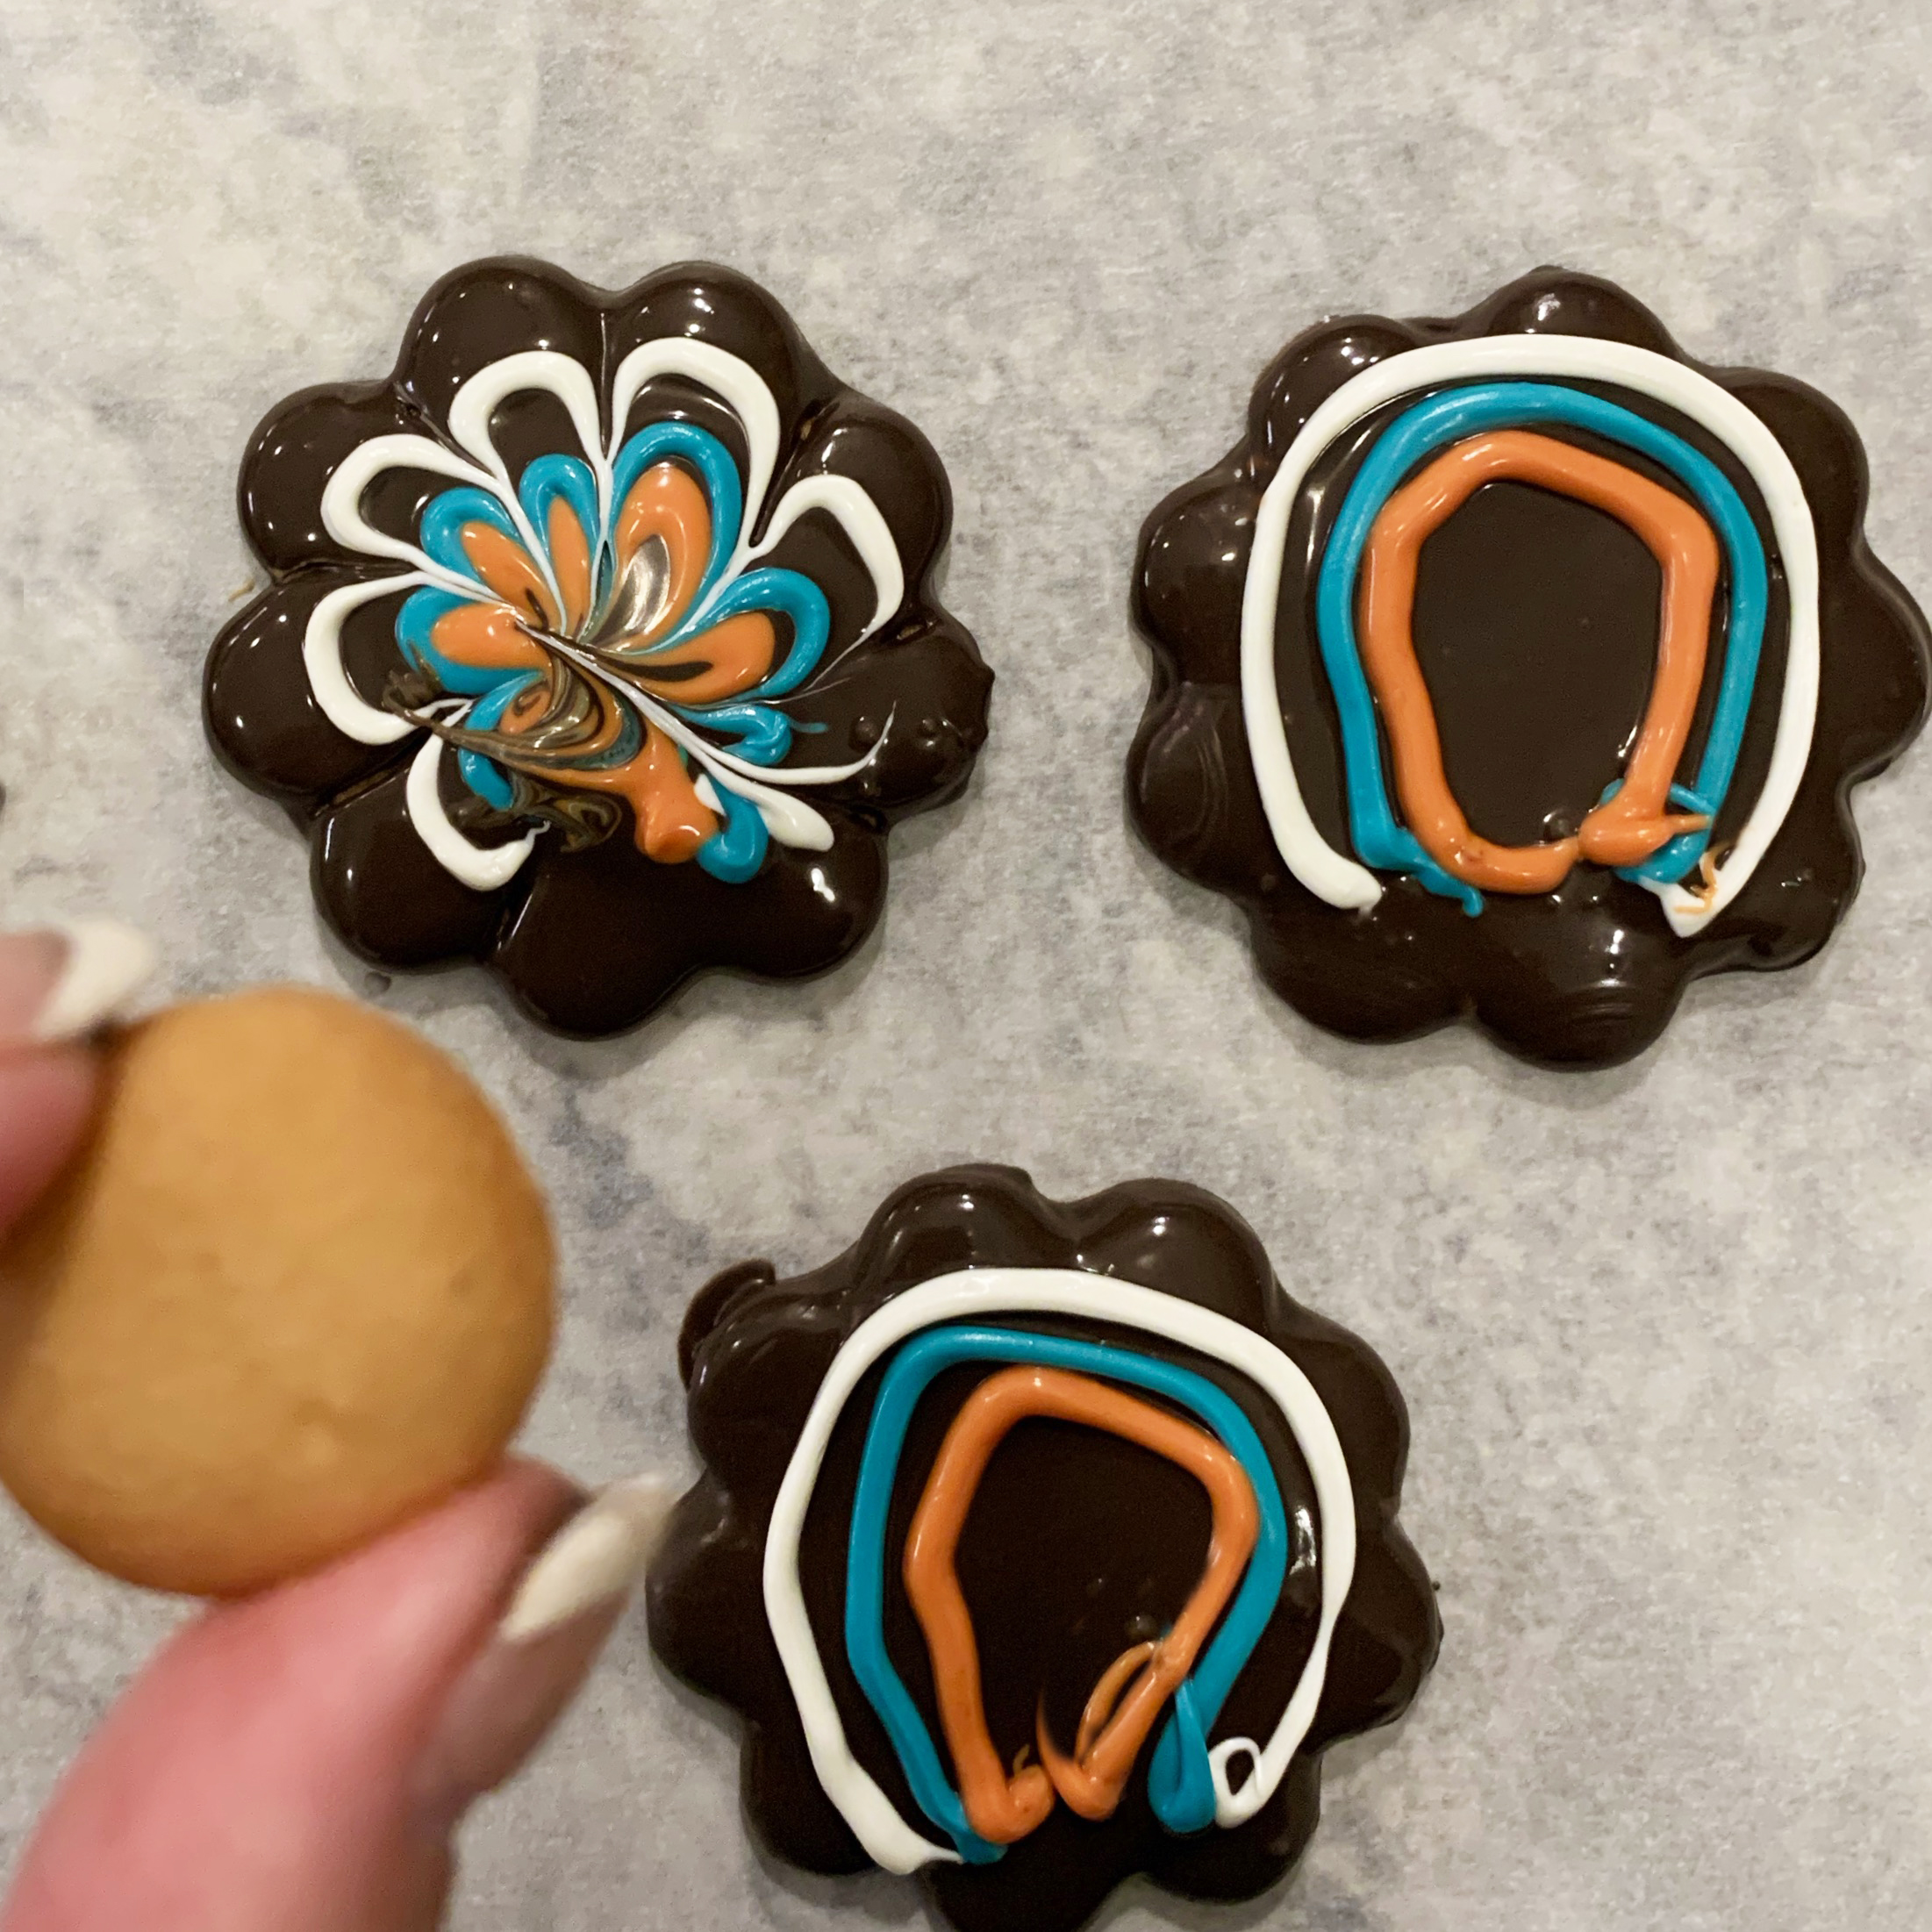
  • Pipe a line of white melts around the top edge of the cookie- almost in a circle. Then pipe a blue line inside the white, and an orange inside of that.

Turkey Cookie6-1 Turkey Cookie7-1

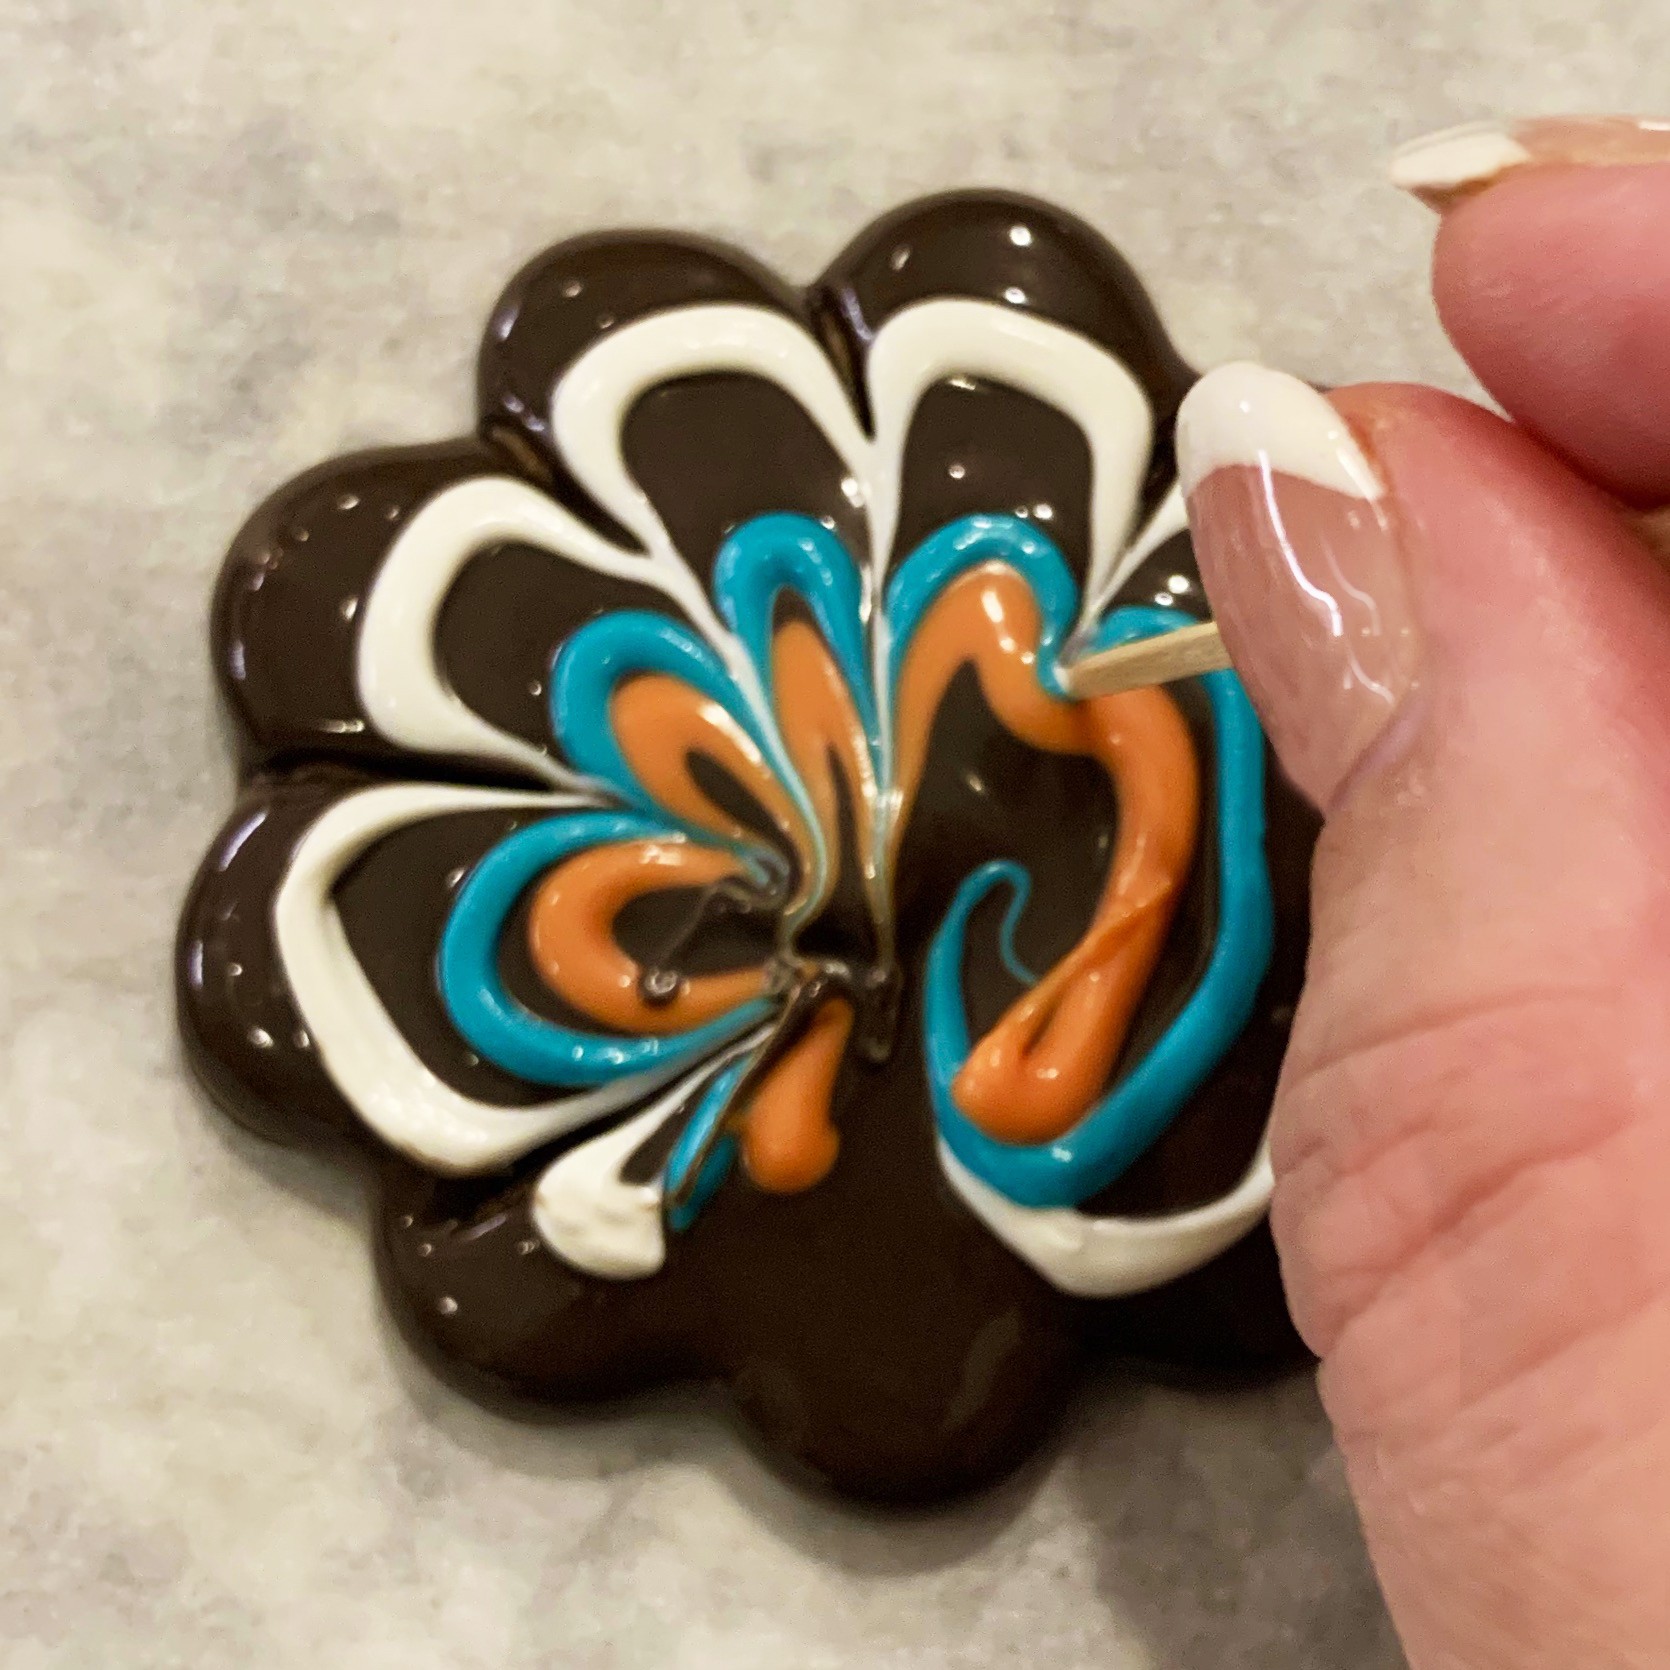
  • Use a toothpick to pull the lines of color to the lower center of the cookie, pulling in along the lines of the cookie’s scalloped edge. 
  • Place a mini Nilla Wafer on the bottom center of cookie.

Note: Only do one to two cookies at a time. You want the dark chocolate on the cookie to still be soft when you pull your lines of color in. If your dark chocolate in the bowl begins to cool and harden, just pop it back in the microwave for 30 seconds.

Turkey Cookie8-1 Turkey Cookie9-1

  • After all cookies are decorated and all have a Nilla Wafer placed, glue eyes on by using a little of the left-over white melts and a toothpick. Dab a little of the melts on the back of an eye and then press it onto the Nilla Wafer. 
  • Add a few red melts to your orange ones and re-melt for the beaks. Use a toothpick to draw little beaks on each bird. 
  • Enjoy!

Turkey Cookie3-1My thoughts: Sometimes the way I “see” a potential idea in my head just doesn’t work when I make it, but these are even more cute (and they were much easier) than I expected. If you want a fun little edible craft to add to your Thanksgiving table, these really are so perfect! I hope you get a chance to make them! ~r

Turkey Cookie2-1Want a few more fun recipes for Turkey Day??? Here you go! (just click on a photo to see the recipe)

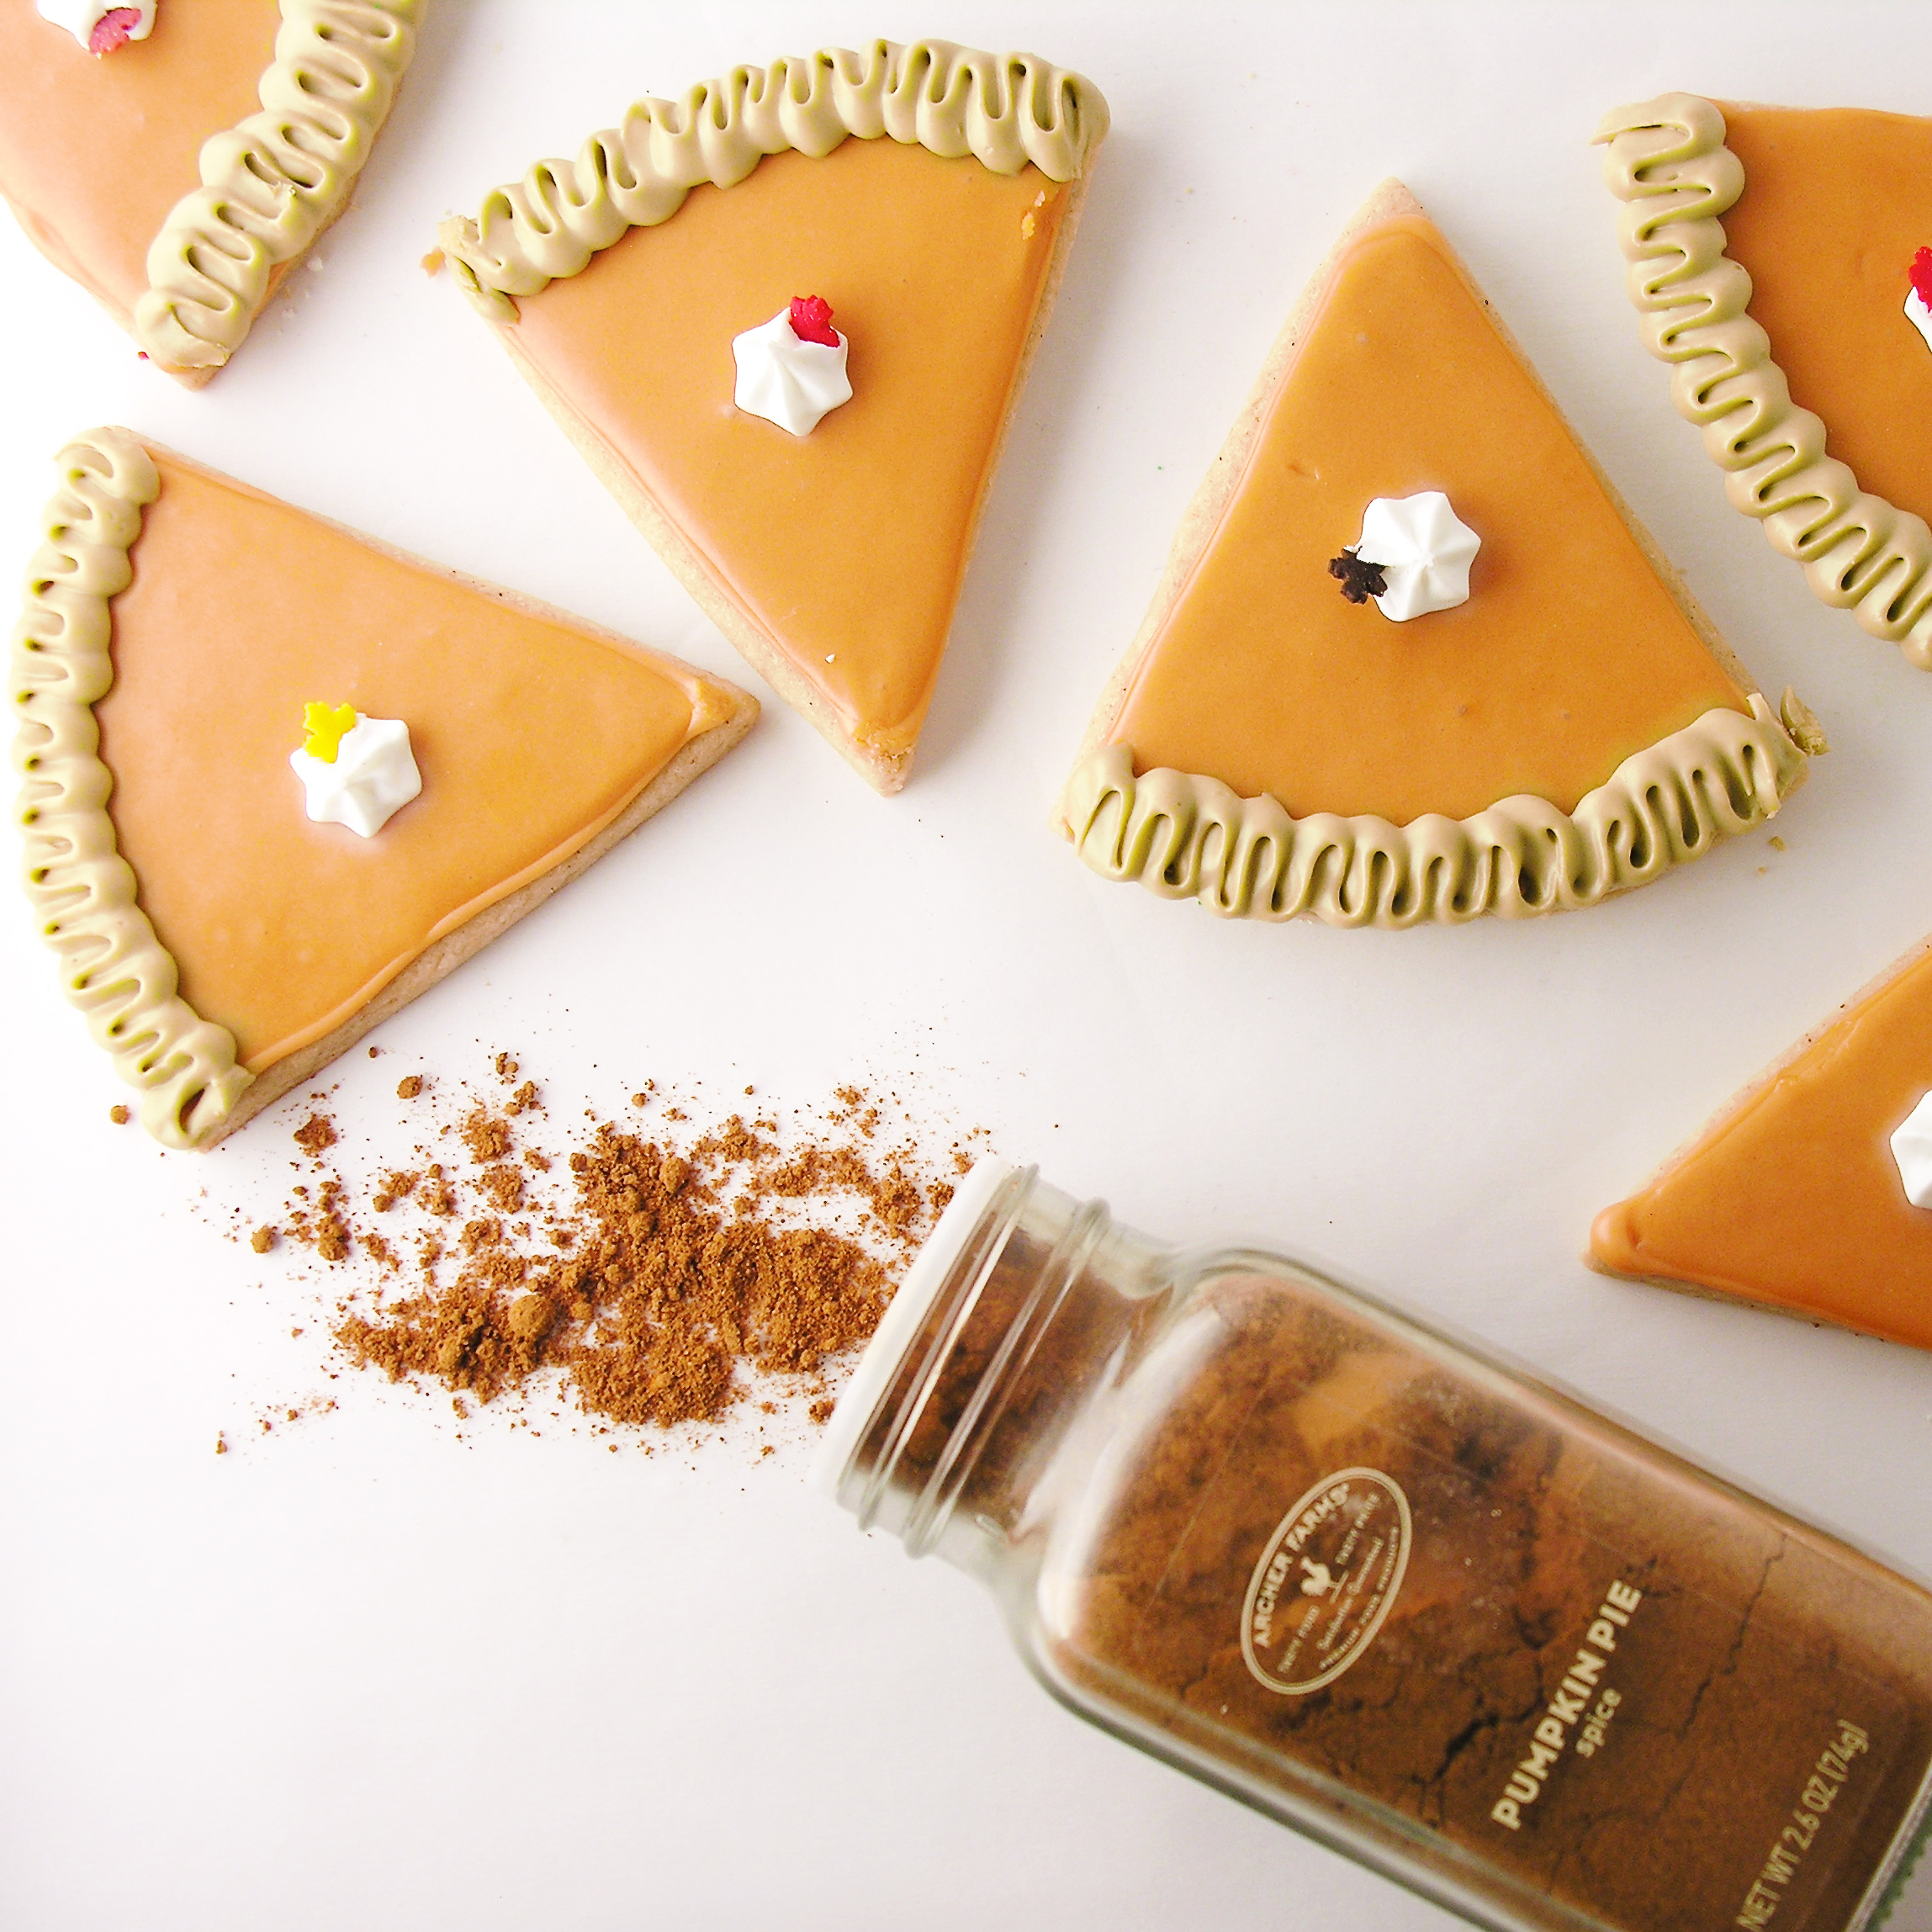
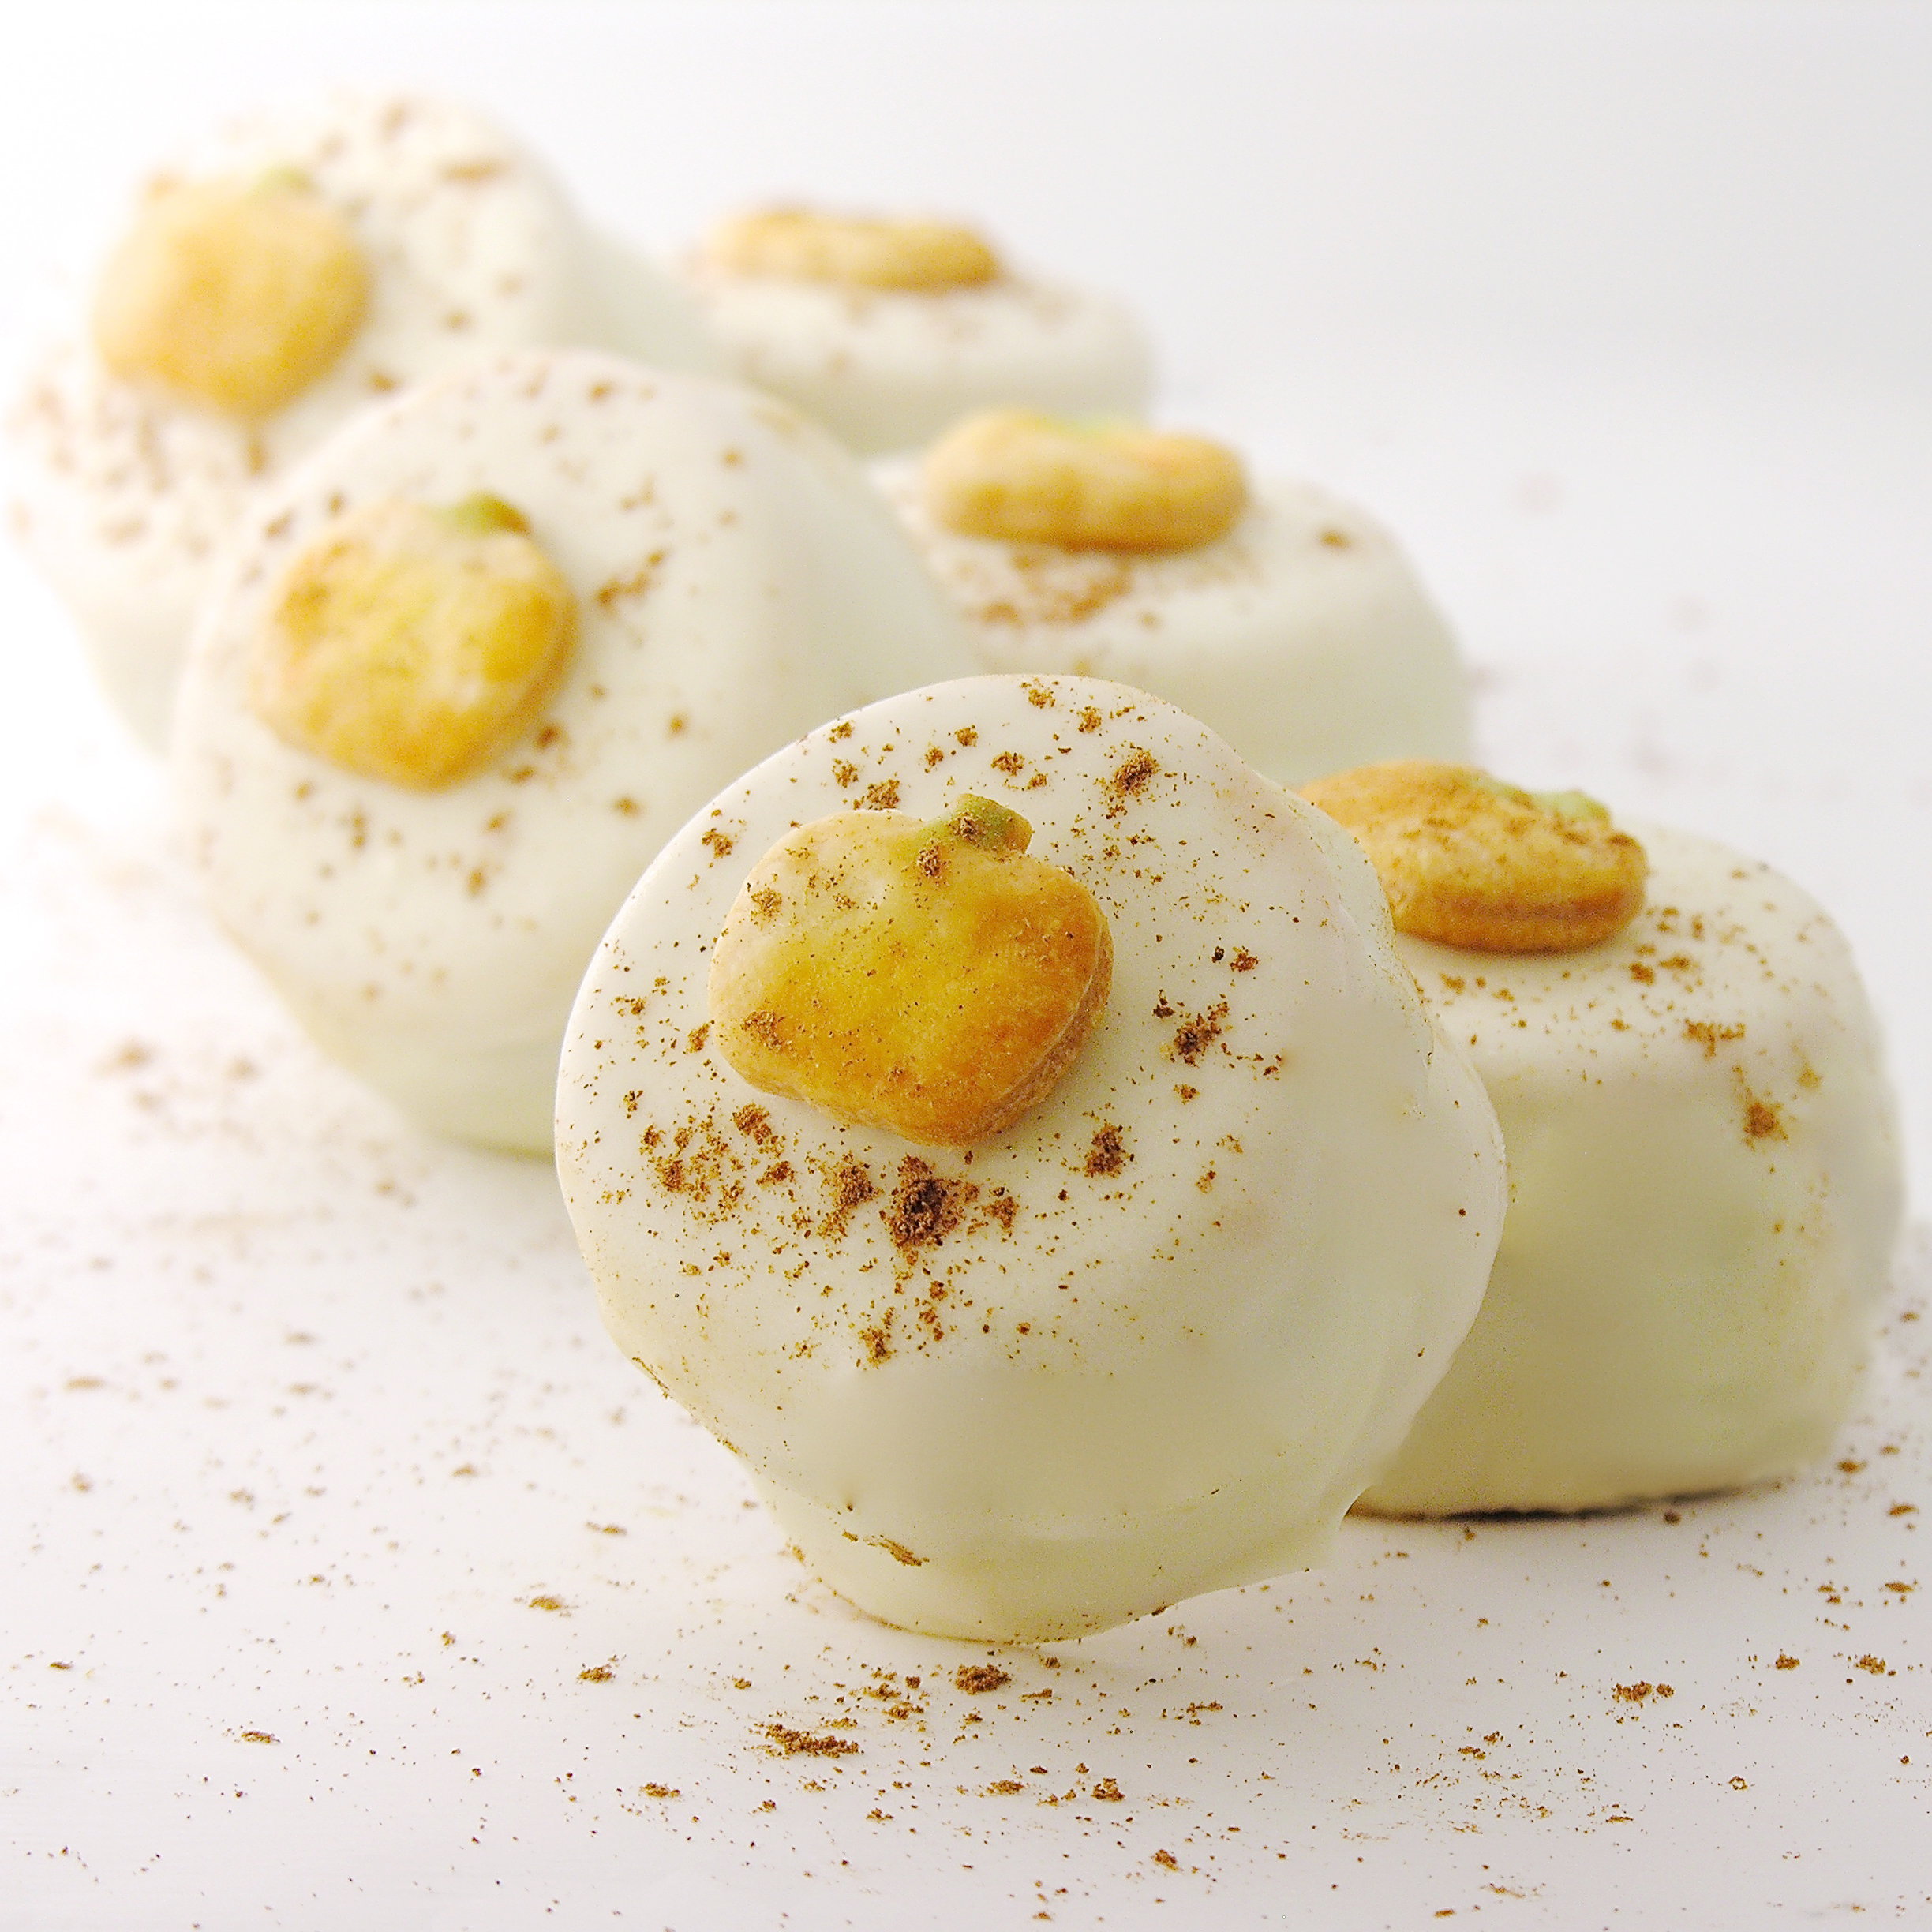
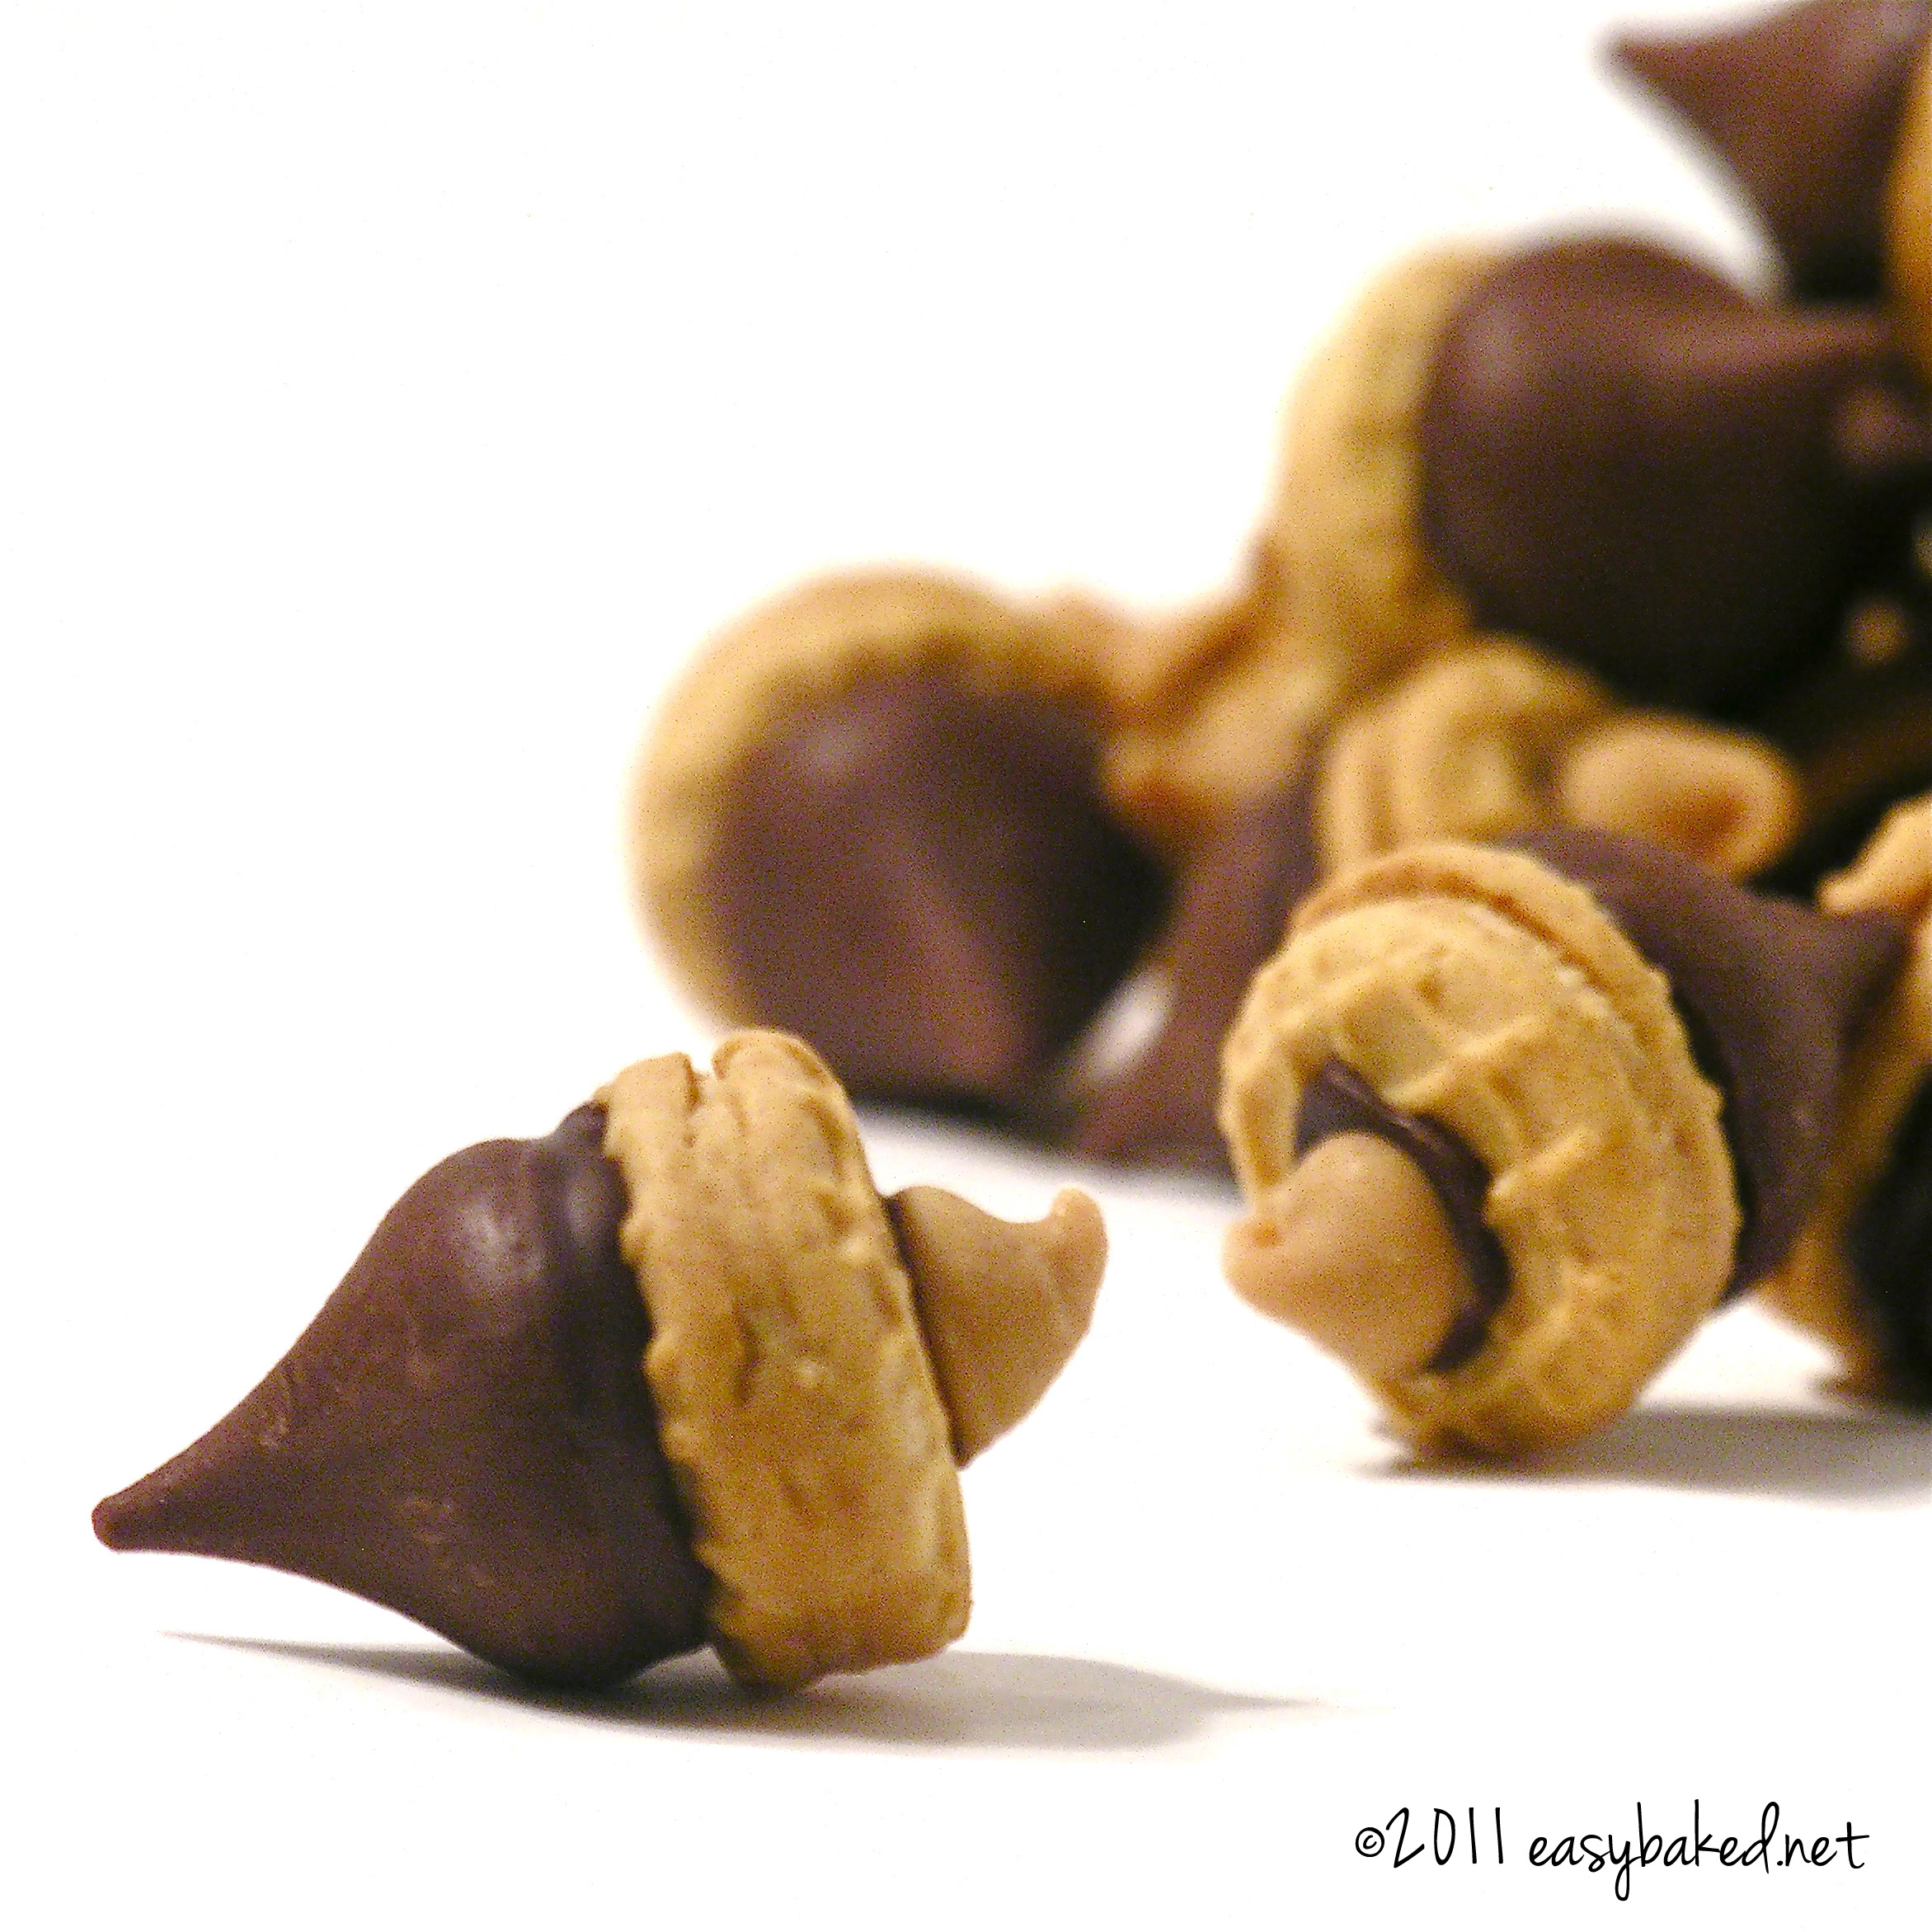
teepee1 pumpkin-pie-cutouts1 pumpkin-oreo4 acorn-square-wm

Spooky Chocolate Brownies

Posted on

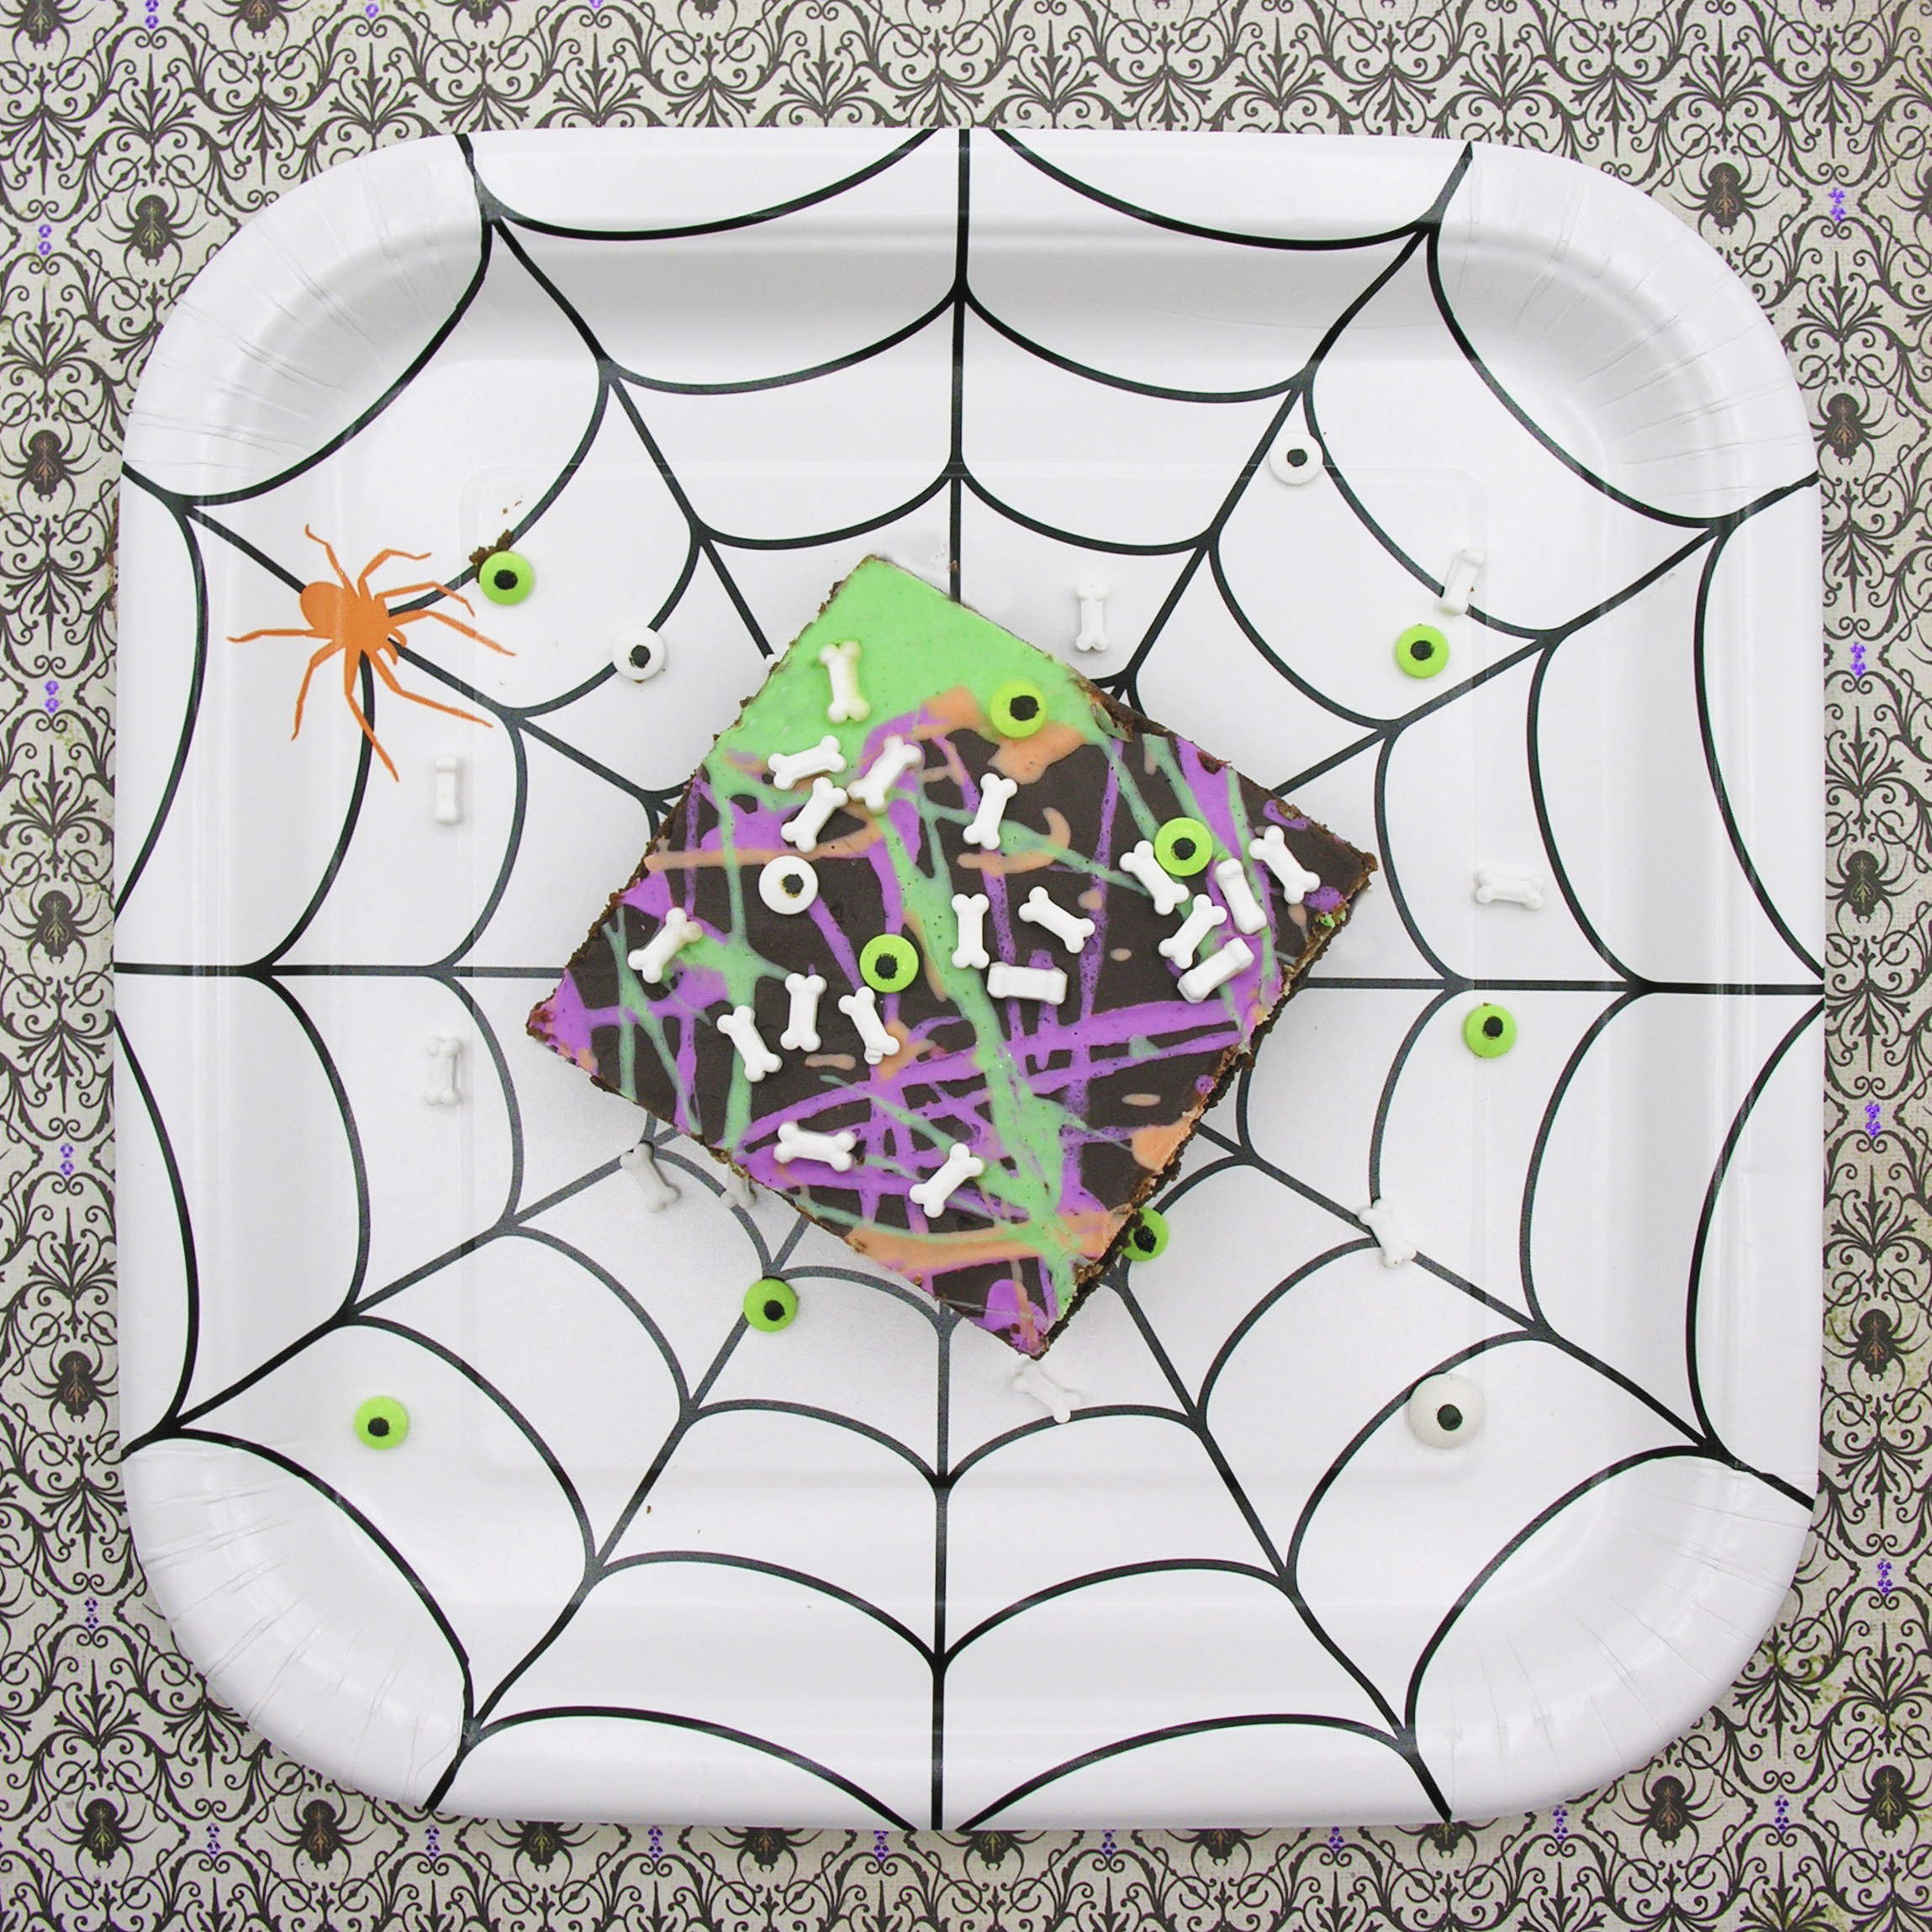
Spooky2

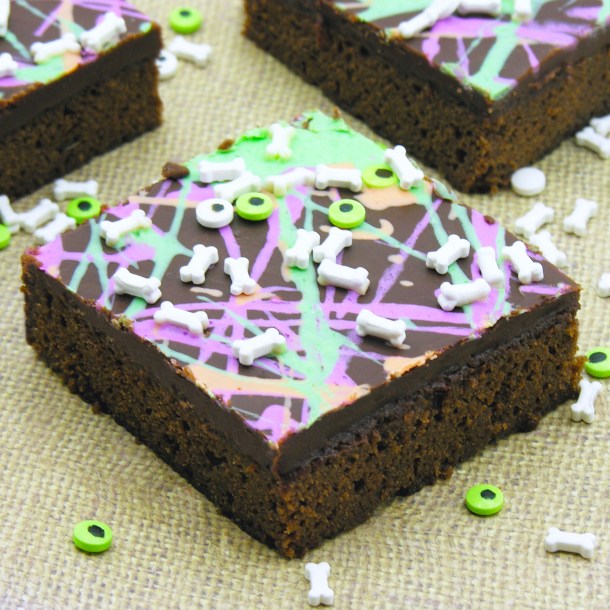
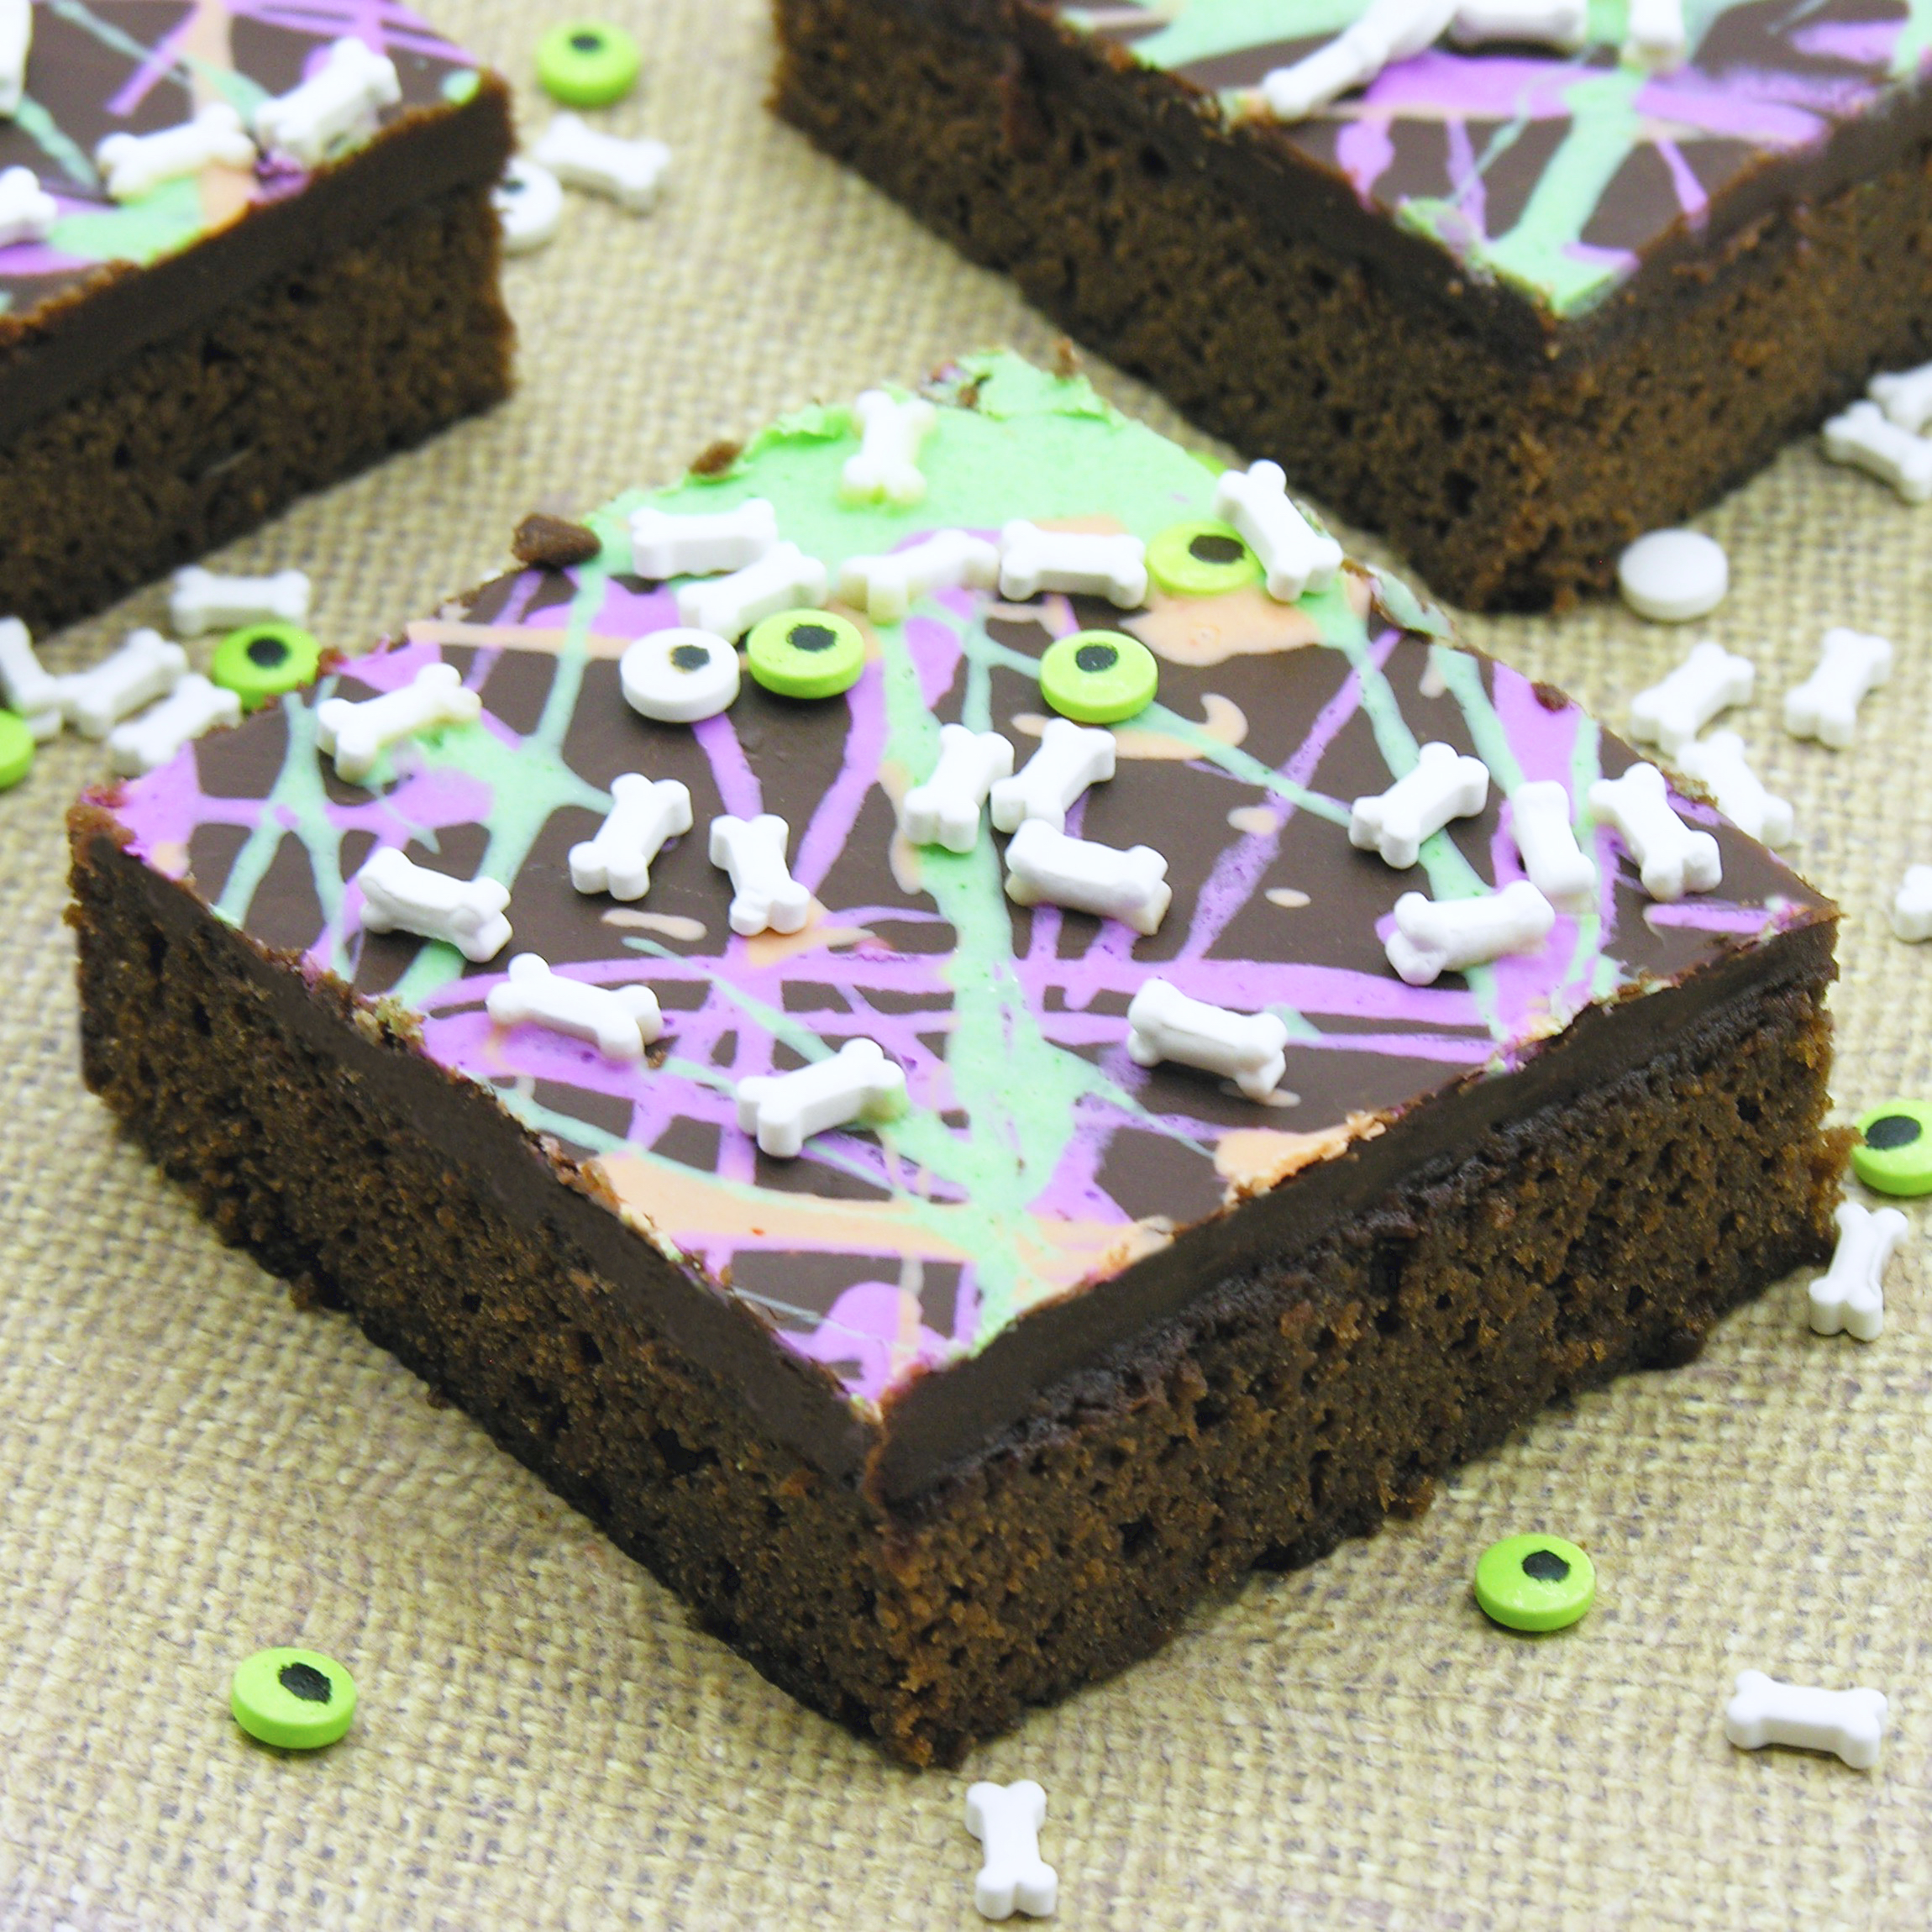
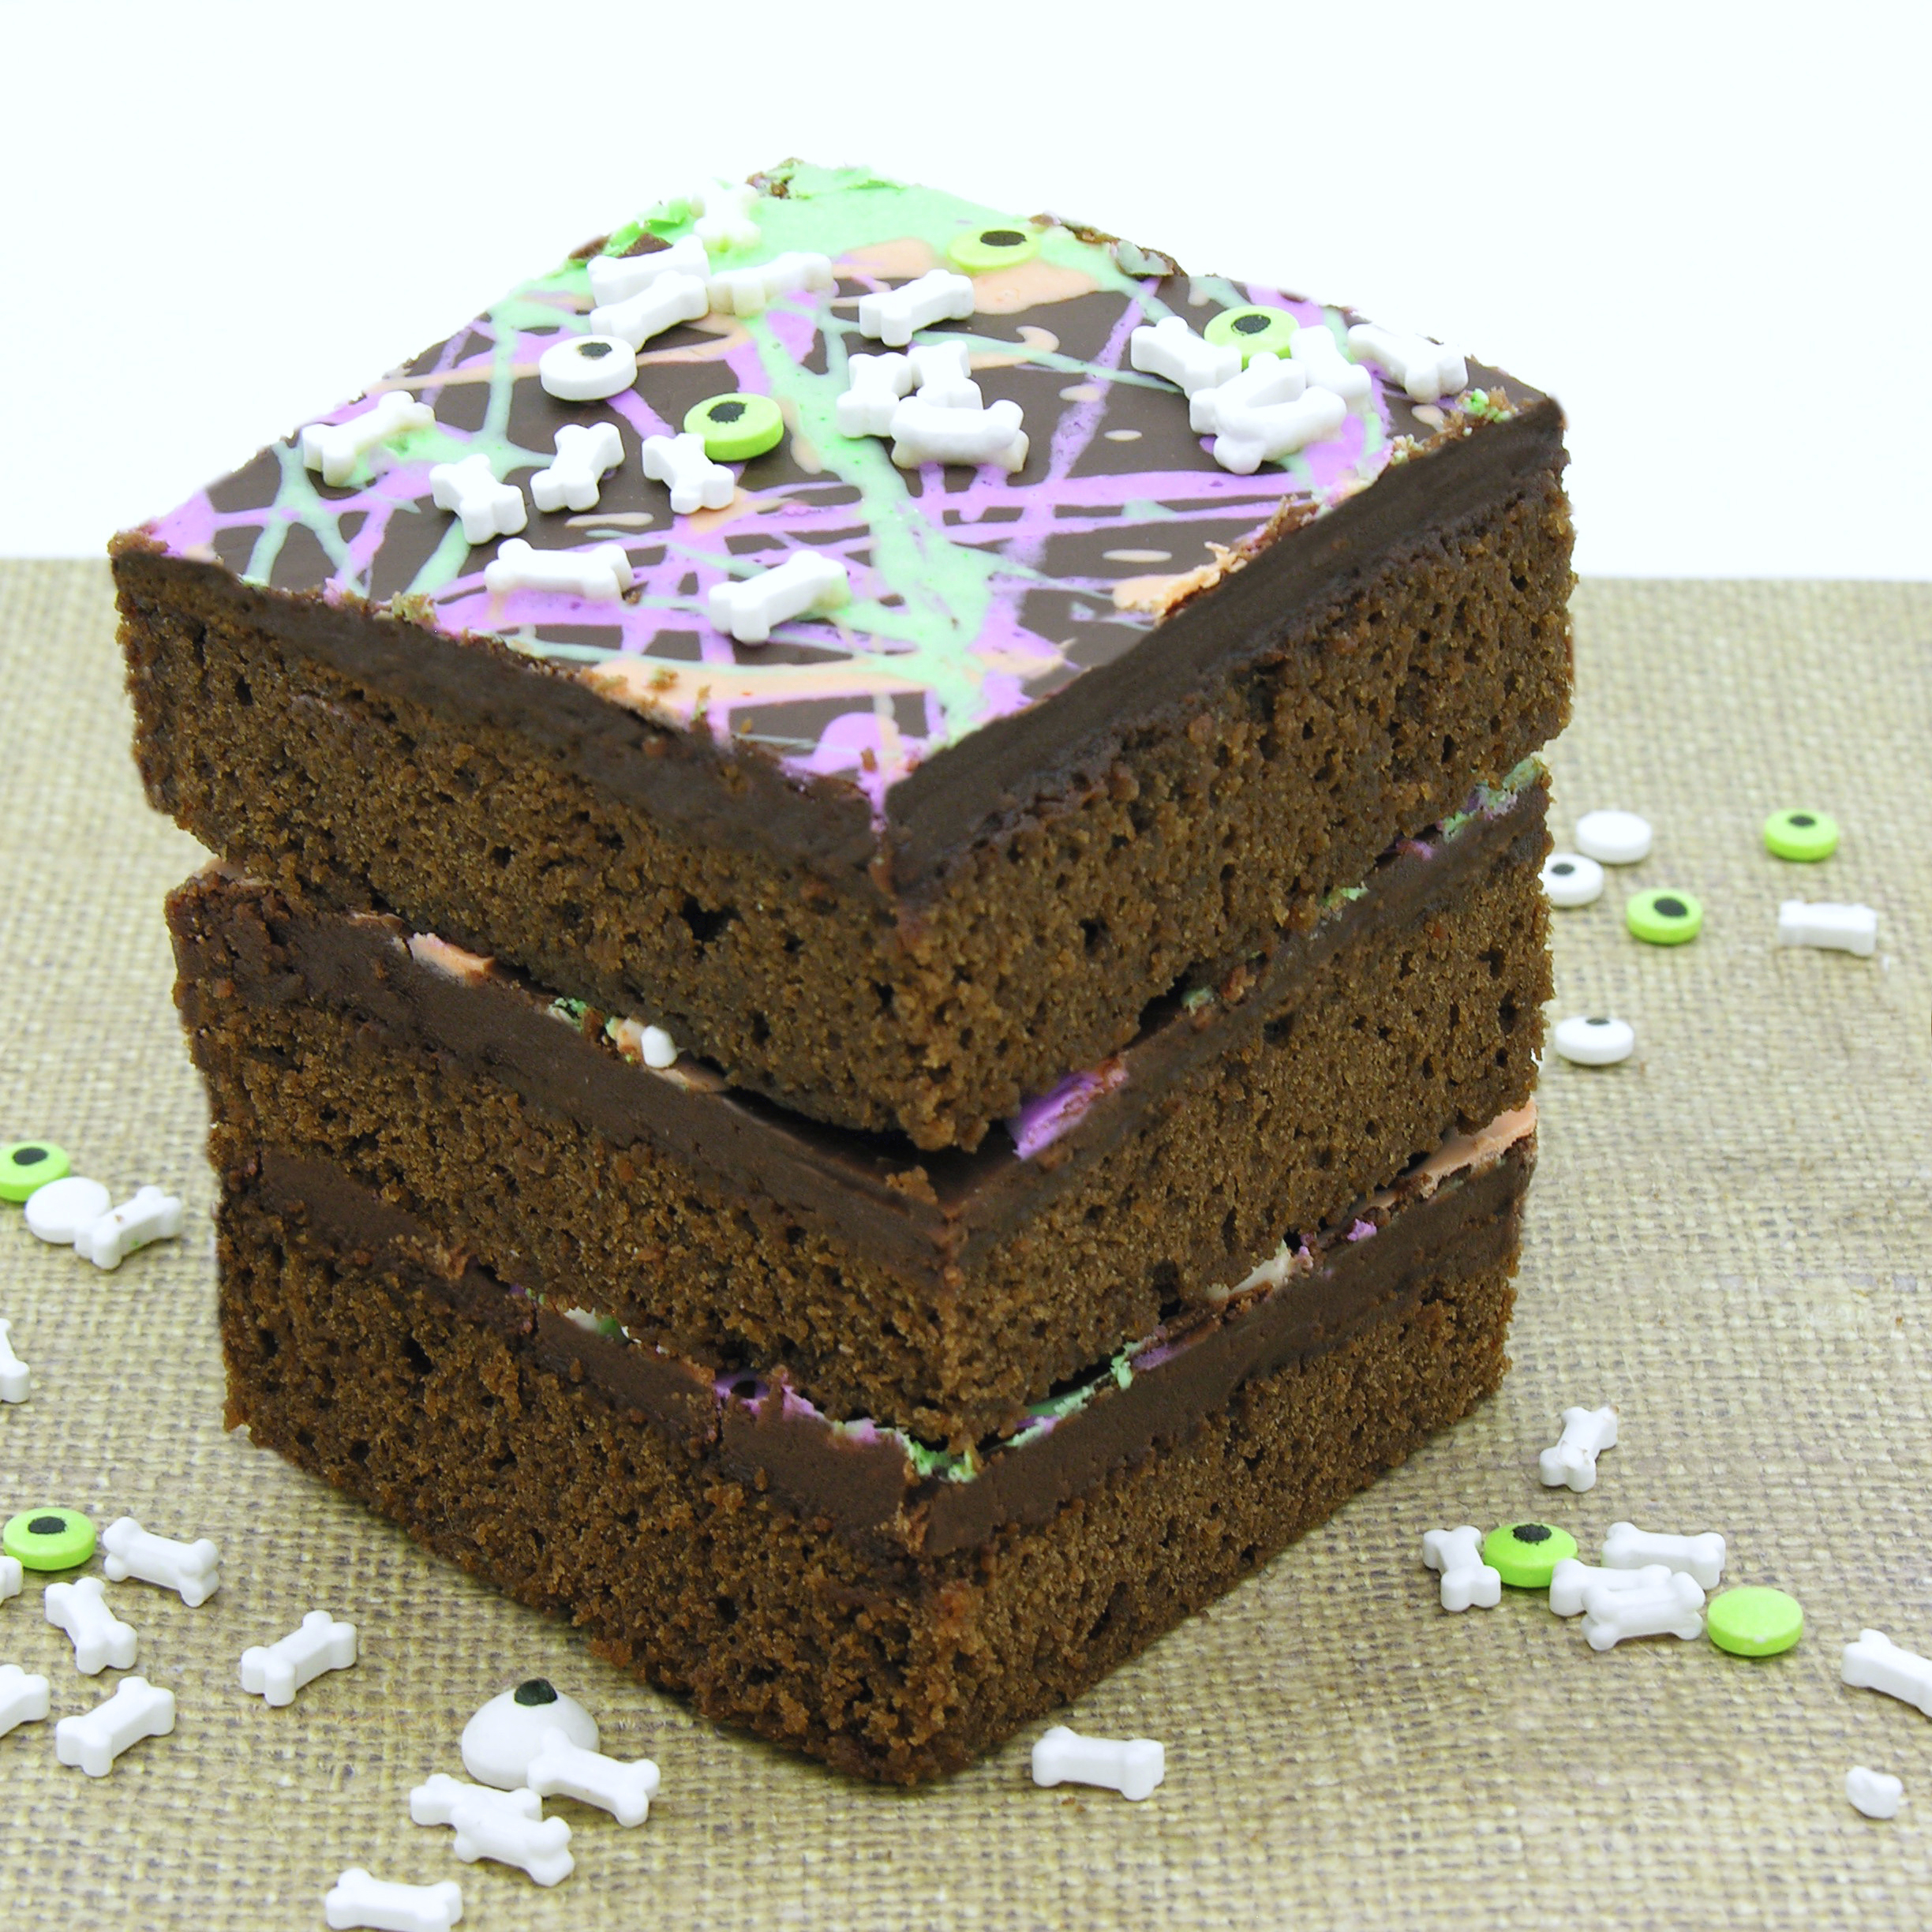
You know it’s October when I pull out the eyeball and bones sprinkles! 🙂 These deliciously rich chocolate brownies are a family recipe that we LOVE. Whether you decorate them or not, they are guaranteed to make your family smile!

Spooky4

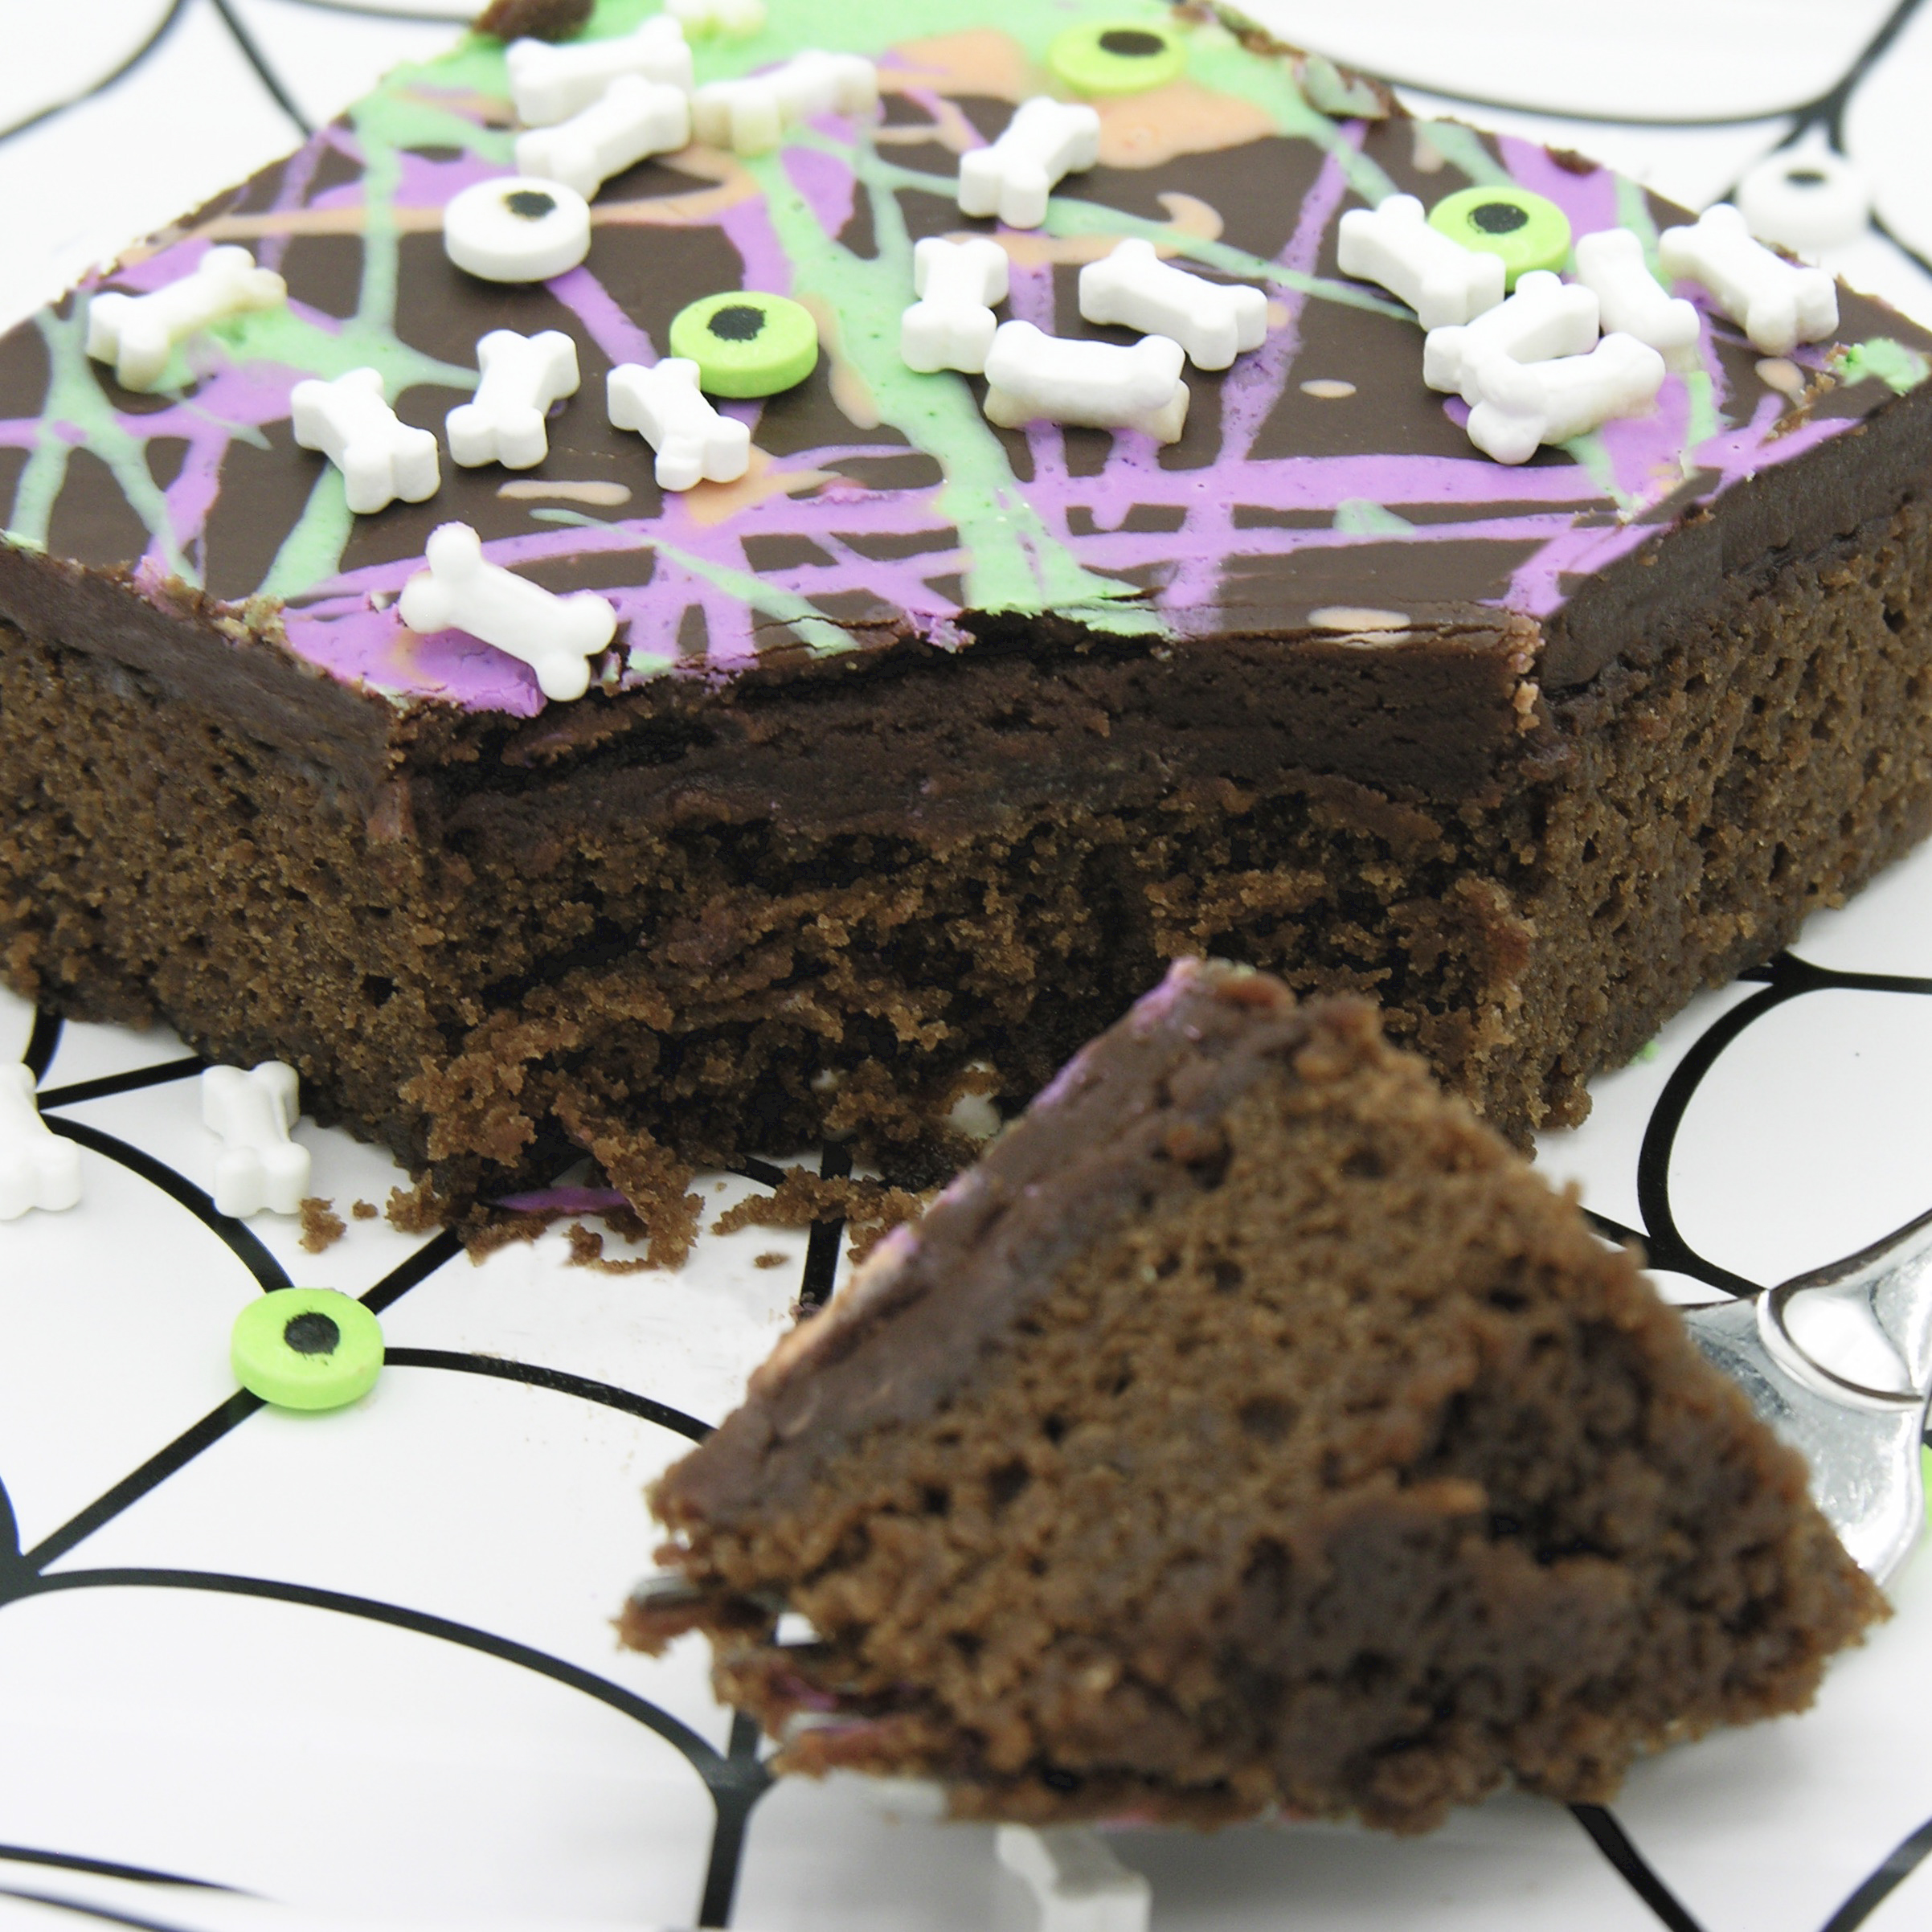
A couple of months ago, a friend of mine came across this recipe of my mom’s that I hadn’t ever made. I actually don’t remember her ever making it either, but my friend sent me a copy in my mom’s handwriting and told me that she’d made them for their wedding reception years ago. We lost my mom to cancer about 7 years ago, so I loved trying this recipe of hers for myself. And… these brownies are the BOMB. The brownies aren’t super sweet, but the frosting is like fudge. They cut *perfectly* too- which I love. When you want to share brownies with a group, there is nothing worse than trying to cut them, and ending up with gooey piles of chocolate. Plus…. they are super easy to make!

Spooky3

Want to try them? Here’s the recipe (printable version):

INGREDIENTS: 

Brownies

  • 1 cup of sugar
  • 1 stick butter (room temp)
  • 4 eggs
  • 1 1/2 cups Hershey’s chocolate syrup
  • 1 cup flour

Icing

  • 1 1/3 cups sugar
  • 1/3 cup milk
  • 6 Tablespoons butter
  • 6 oz. chocolate chips

DIRECTIONS:

Brownies

  • Preheat oven to 350 degrees F. 
  • Cream together butter and sugar
  • Add eggs and syrup
  • Blend in flour
  • Pour into a greased 9×13″ pan
  • Bake at 350F for 30 min
  • Cool

Icing

  • Combine sugar, milk and butter in a saucepan
  • Bring to a boil and boil for 2 minutes
  • Remove from heat and stir in chocolate chips until completely melted. 
  • Pour over the top of brownies
  • To decorate, drizzle with colored Wilton Candy Melts and sprinkle with Halloween candies (if desired)
  • Allow icing to harden up before cutting brownies into squares.

Spooky5

My thoughts: Just make these. Honestly, they are one of the best brownie recipes I have tried, and they have become a go-to recipe for us! Enjoy! ~r

Want to try a different Halloween dessert? We have SO MANY! Click on a photo to see the recipe: 

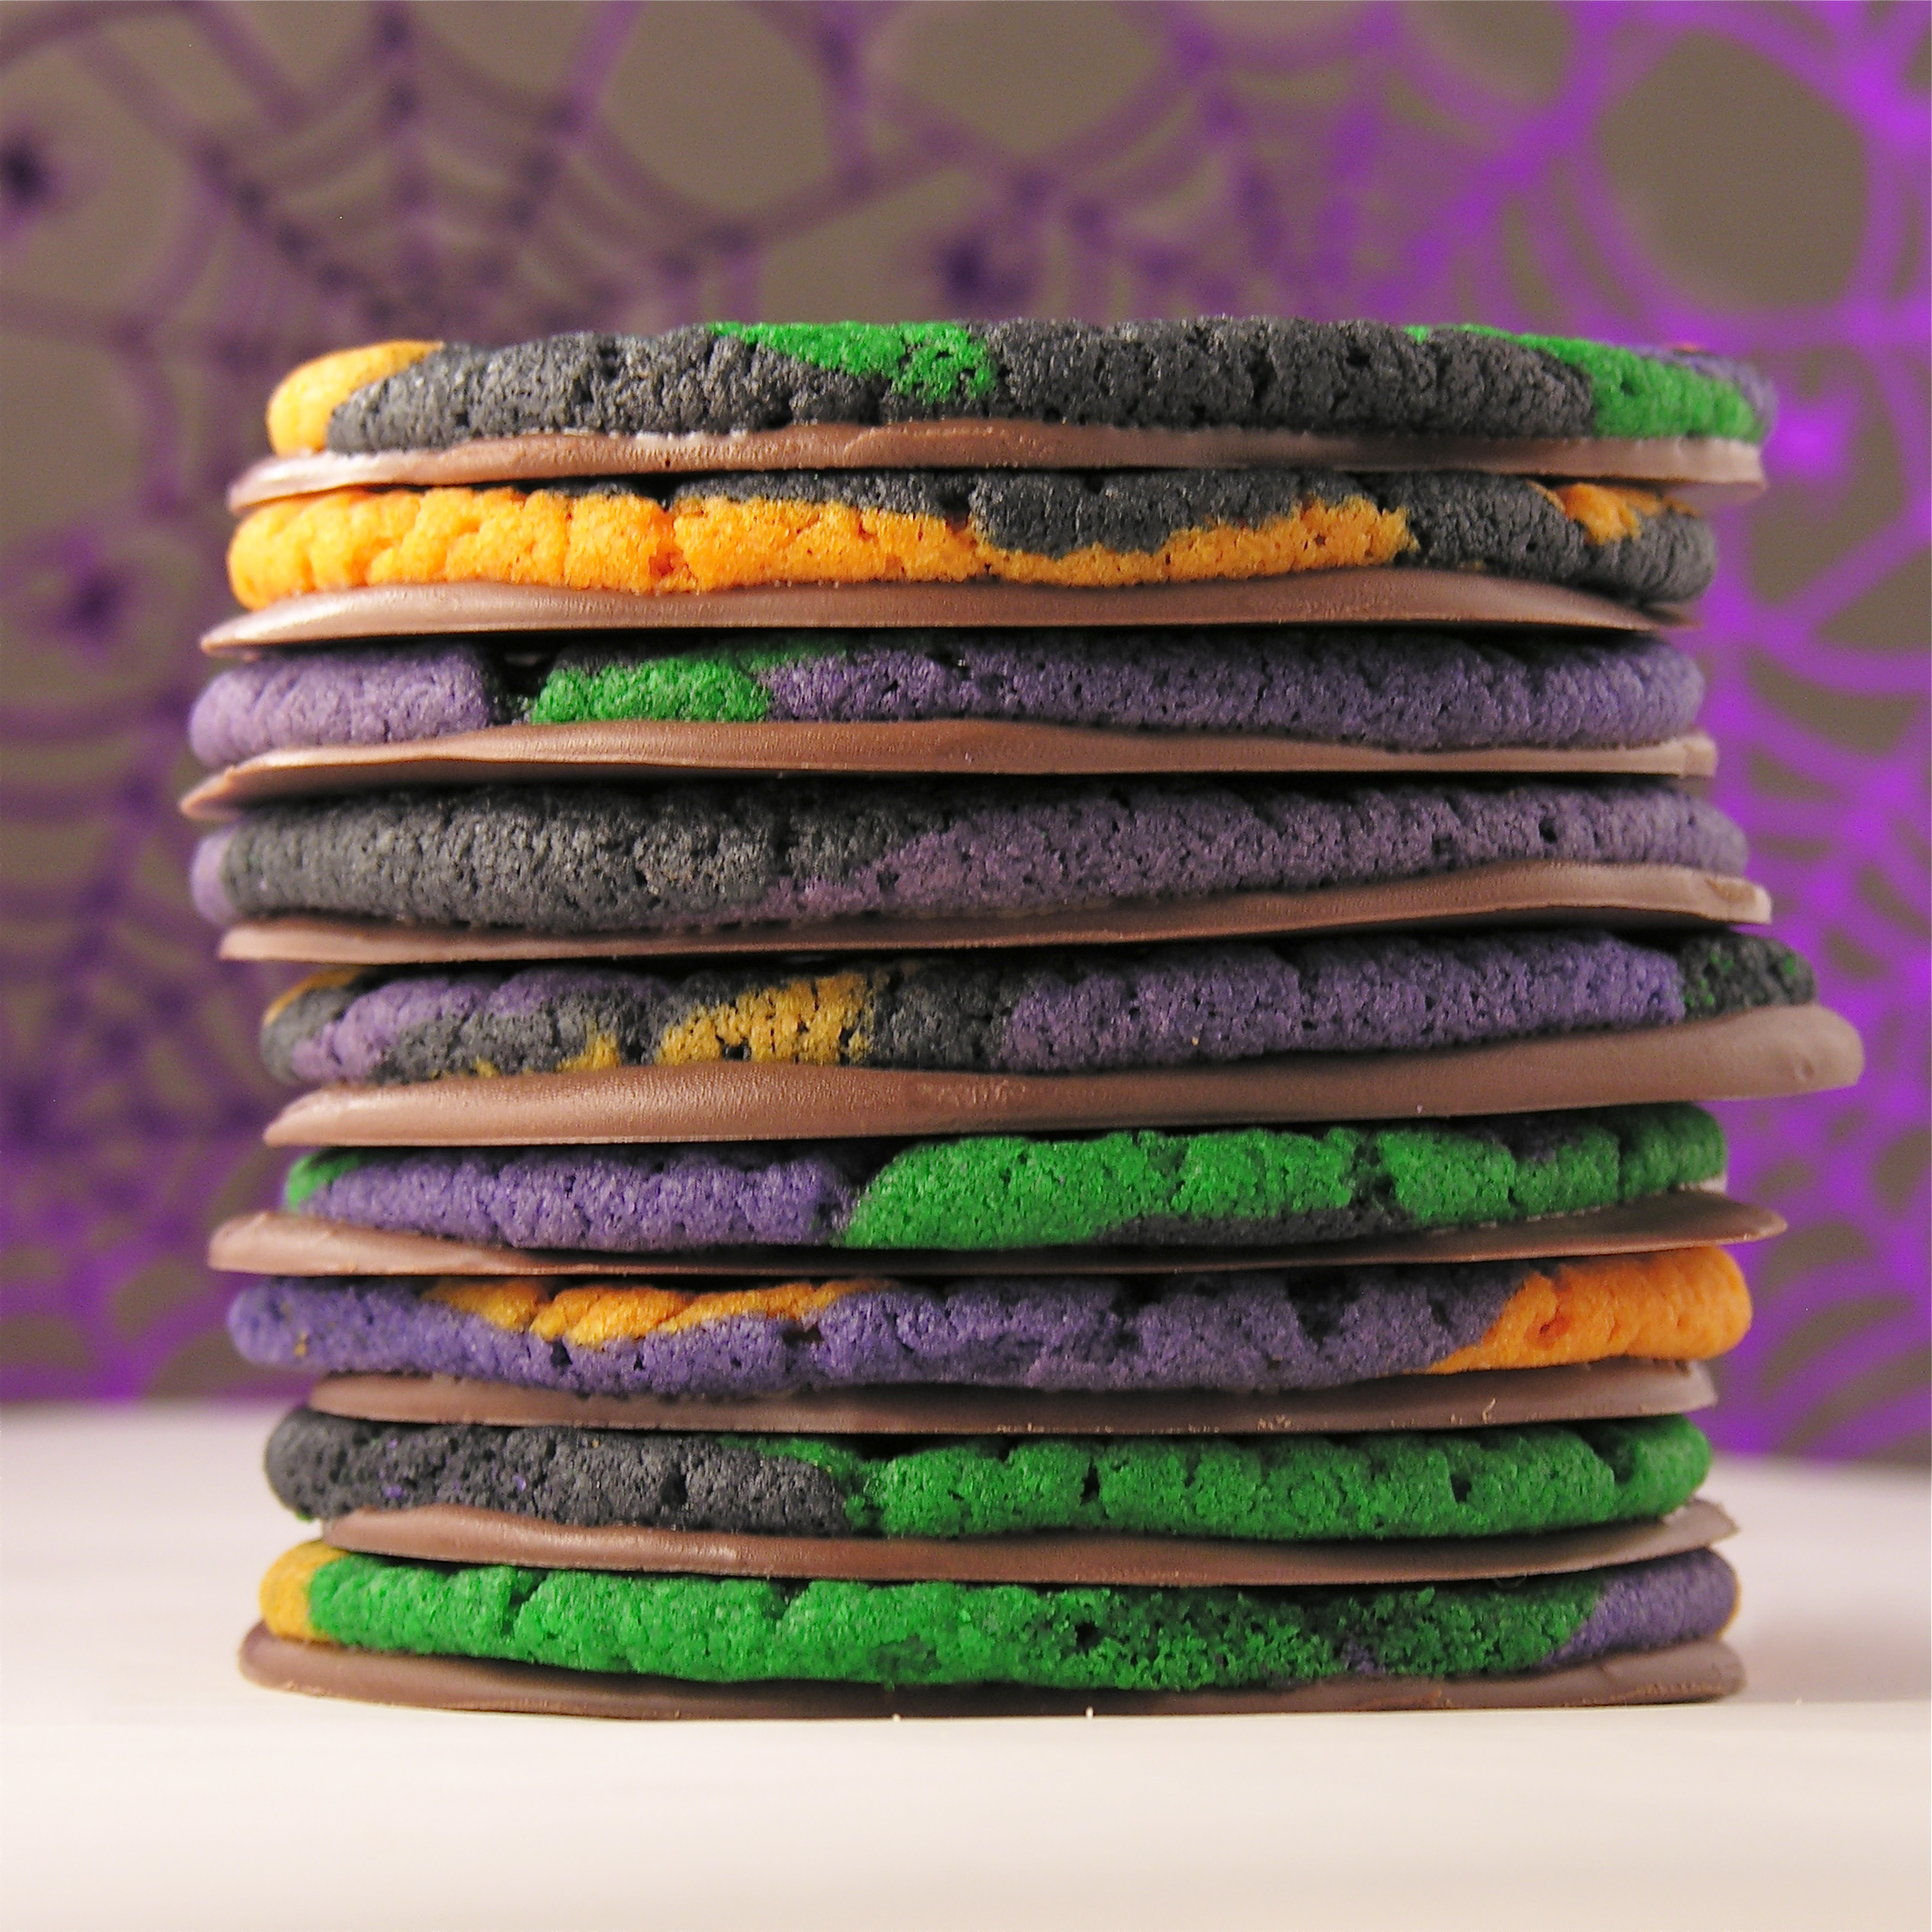
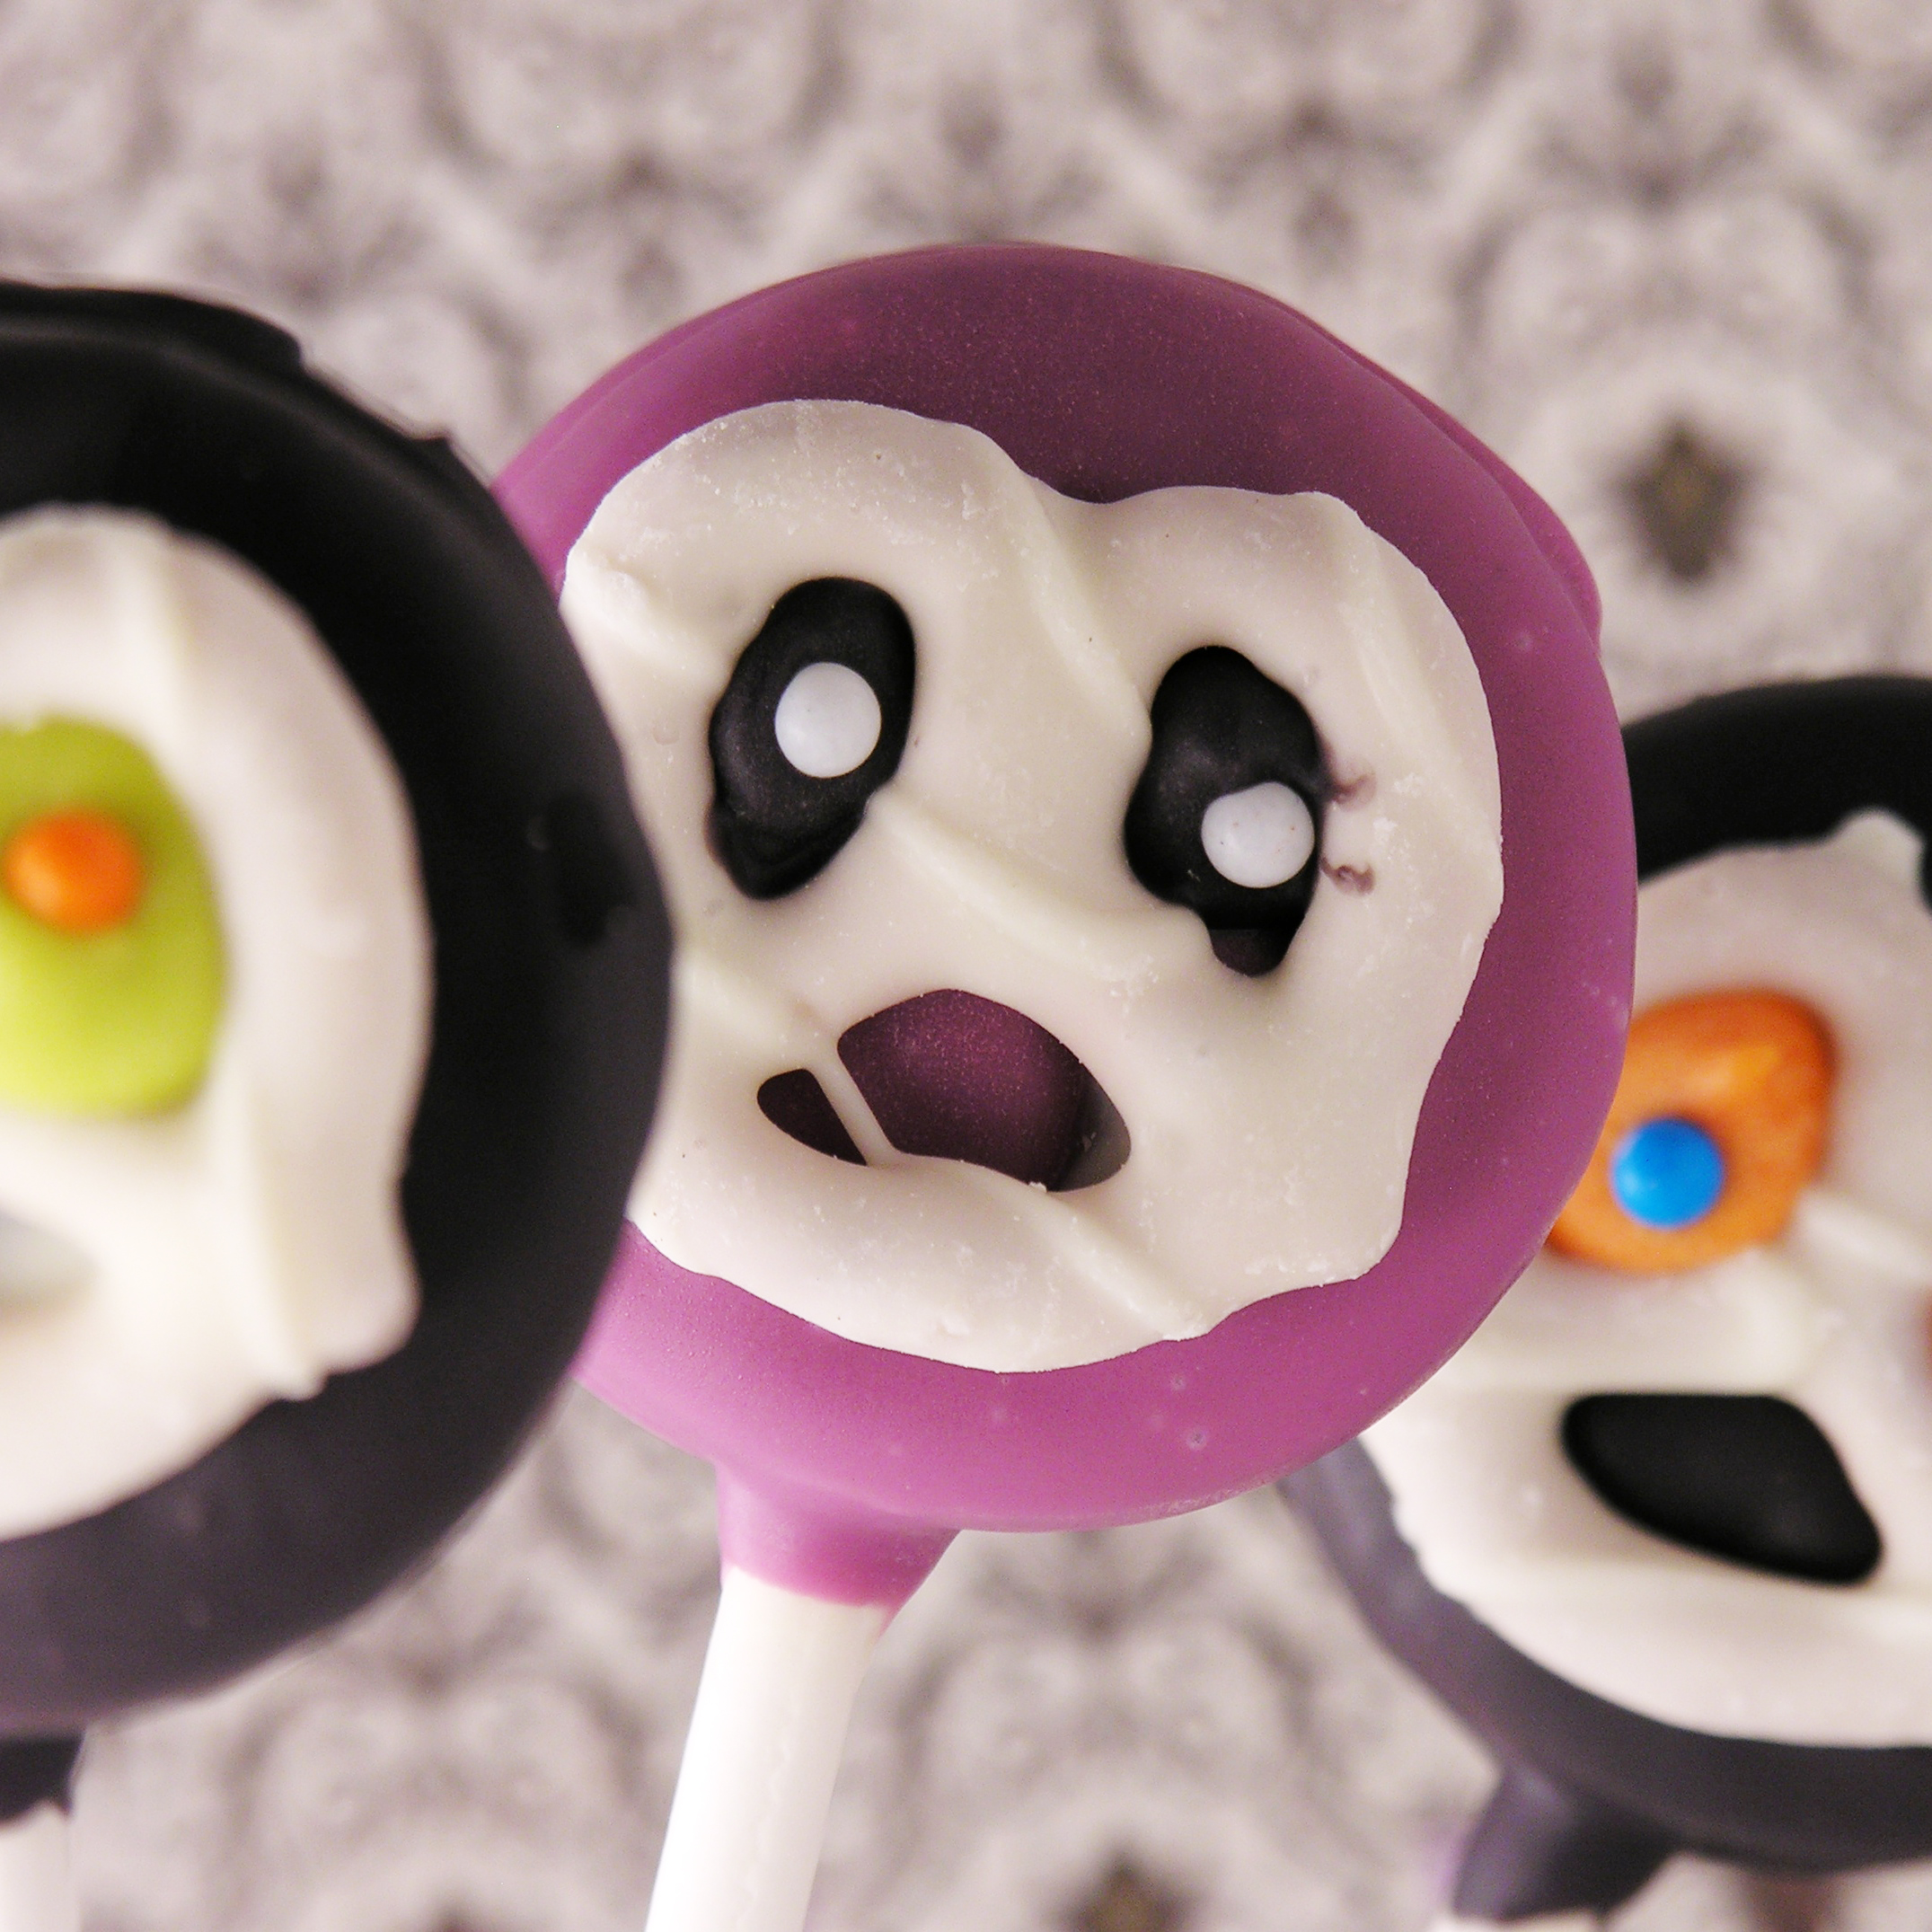
snaps4-1-watermarked spider7 spider-eggs4 mummy-pop2

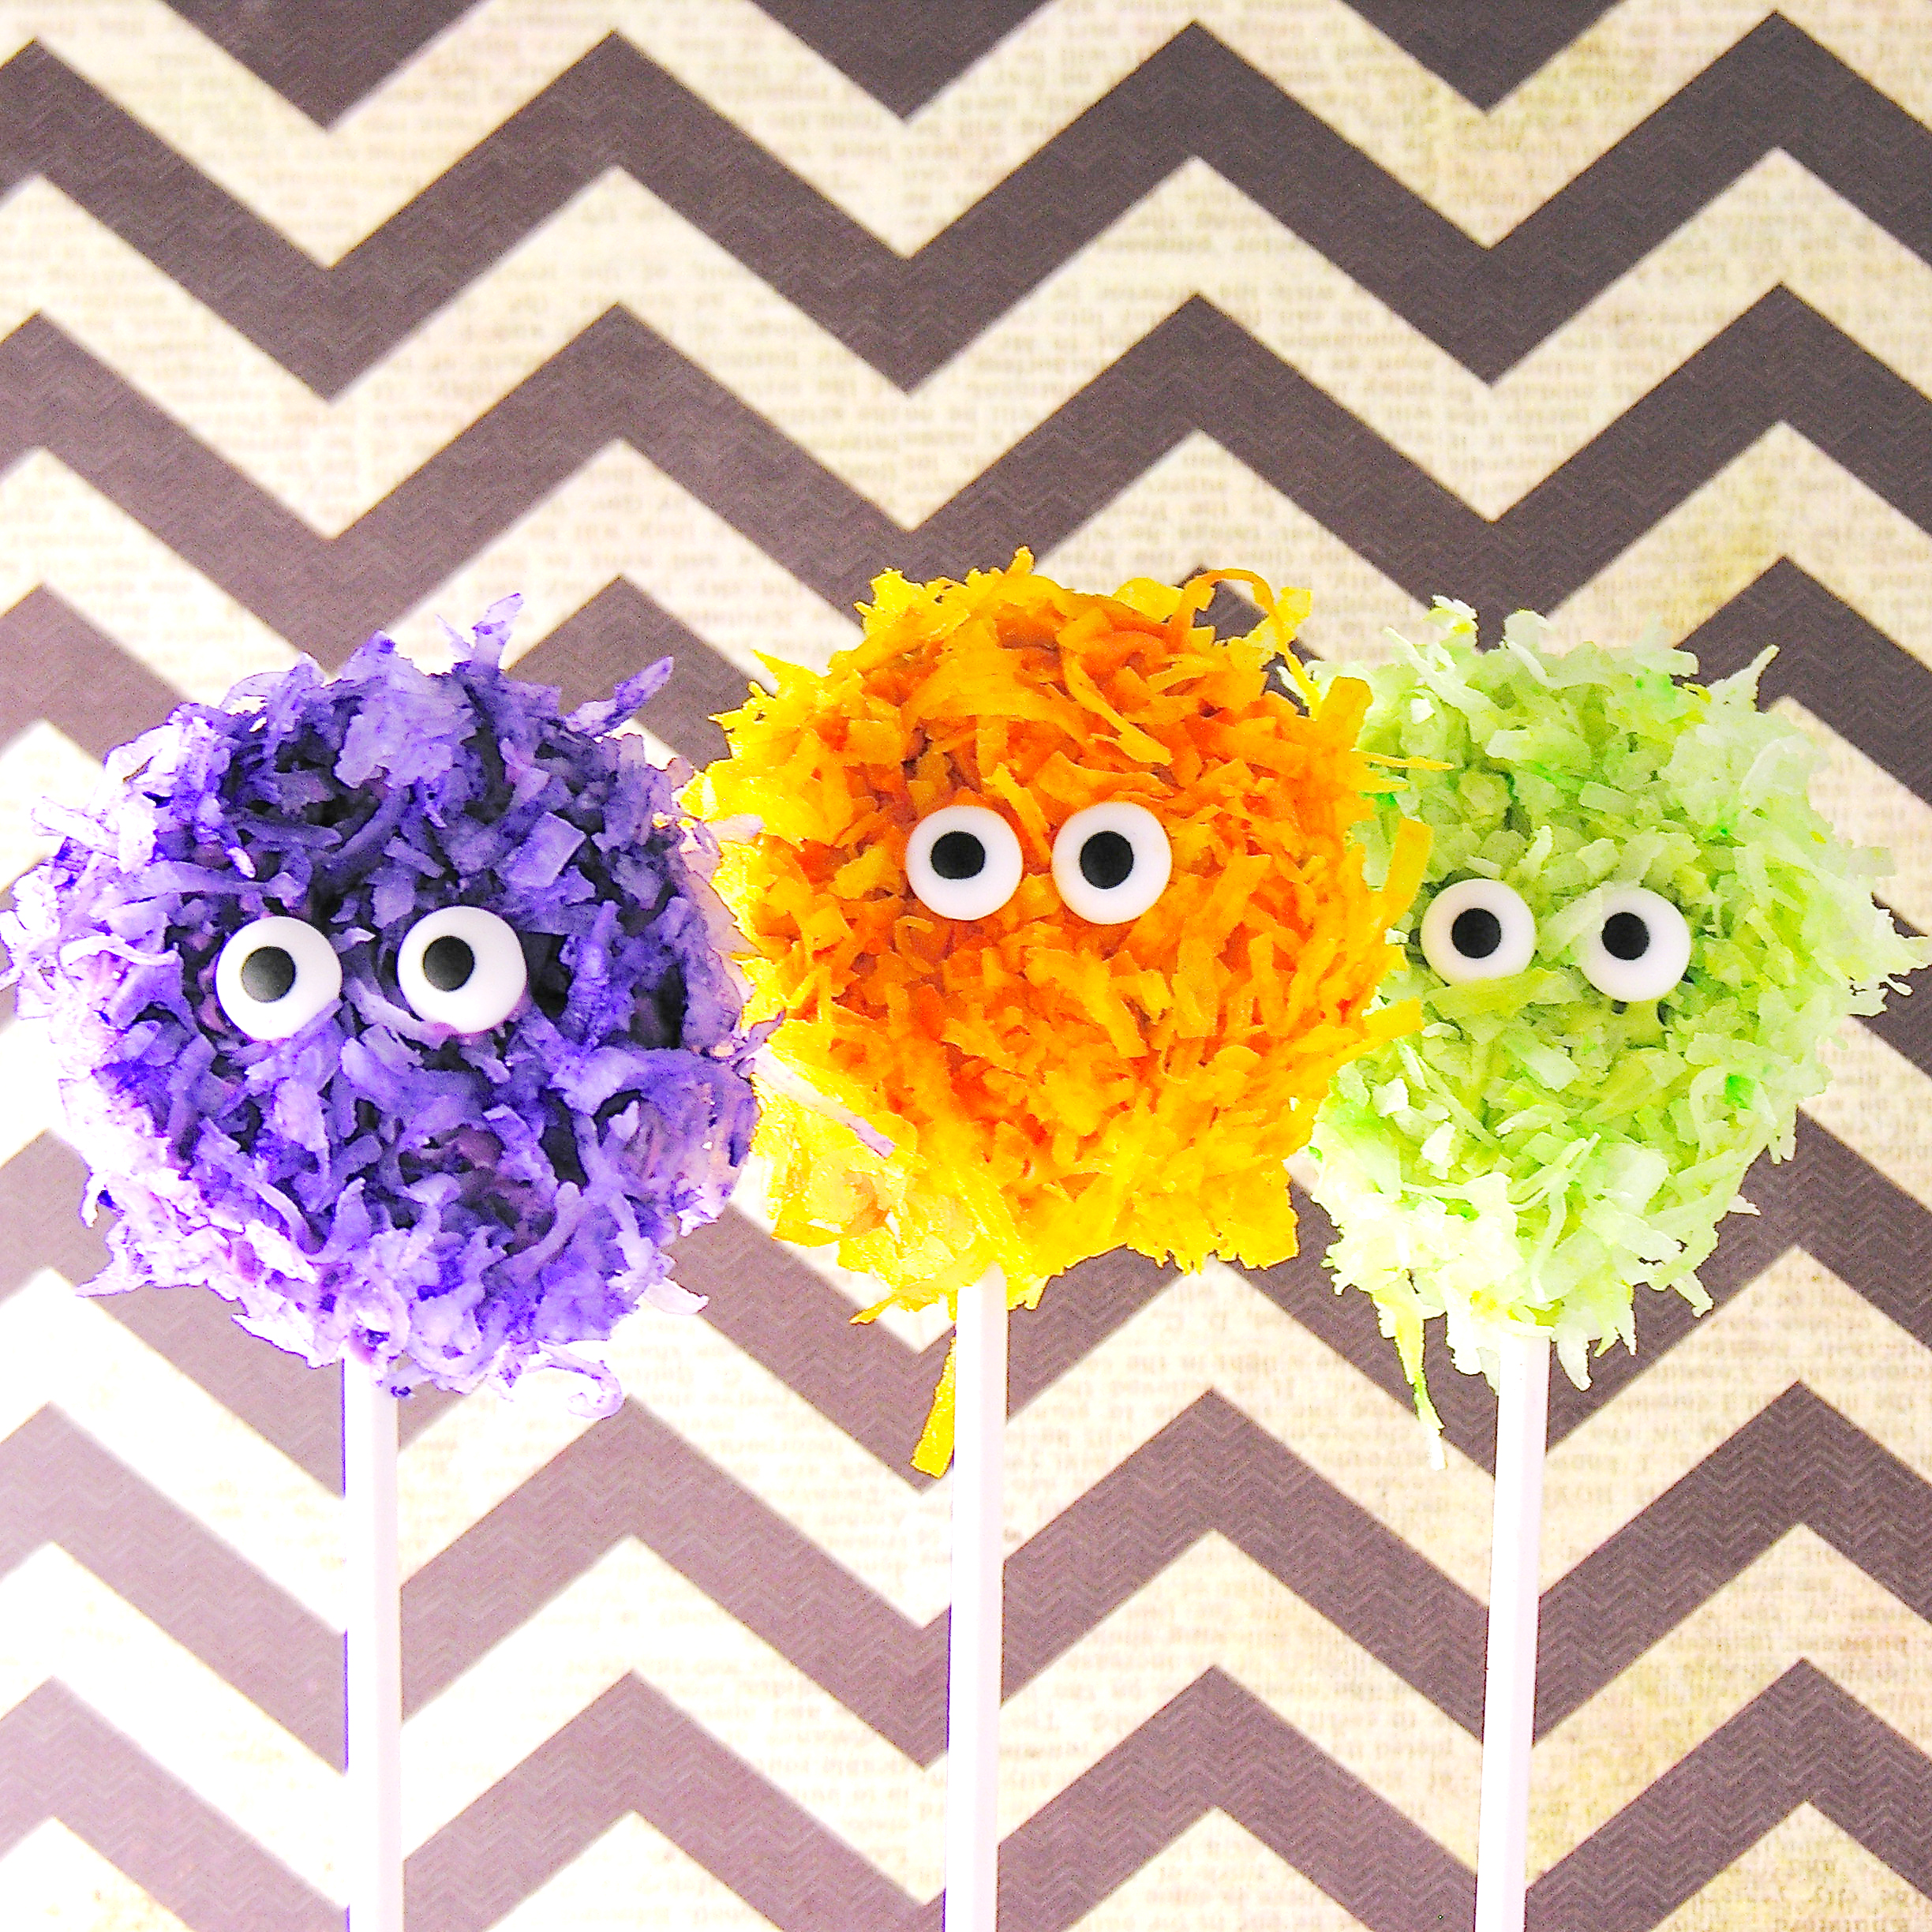
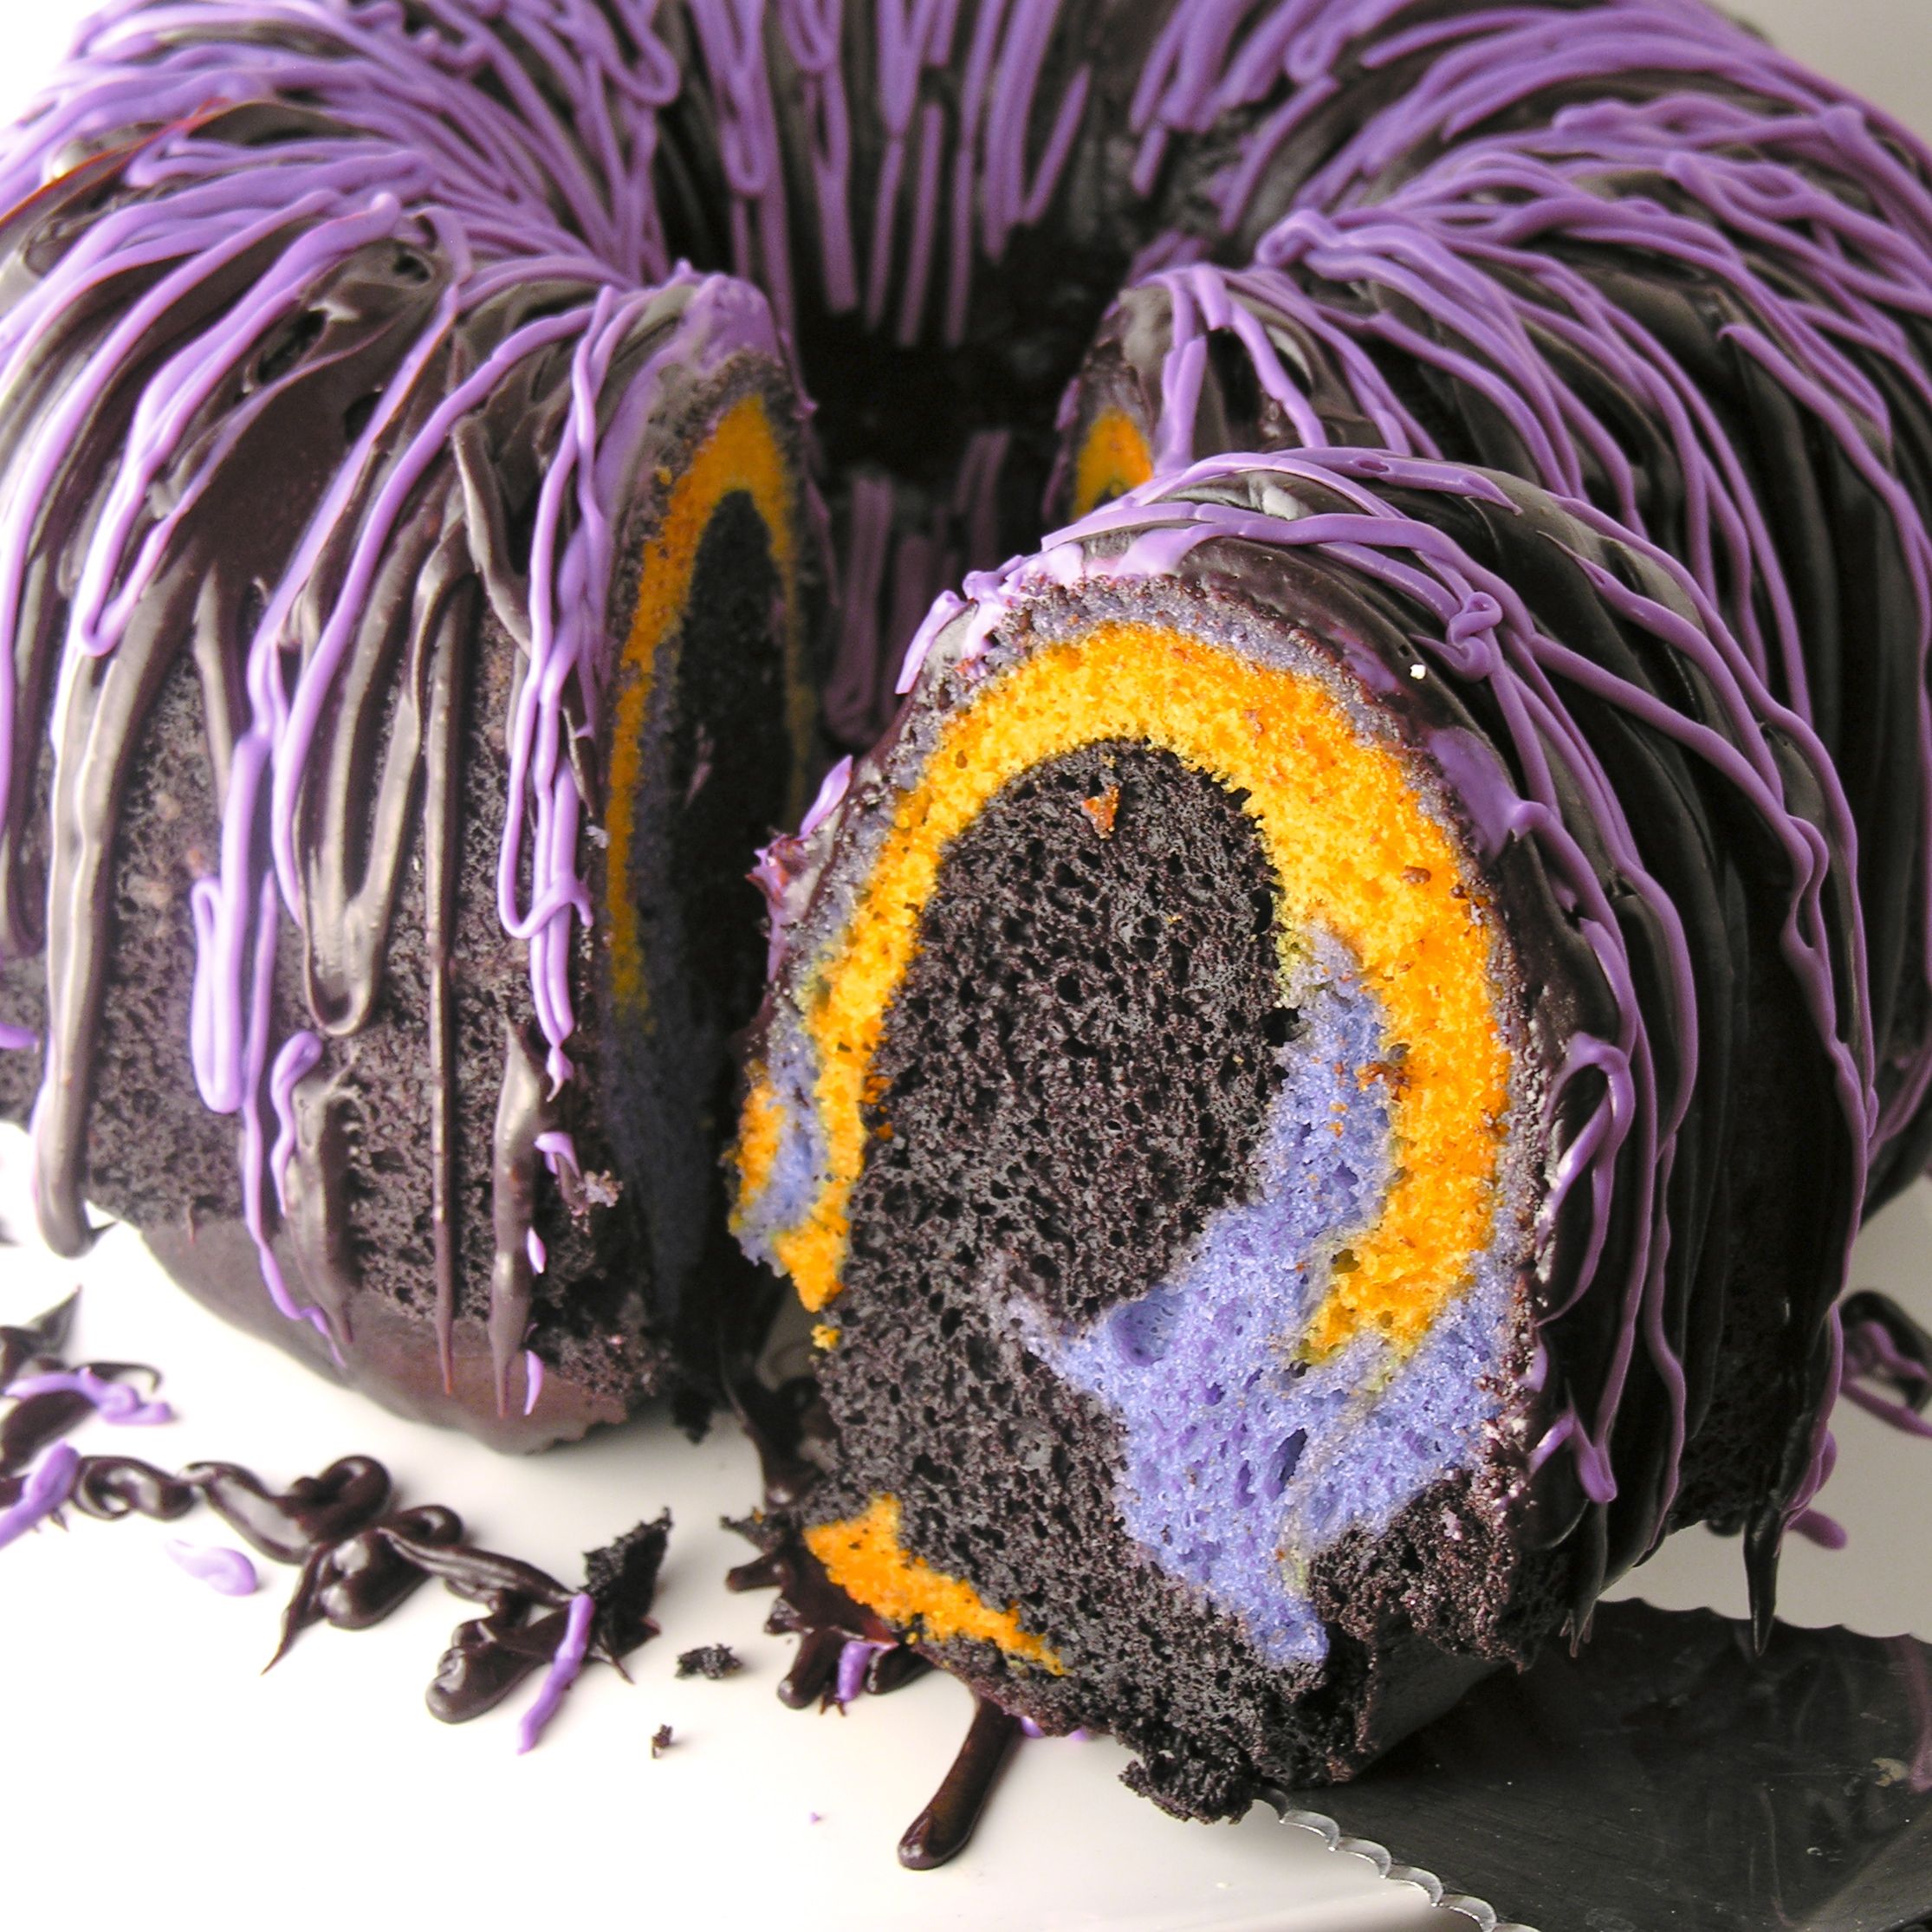
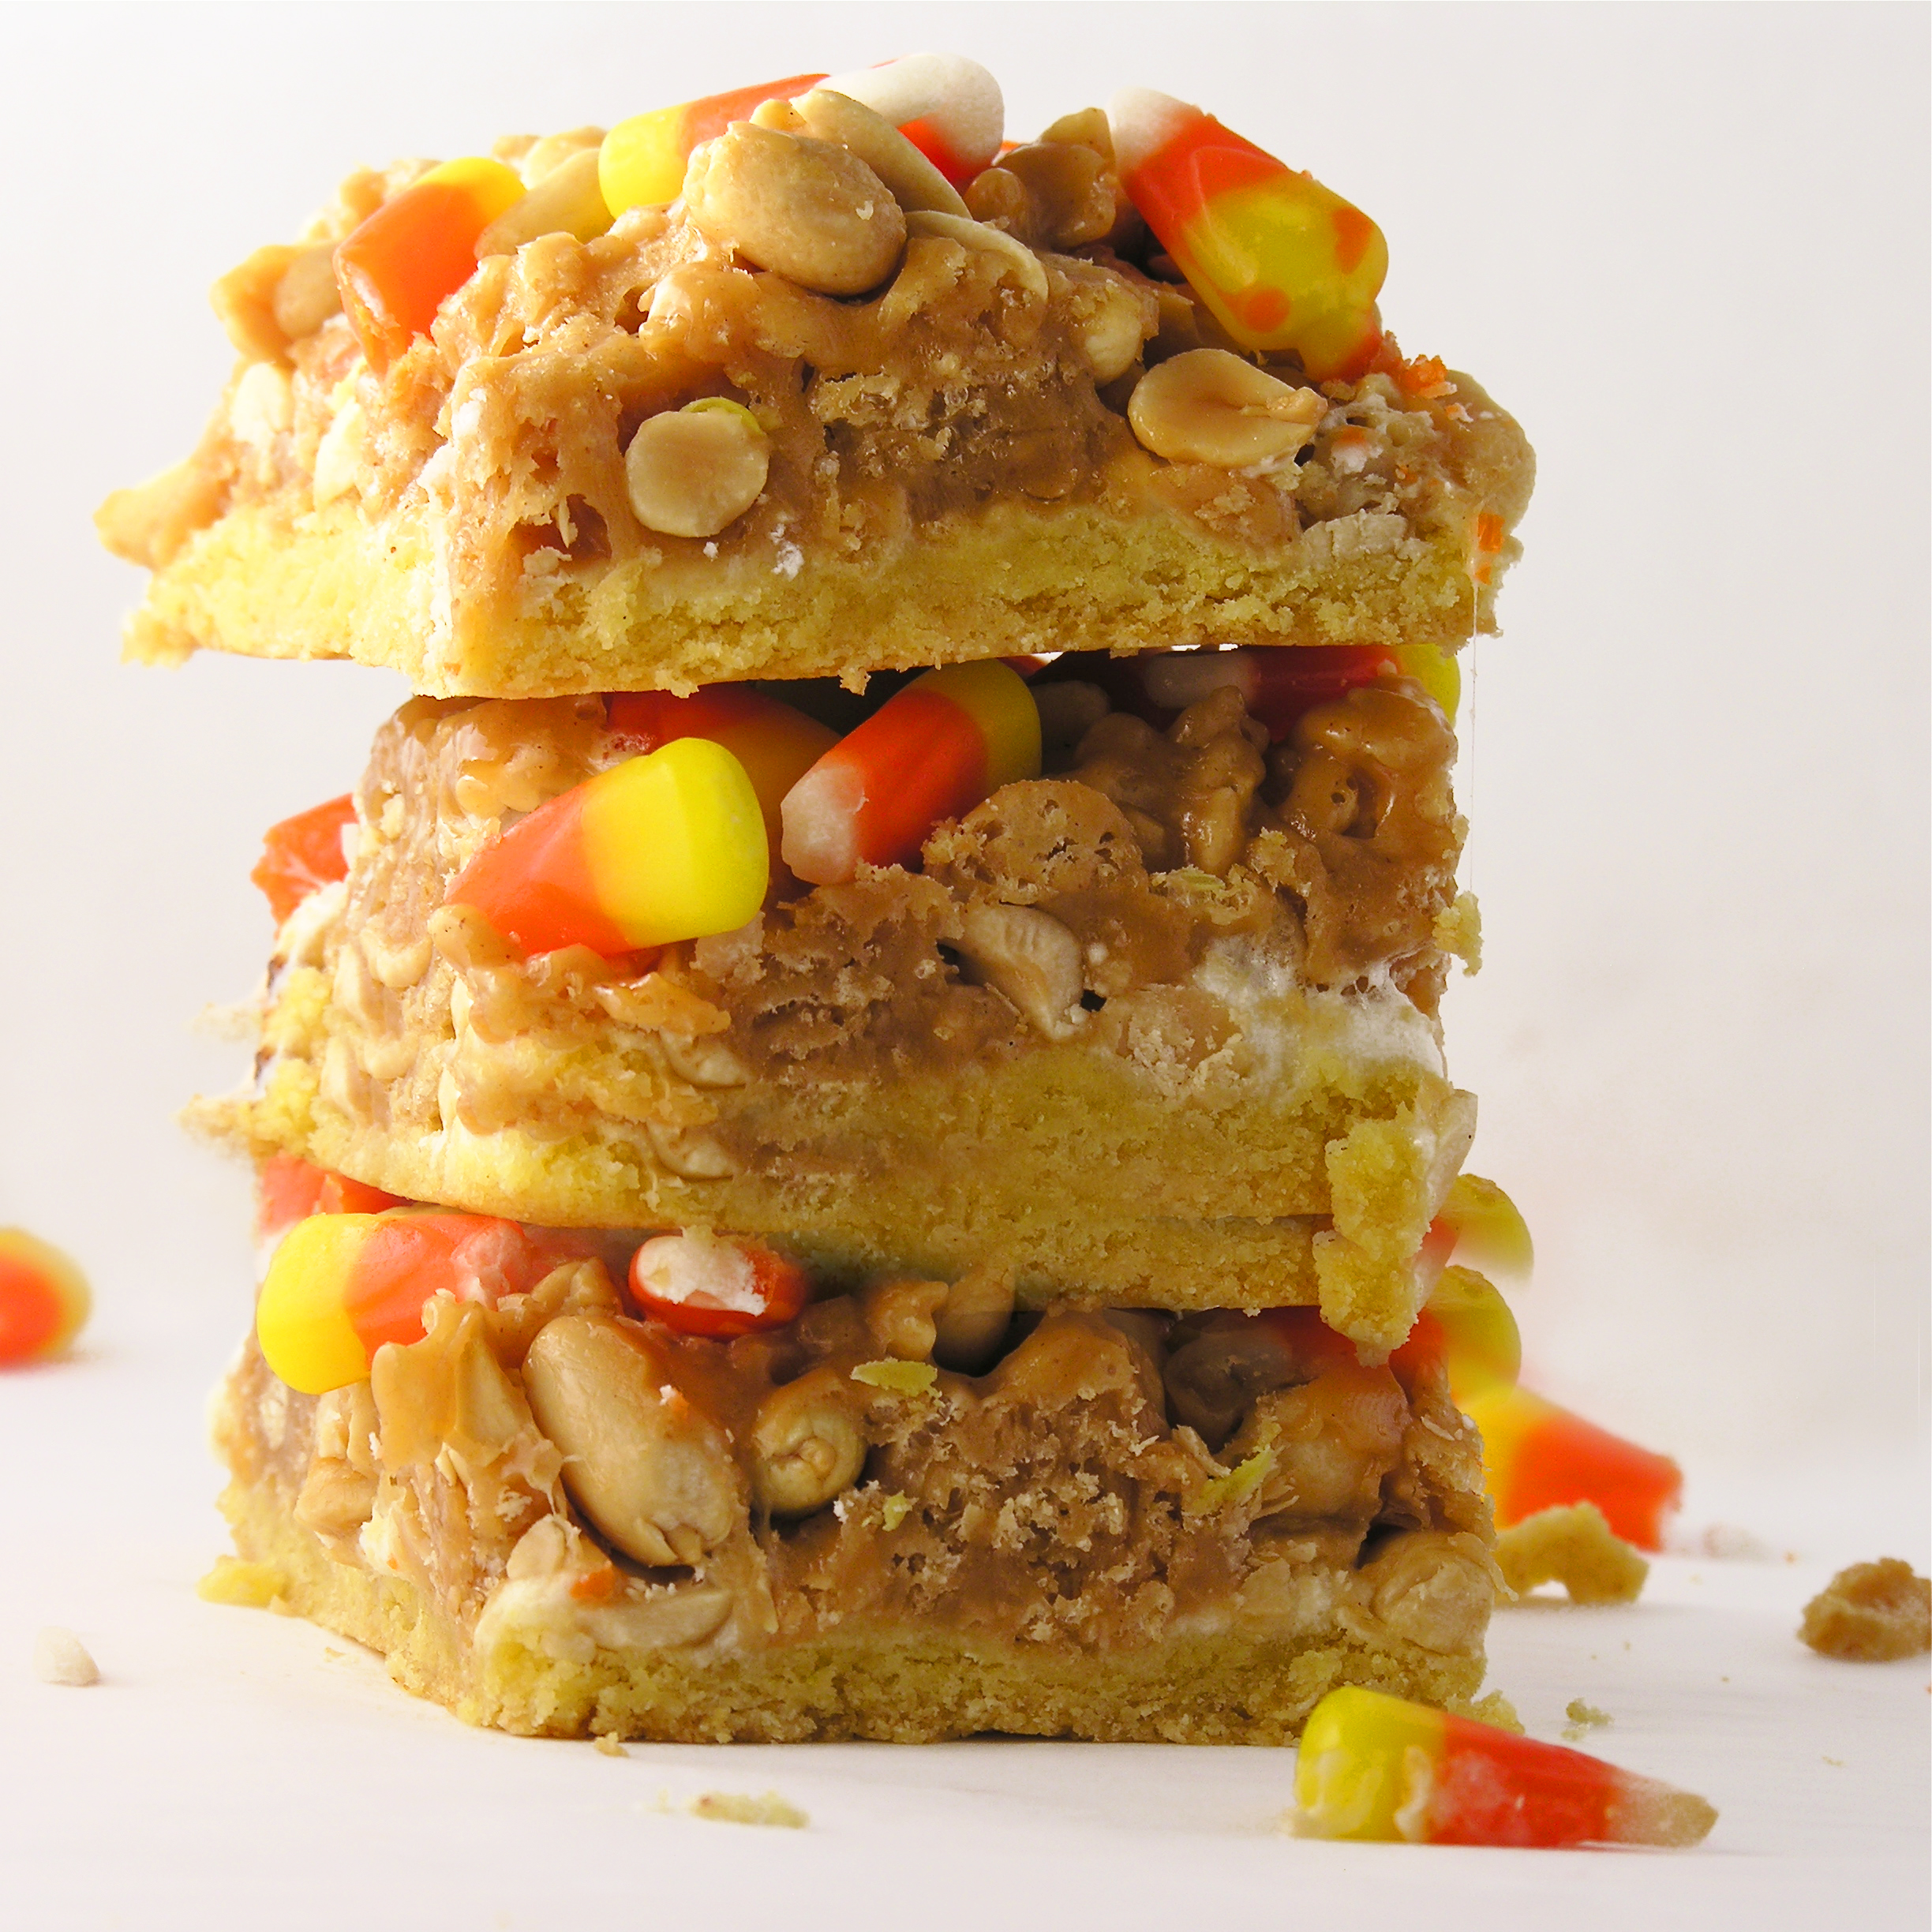
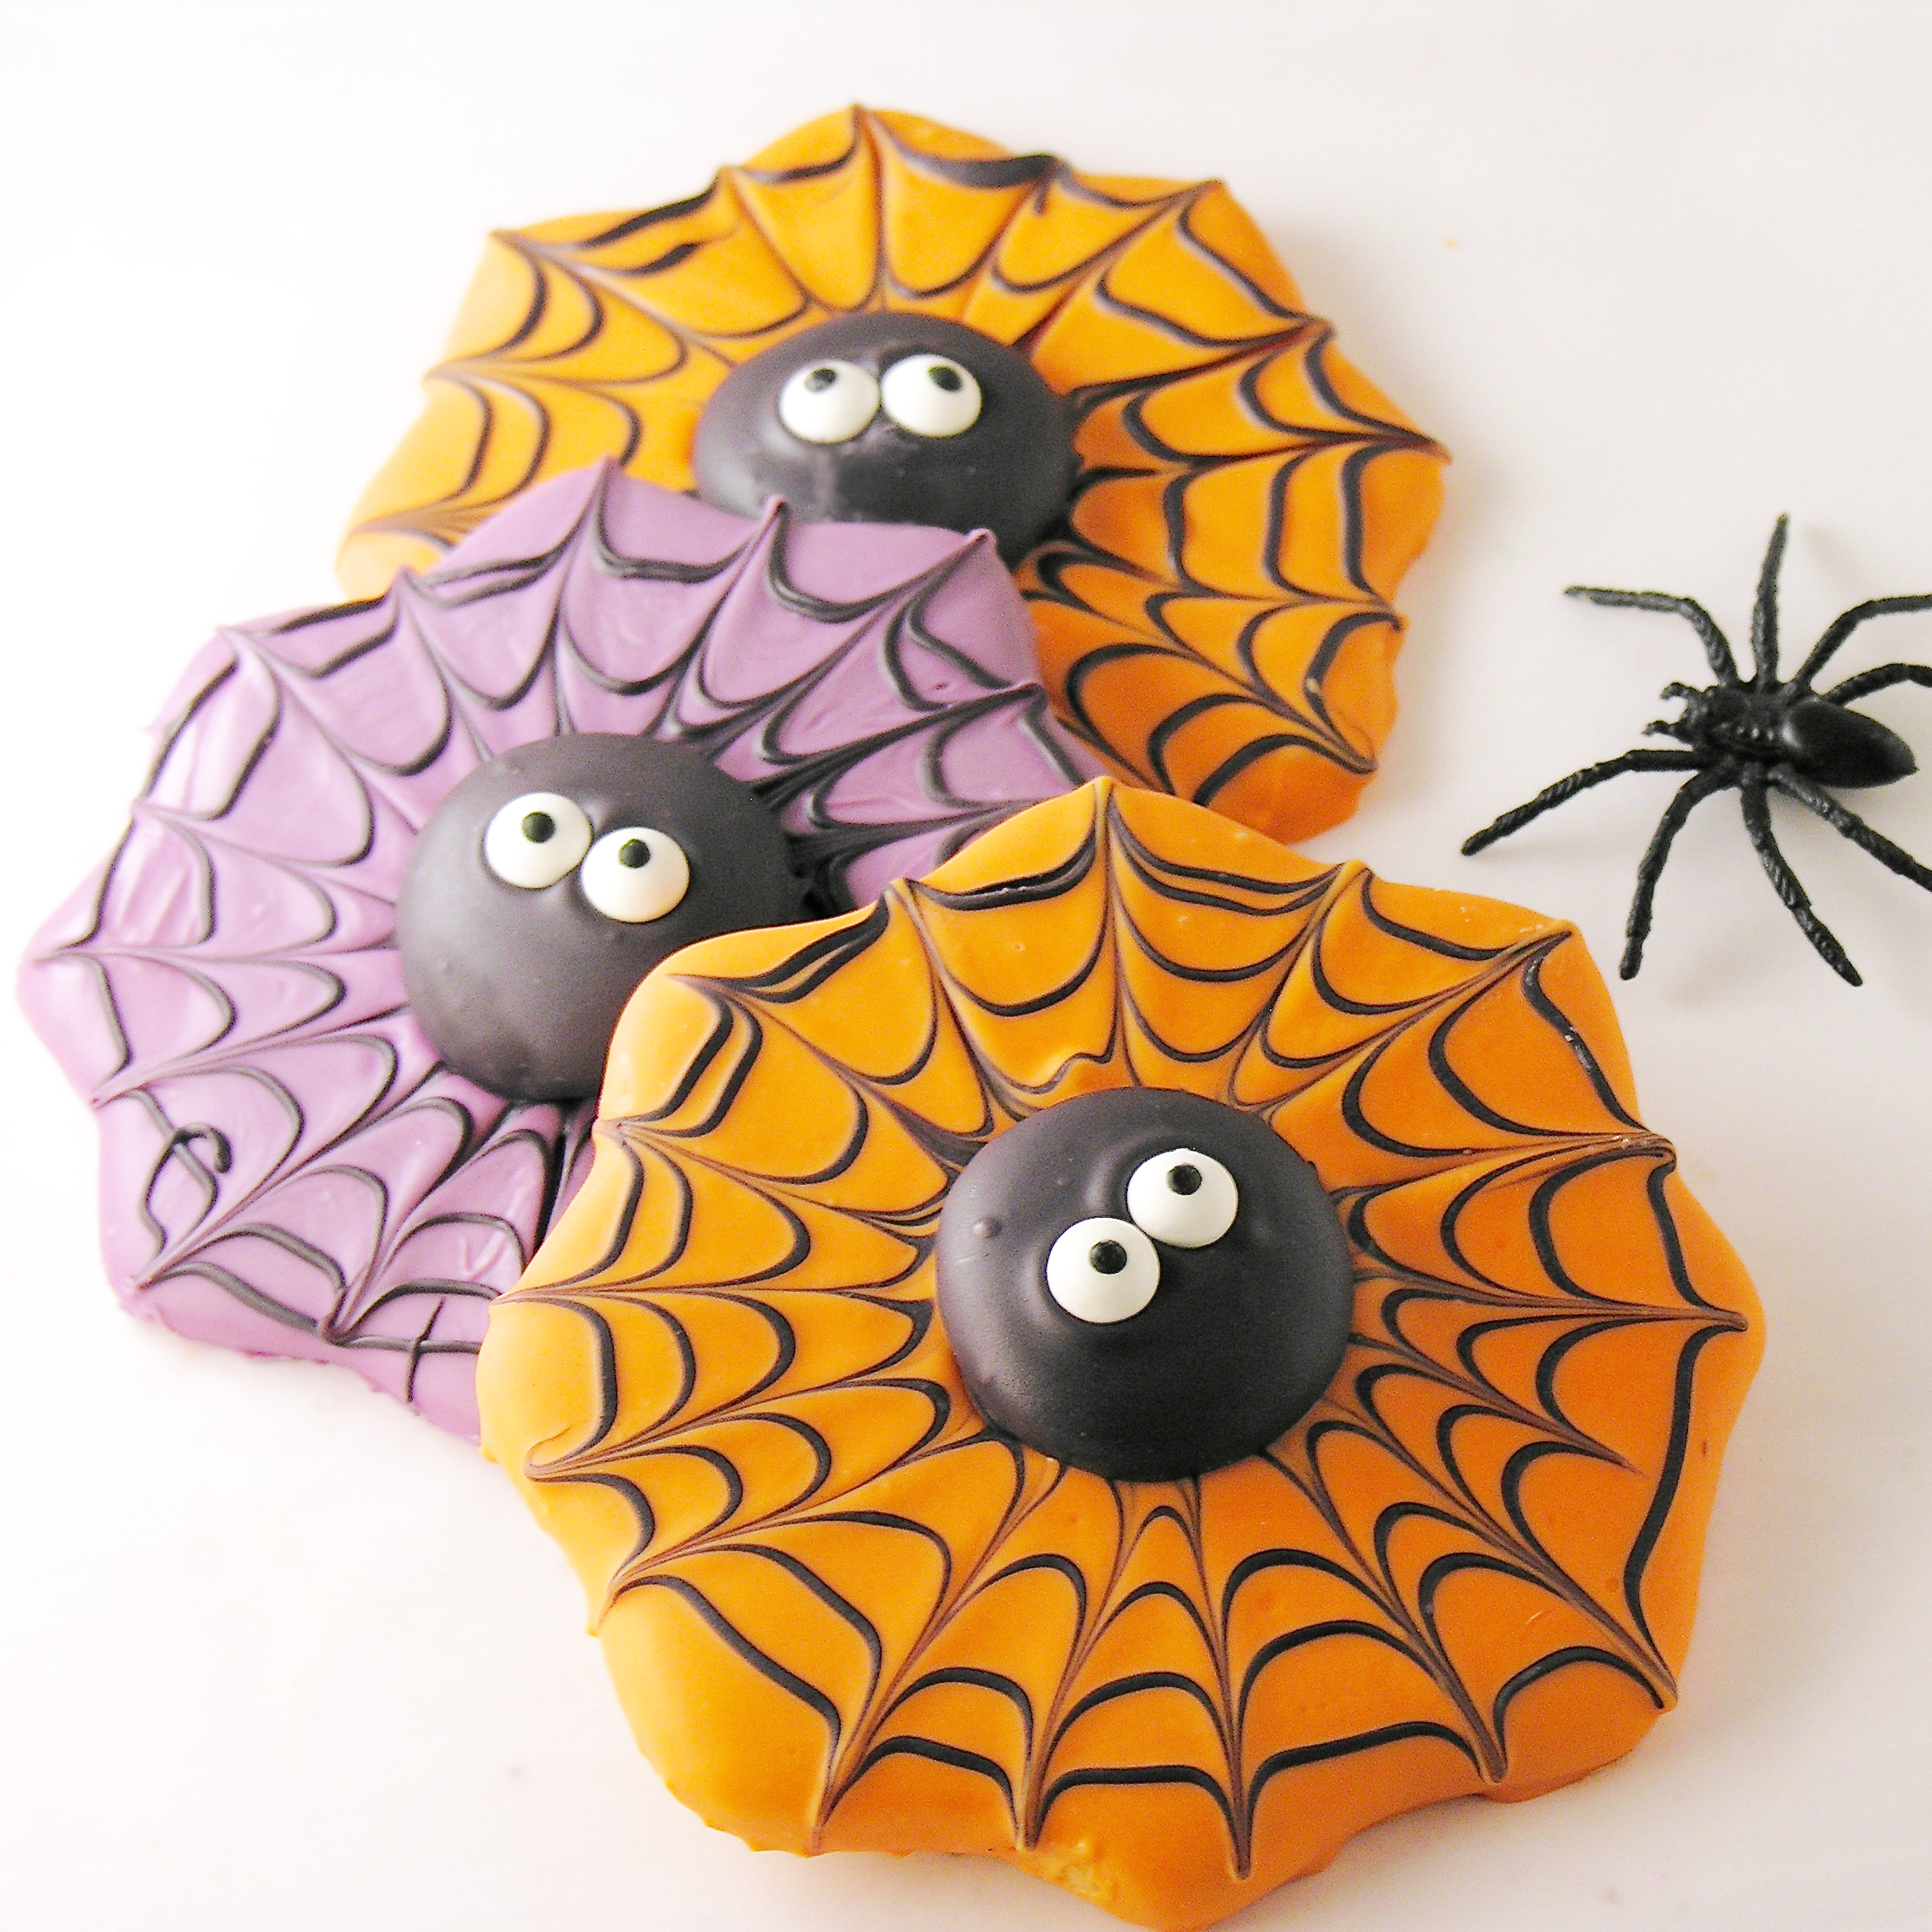
spiderweb-oreo-pops3 eyeball-cookies hairy-monster-oreo-pops1 halloween-bundt2

candy-corn-bars2 spiderweb-cookies3 halloween-swirl-cookies4 e28886eeperscreepers-oreo-pops4

And… our top two favorite Halloween recipes on Easybaked: 

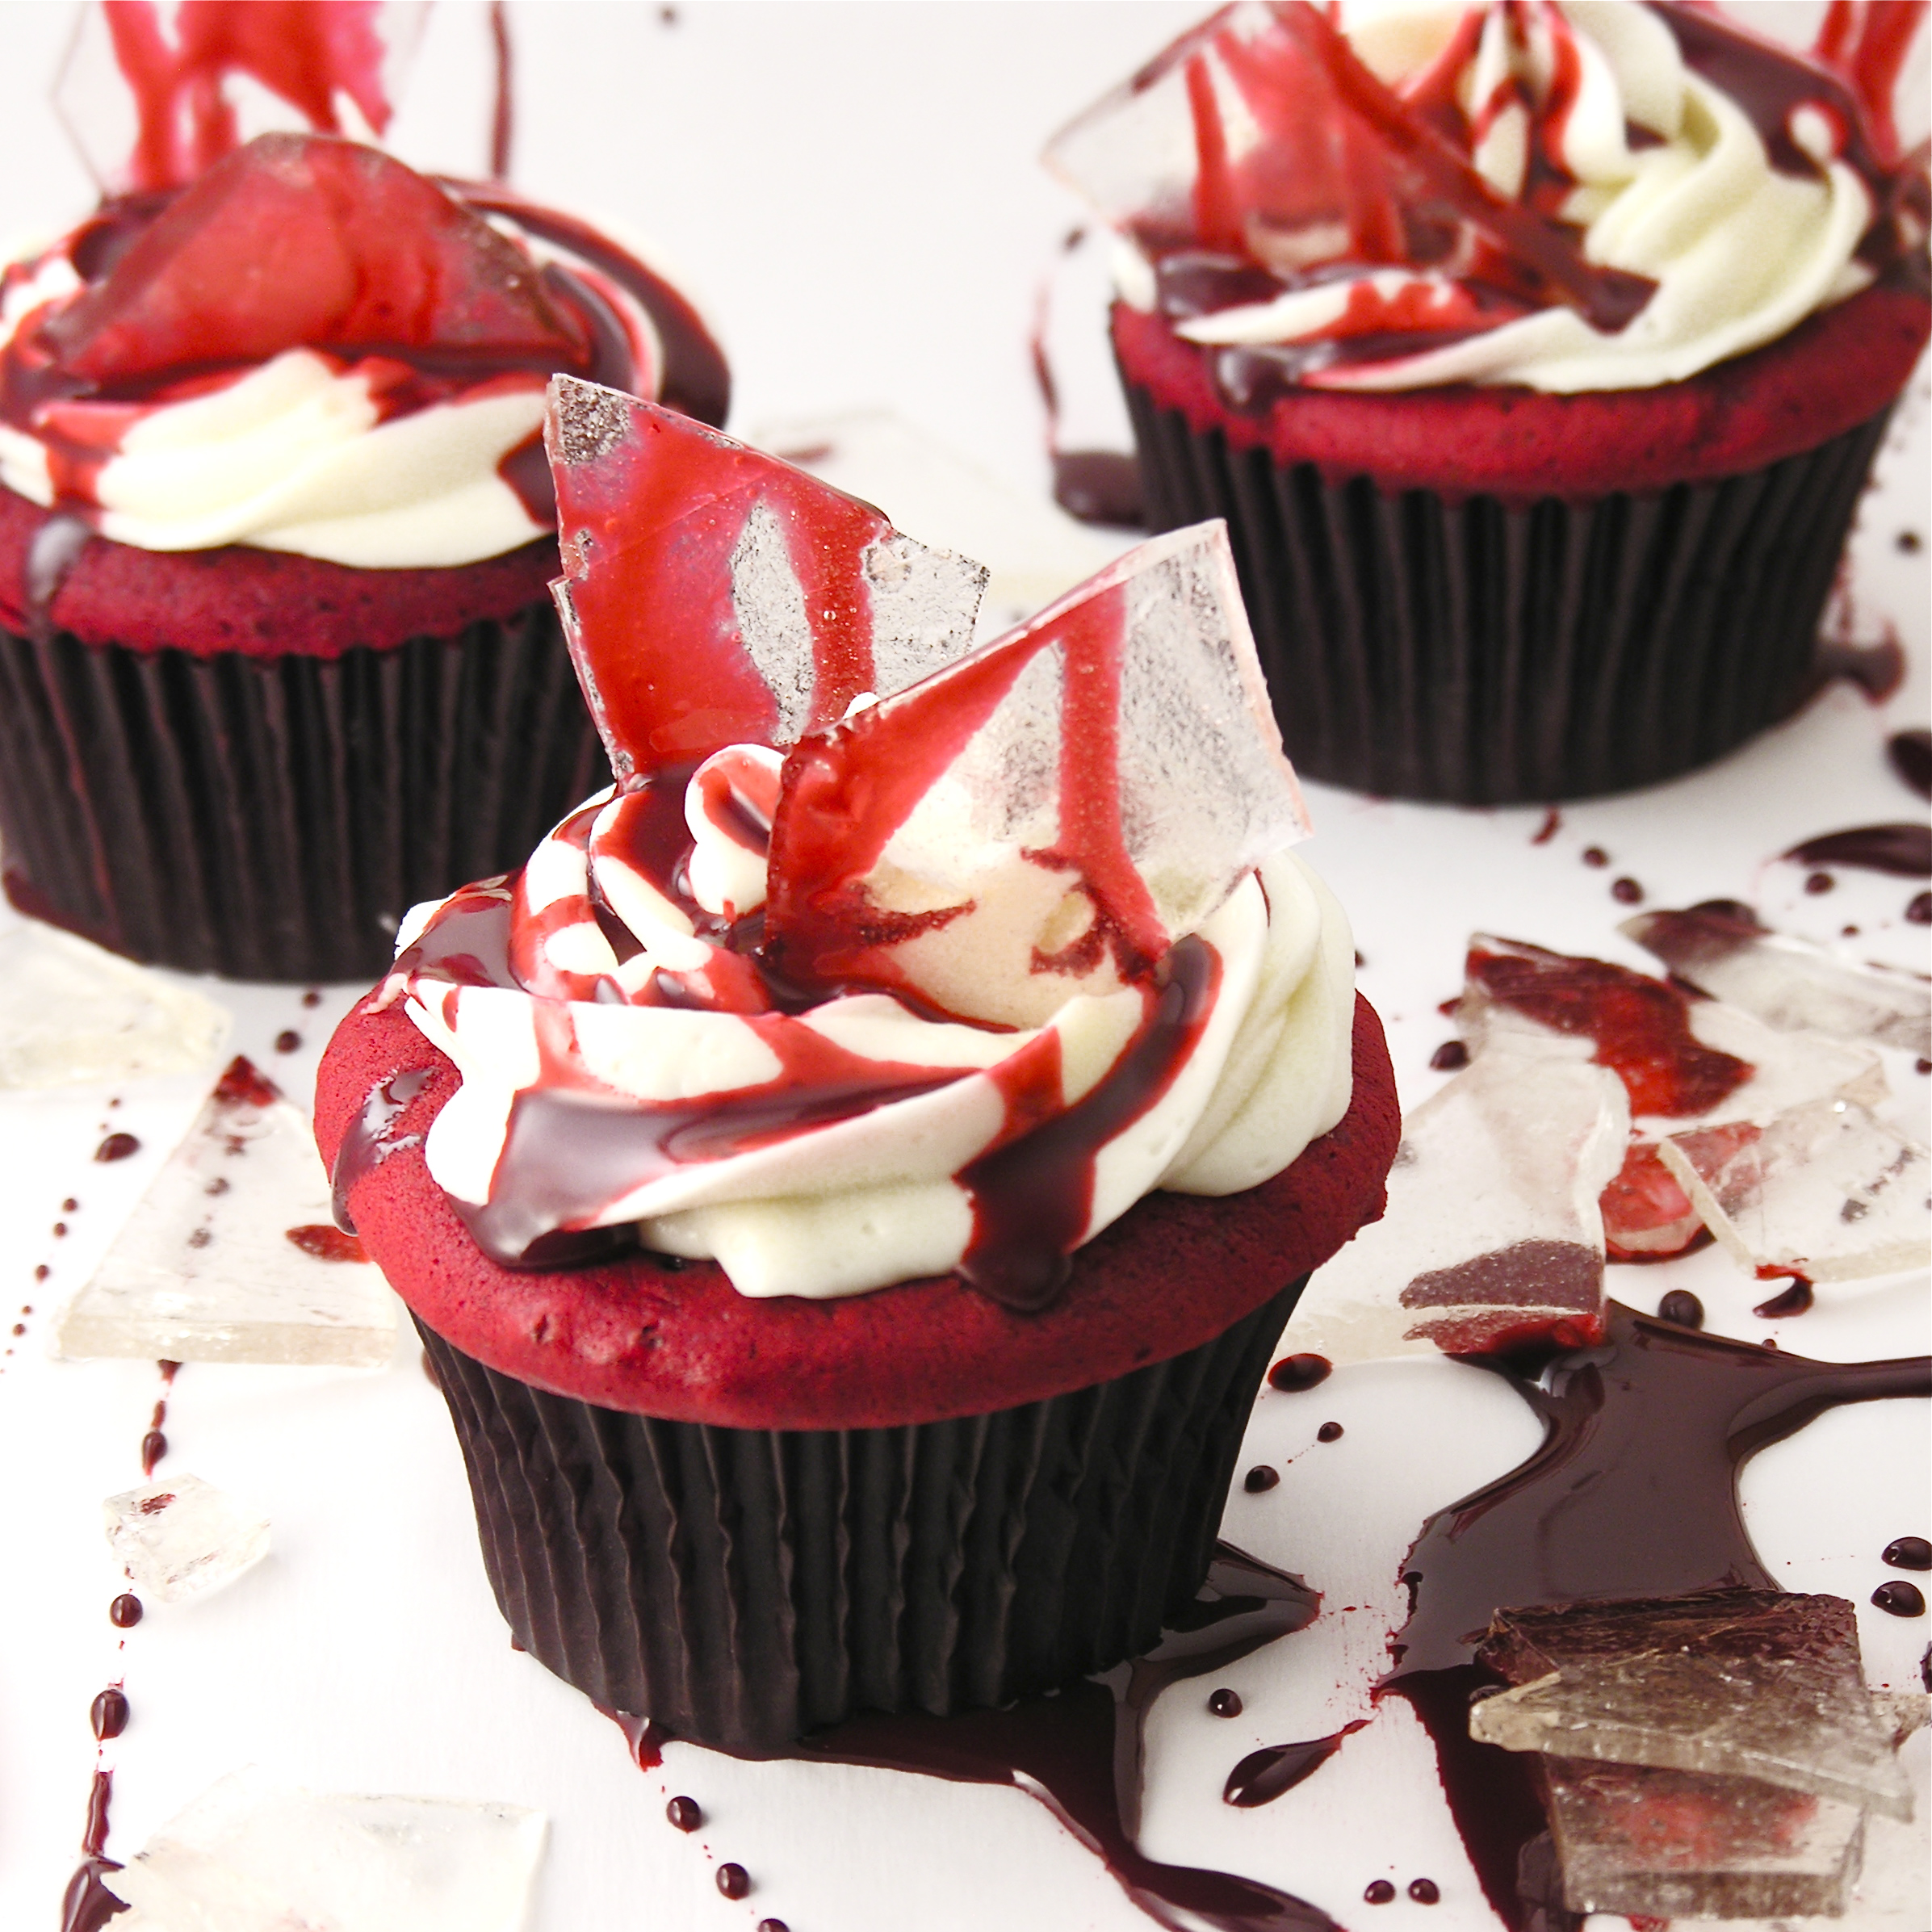
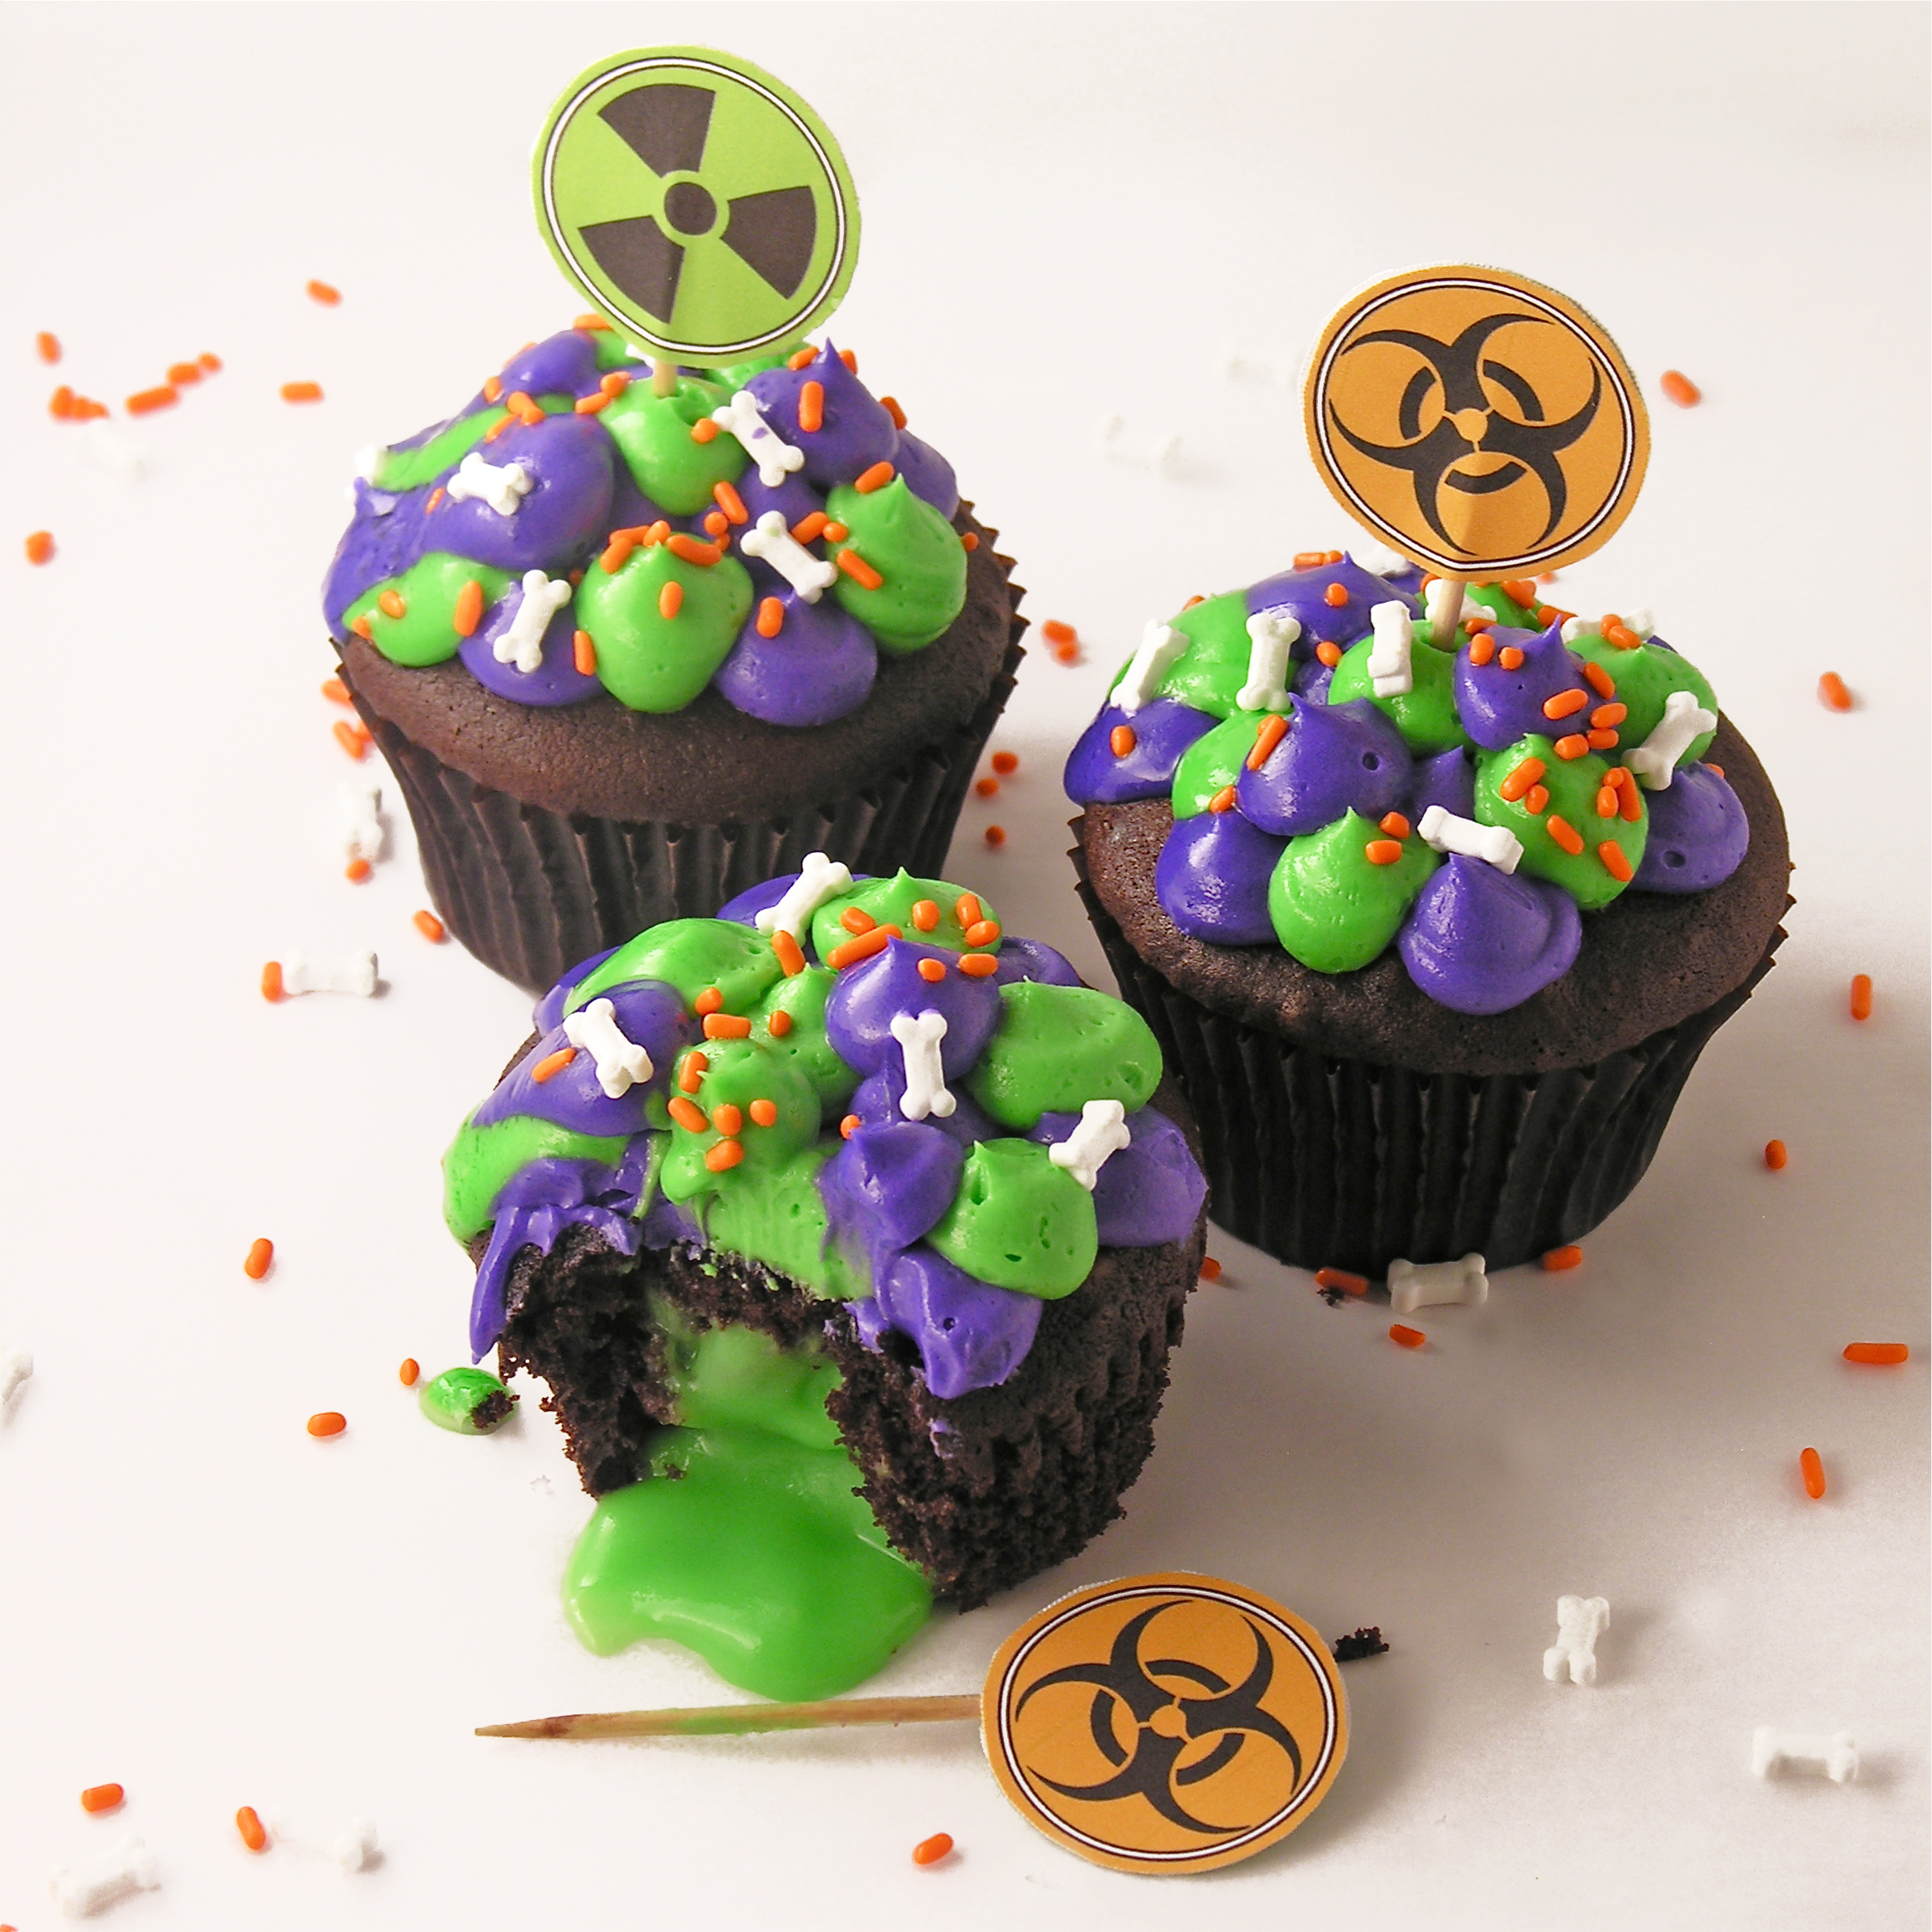
     broken-glass-cupcakes-1 radioactive-cupcakes1


Happy Flower Cookies

Posted on

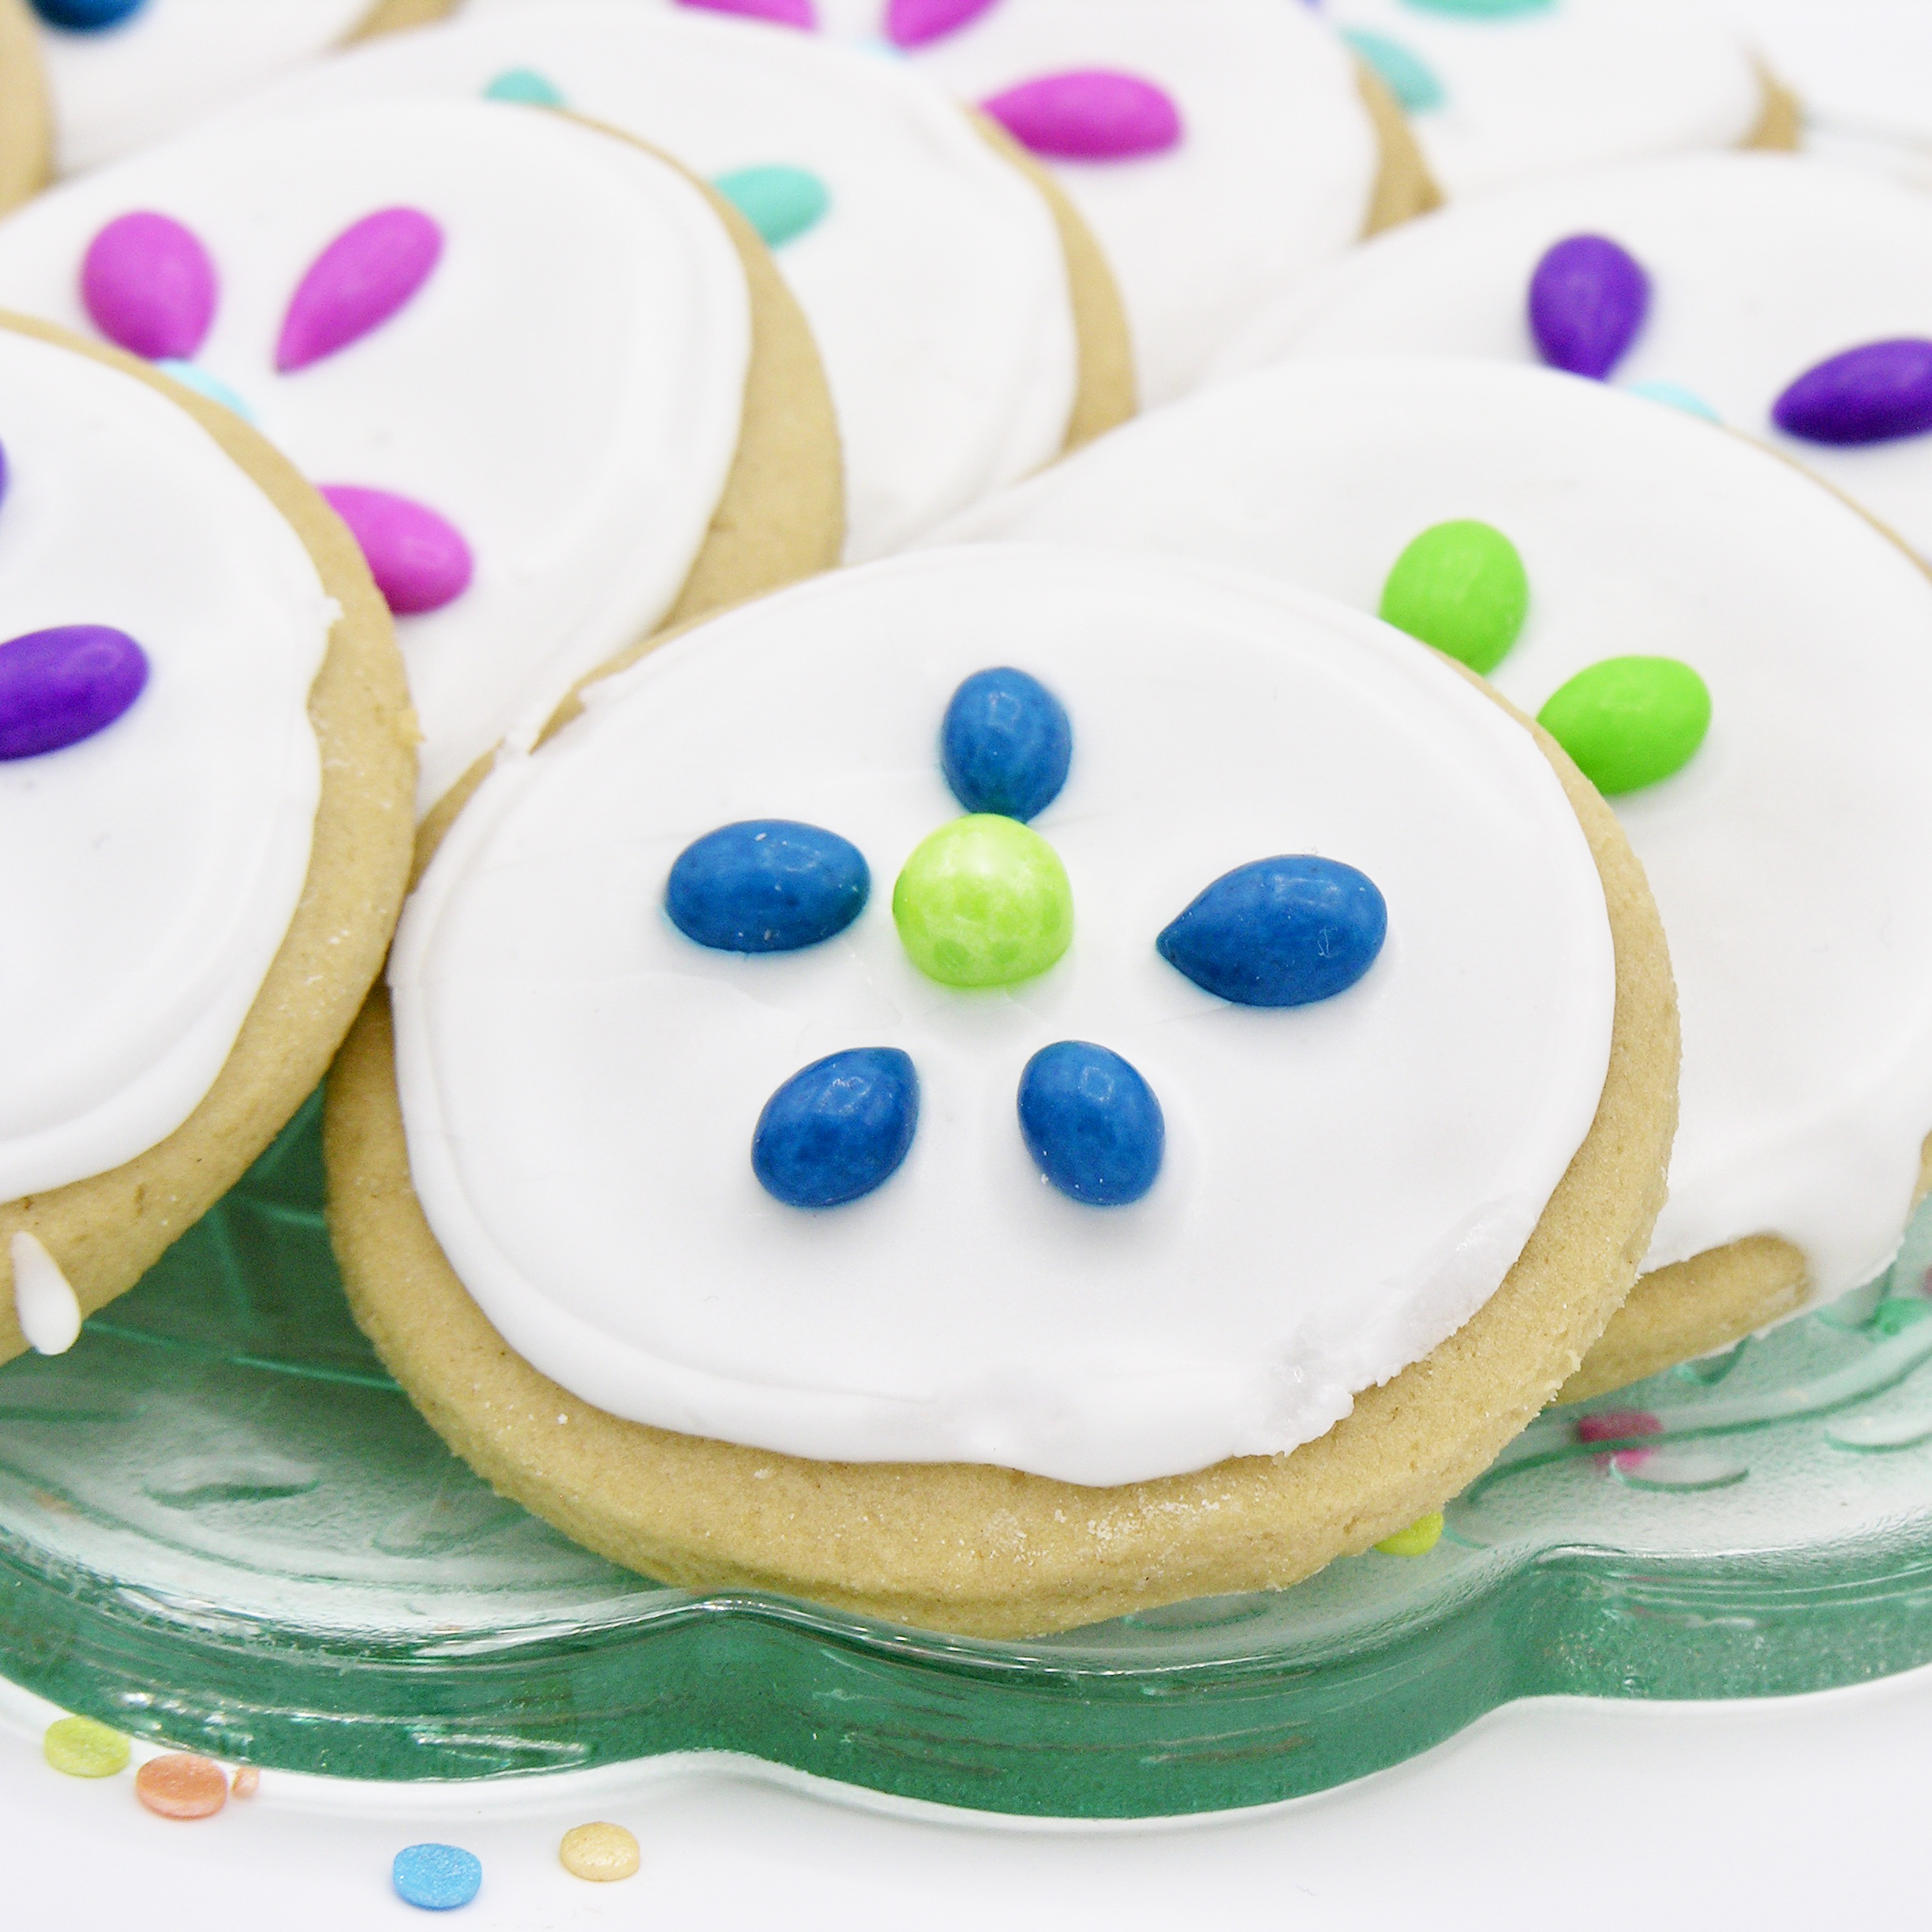
Flower cookies3

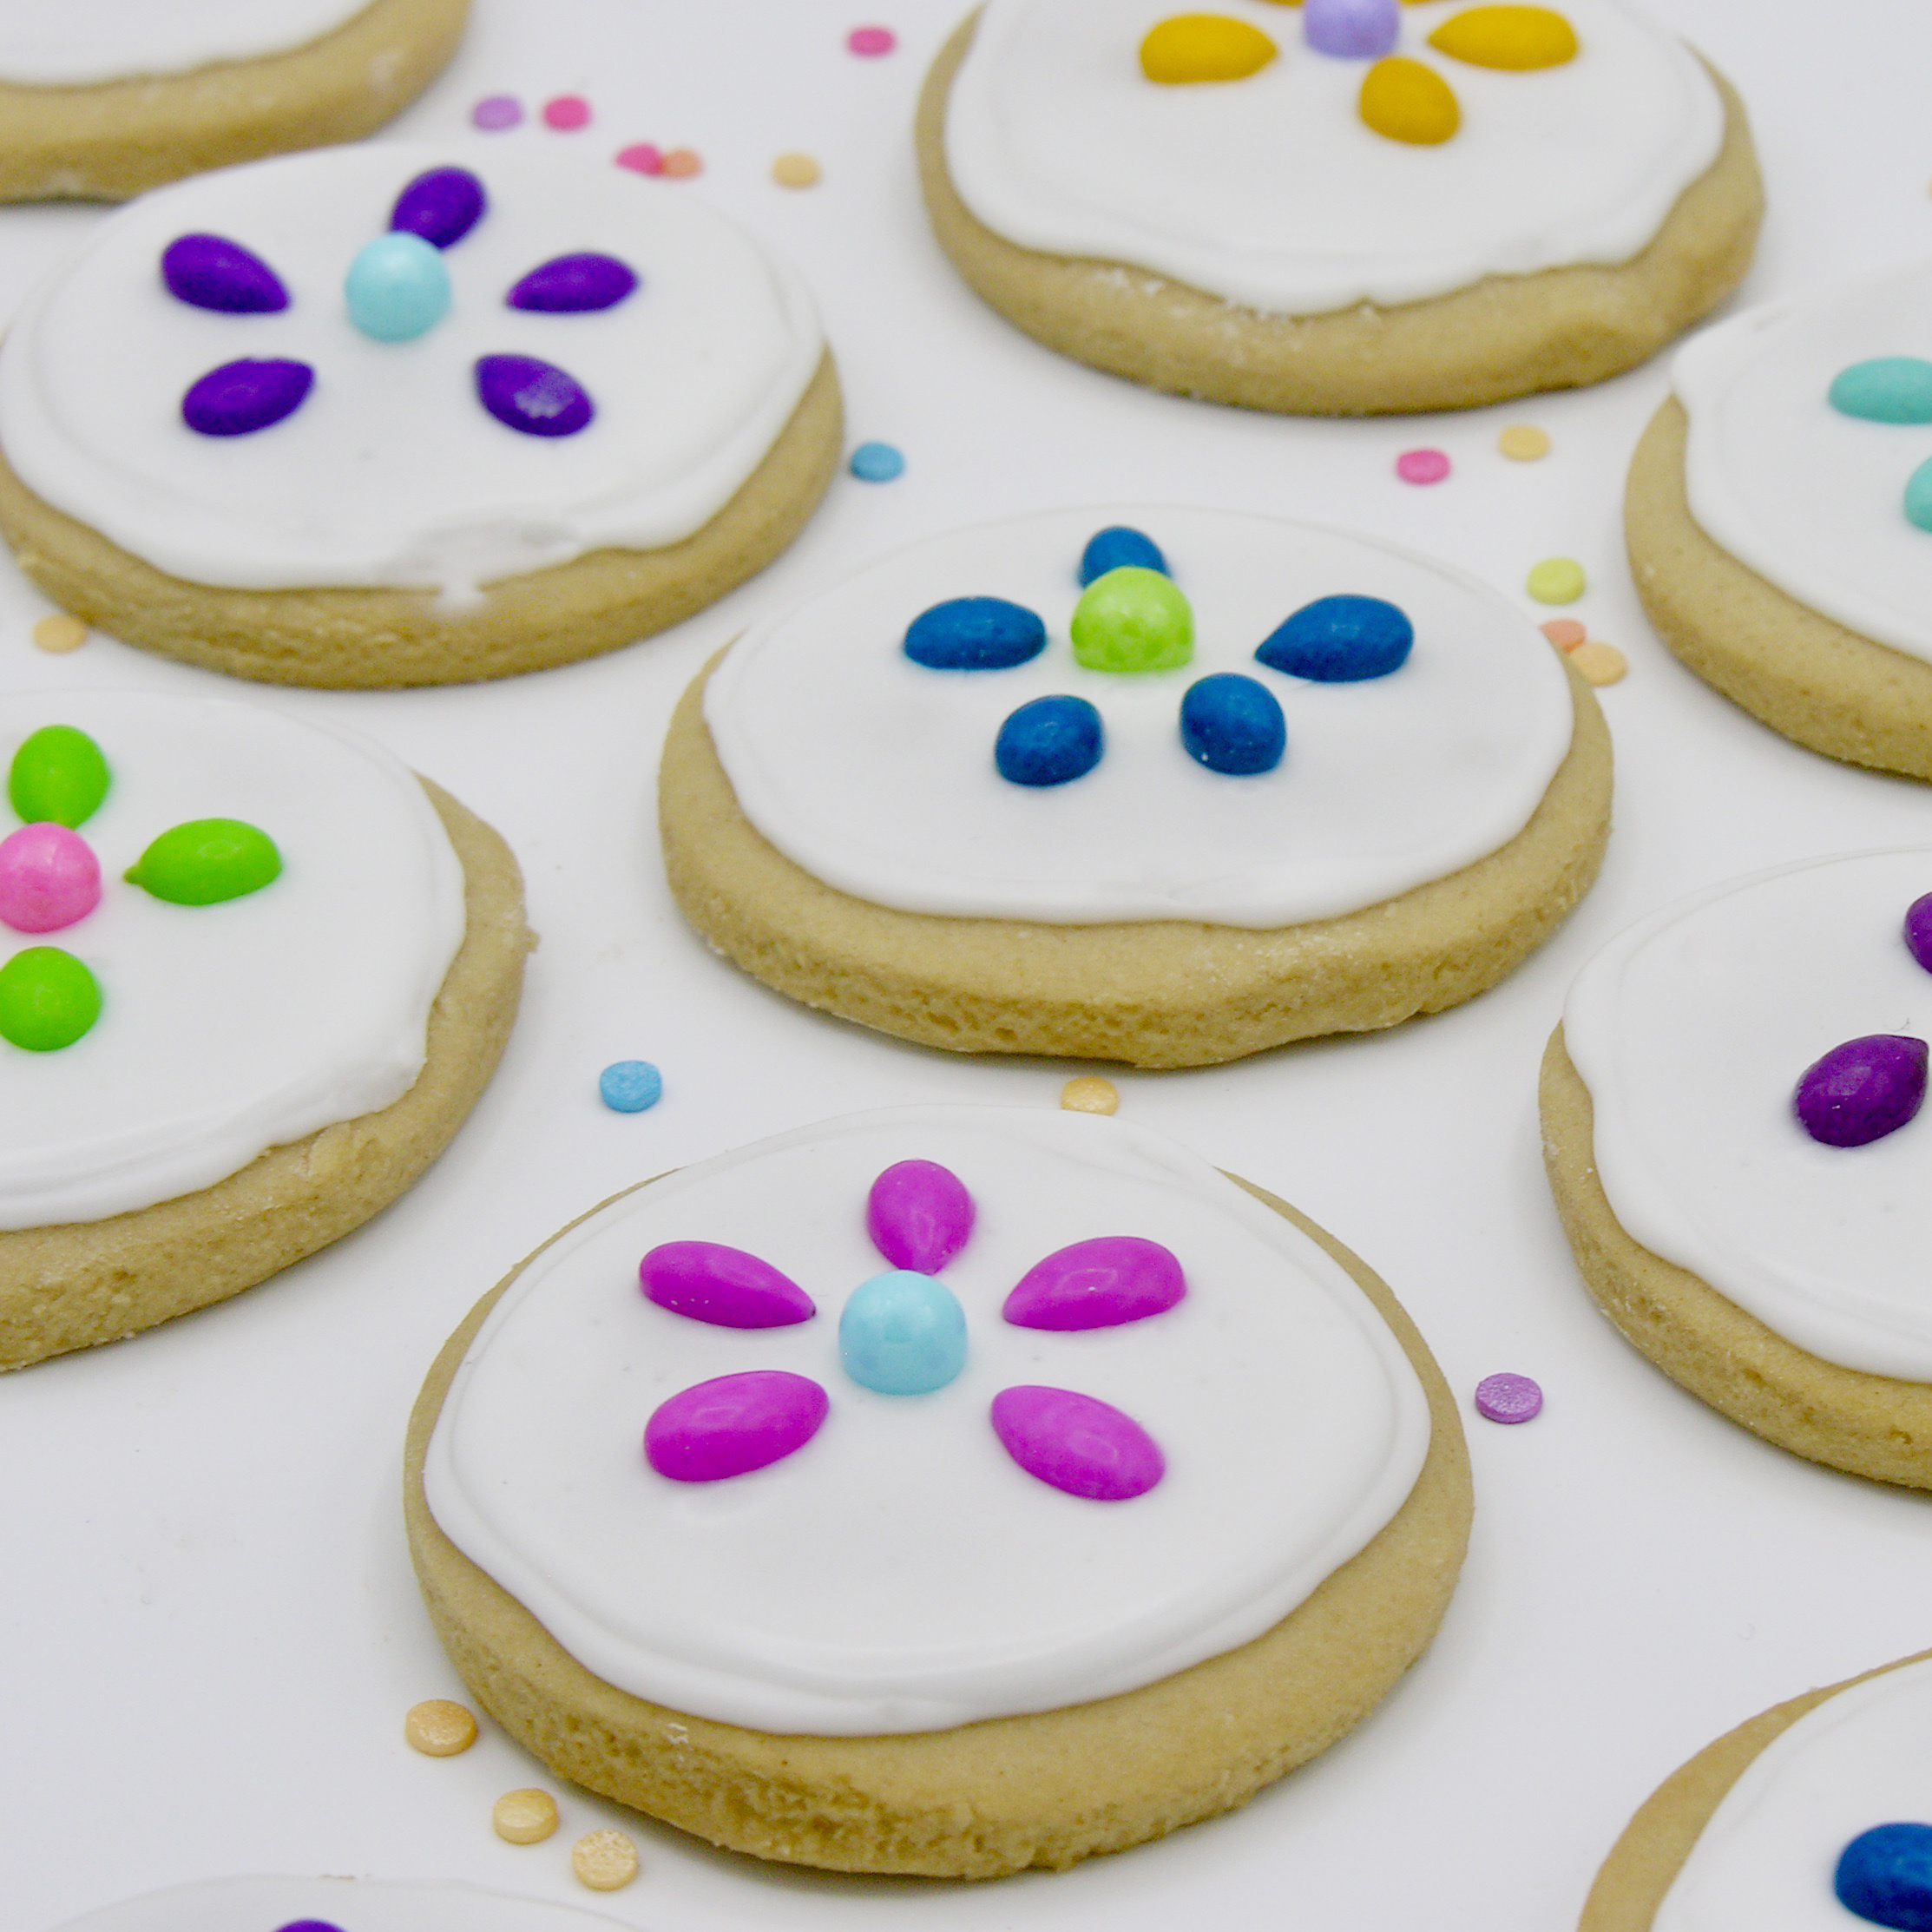
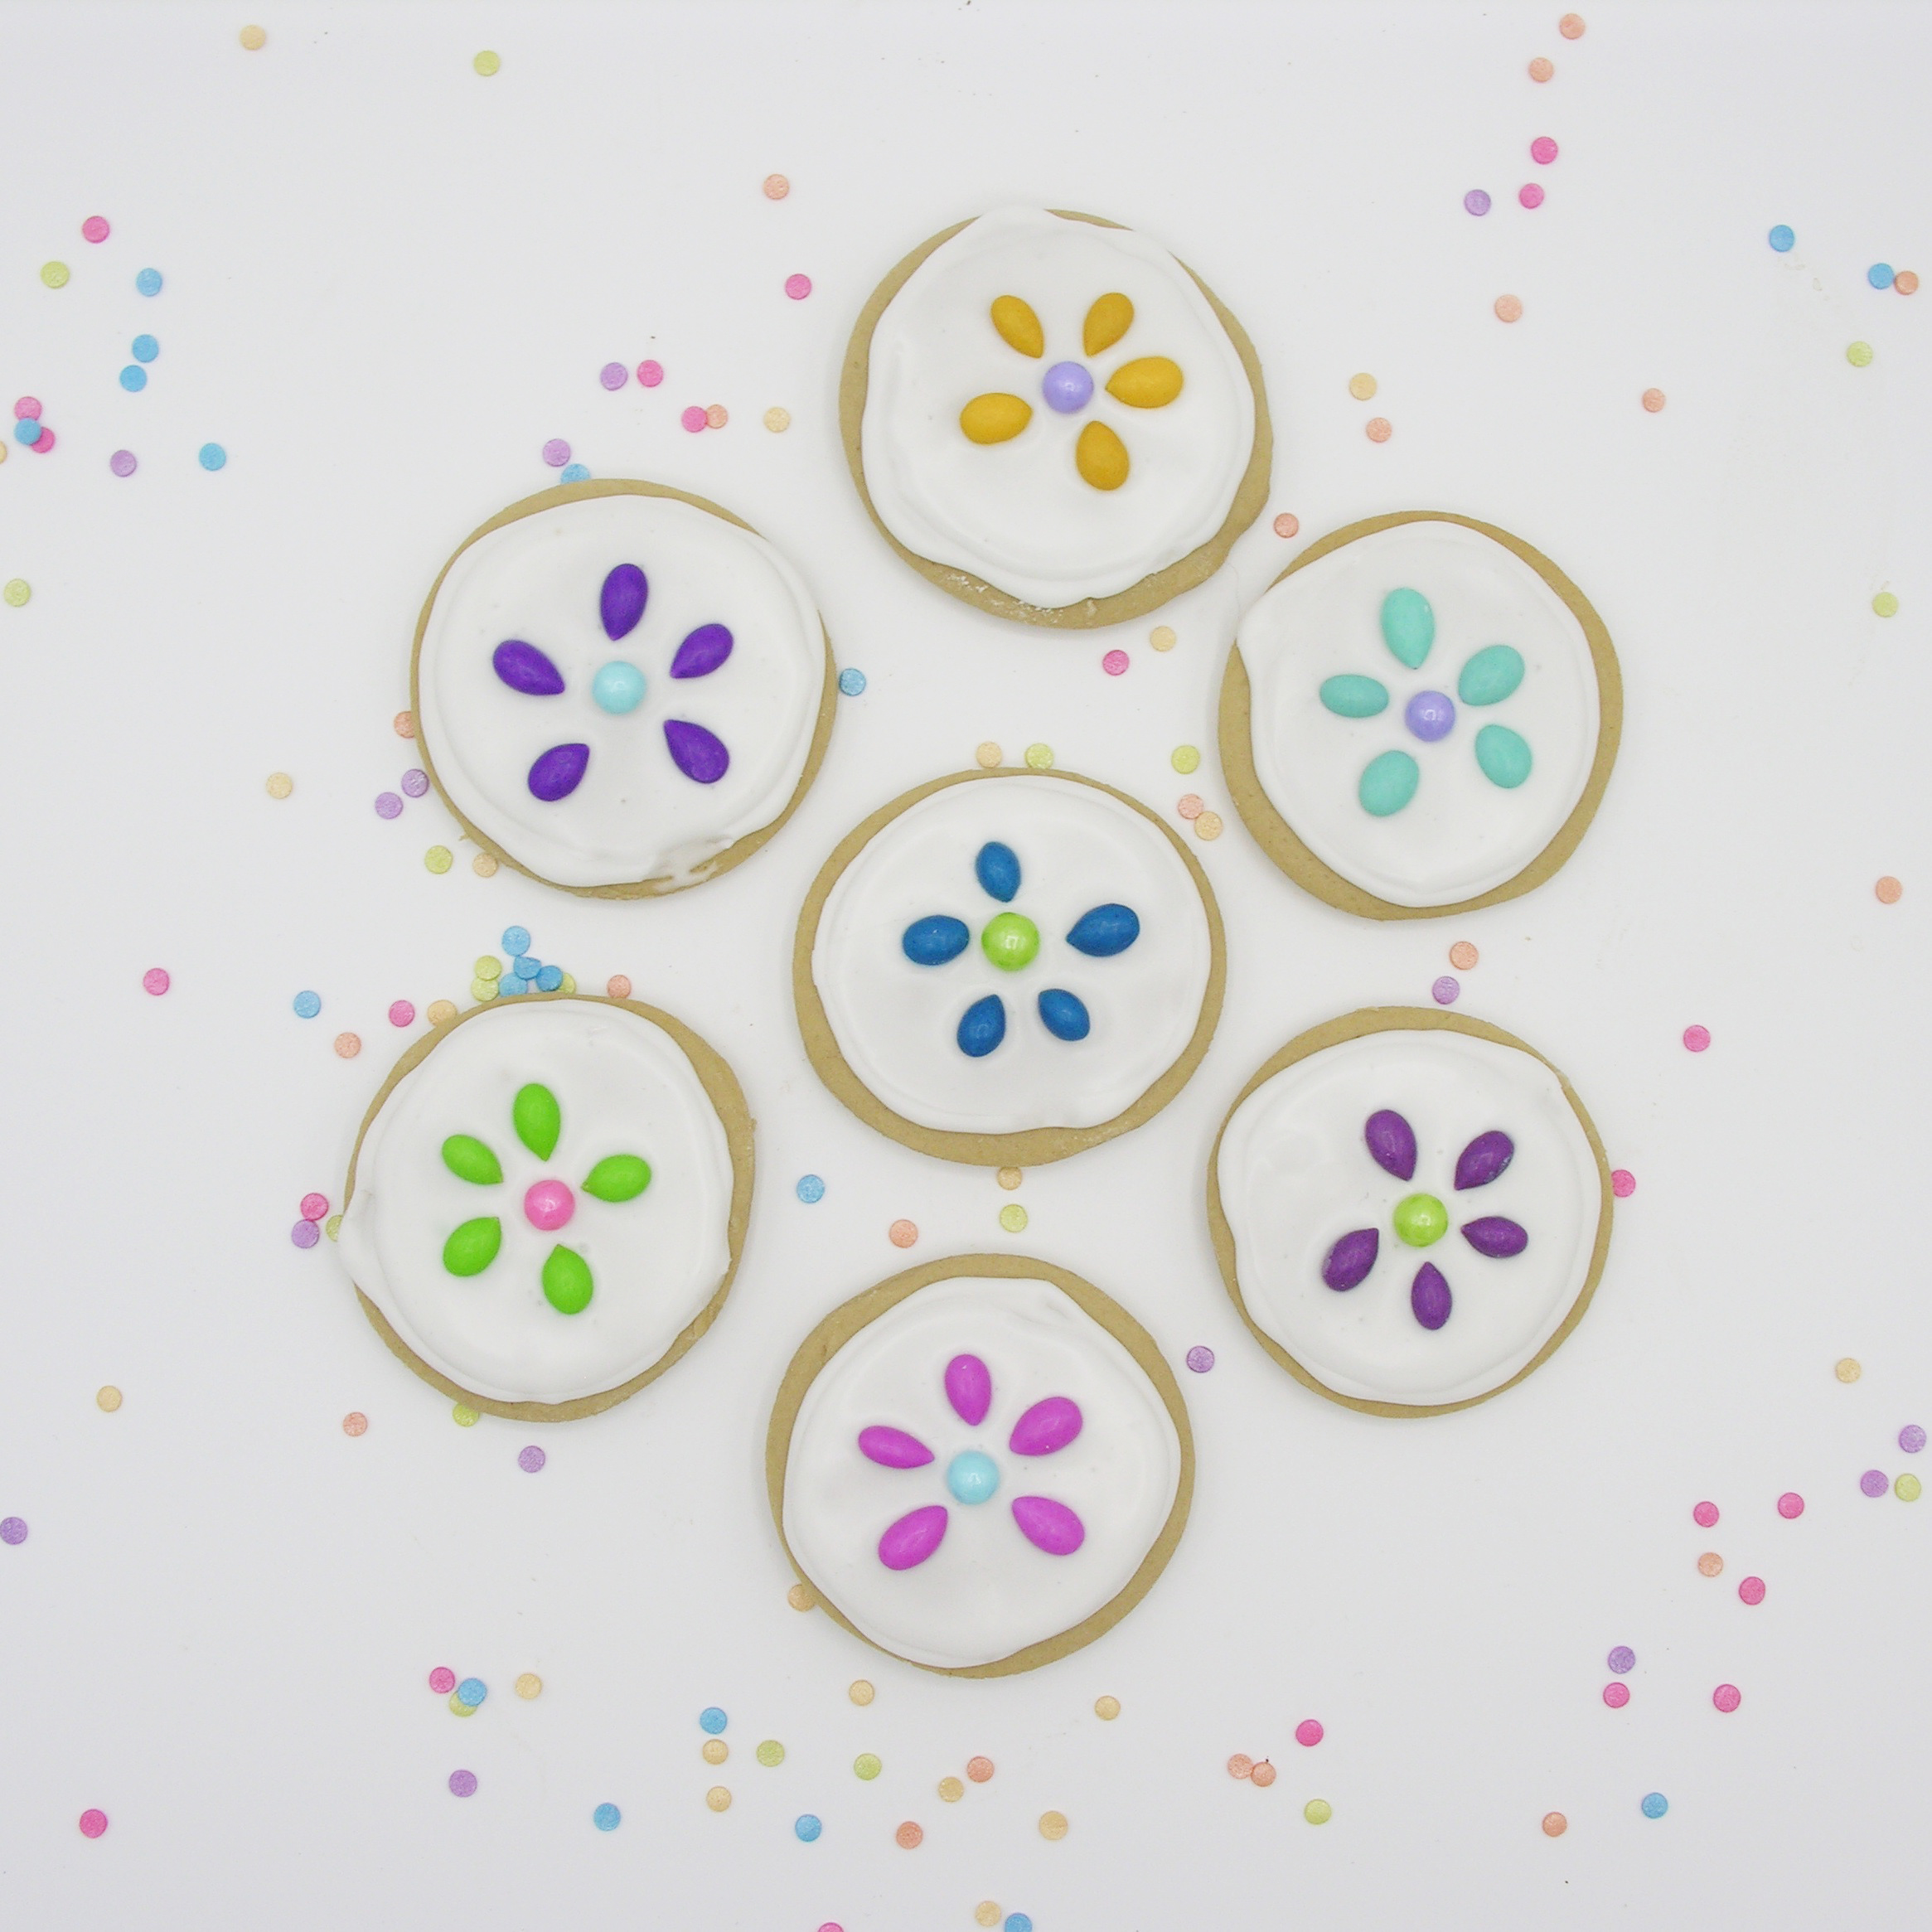
These delicious cookies will make you smile anytime of the year! With a touch of coffee in the cookies, and crunchy chocolate-covered sunflower seeds on top, they are also really delicious! 

Flower cookies2

Confession: I made these last spring jotted down the recipe as I created, brought them to a party where they got rave reviews, and then got so busy with summer that I never sat down to share the recipe with you all! So here (finally!) you go! 

I absolutely love these cookies. In March, I tweaked my favorite chocolate cut-out cookie to make Bailey’s Irish Cream Cookies. They were soooo yummy that I wanted to keep tweaking them and try a variety without the Baileys. This is the result, and they are such a soft, delicious cut-out cookie. Goodness. They are exceptional at keeping their shape when cut (I just did circles, but you could make these in any shape). I just iced them with royal icing, but the sky is the limit with flavor combinations you could use. This recipe is a keeper in our house! 🙂 

Here is the recipe (printable version): 

INGREDIENTS: (makes about 20 medium cookies)

Cookies:

  • 1 (1/2 cup)stick of butter (softened)
  • 3/4 cup of sugar
  • 2 eggs
  • 1 Tablespoon of half and half
  • 1 Tablespoon of vanilla
  • 2 Tablespoons of instant coffee granules
  • 2 to 2 1/2 cups of all purpose flour
  • 1/4 teaspoon of salt
  • 1/2 teaspoon of baking powder

Icing:

DIRECTIONS:

Cookies: 

  • Cream together butter and sugar in a large mixing bowl.
  • Mix in eggs.
  • Place half and half and instant coffee granules together in a small cup. Mix until coffee dissolves.  Add this mixture to the batter and combine well.
  • Gradually add dry ingredients and mix until smooth (use clean hands at the end, to knead into a soft ball of dough).
  • Preheat oven to 350F degrees.
  • Roll out cookie dough on floured counter.  
  • Cut into circles (or whatever shape you want!)and place on a parchment-lined baking sheet.
  • Bake for 8 to 11 minutes until the edges are firm.
  • Gently slide parchment paper off of cookie sheet and onto a flat surface.  Cool completely before removing cookies from paper.

Icing: 

  • Beat together all ingredients and add powdered sugar until it becomes a thick glaze consistency. 
  • Place about 1/3 of icing in a zip-top bag fitted with a small round piping tip. 
  • Pipe icing around edges of cookie and allow this to harden.
  • Add water to remaining icing until it is a little thinner than the edge icing. Place it into a second zip-top bag fitted with a small round piping tip. 
  • Fill center of cookie with icing, spreading it to the edges that have hardened. 
  • Before icing is completely hard, set sunflower seeds and pearl in the shape of a flower.
  • Allow icing to harden completely.
  • Enjoy!!!

Flower cookies6

Aren’t they fun??? Once the icing fully hardens on these, you can stack them up without worrying that the icing will get messed up (the joy of royal icing). As you can see… I am no professional at piping a perfect circle… so no worries if you are not experienced- they will still be beautiful!  Flower Cookies 1

My thoughts: I’m glad to finally be sharing this with you all! I figured I’d better get this out to you before fall hits and all things are pumpkin and leaves 🙂 I hope you get a chance to try these cookies- I really think you will love them! Enjoy! ~r

Flower cookies4

Since I am so late in sharing this… how about some fun back-to-school/ make your kids smile ideas? Just click a photo to see the recipe! 

apple-oreo-pops6 cookie-monster-oreos4 apple6 dscn9870

April Fool’s!!! (a collection of our best “fooled-ya” recipes!)

Posted on

spaghetti-cupcakes5

I love April Fool’s! I remember getting some pretty crazy stuff in my lunchbox at school on this day every year. Green milk, raisins stuck in my apple, “moldy” bread…  🙂 Food is a fun way to trick someone- or maybe just to make them smile- on April Fool’s Day. We have shared many “tricky” recipes here on Easybaked, and I wanted to put them all in one place for you. 

First up: Eggs and Bacon anyone? 

fried-egg3

When your kids sit down for breakfast, they will be delighted to find that these eggs are actually cookies! The toast is toasted pound cake and the bacon is, well, bacon… because salty and sweet. 🙂

If you want a funny, sweet way to kick off April 1, find the recipe here. 

Breakfast not your thing? How about dinner on a cupcake?

Next up are our Spaghetti and Meatball Cupcakes!

spagetti-and-meatballs-cucpakes1

The first time I made these, I set them down on the table and the kids were all like, “Ewwww!!!” because they thought I’d put actual spaghetti on a cupcake. Which is a *win* on April Fools 🙂 

If you want a dinner laugh, find the recipe here

And then there are the gross foods (like green milk- thanks mom!)

How about worms? You could add these to any food plate. We put them on cupcakes, but how fun would they be on a sandwich? Or in a salad? They are pretty realistic. These are no gummy worm. 

worm2

You need to prepare ahead for these (they have Jello-O as an ingredient), but if you want to gross out your family, coworkers or friends, click here for the recipe. 

You thought worms were gross?

How about poop? especially if you have a dog or cat, you *might* convince your kids that an accident happened right on their plate! Ewww…. 😂

emojipoo2

These are actually delicious chocolate cookies… but when you pick one up to try it, you will add even more to the gross factor!

Want to add poo to dinner? The recipe is here

If you are serving poo, you might want to add this fun little cake to the table too:

LTUA0334

I made this TP cake in the height of the TP shortage of COVID, and it was deliciously funny 😂 If you want to give it a try, click here

One last “gross” recipe 🙂 Imagine you accidentally cut yourself making these cupcakes- but decided to serve them anyway? 

broken-glass-cupcakes-1

You’d have these Broken Glass Cupcakes! Get this gross, yet super tasty recipe here.

Finally, I leave you with a collection of “mini” treats. They won’t trick anyone, but they are so fun, I just had to add them to this post. Click on a picture to see the recipe! Hope you have a SUPER fun day playing tricks! 😊 ENJOY! ~r

burger3 bobber-cupcakes1 bbq-cupcakes1 lemonade-cups3 baseball-brownies6 mug-cupcakes4-1

No-Bake Easter Nest Cookies

Posted on

Easter nest 4-1These crunchy little nest cookies are filled with the (seriously addictive!) Cadbury mini eggs and a pinch of coconut. A perfect Easter treat! 

Easter nest 6-1

I just want you to know… I am the owner of the perfect no-bake cookie recipe. It’s my mom’s recipe, and it is perfect because it was the recipe we grew up enjoying. My mom passed away about 6 years ago, and I cherish every recipe I have of hers. When I was thinking about making Easter nest cookies, this recipe was the 1st to pop into my head. For sure I could have made it with the traditional oatmeal, but that’s not very nest-y, is it? So I used shredded wheat (the big ones!) I had to look a little bit to find the full-size shredded wheat (there are like a million flavors of mini!), but I found it- and it worked perfectly. I see you, chow-mien nest-makers- but I just could not bring myself to cover chow mien noodles in chocolate. Ewww. Sorry. Sticking with cereal here 🙂

Easter Nest 2-1

Want to know how to make these little nest cookies? Here is the recipe: (printable version)

Ingredients: (makes 24 mini nest cookies)

  • 2 cups sugar
  • 1/2 cup milk
  • 1/2 cup margarine (or one stick of butter)
  • 1/2 cup cocoa
  • 1/2 cup peanut butter (creamy)
  • 3 teaspoons vanilla extract
  • 4 cups of broken up shredded wheat (this was 9 big pieces, broken up)
  • 1/2 cup coconut (optional) with a tiny bit of green food coloring
  • 72 mini Cadbury eggs (just get a big bag- you’ll want the rest- I promise!)

Directions: 

  • Crunch up the shredded wheat until you have 4 cups.
  • If you use coconut, place it in a zip-top bag with the food coloring and shake until green.
  • Spray a mini-muffin tin with non-stick spray and set aside. 
  • Measure sugar, milk, margarine, and cocoa into a large saucepan. 
  • Heat until boiling (stirring constantly) and then boil for 2 minutes. 
  • Add peanut butter and vanilla. Stir until smooth. 
  • Take off heat, and add Shredded wheat, stirring until it is completely coated. I recommend adding it one cup at a time and using a little less if it gets too thick to stir well.
  • Working quickly, spoon or scoop into mini-muffin tin. 
  • Use a tart shaper or a rounded measuring spoon to press the center in (spray this item with cooking spray between each nest to keep it from sticking). 
  • Sprinkle a little coconut over each nest. 
  • Press three eggs into each nest. 

Nest process1Process3Process2

  • Allow nests to cool and harden.
  • Use a small knife to pop nests out of pan. 
  • Enjoy! 

Easter nest 5-1

My thoughts: I love how interesting these cookies taste with a different cereal added! For sure the shredded wheat gives these a more nest-like appearance. I really wanted to get the Cadbury eggs that are shimmery, but I couldn’t find them at my grocery, so I sprinkled a few edible sparkles over the top. 

If you want to try these with the oatmeal (and experience one of my favorite cookies from childhood), I will leave you with my mom’s original recipe (in her handwriting :)). I actually remember her writing this out for me (from memory). I’d just gotten my 1st apartment out of college and was craving these and she pulled out her notepad and jotted this down for me.

Just a note though- she NEVER used butter (even though the recipe says butter). Butter translated to her was always Country Crock. I use margarine as well- just to be true to her recipe- but I’m sure butter works fine too. Enjoy! ~r

Mom's recipe

Looking for other fun recipe ideas for Easter? We have lots of them! Just click a photo to see the recipe!

babychicks3cadbury-egg1dscn8243jelly-bean-cookies1

Bailey’s Irish Coffee Cookies

Posted on

These cute little cookies are packed with flavor! A combination of Bailey’s, coffee, and a little chocolate on top? You can’t go wrong with these little St. Patrick’s Day treats! 

Baileys Cookies 2

I feel like I am always looking for new ways to use already-perfected flavor combinations. Like coffee and Bailey’s. For these cookies, I used my all-time favorite chocolate cut-out cookie recipe and tweaked it a bit to make these. I have to say, you will *love* how these roll out- they are so smooth! I also have to say that after trying them, I think you could add chocolate chips, roll the dough into balls, and cook them like that too. If you want to avoid cookie cutters 🙂 But for today, we have these delicious little cut-outs. 

Bailey's cookies 5

Anyone curious about the recipe?? Here you go! (Printable version)

INGREDIENTS: (makes 36 medium cookies)

Cookies:

  • 2 sticks (1 cup) butter, softened
  • 1 1/2 cups sugar
  • 2 eggs
  • 3 Tablespoons of Bailey Irish Cream (get the little individual serving bottle, if you (like us!) don’t keep this in your house. This recipe will use one little 100mL bottle almost up. 
  • 3 teaspoons instant coffee granules
  • 3 1/2 to 4 cups flour
  • 1/2 teaspoon salt
  • 1 teaspoon baking powder

Icing:

  • 4 cups powdered sugar
  • 1/4 cup water
  • 3 Tablespoons meringue powder
  • 4 Tablespoons of Bailey’s Irish Cream
  • 2 teaspoons of instant coffee granules
  • (optional) Wilton’s Candy Melts in light cocoa for design on top. 

DIRECTIONS:

Cookies: 

  • Cream together butter and sugar in a large mixing bowl.
  • Mix in eggs.
  • Place Bailey’s and instant coffee granules together in a small cup until coffee dissolves.  Add this mixture to the batter and mix until completely incorporated.
  • Gradually add dry ingredients and mix until smooth (use clean hands at the end, to knead into a soft ball of dough).
  • Preheat oven to 350F degrees.
  • Roll out cookie dough on floured counter.  
  • Cut into circles and place on a parchment-lined baking sheet.
  • Bake for 8 to 11 minutes until the edges are firm.
  • Gently slide parchment paper off of cookie sheet and onto a flat surface.  Cool completely before removing cookies from paper.

Icing: 

  • Again, place Bailey’s and instant coffee granules together in a small cup until coffee dissolves.  
  • Beat together all ingredients and add powdered sugar until it becomes a thick glaze consistency. 
  • Place about 1/3 of icing in a zip-top bag fitted with a small round piping tip. 
  • Pipe icing around edges of cookie and allow this to harden.
  • Add water to remaining icing until it is a little thinner than the edge icing. Place it into a second zip-top bag fitted with a small round piping tip. 
  • Fill center of cookie with icing, spreading it to the edges that have hardened. 
  • You can decorate as desired. I used a chocolate mold to make little coffee beans (I would have used *actual* chocolate- covered coffee beans, but I hate them!) Be sure to place it on the icing before it hardens. I also drizzled a little of the same chocolate on the cookies. Be creative! Sprinkles, icing designs, chocolate transfers… decorate as you wish, and ENJOY!!!!

Bailey's cookies 7

My thoughts: I find it hard to be objective about my own baking (anyone else feel that way??) I am super critical of the flavors. Are they strong enough? Too strong? Too sweet? Too bitter? So I give you the words of my sweet hubby (who is unfailingly honest, and my best taste-tester), “These are better than Starbucks cookies.” Then he ate another one. He says these are just the right balance of coffee and the flavor of Bailey’s, but the best part is the cookie texture- crunchy on the outside and so soft inside. However you end up making these, I hope you love them! ~r

Looking for other fun St. Patrick’s Day recipes? Click on the photo to see the recipe (I *highly* recommend the 1st one- epic cupcakes plus a funny story!)

baileys-cupcakes5 baileys-brownies11 apple-truffles3 andes-mint-cookies5

Leprechaun Lime Mousse

This refreshing lime mousse tastes a little like whipped key lime pie, but has a secret ingredient you’d never guess…. PEARS! A sneaky way to get fruit into a meal. I promise that you can’t taste them… I hate pears and absolutely love this mousse!Lime Mousse 5

This is a family recipe, and we *always* had it at Christmas- just cut into squares. I was craving it, and because it is almost March, I cut some into squares and used a cookie cutter to make some into shamrocks 🙂 Either way you serve it, this is a REALLY yummy treat in any season!Lime Mousse 3

Want the recipe? Here it is (printable version):

INGREDIENTS:

  • One box (3 oz) Lime Jello
  • One box (3 oz) Lemon Jello
  • Two (15 oz) cans of pears
  • One (8 oz) block of Philadelphia cream cheese (softened)
  • 1 (8 oz) tub of Cool Whip (thawed in fridge)

DIRECTIONS: (make ahead one day, to allow it to fully set)

  • Drain pear juice from pears into a measuring cup (add water to bring the total to 2 cups)
  • Bring 2 cups pear juice to a boil on the stove. 
  • Place both Jello packets into a large bowl and add boiling pear juice, stirring until completely dissolved. 
  • Allow Jello mixture to cool to room temp (place in freezer to speed this up)
  • While Jello cools, cut pears up into small chunks and cream cheese into squares.
  • Add pears and cream cheese to a blender. Pour in cooled (but NOT set!) Jello mixture. 
  • Blend until very, very smooth. You should not have a gritty texture from the pears- keep blending. 
  • Add thawed Cool whip, and Jello/pear mixture, together in a large bowl. Beat until smooth. 
  • Pour into a 9×13 dish and refrigerate until it sets (overnight is best).
  • To serve, cut into squares. Or shamrocks- just know you will have more waste with the shamrocks, although I just put the extra in a bowl with a spoon and we were all good 🙂 
  • Enjoy! Keeps well in the fridge for several days.

Lime Mousse 1


Lime Mousse 2

My thoughts: Well, I love this recipe, and I make it quite often during all times of the year. It is a quick and easy *kinda* healthy treat (PEARS! There are PEARS!). I really do hope you get a chance to make this, and that you love it as much as we do! ~r

Lime Mousse 6

Want to try some other fun St. Patrick’s Day recipes? Just click on the photo to see the recipe! 🙂 

Grasshopper Mint Cupcakes Rainbow Oreo Pops!!!  Lucky Charm Truffle3  baileys-cupcakes5

Coconut Cupcakes with Passionfruit Icing

These deliciously dense coconut cupcakes are infused with passionfruit syrup and topped with passionfruit icing and a coconut meringue.

Anyone ready for sunshine?? Goodness, winter in Indiana always seems to last forever. I was craving tropical, sunshiny flavors, and that is what inspired these treats. I did two versions… the confetti version (above) and the classier silver sprinkle version:

I first fell in love with passionfruit in the country of Peru. I was visiting my friend Deb, and we had an incredible visit to both Machu Picchu and the jungles of the Amazon. In both places, we had maracuya juice and delicious desserts made with the same fruit. I later learned that maracuya is passionfruit and I began to search for it in every possible place in the US. Paired with coconut, it creates just the *best* tropical dessert.

I’ve been wanting to add little meringues to the top of cupcakes for awhile now, and these seemed like the perfect opportunity. For sure, they are decorative, and you would not *have* to do these, but they add a little bit of coconut crunch on the top, and make the cupcakes soooo cute!

Want the recipe?

Let’s start with the meringues. Feel free to skip these, if you want- you can simply add sprinkles to the frosting to save time! (Printable recipe)

Meringue Ingredients: (makes 24-30 meringues)

  • 4 large egg whites at room temperature
  • 1/2 teaspoon cream of tartar
  • 1 cup sugar
  • 1 teaspoon coconut extract
  • fun sprinkles

Meringue Directions:

  • Preheat oven to 225F and line a large cookie sheet with parchment paper. Set aside.
  • Combine egg whites, cream of tartar, and salt in a large bowl.
  • Use an electric mixer and mix on low speed until mixture becomes foamy.
  • Increase speed to high, and gradually add sugar, about 1 Tablespoon at a time, mixing after each addition until sugar is dissolved (about 15-20 seconds between each addition).
  • Beat until mixture is thick, shiny, and has increased in volume. Mixture should have stiff peaks and sugar should be completely dissolved.
  • Add coconut extract and mix until combined.
  • Fit a piping tip (I used a large star tip) into a piping bag or a large zip-top bag, and pipe meringues on parchment paper (close- they do not expand). Sprinkle with confetti sprinkles or silver balls.
  • Bake on 225F for 1 hour. Turn off the oven once the baking time is over, and do not open the oven. Leave the oven door closed and allow cookies to cool completely in the oven (1-2 hours) before removing. Once cooled, these can be stored in an airtight container for a few days before using.

Ready for that cupcake recipe? Here it is: (printable recipe)

INGREDIENTS:

Cupcakes: (makes 24 cupcakes)

  • 2 1/2 cups of flour
  • 1 cup of sugar
  • 4 teaspoons baking powder
  • 1/2 teaspoon salt
  • 1 cup of shredded coconut (finely chopped)plus a little to sprinkle on cupcakes at the end
  • 1 stick (1/2 cup) unsalted butter at room temperature
  • 4 egg whites and 1 egg yolk at room temp
  • 1 teaspoon clear vanilla extract
  • 1 teaspoon coconut extract
  • 1/2 cup cream of coconut, plus about 1/4 cup to brush over tops of cupcakes.
  • 2 tablespoons water

Icing:

  • 2 sticks (1 cup) salted butter
  • 1 stick (1/2 c) unsalted butter
  • 3 cups powdered sugar
  • 1 cup of passionfruit syrup

DIRECTIONS:

Cupcakes:

  • Preheat oven to 325F
  • Add flour, sugar, baking powder, chopped coconut, and salt to a large mixing bowl and using an electric mixer combine these dry ingredients well.
  • Melt butter in microwave and add to dry ingredients. Mix until combined.
  • In a smaller bowl, whisk together the rest of ingredients.
  • Slowly add half of liquid mixture to dry, while mixing on medium.  Mix until completely combined.
  • Slowly add the rest of the liquid and mix on high for about a minute until well combined.
  • Divide batter into 24 cupcake liners in cupcake tins.
  • Bake for 15-18 minutes until a toothpick inserted into middle comes out clean.
  • Allow cupcakes to cool in pan for about 5 minutes before transferring to a wire rack to cool completely.
  • Poke holes into tops of each cupcake and use a pastry brush to brush coconut cream on top of each cupcake. Be generous- this will make your cupcake nice and moist.
  • Allow coconut cream to soak in while you make icing.

Icing:

  • Add all ingredients into a mixing bowl and combine with a mixer on low.  Then whip on high until light and fluffy.
  • Frosting will be a pale yellow color. If you want it to be more vivid, add a little yellow food coloring.
  • Pipe icing on top of each cupcake using large star tip in a piping bag.  Evenly divide icing among the 24 cupcakes.
  • Place a meringue on the top of each cupcake, and sprinkle a little chopped coconut on the frosting.
  • Enjoy!

My thoughts: These are a little fussy with the meringues, but aren’t they SO cute??? We kept these covered in a cupcake container, and even almost a week later, the meringues were still crisp and delicious. I thought they might get a little soggy, but they really stored well. We also love the passion fruit syrup in lots of other things besides these cupcakes! It’s delicious in tea, we added some to our orange juice at breakfast, and I’m already thinking of other ways I can use this amazing flavor in other desserts! I hope you get a chance to try these delicious, tropical cupcakes soon! Enjoy! ~r

Looking for other tropical/ summery recipes to brighten your cold winter days? Here are a few we love (click on the title to see the recipe):