RSS Feed

Tag Archives: St. Patricks Day

Leprechaun Lime Mousse

This refreshing lime mousse tastes a little like whipped key lime pie, but has a secret ingredient you’d never guess…. PEARS! A sneaky way to get fruit into a meal. I promise that you can’t taste them… I hate pears and absolutely love this mousse!Lime Mousse 5

This is a family recipe, and we *always* had it at Christmas- just cut into squares. I was craving it, and because it is almost March, I cut some into squares and used a cookie cutter to make some into shamrocks 🙂 Either way you serve it, this is a REALLY yummy treat in any season!Lime Mousse 3

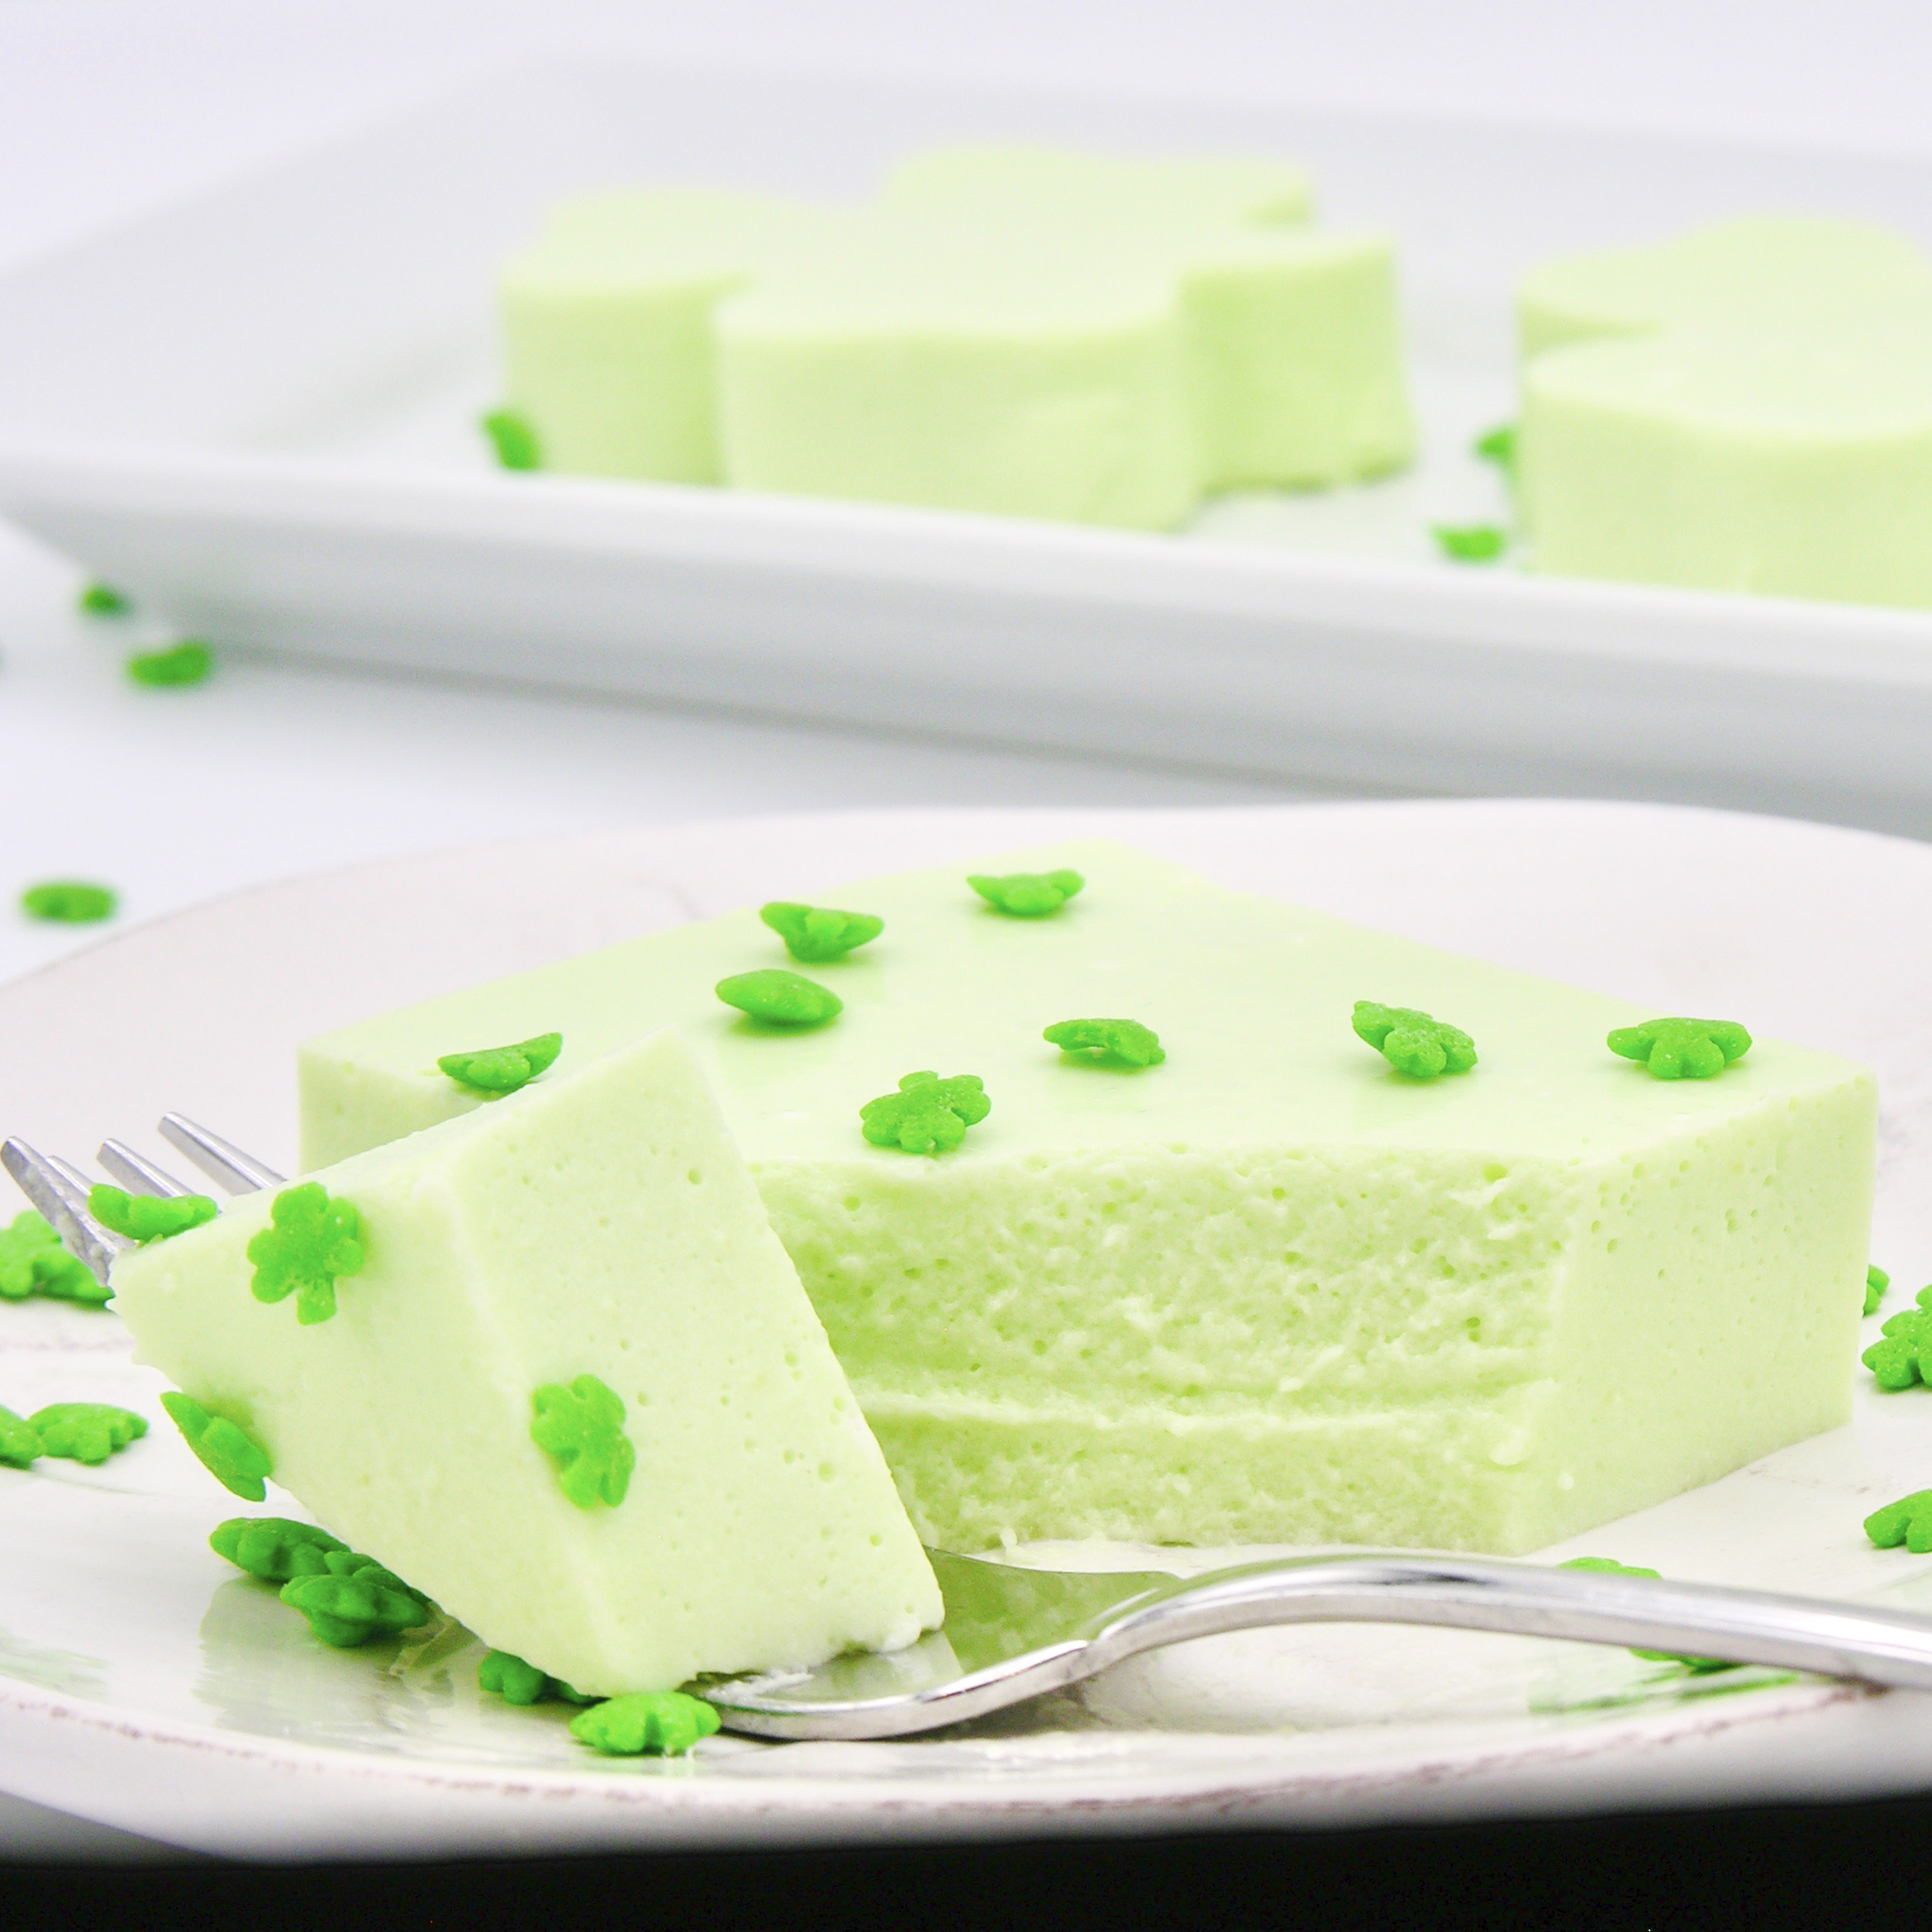
Want the recipe? Here it is (printable version):

INGREDIENTS:

  • One box (3 oz) Lime Jello
  • One box (3 oz) Lemon Jello
  • Two (15 oz) cans of pears
  • One (8 oz) block of Philadelphia cream cheese (softened)
  • 1 (8 oz) tub of Cool Whip (thawed in fridge)

DIRECTIONS: (make ahead one day, to allow it to fully set)

  • Drain pear juice from pears into a measuring cup (add water to bring the total to 2 cups)
  • Bring 2 cups pear juice to a boil on the stove. 
  • Place both Jello packets into a large bowl and add boiling pear juice, stirring until completely dissolved. 
  • Allow Jello mixture to cool to room temp (place in freezer to speed this up)
  • While Jello cools, cut pears up into small chunks and cream cheese into squares.
  • Add pears and cream cheese to a blender. Pour in cooled (but NOT set!) Jello mixture. 
  • Blend until very, very smooth. You should not have a gritty texture from the pears- keep blending. 
  • Add thawed Cool whip, and Jello/pear mixture, together in a large bowl. Beat until smooth. 
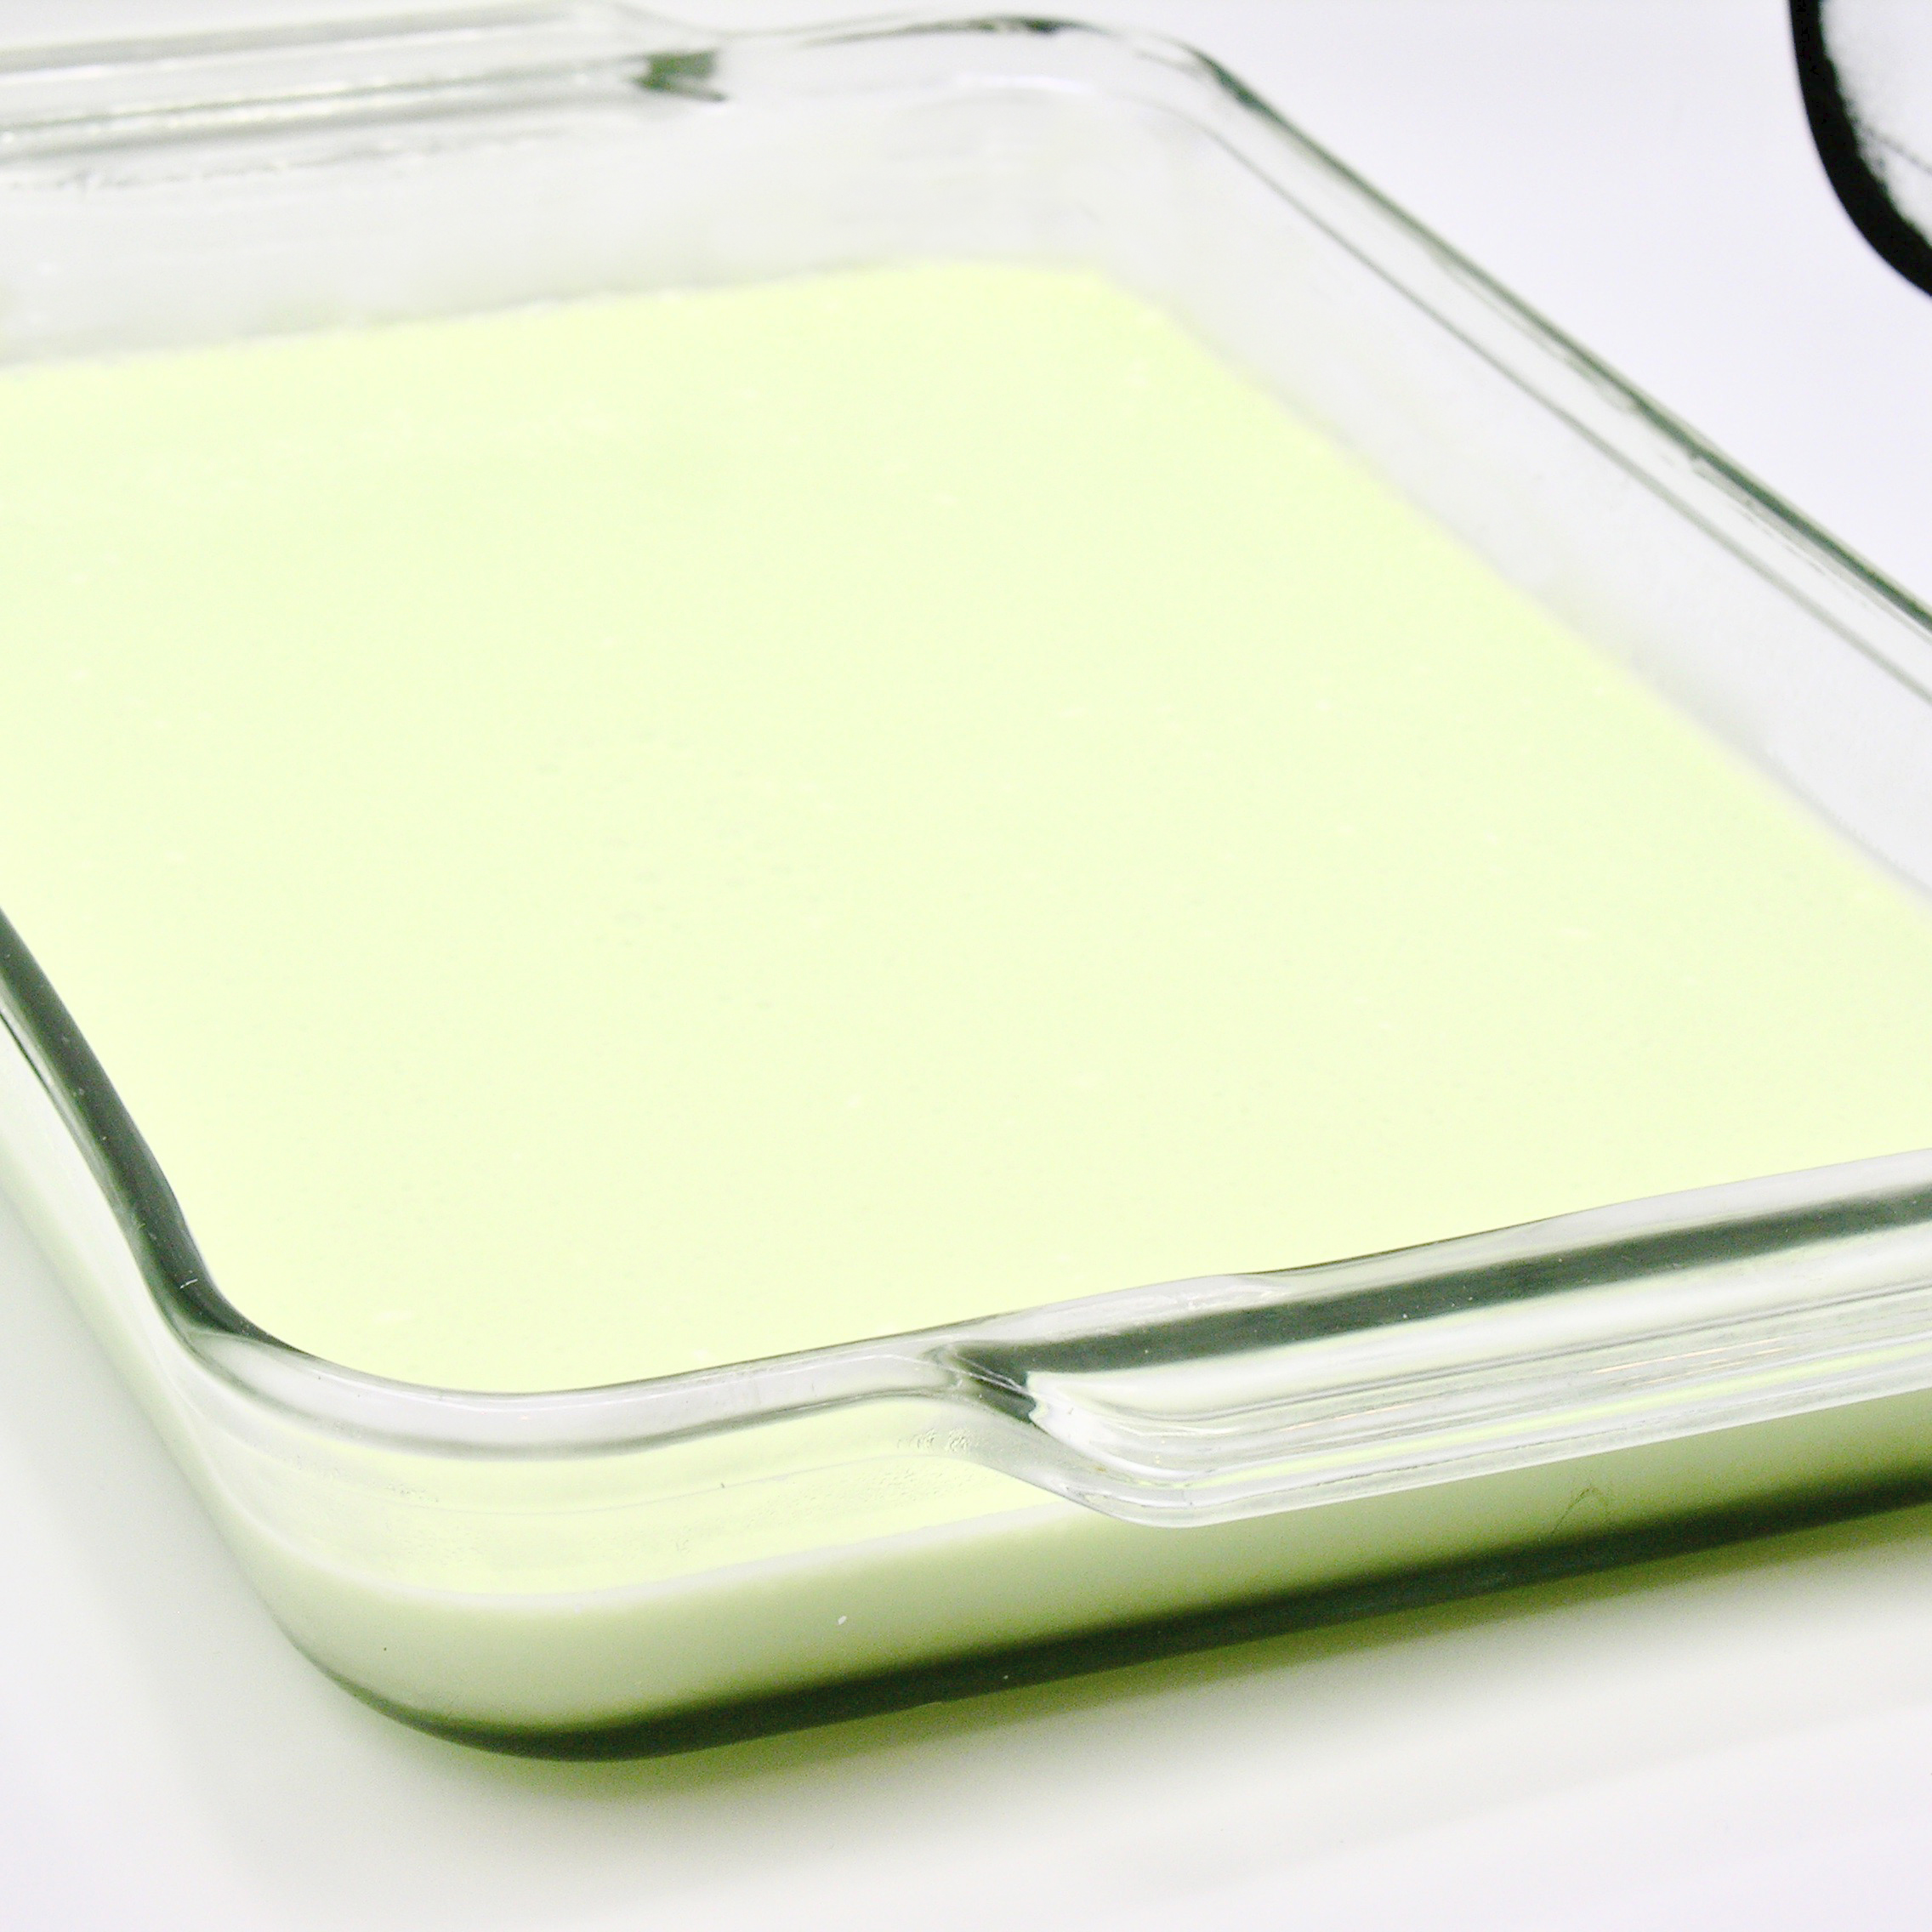
  • Pour into a 9×13 dish and refrigerate until it sets (overnight is best).
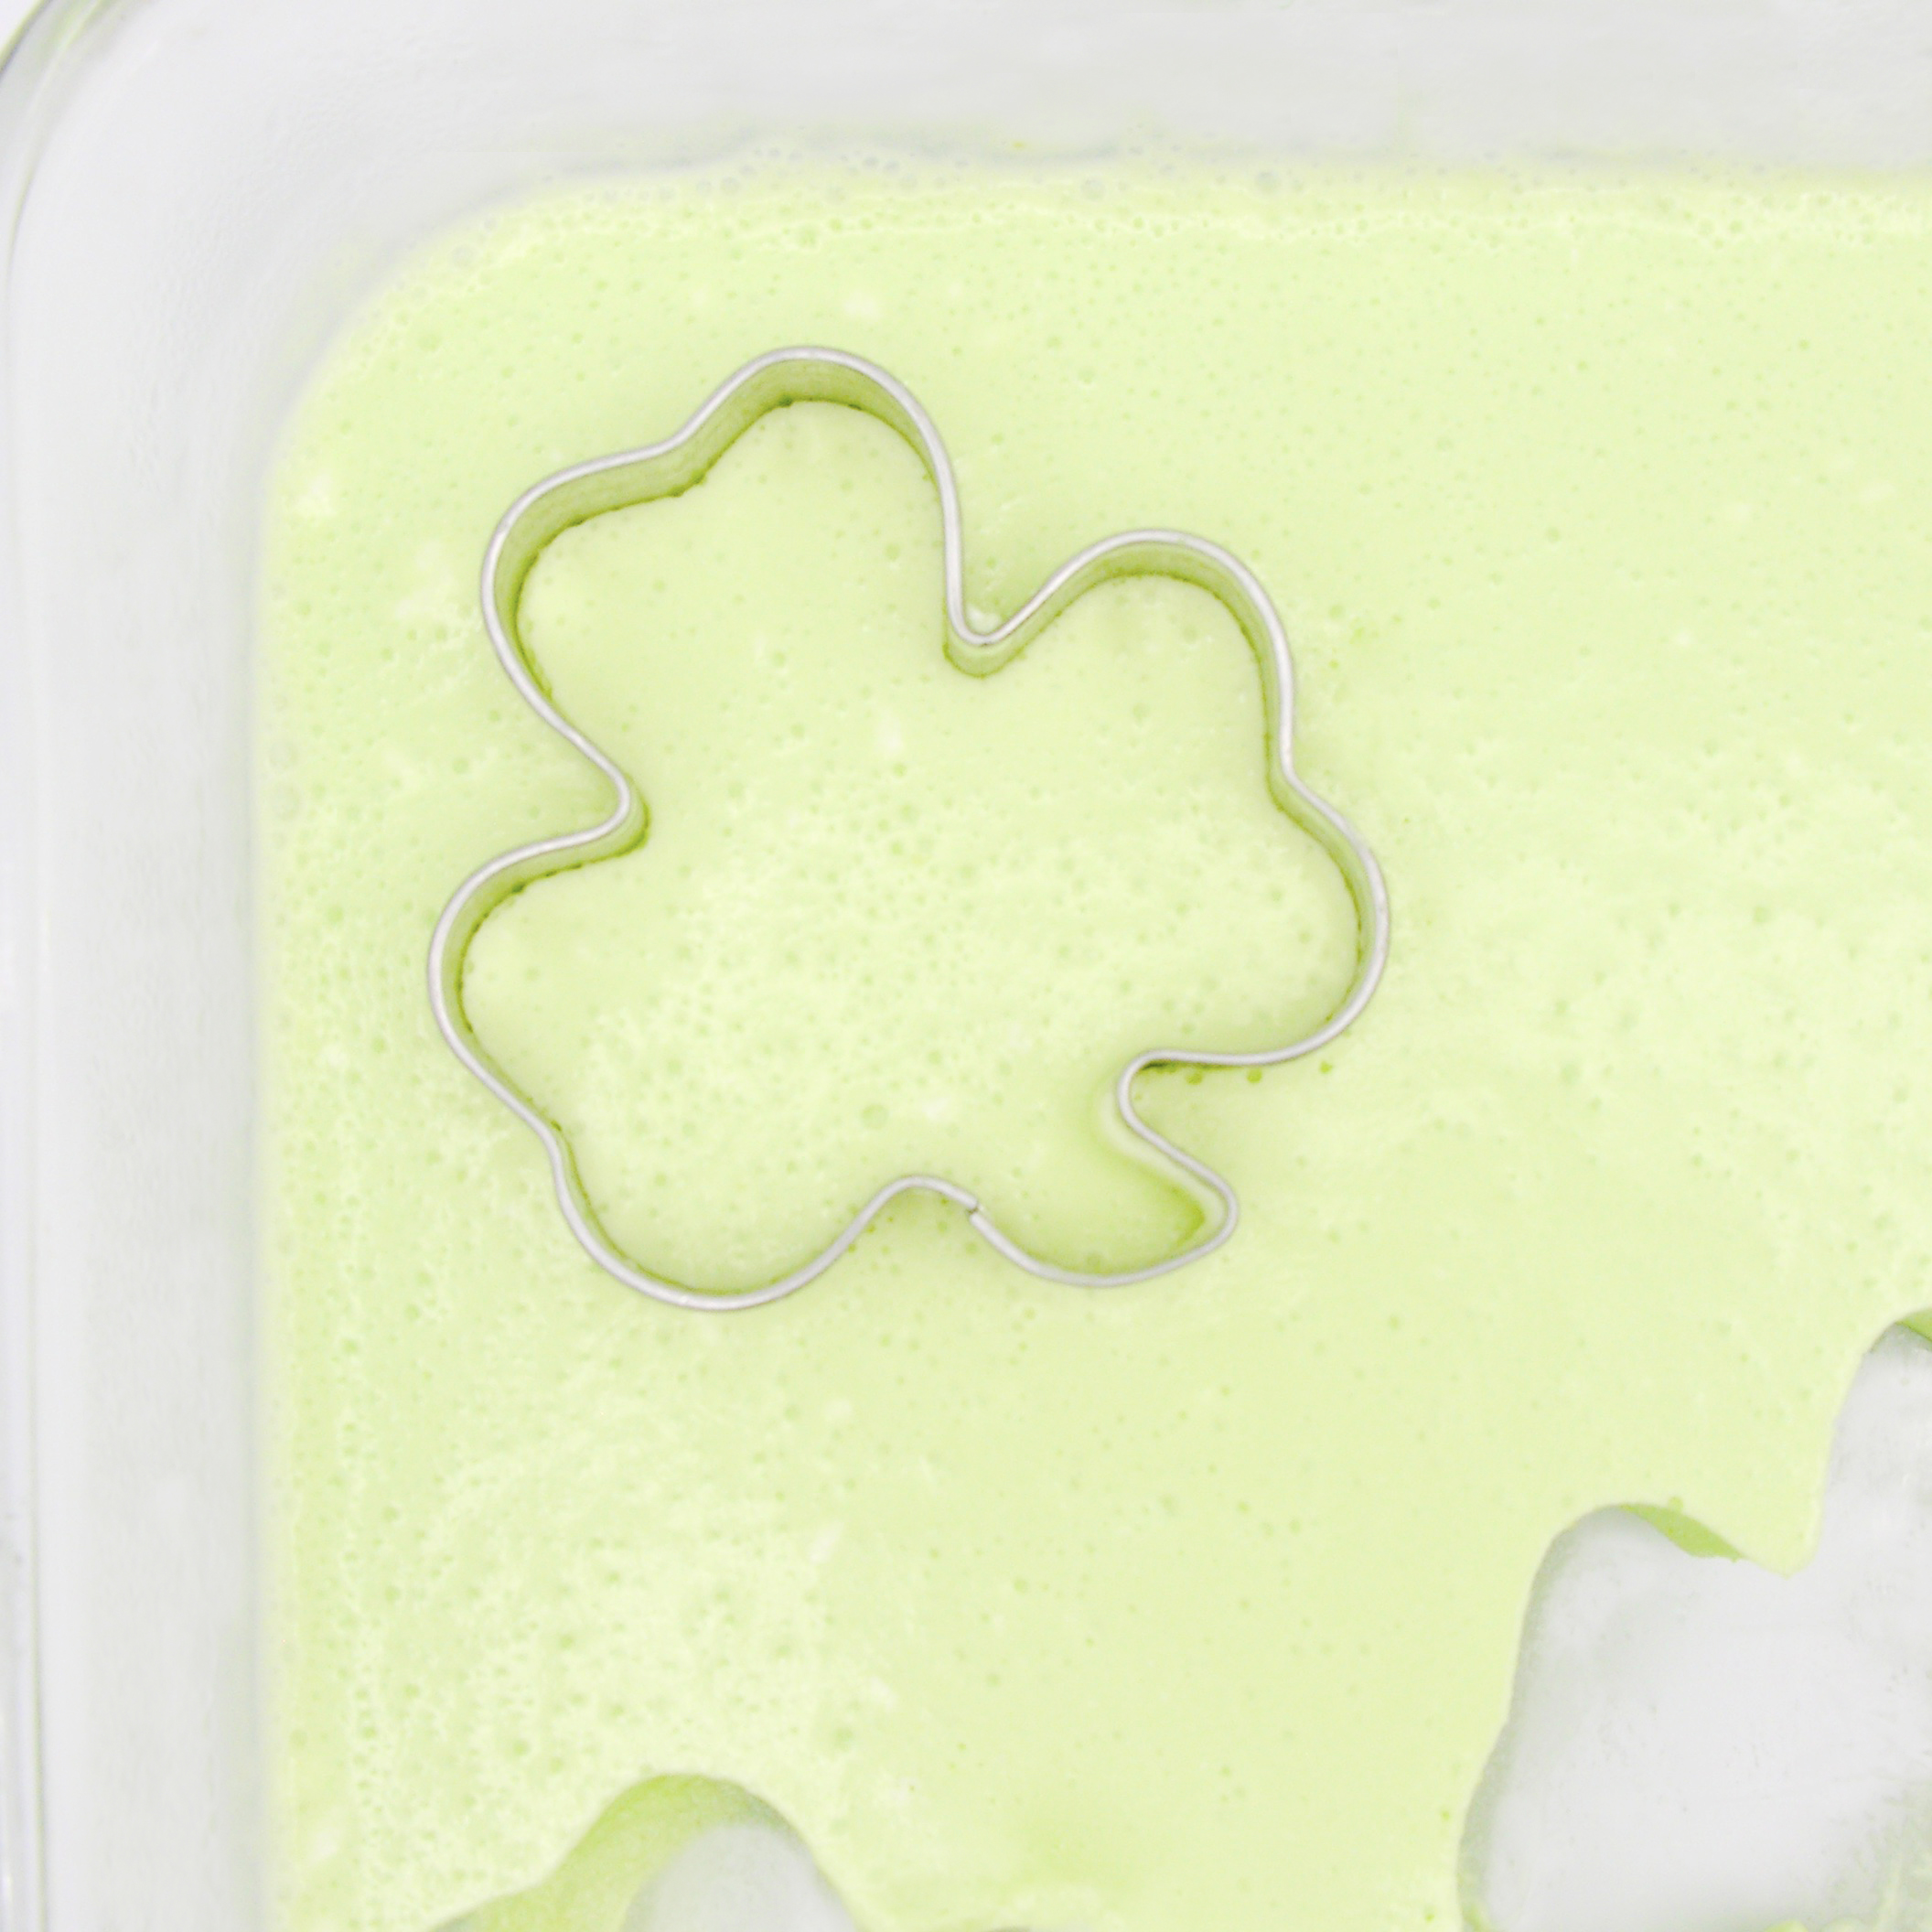
  • To serve, cut into squares. Or shamrocks- just know you will have more waste with the shamrocks, although I just put the extra in a bowl with a spoon and we were all good 🙂 
  • Enjoy! Keeps well in the fridge for several days.

Lime Mousse 1


Lime Mousse 2

My thoughts: Well, I love this recipe, and I make it quite often during all times of the year. It is a quick and easy *kinda* healthy treat (PEARS! There are PEARS!). I really do hope you get a chance to make this, and that you love it as much as we do! ~r

Lime Mousse 6

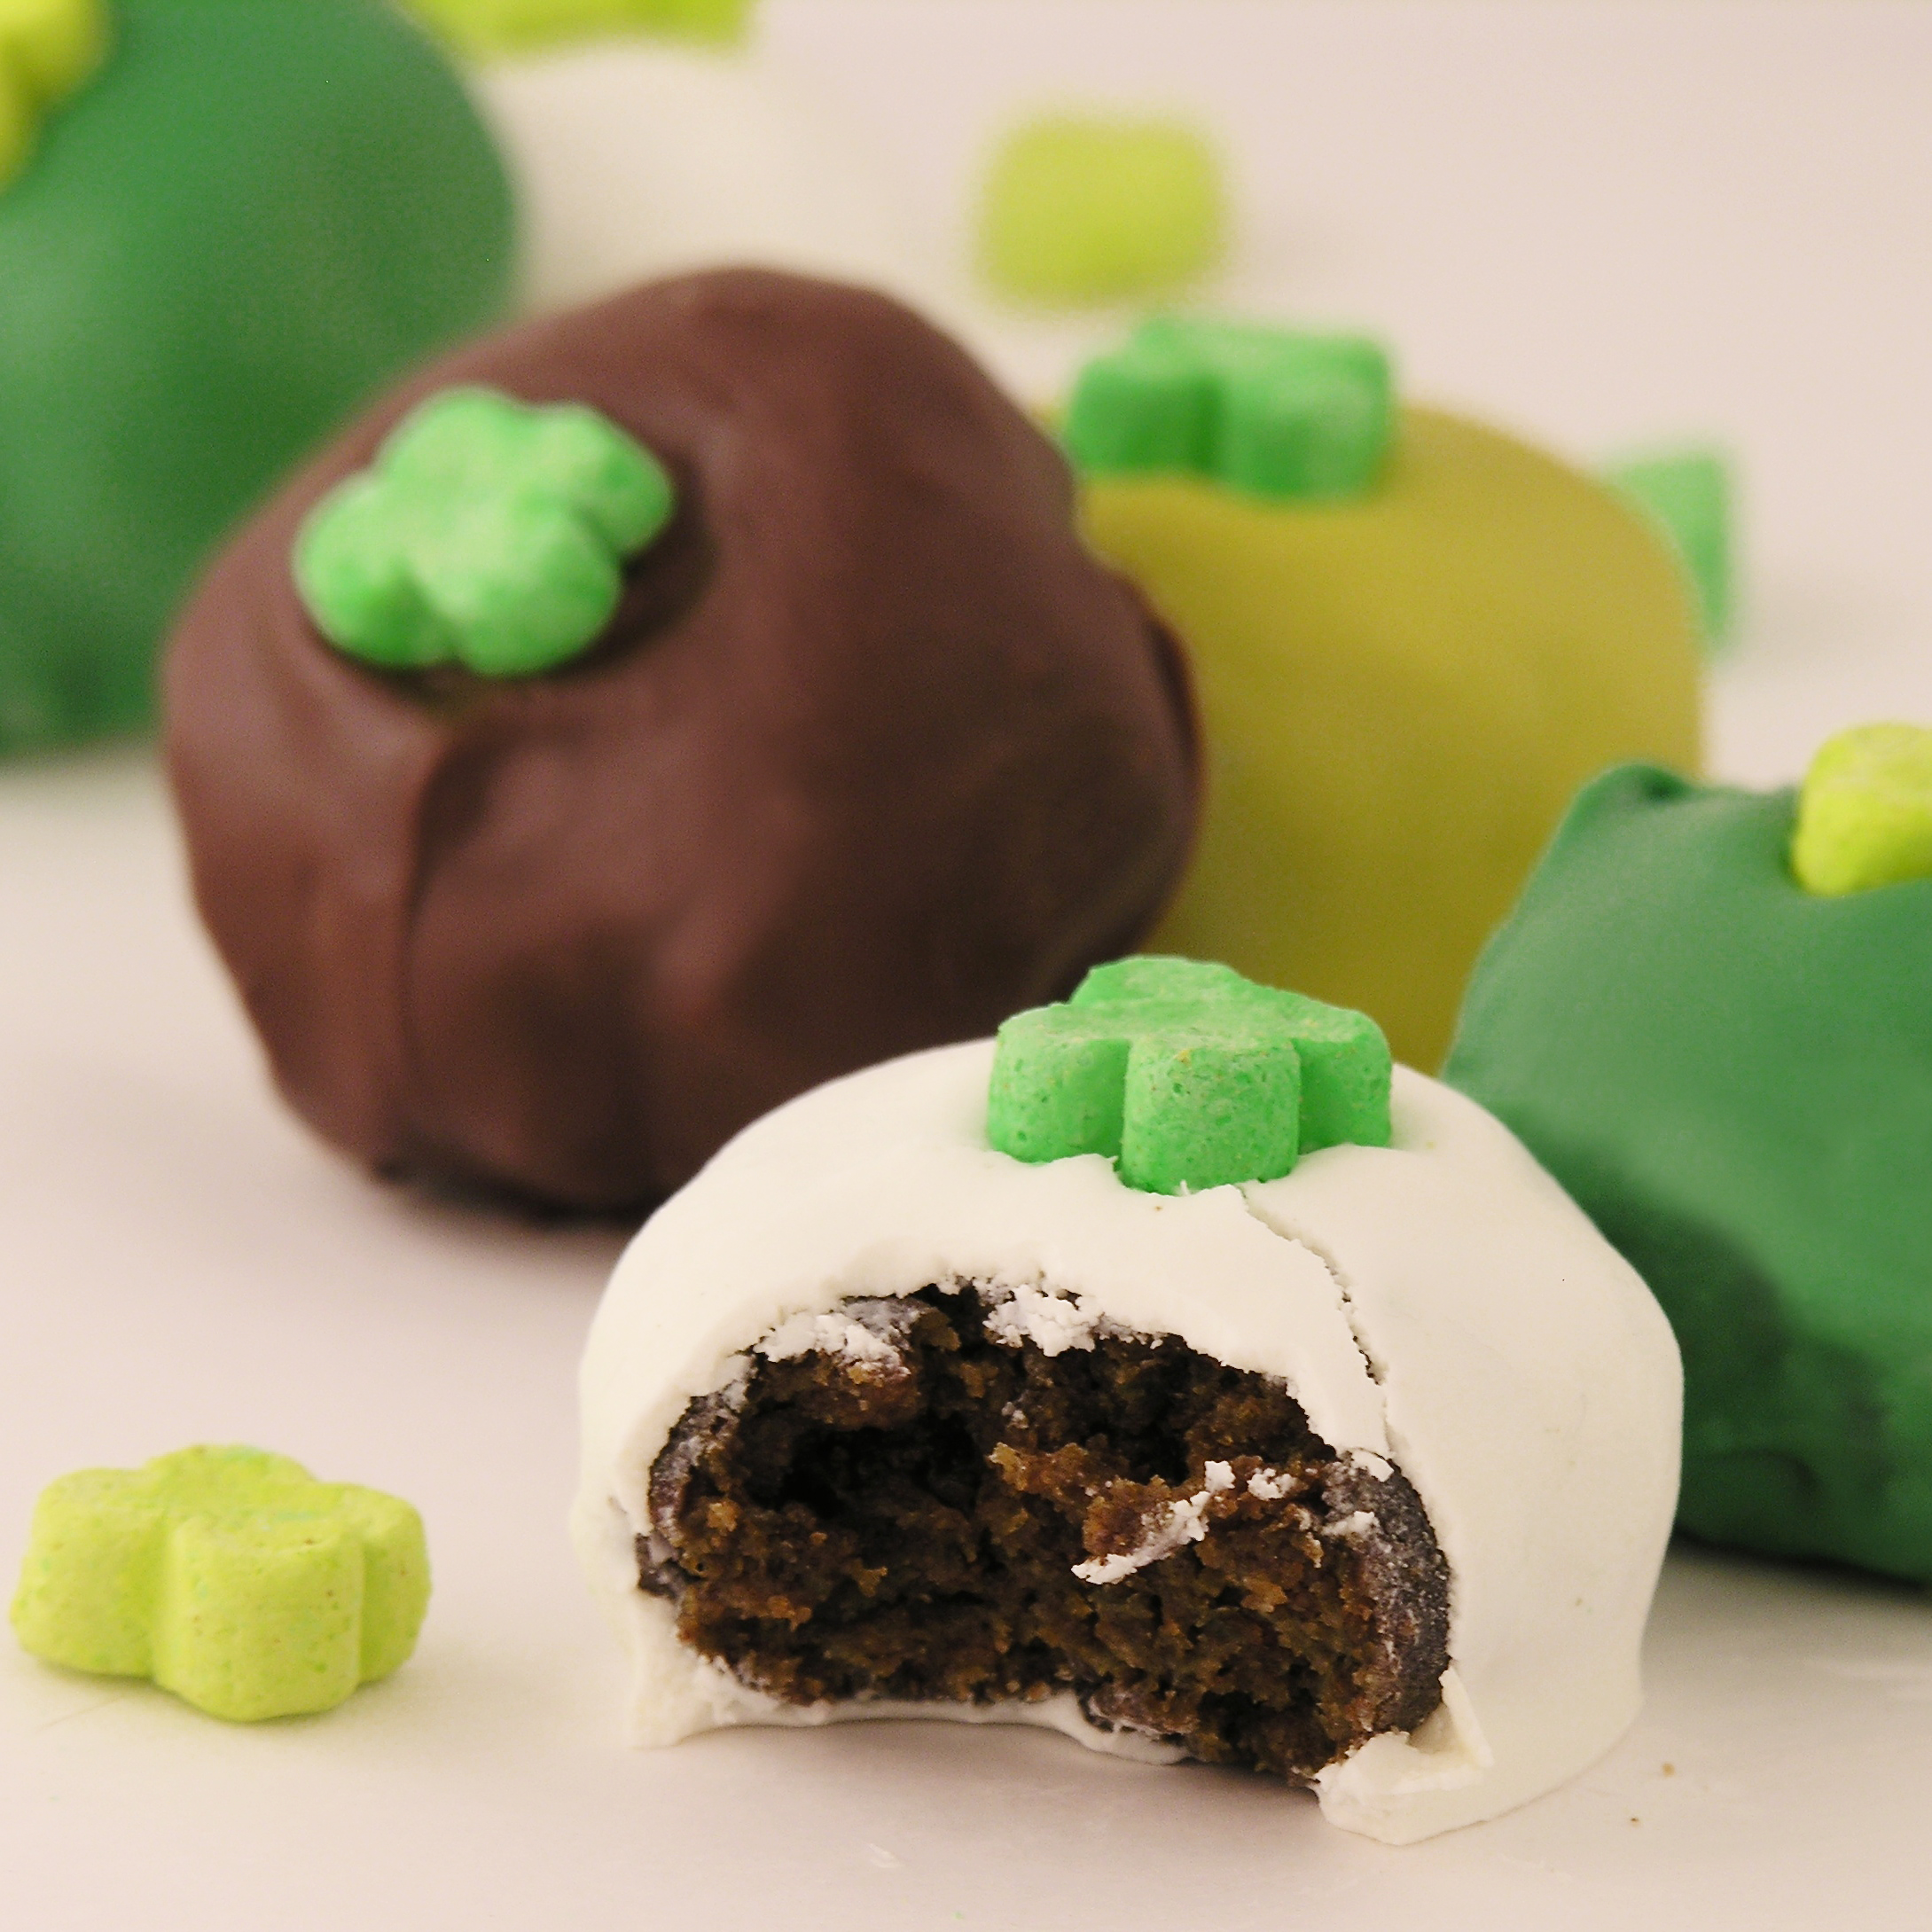
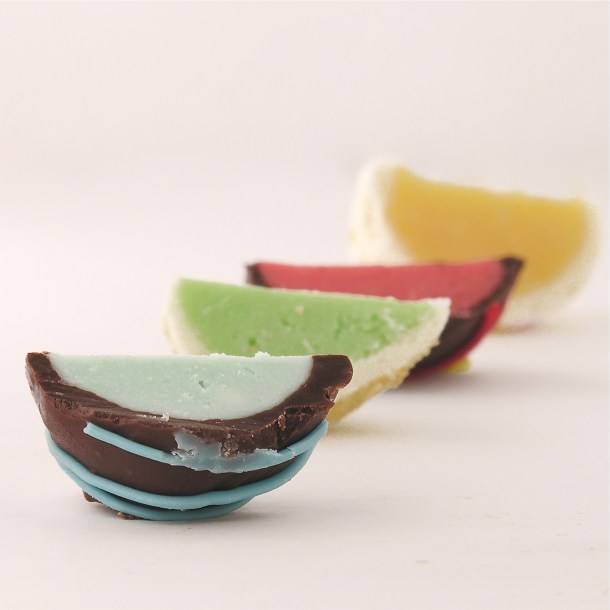
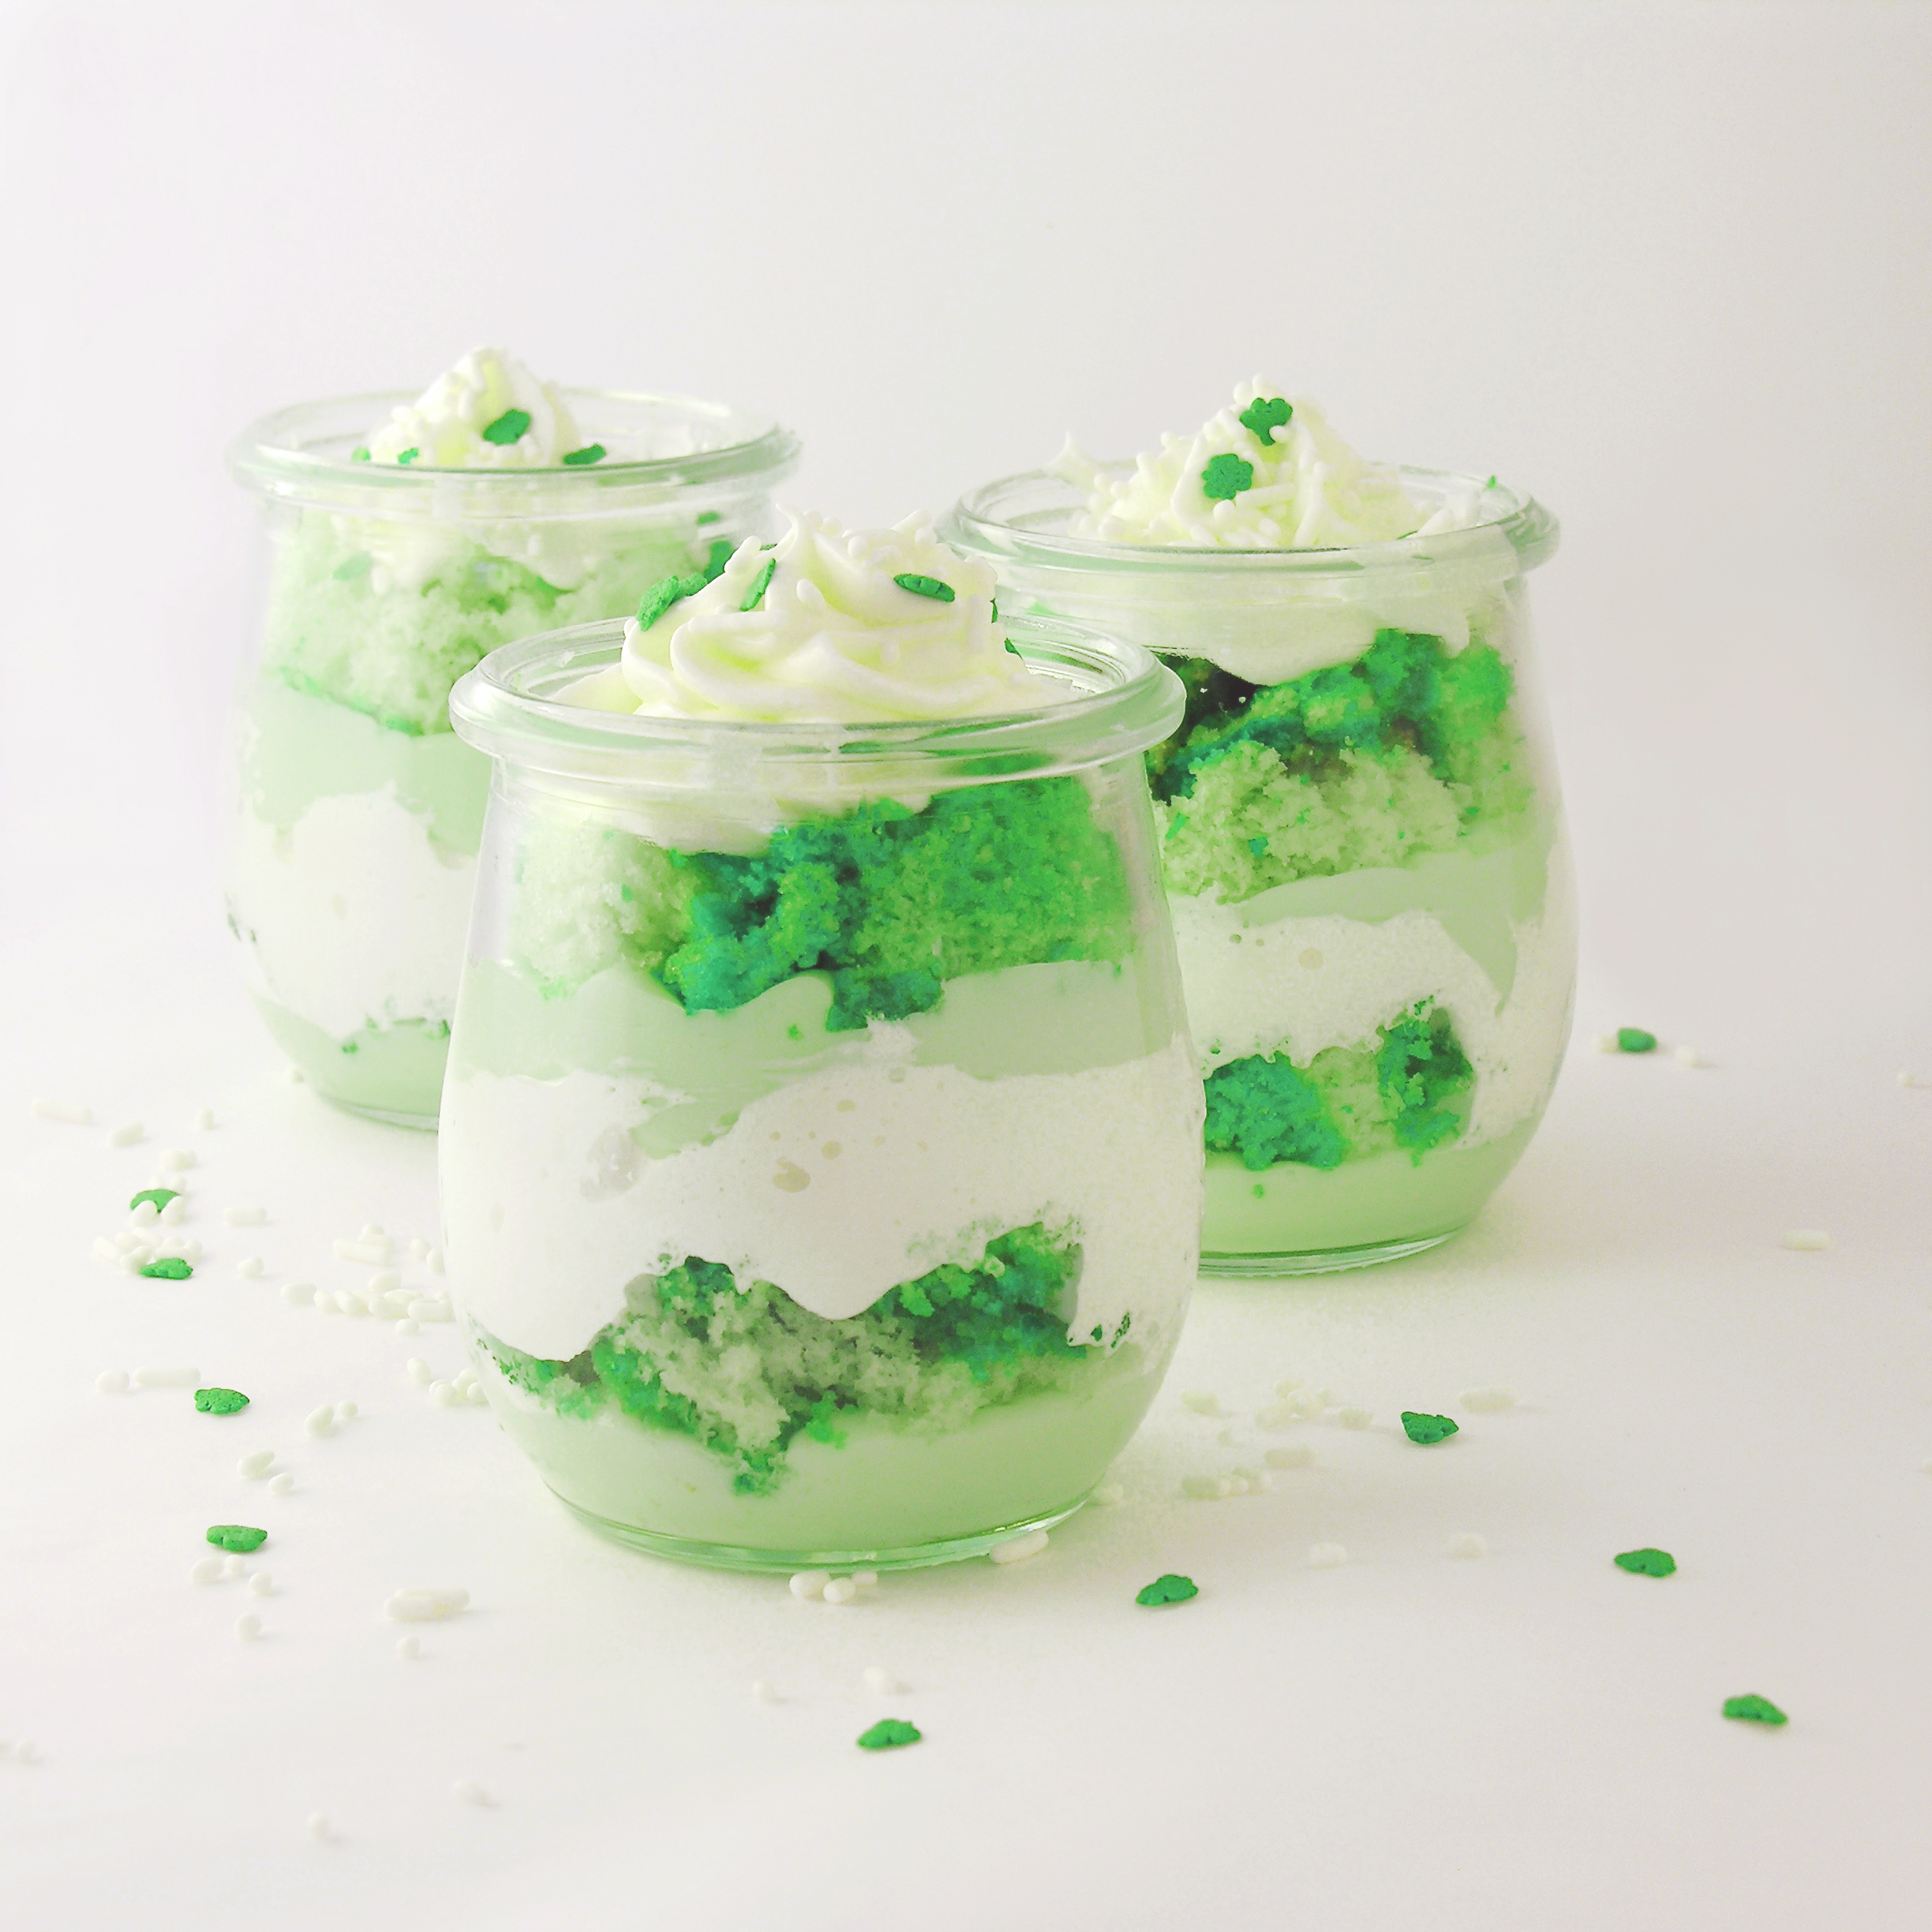
Want to try some other fun St. Patrick’s Day recipes? Just click on the photo to see the recipe! 🙂 

Grasshopper Mint Cupcakes Rainbow Oreo Pops!!!  Lucky Charm Truffle3  baileys-cupcakes5

Advertisement

Leprechaun Truffles

Posted on

Green Apple Truffles

These fun truffles are made with green apple (or lime!) Kool Aid filling and they are SO yummy!

It’s the time of year when all things green are made. One of my favorite truffle fillings is made with Kool Aid, which makes the flavors limited only to what little packets of flavor you can find! I made these with green apple Kool Aid, but I’ve made them with lime before too- and they are delicious! This tart fruit filling is SO creamy and smooth. I absolutely love it!

Green Apple Truffles

Here’s how we made these delicious little green treats: (printable recipe)

INGREDIENTS:

  • 1 (8 oz) package of cream cheese (softened to room temperature!)
  • 3 cups of powdered sugar
  • 3 cups of white chocolate chips
  • 1 tsp vanilla
  • 1 (0.16oz) packet of Kool-Aid drink mix (any flavor- I used green apple)
  • 2 bags of Wiltons Candy Melts (in whatever colors you wish)

DIRECTIONS:

  • Cream together cream cheese, powdered sugar and Kool-Aid in a large mixing bowl.
  • Melt white chocolate chips in the microwave in 30 second increments (stirring in between) until smooth and creamy.
  • Add melted chips and vanilla to cream cheese mixture and combine until completely smooth.
  • Refrigerate for at least 30 minutes.
  • Remove mixture from refrigerator and use a small cookie scoop or melon baller to make small balls of filling (I placed these on a plate and put them back in the fridge to chill while I prepared my chocolate to dip)
  • Melt the Wilton’s Candy Melts in the microwave in 30 second increments, stirring until smooth and creamy.
  • Dip chilled balls of filling in the melted chocolate, draining away excess and placing on parchment paper to harden (if you want pictures of how I dip things click here for a previous recipe) The balls of filling need to stay cold, so keep them in the fridge until you are ready to dip them.
  • Decorate with drizzles of fun colored chocolate. 
  • Enjoy!

Green Apple Truffles

My thoughts: Aren’t they cute? They are SO yummy too… my only recipe tip is to make sure those balls of filling are chilled and your melted candy isn’t super hot. I allowed my candy melts to cool a bit before I dipped. You just don’t want that soft filling to start melting while you dip.

Green Apple Truffles

These are as fun as can be using all sorts of fillings, which makes them a good treat for any holiday!

Kool-Aid Truffles!!

Here they are in other fun flavors. Click on the photo to see how I did them!

Finally, one of our most popular recipes on Easybaked is a St. Patricks Day treat! Bailey’s cupcakes are everyone’s favorite! You should probably try them. 🙂 Again, click on the photo to see the (oh so yummy!) recipe:

Baileys Irish Cream Cupcakes

Shamrock Parfaits…the unplanned dessert.

Posted on

Shamrock Parfaits!!!!These lovely layered St. Patty’s Day treats were supposed to be a cake…but ended up even better!

I am in the middle of the Navajo Nation without a Bundt cake pan.  That is how this tale begins.  I am almost 3 hours from a store that sells Bundt pans.  In my mind, I wanted to make a lovely bundt cake full of swirls of various shades of green, topped with melted Key Lime frosting.  SO- I did what any enterprising blogging girl would do- I ordered a pan on ebay, with free shipping.  It took a week, but once I got it I was ready to go!  I divided my cake mix into 4 parts and colored each part an increasingly darker shade of green and swirled the colors together in the pan.  After it baked, I tipped it out on a cake rack and…..Bundt Cake disaster!

Sadness.

I let the disaster cool and re-thought my recipe.  I brought my favorite little Weck jars with me, and I had some heavy cream to whip… how about parfaits!!

Shamrock Parfaits!!!Here’s the recipe: (printable version)

INGREDIENTS: (makes 10-12 small parfaits)

  • One boxed white cake mix (Plus water, oil and eggs to make according to box)
  • Green food coloring gel
  • One tub of Pillsbury Key Lime Frosting
  • 2 cups heavy whipping cream
  • 3 Tablespoons of powdered sugar

DIRECTIONS:

  • Make cake according to boxed mix, adding green food color to make batter green (you can make several shades of green if you want, but you don’t have to).
  • Bake as directed in any cake pan you want (lol!)
  • Allow cake to cool completely.
  • Put heavy cream and powdered sugar in a large mixing bowl and beat on high until cream is whipped and light, holding stiff peaks.
  • Take the lid and foil wrap off the tub of frosting, and heat in the microwave for 20-30 seconds.  Stir until it is a nice smooth liquid.
  • Assemble your parfaits by spooning a bit of frosting into each glass, followed by a bit of crumbled cake, followed by a dollop of whipped cream.  Repeat these layers until you are at the top.
  • End with a swirl of whipped cream and some sprinkles.
  • Enjoy!

Shamrock Parfait!!!My thoughts:  These ended up being the yummiest dessert!  I had a family over to visit that night and they gobbled up every last bit of it and loved it.  That key lime frosting is the BOMB!  Yum!  Anyway, thanks for joining me on my latest Navajo kitchen adventure!  Happy St. Patricks Day!!  ~rShamrock Parfaits!!!!Usually I give you another four recipes related to this one.  But today I leave you with one. These are seriously some of the best cupcakes I’ve ever made, and they are perfect for St. Patrick’s Day….just click on the photo and you’ll be magically transported to the yummy recipe.  I present:  Bailey’s Irish Cream Cupcakes….Enjoy!!!! ~r

Baileys Irish Cream Cupcakes

Lime Soda Cupcakes!

Posted on

Lime Soda Cupcakes!!Sweet lime cupcakes topped with a swirl of marshmallow buttercream.
A perfect flavor combination!

A while back, I shared with you an impossibly difficult (but amazingly yummy!) candy recipe from my friend Gail.  It was a recipe for Opera Creams passed down to her from her grandmother.  We spent the entire day together, candy making. For lunch we ran up to a little soda fountain from the 50s that is still in business. (Arnolds Drive In, for you folks that live near Indiana)  They have burgers and fries— and yummy soda fountain drinks.  Gail recommended the “Ole Green River” and I got the most wonderful lime phosphate topped with marshmallow cream.  It was beautiful and as that marshmallow dissolved into the drink…?  Unbelievably good.  Here’s my Instagram record of it:

Ole' Green River at Arnold's Drive-InI’m not sure what brought it to mind the other day, but I decided to use those flavors to create a cupcake version of that yummy Ole Green River.  I think they turned out great.  Nice and green for St. Patricks Day!!!

Lime Soda Cupcakes!!

Here’s the recipe: (printable version)

INGREDIENTS (makes 24 cupcakes)

  • One boxed white cake mix, plus oil, water and eggs to make according to box.
  • One small packet of Lime Jell-O.
  • 4 sticks of salted butter (at room temperature)
  • 2 teaspoons of clear vanilla
  • 3 cups of powdered sugar
  • 2 jars (7 oz. each) of Jet-puffed marshmallow creme
  • White food coloring (optional- only if you want that bright white marshmallow color.)
  • Sprinkles and decorations as desired.

DIRECTIONS:

  • Make cake mix according to box, but add Jell-O along with other ingredients.
  • Divide batter evenly into 24 cupcake liners in muffin tins.
  • Bake according to box, a toothpick inserted into the center of one should come out clean.
  • Allow cupcakes to cool while you prepare frosting.
  • Combine (room temperature) butter, vanilla, and powdered sugar in a large mixing bowl and beat on low until combined.
  • Beat on high for several minutes until light and fluffy.
  • (optional) add white food coloring at this point, to whiten up all that butter- I did not have any, so you can see my icing is more of an ivory color.
  • Add marshmallow creme to frosting and beat until completely incorporated.
  • Spoon frosting into a large zip top bag that has been fitted with a decorating tip, and pipe frosting over cupcakes.
  • Decorate as desired (paper straws are fun!!!!!!)
  • Enjoy!

Lime Soda Cupcakes!!!!My thoughts: I really loved these flavors together.  Marshmallow and lime.  So yummy.  The cupcakes are very moist because of the Jell-O, so take care unwrapping them, they are a little more likely to fall apart than other cupcakes.  I experimented with the marshmallow butter cream, just adding the fluff to my usual buttercream recipe, and I thought it was fabulous.  The marshmallow flavor was not lost!  I hope you enjoy these little treats, and if you’re ever near a soda shop that has lime phosphates on the menu, ask for one with marshmallow cream on the top!  Enjoy!  ~r

Lime Soda Cupcakes!!Other fun St. Patrick’s Day treats you might want to try:

Grasshopper Mint CupcakesRainbow Cake RollMint Creme Brownie CupsBaileys Irish Cream Cupcakes

Rainbow Oreo Pops~ and a celebration of all things OREO!!!

Posted on

Rainbow Oreo Pops!!!!You’ll feel like you’ve struck gold when you bite into one of these fun rainbow Oreos.  A perfect way to celebrate St. Patrick’s day and SO easy to make!

Prepare yourself.

National Oreo Day is just two days away.  This year, the momentous occasion falls on Thursday, March 6th.  There isn’t a store-bought cookie that I like better than an Oreo. All the fun flavors (cookie dough, peanut butter, birthday cake, mint, marshmallow…) are great- but I like mine just plain double stuf (I just realized they left an “f” off of stuf last week!)  I’m not alone in my passion for this little cookie- over 362 billion cookies have been sold since it was first introduce in 1912!

This week I created these little rainbow Oreo pops in honor of the day (and to give you a head start on your St. Patrick’s Day ideas!)

Rainbow Oreo Pops!!!!They are incredibly easy to make.  Once your Oreo has been dipped, those rainbow stripes are just painted on with gel food coloring.

Painting Rainbows on Oreos!!!

Here’s the recipe: (for a printable recipe click here, for a picture tutorial click here)

INGREDIENTS:

  • One package of Double Stuf Oreos
  • 2 (12oz.) bags of Wilton White Candy Melts
  • 24 Lollipop sticks
  • Food color gels in purple, blue, green, yellow, orange and red -I used these

DIRECTIONS:

  • Carefully twist apart all of the Oreo cookies
  • Using one of the pop sticks, make an indentation in the white filling of each cookie.
  • Melt the Candy Melts in the microwave in 30 second increments, stirring until completely melted and smooth.
  • Dip the end of one stick into the melted white chocolate, drizzle a little in the center of the white cookie filling and then gently press it into the indentation made.
  • Place the top of the cookie back on and allow white chocolate to harden (10 minutes or so), cementing the cookie back together with a stick inside.
  • Holding the stick, lower the entire Oreo into the bowl of melted white chocolate, spooning it over the top and sides to cover it completely.
  • Allow the excess white chocolate to drain off and gently place covered Oreo on a piece of parchment paper to harden.
  • Allow white chocolate to harden and cool completely.
  • Using a small paint brush (you can get one specifically made for food that won’t shed bristles- like a Wilton 7-Piece Decorating Brush Set), start in the middle of the cookie using the yellow, and paint a stripe across. Paint a yellow stripe on all cookies.
  • Wash and dry your brush and paint the other colors, working from lightest colors to darkest.
  • Allow the “paint” to dry for several hours.
  • Eat and enjoy!!!

Aren’t they fun?????

Rainbow Oreo Pops!!!

My thoughts: You can see that I sprinkled a little bit of edible glitter on top when I was done.  You have to do this before the paint completely dries.  It makes them very fun and sparkly- more fun and sparkly than you can see in the pictures!  Just an option, if you want to add it.  You can also see that I didn’t agonize over painting perfect lines and not going over the edges.  I really liked the messy paintbrush look of these. Put on your artist hat and have some fun!!!

Rainbow Oreo Pops~ YUM!!!!!

Here’s a little collection of all things Oreo on Easybaked…as you can see, we love Oreos around here!  Just click on a photo to see the recipe!

Oreo Pops…so many possibilities!

Original Oreo pops!!!!!Patriotic Oreo Pops- yum!!!

Mummy Oreo Pops!Snowman Oreo PopsLadybug Oreo Pops!Reindeer Oreo Pops!!!

Nothing makes a crust like a crushed up Oreo cookie!!!

Creamy Coconut CheesecakeFrosty Almond Joy Cups!

Frosty Candy Corn Dessert!Ice Cream Cake

And my favorite Oreo dessert?

Brownie Oreo Cookie Cup2

These yummy Brownie Oreo Cookie Cups!!!!!!

Happy Oreo day to you!!!  I hope you have time to stop and enjoy some this week!!!! ~r

Rainbow Cake Roll

Posted on

Rainbow Cake Roll

Fun rainbow-colored cake swirled with rich buttercream- a perfect St. Patrick’s Day treat!

I had so much fun making this cake  this cake was torture.

I love cake rolls like crazy, but I could not find a recipe that tasted good AND didn’t crack terribly when rolled up.  I tried 4 recipes and finally settled on plain old cake mix again– it still cracked, but tasted soooo yummy and it was definitely the easiest.

I hesitated to post this, as it is essentially a recipe experiment *fail*, but then I thought it would be a good chance to ask all of YOU if you have a fail-safe vanilla cake roll recipe…?  I love the technique and the colors- I just need a good recipe.

For now, we will go with the cake mix version~

Things to keep in mind if you want to try this recipe:

1. Use my buttercream recipe.  When it is refrigerated it gets nice and hard, cementing your happy little cracked roll together and holding it together even at room temperature.

2. Set aside several hours and take your time.

3. Use color gels.  You will not get the vibrant colors with liquid color.

Honestly, people loved this cake.  Once it is cut you can barely tell it cracked.  I made this one for my friend Dawn’s birthday and it was such a fun and cheery cake.  She only likes white cake with vanilla frosting…this is a great way to spice up that combination with color!

Here we go:

INGREDIENTS:

  • 1 boxed white cake mix (with oil, water and eggs according to box)
  • Gel icing colors (I use Wilton Brand gels)
  • 2 sticks (8 oz) butter
  • 1 1/2 c. powdered sugar
  • 3. t. clear vanilla flavoring
  • Cool Whip Topping and sprinkles for garnish.

DIRECTIONS:

  • Preheat oven to 350F degrees
  • Make boxed cake mix, but add just a little less oil and water.  My Pillsbury mix called for 1 cup of water and 1/3 cup of oil.  I used 3/4 c. water and 1/4 c. oil instead.  I used the same # of eggs (3)
  • Scoop about 3/4 c. of mix into 6 or 7 small bowls and color as desired.

Pretty cake batter!!!

  • Cover the bottom of a standard jellyroll pan (mine is about 12″ by 17″, and about 1″ deep) with waxed paper- allowing the paper to extend just a bit over each end.
  • Lightly spray with non-stick cooking spray.
  • Spoon each color of batter into a small ziptop bag and gently pipe colors into pan in stripes.  Just settle in and take your time here.  This is a labor of love.  Use paper towel to wipe up drips and remember that you are piping a THIN layer of cake– you don’t want to make it so thick you run out before you get to the end of the pan.  Patience is the key…believe me, I’ve done this 4 times now with different cake recipes and it just takes time.

Pour batter into small ziptopPipe in stripes!Piped cake rolls!

(It also involves a lot of dishes…pretty, colorful, messy dishes.)

Rainbow dishes!

  • Bake your cake at 350F degrees for 12-15 minutes– check often- you can’t roll a crunchy over-baked cake!
  • Remove from oven and place a clean towel that has been sprinkled with powdered sugar over the roll.  Tip the pan over onto the towel and peel away the wax paper.
  • Gently roll cake up in towel from one short end to the other.

Peel wax paper off of rainbow cakeRoll cake in towel, starting at short end.

  • Refrigerate for one hour.
  • While cake is cooling, make buttercream icing.
  • Put softened butter, powdered sugar and vanilla in a large mixing bowl and beat on high until light and fluffy.
  • When cake is cooled, gently unroll (here is where the cracking happens…be gentle and patient)
  • VERY carefully, spread buttercream over entire surface of the cake and re-roll.  I had cracks that went the entire length of the cake and still just gently rolled it together, letting the buttercream hold it together.

Buttercream on top!

  • Gently place on a plate and refrigerate until buttercream hardens.
  • Once cake roll has hardened it can be easily moved and cut.  Top it with whipped cream and sprinkles– that helps to hide some of the cracks 😉

Not perfect, but so much fun!

Not perfect, but so much fun!


My thoughts:  I feel a little guilty publishing this on a site called EASYbaked, but I couldn’t resist.  I would make it again- it just makes me smile.  I hope a few of you brave souls will attempt this and enjoy it as much as I did!  Please– if you have a good vanilla cake roll recipe I’d love to hear about it.  You can link to your recipe if it is on a blog, or post the recipe in the comments or in-box message me on the Easybaked Facebook page.  I’m excited to find a way to make this cake “perfect” 🙂

Happy Birthday Dawn!

Happy Birthday Dawn!

Other happy rainbow desserts you might like for St. Patricks Day:

Fruit Loop Pie!Skittles cake!Tie-Dye Cake with Blue Raspberry Frosting!Polka Dot Cake!!!

%d bloggers like this: