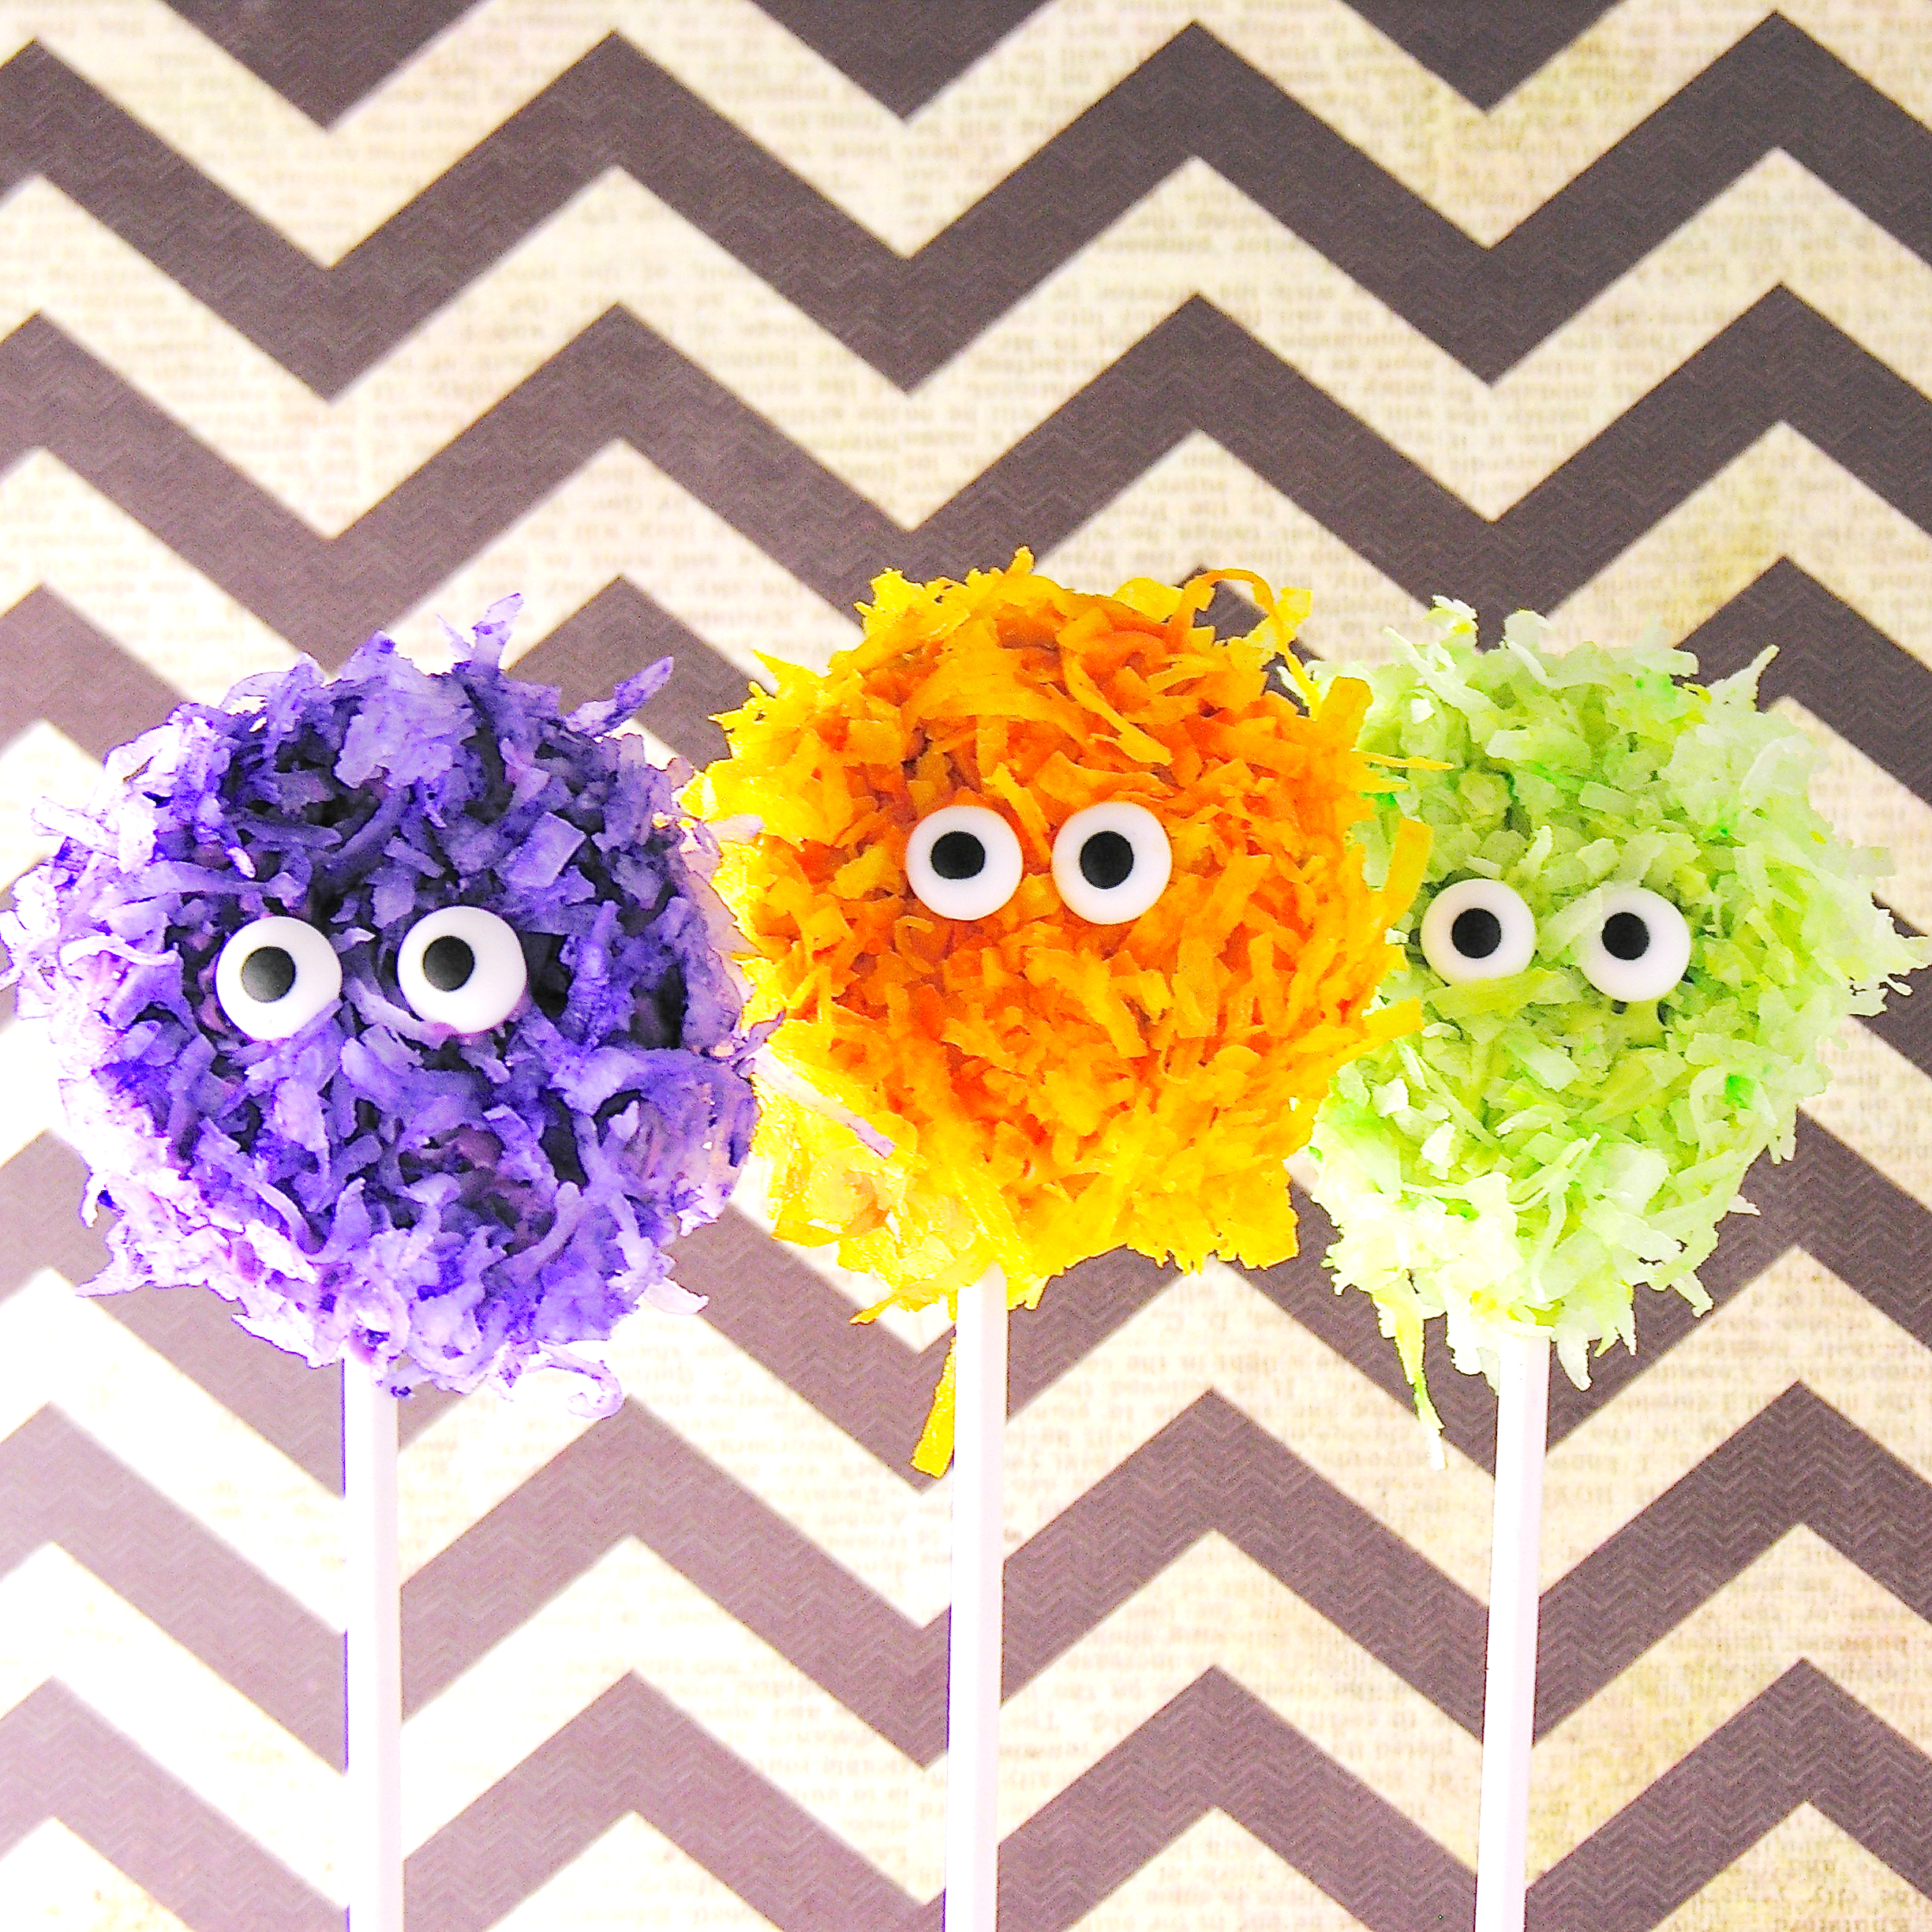
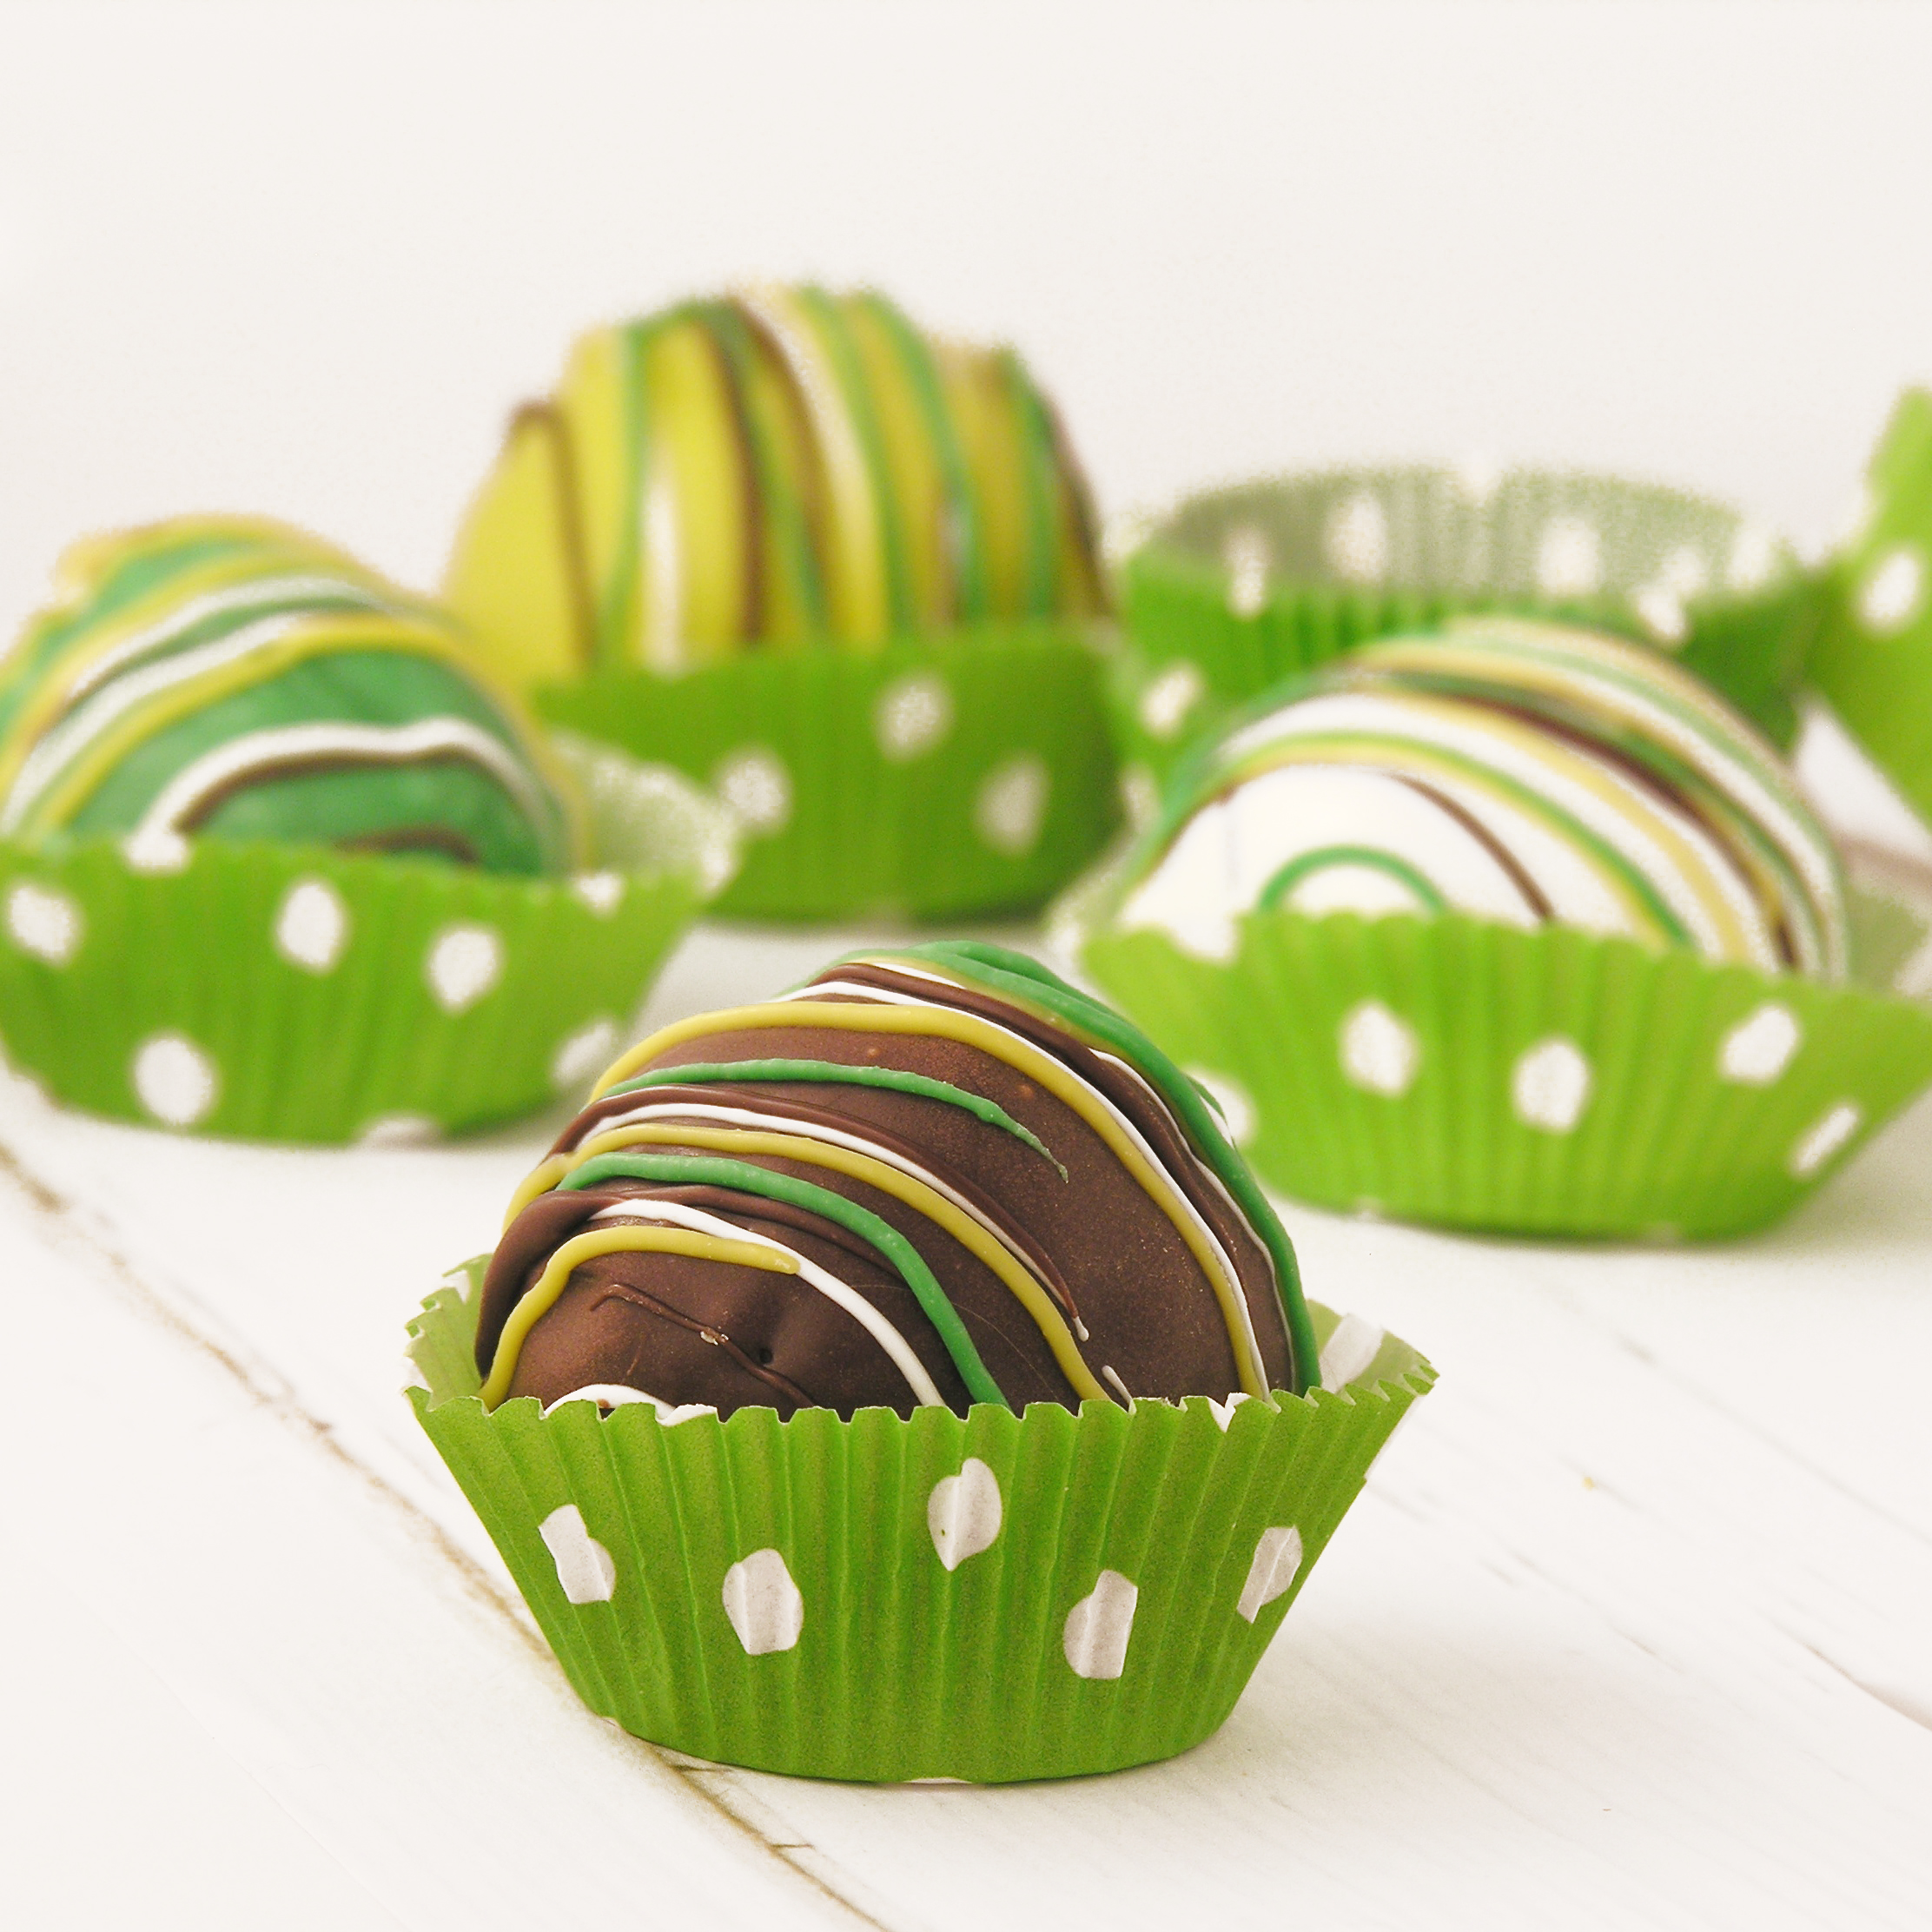
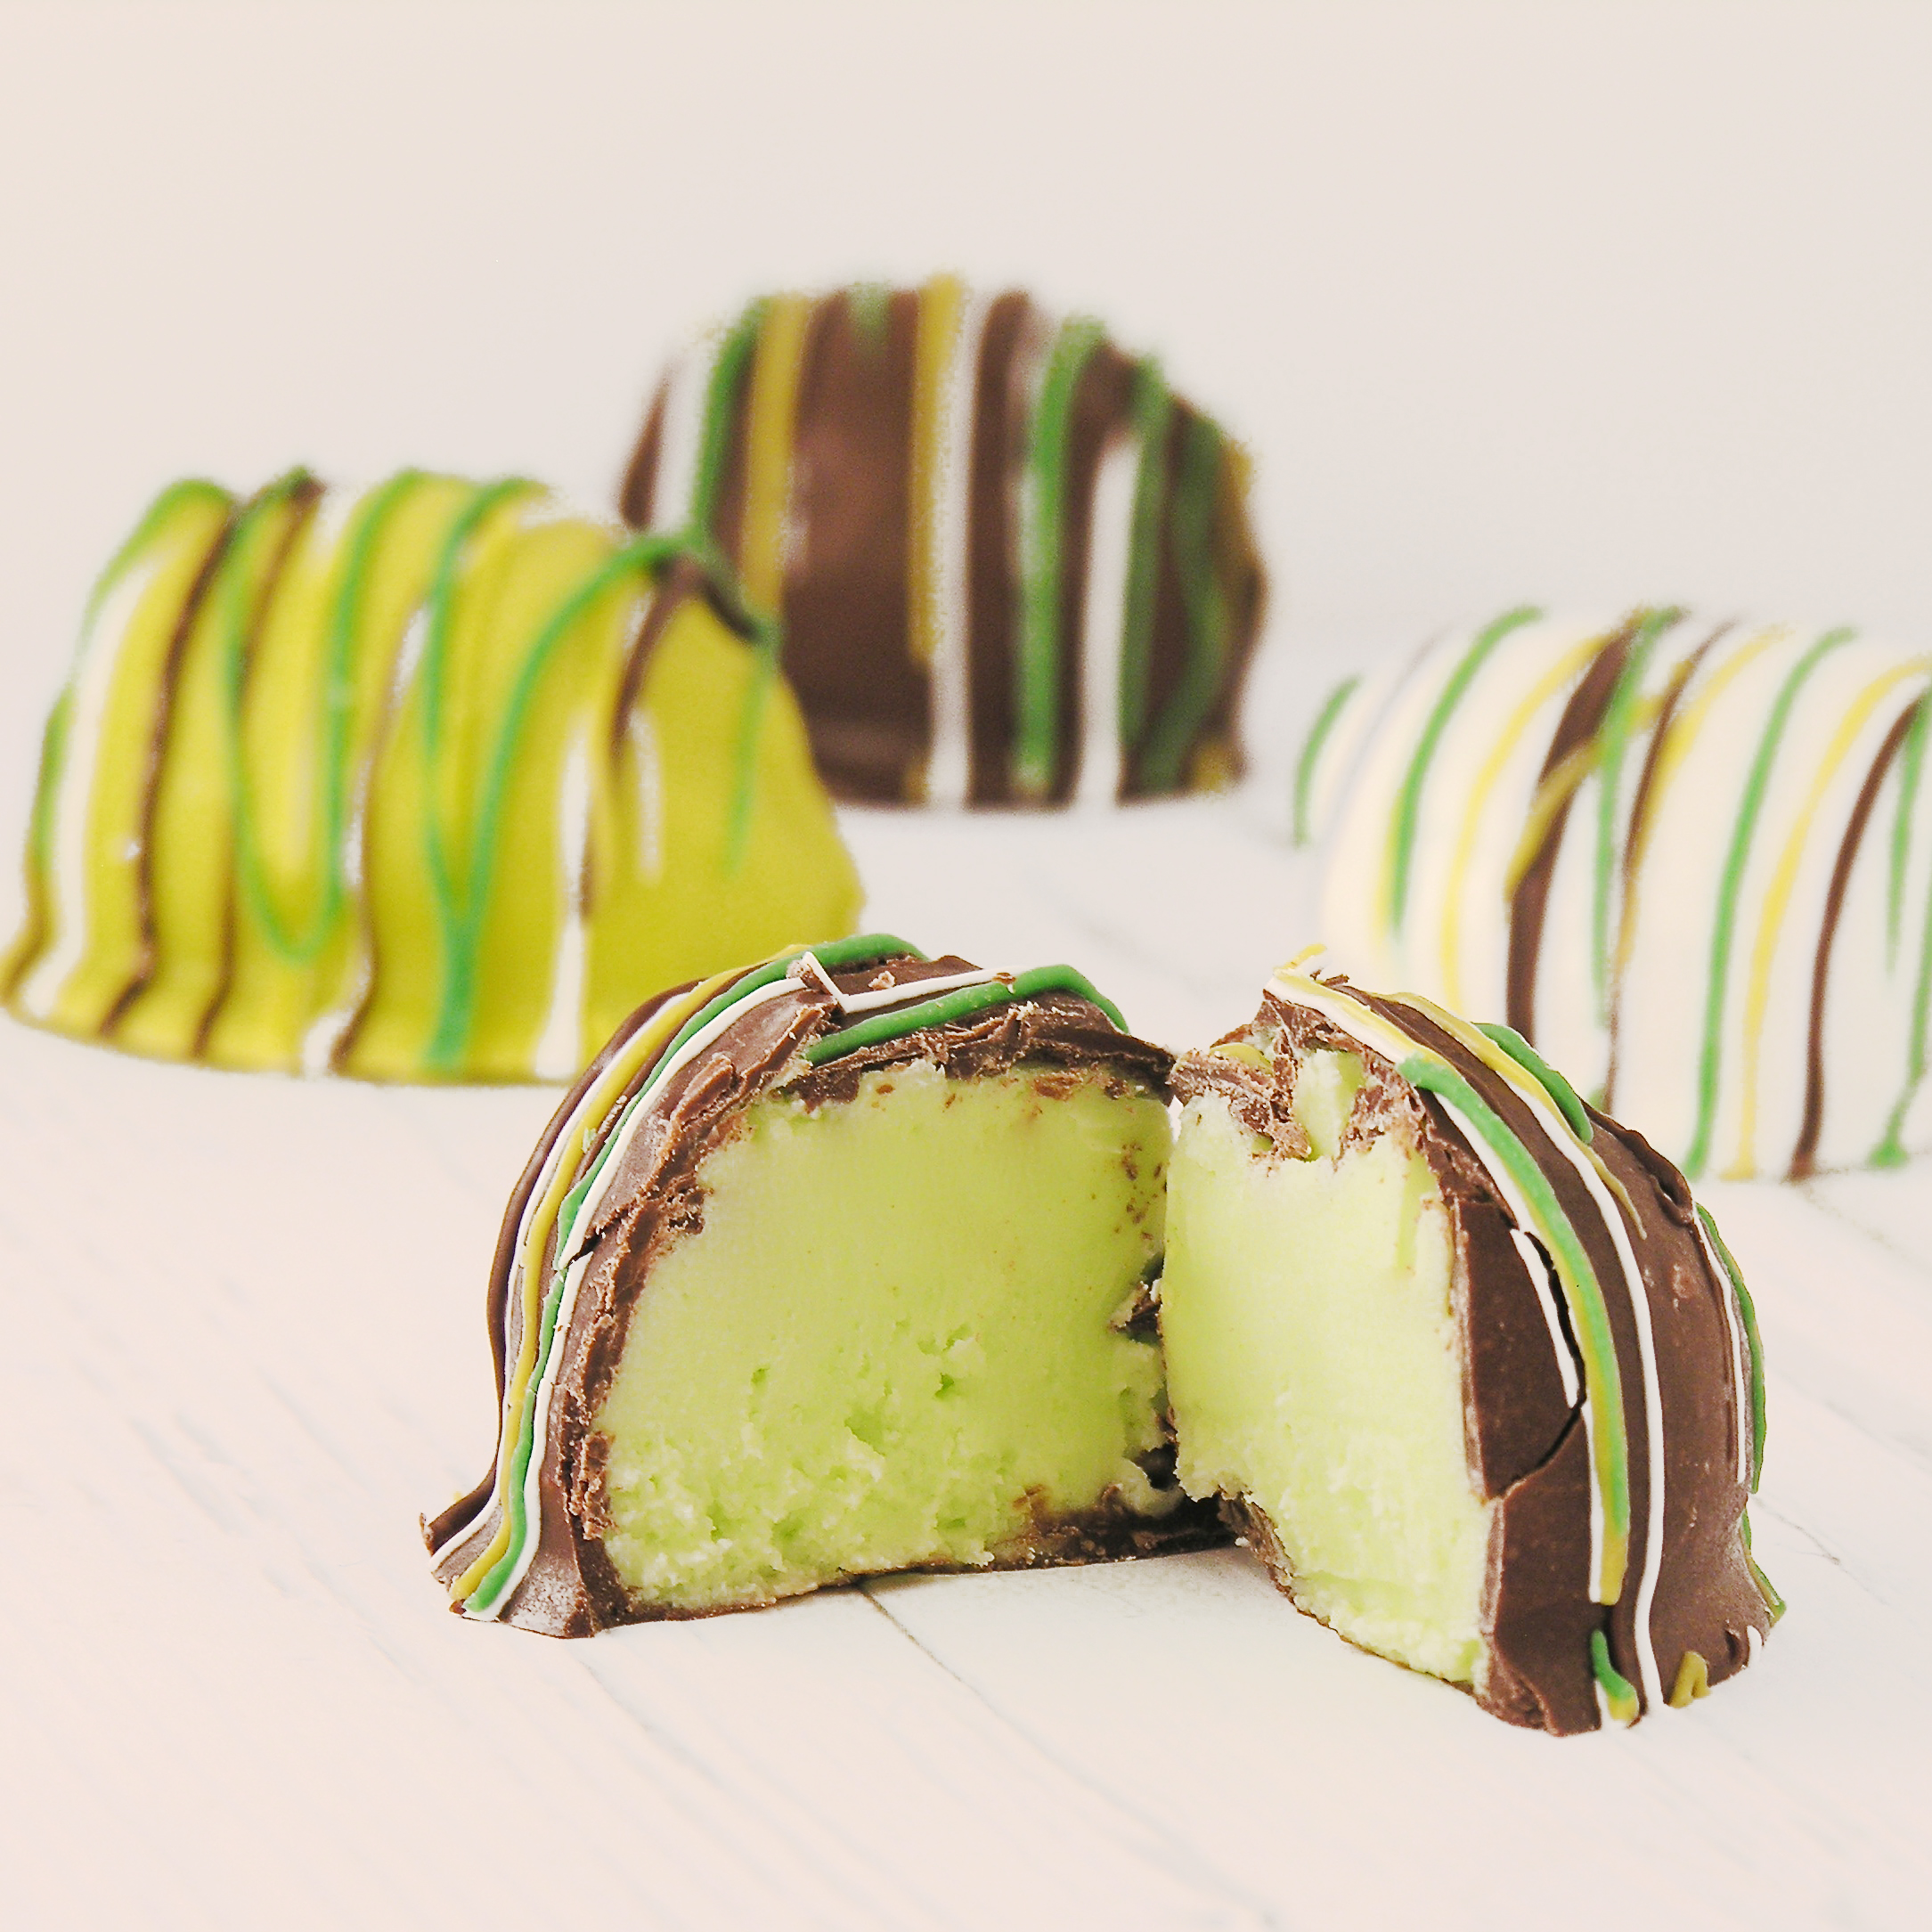
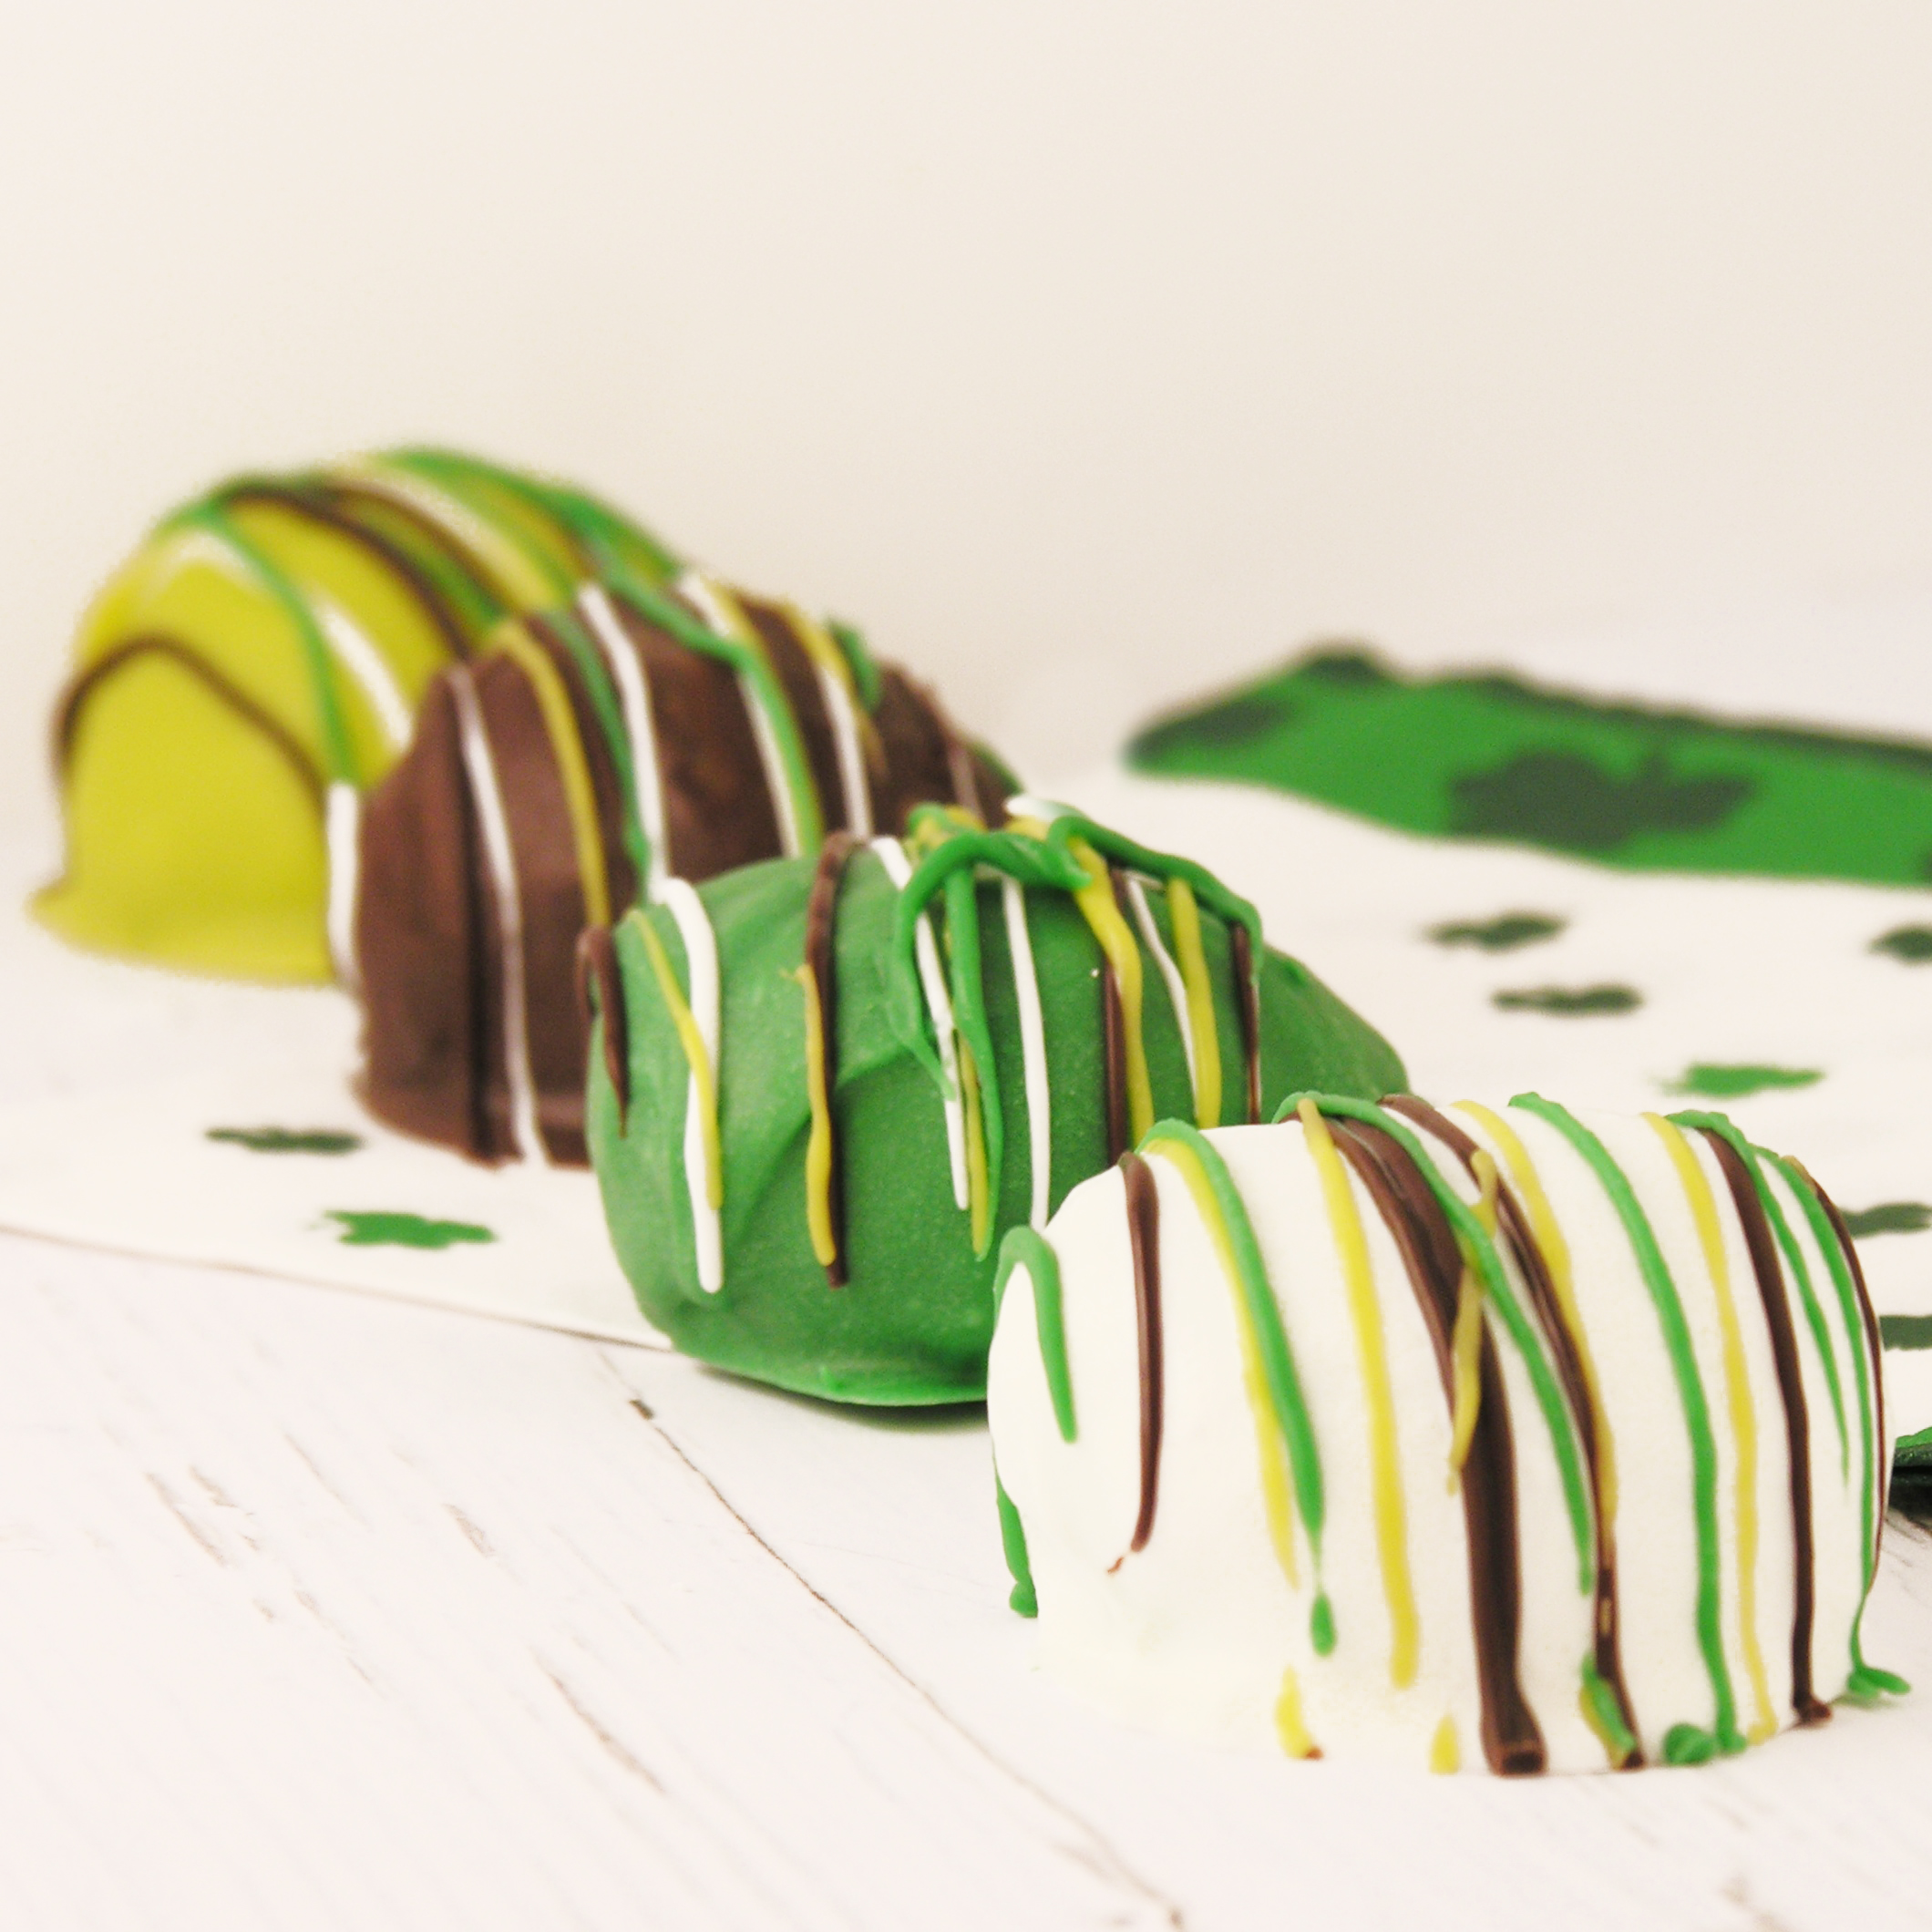
These fuzzy Oreo monsters aren’t TOO scary- and they taste delicious!
Oh Oreo Pops… I love you! So many possibilities and so little time! Aren’t these so cute? They remind me of the little pom-poms with eyes that we used to put on the tops of pencils. Yes..pencils…back in the olden days when we used paper 😉
In any case- these are perfect for Halloween and even for just fun fuzzies at kids parties! The only requirement??? You need to like coconut! I know that eliminates a few of you out there…but believe me- if you like coconut, you will LOVE these! Coconut plus Oreos?? Bam!

Here’s how we made these fun little guys: (printable recipe available here)
INGREDIENTS: (for about 24 cookies)
- One package of Double Stuff Oreos
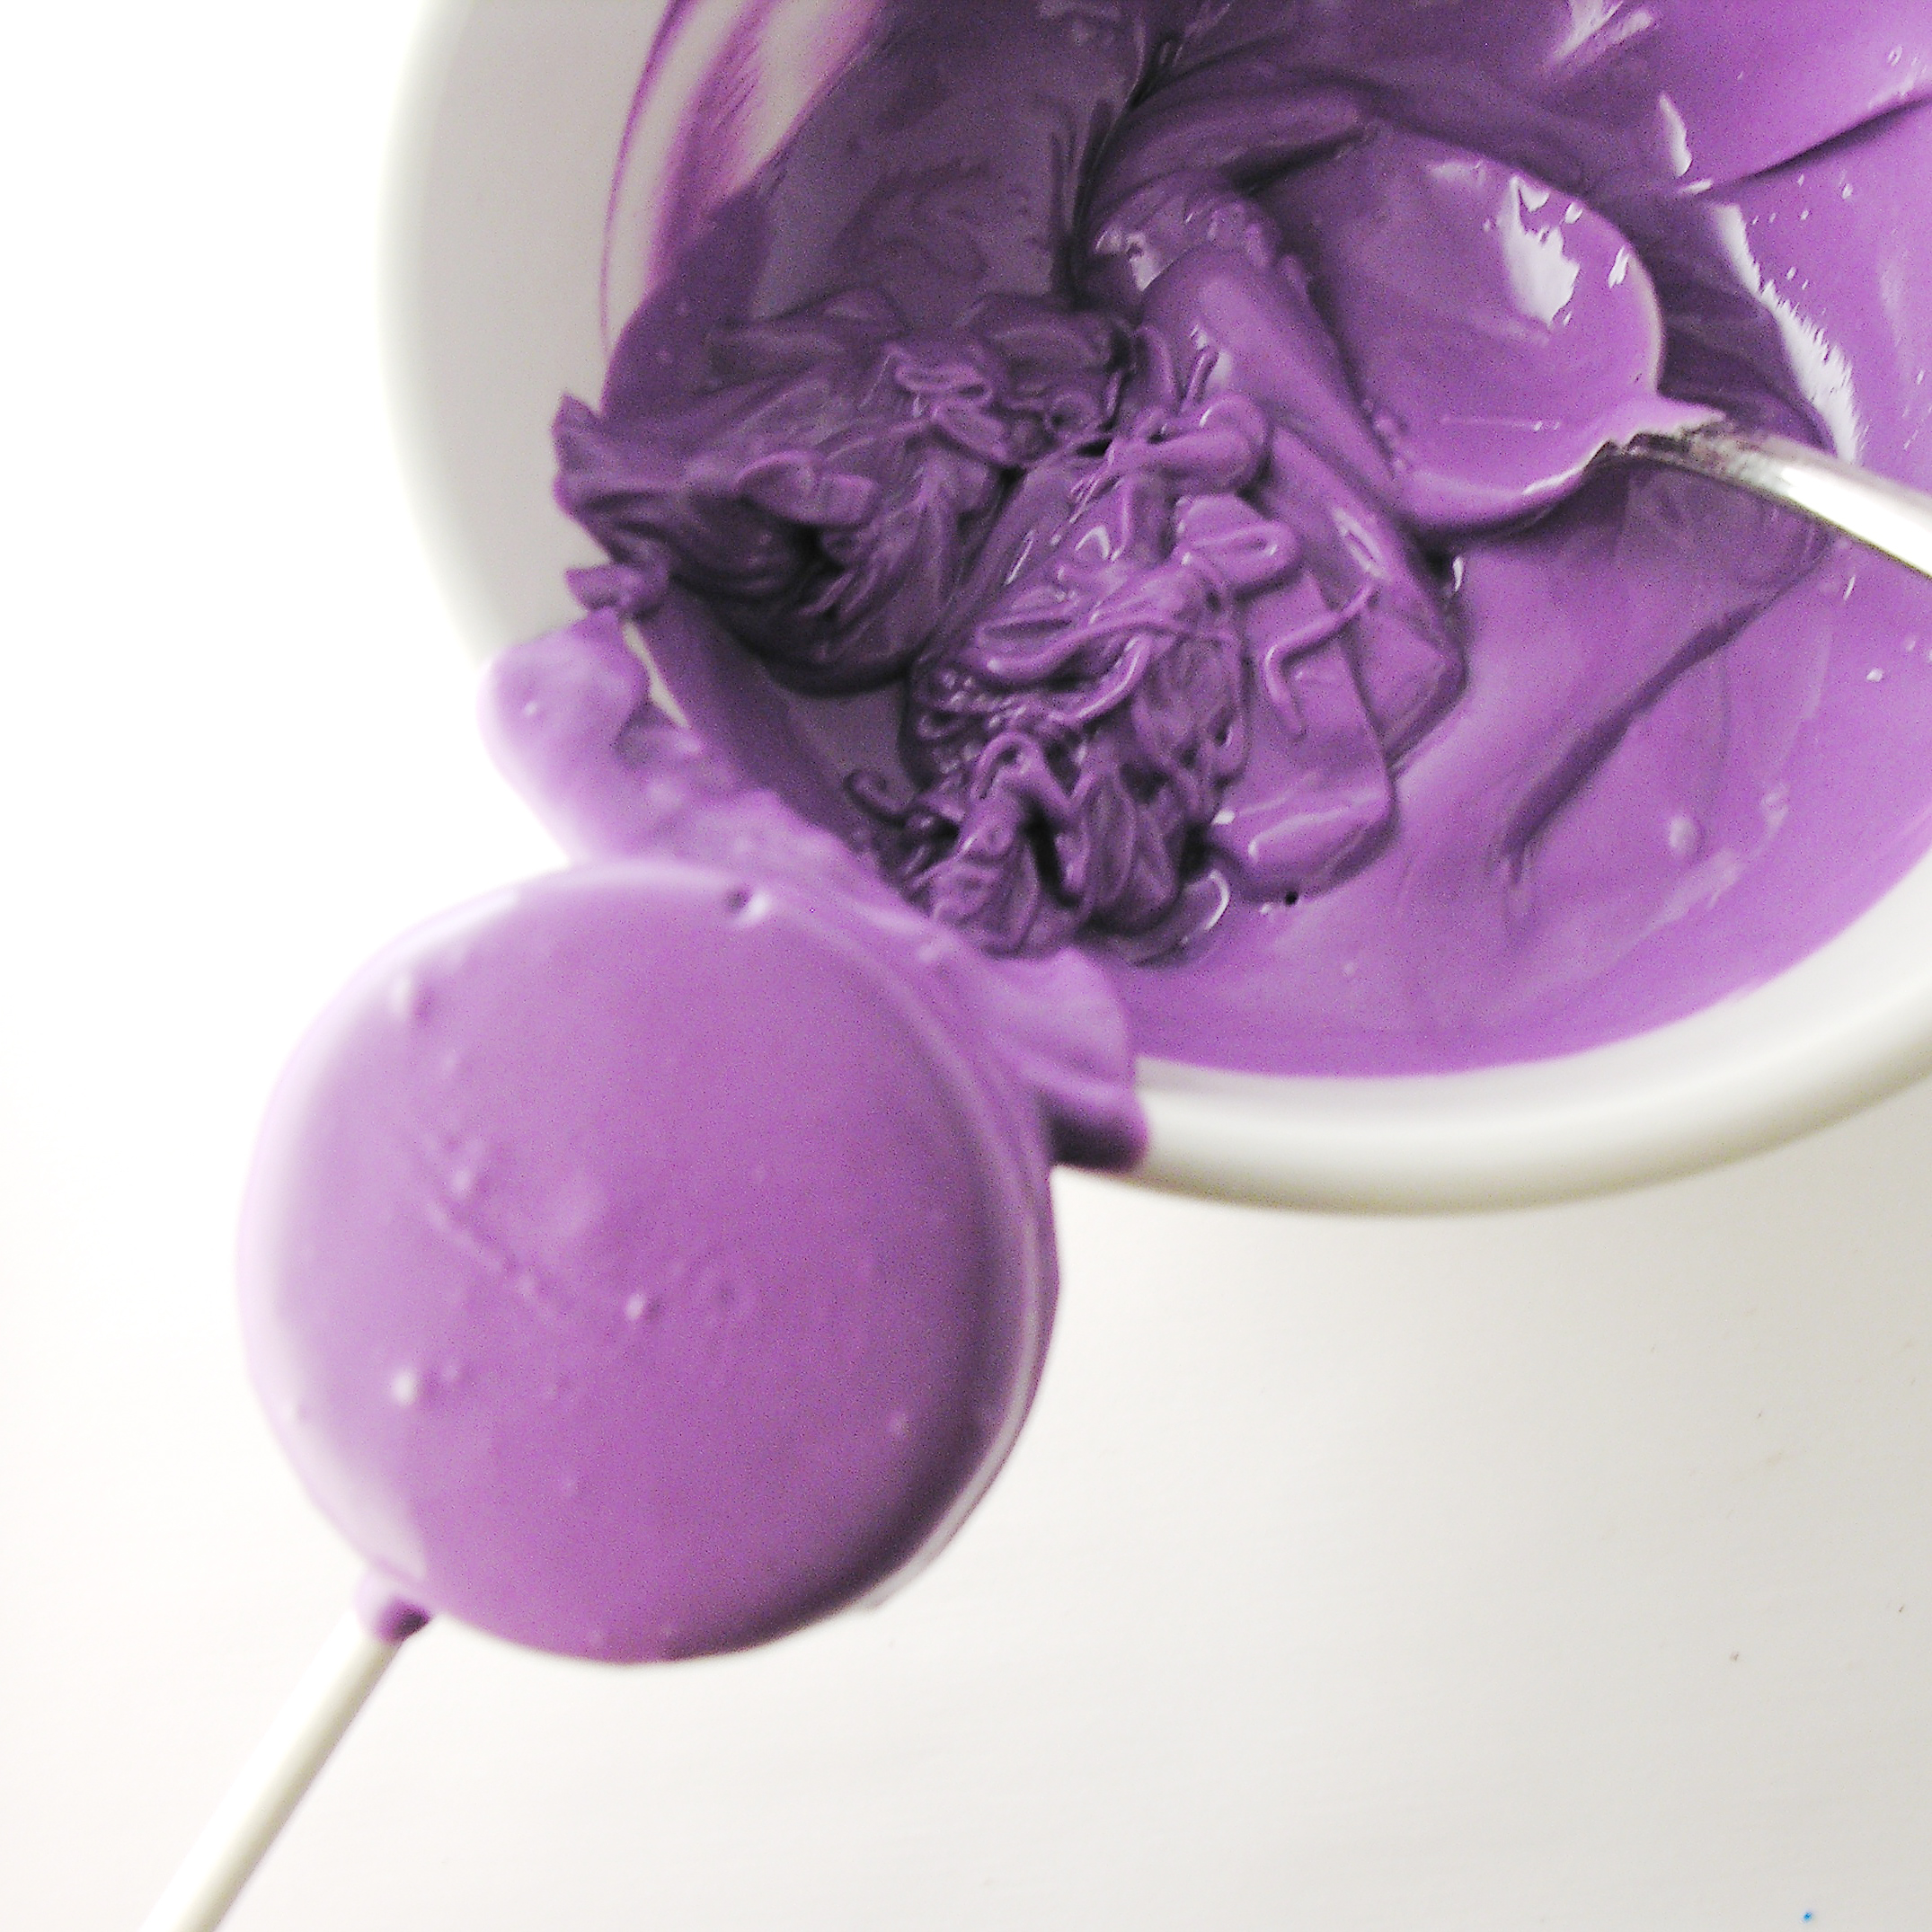
- Wilton’s Candy Melts
– you need about a bag and 1/2- so if you do all three colors you need 1/2 bag of each.
- Candy eyes
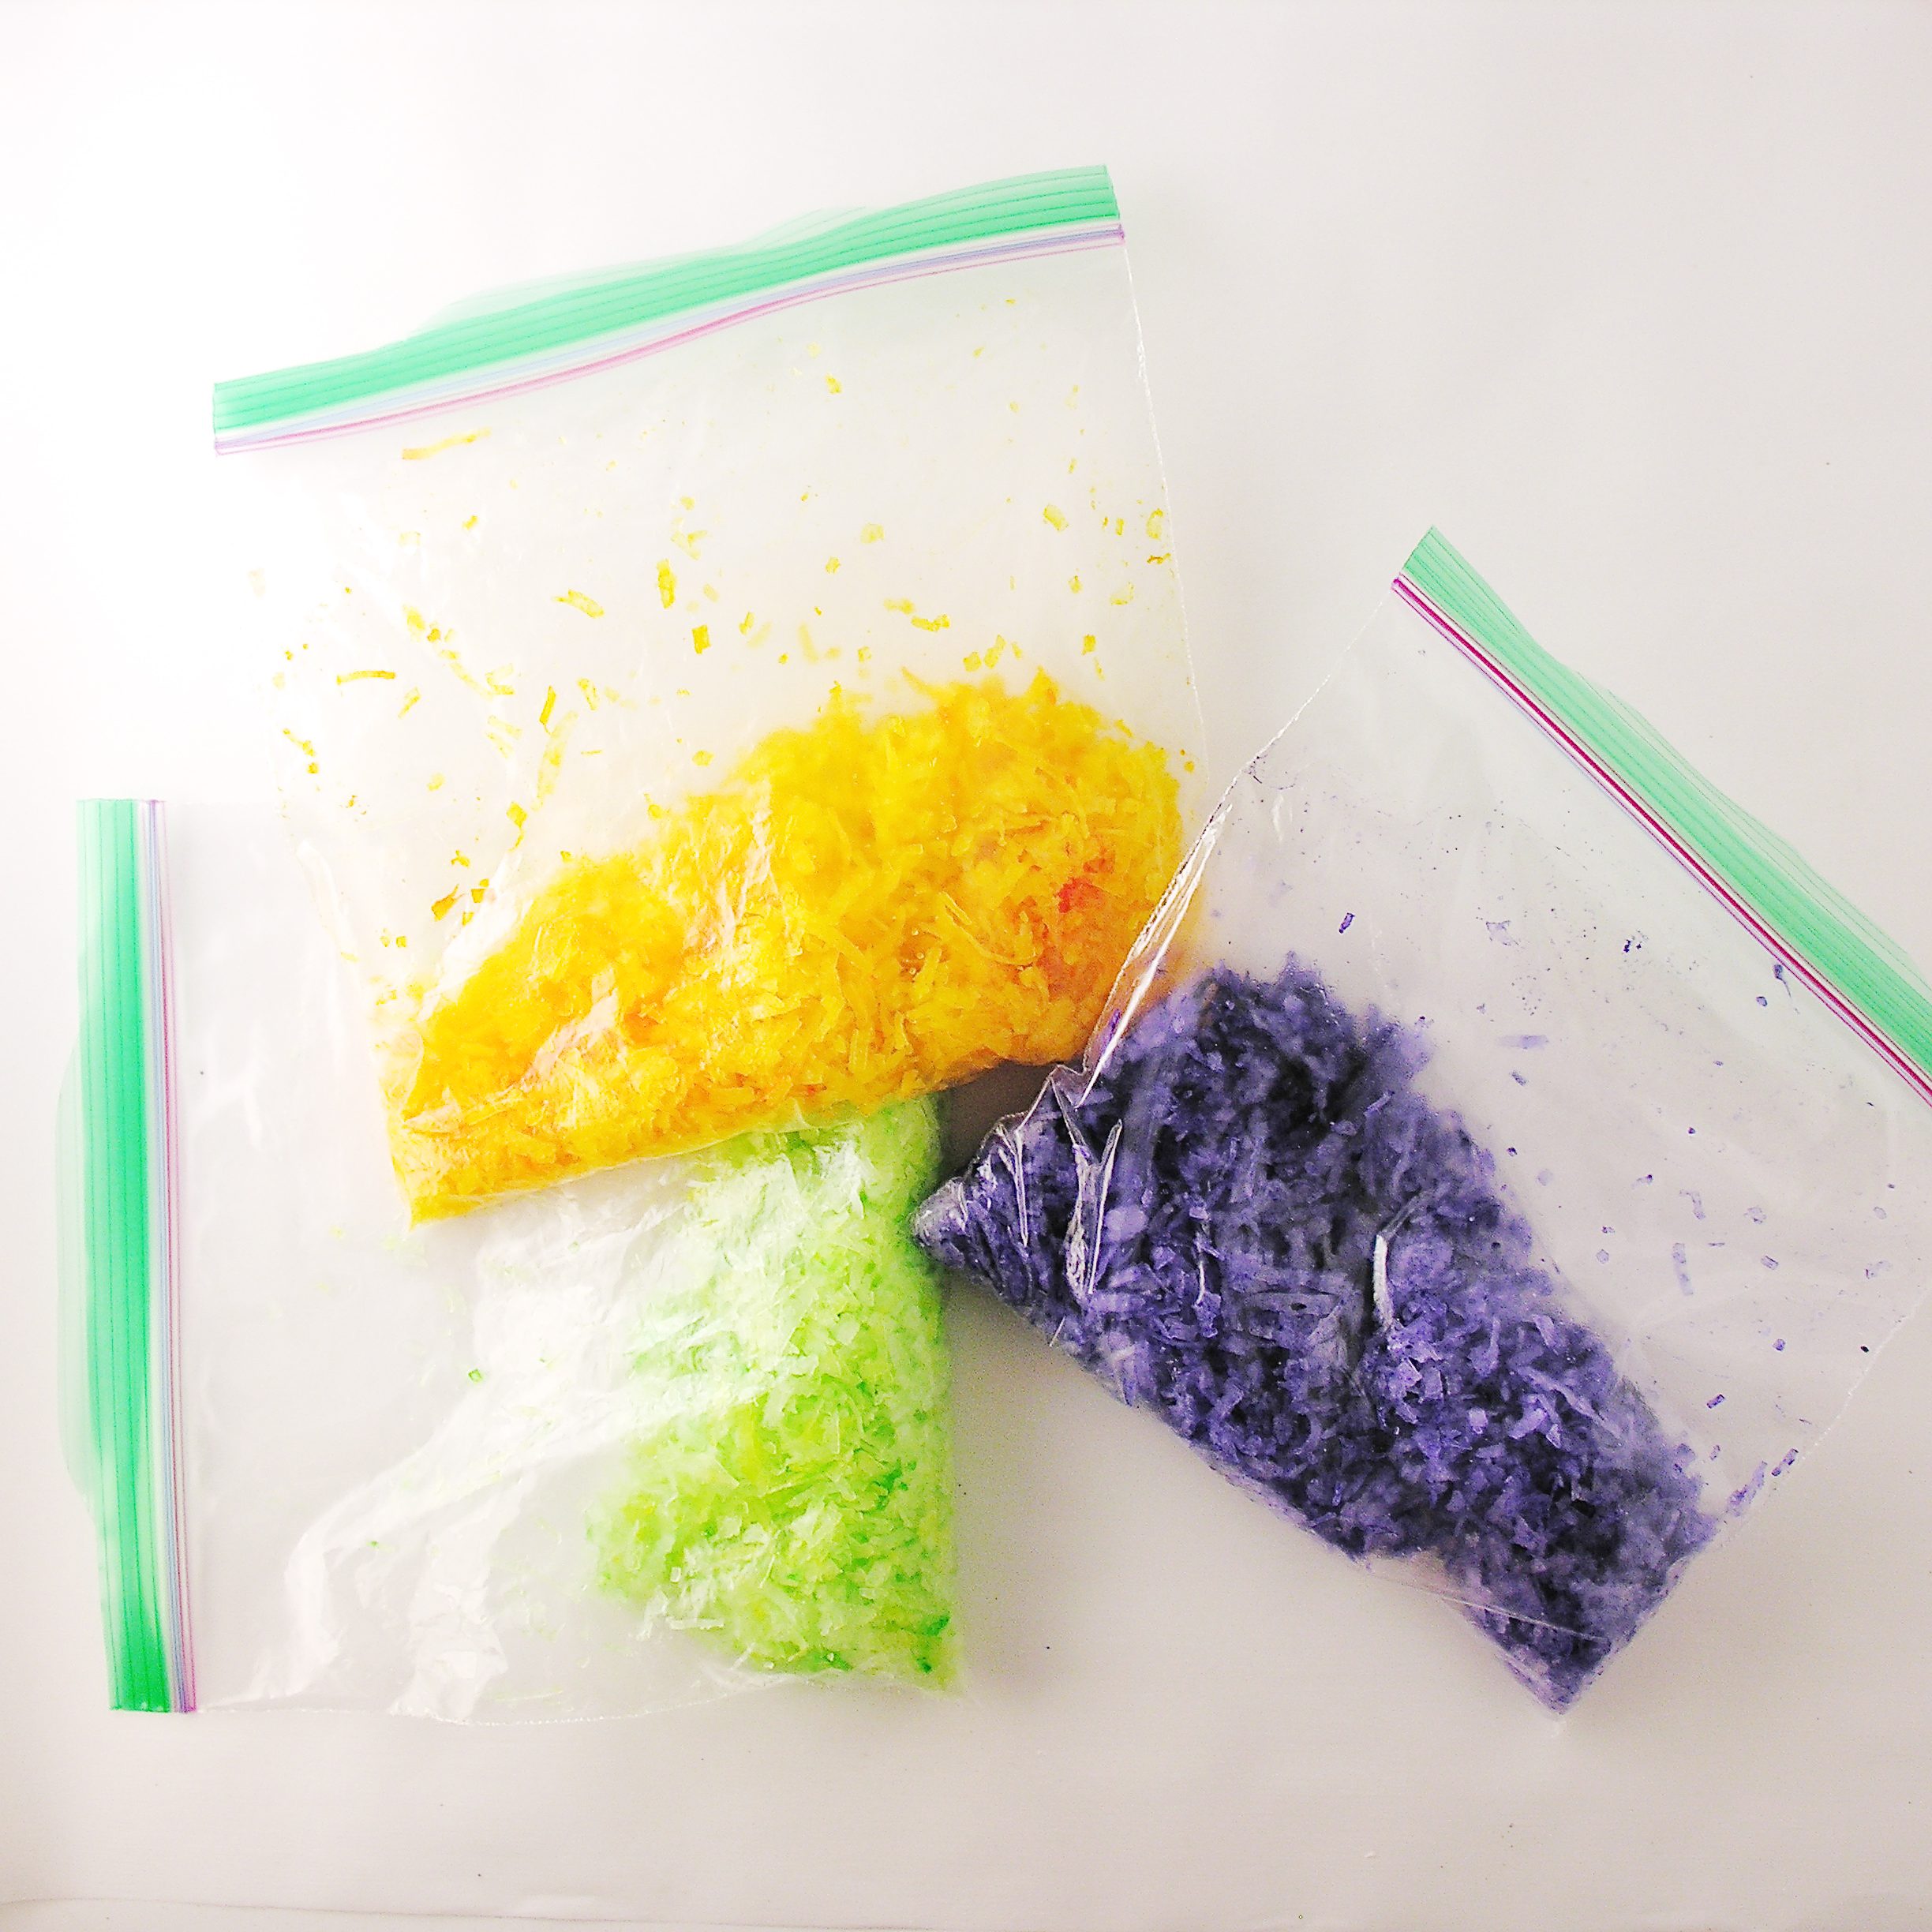
- About 3 cups of shredded, sweetened coconut
- Food coloring in desired shades
- About 24 lollipop sticks
DIRECTIONS: (if you’ve never made Oreo Pops, check out our tutorial here)
- Place coconut in small zip-top bags and add food coloring in desired shades. Zip bag shut and shake and squeeze until coconut is completely colored. Set aside.
- Twist apart all of your Oreos.
- Melt your candy melts in the microwave in 30 second increments, stirring in between, until melted and smooth.
- Dip the end of a lollipop stick into the melts, spread a little on the top of the white filling of the Oreo and then press the stick into the white filling.
- Place the top of the Oreo back on so that the stick is in the middle with the filling.
- Do this for all the Oreos, and set them on a large plate or cookie sheet to FREEZE for about 10 minutes.
- Hold a chilled pop by the stick, and spoon candy melts (in desired color) over the top, bottom and sides of the Oreo.
- Tap stick against the side of the bowl to get extra melts off, and gently pull the bottom of the Oreo along the edge of the bowl, scraping off excess melts.
- Set Oreo on parchment paper to harden- but before it hardens, sprinkle a generous amount of coconut on the top of the candy melts, and gently press it up against the sides.
- When all Oreos of a given color are dipped and covered, take the remaining candy melts and use a dab on the back of each candy eye-ball to “glue” these on top of the coconut. I used a toothpick to add this dab of candy melt to the eyeball.
- Continue until you have all colors finished. Allow Oreo pops to completely harden (a couple of hours). You can freeze them to speed up this process.
- The BEST way to serve these is to wrap them in cello bags and tie them with a ribbon. This keeps all that coconut in place (and not all over the other colors of coconut!)


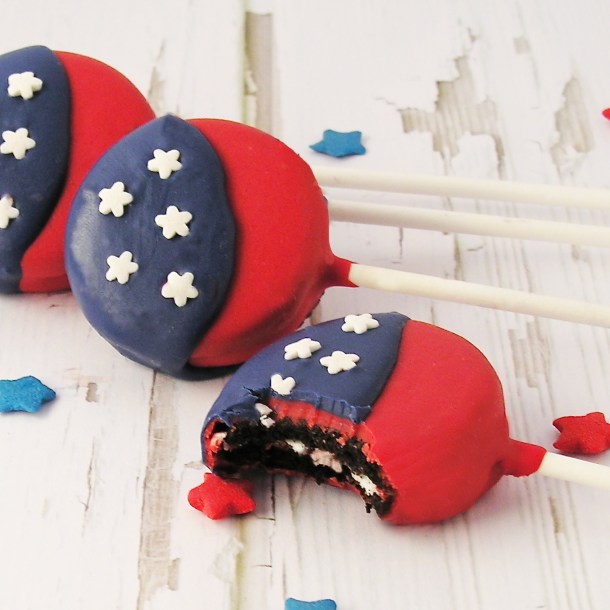
My thoughts: These are quick, but a little messy to put together, They are adorable and delicious though– so well worth the effort in my opinion!!! I liked them even better after a couple of days- when the coconut gets a little firmer in texture from sitting out and it’s less oily. These will keep for at least a week (maybe longer?) when wrapped up in cello bags. I do hope you get a chance to try them! Enjoy!! ~r

We specialize in making kids smile here at Easybaked. Here are a few more ideas: (click on photo to see recipe)


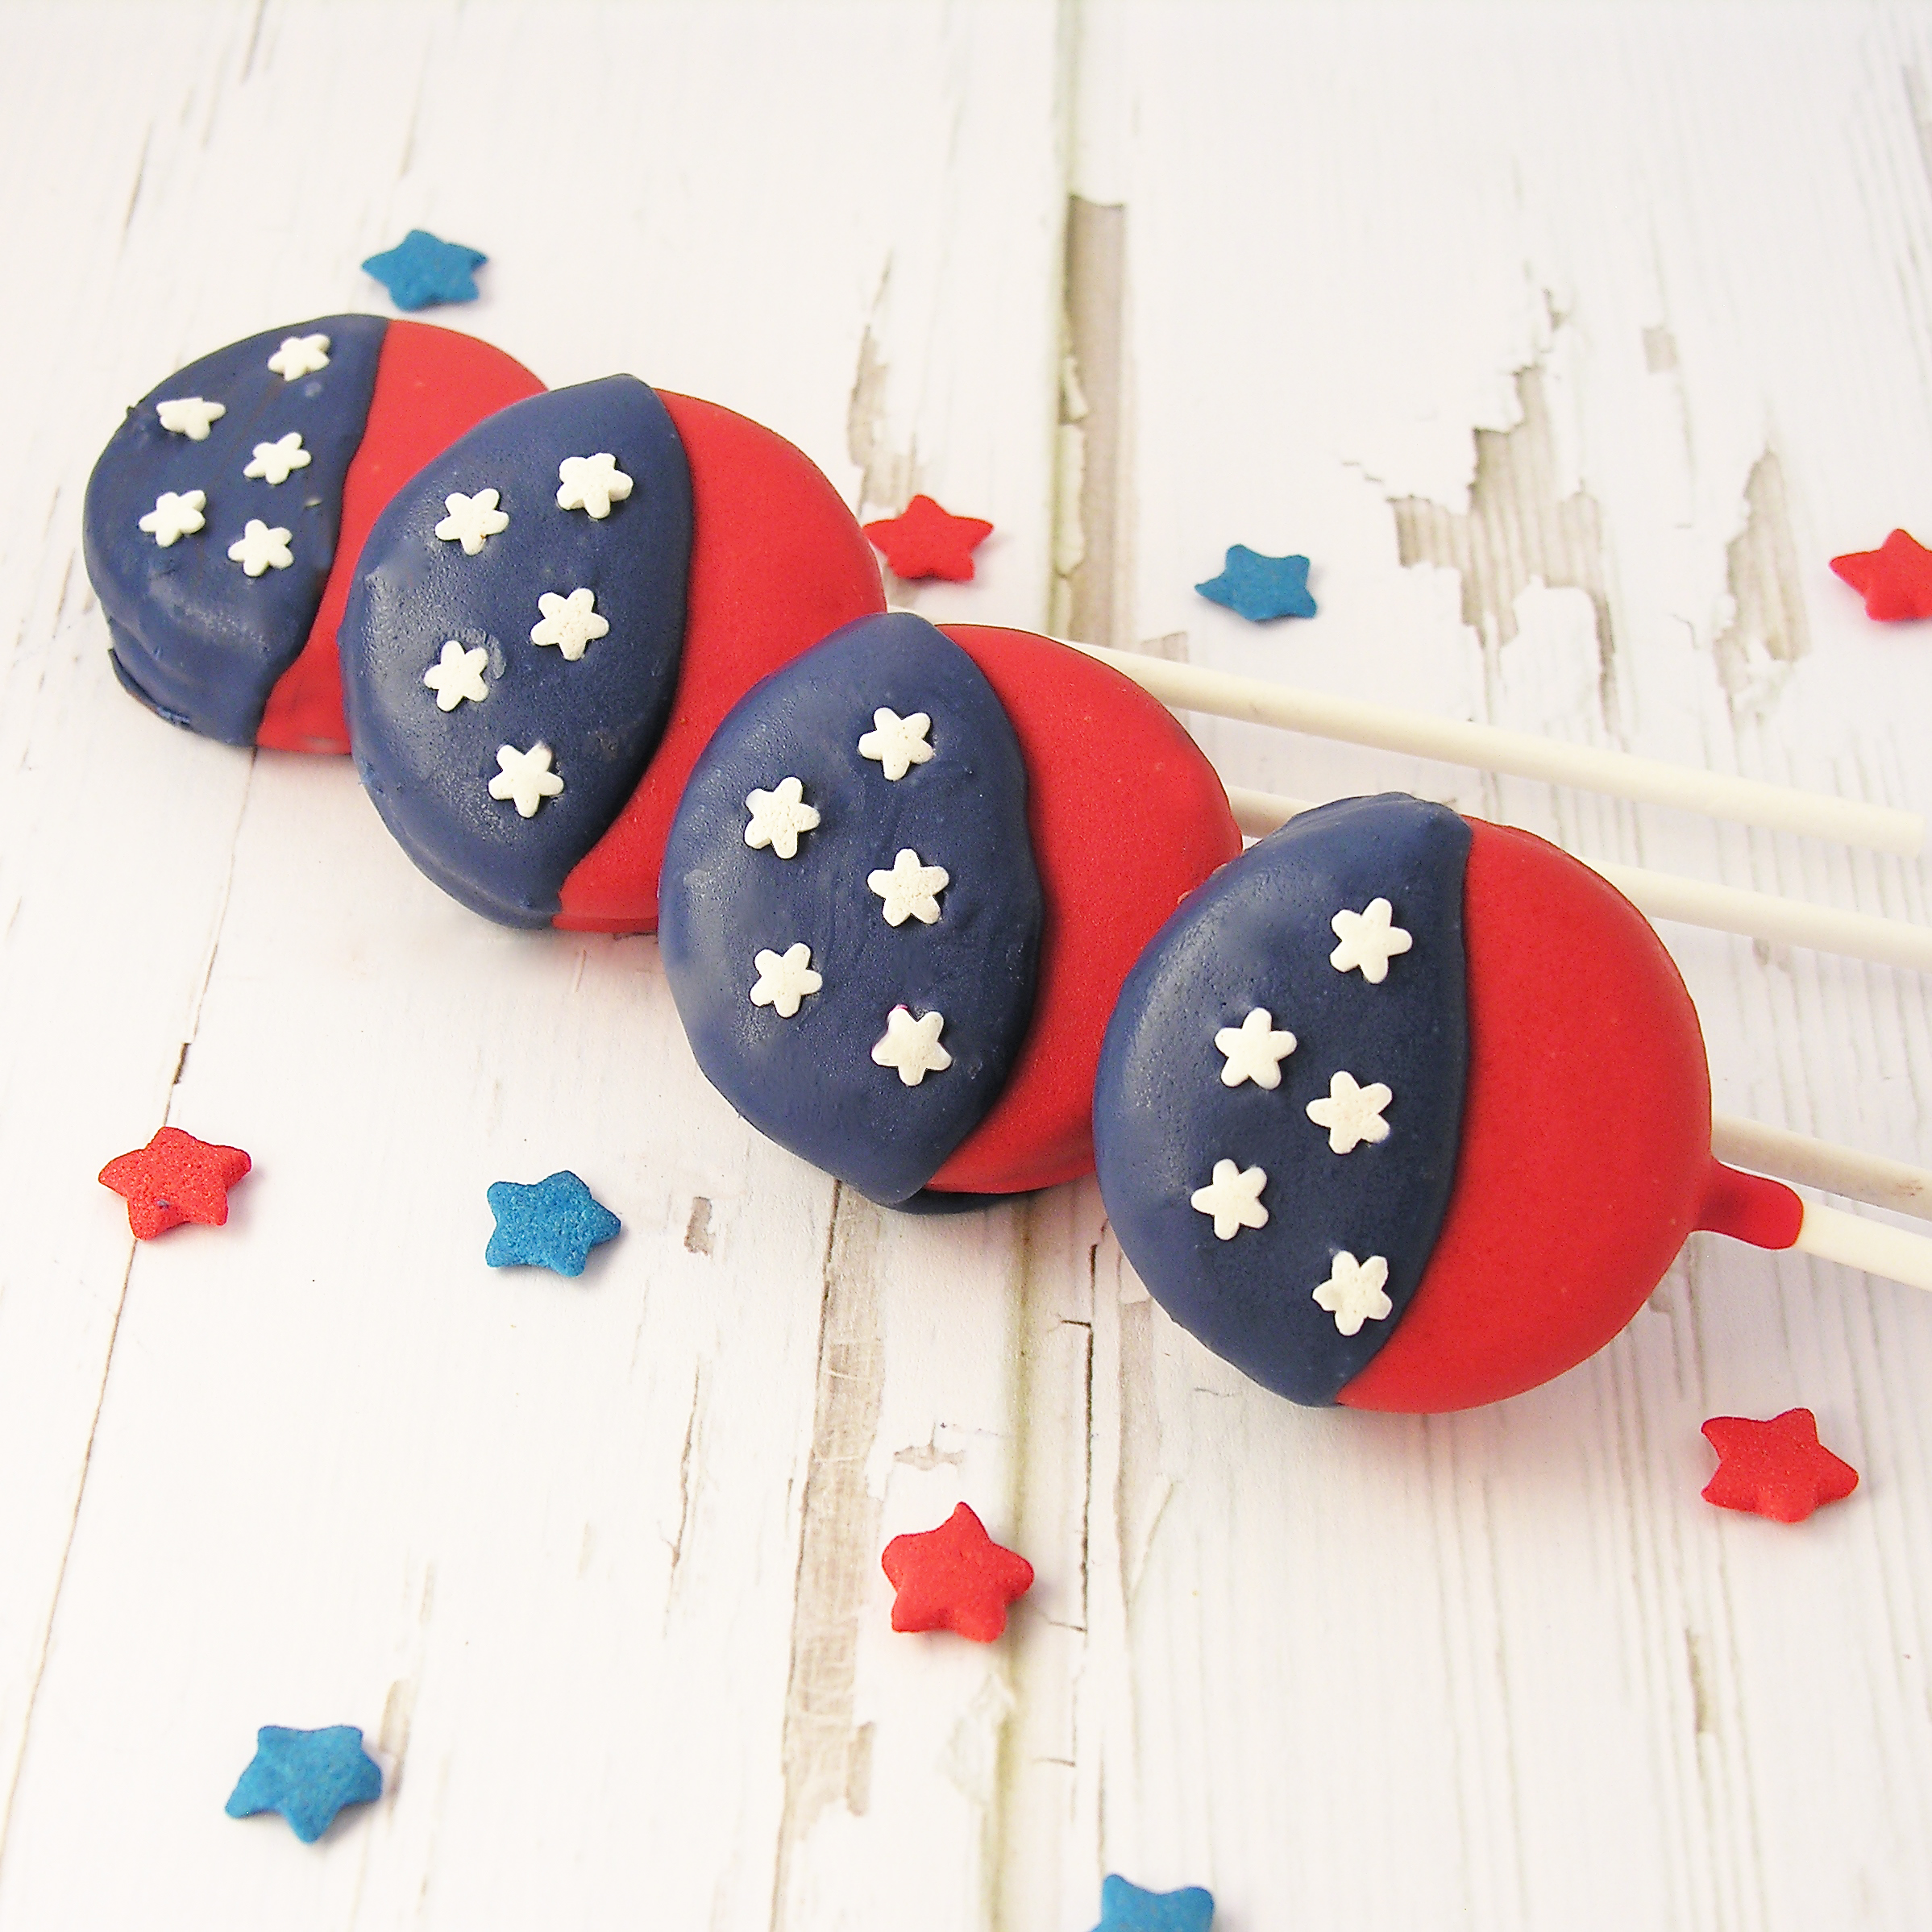


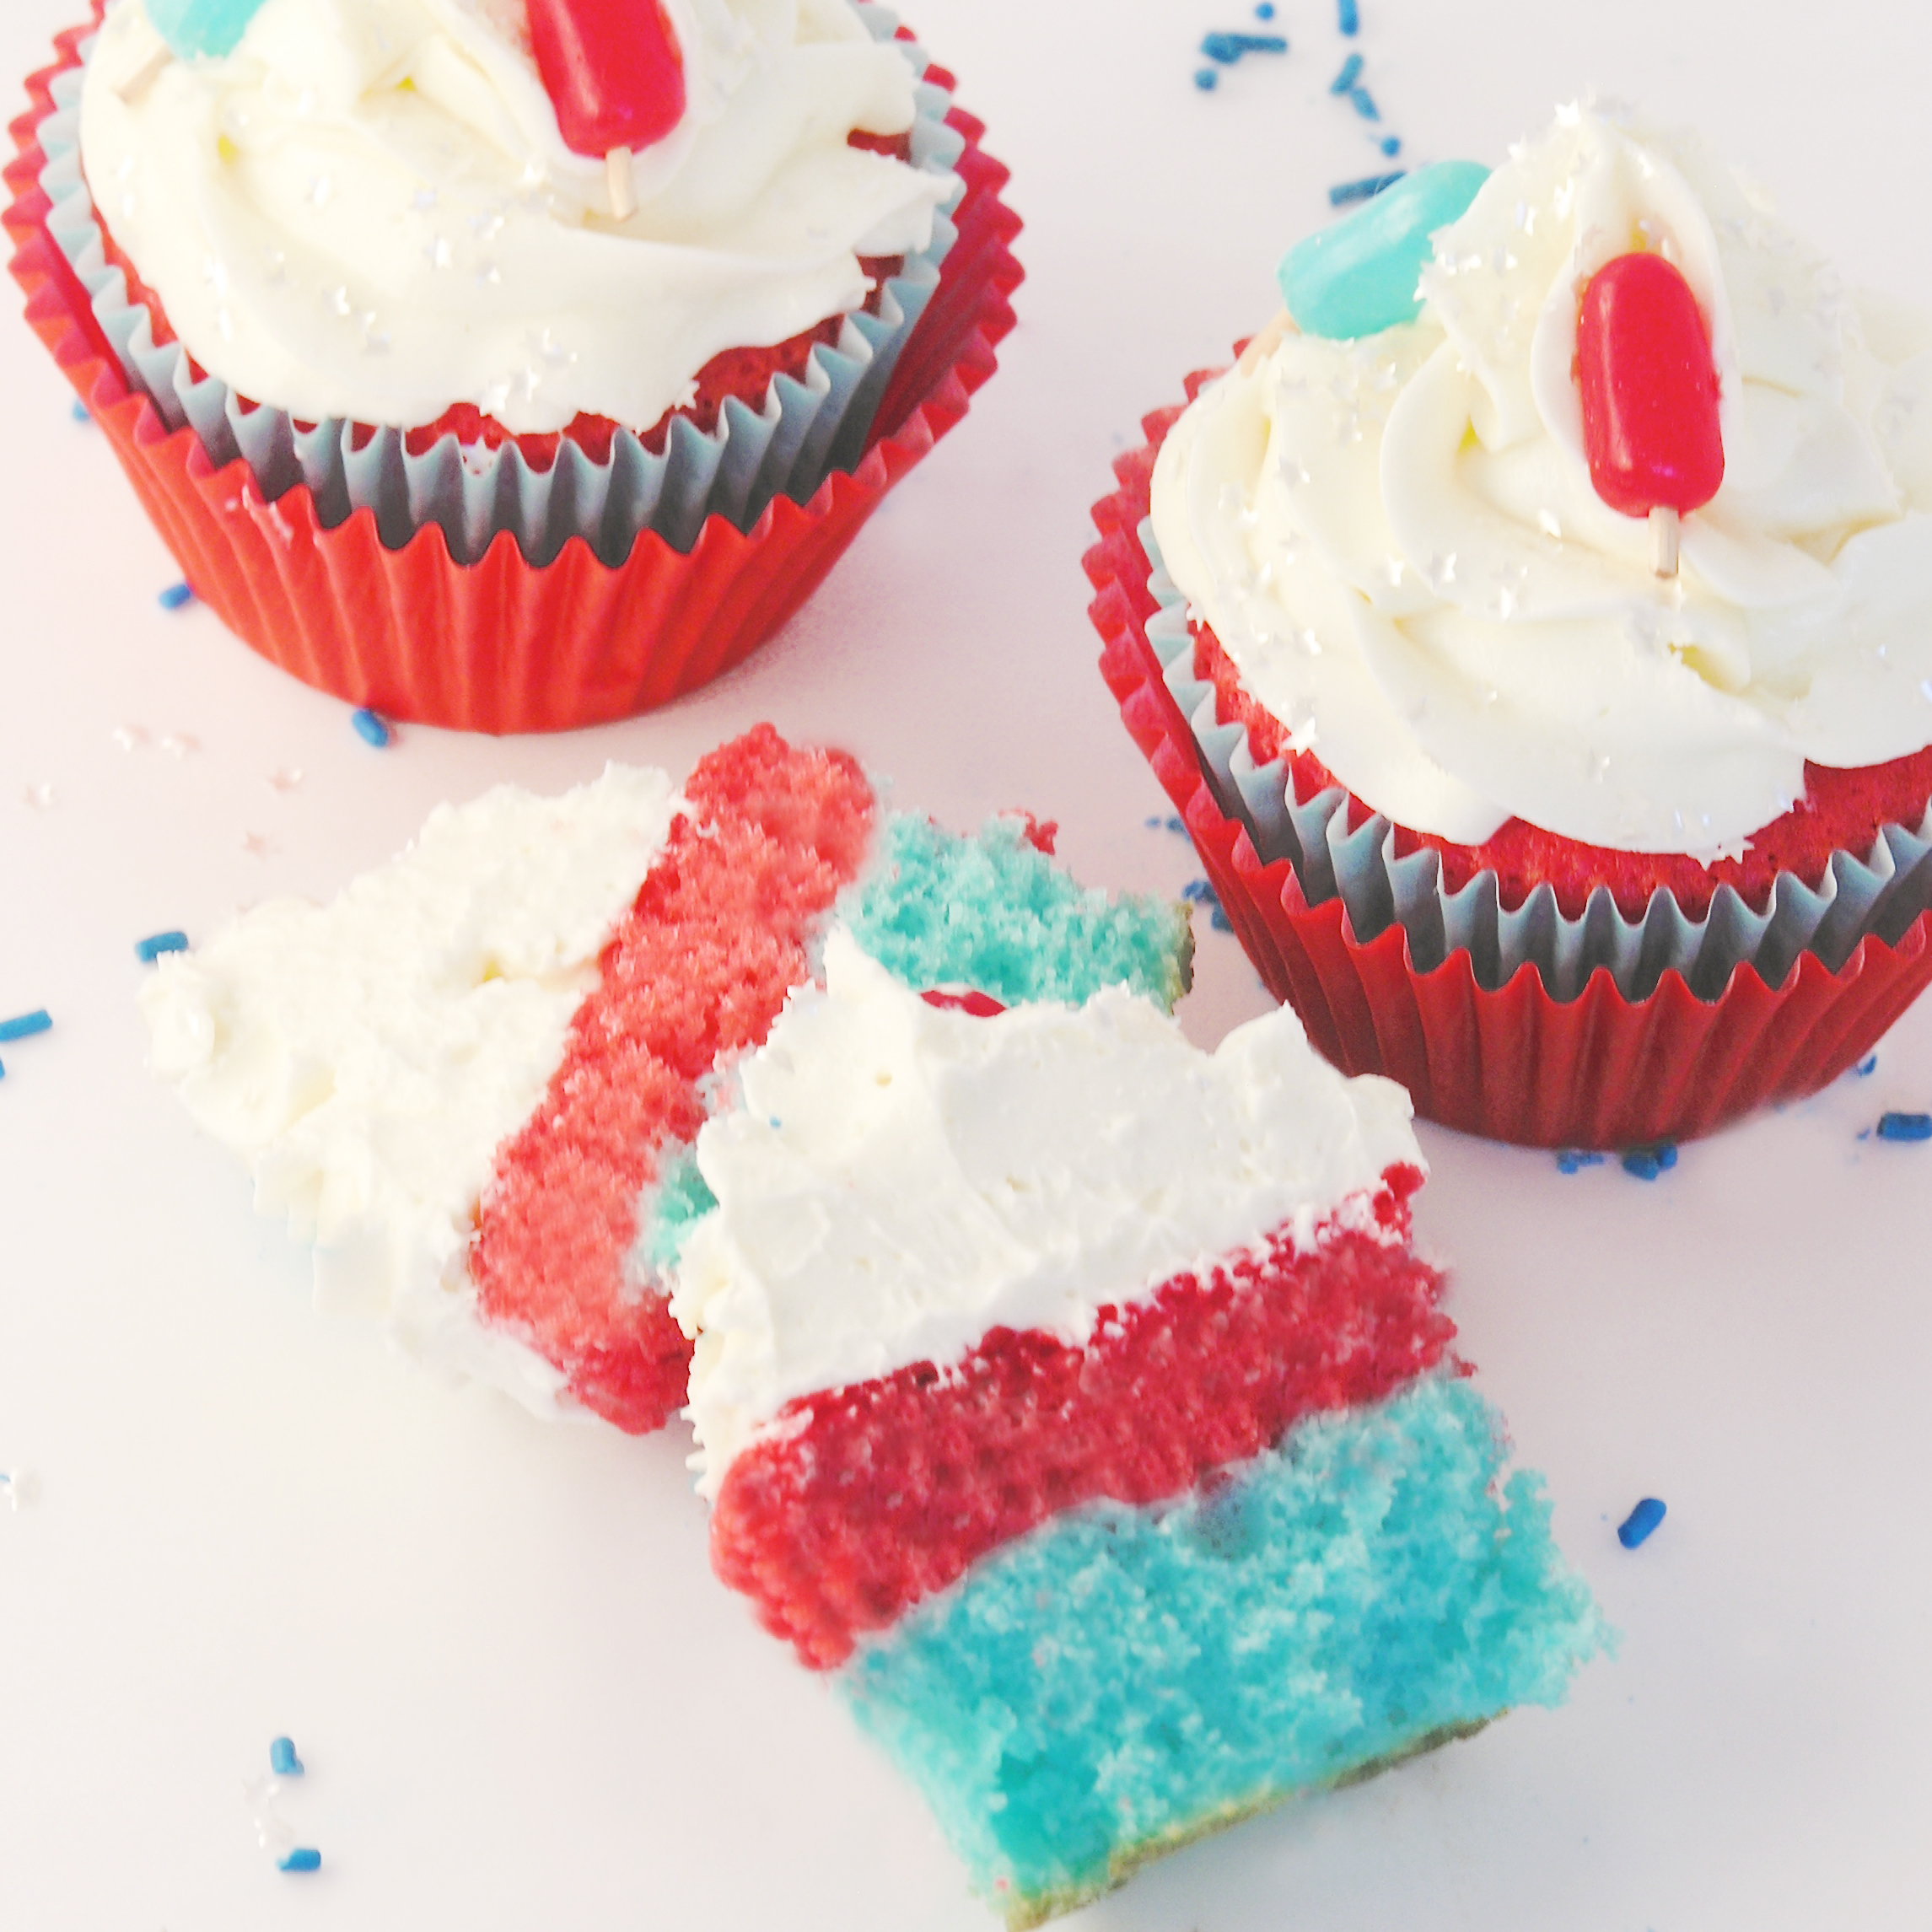
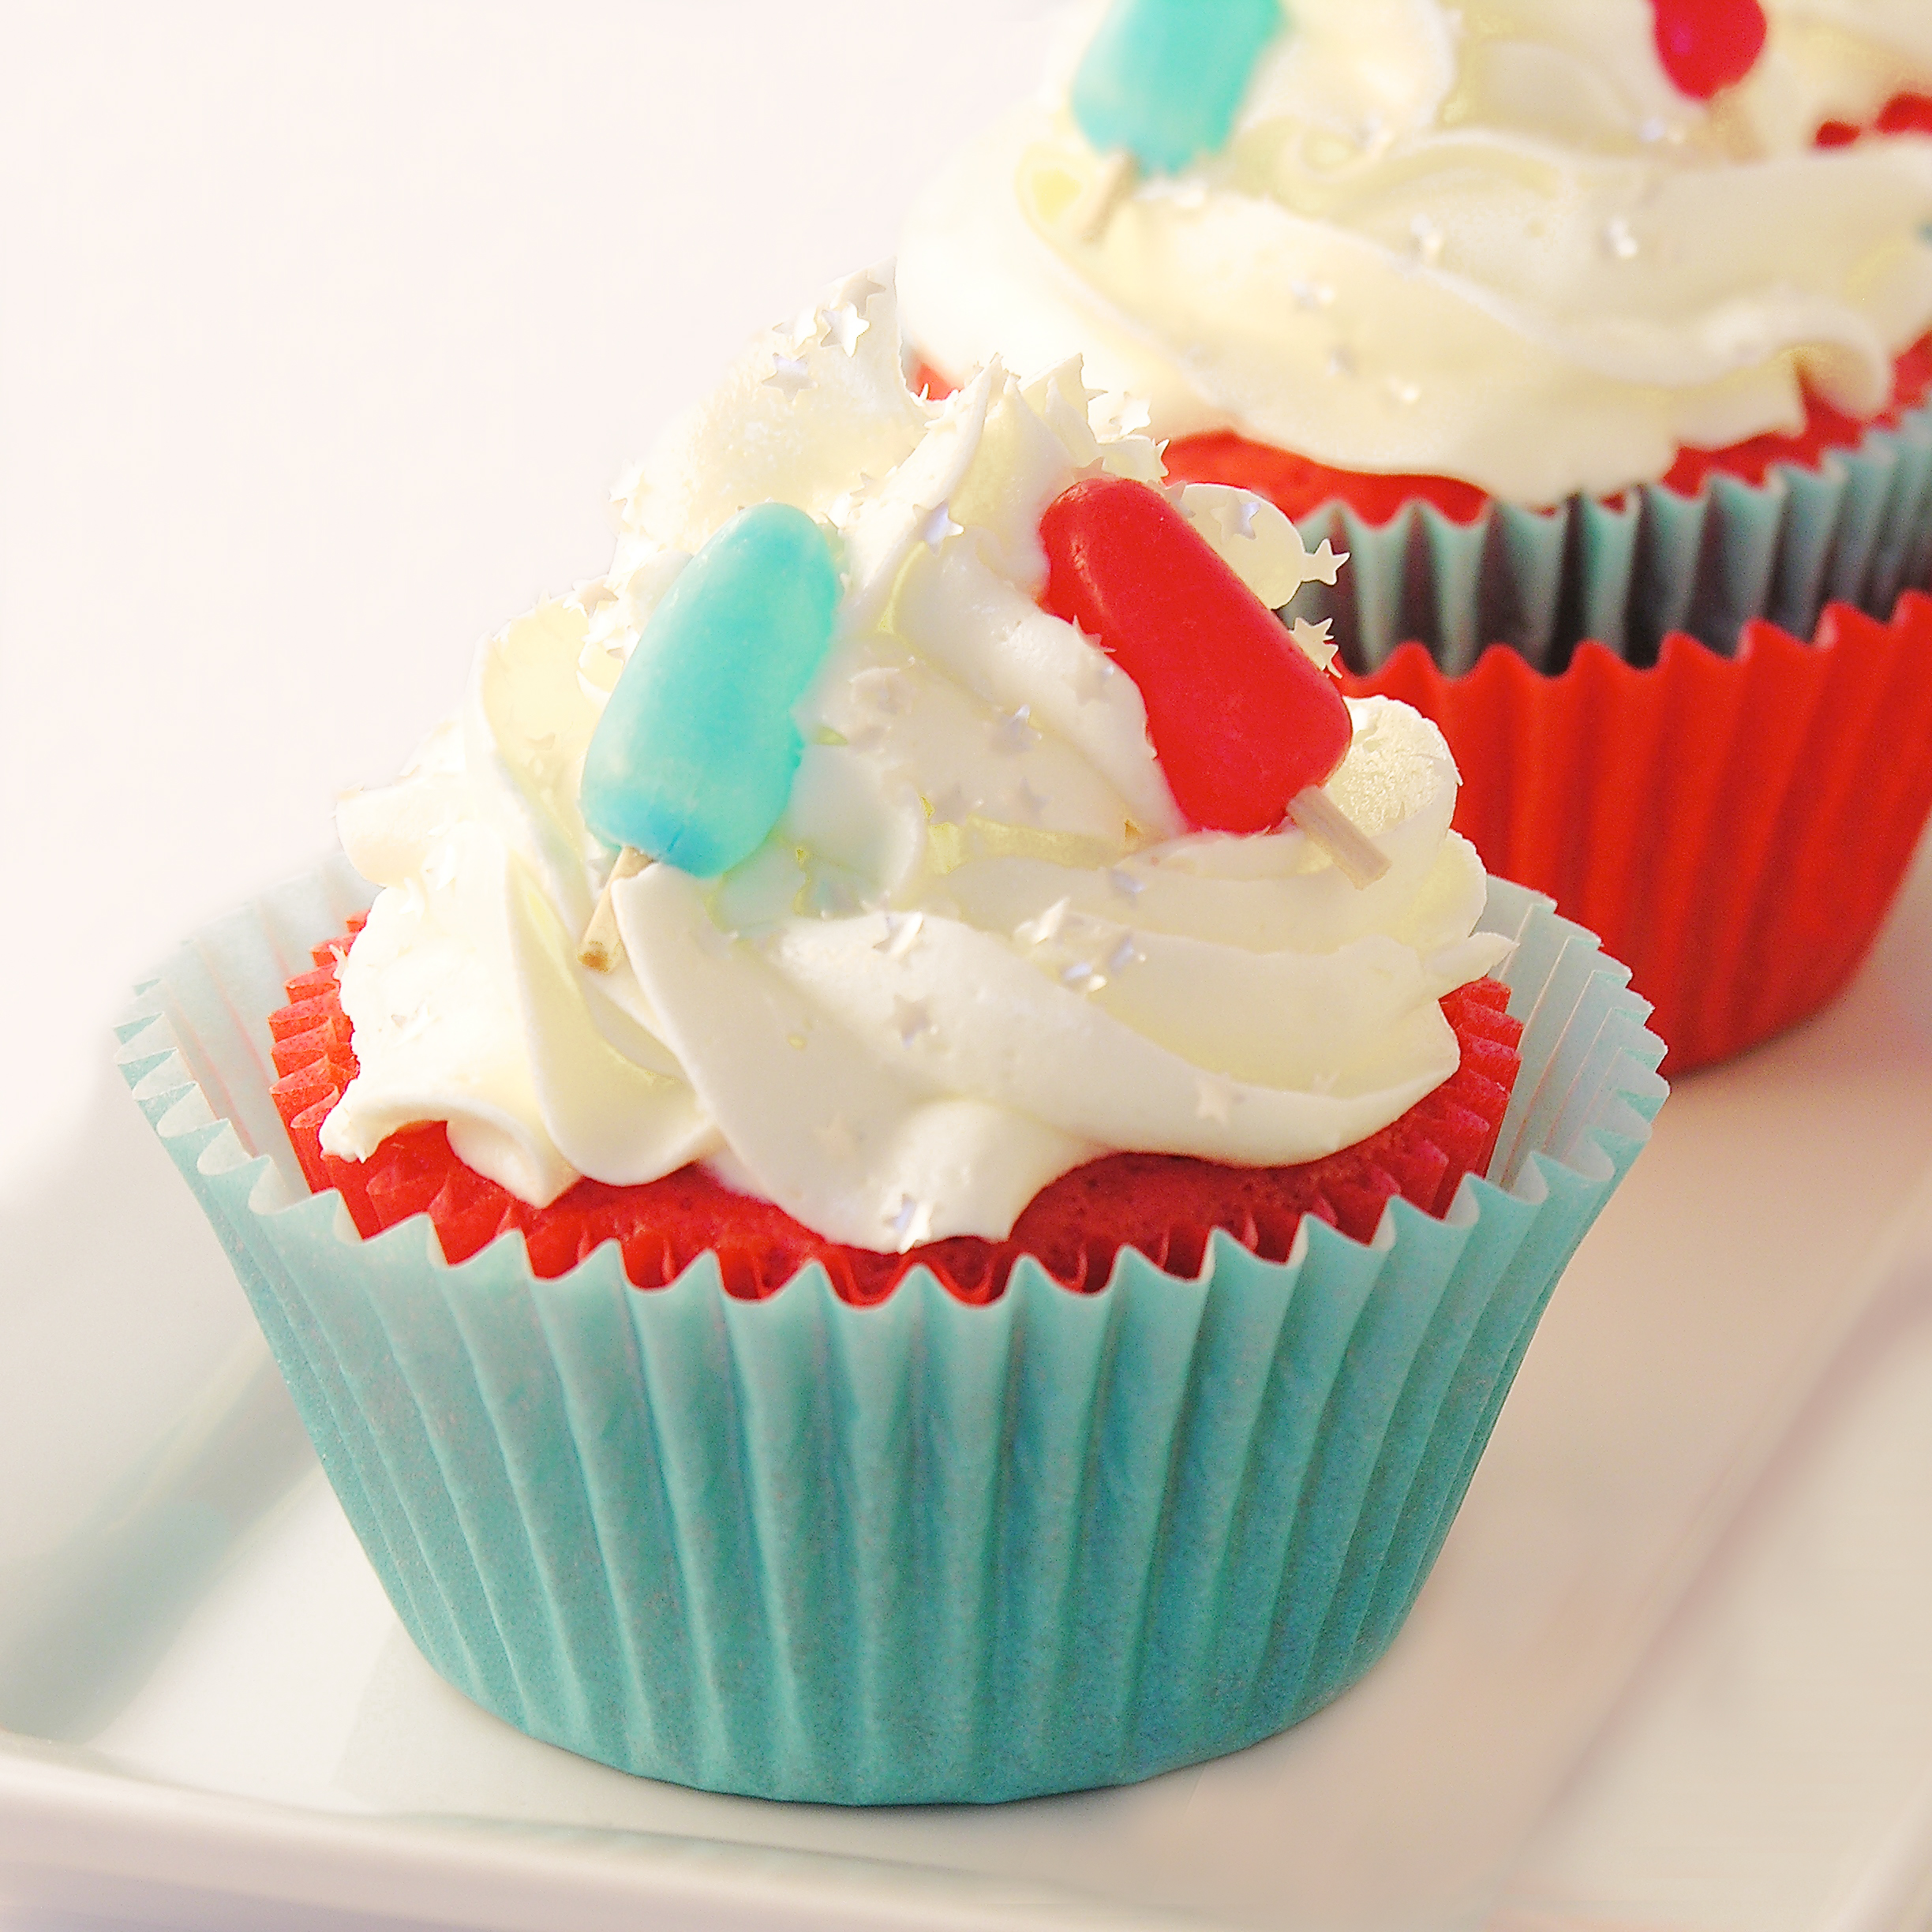
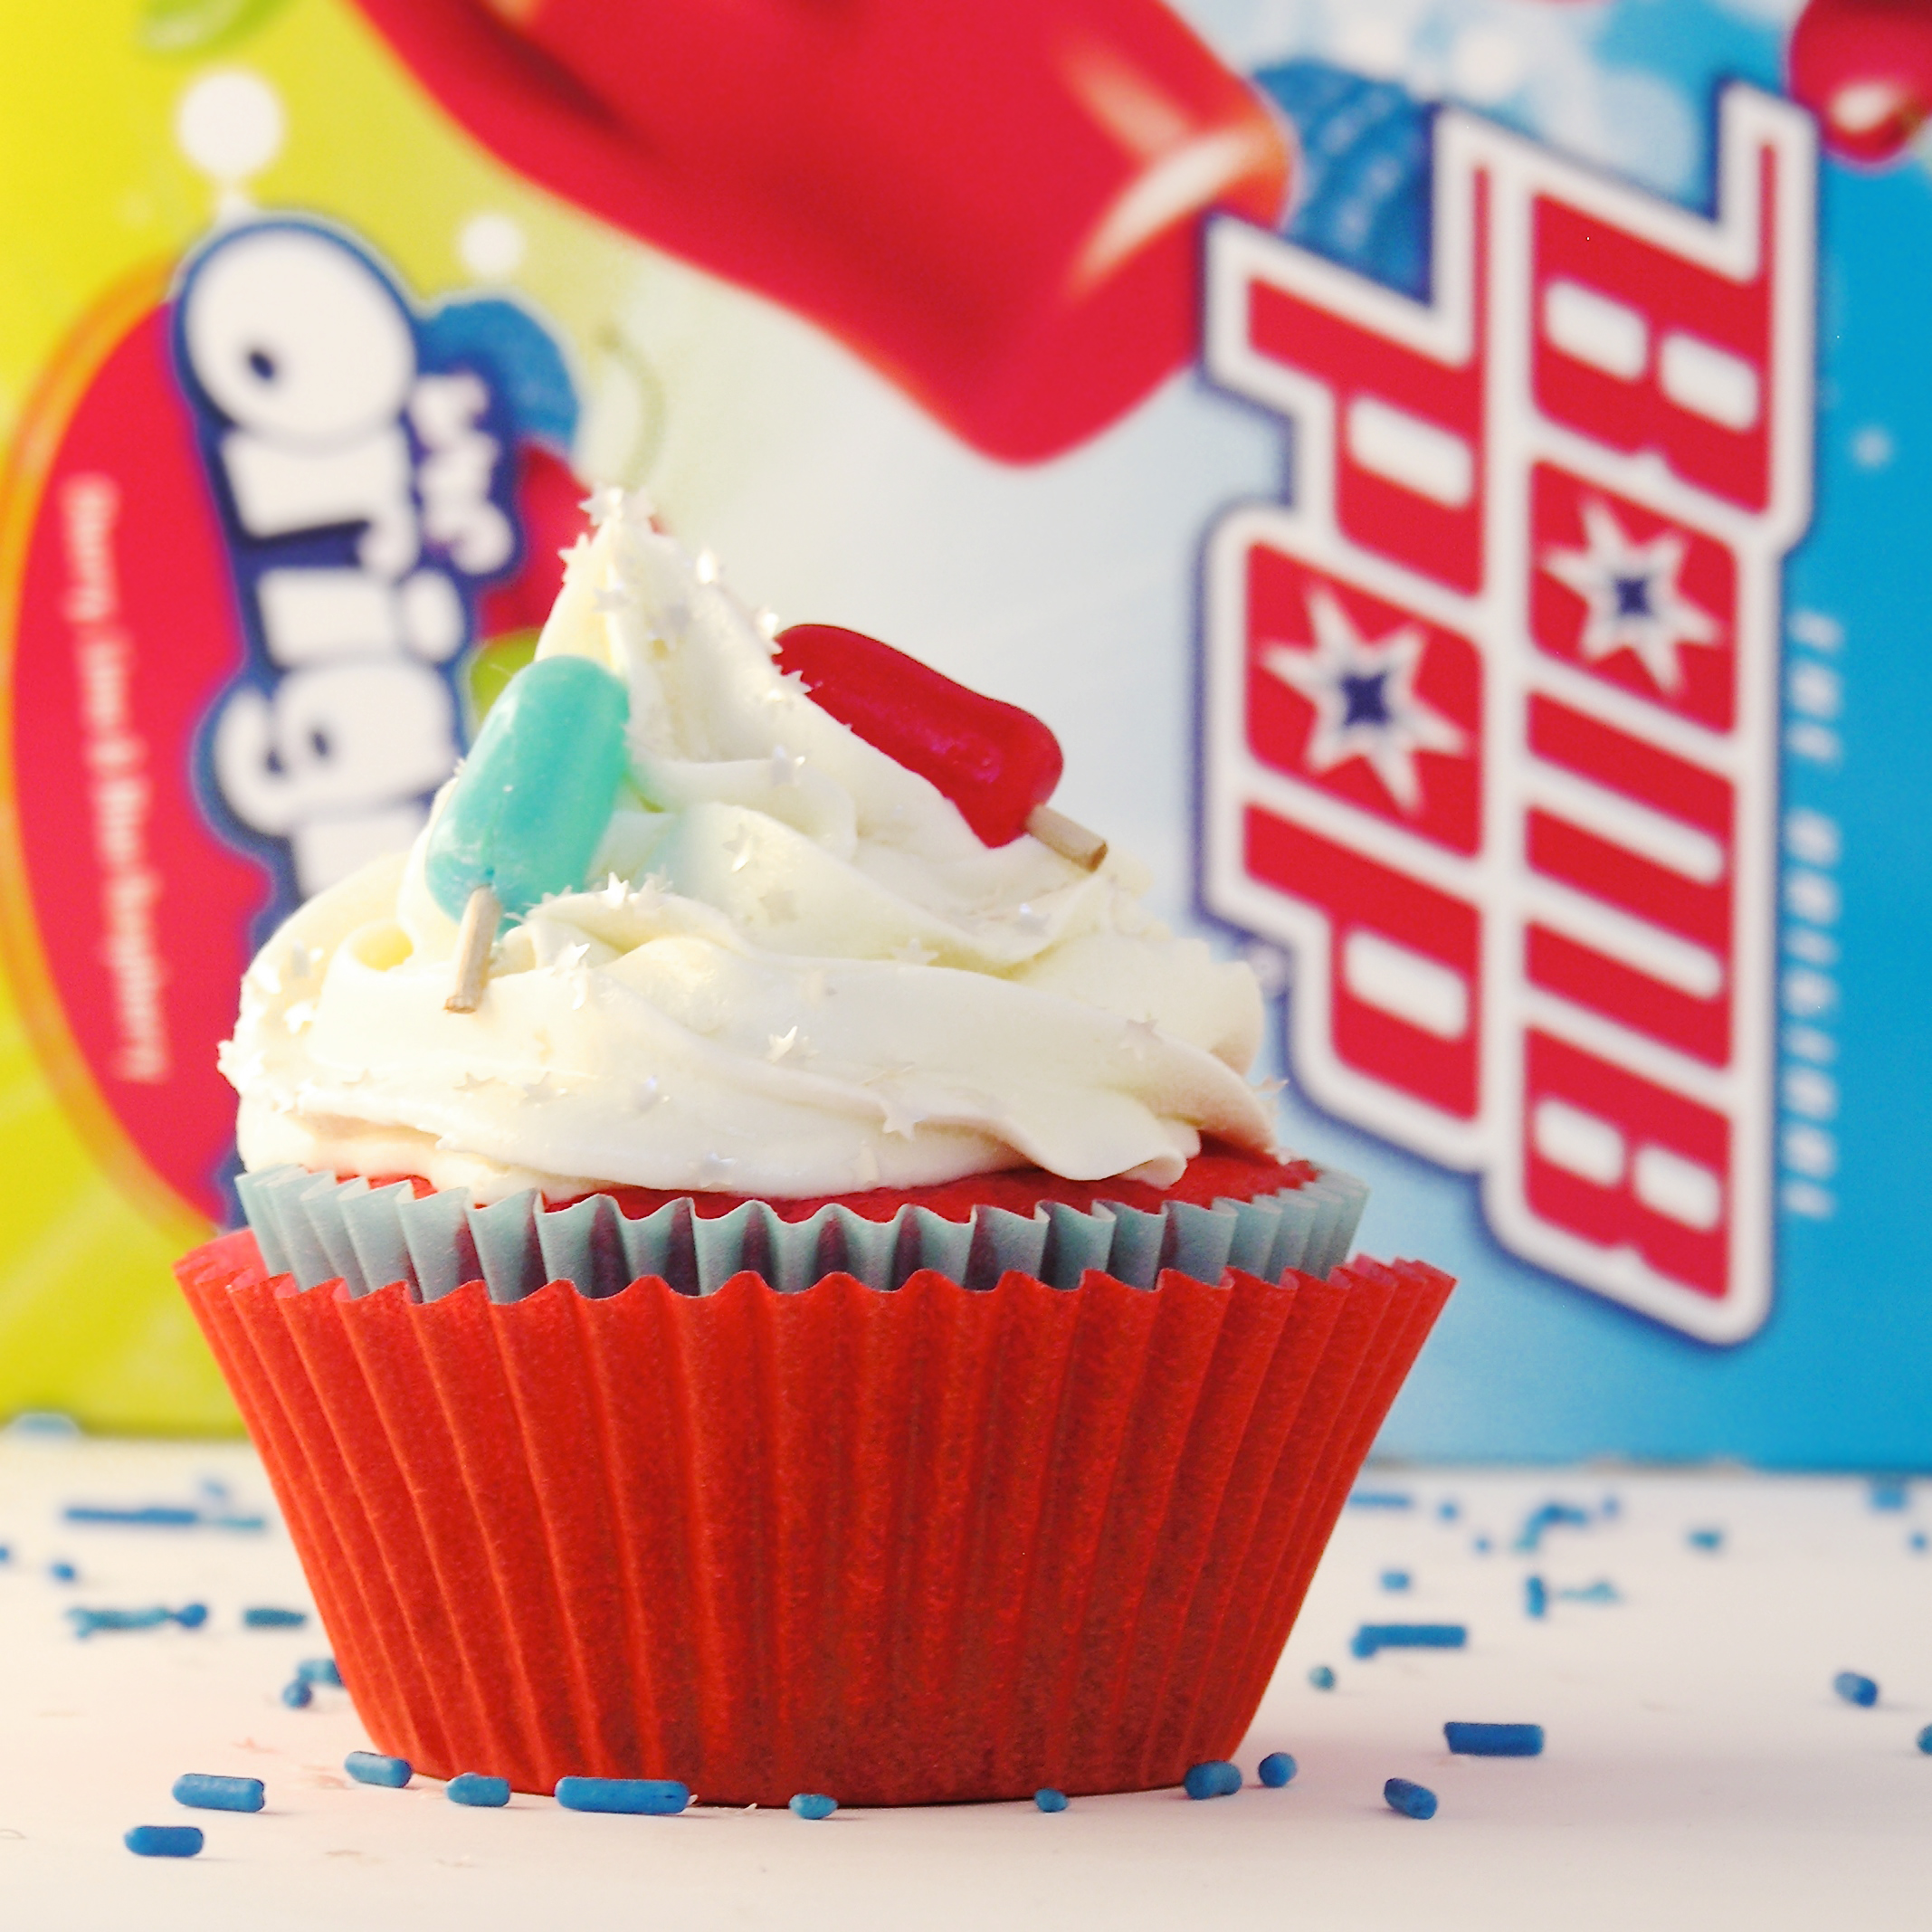
 My thoughts: These are easy and fun to put together, and just so CUTE! Happy Fourth of July!!!!! ~r
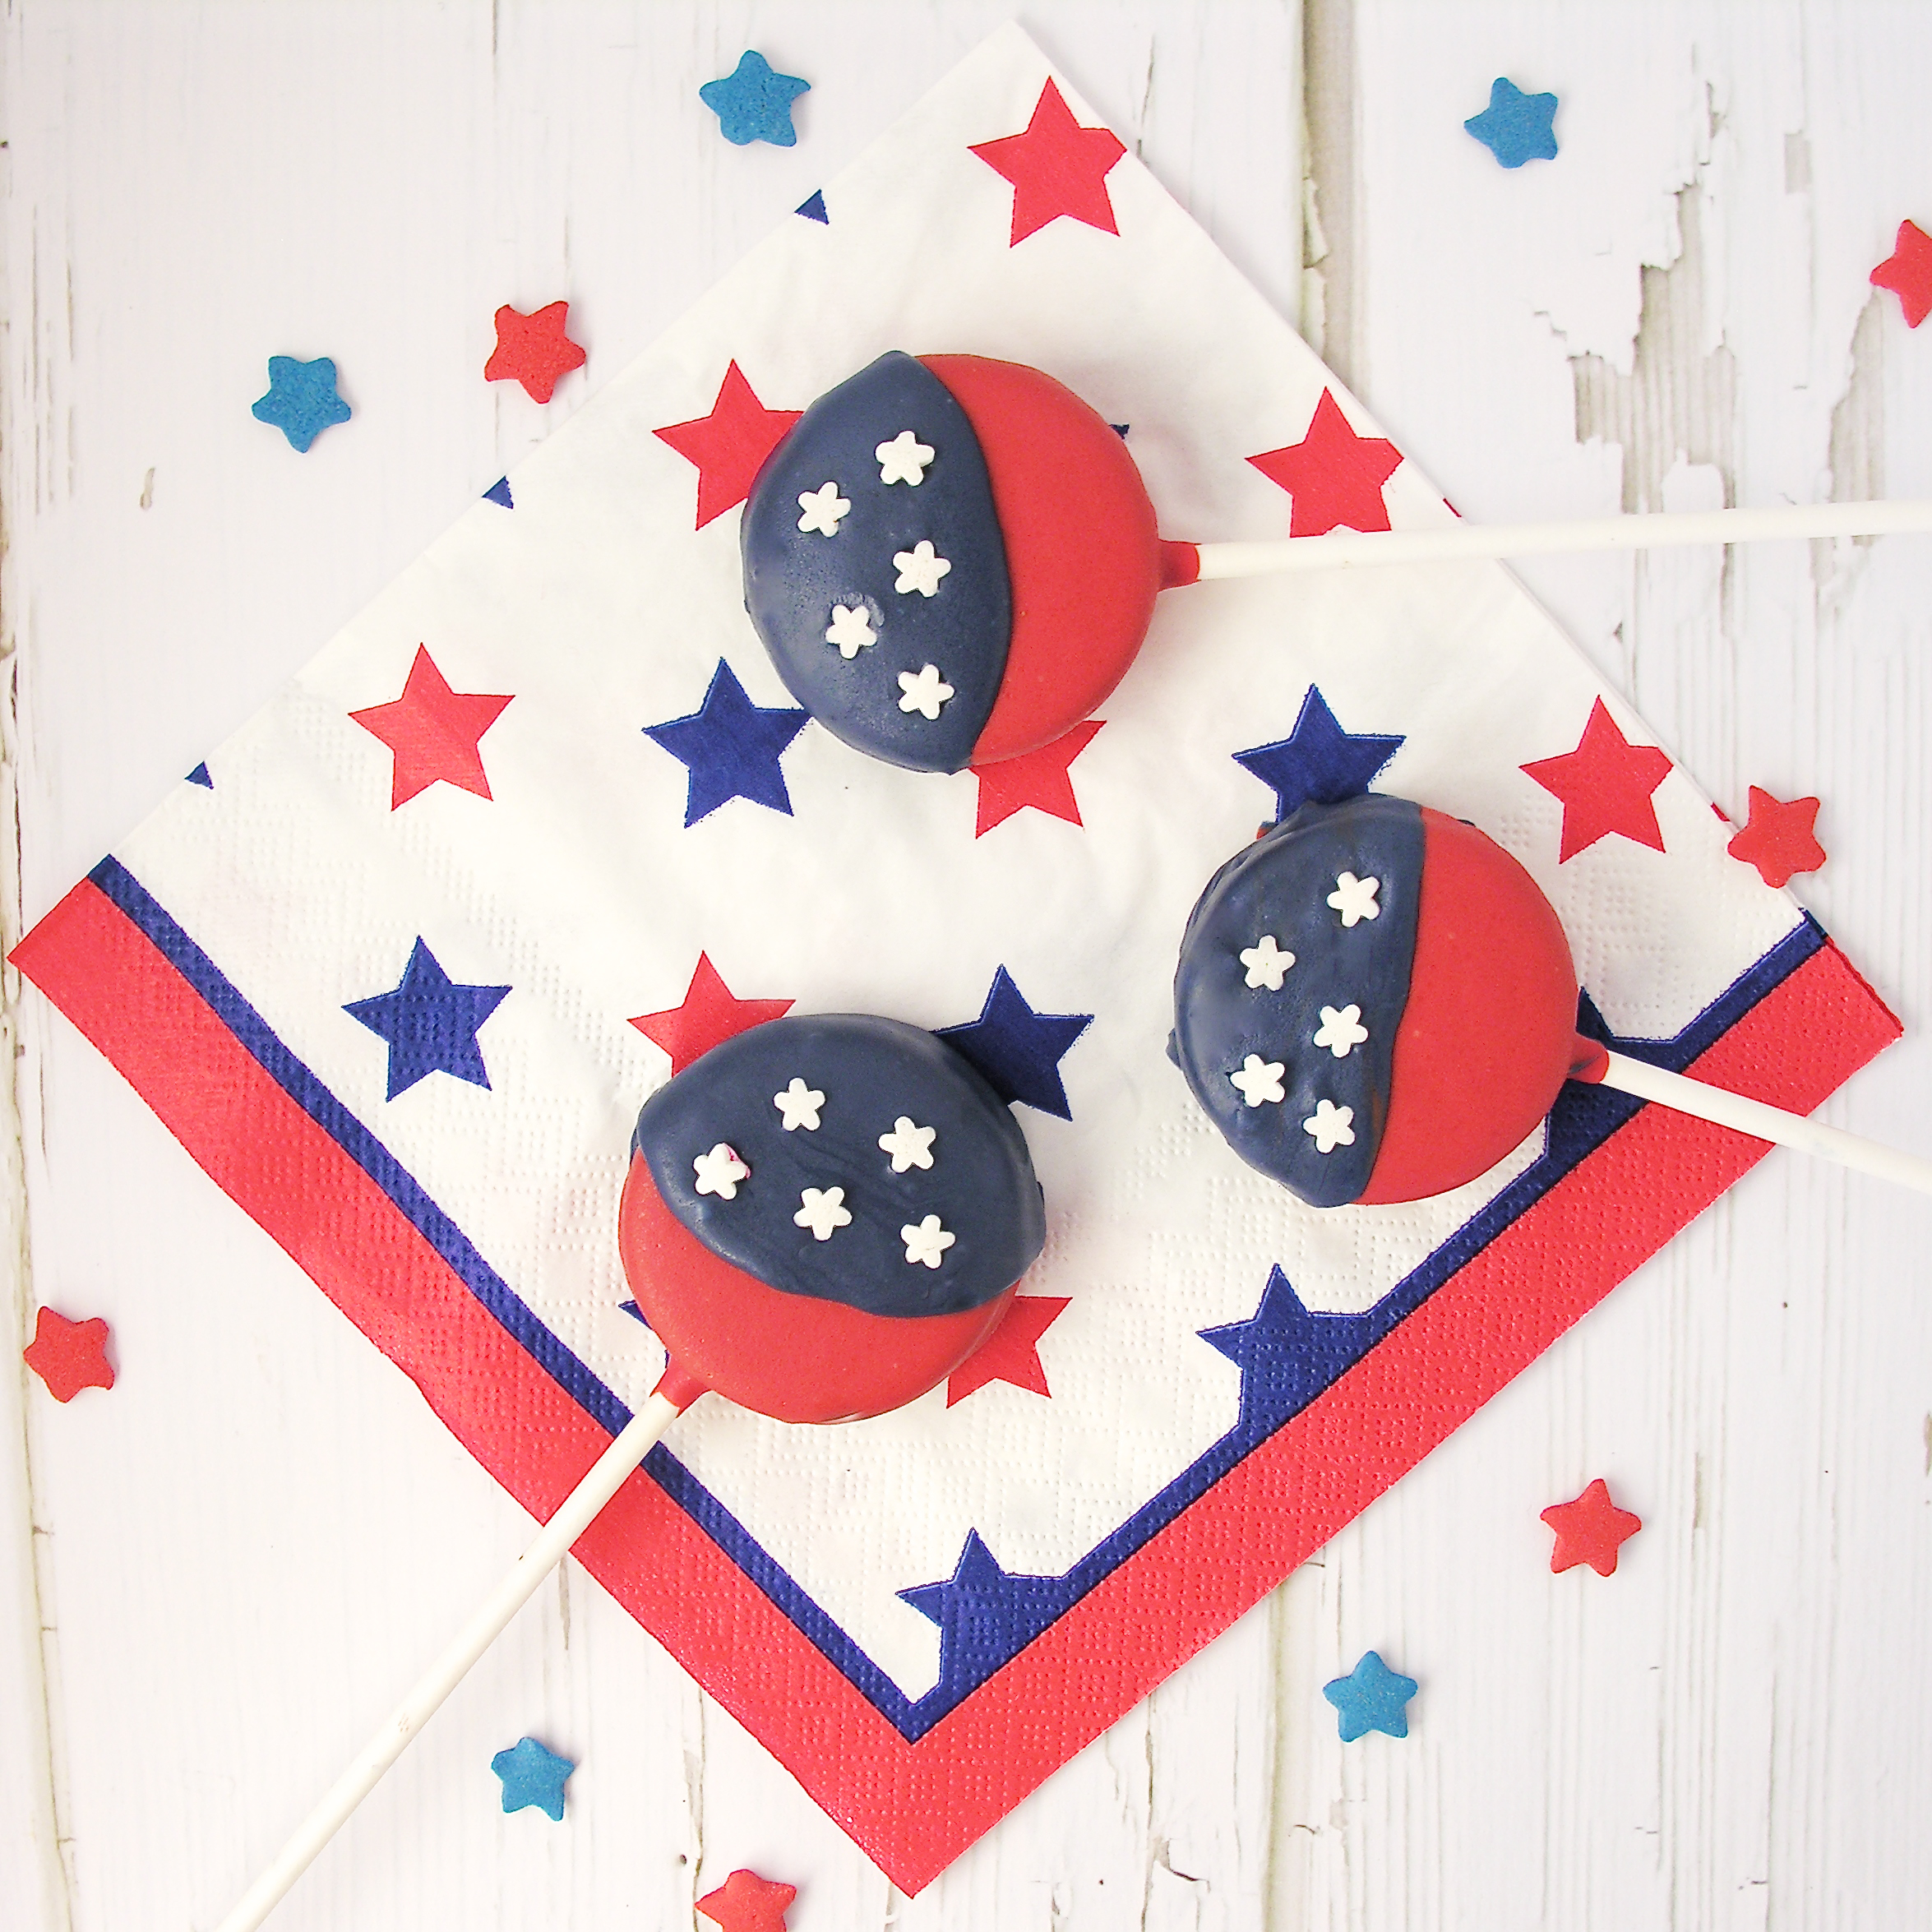