RSS Feed

Tag Archives: Memorial day

American Flag Oreo Pops

Posted on

American Flag Oreo Pops!!!!
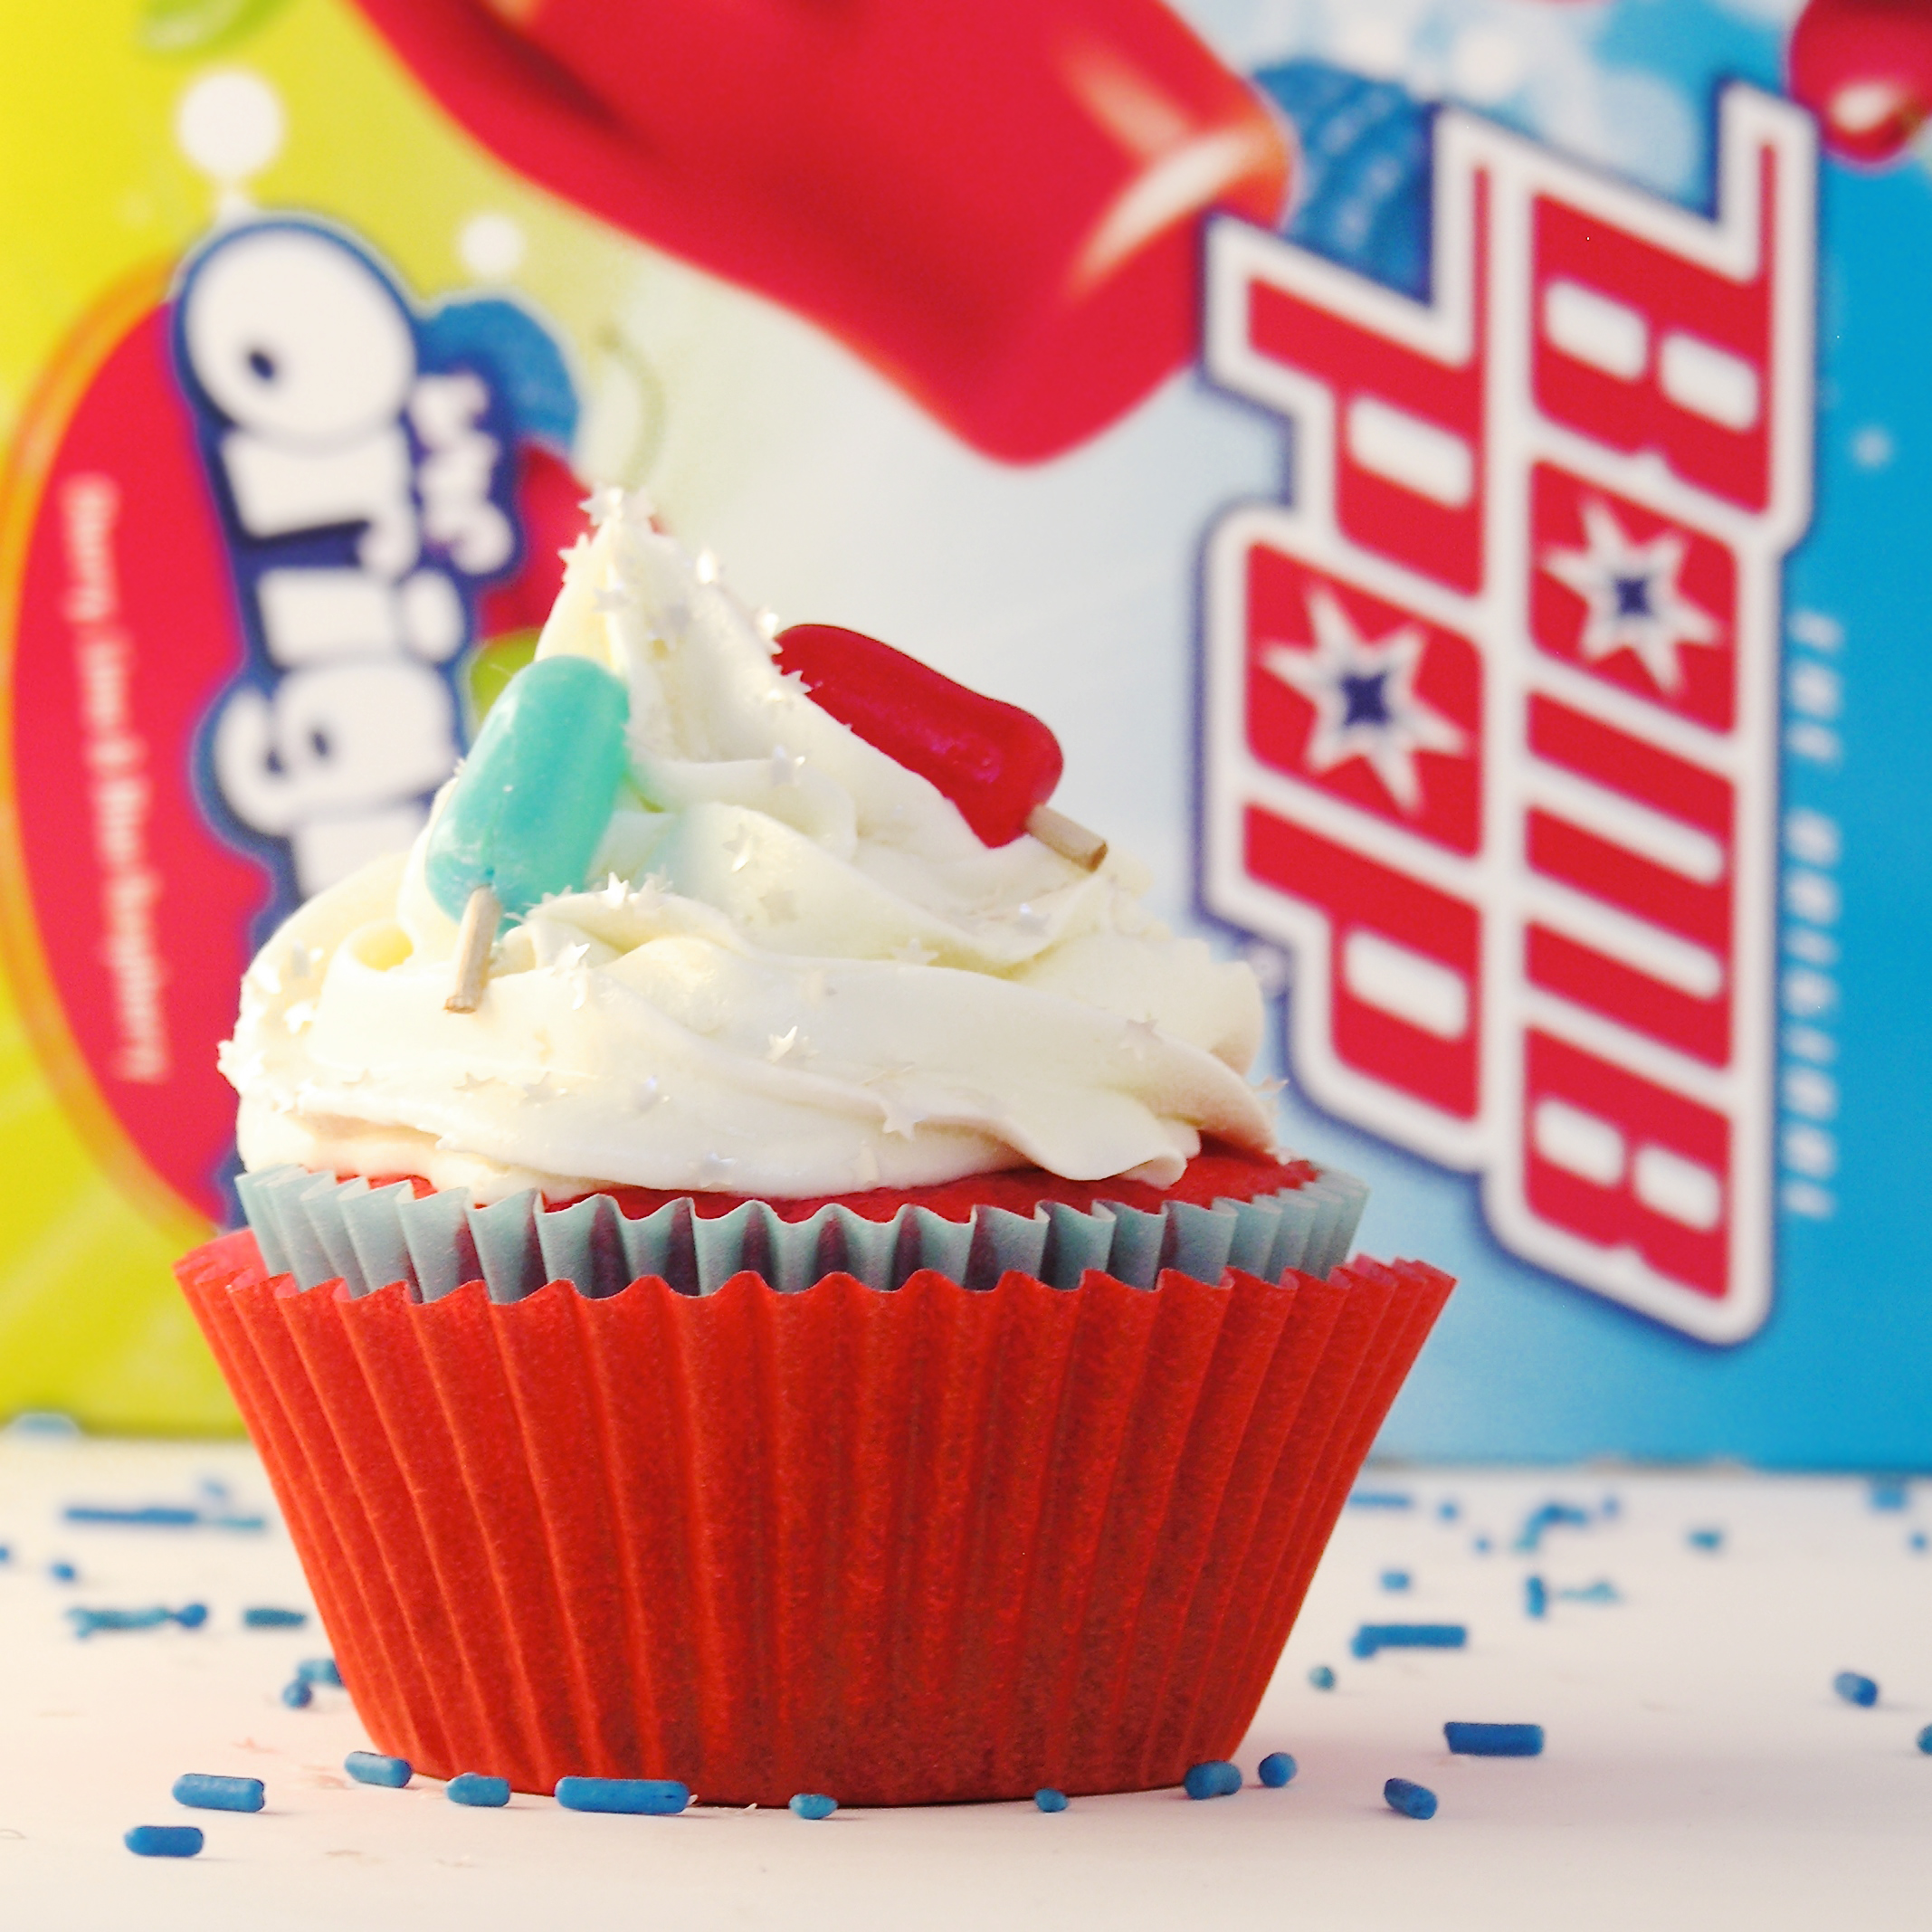
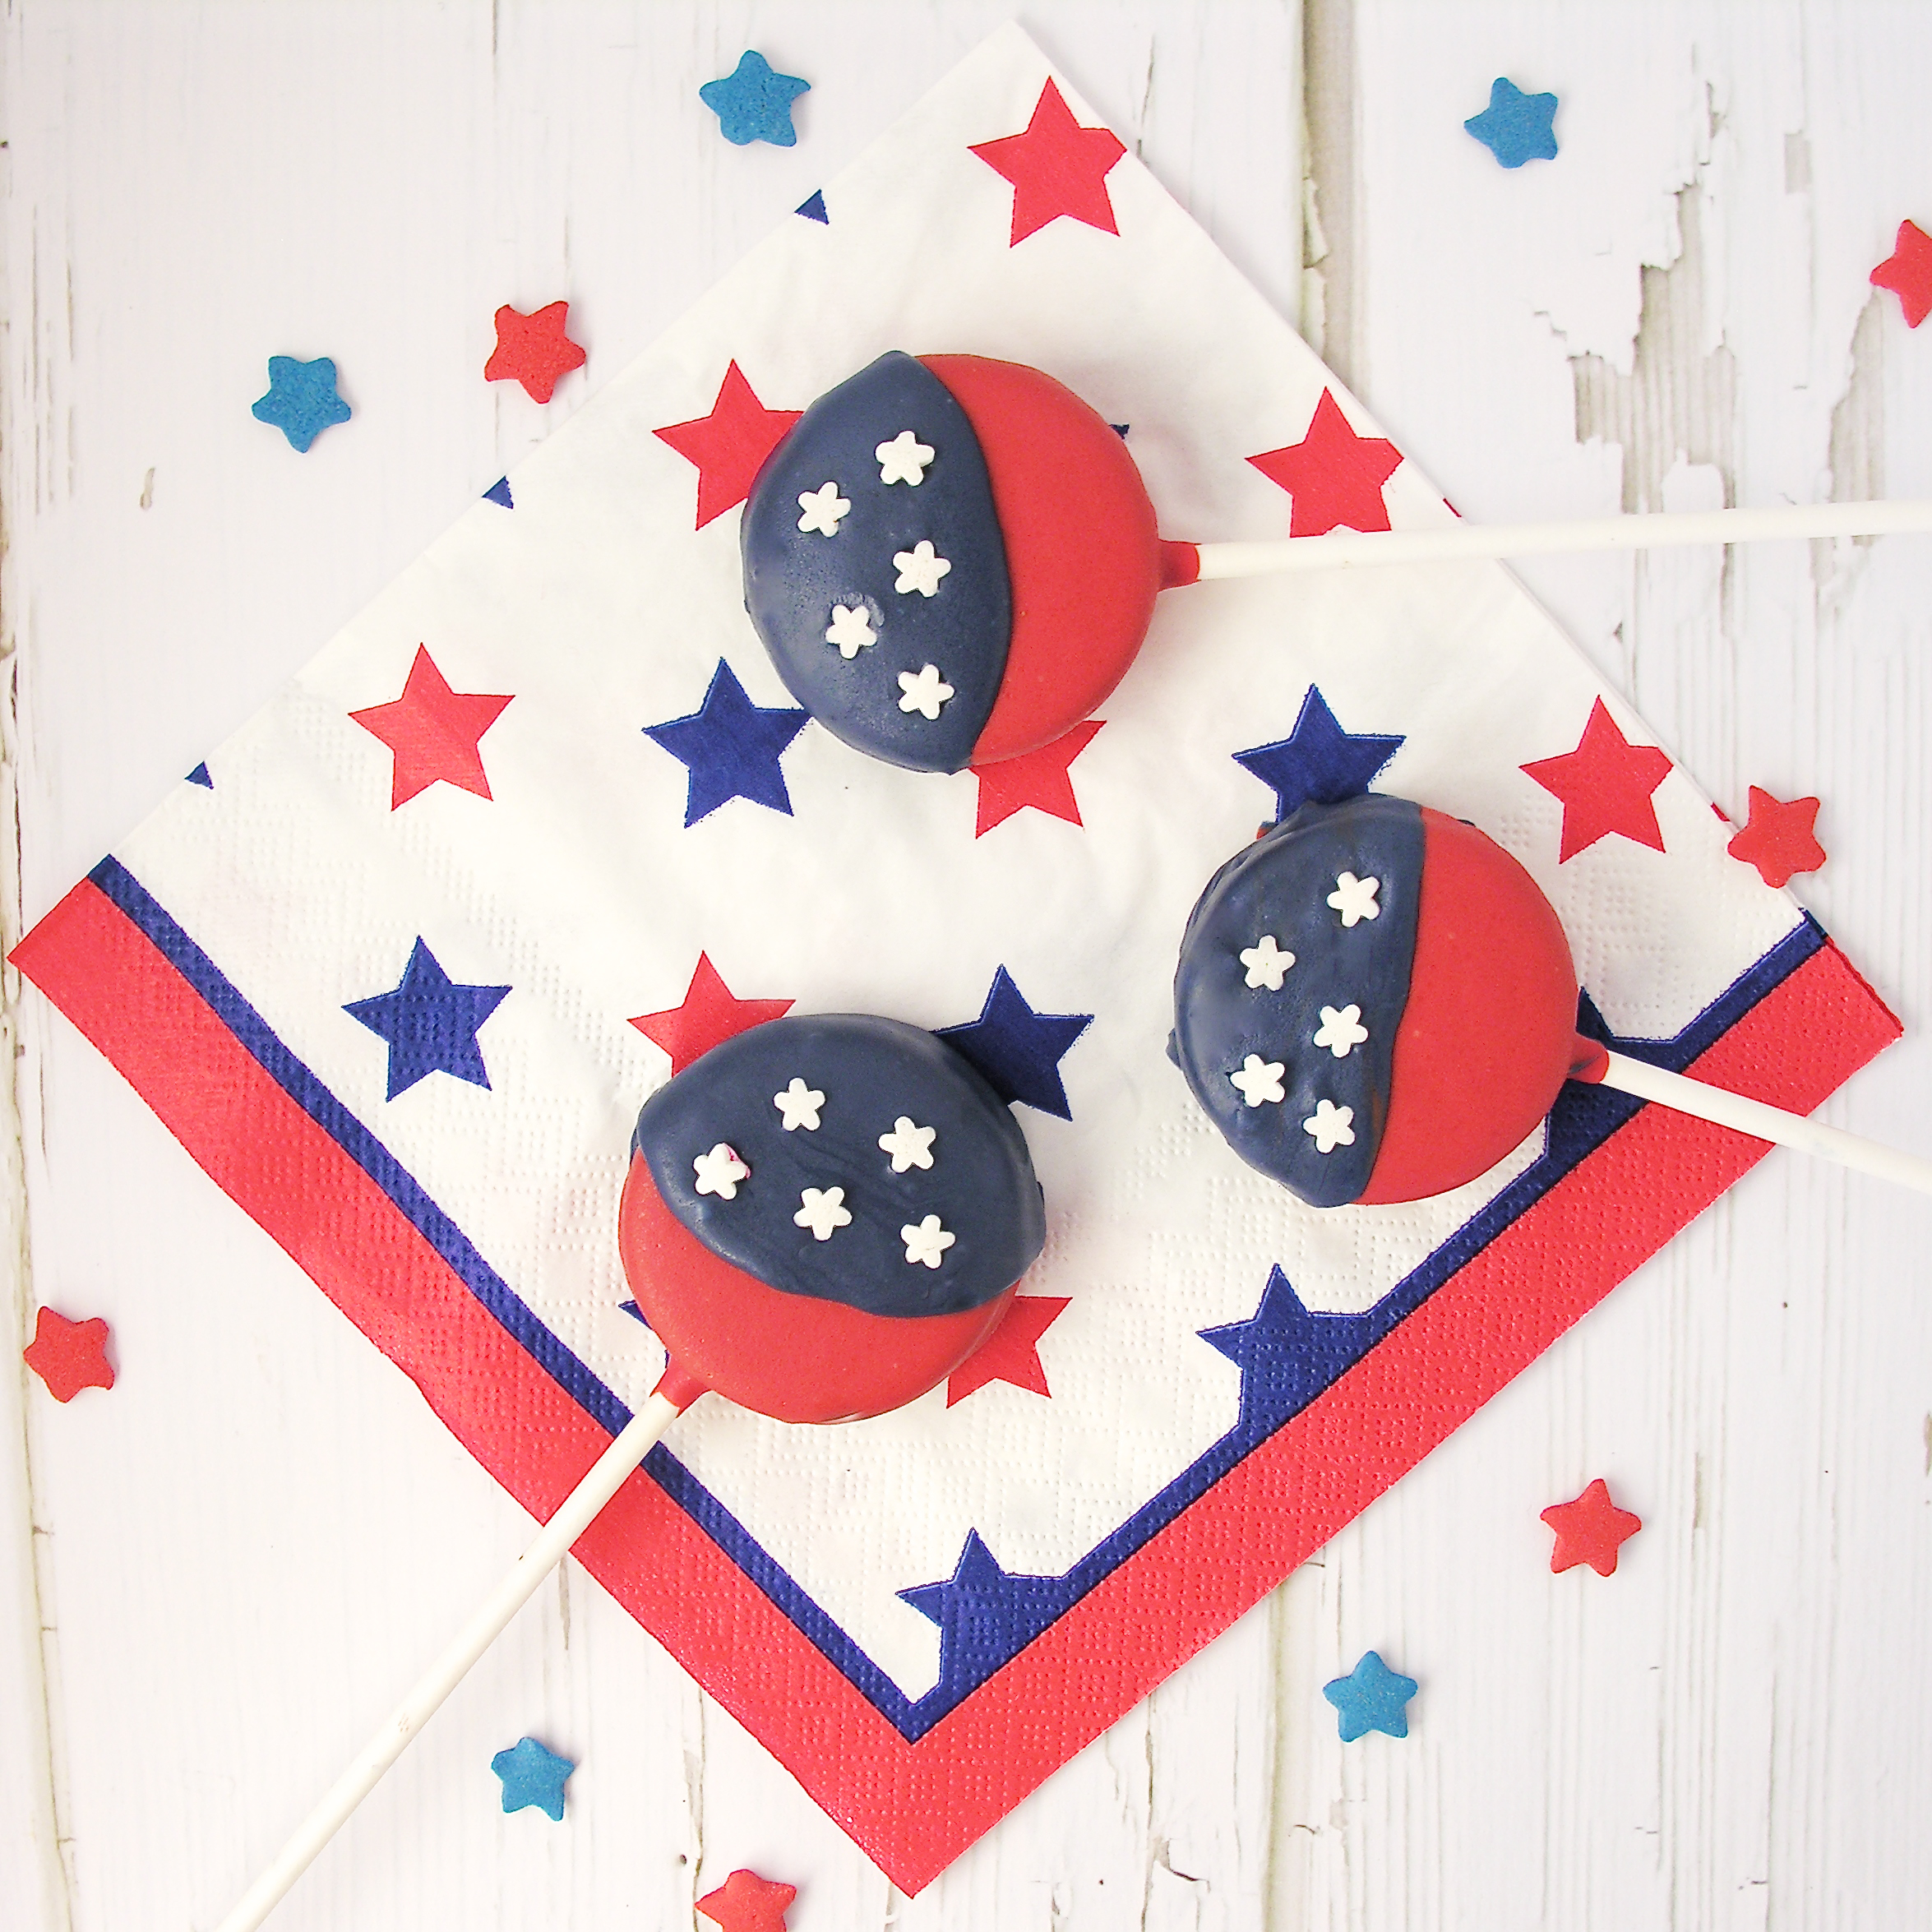
Put a little red white and blue on your Oreos and celebrate the Fourth of July!

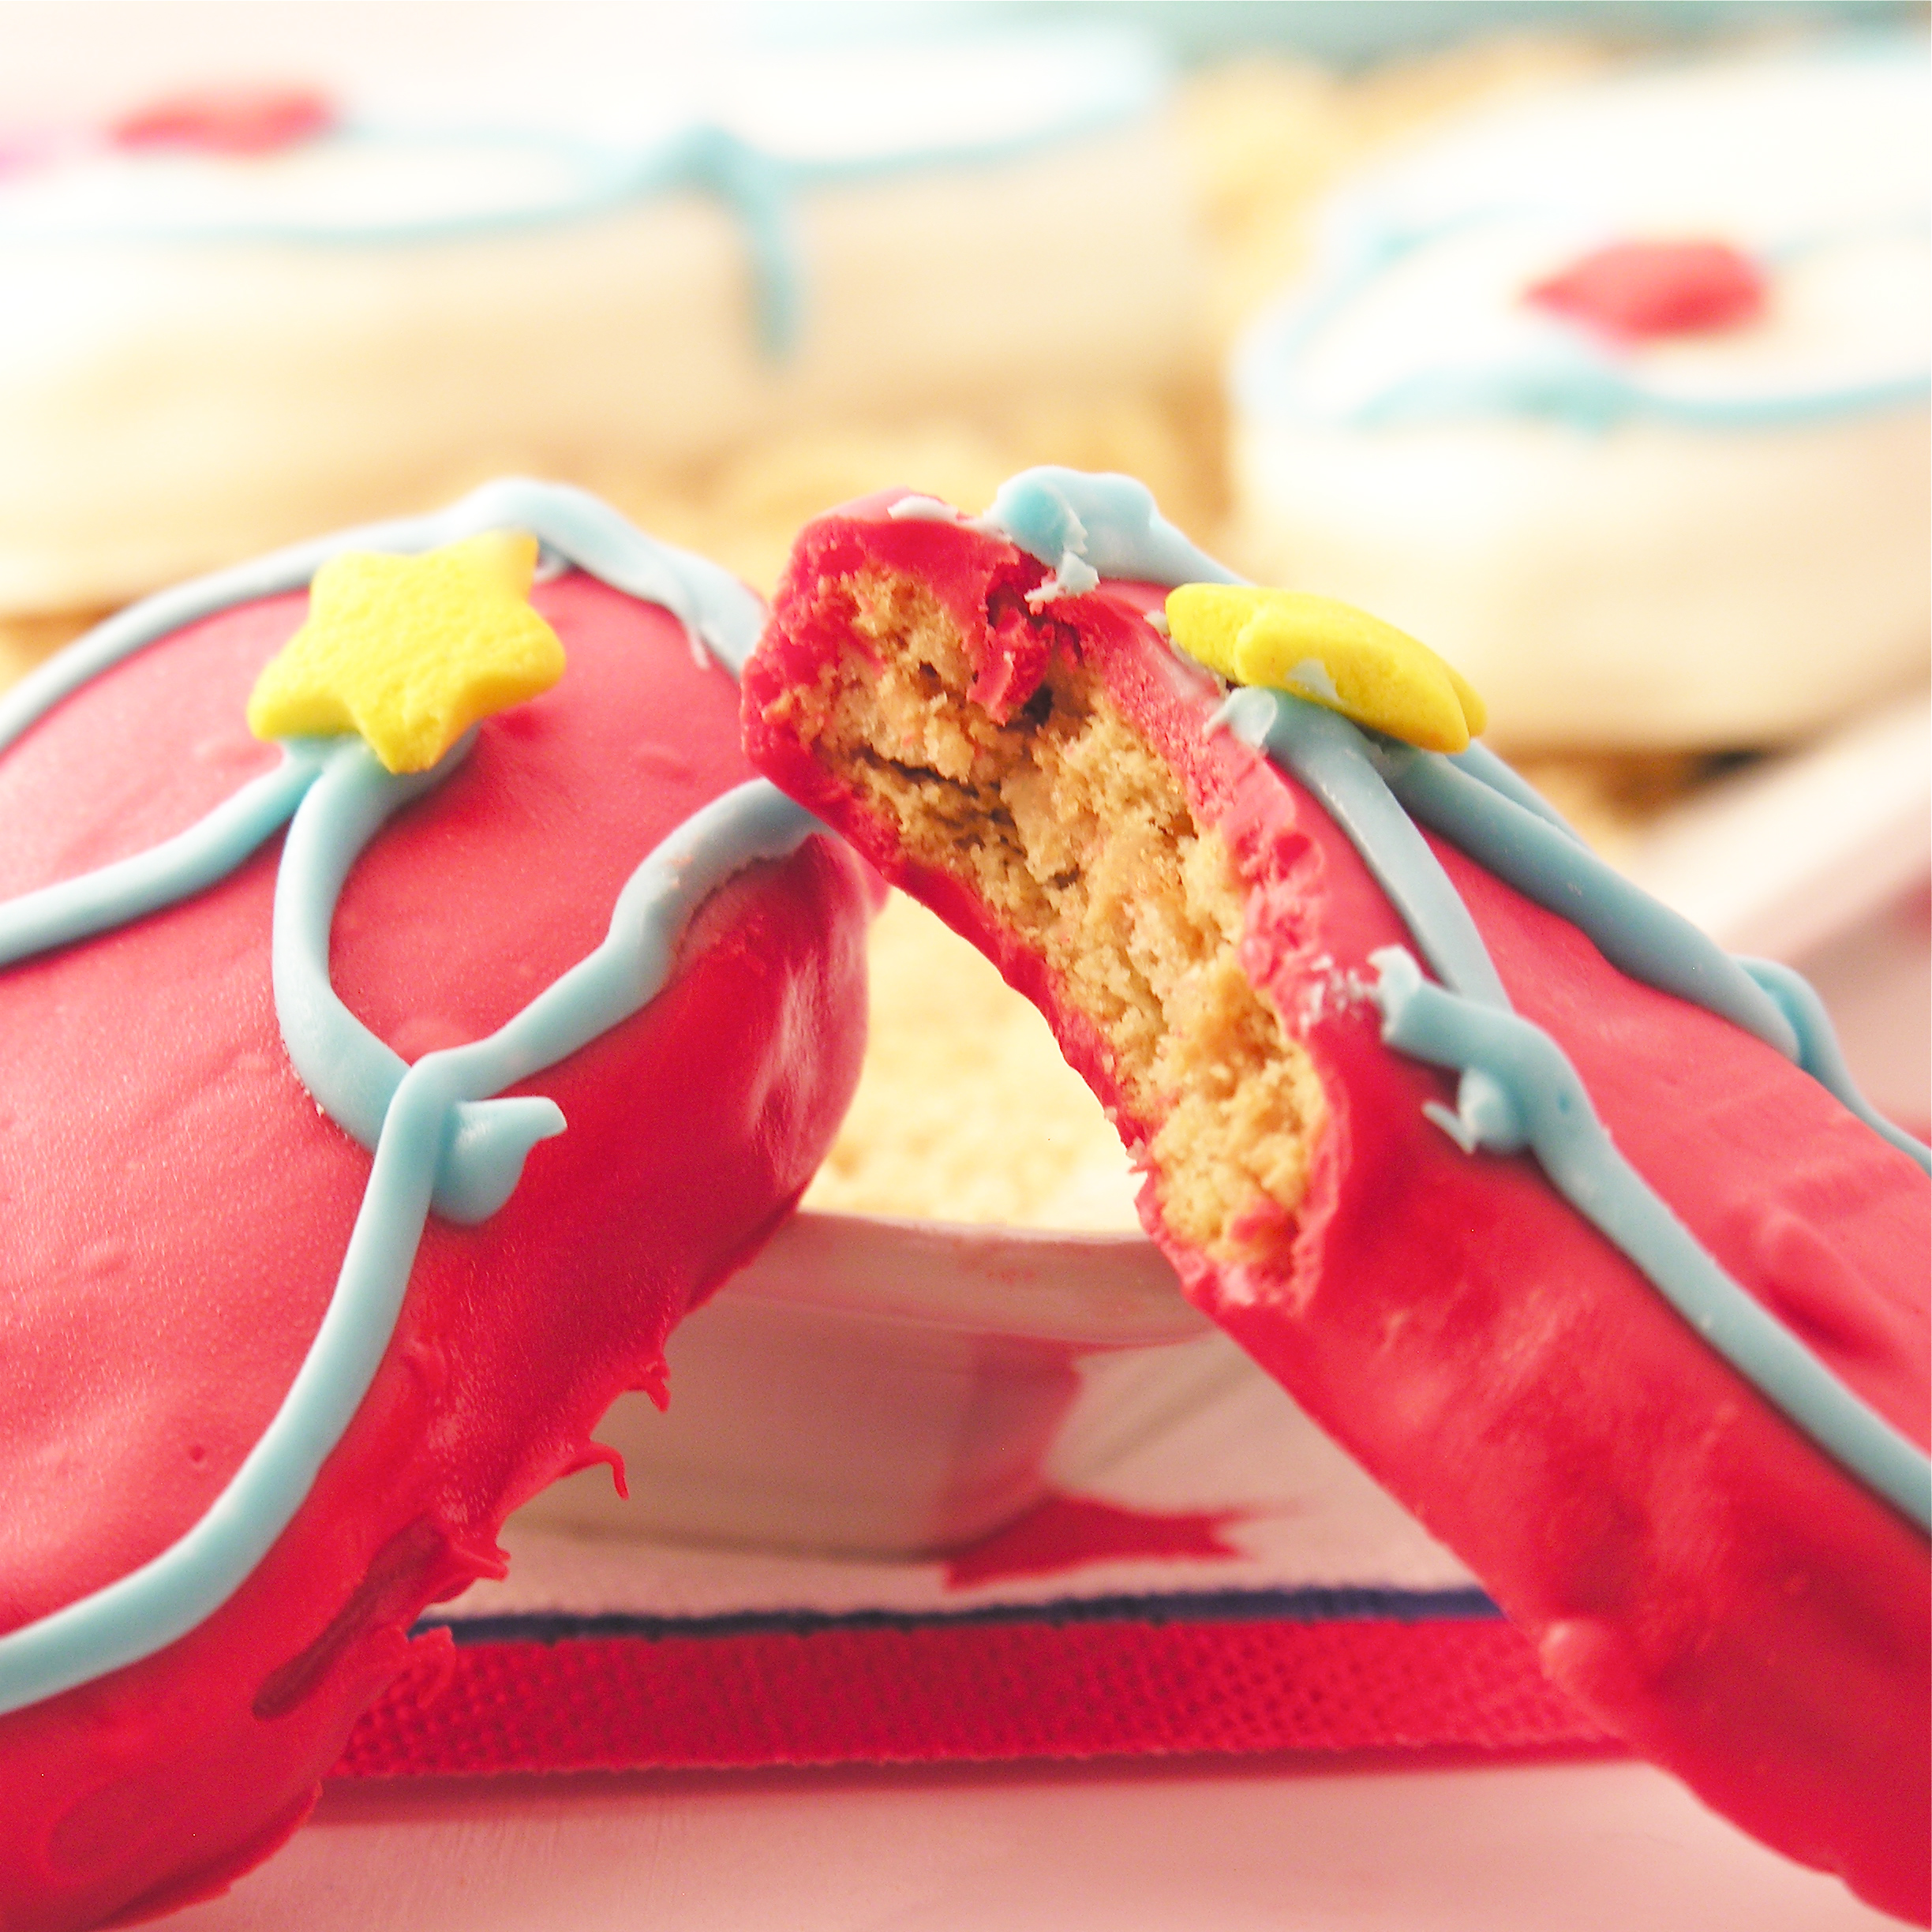
These are an easy treat that will make you (and everyone else) smile.  Plus there’s an Oreo inside- perfect!

I’ve said it before, and I will say it again– I’m addicted to Oreo Pops.  Most of you know that I’m living in Arizona for eight months with the Navajo.  I love it here, and the Navajo people are incredibly gracious about sharing life with me and teaching me all about their culture and traditions.  I had a hard time a couple of weeks ago though.  A puppy that I recently took in became very ill and the vet diagnosed her with parvovirus, a deadly disease that can be prevented with puppy vaccinations.  Most people here cannot afford to vaccinate (or spay and neuter) their dogs, so this puppy and all of her litter mates had to be put down.

Oreo...

Oreo…

So. Incredibly. Sad.  My little puppy was named Oreo, for her adorable black and white Oreo markings.

One of my friends here suggested we sell things at a local flea market this week, and I decided to make 100 Oreo Pops in a variety of forms to make money to help spay and neuter Oreo’s parents, and to vaccinate other puppies in the area.

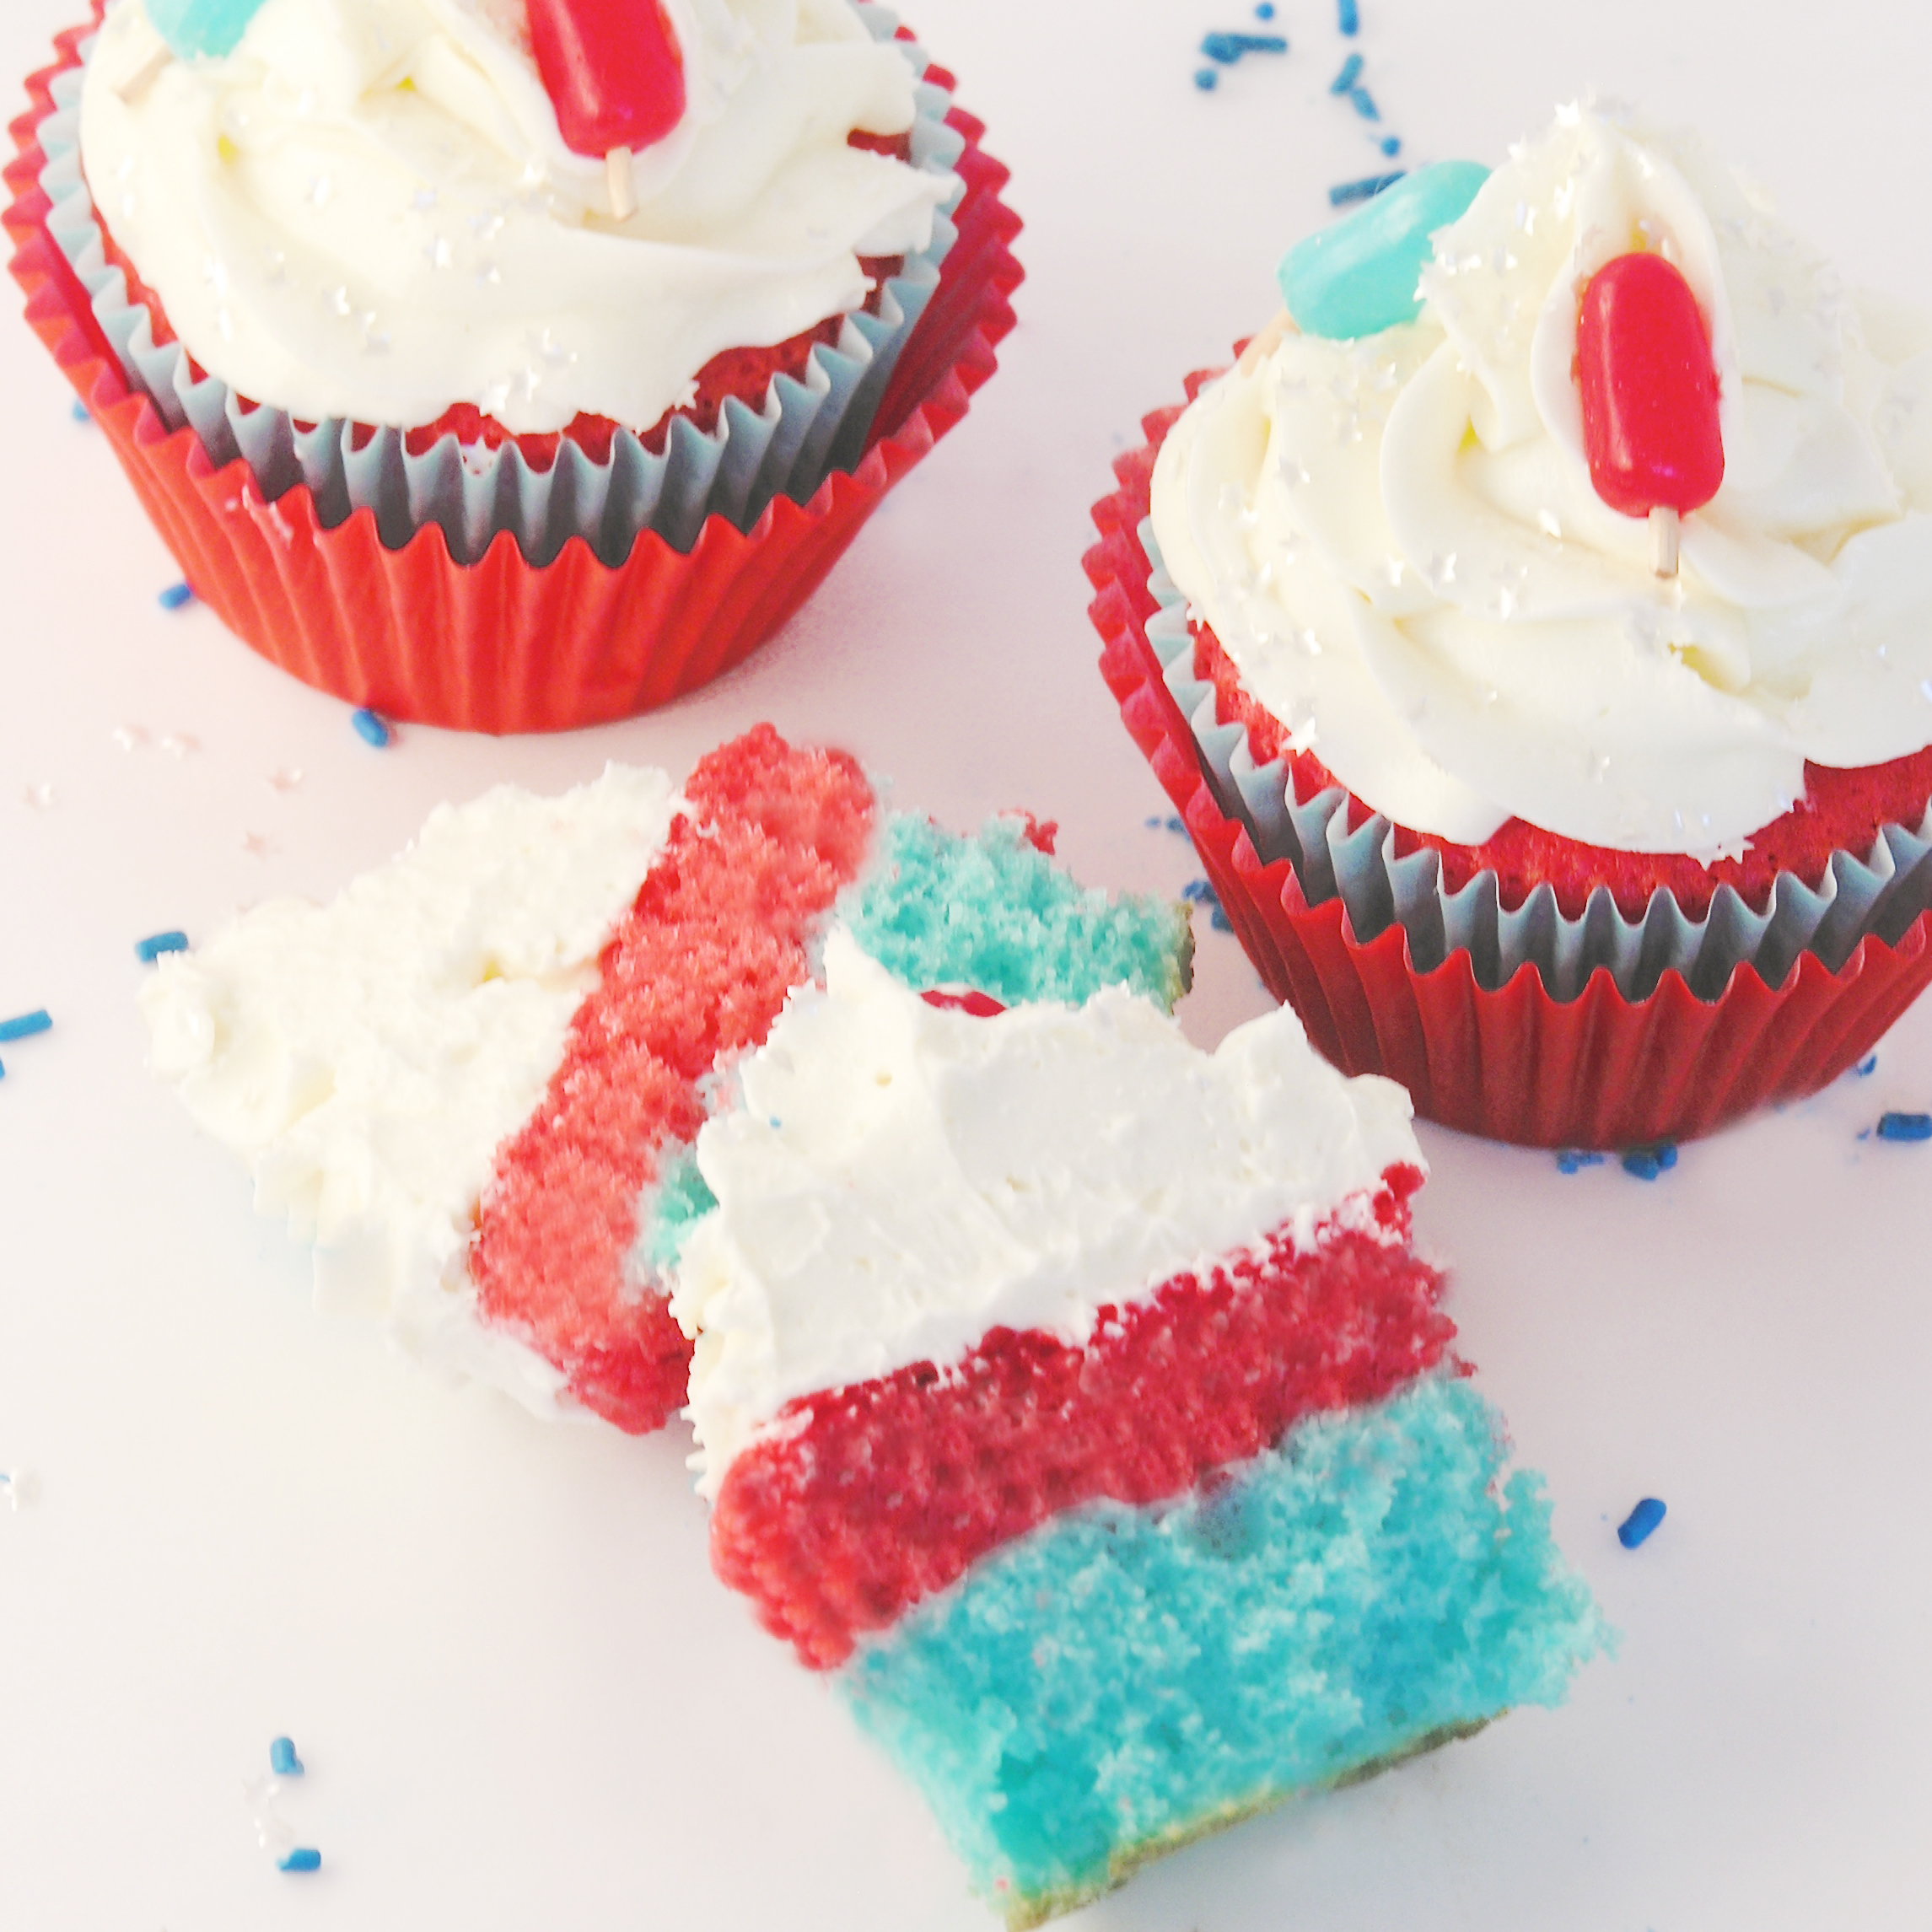
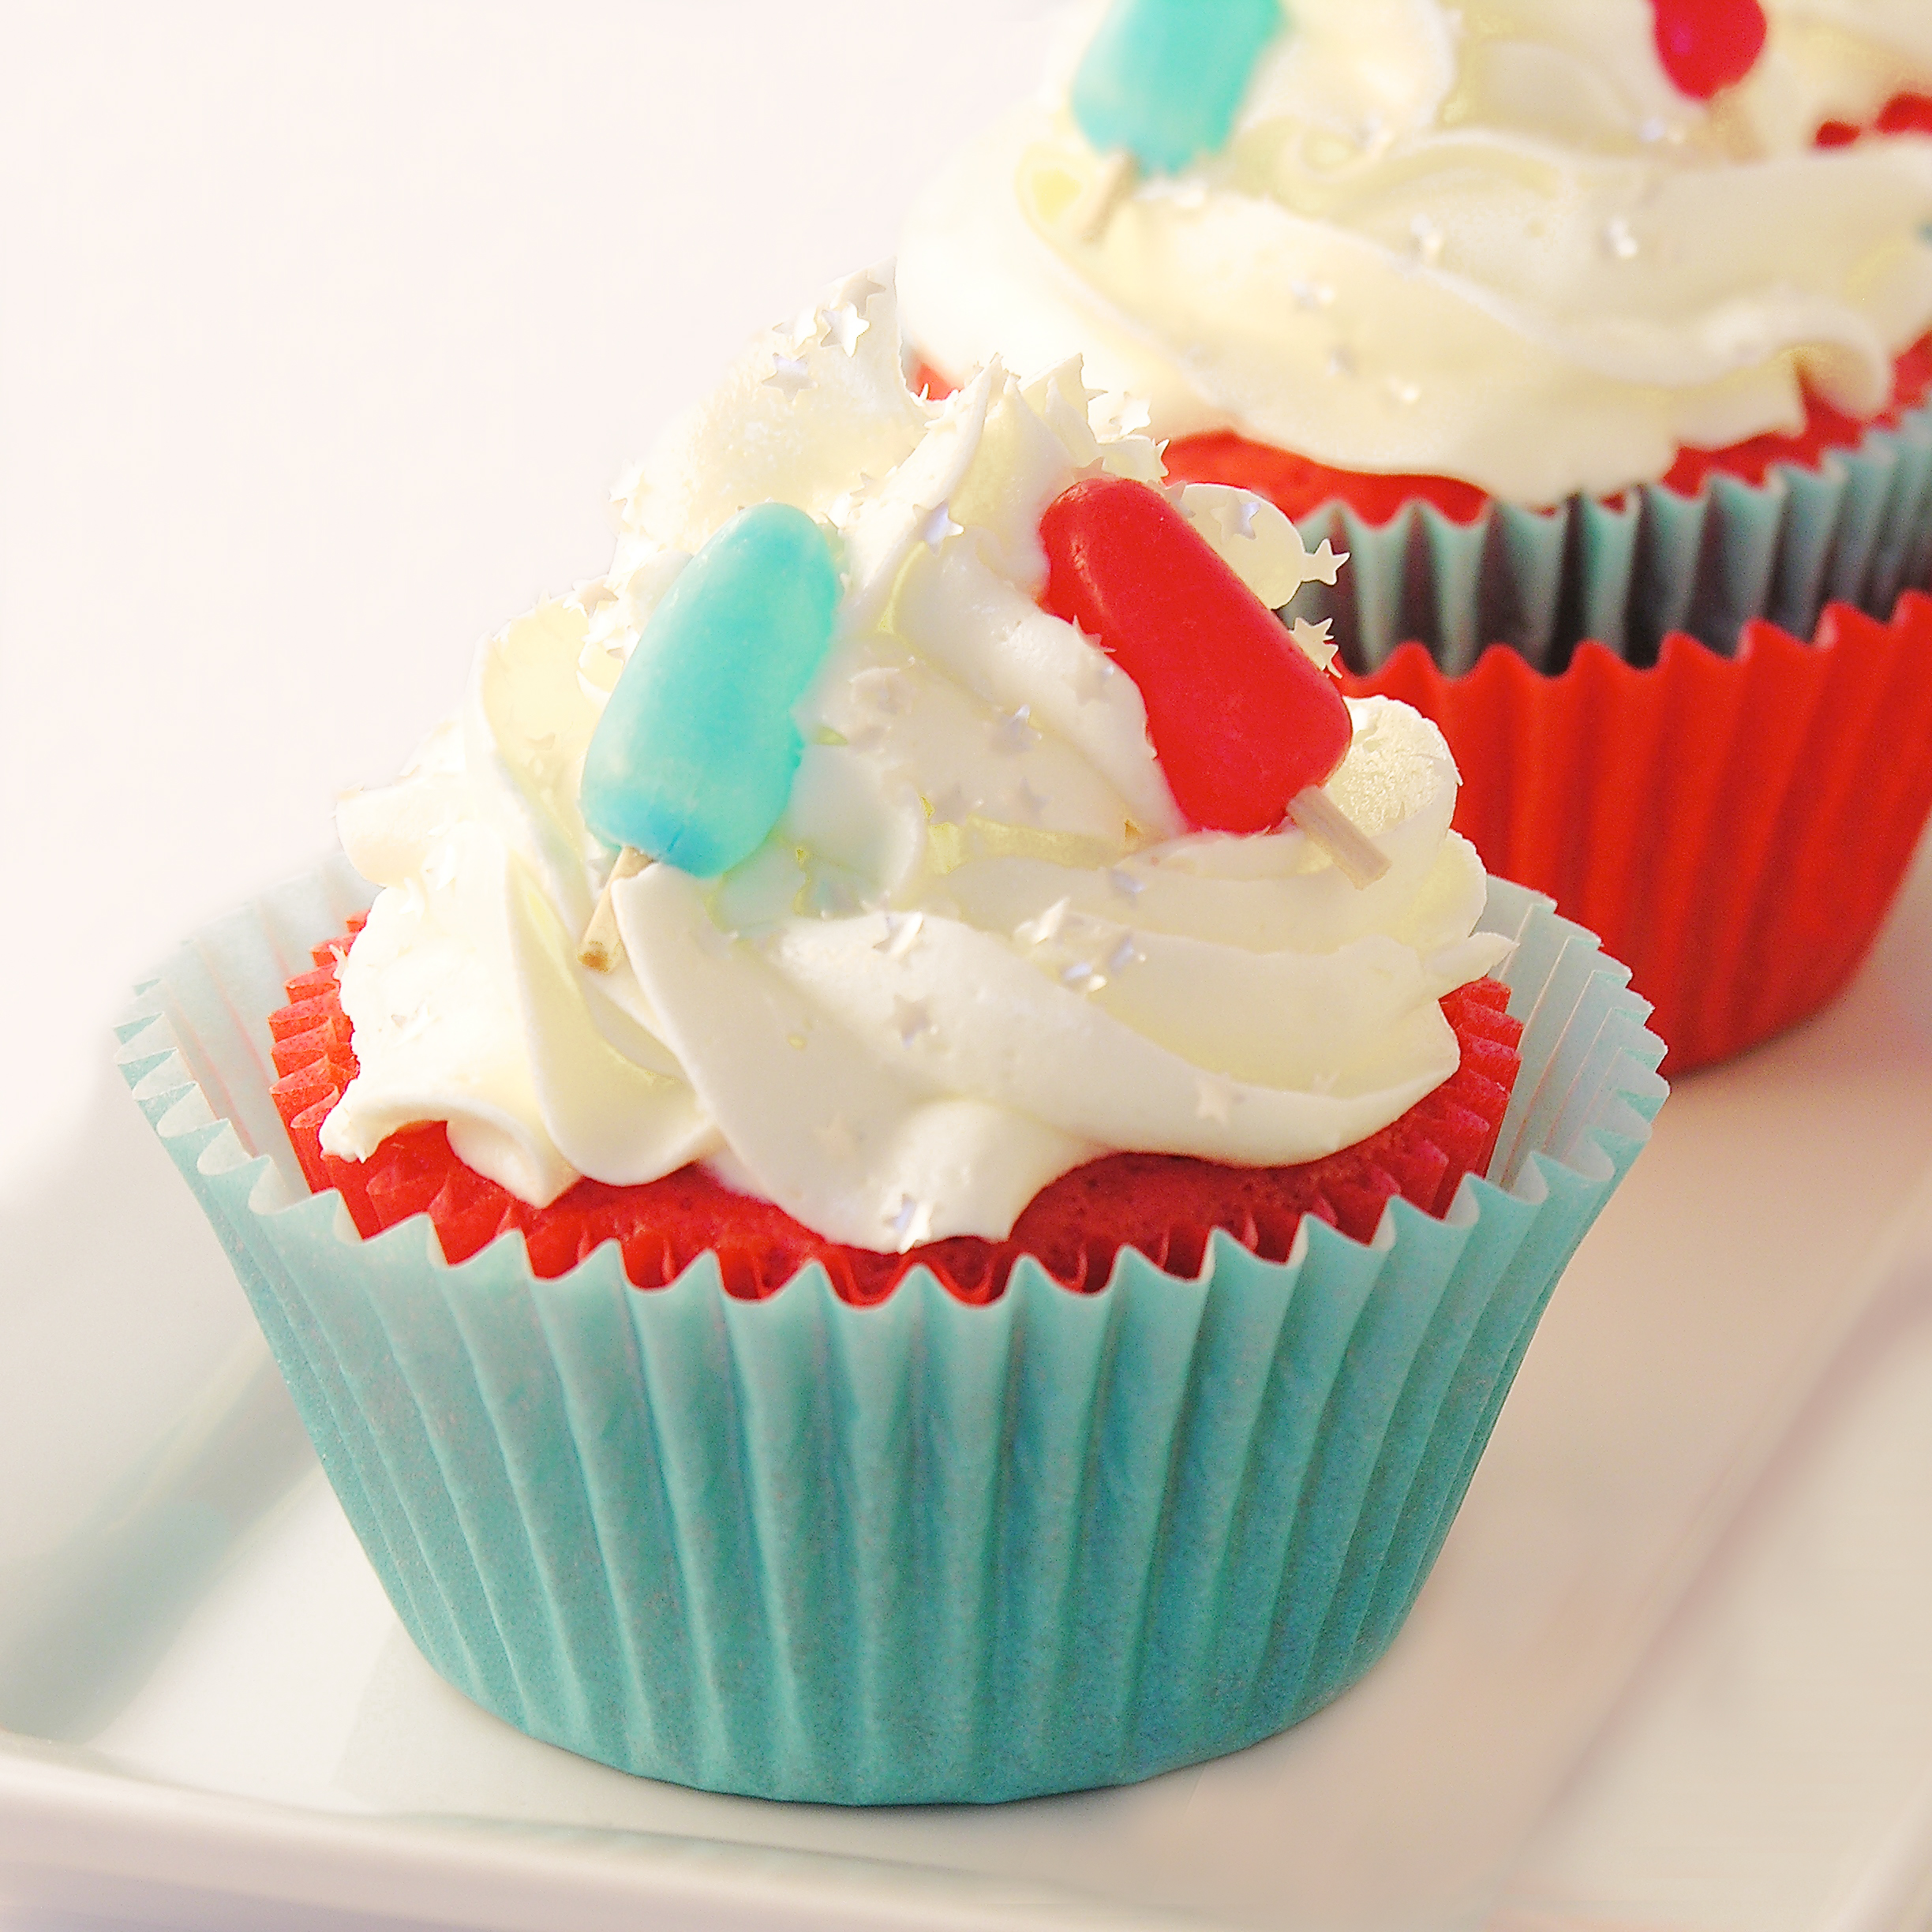
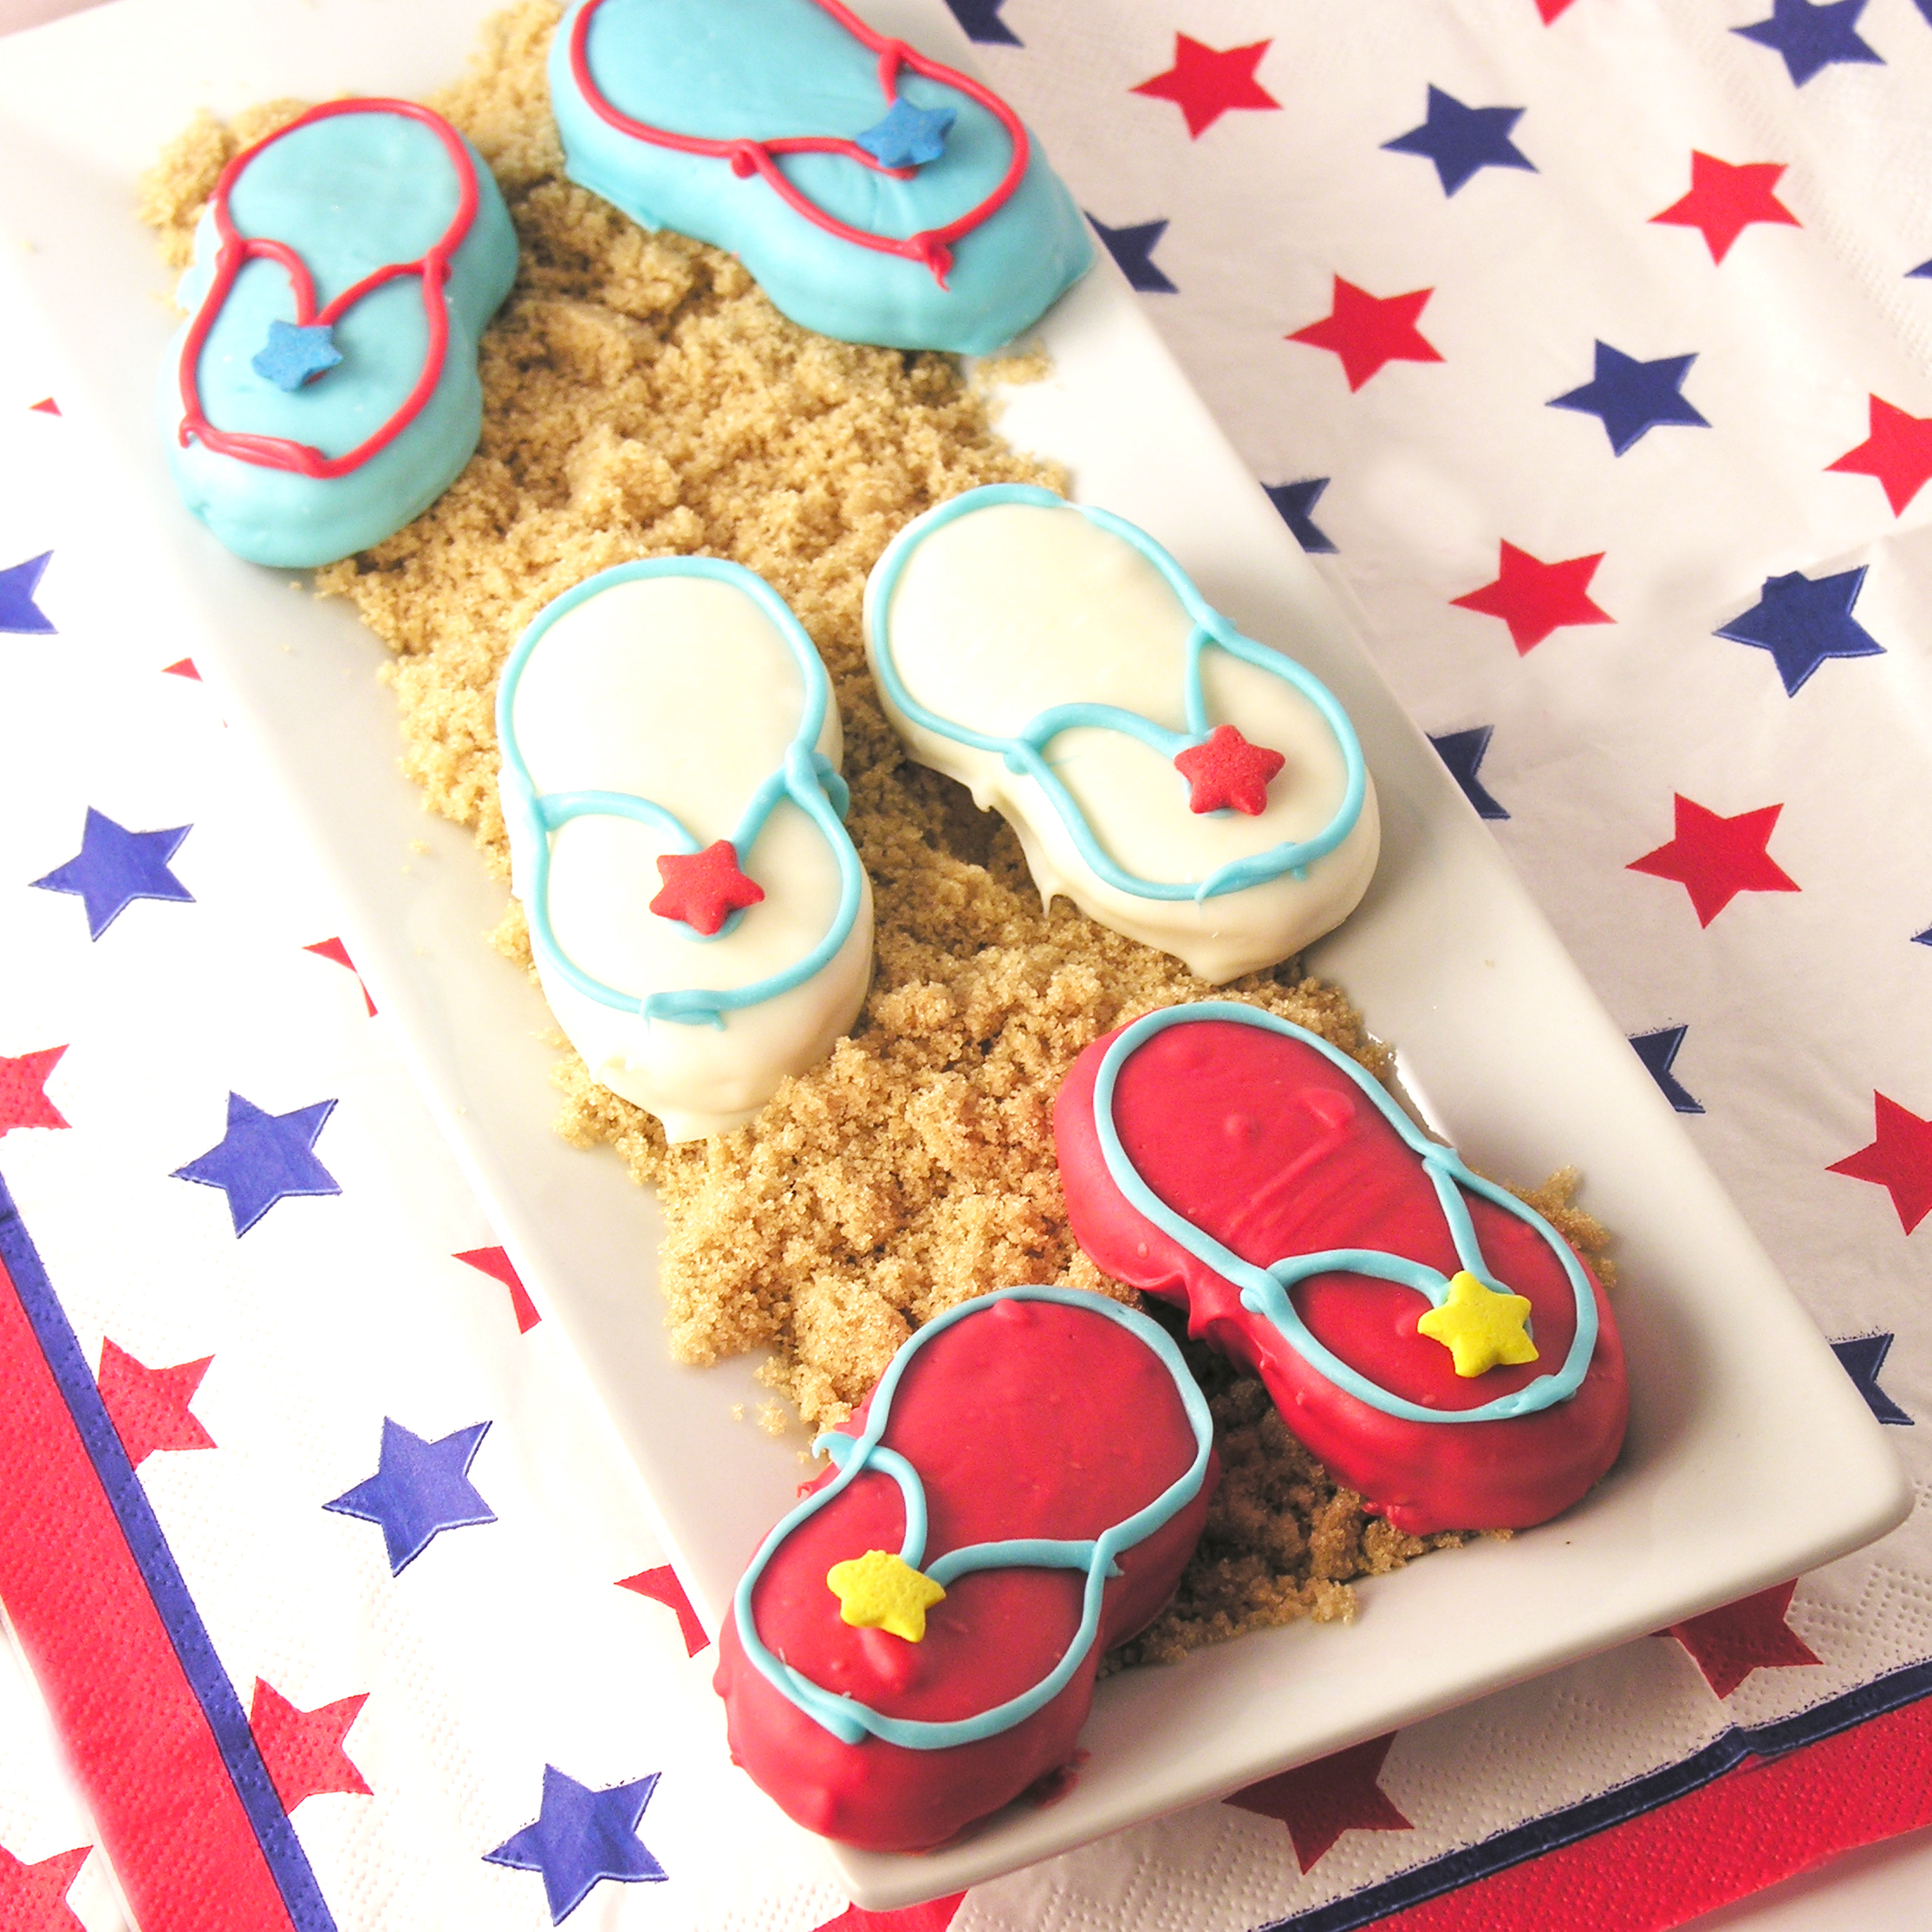
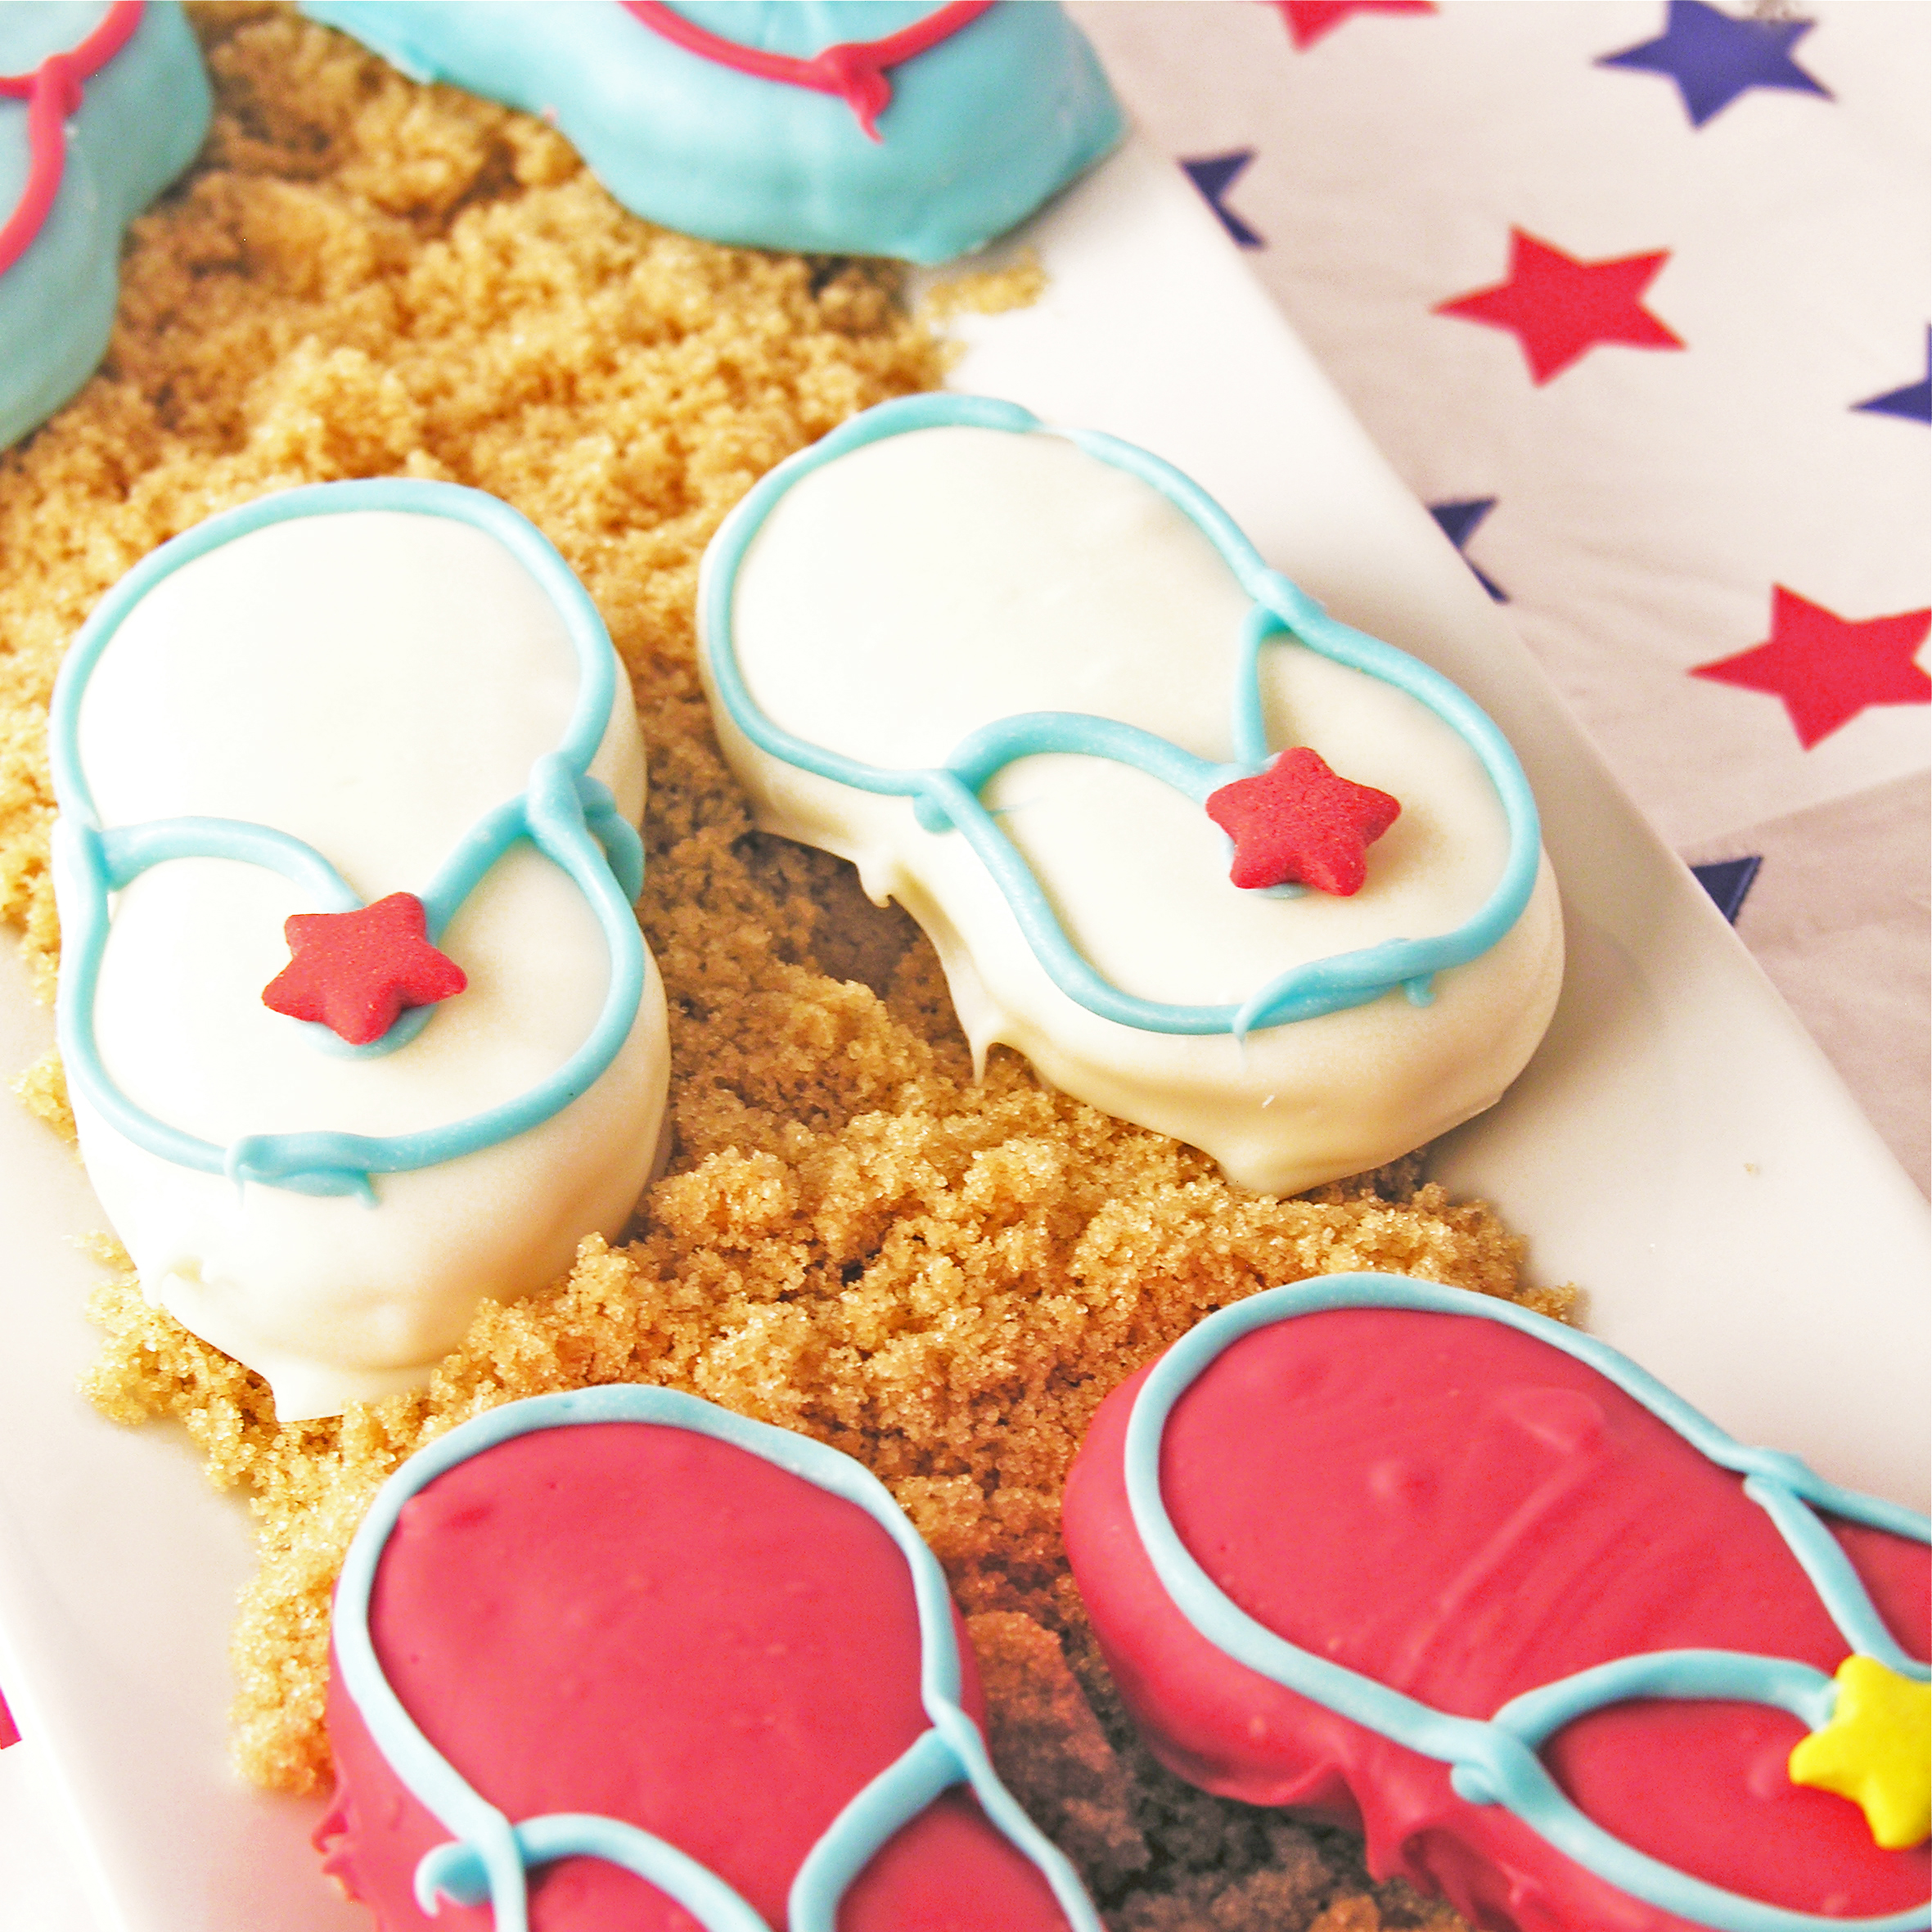
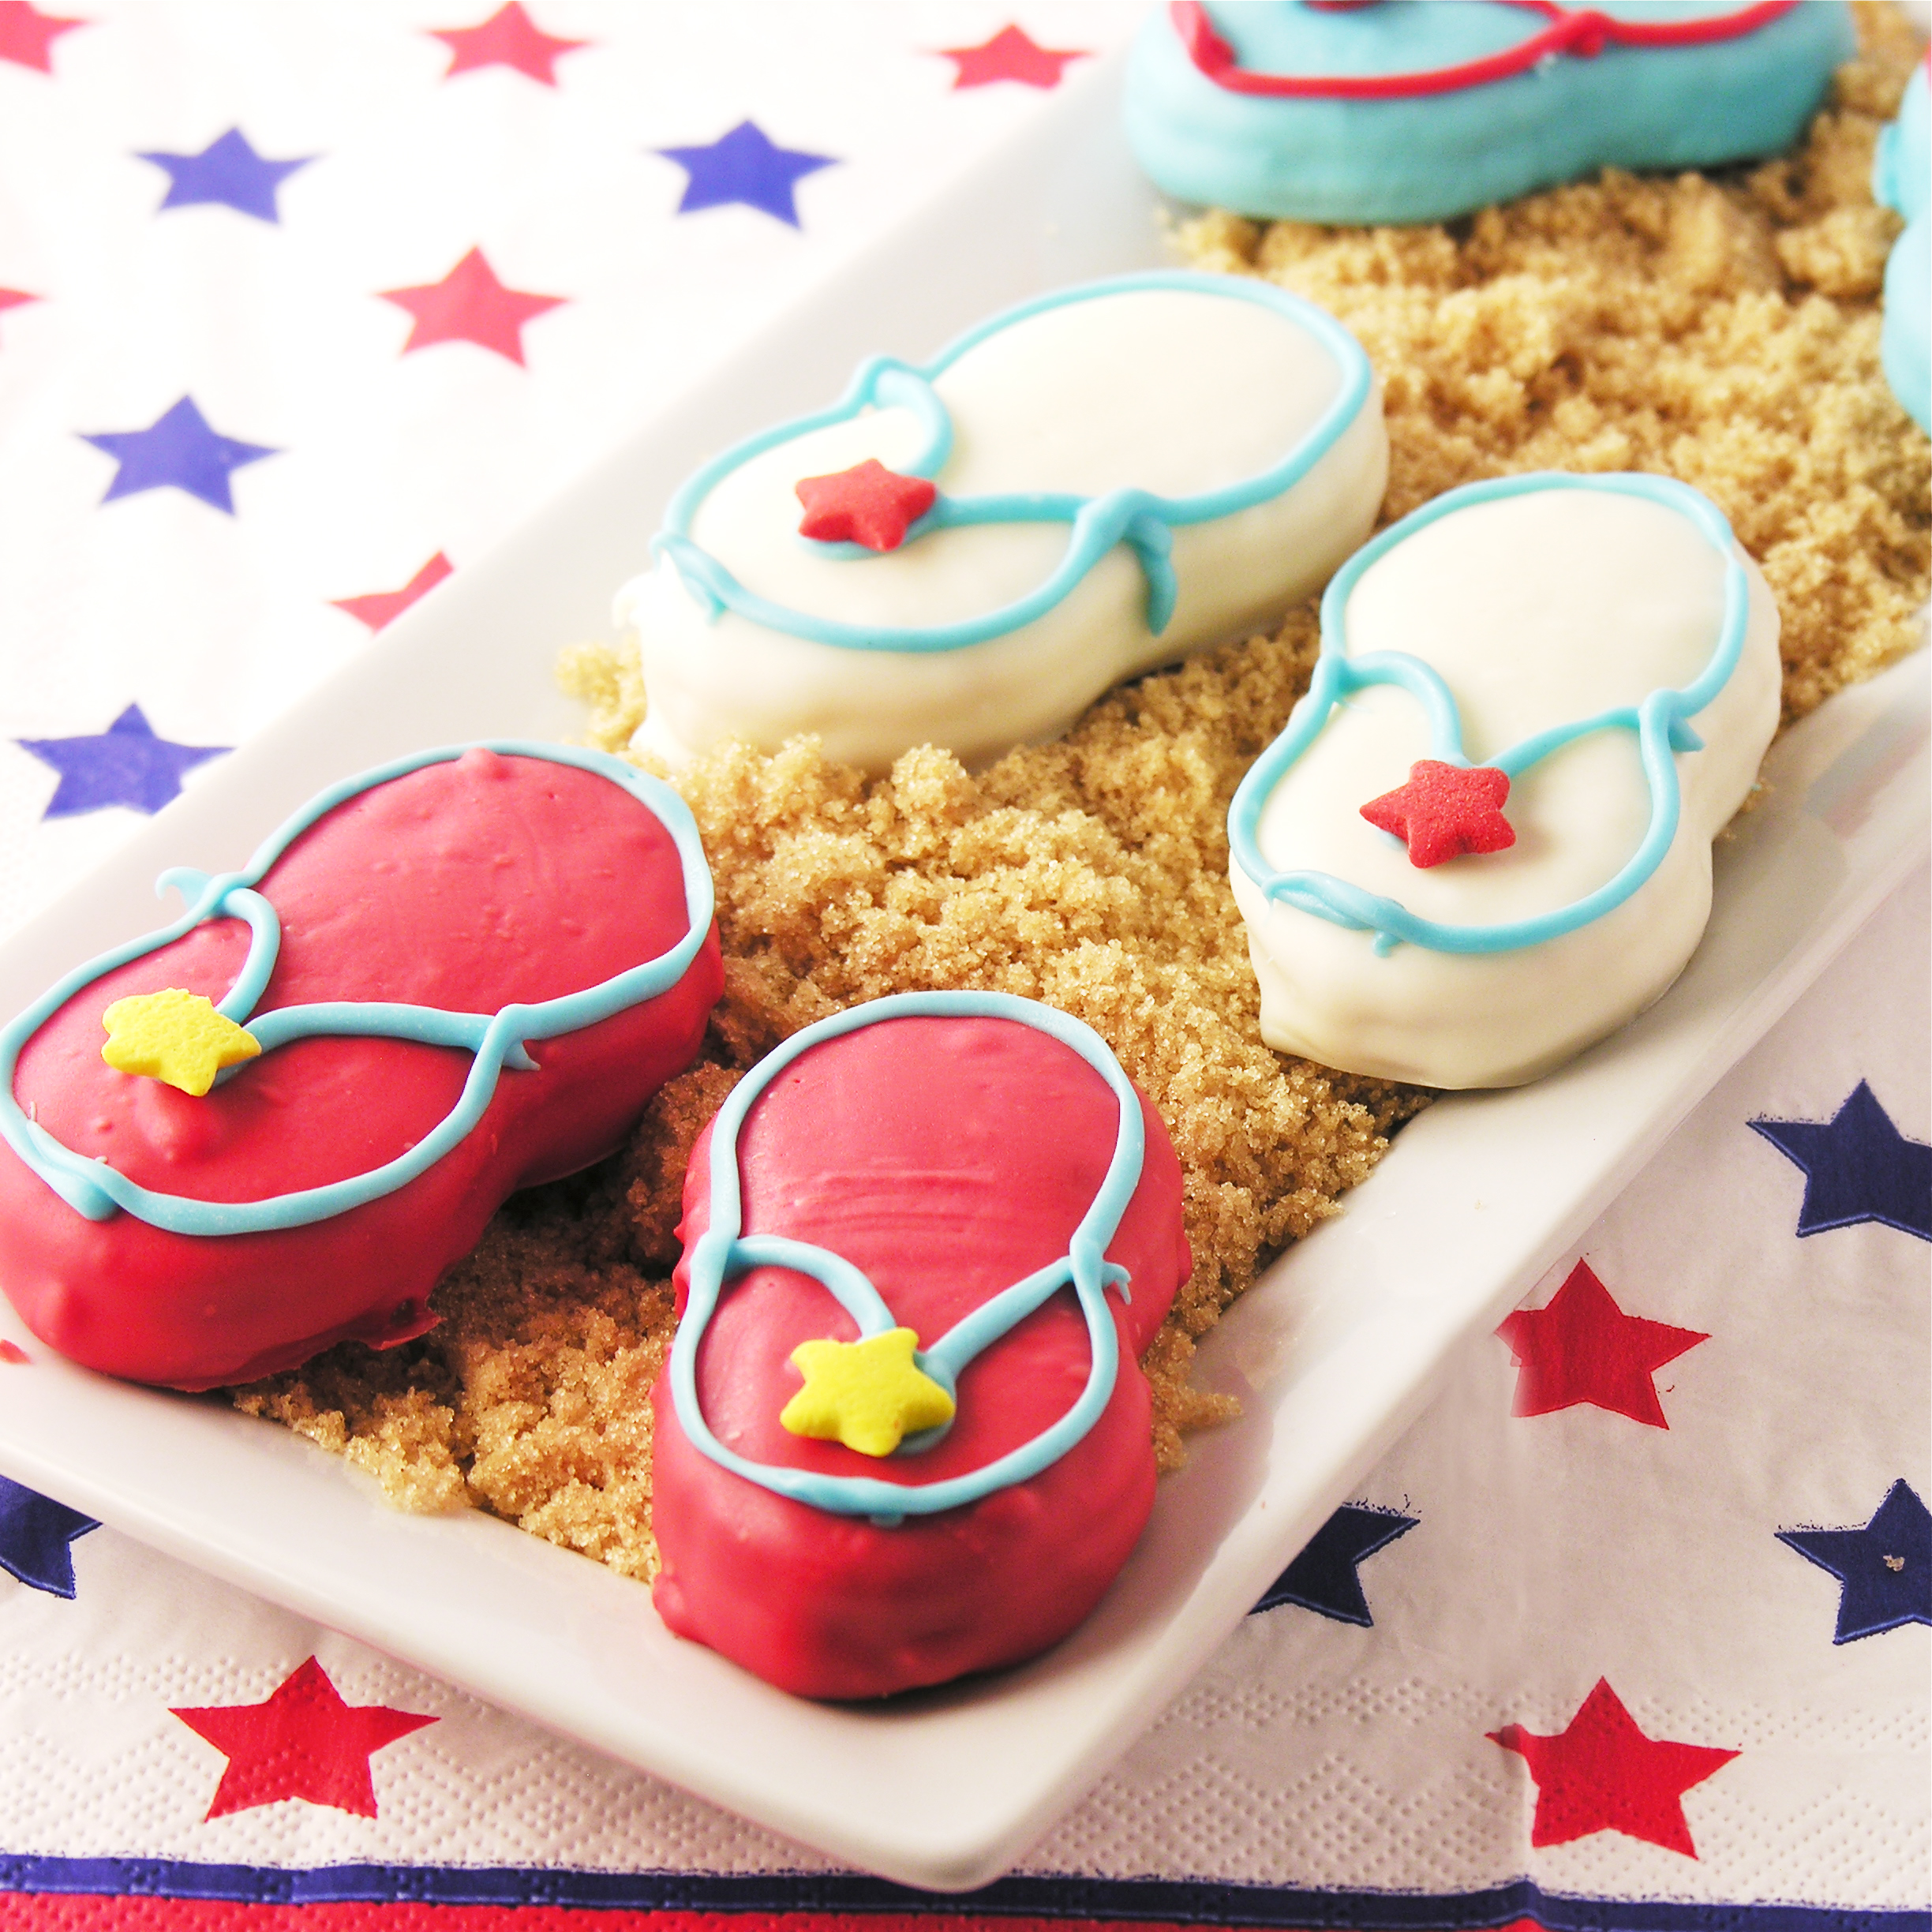
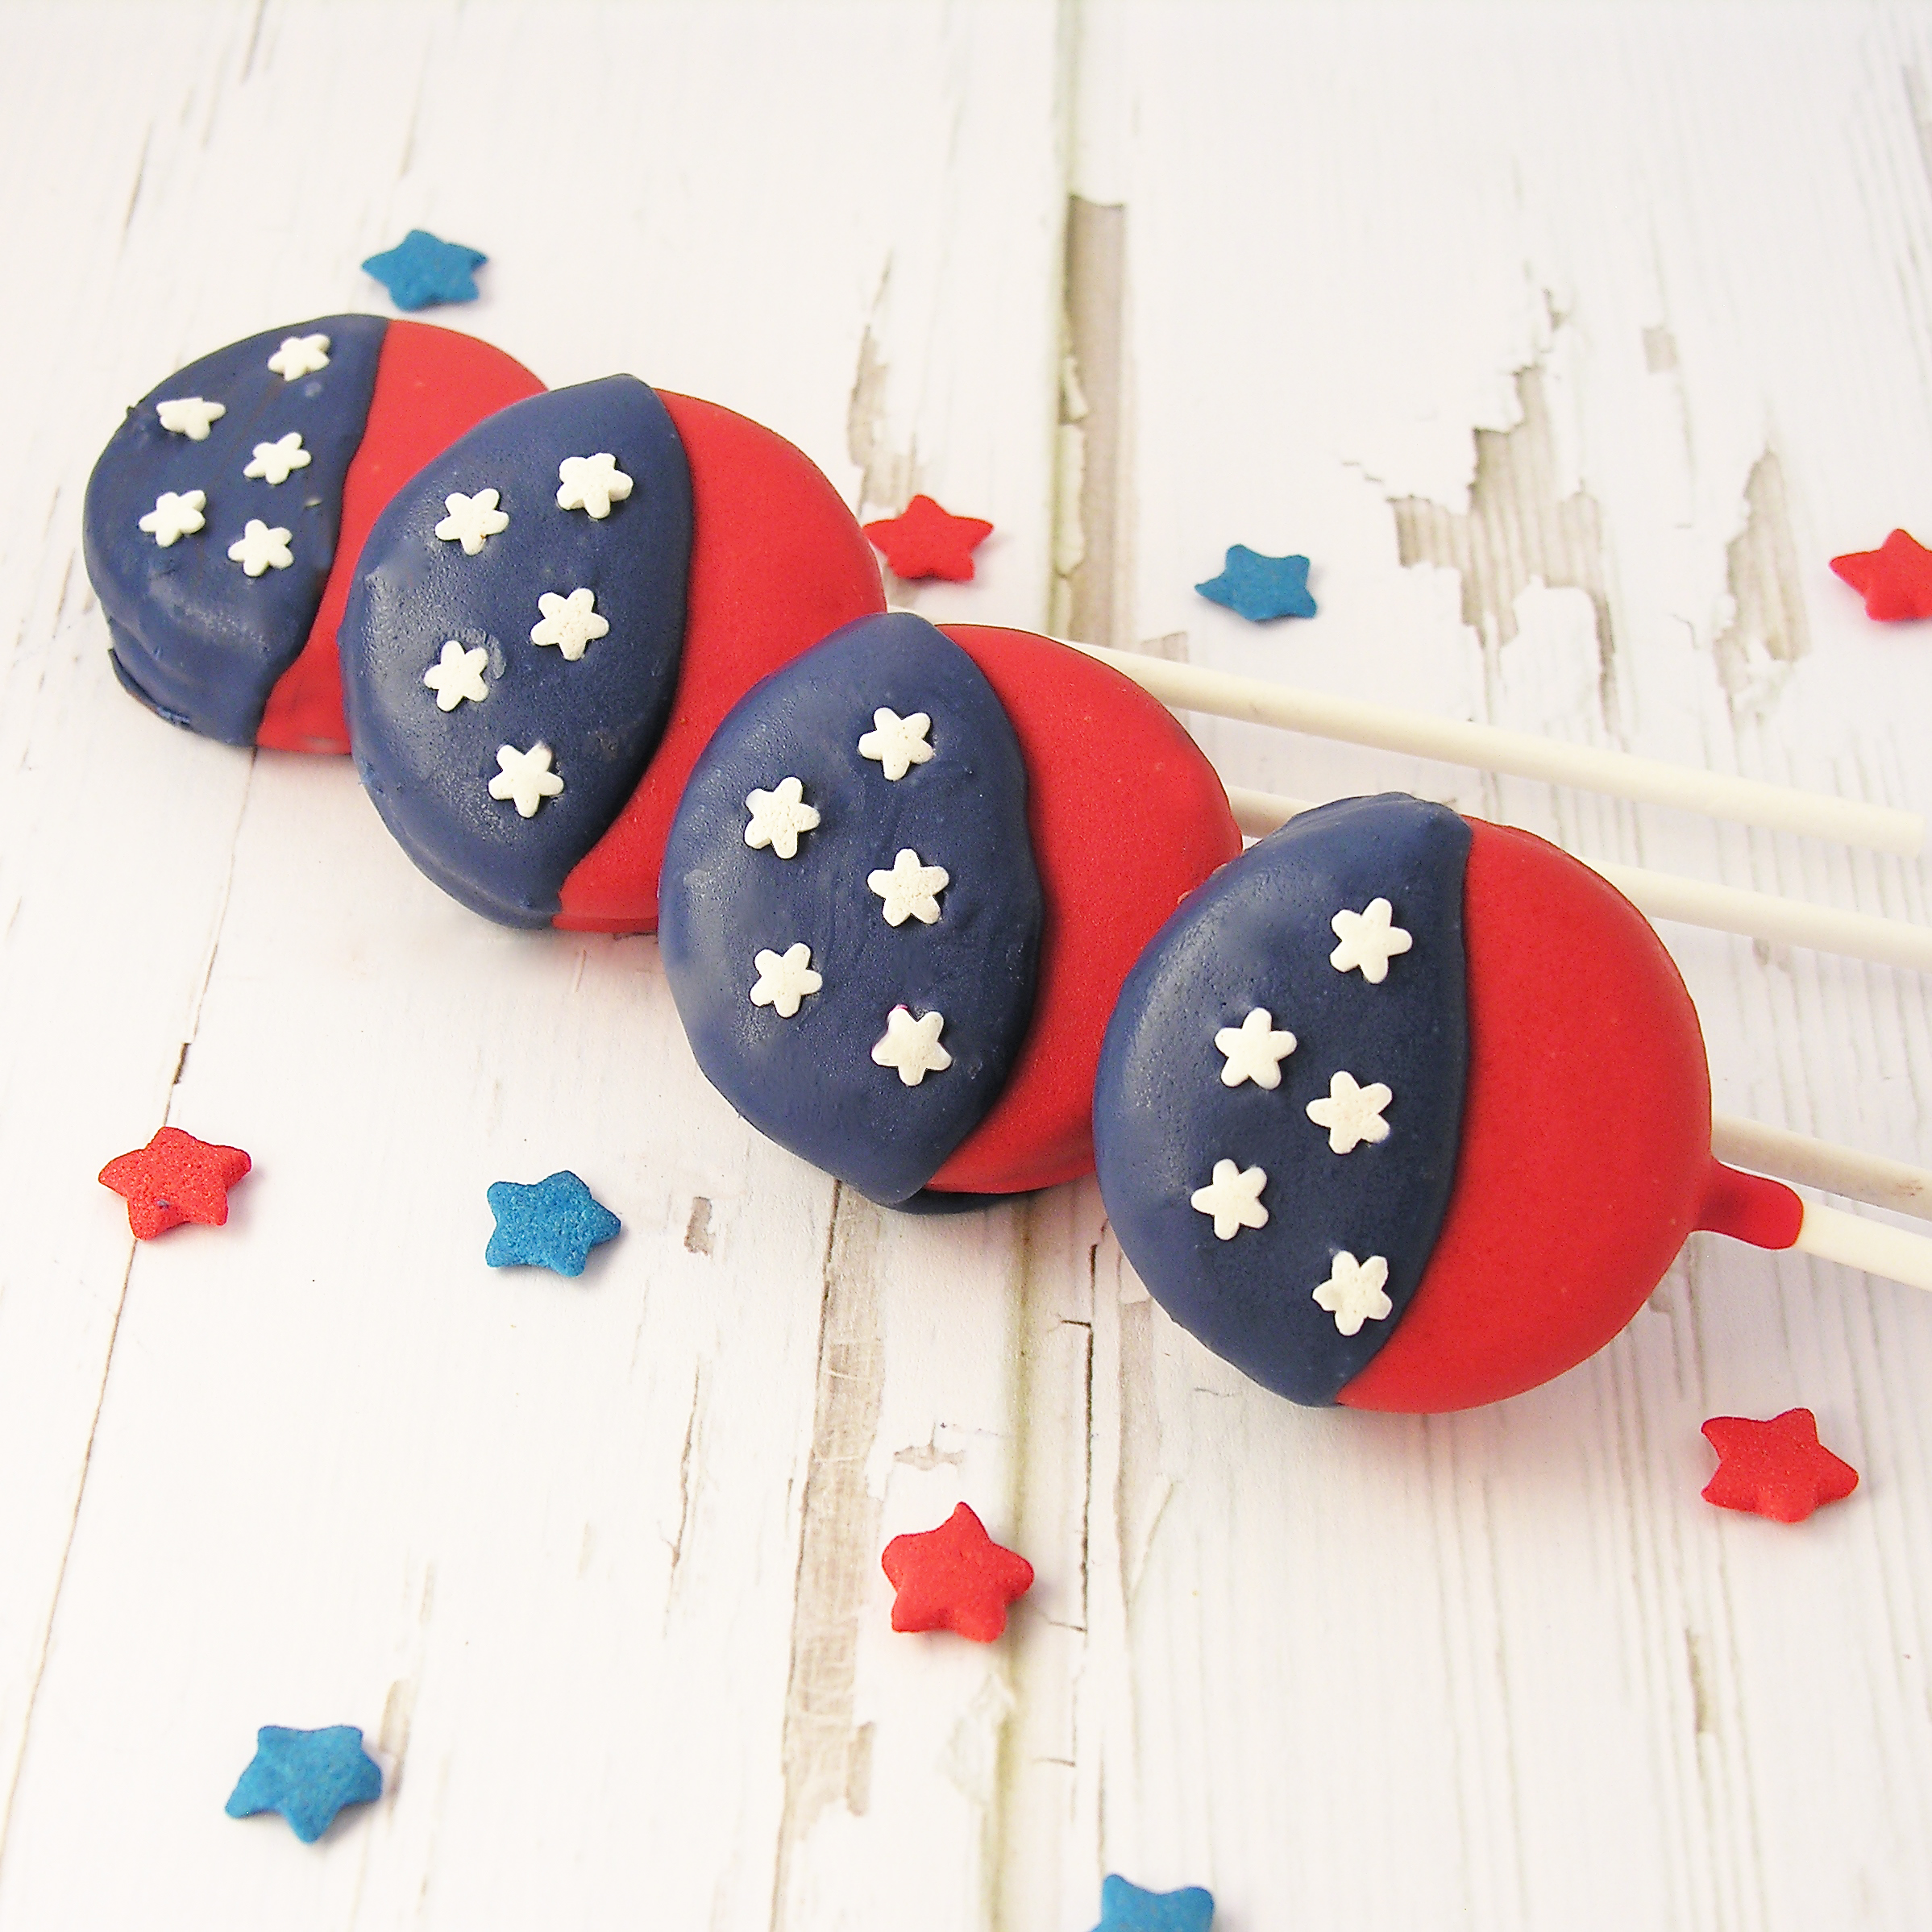
I made ALL SORTS of Oreo pops, and these were one of my “new” designs.  I love how patriotic they are!

American Flag Oreo Pops!!!!!So, in honor of this wonderful, beautiful country that we all call home….Oreo Pops- in Red, White and Blue!!!

Here’s the recipe: (printable version)

INGREDIENTS:

  • One box of Double Stuff Oreos
  • One bag of Wilton’s candy melts in Red
  • One bag of Wilton’s candy melts in Blue
  • One jar of flower sprinkles (the white ones look like stars…?) 
  • 24 lollipop sticks

DIRECTIONS: (Need a visual?  Click here.)

  • Carefully twist apart all of the Oreo cookies
  • Using one of the lollipop sticks, make an indentation in the white filling of each cookie.
  • Melt the Red Candy Melts in the microwave in 30 second increments, stirring until completely melted and smooth.
  • Dip the end of one stick into the melted red chocolate, drizzle a little in the center of the white cookie filling and then gently press it into the indentation made.
  • Place the top of the cookie back on and allow red chocolate to harden (10 minutes or so), cementing the cookie back together with a stick inside.
  • Holding the stick, lower the entire Oreo into the bowl of melted red chocolate, spooning it over the top and sides to cover it completely.
  • Allow the excess red chocolate to drain off and gently place covered Oreo on a piece of parchment paper to harden and cool completely
  • Melt Blue candy melts in the same manner that you melted the red.
  • Allow the candy melts to cool just a bit before dipping (so that it doesn’t melt the red candy underneath).
  • Spoon a bit of blue chocolate over just the top end of the Oreo.  Tap to drain away excess blue chocolate and wipe back across a clean paper towel to remove any drips or splatter of blue.
  • Place on a clean piece of parchment paper to cool, and immediately place a few white “stars” on the blue.
  • Allow pop to harden completely.
  • Remove from paper and serve- or place in a small treat bag, tied with pretty ribbon.
  • Enjoy!

American Flag Oreo Pops!!!!
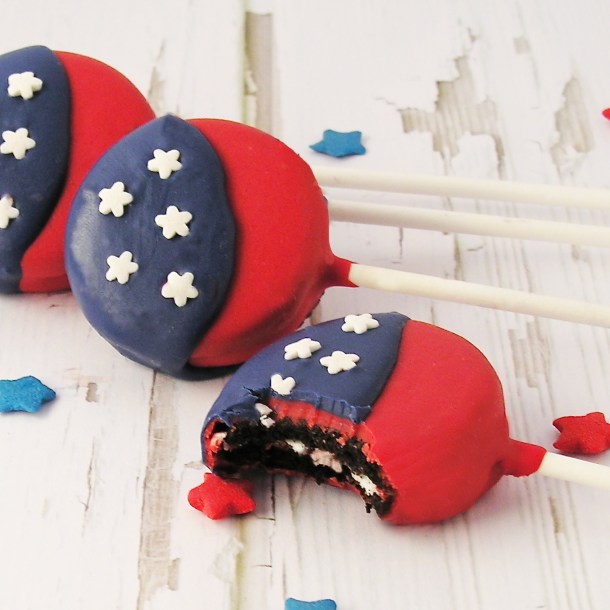
My thoughts:  These are easy and fun to put together, and just so CUTE!  Happy Fourth of July!!!!!  ~r

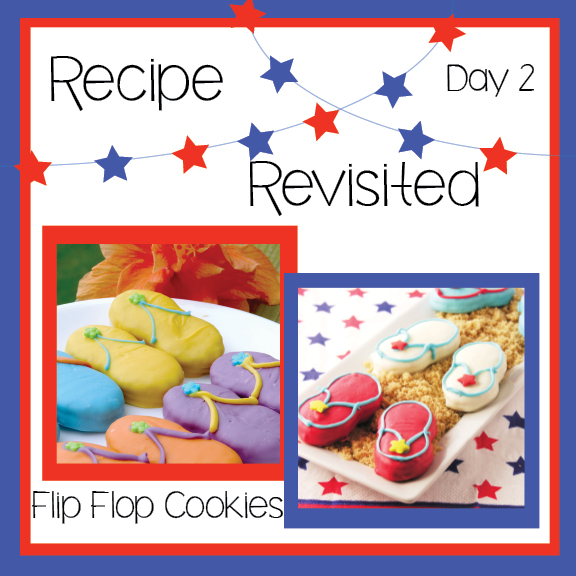
Other fun (and very patriotic!) desserts to try here at Easybaked:

Patriotic Flip Flop Cookies!!!!Patriotic Bundt Cake!!!!Patriotic Polka Dot Cake!!!!Chocolate covered brownie stars


Advertisement

Bomb Pop Cupcakes!!

Posted on

Bomb Pop Cupcakes!!!!!! Does anything scream SUMMER, or FOURTH OF JULY like Bomb Pops?  These adorable cupcakes capture the flavors of an iconic summertime popsicle and make a perfect holiday treat!

You know those memories from childhood that spring up unexpectedly and make you smile?  Bomb Pops have that effect on me.  My brother and I always spent a week or two at my grandparents house each summer.  They had an immaculately clean garage with a huge freezer in it.  Grandma would always keep a box of bomb pops inside for our visits.  I remember so clearly, sitting out on her porch eating these in the evenings, letting the drips of sweet popsicle land on the cement by my bare feet.  Every time I eat one, it’s like traveling back in time to those days.

I wanted to capture the flavors of these summer treats in cupcake form, and I love how these turned out!  The kids in my life who tried them exclaimed, “These taste like popsicles!”

 I consider that a success!

Bomb Pop Cupcakes!!!

These were not hard to make at all- simply add jello to white cake mix and pipe the batter into cupcake liners in layers.

Here’s how we made them:  (printable recipe)

INGREDIENTS:

  • One boxed white cake mix (with oil, water and eggs to make according to package)
  • One small box of blue raspberry Jell-O (Jolly Rancher had this flavor, and Jell-O has a Berry Blue that works)
  • One small box of Cherry Jell-O
  • 2 sticks of salted butter (at room temperature)
  • 2 sticks of unsalted butter (at room temperature)
  • 3 cups of powdered sugar
  • 3 teaspoons of lemon extract or flavoring (technically the flavor in the popsicles is lime…but I couldn’t easily get my hands on lime extract.  The lemon was great- but feel free to use lime instead, if you want!)

DIRECTIONS:

  • Preheat oven to 350F degrees
  • Make cake mix as directed on box, and divide batter equally into two bowls.
  • Add 3 Tablespoons of Blue Raspberry Jell-O to one bowl, and 3 Tablespoons of Cherry Jell-O to the other bowl.
  • Mix each bowl of batter until well combined
  • Place each flavor of batter into a large, sturdy (I use freezer-type) zip top bag.
  • Clip a corner off the bag of Blue Raspberry batter and evenly pipe into 24 cupcake liners placed into muffin tins.
  • Clip a corner off the bag of Cherry batter and evenly pipe over the top of the Blue Raspberry batter.
  • Bake cupcakes as directed on boxed mix, remove from oven, and cool.
  • Make frosting by combining butters, powdered sugar and lemon extract in a large bowl.  Beat on low until combined and then high, until light and fluffy.
  • Put frosting into a large, sturdy zip-top bag that has been fitted with a decorating tip, and pipe frosting on the top of each cupcake.
  • Decorate as desired.  I saw these cute little Mike and Ike “popsicle” toppers on a fun site called Party Pinching. They were fun and easy to make, but they use toothpicks and could be dangerous to serve- especially to kids.  I love how cute they are, but I can’t recommend them.  Use cute sprinkles and maybe a popsicle stick instead!
  • Enjoy!

Bomb Pop Cupcakes!!!!

My thoughts: These were really easy to put together and the fruit flavors are so refreshing!  I love the patriotic colors too!

Just as a note: the blue layer of cupcake rises to the top, just a little bit, so don’t panic! You will still have nice layers of the two flavors.  

I really hope you get a chance to try these treats in celebration of summer!  Enjoy! ~r

Bomb Pop Cupcakes!!!Other fun summer treats to try:

Confetti CupsRaspberry Truffle TartMini chocolate chip cookie cheesecakesCreamy Mango Pops!

Flip Flop Cookies~ a Recipe Revisited!

Posted on

RR Header

I’m excited to be back for day #2 of our walk down memory lane!  Today’s treat just had to make the list of fun and colorful recipes to revisit.  It’s not only fun and colorful, but the perfect summer treat…

Flip Flop RR card

This recipe was originally published during my first summer of blogging, on June 11, 2011.  It is particularly memorable for me because it was my first photo published on Foodgawker.  If you even knew how hard I was trying at the time to get a photo accepted on that site….oh my.  I’m very competitive and I had about 60 photos rejected before this one.  I was jumping up and down for joy!  I took this photo at my friends Tom and Tina’s house at the lake.  I knew the lighting was perfect that day and I pulled my little point and shoot out to snap some photos.  Tom suggested I try his higher-end camera and Tina popped that pretty orange flower in the background and I learned two things:  1.Staging food is a must in photography and  2. I needed a better camera.

Since that date I’ve had 55 photos accepted on Foodgawker and SO many rejected.  It has been so good for me to have outside judgement on my photography though.  It is making me better.  Will today’s photo be accepted?  I think not.  I’m not happy with the exposure in any of the pictures, but we will see!

These are white chocolate dipped Nutter Butter cookies (in case you were wondering!)  Originally dipped in rainbow colors, these are dipped in patriotic red, white and blue and garnished with a little star sprinkle.  Serving them on brown sugar gives them a beach feel.  These are a perfect summer treat and really easy to make.

To see the original recipe (along with photos showing how to dip them) click here.

To print the original recipe and instructions click here.

Enjoy!  ~r

Patriotic Flip Flop Cookies!

Patriotic Flip lop Cookies!!

Patriotic Flip Flop Cookies!!!

Patriotic Flip Flop Cookies!!!!

We dip lots of things into candy melts and chocolate here at easybaked.  Here are a few of our favorite candy melt treats:

Chocolate Easter Eggs with Peanut Butter FillingKool-Aid Truffles!!Chocolate covered brownie starsHot Chocolate Pop!

Tie Dye Cake~ a recipe revisited!

Posted on

RR Header
I miss my recipes sometimes…I didn’t realize when I started this blog that it would launch me into a world of constantly new and changing recipes.  If I’m asked to bring a dessert to something I rarely return to my favorites.  Instead I create something new that I can share with all of you!  This week I am revisiting some of my favorites in honor of the Fourth of July.  I chose some of my most colorful and fun recipes to recreate in Red White and Blue.  Each of these recipes can be tweaked to fit any color theme, but this week we are celebrating the USA with each recipe.  Here we go…..!

Tie Dye Cake!!

The original Tie Dye cake recipe was created October 10, 2012 in honor of my nephew Marshal.  It has gotten rave reviews for how easy it is to make.  It’s been the star dessert at birthday parties, Easter celebrations and even a Luau!  It was featured in the Huffington Post in an article celebrating all things tie dye.

Visit the original recipe to see how it was put together by clicking here.

Print the original recipe and try it for yourself by clicking here.

Stay tuned…I will be back tomorrow with another revisited recipe!

Enjoy!!  ~r
Patriotc Tie Dye Cake!!

Patriotic Tie Dye Cake!!

Patriotic Tie-Dye Cake!!!

Patriotic Tie-Dye Cake!!!!

Modifications to the original recipe:

Instead of rainbow colors, I used red and blue.  USE COLOR GELS if you want bright and vibrant color.  Liquid colors will not give you the deep colors you want.  I actually ran out of red and ended up a little more pink than I wanted!  I love my color gels– I use them a lot!

I used the buttercream from the original recipe but added vanilla instead of the raspberry flavoring, and I left it white with a few sprinkles.

Ruthanne’s top four favorite easybaked recipes:

Peanut butter cup cheesecakeCookie Dough CupcakesCaramel Fudge Brownies!!Cinnamon Roll Filling in a yummy cupcake!

%d bloggers like this: