RSS Feed

Tag Archives: holidays

A Cut-out Cookie Collection!

Cut-out Cookie Collection
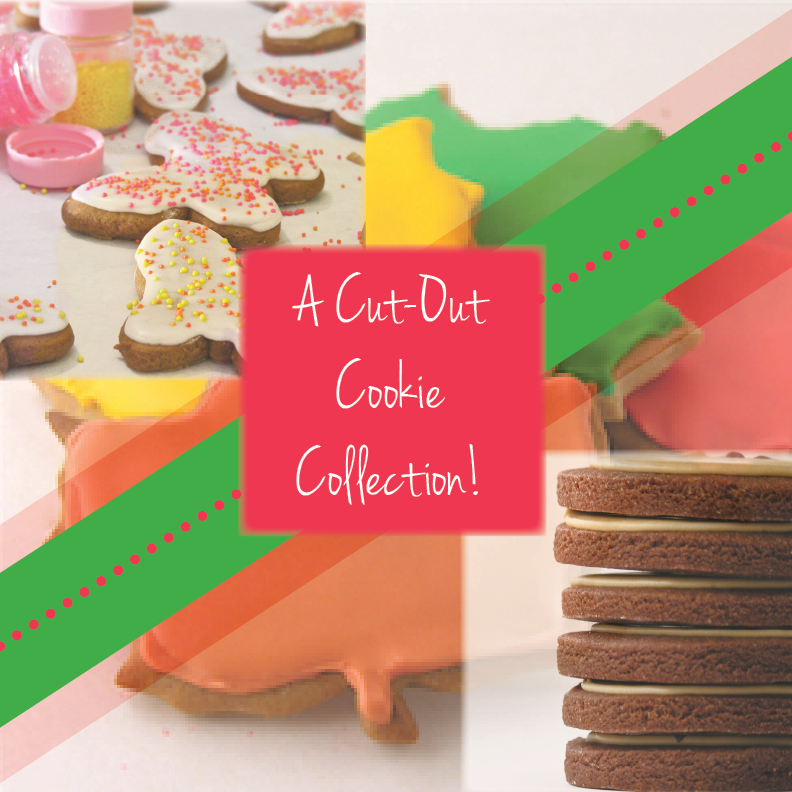
It’s nearly Christmas, and those cute bells, stars and tree cookie cutters are begging to be used!  This post is dedicated to our favorite cut-out cookie recipes featured here on Easybaked. We have everything from gingerbread to mocha, simple sugar cookies to international favorites! Make this year’s cookies your best yet!

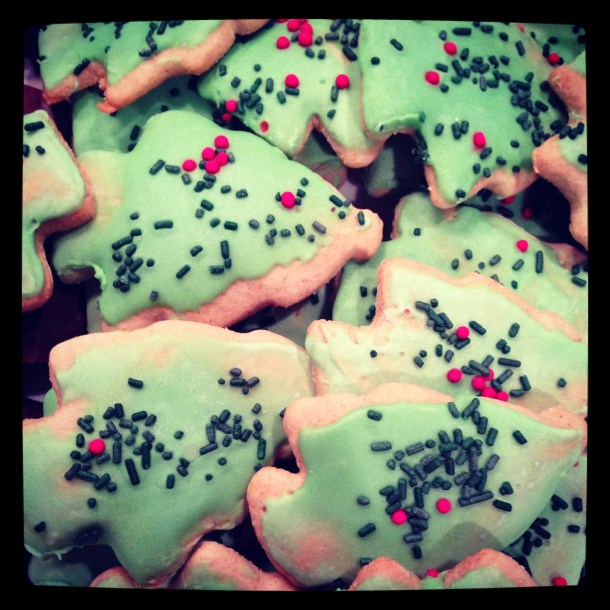
Let’s start with the family favorite. My mom’s thick and cake-like cutout cookie recipe features a hint of cinnamon flavor and is truly a part of our Christmas (and Easter, and 4th of July, and back-to-school and GO PACKERS!) traditions. These are easy, and freeze well- so you can make them ahead. Go ahead and click on that photo to see the recipe.

IMG_1195


Next, is my personal favorite: GINGERBREAD!  These, too, have been a part of our family Christmas traditions. This recipe is my grandmother’s, and she faithfully made them every year, cut them as Christmas trees and decorated them with red-hots! Click on the photo to see her oh-so-yummy recipe!

Gingerbread Cookies!
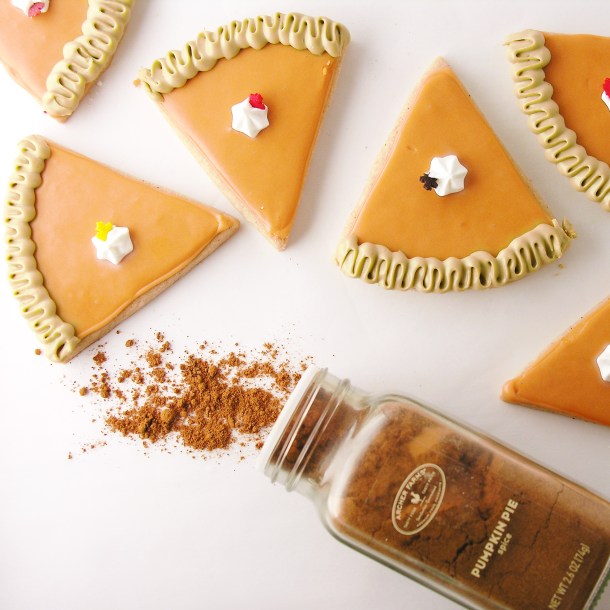
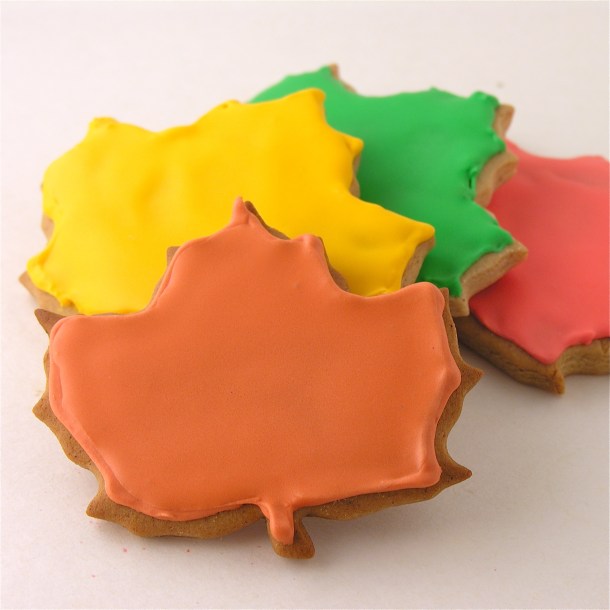
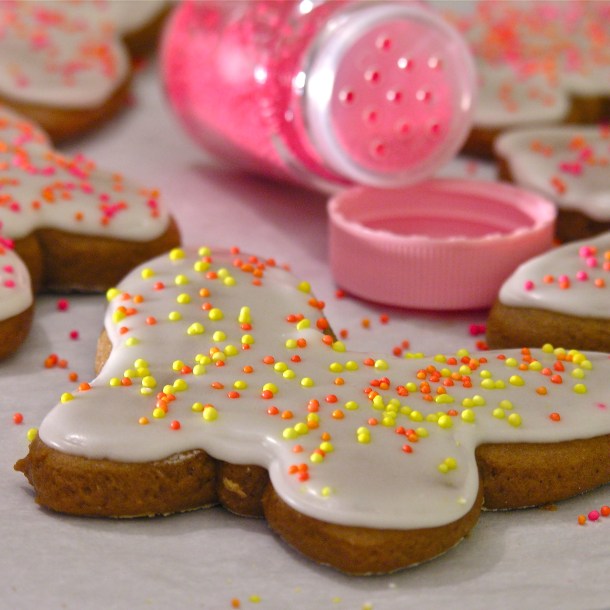
Similar to gingerbread are my Pumpkin Spice Cookies. These are sweeter and bake very flat and easy to decorate.

Pumpkin Pie Cutout cookies!
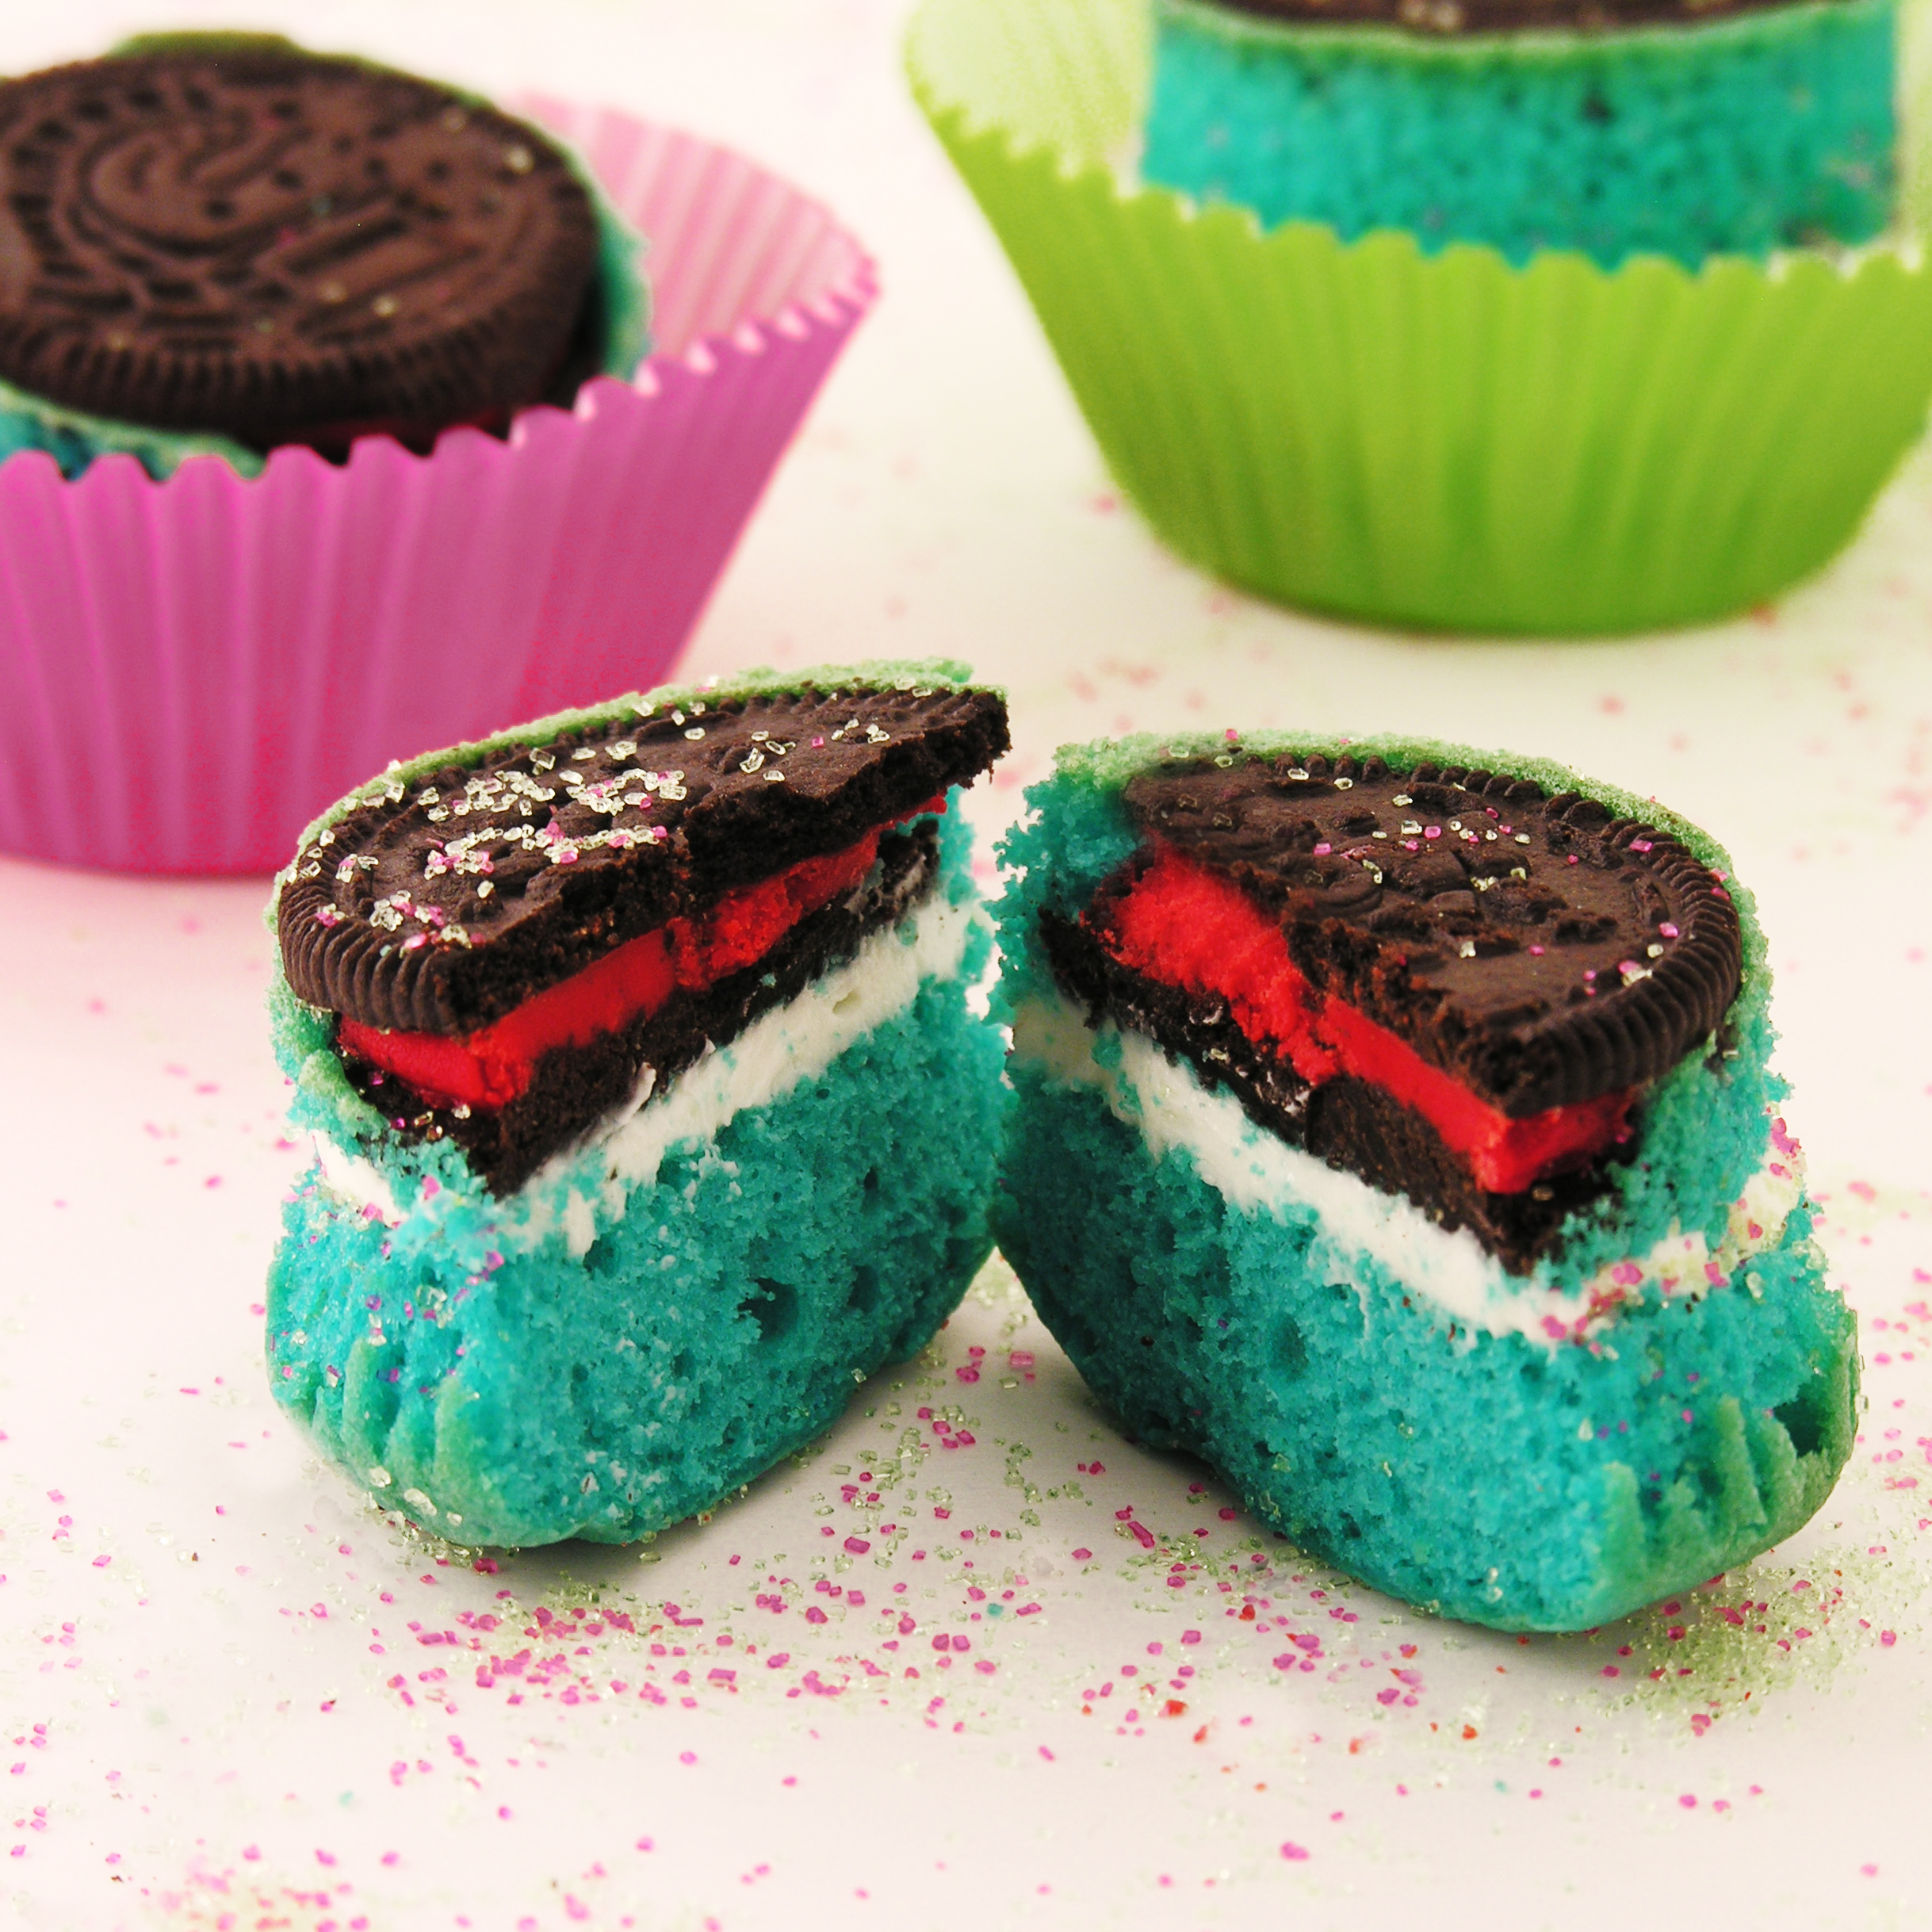
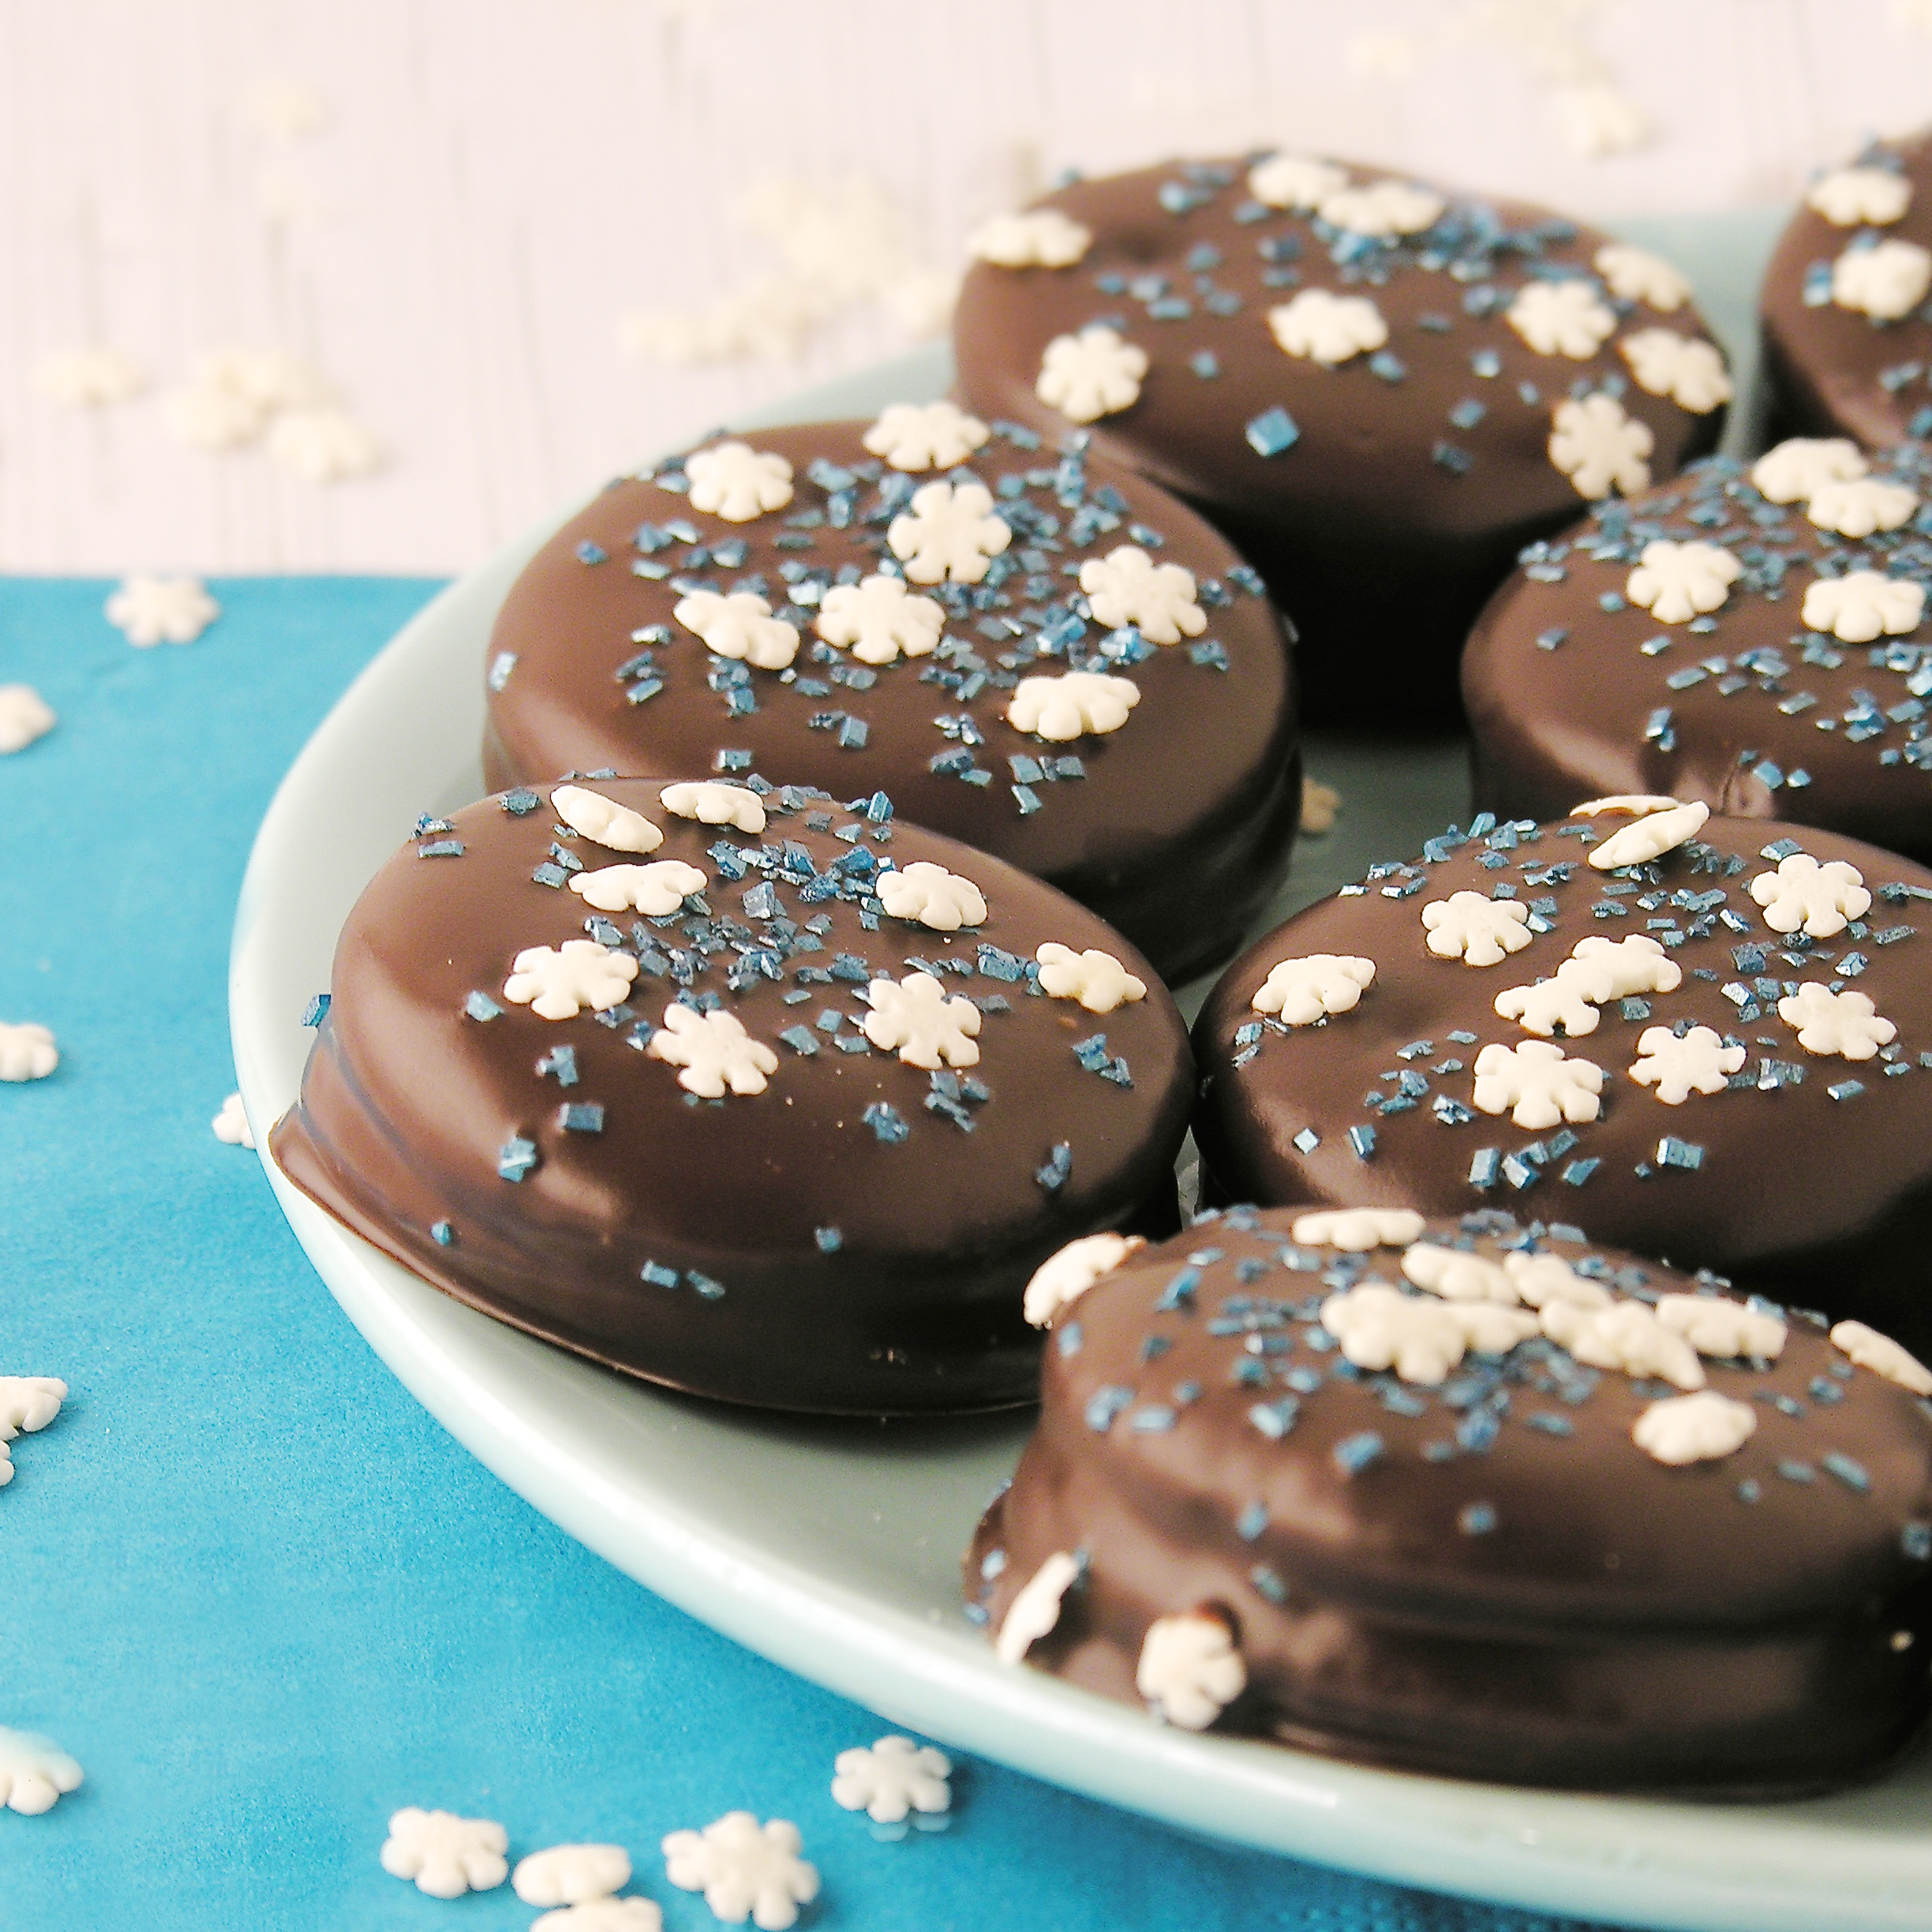
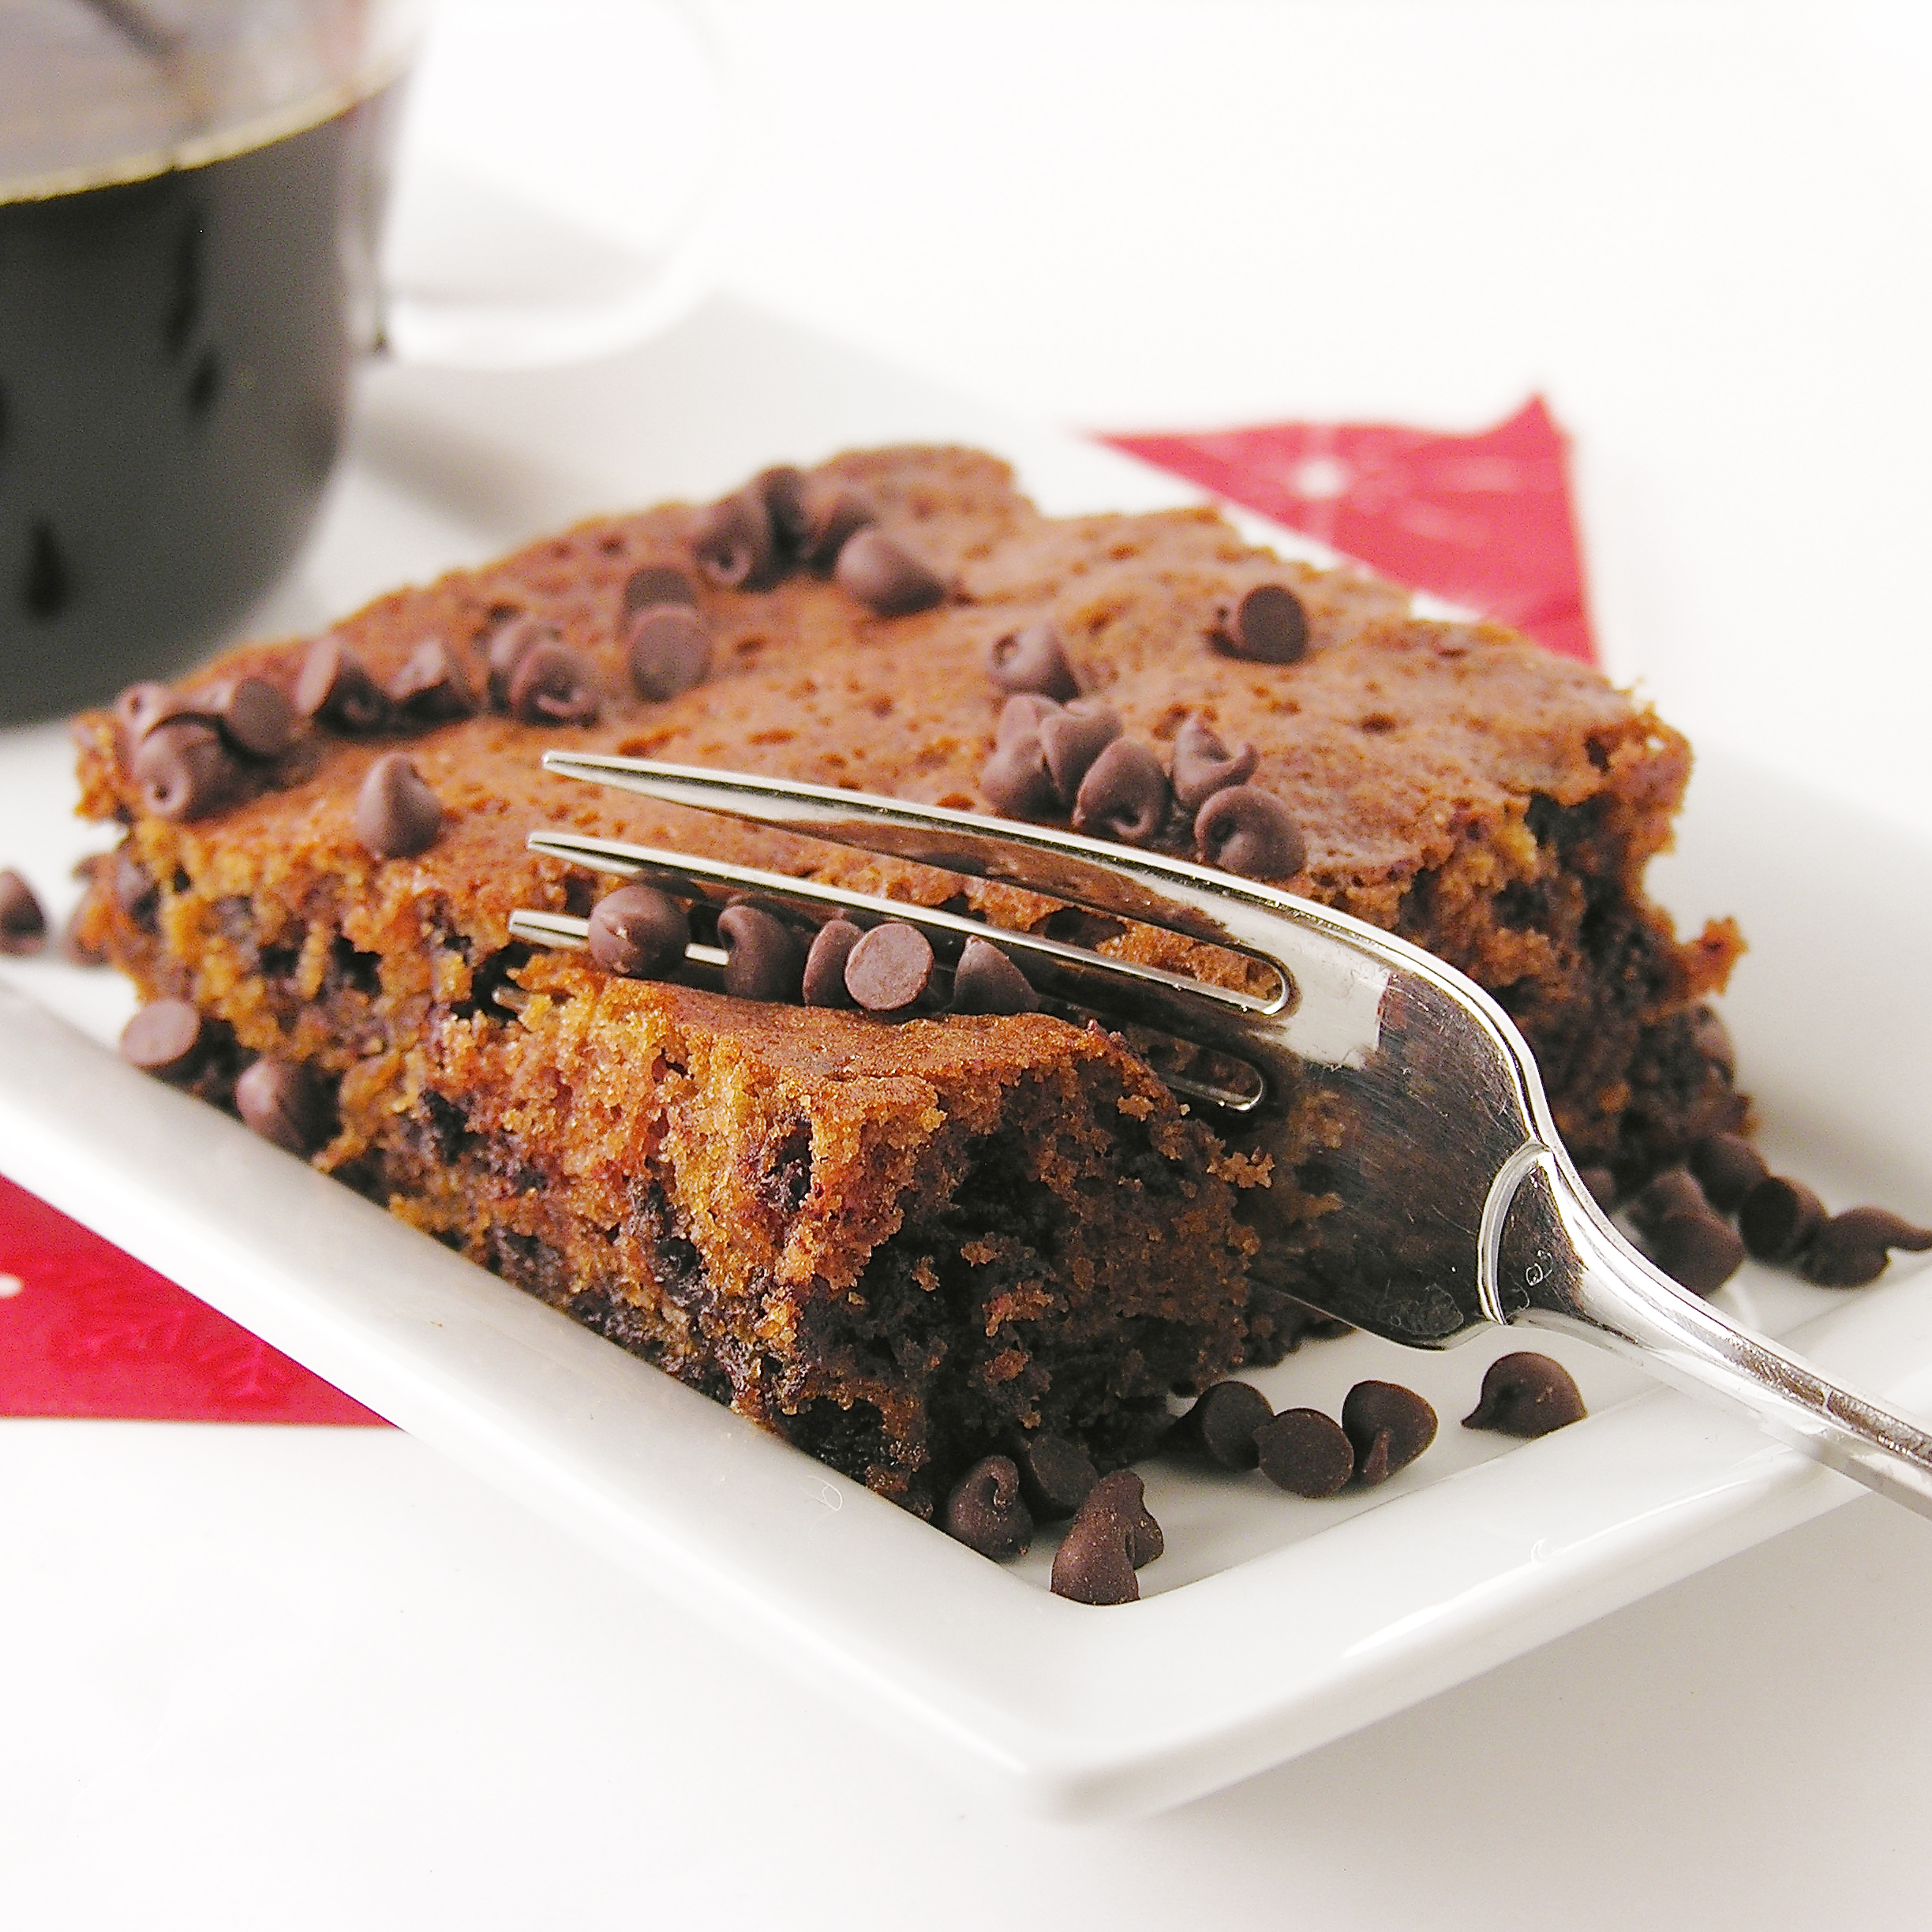
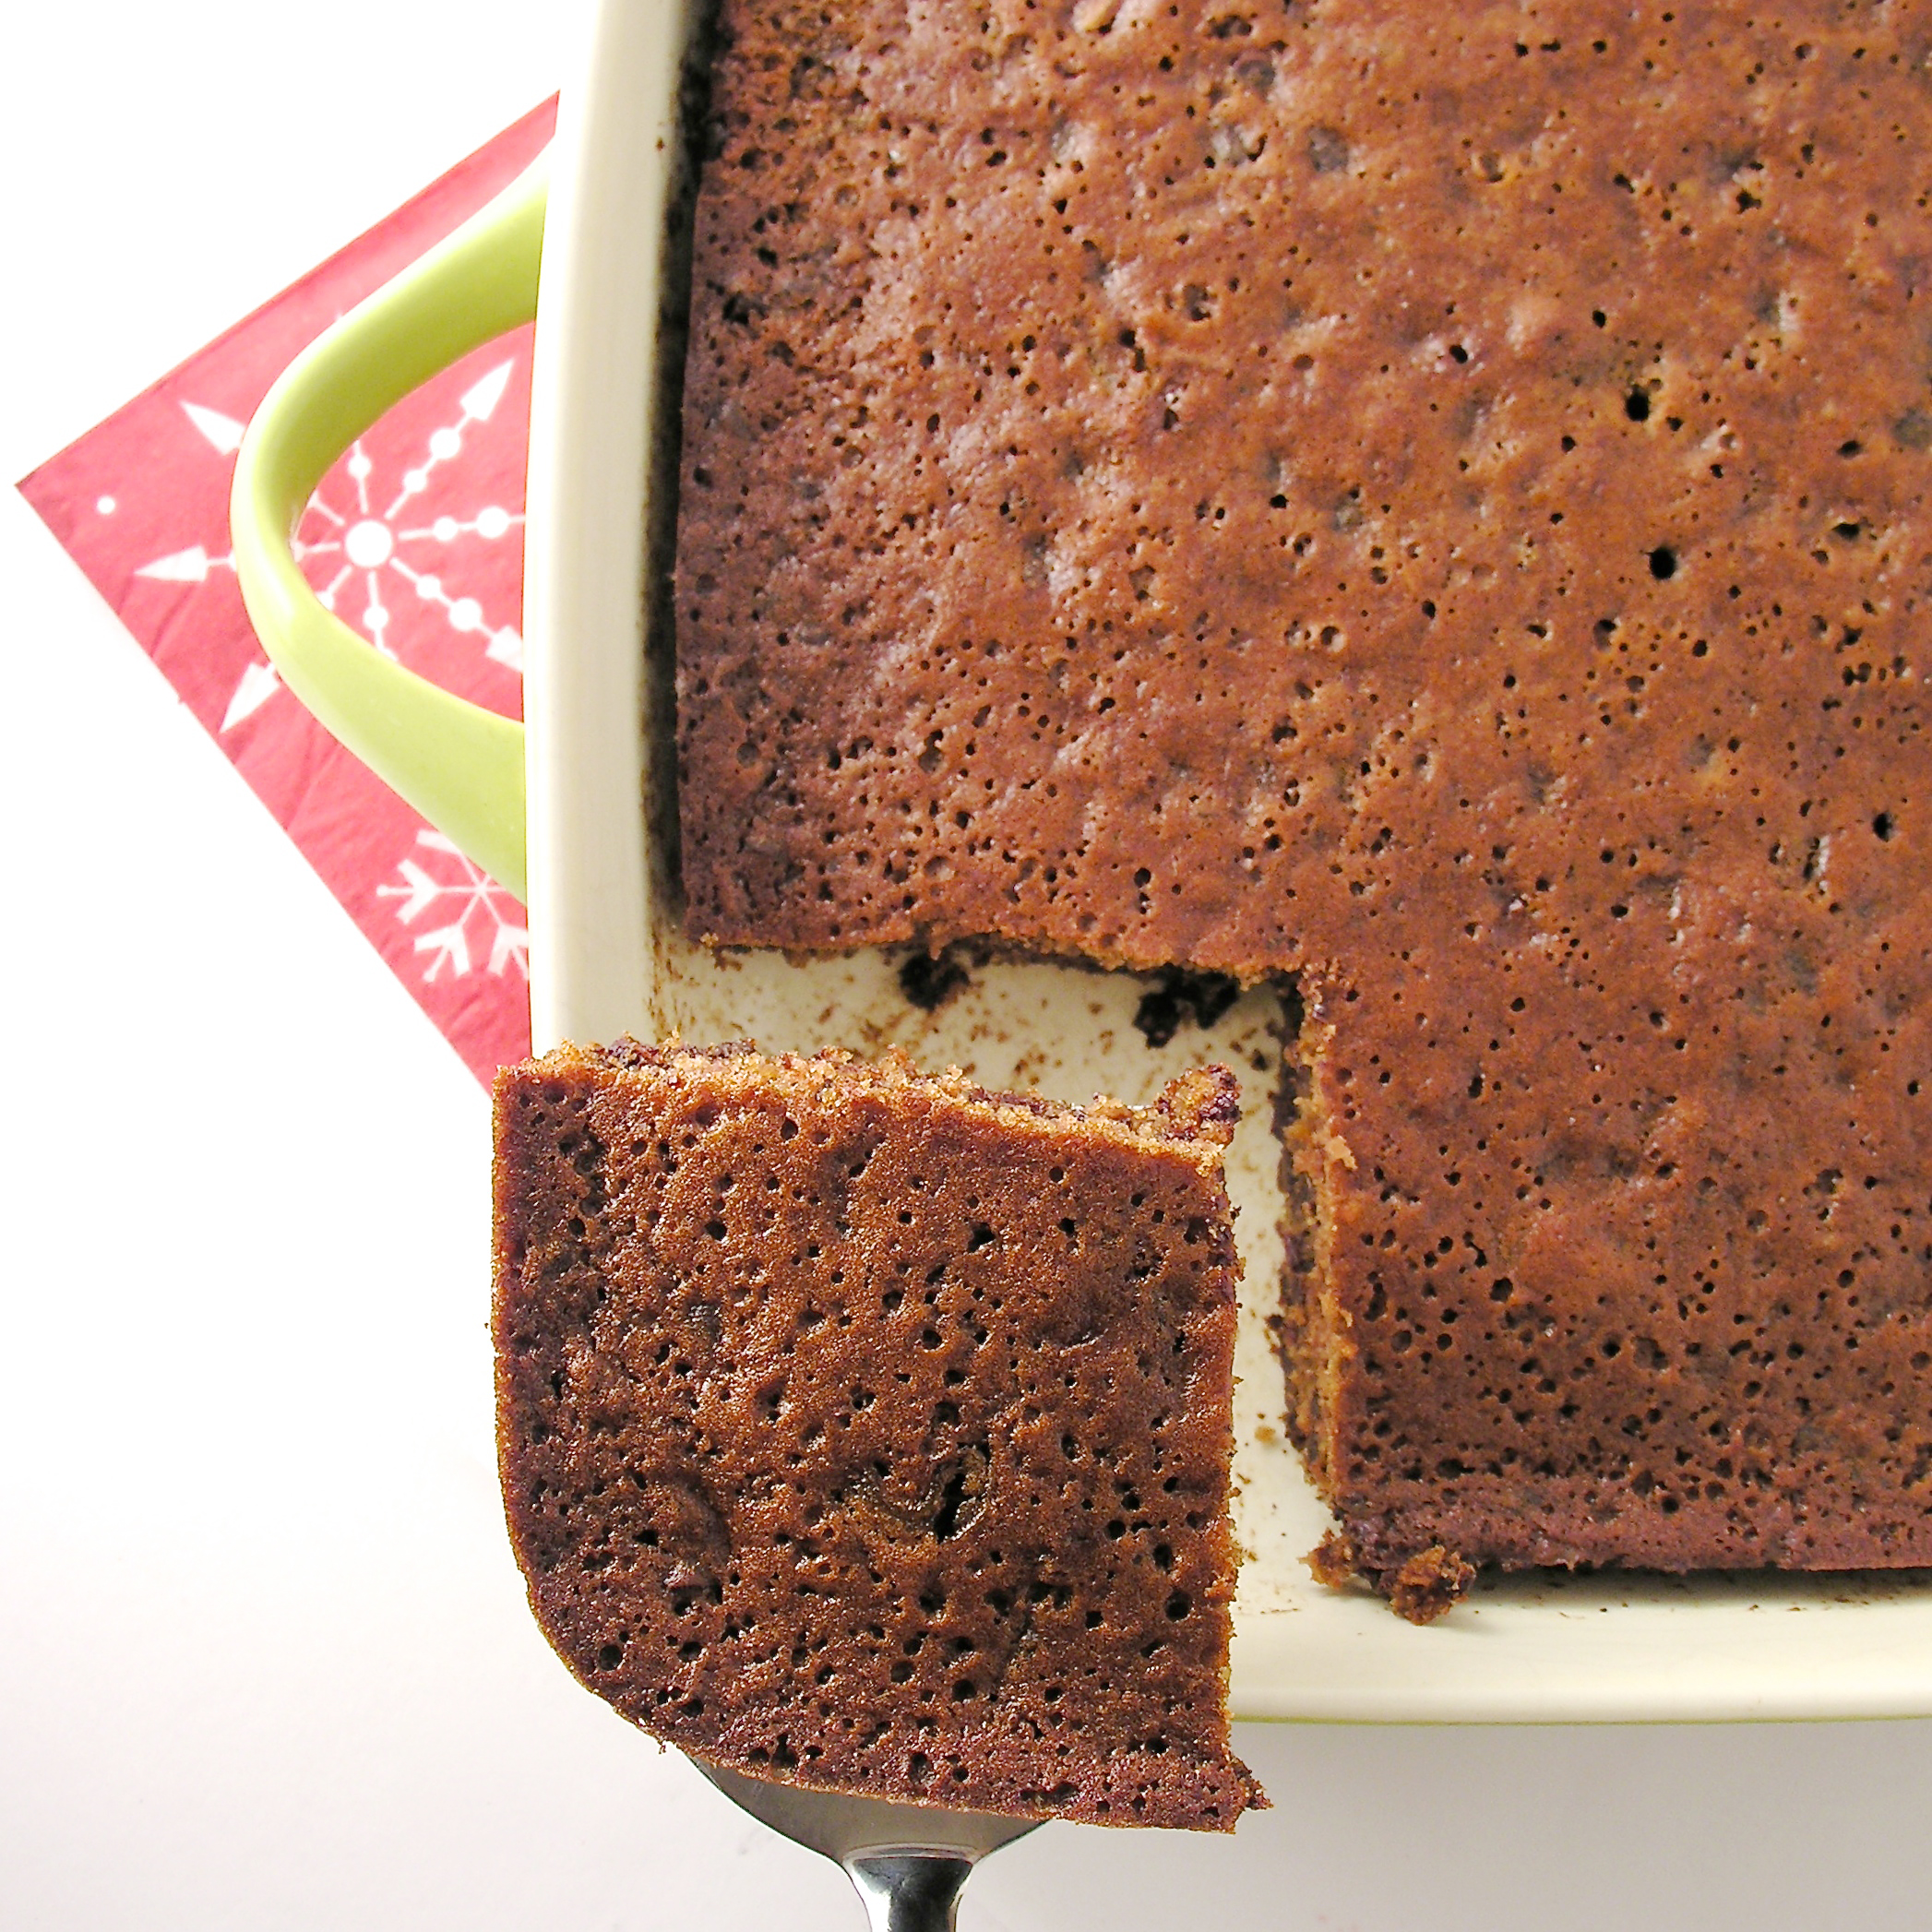
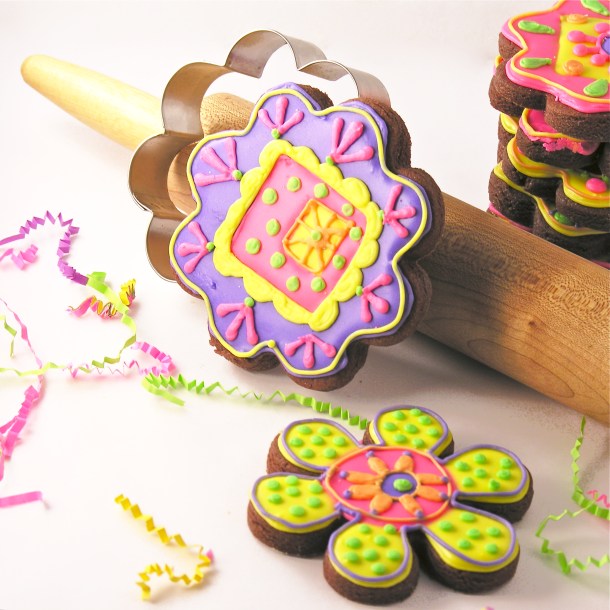
Chocolate cut-out cookies that taste like the richest brownie but roll out and cut like a dream? Yes, please!  I love how the frosting colors really stand out on that dark chocolate! These chocolate cut-outs have been in our family awhile too- but as drop cookies that I tweaked to make cut-outs. Click the photo to see this delicious recipe:

Chocolate cut-out cookies

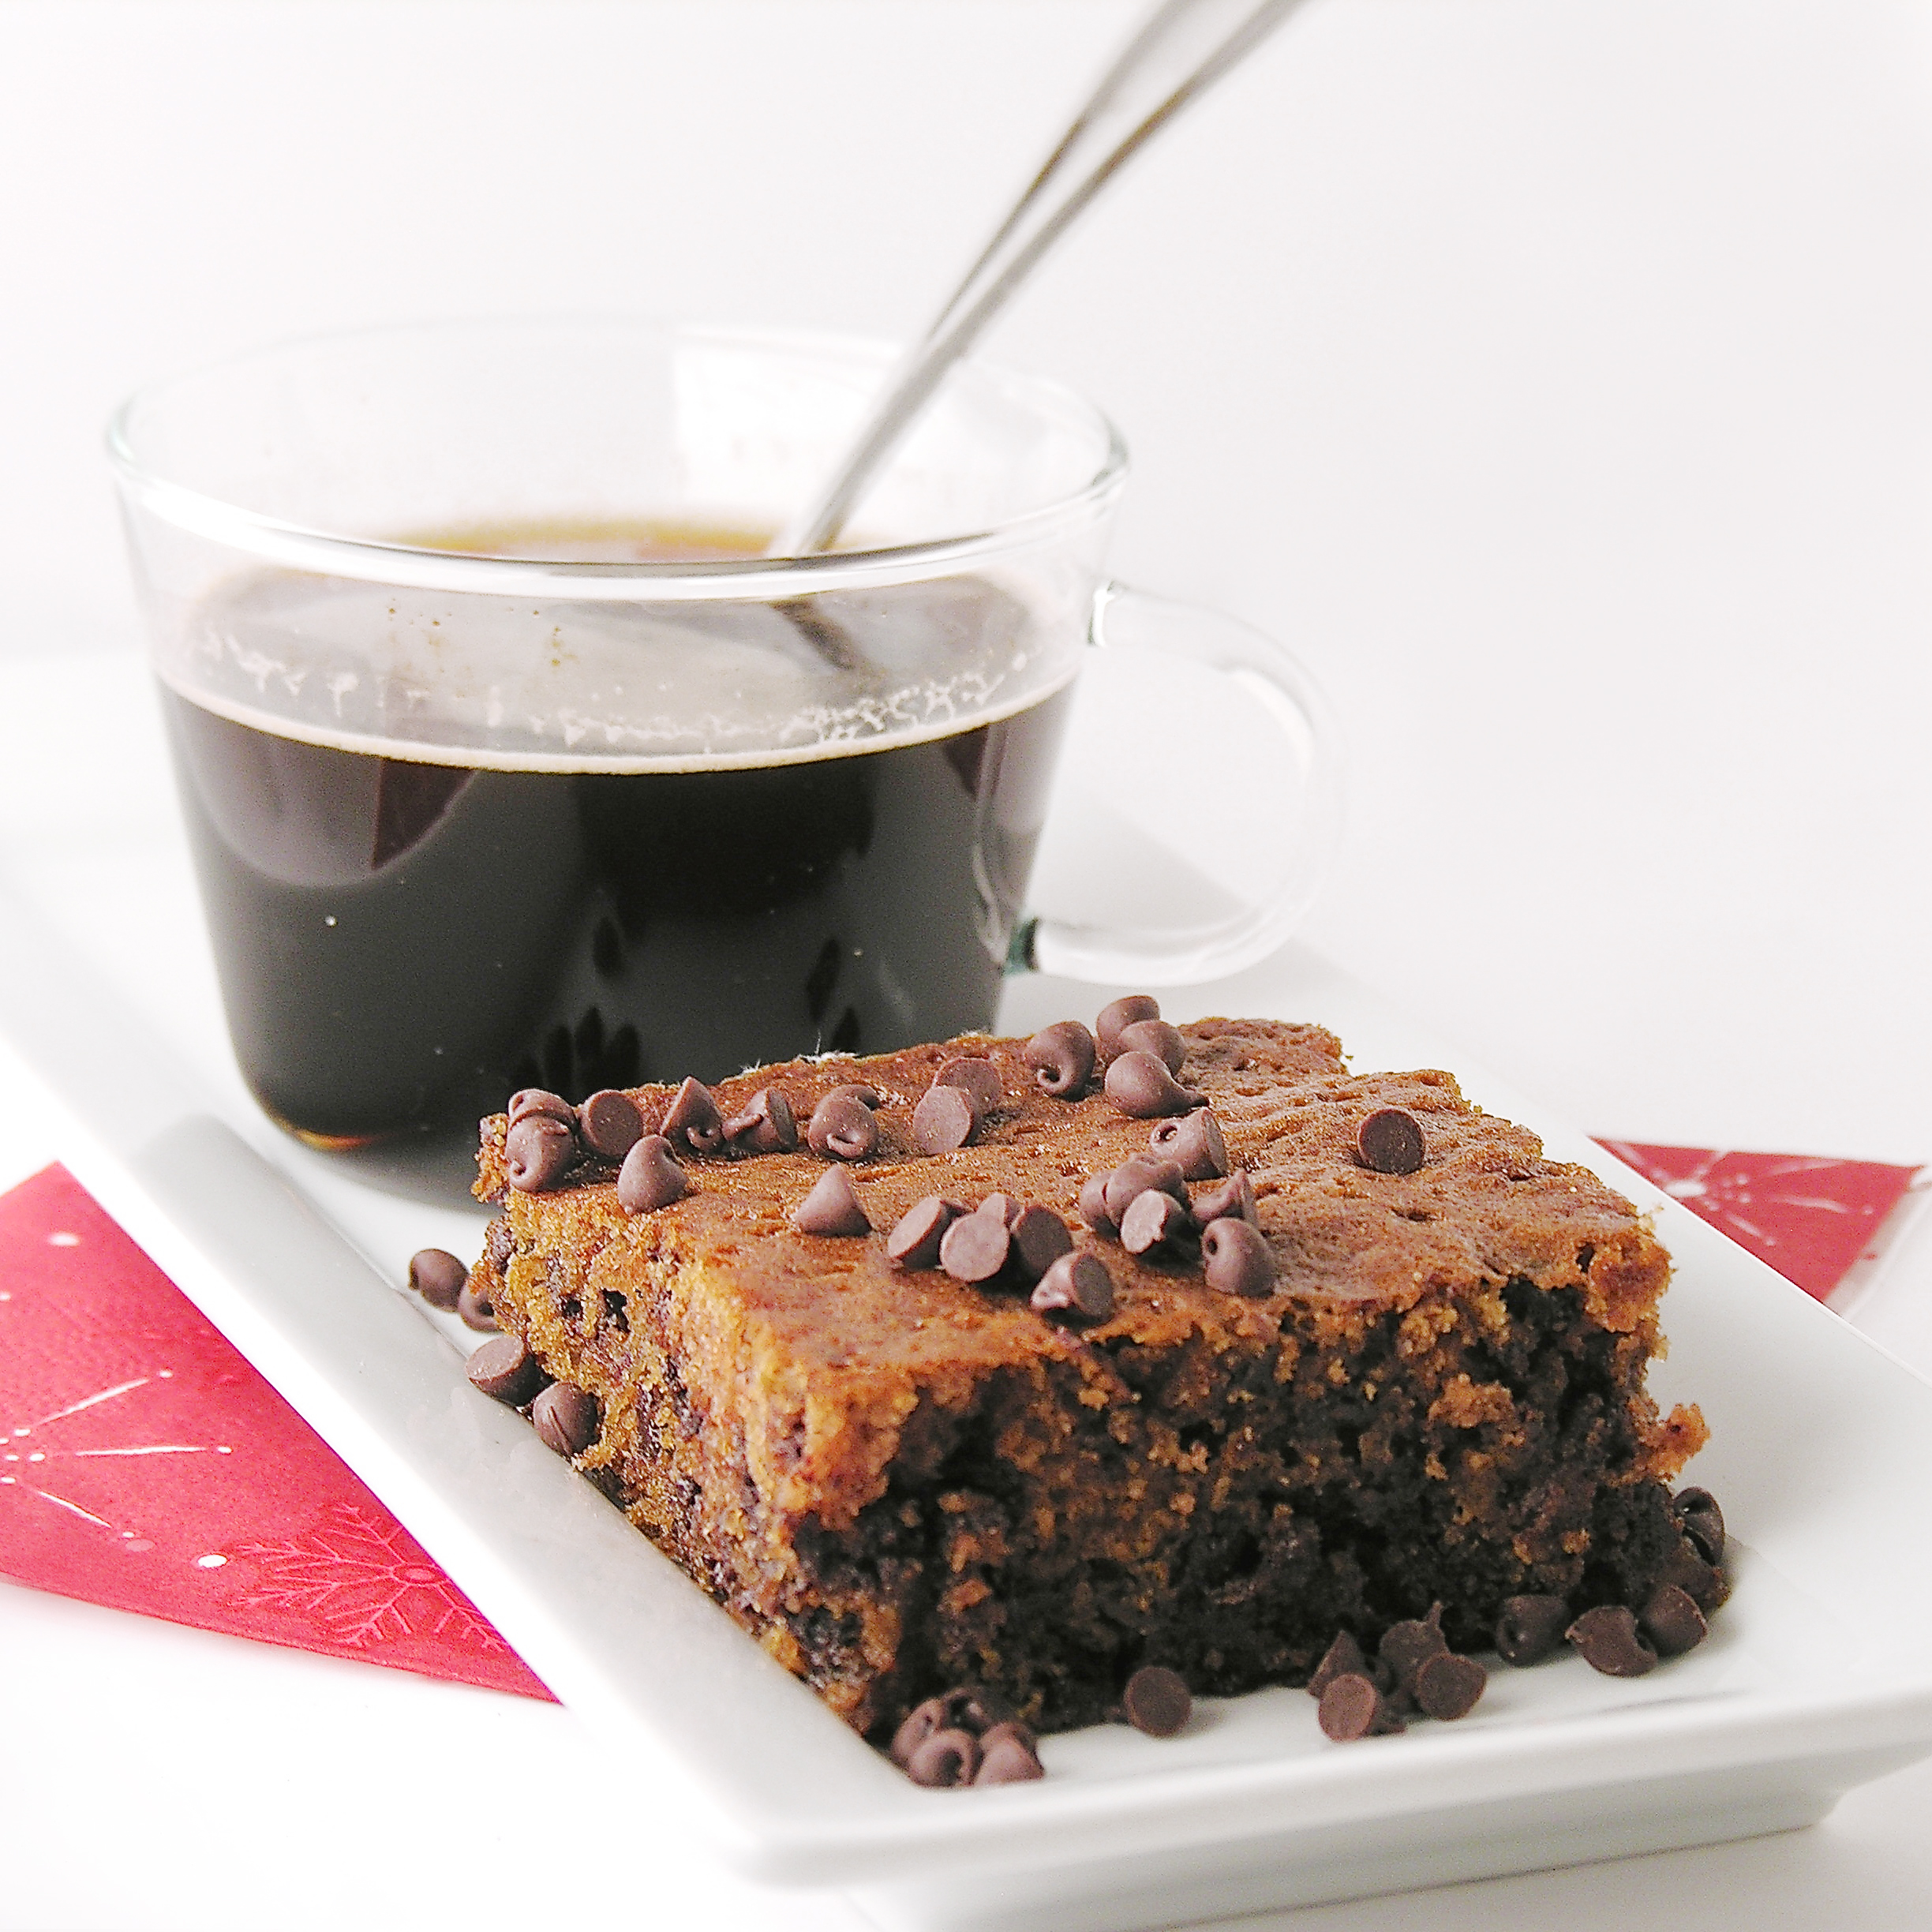
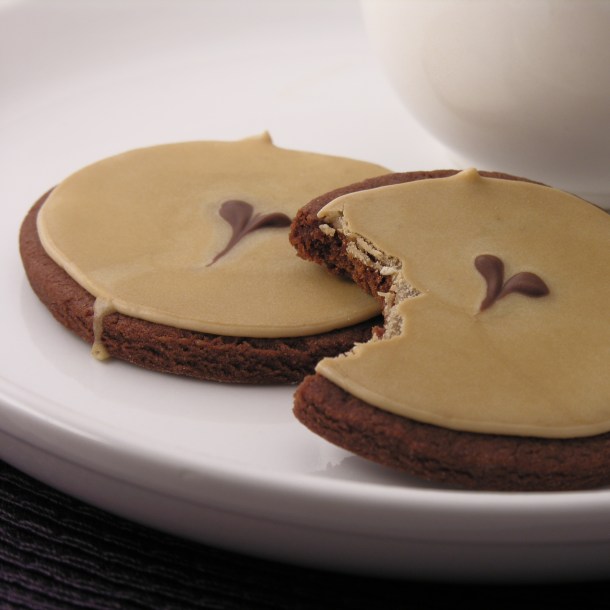
That chocolate cut-out recipe is so yummy that I experimented a little more with it to create a chocolate espresso cut out cookie and…oh my…one of my favorites!

Dark Chocolate Espresso Cookies!
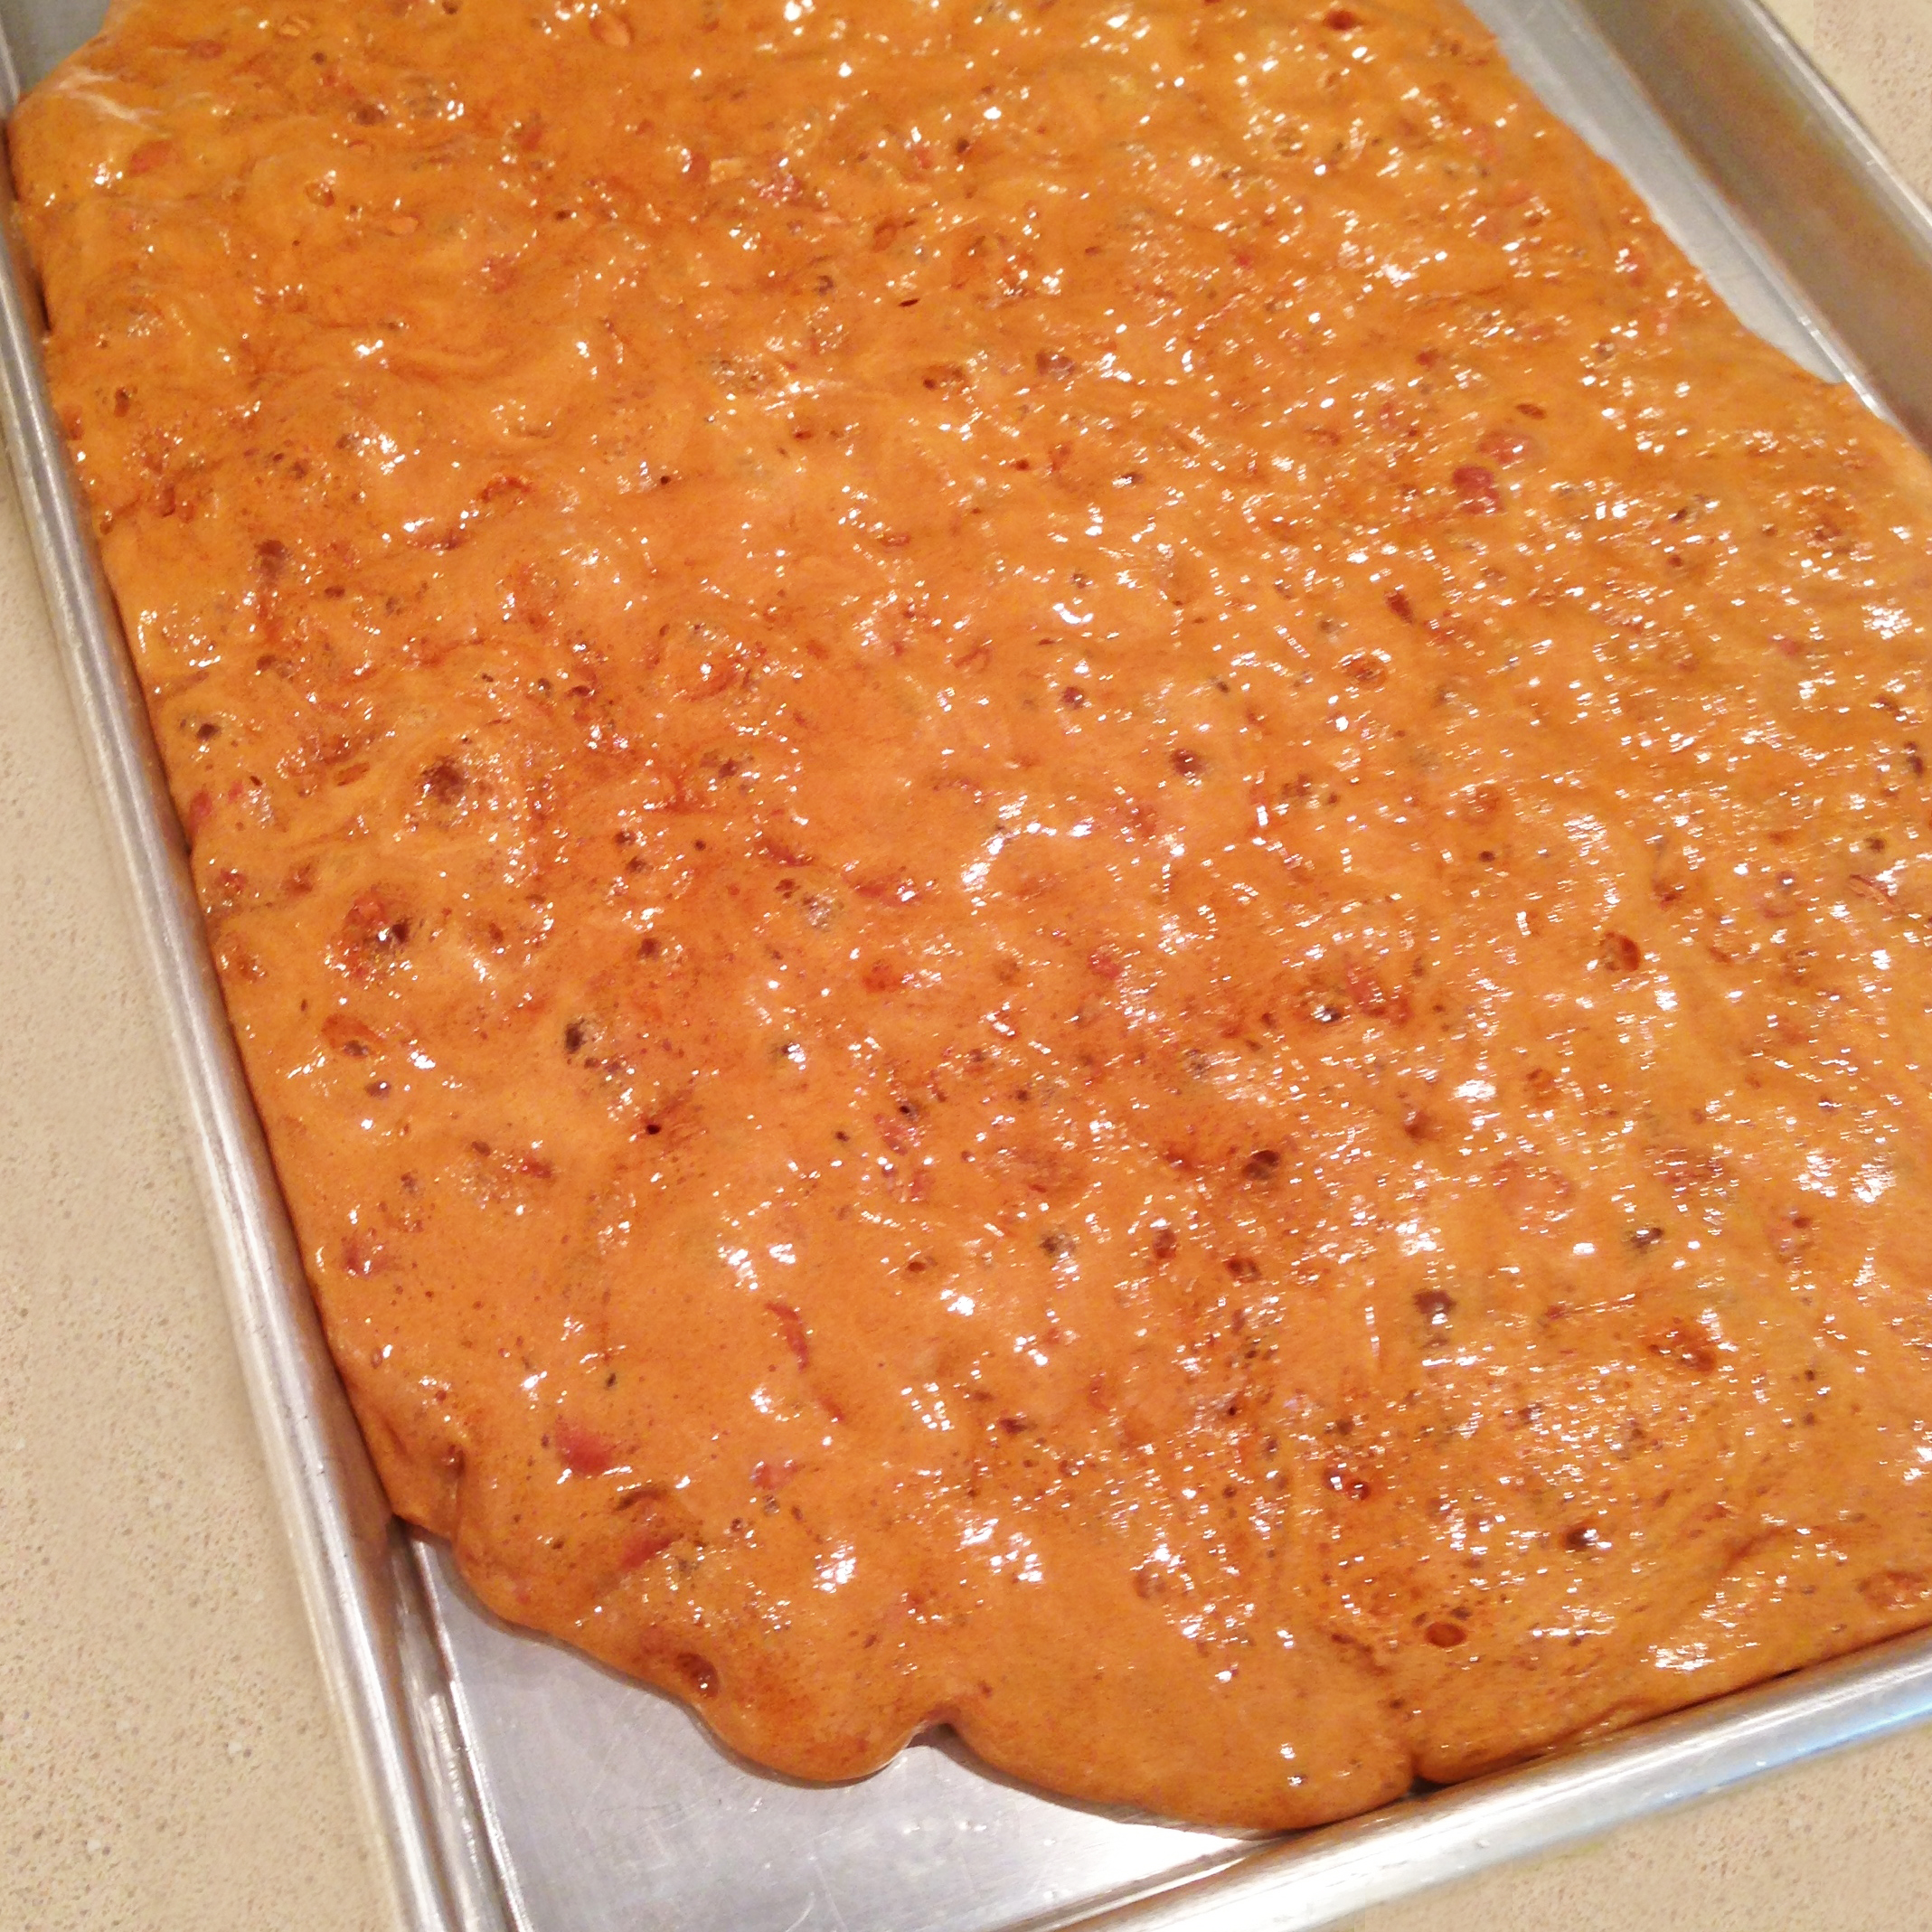
I’ve spent some time overseas and discovered a wonderful dessert in Prague called Medovnic. Then I found these wonderful little honey-filled cut out cookies called Medovniky that are often made at Christmas. I made them for autumn, but they are a delicious flavor for any season!!

Honey cookies cut into leaf shapes!

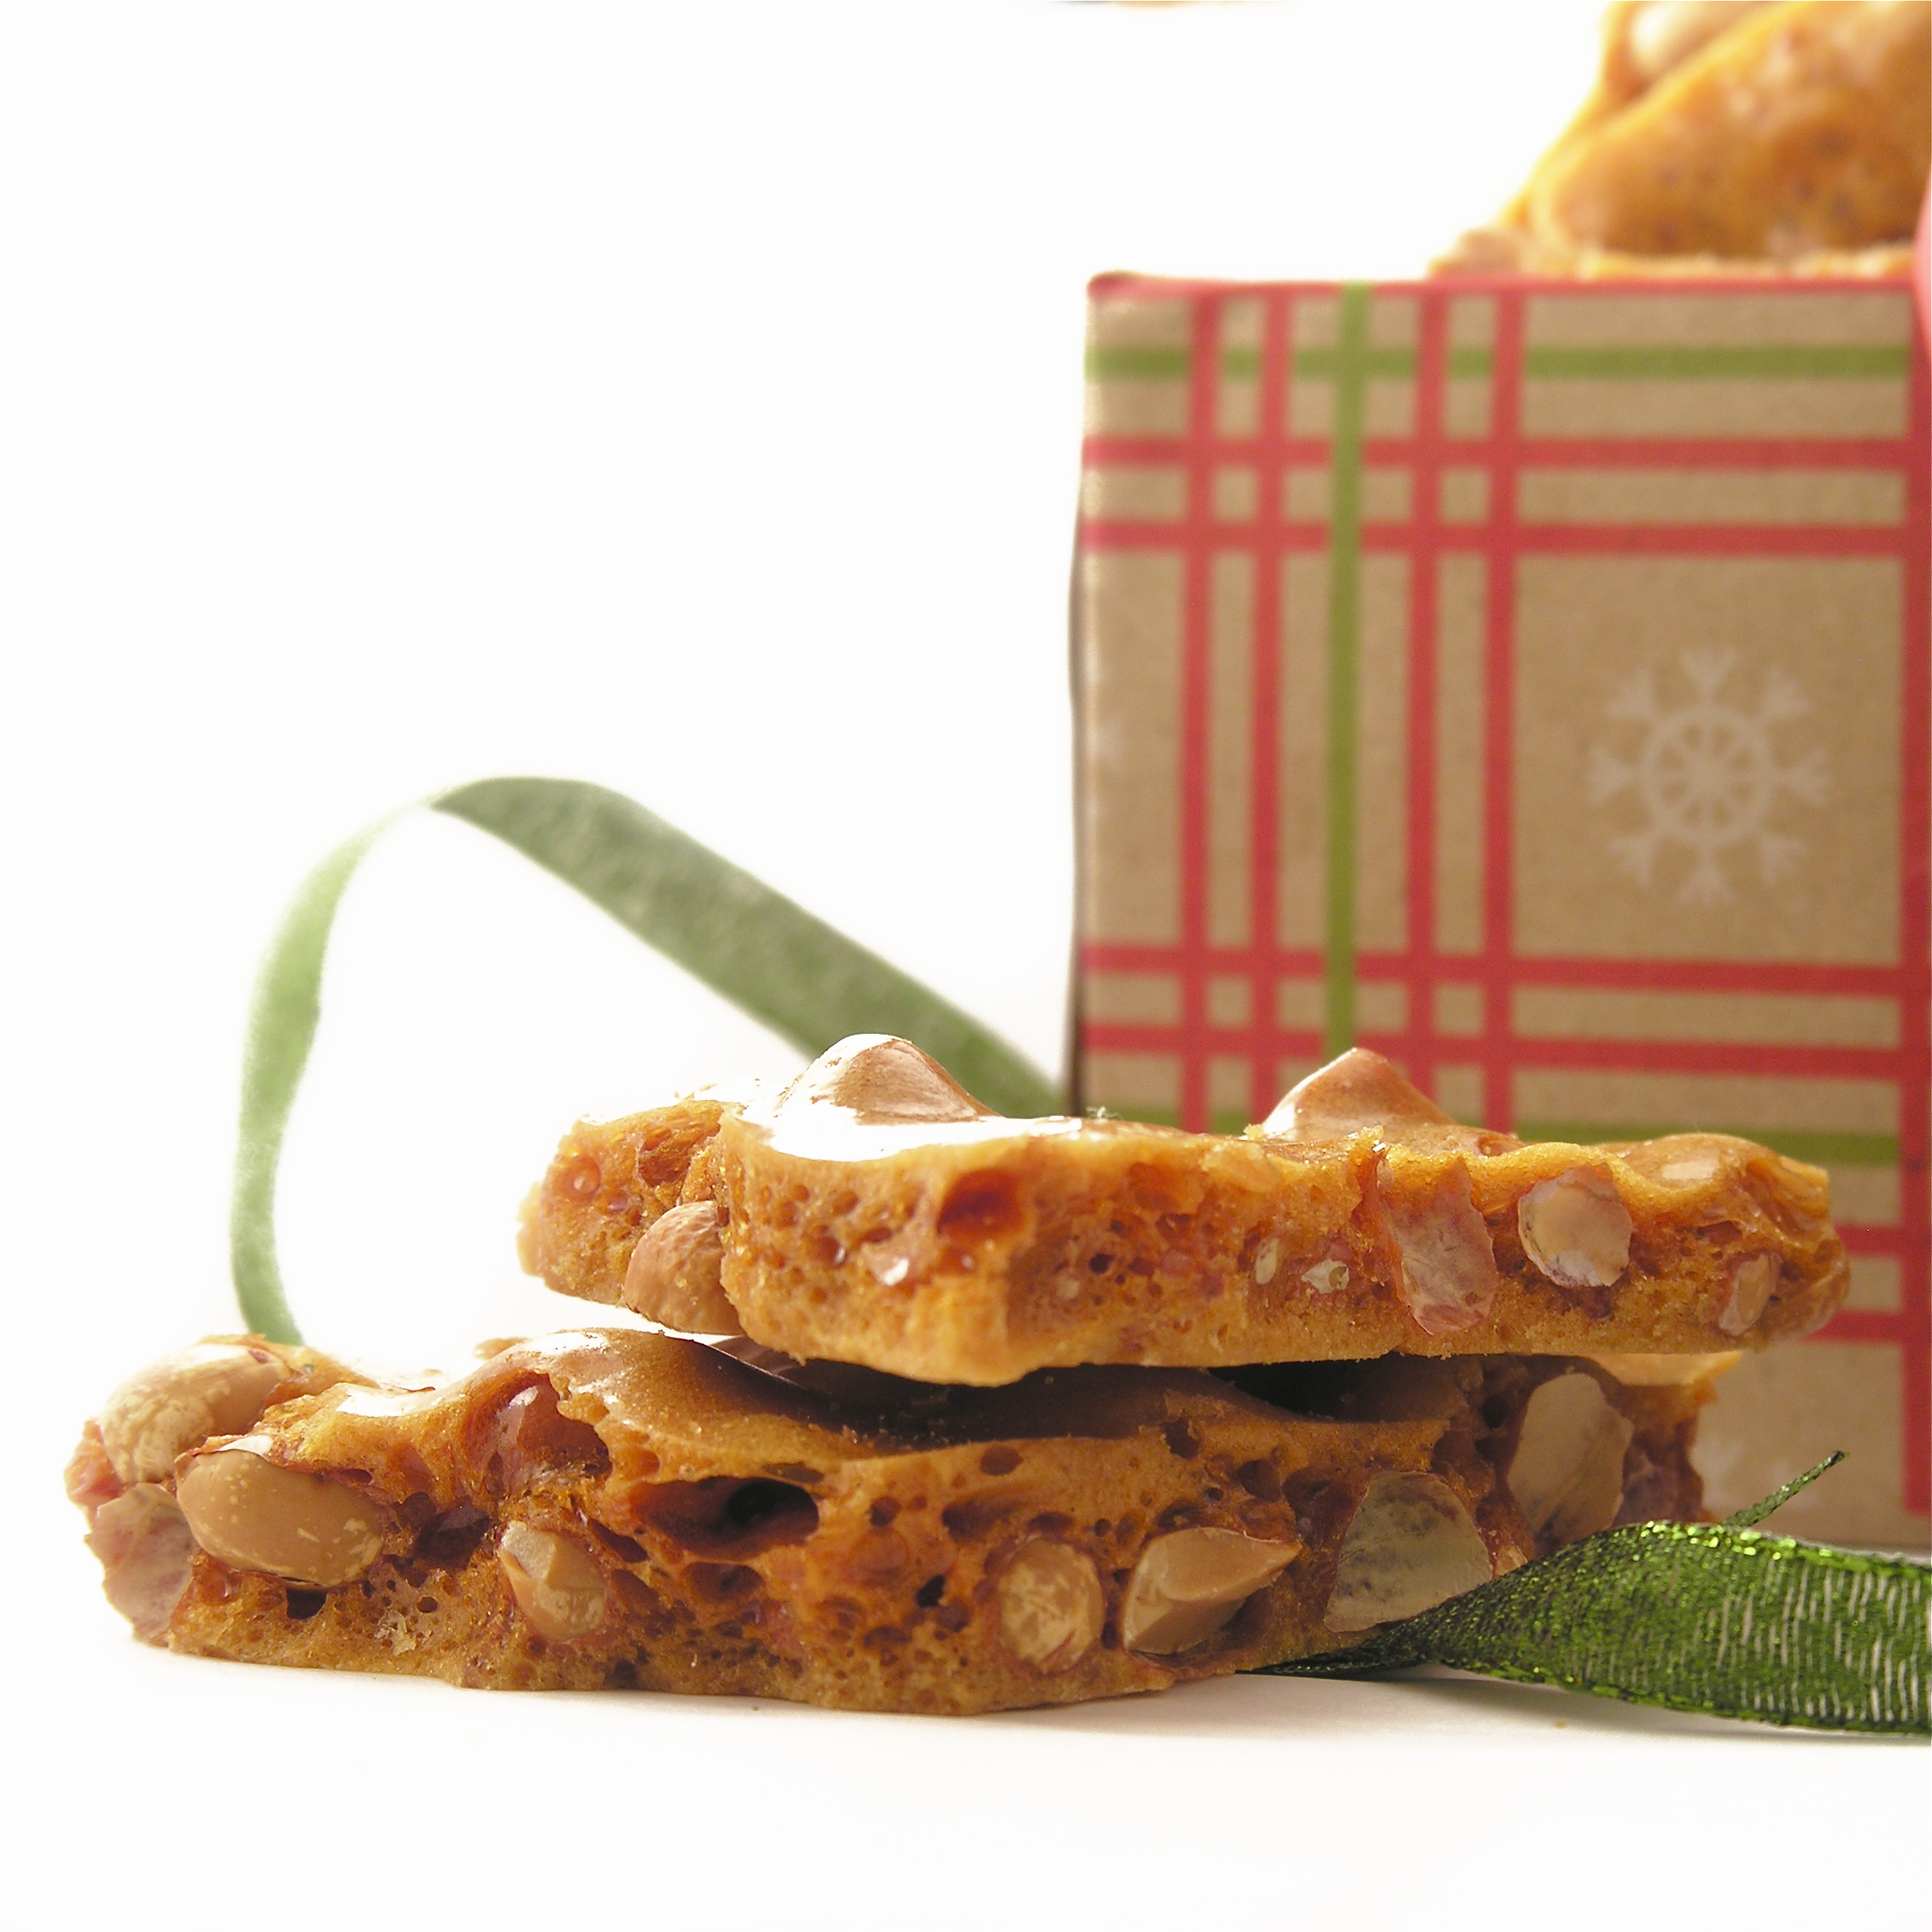
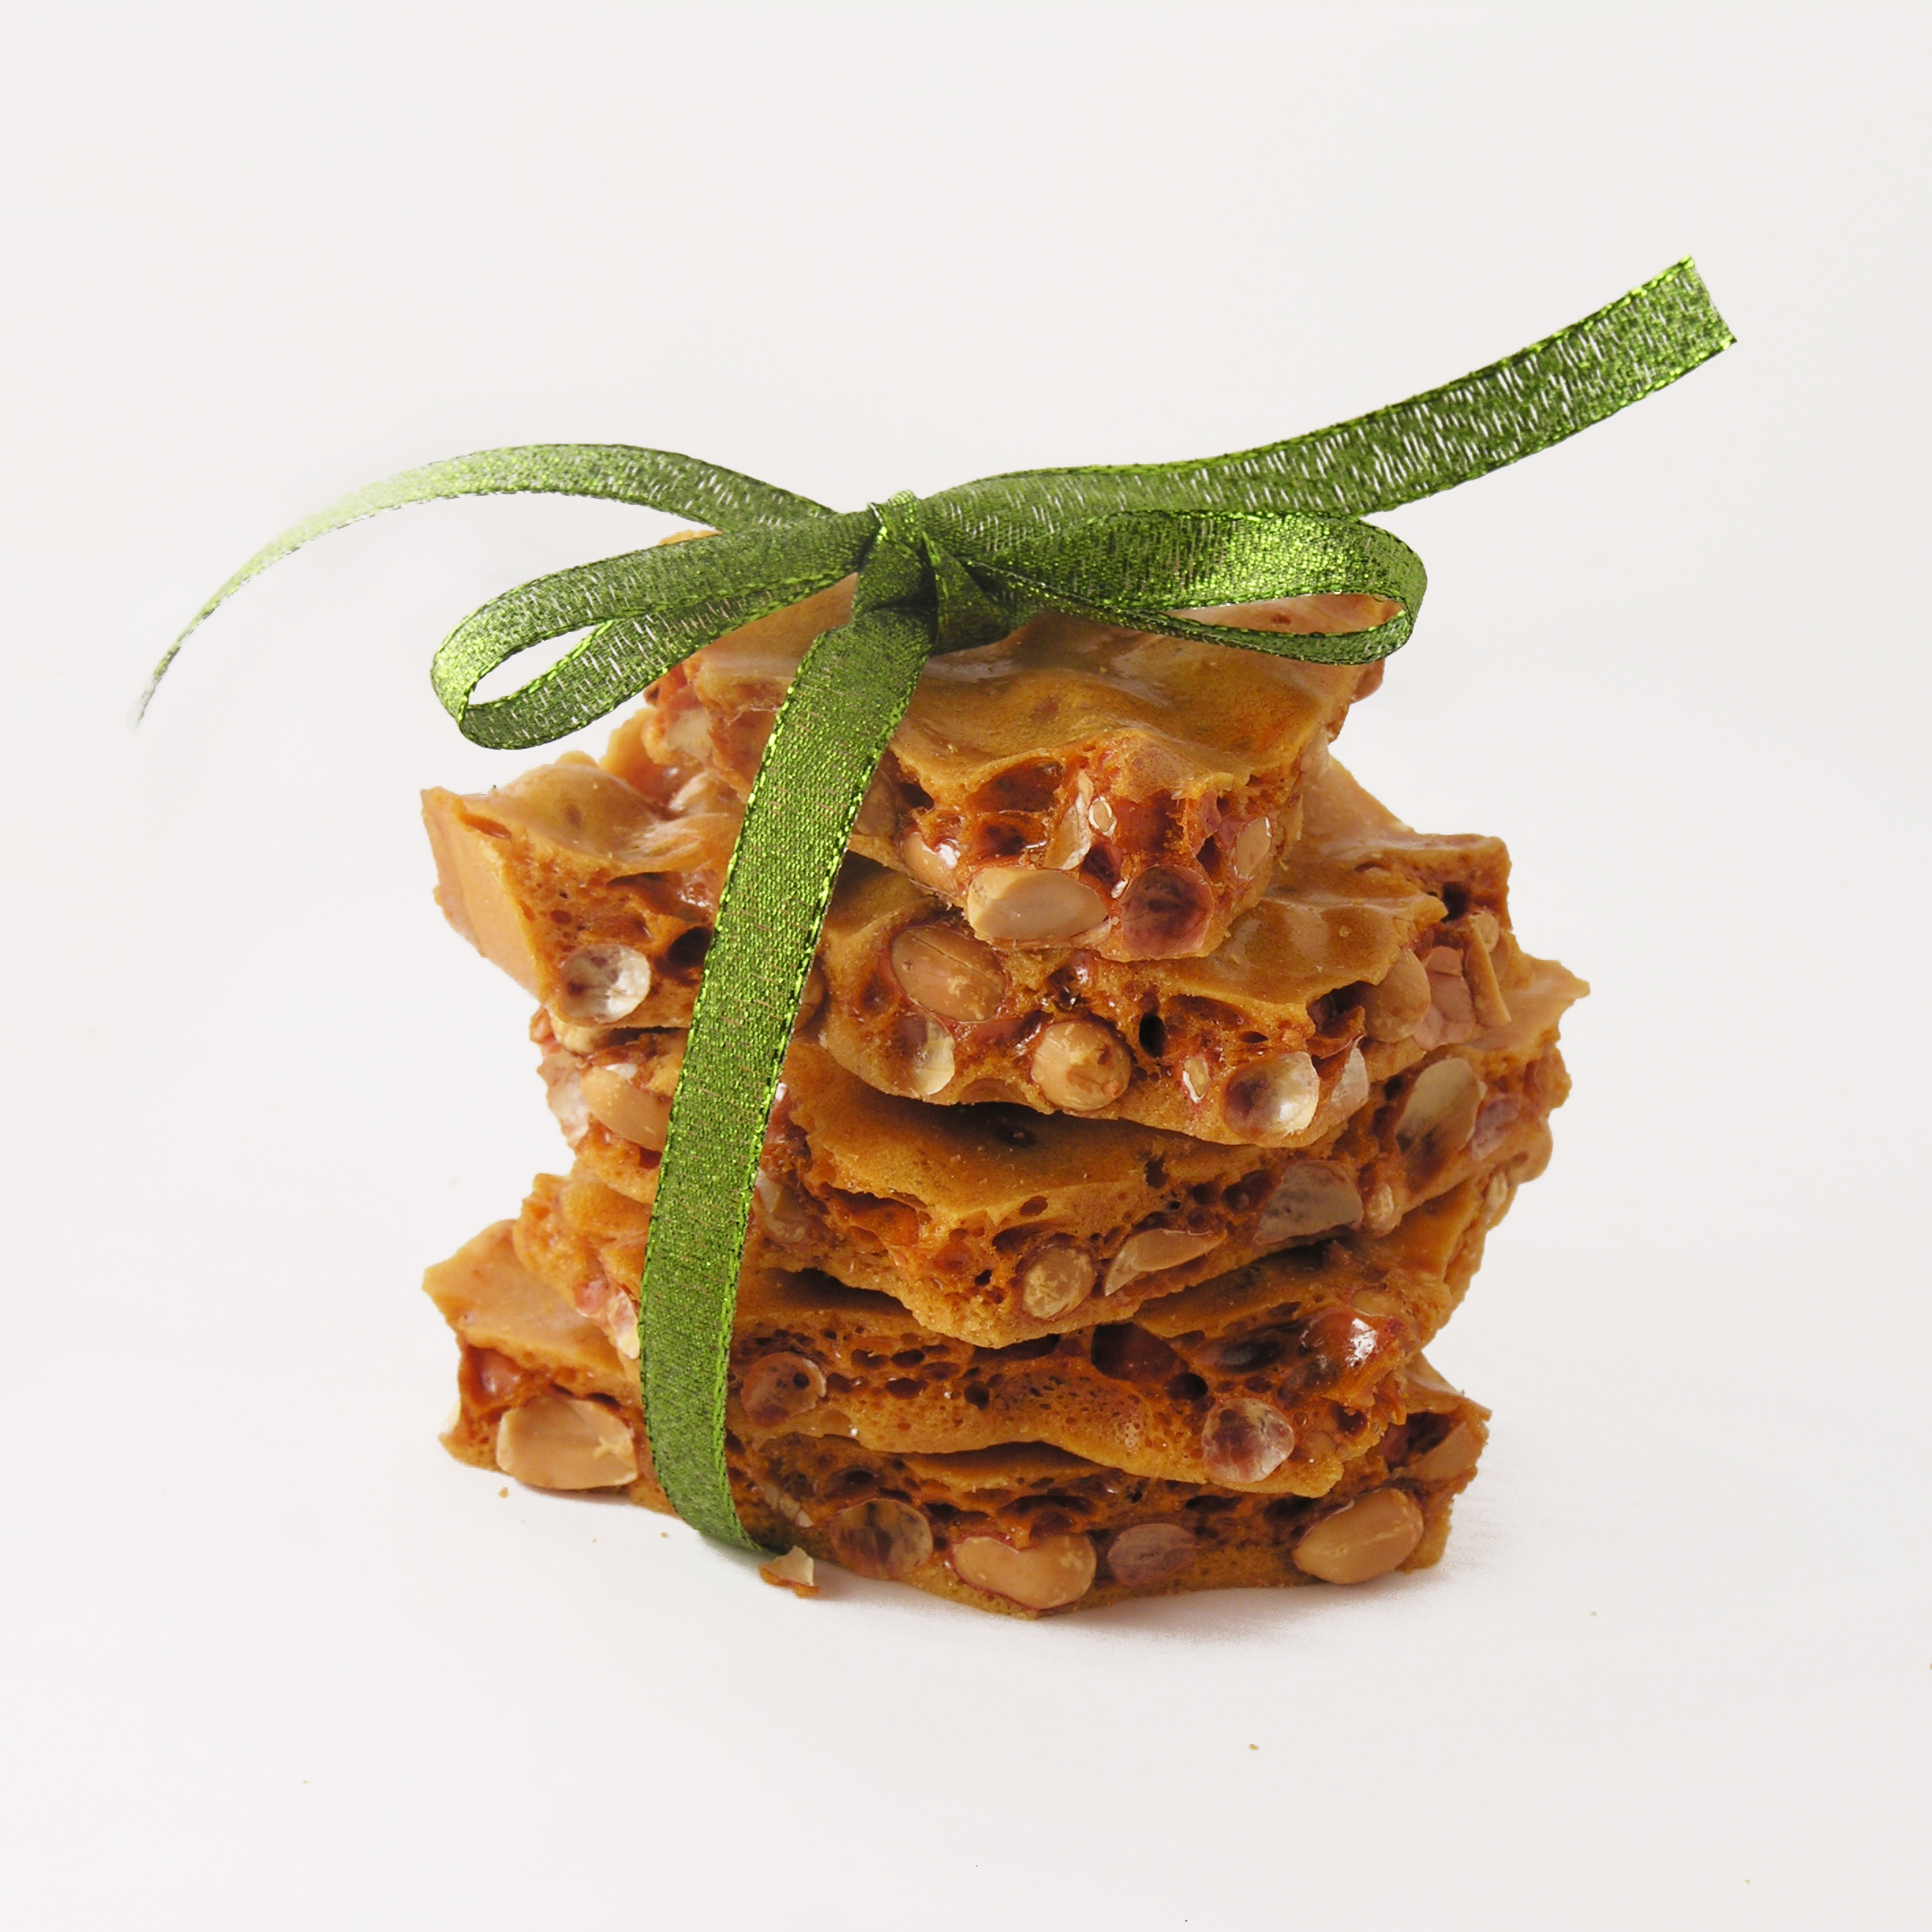
Speaking of international cookies, these Alfajores from Peru add a totally unique (and deliciously caramel-filled) flavor to the holidays.

Alfajores (Peruvian caramel cookie)!

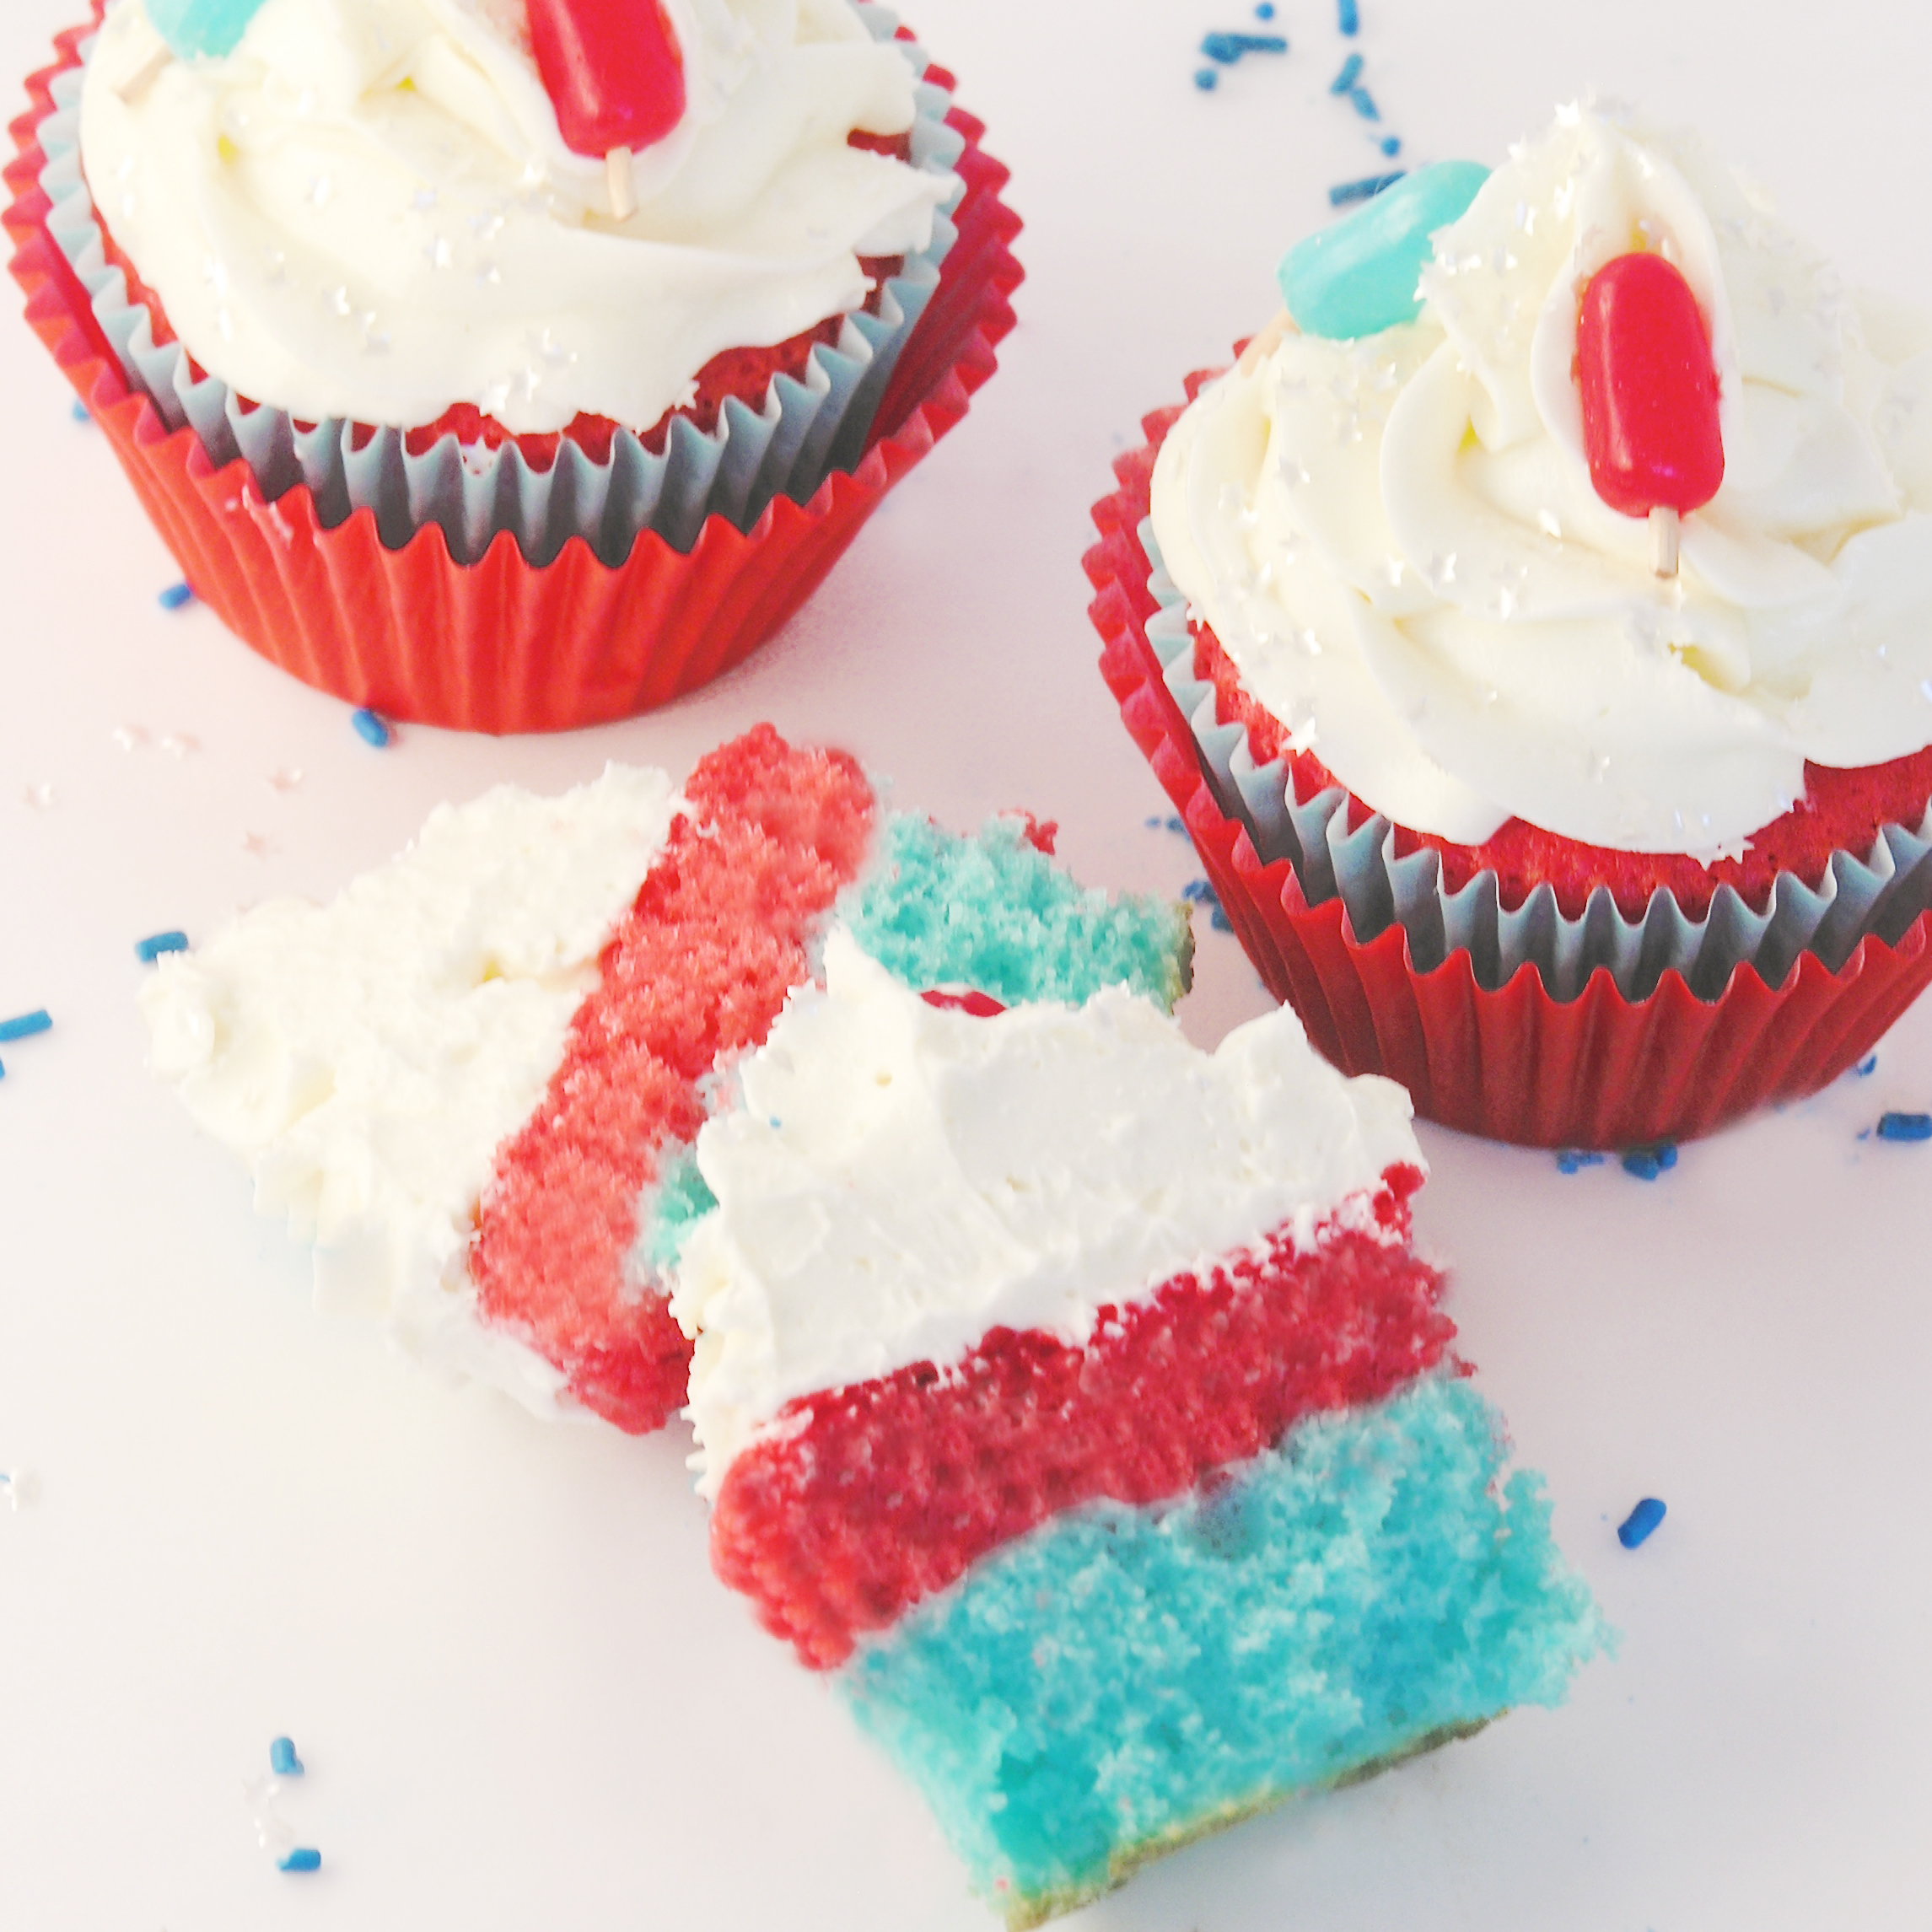
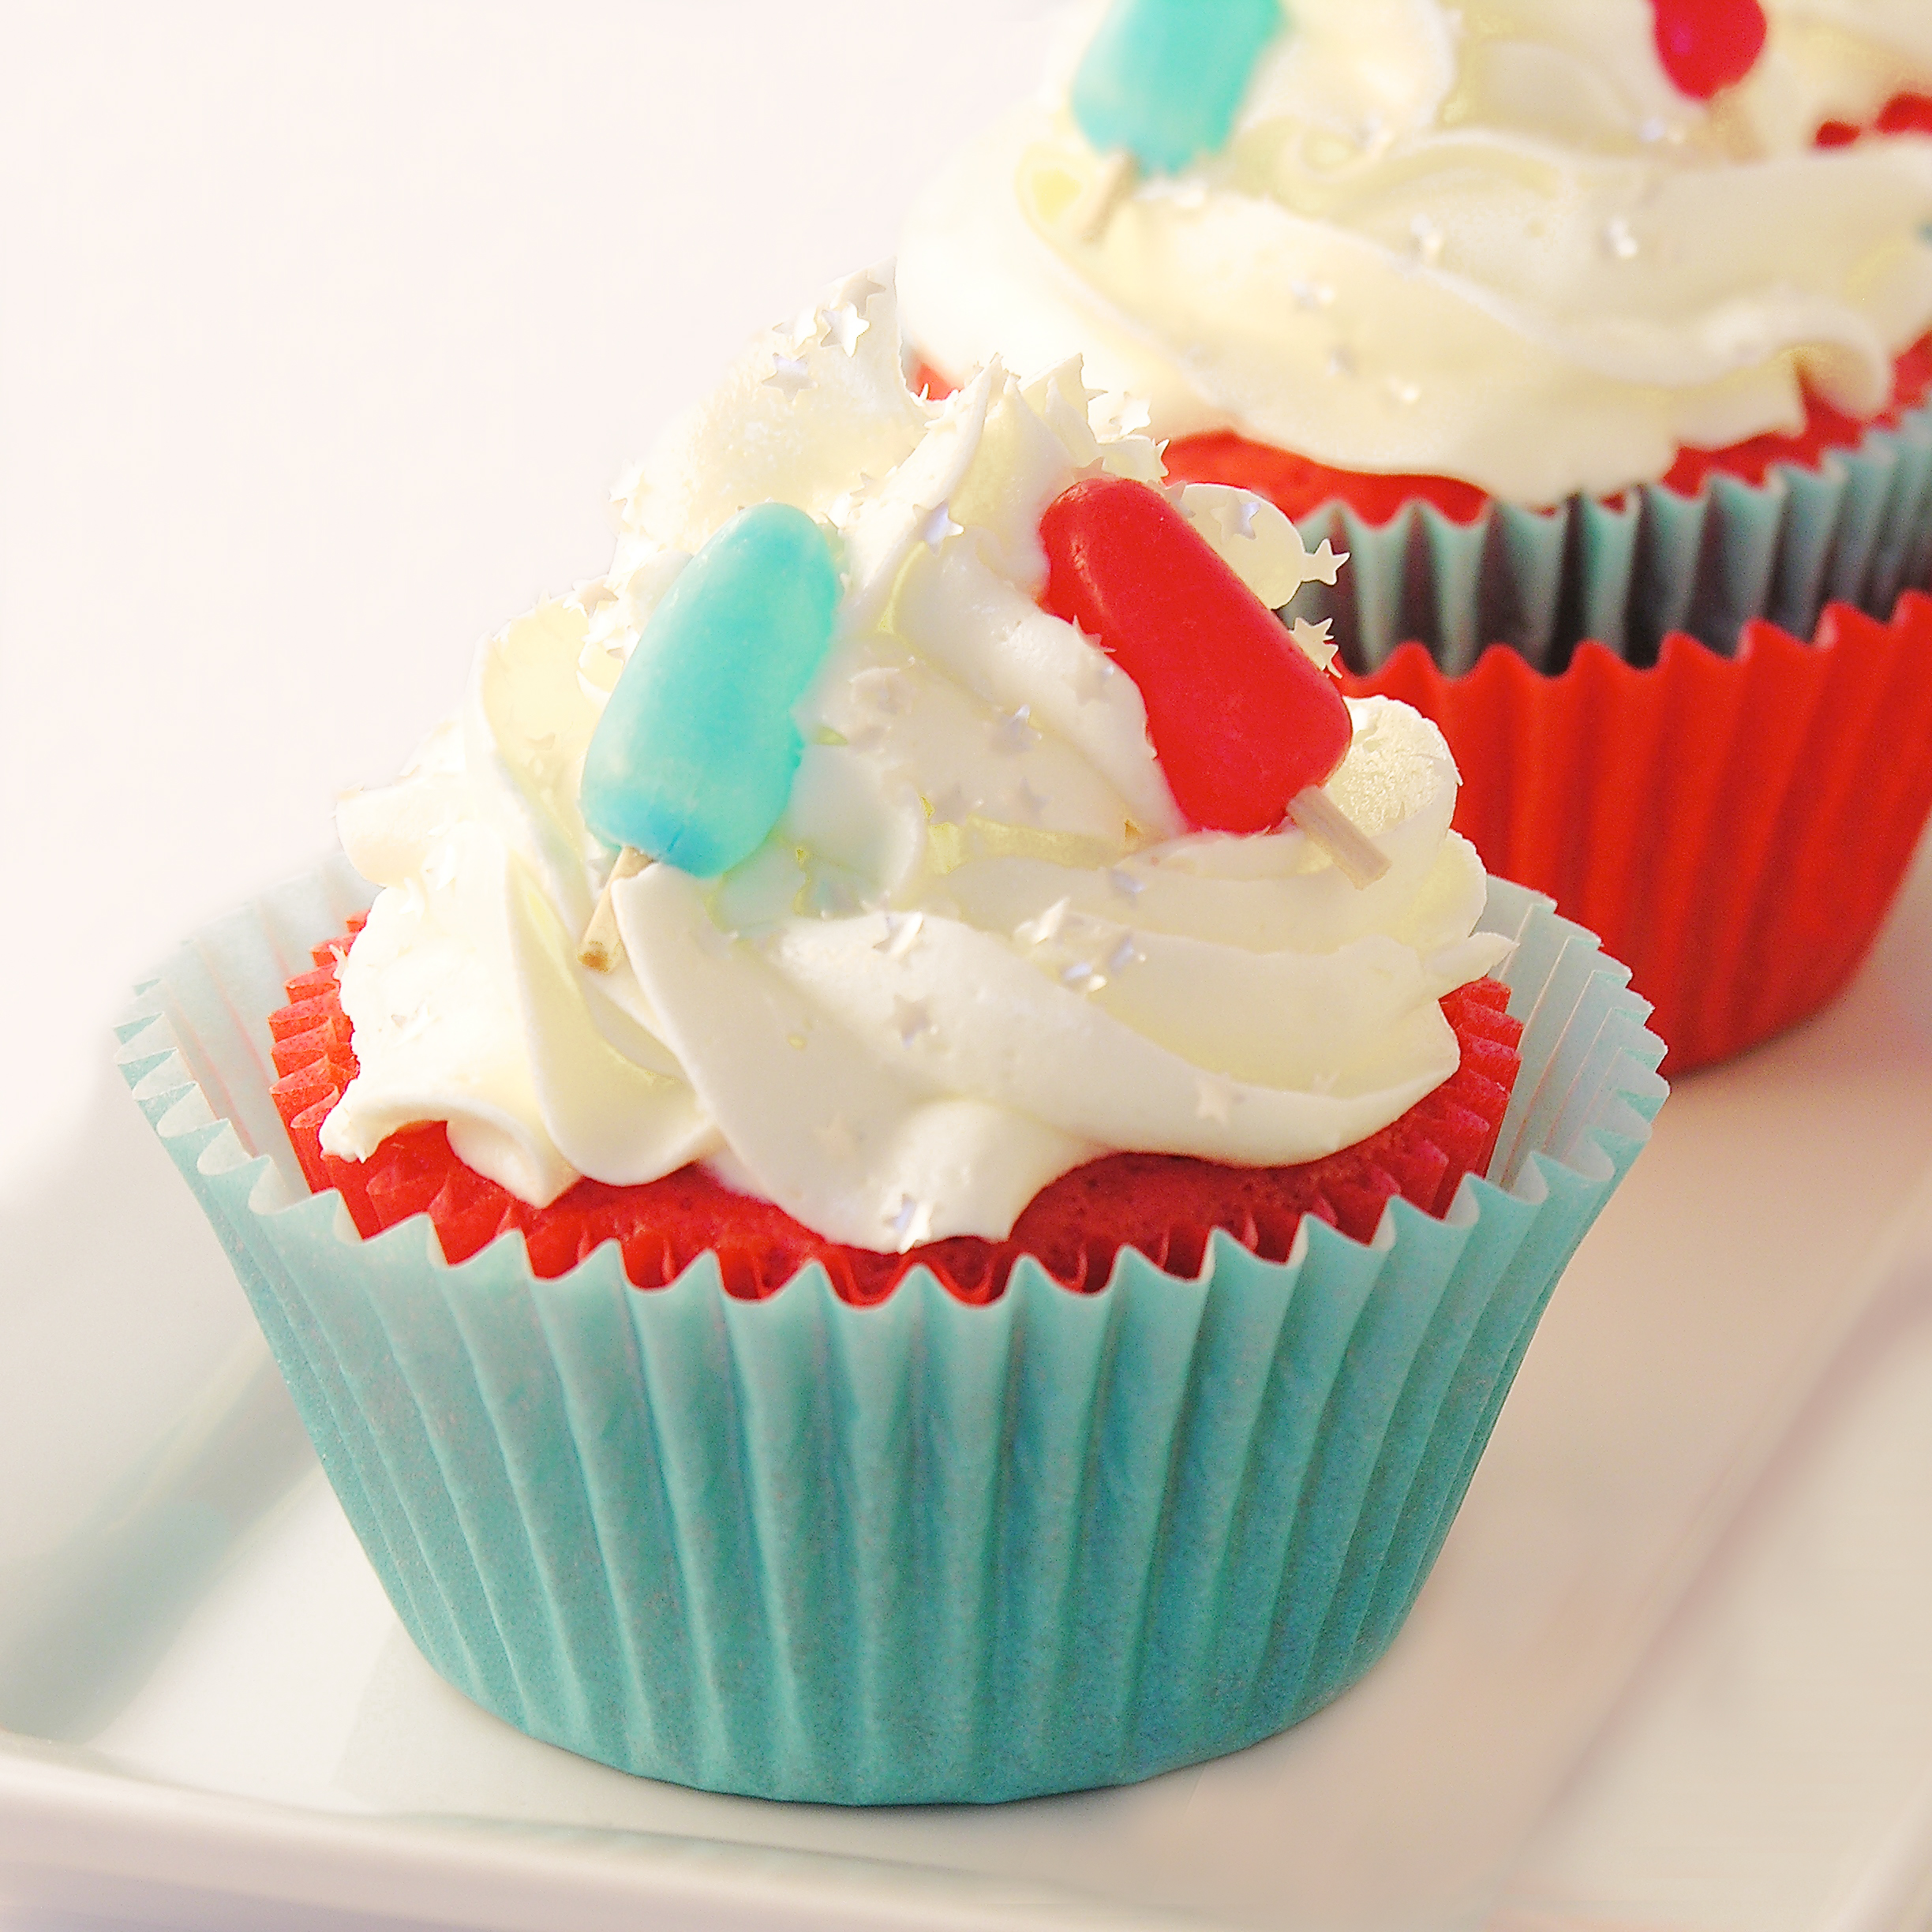
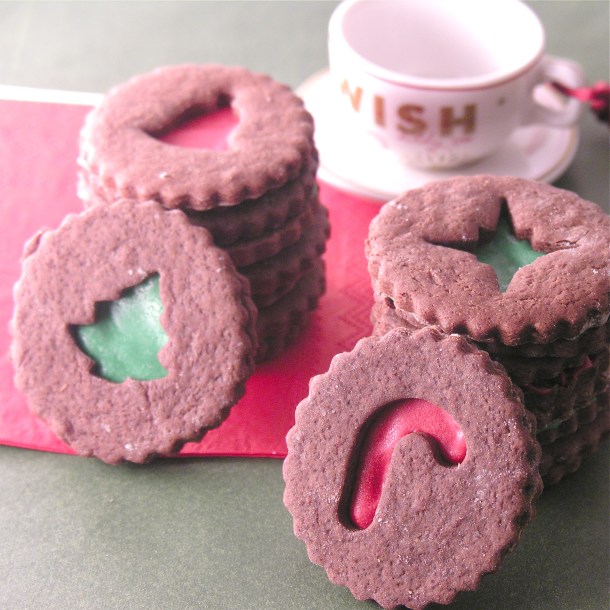
When it comes to cut-out cookies, the cookie cutters make all the difference! I absolutely LOVE the look created by Linzer cookie cutters. Typically they are layered with a fruit filling, but I just used colored frosting and you have beautiful cookies with very little fancy frosting technique!

Linzer Christmas CookiesOne other thing you’ll need are some good frosting recipes, which I’ve compiled right here in a post called: Frostings, fillings and fun!

mmm......frosting!

I hope that these recipes inspire fun-filled cookie making times with your family this season.

Merry Christmas! 

~r

12/19/14: On a personal note: I blog my recipes ahead, and I prepared this post and my next one (very fun New Years cookies) several weeks ago. Since that time, my mom has been diagnosed with very, very aggressive cancer and admitted to Hospice. I just wanted to ask for all of you who have followed this little blog and enjoyed these recipes to keep our family in your prayers as we say good bye to her this Christmas. After next week’s post (which is already scheduled),  I will probably take a little break from sharing recipes here. Many thanks, friends! ~r

(My personal and ministry blog is at: www.thenavajojourney.com, if you want to keep up with me there.)

Advertisement

Upside Down Oreo Cupcakes

Upside Down Oreo Cupcakes

Turn these cupcakes upside down and find a cute “winter” Oreo on the top! Add a little bit of frosting in the middle and you have a delicious and beautiful winter dessert!

I saw this cute idea on the Oreo site and decided to “winterize” the idea. You’ll have to find the Winter Oreos- they have red filling and the most adorable designs on them, or you can use plain Oreos too- either way they are delicious!

Oreo Cupcakes!!

These aren’t difficult to make, but you will definitely need to keep them in a sealed container until serving them. I put all of mine away, but 2 didn’t fit and since that cupcake liner is pulled off, they got all hard and stale. In a container they kept fine for a couple of days!  On a side note: I used the Duncan Hines Blue Velvet mix and it was delicious! You could use Red Velvet or a White cake mix with food coloring too. Here’s how we made them: (printable recipe)

INGREDIENTS:

  • One box of Duncan Hines Blue Velvet cake mix (plus water, butter and eggs required by mix)
  • One package of “winter” Oreos
  • One tub of white frosting
  • Sprinkles as desired

DIRECTIONS:

  • Make cake mix as directed on box.
  • Place one Oreo each into 24 cupcake liners placed into muffin tins- making sure that cute winter design is facing down!
  • Spoon cake batter evenly into liners, making sure it get down around the sides of the Oreo
  • Bake cupcakes as directed by box and allow them to cool completely.
  • Remove cupcake liners, use a small knife to slice each one in half and spread some frosting between the 2 layers.
  • When cupcake is reassembled, sprinkle with fun sparkly sugars.
  • Store in an airtight container. I ADORE my cupcake carrier – it’s one of my favorite kitchen belongings and you should totally ask for one for Christmas!!!
  • Enjoy!!!!!!!

Oreo Cupcakes!

Aren’t those fun winter colors?  I love reds and blues for Christmas!

My thoughts: These are really easy and fun- I think with the lighter cake mix color you get a little more discoloration or “browning” around the Oreo cookie itself, that was my only disappointment. I think if you used a darker cake batter you wouldn’t notice it so much. The flavor was wonderful though. Thanks for the fun idea Oreo!!!!  Enjoy!

Oreo Cupcakes2

Other Christmas recipe ideas~ click on a photo to be taken to the recipe:

Hot Chocolate Pop!Peppermint Hot Chocolate Cupcakes!!!Gingerbread Cake RollReindeer Oreo Pops!!!

Need a fun and unique gift idea? Easybaked has adorable boxed sets of notecards. They have an Easybaked dessert photo on the front and a recipe on the back! The come in a cute box and the best part? They are ON SALE for Christmas, include free shipping and the site that is hosting them offers $10 off a $50 purchase! Enjoy!!! (Click on photo for more information)

Easybaked Card sale

Caramel Crisp Cookies

Posted on

Caramel Ritz Cookies

These crisp, caramel- filled cookies are absolutely delicious, can be decorated for any season and are SO easy!

These cookies have made a bigger impression on people than almost any dessert I’ve made. Everyone LOVES these! I love them too and they really are one of the easiest cookie ideas I’ve ever posted. Plus they are cute, and cute always gets bonus points in my book!

Caramel Ritz Cookies

These are made by pressing melted Rolos between Ritz crackers and then dipping them in chocolate… as easy as that! You almost don’t need a recipe, but for those of you who like having one, here you go: (printable version)

INGREDIENTS: (makes about 50 cookies)

  • One box of Ritz Crackers
  • One bag of Rolo caramel candies
  • Two bags of Wilton’s Candy Melts in dark chocolate

DIRECTIONS:

  • Unwrap all those little Rolos…this is the hardest part of this recipe….booooring!
  • Preheat oven to 350F degrees.
  • Place Ritz Crackers, bottom side up, on a cookie sheet and set one unwrapped Rolo on each one.
  • Put these into the oven and leave them for one to two minutes until the Rolo is soft enough to press flat with another cracker- I actually just kept checking until they were soft enough.
  • Remove them from the oven and use another Ritz cracker to make a little sandwich of that soft Rolo.
  • Allow these to cool completely- I put mine in the fridge for 20 minutes or so until they were nice and firm
  • Melt Candy Melts in the microwave in 30 second increments, stirring in between until they are completely melted and smooth.
  • Cover each cookie with melted chocolate and use a fork to lift the cookie up. Tap the fork against the side of the bowl to allow excess chocolate to drain off, slide bottom of cookie along edge of bowl to remove extra off bottom, and tip gently off fork and allow cookie to slide onto parchment or wax paper. Sprinkle/ decorate as desired and allow cookie to harden completely.

Caramel Rolo Ritz CookiesCaramel Ritz Cookies

If you want to skip the chocolate-dipped part, these are still a fun and yummy treat:

Caramel Rolo Ritz Cookies

My thoughts: As I said earlier, these are really yummy. I like that you can decorate them any way you want for any season- they are like Oreo pops- and you ALL know how much fun I have decorating those here! Use any color of Candy Melt, use sprinkles or drizzles….sky is the limit! My dad tried them and said, “When you put these on your blog, tell people they are the best cookies I’ve ever had.” So there you go. The best ever. Thanks dad!

Caramel Rolo Ritz CookiesOther Christmas cookie recipes you’ll have fun trying~ just click on the photo to see the recipe:

Chocolate bonbonsChristmas Cut-outsSnowman Oreo PopsChocolate Espresso Cookies!!!

Need a fun and unique gift idea? Easybaked has adorable boxed sets of notecards. They have an Easybaked dessert photo on the front and a recipe on the back! The come in a cute box and the best part? They are ON SALE for Christmas, include free shipping and the site that is hosting them offers $10 off a $50 purchase! Enjoy!!! (Click on photo for more information)

Easybaked Card sale

Chocolate Chip Cake

Chocolate Chip CakeThis delicious chocolate chip cake recipe is a tried-and-true family favorite and a go-to for a winning bake-off recipe!

This recipe is my grandma’s, but my mom made it a lot when I was growing up. She didn’t tell me her secret ingredients until I loved it too much to care that there were dates in it. Man, do I hate dates. I’m not sure what happens to them in this recipe though- they are magically transformed into chocolatey goodness that doesn’t resemble dates in the slightest!

Chocolate Chip CakeIt’s an ugly cake. I mean, it’s just a plain old chocolate cake, and it’s sweet enough without frosting. I was hoping my photos could adequately convey how delicious it is. My mom used to lay paper lace doilies on top, just before serving, and sprinkle it with powdered sugar. When she removed the paper lace it really was pretty. Plus it routinely won our church bake-offs each year… I love beautiful desserts, but for this one it truly is the inside that counts! Plus it is ridiculously easy to make.  Here’s how: (printable recipe)

INGREDIENTS:

  • 1 cup of pitted and chopped dates
  • 1 cup of hot water
  • 1 teaspoon of baking soda
  • 1 cup of margarine
  • 1 cup of sugar
  • 2 eggs
  • 1 3/4 cups of flour
  • 2 teaspoons of cocoa powder
  • 1 teaspoon of salt
  • 1 bag of semi-sweet chocolate chips (I used mini- chips because it was all I had- and they worked great!)

DIRECTIONS:

  • Preheat oven to 350F degrees and spray a cake pan with non-stick spray.
  • In a medium bowl, combine the dates, water and baking soda, and allow the dates to soak while you put the rest of the ingredients together.
  • Cream together margarine and sugar. Add eggs and blend together.
  • Add dry ingredients (except for chocolate chips) and blend well.
  • At the end, add date and water mixture. Blend well and add chocolate chips.
  • Pour into cake pan and bake 40-50 minutes, until a tooth pick inserted in the center comes out clean.
  • Enjoy!

Chocolate Chip CakeOur family recipe made me smile. Oleo (??) is margarine… and bake “til done” is nice too. Gotta love the way grandmas bake! This is my mom’s recipe card and she graciously added  “40 minutes” at some point in the history of making this cake for us.

Chocolate Chip Cake My thoughts: Well, I love this cake. It is so moist and sweet (probably from those dreaded dates!) and it genuinely doesn’t need frosting. (As a frosting addict, that is saying something!) This is SO easy to put together and it is great served warm with a little ice cream! Yum… I hope you get a chance to try it and make it one of your family favorites!  Enjoy! ~r

Chocolate Chip CakeOther family tried-and-true recipes~ just click on a picture to see the recipe:

Creamy cheesecake with sour cream toppingHeath Bar Ice Cream Dessert3Peanut Brittle!!Grandma's Chocolate Cream Cake

Need a fun and unique gift idea? Easybaked has adorable boxed sets of notecards. They have an Easybaked dessert photo on the front and a recipe on the back! The come in a cute box and the best part? They are ON SALE for Christmas, include free shipping and the site that is hosting them offers $10 off a $50 purchase! Enjoy!!! (Click on photo for more information)

Easybaked Card sale

Bomb Pop Cupcakes!!

Posted on

Bomb Pop Cupcakes!!!!!! Does anything scream SUMMER, or FOURTH OF JULY like Bomb Pops?  These adorable cupcakes capture the flavors of an iconic summertime popsicle and make a perfect holiday treat!

You know those memories from childhood that spring up unexpectedly and make you smile?  Bomb Pops have that effect on me.  My brother and I always spent a week or two at my grandparents house each summer.  They had an immaculately clean garage with a huge freezer in it.  Grandma would always keep a box of bomb pops inside for our visits.  I remember so clearly, sitting out on her porch eating these in the evenings, letting the drips of sweet popsicle land on the cement by my bare feet.  Every time I eat one, it’s like traveling back in time to those days.

I wanted to capture the flavors of these summer treats in cupcake form, and I love how these turned out!  The kids in my life who tried them exclaimed, “These taste like popsicles!”

 I consider that a success!

Bomb Pop Cupcakes!!!

These were not hard to make at all- simply add jello to white cake mix and pipe the batter into cupcake liners in layers.

Here’s how we made them:  (printable recipe)

INGREDIENTS:

  • One boxed white cake mix (with oil, water and eggs to make according to package)
  • One small box of blue raspberry Jell-O (Jolly Rancher had this flavor, and Jell-O has a Berry Blue that works)
  • One small box of Cherry Jell-O
  • 2 sticks of salted butter (at room temperature)
  • 2 sticks of unsalted butter (at room temperature)
  • 3 cups of powdered sugar
  • 3 teaspoons of lemon extract or flavoring (technically the flavor in the popsicles is lime…but I couldn’t easily get my hands on lime extract.  The lemon was great- but feel free to use lime instead, if you want!)

DIRECTIONS:

  • Preheat oven to 350F degrees
  • Make cake mix as directed on box, and divide batter equally into two bowls.
  • Add 3 Tablespoons of Blue Raspberry Jell-O to one bowl, and 3 Tablespoons of Cherry Jell-O to the other bowl.
  • Mix each bowl of batter until well combined
  • Place each flavor of batter into a large, sturdy (I use freezer-type) zip top bag.
  • Clip a corner off the bag of Blue Raspberry batter and evenly pipe into 24 cupcake liners placed into muffin tins.
  • Clip a corner off the bag of Cherry batter and evenly pipe over the top of the Blue Raspberry batter.
  • Bake cupcakes as directed on boxed mix, remove from oven, and cool.
  • Make frosting by combining butters, powdered sugar and lemon extract in a large bowl.  Beat on low until combined and then high, until light and fluffy.
  • Put frosting into a large, sturdy zip-top bag that has been fitted with a decorating tip, and pipe frosting on the top of each cupcake.
  • Decorate as desired.  I saw these cute little Mike and Ike “popsicle” toppers on a fun site called Party Pinching. They were fun and easy to make, but they use toothpicks and could be dangerous to serve- especially to kids.  I love how cute they are, but I can’t recommend them.  Use cute sprinkles and maybe a popsicle stick instead!
  • Enjoy!

Bomb Pop Cupcakes!!!!

My thoughts: These were really easy to put together and the fruit flavors are so refreshing!  I love the patriotic colors too!

Just as a note: the blue layer of cupcake rises to the top, just a little bit, so don’t panic! You will still have nice layers of the two flavors.  

I really hope you get a chance to try these treats in celebration of summer!  Enjoy! ~r

Bomb Pop Cupcakes!!!Other fun summer treats to try:

Confetti CupsRaspberry Truffle TartMini chocolate chip cookie cheesecakesCreamy Mango Pops!

Christmas Eve Caramel Pecan Pie!

Caramel Pecan Pie3

This easy pecan pie is full of warm and creamy caramel and nuts.  A Christmas tradition at our house, it’s sure to be a big hit with your family!

Our family has had some odd Christmas eve traditions.  Most notable among them: eating dinner at Arby’s before the Christmas Eve service at church.  I’m not sure how that one got started, but it just wasn’t Christmas Eve without a roast beef sandwich in a cold and relatively lonely Arbys.  Looking back, it was a little depressing I guess… empty restaurant, workers ready to go home, elevator-style Christmas music… but as a kid it was magical.  Our whole family together on the eve of so many exciting things… eating roast beef.

After I left for college, my parents got new neighbors and this wonderful lady would knock on our door every year on Christmas Eve and bring us this pie, piping hot and oozing caramel.  It became a new tradition and we all called it “Christmas Eve Pie”.

The neighbors have since moved, but whenever I taste this pie I am transported to happy memories of Christmas Eves past, enjoying this dessert with my family around me, watching “It’s a Wonderful Life” by the fire. As you enjoy your Christmas traditions with your family, I pray you are blessed with beautiful memories and delicious food!  Merry Christmas dear friends!!!! Caramel Pecan Pie!!!
Here’s the recipe: (printable version)
INGREDIENTS:

  • one pie crust (use your own or get pre-made)
  • 2/3 cup granulated sugar
  • 1/4 cup (1/2 stick) butter (melted)
  • 3 eggs
  • 1 (12 oz) jar of caramel topping
  • 1 1/2 cups (8 oz) pecan halves

DIRECTIONS:

  • Preheat oven to 350F degrees
  • Press pie crust into pie plate
  • In a large mixing bowl, beat eggs slightly with a fork.
  • Add sugar, stirring until dissolved
  • Stir in caramel topping and butter
  • Stir in pecan halves
  • Pour filling into pie shell
  • Bake at 350F degrees for 45 minutes, or until a knife inserted off-center comes out clean.
  • Serve warm, but chill to store.

Caramel Pecan Pie!!
Other Christmas recipes at Easybaked:

Gingerbread menDecorated bonbonsChristmas Cut-outsPeppermint Hot Chocolate Cupcakes!!!

Cinnamon Upside Down Cakes

Cinnamon Upside Down Cakes!!
These little mini cinnamon cakes are the perfect make-ahead treat.  Perfect as dessert and such a sweet and yummy breakfast!  Dripping with sweet glaze, these will be a new family favorite, and the best part?  They use a cake mix and they are SO easy!!!

Ready to make these fun little cakes? Click here for the printable recipe.

INGREDIENTS:

  • 2 cups brown sugar (packed)
  • ½ cup butter (melted)
  • 2 tablespoons cinnamon
  • 36 pecan halves (optional)
  • One boxed yellow cake mix
  • Water, oil and eggs to make mix according to box
  • 1 cup of powdered sugar
  • 1 to 2 tablespoons of milk
  • ½ teaspoon of vanilla

DIRECTIONS:

  • Preheat oven to 350F degrees
  • Spray two muffin tins with non-stick cooking spray
  • Place brown sugar, cinnamon and melted butter into a small bowl and mix until well combined.
  • Spoon sugar mixture evenly into all 24 cups of the muffin tins.
  • Use a mini tart shaper or a wooden spoon to press sugar mixture flat into the bottom of each cup.
  • Place 3 pecans on top of sugar.
  • Make cake mix according to box instructions.
  • Scoop batter over the top of sugar and pecans.  Fill each cup about 2/3 full.

Cinnamon Upside Down Cakes!!Cinnamon Upside Down Cakes2

  • Bake at 350F degrees for 18-20 minutes.
  • Remove from oven and quickly run a small knife around the edge of each cup.
  • Using oven mitts, place a wire cake rack on top of the muffin tin and flip the pan and rack over so that cakes are upside down on the rack.
  • Gently lift the muffin tin up and allow the cakes to pop out. Some sugar will remain in the bottom of each cup, which is fine.
  • While cakes cool, make a glaze by mixing milk, vanilla and powdered sugar together in a small bowl.  Add extra milk or powdered sugar to make glaze a thick frosting consistency- not very runny.
  • Spoon glaze into a small zip-top bag and seal the top.
  • Clip a corner of the bag and drizzle glaze over the tops of each little cake.
  • ENJOY!

Cinnamon Upside Down Cakes!!
My thoughts: These are really easy little treats and they are gobbled up fast!  I’ve made them twice now and everyone asks for the recipe. I made my second batch without the pecans on half of them.  They were still wonderful and make this recipe yummy for even people who don’t like or can’t have nuts. Keep them covered up and they last a few days- a perfect make-ahead Christmas morning treat!  

Cinnamon Upside Down Cakes!!!
Other yummy ideas from easybaked:

Cinnamon Roll Cheesecake!!Cinnamon Roll Filling in a yummy cupcake!Brownie Oreo Cookie CupSpiced Mocha and Tim Tam Slams!

Reindeer Oreo Pops!

Posted on

Reindeer Oreo Pops!!!
These chocolate covered Oreos are so full of holiday cheer!  Wrap them in little cello bags for a quick and fun Holiday gift!

I confess.  I am addicted to making Oreo pops.  I can’t stop.  They are so easy and fun.  They give me an excuse to buy a package of my favorite cookies.  They make people smile.

Original Oreo pops!!!!!Mummy Oreo Pops!Snowman Oreo PopsLadybug Oreo Pops!

I have the art of “stick-placing” and “dipping” Oreos to coat them in chocolate down.

Click here for a printable sheet that takes you through the basic process step by step.

INGREDIENTS:

  • 1 package of Double Stuff Oreos
  • 2 bags (12oz each) of milk chocolate candy melts (I use Wilton’s)
  • 24 lollipop sticks
  • 1 small bag of mini-pretzels
  • Candy eyes
  • Mini M&Ms

DIRECTIONS:

  • Gently twist apart Oreos.  Some will break.  No stress.  Eat them.
  • Break apart pretzels by using a sharp knife to carefully cut them top to bottom through the center.  Then cut the round tops off, leaving a “Y” shape.
  • Put eyes and red mini M&Ms into small bowls, ready to use.
  • Place candy melts into a bowl.
  • Melt candy melts in the microwave in 30 second increments, stirring between, until completely melted and smooth.
  • Press a lollipop stick into white filling, making an indentation.
  • Dip stick into melted chocolate and spread chocolate on top of white filling.
  • Place stick into indentation and set top of cookie back on, cementing the cookie back together around the stick.
  • Allow chocolate to harden.  If you set cookies on a large plate as you put them together, you can place the entire plate into the fridge to speed the hardening process up.
  • Once hardened, pick the cookie up using the lollipop stick and set into melted chocolate.
  • Spoon melted chocolate over the Oreo to coat it.
  • Gently tap the stick on the bowl’s edge to allow excess chocolate to drip off.
  • Slide bottom of cookie along edge of bowl to remove excess chocolate.
  • Set cookie on parchment or waxed paper.
  • Put pretzel “antlers” into the top of the Oreo, and set two eyes and a nose on the front of the Oreo.
  • Allow chocolate to harden completely.
  • Serve as-is, or tie up in cello treat bags to give as gifts!

Reindeer Oreo Pops!!!
My thoughts:  What to do you get when you combine an Oreo with melted chocolate and salty pretzels?  Deliciousness!!!!!!  Use them as place settings on each plate for Christmas! Make reindeer, snowmen and red/green sprinkle Oreo pops and create a bouquet of pops in a cute Christmas planter for your Christmas celebration!  Use them as stocking stuffers or teacher gifts….the possibilities are endlessly fun!  Enjoy!  ~r


Reindeer Oreo Pops

Peanut Brittle

Peanut Brittle!!
This thick and crunchy peanut brittle just melts in your mouth, and it’s one of our family’s favorite Christmas treats!

This is the best peanut brittle I’ve ever had.  My wonderful Aunt Beth has brought it to our family Christmas celebrations since I was just a tiny girl.  I remember being SO full after dinner and no matter how full I got,  I always had to have a piece of Aunt Beth’s peanut brittle.  I have vivid memories of opening presents one-handed because I had peanut brittle in the other hand.  It is THAT GOOD.

Aunt Beth

Aunt Beth and Uncle Keith

I think what makes it perfect is that it isn’t really hard to bite into or a “teeth-stuck-together” kind of candy.  It just kind of melts in your mouth…and oh my….

I’d never made it, because there has always been this aura of “impossibly difficult recipe” surrounding it.  First of all, you need a candy thermometer and I think that discourages many a would-be peanut brittle maker.  Second, it takes some stirring time over a hot stove.  This isn’t a quick recipe- but it is so sooooooo worth it!

Aunt Beth issued two warnings to me when I embarked on the mission to try her recipe:

1.  Once you add the peanuts you have to stir constantly or the brittle will burn.

2. Be incredibly careful handling the pans and especially the candy, as it is SO hot and sticky and you could easily burn yourself.  Use caution stirring and pouring.

I put on safety glasses and got out a big pan…..

RuthanneIt wasn’t nearly as scary as I thought it would be.  It was actually really fun, and it turned out GREAT!

Ready for the recipe?  Here you go:  (printable recipe)

INGREDIENTS:

  • 1 cup water
  • 1 cup Light Karo Corn Syrup
  • 2 cups granulated sugar
  • 1 lb. raw peanuts (be sure to use raw- I found mine in the produce section of my grocery)
  • 1/4 teaspoon salt
  • 2 Tablespoons butter (plus enough to coat a large jelly roll pan)
  • 2 heaping teaspoons baking soda

DIRECTIONS:

  • Liberally butter a large jellyroll pan (this is just a cookie sheet with sides- the bigger, the better!) and set it on a towel or potholders (it will get very hot when you pour the brittle in).
  • In a large saucepan (I used a dutch oven pan) place water, Karo syrup and sugar.
  • Place a candy thermometer in the pan (I clipped mine to the side)
  • Heat on high and boil until soft ball stage (238F degrees), stirring occasionally.
  • While this is boiling, measure out the remaining ingredients and have them ready to add.
  • At 238F degrees, add the peanuts, salt and butter and carefully STIR continually until mixture reaches brittle stage (310F degrees).  This took me about 15-20 minutes.

How-to-make peanut brittleHow-to-make peanut brittle

  • Add baking soda and stir until it disappears.  The mixture will foam up and double in size (that’s why you need a big pan!). Give it  few seconds to get nice and foamy.
  • CAREFULLY, using oven mitts, pour mixture onto your buttered jelly roll pan.  Do not spread it out, just let it spread it out on its own.  Allow brittle to cool for several hours (don’t rush this part– it is worth the wait!)

How-to-make peanut brittleHow-to-make peanut brittle

  • Once it is completely cool, break it up into chunks and enjoy!!!!!!

Peanut Brittle!!
My thoughts: This isn’t a difficult recipe- it is just hot and time consuming.  Now that I’ve made it, I will make it again though- it is SO worth the effort!  I know there are much simpler recipes (even ones in the microwave!) for peanut brittle, and I’m all about simple.  But this is an exception to the rule of keeping things simple.  I really think you will love it!  Thanks so much for sharing your wonderful recipe Aunt Beth!  Love you!  ~R

Peanut Brittle
Other Christmas recipe ideas:

Snowman Oreo PopsChocolate Pecan TartChocolate Bon-bonsPeanut butter cup cheesecake

%d bloggers like this: