
These fun little gum ball machines aren’t filled with gum balls, but with a yummy Oreo! Easy to make, these little treats are sure to bring smiles!
It’s no secret that we love to try new versions of Oreo Pops around here. In fact, the very first time I tried making cake pops (an utter, embarrassing failure), I had the thought… maybe I could put a cookie- like an Oreo- on a stick and dip it in chocolate instead! I searched the internet for an example of this and couldn’t find anyone else who’d tried it. Does this mean I invented the Oreo Pop? Maybe. Or I did a bad job on Google searching them! 🙂 In any case, from that day in 2012 on, we have turned all sorts of things into Oreo Pops! The sprinkles were the inspiration for these. Every time I used them, they reminded me of little gum balls! The basics of how to create an Oreo Pop live on in my original recipe. The only thing I have changed is a little freezer time to harden the stick in place before dipping.

Let’s make these! (printable recipe is found here)
INGREDIENTS:
- One package of Double Stuf Oreos
- 2 (12oz.) bags of Wilton White Candy Melts
- 24 Lollipop sticks (I like the 6-8 inch ones)
- Small, round sprinkles (for the gum balls)
- Silver dragees (for top knob)
- White heart sprinkles (Or you could use squares too- for the coin slot)
- Dots Candy (for the stand)
DIRECTIONS: (to see pictures, refer to my original “how-to” post here)
- Carefully twist apart all of the Oreo cookies.
- Using one of the pop sticks, make an indentation in the white filling of each cookie.
- On the rest of the sticks, slide one red Dots candy about an inch down the stick. Yes, it is sticky, and leaves a trail of red on the stick, but this part will go inside the Oreo.
- Melt the Candy Melts in the microwave in 30 second increments, stirring until completely melted and smooth.
- Dip the end of one stick into the melted white chocolate, drizzle a little in the center of the white cookie filling and then gently press it into the indentation made, making sure that the Dots Candy is right up against the bottom of the cookie.
- Place the top of the cookie back on and allow white chocolate to harden (5 minutes or so), cementing the cookie back together with a stick inside. (I like to place all the cookies on a small baking sheet and set them in the freezer for a few minutes to really firm them up before dipping)
- Holding the stick, lower the entire Oreo into the bowl of melted white chocolate, spooning it over the top and sides to cover it completely, but being careful to not get too much on the Dots Candy.
- Allow the excess chocolate to drain off, and slide the bottom of the cookie against the lip of the bowl to remove excess. Then, gently place the covered Oreo on a piece of parchment paper to harden.
- Immediately (before the candy melts harden!), sprinkle the gum ball sprinkles on the bottom half of the Oreo pop, and set a dragee on the top.
- Allow the pops to harden completely.
- Use a little bit of the melted white candy melts to “glue” the heart sprinkle on the front of the Dots candy. Allow this to harden as well.
- Eat and enjoy!!!

My thoughts: I love these little cuties! They make me smile. How fun would a mason jar of these be at a Birthday party?!? You can easily put a cello bag over each pop and tie them with a ribbon to share! I really hope you try these and enjoy them! ~r
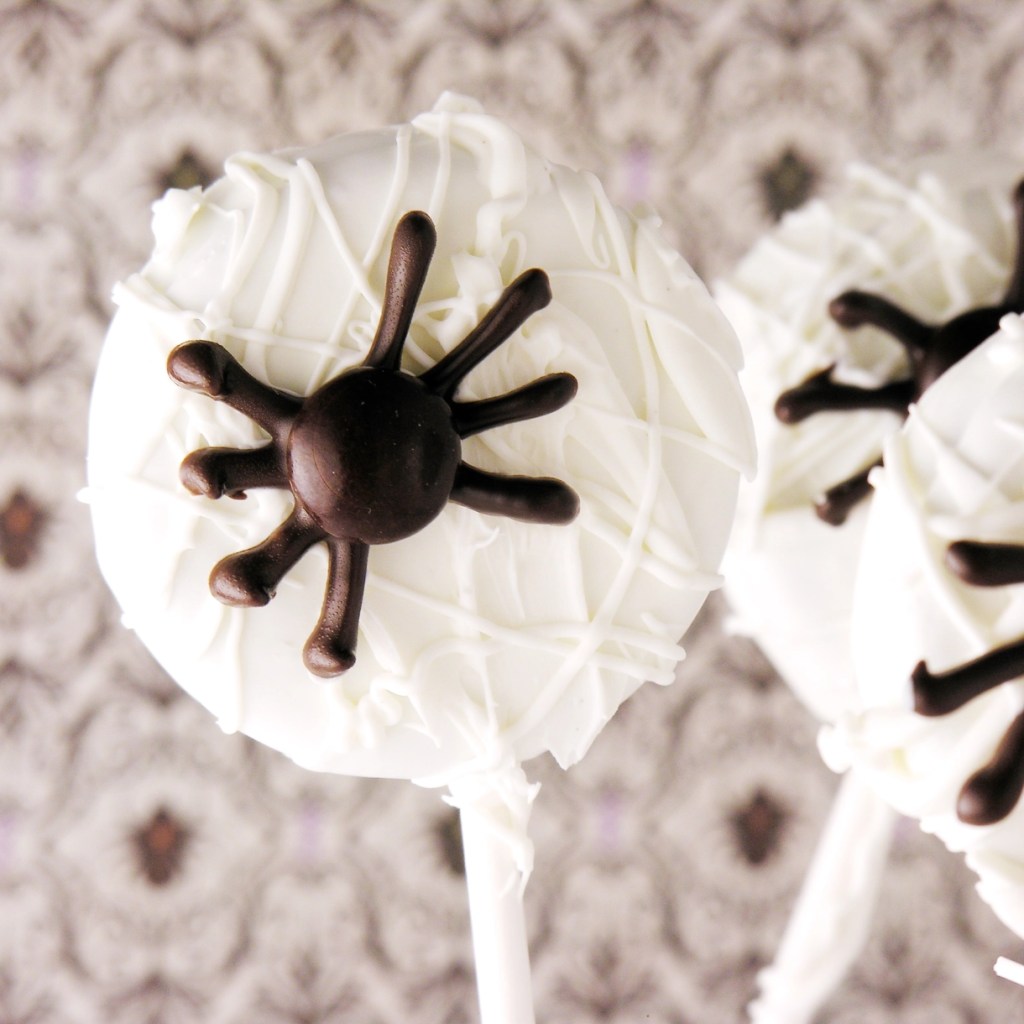
Want to try some of our other Oreo Pops? We have a whopping TWENTY FOUR varieties on the blog- plus a couple of cute not-on-a-stick Oreo creations (scroll here to see them all)- but here are just four of my favorites (click on photo to see recipe):


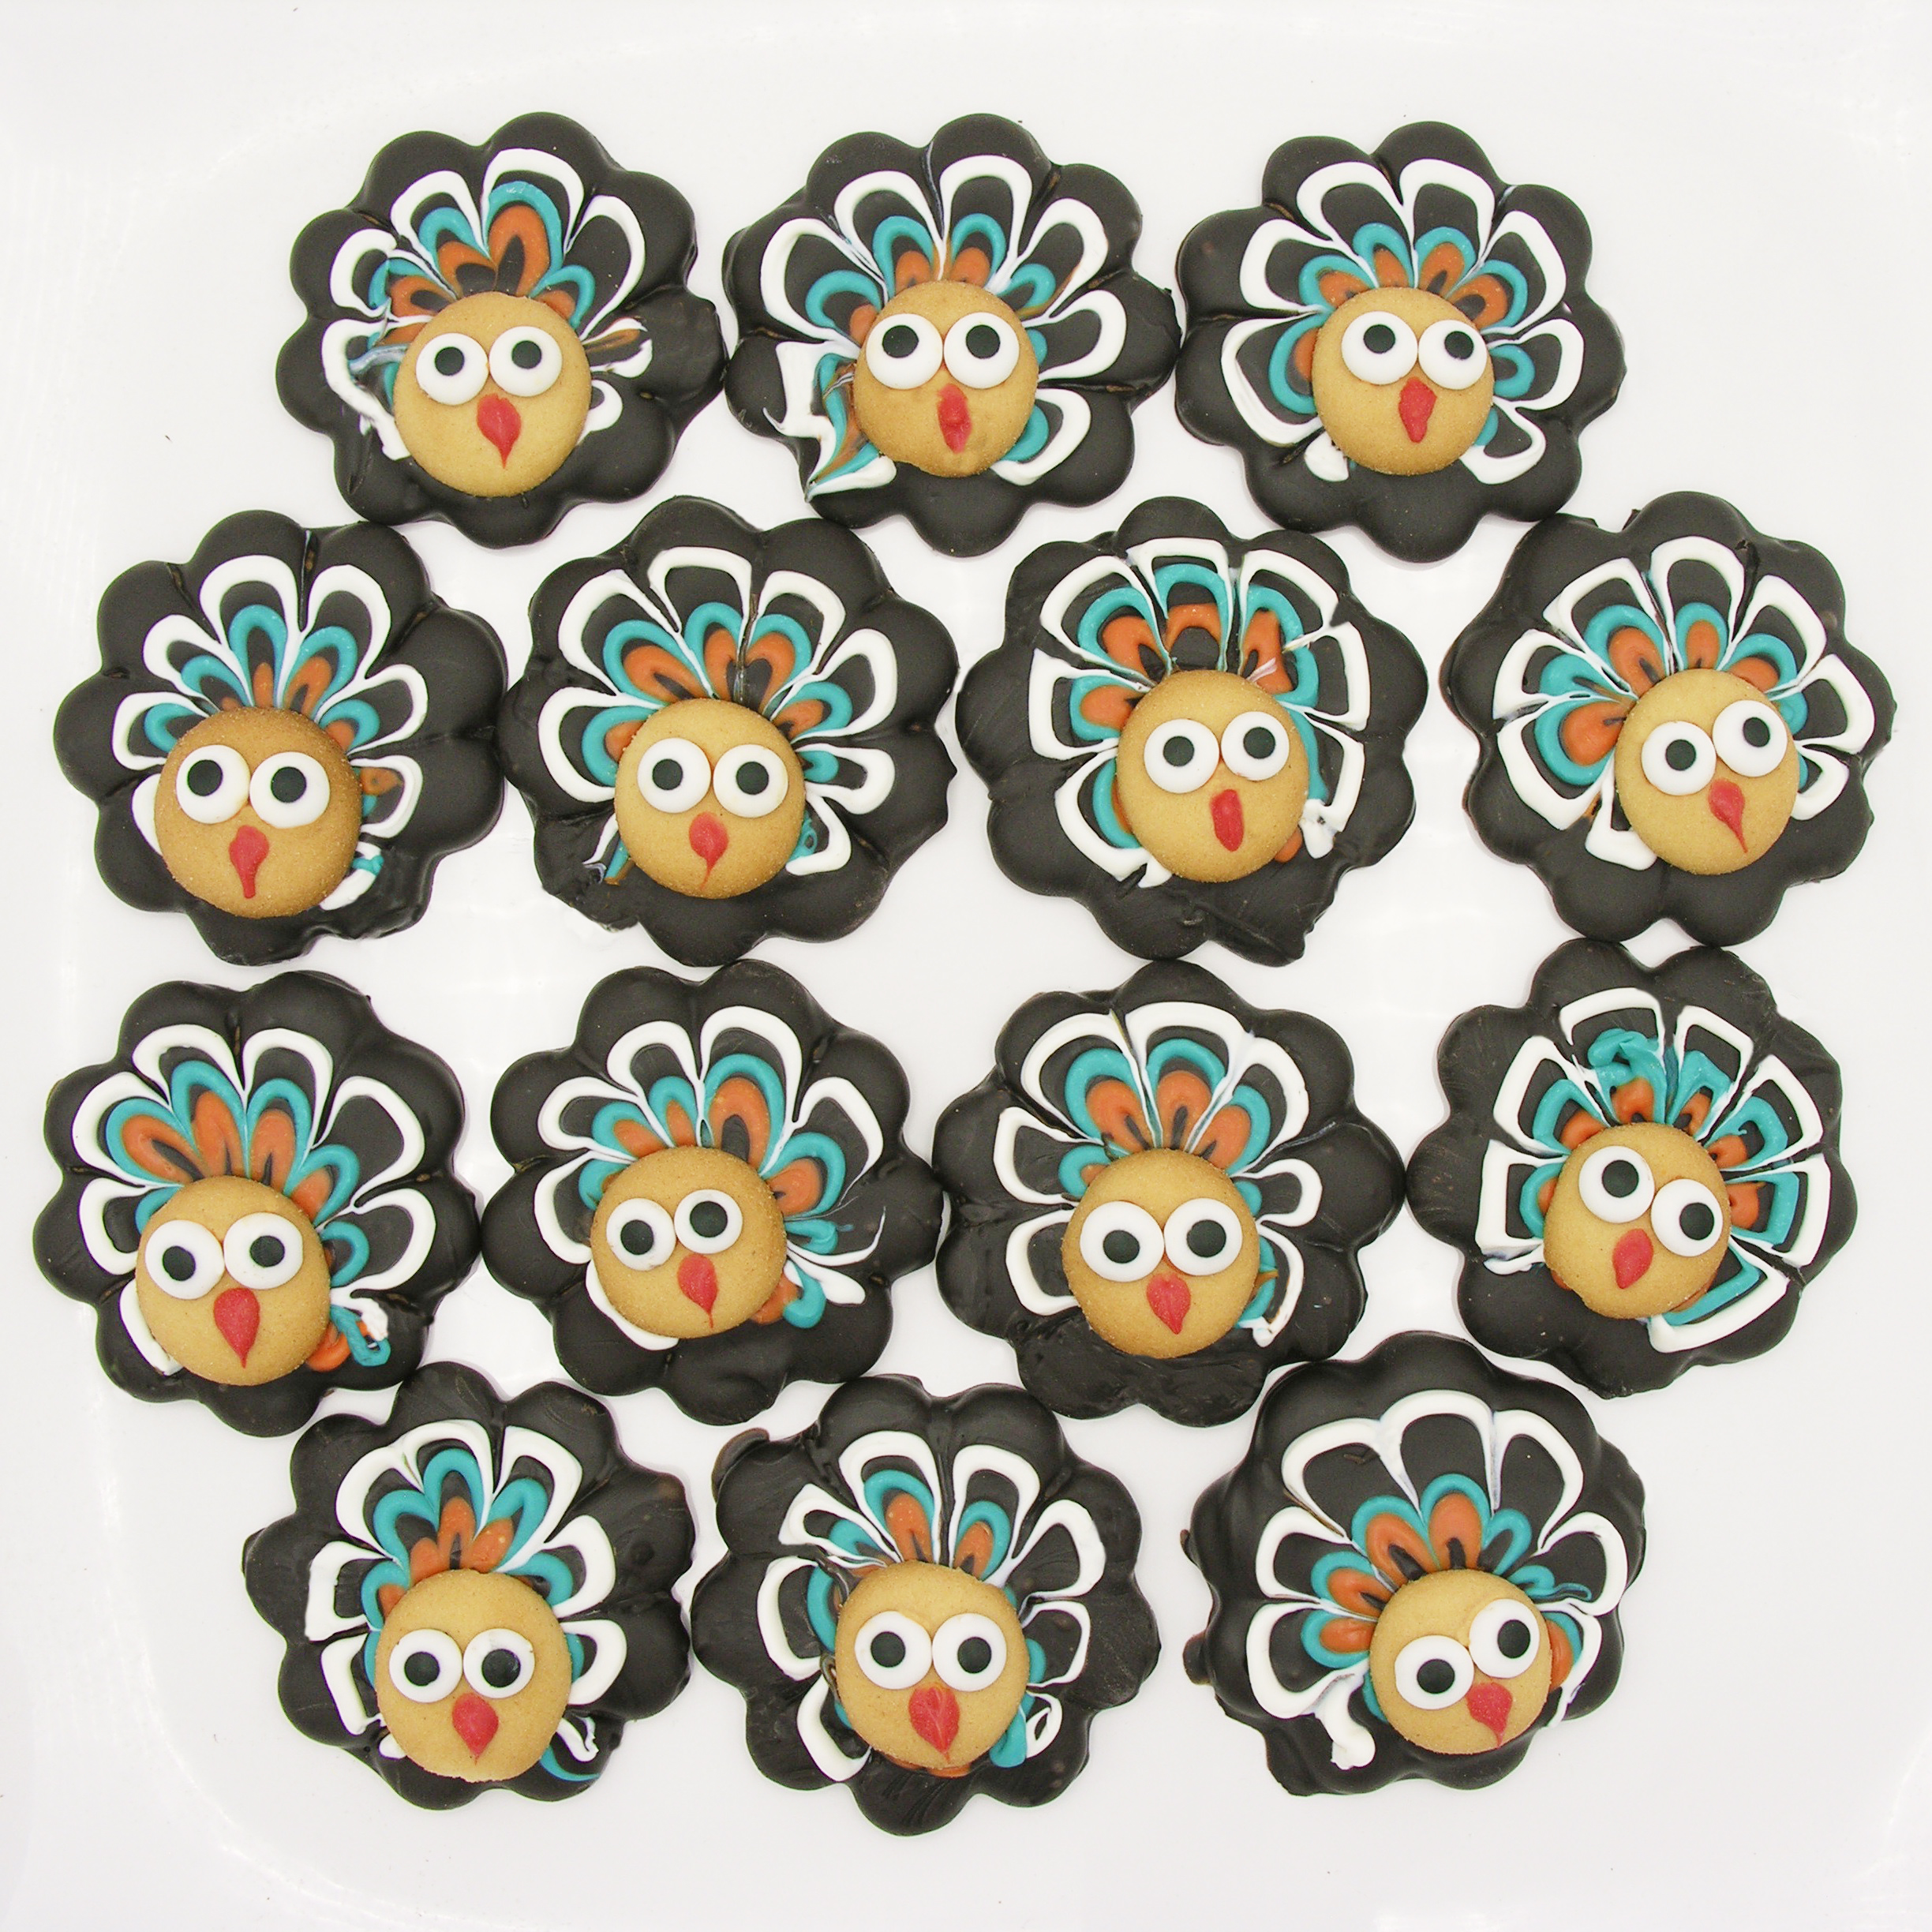
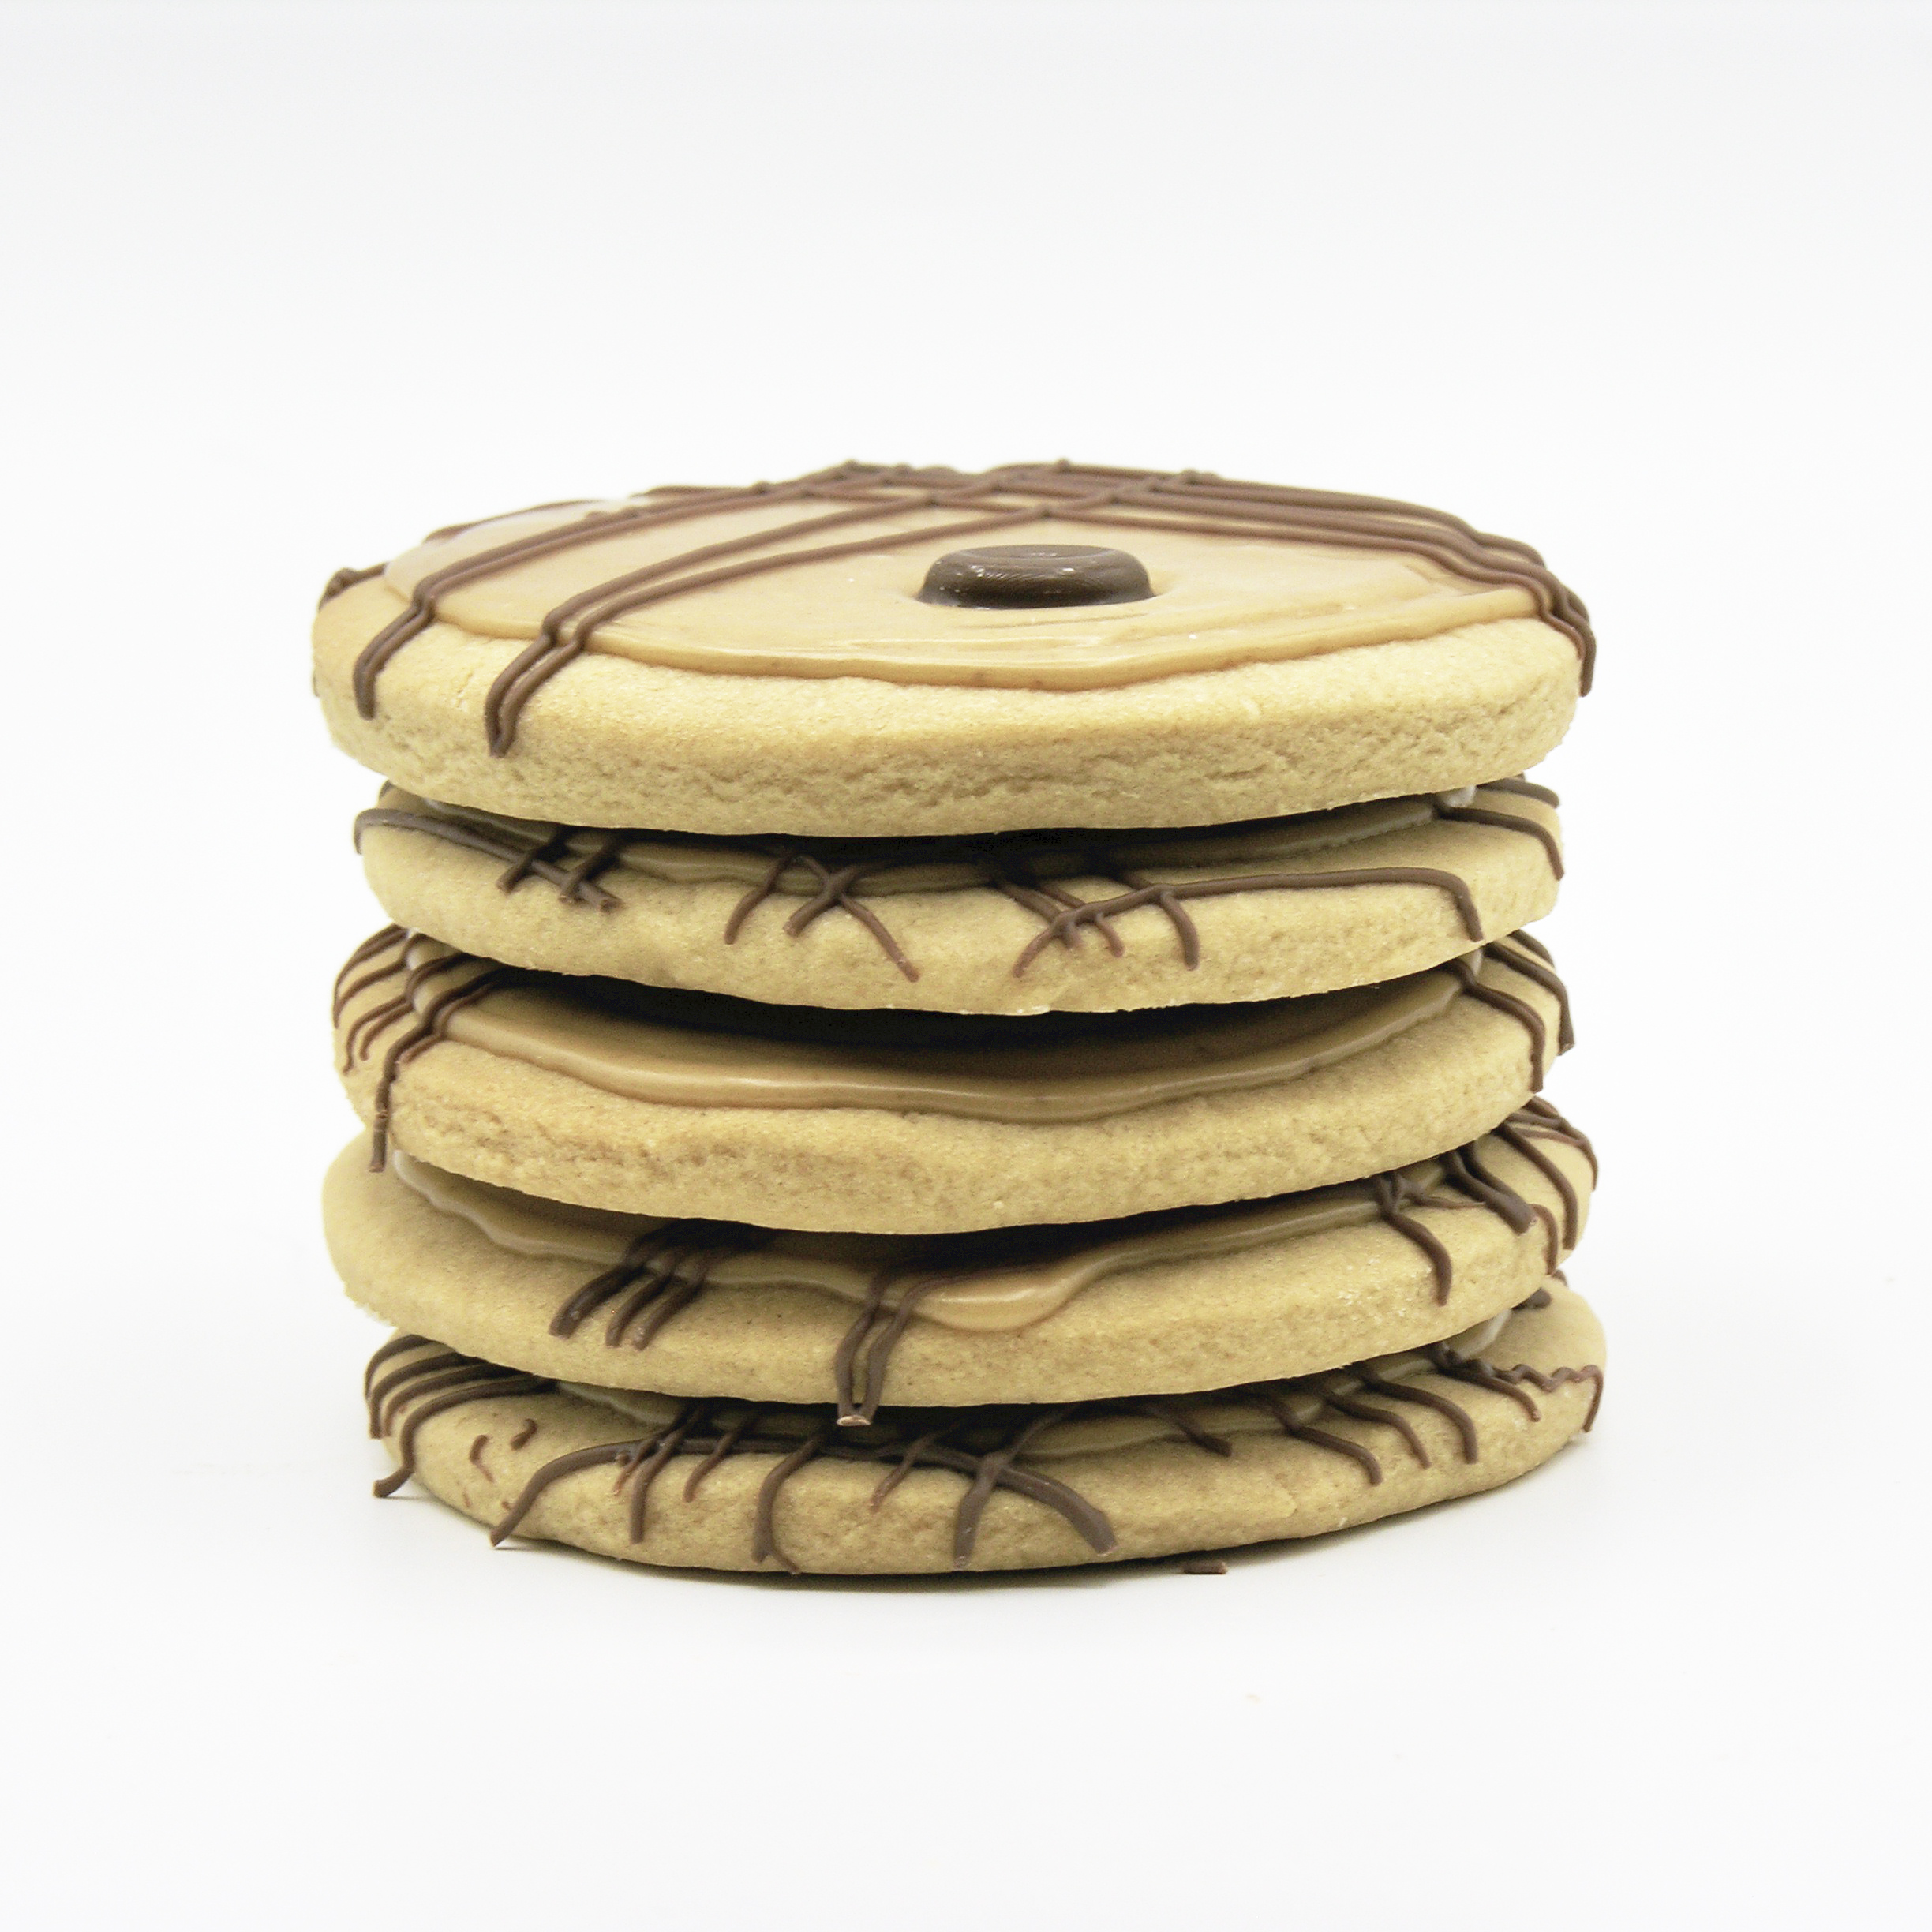
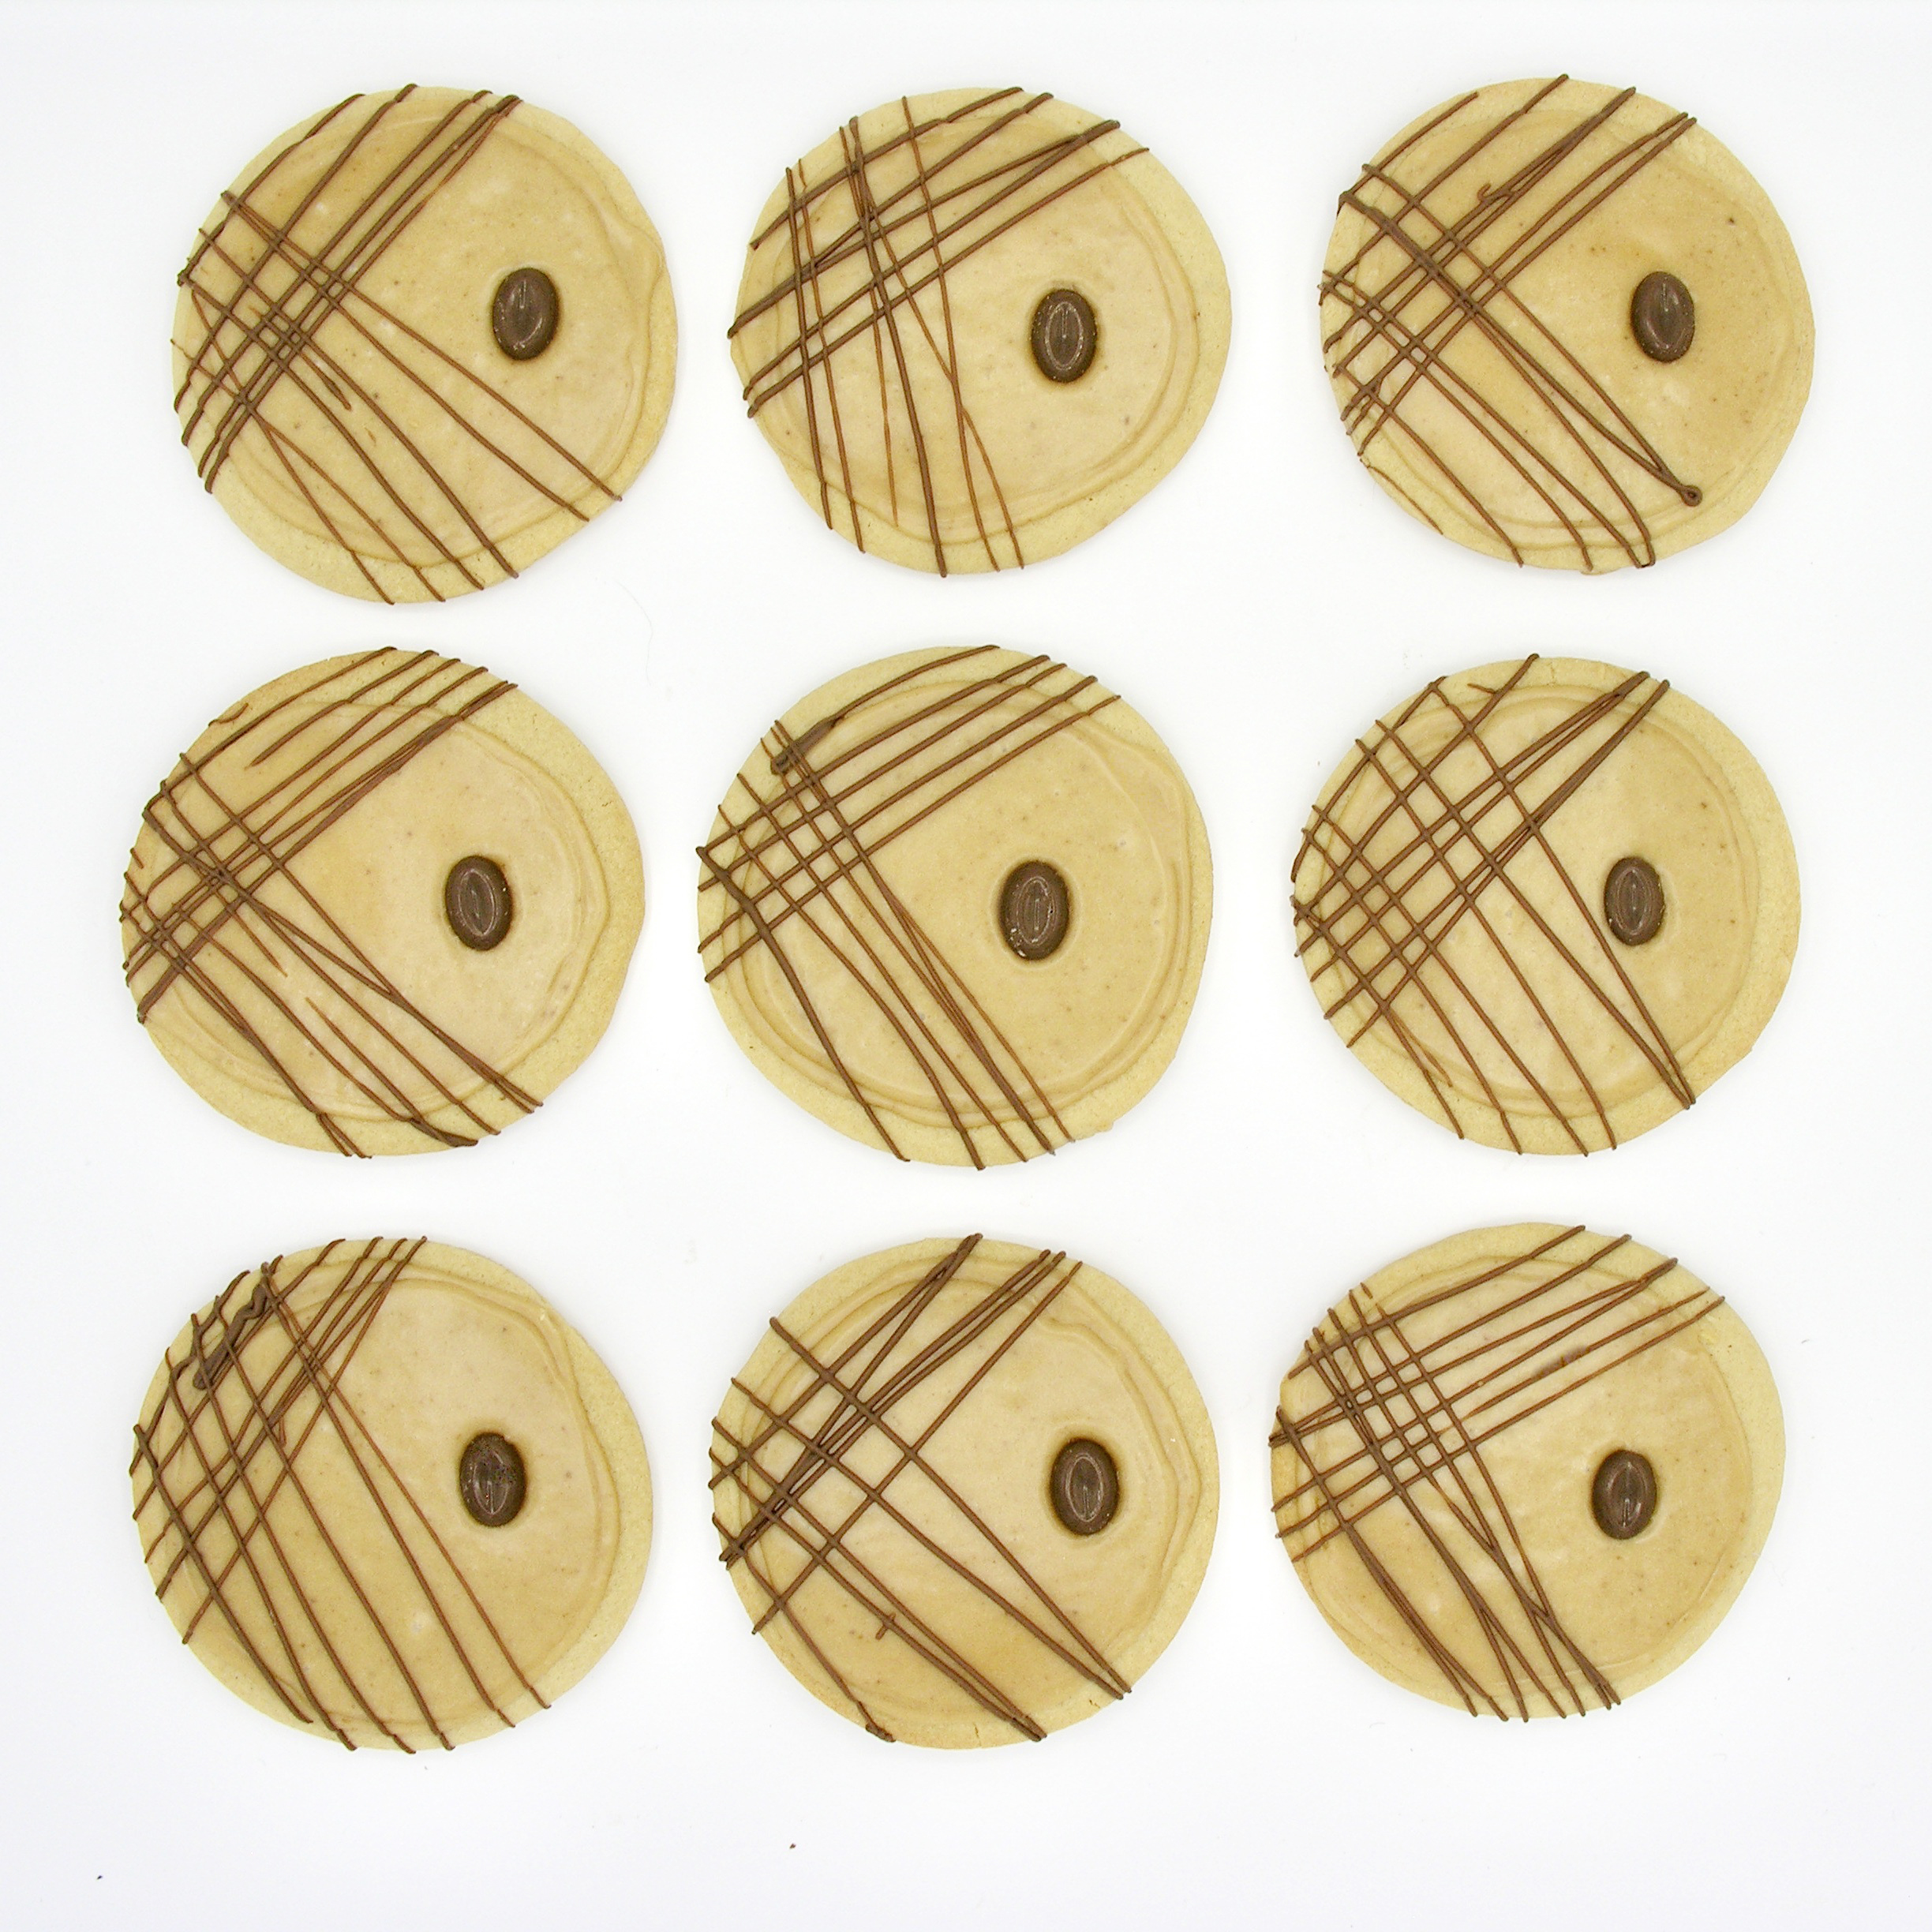
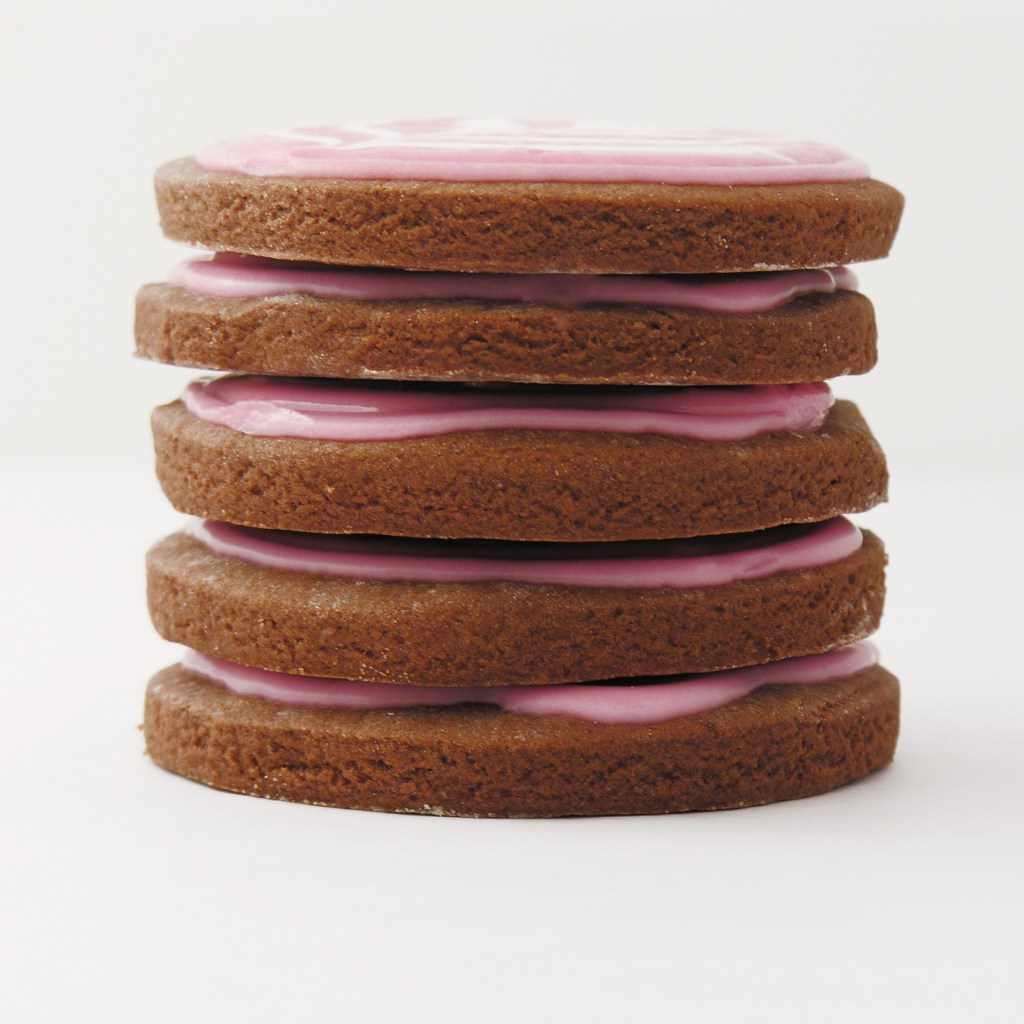
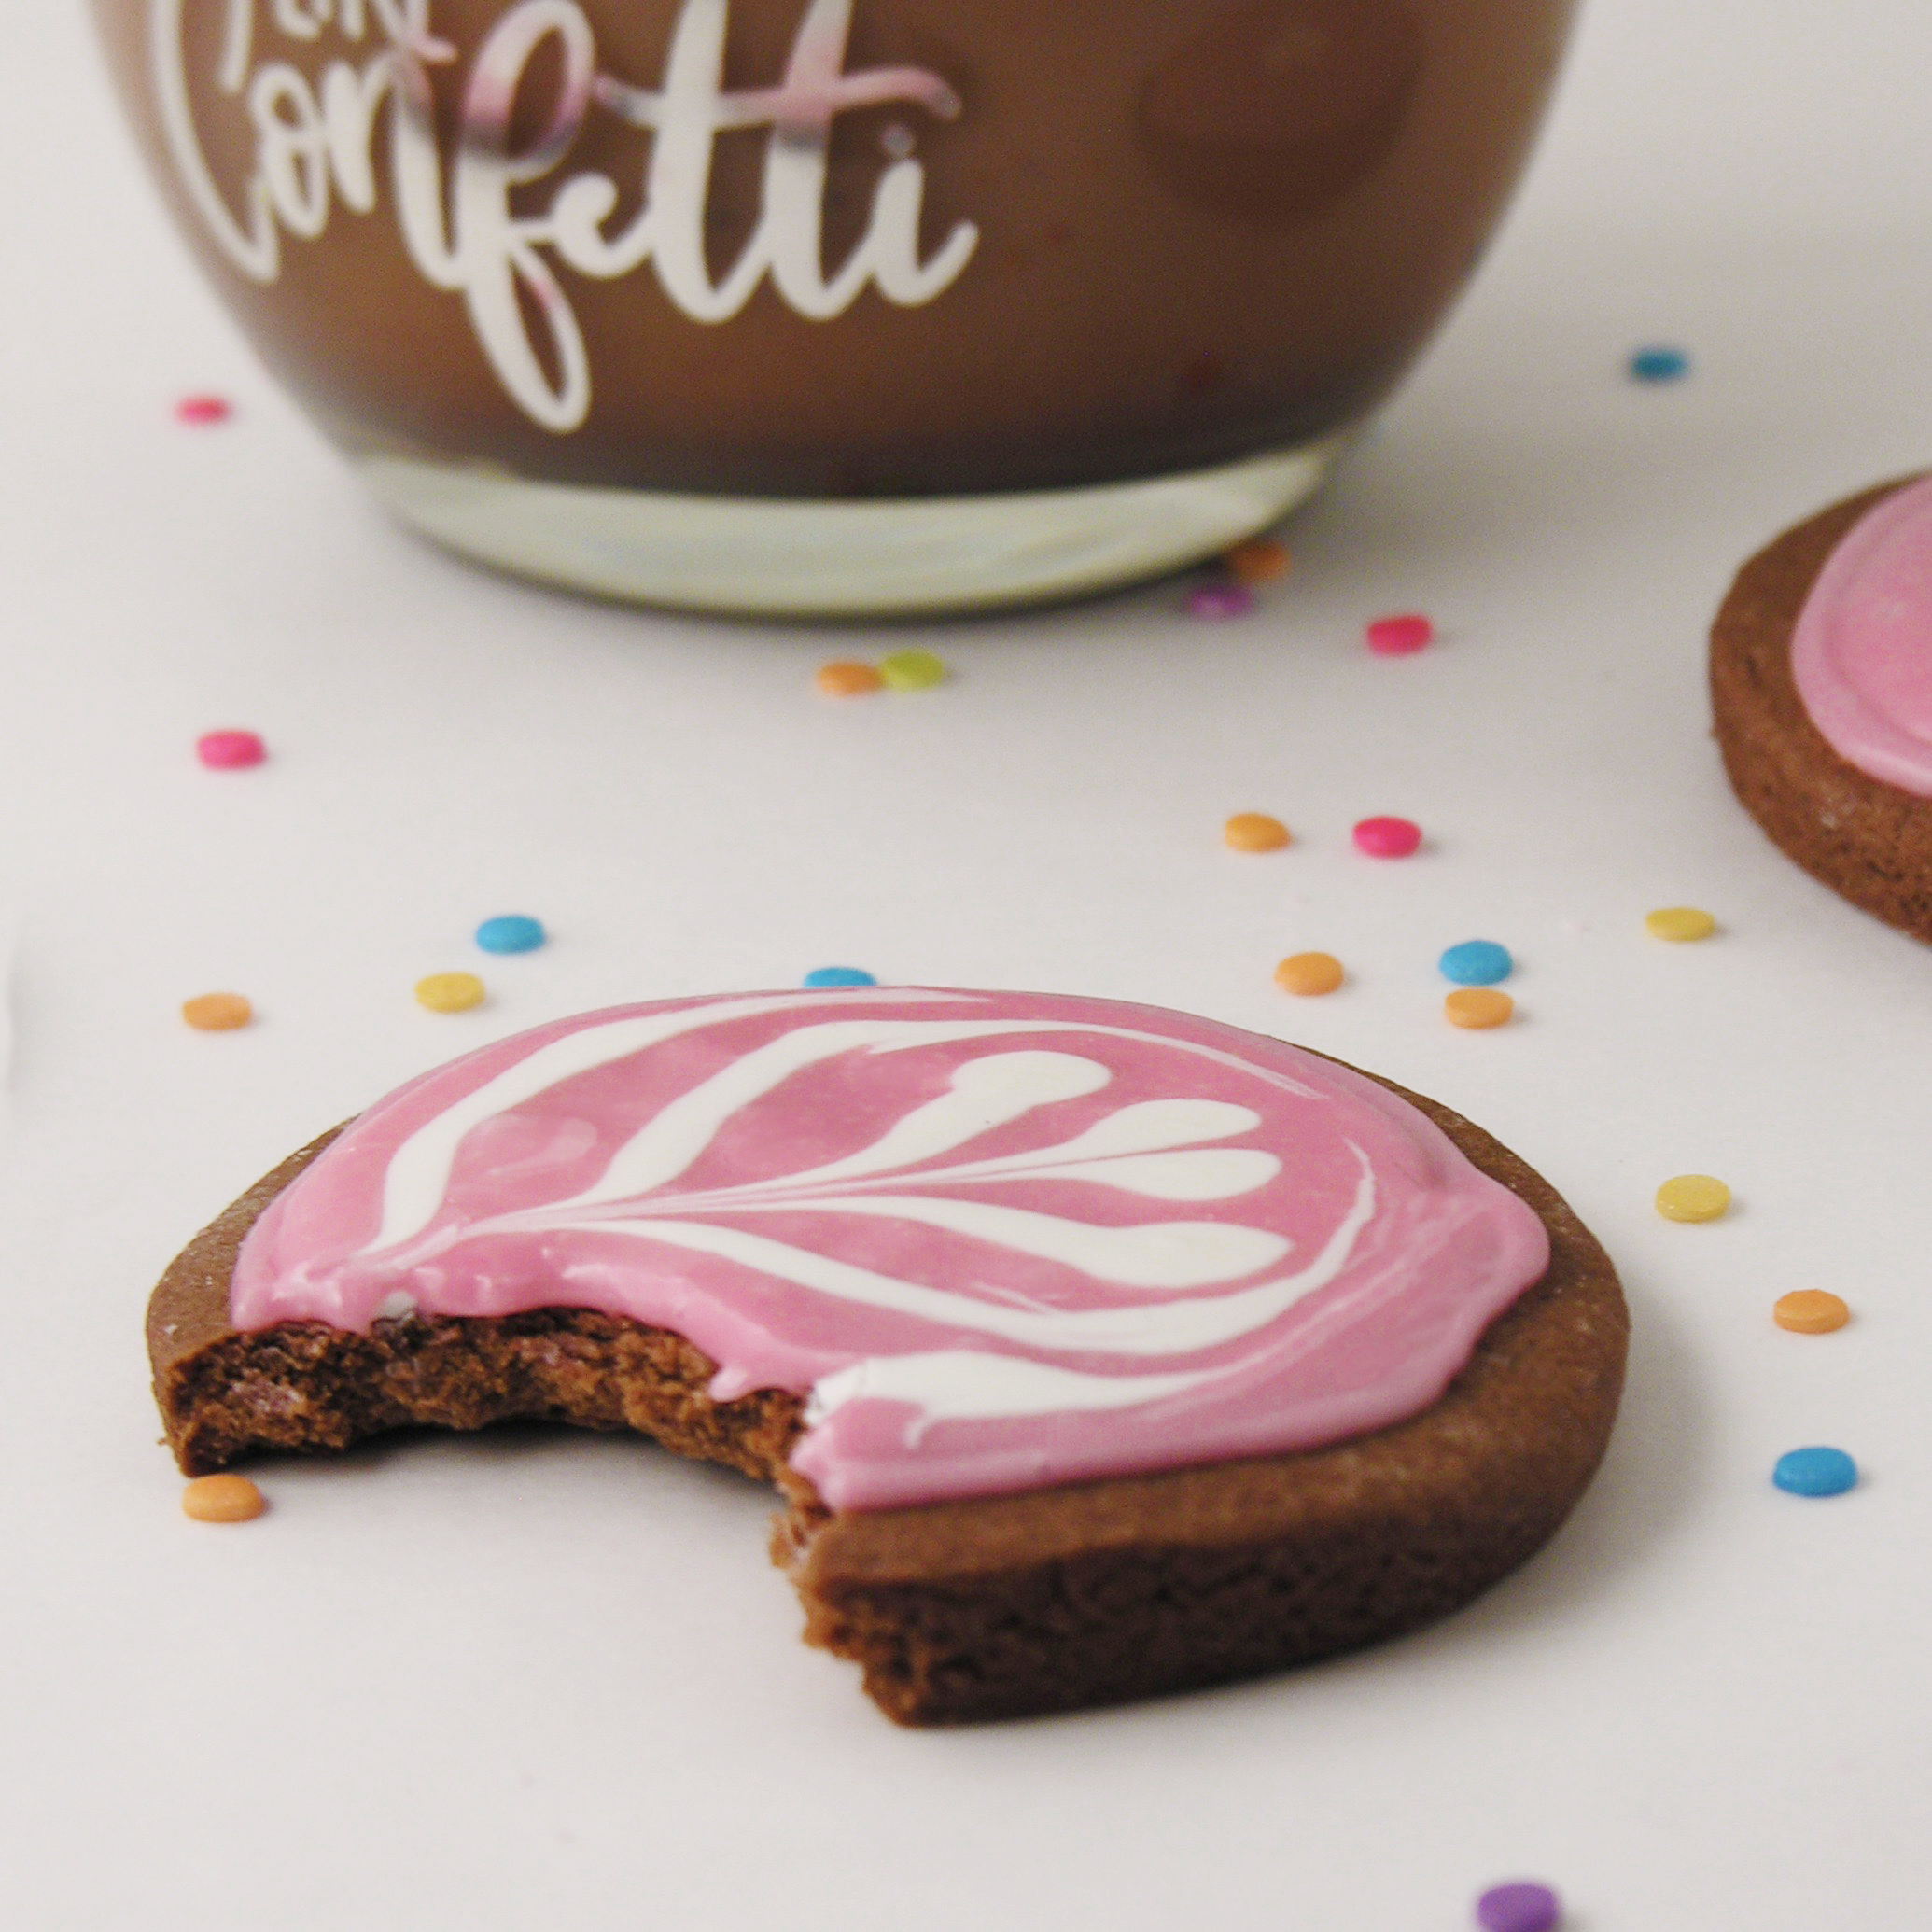
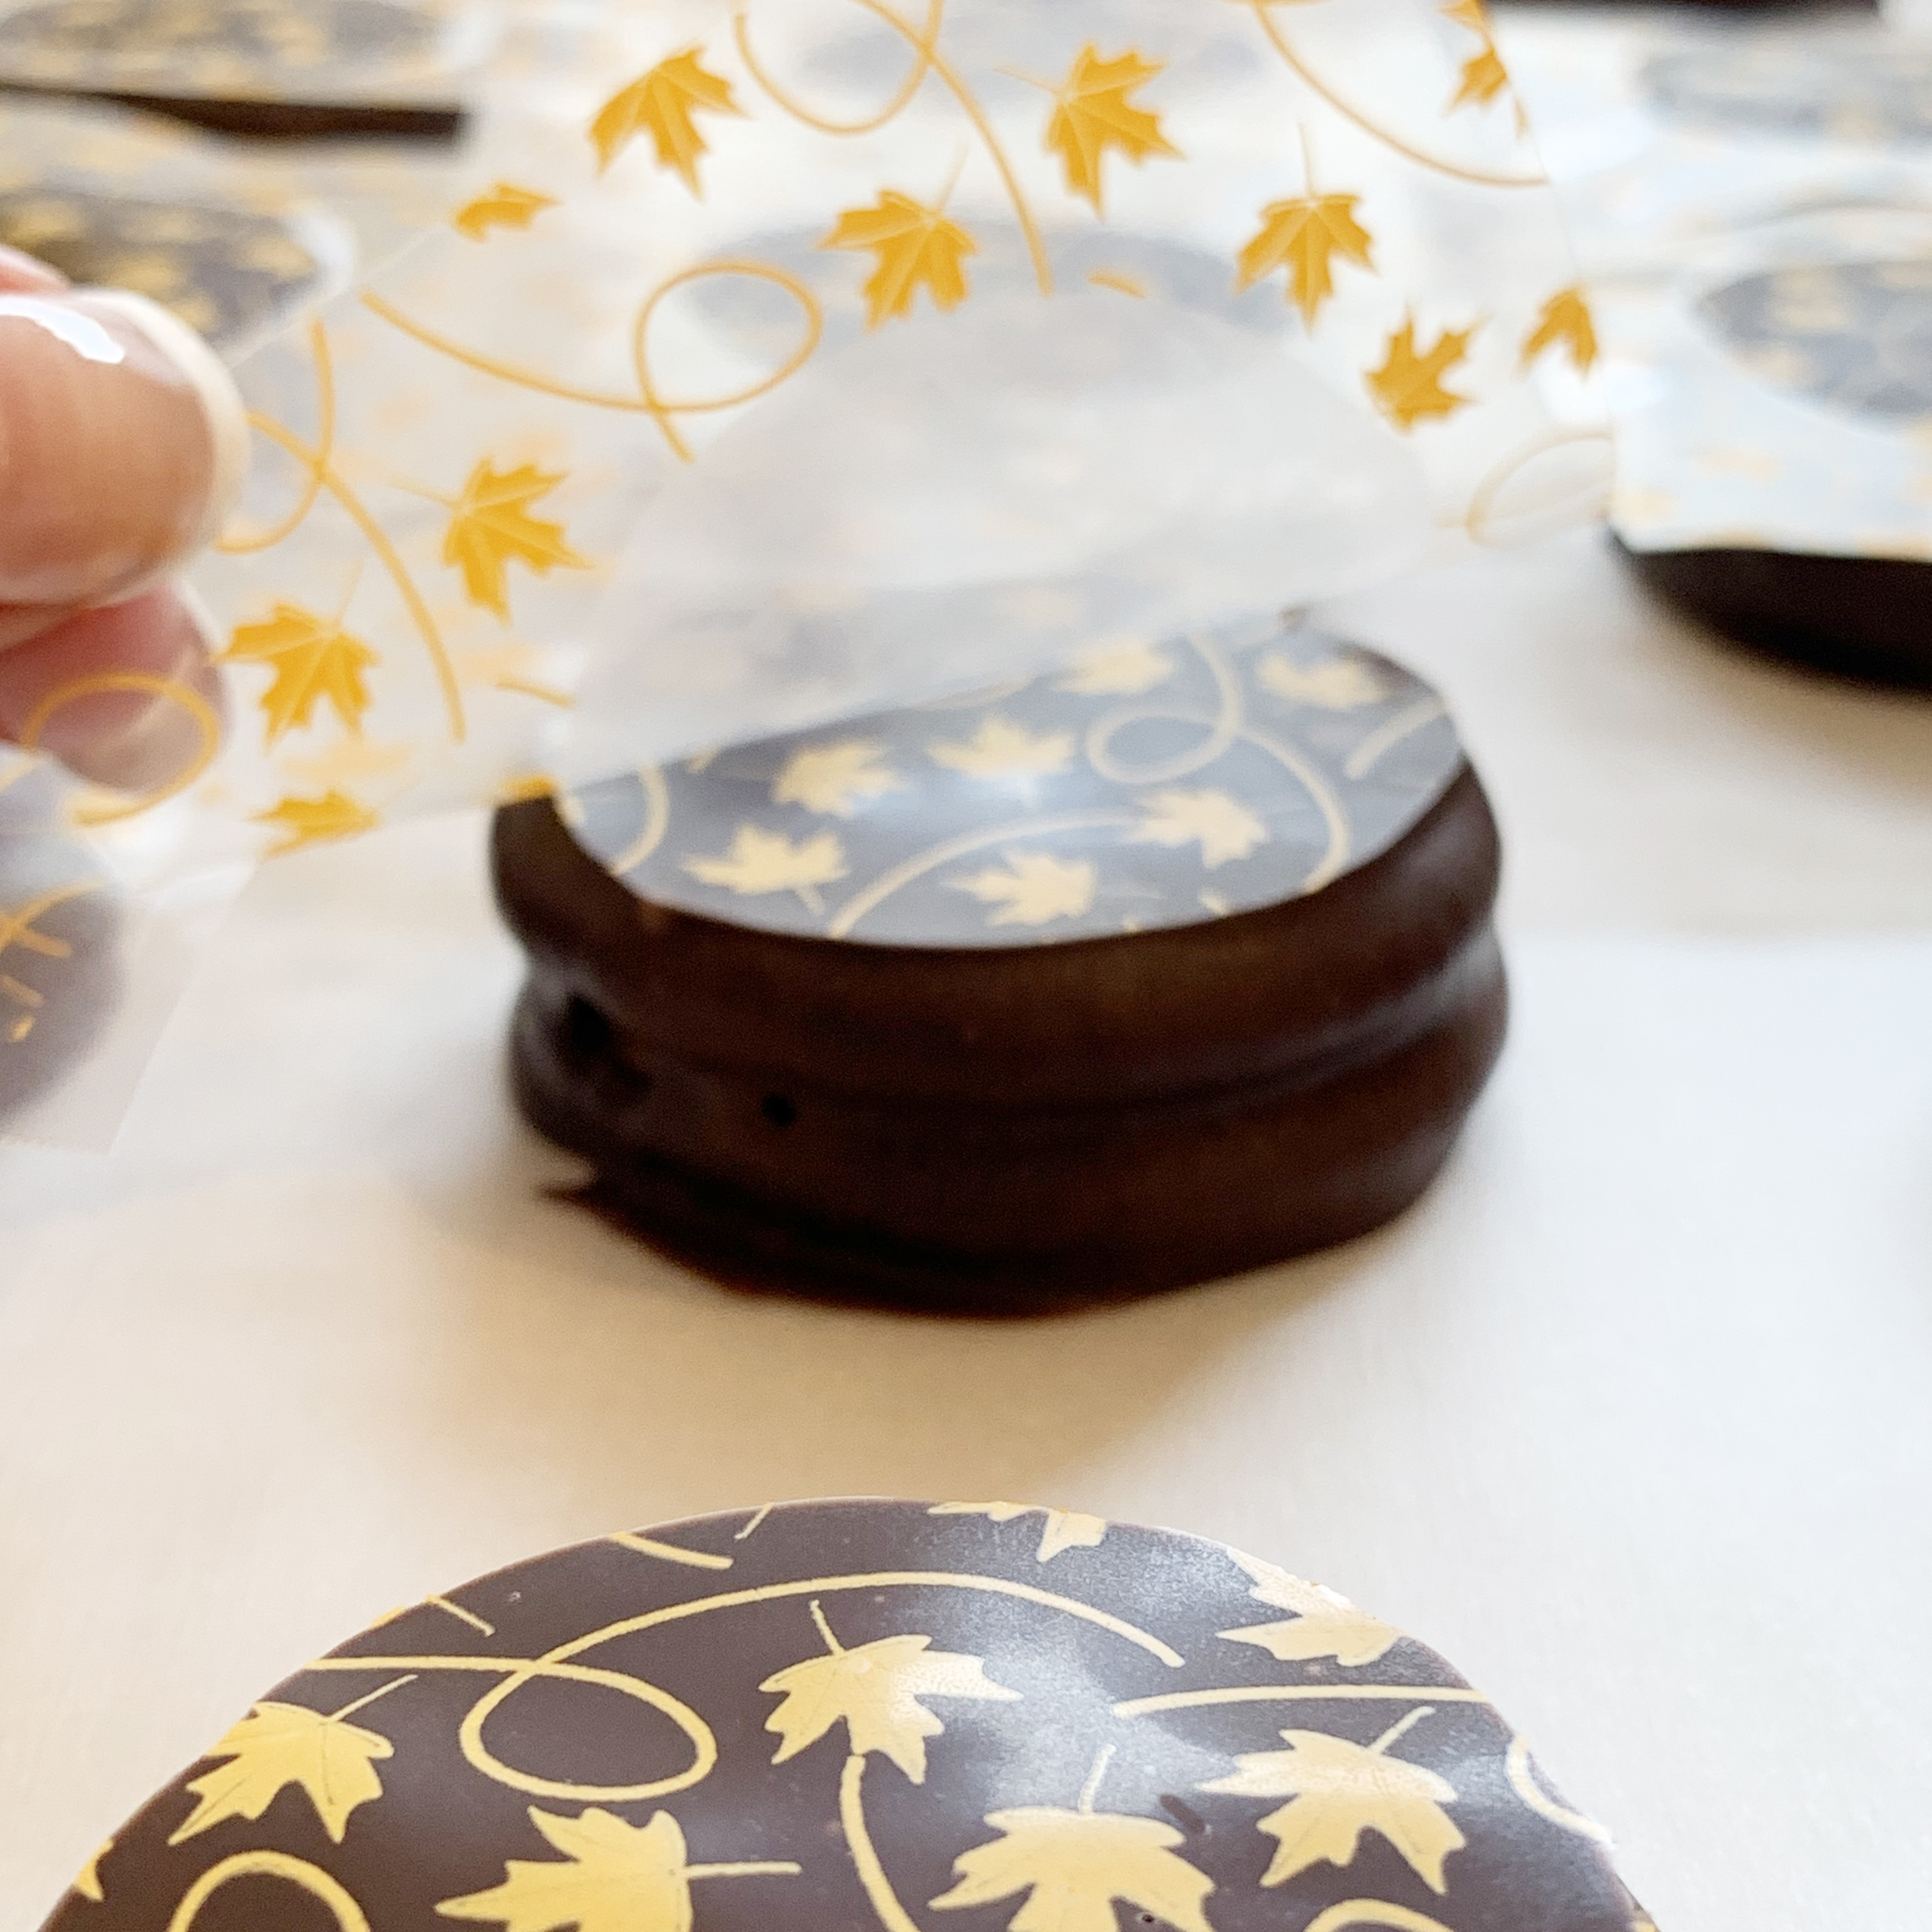
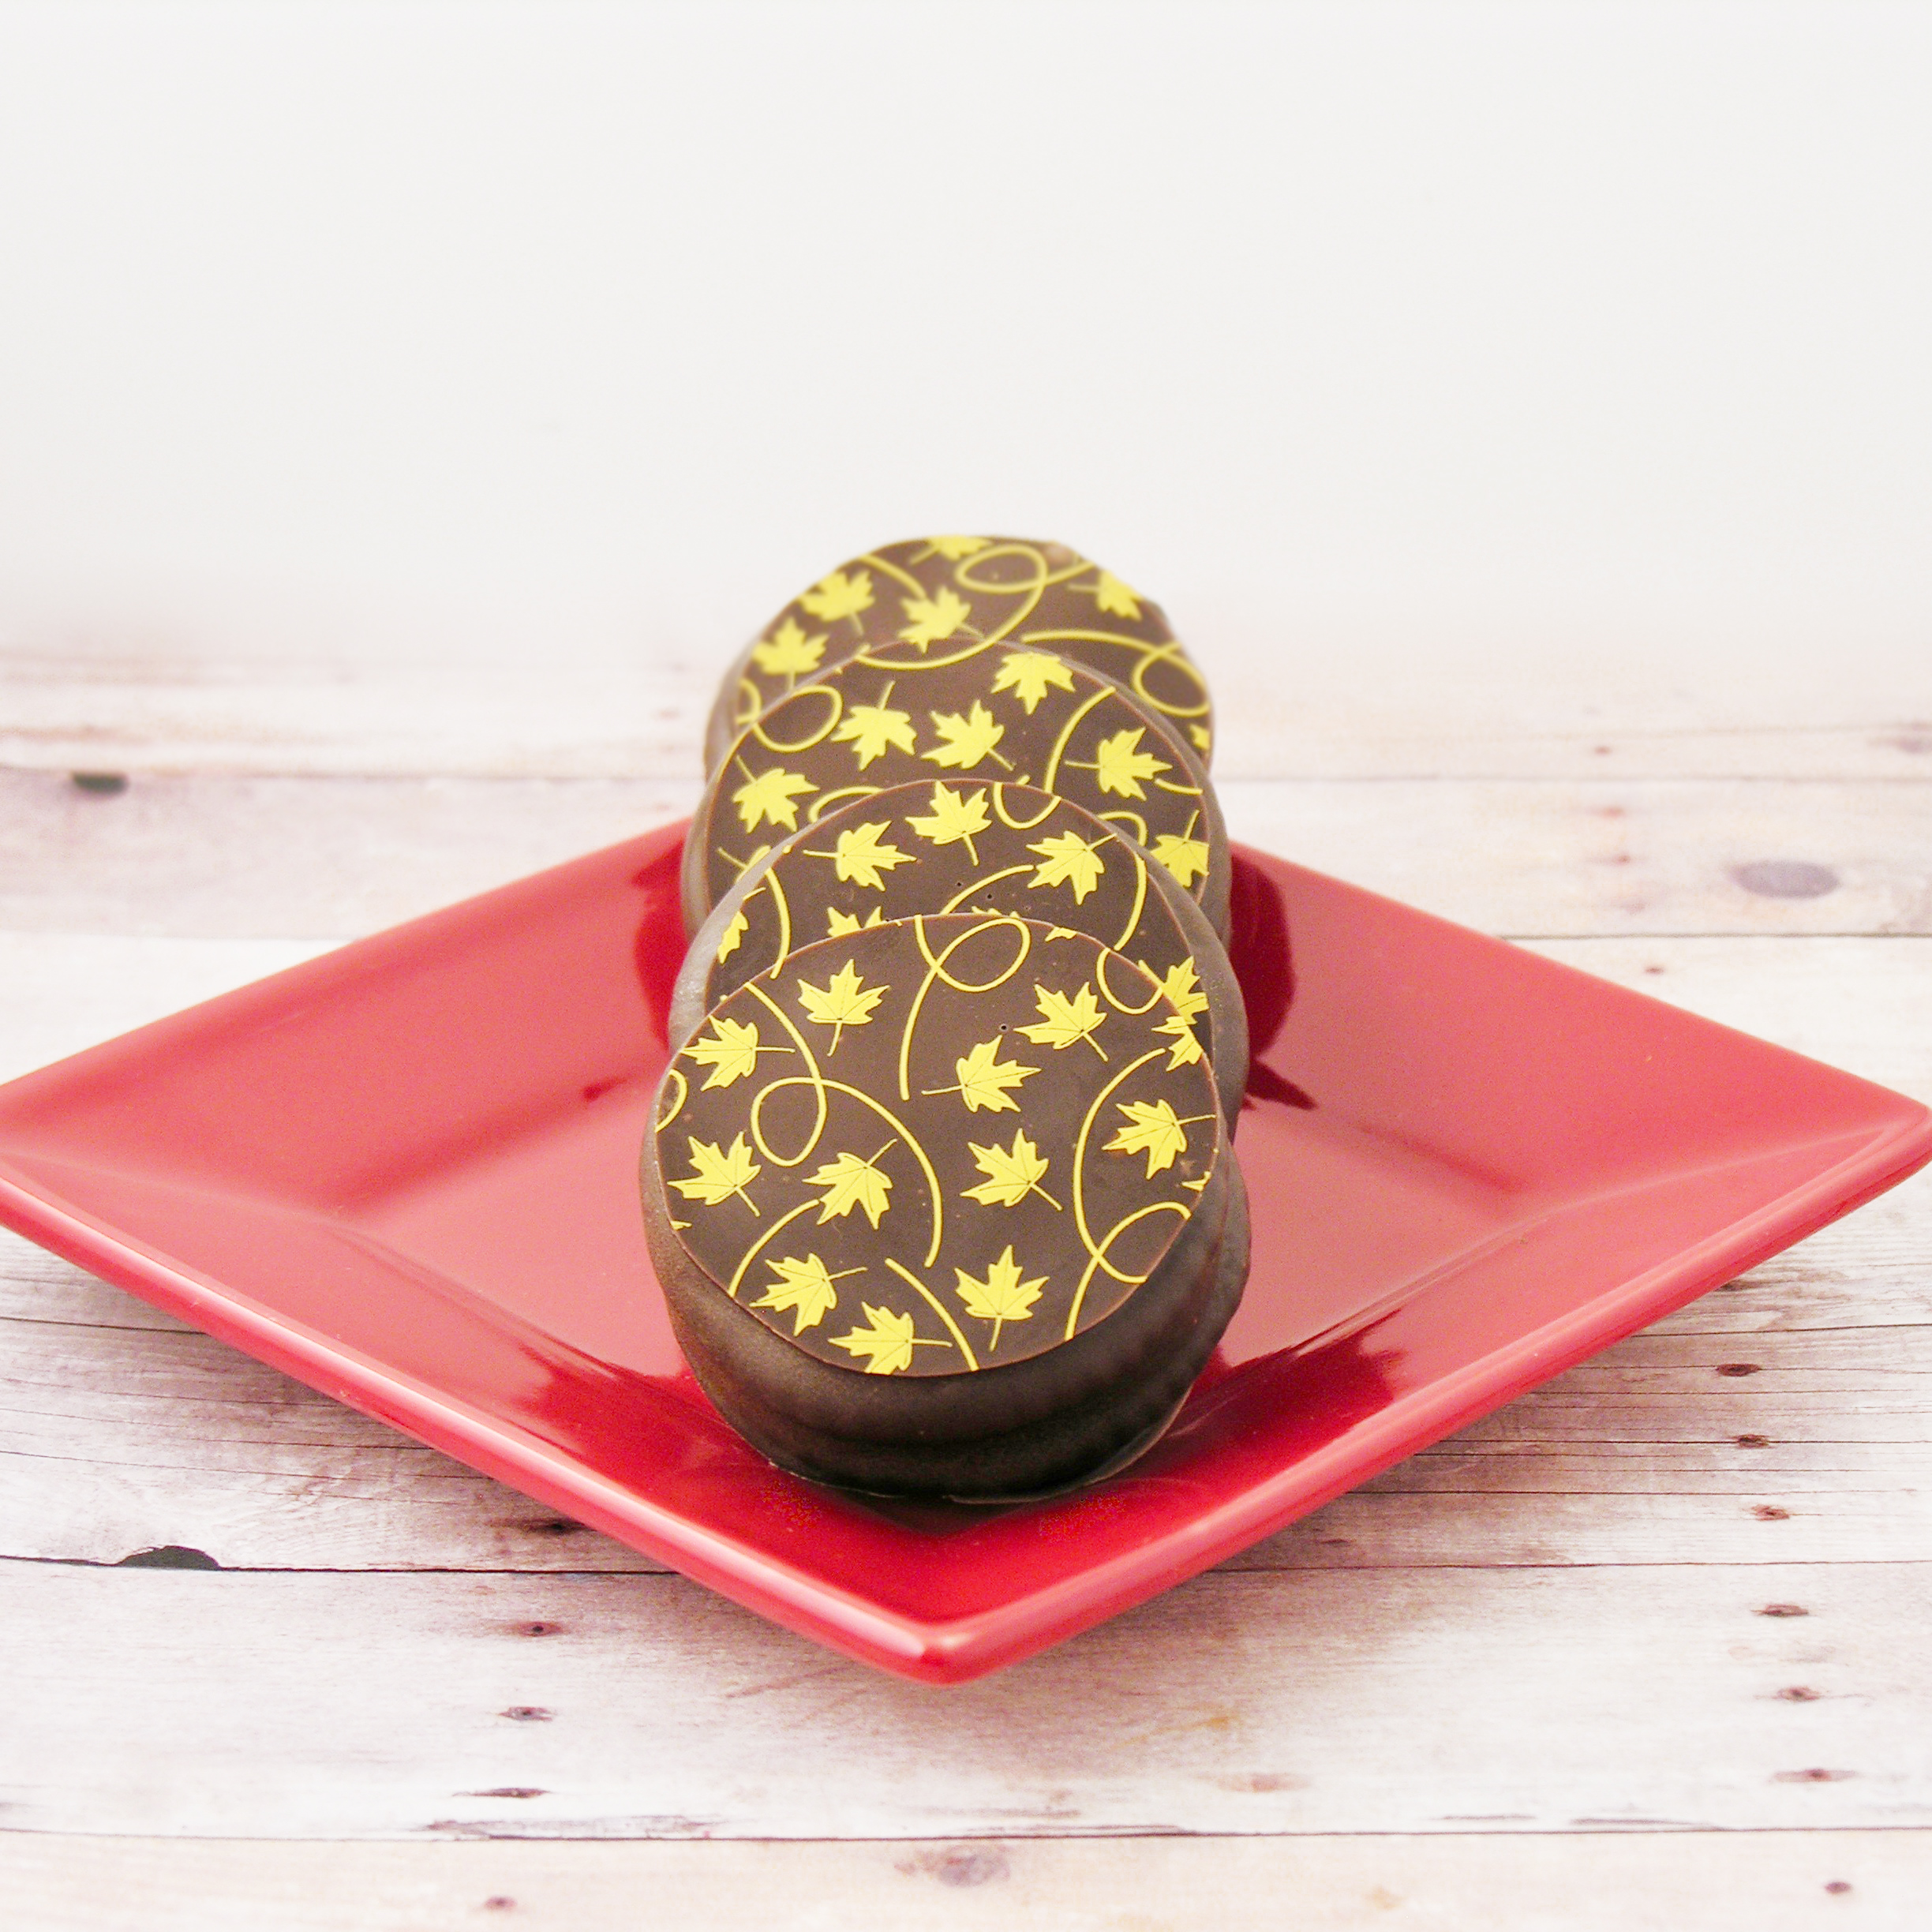
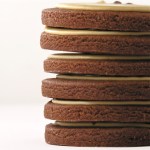
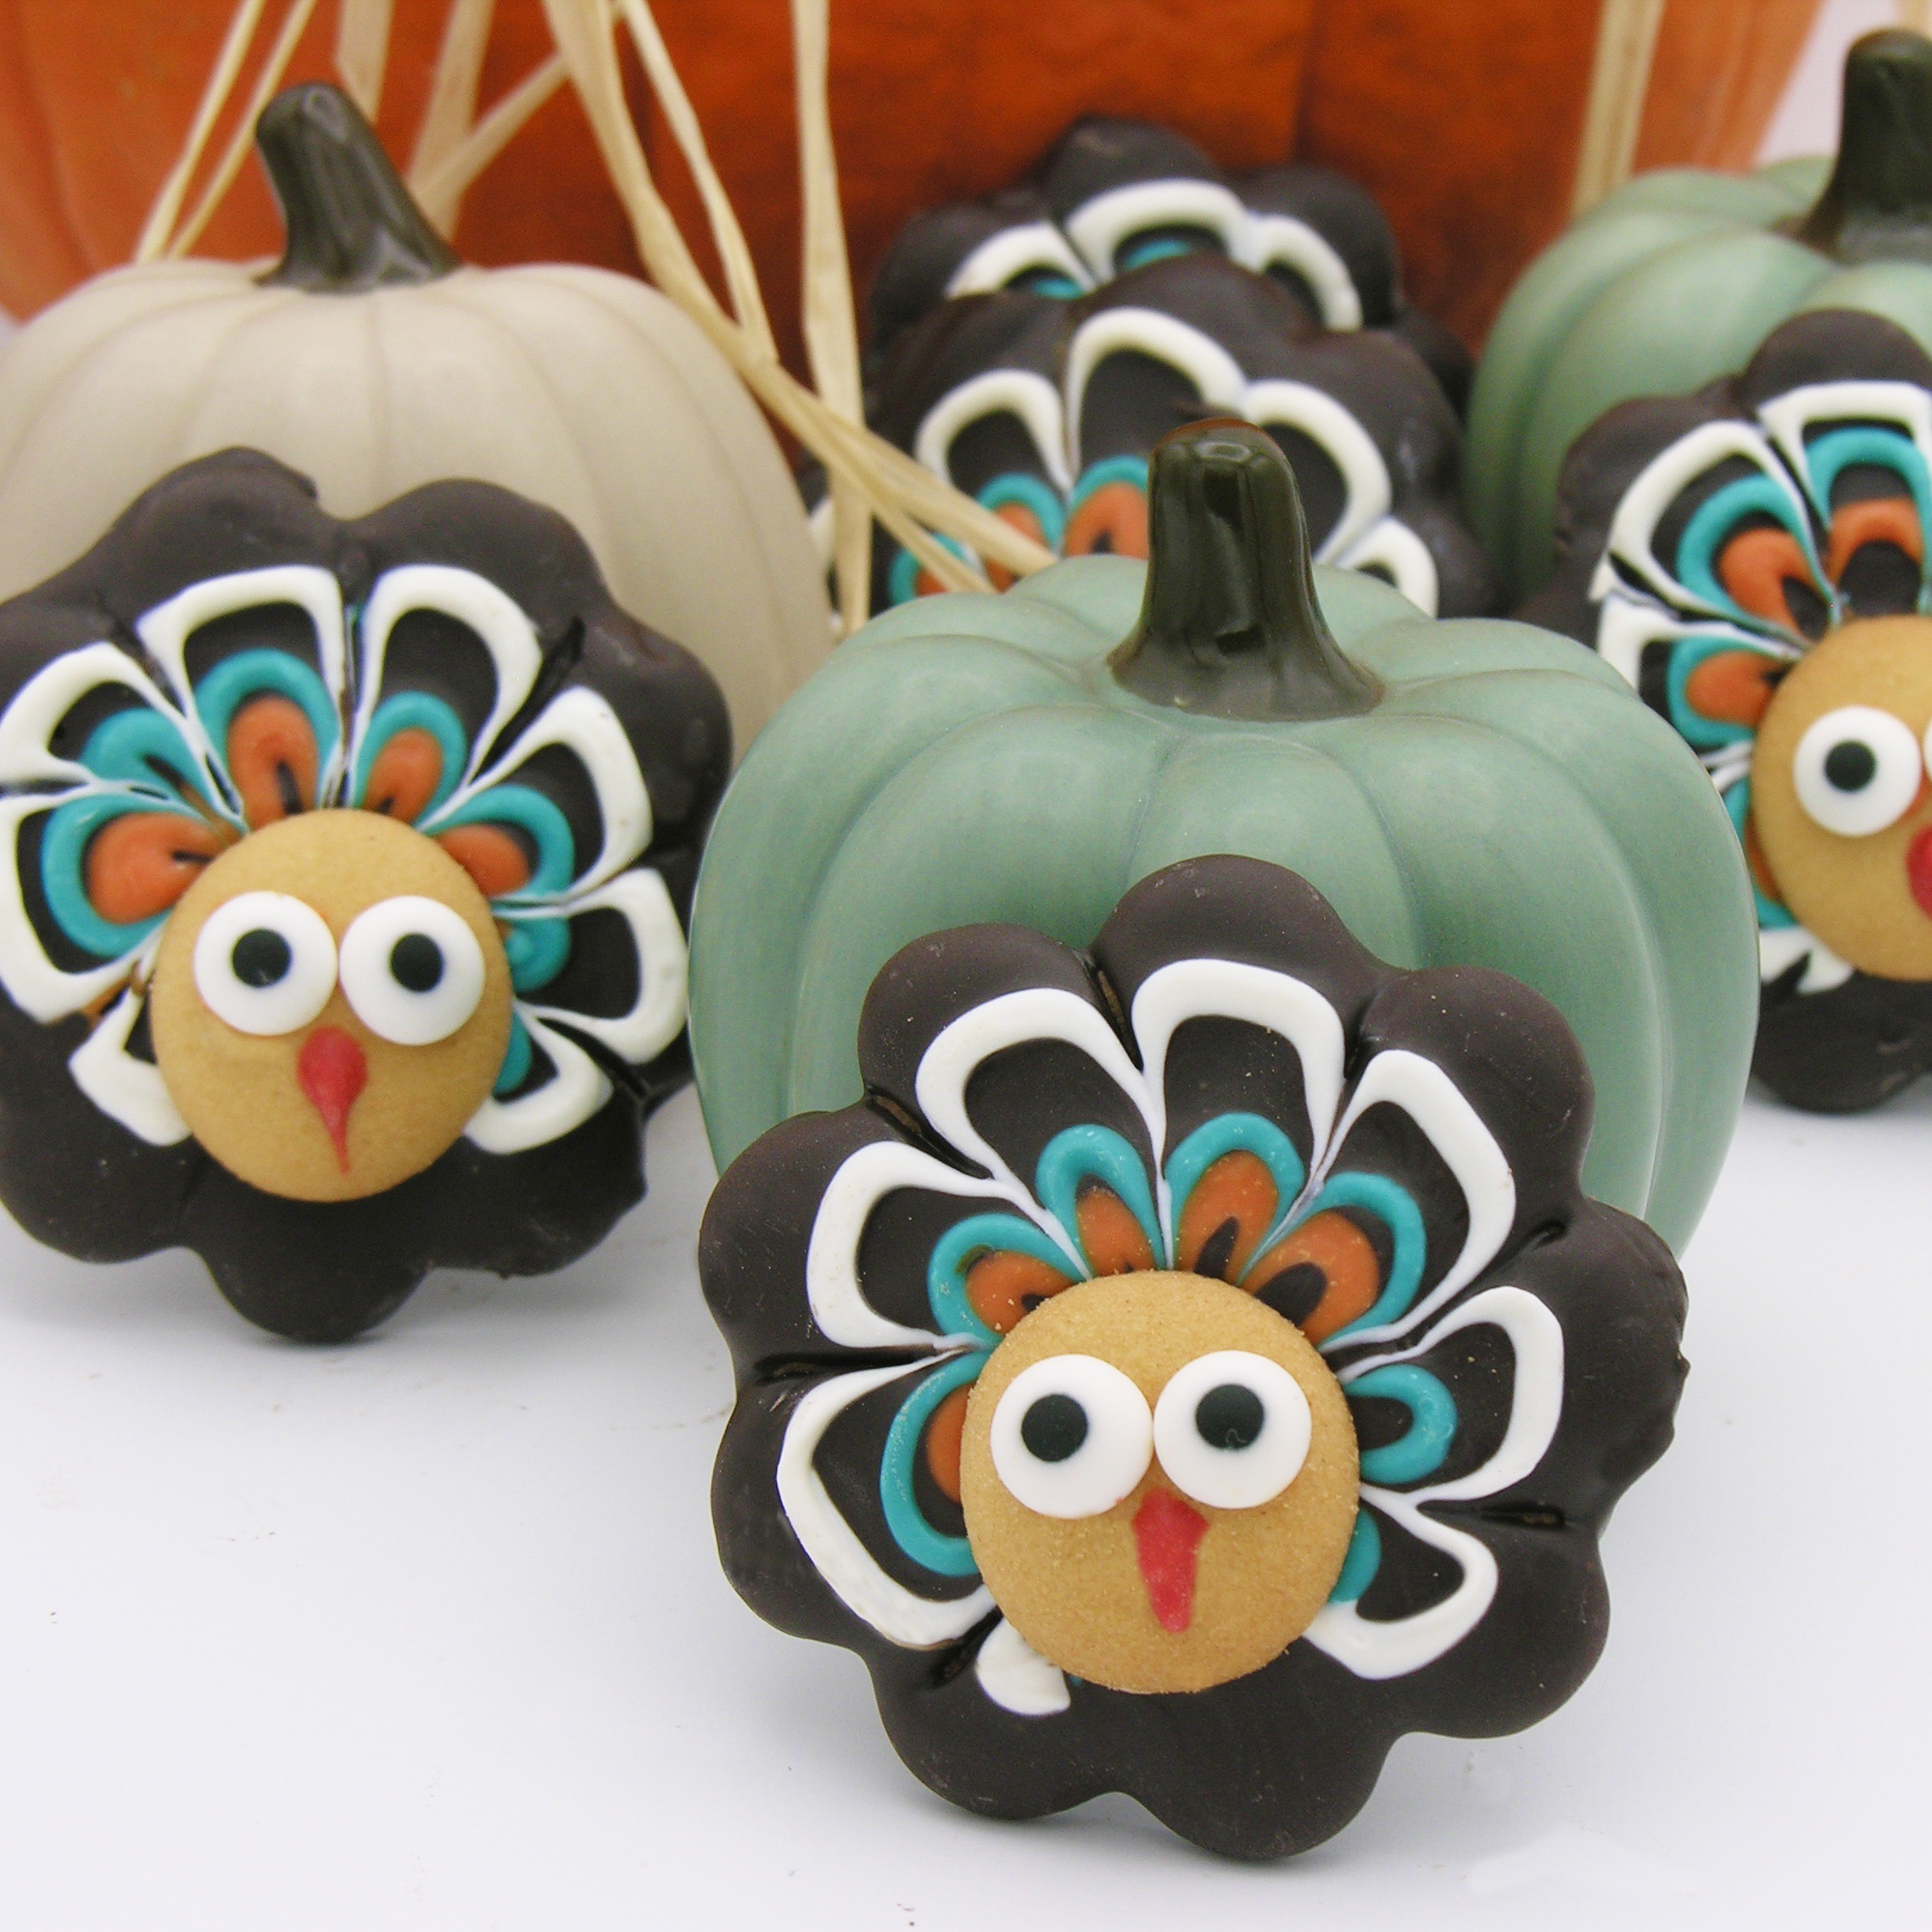 These no-bake turkey cookies have a blast of ginger, vanilla and chocolate in each bite. Plus aren’t they cute? And not a single piece of candy corn in sight!
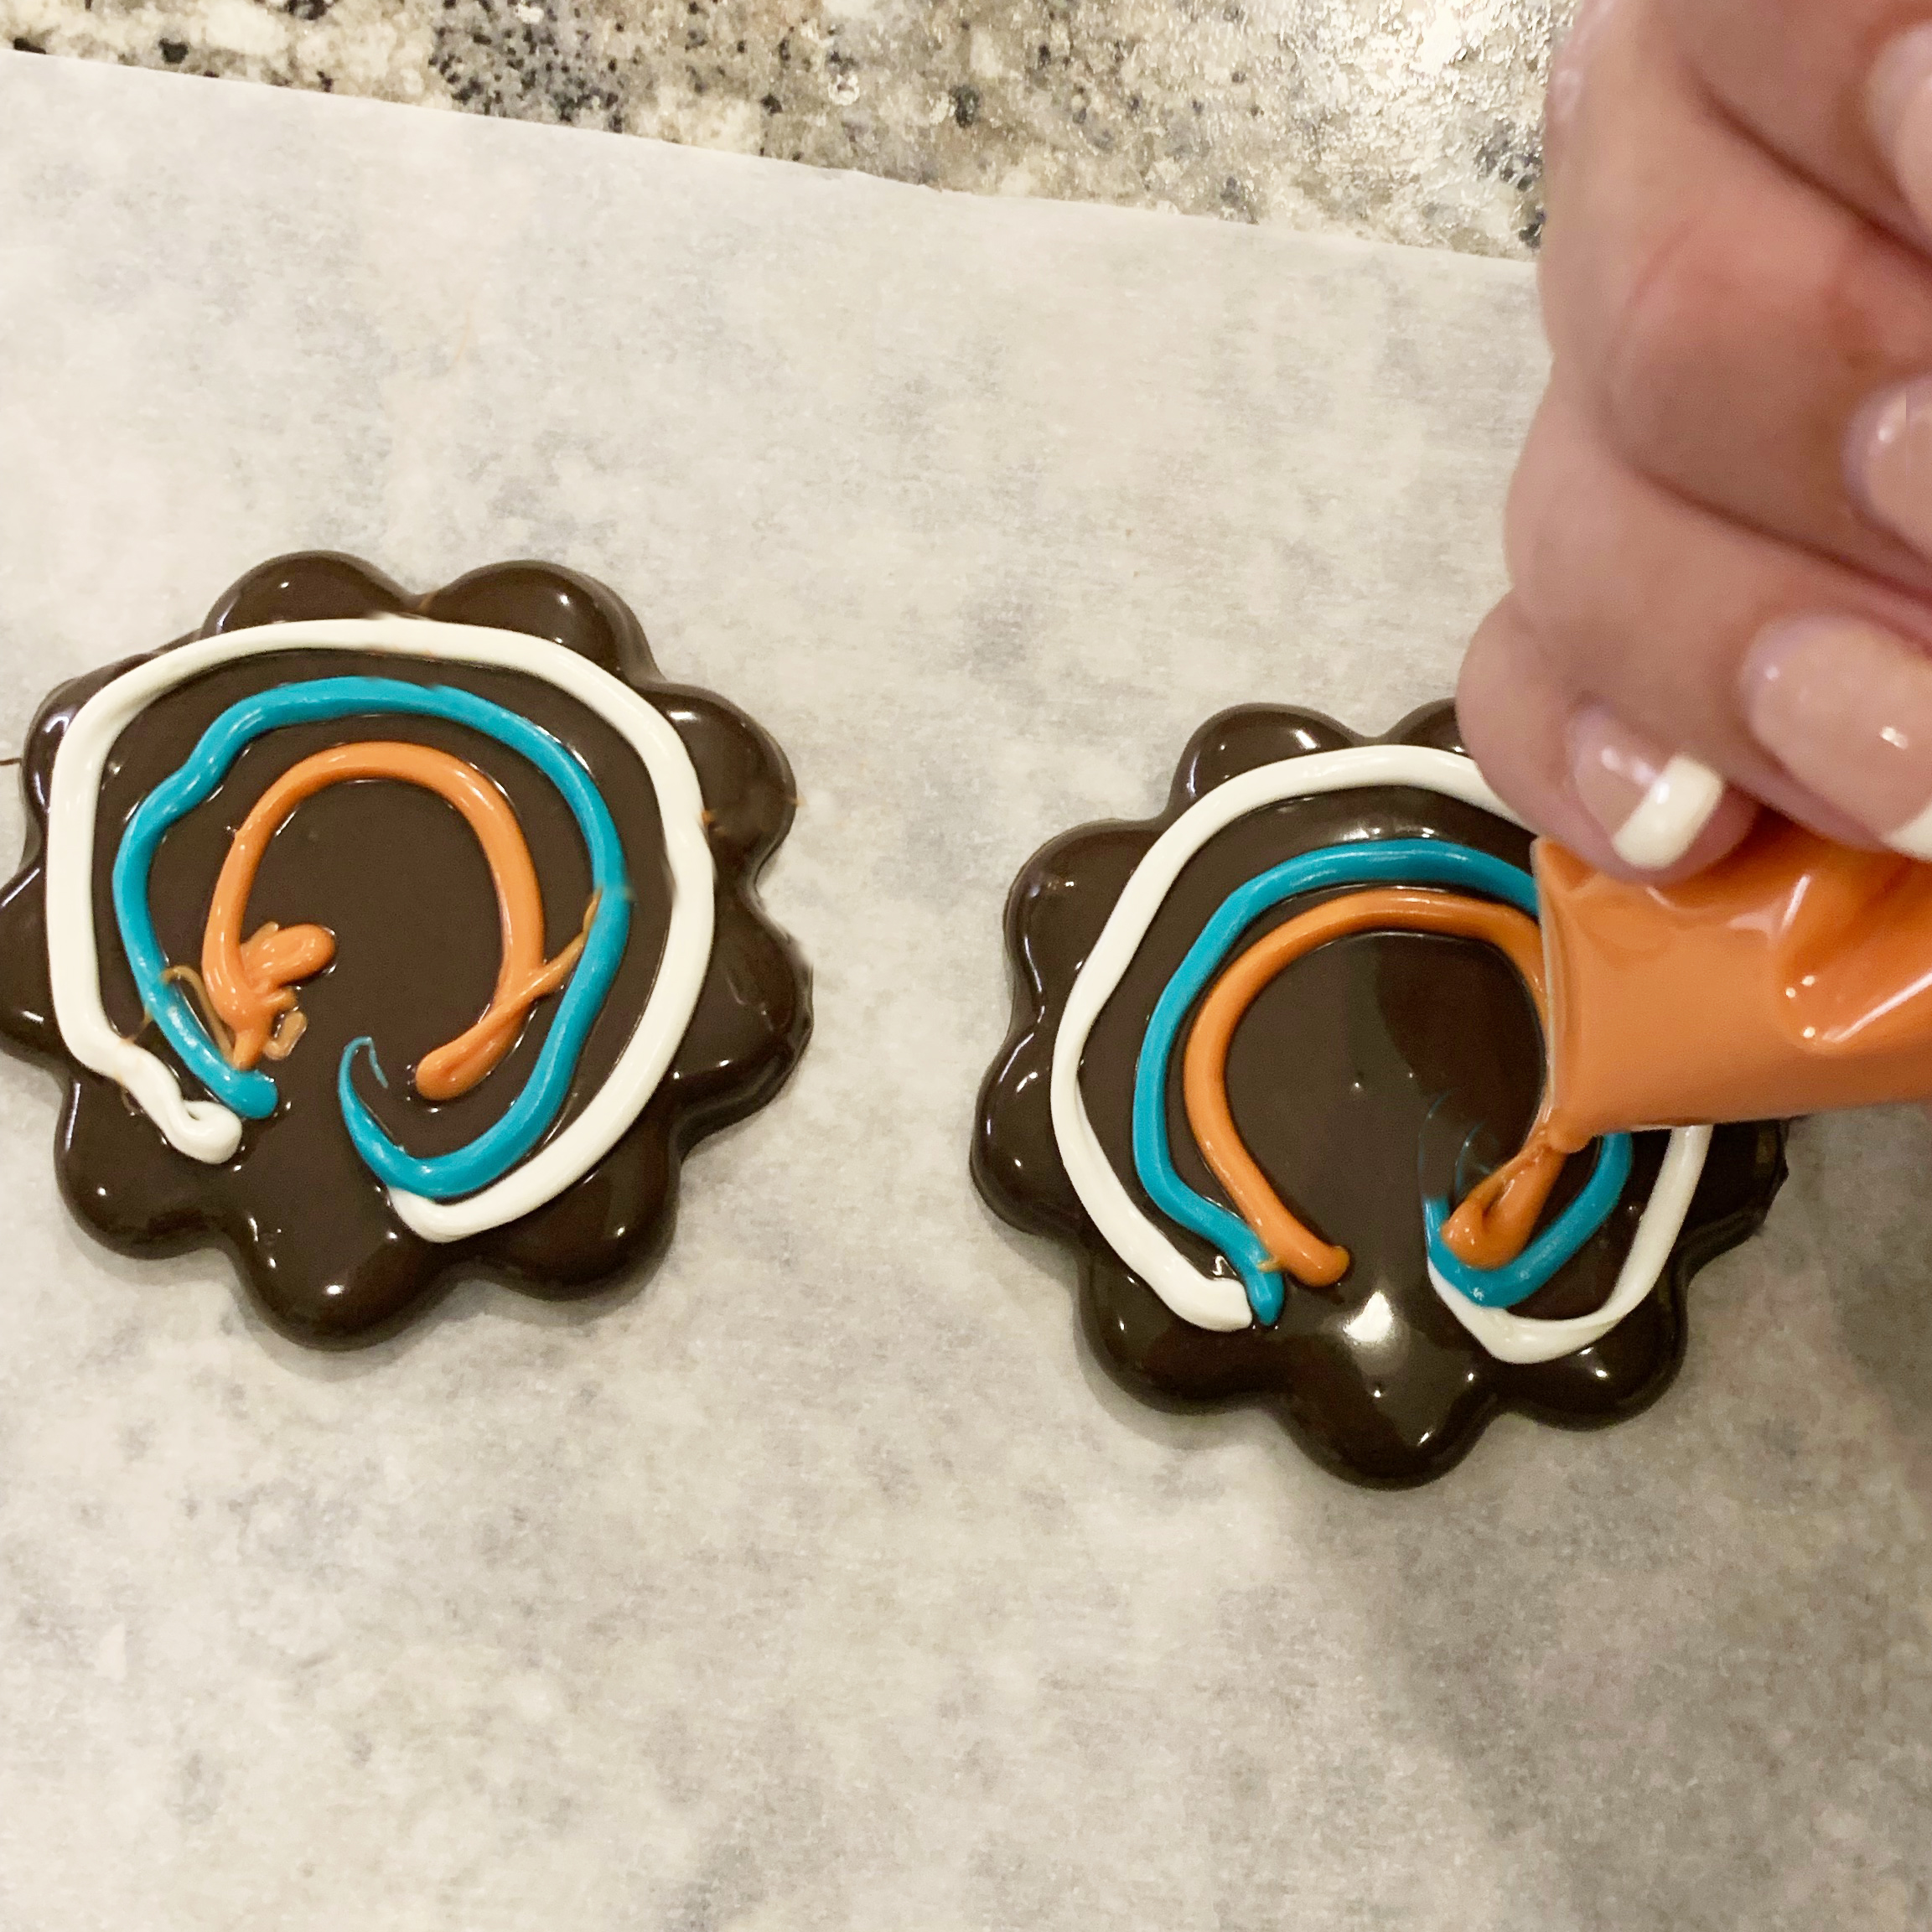
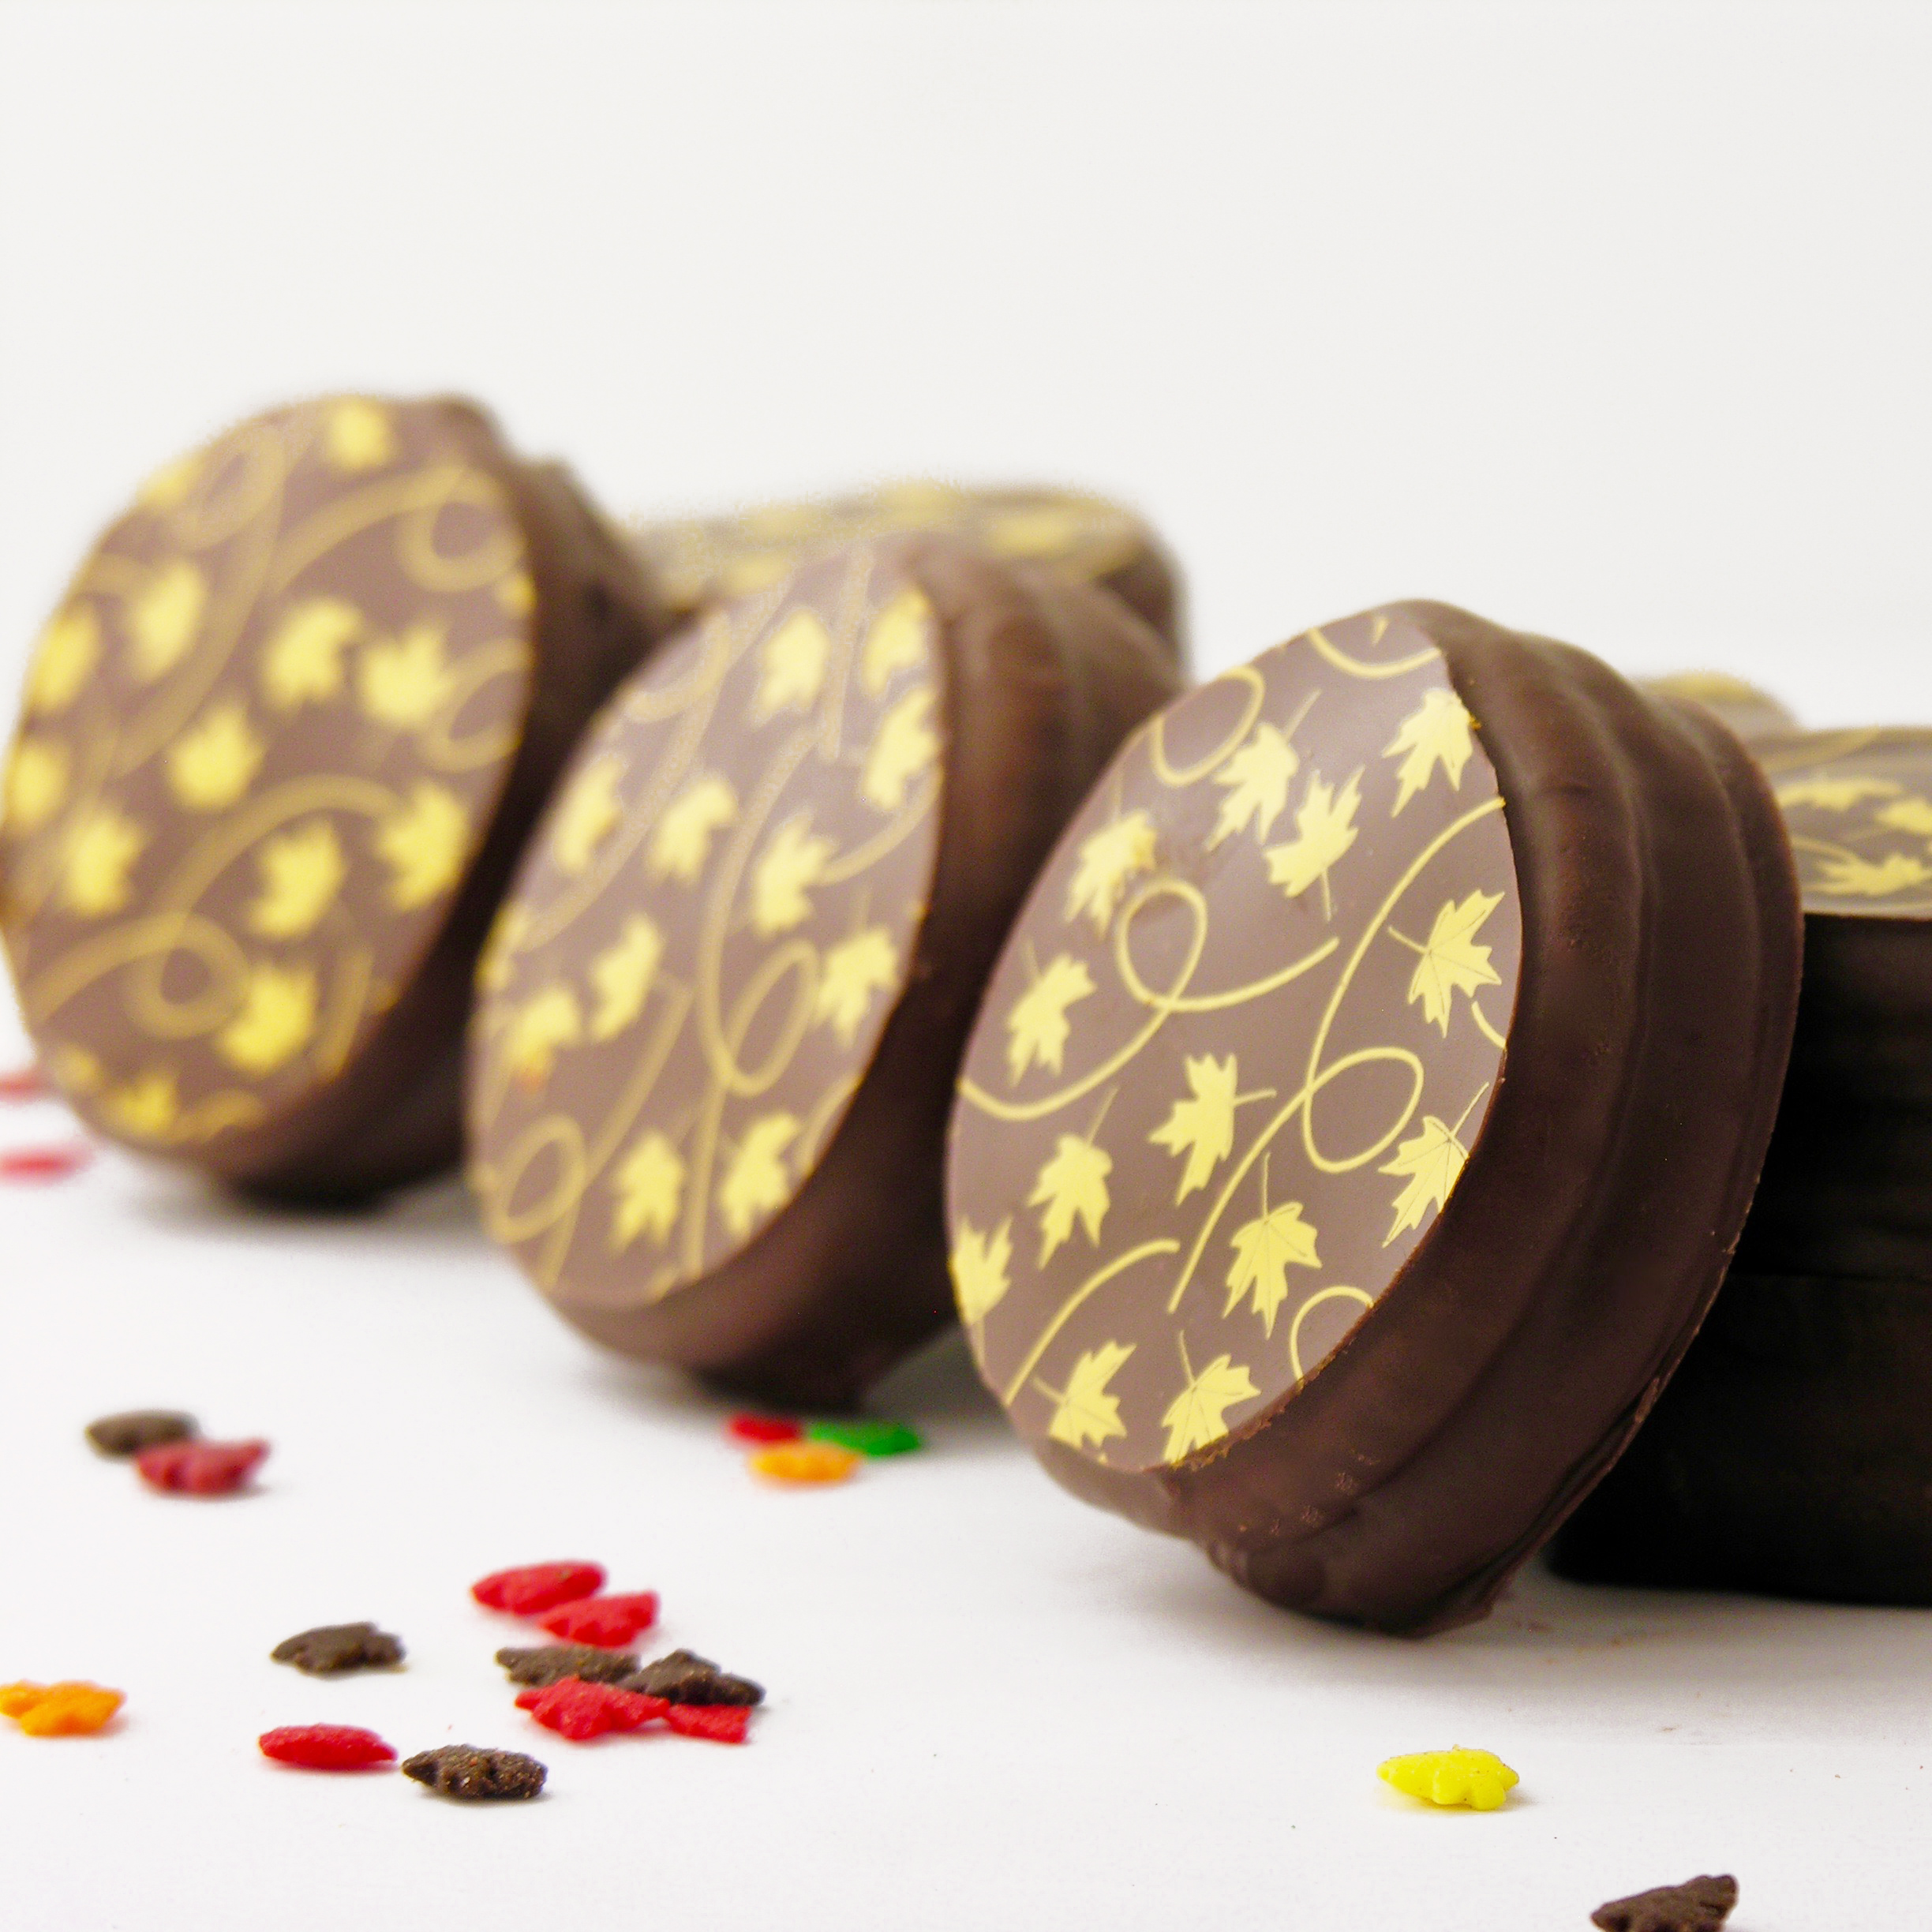
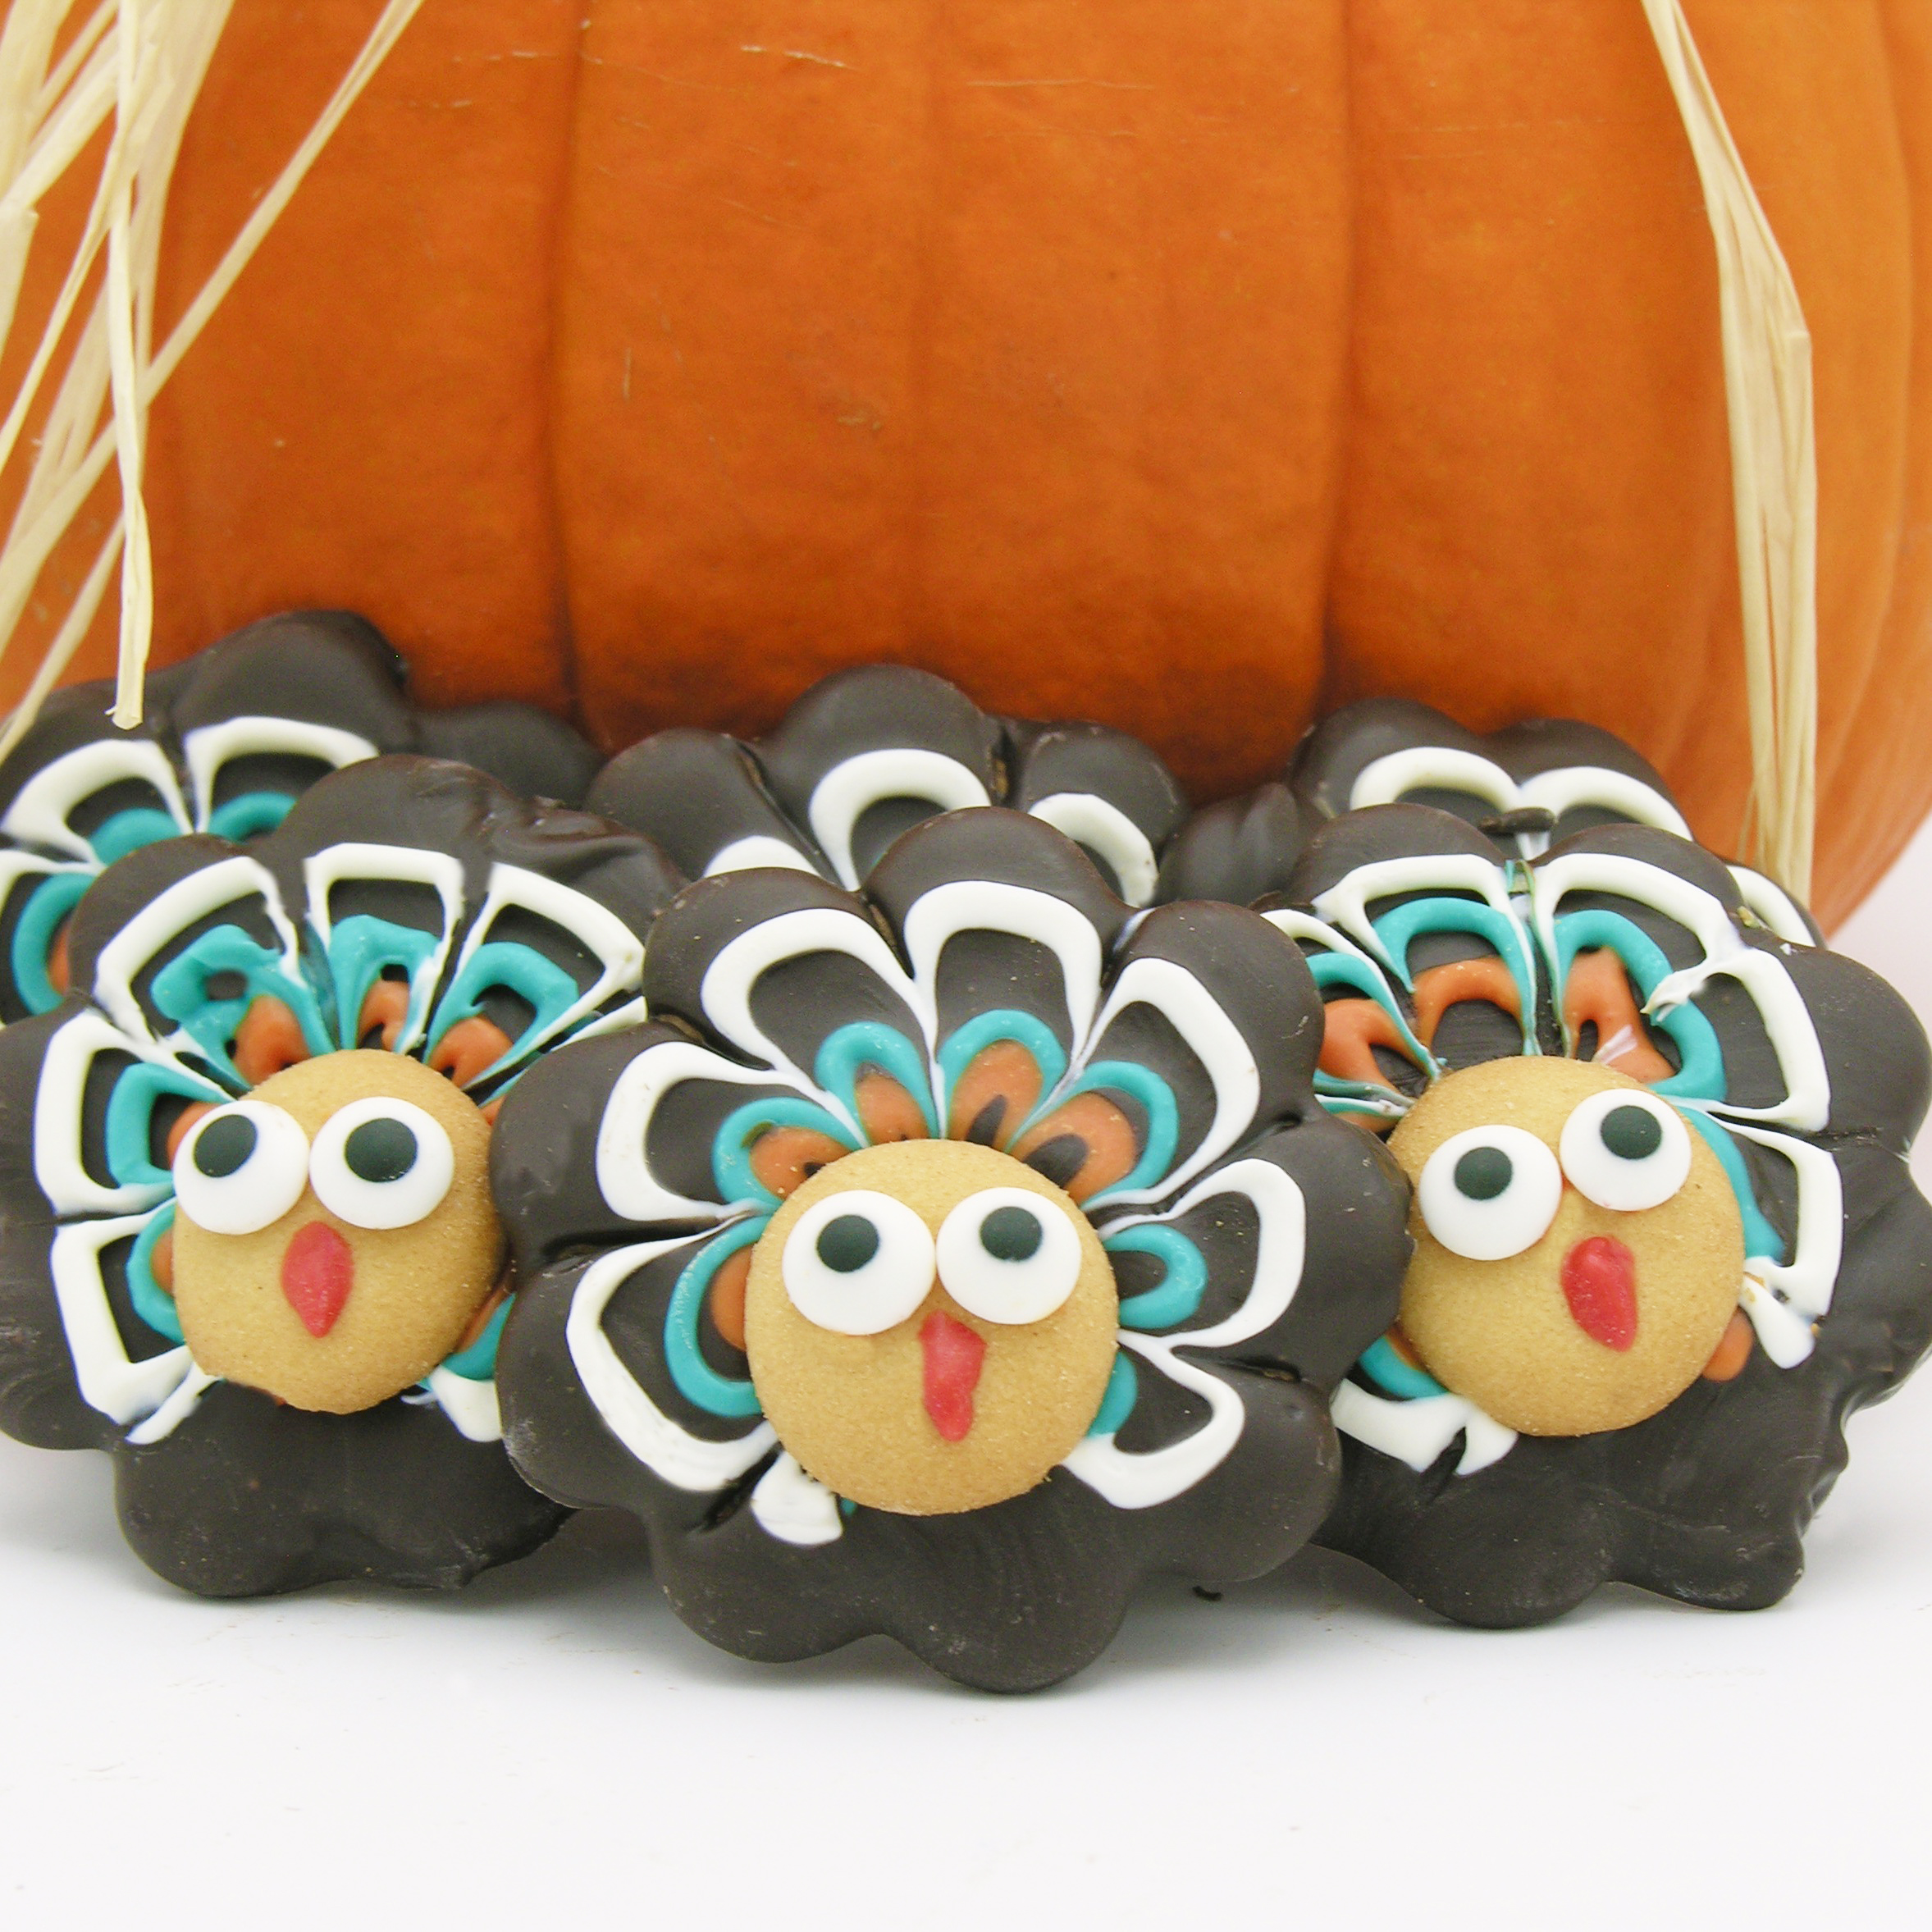 I set out on a mission this week. To create a cute turkey cookie without using candy corn. Because candy corn is gross, in my opinion, and it seems to be the staple of all things “turkey” in the baked goods realm. I knew I wanted to use Anna’s Swedish Thin Cookies as my base, because they have that beautiful scalloped edge, and they are DELICIOUS. They come in ginger, orange, almond and (maybe?) mint- I haven’t seen the mint recently, so maybe not. And- before you think you won’t be able to find them, they are at most Walgreens, Walmarts, and (of course!) at Amazon- you maybe haven’t ever noticed them before.
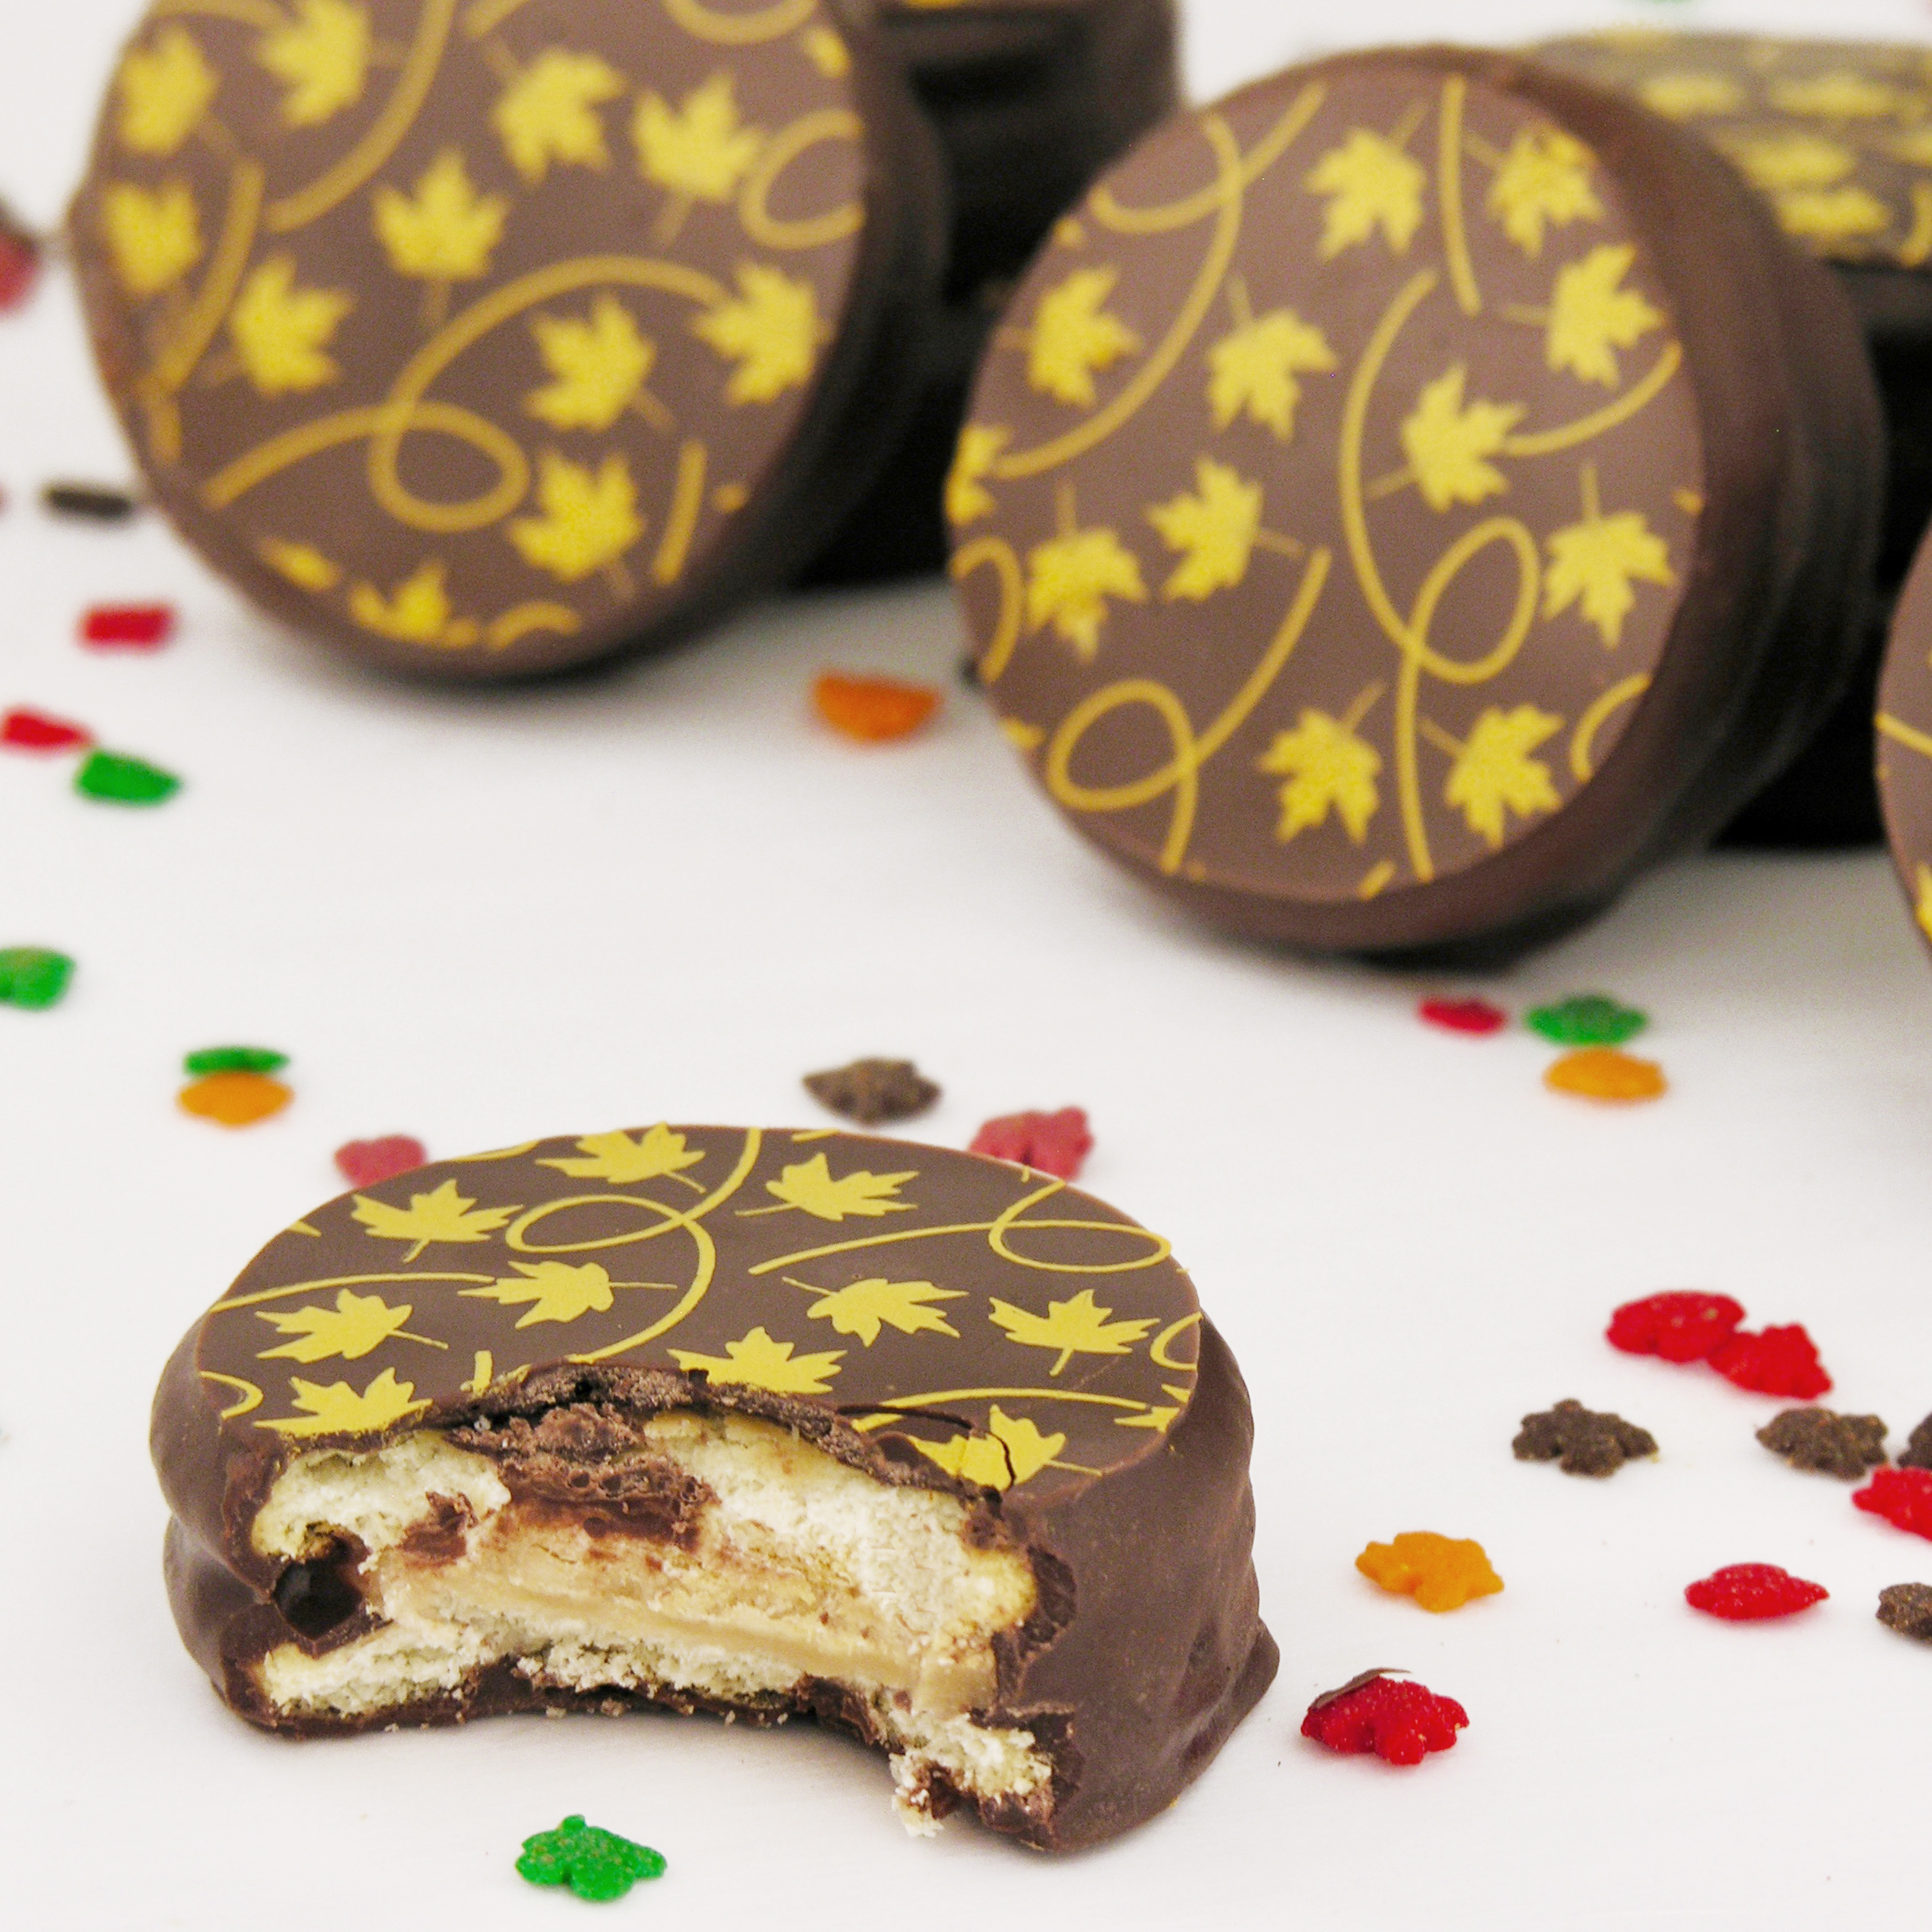
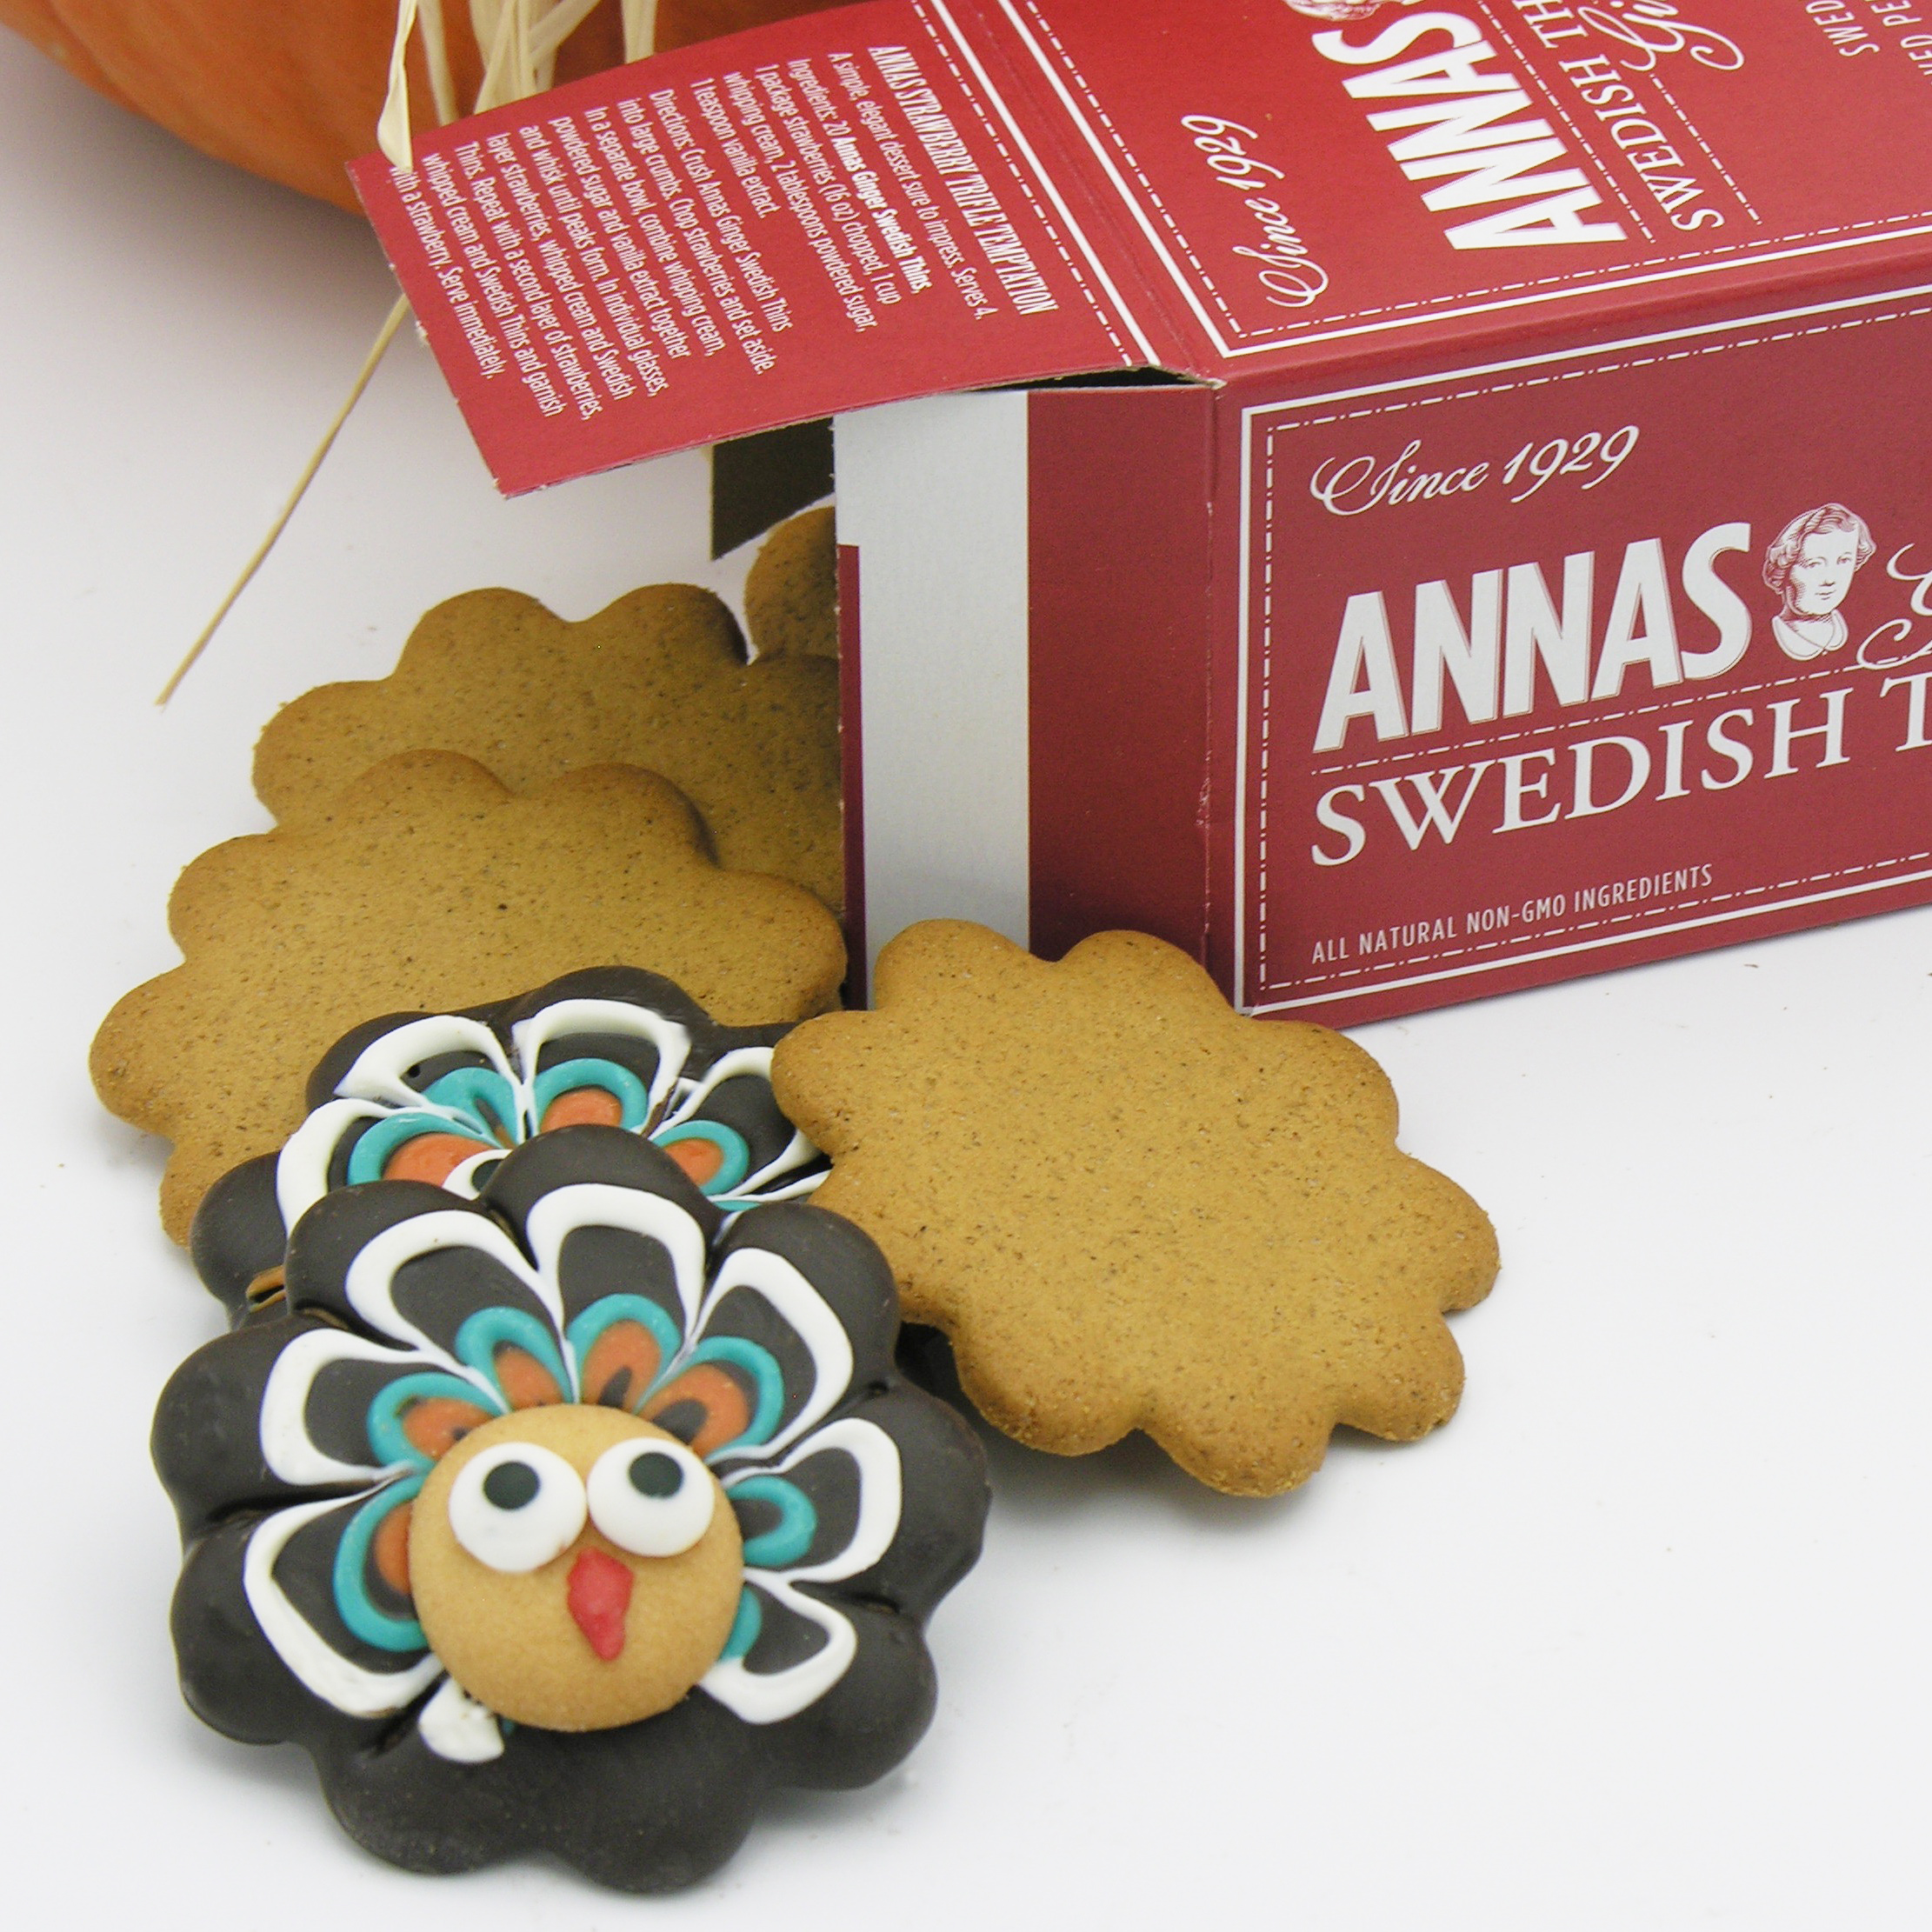 Want some instructions? (
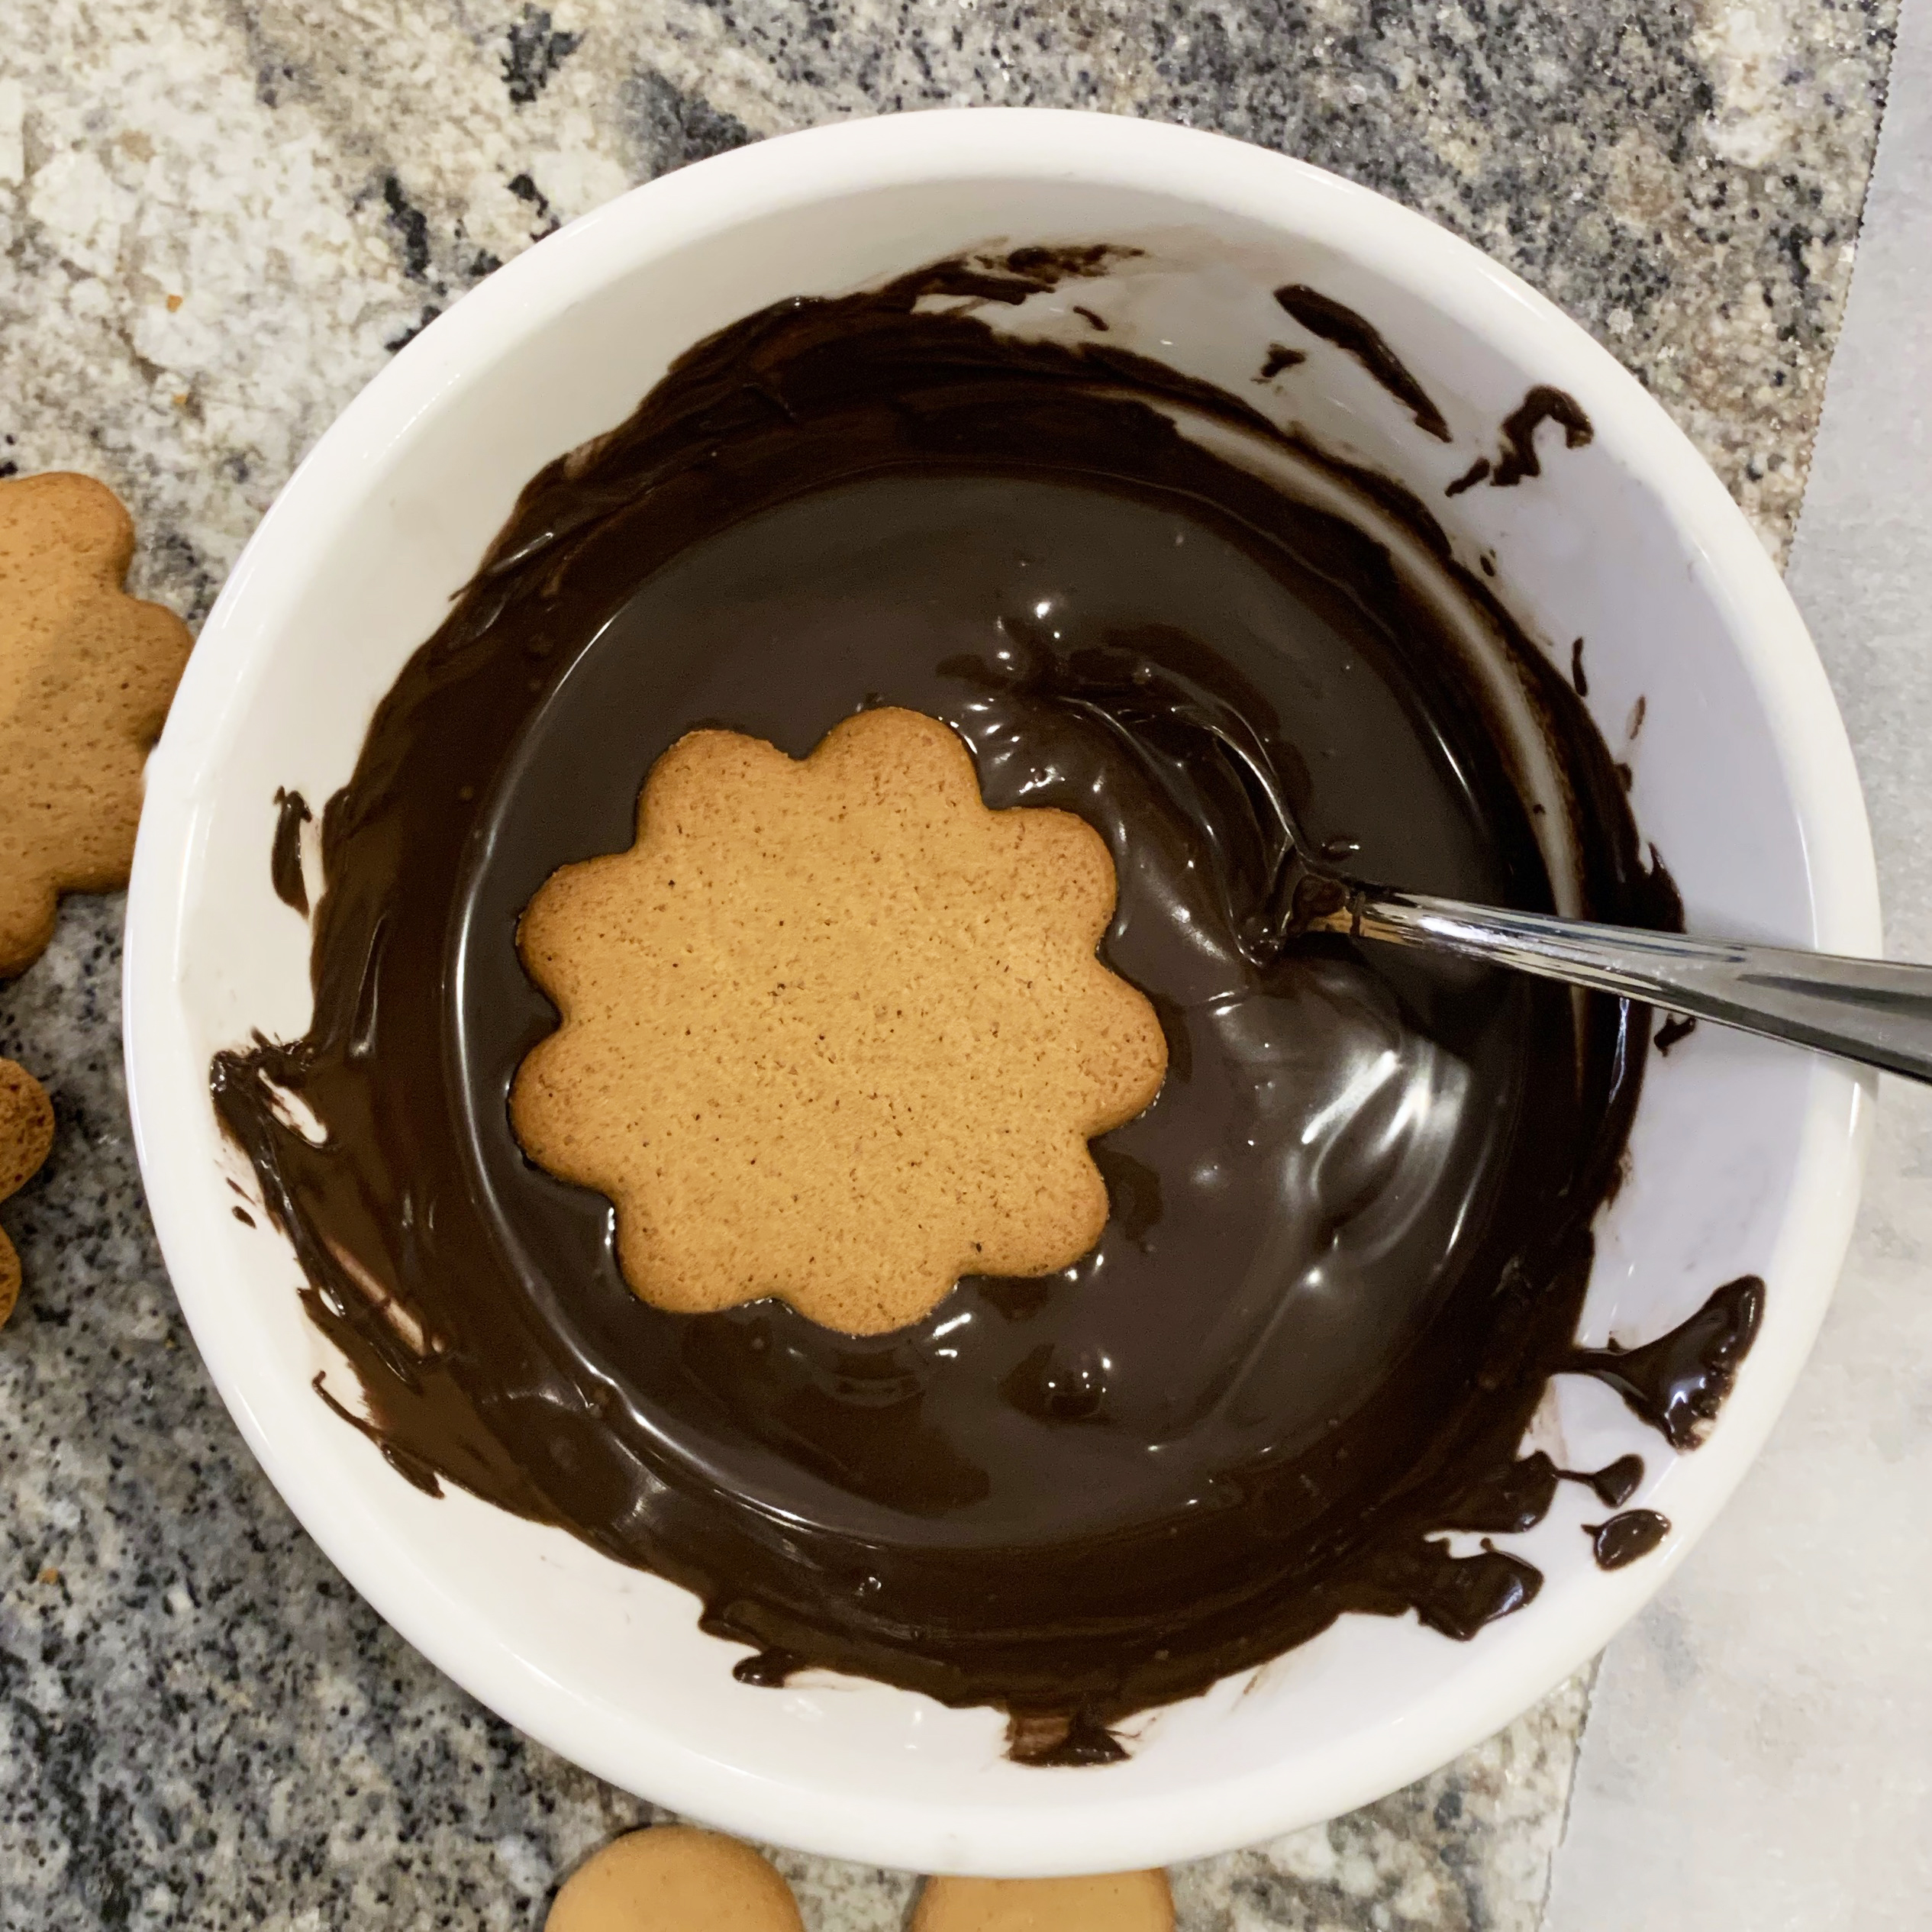
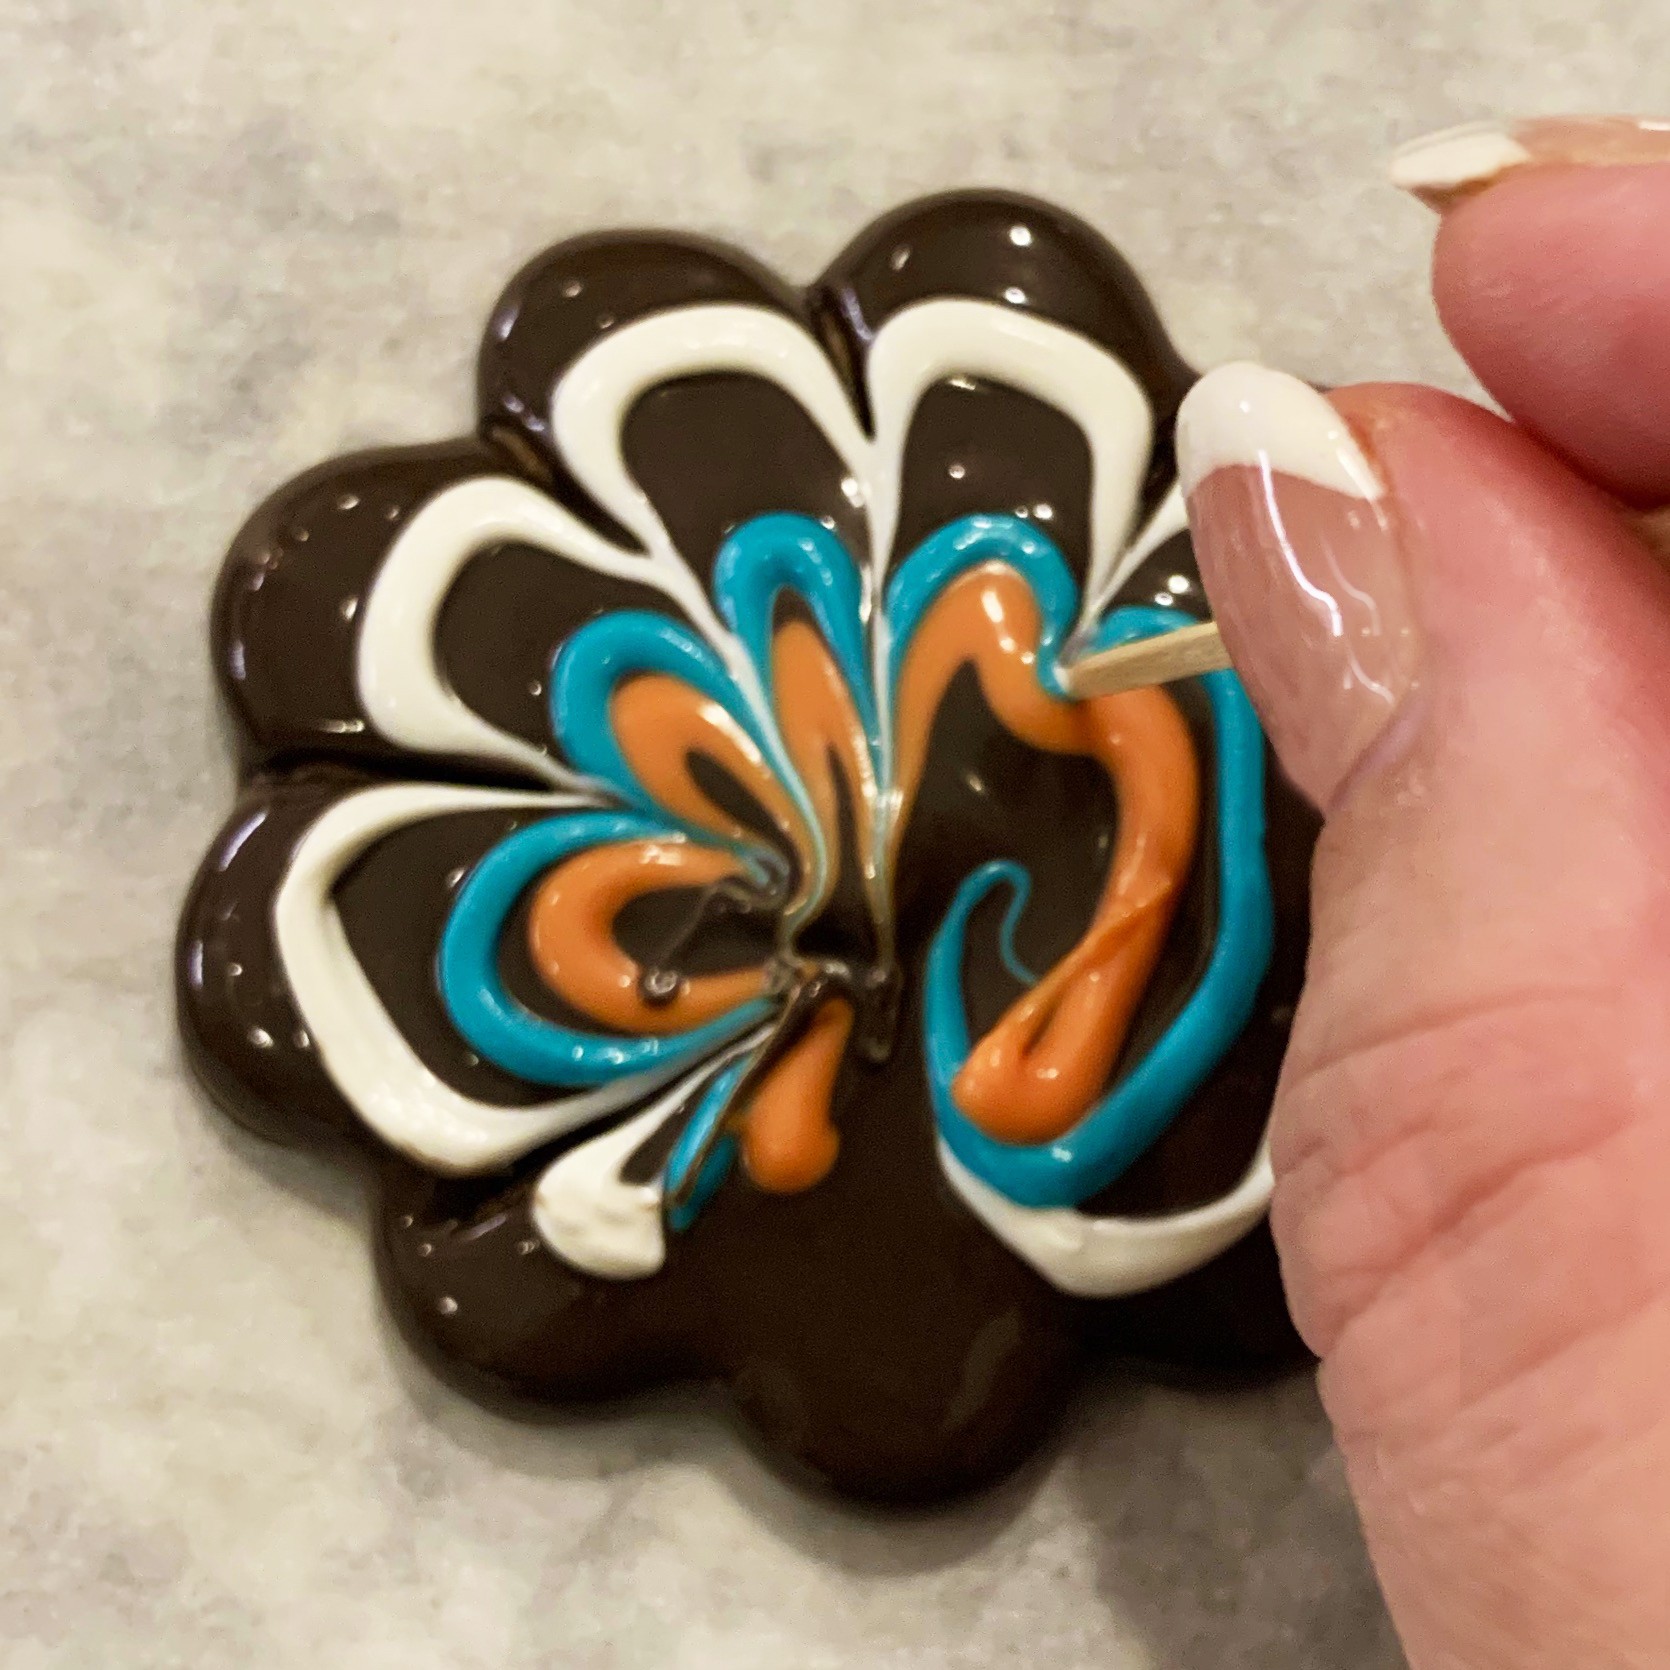
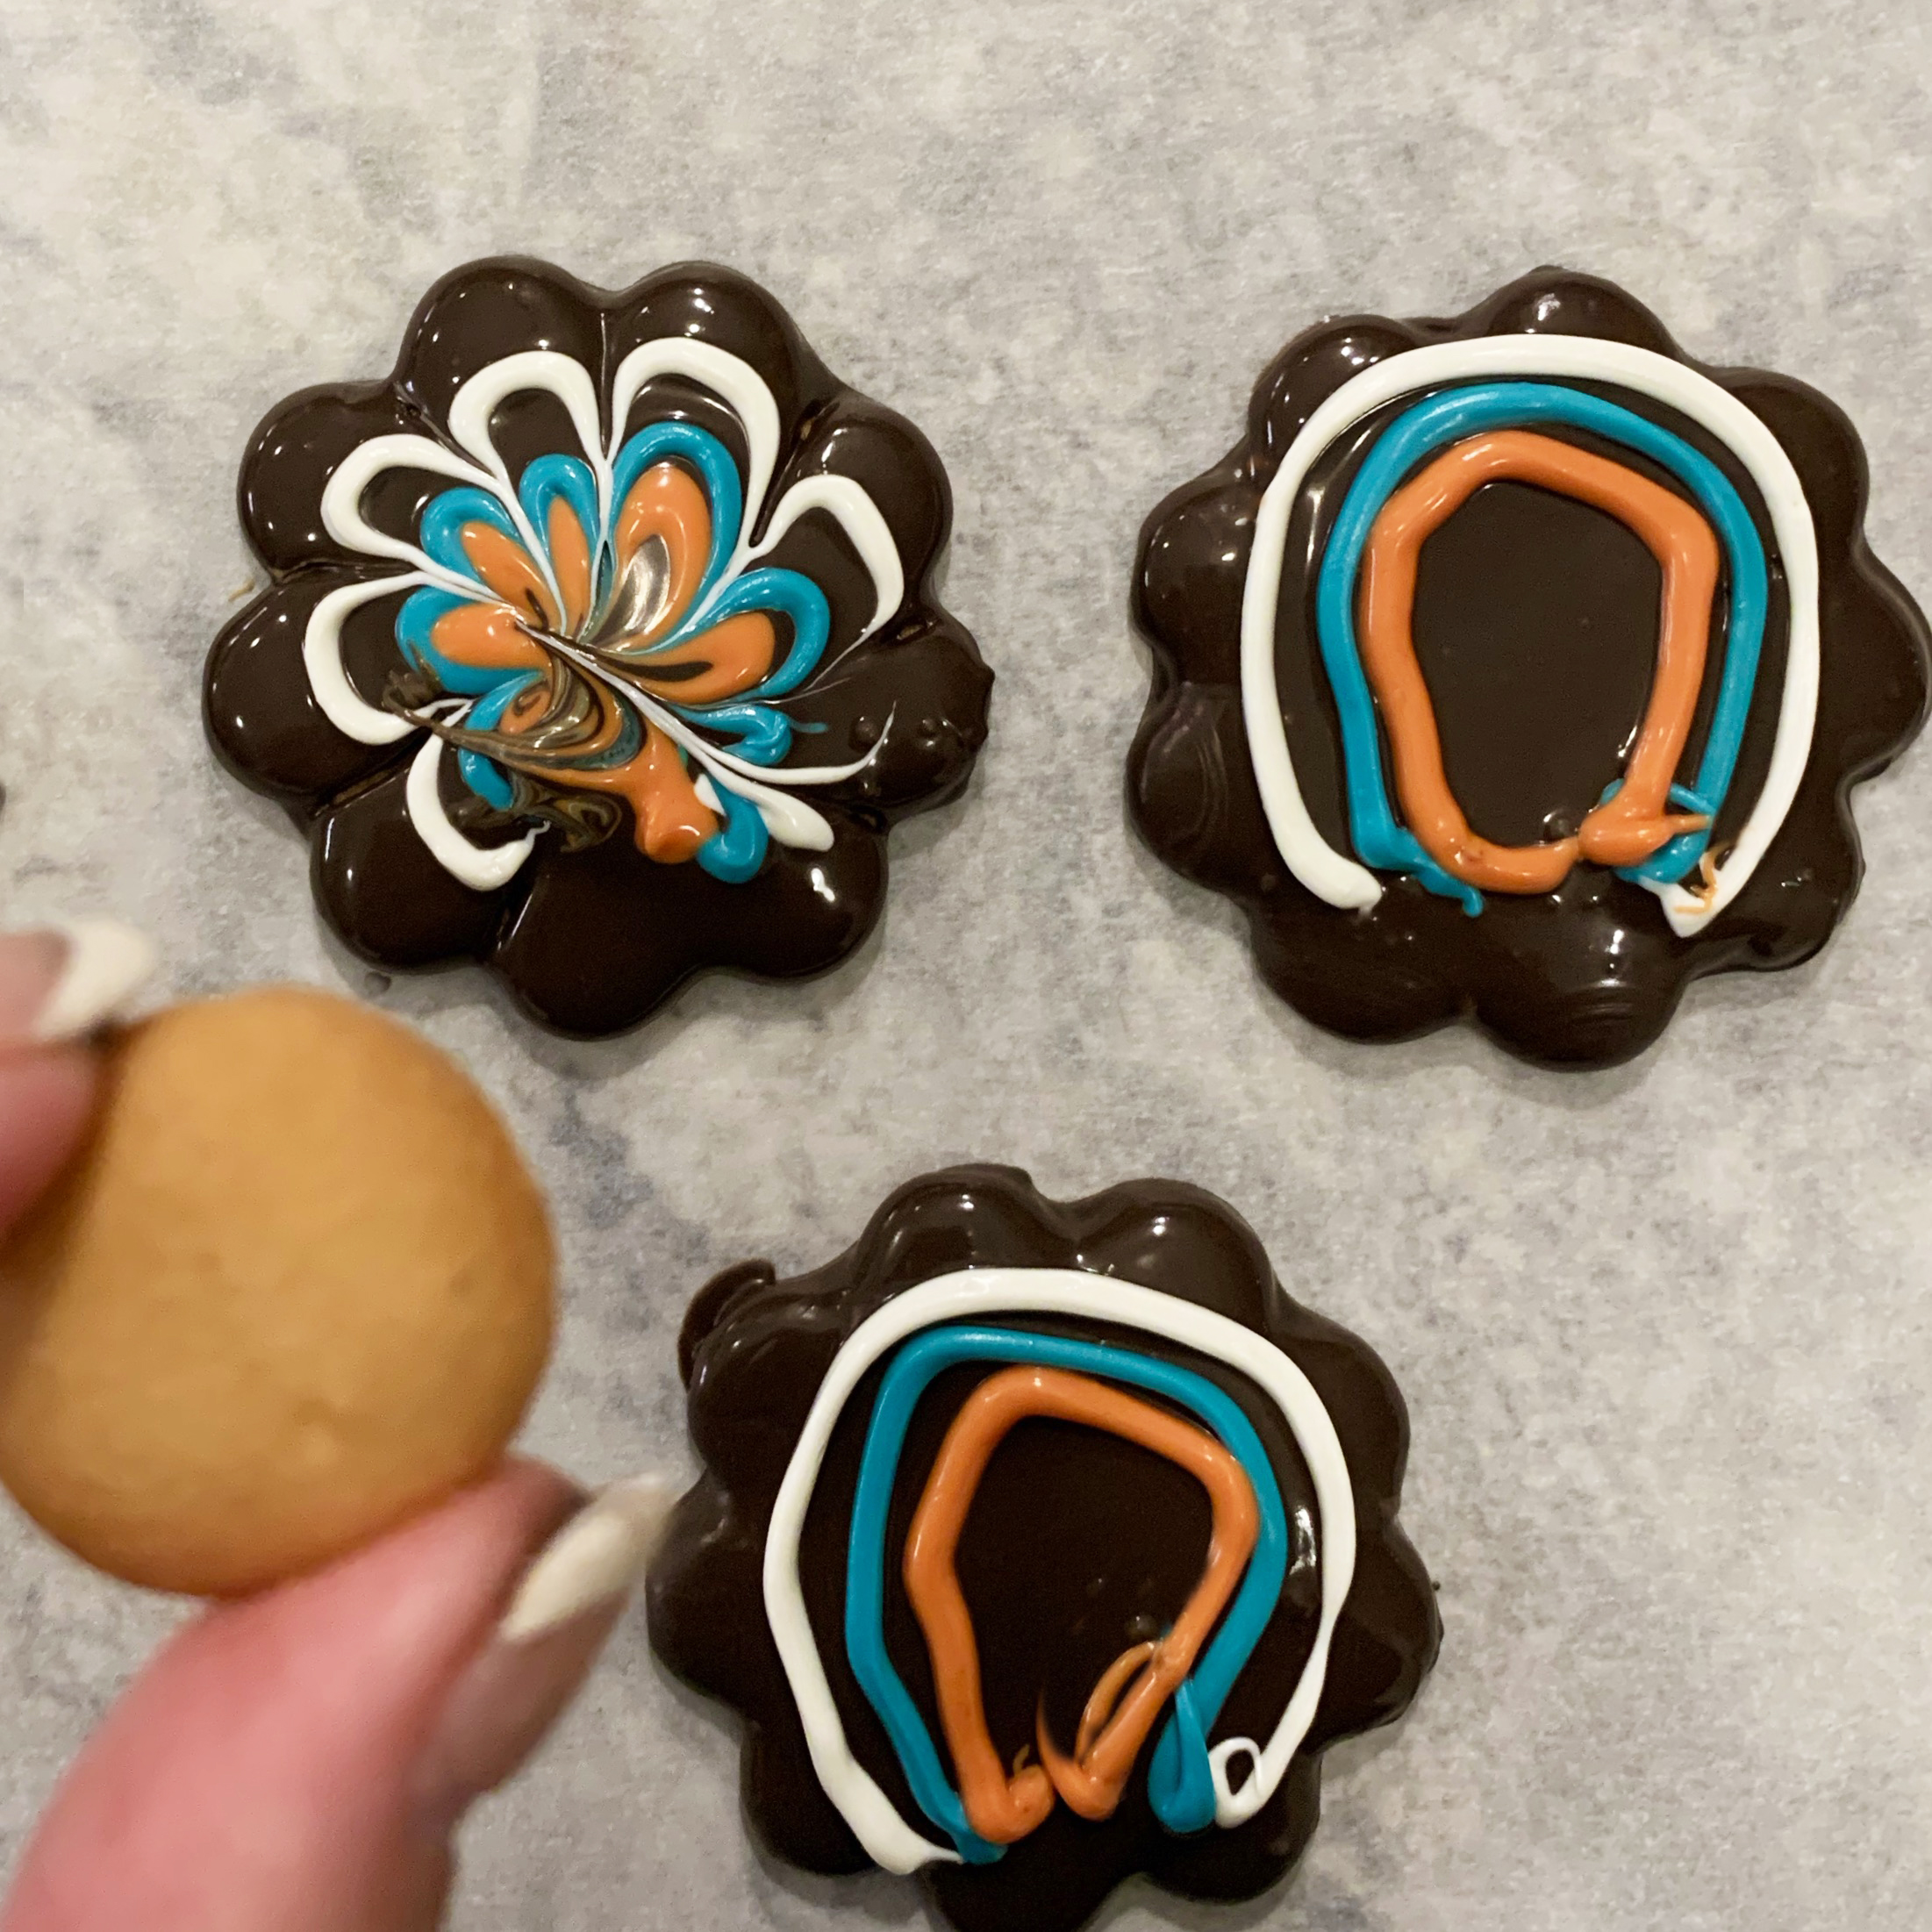
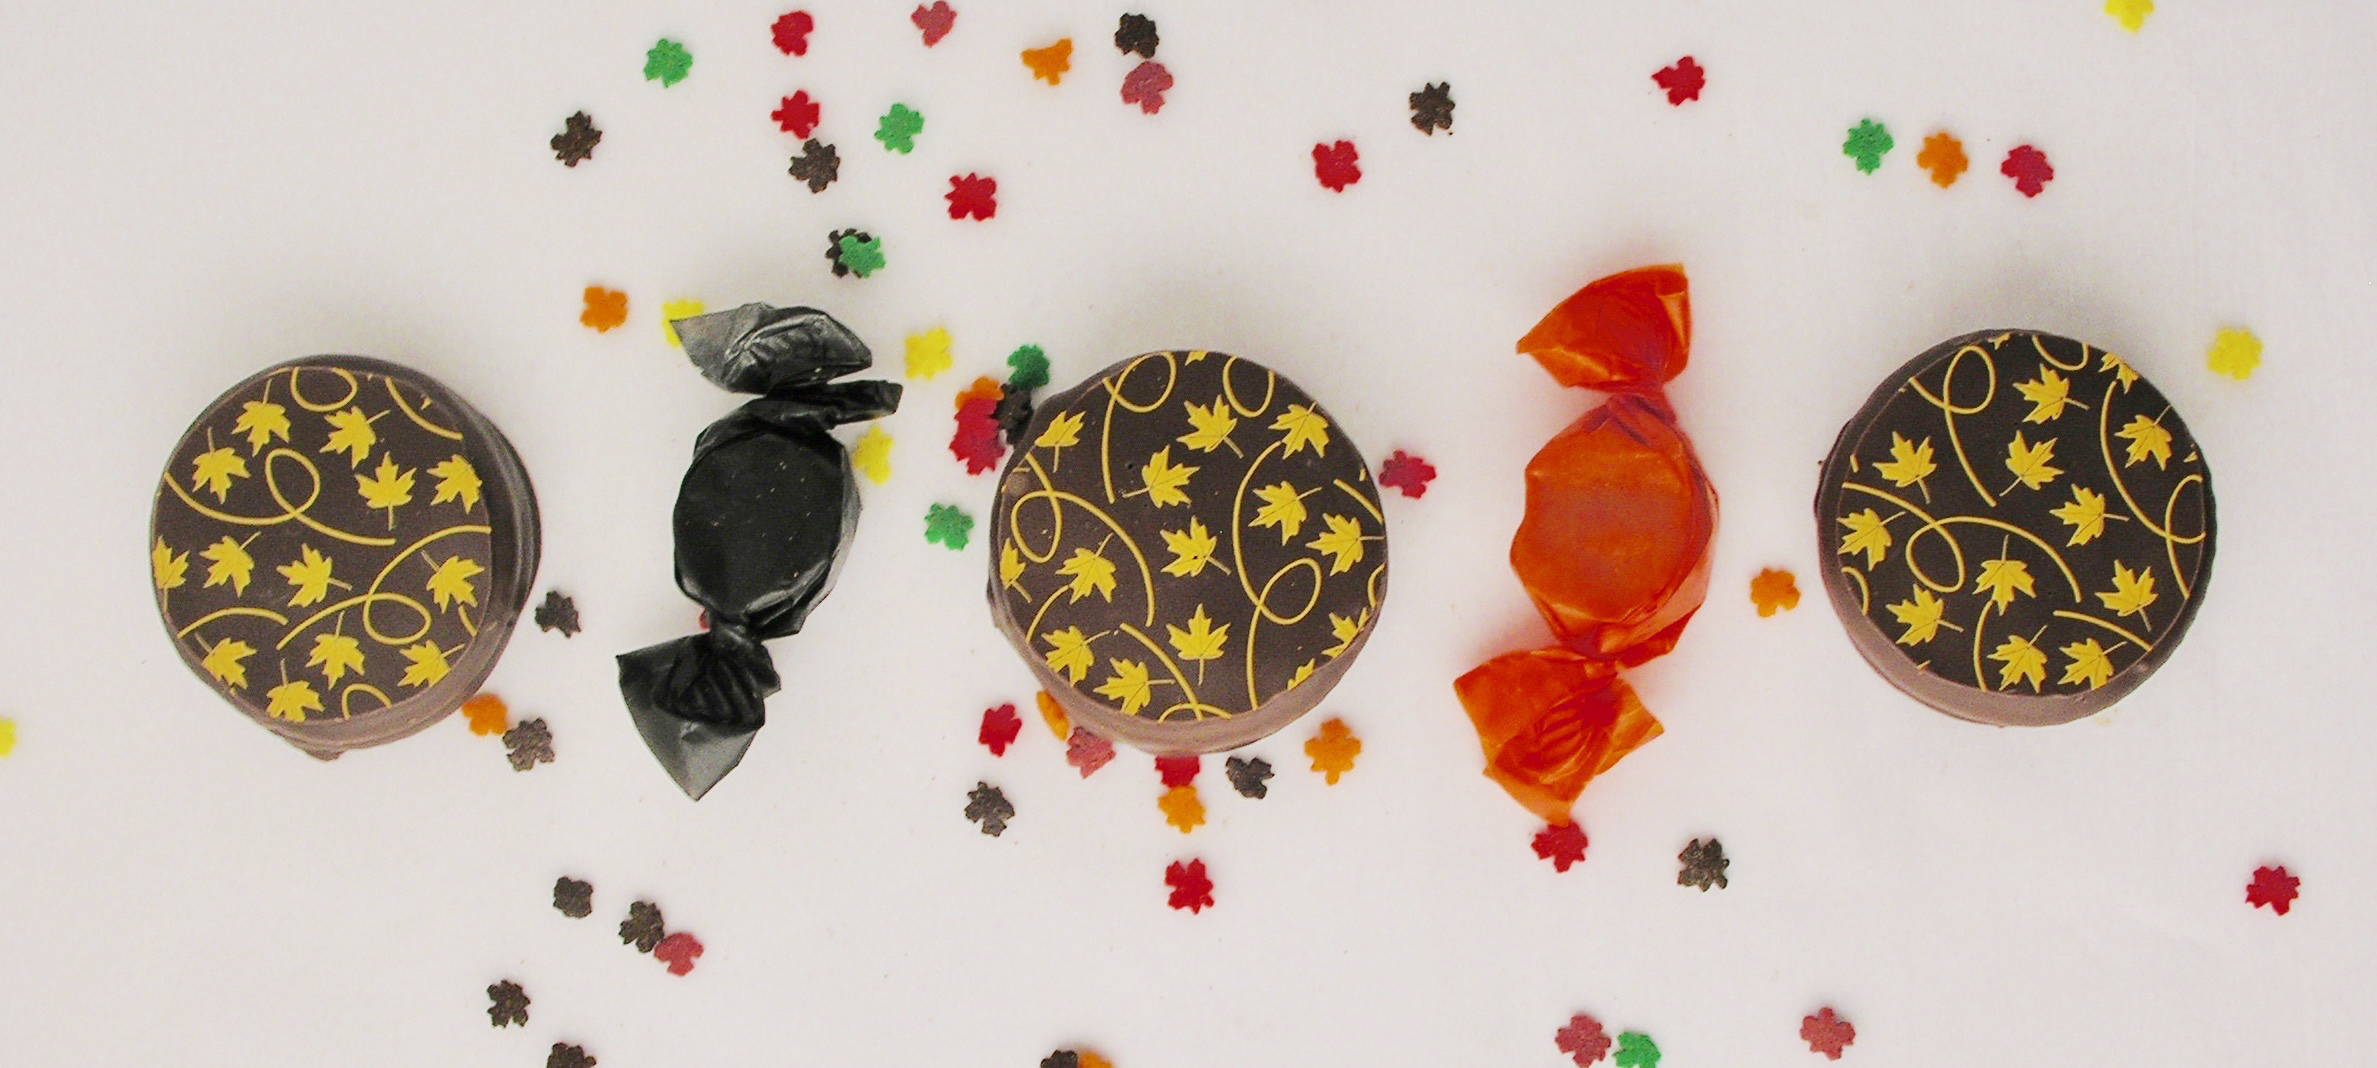
 My thoughts: Sometimes the way I “see” a potential idea in my head just doesn’t work when I make it, but these are even more cute (and they were much easier) than I expected. If you want a fun little edible craft to add to your Thanksgiving table, these really are so perfect! I hope you get a chance to make them! ~r
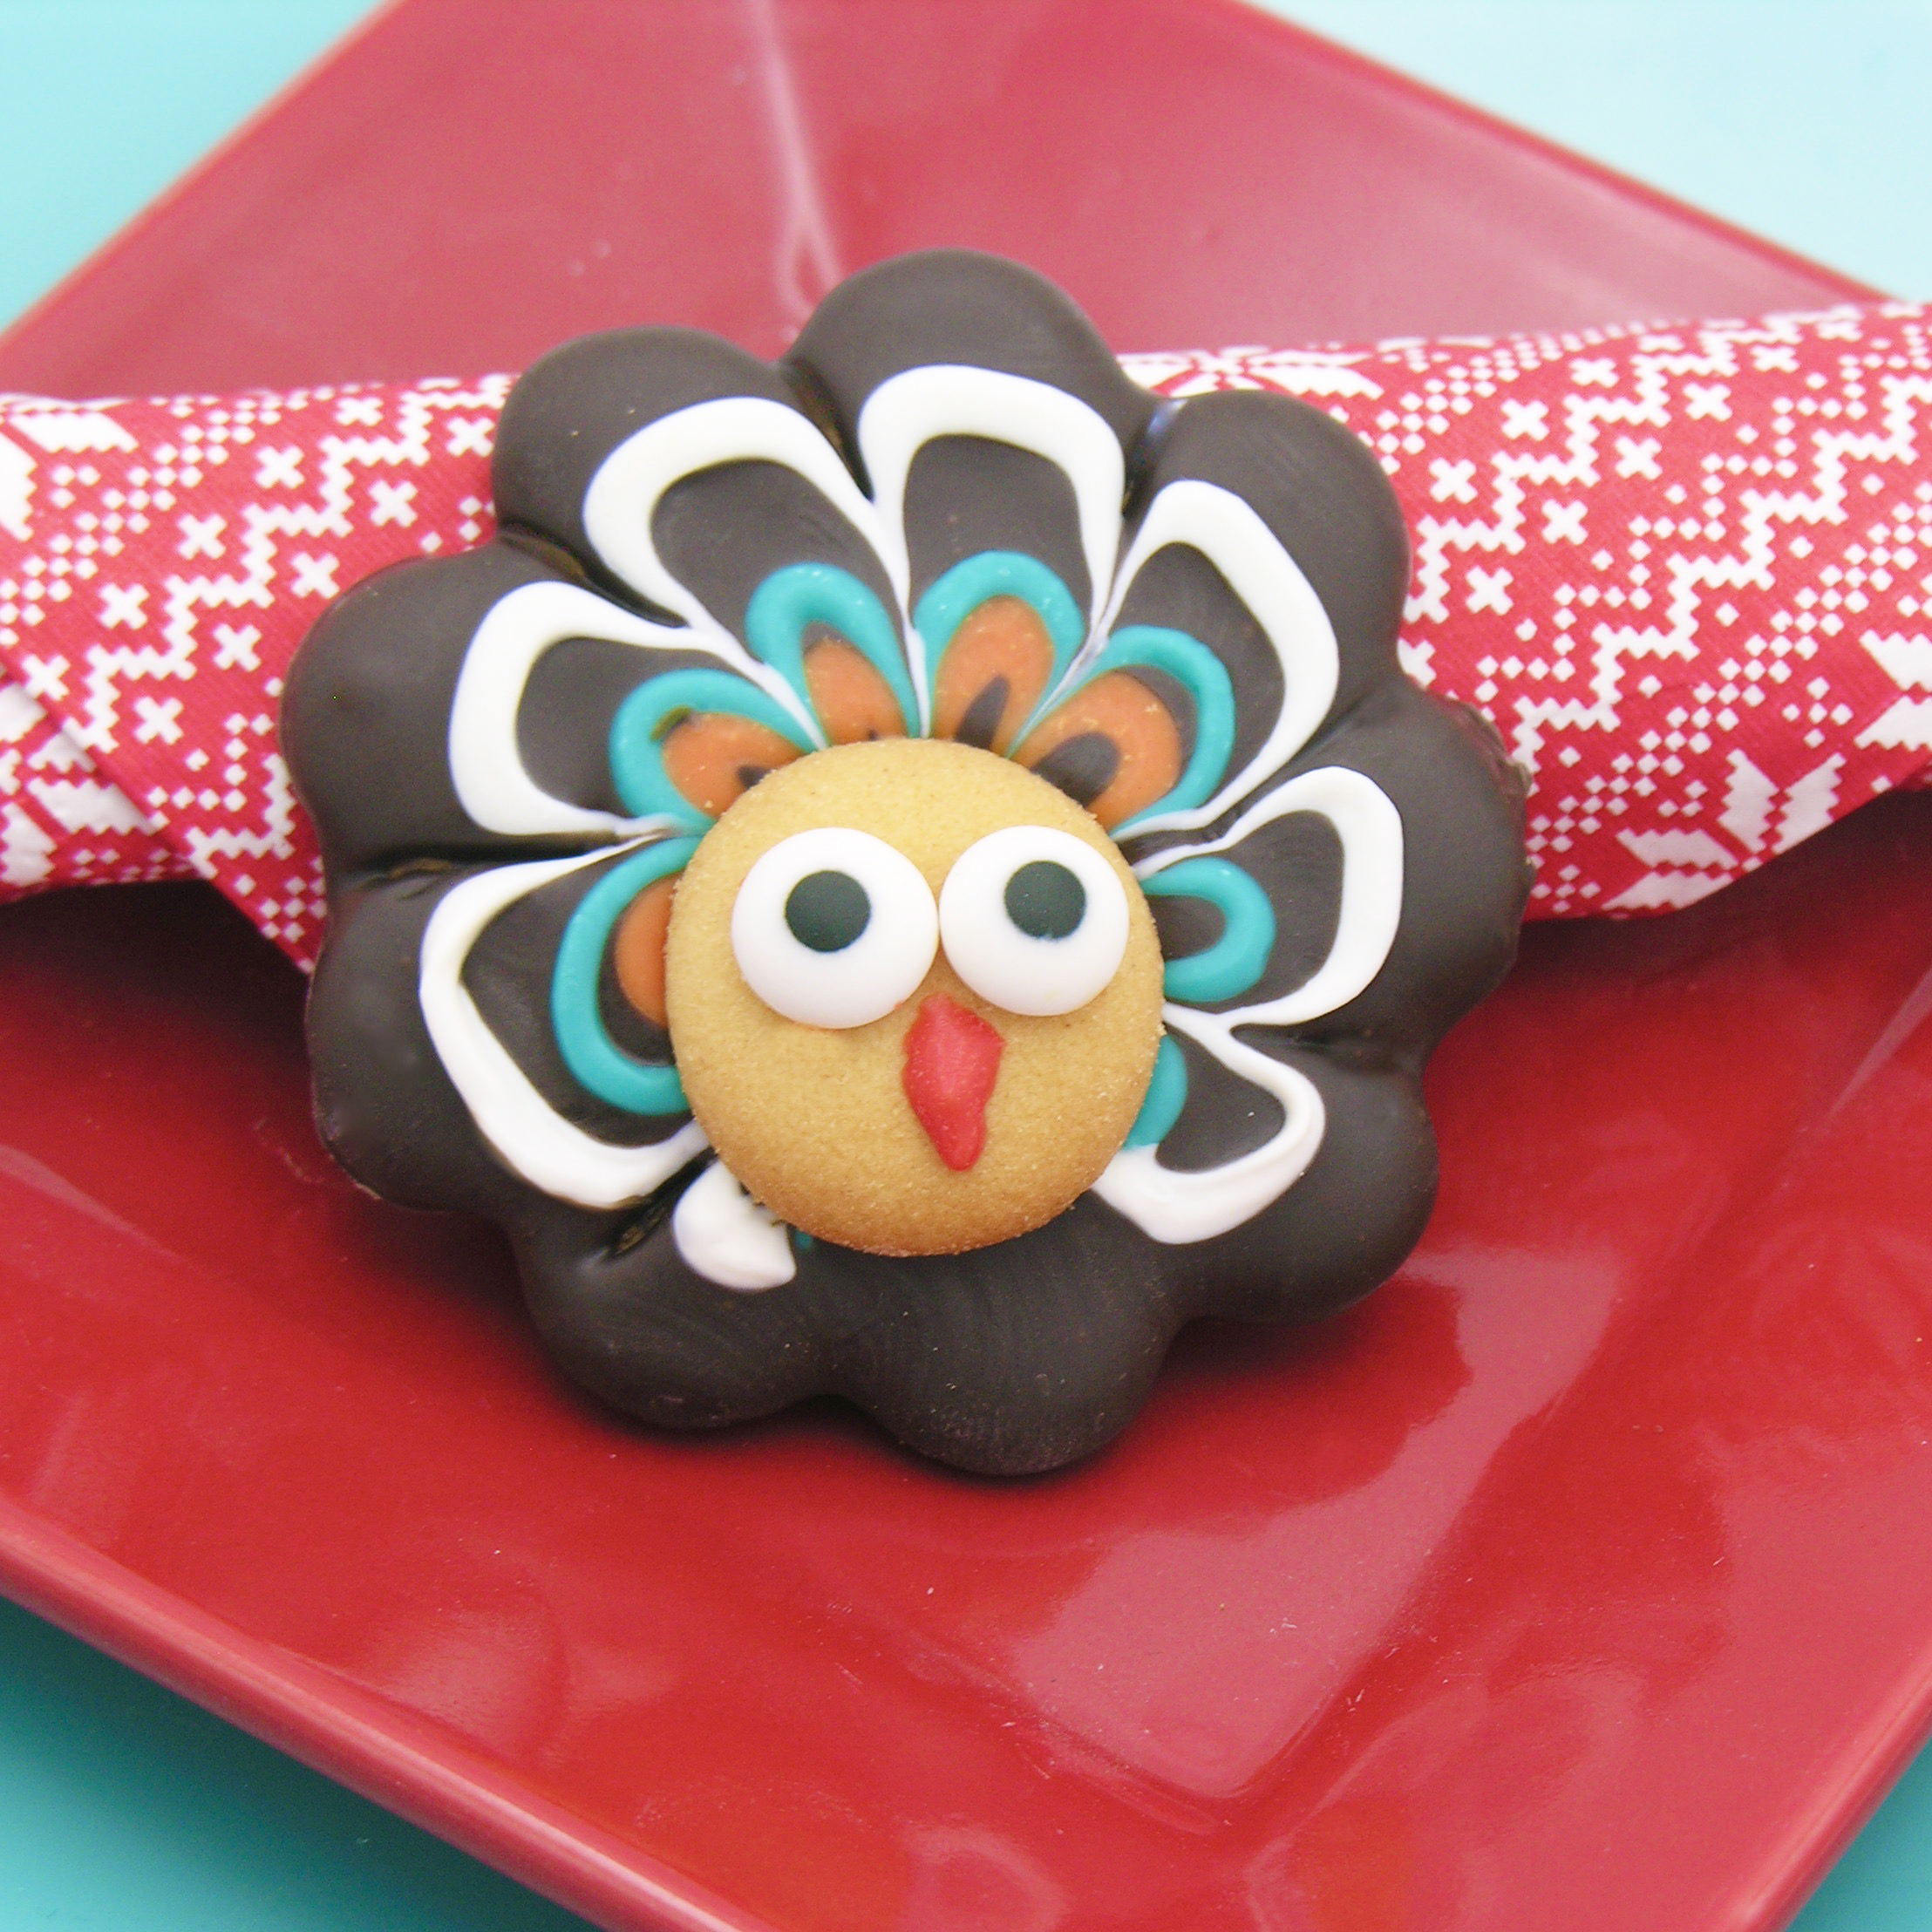 Want a few more fun recipes for Turkey Day??? Here you go! (just click on a photo to see the recipe)
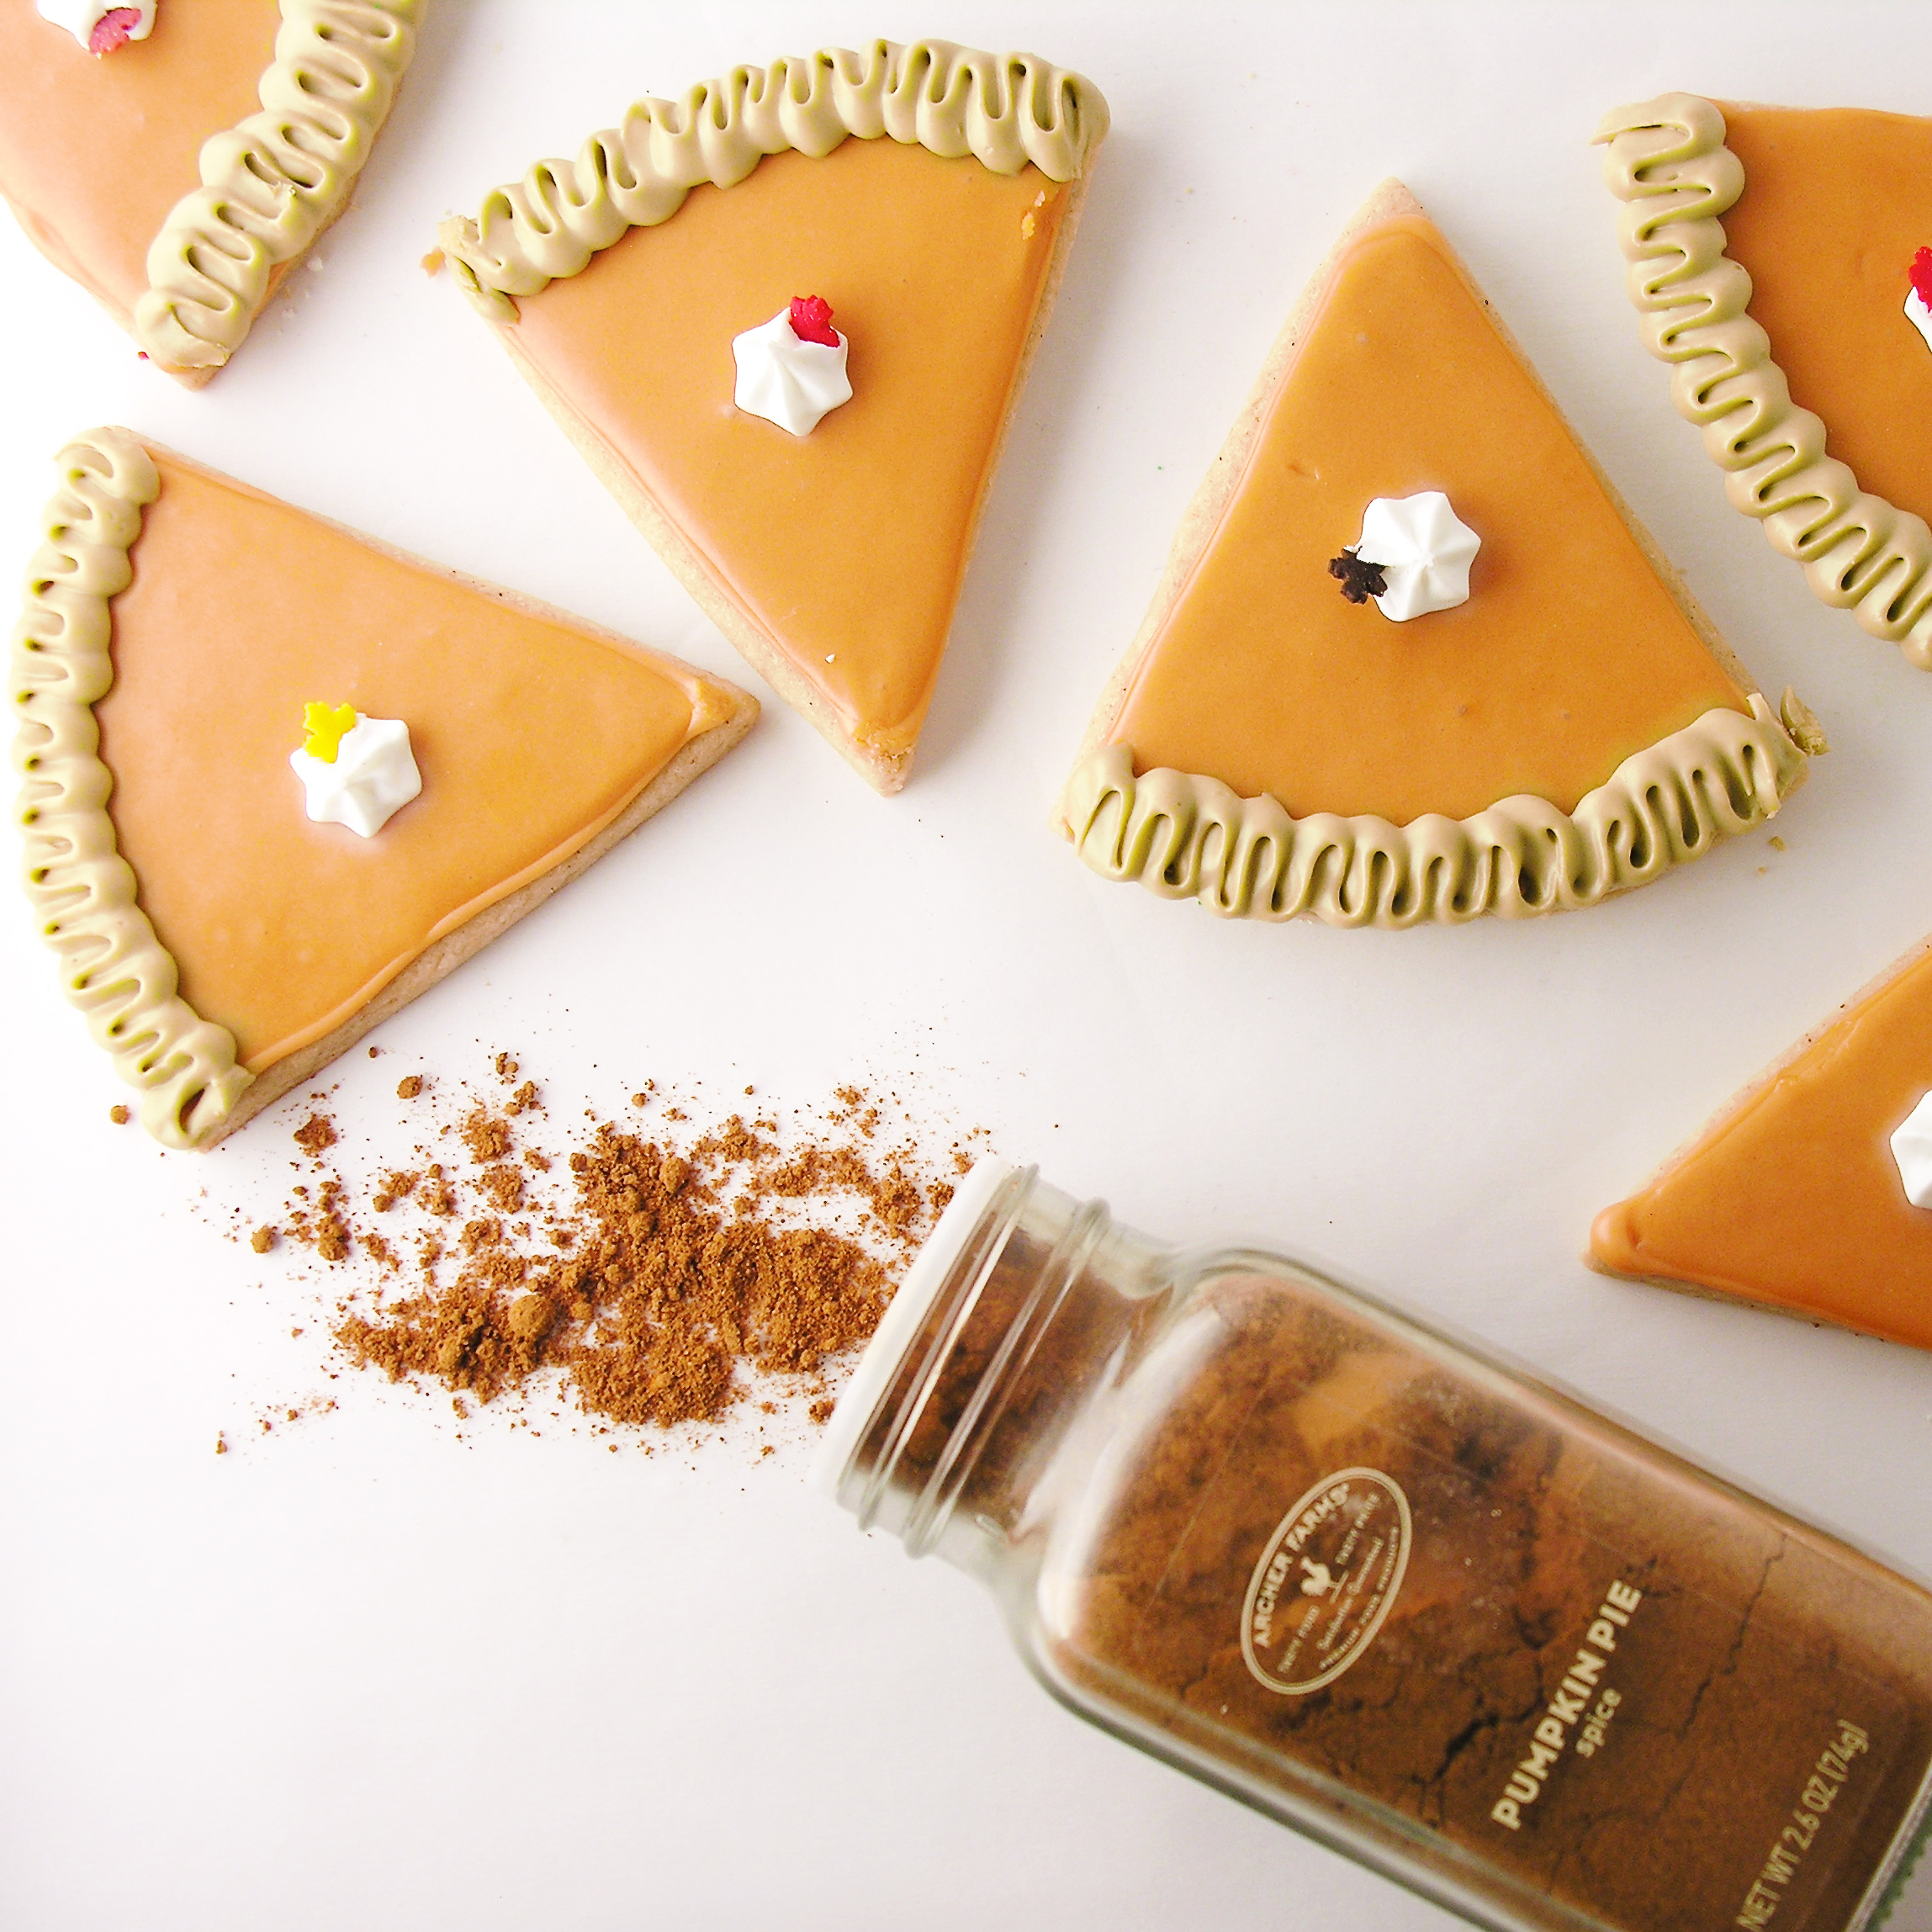
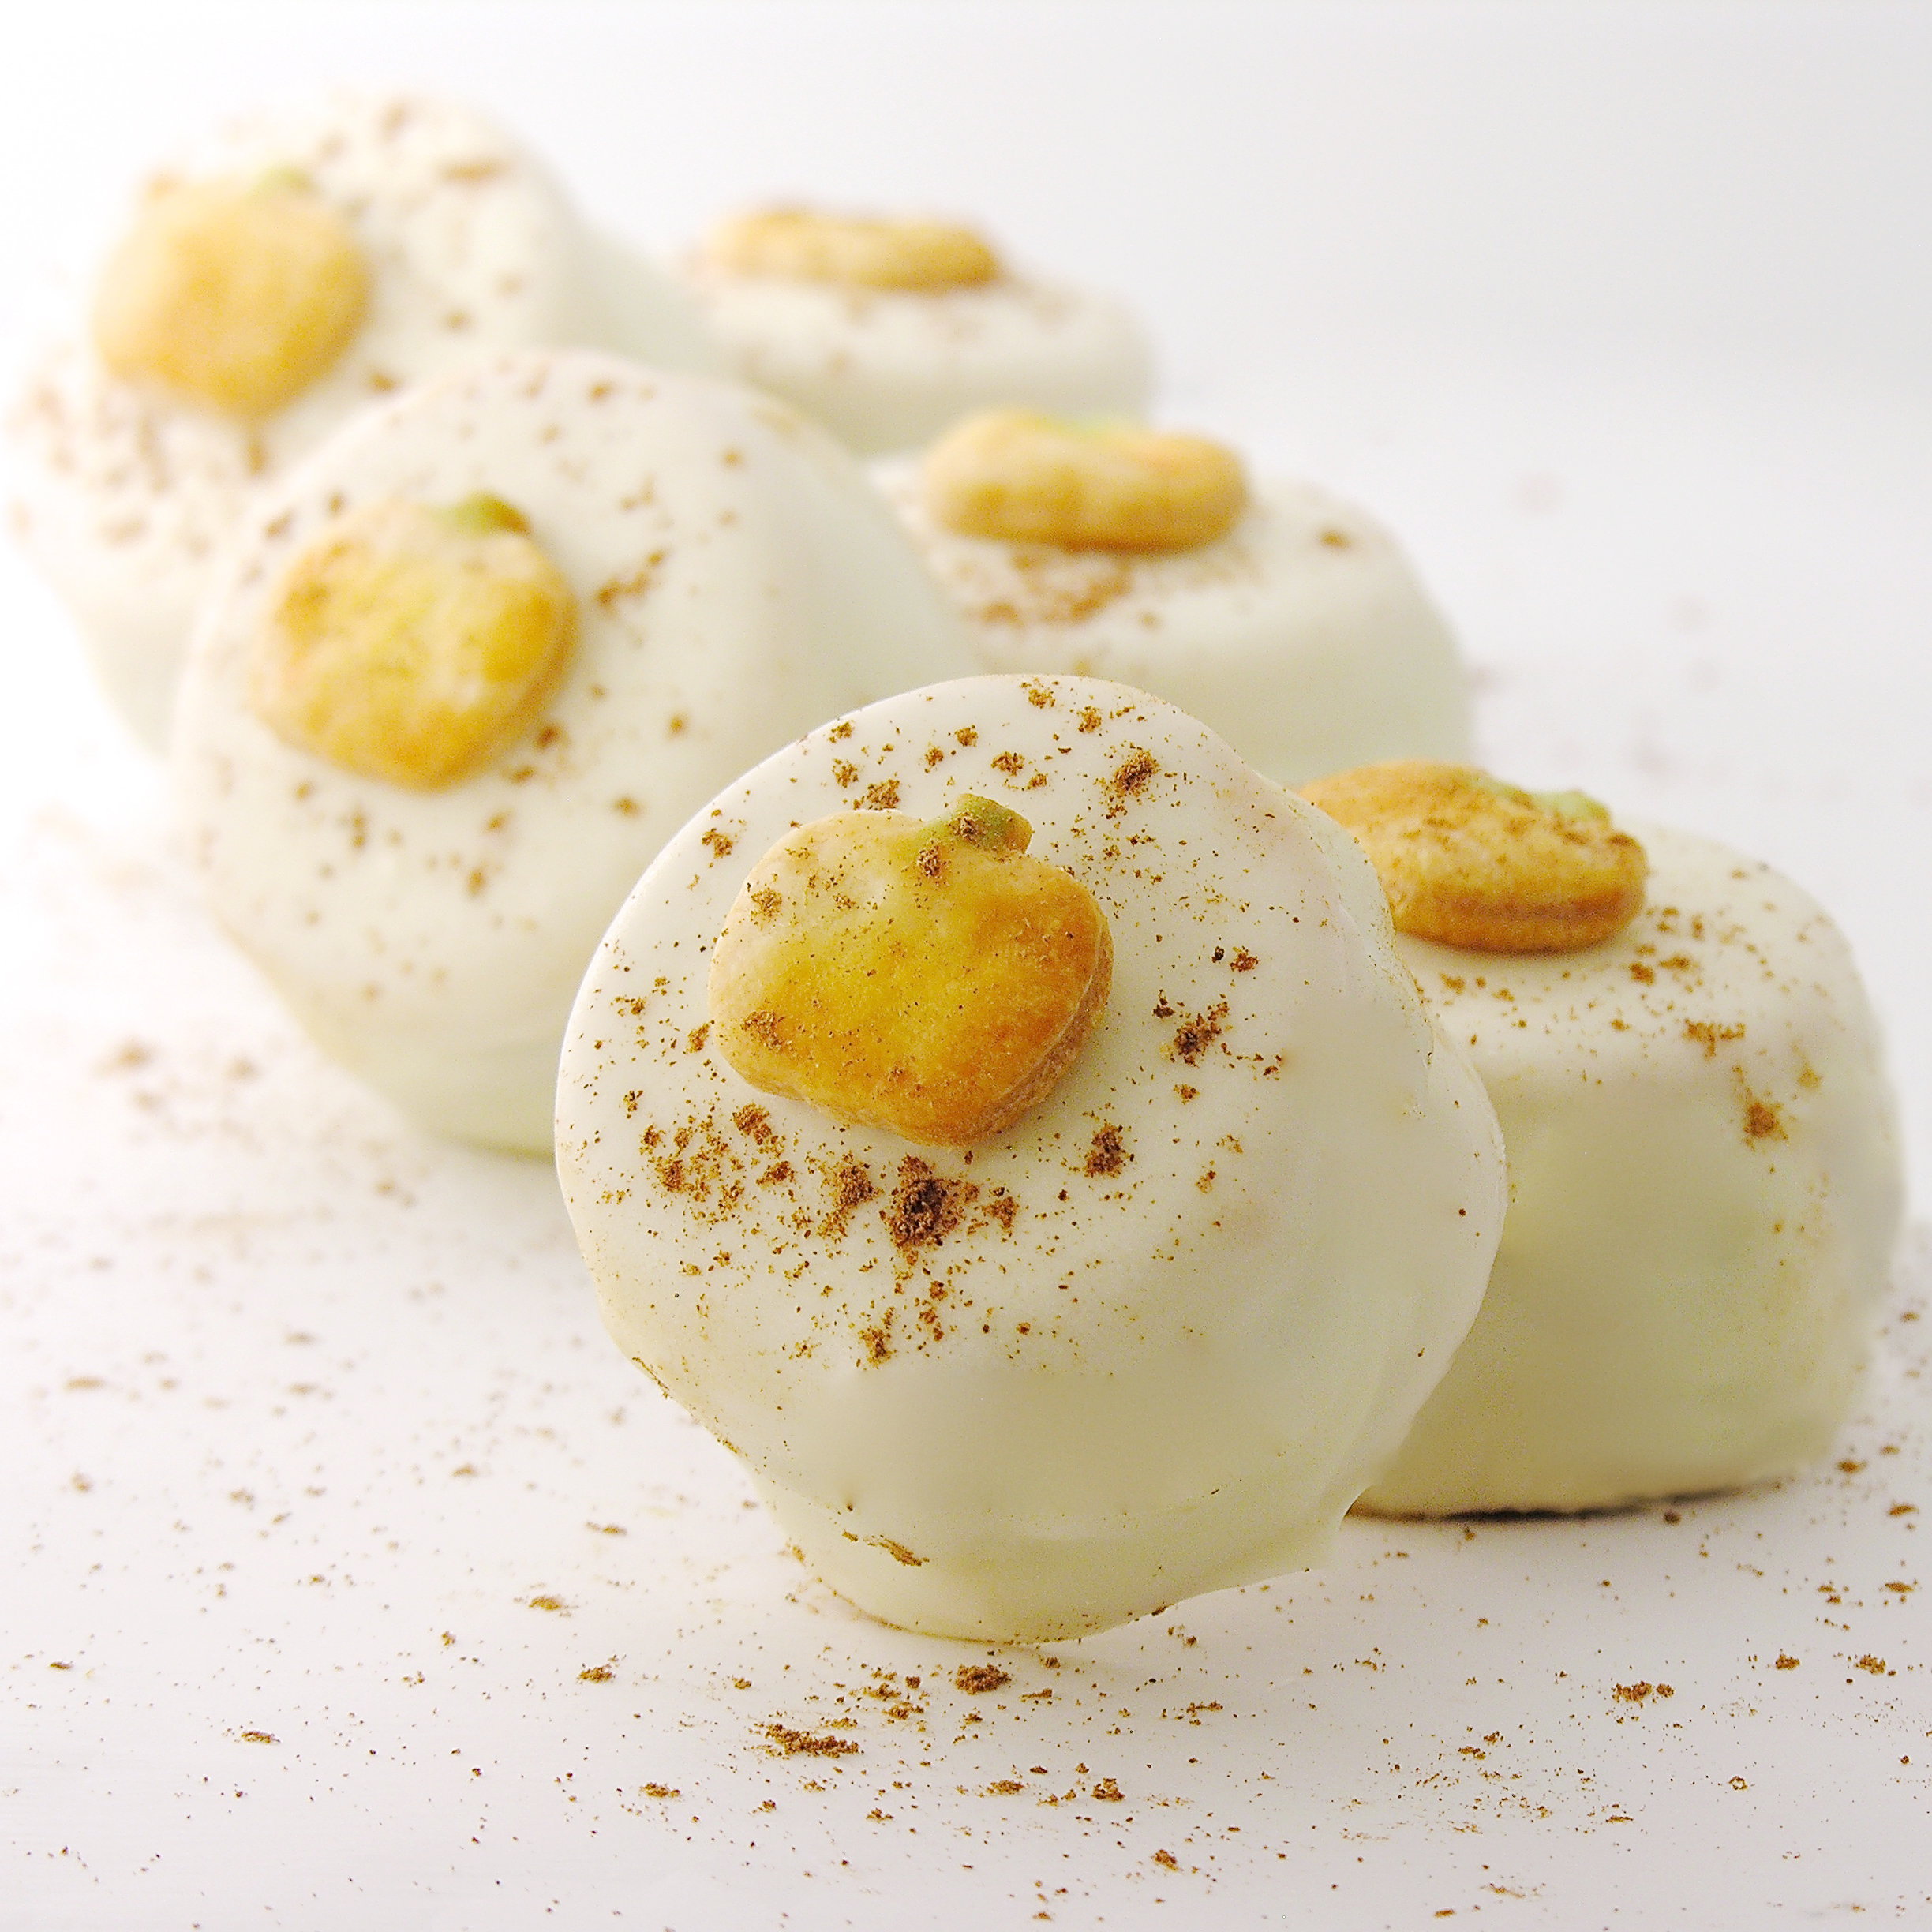


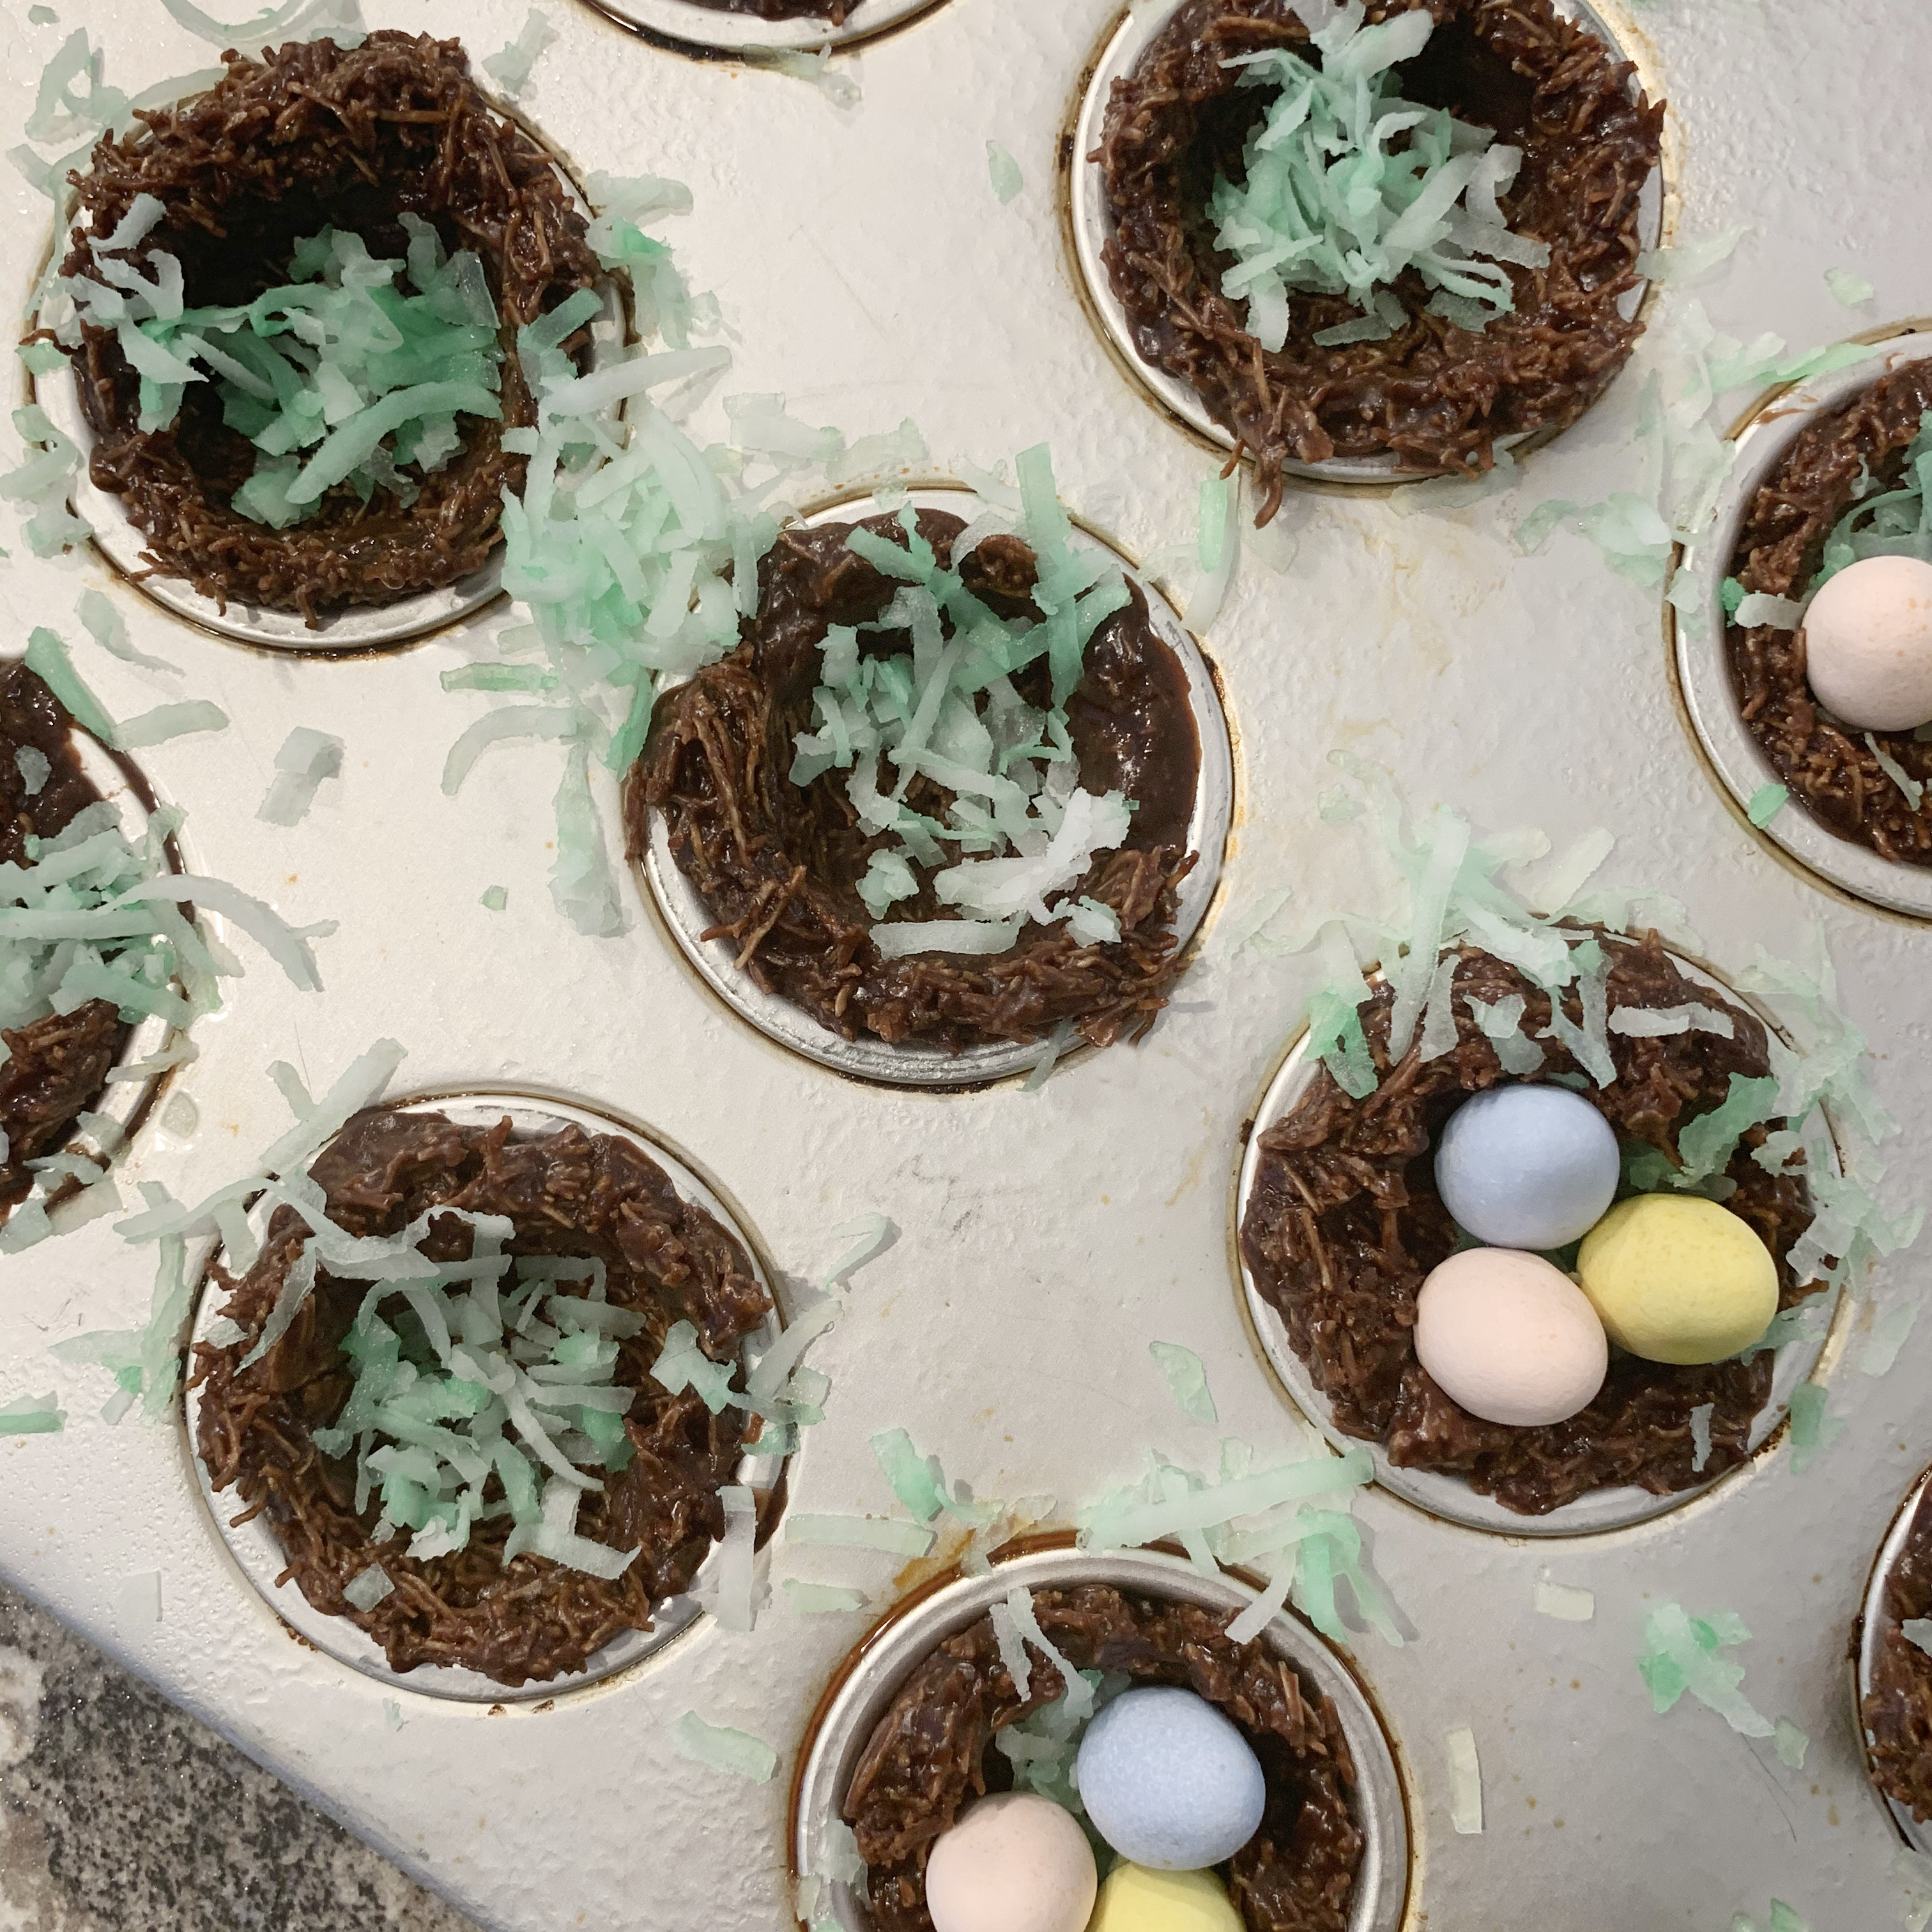
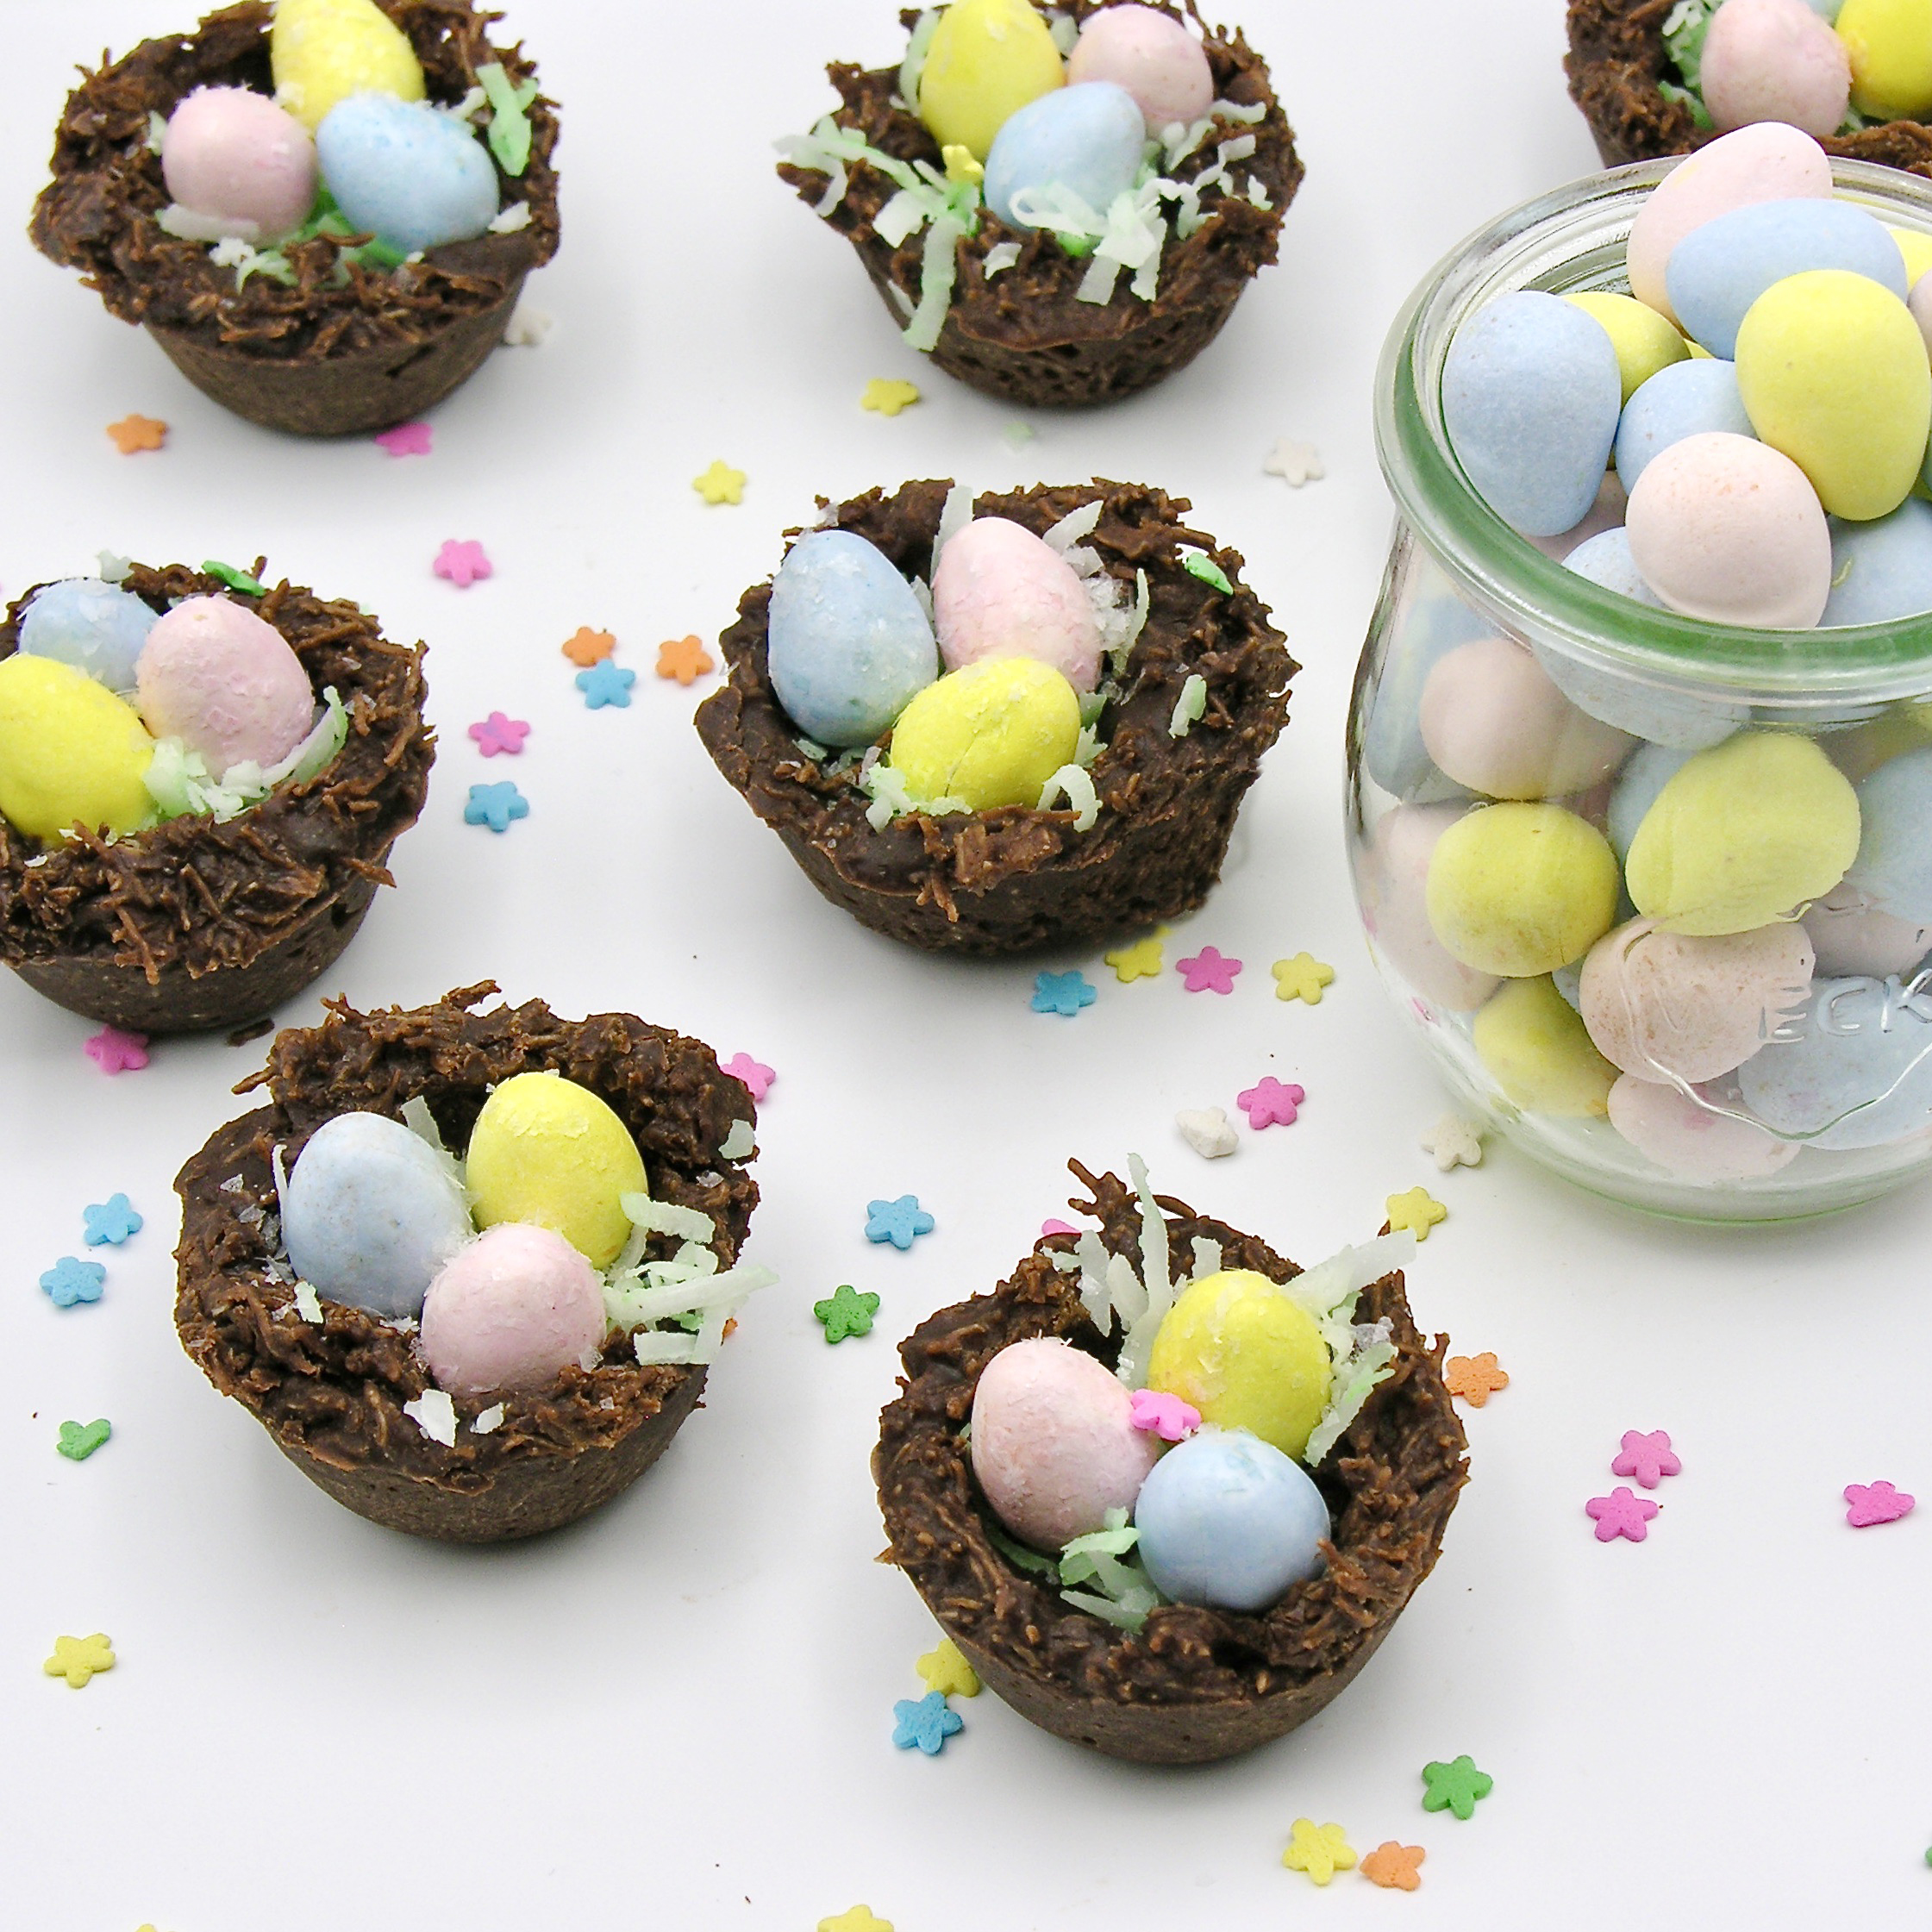
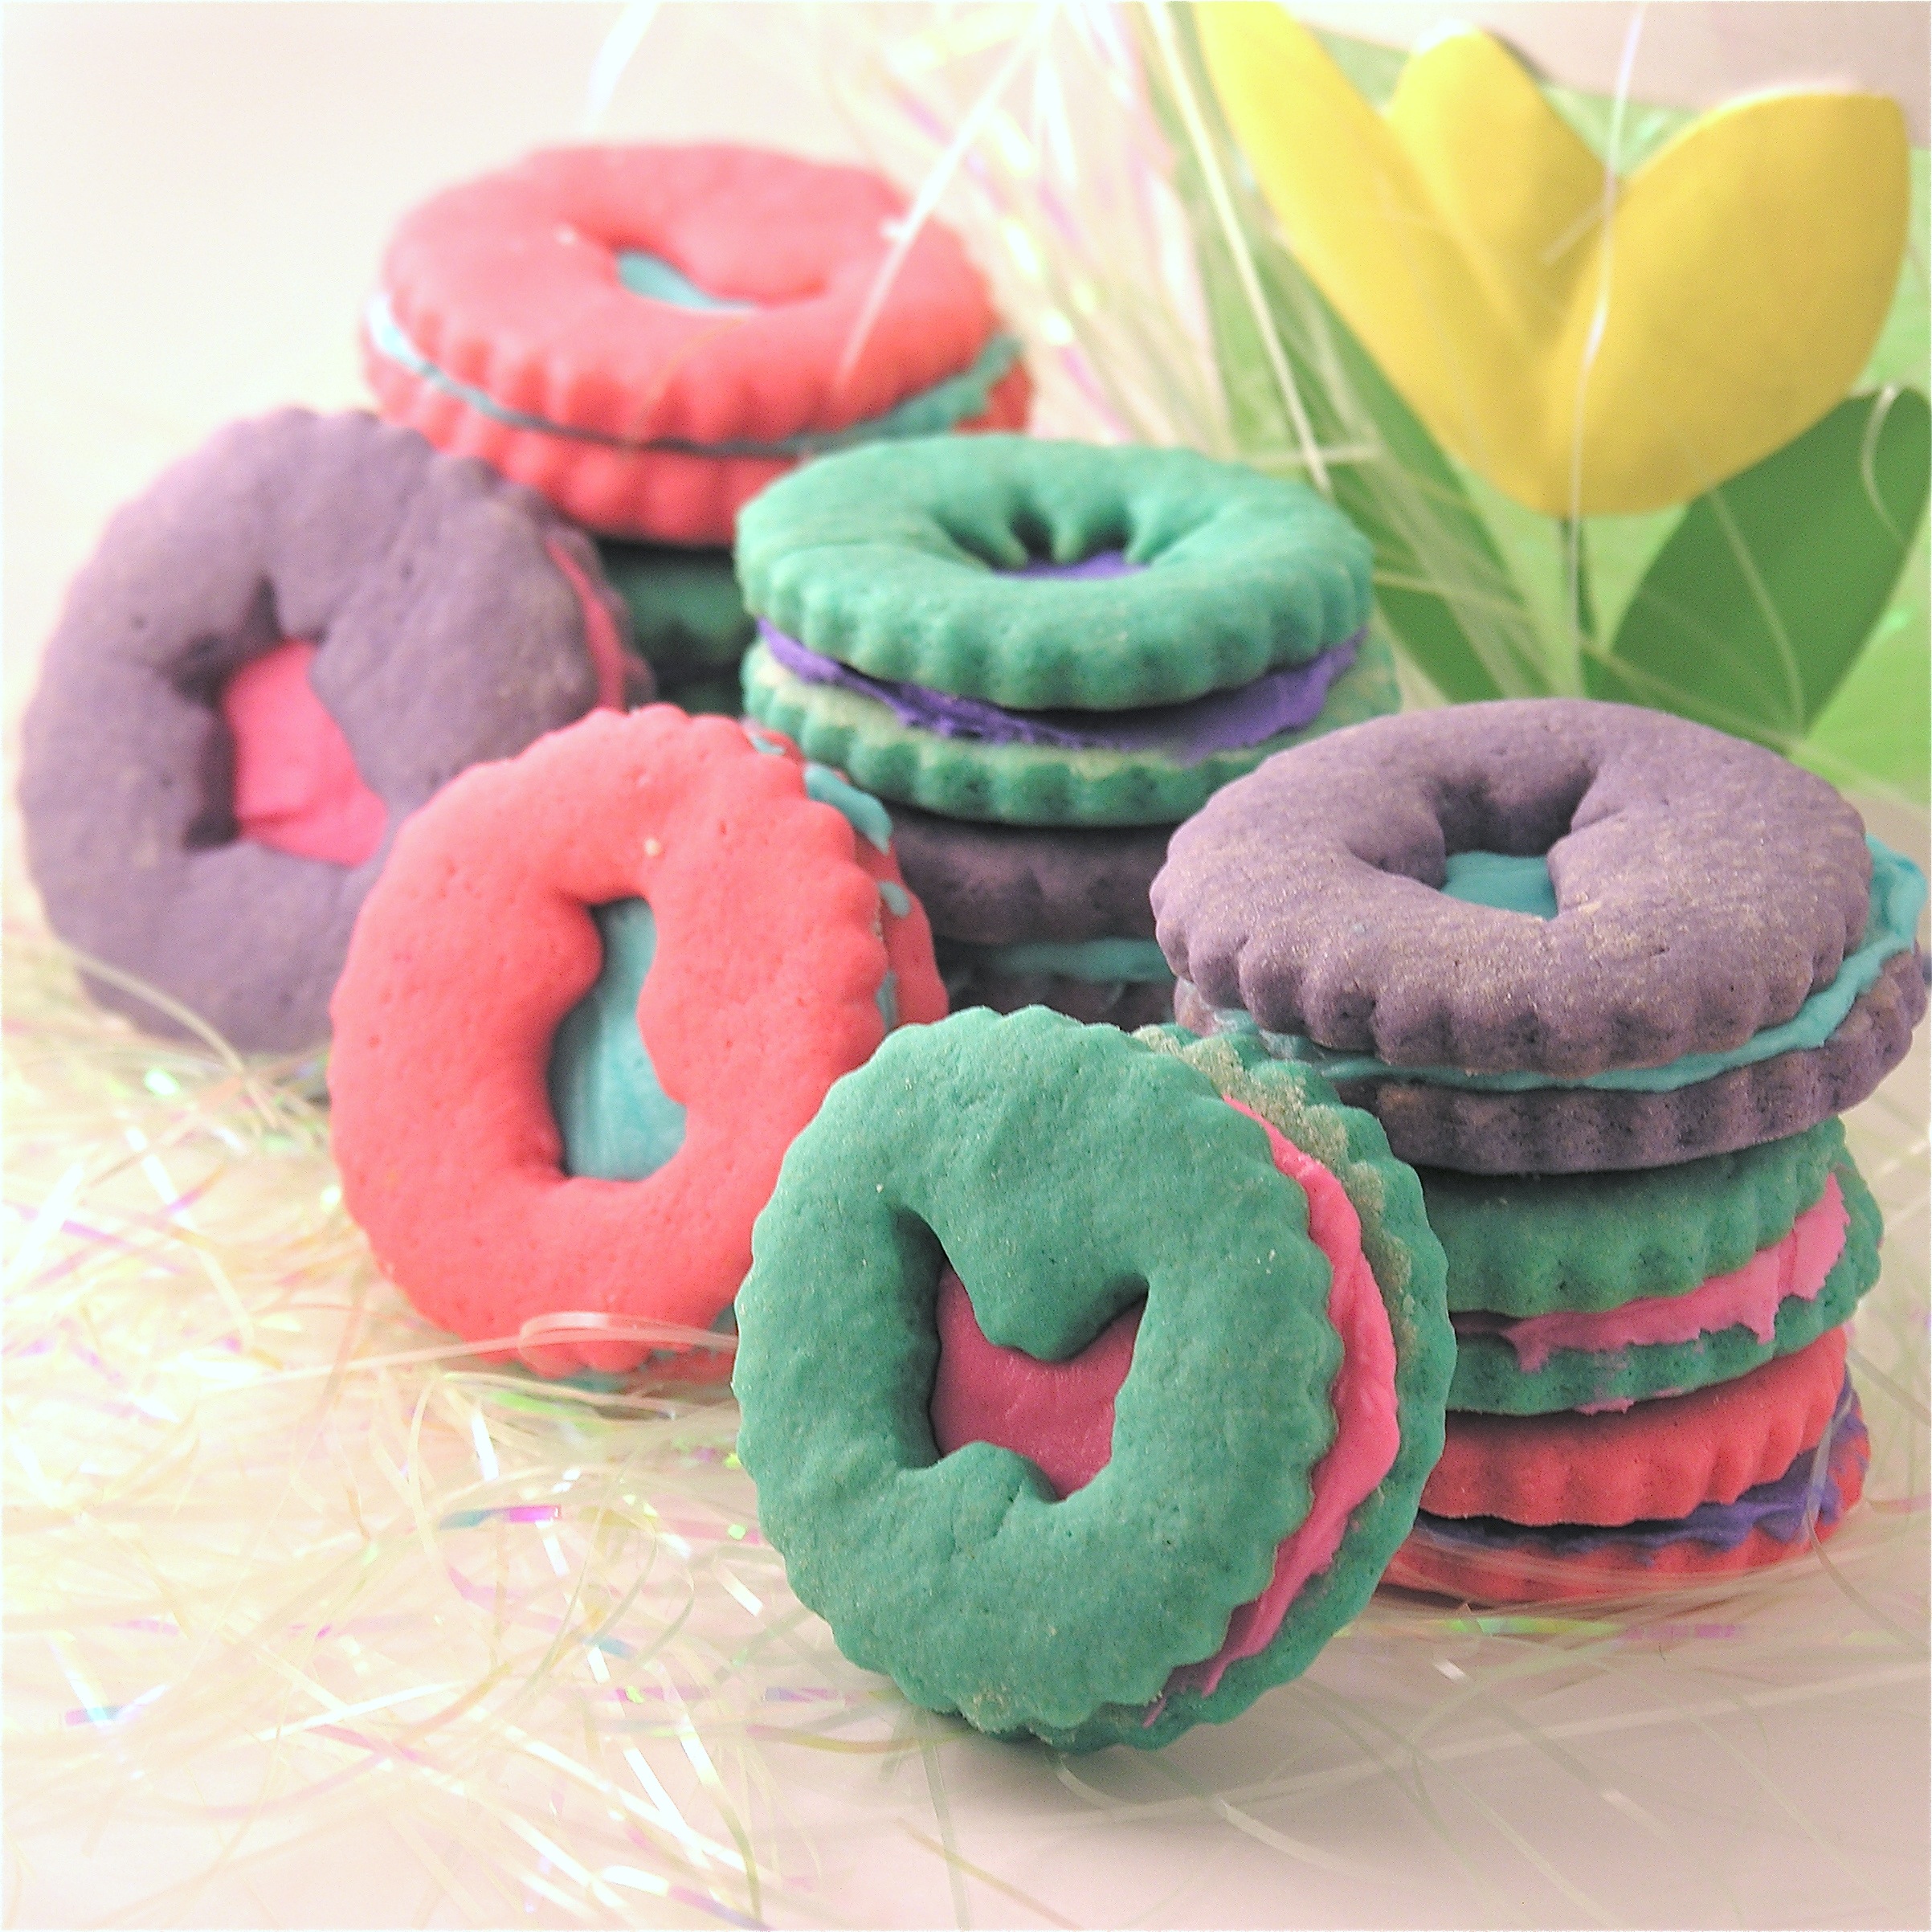
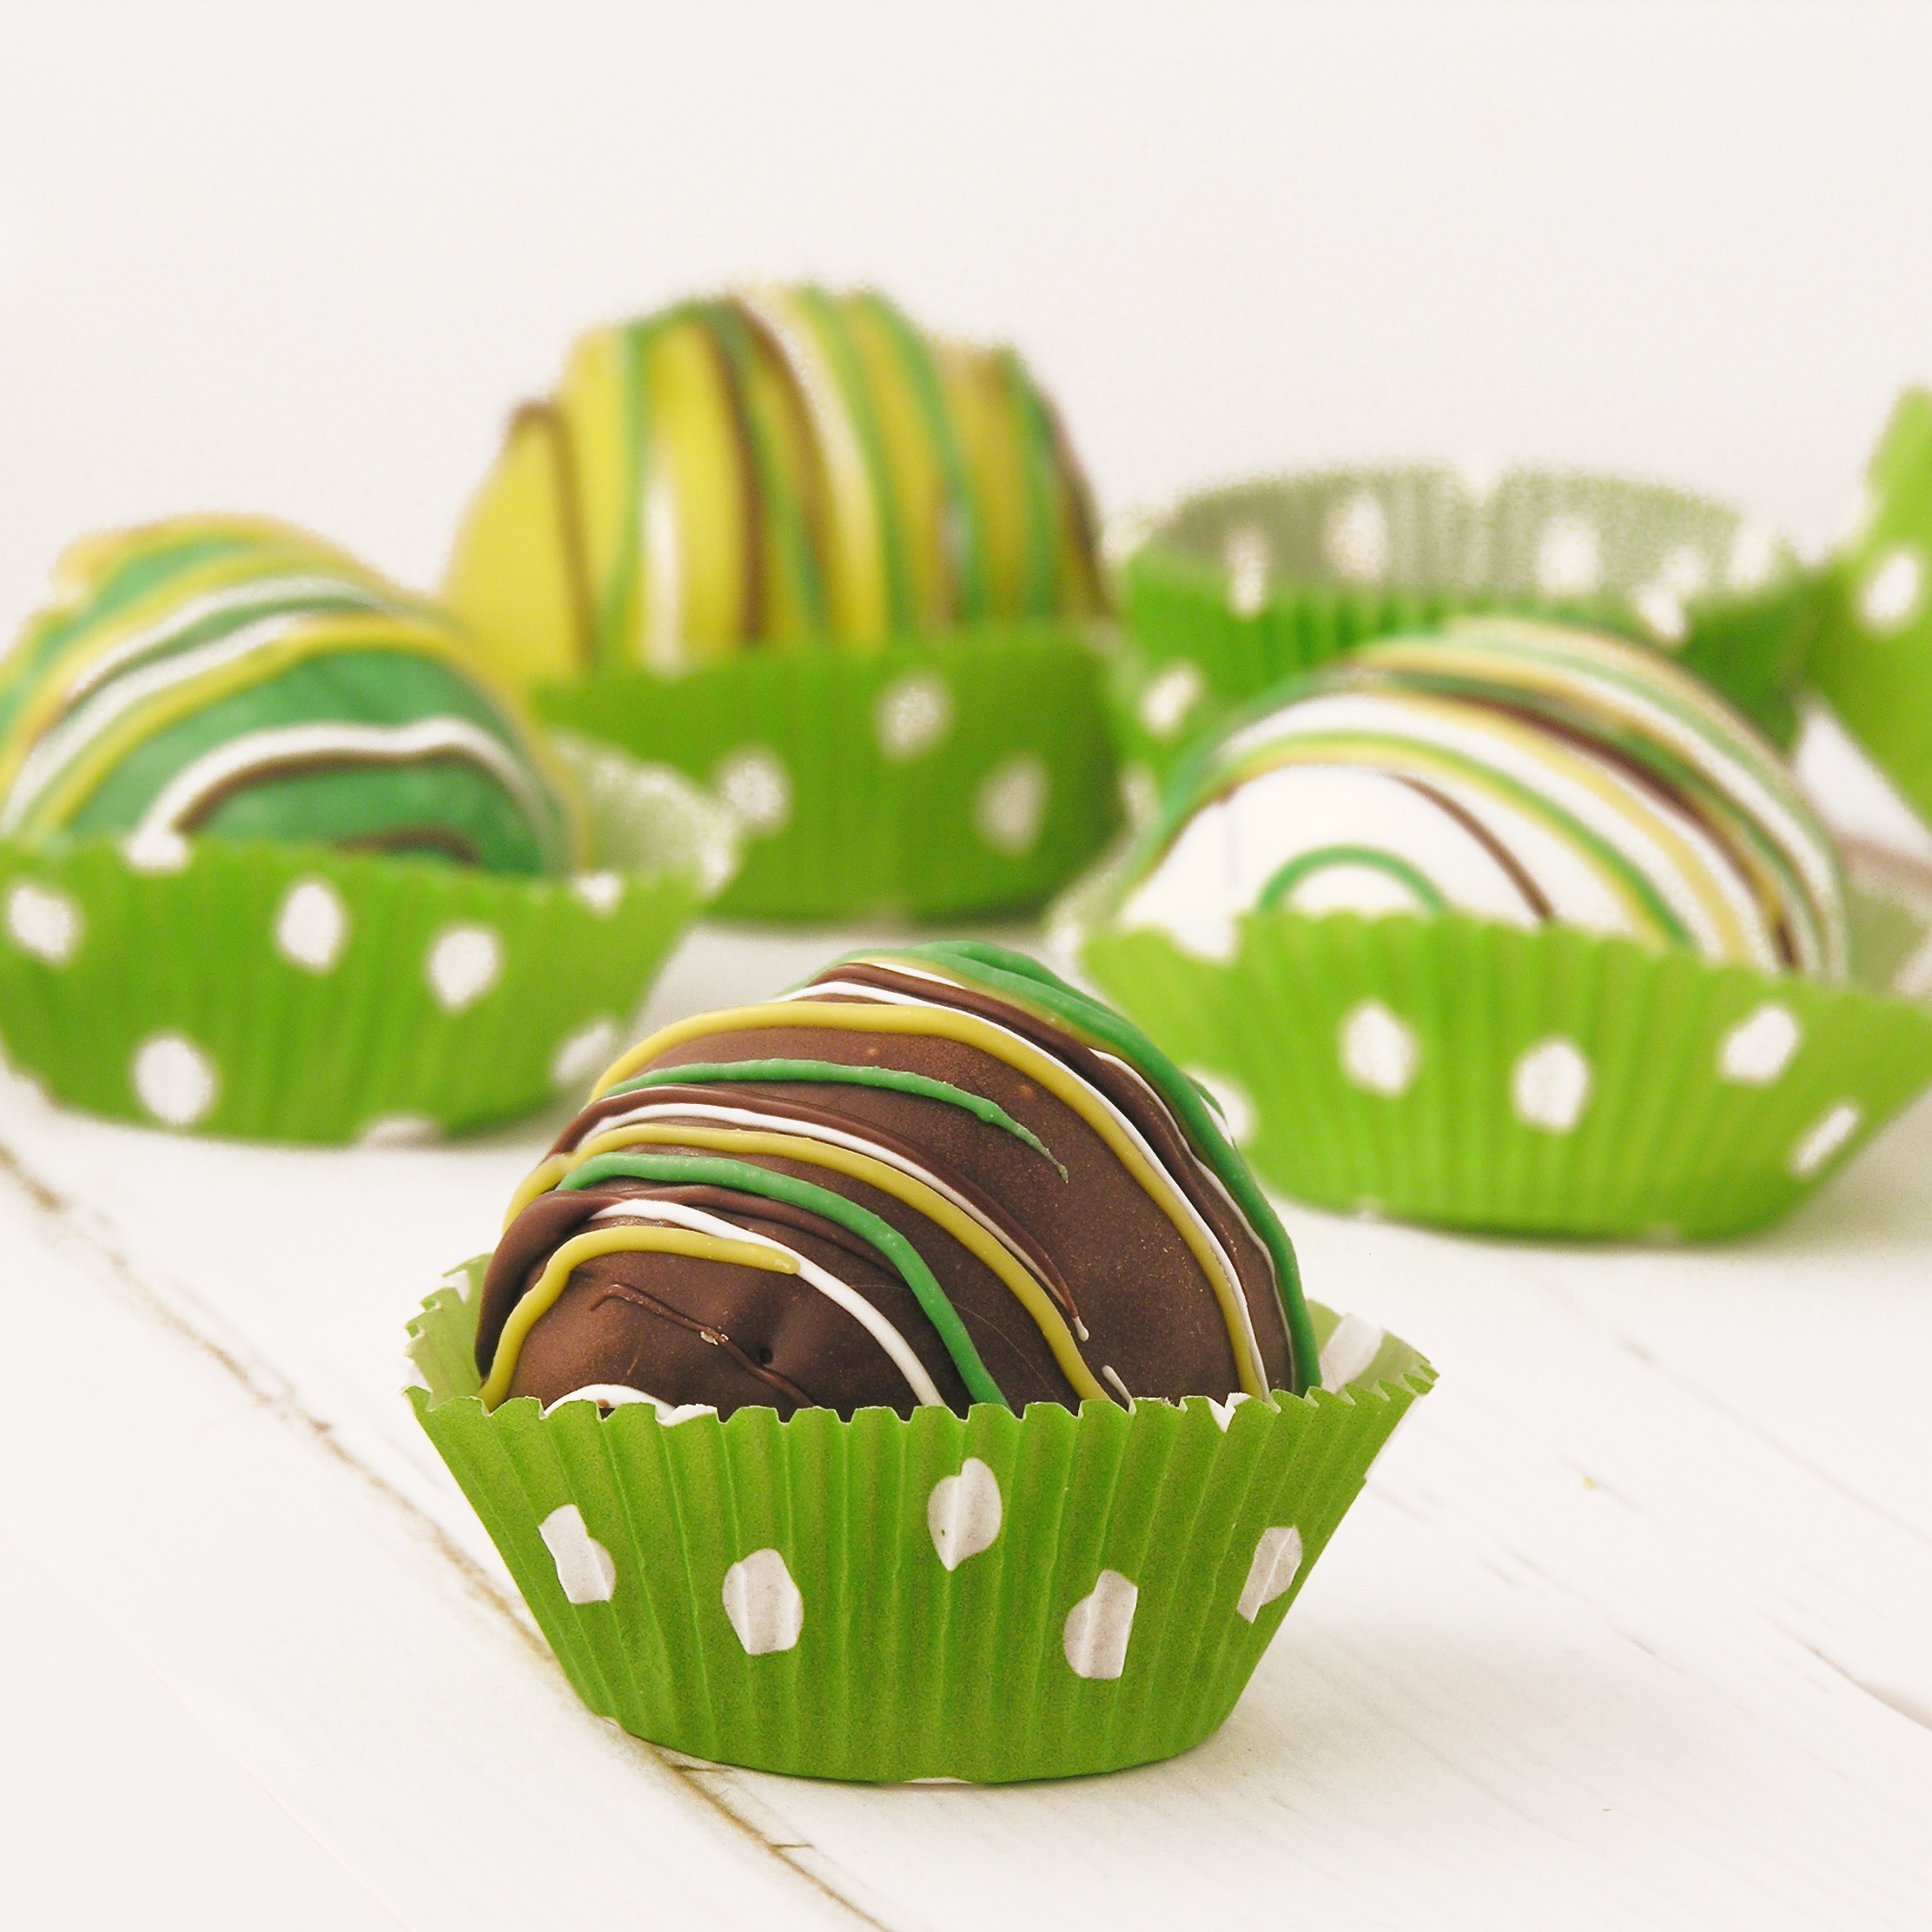
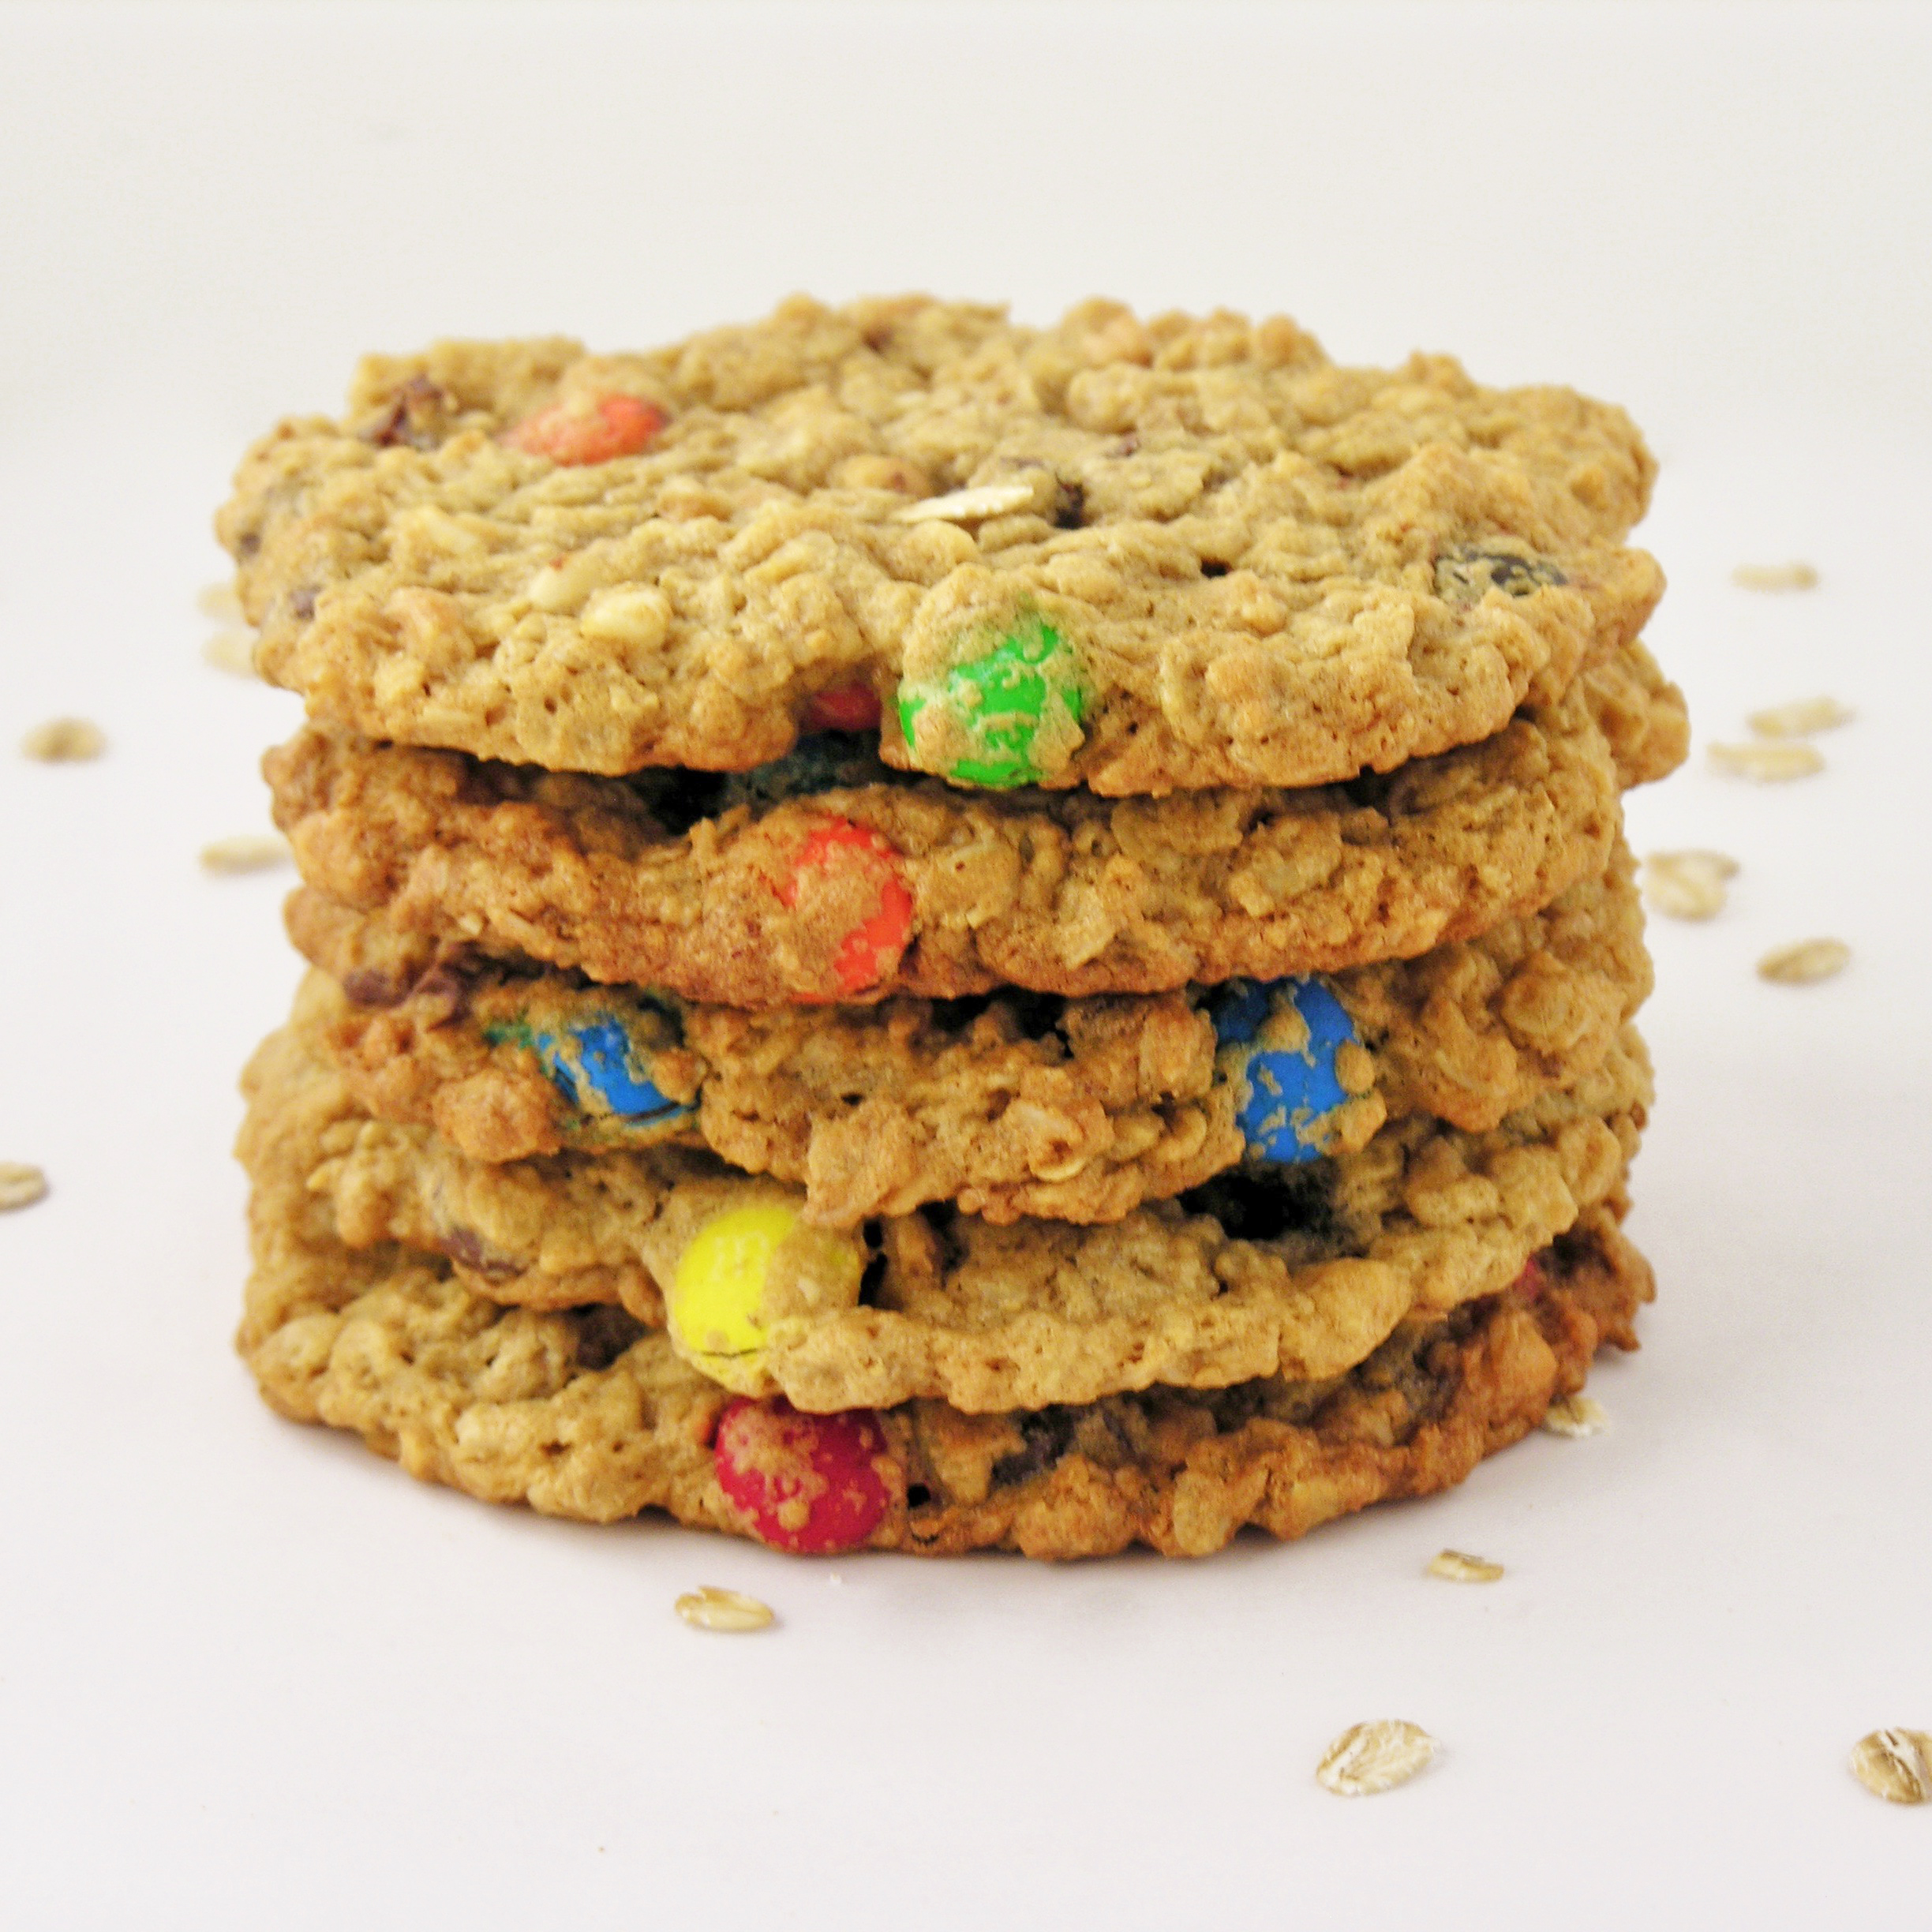
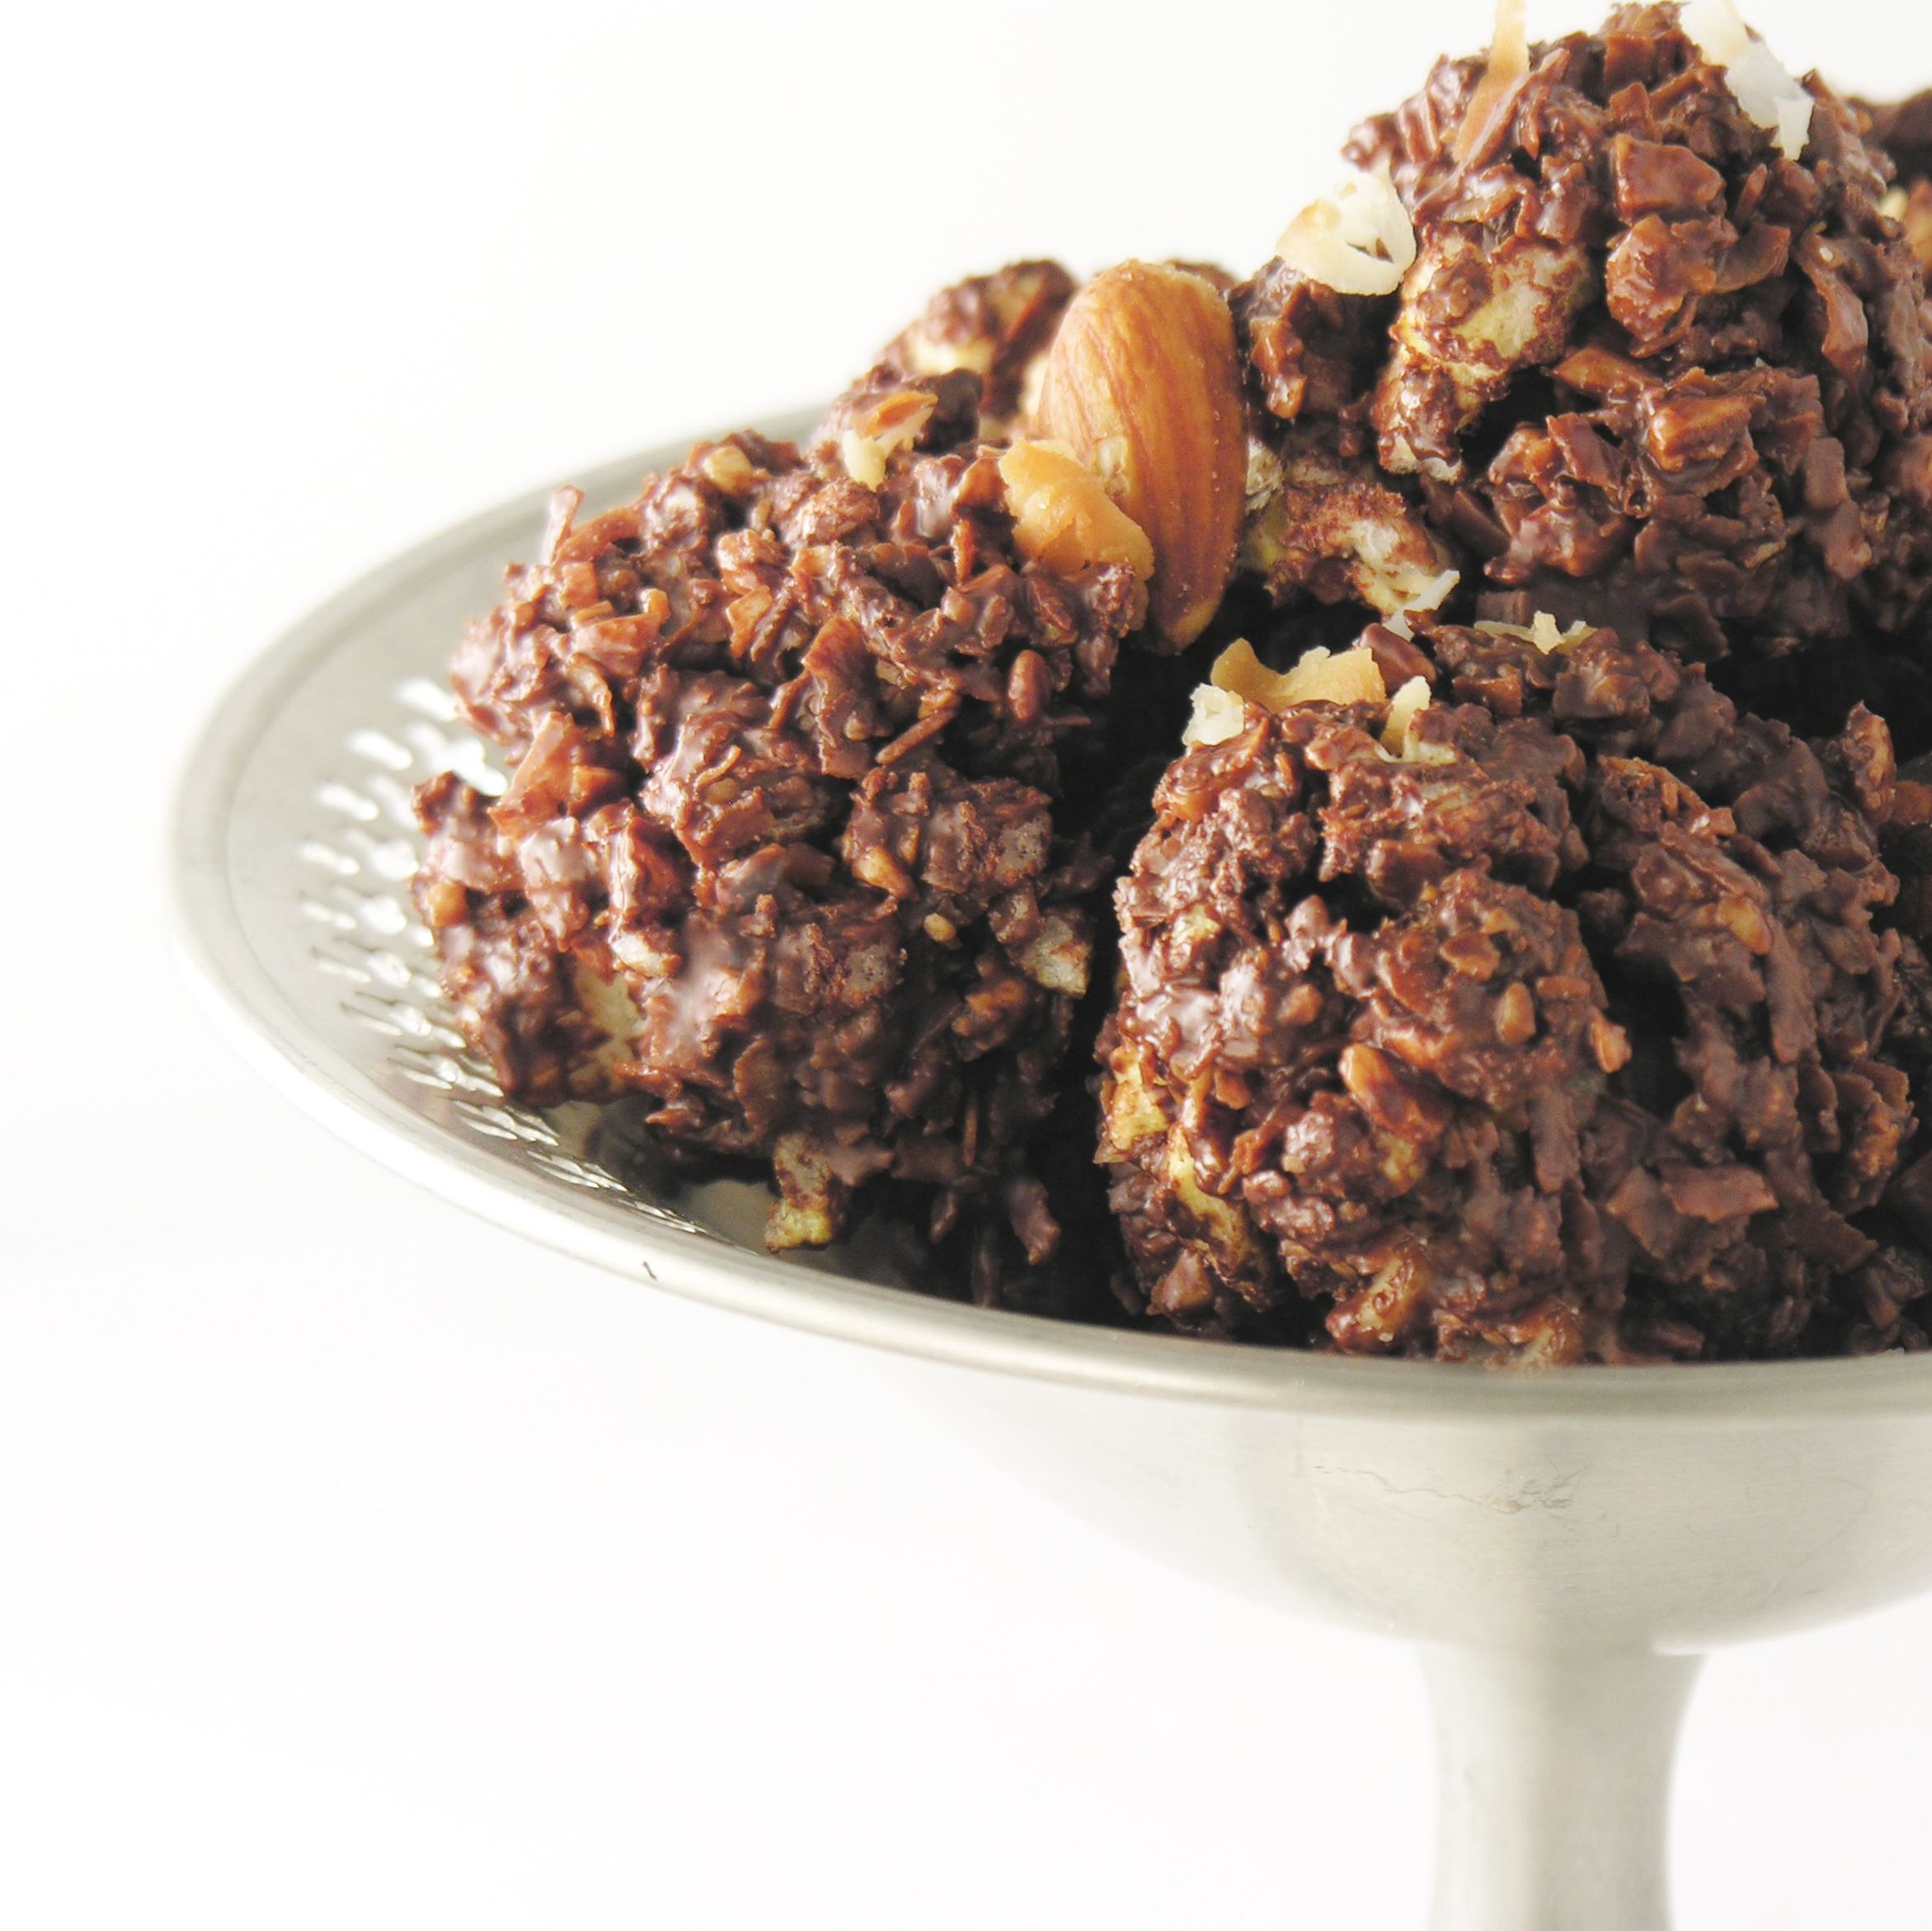
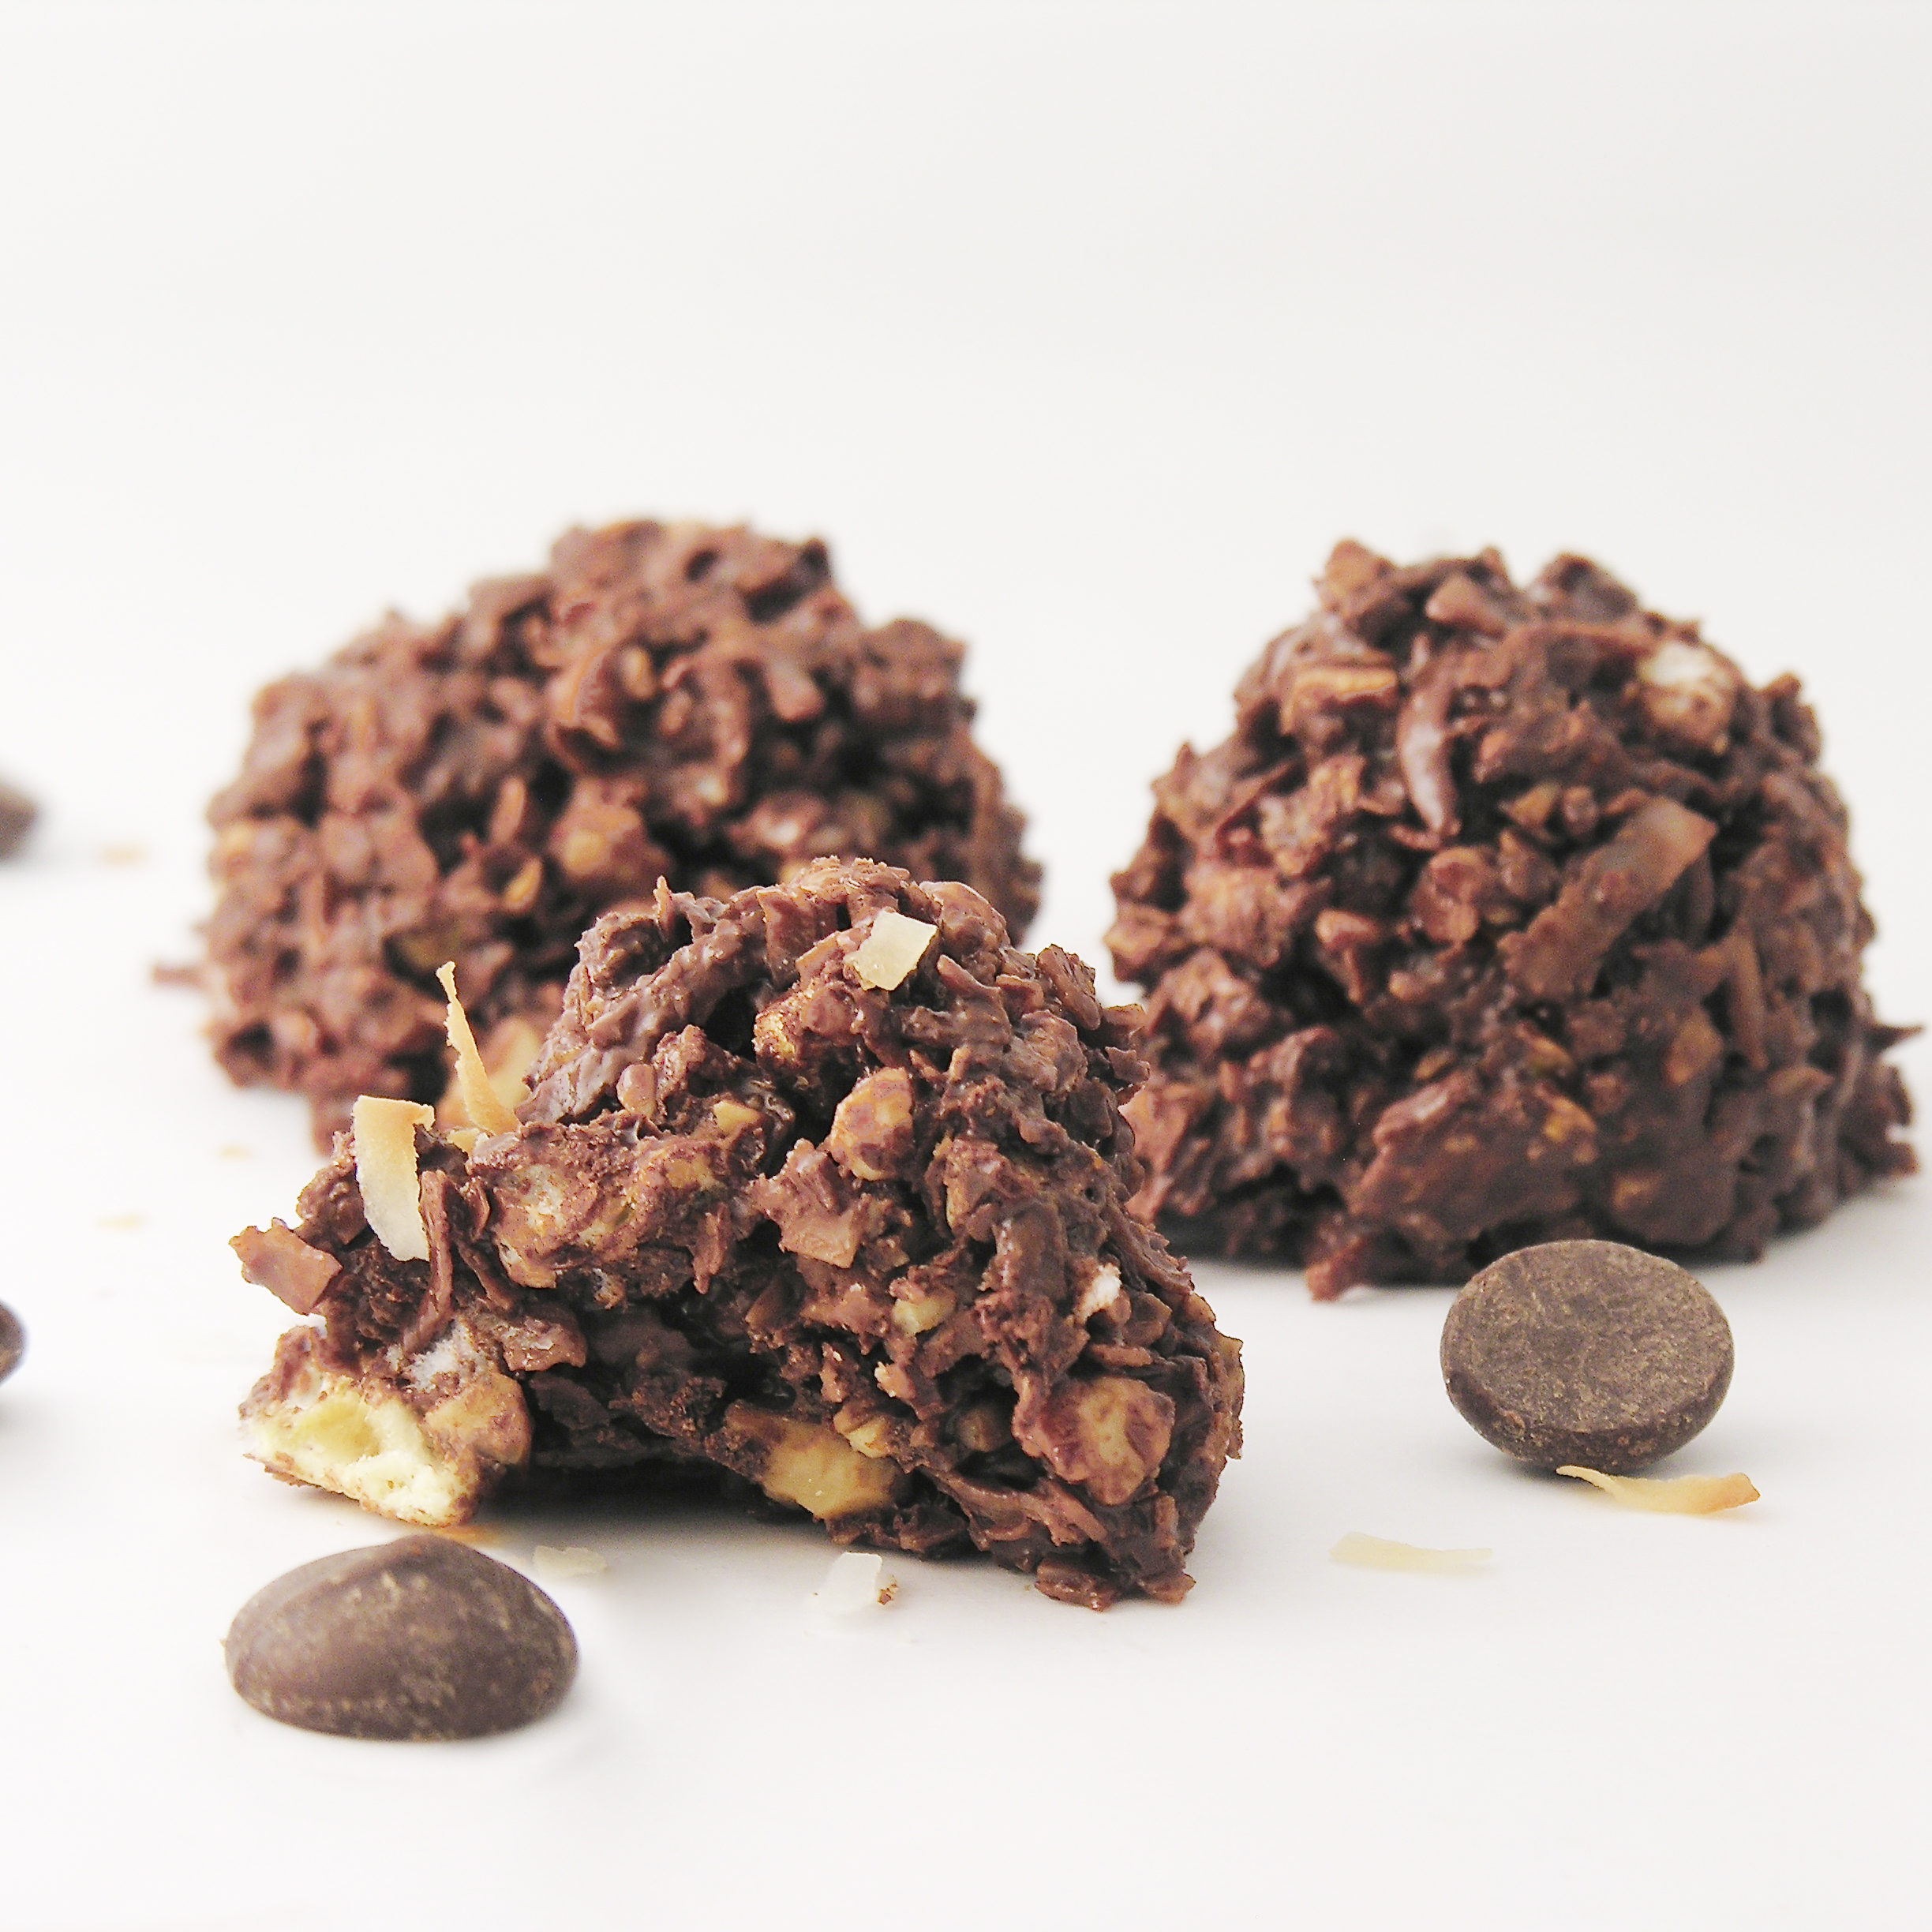
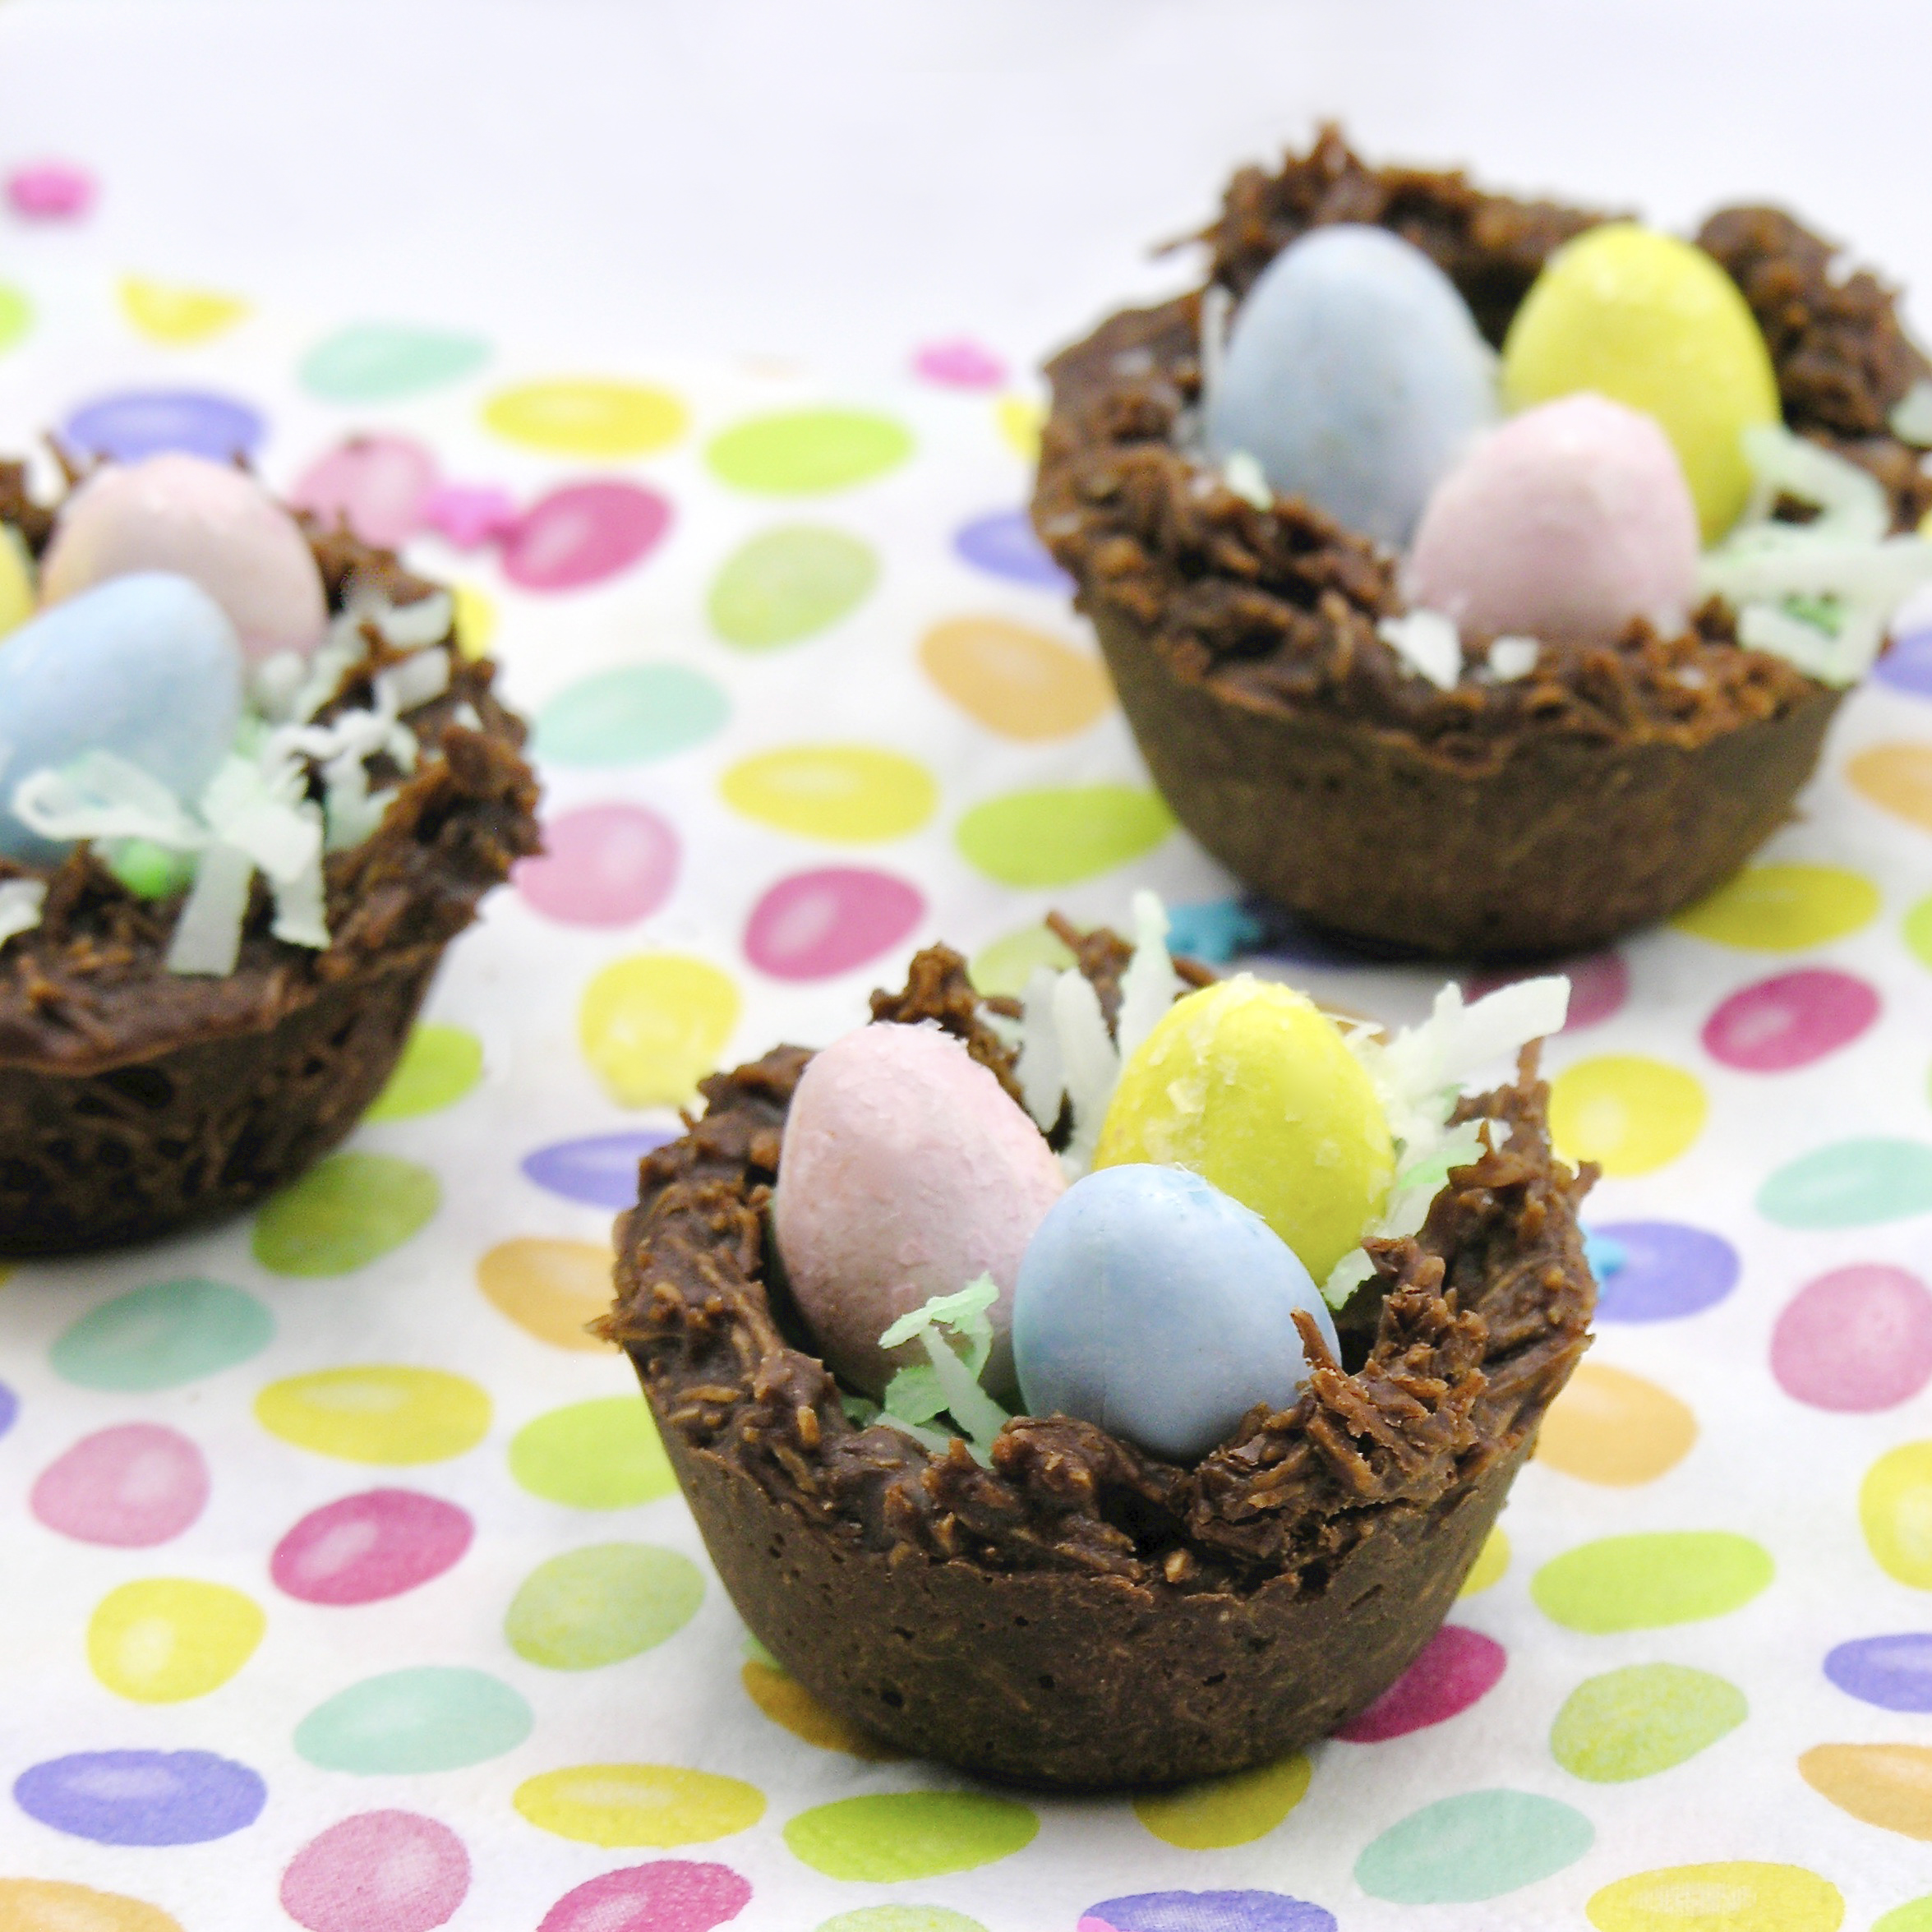 These crunchy little nest cookies are filled with the (seriously addictive!) Cadbury mini eggs and a pinch of coconut. A perfect Easter treat!
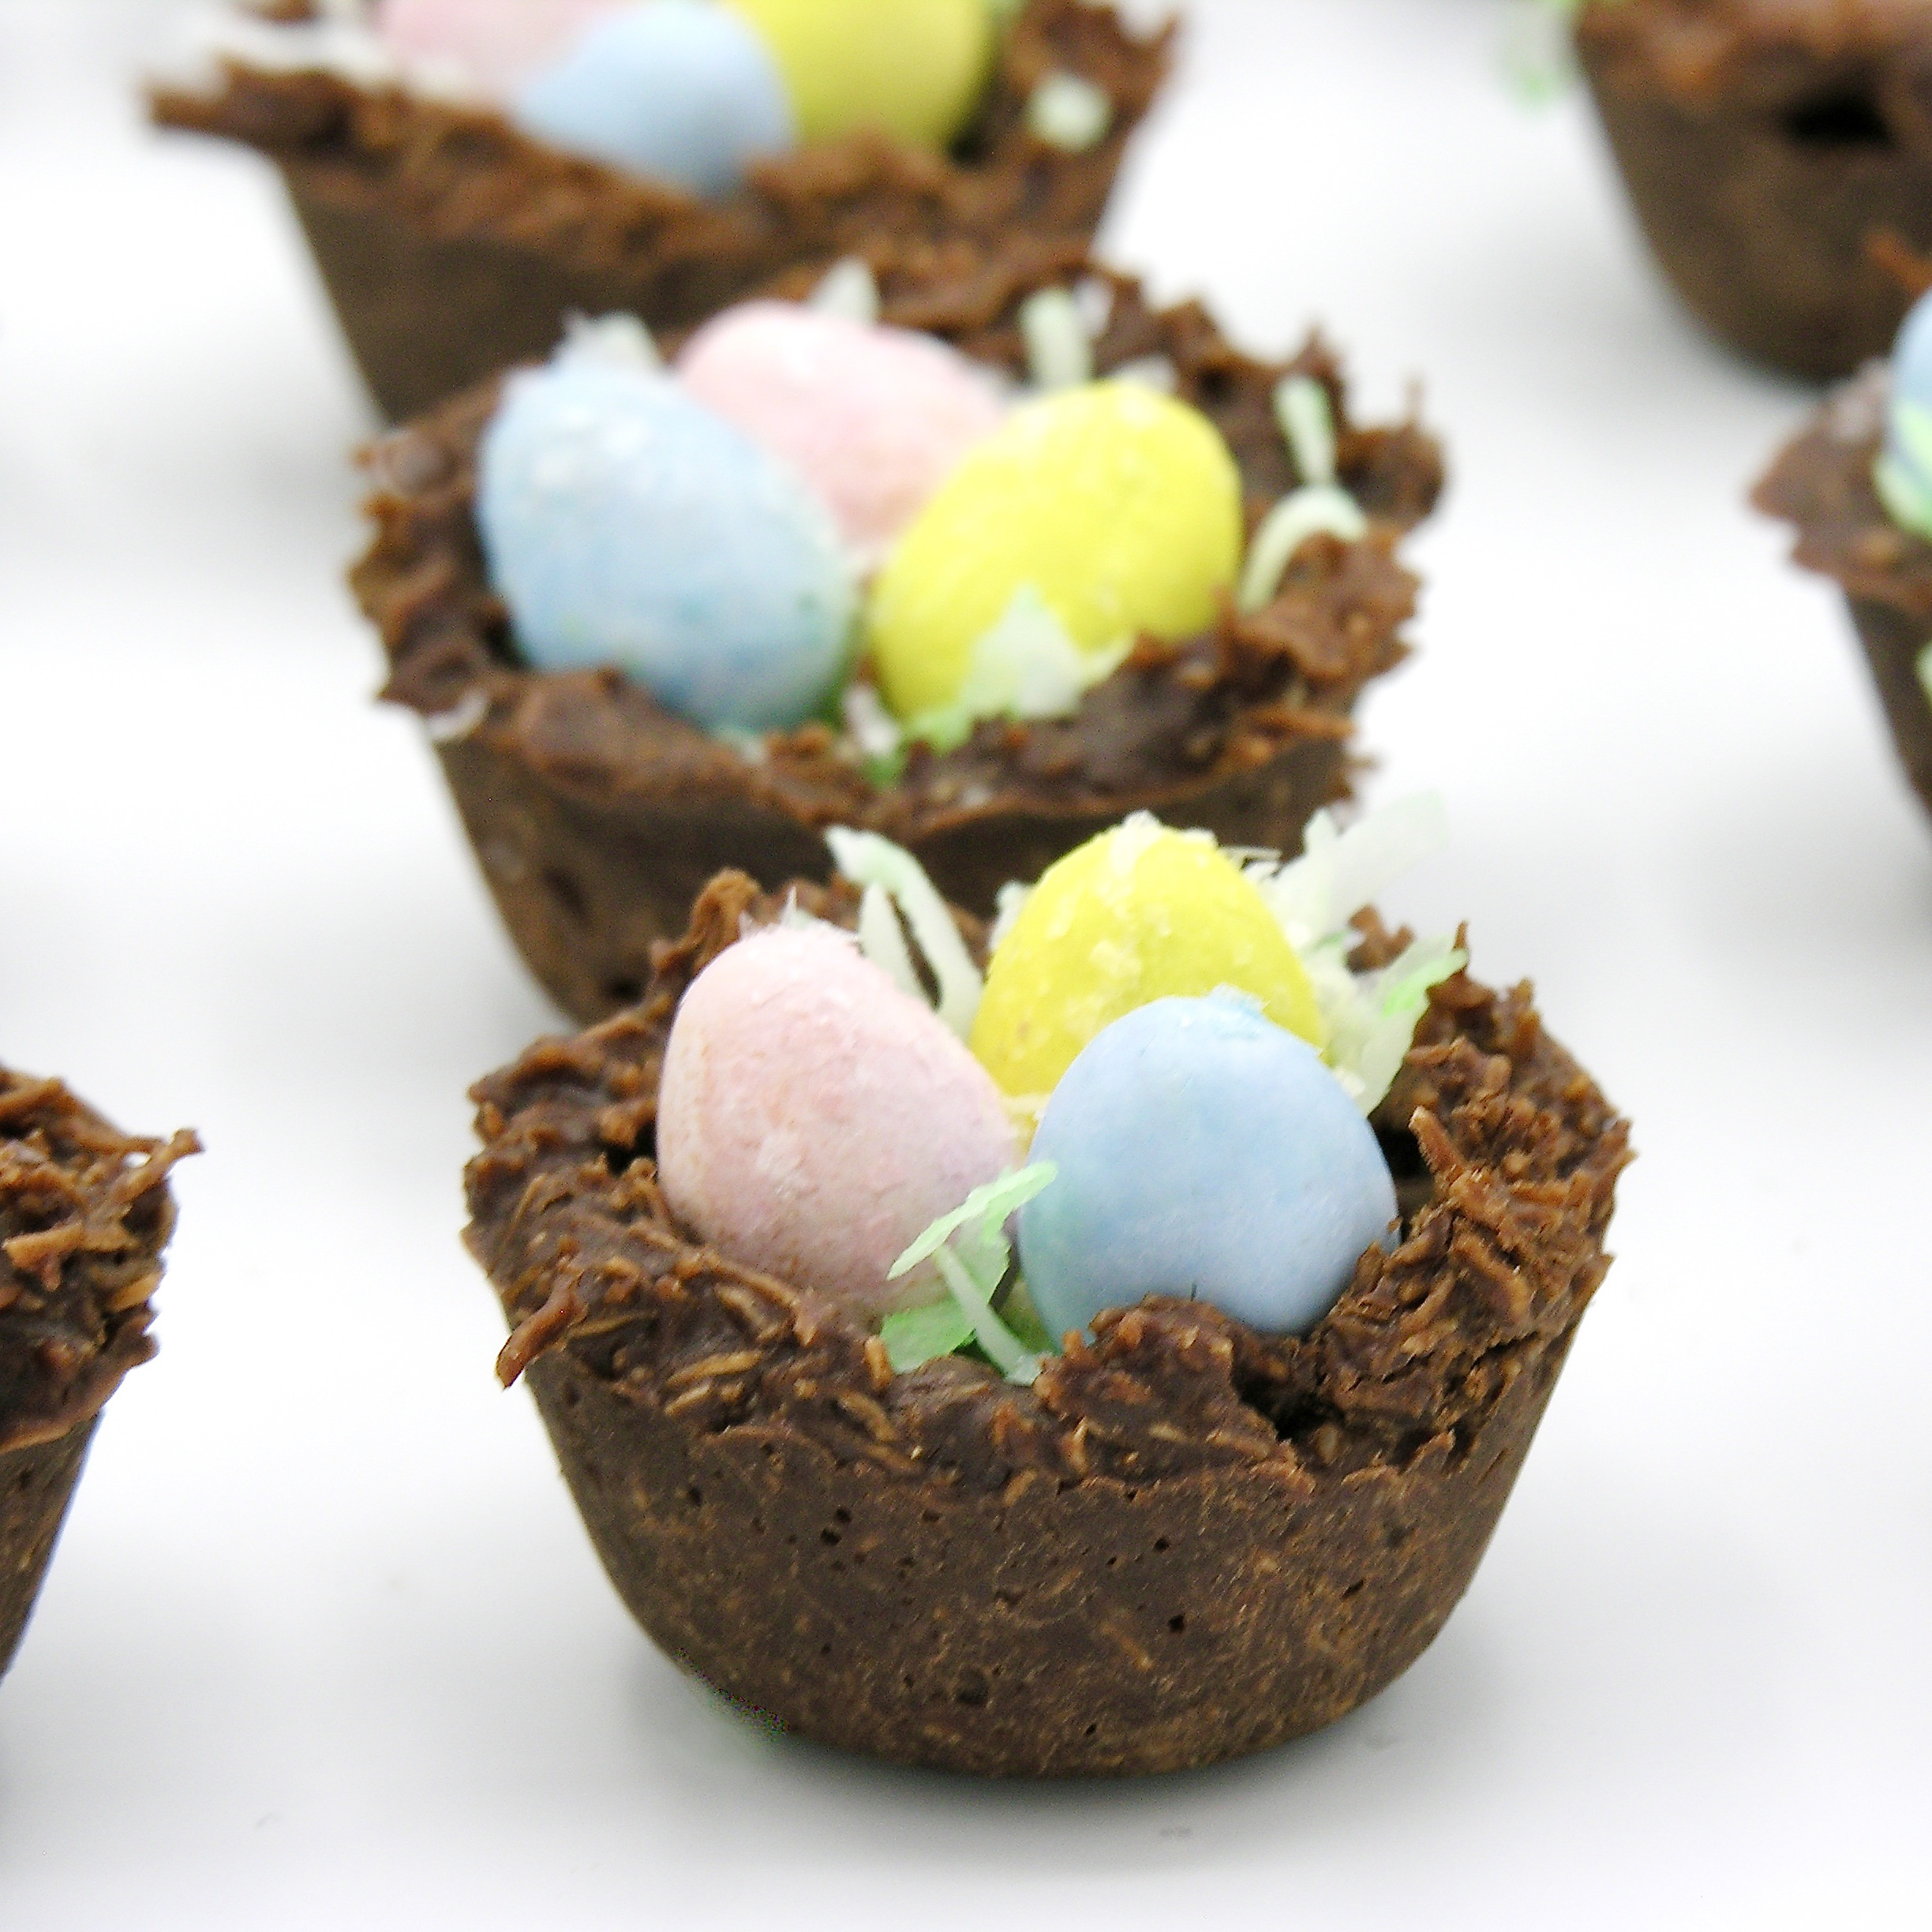


