RSS Feed

Tag Archives: fun cookies

Peanut Butter Spider Cookies!

Posted on

Spider5

These deliciously creepy little spider cookies are special…. because the peanut butter cookies they sit on only take THREE ingredients, and are the best peanut butter cookies I’ve ever tasted!

Spider7

I’ve seen these cute little guys pop up online, and I’ve wanted to make them with my favorite (super-easy!) peanut butter cookies for more than a few years. They are a cute addition to any Halloween party, delicious, and sooooo easy to make. Want to know how? Here you go: (printable recipe)

Ingredients: (makes about 24 cookies)

  • 2 cups peanut butter (creamy)
  • 2 cups granulated sugar
  • 2 eggs
  • 24 Lindt chocolates
  • 1 cup of Wilton candy melts in milk or dark chocolate
  • 48 candy eyes

Instructions:

  • Preheat oven to 350F degrees
  • Place peanut butter, sugar and eggs into a mixing bowl and stir until well combined.
  • Use a cookie scoop to place 2 inch balls onto a cookie sheet covered in parchment paper. 
  • Bake at 350F degrees for about 12 minutes (cookies will still be soft in the middle). 
  • Remove from oven and use a tart shaper or the rounded back of a measuring spoon to press a small round indentation into the center of the cookie (so the chocolate spider has a place to sit!).
  • Bake another 2-4 minutes and remove from oven. Slide parchment paper off cookie sheet with the cookies still on top and cool completely. 
  • Melt candy melts in the microwave in 30 second increments, stirring between. 
  • Use a toothpick to put a little melted chocolate on the back of your candy eyes and attach them to the Lindt chocolate. Allow these to harden. 
  • Place the rest of the melted chocolate into a zip-top bag. Seal it up and cut a small corner off. Squeeze the bag and pipe legs on the top of each cookie. 
  • Add a bit of chocolate in the center of each cookie and set a Lindt “spider body” on top. 
  • Allow all chocolate to harden and ENJOY!

Spider4

My thoughts: What’s not to like about these?!? A super-easy peanut butter cookie, plus chocolate? SO fun! Too busy for spiders? Just make the cookie part. You could have warm peanut butter cookies in like 20 minutes from RIGHT NOW. Aaaand…. go!

Spider3

Looking for other fun Halloween treats? Here are a few- just click the photo to see the recipe!

Advertisement

Seashell Oreo Pops!

Posted on

Turn your Oreos into a celebration at the beach! Sand Dollars, Sea Scallops and cute little fish. So much delicious fun!


There’s just something about the beach that makes my heart happy! Have you ever been to Sanibel Island in Florida? It’s right by Fort Meyers. Growing up, our family spent nearly every Thanksgiving at a little condo on the beach there. They have some of the best seashell hunting in North America. As a little girl, I had a shell identification book and a big pail, and I spent hours and hours combing the beach for shells. Sand dollars were one of my favorites!

This past spring, I used chocolate covered sunflower seeds in several projects, and thought about how much they remind me of the little centers of sand dollars. So I had to try! I also made some sea scallops using…wait for it… Wheat Thin crackers to make those little shell points (and they are a super yummy salty-sweet combo!) 🙂


Here is how we made these little Oreo pops:

Fish Oreo Pops are from an earlier recipe here on Easybaked. You can find them by clicking here.

These were featured in our cookbook for kids, Life Is Sweet: 12 Baking Devotions for Kids.

Sand Dollars:

Ingredients: (makes about 24 pops)

  • One package of Double Stuff Oreos
  • 2 (12 oz.) bags of Wiltons Candy Melts in white
  • Chocolate covered sunflower seeds (I used blue)
  • 24 Lollipop sticks
  • Small pearl decorating sprinkles
  • Small treat bags and ribbon, if you want to package them up to give away.

Directions: (Need a little visual help?  Click here.)

  • Carefully twist apart all Oreo cookies.  Do this slowly and gently- and expect that some will break. 
  • Melt about 1/4 cup white candy melts using a microwave-safe bowl in the microwave in 30 second increments, stirring between until completely melted and smooth.
  • Use a lollipop stick to make an indentation in the white filling of an Oreo.
  • Dip the end of the stick into the candy melts, spread a little on top of the white filling and then press the stick into the indentation.
  • Place the top of the Oreo back on and allow the candy melts to harden and cement the cookie back together with the stick inside. I like to stick these in the freezer to get nice and hard.
  • While you wait, melt your remaining white candy melts in the same manner as previously.
  • Once the cookies are firmly hardened back together, pick one up (using the stick) and dip it into the bowl of white candy melts. 
  • Spoon candy melts over the top and sides.
  • Gently lift the Oreo out of the candy melts, and tap the stick on the side of the bowl to allow the excess melts to drip off.
  • Slide the bottom of the Oreo against the edge of the bowl to remove excess candy melts.
  • Gently set the coated Oreo on clean parchment or wax paper.
  • Immediately, set the sunflower seeds as shown at the center of the cookie.
  • Place pearl sprinkles as shown, between sunflower seeds.
  • Serve as-is, or package up for giving away by sliding each cookie into a little treat bag and tying with a ribbon.

Scallops: 

Ingredients: (makes about 24 pops)

  • One package of Double Stuff Oreos
  • 3-4 (12 oz.) bags of Wiltons Candy Melts in various colors
  • A few wheat thin crackers
  • 24 Lollipop sticks
  • A toothpick to pull through colors and make design.
  • Small treat bags and ribbon, if you want to package them up to give away.

Directions: (Need a little visual help?  Click here.)

  • Carefully twist apart all Oreo cookies.  Do this slowly and gently- and expect that some will break. 
  • Melt about 1/4 cup candy melts (any color) using a microwave-safe bowl in the microwave in 30 second increments, stirring between until completely melted and smooth.
  • Use a lollipop stick to make an indentation in the white filling of an Oreo.
  • Dip the end of the stick into the candy melts, spread a little on top of the white filling and then press the stick into the indentation.
  • Set 1/2 of a Wheat thin cracker on top of candy melts at the top (so just the points poke out when the top is back on).


  • Place the top of the Oreo back on and allow the candy melts to harden and cement the cookie back together with the stick inside. I like to stick these in the freezer to get nice and hard.
  • While you wait, pick your “main color” and melt those candy melts in the same manner as previously.
  • Also melt smaller amounts of two to three other colors. Spoon these into zip top bags and seal them up. Wrap them in a warm towel to keep them melted and smooth.
  • Once the cookies are firmly hardened back together (about 10 minutes in a freezer), pick one up (using the stick) and dip it into the bowl of candy melts. 
  • Spoon candy melts over the top and sides.
  • Gently lift the Oreo out of the candy melts, and tap the stick on the side of the bowl to allow the excess melts to drip off.
  • Slide the bottom of the Oreo against the edge of the bowl to remove excess candy melts.
  • Gently set the coated Oreo on clean parchment or wax paper.
  • Immediately, clip a corner off a bag of colored candy melts and pipe a couple curved lines on top of Oreo. 
  • Repeat these lines with other colors and then place bags back inside warm towel. 
  • Use a toothpick to pull lines up from the bottom through these colors (see photos)


  • Sprinkle with a little gold sugar and add a candy pearl if you want.
  • Repeat this process with remaining Oreos. You may need to repeat the melting process for the  small bags of colors. If you need to do this, try making one of these colors your “main” color and decorating with the others!
  • Serve as-is, or package up for giving away by sliding each cookie into a little treat bag and tying with a ribbon.
  • ENJOY!

My thoughts: I experimented a little with the sand dollars. I had some butterscotch candy melts that I used with brown sunflower seeds- they are cute too- but I love the white ones best! I was really happy with how these turned out, and they really aren’t too difficult to put together- especially if you have made Oreo pops before. I hope you get a chance to try these for your next beach party! Happy summer to you!!!!  ~r

Other fun beach- themed ideas here at Easybaked (click on a photo to see a recipe):

Caramel Armadillos

Posted on

Caramel Armadillos1

Caramel Armadillos. Because Caramel Turtles are soooooo yesterday.

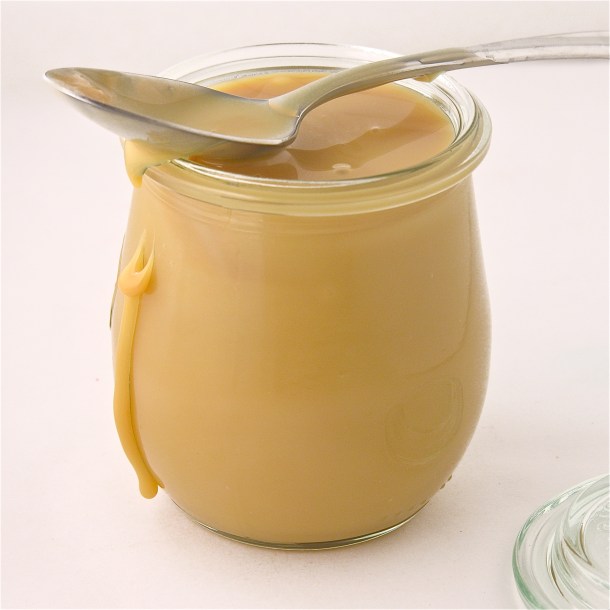
I have this great, really easy, caramel filling. It’s great on ice cream, in brownies, in cupcakes and even by the spoonful. I love it. I decided this week that I wanted to make turtle cookies with it, and I was struck by how boring and predictable caramel turtles are. Why turtles? Who started this trend? I turned to Wikipedia for answers. I was still bored.

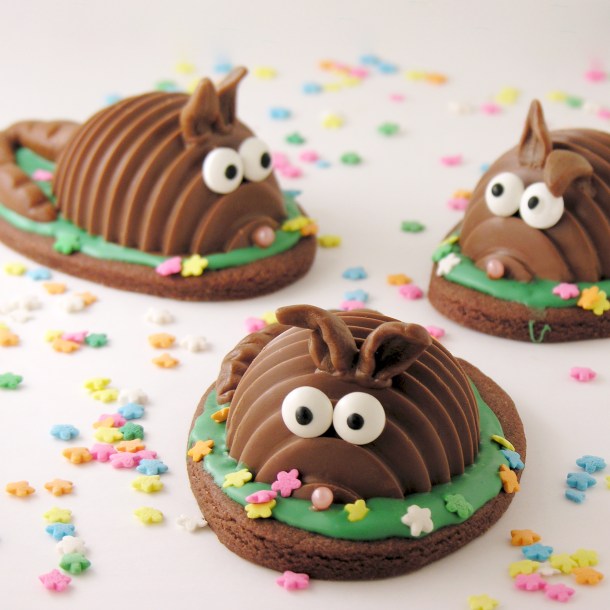
I decided to make caramel armadillos instead. Not only are they WAY cuter than turtles, but it’s really fun to say “caramel armadillos”.

Try it… five times fast!

You know you want to… 🙂

Caramel Armadillo
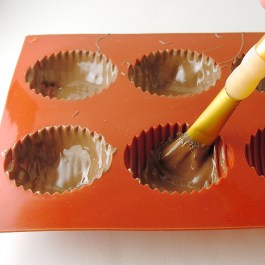
A couple weeks ago I was waiting for a friend to meet me for coffee and I stumbled upon these cute little chocolate molds on Amazon. They are supposedly Easter eggs, but when I decided to make Armadillos they came to mind as the perfect thing to use! All I needed was a tail and ears… and a tootsie roll would suffice!

SO caramel armadillos were born- and they are neither boring nor predictable!

Armadillo3Here’s how I made them: (printable recipe)

INGREDIENTS: (makes about 20 armadillos)

  • 32 Kraft Caramels (unwrapped)
  • 1 can (14 oz.) of sweetened condensed milk
  • 1 stick (1/2 cup) of butter
  • Whole pecans- about 3 per armadillo
  • 1 bag (32 oz/2lbs) of Merckens Milk chocolate wafers. 
  • about 40 candy eyes
  • 20 pink candy balls for noses
  • at least 25 tootsie rolls, unwrapped

DIRECTIONS:

  • Make caramel in a large saucepan over the stove by heating together the caramels, condensed milk and butter. Stir constantly until melted and smooth.
  • Pour into a small bowl and allow mixture to cool a bit (so it doesn’t melt chocolate when poured in).
  • Melt chocolate wafers in the microwave in 30 second increments, stirring in between until melted and smooth.
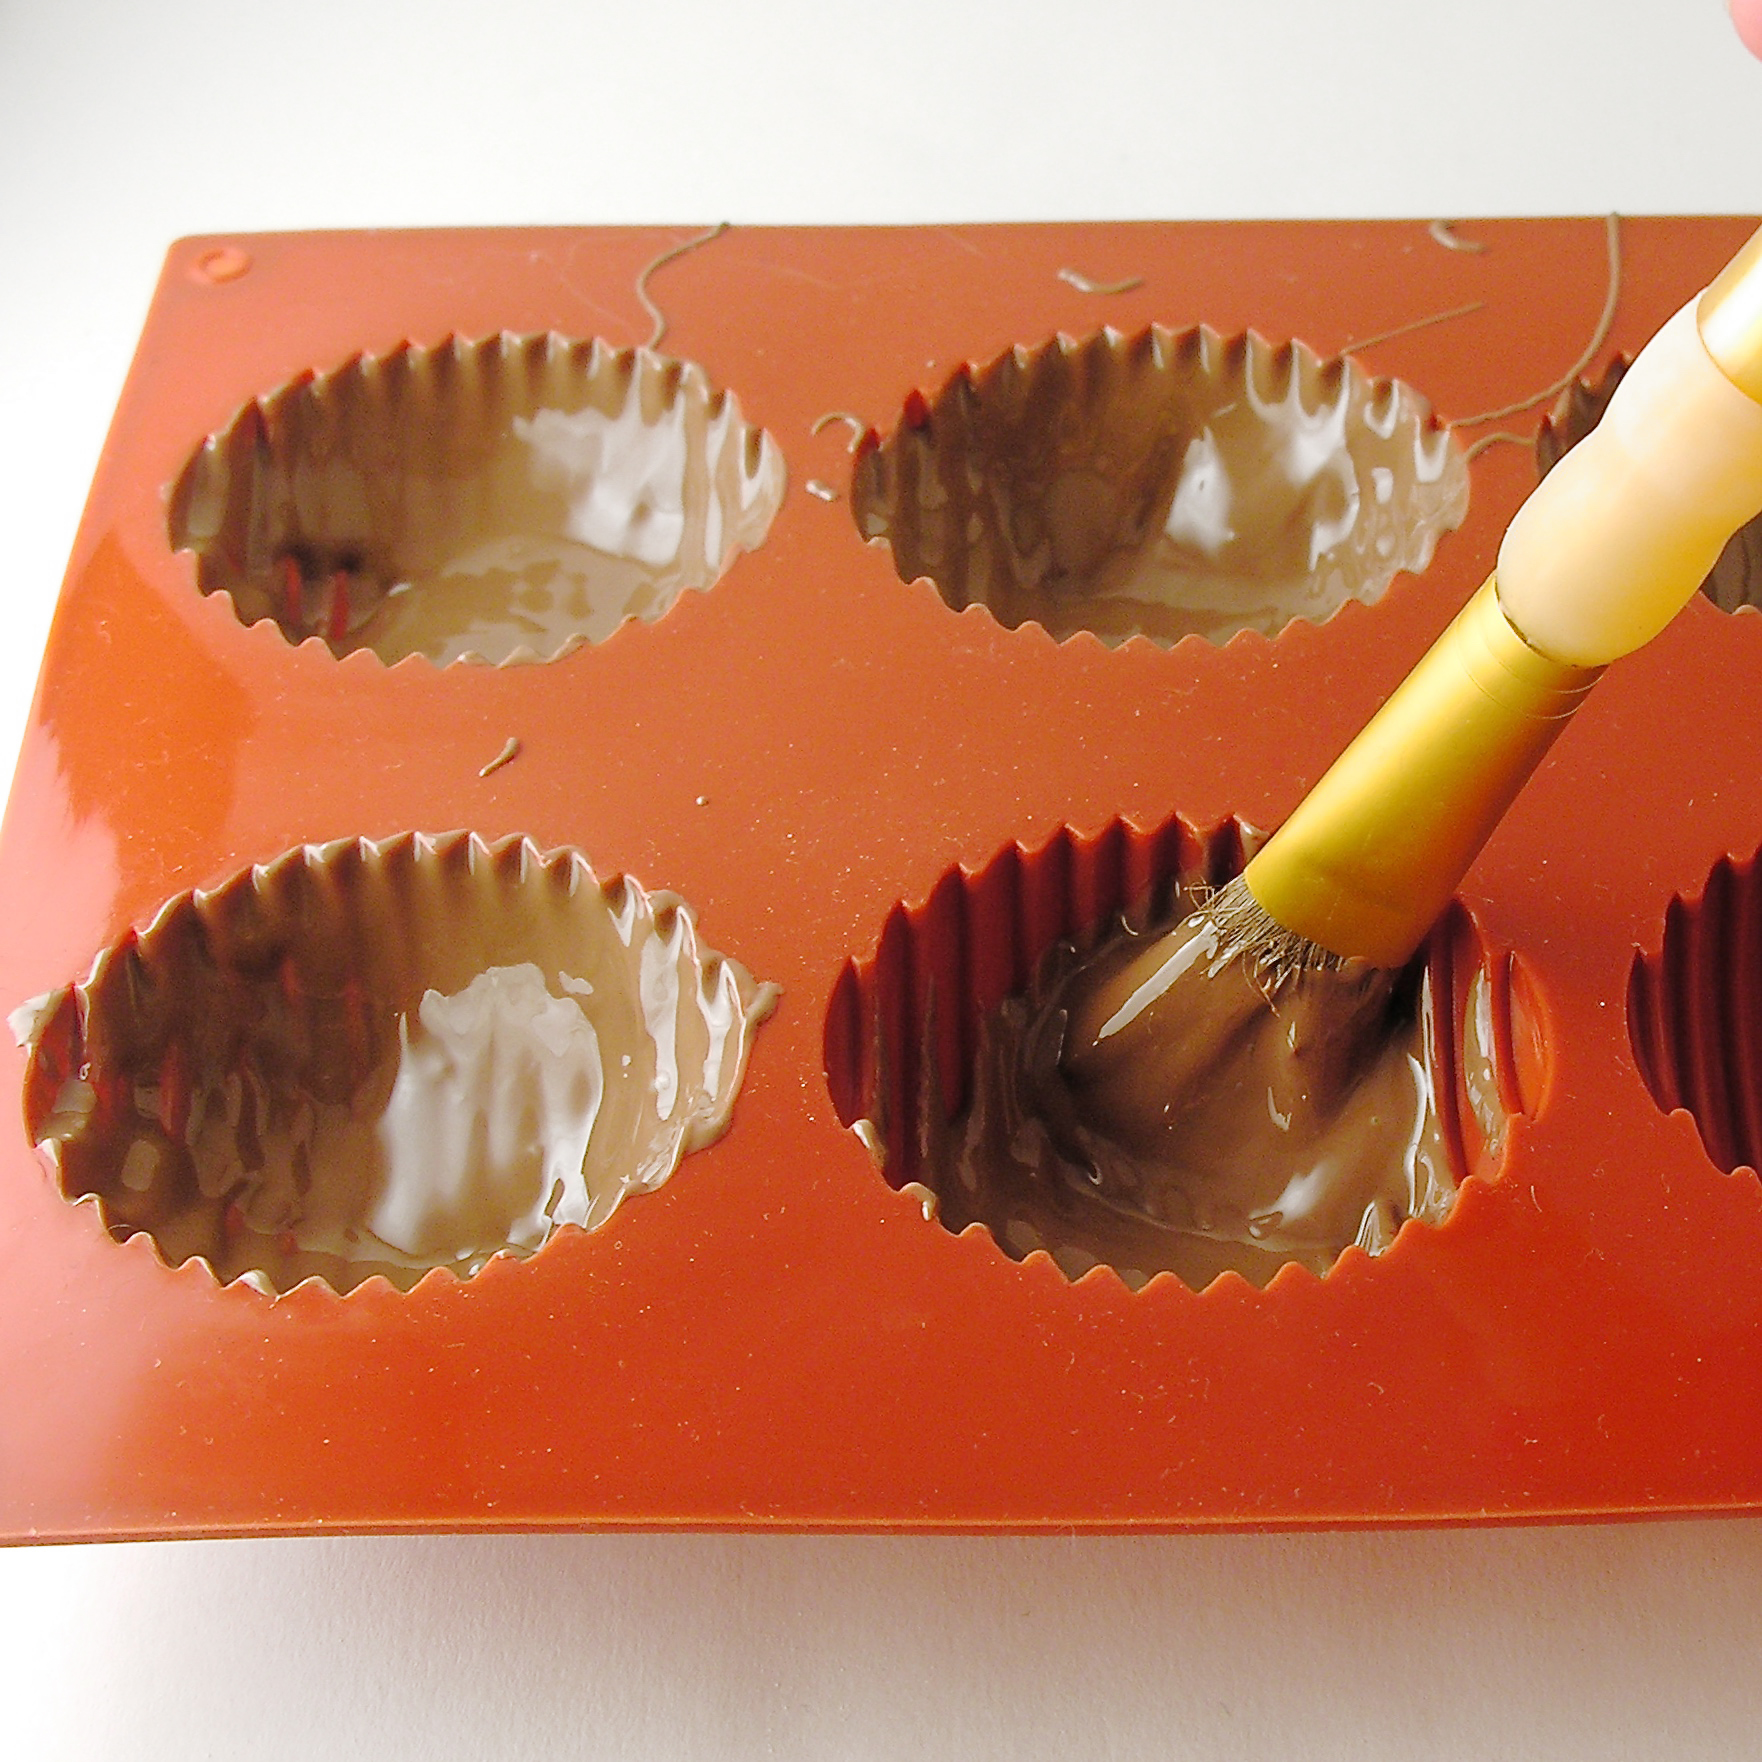
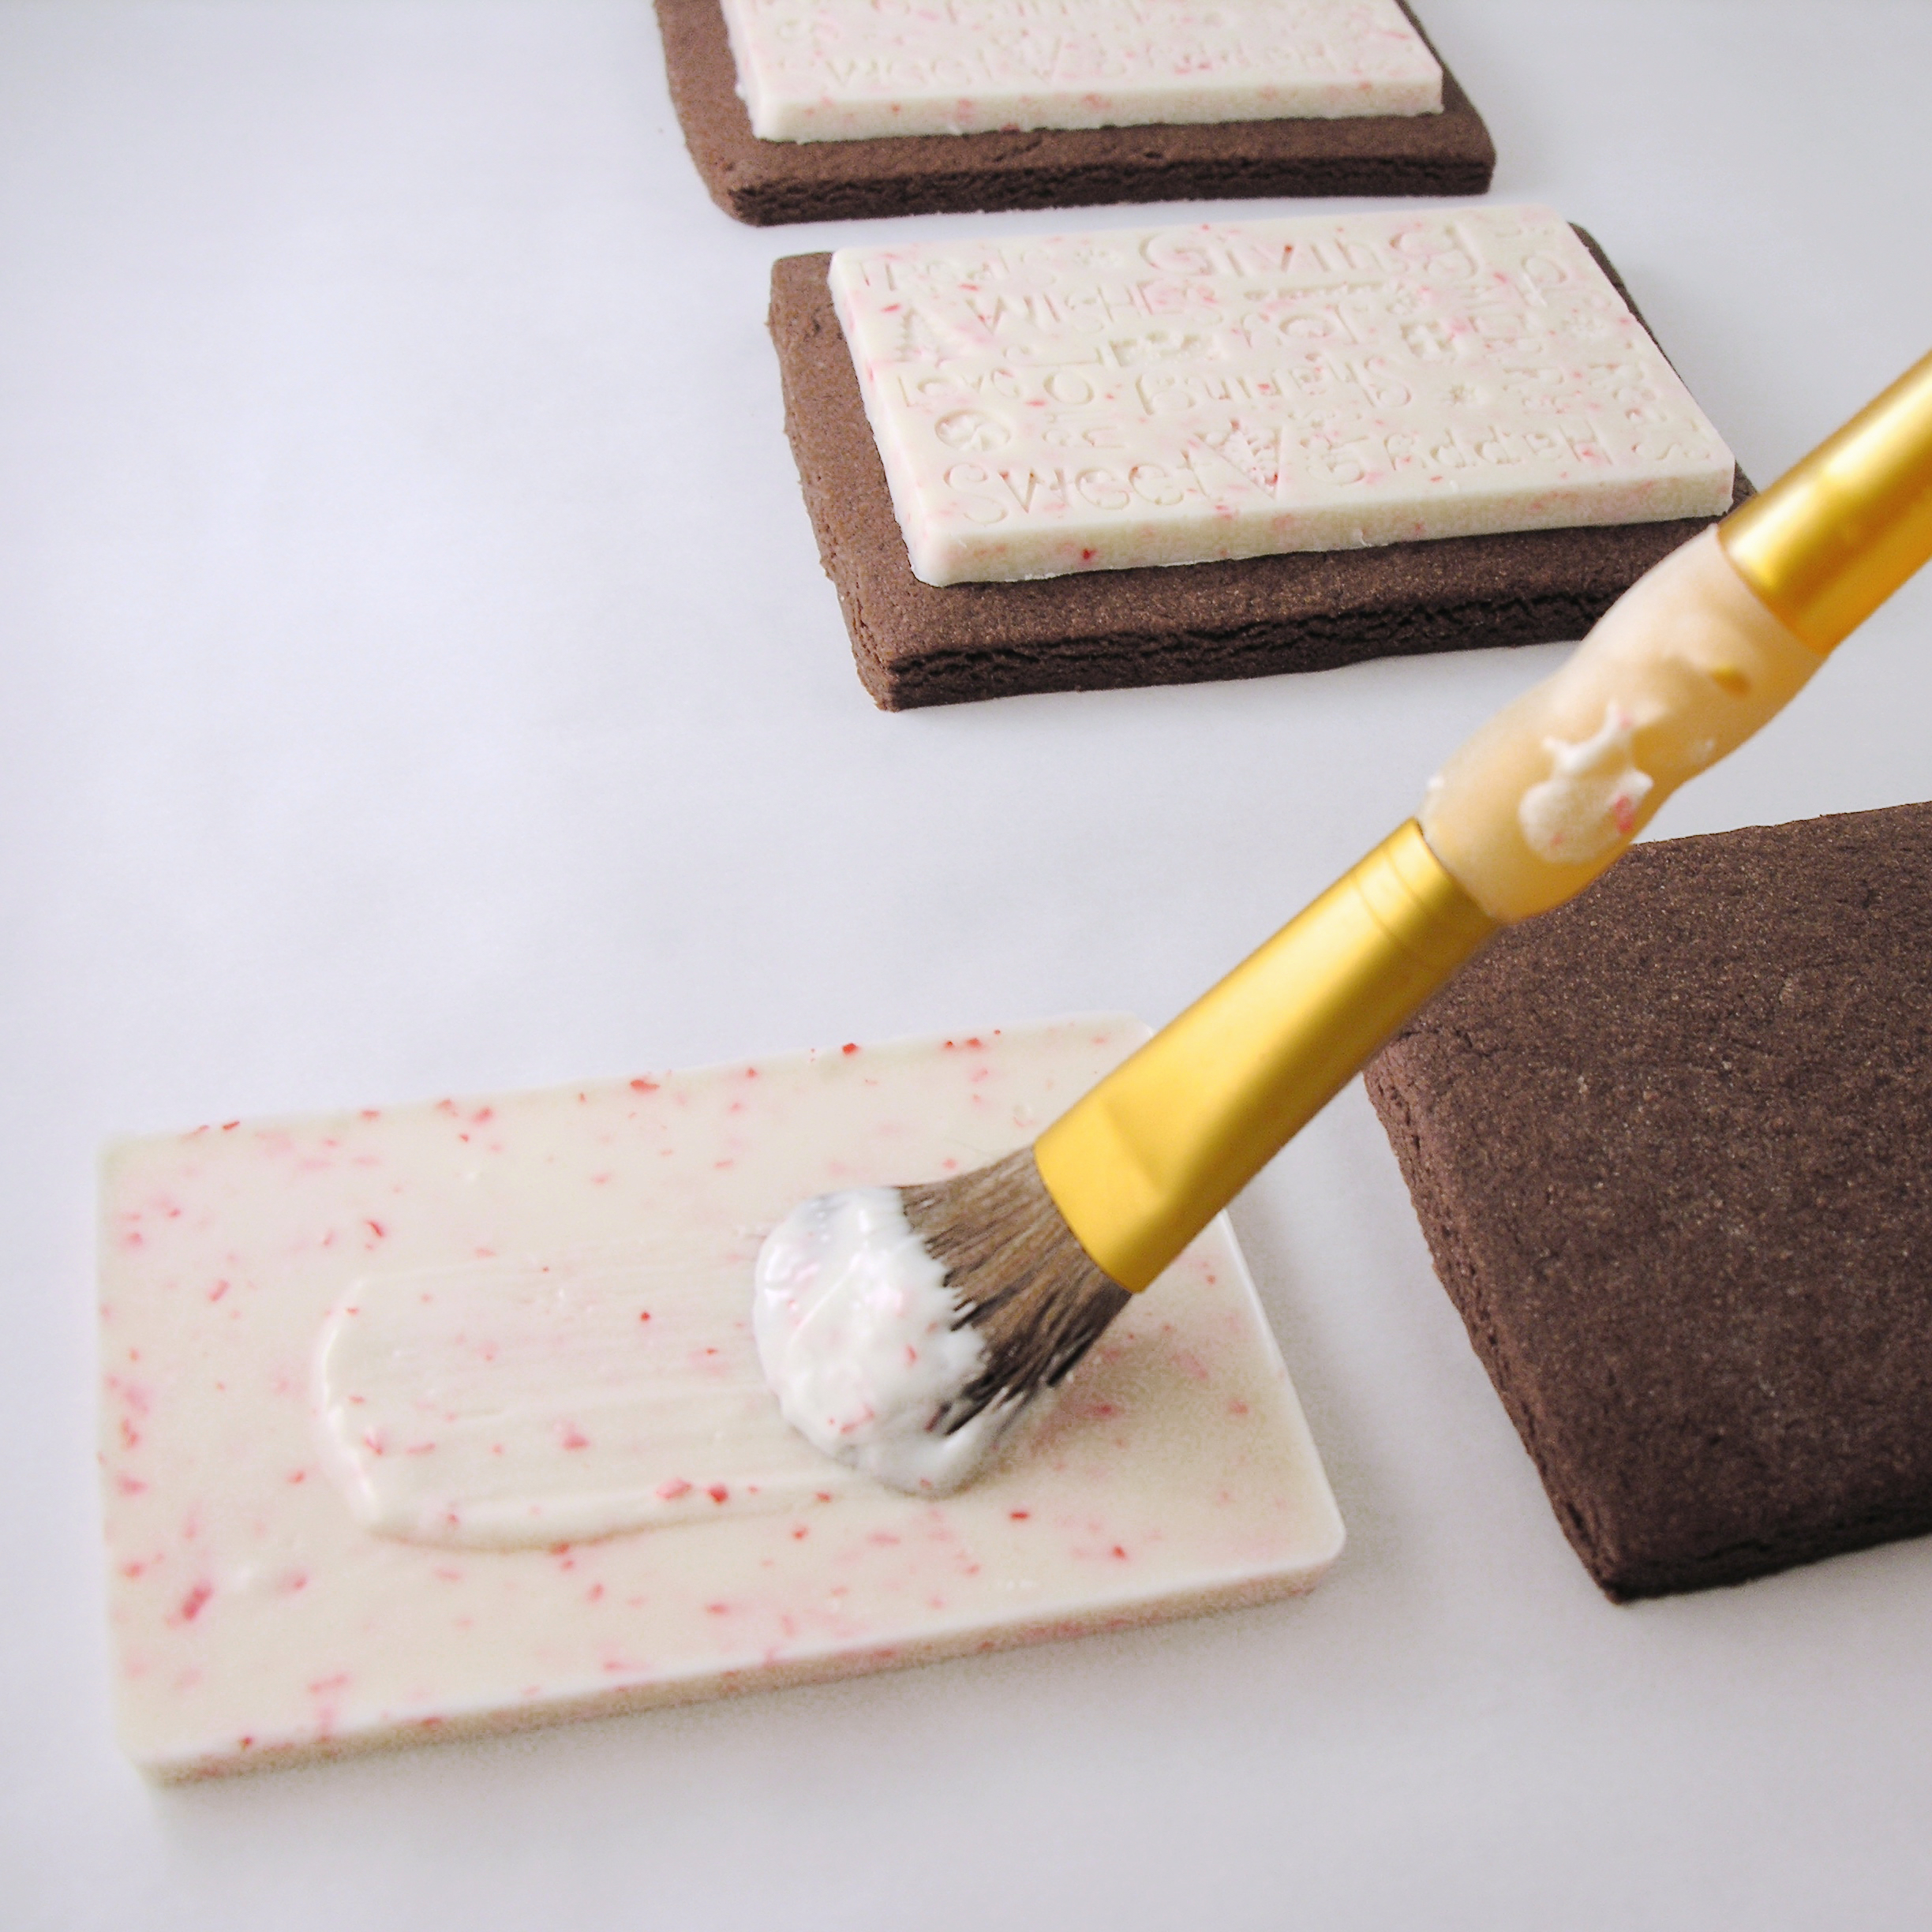
  • Use a food-grade brush, or pastry brush to “paint” the inside of the egg mold with chocolate. Paint two layers to make it nice and thick- you should not be able to see any of the mold showing through. 
  • Freeze until hard (5 minutes or so)
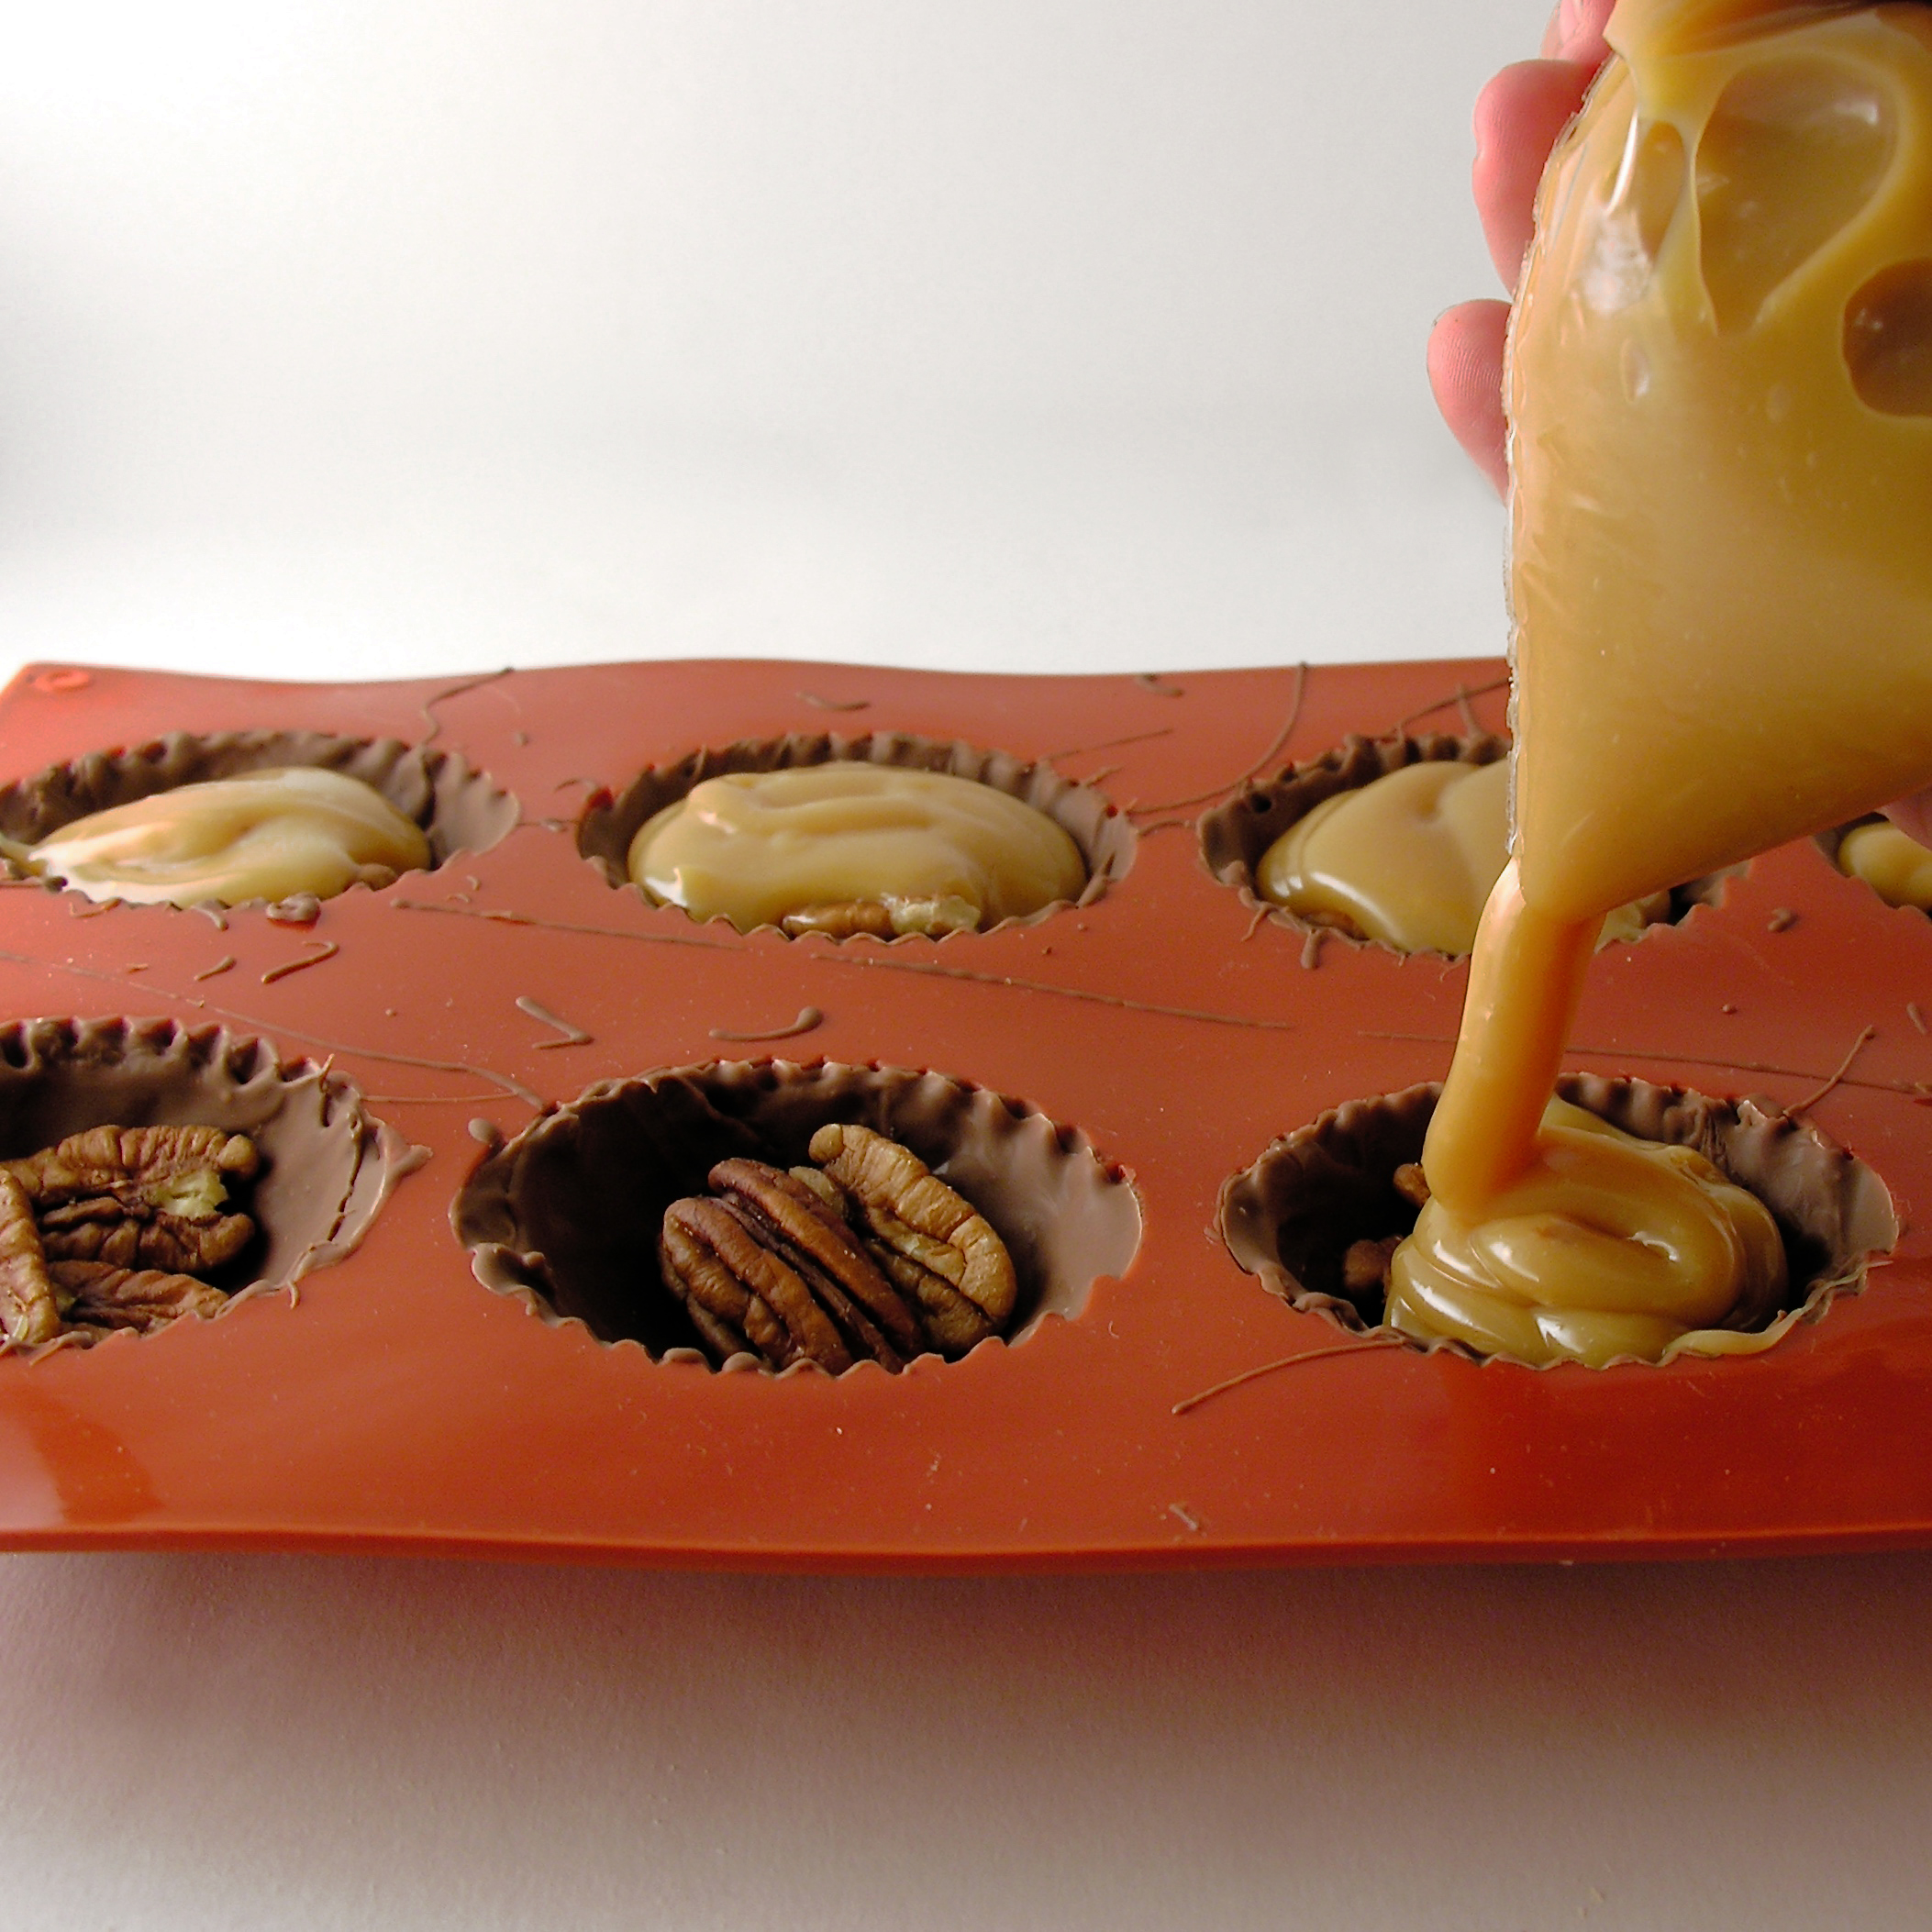
  • Place cooled caramel into a large zip-top bag, zip tightly closed and clip a corner off the bag using a pair of kitchen scissors.
  • Squeeze a little bit of caramel in each cup, set three pecans on the caramel, pushing them gently into it, then fill the remainder of the cup up with caramel.

**Note: If you are making just armadillos, don’t fill to the top because you will add a layer of chocolate on top once the caramel is hard. If you are placing these on cookies, you can fill to the top and spread flat with a knife.

Caramel ArmadillosCaramel Armadillos

  • Place these in the freezer to harden (5-10 minutes) and then paint a layer of chocolate on the top of the hardened caramel and freeze again until hard.
  • Gently peel silicone mold away from chocolate and set on a plate to be decorated!
  • Unwrap 20 tootsie rolls and place for just a few seconds in the microwave to soften a little.
  • Pull and roll these into tails and use the side of a knife to press grooves along the length. Keep these on parchment paper until they harden up. 
  • Unwrap 4 to 5 tootsie rolls and cut them into little circles. Shape these into ears and keep with tails on parchment paper.

Caramel Armadillos!

  • To assemble, use dabs of melted chocolate to attach ears, candy eyes, nose and tails.

I made cookies for them to sit on. My original idea was for caramel turtle cookies, so I went ahead with the cookie plan and it does add stability to that tail (otherwise they are a little awkward to pick up!)

  • I used my favorite chocolate cookie cut-out recipe from here, and it made a few more cookies than I had armadillos for, but they are yummy cookies all alone!!
  • I used an egg-shaped cookie cutter a bit larger than the armadillo.
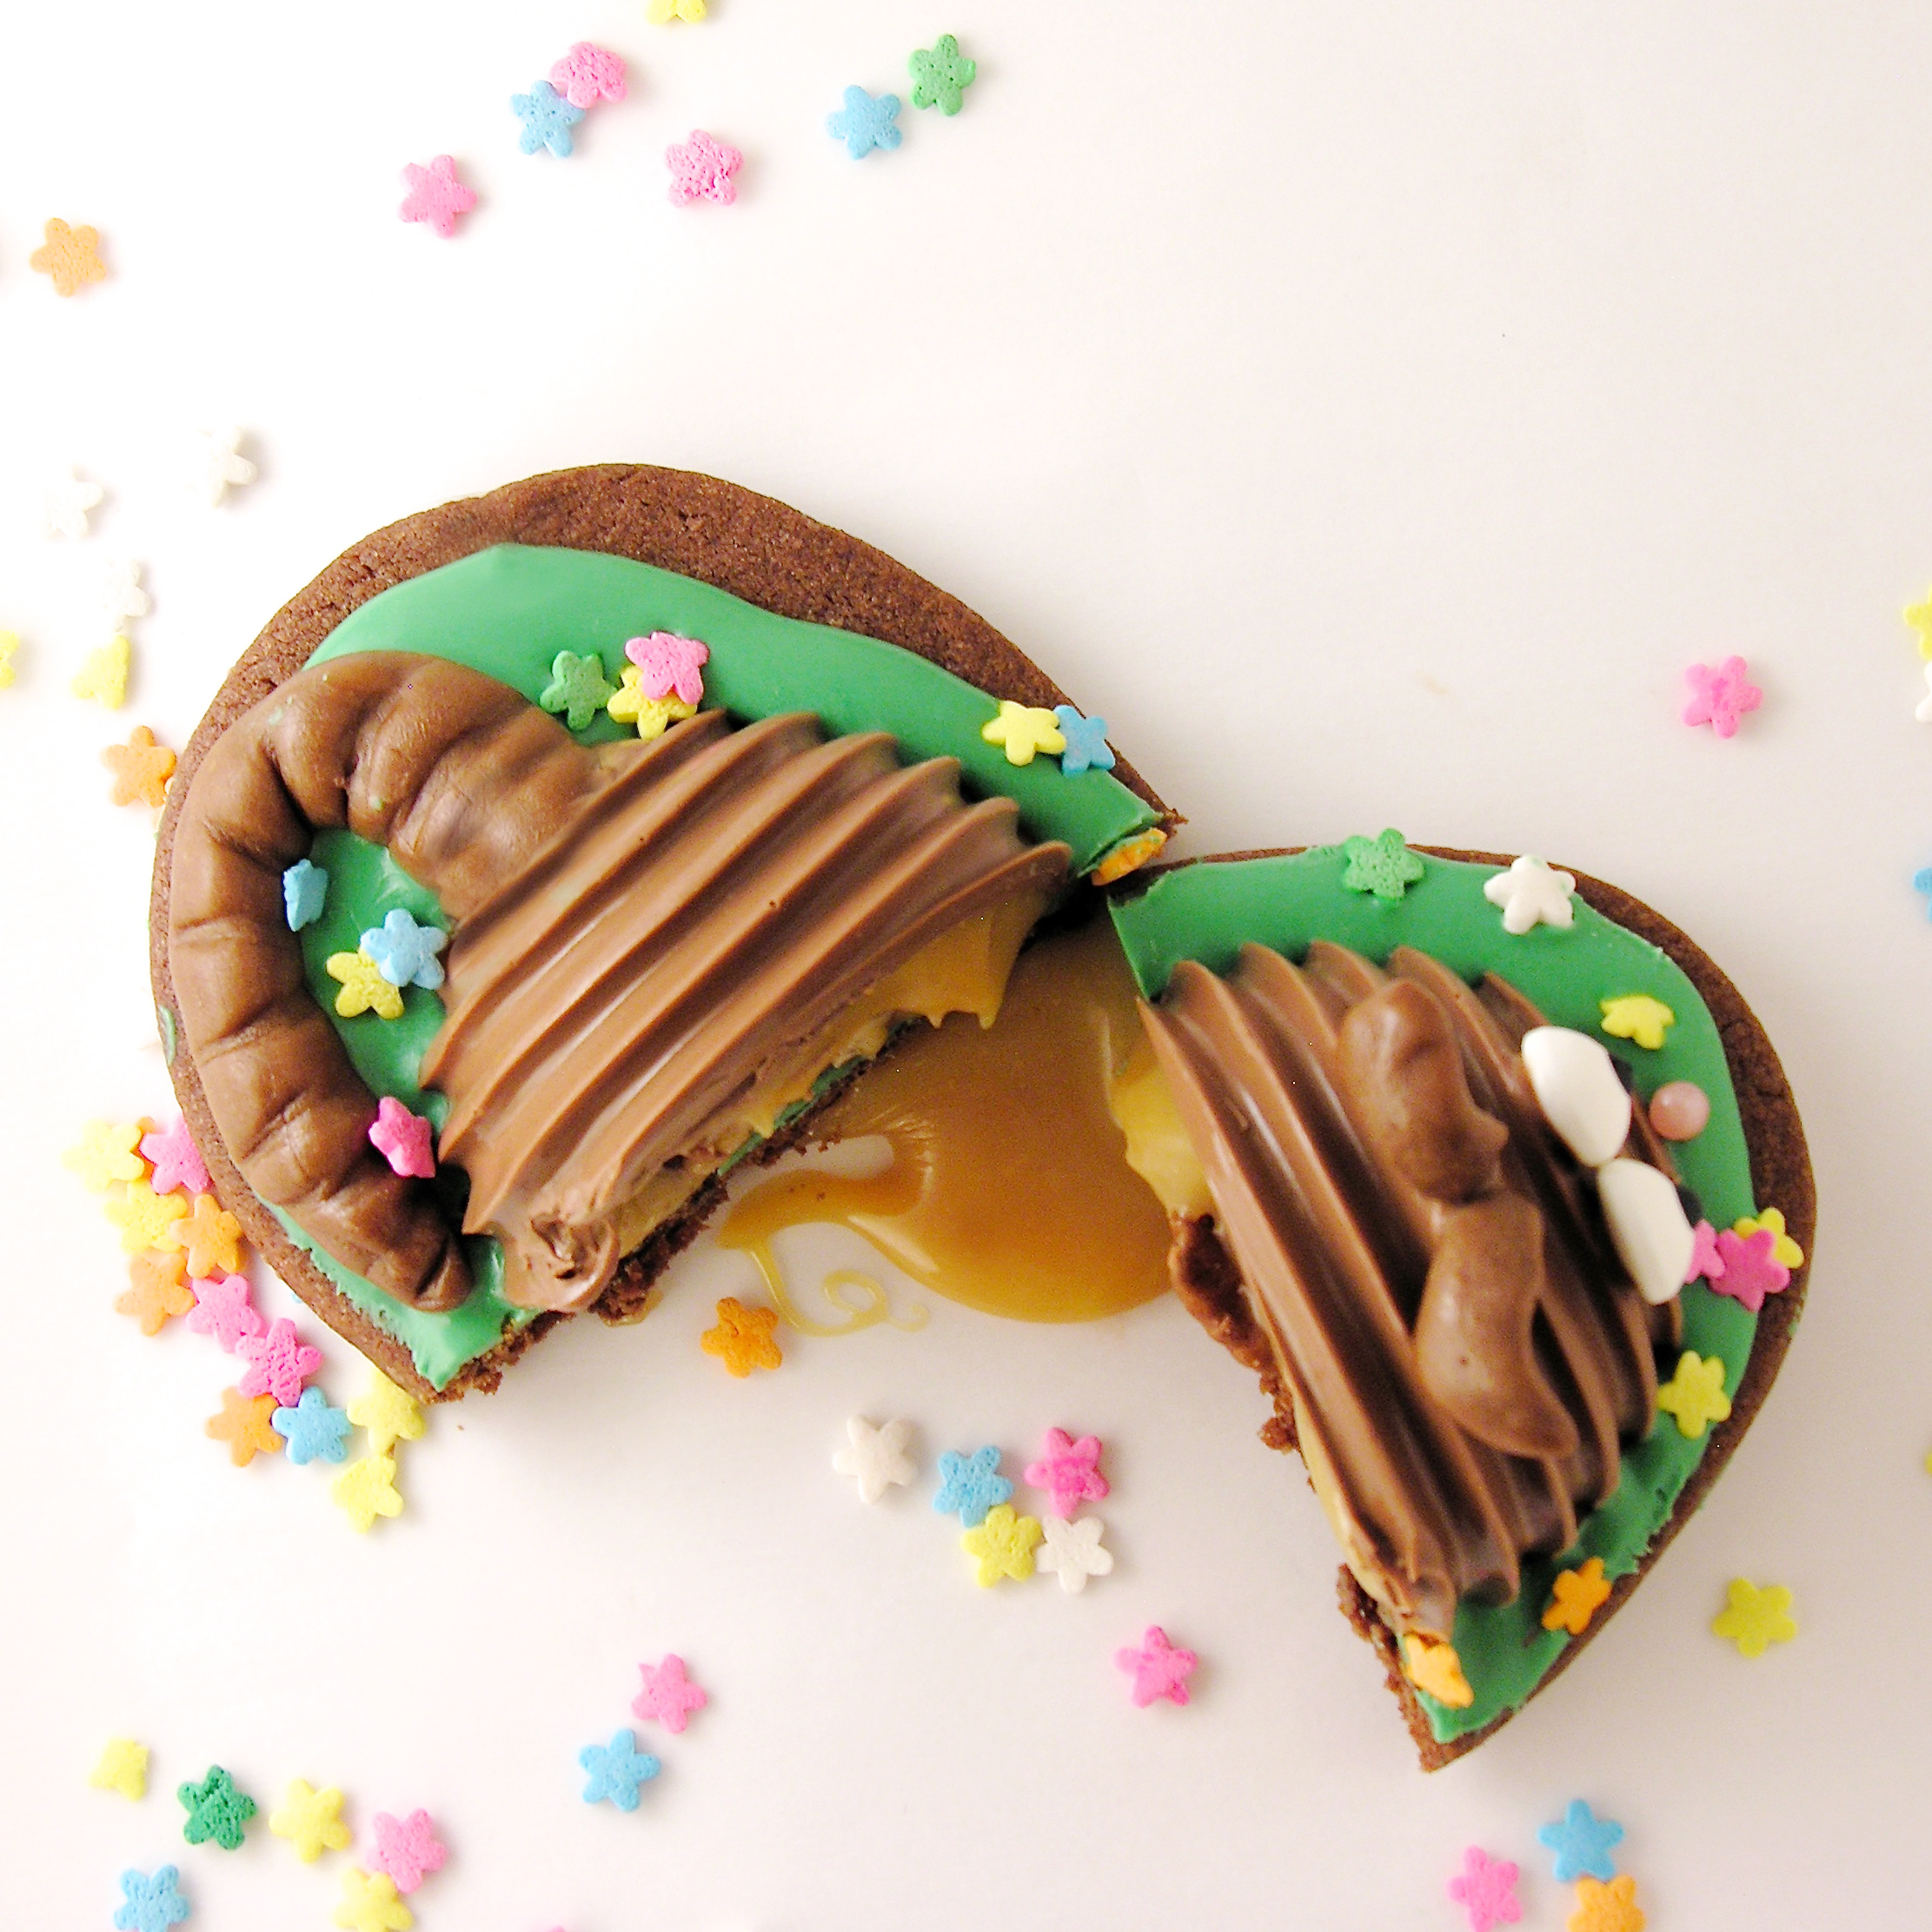
  • I added melted green candy wafers to the top- just spooned some on and spread it near the edges- and set a “open” caramel armadillo on top. The green wafers seal up the bottom and keep caramel from leaking out!
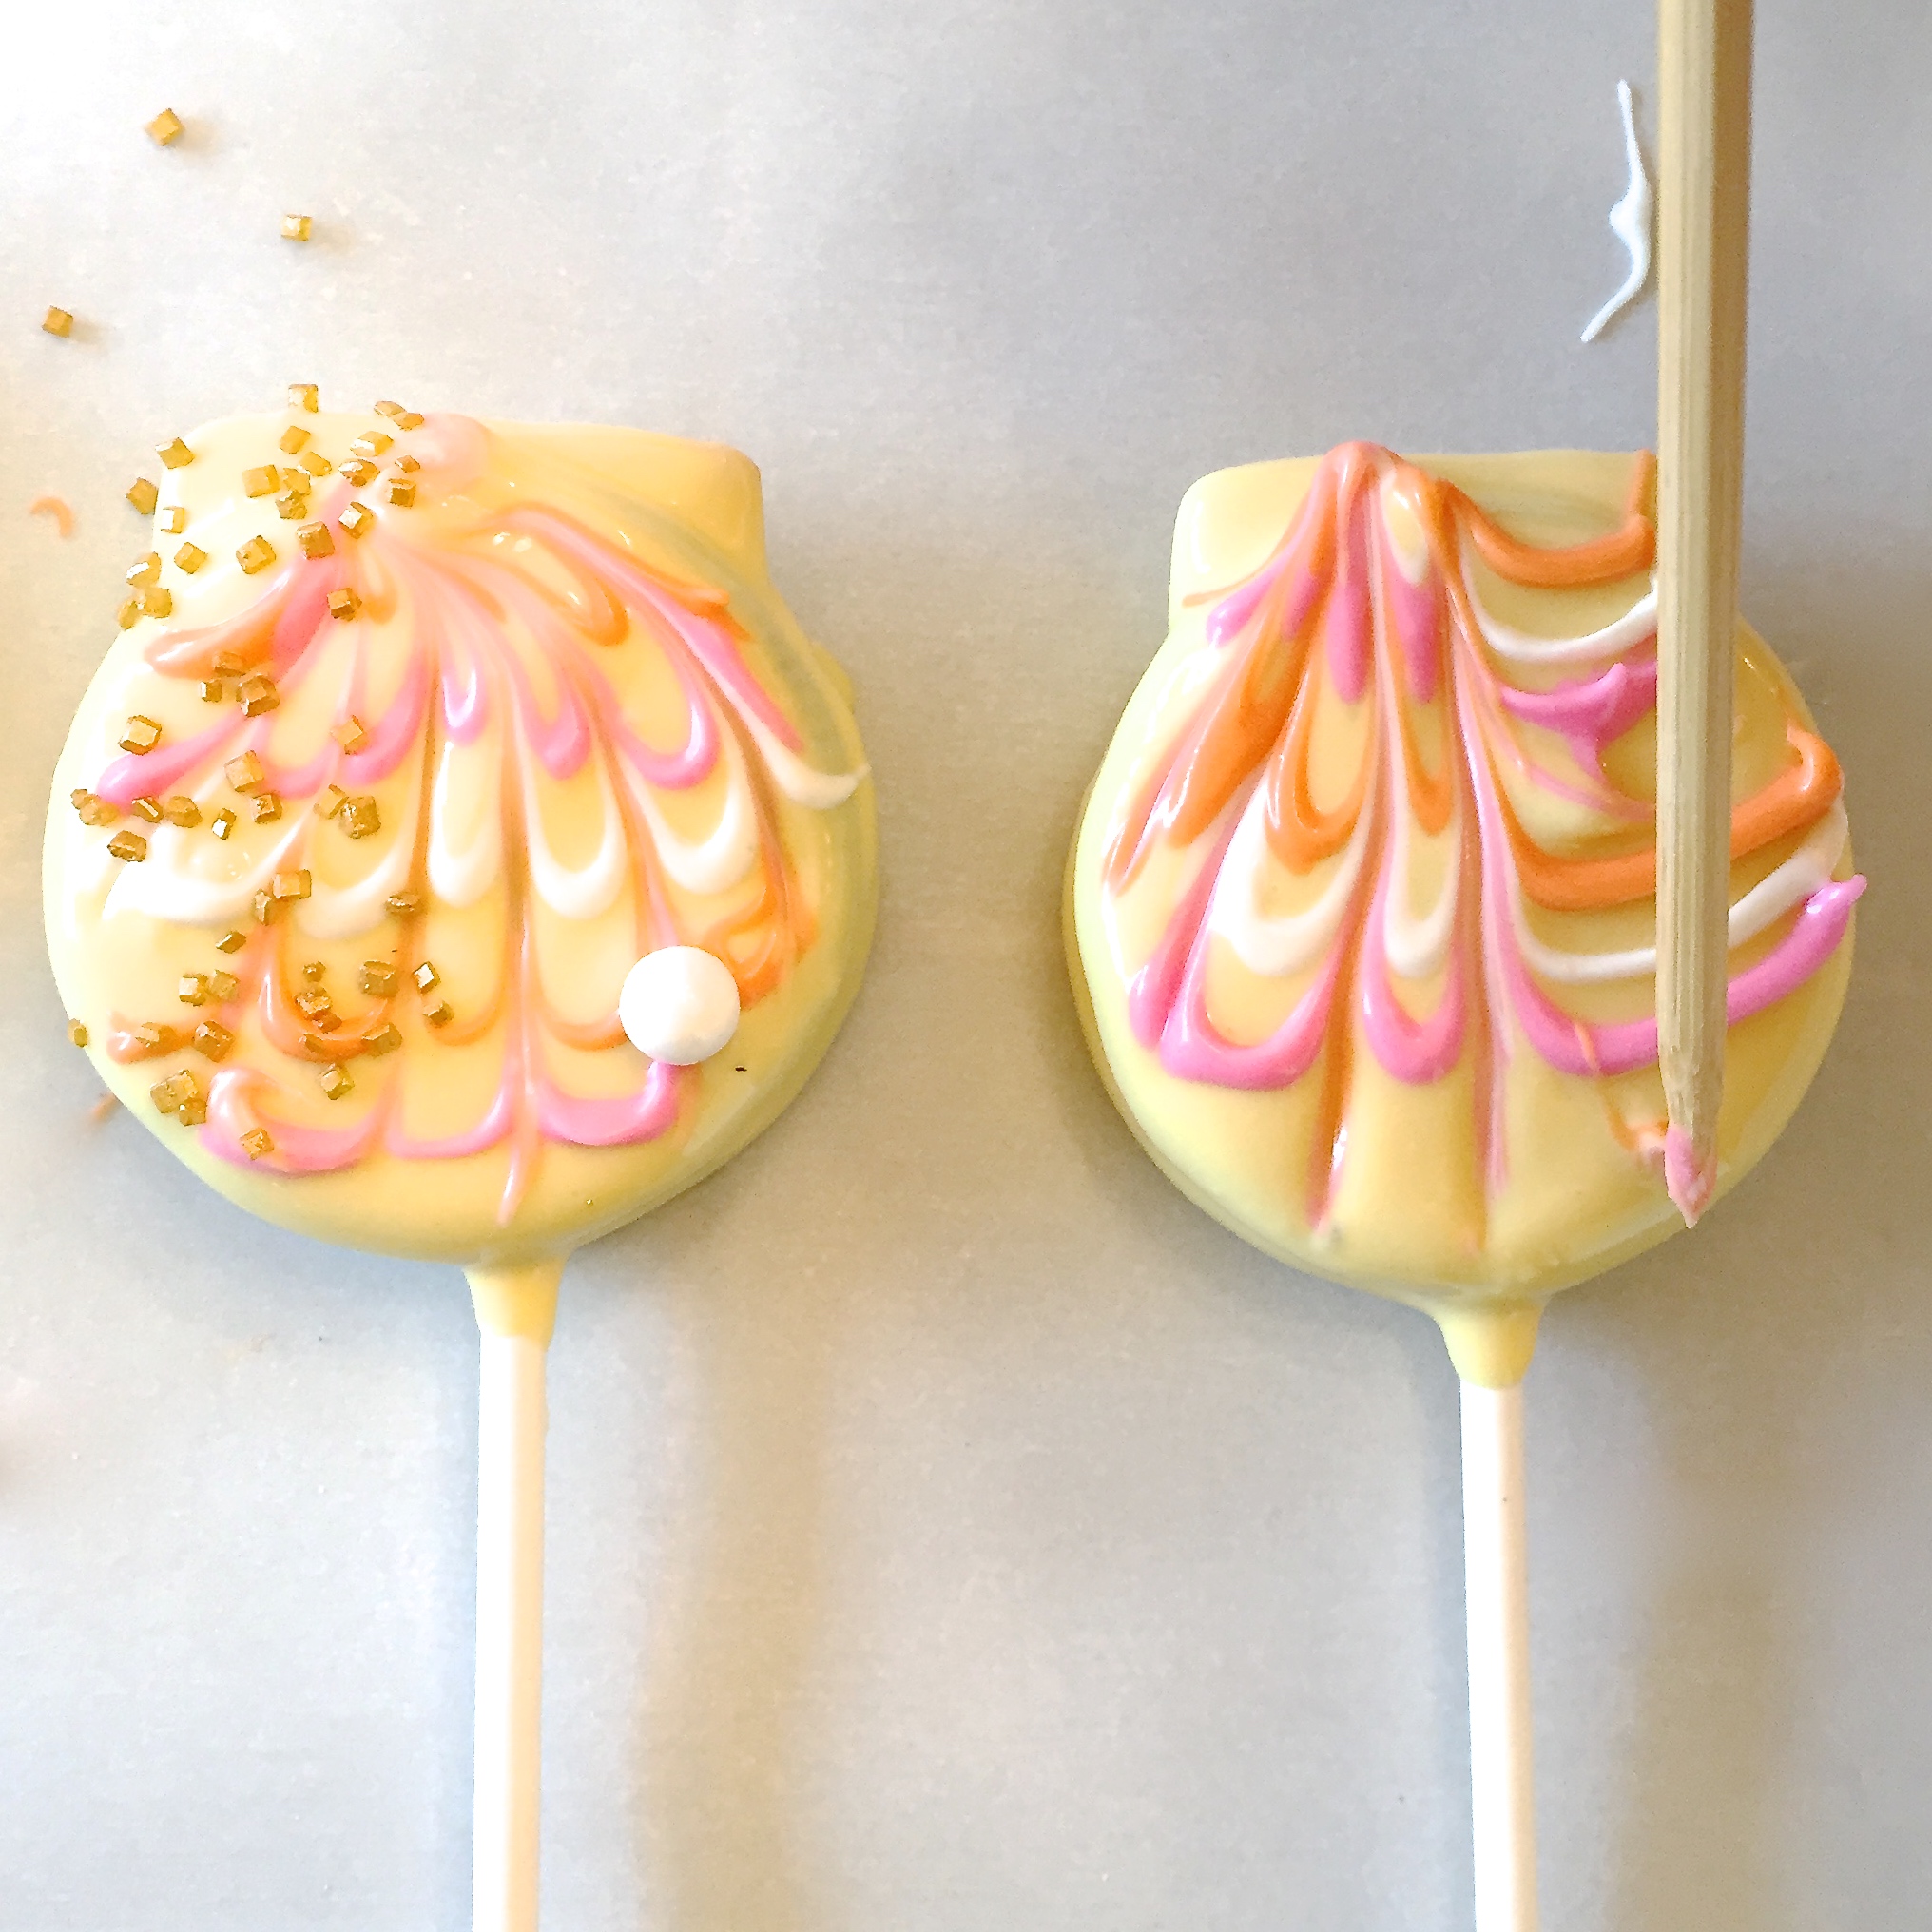
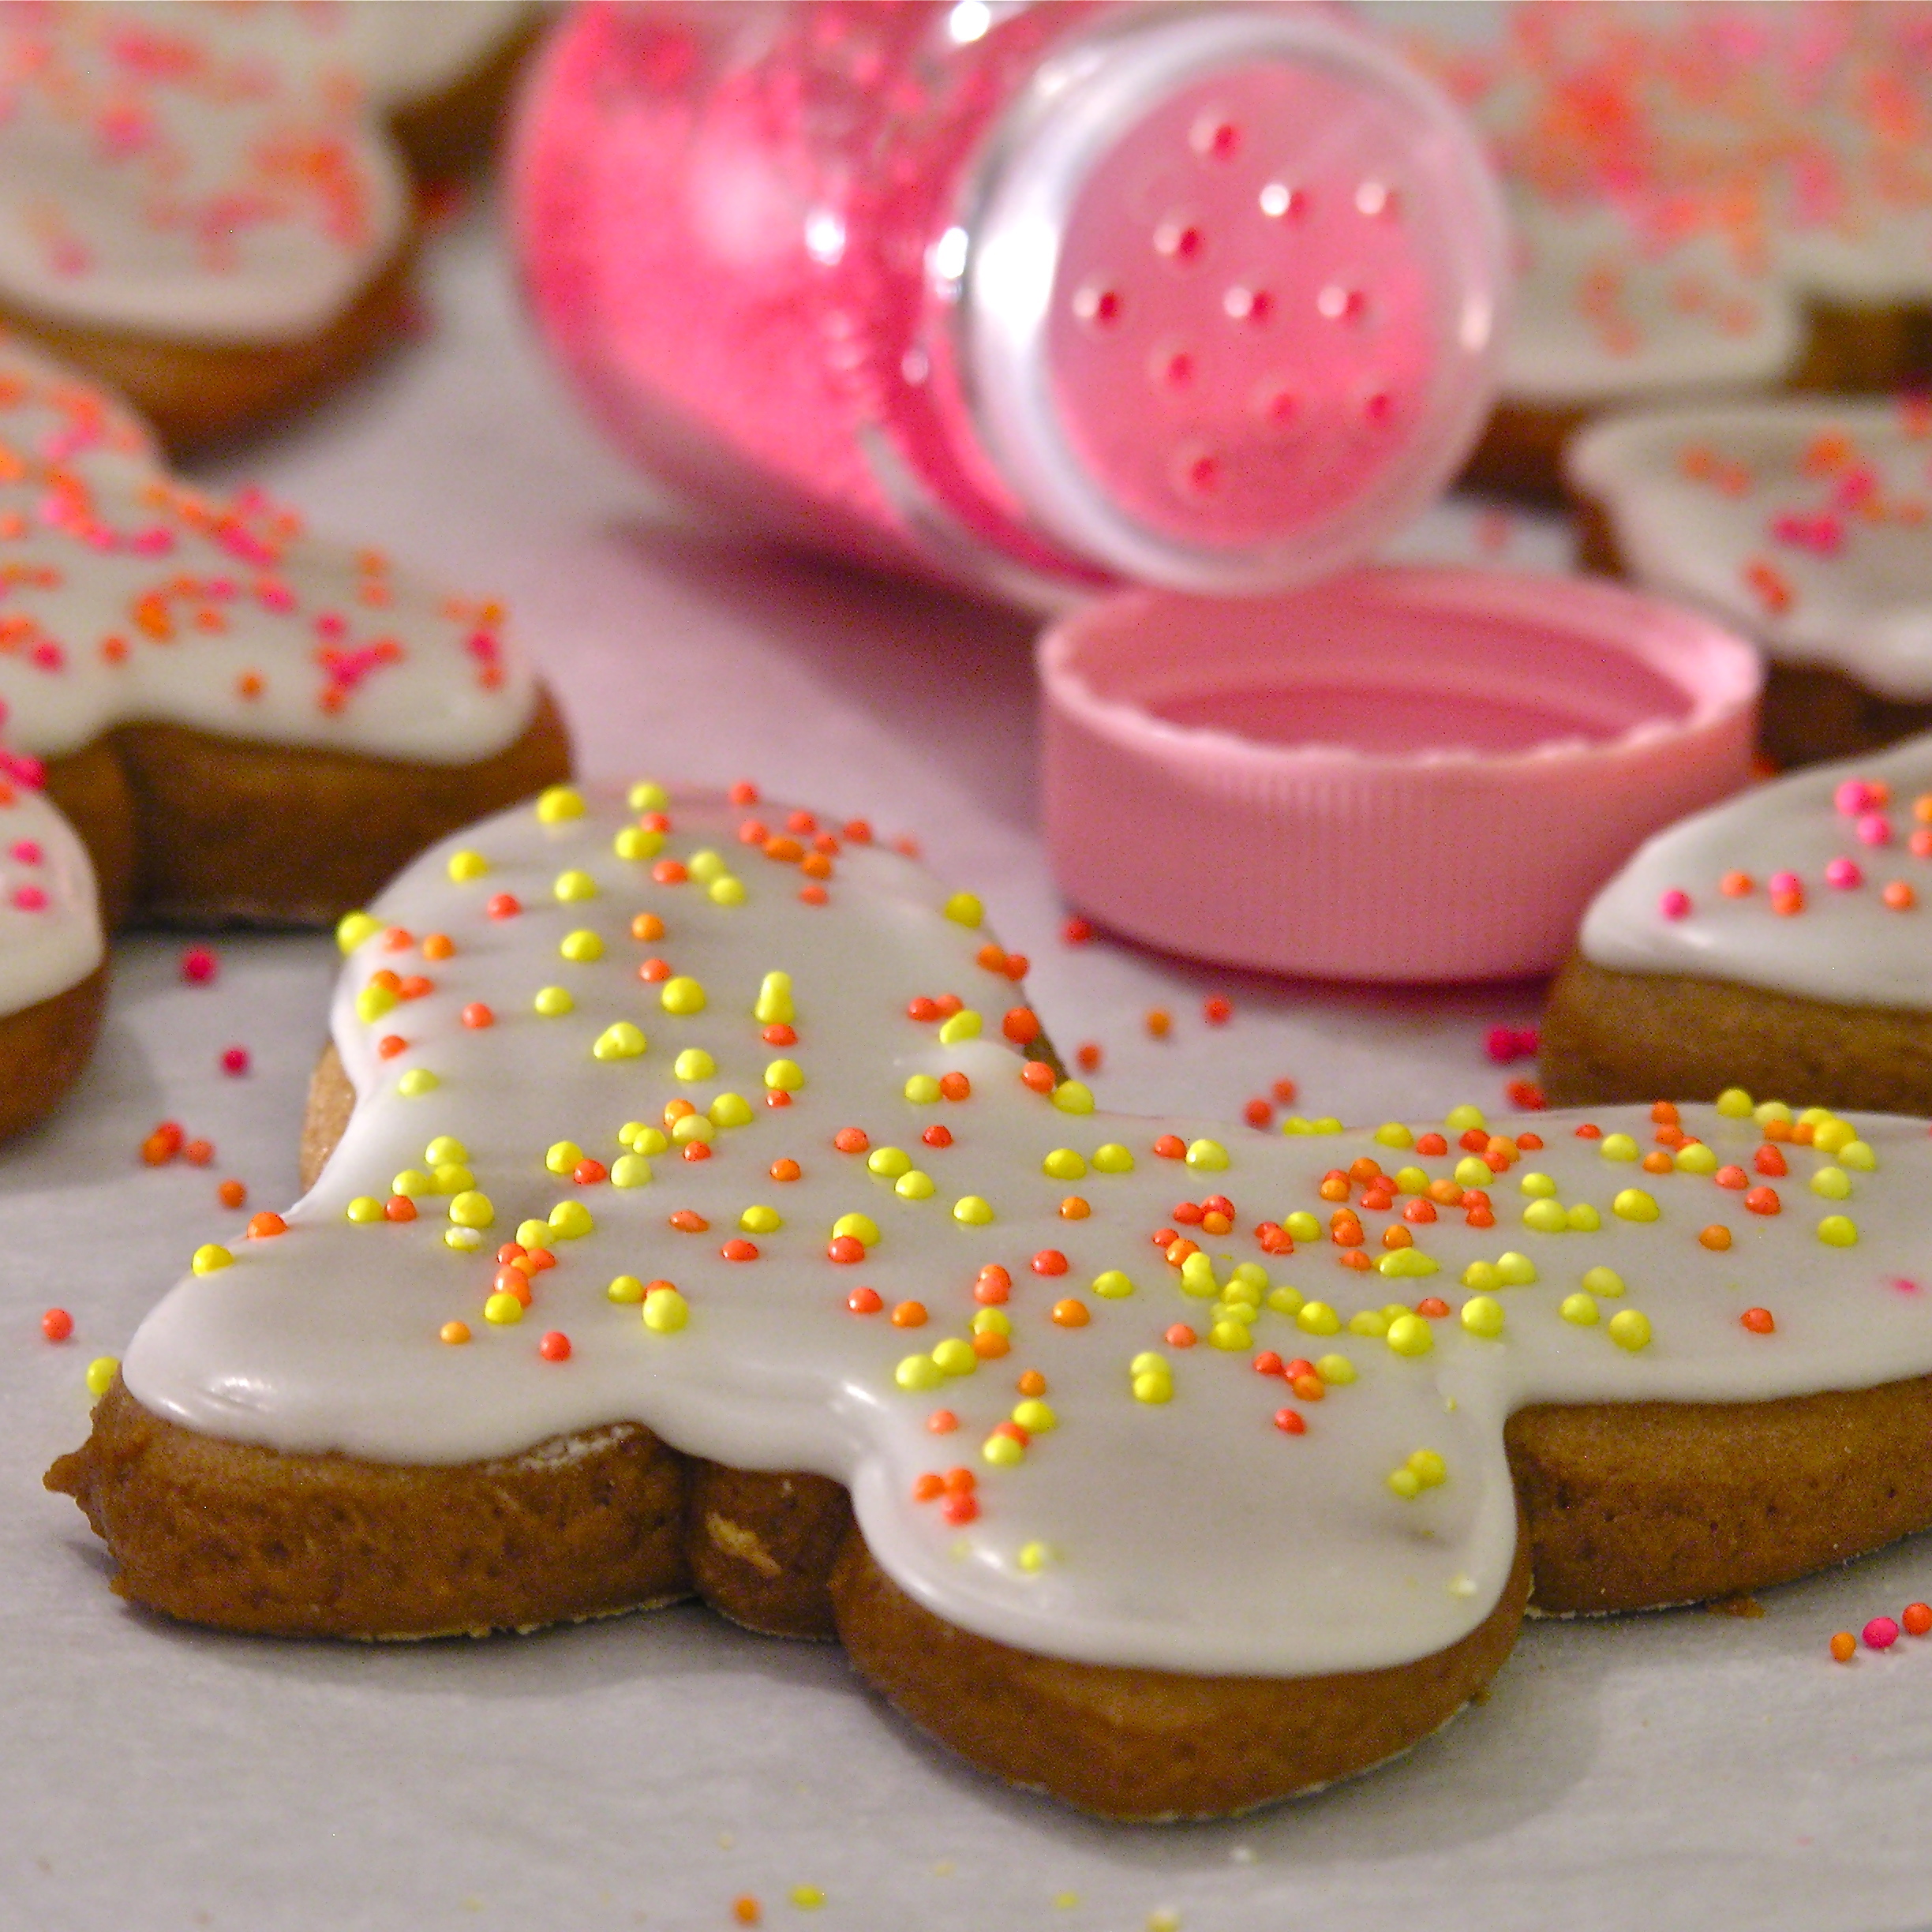
  • I set the tail on the melted green wafers and added flower sprinkles! Once everything hardened up I added the eyes, ears and nose.

Caramel Armadillo!

So….cookies??? Candies????  It’s up to you! I think they would be fun on a cake.

How awkwardly wonderful would a caramel armadillo cake be???

Caramel Armadillo Cookie

My thoughts: These are delicious. They are also a lot of work (being honest!). It would help to have your tails and ears shaped ahead of time and I was wishing SO hard for an additional mold. That would save time too. That said- I will totally make these again!!!! They were well- loved by adults and kids alike!  If this recipe seems like too much craziness for you, just make the caramel. Put it on ice cream and be happy!  Enjoy!!  ~r

Dulce de Leche caramel sauce form a can

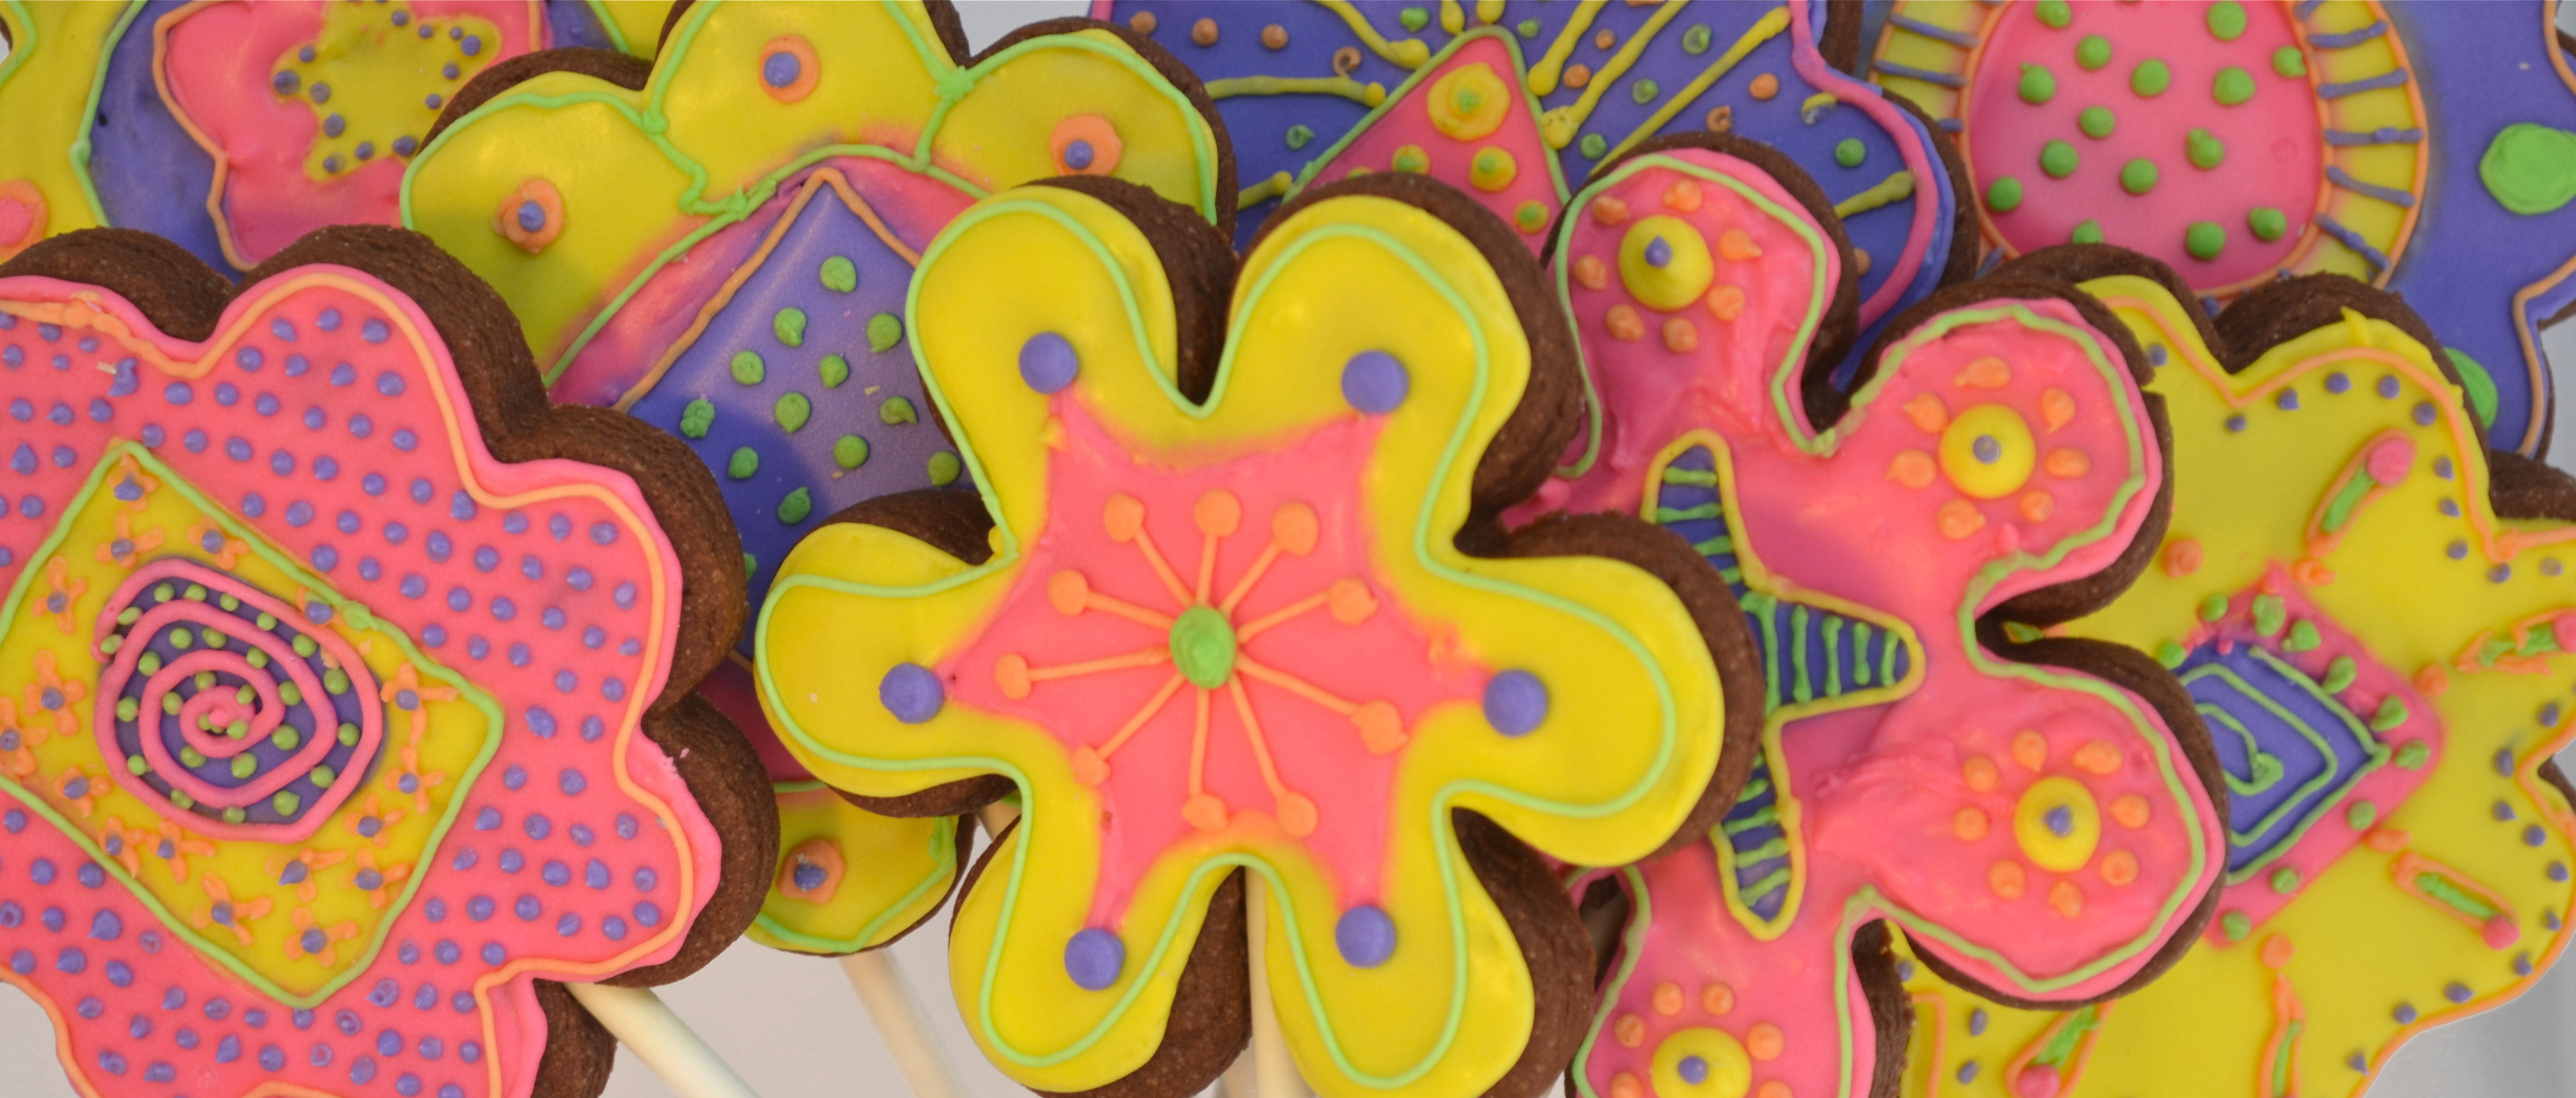
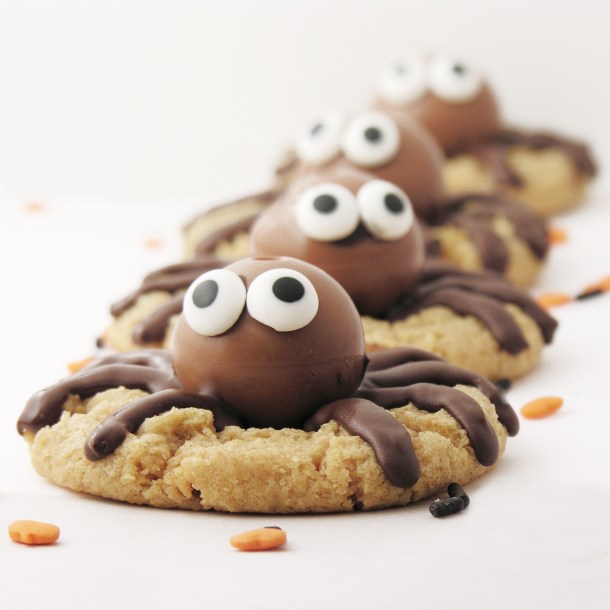
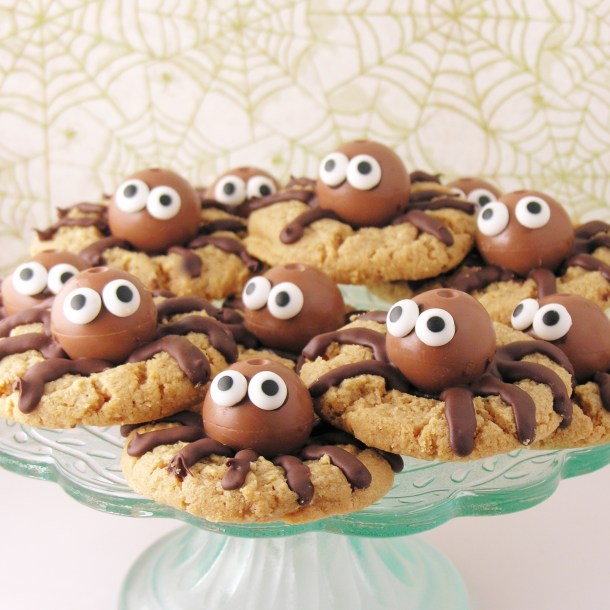
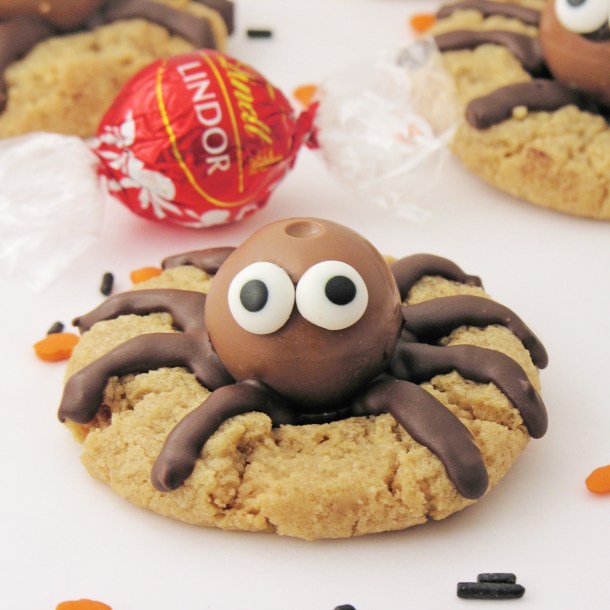
Other recipes kids will love (click on a photo to see the recipe!):

Polka Dot Cake!!!Pile of Cupcakes!Hamburger Cookie!Edible Jello Earthworm Cupcakes

Christmas Card Cookies

Christmas Card Cookies

These adorable cookies don’t just taste yummy- they also bear Christmas words of cheer with every delicious bite!

I saw this fun silicone mold by Wilton at my local grocery, and I couldn’t resist! So fun!!!

I made two varieties of these little cookie cards: Peppermint mocha and Gingerbread chocolate. Both were delicious and so fun to make!

You can use any of your favorite cut-out cookie recipes partnered with any Wilton Candy Melt flavors on top, but I thought these two combinations were delicious!

Christmas Card Cookie1

Want to know how to make these? Let’s start with the “card” toppers.

  • You’ll need about 3 bags of Wilton Candy Melts to make 24 cookie toppers.
  • Melt them in the microwave, one bag at a time, in 30 second increments, stirring between until smooth.
  • Spoon about 2 tablespoons into each cavity and use a small spoon to spread into corners.
  • Tap mold on counter to remove bubbles and freeze for about 10 minutes.
  • Carefully peel the mold away from each bar and repeat this process until you have 24.

This process takes a little time, but it can be done ahead of time and the little bars can be stored in an airtight container in a cool spot until needed. Keep different flavors separated from each other, and put a little parchment or wax paper between layers.

Then you can make the cookies!

One of my favorite Christmas recipes (of all time) is my grandma’s gingerbread cookie recipe. It’s on this blog a couple of times, but you can get the original (in grandma’s handwriting!) by clicking here. I paired this cookie with dark chocolate Wilton’s candy melts.

Gingerbread Cookies!

The other recipe I used, with peppermint card toppers, was my espresso cutout cookies. There’s nothing like peppermint, coffee and chocolate all together! You can see this recipe originally published on Easybaked by clicking here.

Chocolate Espresso Cookies!!!

  • Make your cookie dough according to whatever recipe you desire and then use a cookie cutter to cut a large rectangle cookie. I used a 4.5″ x 3″ cutter that I found here.
  • Bake, cool and then take a little extra Candy Melt and a food-safe brush and brush melted candy on the back of each bar to attach it to the top of each cookie.
  • Press the bar down using a little wax paper on the top (if you touch it with your bare fingers you will get prints!)
  • Allow bar to harden onto the cookie and then serve! I placed each one in a little cello bag sealed with a sticker and gave them away with gifts.


Christmas Card Cookies6

So fun!!!!

Christmas Card Cookies

My thoughts: These are a fun, creative and easy way to say Merry Christmas! The variety of flavors you can use is limited only by your imagination- but I recommend you use a cookie recipe that doesn’t “puff up” too much. You can see in my photos that my gingerbread cookies puffed up a little- making my edges not as pretty and straight as those chocolate espresso ones that don’t expand much at all. The gingerbread/chocolate combination was so yummy that I got over the slightly curved edges though!  I hope you get a chance to try these- so fun!!  ~r

Christmas Card Cookies2

Other Christmas recipe ideas here at Easybaked: (click on a photo to see the recipe)

Spiced Mocha MixCreamy cheesecake with sour cream toppingReindeer Oreo Pops!!!Pecan Pie Cupcakes

.


Lemonade Cookies…with a twist!

Posted on

Lemonade Cookies with Strawberry Bits!

Chewy lemonade cookies made with bits of strawberry licorice…a fun treat that every kid (or kid at heart) in your life will love!

Months ago I received a baking challenge from an 8 year old boy named Zao.  His mom Erika works with me and he asked her, “Do you think Ruthanne could make cookies with red licorice in them?”  Well, of course we can!

Now, as a little warning to you:  the bits of licorice are yummy, but they are very chewy and you end up eating licorice after the cookie is all gone in your mouth.  Remember bubble gum ice cream?  It’s a little like that sort of dilemma.  The taste combination is wonderful though and if you can get past the consistency you will love these!

For those of you not-so-brave folks out there….the cookies are soooooo yummy without the licorice too!  I made two batches– one with and one without the licorice.  I loved both varieties (and it gave me an excuse to eat TWO cookies instead of one!)

Lemonade cookies!

Here’s how to make them:  (printer- friendly recipe)

INGREDIENTS:

  • 1 1/2 cups granulated sugar
  • 1 cup butter, at room temperature
  • 1 large egg
  • 1/2 teaspoon vanilla extract
  • 1 packet (0.23oz.) Kool Aid Lemonade
  • Yellow food coloring gel 
  • 2 3/4 cups flour
  • 1 teaspoon baking soda
  • 1/2 teaspoon baking powder
  • 1/2 teaspoon salt
  • 1 cup of chopped Twizzler Strawberry Licorice. (I just chopped them into chocolate chip-size bits using a sharp knife)

DIRECTIONS:

  • Preheat oven to 350F degrees
  • Using a mixer, beat together butter and sugar until smooth and creamy.
  • Add egg and vanilla extract and mix until combined.
  • Add Lemonade powder and coloring gel (if needed) to create a nice yellow color. Mix well.
  • Blend in the dry ingredients, using clean hands to knead the dough together at the end.
  • Add chopped strawberry licorice bits at the very end and blend well (this step can be skipped if you aren’t feeling wild and crazy– you’ll just have yummy lemonade cookies!)
  • Roll rounded tablespoons of dough into balls and place on baking sheets that have been covered in parchment paper.
  • Bake for 8 to 10 minutes or until cookies are set. 
  • Slide parchment paper (with the cookies still on top) onto a cool counter and allow cookies to cool right on paper.

lemonade cookies!


My thoughts:  With or without the strawberry bits, these are great cookies.  I think they balance perfectly between sweet and tart. I was surprised at how many people loved the idea of putting licorice bits into cookies. I think they would be great with a strawberry or raspberry icing on top.  Yum….!  Enjoy!

Enjoying his cookies-- thanks for the recipe idea Zeo!

Enjoying his cookies– thanks for the recipe idea Zeo!

 Lemonade cookies with licorice


You might also enjoy:

Yummy Lime Cupcakes with Lemon Butter cream Frosting!Lemon-Lime and graham cracker truffleLemon Drop3Confetti Cups

Chocolate Fudge Cut-Out Cookies!!

Posted on

Chocolate cut out cookies!

The rich dark cocoa flavor of these cut-out cookies sets them apart as one of the yummiest cookies I’ve ever had!!

This weekend was a special treat — my good friend (and fellow baker/blogger) Megan came to visit me from Pennsylvania.  We met in 2010 on a mission trip to Russia and we have been best of friends ever since.  Russia with Megan

Megan and her mom and sisters create the most beautiful and unique cakes I’ve ever seen, and they blog about life and caking on their blog Happily Ever Cakes.  Megan has such great decorating ideas and she promised to share some of her recipes and techniques with me this weekend.

We spent hours in the kitchen (often accompanied with friends who wanted to help and learn too!)  It was so much fun, and I’m so excited to share with you all the things I learned!!

Holding our personalized mug cupcakes--technique coming soon to Easybaked!   Such a fun weekend!

Holding our personalized mug cupcakes–technique coming soon to Easybaked!
Such a fun weekend!

I wasn’t sure which project to tell you about first, so I decided to begin by dedicating this post to some truly yummy chocolate cut-out cookies.

Megan wanted to prove to me that royal icing isn’t always a tedious mess…. but honestly, royal icing is a tedious mess no matter what your technique or recipe (in my humble opinion!)

Chocolate cut-out cookies


They are cute.  Super super cute cookies.  But  24 cookies took three of us about 3 hours….which means if I’d done them alone they would have taken me 9 hours….yeah.

So there are a lot of pictures because this will likely never happen again.

Cut out cookies with Royal Icing!

We even put some of them on lollipop sticks which was a really fun way to display them.

Cut out cookie pops

When Megan suggested a royal icing project I immediately thought of this great family recipe.  I’d never made them as a cut-out cookie or attempted to bake them with sticks inserted, but I thought it would be worth experimenting with since they taste SO good.  The verdict??  These dense chocolate cookies are easy to cut into shapes and worked great with or without lollipop sticks.  The dark cookie really made all the fun colors in our frosting stand out too!

Ready for the recipe?   (printer friendly recipe)

INGREDIENTS: (makes 24 large cookies)

  • 2 sticks (1 cup) butter, softened
  • 1 1/2 cups sugar
  • 2 eggs
  • 1 teaspoon vanilla extract
  • 2/3 cup unsweetened cocoa powder
  • 3 cups flour
  • 1/2 teaspoon salt
  • 1/2 teaspoon baking powder

DIRECTIONS:

  • Preheat oven to 350F degrees.
  • Add butter, sugar, eggs, vanilla and cocoa together in  large mixing bowl.
  • Blend on medium speed with a mixer until smooth.
  • Gradually add dry ingredients and mix until smooth (use clean hands at the end, to knead into a soft ball of dough)
  • Wrap in plastic and chill for at least one hour.
  • Allow cookie dough to soften a little at room temperature
  • Roll out cookie dough on floured counter.  If you are adding sticks, you will want to roll the cookies out thick (about 1/3″)
  • Cut into desired shapes and place on a parchment-lined baking sheet.  Insert lollipop sticks, if desired, by gently pushing stick into cookie about 1- 1 1/2 inches. You will need to arrange cookies to fit with sticks on top of cookie sheet.
  • Bake for 8 to 11 minutes until the edges are firm.
  • Gently slide parchment paper off of cookie sheet and onto a flat surface.  Cool completely before moving- this allows the cookie to “set” around the stick.  Even when it is cooled, handle it with care.  It takes a little time for the cookie to harden around the stick.
  • Frost as desired.  A simple powdered sugar glaze will be delicious on these, or if you want to get fancy (and have a nice hard surface on your cookie) click here for Megan’s royal icing recipe and instructions for use.

Fun chocolate cookie cut-outs
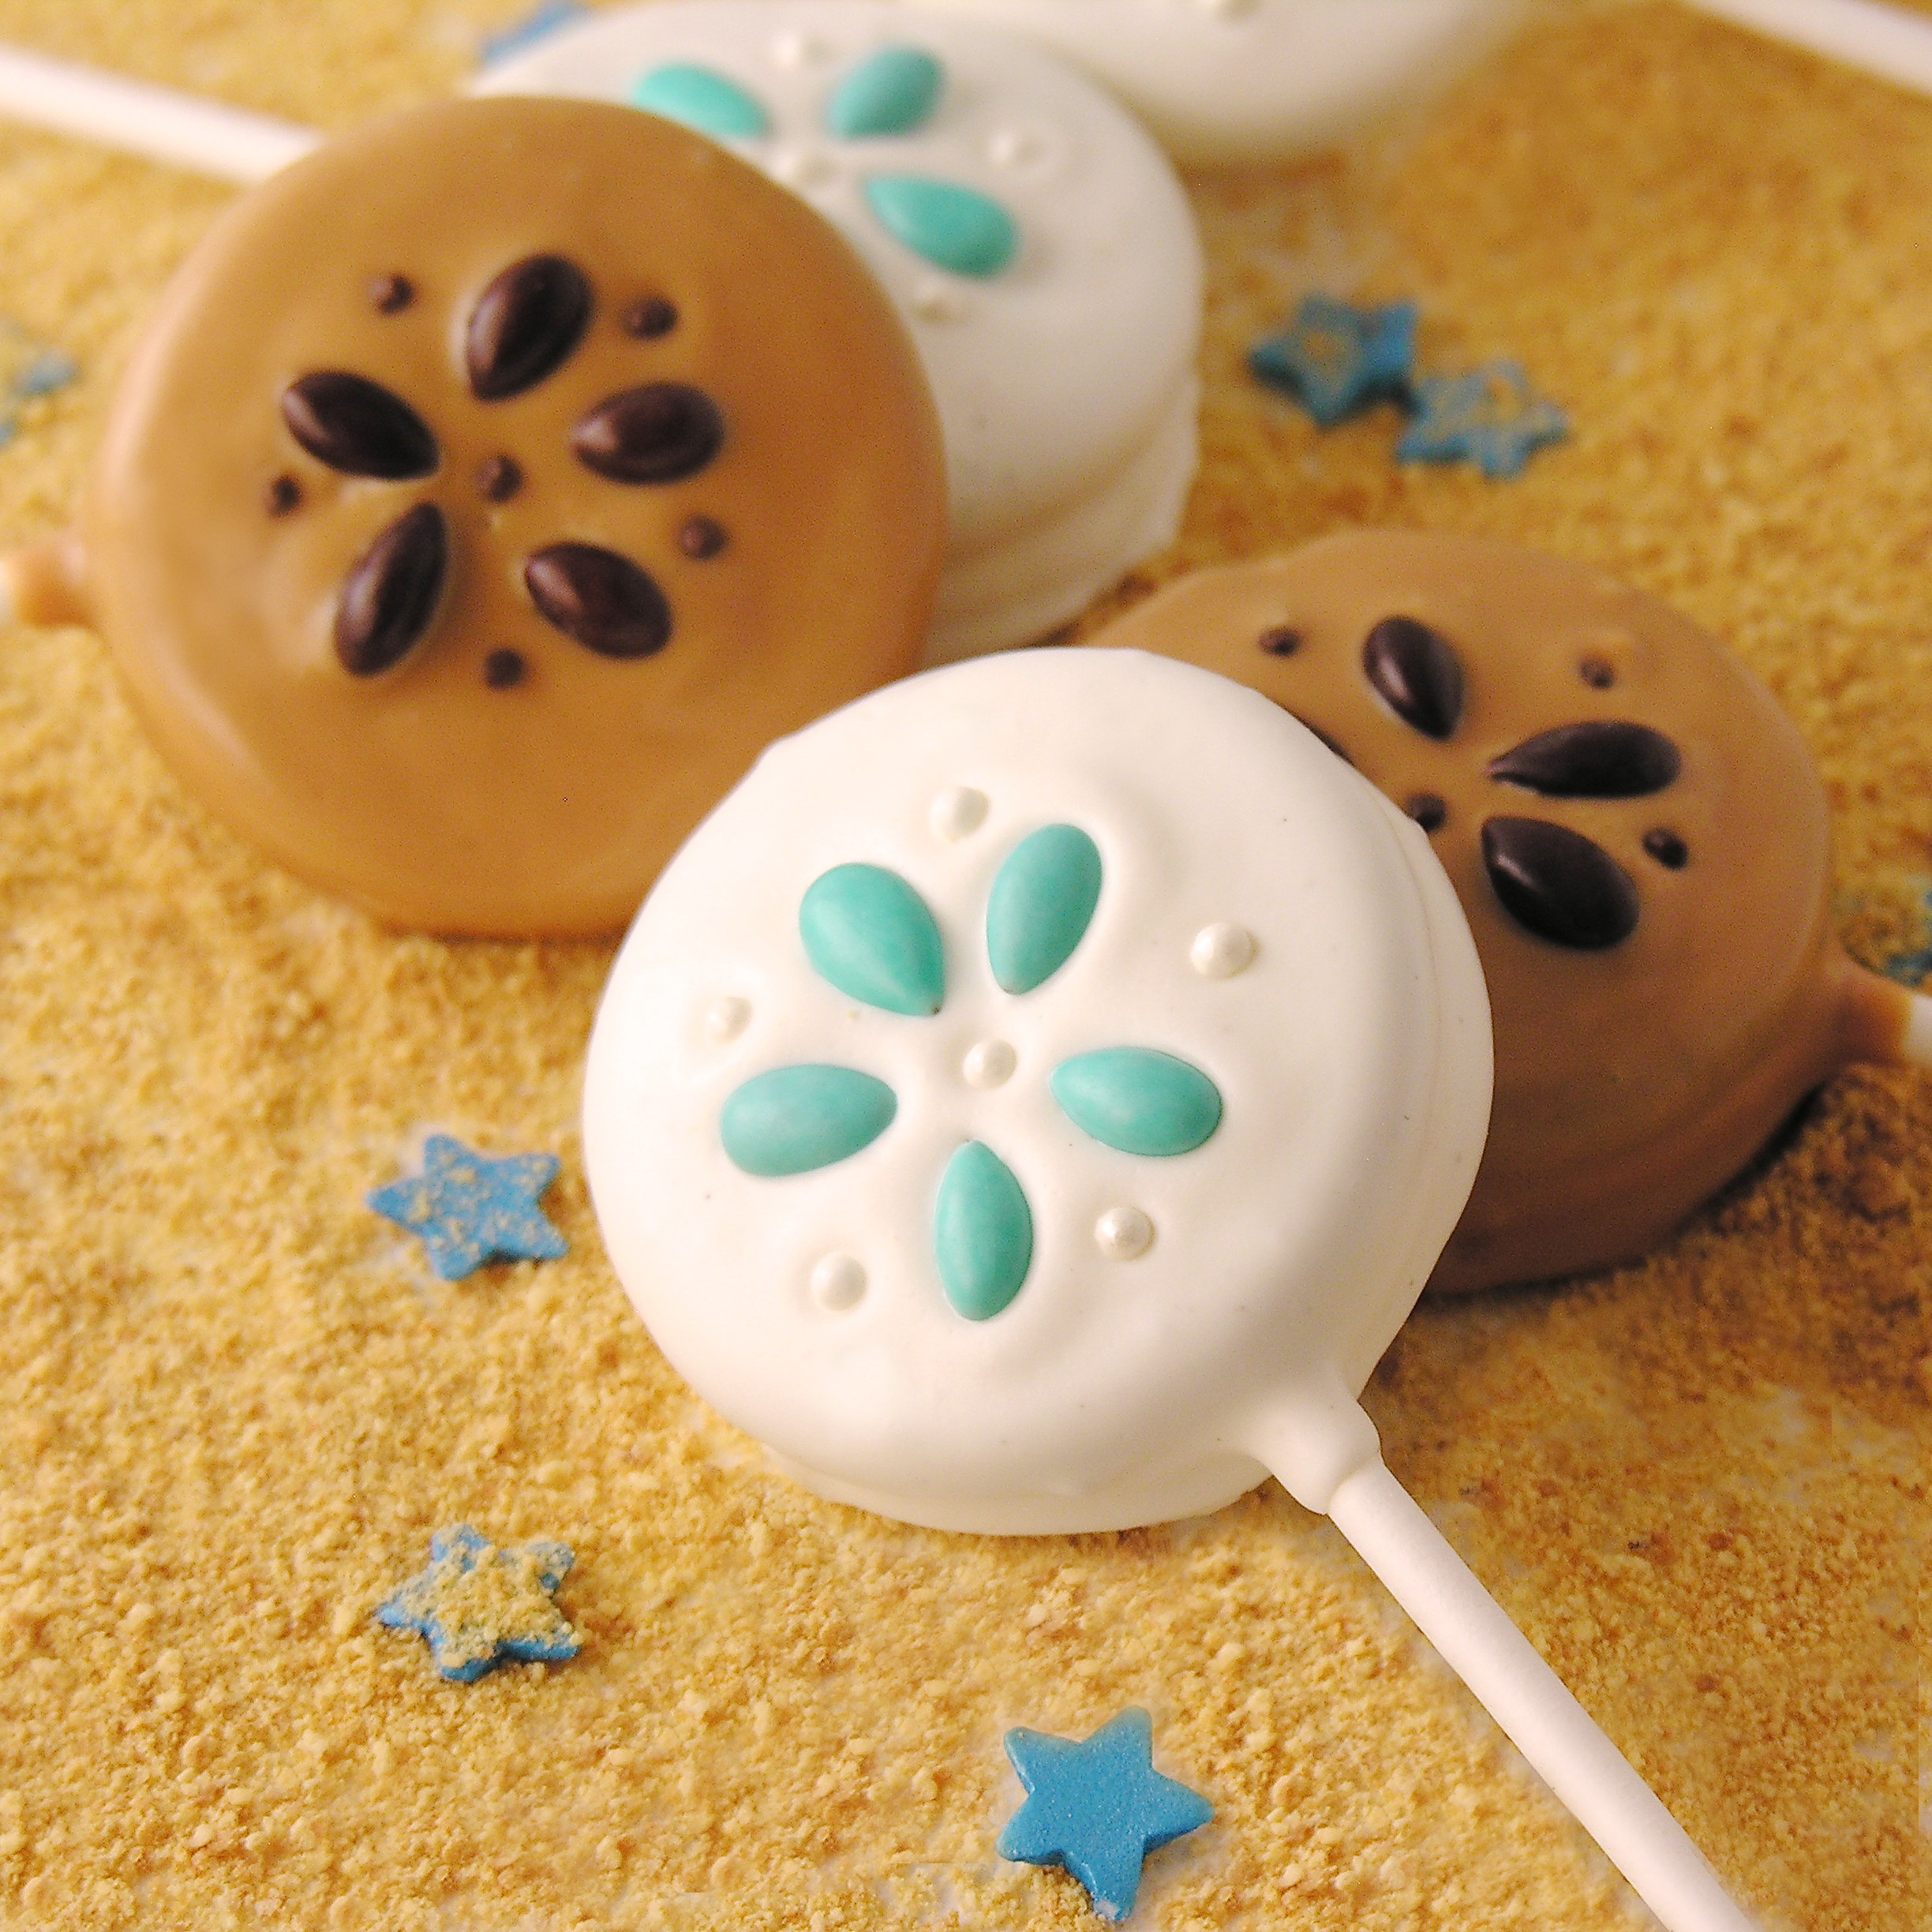
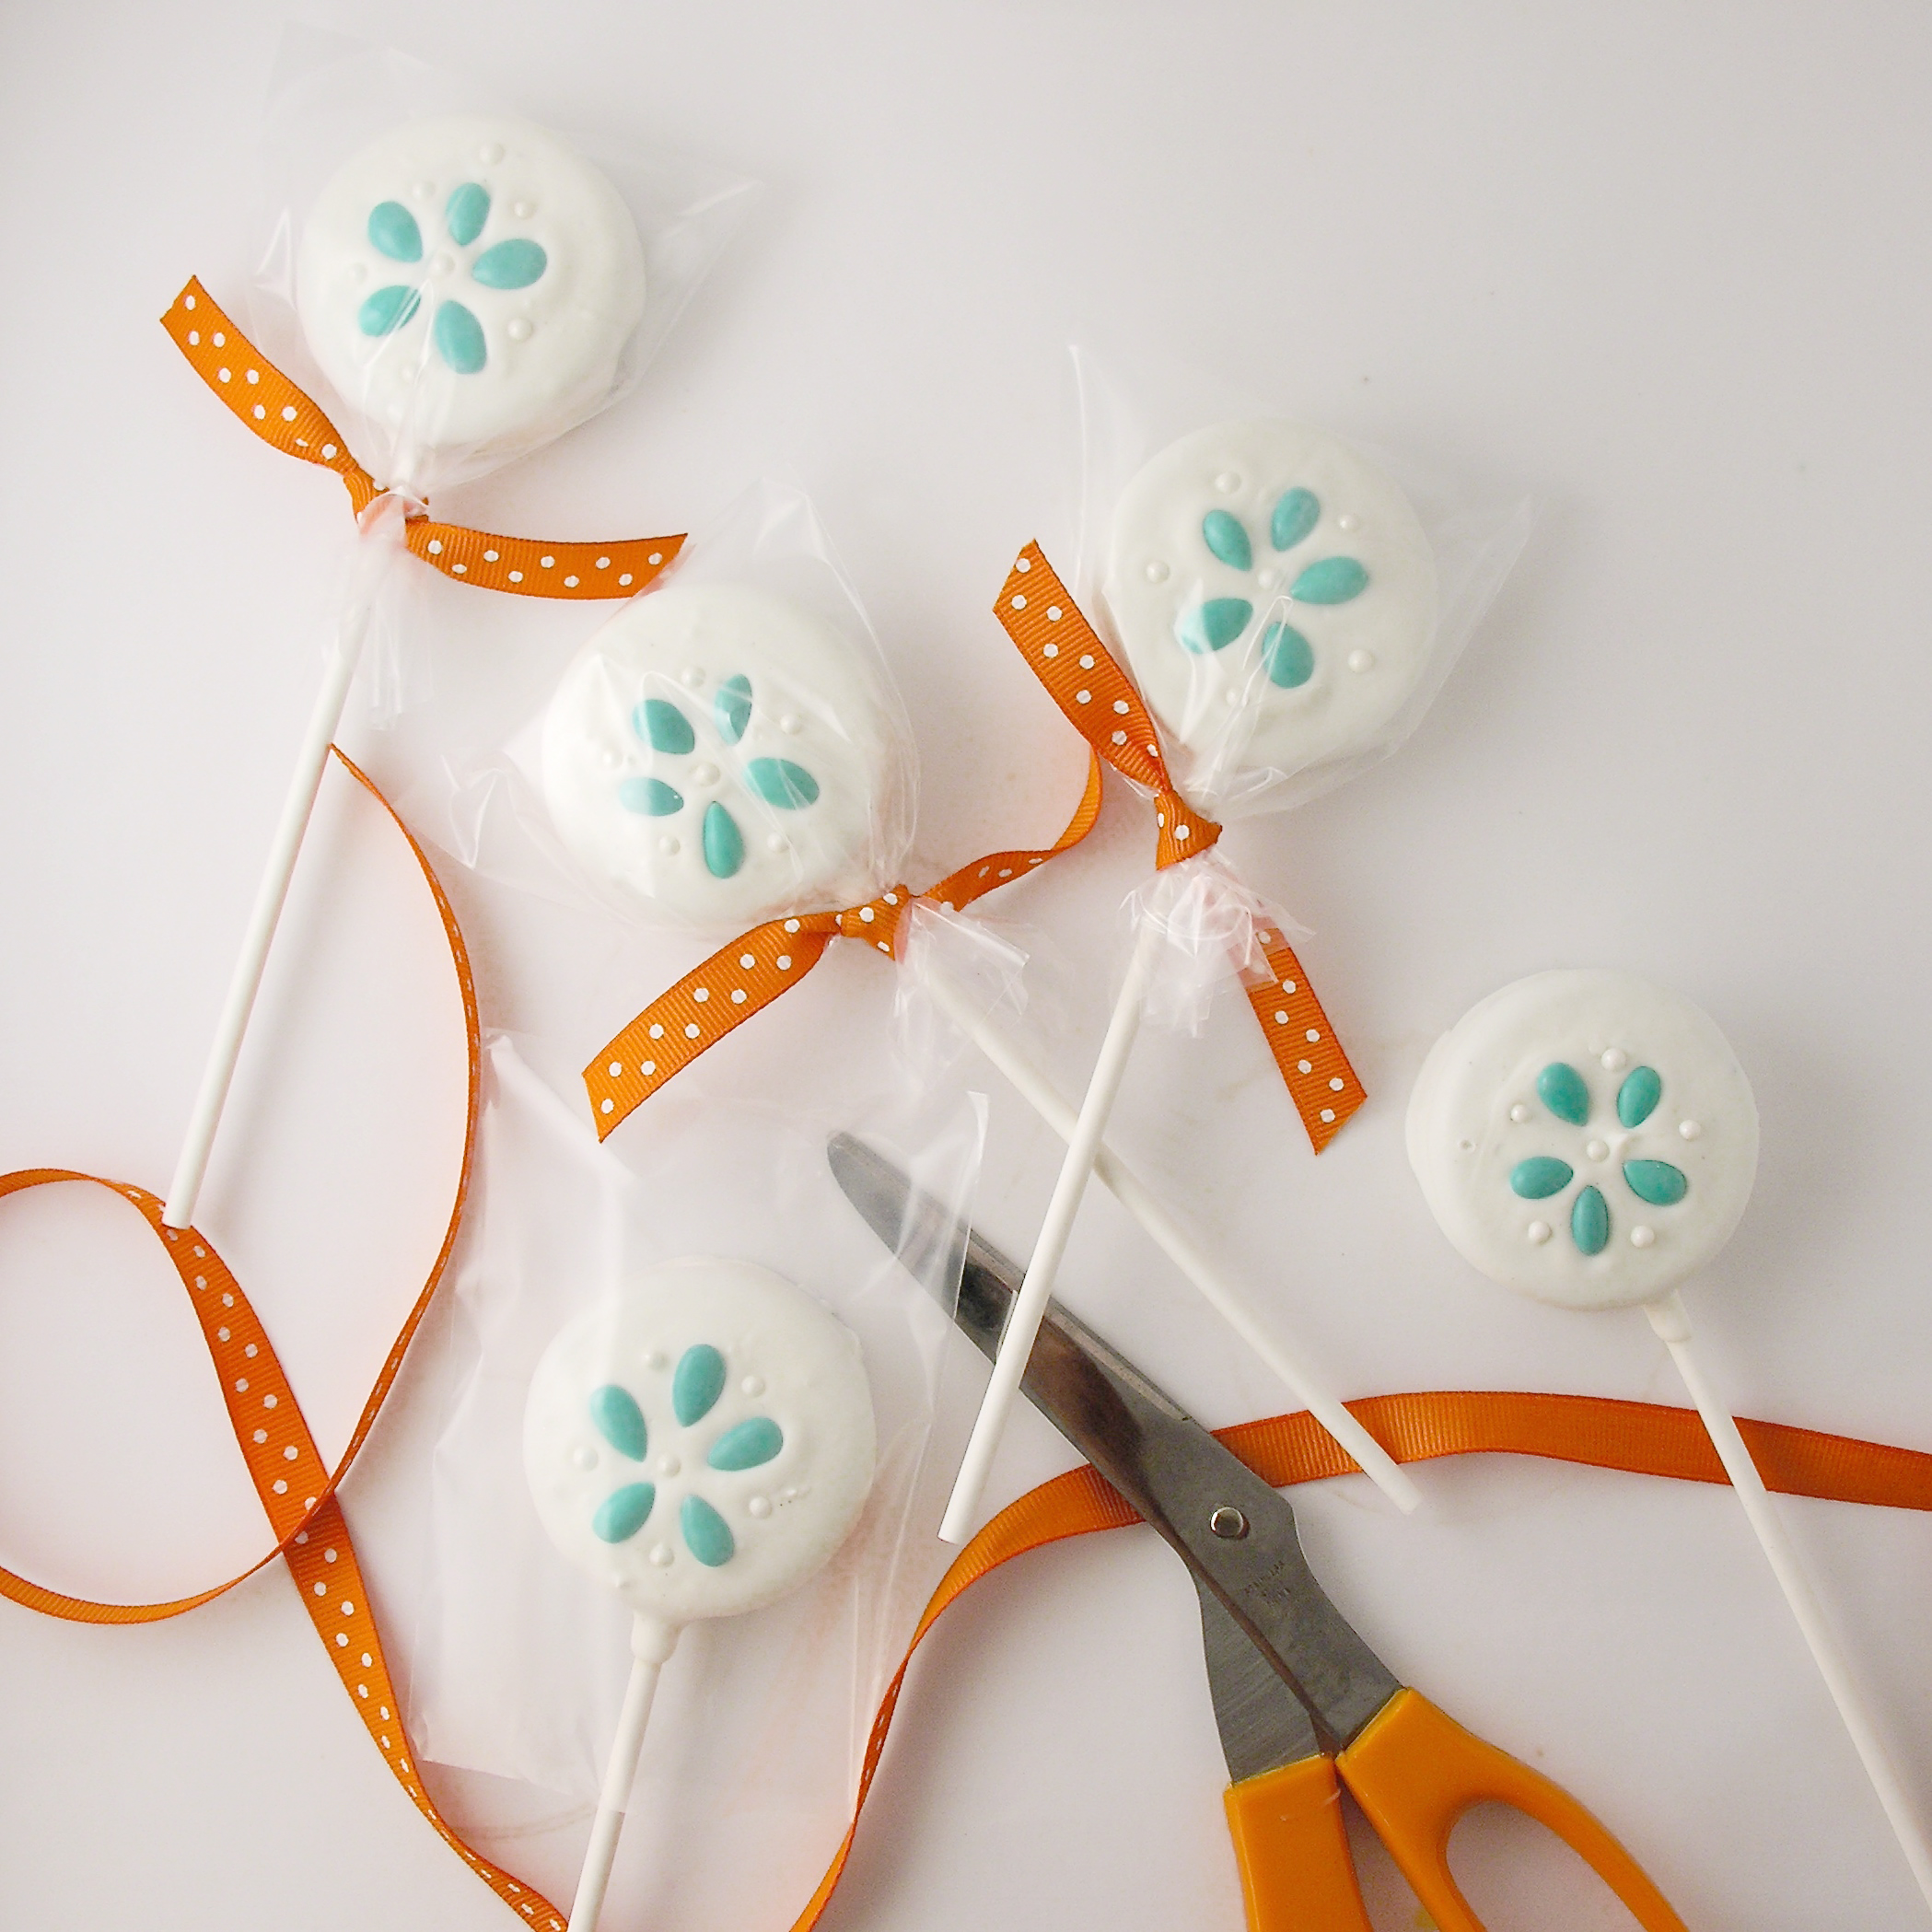
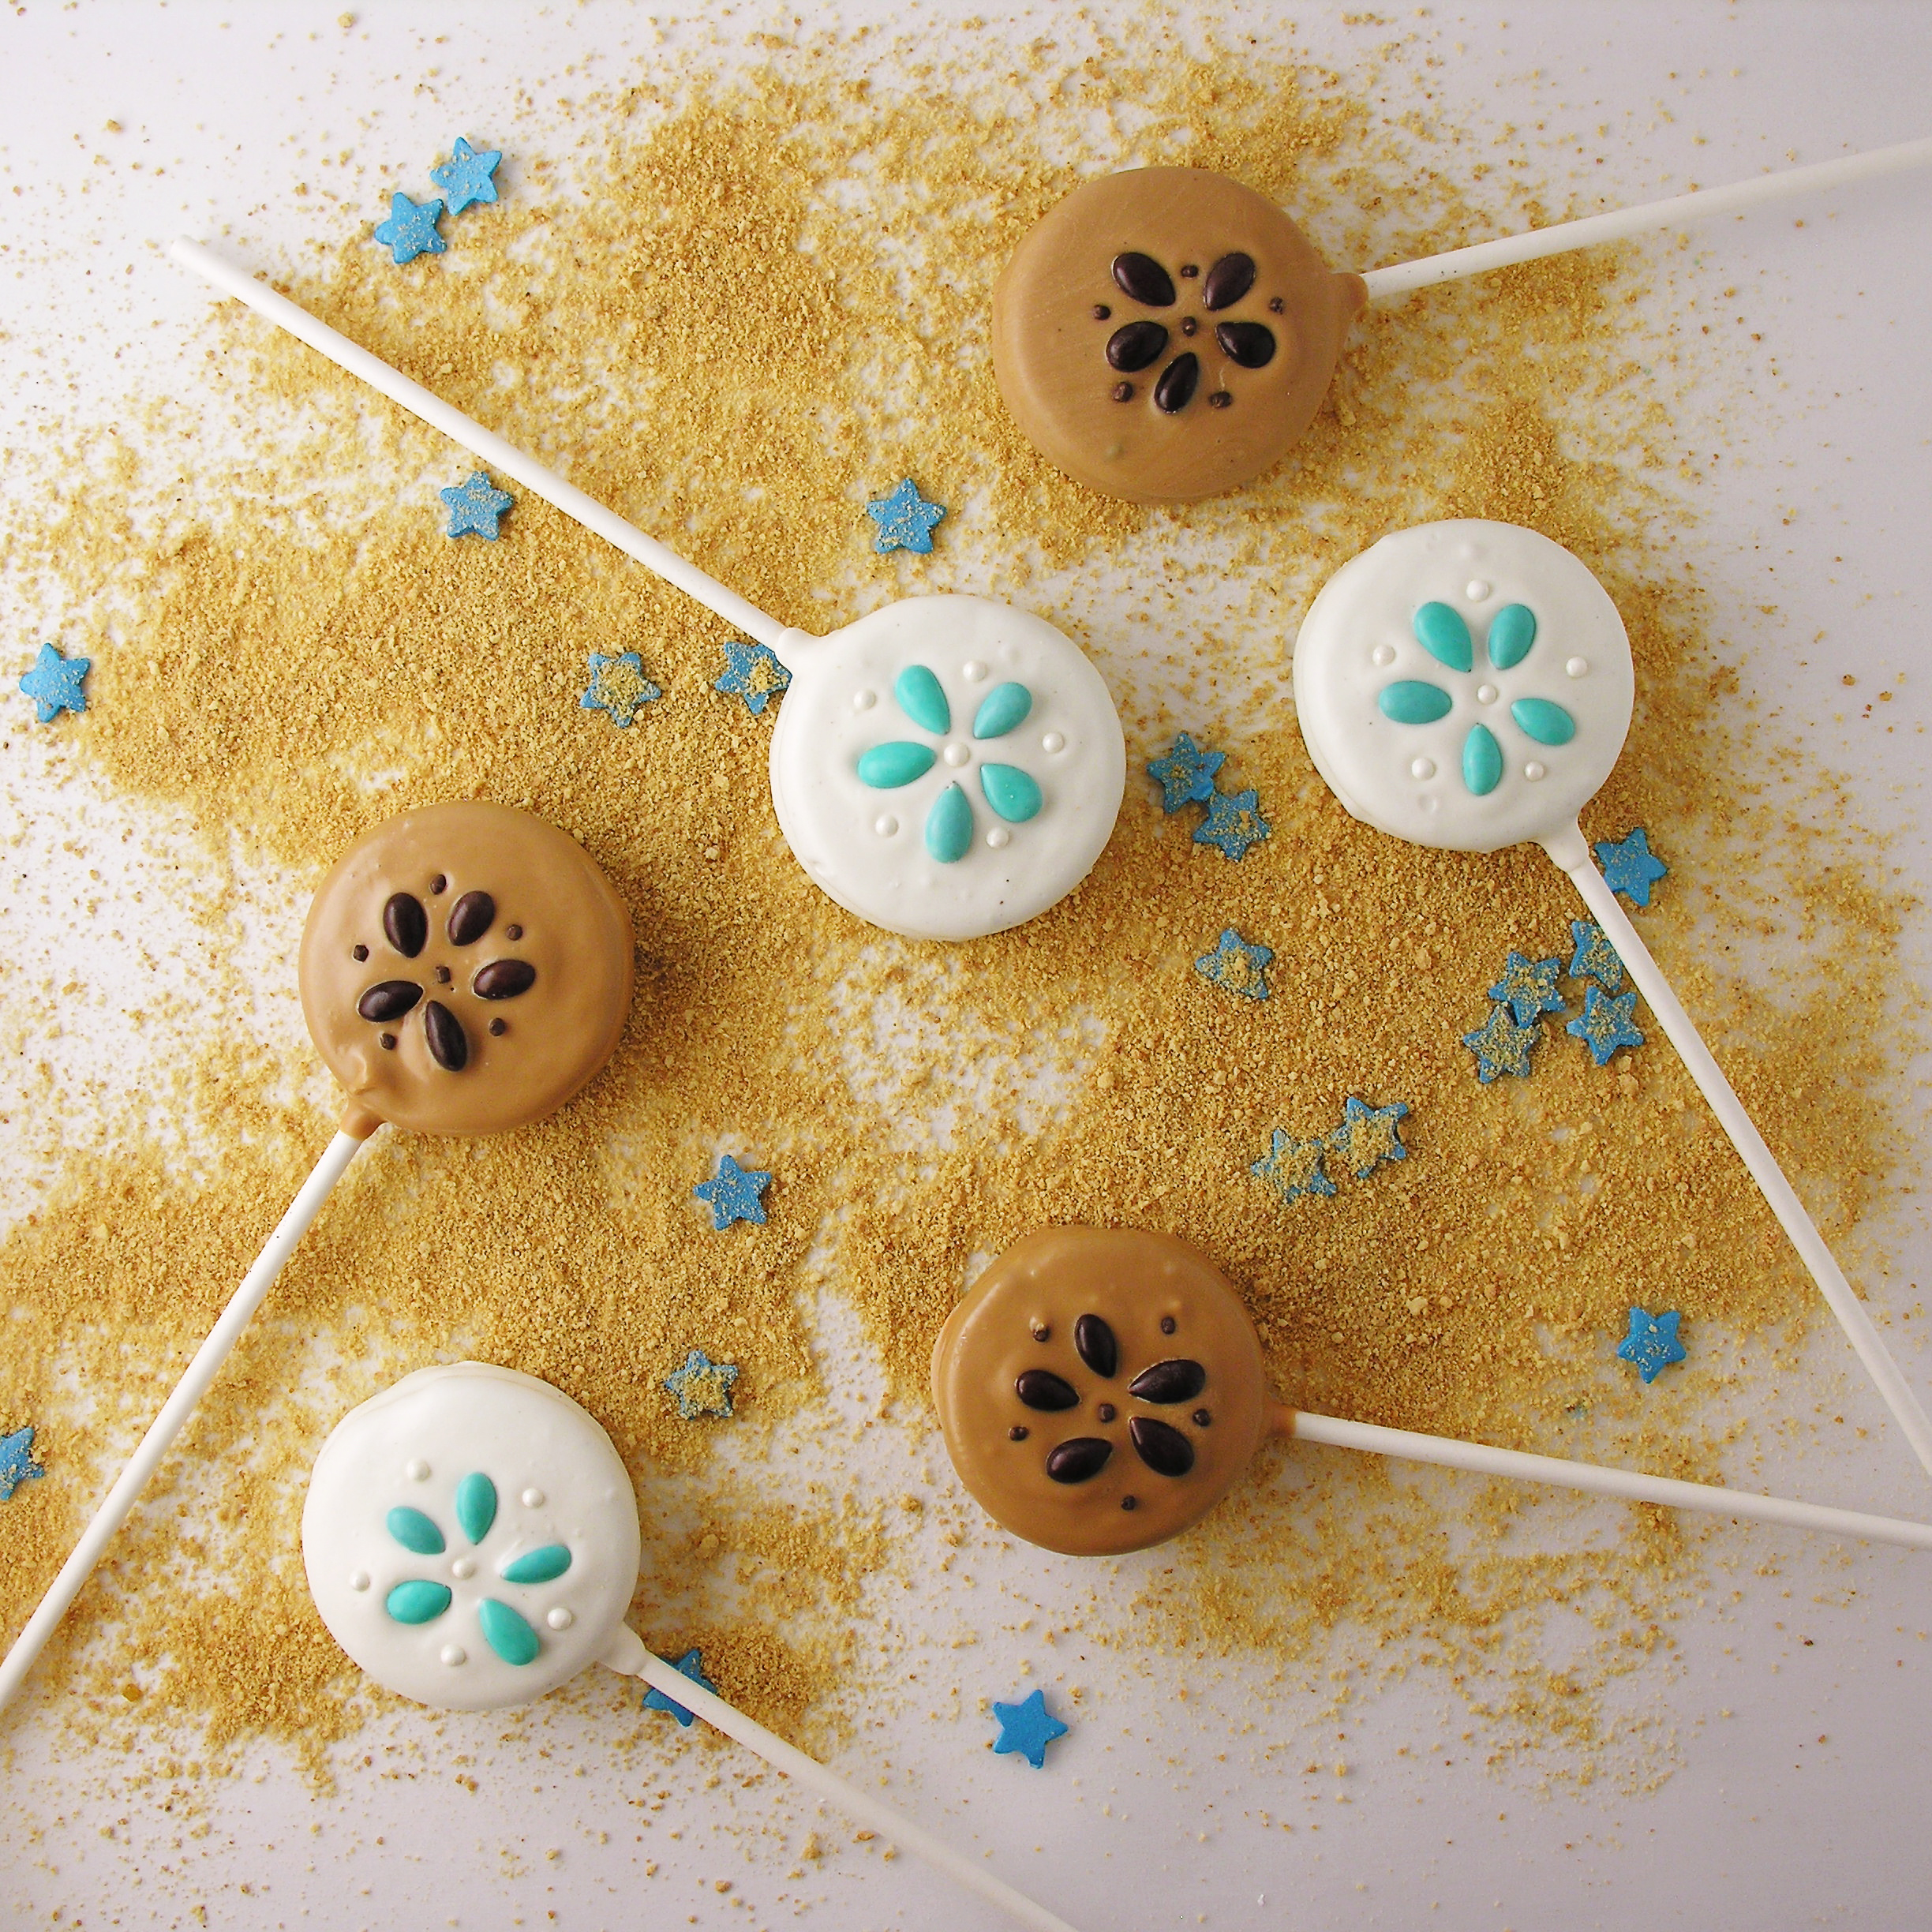
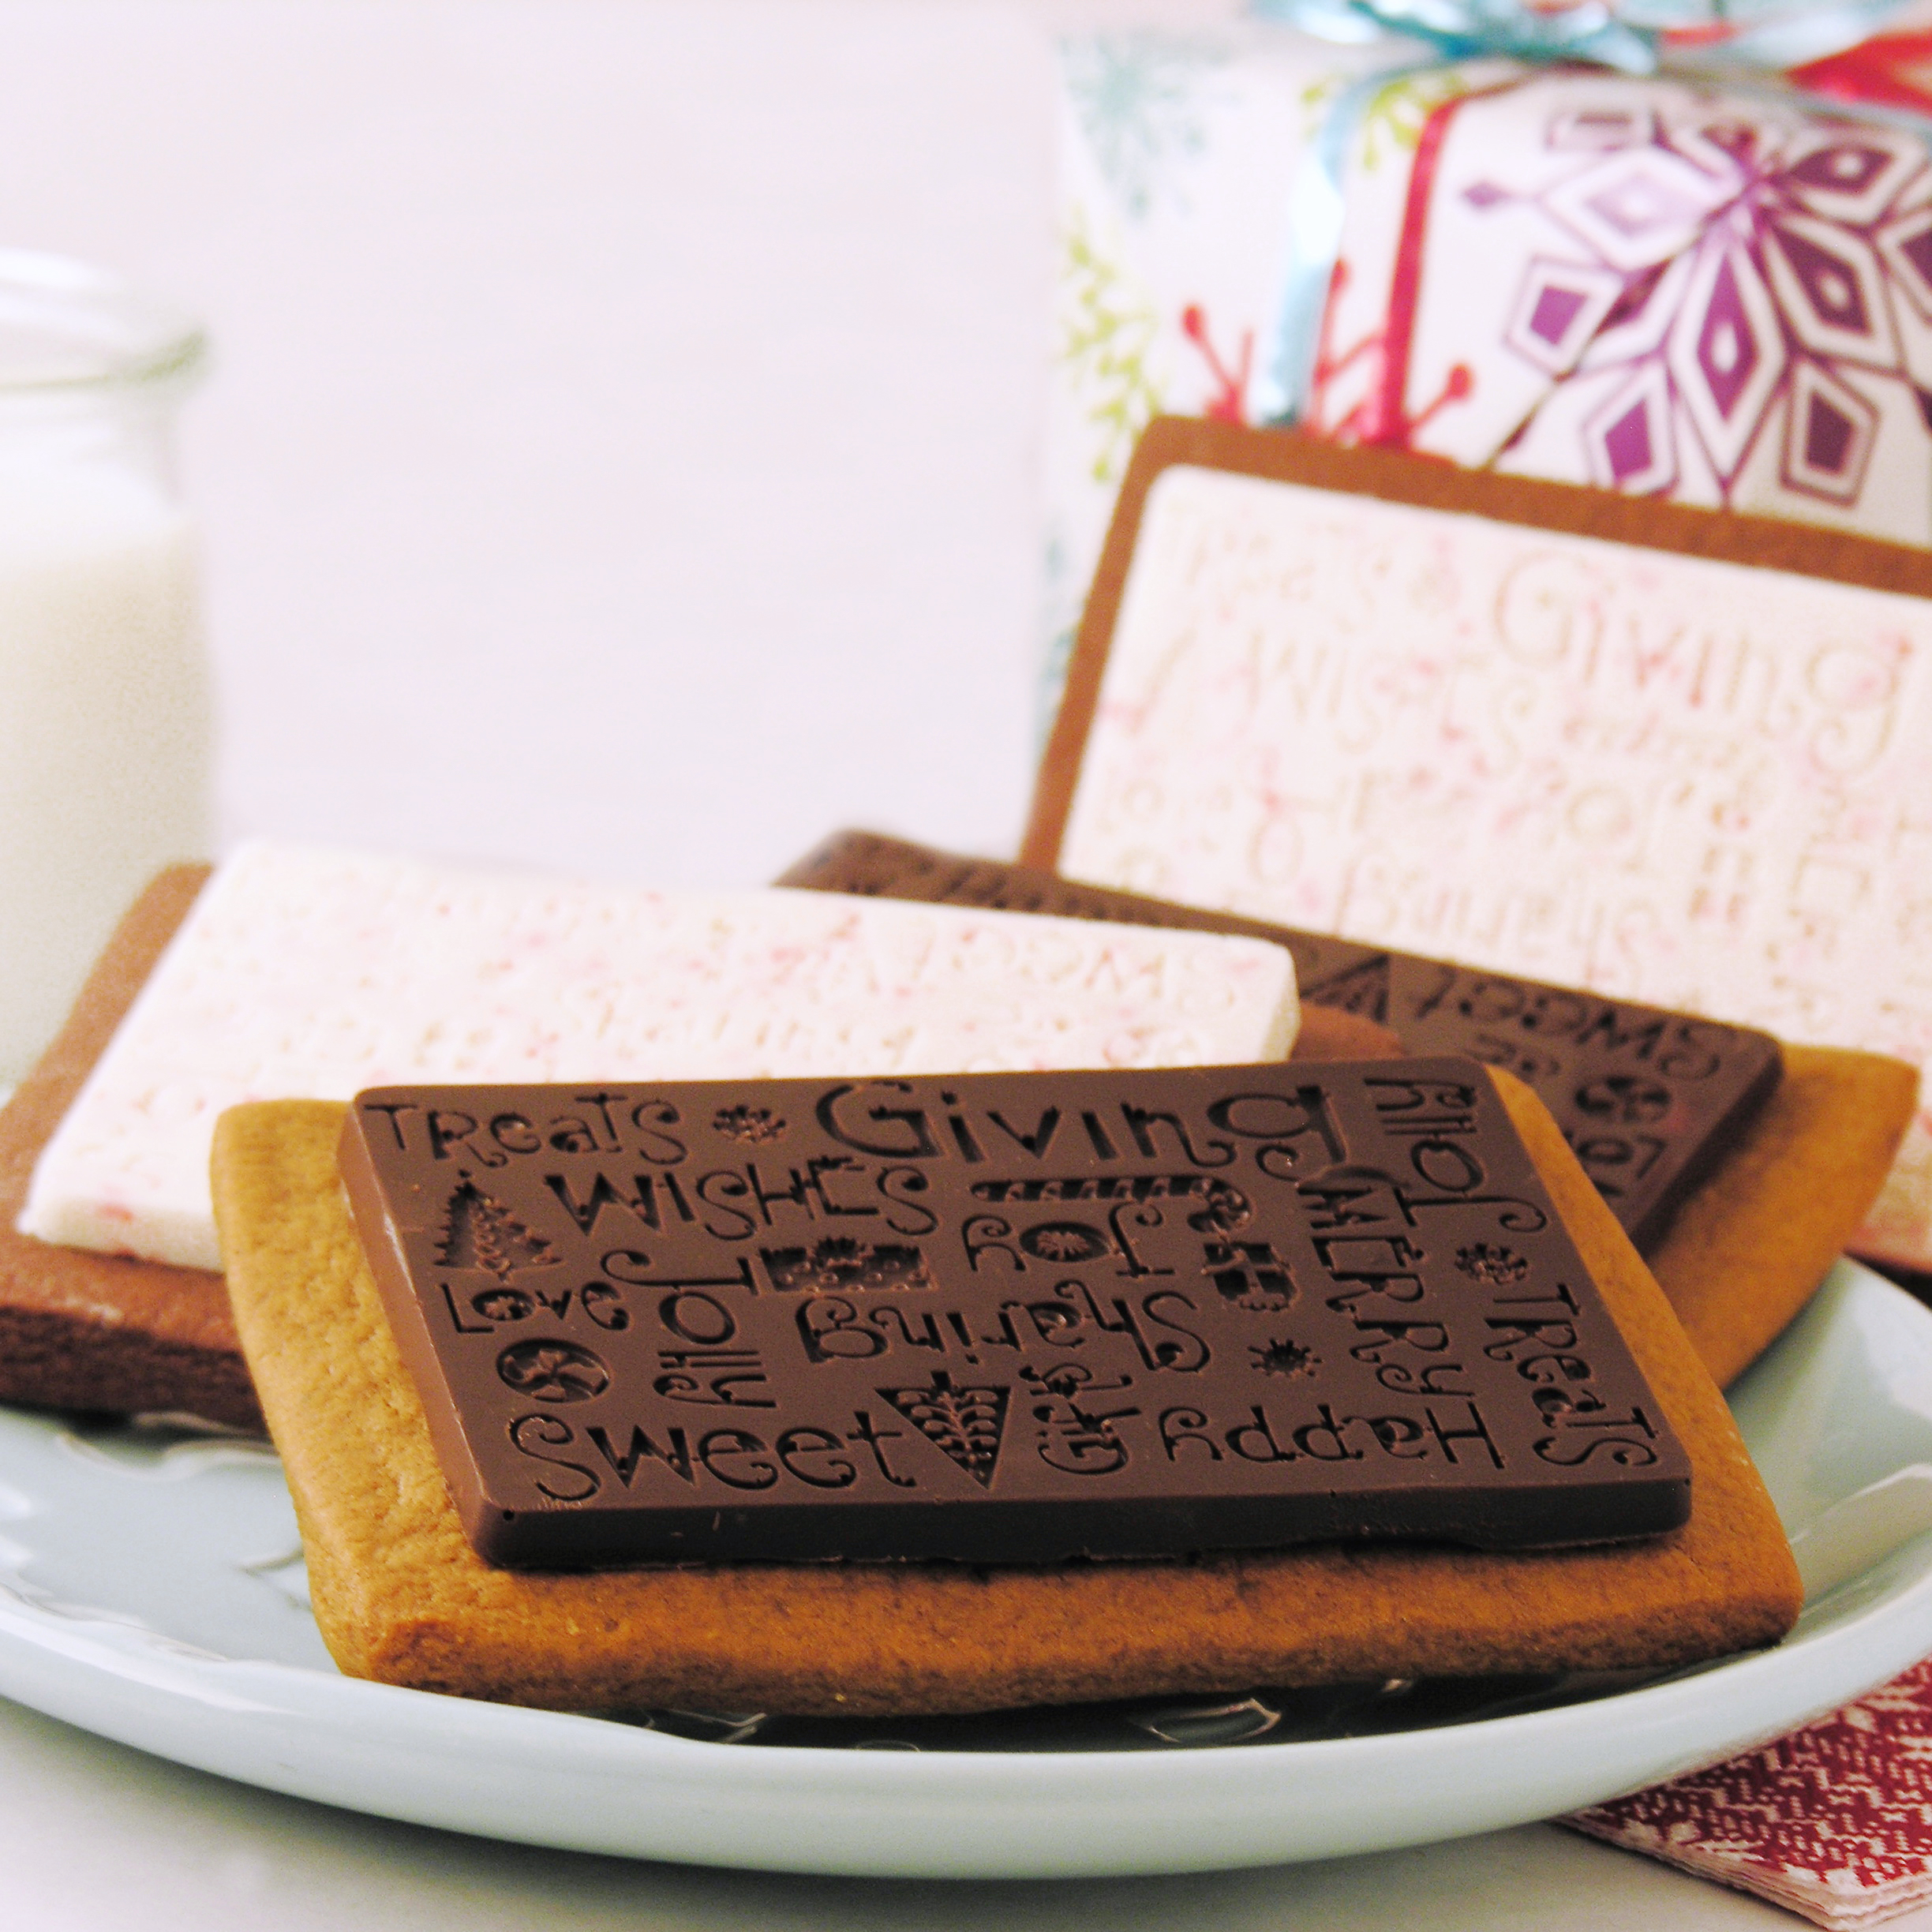
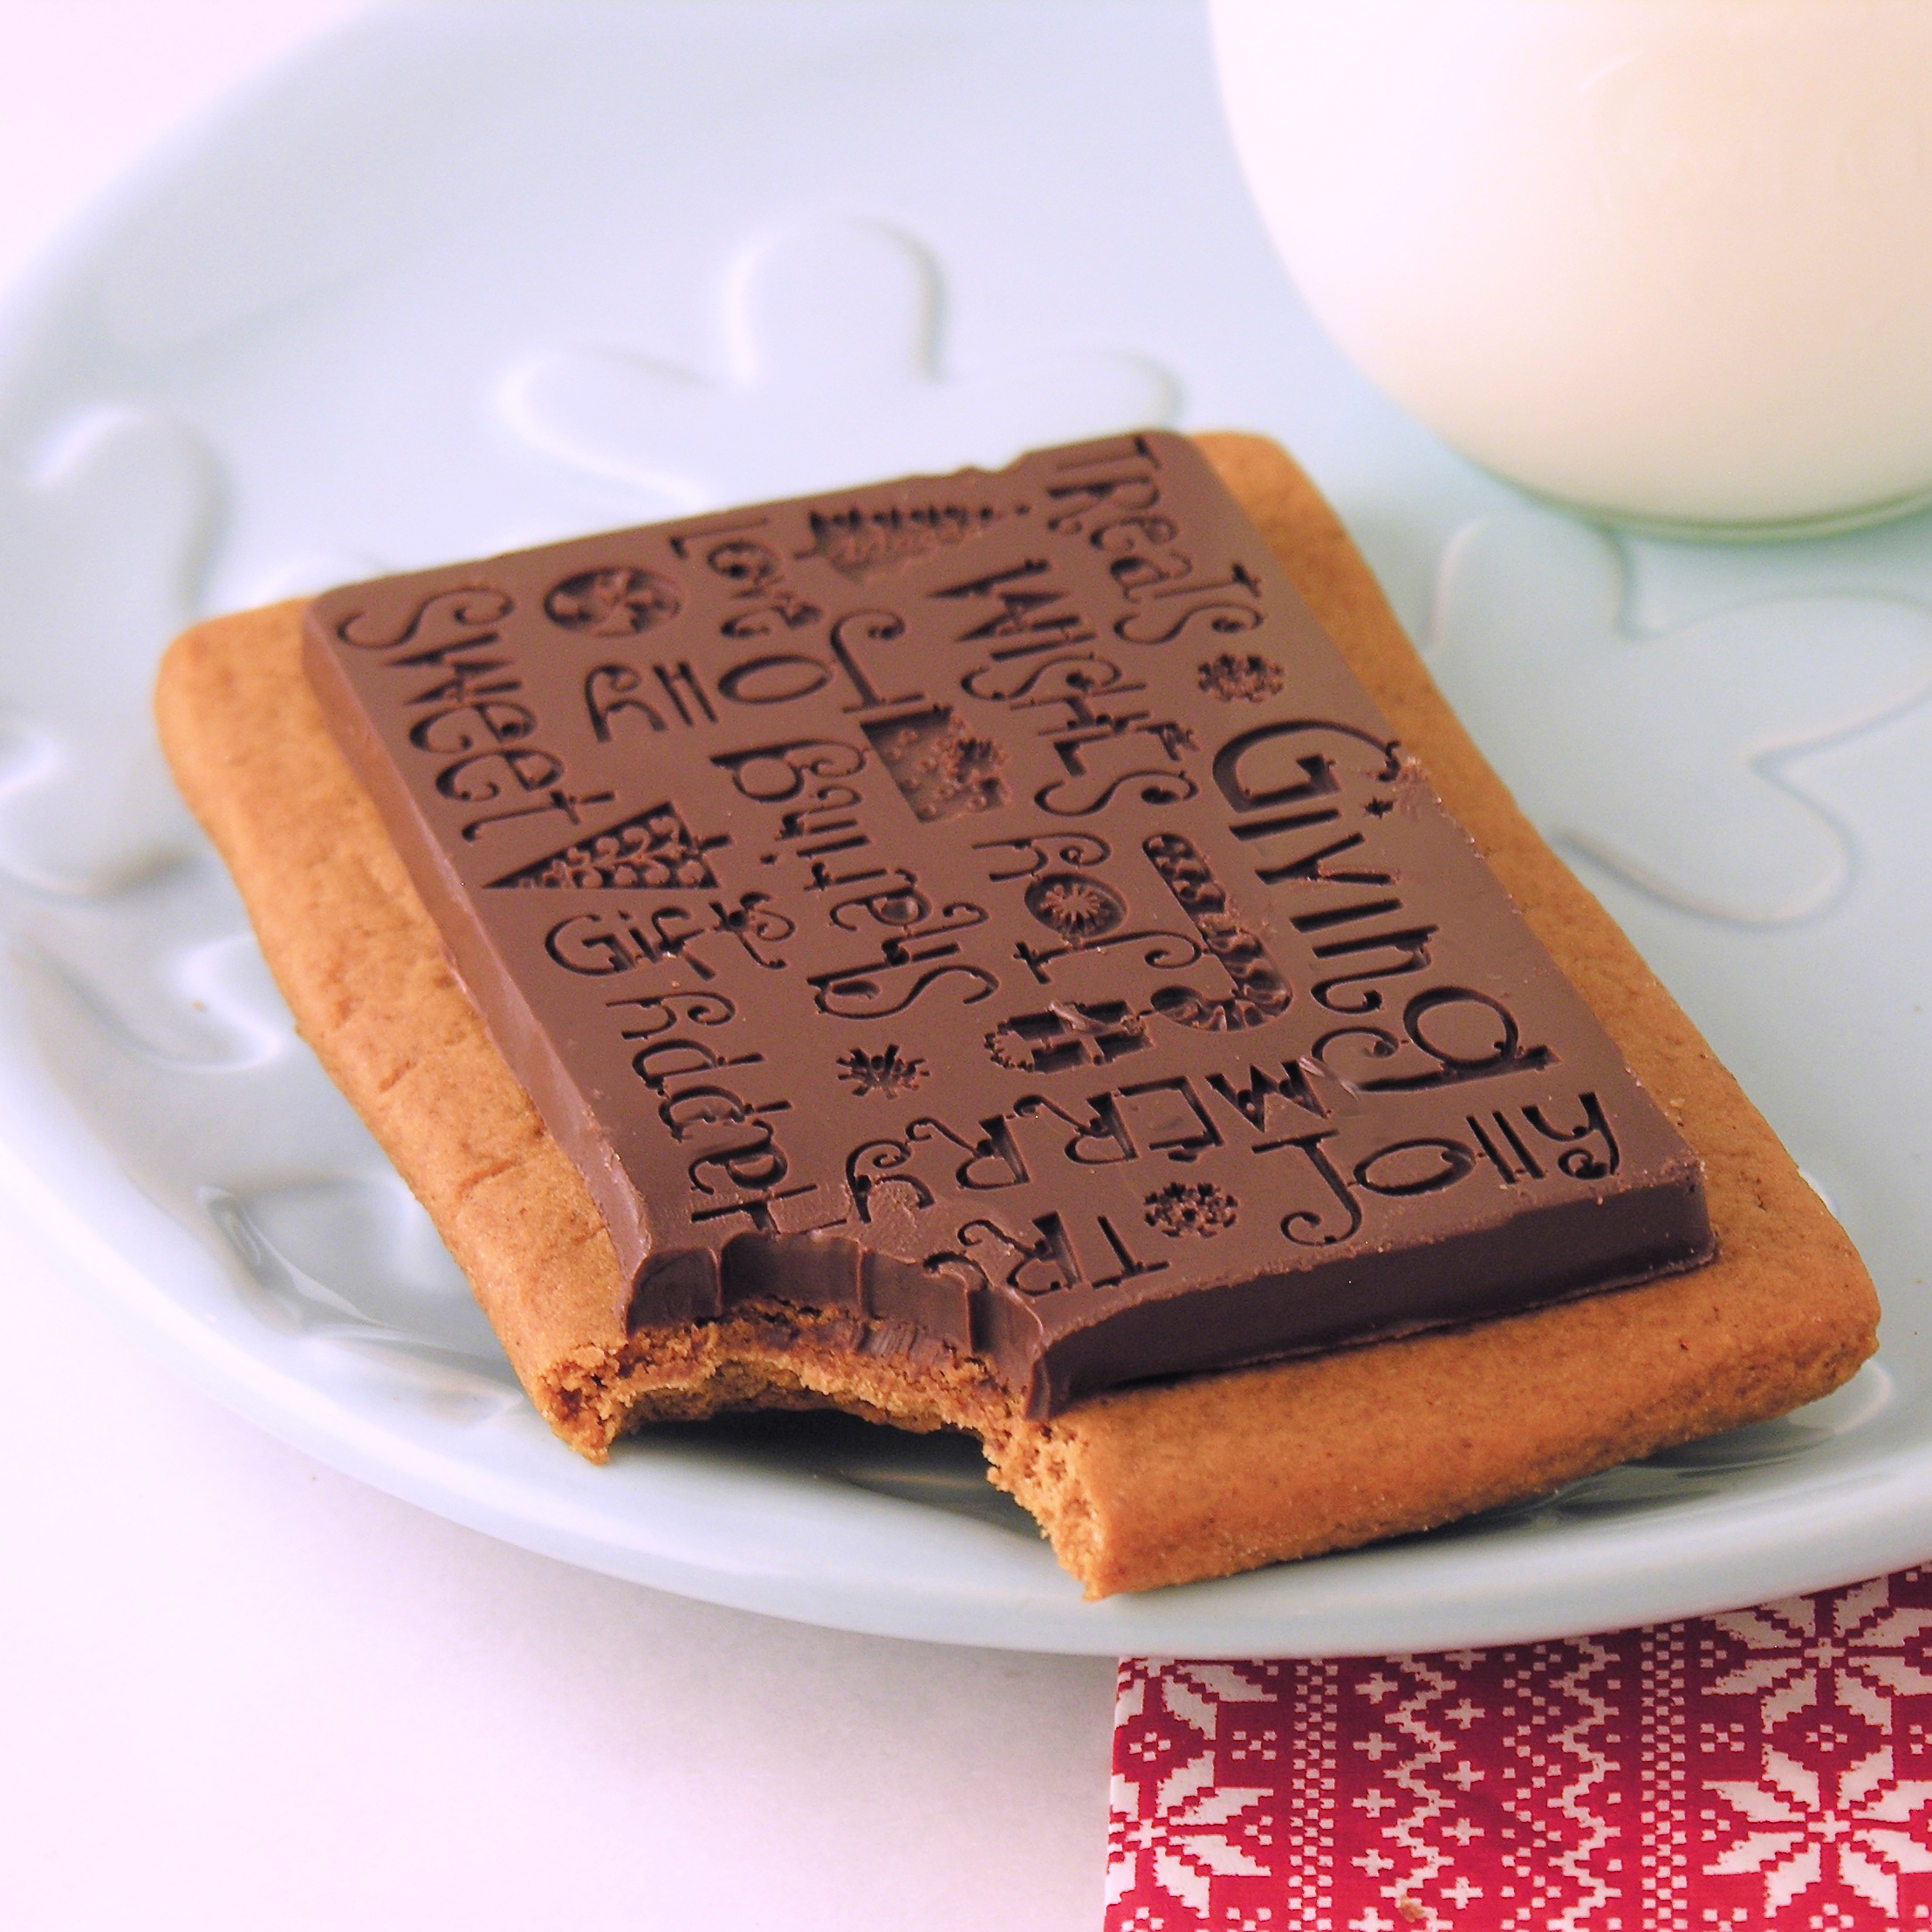
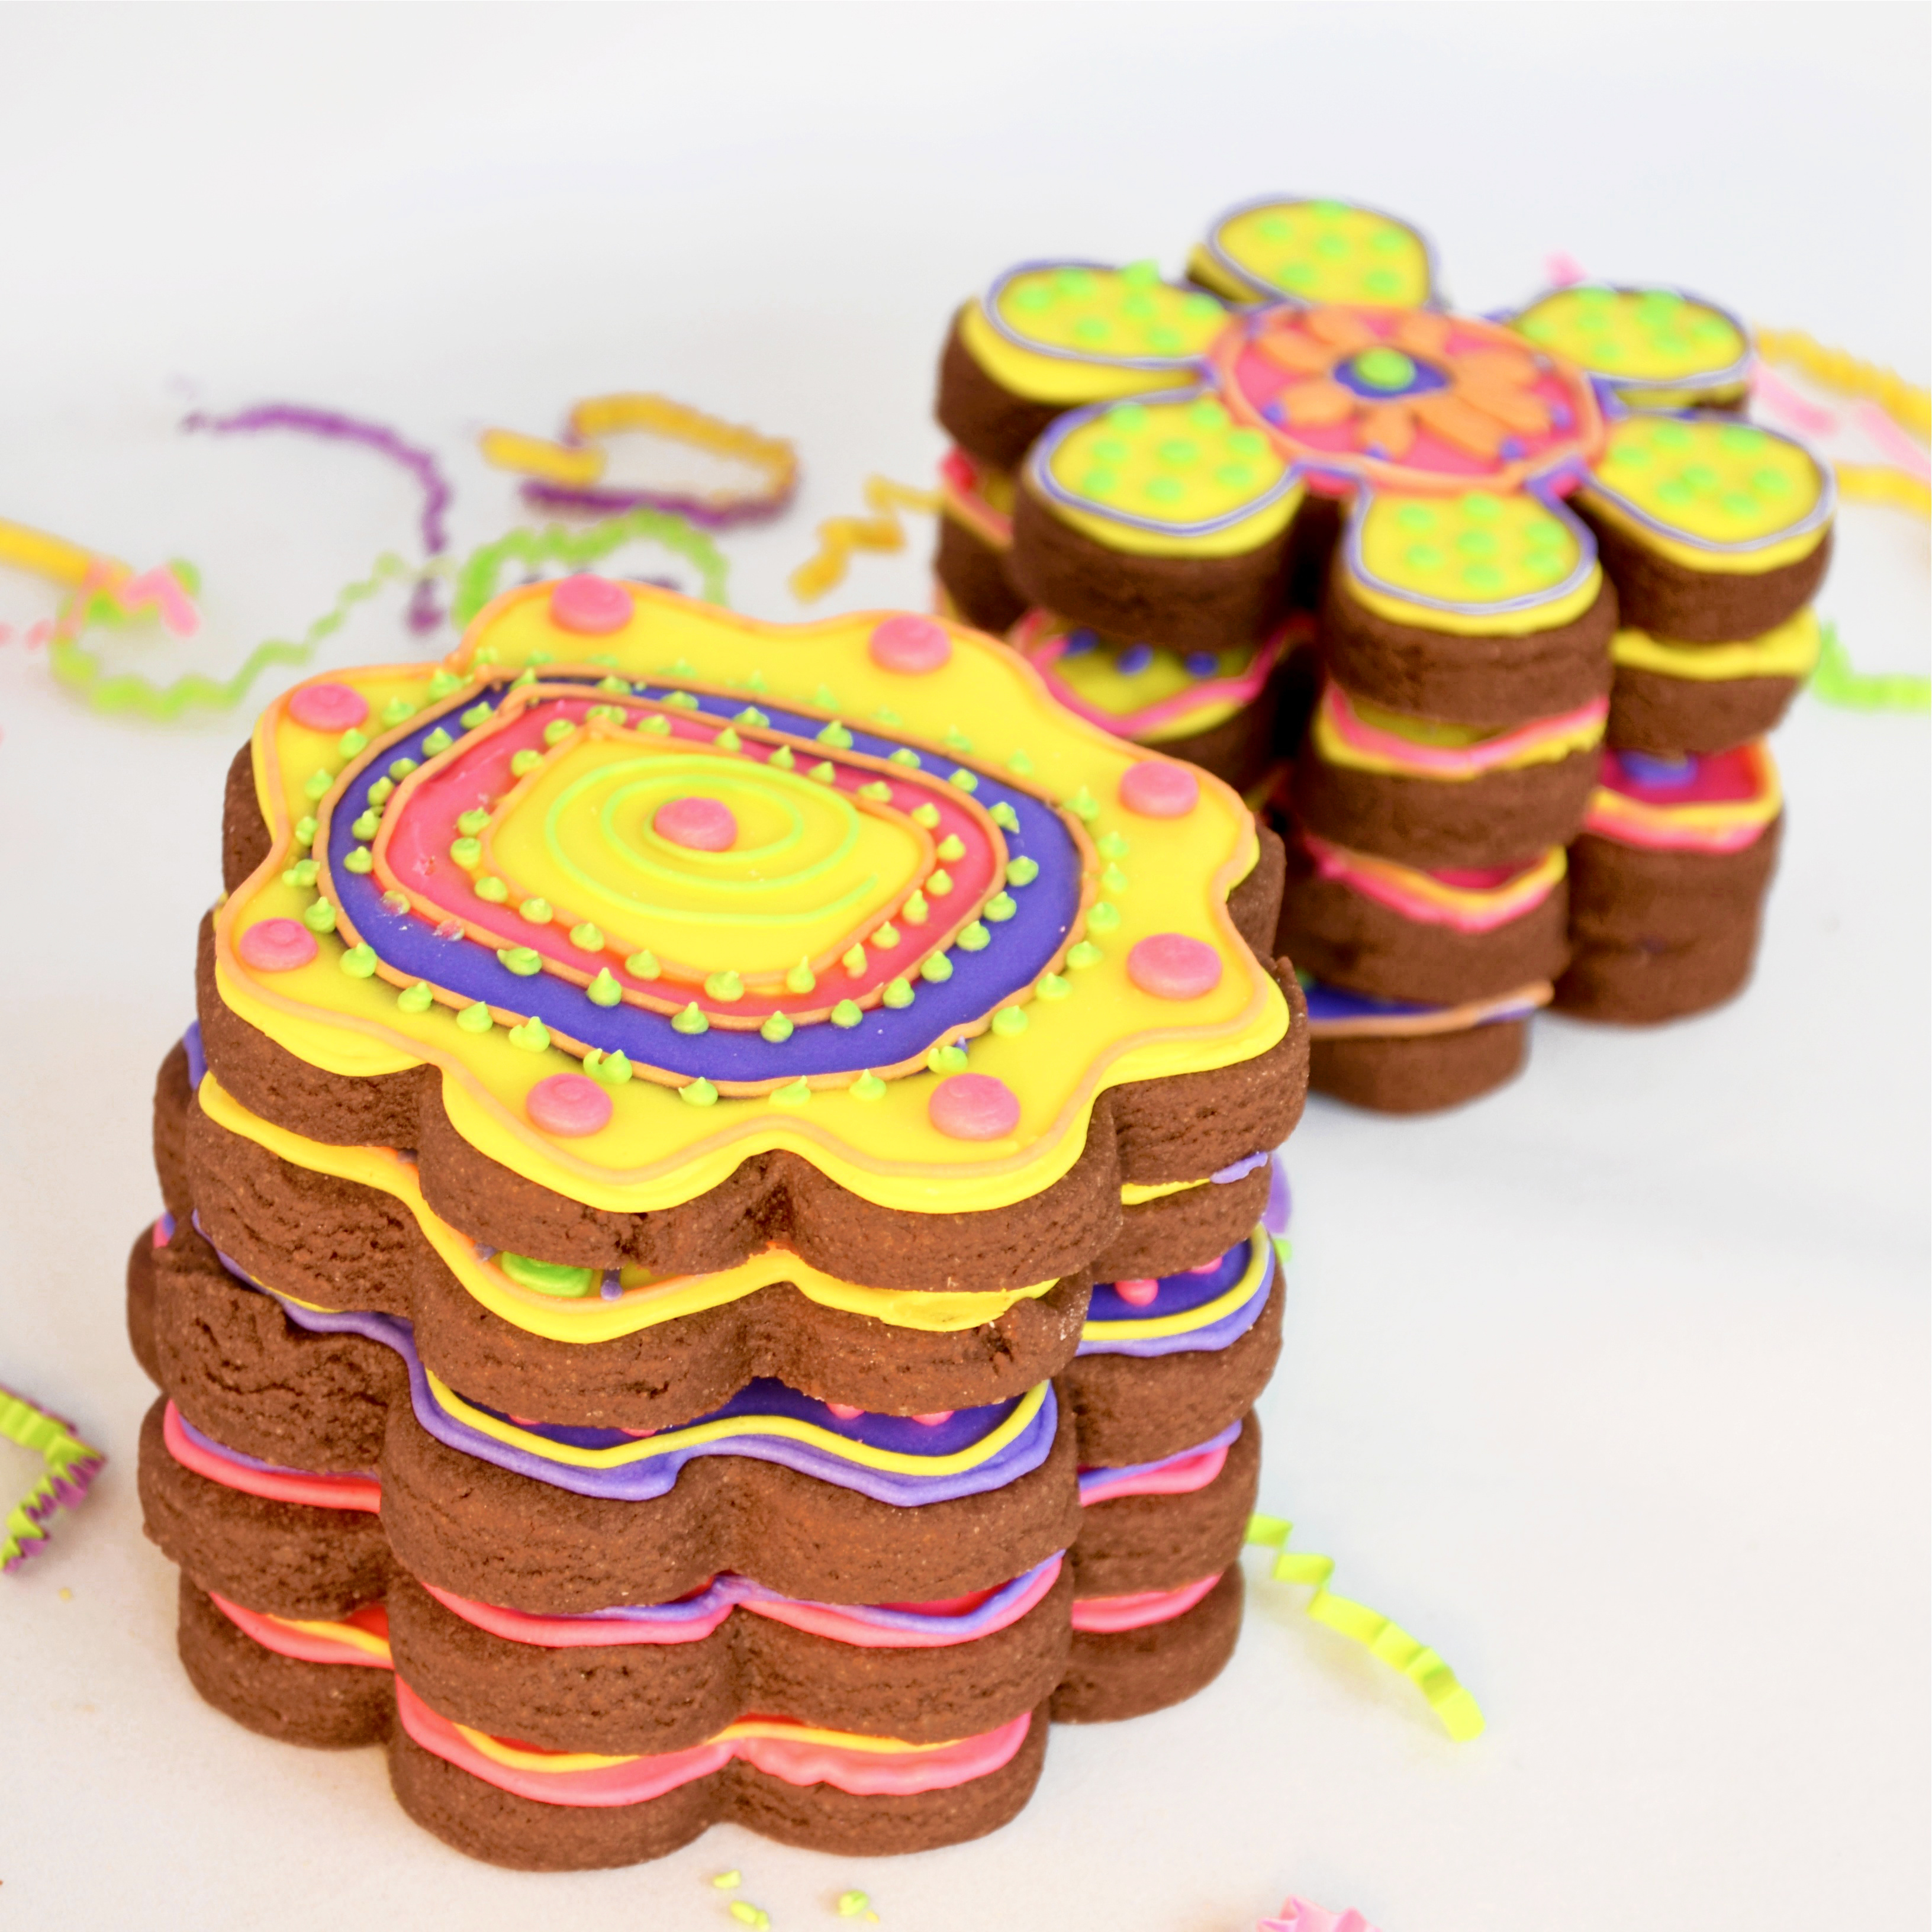
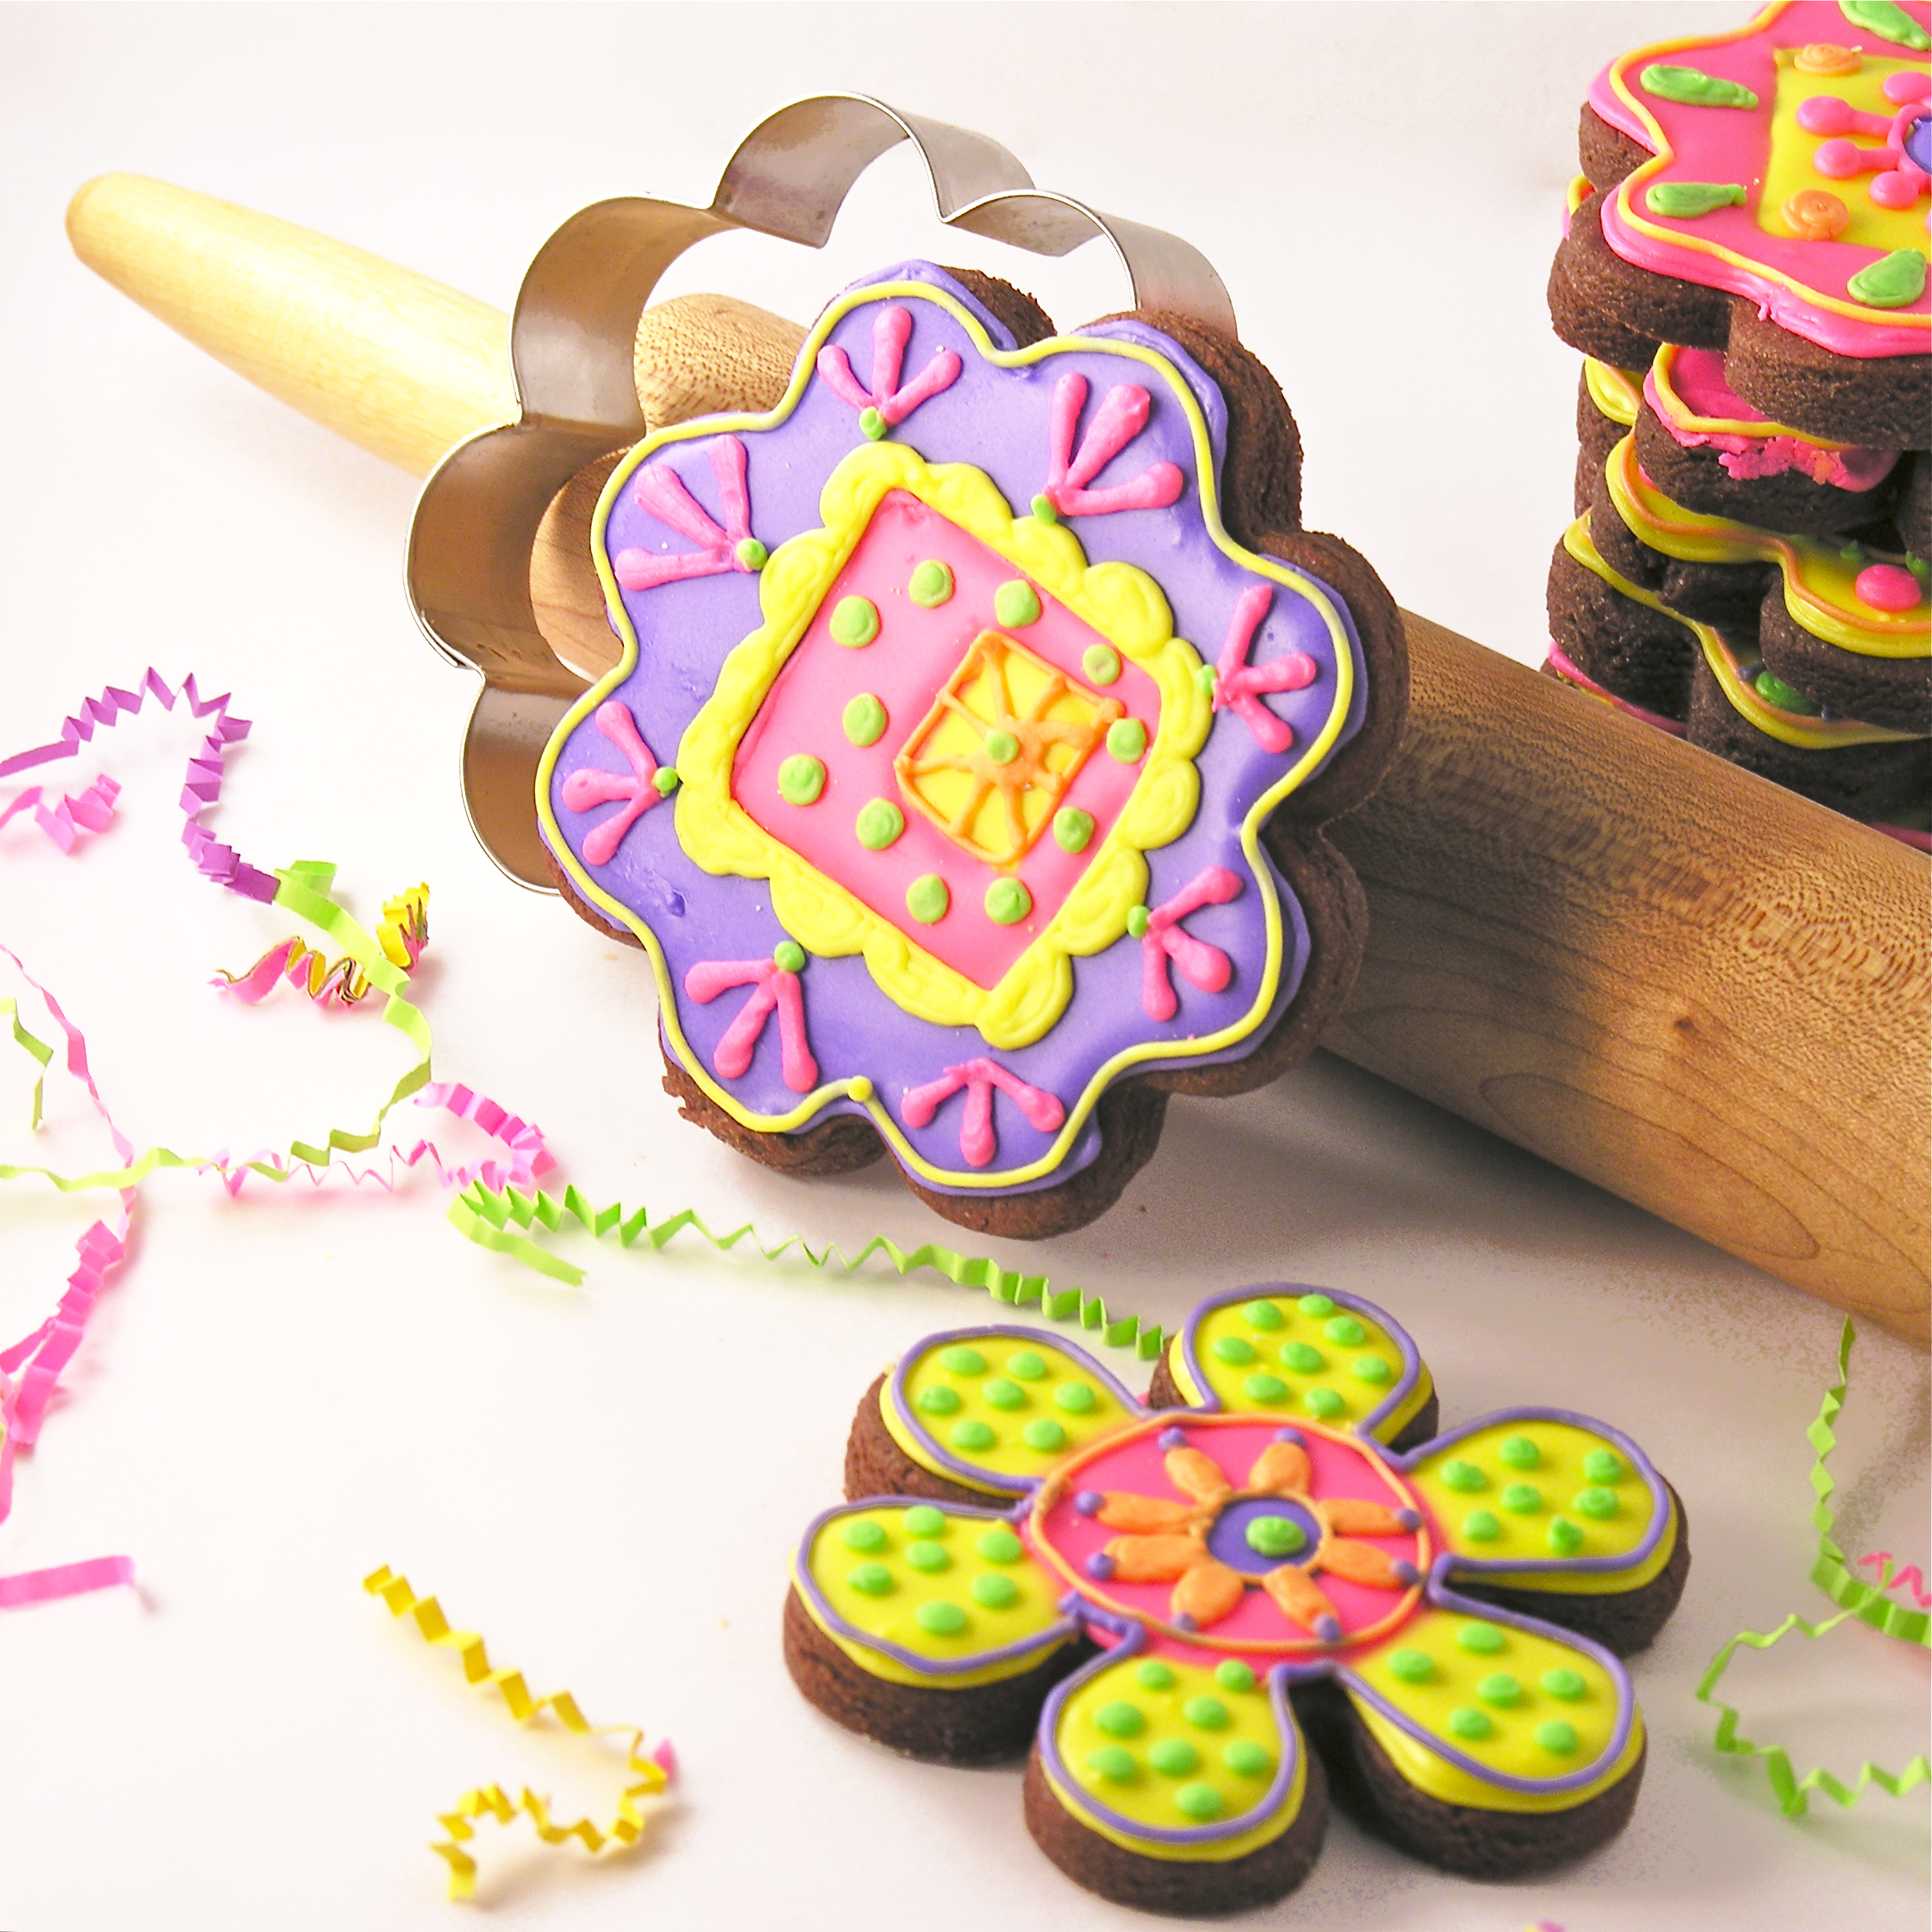
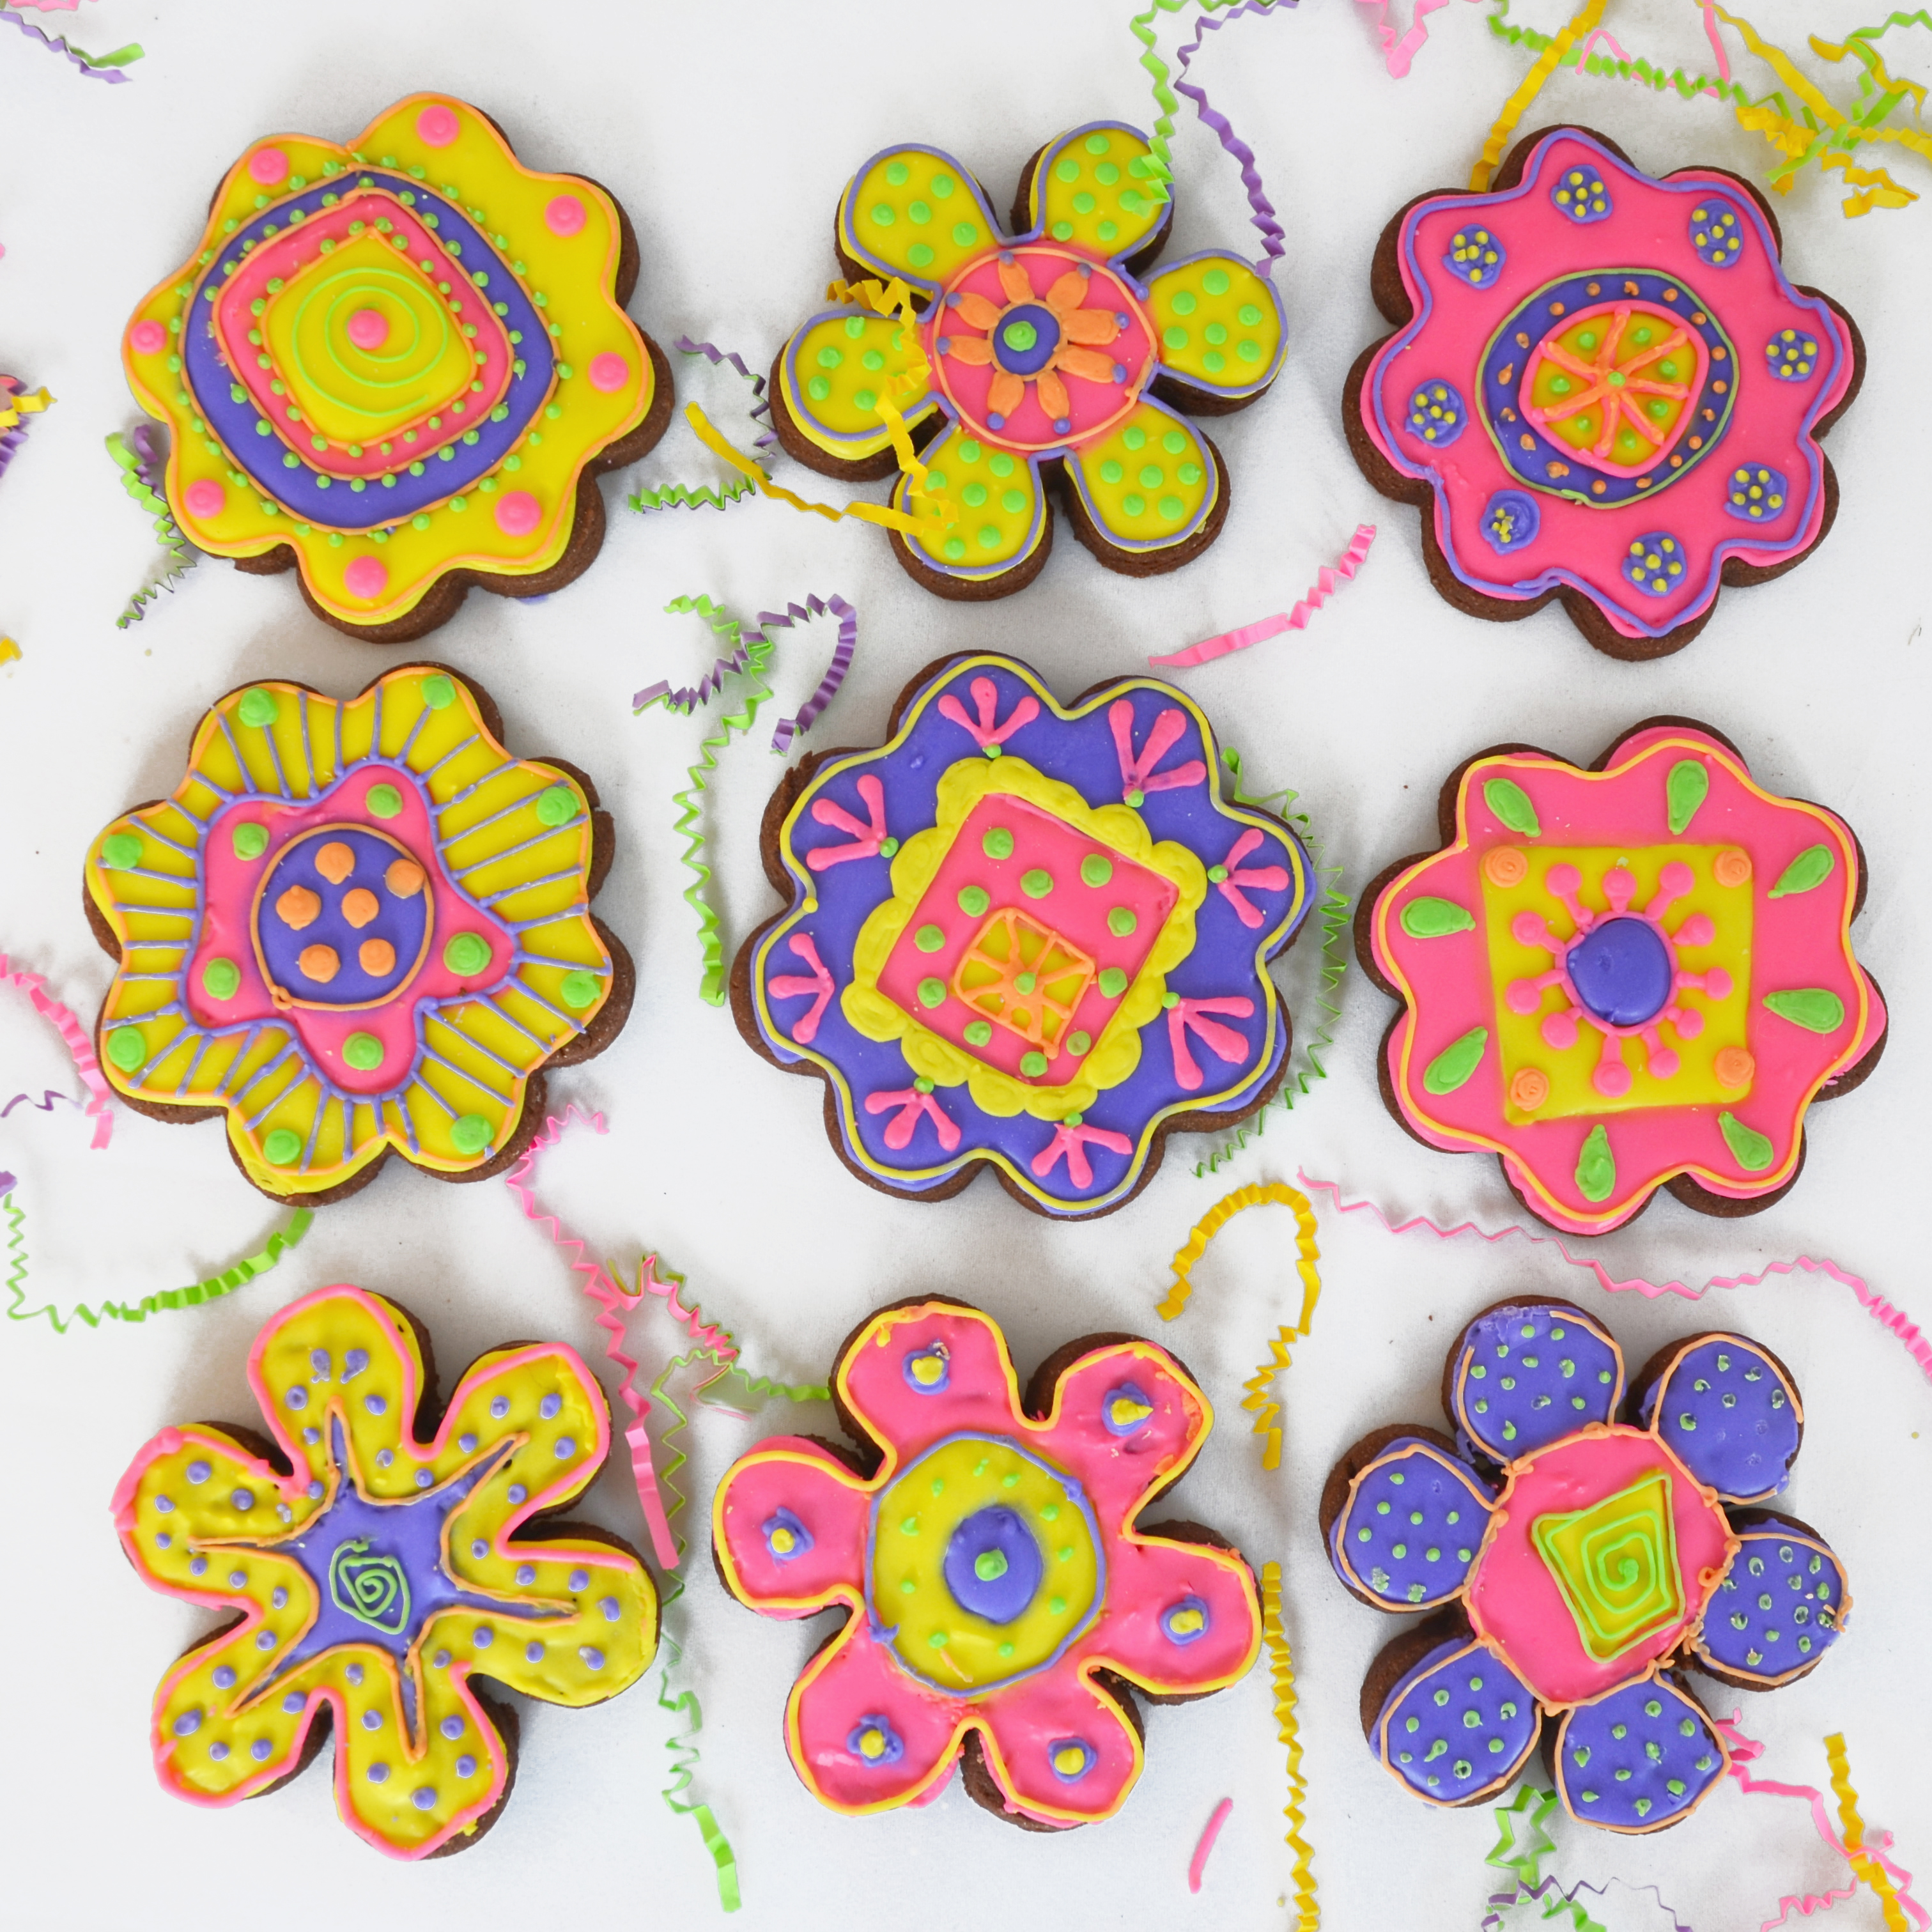
My thoughts:  These cookies are SO yummy.  I’m not usually a huge fan of cut-out cookies, but these are truly worth the effort of rolling out and cutting!  I like them thick- even if you don’t add sticks to make them into pops.  They are so much fun all set up in a vase~ what a perfect way to serve cookies at a party!  You could wrap these in cello bags and tie them with cute ribbons too- a perfect favor for a wedding or shower!  Hope you have fun with these treats!!!   Enjoy!! ~r  

Royal Icing!!!


Other fun cut-out cookies to try:

Sugar cookie cut-outsHoney cut-out cookiesGingerbread Cookies!Easy Easter cut out cookies

%d bloggers like this: