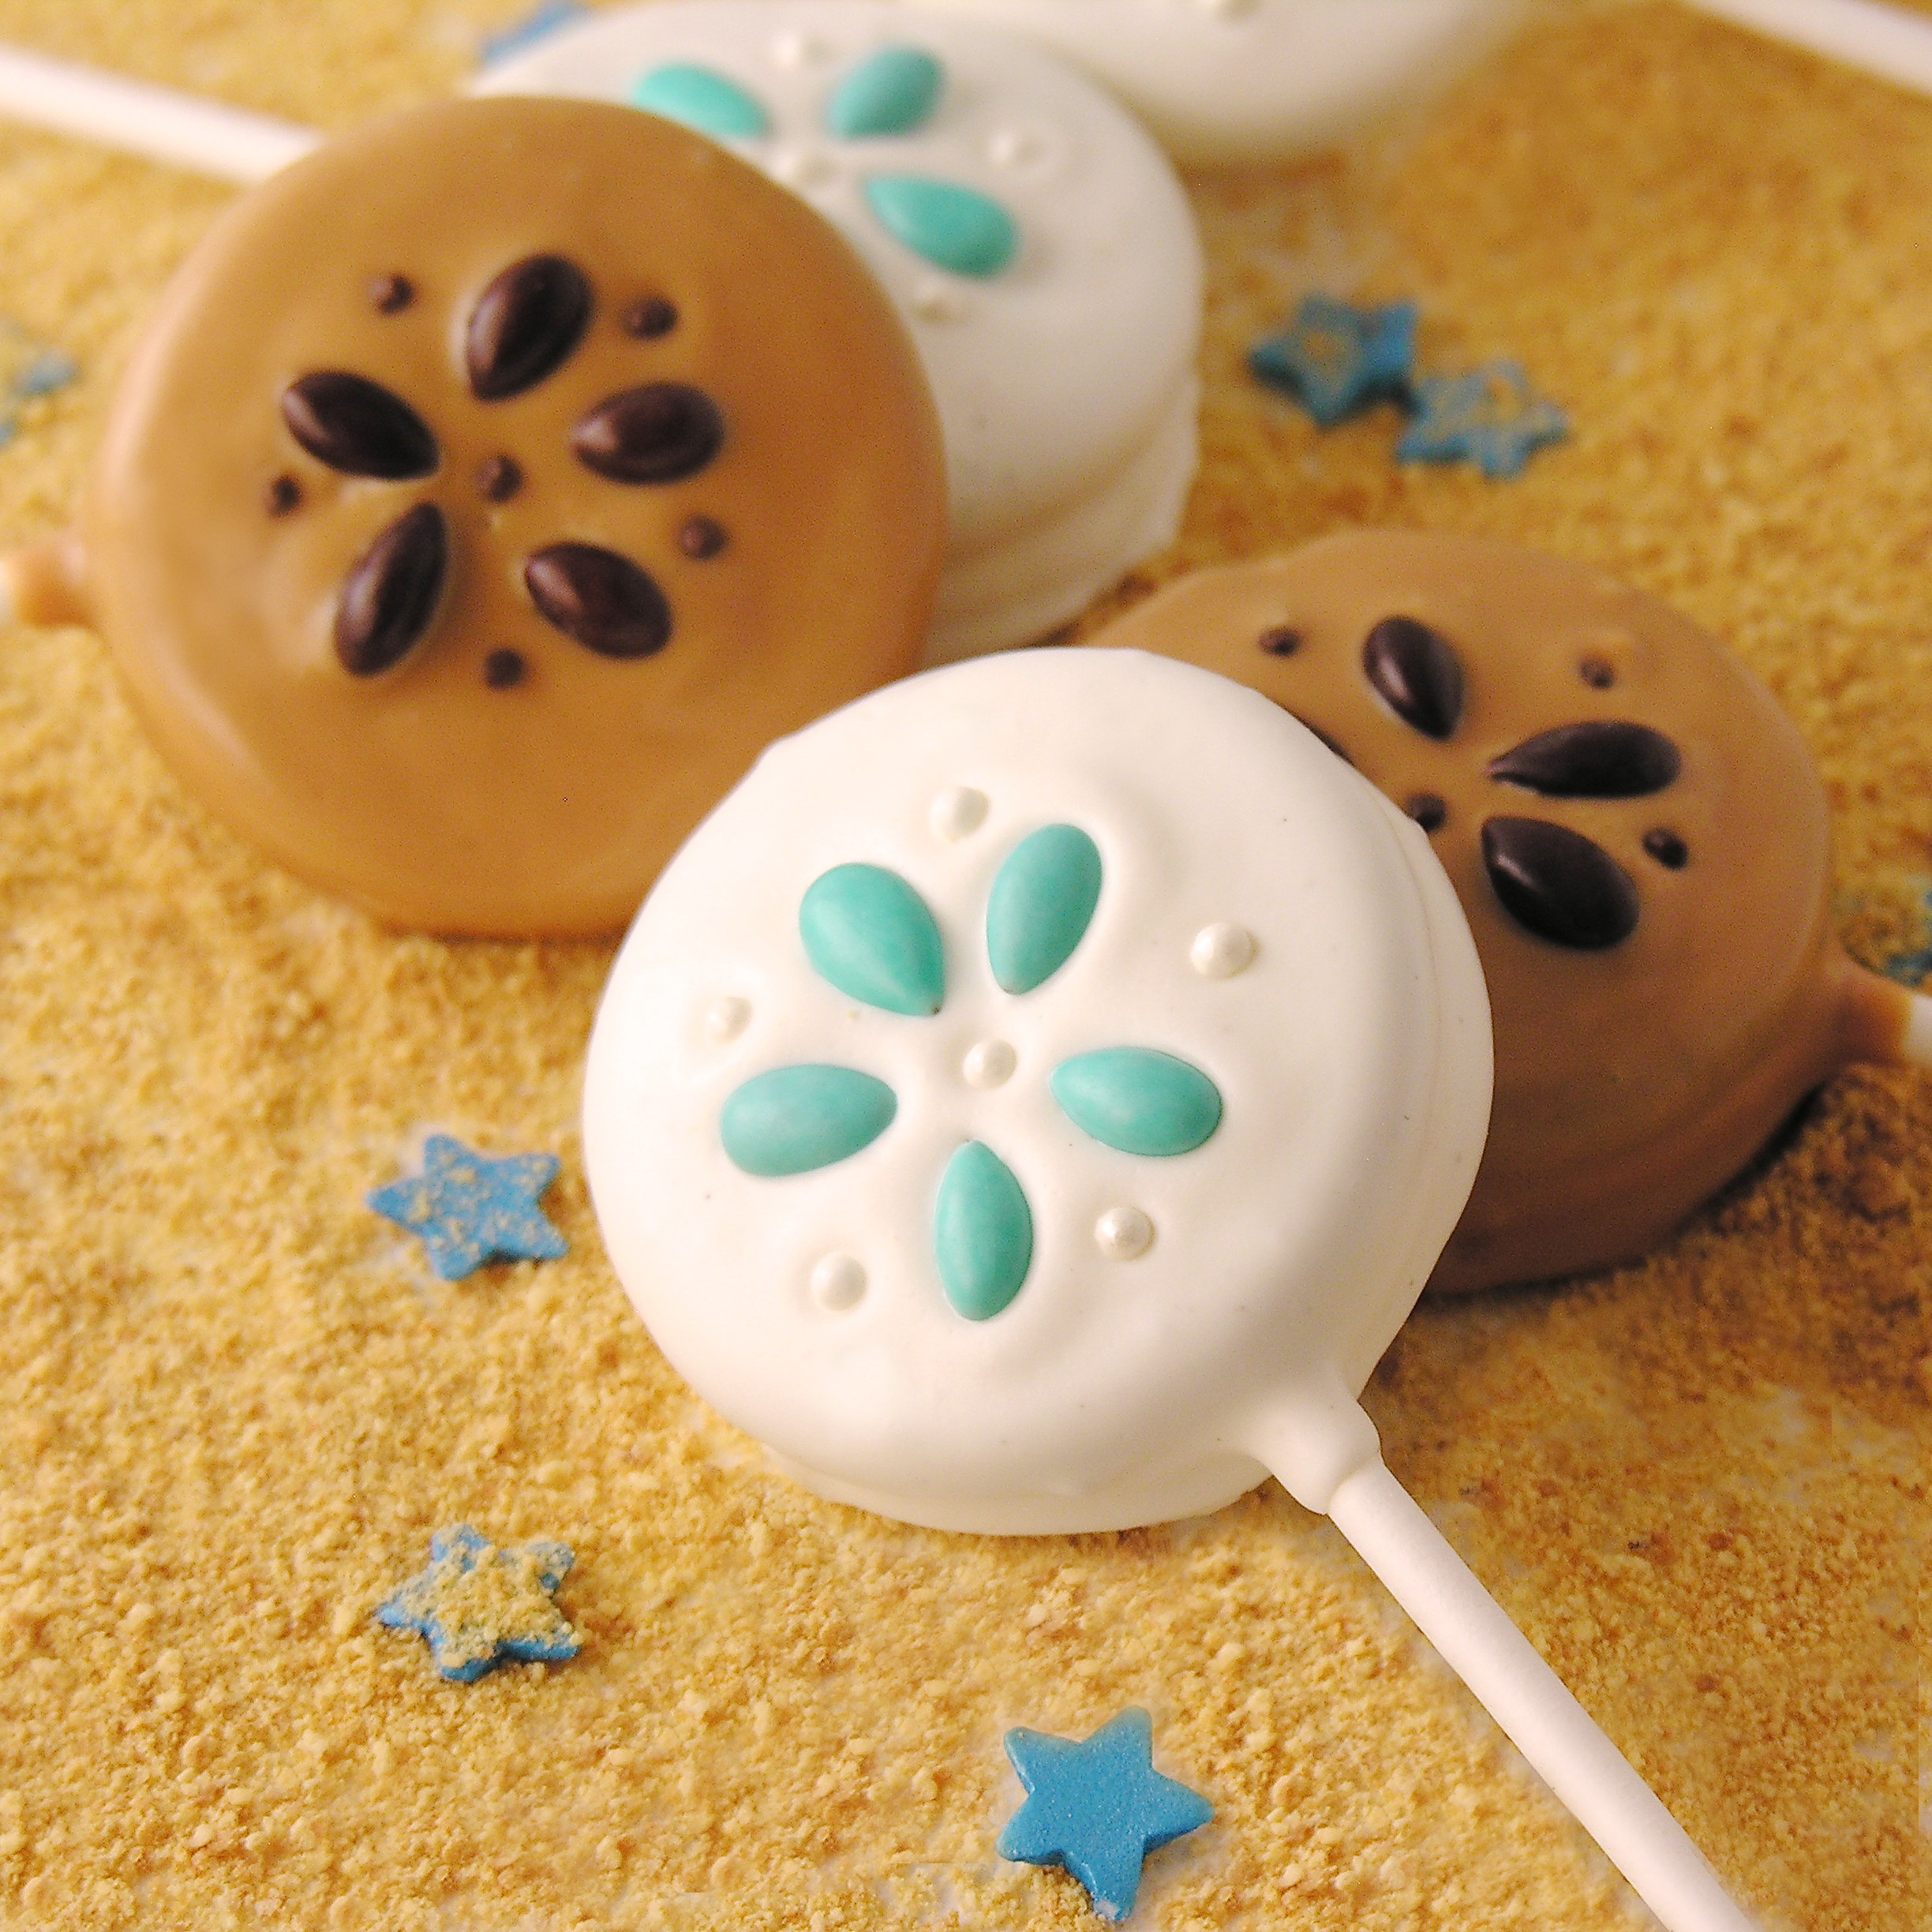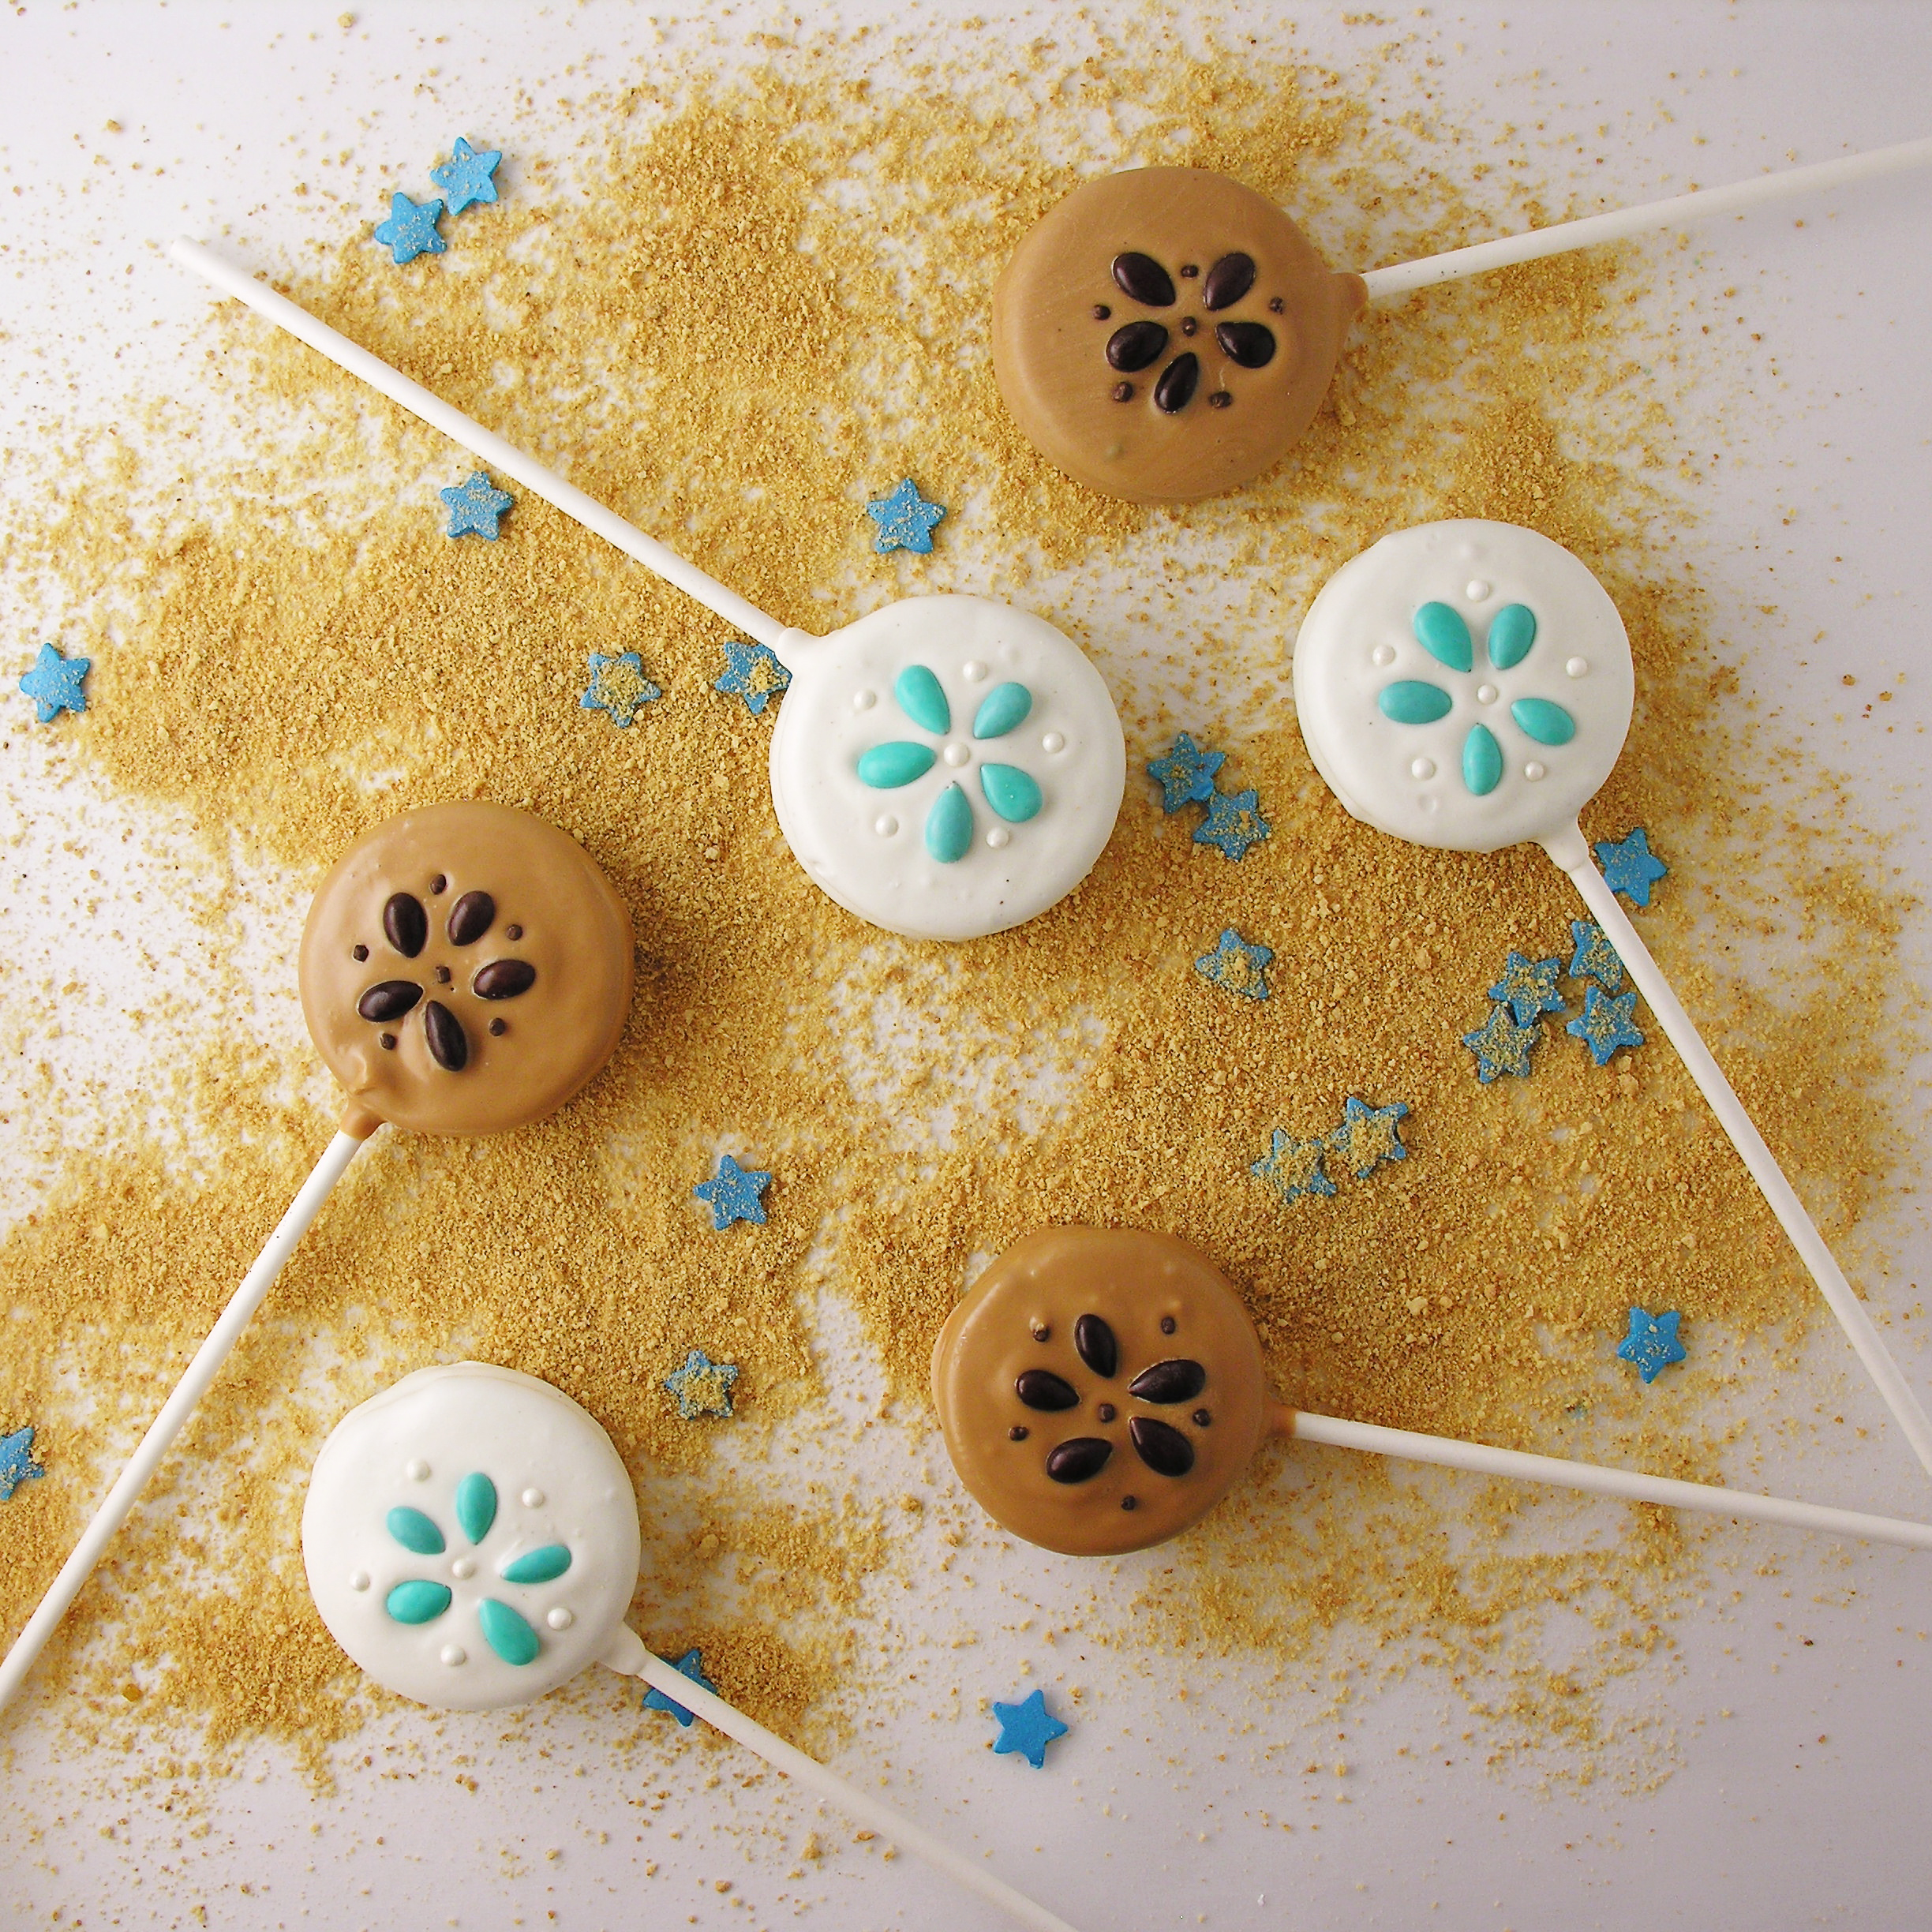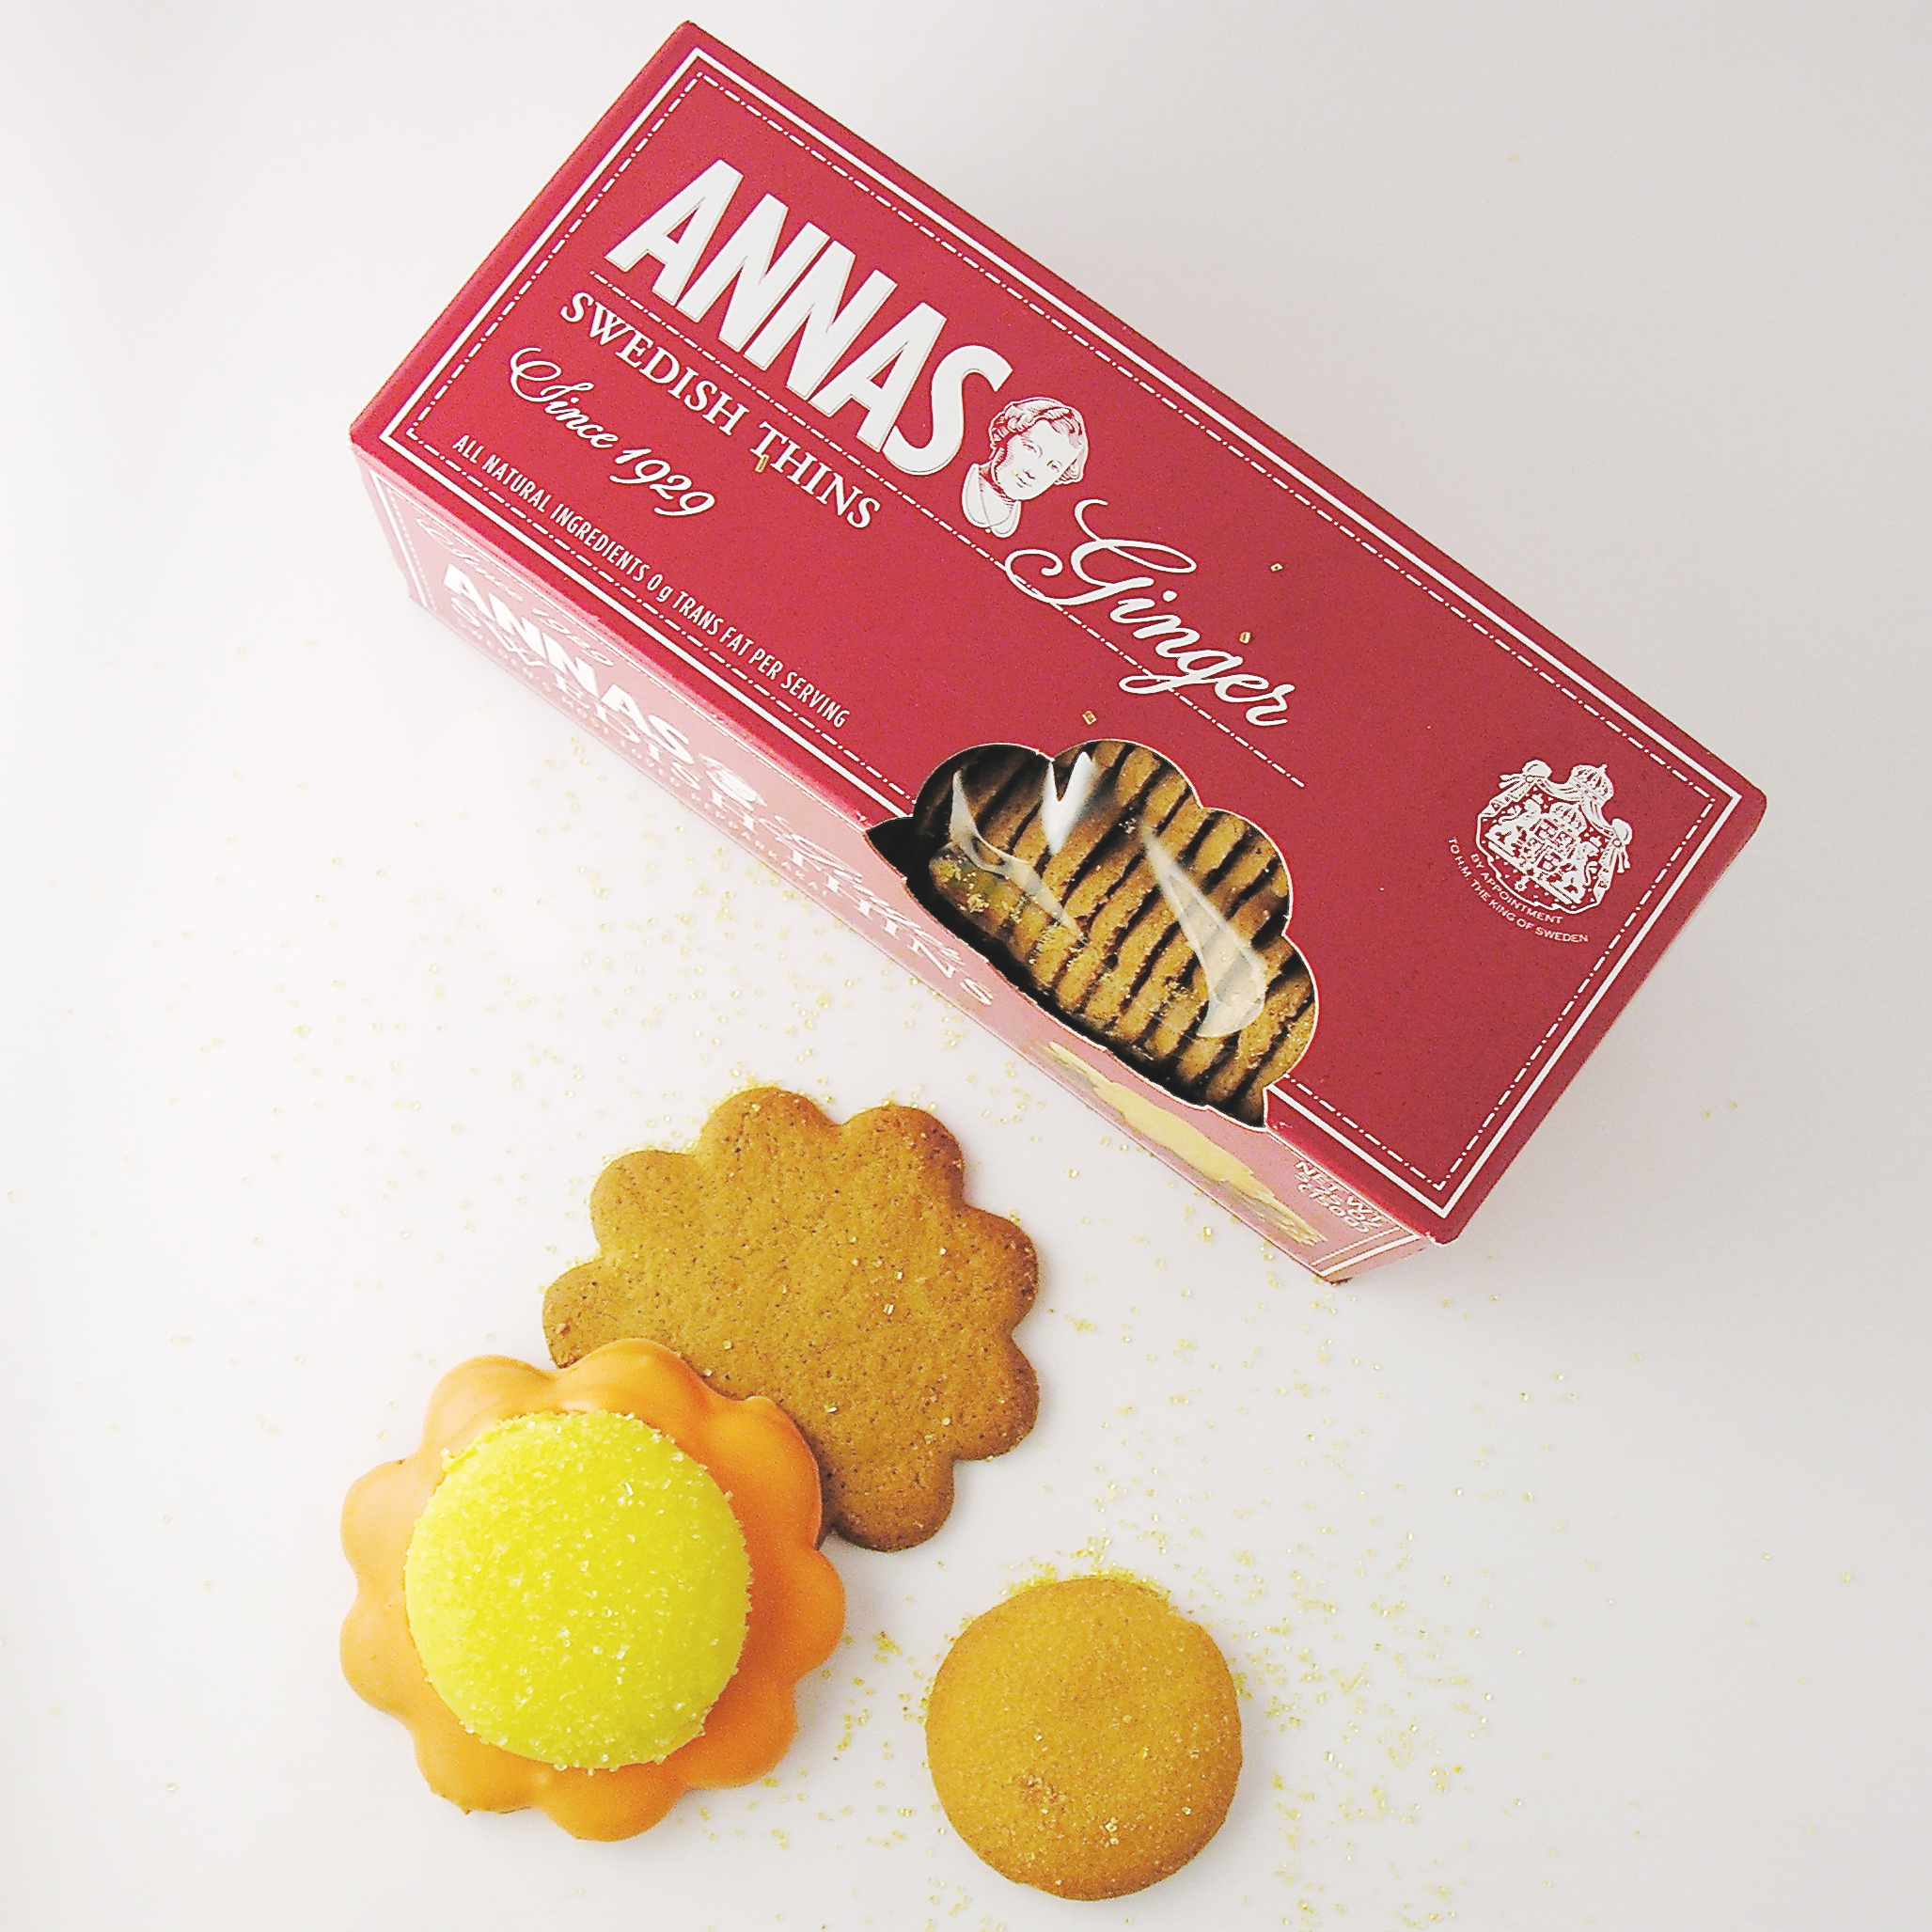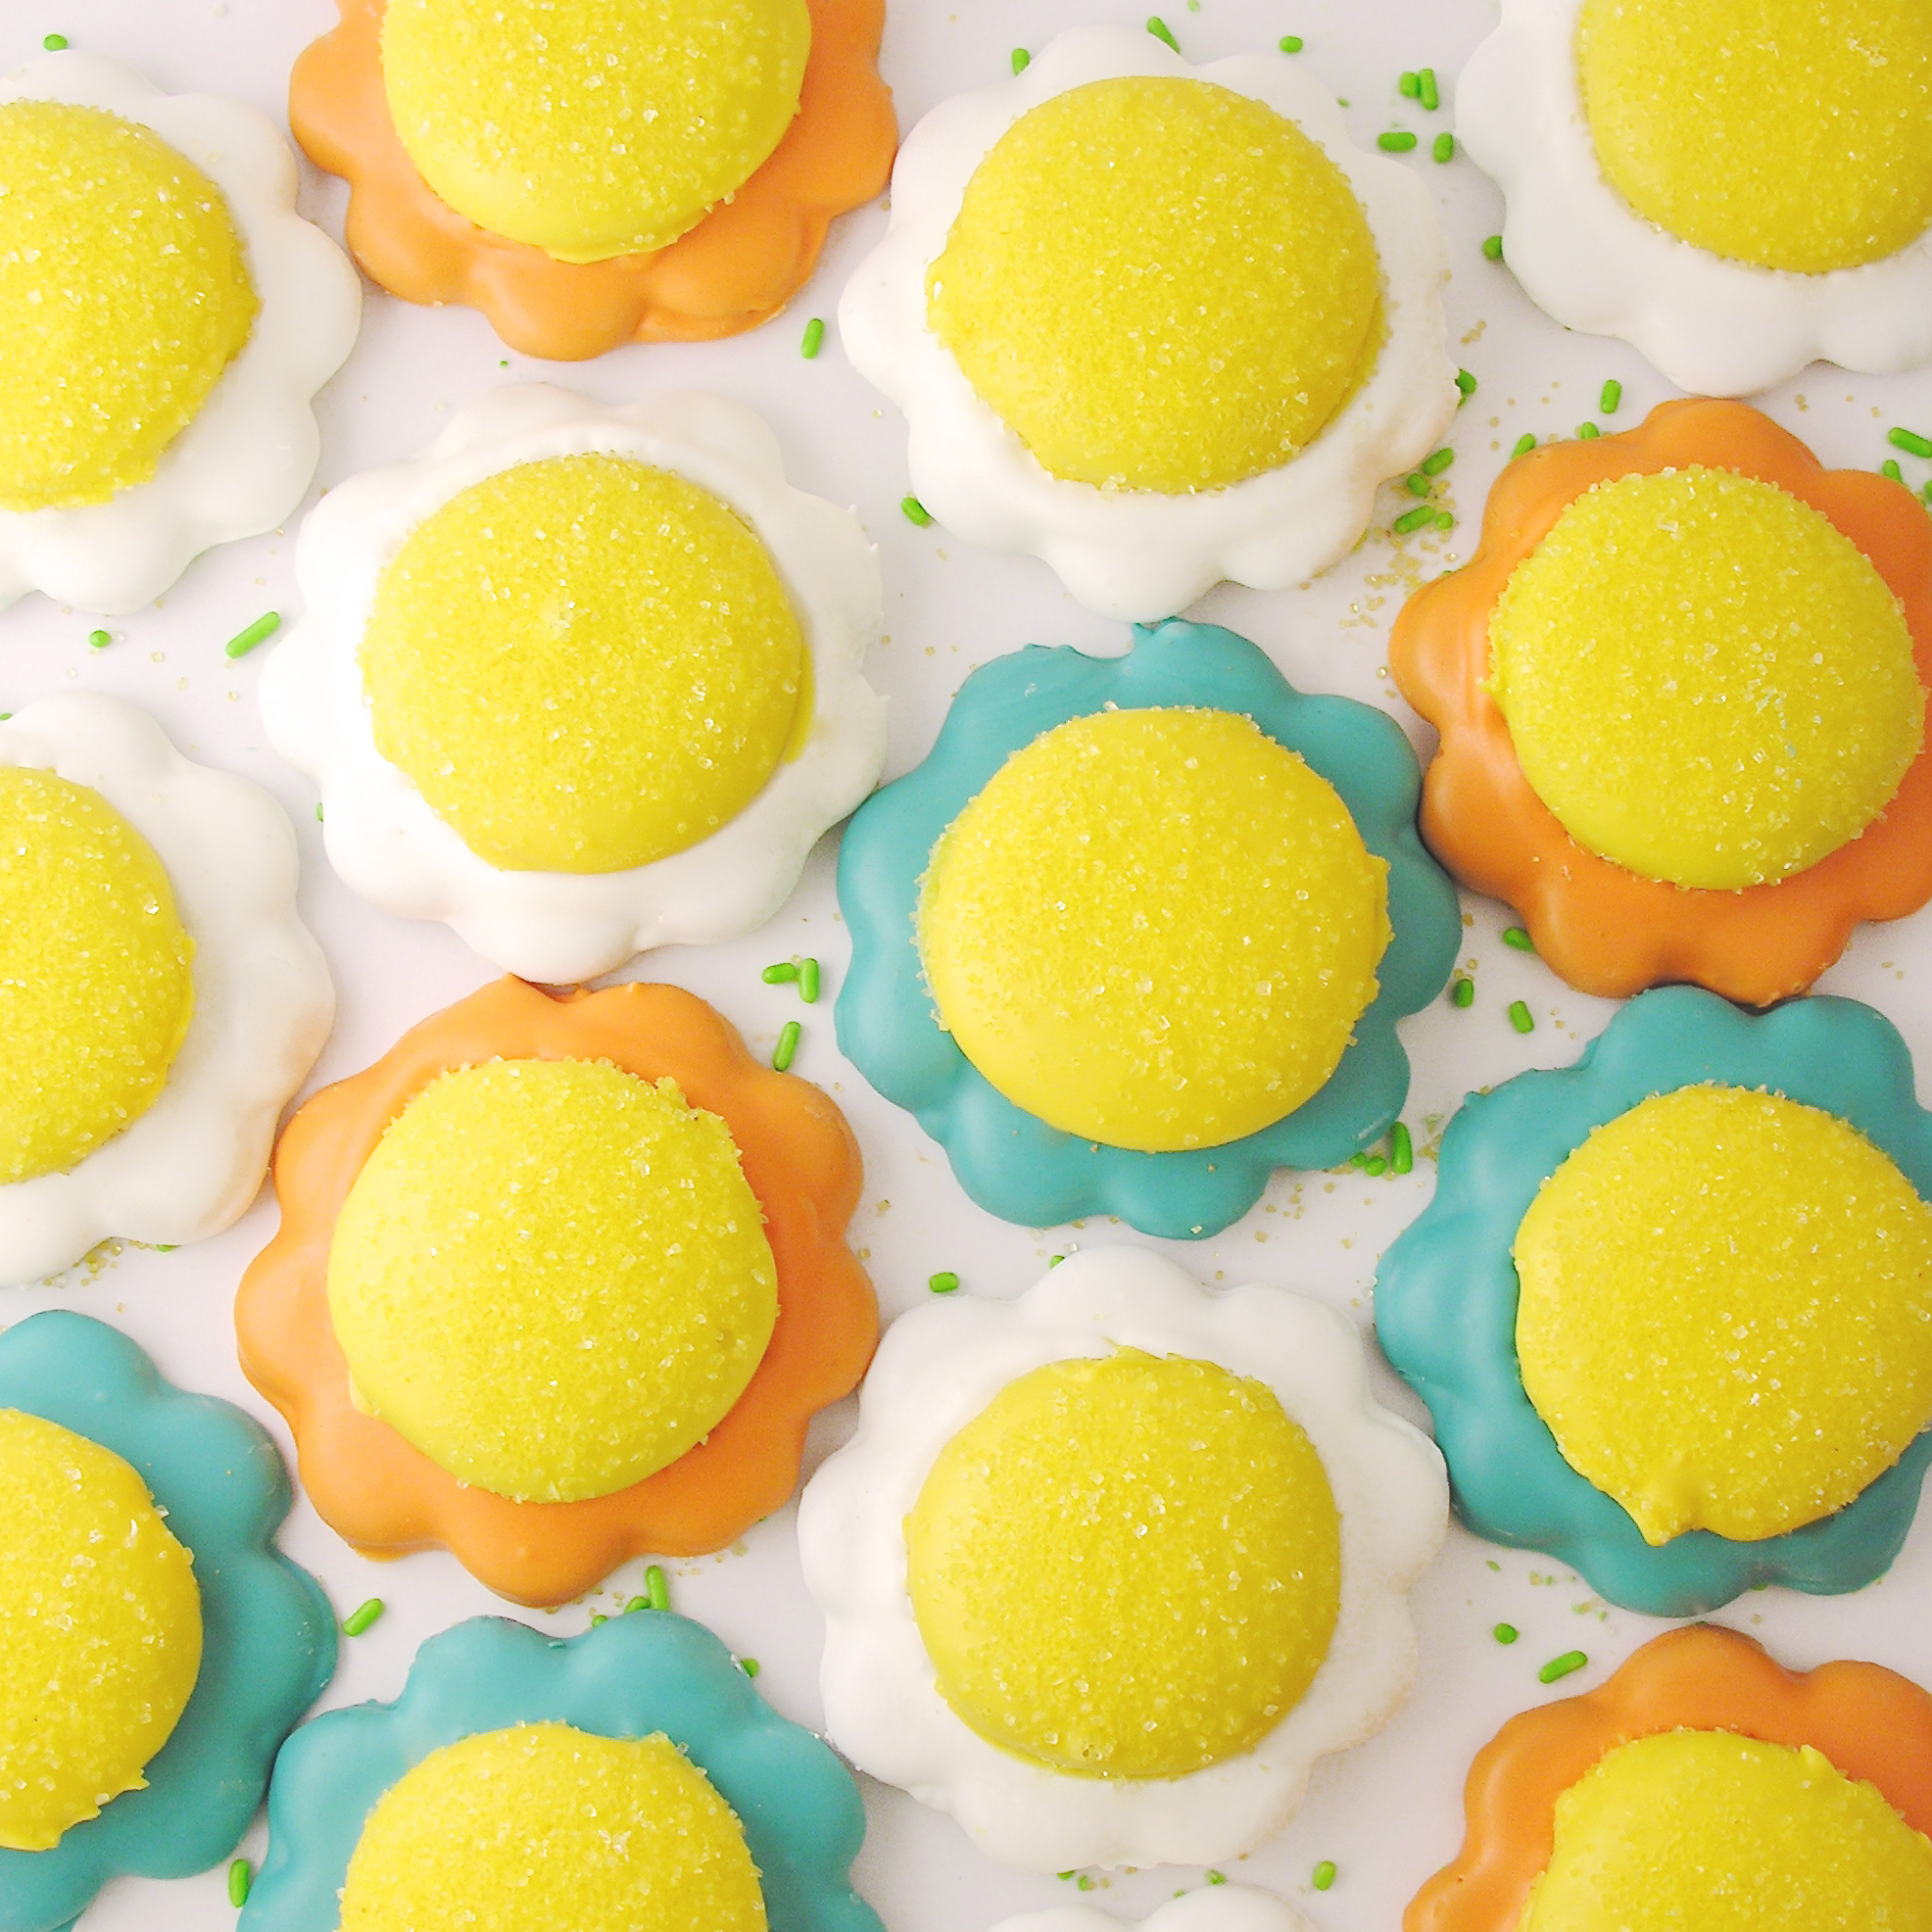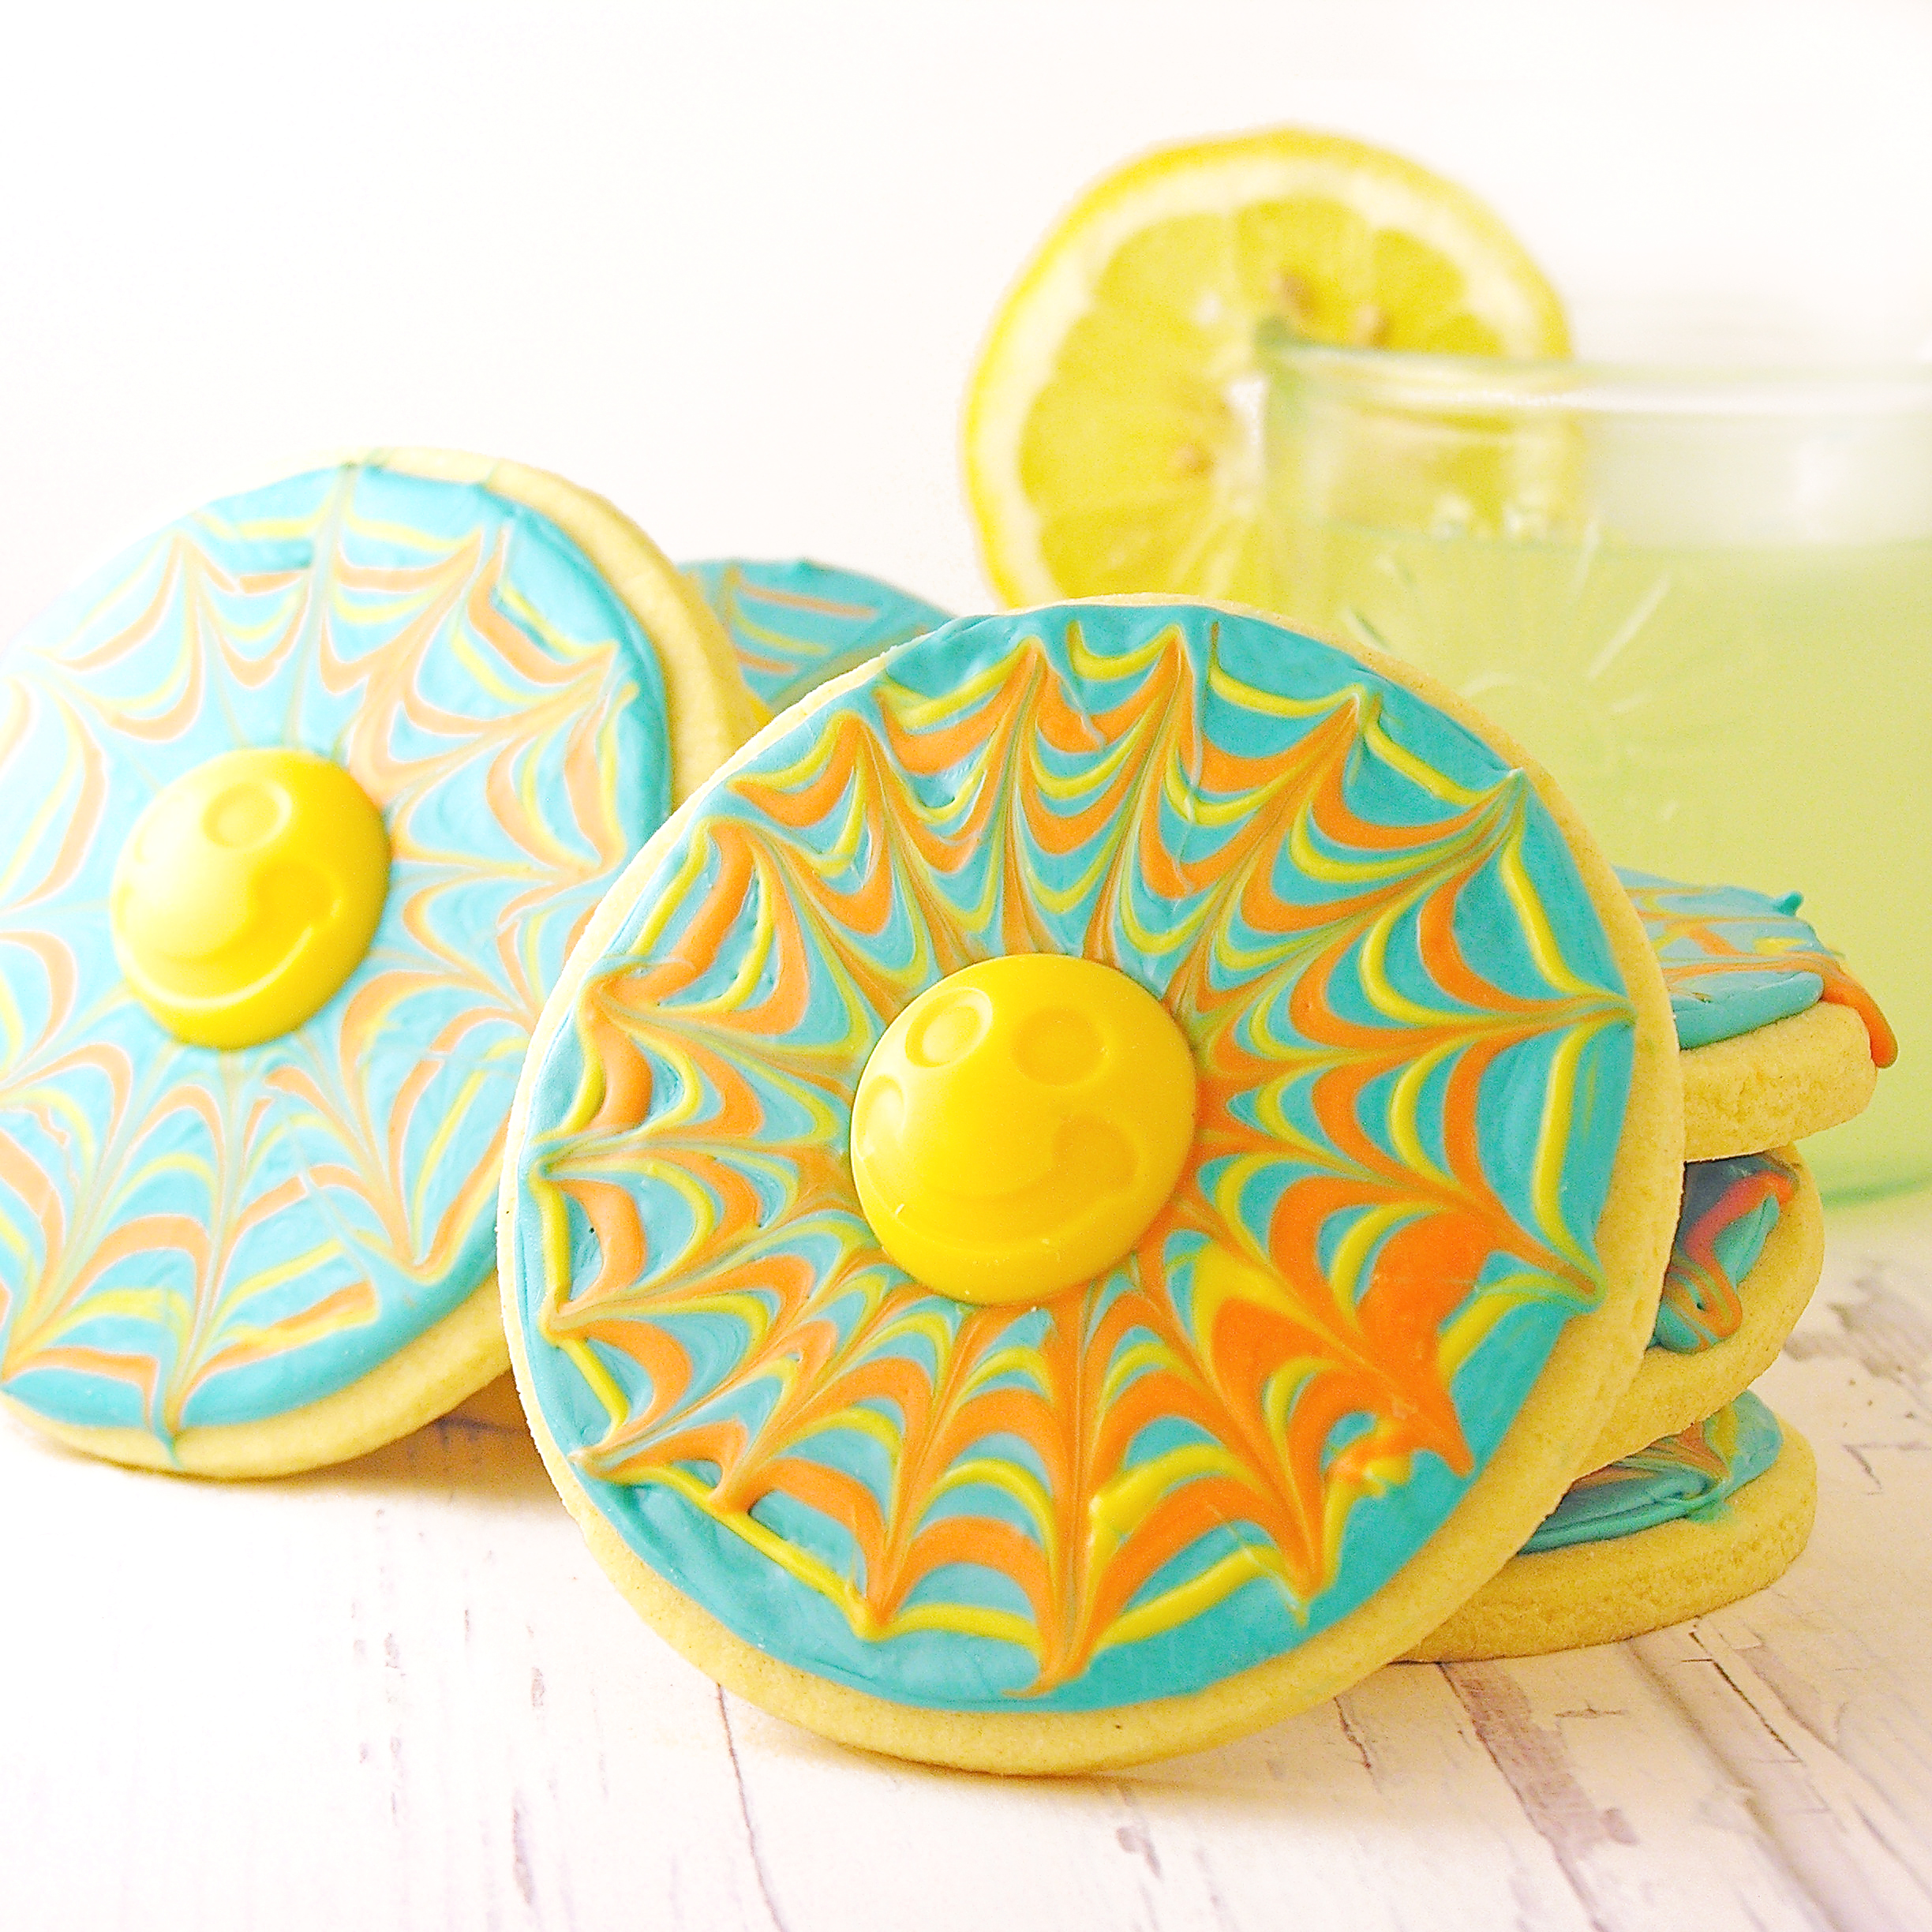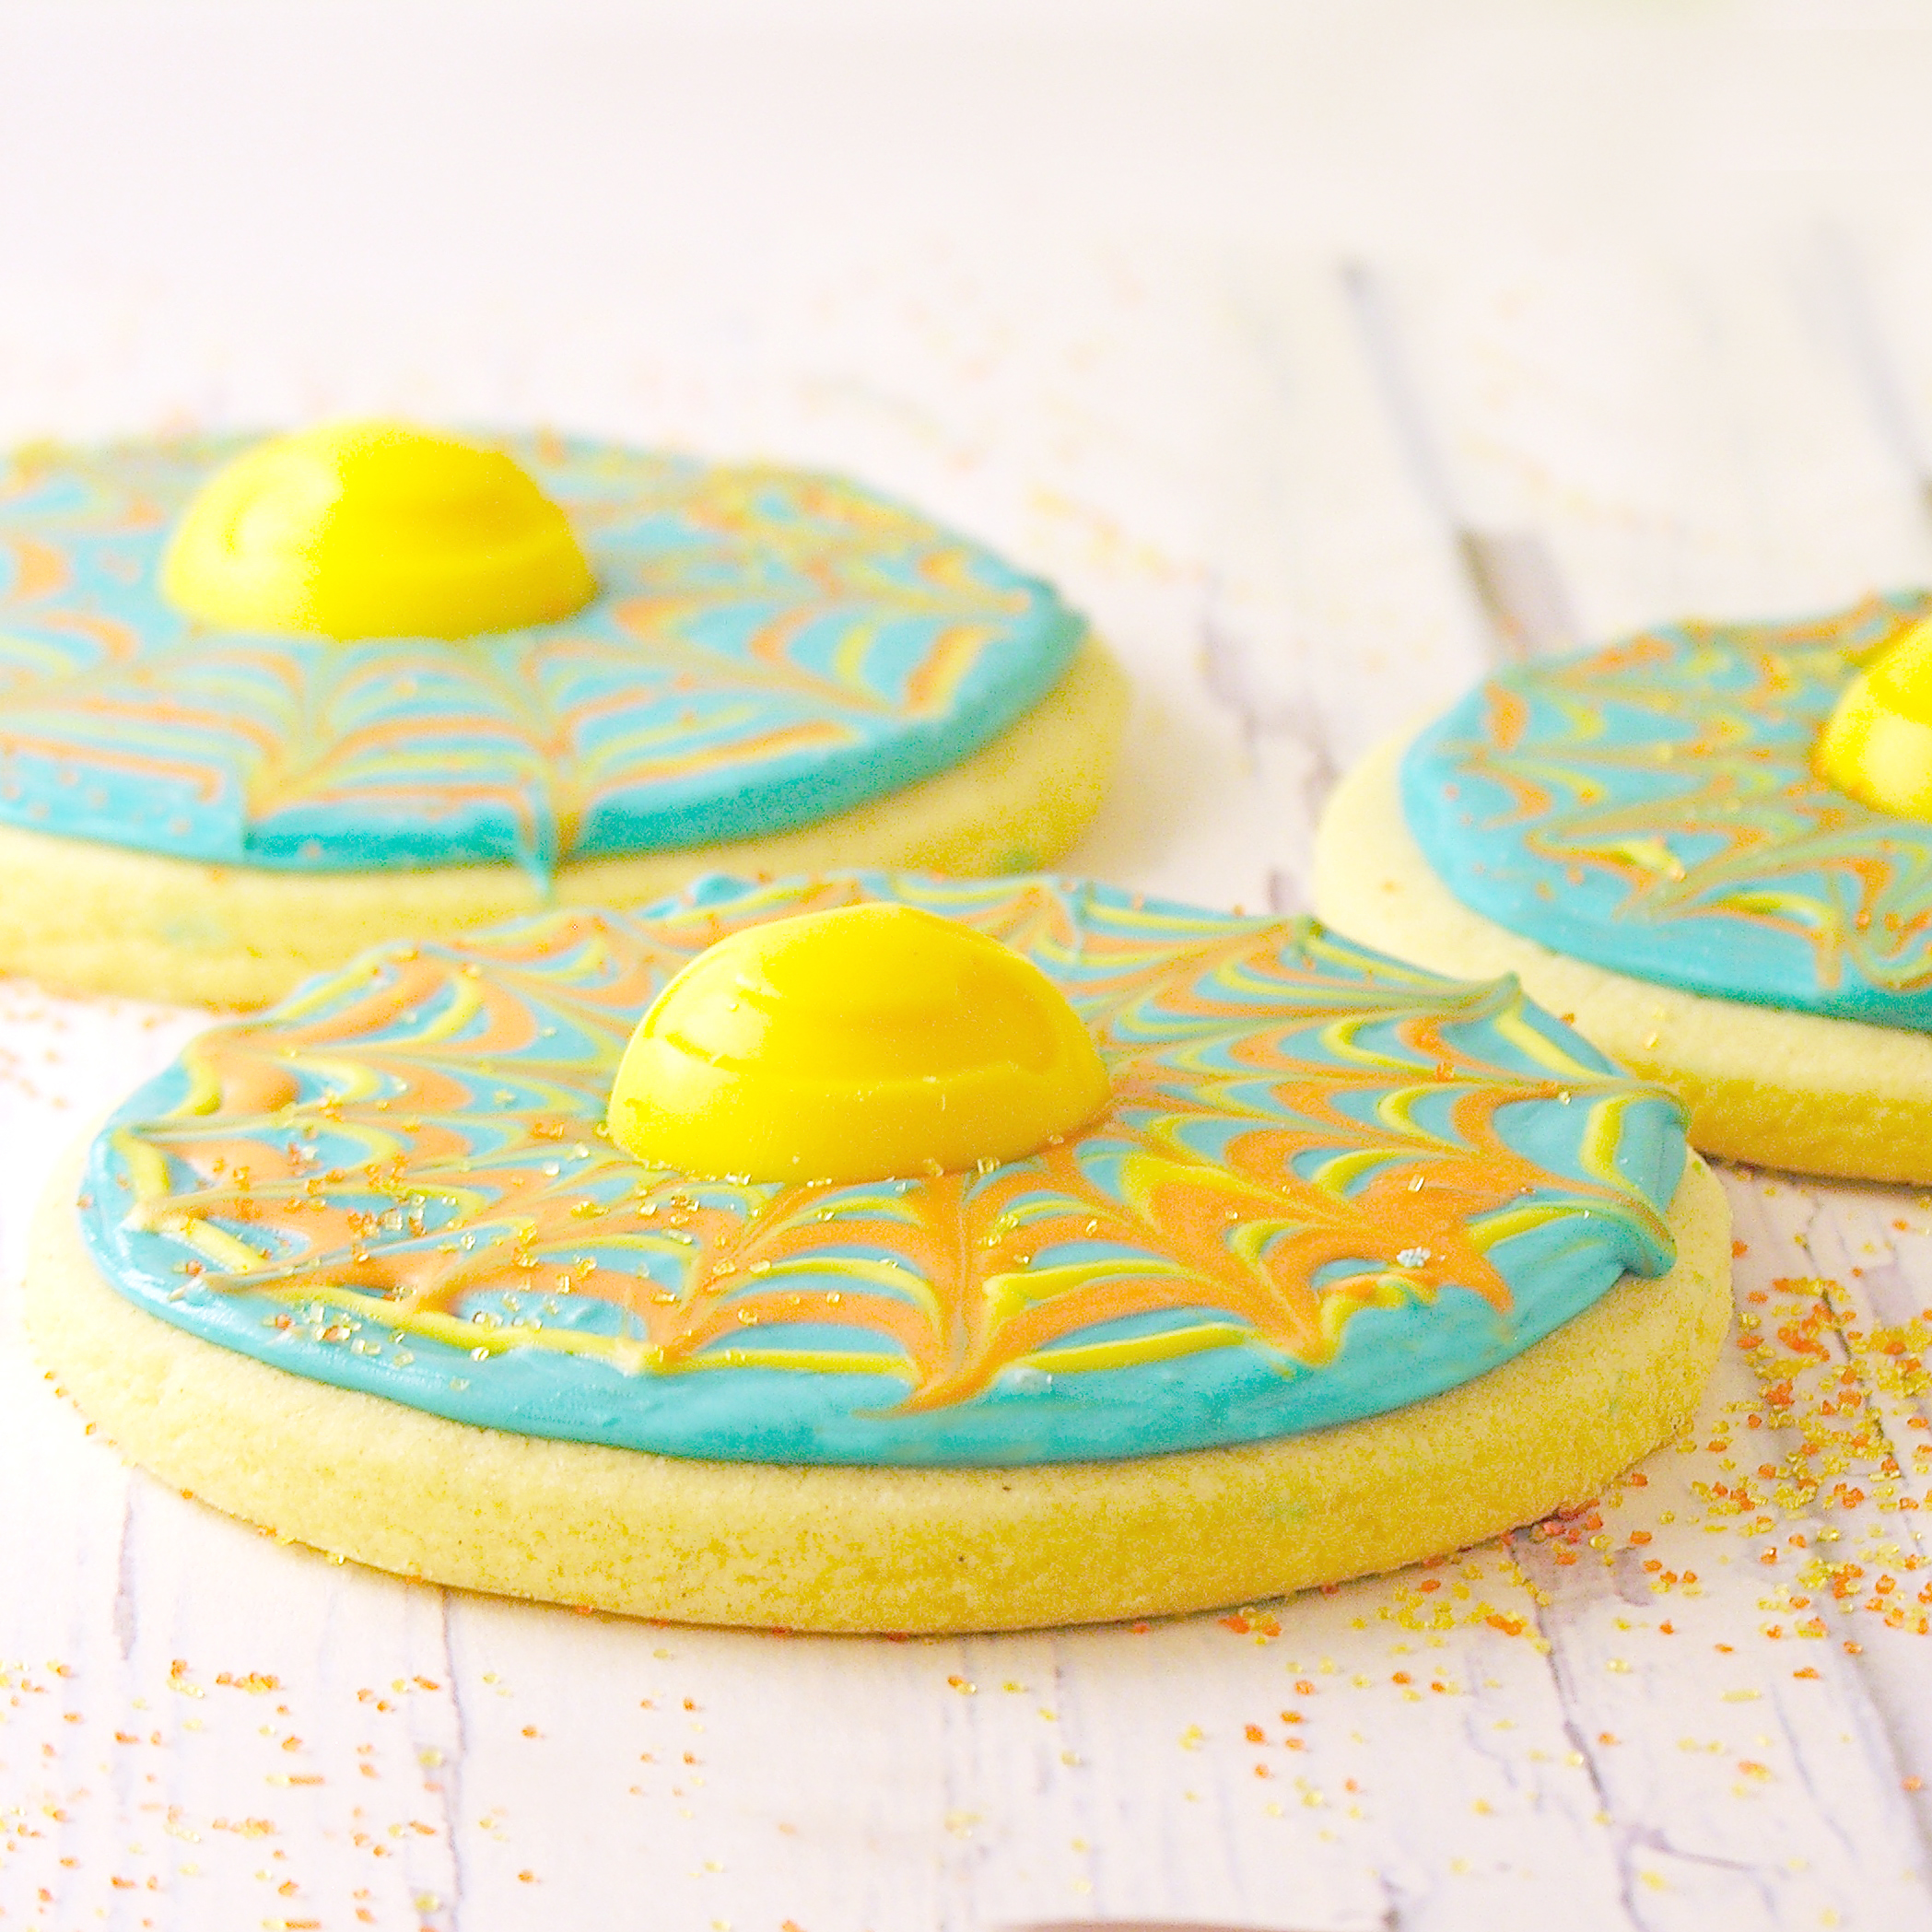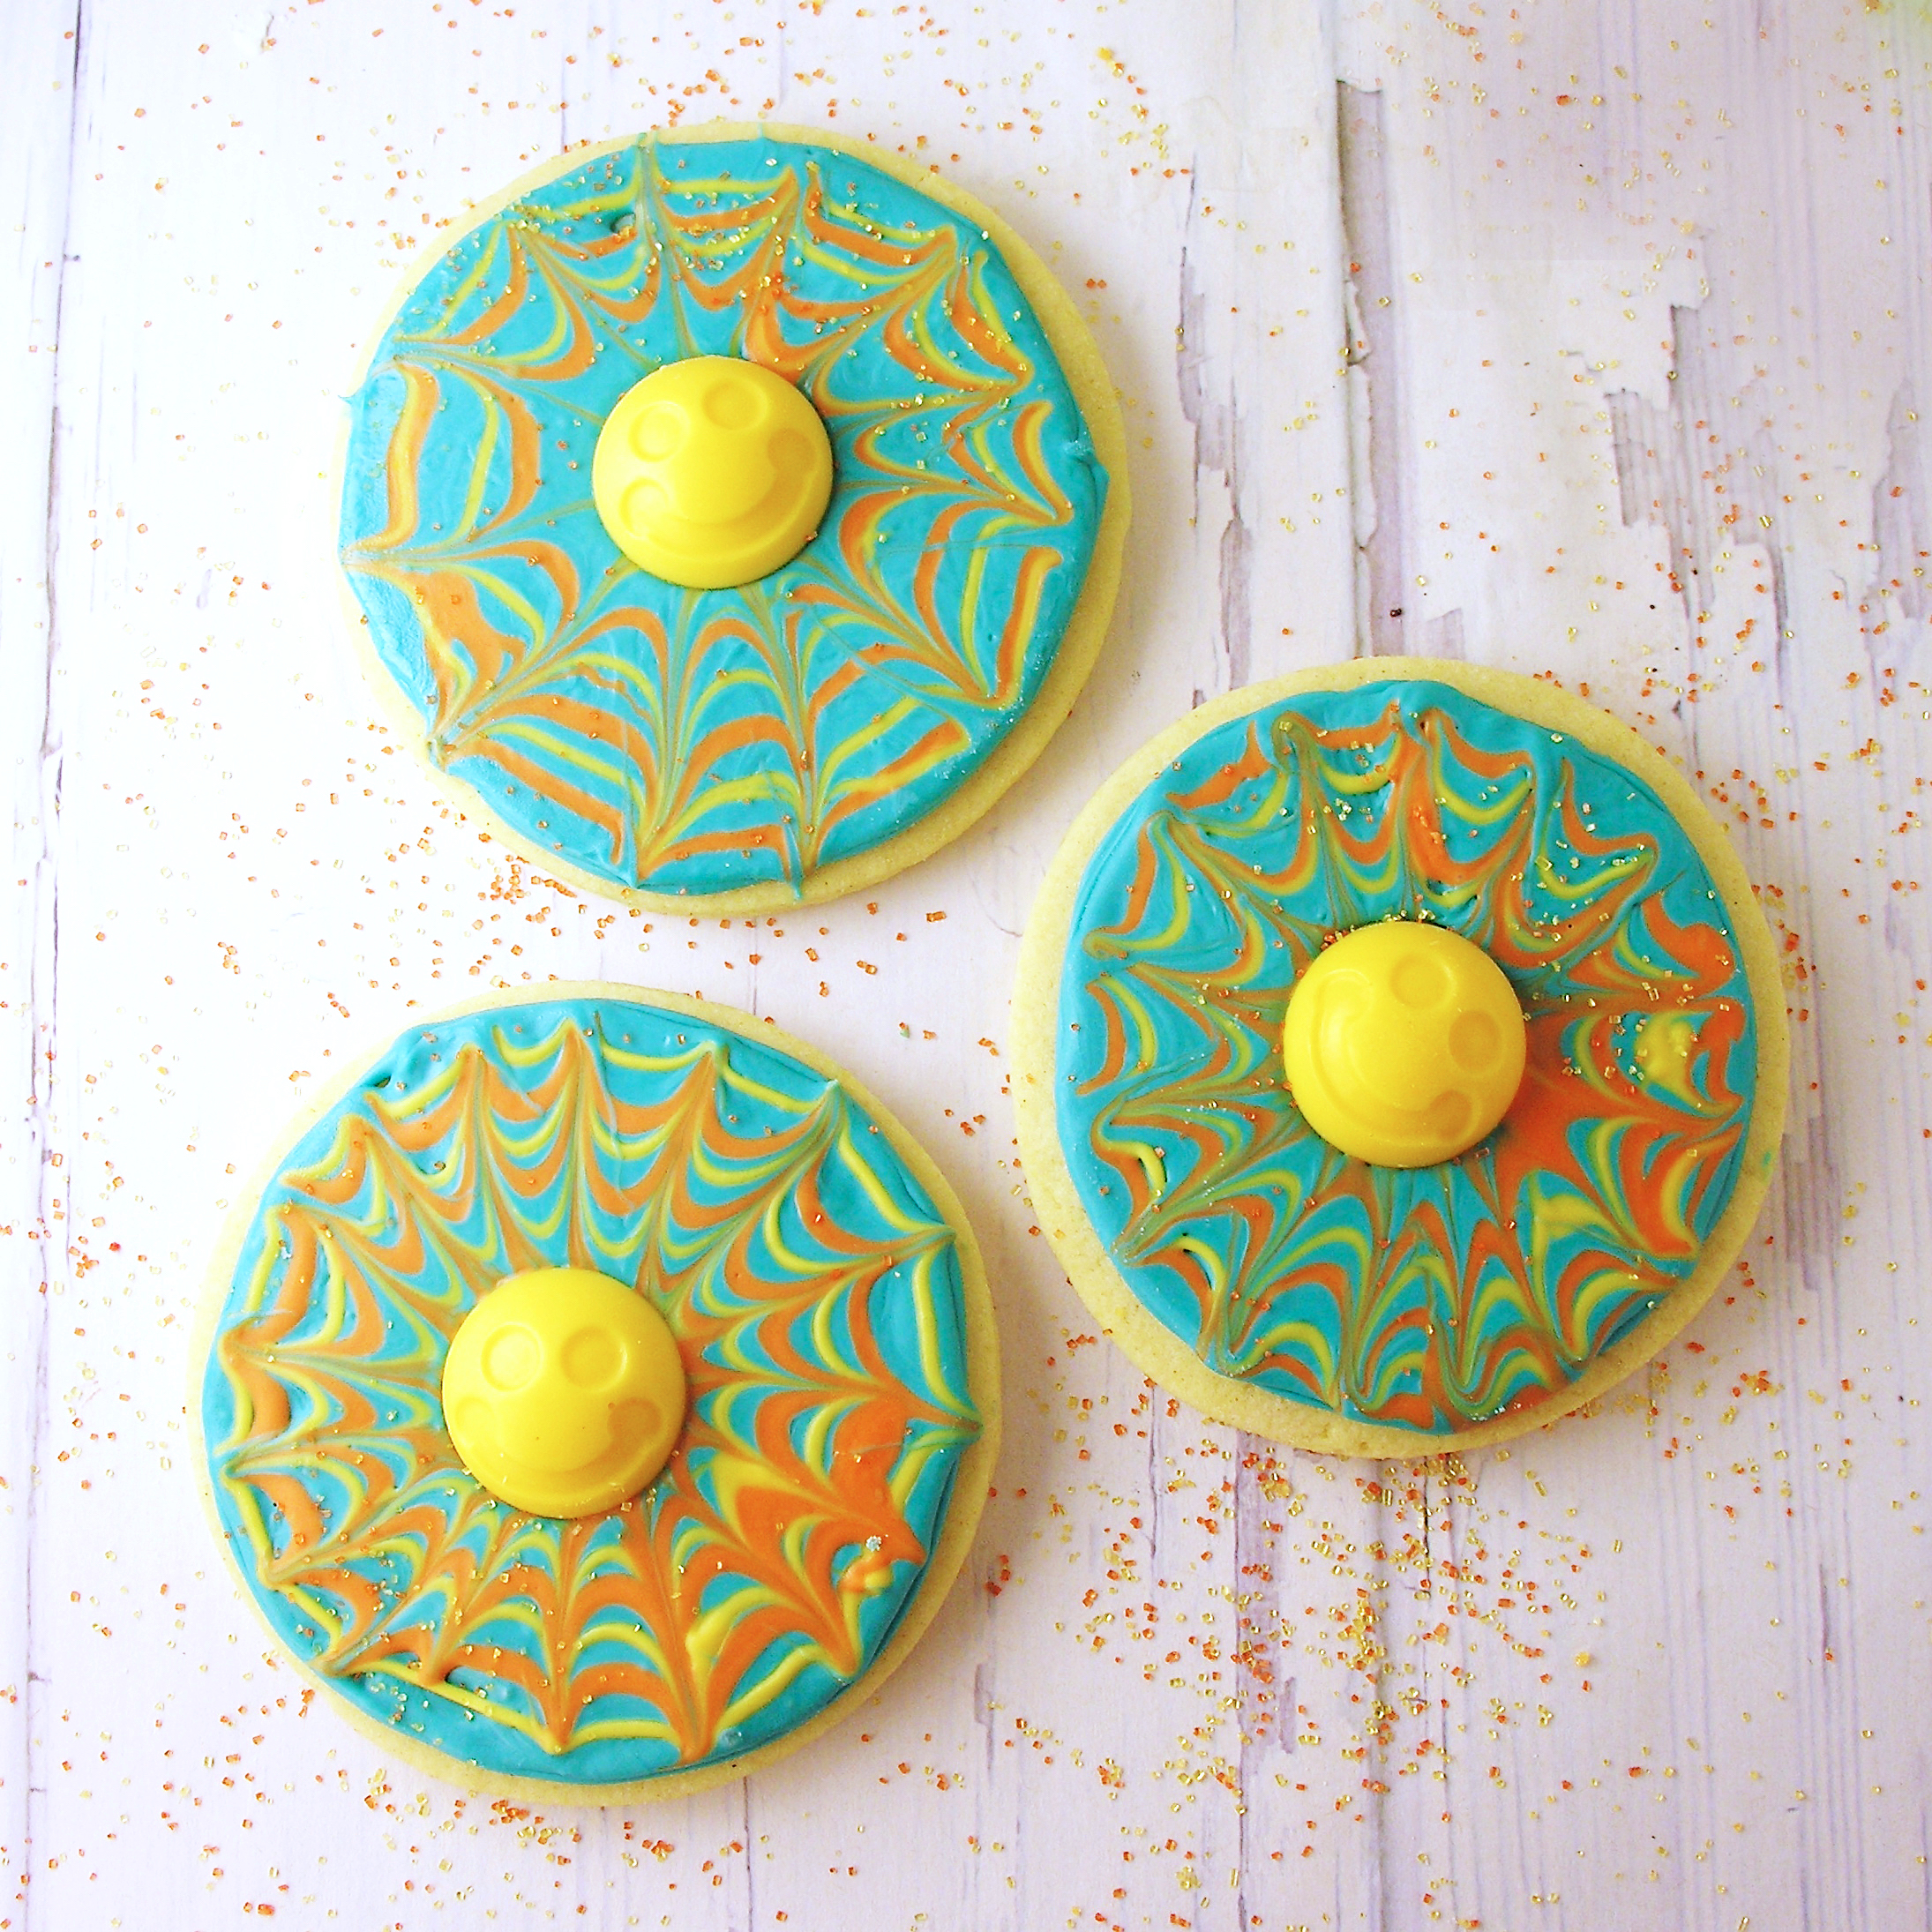
These delicious cookies will make you smile anytime of the year! With a touch of coffee in the cookies, and crunchy chocolate-covered sunflower seeds on top, they are also really delicious!

Confession: I made these last spring jotted down the recipe as I created, brought them to a party where they got rave reviews, and then got so busy with summer that I never sat down to share the recipe with you all! So here (finally!) you go!
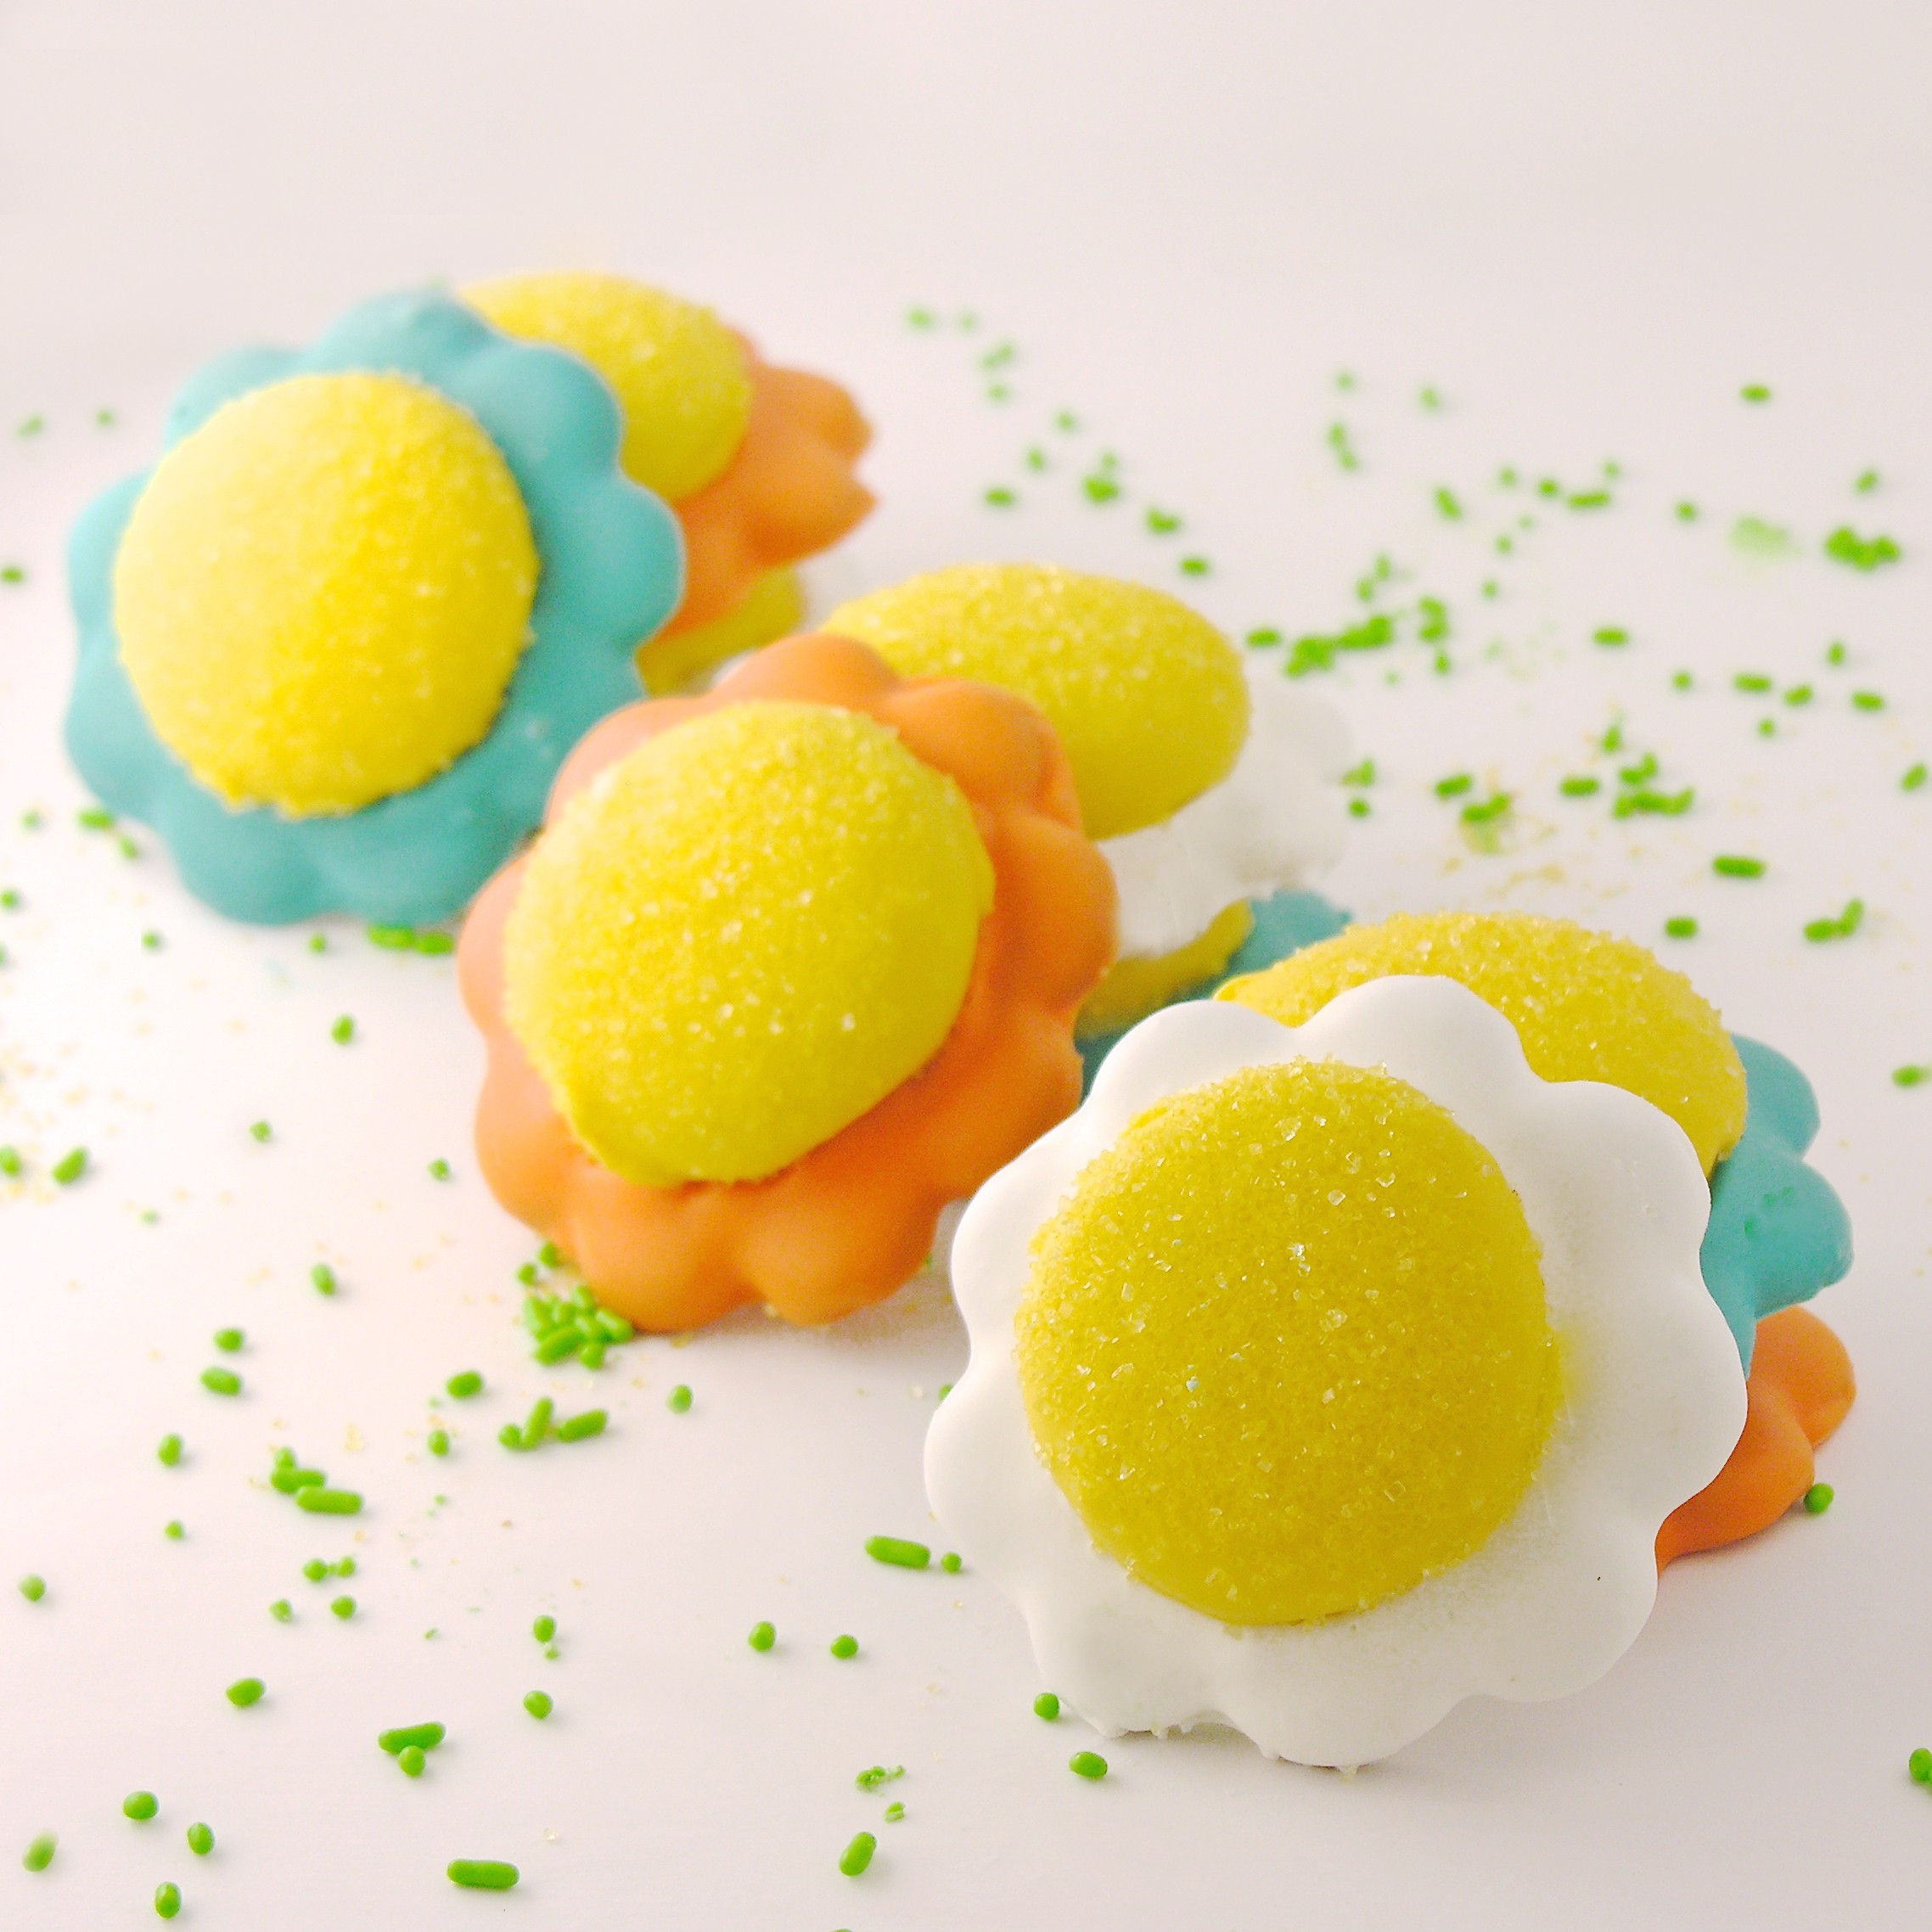
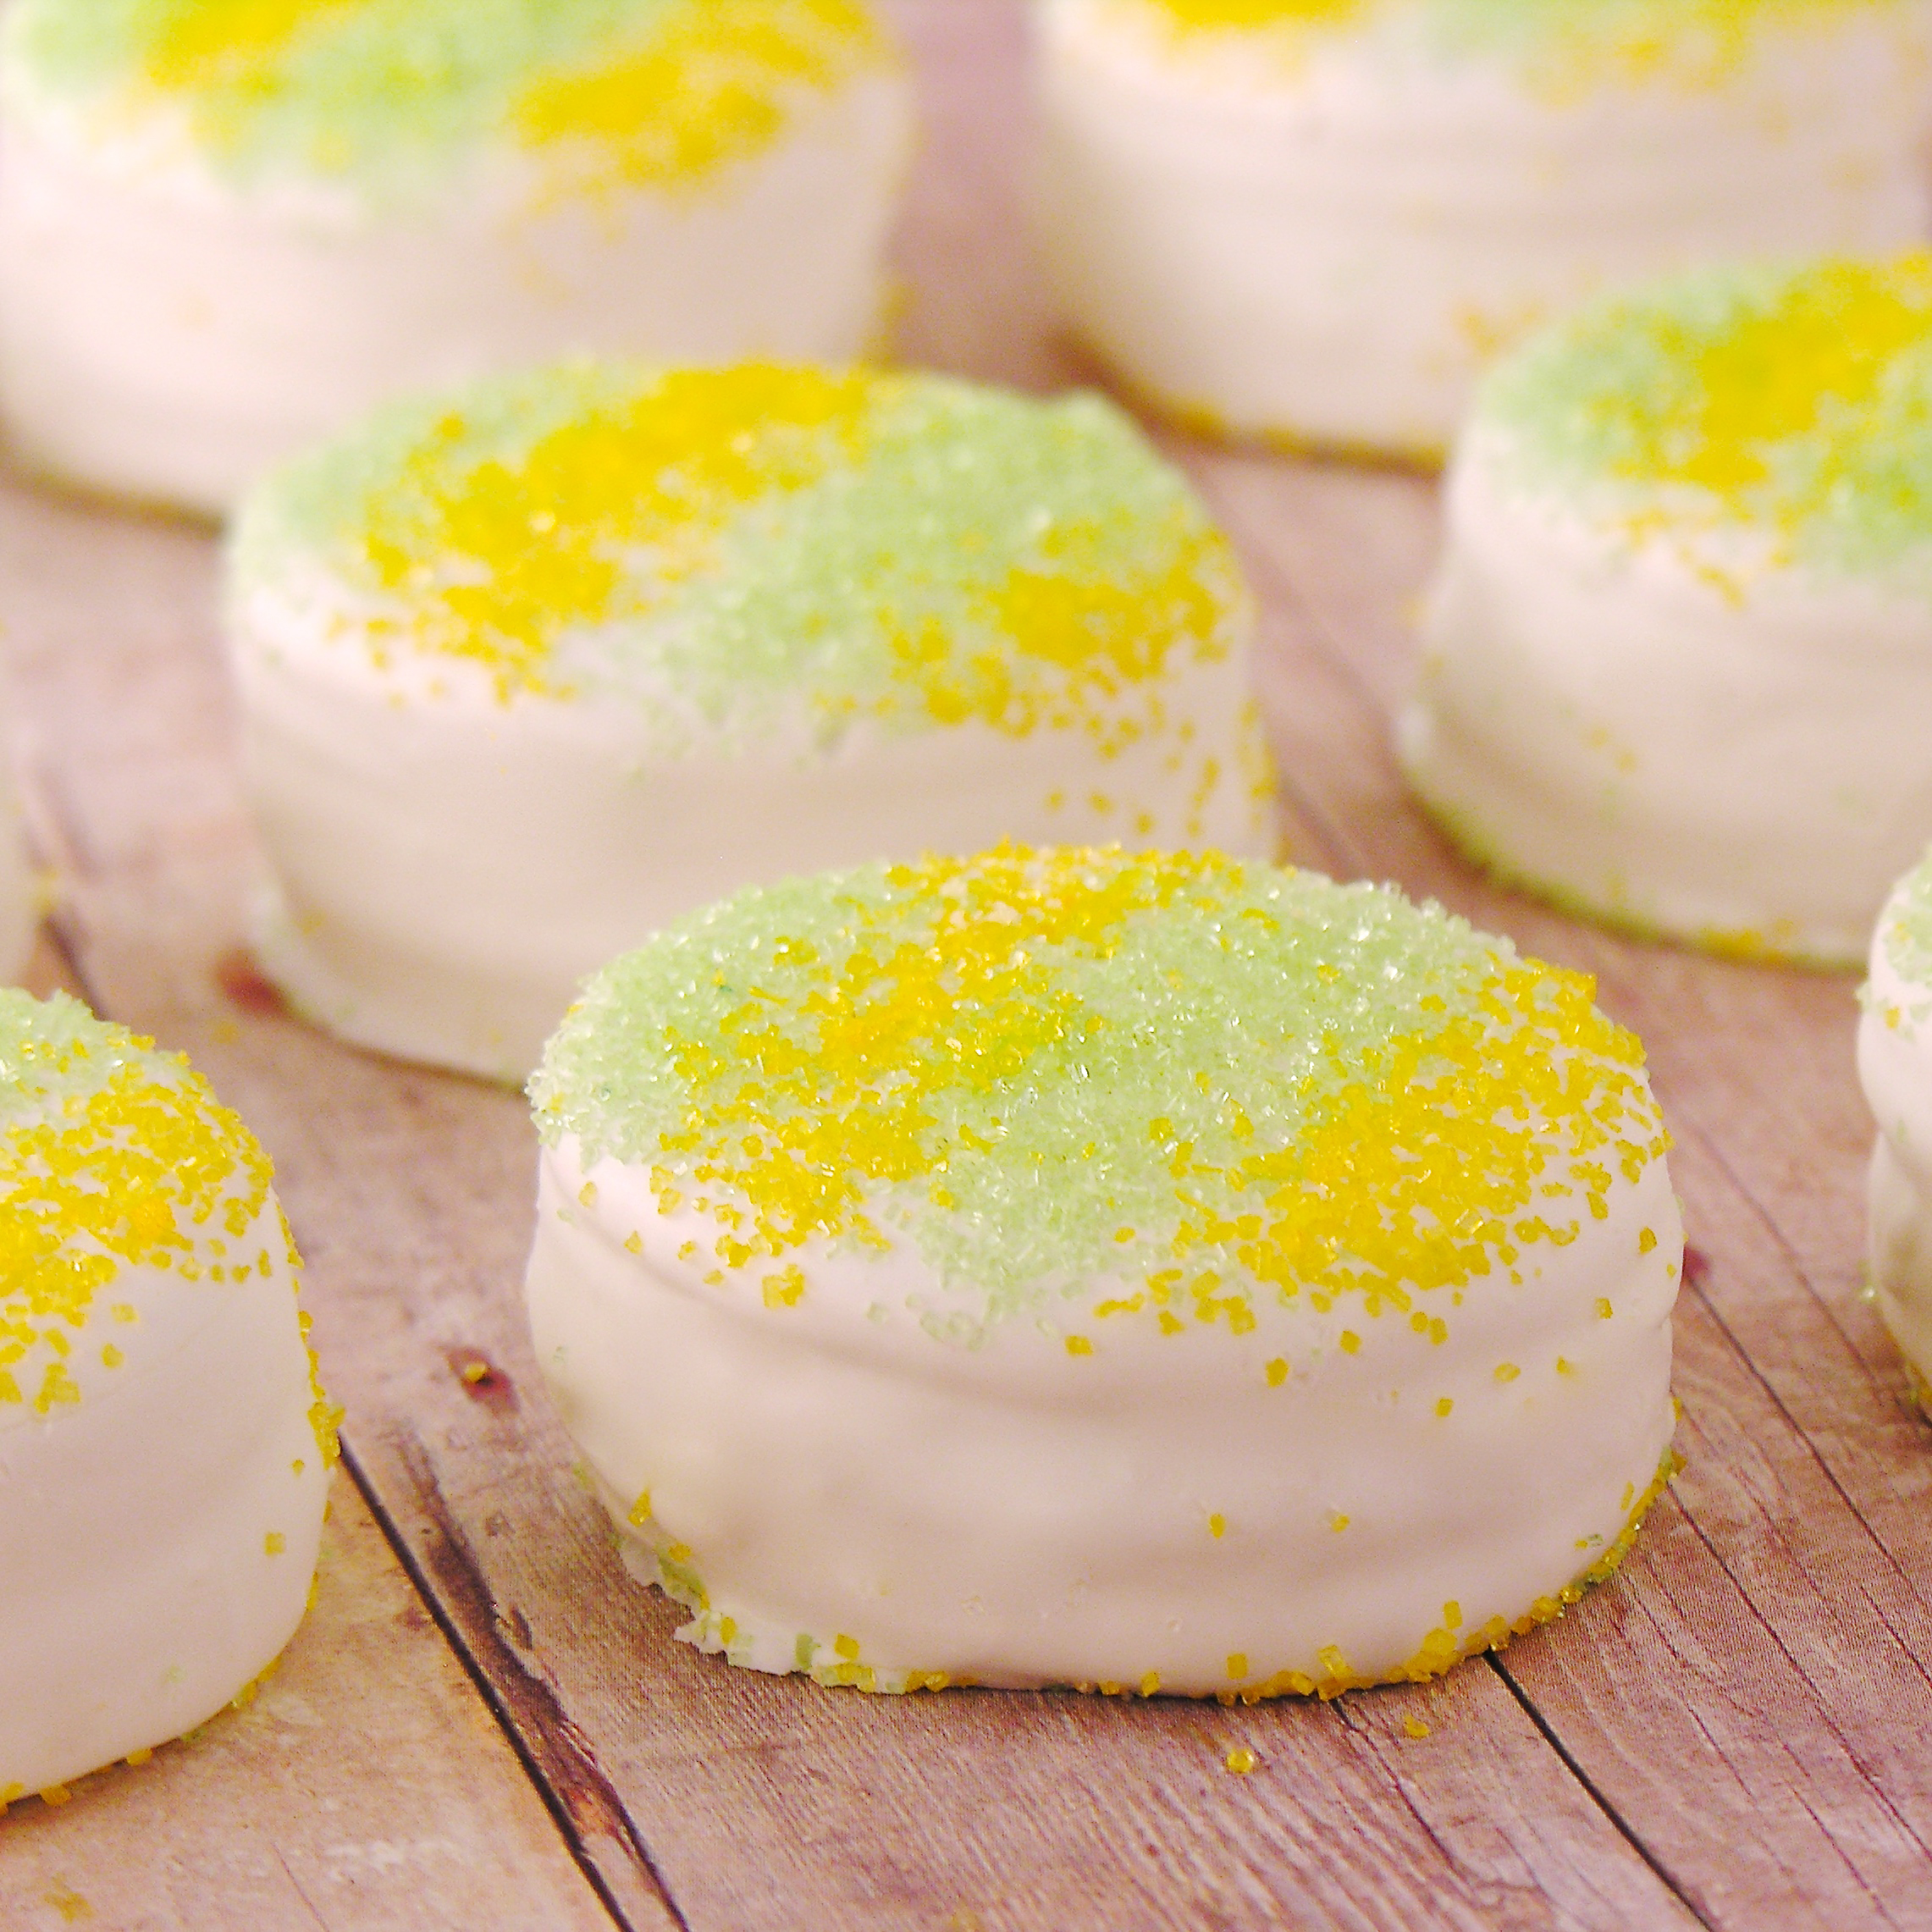
I absolutely love these cookies. In March, I tweaked my favorite chocolate cut-out cookie to make Bailey’s Irish Cream Cookies. They were soooo yummy that I wanted to keep tweaking them and try a variety without the Baileys. This is the result, and they are such a soft, delicious cut-out cookie. Goodness. They are exceptional at keeping their shape when cut (I just did circles, but you could make these in any shape). I just iced them with royal icing, but the sky is the limit with flavor combinations you could use. This recipe is a keeper in our house! 🙂
Here is the recipe (printable version):
INGREDIENTS: (makes about 20 medium cookies)
Cookies:
- 1 (1/2 cup)stick of butter (softened)
- 3/4 cup of sugar
- 2 eggs
- 1 Tablespoon of half and half
- 1 Tablespoon of vanilla
- 2 Tablespoons of instant coffee granules
- 2 to 2 1/2 cups of all purpose flour
- 1/4 teaspoon of salt
- 1/2 teaspoon of baking powder
Icing:
- 4 cups powdered sugar
- 1/4 cup water
- 3 Tablespoons meringue powder
- 1 teaspoon of clear vanilla flavoring
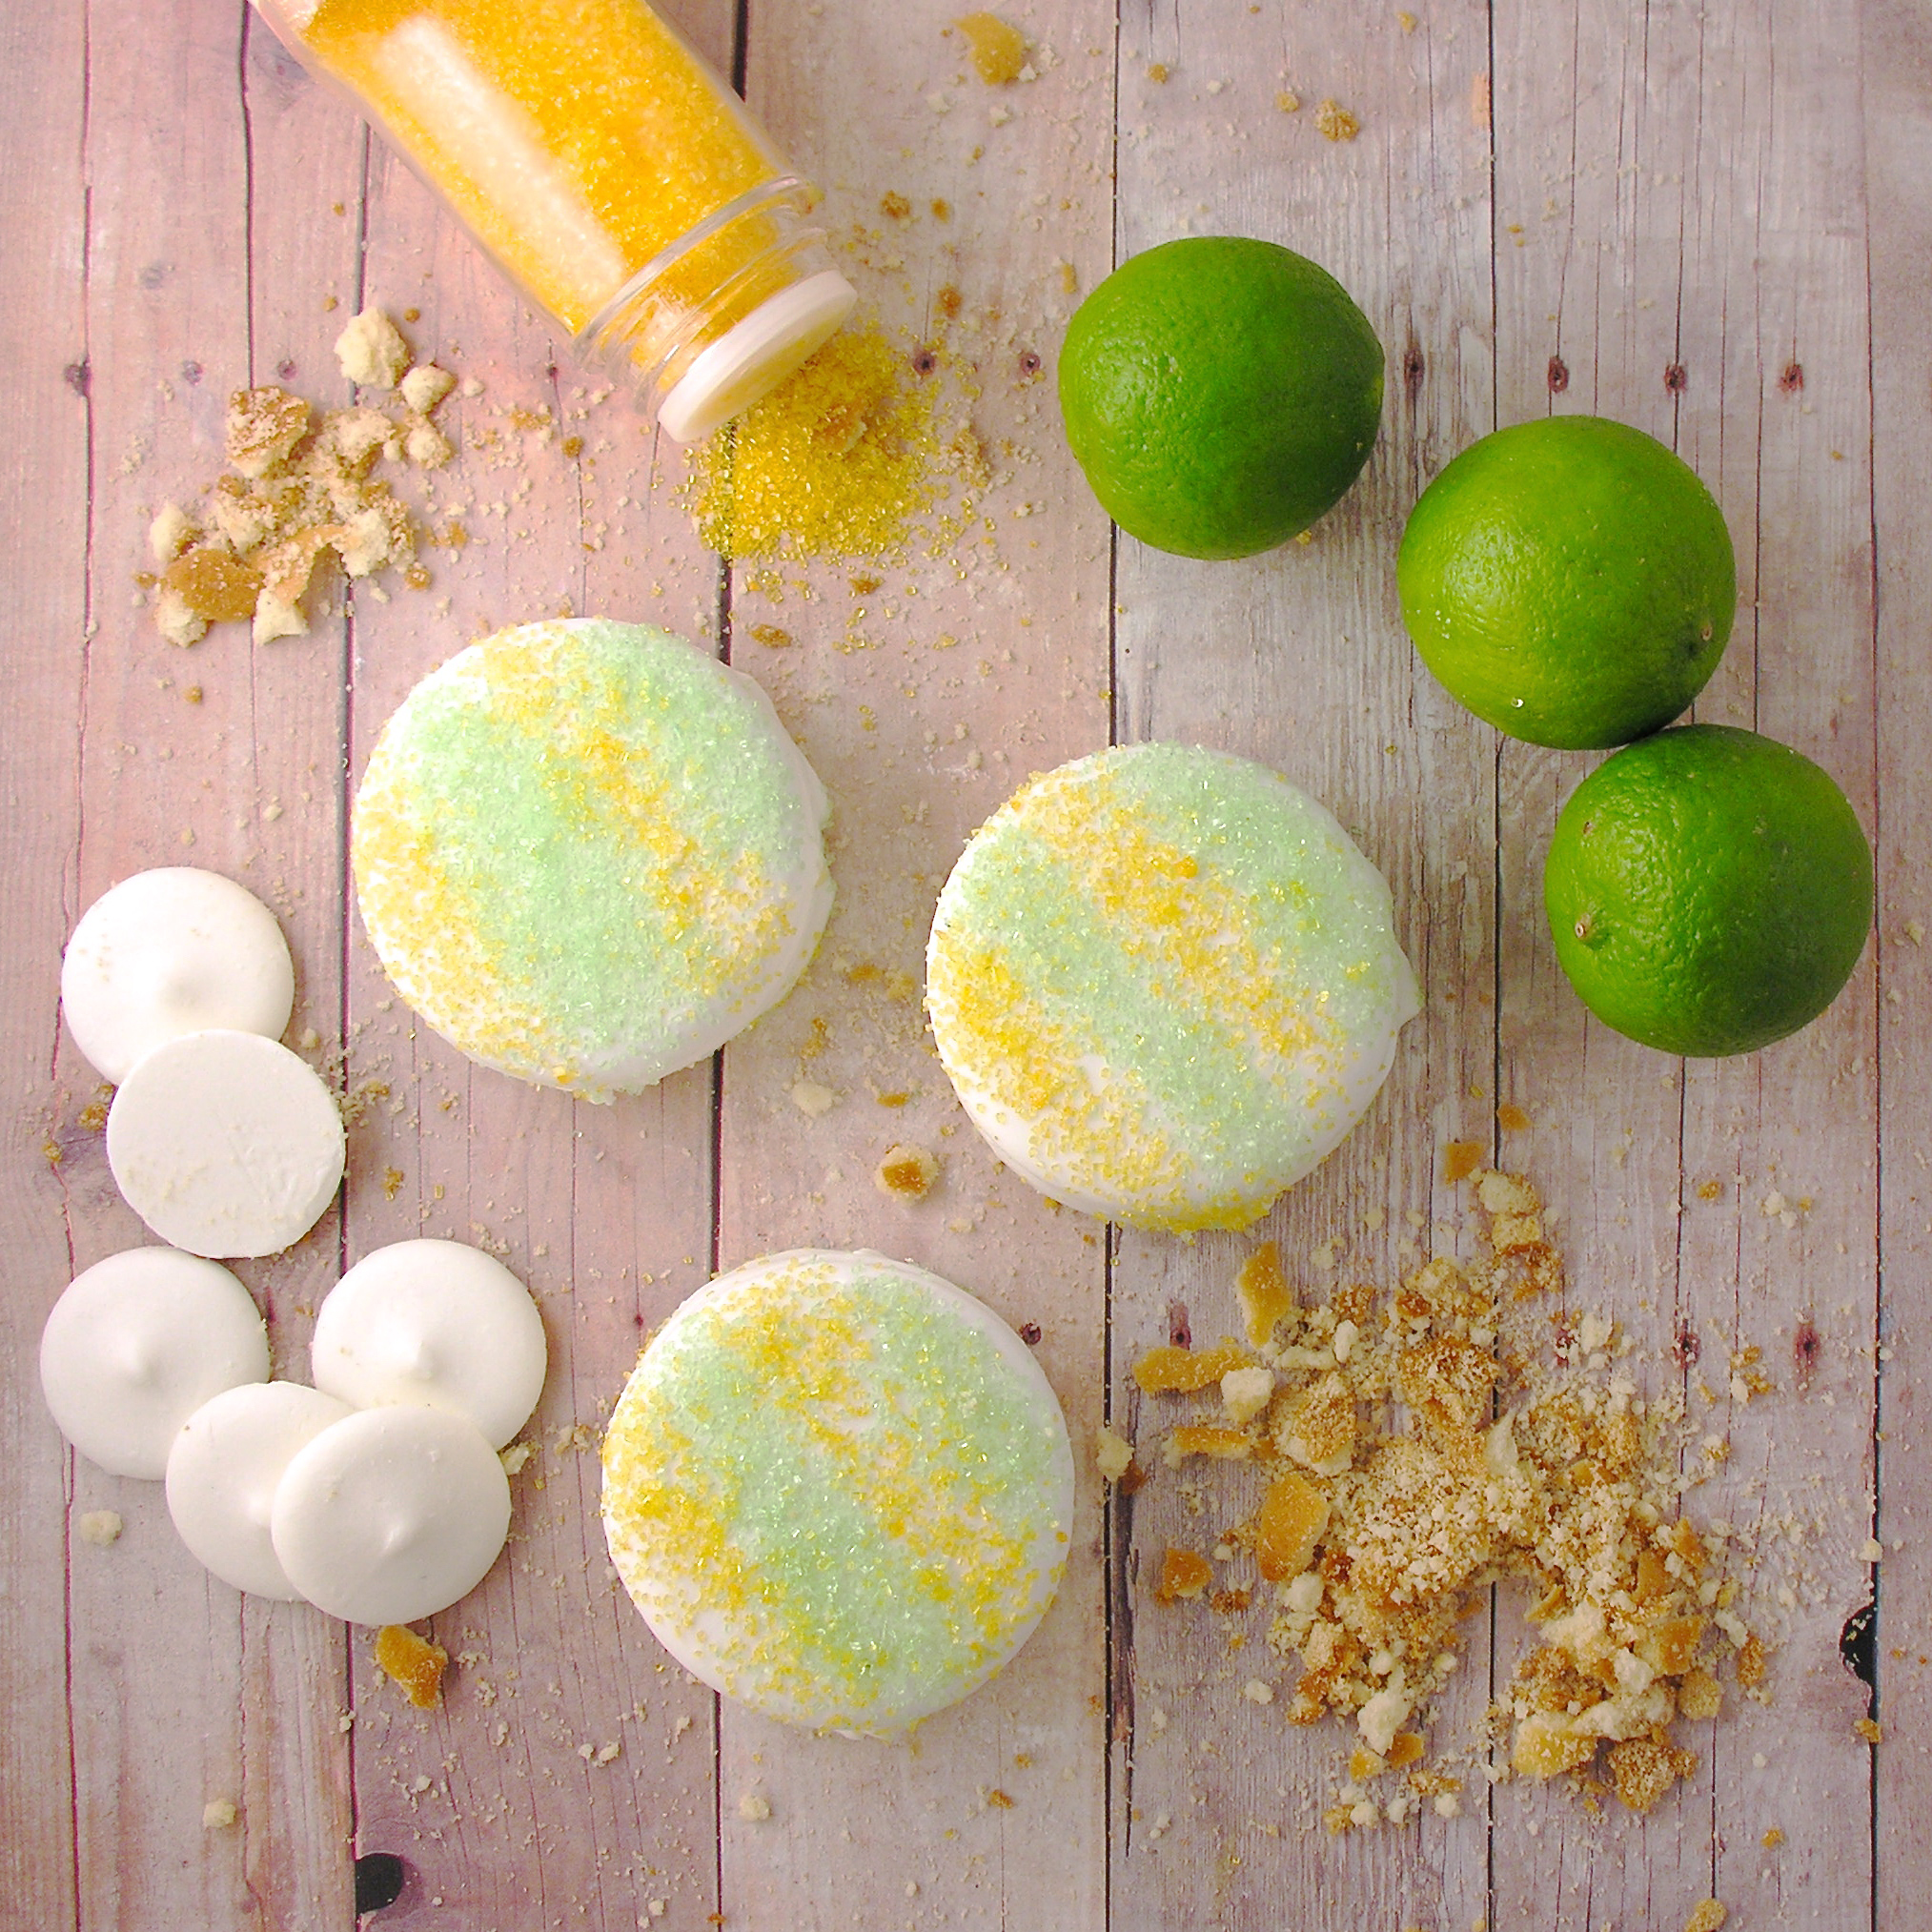
- Chocolate-covered sunflower seeds
- Round candy pearls
DIRECTIONS:
Cookies:
- Cream together butter and sugar in a large mixing bowl.
- Mix in eggs.
- Place half and half and instant coffee granules together in a small cup. Mix until coffee dissolves. Add this mixture to the batter and combine well.
- Gradually add dry ingredients and mix until smooth (use clean hands at the end, to knead into a soft ball of dough).
- Preheat oven to 350F degrees.
- Roll out cookie dough on floured counter.
- Cut into circles (or whatever shape you want!)and place on a parchment-lined baking sheet.
- Bake for 8 to 11 minutes until the edges are firm.
- Gently slide parchment paper off of cookie sheet and onto a flat surface. Cool completely before removing cookies from paper.
Icing:
- Beat together all ingredients and add powdered sugar until it becomes a thick glaze consistency.
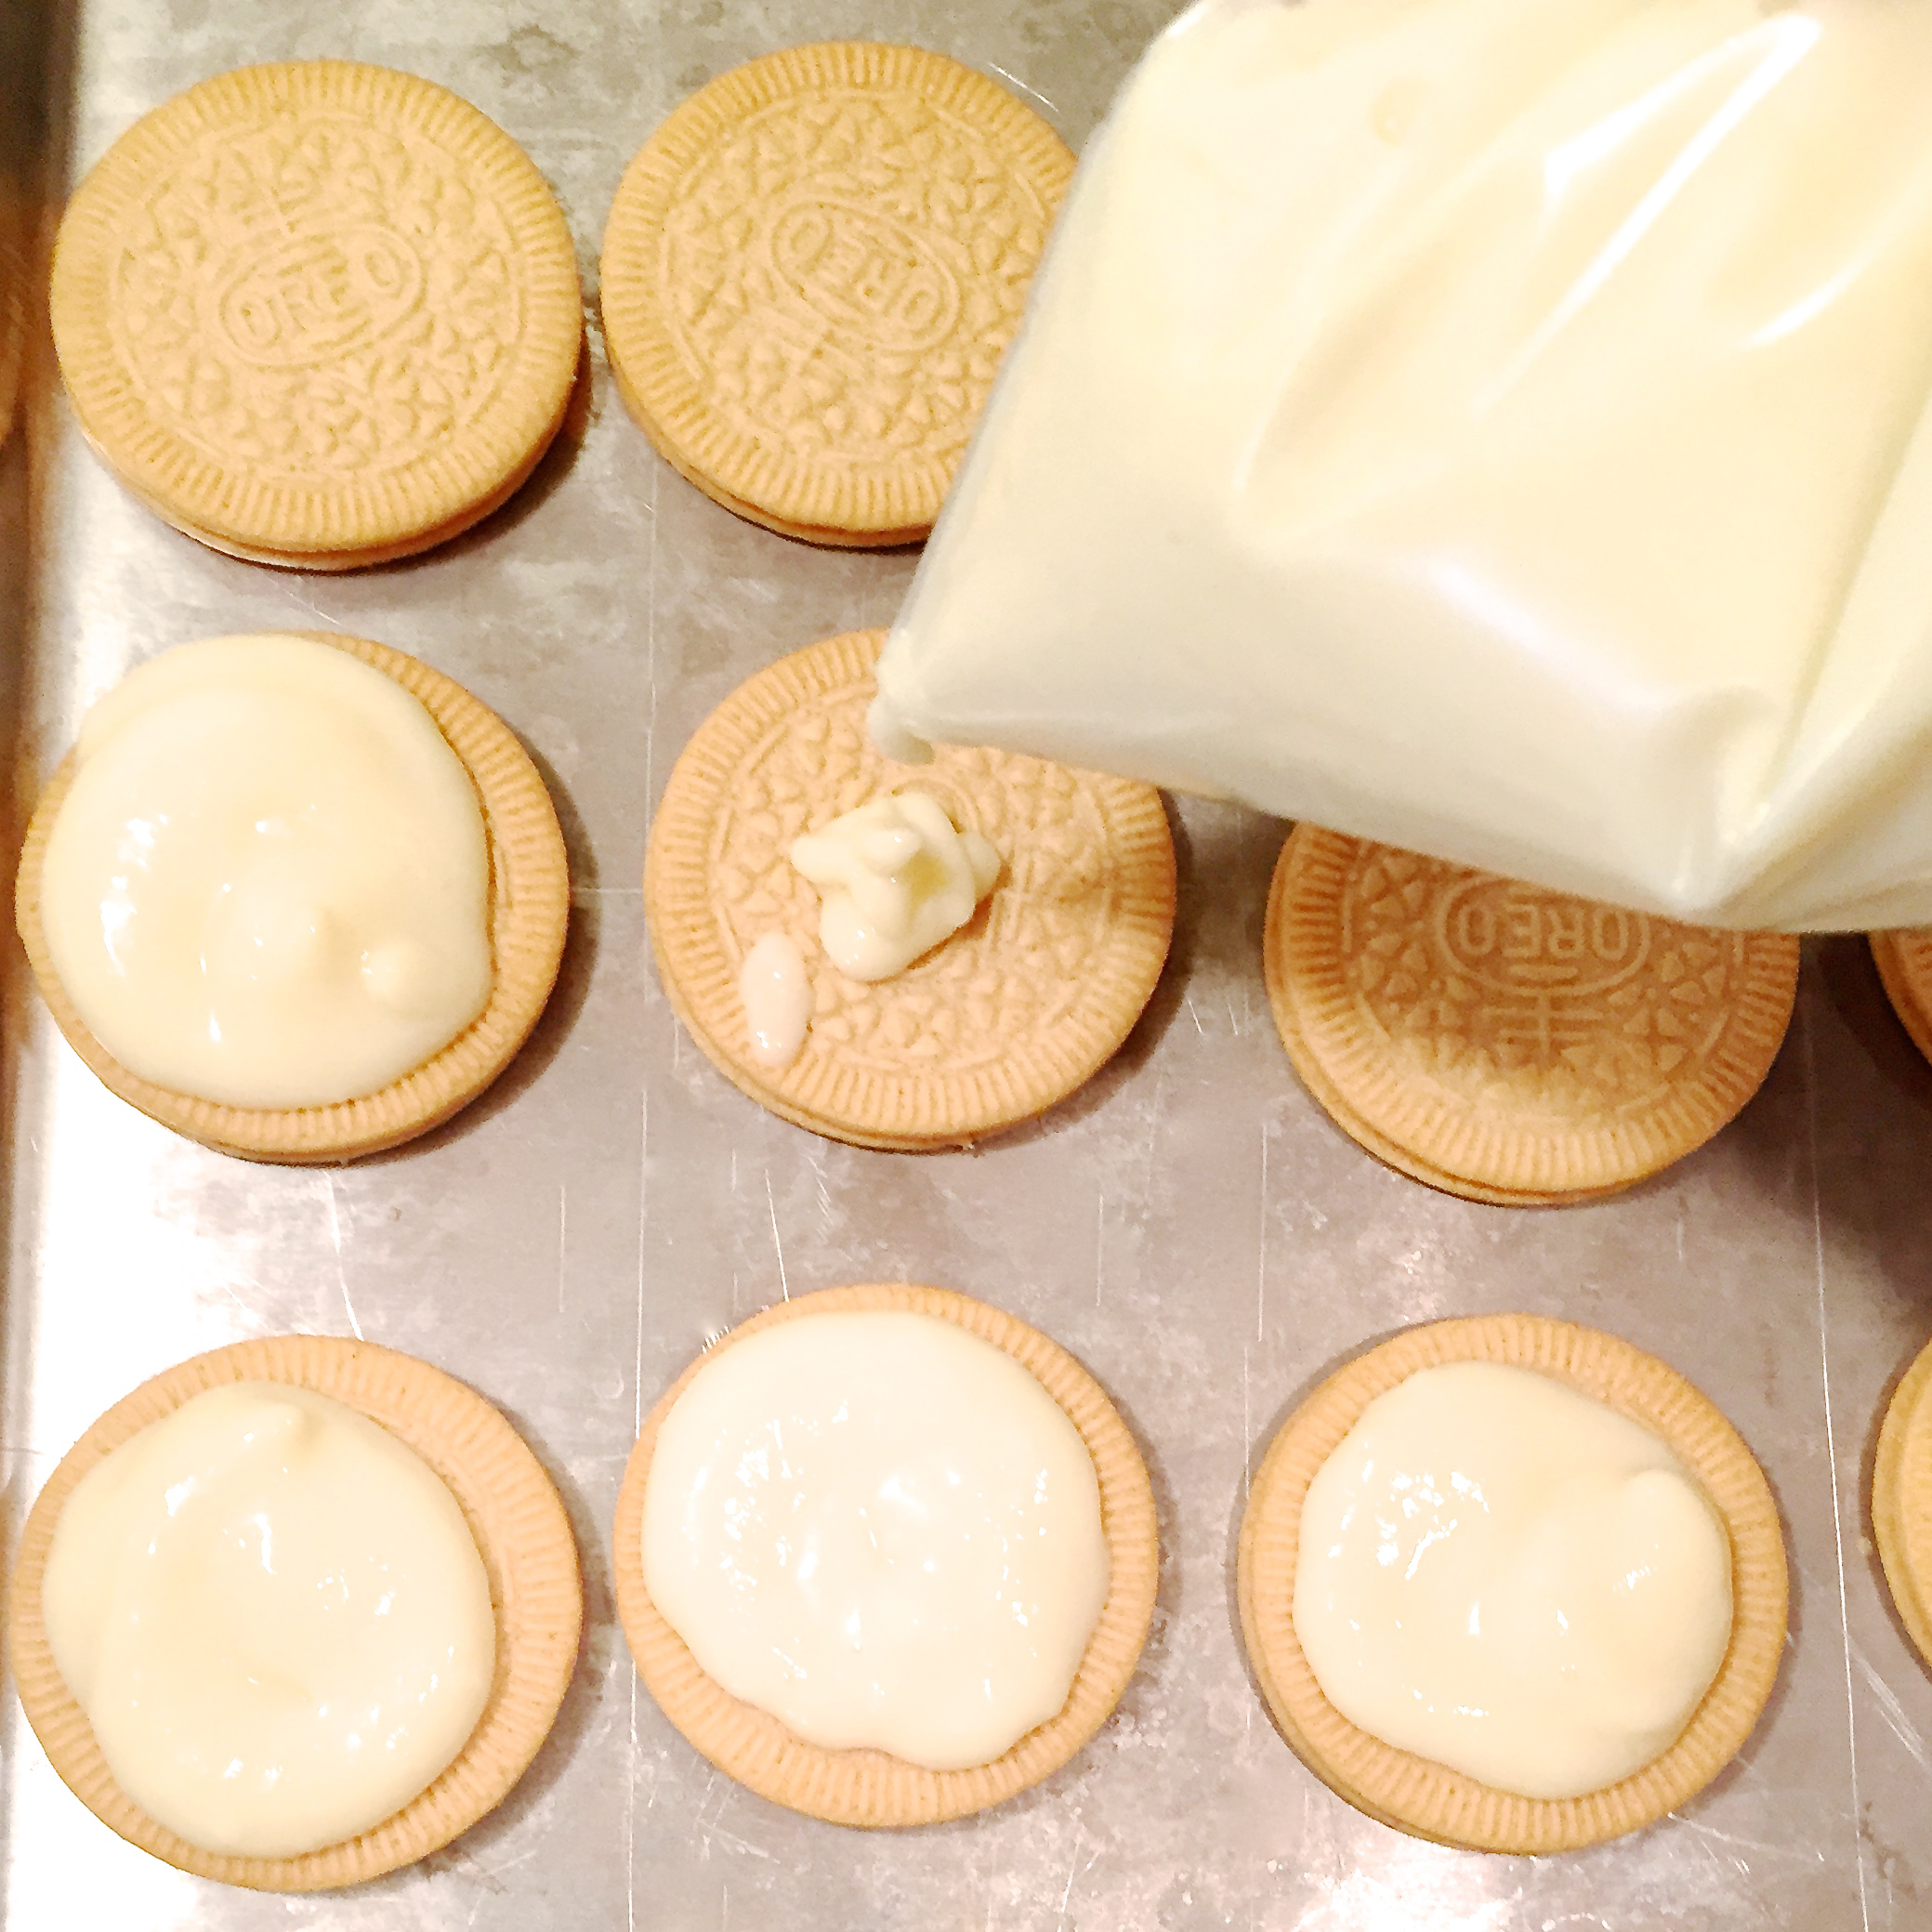
- Place about 1/3 of icing in a zip-top bag fitted with a small round piping tip.
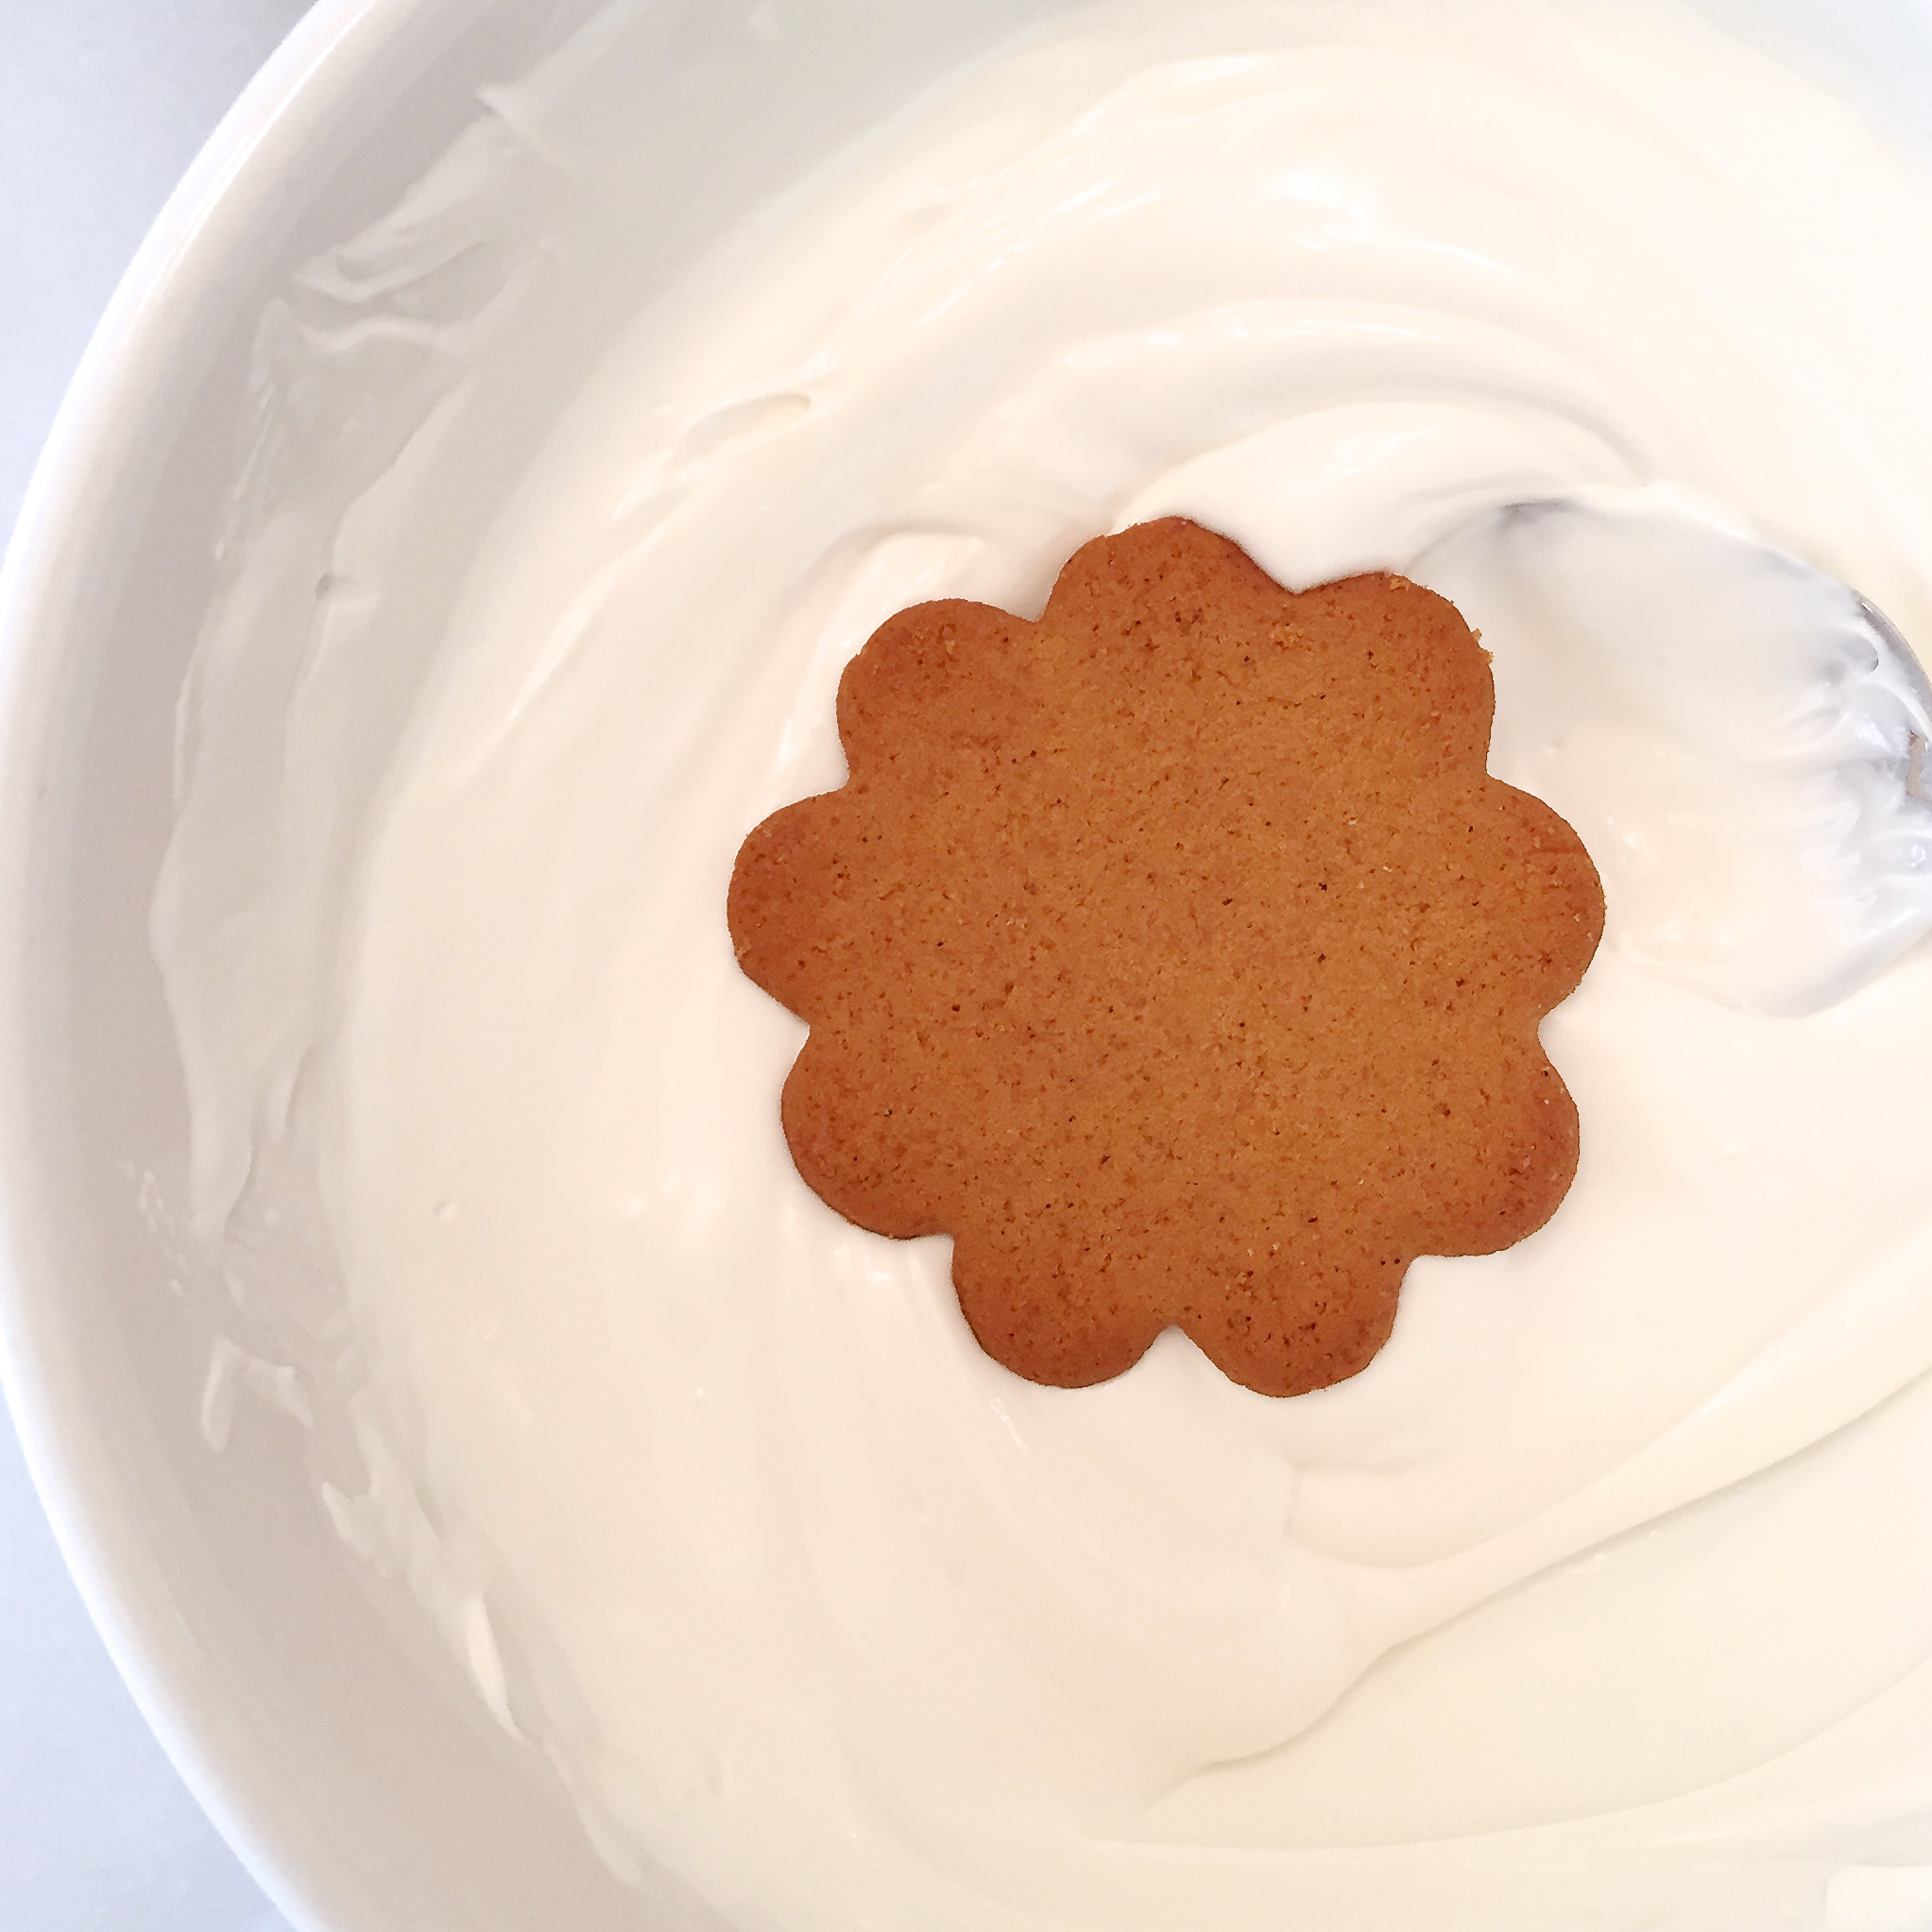
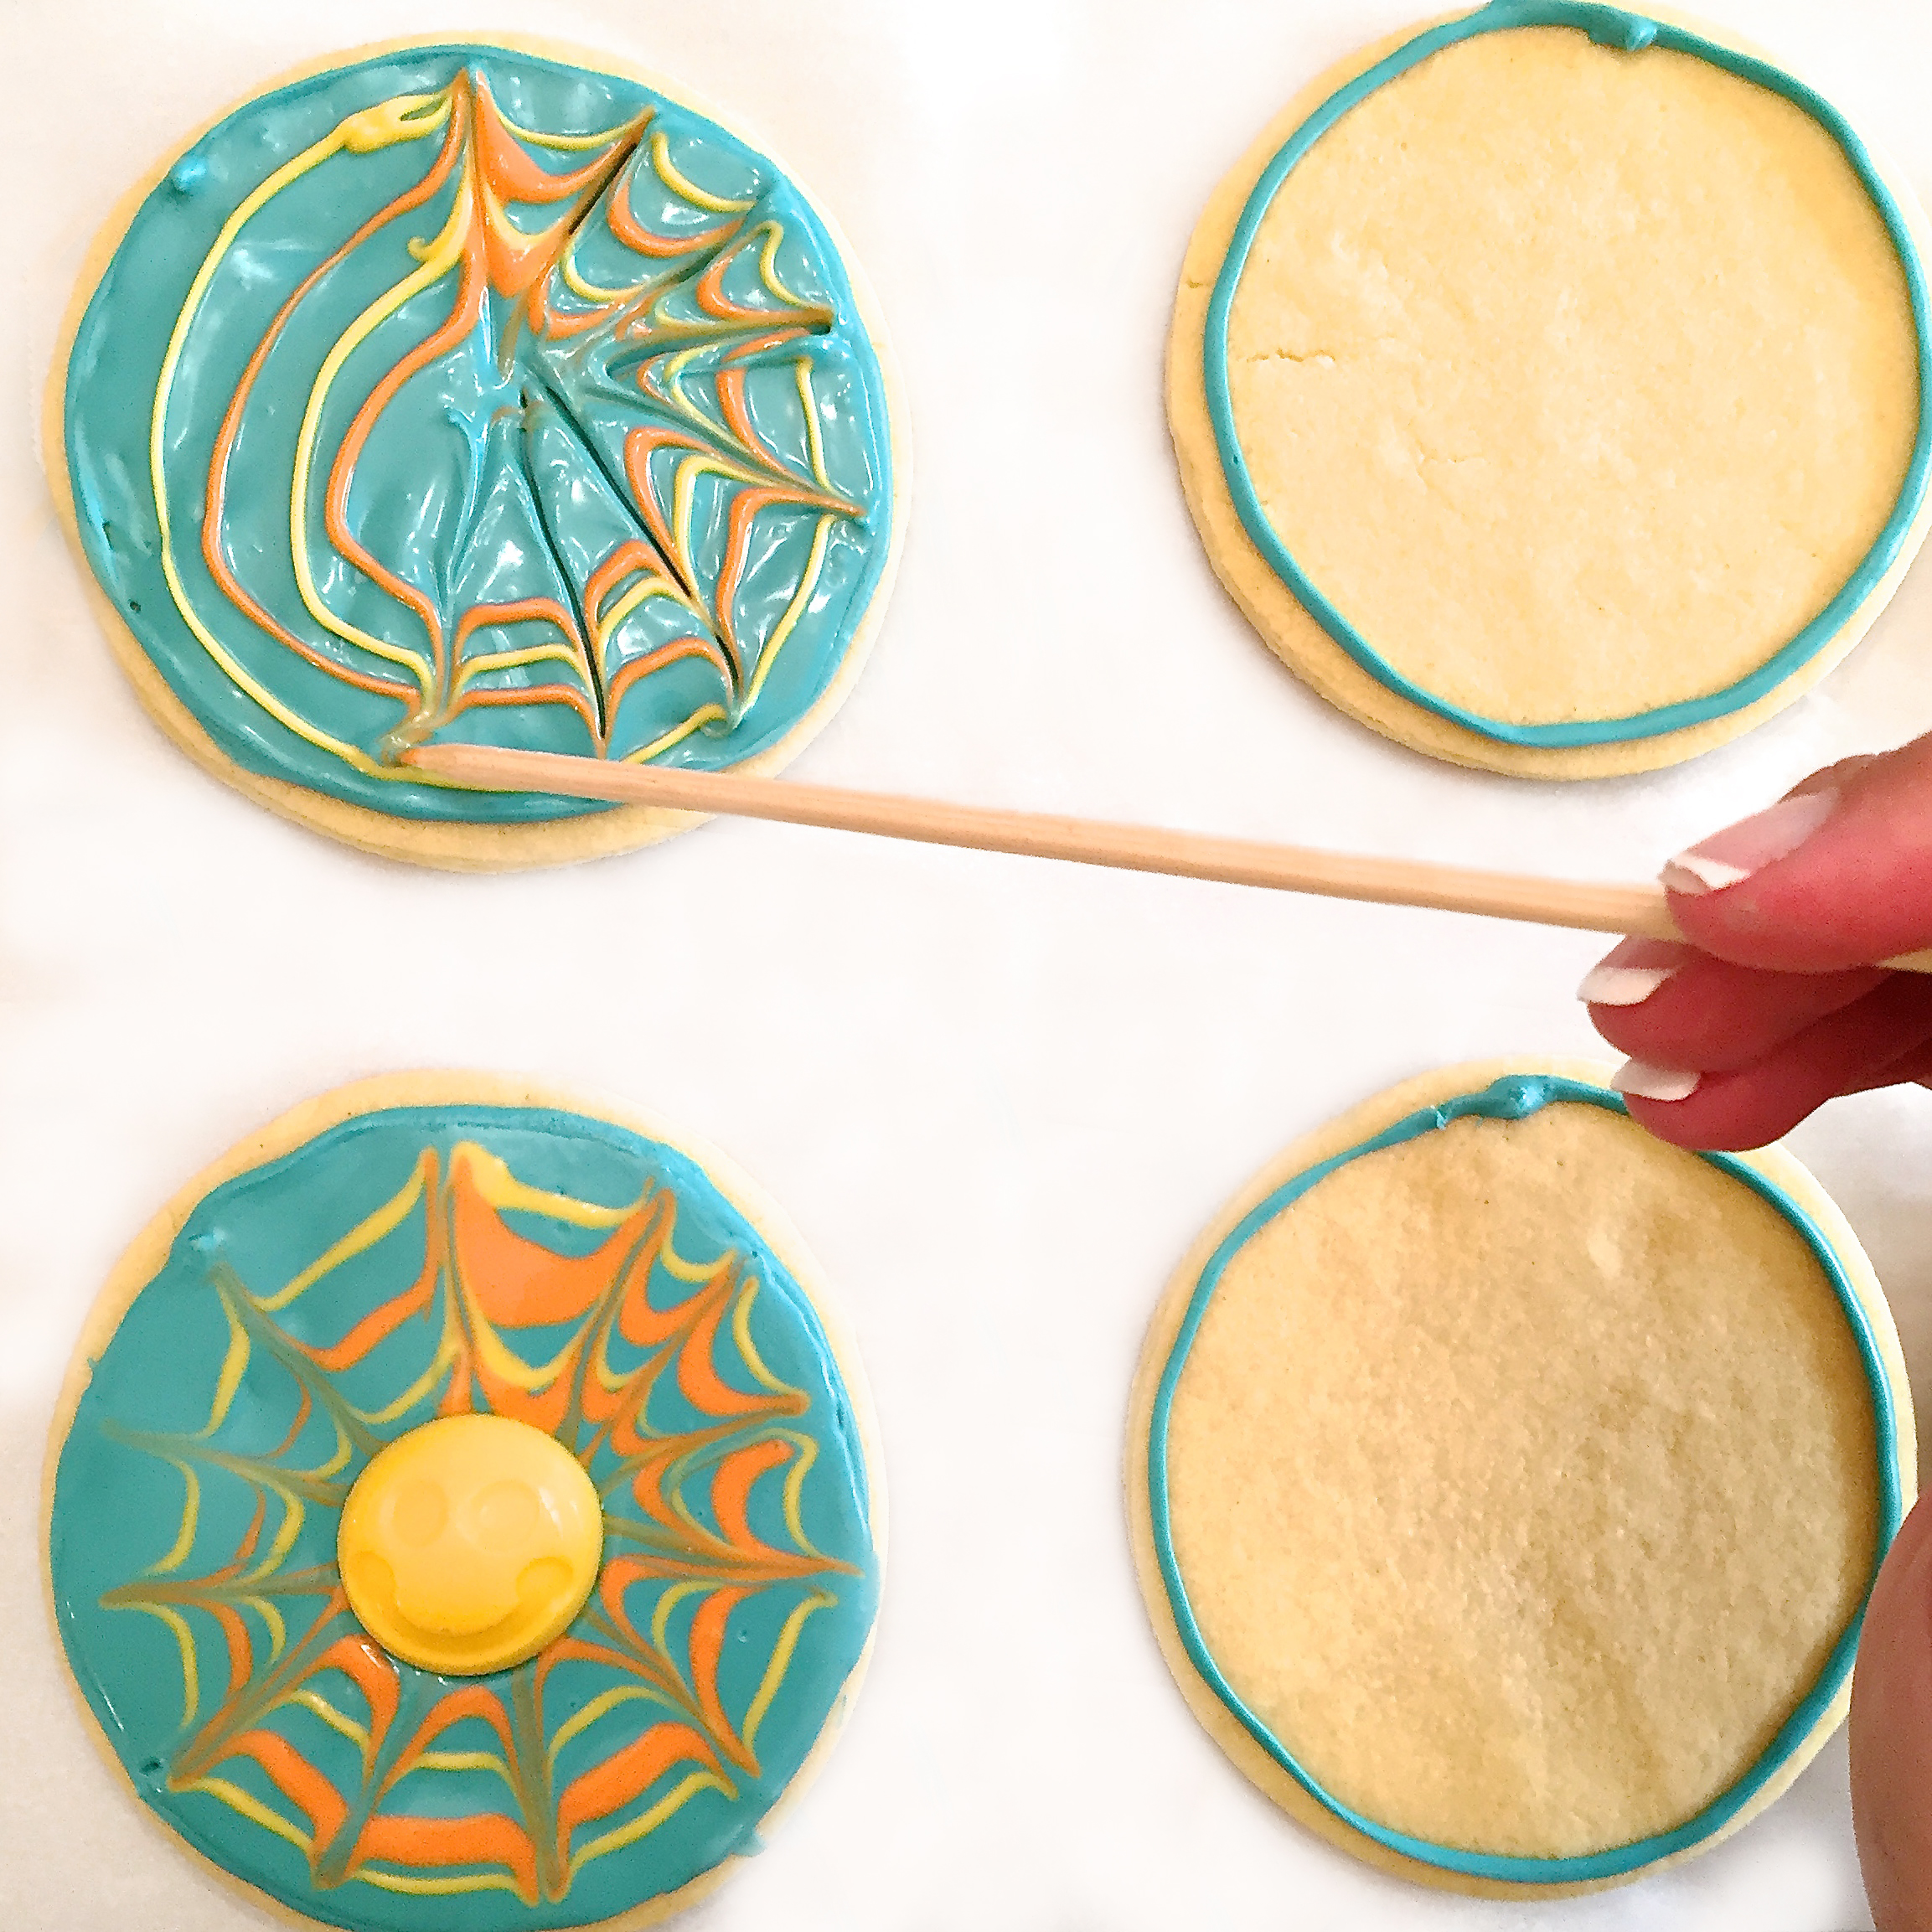
- Pipe icing around edges of cookie and allow this to harden.
- Add water to remaining icing until it is a little thinner than the edge icing. Place it into a second zip-top bag fitted with a small round piping tip.
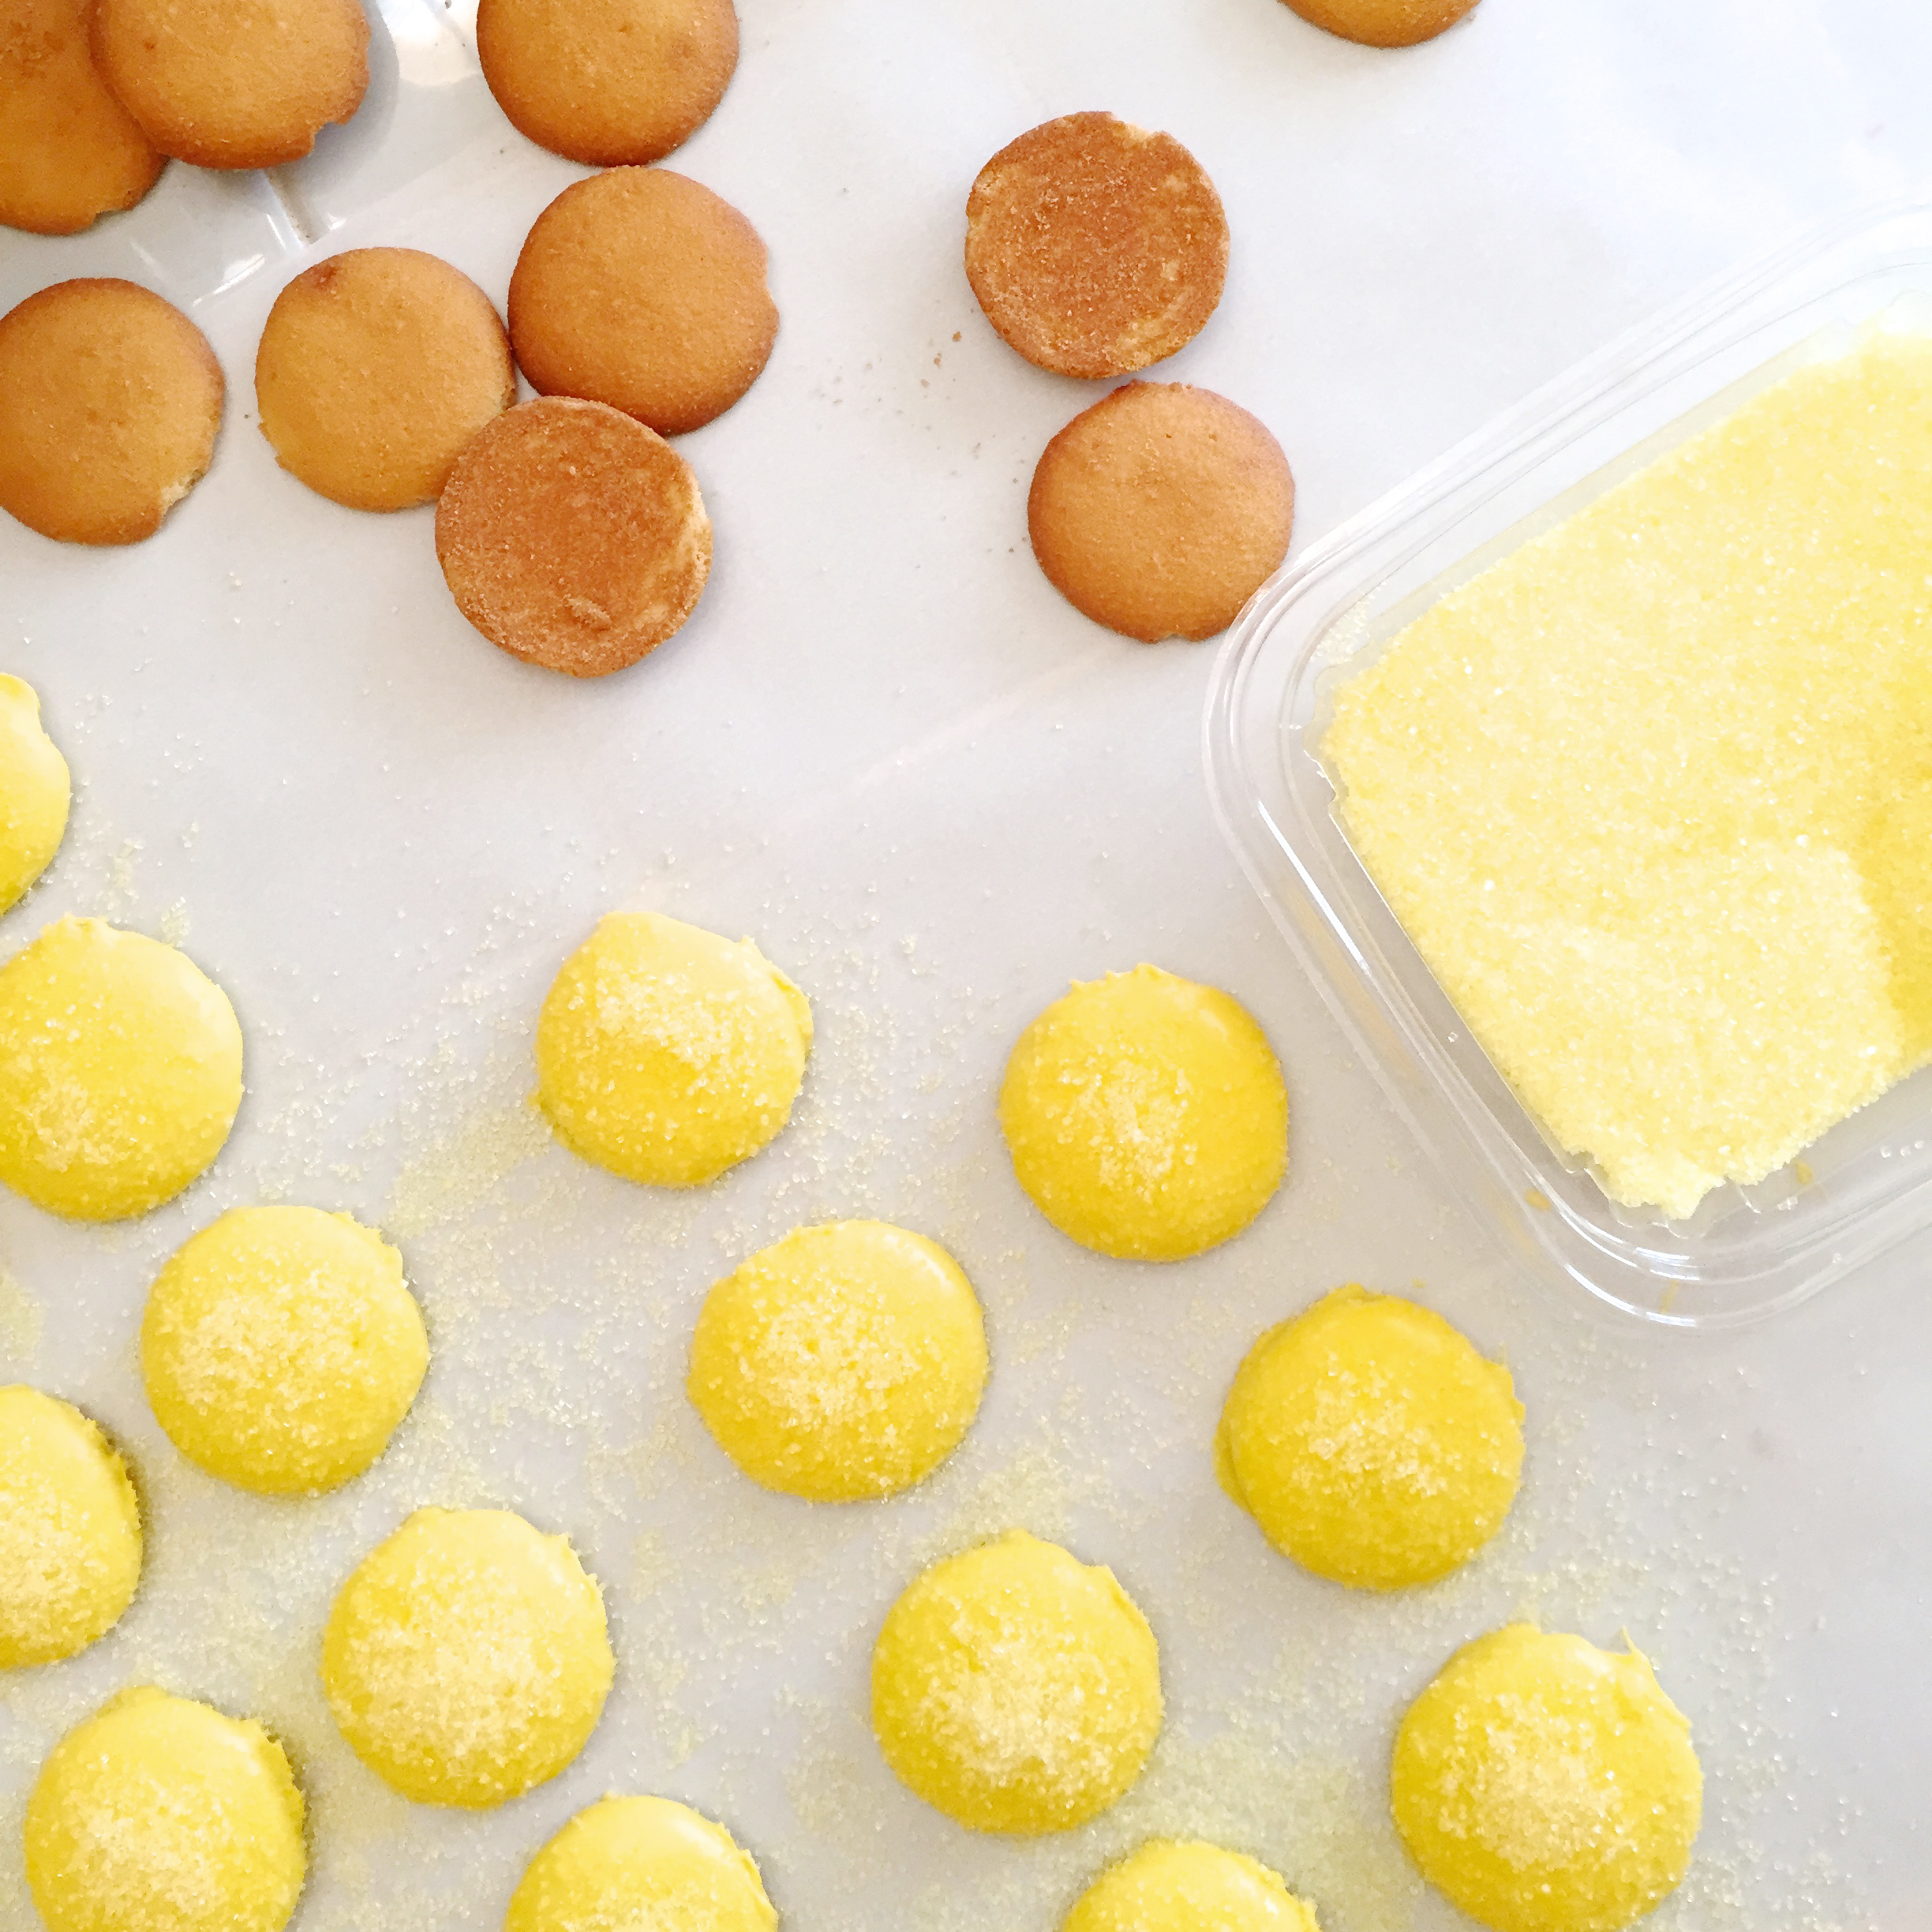
- Fill center of cookie with icing, spreading it to the edges that have hardened.
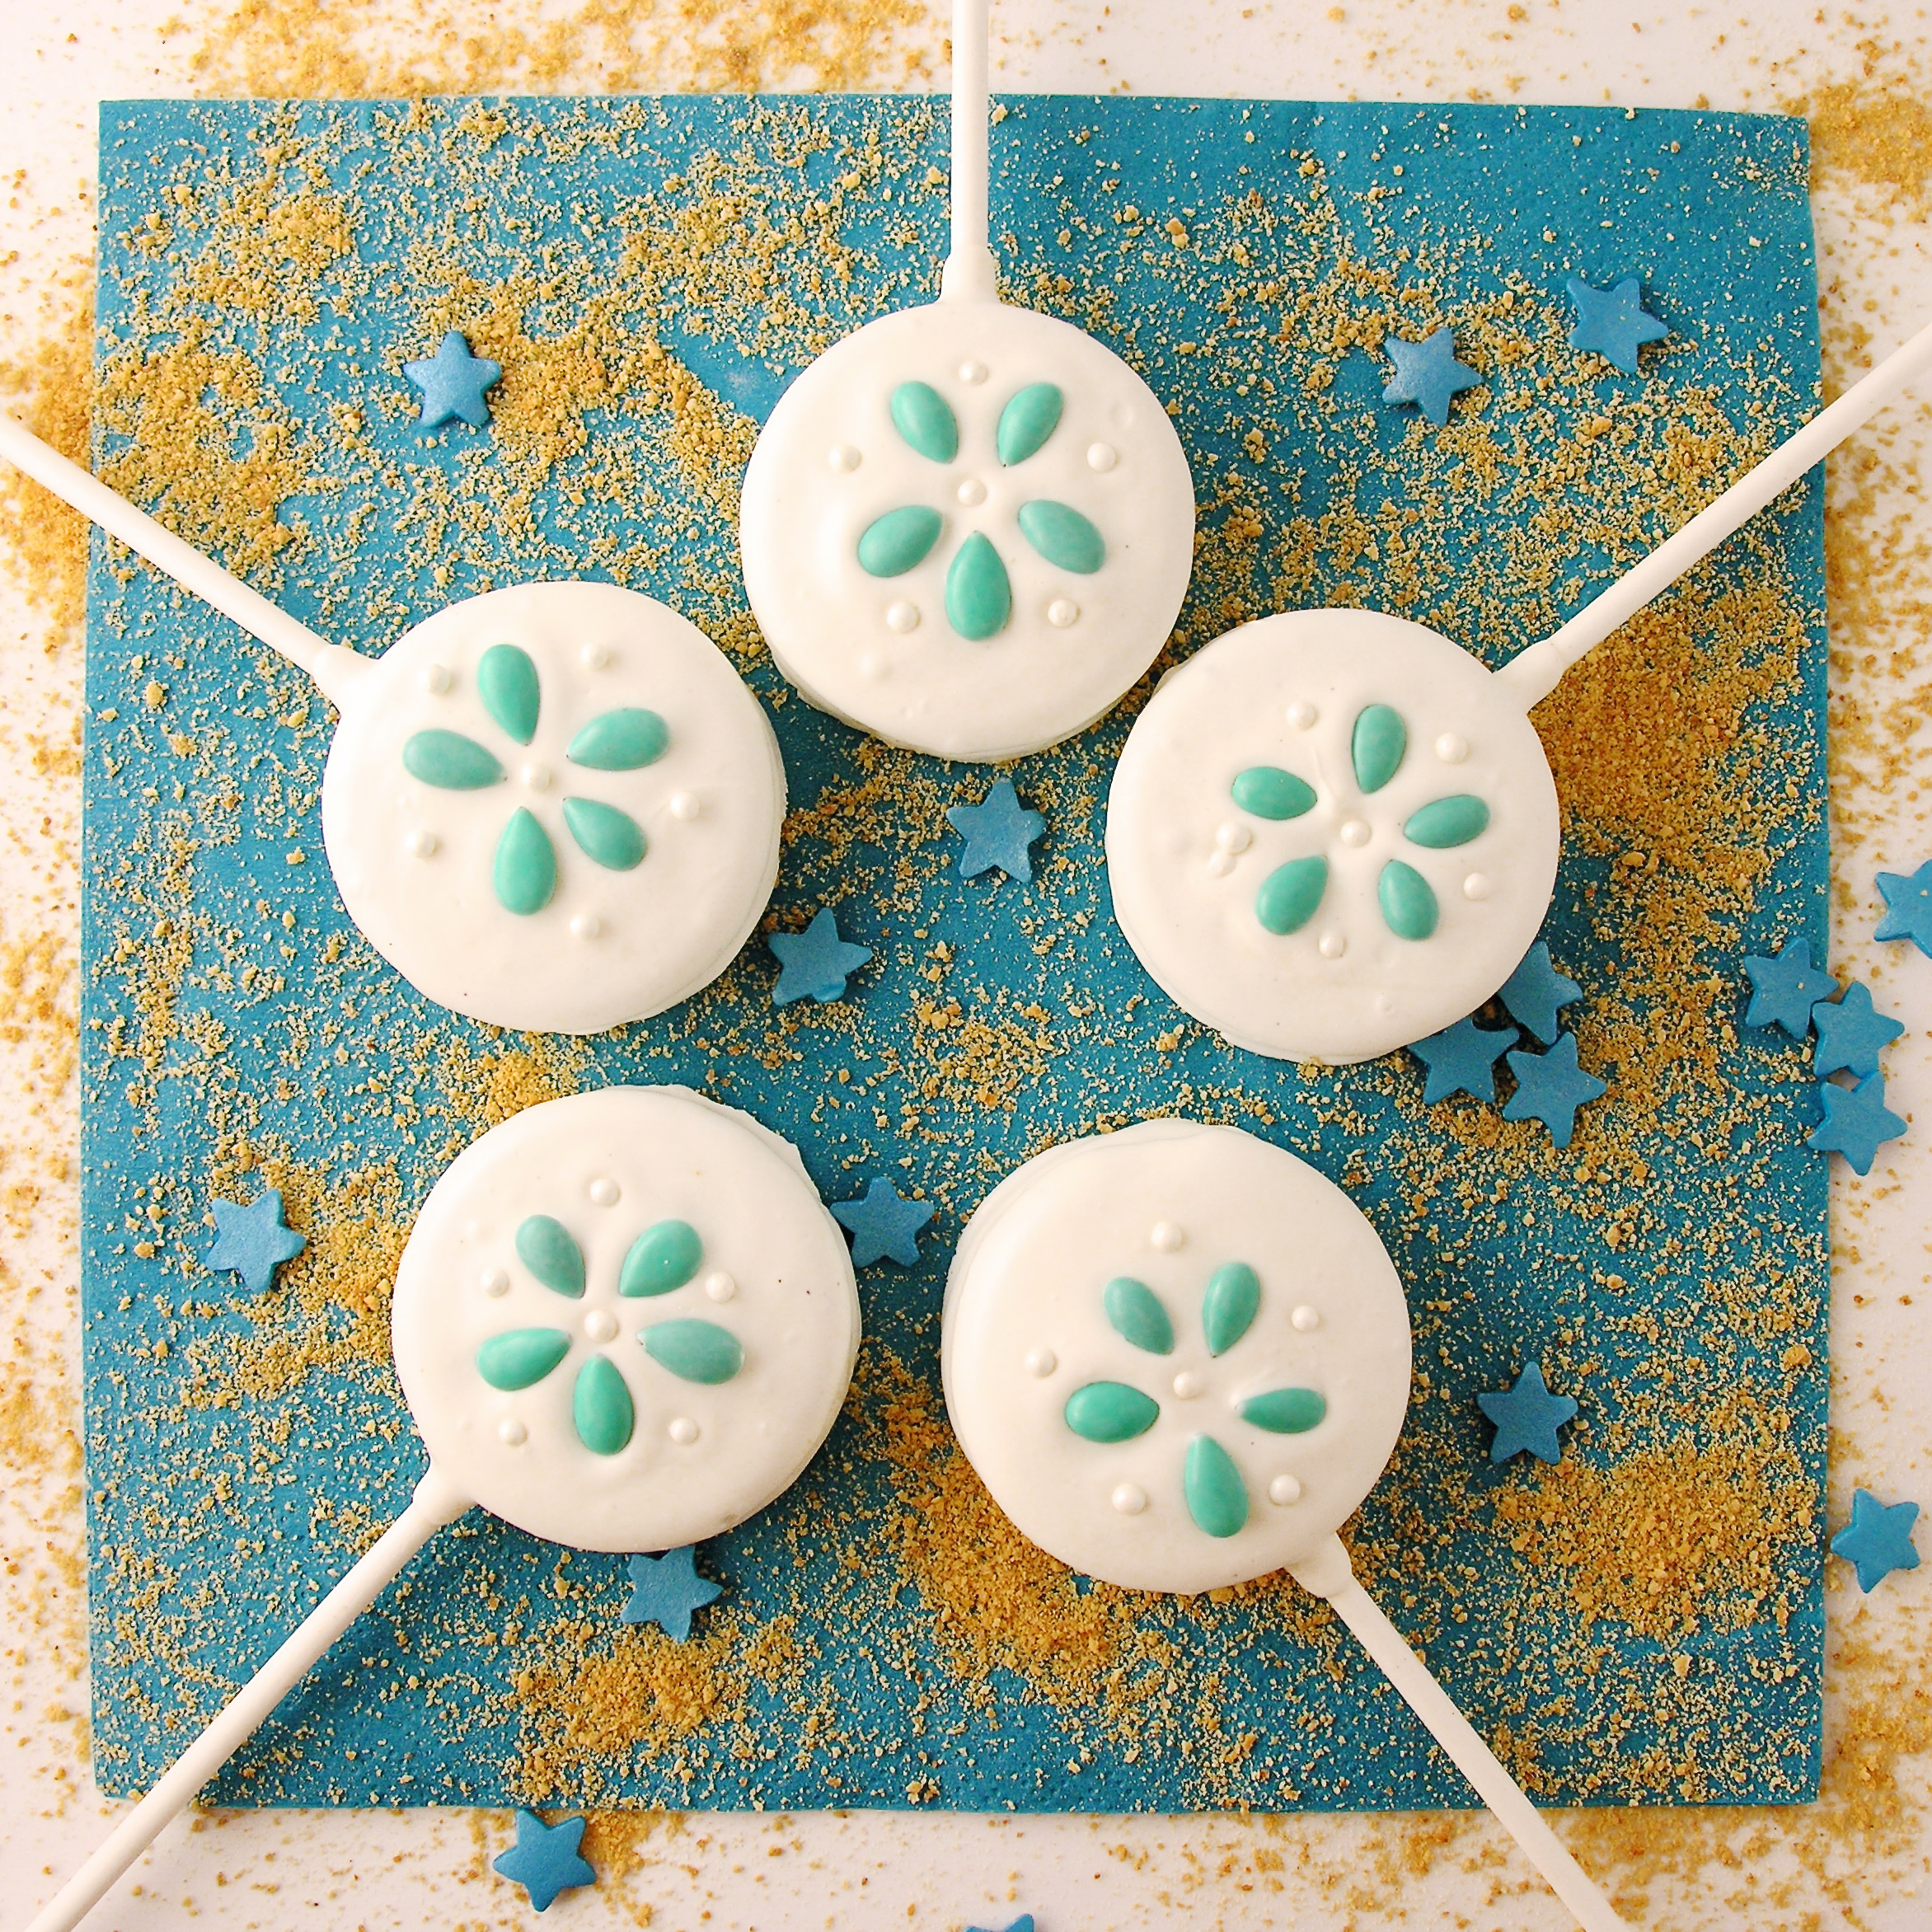
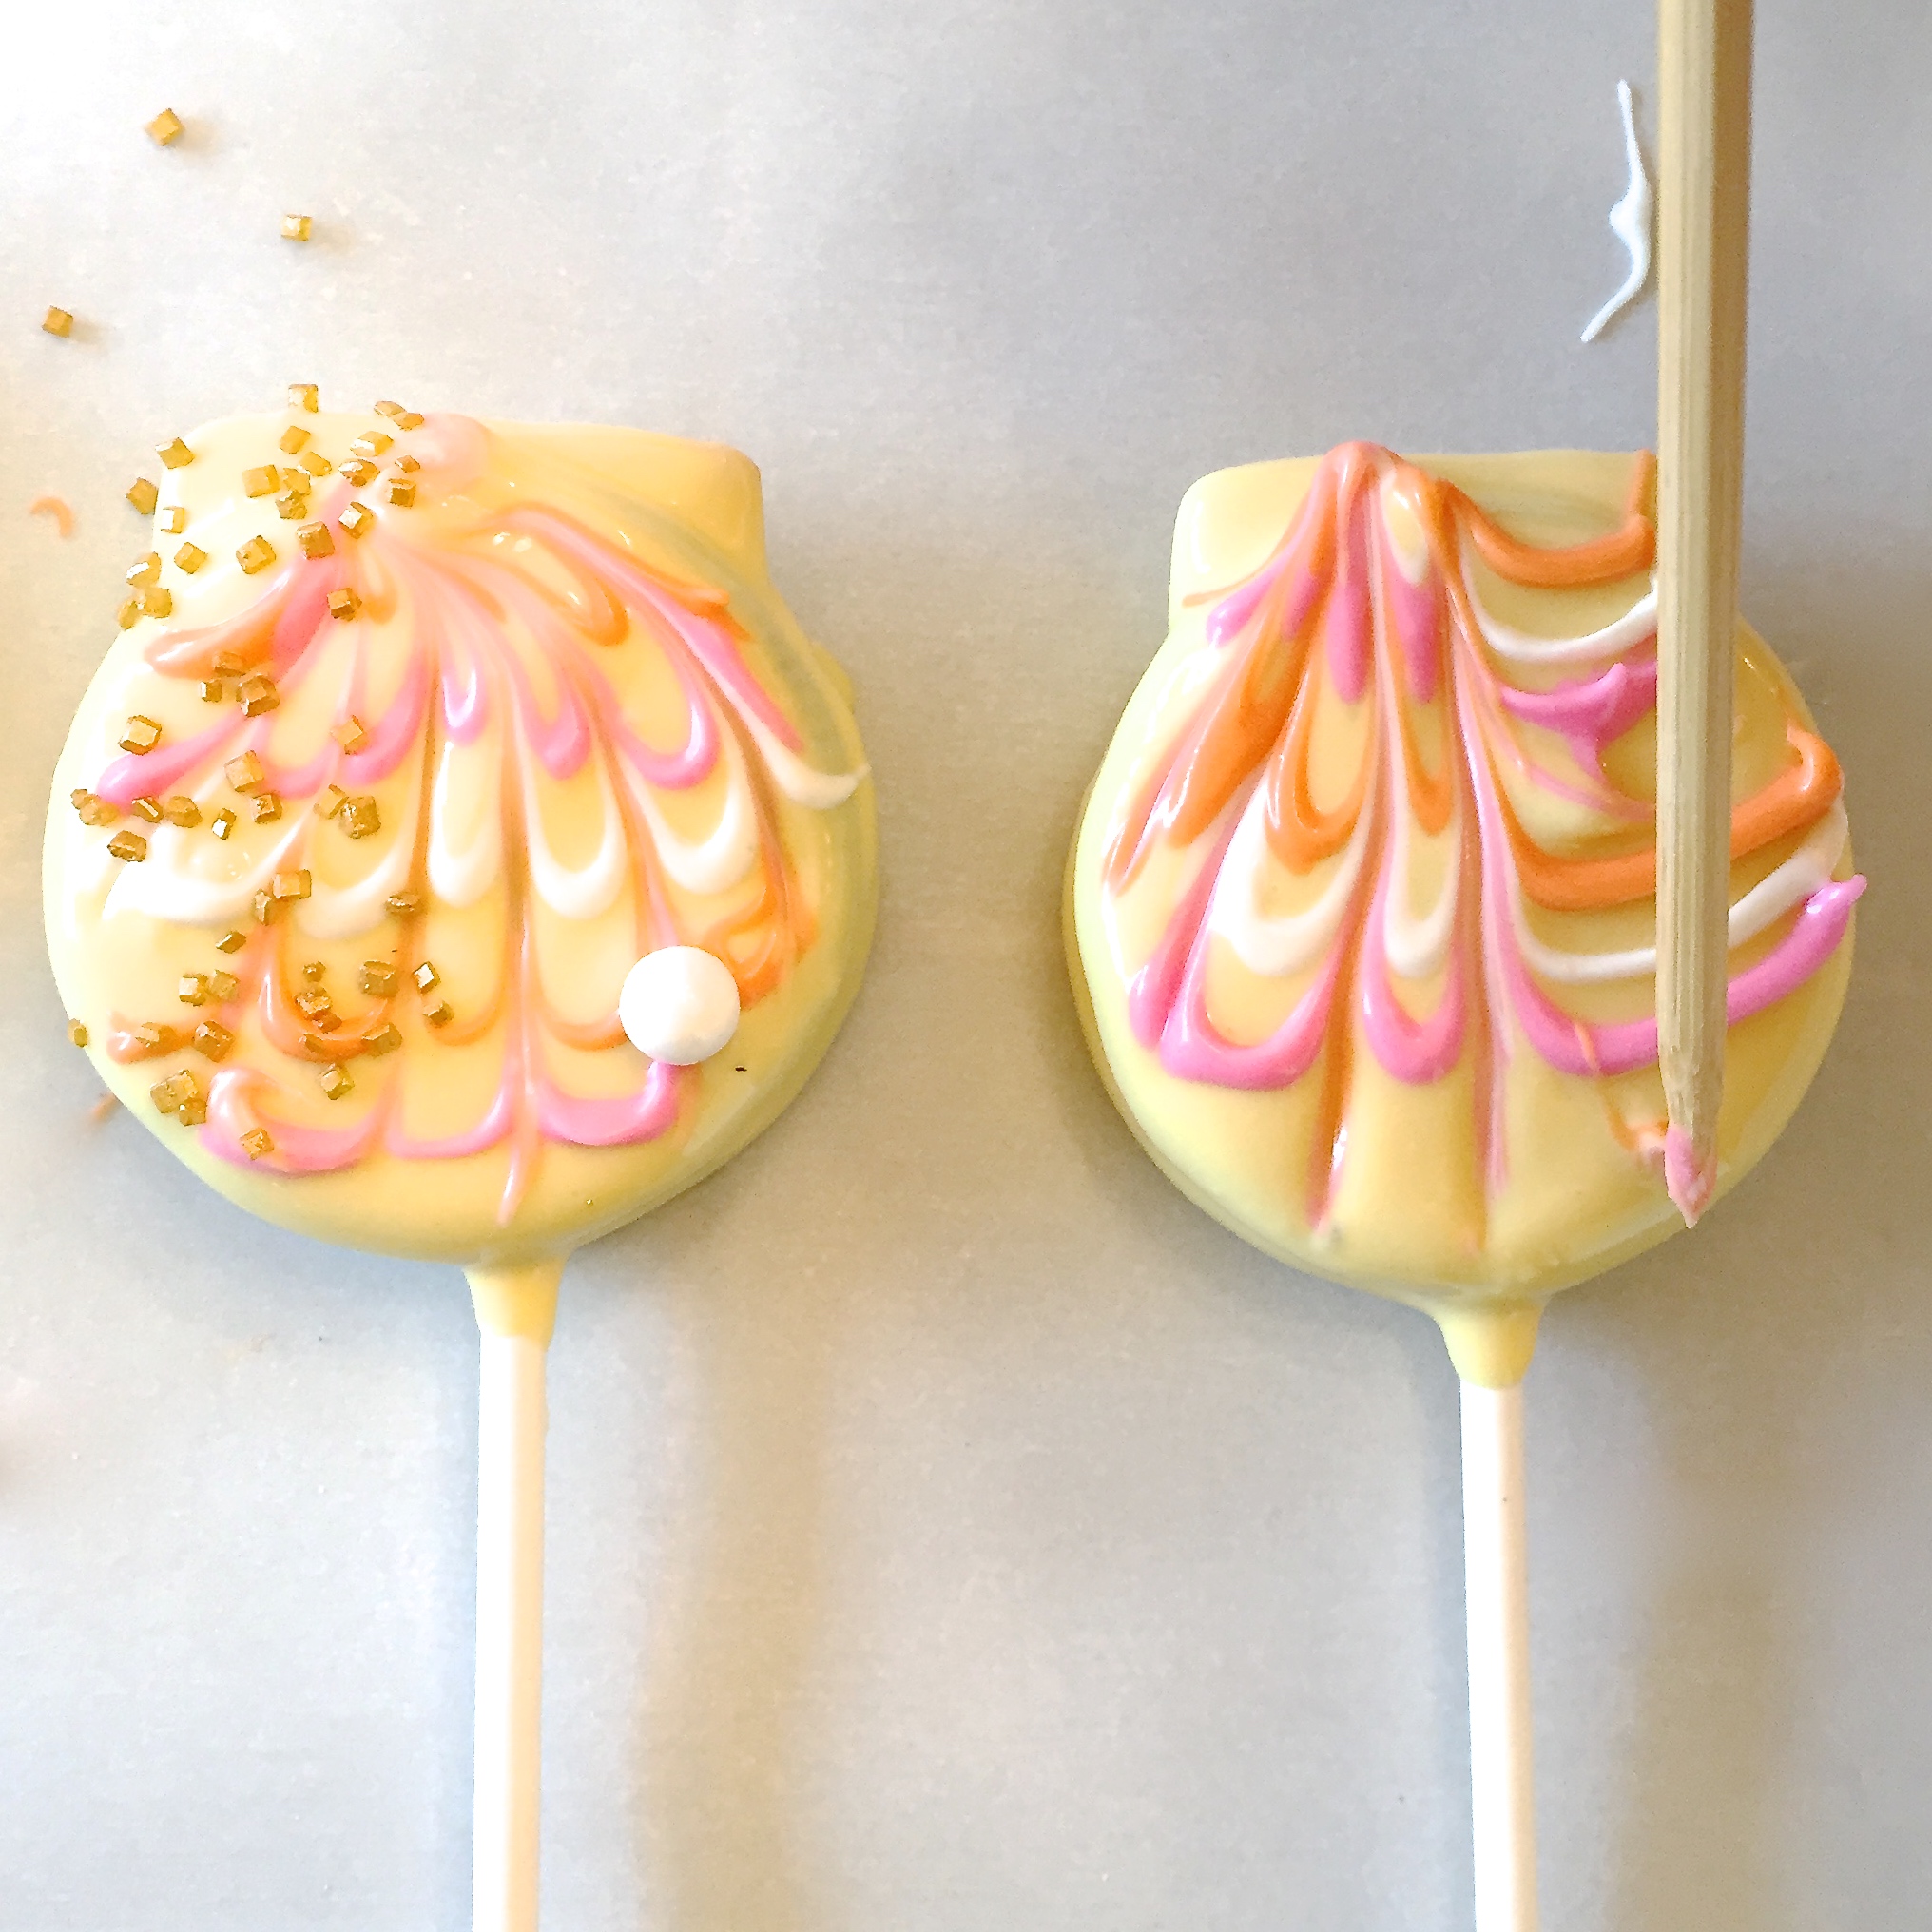
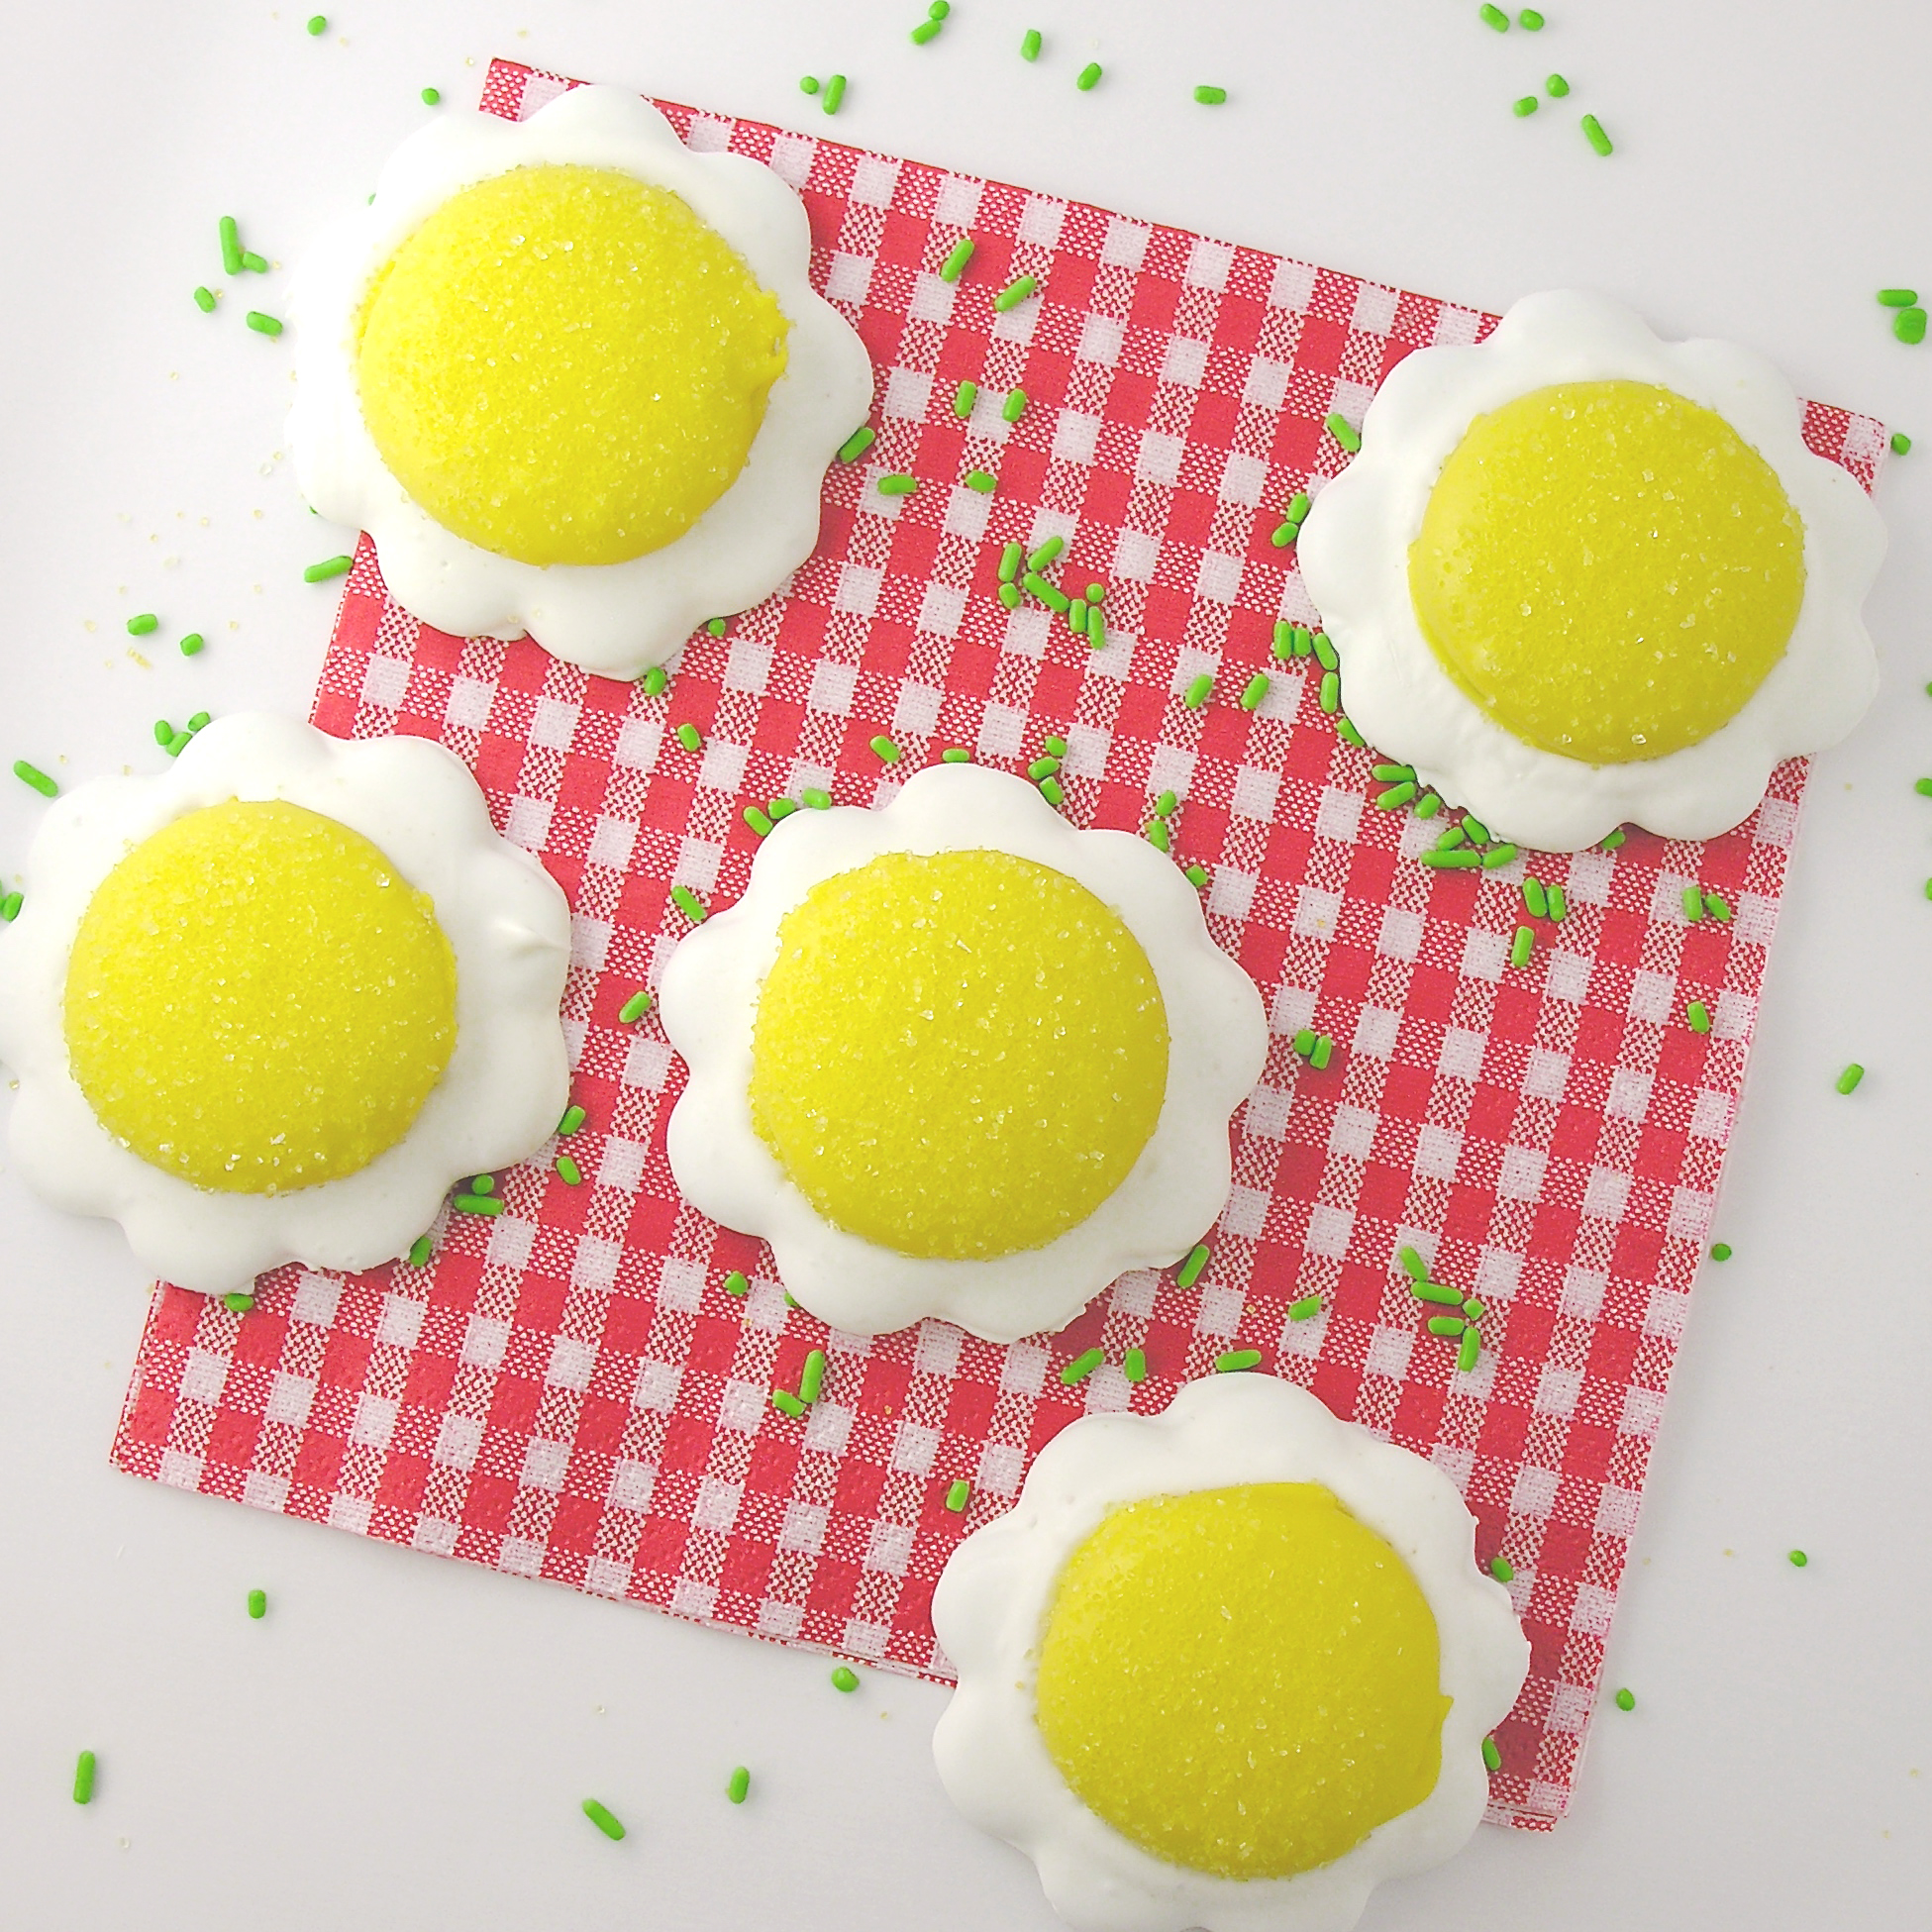
- Before icing is completely hard, set sunflower seeds and pearl in the shape of a flower.
- Allow icing to harden completely.
- Enjoy!!!

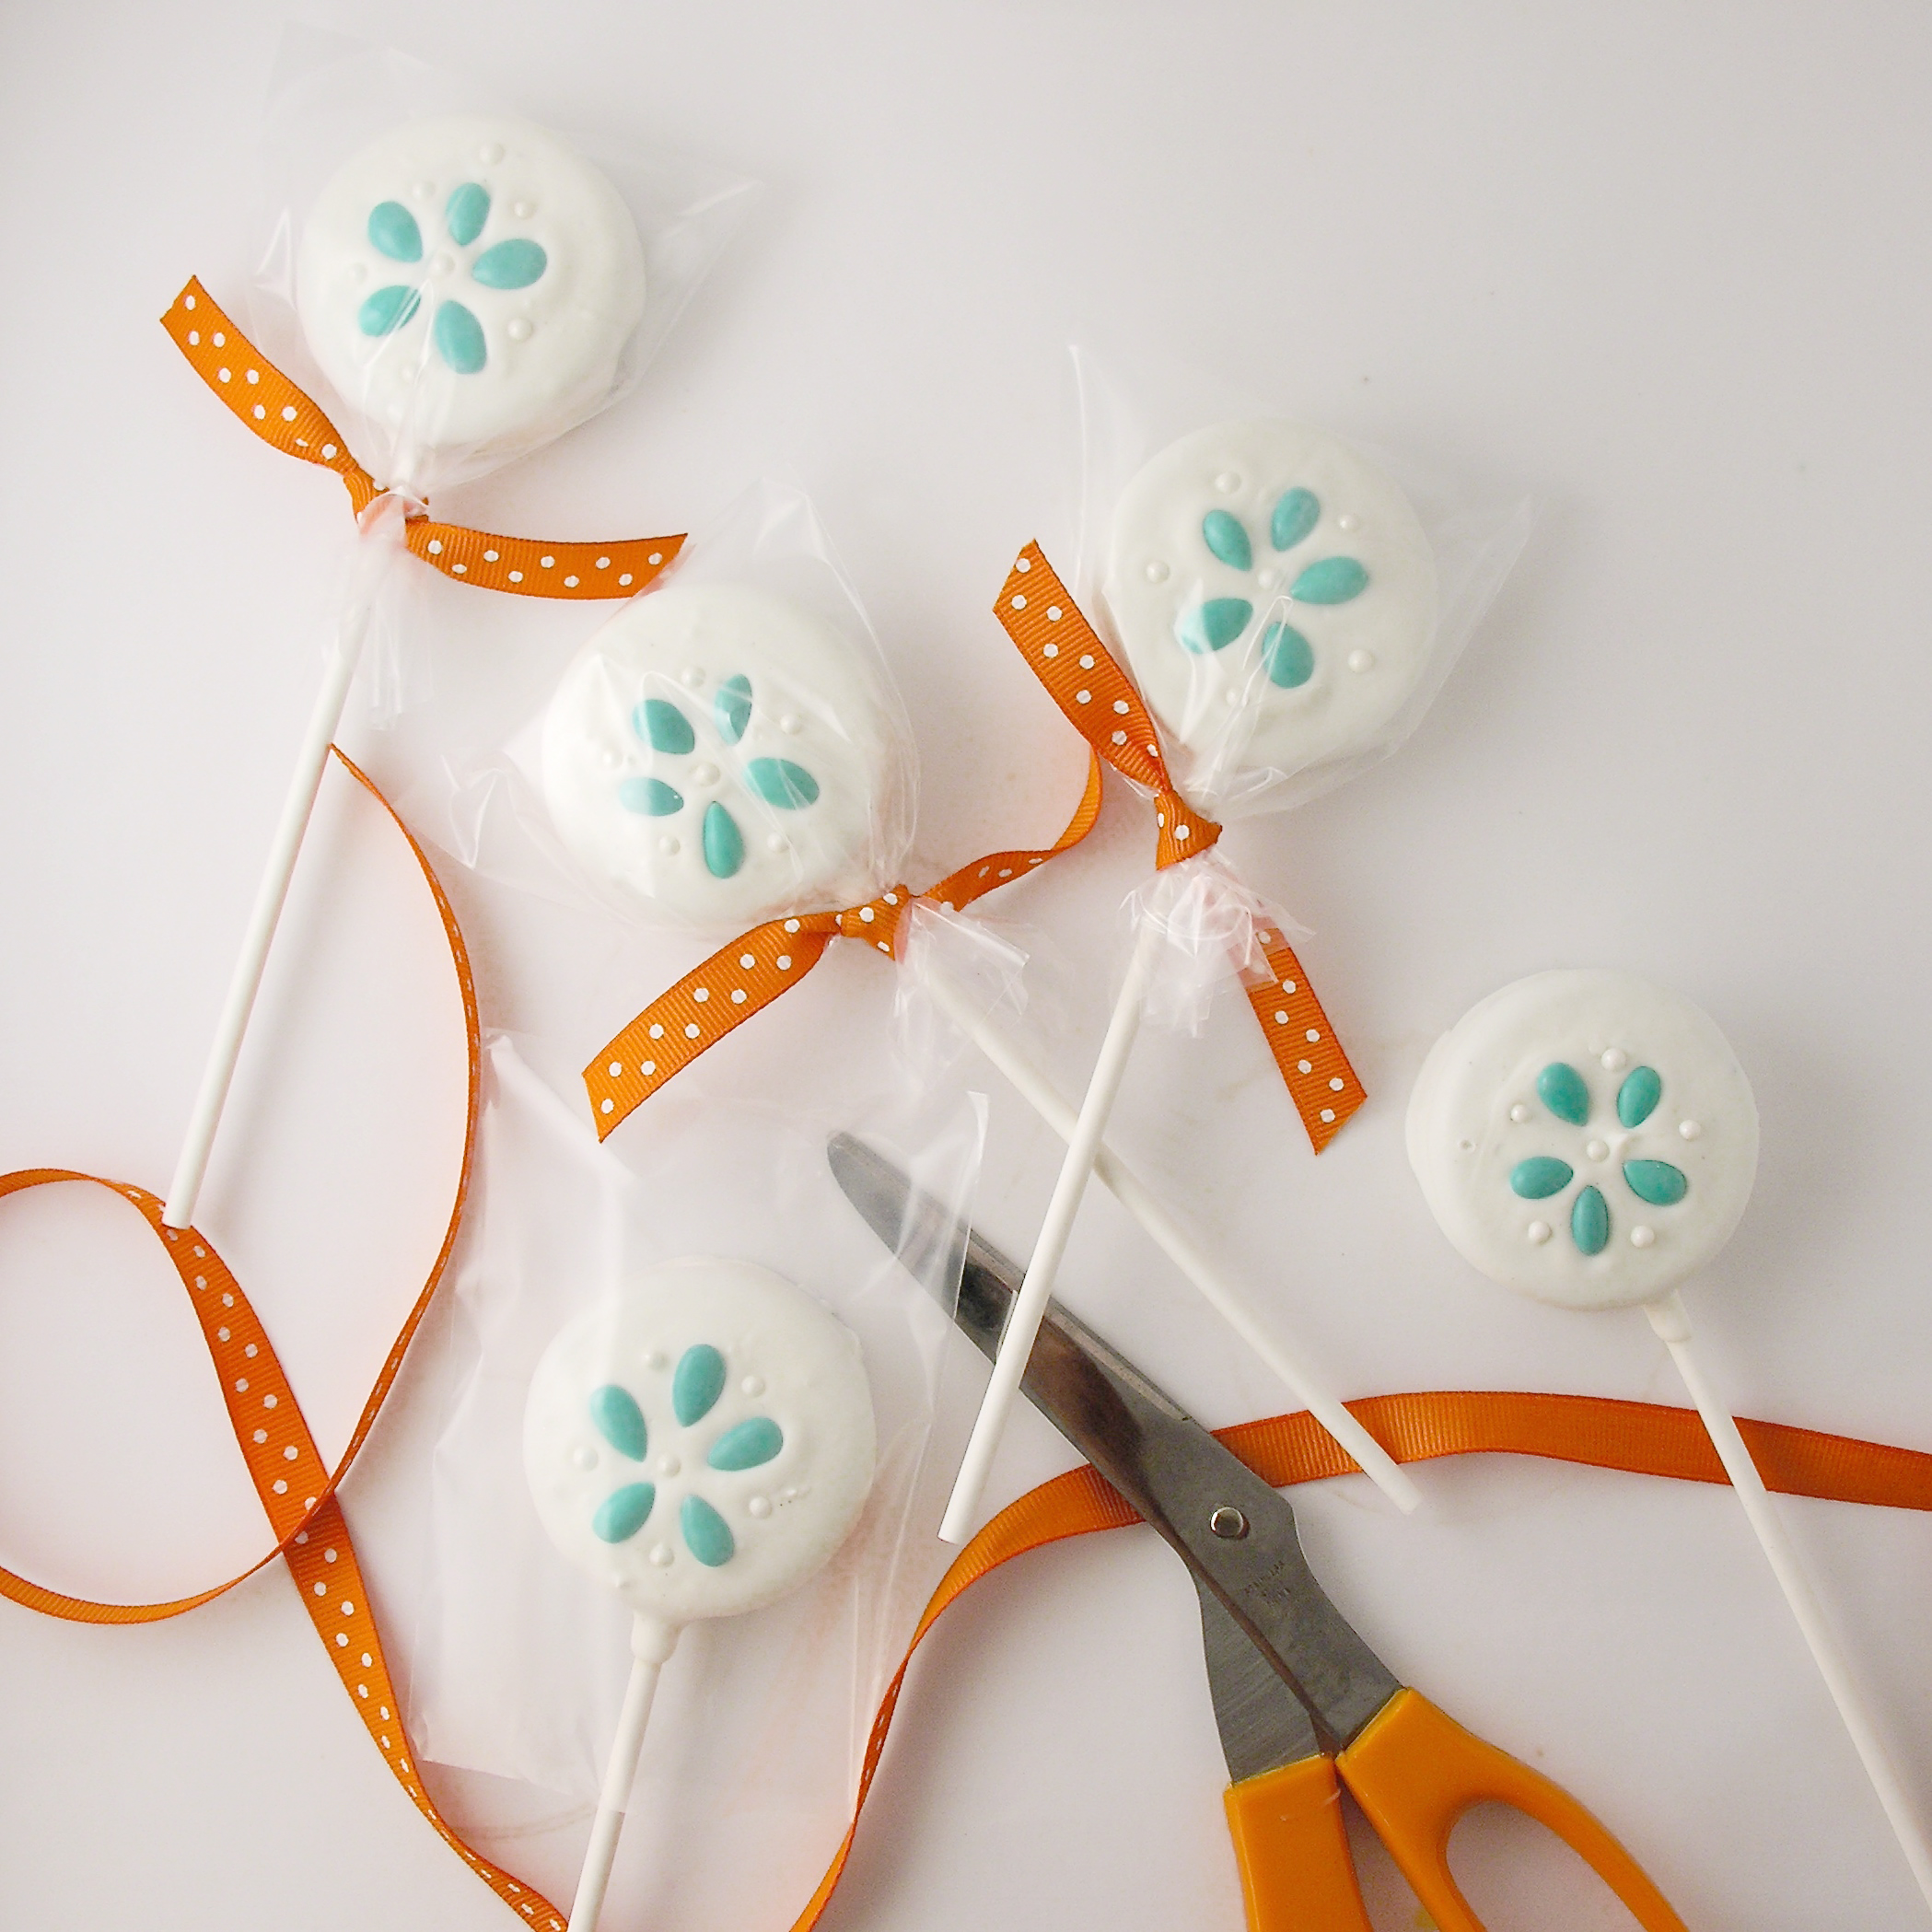
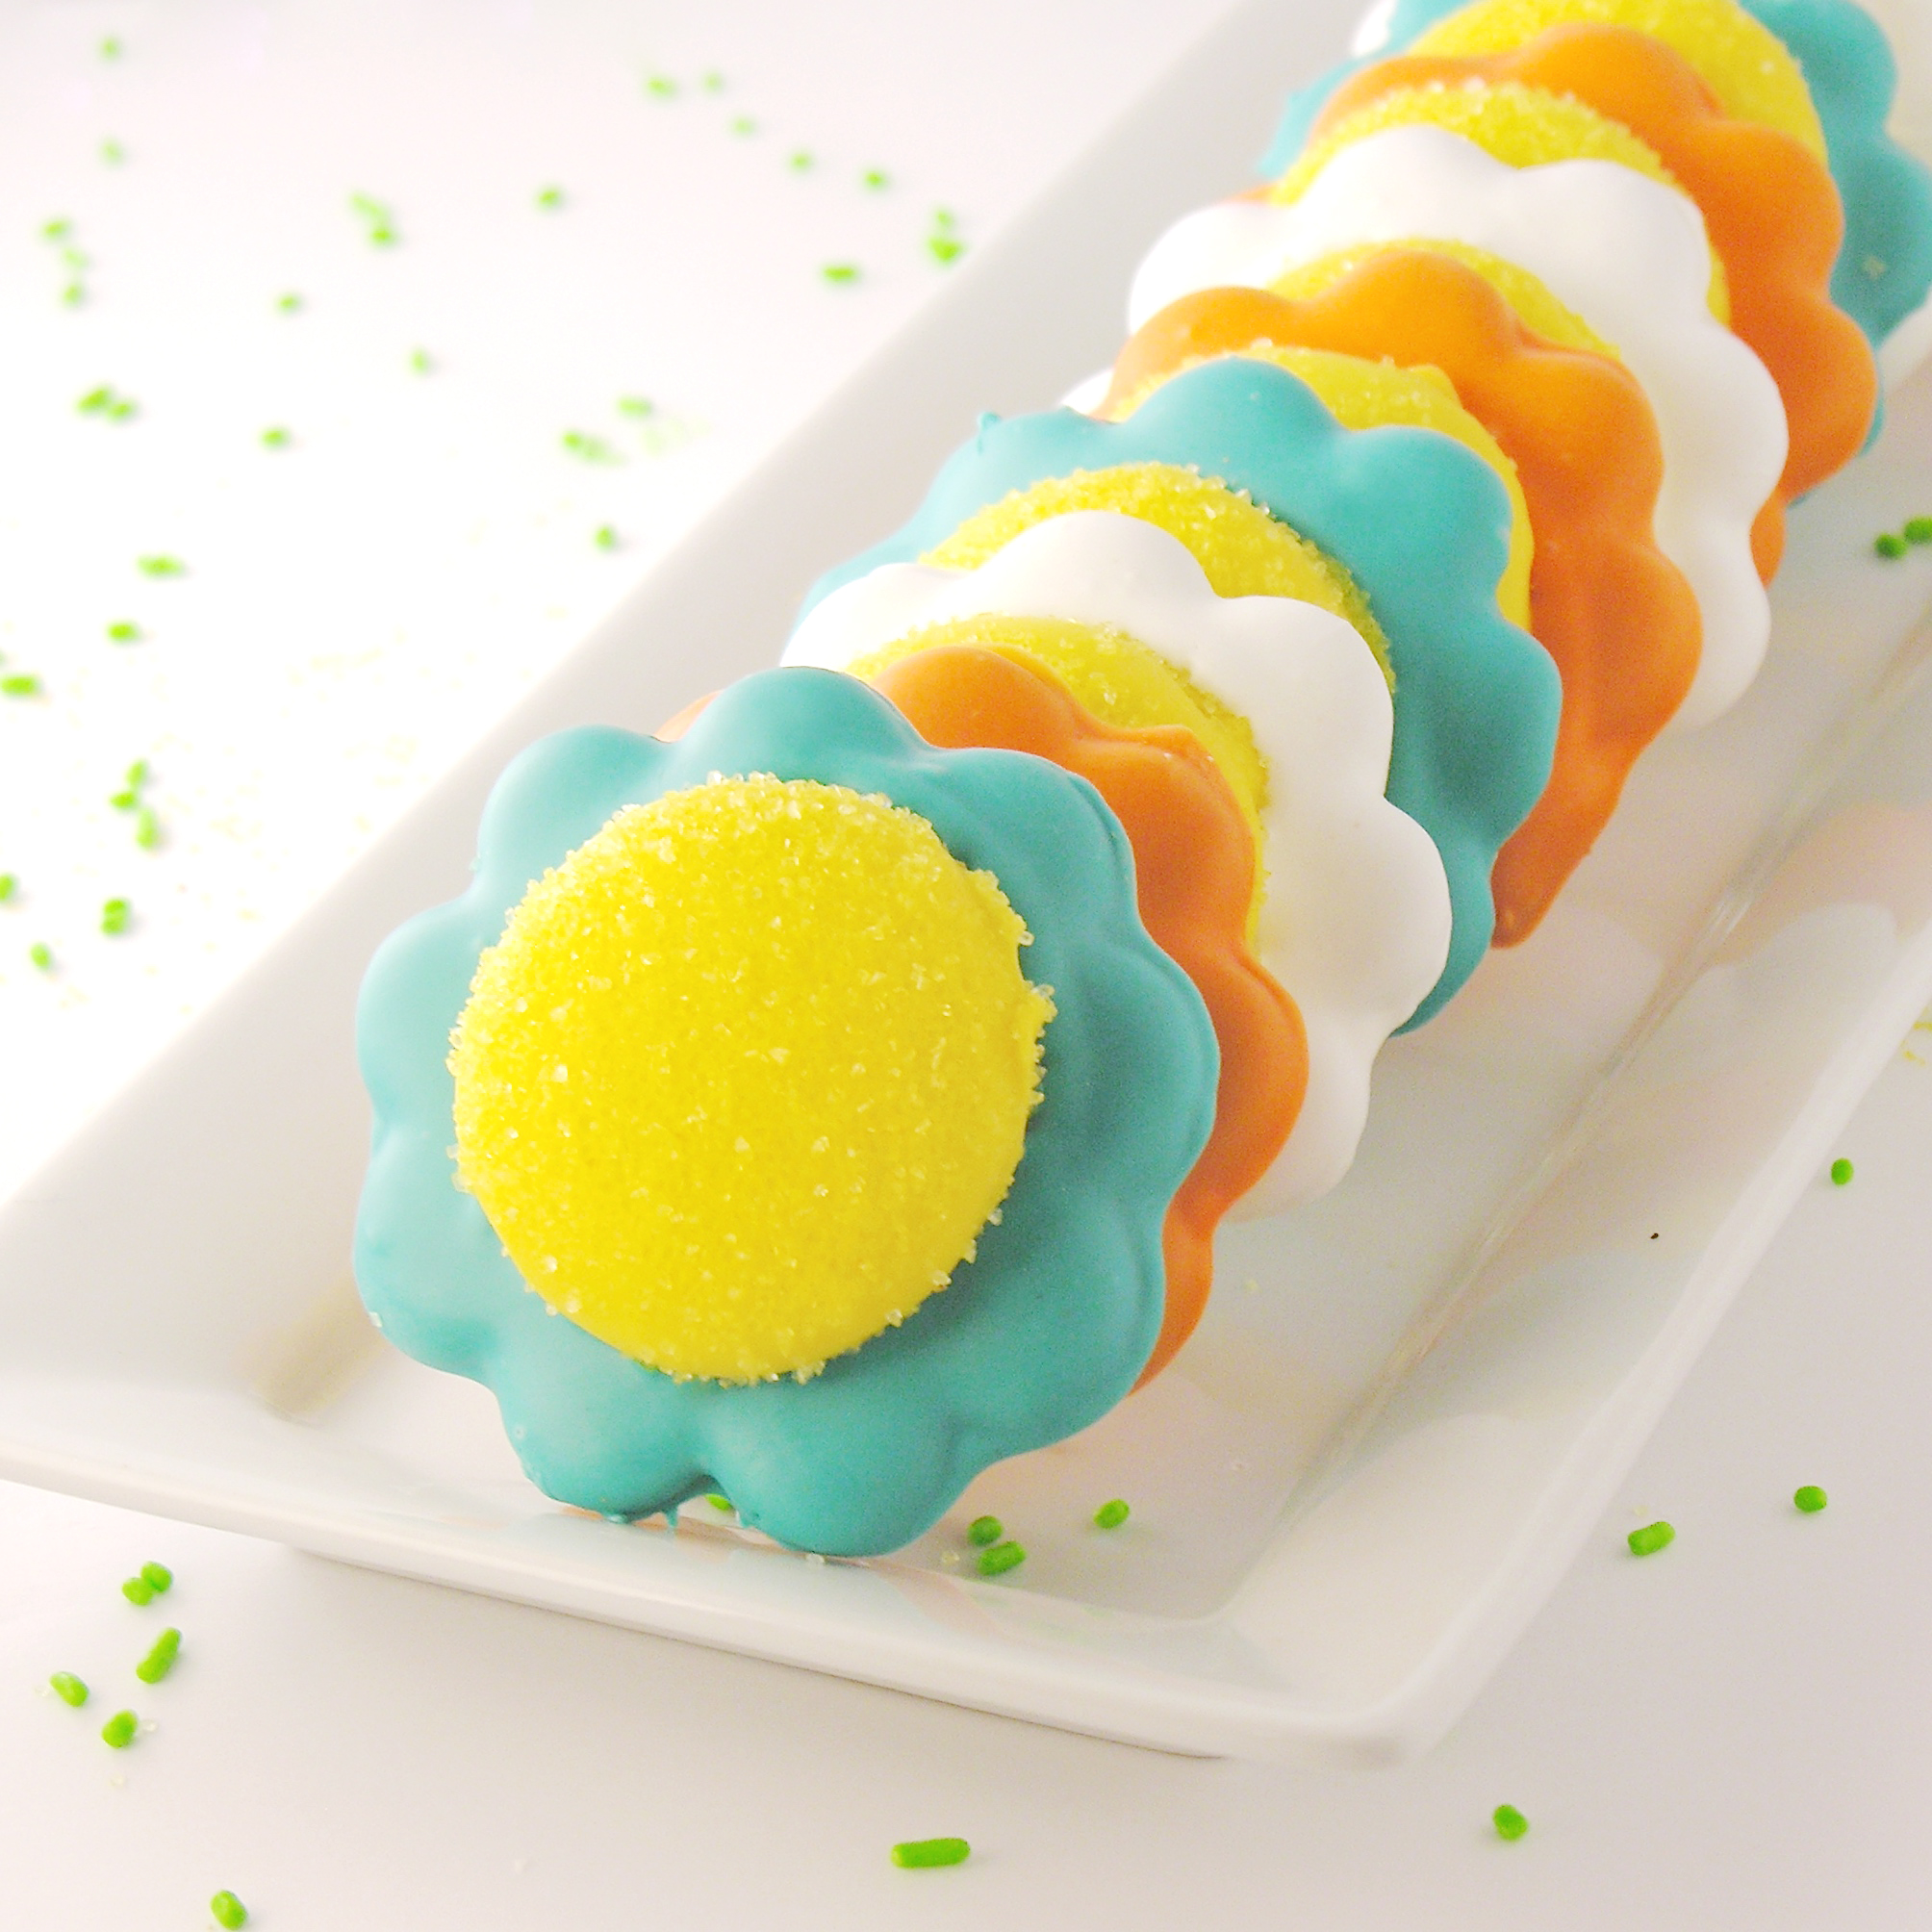
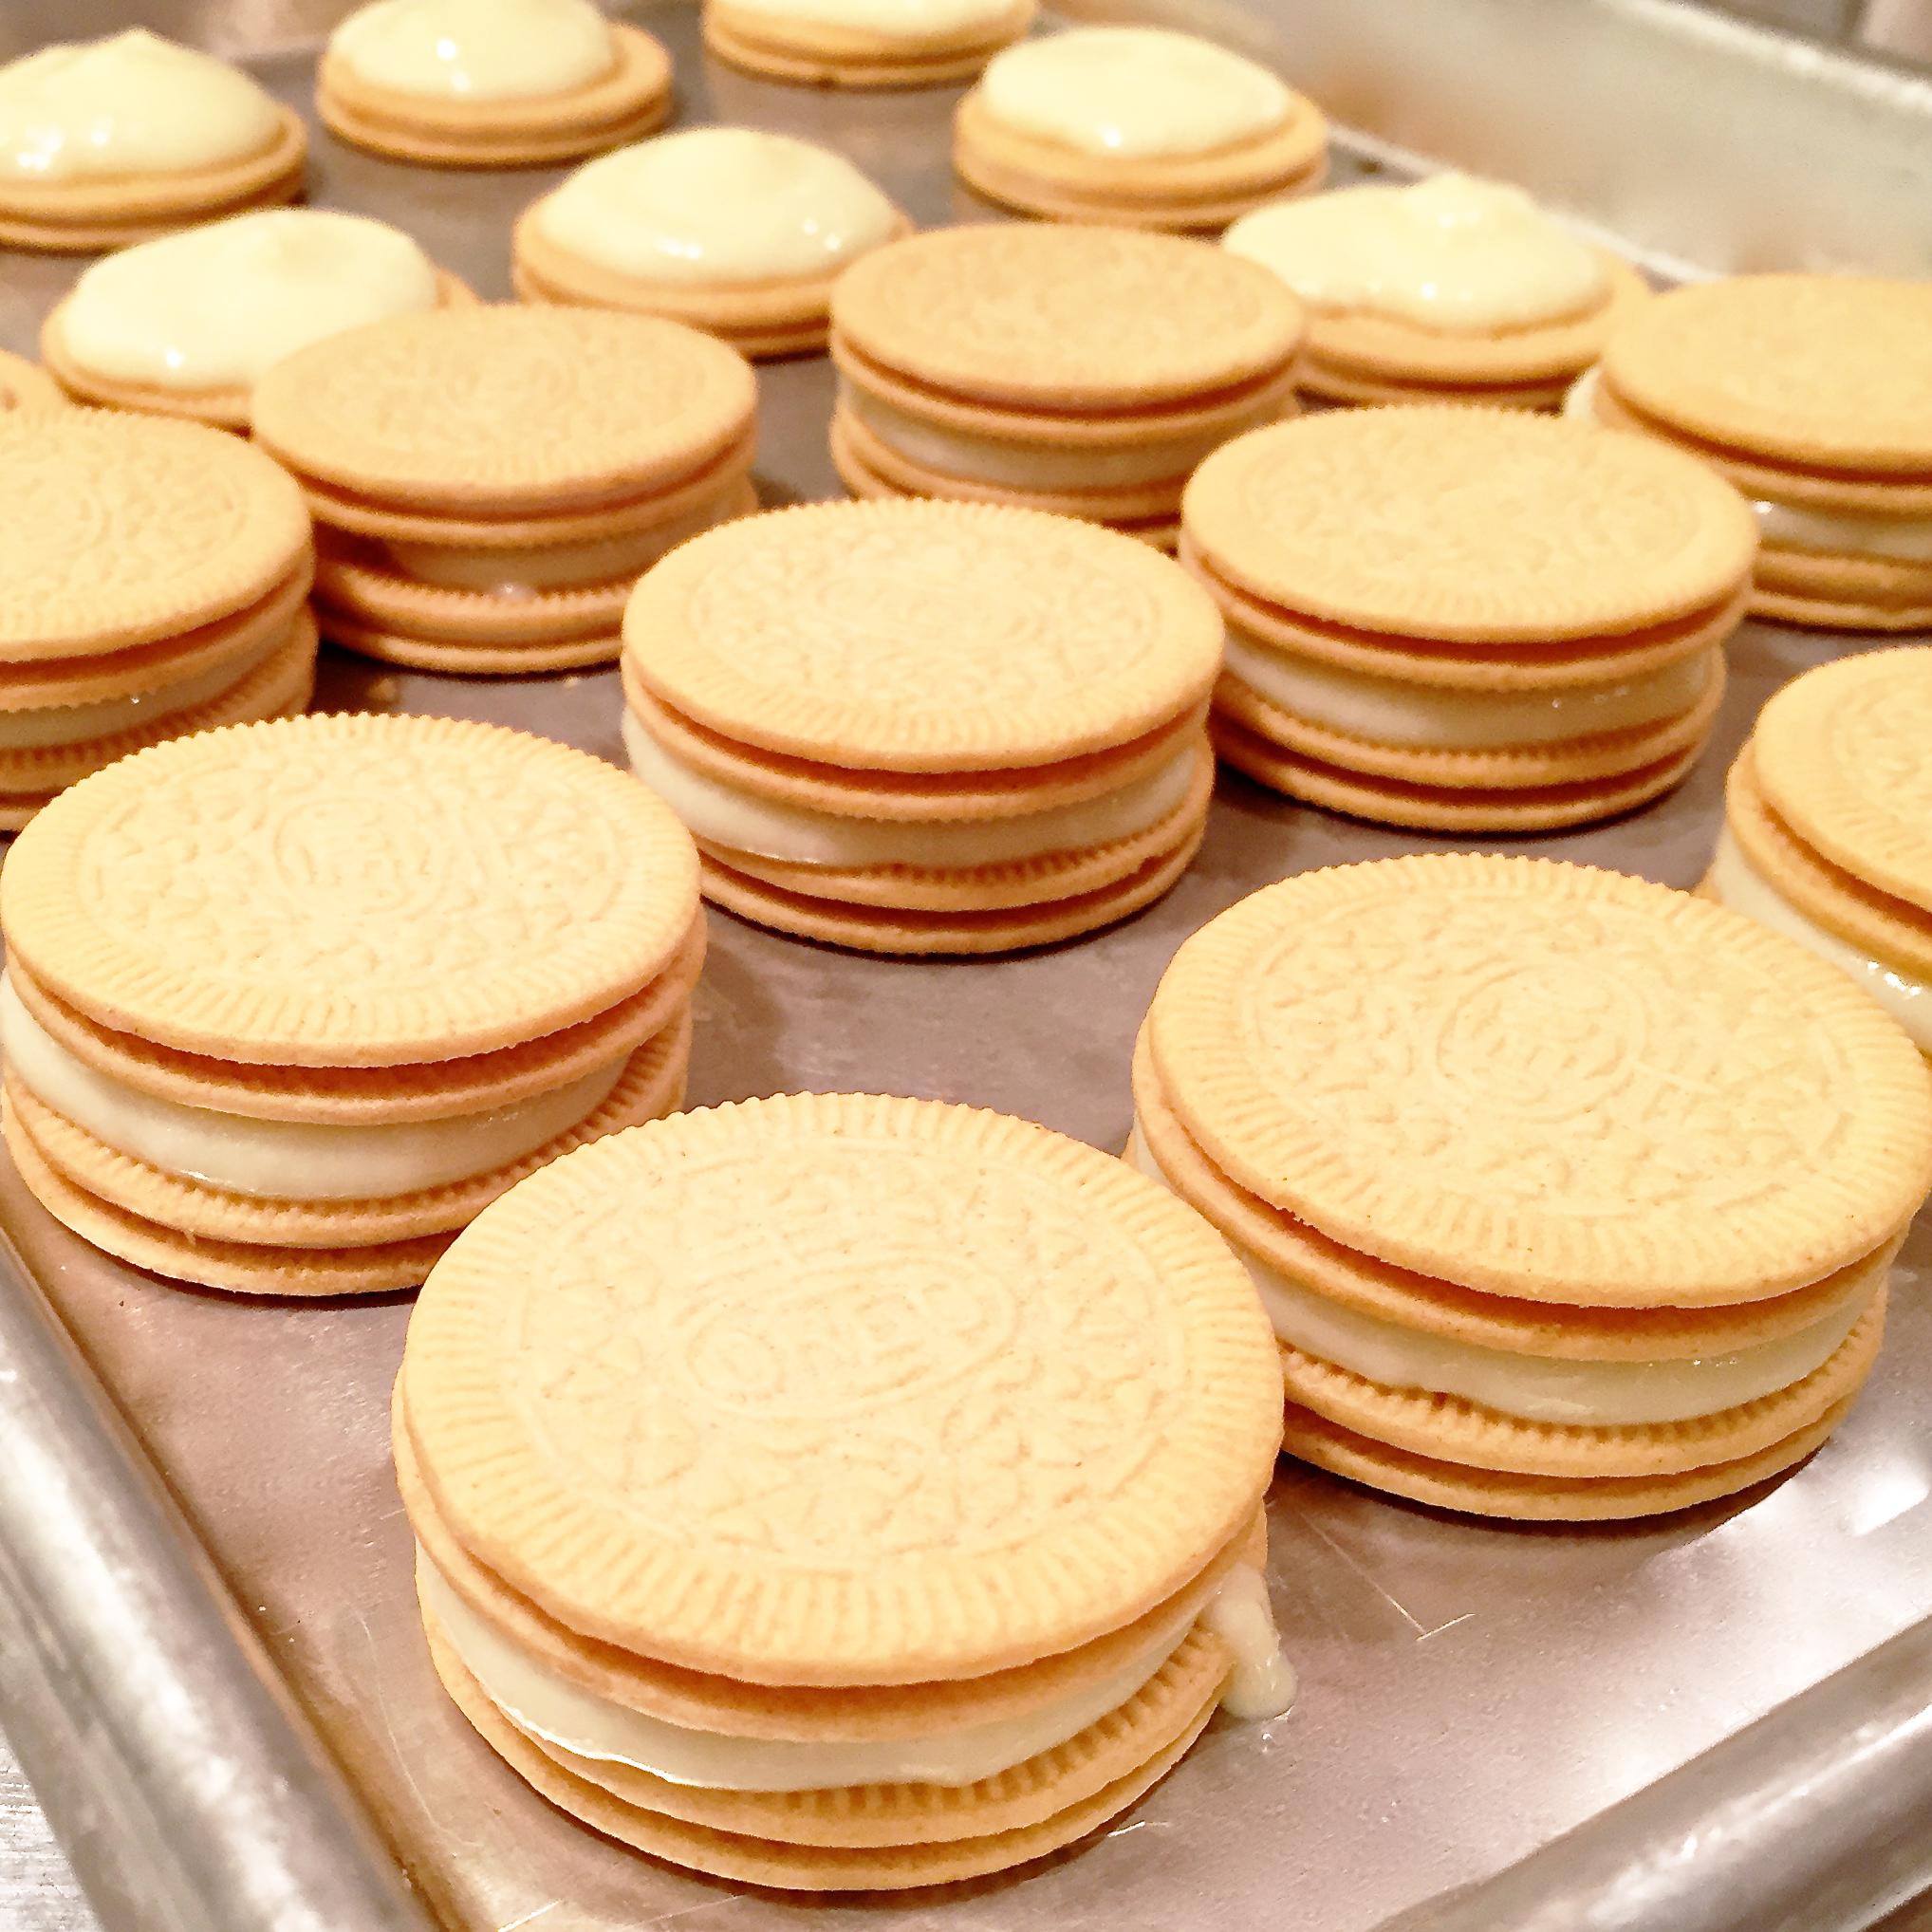
Aren’t they fun??? Once the icing fully hardens on these, you can stack them up without worrying that the icing will get messed up (the joy of royal icing). As you can see… I am no professional at piping a perfect circle… so no worries if you are not experienced- they will still be beautiful! 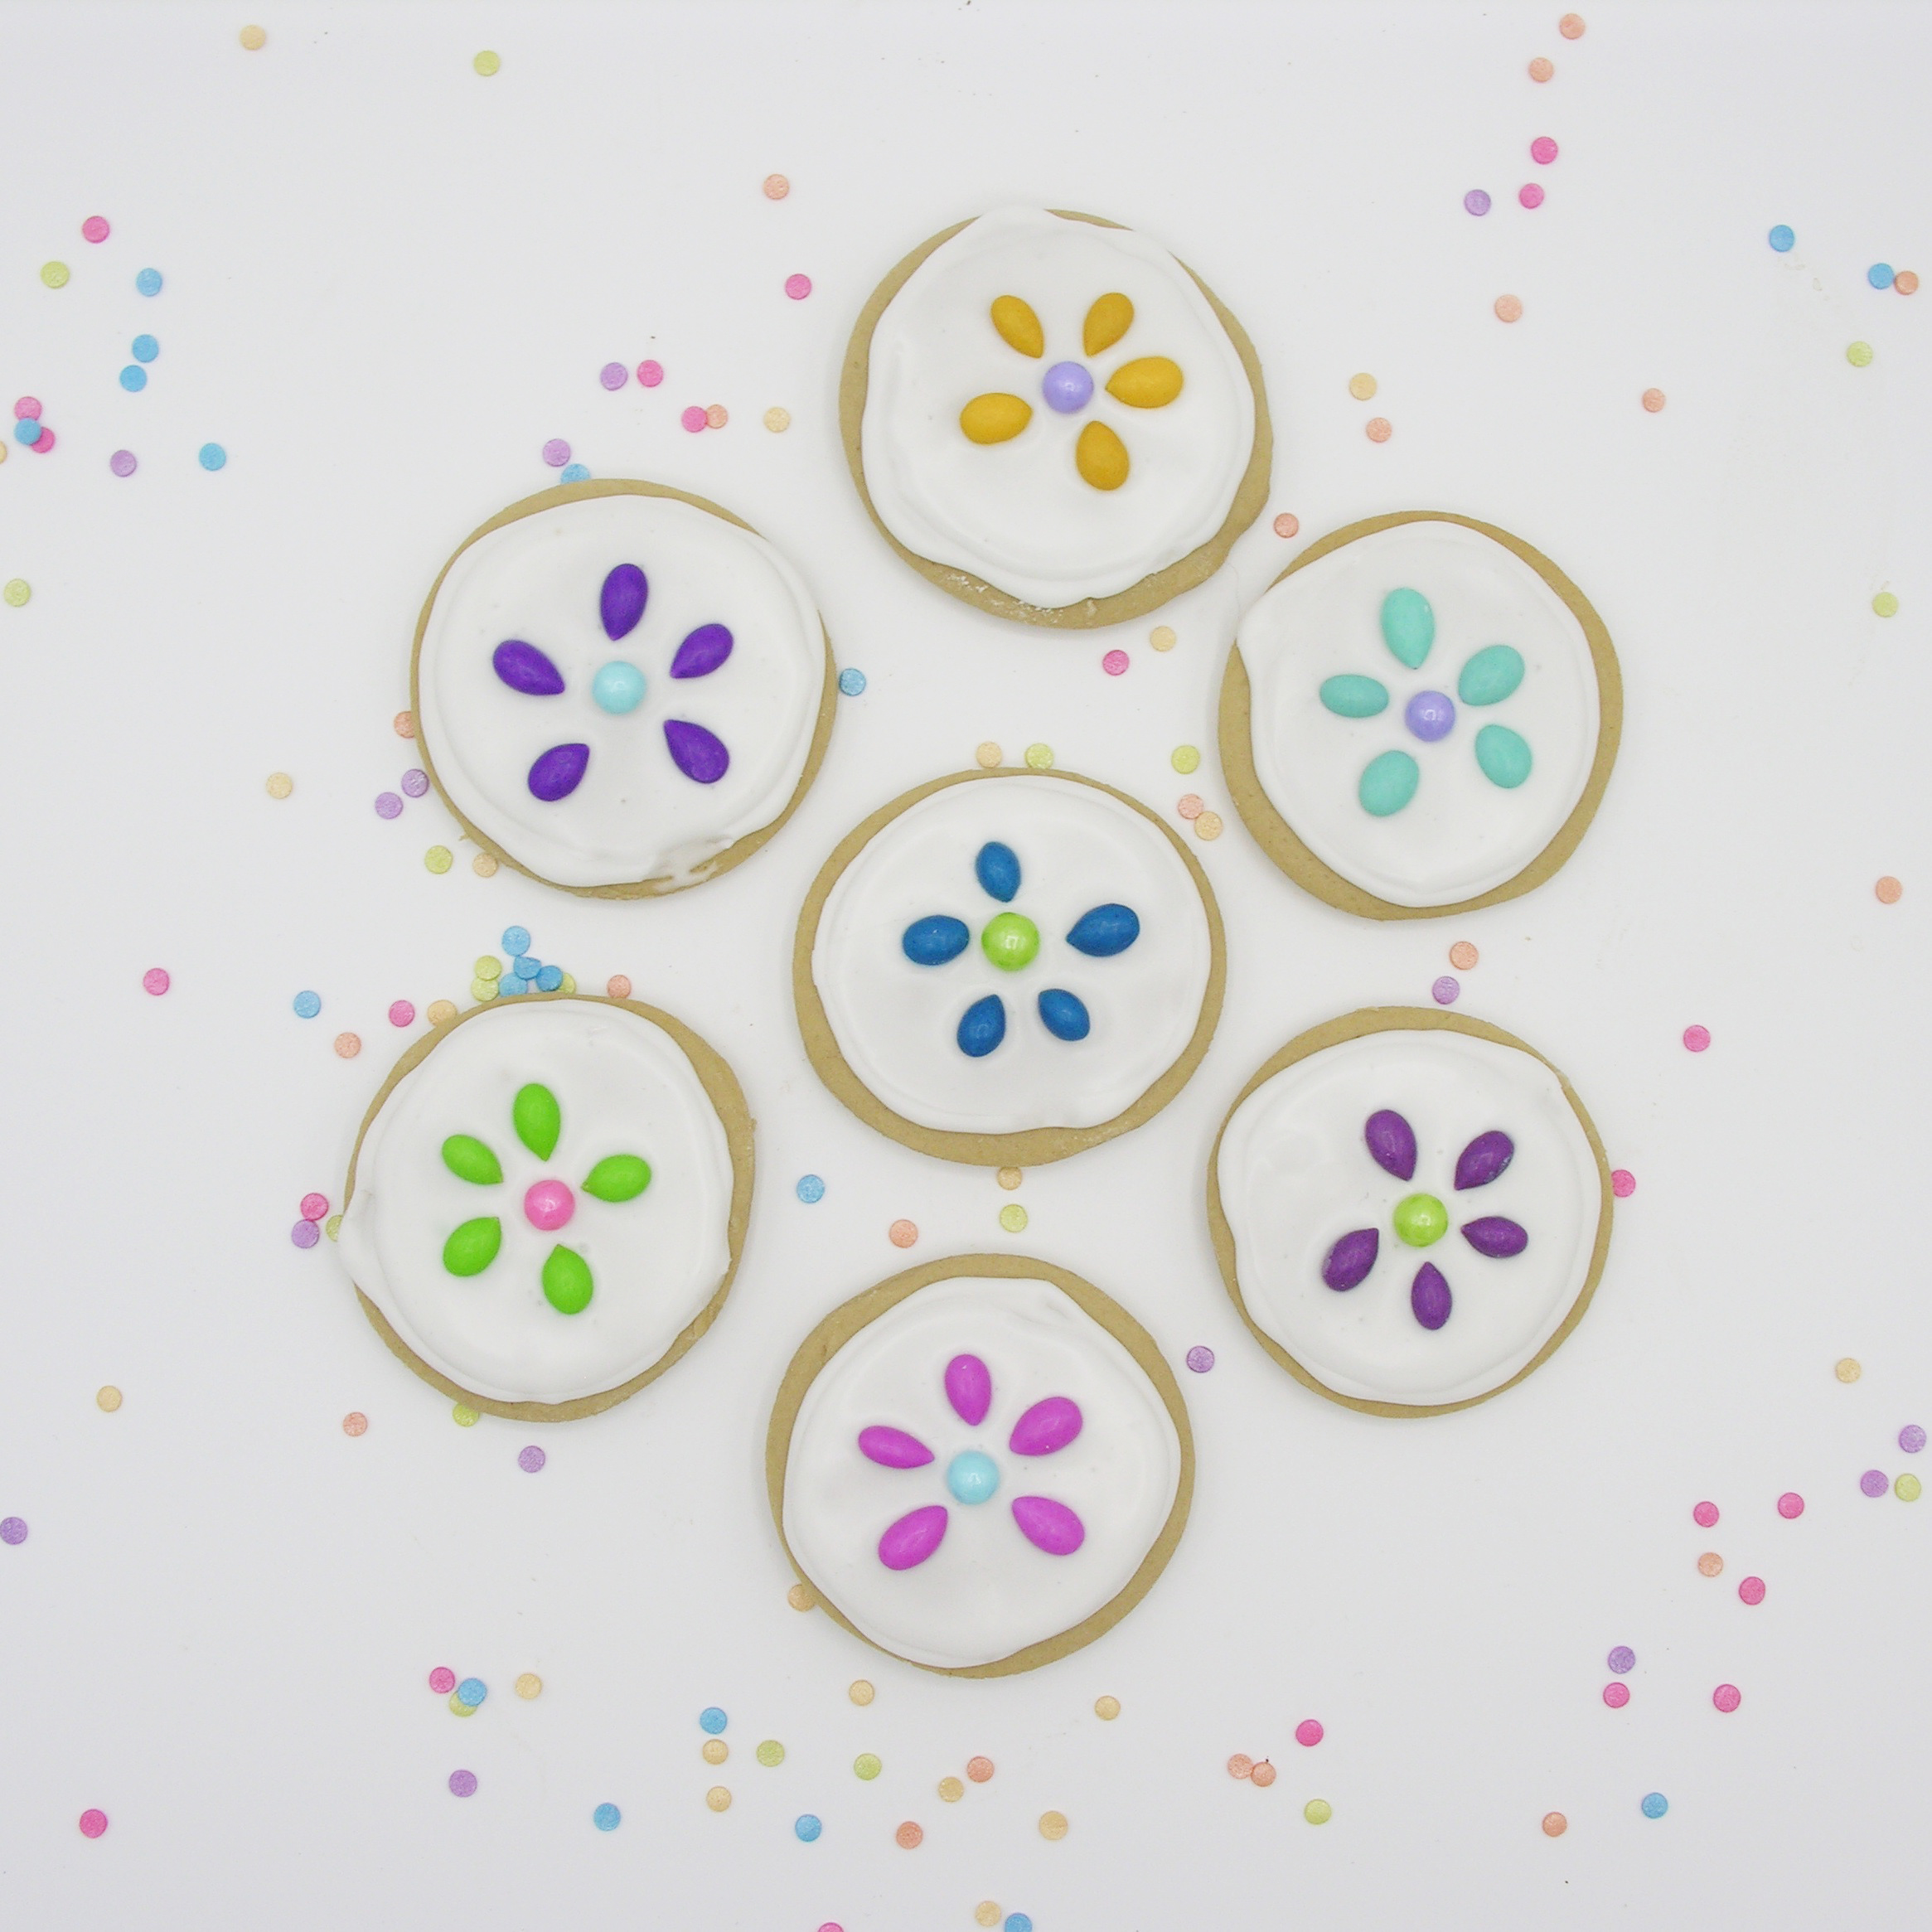
My thoughts: I’m glad to finally be sharing this with you all! I figured I’d better get this out to you before fall hits and all things are pumpkin and leaves 🙂 I hope you get a chance to try these cookies- I really think you will love them! Enjoy! ~r

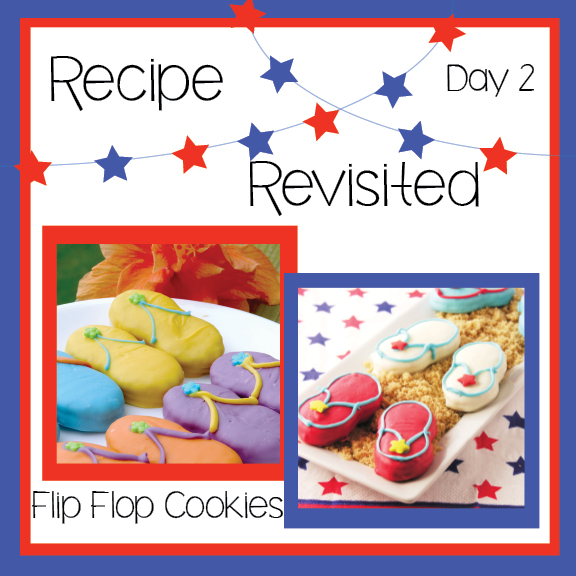
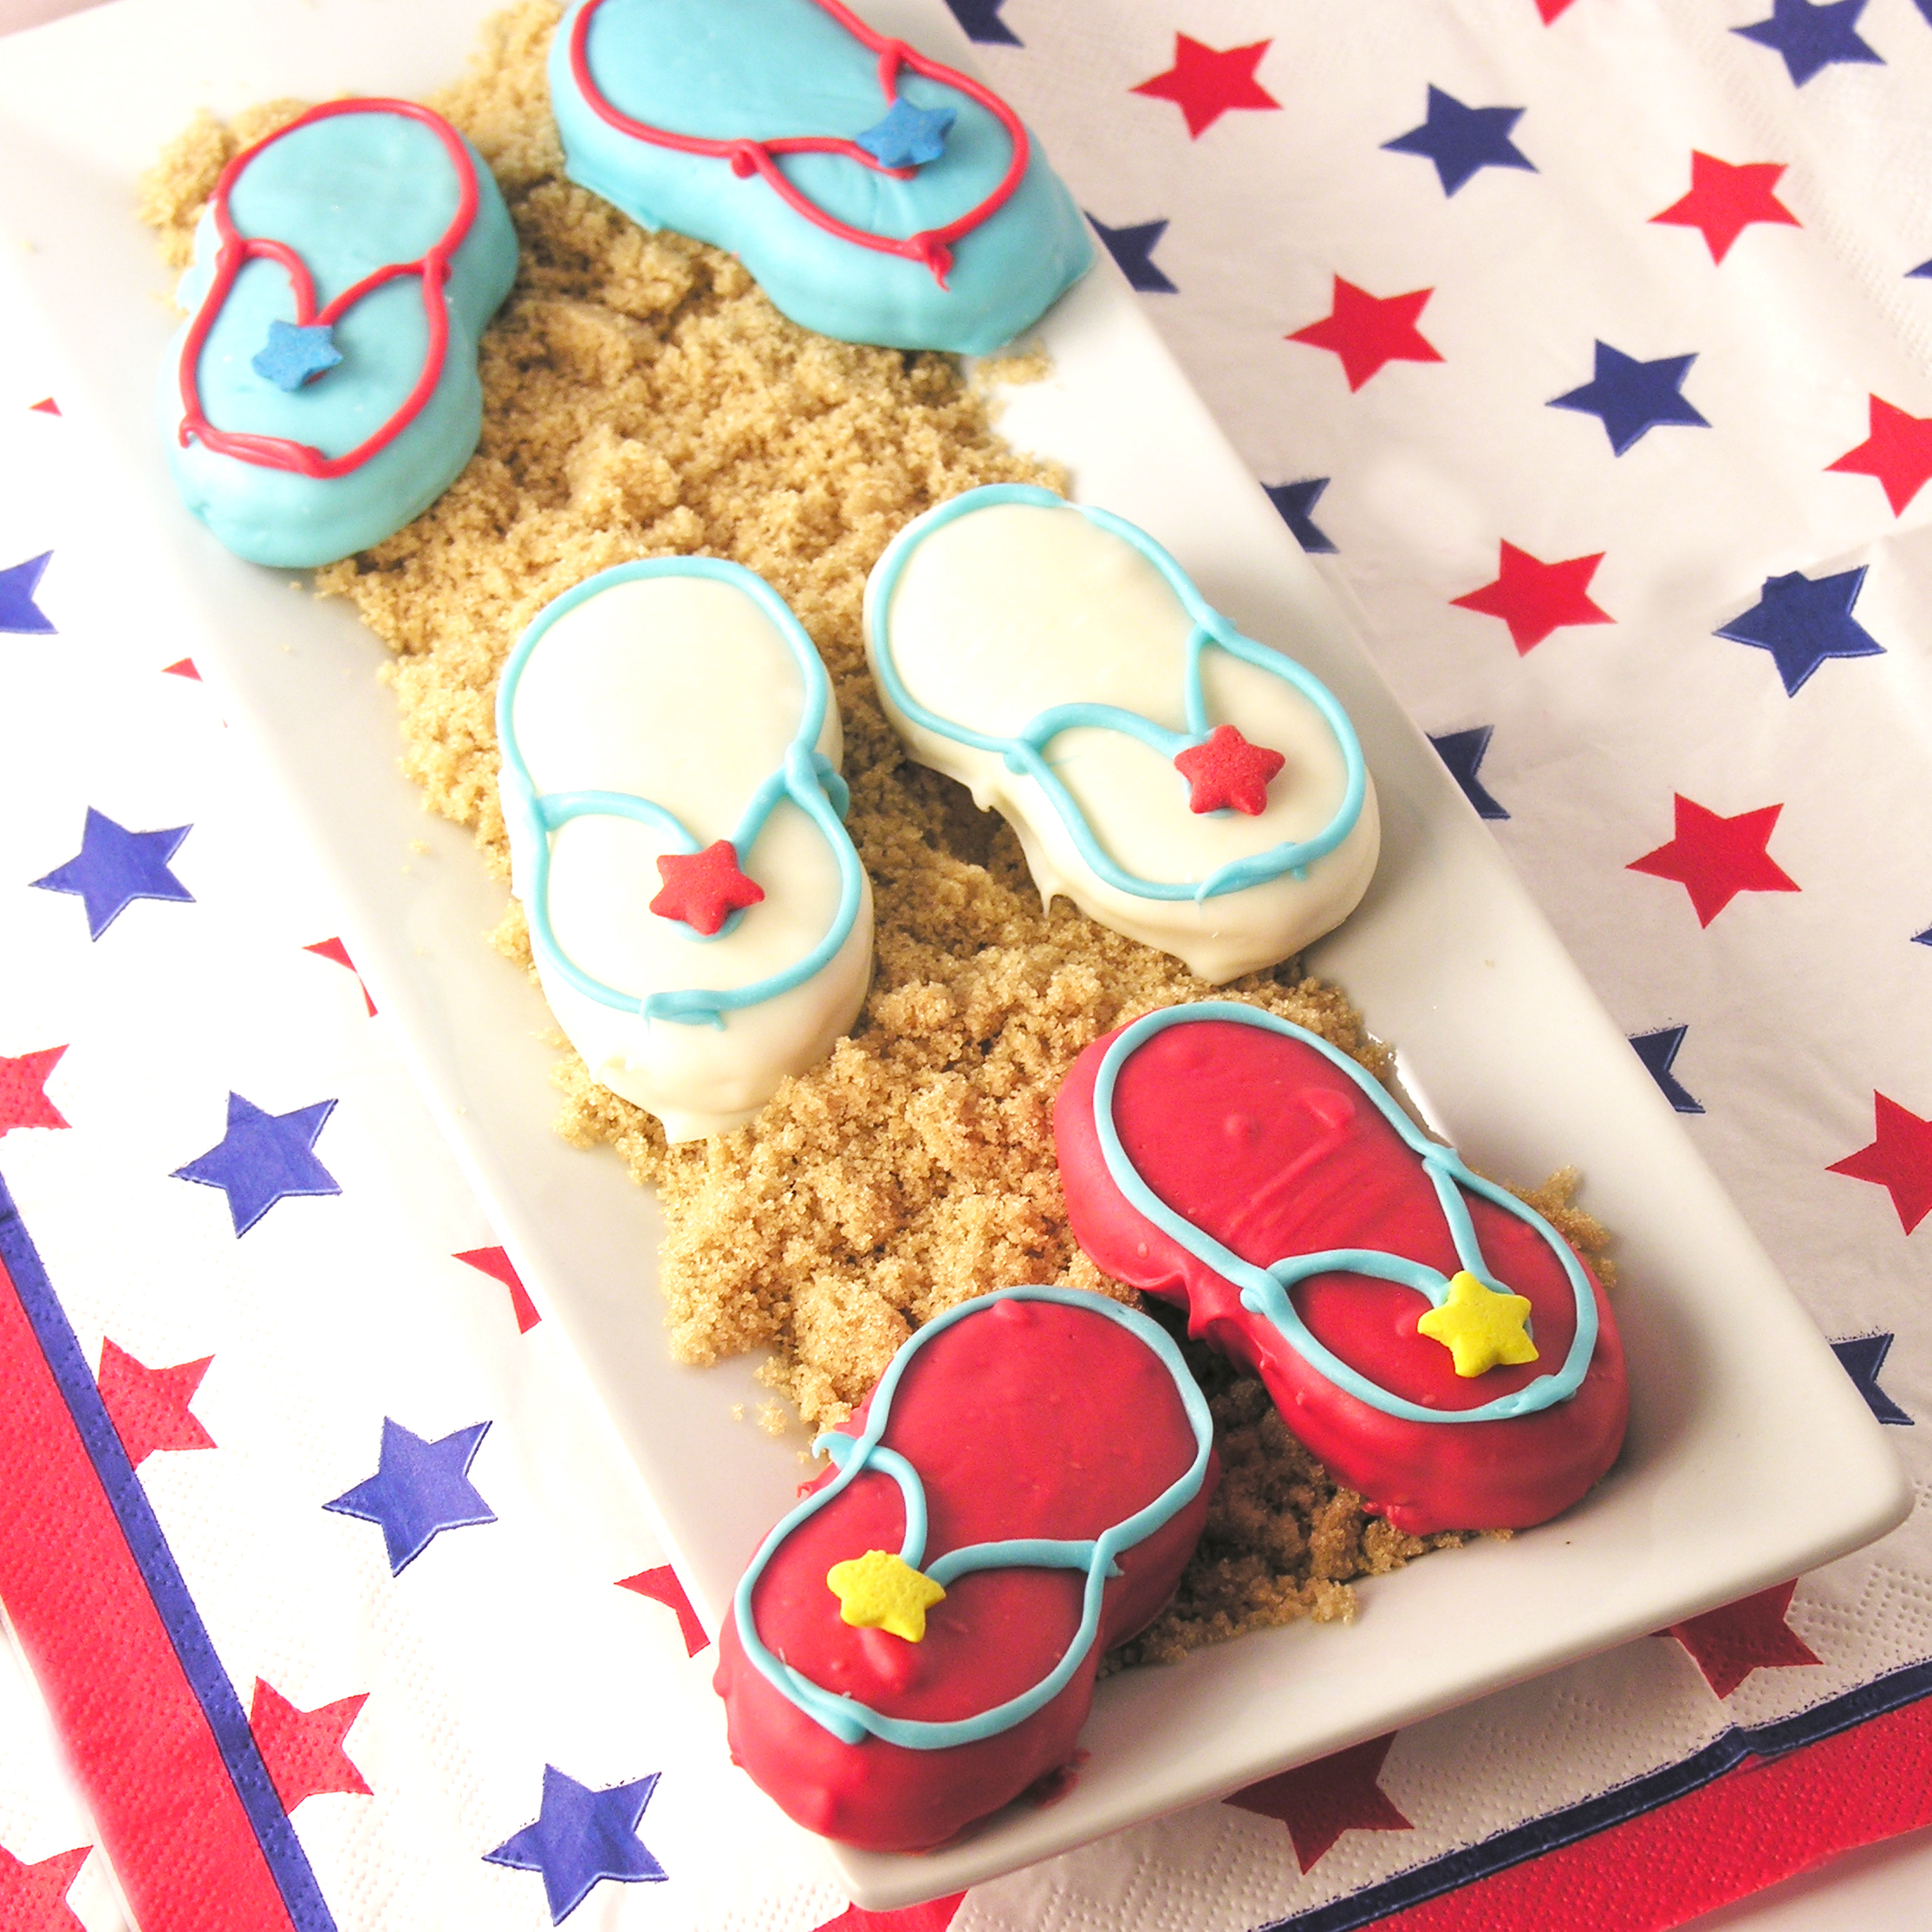
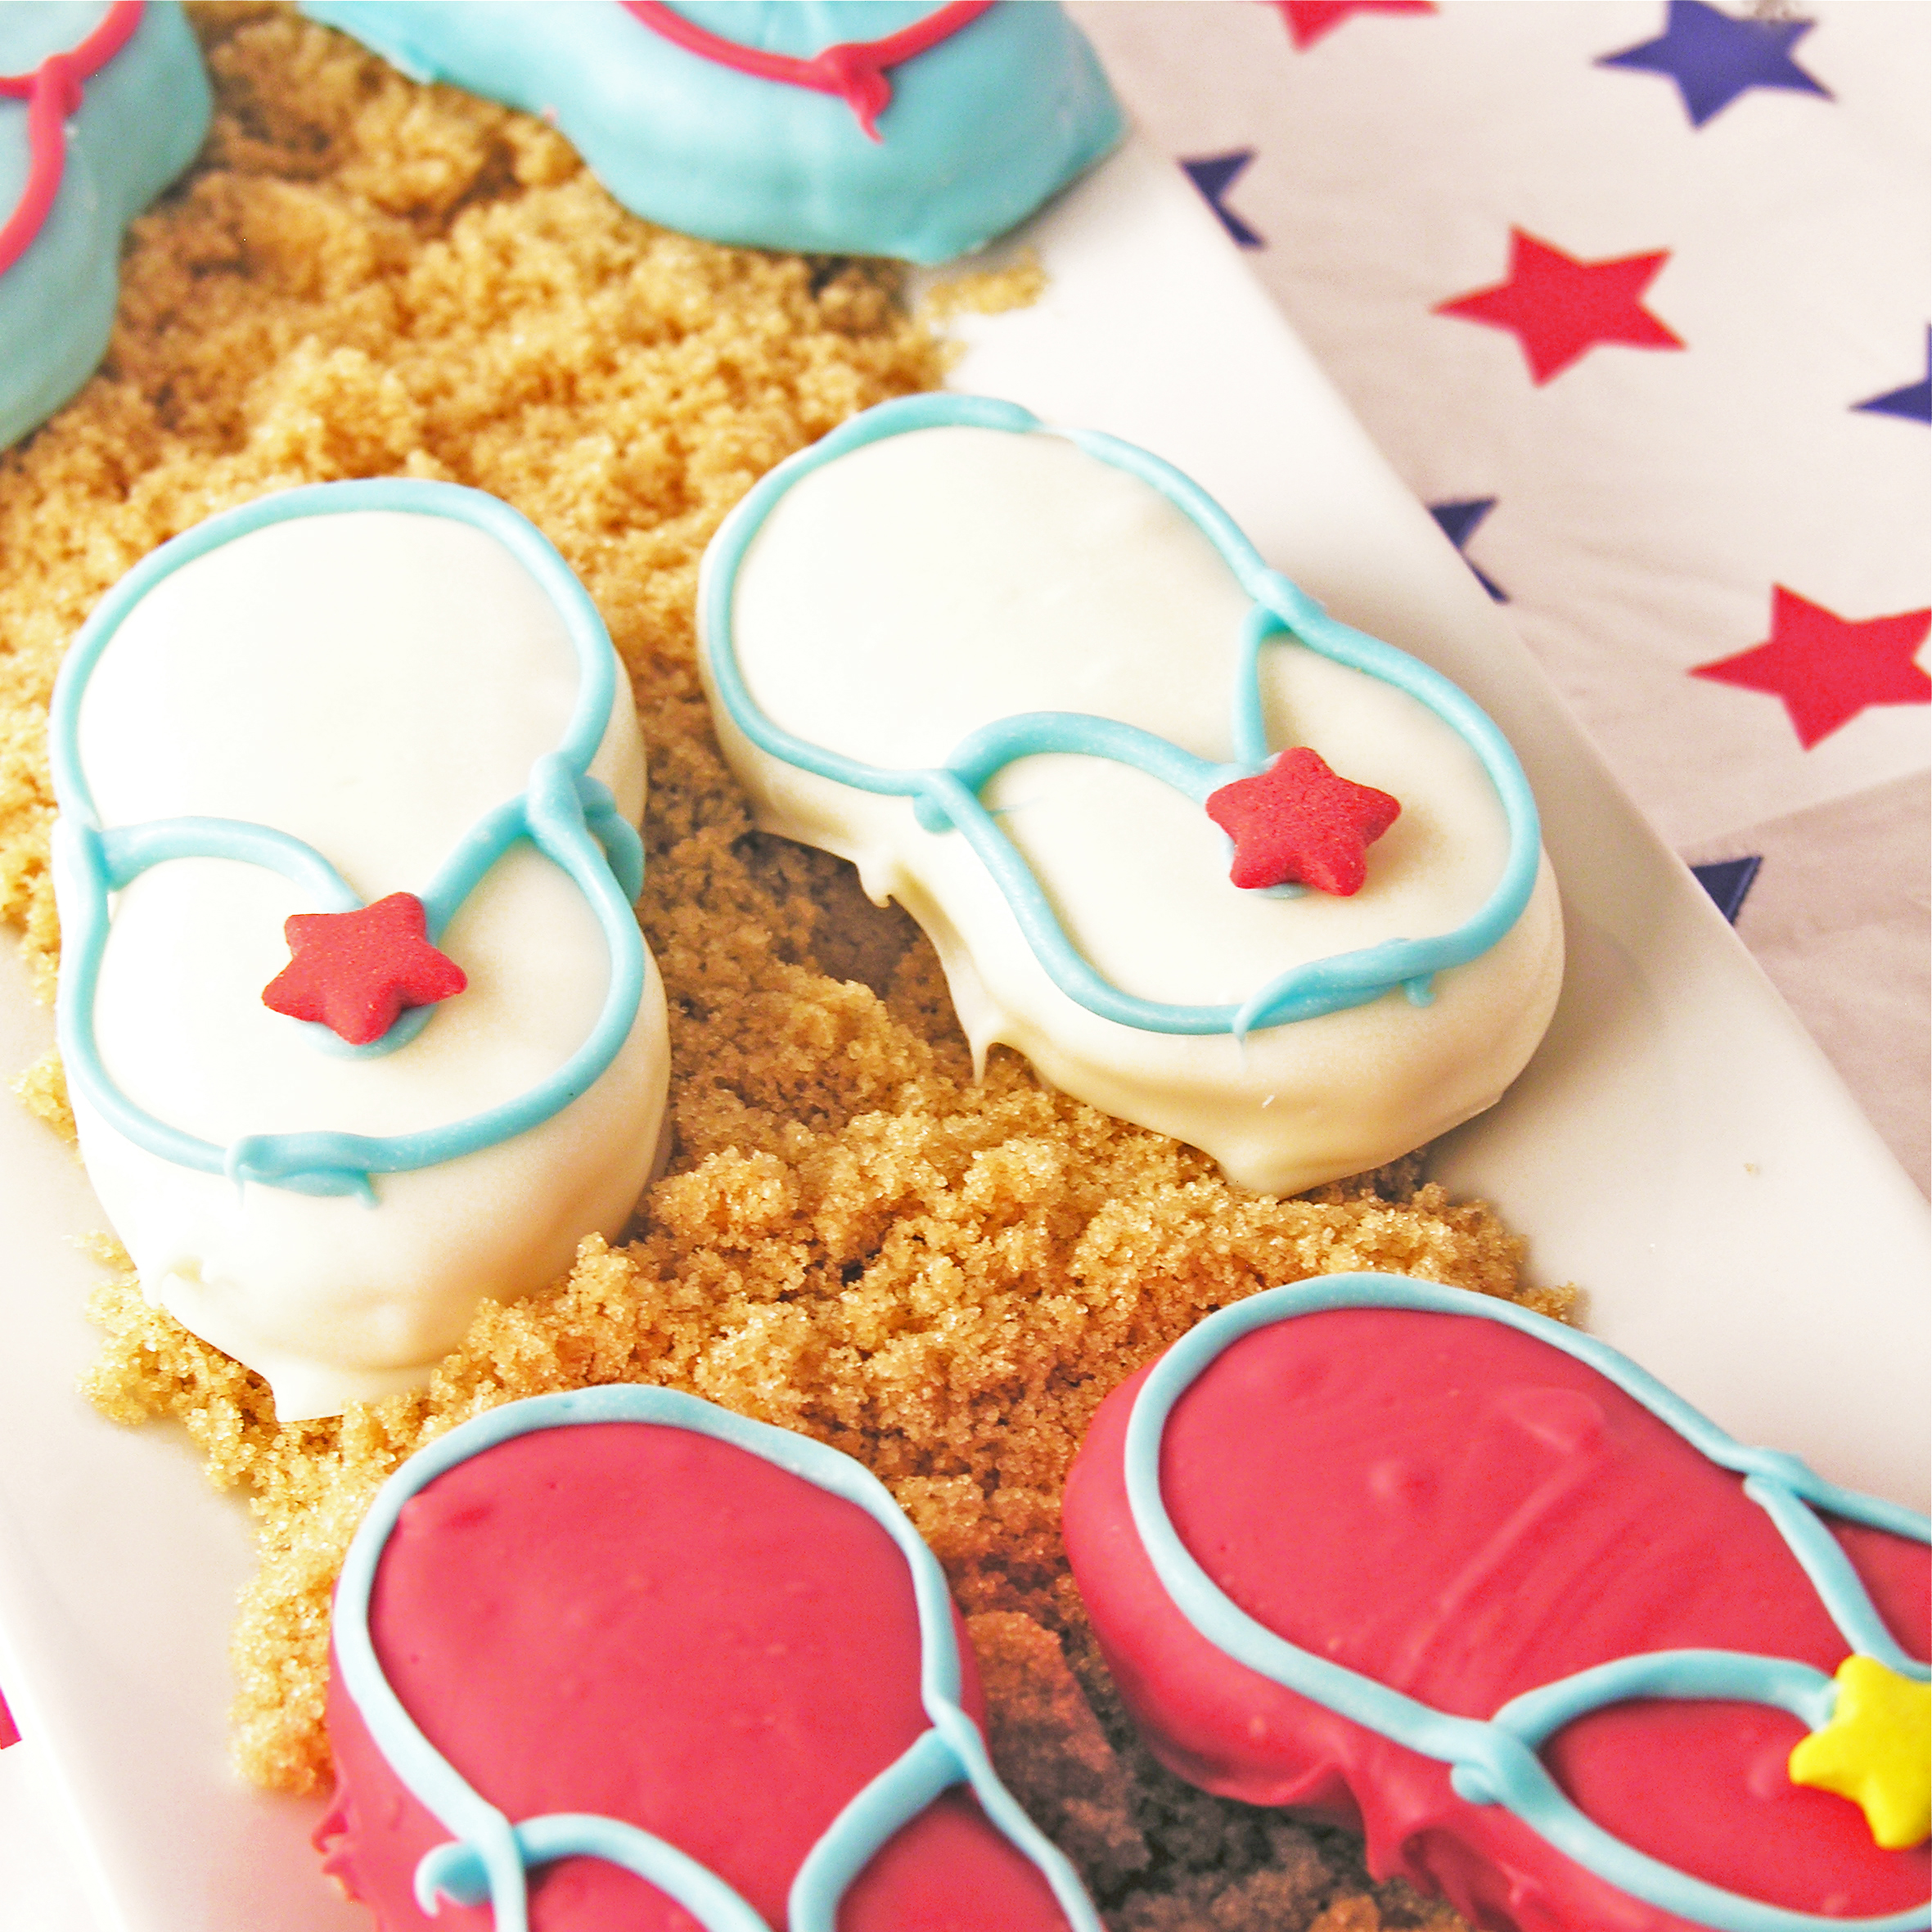
Since I am so late in sharing this… how about some fun back-to-school/ make your kids smile ideas? Just click a photo to see the recipe!