Tag Archives: nilla wafers

A bowl of eyeball cookies!

Posted on

eyeball-cookies

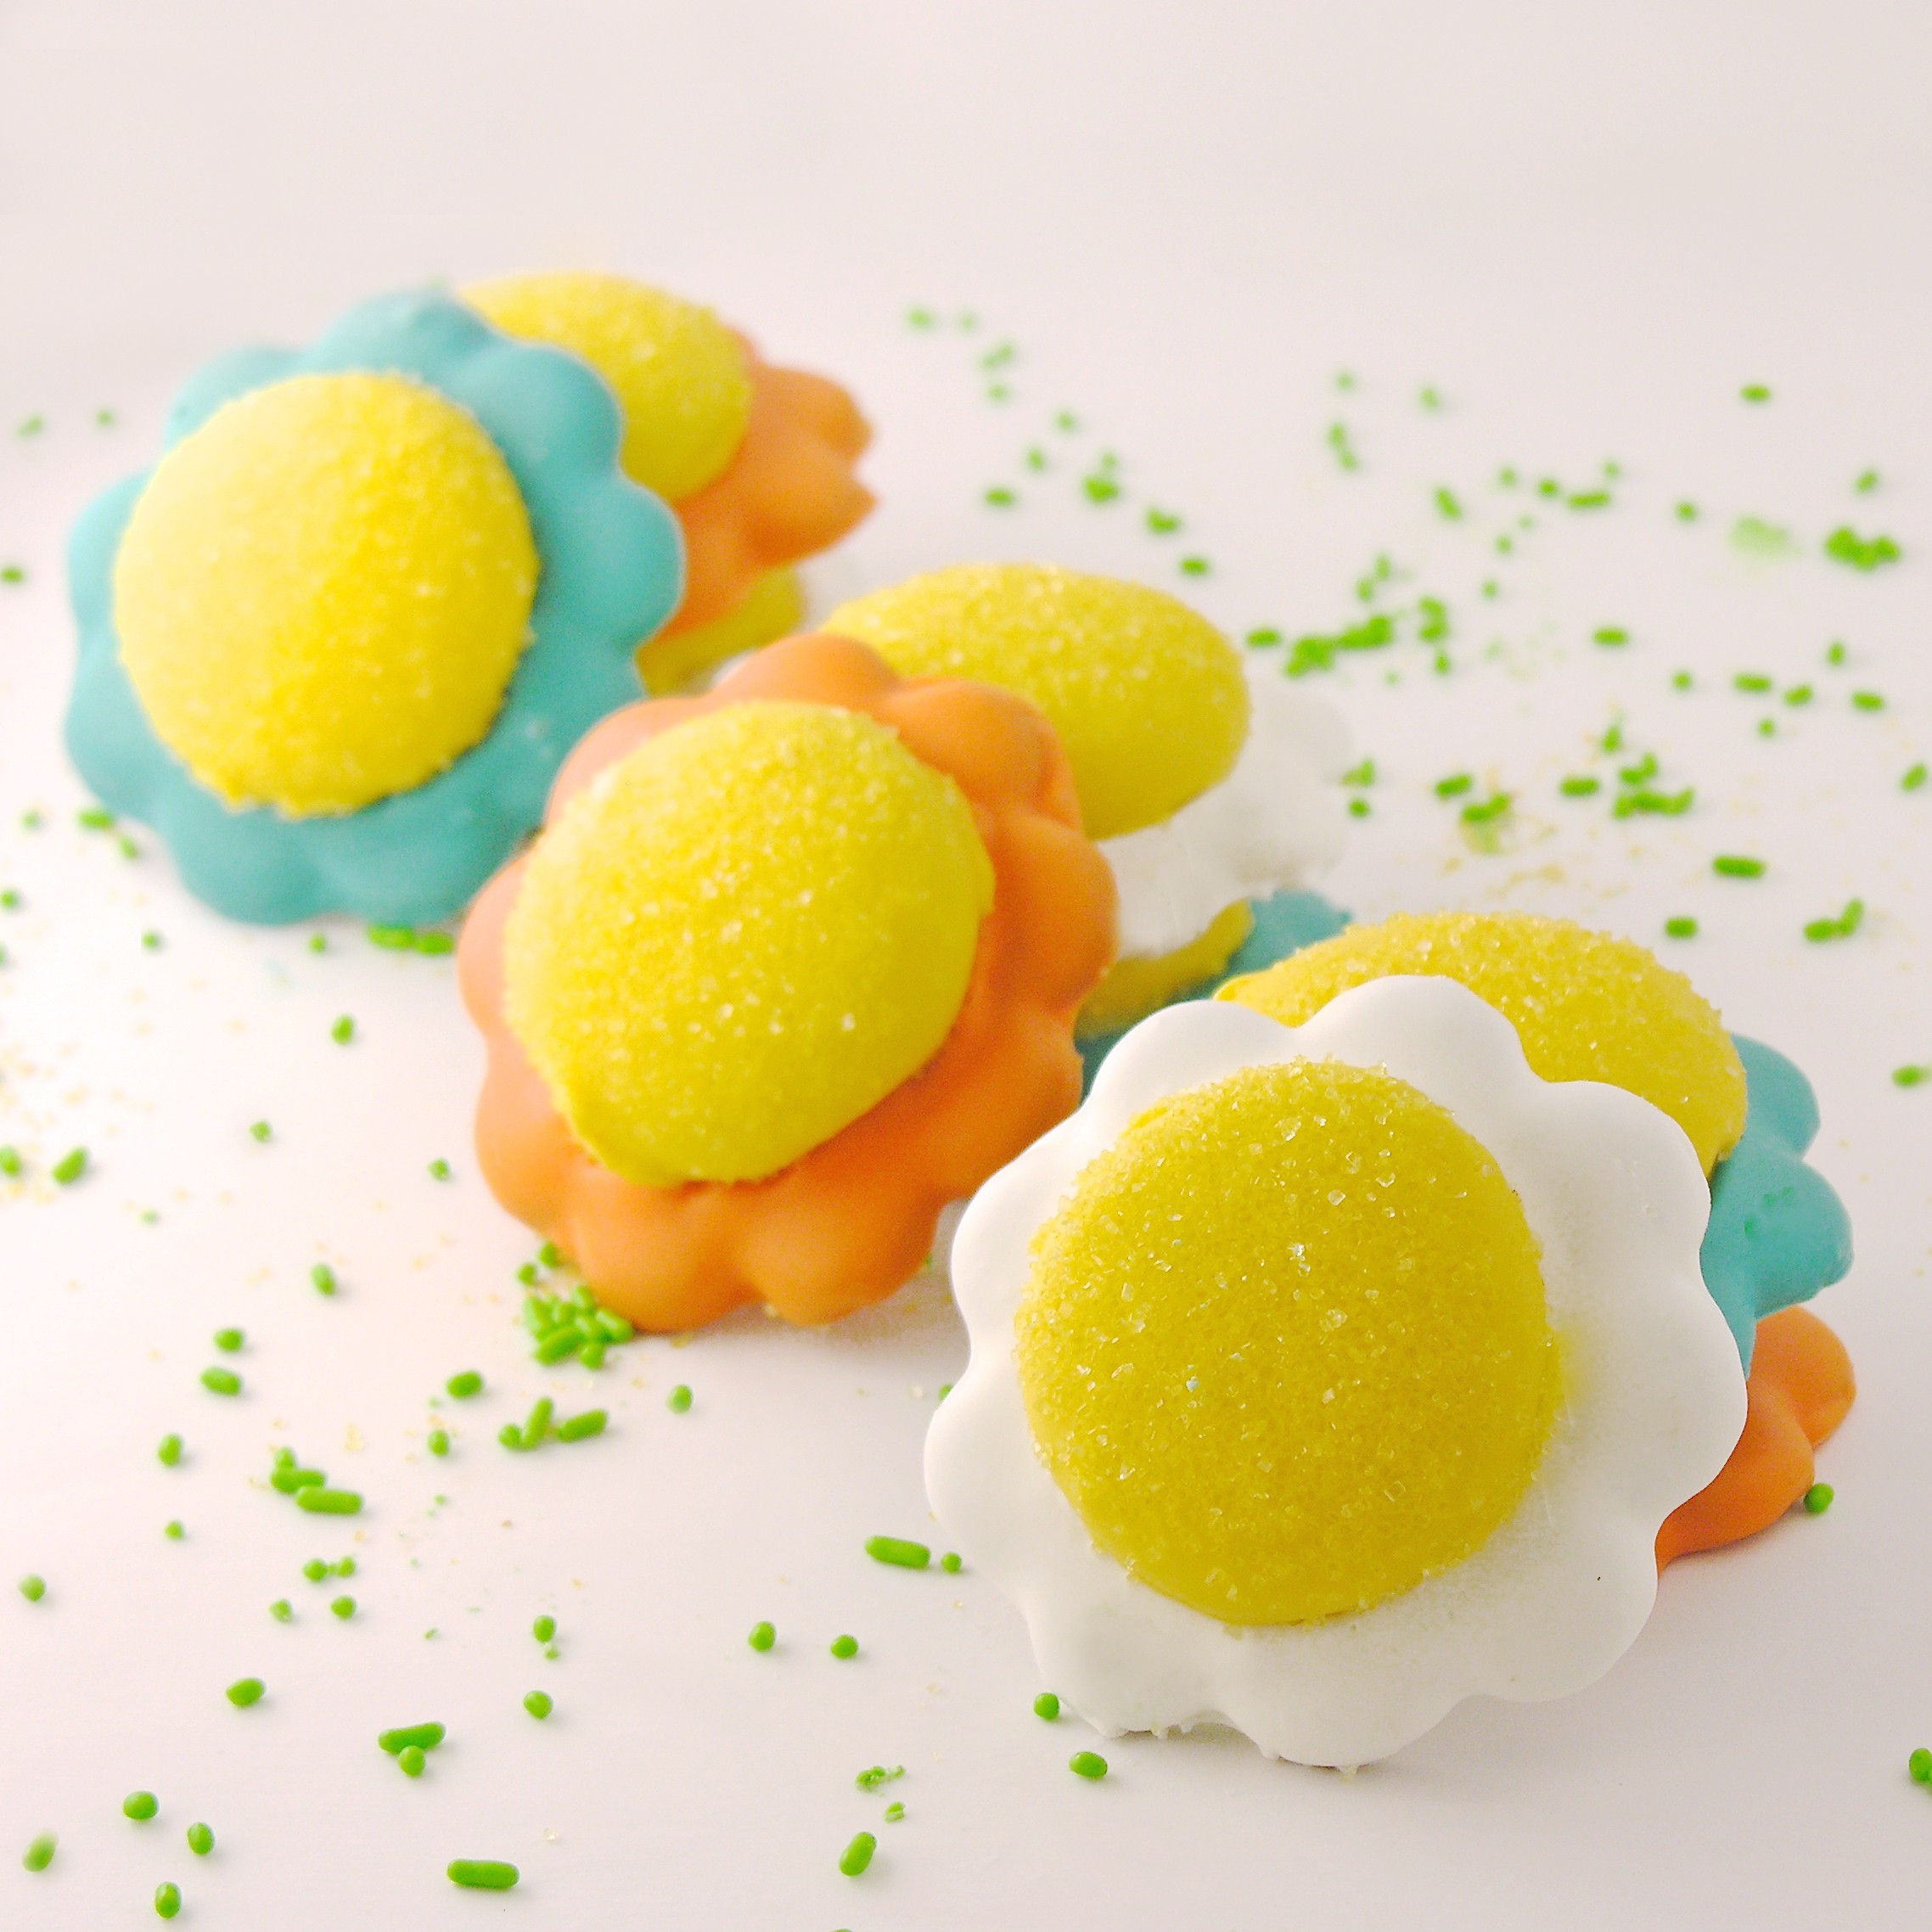
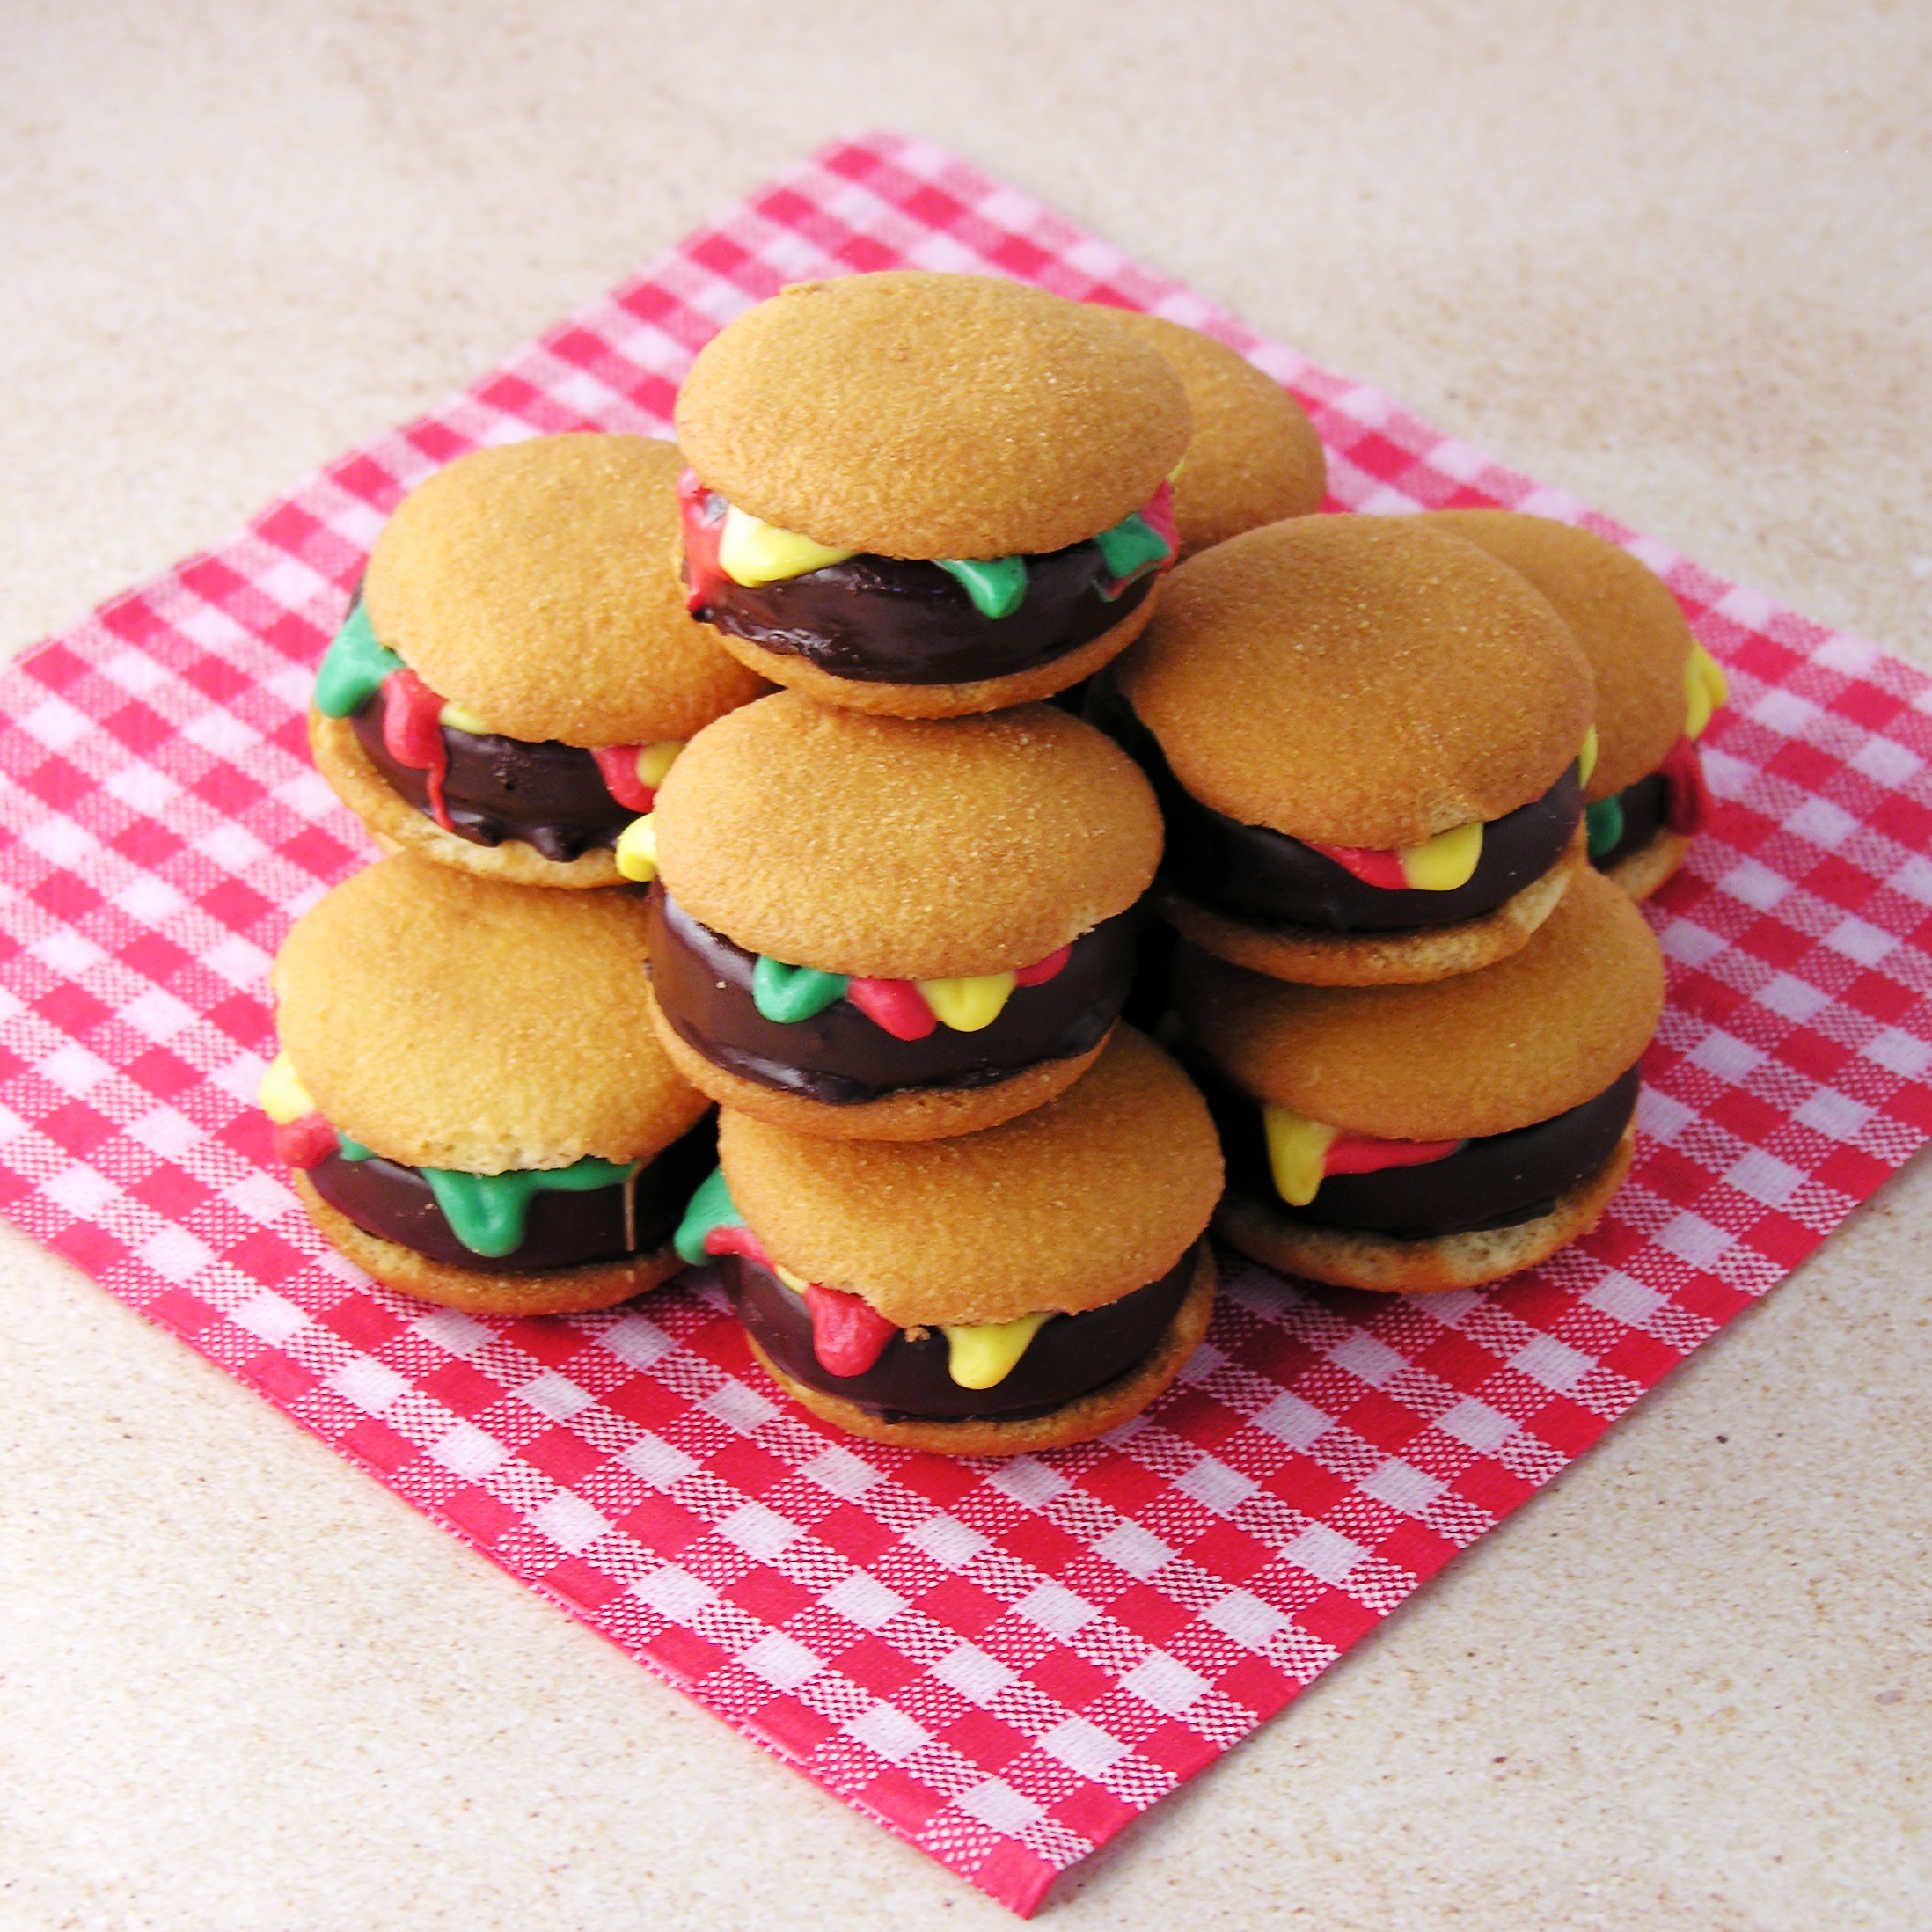
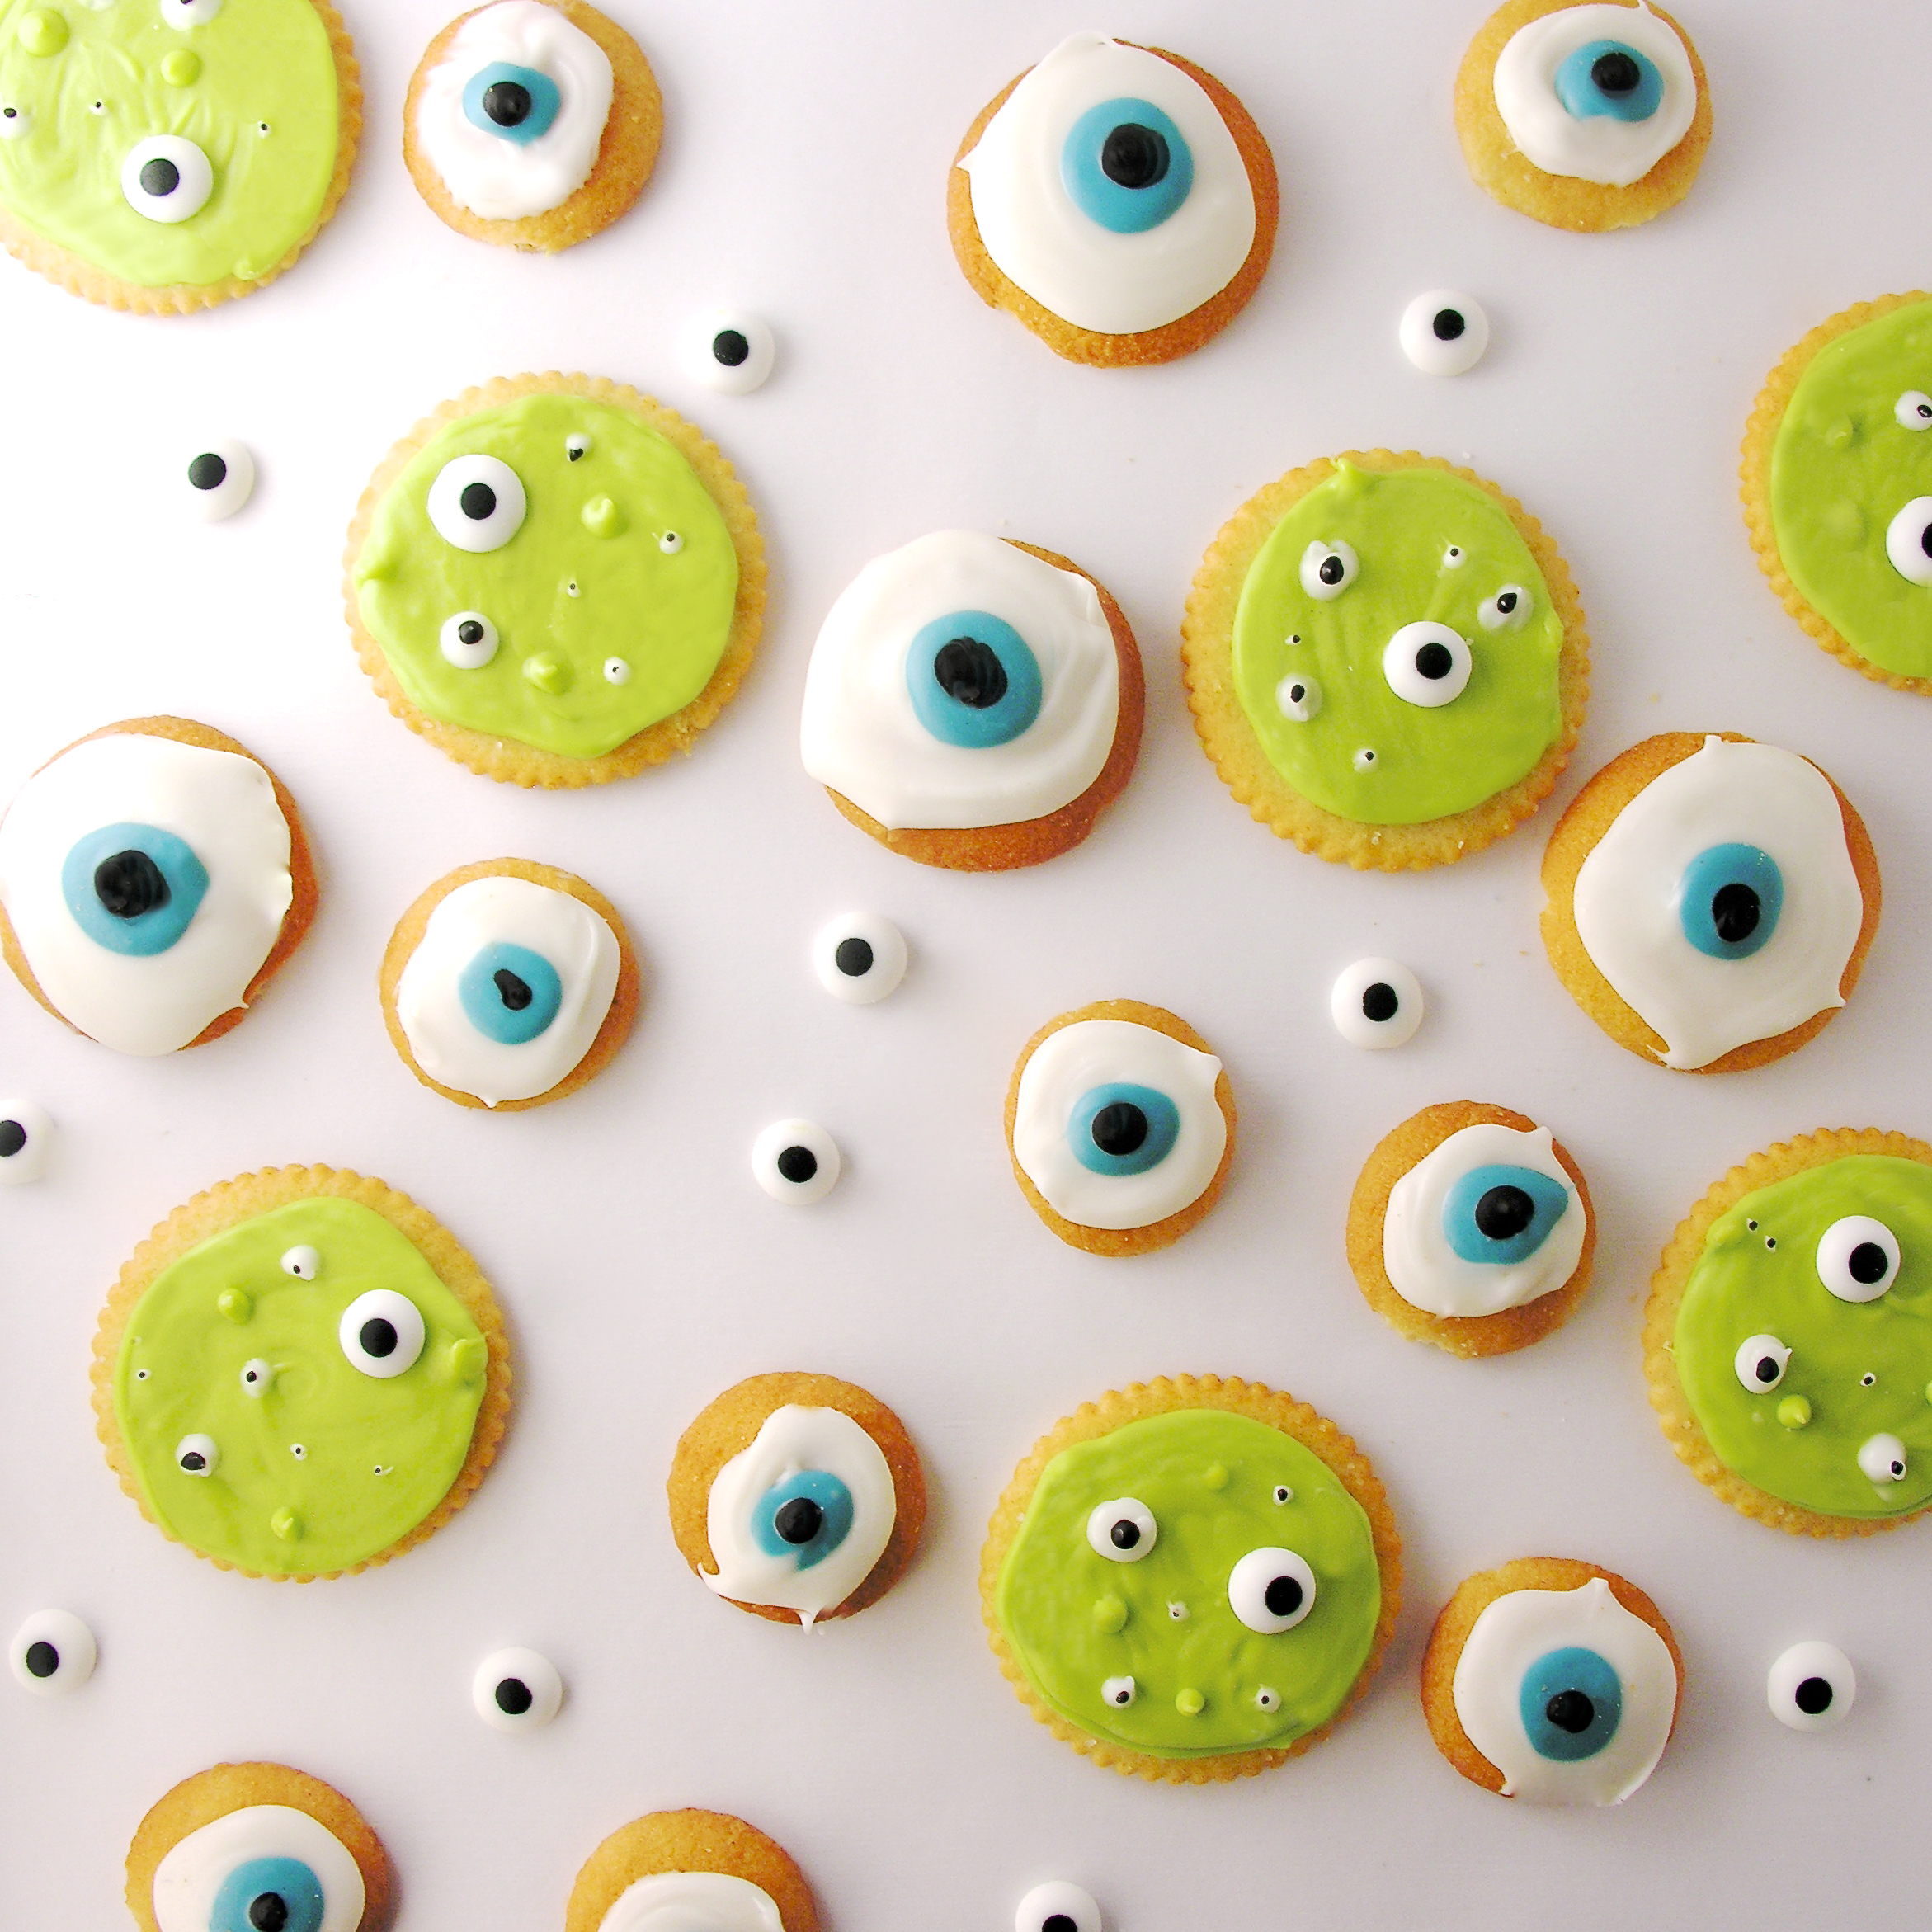
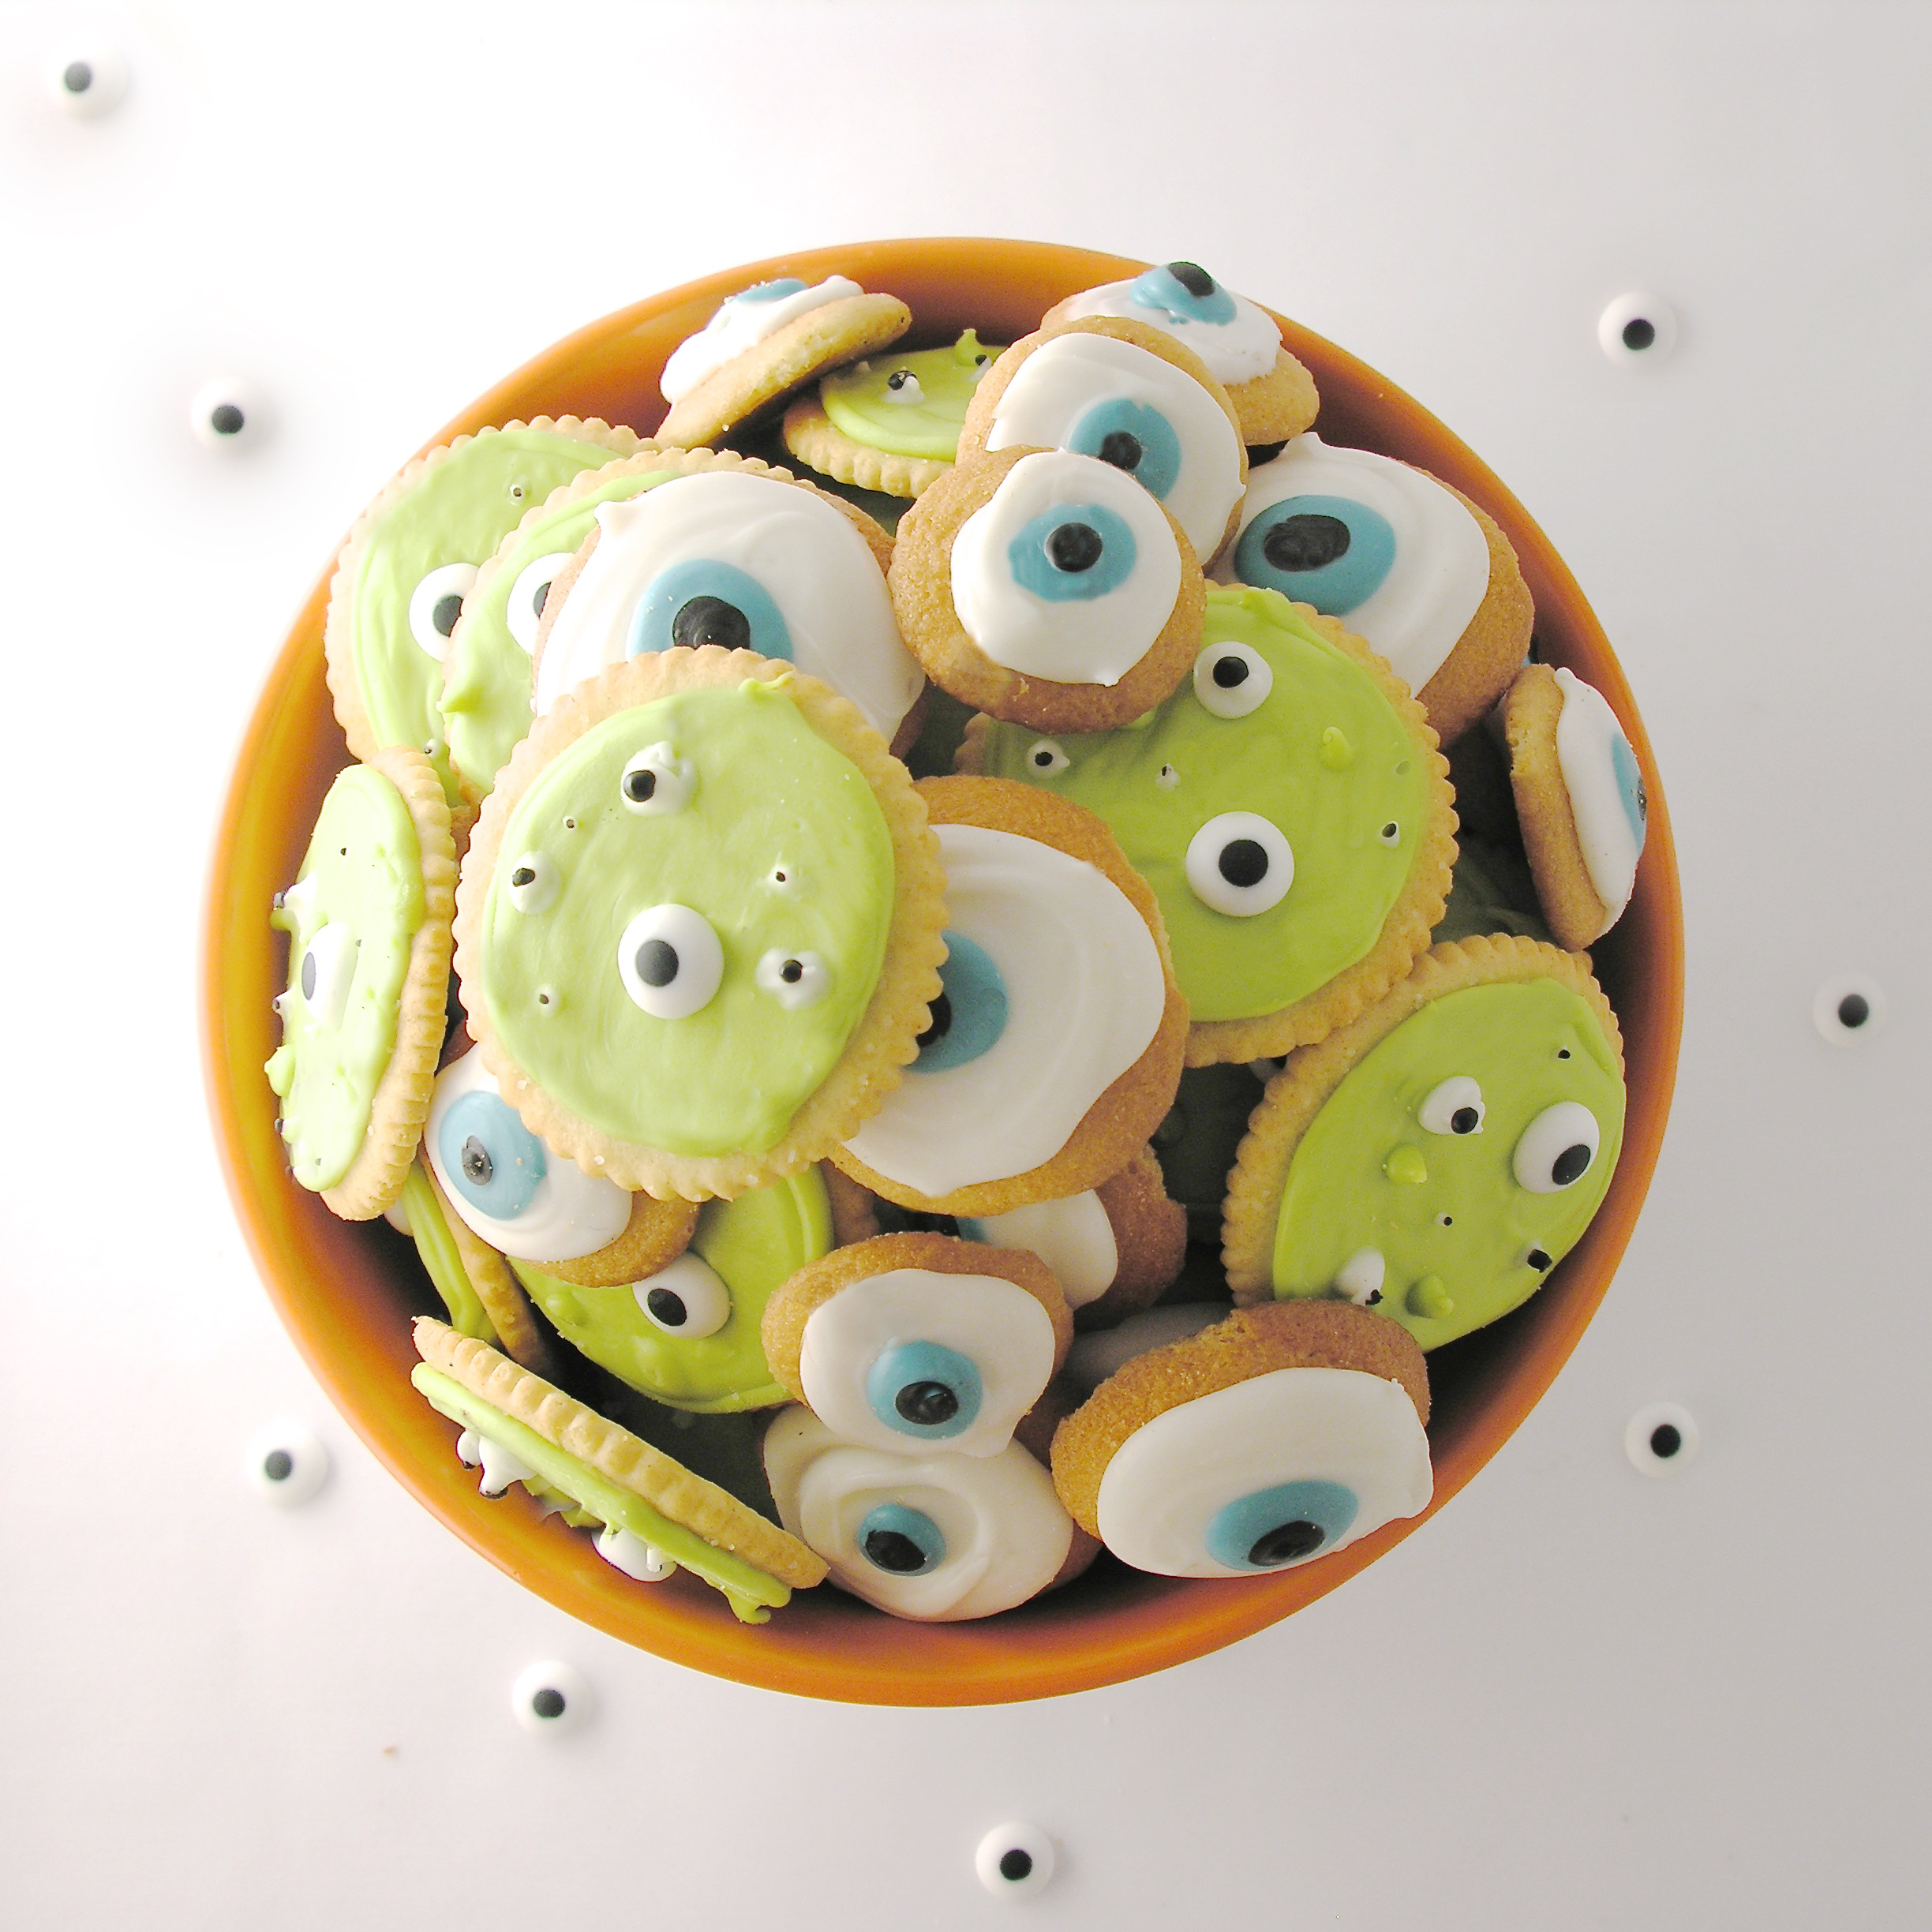
These delicious little cookies are the perfect creepy treat for October!

Ah…these were fun to make and really fun to share! They definitely gave kids a pause. I heard one little girl say, “Mom- I’m a little scared of those cookies because they are looking at me!”

Love it.

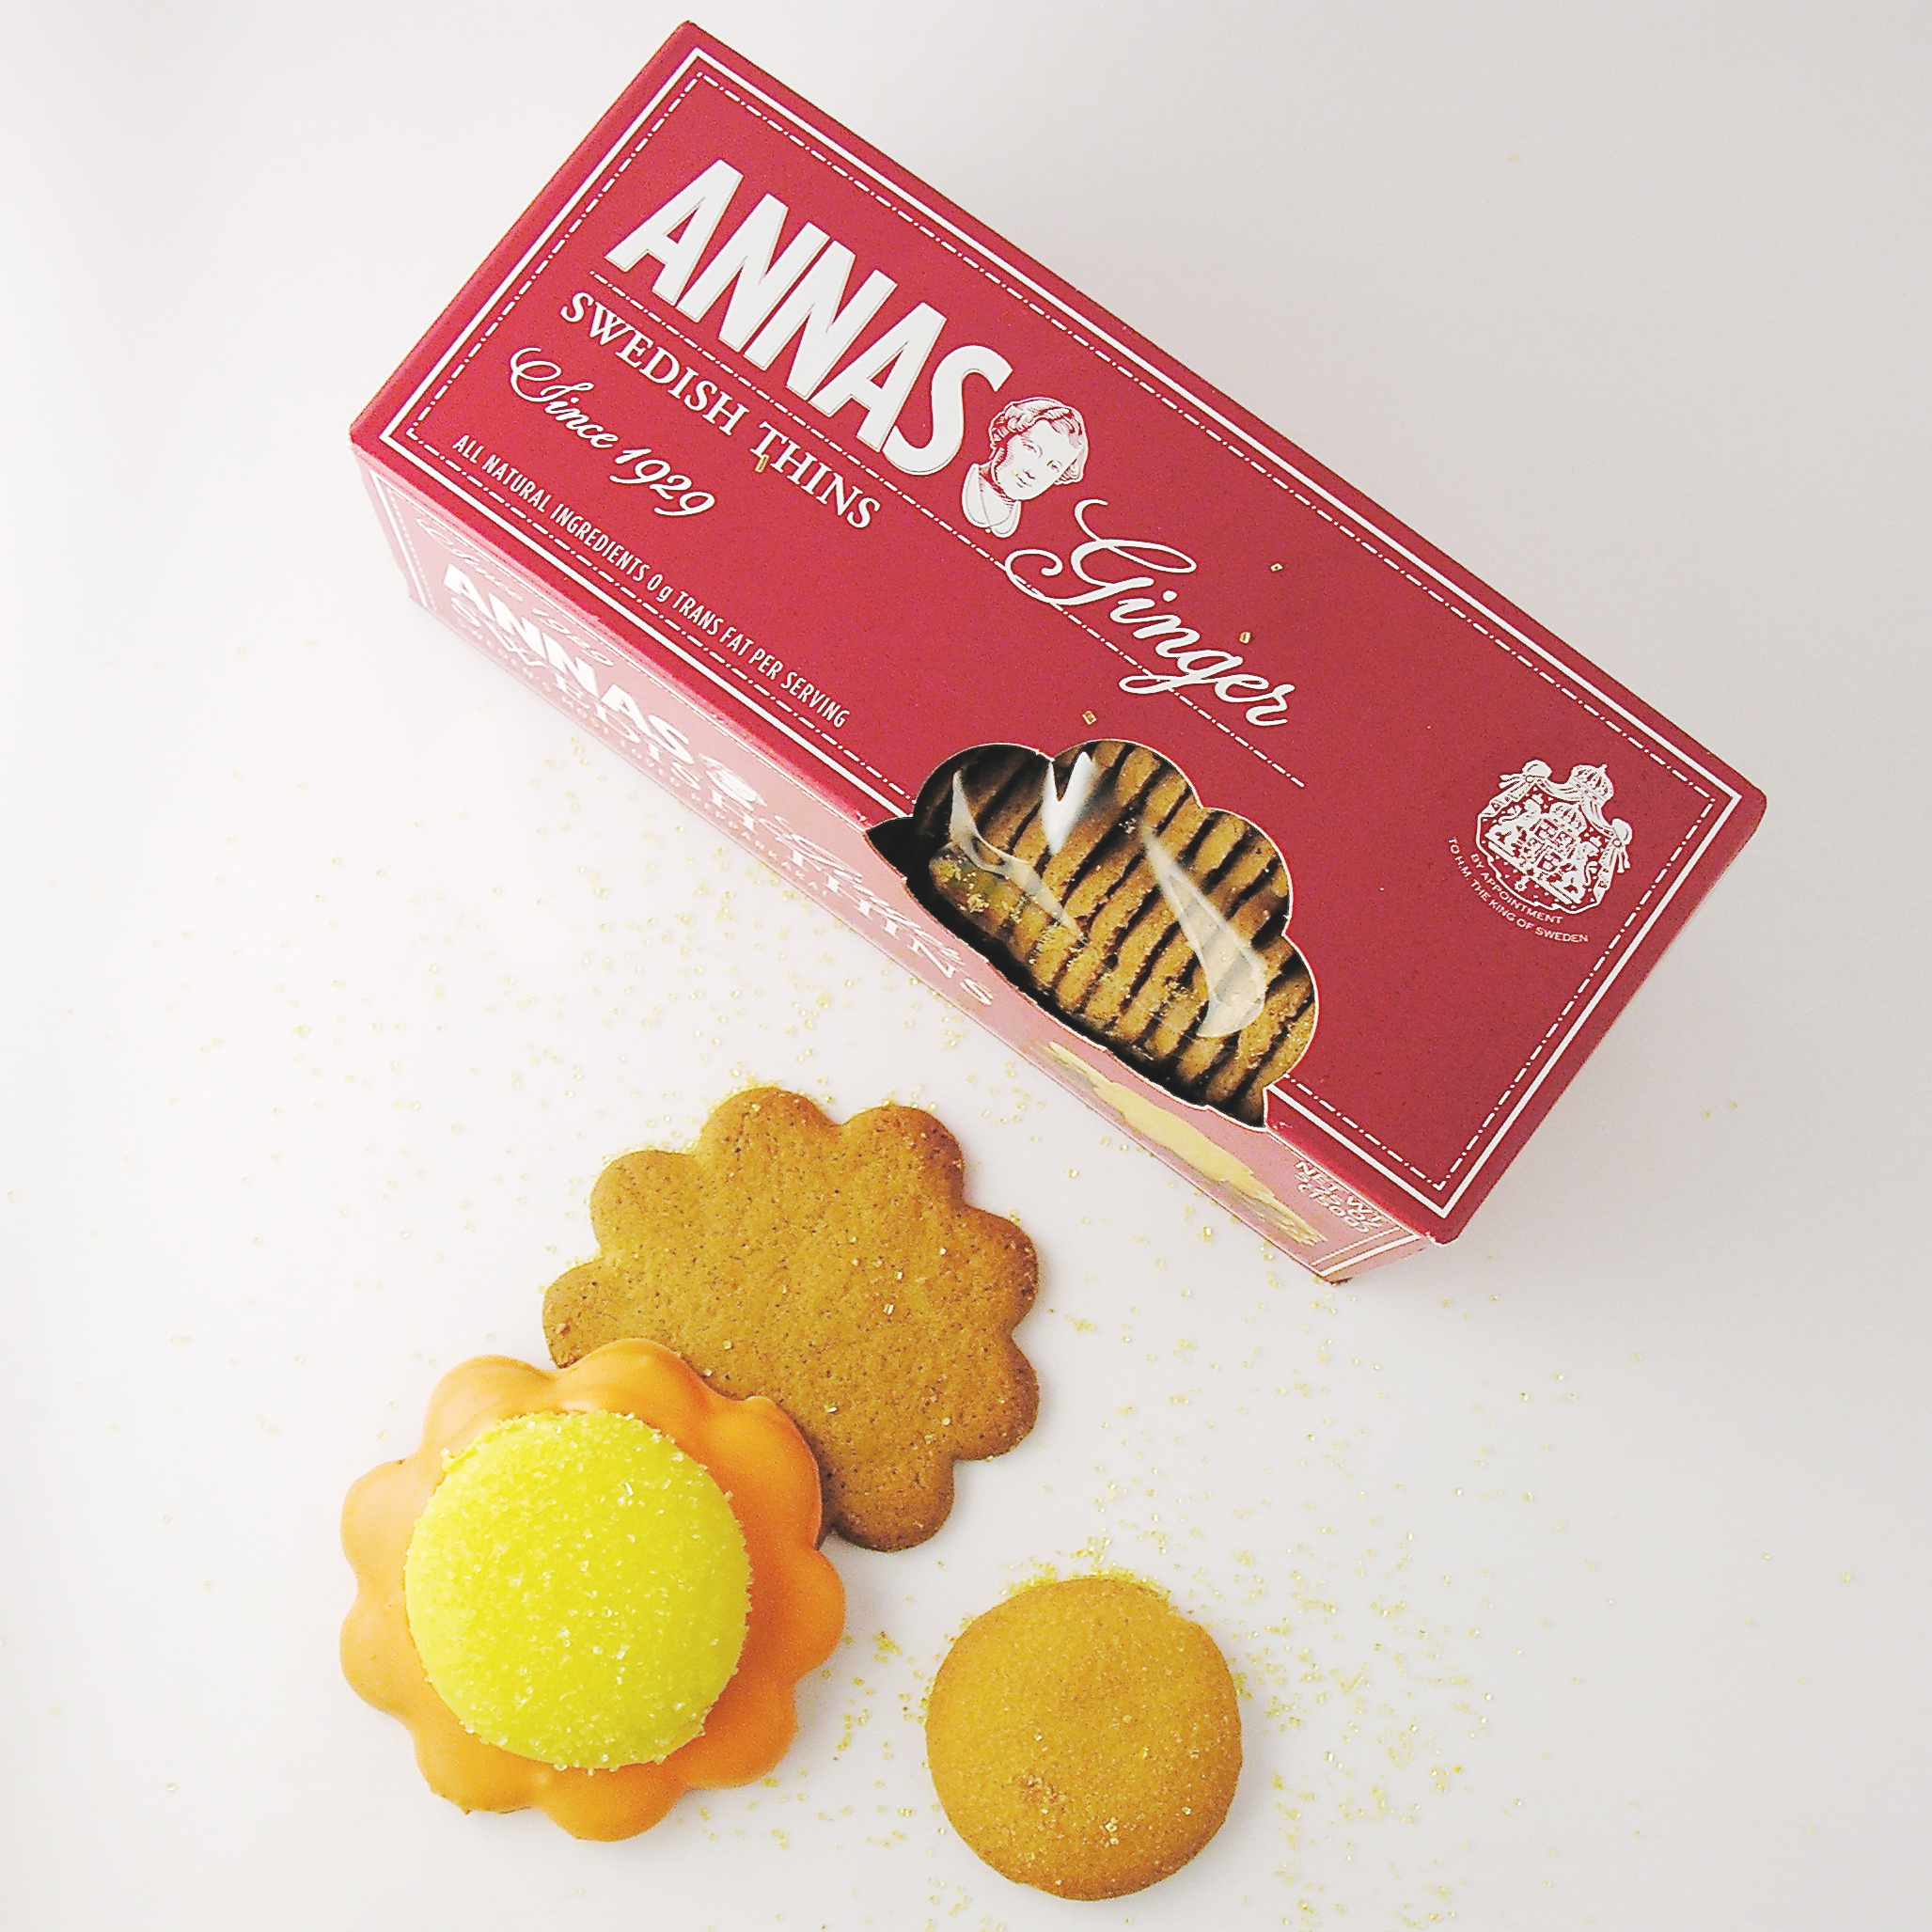
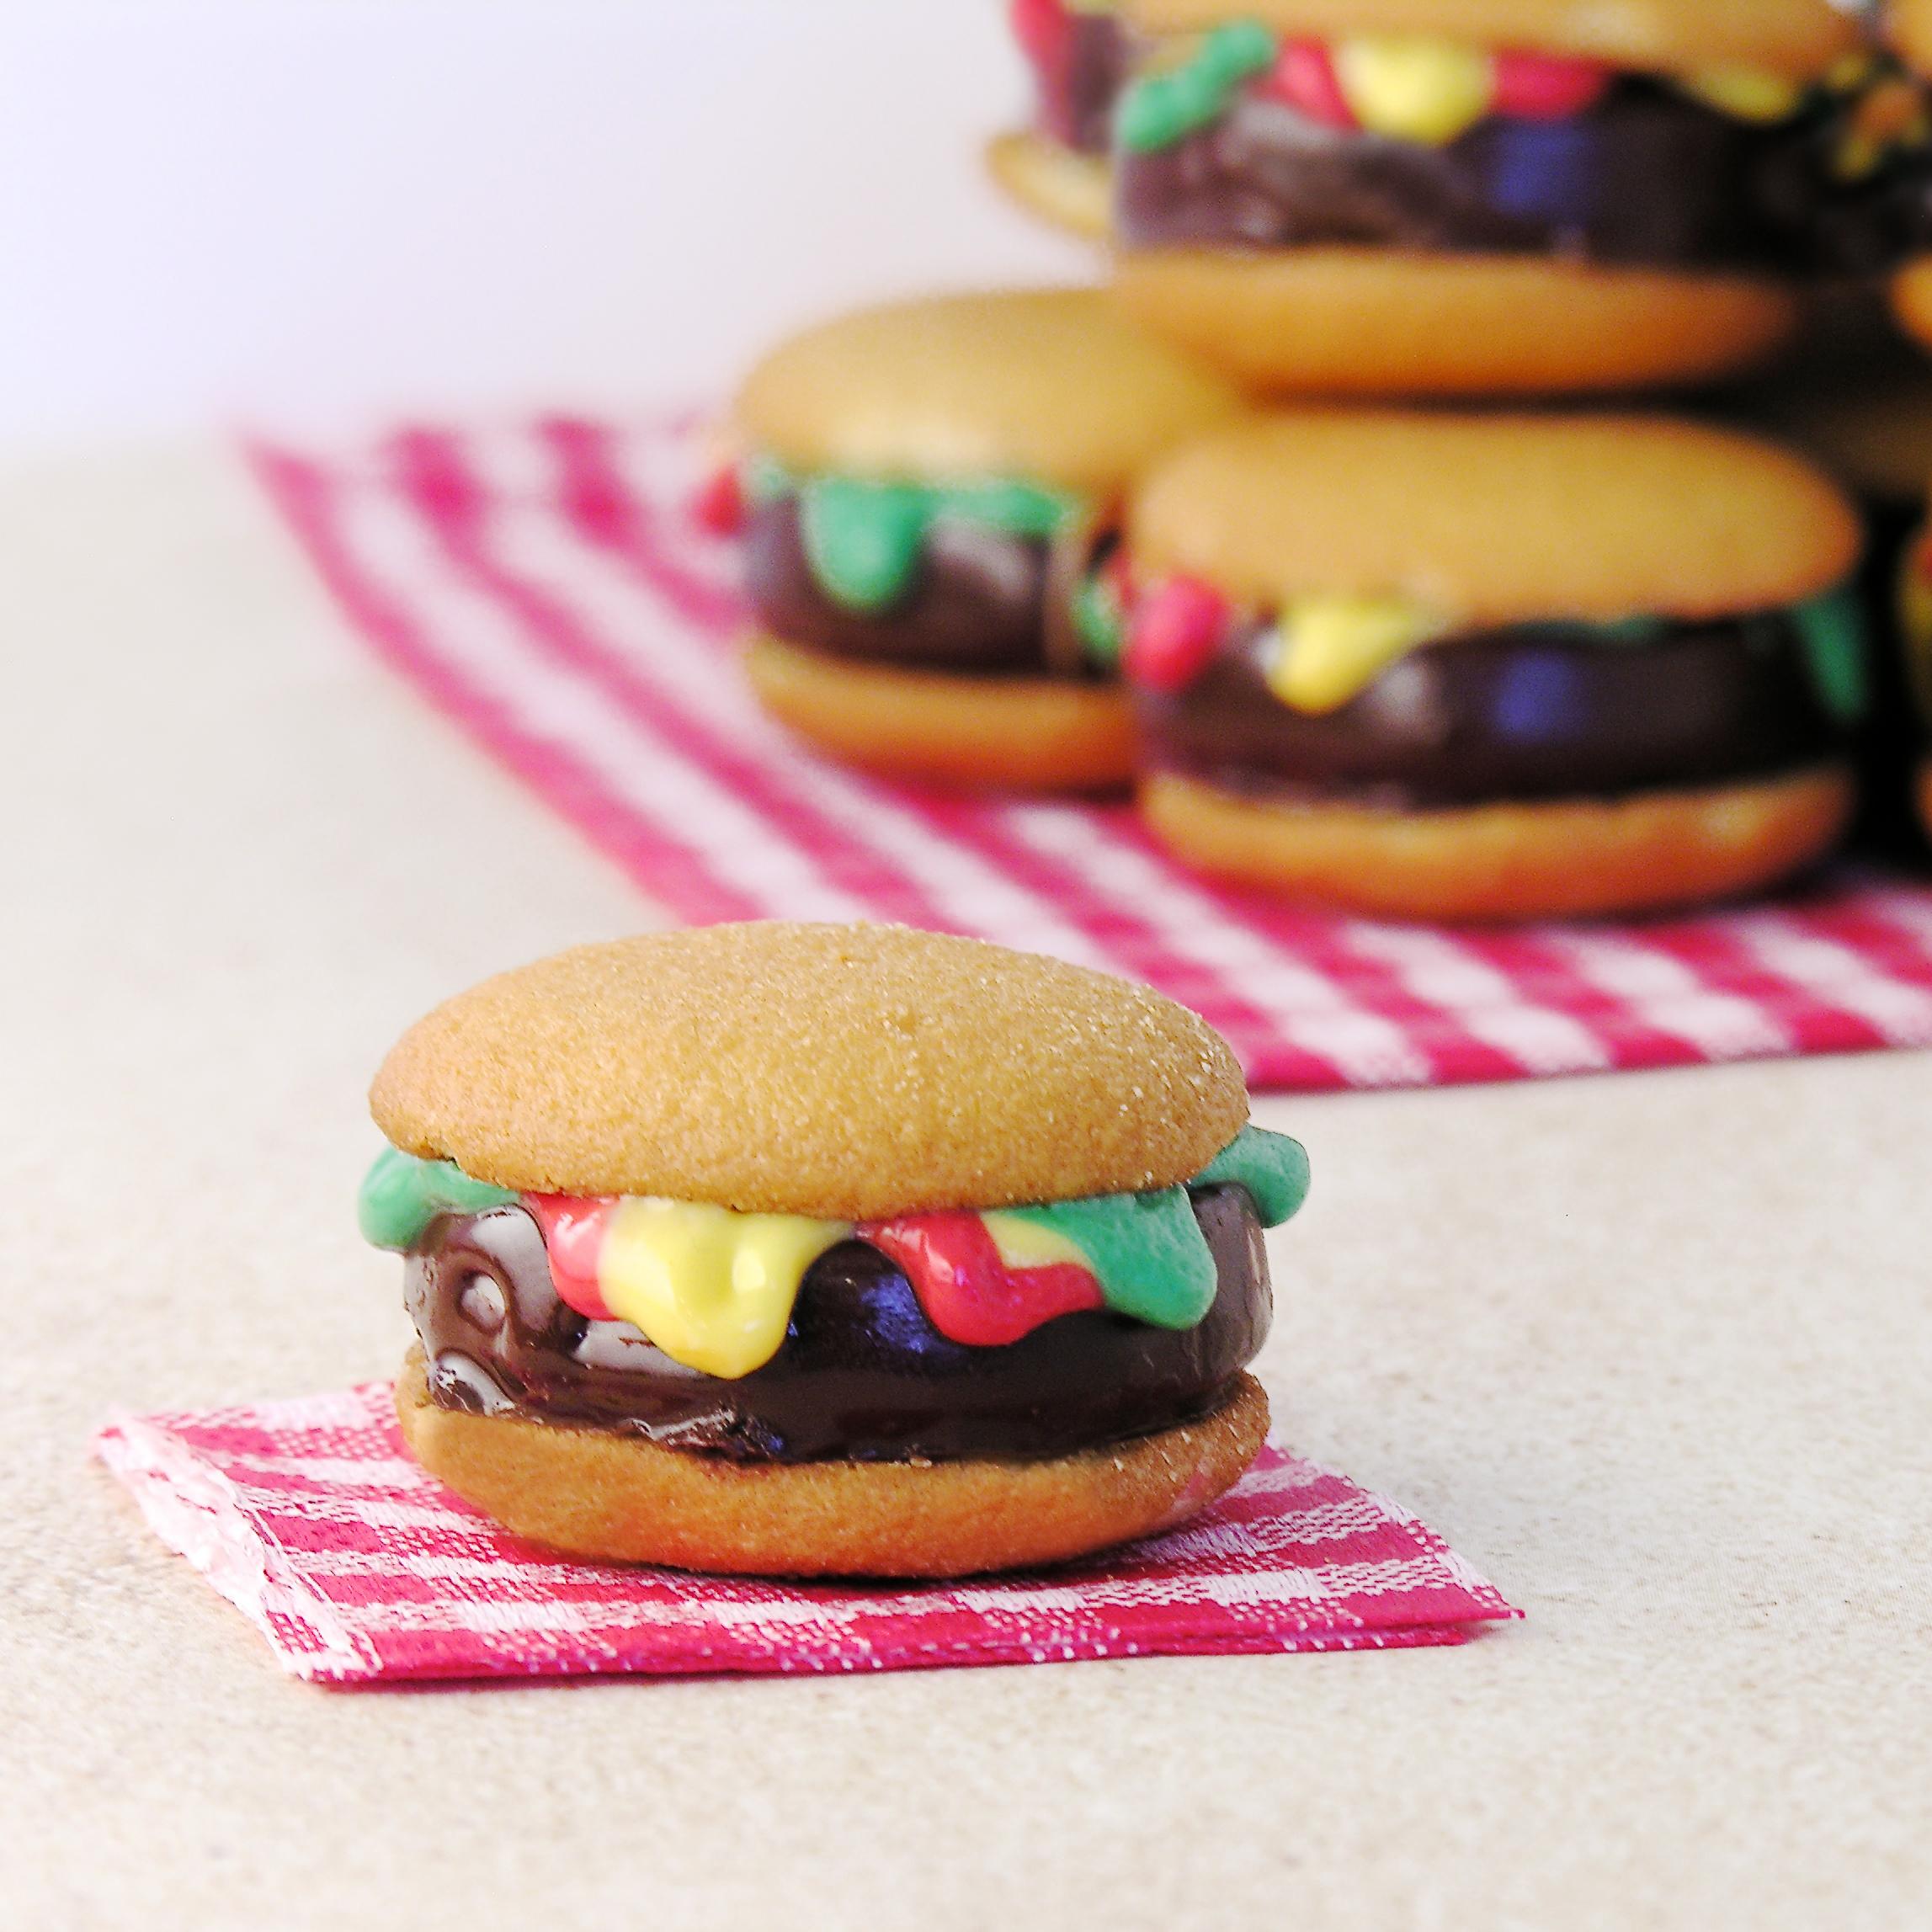
Ok- so these don’t involve baking. You could certainly bake cookies and decorate them this way- but if you are like me and you needed a recipe at 10pm the night before- Nilla Wafers and Ritz crackers will do just fine (and taste GREAT!)

Here is how we put them together (and there is no printable recipe- because there isn’t really a recipe for these- just a technique!)

eyeball cookies

INGREDIENTS:

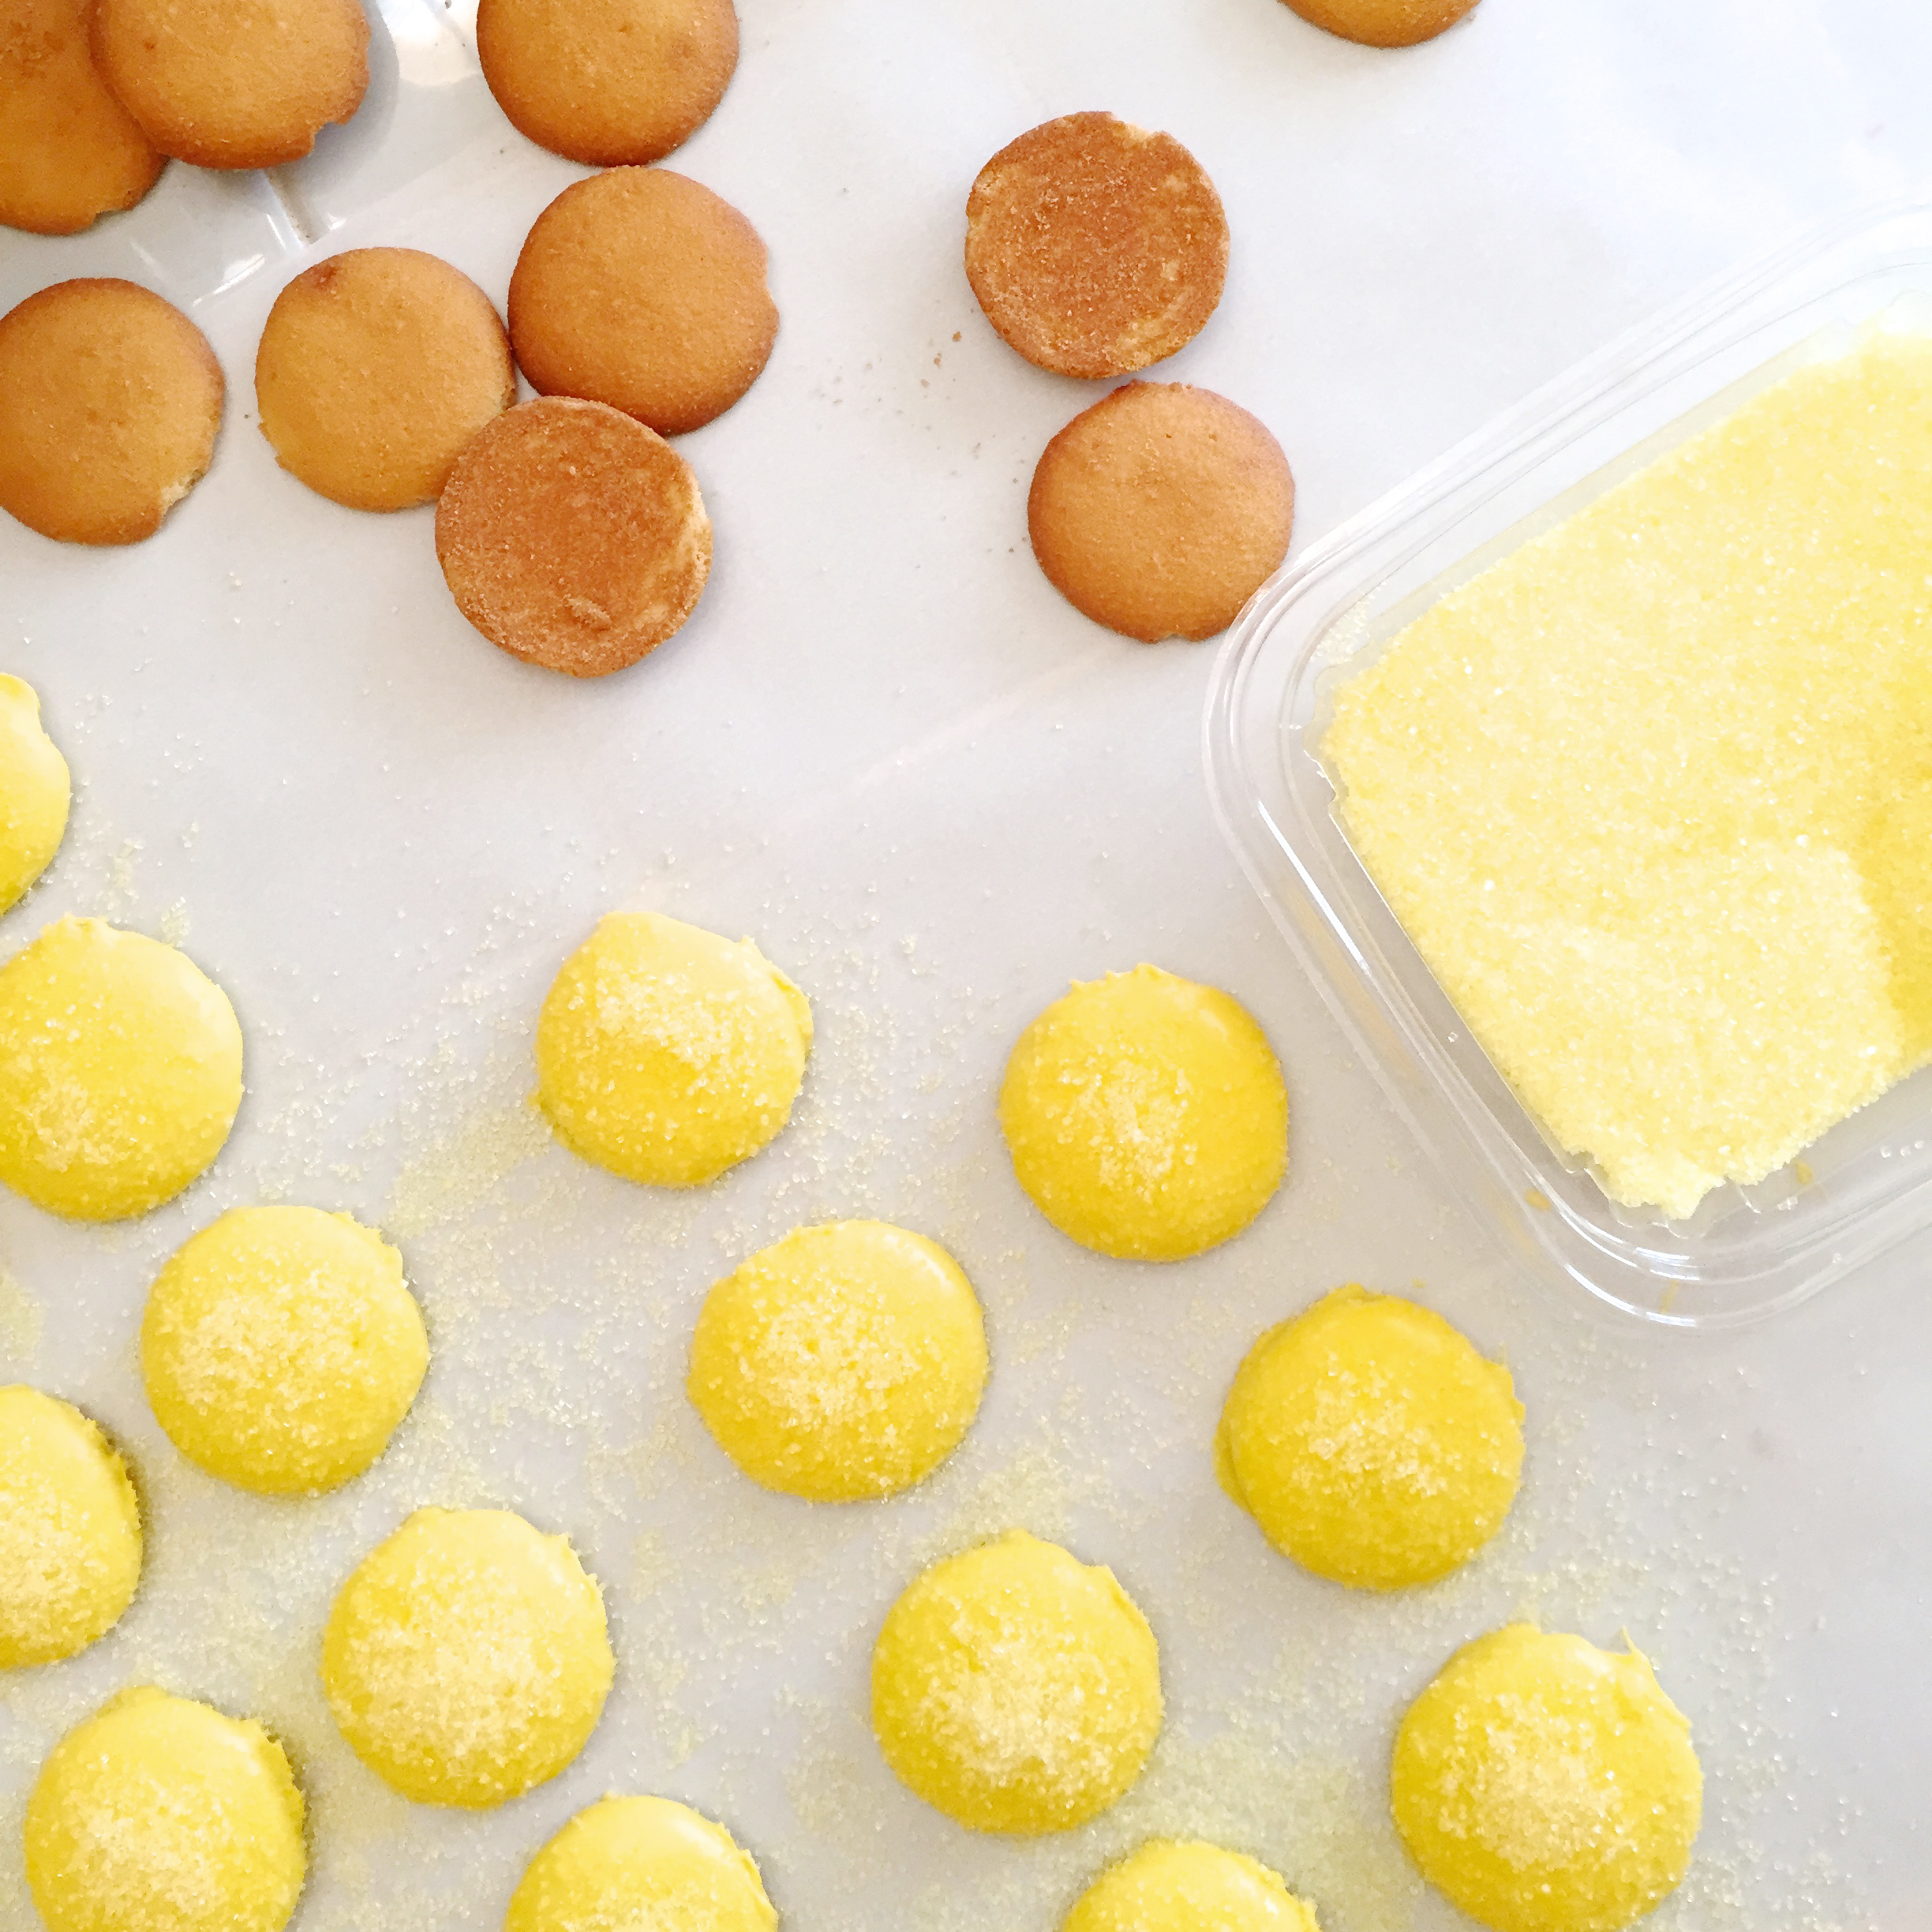
  • Nilla Wafers (and some mini-Nilla wafers, if you’ve got them!)
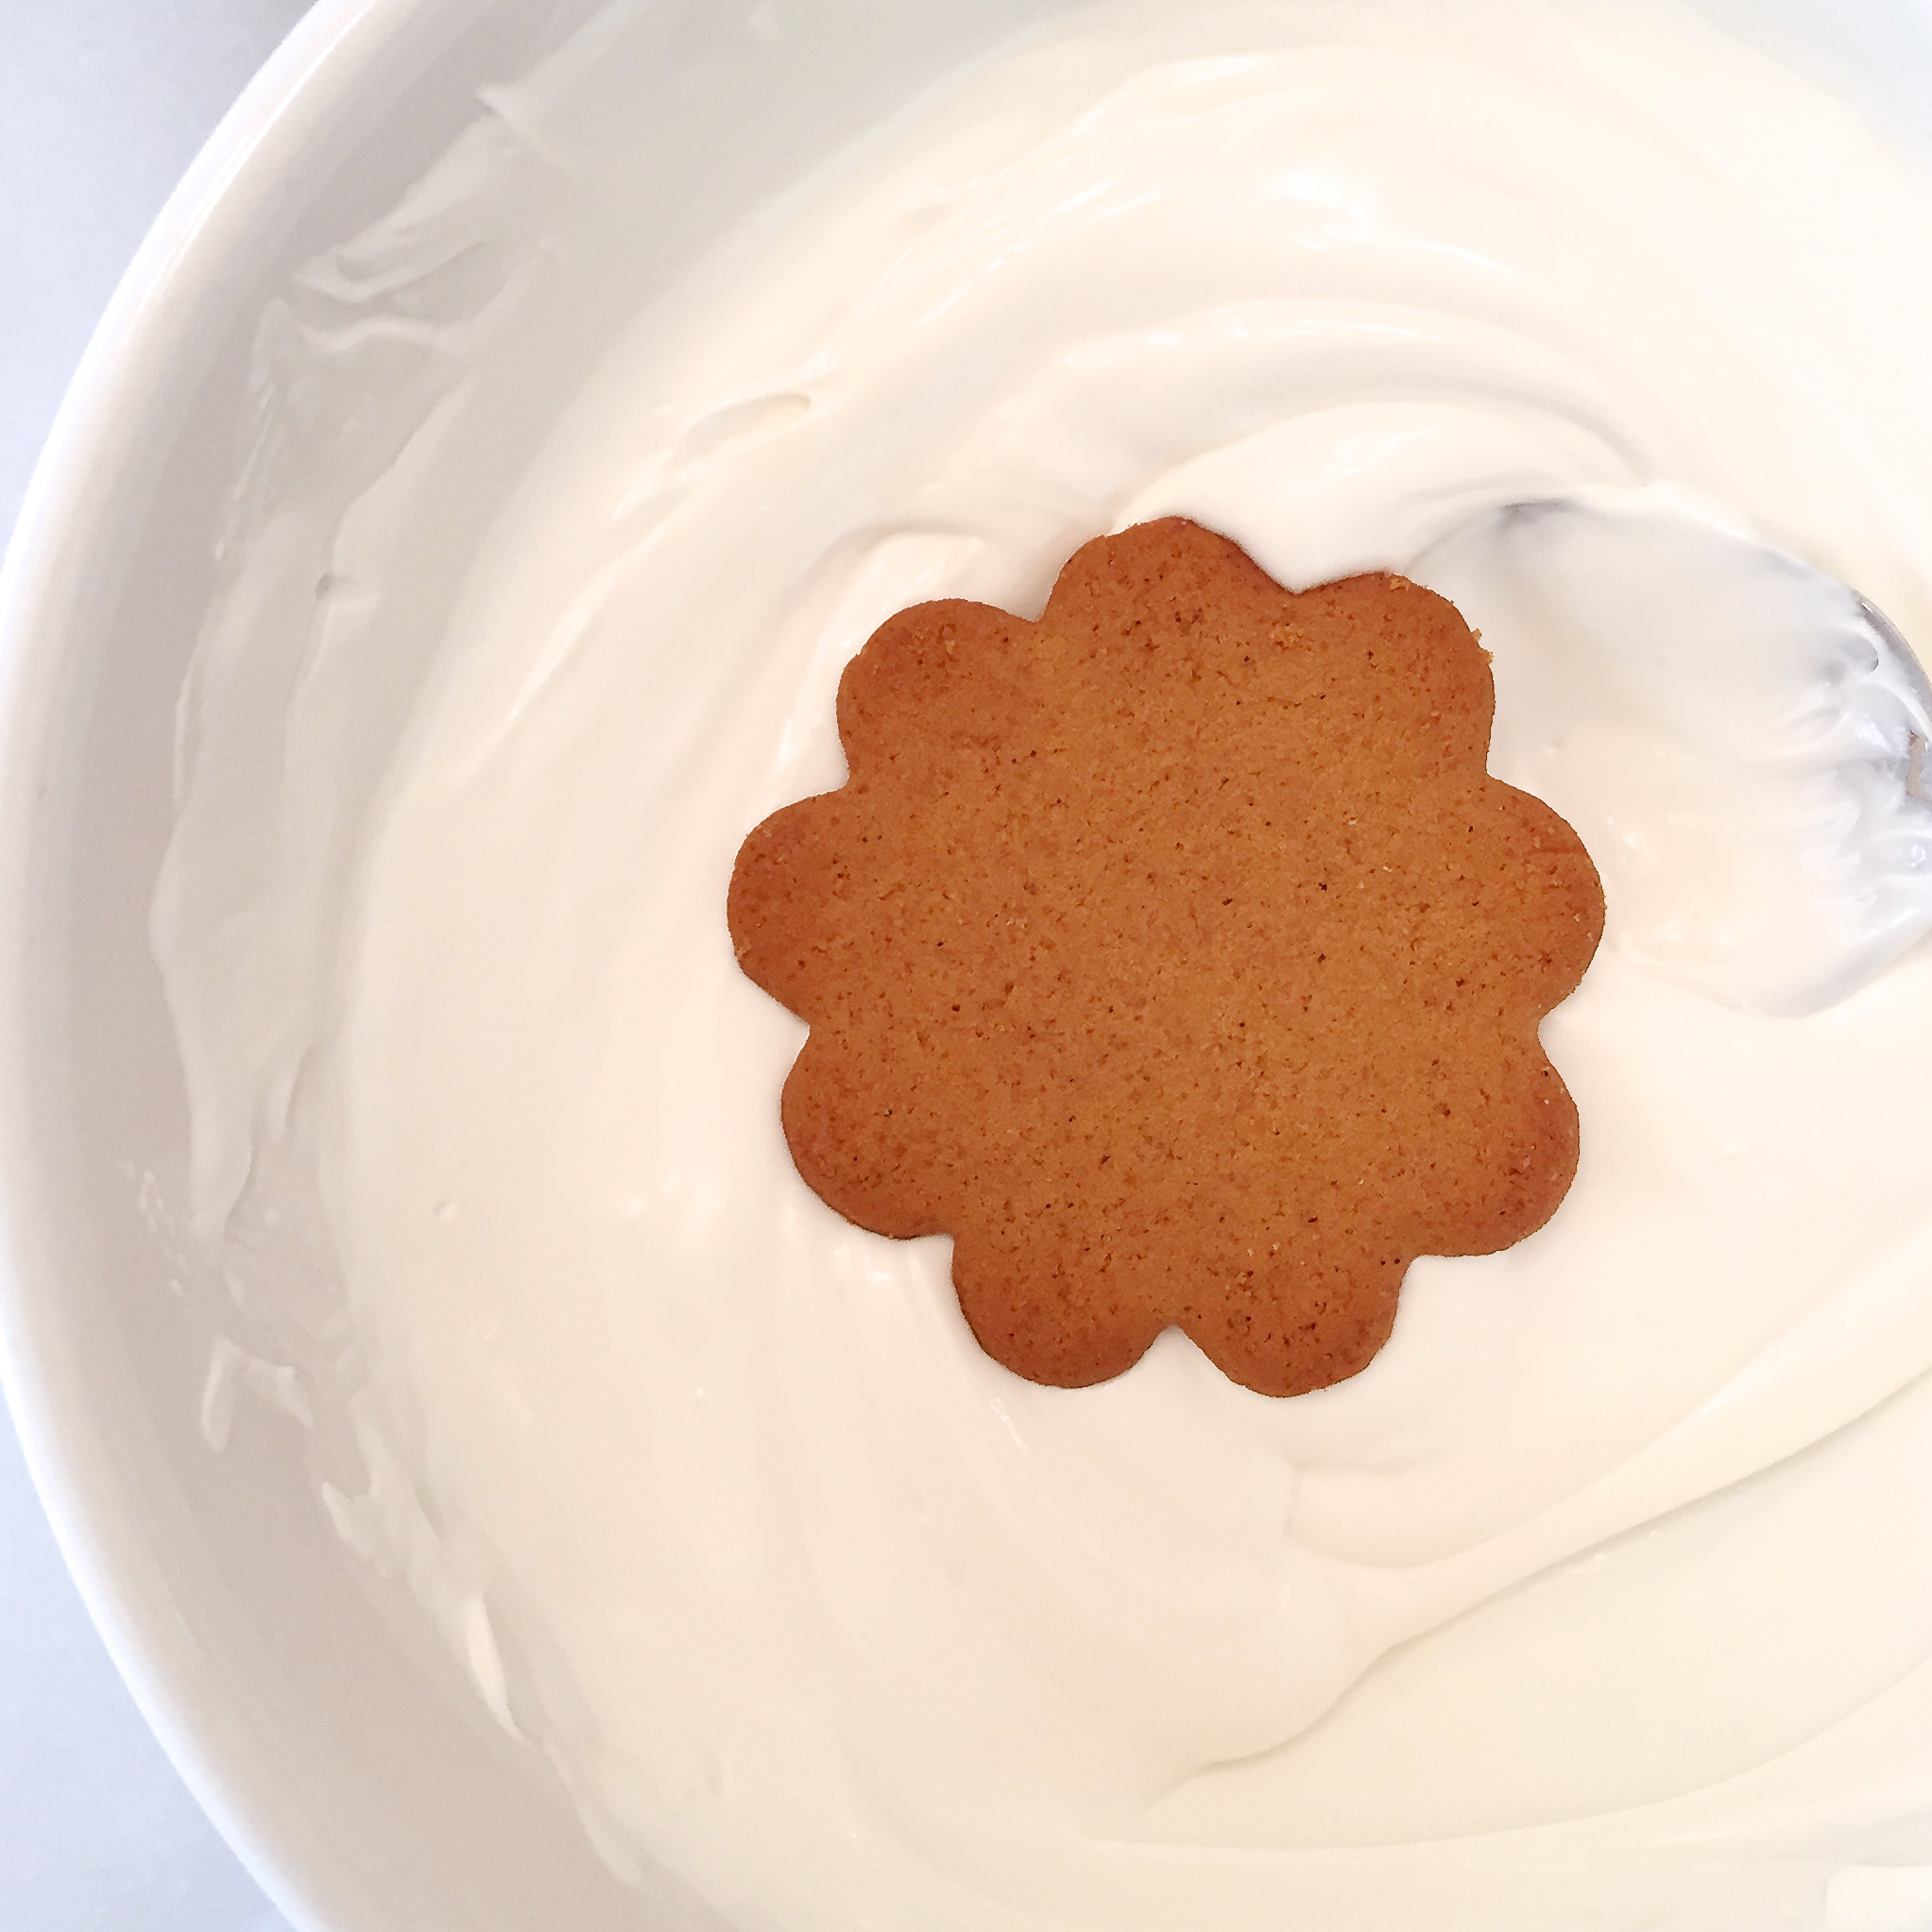
  • Ritz crackers
  • Wilton Candy melts in green, blue, white and black
  • Candy eyes (although these aren’t technically necessary, since you have the white and black candy melts).

DIRECTIONS:

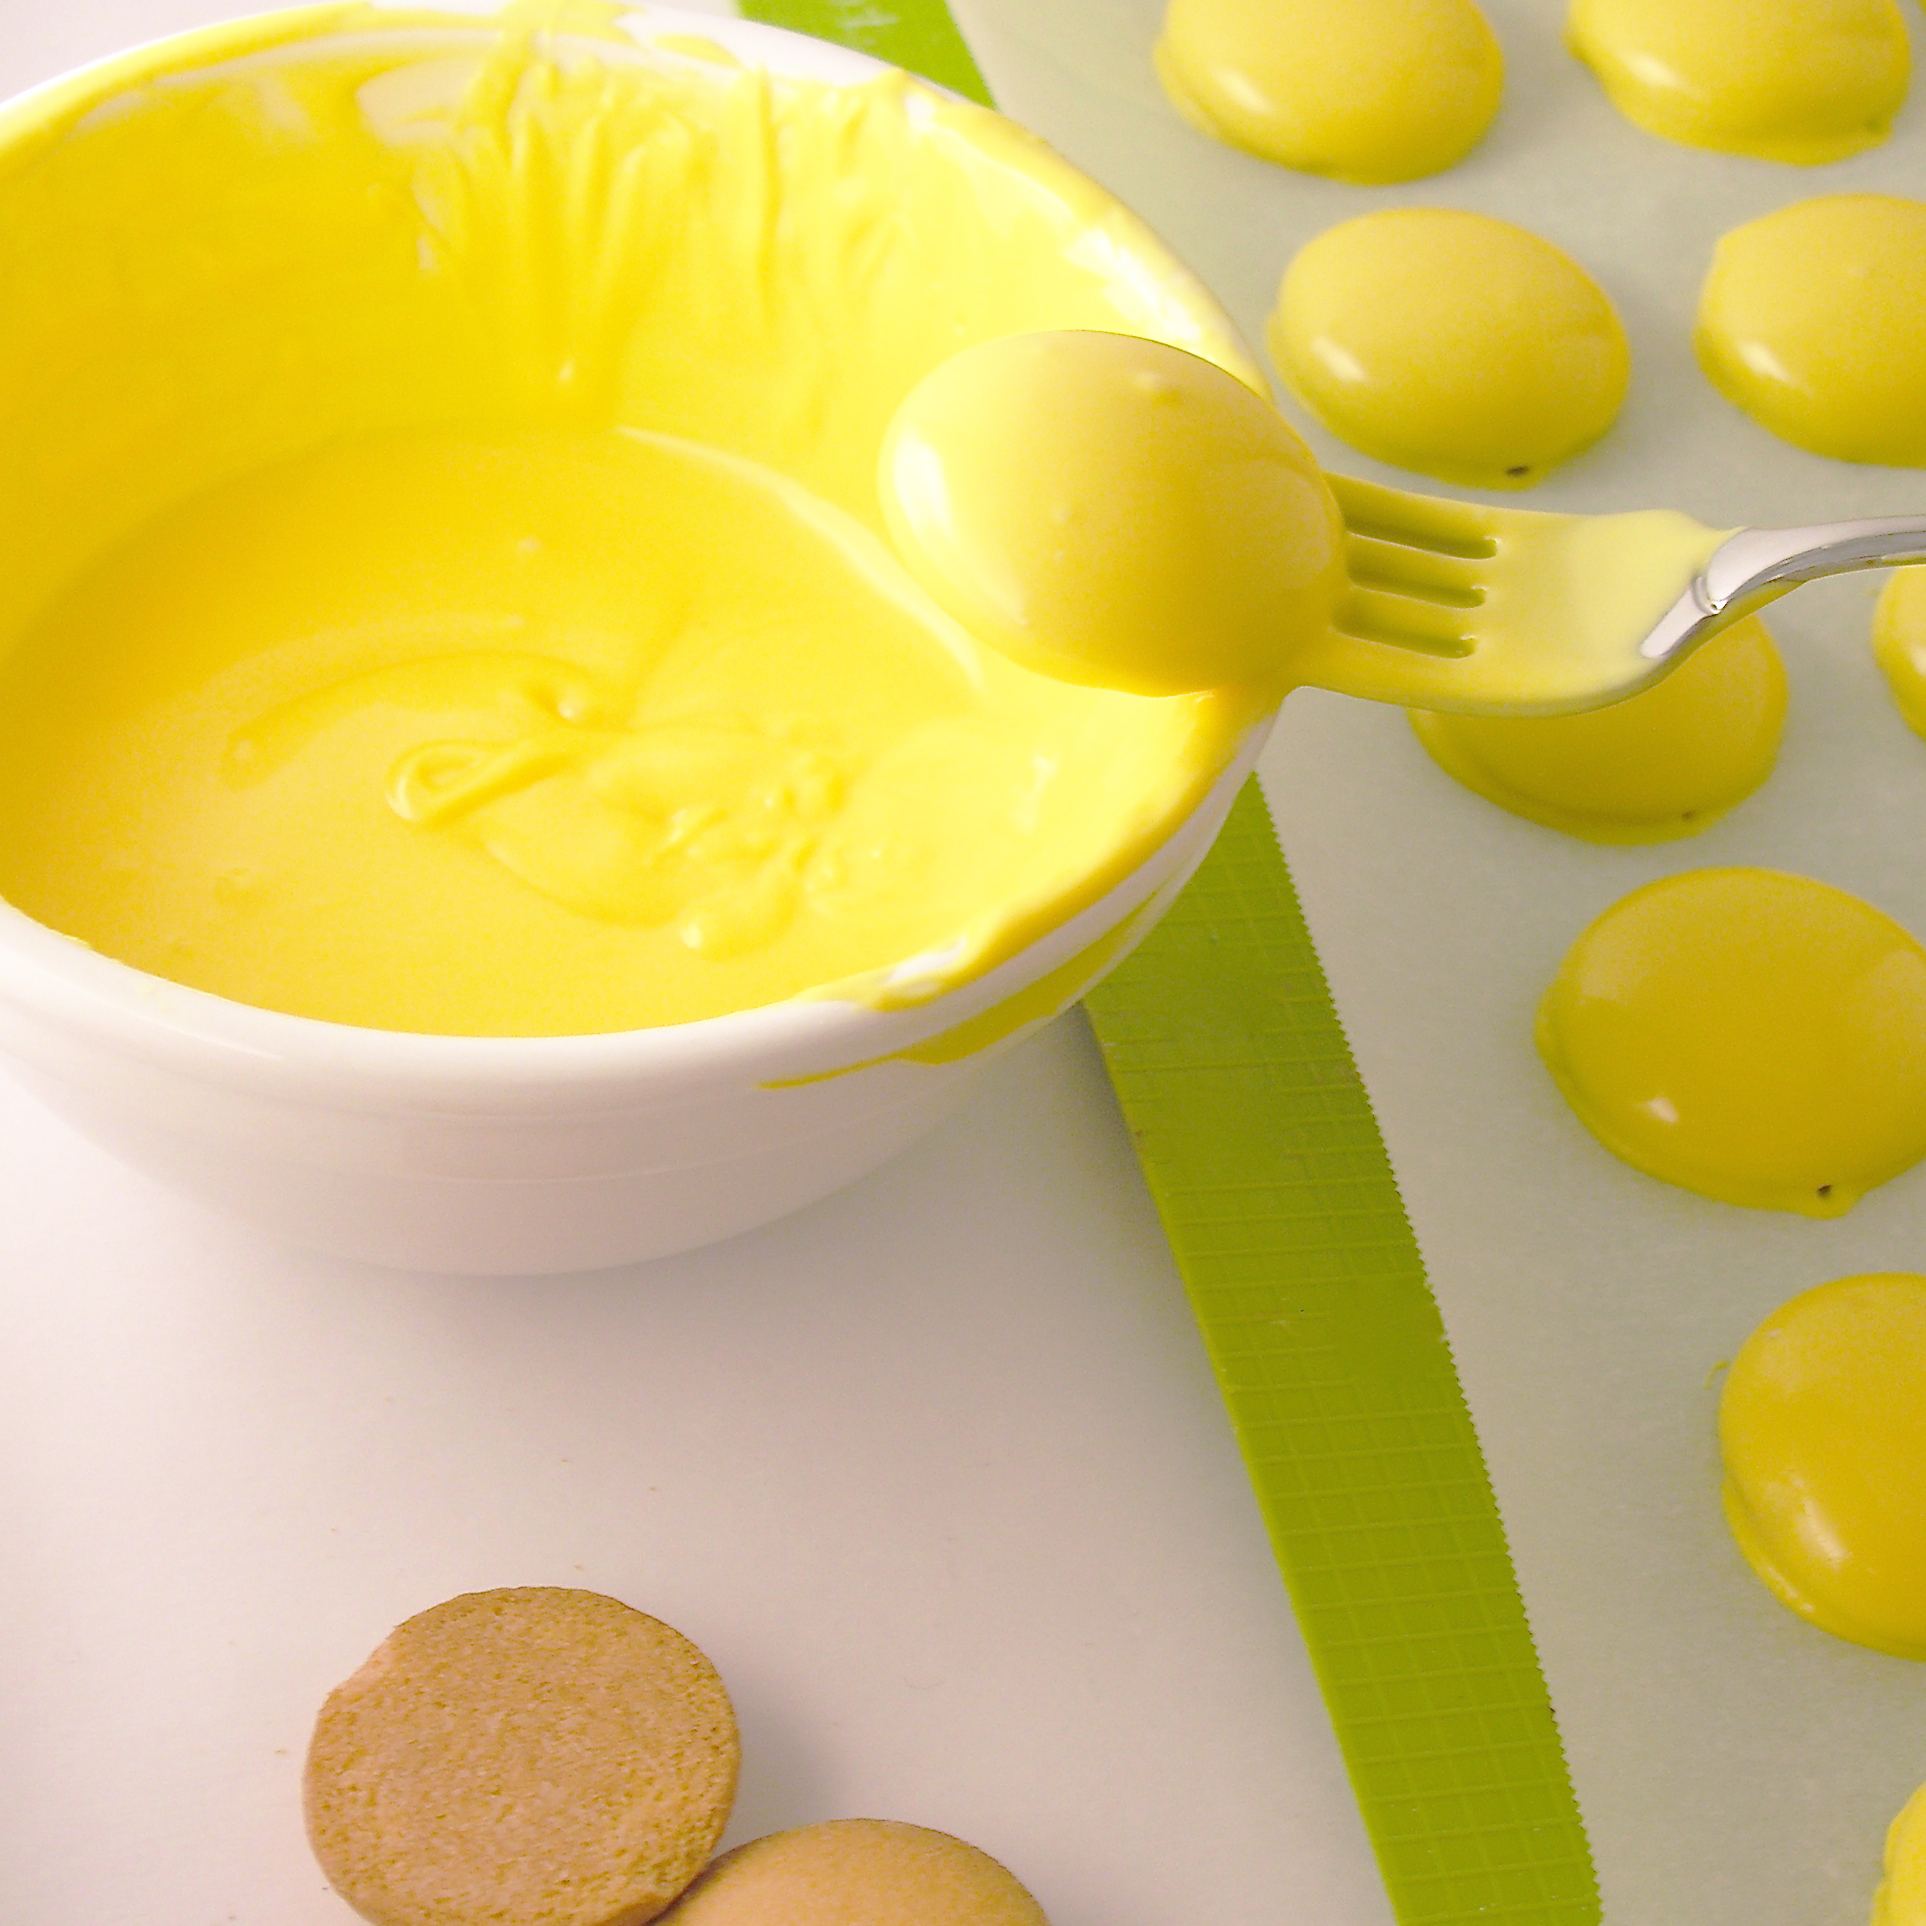
  • Melt candy melts, one color at a time, in the microwave in 30 second increments, stirring in between until melted and smooth.
  • Spoon into a zip-top bag and cut a corner off. (Or use a squeeze bottle fitted with a decorating tip if you have one)
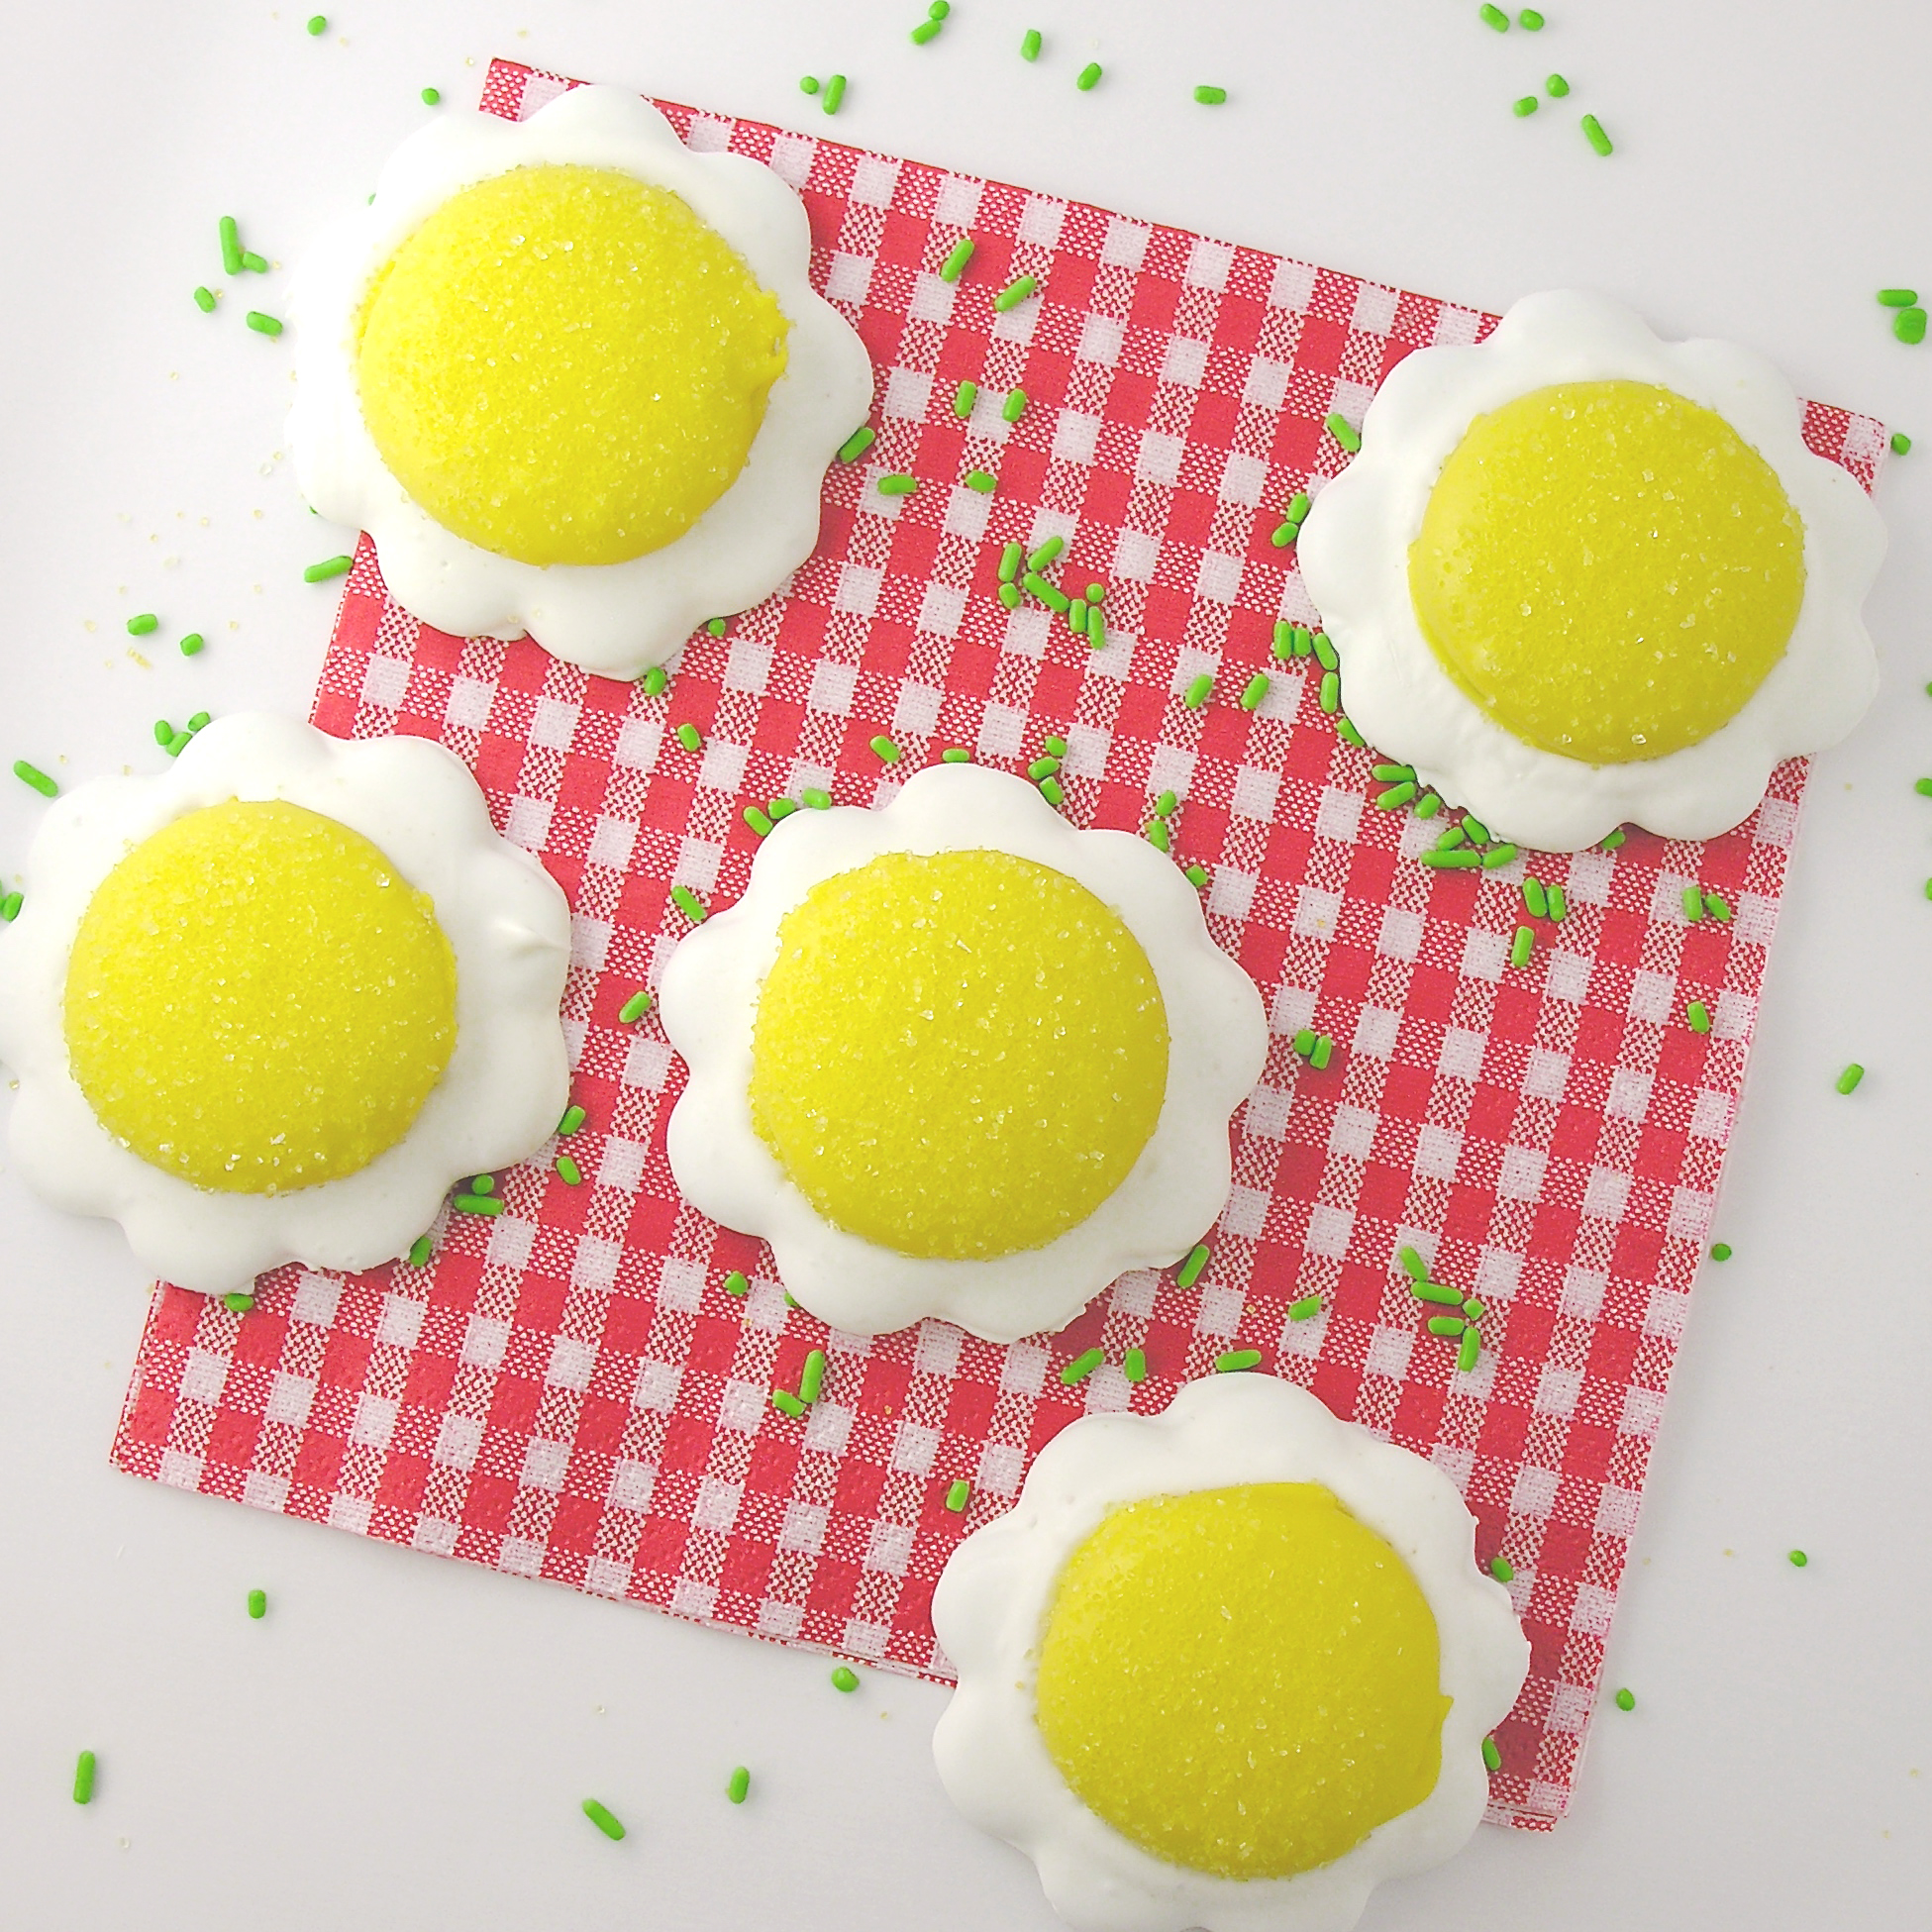
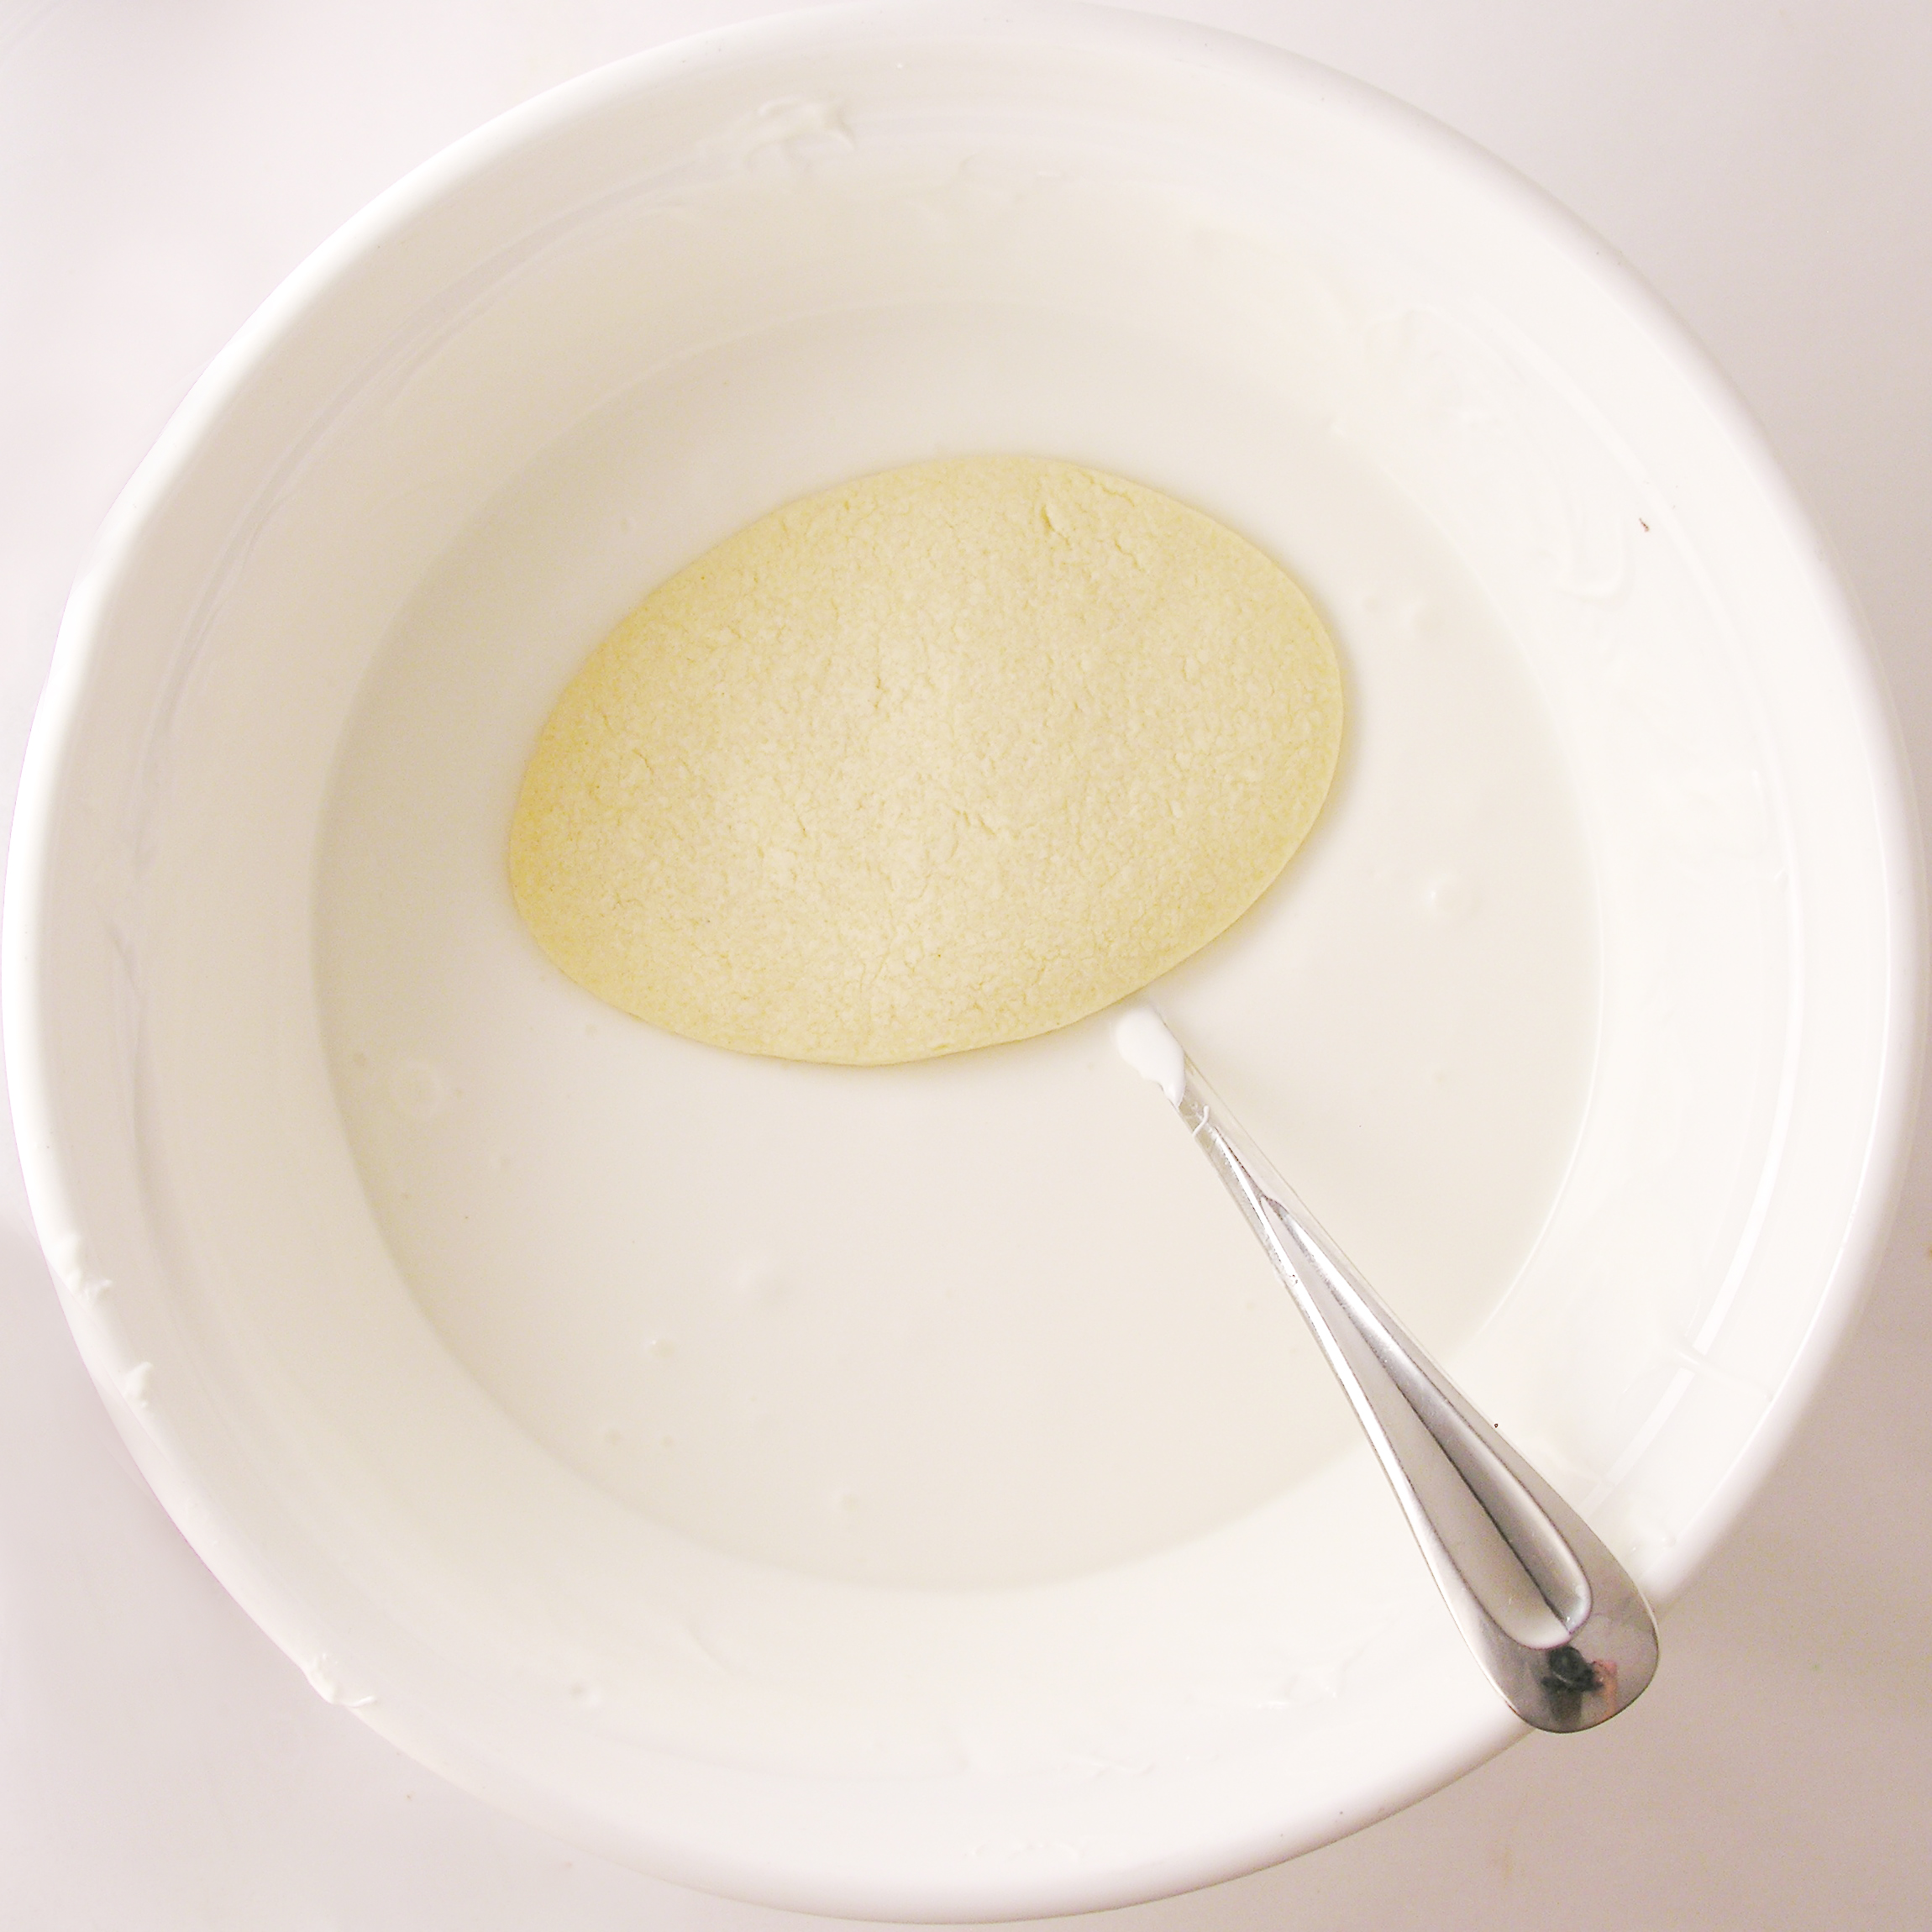
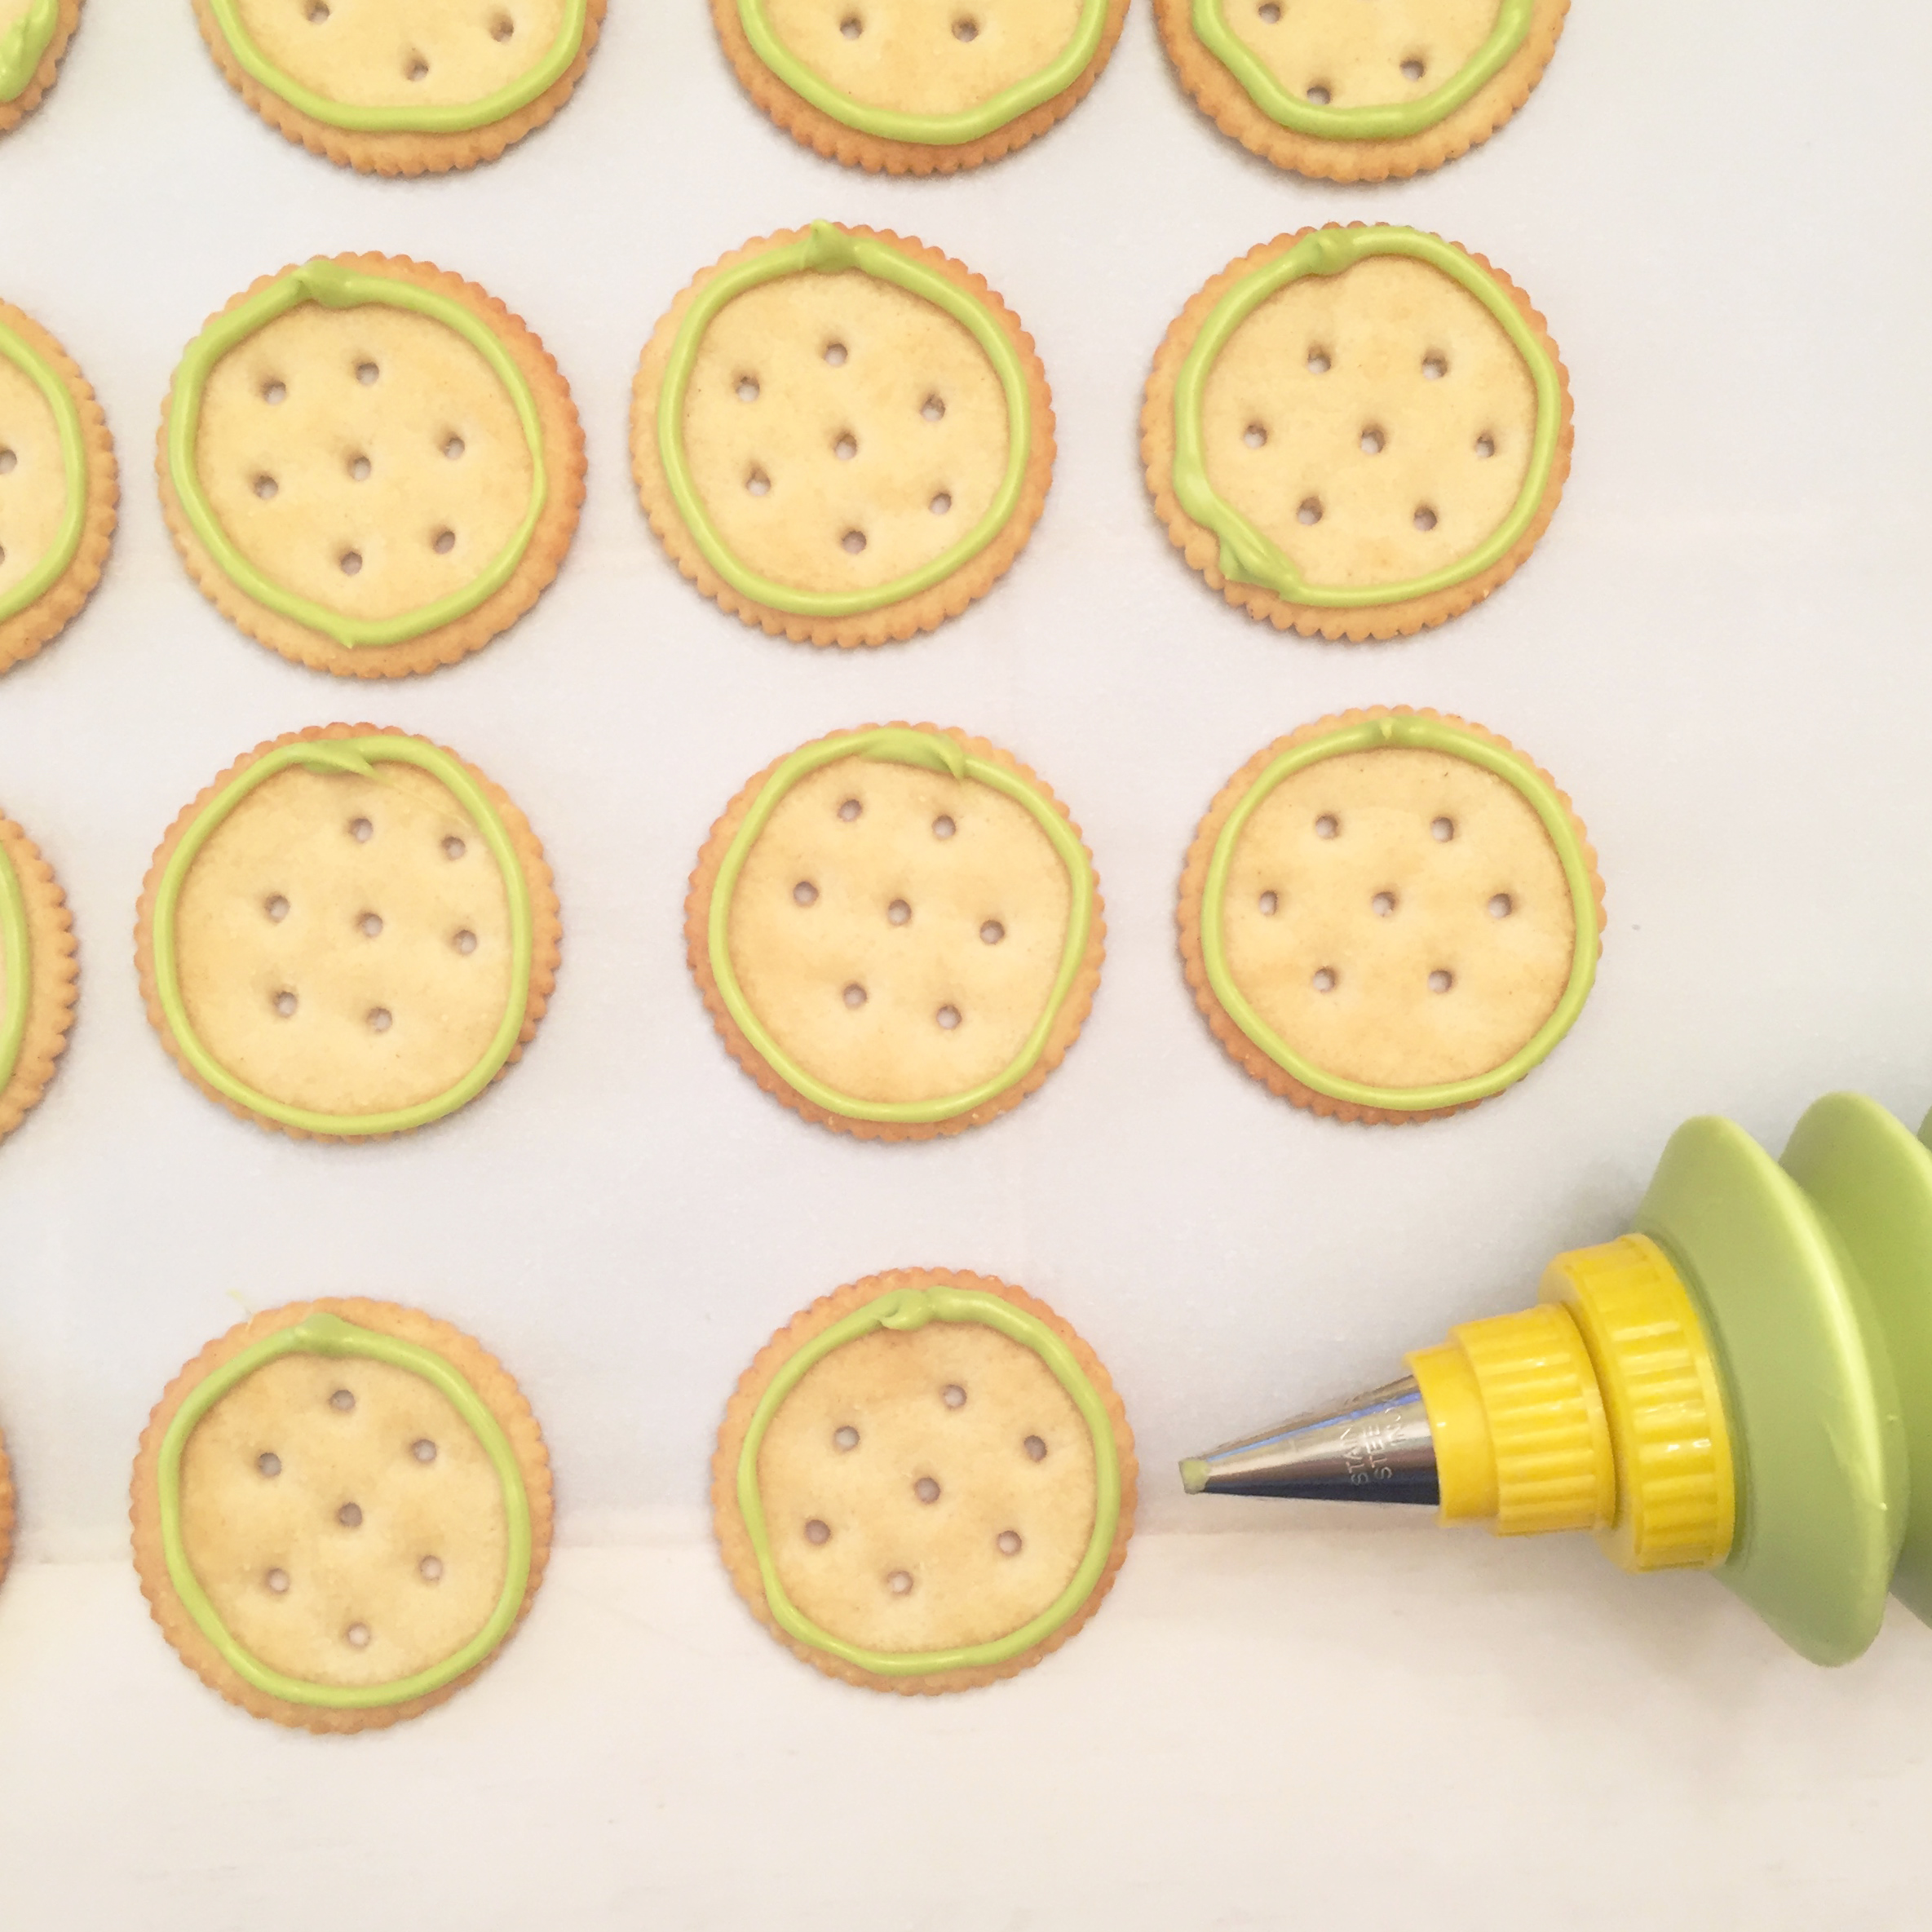
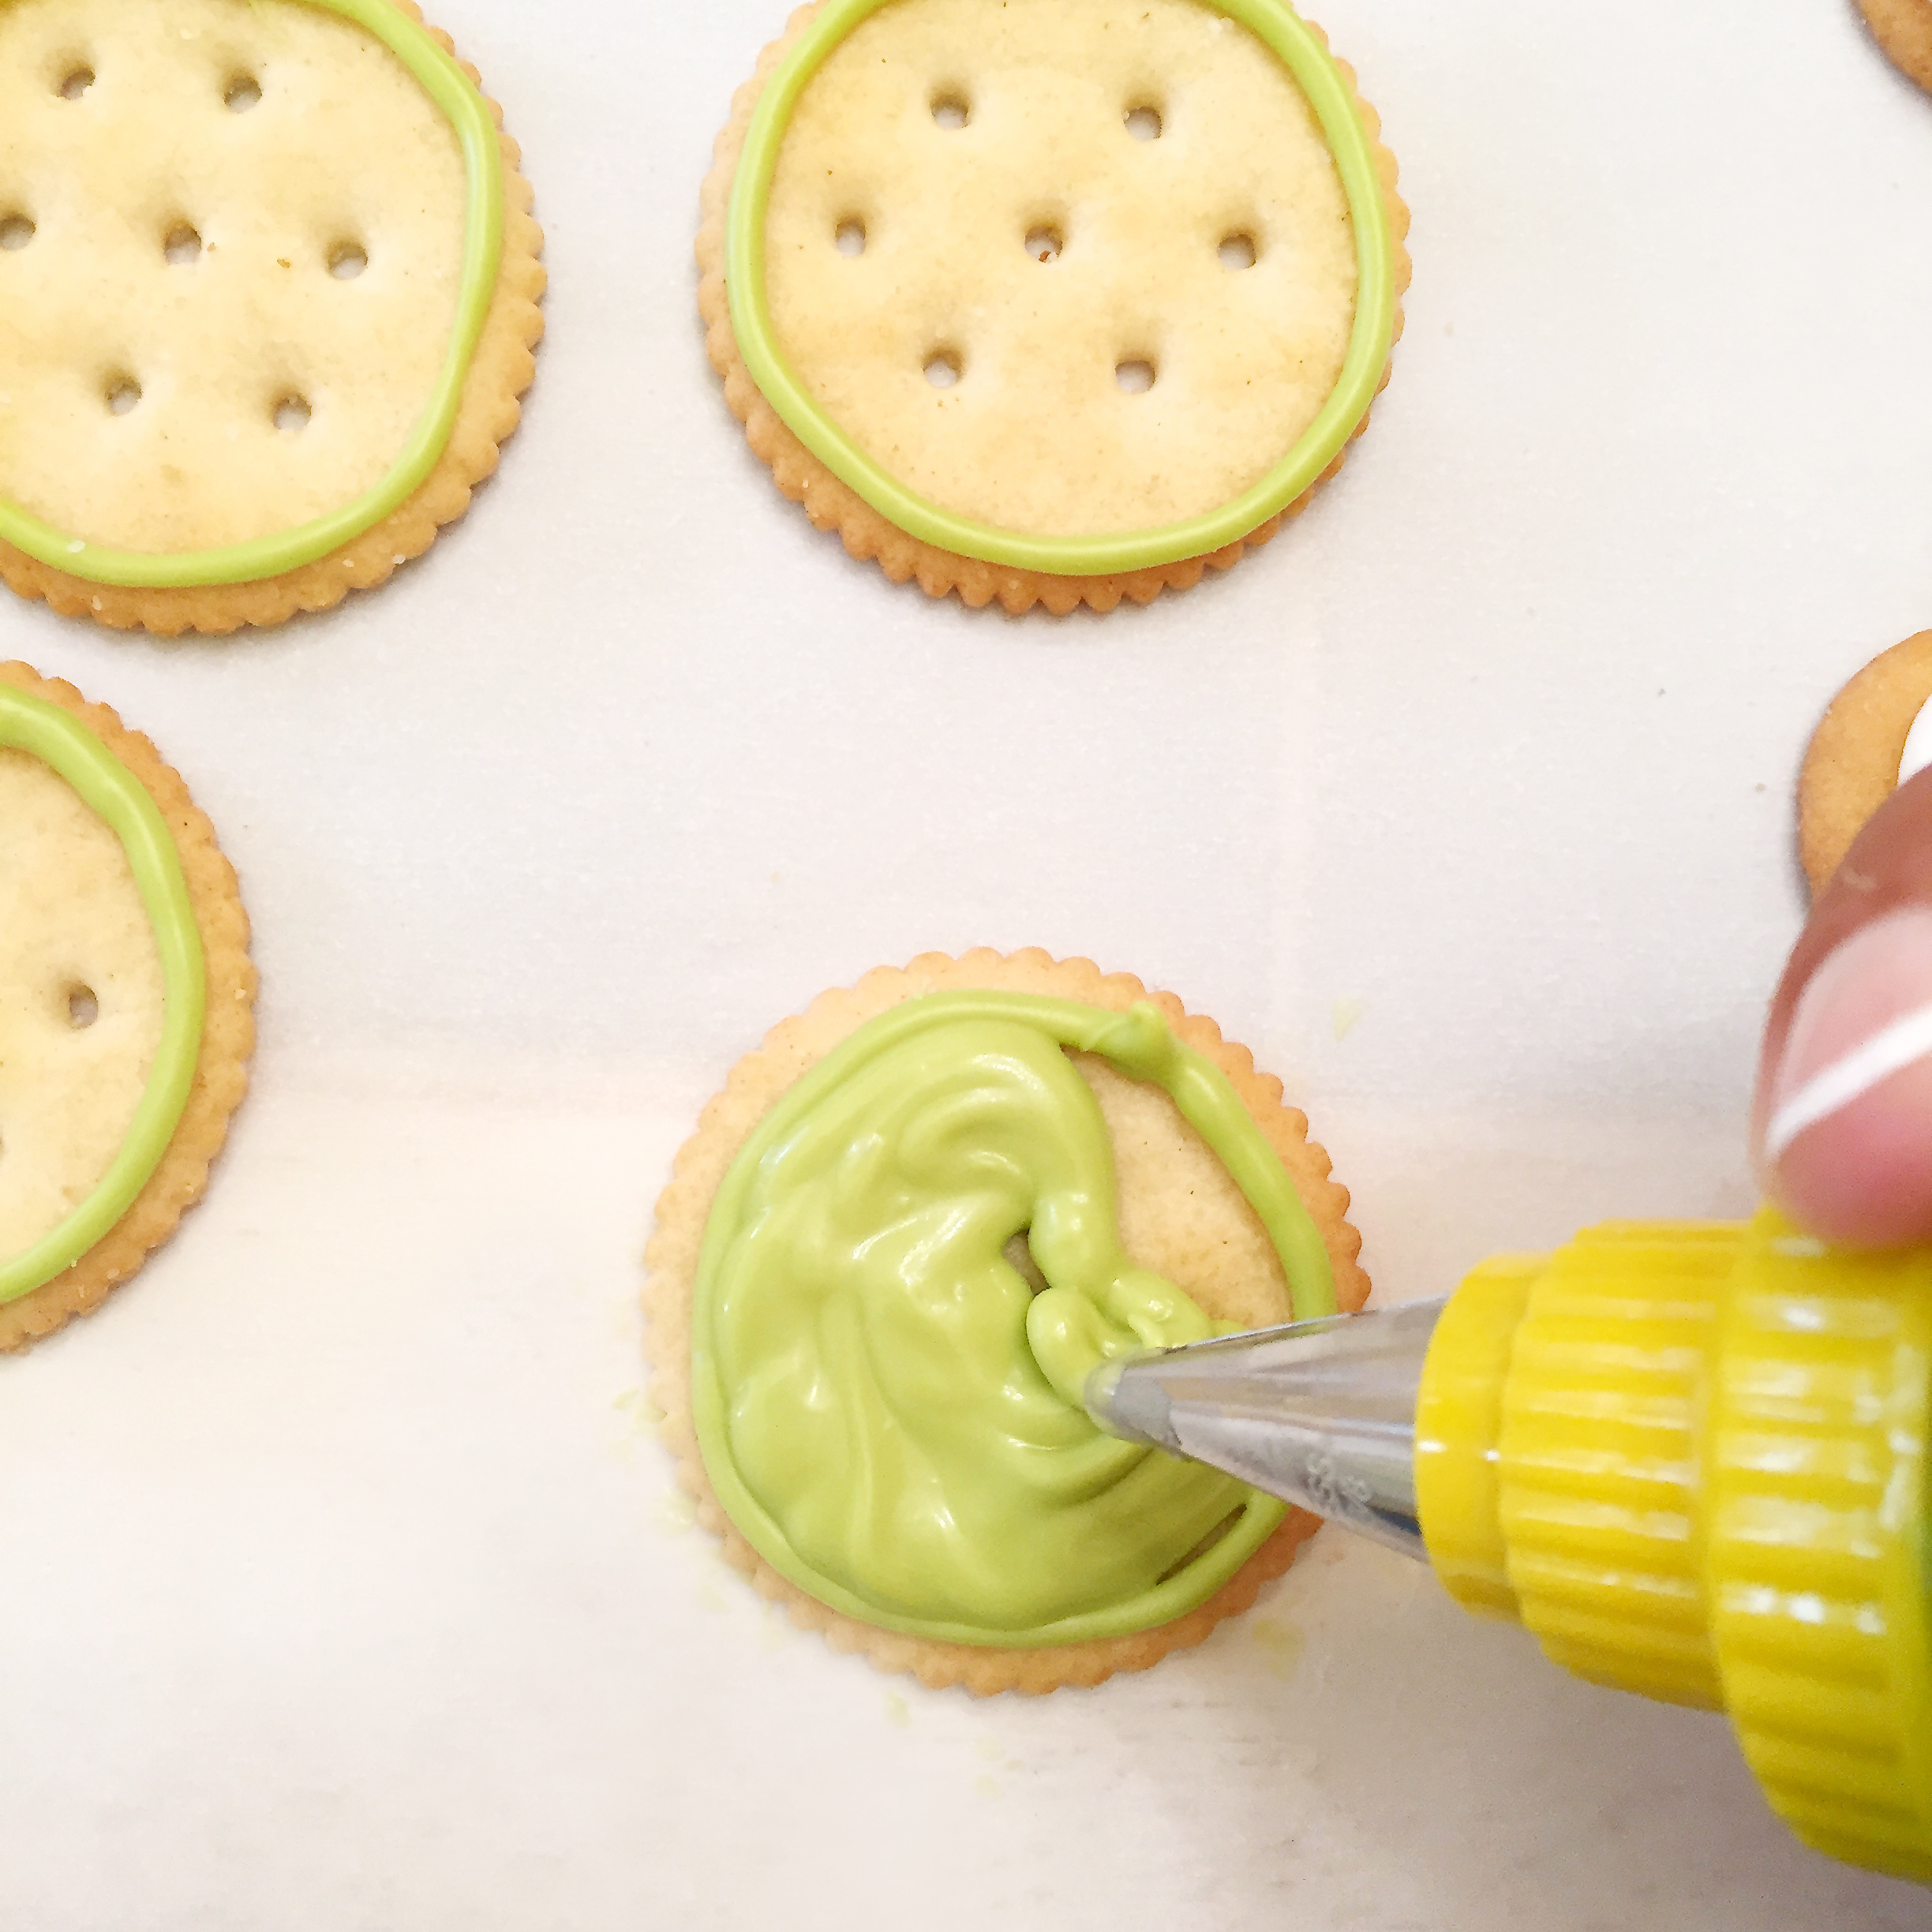
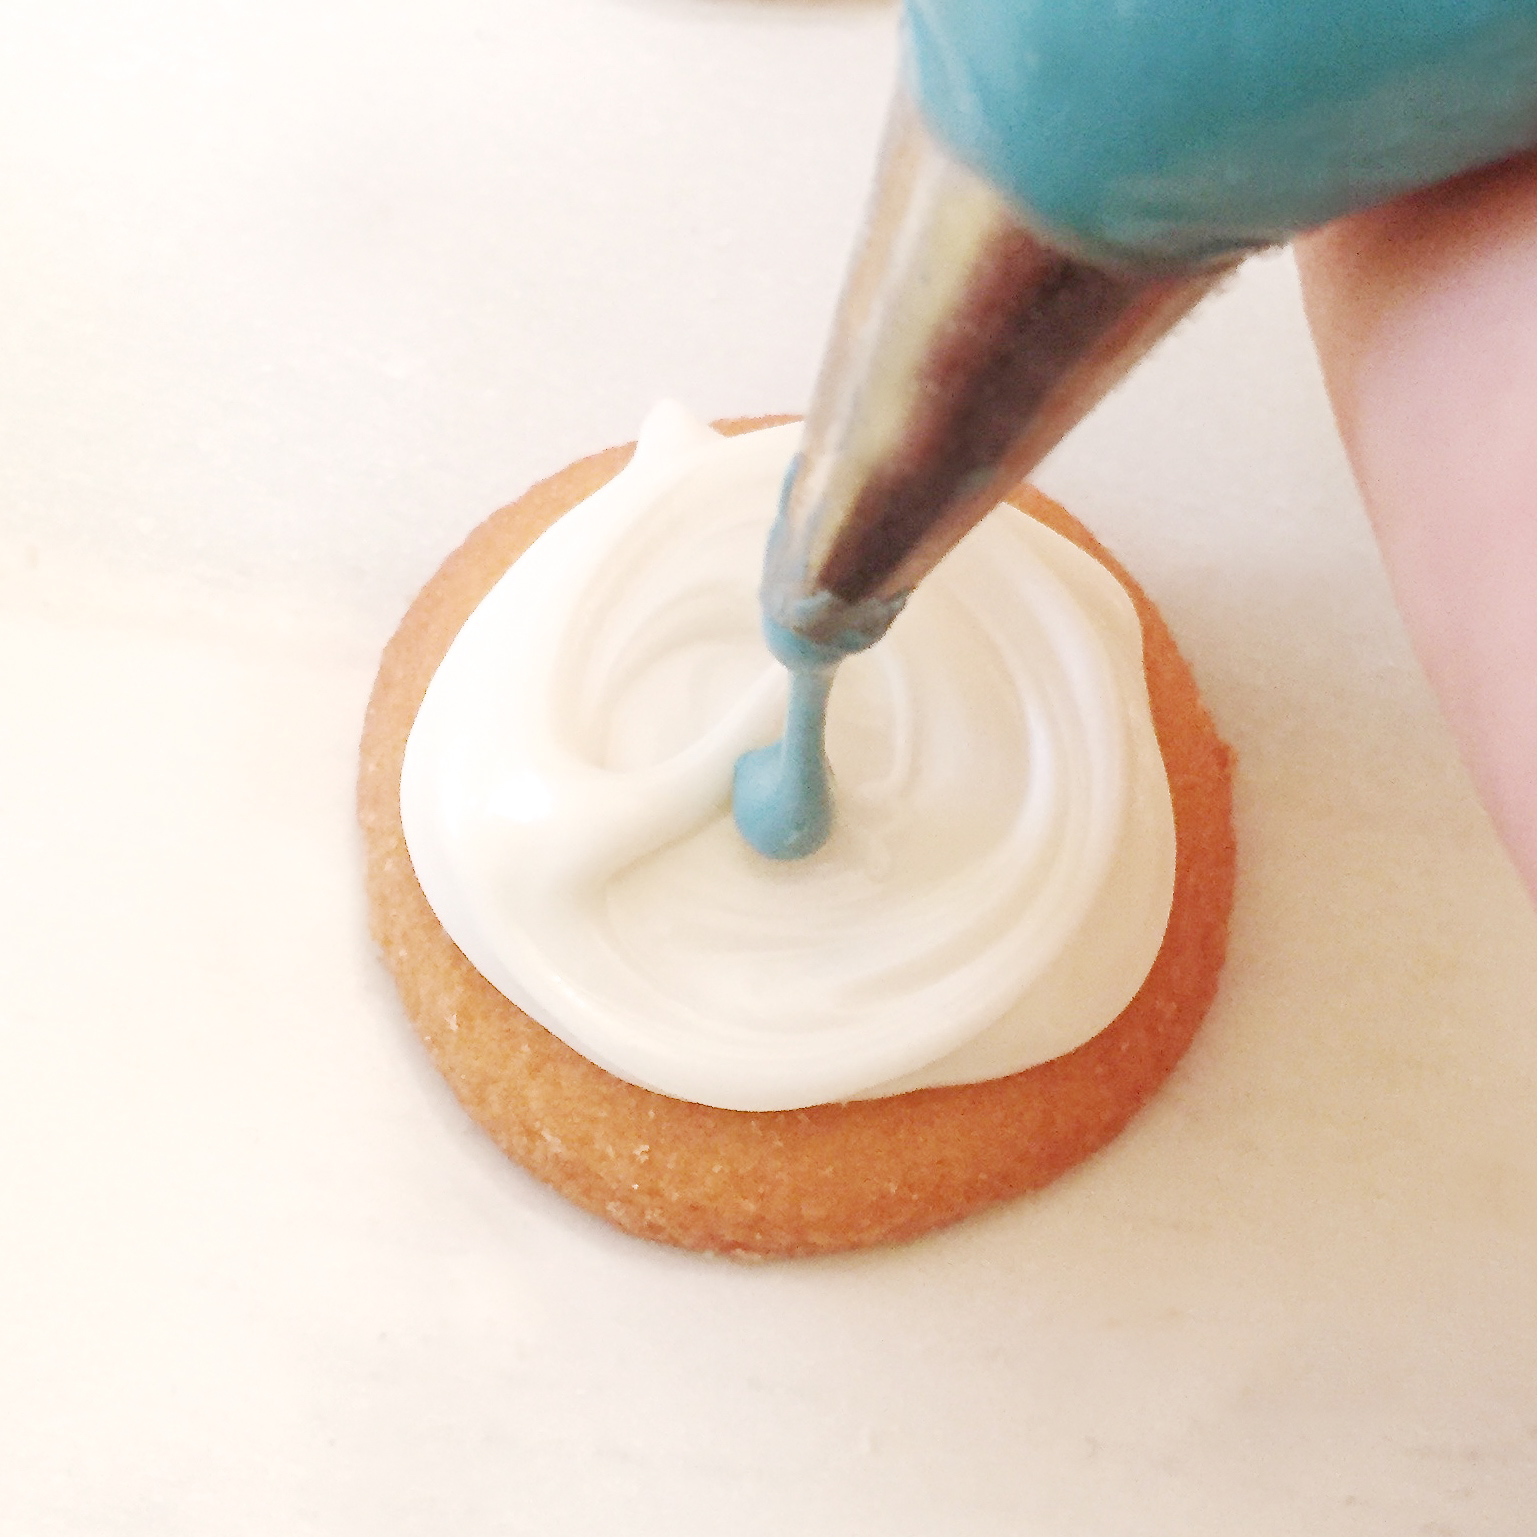
  • Use green to outline the edges of the Ritz crackers and then fill in. Use white to outline and fill in the tops of the Nilla wafers.

eyeball-cookieseyeball-cookies

  • Draw eyes of different sizes on the Ritz crackers, using a toothpick to make the tiny pupils in black (use candy eyes if you have them, for one size) I even added some little green blotches on these just to make them more weird.
  • Use blue and black candy melts to make eyes on the Nilla Wafers.

eyeball-cookieseyeball-cookies6

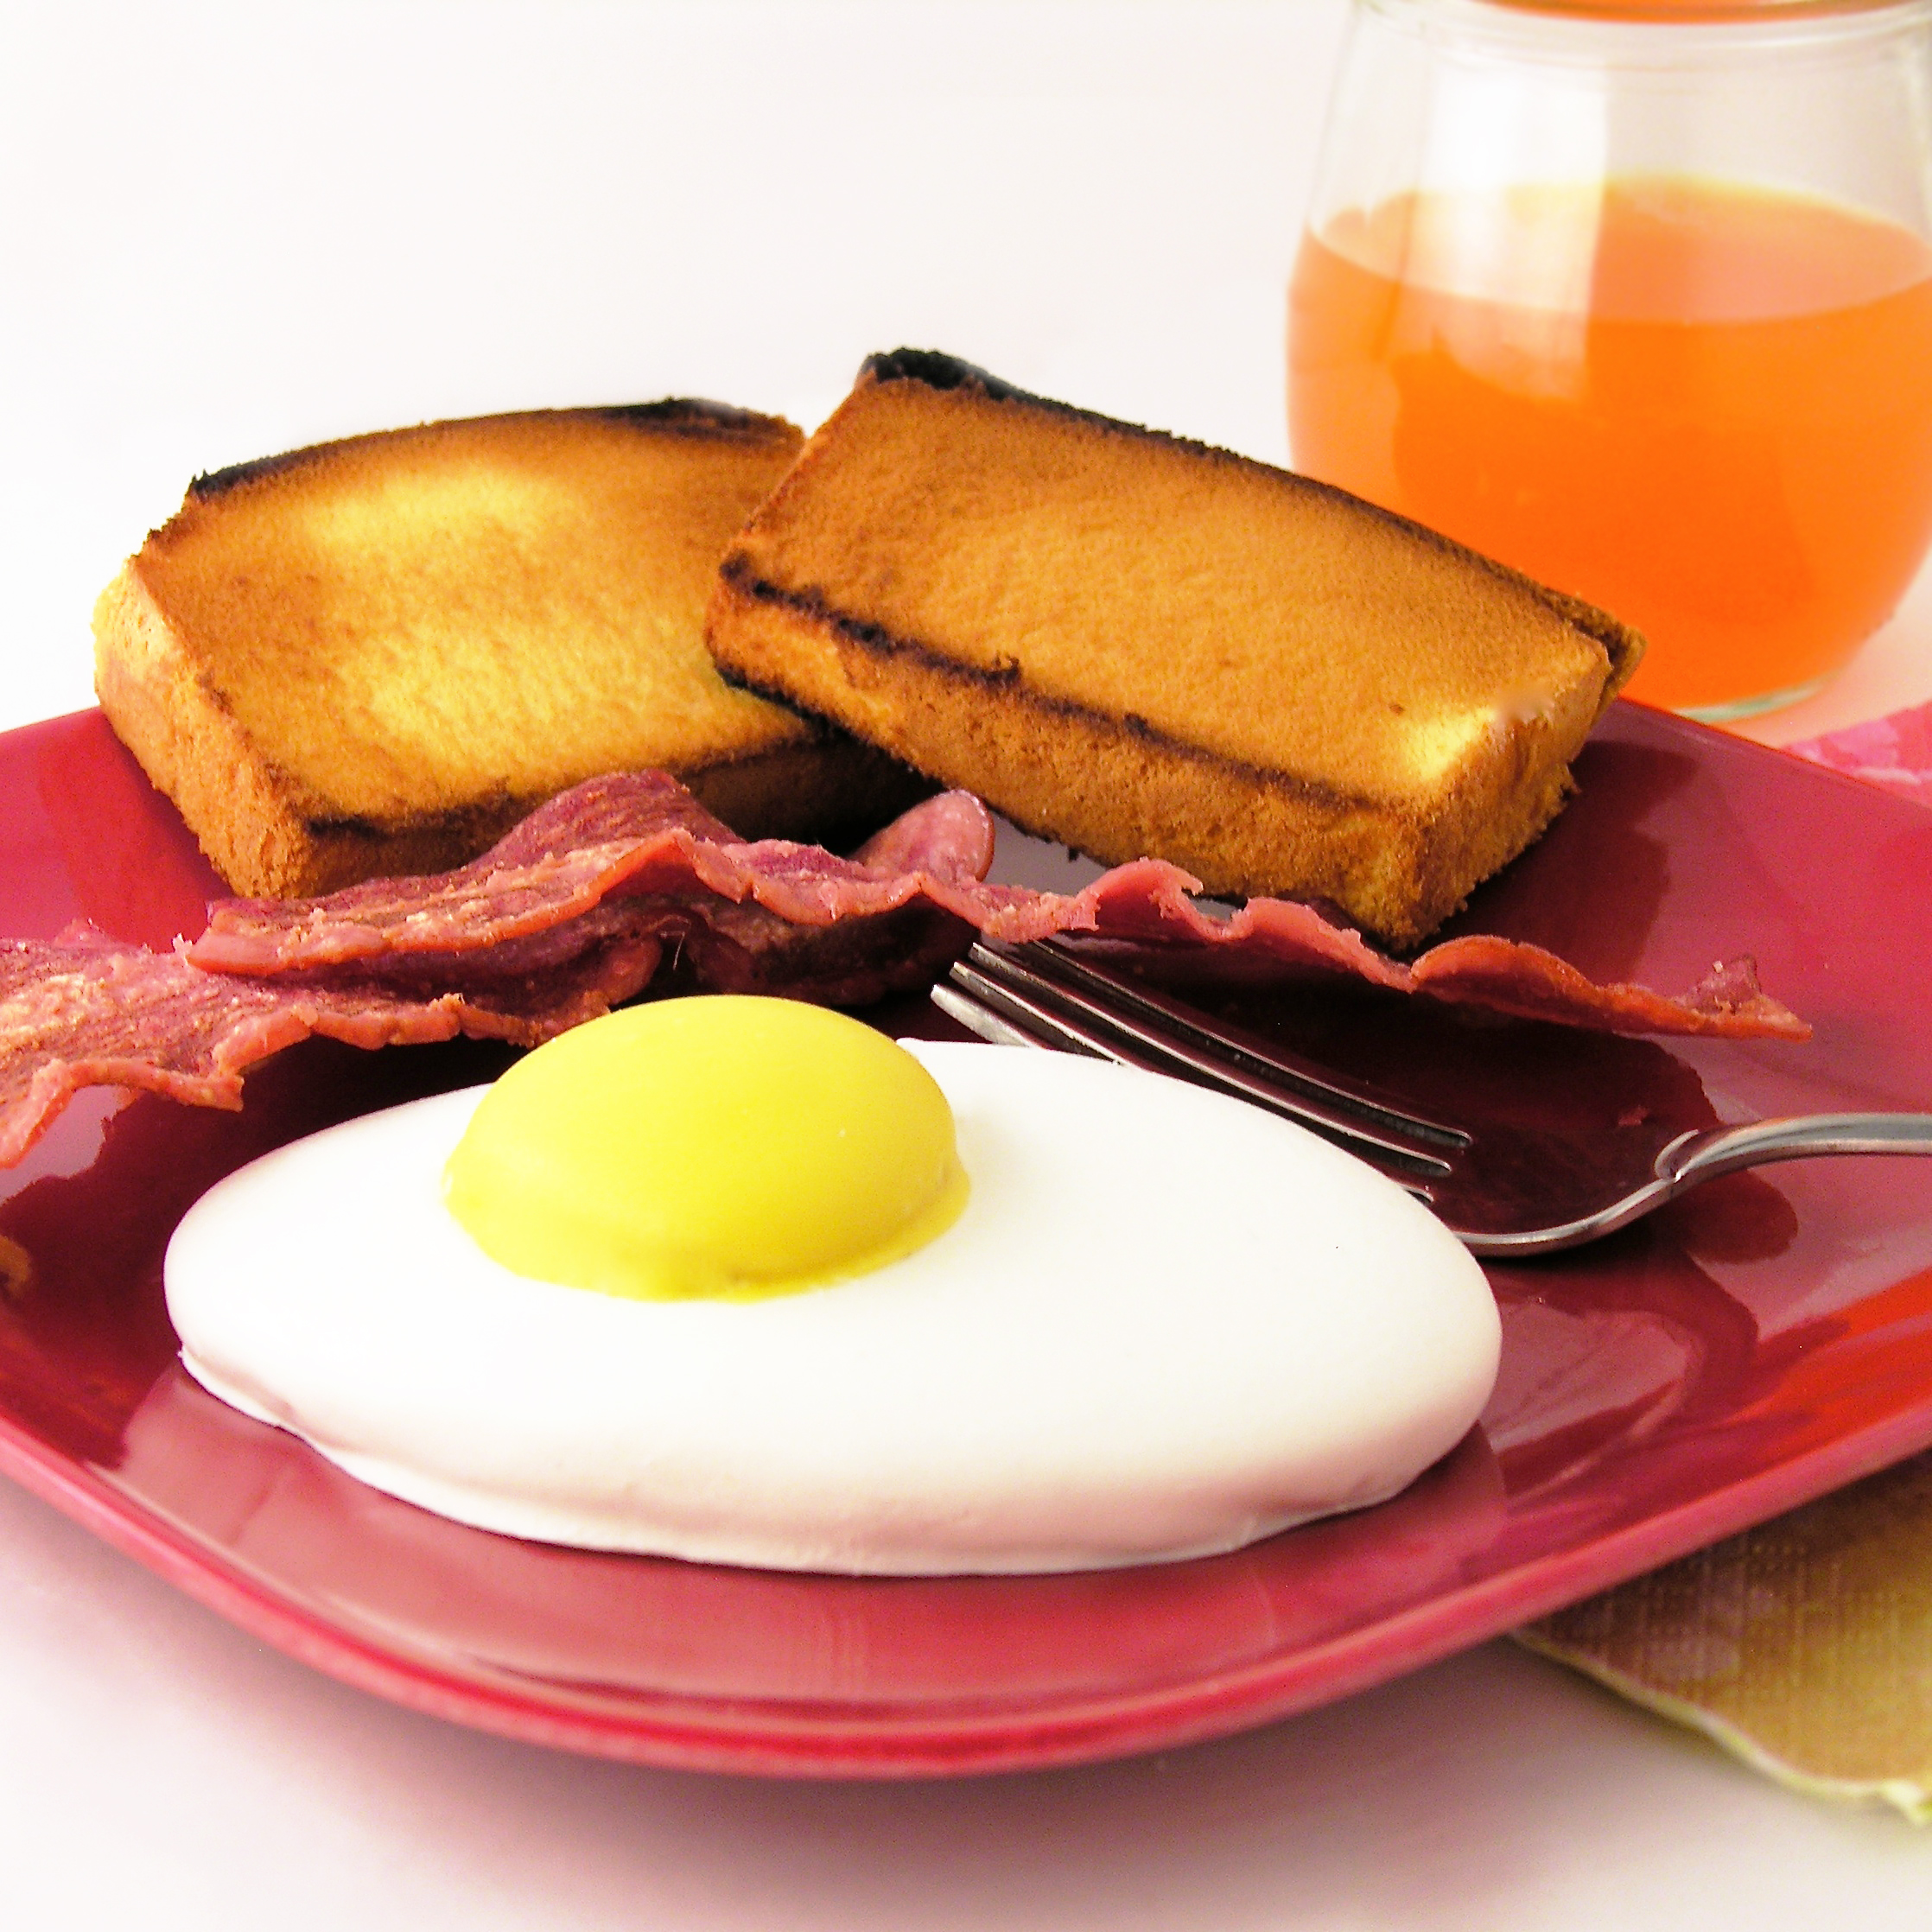
  • Let these harden and then serve them up in a fun bowl- or maybe put them in little cello bags and tie them with ribbon!
  • Enjoy!

eyeball-cookies

My thoughts: Aren’t they fun? You don’t have to be fussy about making them perfect- the crazier the better! Those Ritz crackers are especially yummy with the sweet candy on top. Yum. Enjoy these quick and easy treats!!!  ~r

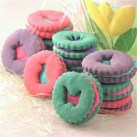
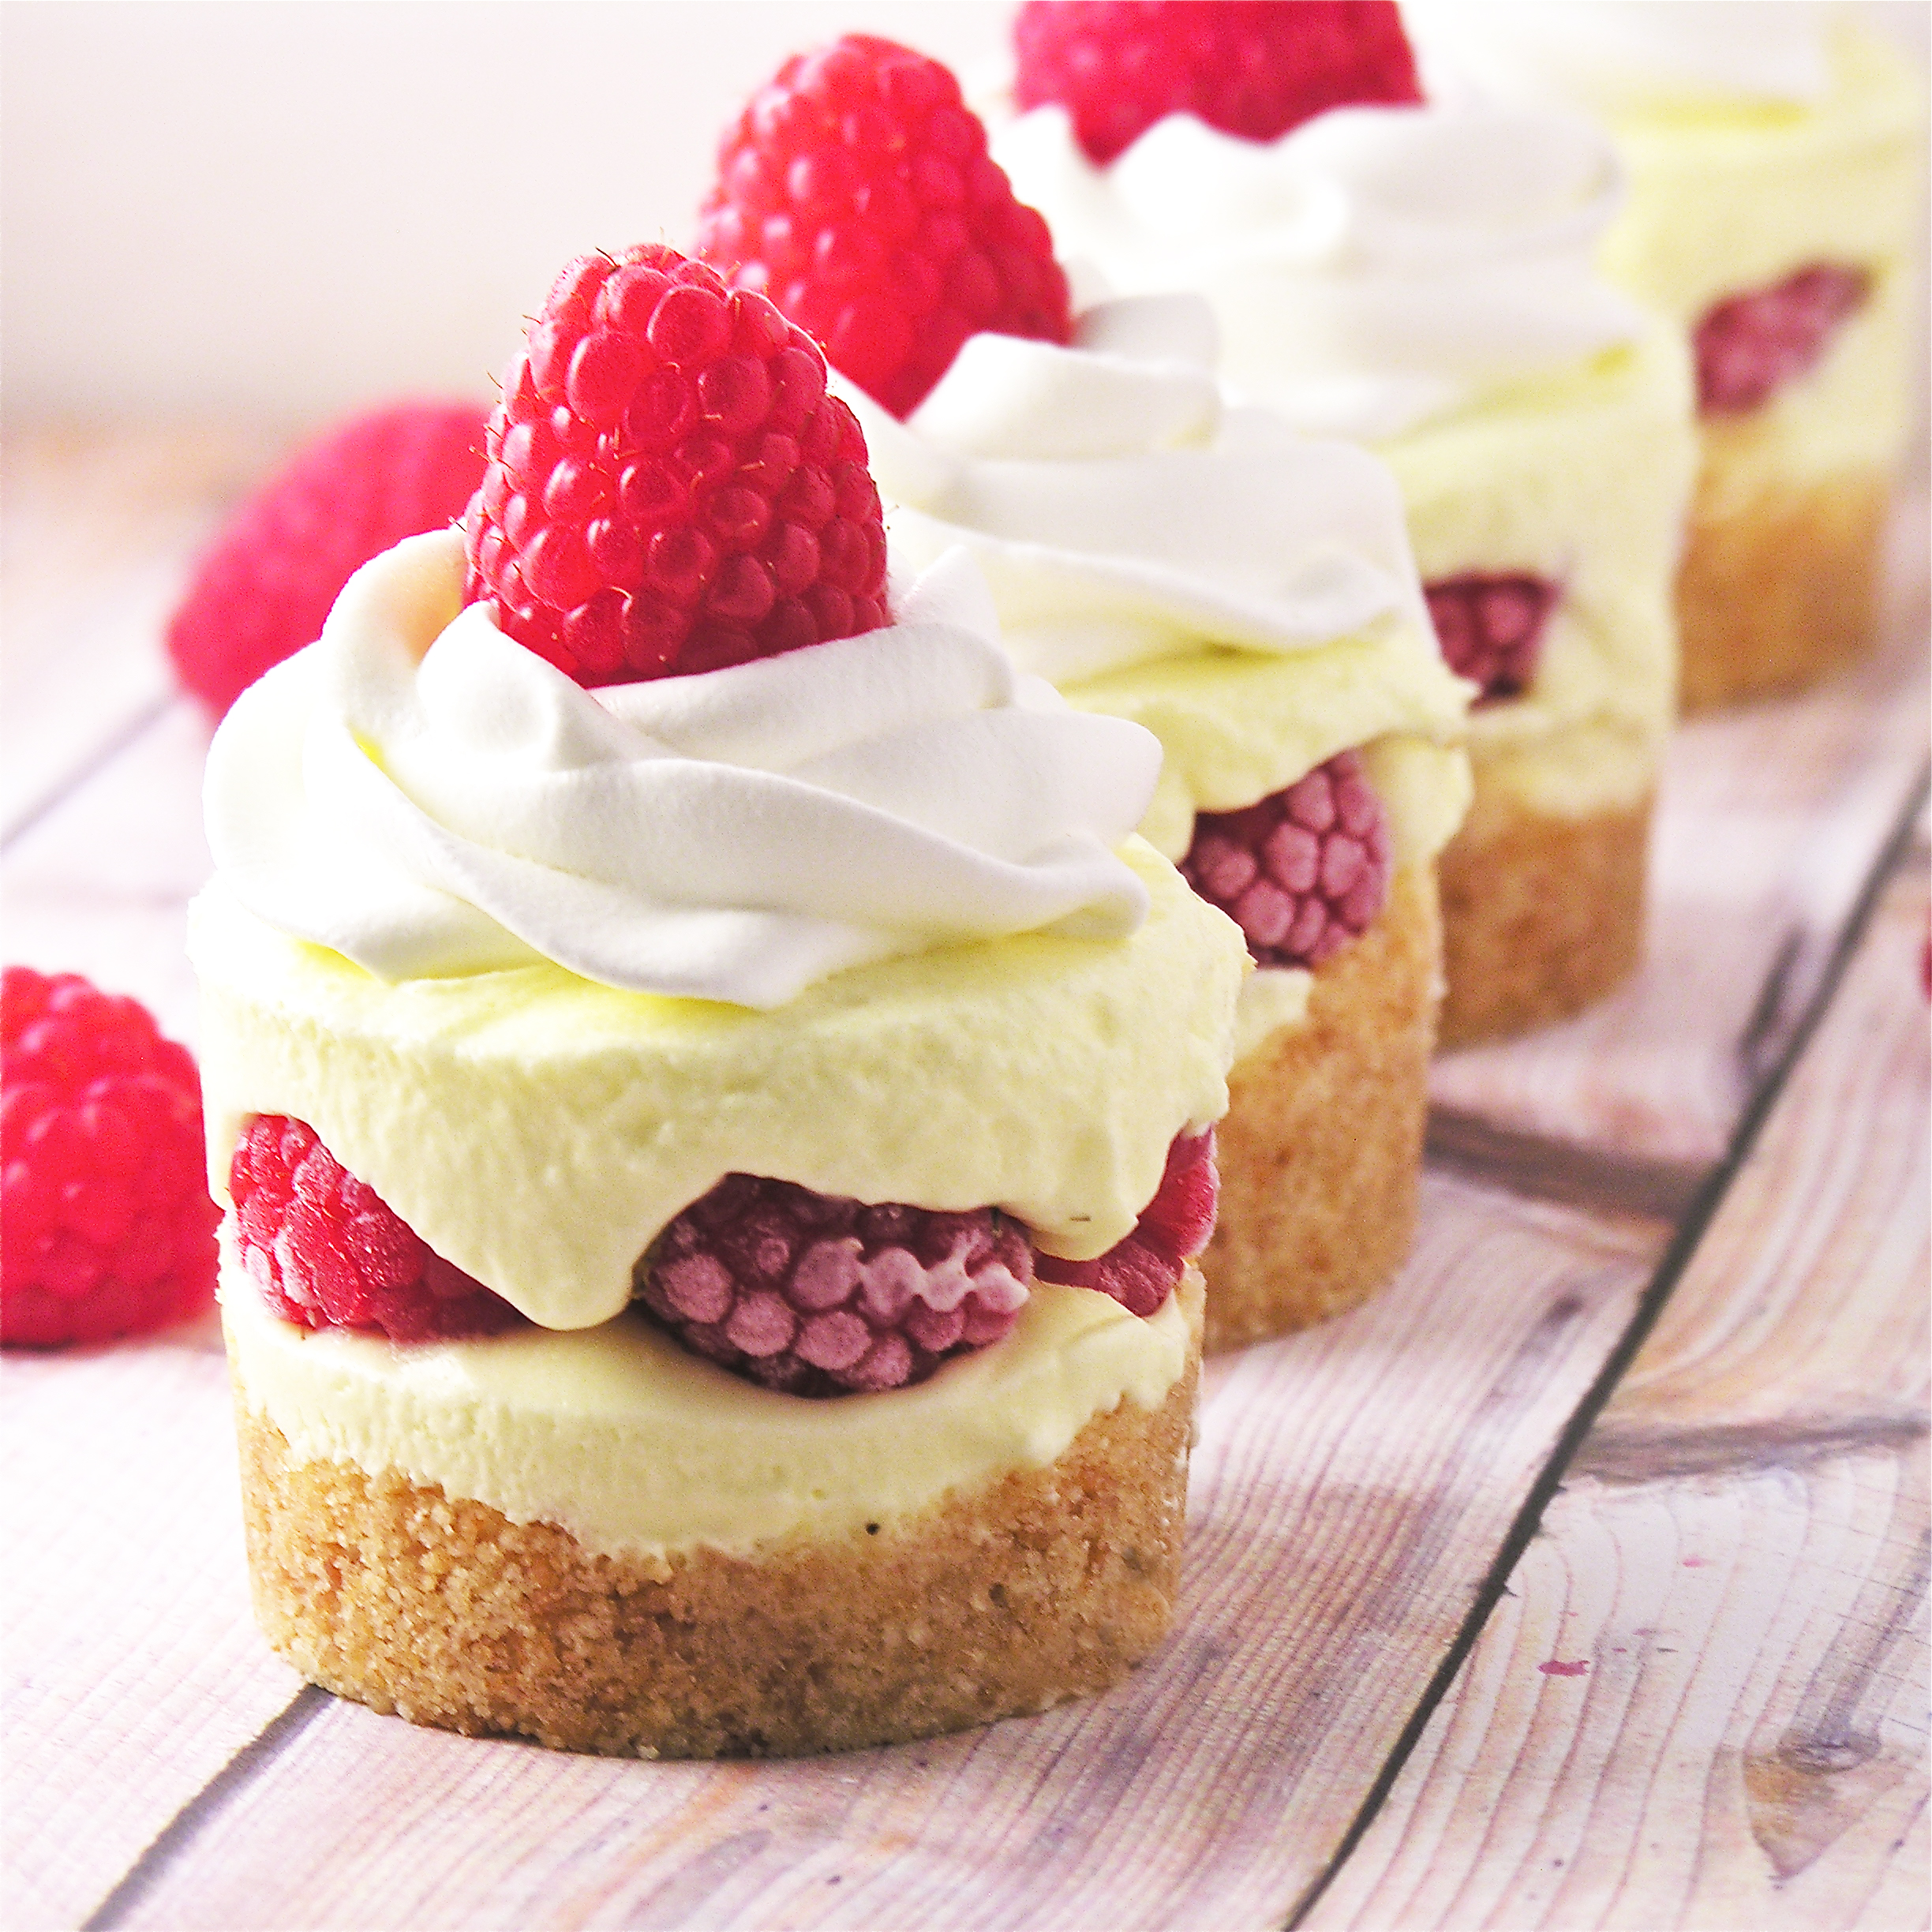
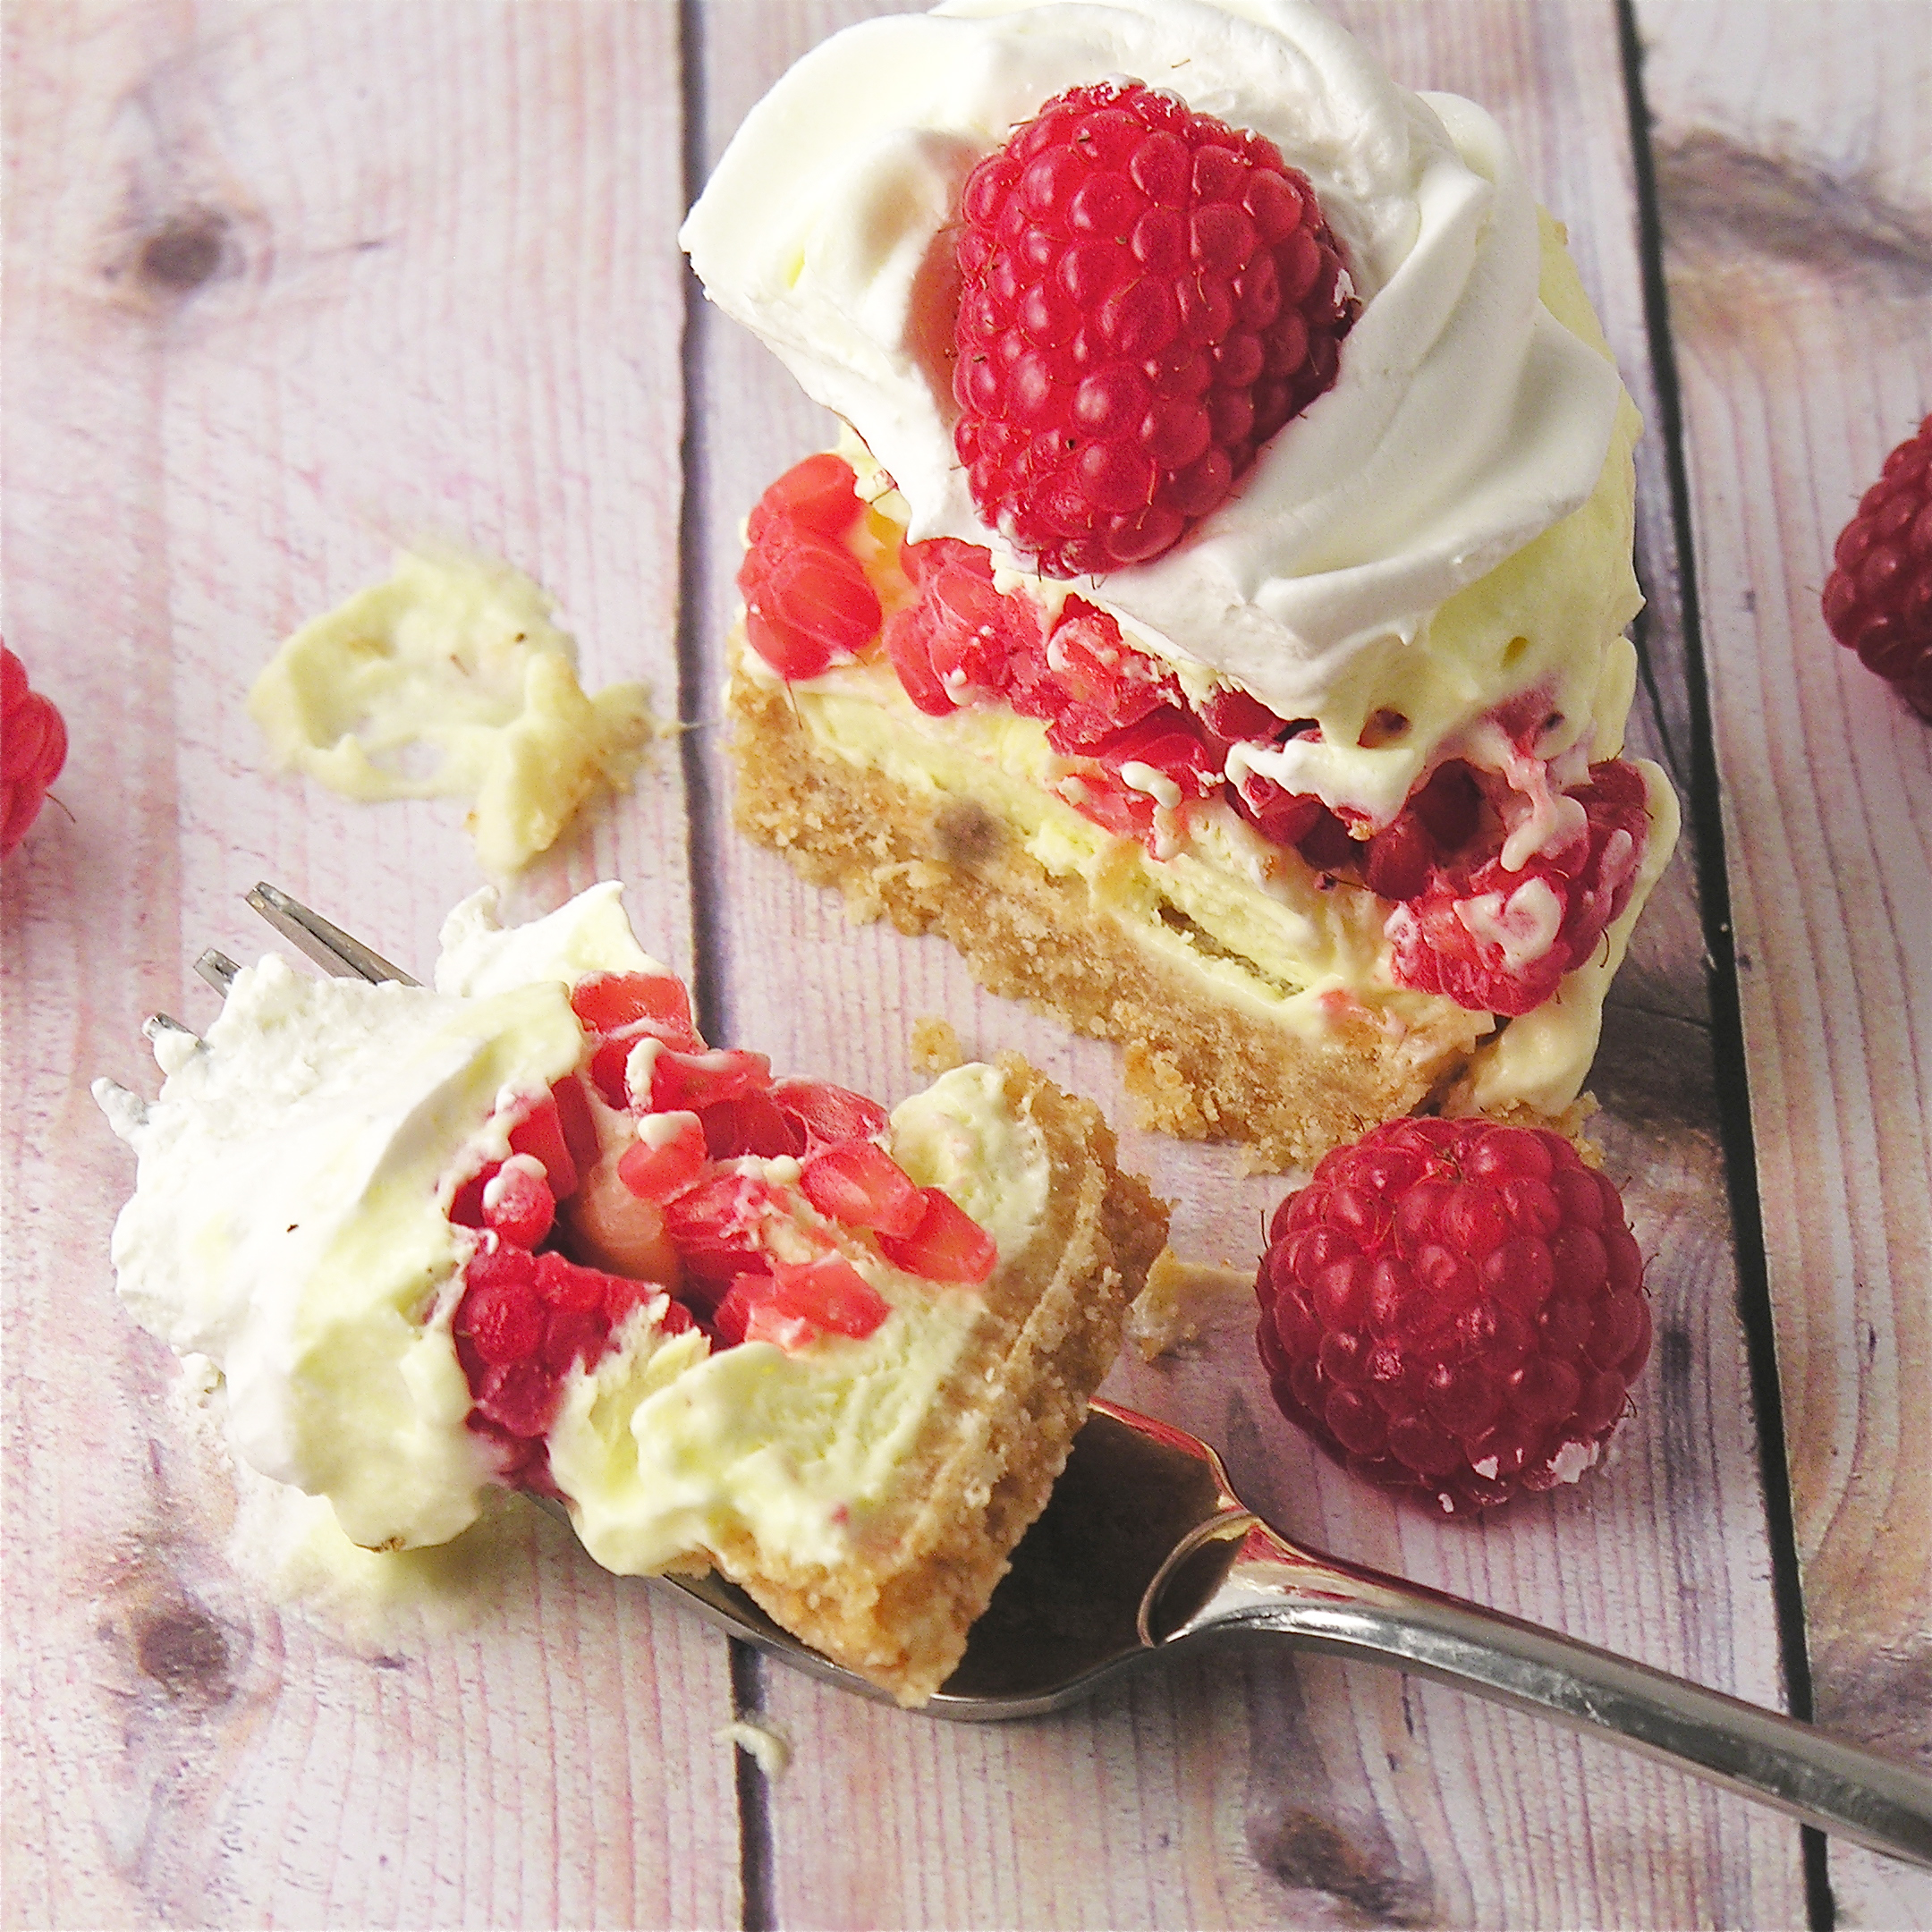
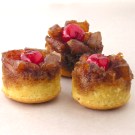
Other creepy recipes for your October: click on a photo to see the recipe.

Spider EggsEdible Jello Earthworm CupcakesBroken glass Cupcakes!!!Mummy Oreo Pops!

Easy Daisy Cookies!

Posted on

Daisy Cookies6

Vanilla wafers and ginger cookies are covered in fun colored candy melts to make these cheery daisy cookies! 

These are less recipe and more edible craft project- and they are SO fun! 🙂 I love (lovelovelove) Anna’s Swedish cookies. They are available in Ginger, Orange, Almond and Mint Chocolate. I get mine at Walmart- but you can find them on Amazon to0- right here. They are less expensive at Walmart though! Every flavor comes in an adorable flower shape that lends itself to making these cute little cookies! Make them in any color you want- and use any flavor cookie! So fun.

Daisy Cookies1

Daisy Cookies

Here is how we made them: (printable recipe)

INGREDIENTS:

  • 1 box of Anna’s Swedish Ginger Thins (I found mine at Walmart)
  • 1 box of Nilla wafers
  • Wilton’s Candy Melts in a variety of colors (I used up some of my half-filled bags with this recipe!)
  • Sugar Sprinkles as desired (shown in yellow)

DIRECTIONS:

  • Melt Wilton’s candy melts (in the center color- I used yellow!) in the microwave in 30 second increments, stirring between until smooth.
  • Dip Nilla Wafers into the melted candy, lifting them up with a fork and tapping the fork on the side of the bowl to allow excess candy melts to drain away. 
  • Pull bottom of cookie along edge of bowl to remove excess candy melts and slide coated cookie off fork onto parchment paper.
  • Sprinkle with jimmies or sugar to give it that “rough” center-of-a-flower look, and allow these to harden.

Daisy Cookies3

  • Melt candy melts in other colors, using the same technique. Dip an Anna’s cookie in whatever color you are using and use a similar technique to tap excess off and slide bottom against edge of bowl.

Daisy Cookies2

  • Place coated Anna’s cookie on parchment paper and before it hardens, place a “center” on it.
  • Allow cookie to harden up before serving.
  • Enjoy!

Daisy Cookies

My thoughts: These are just plain fun to make. They are great for practicing your chocolate dipping skills, since these are nice hard cookies without any fillings that get soft. You can do them in any colors you want- and a variety of flavors. My only warning…… Everyone loved these and exclaimed over the cute FLOWERS unless they saw a white and yellow one 1st. Then they asked if it was an egg 🙂 Sigh. Maybe a mini- Nilla wafer would be better as a “center” for those? However you decorate them, I hope you enjoy these fun summer cookies!  ~r

Daisy Cookies7

Eggs? Daisies? Haha…..

Other fun flower ideas here on Easybaked: (click on a photo to see the recipe)

Flower Pot OreosChocolate cut-out cookiesSugar cookie cut-outsM&M flower bouquet!!!


Sunny Side Up Egg Cookies!!!

Posted on

Fried Egg Cookies

Whoever said you can’t have cookies for breakfast never tried these cookies!

A perfect April Fool’s treat!

Tomorrow is April Fool’s Day, and we all know that if you don’t catch people early, they will remember what day it is and call your bluff! That’s why these little “breakfast” cookies are the perfect trick. I served them with bacon (salty and sweet…) and toasted pound cake. They are easy to put together and they are the cutest little things in Easter baskets too!

Egg cookies for EasterTwo holidays covered by one recipe? Perfect.

These are perfectly tasty too~ and so easy to create for yourself! Here’s how we did them (printable recipe)

INGREDIENTS: (makes 24-36 cookies, depending on the size of your cookie cutter)

  • 2 sticks (1 cup) unsalted butter (softened)
  • 1 1/2 cups of granulated sugar
  • 2 eggs
  • 1 teaspoon of vanilla
  • 1 teaspoon of butter flavoring
  • 3 cups of flour
  • 1 teaspoon of baking powder
  • 1/2 teaspoon of salt
  • 3 bags of Wiltons candy melts in white
  • 1 bag of Wilton’s candy melts in yellow
  • 24-36 Nilla Wafers

DIRECTIONS:

  • Preheat oven to 350F degrees.
  • In a large mixing bowl, cream together butter and sugar until smooth.
  • Add eggs, vanilla and butter flavoring and mix well.
  • Add all dry ingredients and mix until able to knead into a firm ball of dough (add additional flour if necessary).
  • Roll out on a floured counter with a flour coated rolling pin to desired thickness.
  • Cut using an egg shaped cookie cutter.
  • Place cookies on ungreased cookie sheets and bake at 350F degrees for 8 to 10 minutes.
  • Slide baked cookies onto parchment paper to cool completely.
  • Melt 1/2 a bag of yellow candy melts in a small bowl in the microwave in 30 second increments, stirring in between, until smooth.
  • Gently dip Nilla wafers into yellow candy melts, covering completely and removing with a fork by tapping on the edge of the bowl and sliding bottom along edge. Place on parchment paper to harden completely. (I placed these in the fridge to harden more quickly so they would be ready to place on the egg “whites”)
  • Melt white candy melts in a larger bowl, using the same technique as melting the yellow ones.
  • Gently dip each cooled egg cookie into the white candy melts, using the same technique as with the Nilla Wafers. 

Fried egg cookieFried Egg Cookie

  • Place on parchment paper to harden, but before white egg hardens completely, place a yellow Nilla Wafer on top as a “yolk”.

Fried eggFried Egg cookies

  • Allow cookie to harden completely and serve up with bacon and toasted pound cake…and maybe coffee?
  • These can be placed into treat bags and put into Easter baskets too! Fun!!!

Fried egg cookie for Easter

My thoughts…oh goodness, I’ve had fun with these. They aren’t hard to make, they are very realistic, and they make everyone laugh! I think they are cute in little treat bags too. Have fun- April Fool’s!!! ~r

Fried egg cookies!We have lots of fun Easter treats here on Easybaked! Check them out by clicking on a photo to see the recipe!

Jelly Bean Cookies!!!!Cadbury Egg Cookie Cups!!!!Easter Cheesecake CupsEasy Easter cut out cookies

Hamburger Cookies!

Posted on

Hamburger Cookie!These cute little burgers are a fun April Fools treat.  They look like a little burger, but they taste like a yummy peppermint cookie!

I’ve been making these since I was a little girl.  They are so easy to put together and so fun to share with people!  Both kids and adults will smile when they see these on the table or tucked into a lunch box!

Hamburger Cookies!!Want to know how to make these cute little treats?  Here’s the recipe: (printable version)

INGREDIENTS:

  • 1 box of Nilla Wafers
  • 1 bag of York Peppermint Patties
  • 1/3 cup each of red, green and yellow Wilton’s candy melts.

DIRECTIONS:

  • Preheat the oven to 350F degrees
  • Unwrap all of your peppermint patties. (Usually there are 24-26 of them per bag)
  • Count out twice that many Nilla Wafers (choose the pretty and unbroken ones!)
  • Place half of the Nilla Wafers, flat side up, on a cookie sheet.
  • Set one peppermint patty on each Nilla wafer.
  • Carefully place the cookie sheet in the oven for 1 to 2 minutes, just long enough to melt the chocolate coating on the peppermint patty. (This will melt the bottom of the peppermint to the Nilla wafer).
  • In 3 small bowls, melt the Candy Melts in the microwave in 30 second increments, stirring between until completely melted and smooth.
  • Place each of the 3 melted colors in separate zip-top bags.
  • Clip one corner and drizzle one color across tops of each peppermint.  Repeat this with other two colors.

Hamburger Cookies!!!

  • Gently press a Nilla wafer, flat side down, on top of the drizzled candy melts. Press to gently squeeze the “ketchup, lettuce and cheese” colors out at the edge of the cookie “bun”.
  • Allow cookies to harden completely.

I like to serve them with those little mini potato sticks.  I wanted to take some pictures with some, but I couldn’t find any at the grocery store here.  Trust me, the salty and sweet is a yummy combination.

Hamburger Cookies!!!!My thoughts:  My mom was downright mischievous on April Fools Day.  I had green milk and no meat on my sandwich and holes poked in my apple.  This is a fun “eating hamburgers for dessert” prank that will make your family smile.  Plus they are SO yummy!  Enjoy!!! ~r

Other fun treats you might like:

Patriotic Flip Flop Cookies!!!!Toxic Slime-filled Cupcakes!Ladybug Oreo Pops!Pile of Cupcakes!


Raspberry Lemon Cream Cups

Posted on

Raspberry Lemon Cream Cups!!!

These adorable chilled lemon and raspberry treats are creamy, sweet summer dessert perfection!

I love lemon and raspberry together and I just couldn’t resist trying a new flavor combination in my mini cheesecake pan !  The sweet raspberries and tart lemon cream are a perfect ending to any meal!  Want to try them???

Here’s how:  (printer friendly recipe)

Ingredients:

  • 40 Nilla Wafers
  • 4 Tablespoons of melted butter
  • 1 package (4-serving size) of instant lemon pudding
  • 1 1/2 cups of cold milk
  • 1 container of Cool Whip topping
  • 2-3 cups of fresh raspberries (about 60 berries)

Directions:

  • In a food processor or a large food chopper, crush Nilla wafers to fine crumbs.
  • Add melted butter to crumbs and pulse a few more times to combine.
  • Prepare mini cheesecake pan by placing metal disks in the bottom of each cup.
  • Evenly divide crumbs between all 12 cups.
  • Press firmly into bottom of each cup using a mini tart shaper or the end of a wooden spoon.
  • In a large mixing bowl, combine cold milk with packet of pudding mix.  Beat on medium for 2 minutes.
  • Mix in HALF of the Cool Whip topping (the rest will be used on top once dessert is frozen, so you can return it to the refrigerator).
  • Spoon/pour pudding mixture into a large zip-top bag and carefully clip a corner off.
  • Pipe filling into each cup, covering crust and filling only half way.
  • Place 4 to 5 fresh raspberries on top of filling in each cup.
  • Pipe filling over raspberries until it reaches top of cup (be sure to push filling down around berries and not just on top of them). You will probably have a little lemon filling left at the end. I can tell you from experience that Nilla Wafers dipped in this filling are AMAZING!!
  • Use a knife to level the tops of each cup.
  • Cover with plastic wrap and freeze for several hours (or overnight!)
  • Once frozen, (and just before serving) allow pan to warm just slightly at room temperature and then use your fingers to push up on metal disk and push each dessert out of the pan.
  • Remove metal disks from bottom crust.
  • Pipe remaining Cool Whip on top and garnish with remaining raspberries on top.

Raspberry Lemon Cream Cups!!!

These can be served frozen, or allowed to warm at room temperature for a little while before serving.  Don’t leave them at room temperature for longer than an hour or so, or your crust will start to get soggy!

My thoughts:  I cannot even think of the words to describe how yummy these little cups are.  Plus they are EASY to make and quick (except for the freezer time, of course!)  If you do not have a mini cheesecake pan, you can make these in cupcake liners in a muffin tin…or you could get a mini-cheesecake pan and add to the fun in your life.  I absolutely love mine!!!  So many possibilities!!

Raspberry Lemon Cream Cup!!!

Other recipes that use the mini-cheesecake pans:

Frosty Almond Joy Cups!Mini Cookie Dough CheesecakeMini Pineapple Upside Down CakesFrozen S'mores Cups