RSS Feed

Tag Archives: sugar cookies

Boston Cream Cookie Cups

Posted on


boston-cream-cookie-cups
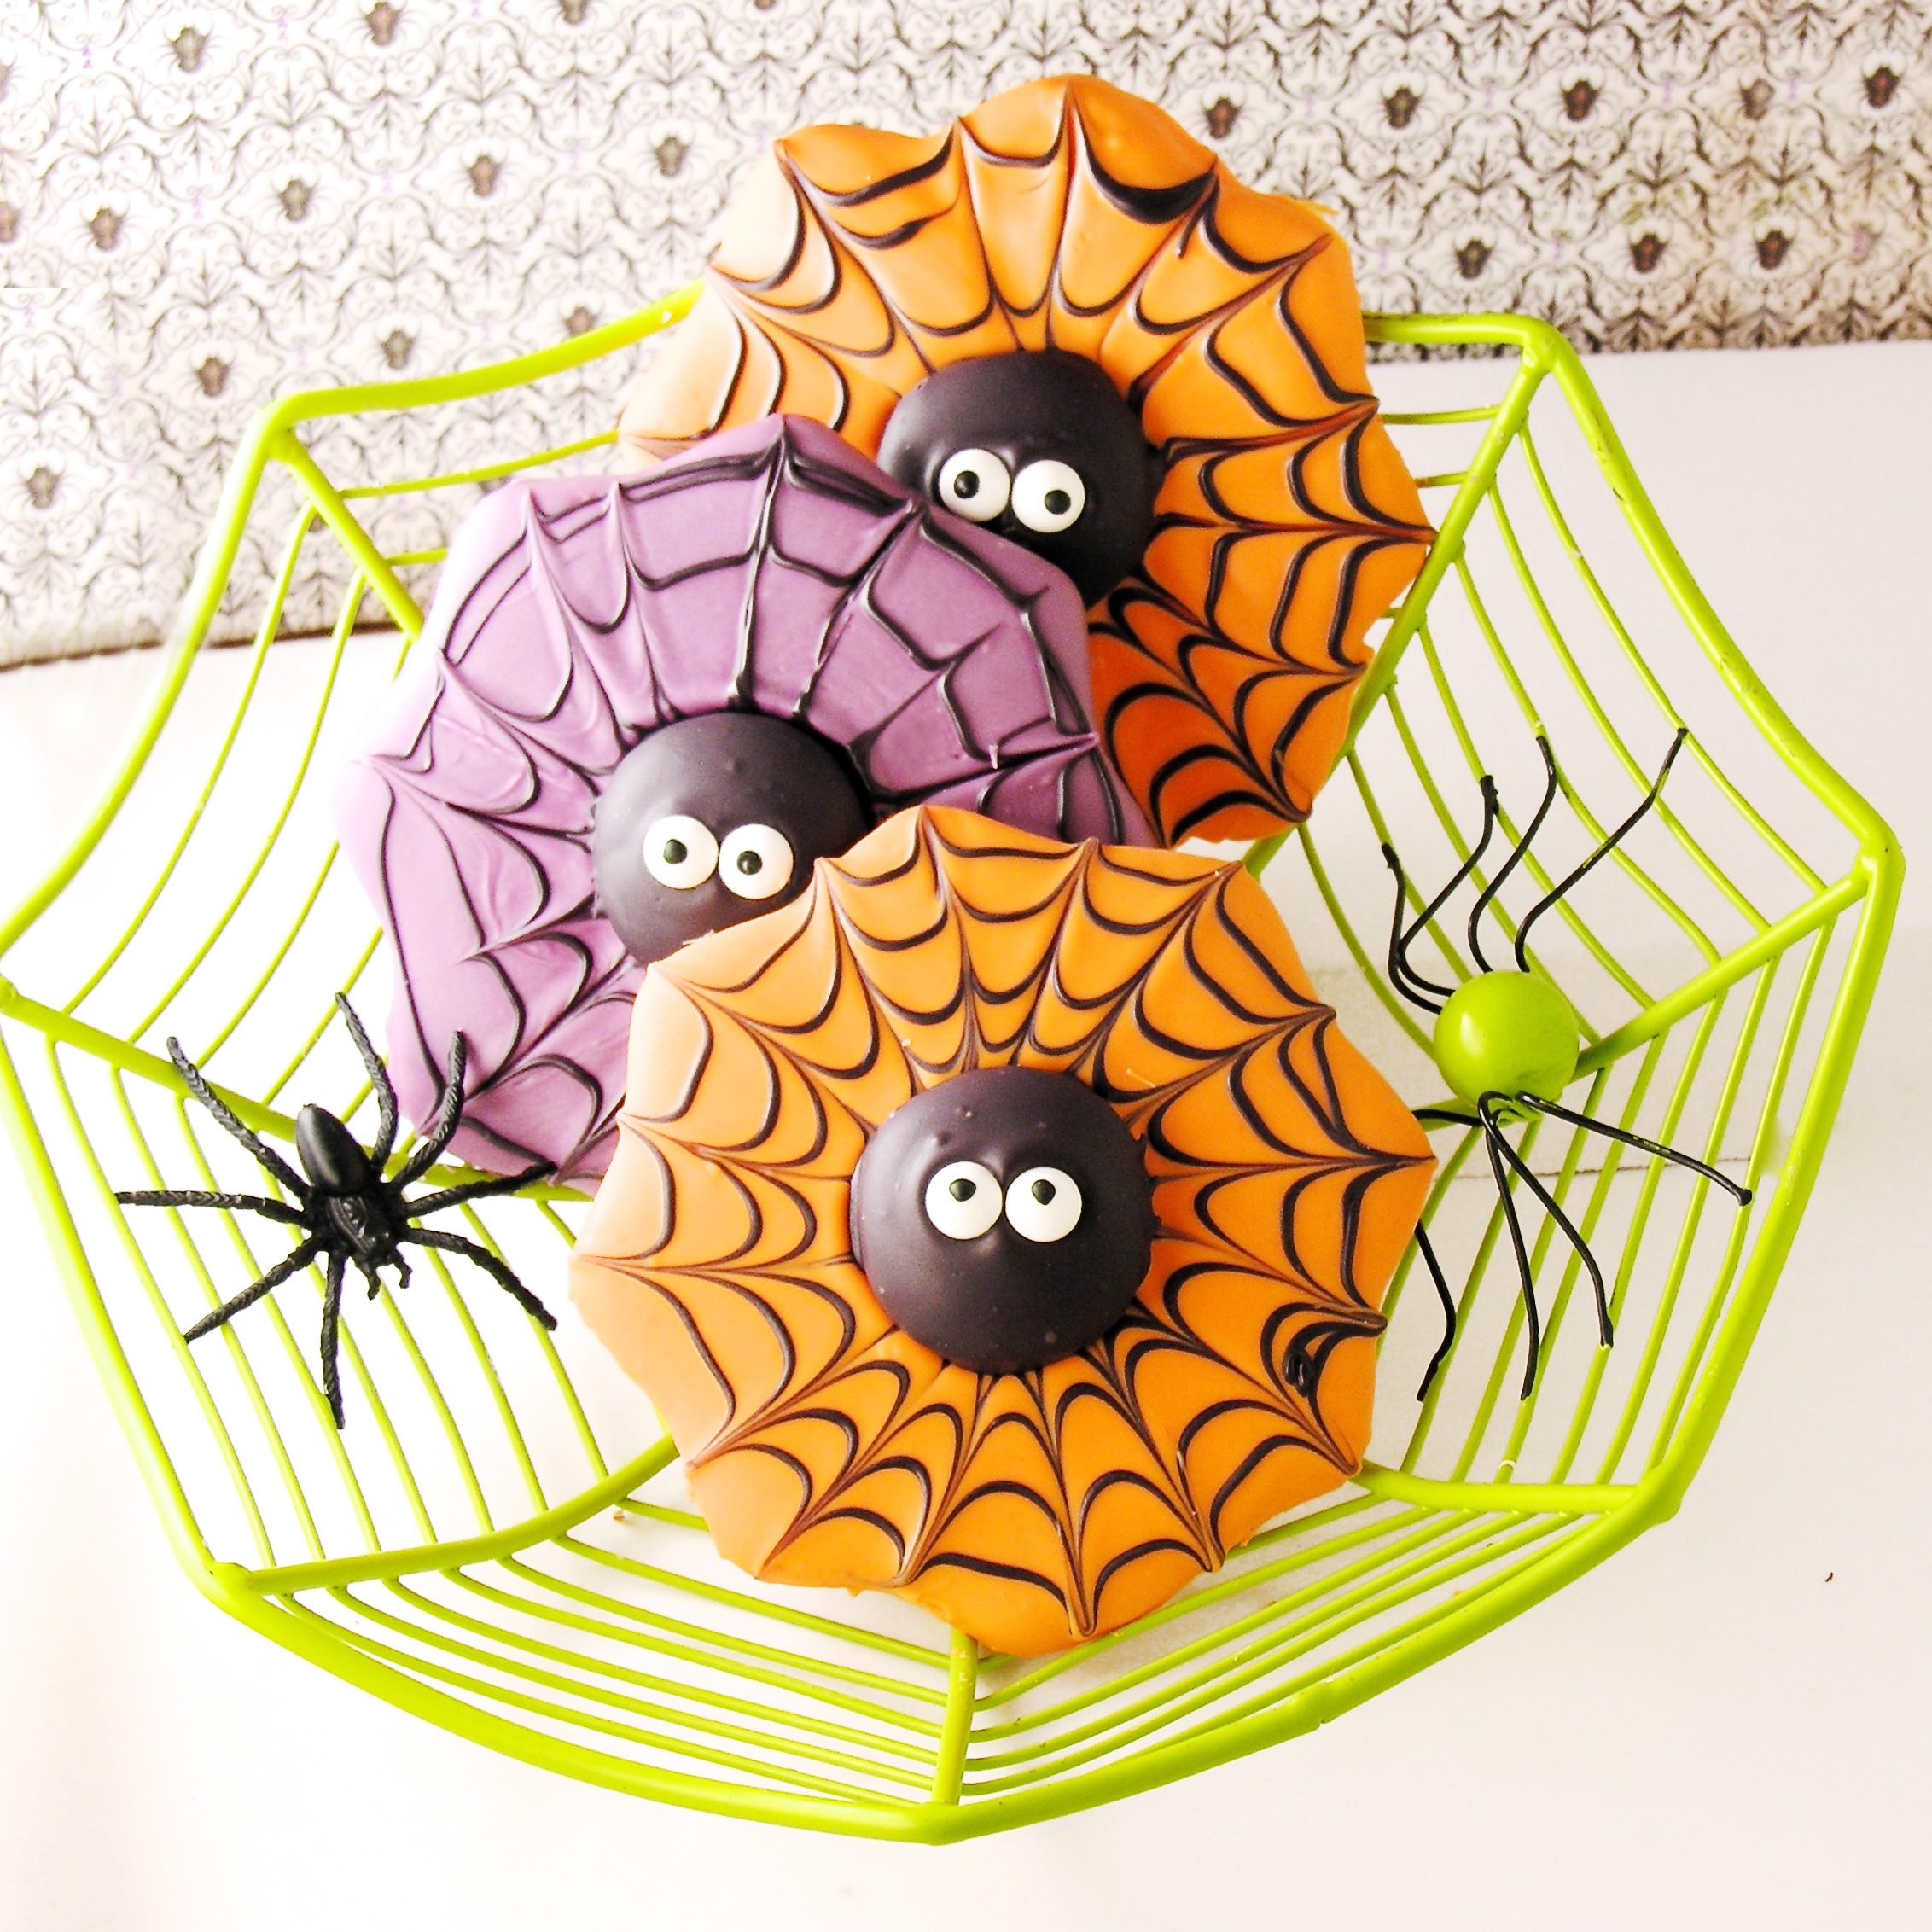
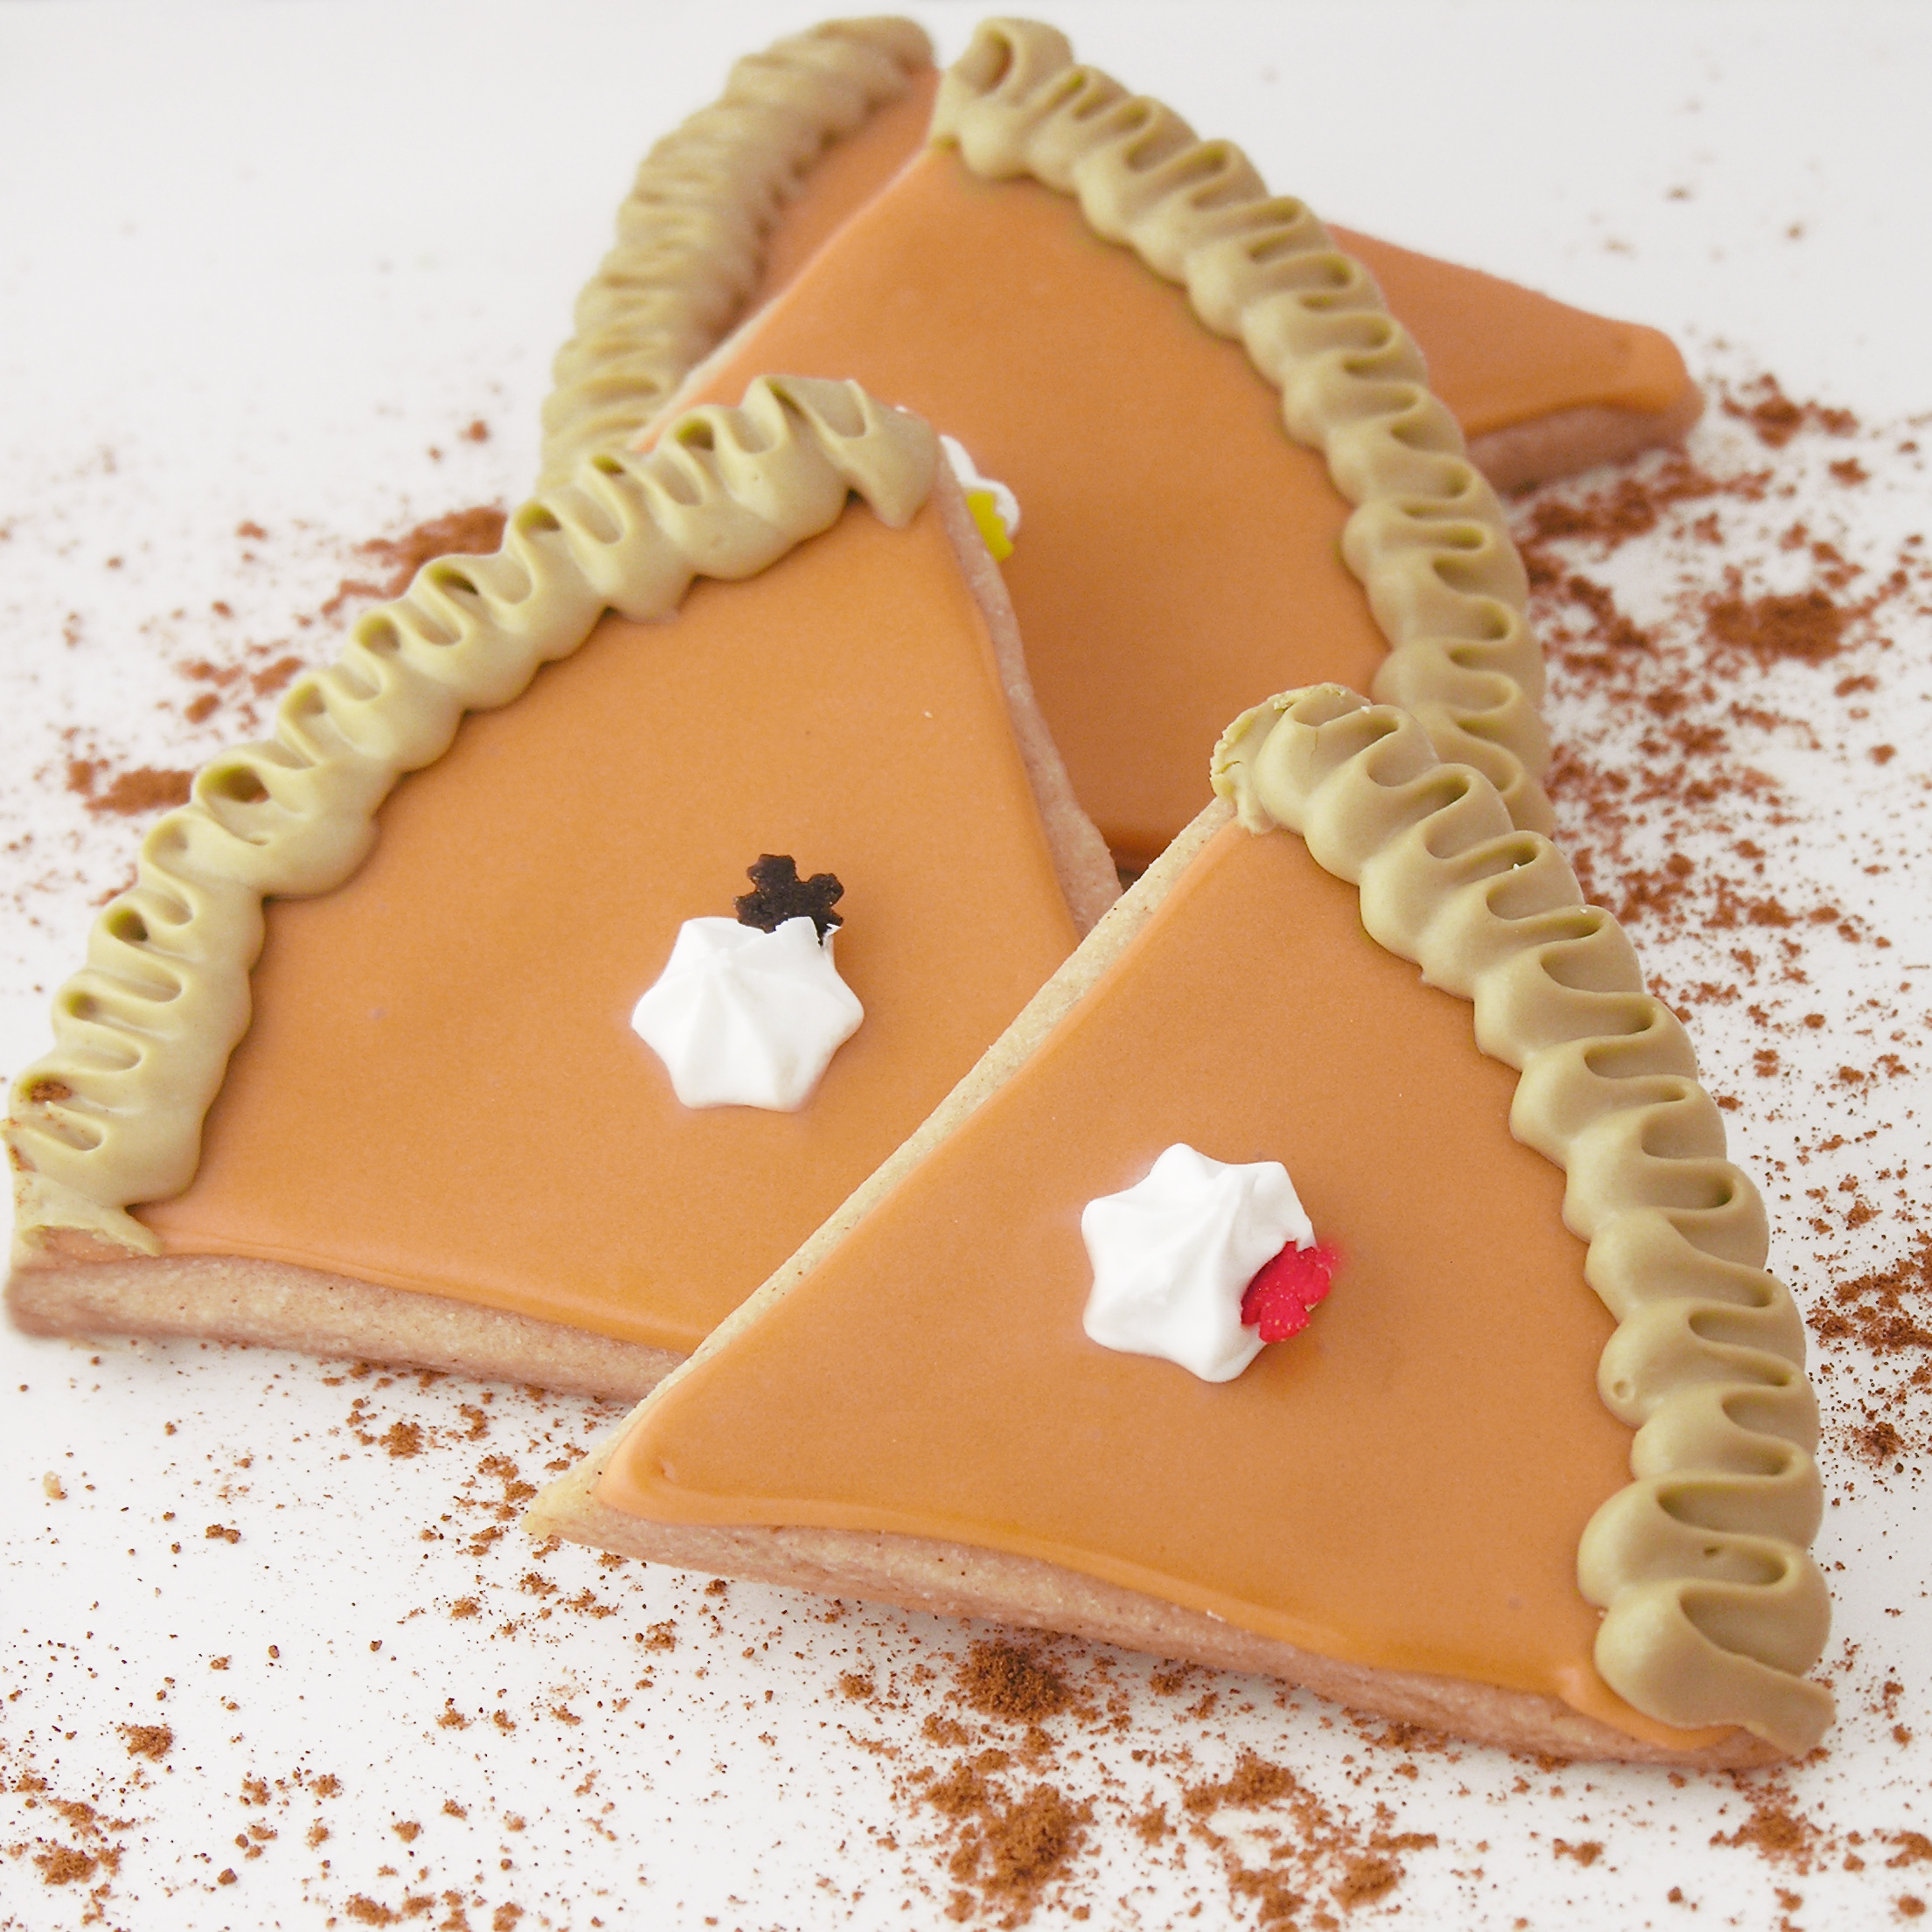
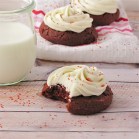
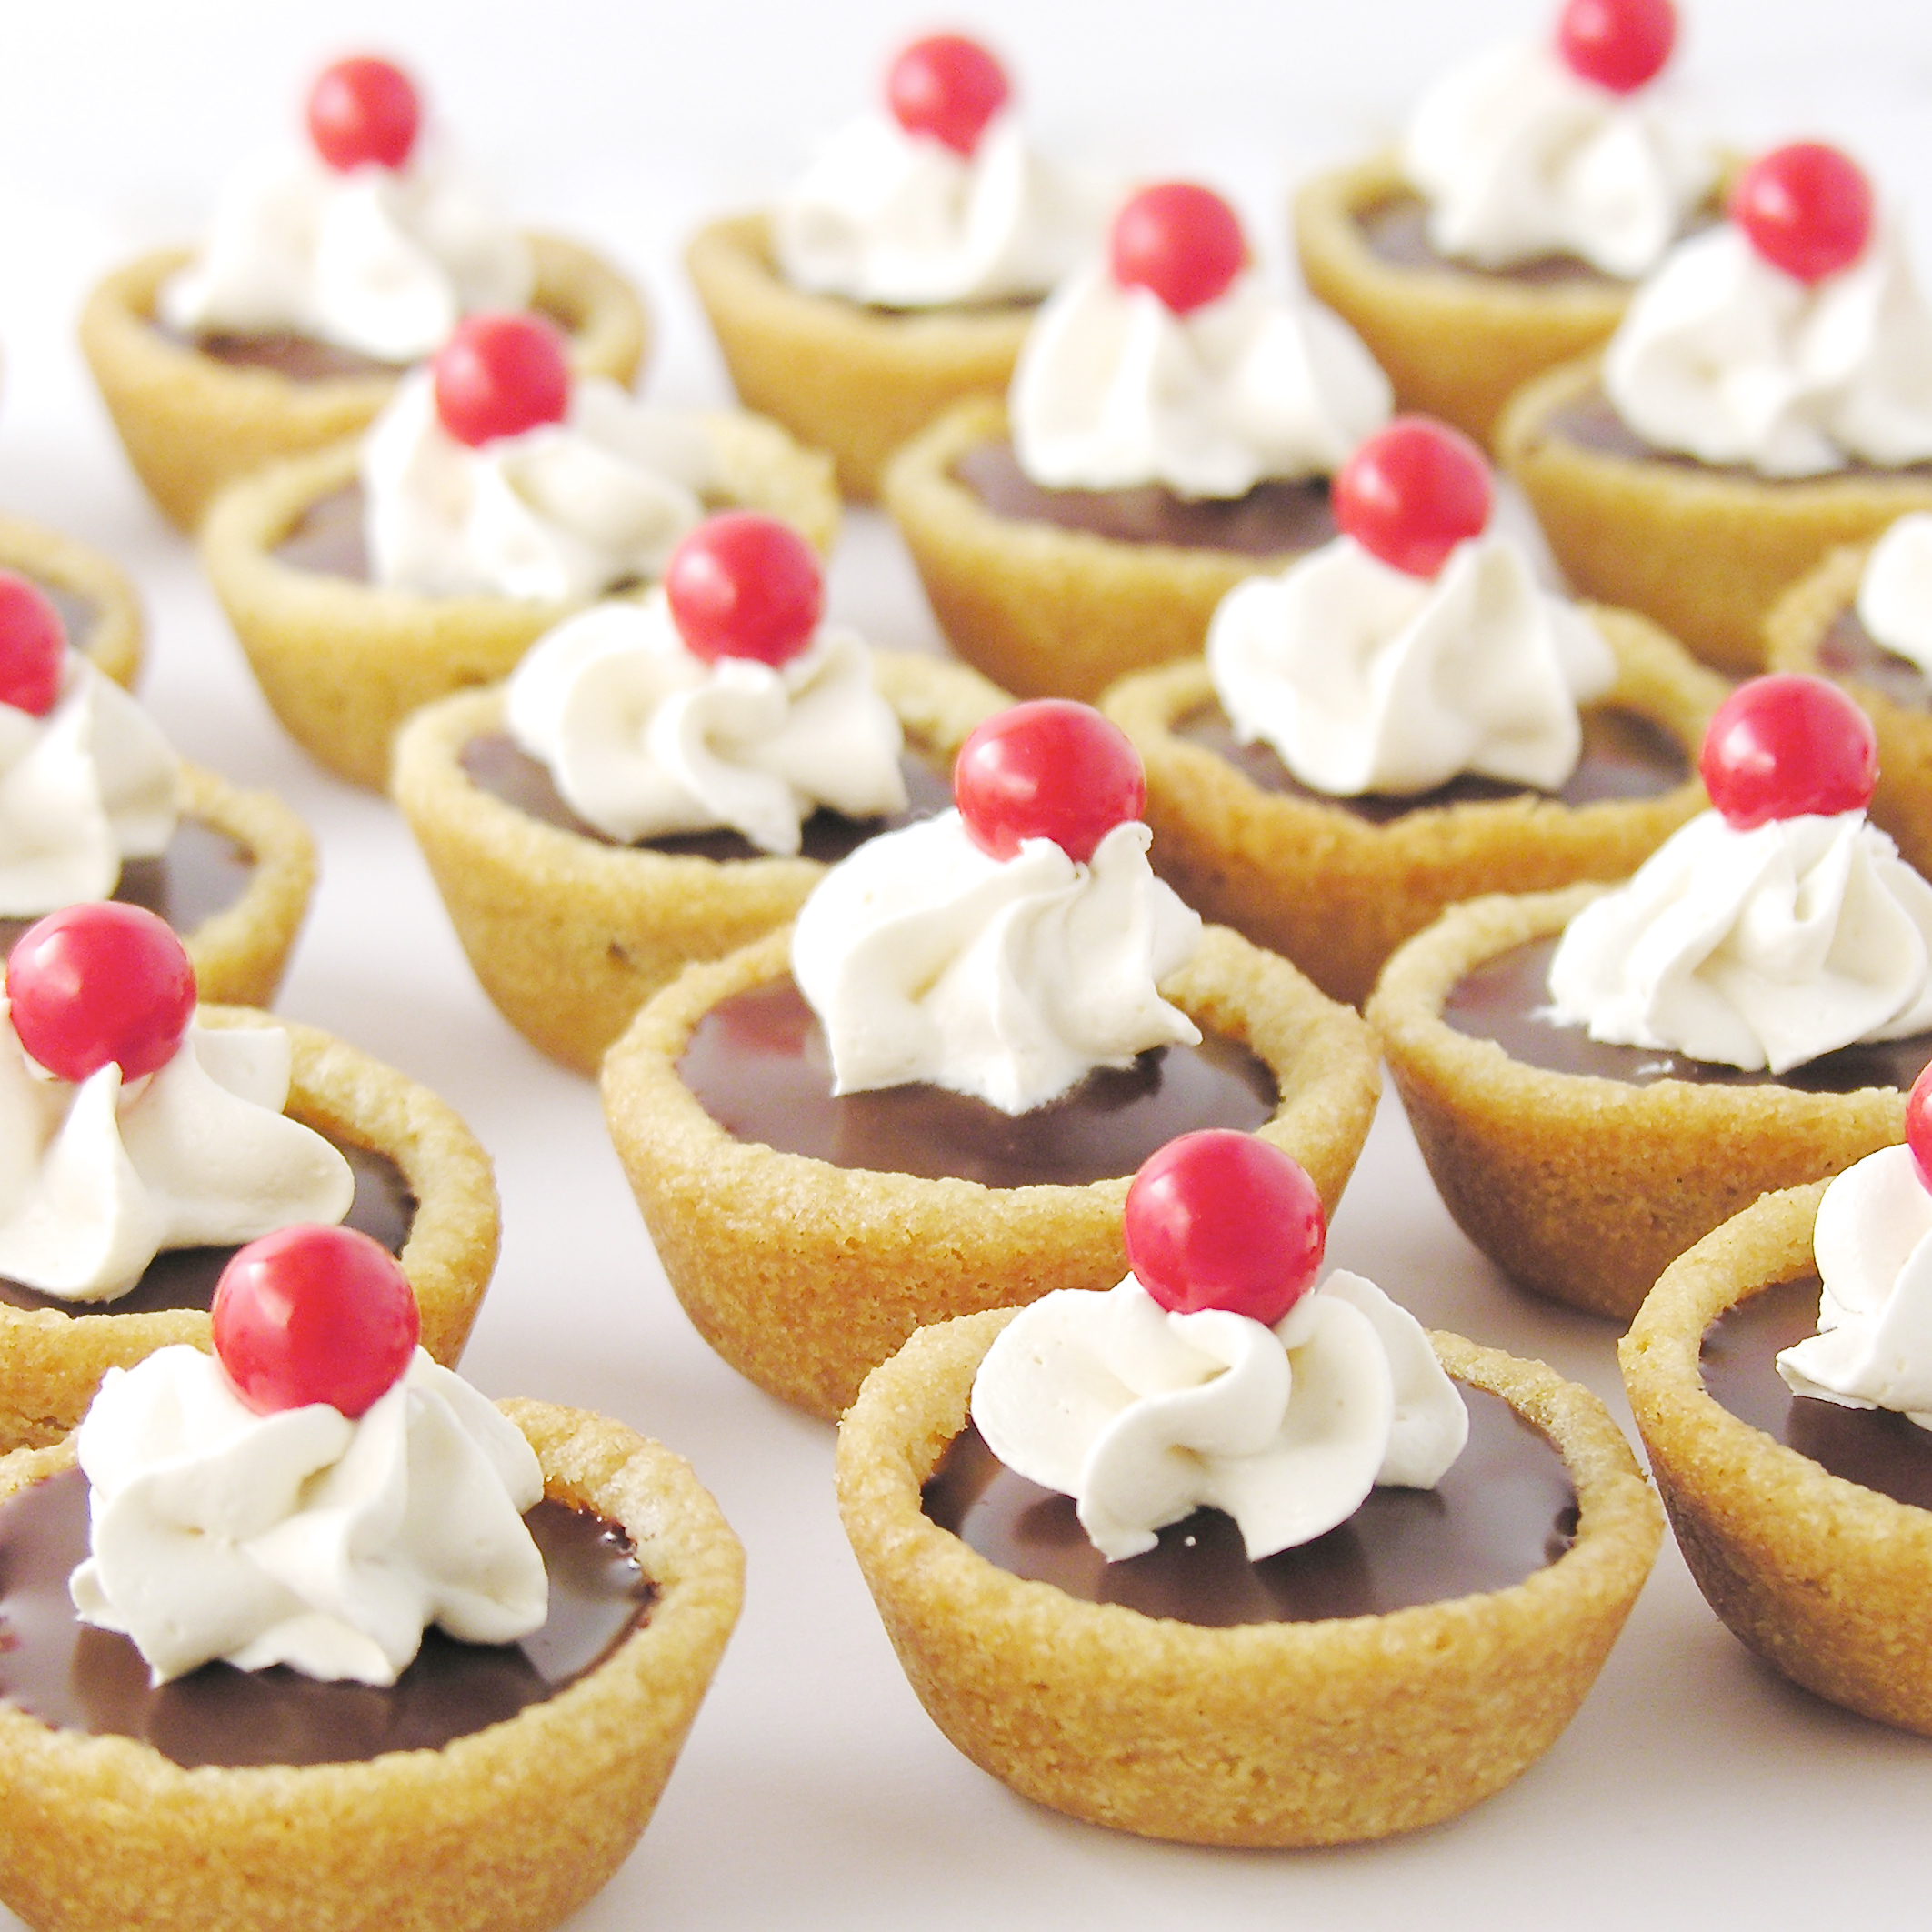
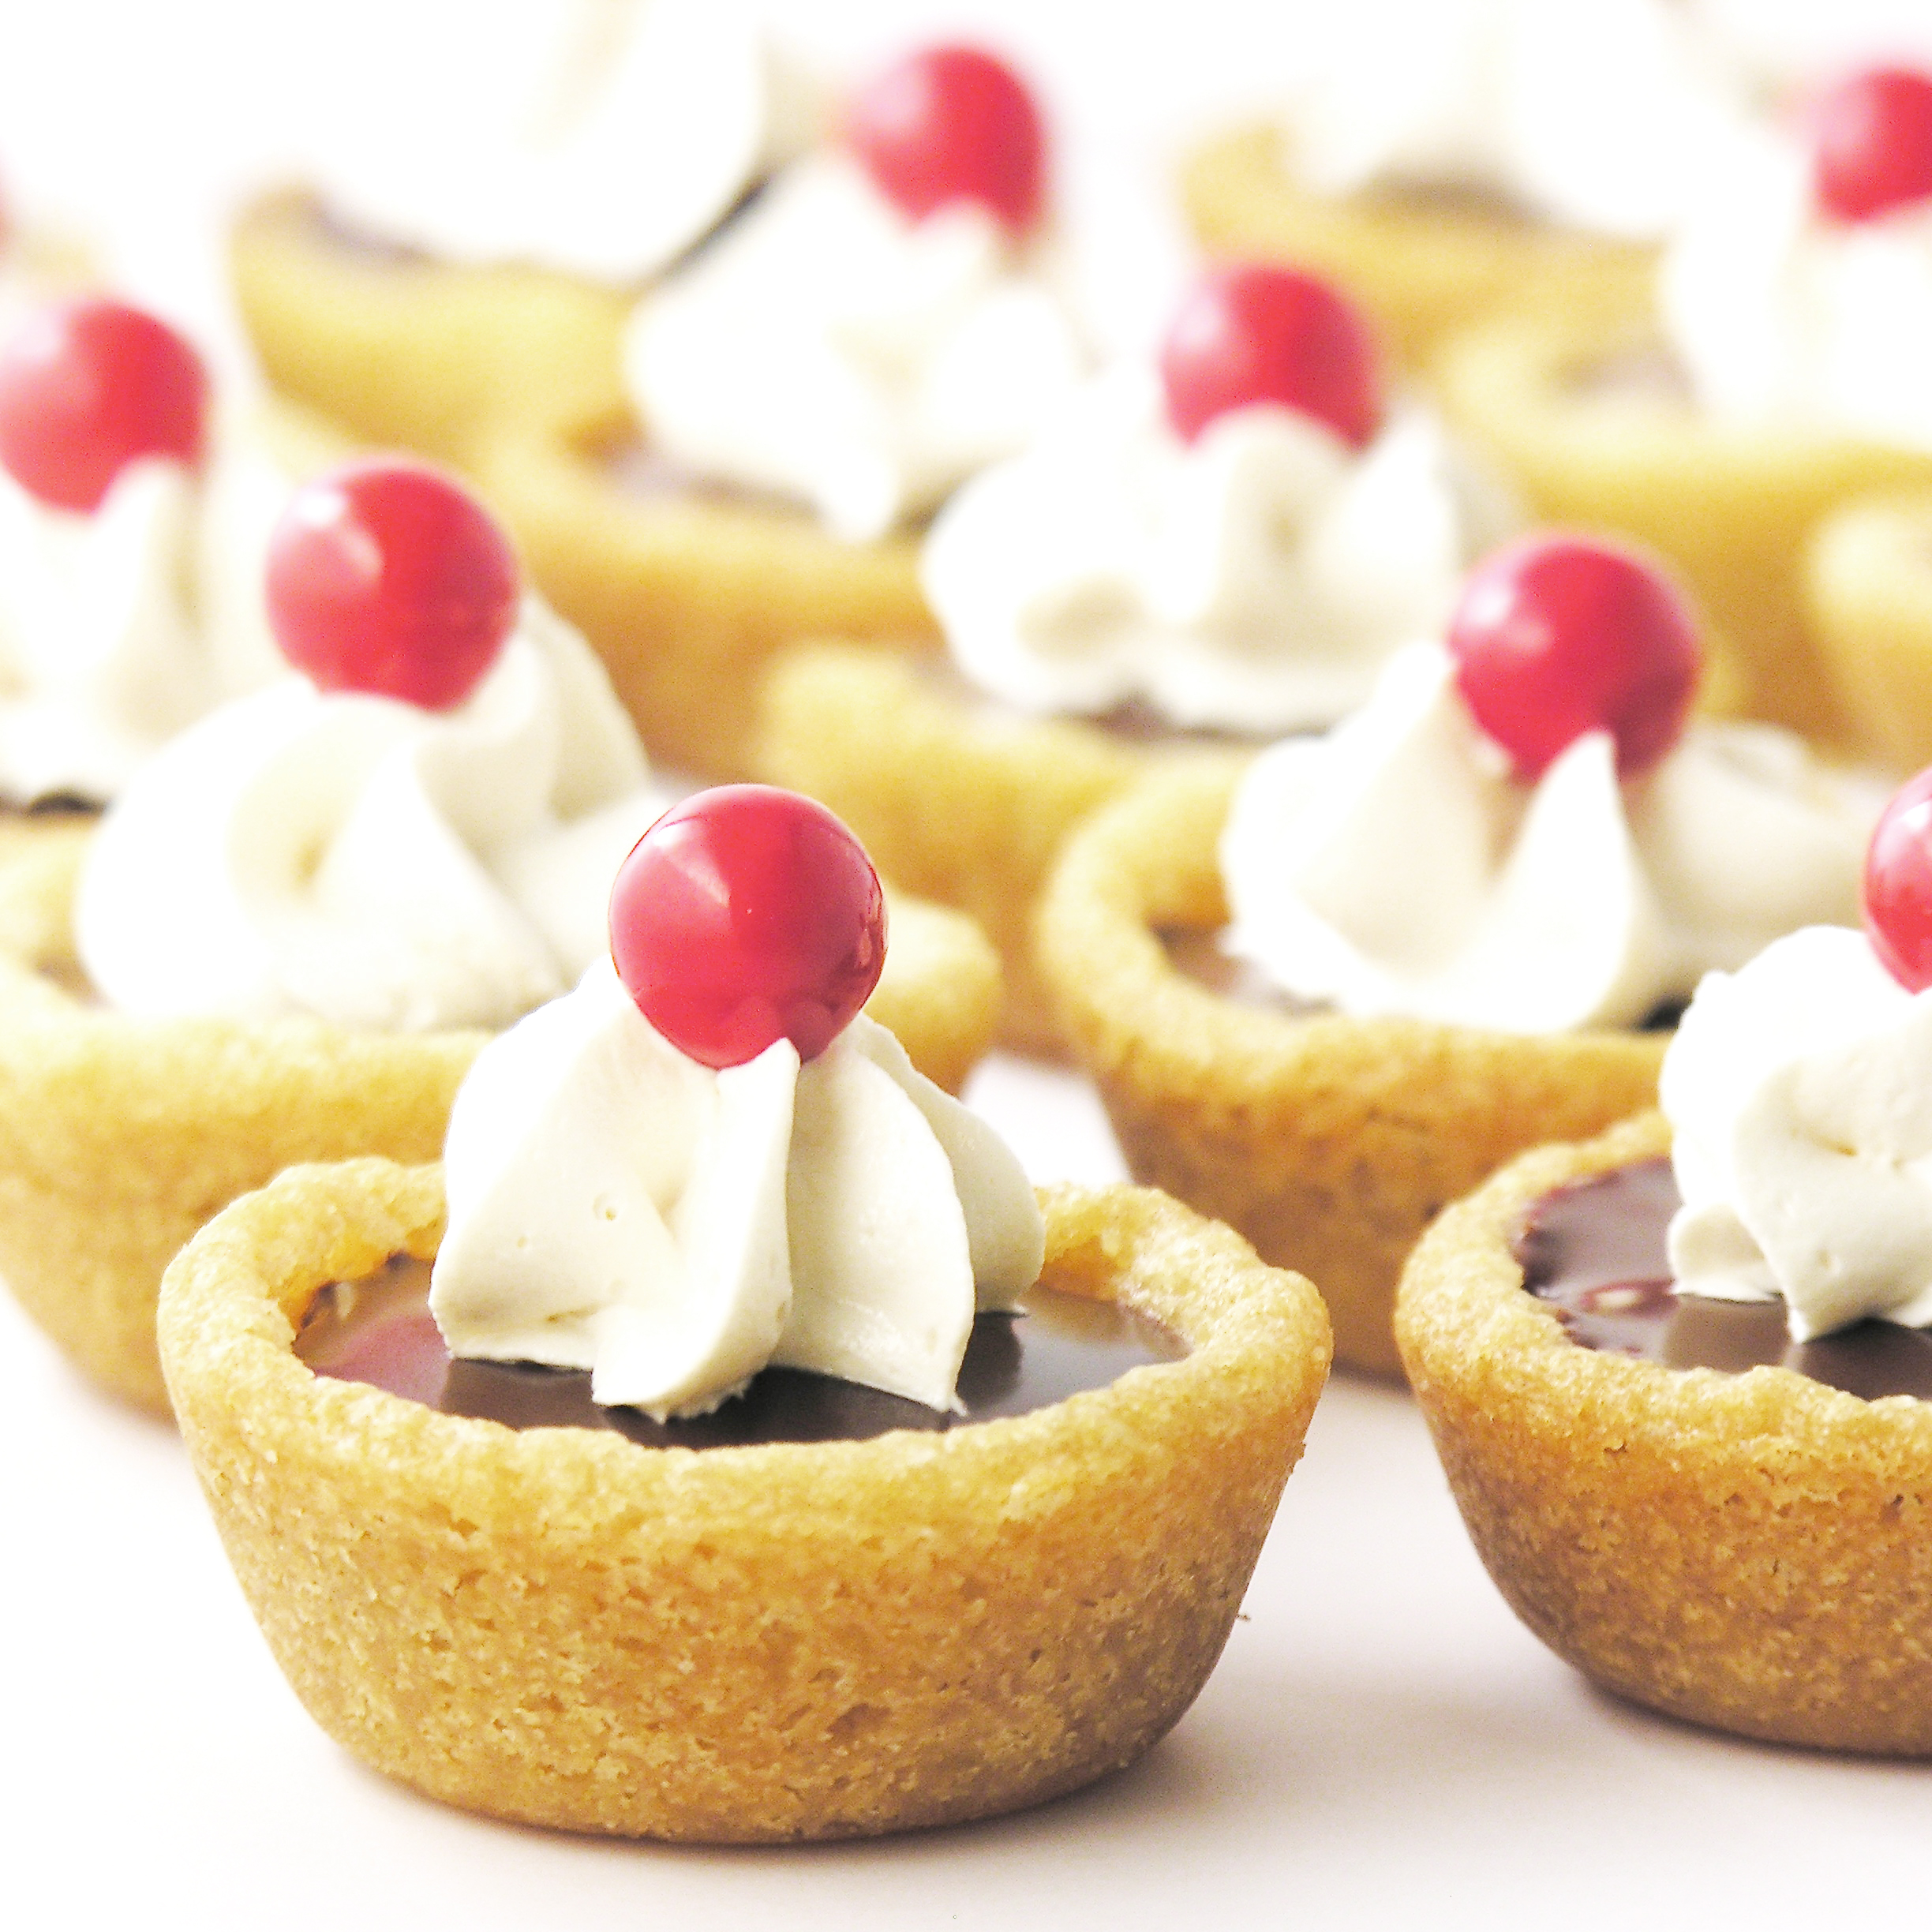
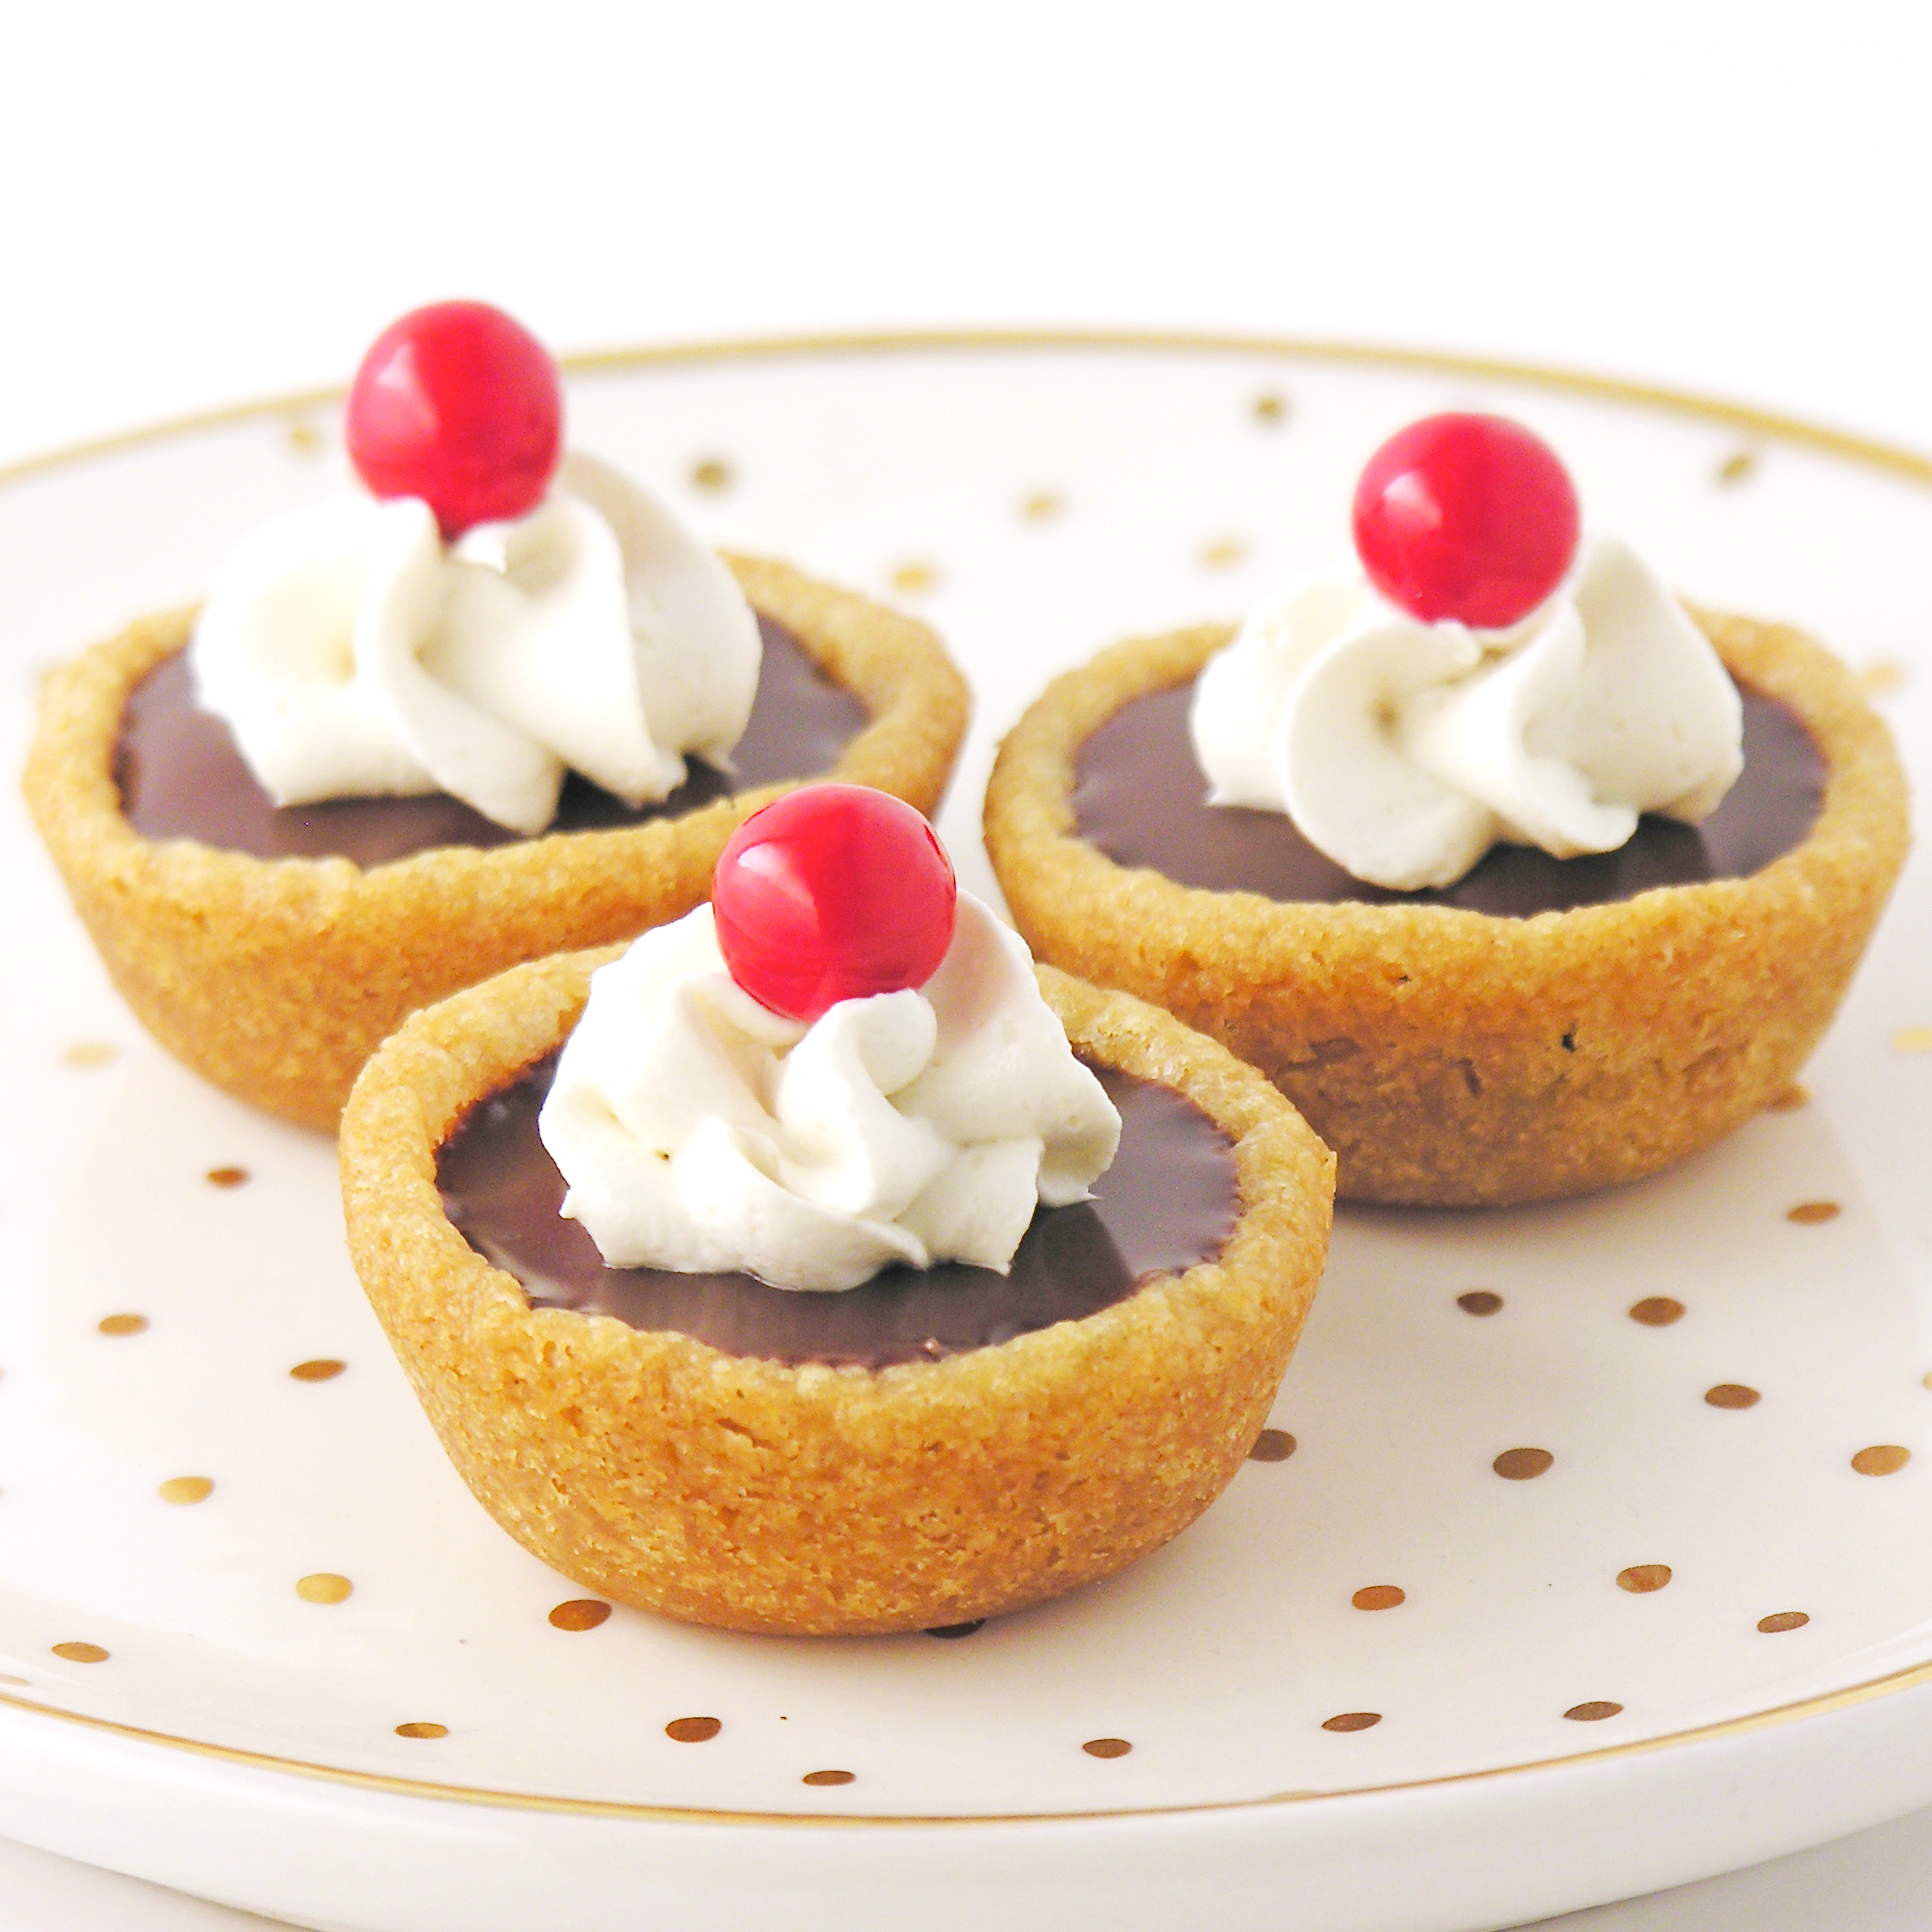
These adorable cookie cups are filled with white chocolate pudding, and topped with rich chocolate and buttercream.

A perfect mini-dessert!

Let’s hear it for Boston Cream Pie! I’m not sure why they call it pie when it is so obviously cake… but that aside, it is wonderful! I love little bite-size mini desserts, and I’ve wanted to create a Boston cream pie one for some time. These turned out exactly like I wanted them to. Beautiful, bite-sized, and delicious! 🙂

boston cream cookie cups

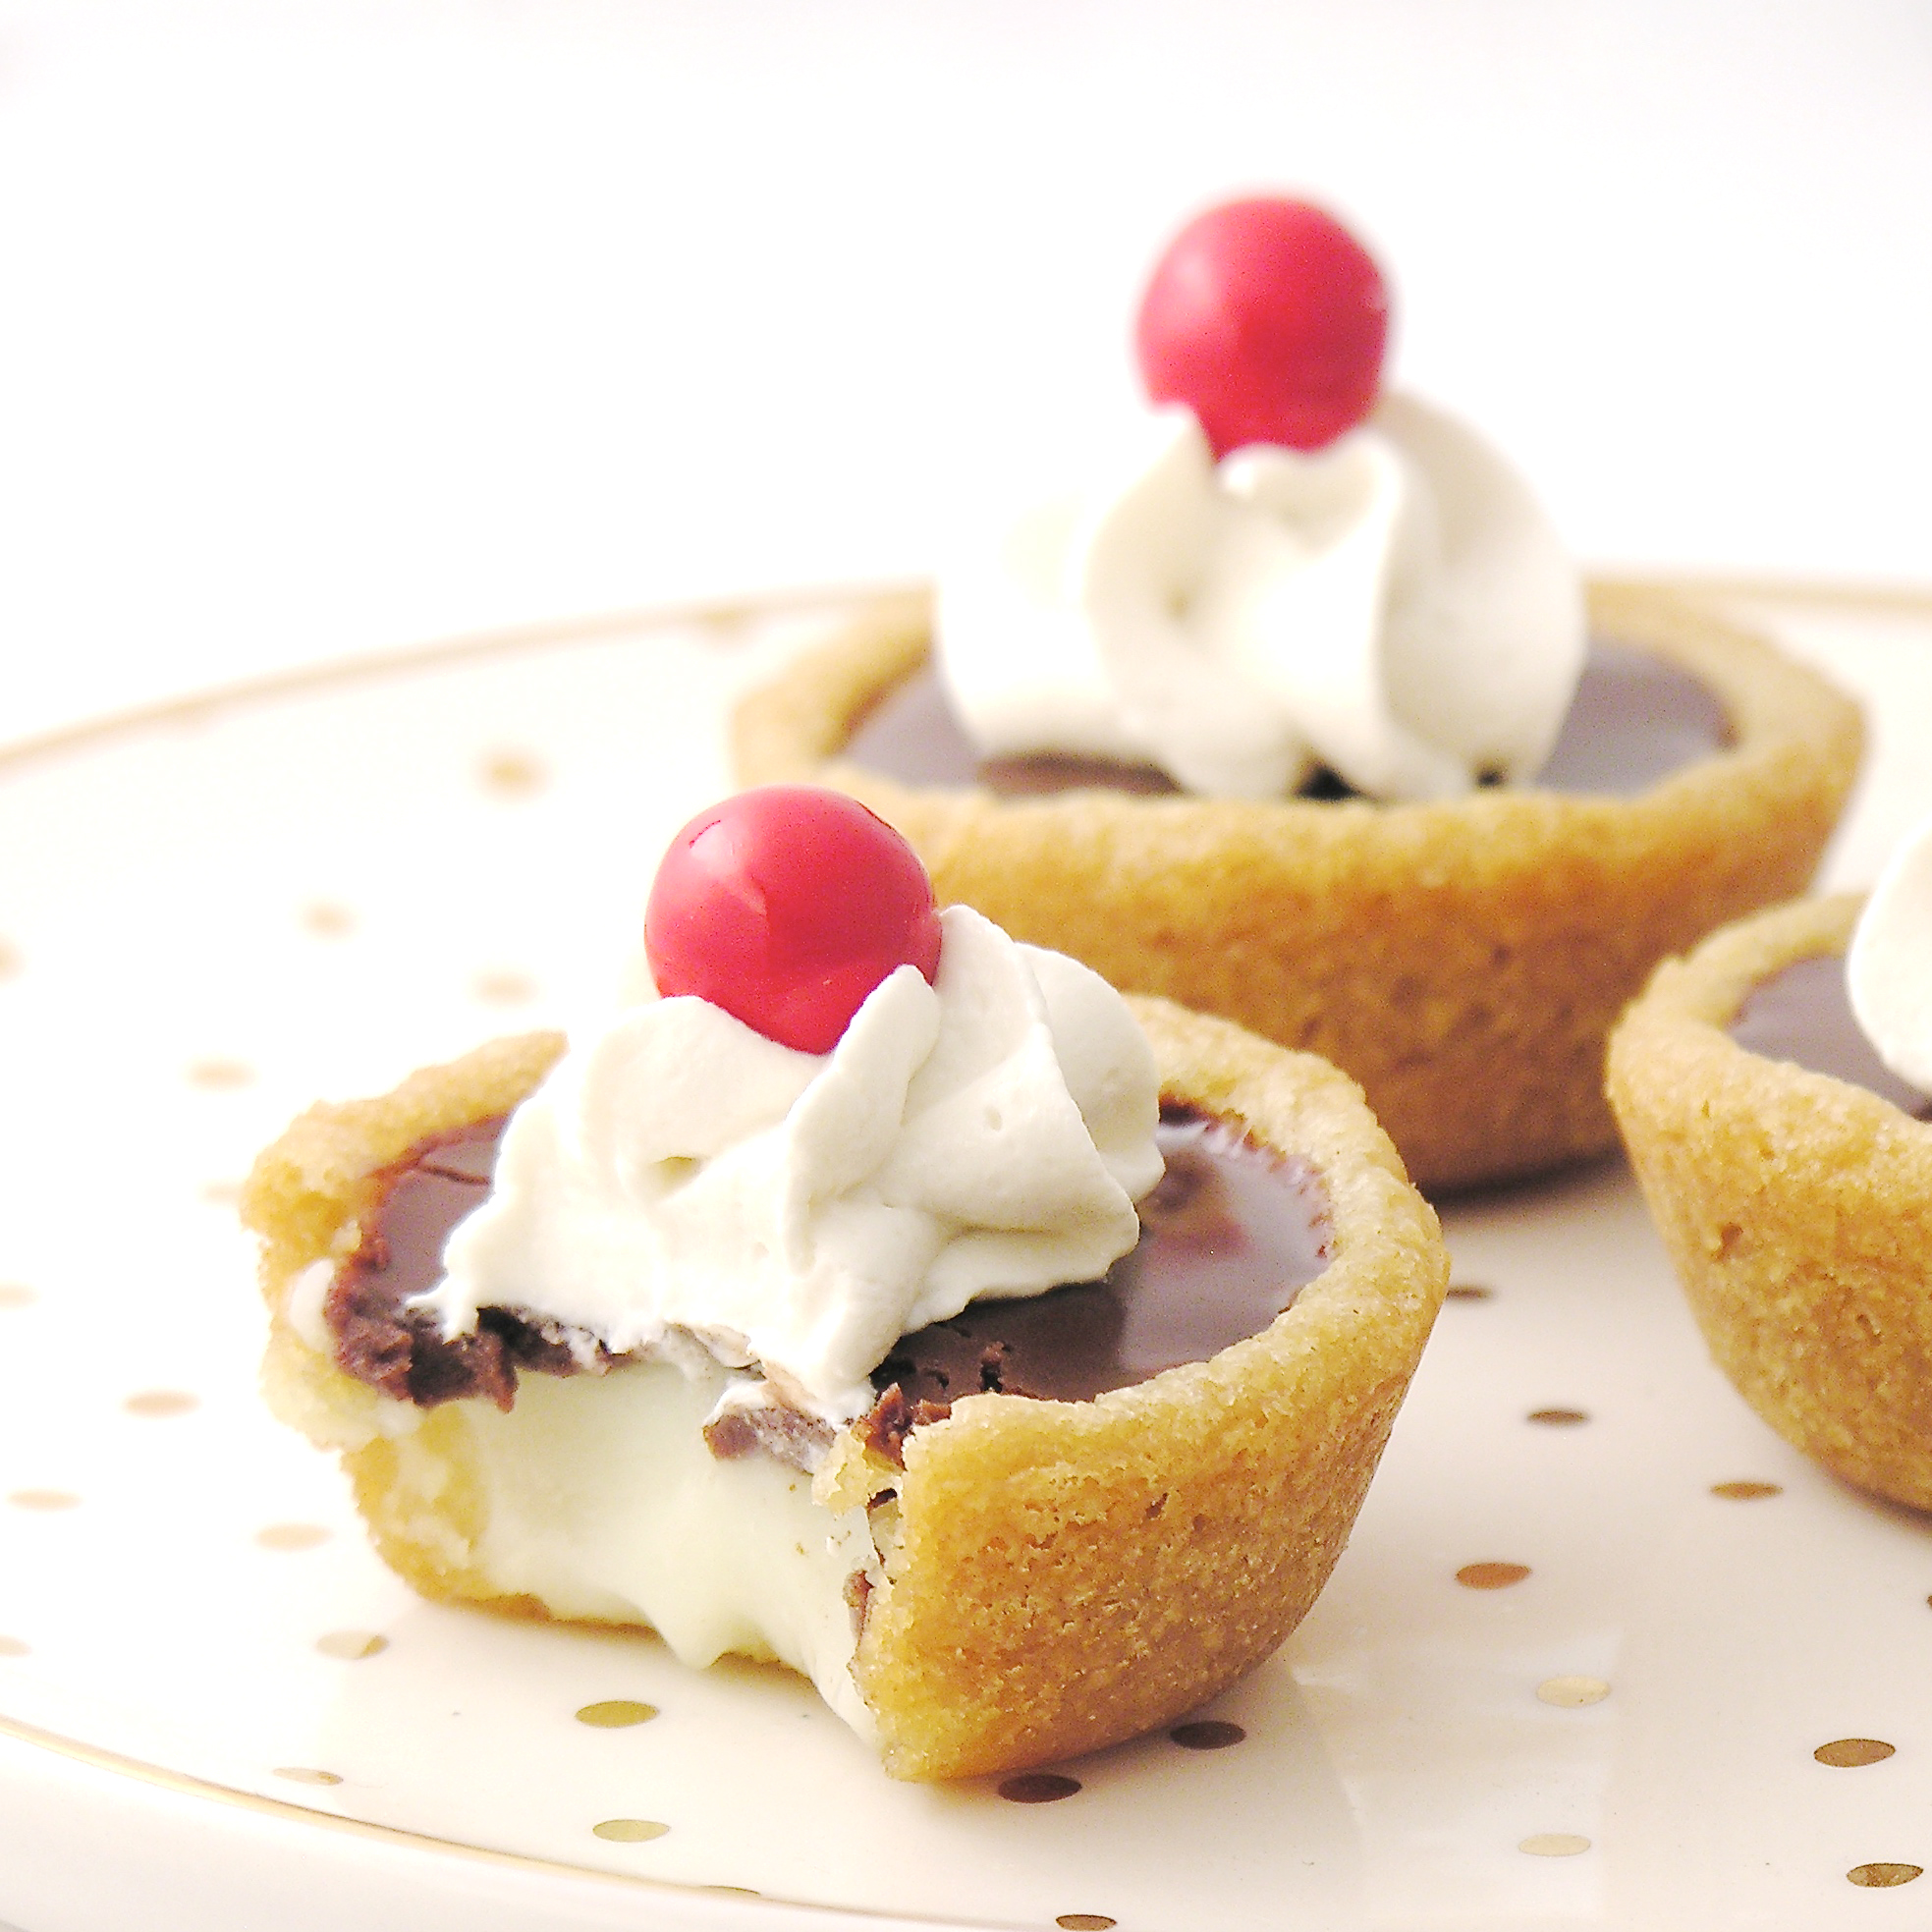
Plus we use refrigerated cookie dough and instant pudding- so these are easy to make!

Here’s how we made these little guys (printable recipe here)

INGREDIENTS: (makes 48 cookie cups)

  • One tube of refrigerated sugar cookie dough
  • 1 box (3.3 oz.) of instant Jell-O brand white chocolate pudding (plus milk to make according to box)
  • 2 sticks of butter (divided)
  • 1 cup of semi-sweet chocolate chips
  • 1 cup of powdered sugar
  • 1 teaspoon vanilla
  • Red Sixlets candy or sprinkles

DIRECTIONS:

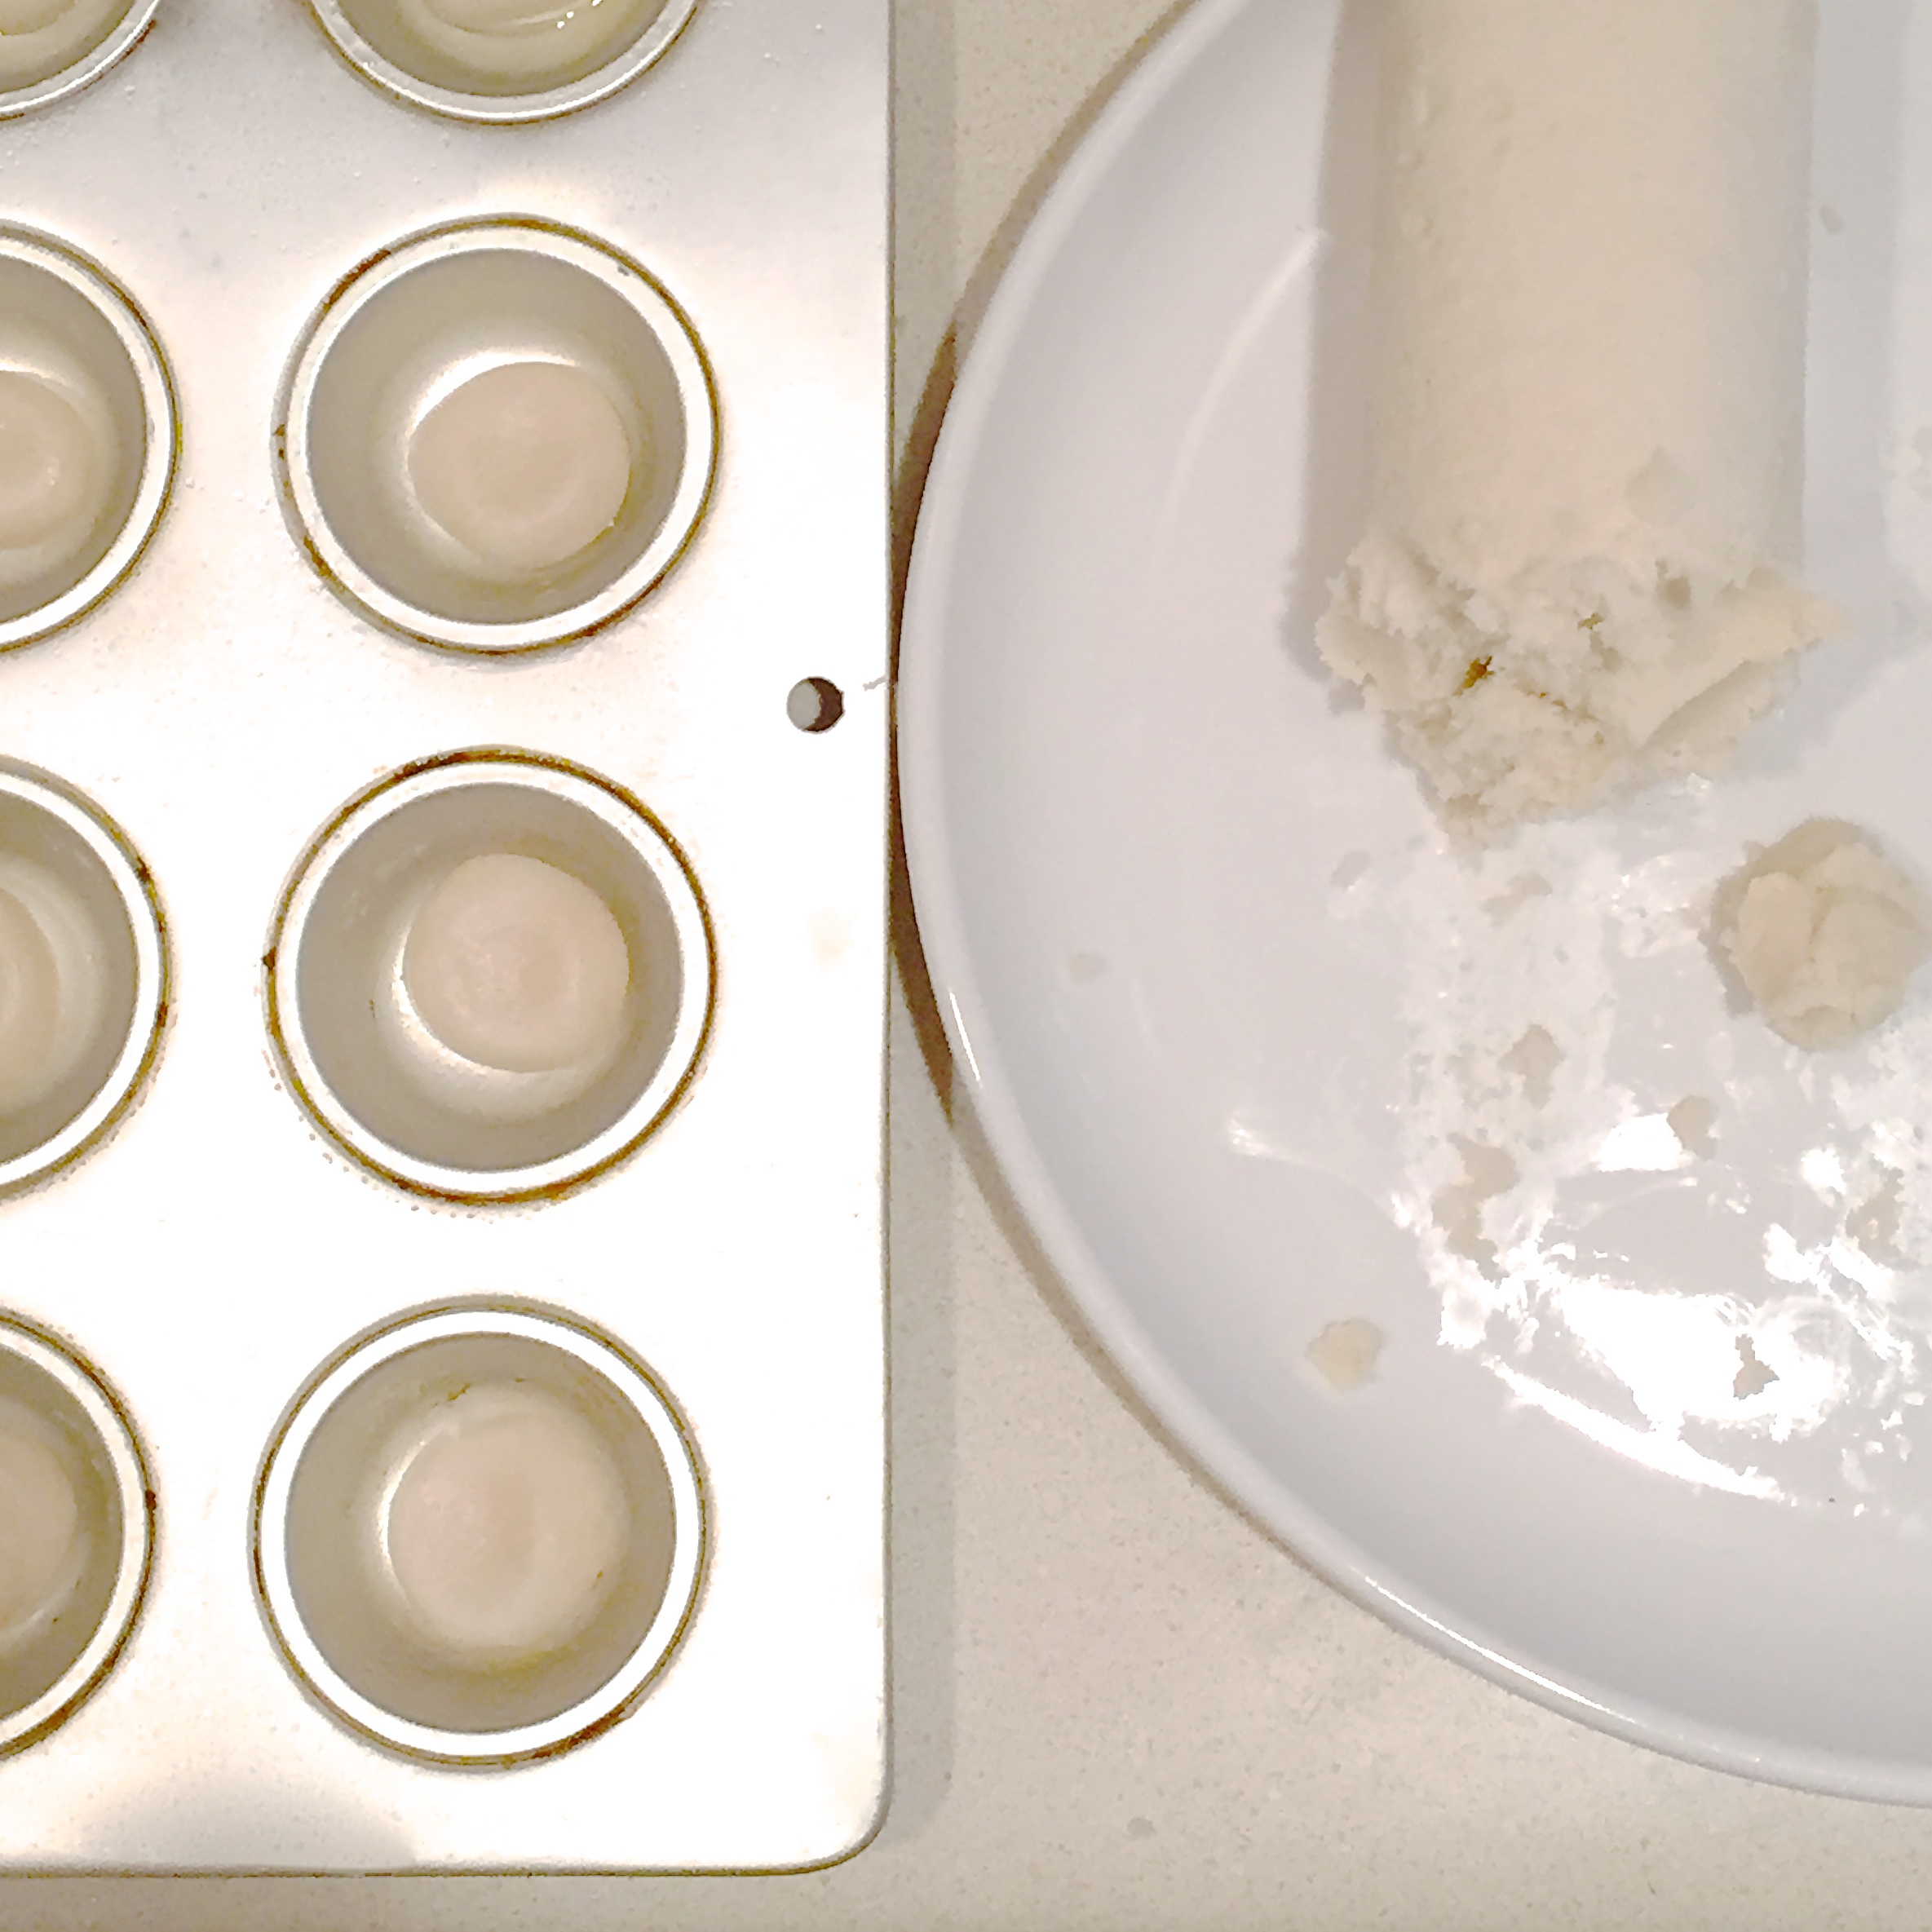
  • Preheat oven to 350F degrees and liberally spray a mini muffin tin with cooking spray.
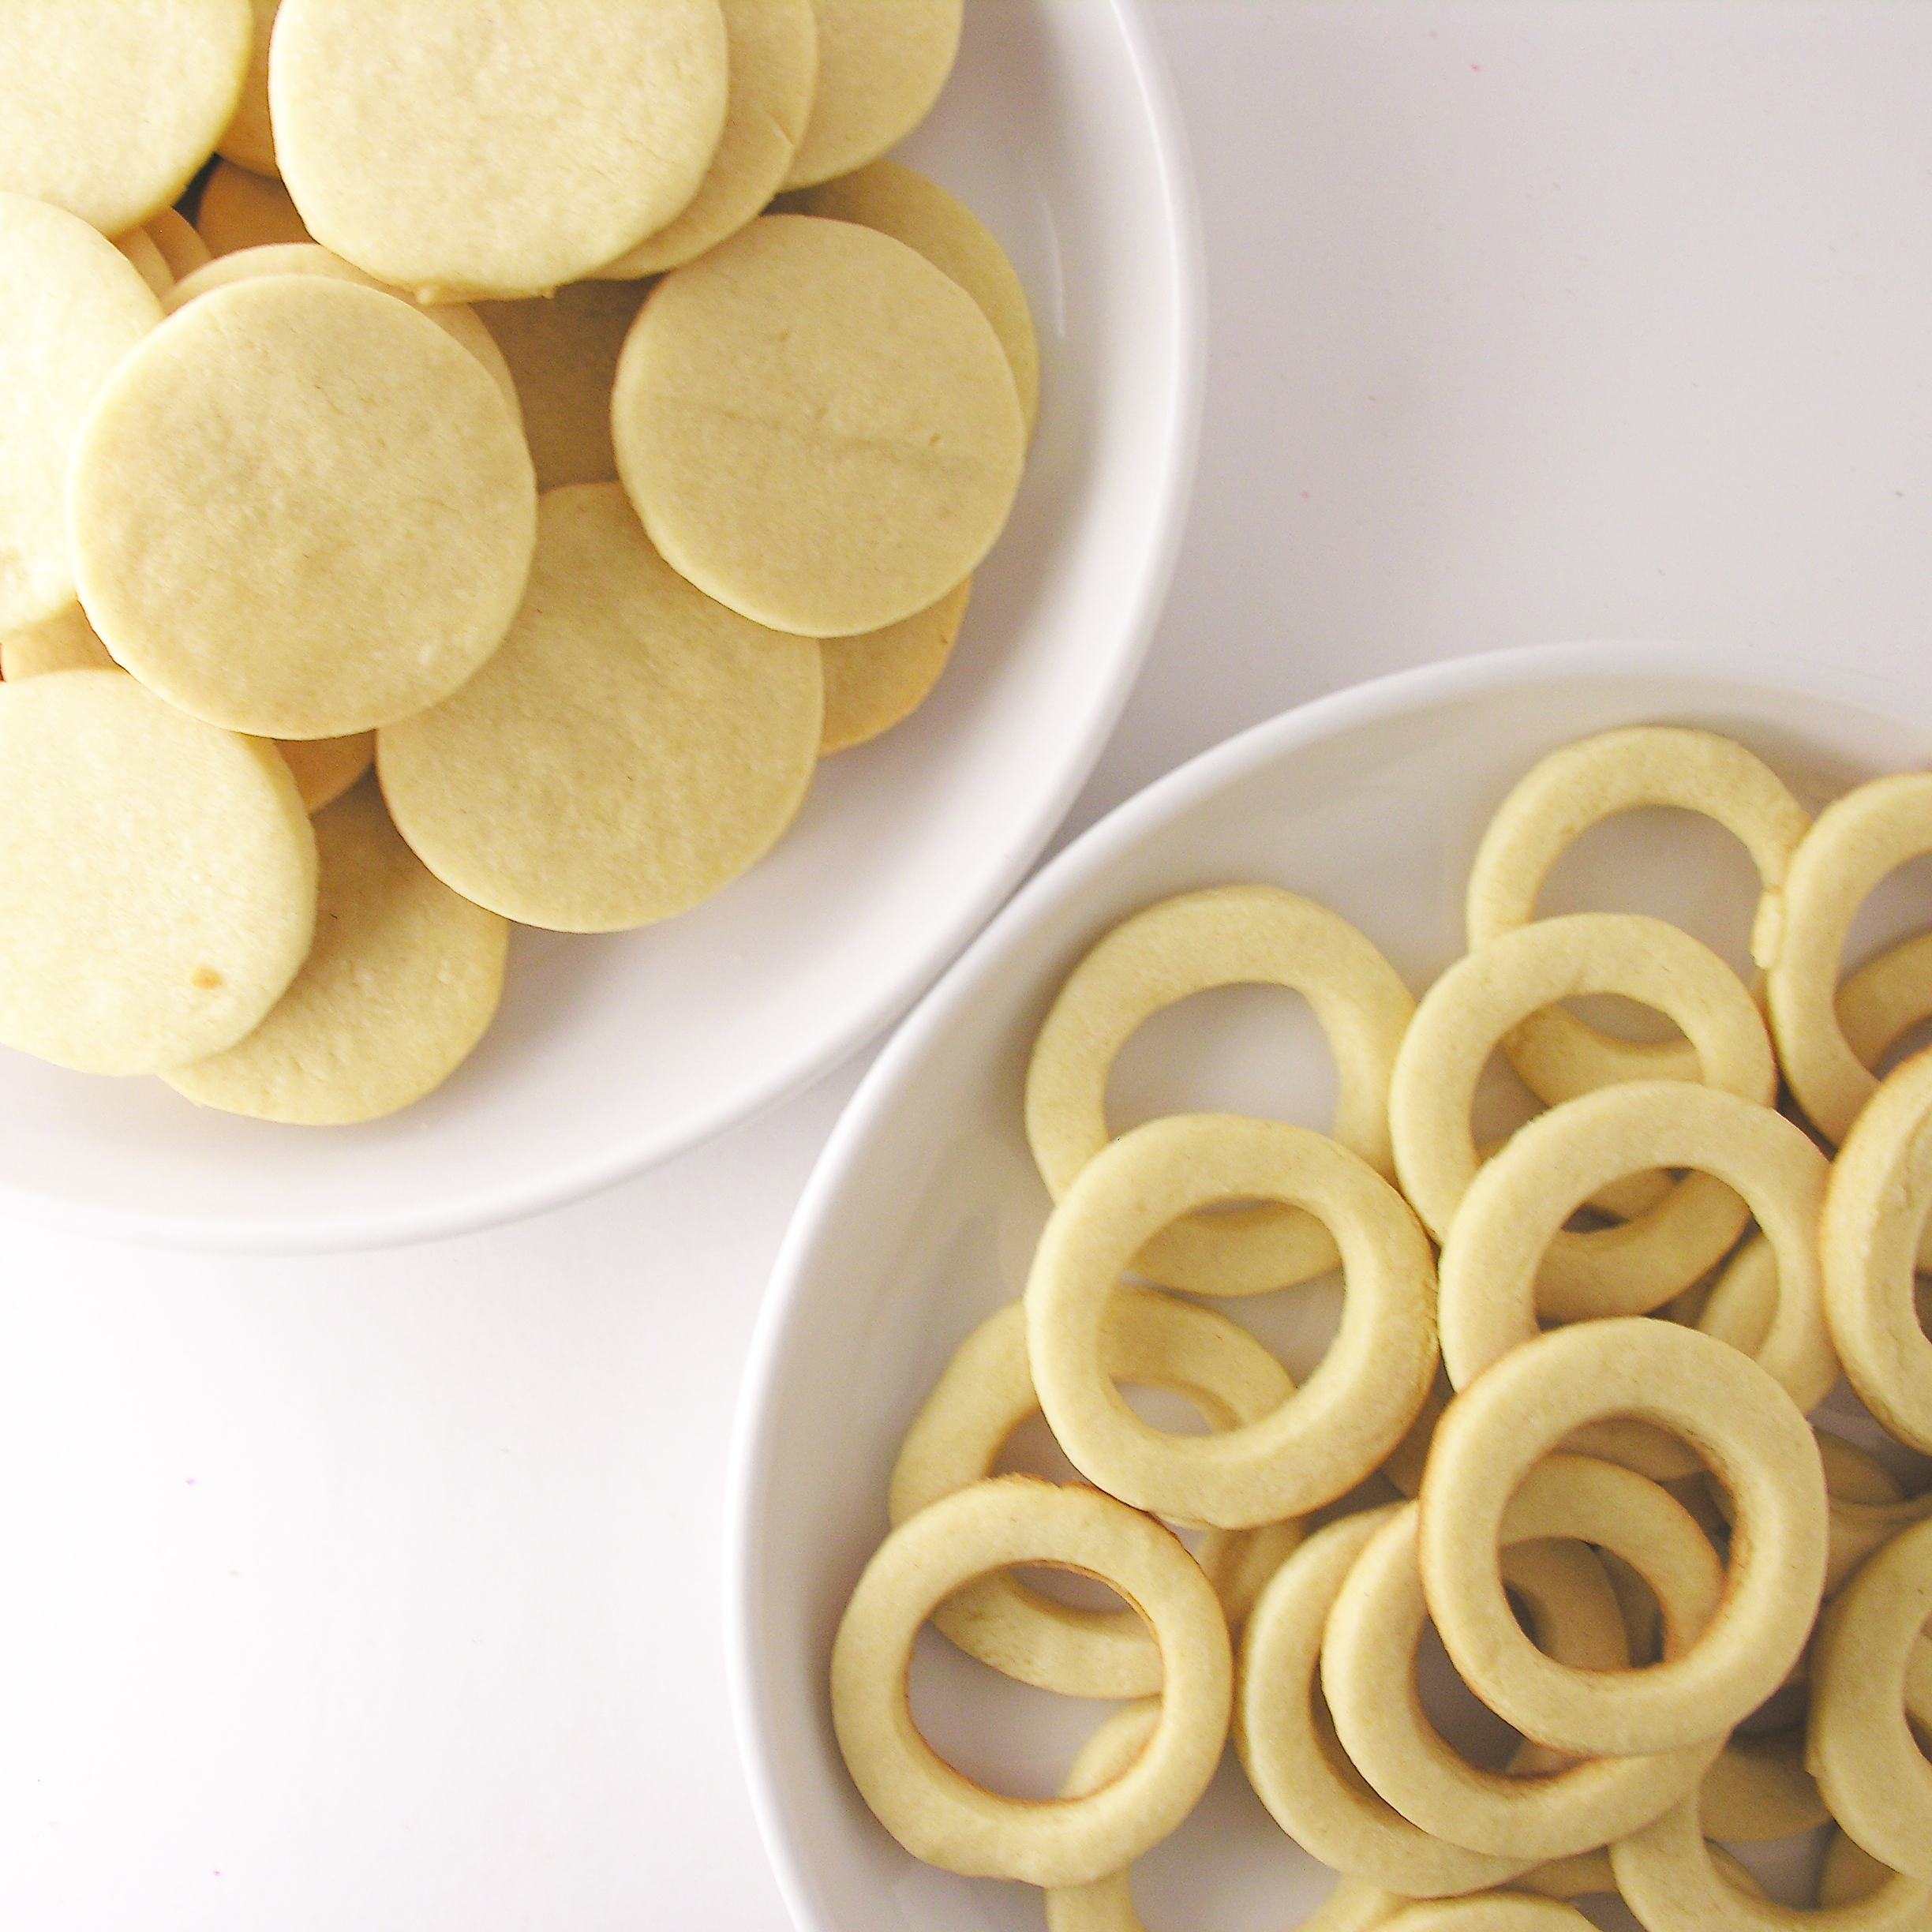
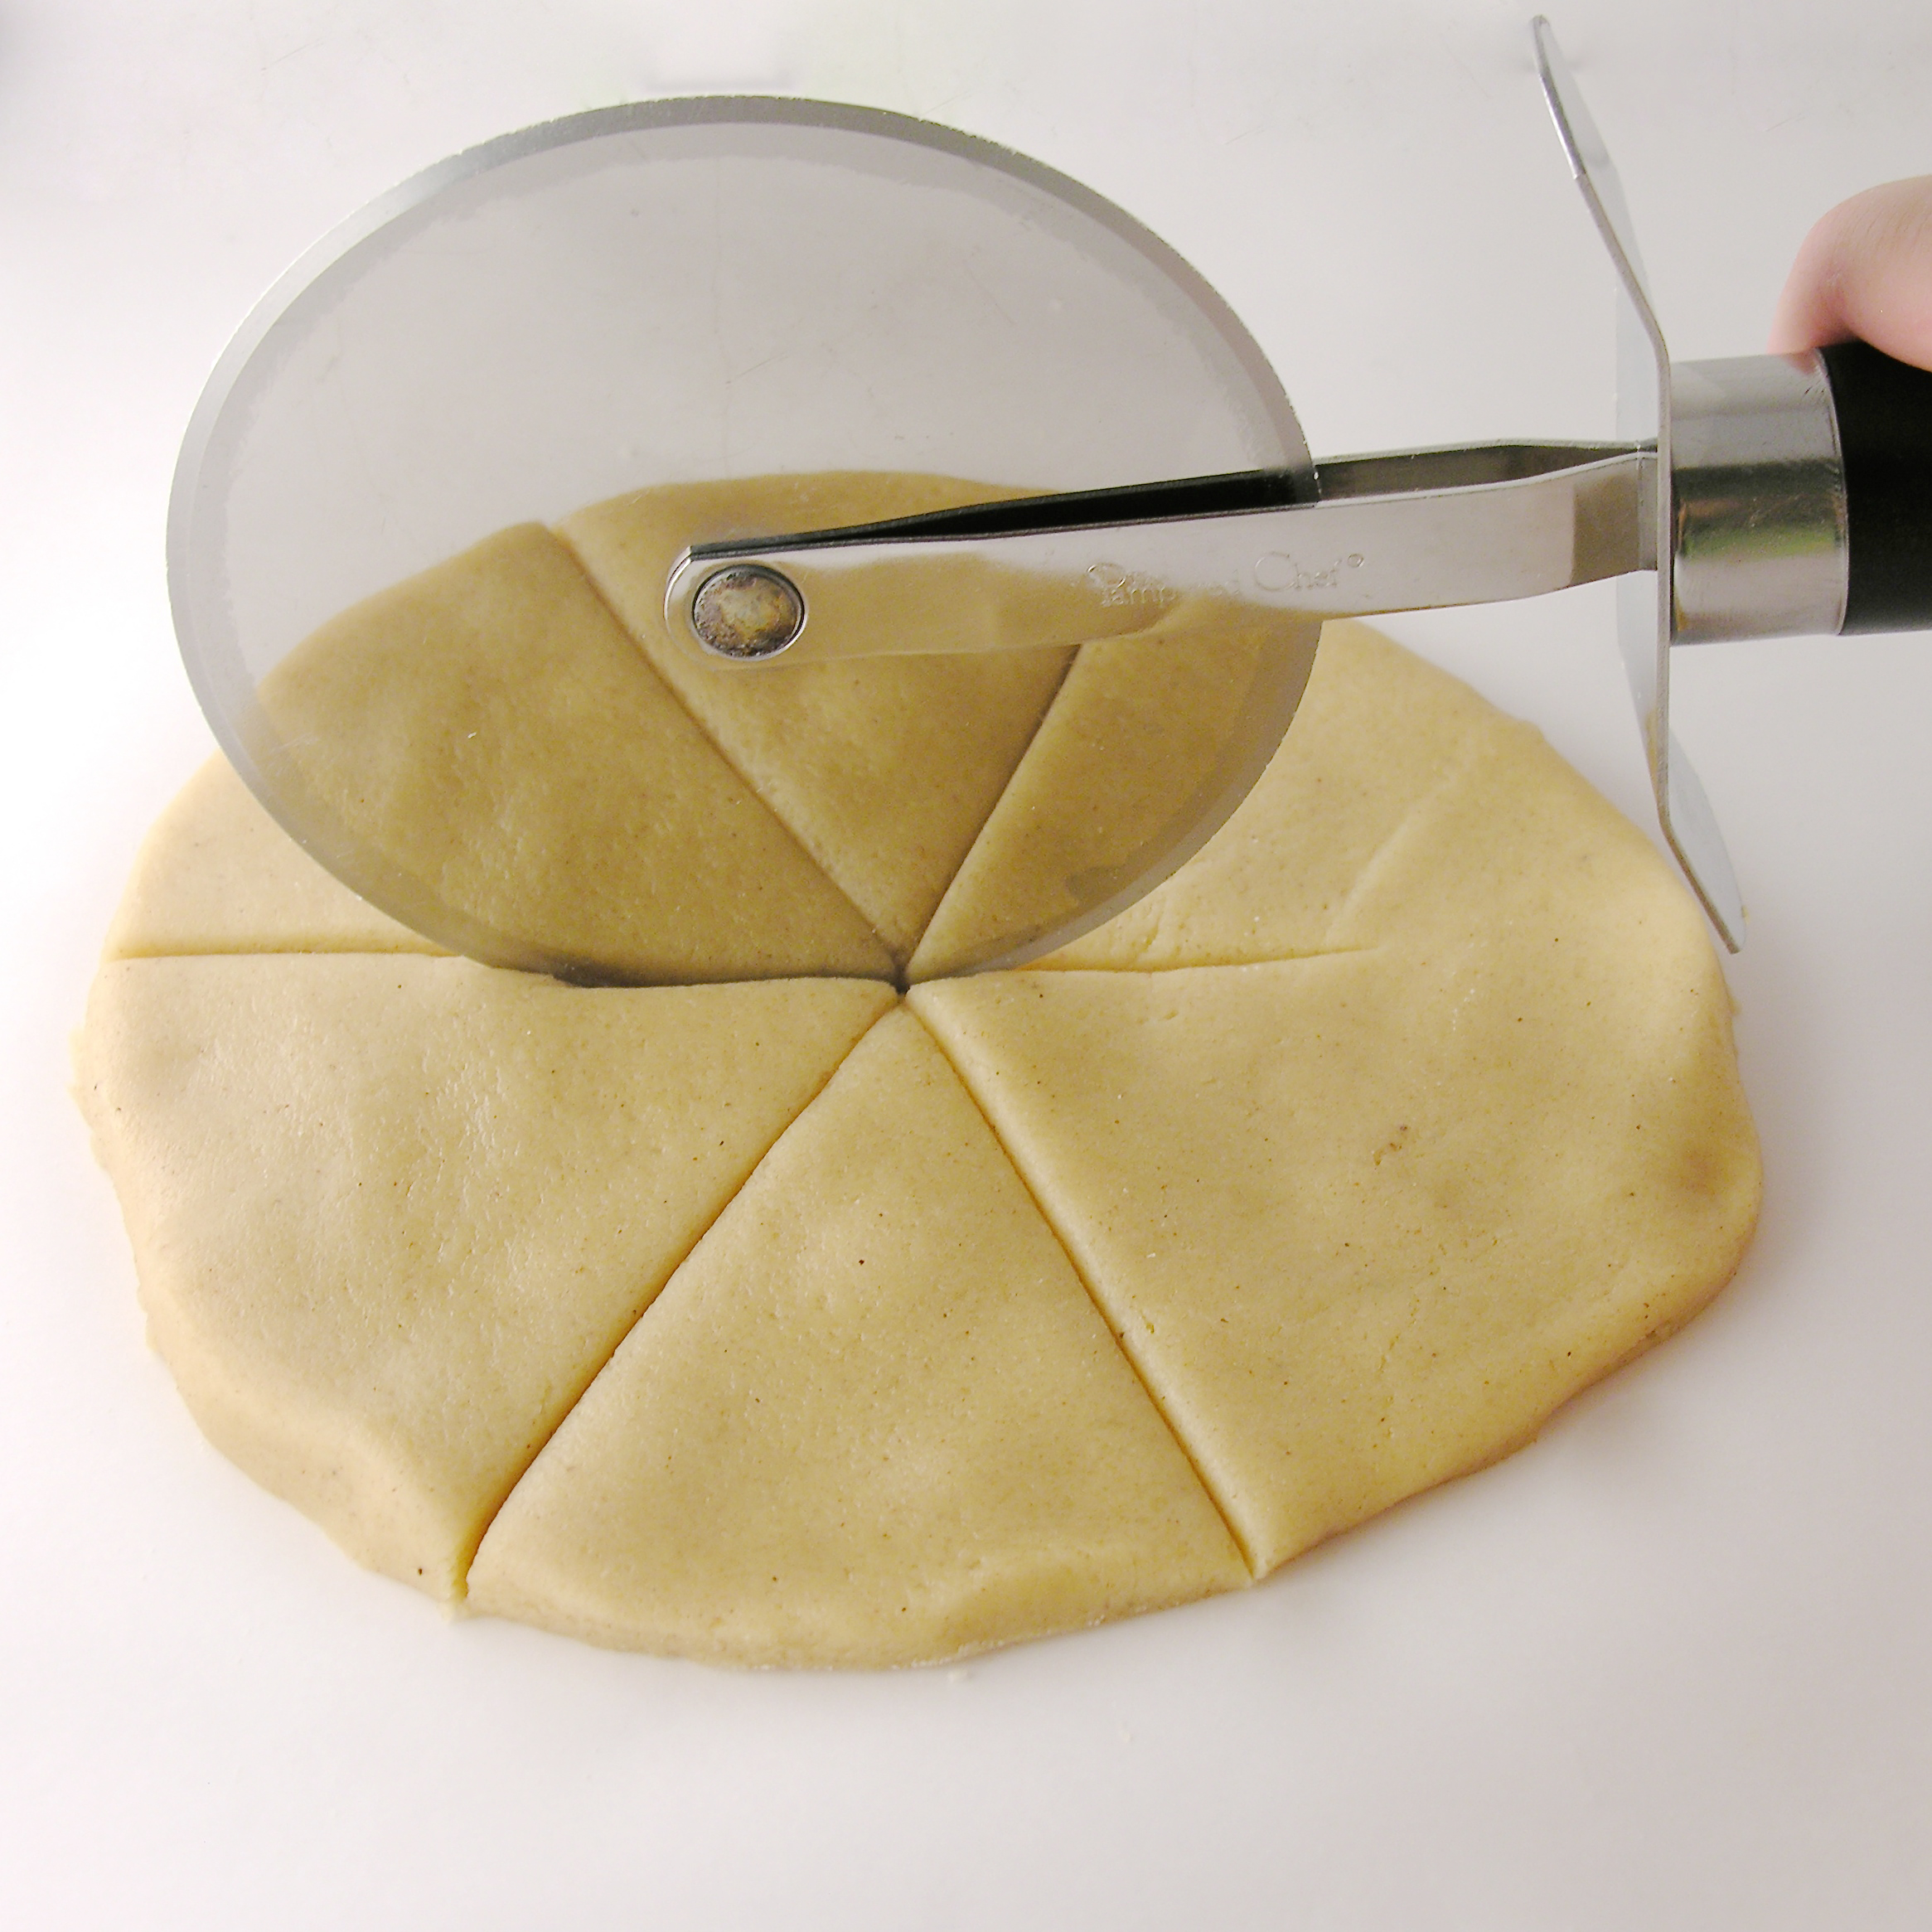
  • Roll cookie dough into 48 small balls (about 1 heaping teaspoon in size)
  • Place balls into mini muffin cups and bake for 8-10 minutes.
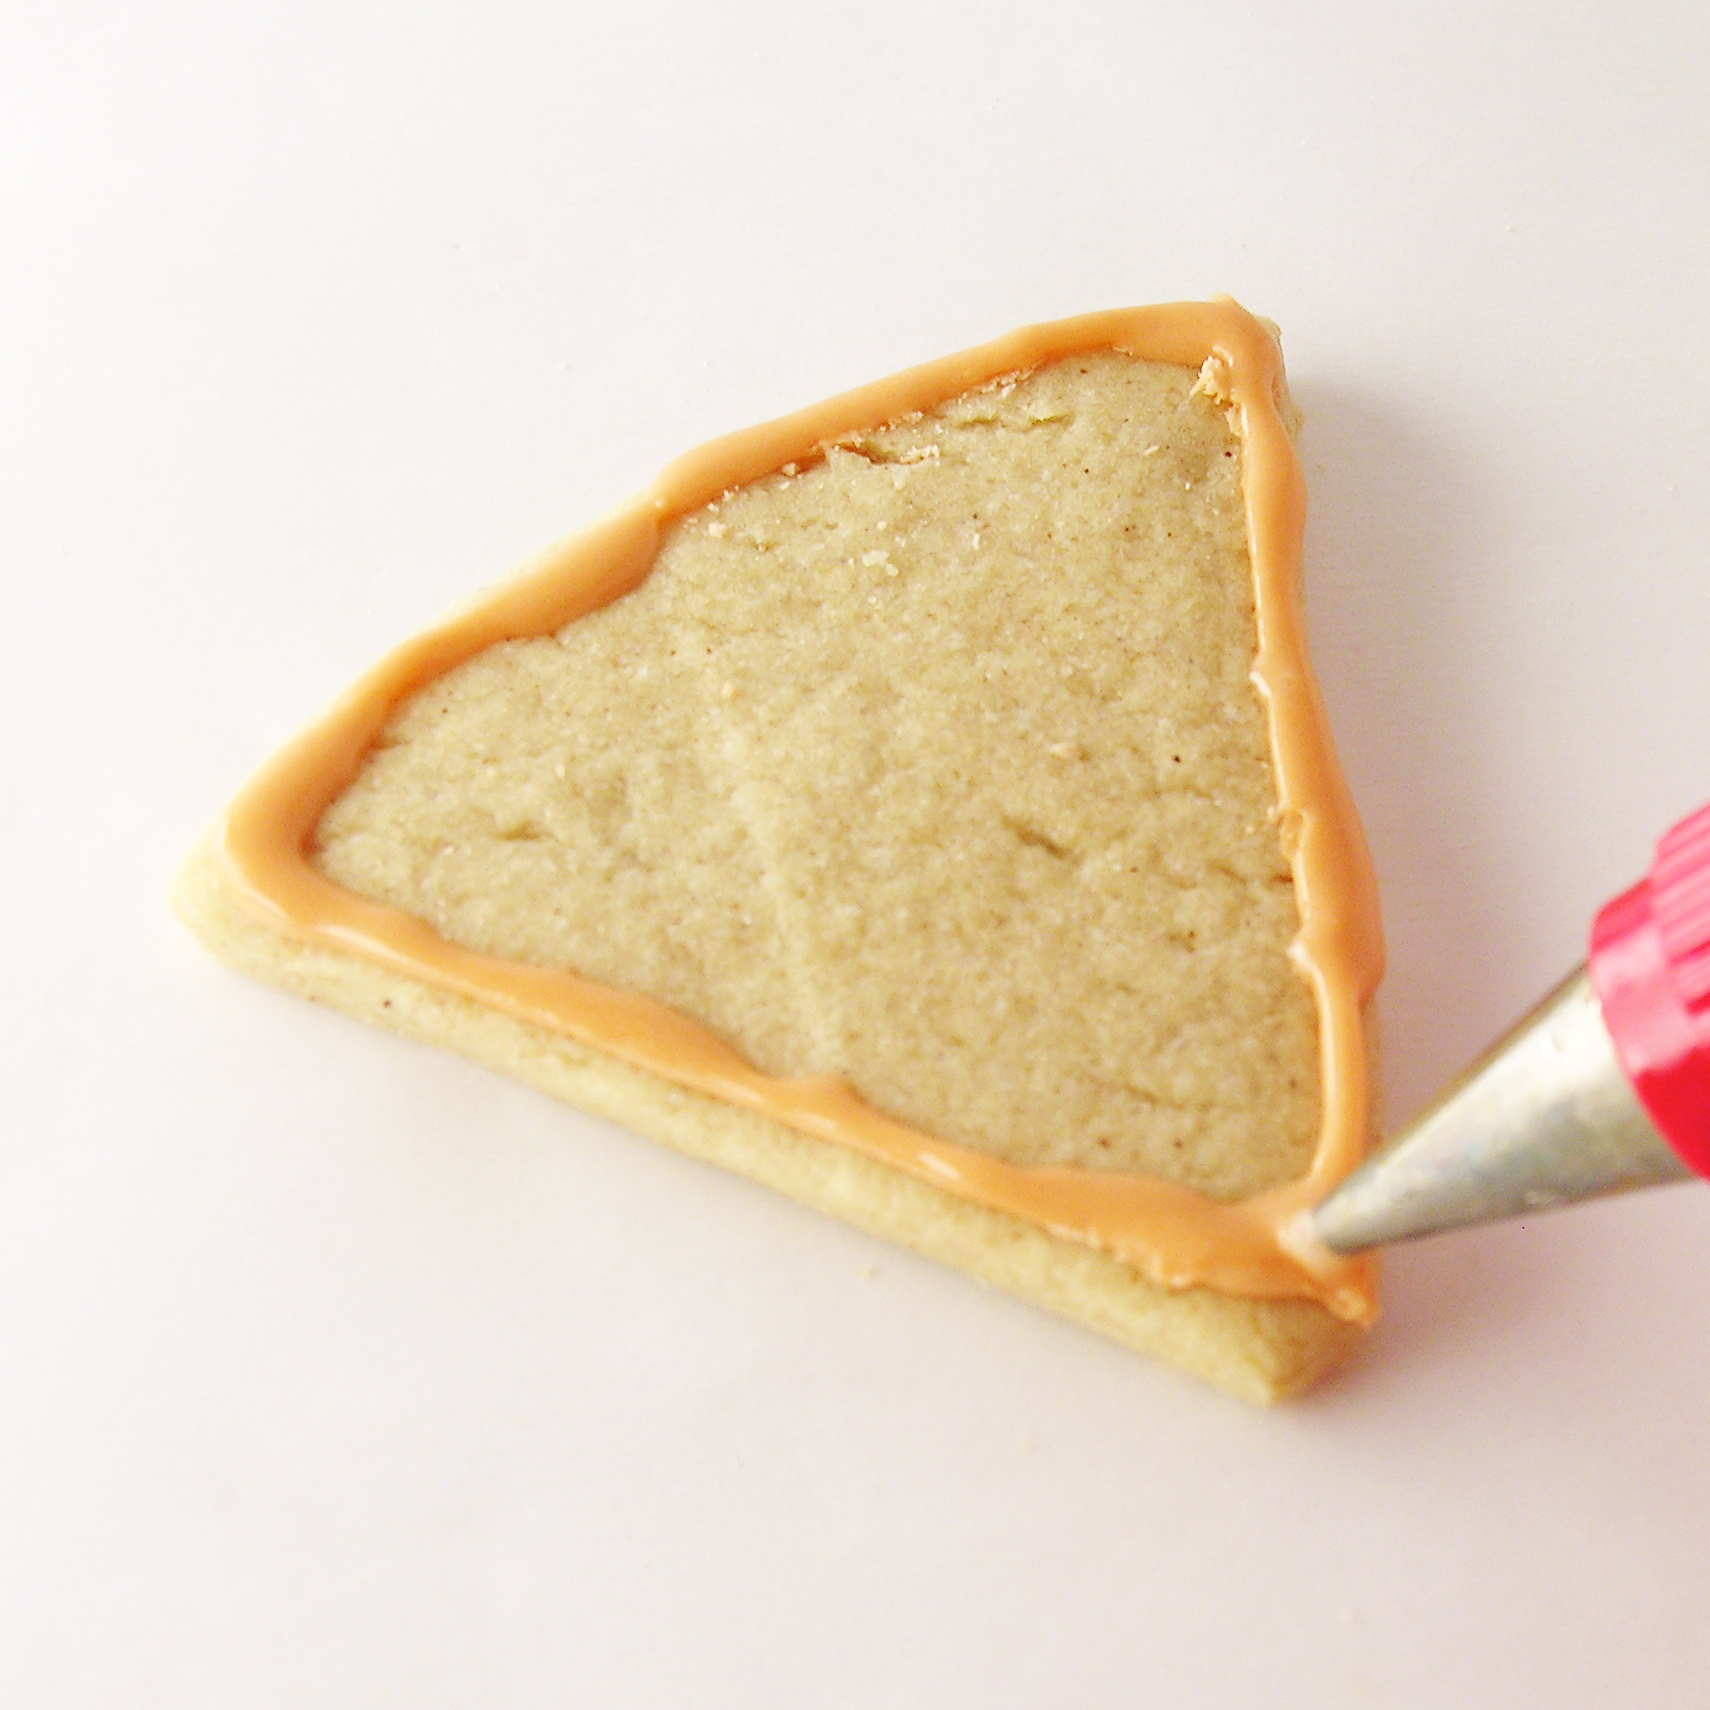
  • Use a tart shaper or a wooden spoon to press centers of baked cookie into a cup.

img_1651 img_1653

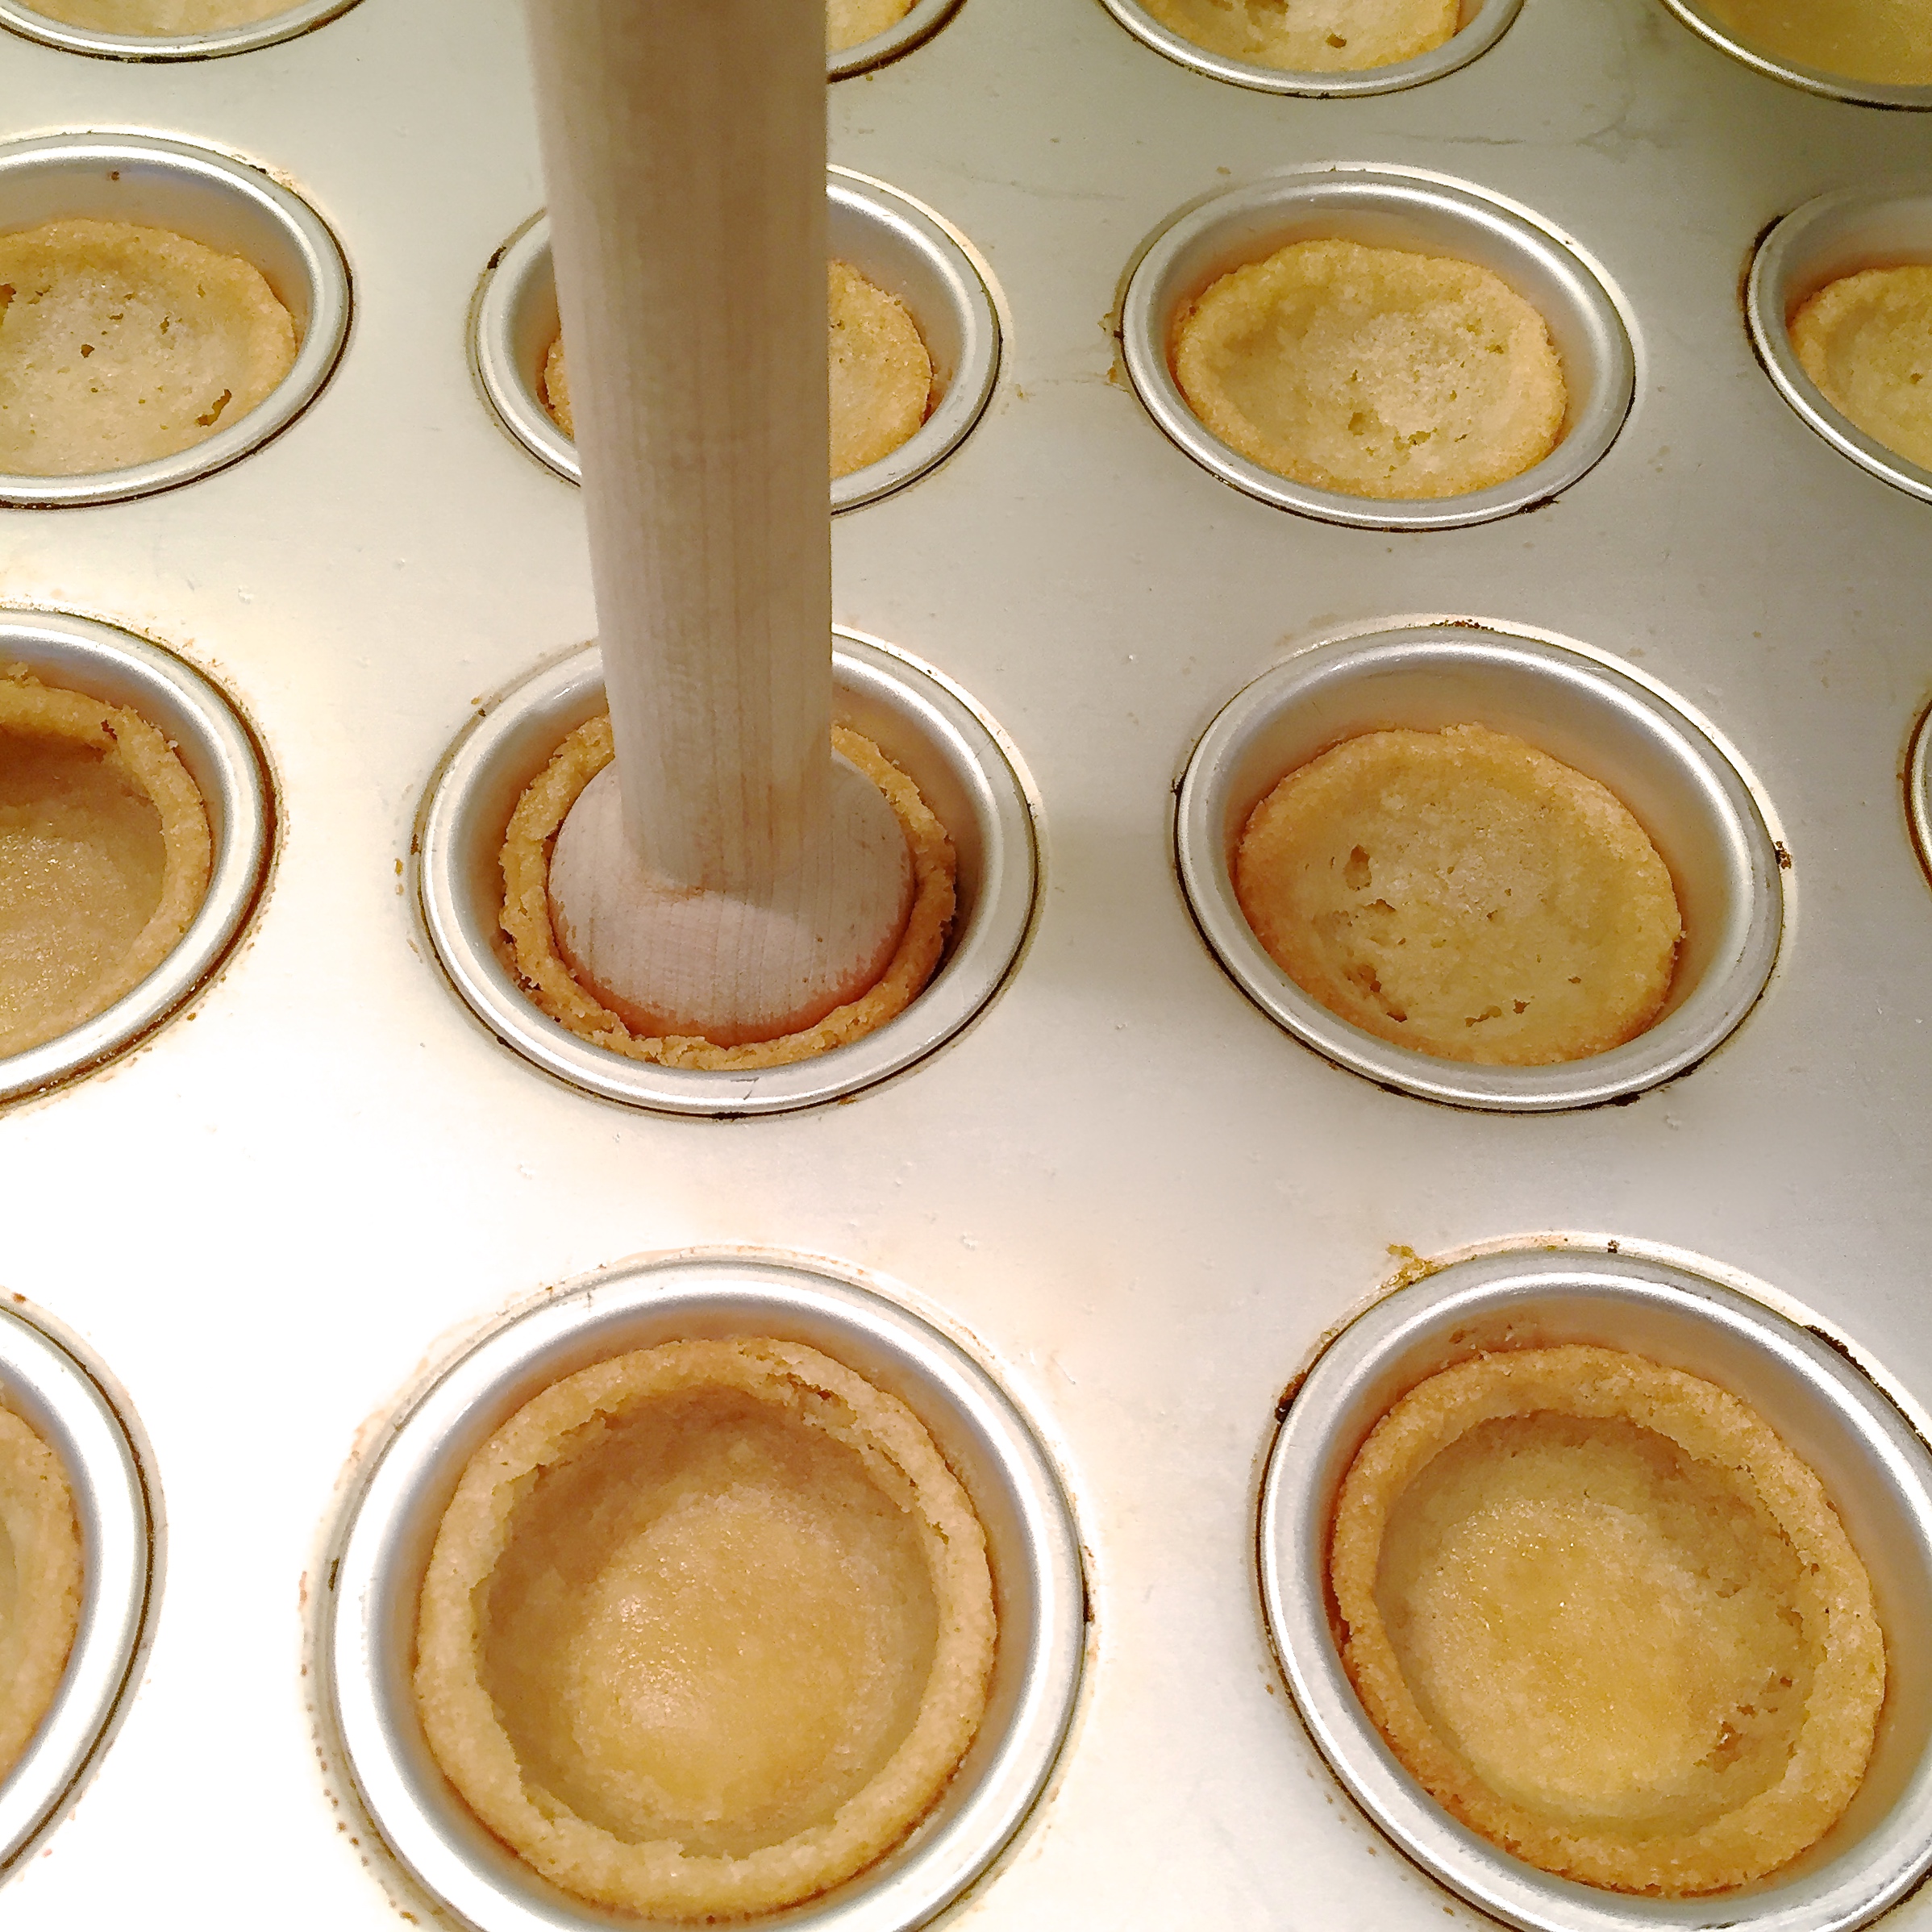
  • Cool just slightly and then run a small knife around edges to free cup from tin. Cool completely.
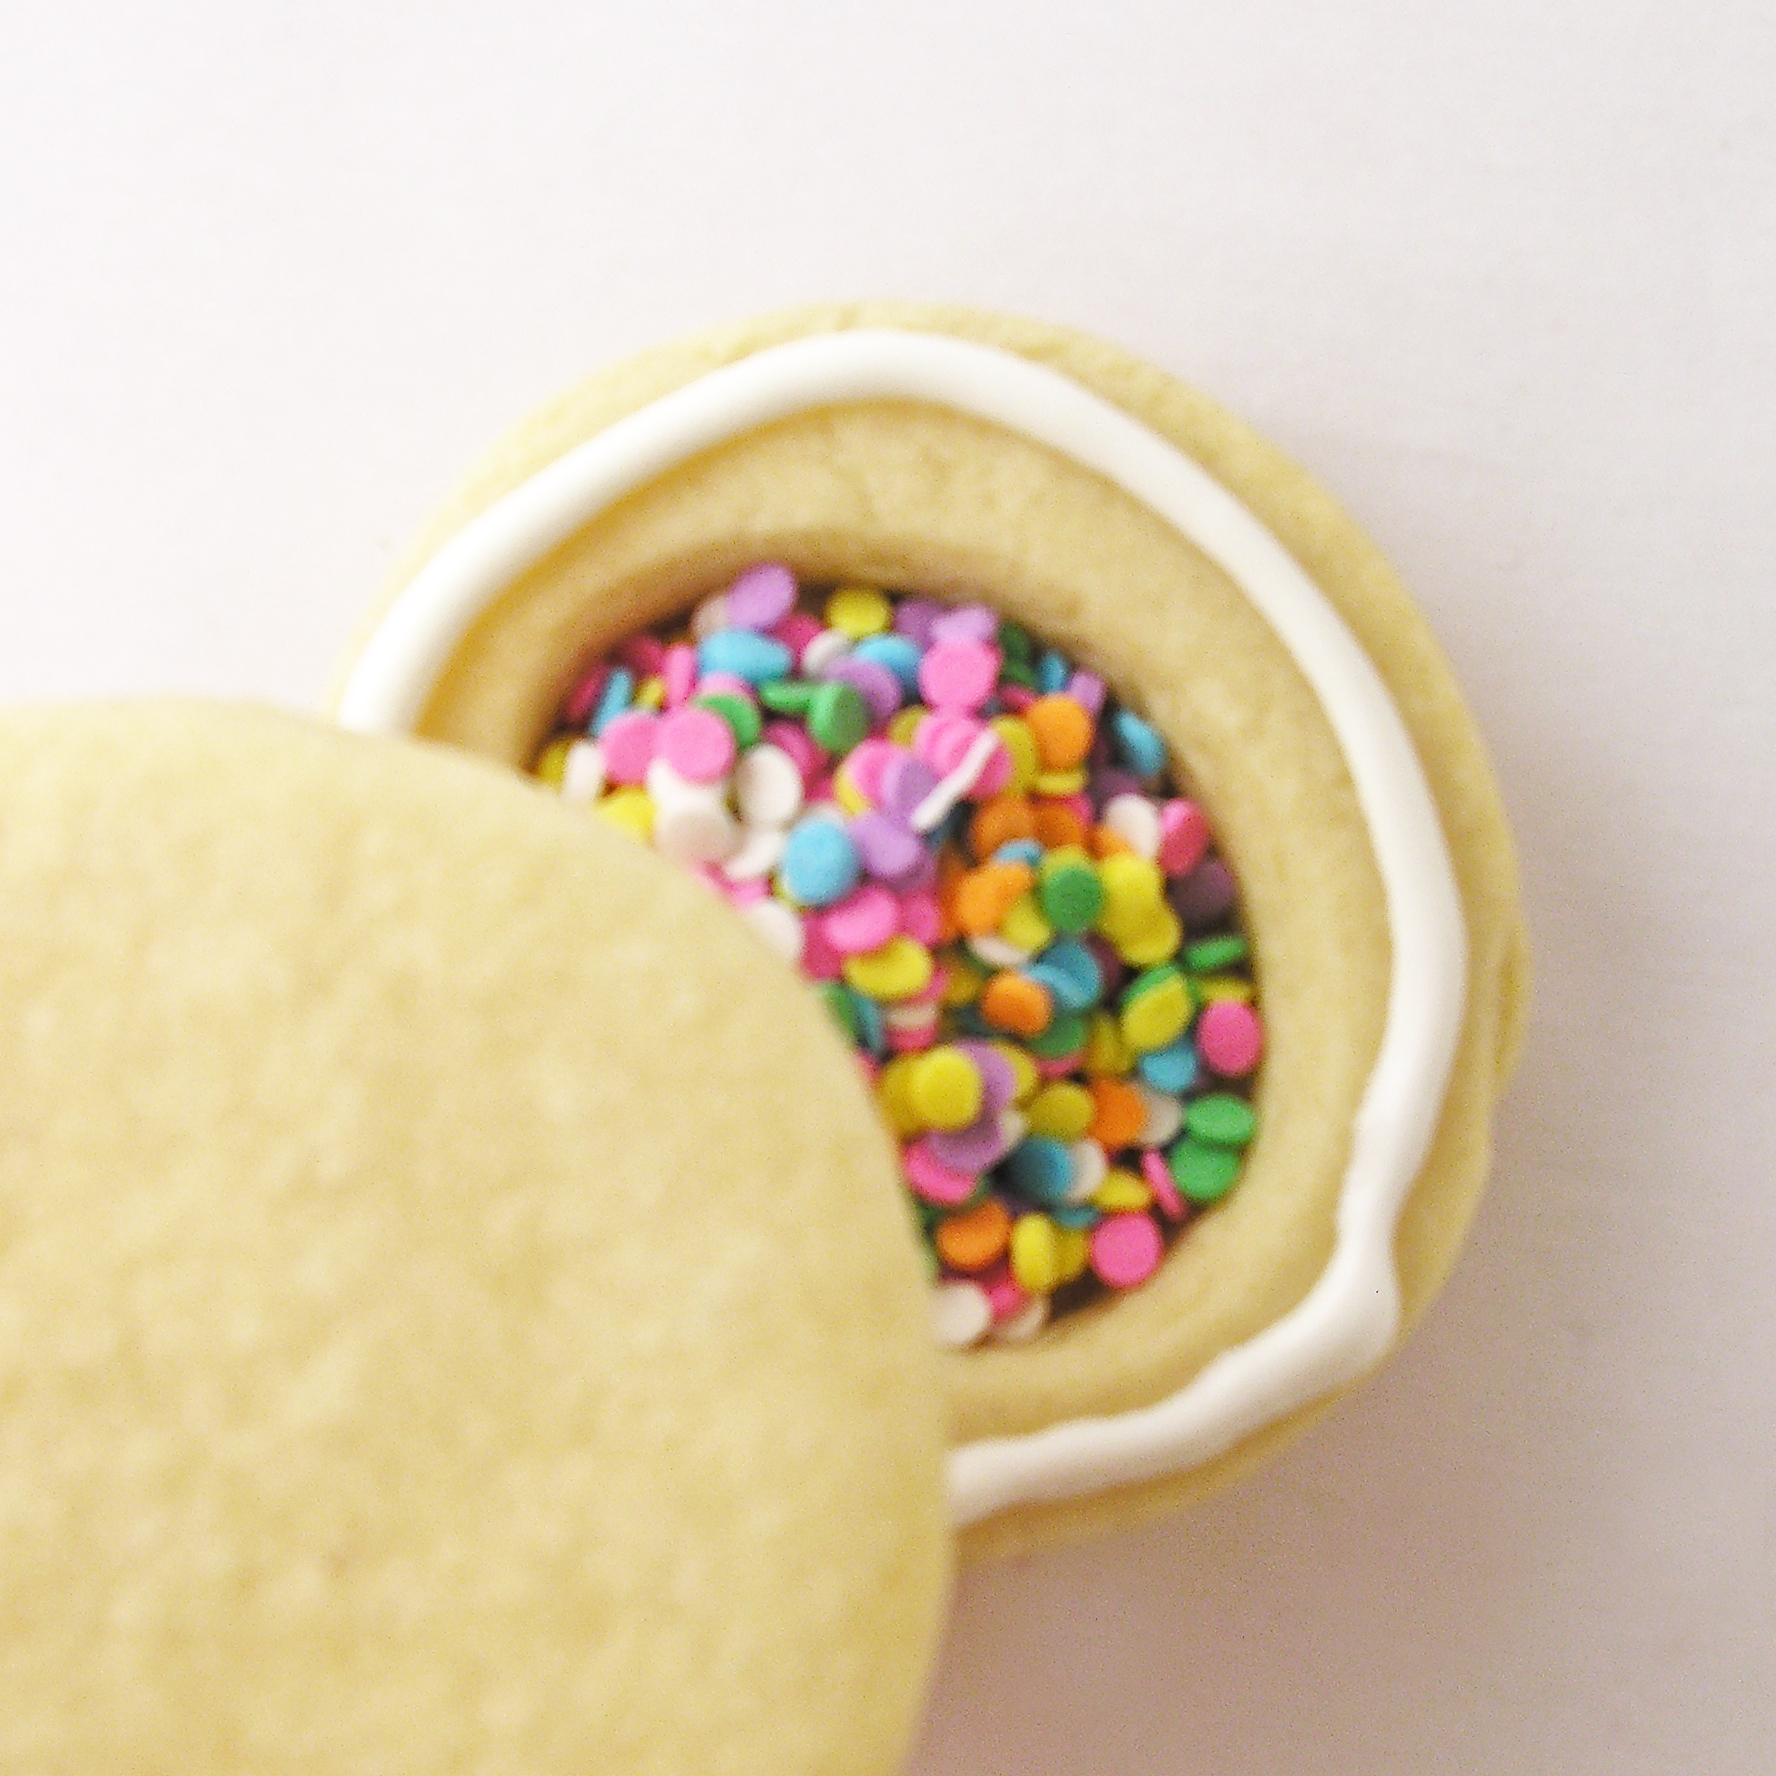
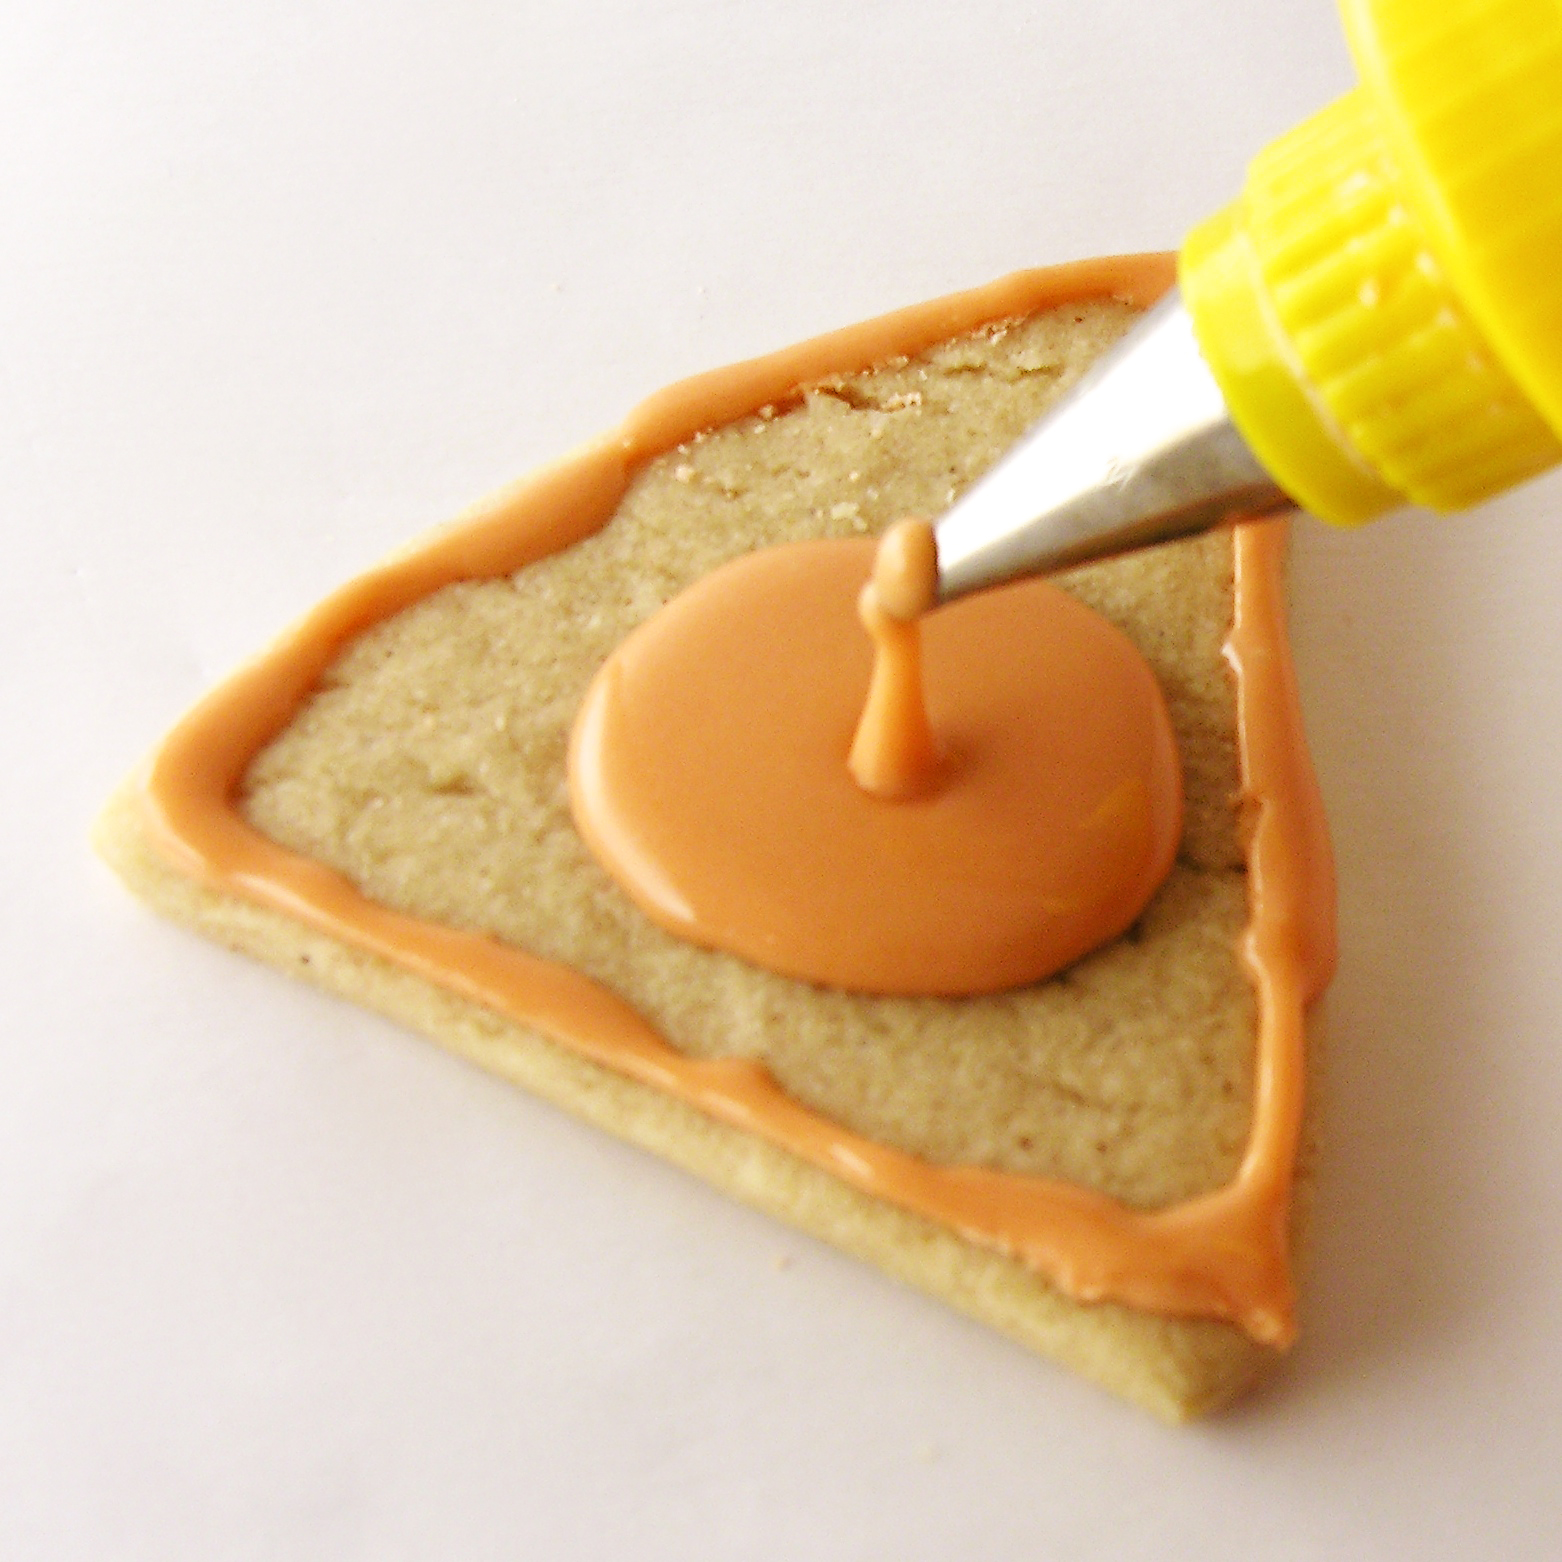
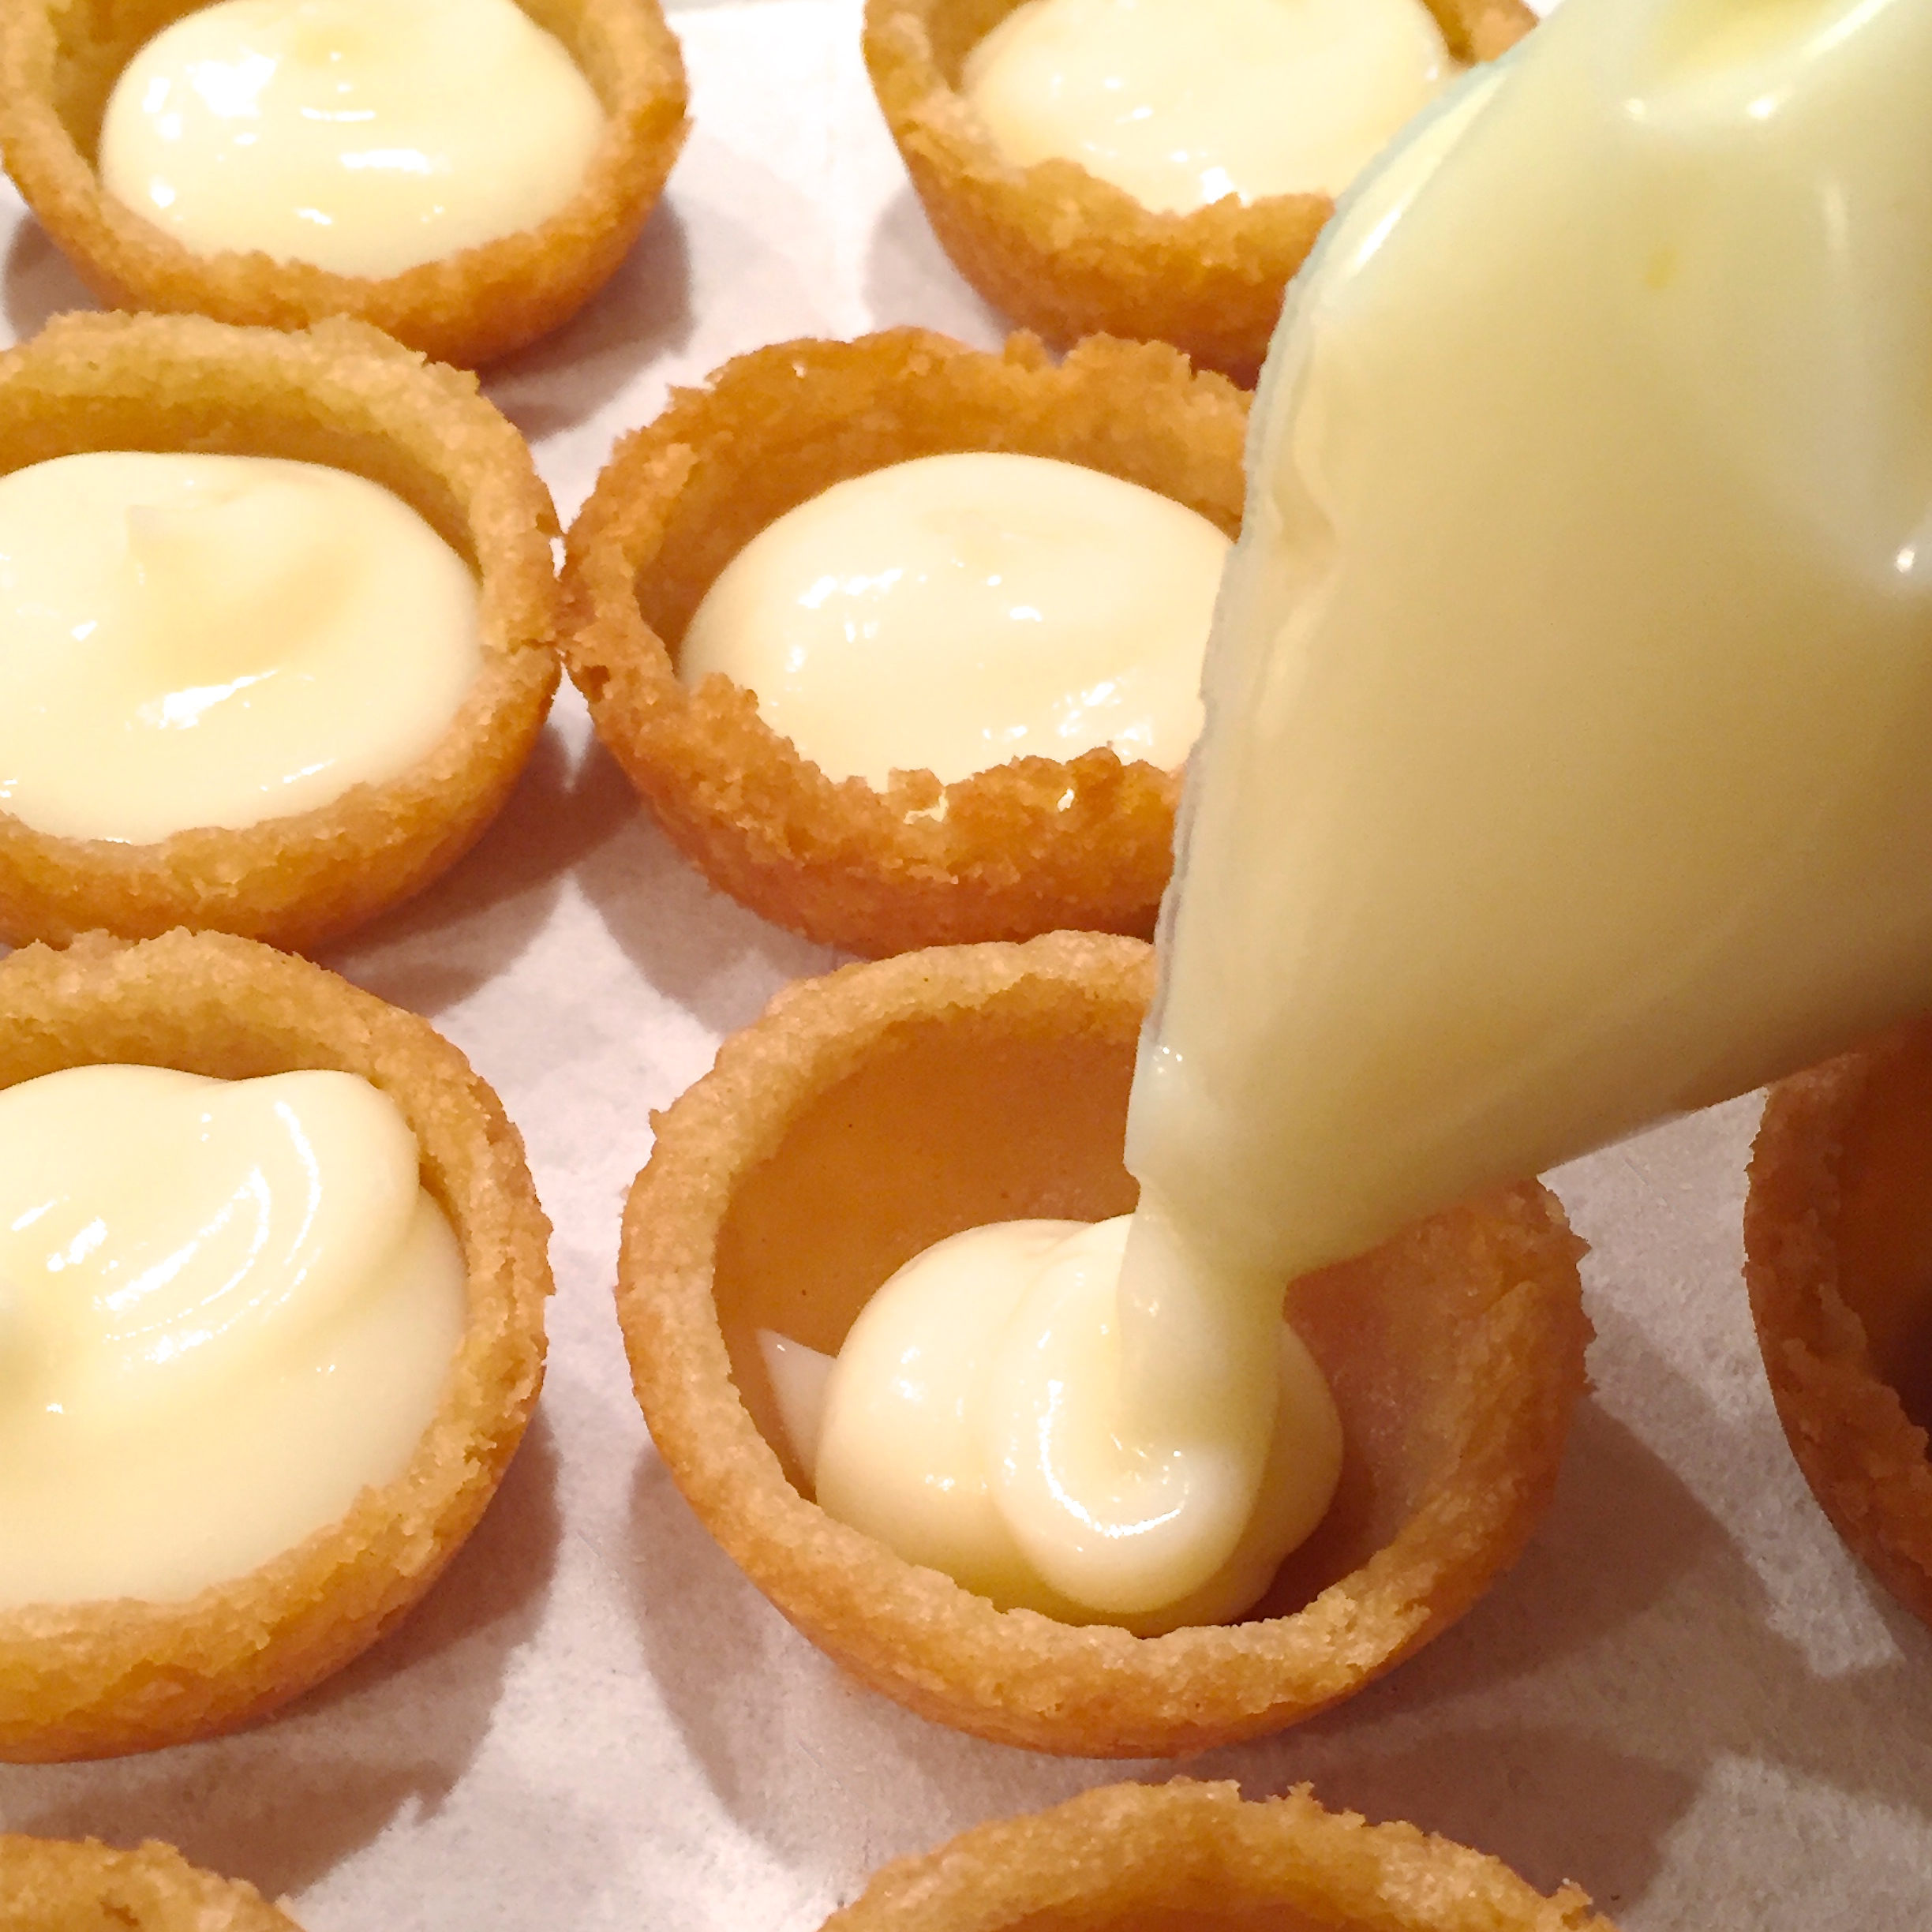
  • Make pudding according to box and place into a large zip-top bag. Clip a corner and pipe evenly into all 48 cups.
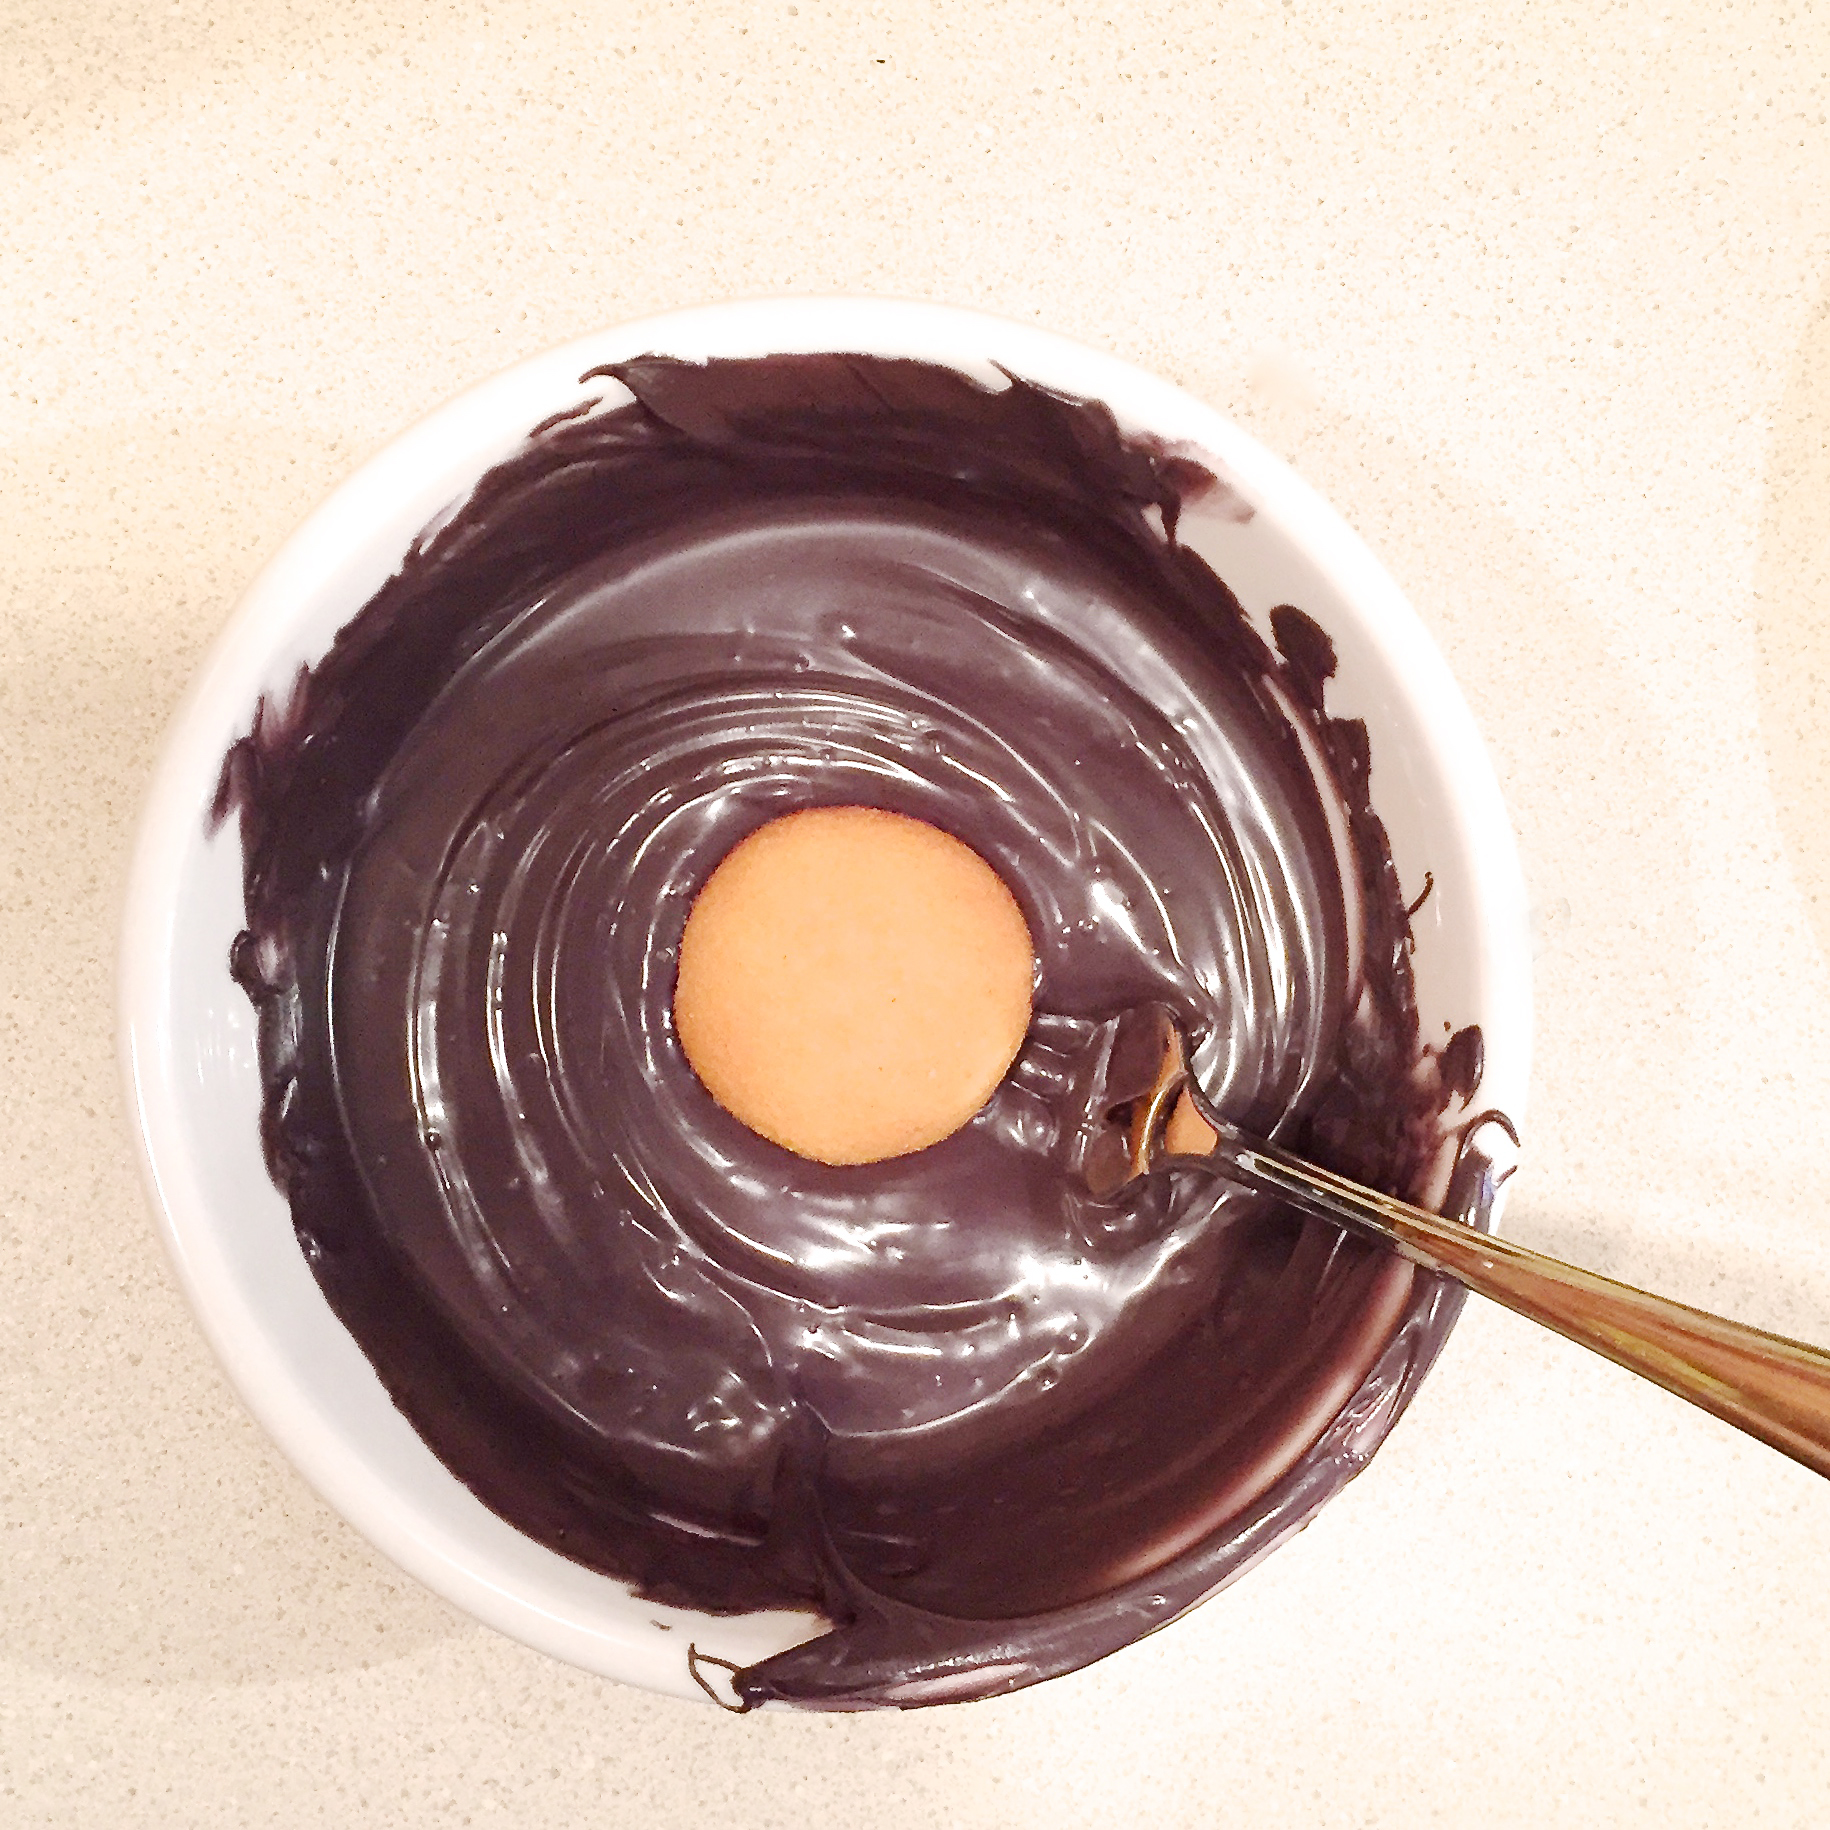
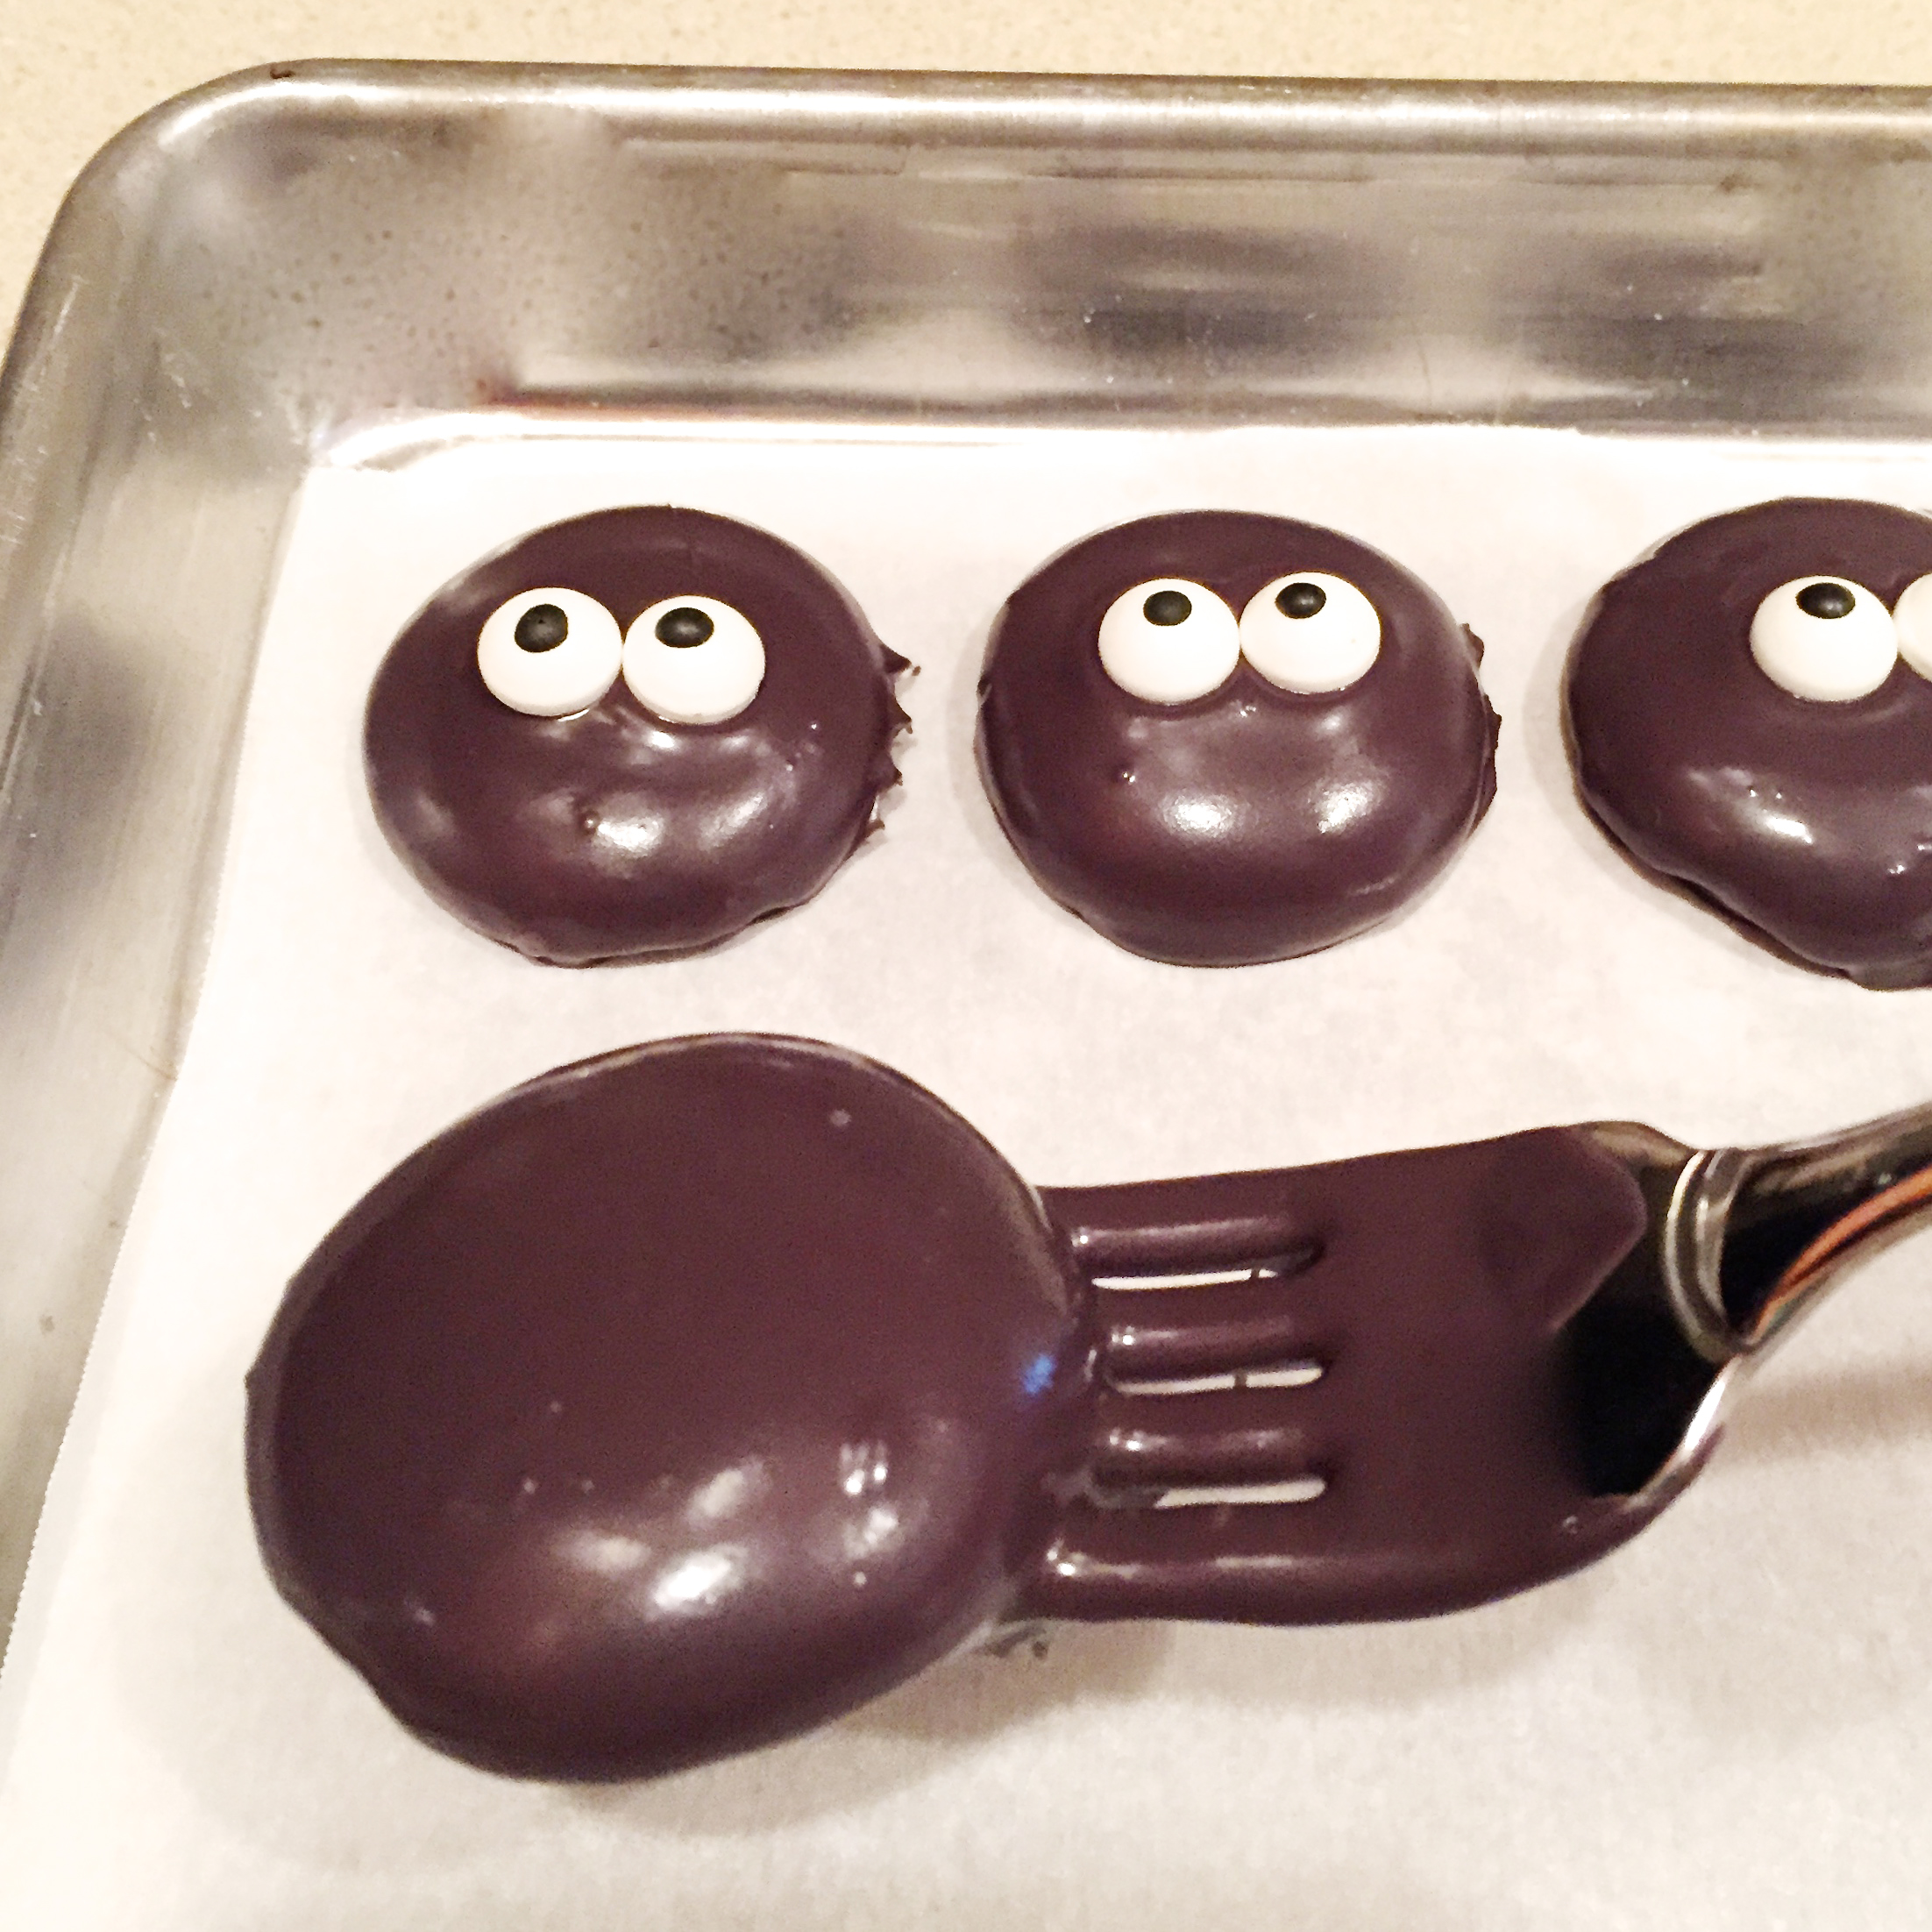
  • Melt 1 stick of butter and chocolate chips in a microwave in 30-second increments, stirring until smooth.
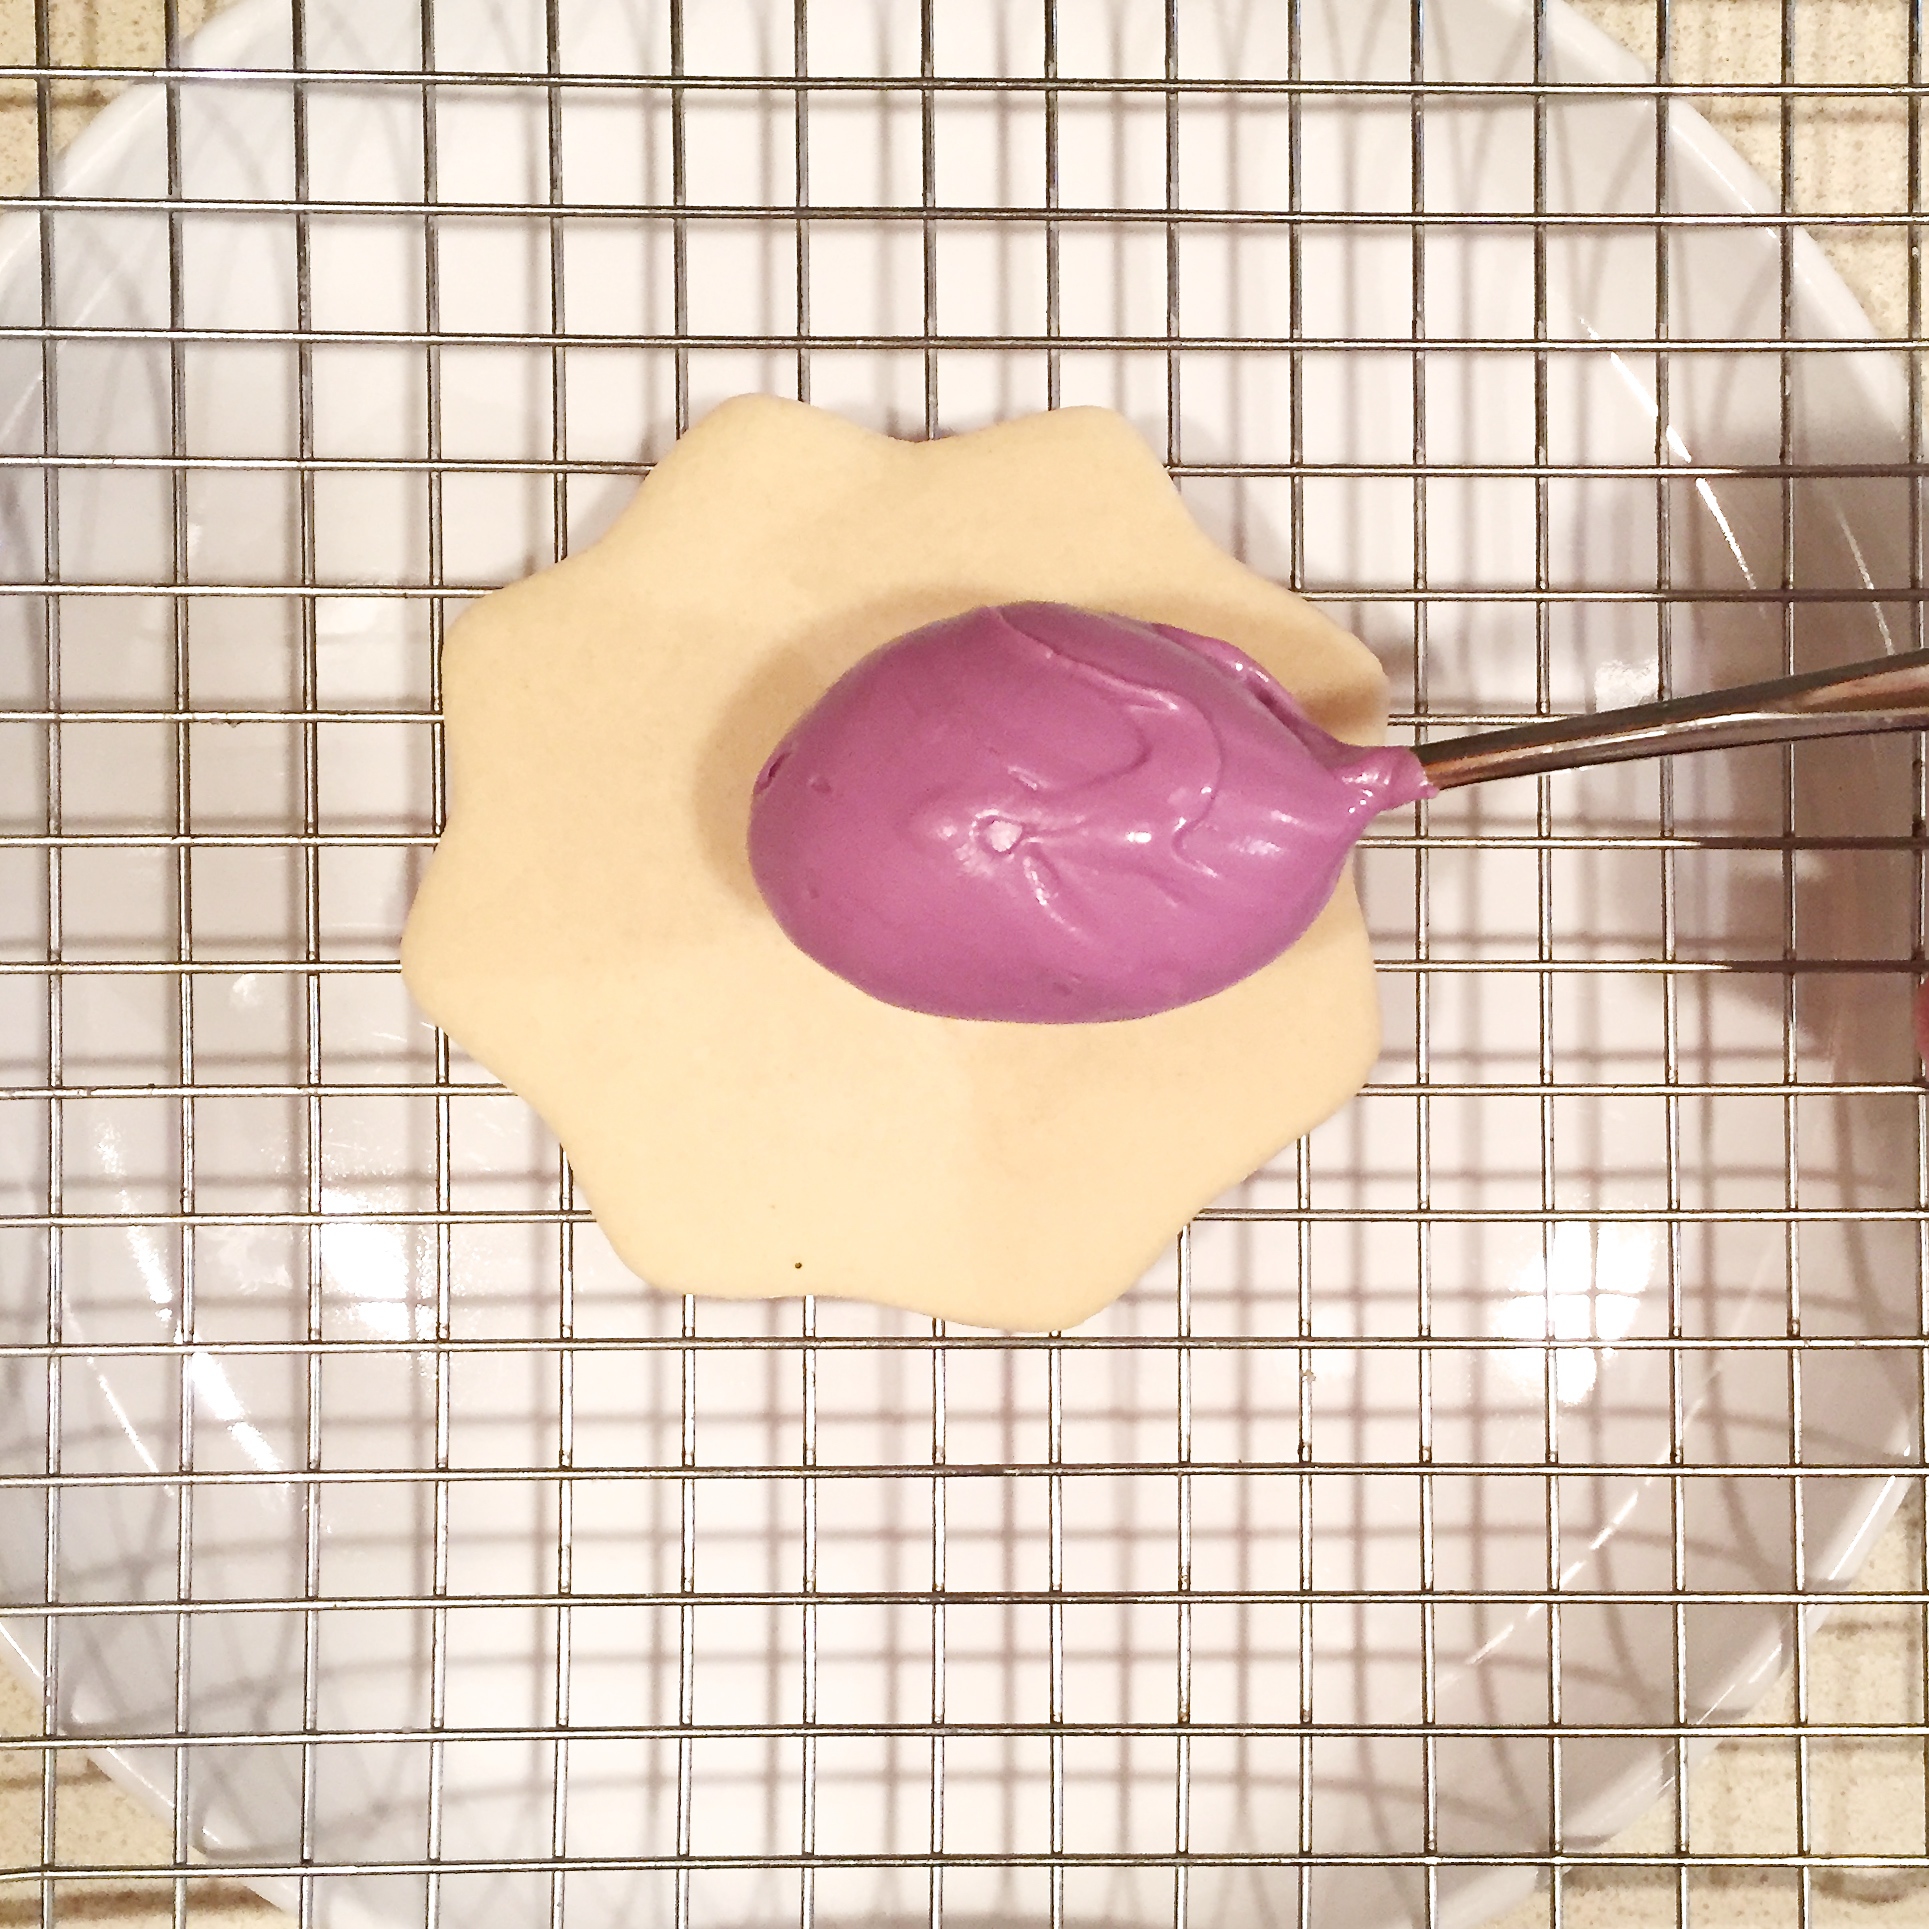
  • Spoon into a zip-top bag, clip a corner and pipe over top of pudding.

img_1666 img_1671

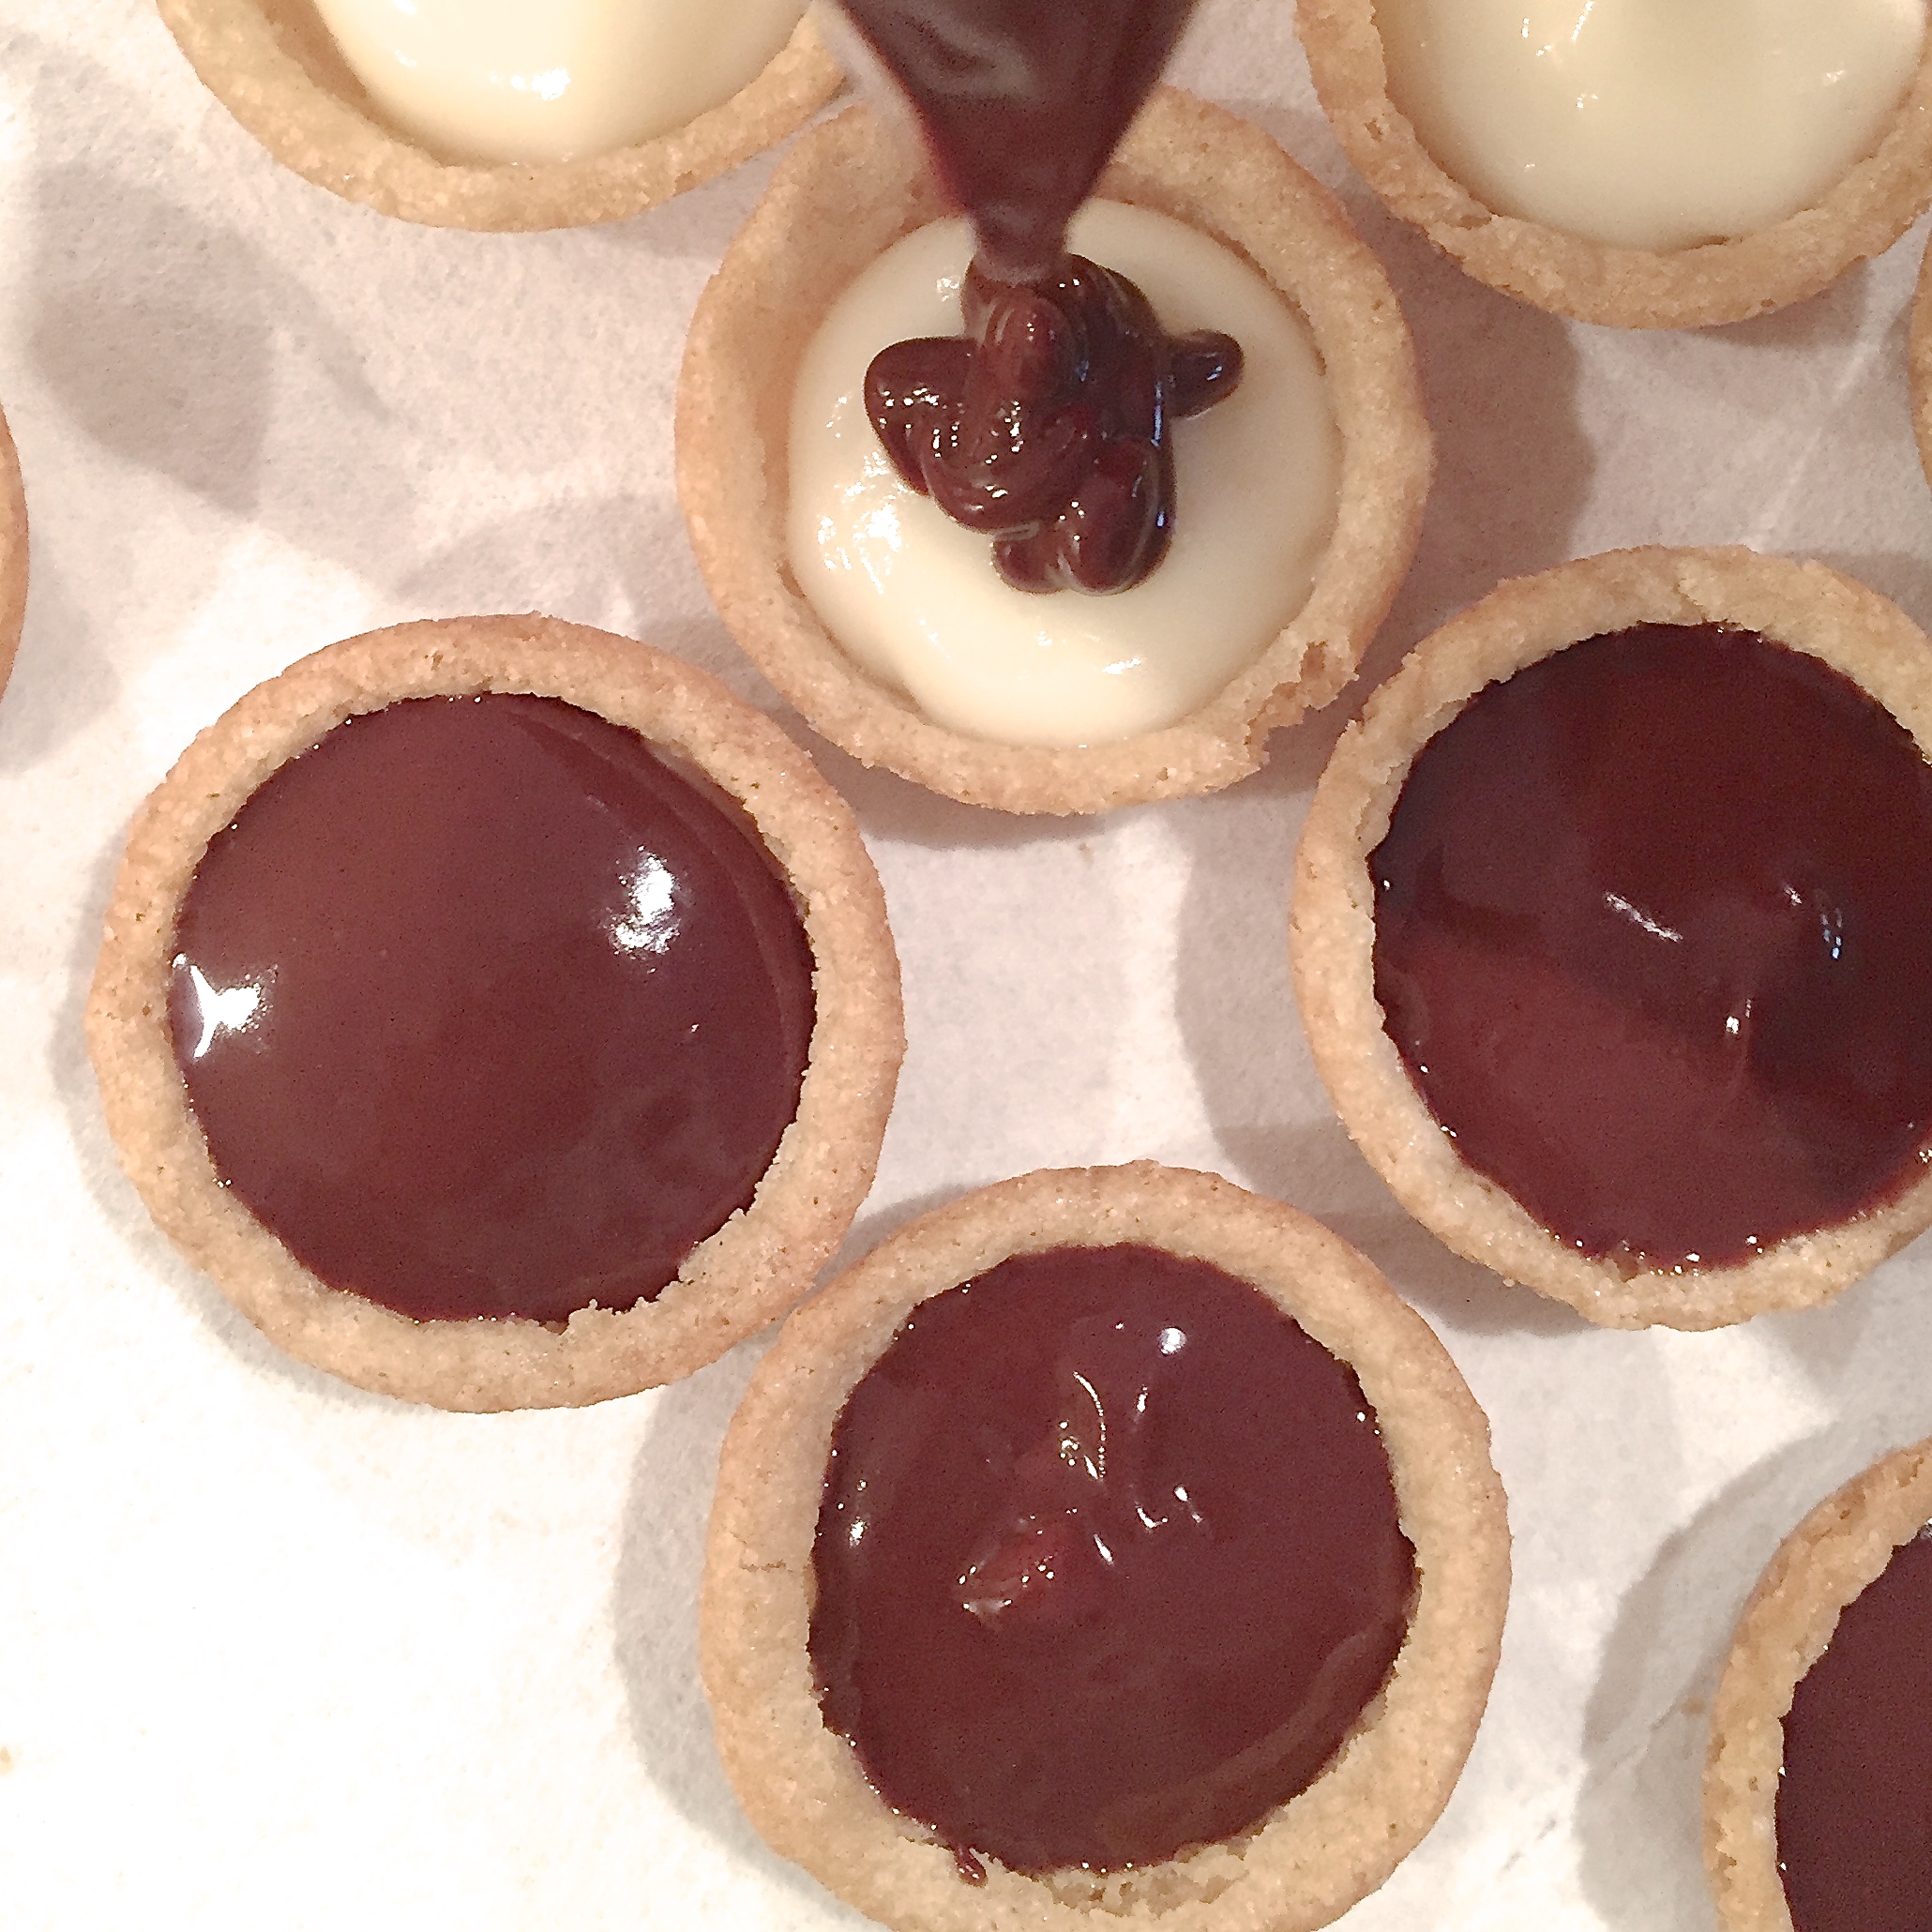
  • Allow chocolate to harden.
  • Place stick of butter, powdered sugar and vanilla into a mixing bowl and beat on high until light and fluffy.
  • Spoon into a small zip-top bag that has been fitted with a decorating tip, and pipe a dollop of icing on top of each cookie cup.
  • Top with a Sixlet candy and ENJOY!!!

boston-cream-cookies

My thoughts: These are so yummy. A little extra work to make them into little mini-desserts, but aren’t they cute??? I love the cookie flavor with the filling and chocolate- it adds a different taste than your usual Boston Cream Pie 🙂 One note: make these just a day or so before serving them, as the pudding tends to make the cookie cups a little soggy after sitting a few days. Hope you get a chance to try these! ~r

boston-cream-cookie-cups

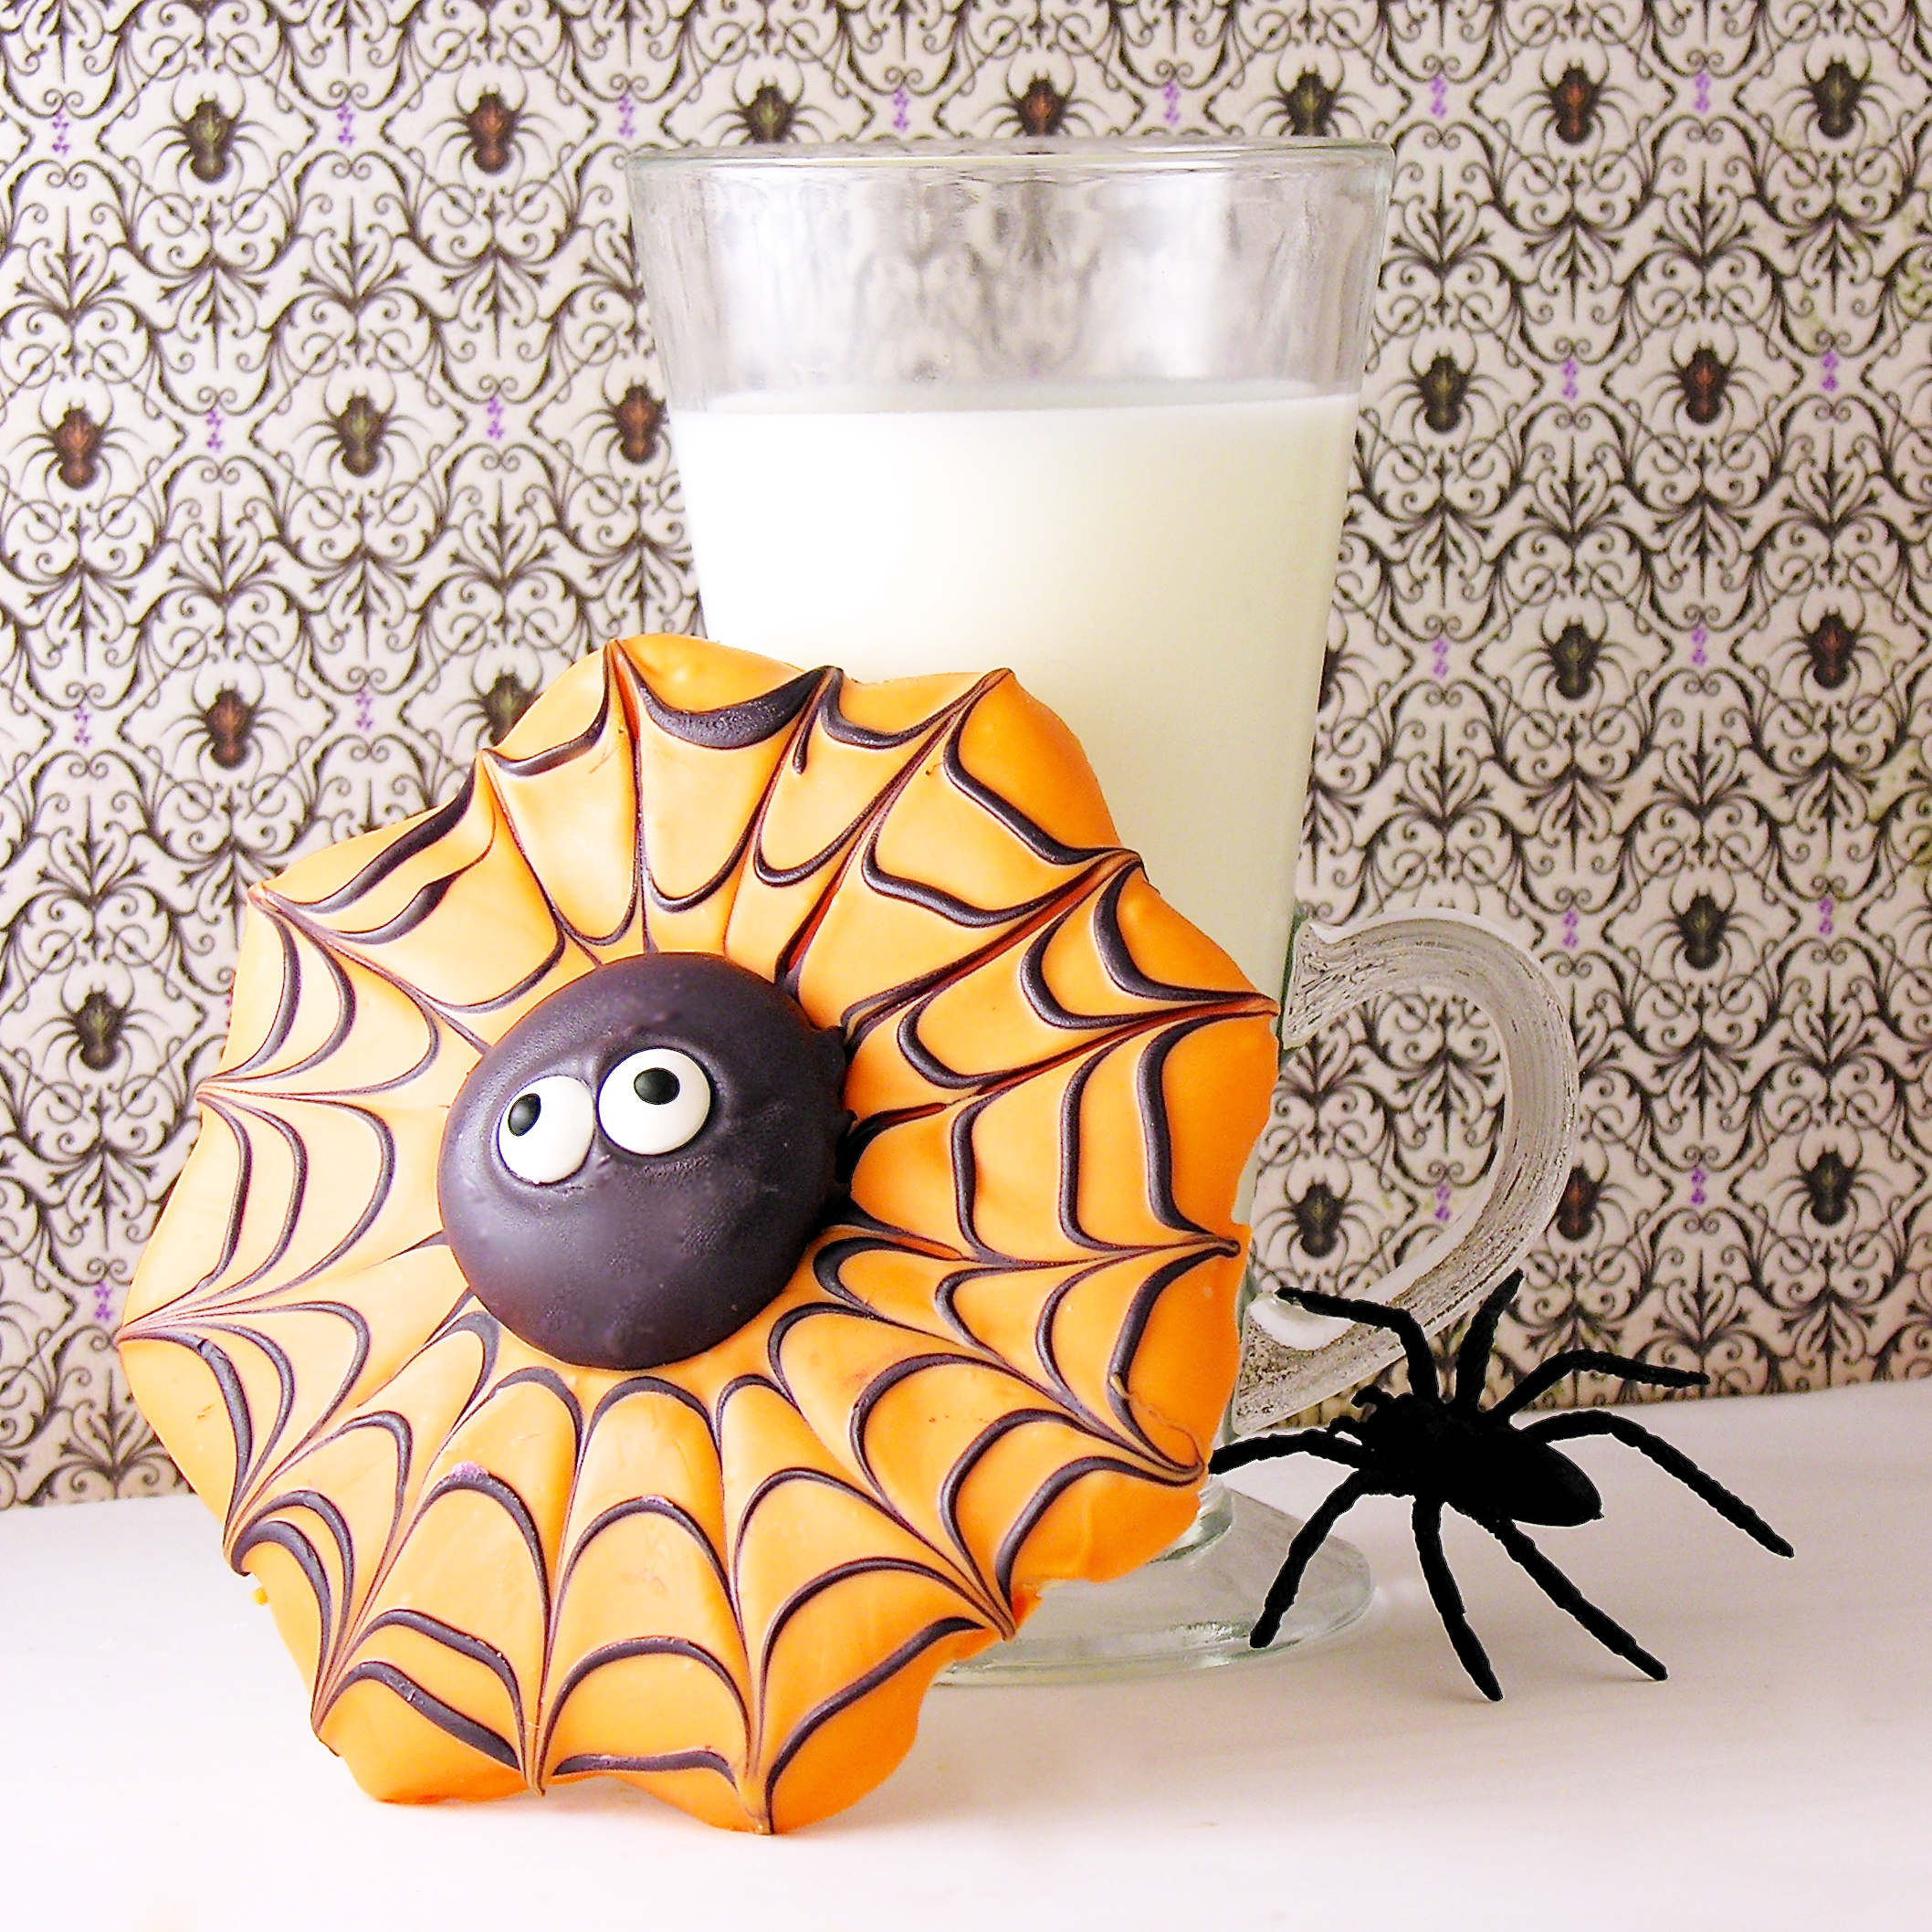
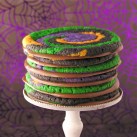
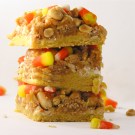
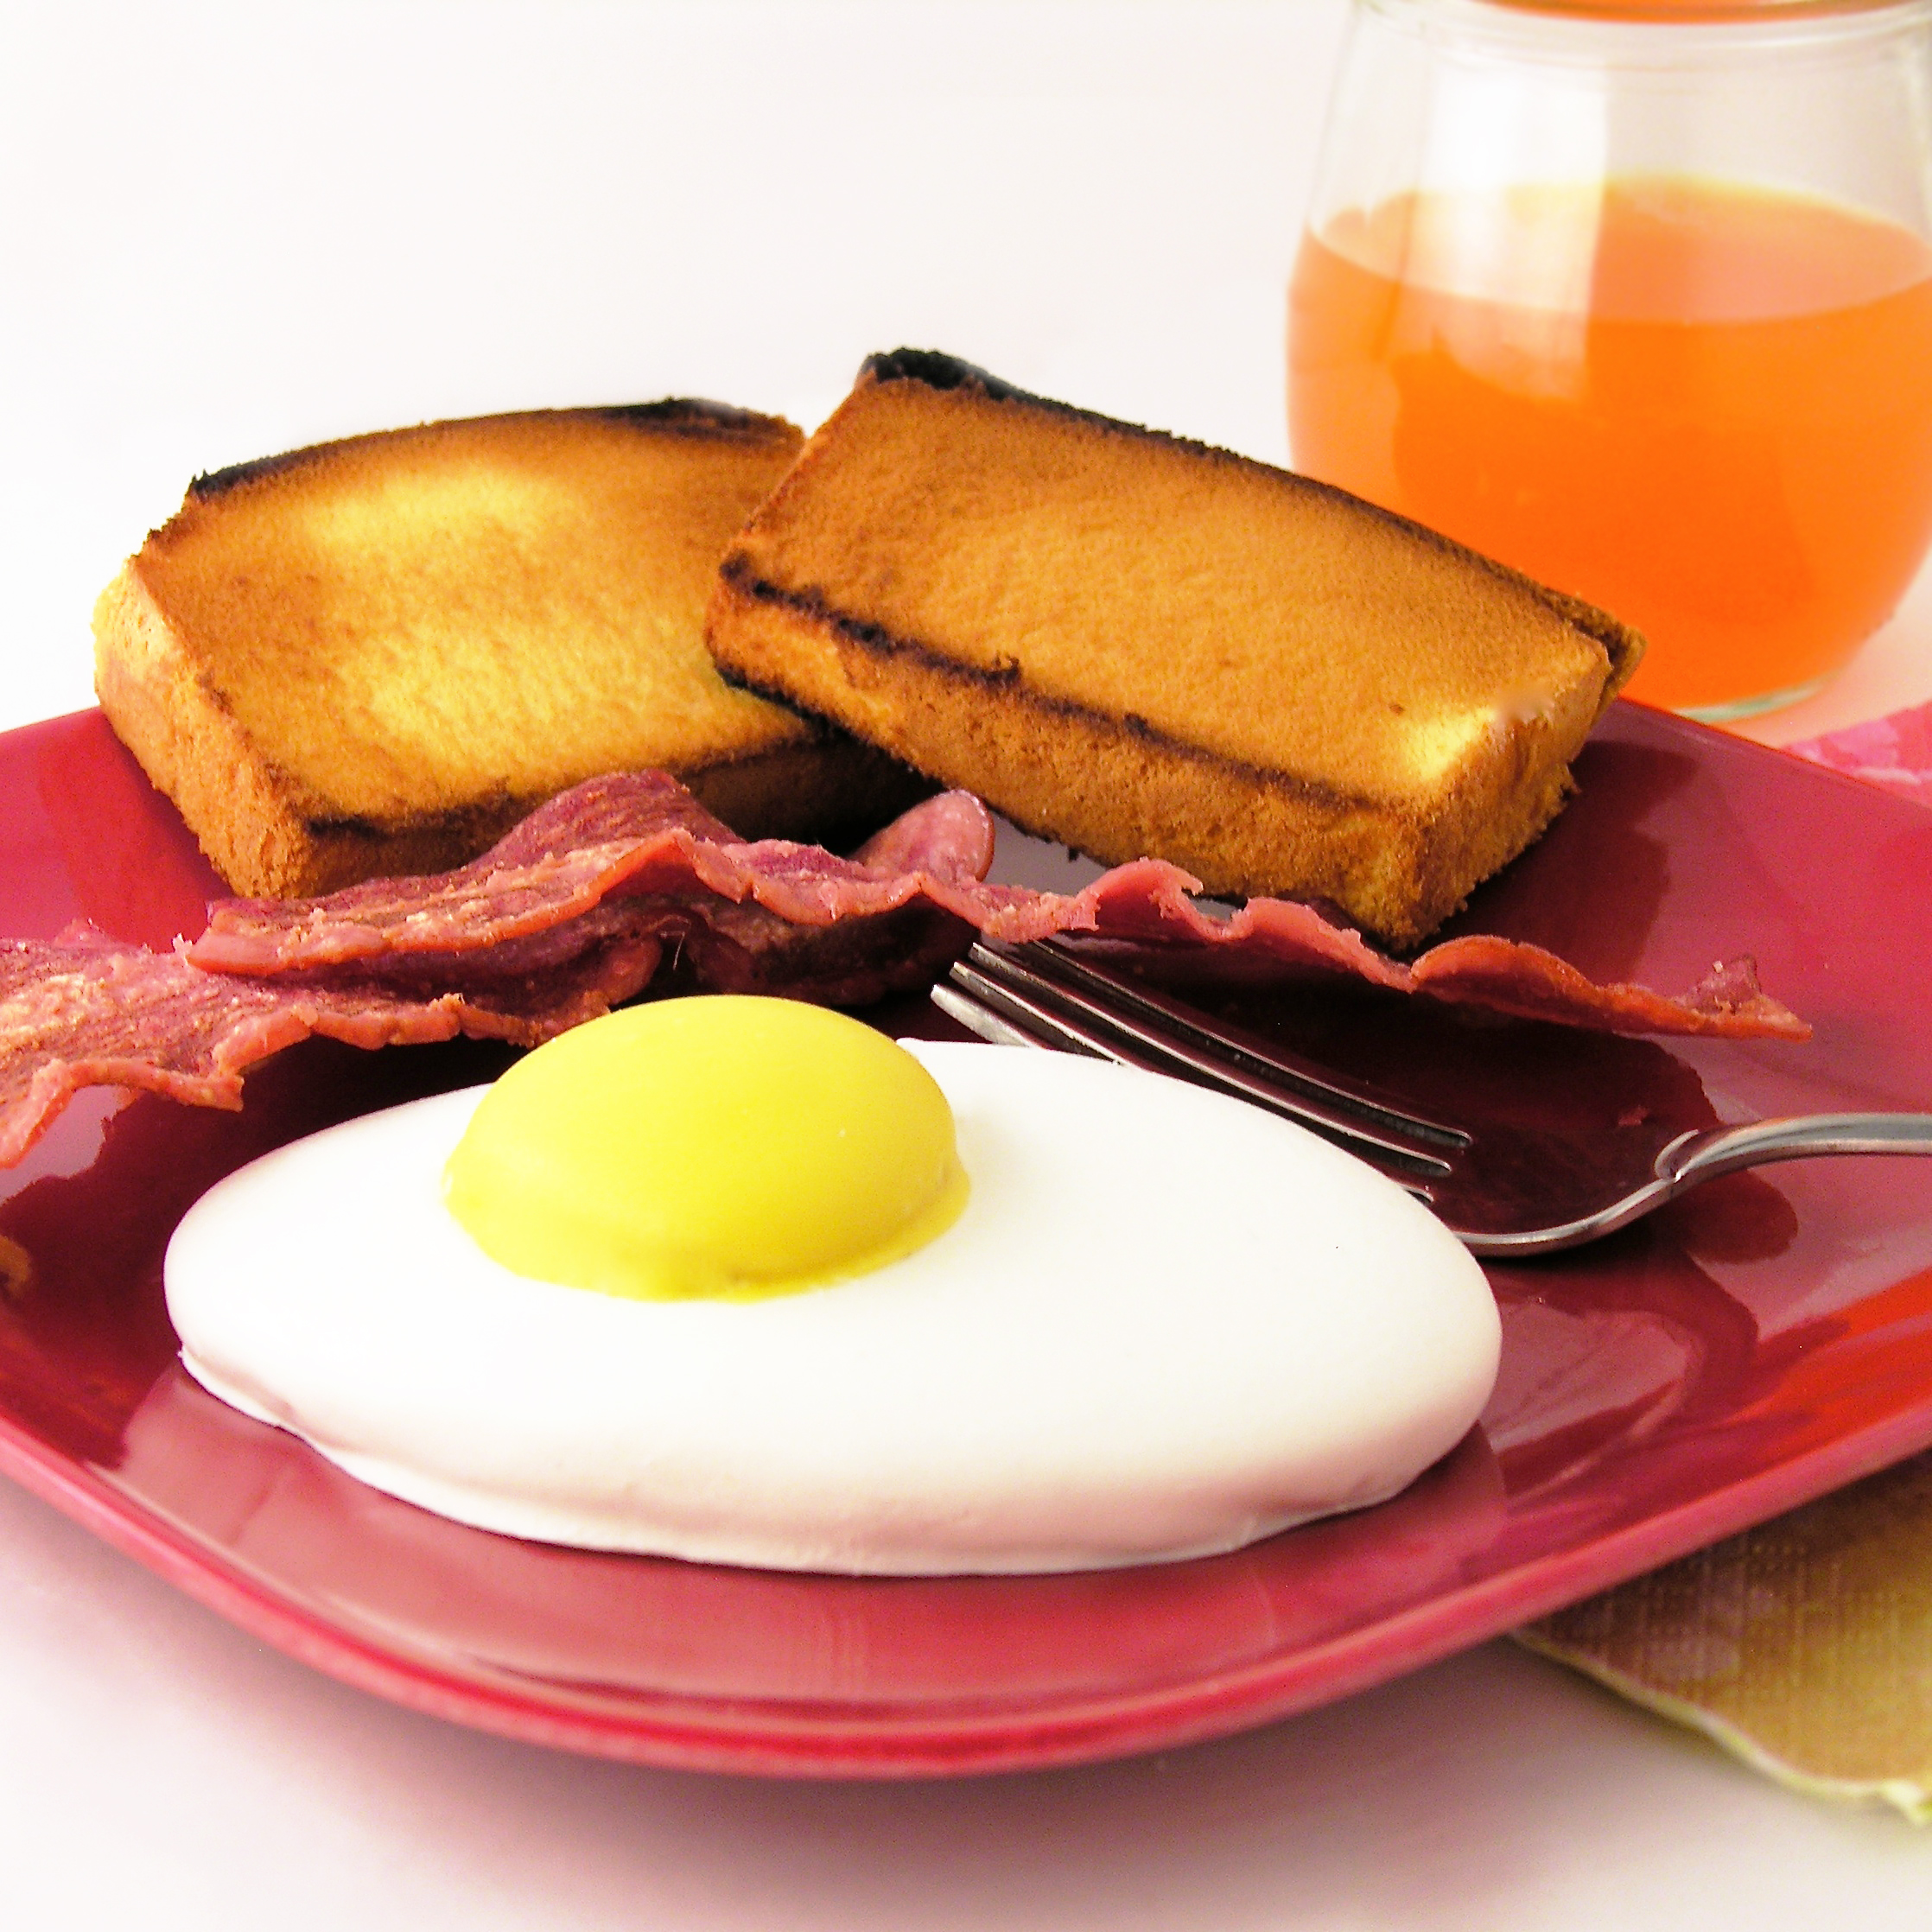
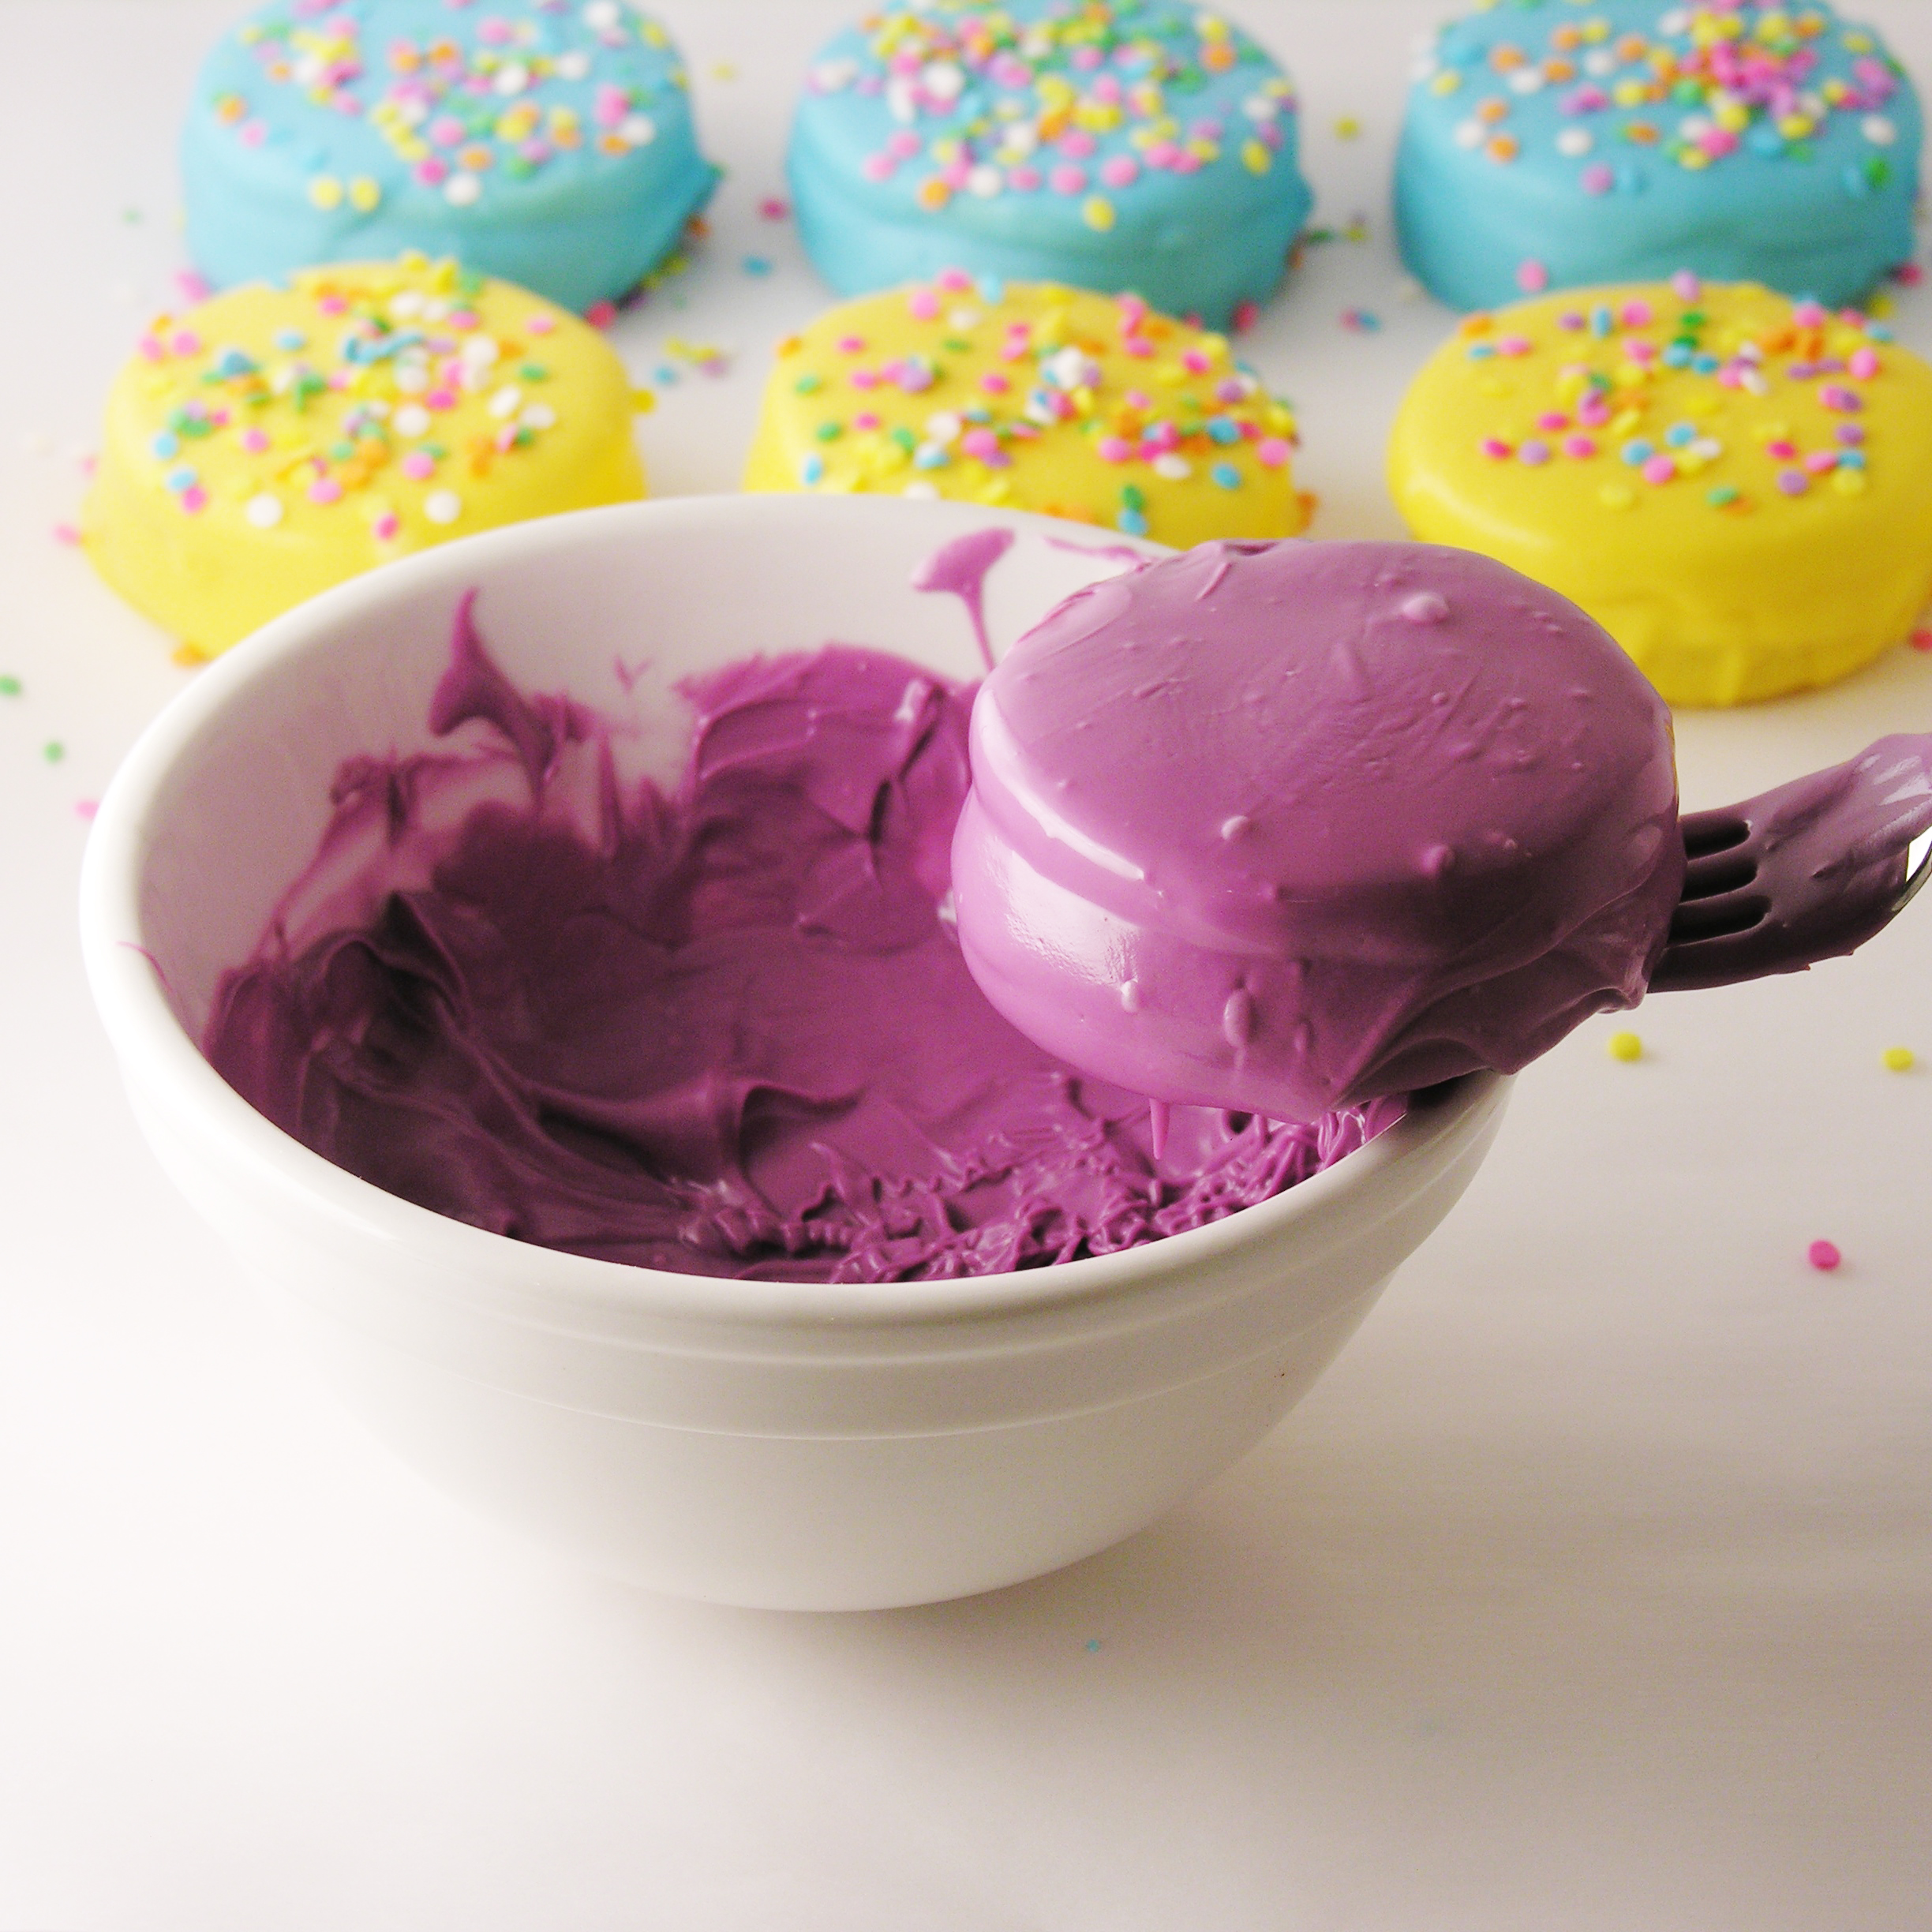
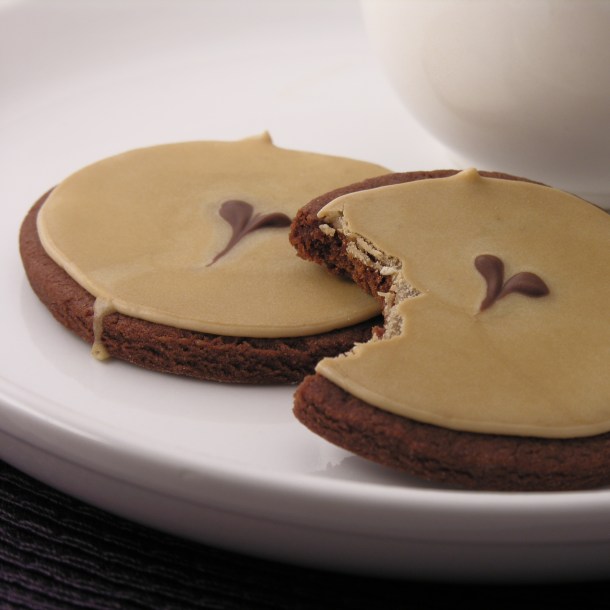
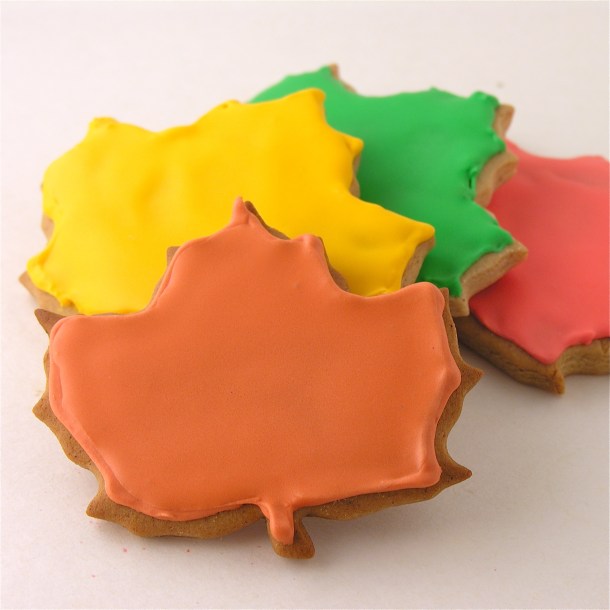
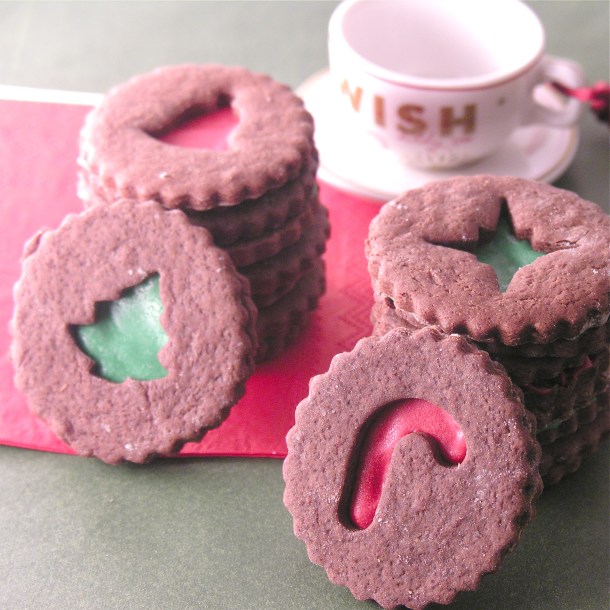
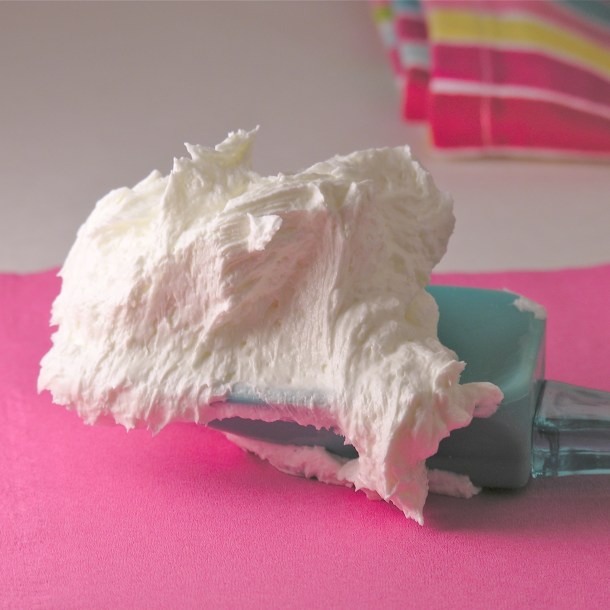
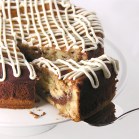
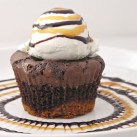
Other fun mini-desserts here on Easybaked (click on a photo to see the recipe):

Sweet Lime TartsMini Pineapple Upside Down cakeCookie Dough CupcakesTriple Chocolate Truffle Cups


Advertisement

Candy-coated Cut-out Cookies!

Posted on

My Message5

These buttery cut-out cookies are decorated in melted candy and designed to replicate our Josiah Venture Camps Theme for 2016!

There is so much to talk about with these little cookies! I will start with the WHY.

I work for an organization named Josiah Venture. We are a movement of God among the youth of Eastern and Central Europe that finds its home in the local church and transforms society. We plan over 100 evangelical camps each summer in 13 different countries, and each camp has the same theme. This year the theme is “Did You Get My Message?”, and this is the camp logo- on all of the t-shirts and banners and materials.

A3_Camp_Poster_2016_FINAL_EDITABLE_ENGLISH

Last year, I made cookies that replicated our camp theme “You are Here” and they were such a hit that people asked if I planned to do this again… I’m starting to be a little afraid of the next year’s design!!! THIS year was pretty easy- and a lot of fun!

My Message3

Now for the HOW.

Have you ever pieced two cookie parts together to make a shape not available in the cookie cutter world?

Me neither. When I was challenged to re-create this design in cookie form I knew I could get a hexagon cookie cutter- but how to add that cute little circle at the top? Then, how to decorate them without using Royal Icing? I’m not a fan of all the waiting for it to harden between colors.

Here’s what I did- and it worked (and tasted) GREAT. I realize you will want to make your own shapes and decorations- just adjust the amounts and colors of Wilton’s candy Melts accordingly.  (For a printable cookie recipe, click here)

My Message6

 INGREDIENTS: (makes about 24 cookies)

  • 2 sticks (1 cup) unsalted butter (softened)
  • 1 1/2 cups of granulated sugar
  • 2 eggs
  • 1 teaspoon of vanilla
  • 1 teaspoon of butter flavoring
  • 3 cups of flour
  • 1 teaspoon of baking powder
  • 1/2 teaspoon of salt
  • 2 bags of Wilton Candy Melts in blue (or in whatever colors you want to decorate in!)
  • 1 bag of Wilton Candy Melts in white
  • 1 bag of Wilton Candy Melts in red

DIRECTIONS:

  • Preheat oven to 350F degrees.
  • In a large mixing bowl, cream together butter and sugar until smooth.
  • Add eggs, vanilla and butter flavoring and mix well.
  • Add all dry ingredients and mix until able to knead into a firm ball of dough (add additional flour if necessary).
  • Roll out on a floured counter with a flour coated rolling pin to desired thickness (I made them fairly thick)
  • Cut into whatever shape you want- and if you want to join two shapes like I did, gently set one piece against the other on a parchment paper covered cookie sheet and press gently together.
  • Bake at 350F degrees for 8-10 minutes and slide off the cookie sheet (leaving on parchment paper) to cool.
  • I needed a full circle on top of each cookie, so I used a cookie marker to trace the cookie cutter as pictured.

My Message 10My Message9

  • I needed 2 items drawn on top of each cookie- an envelope and an question mark. I drew the envelopes out on my computer, found a good bold font for the question marks, and printed several sheets of these. I taped them under parchment paper and used melted white candy melts to trace them. To melt candy melts, you heat them in the microwave in 30 second increments, stirring until smooth.
  • Then I took that same melted white chocolate and outlined the circle- using my lines as a guide.
  • Melted blue candy was used to outline the hexagon.

My Message8My Message11

  • Finally, red candy melts are piped into the circle, filling it completely. I tapped the cookie gently on the table to get rid of bubbles before gently setting a question mark in the center. This step further cements those cookie pieces together.
  • The last step is to completely fill the hexagon with blue, tap out bubbles, and gently set an envelope in the center. I swirled a little white in the blue to copy the logo’s wave look.

My Message13

Any squeeze bottle that can be fitted with a small round decorating tip will work, but aren’t these so fun? These are from the Kuhn Rikon Decorating Set. That’s a link to find them on Amazon, but I got mine in a clearance bin at Marshall’s and didn’t even know how much I would love them!

The best part about working in candy melts rather than frosting is that they harden up SO fast. No waiting between colors- and no bleeding of one color into another. Plus they taste like a cookie covered in white chocolate! The cons are color choice. You are fairly limited in what colors you can use- although the Wilton’s site does have this handy chart to help you mix colors. I will use this again- for sure. I loved it.

My Message1

So. Fun. *smile*  ~enjoy!!!

My role with Josiah Venture is as their intern coordinator. Every year we have over 100 college age interns that spend the summer in Eastern and Central Europe. They partner with local churches and help them reach young people through English, Music, and Sports camps, with the message that God loves them. We also invite churches from the US, Canada and the UK to bring groups of young people over to serve short term. I’ve taken two college-age groups over to Slovakia, and it is a life-changing experience! If you are a part of a church that might be interested in helping next summer, or you might be interested in being a summer intern- check out our website for more info. Applications for 2017 internships will be available in July!

Here’s a link to internship opportunities.

Here’s a link to short-term opportunities.

Here’s a link to a great video that explains more about who Josiah Venture is and what God is doing in Eastern and Central Europe.

JV Interns 2017- cropped

Our 2016 interns!

My message4

Other cut-out cookie recipes you will love! (click on a photo to see the recipe)

Sugar cookie cut-outsGingerbread Cookies!Honey cut-out cookiesChocolate cut-out cookies

Spiderweb Cookies

Posted on

Spiderweb Cookies1

Delicious sugar cookies covered in chocolate spiders and webs. Too cute to be scary!

I’m on a spider kick for Halloween. I’ve had some decently horrifying experiences with spiders at my house this fall, so when I think scary- this is it! My last post featured them on cupcakes and this week it’s cookies. These are delicious, easy, and so much fun to put together!

Spiderweb Cookies3

Here’s how I made them: (printable recipe)

INGREDIENTS: (makes about 24 cookies)

  • 2 sticks (1 cup) unsalted butter (softened)
  • 1 1/2 cups of granulated sugar
  • 2 eggs
  • 1 teaspoon of vanilla
  • 1 teaspoon of butter flavoring
  • 3 cups of flour
  • 1 teaspoon of baking powder
  • 1/2 teaspoon of salt
  • 1 teaspoon cinnamon
  • 2 bags of Wilton’s Candy Melts in whatever colors you choose (I used orange and purple)
  • 1 bag of Wilton’s Candy Melts in dark chocolate
  • Vanilla Wafers
  • Candy eyes

DIRECTIONS:

  • Make spider “faces” first so they have time to harden up. Melt chocolate candy melts in the microwave in 30 second increments, stirring in between until melted and smooth.
  • Dip vanilla wafers entirely in the melted chocolate until coated. Remove using a fork, tap against side of bowl and slide bottom along edge.
  • Place on parchment paper and place 2 eyes on each. Allow these to harden completely. Save excess chocolate to use for web on cookies.

Spiderweb Cookies5Spiderweb cookies6

  • Preheat oven to 350F degrees.
  • In a large mixing bowl, cream together butter and sugar until smooth.
  • Add eggs, vanilla and butter flavoring and mix well.
  • Add all dry ingredients and mix until able to knead into a firm ball of dough (add additional flour if necessary).
  • Roll out on a floured counter with a flour coated rolling pin to desired thickness.
  • Cut into spider webs with a cookie cutter (I used this one– totally got it at Wal Mart)
  • Place cookies on cookie sheets covered in parchment paper and bake at 350F degrees for 10-12 minutes.
  • Slide baked cookies and parchment paper together onto a counter to cool completely.
  • Re-melt the chocolate candy melts and spoon them into a small zip-top bag. 
  • Melt colored candy melts in the microwave in 30 second increments, stirring in between until melted and smooth.
  • Place cookie on a baking rack that has been set over a plate and spoon melted candy over the top of the cookie, spreading it to the edges and over. Use a fork to lift cookie, tap excess off and slide onto parchment paper.
  • Take bag of melted dark chocolate and clip a corner off. Pipe a swirl of chocolate onto the still- melted candy on the cookie and immediately pull line through this from the center out using a toothpick or skewer.
  • Set a spider “face” in the center of the cookie and allow everything to harden up.
  • Enjoy!

Spiderweb Cookies7Spiderweb Cookies8

Spiderweb Cookies10Spiderweb Cookies9

Aren’t they cute?????

Spiderweb Cookies4

My thoughts: These really are fun and delicious. It takes a little time and patience to cover the basic cookie in the candy melts- but I love how the color goes all the way over the edge! Since these harden up, they are perfect to make ahead and tie up in cello bags for fall parties. Enjoy!!!! ~r

Spiderweb cookies2

Other fun fall recipes to try: (click on a photo to be taken to a recipe)

Pumpkin Guts Dessert!Halloween Swirl Cookies!!!Candy Corn Peanut Bars!!Caramel Apple Cupcakes with misfortune cookies


Sunny Side Up Egg Cookies!!!

Posted on

Fried Egg Cookies

Whoever said you can’t have cookies for breakfast never tried these cookies!

A perfect April Fool’s treat!

Tomorrow is April Fool’s Day, and we all know that if you don’t catch people early, they will remember what day it is and call your bluff! That’s why these little “breakfast” cookies are the perfect trick. I served them with bacon (salty and sweet…) and toasted pound cake. They are easy to put together and they are the cutest little things in Easter baskets too!

Egg cookies for EasterTwo holidays covered by one recipe? Perfect.

These are perfectly tasty too~ and so easy to create for yourself! Here’s how we did them (printable recipe)

INGREDIENTS: (makes 24-36 cookies, depending on the size of your cookie cutter)

  • 2 sticks (1 cup) unsalted butter (softened)
  • 1 1/2 cups of granulated sugar
  • 2 eggs
  • 1 teaspoon of vanilla
  • 1 teaspoon of butter flavoring
  • 3 cups of flour
  • 1 teaspoon of baking powder
  • 1/2 teaspoon of salt
  • 3 bags of Wiltons candy melts in white
  • 1 bag of Wilton’s candy melts in yellow
  • 24-36 Nilla Wafers

DIRECTIONS:

  • Preheat oven to 350F degrees.
  • In a large mixing bowl, cream together butter and sugar until smooth.
  • Add eggs, vanilla and butter flavoring and mix well.
  • Add all dry ingredients and mix until able to knead into a firm ball of dough (add additional flour if necessary).
  • Roll out on a floured counter with a flour coated rolling pin to desired thickness.
  • Cut using an egg shaped cookie cutter.
  • Place cookies on ungreased cookie sheets and bake at 350F degrees for 8 to 10 minutes.
  • Slide baked cookies onto parchment paper to cool completely.
  • Melt 1/2 a bag of yellow candy melts in a small bowl in the microwave in 30 second increments, stirring in between, until smooth.
  • Gently dip Nilla wafers into yellow candy melts, covering completely and removing with a fork by tapping on the edge of the bowl and sliding bottom along edge. Place on parchment paper to harden completely. (I placed these in the fridge to harden more quickly so they would be ready to place on the egg “whites”)
  • Melt white candy melts in a larger bowl, using the same technique as melting the yellow ones.
  • Gently dip each cooled egg cookie into the white candy melts, using the same technique as with the Nilla Wafers. 

Fried egg cookieFried Egg Cookie

  • Place on parchment paper to harden, but before white egg hardens completely, place a yellow Nilla Wafer on top as a “yolk”.

Fried eggFried Egg cookies

  • Allow cookie to harden completely and serve up with bacon and toasted pound cake…and maybe coffee?
  • These can be placed into treat bags and put into Easter baskets too! Fun!!!

Fried egg cookie for Easter

My thoughts…oh goodness, I’ve had fun with these. They aren’t hard to make, they are very realistic, and they make everyone laugh! I think they are cute in little treat bags too. Have fun- April Fool’s!!! ~r

Fried egg cookies!We have lots of fun Easter treats here on Easybaked! Check them out by clicking on a photo to see the recipe!

Jelly Bean Cookies!!!!Cadbury Egg Cookie Cups!!!!Easter Cheesecake CupsEasy Easter cut out cookies

Confetti Sugar Cookies!

Confetti cookies!What better way to celebrate the New Year than with confetti? Especially the edible kind that pours out of the center of a delicious sugar cookie? So. Much. Fun!!!!

These sugar cookies are a fun and festive surprise that are sure to make your guests smile as you ring in 2015! These are easy to put together and a creative addition to any celebration!

Here’s how we made these fun treats: (printable recipe)

INGREDIENTS: (makes about 24 cookies)

  • 2 sticks (1 cup) unsalted butter (softened)
  • 1 1/2 cups of granulated sugar
  • 2 eggs
  • 1 teaspoon of vanilla
  • 1 teaspoon of butter flavoring
  • 3 cups of flour
  • 1 teaspoon of baking powder
  • 1/2 teaspoon of salt
  • 1 teaspoon cinnamon
  • 2 bags of Wilton Candy Melts in any colors you wish to use
  • 2-3 cups of small confetti sprinkles

DIRECTIONS:

  • Preheat oven to 350F degrees.
  • In a large mixing bowl, cream together butter and sugar until smooth.
  • Add eggs, vanilla and butter flavoring and mix well.
  • Add all dry ingredients and mix until able to knead into a firm ball of dough (add additional flour if necessary).
  • Roll out on a floured counter with a flour coated rolling pin to desired thickness.
  • Cut about 72 circles using a cookie cutter (I used a 2″ cookie cutter)
  • Use a slightly smaller circle cutter to cut out a center circle from 24 of these cookies.
  • Place cookies on cookie sheets covered in parchment paper and bake at 350F degrees for 8 to 10 minutes.
  • Slide baked cookies and parchment paper together onto a counter to cool completely.

Confetti Cookies!

  • Melt about 1/4 of a cup of candy melts (I used white, but you can use whatever colors you’ve chosen) in the microwave for 30 second increments, stirring between until completely melted and smooth. Place the melted candy in a small zip top bag and cut one corner off.
  • Pipe around the bottom of the “ring” cookie and place it on a “solid” cookie. 
  • Fill the open center of the “ring” cookie with confetti sprinkles.
  • Pipe melted candy melts around the top of the “ring” cookie and set another “solid” cookie on top.
  • Allow these cookies to harden completely (I placed mine in the fridge for about 20 minutes).

Confetti CookiesConfetti CookieConfetti Cookies

  • Melt remaining candy melts in the microwave in 30 second increments until completely melted and smooth.
  • Dip cookie into melted candy and cover completely, using a spoon. Use a fork to lift out and tap against side of bowl until excess melted candy falls away. Slide bottom of cookie against side of bowl and gently slide onto parchment paper to harden.
  • Immediately sprinkle with confetti or other decorations before candy melts harden.

Confetti Cookies10Confetti Cookies9

    • Package up in a tightly sealed container or in cello bags.
    • Wait until midnight and celebrate with the BEST  confetti ever– the edible kind!!!

Confetti Cookies!!

My thoughts: these look complicated to make, but they really went together quickly and it was so fun to see people’s surprise at all that confetti inside. I did warn them to take that 1st bite over a plate- haha- I guess that just depends on how messy you want your floors during that NYE party!  Enjoy!!!


Confetti cookie3 Other fun NYE treats:

Koolaid Pie5Pink Champagne Cupcakes1Pile of Cupcakes!Raspberry Confetti Kisses

12/19/14: On a personal note: I blog my recipes ahead, and I prepared this post (and scheduled it to publish) several weeks ago. Since that time, my mom has been diagnosed with very, very aggressive cancer and admitted to Hospice. I just wanted to ask for all of you who have followed this little blog and enjoyed these recipes to keep our family in your prayers as we say good bye to her during this Christmas and New Year season. Because of this, and because I am in the process of starting a new job, I will be taking a few weeks off from publishing recipes here. May this New Year bring great hope and joy to you and your family! God Bless! Back in a few weeks.  *Hugs* ~Ruthanne

A Cut-out Cookie Collection!

Cut-out Cookie CollectionIt’s nearly Christmas, and those cute bells, stars and tree cookie cutters are begging to be used!  This post is dedicated to our favorite cut-out cookie recipes featured here on Easybaked. We have everything from gingerbread to mocha, simple sugar cookies to international favorites! Make this year’s cookies your best yet!

Let’s start with the family favorite. My mom’s thick and cake-like cutout cookie recipe features a hint of cinnamon flavor and is truly a part of our Christmas (and Easter, and 4th of July, and back-to-school and GO PACKERS!) traditions. These are easy, and freeze well- so you can make them ahead. Go ahead and click on that photo to see the recipe.

IMG_1195


Next, is my personal favorite: GINGERBREAD!  These, too, have been a part of our family Christmas traditions. This recipe is my grandmother’s, and she faithfully made them every year, cut them as Christmas trees and decorated them with red-hots! Click on the photo to see her oh-so-yummy recipe!

Gingerbread Cookies!Similar to gingerbread are my Pumpkin Spice Cookies. These are sweeter and bake very flat and easy to decorate.

Pumpkin Pie Cutout cookies!Chocolate cut-out cookies that taste like the richest brownie but roll out and cut like a dream? Yes, please!  I love how the frosting colors really stand out on that dark chocolate! These chocolate cut-outs have been in our family awhile too- but as drop cookies that I tweaked to make cut-outs. Click the photo to see this delicious recipe:

Chocolate cut-out cookies

That chocolate cut-out recipe is so yummy that I experimented a little more with it to create a chocolate espresso cut out cookie and…oh my…one of my favorites!

Dark Chocolate Espresso Cookies!I’ve spent some time overseas and discovered a wonderful dessert in Prague called Medovnic. Then I found these wonderful little honey-filled cut out cookies called Medovniky that are often made at Christmas. I made them for autumn, but they are a delicious flavor for any season!!

Honey cookies cut into leaf shapes!

Speaking of international cookies, these Alfajores from Peru add a totally unique (and deliciously caramel-filled) flavor to the holidays.

Alfajores (Peruvian caramel cookie)!

When it comes to cut-out cookies, the cookie cutters make all the difference! I absolutely LOVE the look created by Linzer cookie cutters. Typically they are layered with a fruit filling, but I just used colored frosting and you have beautiful cookies with very little fancy frosting technique!

Linzer Christmas CookiesOne other thing you’ll need are some good frosting recipes, which I’ve compiled right here in a post called: Frostings, fillings and fun!

mmm......frosting!

I hope that these recipes inspire fun-filled cookie making times with your family this season.

Merry Christmas! 

~r

12/19/14: On a personal note: I blog my recipes ahead, and I prepared this post and my next one (very fun New Years cookies) several weeks ago. Since that time, my mom has been diagnosed with very, very aggressive cancer and admitted to Hospice. I just wanted to ask for all of you who have followed this little blog and enjoyed these recipes to keep our family in your prayers as we say good bye to her this Christmas. After next week’s post (which is already scheduled),  I will probably take a little break from sharing recipes here. Many thanks, friends! ~r

(My personal and ministry blog is at: www.thenavajojourney.com, if you want to keep up with me there.)

Pumpkin Pie Spice Cookies

Pumpkin Pie Cutout cookies!

These cute little pumpkin cutout cookies are chock-full of pumpkin spices and capture the tastes of fall in every bite!

I really dislike pumpkin pie. This time of year it is found everywhere! I’ve discovered that it is truly the pumpkin I dislike though- not the spices. These cookies offer all the yummy spices of pumpkin pie without a hint of actual pumpkin… plus they are cute as can be! These cookies can be cut into any shape you like and decorated accordingly. I had a hard time not eating them all up before  I decorated them- so use frosting…or don’t…. maybe just cut them in circles and add a few sugar sprinkles to make them really easy!

Pumpkin Pie Cutout CookiesHere’s how we made the cookies- and how we decorated them. (printable recipe)

INGREDIENTS:

  • 2 sticks (1 cup) unsalted butter (softened)
  • 1 1/2 cups of granulated sugar
  • 2 eggs
  • 1 teaspoon of vanilla
  • 1 teaspoon of butter flavoring
  • 3 cups of flour
  • 1 teaspoon of baking powder
  • 1/2 teaspoon of salt
  • 2 Tablespoons of pumpkin spice seasoning

DIRECTIONS:

  • Preheat oven to 350F degrees.
  • In a large mixing bowl, cream together butter and sugar until smooth.
  • Add eggs, vanilla and butter flavoring and mix well.
  • Add all dry ingredients and mix until able to knead into a firm ball of dough (add additional flour if necessary).
  • Roll out on a floured counter with a flour coated rolling pin to desired thickness.
  • Cut using a large (I used a 6″) round cookie cutter
  • Use a knife or pizza cutter to divide circle into even triangle “pie” pieces.
  • Place cookies on ungreased cookie sheets and bake at 350F degrees for 8 to 10 minutes.
  • Slide baked cookies onto parchment paper to cool completely.
  • To decorate, use royal icing (so it will harden into a firm shell) my recipe for that is here.
  • Use thicker icing to outline the shape of the cookie and then flood the inside of the outline with thinner icing.

Pumpkin Pie Cut-out CookiesPumpkin Pie Cutouts CookiesPumpkin Pie Cutout cookies

  • Allow icing to harden up and then make the “crust” by using royal icing colored to match the cookies and swirling a loose “m” pattern across the end of each cookie.
  • Use a star tip to add a little white icing as “whipped cream”

Note: I wanted to add some cute factor to these yummy cookies and saw sugar cookies done as slices of pie on a REALLY fun blog called sweetsugarbelle.com. She does a GREAT job of showing the decorating process step-by-step, and I highly recommend you visit her site if you decide to make these cookies in slice form. The hardest part is the crust. I’m NOT a cake decorator and I really had to practice to get the crust to look acceptable. Her pictures and instruction were a big help! Plus the rest of this site is so addictive. Beautiful creations! Love it!

Slice of Pumpkin Pie CutoutsMy thoughts: YUM. Seriously yummy cookies. If you are up for a challenge make them into pie slices, but if you just want some simply delicious and EASY cookies just cut these into fun fall or Christmas shapes and sprinkle with a little colored sugar. Don’t omit that butter flavoring- you can find it with other flavors and extracts at the grocery- it adds such a yummy flavor!  Hope you get a chance to try these!!! Enjoy! ~r


Pumpkin Spice CookiesOther fun Thanksgiving recipe ideas~ click on a photo to see the recipe:

Cinnamon Upside Down Cakes!!Red velvet cookies with cream cheese icing!!Cinnamon Roll Cheesecake!!Brownie Oreo Cookie Cup

Halloween Cookie Swirls!

Posted on

Halloween Swirl Cookies!!!
These festive, fun cookies are made with refrigerated cookie dough, and are SO easy!  A little chocolate on the bottom and you have not only cute cookies, but really yummy ones as well!!!!

I keep seeing these swirled cookies online and I decided I simply had to try them in halloween colors this year.  They were a little time consuming, simply because you need to color your cookie dough and then blend the colors together.  Not hard at all– but set aside a little prep time.

Want to see how to put these together?  Here’s the recipe: (printable version)

INGREDIENTS:

  • 1 tube refrigerated cookie dough (I used Pillsbury)
  • Gel food coloring in the colors you desire
  • 1 bag of Wiltons dark chocolate candy melts.

DIRECTIONS:

  • Divide cookie dough into 4 equal parts and color each part using food color gels. (I recommend wearing food-prep gloves to save your hands from being colored along with the dough!   Also, start with the lightest color 1st)
  • Starting with the lightest color, divide each part of dough into small balls (about the size of a small grape)
  • Take one ball of each color in your hand, and gently squeeze it into a 4-color ball.

Halloween Cookies How-to2Halloween Cookies How-to3

  • Roll each ball out into a long strip and then gently coil it together into a cookie.  Tuck end under cookie and gently place on parchment paper on a cookie sheet.

Halloween Cookies How-to4Halloween Cookies How-to6

  • Bake at 350F degrees for time recommended on cookie dough tube.
  • Remove from oven by sliding parchment paper off cookie sheet and on to a flat surface.
  • Cool cookies completely
  • Melt Wiltons candy melts in 30 second increments in the microwave, stirring between until smooth.
  • Spoon a bit of melted chocolate on a clean piece of parchment paper- make it about the size of one cookie.
  • Gently press a cookie on top of the chocolate until you can see it around the edges.
  • Allow chocolate to cool and harden.
  • Peel away parchment paper and ENJOY your cute cookies!!!!

Halloween Swirl Cookies!!!
My thoughts:  These were a fun Halloween baking project.  I really enjoyed how each cookie looked so unique and I learned as I went how to swirl them most effectively (so that all the colors can be seen on top).  I loved using the pre-made cookie dough, that saved a lot of time!  I hope you get a chance to try these!!!  Enjoy!!  ~r


Halloween Swirl Cookies!!!!Halloween Swirl Cookie!!!!
Other fun Halloween ideas from Easybaked:

Halloween Bundt CakeGinger Maple CookiesSpider Cupcakes!Pumpkin Roll

Easy Lemon Cut-out Cookies

Posted on

These brightly colored Easter cookies have a hint of lemon and a creamy sweet filling.  This cut-out recipe is REALLY easy to roll out and I used Linzer cookie cutters to make them into fun sandwich cookies.

Cookies:

INGREDIENTS:

  • 1 c. margarine
  • 1 c. sugar
  • 1 egg
  • 1 t. vanilla
  • 1 t. lemon juice
  • 2 T. whipping cream
  • 3 c. flour
  • 1/2 t. salt
  • 1/2 t. baking powder

DIRECTIONS:

  • Preheat oven to 350 degrees.
  • Cream together margarine and sugar.
  • Add egg, vanilla and whipping cream and mix.
  • Add lemon juice and mix until completely combined.
  • Add dry ingredients and mix well.
  • To color the dough:  I divided the dough into 3 smaller bowls and colored it using Wilton Icing Colors.  I love this food coloring…it says its for icing but I use it in everything– it makes things SO bright and doesn’t change the consistency of what you add it to.
  • Use a little additional flour to make your dough a good rolling consistency.  Using a flour-coated rolling pin, roll the dough out on a flour-coated surface.
  • Cut your cookies using any cookie cutters you like.  I used Springtime Shapes Linzer Cookie Cutters and I just LOVE the way they turned out.  Just cut solid cookies for the backs and for the tops use the tiny shapes to cut bunnies and chicks and flowers from the center of each cookie.  It IS a little fussy, but worth it in the end!
  • However you choose to cut them, place the cookies on parchment paper- covered cookies sheets and bake at 350 degrees for 10-12 minutes (check for a slightly browned edge).
  • Cool and frost.

Frosting:

INGREDIENTS:

DIRECTIONS:

  • Cream together the powdered sugar and Crisco.
  • Add the milk and blend until a smooth spreadable consistency.  Divide frosting and color in as many colors as you want.
  • Frost and enjoy!

My thoughts:  I love these Linzer cookie cutters.  I got them last fall when I made cookies for both Halloween and Christmas and I’ve been waiting for spring to arrive so I could try this set out– they are just so much fun.

I really think you will like this dough– it rolls out beautifully even with no refrigeration ahead.  If you want an easier cookie, just use traditional cookie cutters and have fun with all the bright colors!   Enjoy!  r-

Pecan Pie Cookie Cups

Dark chocolate and pecans baked in a soft sugar cookie cup–yum!

INGREDIENTS:

  • One tube of Pillsbury Refrigerated Sugar Cookie Dough
  • About 2 cups of pecan halves
  • 2/3 c. dark chocolate chips (I use the Ghirardelli 60% Cacao Bittersweet Chips)
  • 1 T. corn syrup
  • 1/4 c. heavy whipping cream

DIRECTIONS:

  • Preheat oven to 350 degrees.
  • Spoon about 1 T. of cookie dough into a ball in 24 mini-muffin cups.
  • Press into bottom and sides of cup (I use a Mini Tart Shaper )
  • Place one pecan half in the bottom of each cup.
  • Chop one cup of pecan halves into tiny pieces.
  • Mix together chopped pecans, corn syrup, whipping cream and melted bittersweet chocolate.
  • Use a zip-top bag to pipe pecan mixture into cups (just clip a nice big corner off so that the pecan pieces can fit through!)
  • Top with another pecan half
  • Bake at 350 degrees for about 16-18 minutes.
  • Allow cups to cool completely in pan.
  • Once completely cool, twist each cup a bit to free it from the pan and removeMy thoughts:  I usually love my experiments…but I didn’t really like these (just being honest here…)  My friends and co-workers LOVED them though…  I think I just needed milk chocolate instead of the bittersweet.  I need my sweet!  These were a huge hit though- so the bittersweet apparently works for most people.  ENJOY!!

%d bloggers like this: