RSS Feed

Tag Archives: pecans

Caramel Pecan Cup of Cake!

caramel-pecan-cupcakes

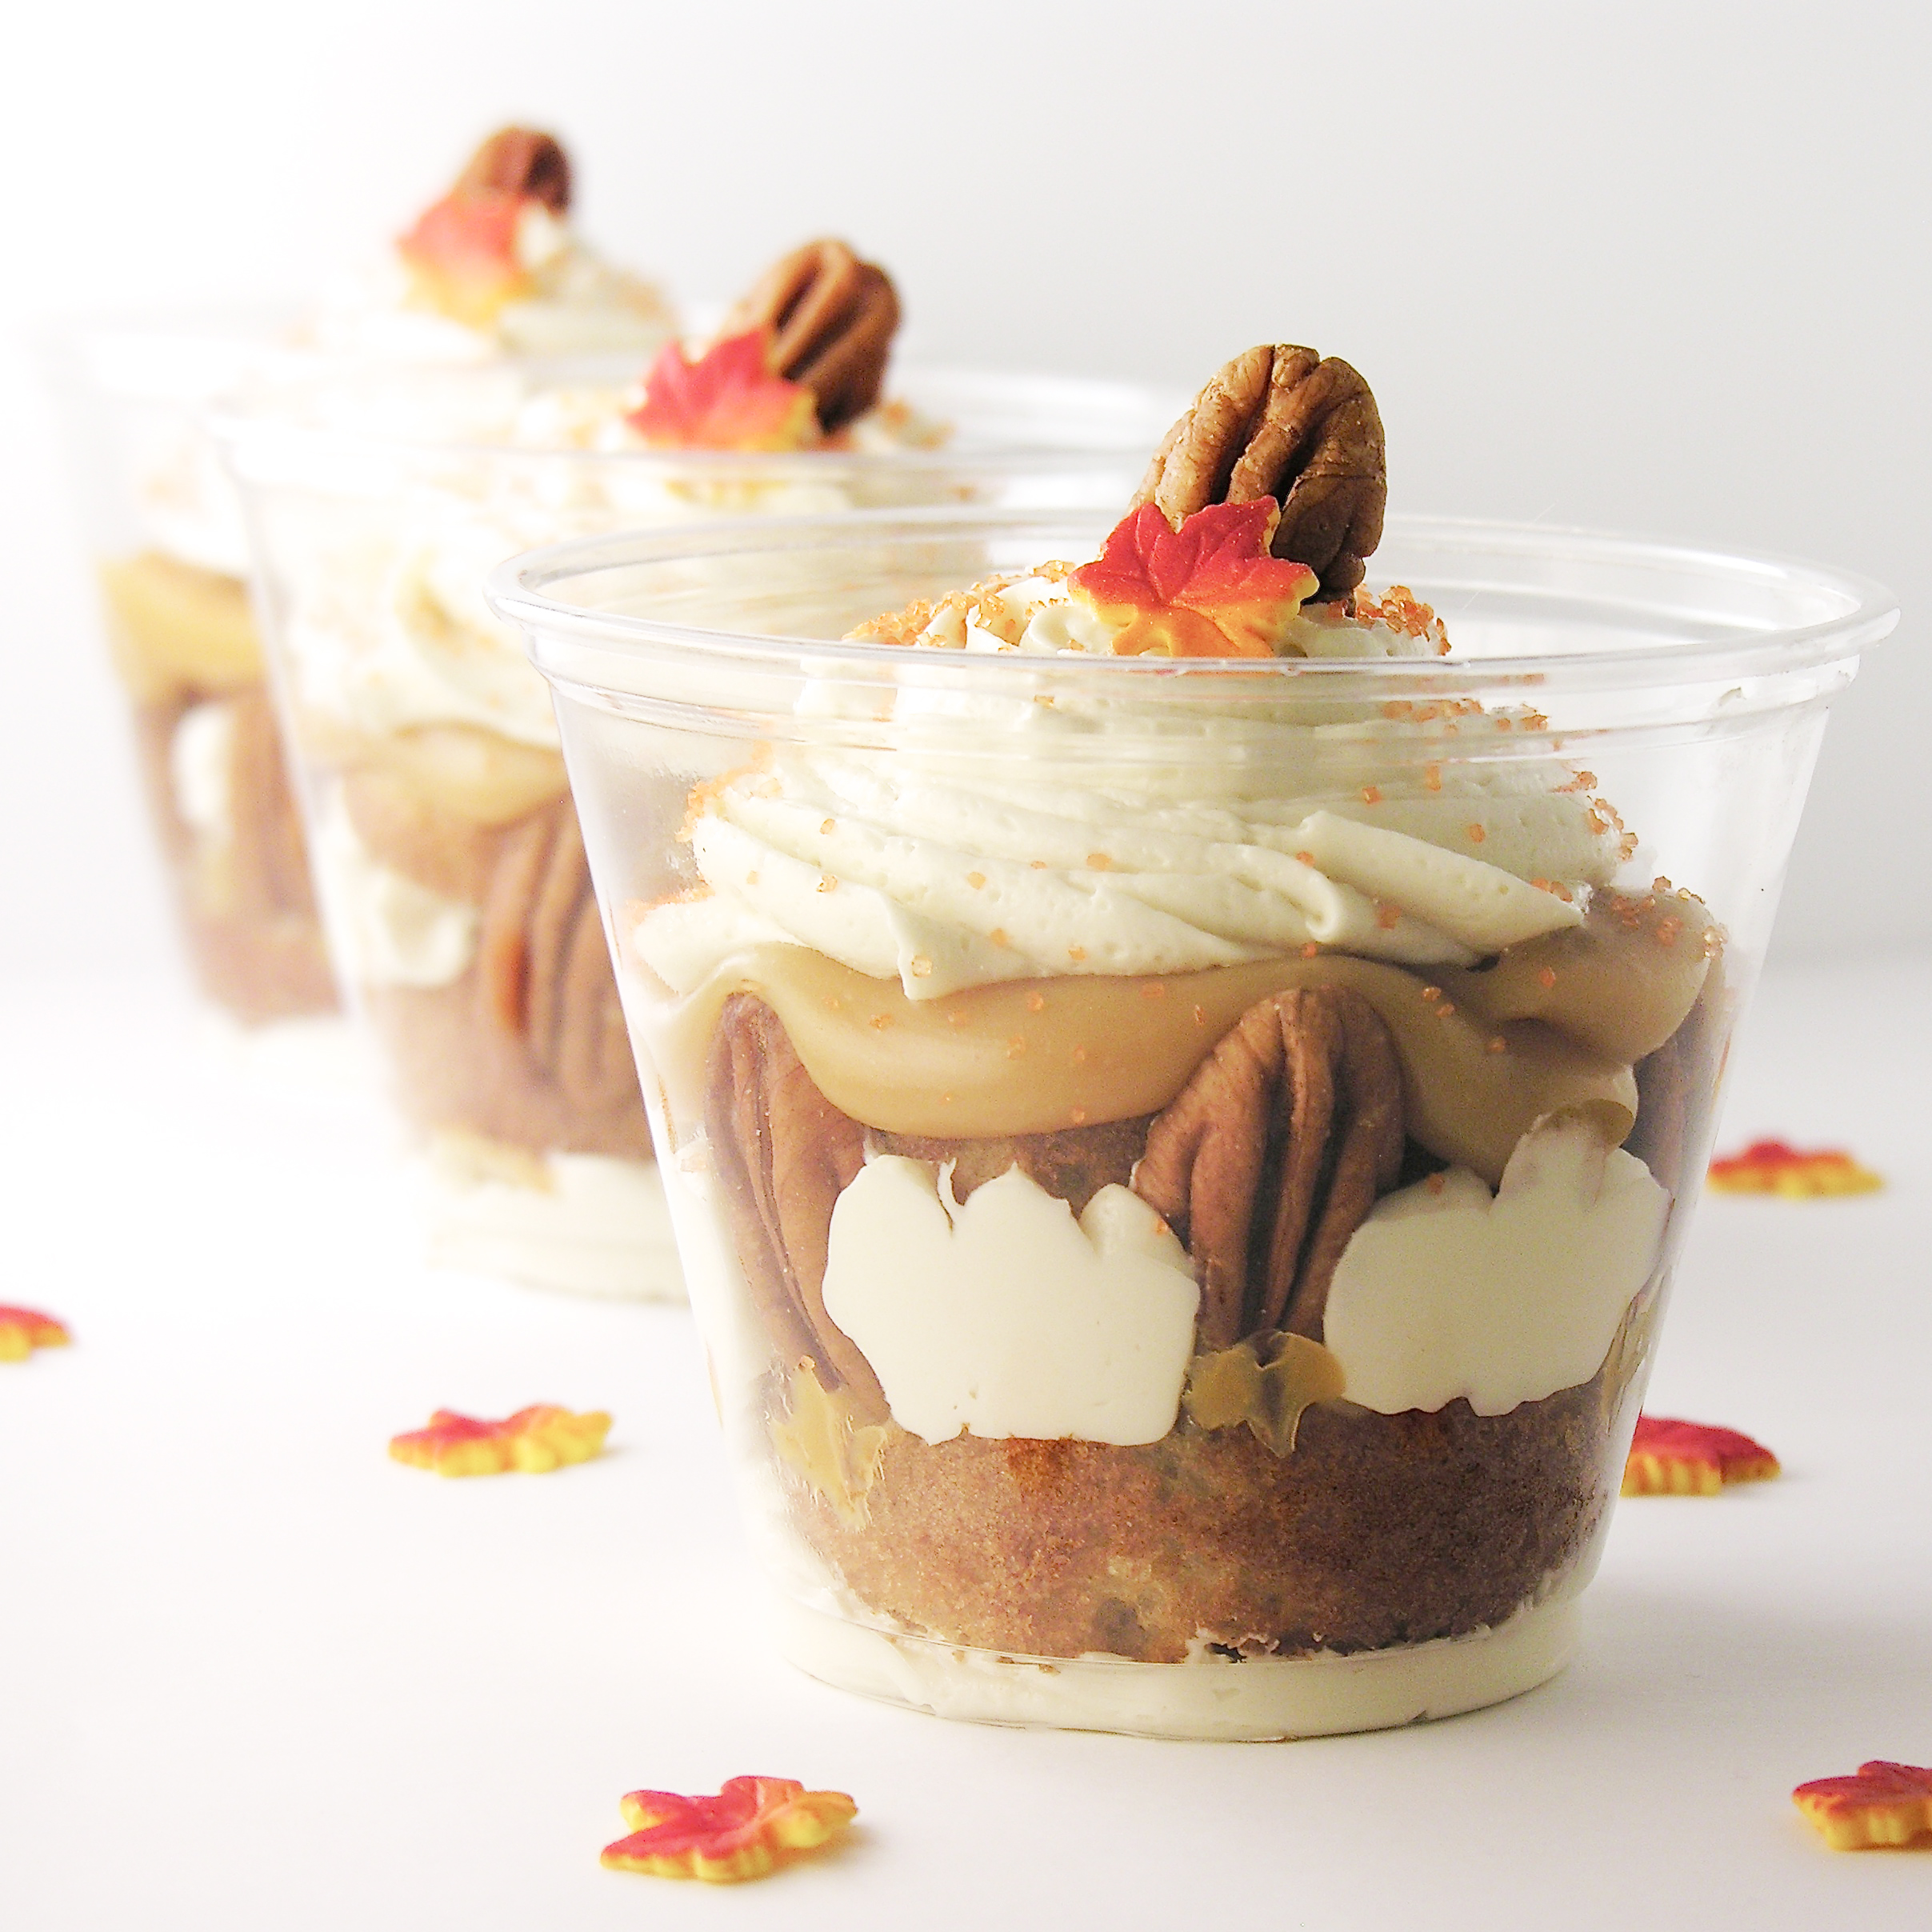
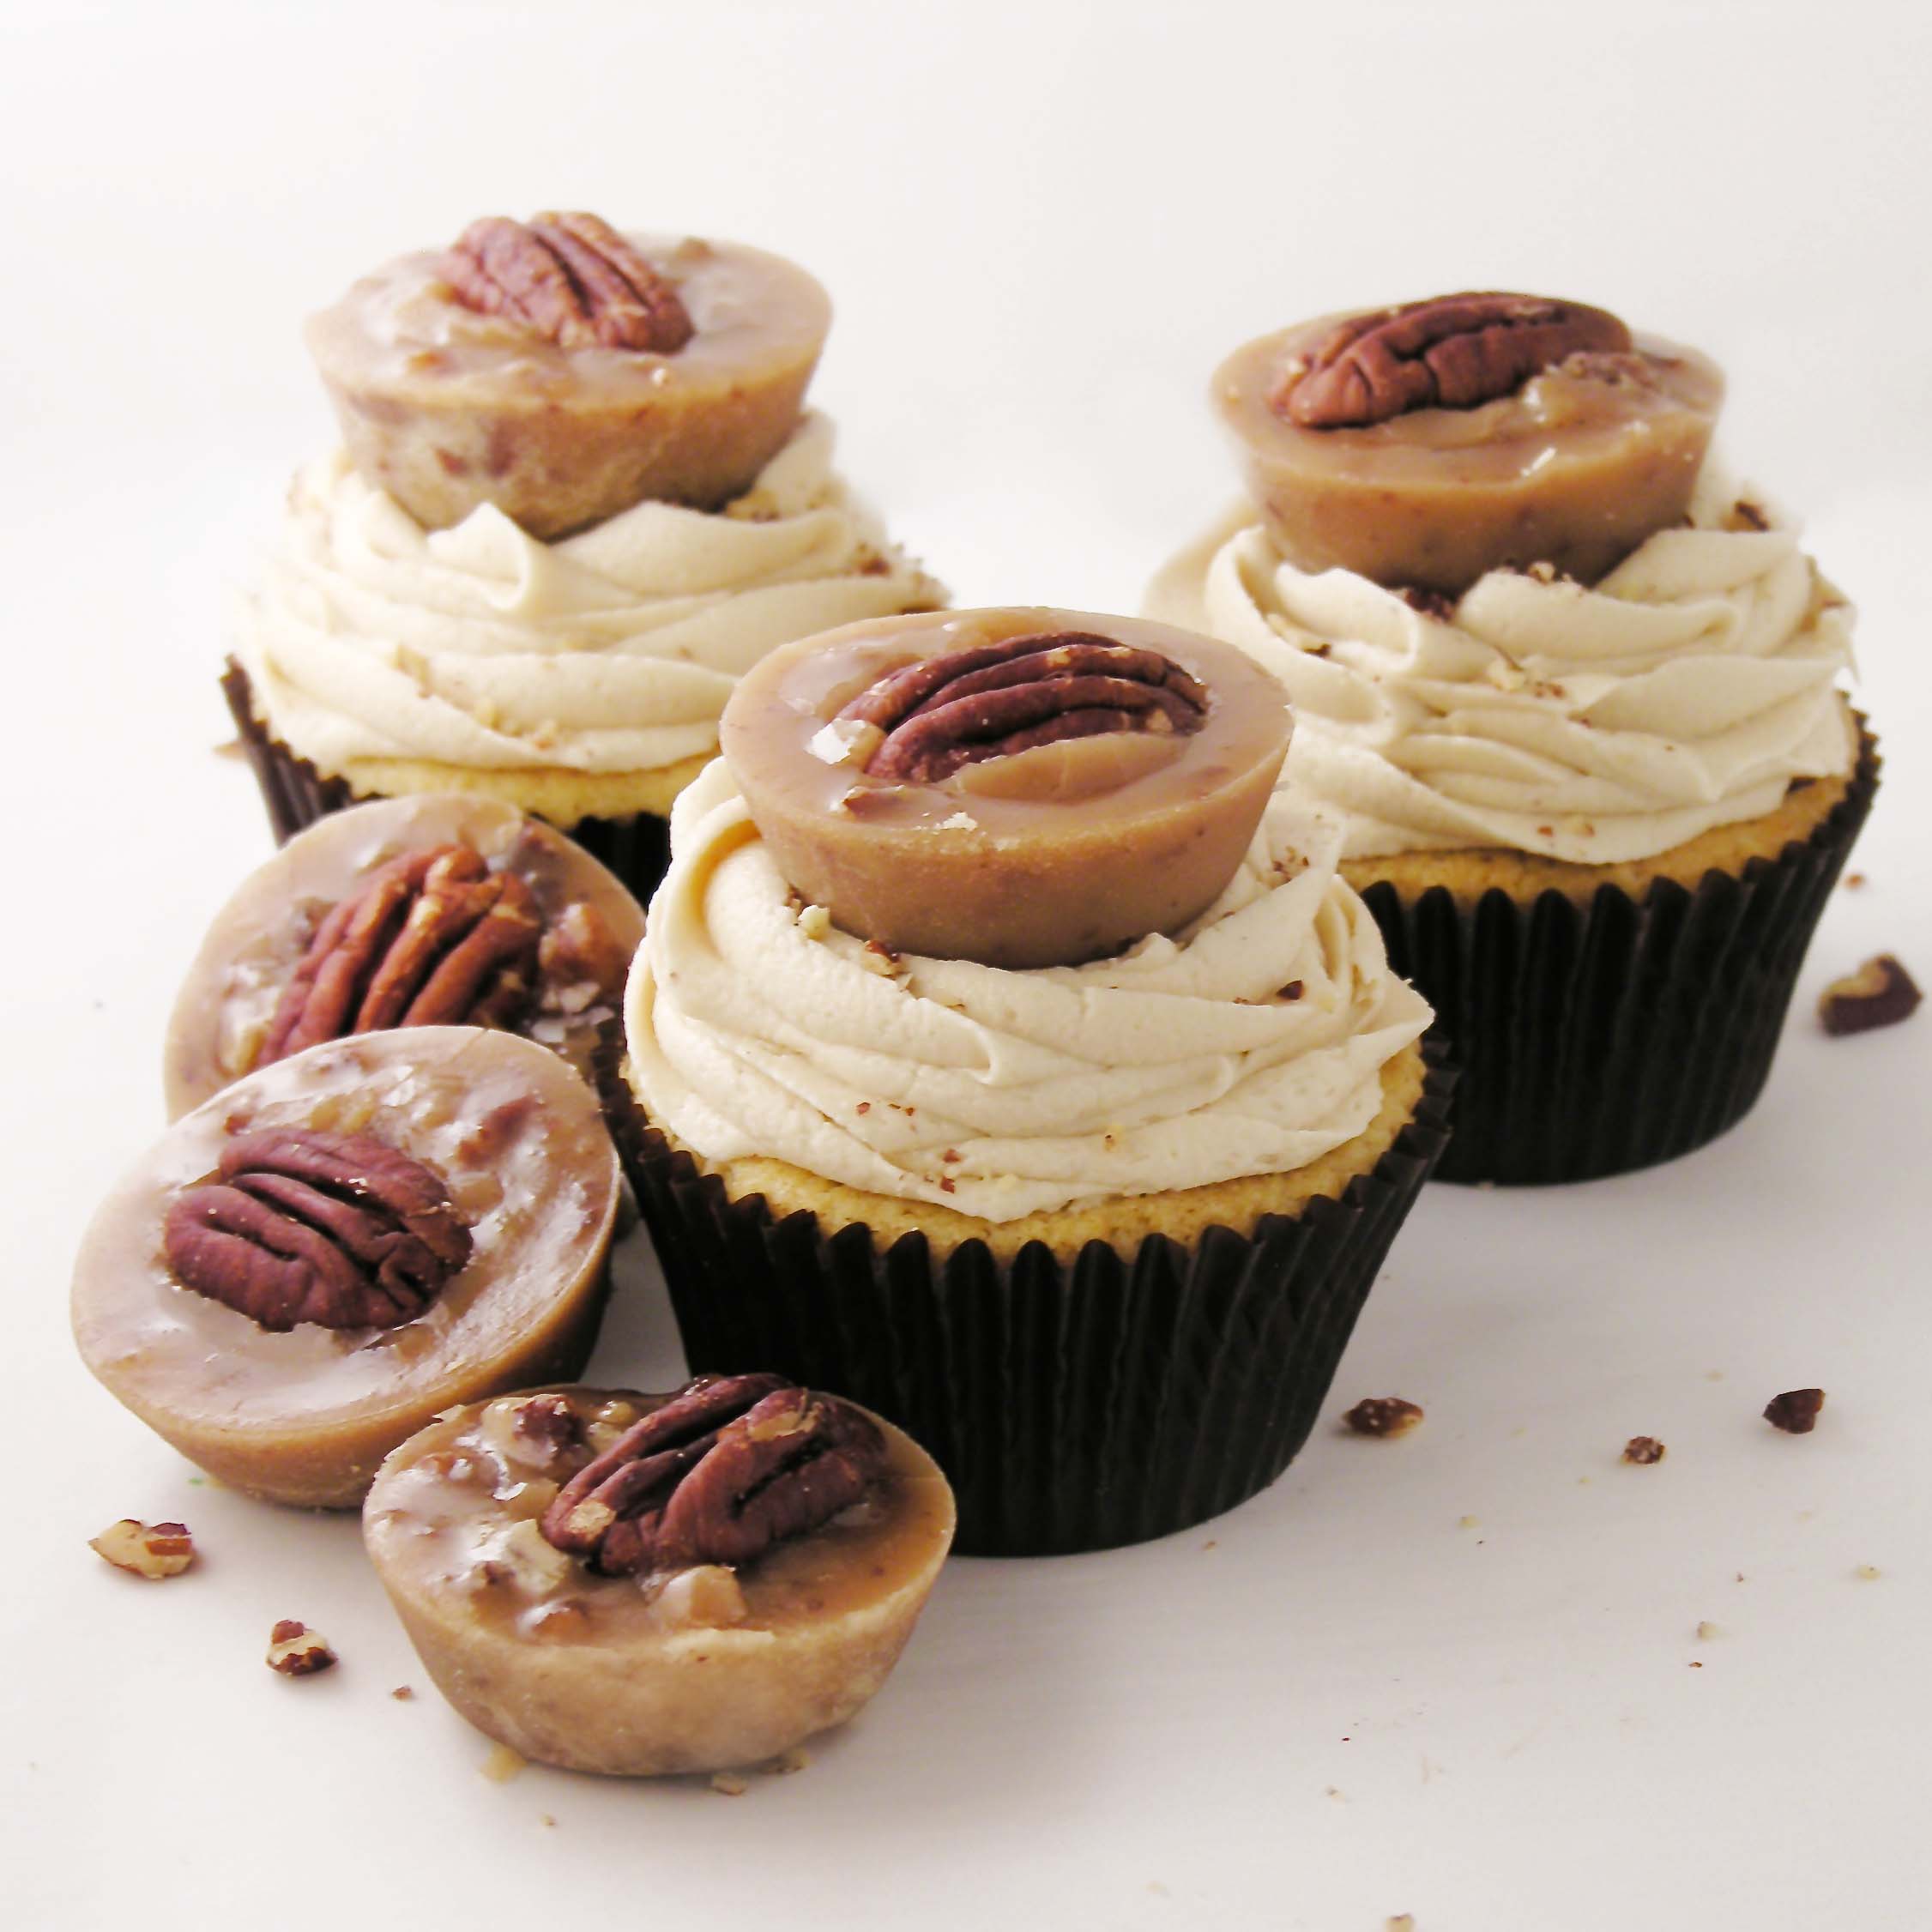
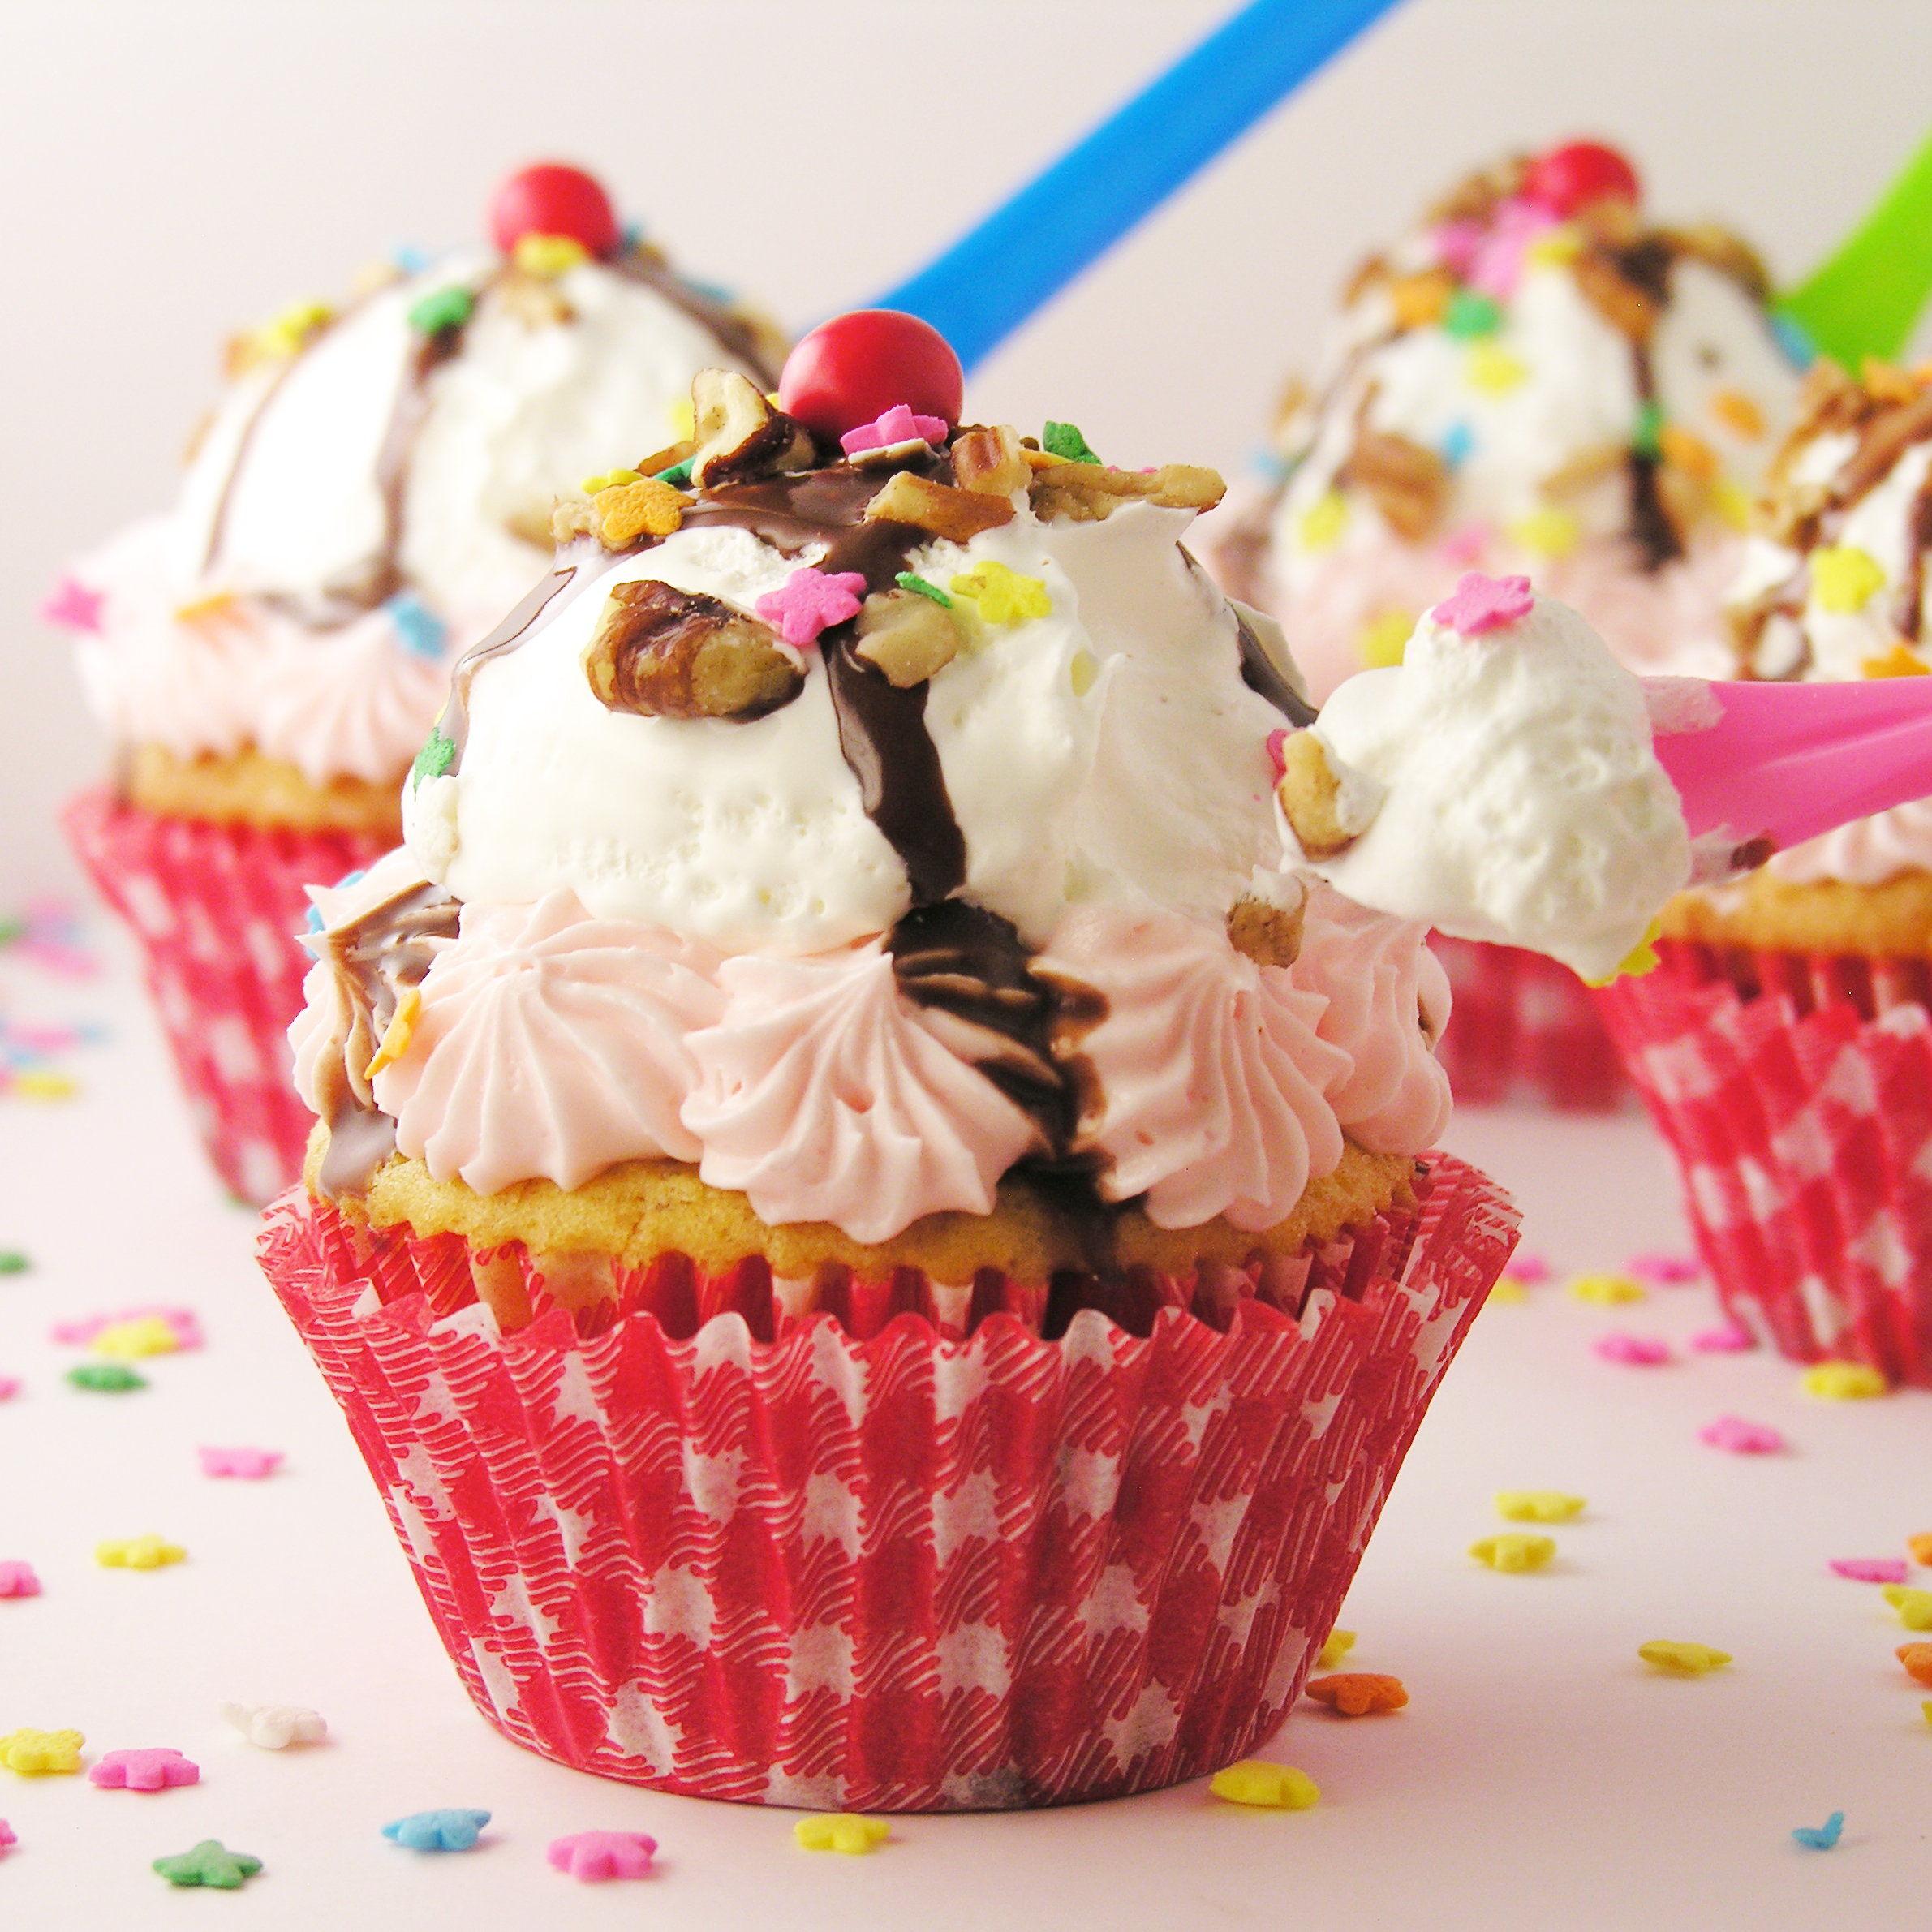
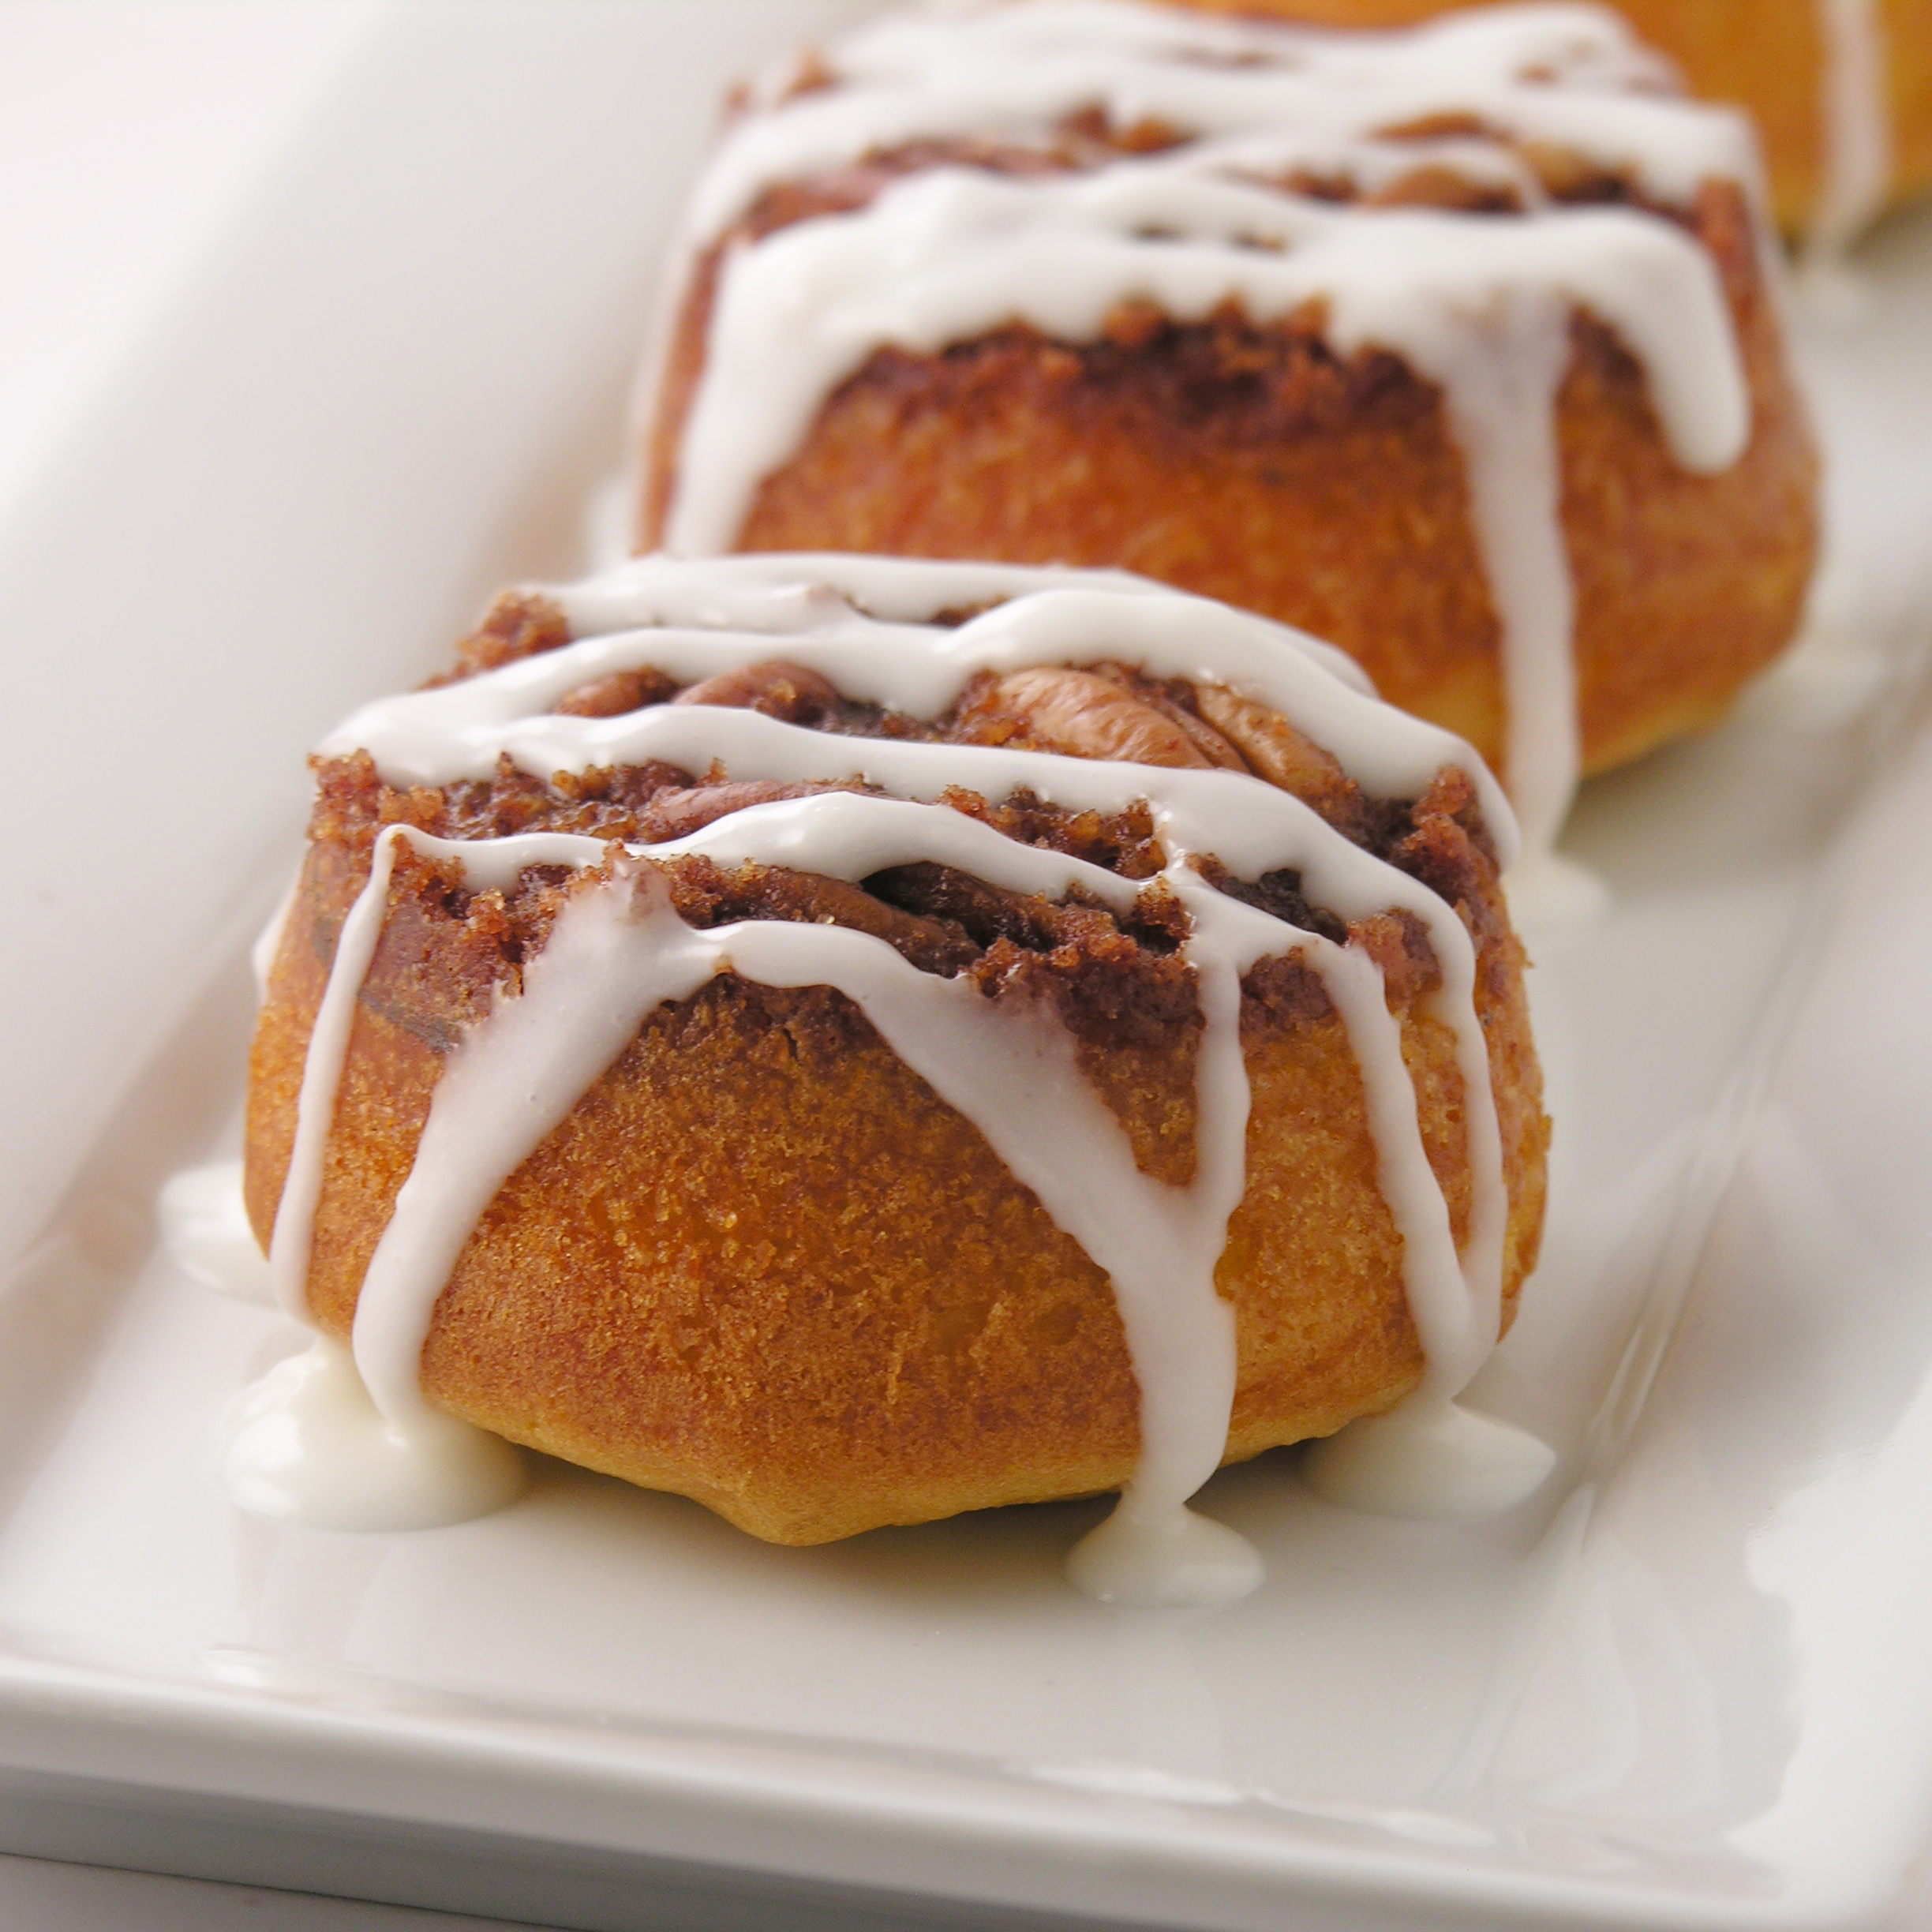
Take a plain cupcake and turn it into a layered work of art this Thanksgiving!

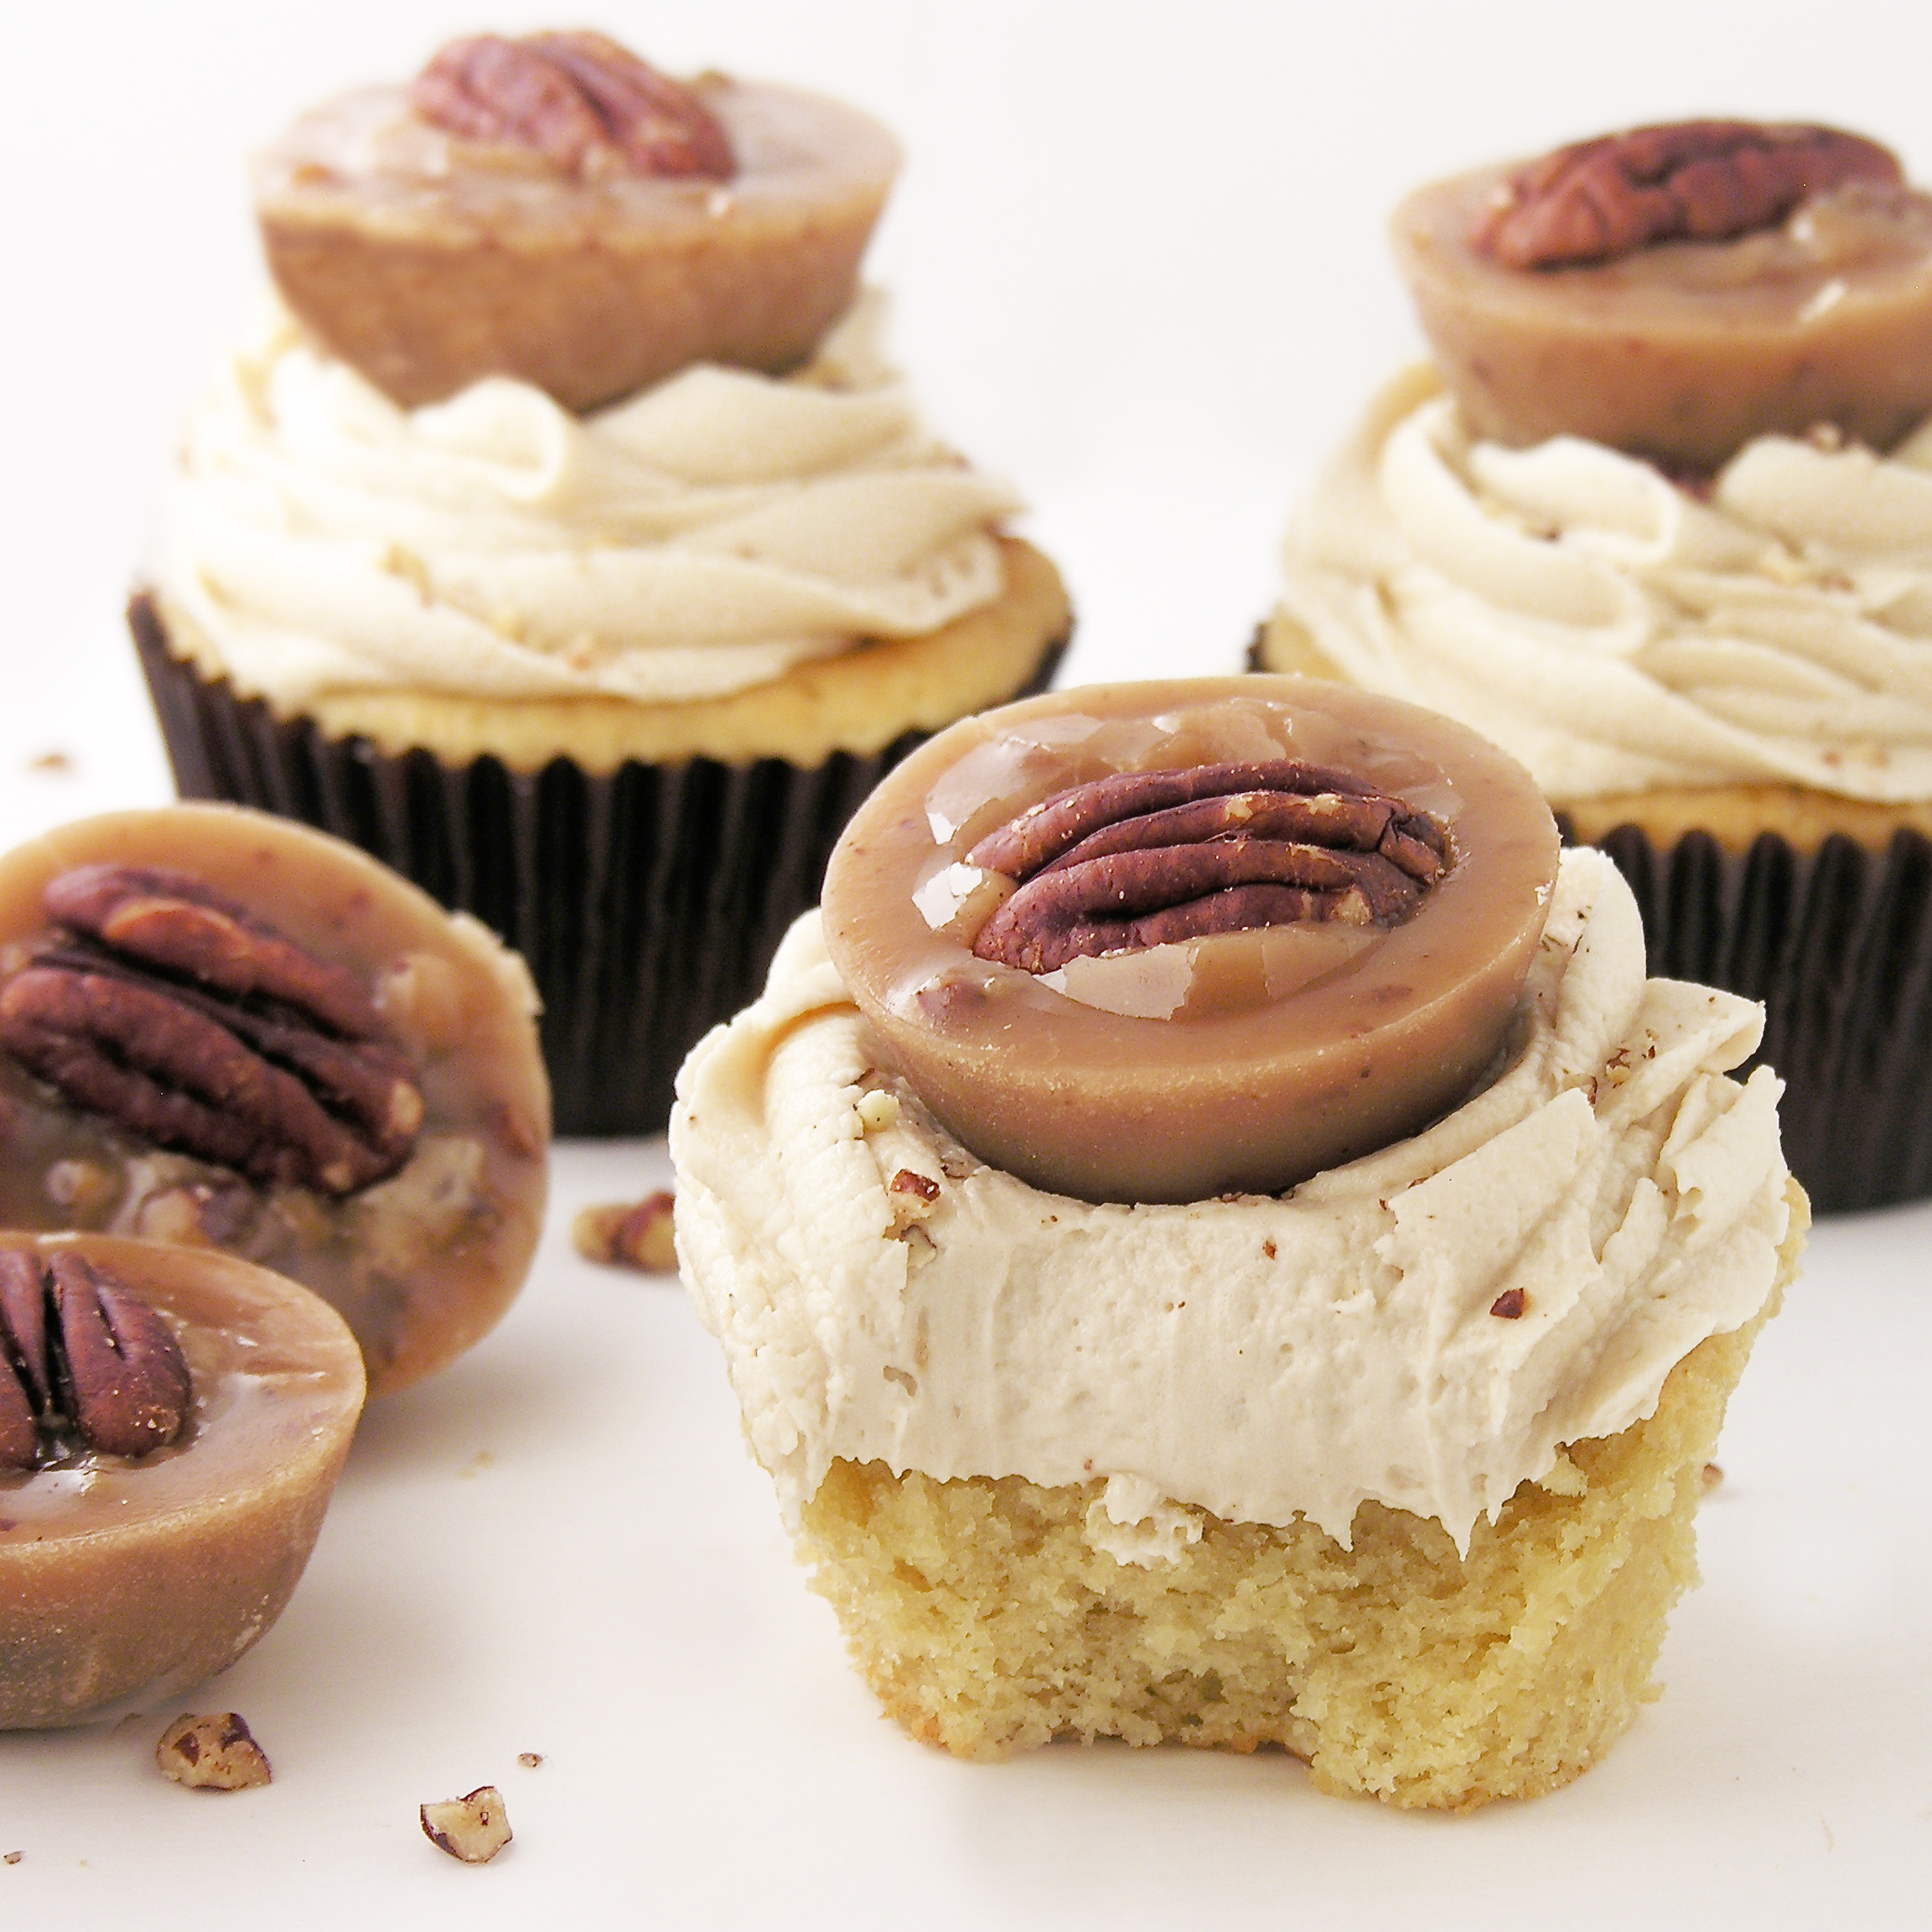
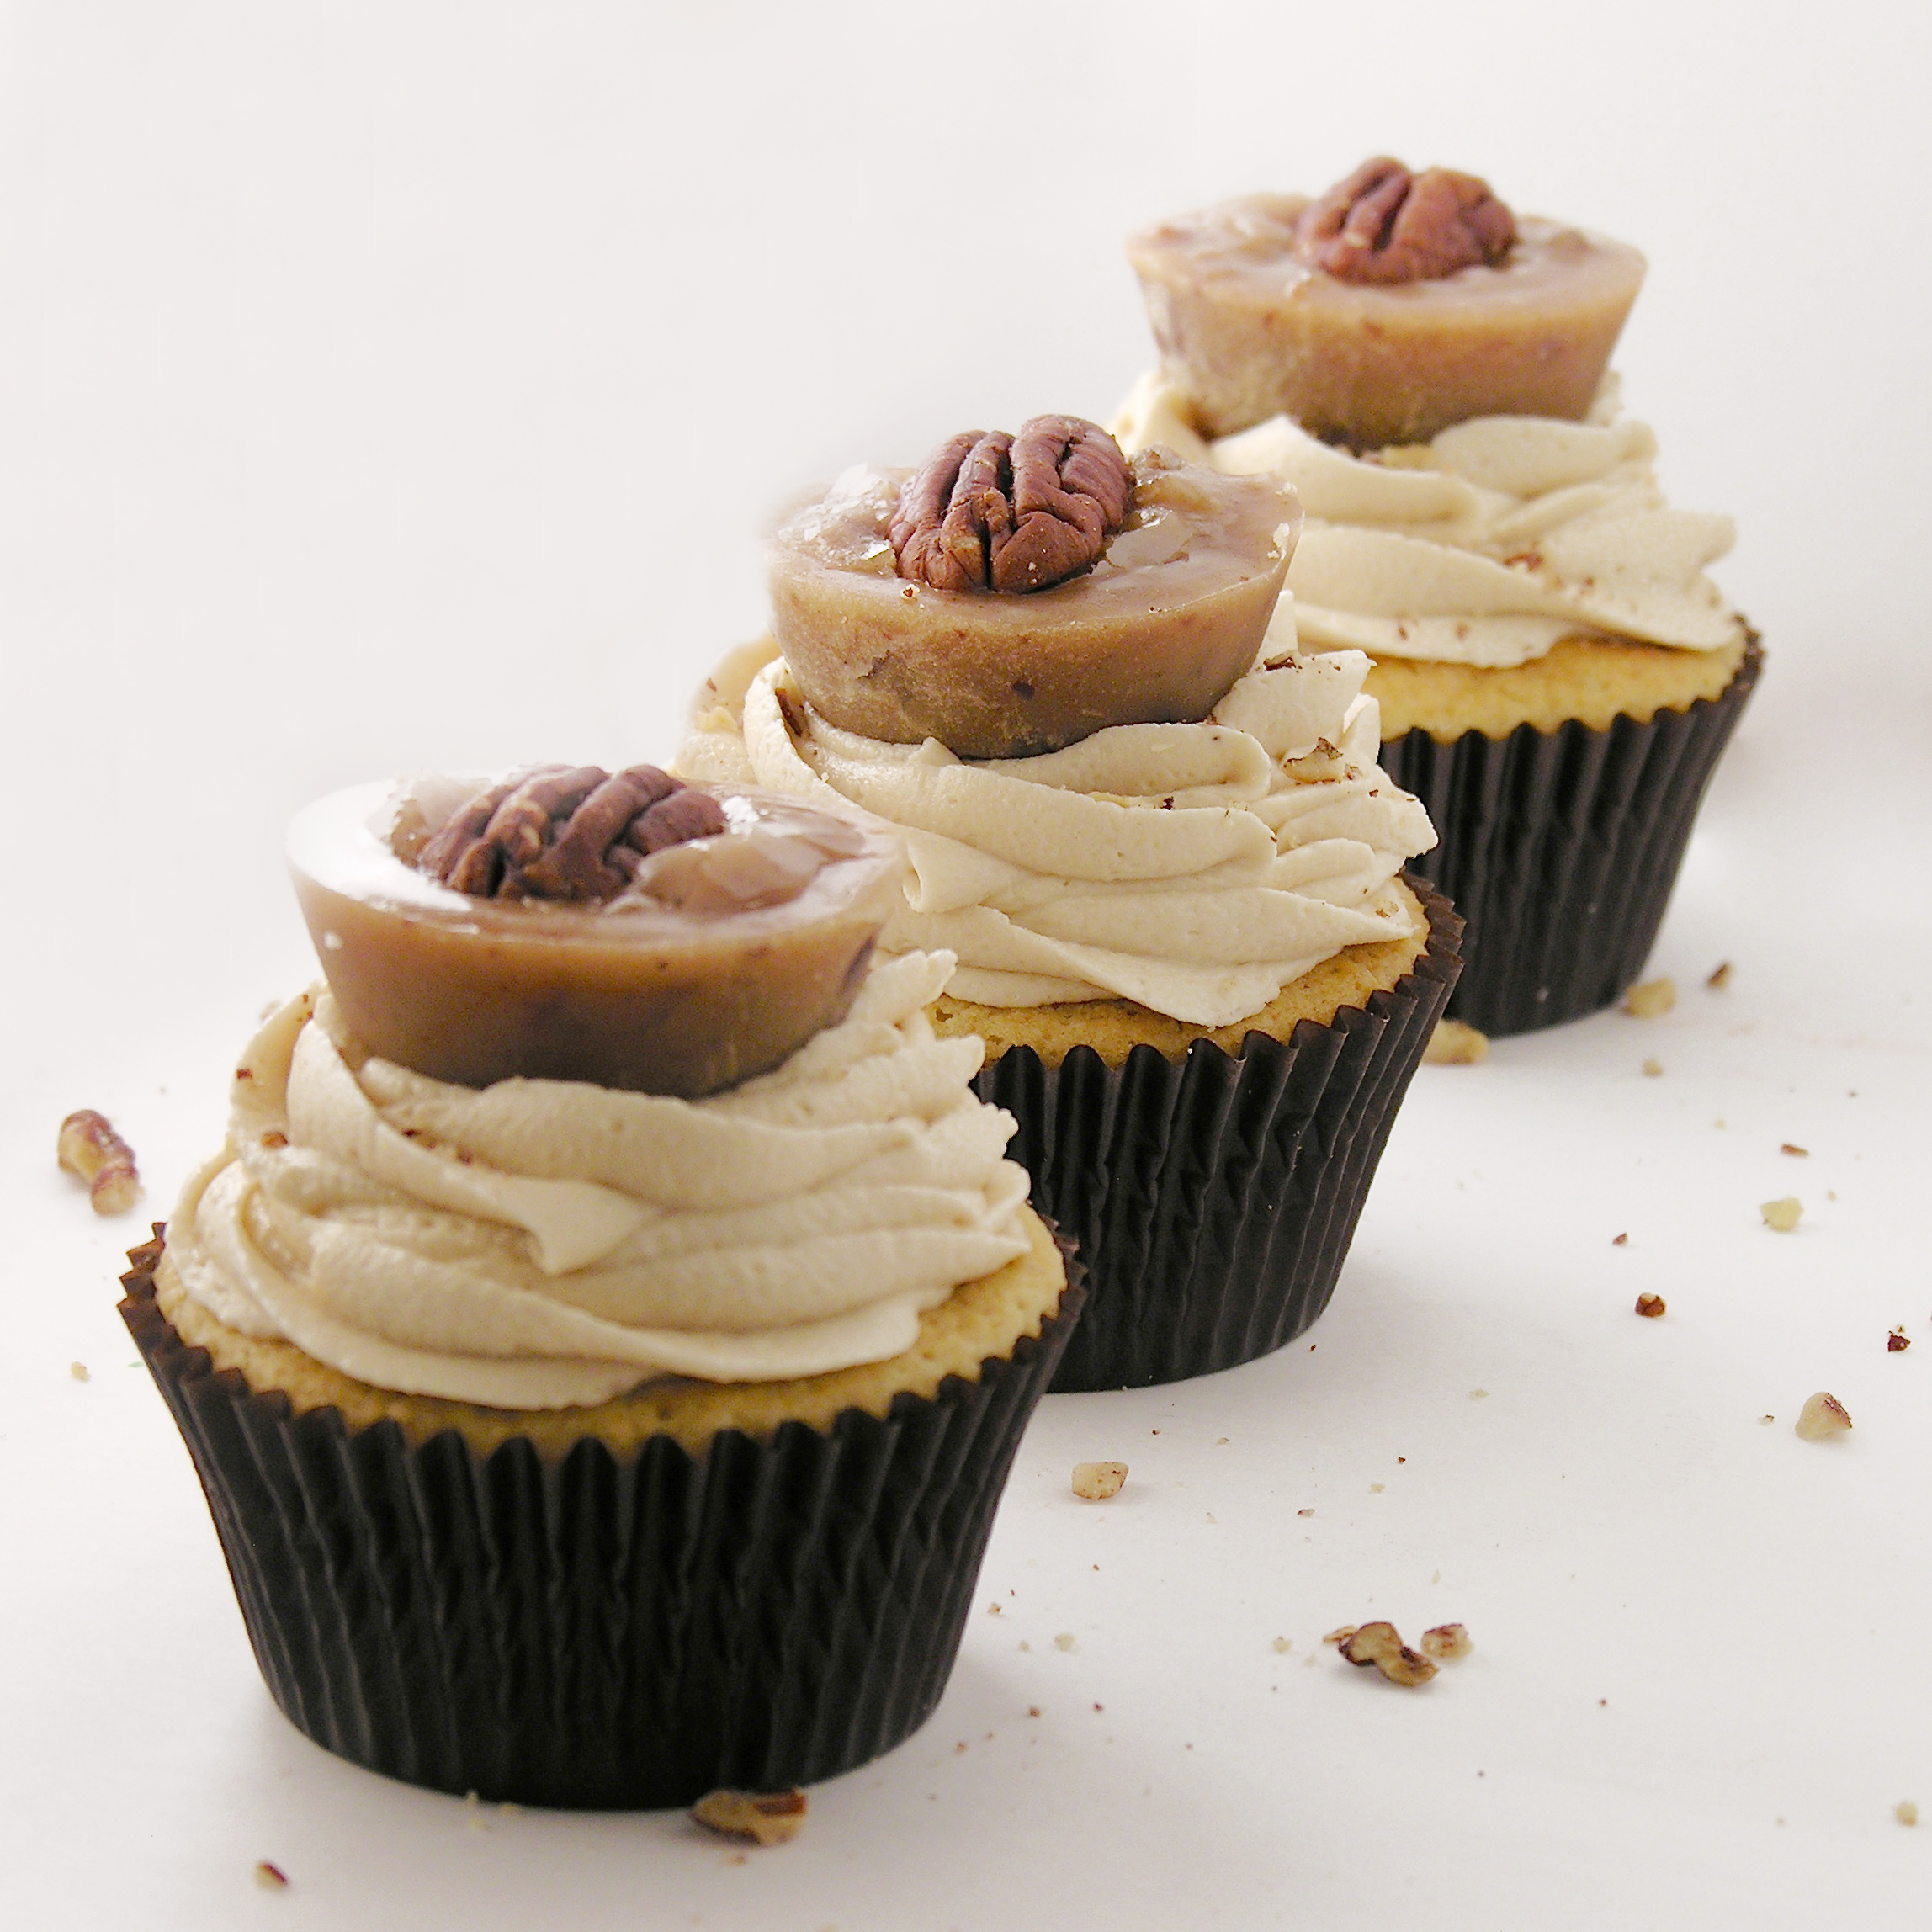
Everyone loves those beautiful layered trifle desserts. This recipe creates individual layered desserts. Aren’t they fun?? I used butter pecan cupcakes with yummy caramel sauce, pecans and homemade butter cream frosting. They were delicious! You can use this idea with literally ANY combination of flavors though! Get all the flavors of a “filled” cupcake- but SO much easier to assemble!

caramel-pecan-cupcakes

Plus, you can wrap them up in cello bags with pretty fall ribbon and ties for an elegant holiday dessert!

caramel-pecan-cupcakes

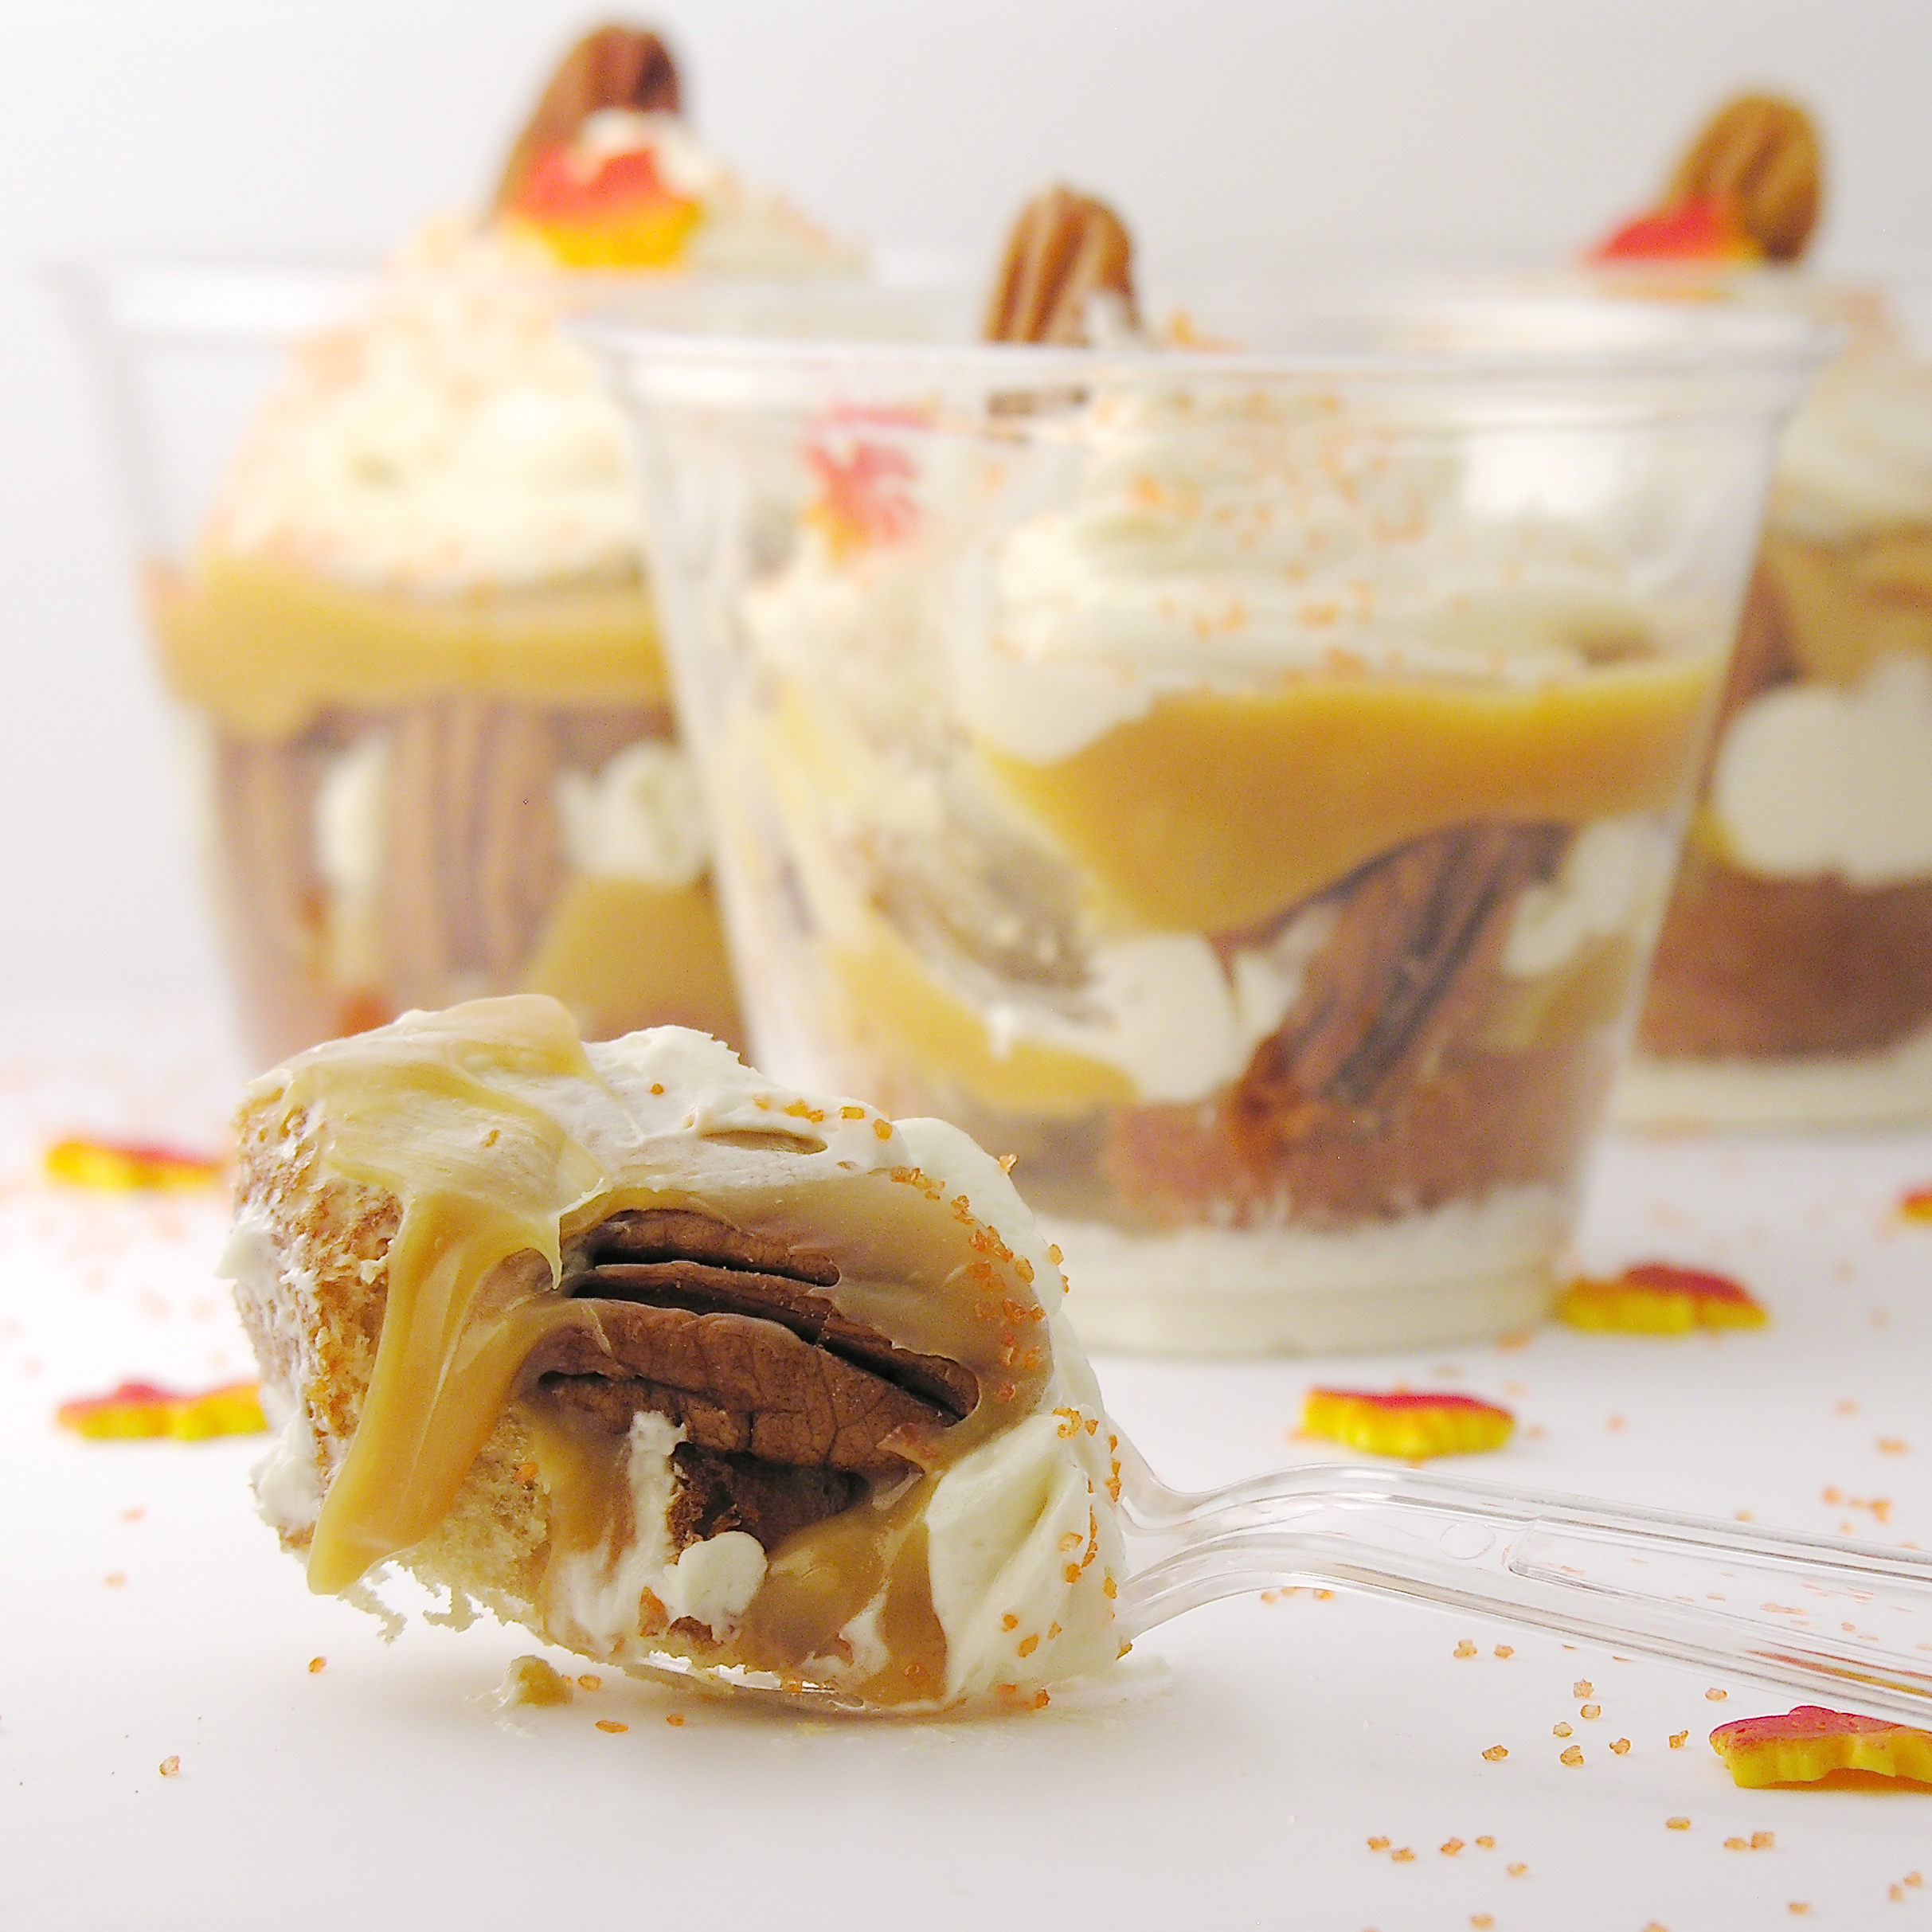
Can you tell that I enjoyed taking pictures of these!?!  Here is how we made them (printable recipe here):

INGREDIENTS: (Makes 24 cups of cake!)

Cake:

  • One boxed cake mix (plus oil, water and eggs to make according to package). I used Betty Crocker’s Butter Pecan cake mix. It was AMAZING!!!!!!!

Caramel sauce:

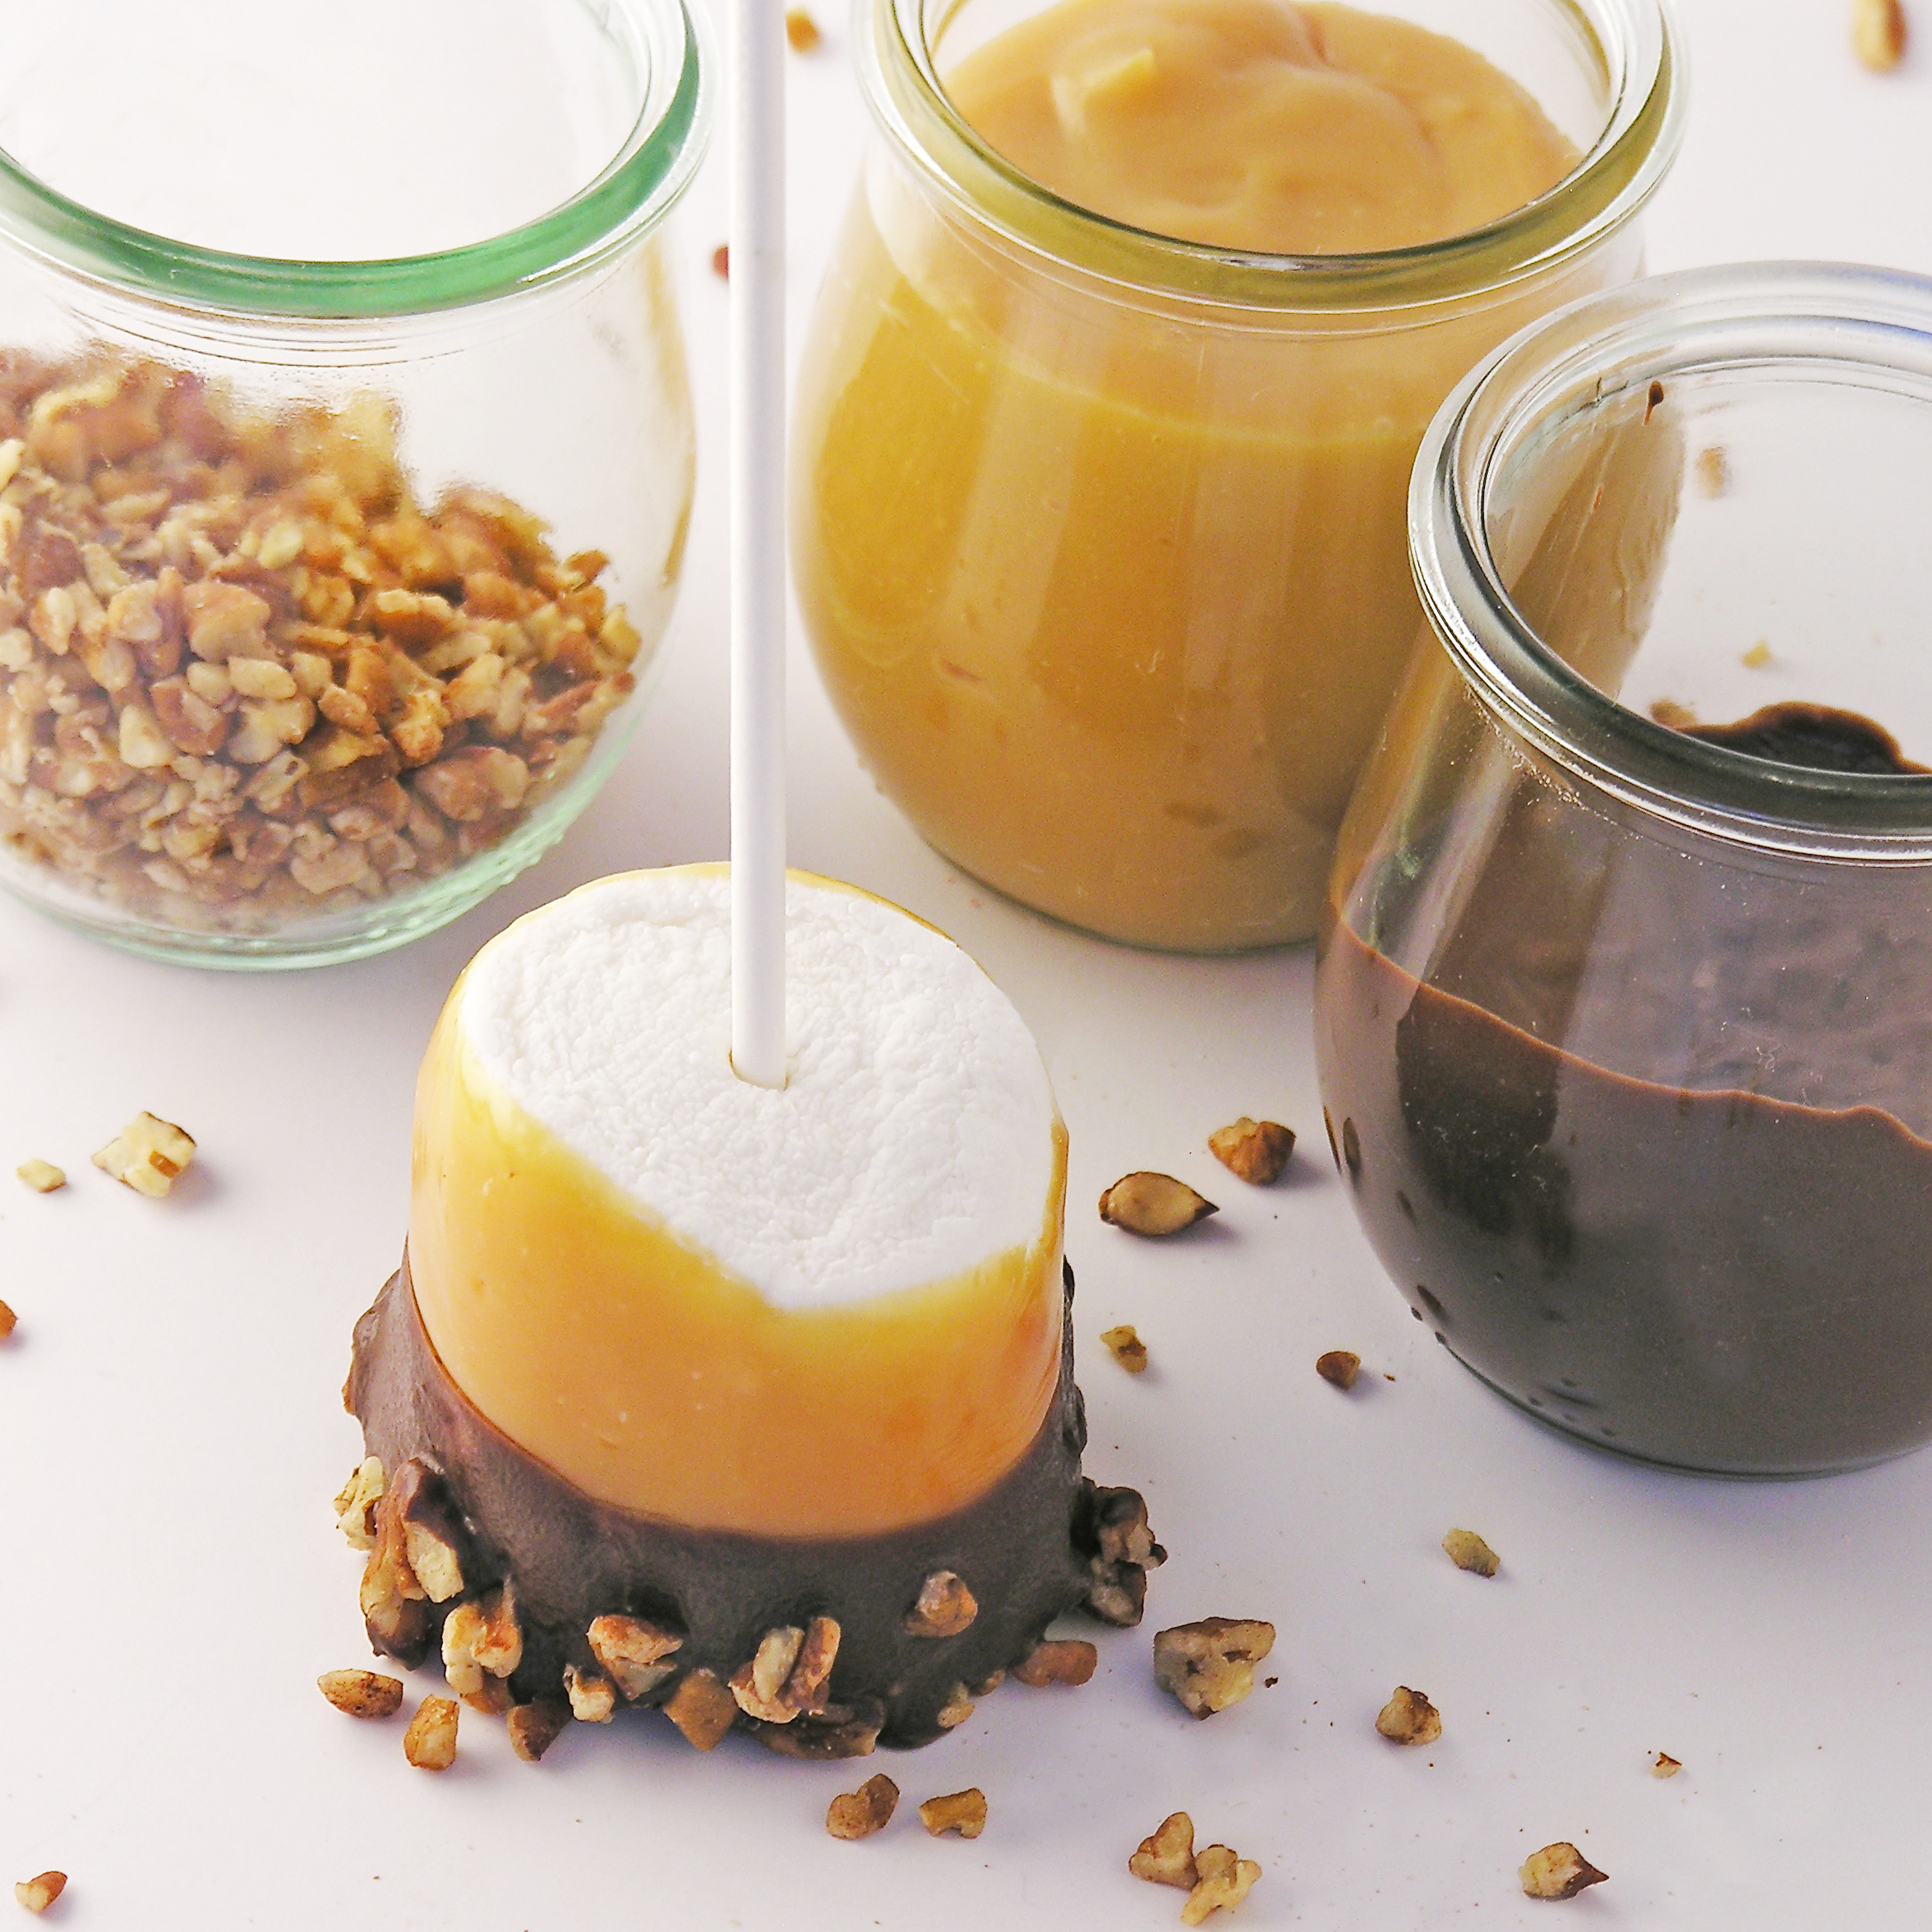
  • 32 unwrapped Kraft caramels
  • 1 can (14 oz) sweetened condensed milk
  • 1/2 cup (1 stick) butter, softened

Buttercream:

  • 4 sticks of butter (softened)
  • 3 cups of powdered sugar
  • 1 teaspoon of vanilla
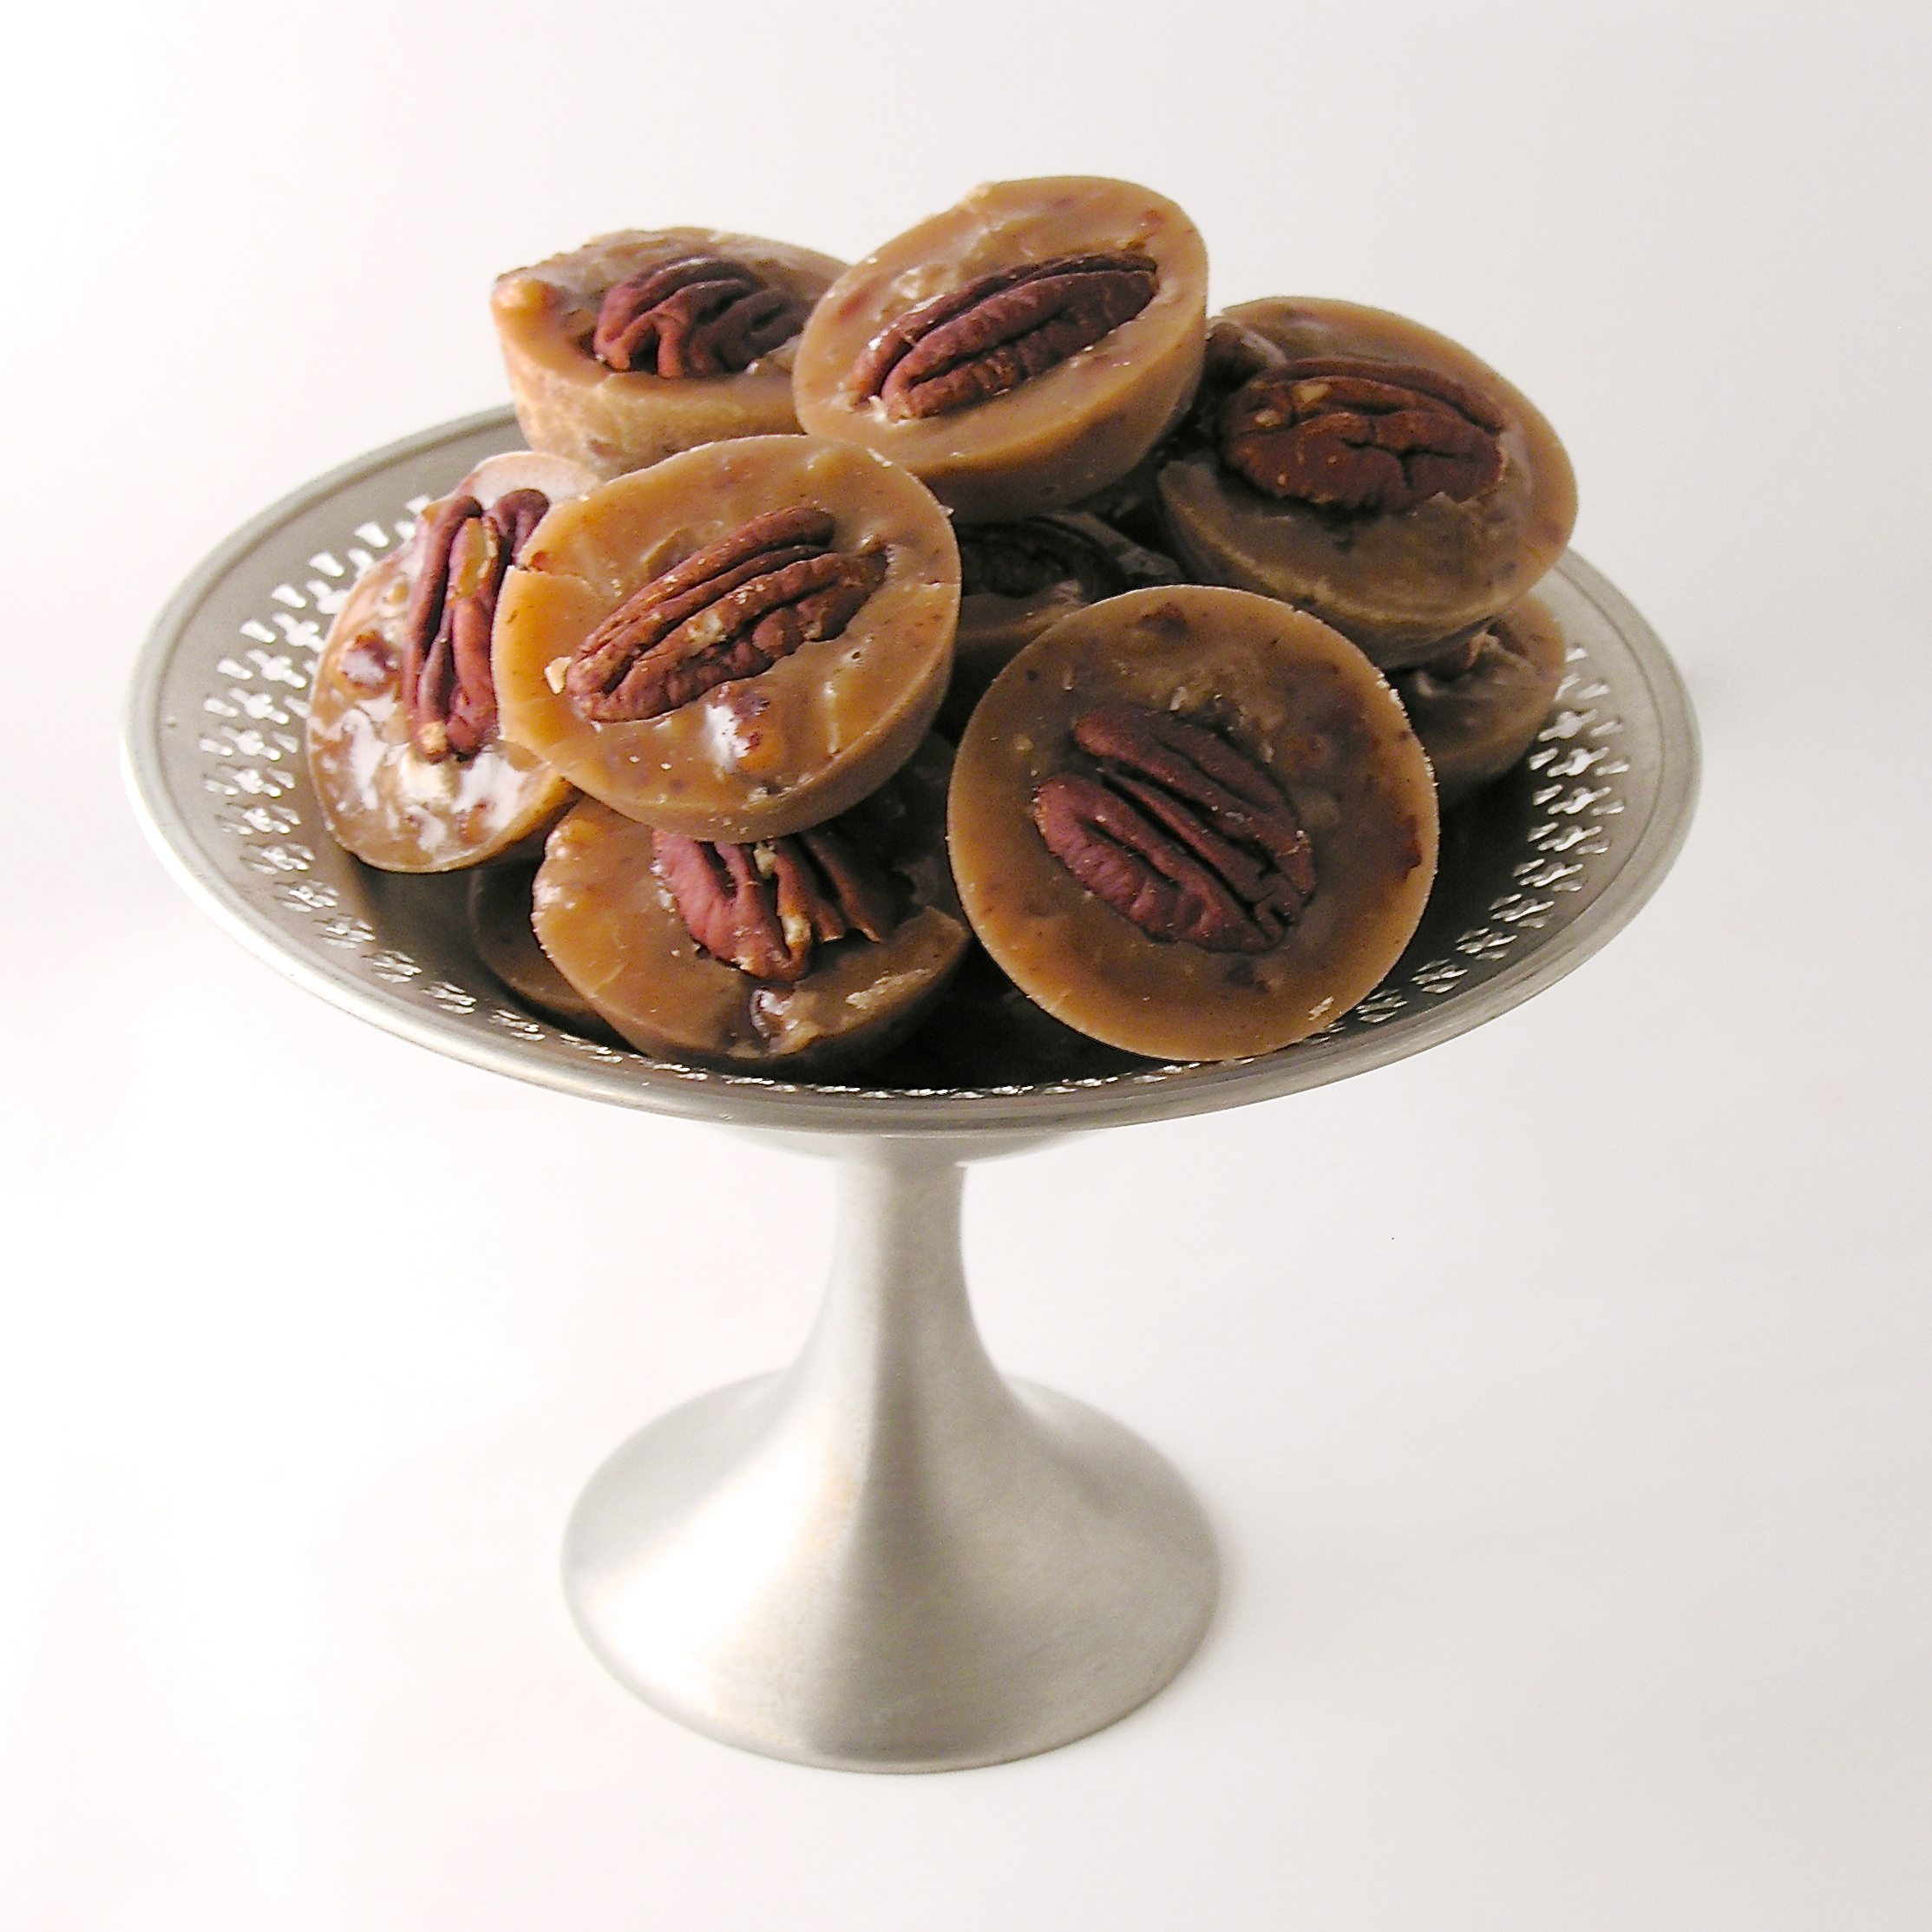
  • You will also need 4-5 pecan halves per cup- and small clear Solo cups!

DIRECTIONS:

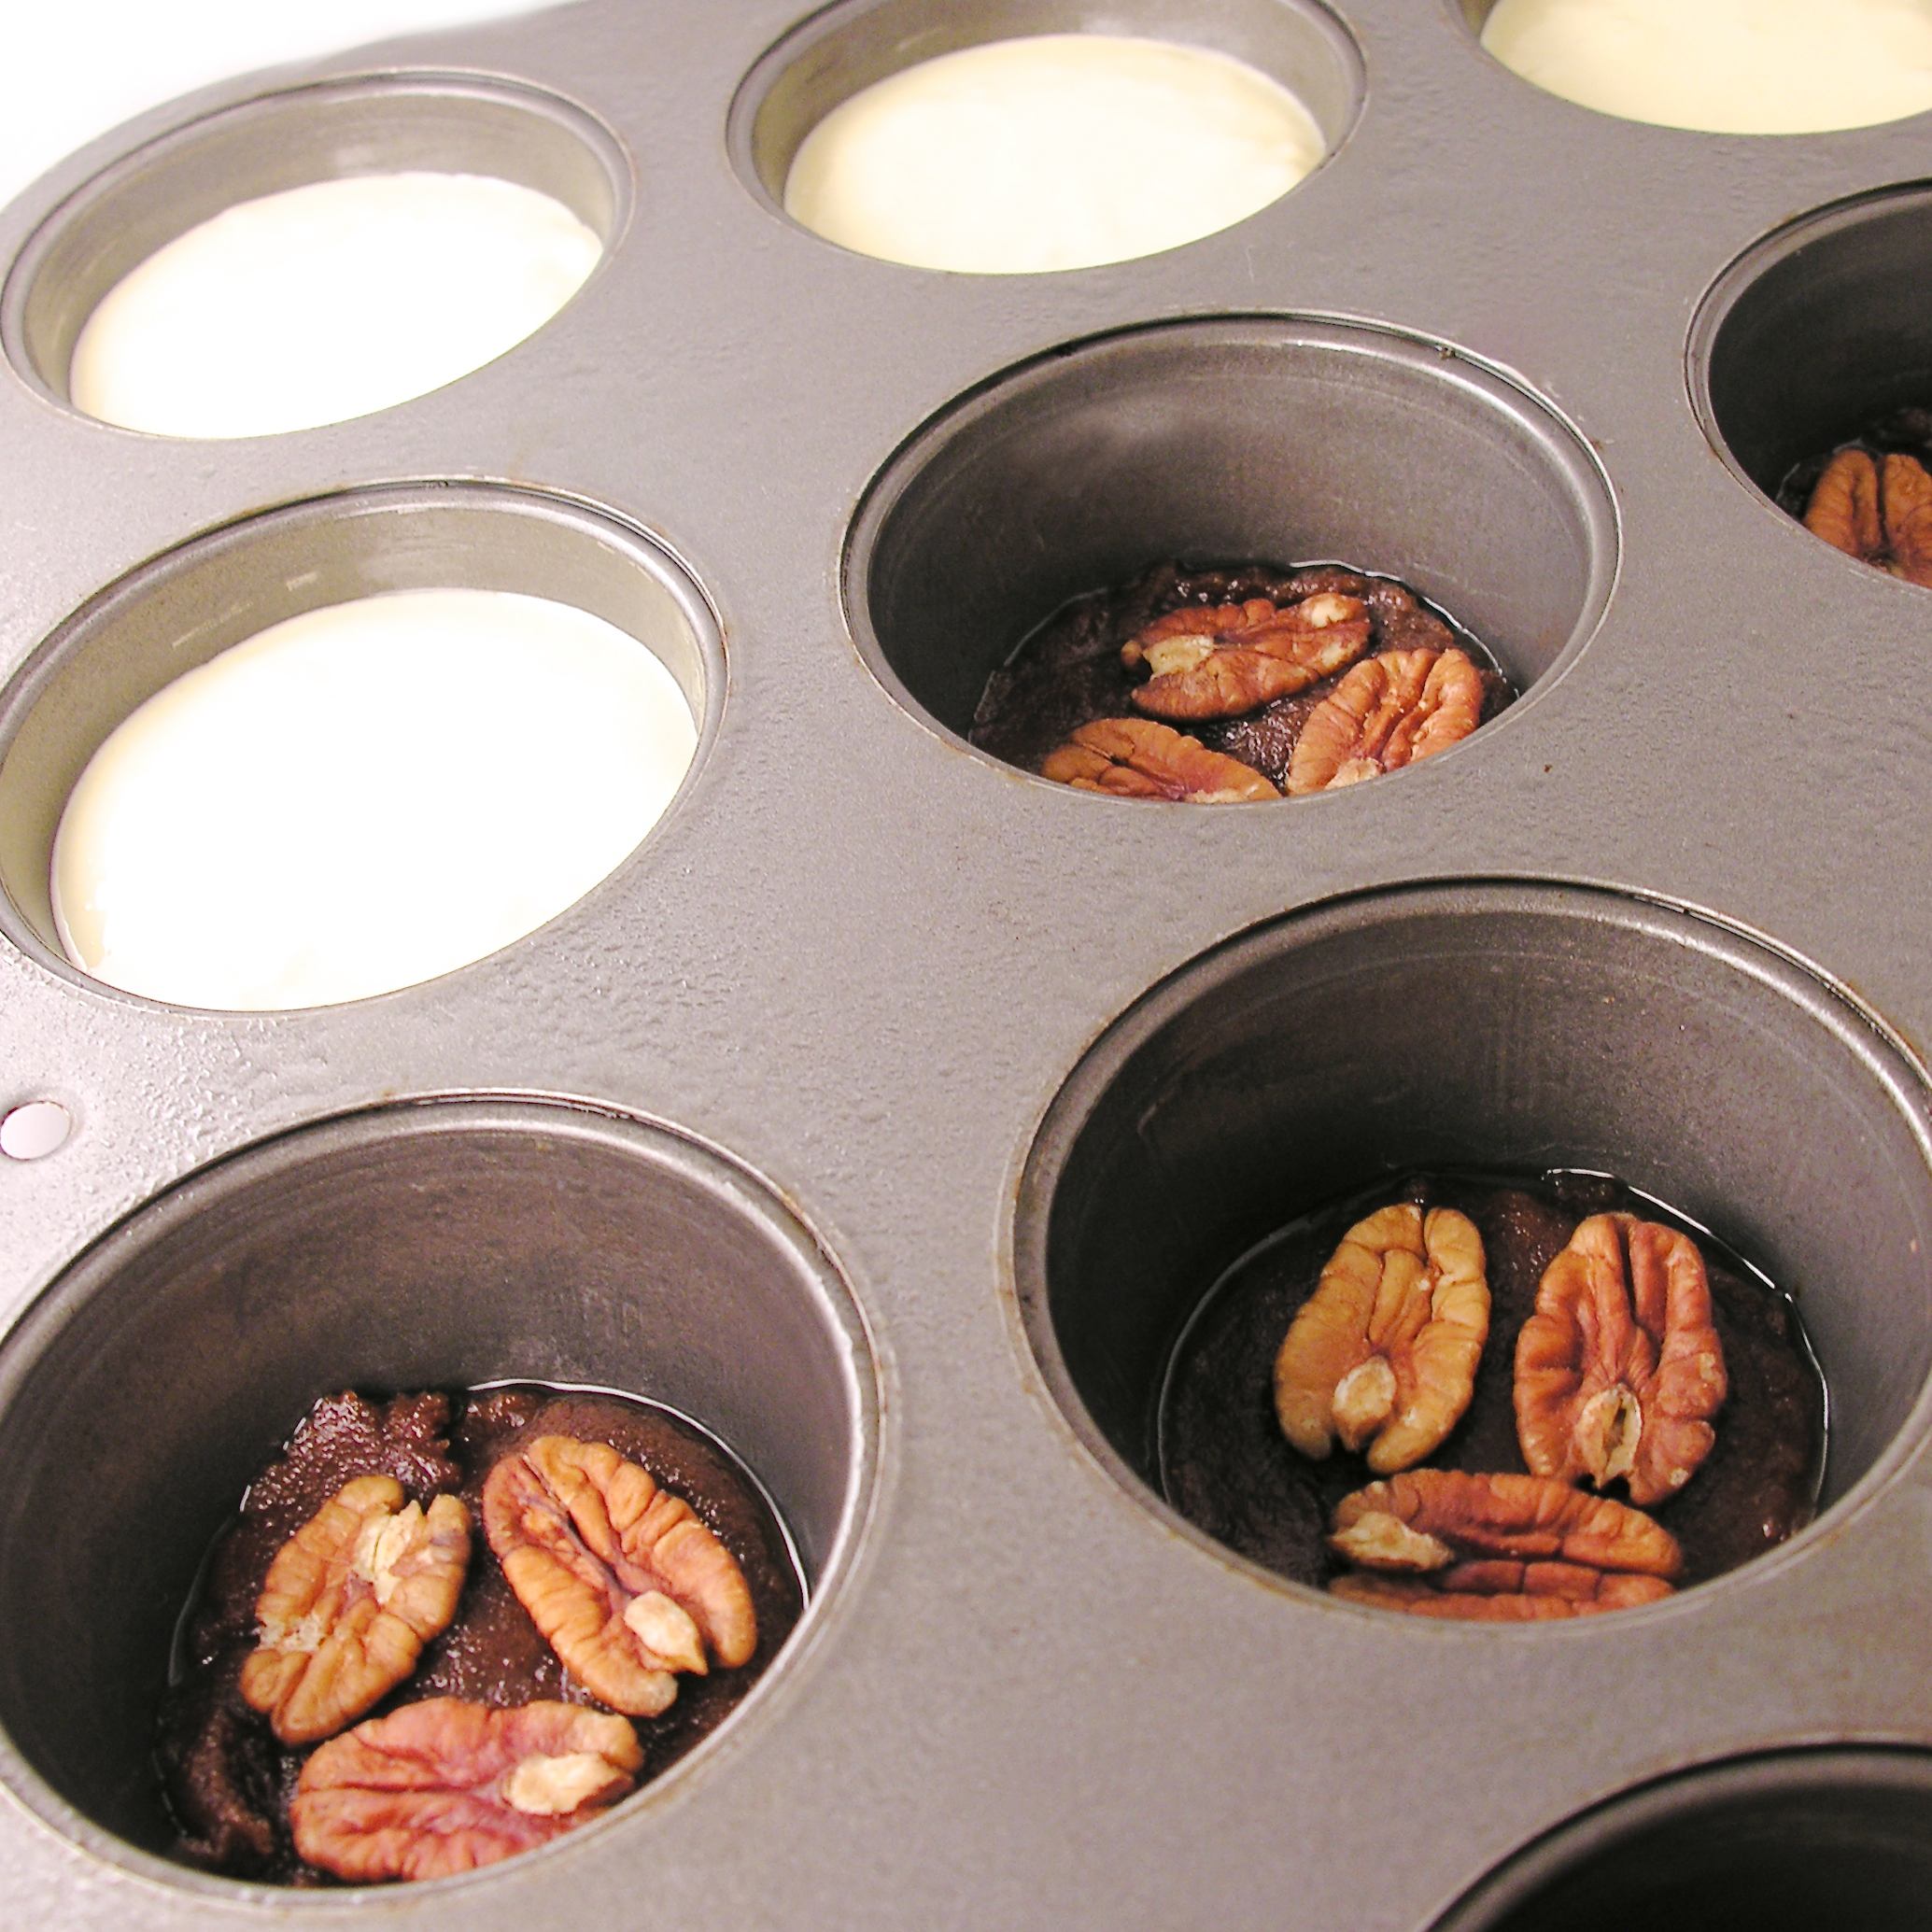
  • Make cake mix according to package and bake in 24 cupcake tins as directed by box (spray the pans with non-stick spray if you don’t use liners!). Cool.
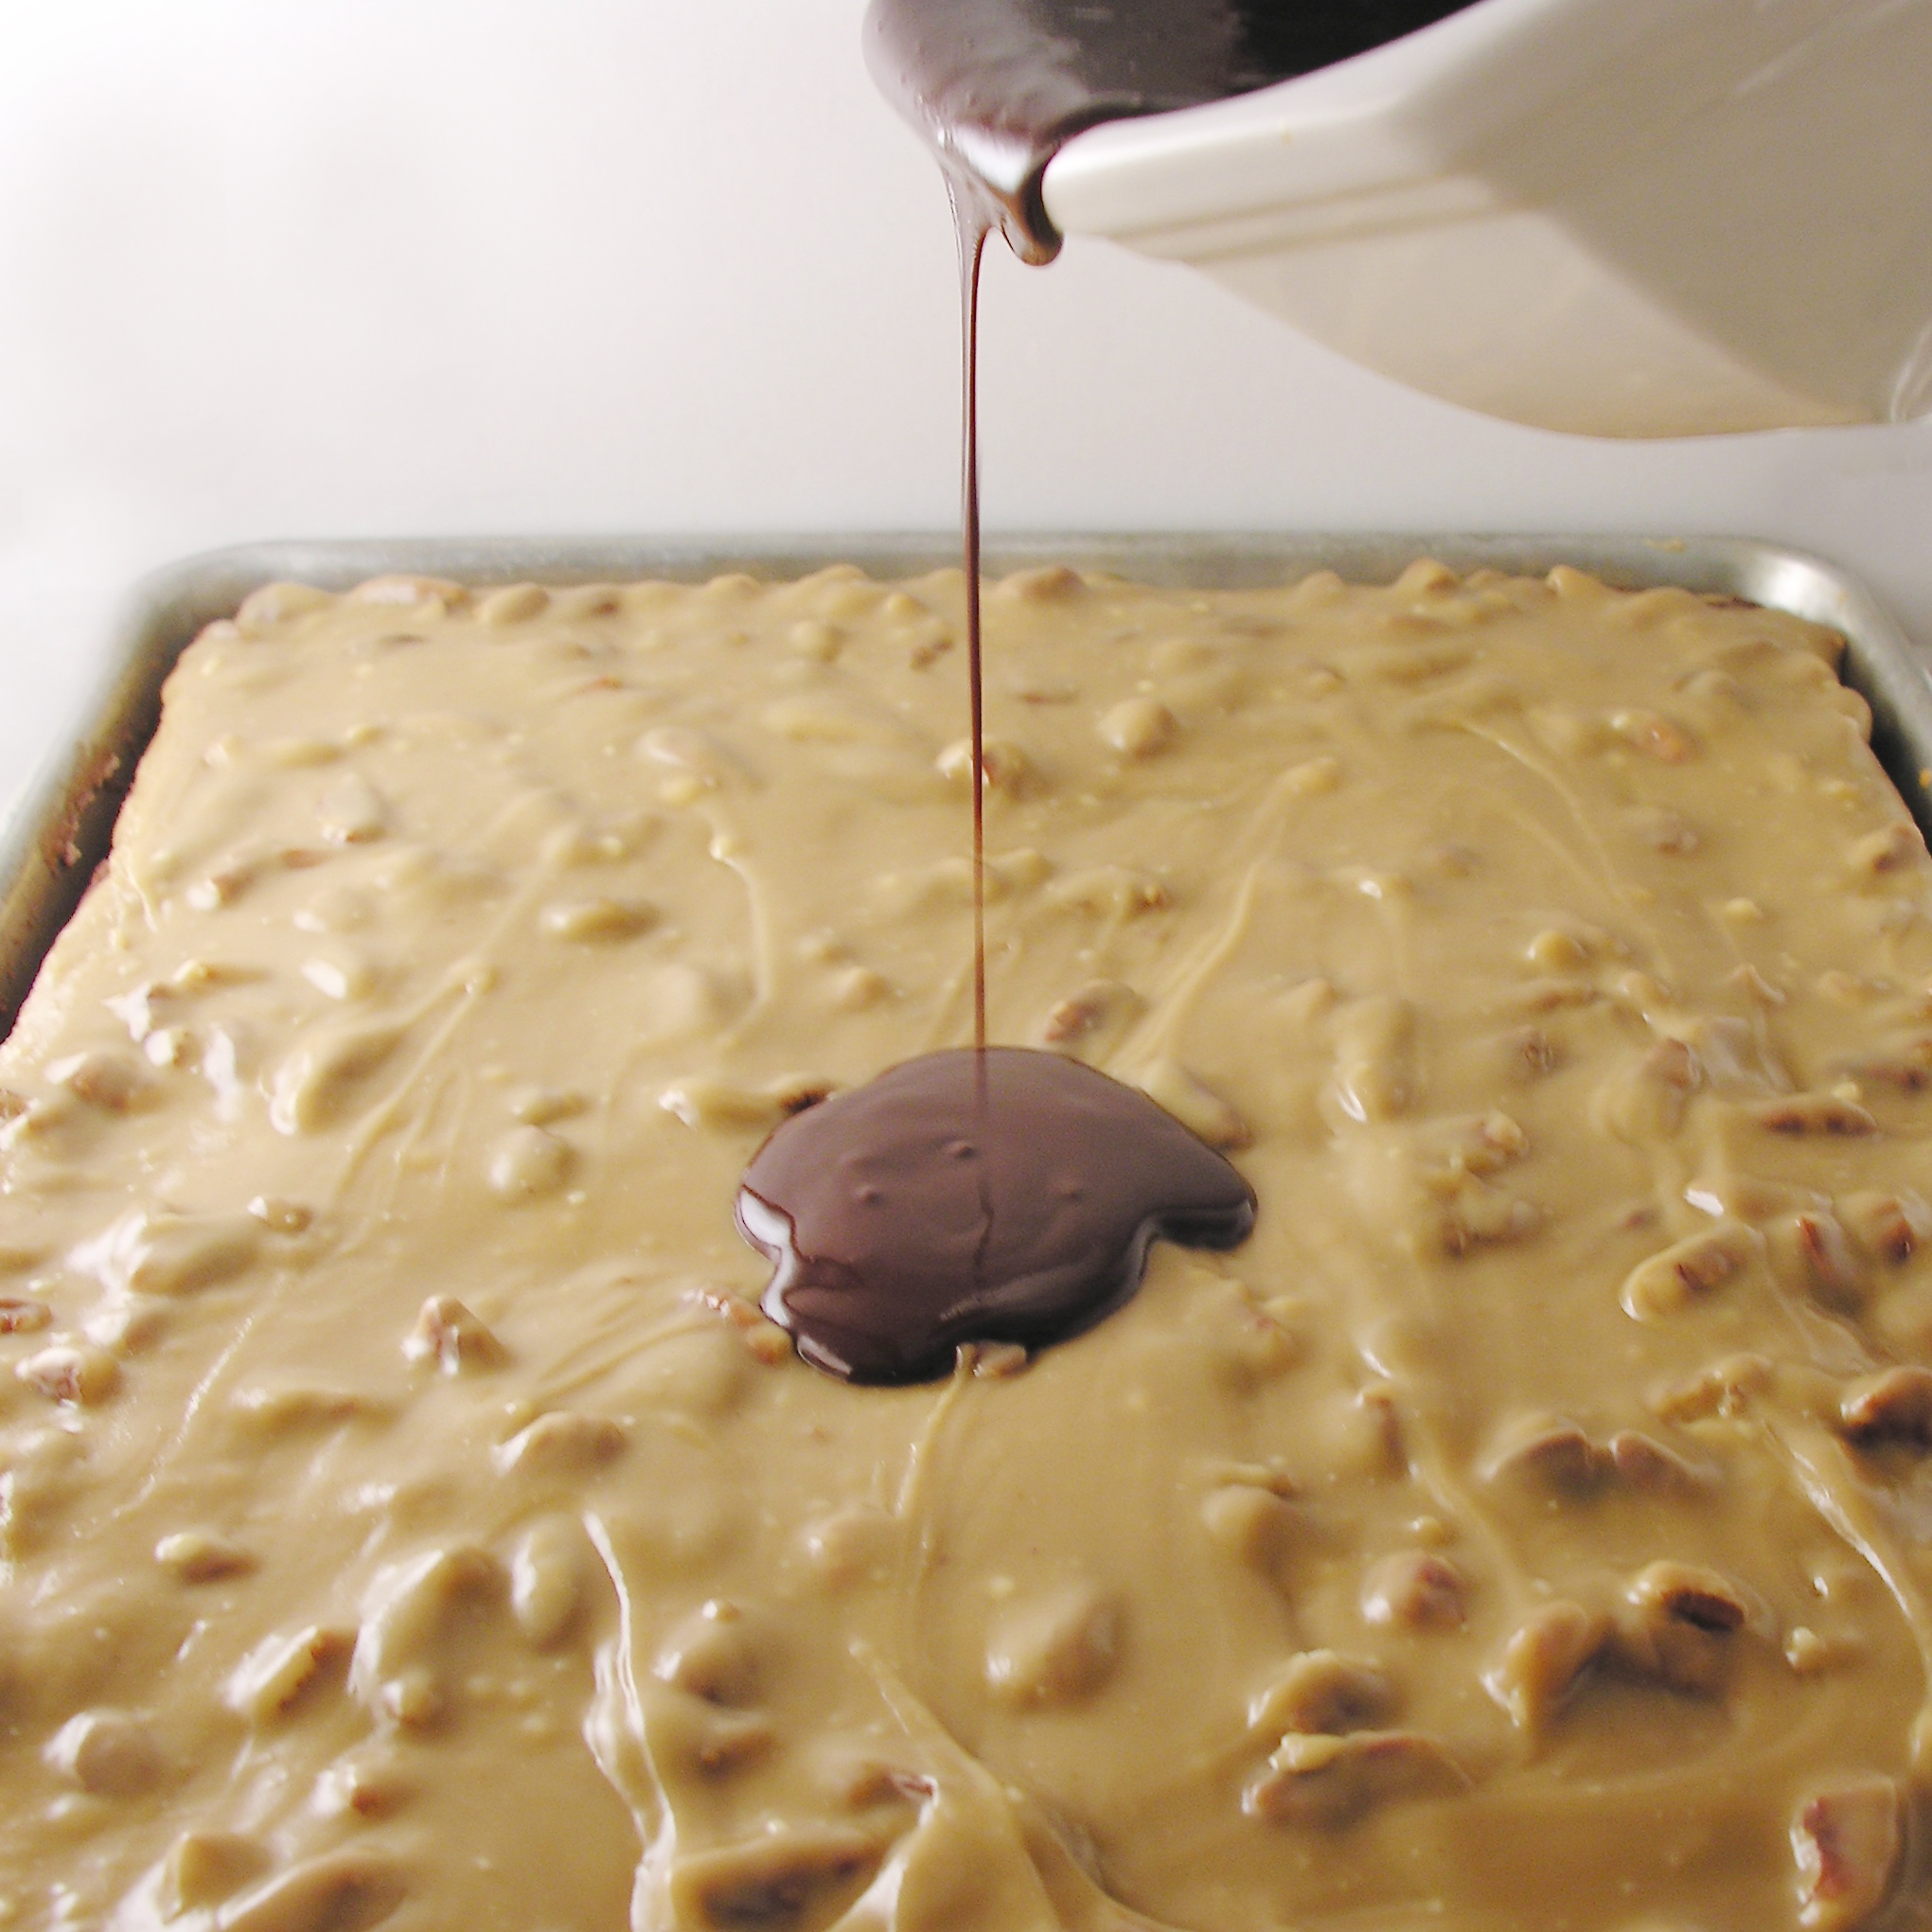
  • Make caramel sauce by placing caramels, butter (1 stick) and sweetened condensed milk into a saucepan.
  • Melt over stove, stirring constantly, until caramels are entirely melted and smooth. 
  • Cool and place in a zip-top bag.
  • Make buttercream by placing 4 sticks of softened butter, powdered sugar and vanilla in a large mixing bowl. 
  • Use hand mixer to beat on high for 2-3 minutes until light and fluffy. 
  • Place frosting in a zip-top bag that has been fitted with a decorating tip. Set aside.
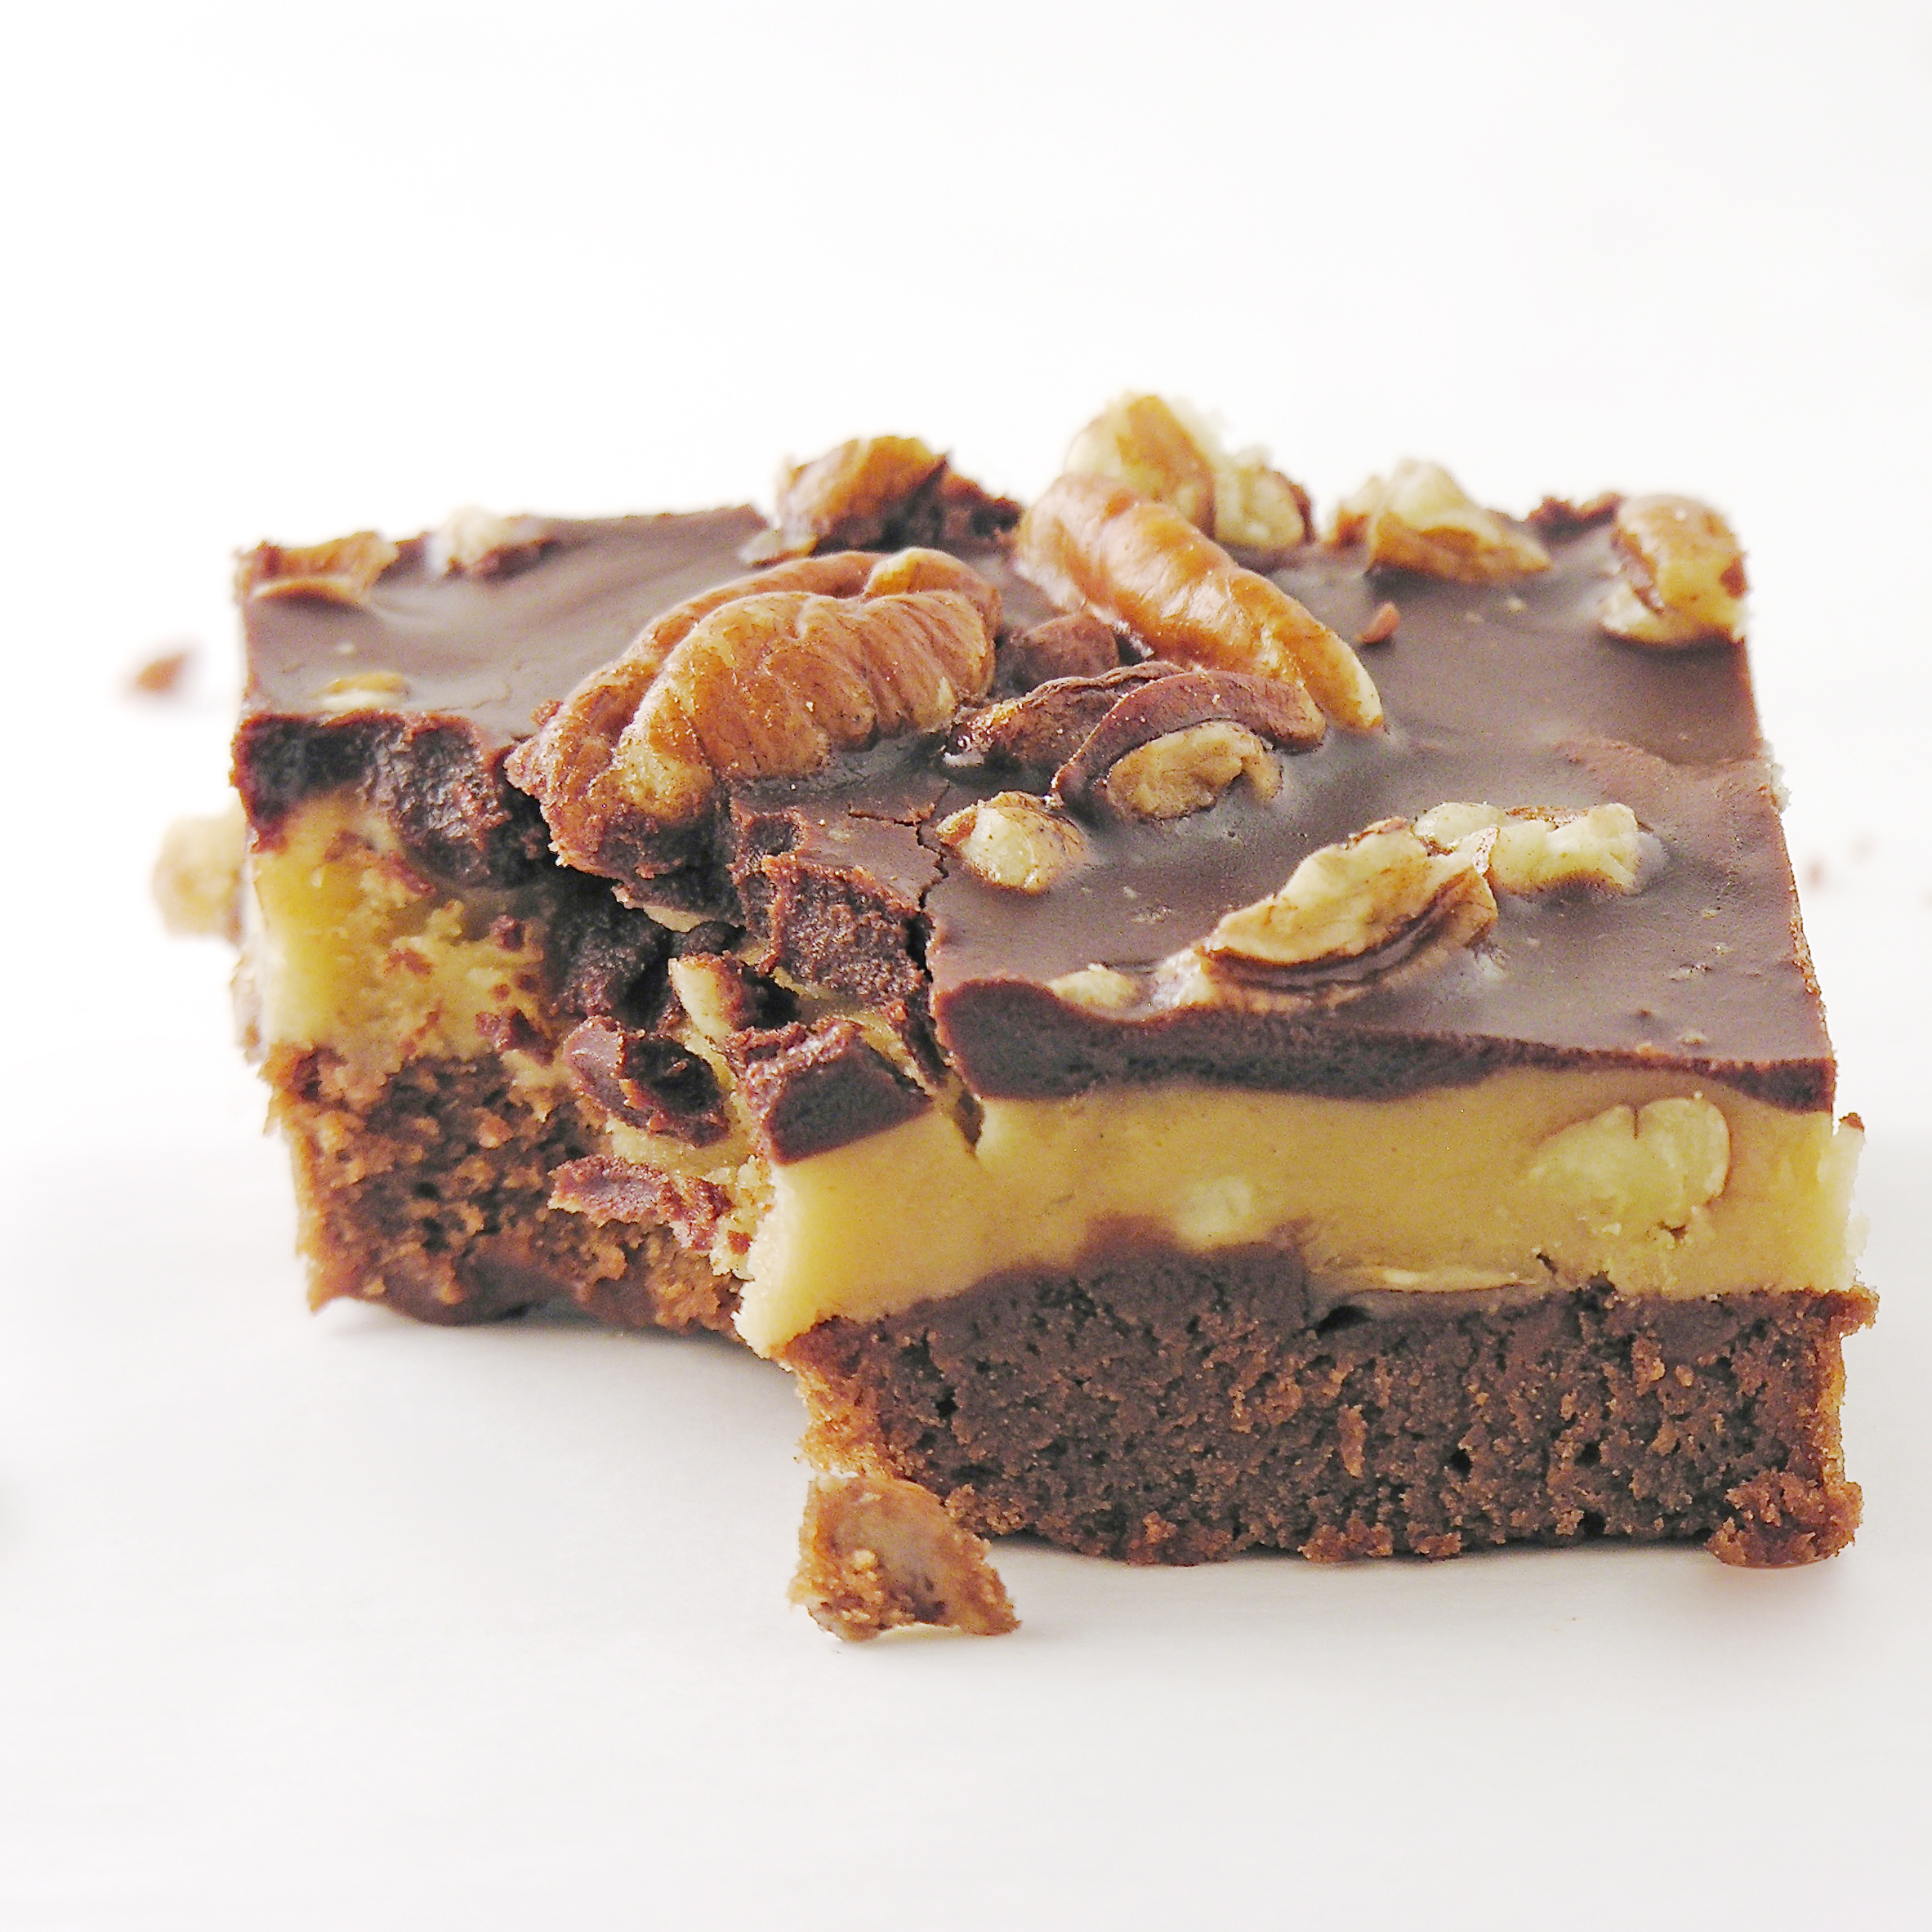
  • To assemble, cut a cupcake in half. Pipe a little bit of frosting into bottom of cup and press cupcake bottom in cup.
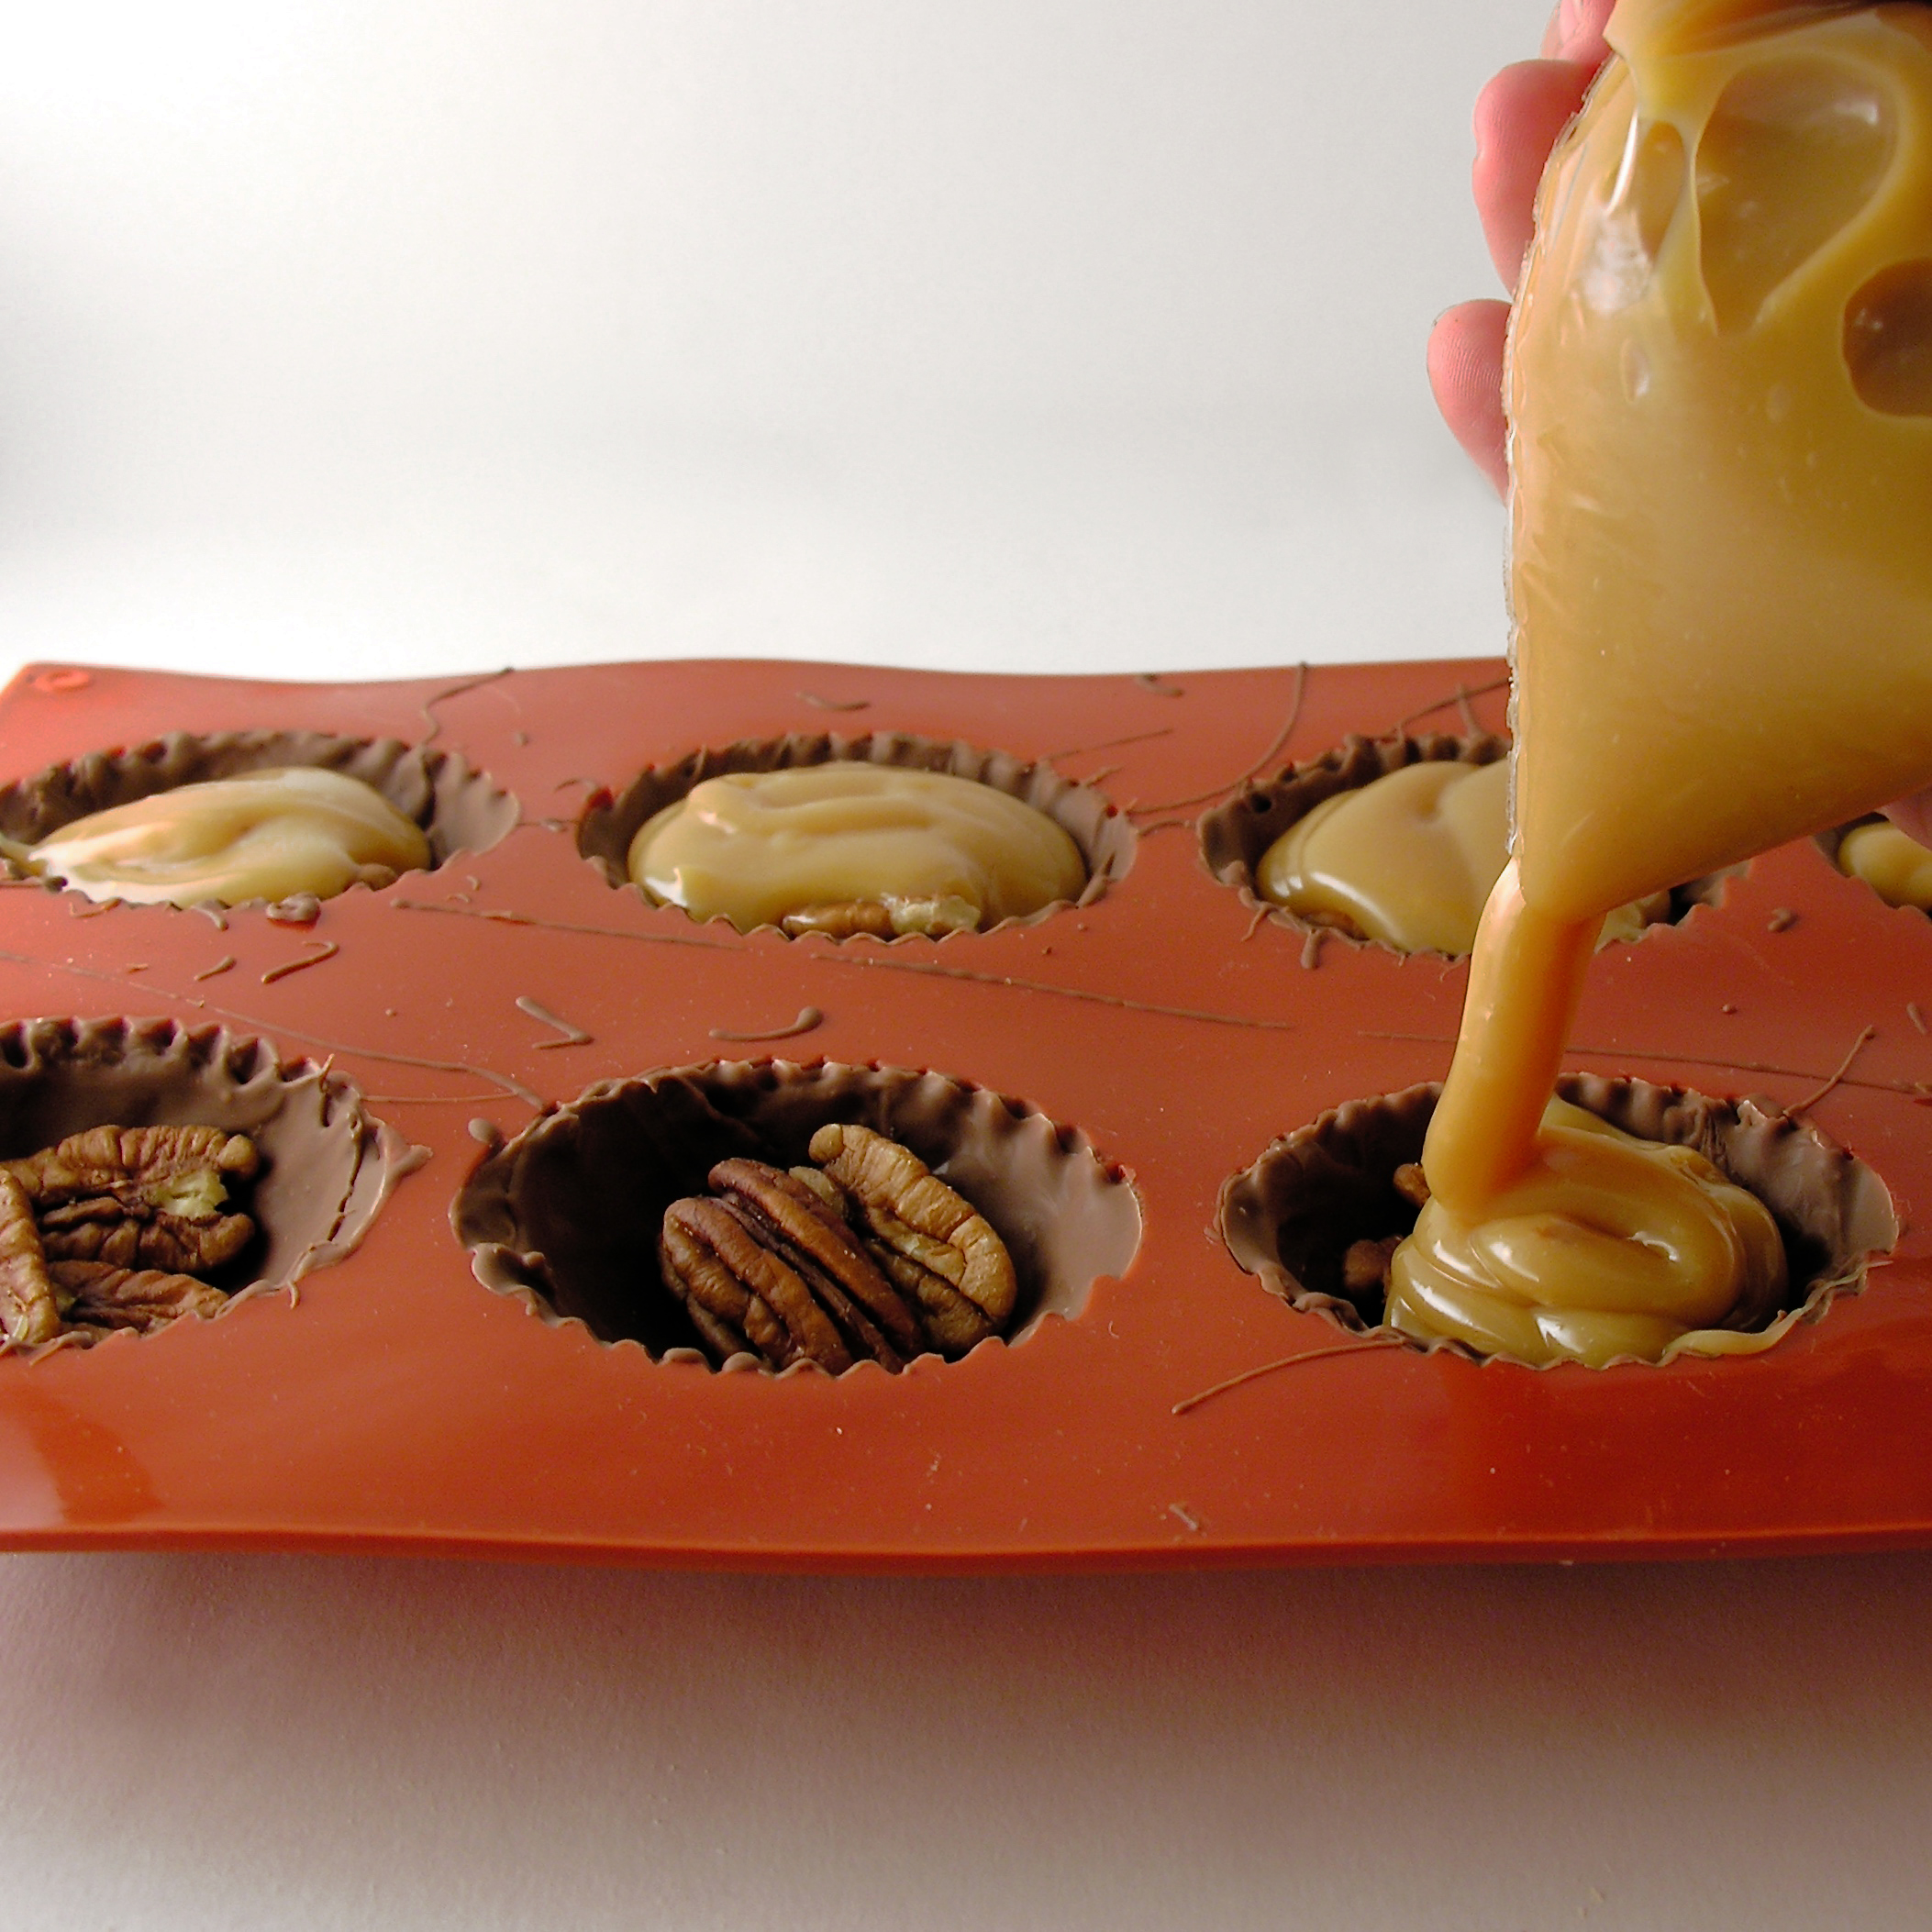
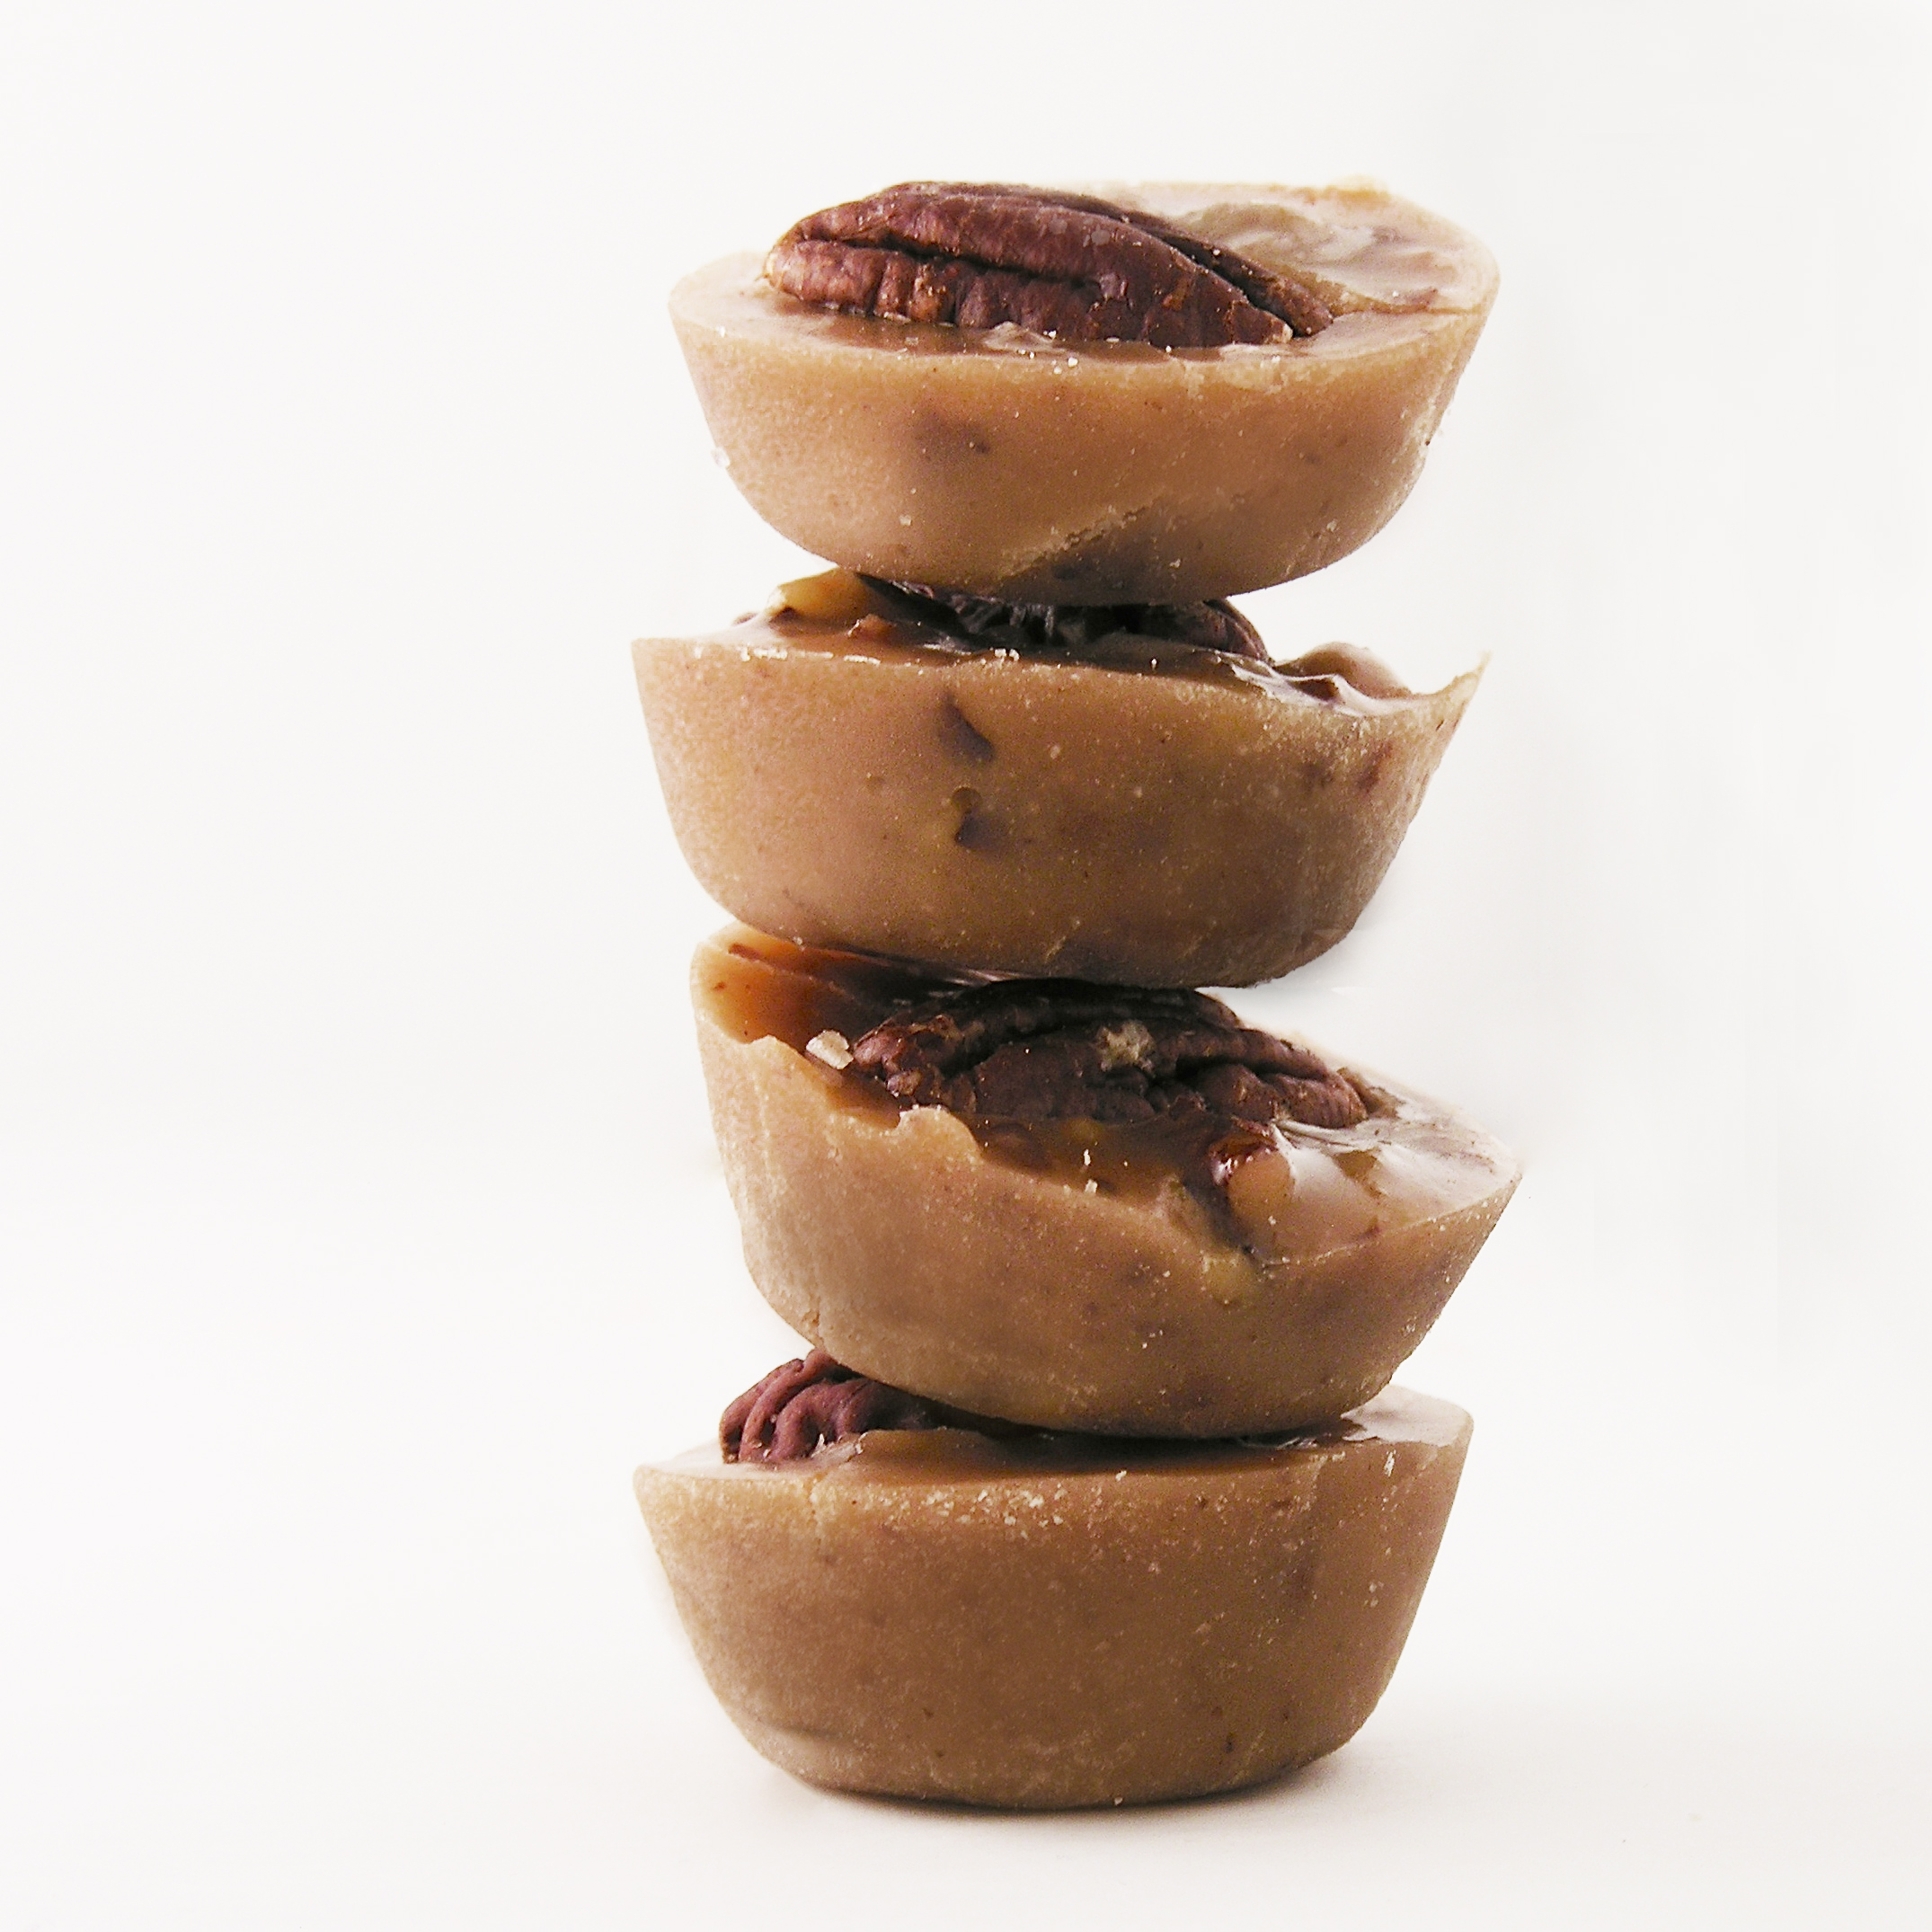
  • Clip a corner off the bag of caramel and pipe along edge of cup on top of cupcake bottom. 

caramel-pecan-cupcakescaramel-pecan-cupcakes

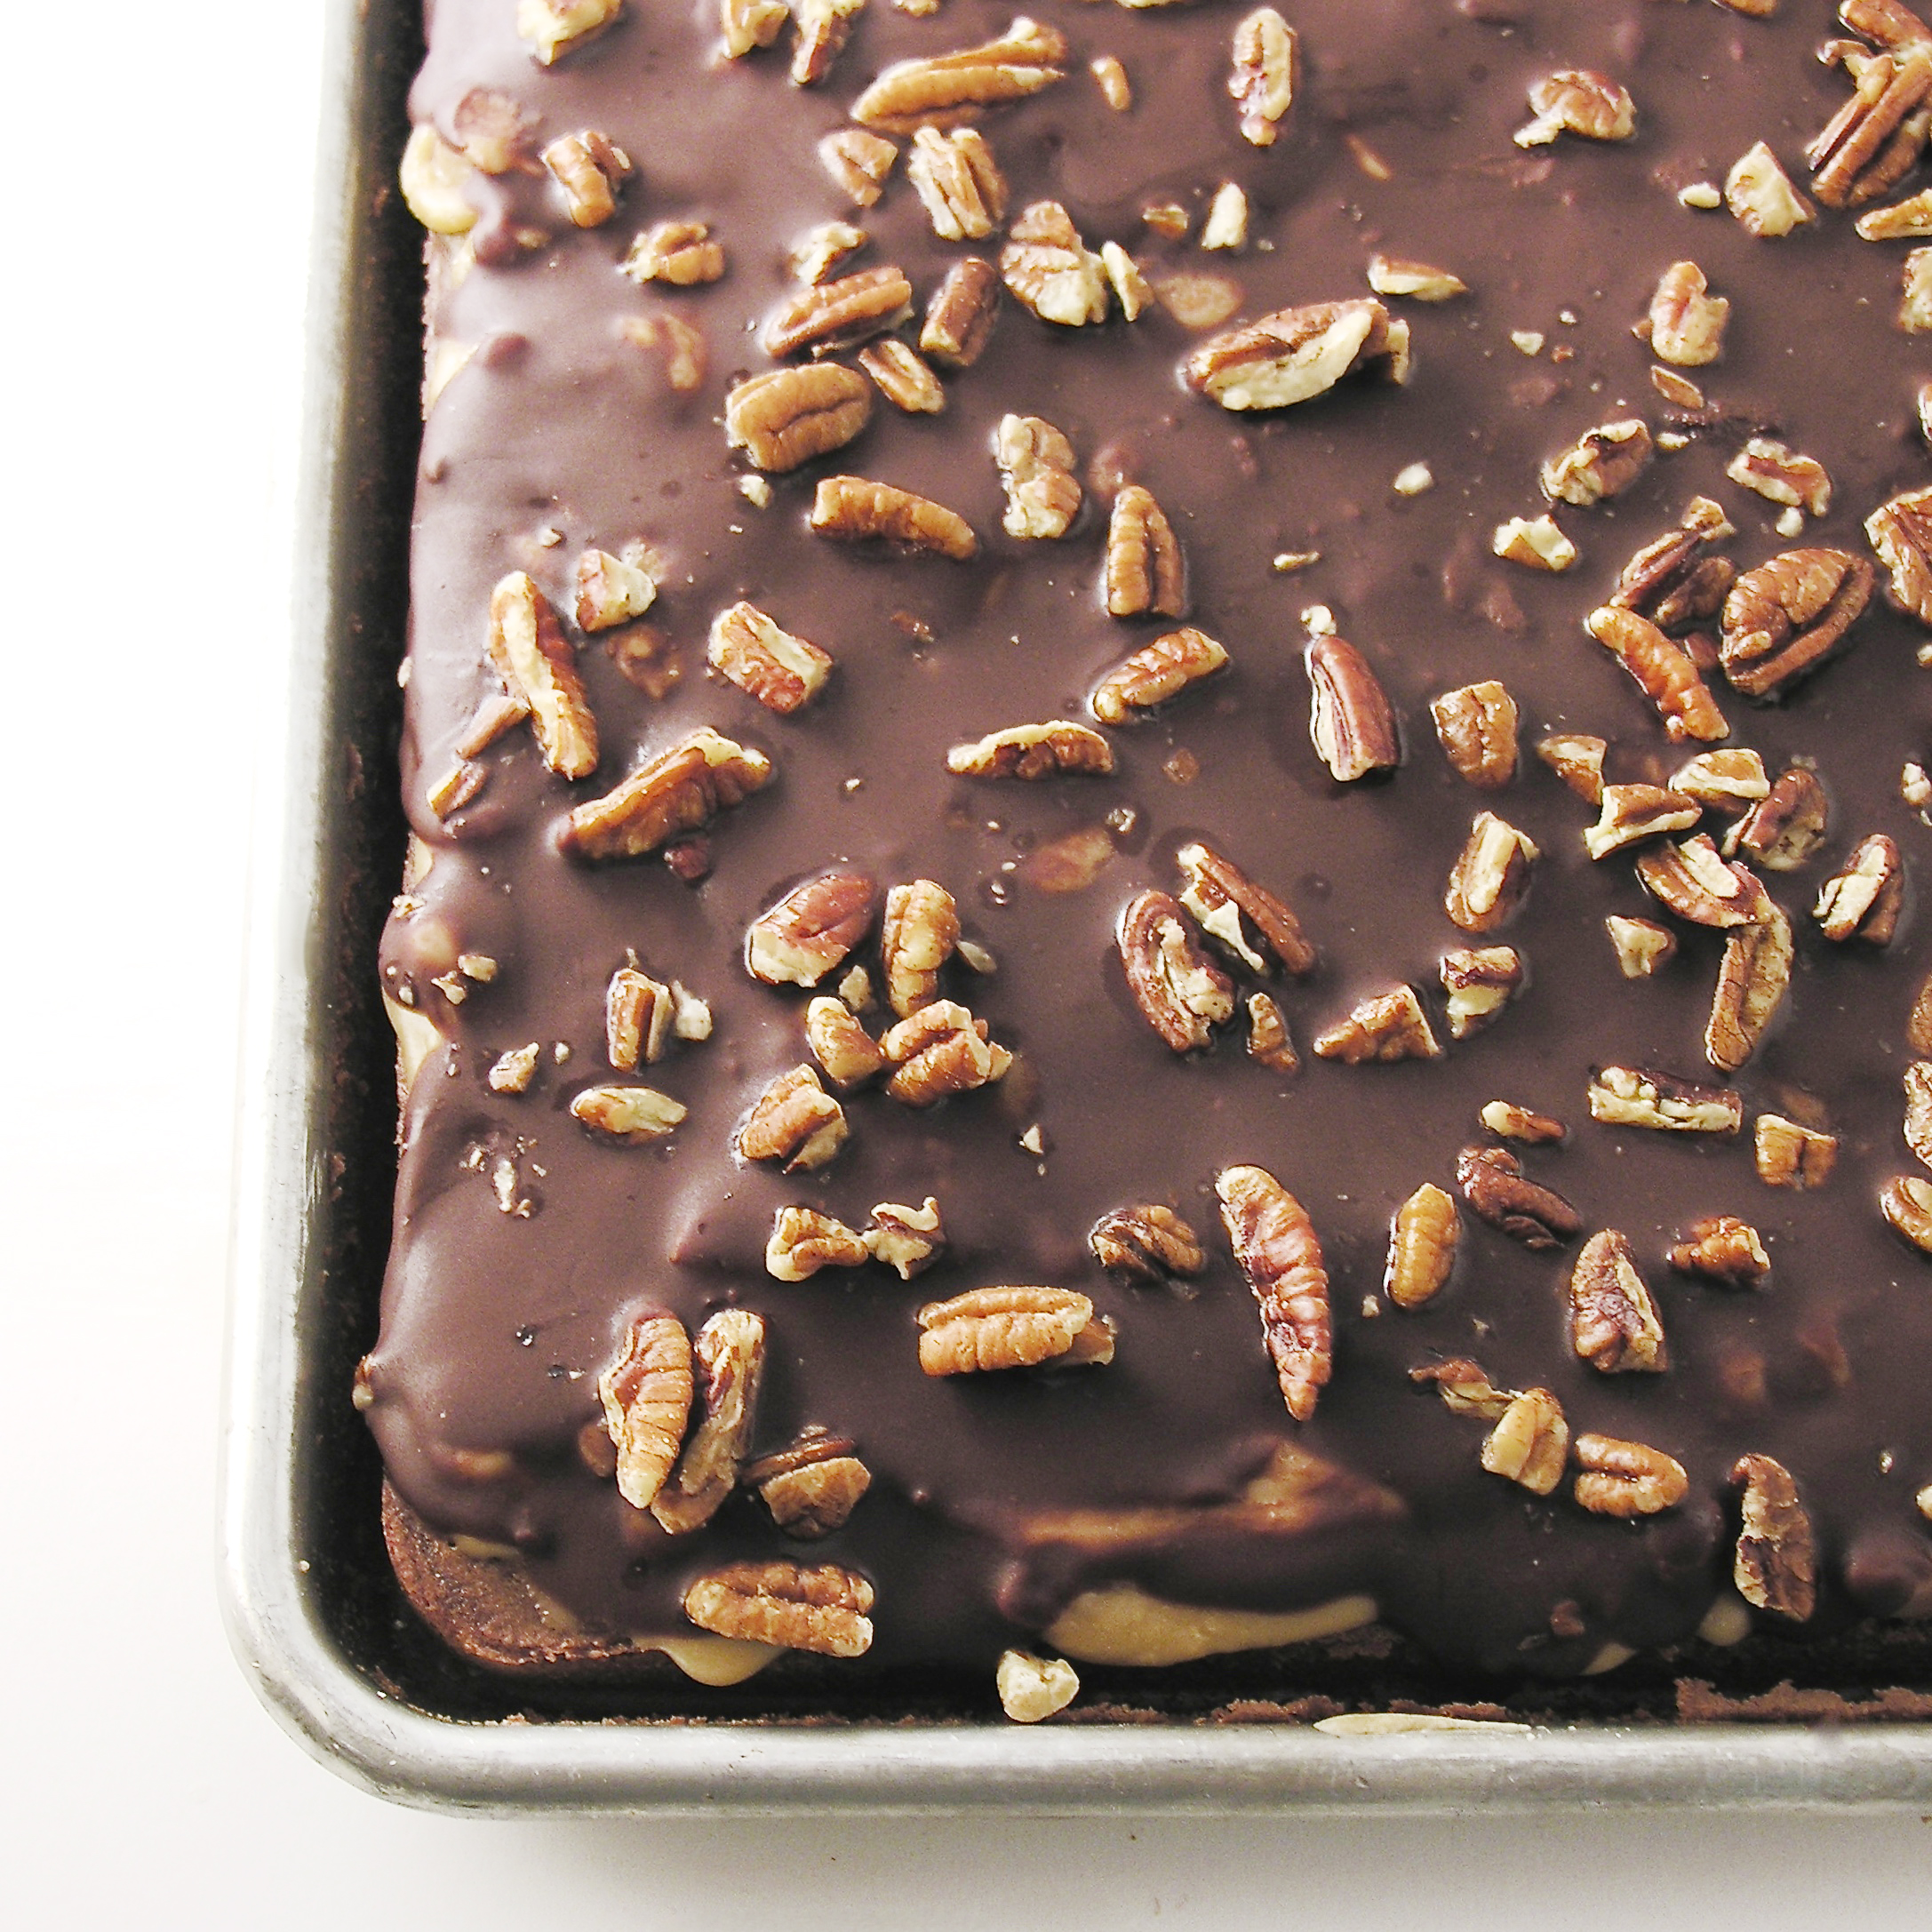
  • Press pecans into caramel along edges
  • Pipe a little frosting between pecans (only use a little- mine had a touch too much icing in the middle- you could even skip this step and just have frosting on the bottom and top)
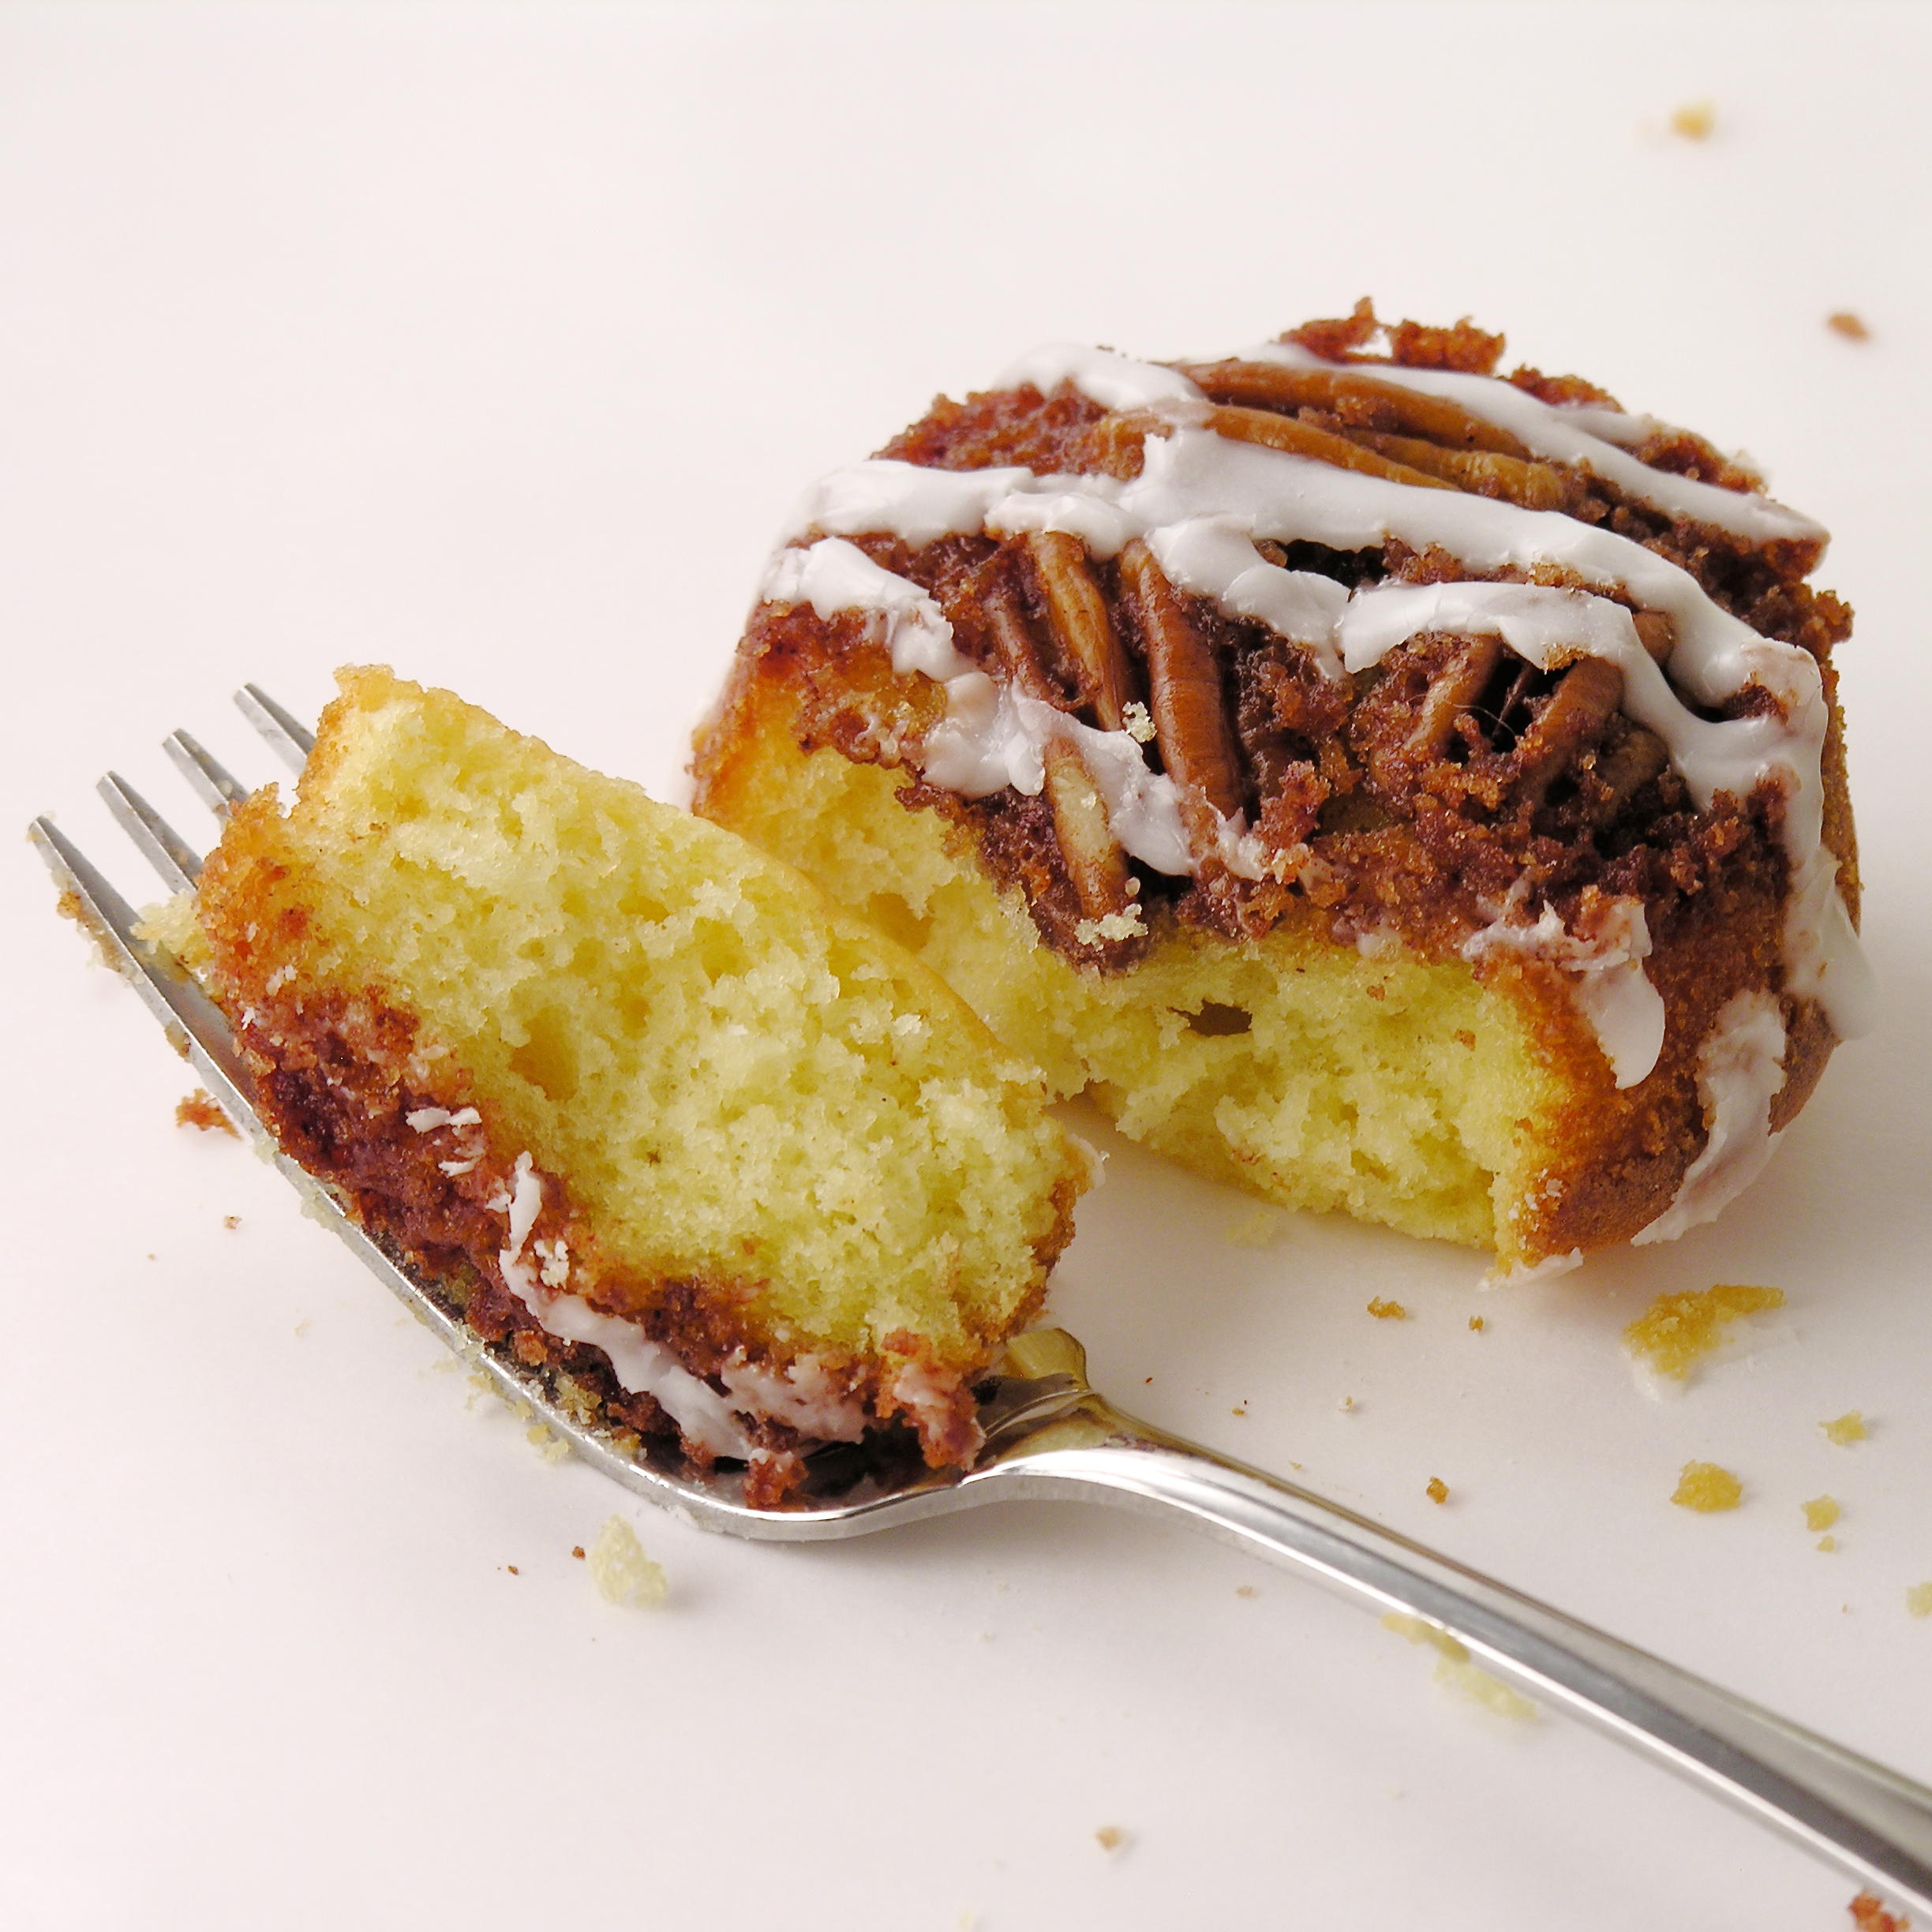
  • Place top of cupcake on, pipe a little more caramel on top of cupcake, and pipe a swirl of frosting on top. 
  • Add a pecan and decorate as desired. I used cute icing leaves by Wilton that I found at Michael’s.

caramel-pecan-cupcakescaramel-pecan-cupcake

  • You’ll want to wrap these up or put them in an air-tight container to keep them fresh. I chose cello bags and ribbon ties- and they made me smile 🙂 These stay fresh for 3-4 days when covered.

caramel-pecan-cupcakes

My thoughts: These got RAVE reviews. Personally, I thought they were a little sweet and I wished I had used less frosting (plus I ran out of frosting with 3 to go!) so use a little less than pictured (or make a little more…if you really like frosting!!) One of my friends HIGHLY recommended crumbled bacon as a layer in these 🙂 The GREAT news is that you literally can add anything you want to make these into your family’s favorite dessert!  Enjoy!!  ~r

caramel-pecan-cupcakes

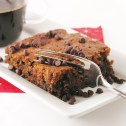
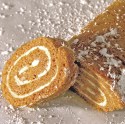
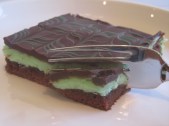
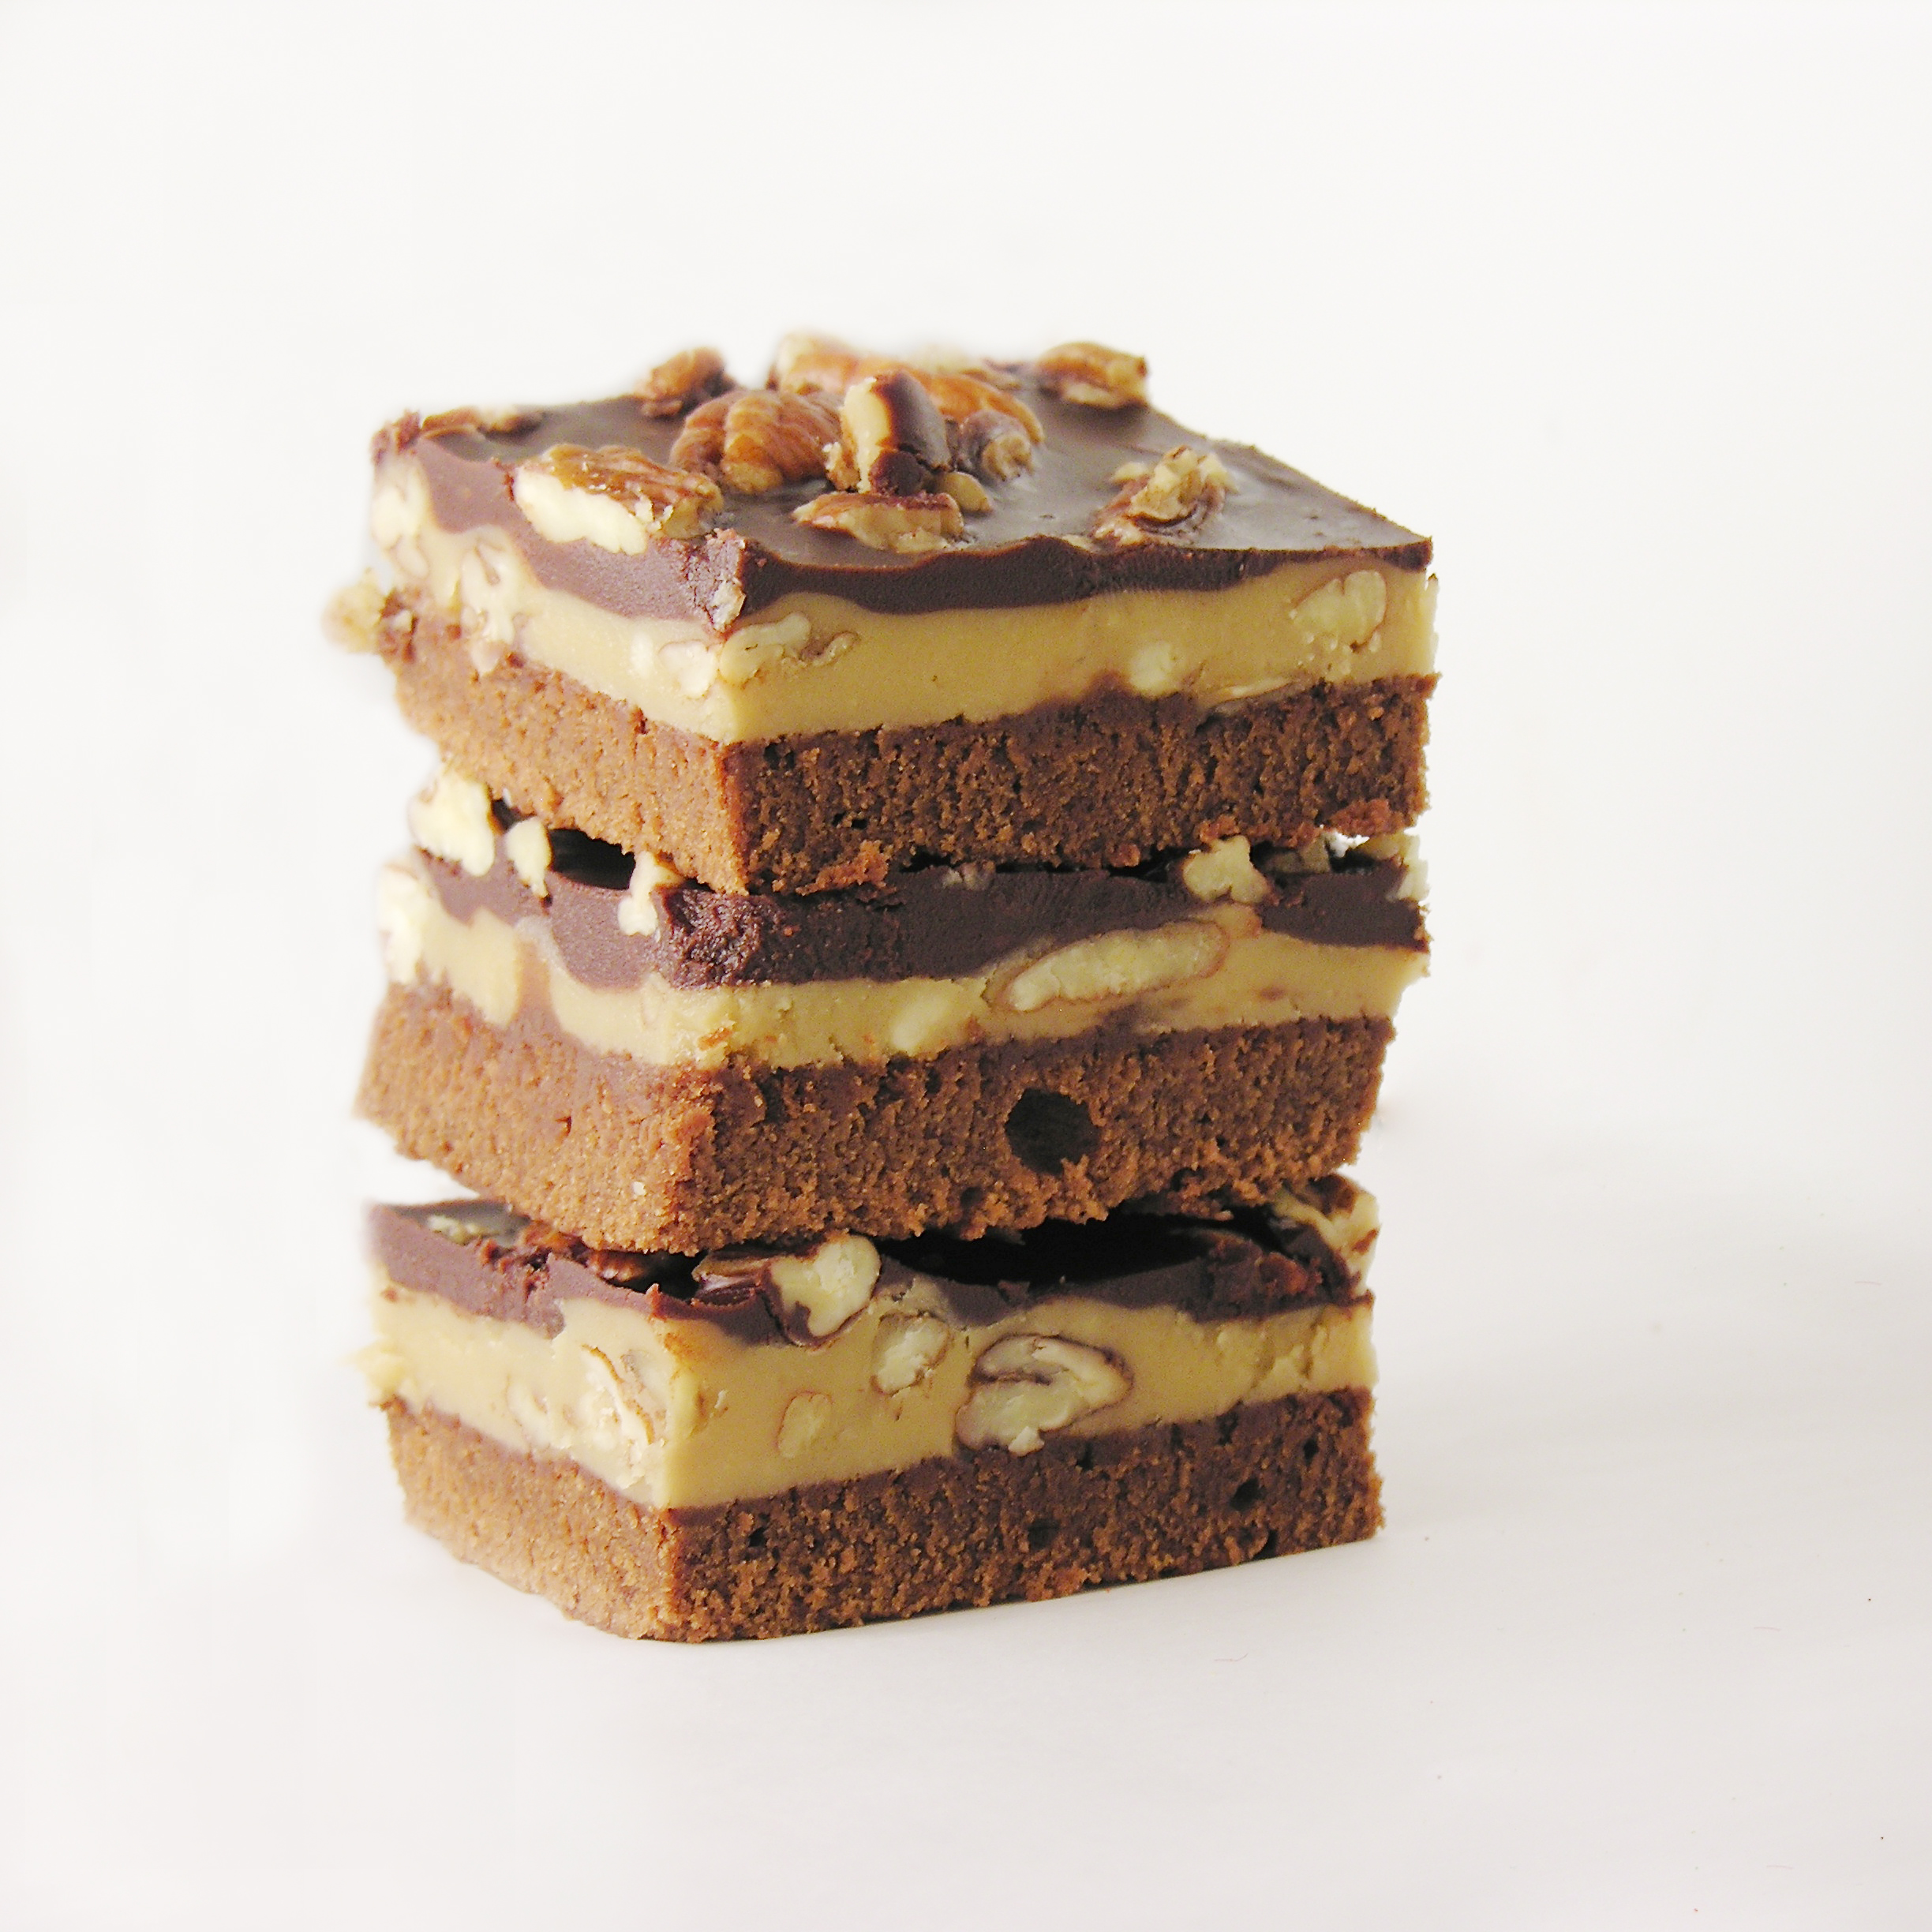
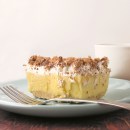
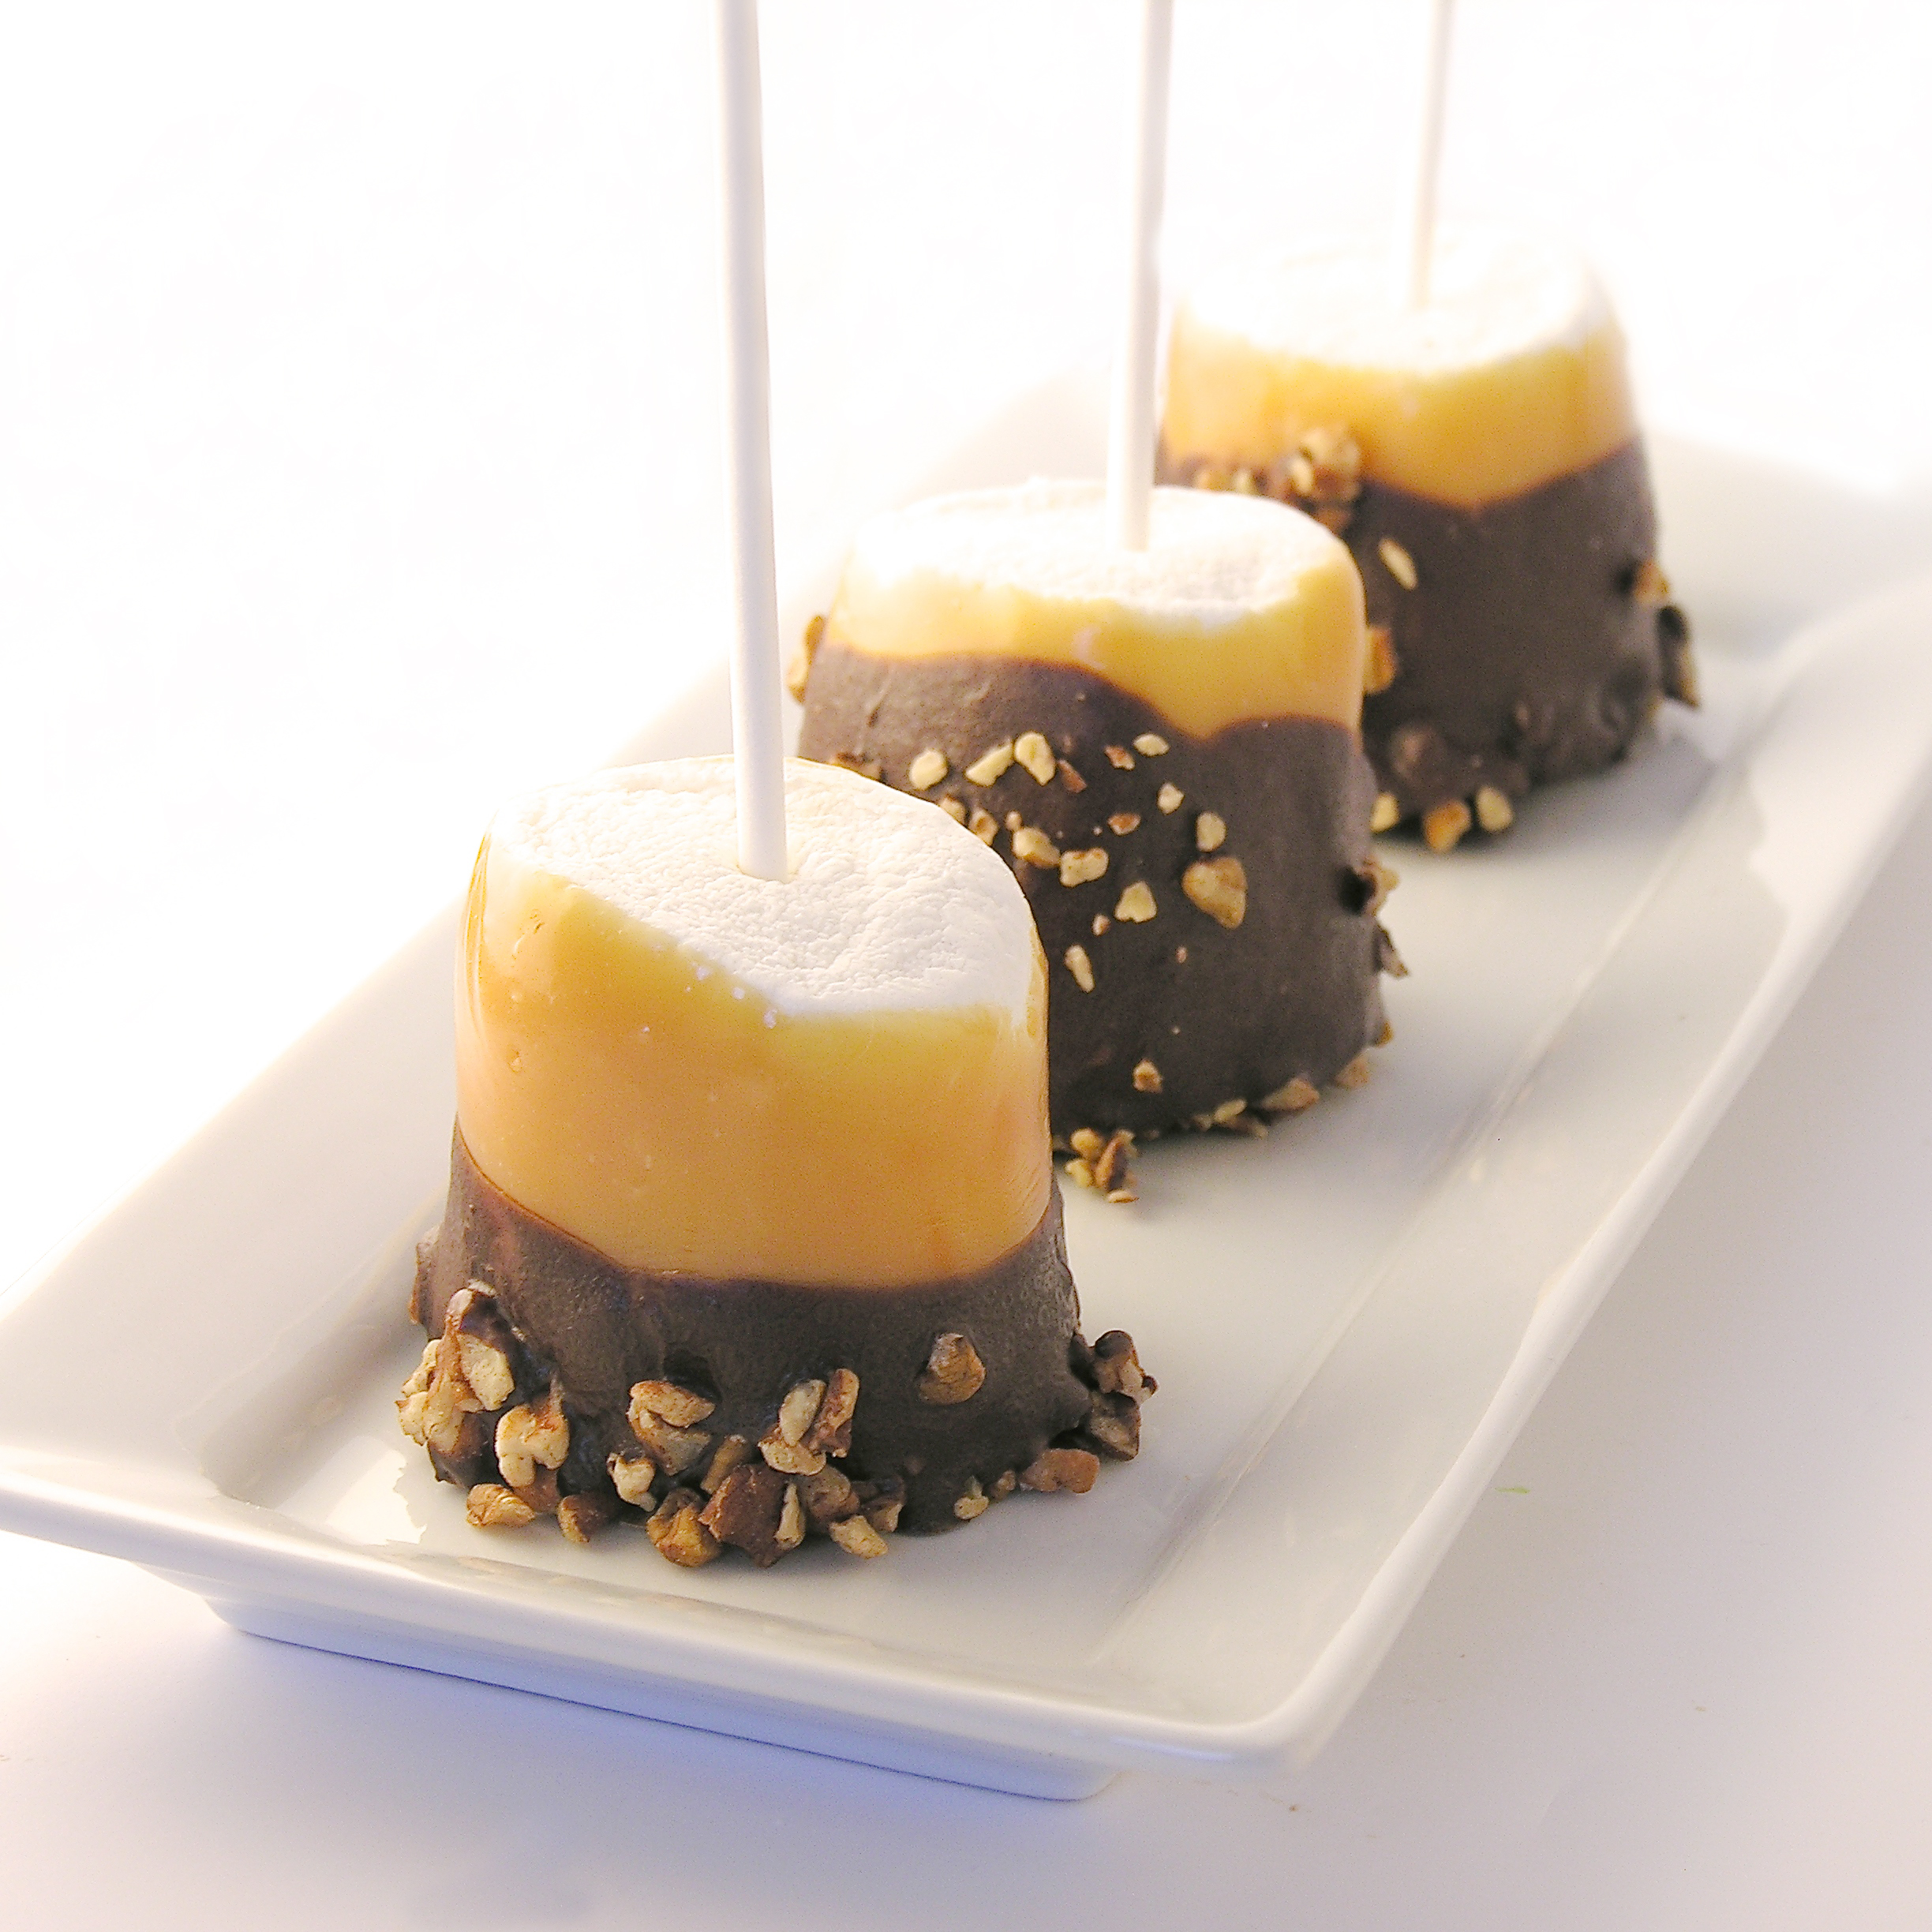
Other yummy pecan and/or caramel treats here on Easybaked! (click on a photo to see the recipe)

Praline Cupcakes1Turtle Bundt CakeMarshmallow Turtle Pops!Turtle Cheesecake

Advertisement

Caramel Armadillos

Posted on

Caramel Armadillos1

Caramel Armadillos. Because Caramel Turtles are soooooo yesterday.

I have this great, really easy, caramel filling. It’s great on ice cream, in brownies, in cupcakes and even by the spoonful. I love it. I decided this week that I wanted to make turtle cookies with it, and I was struck by how boring and predictable caramel turtles are. Why turtles? Who started this trend? I turned to Wikipedia for answers. I was still bored.

I decided to make caramel armadillos instead. Not only are they WAY cuter than turtles, but it’s really fun to say “caramel armadillos”.

Try it… five times fast!

You know you want to… 🙂

Caramel Armadillo
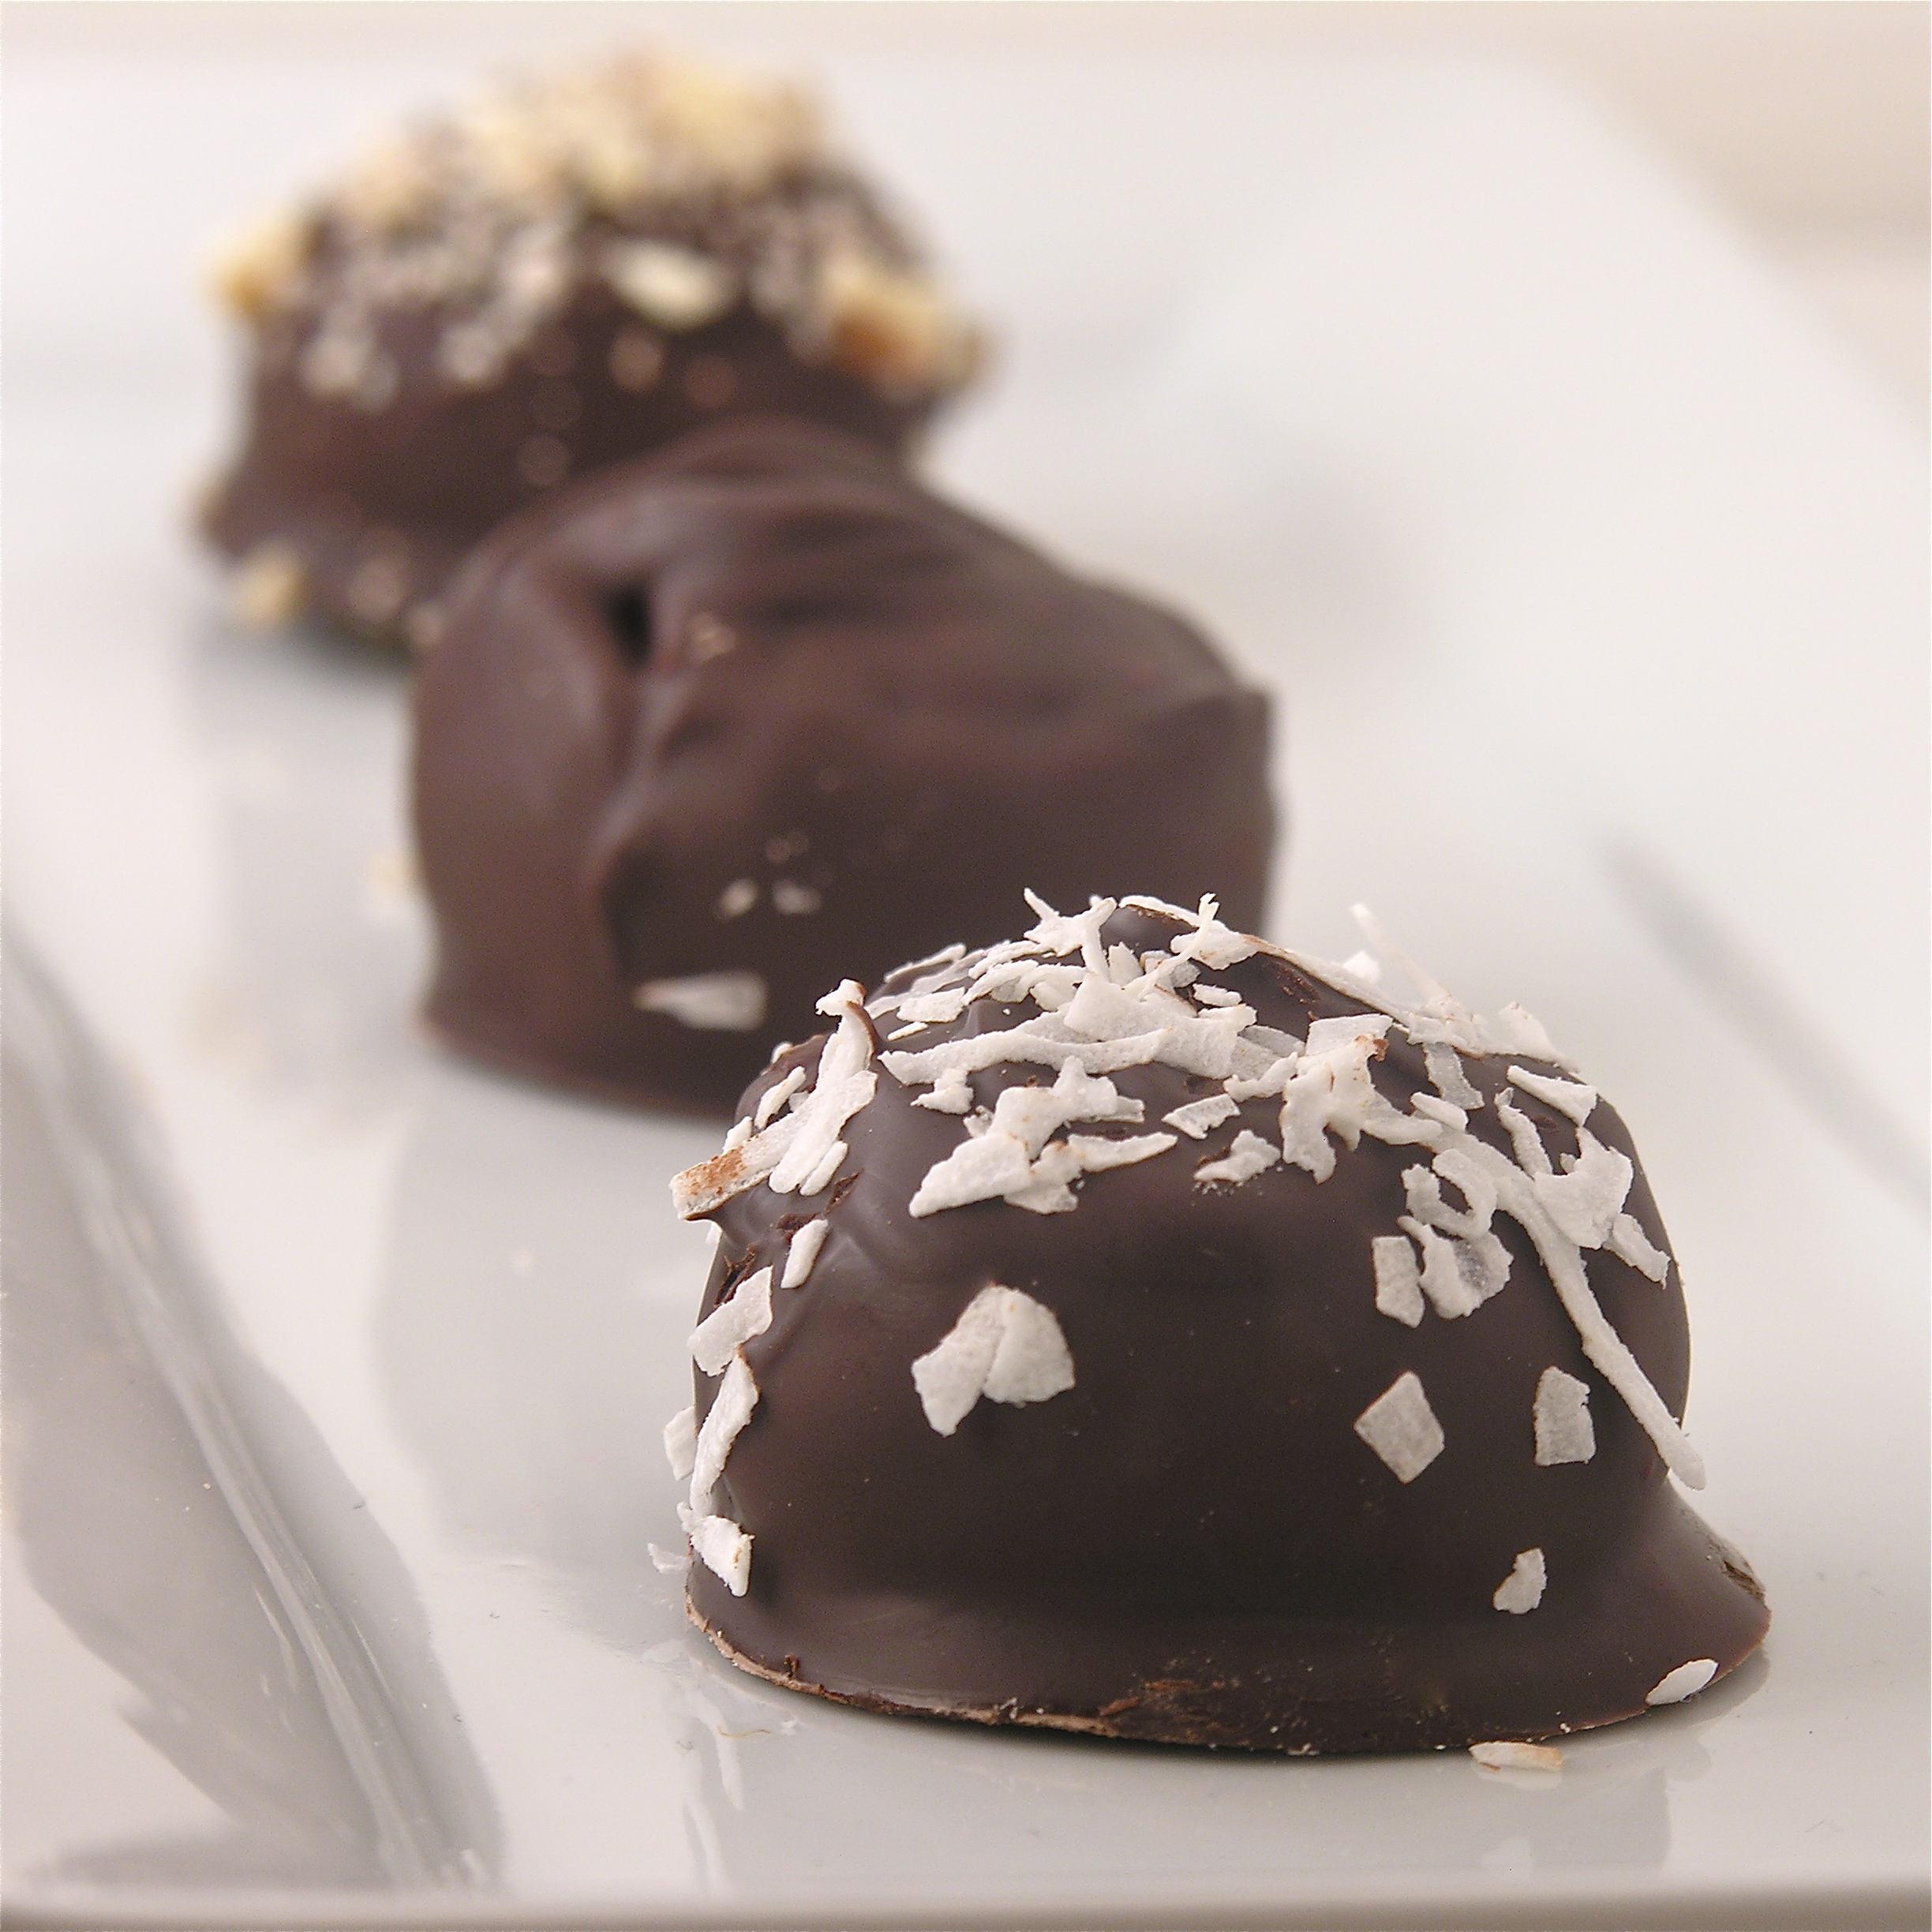
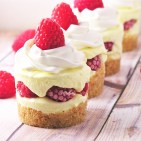
A couple weeks ago I was waiting for a friend to meet me for coffee and I stumbled upon these cute little chocolate molds on Amazon. They are supposedly Easter eggs, but when I decided to make Armadillos they came to mind as the perfect thing to use! All I needed was a tail and ears… and a tootsie roll would suffice!

SO caramel armadillos were born- and they are neither boring nor predictable!

Armadillo3Here’s how I made them: (printable recipe)

INGREDIENTS: (makes about 20 armadillos)

  • 32 Kraft Caramels (unwrapped)
  • 1 can (14 oz.) of sweetened condensed milk
  • 1 stick (1/2 cup) of butter
  • Whole pecans- about 3 per armadillo
  • 1 bag (32 oz/2lbs) of Merckens Milk chocolate wafers. 
  • about 40 candy eyes
  • 20 pink candy balls for noses
  • at least 25 tootsie rolls, unwrapped

DIRECTIONS:

  • Make caramel in a large saucepan over the stove by heating together the caramels, condensed milk and butter. Stir constantly until melted and smooth.
  • Pour into a small bowl and allow mixture to cool a bit (so it doesn’t melt chocolate when poured in).
  • Melt chocolate wafers in the microwave in 30 second increments, stirring in between until melted and smooth.
  • Use a food-grade brush, or pastry brush to “paint” the inside of the egg mold with chocolate. Paint two layers to make it nice and thick- you should not be able to see any of the mold showing through. 
  • Freeze until hard (5 minutes or so)
  • Place cooled caramel into a large zip-top bag, zip tightly closed and clip a corner off the bag using a pair of kitchen scissors.
  • Squeeze a little bit of caramel in each cup, set three pecans on the caramel, pushing them gently into it, then fill the remainder of the cup up with caramel.

**Note: If you are making just armadillos, don’t fill to the top because you will add a layer of chocolate on top once the caramel is hard. If you are placing these on cookies, you can fill to the top and spread flat with a knife.

Caramel ArmadillosCaramel Armadillos

  • Place these in the freezer to harden (5-10 minutes) and then paint a layer of chocolate on the top of the hardened caramel and freeze again until hard.
  • Gently peel silicone mold away from chocolate and set on a plate to be decorated!
  • Unwrap 20 tootsie rolls and place for just a few seconds in the microwave to soften a little.
  • Pull and roll these into tails and use the side of a knife to press grooves along the length. Keep these on parchment paper until they harden up. 
  • Unwrap 4 to 5 tootsie rolls and cut them into little circles. Shape these into ears and keep with tails on parchment paper.

Caramel Armadillos!

  • To assemble, use dabs of melted chocolate to attach ears, candy eyes, nose and tails.

I made cookies for them to sit on. My original idea was for caramel turtle cookies, so I went ahead with the cookie plan and it does add stability to that tail (otherwise they are a little awkward to pick up!)

  • I used my favorite chocolate cookie cut-out recipe from here, and it made a few more cookies than I had armadillos for, but they are yummy cookies all alone!!
  • I used an egg-shaped cookie cutter a bit larger than the armadillo.
  • I added melted green candy wafers to the top- just spooned some on and spread it near the edges- and set a “open” caramel armadillo on top. The green wafers seal up the bottom and keep caramel from leaking out!
  • I set the tail on the melted green wafers and added flower sprinkles! Once everything hardened up I added the eyes, ears and nose.

Caramel Armadillo!

So….cookies??? Candies????  It’s up to you! I think they would be fun on a cake.

How awkwardly wonderful would a caramel armadillo cake be???

Caramel Armadillo Cookie

My thoughts: These are delicious. They are also a lot of work (being honest!). It would help to have your tails and ears shaped ahead of time and I was wishing SO hard for an additional mold. That would save time too. That said- I will totally make these again!!!! They were well- loved by adults and kids alike!  If this recipe seems like too much craziness for you, just make the caramel. Put it on ice cream and be happy!  Enjoy!!  ~r

Dulce de Leche caramel sauce form a can

Other recipes kids will love (click on a photo to see the recipe!):

Polka Dot Cake!!!Pile of Cupcakes!Hamburger Cookie!Edible Jello Earthworm Cupcakes

Mom’s Amazing Coffee Cake!

Posted on

Coffee Cake

This delicious coffee cake has hidden layers of cinnamon and pecans- and a yummy cream cheese frosting!

My mom used to make this delicious coffee cake whenever my grandparents (her mom and dad) would come to visit. I have great memories of sitting around the table having this with all of them and listening to all the “grown-up” talk. They were from Wisconsin, so a visit always meant a couple of days with us in Michigan. I’d get up early and take a long walk with grandpa and our overweight basset hound Max before breakfast, and return to a kitchen table full of family, laughter, and this coffee cake.

My grandparents lived very active and adventurous lives until they left us for heaven several years ago.

Mom, as those of you who keep up with this blog know, left us for heaven about a year and a half ago.

A friend sent me an article last week about 8 ways to celebrate Mother’s Day if your mom is in heaven. They were great ideas, and the very 1st one was, “Make her favorite recipe”. I think her favorite recipe was my grandma’s recipe for German Sauerbraten, but since desserts are my specialty, I decided on this coffeecake as my “remembering mom” recipe.

As my kitchen filled up with the smell of this baking, it made me smile. And remember.

Coffee Cake recipe

Here’s how to make it: (printable recipe)

INGREDIENTS:

Cake:

  • 1 stick of butter, softened
  • 1 cup of sugar
  • 3 eggs
  • 2 cups of flour
  • 1 teaspoon of baking soda
  • 1/8 teaspoon of salt
  • 1 cup of sour cream
  • 1 teaspoon of vanilla

Filling:

  • 1 cup of finely chopped pecans
  • 1 1/2 cups of brown sugar
  • 4 tablespoons of butter, melted
  • 4 tablespoons of flour
  • 2 teaspoons of cinnamon

Icing:

  • 4 oz. (half a package) of cream cheese
  • 4 tablespoons of butter, softened
  • 1/2 teaspoon of vanilla
  •  Dash of salt
  • 2 cups of powdered sugar
  • 1/2 cup of white chocolate chips, melted

DIRECTIONS:

Cake:

  • Preheat oven to 350 degrees and grease/flour a bundt cake pan.
  • Cream butter and sugar together.
  • Add eggs and beat well.
  • Add flour, soda and salt. Mix well.
  • Add sour cream and vanilla and mix well. Set aside.

Filling:

  • Combine all ingredients until completely coated in melted butter.
  • Assemble cake: pour about 1/2 of batter into prepared bundt cake pan, sprinkle more than 1/2 of filling on batter, pour remaining batter over filling and then sprinkle remaining filling over the top.
  • Bake at 350 degrees for one hour. Cool and tip out of pan onto serving plate.

Icing:

  • Combine all ingredients except chocolate in a large mixing bowl and beat on high until smooth and fluffy.
  • Add melted chocolate and beat until smooth.
  • Spread over the top of the cooled coffee cake.
  • Enjoy!

Coffee Cake!

My thoughts: Warm this up for a few seconds in the microwave before serving and YUM!!!  You can keep this cake in an airtight container in the fridge and serve it for several days. I hope your family enjoys this recipe as much as ours did over the years!!  ~r

Coffee Cake

Whether you are celebrating your mom in person, or thanking God for wonderful memories of her today, Happy Mother’s Day to you and to your family!

This one’s for you mom!

10178025_10152079947252513_4311481539876989298_n

Other recipes from my mom: (click on photo to see recipe)

Chocolate Chip CakeChocolate drop cookies!Pumpkin RollMint Creme Brownies

No, seriously…you have to try that 1st one…best. cake. ever. 🙂

Praline Fudge Brownies

Posted on

Praline Fudge Brownies

A dense brownie covered in creamy praline filling and topped with chocolate fudge and pecans. This will satisfy the most demanding sweet tooth!!!!

I adore pralines. Especially around Thanksgiving and Christmas when anything with pecans is somehow better. Some people say they are just too sweet- and this filling is no exception! Paired with this not-too-sweet brownie, I think it is perfect though. These got rave reviews and several people exclaimed, “These taste like Christmas!”

Praline Fudge Brownies4So let’s make these yummy little treats! (printable recipe)

INGREDIENTS:

Brownie:

  • 1cup butter
  • 2 cups sugar
  • 3 eggs
  • 2 teaspoons vanilla
  • 2 cups flour
  • 1/2 cup cocoa
  • 1/2 teaspoon salt
  • 1 cup milk

Praline Filling:

  • 1 cup whipping cream
  • 12 Tablespoons of butter
  • 3 cups of brown sugar (packed)
  • 1 1/2 cup of finely chopped pecans (divided)
  • 3 cups of powdered sugar
  • 2 teaspoon of vanilla

Fudge Topping:

  • 12oz. semi-sweet chocolate chips
  • 12 tablespoons butter (do not substitute margarine here!)

DIRECTIONS:

Brownie:

  • Preheat oven to 350.
  • Cream butter and sugar together. 
  • Beat in eggs, cocoa, vanilla and salt.
  • Add flour and milk (alternating them and mixing well in between)
  • Spread evenly in greased jelly roll pan (12 1/2 x 17 1/2 x 1″).
  • Bake at 350 degrees for 15 minutes or until done in center and just starting to pull away from sides.
  • Cool.  

Praline filling:

  • In a large saucepan, mix cream, butter and brown sugar.
  • Cook over medium heat, stirring often, until mixture comes to a boil.
  • Cook for one minute, stirring constantly and then remove from heat.
  • Stir in powdered sugar, vanilla and 1 cup of pecans (you may need to do this in a separate bowl if your saucepan isn’t big enough)
  • Cool for 5 minutes, stirring often until it thickens up a bit.
  • Spoon mixture over cooled brownies and spread into a smooth layer over the top.

Praline Fudge BrowniesFudge Topping:

  • Melt butter and chocolate together in the microwave in 30 second increments, stirring in between until completely melted and smooth.
  • Pour over praline filling and spread evenly over top.
  • Sprinkle with remaining 1/2 cup of chopped pecans.
  • Chill until top layer is hard and cut into bars.

Praline Fudge Brownies7My thoughts: These aren’t hard to put together and they are oh-so-yummy!!! I froze about half of the batch in an air-tight container for several weeks and just pulled them out for a party I was having- they freeze GREAT. In fact, they are pretty yummy frozen. 🙂  I hope you get a chance to try these and enjoy them as much as I did!

Praline Fudge Brownies2

Other yummy Christmas desserts: (click on a photo to see the recipe)

Chocolate bonbonsHot Chocolate Pop!Snowman Oreo PopsPeanut Brittle!!

Pecan Praline Cupcakes

Posted on

Praline Cupcakes1If you love pralines, you will love these pecan praline cupcakes with delicious homemade pralines on top!

Two desserts in one!

I’m a huge fan of pecan pralines. Our family has often traveled to the southeast part of the US and there’s just nothing better than a still-warm praline in Charleston or Savannah… YUM!  I’ve always wanted to try making homemade pralines, but I’ve never had a good recipe. Last month, we visited family friends, Dave and MaryAnne, and Dave told us he has the BEST pecan praline recipe. He whipped some up for us and oh my…. He shared his recipe and I had the idea to carry some of those flavors over into cupcakes.

Really, these two desserts stand alone, but are especially fun together!

Let’s start with those pralines (printable recipe):

Pecan Pralines

INGREDIENTS:

  • 3 cups of sugar
  • 1 1/4 cups of hot water
  • 1 1/4 cups of chopped pecans
  • 24-36 pecan halves
  • 1/4 teaspoon of cream of tartar
  • 1 teaspoon of maple extract

DIRECTIONS:

  • Use oil or butter to coat a mini muffin tin well.
  • Place all ingredients (except the whole pecans) into a large saucepan and heat over stove, stirring occasionally, until it reaches 234F degrees.
  • Remove from heat and stir for 5-8 minutes until the candy loses it’s glossy look and gets more cloudy and granular.
  • Spoon (carefully!!!) into well- greased muffin tin.
  • Press a pecan half into the top of each praline and allow to cool.
  • When cooled, tip onto clean surface and ENJOY!

Pecan Pralines

Now for those cupcakes…..! (printable recipe)

INGREDIENTS:

Cupcakes:

  • 2 1/2 cups flour
  • 3 teaspoons of baking powder
  • 1/2 teaspoon of salt
  • 1 1/2 cups granulated sugar 
  • 3/4 cups unsalted butter, softened
  • 3 eggs
  • 1 teaspoons of vanilla
  • 2 teaspoons of maple flavoring
  • 1/2 cup whipping cream
  • 1/4 cup of chopped pecans (as desired)

Praline Buttercream frosting:

  • 1/2 cup brown sugar (firmly packed)
  • 1/2 cup whipping cream
  • 2 sticks (one cup) butter
  • 5 cups powdered sugar

DIRECTIONS: (start the frosting first, as it needs to cool before beating)

Cupcakes:

  • Preheat the oven to 350 degrees. Line muffin tins with 24-30 cupcake liners 
  • In a large bowl, use a mixer to cream together the sugar and butter for about 3 minutes until light and fluffy.
  • Add eggs once at a time until incorporated and then mix in vanilla and maple flavoring.
  • In a different large bowl mix together the dry ingredients: flour, baking powder, and salt.
  • Add flour mixture to the sugar and butter, alternating with the cream.
  • Stir in pecans.
  • Fill cupcake liners about 2/3 full and bake for 15-18 min. Be careful to not over-bake.
  • Cool in pan for a few minutes before removing to finish cooling on the counter.

Frosting:

  • In a small sauce pan, heat brown sugar, cream and 2 tablespoons of butter on medium heat, stirring often, until sugar dissolves. Remove from heat and cool completely.
  • In a large bowl, beat together the cooled brown sugar mixture with remaining butter until smooth.
  • Add powdered sugar and beat on high until light and fluffy.
  • Place in a zip-top bag fitted with a decorator’s tip, and pipe frosting onto cooled cupcakes.
  • Top with a praline- or even a pecan half instead.
  • Enjoy!!

Praline Cupcakes

My thoughts: These are perfectly wonderful together in one beautiful dessert, or they can be made as individual recipes. Either way, if you love pecan pralines, you will love these yummy treats! Enjoy! ~r

Praline Cupcake5

Other fun cupcake recipes from Easybaked (click on the photo to see the recipe):

Malted Milkshake CupcakesKey Lime Cupcakes!Coconut Cupcakes!!!Rocky Road Cupcakes!!!!!


Banana Split Cupcakes!

Posted on

Banana Split Cupcakes

Do you like banana split sundaes? If so, you will love these little cupcake treats- tasty and oh, so cute!!

I love going out for ice cream- not the soft-serve window kind, but the sit-down in a cute parlor with a million combinations of ice creams and toppings to decide from kind. I usually skip the banana split, because I’m not a huge fan of bananas unless they are in bread (or, in this case a cupcake!). Banana splits are the gold-standard of ice cream though- they have that sundae “look” to them. They are pretty.

I wanted to capture the look, and flavor of a sundae in these cupcakes and I love how they turned out! YUM!!!!

A few months ago I made Root Beer Float Cupcakes using scoops of Cool Whip as ice cream. They were so easy and cute and DELICIOUS, that I used the same idea here~ with banana cupcakes and a yummy strawberry ice-cream-topping filling!

Banana Split Cupcakes2 Want to try them? Here’s how we made them: (printable recipe)

INGREDIENTS:

  • One boxed banana cake mix (I used Duncan Hines), plus water, oil and eggs to make according to box.
  • 1 stick (1/2 cup) of salted butter (softened)
  • 1 stick (1/2 cup) of unsalted butter (softened)
  • 1 1/2 cups of powdered sugar
  • 2 teaspoons of strawberry flavoring
  • 2 tubs of Cool Whip (frozen)
  • One jar of strawberry ice cream topping
  • One bottle of chocolate “shell” ice cream topping
  • 1/2 cup of chopped pecans
  • Sprinkles and spoons (optional)

DIRECTIONS:

  • Make cake mix according to package and bake in 24 cupcake liners in muffin tins.
  • Make frosting by combining butters, powdered sugar and strawberry flavoring in a large bowl and beating on high until light and fluffy. Place in a zip-top bag, fitted with a decorating tip.
  • When cupcakes are cool, remove a core from the center using a knife or a cupcake corer. Spoon about 1 tablespoon of strawberry ice cream topping into the middle (you could use pineapple here too, if you wanted) Place “top” of core back on cupcake.
  • Use a cookie scoop or a small ice cream scoop to scoop frozen Cool Whip onto the top of one cupcake. Immediately pipe frosting around the edges of the scoop to hold it in place. Keep cupcakes chilled as soon as they are frosted, and keep your second tub of Cool Whip in the freezer until ready to use.
  • Once all cupcakes are frosted, drizzle them with chocolate shell- this makes a little bit of a mess, but I just dropped them into a second cupcake liner to catch the drips 🙂

Banana Split CupcakesBanana Split Sundae

  • Immediately sprinkle with nuts and decorations.
  • Keep cupcakes refrigerated until serving.
  • Enjoy!!!

Banana Split Cupcakes

My thoughts: These are a little more time consuming that your average cupcake– but look at how fun they are!! The flavors and textures are just perfect too- that cold Cool Whip and those crunchy nuts with the banana cupcakes… YUM! I really hope you get a chance to try these little treats! ~r

Banana Split Cupcakes

Other ice cream- inspired treats here at Easybaked: (click on a photo to see the recipe)

Butterscotch Ice cream towers!!!!Heath Bar Ice Cream Dessert3Raspberry Lemon Cream Cups!!!Ice Cream Cake

Caramel Pecan Marshmallow Pops

Posted on


Marshmallow Turtle Pops!

  Big marshmallows covered in creamy caramel and chocolate are dipped in pecans to make an incredibly decadent treat!

These are unbelievably good.  I was visiting my friend Andreya in San Diego last weekend and we passed a store while window shopping in La Jolla that had all sorts of dipped marshmallows.  I started craving them and had to try this.   These are like yummy caramel apples- but with a soft marshmallow inside, instead of an apple.  If you are looking for a really unique treat that is easy to put together, this is your recipe!!!  I couldn’t believe how easy and yummy  these were.

Caramel Pecan Dipped Marshmallows

Here’s the recipe: (printable version)

INGREDIENTS:

  • 2 bags of jumbo marshmallows (24 marshmallows)
  • 24 lollipop sticks
  • 32 Kraft caramels, unwrapped
  • 1 (14 oz) can of sweetened condensed milk
  • 1/2 cup of butter
  • 1 bag of dark chocolate Wilton’s candy melts
  • 2 cups of chopped pecans

DIRECTIONS:

  • Set marshmallows out on parchment paper and stick one lollipop stick into the flat side of each one.
  • In a medium saucepan, melt together caramels, butter and sweetened condensed milk, stirring constantly, until completely smooth (takes about 5 minutes)
  • Pour caramel mixture into a bowl.
  • Using stick, carefully dip each marshmallow into caramel, coating it to the top.  Gently tap stick against side of bowl to remove excess caramel and then slide bottom of marshmallow along bowl’s edge to remove most of caramel.  (It is ok if you remove it down to the marshmallow- the chocolate will cover this up!
  • Place upright on a sheet of parchment paper and cool.
  • Place chocolate candy melts into a bowl, and melt them in the microwave in 30 second increments, stirring in between, until completely melted and smooth.
  • Lay a fresh sheet of parchment paper out before beginning next step.
  • Place pecans in a small bowl.
  • Gently peel a marshmallow away from the parchment paper. This is a little tricky, as it will still be a bit gooey.  I held the stick, lifted, and peeled the paper away from the marshmallow.
  • Dip bottom of marshmallow into melted chocolate and slide bottom along edge of bowl to remove excess.
  • Dip bottom of coated marshmallow into pecans and set on fresh parchment paper to harden.

Once these are hardened up, you can serve them up on a pretty plate, or wrap them in cello bags to use as gifts or favors.
If you aren’t serving them right away, be sure to cover them so the marshmallows don’t harden up.

Caramel Pecan Marshmallow Pops!

My thoughts: These are a recipe I will make again.  I had fun putting them together and everyone who tried them asked me to make them again.  Easy. Yummy. Beautiful.  My kind of recipe!  Enjoy!! ~r

Other unique recipes you might enjoy:

Fruit Loop Pie!Raspberry Lemon Cream Cups!!!Cookie Dough Whoopie Pie!Doughnut cupcakes!!

Cinnamon Upside Down Cakes

Cinnamon Upside Down Cakes!!
These little mini cinnamon cakes are the perfect make-ahead treat.  Perfect as dessert and such a sweet and yummy breakfast!  Dripping with sweet glaze, these will be a new family favorite, and the best part?  They use a cake mix and they are SO easy!!!

Ready to make these fun little cakes? Click here for the printable recipe.

INGREDIENTS:

  • 2 cups brown sugar (packed)
  • ½ cup butter (melted)
  • 2 tablespoons cinnamon
  • 36 pecan halves (optional)
  • One boxed yellow cake mix
  • Water, oil and eggs to make mix according to box
  • 1 cup of powdered sugar
  • 1 to 2 tablespoons of milk
  • ½ teaspoon of vanilla

DIRECTIONS:

  • Preheat oven to 350F degrees
  • Spray two muffin tins with non-stick cooking spray
  • Place brown sugar, cinnamon and melted butter into a small bowl and mix until well combined.
  • Spoon sugar mixture evenly into all 24 cups of the muffin tins.
  • Use a mini tart shaper or a wooden spoon to press sugar mixture flat into the bottom of each cup.
  • Place 3 pecans on top of sugar.
  • Make cake mix according to box instructions.
  • Scoop batter over the top of sugar and pecans.  Fill each cup about 2/3 full.

Cinnamon Upside Down Cakes!!Cinnamon Upside Down Cakes2

  • Bake at 350F degrees for 18-20 minutes.
  • Remove from oven and quickly run a small knife around the edge of each cup.
  • Using oven mitts, place a wire cake rack on top of the muffin tin and flip the pan and rack over so that cakes are upside down on the rack.
  • Gently lift the muffin tin up and allow the cakes to pop out. Some sugar will remain in the bottom of each cup, which is fine.
  • While cakes cool, make a glaze by mixing milk, vanilla and powdered sugar together in a small bowl.  Add extra milk or powdered sugar to make glaze a thick frosting consistency- not very runny.
  • Spoon glaze into a small zip-top bag and seal the top.
  • Clip a corner of the bag and drizzle glaze over the tops of each little cake.
  • ENJOY!

Cinnamon Upside Down Cakes!!
My thoughts: These are really easy little treats and they are gobbled up fast!  I’ve made them twice now and everyone asks for the recipe. I made my second batch without the pecans on half of them.  They were still wonderful and make this recipe yummy for even people who don’t like or can’t have nuts. Keep them covered up and they last a few days- a perfect make-ahead Christmas morning treat!  

Cinnamon Upside Down Cakes!!!
Other yummy ideas from easybaked:

Cinnamon Roll Cheesecake!!Cinnamon Roll Filling in a yummy cupcake!Brownie Oreo Cookie CupSpiced Mocha and Tim Tam Slams!

Opera Creams

Opera Cream Candy 
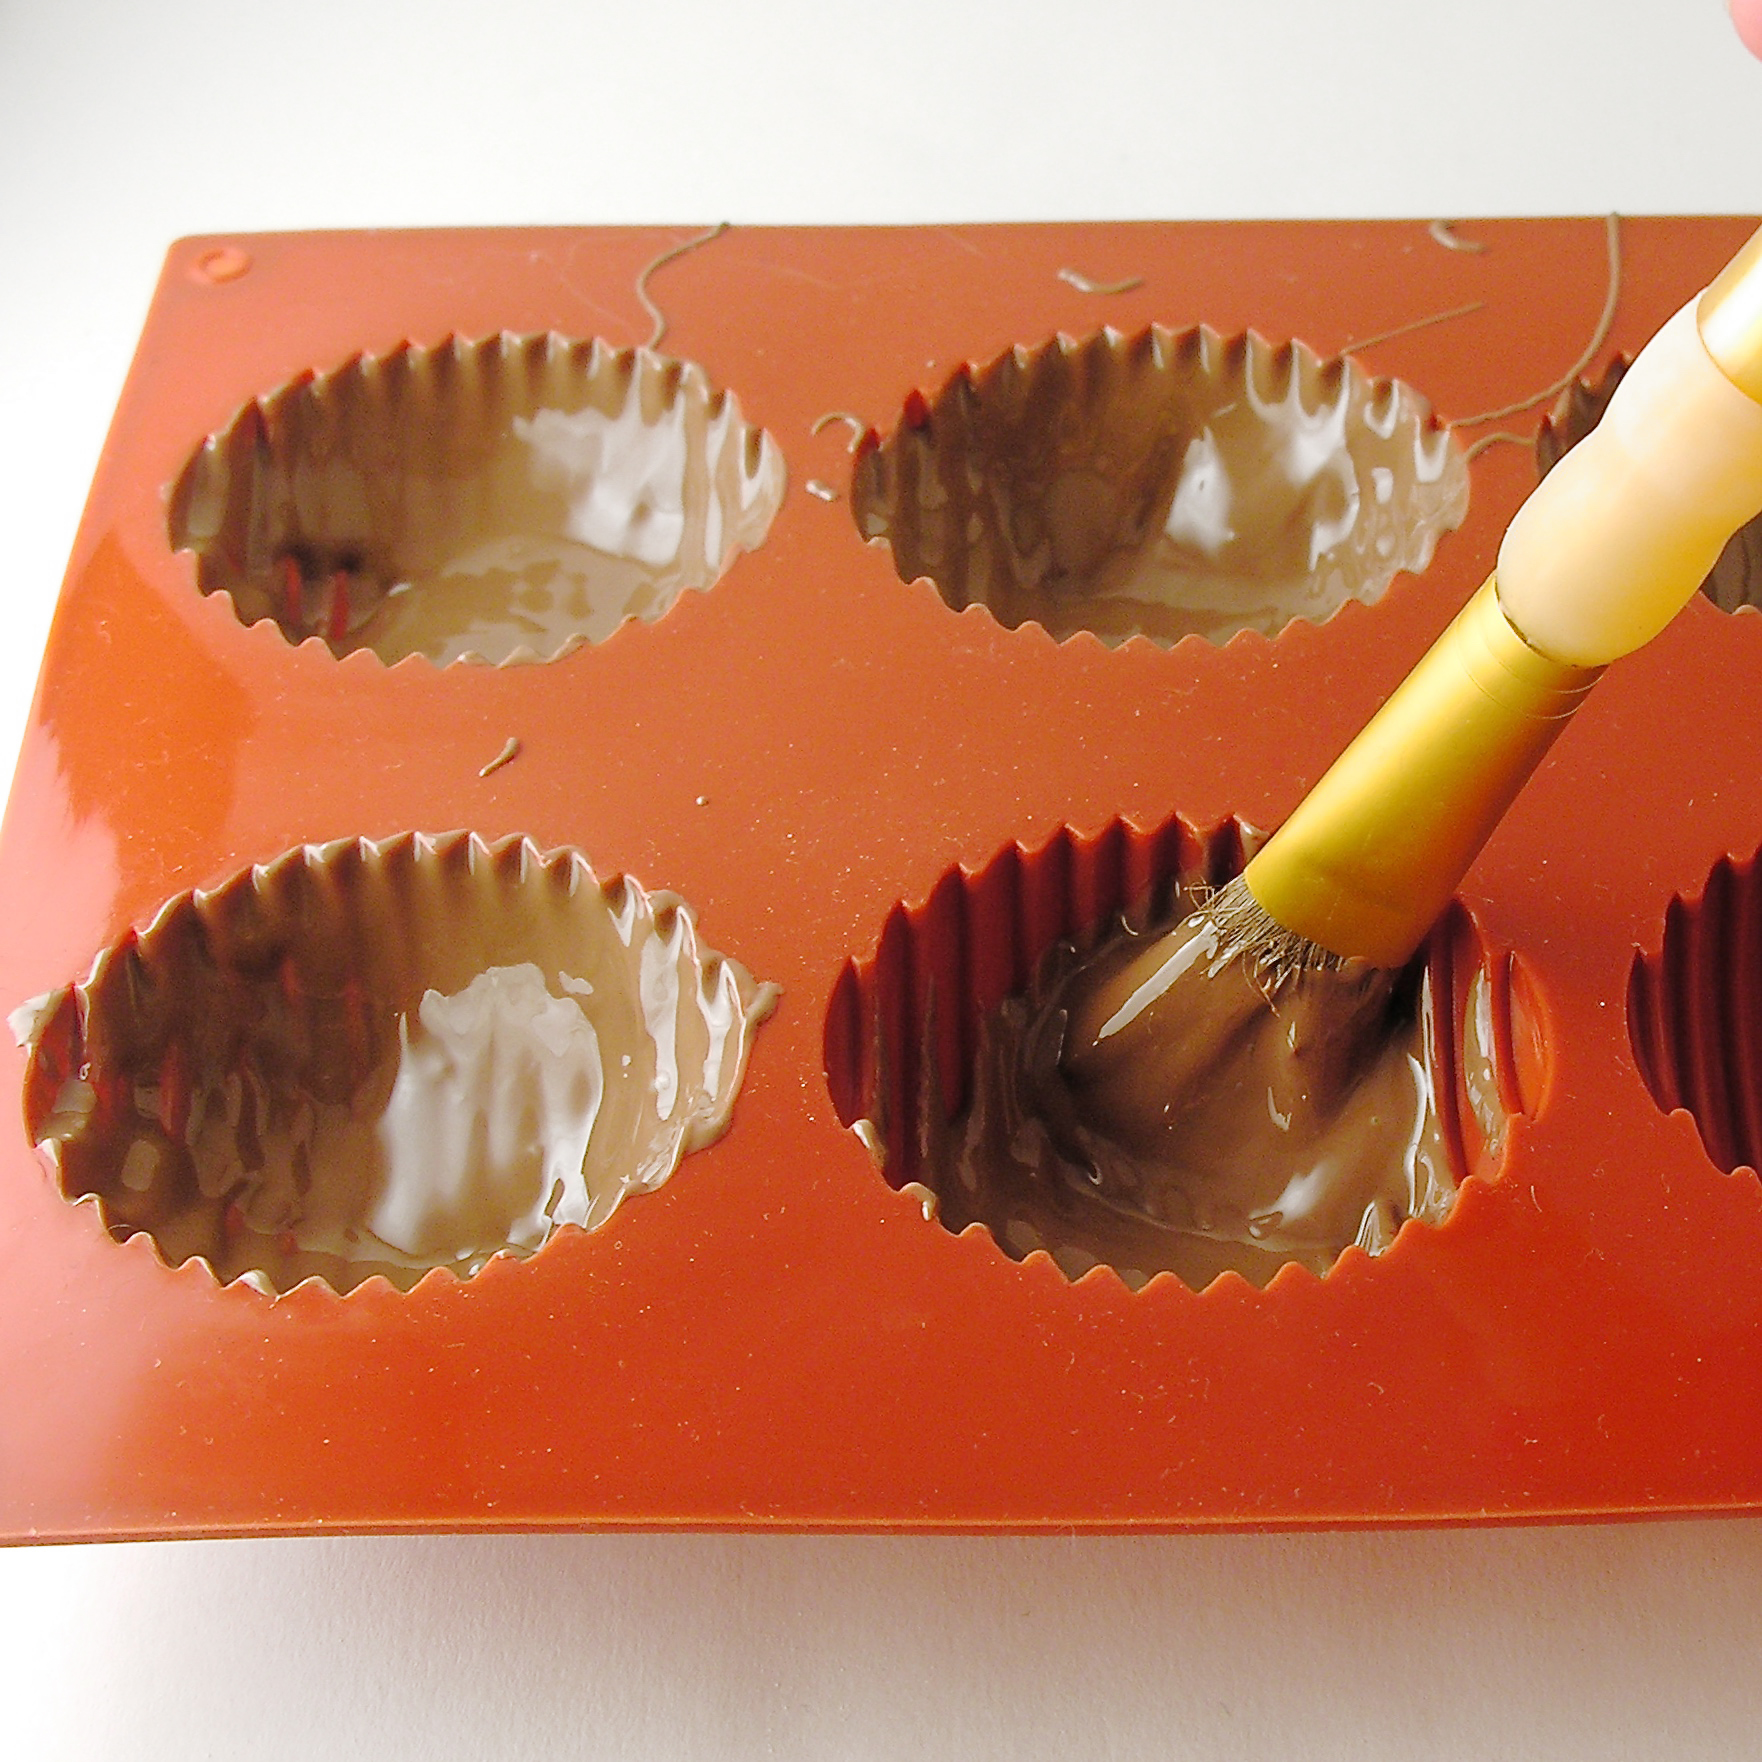
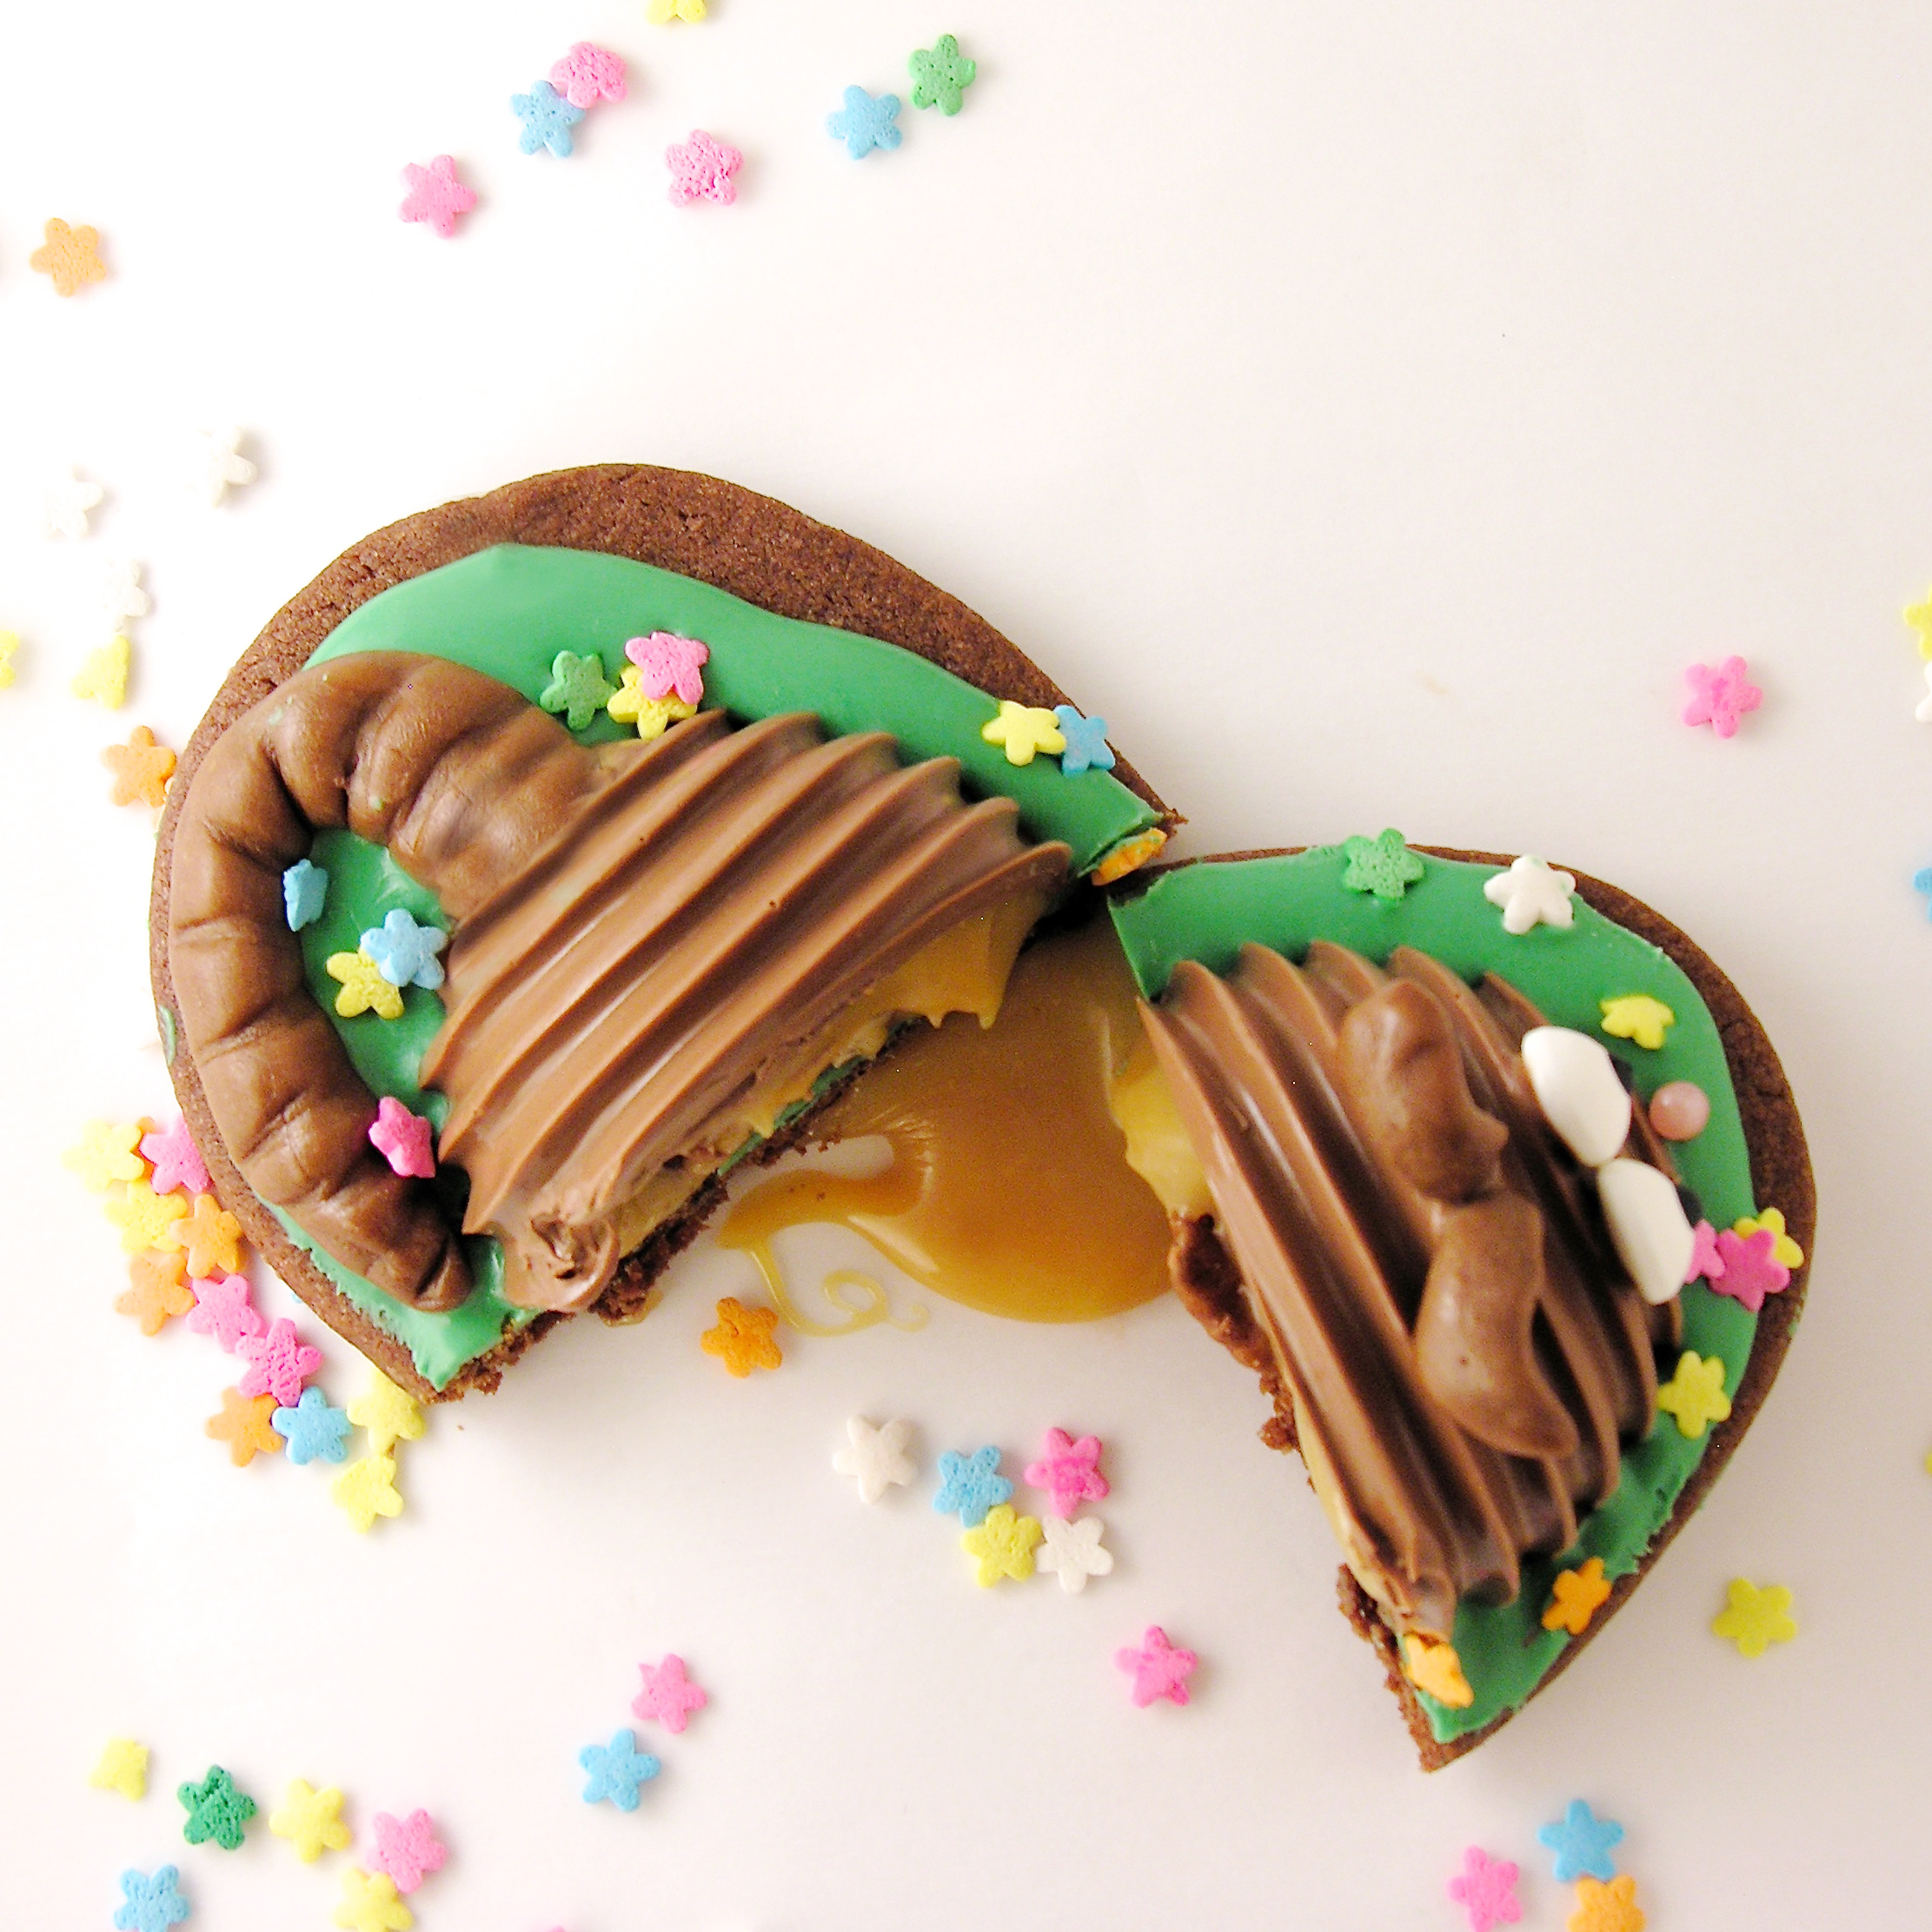
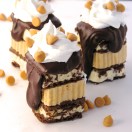
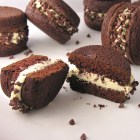
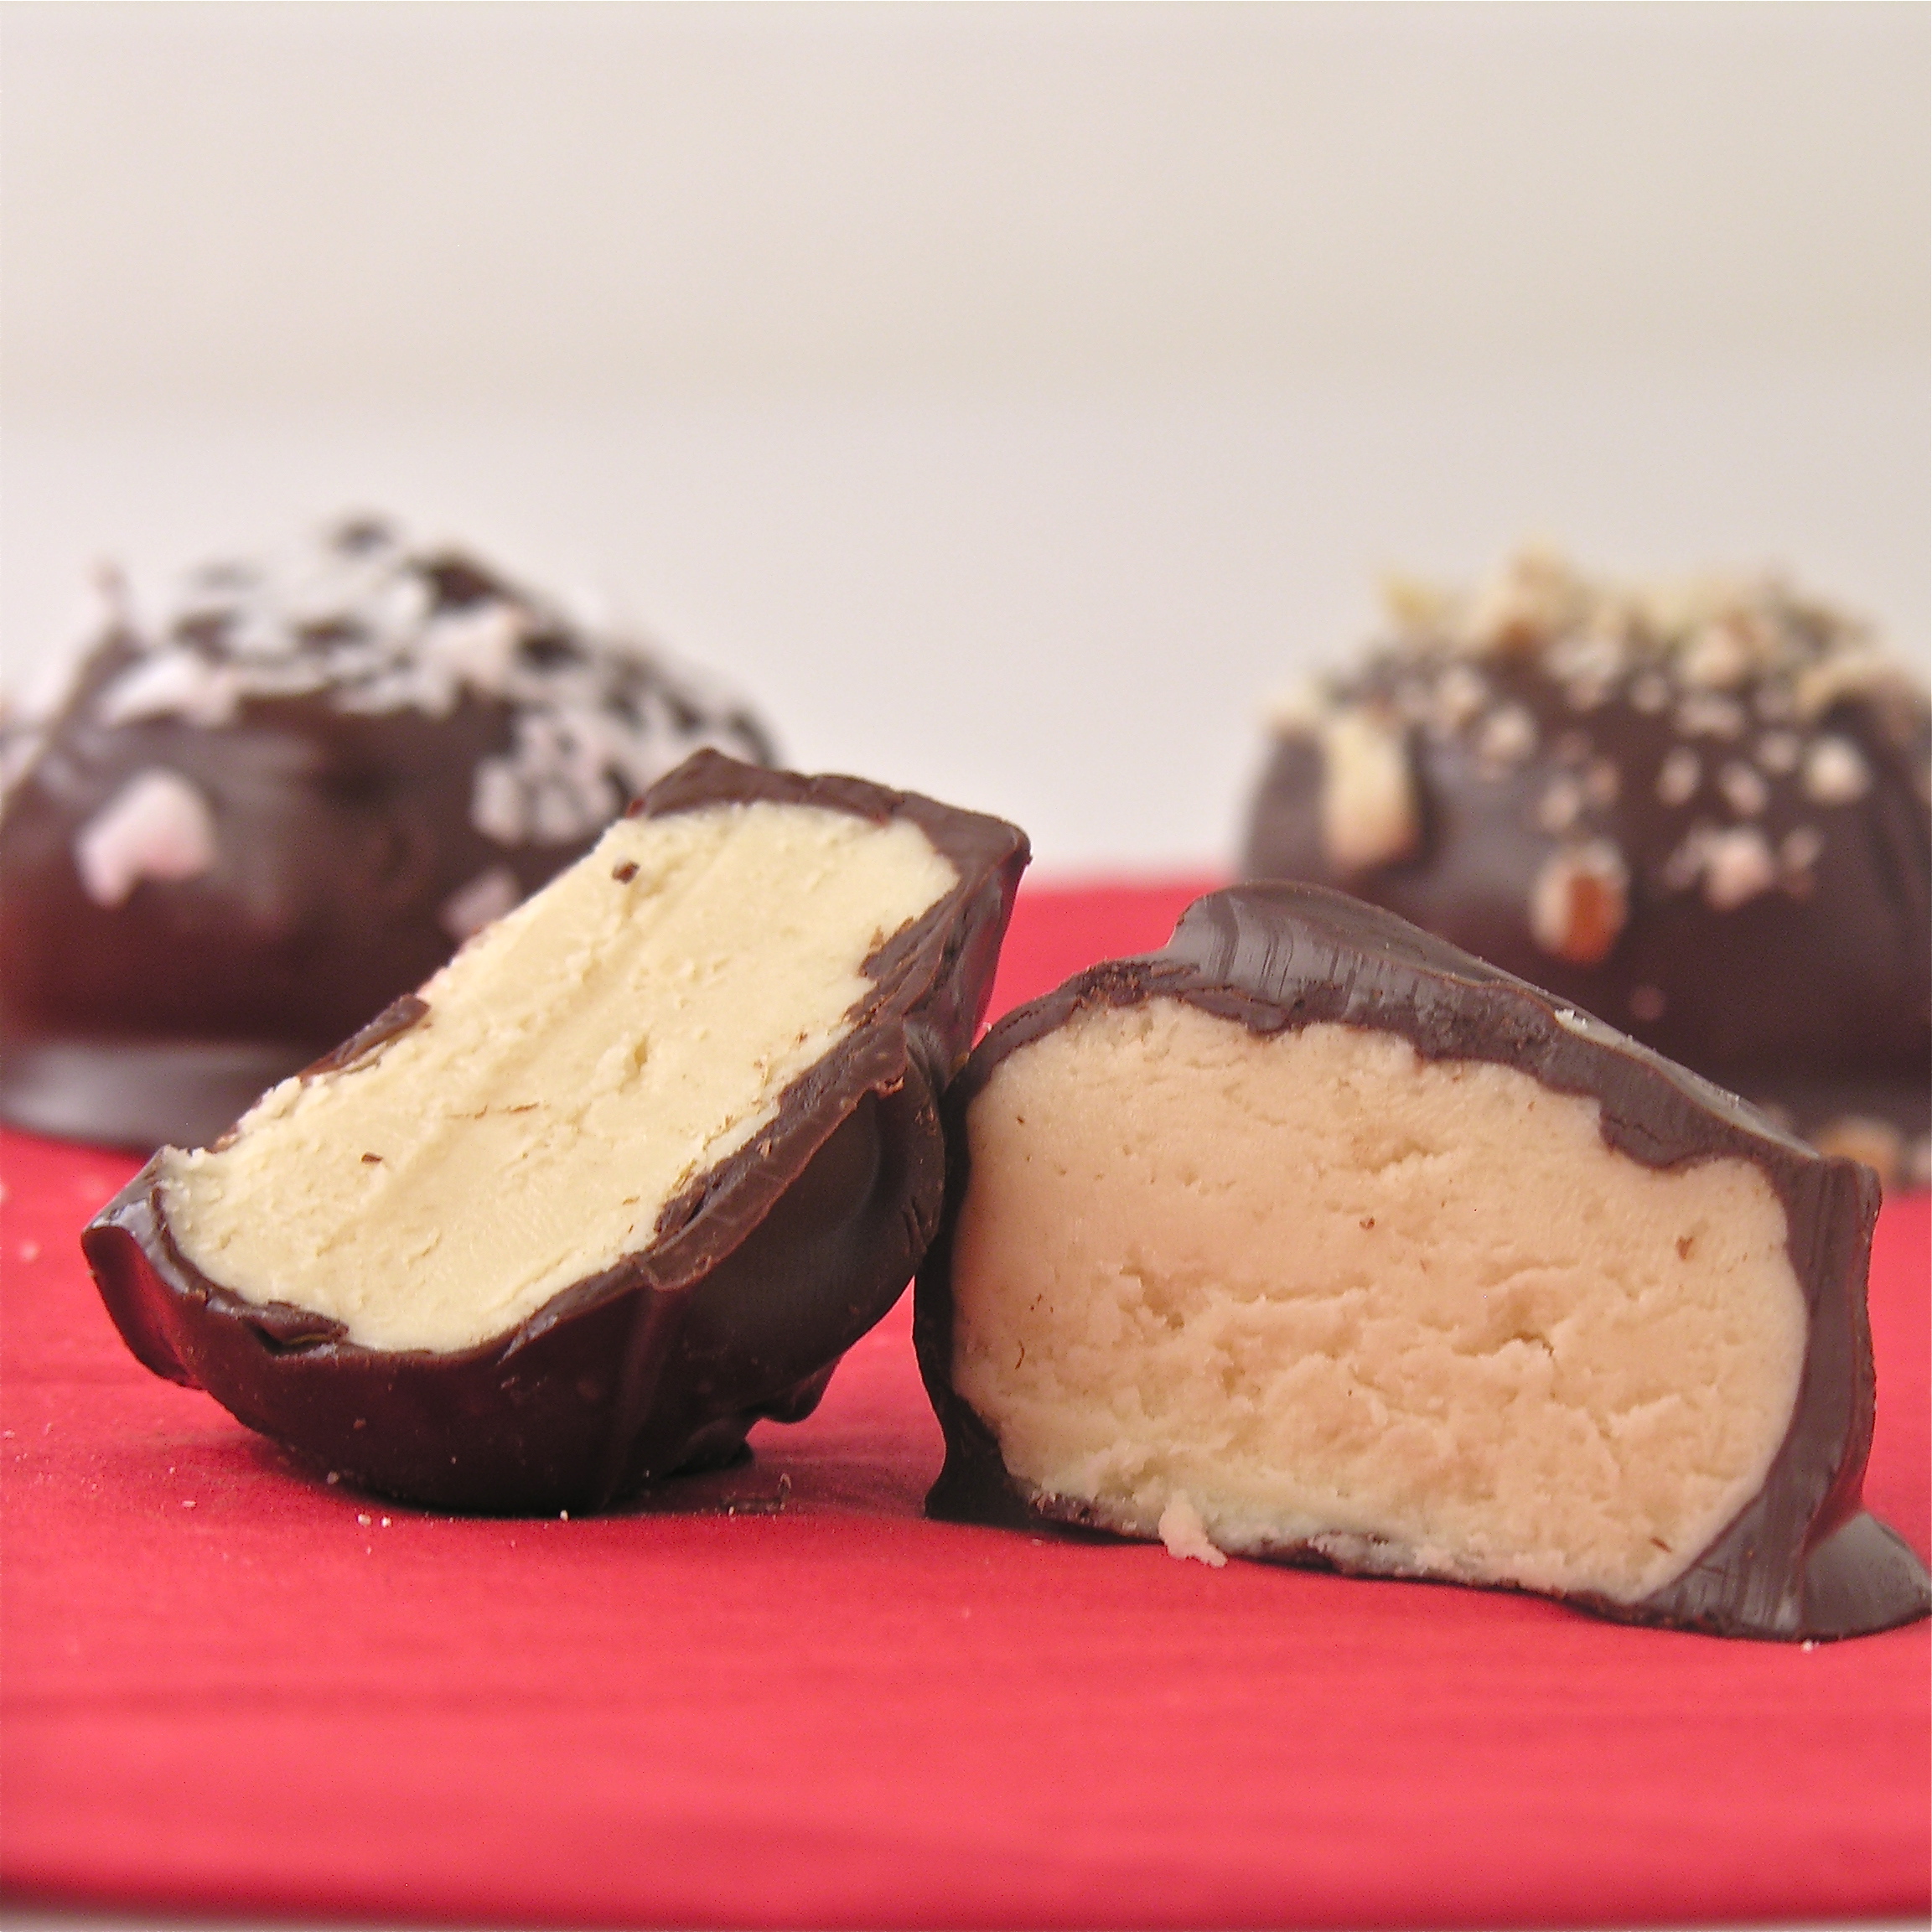
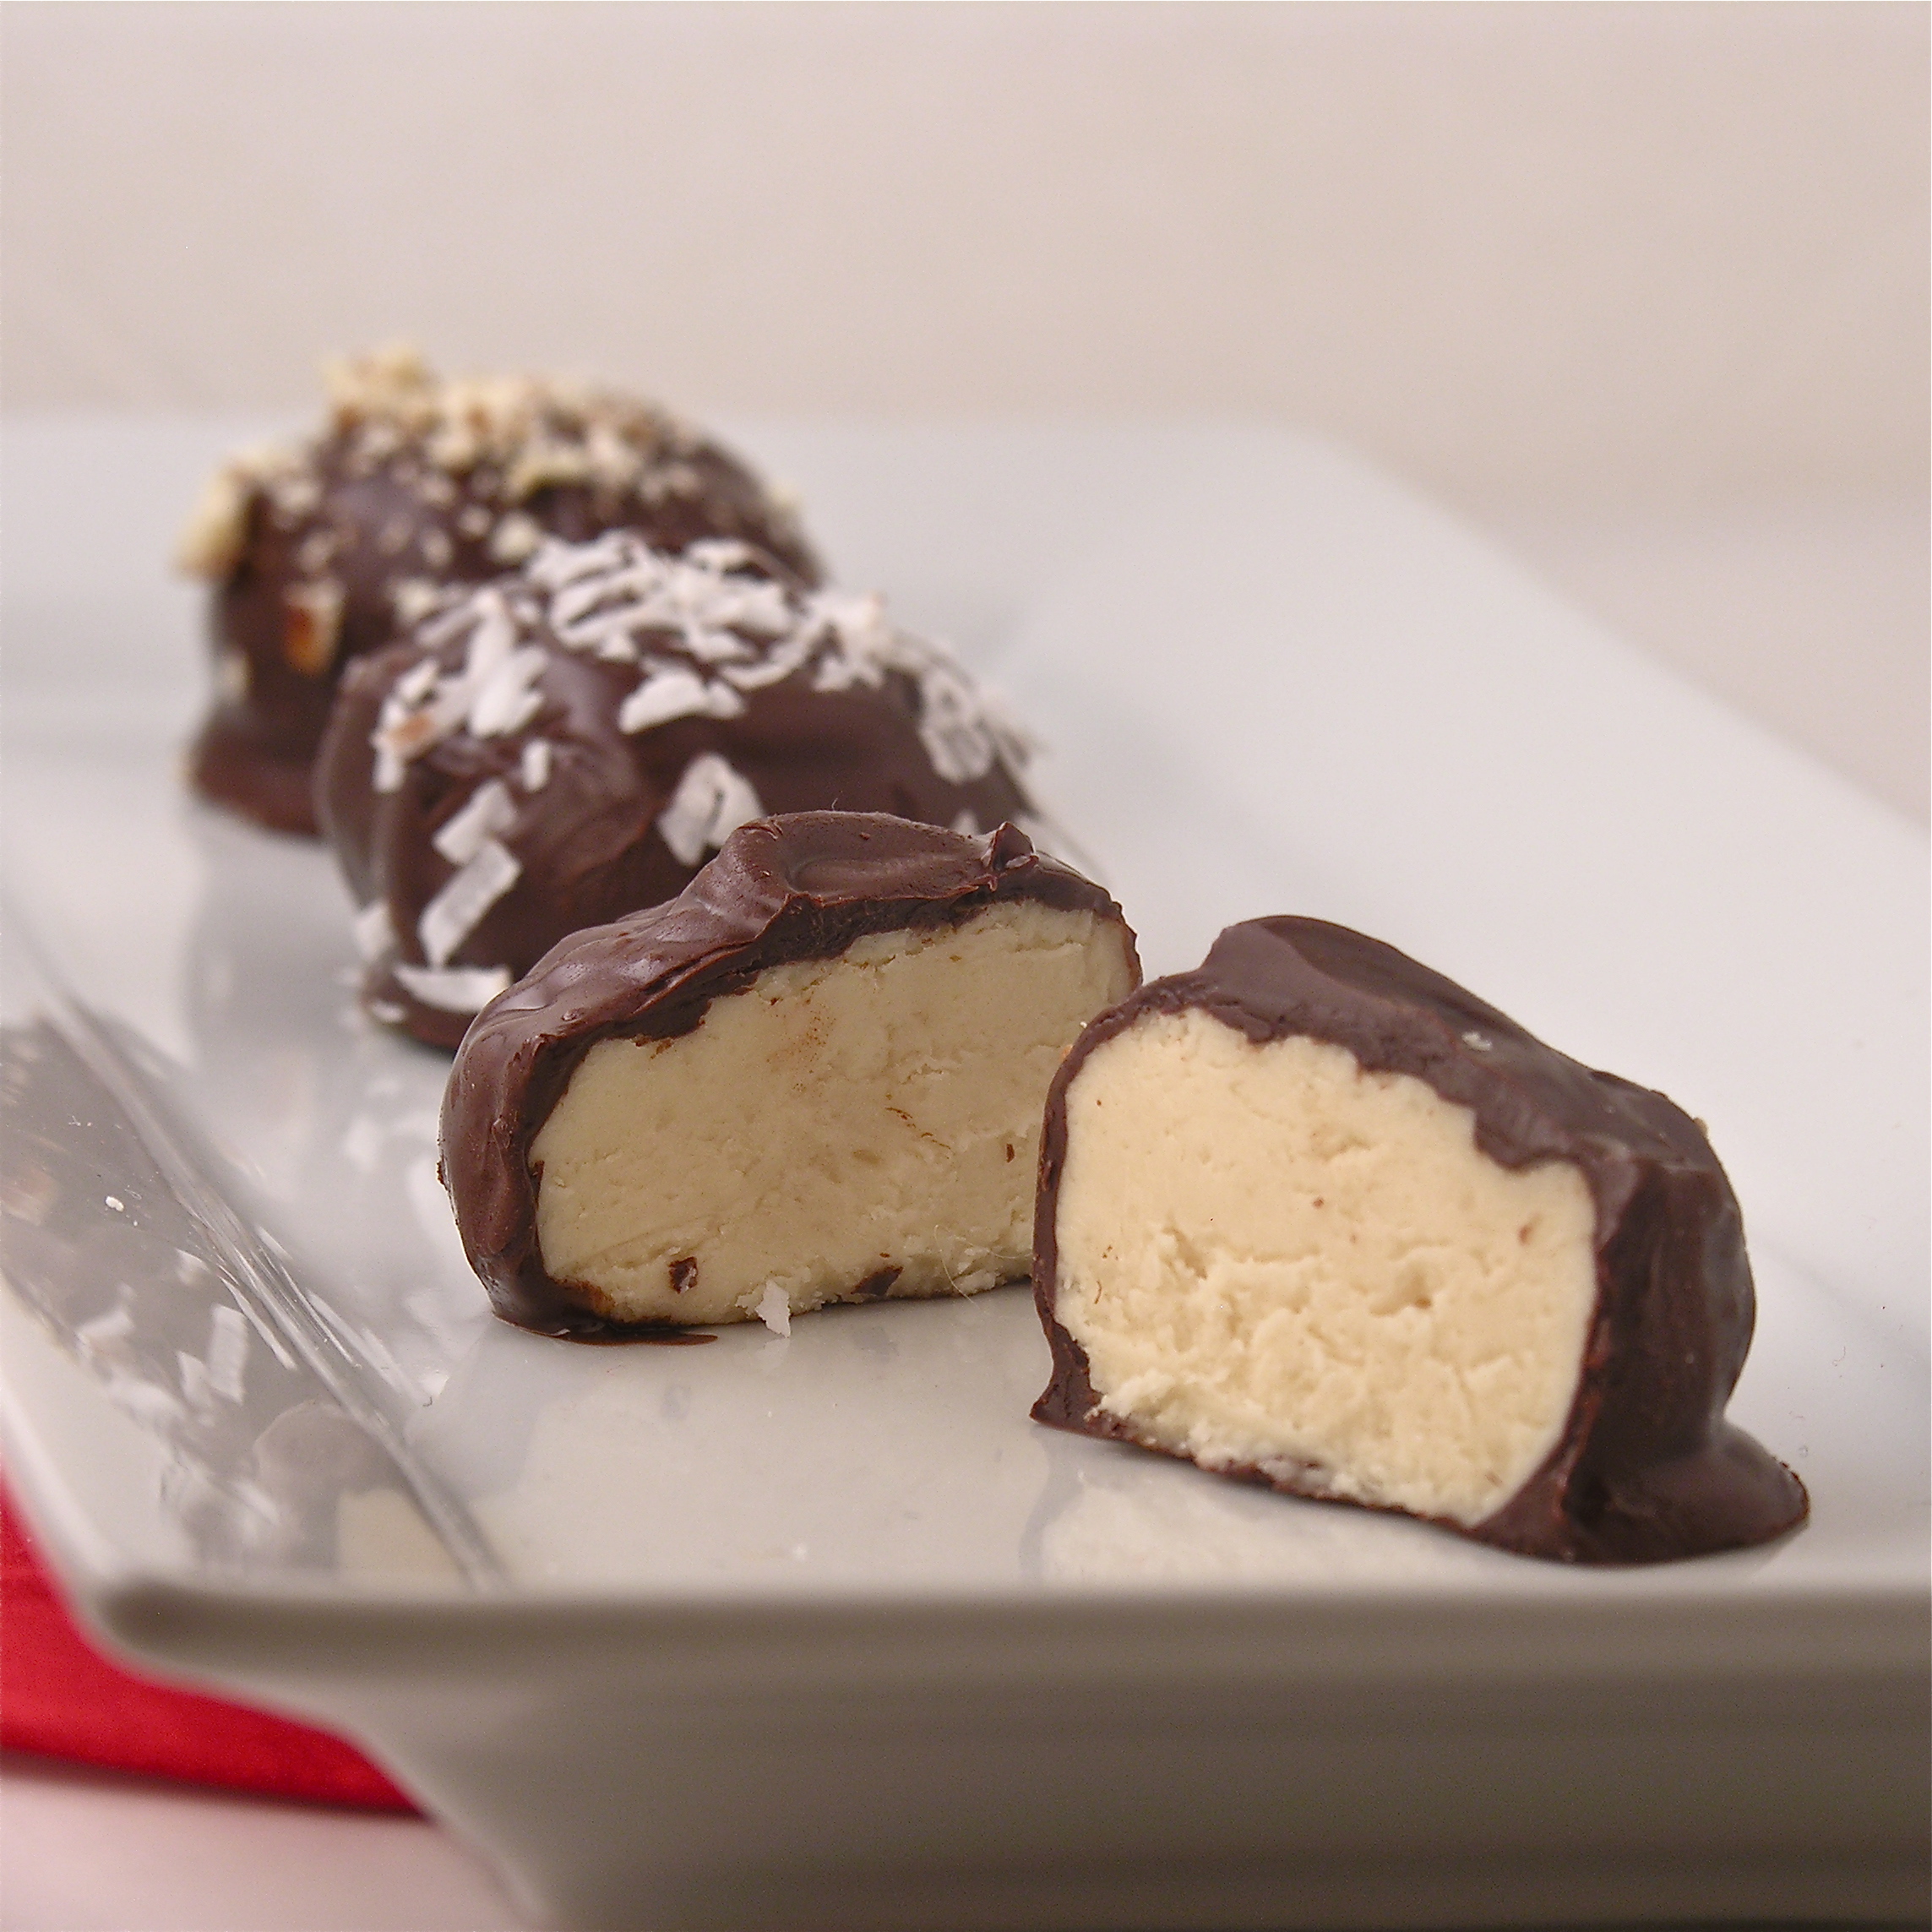
These cream-filled chocolates are so smooth and rich you won’t be able to stop at just one!

I work in a genetics lab.  Every year at Christmas my co-worker Gail brings in the most wonderful candy I’ve ever eaten.  Every year I ask for the recipe and she smiles and says that she can give me the recipe but that I’d need to visit and learn the recipe from her.  Now that I’ve made it, I understand.  This is not a typical Easybaked recipe, it’s very involved.  It’s fun and challenging and oh- soooo worth the effort though!

Gail recently retired and about a week ago I visited her in her kitchen to learn how to make opera creams.

This is a recipe passed down to her from her mom, who had all kinds of thoughts about the making of this candy.  My favorite was that the recipe works best on sunny days and if it’s raining you might as well just wait to make it another day.  We had a beautiful sunny December day to make our candy on, so I’m sure she would have approved.

Lets start with the recipe– that’s the easy part.  I’m going to post it twice– once with pictures and videos and once just straight so you can read it easier.

Gail's moms recipe card

INGREDIENTS:

  • 4 c. sugar
  • 2 c. heavy cream
  • 1/8 t. cream of tartar
  • 2 T light corn syrup
  • 1 1/2 t. vanilla
  • 1 t butter
  • 1/4 t. salt
  • Chocolate (of your choice) for dipping- we used tempered dark chocolate bits

DIRECTIONS:

  • Put sugar, cream, cream of tartar and corn syrup into a large saucepan and mix well.
  • Use a pastry brush and a little water to brush all of mixture down the sides of the pan to remove any sugar stuck to the sides.

Use a pastry brush to brush water down sides of panGail and her moms candy thermometer

  • Cover pan and bring to a boil.
  • When boiling, uncover and clip a candy thermometer to the side of the pan.
  • Bring mixture to 240F degrees
  • (While you are waiting for this to come to temp, butter the bottom and sides of a shallow glass or ceramic dish.)

Bring to 240F degreesDon't stir!!!

  • Remove from stove and add salt, butter and vanilla– do not stir!
  • Pour mixture into buttered dish (don’t use plastic!) and allow this to cool completely (we put it on the back porch where it was cool and this took 2 hours)
  • Spoon cooled mixture onto clean countertop (it will be like a very sticky caramel)

Pour into a non-plastic dishCooled mixtureKnead into a soft cream

  • Work with hands until firm and creamy- it takes 20-30 minutes and this is pure craziness….here are the stages to expect:
  1. sticky caramel- fairly firm
  2. slimy/ buttery texture– almost like its falling apart
  3. sticky but workable
  4. so sticky that you literally cannot move your fingers and you are sure you will have to get the mixture surgically removed.
  5. no longer sticky- but like playdough with little crumbs falling off at the edges…keep kneading!
  6. Finally creamy and smooth- kneads together in one beautiful dough- like ball.

I filmed Gail as she went through this process.  Click HERE to see the near-miraculous transformation from sticky to creamy smooth!

  • Place this ball of filling in a dish, cover with a damp towel and refrigerate for 2 days….yes. TWO DAYS.
  • Bring cream filling back to room temp and roll into balls.

Roll into ballsDip into chocolate...

  • Dip into melted chocolate and cool.
  • You can mix nuts or coconut into the cream if you like, or just leave them plain.


Opera Cream CandyMy thoughts: amazingly yummy.  The cream is just like no other candy I’ve tried.  It is worth every bit if the effort it took us to make these.  I found myself cringing as people popped them whole into their mouths though…I kept thinking, “SAVOR those!!!  You’ve no idea how hard I worked on them!!!”  So hard, in fact that I took a two hour nap when I got home!

Opera cream CandyNow for the recipe in an easy-to-read format:

INGREDIENTS:

  • 4 c. sugar
  • 2 c. heavy cream
  • 1/8 t. cream of tartar
  • 2 T light corn syrup
  • 1 1/2 t. vanilla
  • 1 t butter
  • 1/4 t. salt
  • Chocolate (of your choice) for dipping- we used dark tempered chocolate bits

DIRECTIONS:

  • Put sugar, cream, cream of tartar and corn syrup to a large saucepan and mix well.
  • Use a pastry brush and a little water to brush all of mixture down the sides of the pan to remove any sugar stuck to the sides.
  • Cover pan and bring to a boil.
  • When boiling, uncover and clip a candy thermometer to the side of the pan.
  • Bring mixture to 240F degrees
  • (While you are waiting for this to come to temp, butter the bottom and sides of a shallow glass or ceramic dish.)
  • Remove from stove and add butter and vanilla– do not stir!
  • Pour mixture into buttered dish (don’t use plastic!) and allow this to cool completely (we put it on the back porch where it was cool and this took 2 hours)
  • Spoon cooled mixture onto clean countertop (it will be like a very sticky caramel)
  • Work with hands until firm and creamy.
  • Place this ball of filling in a dish, cover with a damp towel and refrigerate for 2 days.
  • Bring cream filling to room temp and roll into balls.
  • Dip into melted chocolate and cool.
  • You can mix nuts or coconut into the cream if you like, or just leave them plain.

Opera Cream Candy

A huge “thank-you” to Gail for spending so much time teaching me her family recipe!  We had such a fun day together cooking AND trying lime phosphates while we waited for candy to cool!

Having fun while the candy cools!

Enjoy!!!!!  ~r

Other (easier!) Christmas recipe ideas from Easybaked~ Click on the image to be taken to the recipe:

Chocolate molten lava cupcakesCake balls filled with cream cheese frostingChocolate bonbonsHot Chocolate Pops!

Chocolate Pecan Tart

Posted on

This pecan tart with a hint of cocoa was inspired by my recent vacation to South Carolina.

I just got back from a trip to my cousin’s wedding in Raleigh and a family vacation in Myrtle Beach.  Besides the pralines (MUST learn to make these), I was tempted by all the varieties of pecan pies in each restaurant we visited (bourbon, chocolate chip, caramel, cheesecake….)

I’m visiting dear friends tomorrow afternoon and since I’ve been obsessing over pecan pies I thought I’d better give in and make one tonight to share with them.  I really think you’ll love this recipe.  The tart pan makes it beautiful and the cocoa makes it so rich and flavorful.  Plus it is really easy.  Enjoy!

INGREDIENTS:

  • Refrigerated pie crust (or your own favorite recipe!)
  • 4 T. butter
  • 2 T. cocoa powder
  • 1 c. corn syrup
  • 3 eggs
  • 1/2 c. dark brown sugar
  • 2 T. vanilla
  • 2 c. pecans (one cup chopped, one cup halves)

DIRECTIONS:

  • Preheat oven to 350 degrees
  • Lightly grease a 9 inch tart pan with removable bottom.  Line the pan with your crust, pressing it into the bottom and sides of pan and pricking the bottom a few times with a fork.
  • Melt butter on the stove in a saucepan.
  • Turn heat off and add the cocoa and corn syrup.
  • Lightly beat the eggs with the sugar and vanilla.
  • Stir egg mixture and one cup of chopped nuts into syrup.
  • Pour into crust and arrange the remaining pecans over the top.
  • Bake on a cookie sheet for 35-40 minutes (until the filling is just set).
  • Serve warm (with ice cream, I think!) or at room temperature.


My thoughts:  This is a quick dessert and it is SO yummy!  I’m laughing a little about how I have to cut a piece out of everything I make (for photography purposes, of course…) and how nothing I bring to share at a dinner ever looks pretty anymore.  My friends look at my chopped up dessert, roll their eyes and say– oh yeah….BLOG photos…  I hope you enjoy making this recipe.  I’ll leave you tonight with a couple of beach photos.  Enjoy!

My favorite pier at sunset….happy moment….

Appreciating the beach. Enjoy your week, friends!

%d bloggers like this: