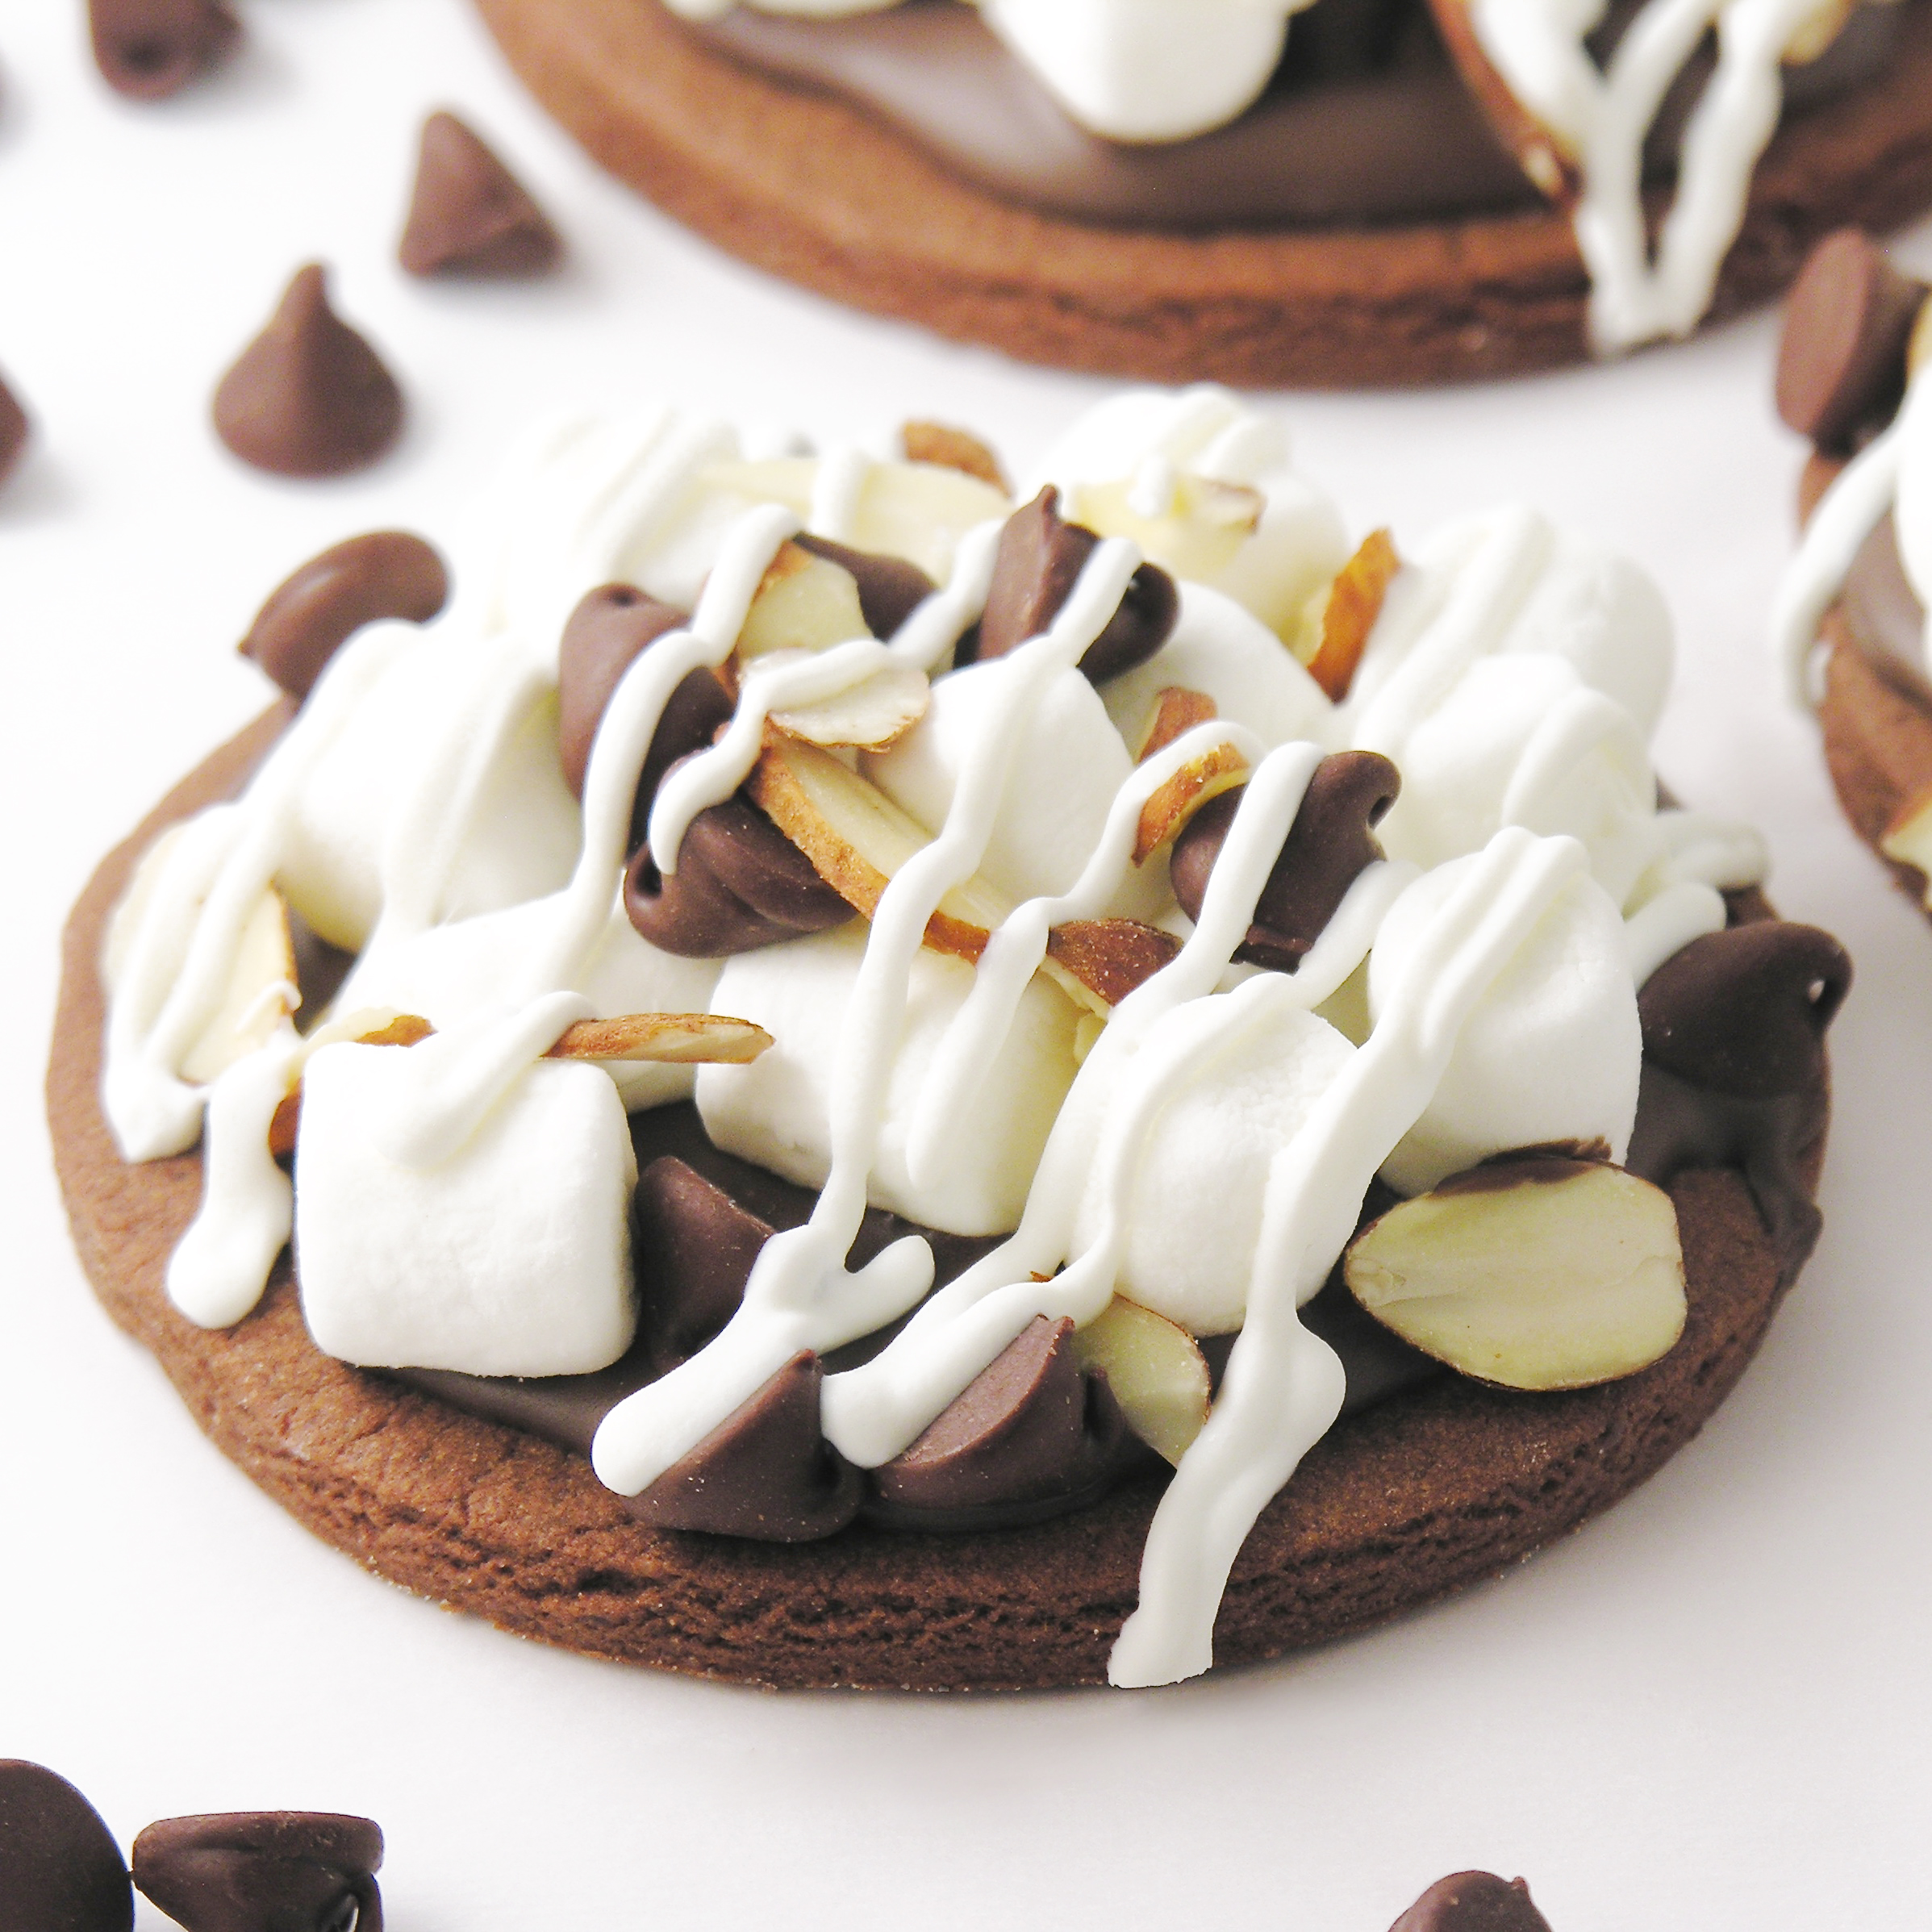
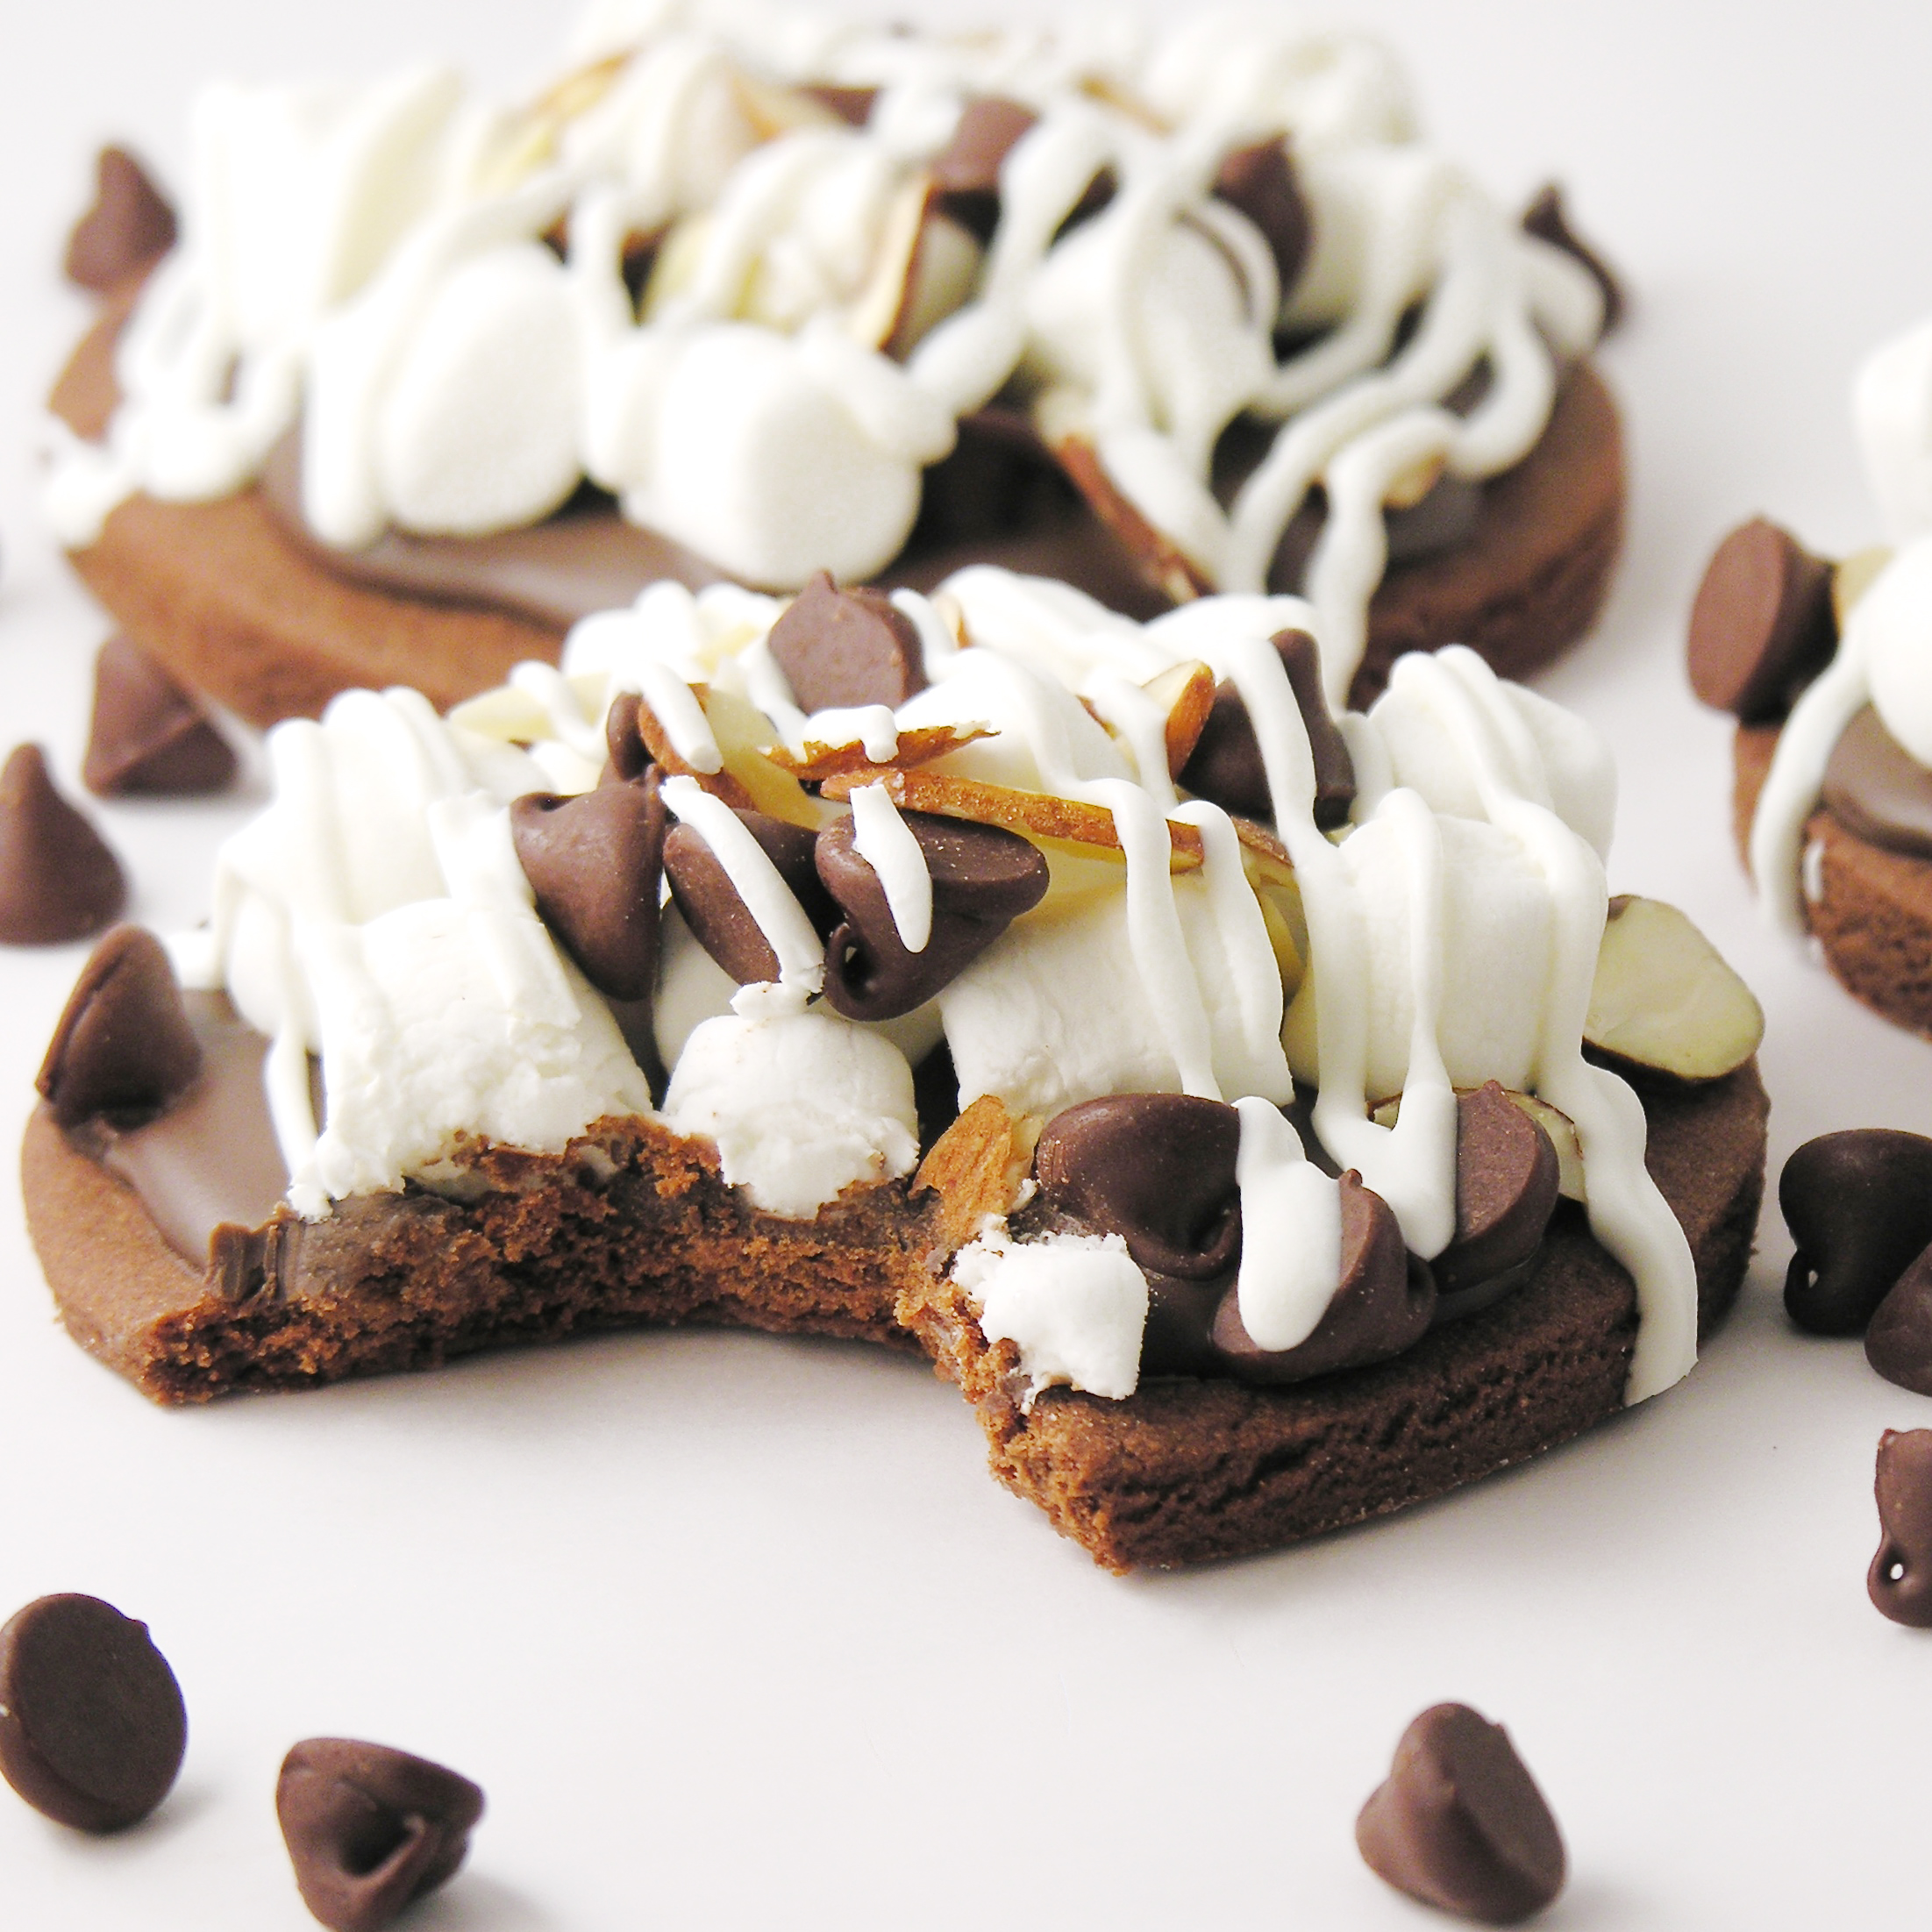
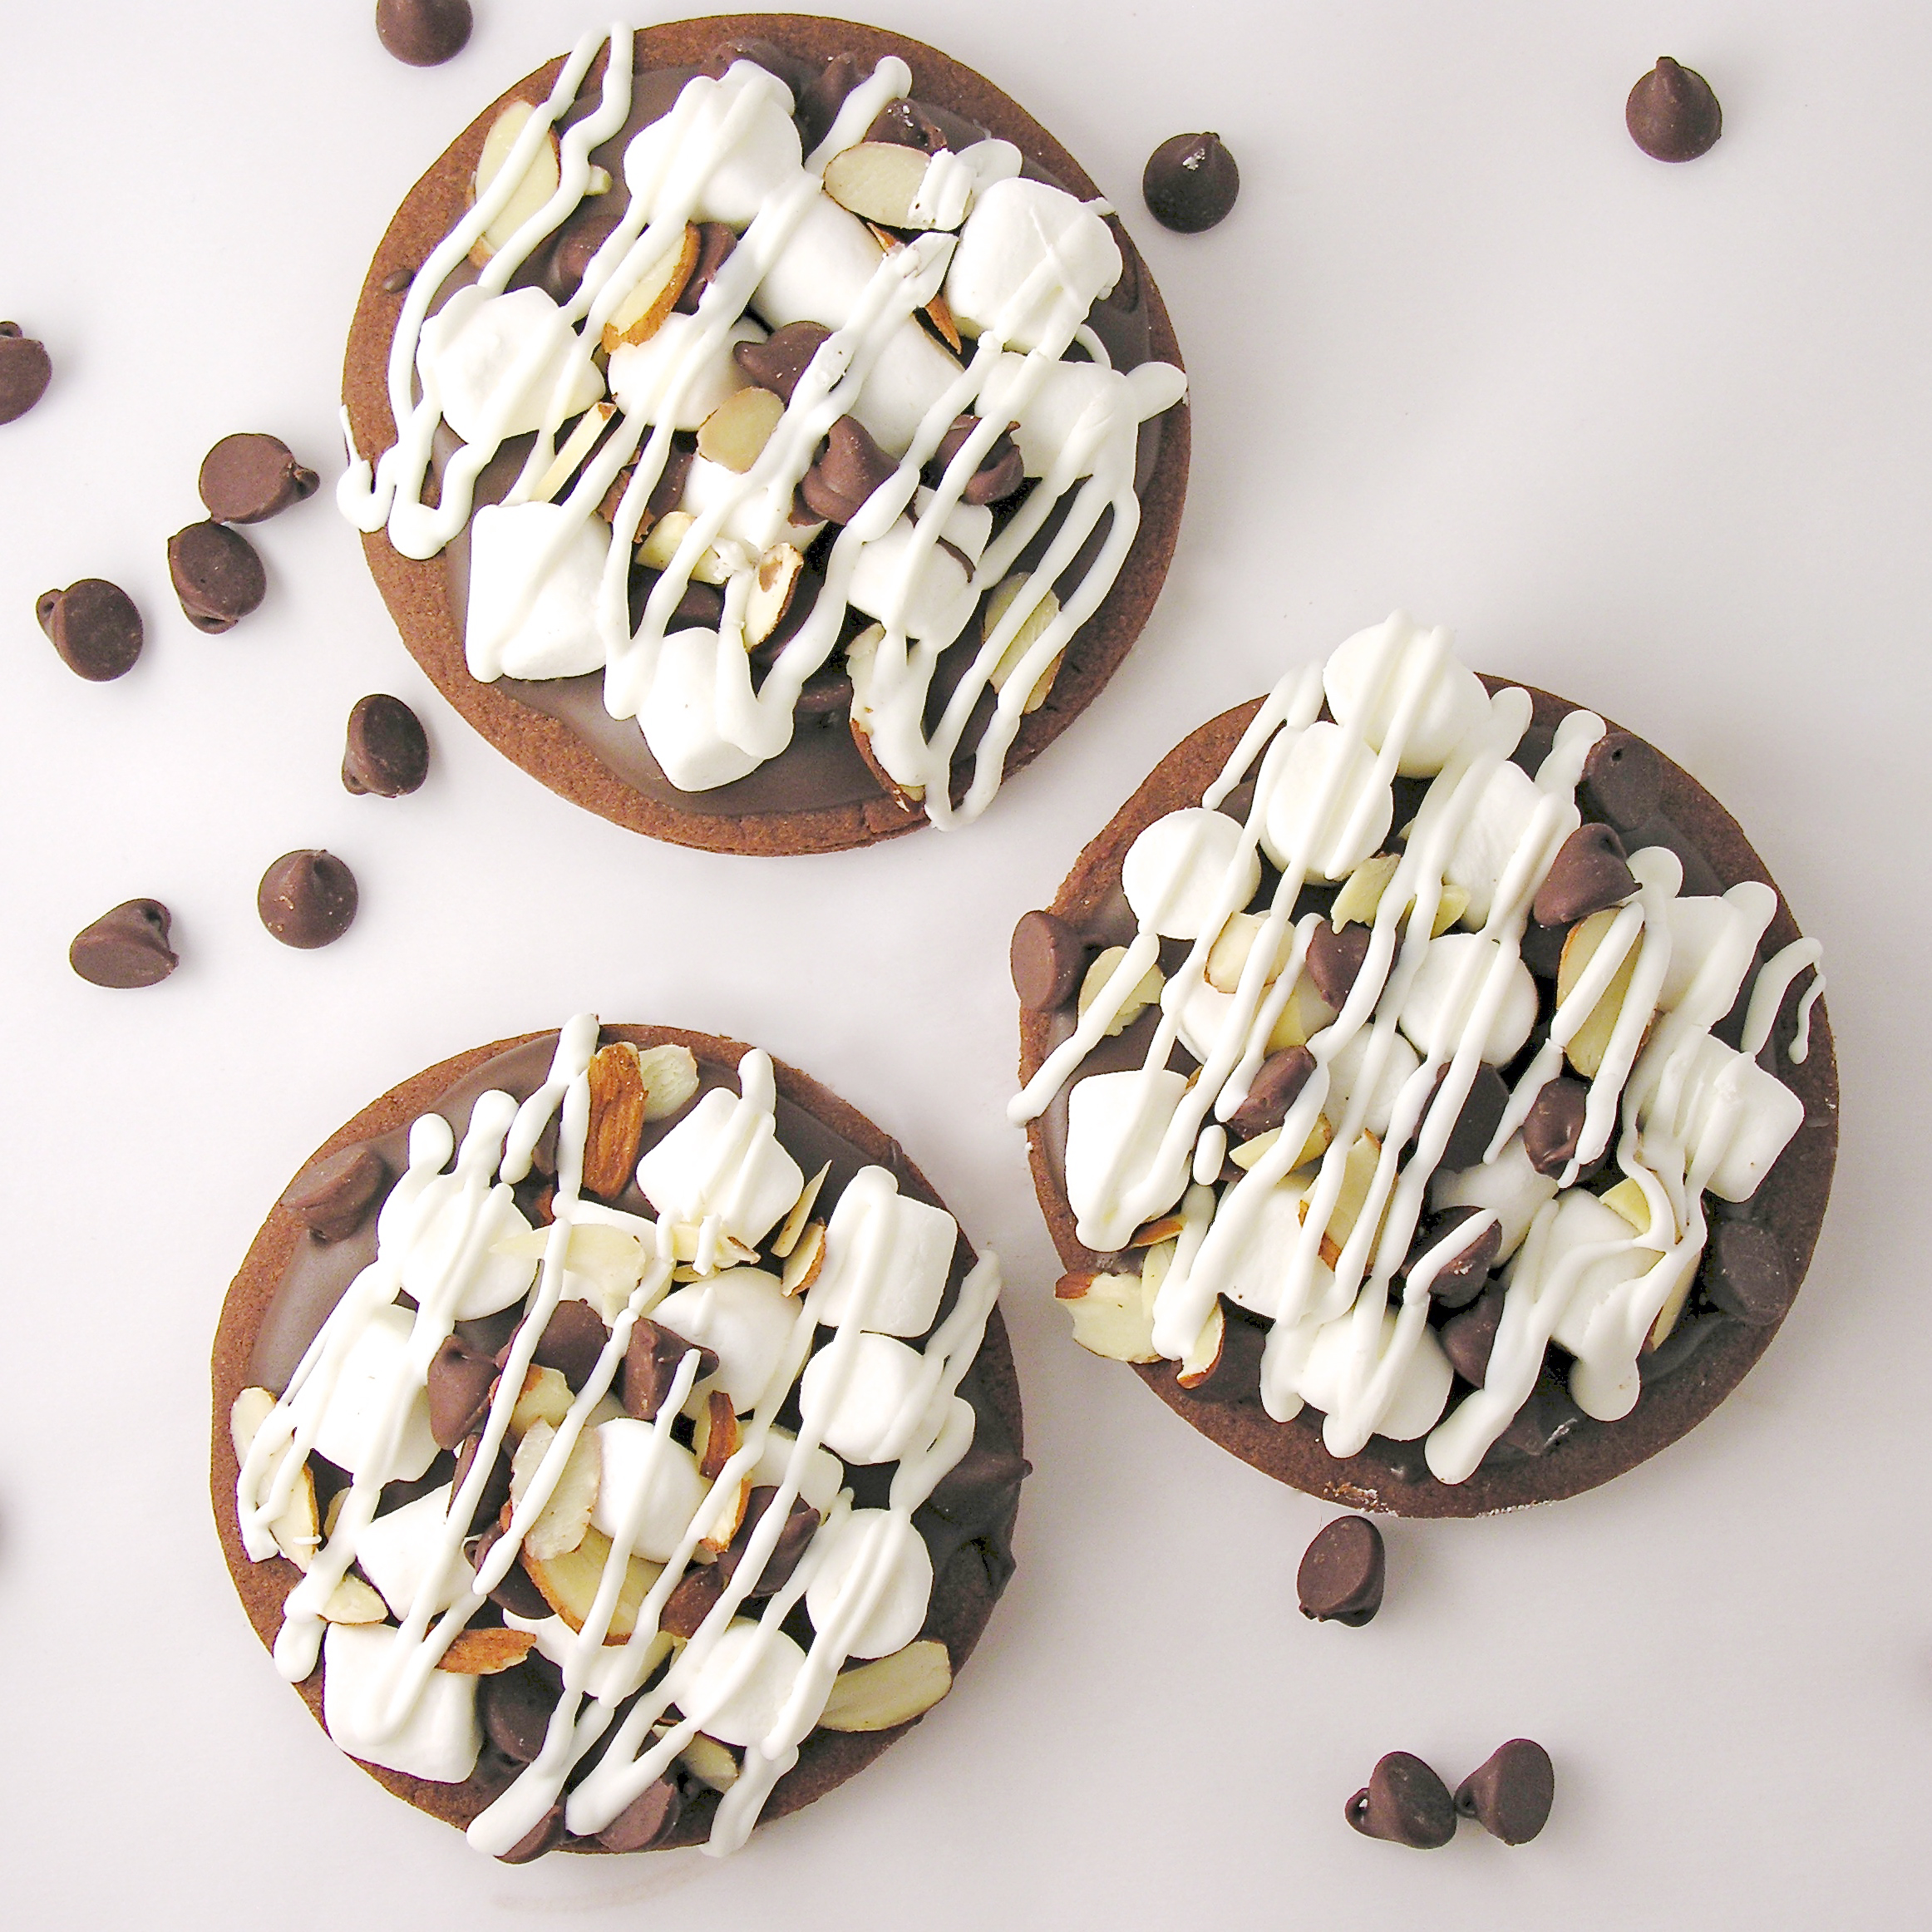
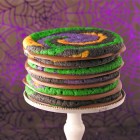
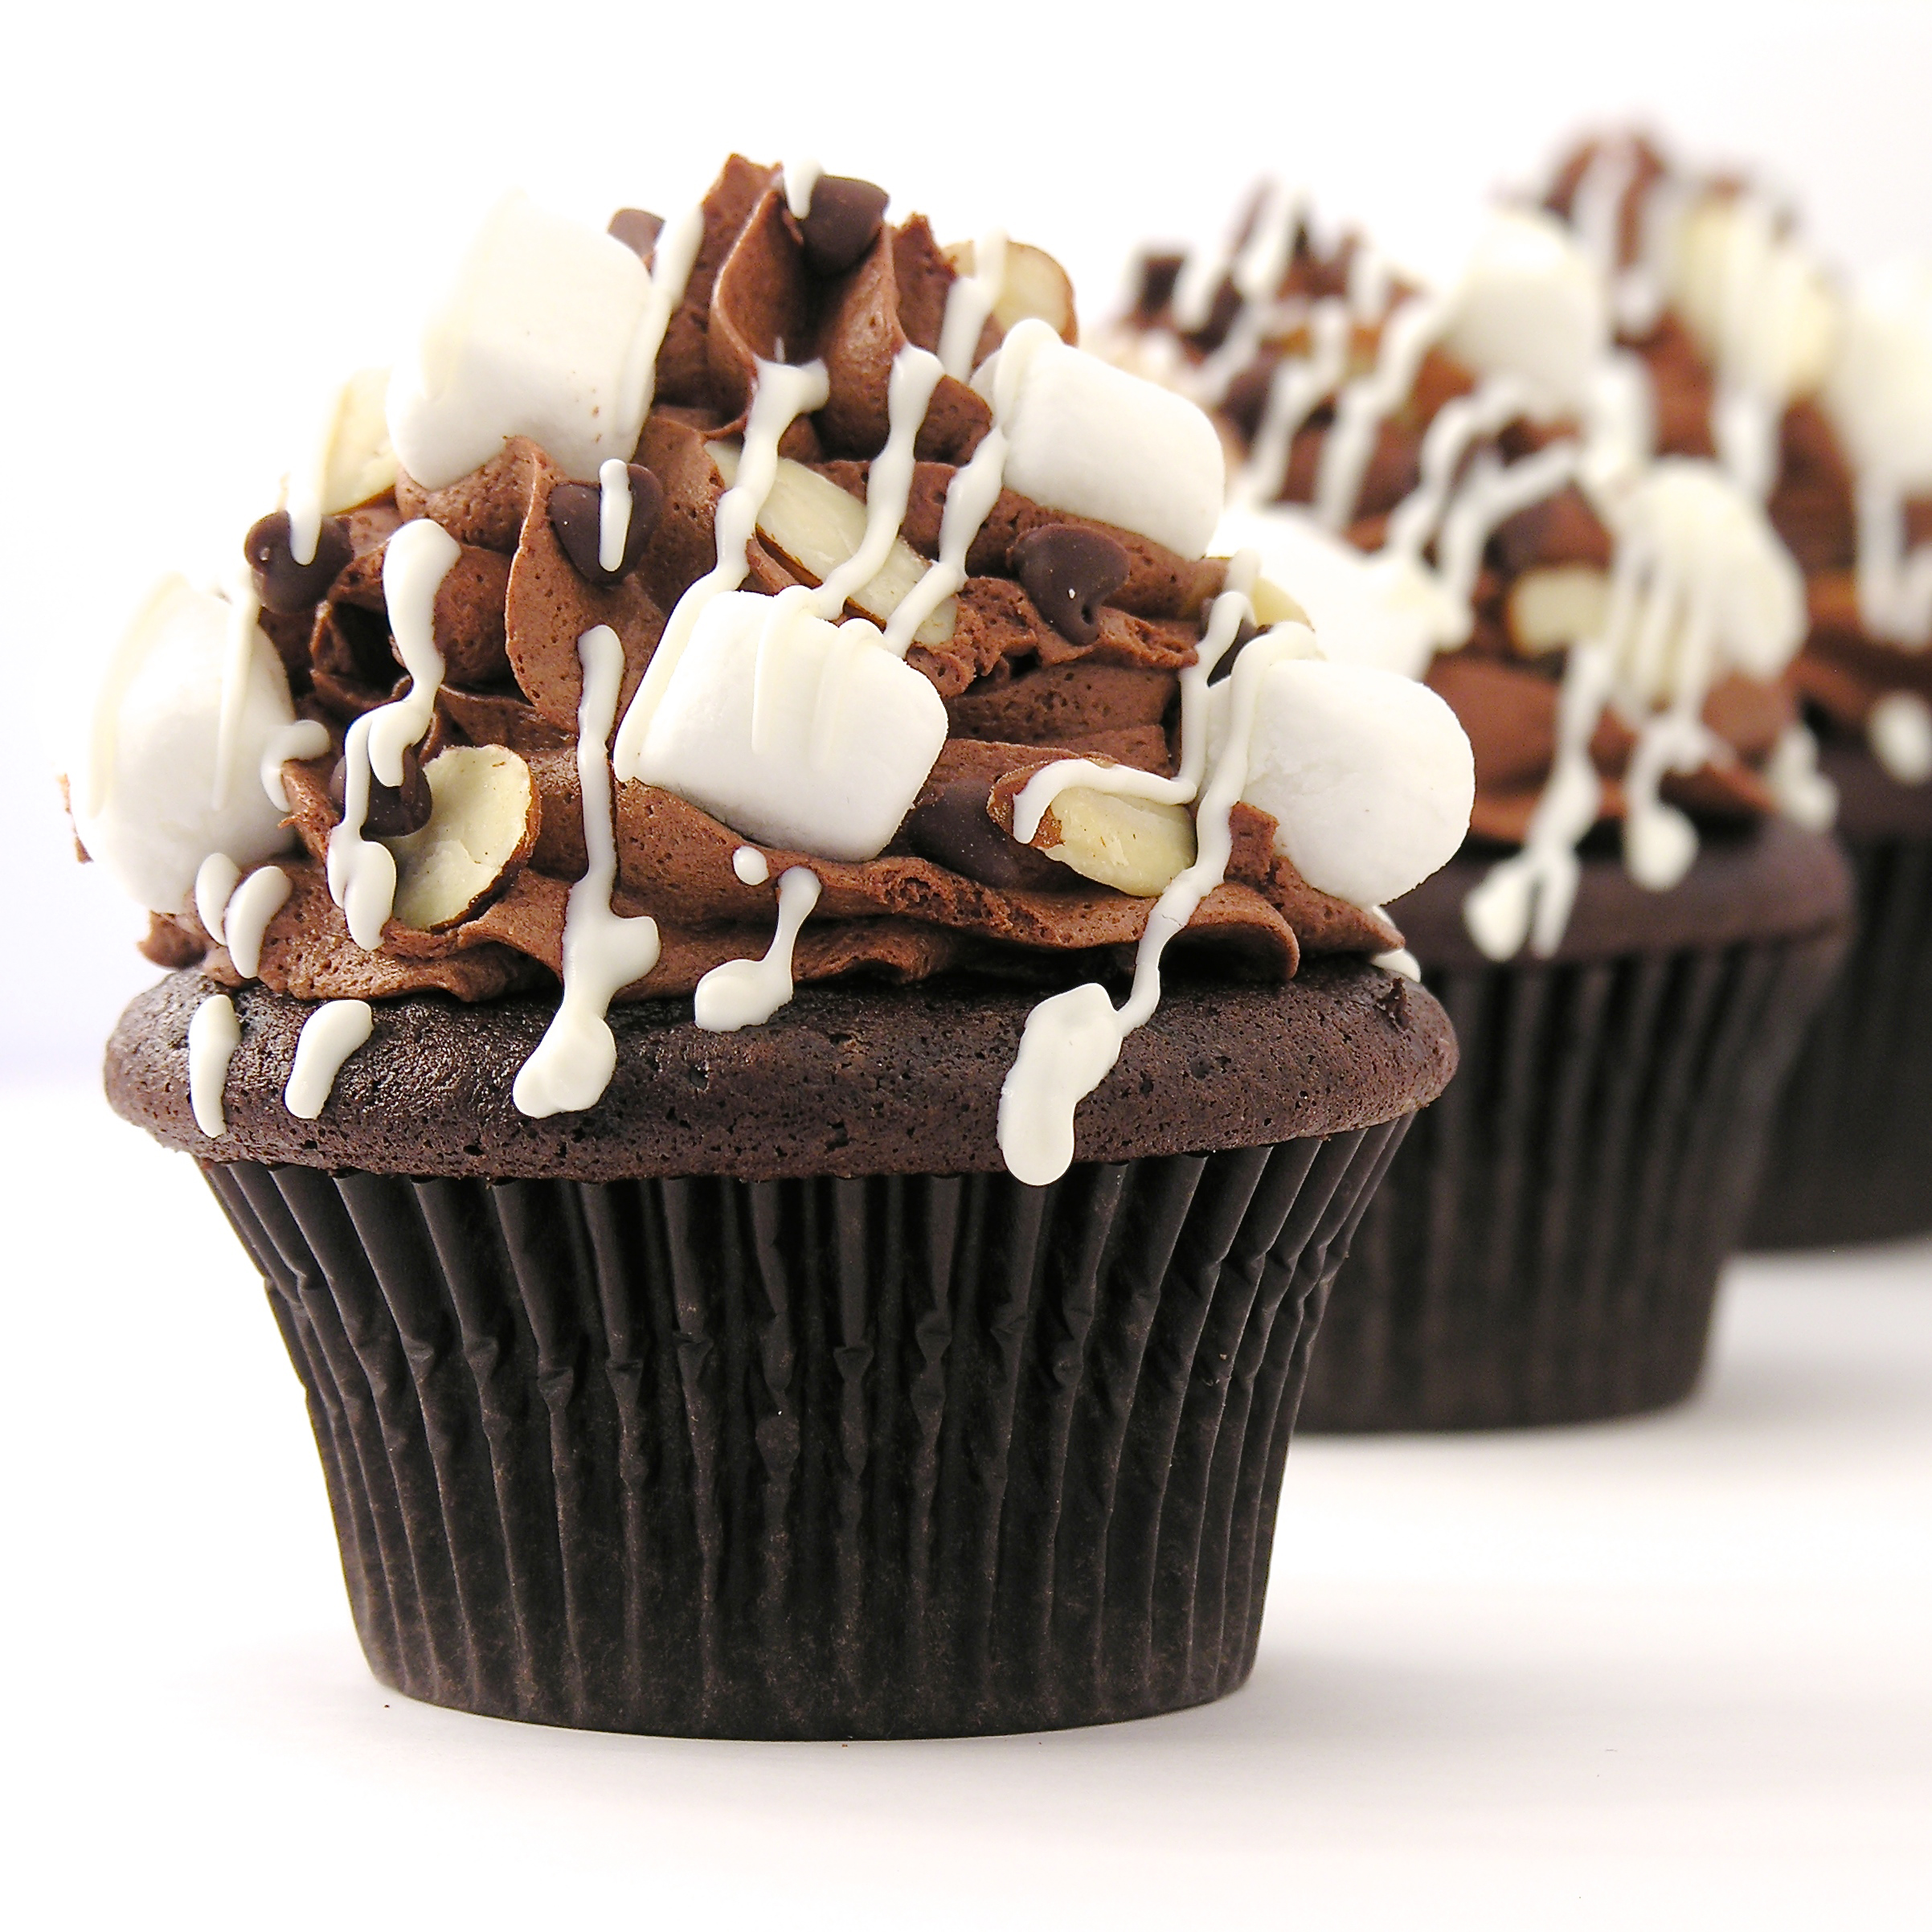
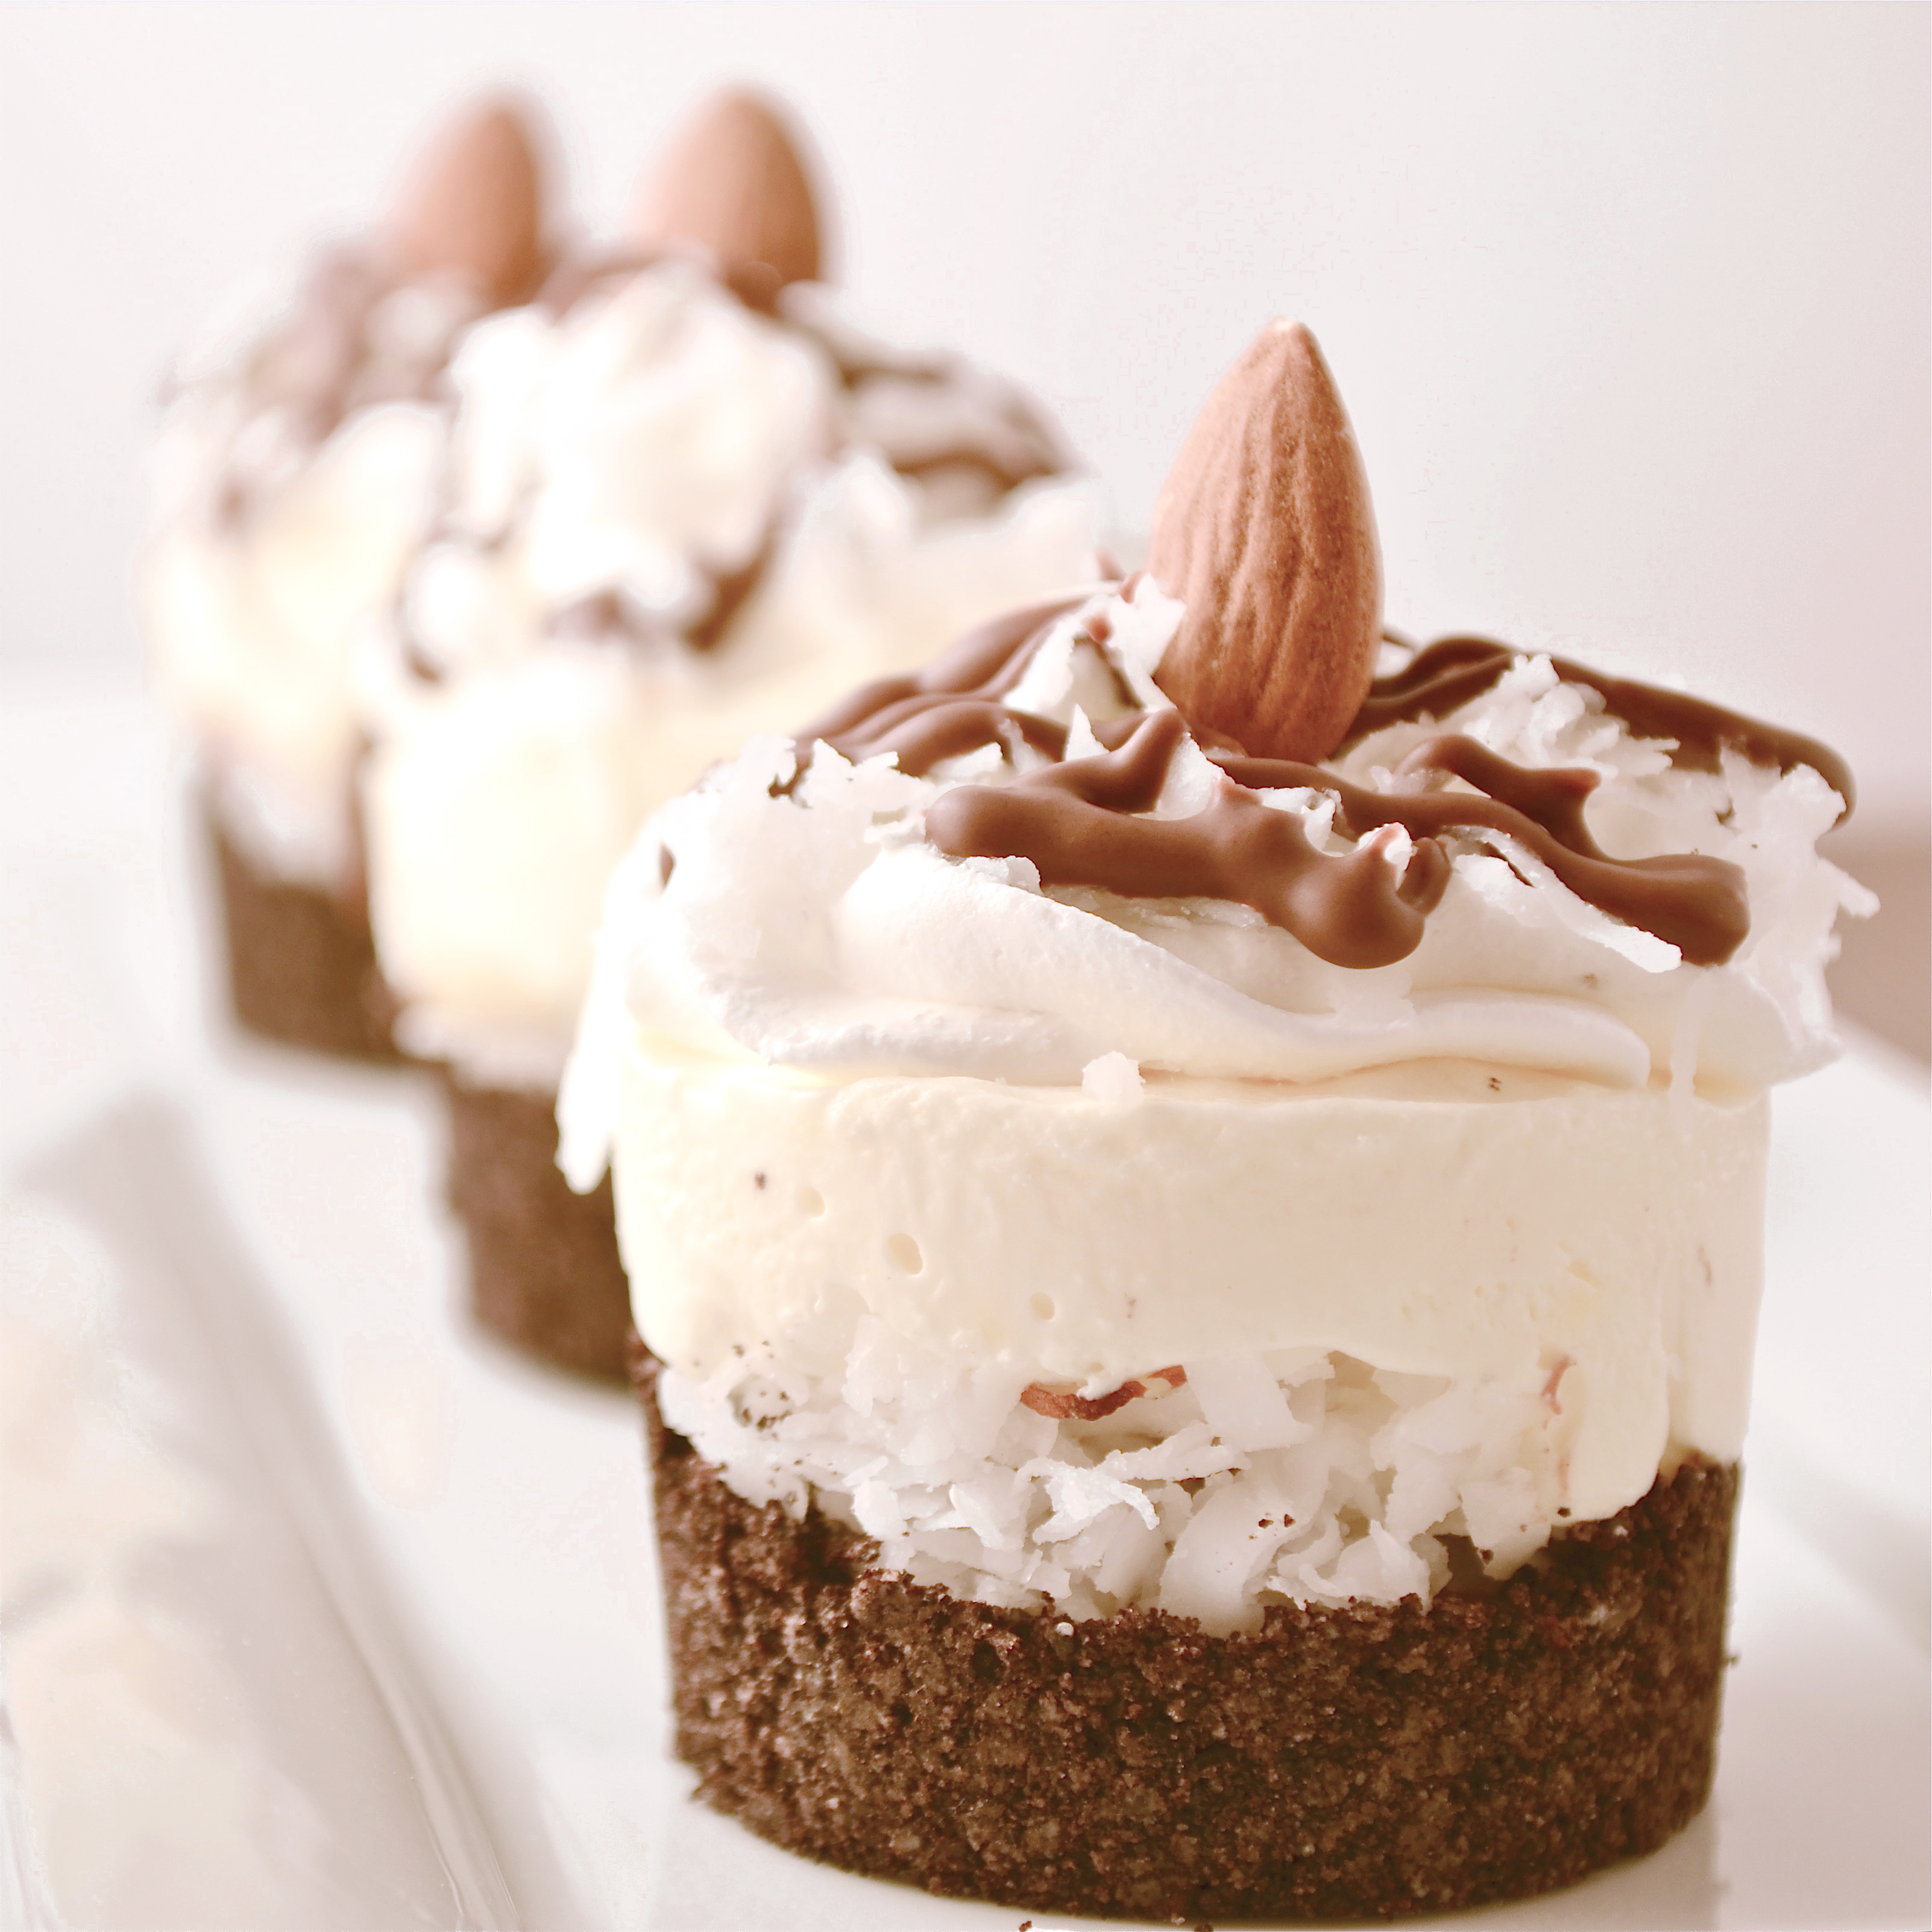
Rich fudge cookies covered in a pile of marshmallows, chocolate and almonds.
A perfect rocky road combination!
Confession: I’m not a fan of ice cream. I mean, it’s ok- but it isn’t like my favorite dessert. The rocky road combination of marshmallows, chocolate and almonds began in ice cream- back in the early 1900’s. It was actually the very 1st creative ice cream flavor- prior to its invention there was only vanilla, chocolate, and strawberry. Stop and imagine that for a minute. The world with no mint-chip ice cream…
So they invented this crazy new flavor, and then the Great Depression hit- and people didn’t have much money to buy ice cream. In a feat of marketing genius, it was given the name “Rocky Road” to relate to what people were going through and boost sales. It must have worked, because this flavor of ice cream has stood the test of time and is still filling the freezers of America.

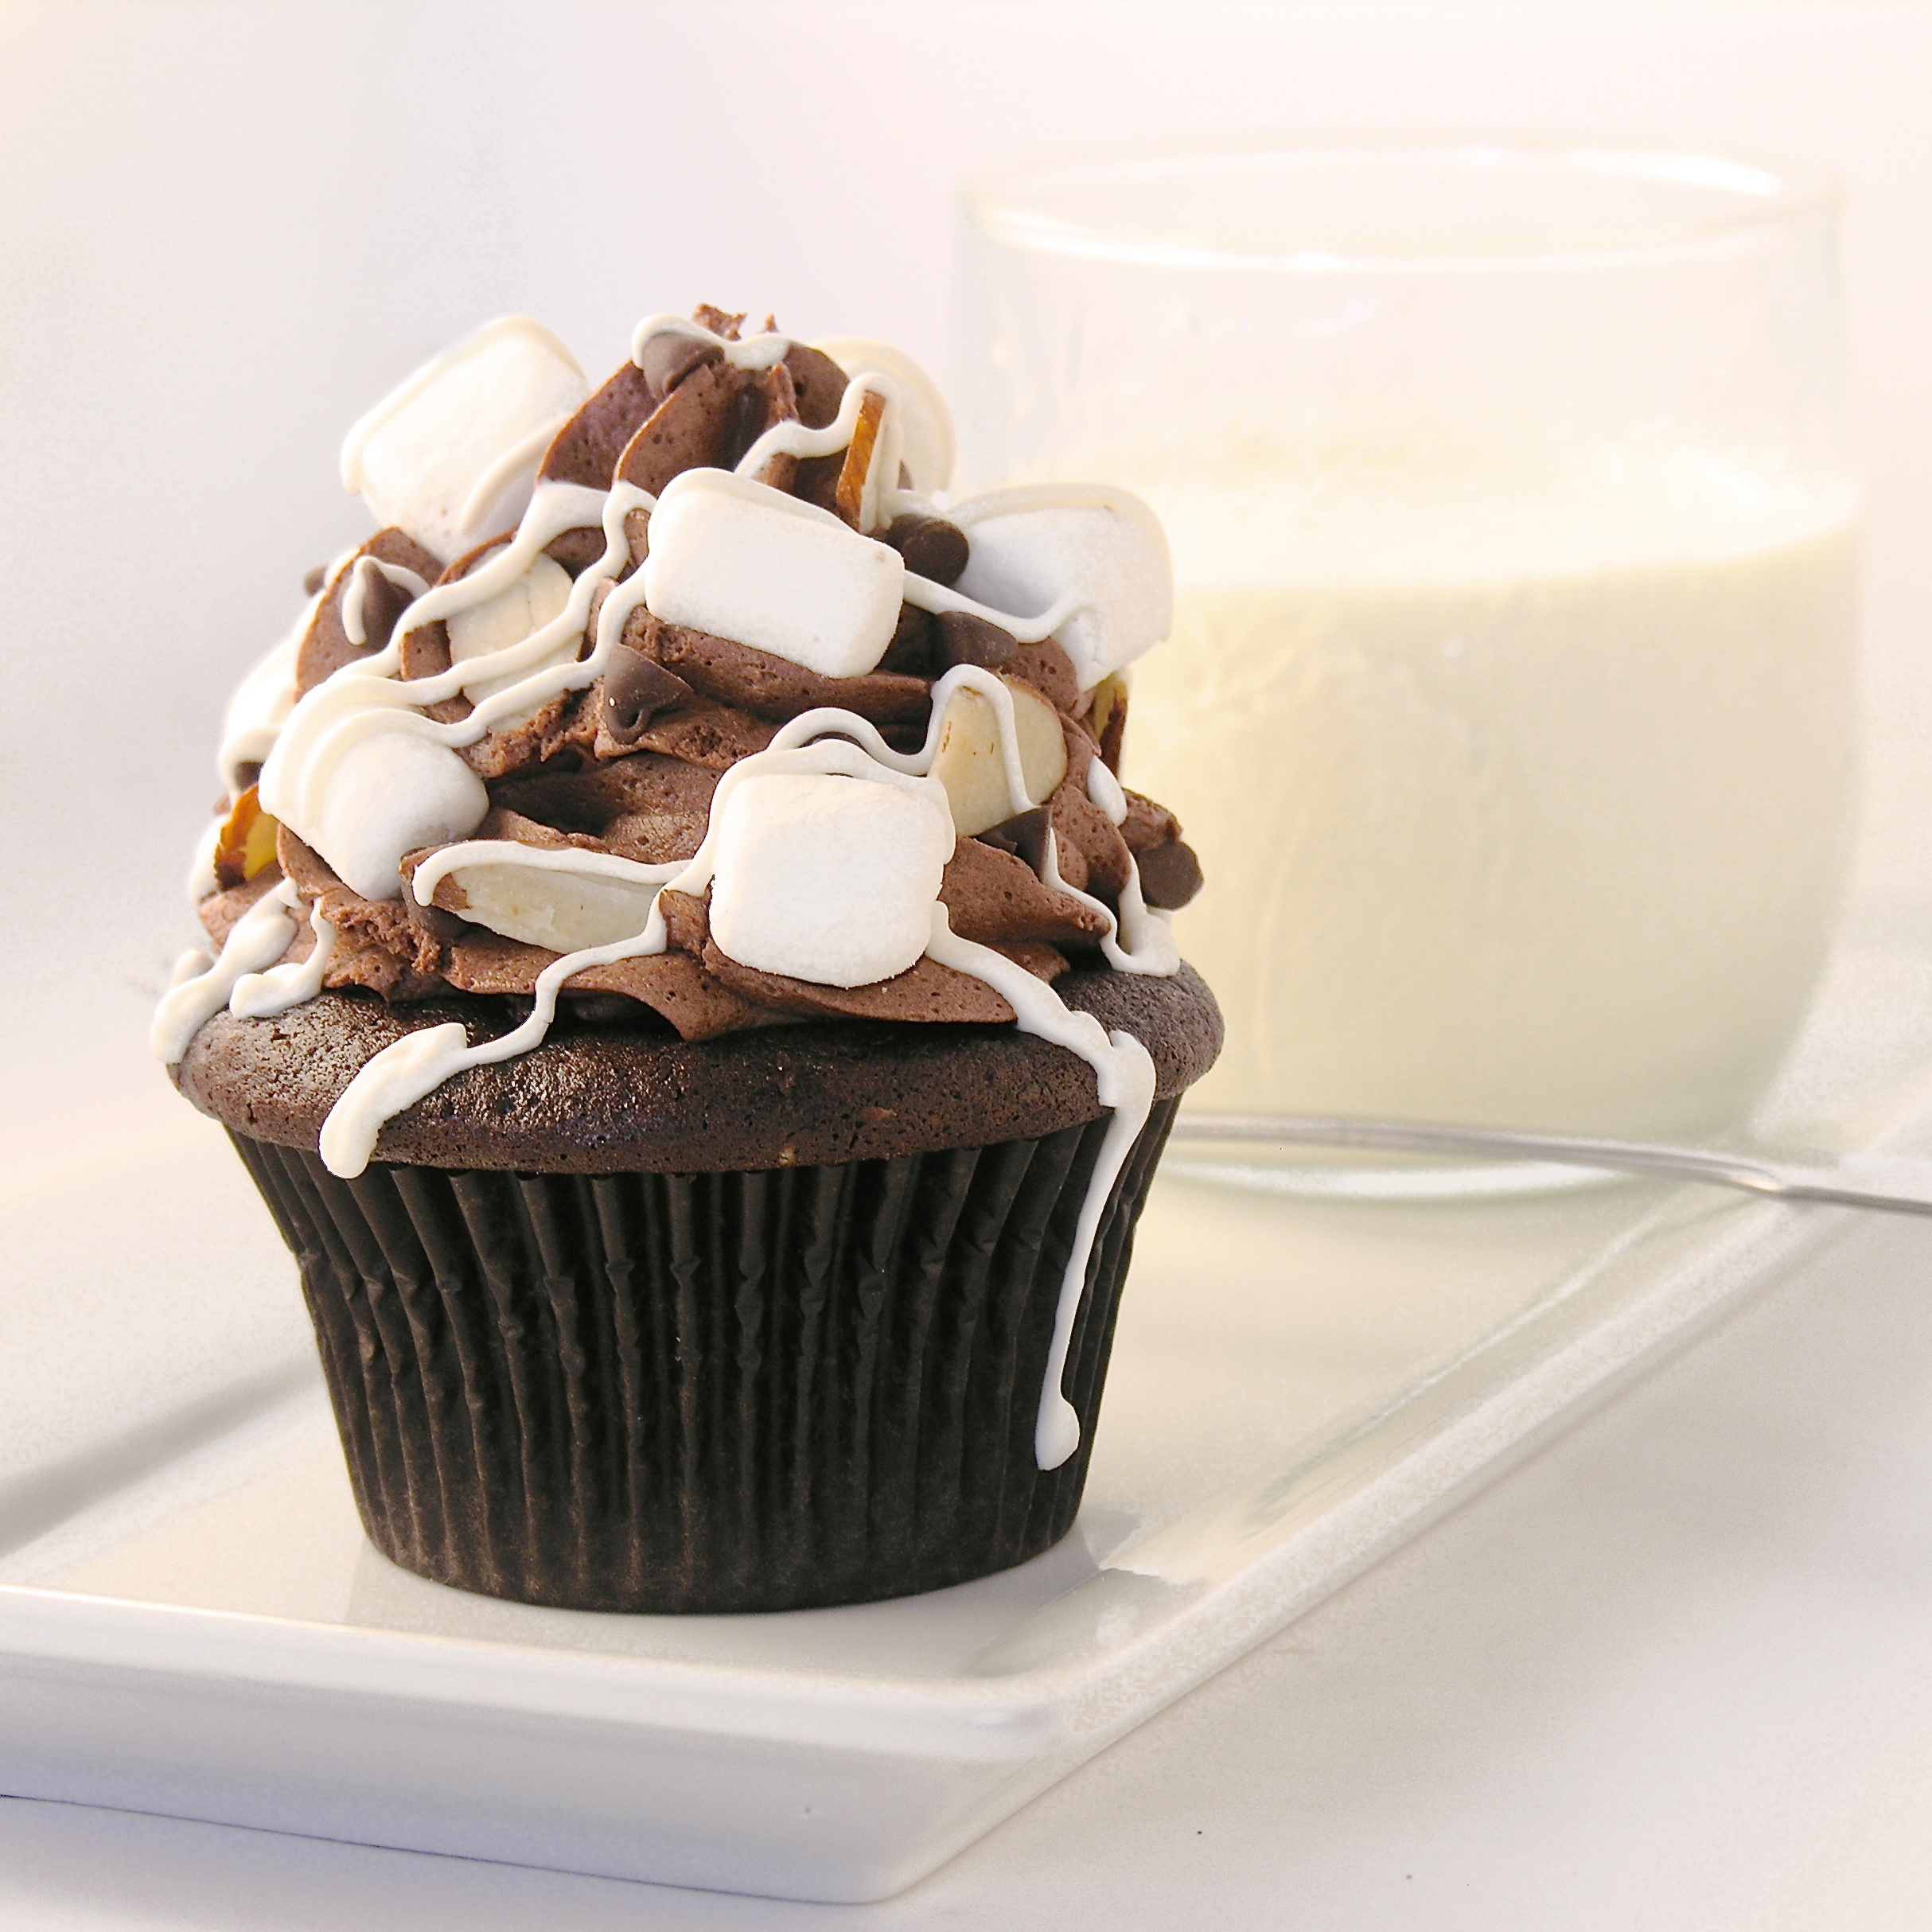
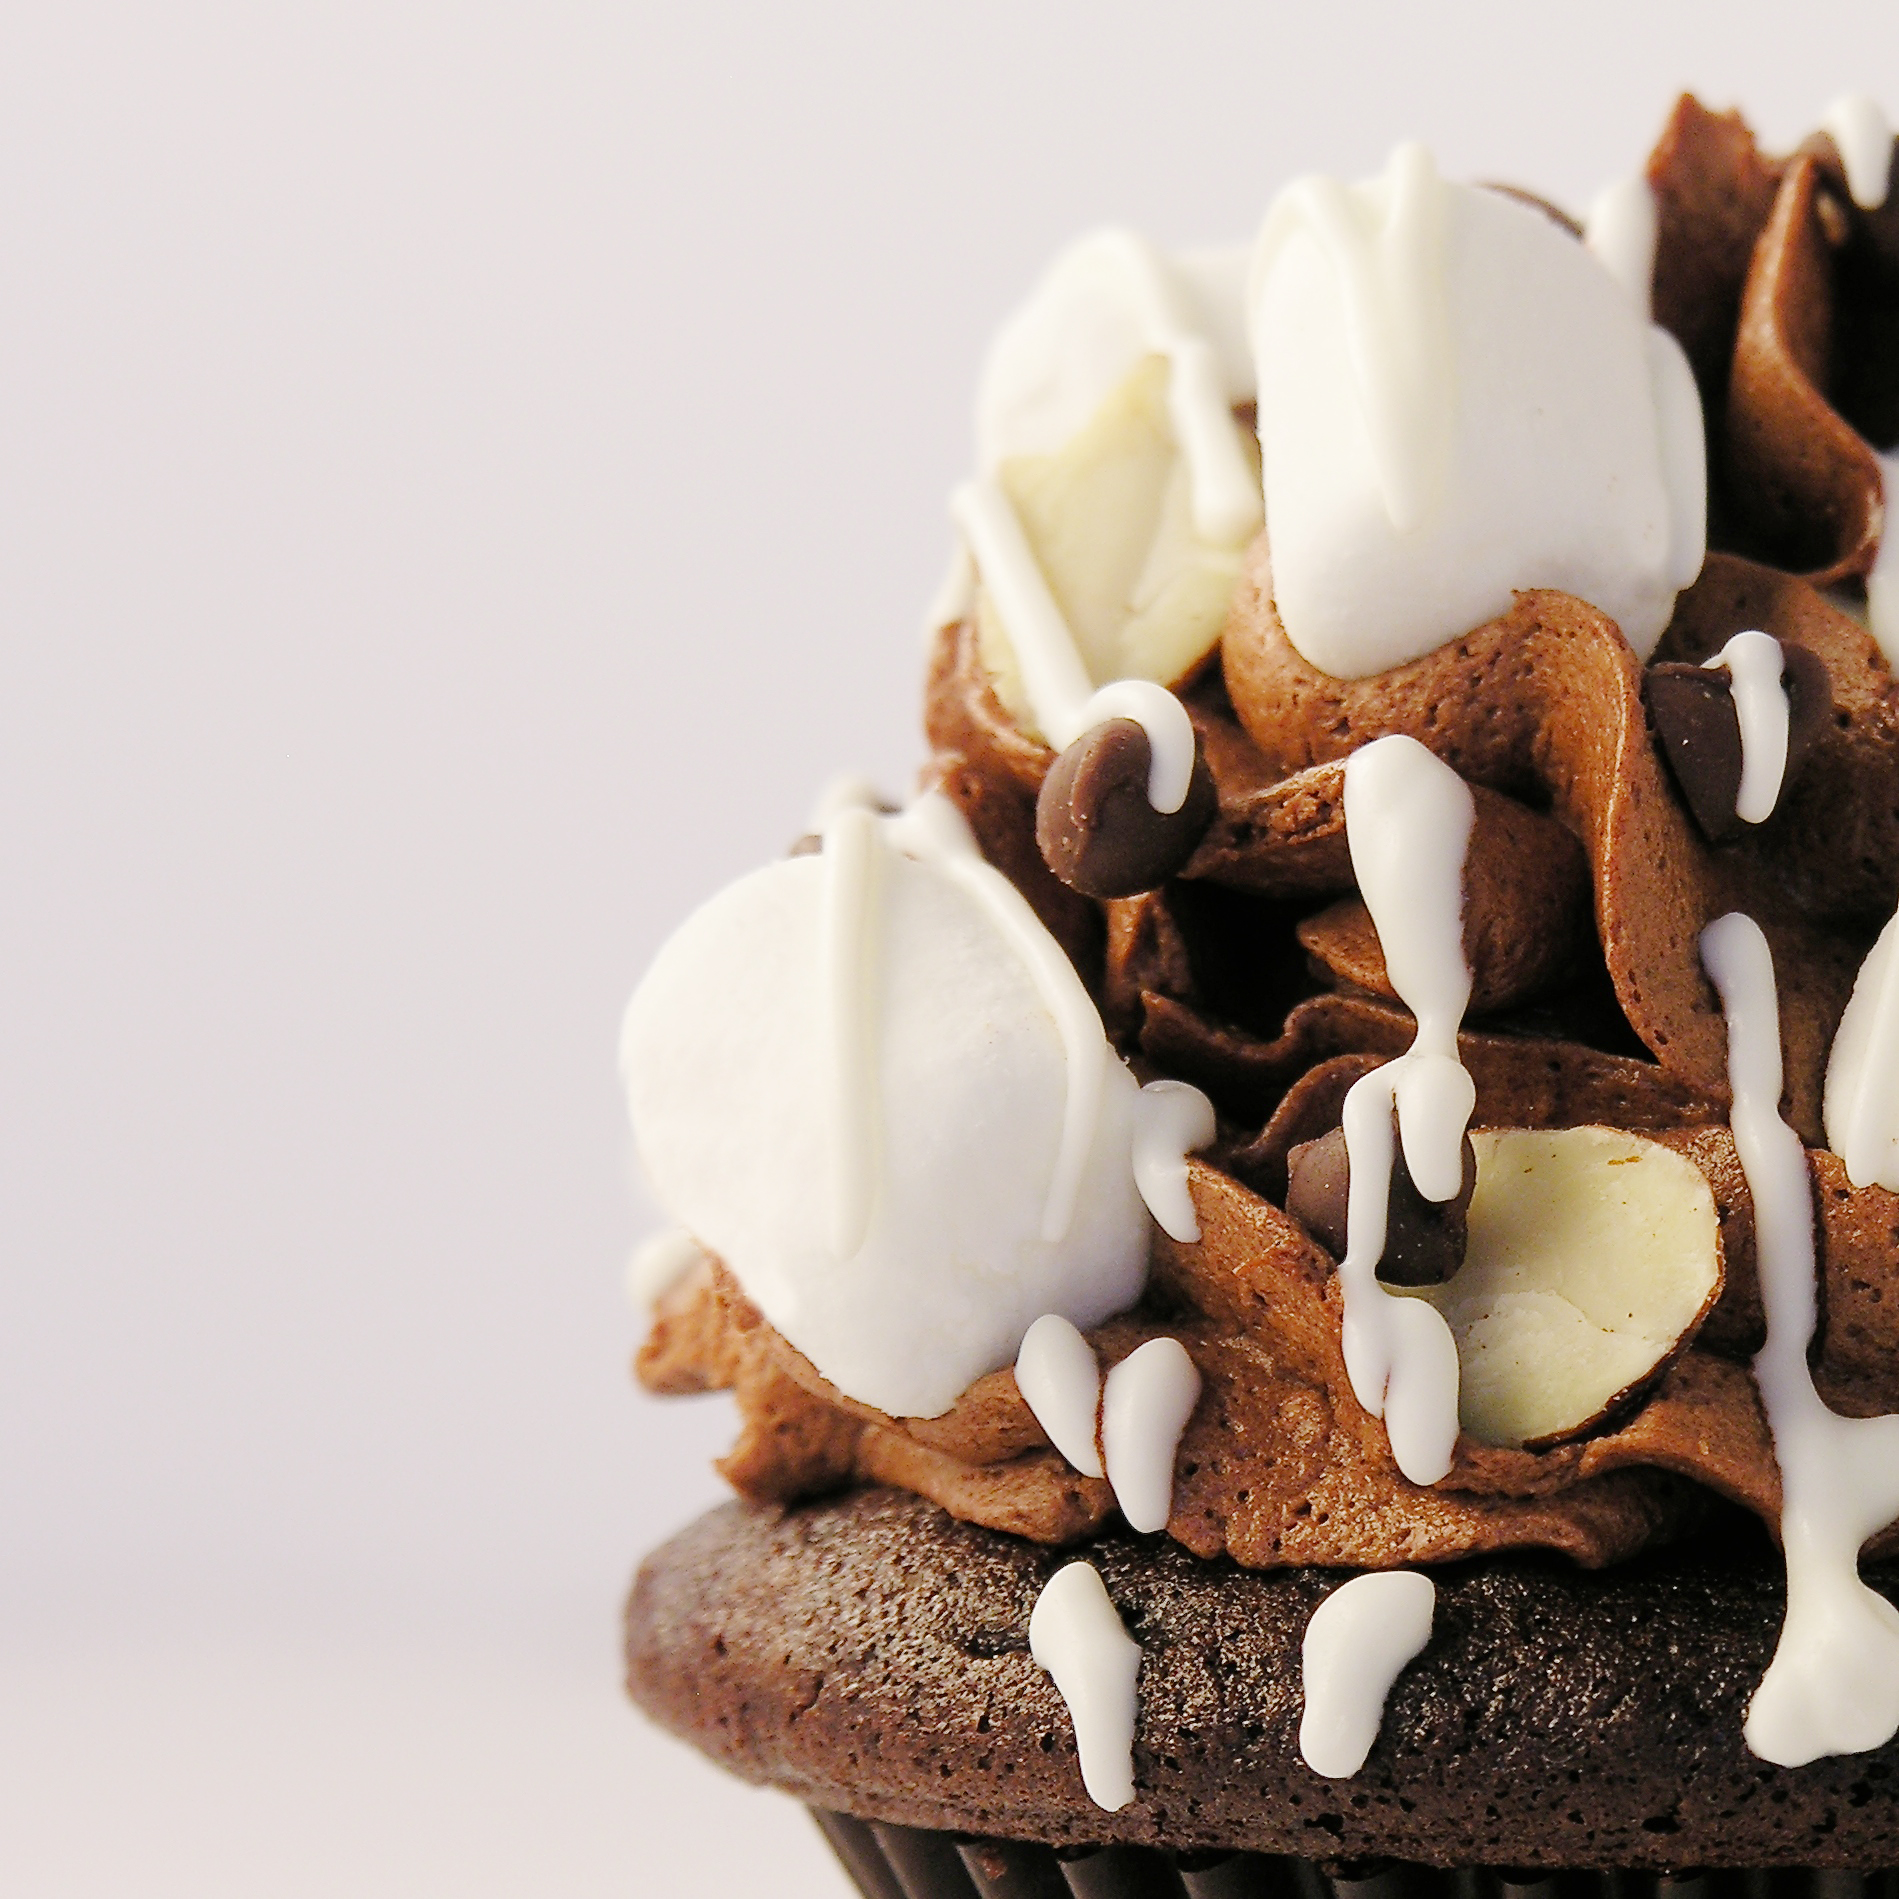
Since ice cream isn’t my favorite dessert, I like to take these flavors and create other things with them instead! I made Rocky Road cupcakes a couple of years ago on Easybaked, and they are still one of my favorite recipes. Yum.
These are easy to make, and a perfectly rich, but not too sweet treat for any holiday or celebration. Or just for Mondays. Mondays always need good cookies.
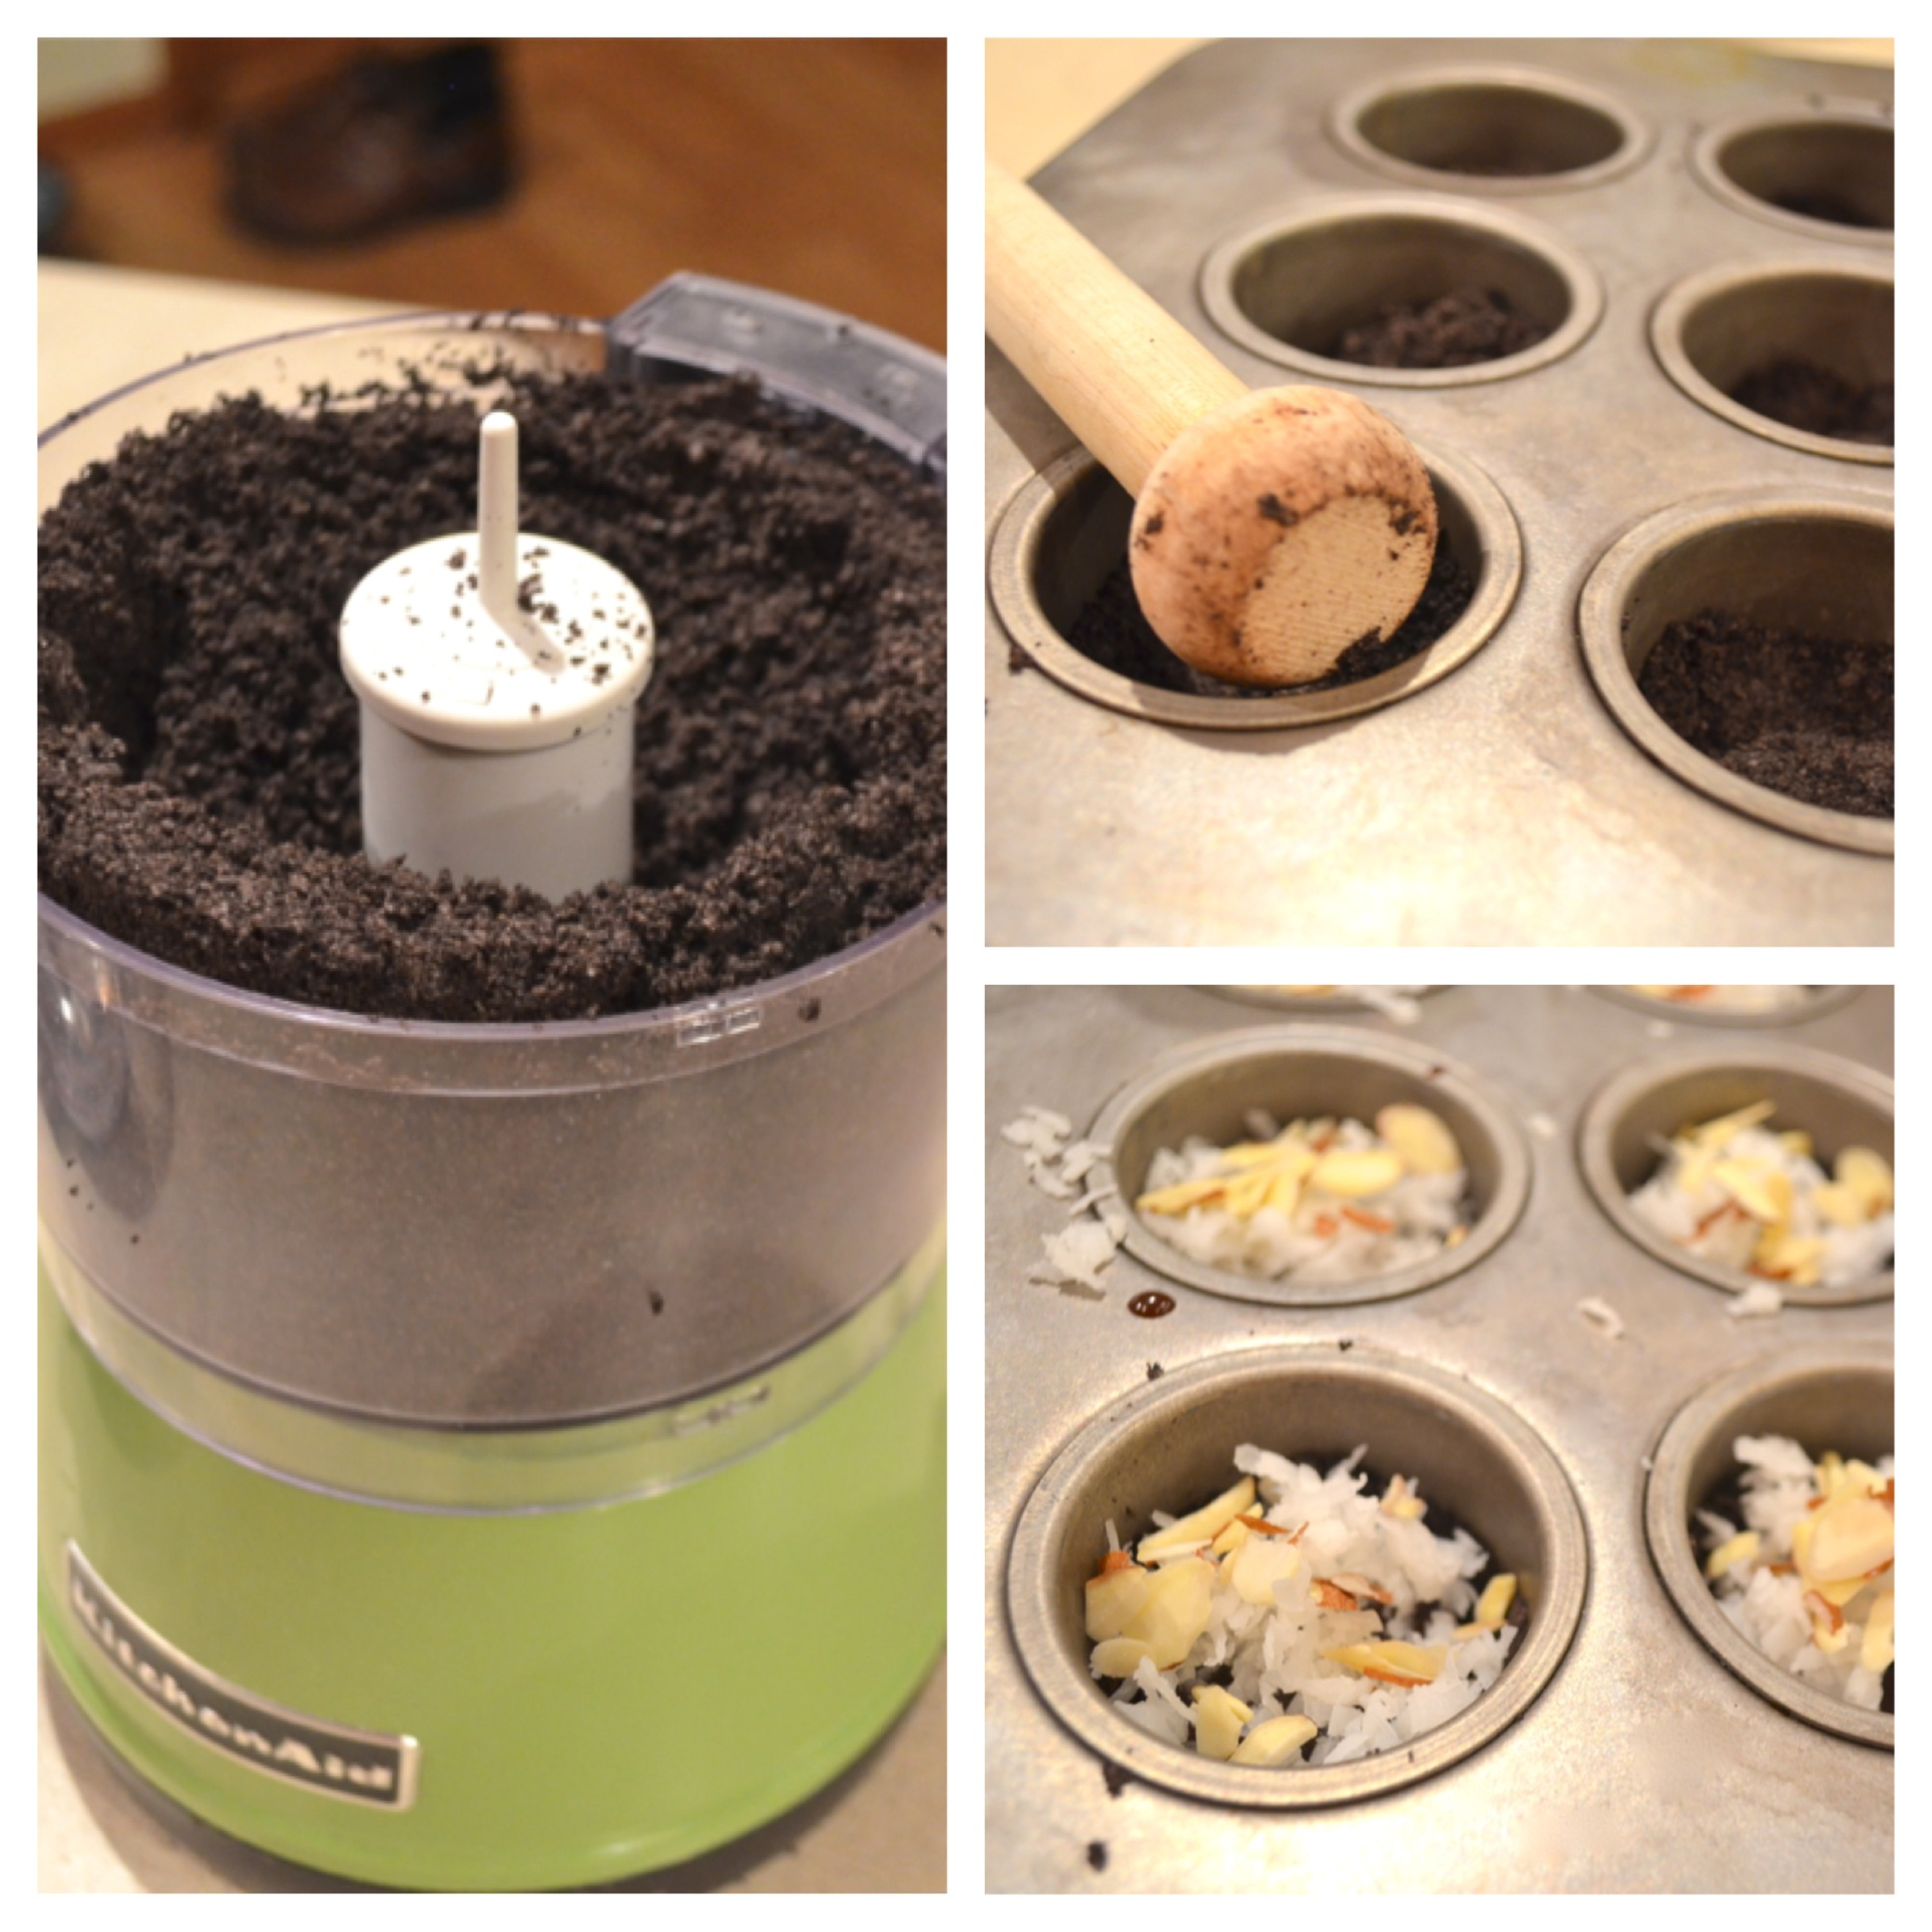
Here is how we made them (printable recipe here)
INGREDIENTS: (makes about 24, 4-inch round cookies)
Cookie:
- 2 sticks (1 cup) butter, softened
- 1 1/2 cups sugar
- 2 eggs
- 1 teaspoon vanilla extract
- 2/3 cup unsweetened cocoa powder
- 3 cups flour
- 1/2 teaspoon salt
- 1/2 teaspoon baking powder
Toppings:
- 1 bag of mini-marshmallows
- 1 bag of Wiltons candy melts in dark cocoa
- 1/4 bag of Wilton’s candy melts in white
- 1 cup of sliced almonds
- 1 cup of chocolate chips
DIRECTIONS:
- Preheat oven to 350F degrees.
- Add butter, sugar, eggs, vanilla and cocoa together in large mixing bowl.
- Blend on medium speed with a mixer until smooth.
- Gradually add dry ingredients and mix until smooth (use clean hands at the end, to knead into a soft ball of dough)
- Roll out cookie dough on floured counter.
- Cut into large circles (you want to have room for all those toppings!) and place on a parchment-lined baking sheet.
- Bake for 8 to 11 minutes until the edges are firm.
- Slide parchment paper off cookie sheet with cookies on top. Allow them to cool on counter.
- Melt dark cocoa candy melts in microwave in 30 second increments, stirring in between until smooth.
- Spoon about a tablespoon of chocolate on the top of a cookie and spread to edges.
- Immediately (before chocolate hardens) add marshmallows, almonds and chocolate chips. They all don’t have to touch the melted chocolate, and some can be loose on top.
- Finish all cookies in the same manner.
- Melt white candy melts in the microwave in 30 second increments, stirring in between until smooth.
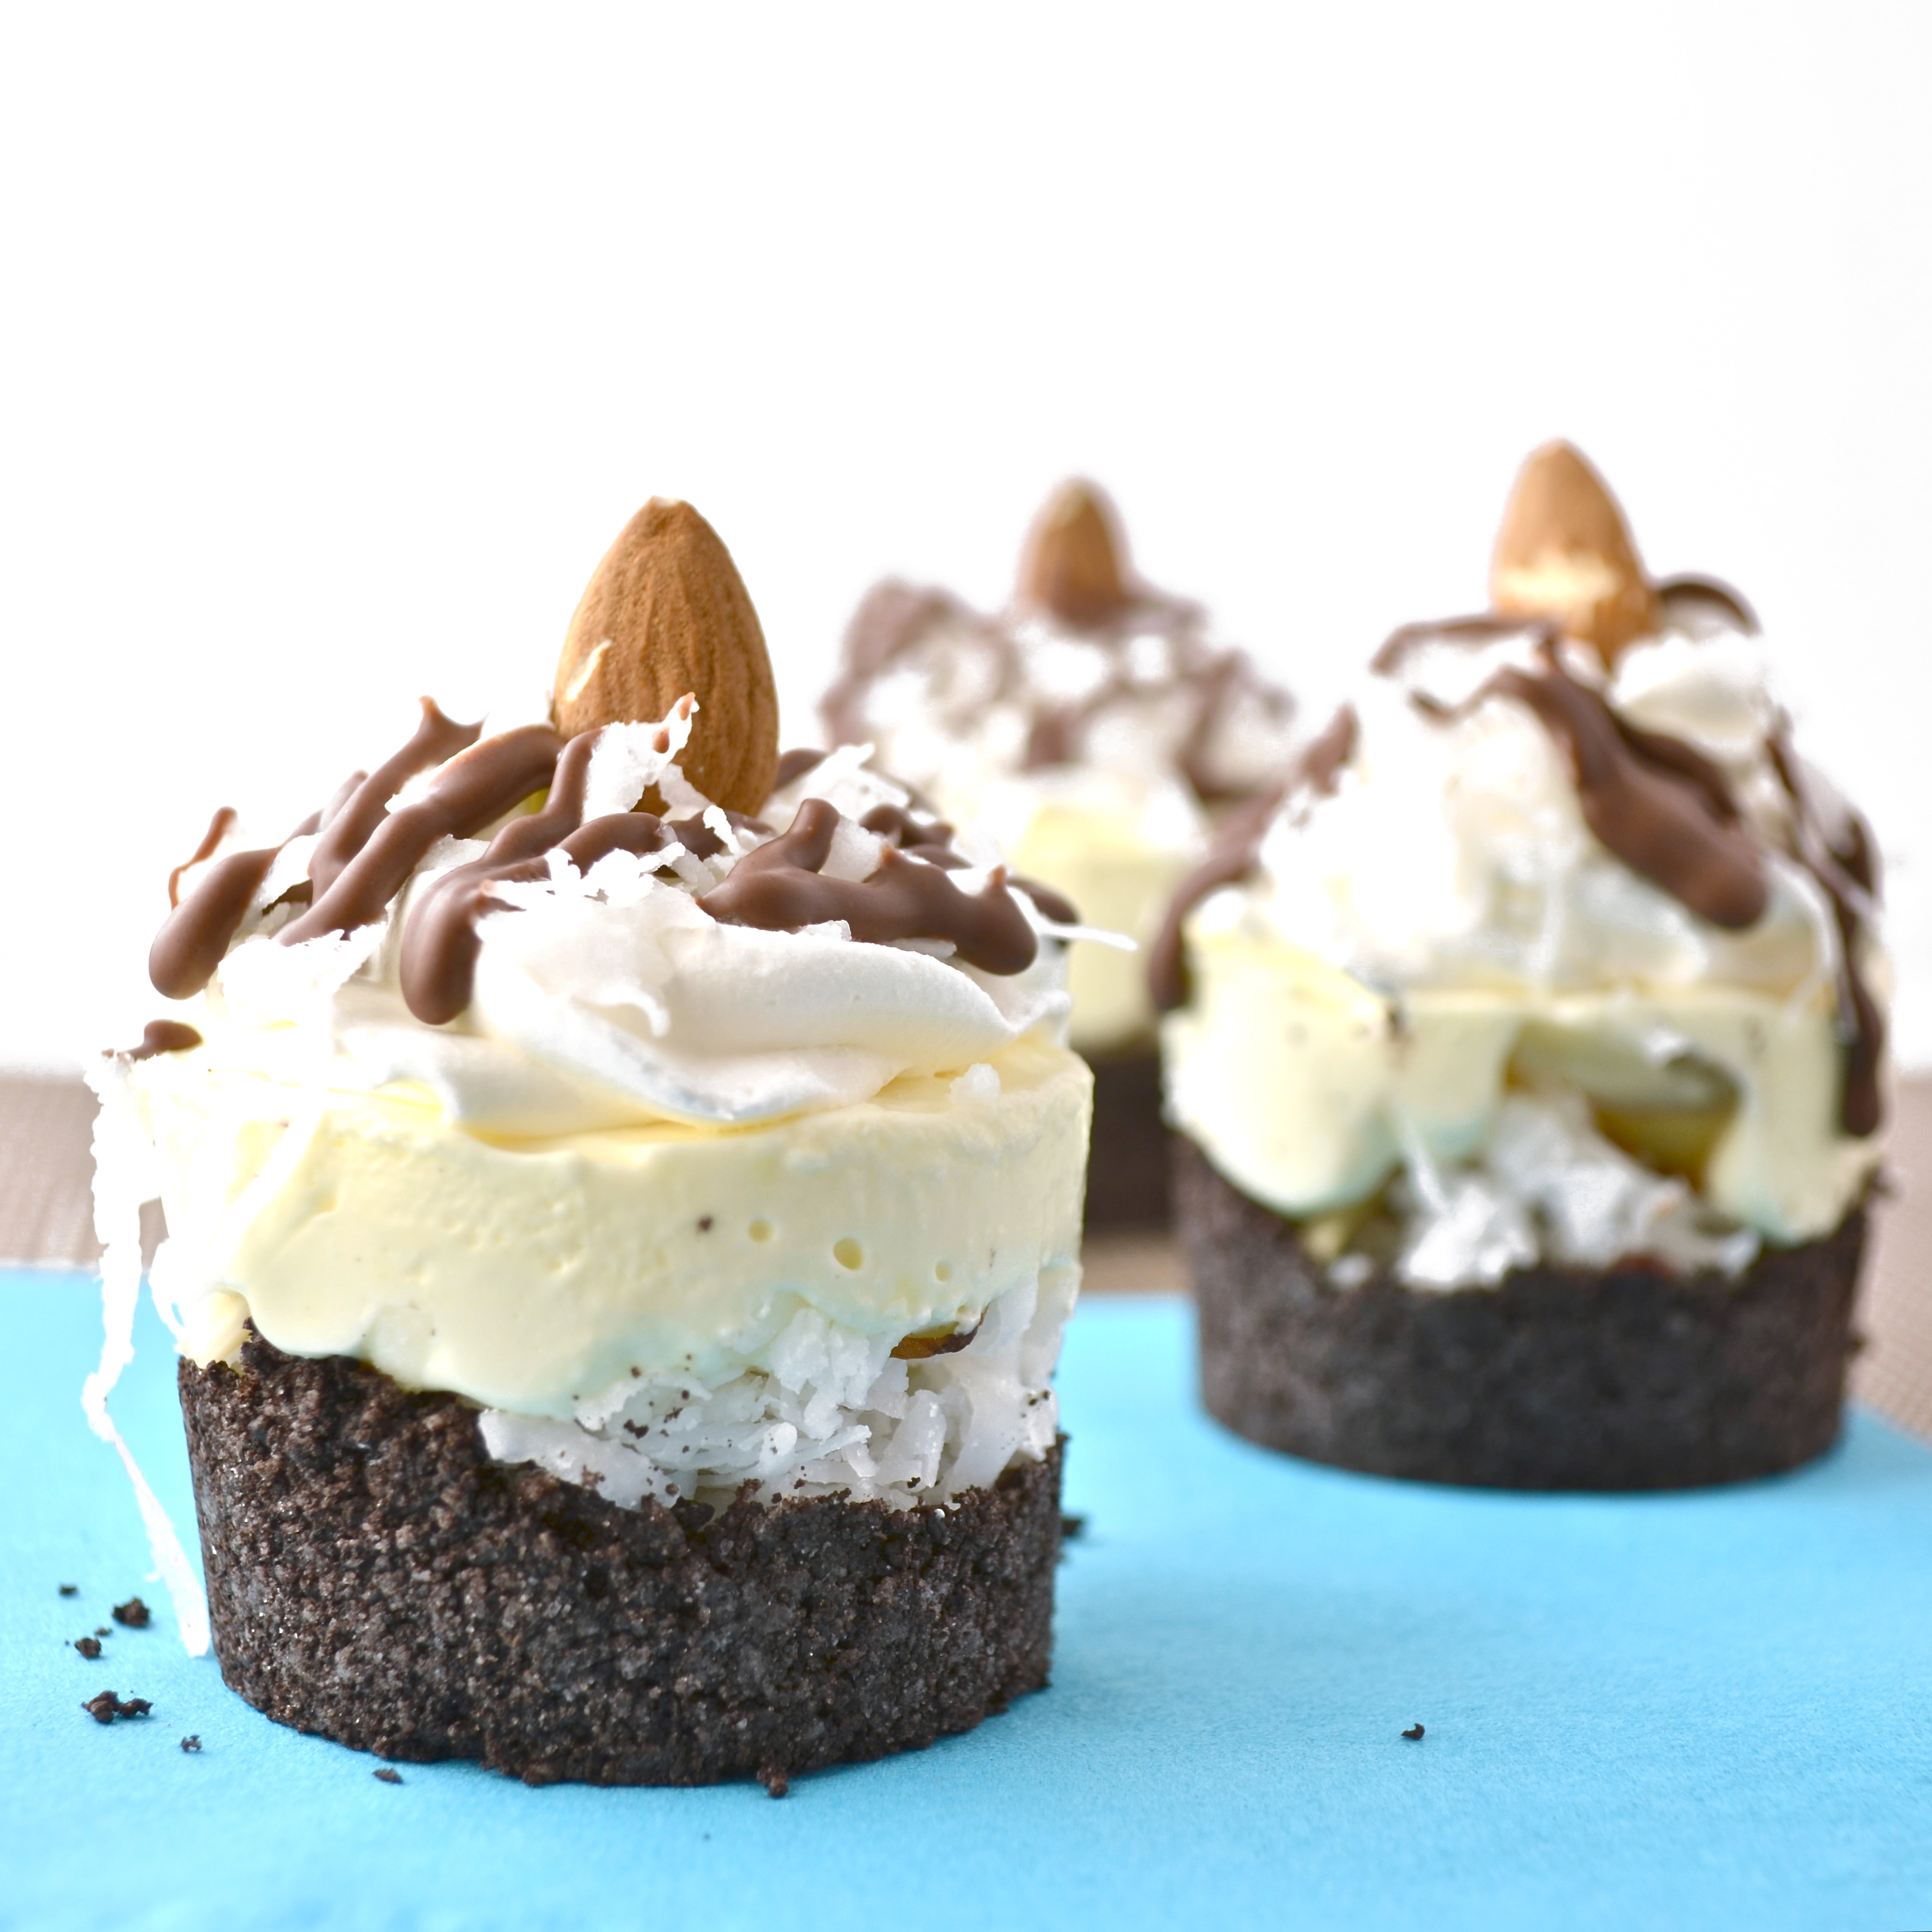
- Place candy melts into a small zip-top bag, clip a corner and drizzle white chocolate over the top of each cookie as shown.
- Allow everything to harden up.
- Store in an air-tight container for up to 5 days (the marshmallows get a little chewy past that point). Make sure to layer parchment paper between the layers of cookies when storing them.
- Enjoy!
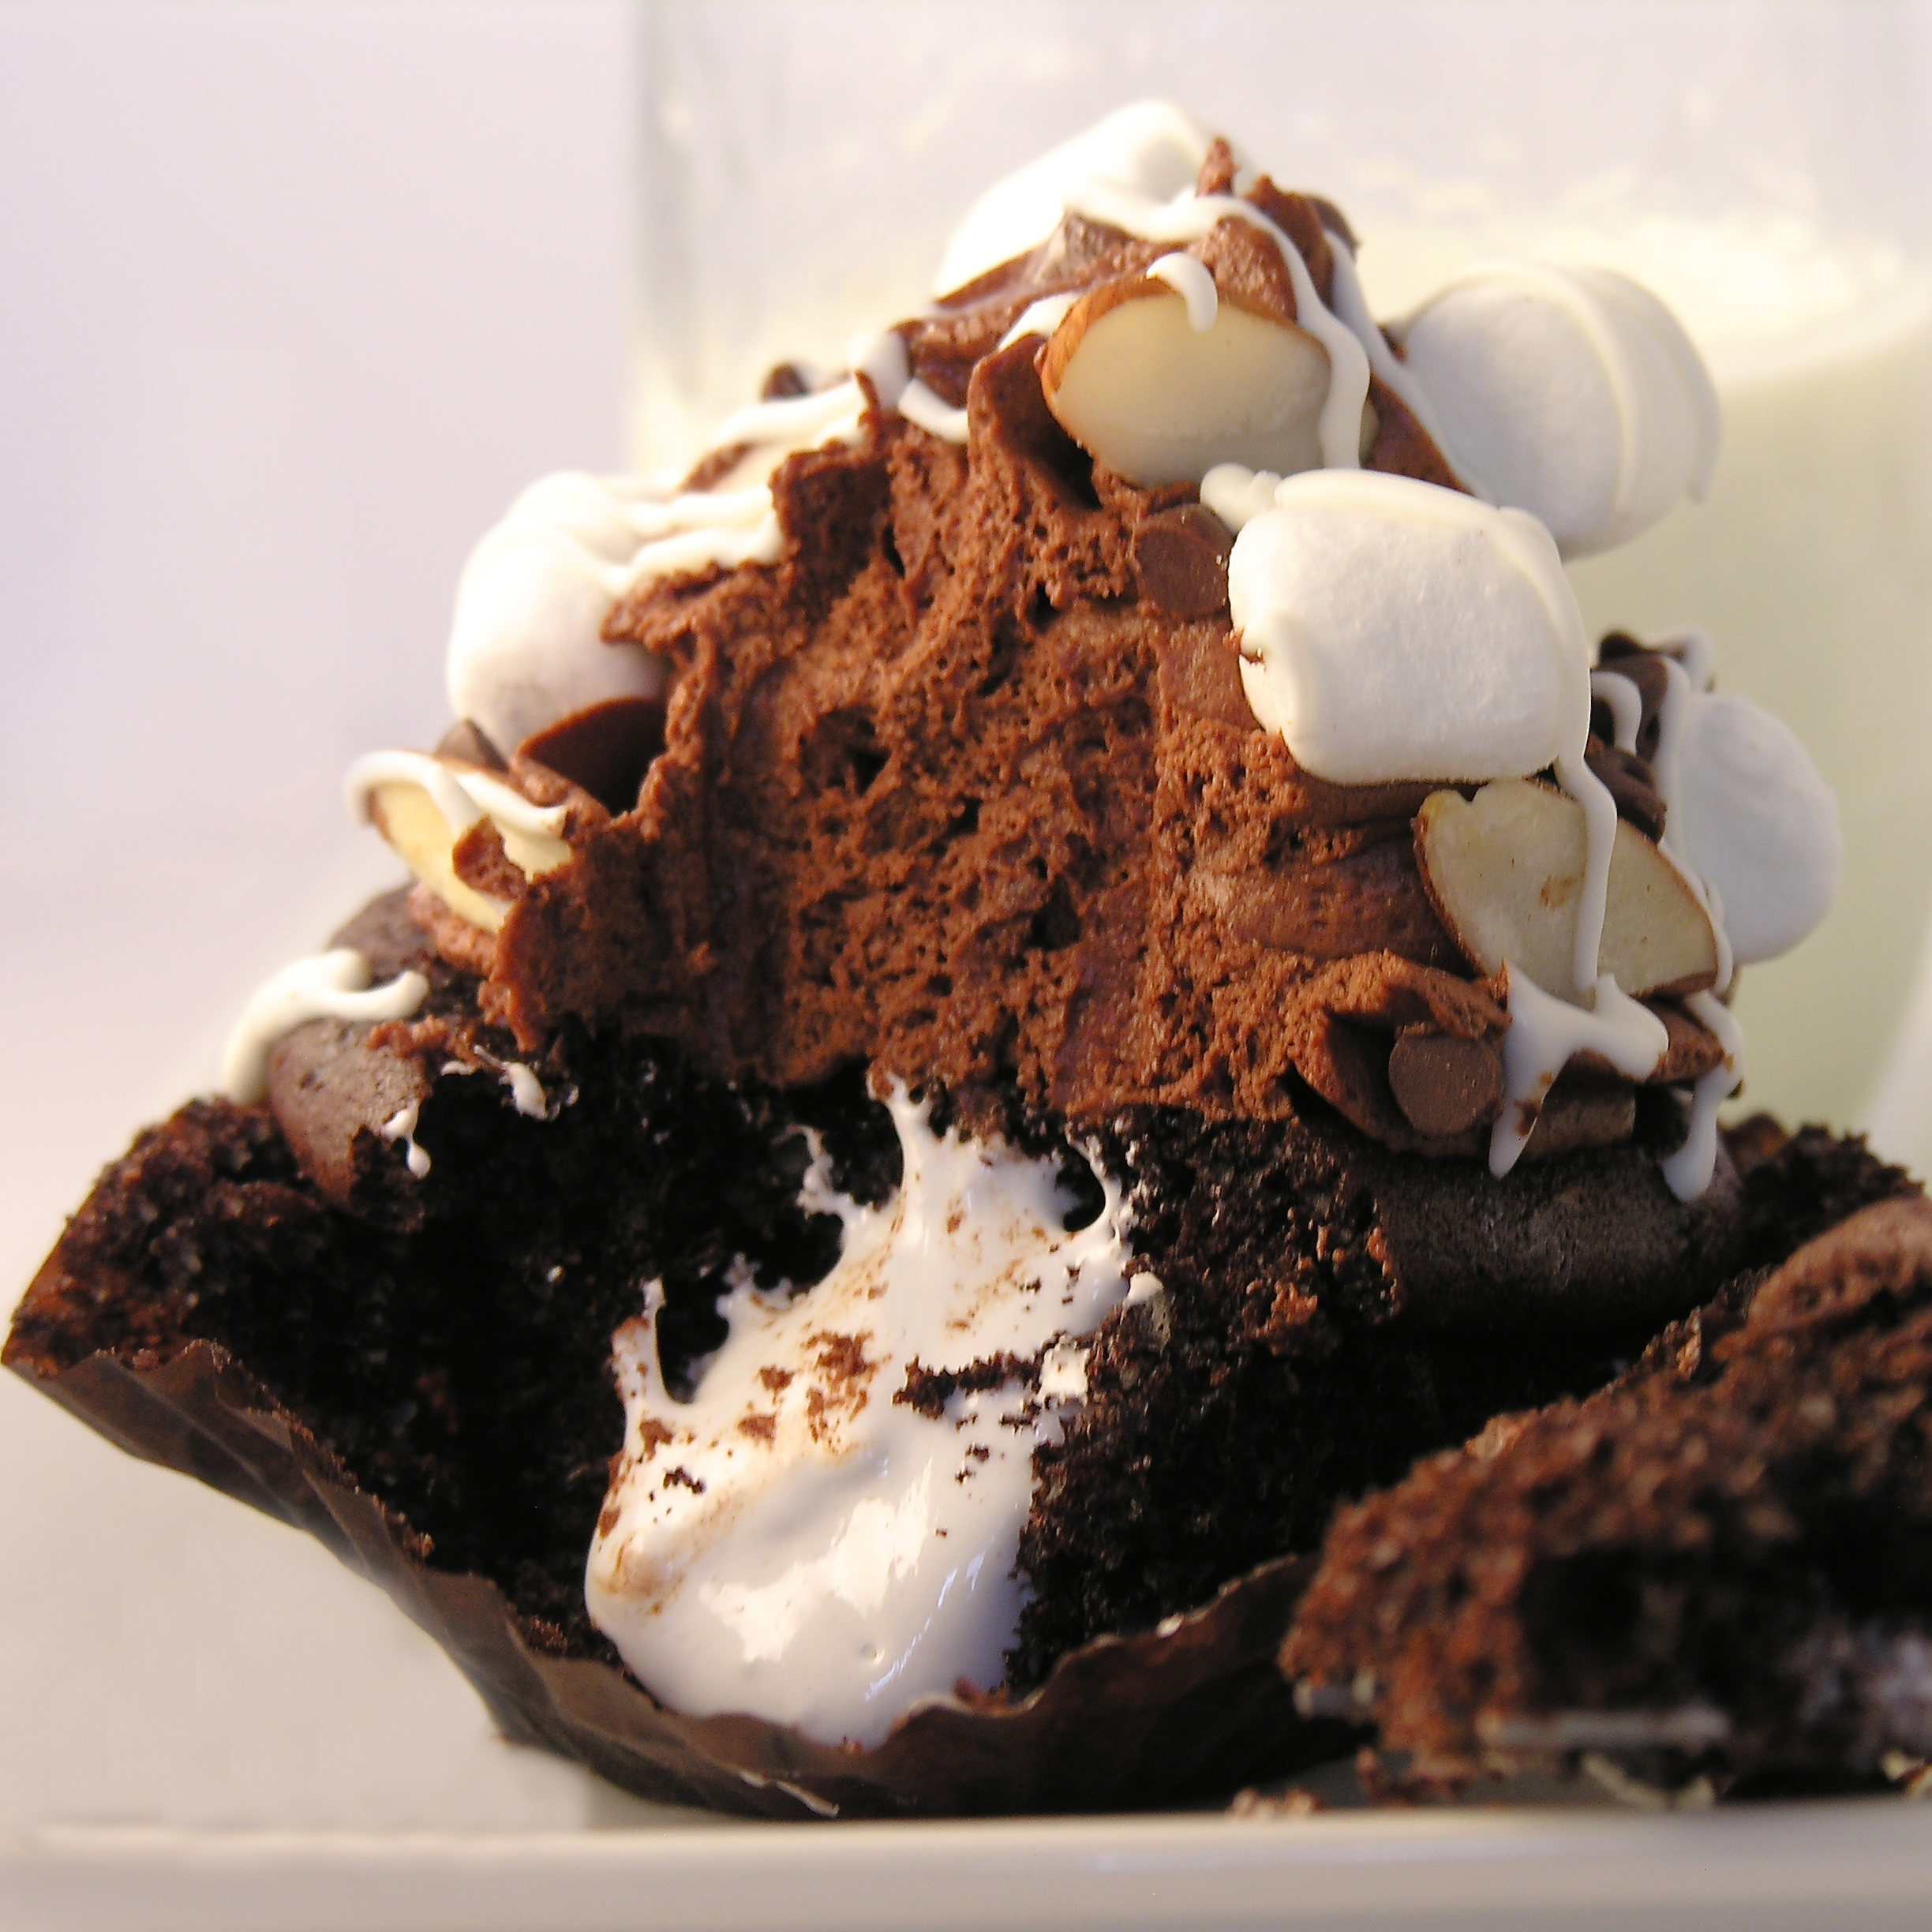
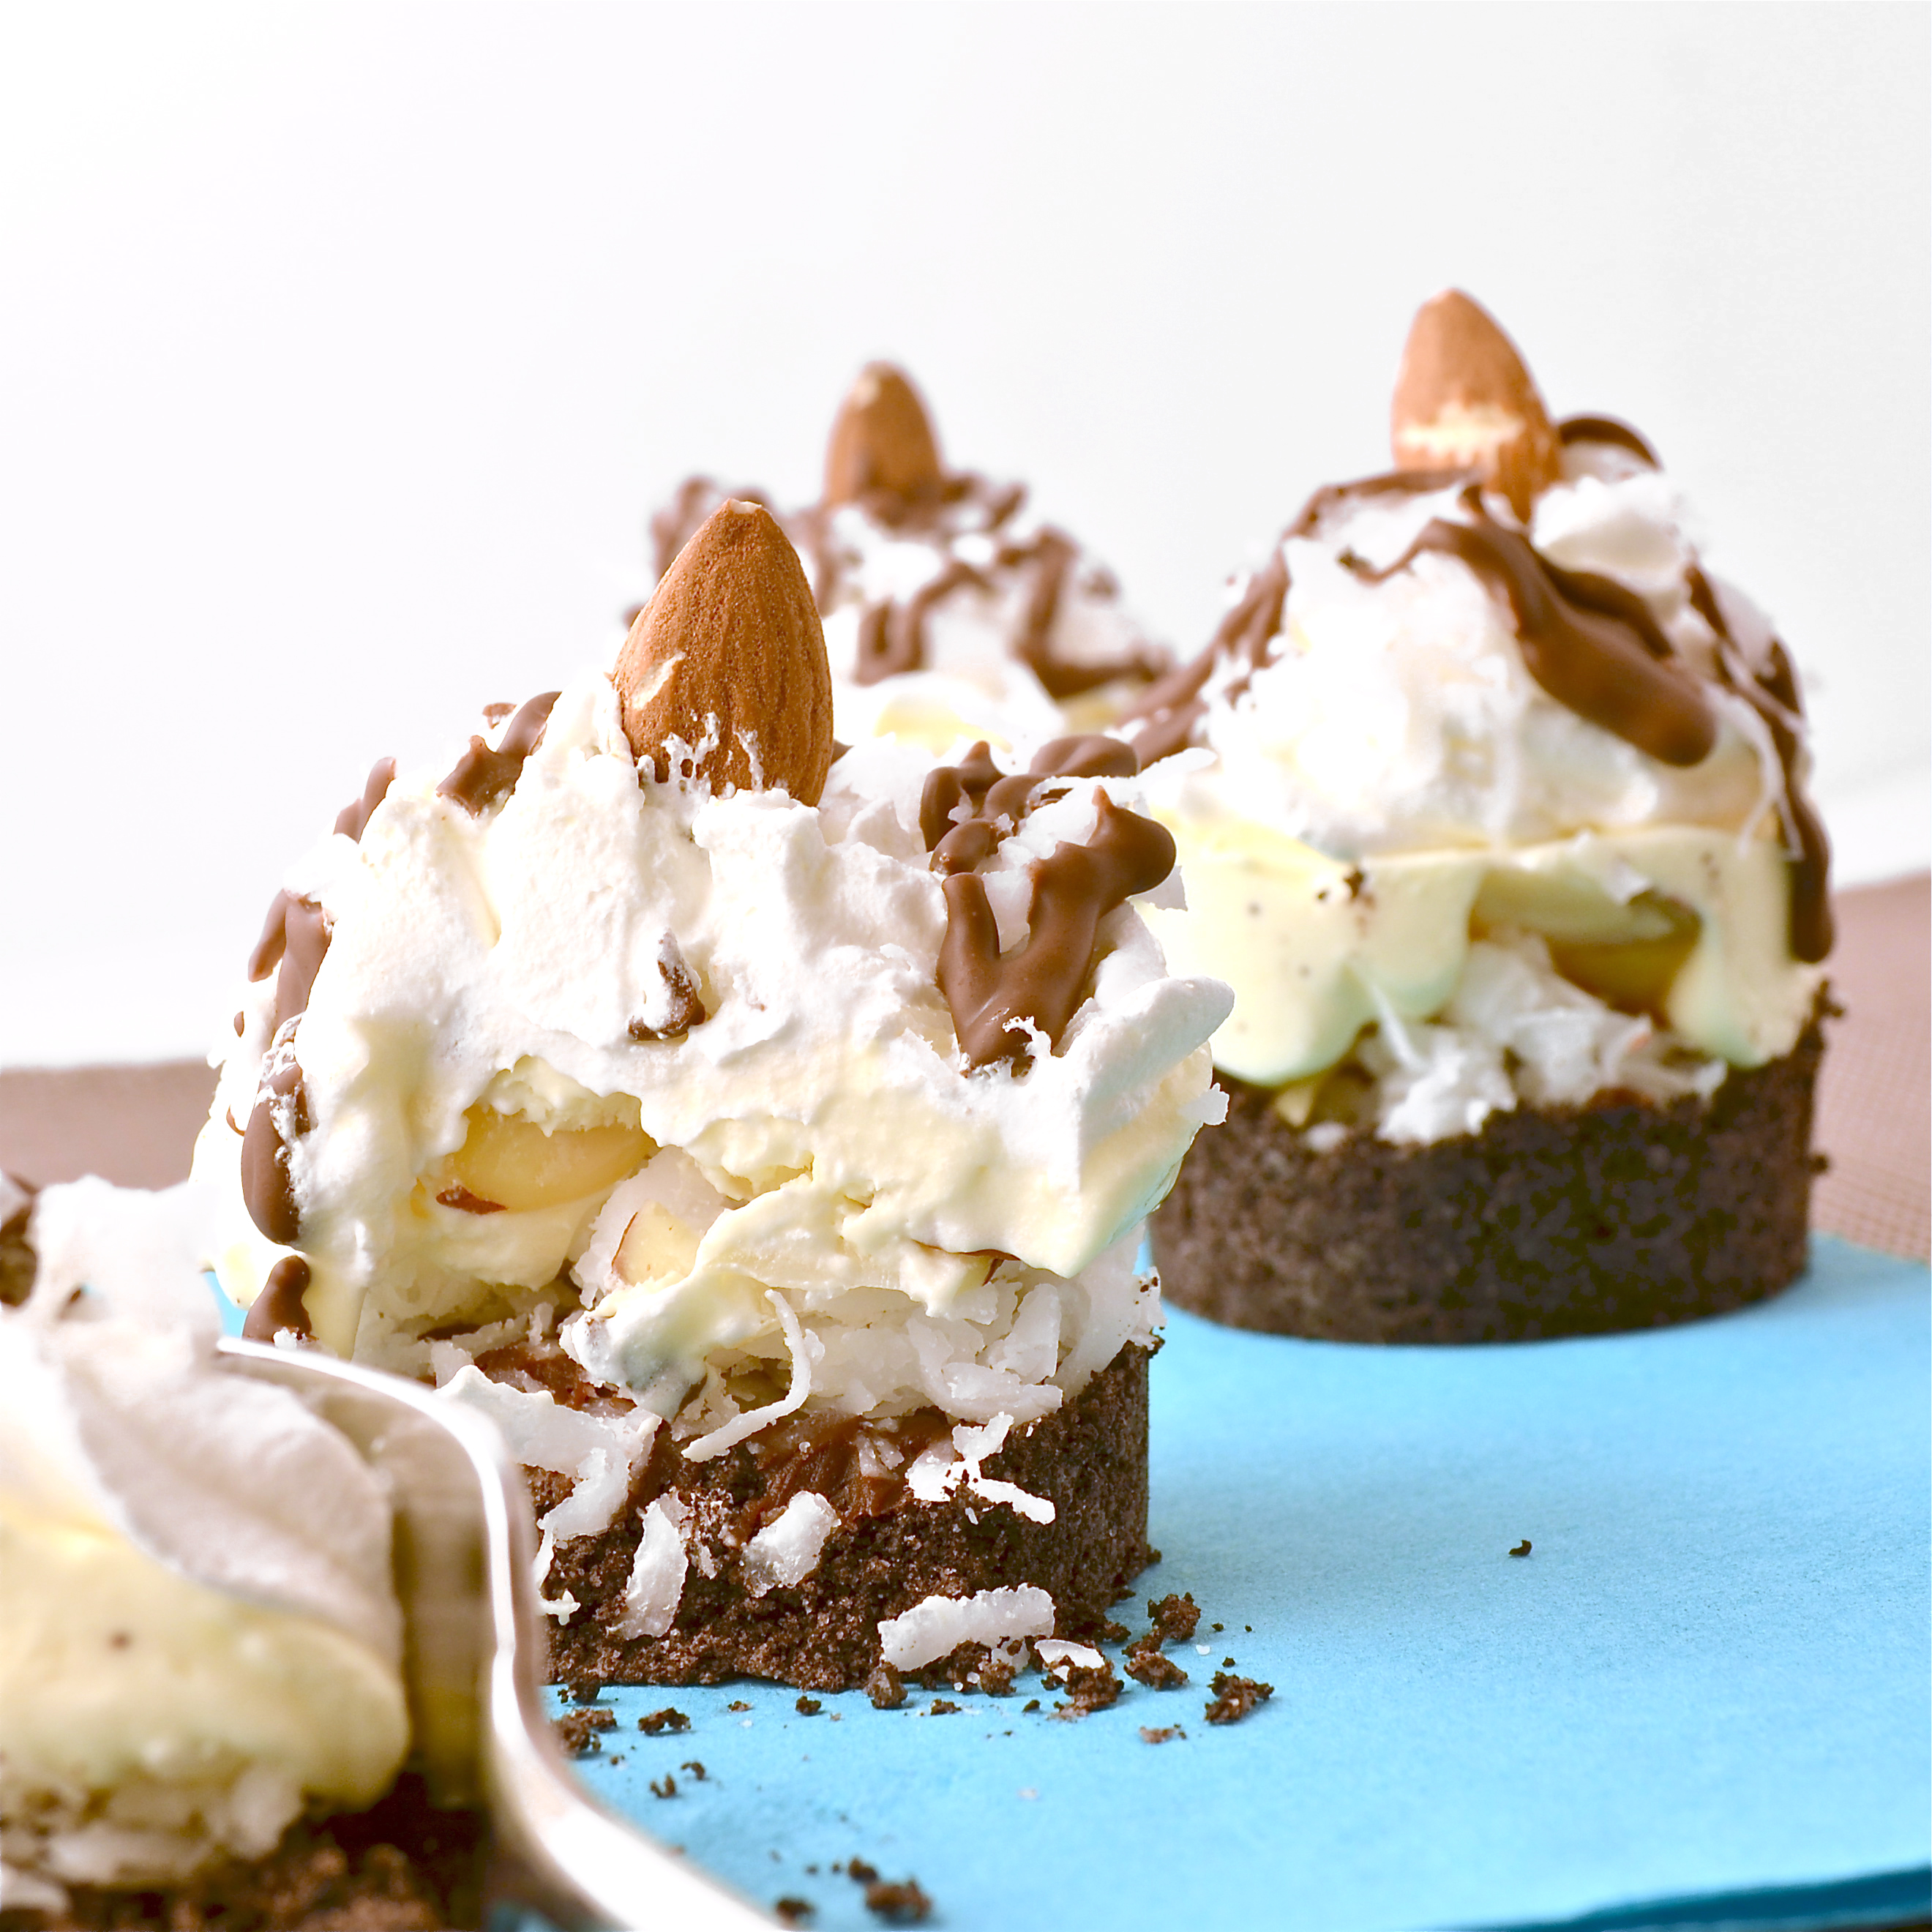
My thoughts: There is just something unbelievably good about marshmallows on a cookie. The chewy sweetness of those, the crunchy nuts, the soft chocolate cookie… I LOVE these! Sometimes the love of a dessert is as much about the textures as it is about the flavors- and this cookie wins in both categories!!!! I hope you get a chance to try these! Enjoy! ~r
Other favorites for the cookie jar: (click on a photo to see the recipe):


%20Easybaked.net)

%20Easybaked.net)

%20Easybaked.net)

%20Easybaked.net)

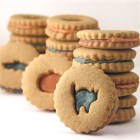


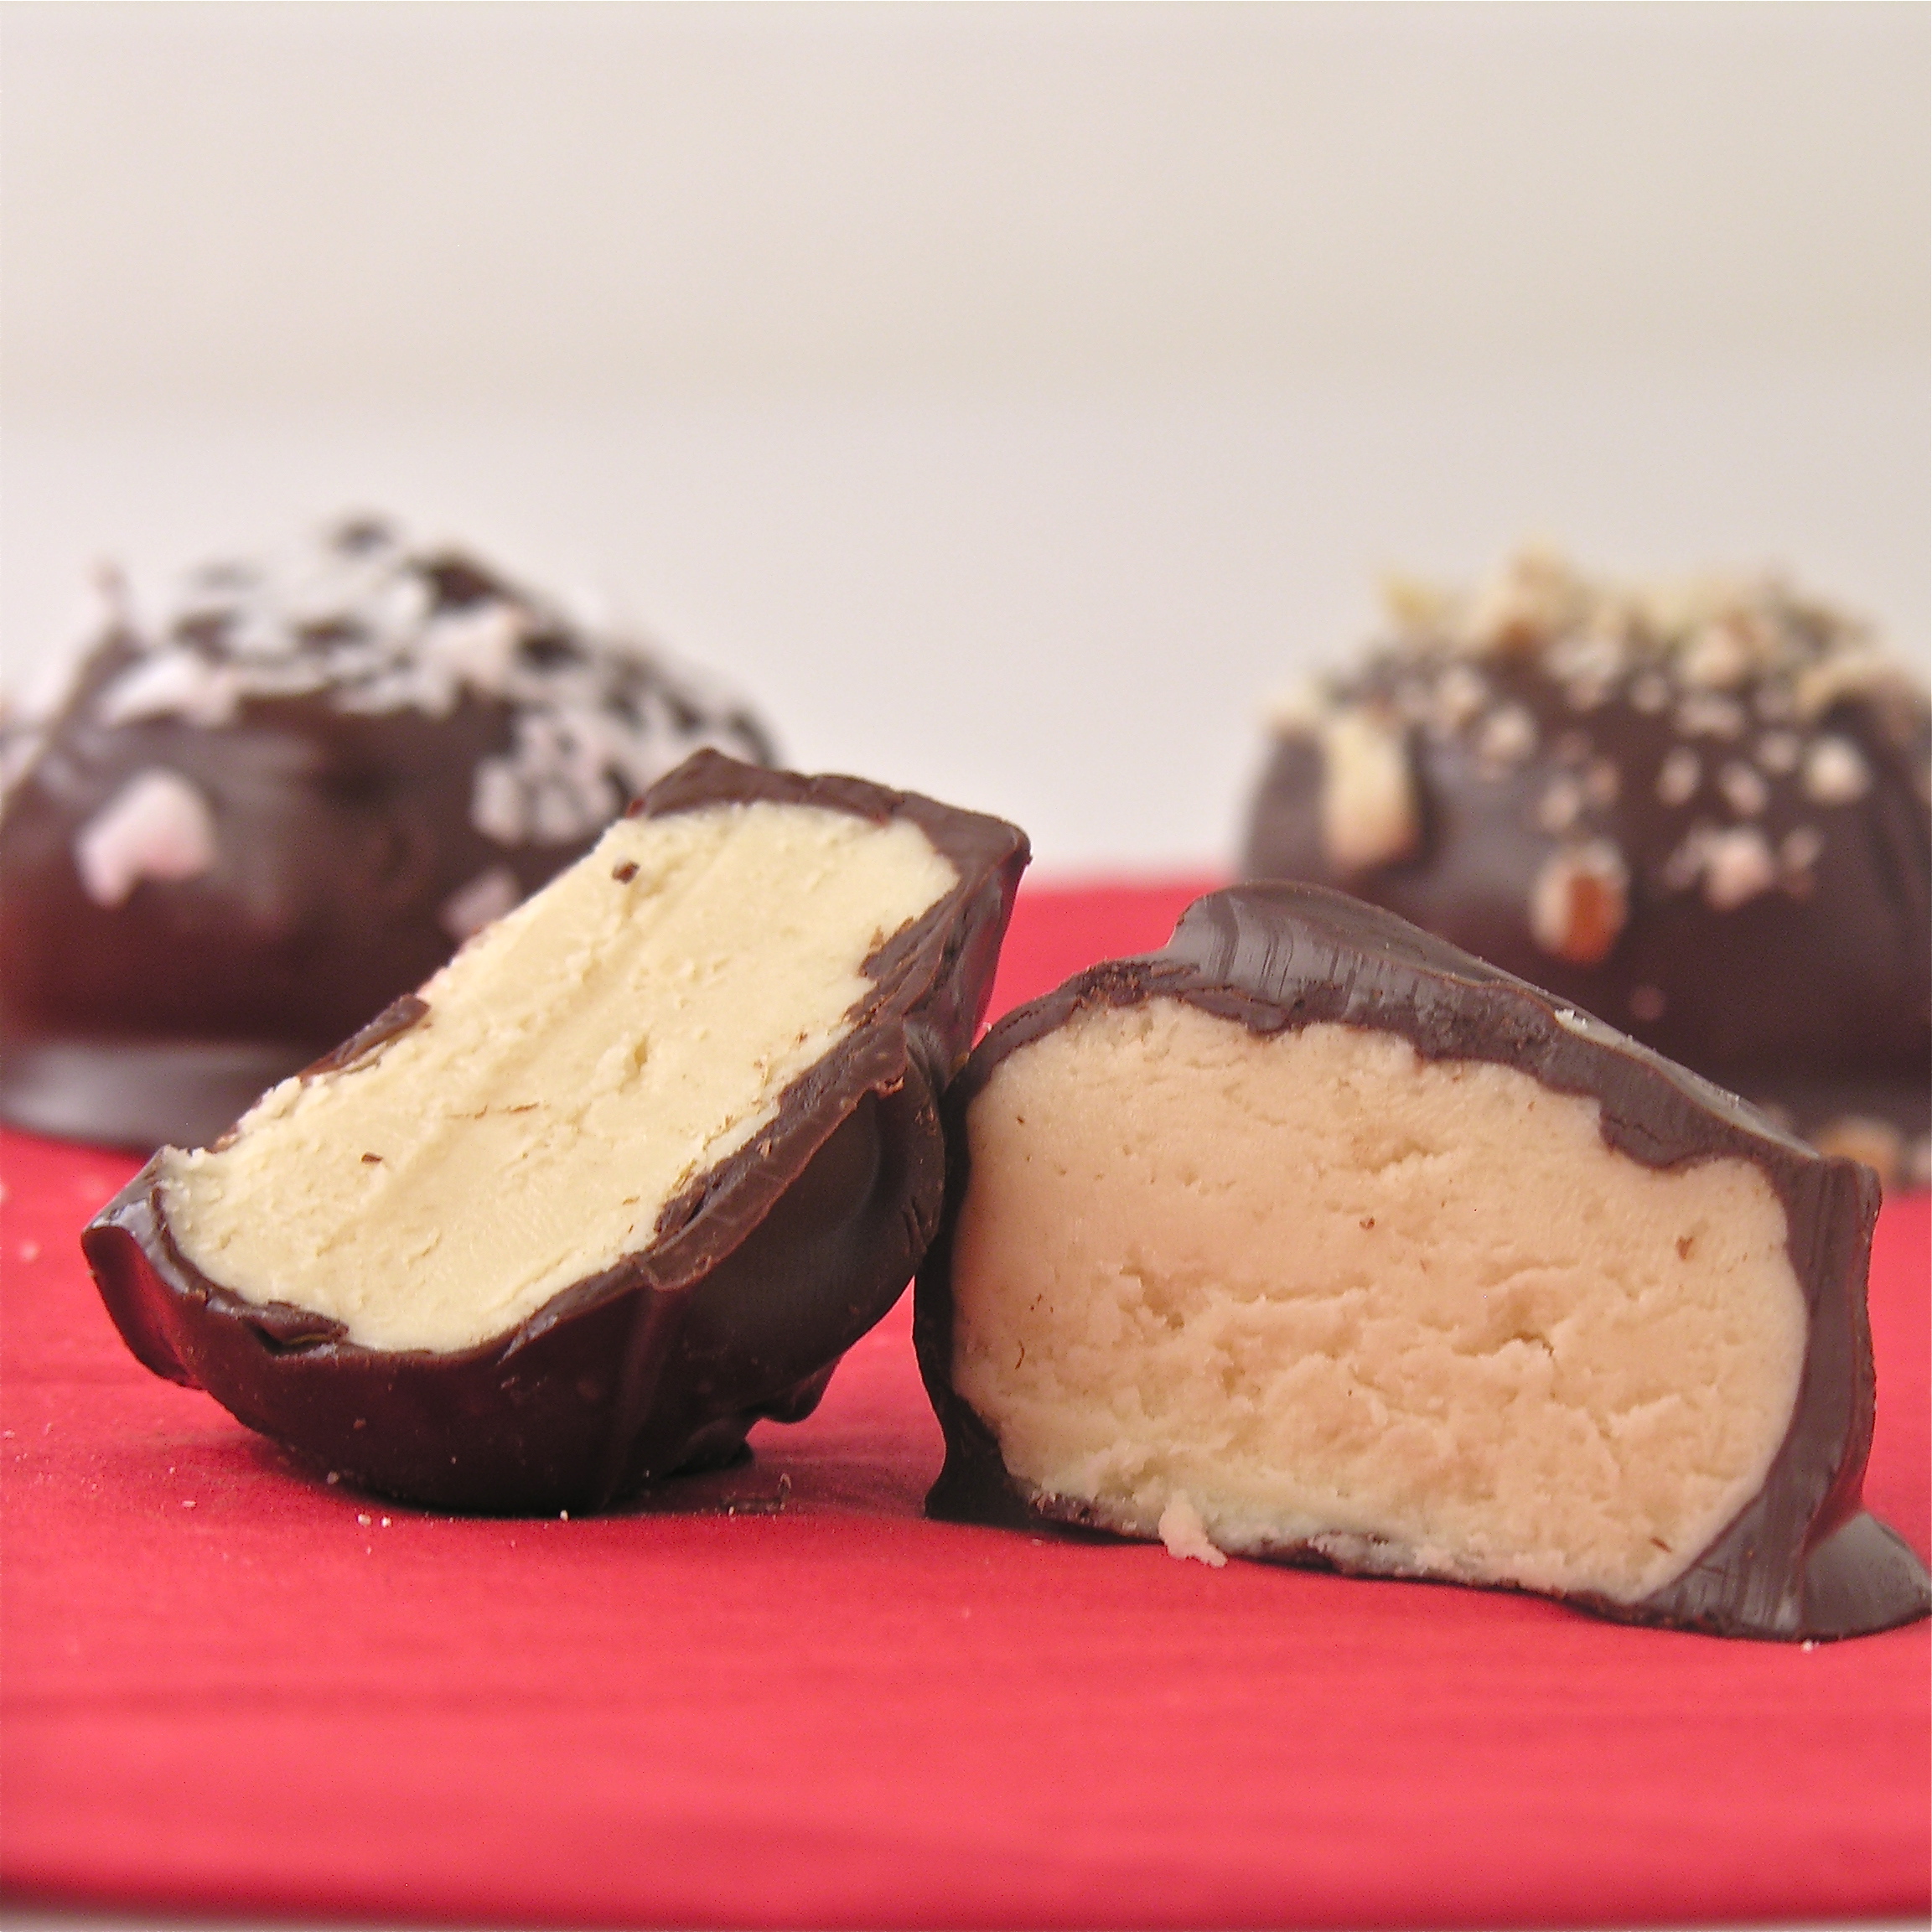
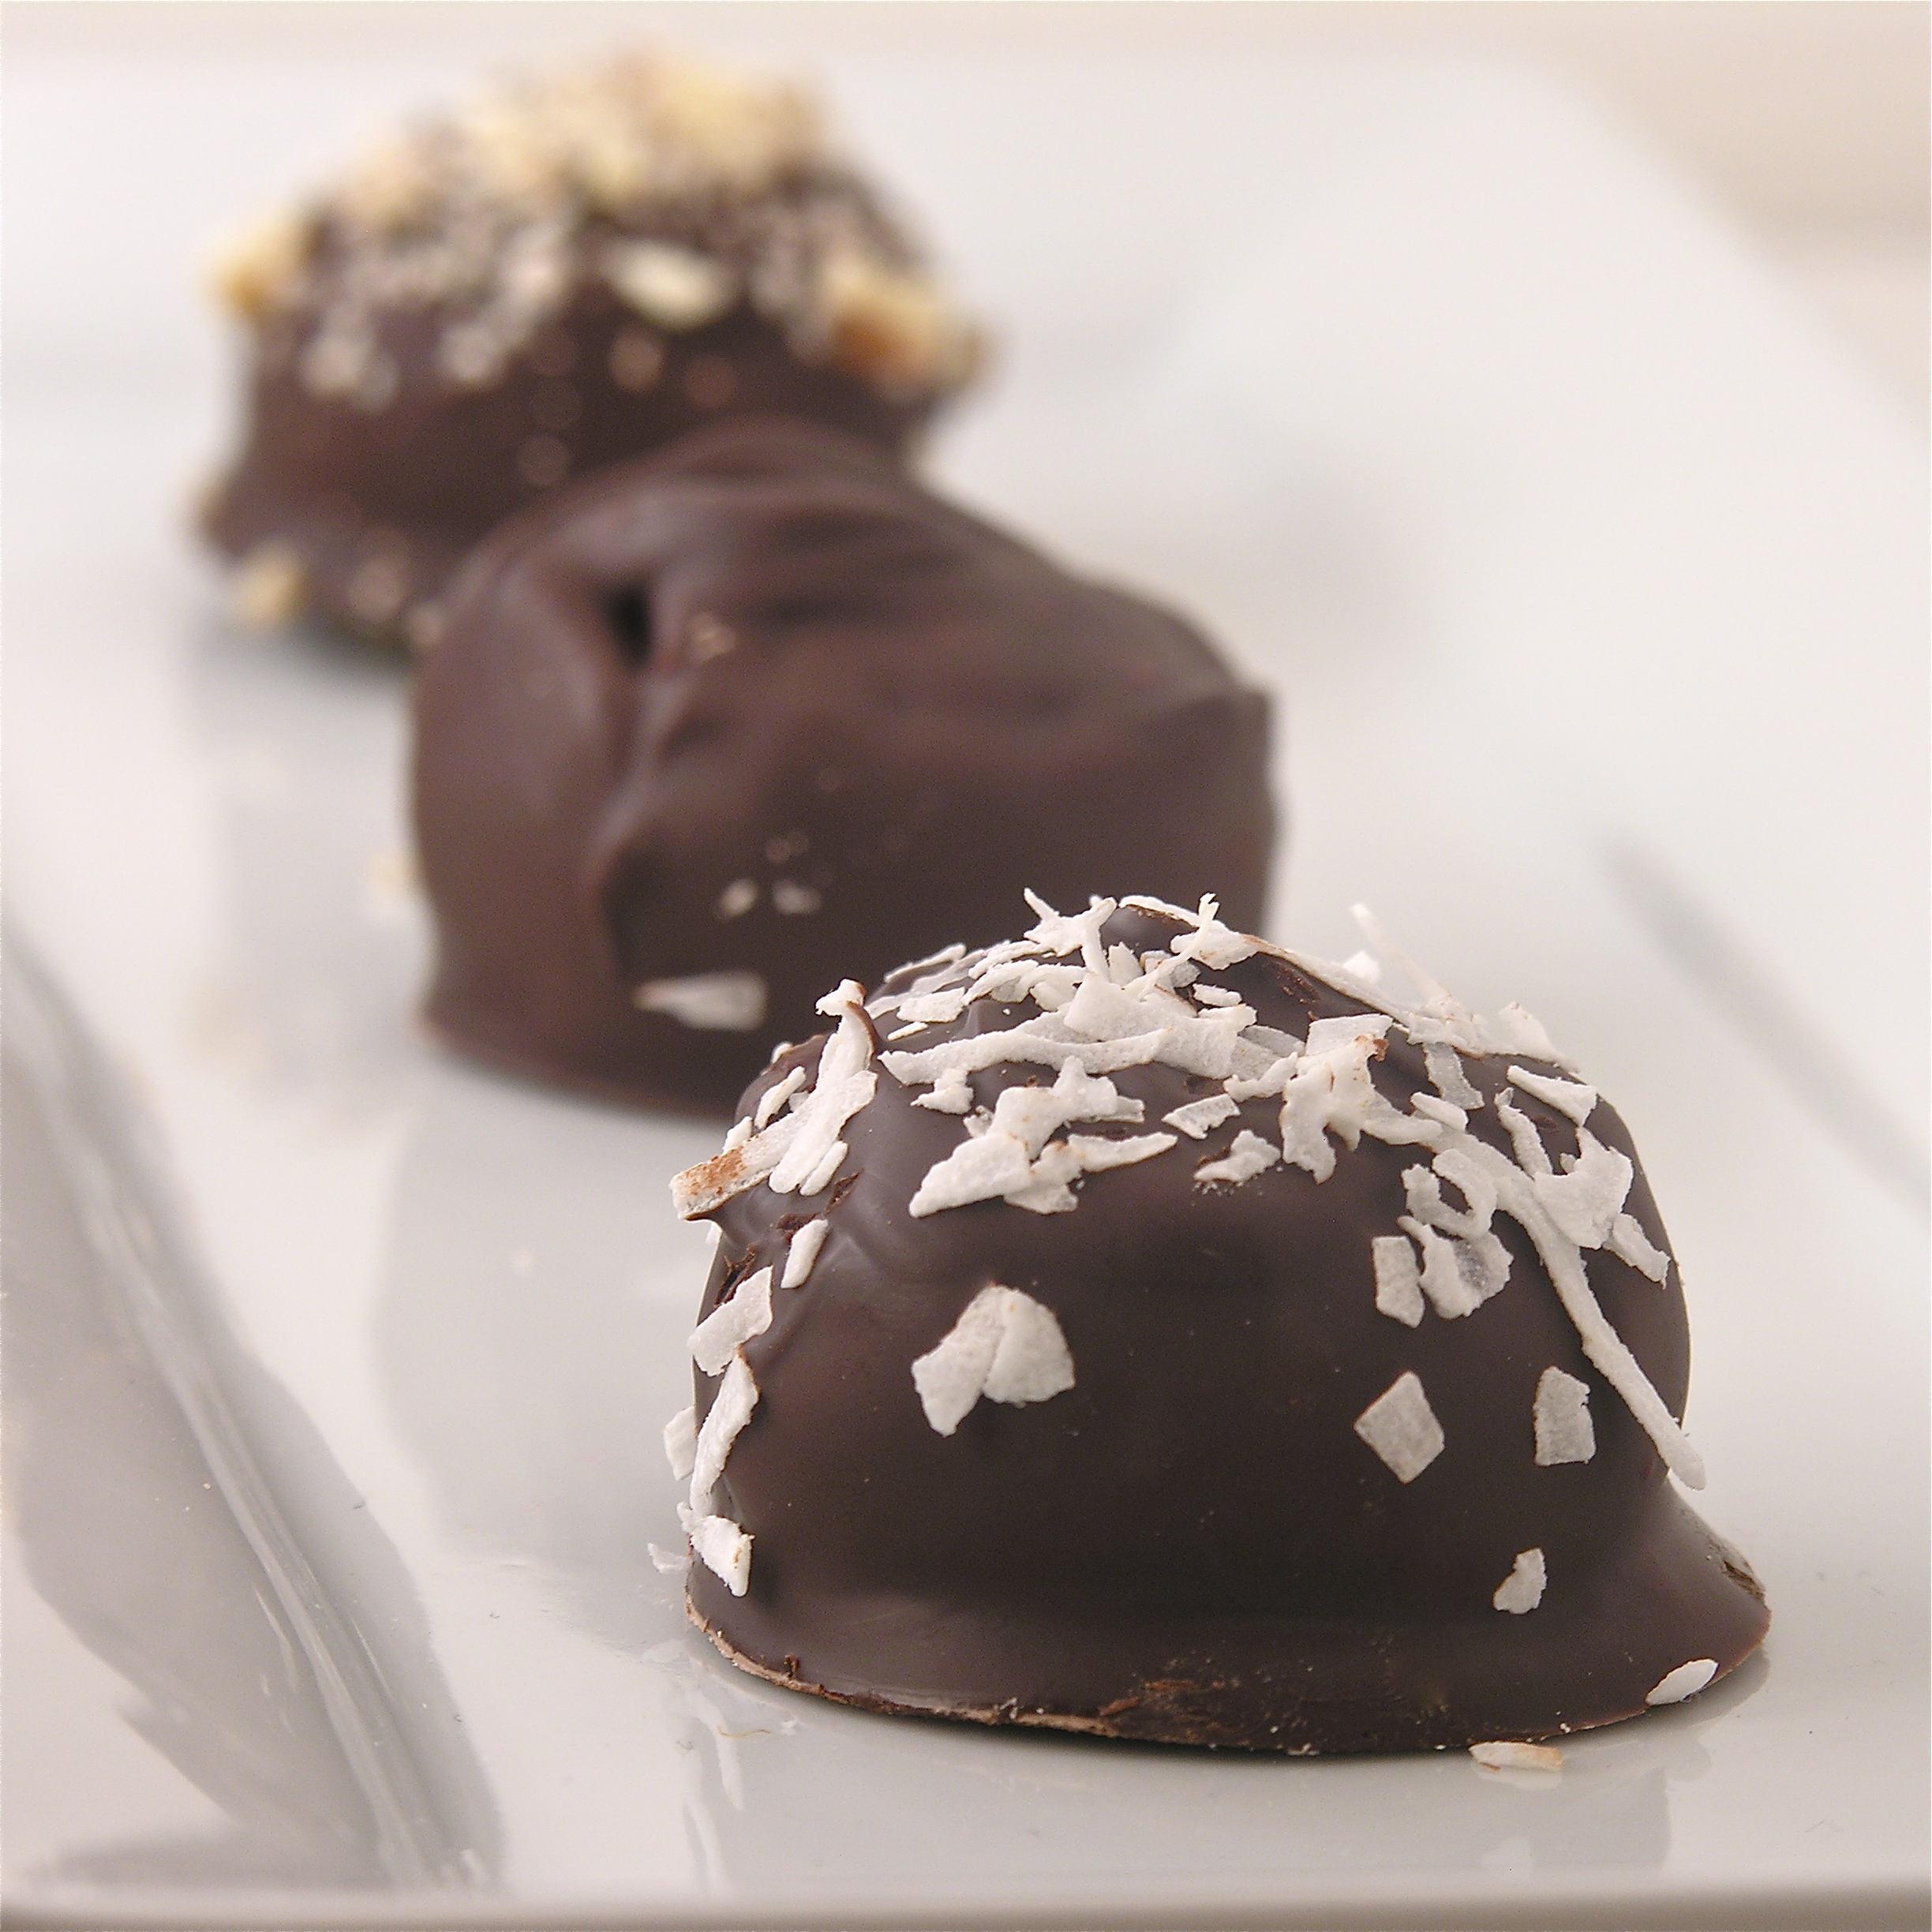
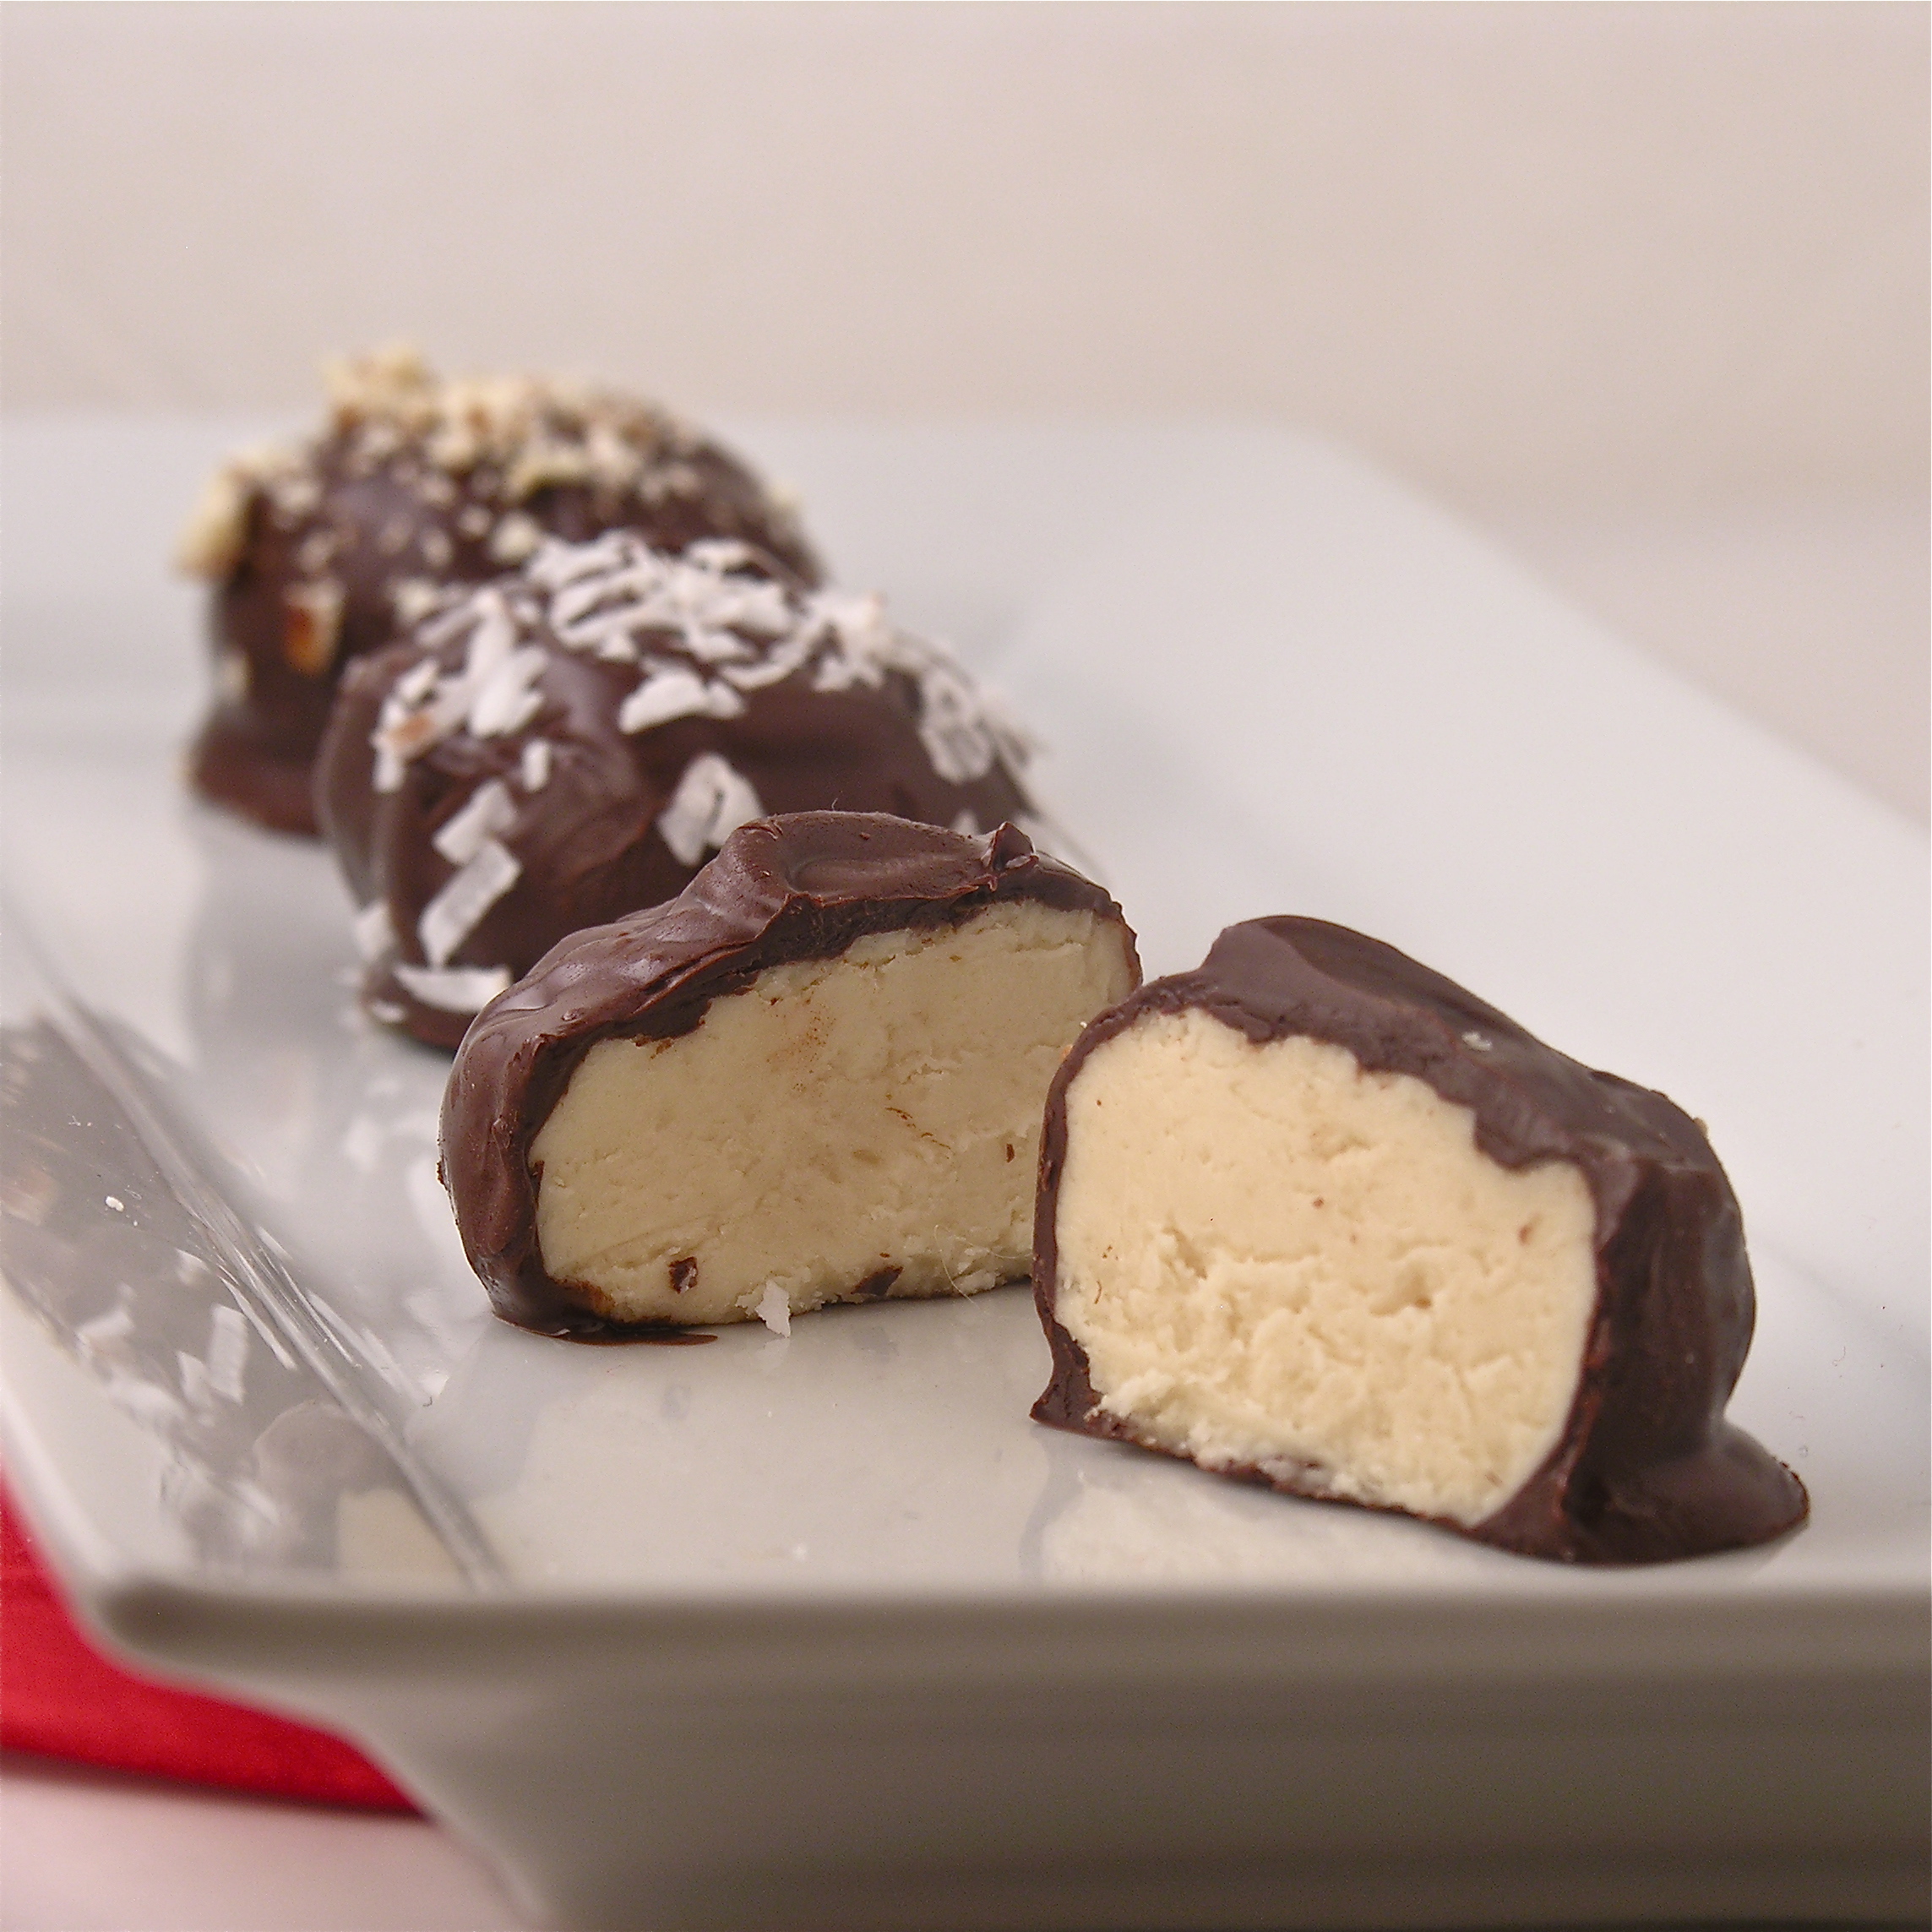
 These cream-filled chocolates are so smooth and rich you won’t be able to stop at just one!