Tag Archives: marshmallow

Fall Marshmallow Cakes

Posted on

marshmallow cake

These delicious little chocolate cakes are filled with creamy sweet marshmallow, and decorated to make everyone at your fall table smile!

I’ve been craving HoHos lately. Do they even still make those? Seems like Hostess went out of business awhile back…? Anyway- or those Little Debbie Swiss Cake Rolls. Both of those desserts remind me of high school lunches. My friends and I would sit at lunch, peel them apart in layers, and talk about boys and such while we ate them.

Anyway… so I started thinking about a way to do a grown-up version of these flavors. My friend Angie gave me SUCH a fun pan- it makes little cakes with a cavity in the center that holds filling. See what I mean HERE. I’ve used these pans before here on Easybaked and they seemed perfect for this idea. Instead of topping cake with cake—- I topped each cake with a thick layer of chocolate glaze that was decorated with chocolate transfers.

I love how they turned out! This was my 1st time using transfers, and they are a little fussy- but the wow factor….!!!!!

marshmallow cake

Mmmm……!! So there is some special equipment to make these exactly like I did (cake pans, silicone molds to make the top chocolate layer). If you hate to purchase the pans and chocolate mold, make these as cupcakes. Fill them with marshmallow and pour the glaze over the top. Or make this as a layer cake maybe- with the marshmallow in the middle and the glaze drizzled over the top?

However you choose to make it, the flavors are wonderful together!

Here’s how we put these together. (Printable recipe here)

Ingredients (makes 8 mini cakes)

Cake:

  • 1 chocolate cake mix (plus water, oil and eggs to make according to package)

Filling:

  • 2 cups marshmallow creme
  • 1/2 cup butter, softened
  • 1/4 cup powdered sugar

Topping:

  • 2 cups chocolate chips
  • 12 tablespoons of butter
  • 1 large (12″x16″) chocolate transfer sheet (here is where I got mine)

Directions:

  • Start with the chocolate toppers. To add a chocolate transfer on top, cut 8 circles in a 4 inch diameter. I traced the pans with a marker and the cut the transfer just inside the line. Place the smooth side down and the rough side up inside a 4 inch silicone cake mold (I got mine here, in the medium size).
  • Place chocolate chips and 12 tablespoons of butter into a microwave safe dish and melt in 30 second increments, stirring between until smooth.
  • Gently spoon chocolate over the top of each transfer until it is covered completely. 
  • Freeze for about 20 minutes- until completely hard.
  • Gently peel away the silicone mold, leaving the chocolate. Keep this chocolate in the freezer until use.

chocolate transferschocolate transfers

  • Repeat process (re-melt chocolate glaze if needed) until you have 8 toppers in the freezer.
  • Make cake according to mix and bake in 4 pans as directed on box. Only fill the pans 1/2 full, or they will overflow. And grease the pans generously!!! My 1st batch stuck a little.
  • You will need to bake two batches to get your 8 cakes. Cool completely.
  • Make filling by beating together the marshmallow creme and the butter until smooth and light (about 2 minutes).
  • Slowly add the powdered sugar, beating on low until it is fully mixed in, and then increasing to high and beating until light and fluffy (another 2 minutes or so).
  • Place filling into a zip top bag and zip it tightly closed. Clip a corner off and squeeze filling into each open cake cavity. 
  • Gently set a chocolate topper over the filling, pressing it lightly against the filling. As the topper warms to room temperature, it will soften and stick more firmly to the cake. 
  • Gently peel away the plastic from the top of the transfer.


marshmallow cakemarshmallow cake

  • Keep at room temperature until serving. Kept covered, these can be stored for two to three days.
  • Enjoy!

marshmallow-cake

My thoughts: If you don’t mind the extra equipment and a little bit of time, these are positively the most elegant and delicious little cakes! I had so much fun serving these as individual desserts- and everyone loved them. If what you are aiming for is extra special- this is your dessert. If you need your chocolate fix right now? Get those Little Debbies!!! 😉 ~r

Other fall treats here on Easybaked:

Pecan Pie CupcakesPumpkin Pie Cutout cookies!Honey cookies cut into leaf shapes!Acorn Candy

Marshmallow-filled Chocolate Cookies

Posted on

Marshmallow Cookies

Chocolate “Oreo Thins” cookies, stuffed with a marshmallow and covered in dark chocolate- such a delicious combination!

I haven’t given up making Oreo Thins less healthy! Just a few weeks ago, I posted a recipe using the vanilla Oreo Thins- stuffed with key lime pie (see it here). Today, I bring you chocolate Oreo Thins stuffed with marshmallows and covered in chocolate. They remind me of those yummy pinwheel cookies- the kind with cookie and marshmallow all swirled together!

Marshmallow Cookies4Yep. You will want to try these- promise! They are even better tasting than they look!

Here is how we put these together: (printable recipe)

INGREDIENTS: (makes 20 cookies)

  • 1 box of Oreo Thins in chocolate
  • 20 marshmallows (regular size)
  • 2 bags of Wilton’s candy melts in dark chocolate
  • 1/4 cup of Wilton’s candy melts in white chocolate

DIRECTIONS:

  • Preheat oven to 350F degrees
  • Set half of the Oreo Thins cookies on a cookie sheet that will fit in your freezer, set aside.
  • Place a sheet of parchment paper on a second small cookie sheet.
  • Set 20 marshmallows out on paper and place in oven for 3 to 4 minutes. Until they become soft- but not toasted.
  • Remove from oven and allow marshmallows to cool to a point where you can pick them up.
  • Gently use a knife or a skewer to pierce the bottom of the marshmallow (allowing some of the melted part to come out), and set this on top of an Oreo on the 1st cookie sheet.
  • Gently pierce the top of the marshmallow and set a second Oreo on it, gently pushing the melted marshmallow out to the edges (it will go a little beyond the edges and this is ok!

Marshmallow Cookies!

  • Continue with this process until all cookies have a marshmallow sandwiched between them.
  • Freeze for about 30 minutes- until marshmallow is hard.
  • Melt Candy Melts in the microwave in 30 second increments, stirring in between until melted and smooth.
  • Taking only 2-3 cookies out of the freezer at a time, dip them into the melted chocolate, covering top and sides.
  • Quickly remove on a fork, and tap on edge of bowl to remove excess chocolate.
  • Gently slide off fork onto parchment paper to harden.
  • Melt white Candy Melts in the same manner as the chocolate ones. Place in a small zip-top bag, clip a corner, and drizzle over finished cookies.
  • Allow these to harden up before serving.
  • Enjoy!

Chocolate Marshmallow Cookies

My thoughts: I was originally going to do these with graham crackers- like a s’mores cookie- but when I realized how well those Oreo Thins work for dipping, I went with those instead- and I’m glad I did! These are absolutely delicious. I really, really loved them! A unique addition to any cookie tray! In fact, I made cookie plates with my last 3 recipes here on Easybaked. I baked them all over one weekend and brought these to my neighbors and friends. Who says you can only do this at Christmas??? 🙂

Summer Cookies!

I hope you get a chance to try some of these fun summer cookie recipes before August disappears into fall!  Enjoy!!! ~r

Marshmallow Cookies!!!

One last shout-out to summer desserts! Click on a photo to see the recipe 🙂

Banana Split CupcakesKool Aid PiePina Colada Cupcakes!Heath Bar Ice Cream Dessert3


Homemade Mallo Cups

Posted on

Mallow Cups

Dark chocolate and toasted coconut cups filled with creamy sweet marshmallow-  YUM!

Last week we featured one use for silicone baking cups, and even gave two sets of them away! This week is another idea for these cups. If you missed the story last week, I was sent a set of these silicone cups to try out as an apology for a designer that stole one of my photos and used it in the product packaging of these cups. The cups I am using are Baketown Girls Silicone Baking Cups, and can be found on Amazon.com.

I was a little doubtful about the practicality of these cups (especially when I thought of doing cupcakes in them), but I’m having fun experimenting with the possibilities! I’m sure this won’t be the last recipe on Easybaked using these silicone cups.

Have you ever had Mallo Cups?

Mallo-Cup-Wrapper-SmallDear me, they are amazing. They are considered the very 1st candy cup created, and they were one of my favorite childhood treats. They are a little hard to find these days, so I thought I’d re-create them. They are actually not very hard to make.

Mallo Cups

Here’s how we put them together. (printable recipe)

INGREDIENTS: (makes about 12 cups)

  • 2 bags of Wilton’s Candy Melts (if you want a little better chocolate, try Country Kitchen chocolate. It’s a touch more expensive, but truly better in flavor (click here). )
  • 1 cup of toasted coconut (to toast refer to instructions here)
  • One large jar (13 oz) of Jet-Puffed Marshmallow Creme

DIRECTIONS:

  • Set 12 silicone liners on a cookie sheet with edges.
  • Melt one bag of candy melts in a bowl in the microwave in 30 second increments, stirring between until smooth.
  • Spoon carefully into a large zip-top bag and seal well.
  • Clip a corner off the bag of chocolate and pipe a little chocolate (about 1 tablespoon) into each cup.
  • Tip and/or tap each cup until chocolate covers the entire bottom of the cup.
  • Refrigerate for about 5 minutes until hard.
  • Carefully spoon marshmallow into a second zip-top bag and seal well.
  • Clip a corner off this bag and pipe a dollop of marshmallow into the center of each cup- do not let it touch the sides.
  • Use bag of melted chocolate to carefully pipe chocolate all the way around each dollop of marshmallow- this seals it into the center and keeps it from leaking out. Melt more chocolate, as needed.
  • Refrigerate for about 5 minutes until chocolate is hardened.
  • Melt remaining chocolate and add finely crushed toasted coconut to it (save a bit out to sprinkle on top later if desired)
  • Spoon this mixture into a zip top bag and seal well.
  • Clip a corner and pipe chocolate/coconut evenly over each cup.
  • Sprinkle with toasted coconut, or any decorative topping you desire.
  • Chill until cup is hardened and then peel away silicone cup and enjoy!

Mallo CupsMallow Cups7Mallow Cups5

Not too difficult- and the end result is so much fun (and delicious!)

Mallow Cups2

My thoughts: These are just fun little treats to put together and they really are so yummy with the crunchy coconut and creamy marshmallow. I even made an Easter batch of them!!! I hope you get a chance to try them! Enjoy!! ~r

Easter Mallow Cups

We love to celebrate spring! Here are some other fun springtime recipes: (click on photo to see recipe)

Koolaid PieFlower Pot OreosRaspberry Lemon Cream Cups!!!Fun fondant cupcake toppers

Mini S’mores Pies

Posted on

S'mores Pie!!!Rich dark chocolate pie in a graham crust, topped with marshmallow meringue.  S’mores with a new, fun look!

Everyone loves these flavors together.

Don’t they?

It just occurred to me that someone might hate s’mores.

Ok, well I don’t personally know anyone who doesn’t just adore this flavor combination.  I LOVE them, and crave them, and sometimes cheat by making them in the microwave when it’s snowing and a campfire is out of the question!

These little pies capture the flavor of a s’more, but add a rich chocolate flavor that is incredibly delicious, and can’t be had with just 2 squares of Hershey’s chocolate.  Or four squares… sometimes I use four.  Don’t tell.

S'mores Pie!!!

Here’s how these simple little treats are made: (printable version)

INGREDIENTS: (makes 12 mini pies)

  • 12 pre-made mini graham cracker crusts.
  • 1 cup of Ghirardelli Bittersweet chocolate chips (melted)
  • 1 cup of Ghirardelli Semi-sweet chocolate chips (melted)
  • 8 eggs (divided)
  • 5 Tablespoons of heavy whipping cream
  • 2 Tablespoons of vanilla
  • 2 cups of granulated sugar
  • 1/4 teaspoon of cream of tartar

DIRECTIONS:

  • Preheat oven to 350F degrees.
  • Divide eggs, keeping ALL of the 8 egg whites and only 5 of the yolks.
  • Place the melted chocolate, 5 egg YOLKS, whipping cream and vanilla in a large mixing bowl and stir until well combined.
  • Evenly divide among all twelve mini pie crusts.
  • Bake (I put them all on a baking sheet) for 14-16 minutes, until the middle of each pie is set.
  • Make meringue while these bake, by adding all of the 8 egg WHITES, sugar and cream of tartar together in a medium heat-proof bowl that will sit on the top of a sauce pan of boiling water without touching the water.  (I had to experiment a bit to find a good fit.)
  • Bring water to a boil in the saucepan and set the bowl on top.
  • Whisk ingredients together for about 3-4 minutes.  Sugar will be dissolved and egg whites should be heated to 145F degrees.
  • Remove bowl from top of sauce pan and beat on low until the mixture thickens a little, then beat on high for about 10 minutes.  The meringue will become the most beautiful, white, glossy mixture.  It should form stiff peaks before you stop beating it.
  • Spoon all that wonderful marshmallow yumminess into a bag fitted with a decorating tip.
  • Once mini pies are removed from the oven, let them cool completely.
  • Pipe marshmallow meringue on the top of each pie and toast it with a kitchen torch.
  • Add a few graham cracker crumbs if you want, and enjoy!!!!


S'mores Pies!!!!My thoughts:  These are delicious. You can see from my pictures that I didn’t beat my meringue as long as I should have.  The are not the tall swirls of happiness I wanted them to be….  it was only my second time making meringue though, so I guess I won’t beat myself up too much.  My 1st time was perfect.  If you want to see how fluffy it SHOULD be, click here.  I LOVE this meringue.  When you read the instructions you might think it is too hard to make- but once you do it, you will realize that it isn’t hard at all.  Just a lot of time with a mixer in your hands.  I hope you get a chance to try this recipe out!  Enjoy! ~r
S'mores Pie!!!

We like our chocolate and marshmallow here at easybaked… here are other recipes that feature that yummy combo:

frozen s'more cupsMelted Smores cupRocky Road Cupcakes!!!!Baked Alaska Cupcakes!!


Caramel Pecan Marshmallow Pops

Posted on


Marshmallow Turtle Pops!

  Big marshmallows covered in creamy caramel and chocolate are dipped in pecans to make an incredibly decadent treat!

These are unbelievably good.  I was visiting my friend Andreya in San Diego last weekend and we passed a store while window shopping in La Jolla that had all sorts of dipped marshmallows.  I started craving them and had to try this.   These are like yummy caramel apples- but with a soft marshmallow inside, instead of an apple.  If you are looking for a really unique treat that is easy to put together, this is your recipe!!!  I couldn’t believe how easy and yummy  these were.

Caramel Pecan Dipped Marshmallows

Here’s the recipe: (printable version)

INGREDIENTS:

  • 2 bags of jumbo marshmallows (24 marshmallows)
  • 24 lollipop sticks
  • 32 Kraft caramels, unwrapped
  • 1 (14 oz) can of sweetened condensed milk
  • 1/2 cup of butter
  • 1 bag of dark chocolate Wilton’s candy melts
  • 2 cups of chopped pecans

DIRECTIONS:

  • Set marshmallows out on parchment paper and stick one lollipop stick into the flat side of each one.
  • In a medium saucepan, melt together caramels, butter and sweetened condensed milk, stirring constantly, until completely smooth (takes about 5 minutes)
  • Pour caramel mixture into a bowl.
  • Using stick, carefully dip each marshmallow into caramel, coating it to the top.  Gently tap stick against side of bowl to remove excess caramel and then slide bottom of marshmallow along bowl’s edge to remove most of caramel.  (It is ok if you remove it down to the marshmallow- the chocolate will cover this up!
  • Place upright on a sheet of parchment paper and cool.
  • Place chocolate candy melts into a bowl, and melt them in the microwave in 30 second increments, stirring in between, until completely melted and smooth.
  • Lay a fresh sheet of parchment paper out before beginning next step.
  • Place pecans in a small bowl.
  • Gently peel a marshmallow away from the parchment paper. This is a little tricky, as it will still be a bit gooey.  I held the stick, lifted, and peeled the paper away from the marshmallow.
  • Dip bottom of marshmallow into melted chocolate and slide bottom along edge of bowl to remove excess.
  • Dip bottom of coated marshmallow into pecans and set on fresh parchment paper to harden.

Once these are hardened up, you can serve them up on a pretty plate, or wrap them in cello bags to use as gifts or favors.
If you aren’t serving them right away, be sure to cover them so the marshmallows don’t harden up.

Caramel Pecan Marshmallow Pops!

My thoughts: These are a recipe I will make again.  I had fun putting them together and everyone who tried them asked me to make them again.  Easy. Yummy. Beautiful.  My kind of recipe!  Enjoy!! ~r

Other unique recipes you might enjoy:

Fruit Loop Pie!Raspberry Lemon Cream Cups!!!Cookie Dough Whoopie Pie!Doughnut cupcakes!!

Rocky Road Cupcakes!

Posted on

Rocky Road Cupcakes!!!!These chocolate cupcakes are filled with creamy marshmallow and topped with a rich ganache frosting, marshmallows and almonds! YUM!!!!!

These are fork-eating cupcakes!  You’ll love that combination of rocky road flavors in these rich and messy-to-eat cupcakes.

Rocky Road Cupcakes4I absolutely love this frosting.  I have used ganache for many recipes, but I’d never taken the time to whip it up into a frosting.  Now that I’ve tried it, I will be back for more- this frosting is so rich and chocolatey!!! Ready for a recipe?

Here you go: (printable version)

INGREDIENTS:

  • One box of chocolate cake mix (with oil, water and eggs to make according to package)
  • One large jar (13 oz) of Jet-Puffed Marshmallow Creme
  • One bag of semi-sweet chocolate chips *
  • 1/2 cup of whipping cream *

(*double these two ingredients if you want to pile your frosting high like mine is)

  • One bag of mini-marshmallows
  • 1 cup of slivered or sliced almonds
  • a little white chocolate to drizzle on top, if desired

DIRECTIONS:

  • Start your frosting first, as it needs to chill before you beat it, and double the recipe if you want piles of frosting like mine.  I went a little overboard for fun pictures!! 🙂
  • Place 1/2 cup of whipping cream into a medium saucepan and heat it on the stove until the cream starts to bubble just a bit on the edges, stirring as it heats.  Turn off the heat, add the chocolate chips and cover for 5 minutes.
  • Stir melted chocolate and warm cream together until completely smooth (a “ganache”).  Put it in a medium bowl and refrigerate until it is a cool, spoonable consistency (30 minutes to an hour).
  • Make cake mix according to box, and divide equally into 24 cupcake lines placed in a muffin tin.
  • Bake as directed on box, and cool completely.
  • Core cupcakes using a small knife, or a cupcake corer.  I used the Chicago Metallics one, and for $4 there is just no reason to not get one- it makes filling cupcakes SOOOO easy!  Isn’t your birthday coming up???

So easy to core cupcakes!

  • Spoon entire jar of marshmallow fluff into a gallon-size zip-top bag and clip a corner off with scissors.  Squeeze the marshmallow into the middle of each cupcake and then trim a little of the core you removed and place the “lid” back on top of the filling.
  • Remove cooled chocolate ganache from refrigerator and beat on high until light and fluffy.
  • Place icing in a gallon size zip-top bag that has been fitted with a decorating tip in one corner, and pipe icing onto the cupcakes.
  • Decorate with almonds, and mini marshmallows.  I also added some mini chocolate chips (because I had some leftovers from another recipe) and I melted some white chocolate to drizzle on top.  Be creative and make these little marshmallow-y cupcakes irresistible!!!!


Rocky Road Cupcakes!!!!!


My thoughts:  These are FABULOUS cupcakes.  I love the gooey marshmallow creme surprise in the middle!  And that frosting….. oh my.  A few tips:  the frosting does harden up, so get those almonds and marshmallows placed in it as soon as you are done piping the frosting on.  This is good, because it holds all those yummy toppings in place!  Also, store these all sealed up.  You know what happens when you leave the bag of marshmallows open?  Yucky, rubbery, dried up marshmallows!  The same will happen if you just let these set out. 

I hope you love these little yummy desserts!!!!  ~r

Rocky Road Cupcakes with marshmallow filling!!!!Want some other ideas for that new cupcake corer?  We love filled cupcakes here at Easybaked!  Here’s a few of our favorites:

Cinnamon Roll Filling in a yummy cupcake!Peppermint Hot Chocolate Cupcakes!!!Toxic Slime-filled Cupcakes!Mocha caramel filled cupcakes3

Baked Alaska Cupcakes

Posted on

Baked Alaska Cupcakes!!!!Rich chocolate cupcakes topped with a scoop of ice cream and a cloud of toasted marshmallow meringue. Best. Dessert. Ever!!!!!

Every year for Christmas our family goes out to an incredible restaurant near Marshall, MI called Win Schulers. They have the most amazing prime rib…oh my.  Anyway, within a week of Christmas it is my birthday, my mom’s birthday and my sister-in-law’s birthday.  Schuler’s gives you a Baked Alaska for your birthday….so it’s a feast of Baked Alaska and it is SO good.  About 2 weeks ago I was craving it and suddenly was struck by the idea of making it in cupcake form.  A.M.A.Z.I.N.G.  Just go and make these.  Use your favorite ice cream.  You will love them…!

Baked Alaska Cupcakes!

Here’s the recipe: (printable version)

INGREDIENTS:

  • One boxed chocolate cake mix (plus the oil, water and eggs to make according to package)
  • One quart of your favorite ice cream (I used mint chip)
  • 8 egg whites
  • 2 cups of granulated sugar
  • 1/4 teaspoon of cream of tartar

DIRECTIONS:

  • Make cake mix according to box directions and divide equally into 24 cupcake liners in cupcake tins.
  • Bake according to package.
  • Cool completely (I refrigerated mine to get them nice and cold before adding the ice cream)
  • While they are baking and cooling, make the marshmallow meringue (I got my recipe here)

(Don’t be afraid….I was afraid to try this, it sounded complicated, but it isn’t hard- it just takes time with a mixer in your hand if you are like me and not fortunate enough to have a stand mixer!  It is actually kind of fun!  Make sure your bowl and beaters are free of any oils.  I swiped mine with a little lemon juice 1st)

  • Place egg whites, sugar and cream of tartar in a medium heat-proof bowl that will set on the top of a sauce pan of boiling water without touching the water.  (I had to experiment a bit to find a good fit)
  • Bring water to a boil in the saucepan and set the bowl on top.
  • Whisk ingredients together for about 3-4 minutes.  Sugar will be dissolved and egg whites should be heated to 145F degrees.
  • Remove bowl from top of sauce pan and beat on low until the mixture thickens a little, then beat on high for about 10 minutes.  The meringue will become the most beautiful, white, glossy mixture.  It should form stiff peaks before you stop beating it.
  • Spoon all that wonderful marshmallow yumminess into a bag fitted with a decorating tip.
  • Assemble one cupcake at a time, and then pop it into the freezer immediately.
  • Take a cupcake, use a small cookie scoop or melon baller and place a scoop of ice cream in the center of the cupcake.  Pipe meringue all around it, being careful to seal up all the ice cream at the bottom and them working your way up to a swirled top!

Marshmallow Meringue!Marshmallow Meringue!Marshmallow Meringue!!

  • When all cupcakes are prepared and in the freezer, use a kitchen torch
    to toast the marshmallow just before serving.
  • These are best served within a couple of hours of making them.  

Since they are a fork-eating-cupcake anyway, I see no harm in adding hot fudge….

Baked Alaska Cupcakes!!My thoughts: I loved them.  They satisfied my craving for a baked Alaska plus they have the cute factor of a cupcake!  Fun, fun, FUN!!!!! Enjoy!!!  ~r

Baked Alaska Cupcakes!!!Other yummy cupcakes:

Peanut Butter Cupcakes!!Key Lime Cupcakes!Doughnut cupcakes!!Chocolate molten lava cupcakes

Lime Soda Cupcakes!

Posted on

Lime Soda Cupcakes!!Sweet lime cupcakes topped with a swirl of marshmallow buttercream.
A perfect flavor combination!

A while back, I shared with you an impossibly difficult (but amazingly yummy!) candy recipe from my friend Gail.  It was a recipe for Opera Creams passed down to her from her grandmother.  We spent the entire day together, candy making. For lunch we ran up to a little soda fountain from the 50s that is still in business. (Arnolds Drive In, for you folks that live near Indiana)  They have burgers and fries— and yummy soda fountain drinks.  Gail recommended the “Ole Green River” and I got the most wonderful lime phosphate topped with marshmallow cream.  It was beautiful and as that marshmallow dissolved into the drink…?  Unbelievably good.  Here’s my Instagram record of it:

Ole' Green River at Arnold's Drive-InI’m not sure what brought it to mind the other day, but I decided to use those flavors to create a cupcake version of that yummy Ole Green River.  I think they turned out great.  Nice and green for St. Patricks Day!!!

Lime Soda Cupcakes!!

Here’s the recipe: (printable version)

INGREDIENTS (makes 24 cupcakes)

  • One boxed white cake mix, plus oil, water and eggs to make according to box.
  • One small packet of Lime Jell-O.
  • 4 sticks of salted butter (at room temperature)
  • 2 teaspoons of clear vanilla
  • 3 cups of powdered sugar
  • 2 jars (7 oz. each) of Jet-puffed marshmallow creme
  • White food coloring (optional- only if you want that bright white marshmallow color.)
  • Sprinkles and decorations as desired.

DIRECTIONS:

  • Make cake mix according to box, but add Jell-O along with other ingredients.
  • Divide batter evenly into 24 cupcake liners in muffin tins.
  • Bake according to box, a toothpick inserted into the center of one should come out clean.
  • Allow cupcakes to cool while you prepare frosting.
  • Combine (room temperature) butter, vanilla, and powdered sugar in a large mixing bowl and beat on low until combined.
  • Beat on high for several minutes until light and fluffy.
  • (optional) add white food coloring at this point, to whiten up all that butter- I did not have any, so you can see my icing is more of an ivory color.
  • Add marshmallow creme to frosting and beat until completely incorporated.
  • Spoon frosting into a large zip top bag that has been fitted with a decorating tip, and pipe frosting over cupcakes.
  • Decorate as desired (paper straws are fun!!!!!!)
  • Enjoy!

Lime Soda Cupcakes!!!!My thoughts: I really loved these flavors together.  Marshmallow and lime.  So yummy.  The cupcakes are very moist because of the Jell-O, so take care unwrapping them, they are a little more likely to fall apart than other cupcakes.  I experimented with the marshmallow butter cream, just adding the fluff to my usual buttercream recipe, and I thought it was fabulous.  The marshmallow flavor was not lost!  I hope you enjoy these little treats, and if you’re ever near a soda shop that has lime phosphates on the menu, ask for one with marshmallow cream on the top!  Enjoy!  ~r

Lime Soda Cupcakes!!Other fun St. Patrick’s Day treats you might want to try:

Grasshopper Mint CupcakesRainbow Cake RollMint Creme Brownie CupsBaileys Irish Cream Cupcakes

Fondant…how to make it, use it and eat it!

Posted on

Fun fondant cupcake toppers

Homemade fondant that is easy AND tasty?  Here you go!!!

Every time I see cute cupcakes or cakes decorated in fondant I love them…and then I dismiss the possibility of making them for two reasons:

1. Fondant is really hard to make and use.

2. Fondant tastes bad and everyone just peels it off to get to the real frosting and cake underneath.

My good friend Megan from Happily Ever After Cakes set out to prove me wrong on both counts….and she did!

If you follow the comings and goings of easybaked, you know that I recently had a visit from my dear friend Megan for a weekend long baking extravaganza.  This is project #2 from that weekend.

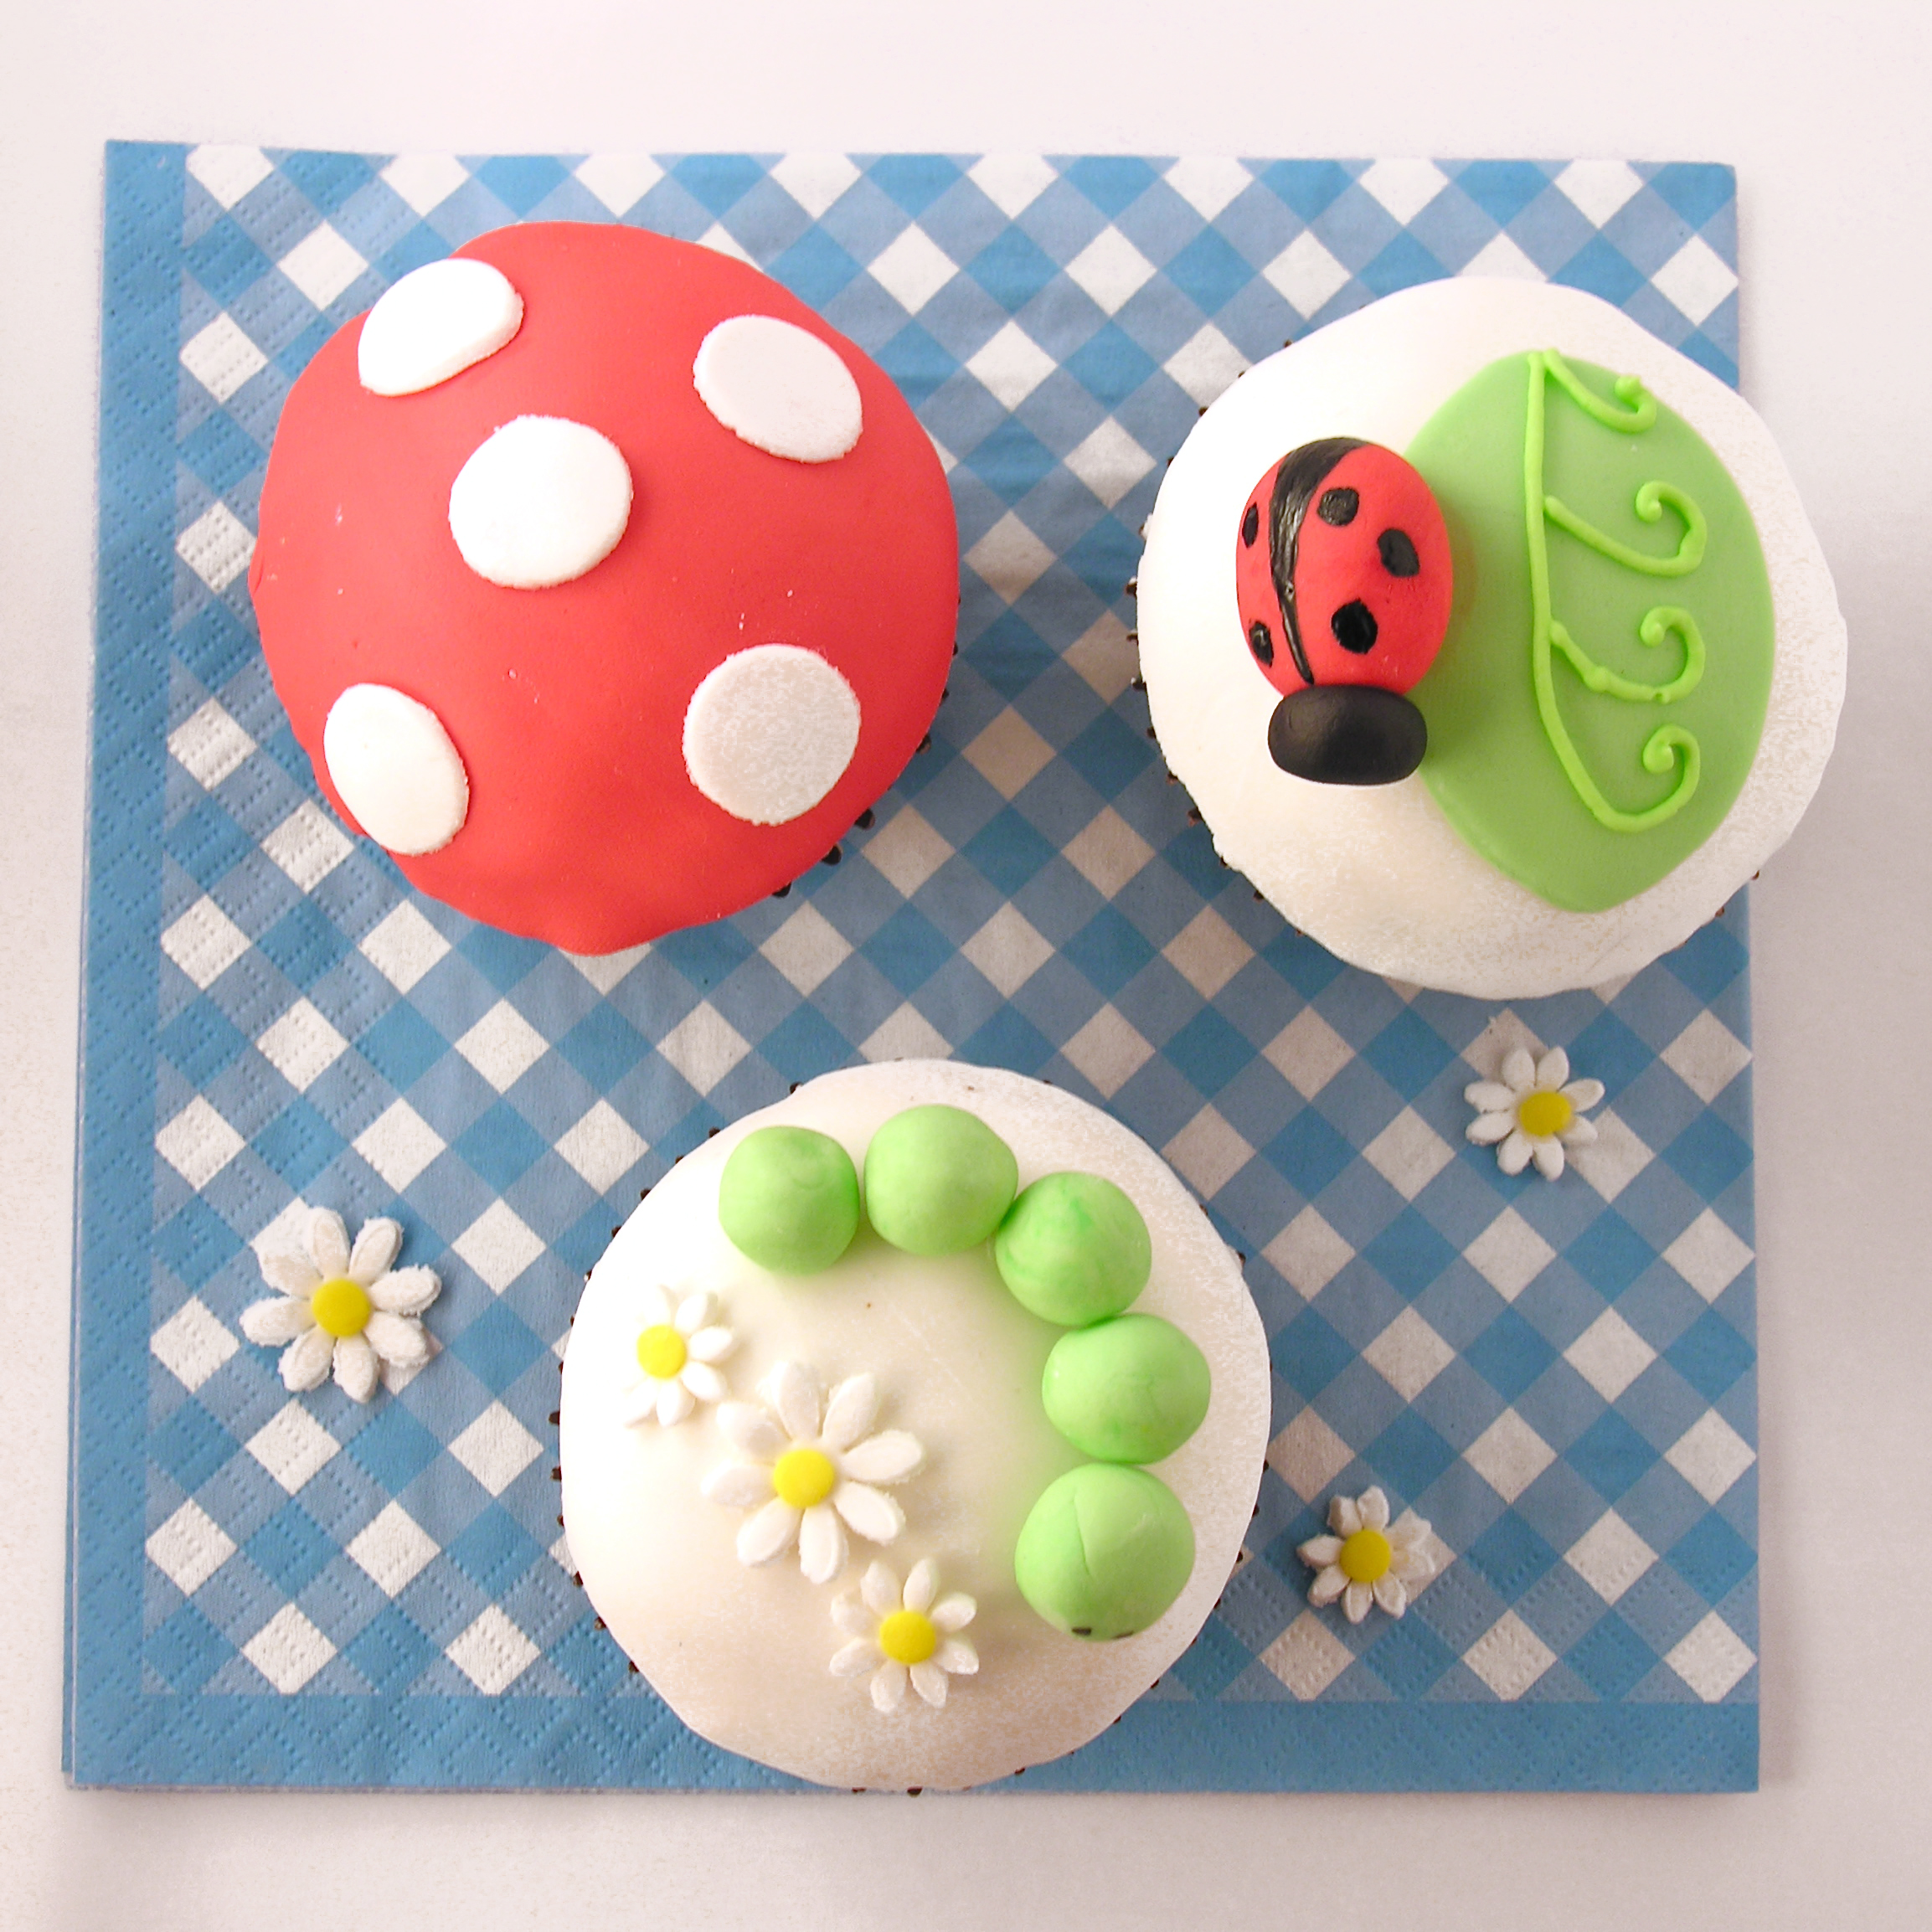
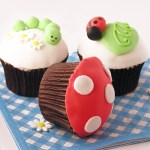
Before Megan came, I knew we would be tackling fondant cupcakes and we both went on an internet hunt for fun and easy ideas to try.  We saw these cute garden themed cupcakes on a Flickr site called Hello Naomi and decided to try them out!

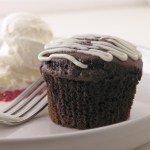
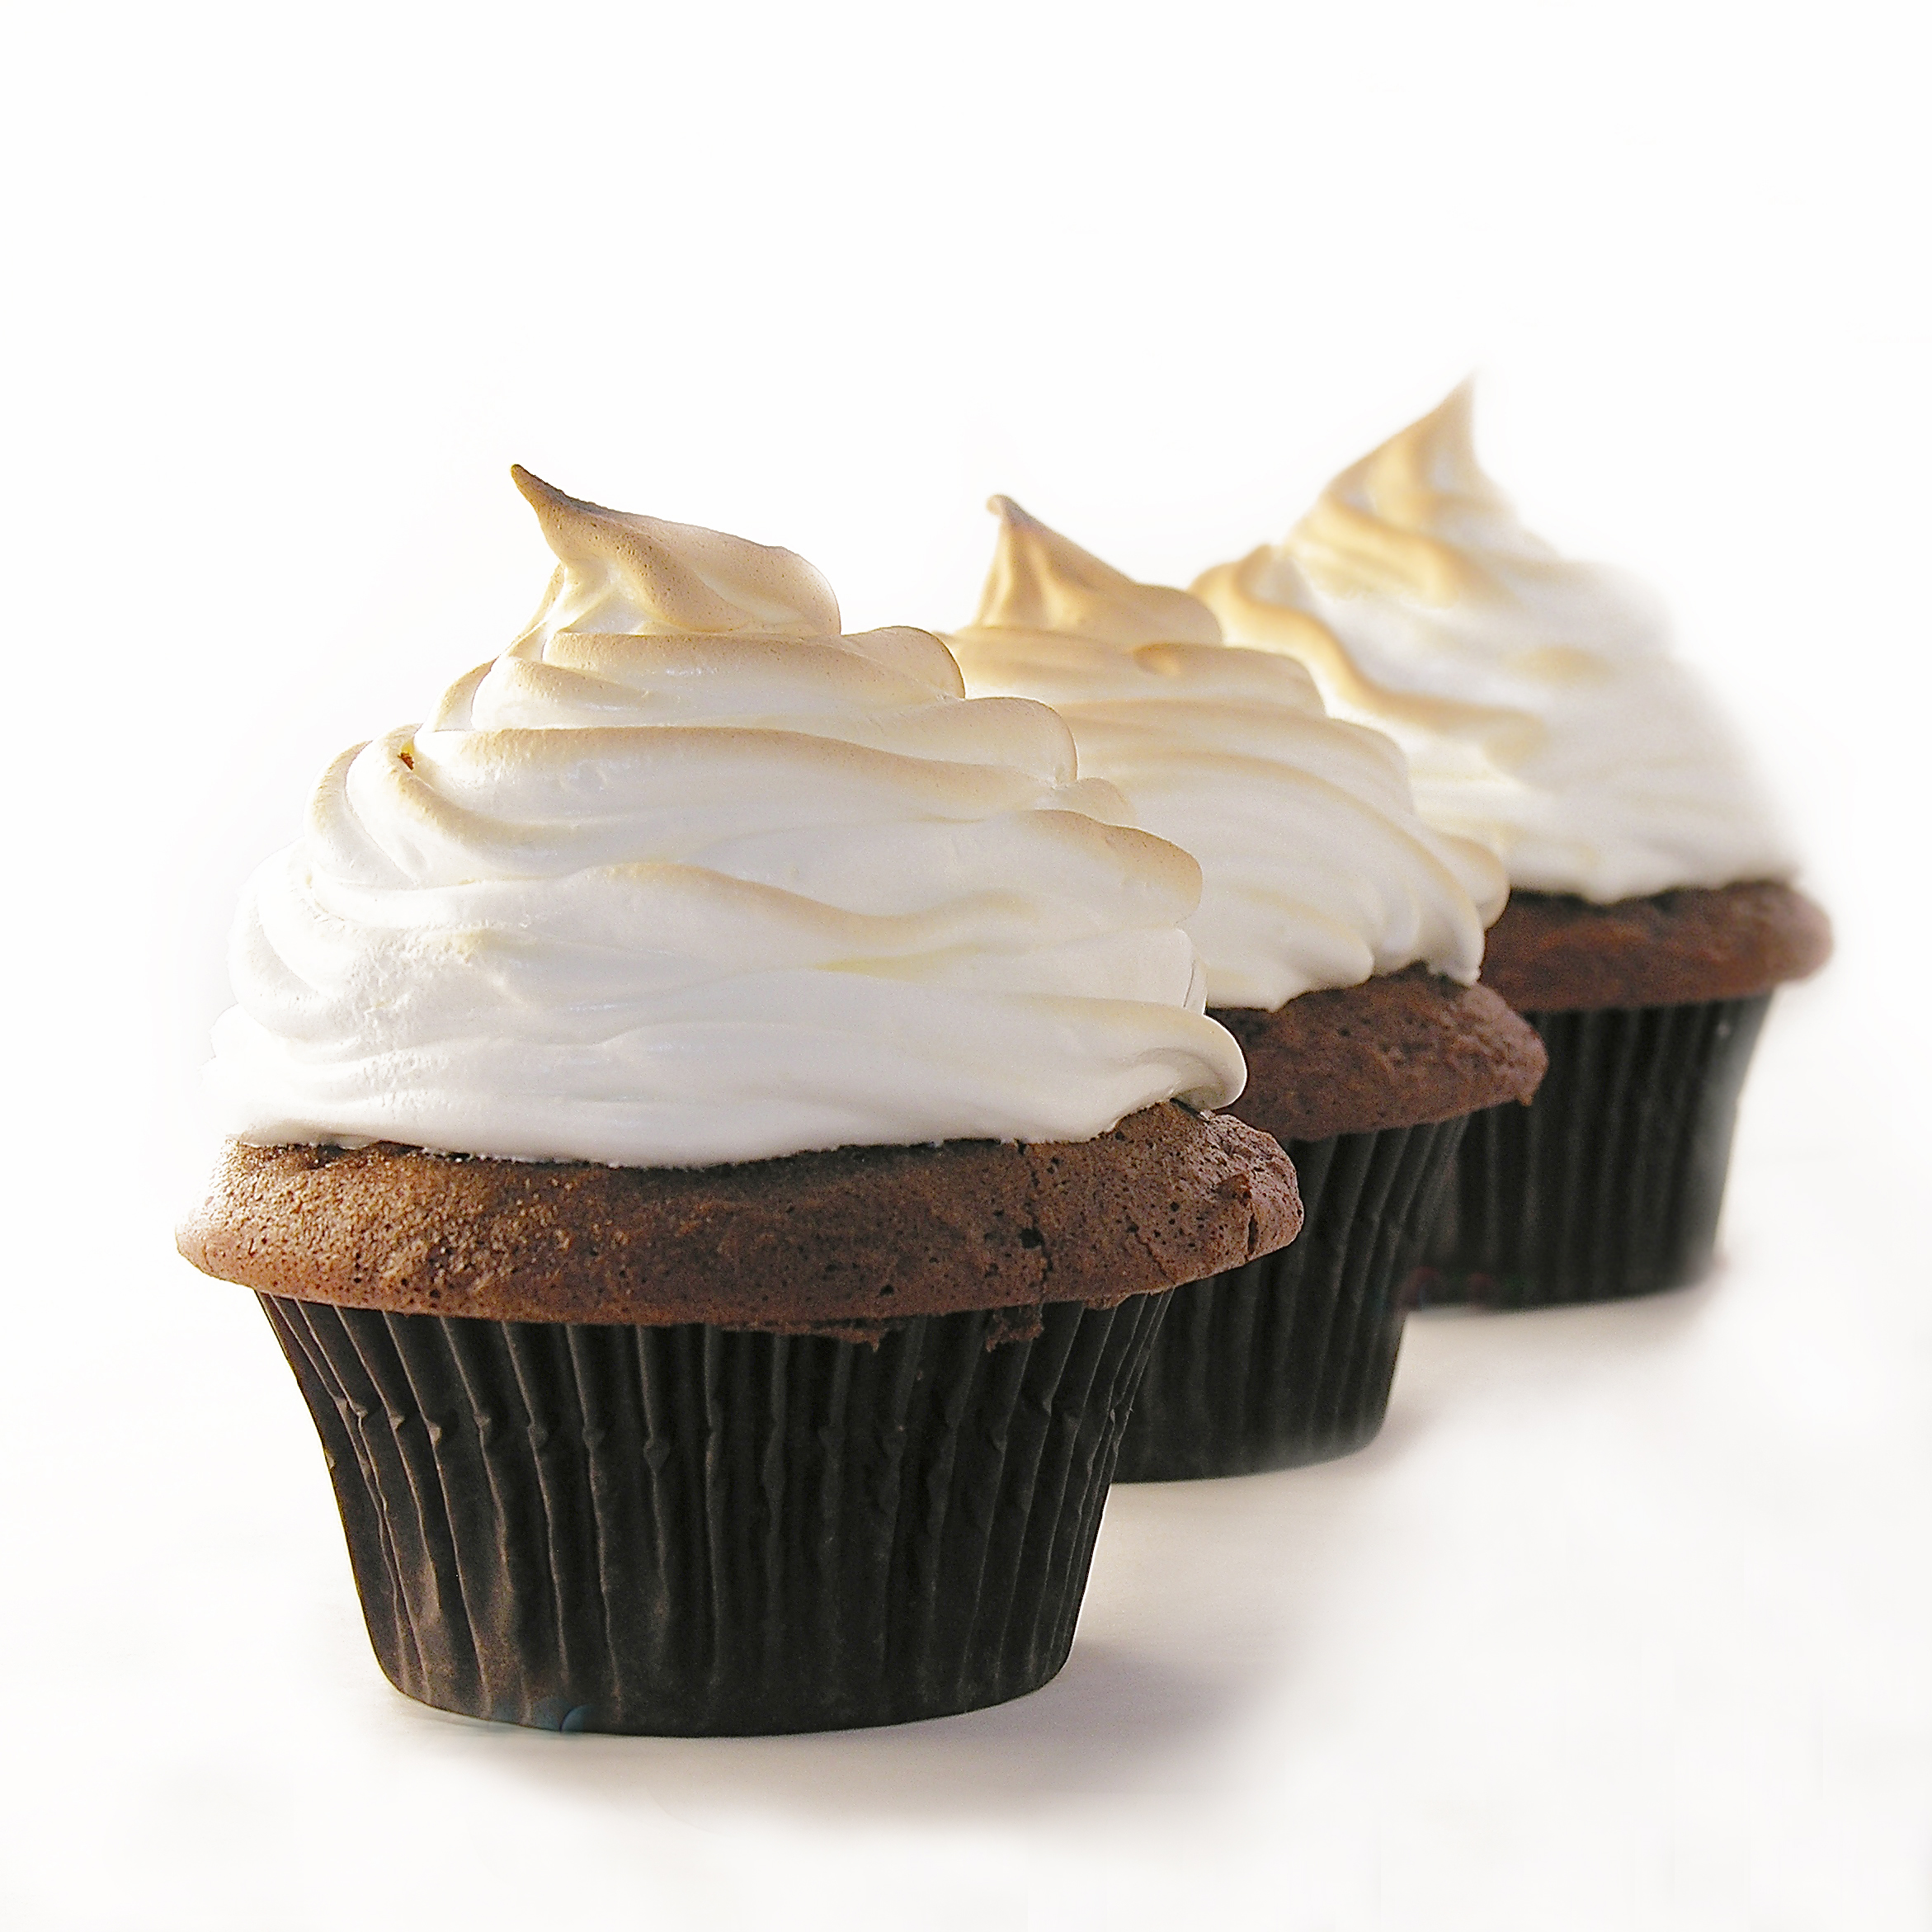
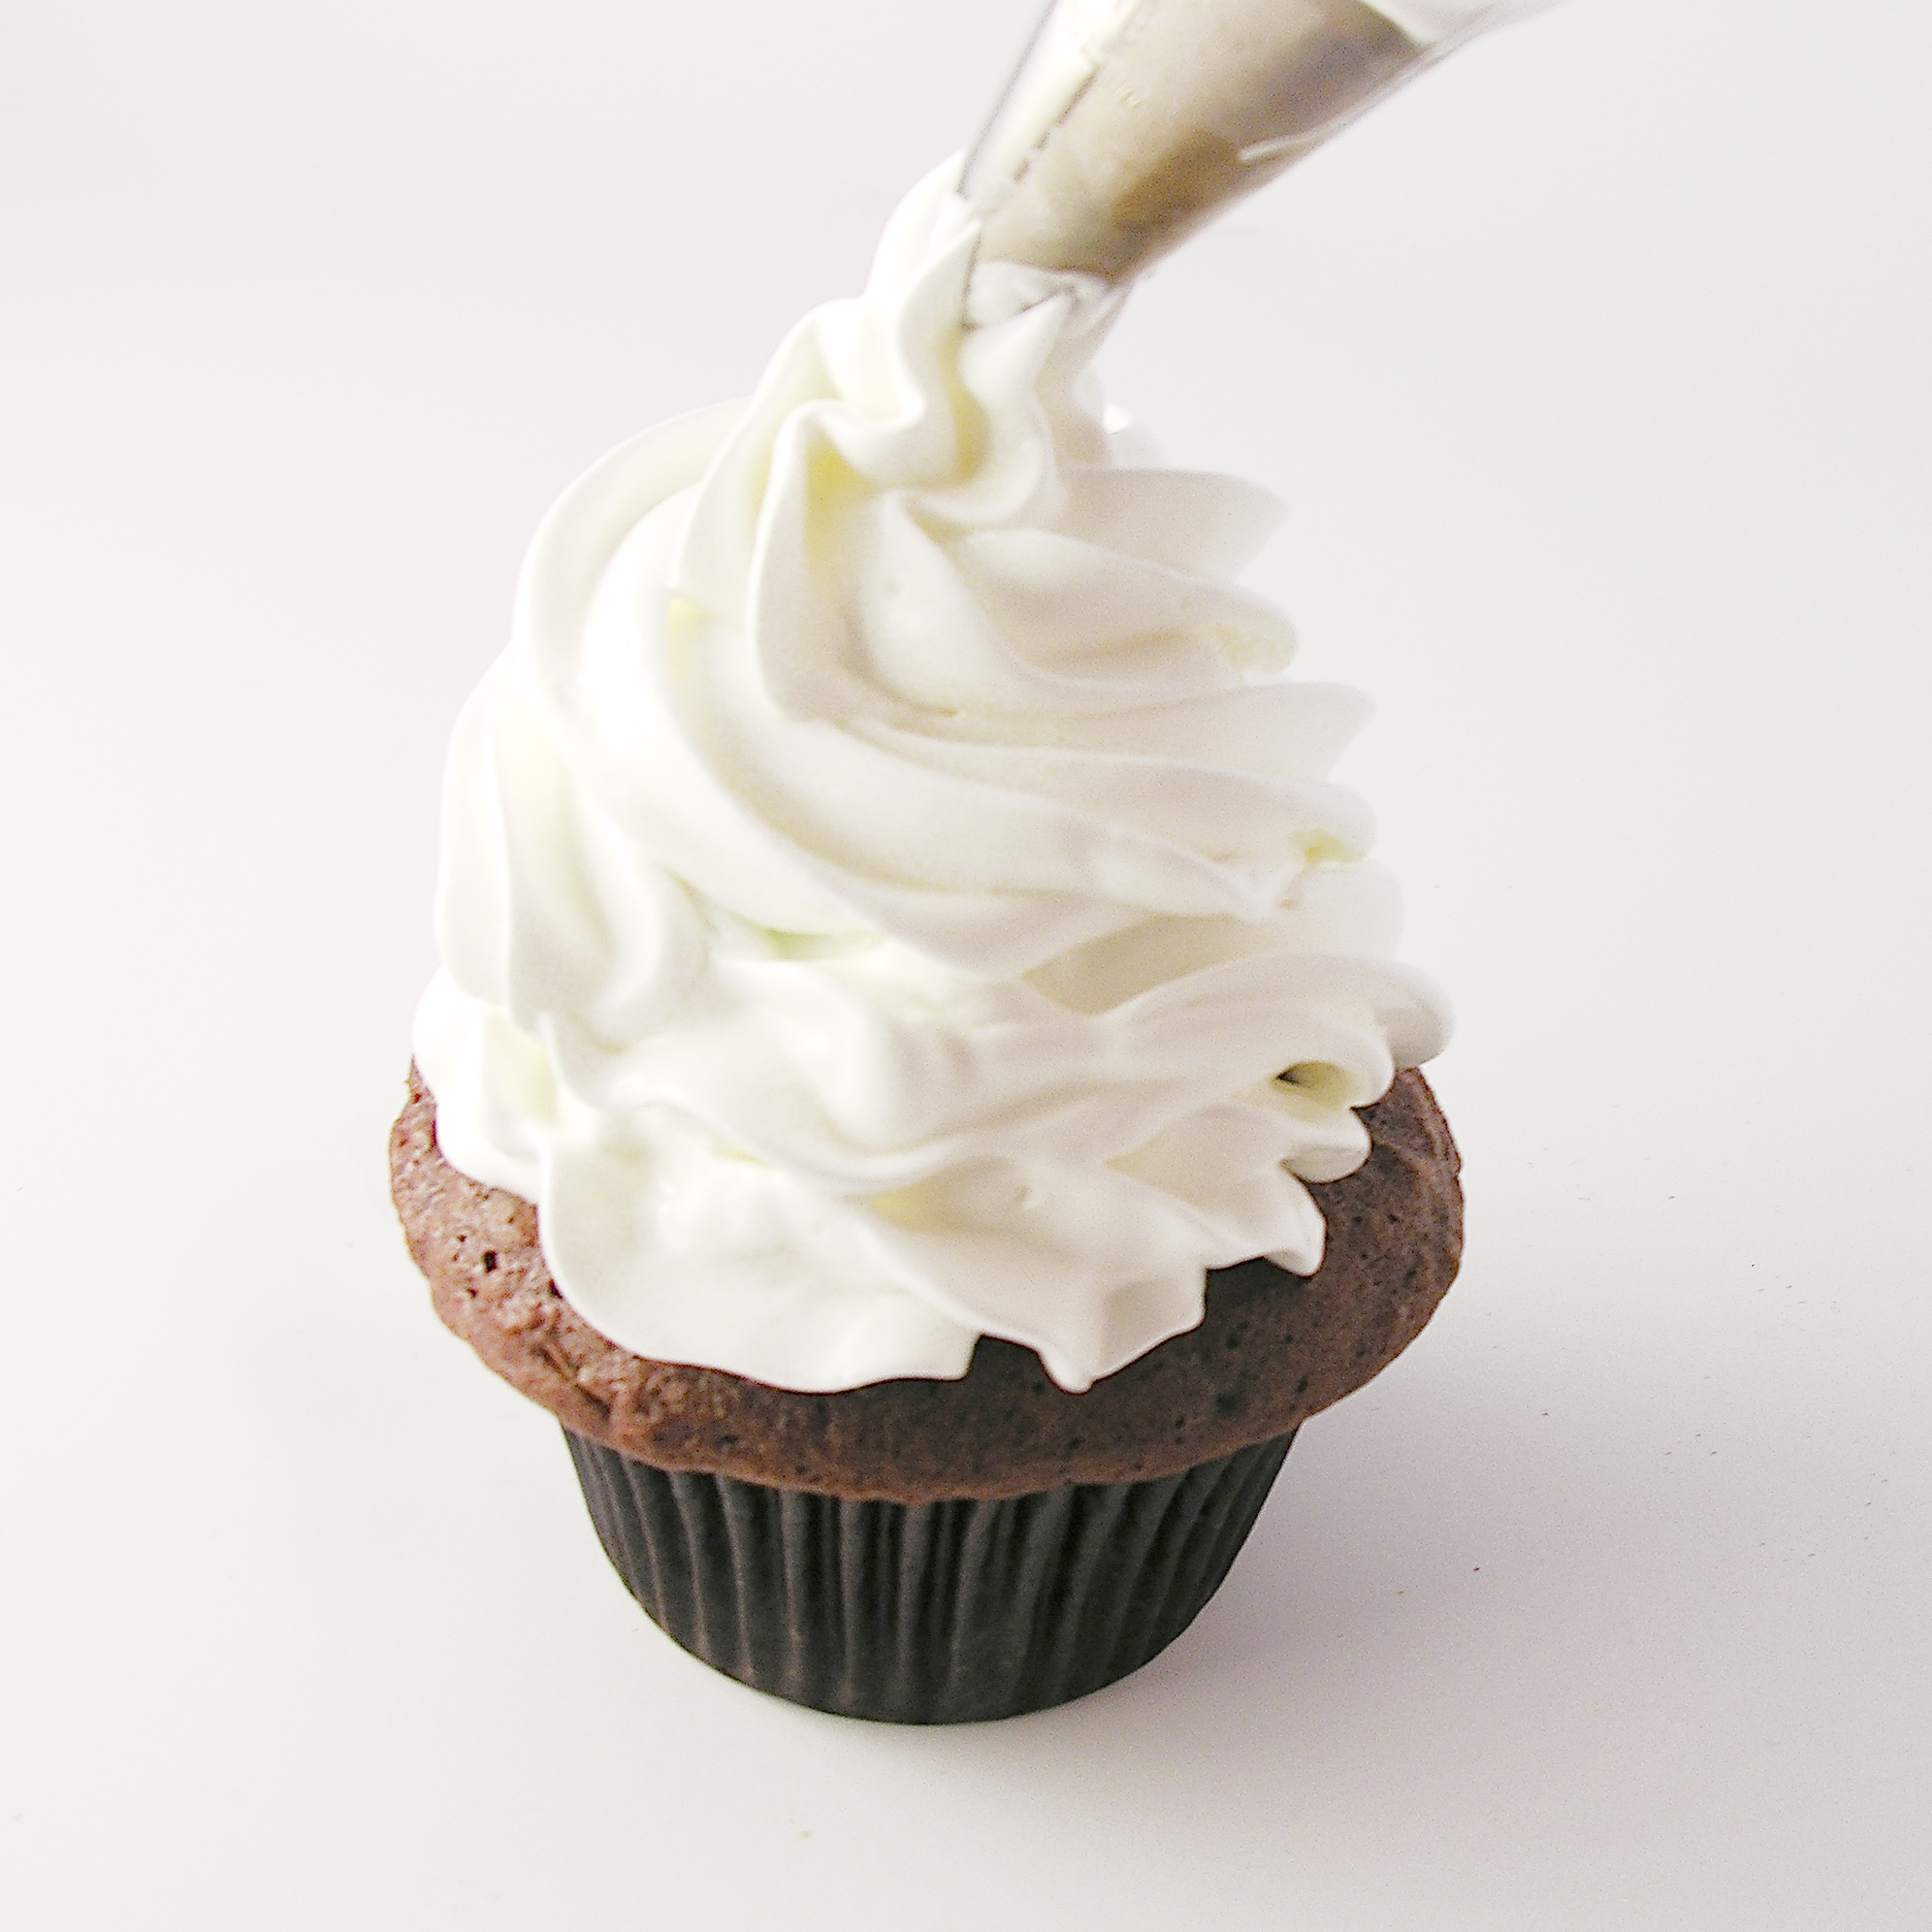
The cupcakes are just plain white cupcakes (use your favorite flavor/recipe!)  What’s amazing is, of course, what’s on top.  There are two recipes involved~ a thick buttercream that acts like a glue on the top of each cupcake and the actual fondant recipe.

Let’s start with those two recipes and then I can tell you how we pulled it all together.

Thick Buttercream Frosting: (makes about 4 cups of frosting)

(printer-friendly recipe)

INGREDIENTS:

  • 1 stick (1/2 cup) butter (softened)
  • 1/2 cup Crisco
  • 1 tsp clear vanilla (or any flavoring you might want!)
  • 4 c. powdered sugar
  • 1 Tablespoon of half-and half cream.

DIRECTIONS:

  • Beat together butter, Crisco and vanilla with a mixer until smooth.
  • Add powdered sugar gradually and mix until combined and a little crumbly.
  • Add half and half cream and mix on low.  You might need to add a little more until frosting is a thick but smooth consistency.
  • Don’t beat frosting on high speed or for too long to prevent air bubbles that will keep it from spreading smoothly.
  • This frosting can be used to frost cupcakes or cakes that will have fondant laid over the top.  It has a sticky consistency that acts as a glue to attach the fondant.  It can be kept in a tightly sealed container in the refrigerator for about a week.

Marshmallow Fondant (recipe from about.com site)- they have a great video tutorial too!! (makes about 1 1/2 lbs of fondant.)

(printer-friendly recipe)

INGREDIENTS:

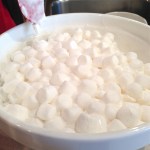
  • 4 cups mini marshmallows (half of a 16 oz. bag)
  • 4 cups powdered sugar- plus a little for dusting.
  • 2 tsp water
  • 1/2 teaspoon of clear vanilla
  • gel colors to color fondant as desired

DIRECTIONS:

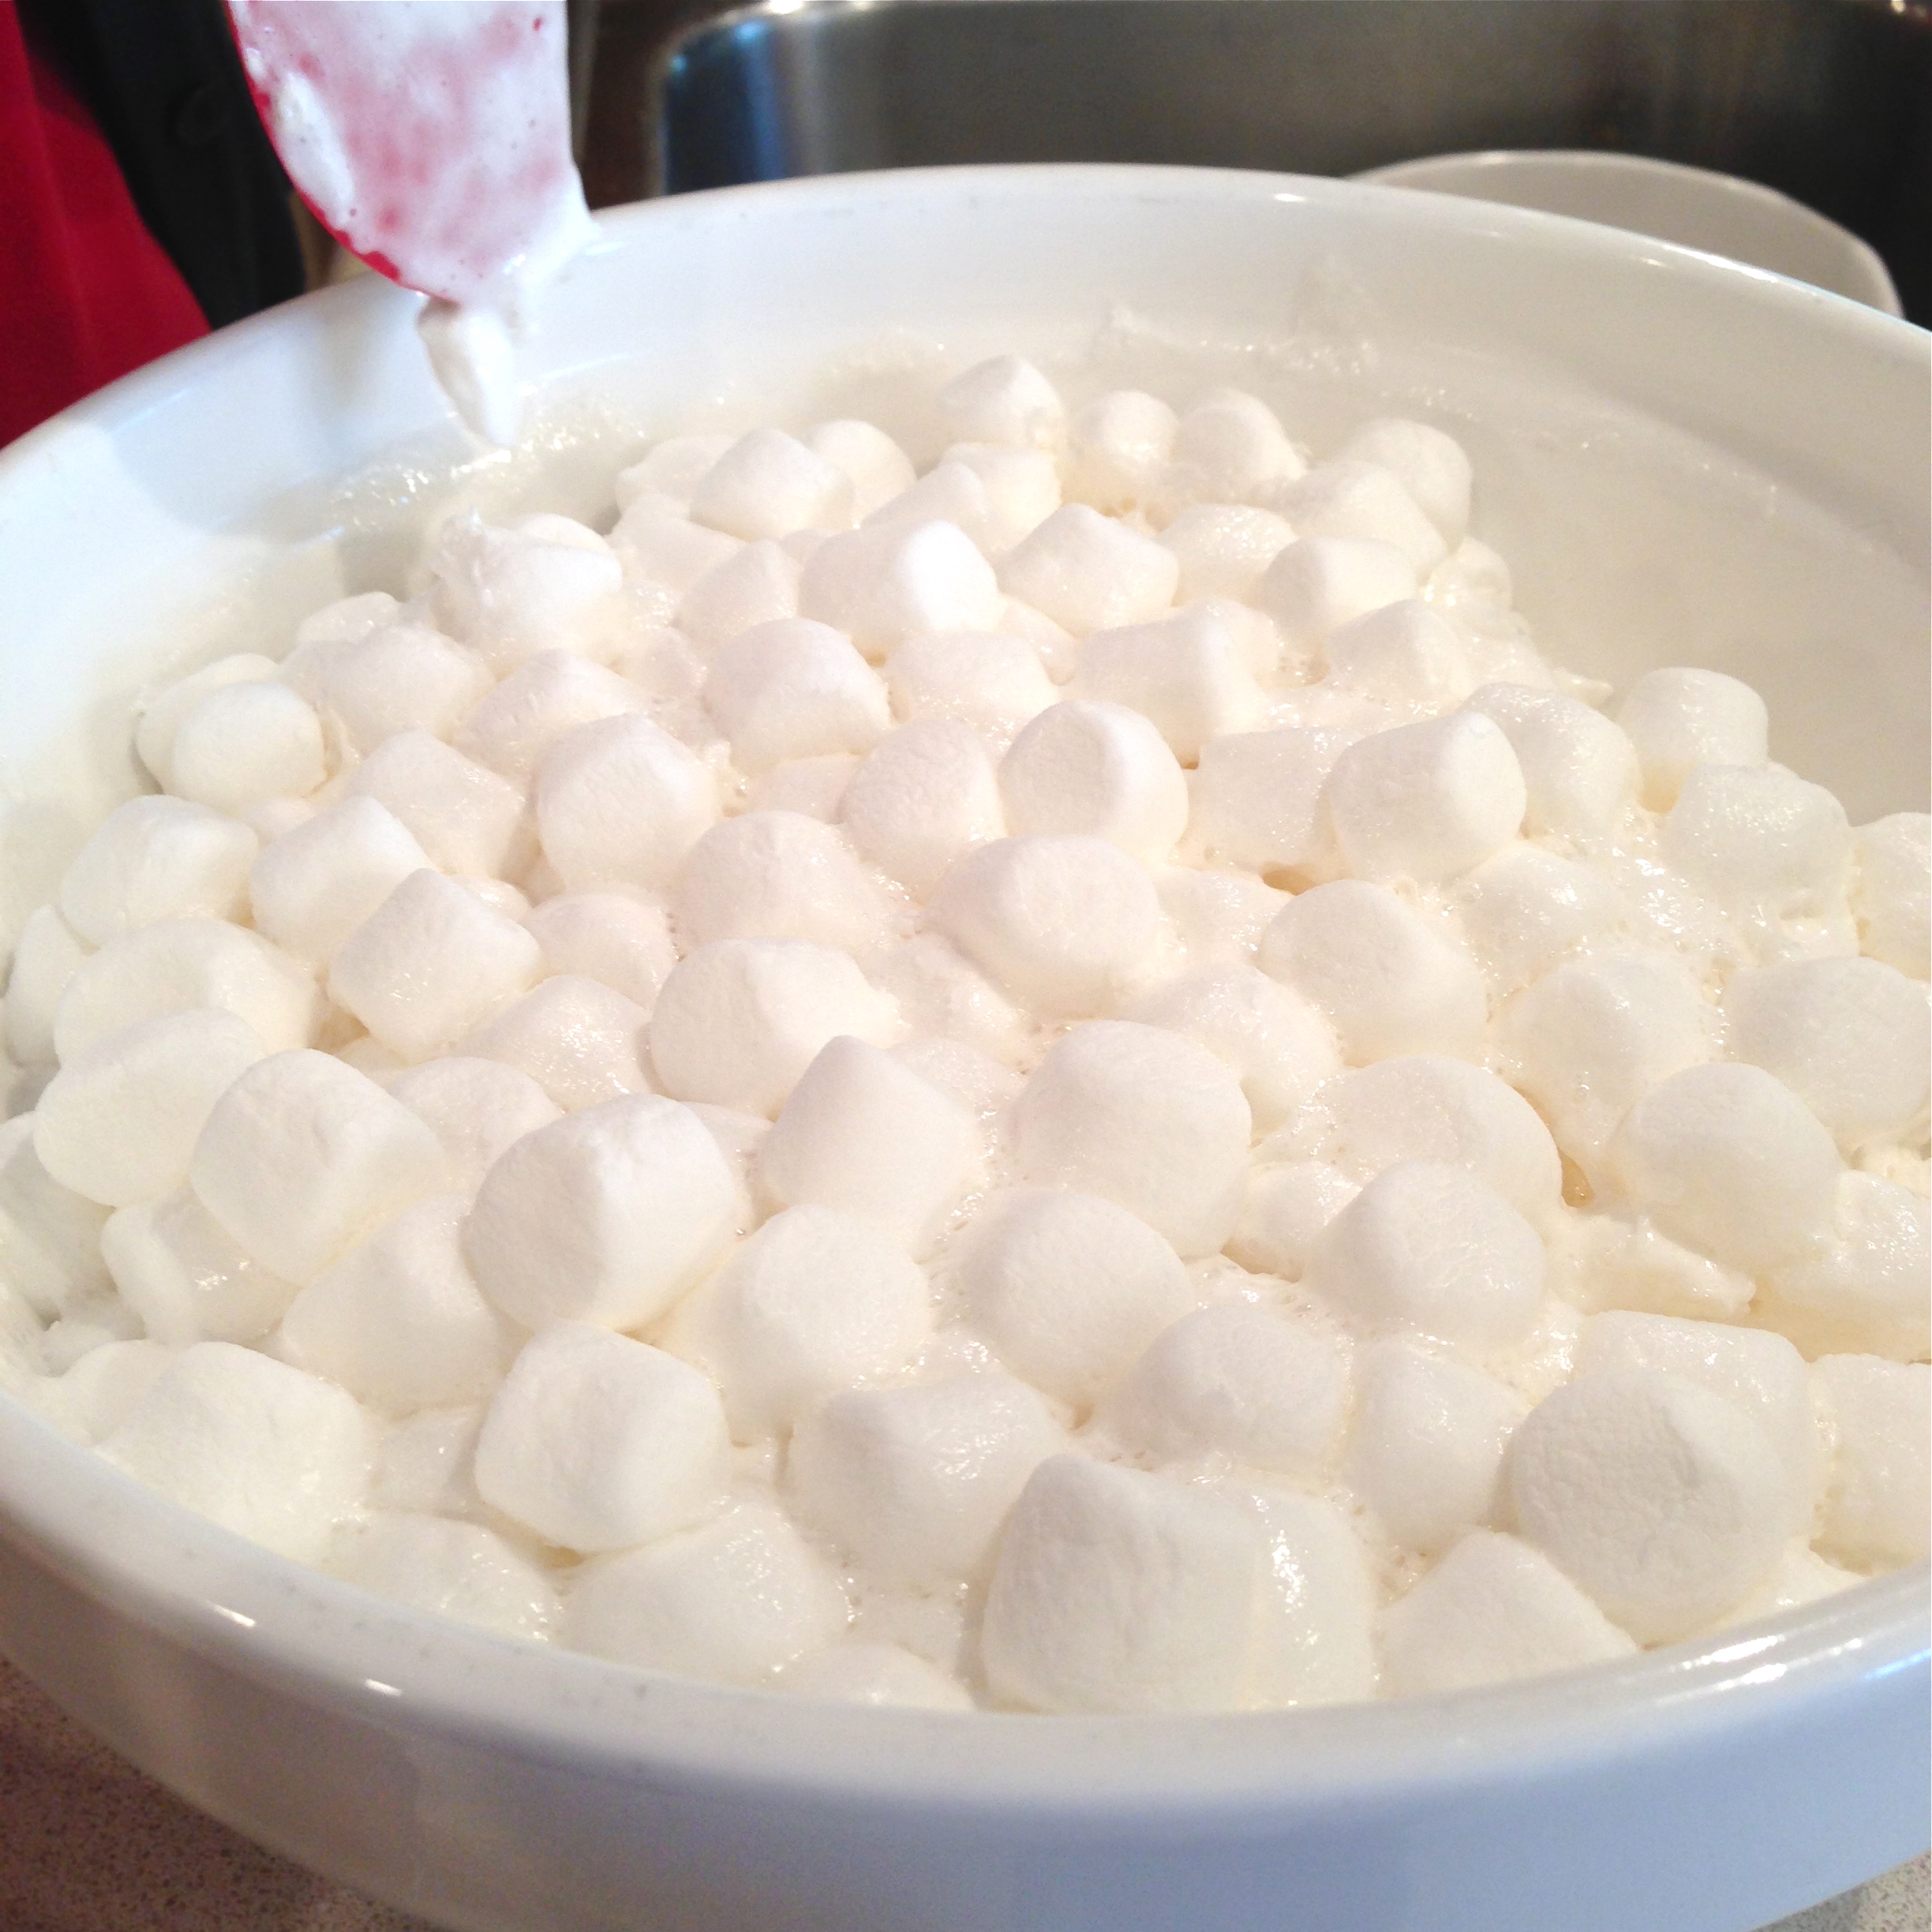
  • Place your mini marshmallows and water into a large mixing bowl and microwave on high for about one minute- until they are puffy and melted.
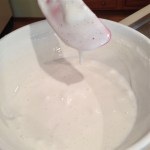
  • Stir them together with a rubber spatula until they are completely smooth (if not melted completely, put them back in the microwave on high for 5-10 seconds).
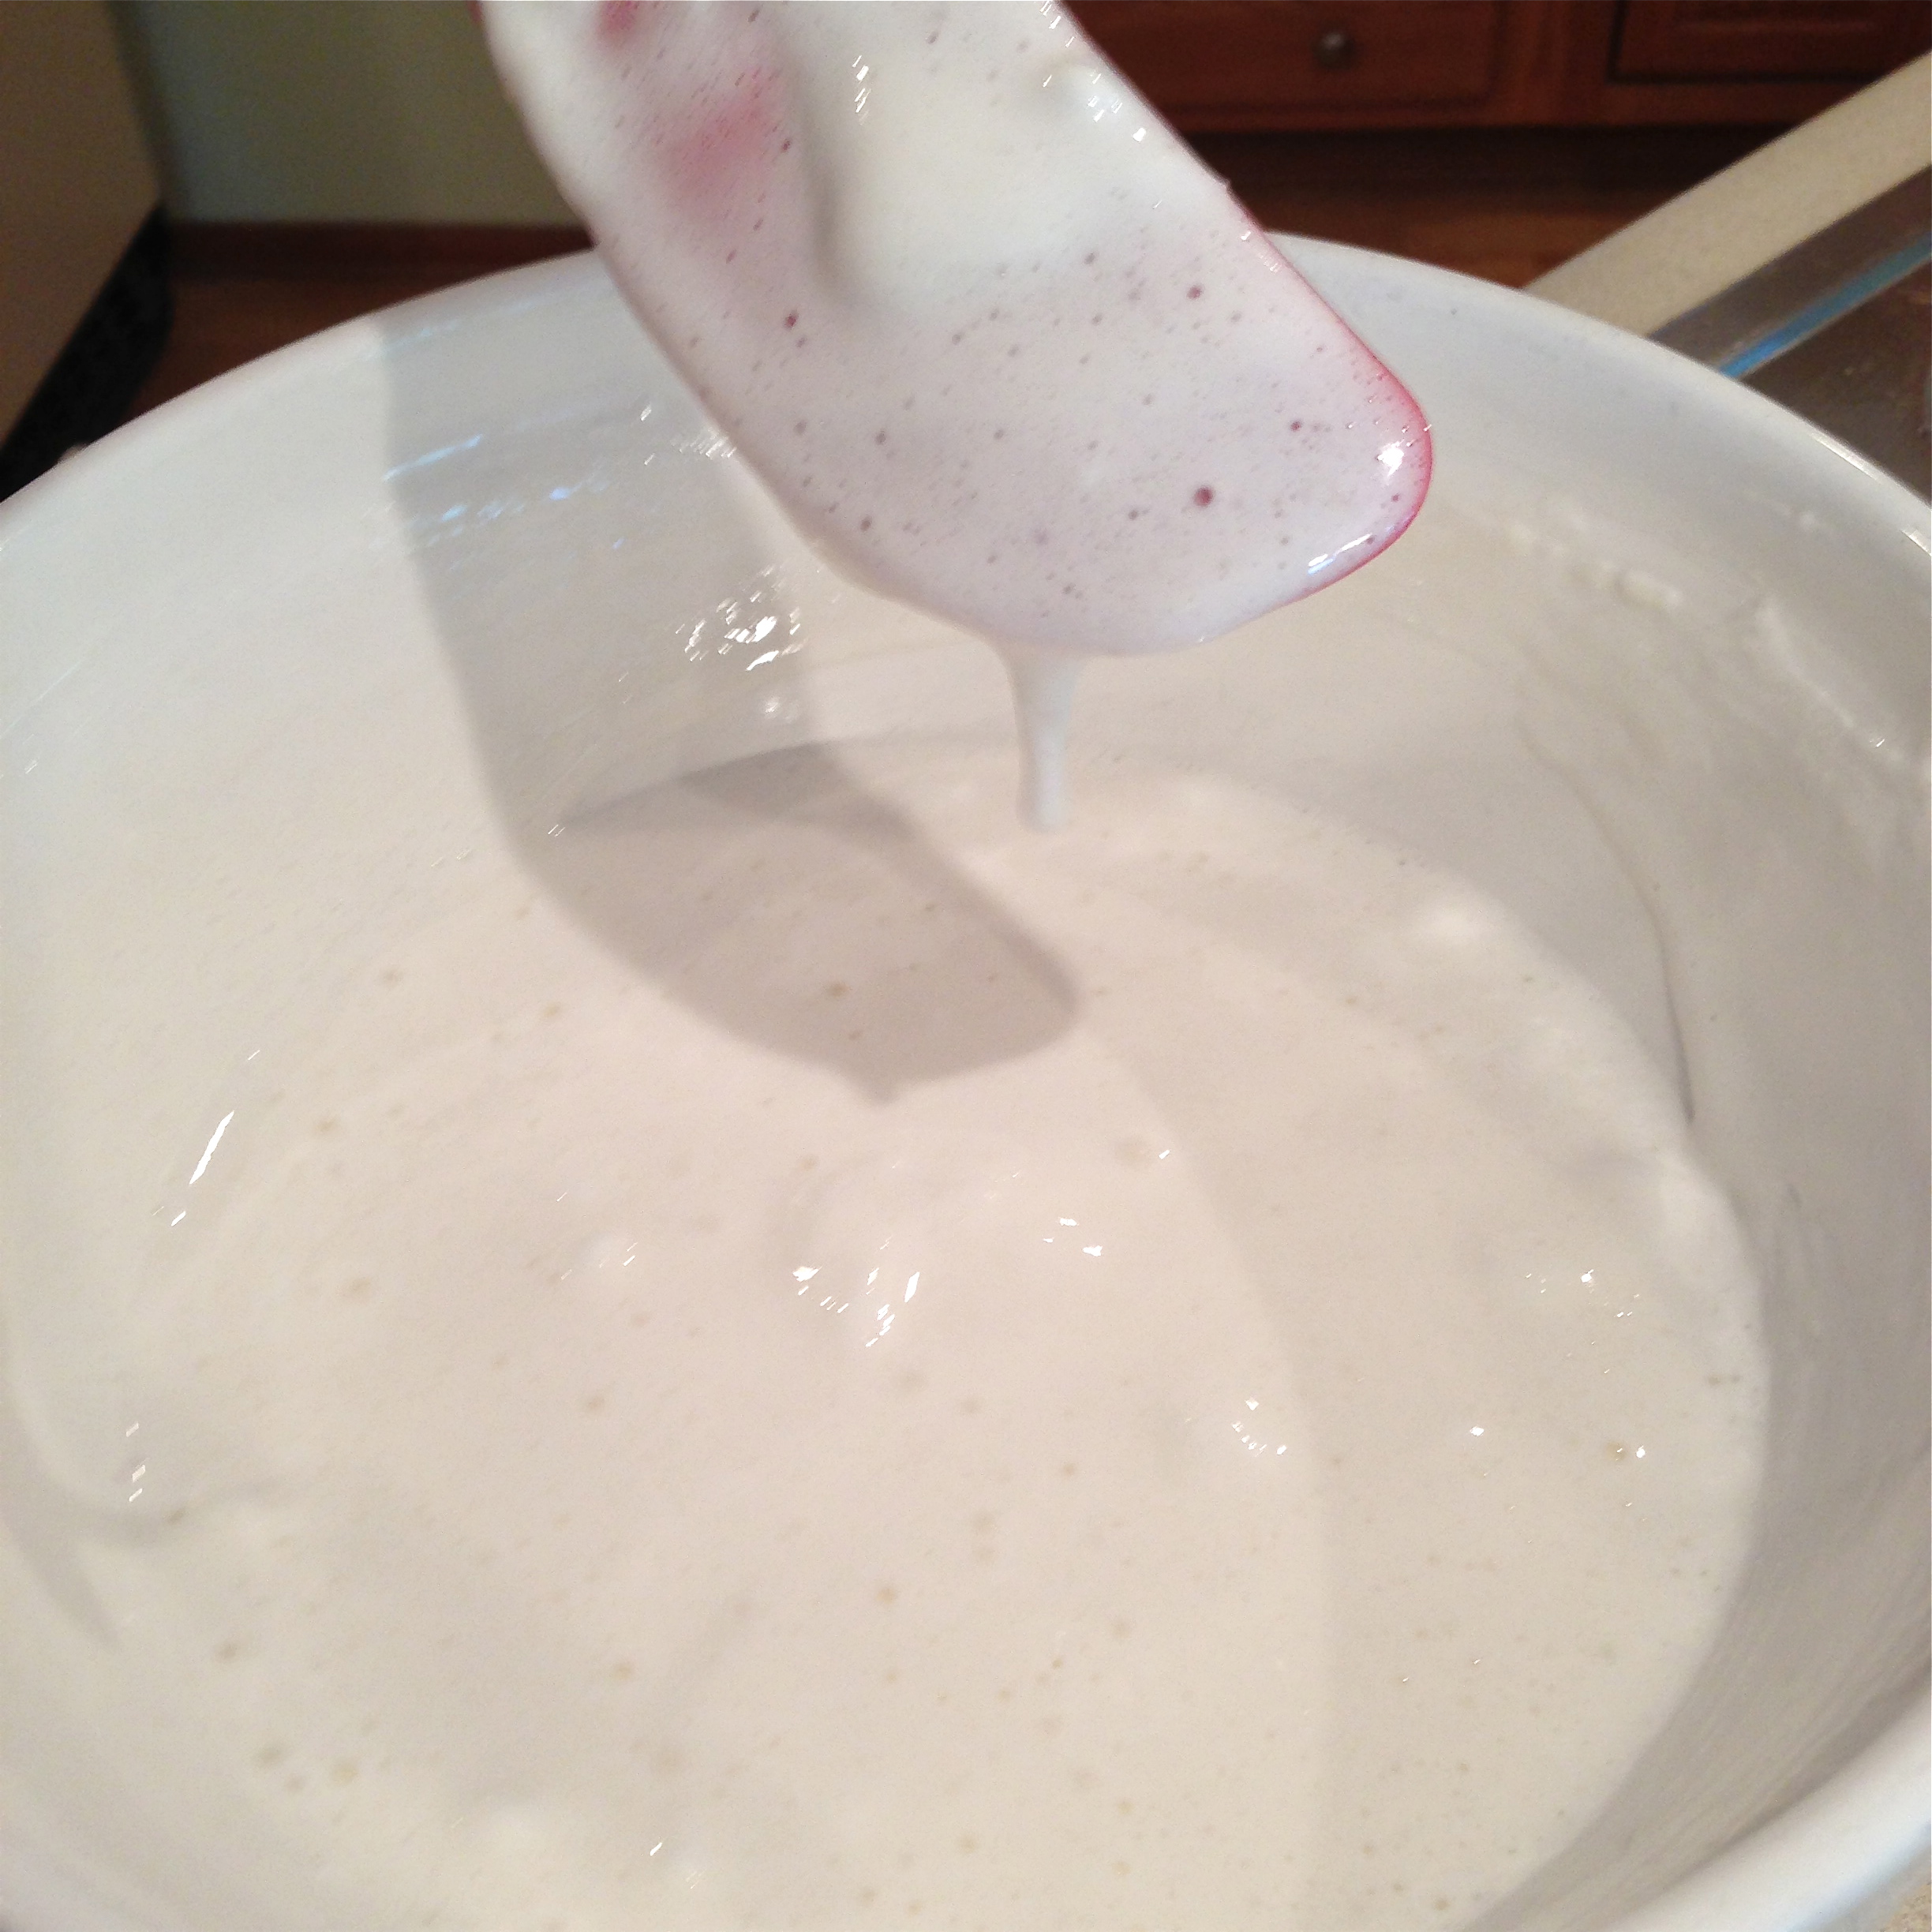
  • Add clear vanilla and mix well.
  • Add about 1/4 of the powdered sugar, stir until smooth, add another 1/4 and stir.  It will become difficult to stir and very sticky.
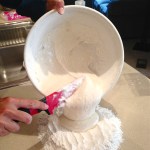
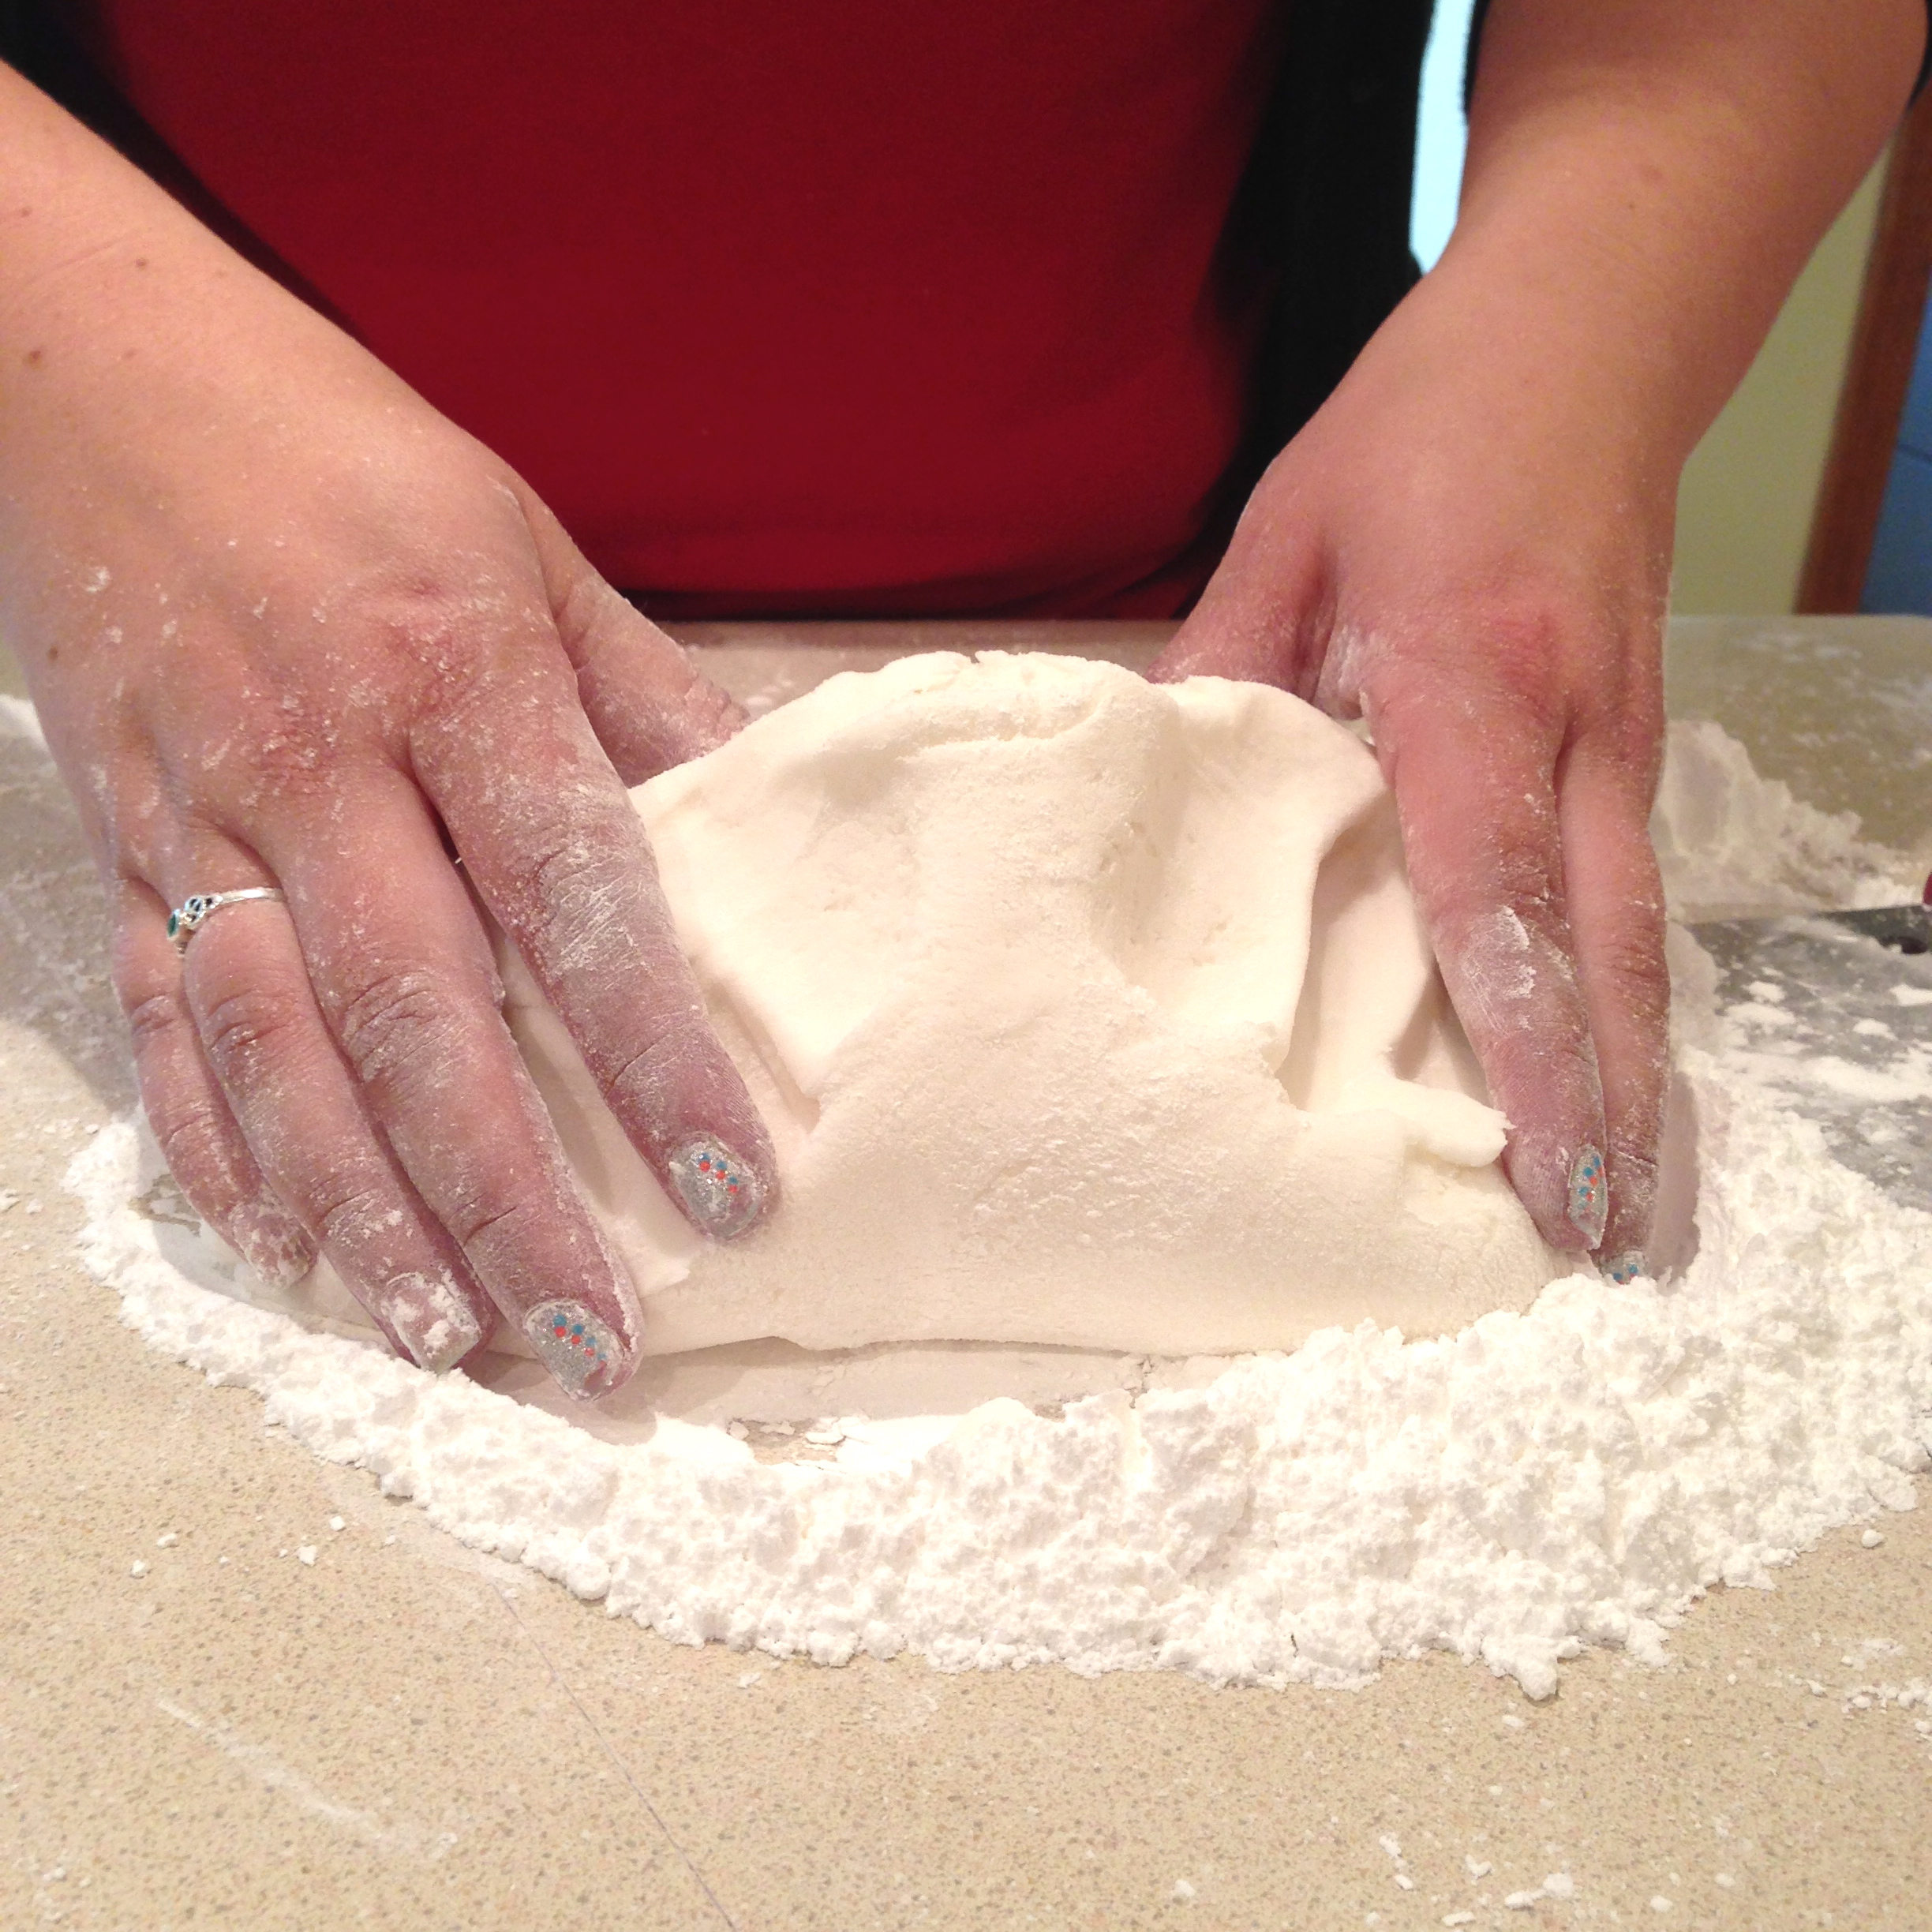
  • Pour the rest of the powdered sugar onto a clean counter or cutting board.
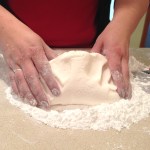
  • Scrape the sticky fondant mixture out of the bowl and onto the powdered sugar and begin to knead it together with clean (powder sugar coated!) hands.  It will gradually become like a smooth clay consistency.  Use a metal scraper to keep it from sticking to the counter/ board.
  • This can now be colored with gel, rolled out and cut, or stored (tightly wrapped) in the fridge for about one week.  Megan recommended refrigerating it overnight before use, so we did.

Melt marshmallowsMix until smoothPour onto counterKnead together with hands

Now comes the fun part….

  • Have your cupcakes or cake or cookies all made and cooled.
  • Make enough fondant to cover your item(s).  Here is a great chart by Wilton to help you determine how much you’ll need for various projects.
  • Make up some of that thick buttercream icing and you are ready to go!

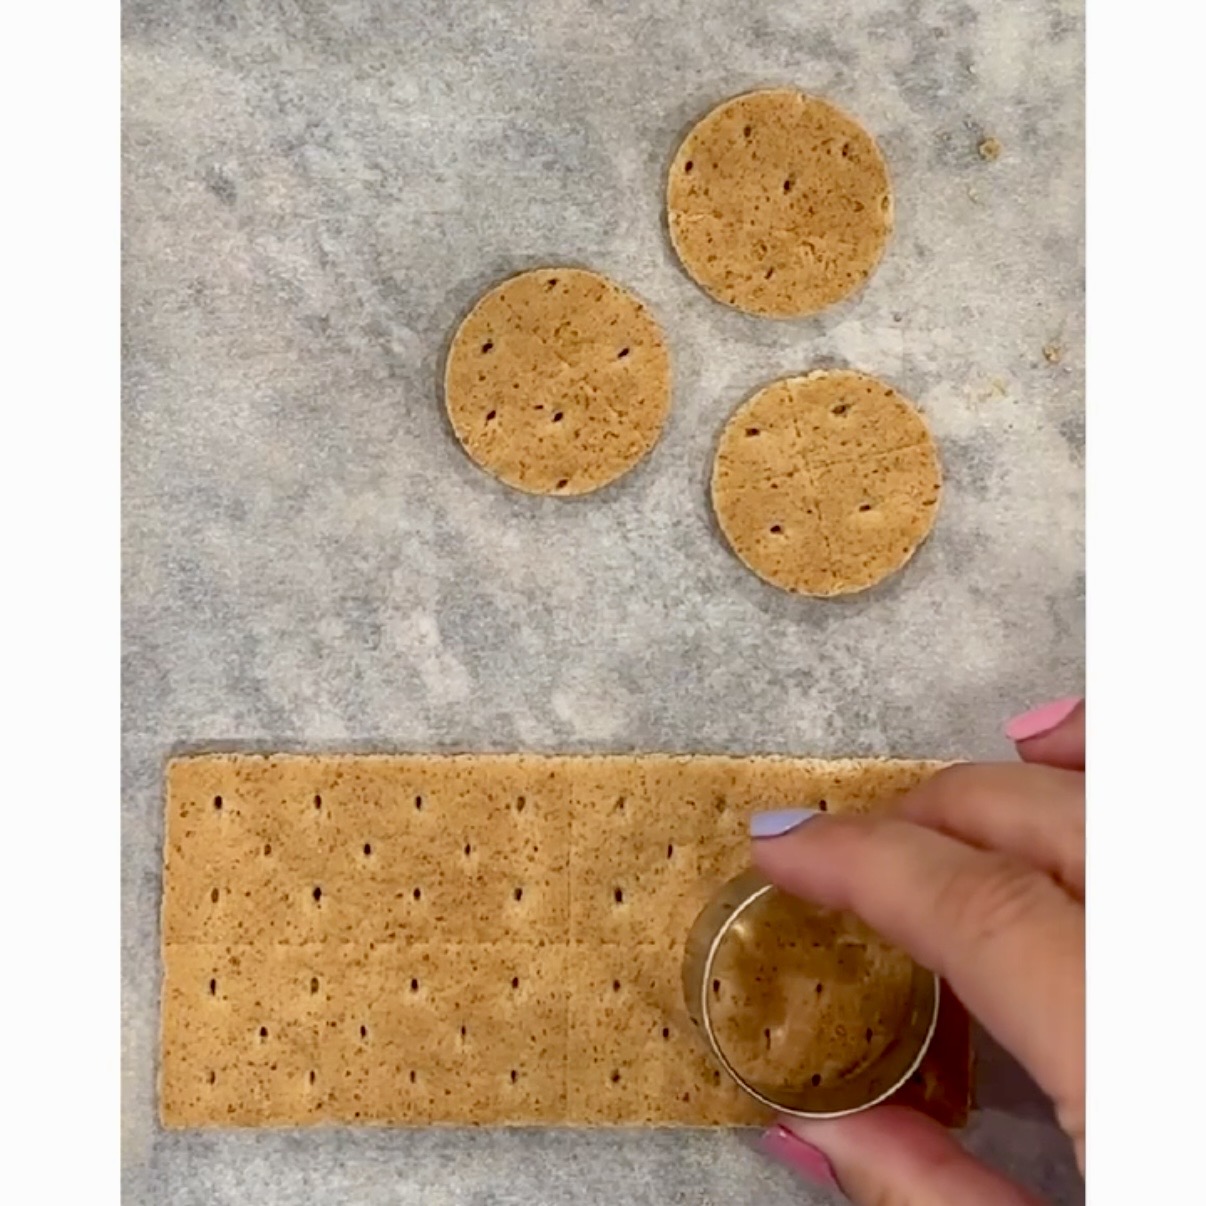
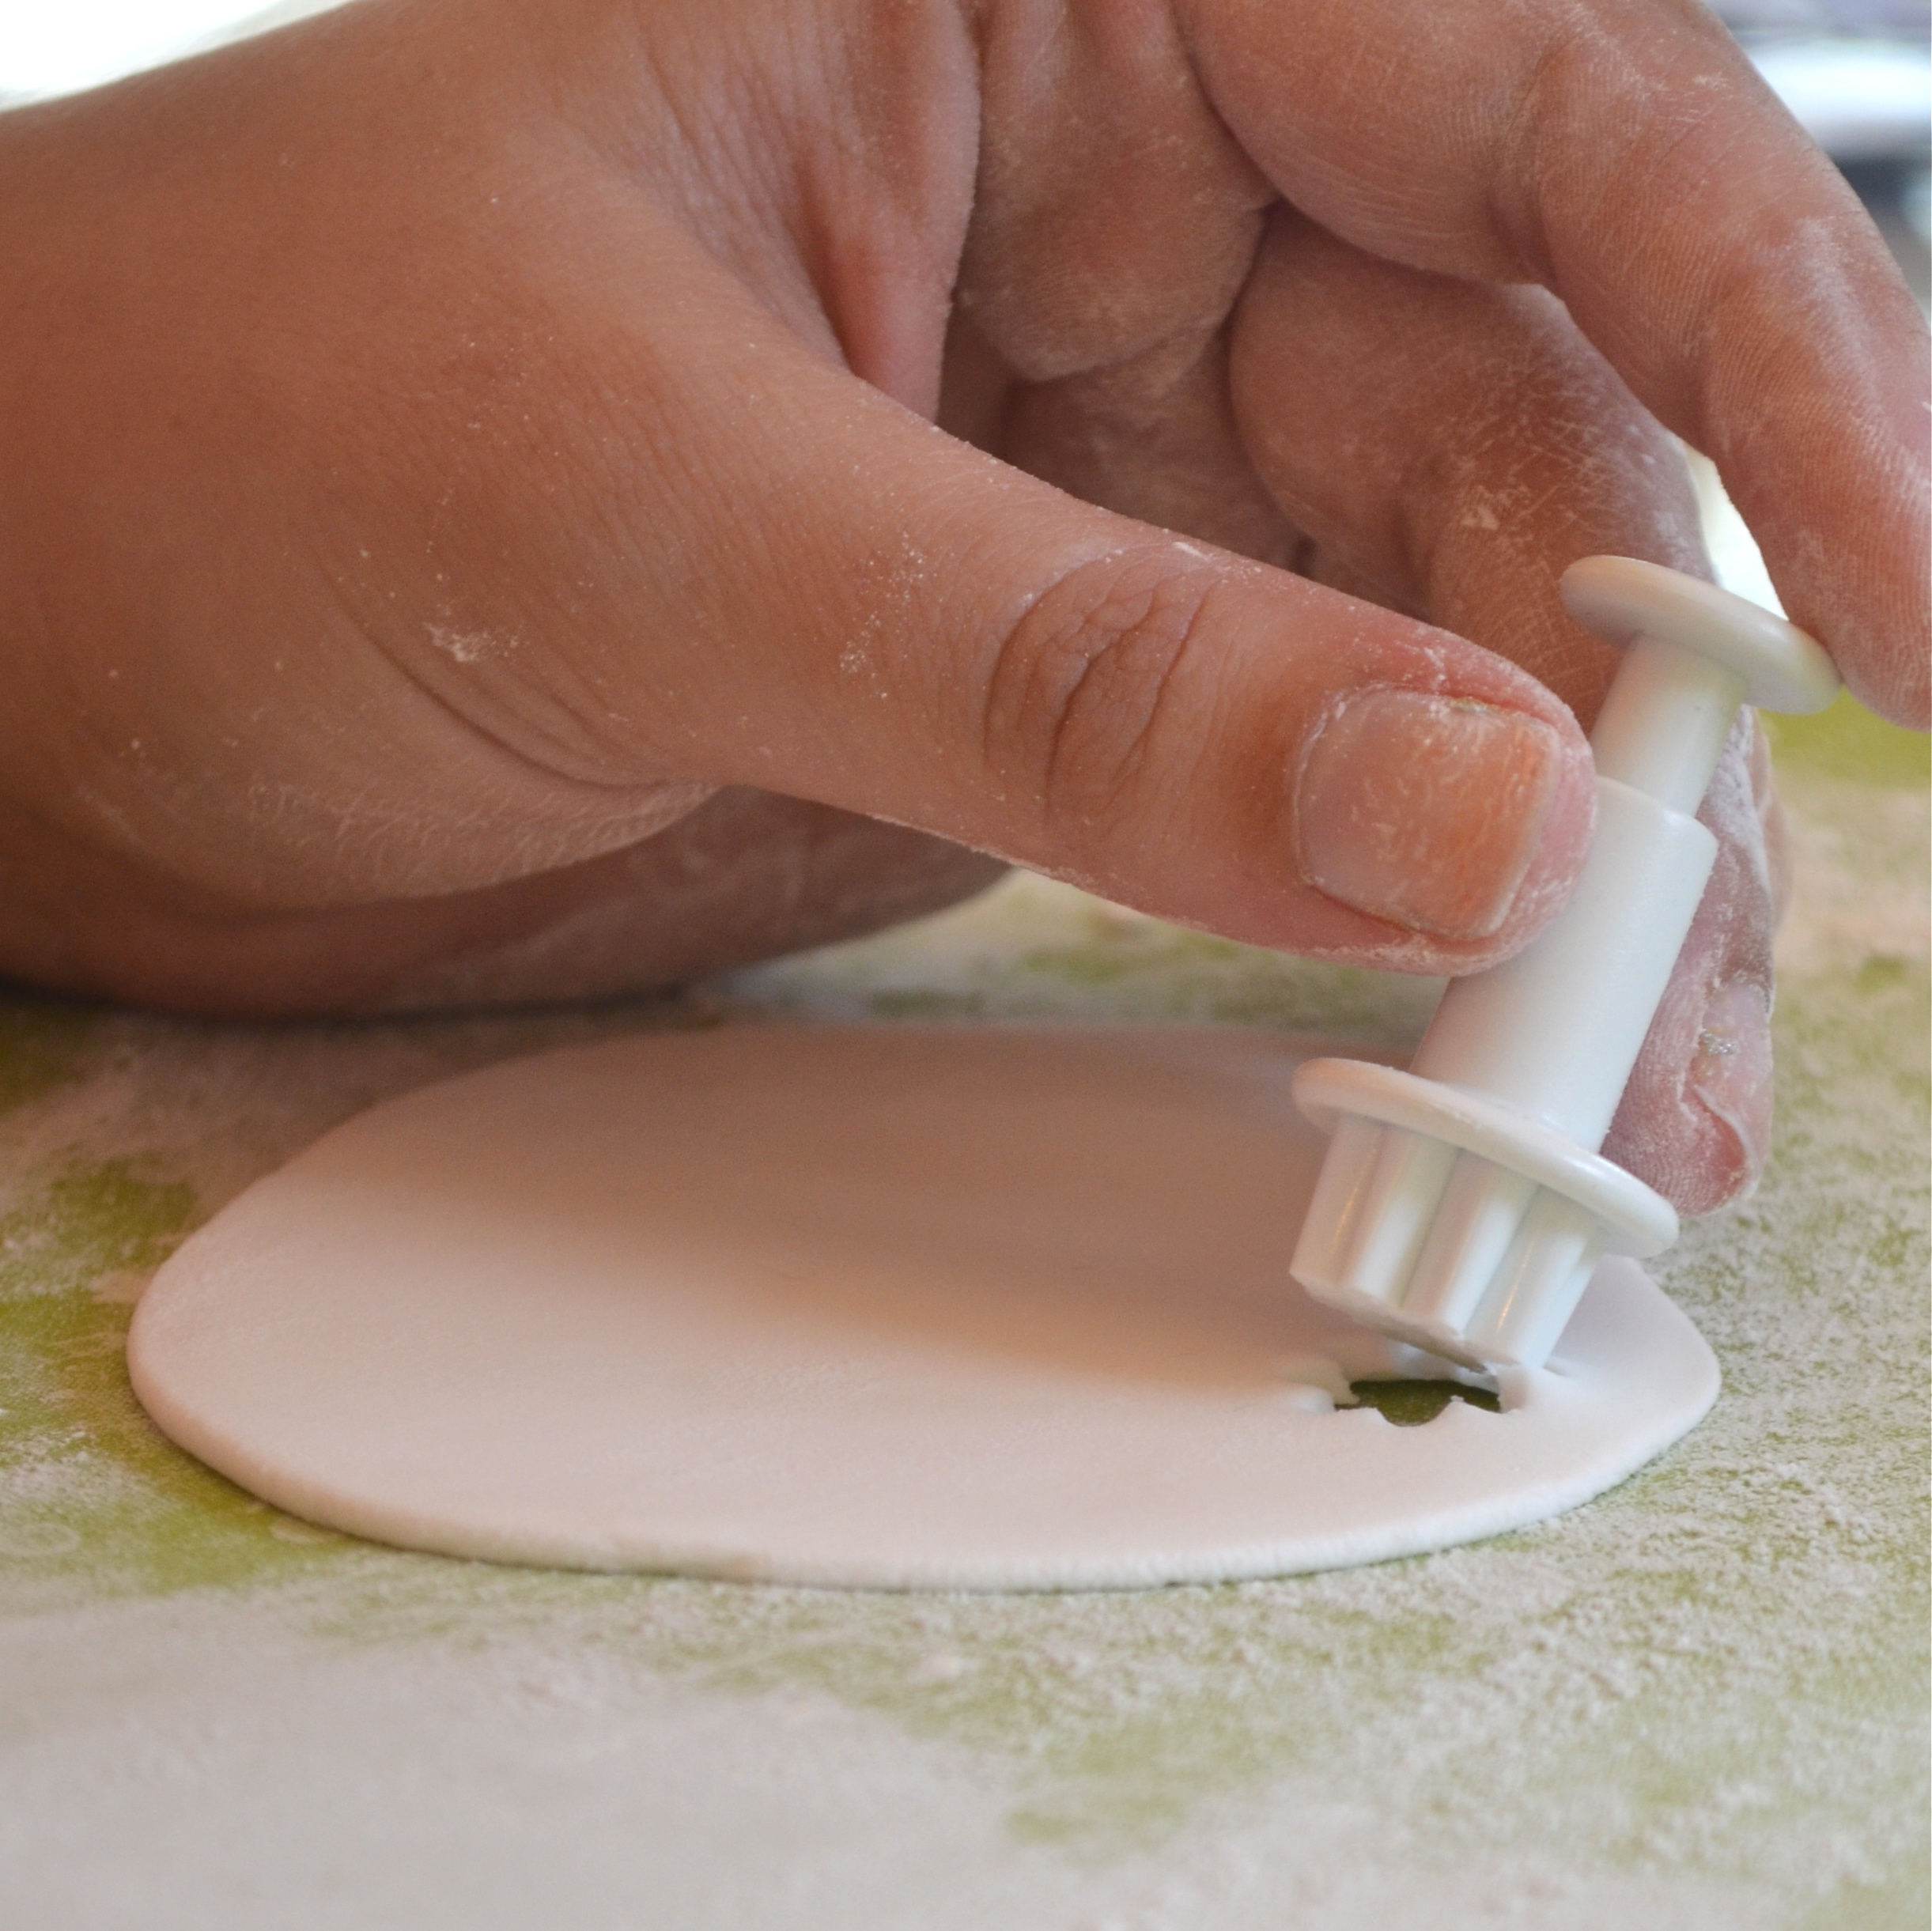
We needed to cut circles to cover each cupcake and we used a circle cutter set, which was nice because we could choose the perfect size to cover our cupcake tops.  We simply powdered a cutting board and rolled out the fondant using a fondant rolling pin.   We cut out the cupcake tops in white  (we saved the red tops for later when we colored fondant).

Rolling out fondant

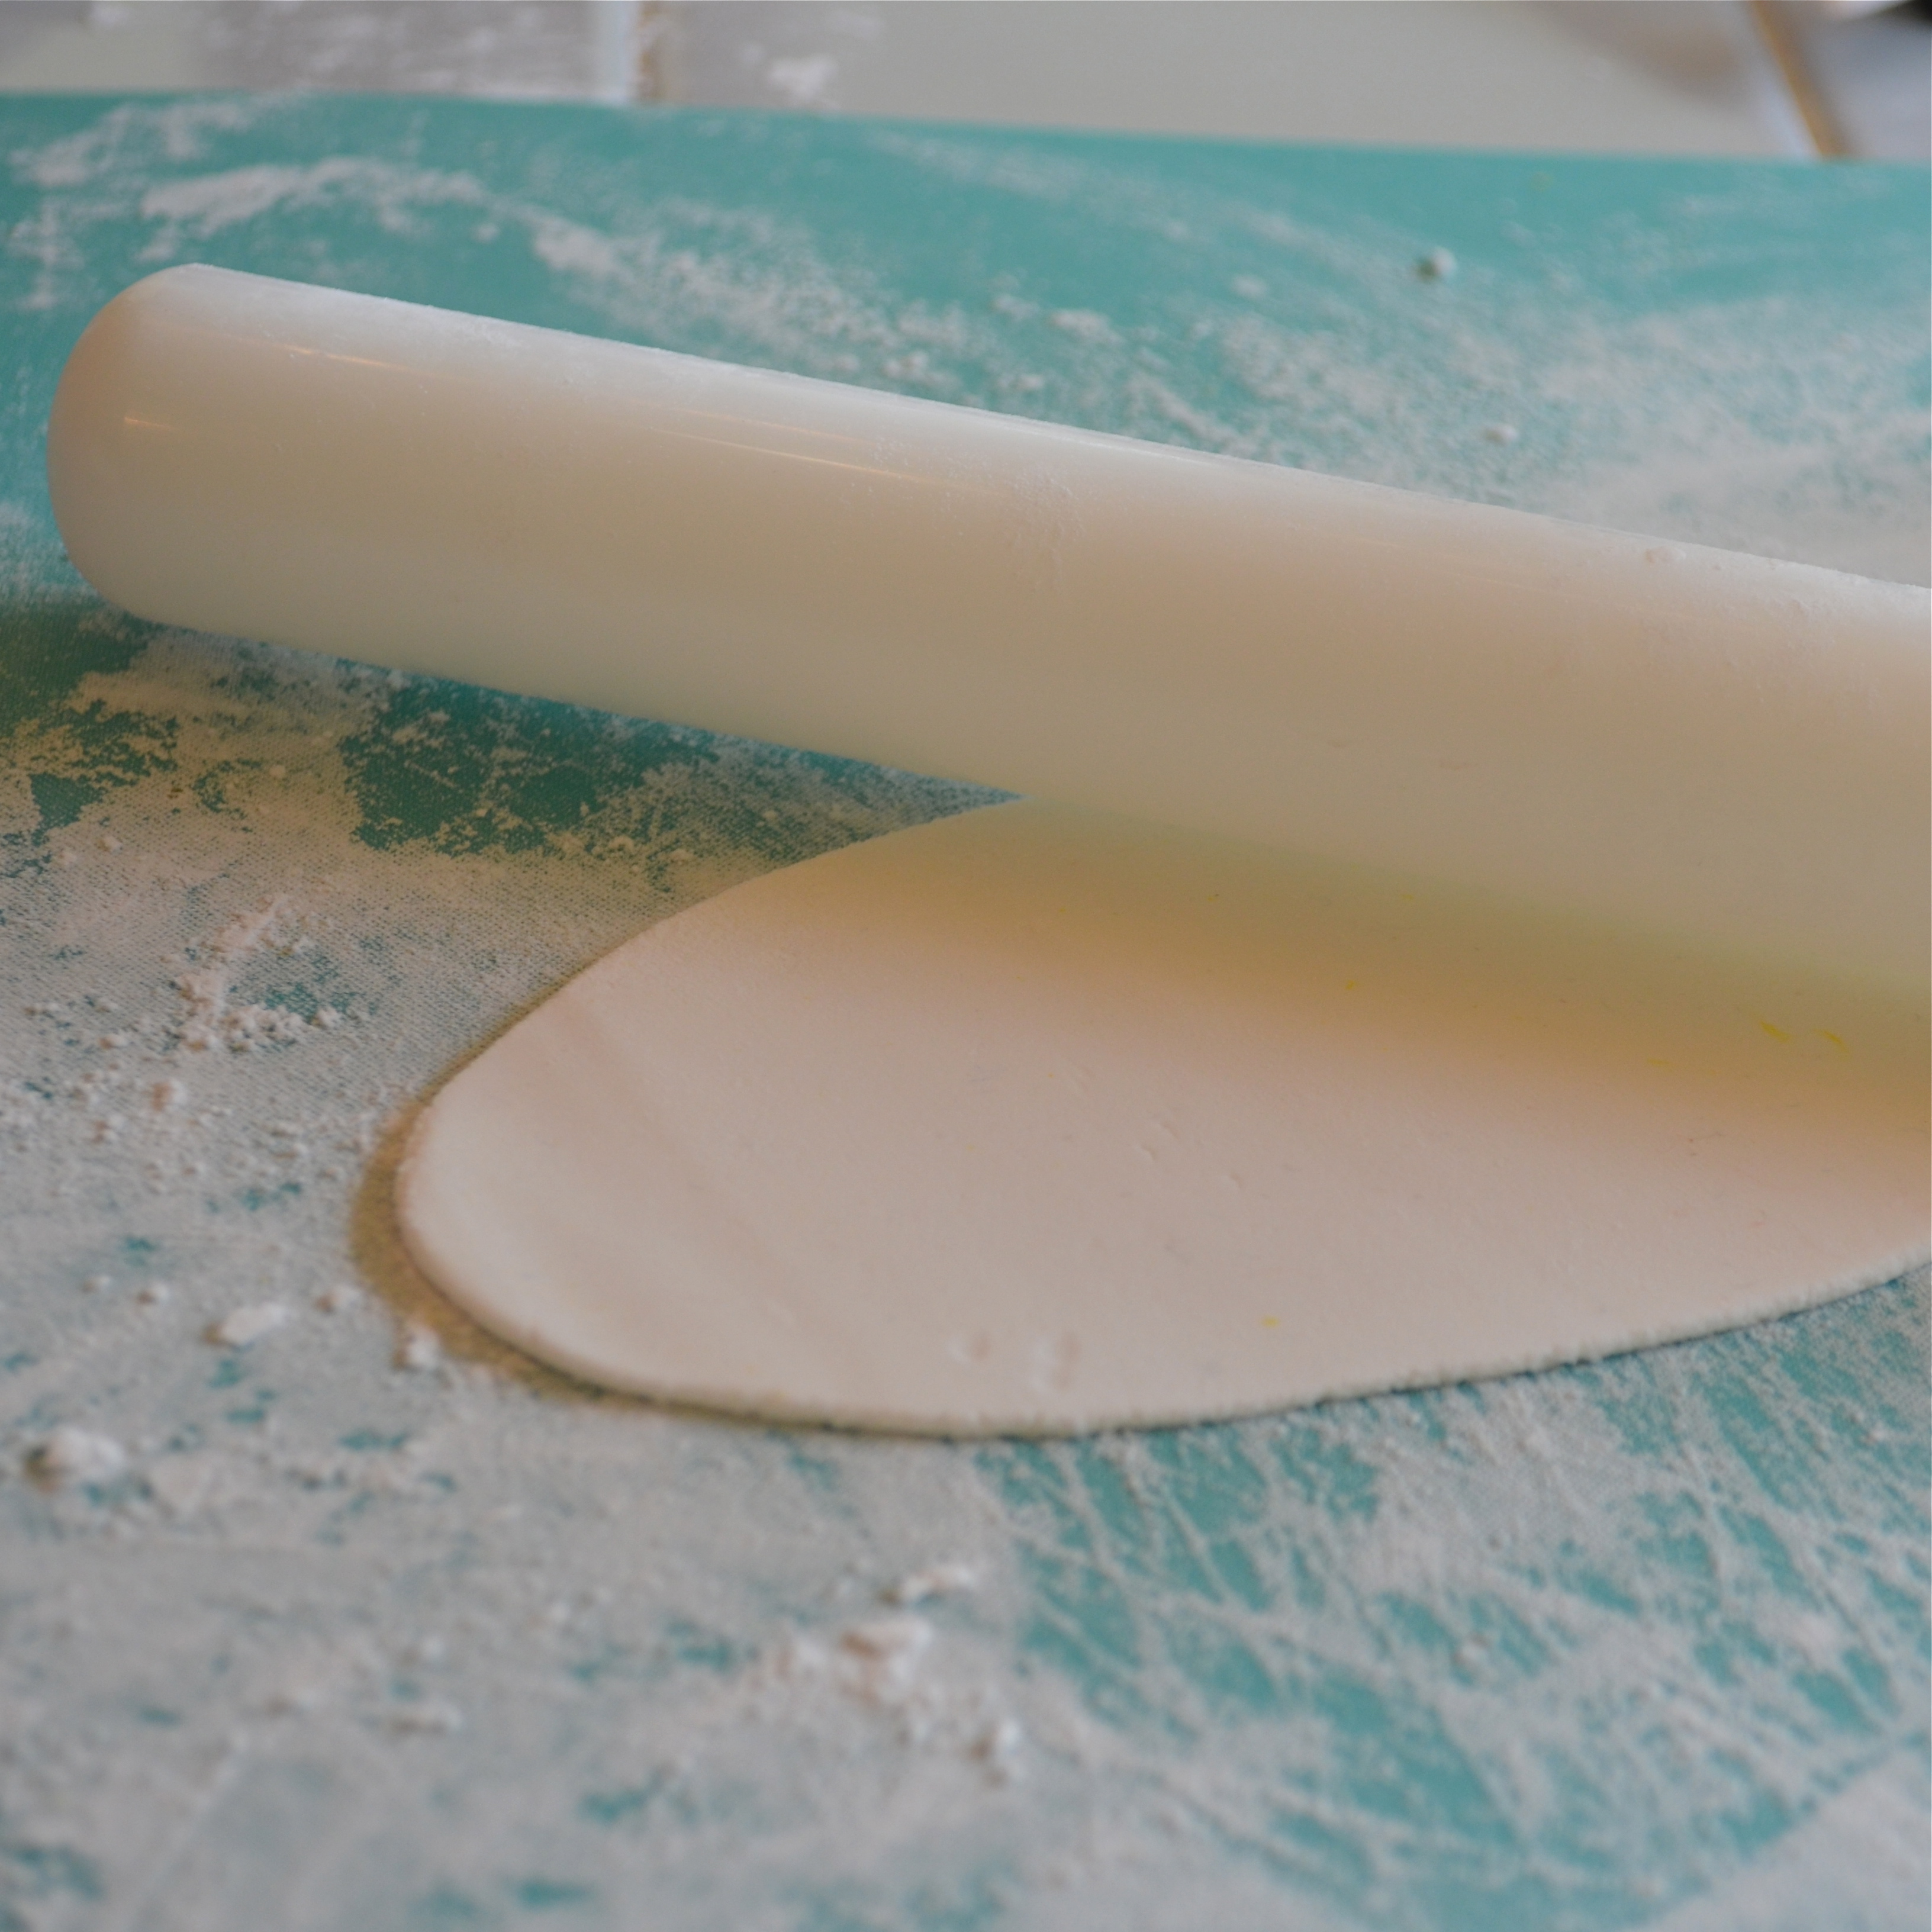
Roll fondant out into a fairly thin layer and cut round pieces out to fit the tops of your cupcakes.

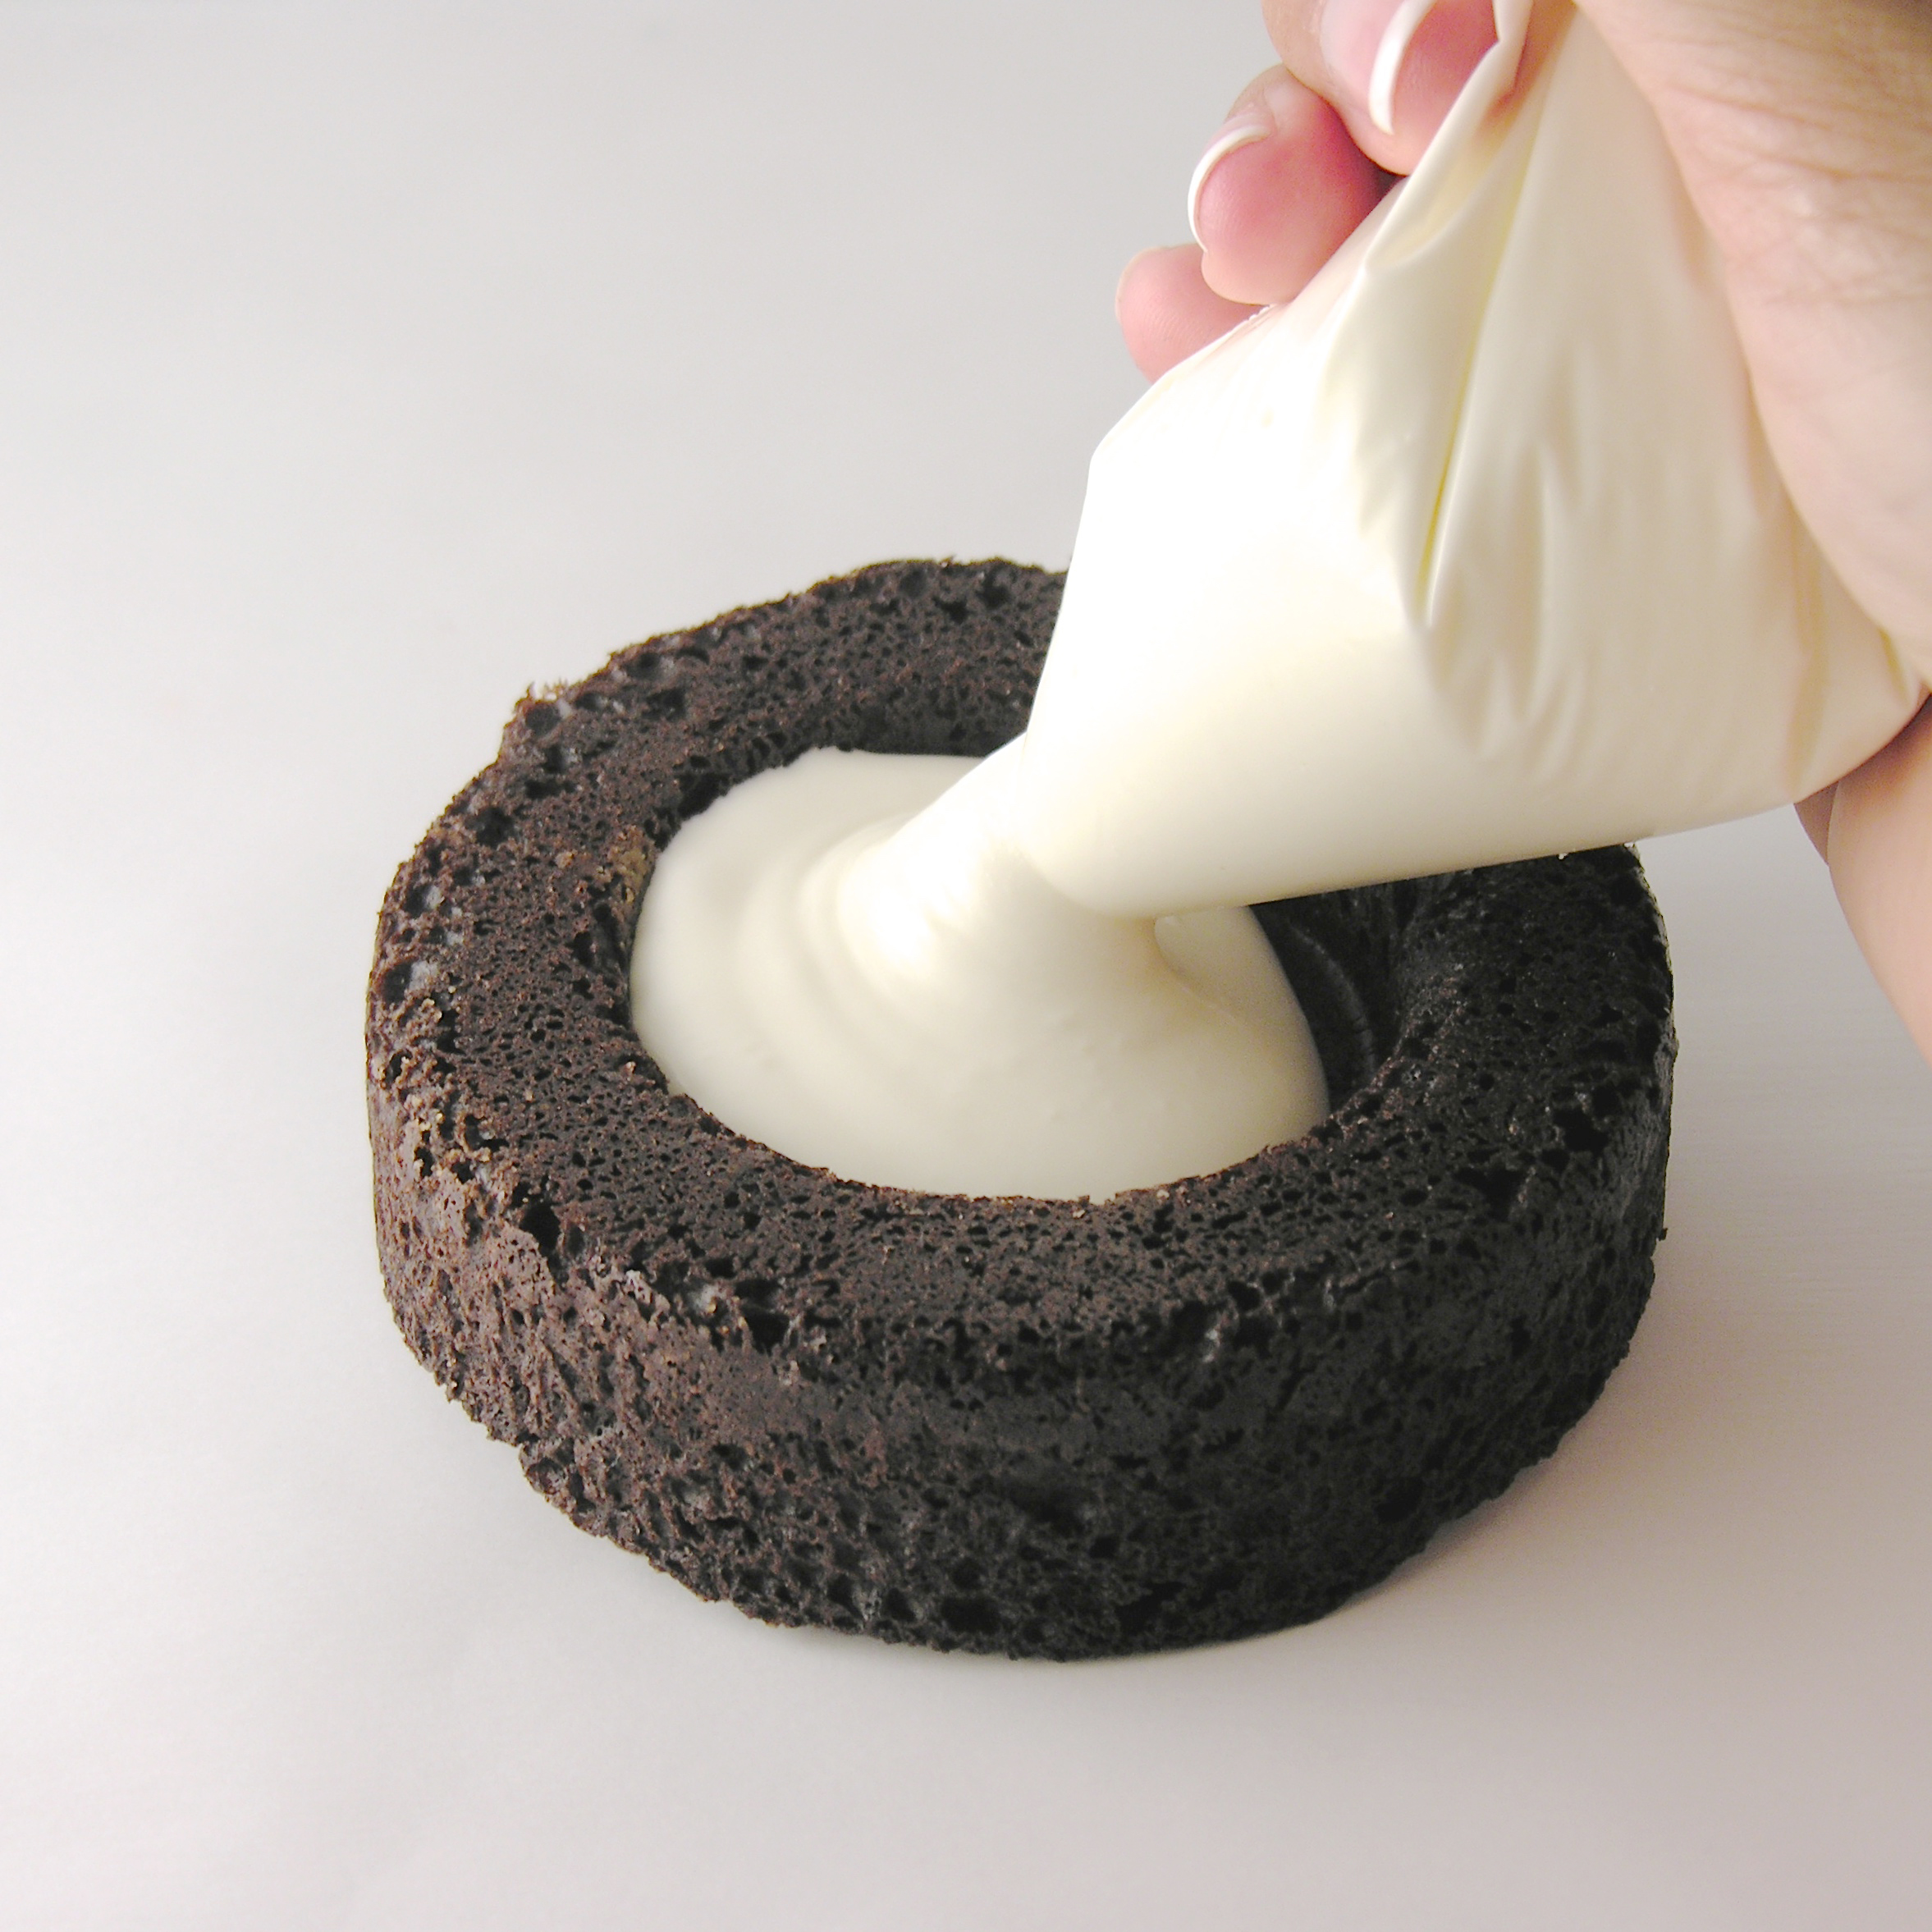
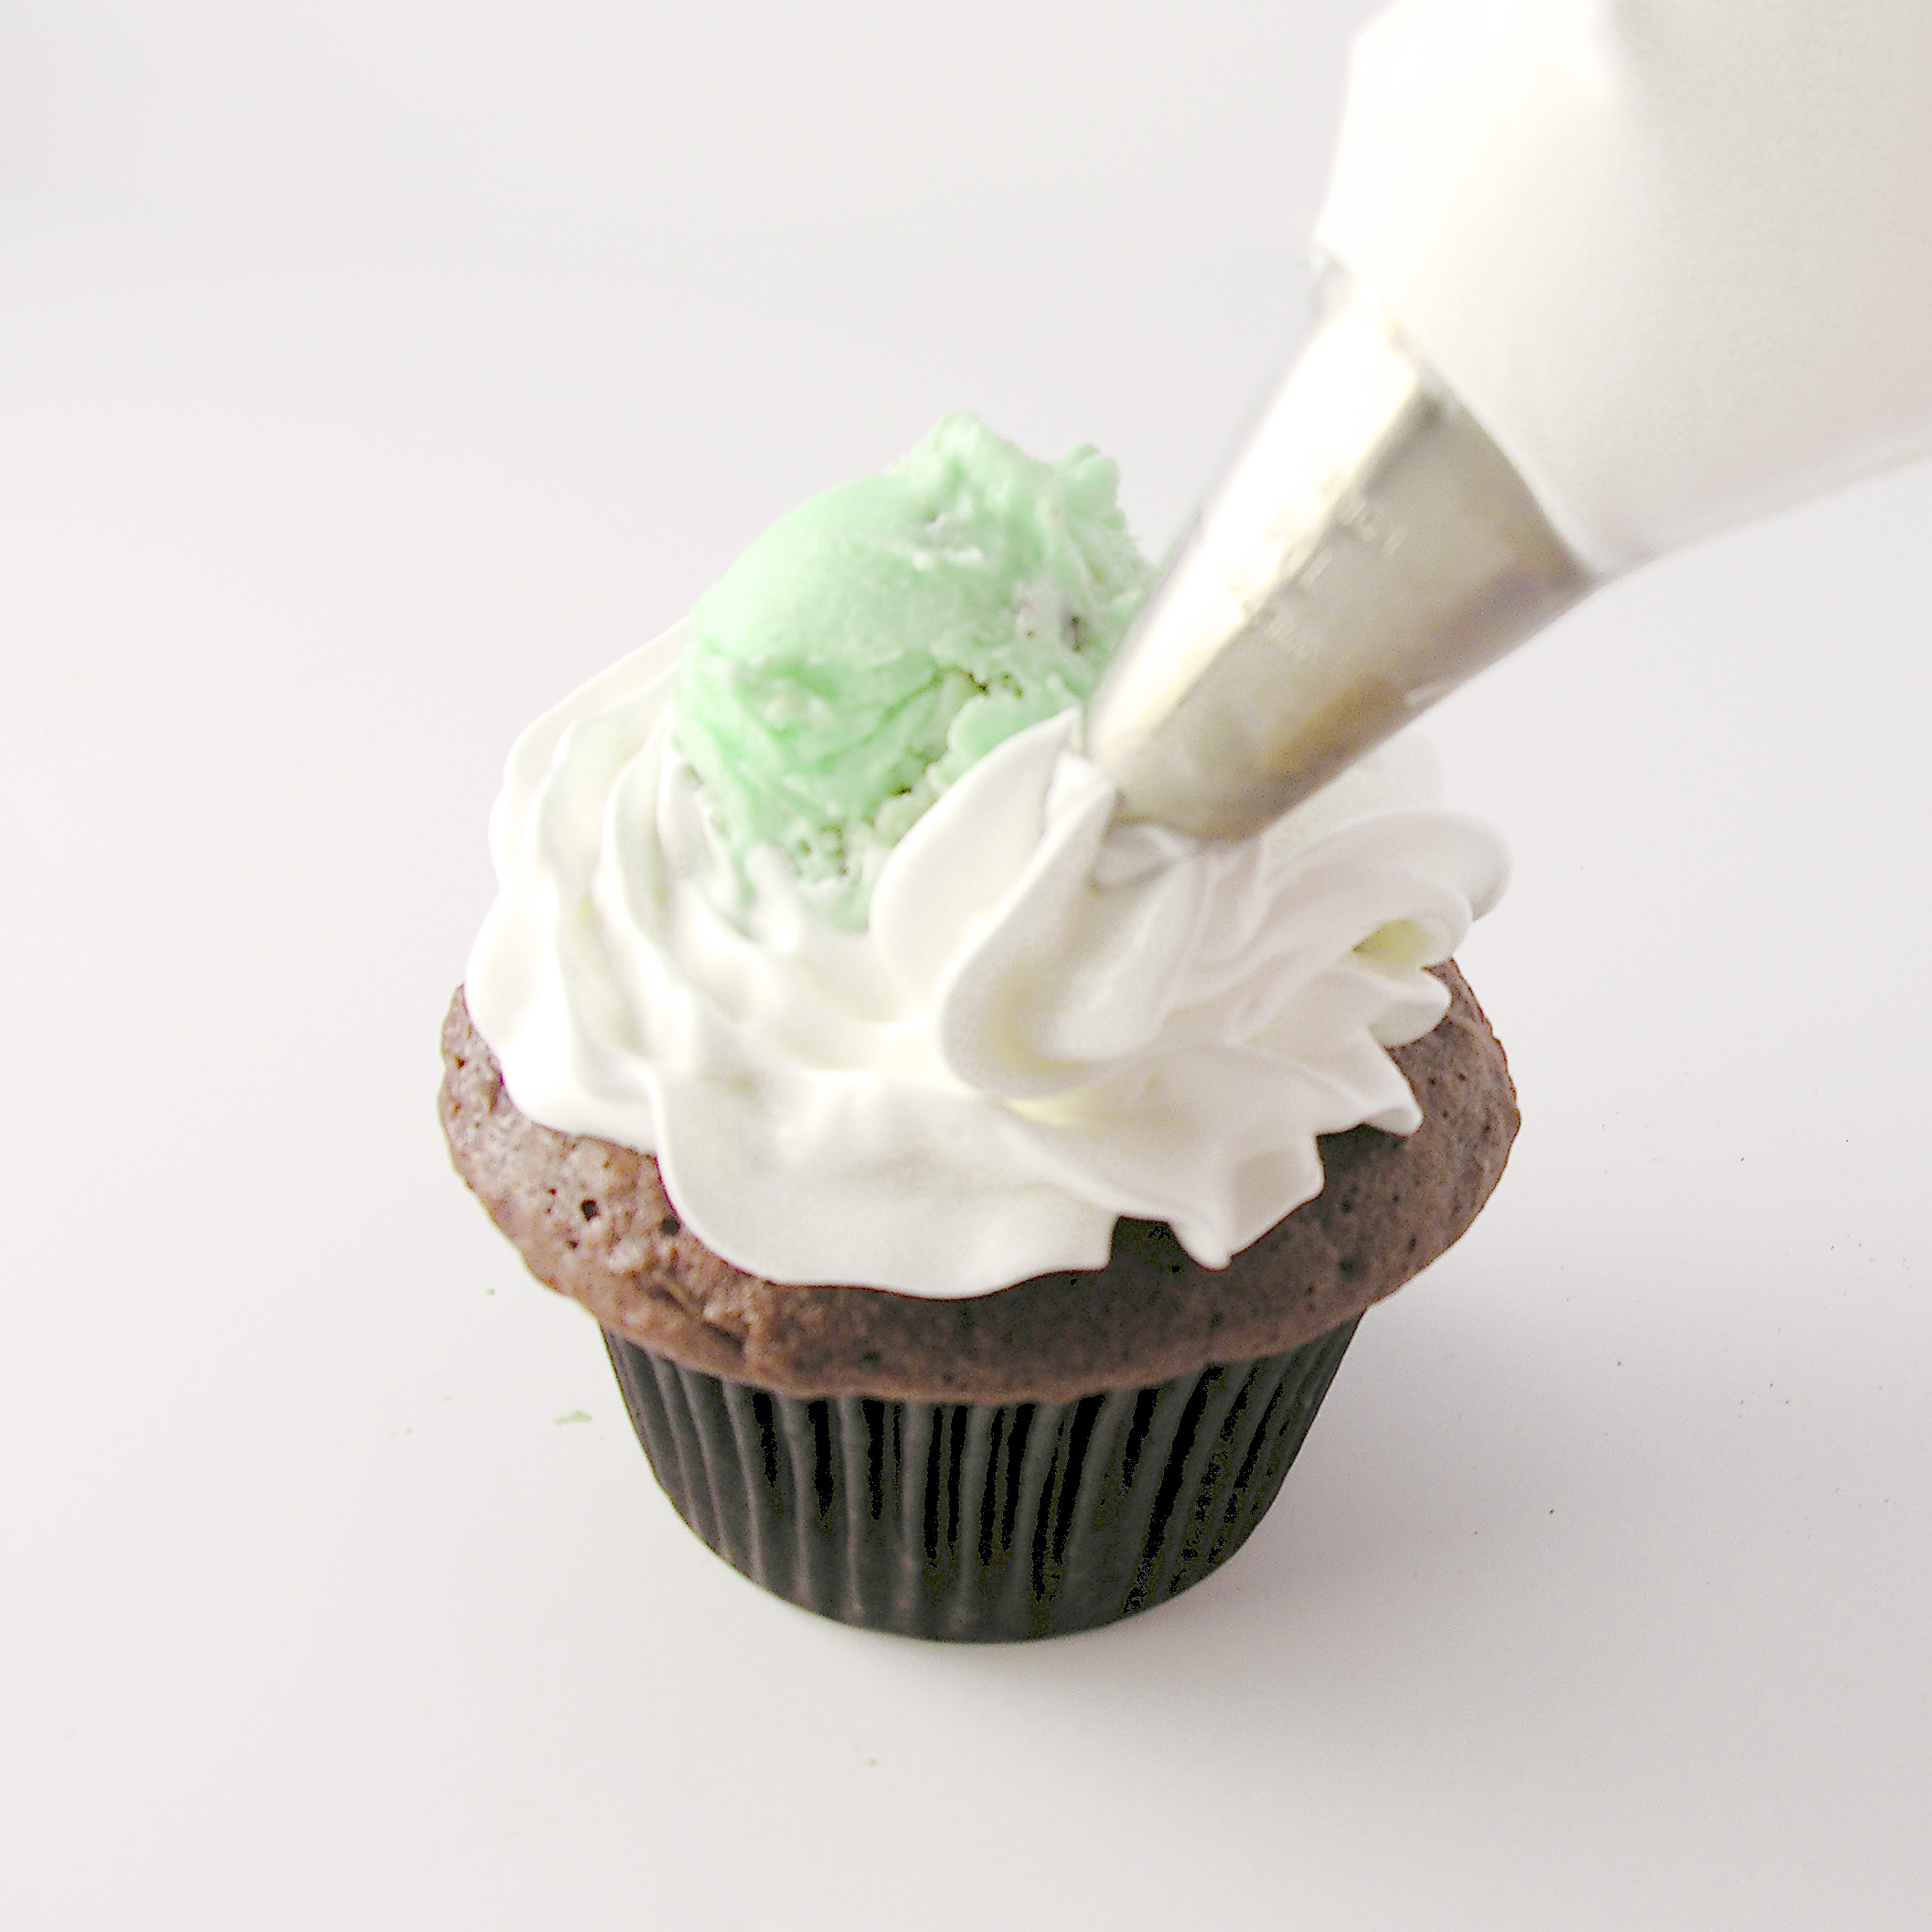
  • To place the fondant circles on top of the cupcakes just spread some of that sticky buttercream icing on top of a cupcake, smooth it as much as you can and place fondant circle on top.  
  • Gently press the edges down to touch the top of the cupcake liner and smooth it with your fingers.
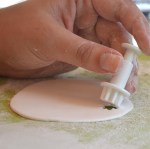
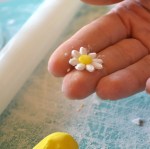
  • We made daisies to go on top of the caterpillar cupcakes, so we cut out the white flowers before we colored anything.  Megan got me two cute daisy fondant cutters and they were SO fun to use!
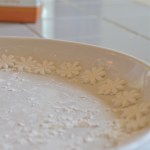
  • Roll your fondant out, cut out daisies and lie them on a powdered sugared curved edge to harden a bit.  I used a plate with a lip on it.

Cut daisies out of fondantSet daisies on curved edge to harden

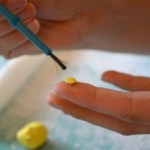
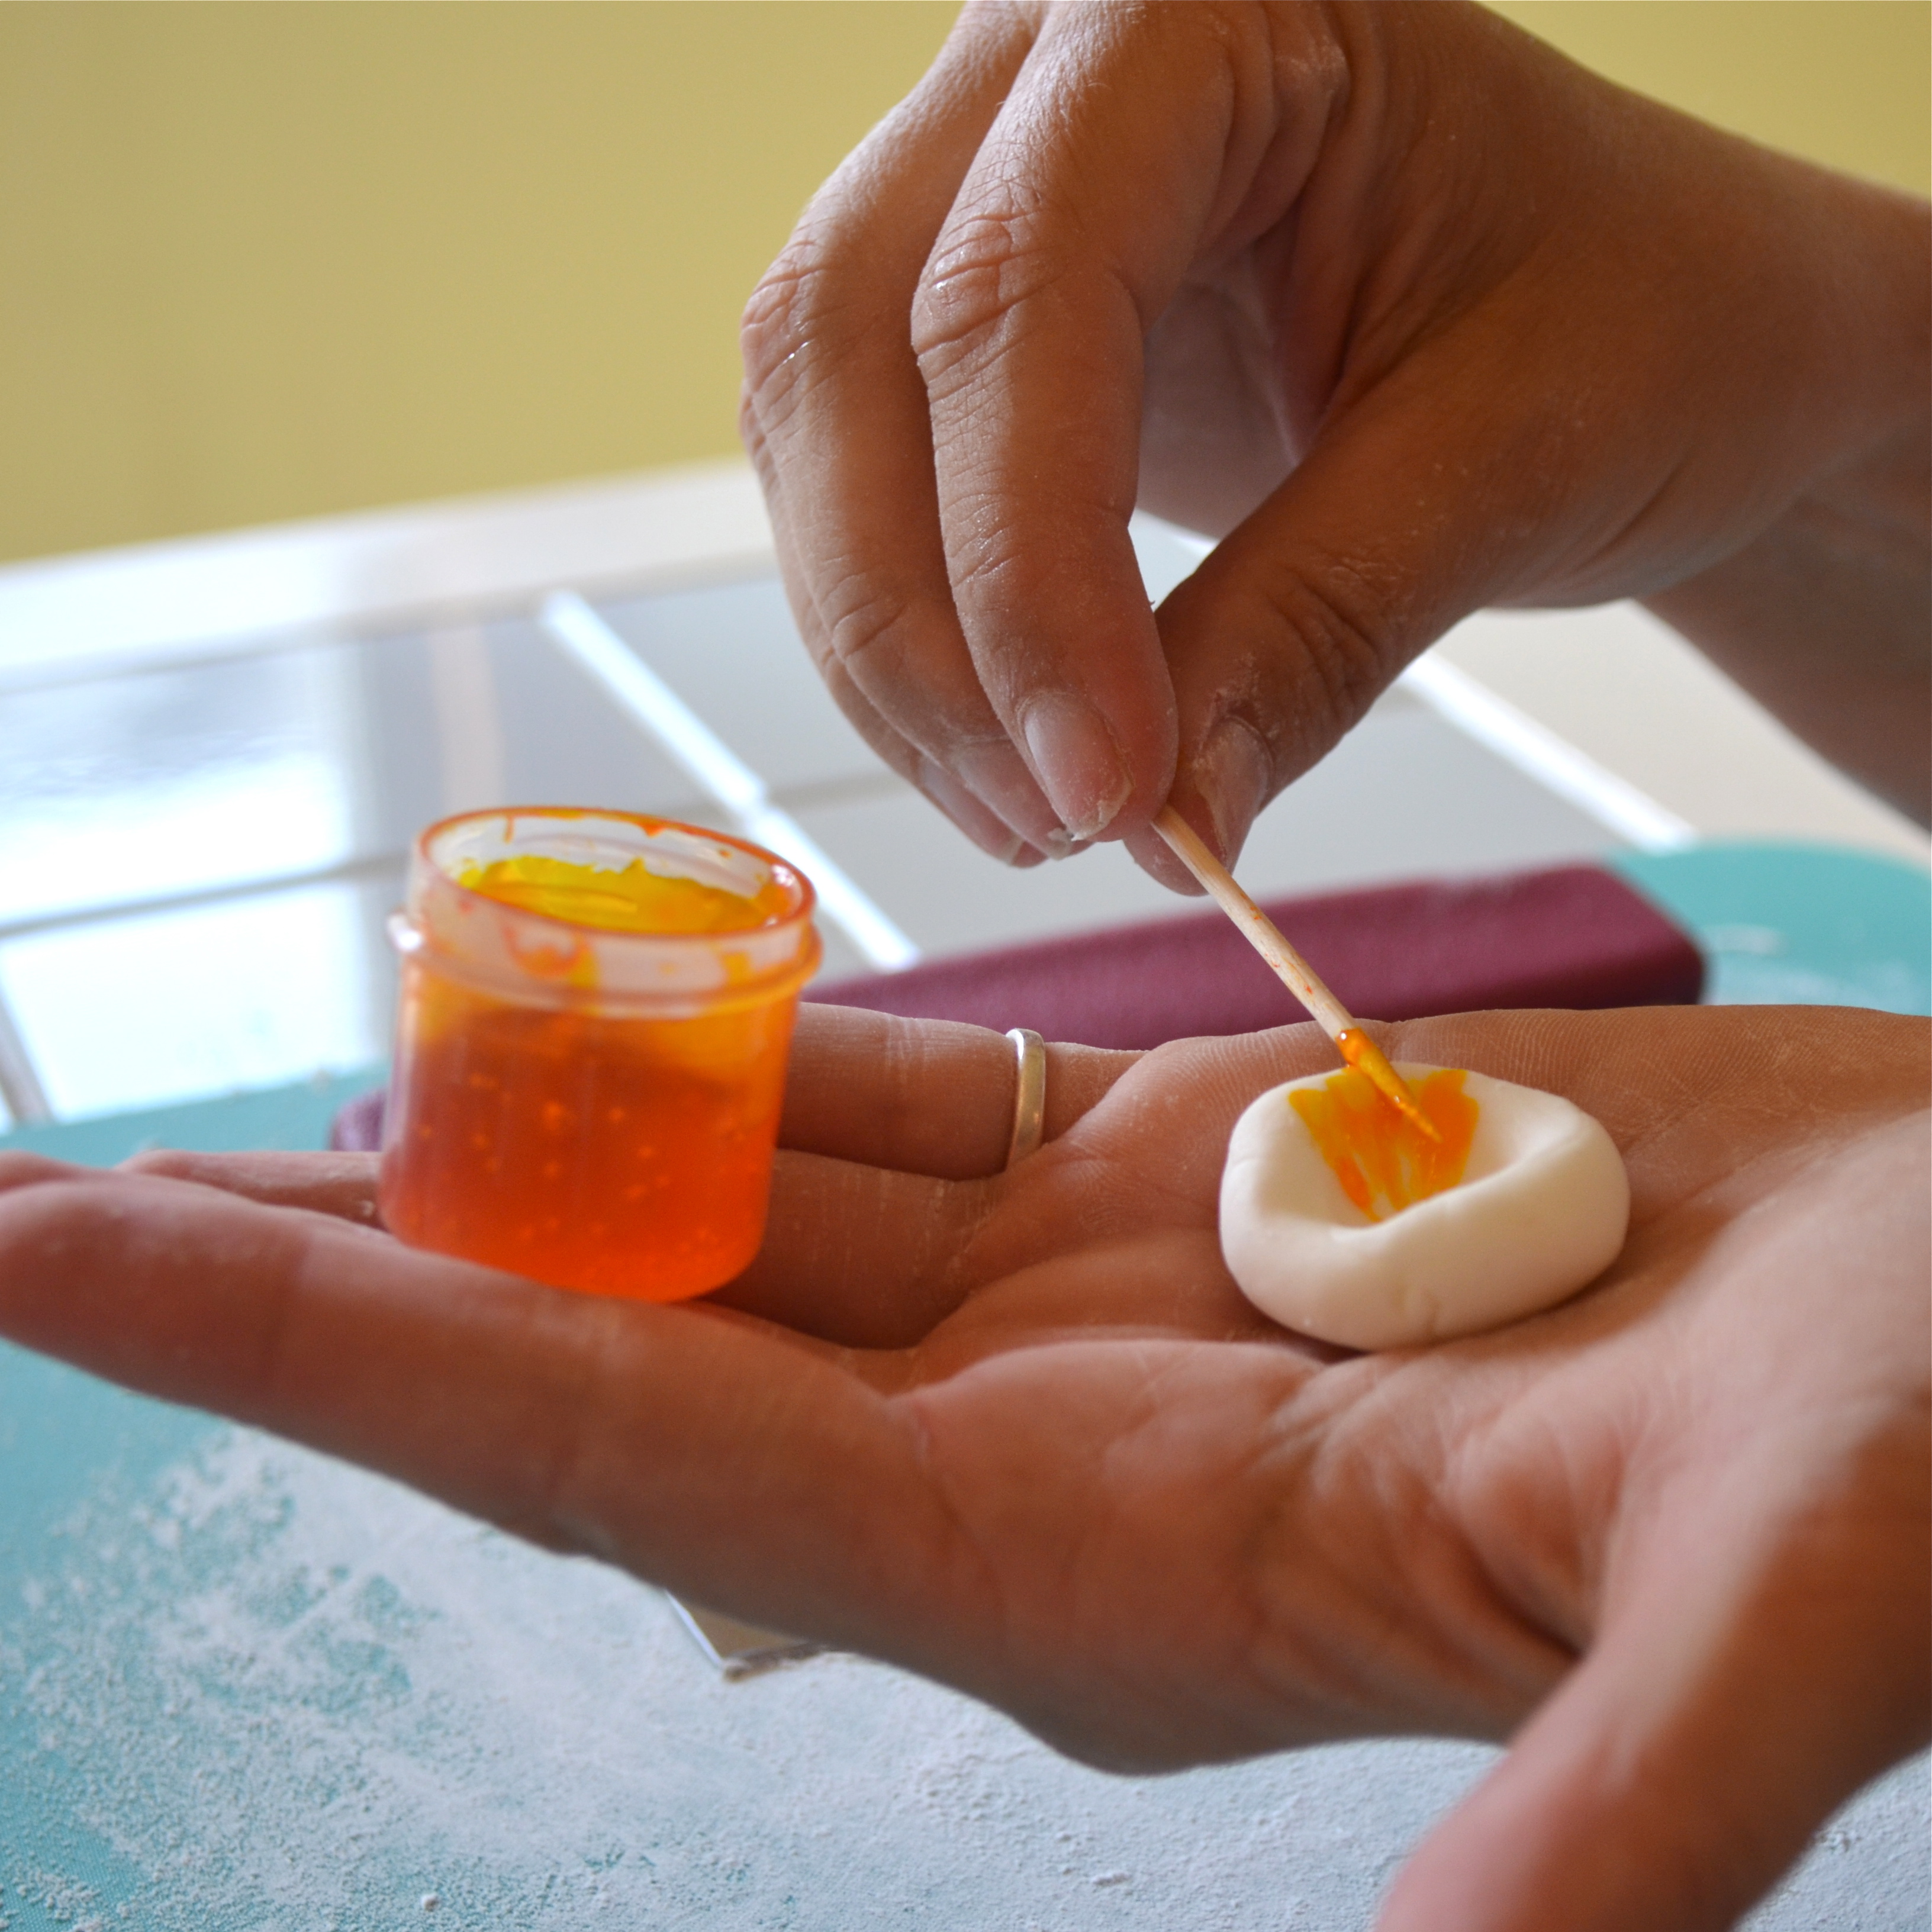
Time to color a little fondant for those yellow centers:  

  • To color just add a little gel color to the center of a bit of fondant and mix it with your hands.  
  • Use a little powdered sugar to prevent the fondant from sticking to your hands.

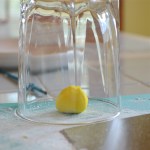
Tips:  keep fondant under a glass to keep it moist until you need it.  If it gets too dry you can add a little bit of Crisco to soften it up.  If it gets too sticky and the powdered sugar isn’t helping, you can use a little cornstarch to dry it up.

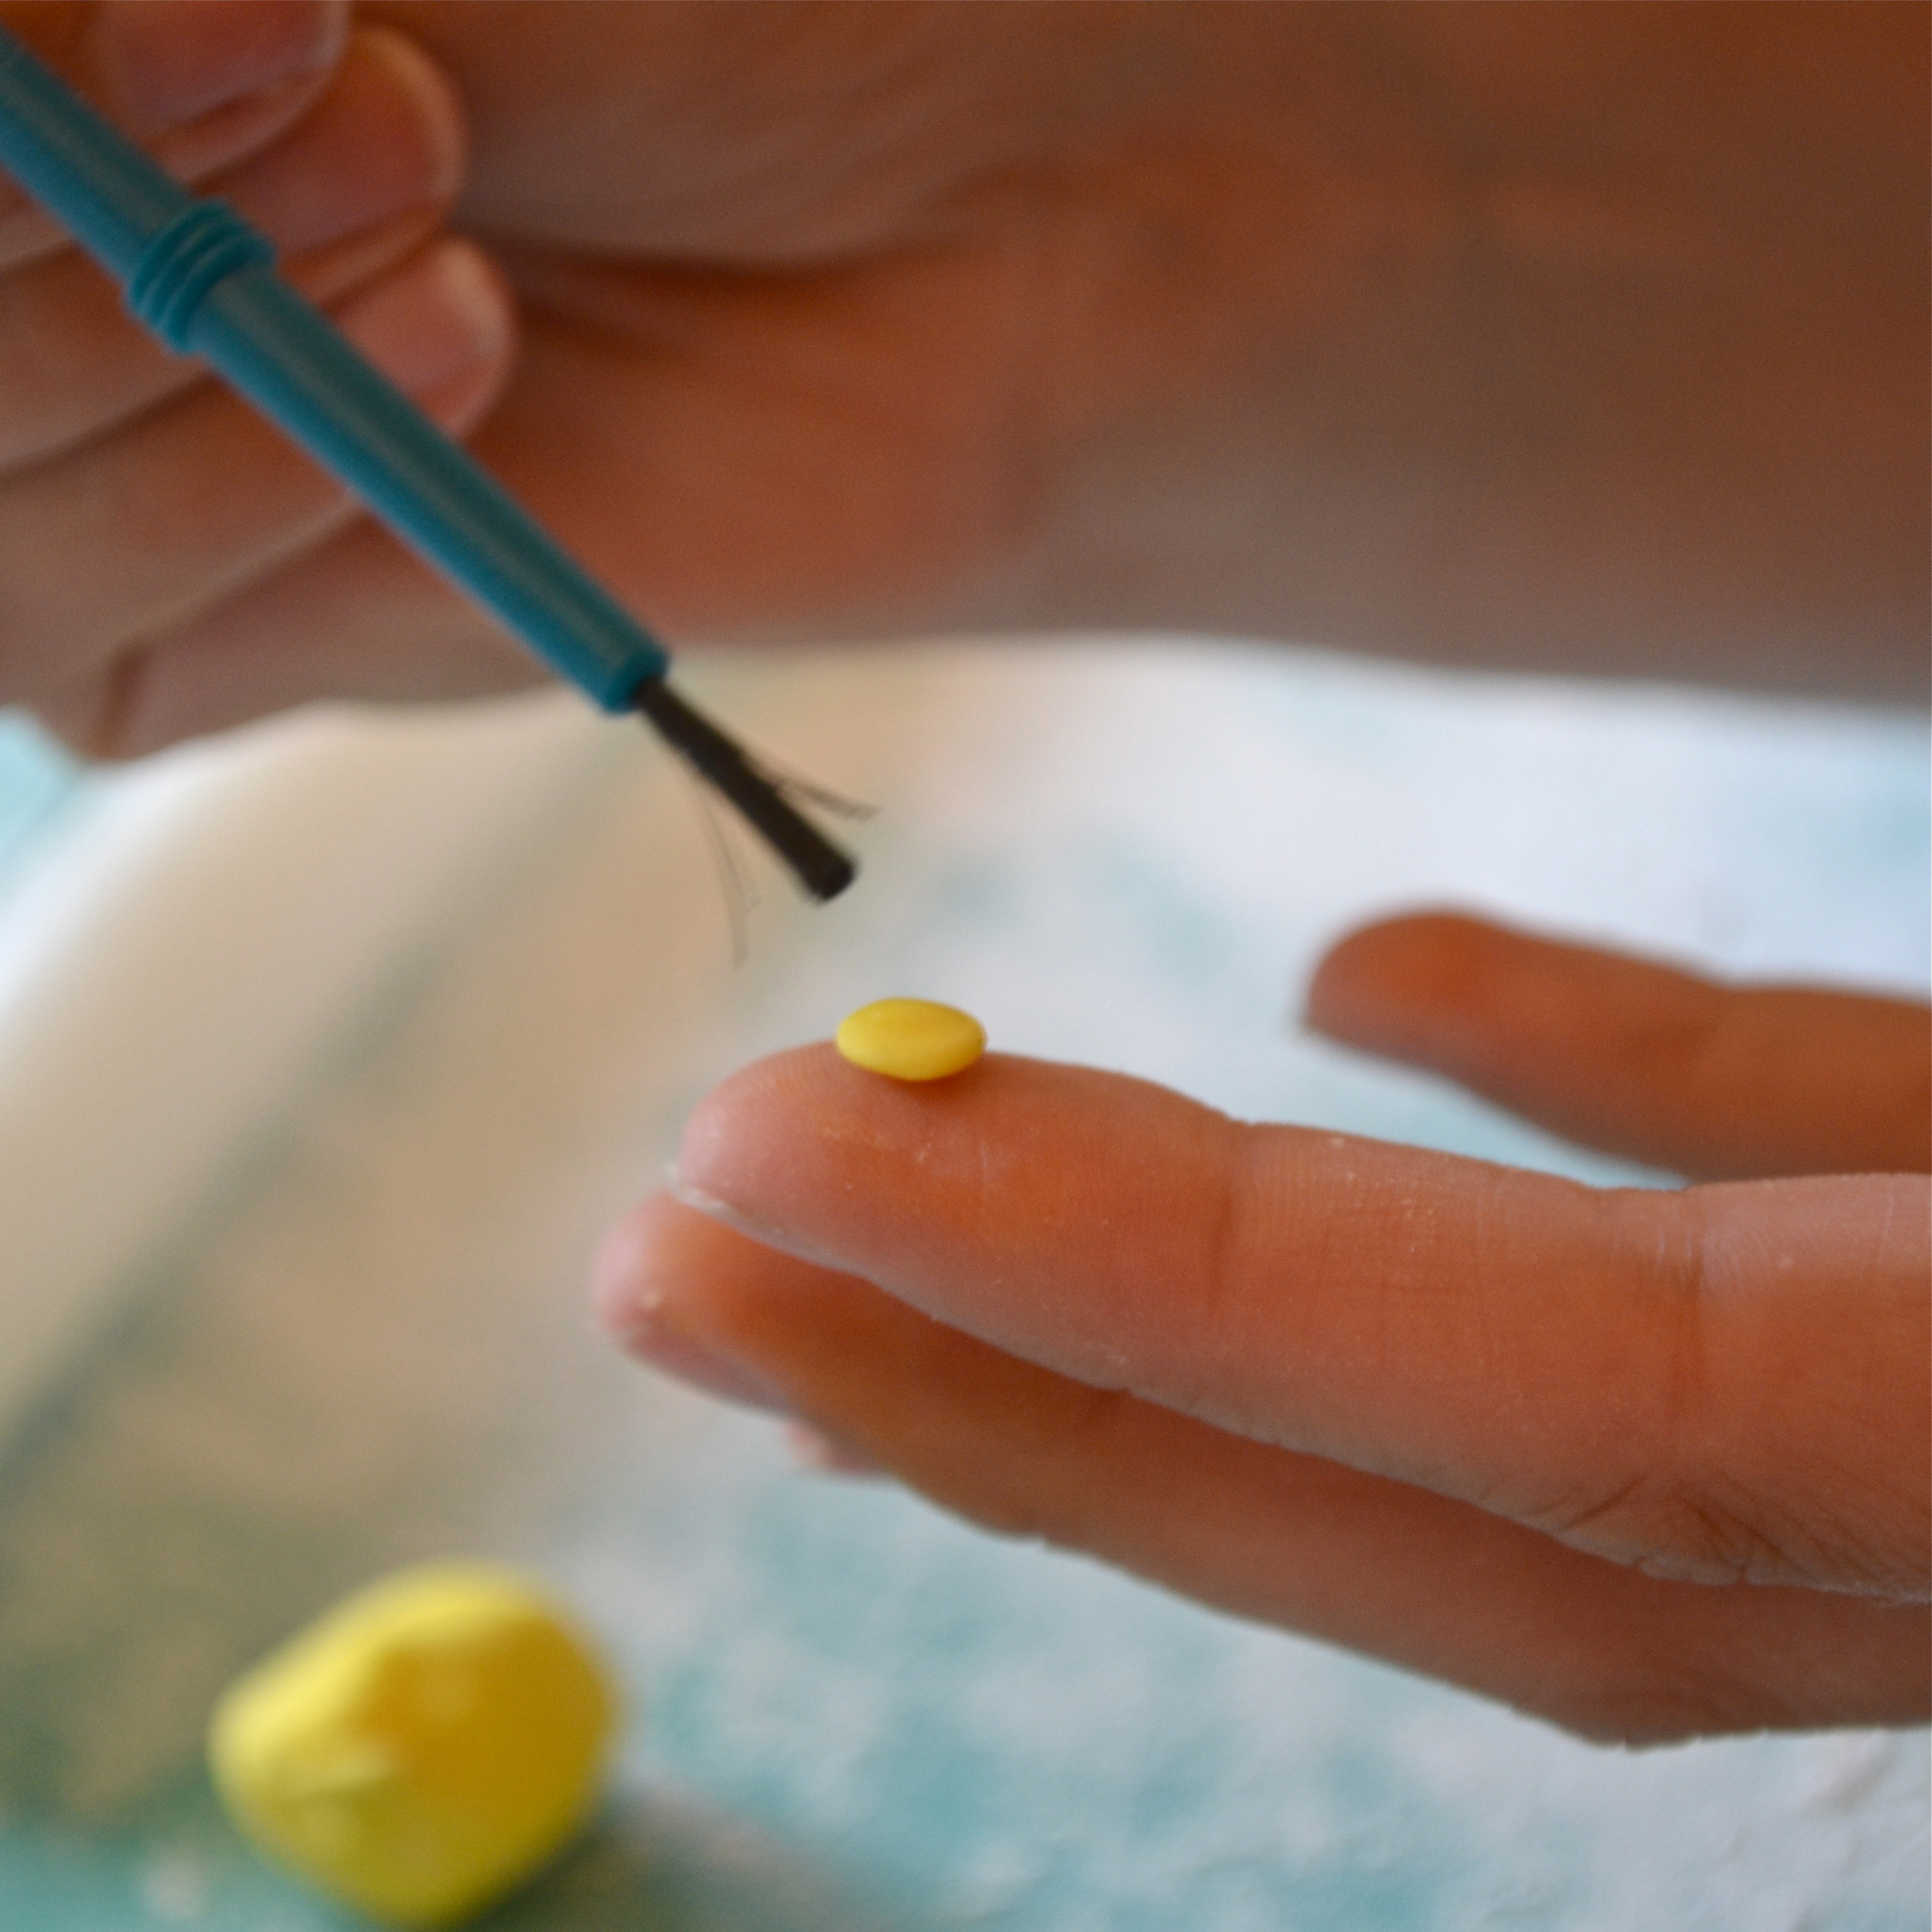
  • Roll a bit of yellow fondant into a small ball, press it flat and brush a tiny bit (just make it damp!) of water on it.  Press into center of white daisy—–so cute!

Water acts like glue with fondant…..something to remember as you start to decorate.

Add color gel to fondantKeep fondant under a glass to keep it moist.Use a little water on the fondant flower centerPress yellow center into daisy

Next, we colored some fondant green and rolled out little caterpillar body parts.  We let them set awhile and cut leaves out of the green as well– you can use that wonderful circle cutter set to make them– we “glued” them on white cupcake tops using water (just a little!).

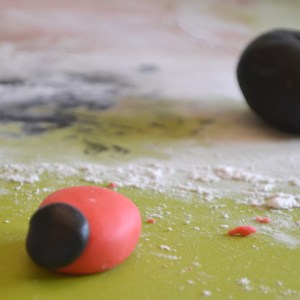
The last colors we made were the red and black for the lady bugs and mushroom caps.  Both of these dark colors get ALL over your light colors if you aren’t careful about washing your hands– so make them up after you’ve already cut and shaped the lighter colored parts!  We just cut circles out for the mushroom caps and shaped ladybugs by hand….

ladybugs!All of the shapes– the bugs and daisies and mushroom spots were “glued” on with a little water and the last step was to paint on little faces and ladybug spots.  We dipped right in to our black gel food color to do this– Megan got us a fine-tipped decorating brush that made short work of painting.
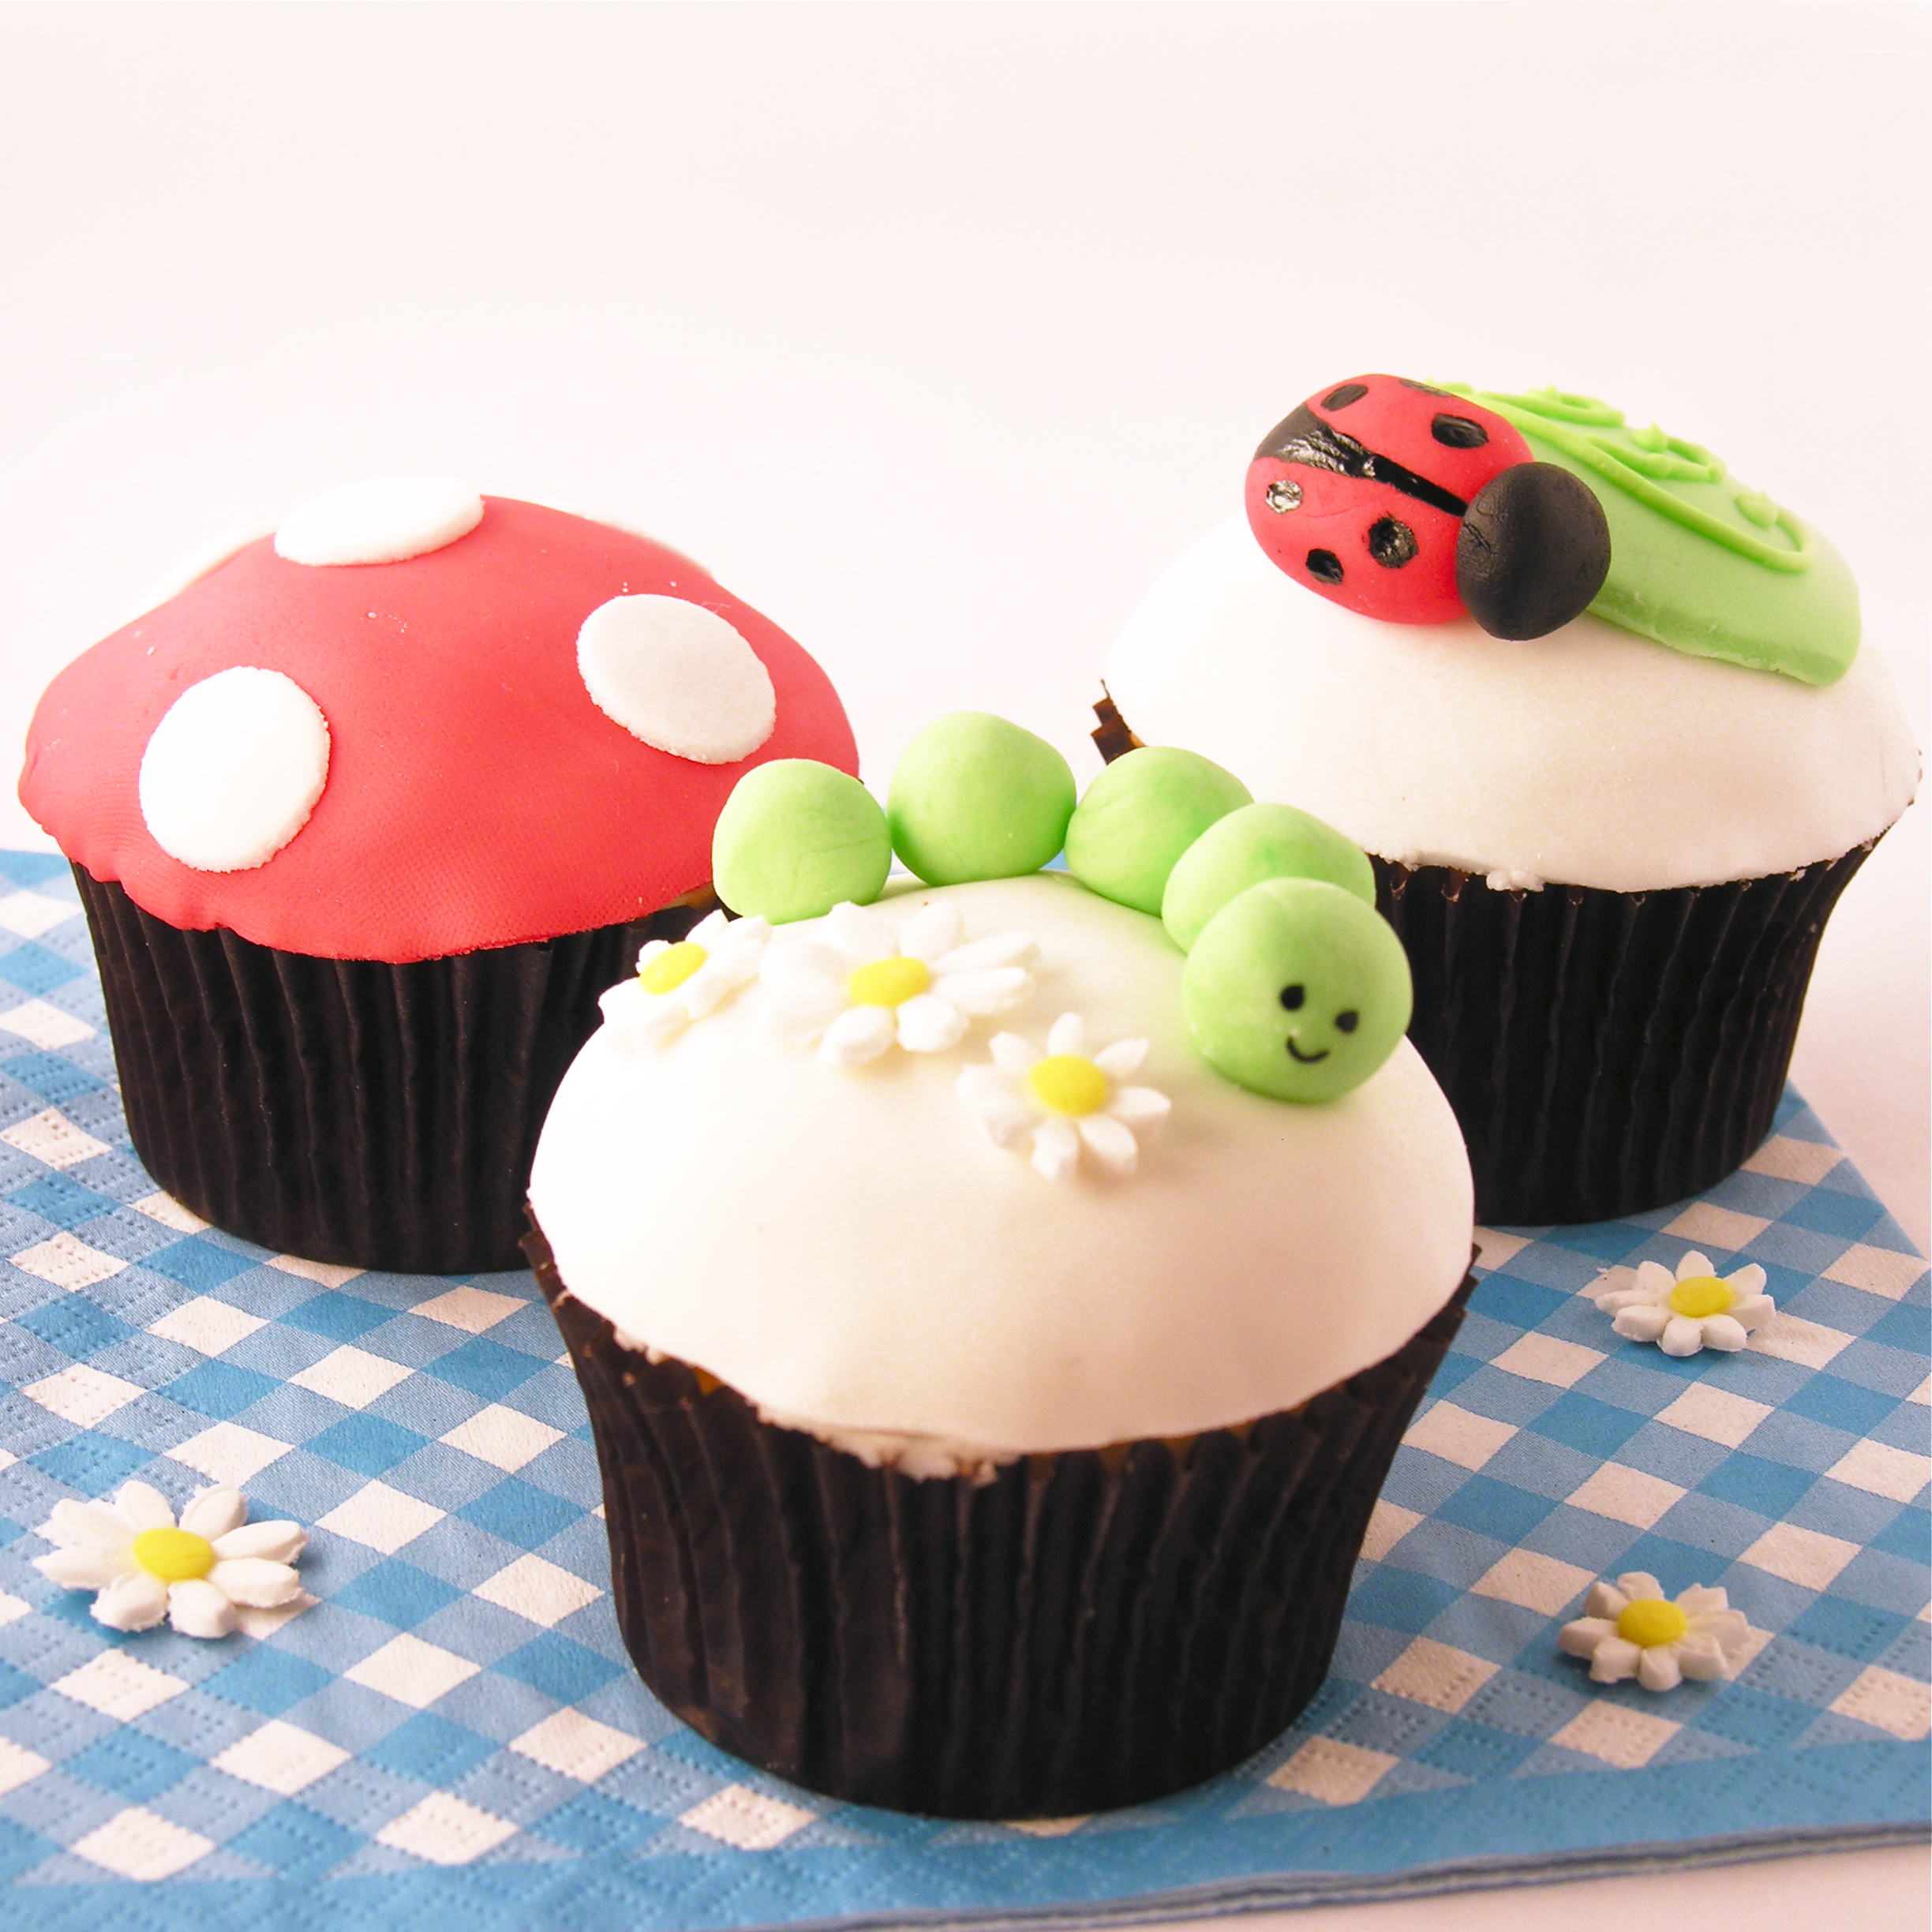
Ladybug and Caterpillar cupcakes!

Aren’t they fun?

My thoughts:  I realize this entire post is a far stretch from the “EASY” in “Easybaked”…but it was honestly not as difficult as I thought it would be.  I can see myself making fun embellishments for topping off regular cupcakes in the future now that I know how simple fondant is to make.

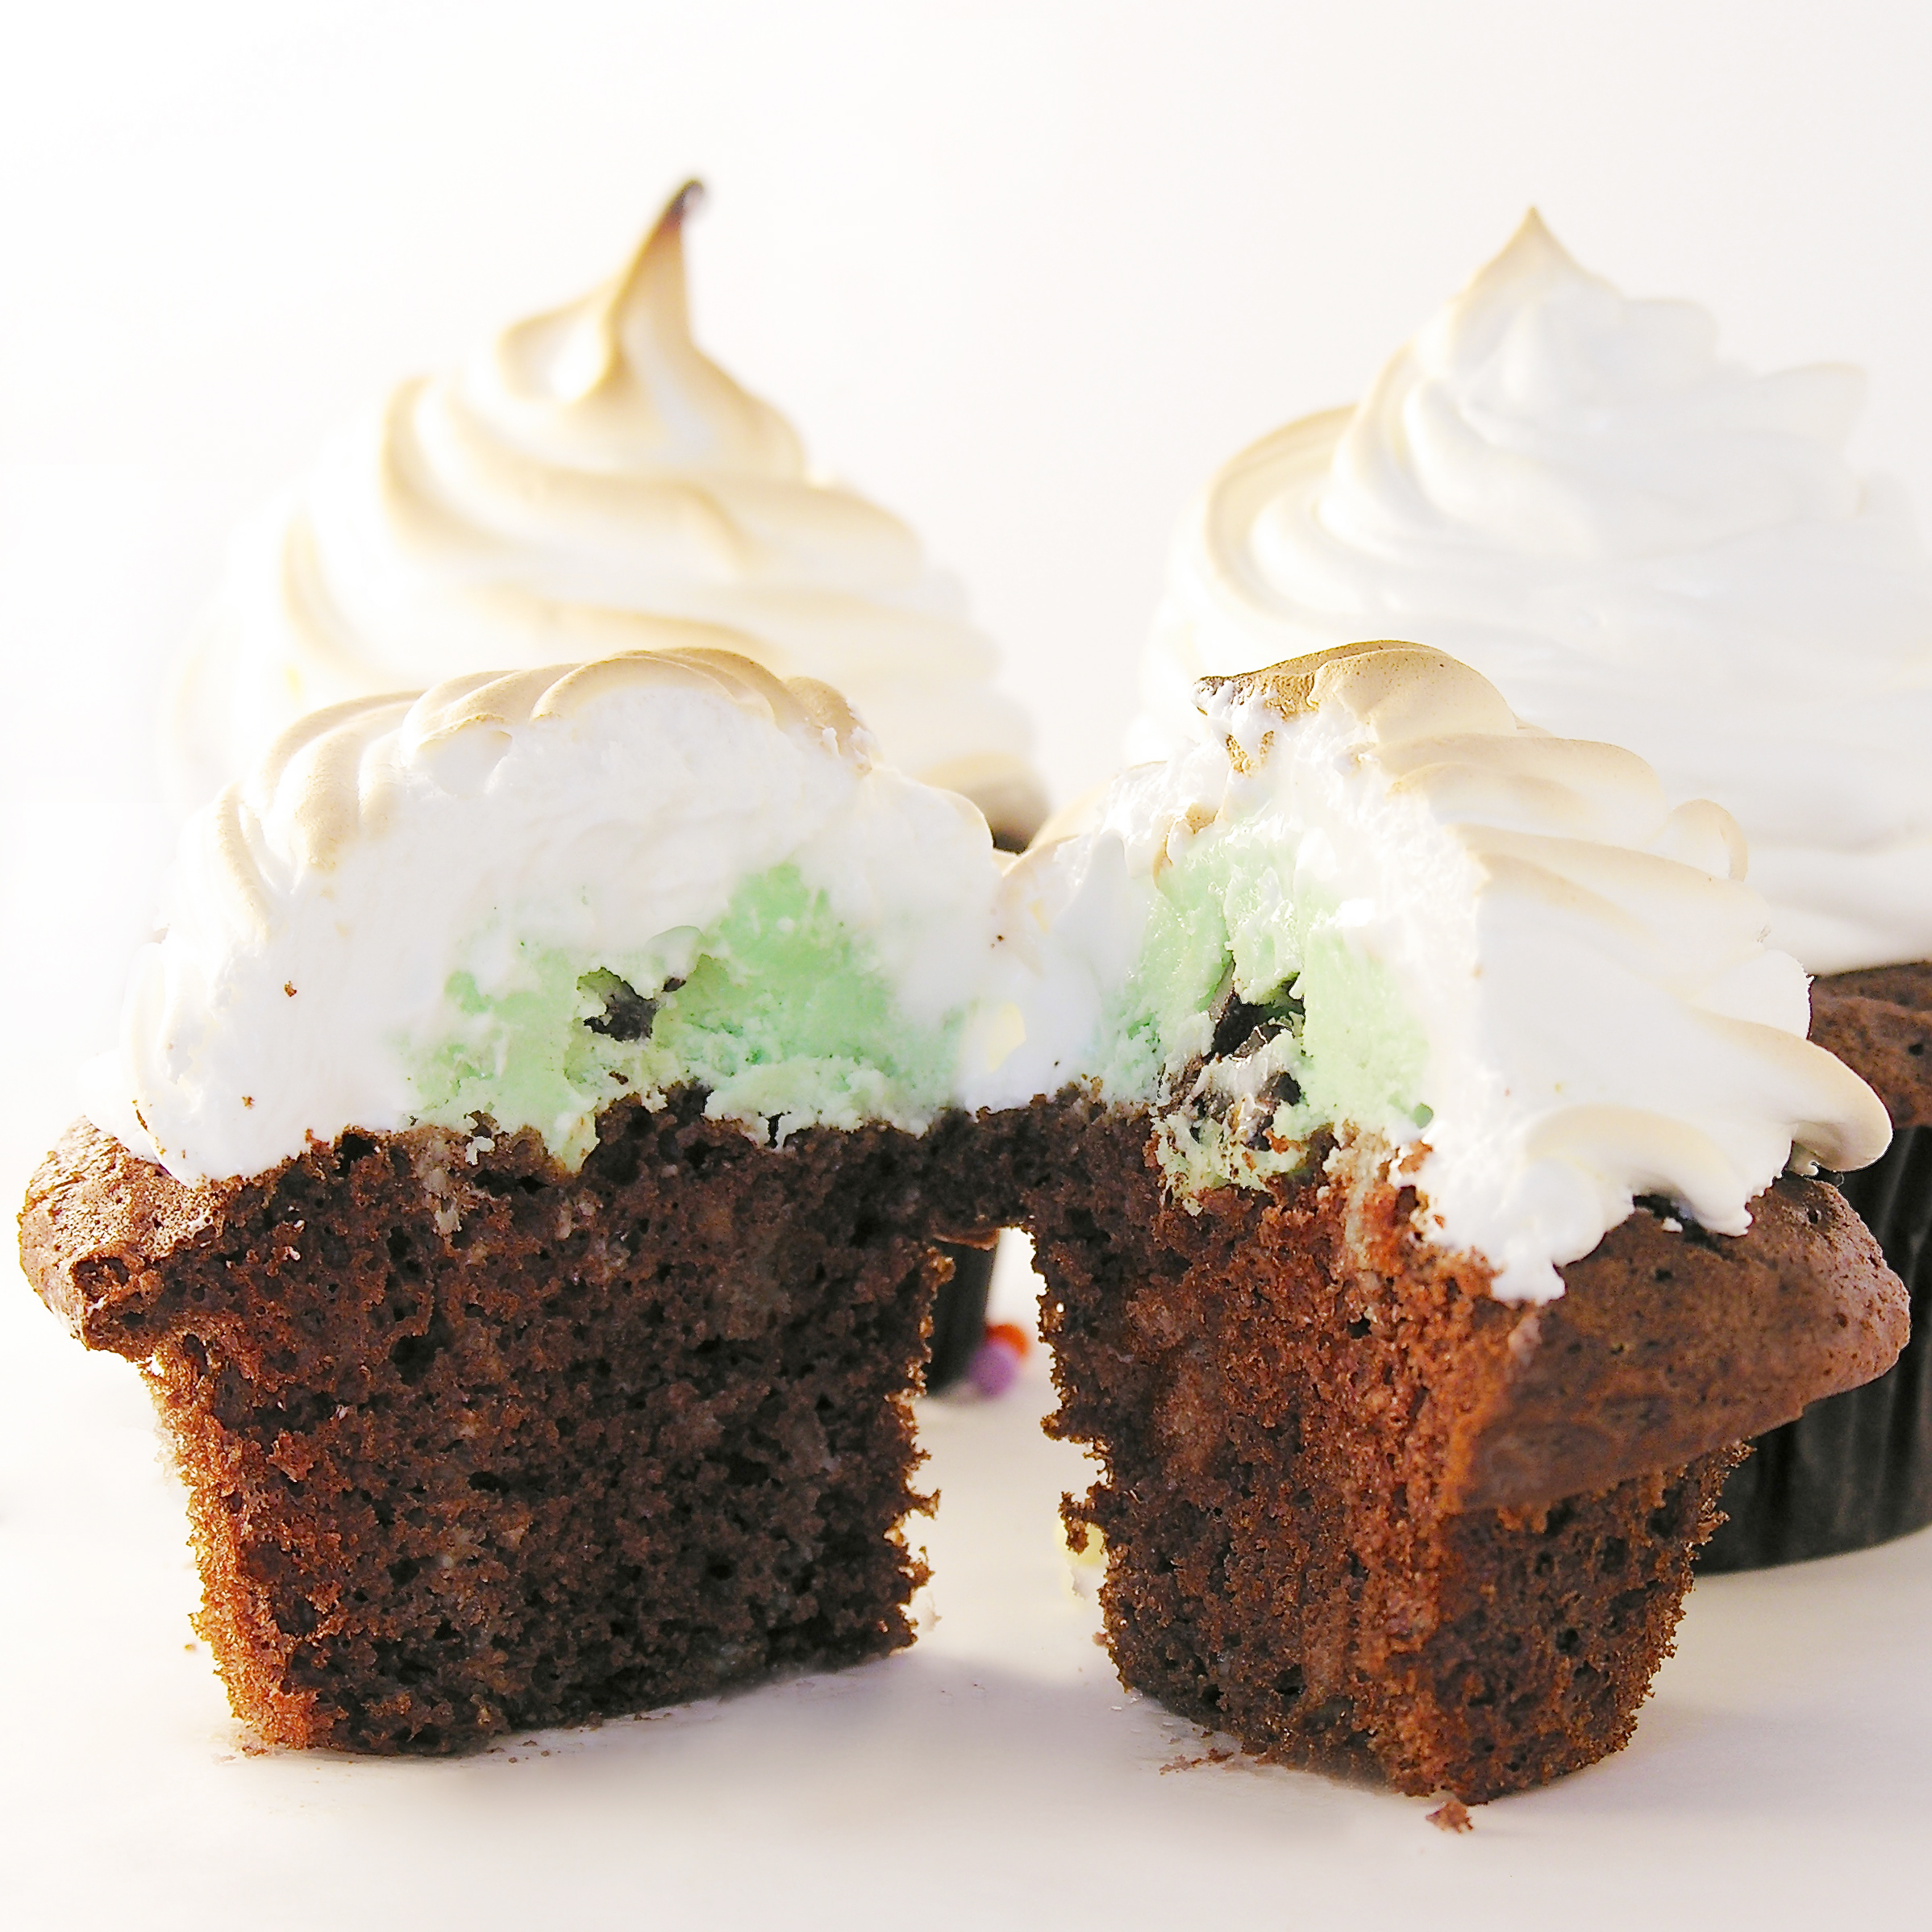
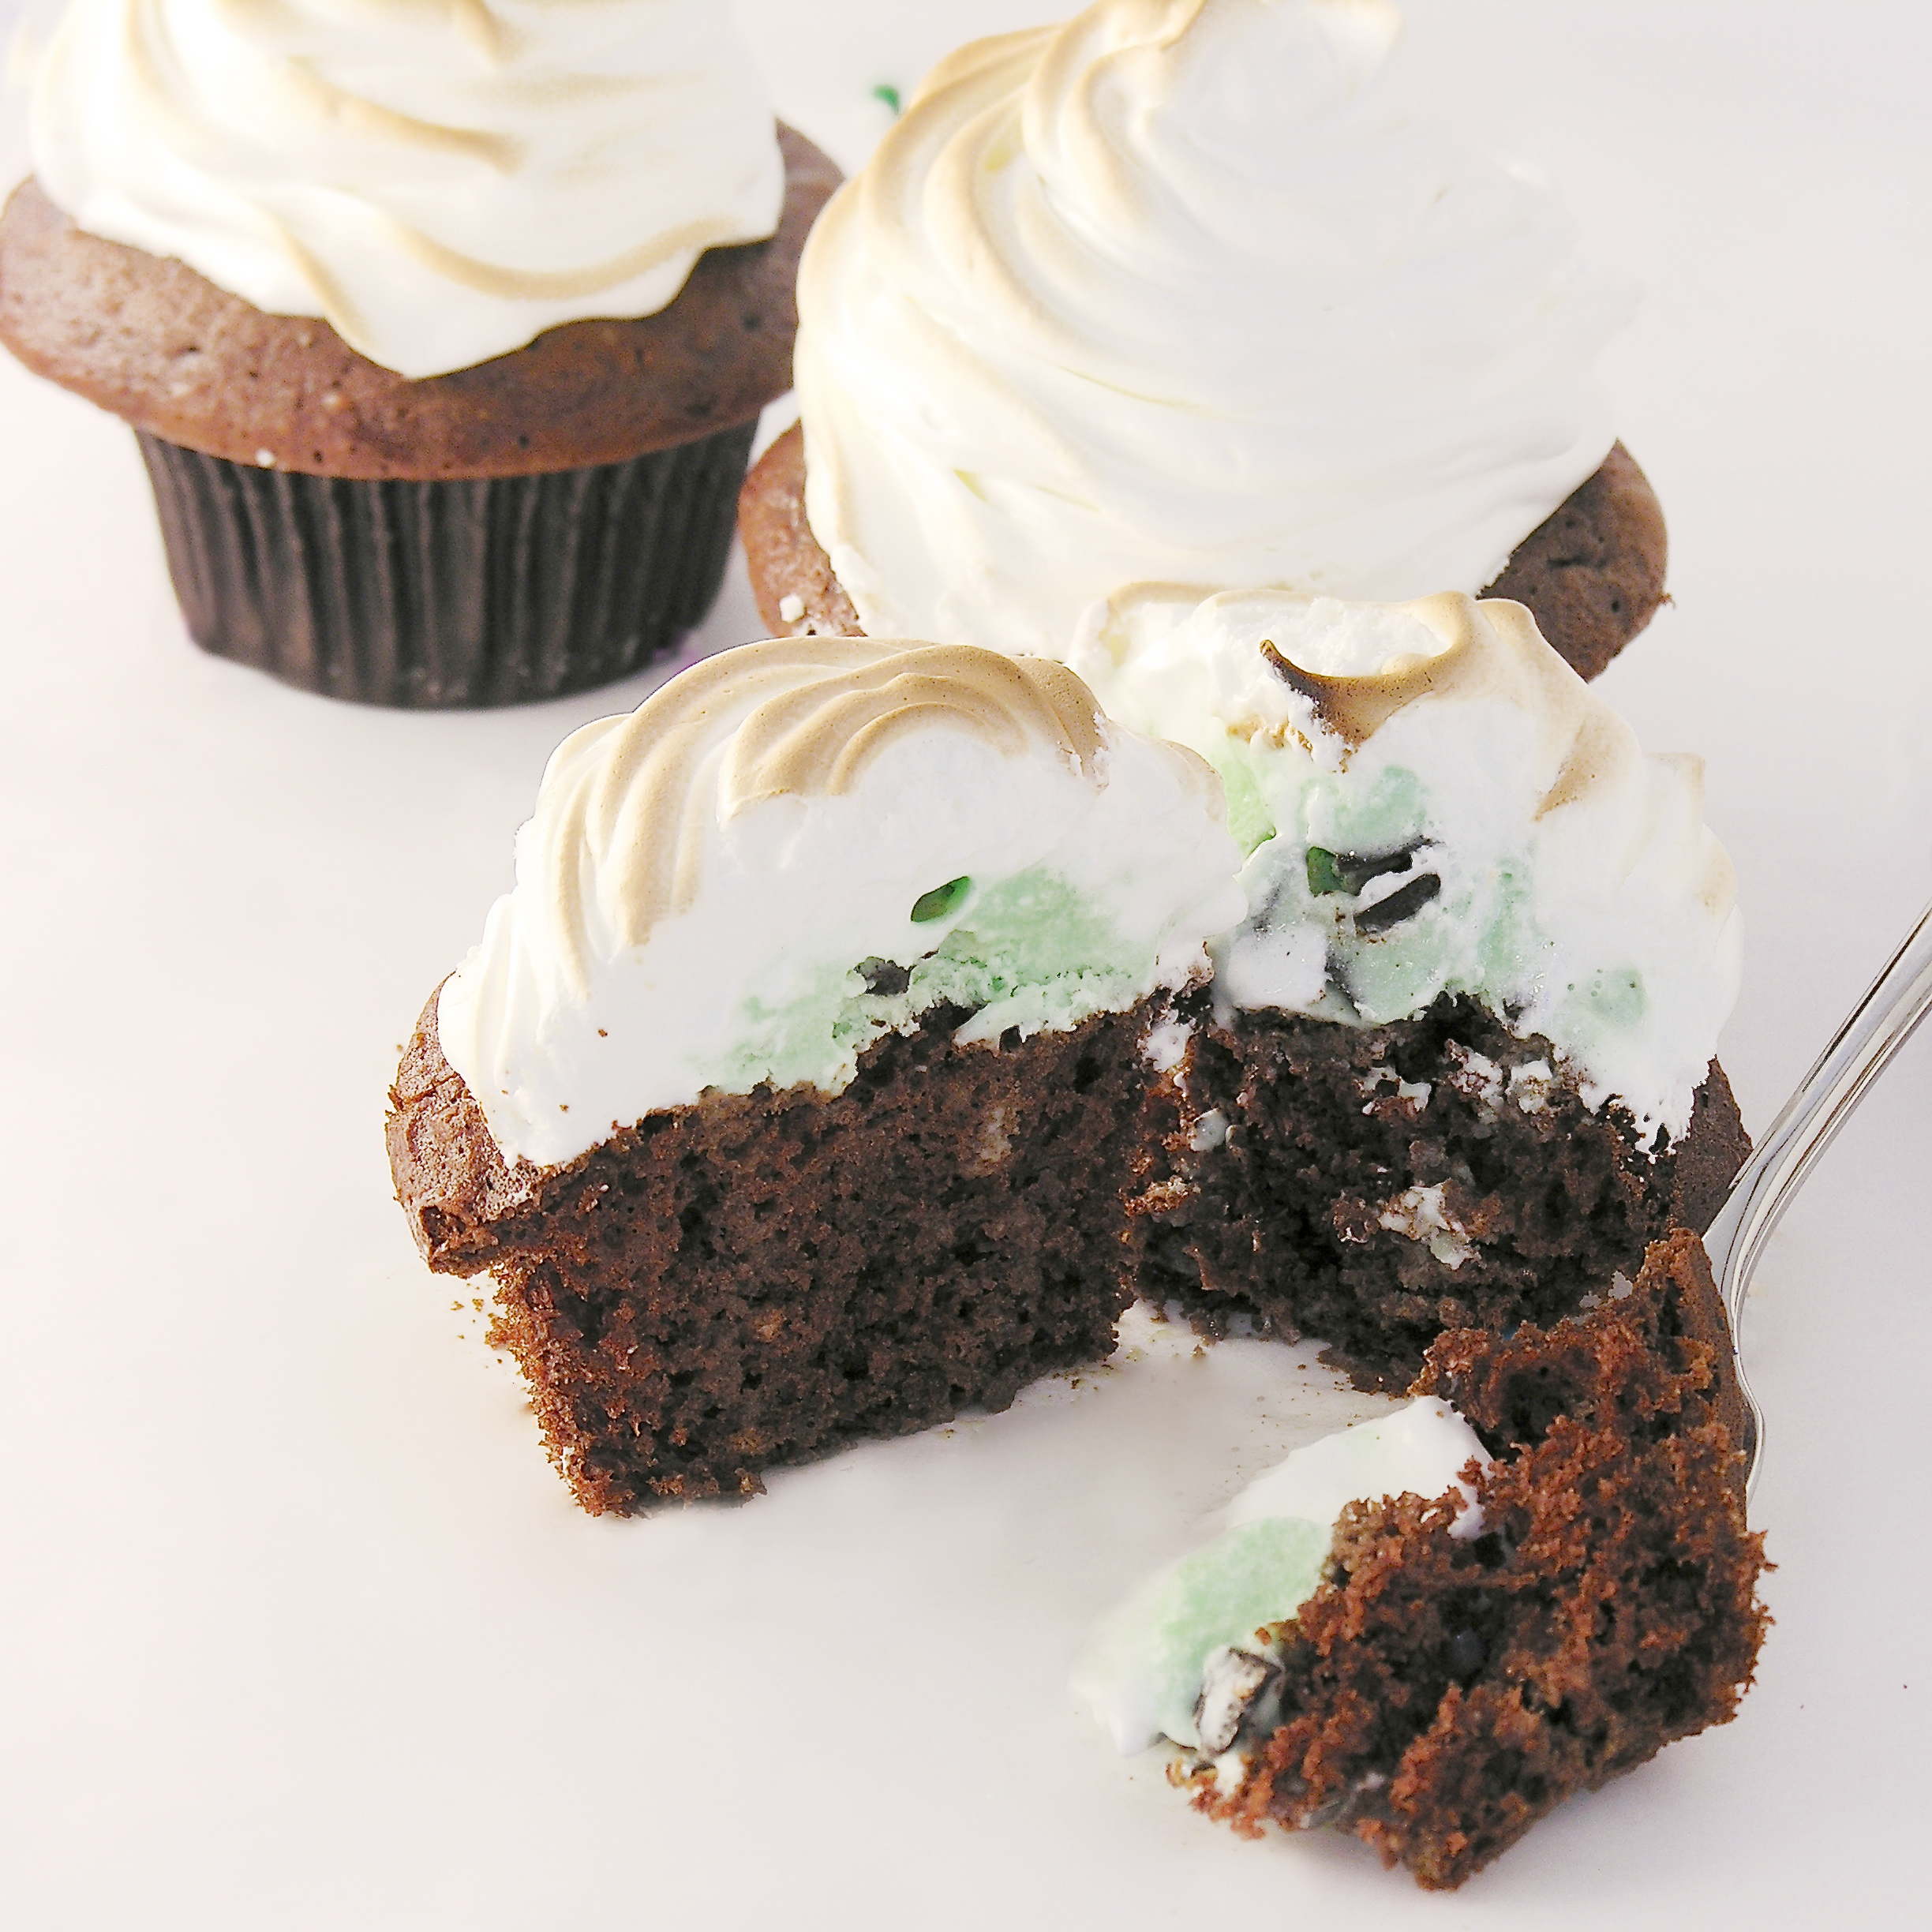
The best part?  It is honestly SO yummy.  The fondant isn’t rubbery or hard- you bite into the cupcake and the fondant is soft and tastes like marshmallow-y frosting.  I wasn’t tempted to peel it off at ALL! (promise!)  I even enjoyed snacking on the little critters and flowers on top.  Yum….!

ladybug and caterpillar cupcakes!
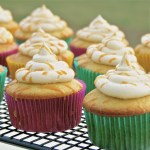
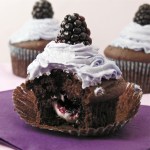
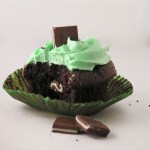
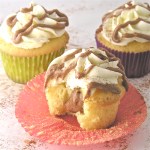
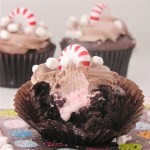
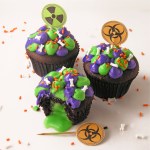
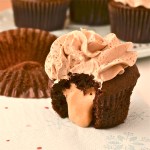
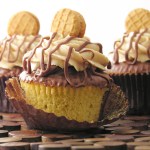
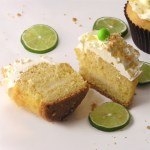
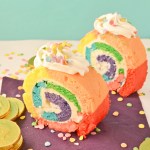
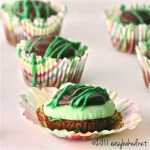
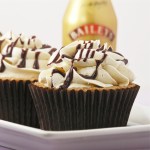
Other fun and yummy cupcake ideas:

Butter beer cupcakesblackberry cream cupcakeAndes Mint CupcakesChocolate molten lava cupcakes

Peppermint Chocolate Drops

Posted on

I love new products in the grocery store. Love them.  Last week, on an end cap there was something intriguing: Jet-puffed Mallow Bits by Kraft.  My store had them in plain and peppermint.  They are exactly like the tiny crunchy marshmallow bits found in hot chocolate packets….but in sprinkle form (and in yummy peppermint!).

I tossed a container in my cart and immediately began to daydream about all the wonderful things I could put them in….these cookies are just the beginning….don’t be surprised if you see these little pieces of crunchy happiness in another post soon.

These little chocolate drops have a rich cocoa flavor.  They are just FULL of mini chocolate chips and gooey peppermint marshmallows….   *love*

INGREDIENTS:

  • 1 c. margarine
  • 1 1/4 c. sugar
  • 2 eggs
  • 1/2c. cocoa
  • 2-3 c. flour
  • 1 t. baking soda
  • 1/4 t. salt
  • 2 c. mini chocolate chips
  • 2 c. Mallow Bits in peppermint

DIRECTIONS:

  • Preheat oven to 350 degrees.
  • Line cookie sheets with parchment paper.
  • Cream together margarine and sugar.
  • Use a mixer to beat margarine and sugar together for 2 minutes on medium until fluffy.
  • Beat in eggs, one at a time.
  • Beat in cocoa.
  • Add flour, salt and baking soda and mix by hand (dough will be very thick).
  • Add chocolate chips and mallow bits.
  • Knead dough together until smooth (add more flour if too sticky to knead)
  • Roll teaspoons of dough into balls and place on parchment paper on a cookie sheet. (I use a Small Cookie Scoop to make my cookies all the same size)
  • Bake at 350 for 8-10 minutes.
  • Cool on parchment paper.

These are the perfect party cookie and just in time for Valentines day!  Enjoy!