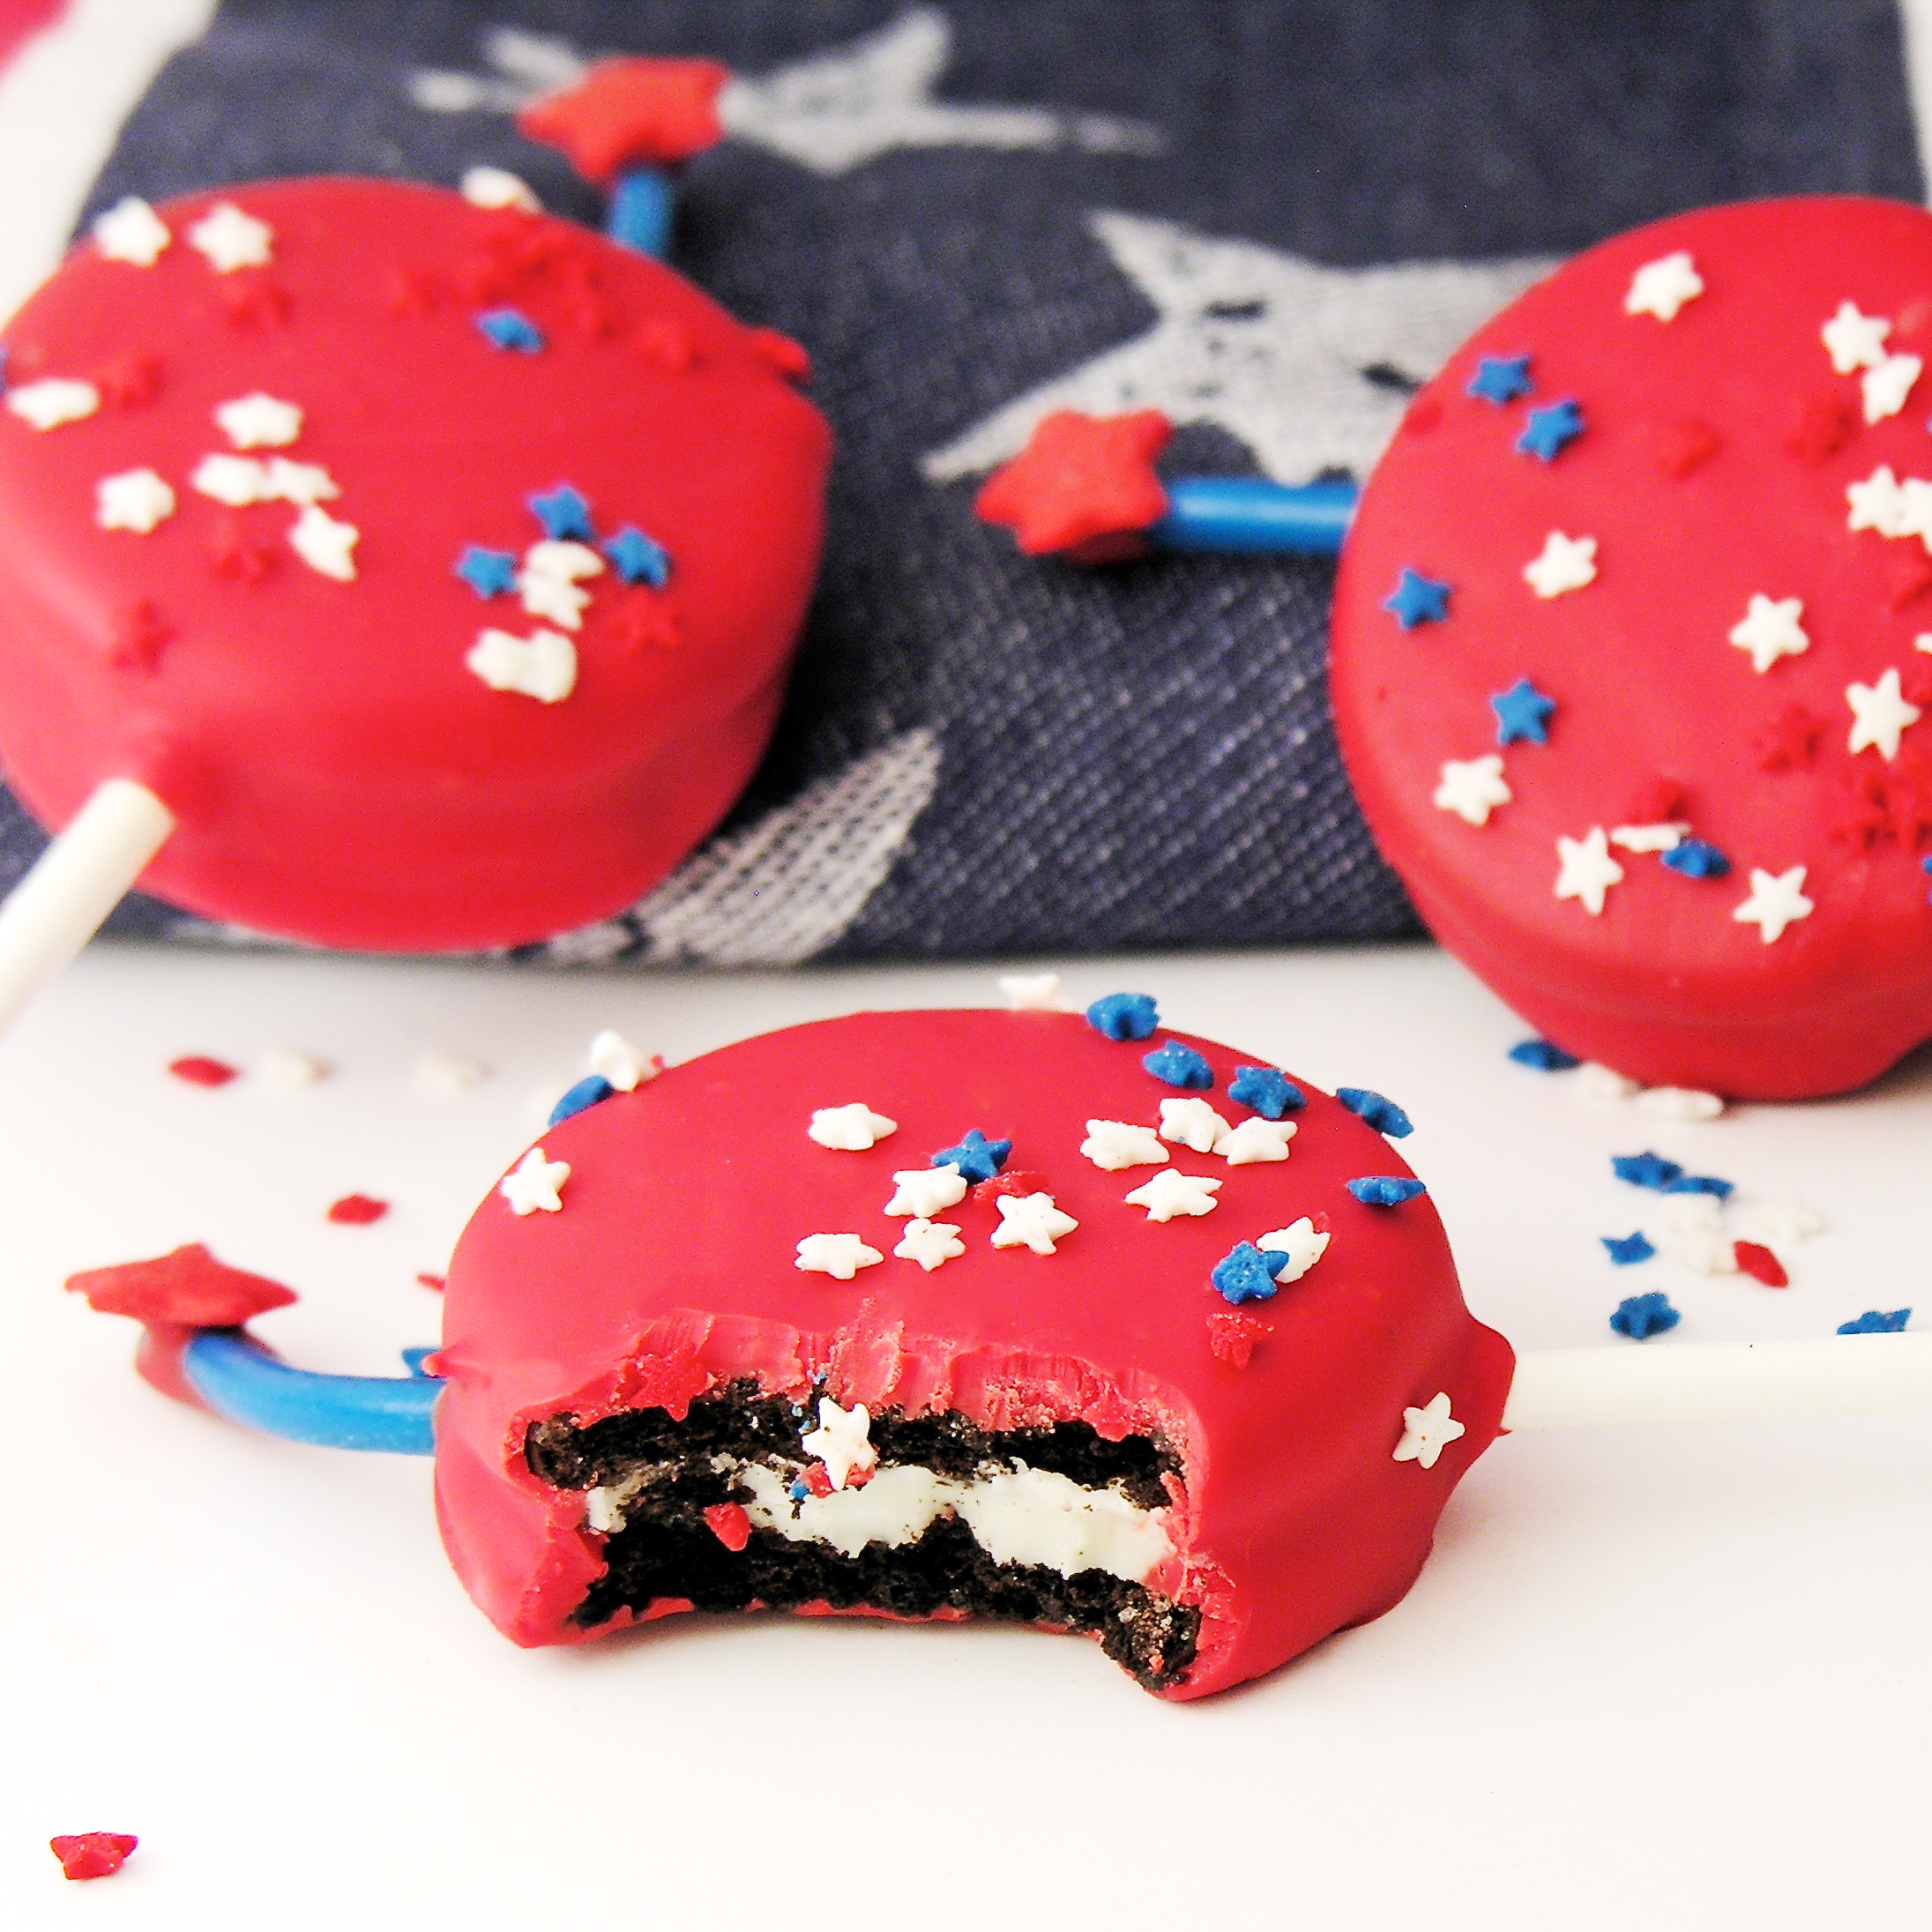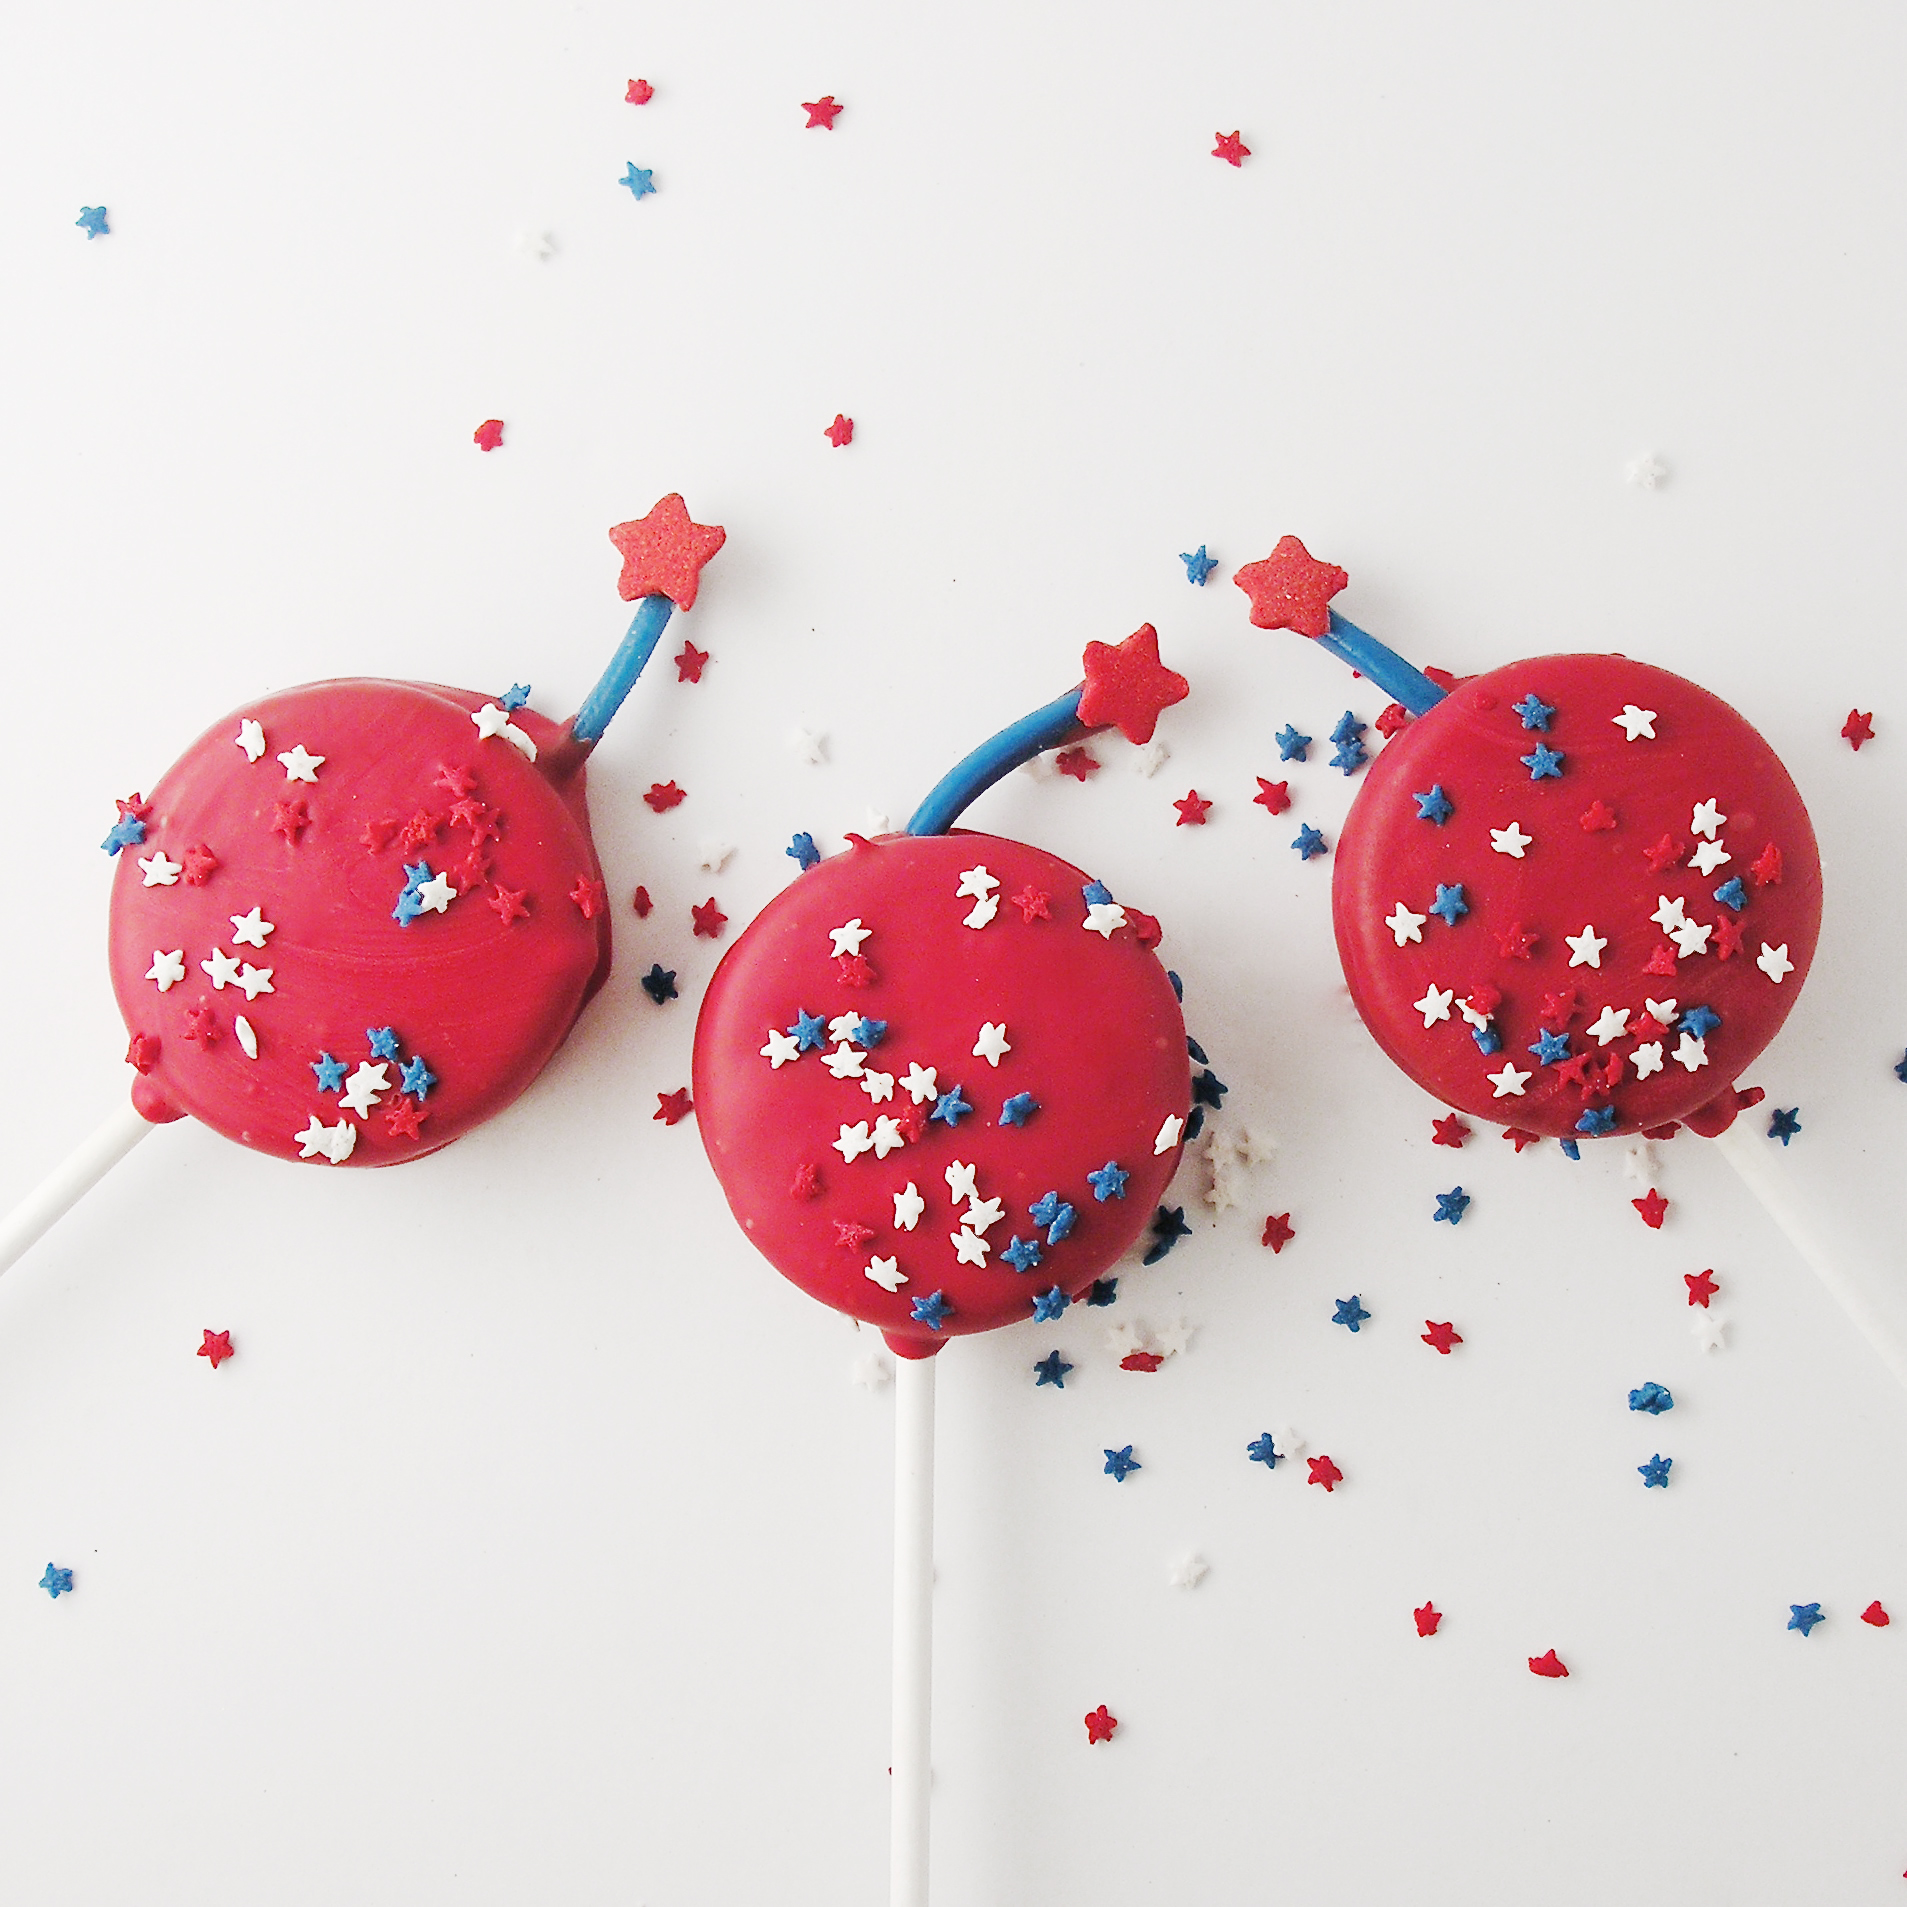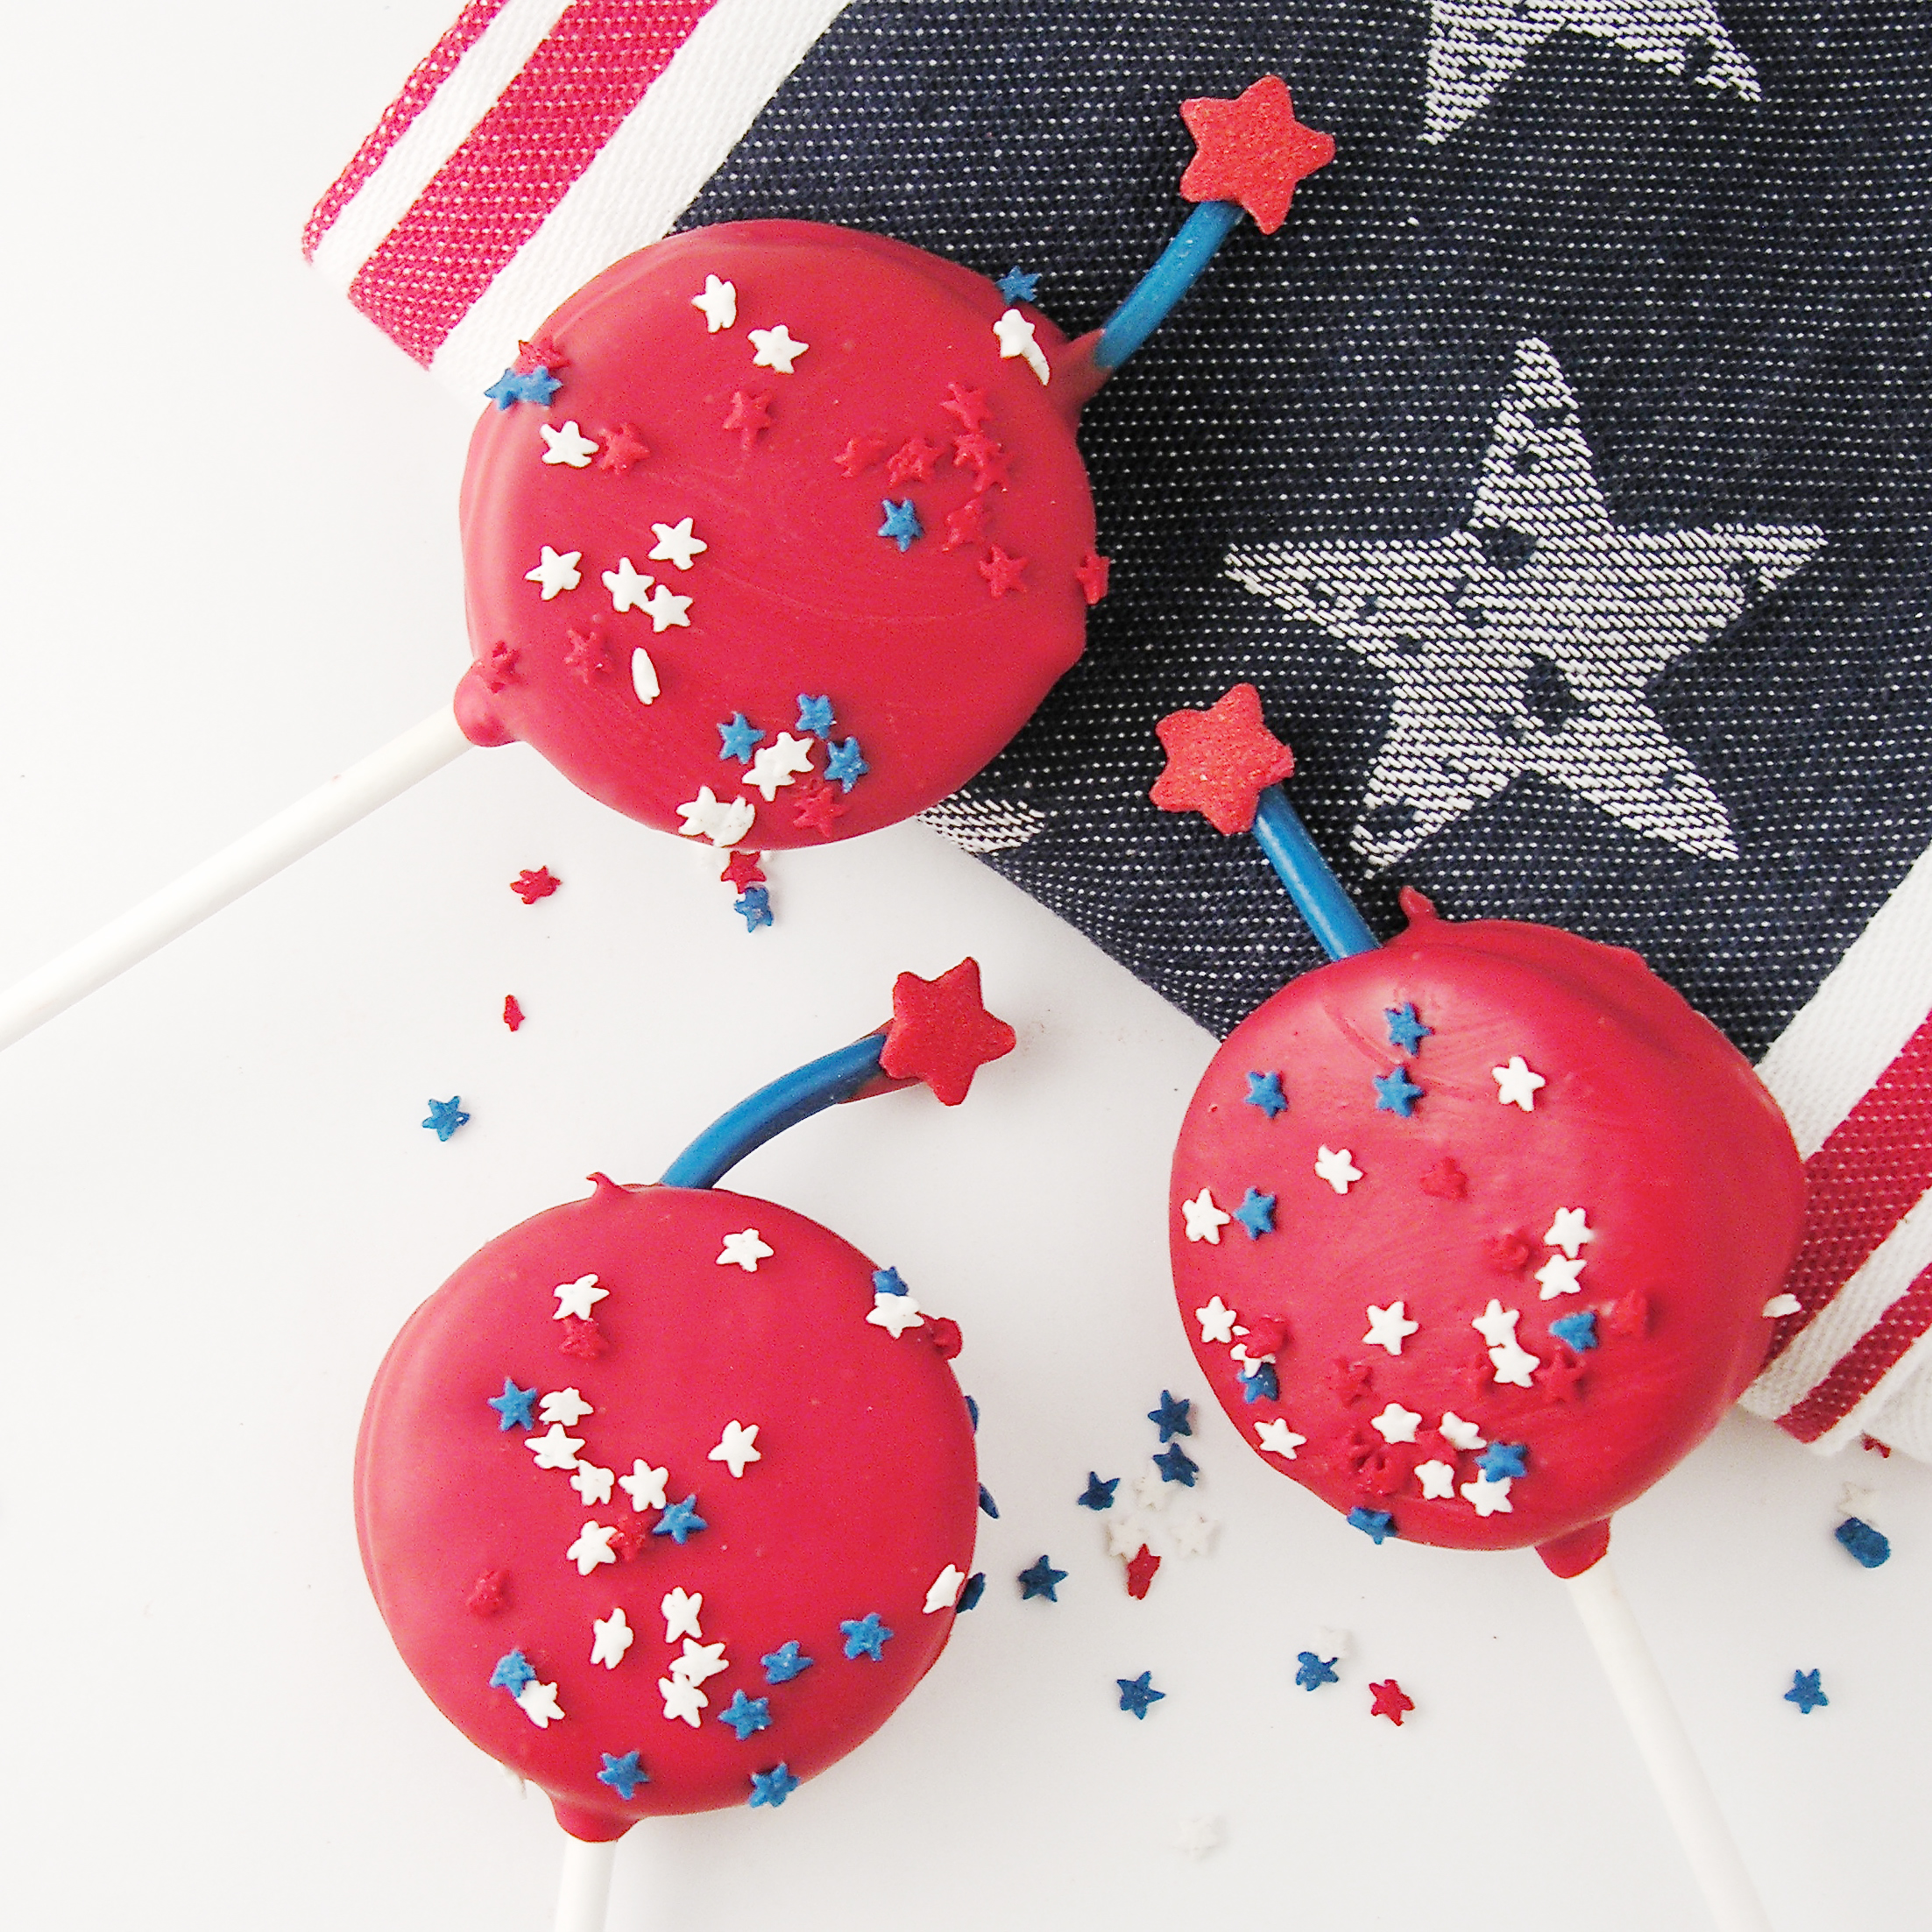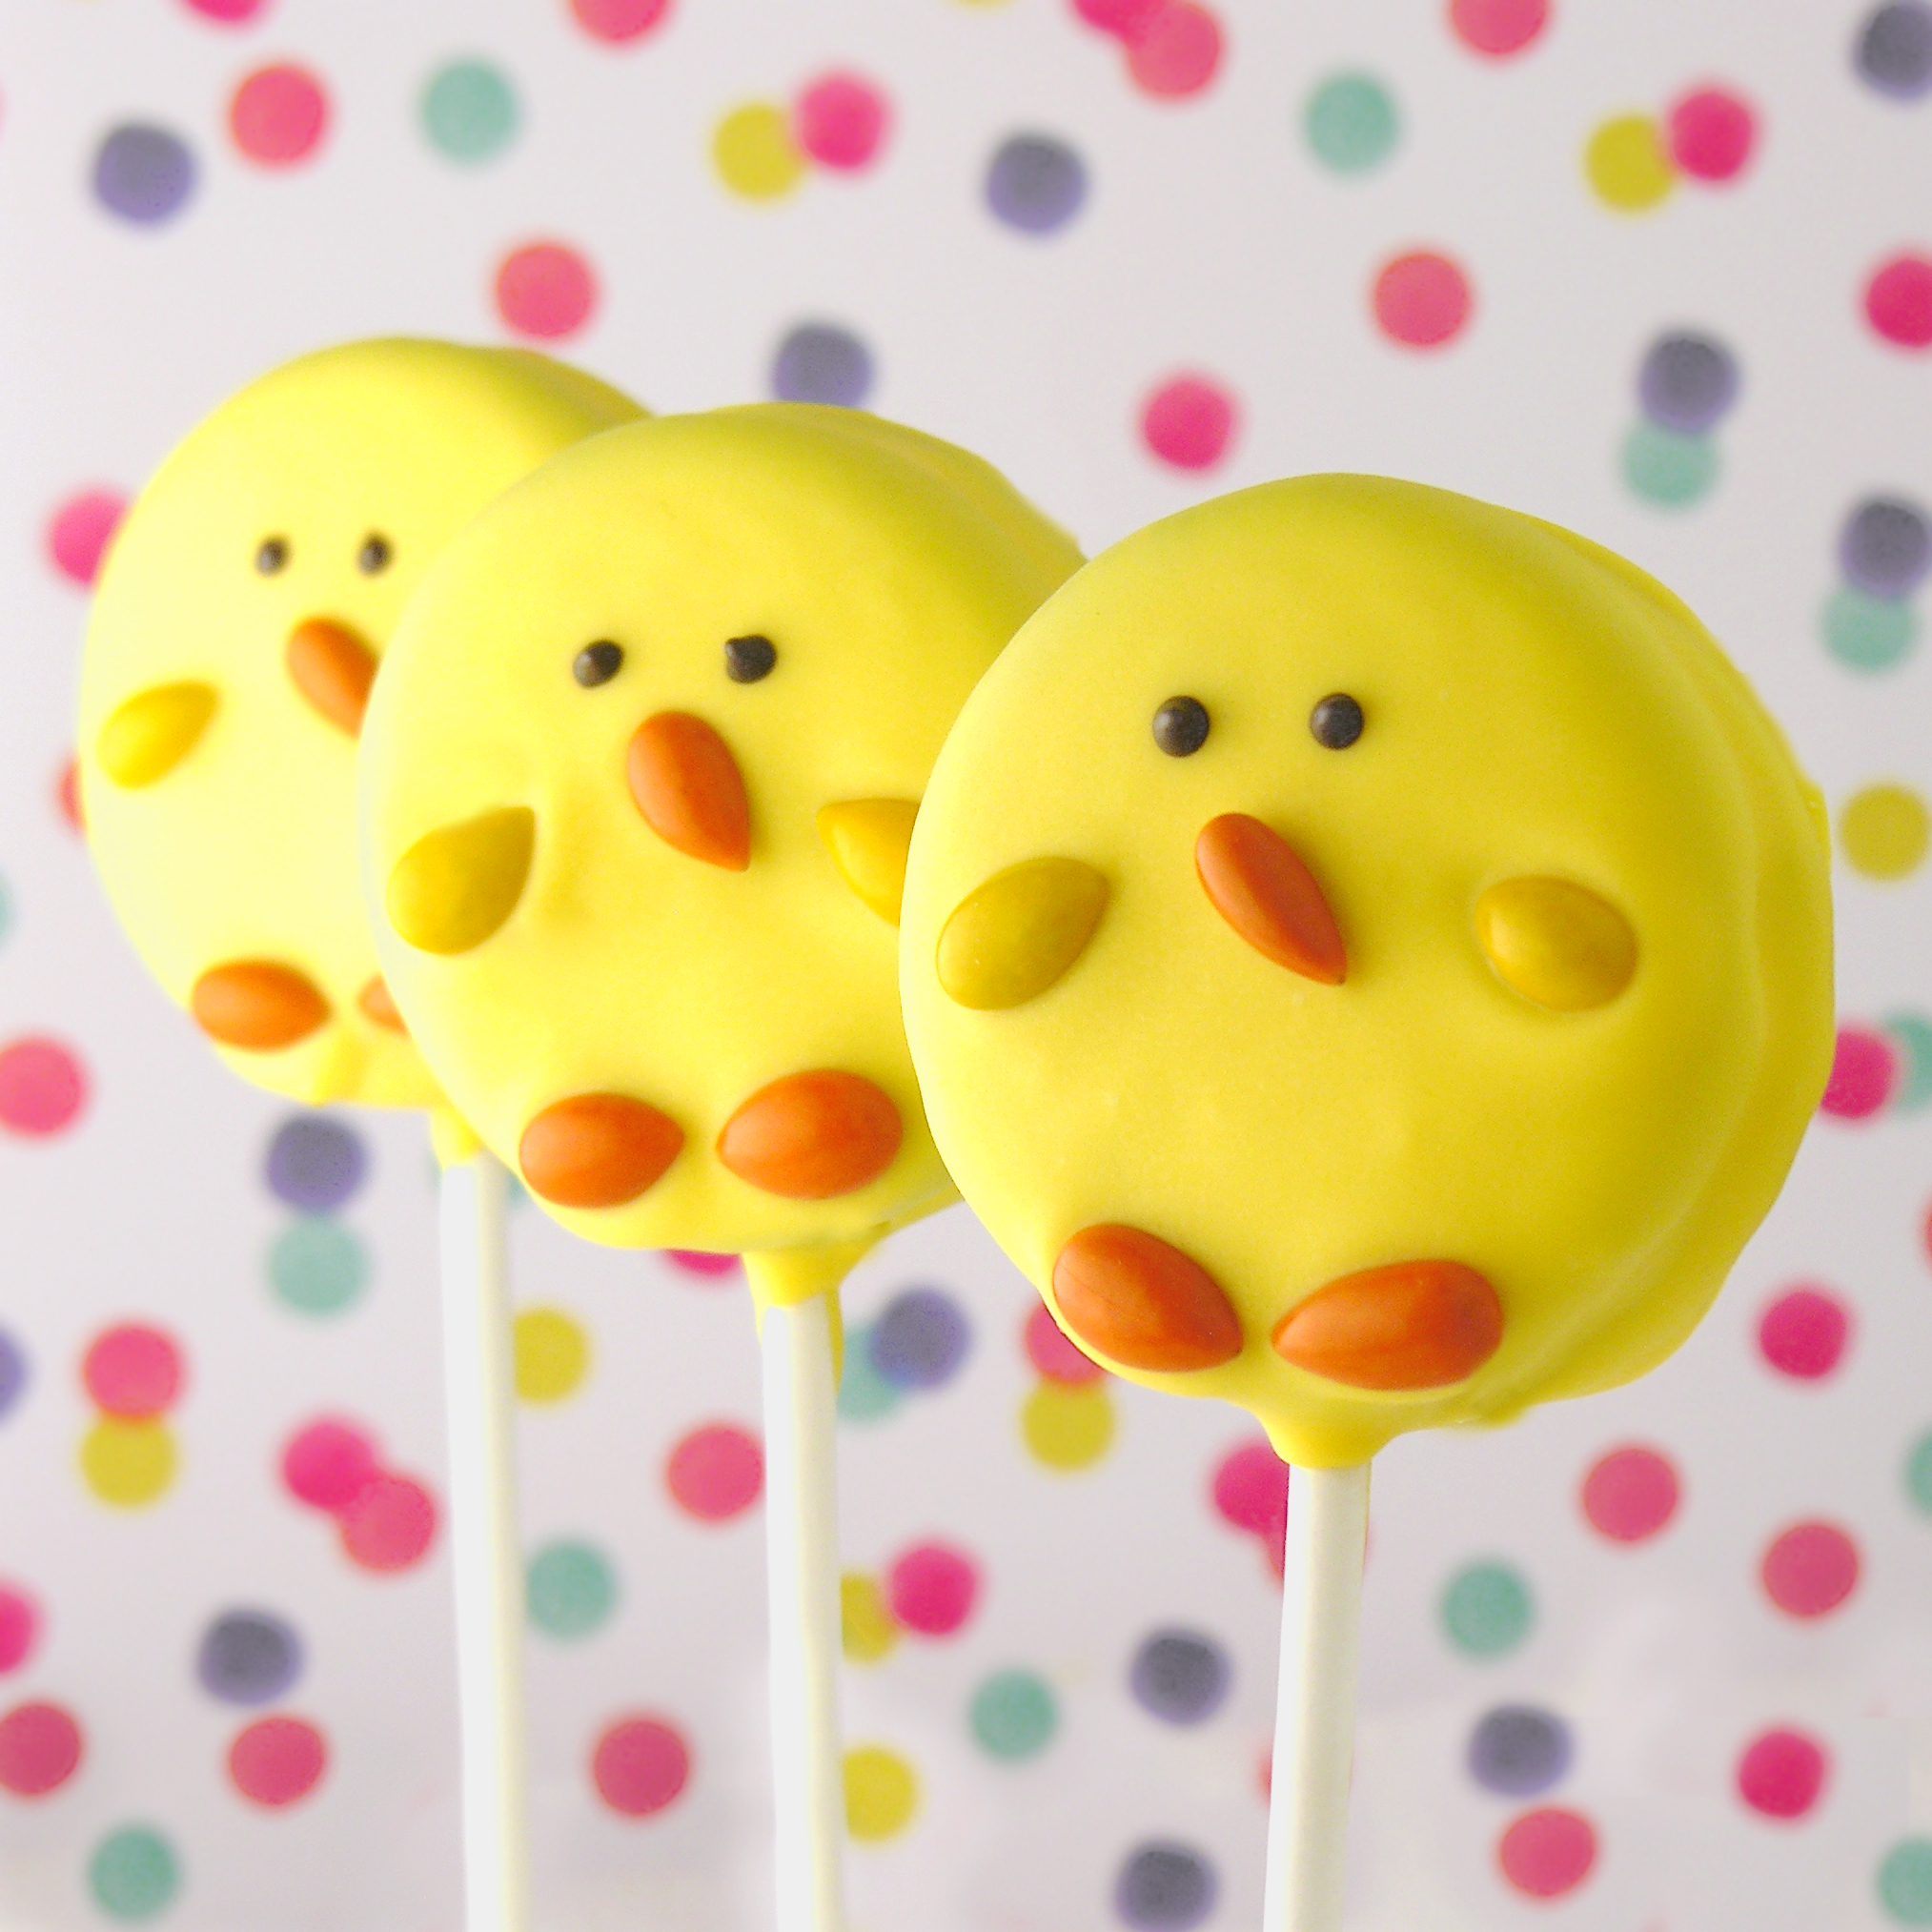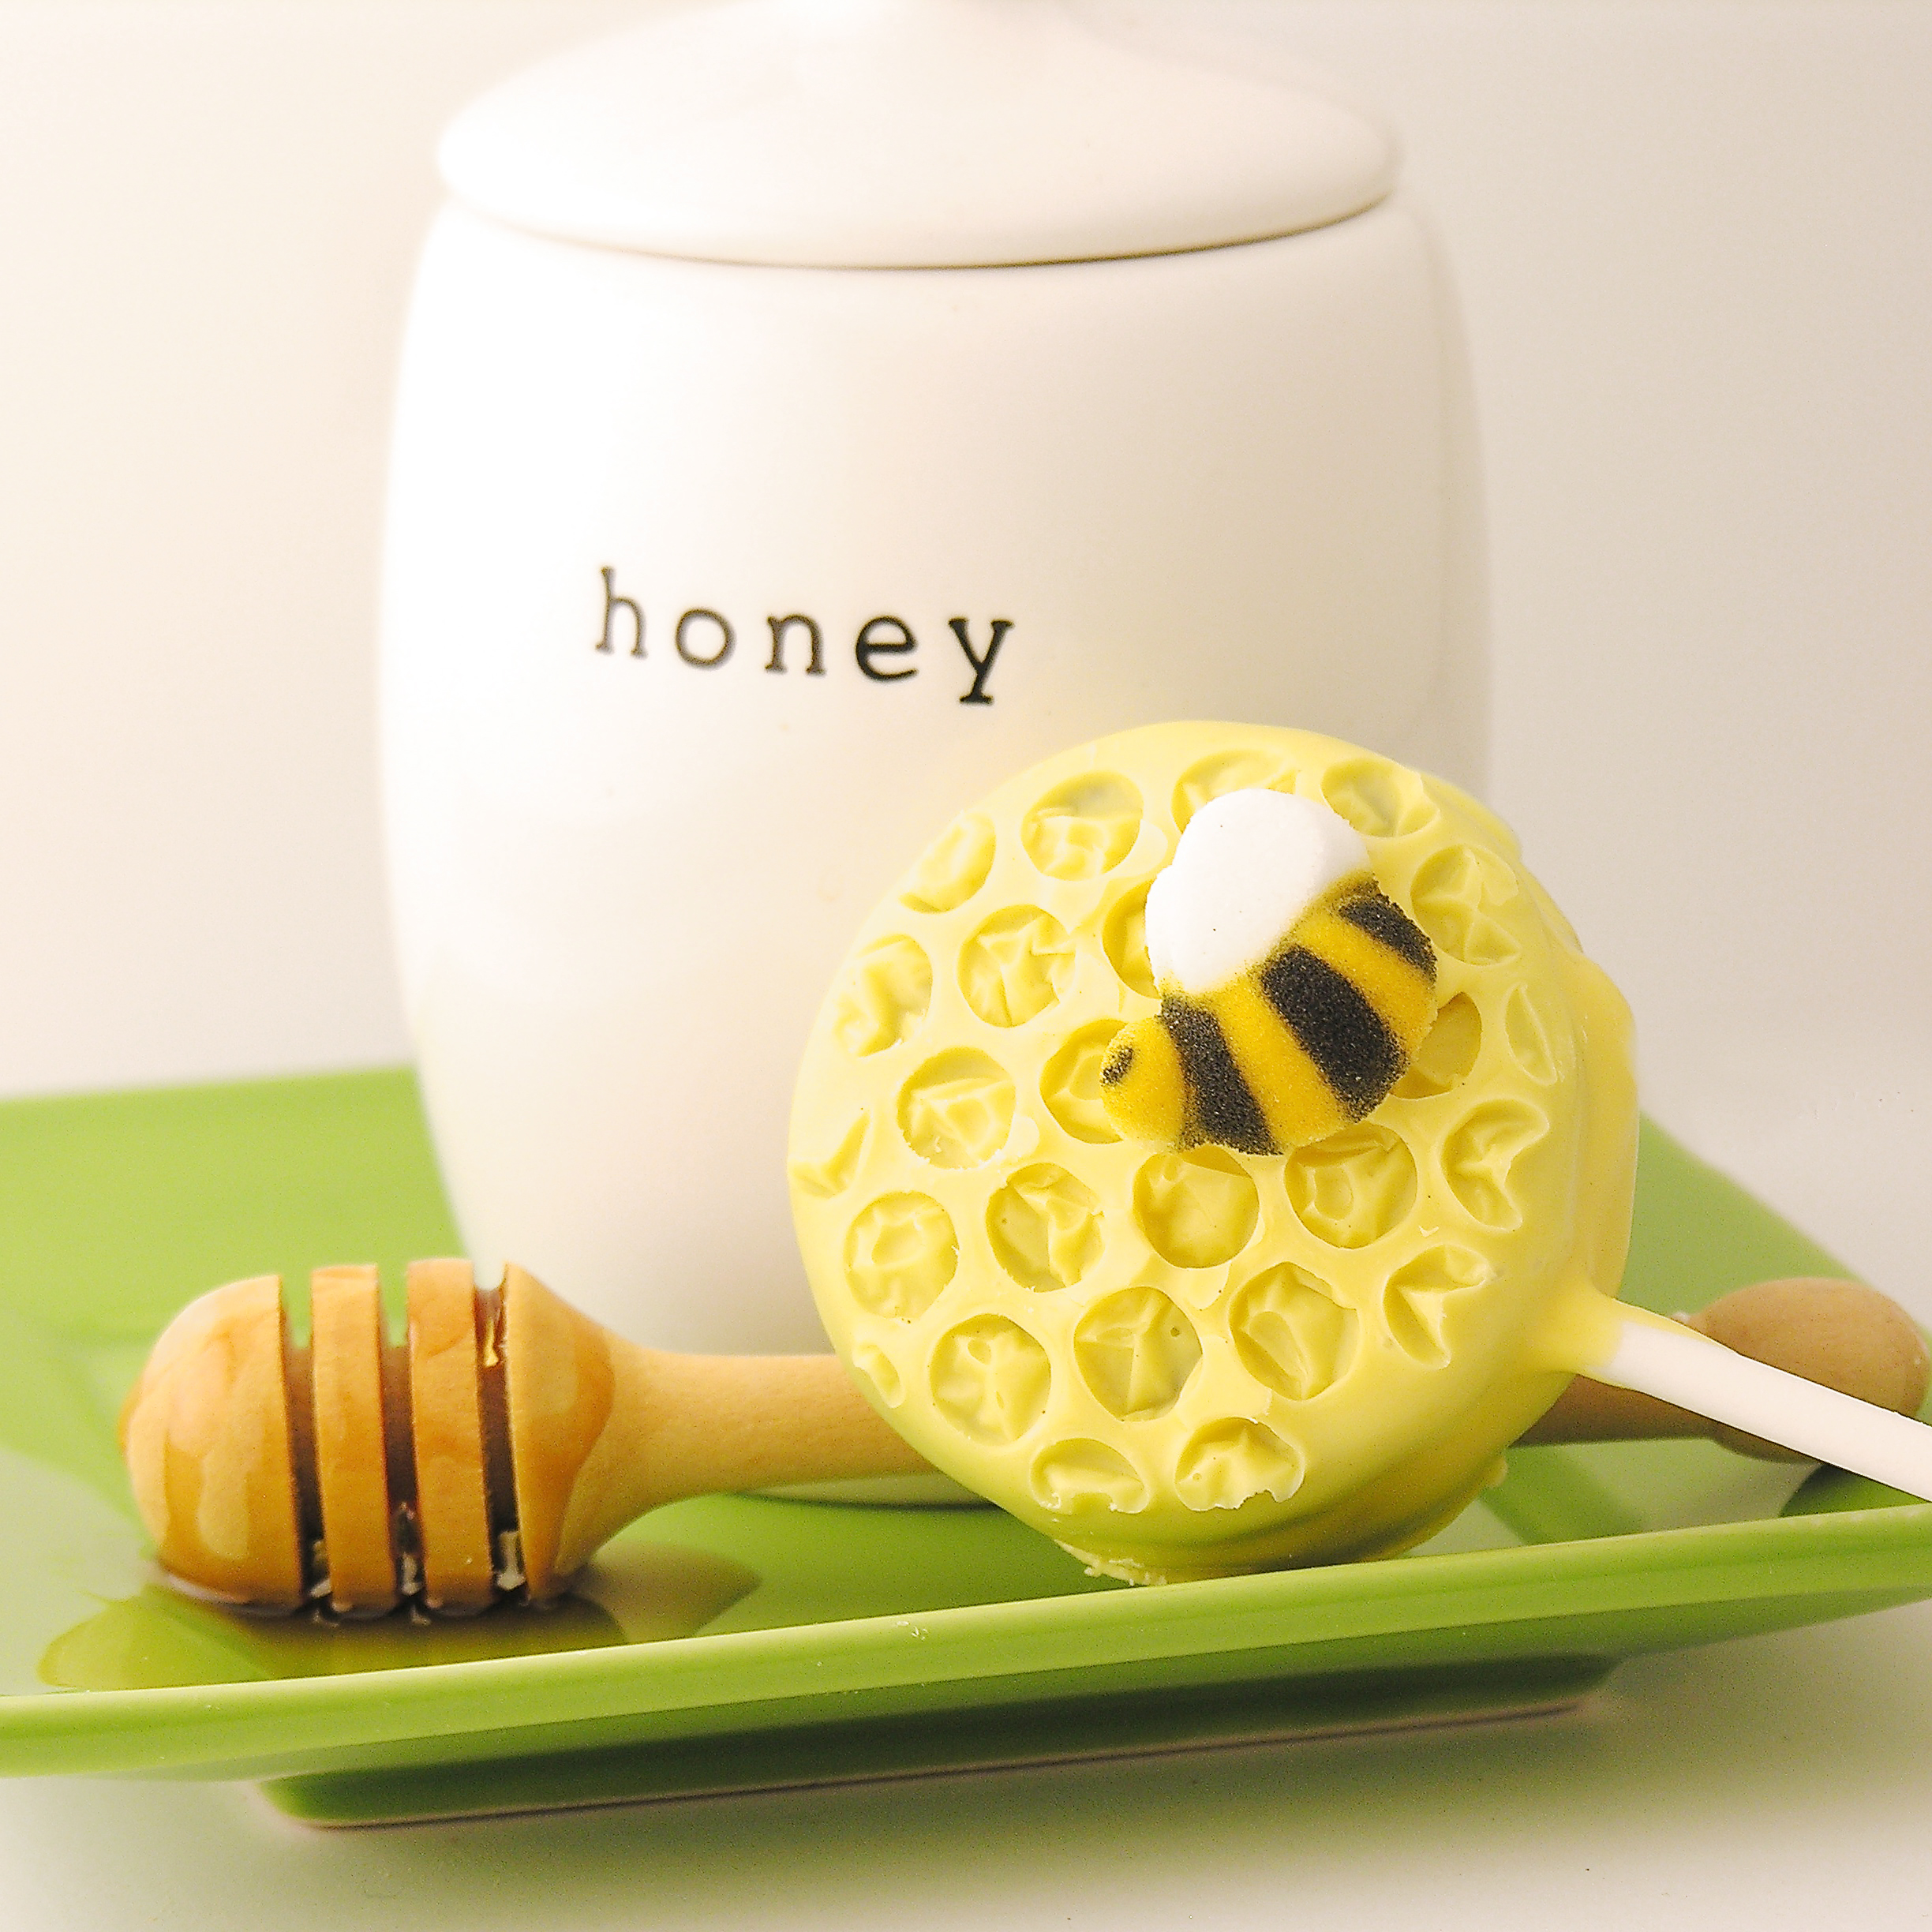
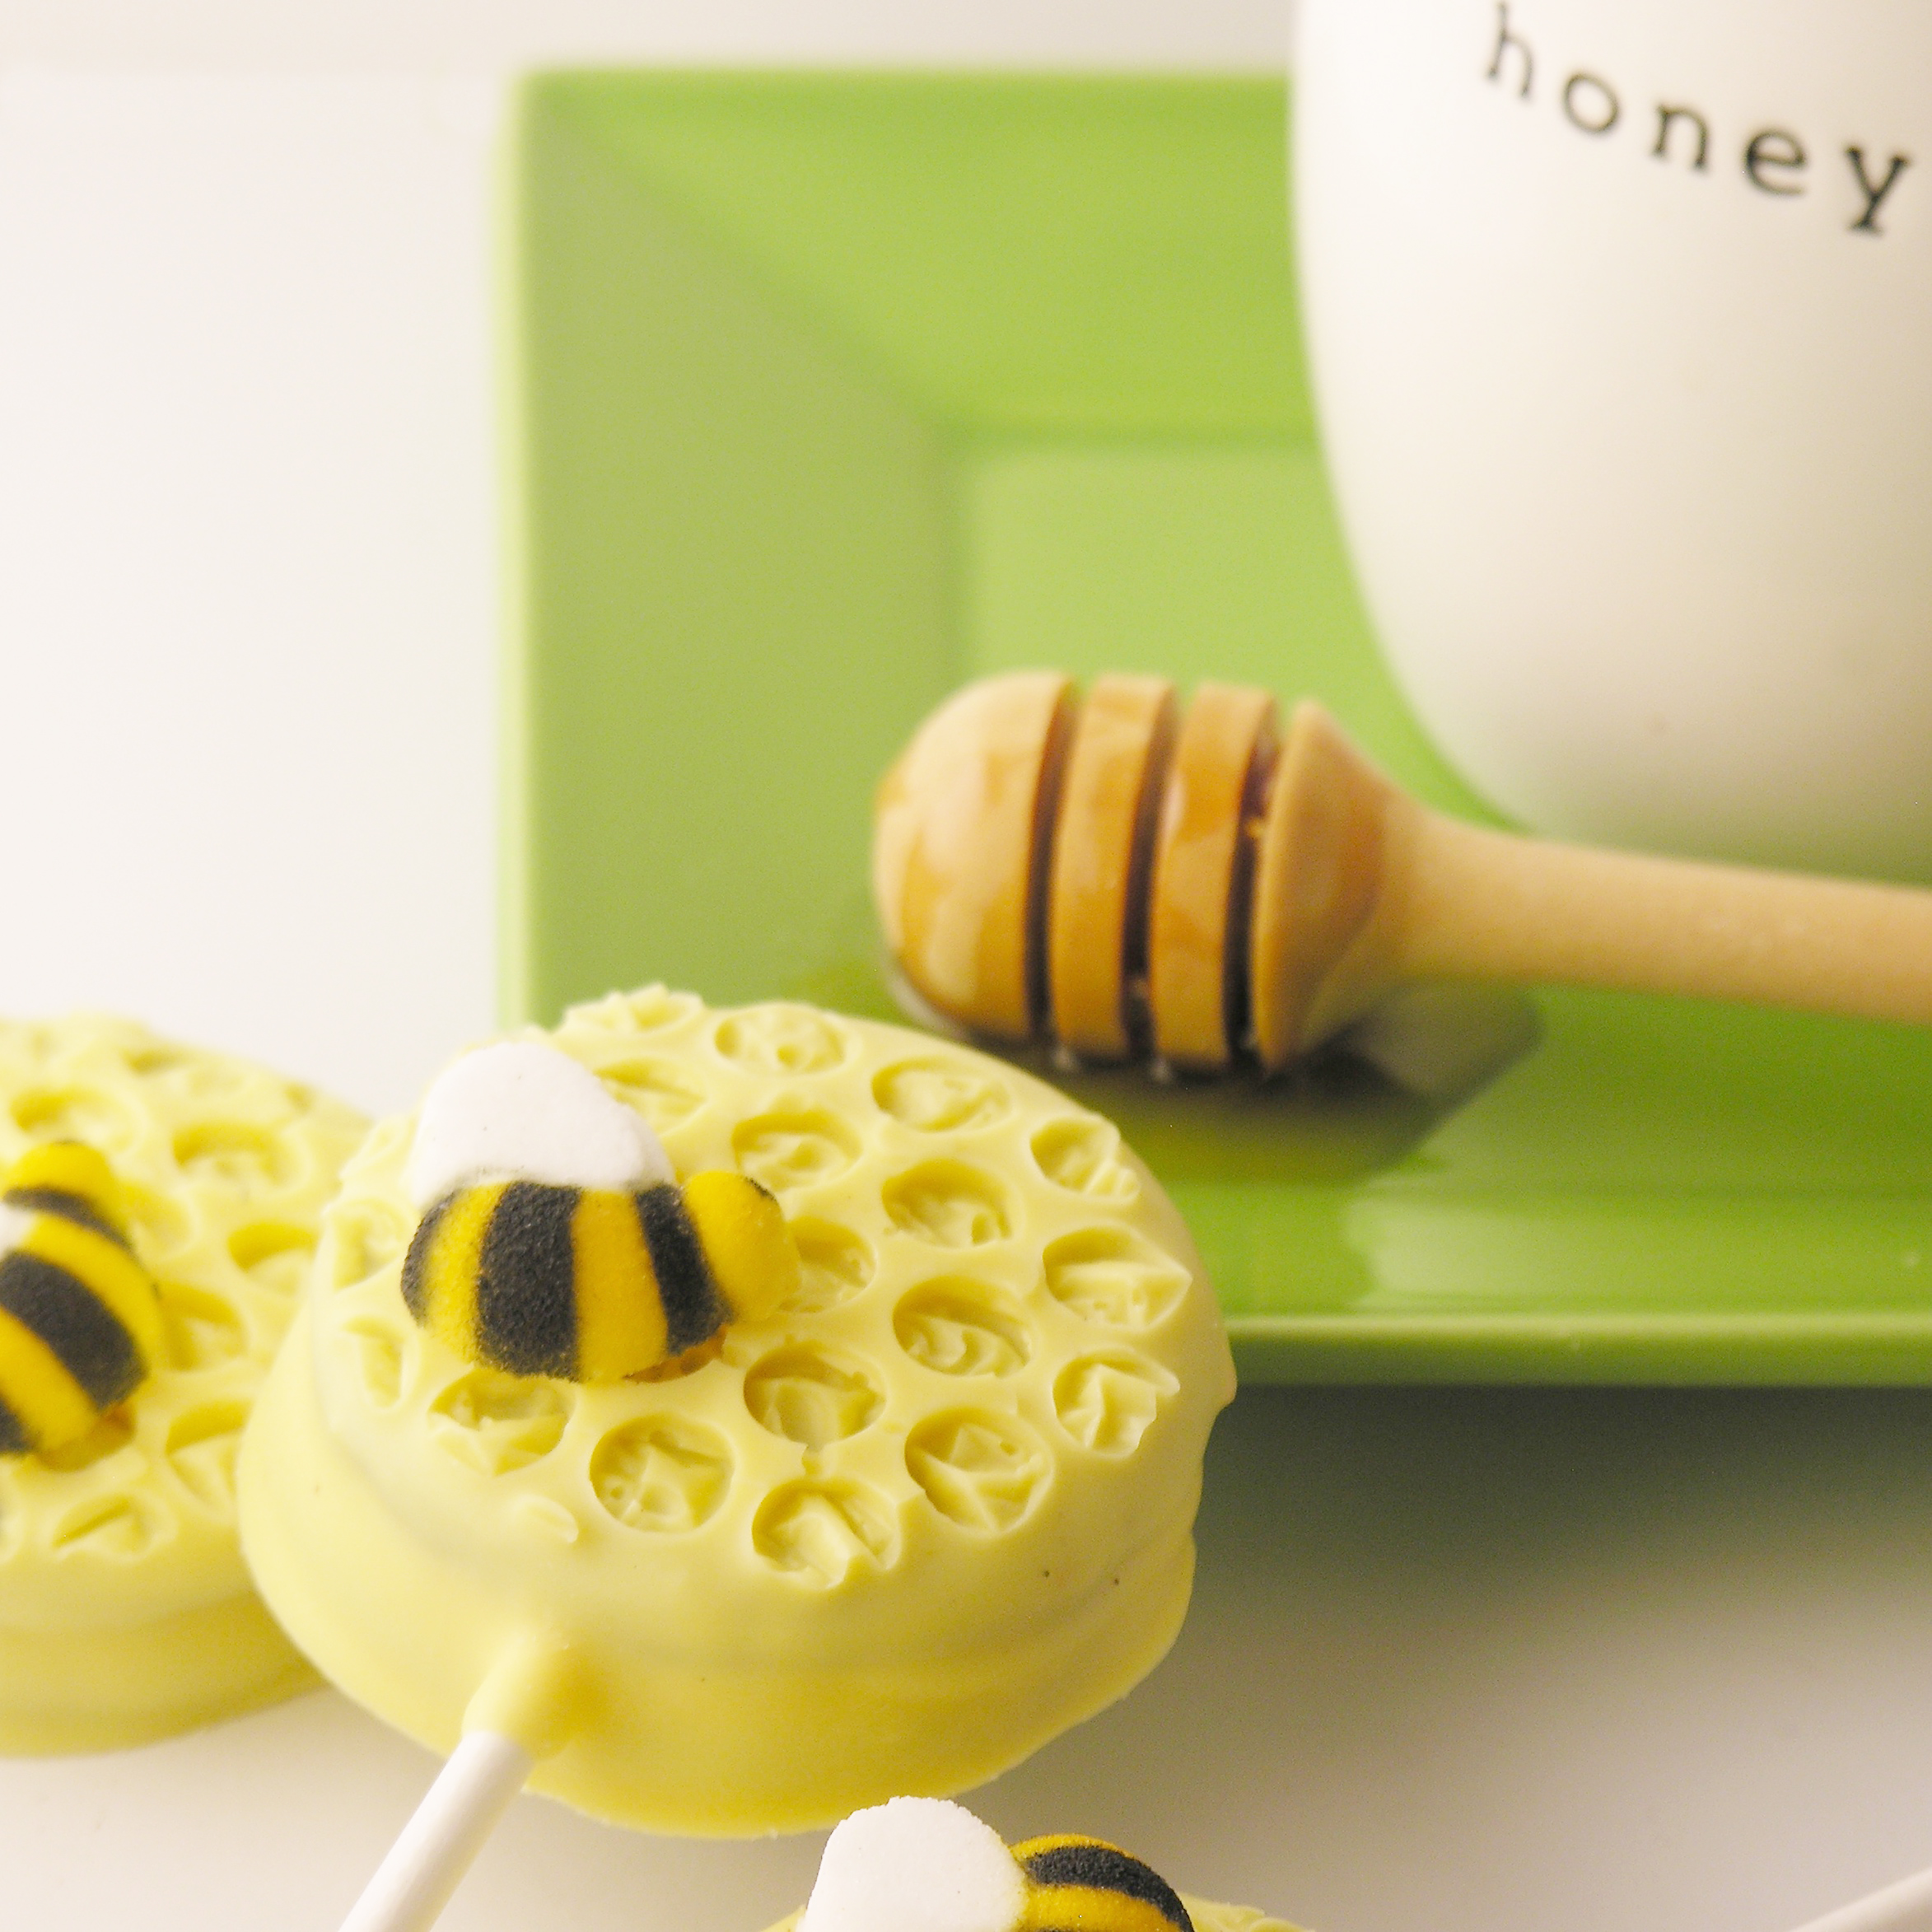
Adorable Honeybee Oreo Pops are sure to make your summer picnics more fun!!!
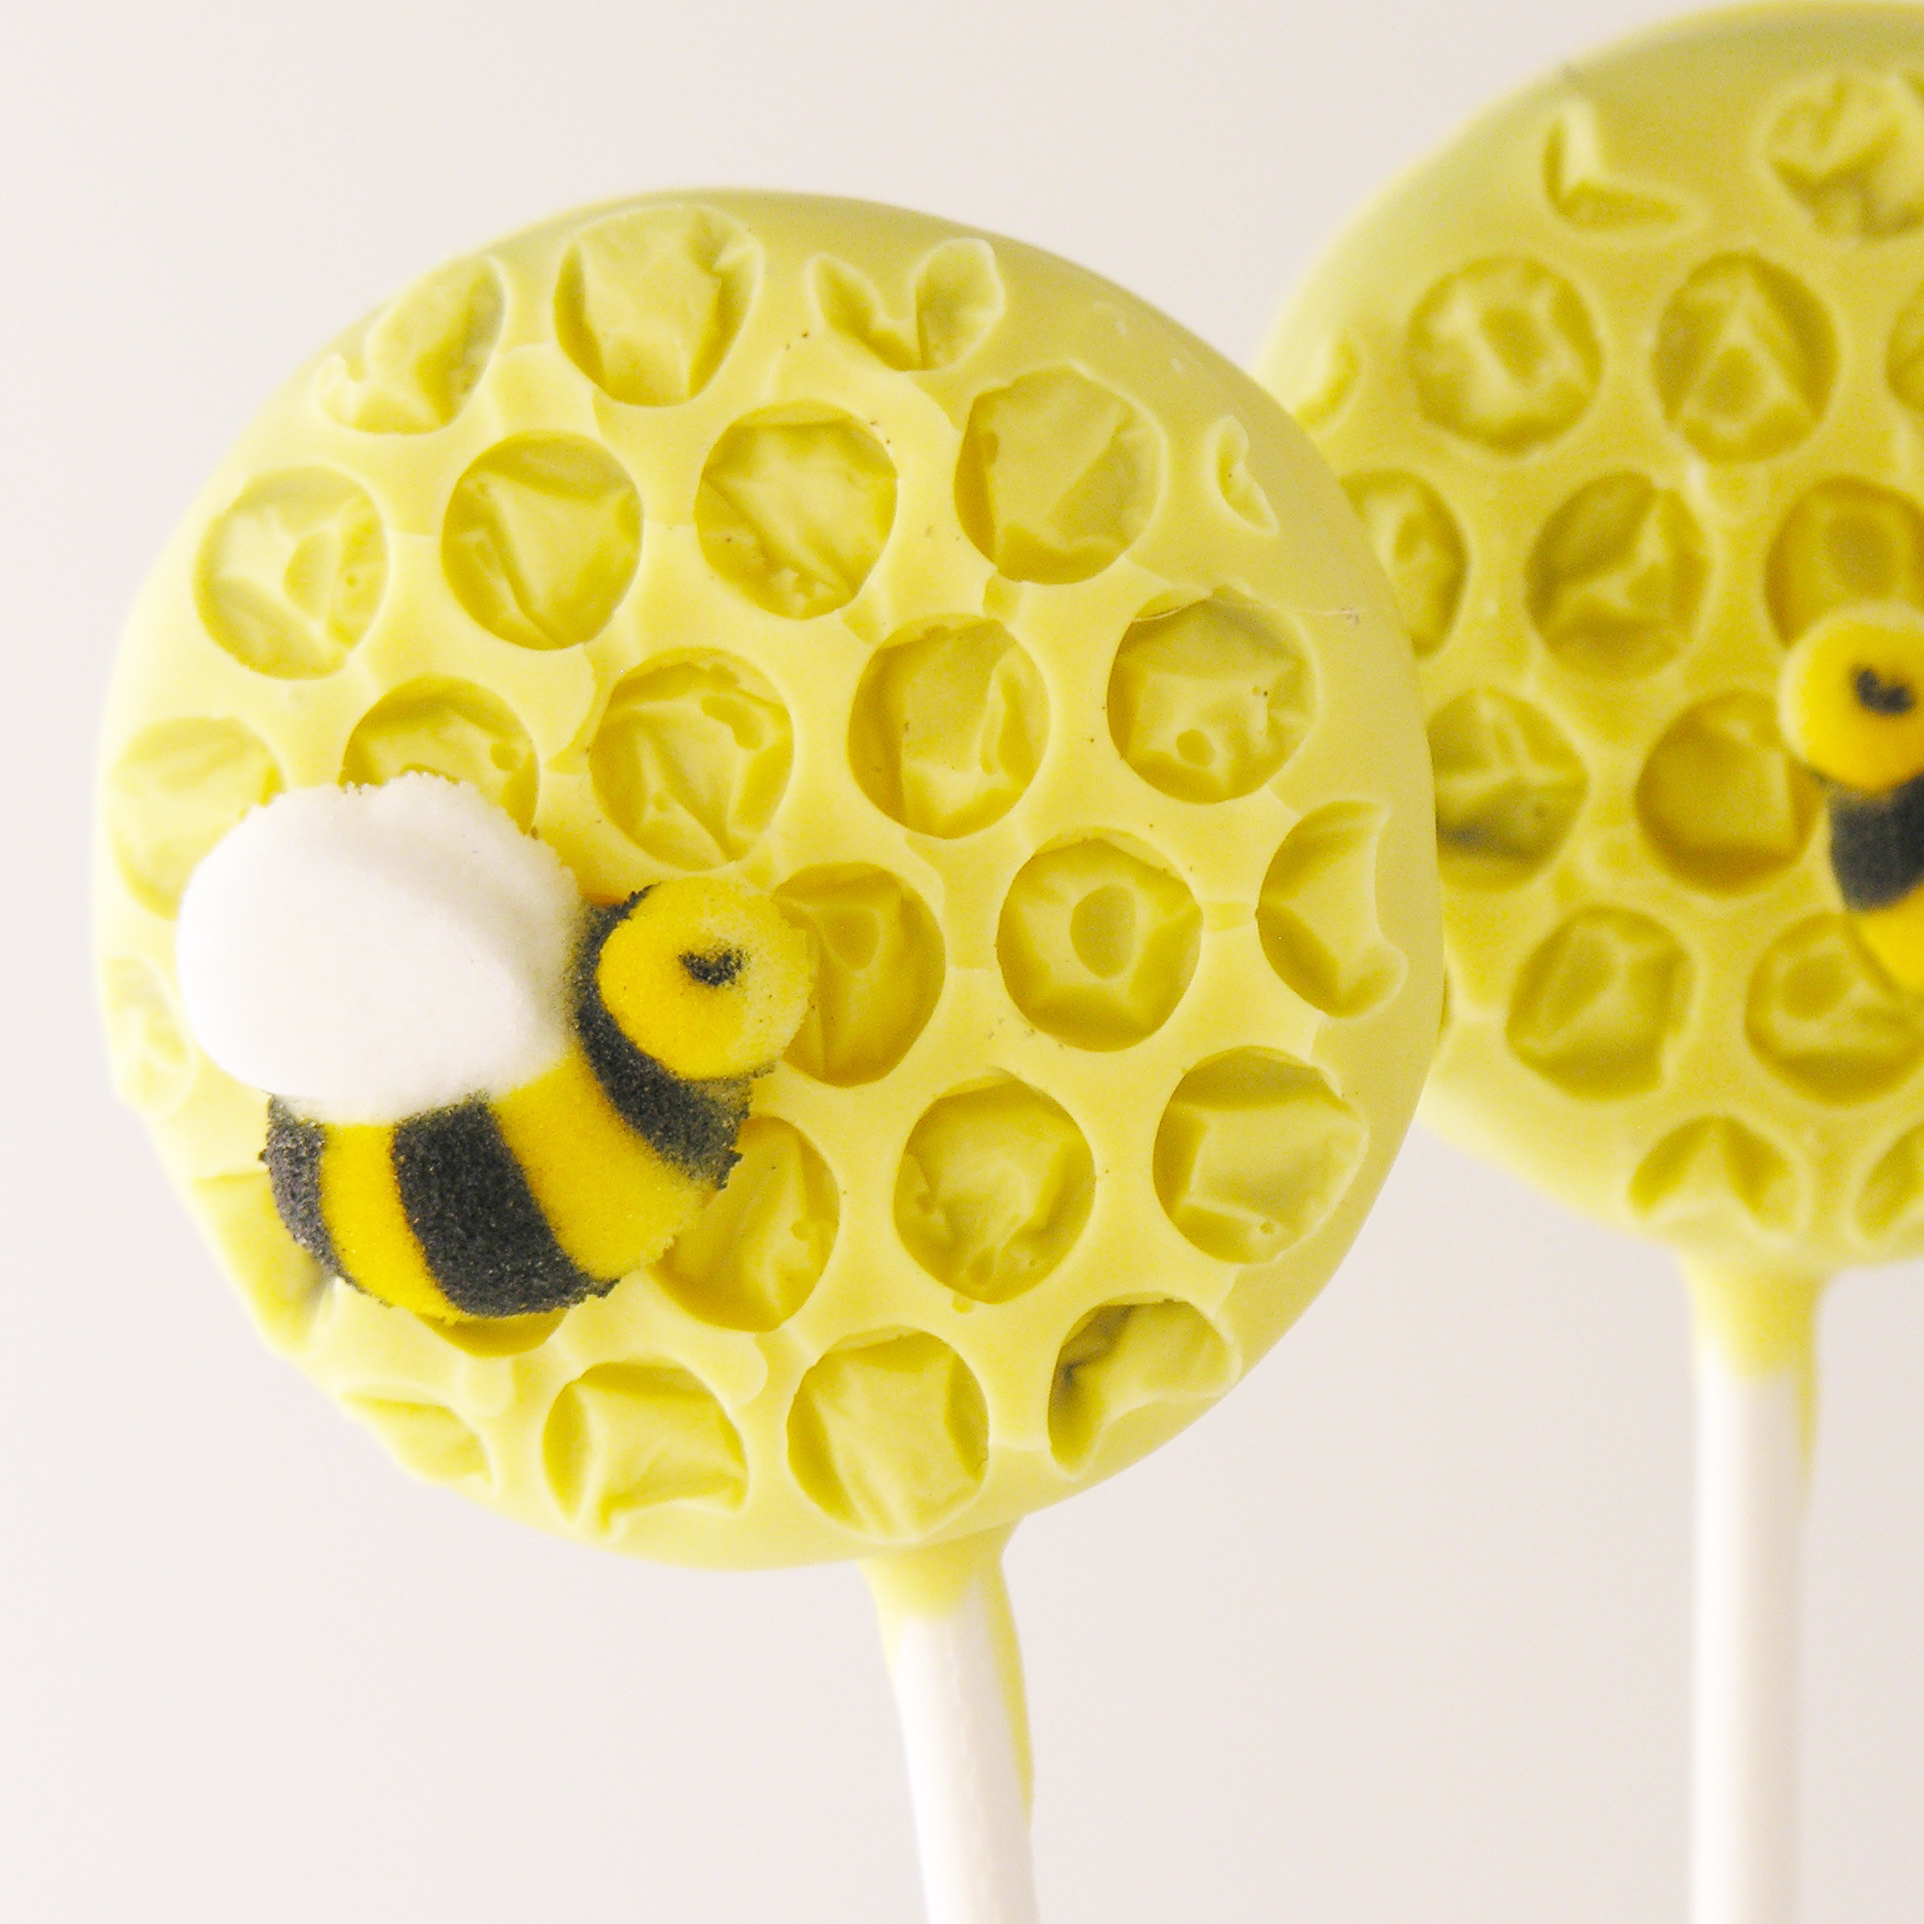
There is something so fun about using bees and honeycomb as a dessert decoration. I originally wanted to use a chocolate transfer with a honeycomb design on these- but I couldn’t find the transfers available in the states (except for in bulk- which I definitely did NOT need!). I decided to experiment with bubble wrap instead and they turned out SO cute. Goodness- I love these. When I gave them away to friends they all asked how I made the honeycomb. I thought it would be obvious that I’d used bubble wrap, but all they could see was the honeycomb until I explained.
These are maybe one of the easiest Oreo pops I’ve done. You really need to try them!
Here’s how we made them: (printable recipe here)
(If you have never made Oreo Pops before, check out our tutorial here.)
INGREDIENTS: (makes about 24 pops)
- One package of Double Stuff Oreos
- 2 bags of Wilton’s candy melts in yellow
- 1/4 cup of Wilton’s candy melts in white
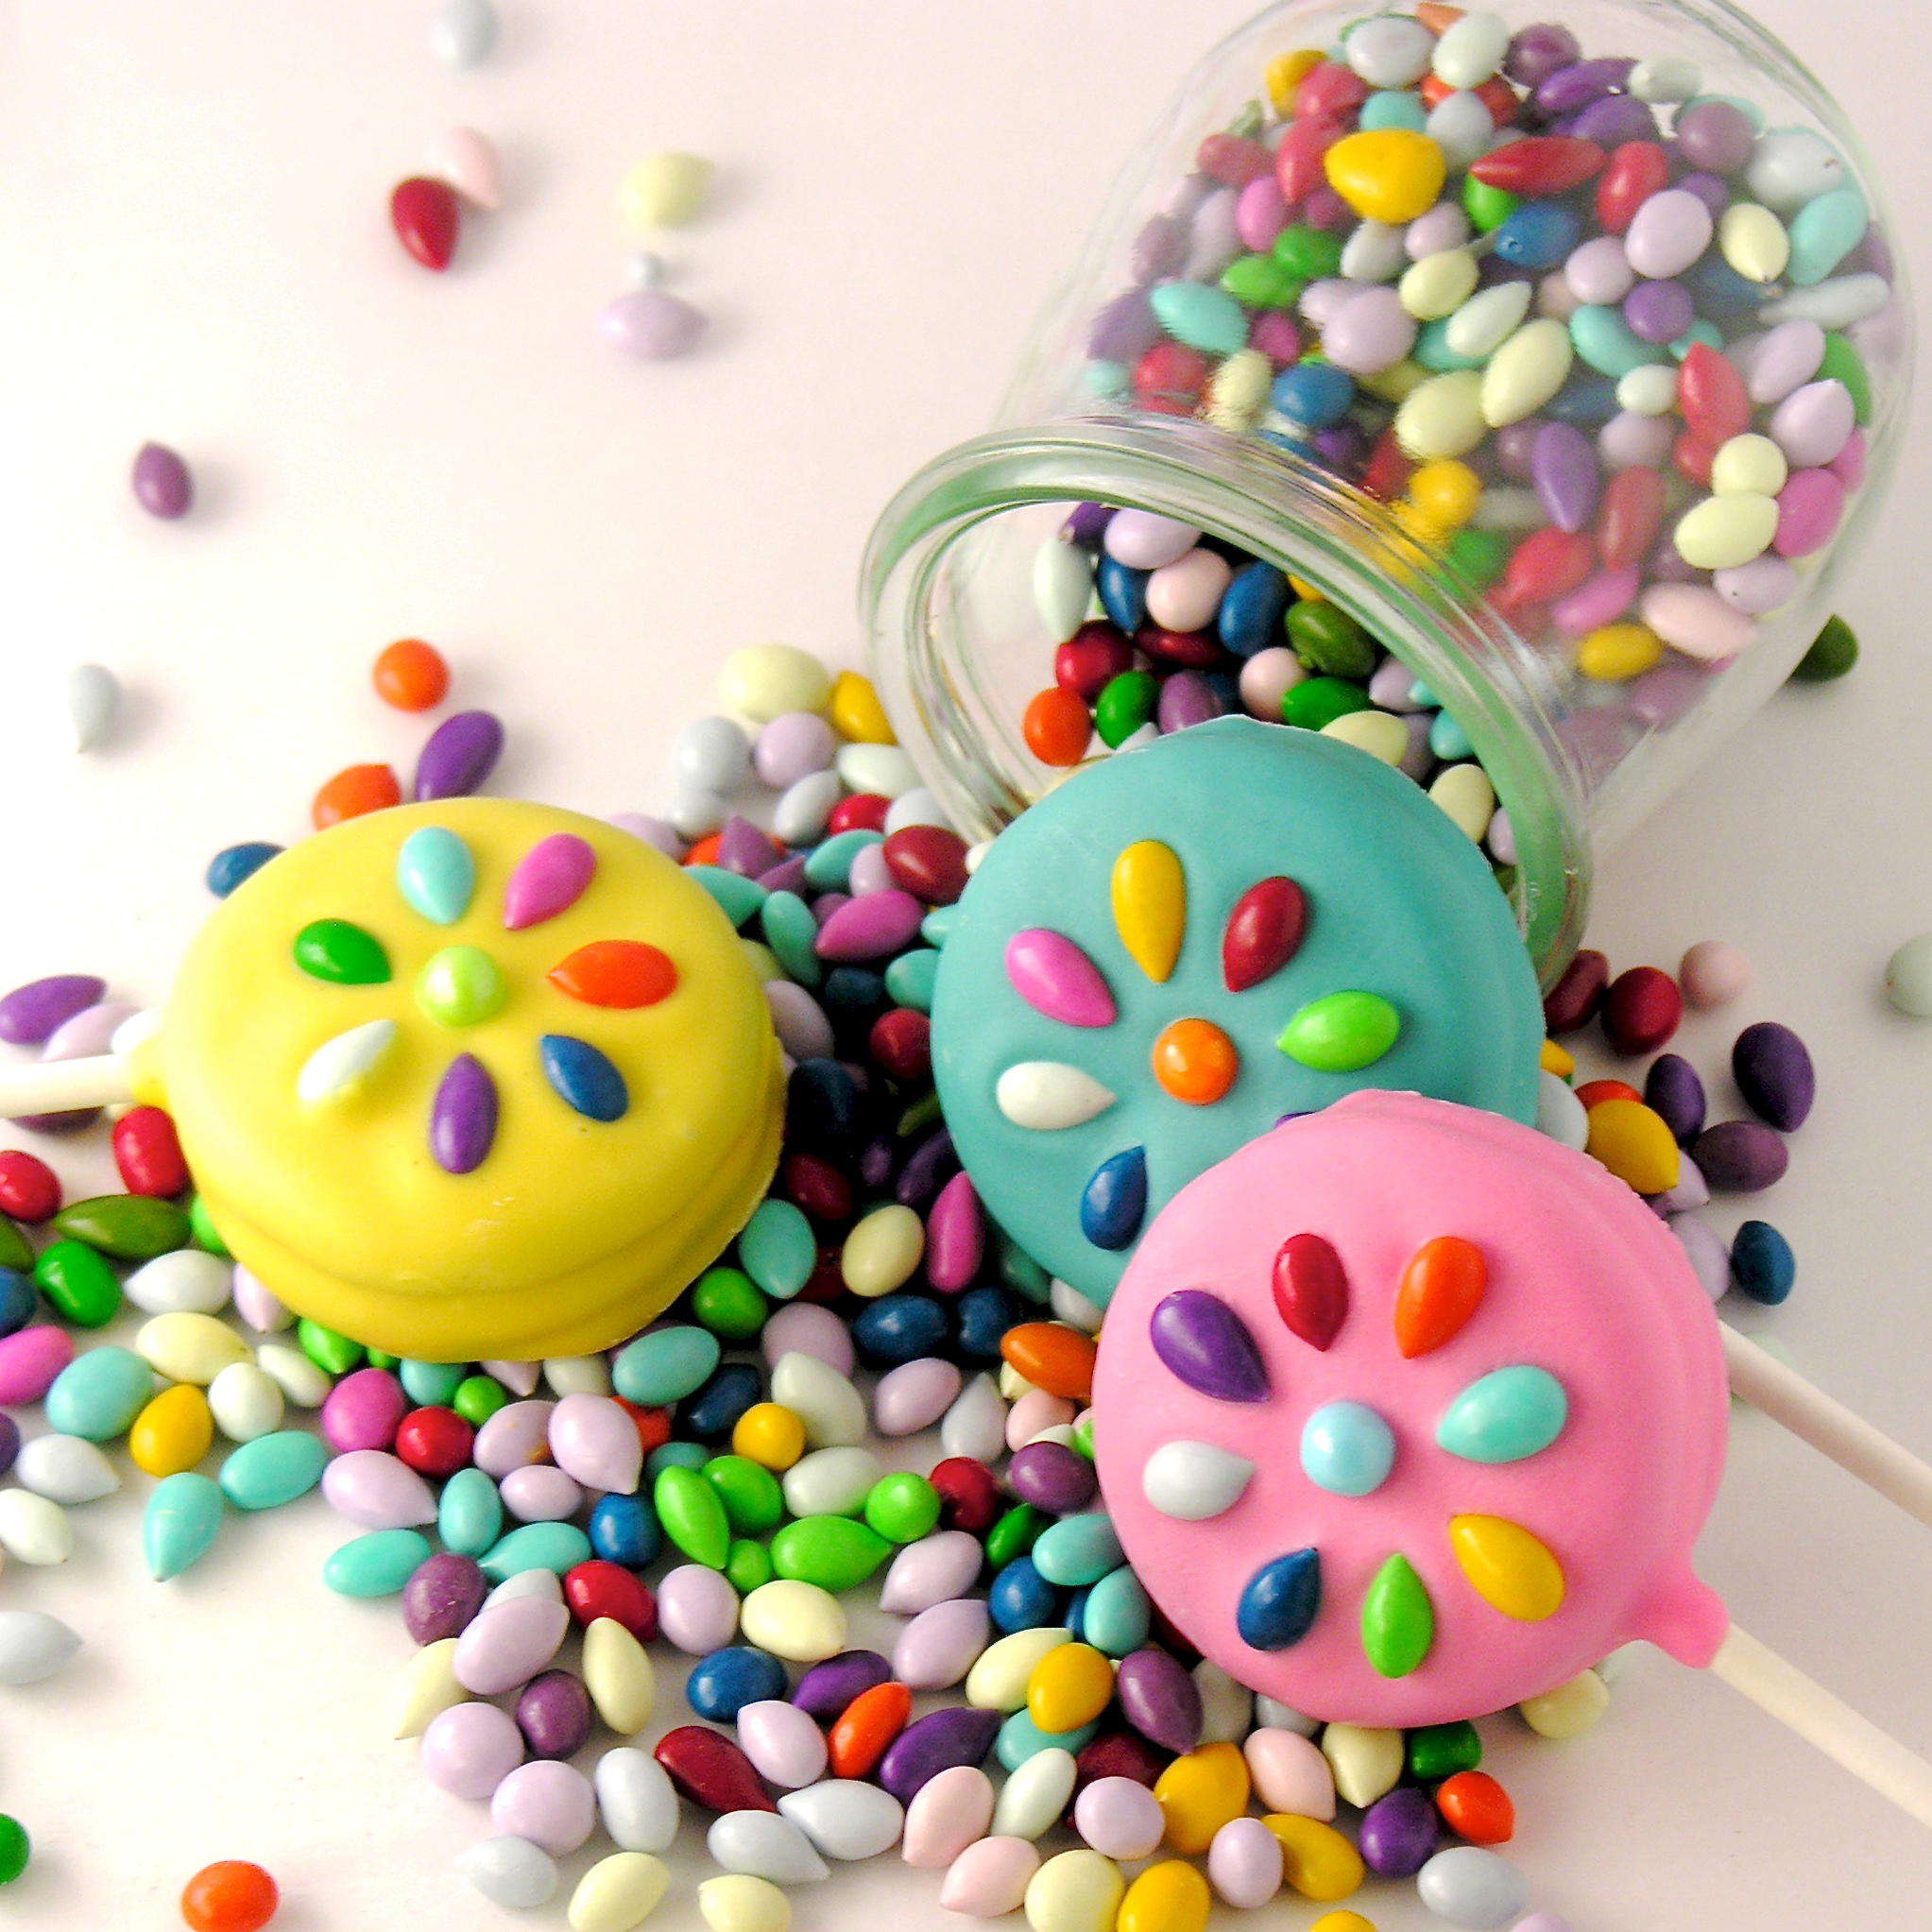
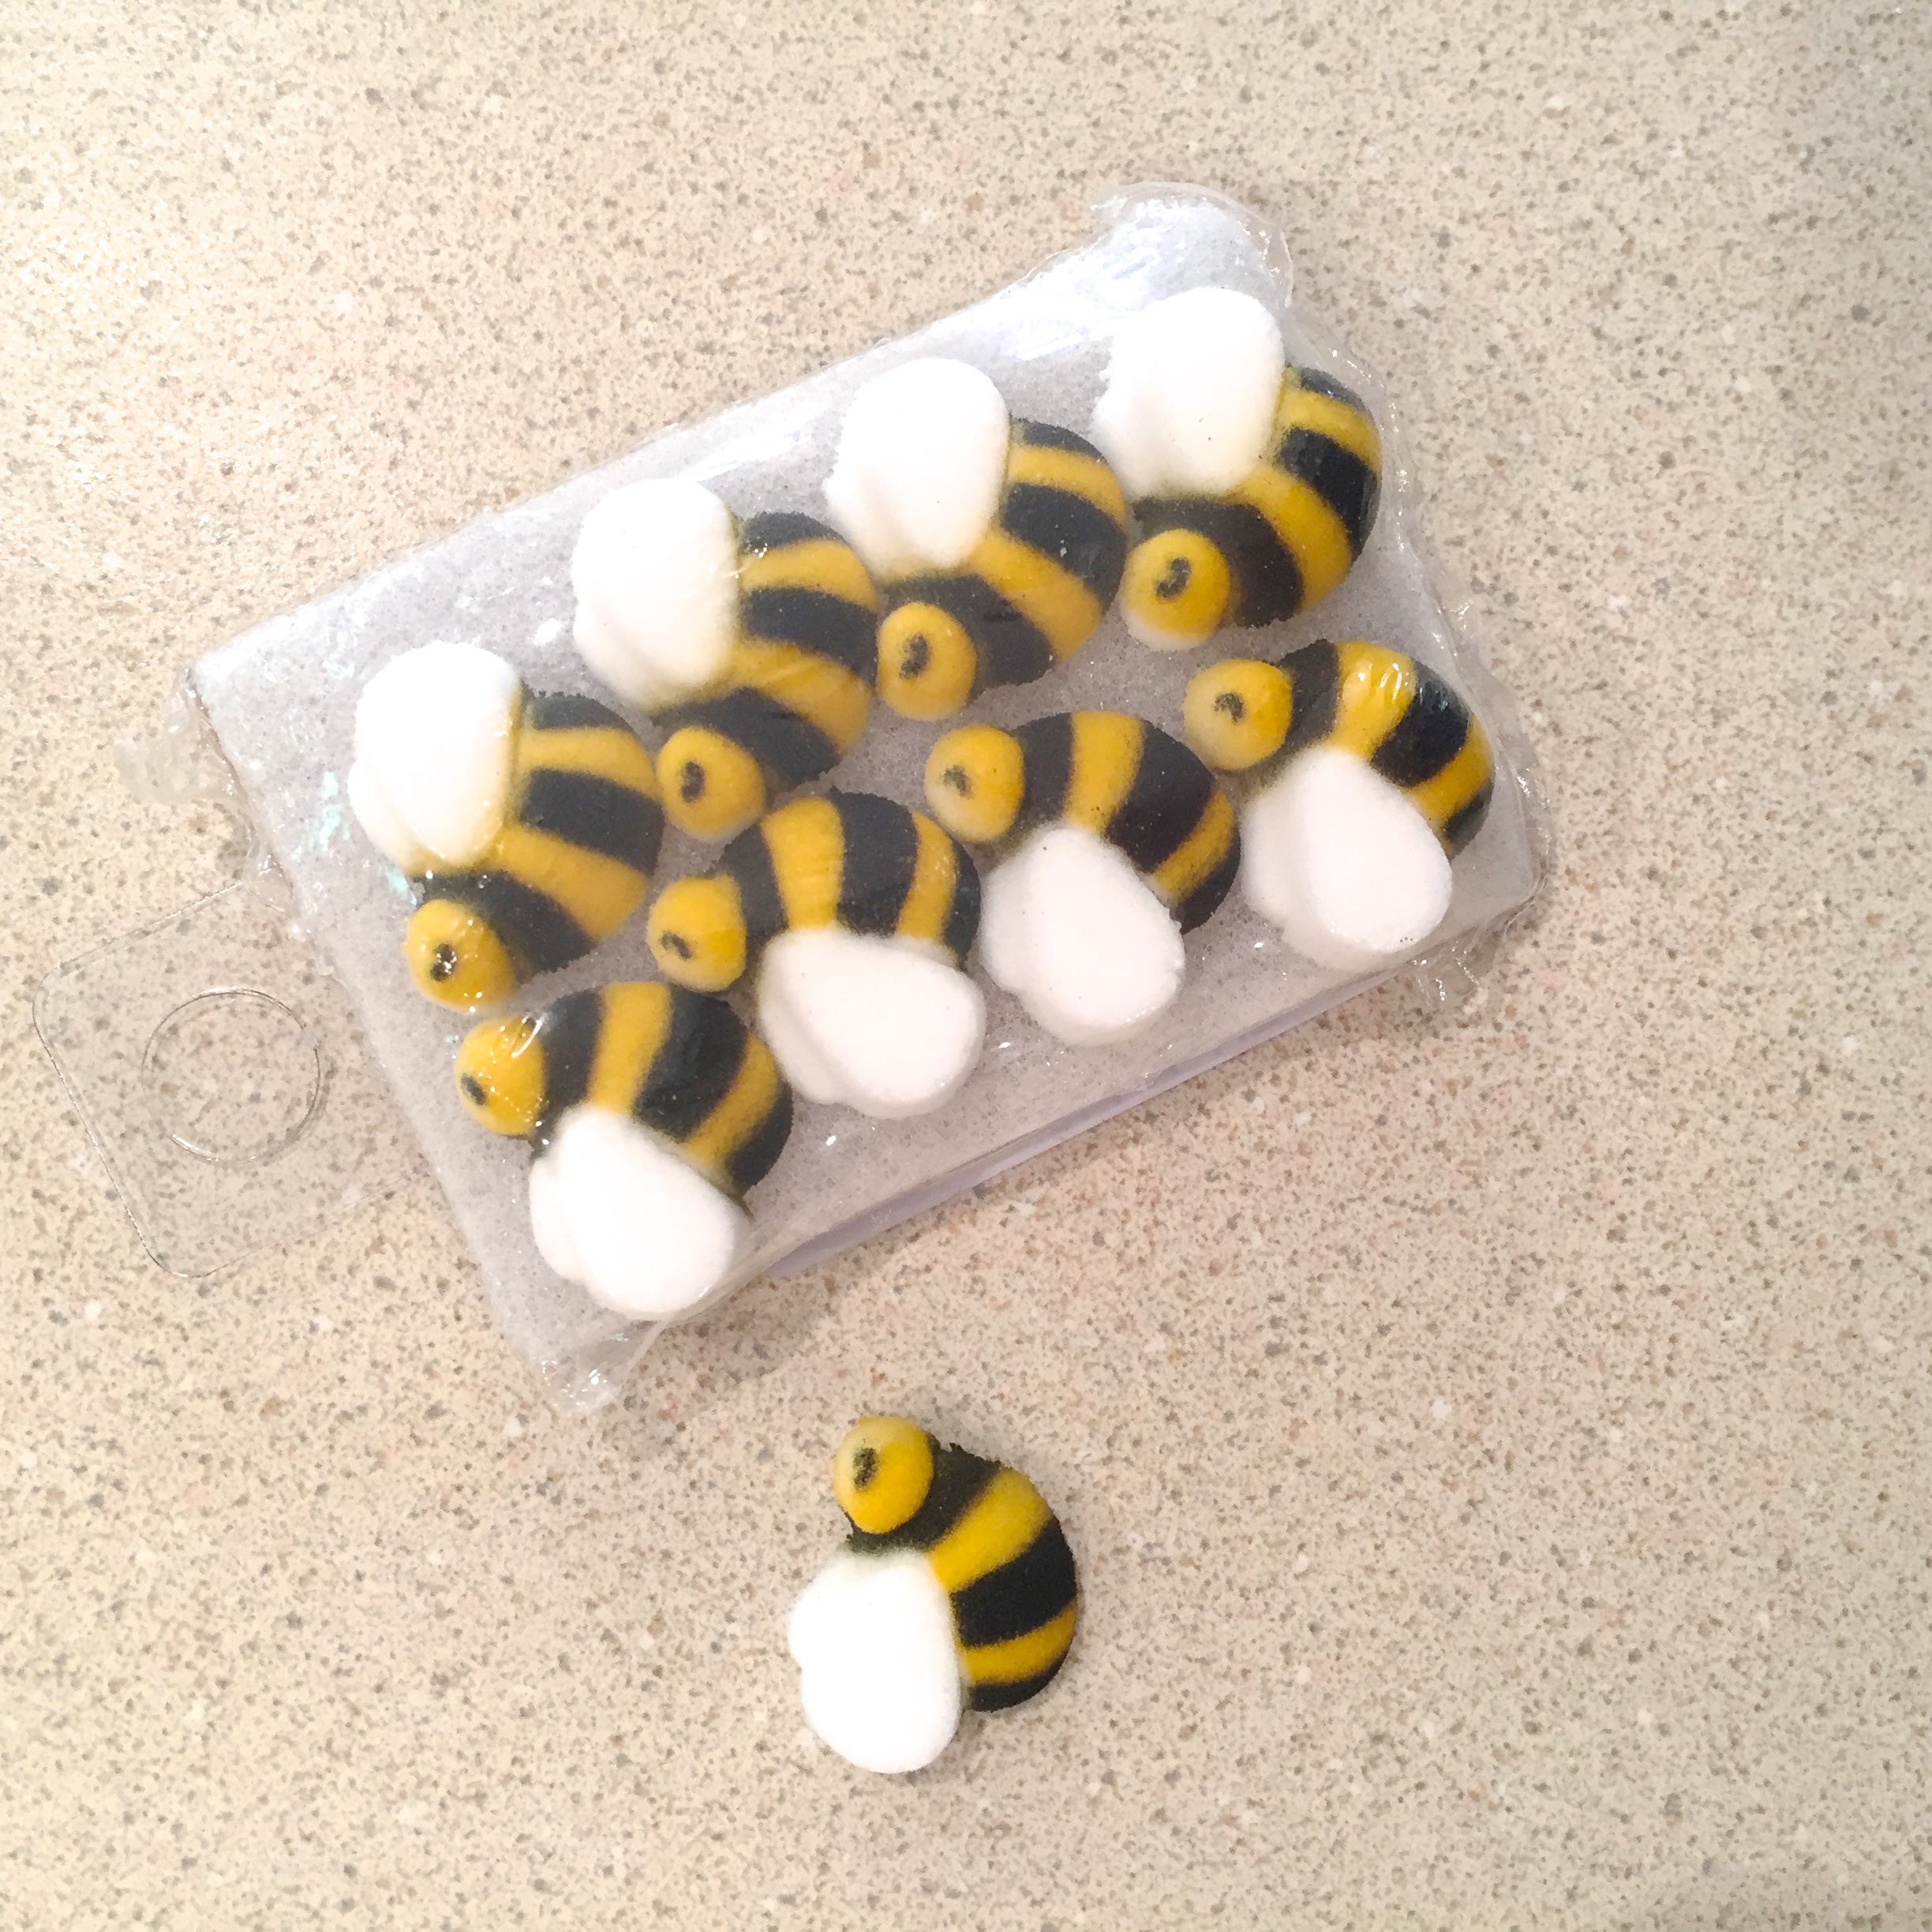
- Candy bees (I got mine here
)
DIRECTIONS:
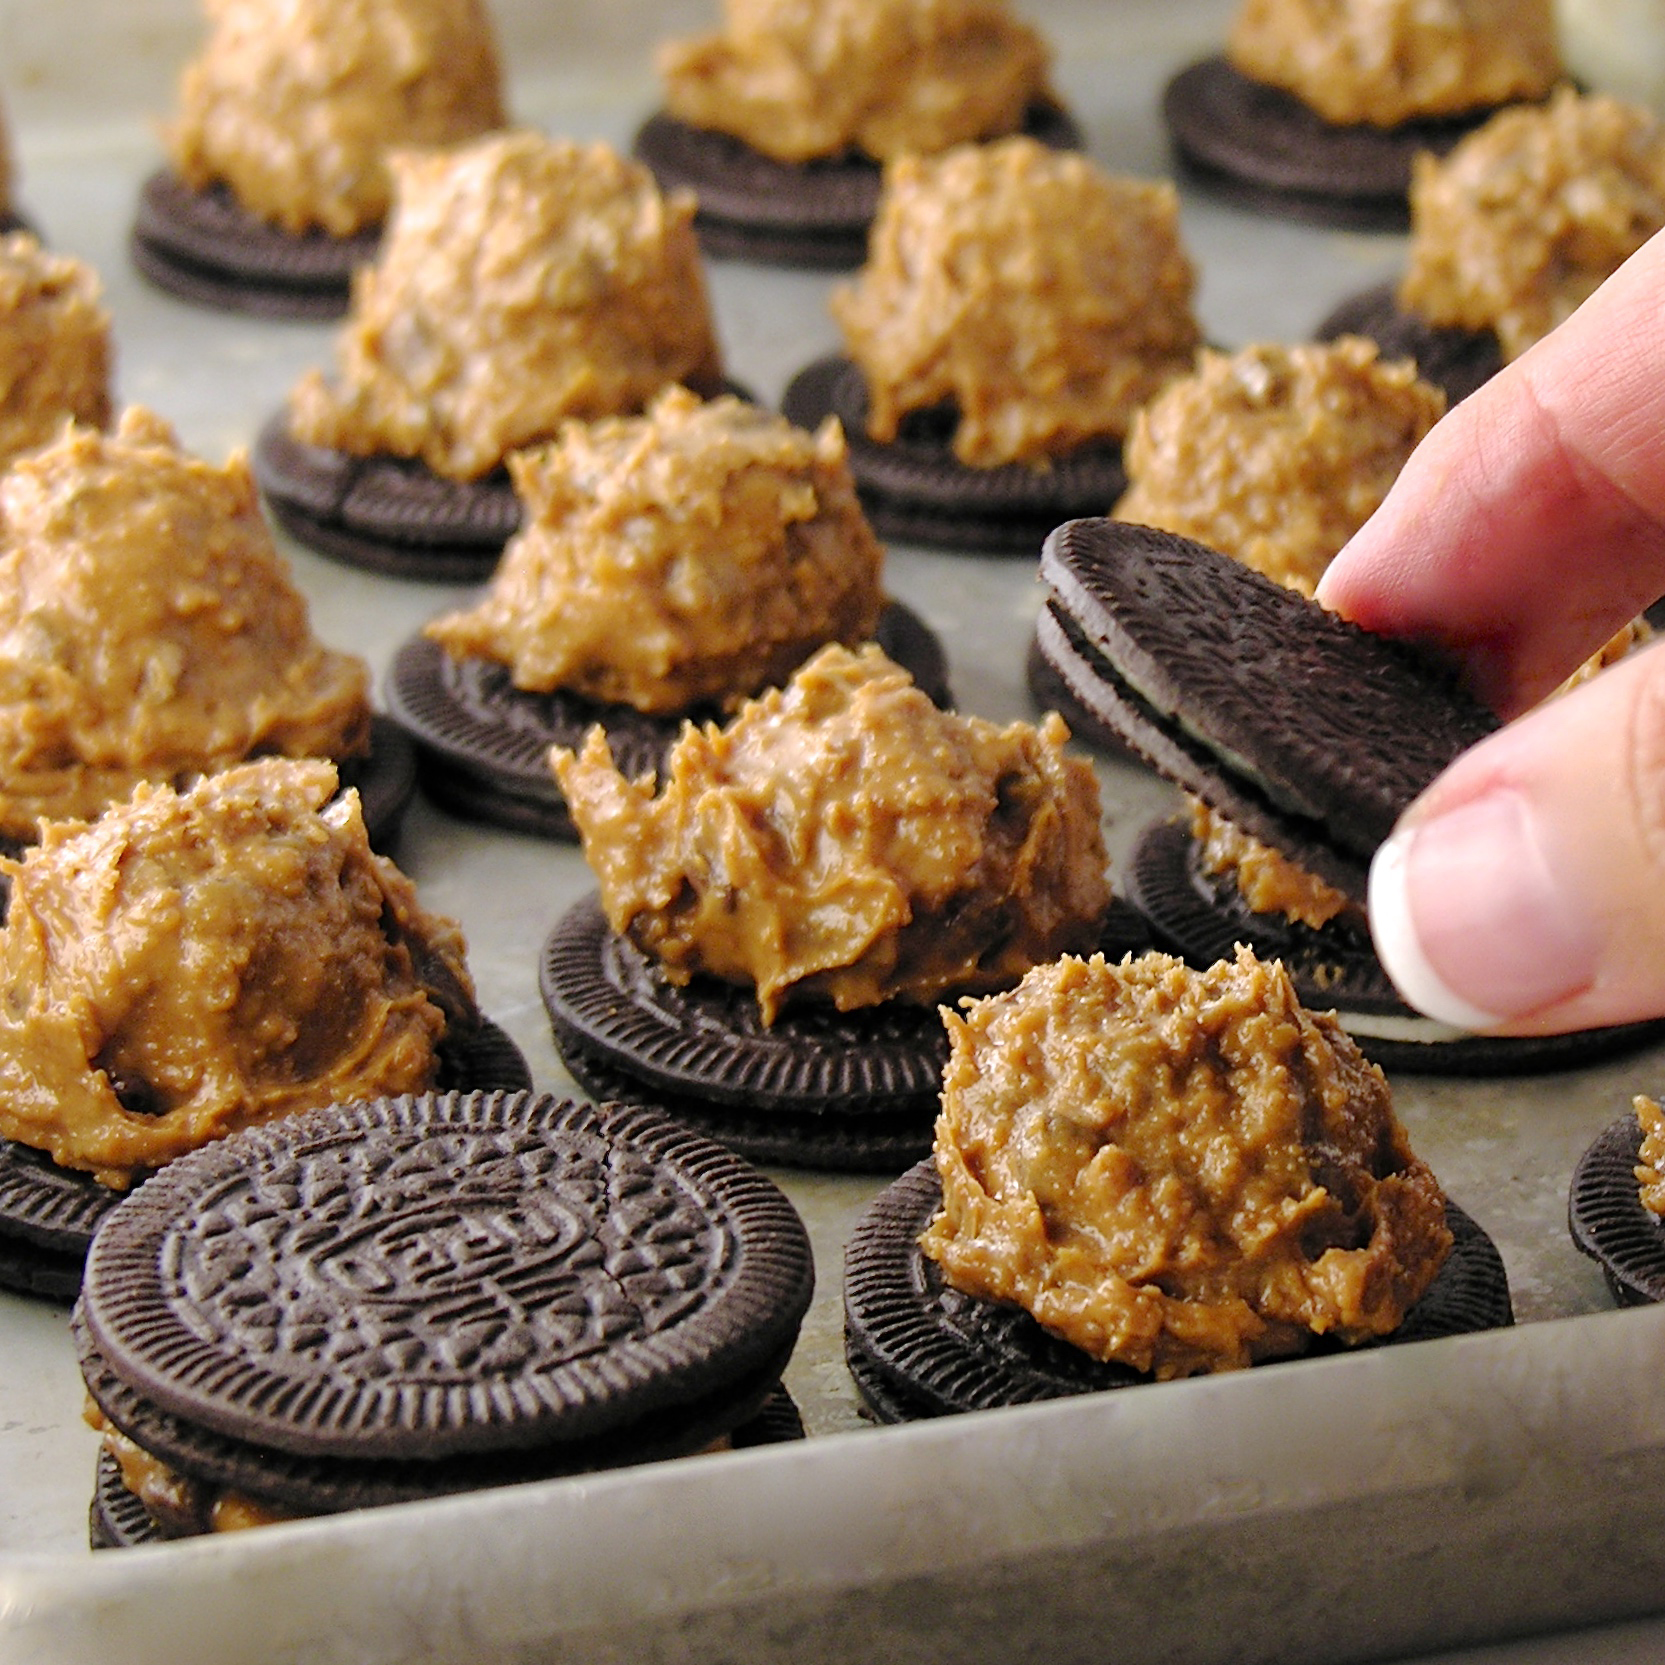
- Gently twist apart all Oreos.
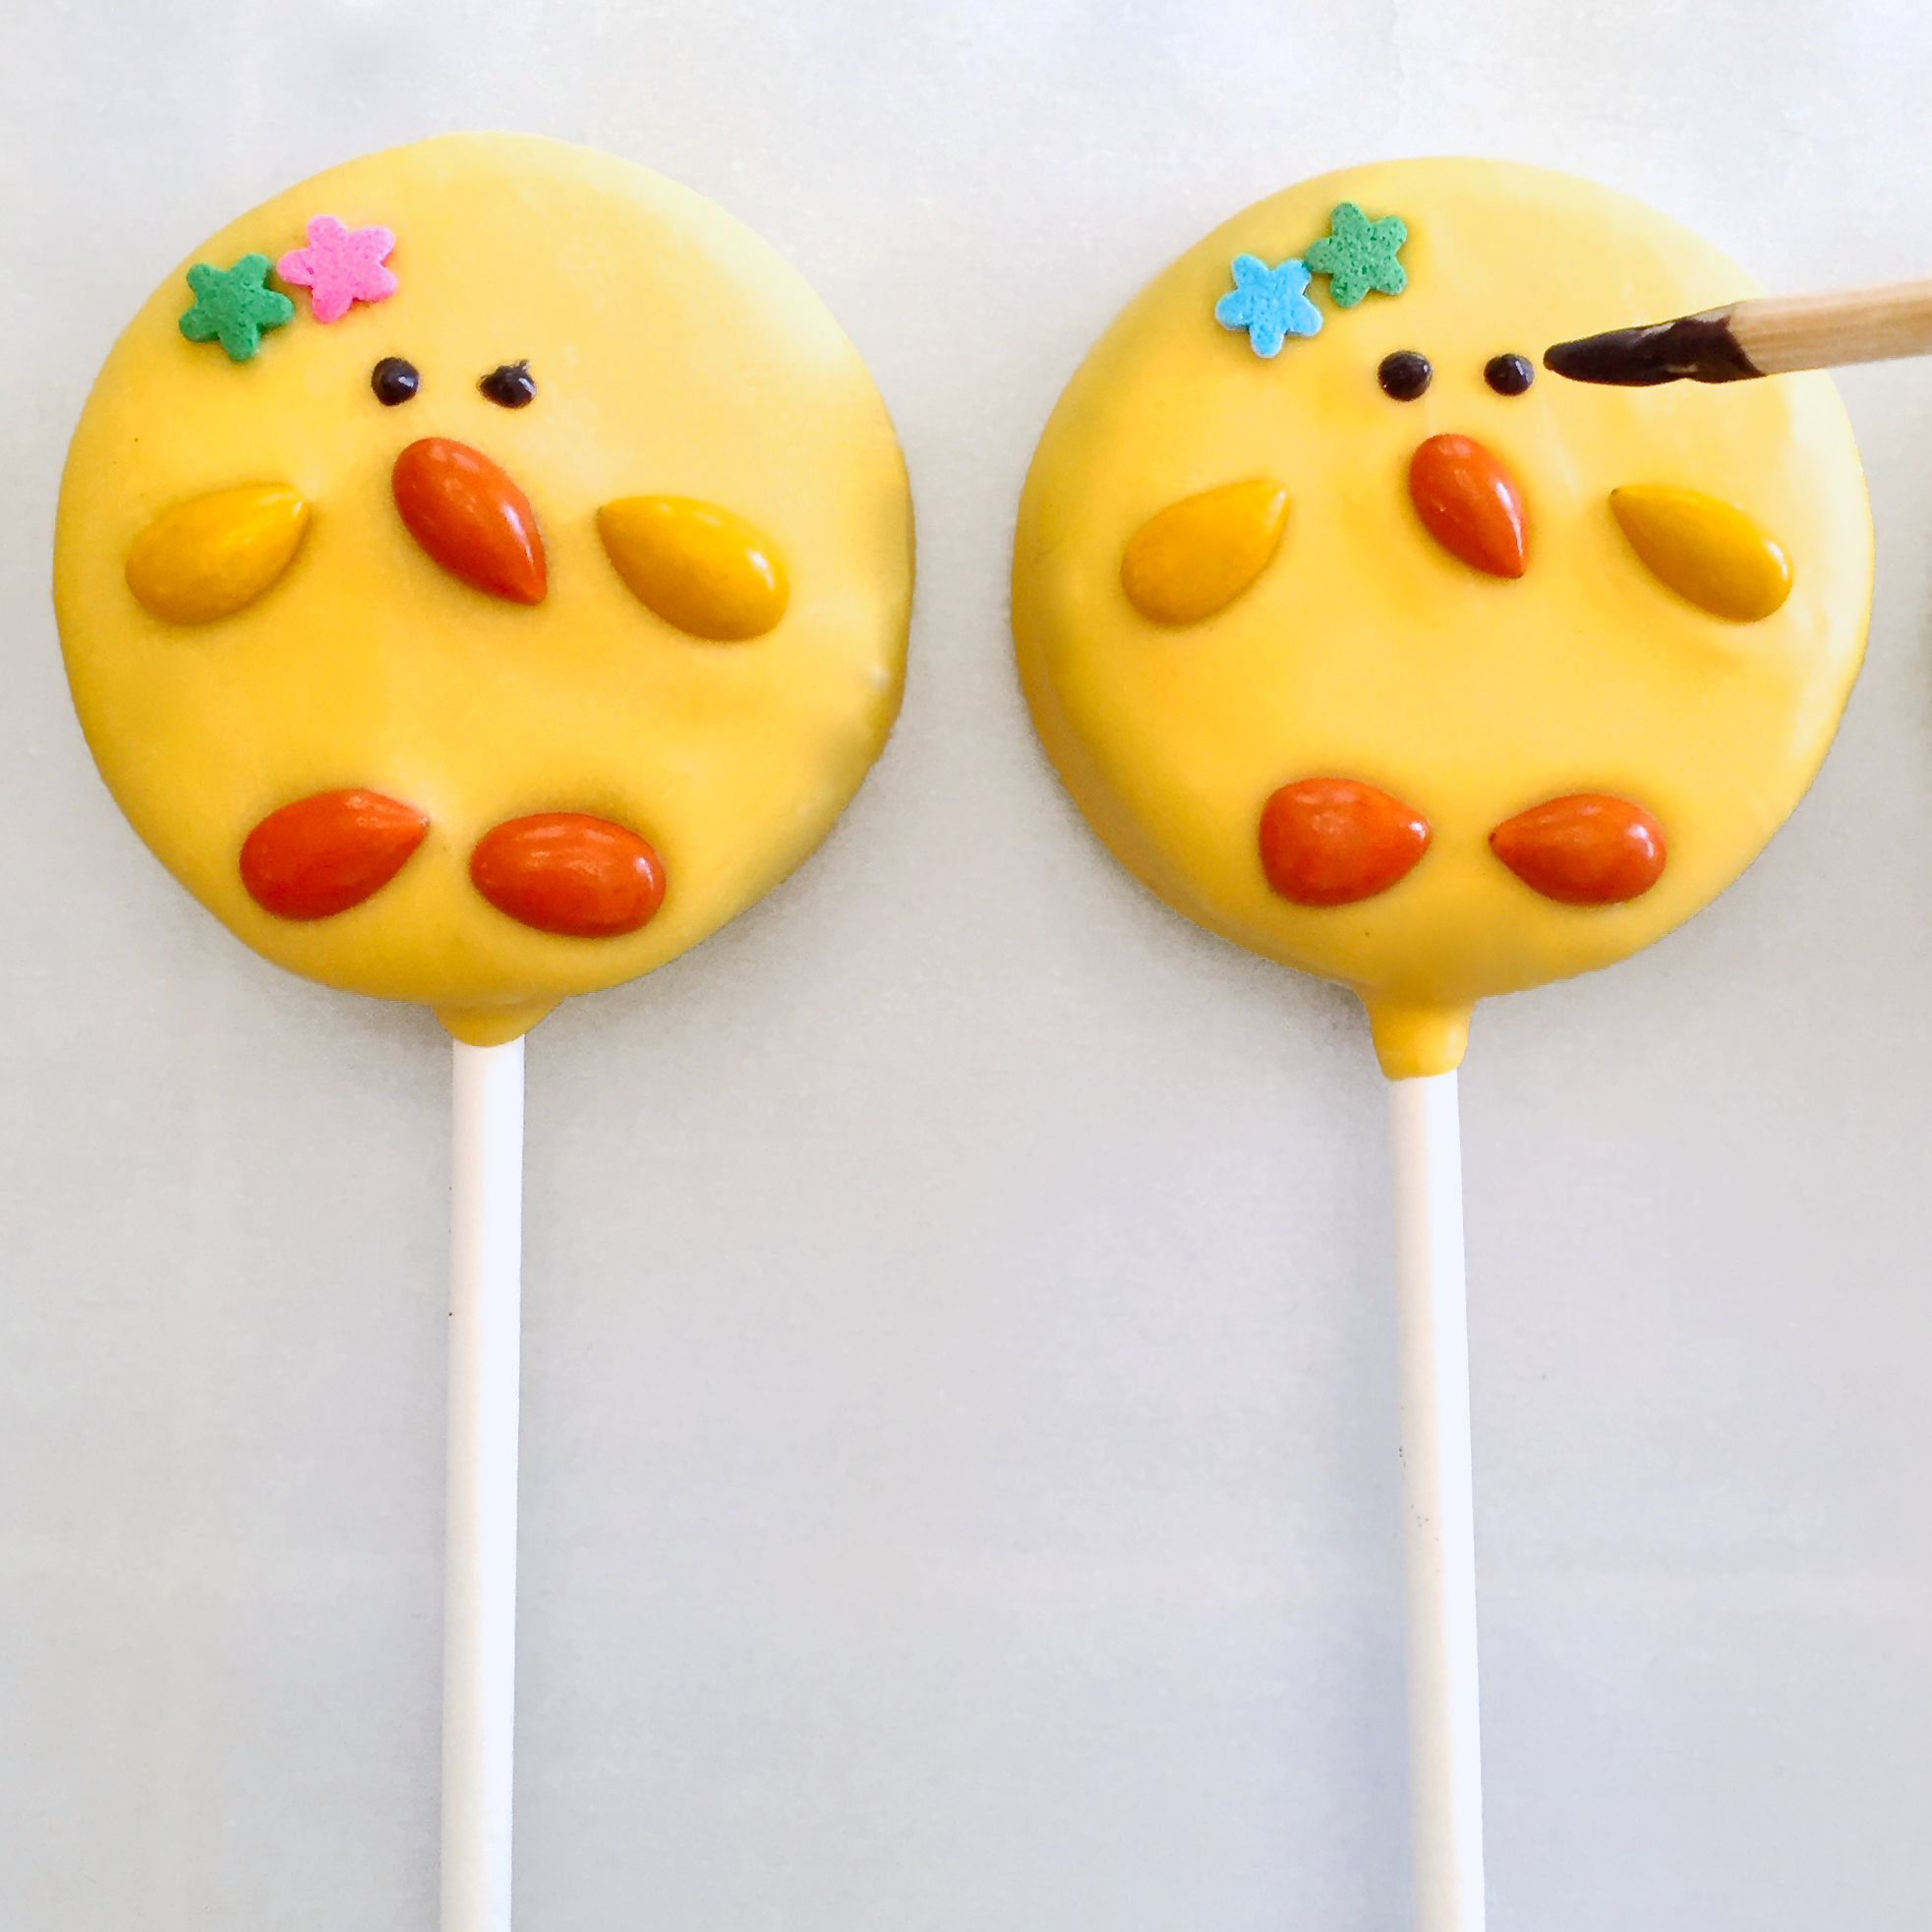
- Melt white candy melts in the microwave in 30 second increments, stirring between until melted and smooth.
- Dip end of a lollipop stick into the white chocolate, spread a little on the top of the white Oreo filling and then press the stick flat into the center of the filling.
- Place top of Oreo on, and set on a cookie sheet. When all Oreos have sticks inserted, pop these in the freezer for 15-20 minutes (until they are nice and firmly set).
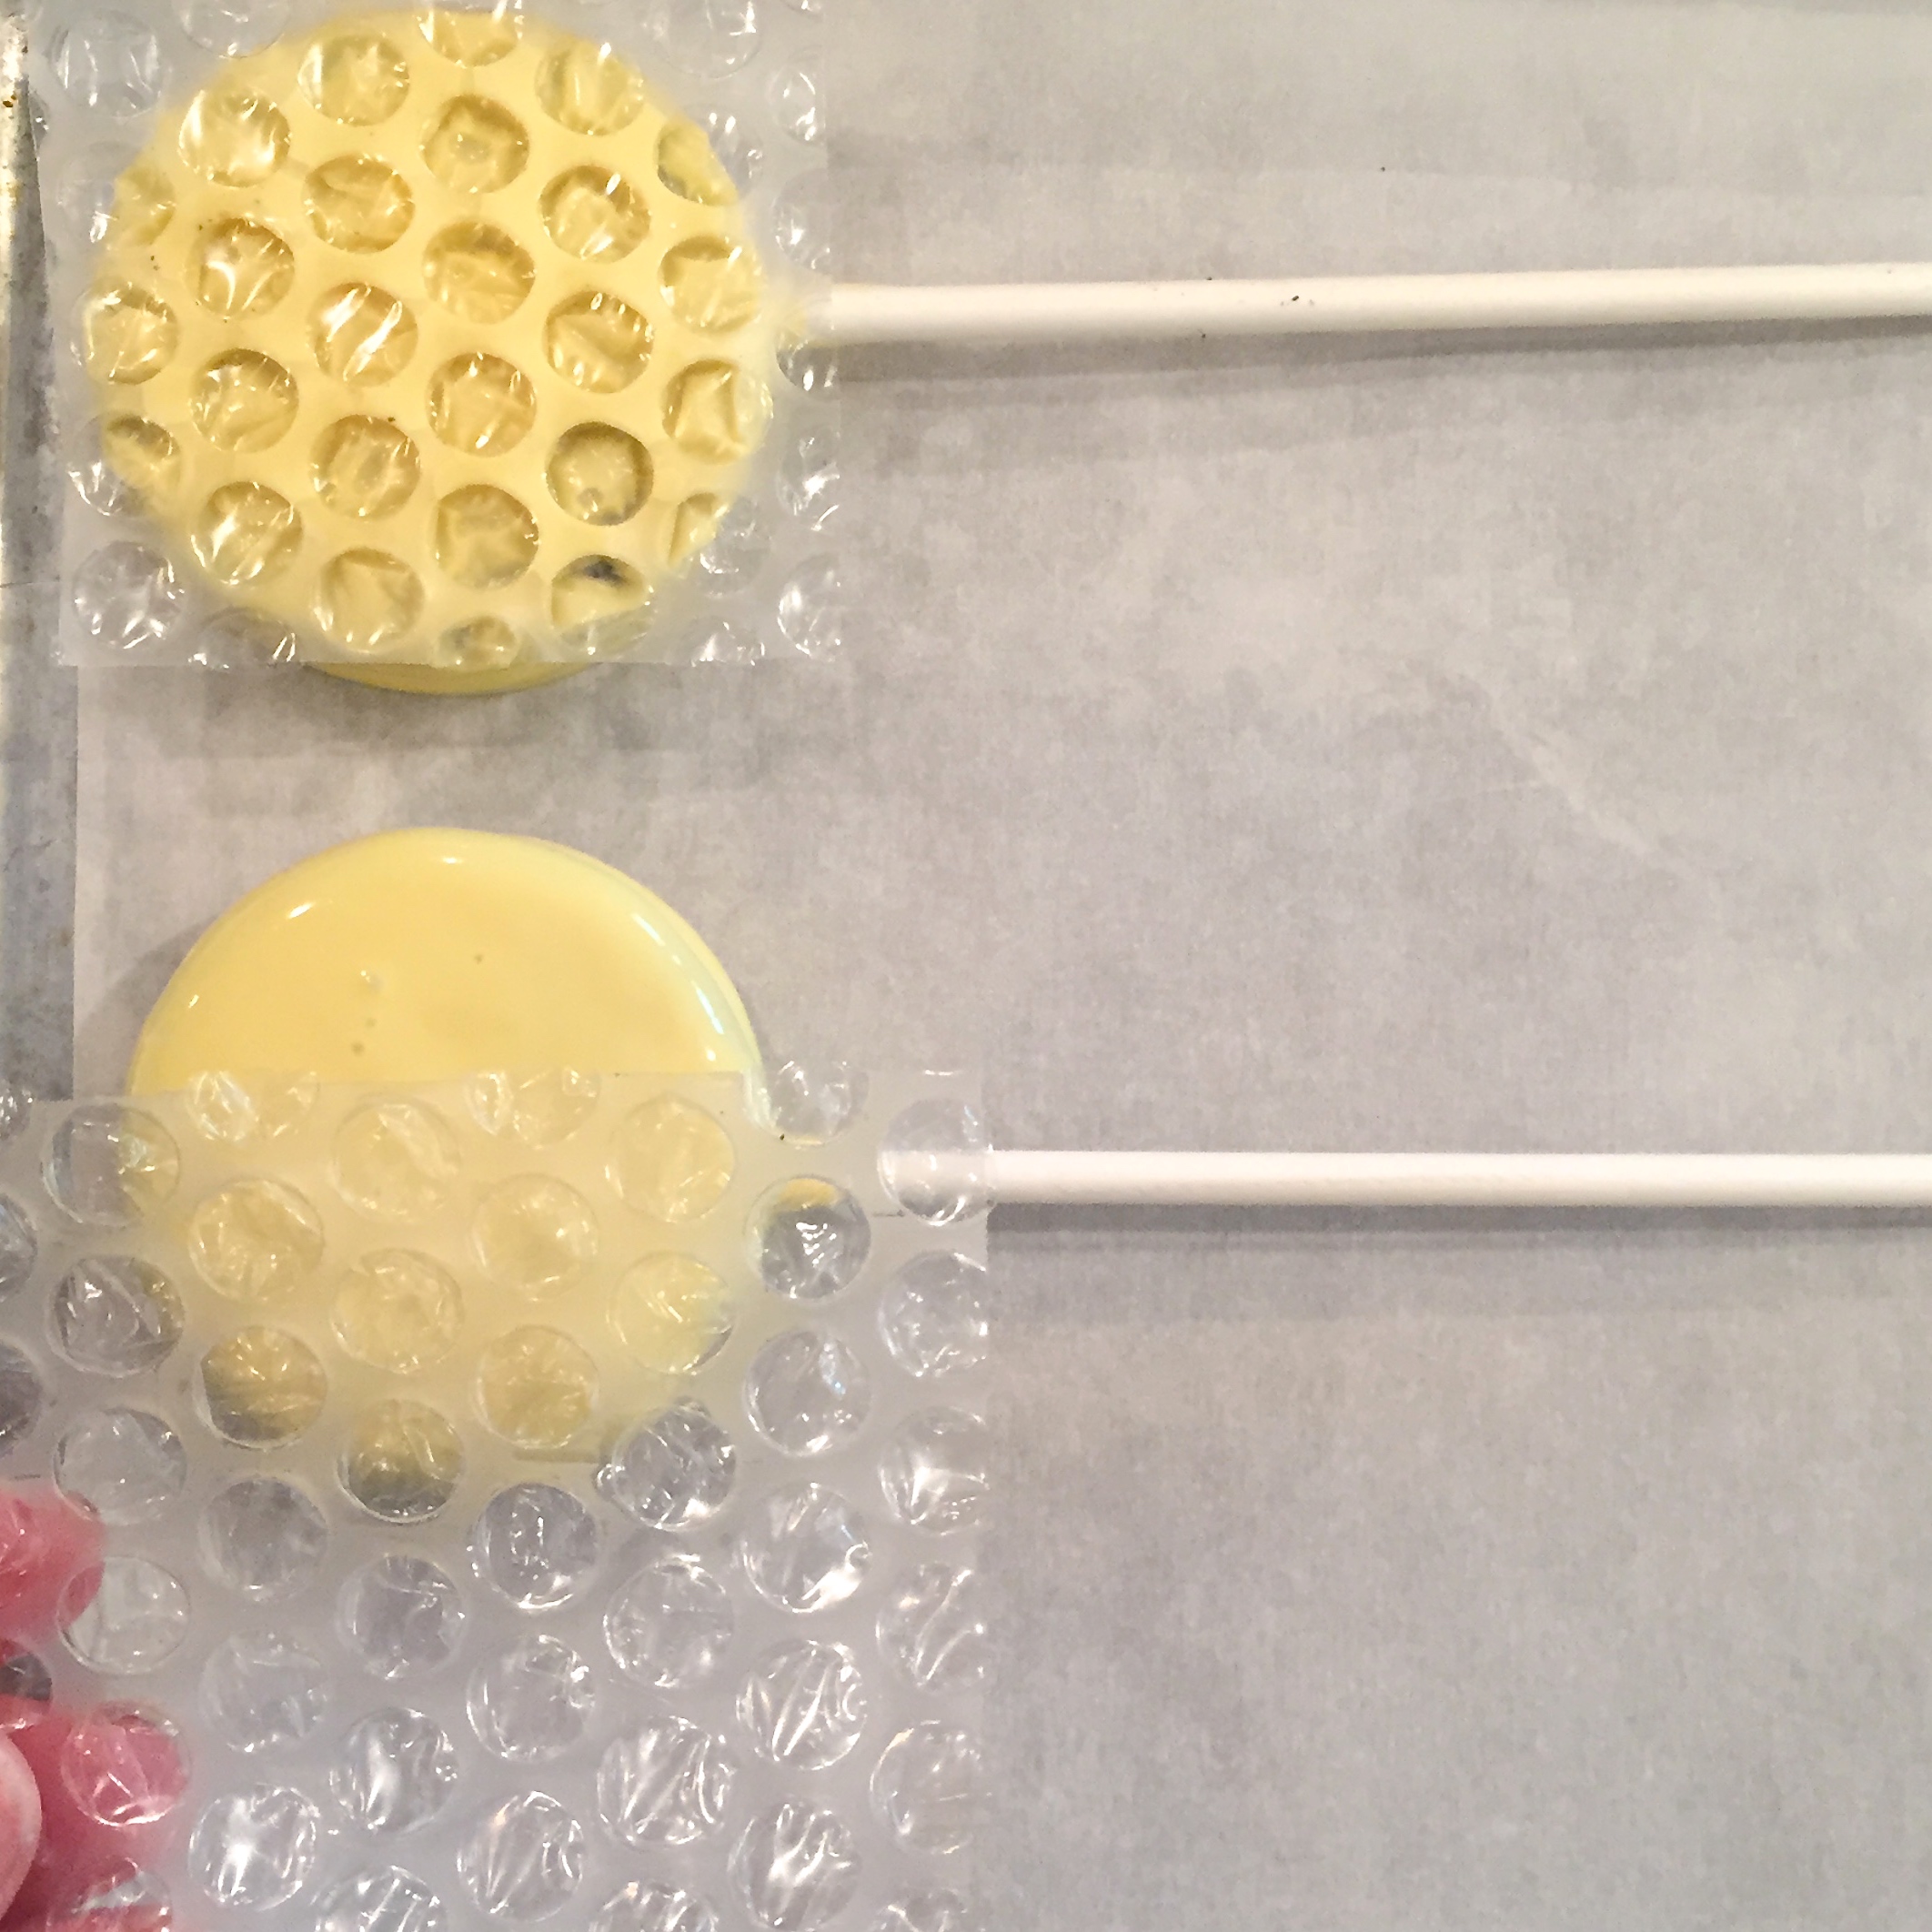
- While these chill, cut bubble wrap (try to find a small bubble variety- I used 1/8″ bubbles) into squares just big enough to cover the top of an Oreo.
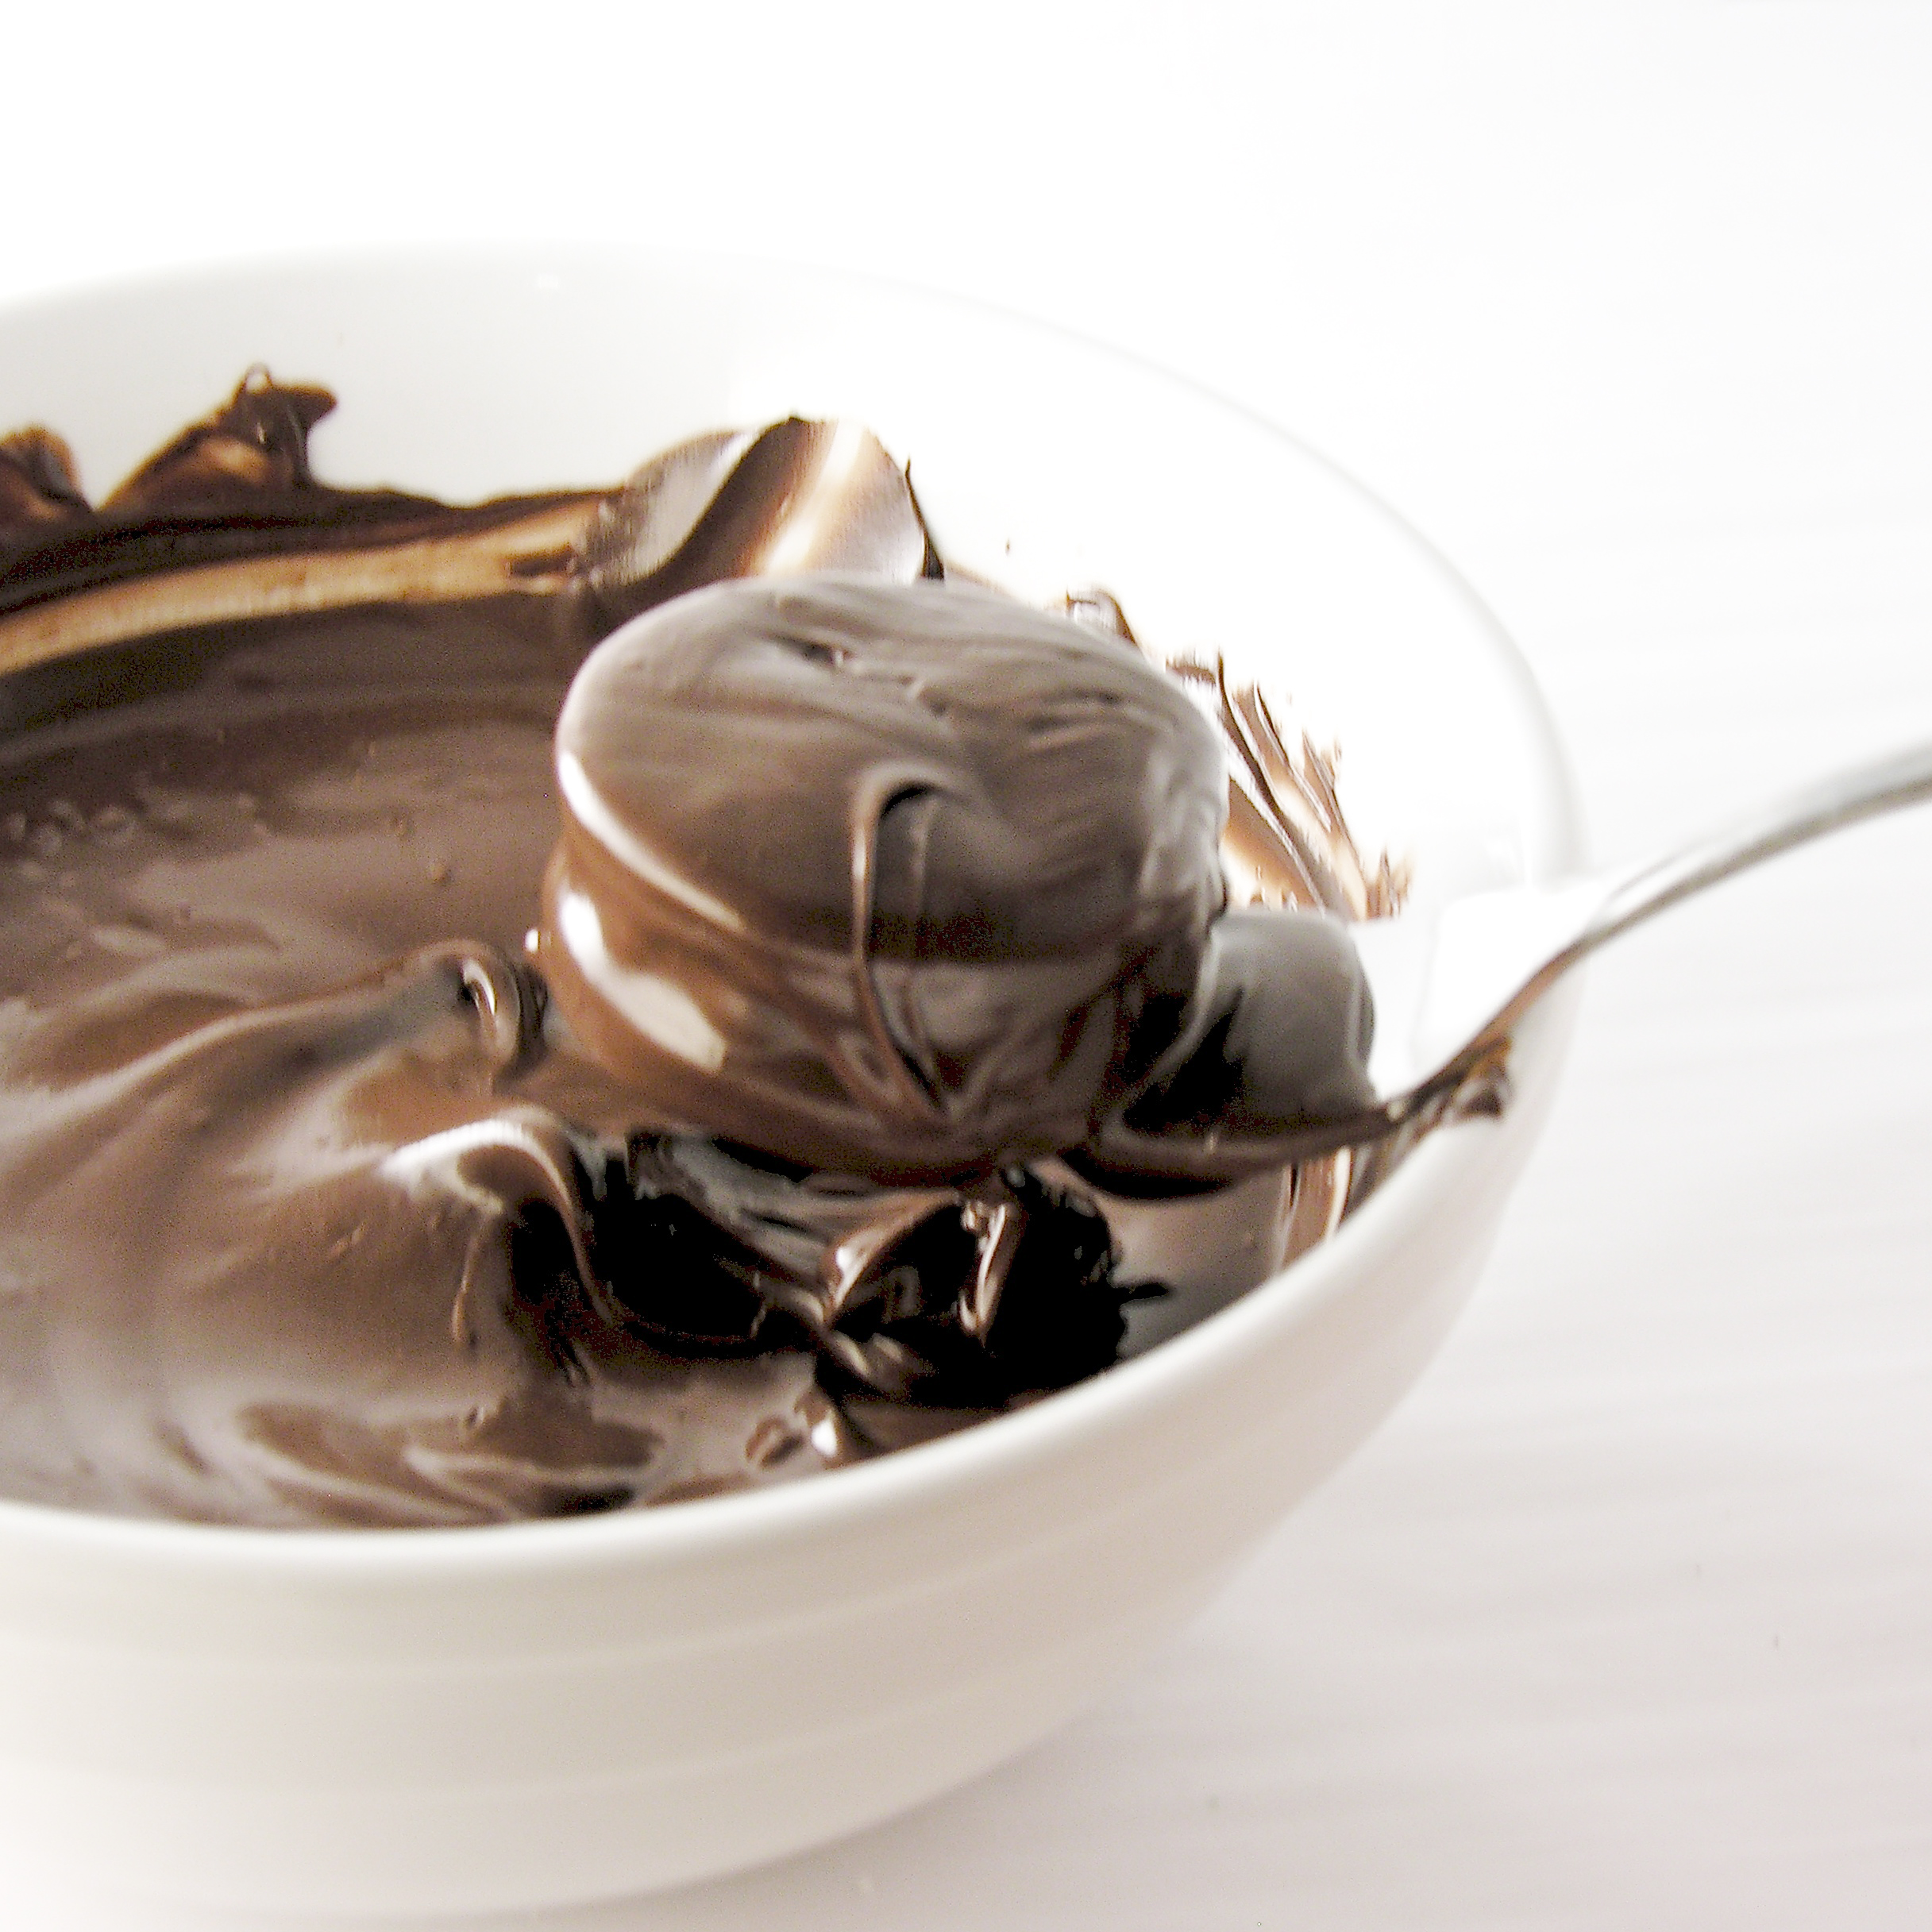
- Melt yellow candy melts in the microwave in 30 second increments, stirring between until melted and smooth.
- Spoon yellow melts over the top of each chilled Oreo pop, making sure all sides are completely covered. Tap stick against side of bowl to remove excess candy melts and slide bottom against edge of bowl to take excess off.
- Set coated pop on a sheet of parchment paper and gently press bubble wrap on top.

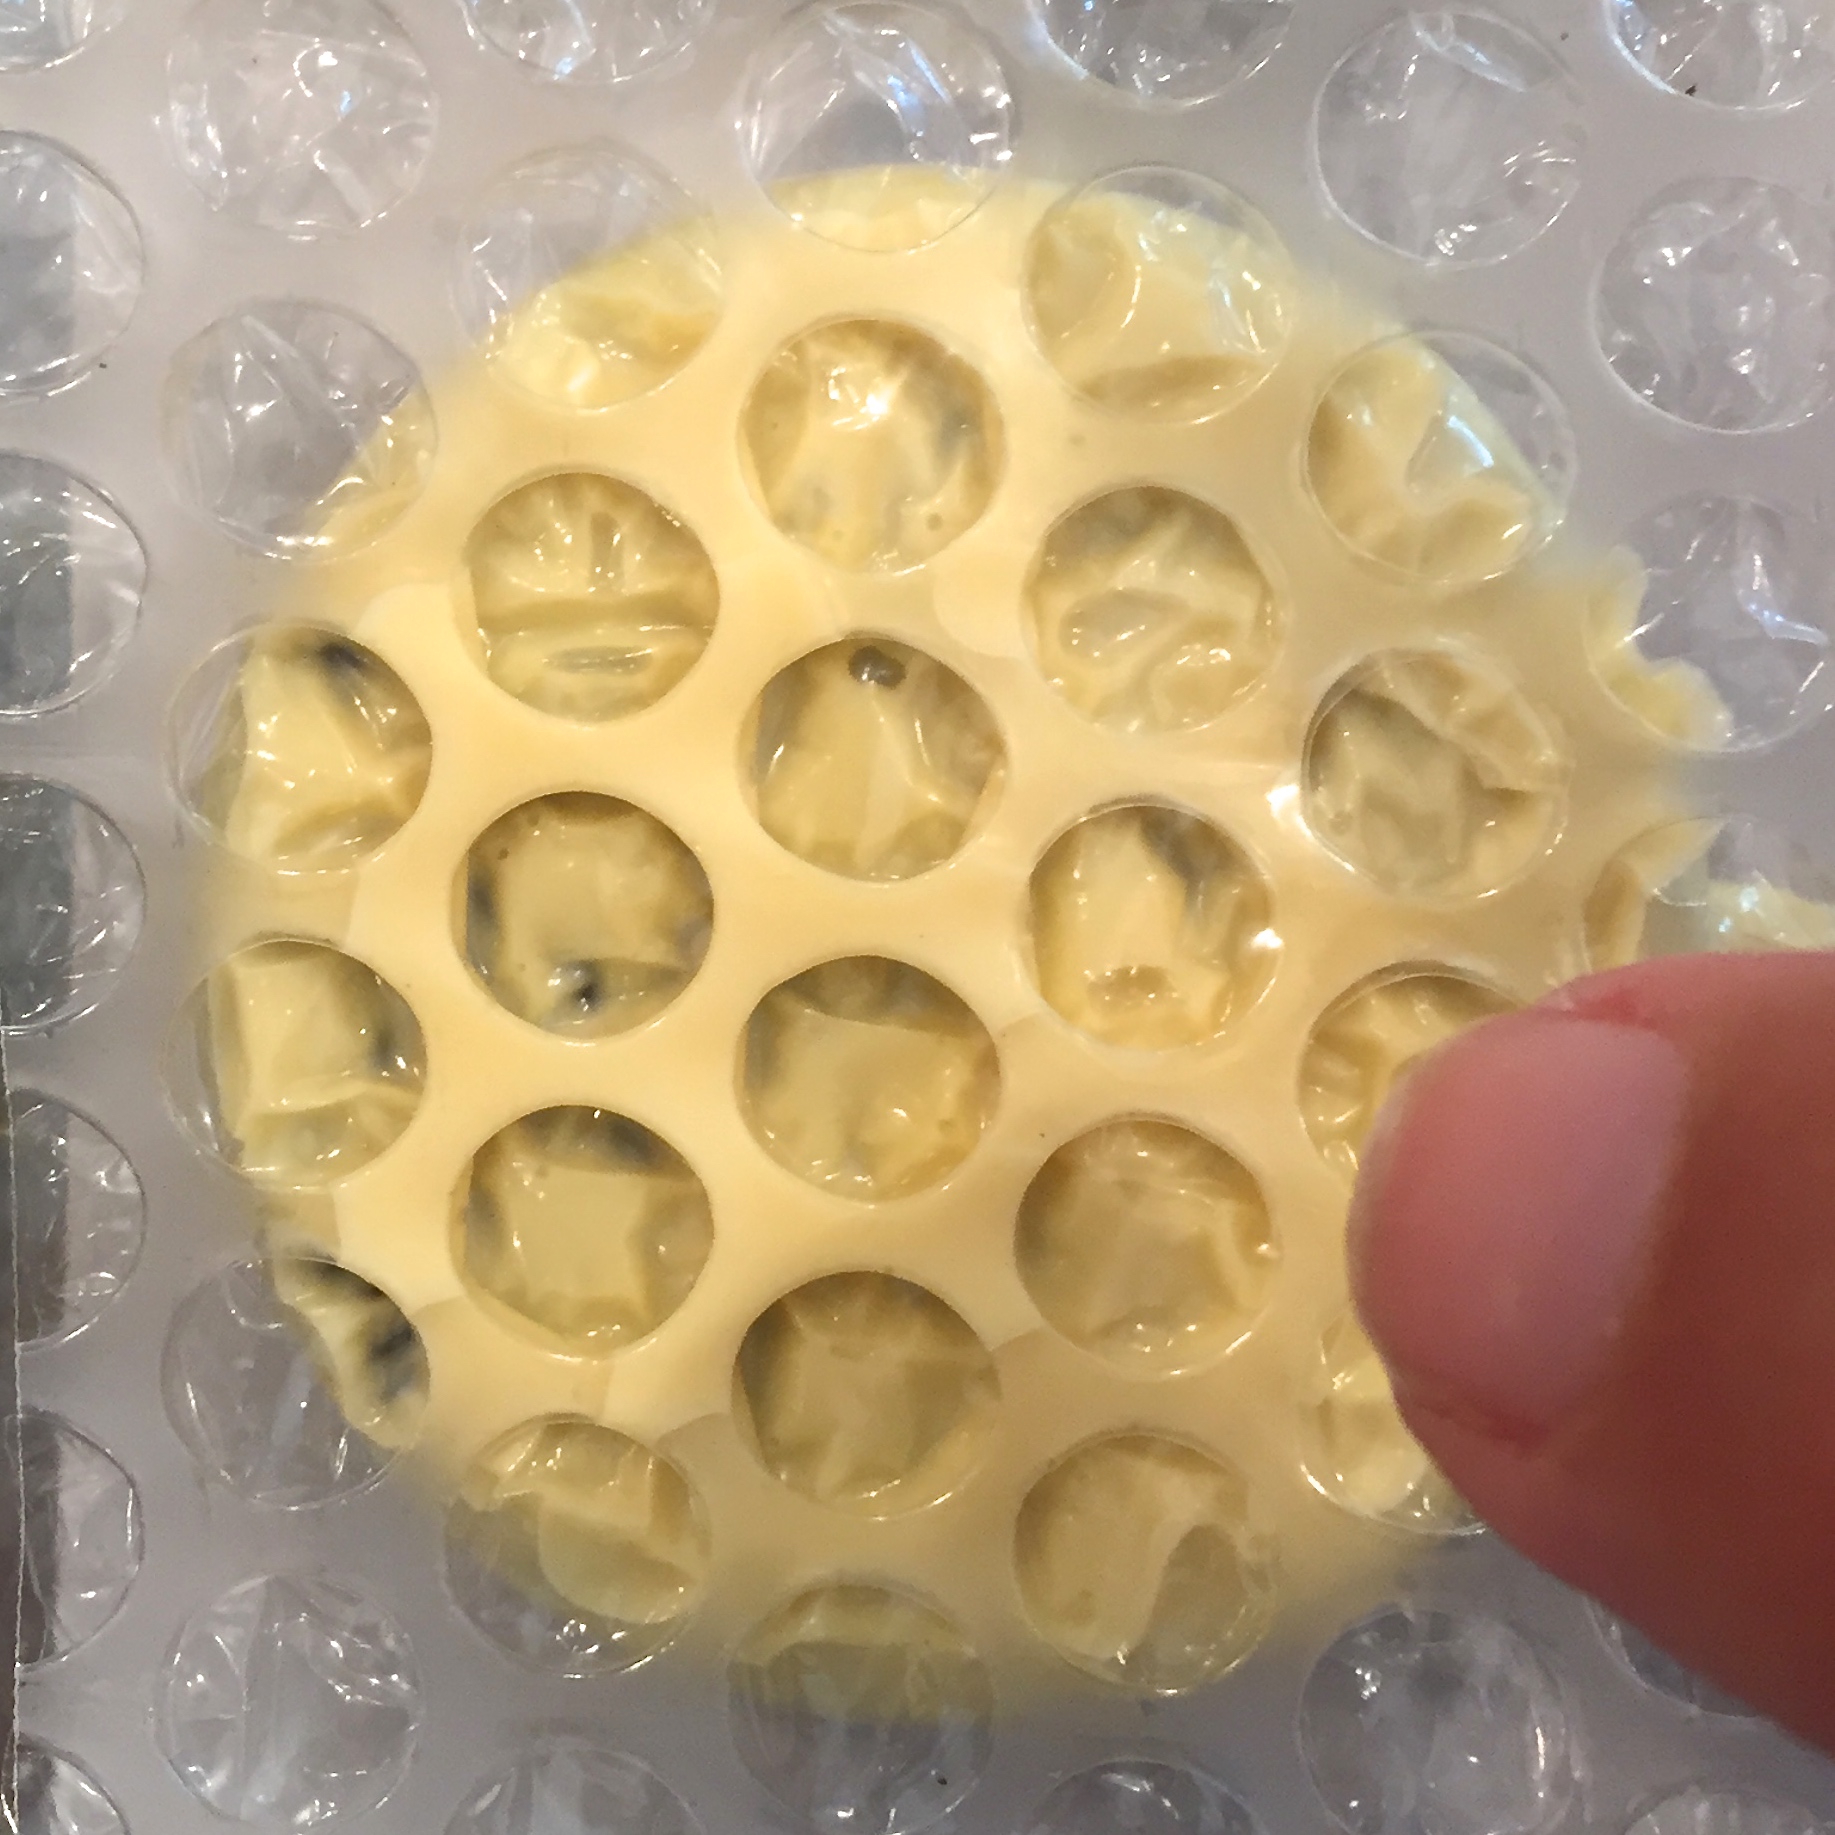
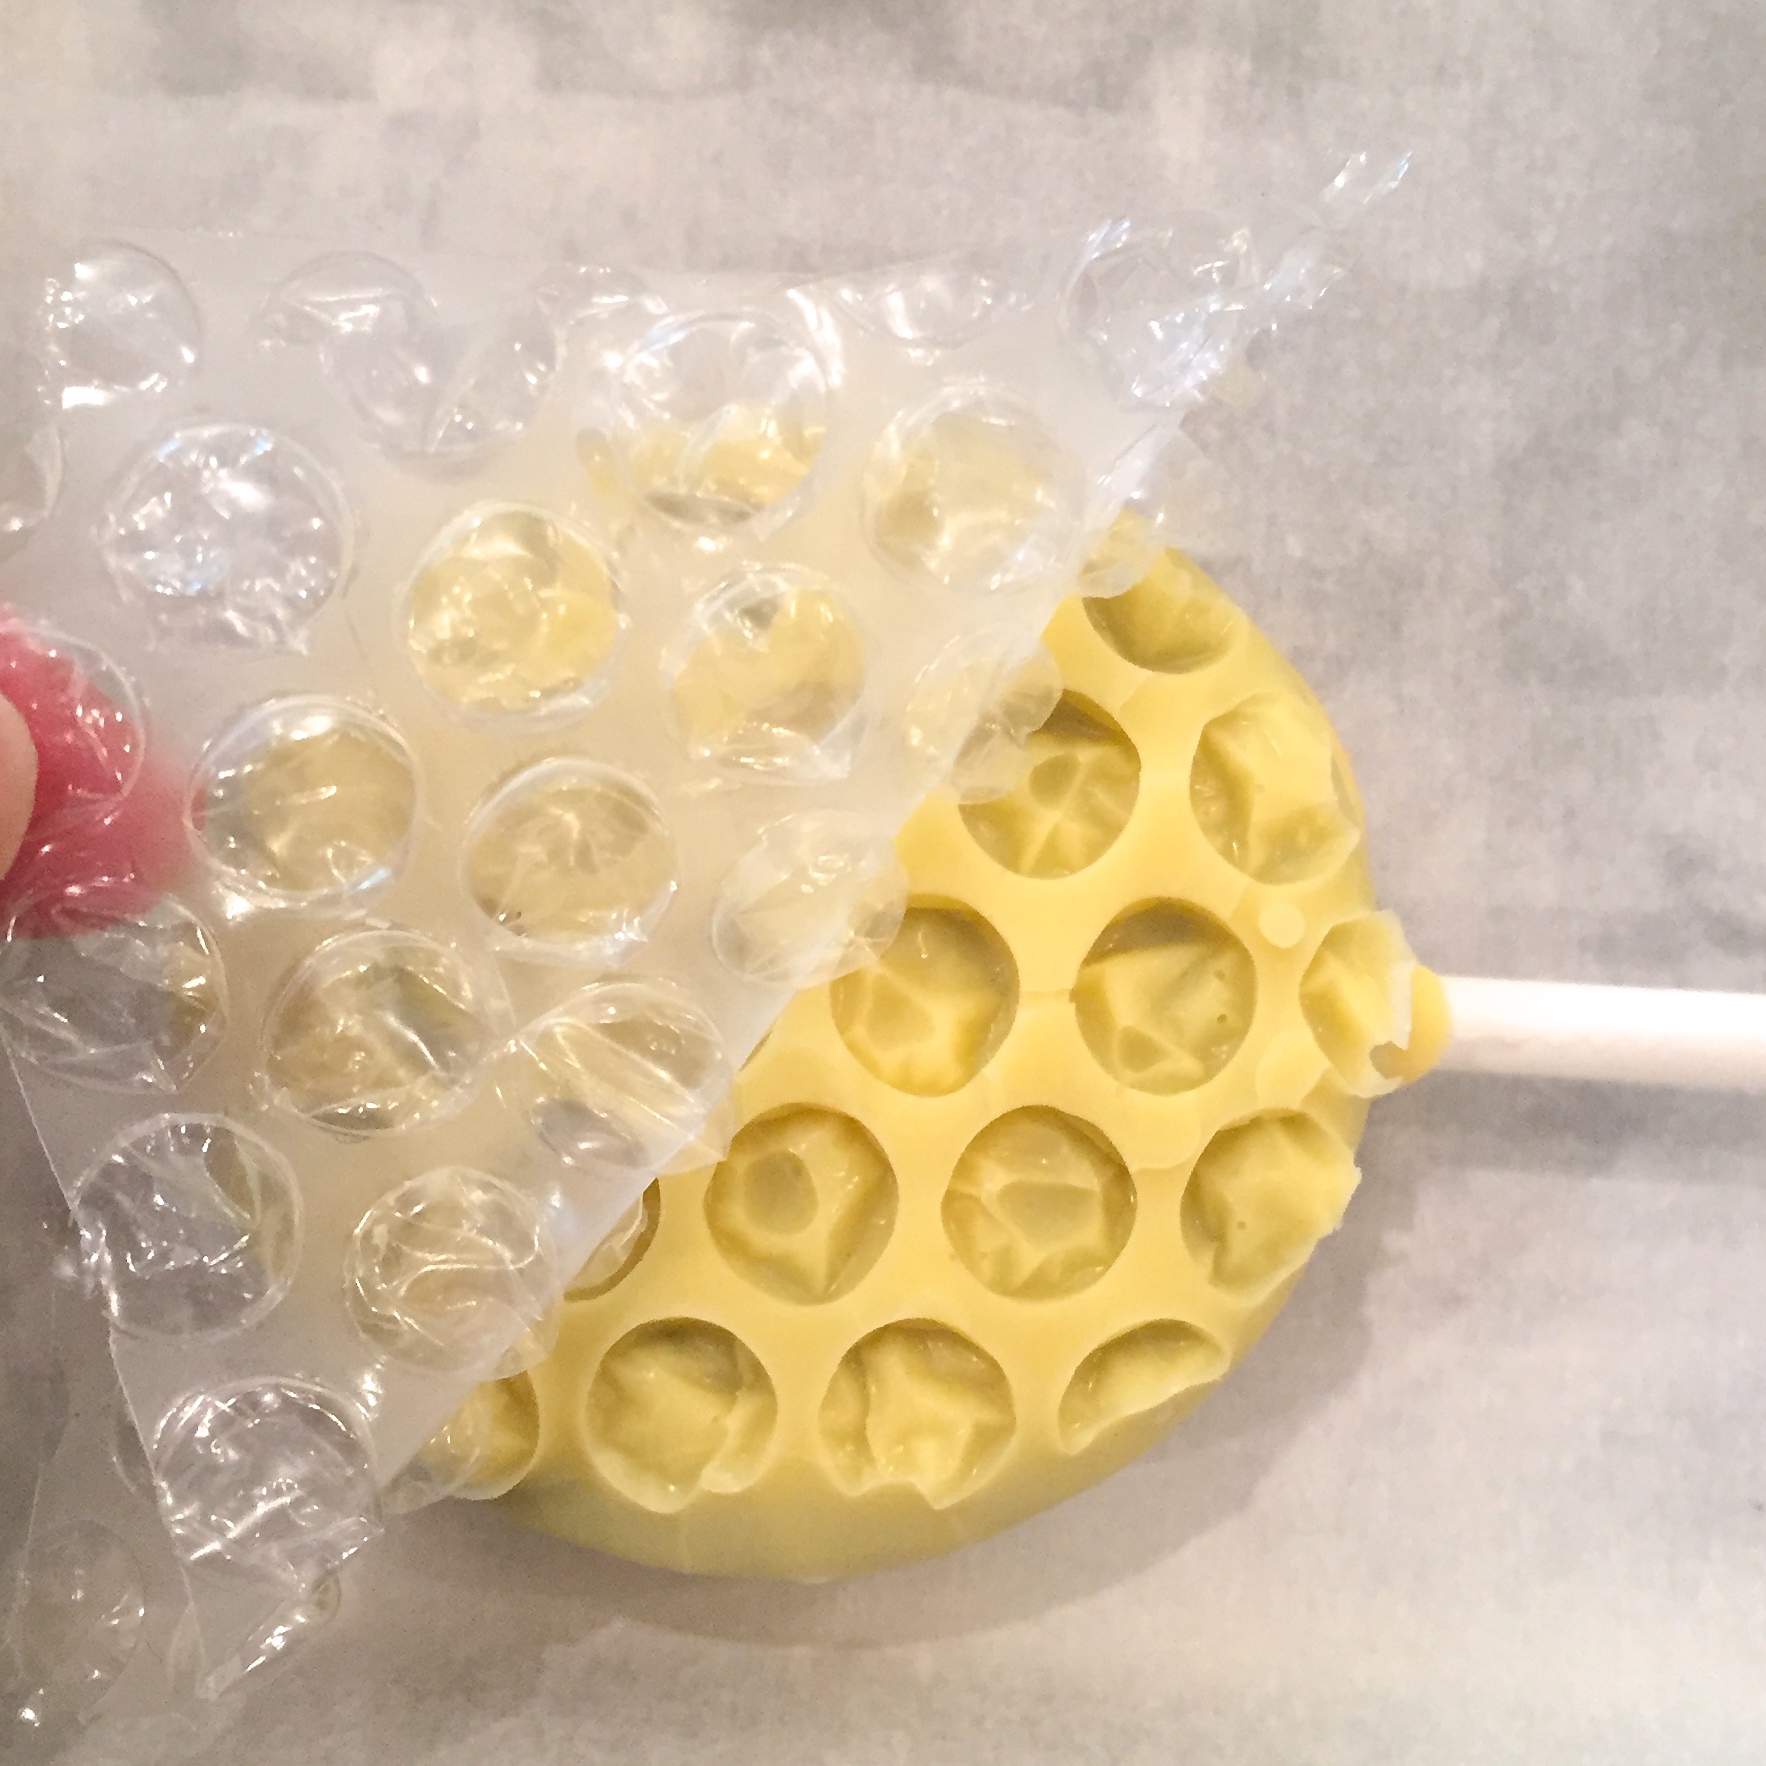
- Repeat this with all Oreo pops and allow candy melts to harden completely (refrigerate to speed process up)
- Gently peel bubble wrap off top of Oreo (I thought it might pop and leave plastic behind, but it came off perfectly!)
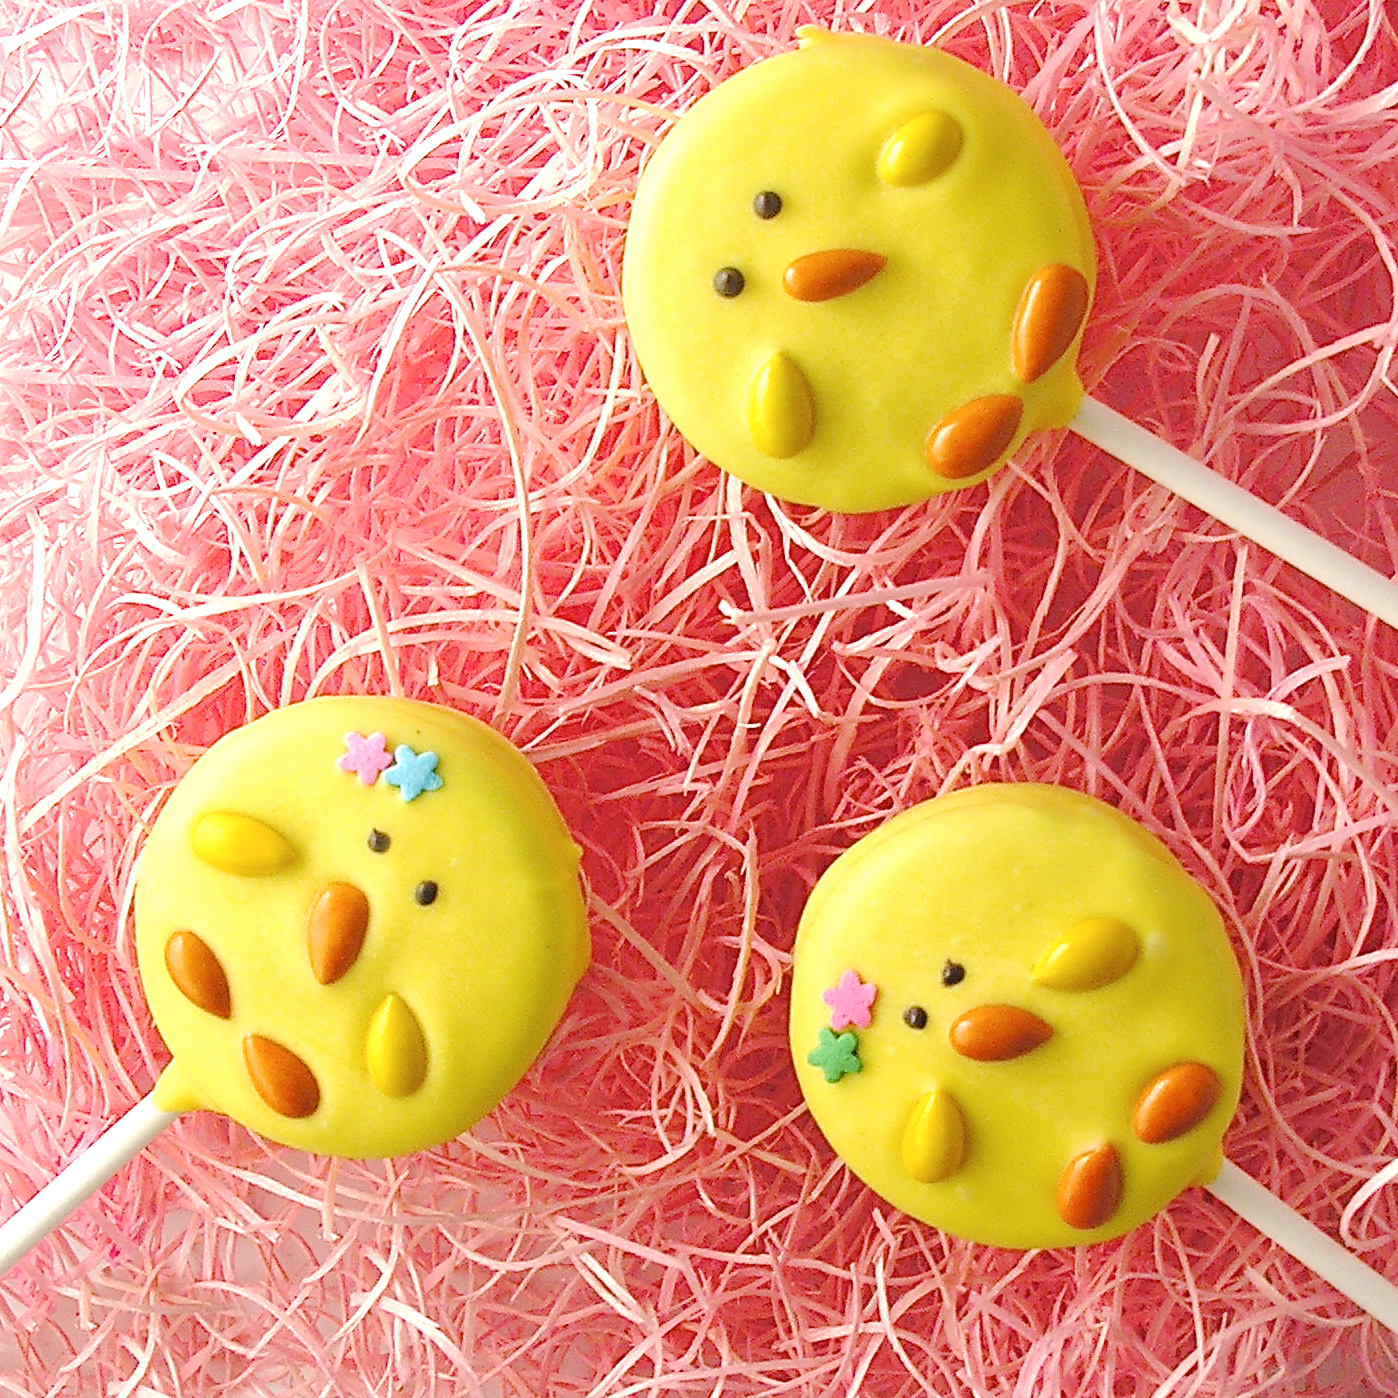
- Use remaining candy melts to “glue” a bee on top. Simply use a toothpick or small knife to wipe a bit of melted yellow candy on the back of a candy bee, and set it on top. Allow this to harden.
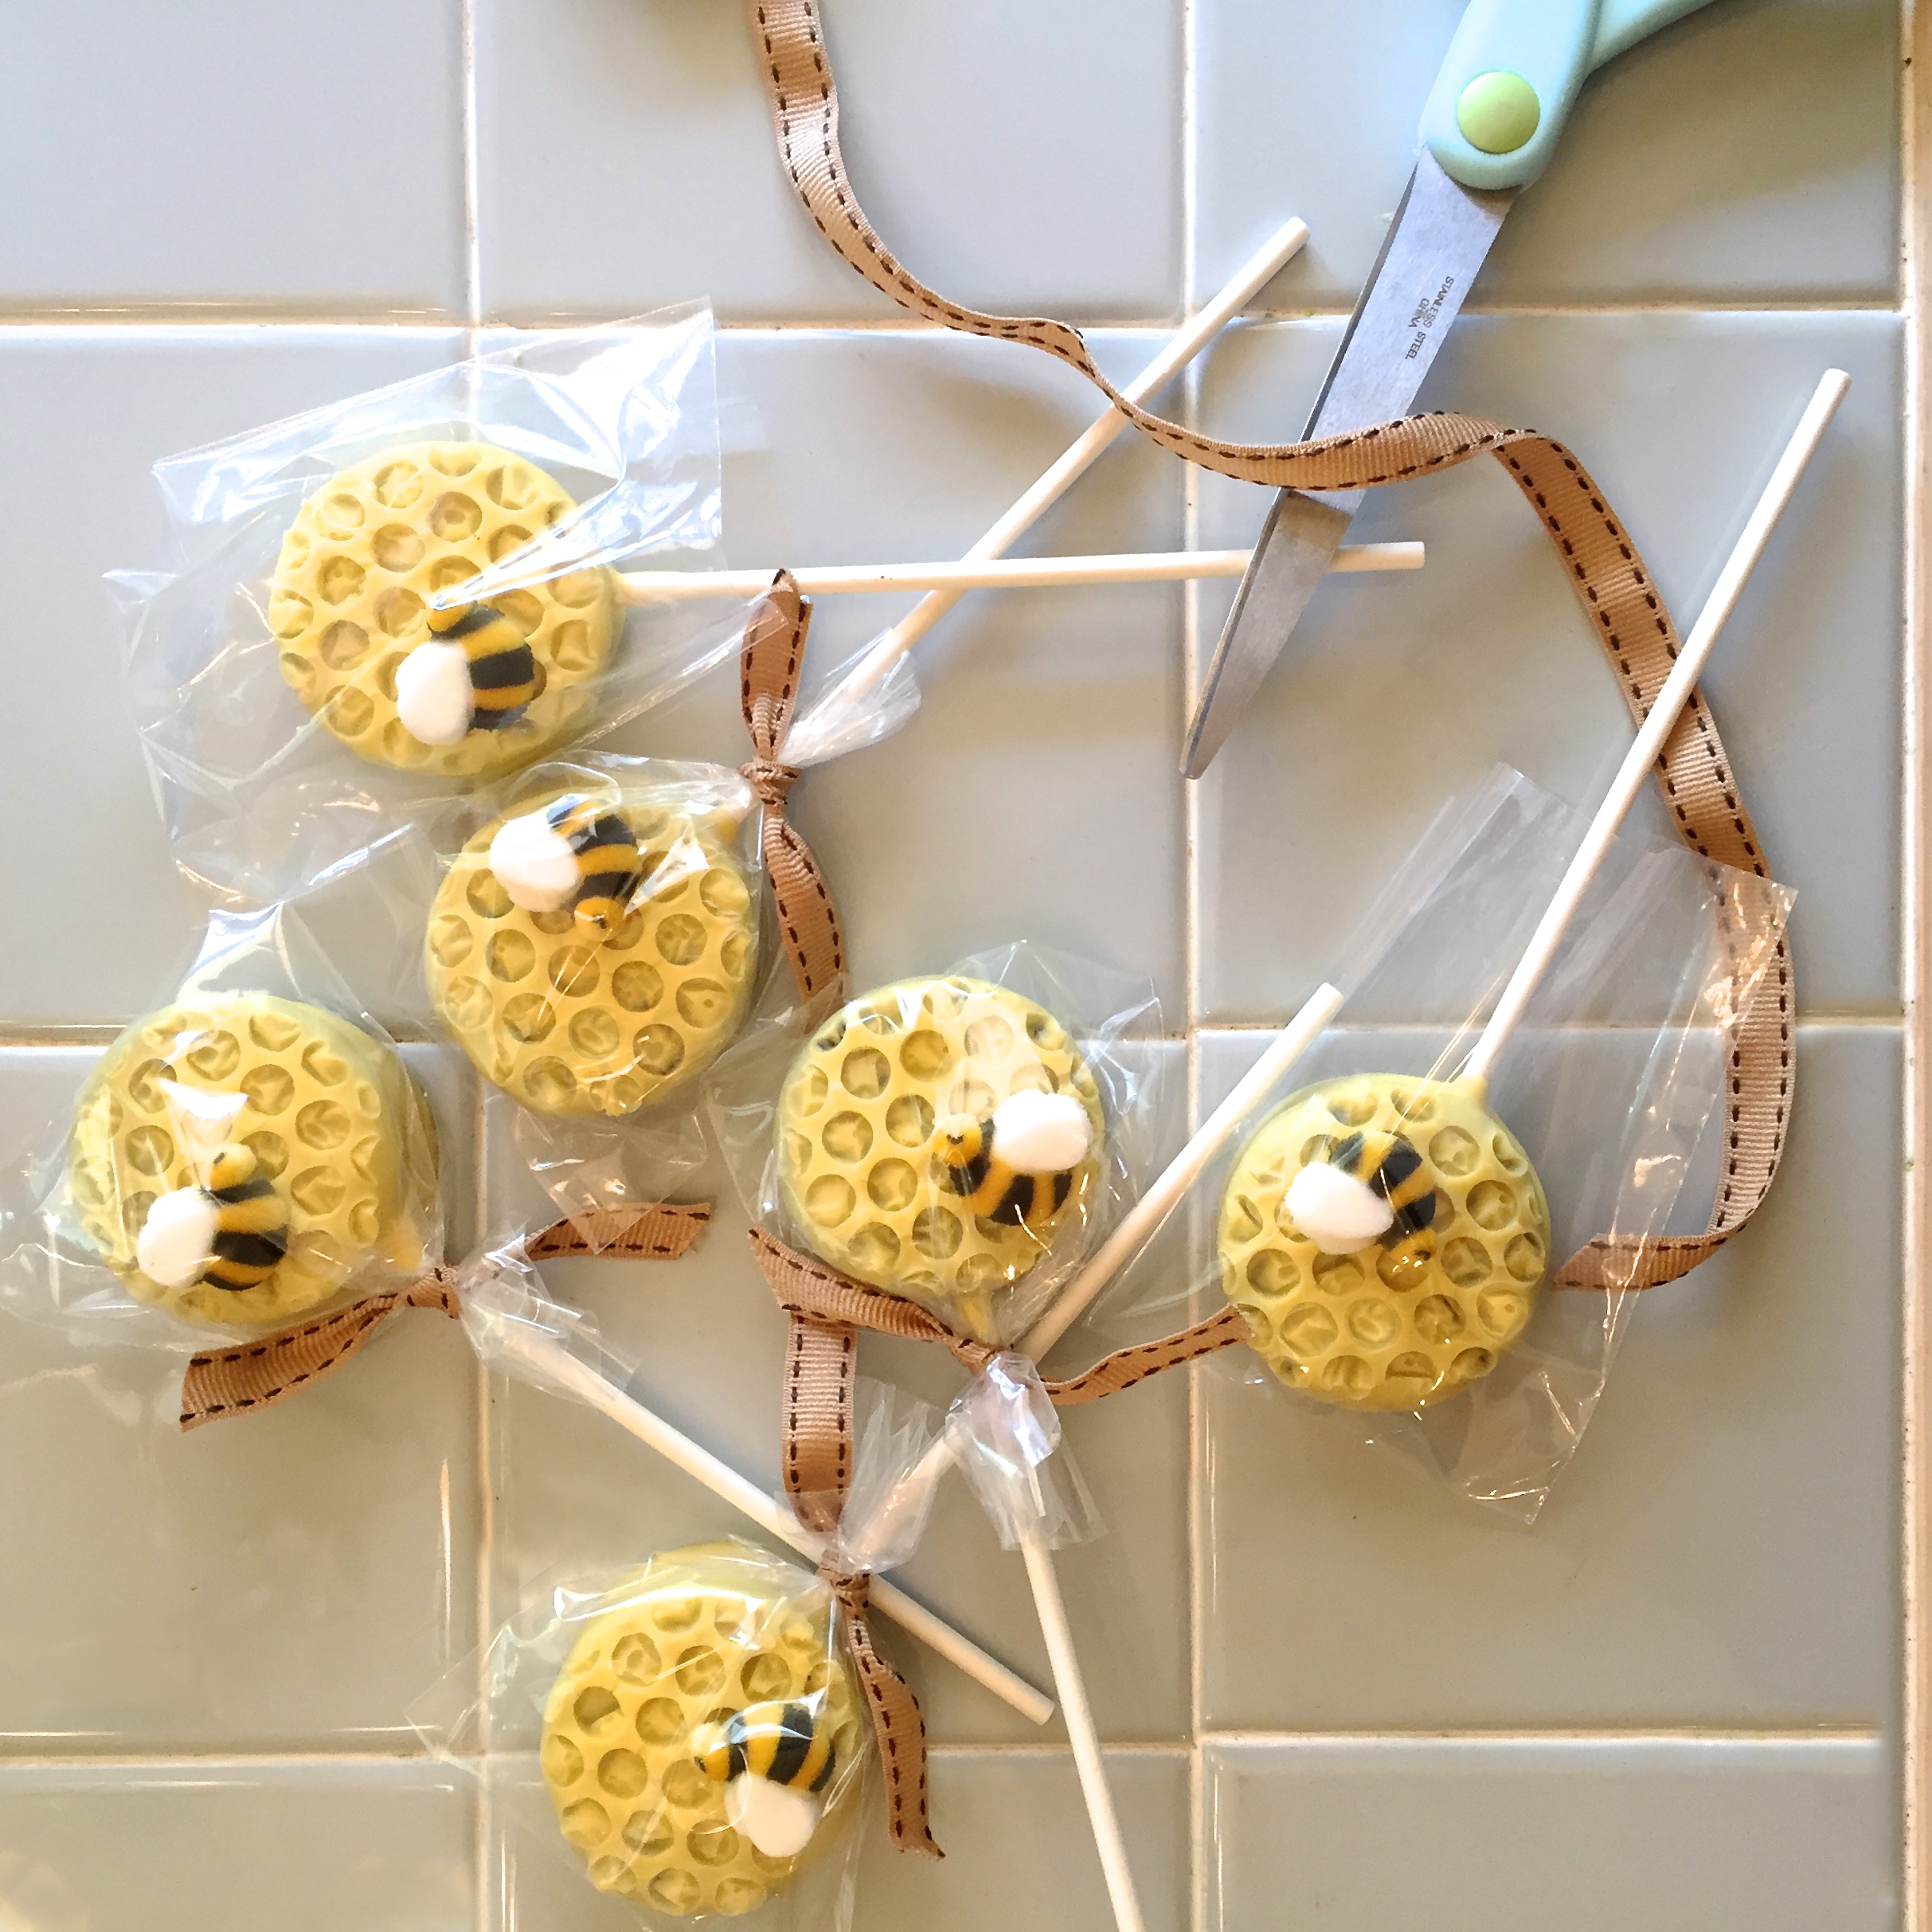
- Place each Oreo into a little cello bag, and tie with ribbon for a cute summer treat that will keep for weeks in a cool place! ENJOY!!!!
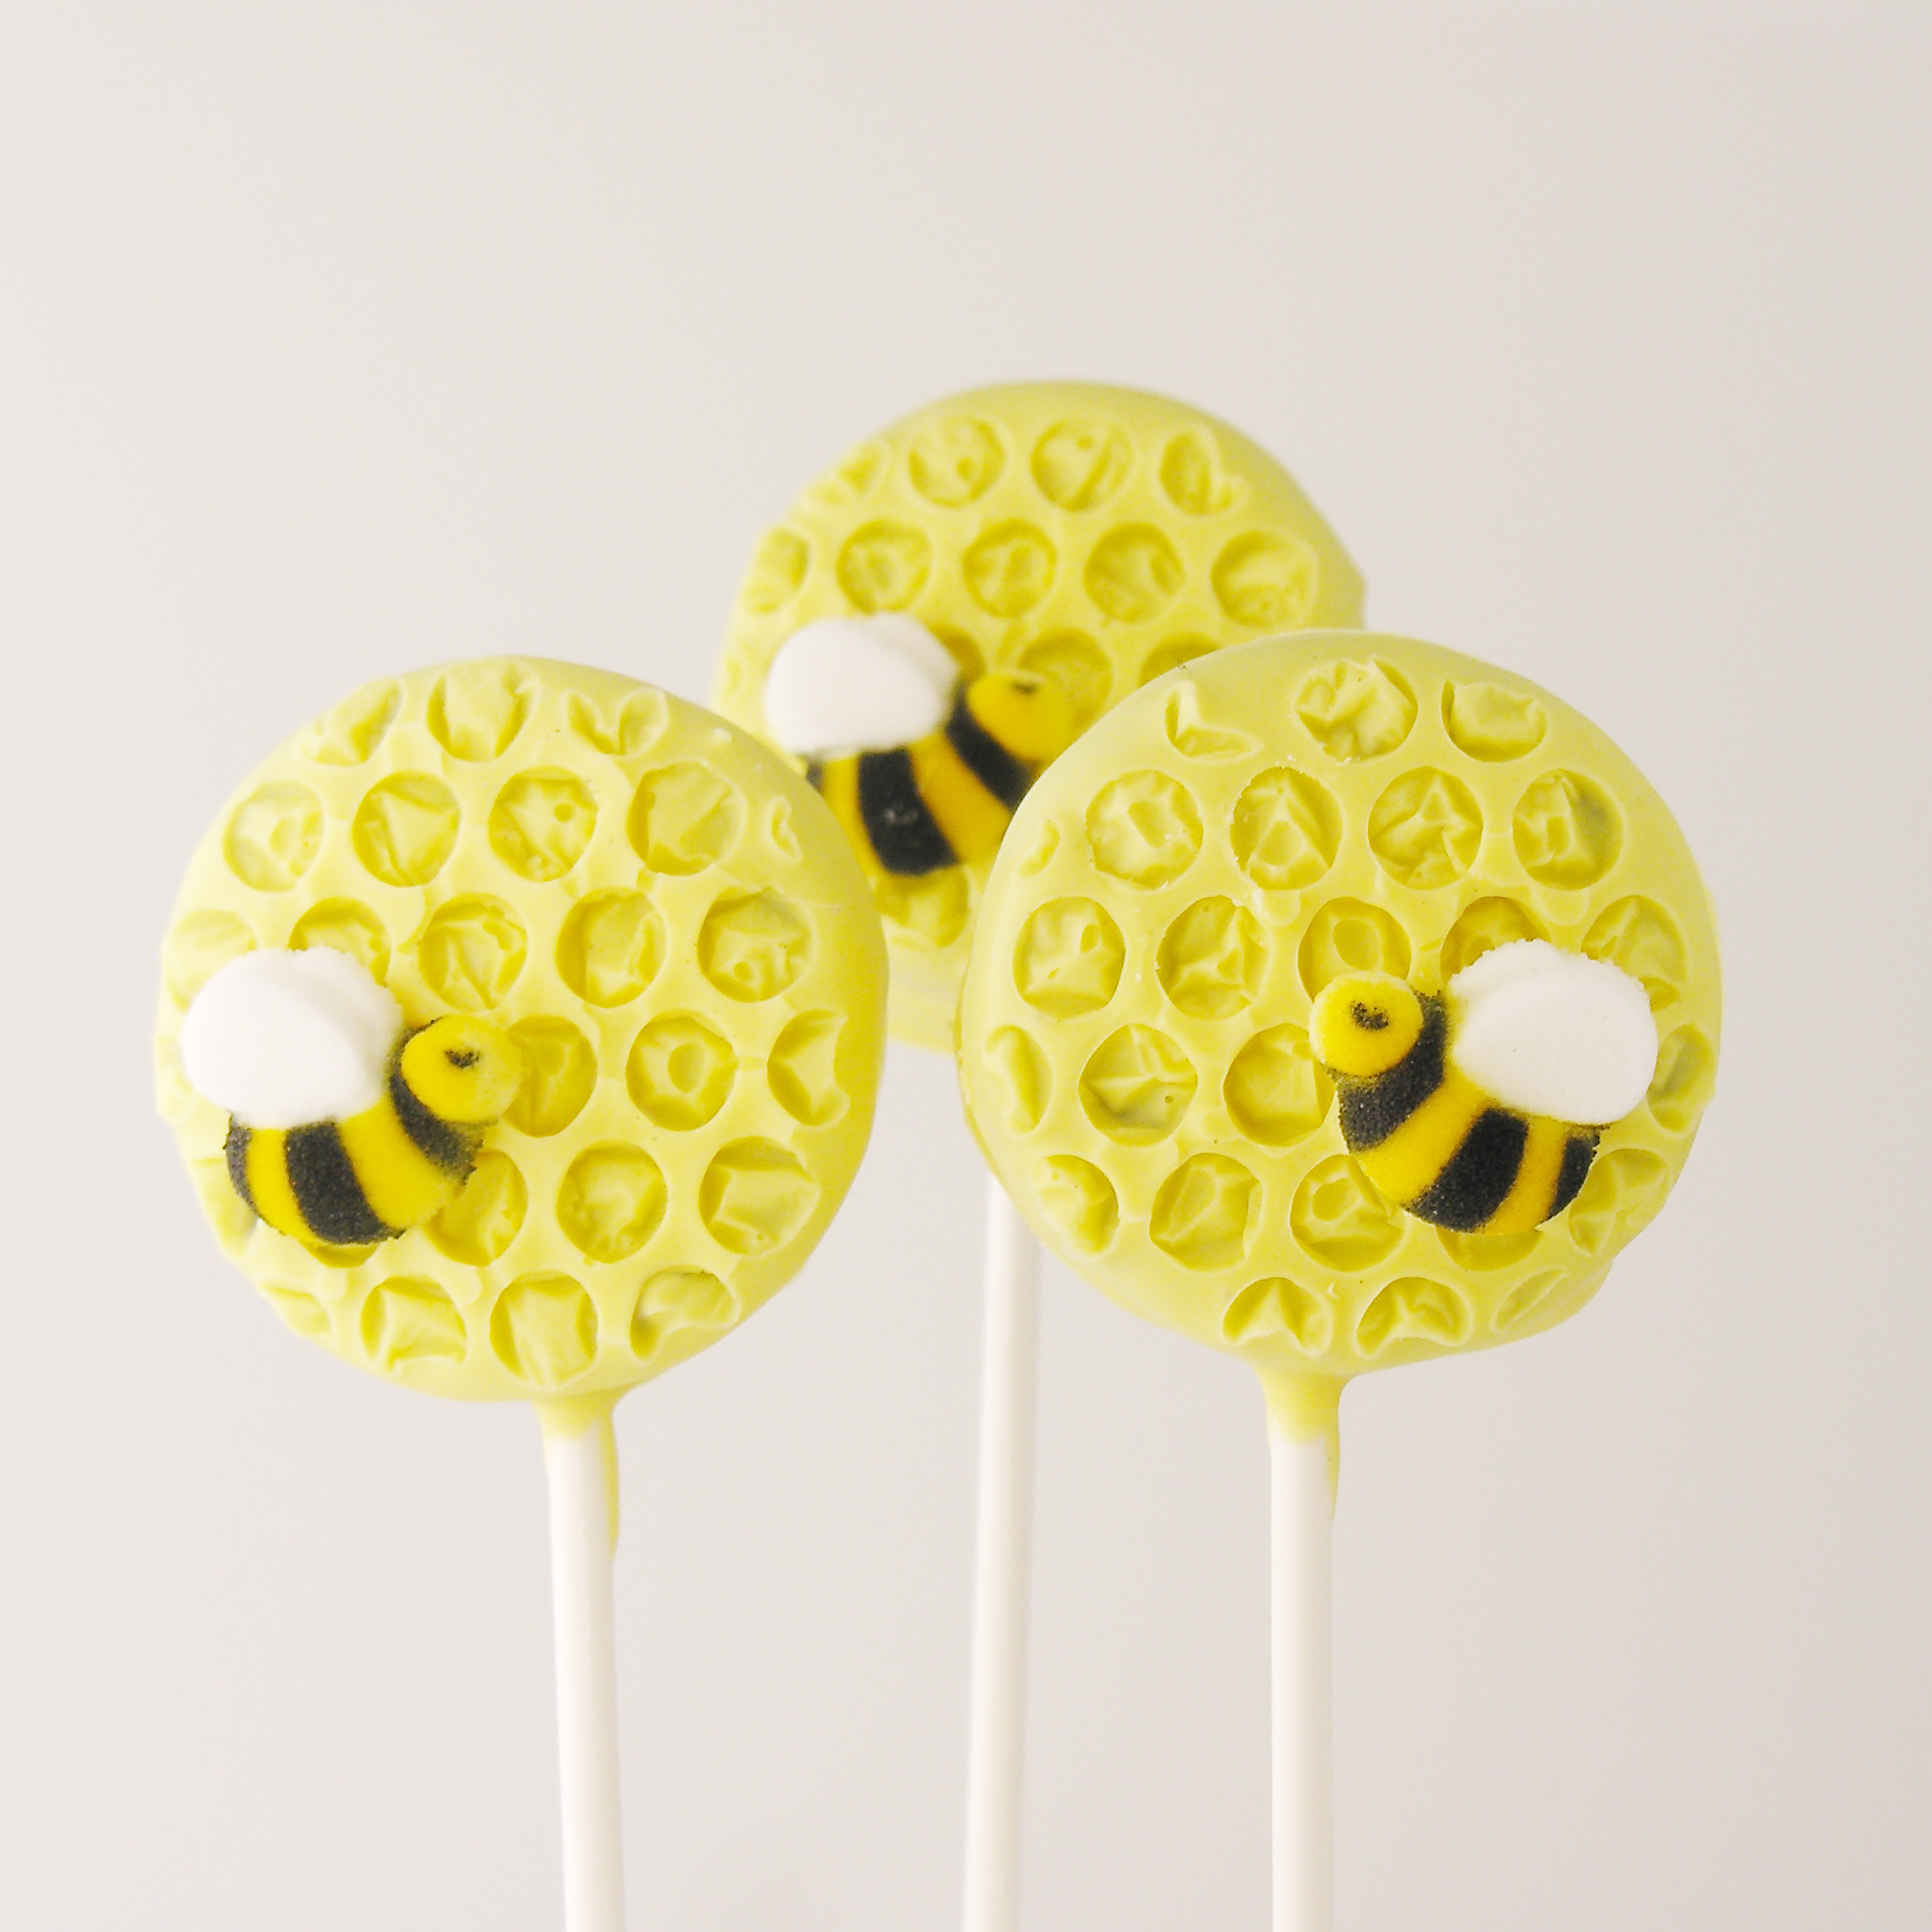
My thoughts: SO FUN!!!! Oreo pops are always fun- no matter what they are decorated with- but these Oreo pops are just especially cute! Goodness. I love them! Perfect for the end of a picnic or for a honeybee themed party! I hope you get a chance to try these out! Enjoy! ~r
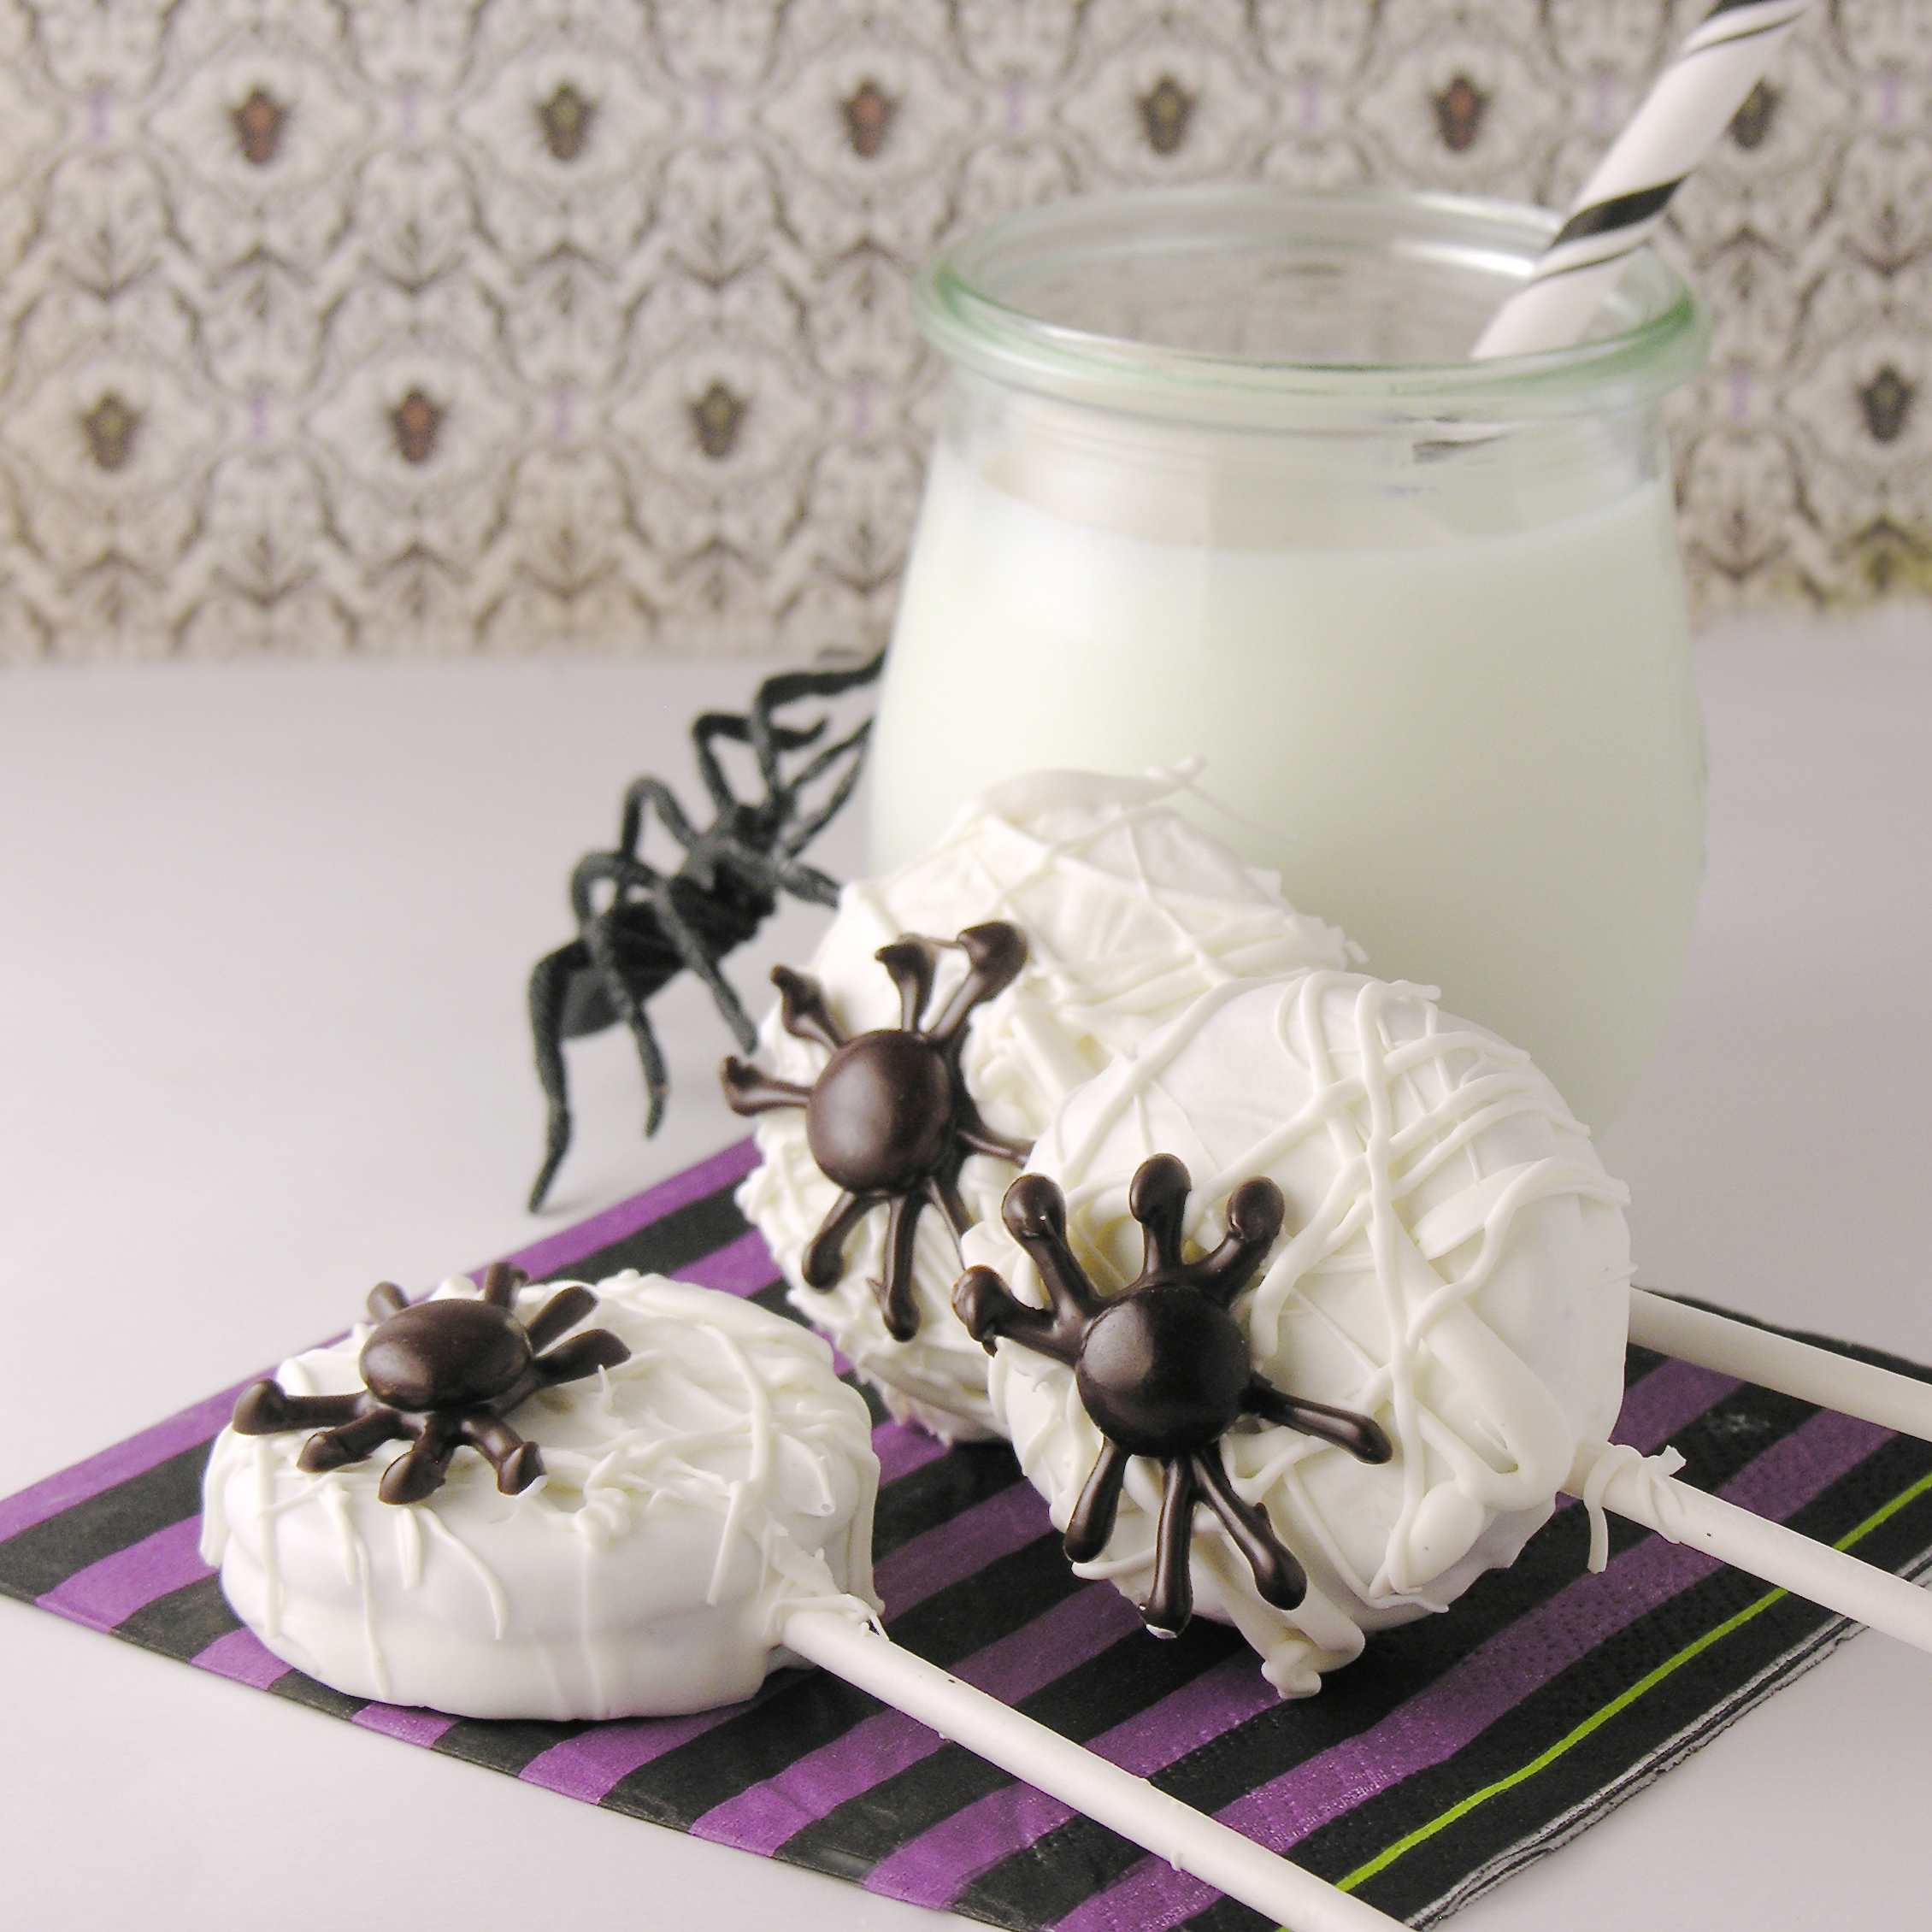
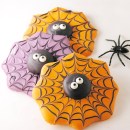
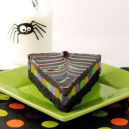
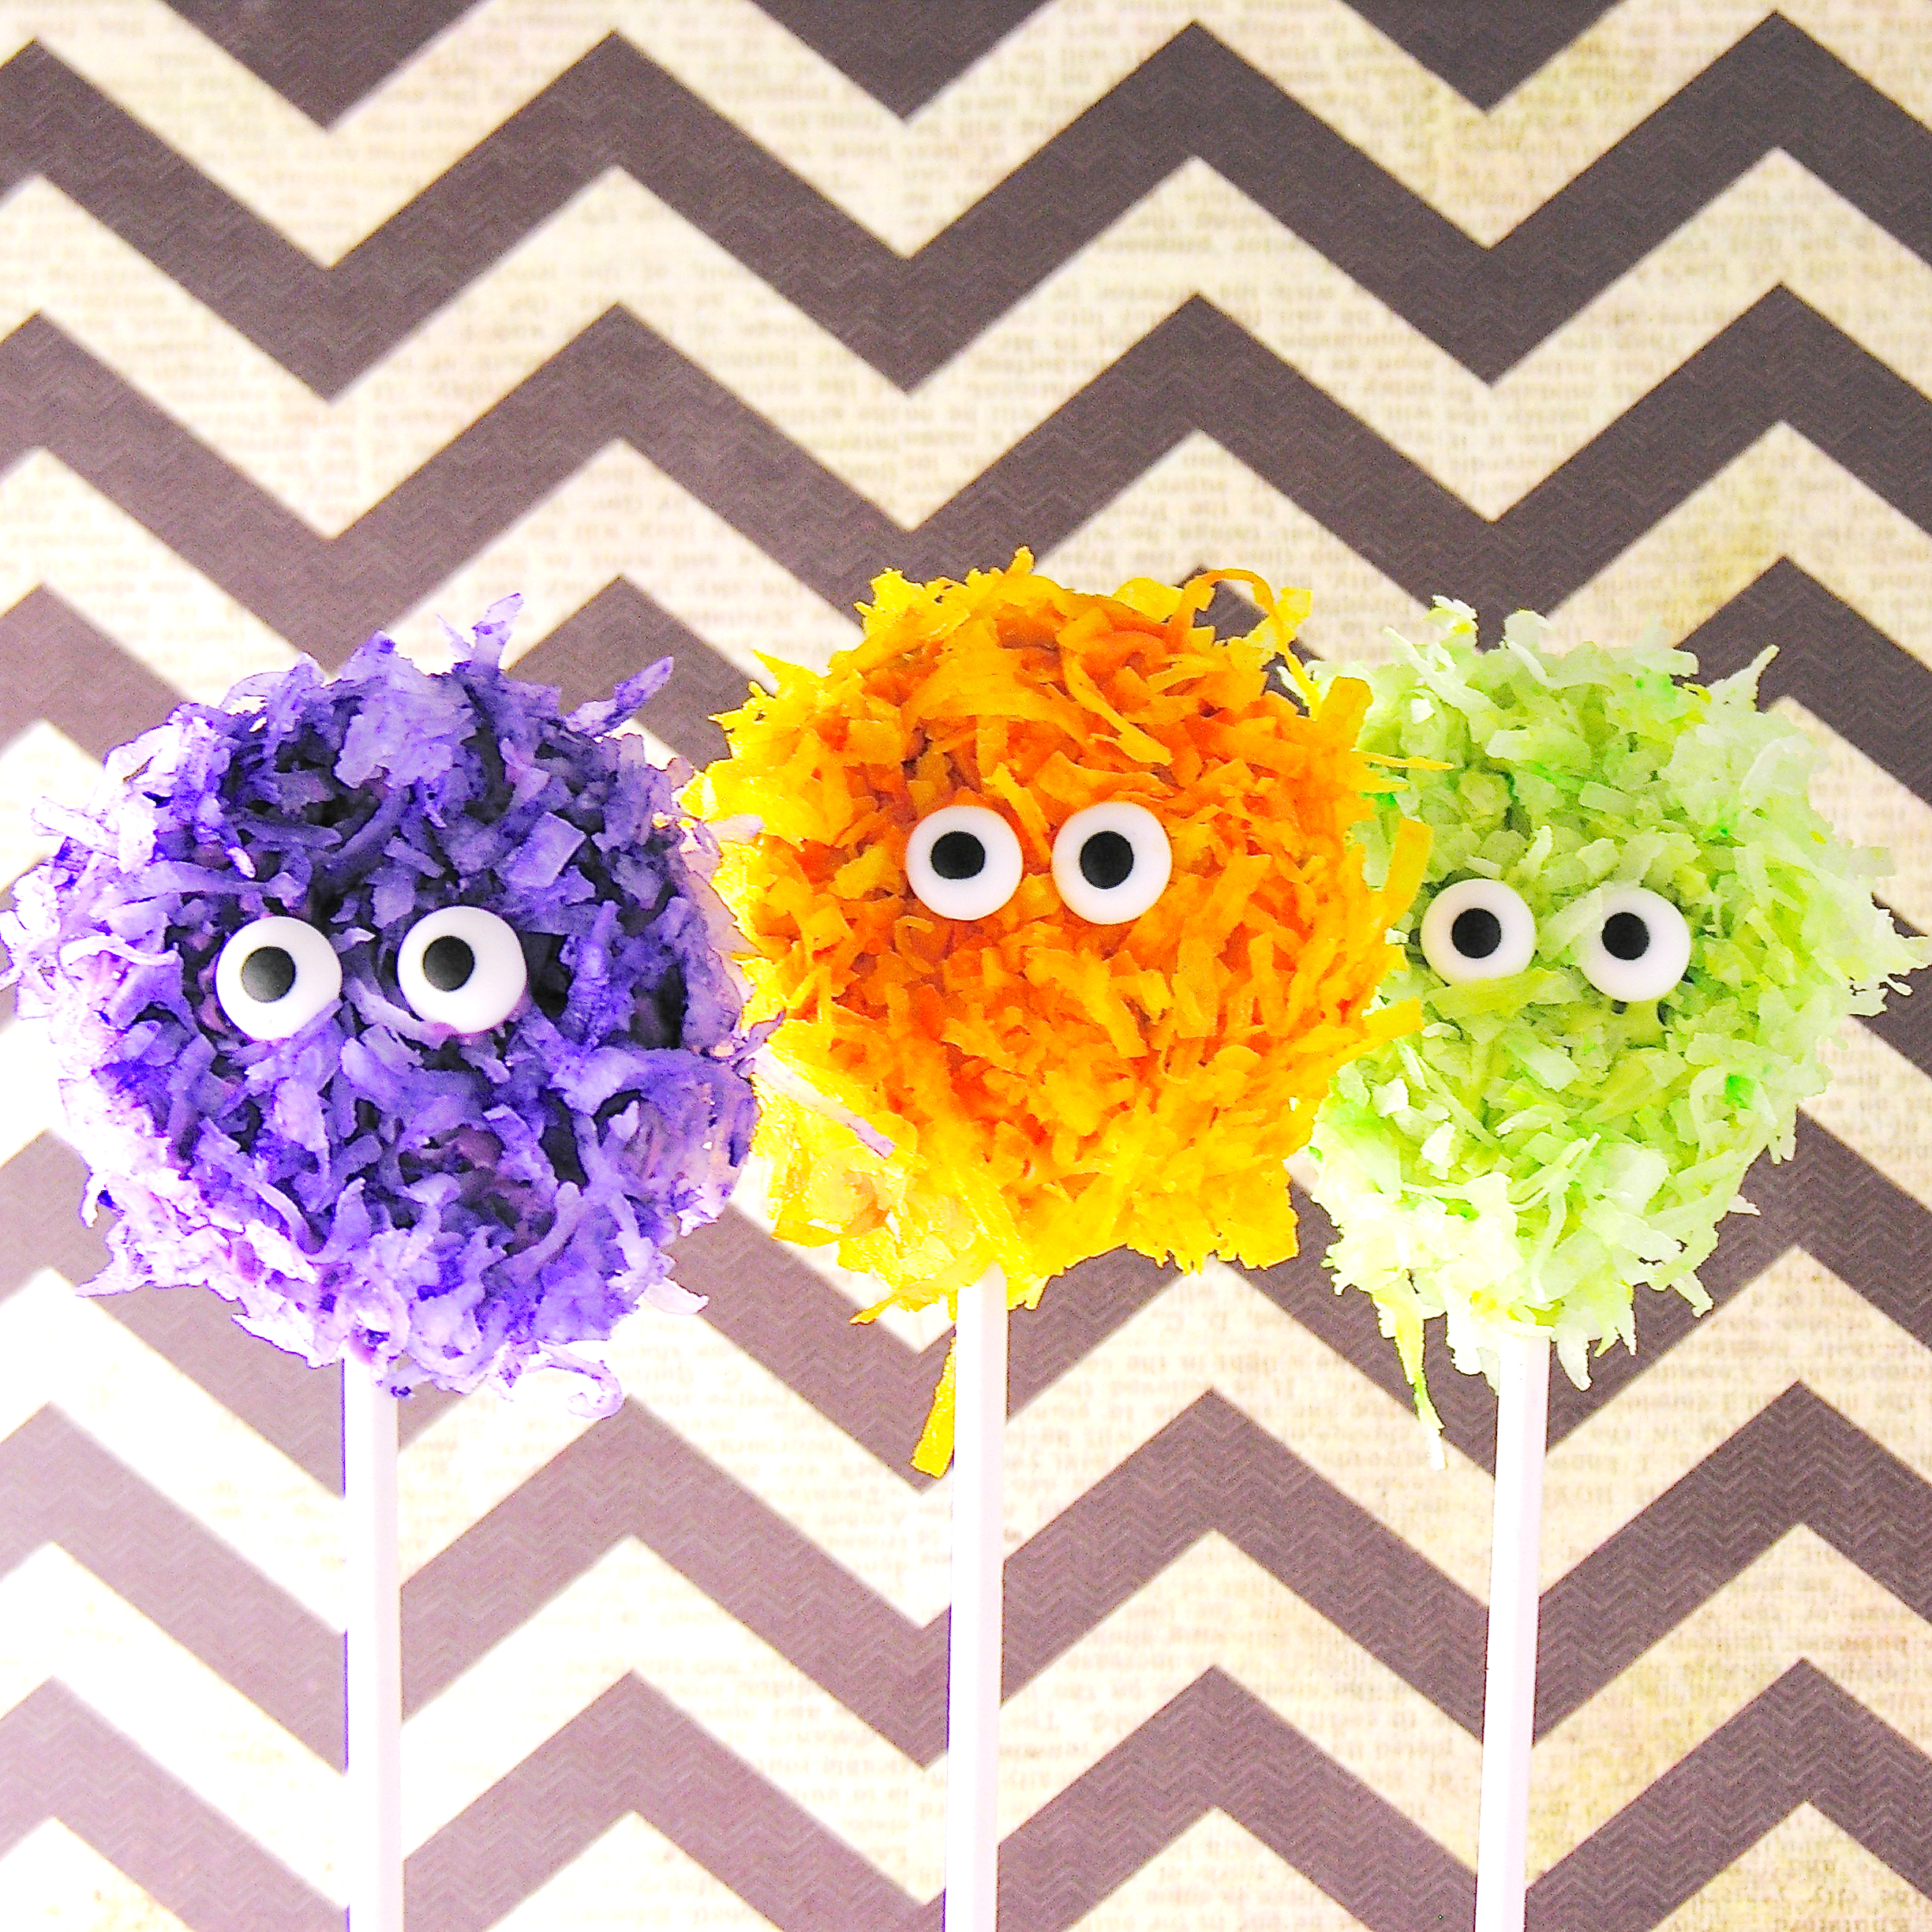
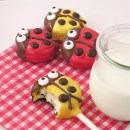
Like cute bugs? We have a few recipes here for your summer insect enjoyment 🙂 (click on a photo to see the recipe)