Tag Archives: chocolate

No-Bake Easter Nest Cookies

Posted on

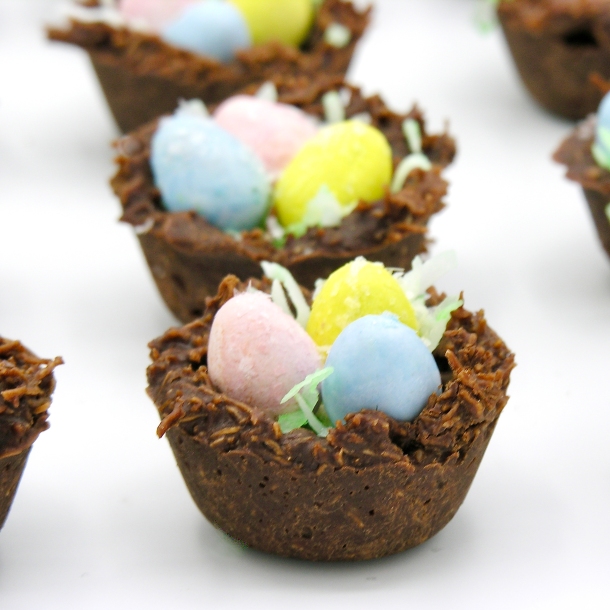
Easter nest 4-1These crunchy little nest cookies are filled with the (seriously addictive!) Cadbury mini eggs and a pinch of coconut. A perfect Easter treat! 
Easter nest 6-1

I just want you to know… I am the owner of the perfect no-bake cookie recipe. It’s my mom’s recipe, and it is perfect because it was the recipe we grew up enjoying. My mom passed away about 6 years ago, and I cherish every recipe I have of hers. When I was thinking about making Easter nest cookies, this recipe was the 1st to pop into my head. For sure I could have made it with the traditional oatmeal, but that’s not very nest-y, is it? So I used shredded wheat (the big ones!) I had to look a little bit to find the full-size shredded wheat (there are like a million flavors of mini!), but I found it- and it worked perfectly. I see you, chow-mien nest-makers- but I just could not bring myself to cover chow mien noodles in chocolate. Ewww. Sorry. Sticking with cereal here 🙂

Easter Nest 2-1

Want to know how to make these little nest cookies? Here is the recipe: (printable version)

Ingredients: (makes 24 mini nest cookies)

  • 2 cups sugar
  • 1/2 cup milk
  • 1/2 cup margarine (or one stick of butter)
  • 1/2 cup cocoa
  • 1/2 cup peanut butter (creamy)
  • 3 teaspoons vanilla extract
  • 4 cups of broken up shredded wheat (this was 9 big pieces, broken up)
  • 1/2 cup coconut (optional) with a tiny bit of green food coloring
  • 72 mini Cadbury eggs (just get a big bag- you’ll want the rest- I promise!)

Directions: 

  • Crunch up the shredded wheat until you have 4 cups.
  • If you use coconut, place it in a zip-top bag with the food coloring and shake until green.
  • Spray a mini-muffin tin with non-stick spray and set aside. 
  • Measure sugar, milk, margarine, and cocoa into a large saucepan. 
  • Heat until boiling (stirring constantly) and then boil for 2 minutes. 
  • Add peanut butter and vanilla. Stir until smooth. 
  • Take off heat, and add Shredded wheat, stirring until it is completely coated. I recommend adding it one cup at a time and using a little less if it gets too thick to stir well.
  • Working quickly, spoon or scoop into mini-muffin tin. 
  • Use a tart shaper or a rounded measuring spoon to press the center in (spray this item with cooking spray between each nest to keep it from sticking). 
  • Sprinkle a little coconut over each nest. 
  • Press three eggs into each nest. 

Nest process1Process3Process2

  • Allow nests to cool and harden.
  • Use a small knife to pop nests out of pan. 
  • Enjoy! 

Easter nest 5-1

My thoughts: I love how interesting these cookies taste with a different cereal added! For sure the shredded wheat gives these a more nest-like appearance. I really wanted to get the Cadbury eggs that are shimmery, but I couldn’t find them at my grocery, so I sprinkled a few edible sparkles over the top. 

If you want to try these with the oatmeal (and experience one of my favorite cookies from childhood), I will leave you with my mom’s original recipe (in her handwriting :)). I actually remember her writing this out for me (from memory). I’d just gotten my 1st apartment out of college and was craving these and she pulled out her notepad and jotted this down for me.

Just a note though- she NEVER used butter (even though the recipe says butter). Butter translated to her was always Country Crock. I use margarine as well- just to be true to her recipe- but I’m sure butter works fine too. Enjoy! ~r

Mom's recipe

Looking for other fun recipe ideas for Easter? We have lots of them! Just click a photo to see the recipe!

babychicks3cadbury-egg1dscn8243jelly-bean-cookies1

Peppermint Mocha Cookies

Posted on

Brighten up your February with these cheery peppermint mocha cookies!

Sweet peppermint icing over dark chocolate coffee cookies? Yes please!

Just in time for Valentine’s Day, these cookies didn’t last long in our house, and my husband is already hoping I will make them again. Not too sweet, but full of rich espresso and peppermint. I think you’ll love them.

Want to know how to make them?
Here you go. (printable recipe)

INGREDIENTS: (makes 36 medium cookies)

Cookies:

  • 2 sticks (1 cup) butter, softened
  • 1 1/2cups sugar
  • 2 eggs
  • 3 teaspoons vanilla extract
  • 3 teaspoons instant Espresso Powder
  • 2/3 cup unsweetened cocoa powder
  • 3 cups flour
  • 1/2 teaspoon salt
  • 1/2 teaspoon baking powder

Icing:

  • 4 cups powdered sugar
  • 3/4 cup water
  • 3 Tablespoons meringue powder
  • 1/2 teaspoon peppermint extract
  • a little pink food coloring gel
  • sprinkles or white chocolate to make the design on top

DIRECTIONS:

Cookies: 

  • Cream together butter and sugar in a large mixing bowl.
  • Mix in eggs and then cocoa.
  • Place vanilla and Espresso Powder together in a small cup until coffee dissolves.  Add this mixture to the batter and mix until completely incorporated.
  • Gradually add dry ingredients and mix until smooth (use clean hands at the end, to knead into a soft ball of dough)
  • Wrap in plastic and chill for at least one hour.
  • Allow cookie dough to soften a little at room temperature
  • Preheat oven to 350F degrees.
  • Roll out cookie dough on floured counter.  
  • Cut into circles and place on a parchment-lined baking sheet.
  • Bake for 8 to 11 minutes until the edges are firm.
  • Gently slide parchment paper off of cookie sheet and onto a flat surface.  Cool completely before removing cookies from paper.

Icing: 

  • Beat together all ingredients and add powdered sugar until it becomes a thick glaze consistency. 
  • Place in a zip-top bag fitted with a small round piping tip. 
  • Pipe icing around edges of cookie and allow this to harden.
  • Fill center of cookie with icing, spreading it to the edges that have hardened. 
  • To make coffee or heart design, pipe lines on top of cookie with white chocolate, and pull a toothpick through to form design. Otherwise (much easier!) sprinkle with some crushed peppermint or heart sprinkles!
  • Let icing harden and ENJOY!!!

My thoughts: These are easy to make, and they keep in an air-tight container for at least a week (and freeze well). I spent way too much time making coffee froth designs on the top, and when I make them again they will just have sprinkles. I really hope you get a chance to try these!!! Enjoy! ~r

Other cute Valentine’s Day ideas to try (click on photo to see recipe): 


Fall Peanut Butter Crisps

Posted on

Fall Peanut Butter Crisps1

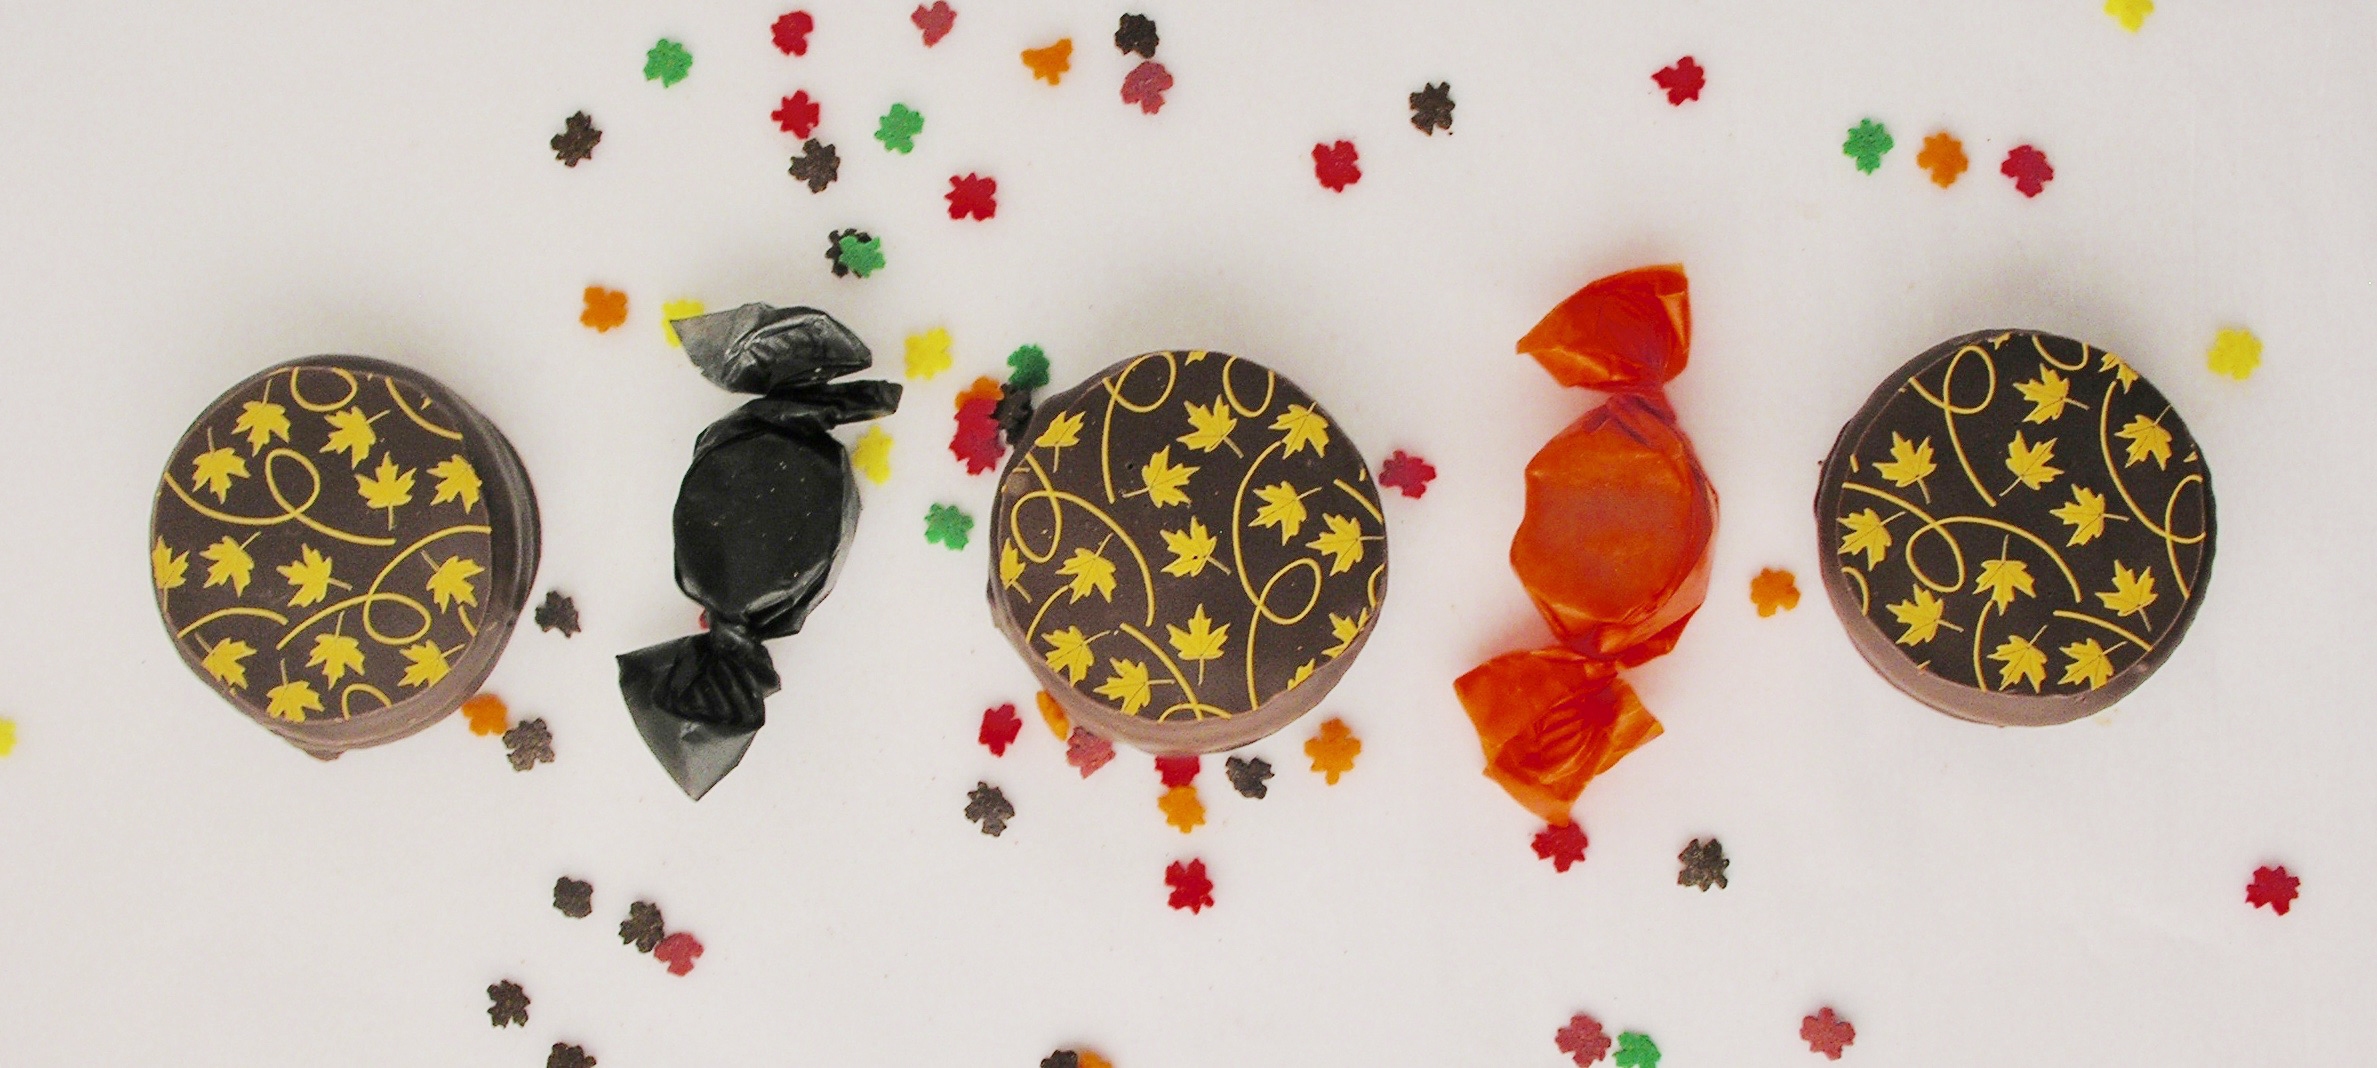
These beautiful fall cookies are special– not just because they are salty, sweet, crispy deliciousness– but because they use up your kids’ Halloween candy!!!!

So… Halloween is over, and you are likely in possession of more candy than you know what to do with. The chocolate will be gone in days, and then the name-brand candy will slowly get picked away at. But there are always those candies that sit in the bottom of the plastic pumpkin until Thanksgiving. For me, those candies were always Bit-o-Honey and the bright orange and black-wrapped “Peanut Butter Kisses“. These are a candy that only seems to make an appearance at Halloween. A combination of taffy and peanut butter, they just always seem to make the left-over candy list.

But not any more!!!  Go ahead, dig through all of that Halloween candy and pull these little guys out- they make the best filling for these beautiful cookies!

Fall Peanut Butter Crisps2

You can also grab other candies to fill these cookies with- rolos, kisses, peppermint patties, mini snickers… all work in this recipe! I actually began making these crisp cookies with Rolos about 5 years ago at Christmas.

Fall Peanut Butter Crisps5

Want the recipe? Here it is!! (printable version)

Ingredients: (makes 20 cookies)

  • 40 Ritz crackers
  • 20 Peanut Butter Kisses (or other small candy that melts at a low temperature)
  • 1 bag of Wilton’s dark chocolate candy melts
  • 1 chocolate transfer sheet (I used 12×16″, and I got mine here). 

Directions: 

  • Preheat oven to 350F degrees. 
  • Place 20 Ritz crackers on a cookie sheet, bottoms up. 
  • Unwrap all 20 peanut butter kisses, and set one on each Ritz cracker. 
  • Place cookie sheet in oven for about 4-5 minutes- check! Candy should be soft but not completely melted. 
  • Remove from oven, and place Ritz cracker, bottom side down, on top of candy and press to spread candy to edge.


  • Place entire tray in freezer to chill for a few minutes.
  • Melt chocolate candy melts in a bowl in the microwave for about 2-3 minutes, stirring once every 30 seconds, until completely melted and smooth.
  • Place parchment paper on a cookie sheet (that fits in your freezer!)
  • Cut chocolate transfer sheet into 20 squares.
  • Take a cookie, place it in the melted chocolate and cover it completely. Use a fork to pick it up and tap on the side of the bowl until all excess chocolate drips off the bottom. Slide bottom along edge of bowl, and using fork, slide onto parchment paper.

  • Immediately place chocolate transfer sheet square on top of the melted chocolate (you’ll need to put the rough side down- the smooth side up) and gently press it into contact with the entire top of the cookie. Repeat 20 times.

  • Place entire cookie sheet into the freezer for 5 minutes or so. As soon as you remove it, gently peel off the transfer sheet from each cookie- and enjoy!!!

How-to-crisps8

My thoughts: There are three things that I love about these cookies…

  1. They are EASY to make- they take almost no time but look so fancy!
  2. They are CHEAP to make- the Ritz crackers and peanut butter candies are really inexpensive (I got mine at the Dollar Store), the chocolate isn’t too costly, and the transfer sheet is like $4.40, but SO worth it! (you could use sprinkles instead, to cut the cost even more though!)
  3. They keep for a long time. Put these little guys in cello bags, tie them up, and use them to decorate your place settings at Thanksgiving! 

They also can use a variety of candies up- and you can decorate them so many fun ways! 

Fall Peanut Butter Crisps3

Go – find your kids’ candy and re-purpose it into these beautiful, crunchy, deliciously salty but sweet treats!

Need other ideas for using up that Halloween candy? This is a project we have a few ideas for! Click on a photo to see the recipe.


Epic Monster Cookies!

Monster1

Every once in awhile I run into a dessert that I simply HAVE to try making. These cookies are that dessert. Recently, my husband and I were invited to be a part of a good friend’s wedding in Georgia. At the rehearsal, the groom’s mom handed out little bags filled with these cookies… and the rest is history. I’ve had monster cookies before… but I’ve never had ones that tasted this good! Thick and full of oats- kind of like the oatmeal no-bake cookies… but better. Seriously– you need to try them!

Monster2

So I got the recipe from Debbie Howard, mom of my recently married friend Josh. It was a really old recipe in one of those church cookbooks where everyone submits recipes. It had alterations scribbled all over the recipe, so it took me three tries, but I finally perfected the recipe. You need to make these exactly as instructed though- or they won’t work as well- and believe me- when they work….? Epic. Cookies.

My biggest mistake was not refrigerating the dough before scooping them out- and they flattened into thin crispy puddles :/ You need to refrigerate- so give yourself at least 2 hours extra time for that. Otherwise, they are fairly easy cookies and worth every bit of effort!!  Want the recipe? Here you go! (printable recipe)

INGREDIENTS:

  • 1 cup sugar
  • 1 cup brown sugar
  • 1 stick of butter (softened to room temperature)
  • 3 eggs
  • 1 ½ cups of extra crunchy peanut butter
  • ¾ tsp salt
  • 2 tsp baking soda
  • 5 cups oatmeal (old-fashioned kind- not instant!)
  • ½ cup M&Ms
  • ½ cup chocolate chips
  • ½ cup chopped pecans
  • 1 tsp vanilla

DIRECTIONS:

  • In a large bowl, beat butter and sugars together and add eggs and vanilla. Beat until smooth.
  • Add peanut butter and beat together until well combined.
  • In a separate large bowl, toss salt, baking soda, oats, pecans, M&Ms and chocolate chips together.
  • Add bowl of dry ingredients to wet and mix well.
  • Cover and refrigerate for about two hours (you must do this, or the cookies will spread thin and crunchy when baked). Dough should be just hard enough to still scoop, so test the time a bit, as refrigerators vary in temperature.
  • Preheat oven to 365F degrees.
  • Use a large cookie scoop or ice cream scoop to place cookie dough on a parchment paper- covered cookie sheet. Roll them smooth with your hands and then flatten them a little bit before baking. Leave room between cookies to allow them to spread a little. 
  • Bake at 365F degrees for 10-12 minutes. They should be just turning brown on top when you remove them. 
  • Slide cookies off sheet, still on parchment paper, and allow them to cool on counter- they will seem fragile until they cool and harden up.
  • Enjoy!

Monster3

My thoughts: Well, I already said this once, but these are really delicious cookies. They are thick and chewy and so peanut-buttery! Store them in an air-tight container and they keep for a long time (we are still eating ours a week later!) Enjoy! ~r

Monster7

We have other epic cookies here- click on a photo to see the recipe!

Dark Chocolate Almond Bites

Posted on

dark-chocolate-almond-bites1

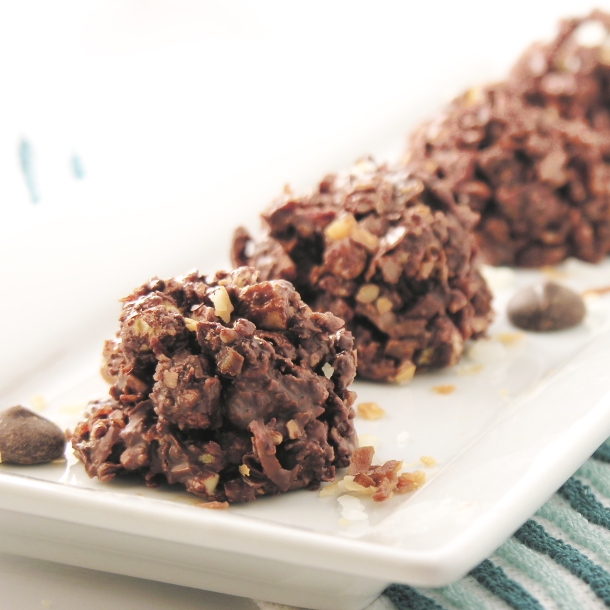
These little clusters of almond, coconut and dark chocolate will satisfy your sweet tooth without wrecking your diet!

I’ve been trying to eat healthier this year, and so far I’m doing really well (even with a baking blog!). My friend Laura and I walk each day and when we do we talk a lot about things we crave that could be made healthier. She was telling me that she craves chocolate so much that she takes a few dark chocolate chips and adds some almonds for a snack each night. I was in the process of making some coconut cut-out cookies and I had extra toasted coconut. We started brainstorming ways to make a cookie with relatively low calories and carbs. This is the result 🙂 They are delicious (!!) and as far as I can tell, they are about 85 calories each and 6 carbs. Which is perfect. Just perfect.

dark-chocolate-almond-bites4

They aren’t very pretty- but who needs pretty when you can have yummy and relatively healthy? 🙂

Here’s how we made them: (printable recipe here)

INGREDIENTS:

  • 1 cup of toasted coconut (buy it toasted, or toast your own…)
  • 1 cup of lightly salted, roasted almonds
  • 2 plain rice cakes
  • 1 cup of dark chocolate chips

DIRECTIONS:

  • Place toasted coconut and almonds in a food chopper and chop to small pieces. Place in a mixing bowl.
  • Crumble up the 2 rice cakes into very small pieces and add to bowl.
  • Melt chocolate chips, and pour them over the top of mixture. 
  • Stir until well-blended and then use a medium cookie scoop to spoon out evenly-sized cookies onto a parchment paper- covered cookie sheet. (My batch made 22, and calories and carbs were calculated accordingly.)
  • Place cookie sheet in refrigerator until cookies harden up. Enjoy! 

dark-chocolate-almond-bites2

My thoughts: These are really, really good. I bagged mine up in individual cello bags and tied them shut with a twist tie. That way, I wasn’t tempted to eat more than one at a time! These are a perfect “gotta have some chocolate” treat. Lots of protein from the nuts, healthy oils from the coconut, and a little bit of crunch from the rice cakes. Enjoy! ~r

dark-chocolate-almond-bites3

Other yummy (slightly less healthy!) cookie recipes here at Easybaked (click on a photo to see the recipe):

Smoke Bomb Oreo Pops!

Posted on

These adorable smoke bomb Oreos will be the hit of your July 4th parties!

It’s hard to believe that July is just around the corner– but it is! I love summer, and making fun patriotic treats always reminds me of pool parties and days at the beach on Lake Michigan 🙂 I made smoke-bomb brownies last year, and they were such a hit that I decided to turn them into Oreo pops this year!

Cute, yummy and SO easy to make ahead and have ready for all your summer celebrations!

Here’s how we made them: (printable recipe here)

INGREDIENTS: (makes about 30 pops)

  • One package of Double Stuff Oreos
  • 2 bags of Wilton’s candy melts in red
  • 1/4 cup of Wilton’s candy melts in white
  • Twizzlers Pull-n-Peel licorice in red/white/blue (or licorice strings of another variety)
  • Large star sprinkles
  • Tiny star spinkles

DIRECTIONS:

  • Gently twist apart all Oreos.
  • Melt white candy melts in the microwave in 30 second increments, stirring between until melted and smooth.
  • Dip end of a lollipop stick into the white chocolate, spread a little on the top of the white Oreo filling and then press the stick flat into the center of the filling.
  • Place top of Oreo on, and set on a cookie sheet. When all Oreos have sticks inserted, pop these in the freezer for 15-20 minutes (until they are nice and firmly set).
  • While these chill, cut licorice strings into about 30 (1 inch) segments.
  • Melt red candy melts in the microwave in 30 second increments, stirring between until melted and smooth.
  • Dip the end of a licorice string into the red melts and then set flat against a large star sprinkle and allow this to harden- this will basically “glue” the star onto the end of the licorice. 
  • Gently dip chilled Oreo in red candy melts, using a spoon to cover all sides. Tap stick against side of bowl to drain excess. Set on parchment paper.
  • While candy melts are still soft, set end of licorice into the top of the Oreo and sprinkle with tiny stars.
  • Allow everything to harden up, and then slide each pop into a small cello bag and tie with ribbon (alternatively, store in an airtight container with parchment paper as layers between).
  • Enjoy!

My thoughts: These are easy little treats to make- and they have OREOS inside- so they are delicious too! (If you have never made Oreo Pops before, check out our tutorial here.) ENJOY!

Other fun and very patriotic desserts for your July: (click on photo to see recipe)


Maple Pecan Cupcakes

Posted on

maple-pecan-cupcakes

These rich, dense chocolate cupcakes are topped with a light whipped maple pecan frosting that is out-of-this-world delicious! 

I know. Maple pecan things are a dessert for the fall- not early summer! I just couldn’t resist. Maple and pecan are two of my favorite flavors together! I thought about saving this post for November and I couldn’t make myself wait to share it with you because it is just that good! These are delicious. So if you can’t bring yourself to make them, pin the recipe for later- but pin it. You will want this one someday!!! Promise.

Here is how we made these (printable recipe here)

INGREDIENTS: (makes 24 cupcakes)

  • One boxed chocolate cake mix plus oil and eggs to make according to box
  • Milk- enough to replace the water required by boxed mix.
  • 1 (3.9 oz.) box of chocolate pudding (instant)
  • 3 cups chopped pecans (divided)
  • 24 pecan halves
  • 2 sticks salted butter (softened)
  • 2 sticks unsalted butter (softened)
  • 3 cups of powdered sugar
  • 3 teaspoons of maple extract or flavoring

DIRECTIONS:

  • Preheat oven to 350F degrees
  • Mix 1 and 1/2 cups of chopped pecans with dry cake mix.
  • Add eggs and oil according to package, and add milk instead of water- in the same amount as listed on package.
  • Add box of instant chocolate pudding.
  • Beat on high for 2 minutes until smooth.
  • Scoop evenly between 24 cupcake liners placed in muffin tins and bake according to package- until a toothpick inserted into the center of a cupcake comes out clean.
  • Gently remove from tins and allow cupcakes to cool on countertop.
  • Make frosting by placing butters, powdered sugar and maple flavoring in a large mixing bowl.
  • Beat on high until light and very fluffy (2 to 3 minutes).
  • Fold in one cup of chopped pecans (this leaves 1/2 cup for sprinkling on top!)
  • Use a cookie scoop to place a dome of frosting on each cooled cupcake. Press a pecan half on top and sprinkle with a bit of chopped pecans. 

  • Store in a loosely sealed container for up to 3 or 4 days. Refrigerate to keep a day or two longer.
  • Enjoy!

My thoughts: You are going to love these! If you want to simplify, just make the boxed cake mix as-is plus nuts. The milk and pudding make the cupcakes more dense, rich and moist- but you could skip adding these extra ingredients to save time. It’s that frosting… even my friends who aren’t big frosting lovers were licking this stuff off the top of these cupcakes. Yum. Hope you get a chance to try them- now- this fall- whenever!! 🙂 Enjoy! ~r

Other maple and/or pecan recipes to try! (click on a photo to see instructions)


Spring Flower Oreo Pops!

Posted on

Make a bouquet of Oreo flowers for mom this Mother’s Day!

This is the third Oreo Pop recipe I’ve used these cute little sunflower seeds in this spring- and it might be my favorite! The fun bright colors just make you smile. Tie them up in little cello bags with pretty ribbon and they make the perfect Mother’s Day treat next weekend!

You’re smiling aren’t you? Just guessing… 🙂 I absolutely LOVE these- and the color combinations are only limited to the colors you can find in the sunflower seeds. Mine are a combination of Trader Joe’s and JoAnn’s Fabric ones. You can get them online- or maybe even at your grocery! Different companies make different colors. The JoAnn ones gave me those pretty teal blue and shiny purple ones. I just used little pearl sprinkles for the centers.

Here’s how we made these fun little pops:

(If you have never made Oreo Pops before, check out our tutorial here.)

INGREDIENTS: (makes 24-30 Oreo pops)

  • One box of Double Stuff Oreos
  • 1/4 cup of Wilton’s Candy Melts in white.
  • Wilton’s Candy Melts in a variety of colors (you’ll need at least 2 bags of them)
  • Chocolate-covered sunflower seeds
  • Edible pearl sprinkles in a variety of colors

DIRECTIONS:

  • Gently twist apart all Oreos.
  • Melt white candy melts in the microwave in 30 second increments, stirring between until melted and smooth.
  • Dip end of a lollipop stick into the white chocolate, spread a little on the top of the white Oreo filling and then press the stick flat into the center of the filling.
  • Place top of Oreo on, and set on a cookie sheet. When all Oreos have sticks inserted, pop these in the freezer for 15-20 minutes (until they are nice and firmly set).
  • Melt one color of Candy Melts in the microwave in 30 second increments, stirring between until melted and smooth.
  • Gently dip Oreo in Candy Melts, using a spoon to cover all sides. Tap stick against side of bowl to drain excess. Set on parchment paper.
  • While Candy Melts are still soft, set a pearl sprinkle at the center and then gently place sunflower seeds around the pearl in the shape of a flower (as pictured). Allow Candy Melts to harden completely.
  • Repeat with other colors of Candy Melts.
  • Store in a sealed container for 2-3 weeks. You can also tie them individually in small cello bags and store for the same timeframe. (These are a perfect treat to mail to mom or grandma!!!!)
  • Enjoy!

My thoughts: I will never pick a bouquet of flowers without thinking of my mom 🙂 She never had a summer day where there wasn’t a huge bouquet of fresh-cut flowers from her garden sitting in the center of the kitchen table. This is her third Mother’s Day in heaven, but I know these would have made her smile if she was here.

Happy Mother’s Day, Mom. I love you, and miss you!

We have lots of fun recipe ideas for Mother’s Day! Click a photo to see the recipe:

Looking for that perfect gift for moms and grandmas? Get them my cookbook- specially designed to use with kids and grandkids, teaching them both kitchen skills and about God’s love for them! Fun!!! Click on the following link to find out more about it: Life Is Sweet: 12 Baking Devotions for Kids.

HAPPY MOTHER’S DAY!!!


Maracas Oreo Pops!

Posted on

Celebrate Cinco de Mayo with these adorable maracas made with Oreos and candy sunflower seeds!

I love Mexico! I’ve been there on vacation, and I’ve been there many times to work alongside the people of a little town called Siete Ejidos in Sinaloa. I love the food, the beautiful people, the music, and the bright, fun colors that are everywhere! Seriously- why is it unacceptable to paint a house bright blue and orange in the States? (or at least in my neighborhood…)

These were such fun cookies to make because you can just go crazy with color and make any design you want! Use sprinkles or candy…I used chocolate covered sunflower seeds on mine, and I love how they turned out! They have that “bead” look you often see on maracas and other art in Mexico.

Here’s how we made these (printable recipe here)

(If you have never made Oreo Pops before, check out our tutorial here.)

INGREDIENTS: (makes 24-30 Oreo pops)

  • One box of Double Stuff Oreos
  • 1/4 cup of Wilton’s Candy Melts in white.
  • Wilton’s Candy Melts in a variety of colors (you’ll need at least 3 bags of them)
  • One box of Dots Candy

DIRECTIONS:

  • Gently twist apart all Oreos.
  • Melt white candy melts in the microwave in 30 second increments, stirring between until melted and smooth.
  • Press a lollipop stick through a Dots candy until about 1 inch of the stick is out of the other side (see photo below).
  • Dip end of a lollipop stick into the white chocolate, spread a little on the top of the white Oreo filling and then press the stick flat into the center of the filling.
  • Place top of Oreo on, and set on a cookie sheet. When all Oreos have sticks inserted, pop these in the freezer for 15-20 minutes (until they are nice and firmly set).

  • Melt one color of Candy Melts in the microwave in 30 second increments, stirring between until melted and smooth.
  • Gently spoon color over bottom 1/4 of Oreo (see photos below).  I gently turned the stick so I could spoon color on the back too- then tap stick against side of bowl to drain excess. Set on parchment paper and allow this to harden up.
  • Melt second color of Candy Melts as above. Spoon color over the rest of the Oreo, tap stick against bowl to drain away excess, place on parchment paper, and gently place sunflower seeds in flower pattern in the center (or add sprinkles…or drizzle chocolate…). Allow this to harden.
  • Melt third color of Candy Melts and spoon over top 1/4. Tap stick against bowl to drain excess and set on parchment paper to harden.
  • Allow candy melts to harden completely, and then pipe line/dots on in any color (I used black).
  • ENJOY!

My thoughts: These are a delicious little way to celebrate Cinco de Mayo! Once they are hardened up, you can tie them into little individual cello bags and they will keep for weeks. I love make-ahead treats! 

Are you a recent arrival to the incredible fun of Oreo Pops?? They are one of our favorite things to make here on Easybaked- and we have them for every possible occasion! Here are a few to try: (click on photo to see recipe)

Or are you looking for great recipes for Cinco de Mayo?? We have those too! We love to celebrate this holiday here!!

Baby Chick Oreo Pops

Posted on

These adorable baby chicks are made with Oreos- a perfect treat for Easter baskets!

Have you seen the chocolate covered sunflower seeds yet??? Oh my goodness. I saw them for the 1st time at Trader Joe’s, and I’ve been on the hunt for new colors ever since! My latest find was at JoAnn fabrics- right at the checkout!

I’ve been experimenting with them on a variety of Oreo pops (coming soon!) and these were a part of those experiments!

Aren’t they cute???

Here is how we made them: (printable recipe here)

(If you have never made Oreo Pops before, refer to our tutorial here.)

INGREDIENTS: (makes 24-30 Oreo Pops)

  • 1 package of Double Stuff Oreo cookies
  • 1/4 cup of Wilton’s candy melts in white
  • 2 bags of Wilton’s candy melts in yellow
  • 1/4 cup of Wilton’s candy melts in dark chocolate
  • Chocolate-covered sunflower seeds in yellow and orange

DIRECTIONS:

(If you want to simplify these- don’t add a stick. Just dip the Oreos using a fork, and skip the following steps for inserting a stick!)

  • Gently twist apart all Oreos.
  • Melt white candy melts in the microwave in 30 second increments, stirring between until melted and smooth.
  • Dip one end of a lollipop stick into the white chocolate, spread a little on the top of the white Oreo filling and then press the stick flat into the center of the filling.
  • Place top of Oreo on, and set on a cookie sheet. When all Oreos have sticks inserted, pop these in the freezer for 15-20 minutes (until they are nice and firmly set).
  • Melt yellow candy melts in the microwave in 30 second increments, stirring between until melted and smooth.
  • Have parchment paper spread on your countertop and have your sunflower seeds ready. 
  • Dip an Oreo into the yellow melts, spooning melts over top and sides. Tap on edge of bowl to get rid of excess and slide bottom of Oreo along edge of bowl to remove drips.
  • Place on parchment paper and while melts are still soft, gently place seeds in place (use photos as a guide). I used a clean tweezers to place these and adjust them. You can add a few flower sprinkles too, if you want! Allow these to harden.
  • Melt chocolate candy melts in the microwave in 30 second increments, stirring between until melted and smooth.
  • Use a toothpick, wooden skewer, or food-grade paintbrush to add little eyes.

  • Allow these to harden completely. 
  • Wrap these up in little cello bags tied with Easter ribbon for a fun treat! These will keep (sealed up) for several weeks.

My thoughts: These are as fun to make as they are cute! Placing all those little seeds can take some time- and it might take you a couple tries to get the hang of it. I was pretty speedy by the end! 🙂 Make these with our fun Flower Oreo pops– or even just dip some in fun pastel colors and add Easter sprinkles. You’ll have loads of fun treats to share! Hope you get a chance to try these! Enjoy! ~r

Other recipes to try at Easter (click on a photo to see the recipe):