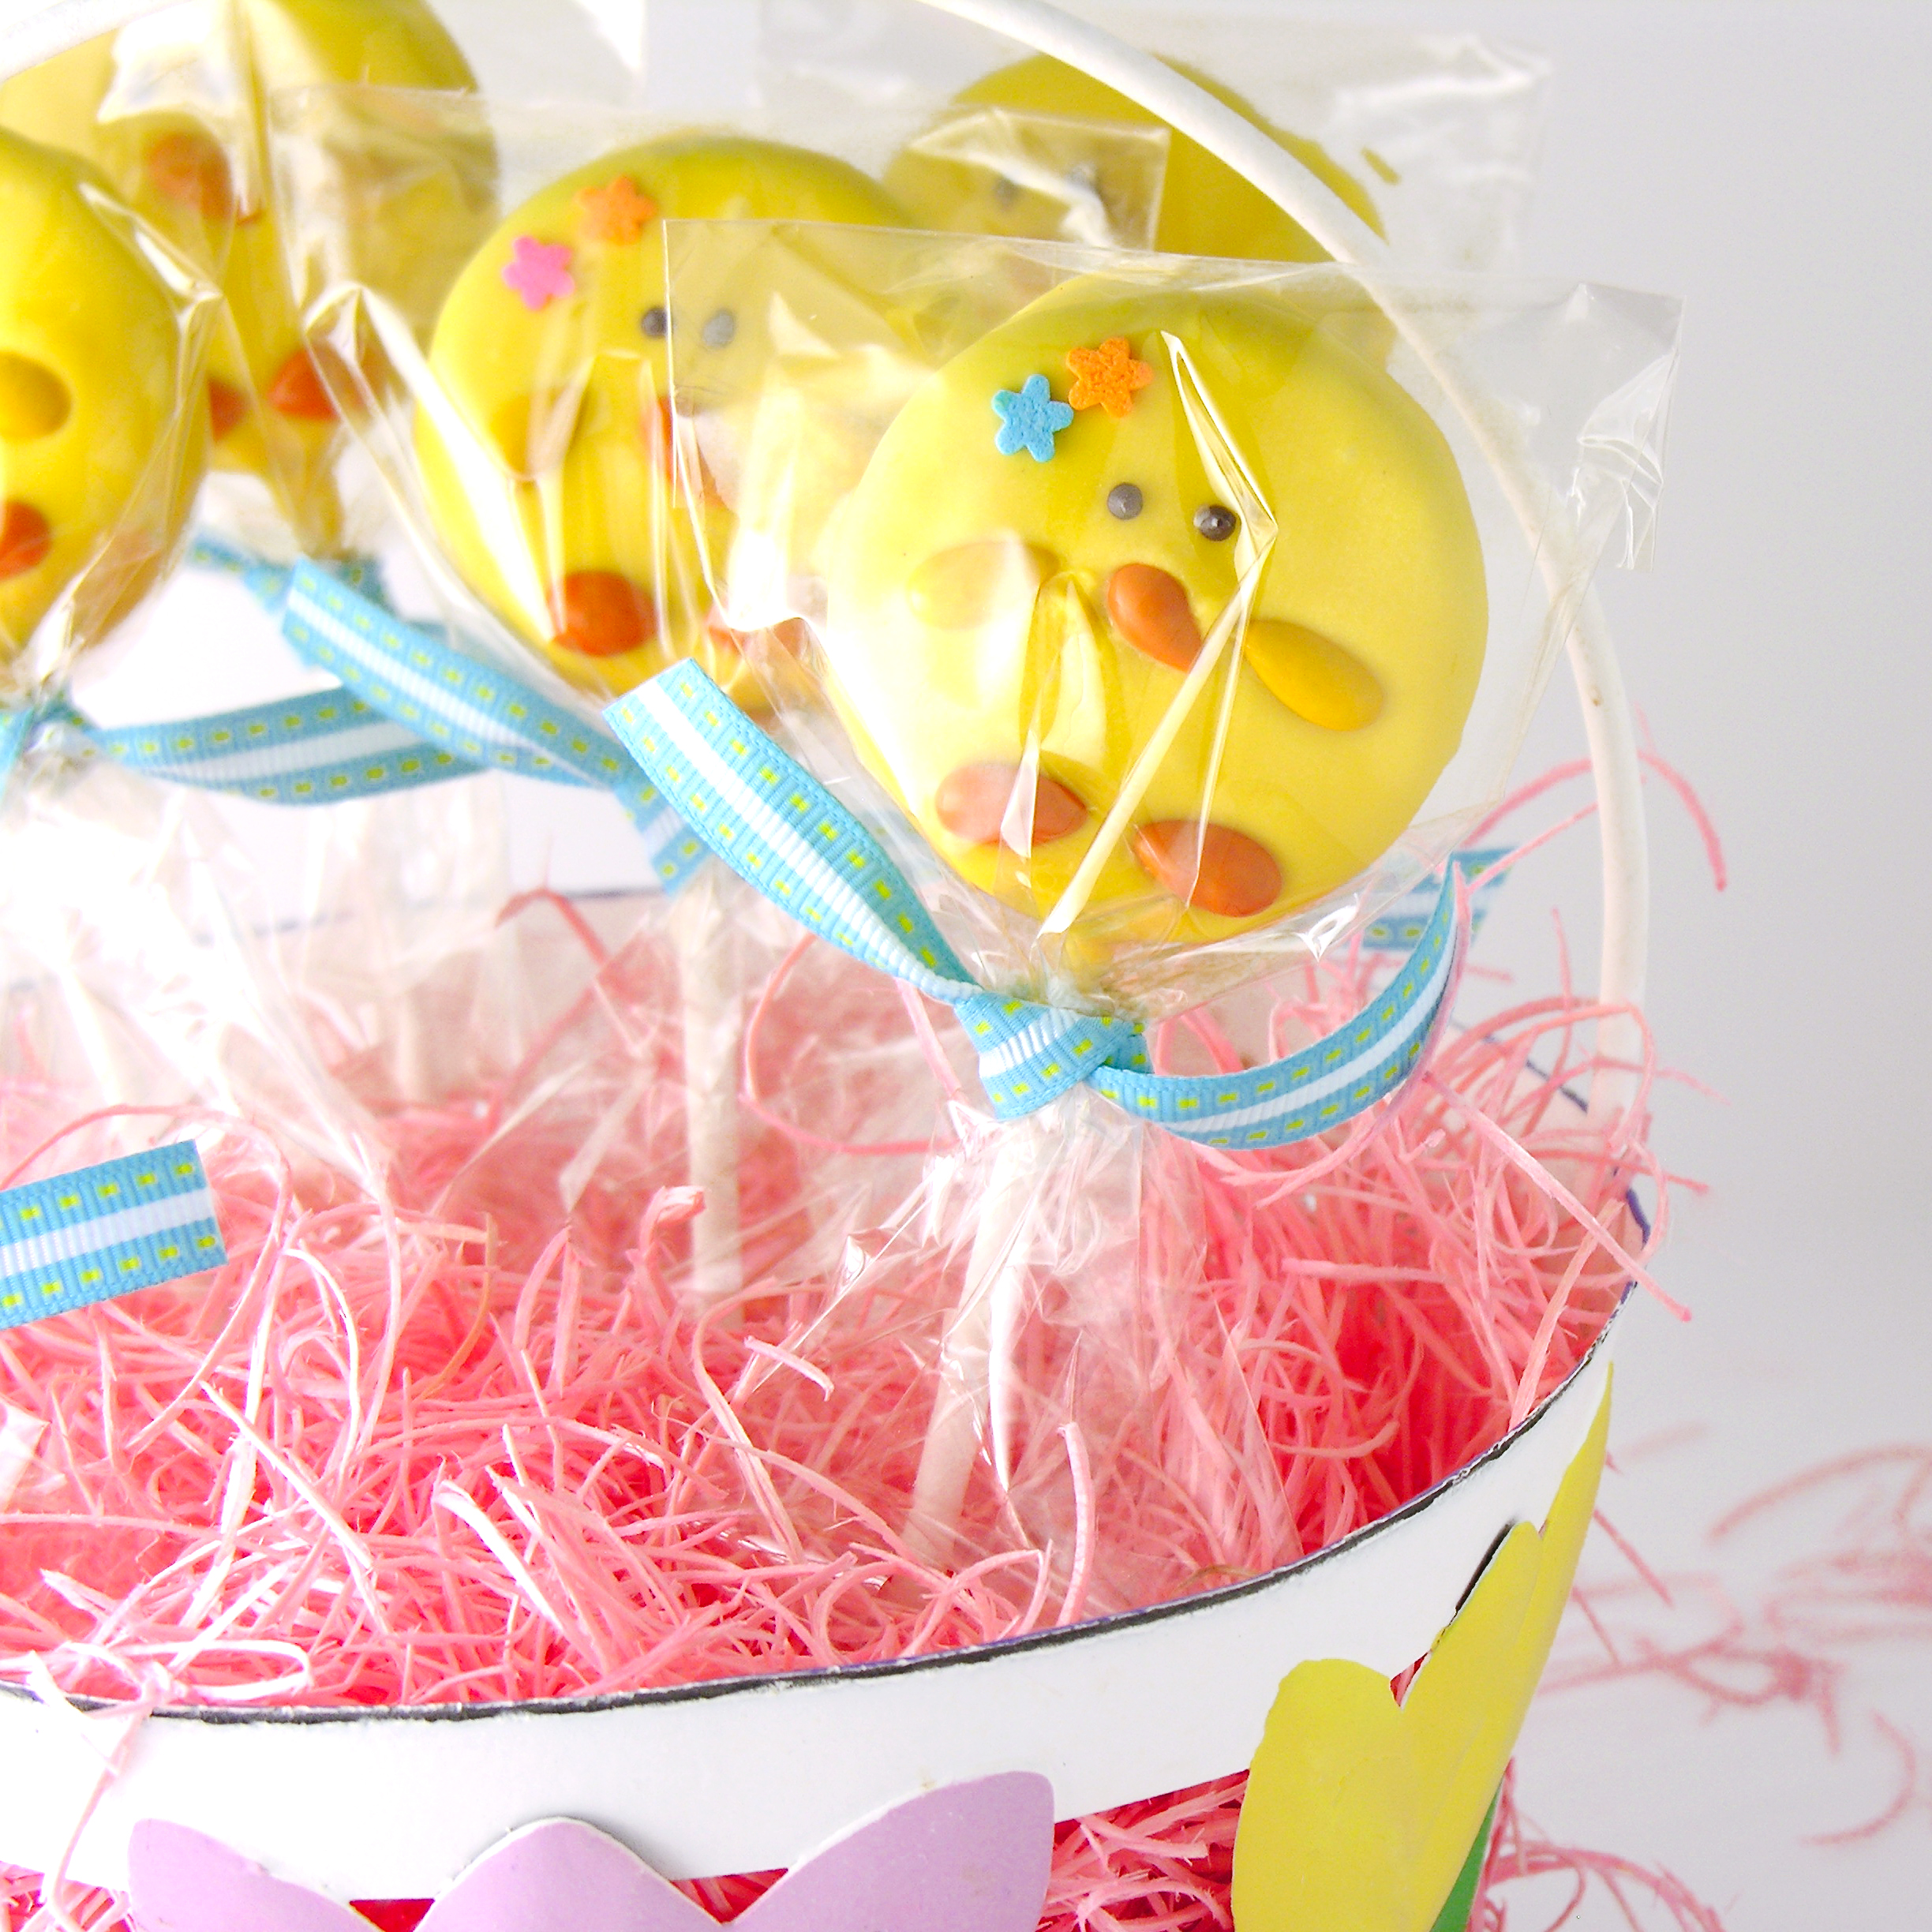
These adorable baby chicks are made with Oreos- a perfect treat for Easter baskets!
Have you seen the chocolate covered sunflower seeds yet??? Oh my goodness. I saw them for the 1st time at Trader Joe’s, and I’ve been on the hunt for new colors ever since! My latest find was at JoAnn fabrics- right at the checkout!
I’ve been experimenting with them on a variety of Oreo pops (coming soon!) and these were a part of those experiments!

Aren’t they cute???
Here is how we made them: (printable recipe here)
(If you have never made Oreo Pops before, refer to our tutorial here.)
INGREDIENTS: (makes 24-30 Oreo Pops)
- 1 package of Double Stuff Oreo cookies
- 1/4 cup of Wilton’s candy melts in white
- 2 bags of Wilton’s candy melts in yellow
- 1/4 cup of Wilton’s candy melts in dark chocolate
- Chocolate-covered sunflower seeds in yellow and orange
DIRECTIONS:
(If you want to simplify these- don’t add a stick. Just dip the Oreos using a fork, and skip the following steps for inserting a stick!)
- Gently twist apart all Oreos.
- Melt white candy melts in the microwave in 30 second increments, stirring between until melted and smooth.
- Dip one end of a lollipop stick into the white chocolate, spread a little on the top of the white Oreo filling and then press the stick flat into the center of the filling.
- Place top of Oreo on, and set on a cookie sheet. When all Oreos have sticks inserted, pop these in the freezer for 15-20 minutes (until they are nice and firmly set).
- Melt yellow candy melts in the microwave in 30 second increments, stirring between until melted and smooth.
- Have parchment paper spread on your countertop and have your sunflower seeds ready.
- Dip an Oreo into the yellow melts, spooning melts over top and sides. Tap on edge of bowl to get rid of excess and slide bottom of Oreo along edge of bowl to remove drips.
- Place on parchment paper and while melts are still soft, gently place seeds in place (use photos as a guide). I used a clean tweezers to place these and adjust them. You can add a few flower sprinkles too, if you want! Allow these to harden.
- Melt chocolate candy melts in the microwave in 30 second increments, stirring between until melted and smooth.
- Use a toothpick, wooden skewer, or food-grade paintbrush to add little eyes.
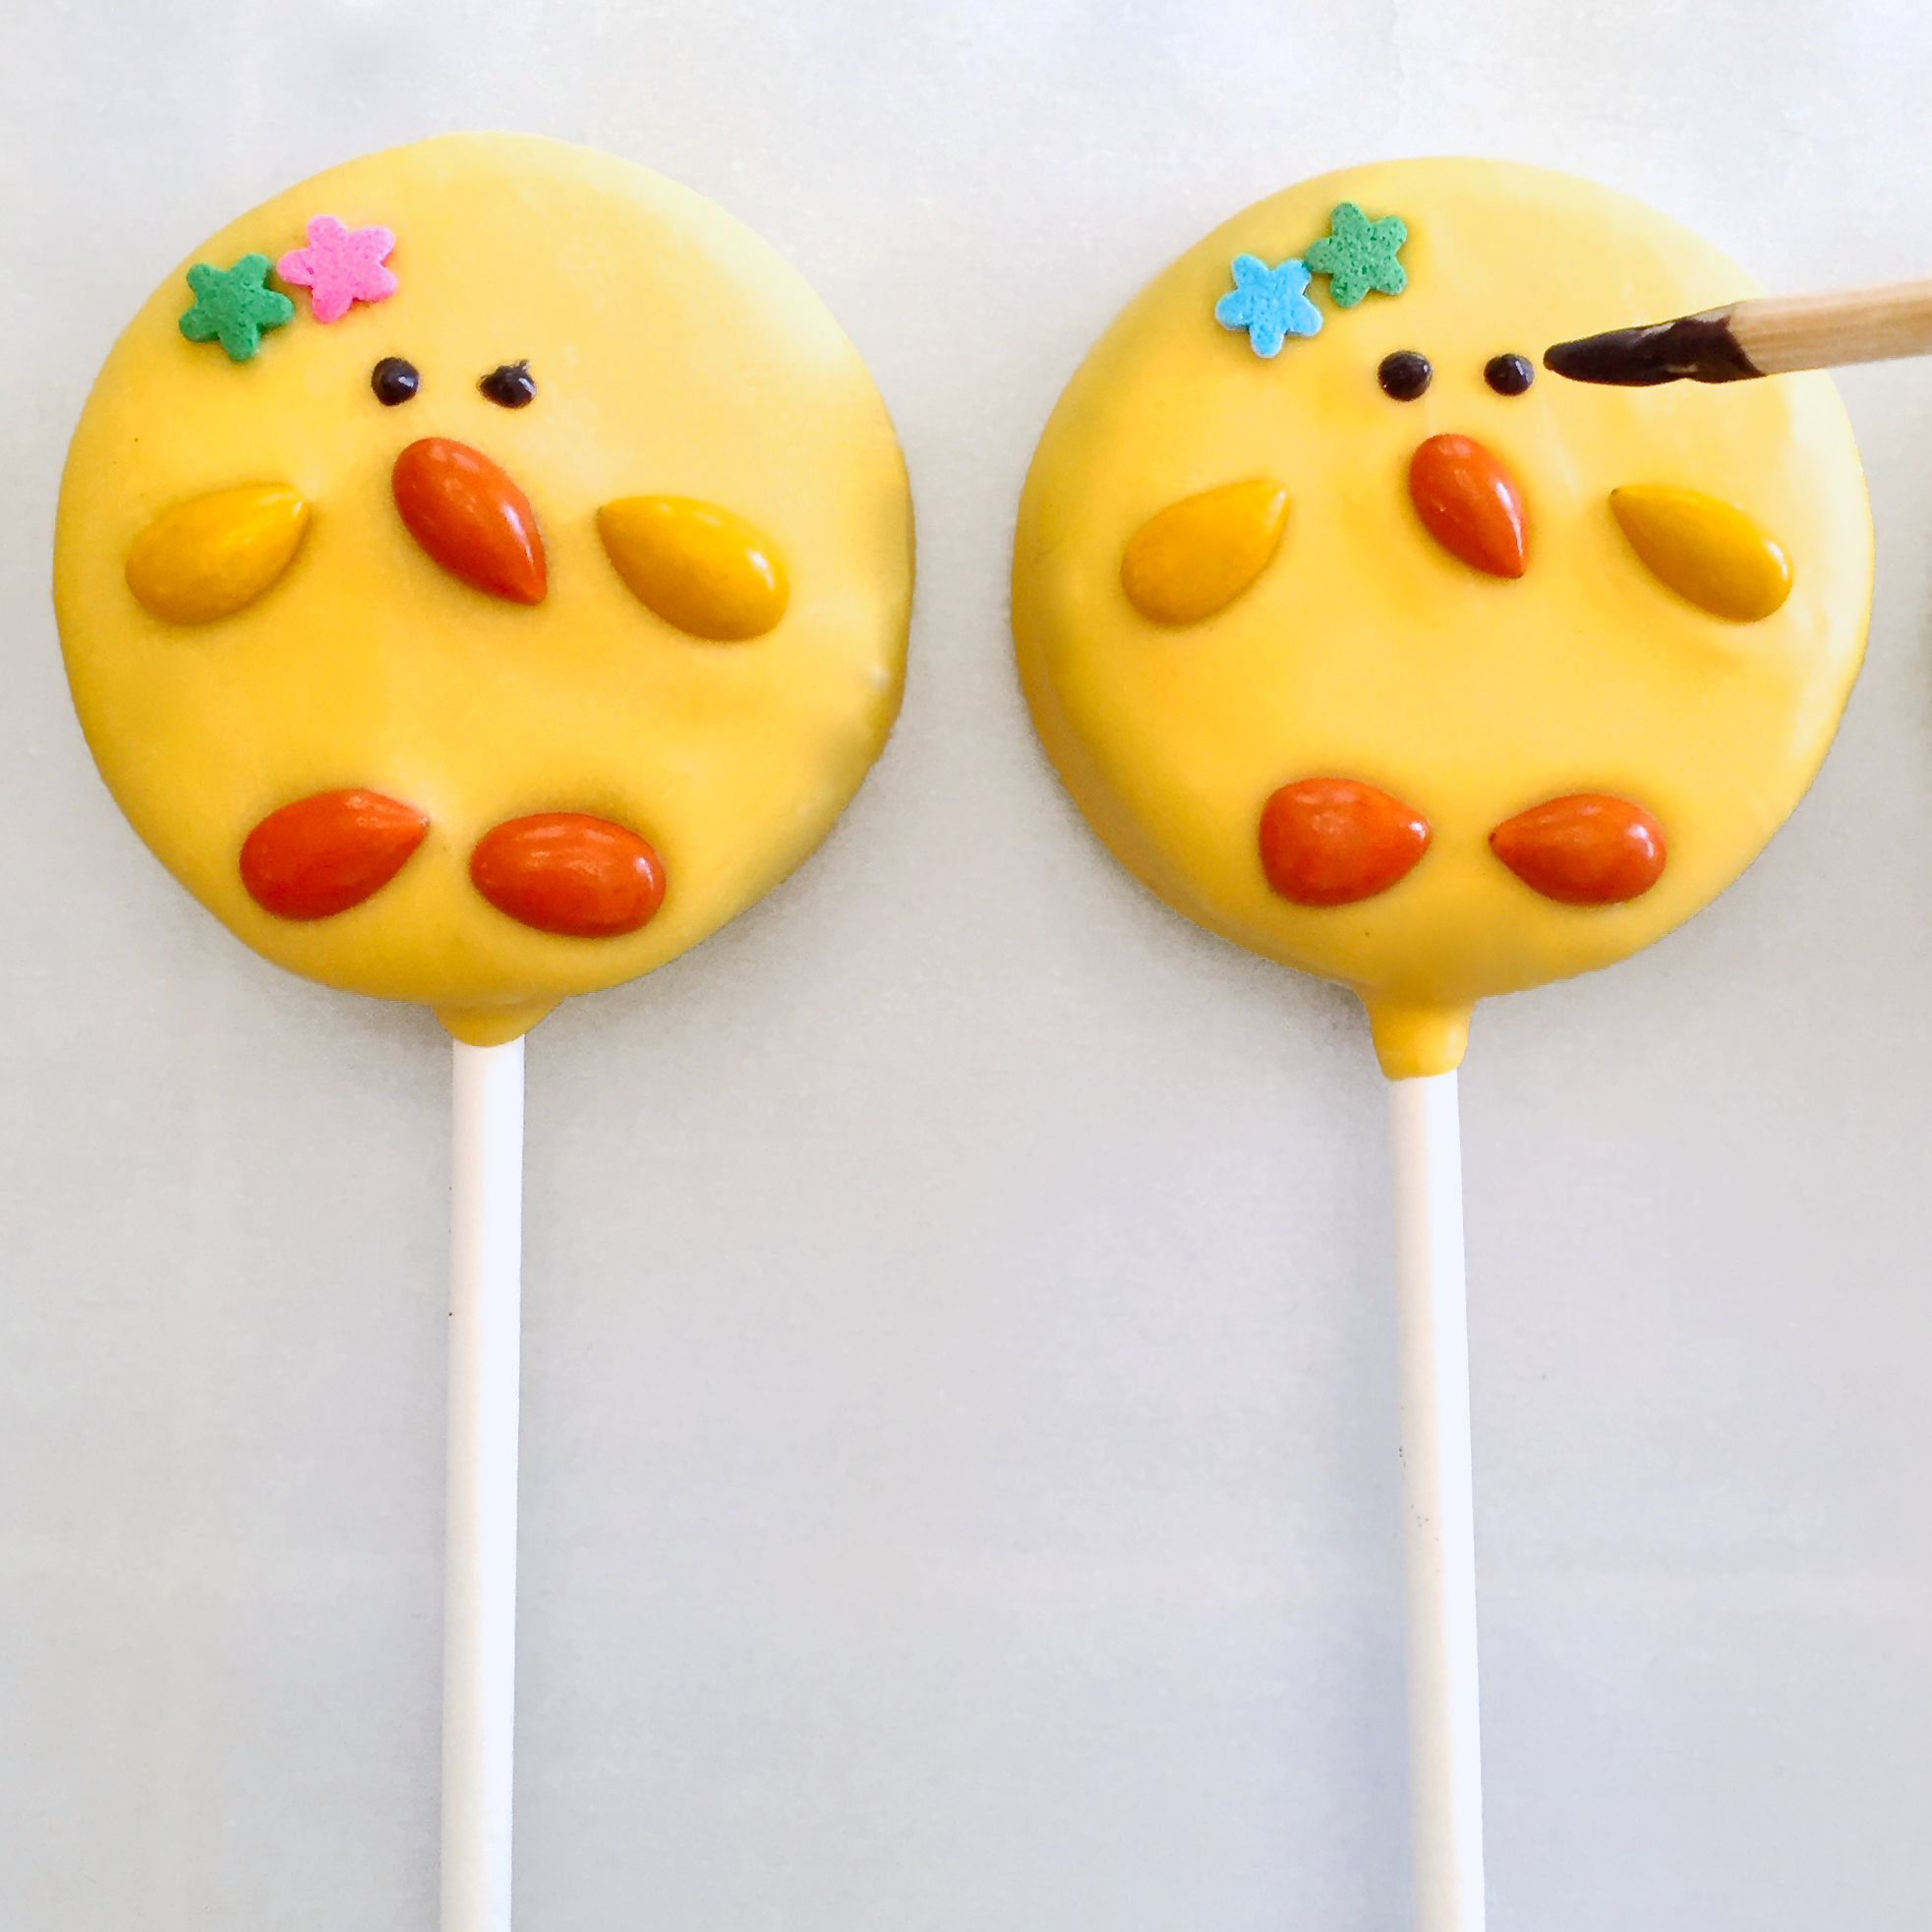
- Allow these to harden completely.
- Wrap these up in little cello bags tied with Easter ribbon for a fun treat! These will keep (sealed up) for several weeks.
My thoughts: These are as fun to make as they are cute! Placing all those little seeds can take some time- and it might take you a couple tries to get the hang of it. I was pretty speedy by the end! 🙂 Make these with our fun Flower Oreo pops– or even just dip some in fun pastel colors and add Easter sprinkles. You’ll have loads of fun treats to share! Hope you get a chance to try these! Enjoy! ~r

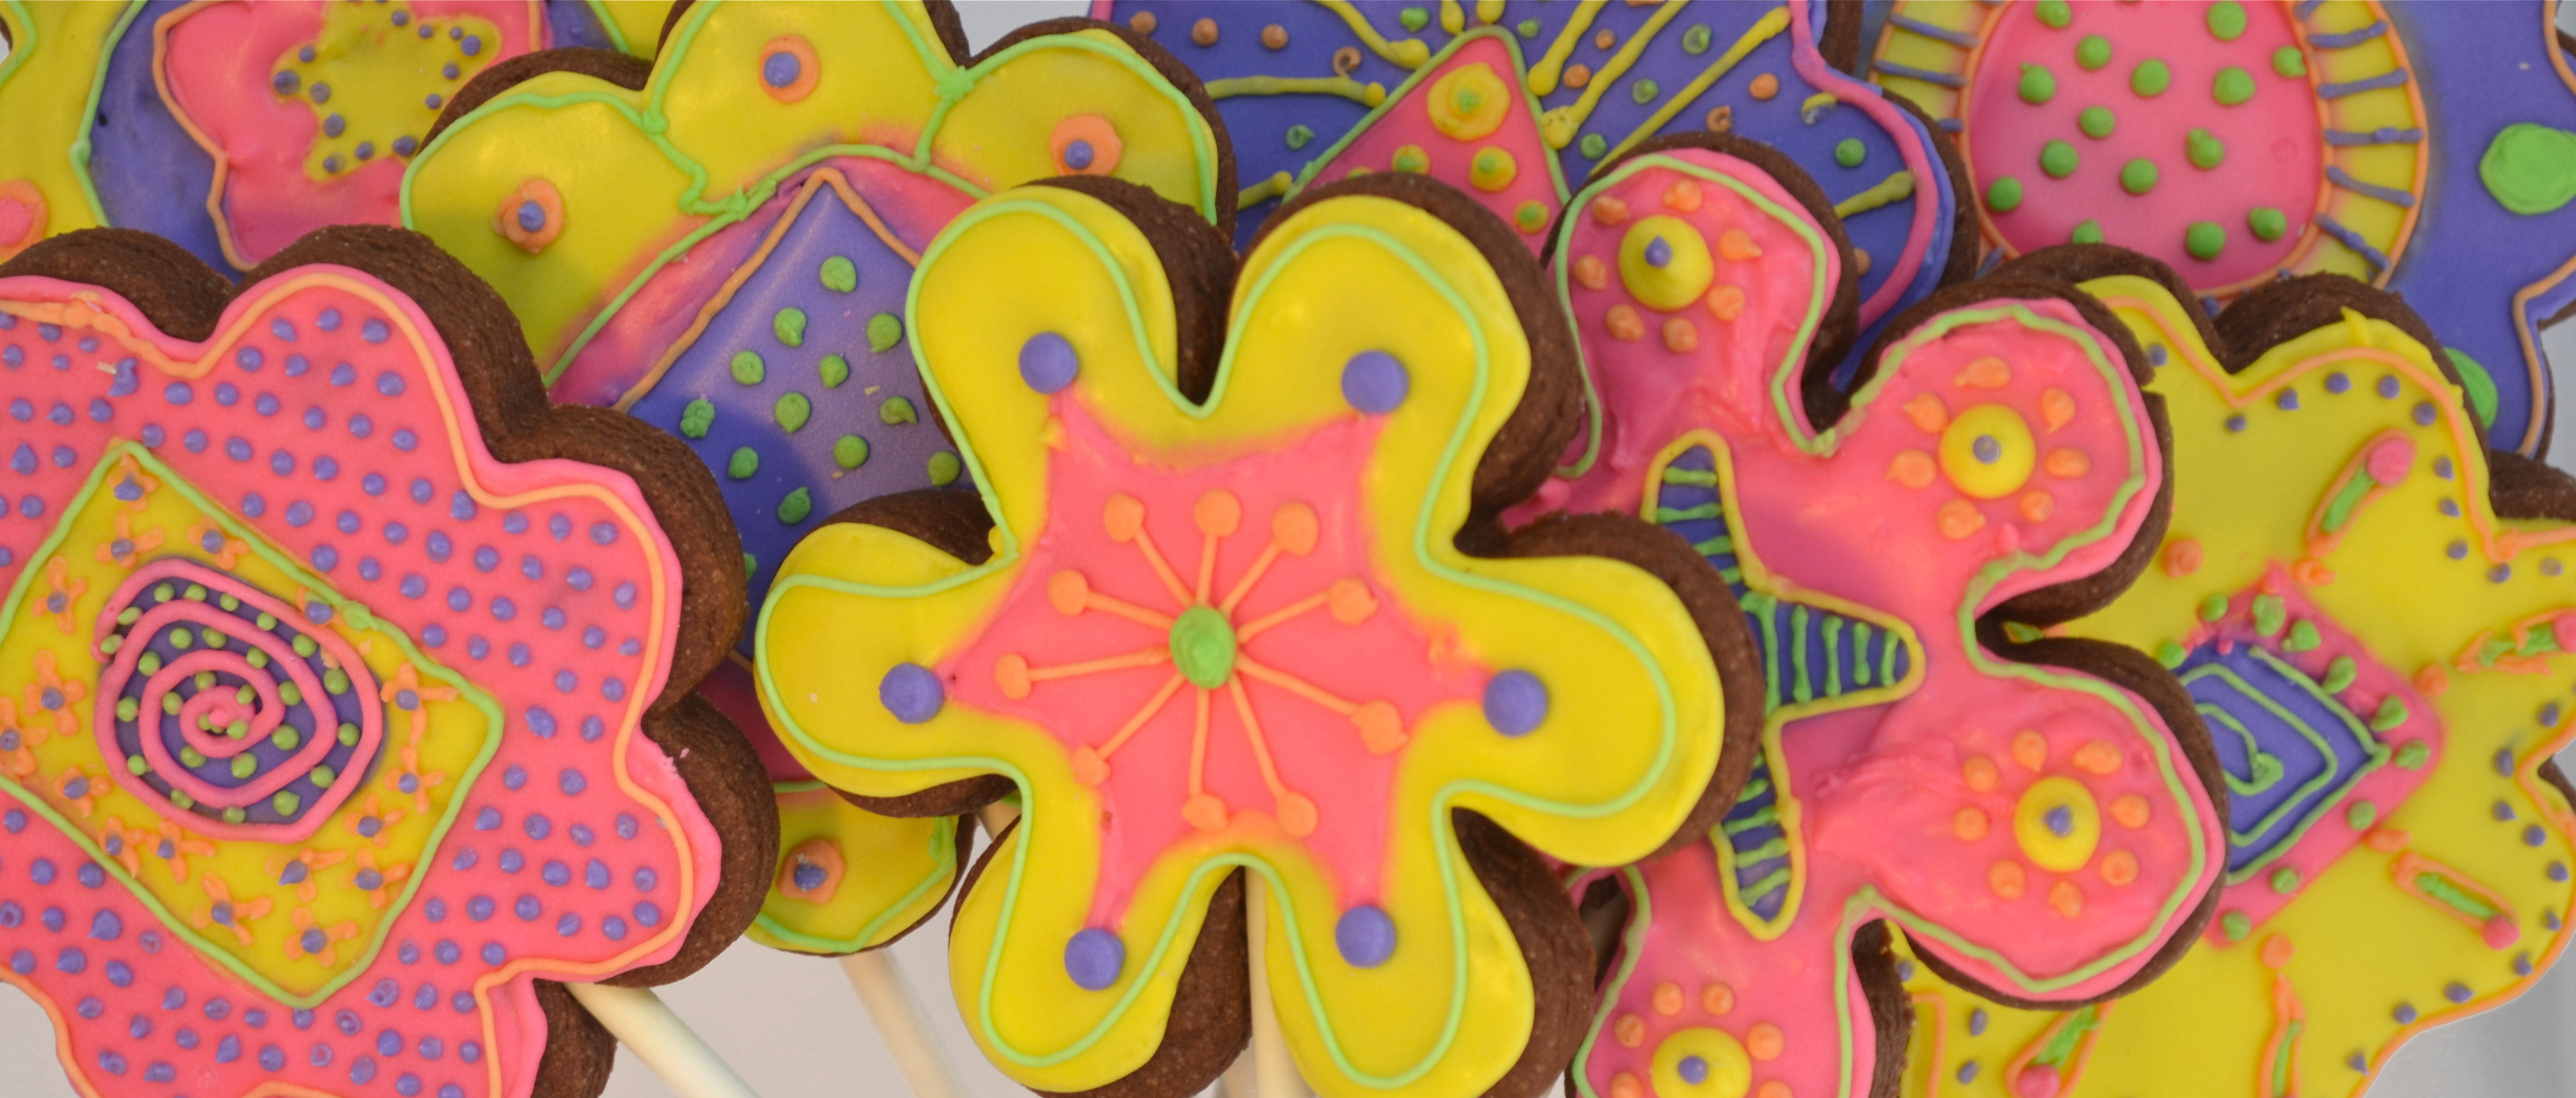
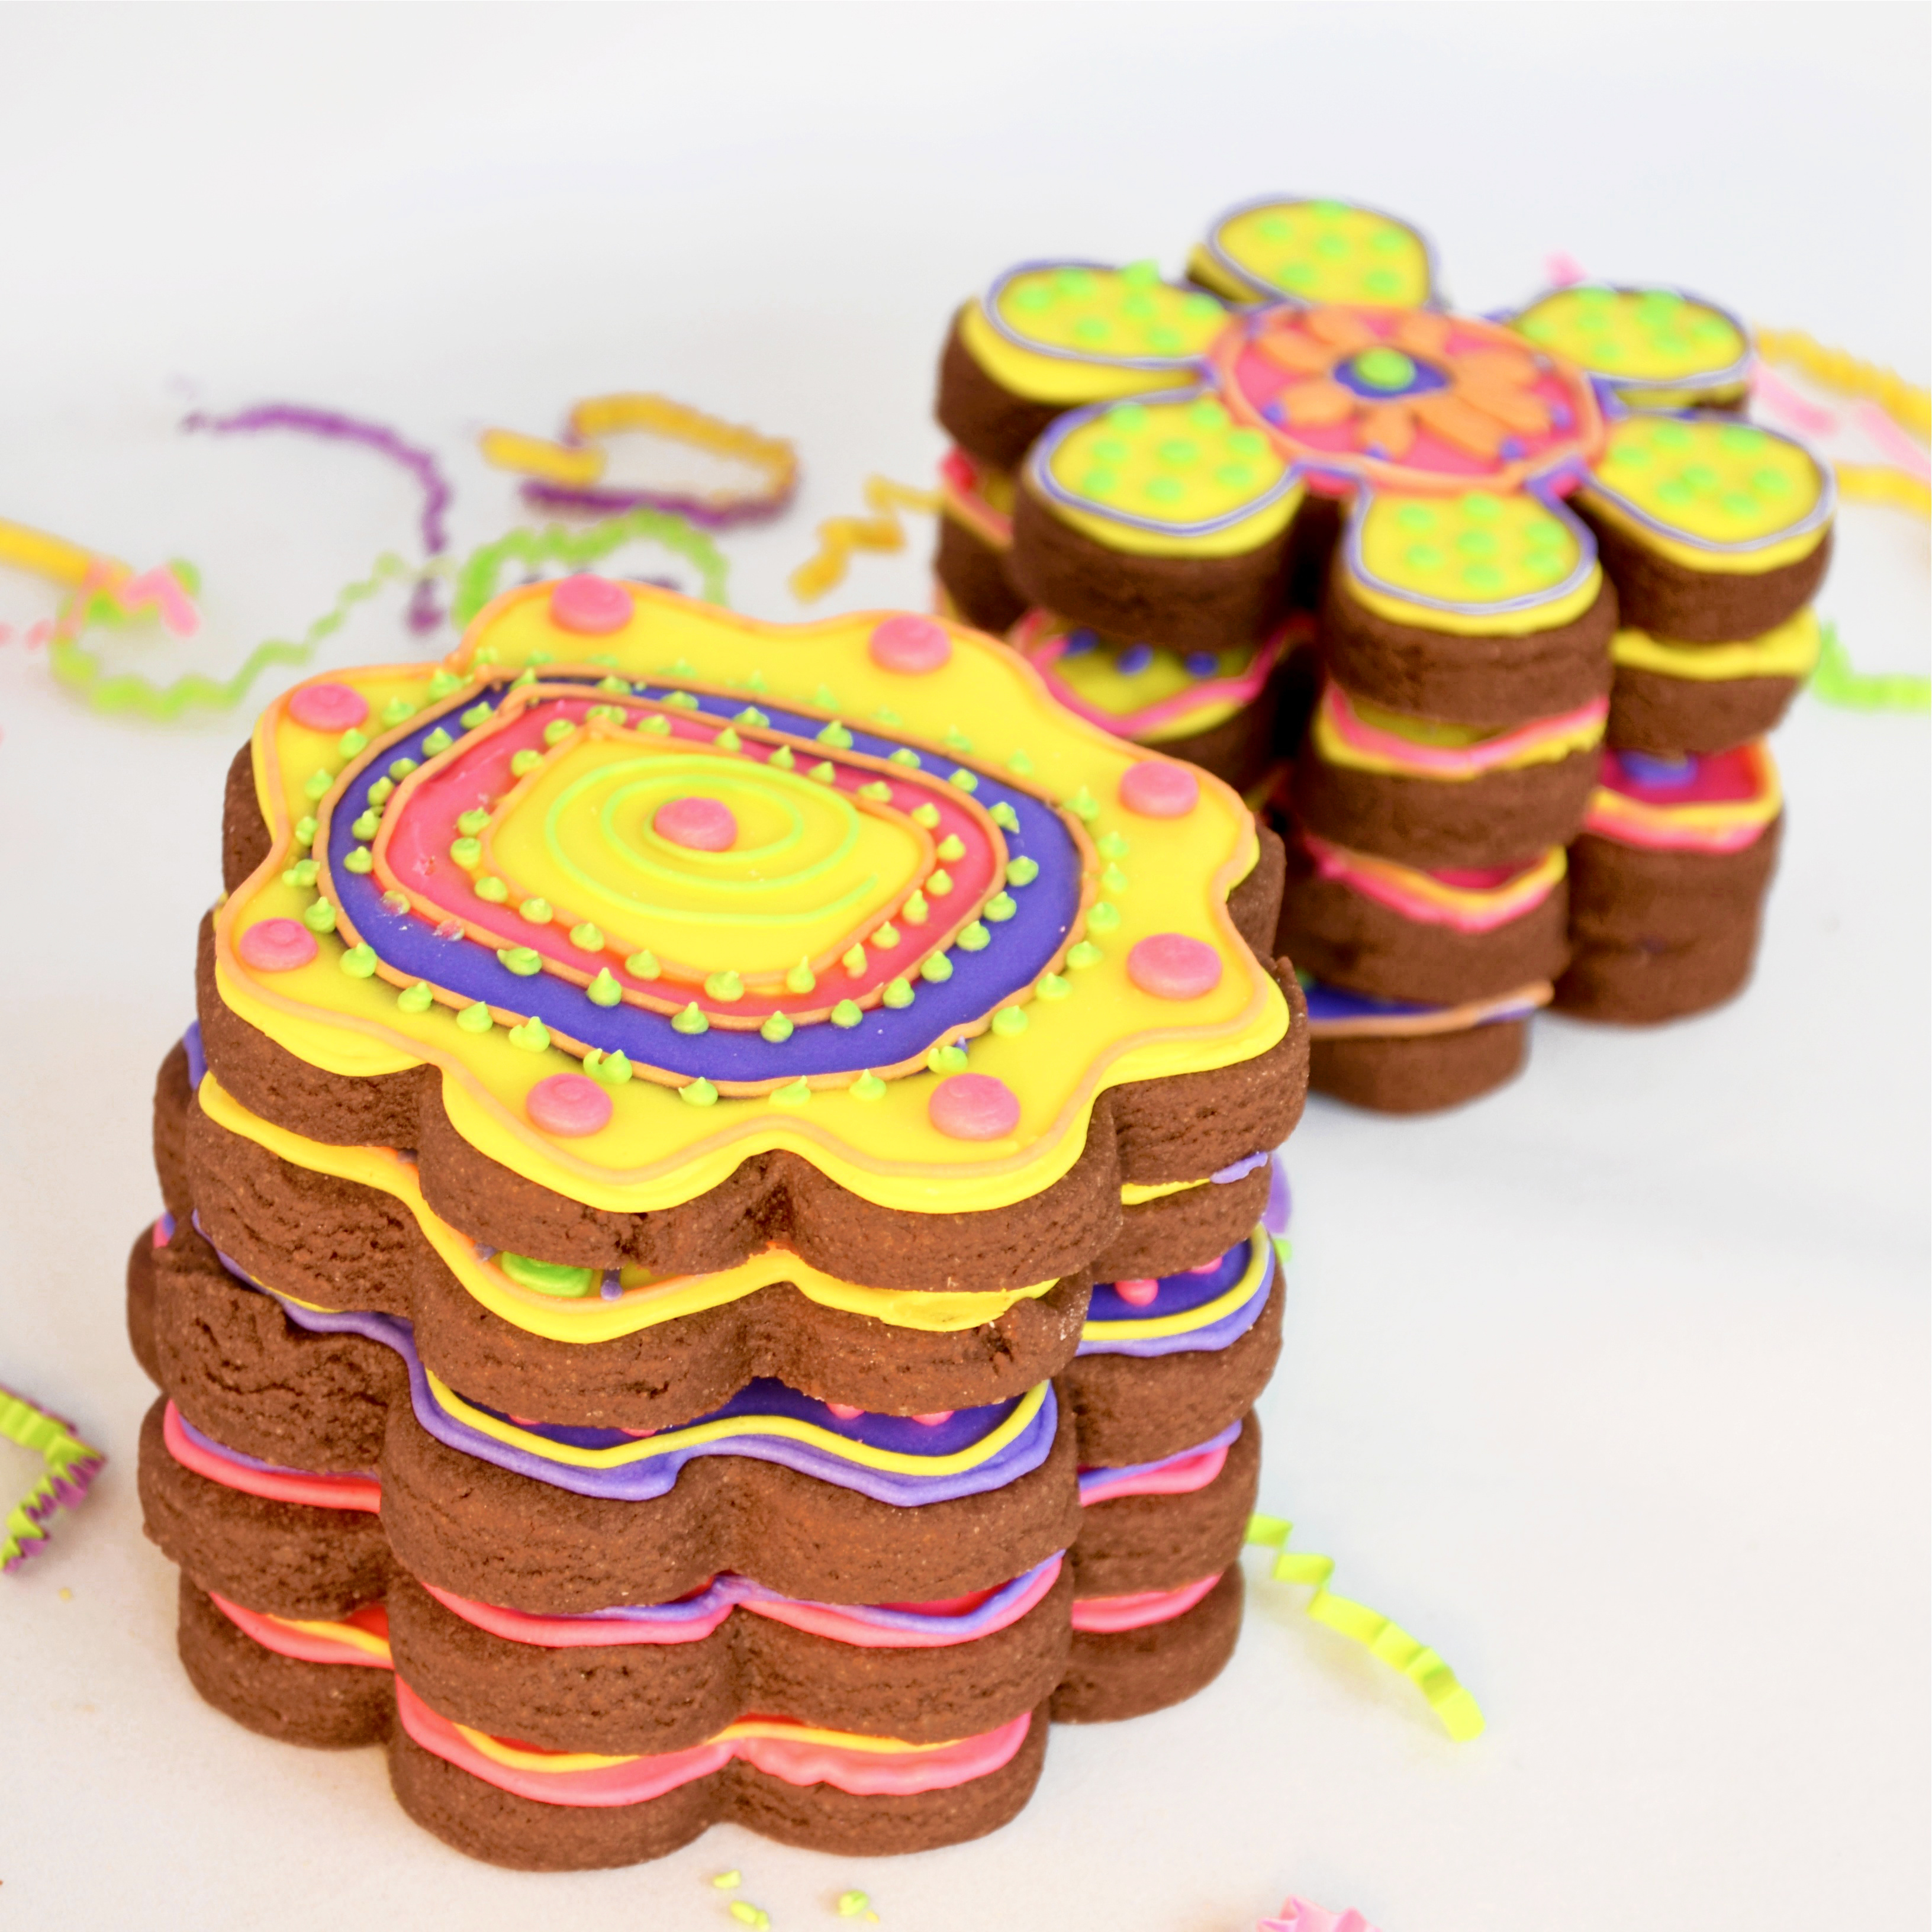
Other recipes to try at Easter (click on a photo to see the recipe):


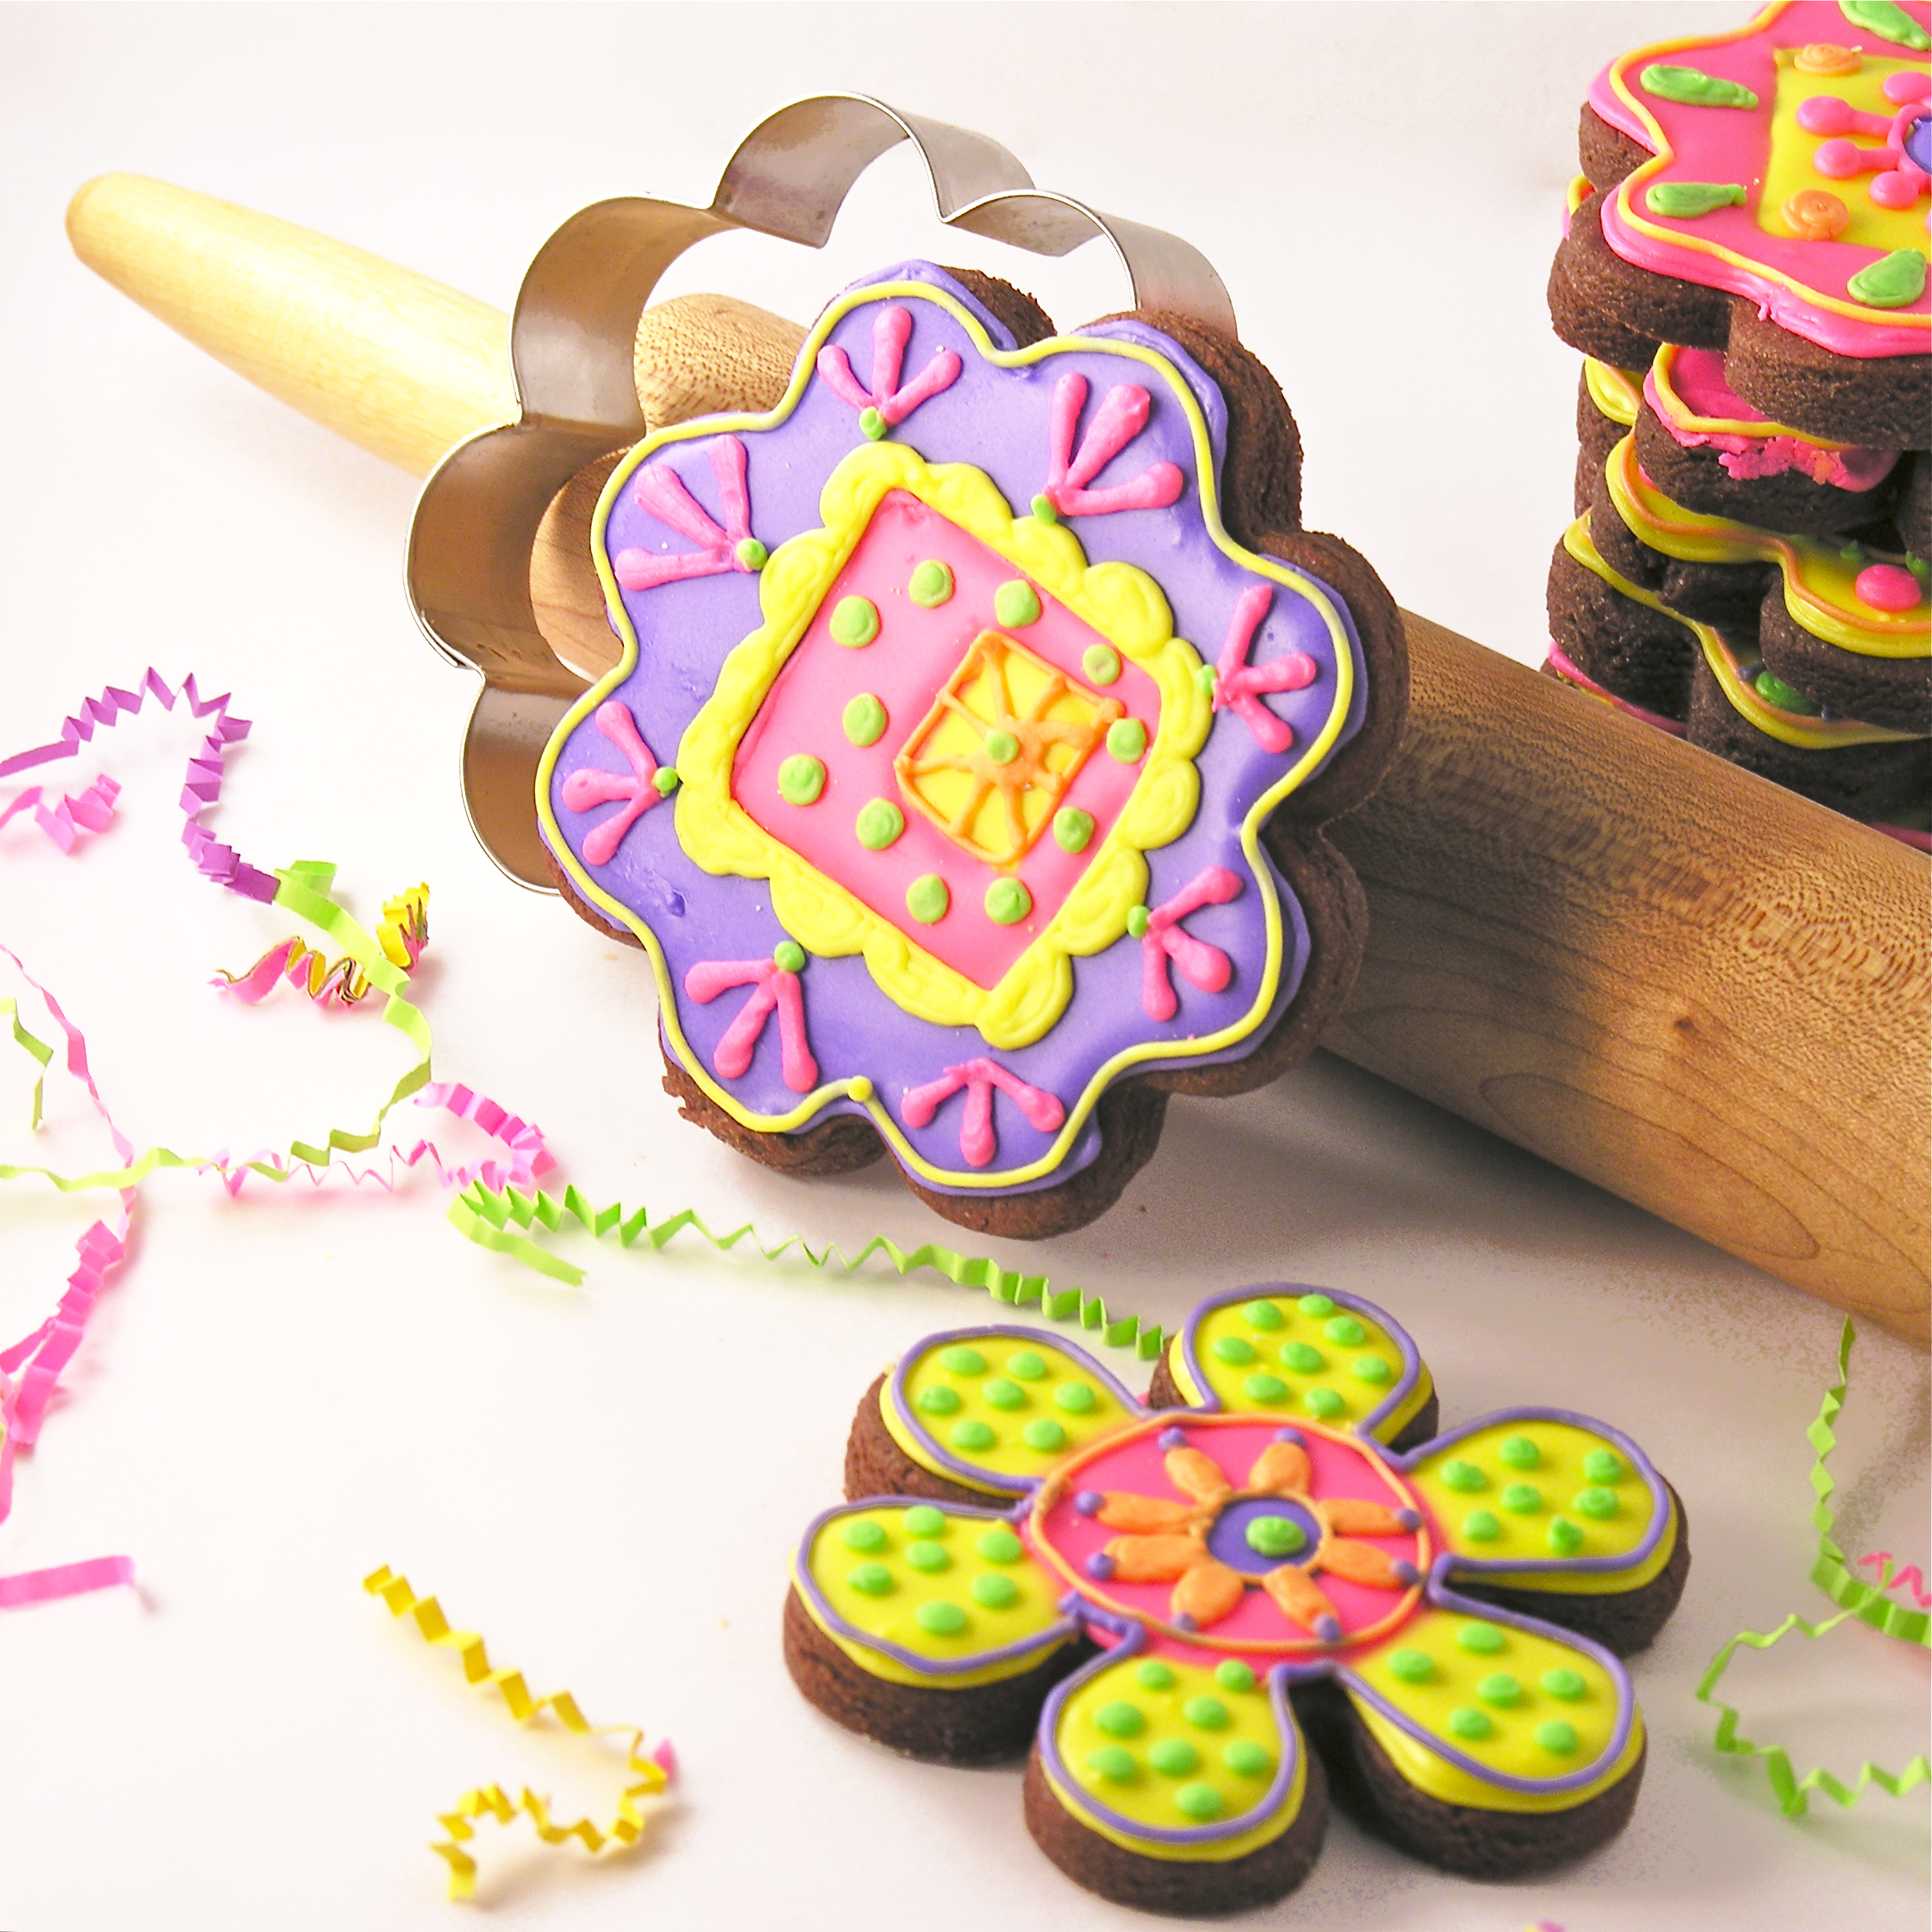

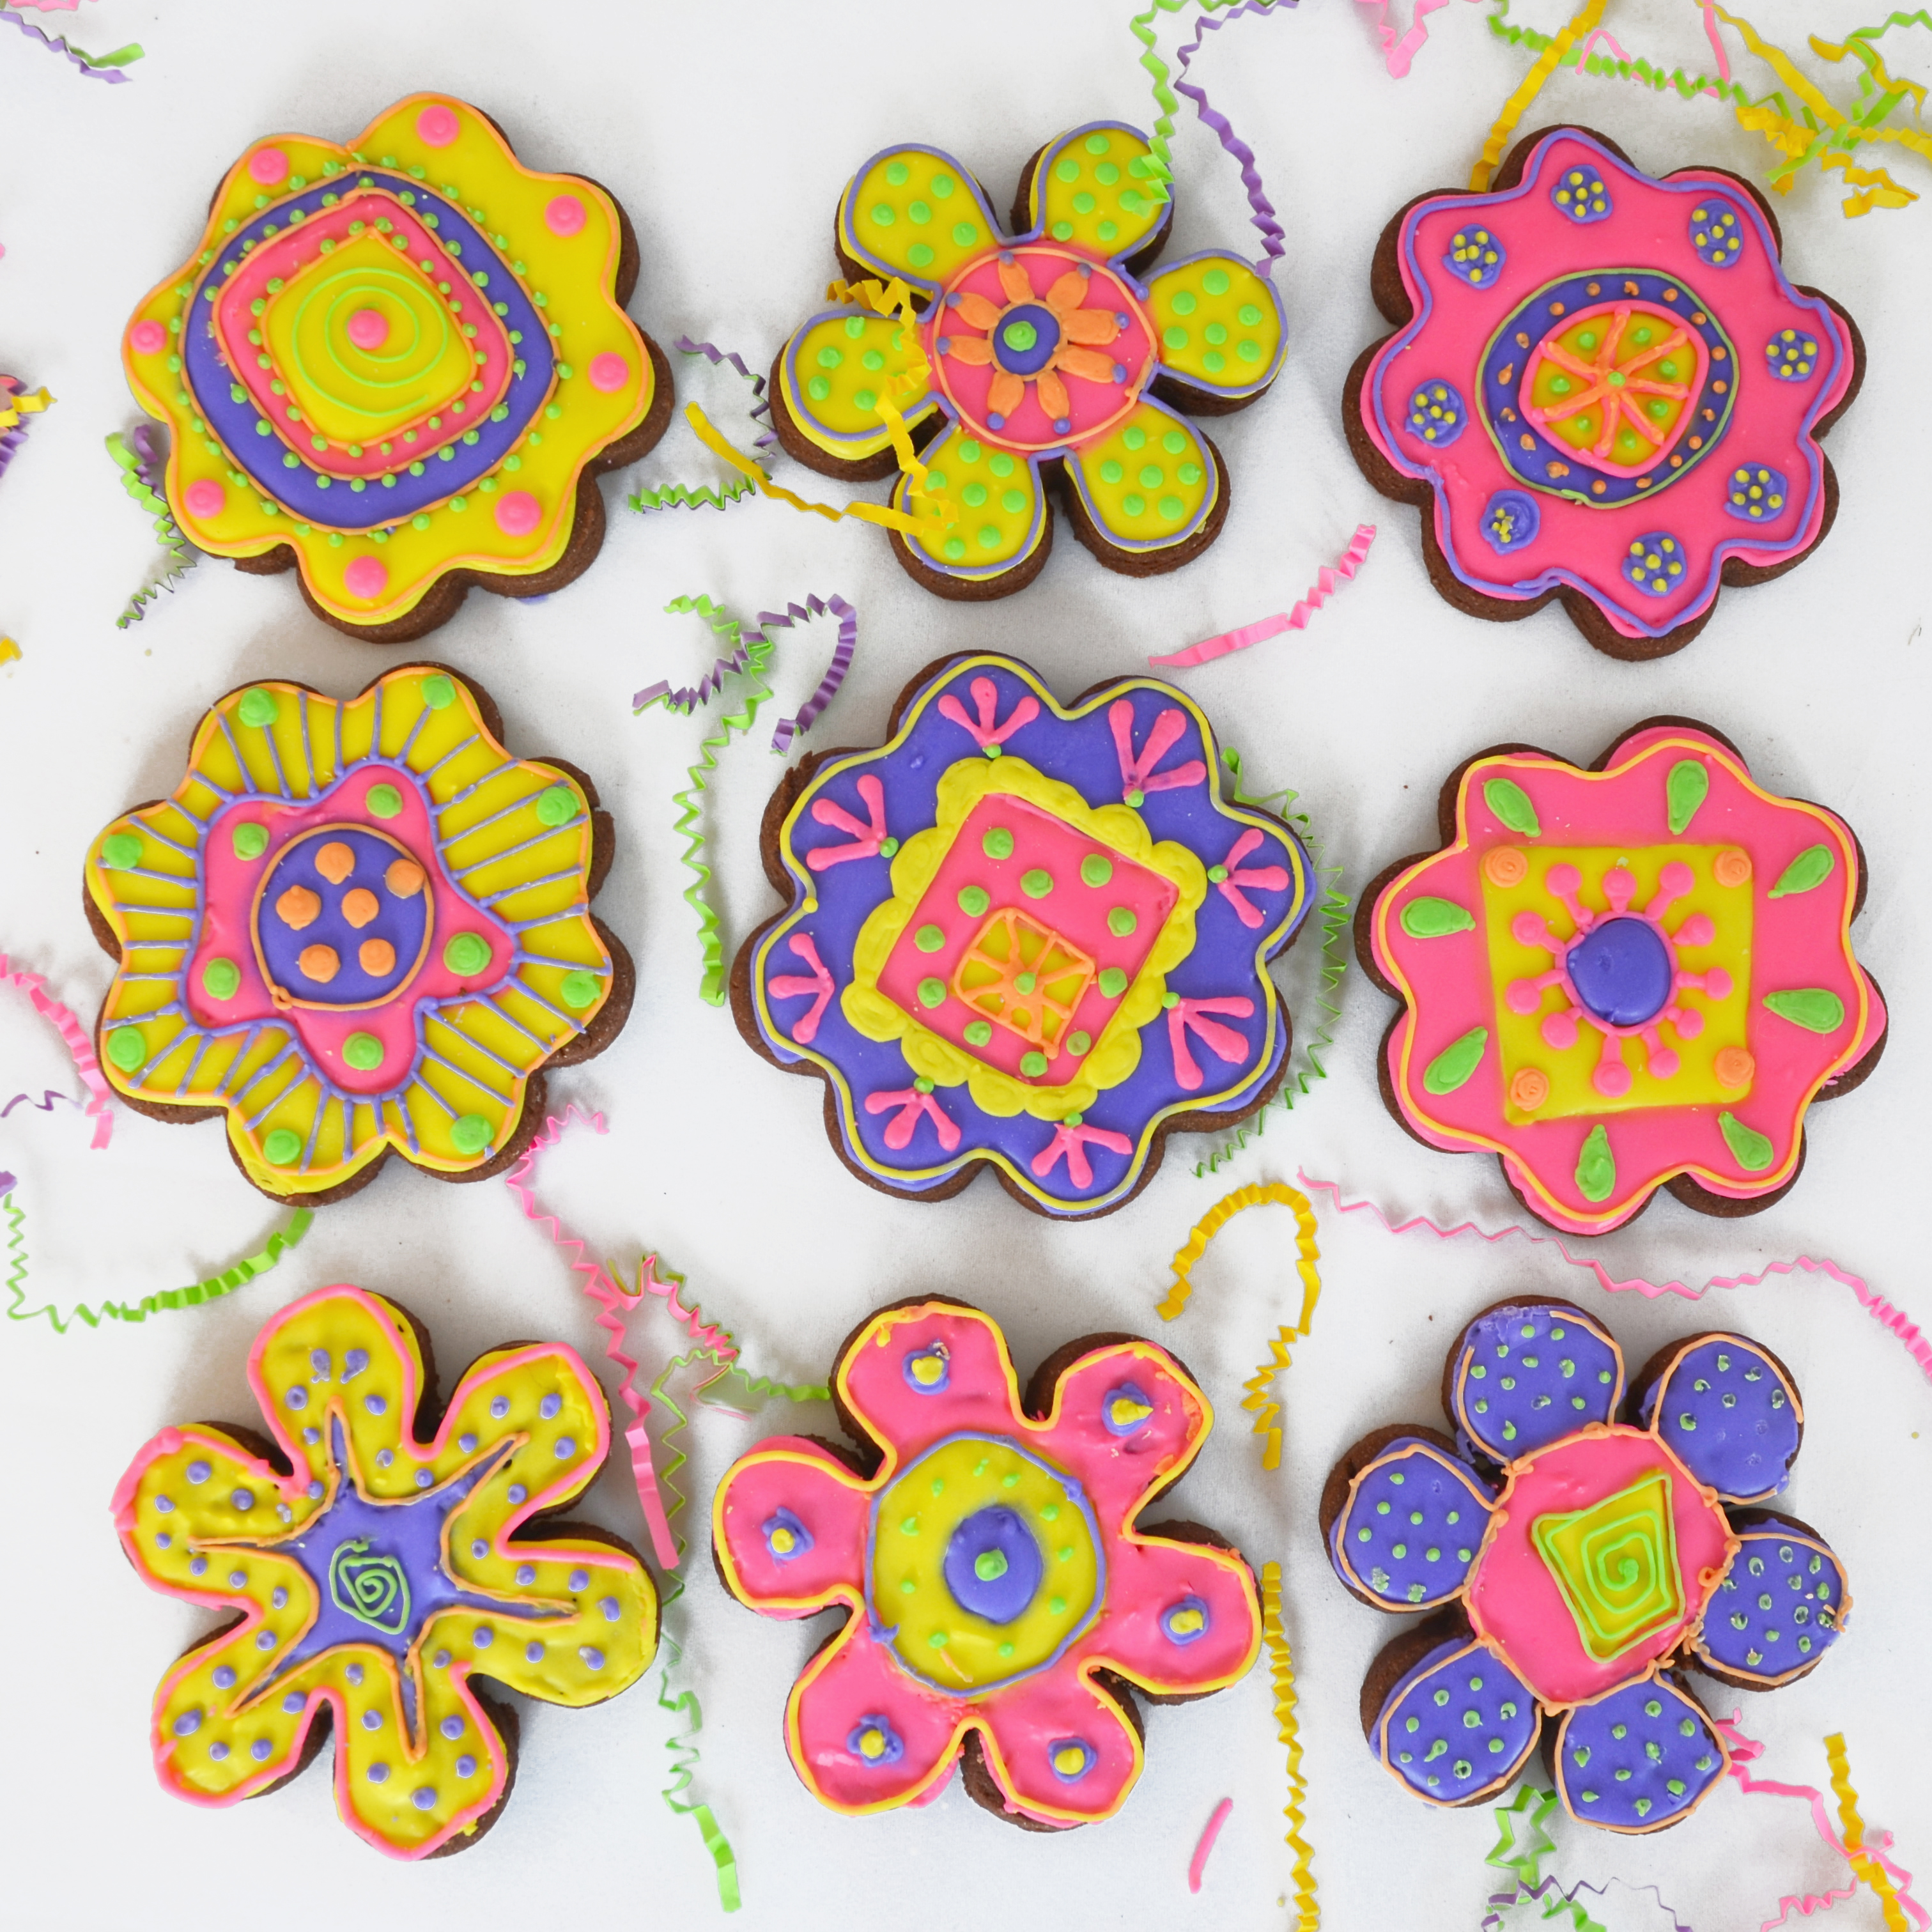


 My thoughts: These cookies are SO yummy. I’m not usually a huge fan of cut-out cookies, but these are truly worth the effort of rolling out and cutting! I like them thick- even if you don’t add sticks to make them into pops. They are so much fun all set up in a vase~ what a perfect way to serve cookies at a party! You could wrap these in cello bags and tie them with cute ribbons too- a perfect favor for a wedding or shower! Hope you have fun with these treats!!! Enjoy!! ~r