RSS Feed

Tag Archives: chocolate cookies

Peppermint Mocha Cookies

Posted on

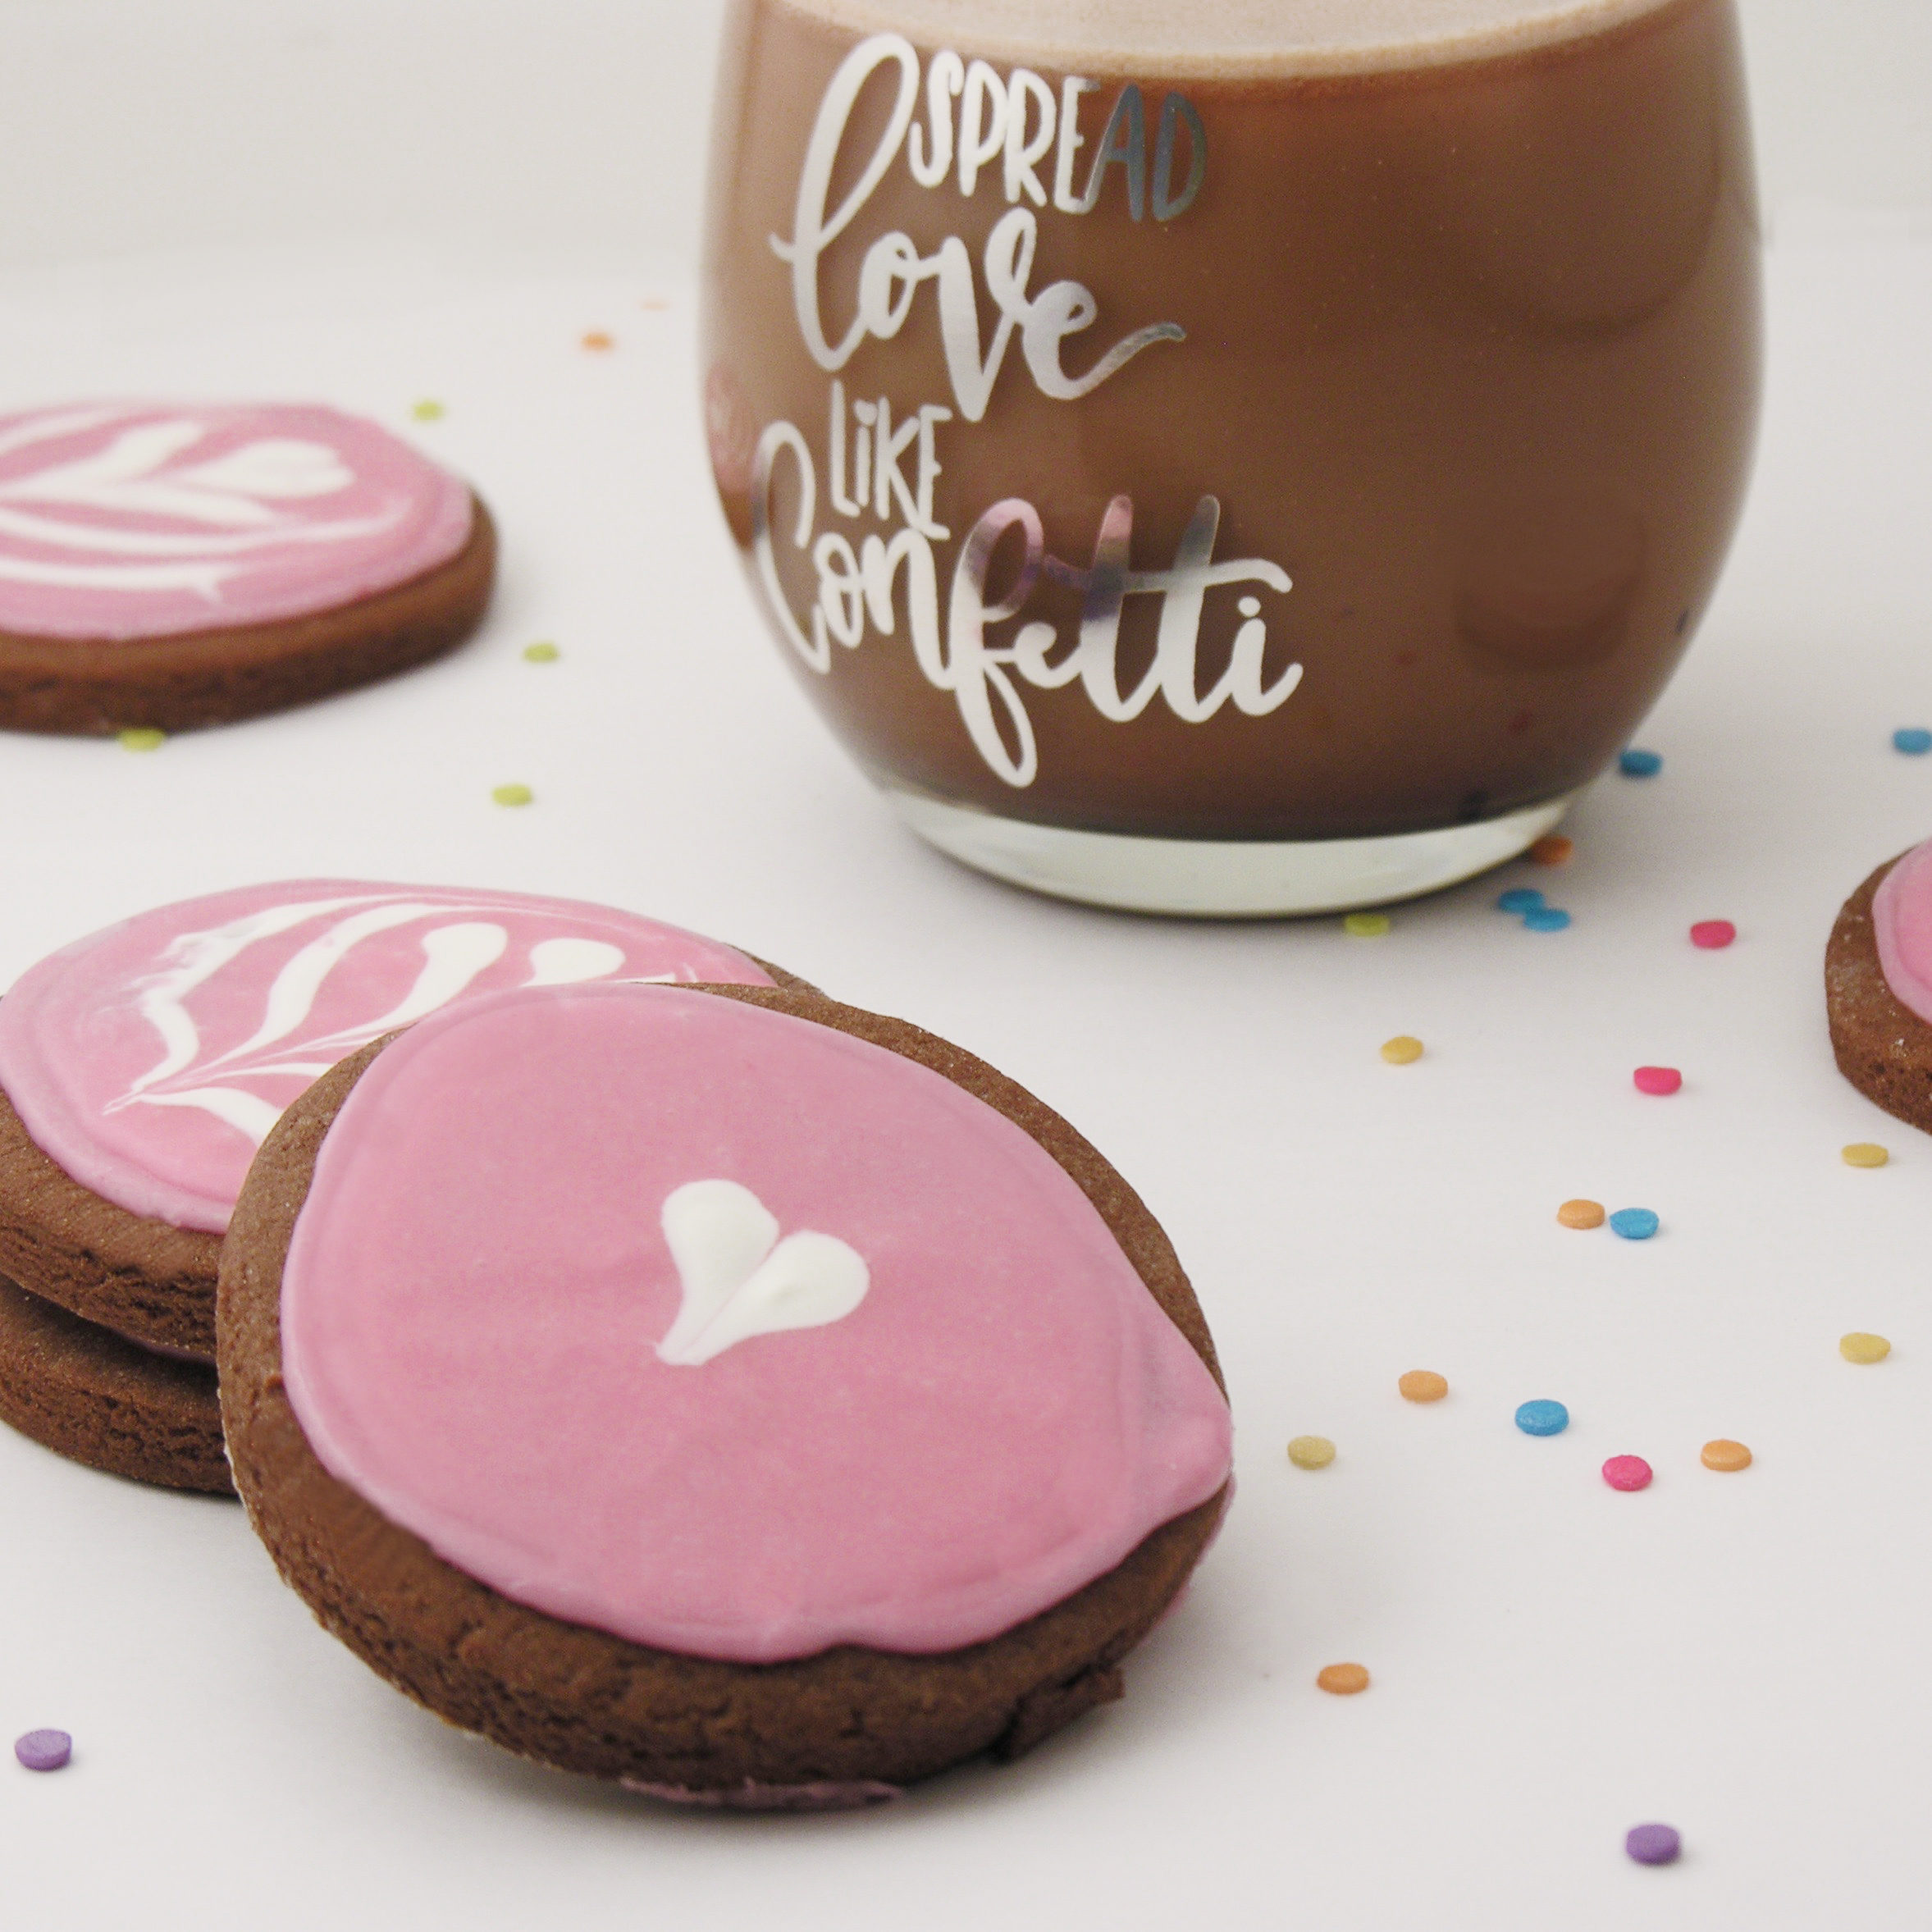
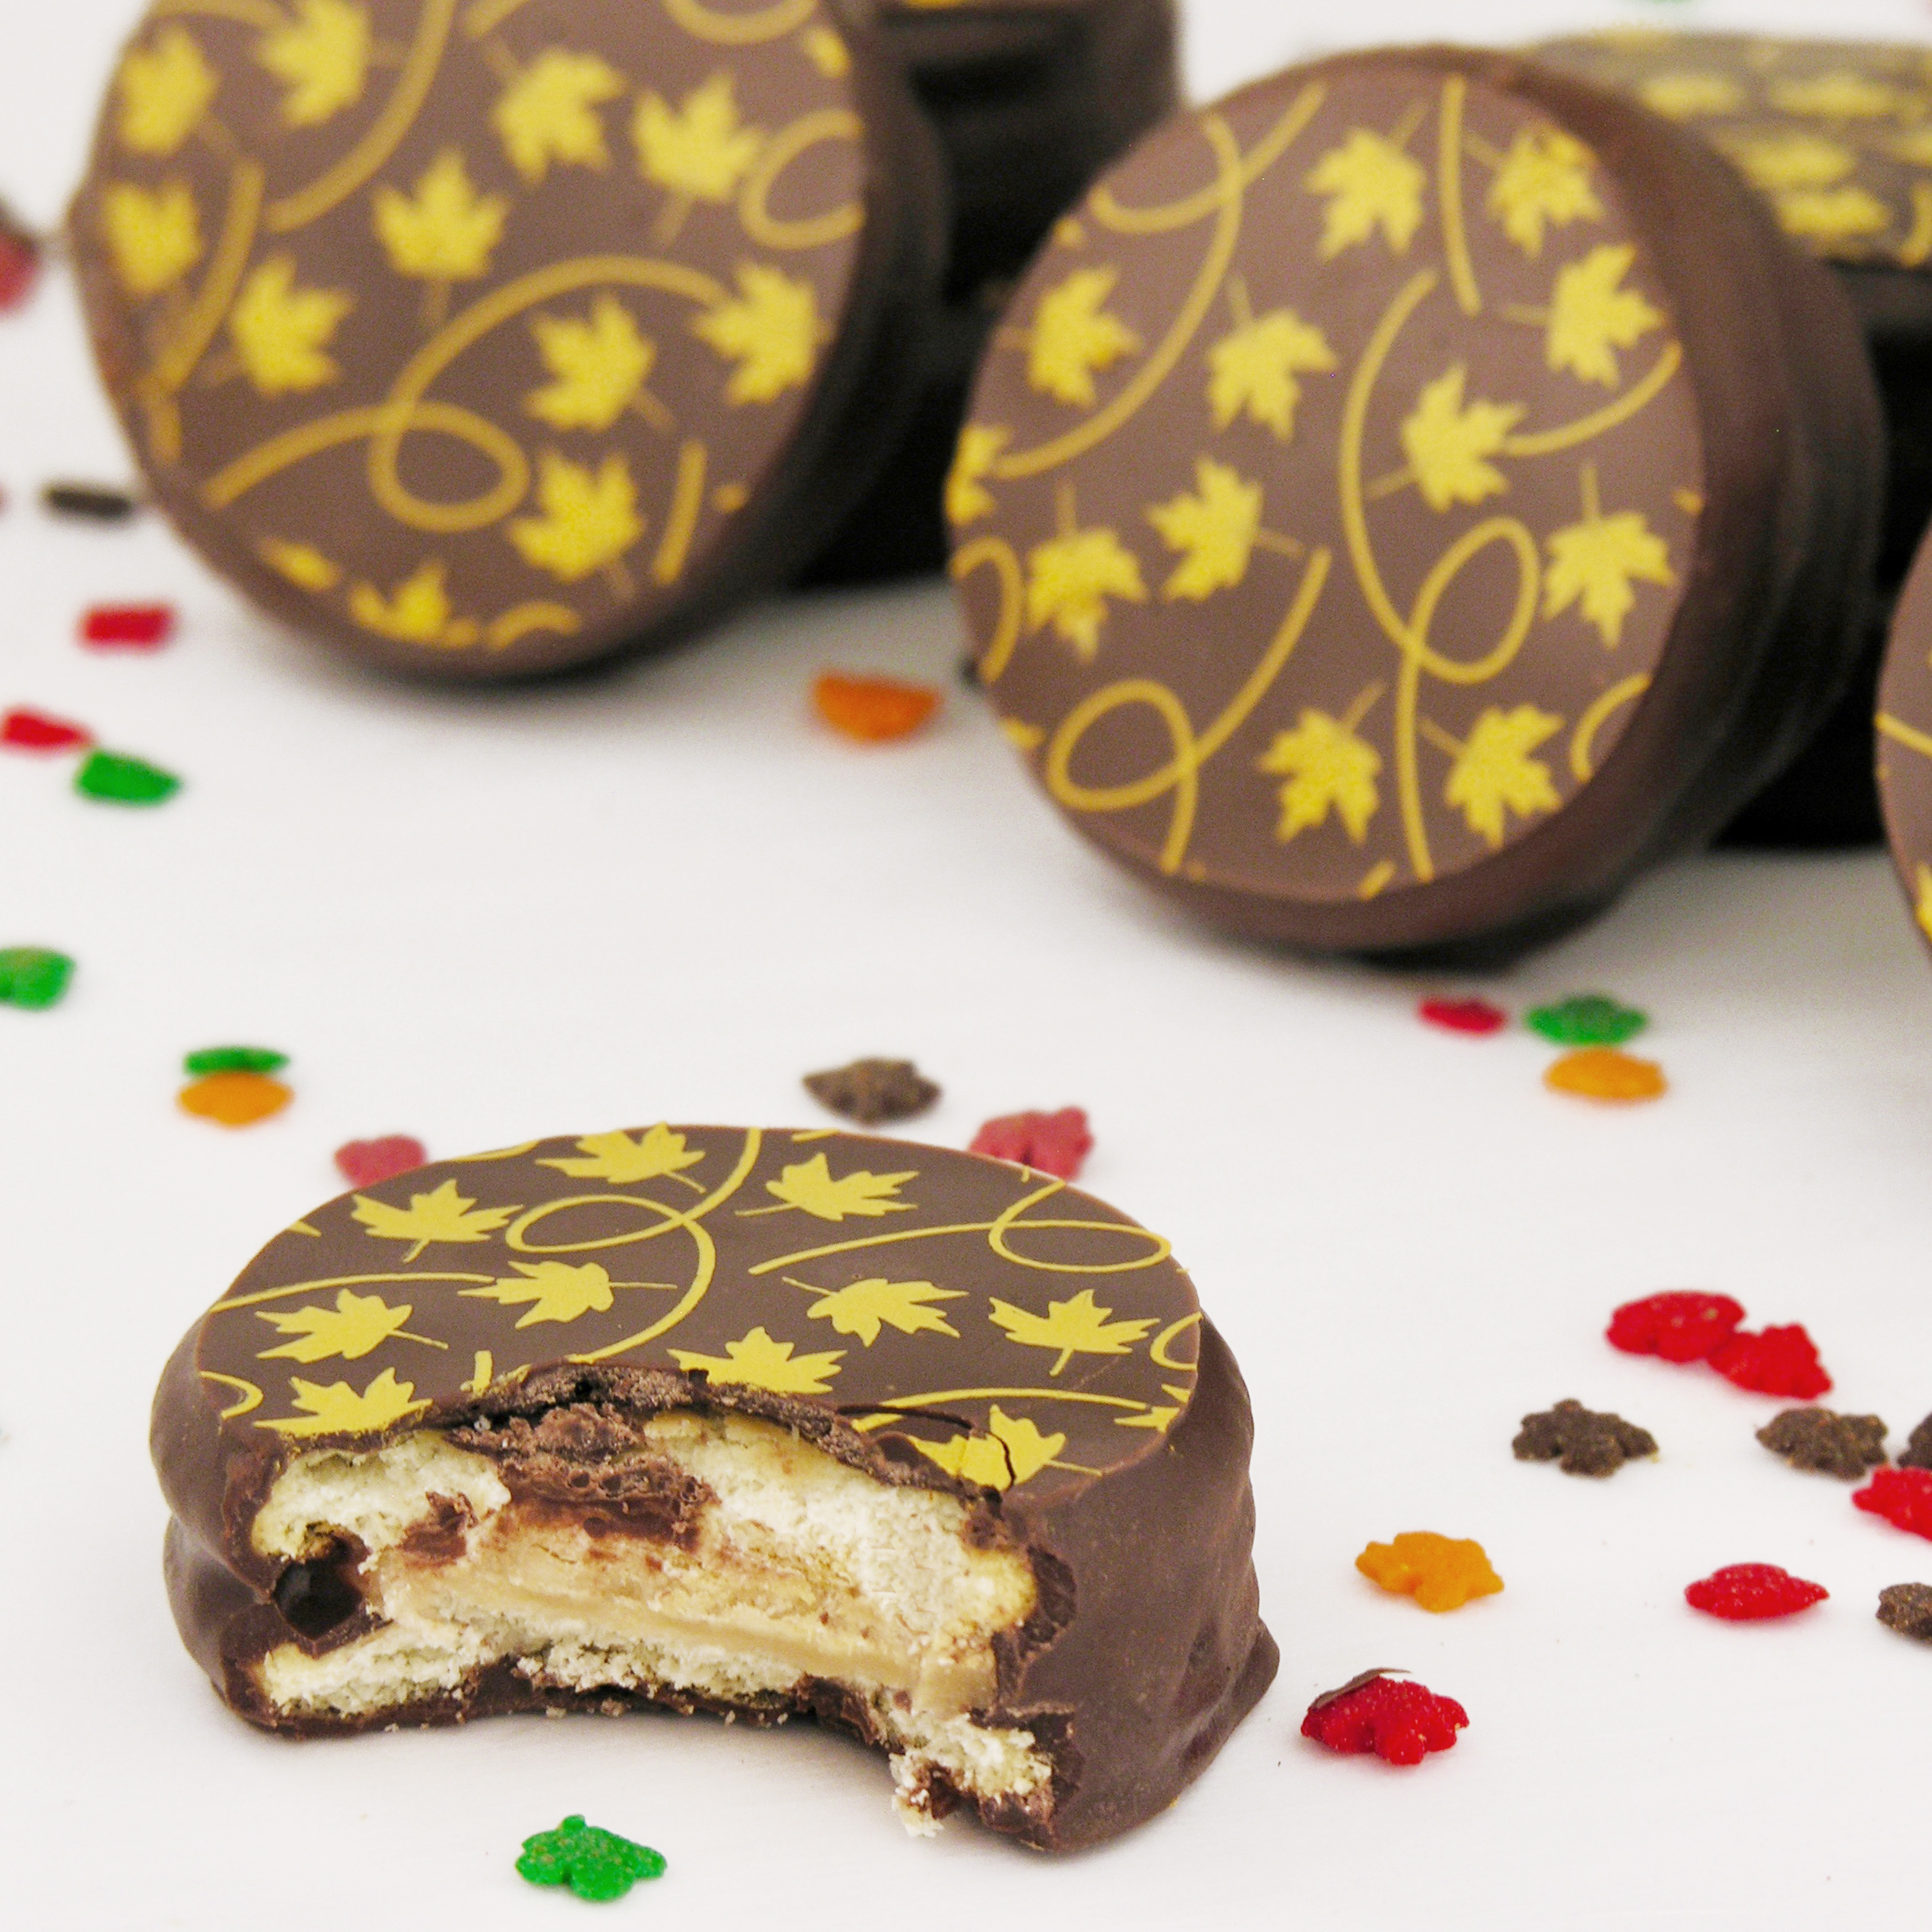
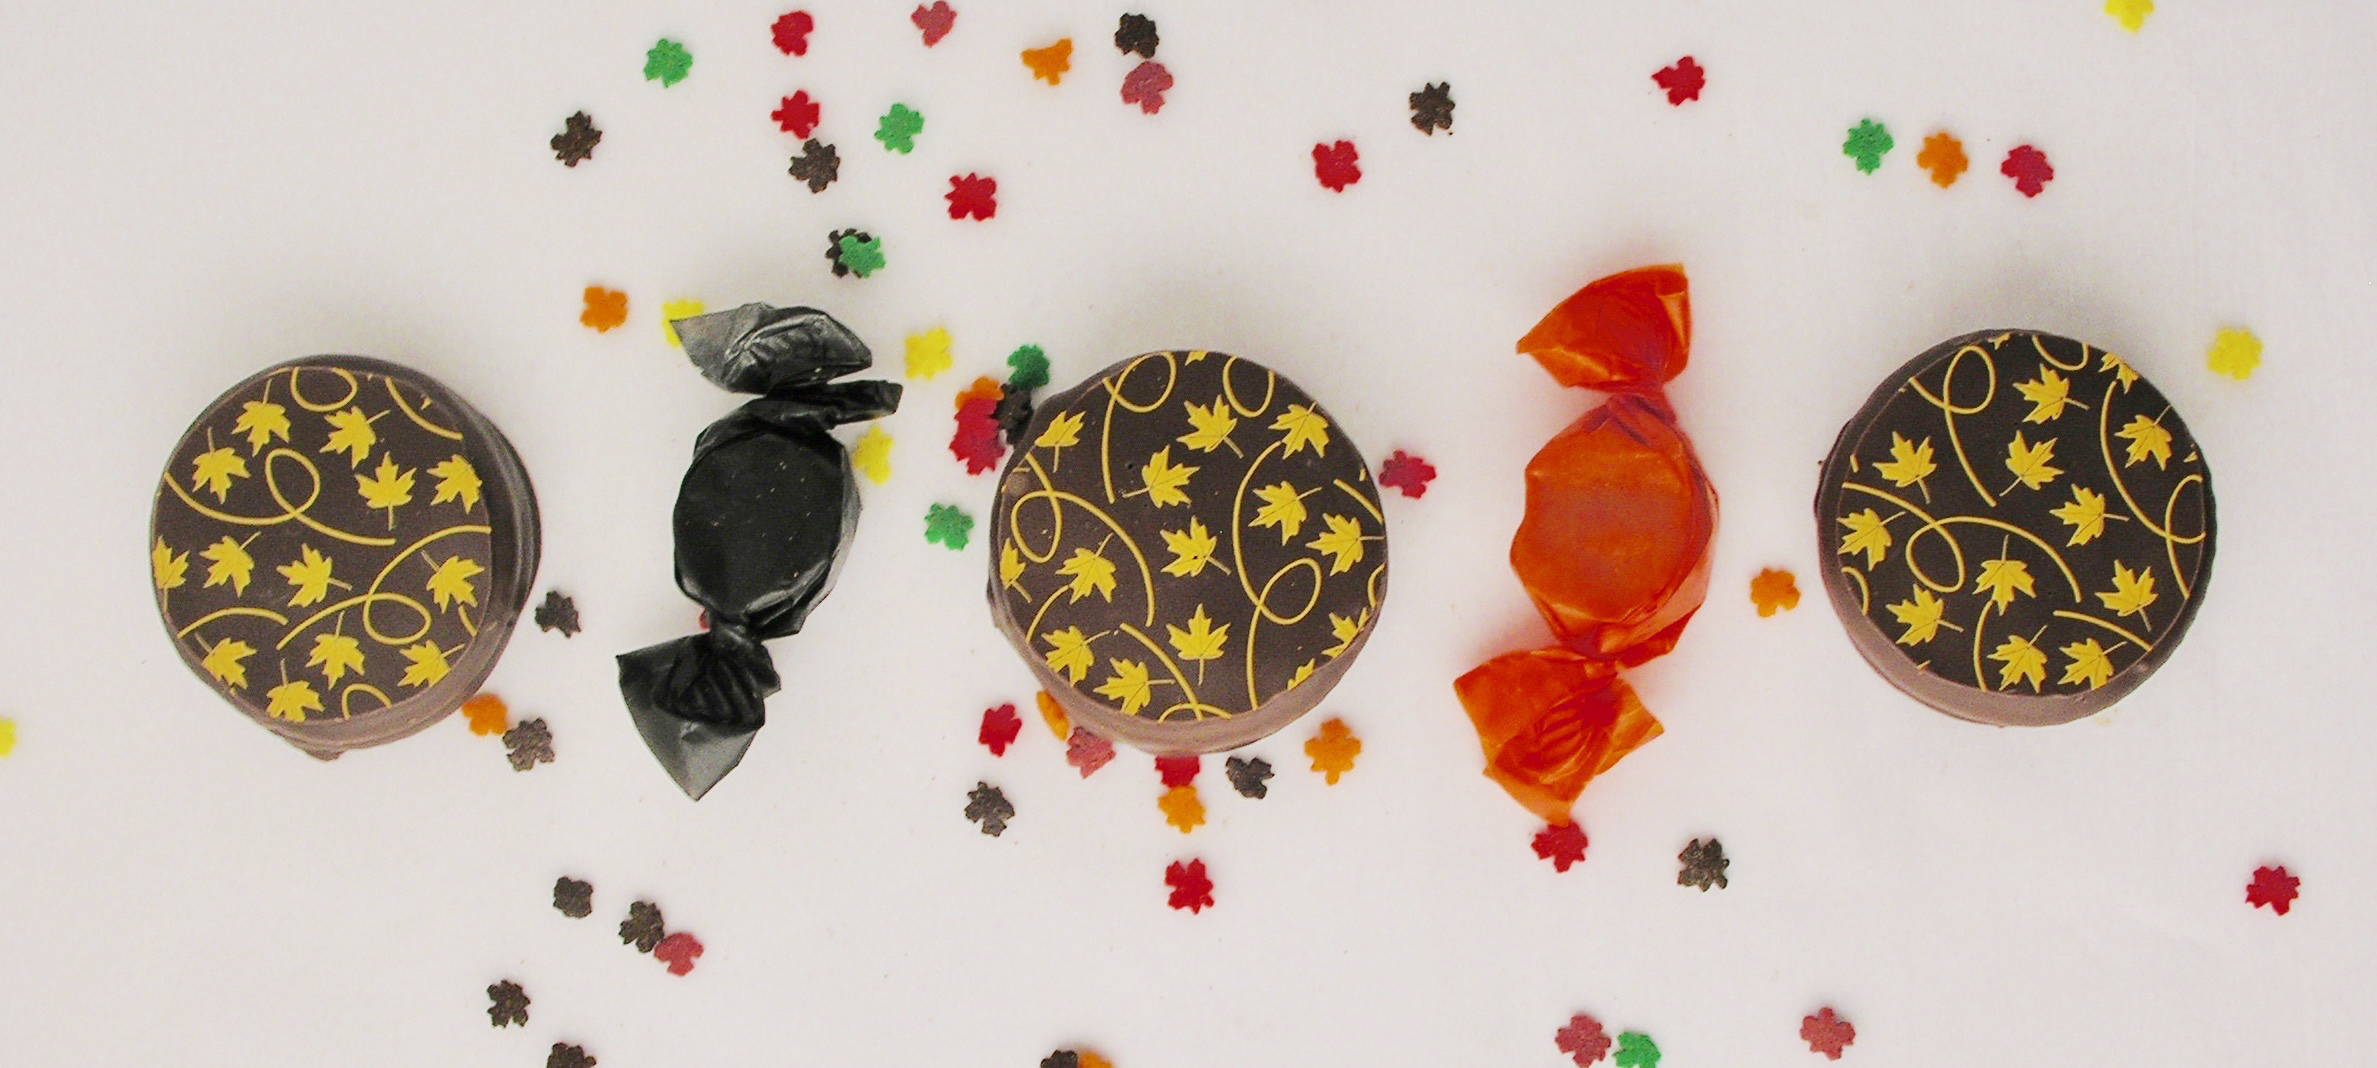
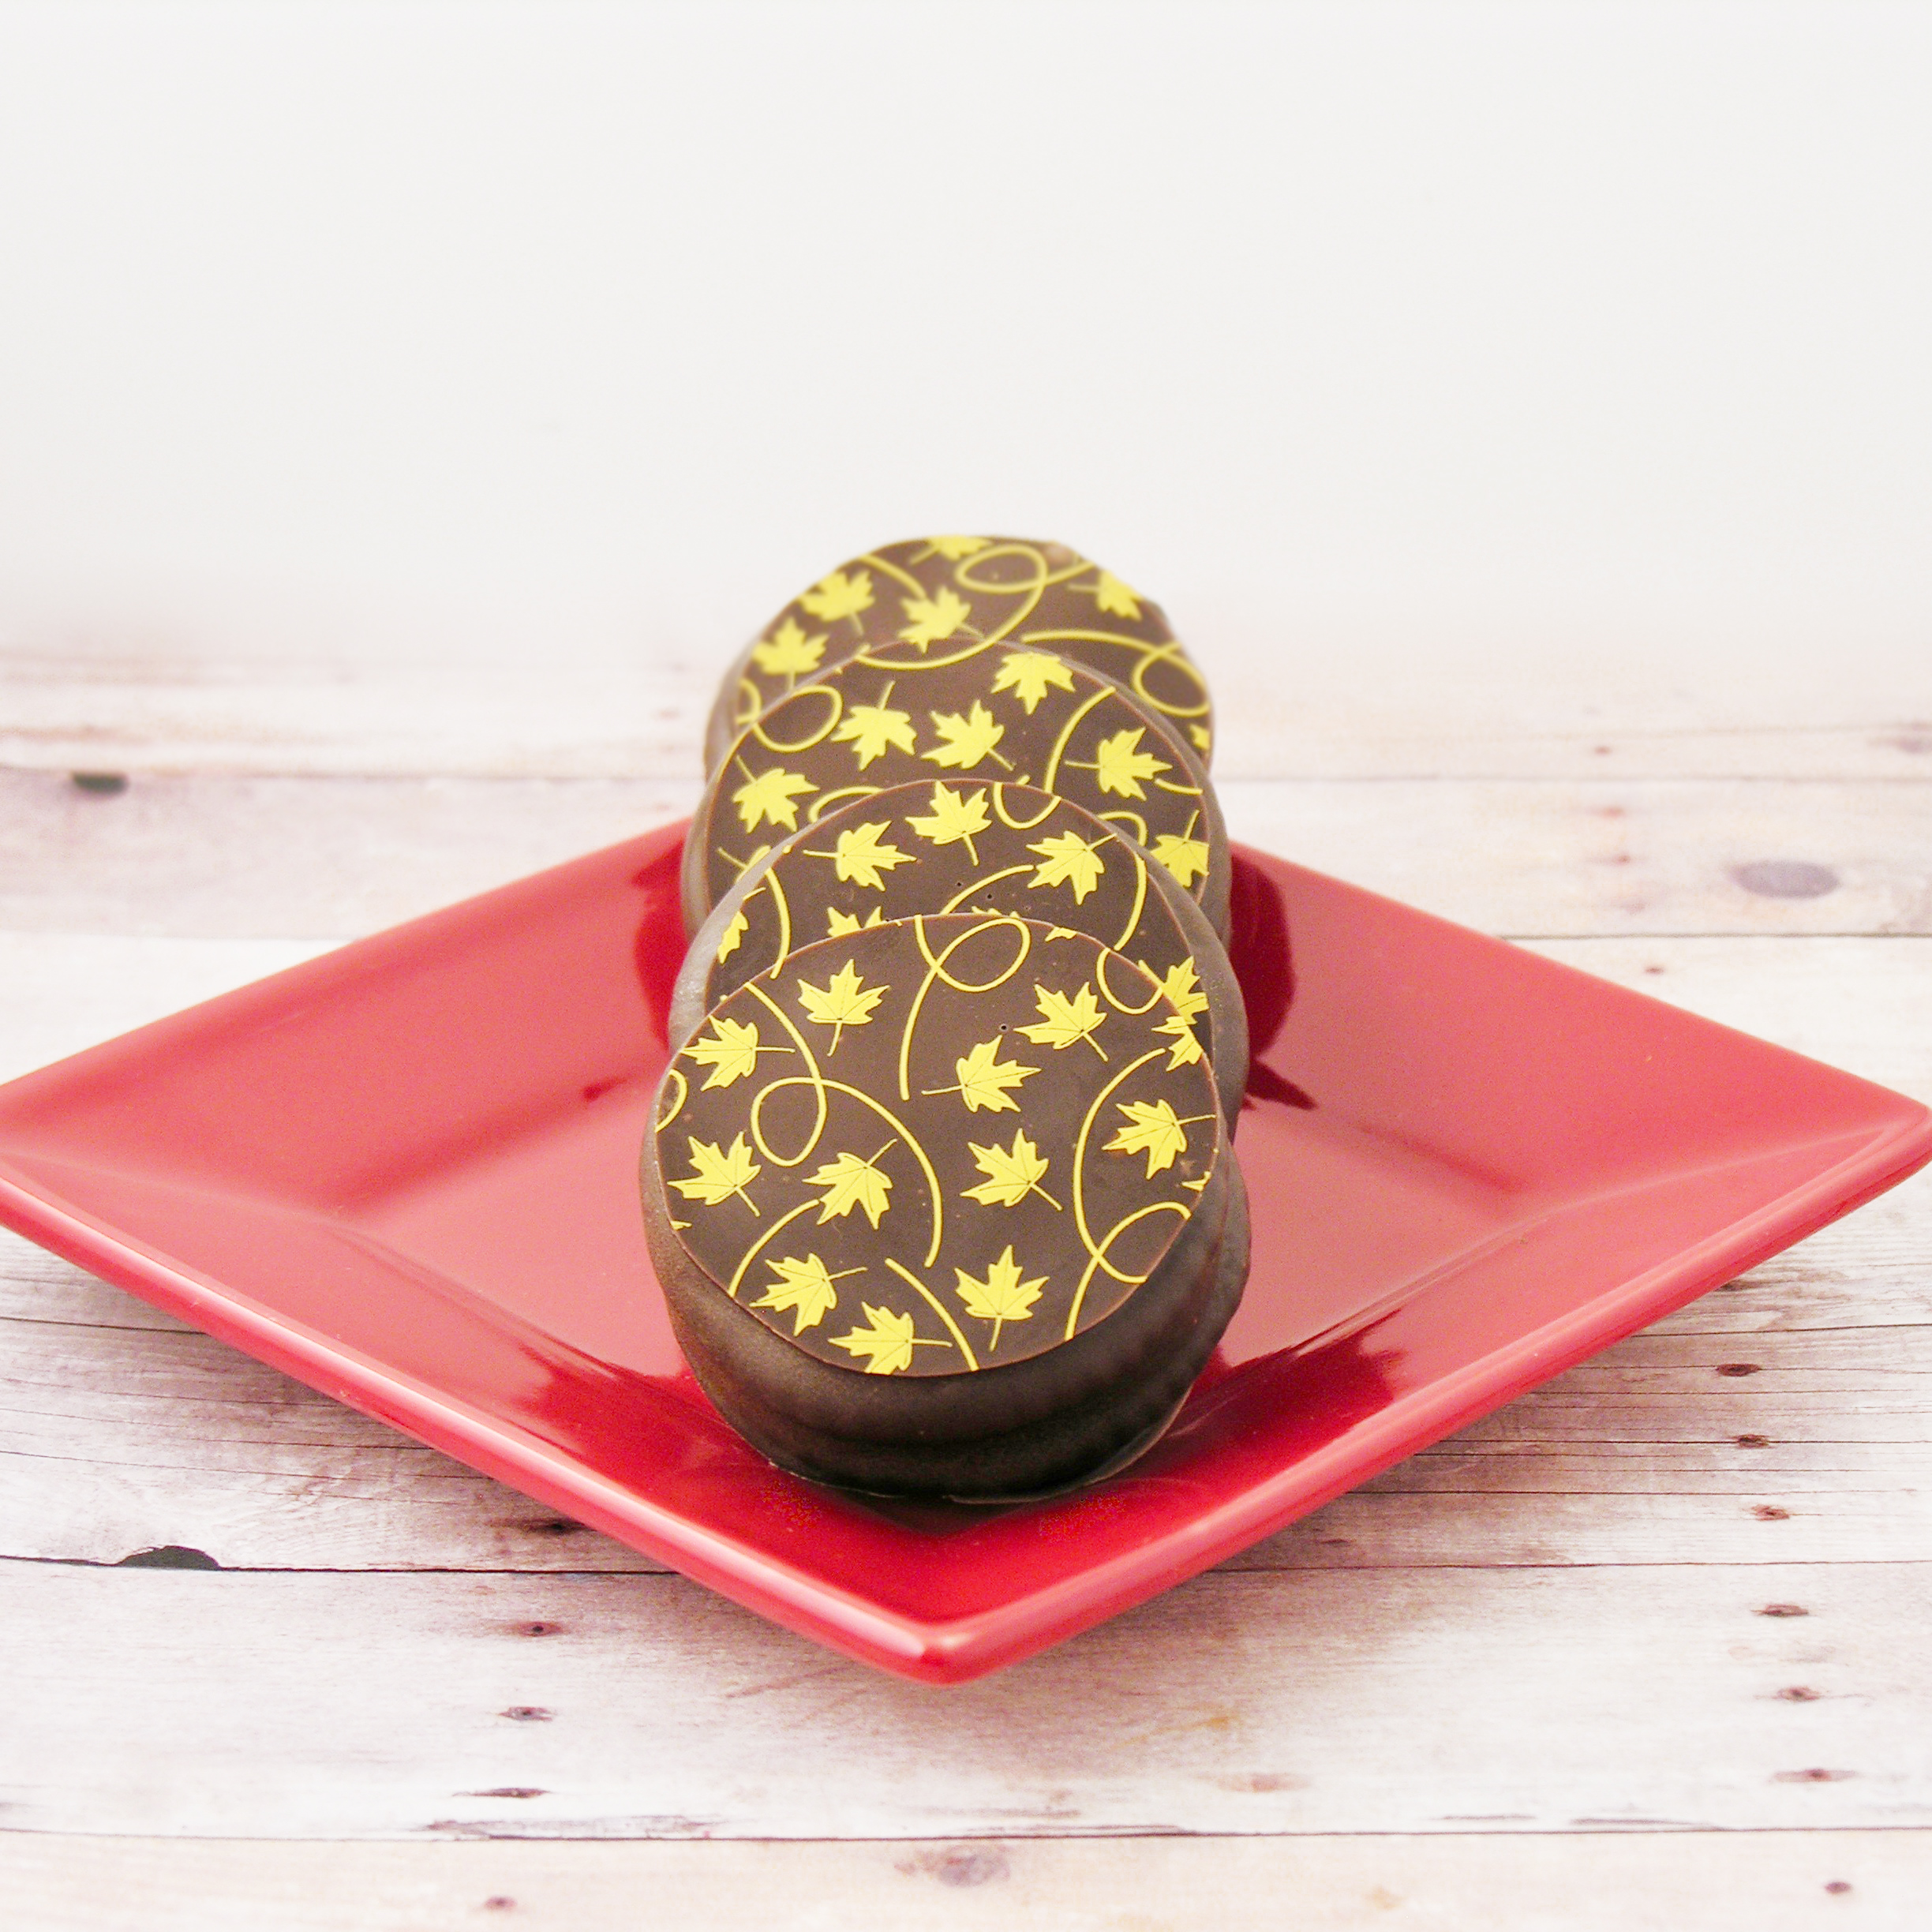
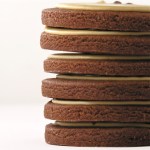
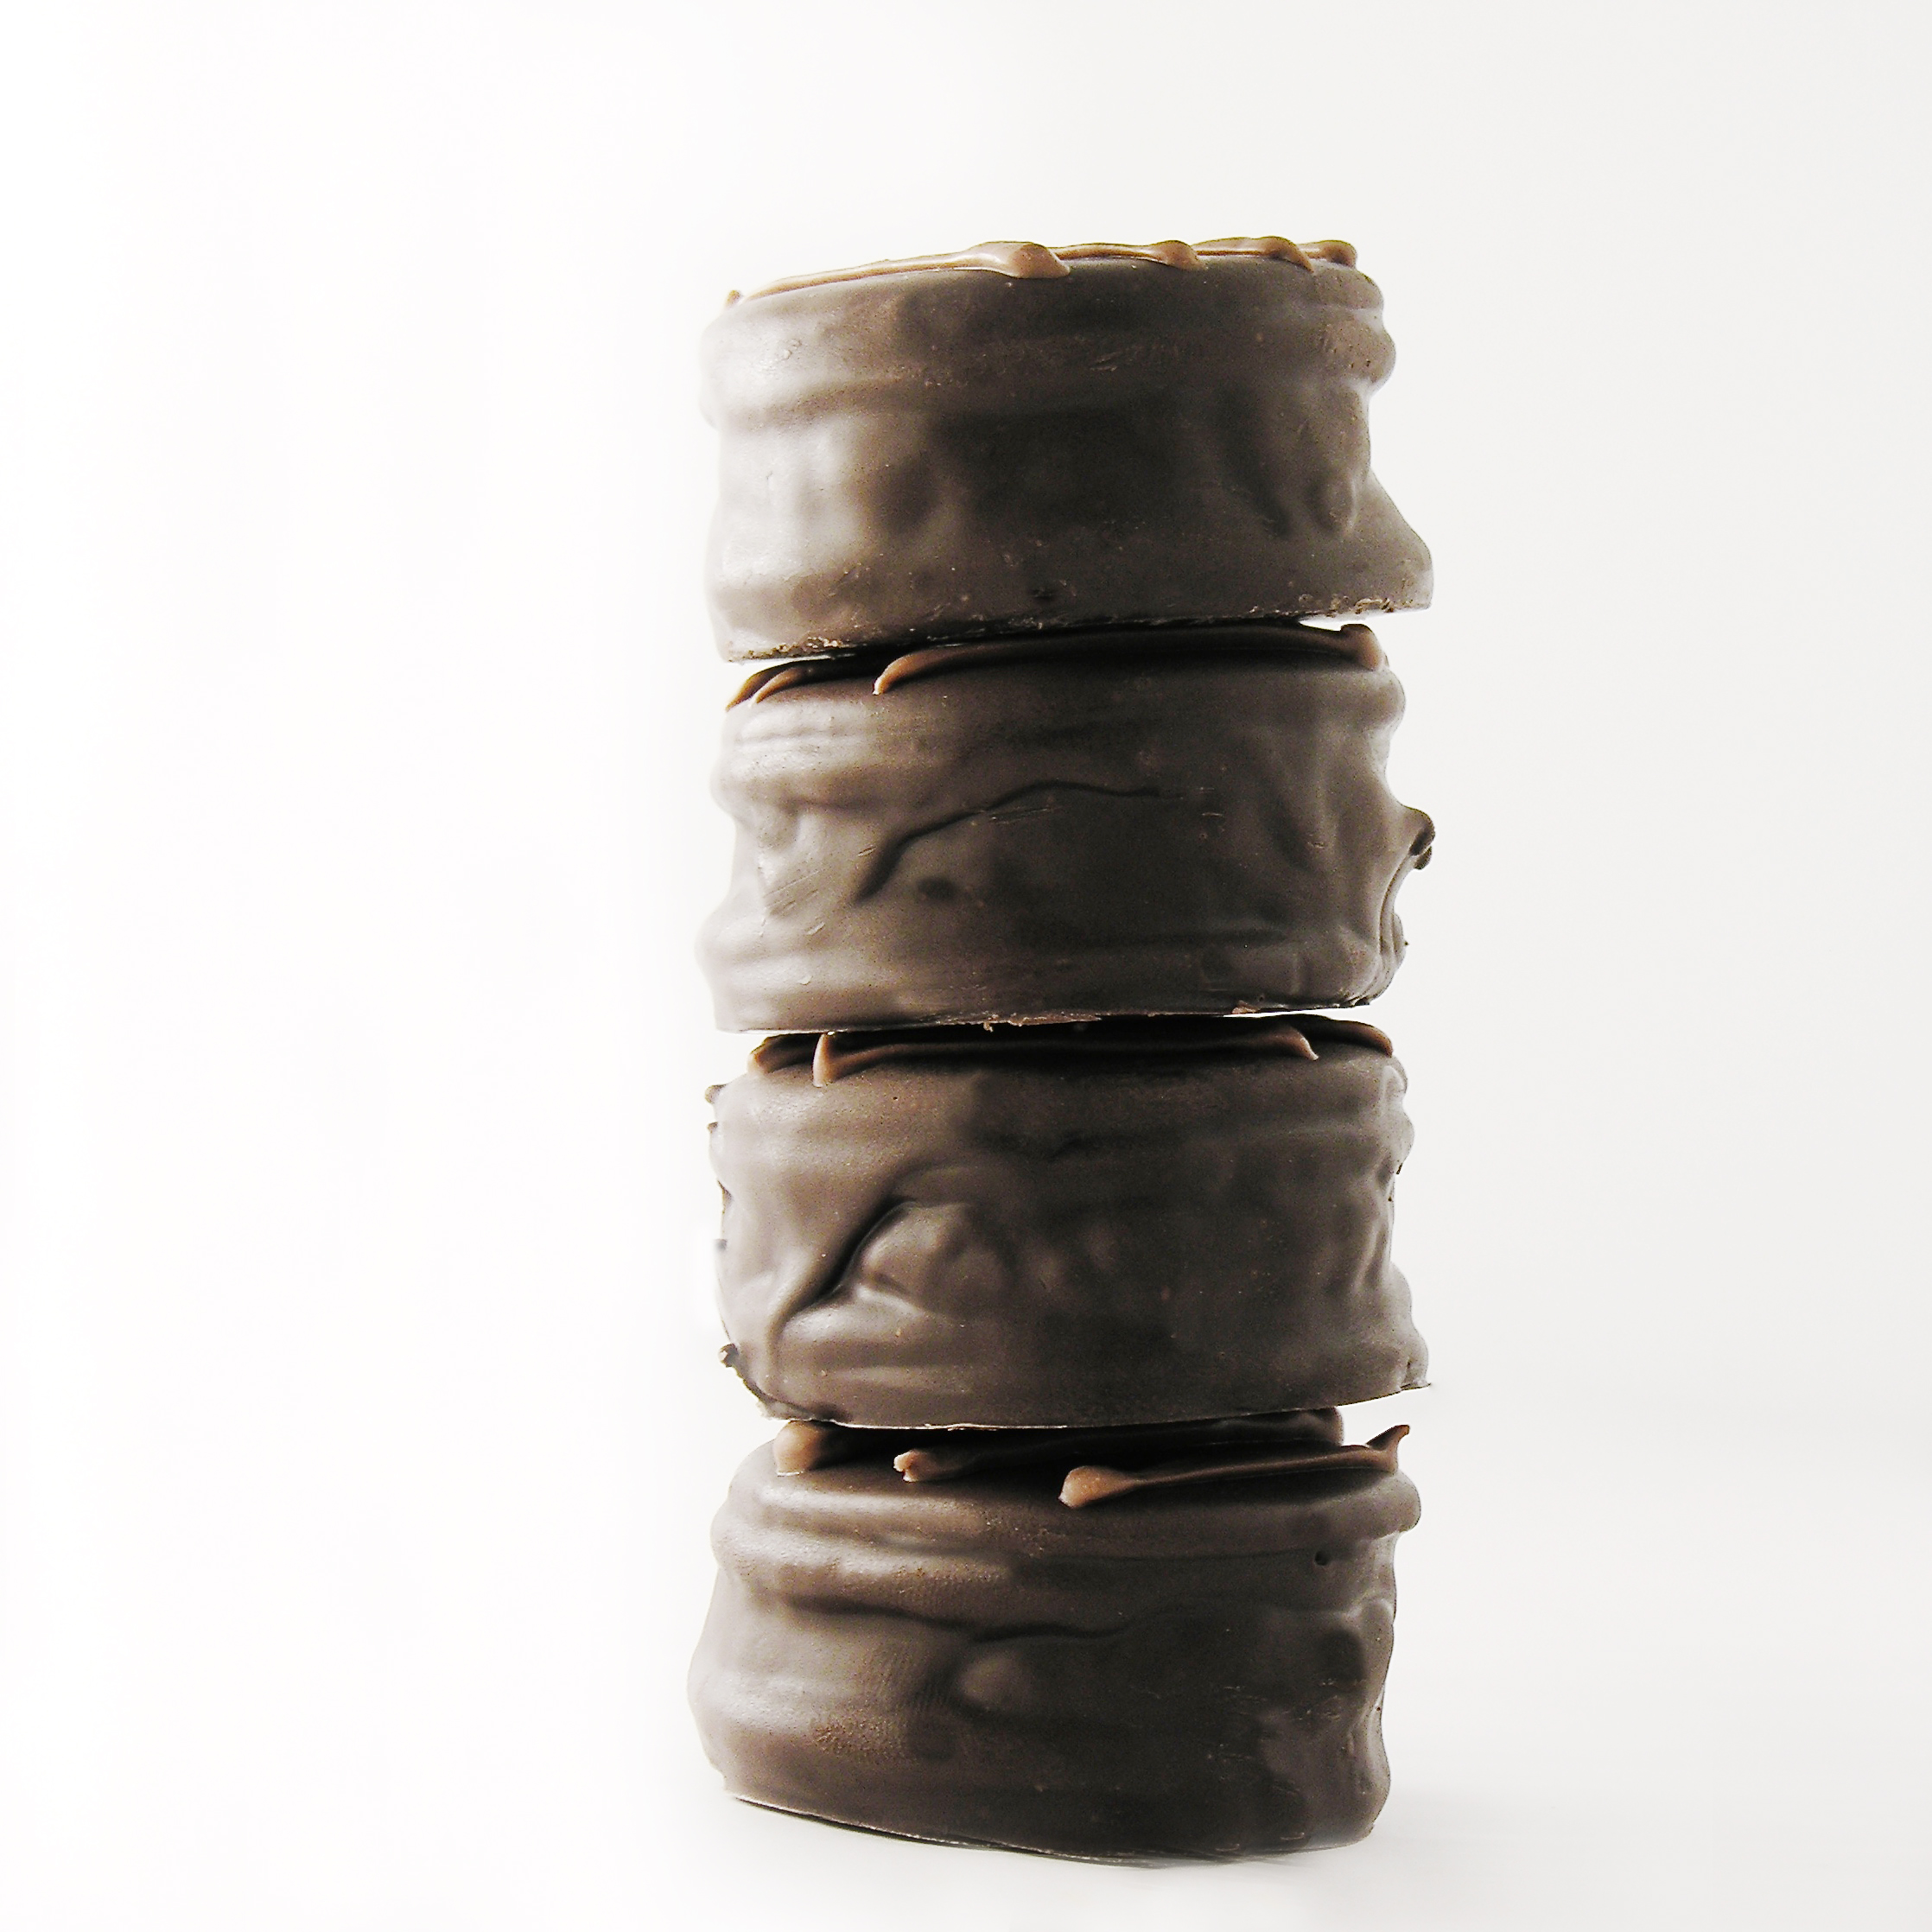
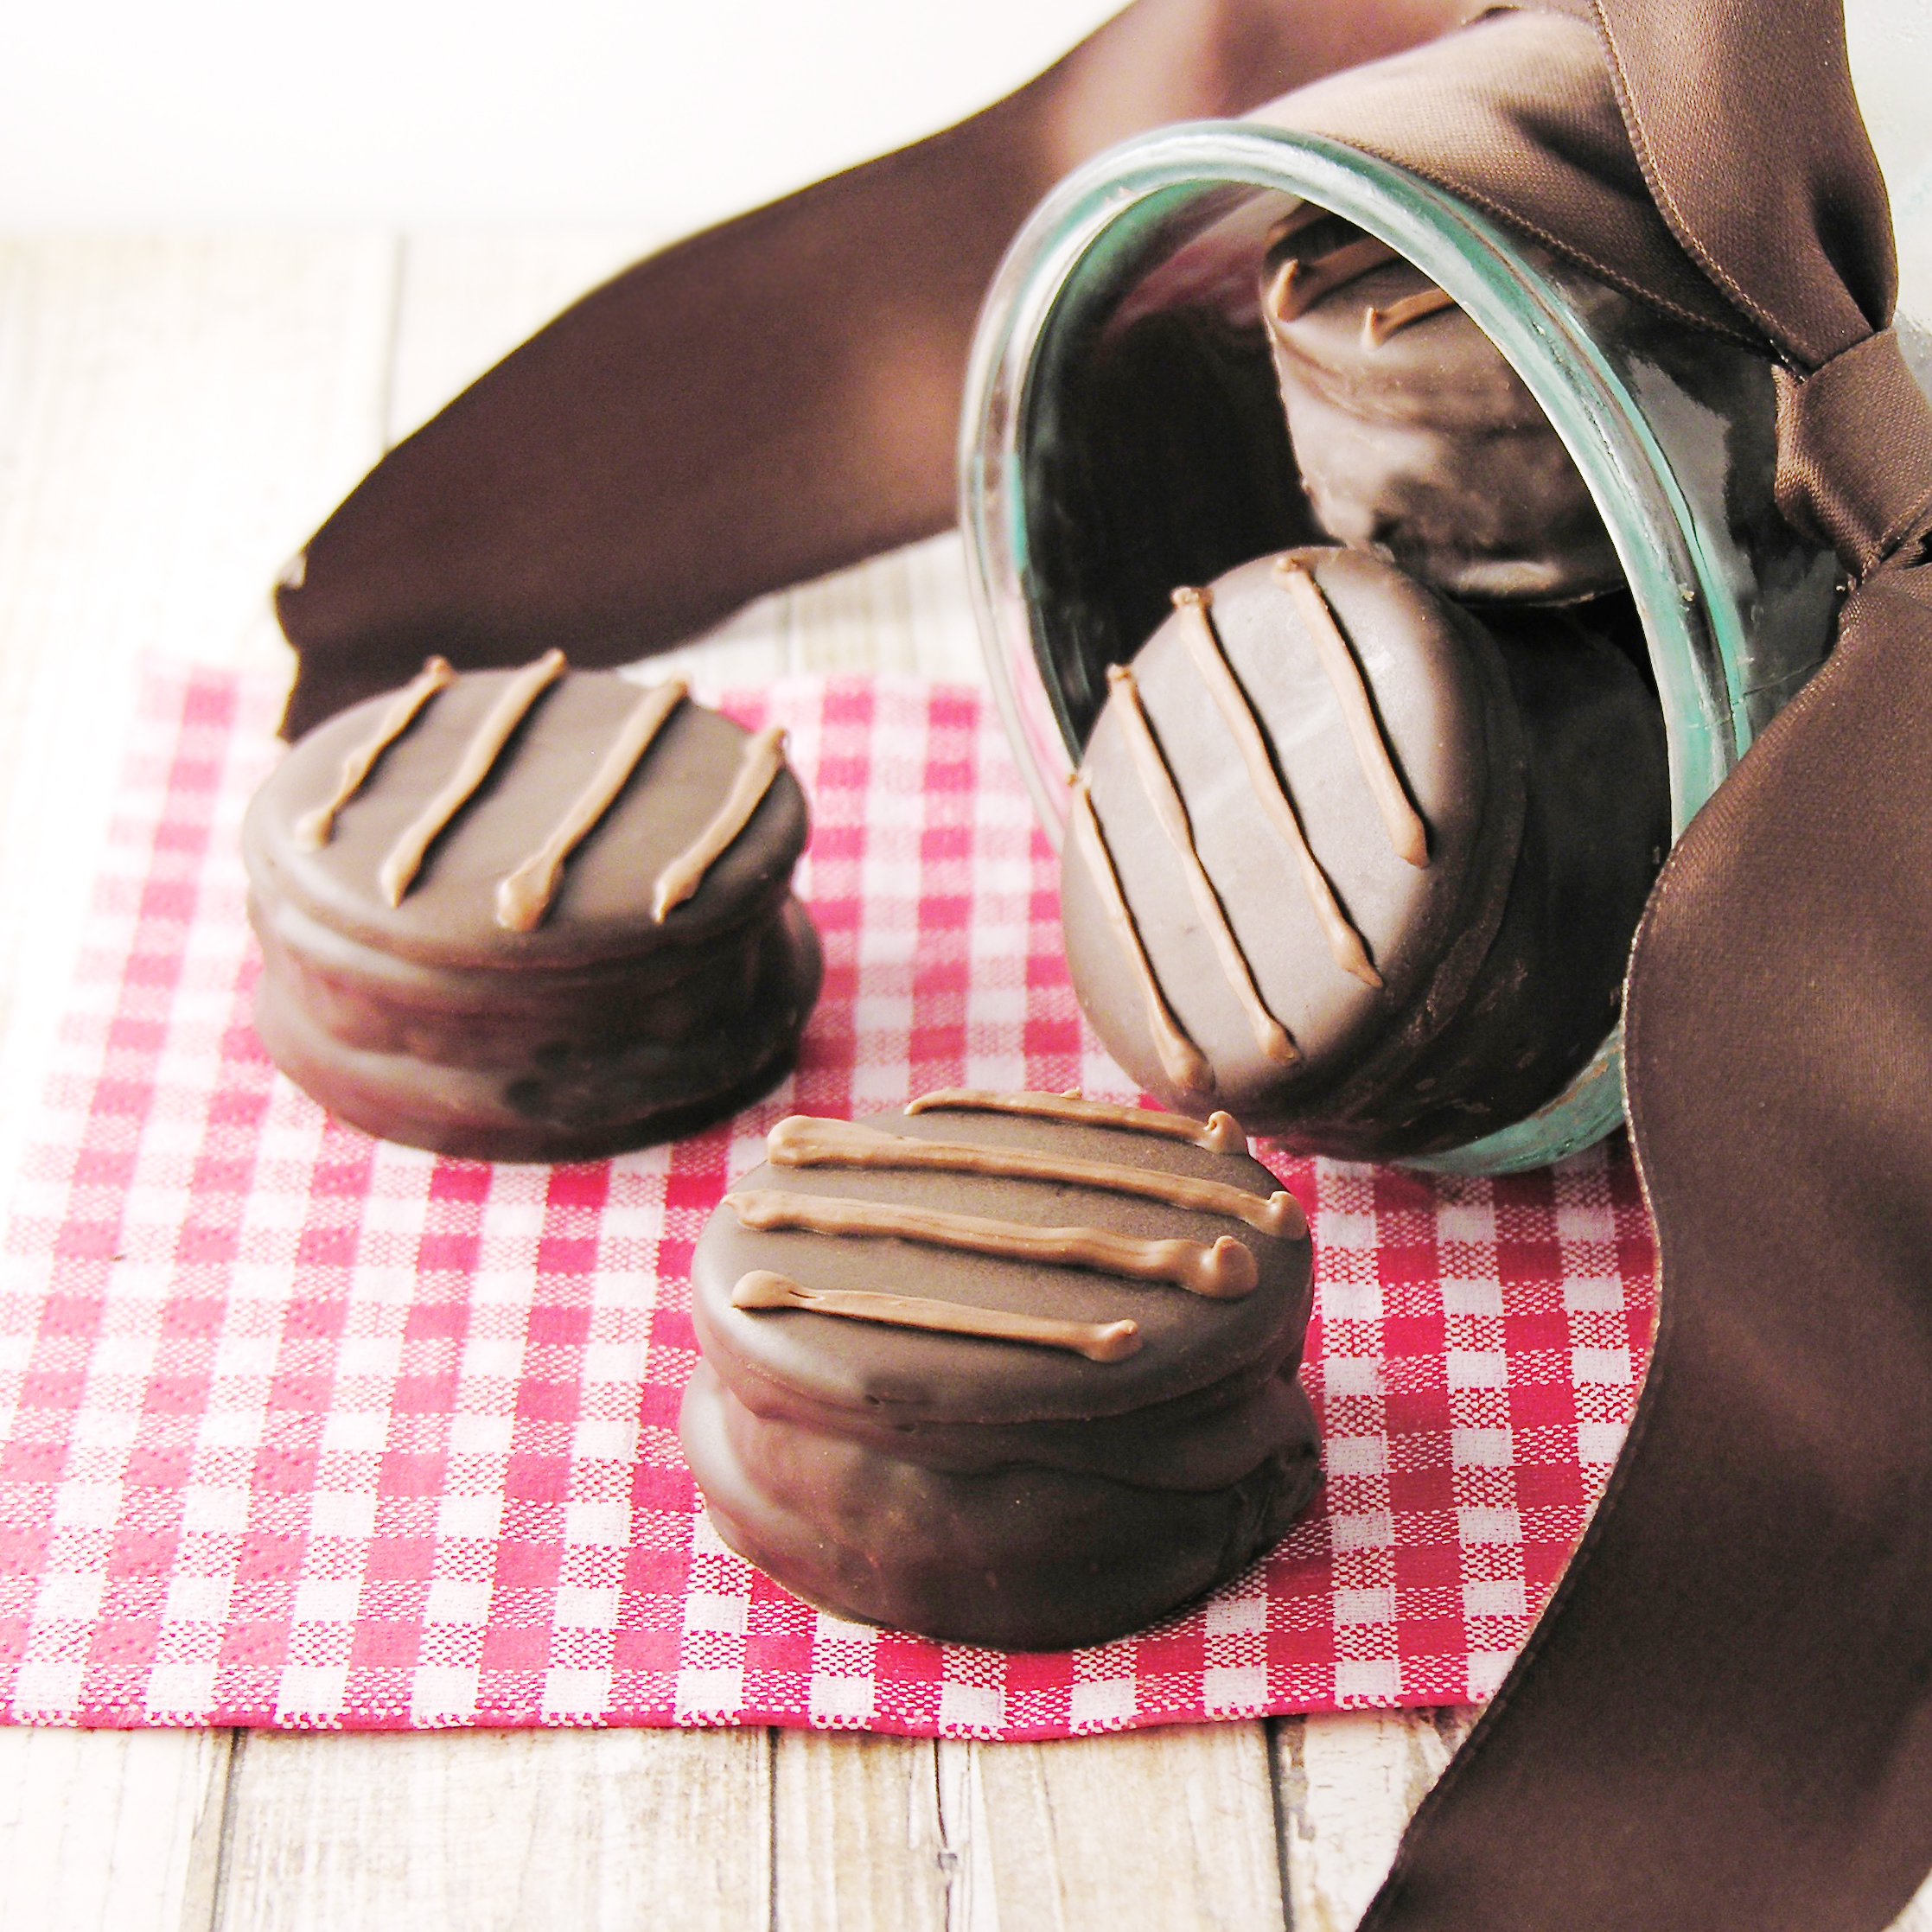
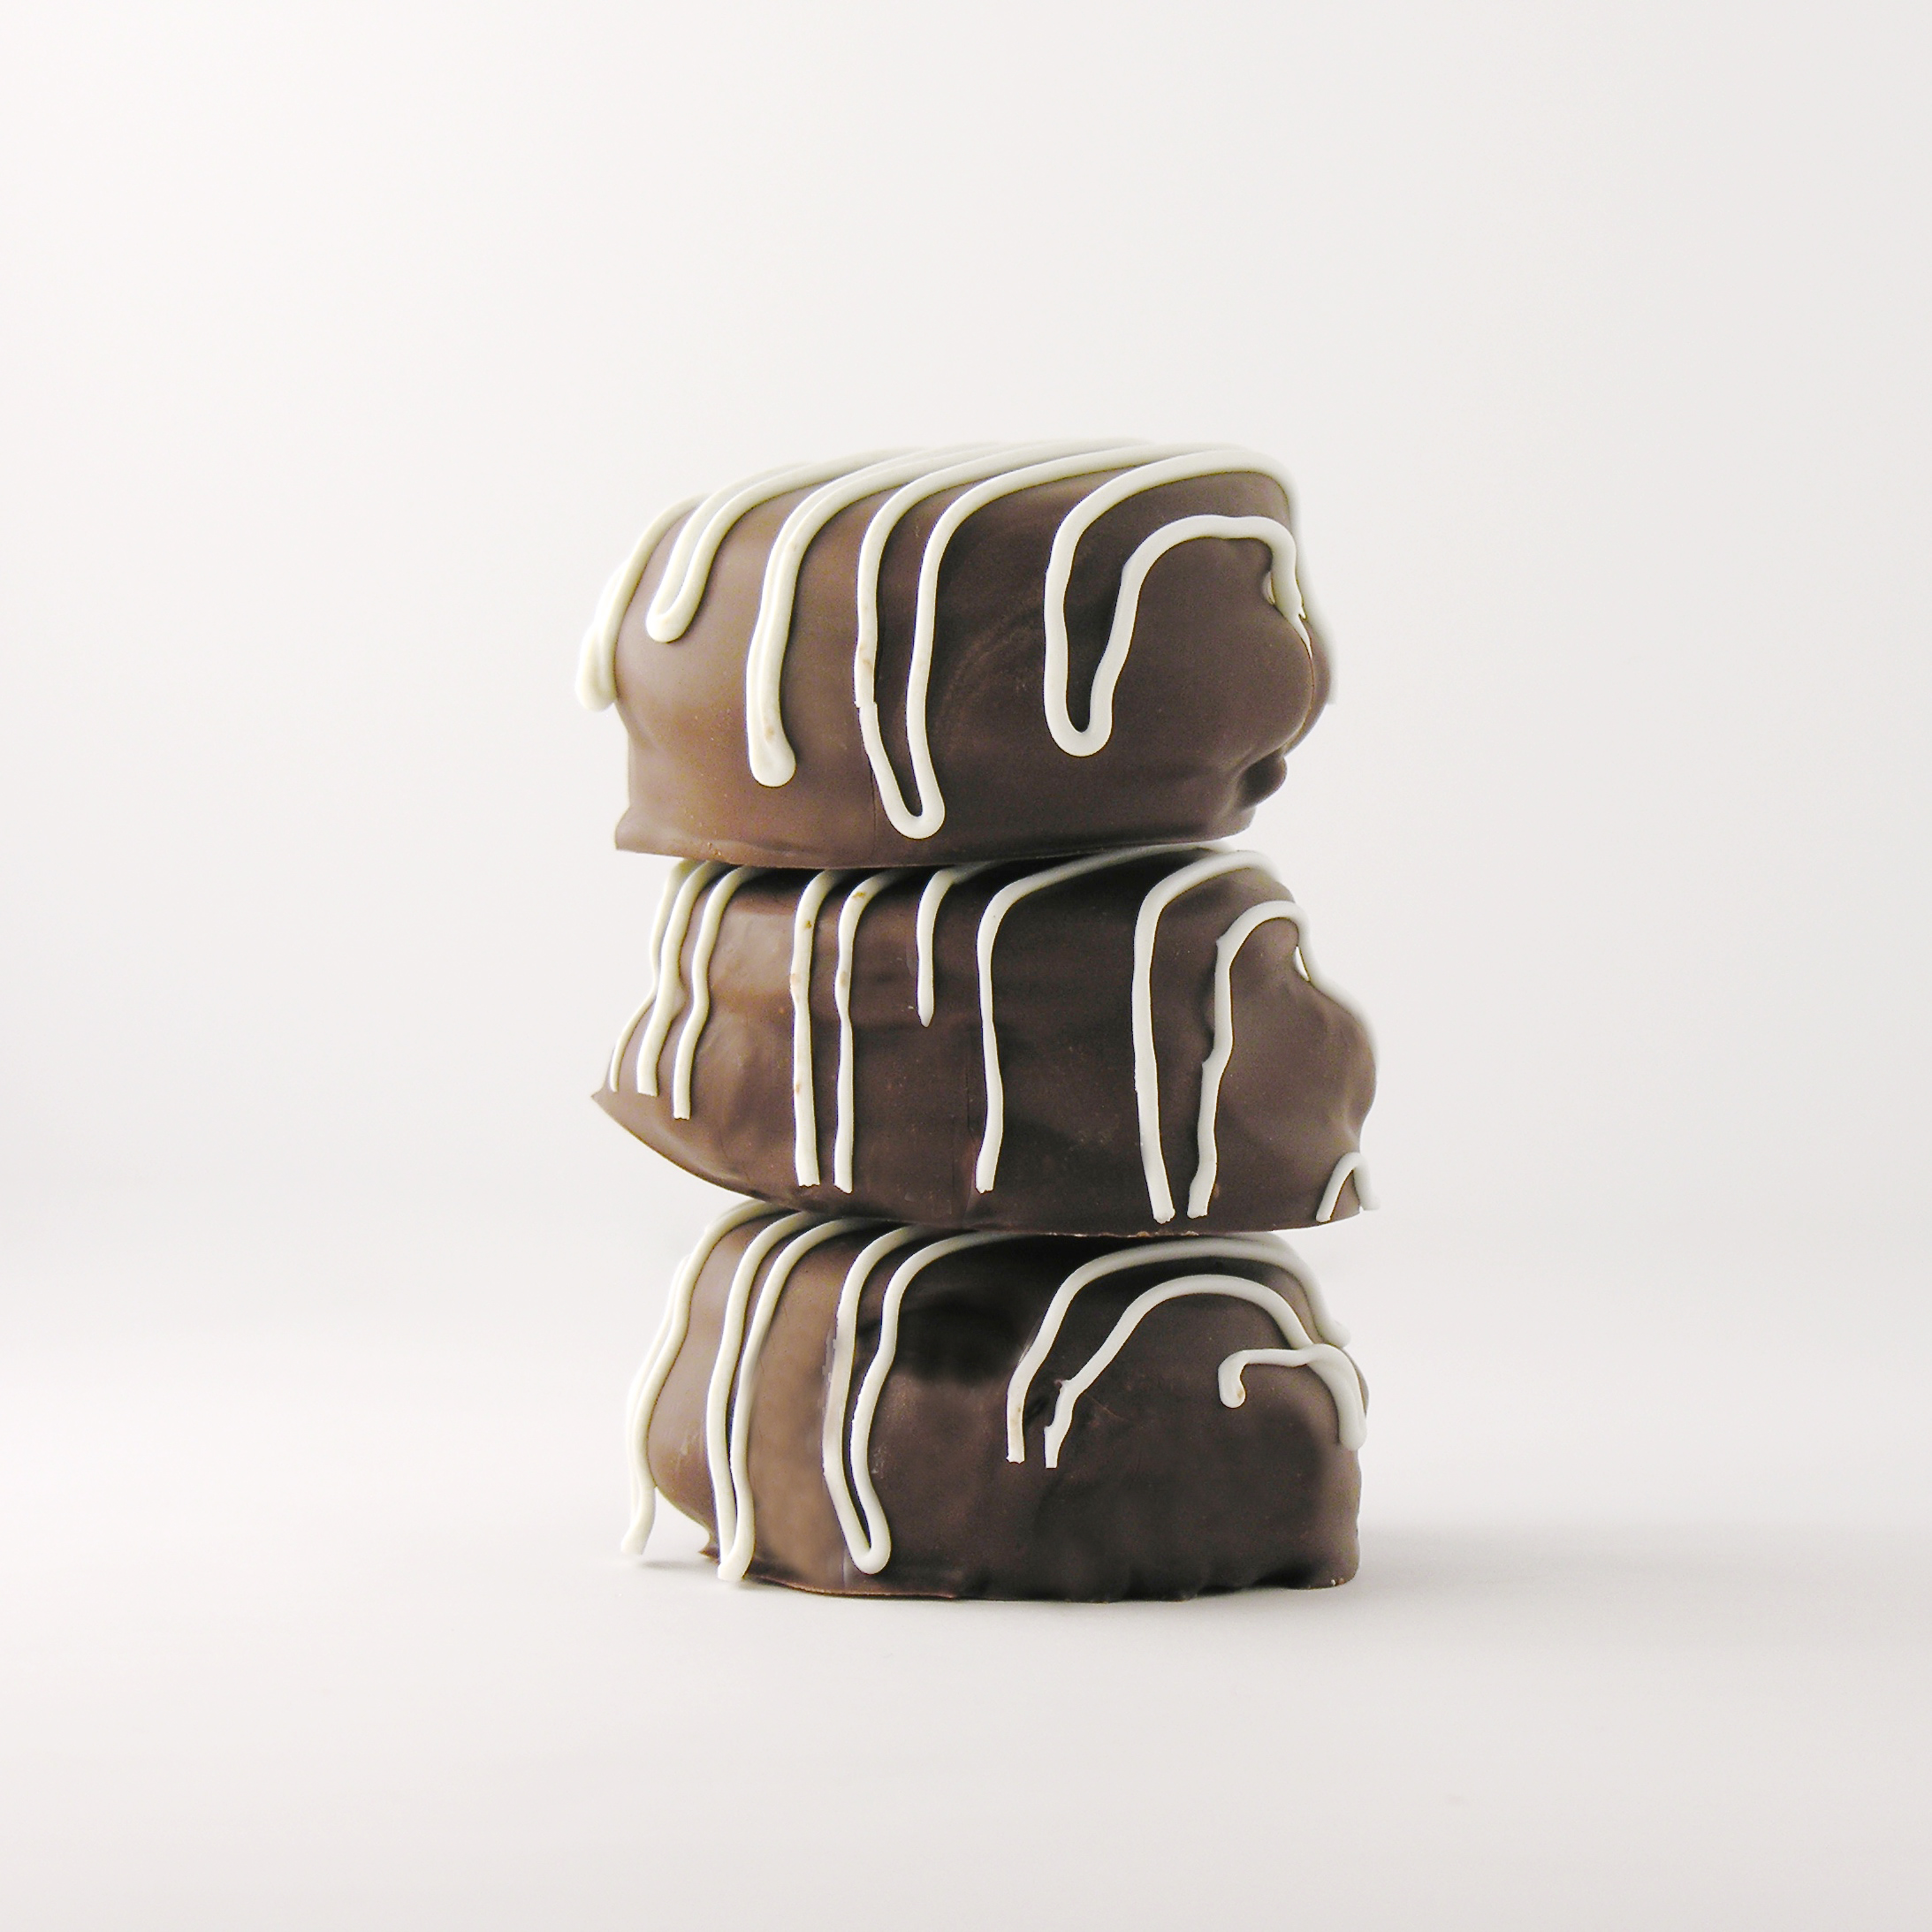
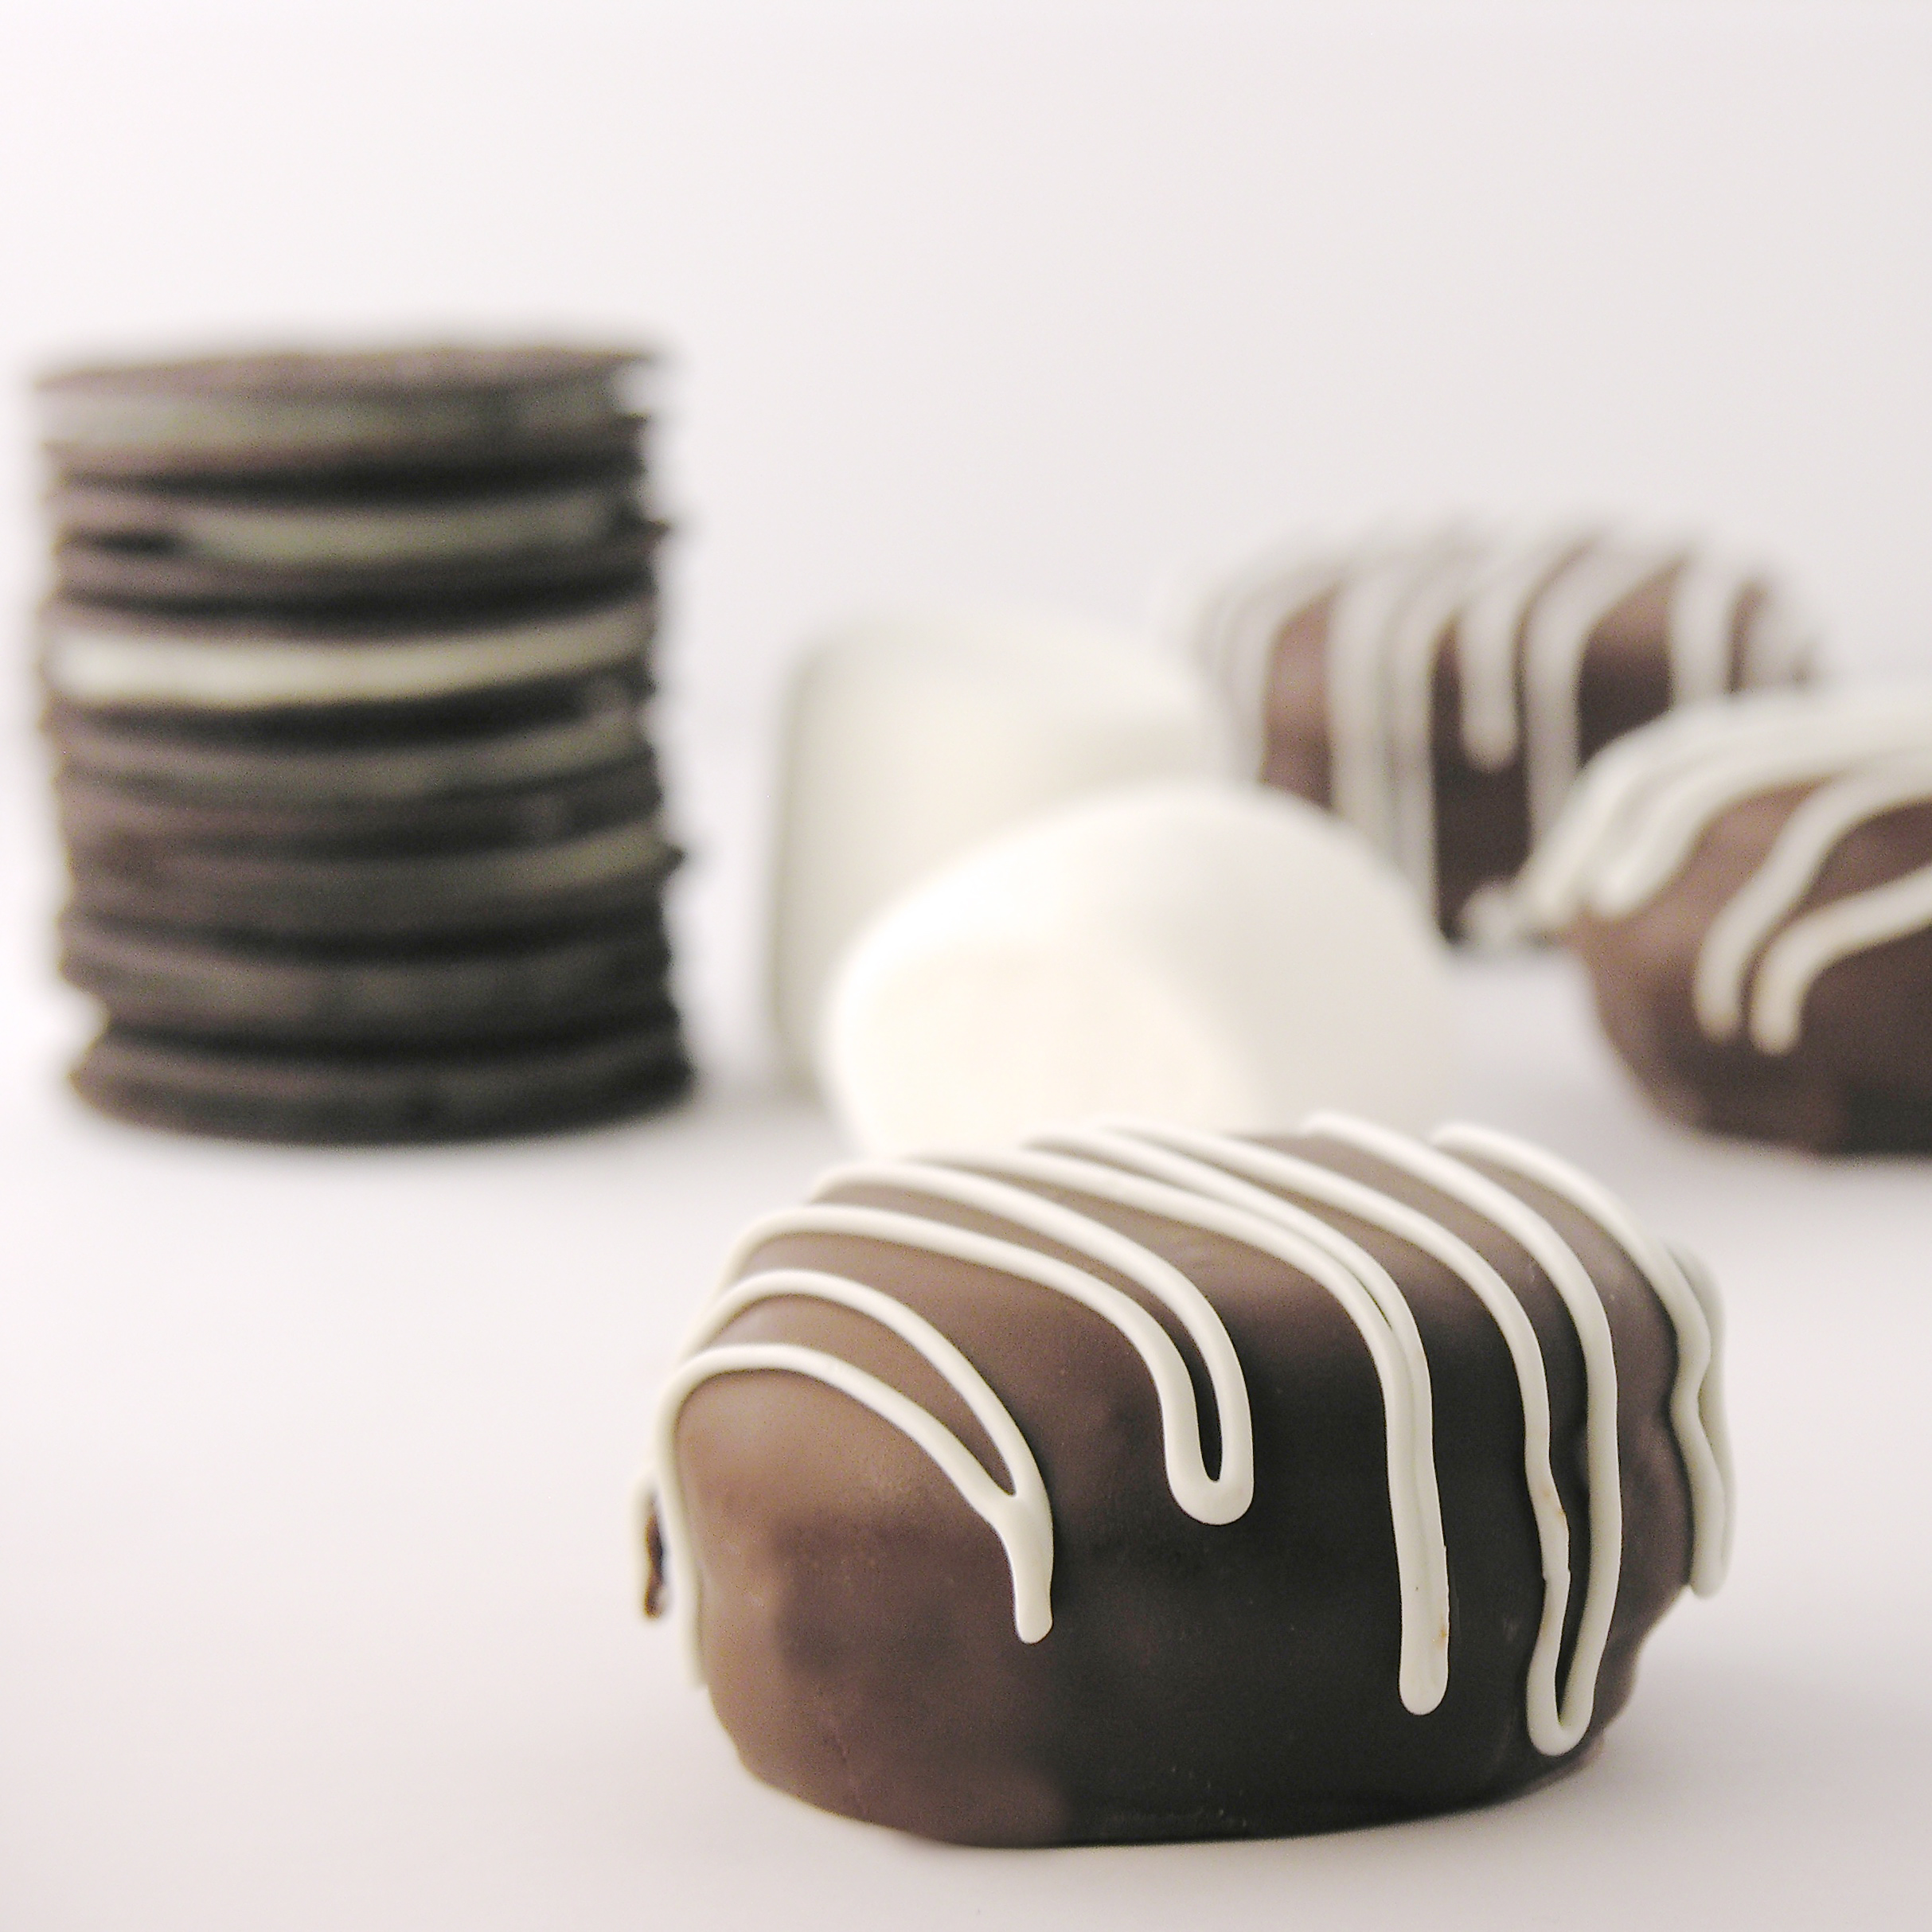
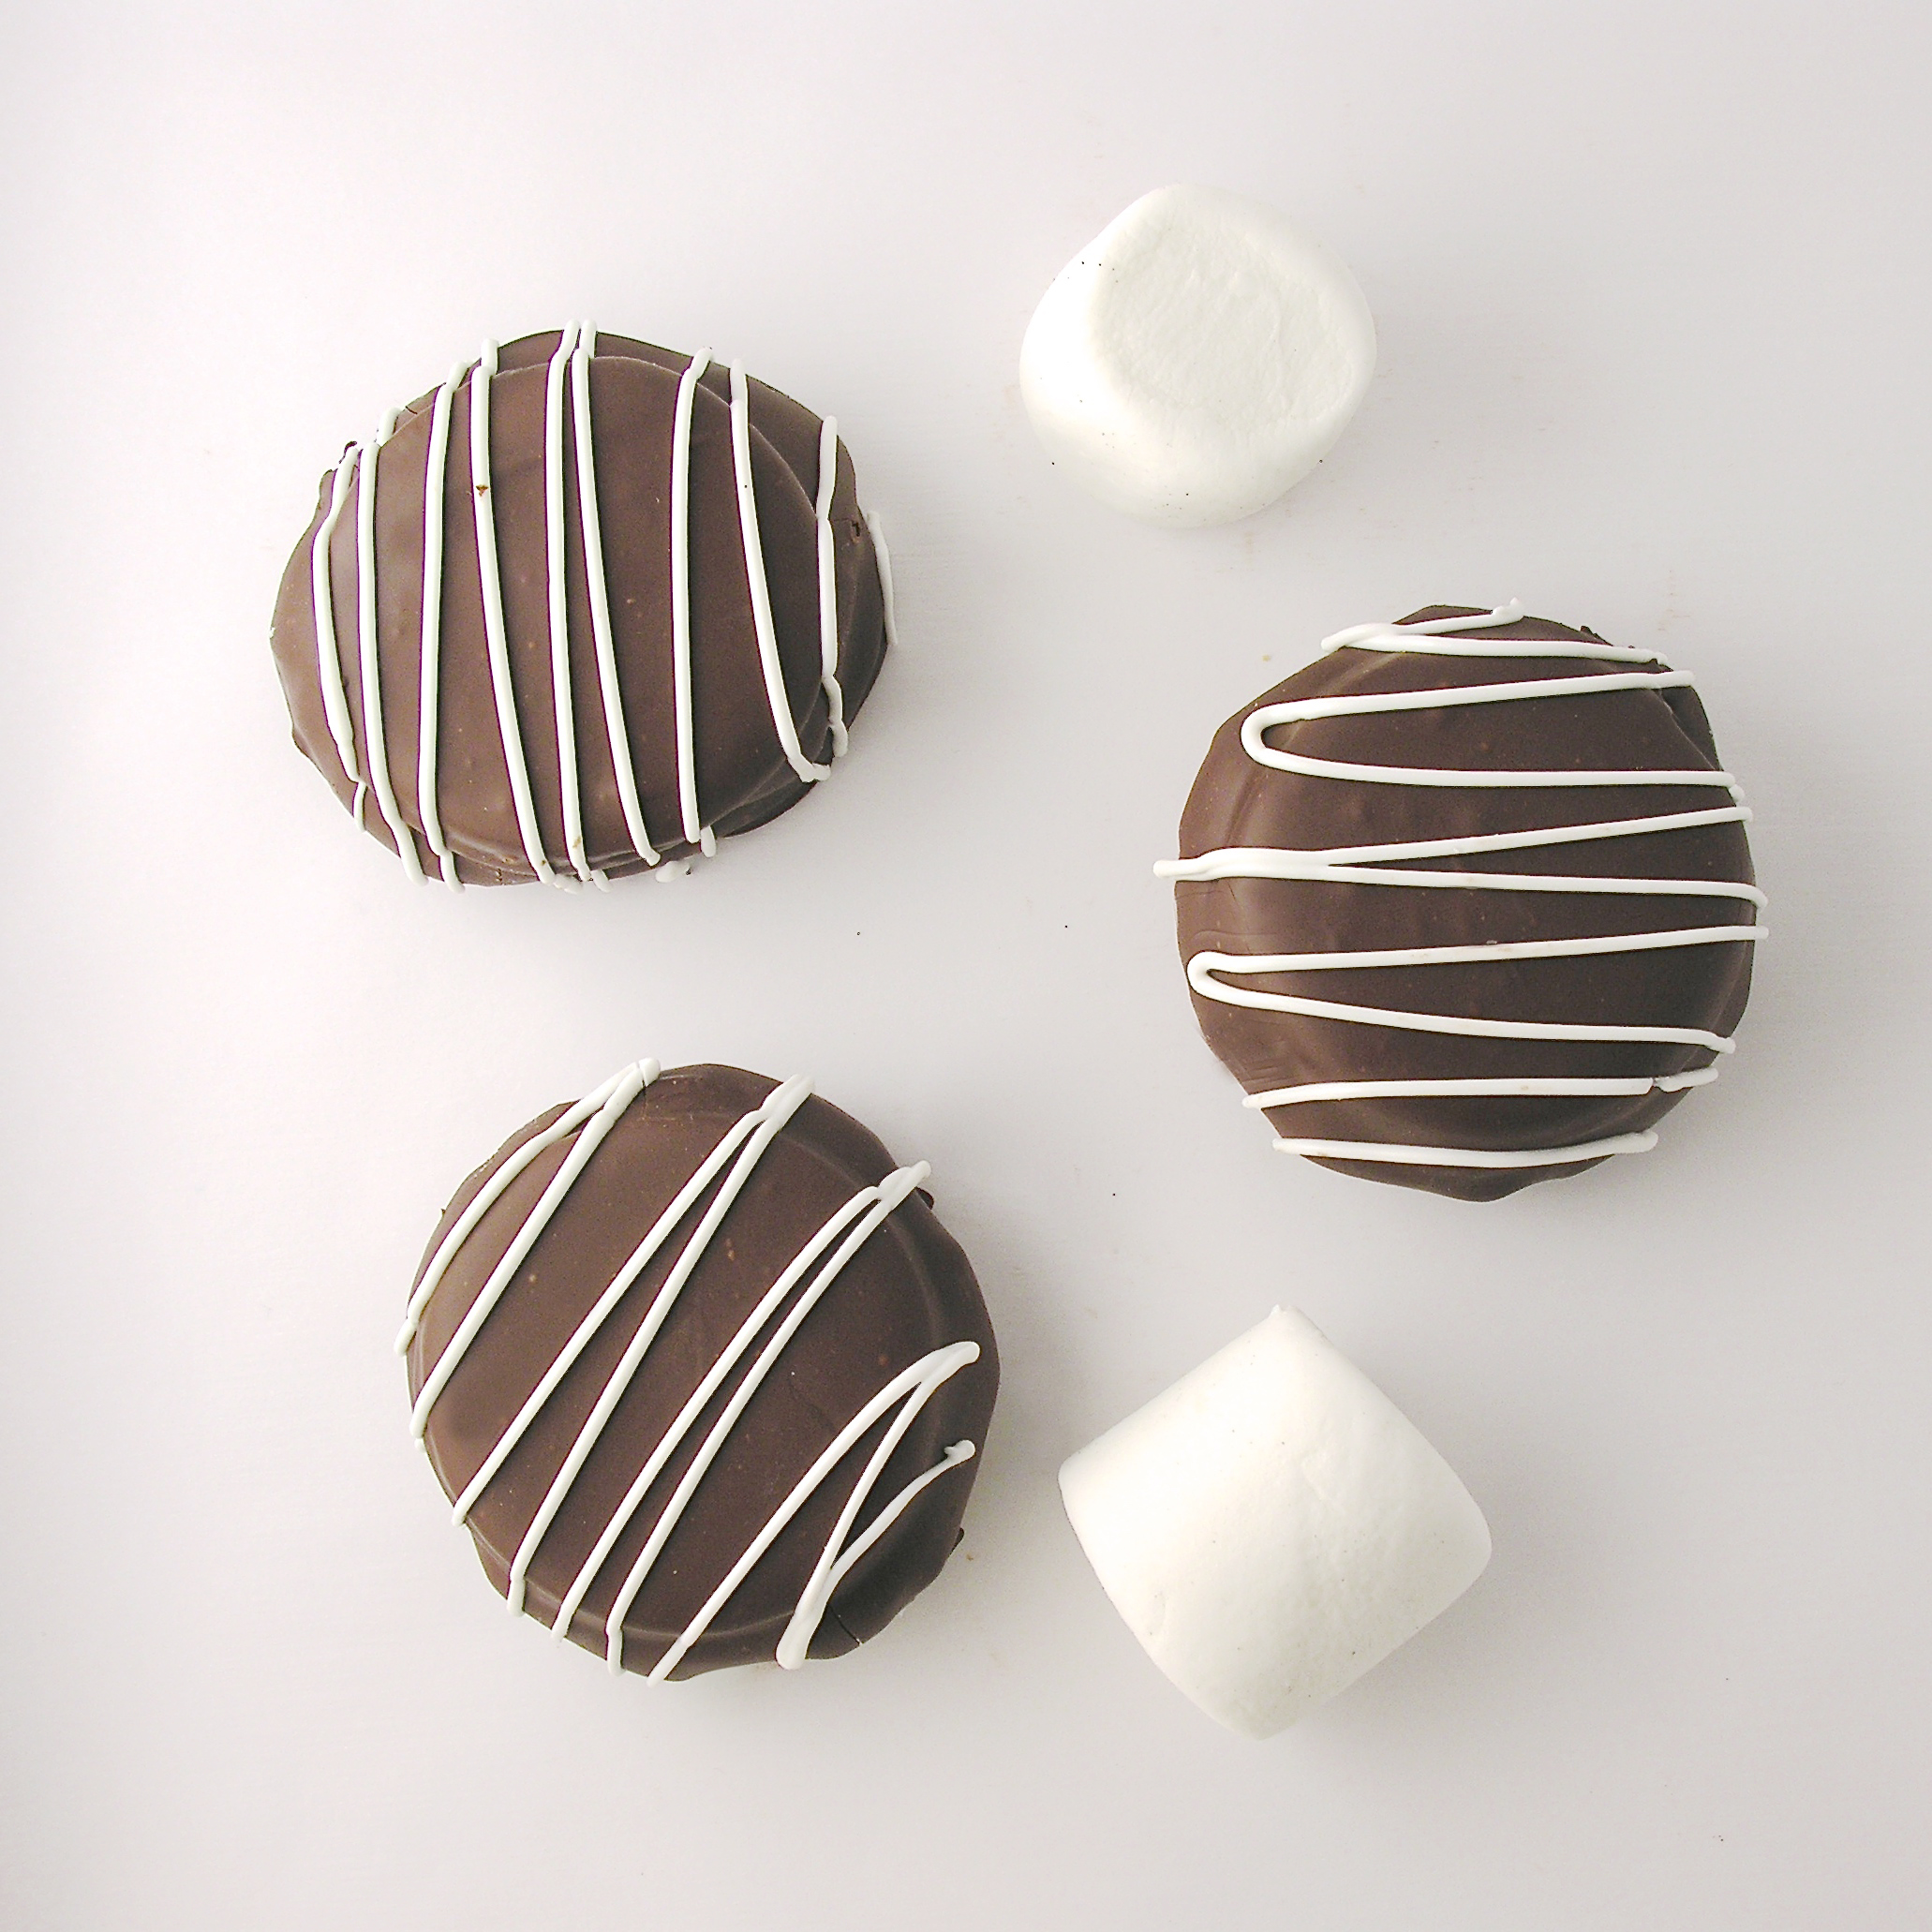
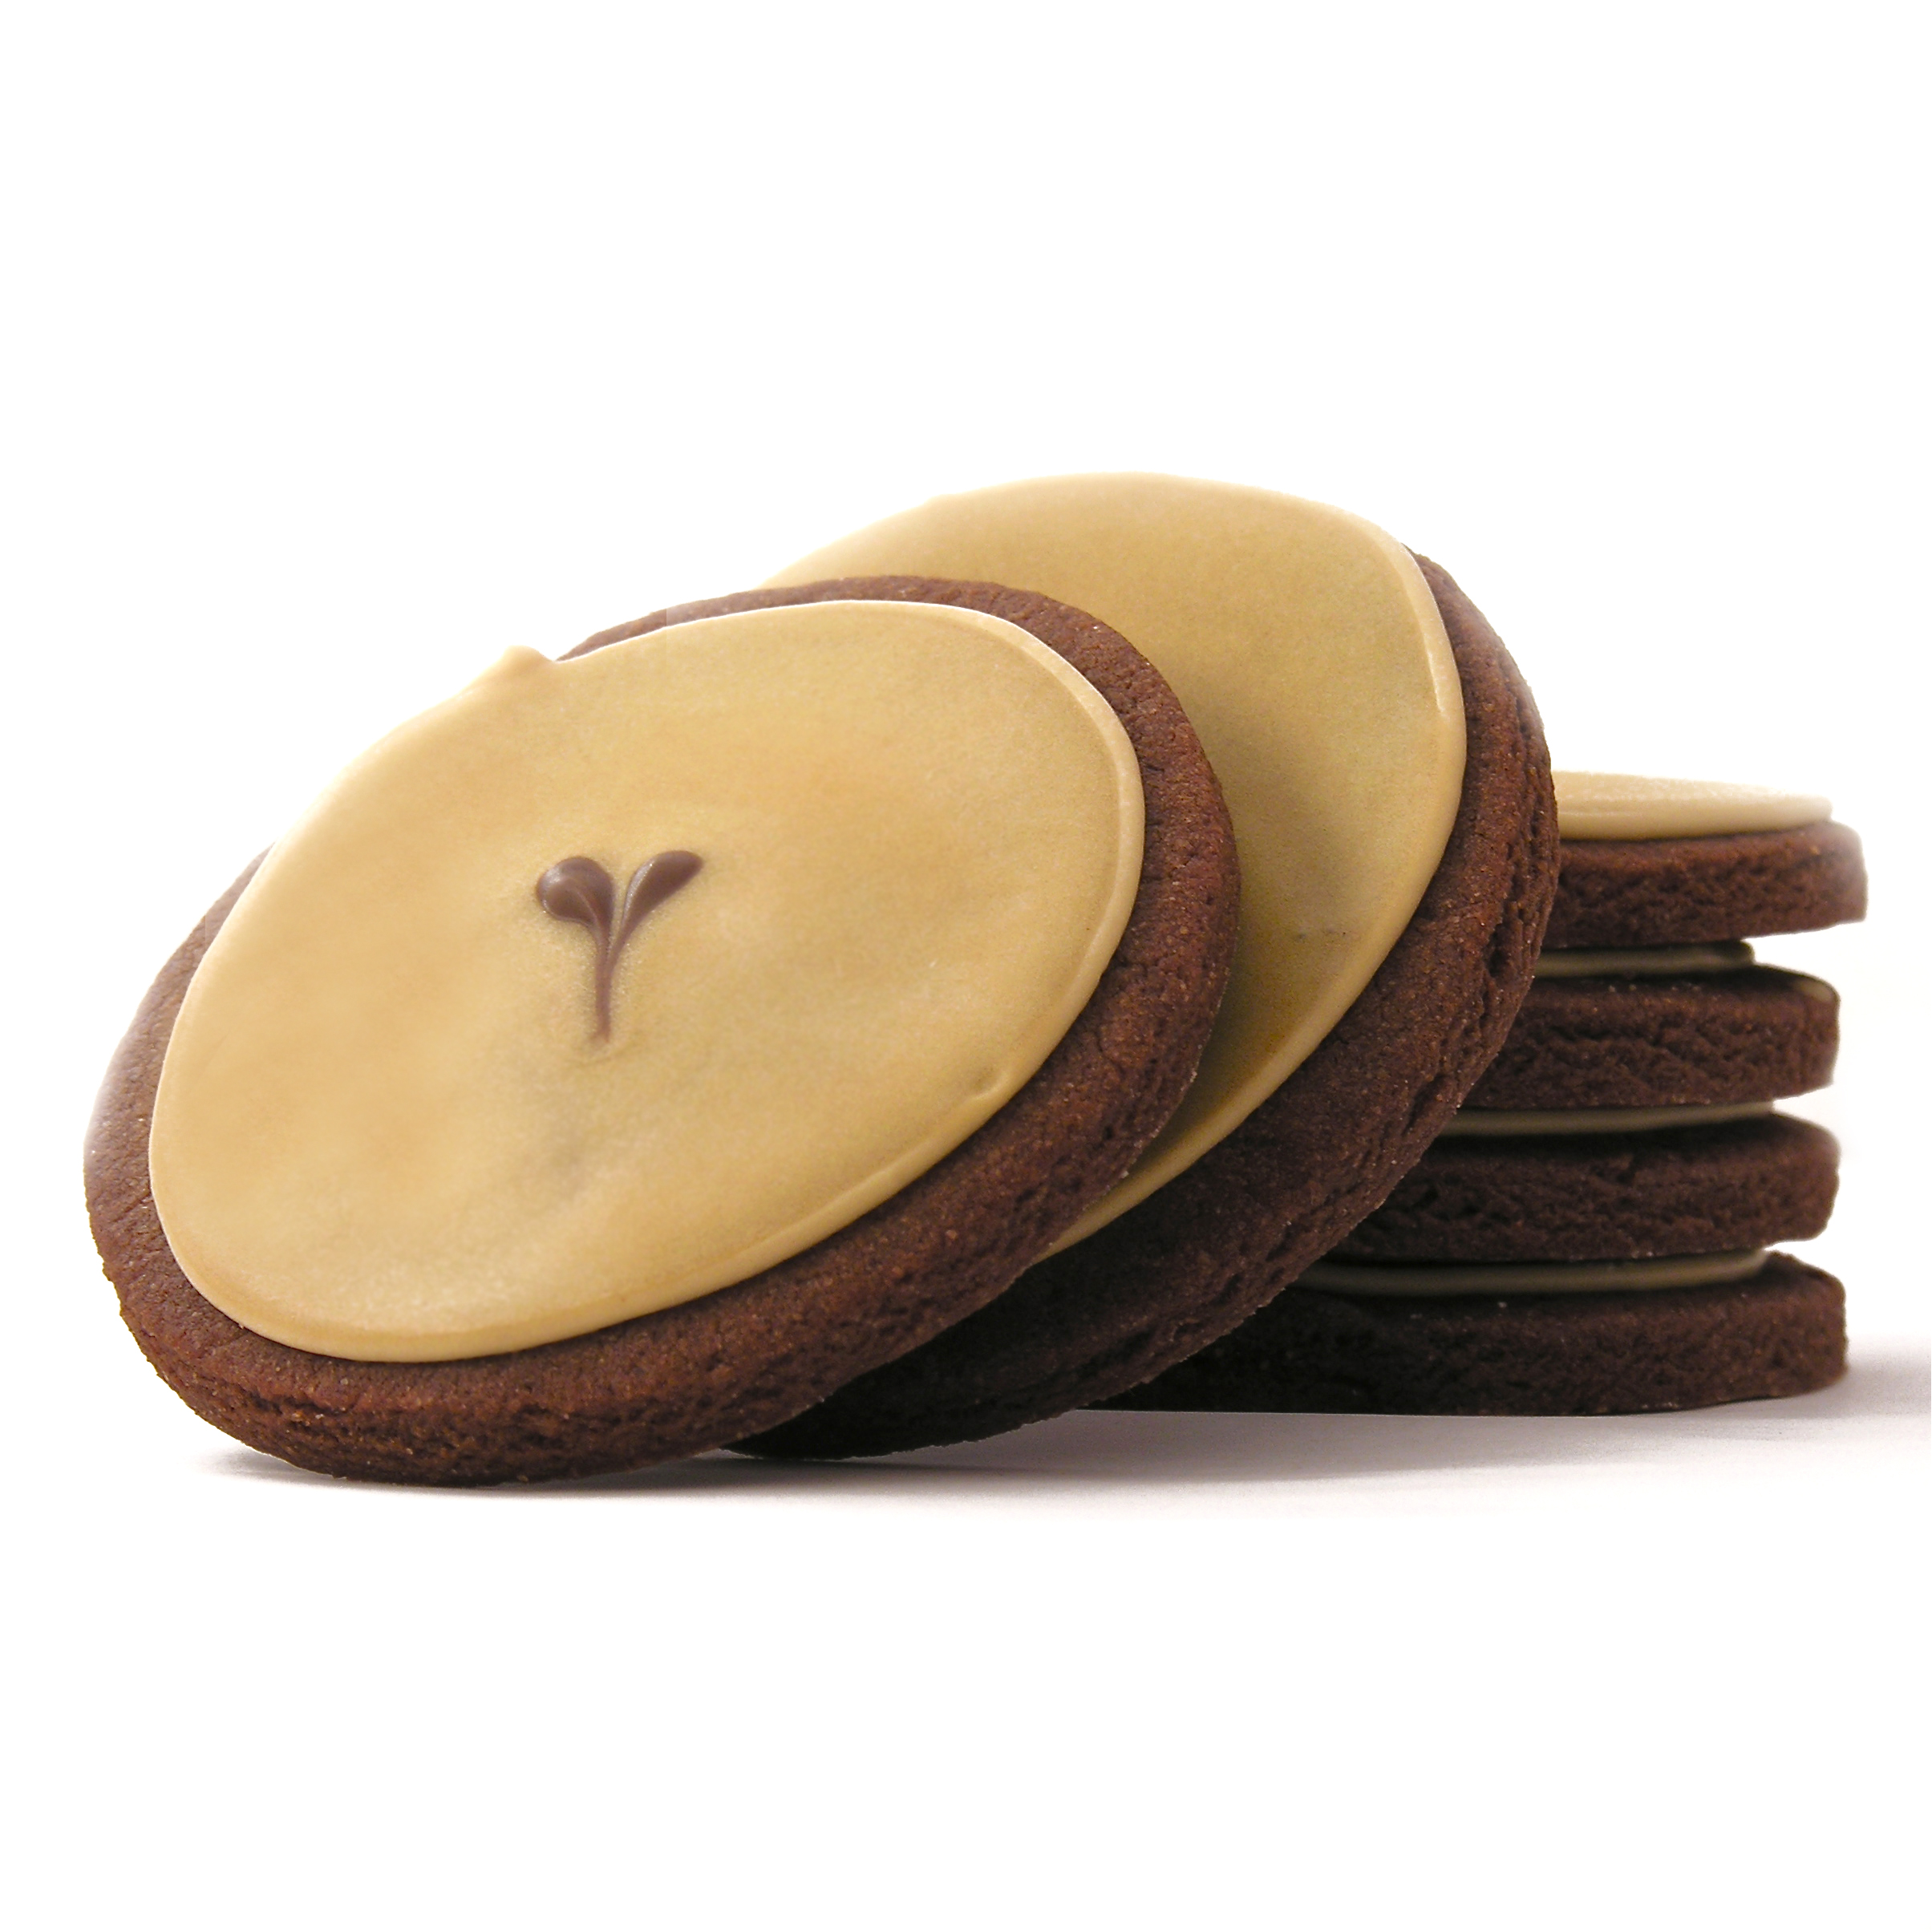
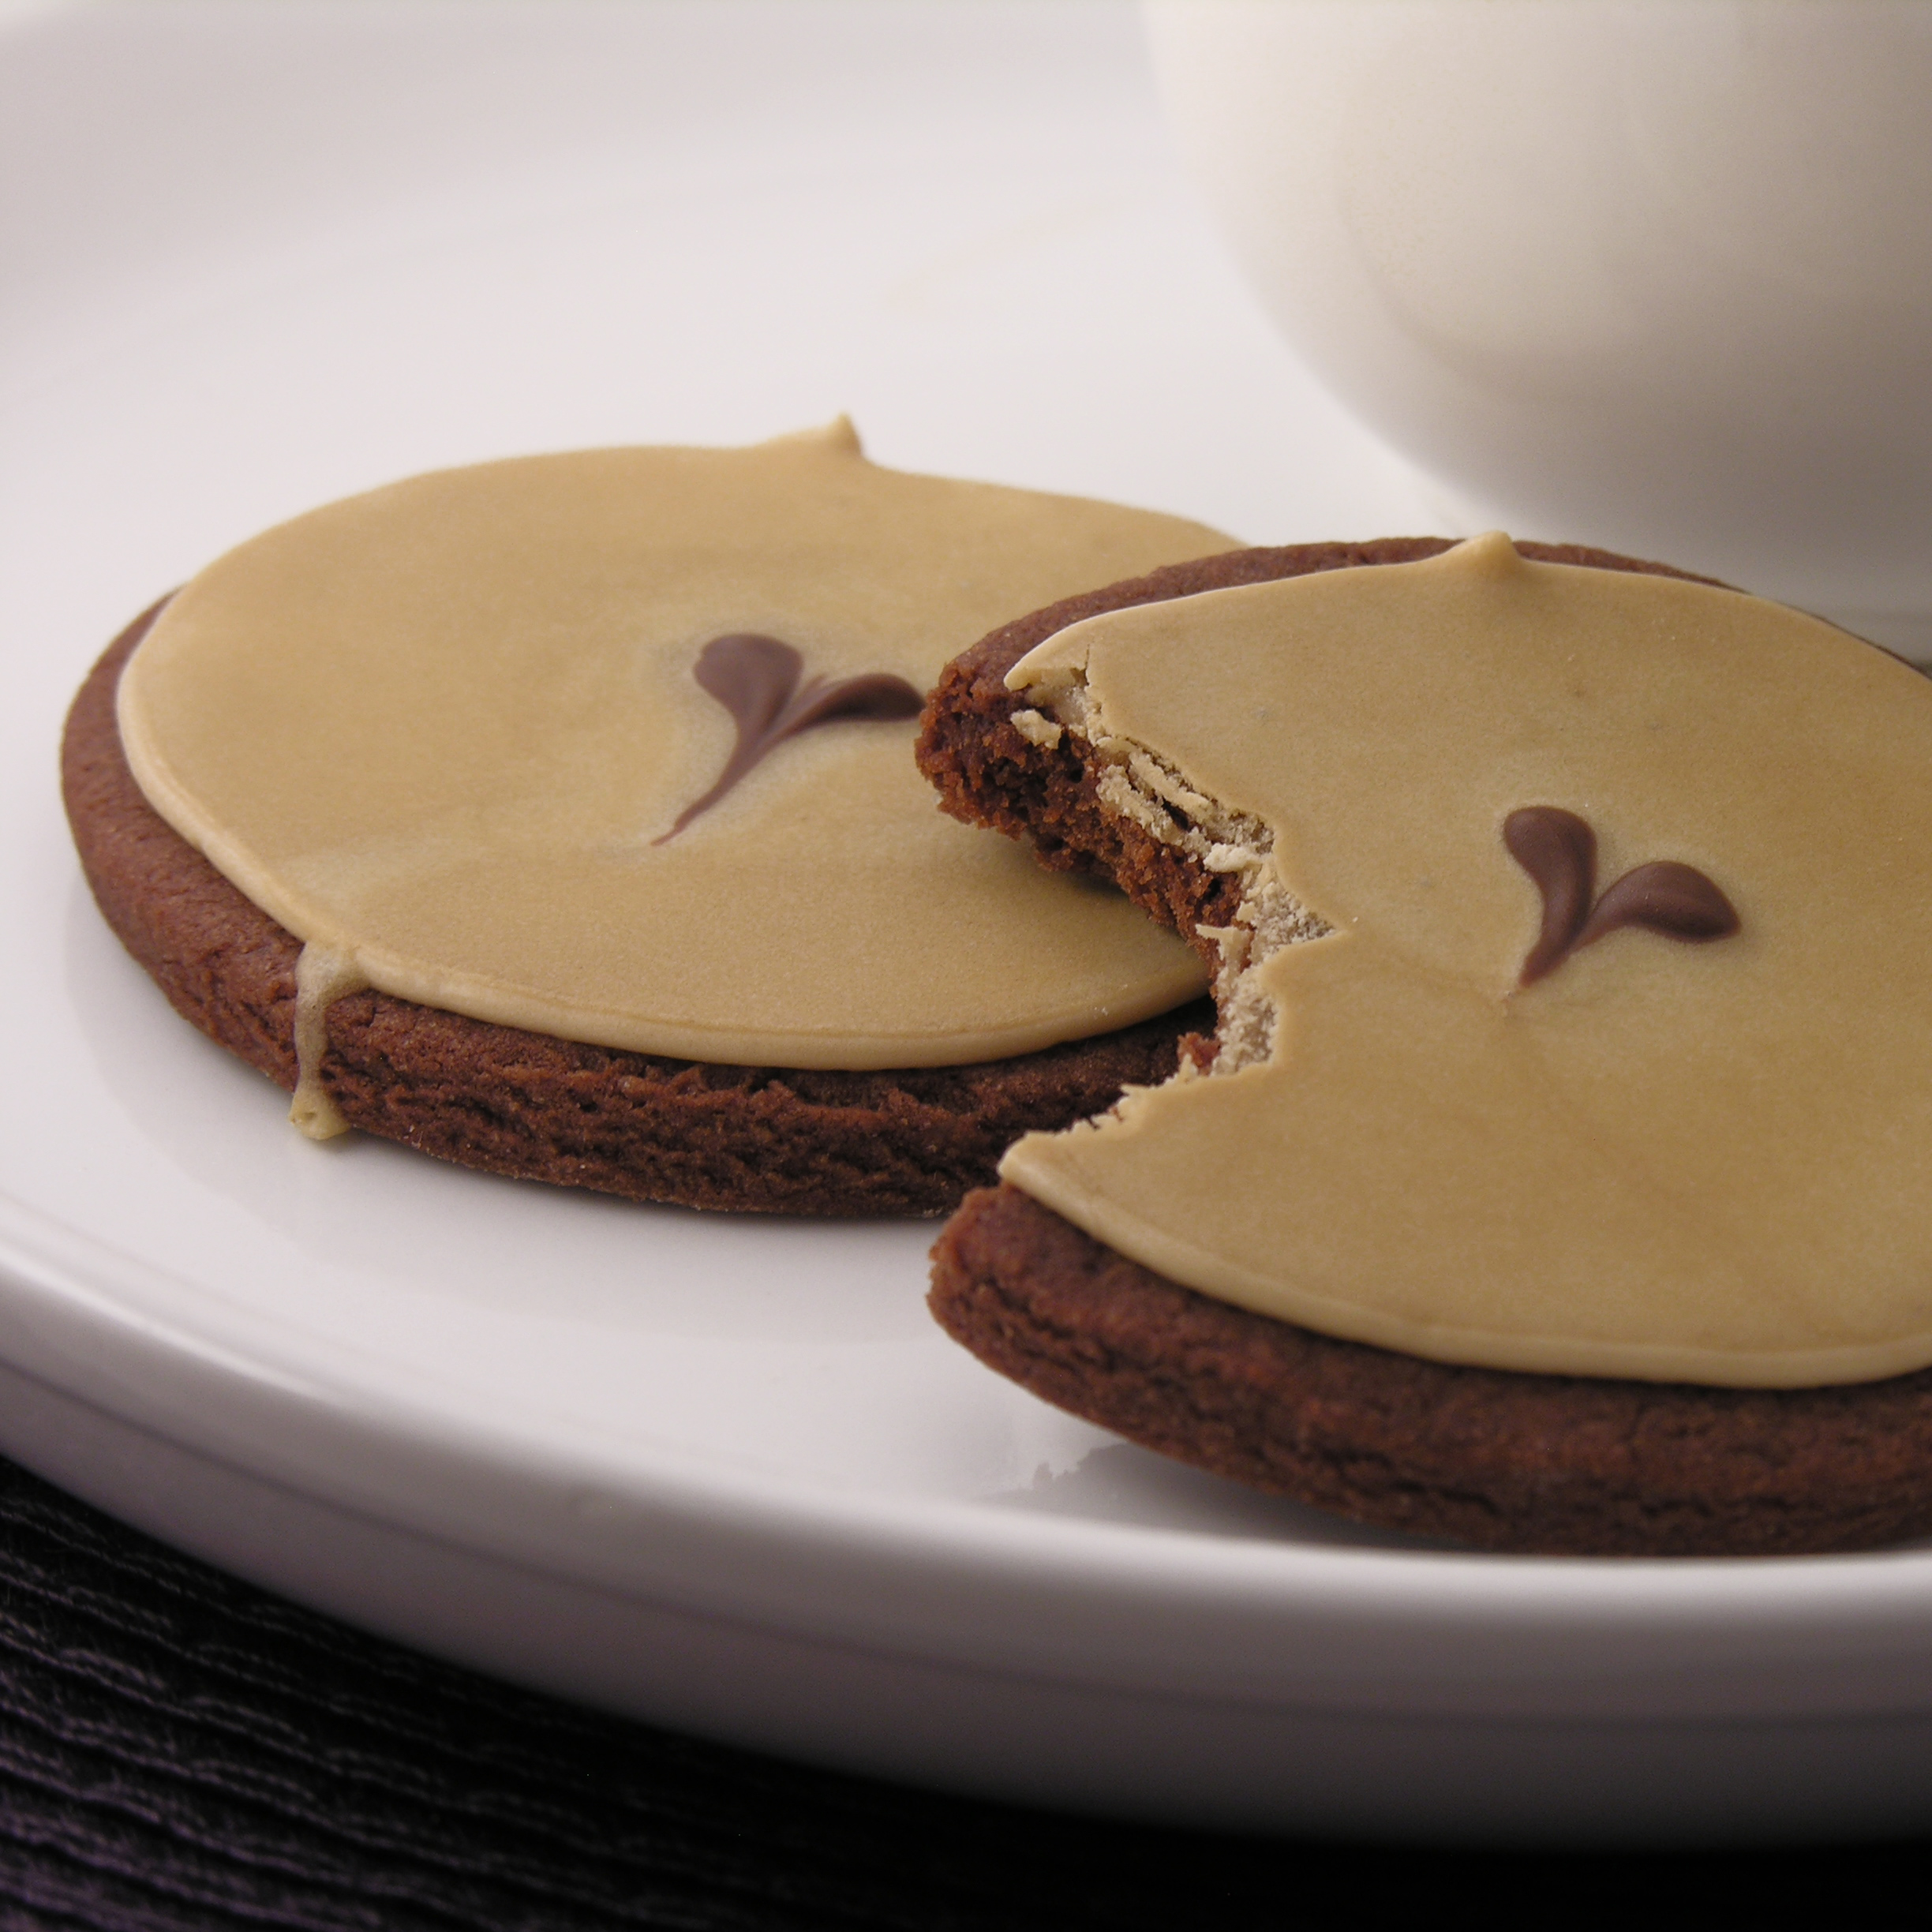
Brighten up your February with these cheery peppermint mocha cookies!

Sweet peppermint icing over dark chocolate coffee cookies? Yes please!

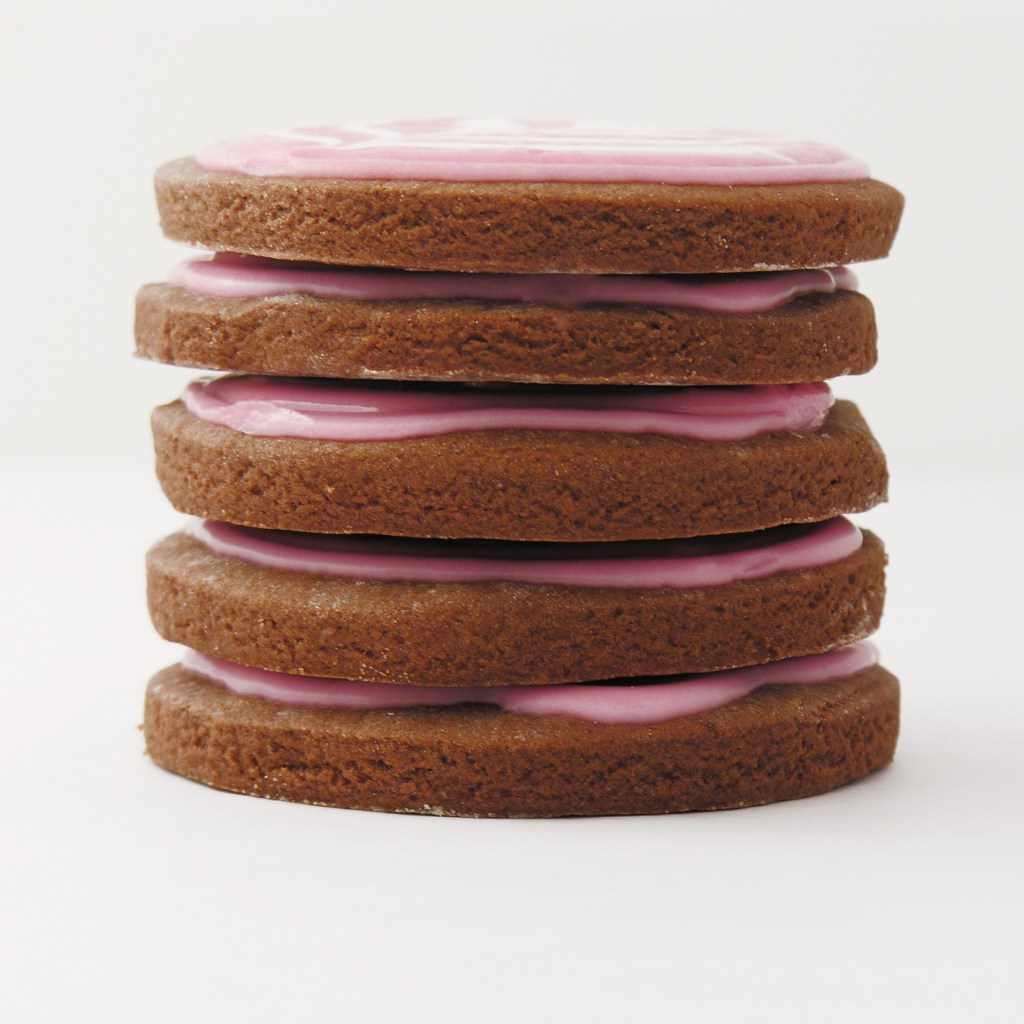
Just in time for Valentine’s Day, these cookies didn’t last long in our house, and my husband is already hoping I will make them again. Not too sweet, but full of rich espresso and peppermint. I think you’ll love them.

Want to know how to make them?
Here you go. (printable recipe)

INGREDIENTS: (makes 36 medium cookies)

Cookies:

  • 2 sticks (1 cup) butter, softened
  • 1 1/2cups sugar
  • 2 eggs
  • 3 teaspoons vanilla extract
  • 3 teaspoons instant Espresso Powder
  • 2/3 cup unsweetened cocoa powder
  • 3 cups flour
  • 1/2 teaspoon salt
  • 1/2 teaspoon baking powder

Icing:

  • 4 cups powdered sugar
  • 3/4 cup water
  • 3 Tablespoons meringue powder
  • 1/2 teaspoon peppermint extract
  • a little pink food coloring gel
  • sprinkles or white chocolate to make the design on top

DIRECTIONS:

Cookies: 

  • Cream together butter and sugar in a large mixing bowl.
  • Mix in eggs and then cocoa.
  • Place vanilla and Espresso Powder together in a small cup until coffee dissolves.  Add this mixture to the batter and mix until completely incorporated.
  • Gradually add dry ingredients and mix until smooth (use clean hands at the end, to knead into a soft ball of dough)
  • Wrap in plastic and chill for at least one hour.
  • Allow cookie dough to soften a little at room temperature
  • Preheat oven to 350F degrees.
  • Roll out cookie dough on floured counter.  
  • Cut into circles and place on a parchment-lined baking sheet.
  • Bake for 8 to 11 minutes until the edges are firm.
  • Gently slide parchment paper off of cookie sheet and onto a flat surface.  Cool completely before removing cookies from paper.

Icing: 

  • Beat together all ingredients and add powdered sugar until it becomes a thick glaze consistency. 
  • Place in a zip-top bag fitted with a small round piping tip. 
  • Pipe icing around edges of cookie and allow this to harden.
  • Fill center of cookie with icing, spreading it to the edges that have hardened. 
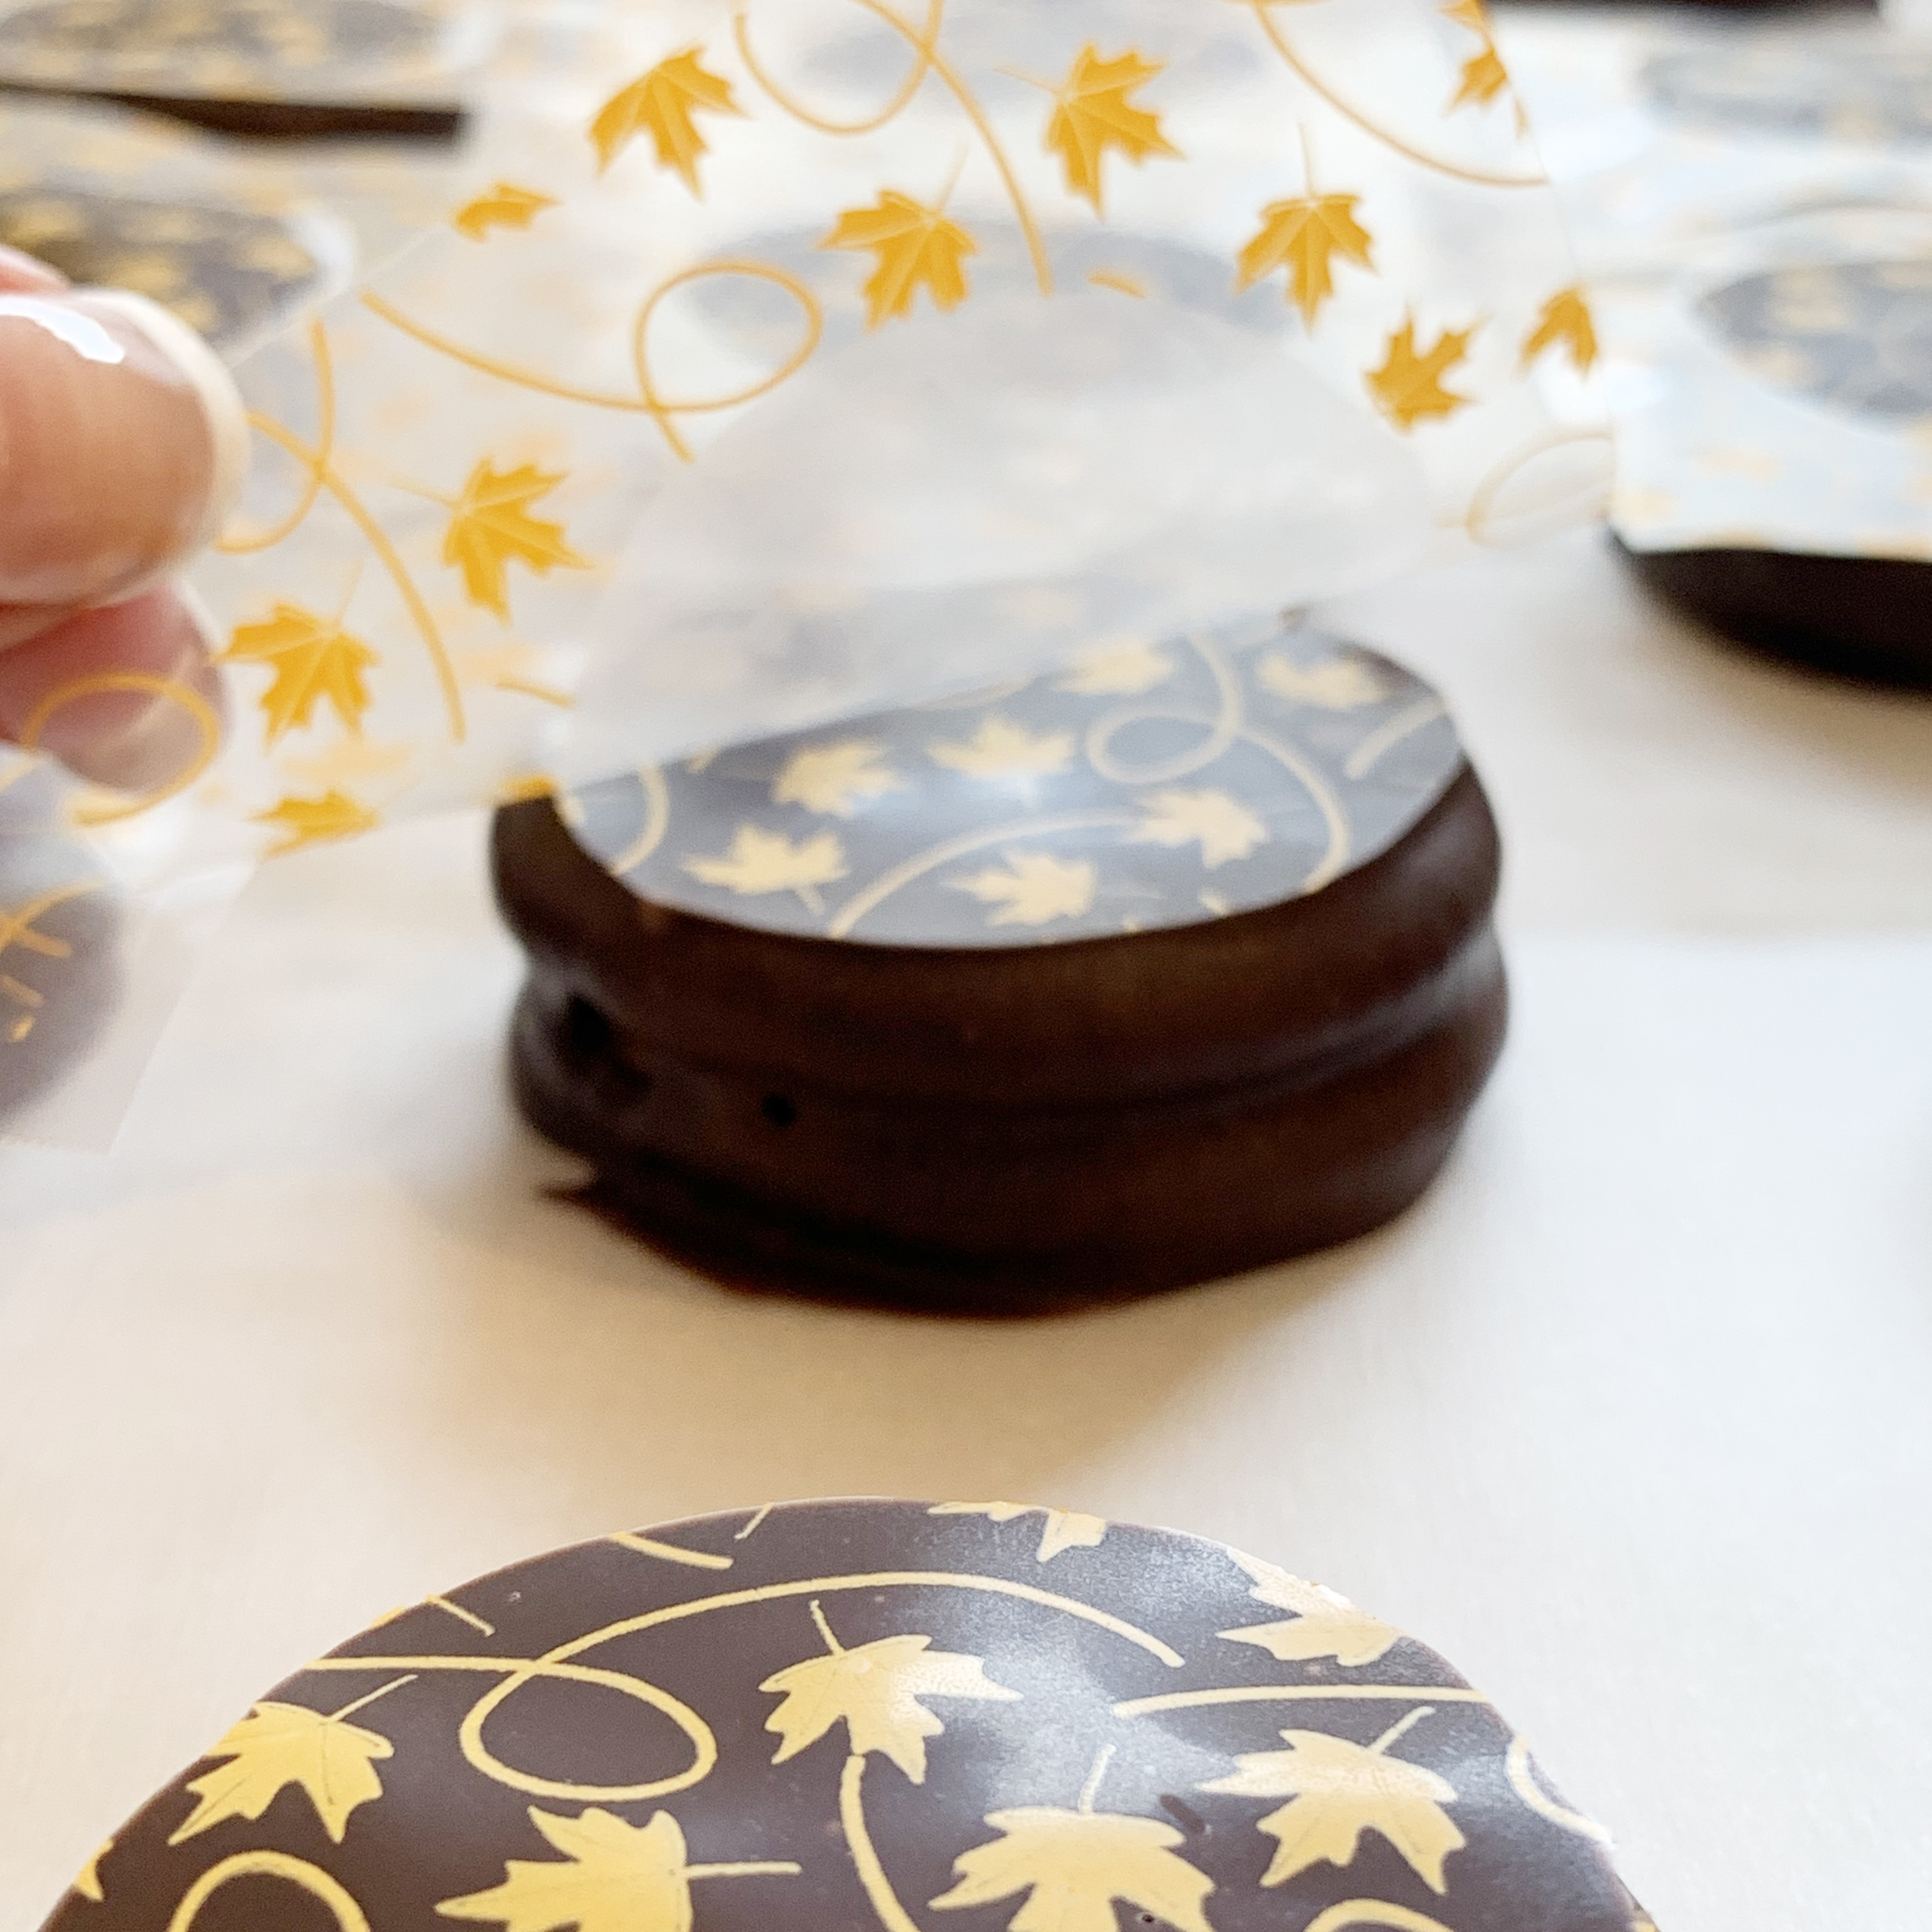
  • To make coffee or heart design, pipe lines on top of cookie with white chocolate, and pull a toothpick through to form design. Otherwise (much easier!) sprinkle with some crushed peppermint or heart sprinkles!
  • Let icing harden and ENJOY!!!

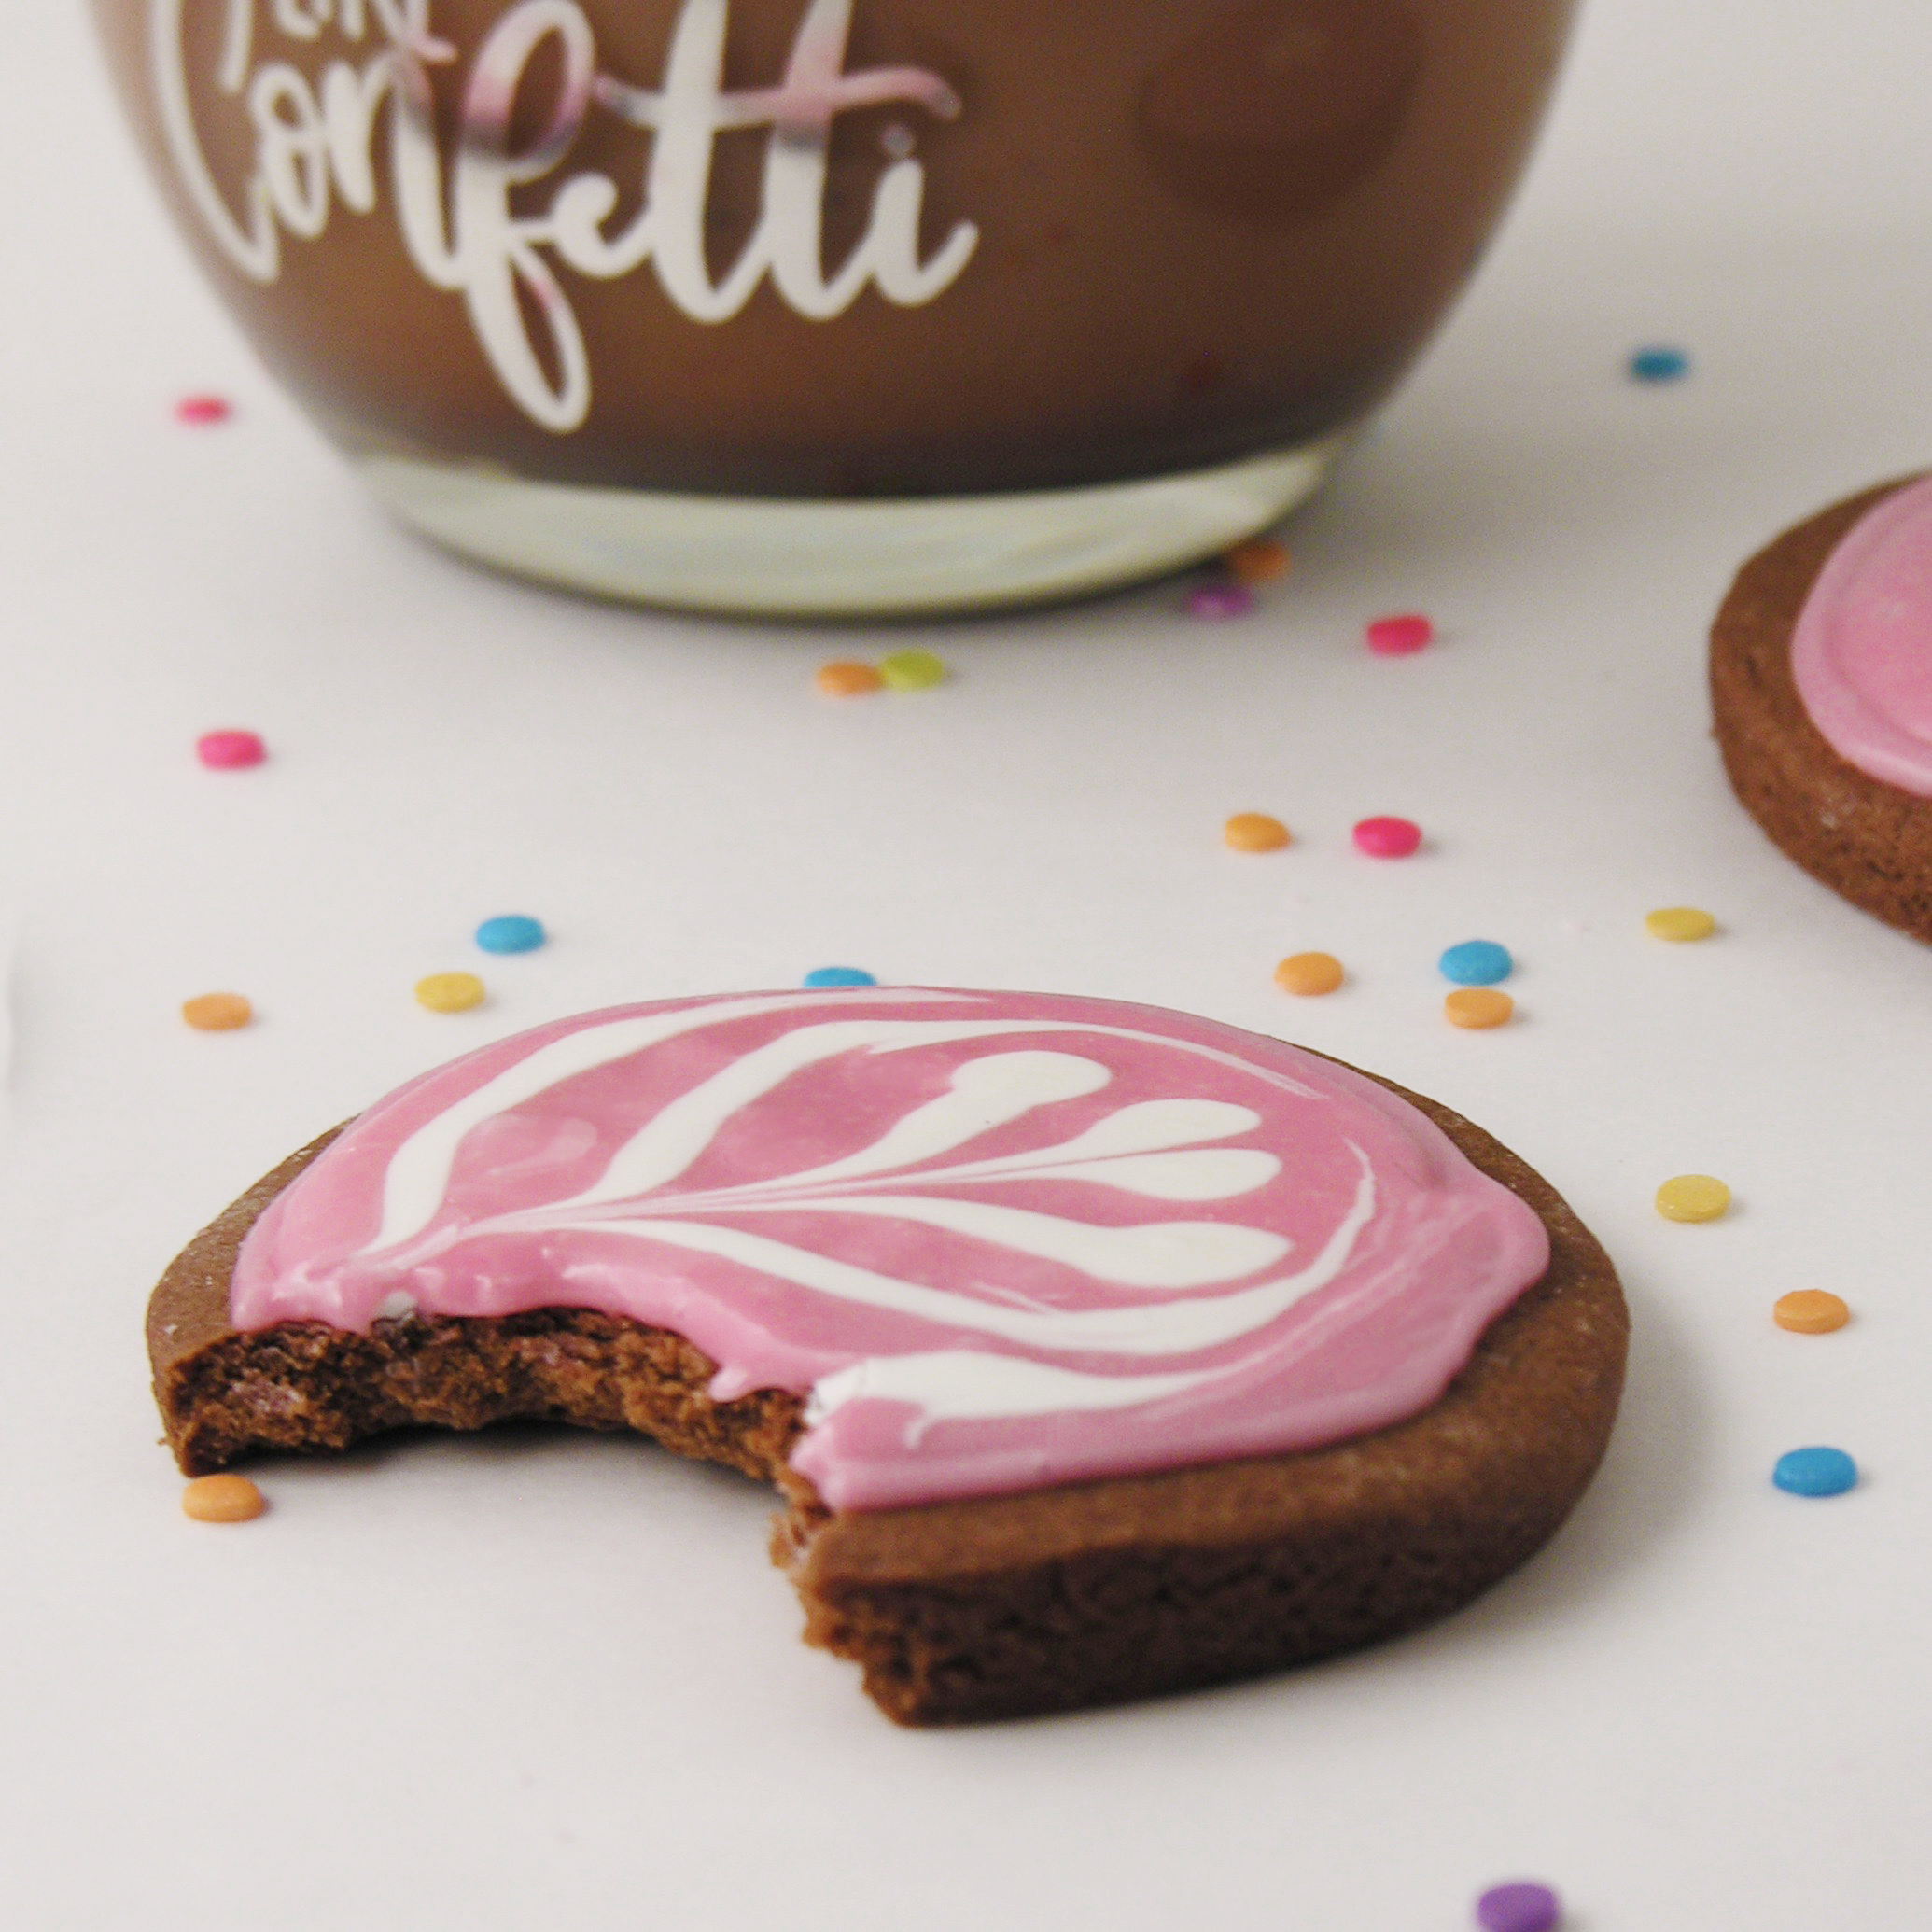
My thoughts: These are easy to make, and they keep in an air-tight container for at least a week (and freeze well). I spent way too much time making coffee froth designs on the top, and when I make them again they will just have sprinkles. I really hope you get a chance to try these!!! Enjoy! ~r

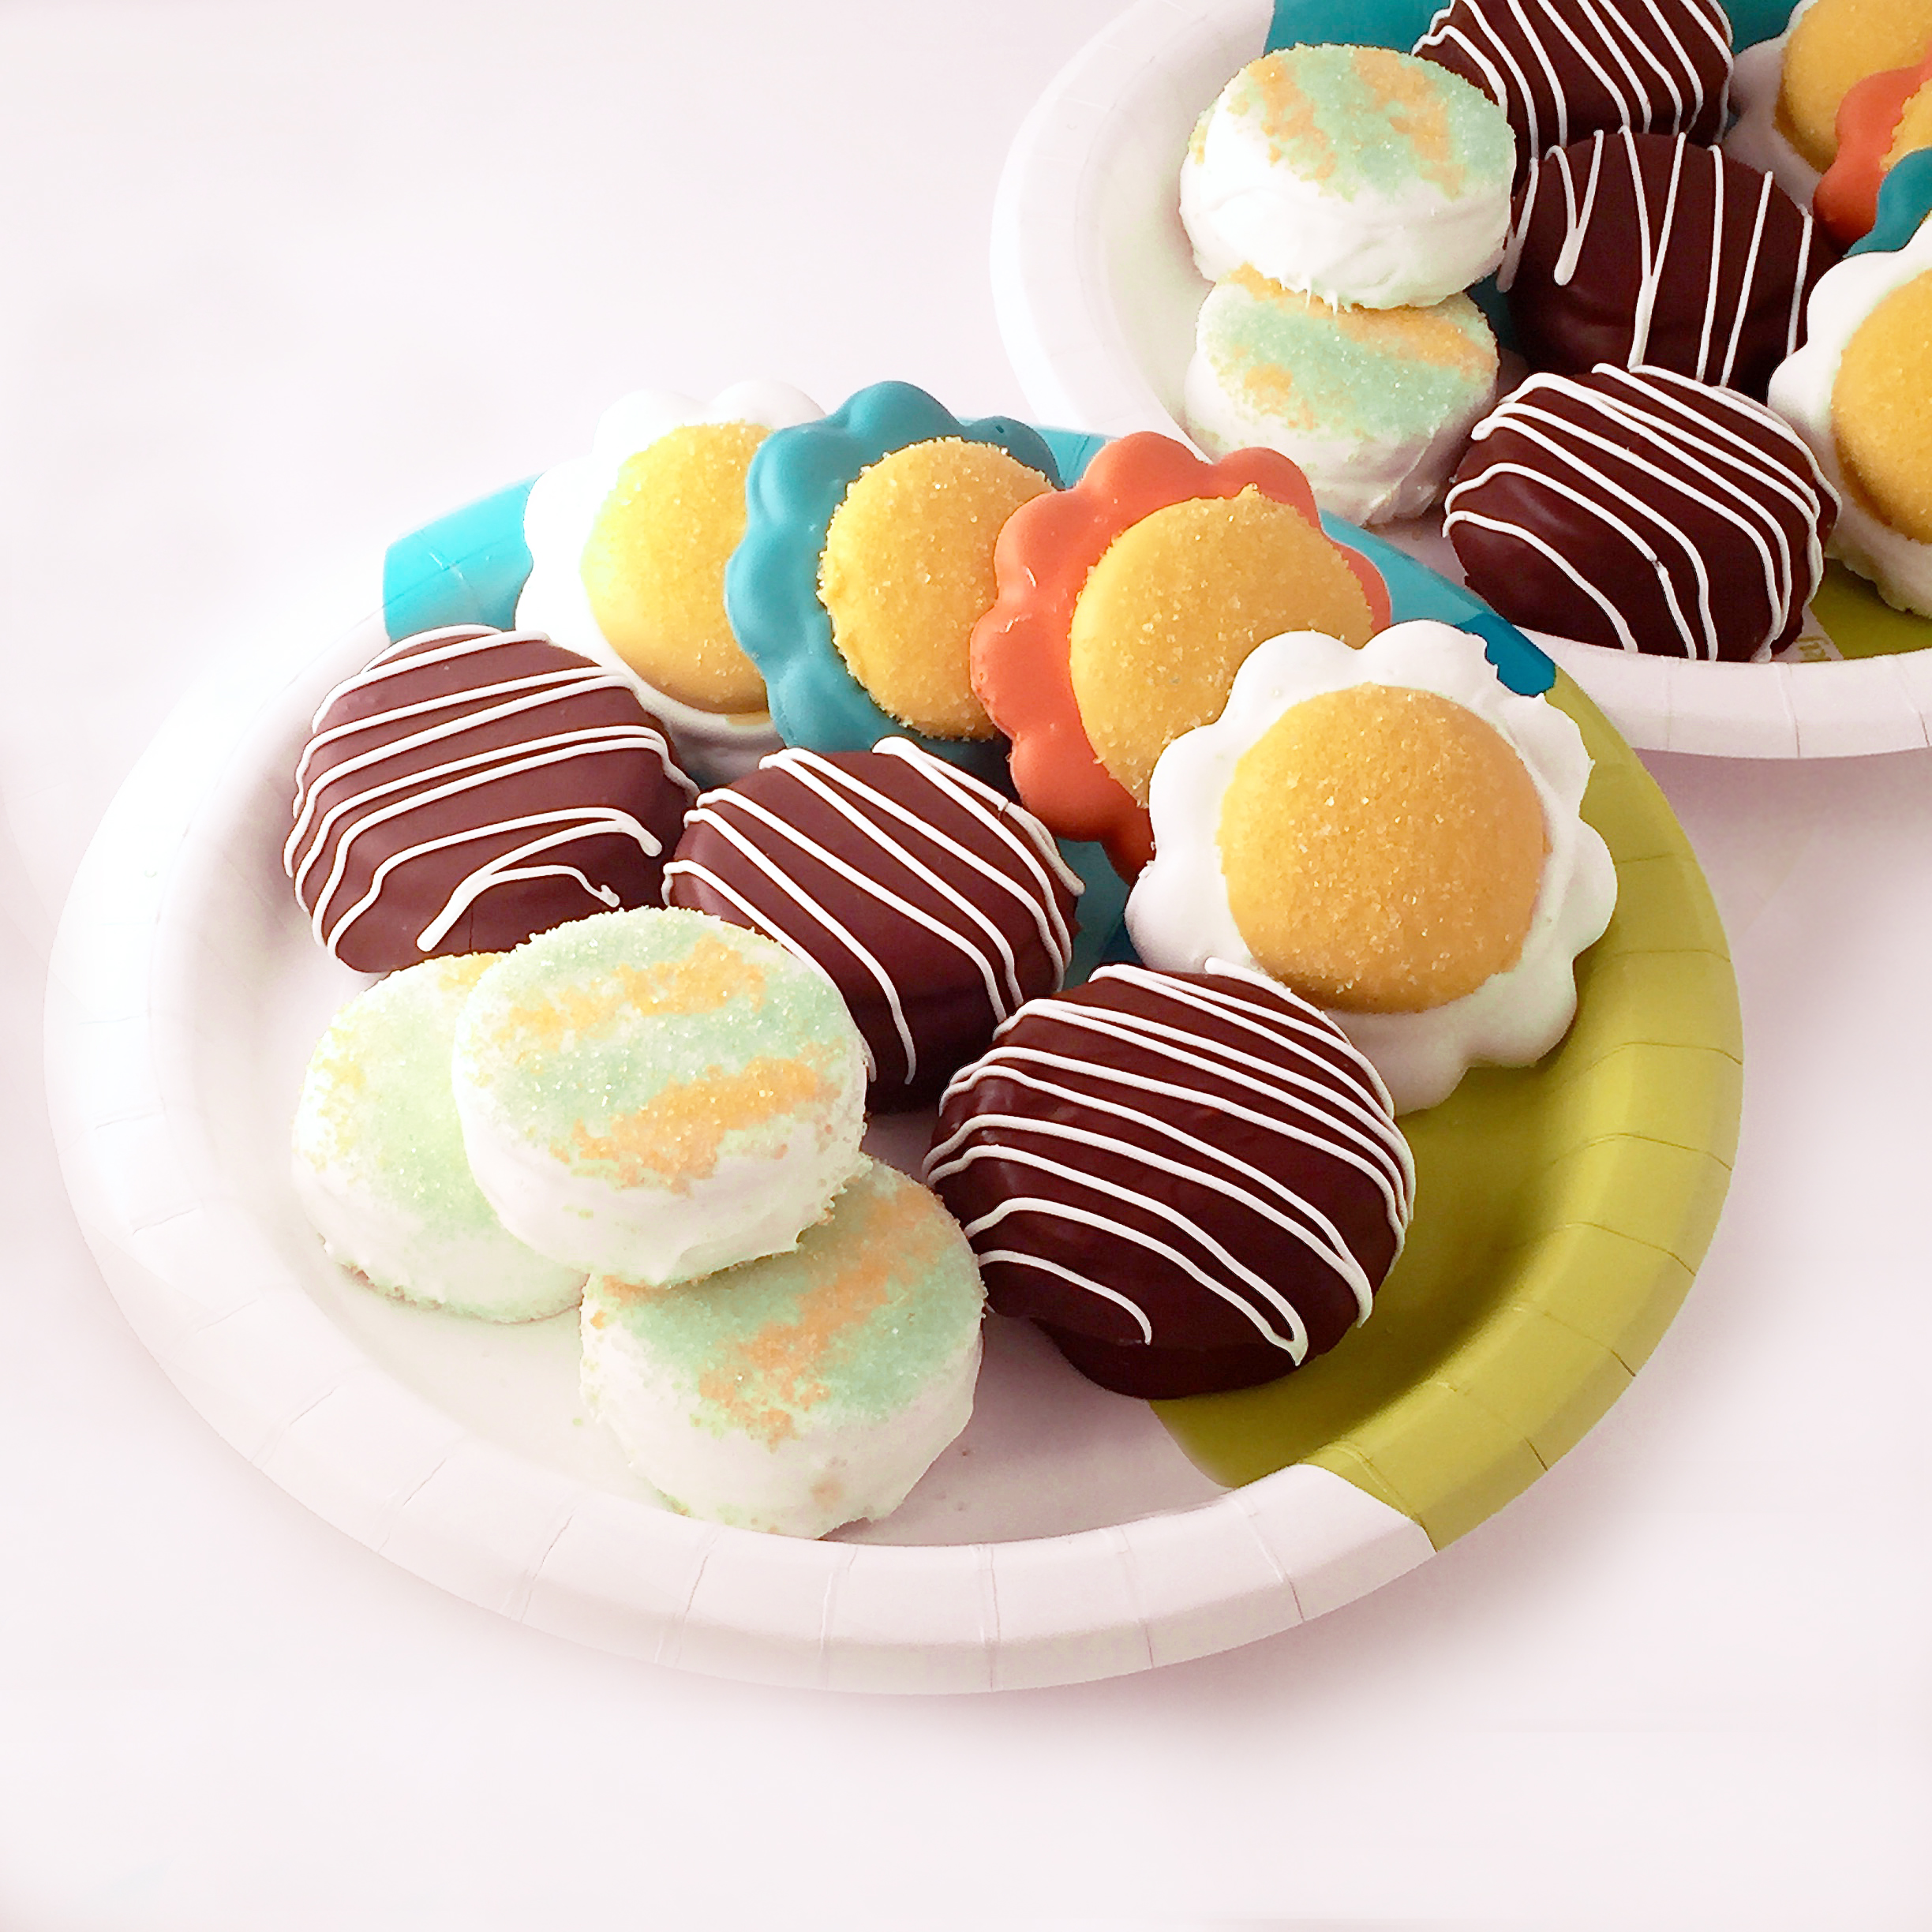
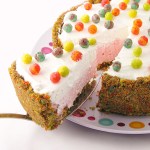
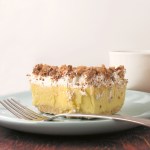
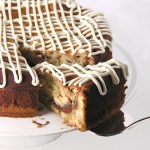
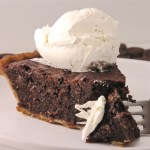
Other cute Valentine’s Day ideas to try (click on photo to see recipe): 


Advertisement

Fall Peanut Butter Crisps

Posted on

Fall Peanut Butter Crisps1

These beautiful fall cookies are special– not just because they are salty, sweet, crispy deliciousness– but because they use up your kids’ Halloween candy!!!!

So… Halloween is over, and you are likely in possession of more candy than you know what to do with. The chocolate will be gone in days, and then the name-brand candy will slowly get picked away at. But there are always those candies that sit in the bottom of the plastic pumpkin until Thanksgiving. For me, those candies were always Bit-o-Honey and the bright orange and black-wrapped “Peanut Butter Kisses“. These are a candy that only seems to make an appearance at Halloween. A combination of taffy and peanut butter, they just always seem to make the left-over candy list.

But not any more!!!  Go ahead, dig through all of that Halloween candy and pull these little guys out- they make the best filling for these beautiful cookies!

Fall Peanut Butter Crisps2

You can also grab other candies to fill these cookies with- rolos, kisses, peppermint patties, mini snickers… all work in this recipe! I actually began making these crisp cookies with Rolos about 5 years ago at Christmas.

Fall Peanut Butter Crisps5

Want the recipe? Here it is!! (printable version)

Ingredients: (makes 20 cookies)

  • 40 Ritz crackers
  • 20 Peanut Butter Kisses (or other small candy that melts at a low temperature)
  • 1 bag of Wilton’s dark chocolate candy melts
  • 1 chocolate transfer sheet (I used 12×16″, and I got mine here). 

Directions: 

  • Preheat oven to 350F degrees. 
  • Place 20 Ritz crackers on a cookie sheet, bottoms up. 
  • Unwrap all 20 peanut butter kisses, and set one on each Ritz cracker. 
  • Place cookie sheet in oven for about 4-5 minutes- check! Candy should be soft but not completely melted. 
  • Remove from oven, and place Ritz cracker, bottom side down, on top of candy and press to spread candy to edge.


  • Place entire tray in freezer to chill for a few minutes.
  • Melt chocolate candy melts in a bowl in the microwave for about 2-3 minutes, stirring once every 30 seconds, until completely melted and smooth.
  • Place parchment paper on a cookie sheet (that fits in your freezer!)
  • Cut chocolate transfer sheet into 20 squares.
  • Take a cookie, place it in the melted chocolate and cover it completely. Use a fork to pick it up and tap on the side of the bowl until all excess chocolate drips off the bottom. Slide bottom along edge of bowl, and using fork, slide onto parchment paper.

  • Immediately place chocolate transfer sheet square on top of the melted chocolate (you’ll need to put the rough side down- the smooth side up) and gently press it into contact with the entire top of the cookie. Repeat 20 times.

  • Place entire cookie sheet into the freezer for 5 minutes or so. As soon as you remove it, gently peel off the transfer sheet from each cookie- and enjoy!!!

How-to-crisps8

My thoughts: There are three things that I love about these cookies…

  1. They are EASY to make- they take almost no time but look so fancy!
  2. They are CHEAP to make- the Ritz crackers and peanut butter candies are really inexpensive (I got mine at the Dollar Store), the chocolate isn’t too costly, and the transfer sheet is like $4.40, but SO worth it! (you could use sprinkles instead, to cut the cost even more though!)
  3. They keep for a long time. Put these little guys in cello bags, tie them up, and use them to decorate your place settings at Thanksgiving! 

They also can use a variety of candies up- and you can decorate them so many fun ways! 

Fall Peanut Butter Crisps3

Go – find your kids’ candy and re-purpose it into these beautiful, crunchy, deliciously salty but sweet treats!

Need other ideas for using up that Halloween candy? This is a project we have a few ideas for! Click on a photo to see the recipe.


Dark Chocolate Almond Bites

Posted on

dark-chocolate-almond-bites1

These little clusters of almond, coconut and dark chocolate will satisfy your sweet tooth without wrecking your diet!

I’ve been trying to eat healthier this year, and so far I’m doing really well (even with a baking blog!). My friend Laura and I walk each day and when we do we talk a lot about things we crave that could be made healthier. She was telling me that she craves chocolate so much that she takes a few dark chocolate chips and adds some almonds for a snack each night. I was in the process of making some coconut cut-out cookies and I had extra toasted coconut. We started brainstorming ways to make a cookie with relatively low calories and carbs. This is the result 🙂 They are delicious (!!) and as far as I can tell, they are about 85 calories each and 6 carbs. Which is perfect. Just perfect.

dark-chocolate-almond-bites4

They aren’t very pretty- but who needs pretty when you can have yummy and relatively healthy? 🙂

Here’s how we made them: (printable recipe here)

INGREDIENTS:

  • 1 cup of toasted coconut (buy it toasted, or toast your own…)
  • 1 cup of lightly salted, roasted almonds
  • 2 plain rice cakes
  • 1 cup of dark chocolate chips

DIRECTIONS:

  • Place toasted coconut and almonds in a food chopper and chop to small pieces. Place in a mixing bowl.
  • Crumble up the 2 rice cakes into very small pieces and add to bowl.
  • Melt chocolate chips, and pour them over the top of mixture. 
  • Stir until well-blended and then use a medium cookie scoop to spoon out evenly-sized cookies onto a parchment paper- covered cookie sheet. (My batch made 22, and calories and carbs were calculated accordingly.)
  • Place cookie sheet in refrigerator until cookies harden up. Enjoy! 

dark-chocolate-almond-bites2

My thoughts: These are really, really good. I bagged mine up in individual cello bags and tied them shut with a twist tie. That way, I wasn’t tempted to eat more than one at a time! These are a perfect “gotta have some chocolate” treat. Lots of protein from the nuts, healthy oils from the coconut, and a little bit of crunch from the rice cakes. Enjoy! ~r

dark-chocolate-almond-bites3

Other yummy (slightly less healthy!) cookie recipes here at Easybaked (click on a photo to see the recipe):

Rocky Road Cookies!

rocky-road-cookies

Rich fudge cookies covered in a pile of marshmallows, chocolate and almonds.

A perfect rocky road combination!

Confession: I’m not a fan of ice cream. I mean, it’s ok- but it isn’t like my favorite dessert. The rocky road combination of marshmallows, chocolate and almonds began in ice cream- back in the early 1900’s. It was actually the very 1st creative ice cream flavor- prior to its invention there was only vanilla, chocolate, and strawberry. Stop and imagine that for a minute. The world with no mint-chip ice cream…

So they invented this crazy new flavor, and then the Great Depression hit- and people didn’t have much money to buy ice cream. In a feat of marketing genius, it was given the name “Rocky Road” to relate to what people were going through and boost sales. It must have worked, because this flavor of ice cream has stood the test of time and is still filling the freezers of America.

rocky-road-cookies

Since ice cream isn’t my favorite dessert, I like to take these flavors and create other things with them instead! I made Rocky Road cupcakes a couple of years ago on Easybaked, and they are still one of my favorite recipes. Yum.

rocky-road-cookies

These are easy to make, and a perfectly rich, but not too sweet treat for any holiday or celebration. Or just for Mondays. Mondays always need good cookies.

Here is how we made them (printable recipe here)

INGREDIENTS: (makes about 24, 4-inch round cookies)

Cookie: 

  • 2 sticks (1 cup) butter, softened
  • 1 1/2 cups sugar
  • 2 eggs
  • 1 teaspoon vanilla extract
  • 2/3 cup unsweetened cocoa powder
  • 3 cups flour
  • 1/2 teaspoon salt
  • 1/2 teaspoon baking powder

Toppings:

  • 1 bag of mini-marshmallows
  • 1 bag of Wiltons candy melts in dark cocoa
  • 1/4 bag of Wilton’s candy melts in white
  • 1 cup of sliced almonds
  • 1 cup of chocolate chips

DIRECTIONS:

  • Preheat oven to 350F degrees.
  • Add butter, sugar, eggs, vanilla and cocoa together in  large mixing bowl.
  • Blend on medium speed with a mixer until smooth.
  • Gradually add dry ingredients and mix until smooth (use clean hands at the end, to knead into a soft ball of dough)
  • Roll out cookie dough on floured counter.  
  • Cut into large circles (you want to have room for all those toppings!) and place on a parchment-lined baking sheet.  
  • Bake for 8 to 11 minutes until the edges are firm.
  • Slide parchment paper off cookie sheet with cookies on top. Allow them to cool on counter.
  • Melt dark cocoa candy melts in microwave in 30 second increments, stirring in between until smooth.
  • Spoon about a tablespoon of chocolate on the top of a cookie and spread to edges.
  • Immediately (before chocolate hardens) add marshmallows, almonds and chocolate chips. They all don’t have to touch the melted chocolate, and some can be loose on top.
  • Finish all cookies in the same manner.
  • Melt white candy melts in the microwave in 30 second increments, stirring in between until smooth.
  • Place candy melts into a small zip-top bag, clip a corner and drizzle white chocolate over the top of each cookie as shown.
  • Allow everything to harden up.
  • Store in an air-tight container for up to 5 days (the marshmallows get a little chewy past that point). Make sure to layer parchment paper between the layers of cookies when storing them.
  • Enjoy!

rocky-road-cookies

My thoughts: There is just something unbelievably good about marshmallows on a cookie. The chewy sweetness of those, the crunchy nuts, the soft chocolate cookie… I LOVE these! Sometimes the love of a dessert is as much about the textures as it is about the flavors- and this cookie wins in both categories!!!! I hope you get a chance to try these! Enjoy! ~r

Other favorites for the cookie jar: (click on a photo to see the recipe):

Gingerbread Cookies!German Chocolate CookieChocolate Chip Oatmeal CookiesChocolate Espresso Cookies!!!


Cookie Butter Stuffed Oreos

cookie-butter-oreos3

A creamy layer of chocolate chip cookie butter is a wonderful surprise inside these easy chocolate cookies!

I may be out of the loop on things, but somehow I missed this whole craze over COOKIE BUTTER. When I was in the Czech Republic about a year ago, my friend Angie (the best gift-giver!) sent me home with a collection of European treats. Nestled in with the coffees and chocolates, there was this jar of “stuff” (all the labels were in Czech) and I wasn’t sure what to expect. I know that peanut butter is hard to find in Eastern and Central Europe- so I knew it wasn’t that- but it was close… it was butter- but not made out of peanuts..made out of COOKIES!!!!! Seriously. I fell in love.

Cookie Butter!

Then I found it at Wal Mart. Here. In Indiana. #smile!!!

So, I’ve been stuffing Oreo Thins with all sorts of things over the past few months. Marshmallows….Key Lime Pie…I can’t stop. I have A LOT more ideas. This is just one more. (Prepare yourself…)

Cookie butter stuffed Oreos

These are simply….delicious. I shouldn’t have been surprised that adding cookie butter to Oreos would create such a yummy combination- but I was. The combination is such a unique flavor- and I’m not kidding you- unbelievably good!

Plus they are SUPER easy to make.

Here’s how we did it: (printable recipe available here)

INGREDIENTS: (makes about 25 cookies)

  • One box of Oreo Thins Chocolate cookies
  • One jar of crunchy cookie butter (I’ve loved every brand I have tried, but I used Lotus for these)
  • One cup of mini chocolate chips
  • One and 1/2 bags of Wilton’s Candy melts in dark chocolate
  • A little bit of milk chocolate candy melts to make stripes on top (or any sort of sprinkles you’d like to add to make these for any season!)

DIRECTIONS:

  • Set half of Oreo cookies on a small tray or sheet that will fit in your freezer.
  • Mix jar of cookie butter and mini chips in a small bowl.
  • Scoop or spoon cookie butter on top of each Oreo and press a second Oreo on top to make a sandwich.

Cookie butter on Oreo Thins

  • Freeze for about 30 minutes.
  • Melt Candy Melts in microwave, in 30 second increments, stirring in between, until melted and smooth.
  • Take 3 or 4 cookies at a time out of freezer and carefully dip in melted chocolate, using a fork to tap excess chocolate off and sliding the bottom of the cookie along the edge of the bowl to remove excess from the bottom. 

Oreo Thins dipped in chocolateOreo Thins dipped in chocolate

  • Set on parchment paper to harden.
  • Add sprinkles (if desired) before chocolate hardens, or after it hardens, drizzle or pipe a little bit of contrasting chocolate across the top of each cookie.
  • Enjoy!

Oreo Thins dipped in Chocolate

My thoughts: Mmmmmmm! These cookies were eaten up so fast- and I got back so much positive feedback on them- everyone loved them! The only tricky part might be dipping them (if you haven’t dipped things in chocolate before). The trick is to tap off excess chocolate and to remove excess off the bottom. If you aren’t feeling confident in your dipping skills, try just dipping half of the cookie and leaving half of that yummy cookie butter visible! I hope you get a chance to try these!!!  Enjoy!!  ~R

Cookie Butter stuffed Oreo Thins

More delicious Oreo ideas! (Click on a photo to see the recipe)

Caramel Oreo Brownie BarBrownie Oreo Cookie CupMud Pie!Creamy Coconut Cheesecake

Marshmallow-filled Chocolate Cookies

Posted on

Marshmallow Cookies

Chocolate “Oreo Thins” cookies, stuffed with a marshmallow and covered in dark chocolate- such a delicious combination!

I haven’t given up making Oreo Thins less healthy! Just a few weeks ago, I posted a recipe using the vanilla Oreo Thins- stuffed with key lime pie (see it here). Today, I bring you chocolate Oreo Thins stuffed with marshmallows and covered in chocolate. They remind me of those yummy pinwheel cookies- the kind with cookie and marshmallow all swirled together!

Marshmallow Cookies4Yep. You will want to try these- promise! They are even better tasting than they look!

Here is how we put these together: (printable recipe)

INGREDIENTS: (makes 20 cookies)

  • 1 box of Oreo Thins in chocolate
  • 20 marshmallows (regular size)
  • 2 bags of Wilton’s candy melts in dark chocolate
  • 1/4 cup of Wilton’s candy melts in white chocolate

DIRECTIONS:

  • Preheat oven to 350F degrees
  • Set half of the Oreo Thins cookies on a cookie sheet that will fit in your freezer, set aside.
  • Place a sheet of parchment paper on a second small cookie sheet.
  • Set 20 marshmallows out on paper and place in oven for 3 to 4 minutes. Until they become soft- but not toasted.
  • Remove from oven and allow marshmallows to cool to a point where you can pick them up.
  • Gently use a knife or a skewer to pierce the bottom of the marshmallow (allowing some of the melted part to come out), and set this on top of an Oreo on the 1st cookie sheet.
  • Gently pierce the top of the marshmallow and set a second Oreo on it, gently pushing the melted marshmallow out to the edges (it will go a little beyond the edges and this is ok!

Marshmallow Cookies!

  • Continue with this process until all cookies have a marshmallow sandwiched between them.
  • Freeze for about 30 minutes- until marshmallow is hard.
  • Melt Candy Melts in the microwave in 30 second increments, stirring in between until melted and smooth.
  • Taking only 2-3 cookies out of the freezer at a time, dip them into the melted chocolate, covering top and sides.
  • Quickly remove on a fork, and tap on edge of bowl to remove excess chocolate.
  • Gently slide off fork onto parchment paper to harden.
  • Melt white Candy Melts in the same manner as the chocolate ones. Place in a small zip-top bag, clip a corner, and drizzle over finished cookies.
  • Allow these to harden up before serving.
  • Enjoy!

Chocolate Marshmallow Cookies

My thoughts: I was originally going to do these with graham crackers- like a s’mores cookie- but when I realized how well those Oreo Thins work for dipping, I went with those instead- and I’m glad I did! These are absolutely delicious. I really, really loved them! A unique addition to any cookie tray! In fact, I made cookie plates with my last 3 recipes here on Easybaked. I baked them all over one weekend and brought these to my neighbors and friends. Who says you can only do this at Christmas??? 🙂

Summer Cookies!

I hope you get a chance to try some of these fun summer cookie recipes before August disappears into fall!  Enjoy!!! ~r

Marshmallow Cookies!!!

One last shout-out to summer desserts! Click on a photo to see the recipe 🙂

Banana Split CupcakesKool Aid PiePina Colada Cupcakes!Heath Bar Ice Cream Dessert3


Dark Chocolate Espresso Cookies

Posted on

Espresso Cookies!!!

Dark chocolate cookies infused with espresso powder.  Once you’ve had one you will be craving a plateful!!!  They are really easy to make, and since they are a cut-out cookie they can be made in any shape you want.  Aren’t the plain round ones so fun though???

Espresso Cookies!!!

Here’s how to make them:  (printable recipe)

INGREDIENTS: (makes 36 medium cookies)

  • 2 sticks (1 cup) butter, softened
  • 1 1/2cups sugar
  • 2 eggs
  • 3 teaspoons vanilla extract
  • 3 teaspoons instant Espresso Powder
  • 2/3 cup unsweetened cocoa powder
  • 3 cups flour
  • 1/2 teaspoon salt
  • 1/2 teaspoon baking powder

DIRECTIONS:

  • Cream together butter and sugar in a large mixing bowl.
  • Mix in eggs and then cocoa.
  • Place vanilla and Espresso Powder together in a small cup until coffee dissolves.  Add this mixture to the batter and mix until completely incorporated.
  • Gradually add dry ingredients and mix until smooth (use clean hands at the end, to knead into a soft ball of dough)
  • Wrap in plastic and chill for at least one hour.
  • Allow cookie dough to soften a little at room temperature
  • Preheat oven to 350F degrees.
  • Roll out cookie dough on floured counter.  
  • Cut into desired shapes and place on a parchment-lined baking sheet.  
  • Bake for 8 to 11 minutes until the edges are firm.
  • Gently slide parchment paper off of cookie sheet and onto a flat surface.  Cool completely before removing cookies from paper.

Dark Chocolate Espresso Cookies!

You can serve these cookies plain, or with a little cocoa powder sprinkled on top, or you can ice them.

I iced these with royal icing that I added a little espresso powder to.

For my royal icing recipe and techniques, click here.

To get the tiny heart shape at the center I used a little melted chocolate.  While the icing is still liquid, pipe a little circle just a bit above the center of the cookie.  Use a tooth pick to pull down through the icing and the chocolate, making a heart.  Allow the icing and chocolate to harden completely.  Enjoy!!

Chocolate Espresso Cookies!!!

My thoughts:  These are SO GOOD!!!!  I’m on a diet….and I wanted to eat them all….but I didn’t.  I gave them away.  sigh.  

These are simple to make and probably the easiest cut-out cookie dough I’ve ever worked with.  Not sticky or fussy at all!  I adore anything with coffee in it, so I would add even more espresso powder next time.  Make them to your taste by adjusting the amount you add.  Paired with a cup of coffee, they are  just…..perfect!  Enjoy!!!  ~r

Espresso Cookies!!!

A few other desserts that would go well with your coffee:

Brownie Oreo Cookie CupCinnamon Roll Cheesecake!!Chocolate molten lava cupcakesGerman Chocolate Pie!

Chocolate Fudge Cut-Out Cookies!!

Posted on

Chocolate cut out cookies!

The rich dark cocoa flavor of these cut-out cookies sets them apart as one of the yummiest cookies I’ve ever had!!

This weekend was a special treat — my good friend (and fellow baker/blogger) Megan came to visit me from Pennsylvania.  We met in 2010 on a mission trip to Russia and we have been best of friends ever since.  Russia with Megan

Megan and her mom and sisters create the most beautiful and unique cakes I’ve ever seen, and they blog about life and caking on their blog Happily Ever Cakes.  Megan has such great decorating ideas and she promised to share some of her recipes and techniques with me this weekend.

We spent hours in the kitchen (often accompanied with friends who wanted to help and learn too!)  It was so much fun, and I’m so excited to share with you all the things I learned!!

Holding our personalized mug cupcakes--technique coming soon to Easybaked!   Such a fun weekend!

Holding our personalized mug cupcakes–technique coming soon to Easybaked!
Such a fun weekend!

I wasn’t sure which project to tell you about first, so I decided to begin by dedicating this post to some truly yummy chocolate cut-out cookies.

Megan wanted to prove to me that royal icing isn’t always a tedious mess…. but honestly, royal icing is a tedious mess no matter what your technique or recipe (in my humble opinion!)

Chocolate cut-out cookies


They are cute.  Super super cute cookies.  But  24 cookies took three of us about 3 hours….which means if I’d done them alone they would have taken me 9 hours….yeah.

So there are a lot of pictures because this will likely never happen again.

Cut out cookies with Royal Icing!

We even put some of them on lollipop sticks which was a really fun way to display them.

Cut out cookie pops

When Megan suggested a royal icing project I immediately thought of this great family recipe.  I’d never made them as a cut-out cookie or attempted to bake them with sticks inserted, but I thought it would be worth experimenting with since they taste SO good.  The verdict??  These dense chocolate cookies are easy to cut into shapes and worked great with or without lollipop sticks.  The dark cookie really made all the fun colors in our frosting stand out too!

Ready for the recipe?   (printer friendly recipe)

INGREDIENTS: (makes 24 large cookies)

  • 2 sticks (1 cup) butter, softened
  • 1 1/2 cups sugar
  • 2 eggs
  • 1 teaspoon vanilla extract
  • 2/3 cup unsweetened cocoa powder
  • 3 cups flour
  • 1/2 teaspoon salt
  • 1/2 teaspoon baking powder

DIRECTIONS:

  • Preheat oven to 350F degrees.
  • Add butter, sugar, eggs, vanilla and cocoa together in  large mixing bowl.
  • Blend on medium speed with a mixer until smooth.
  • Gradually add dry ingredients and mix until smooth (use clean hands at the end, to knead into a soft ball of dough)
  • Wrap in plastic and chill for at least one hour.
  • Allow cookie dough to soften a little at room temperature
  • Roll out cookie dough on floured counter.  If you are adding sticks, you will want to roll the cookies out thick (about 1/3″)
  • Cut into desired shapes and place on a parchment-lined baking sheet.  Insert lollipop sticks, if desired, by gently pushing stick into cookie about 1- 1 1/2 inches. You will need to arrange cookies to fit with sticks on top of cookie sheet.
  • Bake for 8 to 11 minutes until the edges are firm.
  • Gently slide parchment paper off of cookie sheet and onto a flat surface.  Cool completely before moving- this allows the cookie to “set” around the stick.  Even when it is cooled, handle it with care.  It takes a little time for the cookie to harden around the stick.
  • Frost as desired.  A simple powdered sugar glaze will be delicious on these, or if you want to get fancy (and have a nice hard surface on your cookie) click here for Megan’s royal icing recipe and instructions for use.

Fun chocolate cookie cut-outs
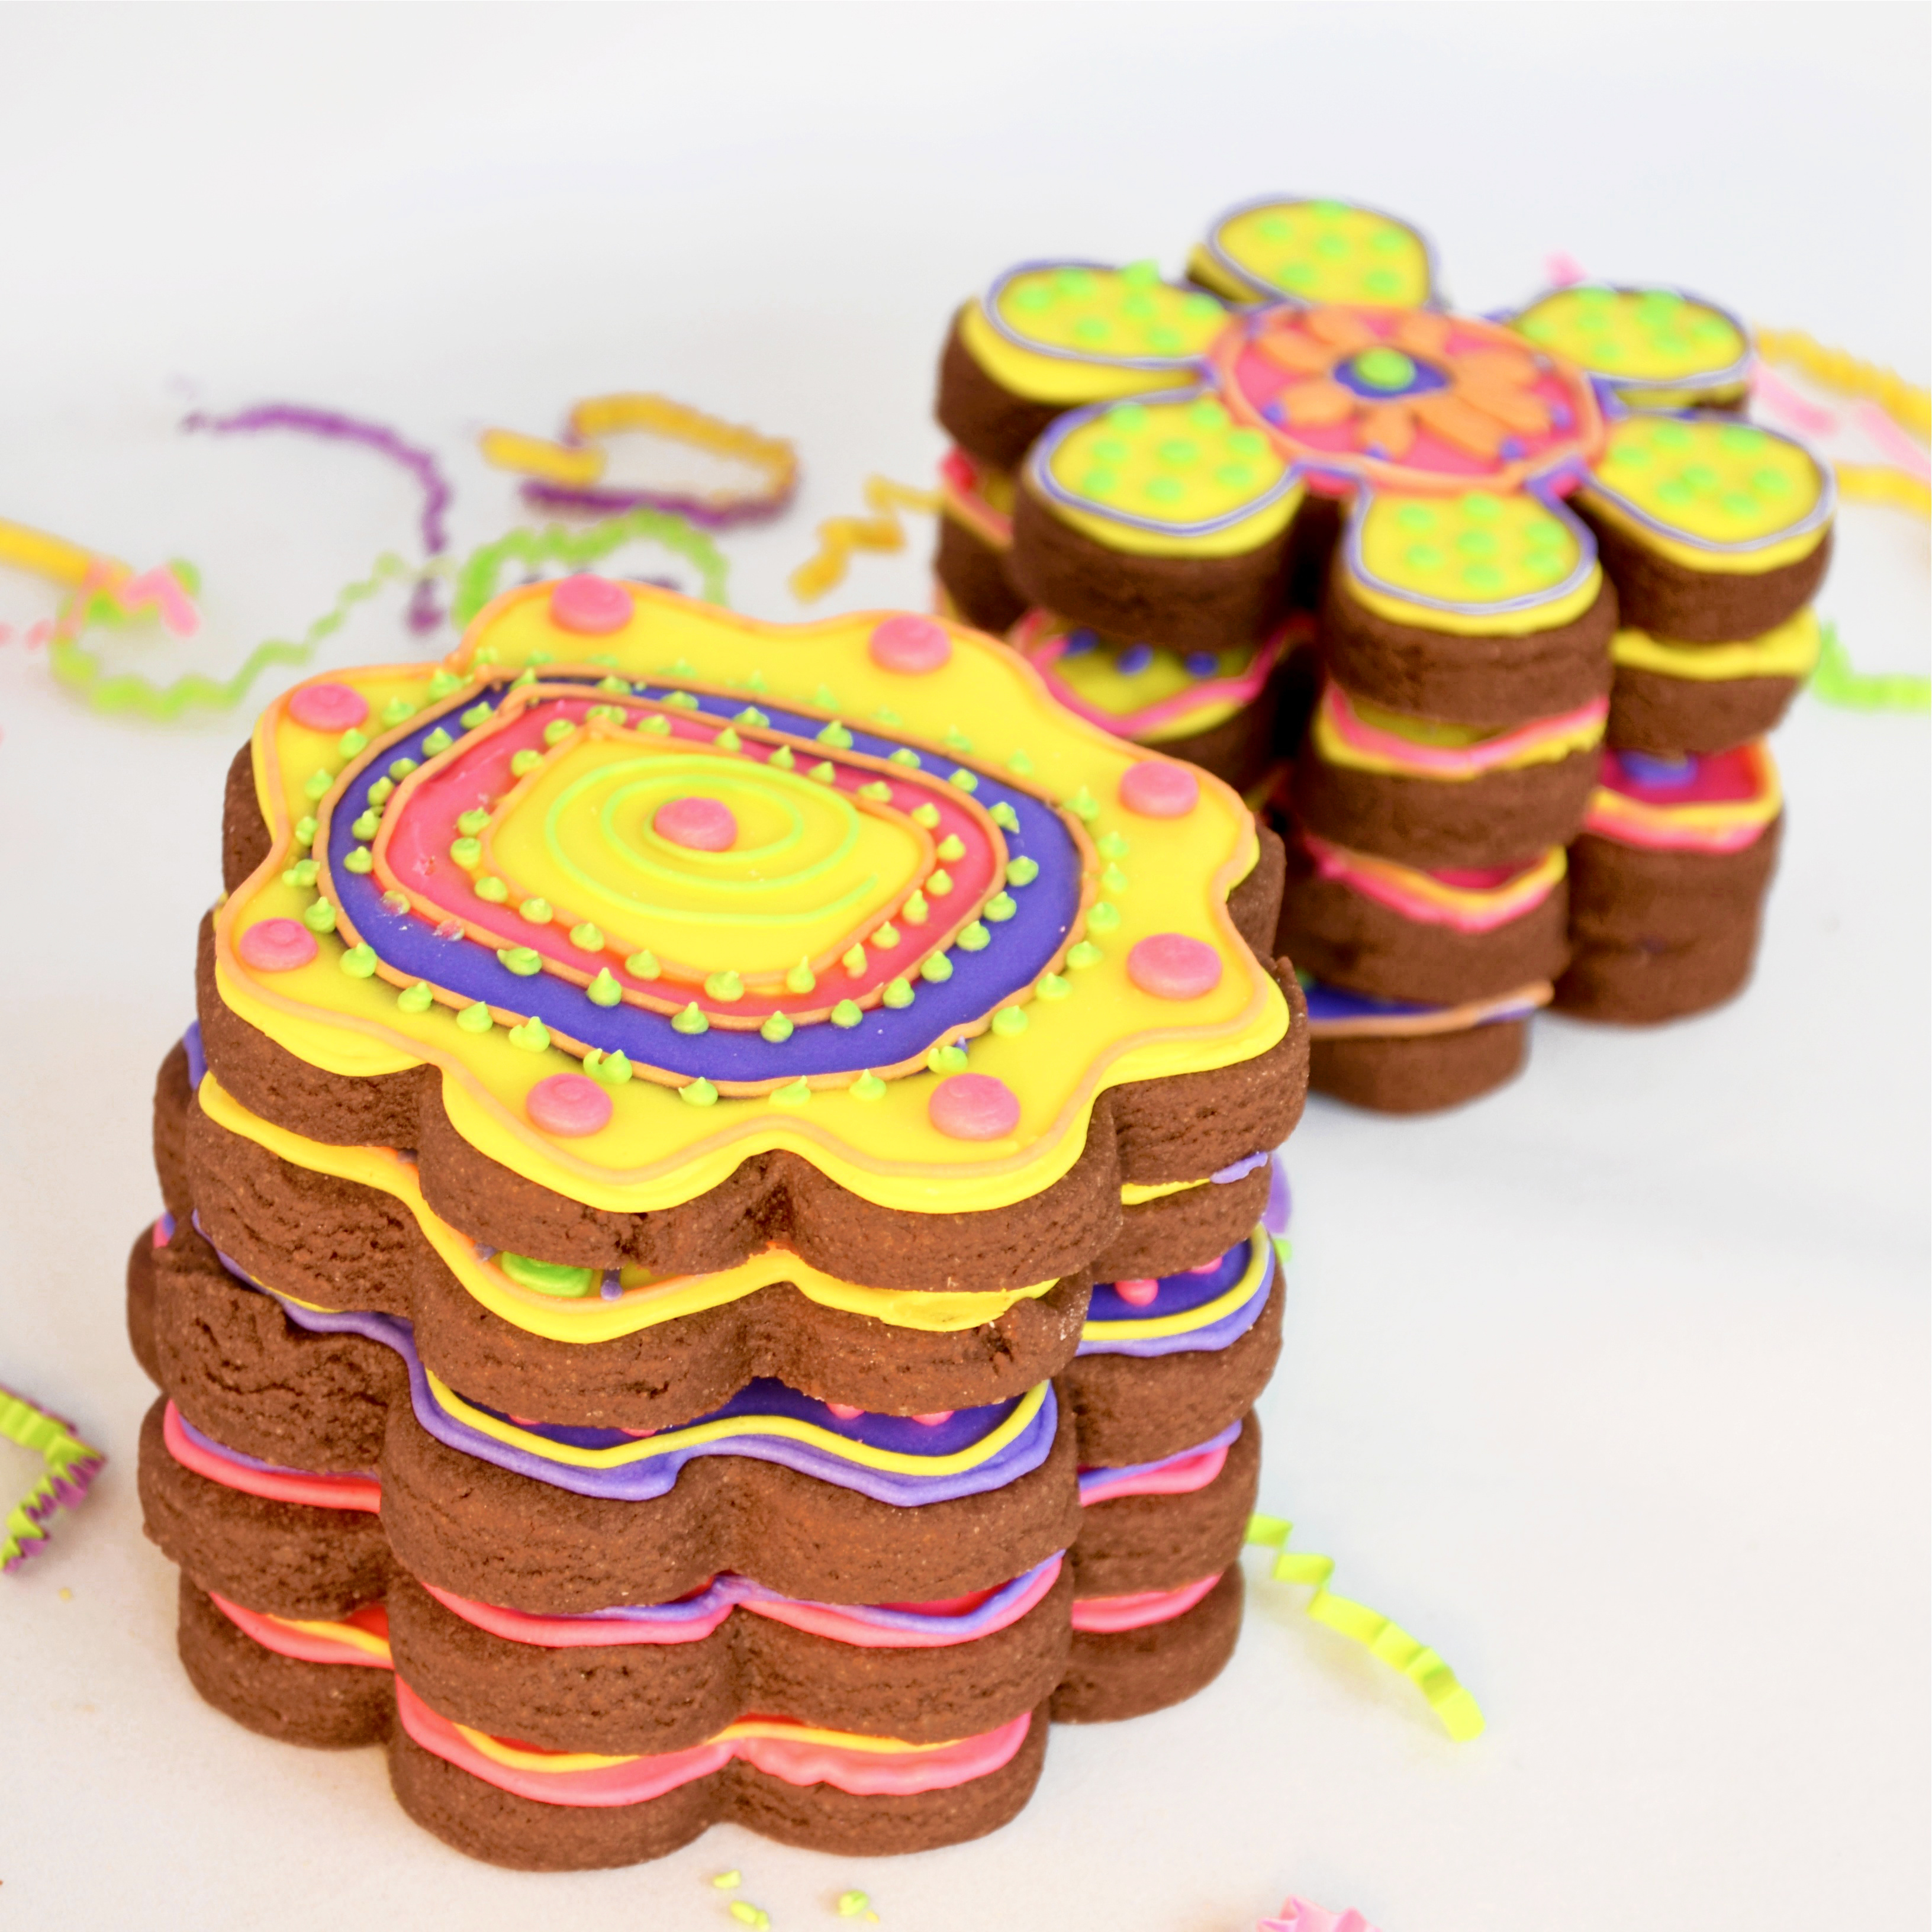
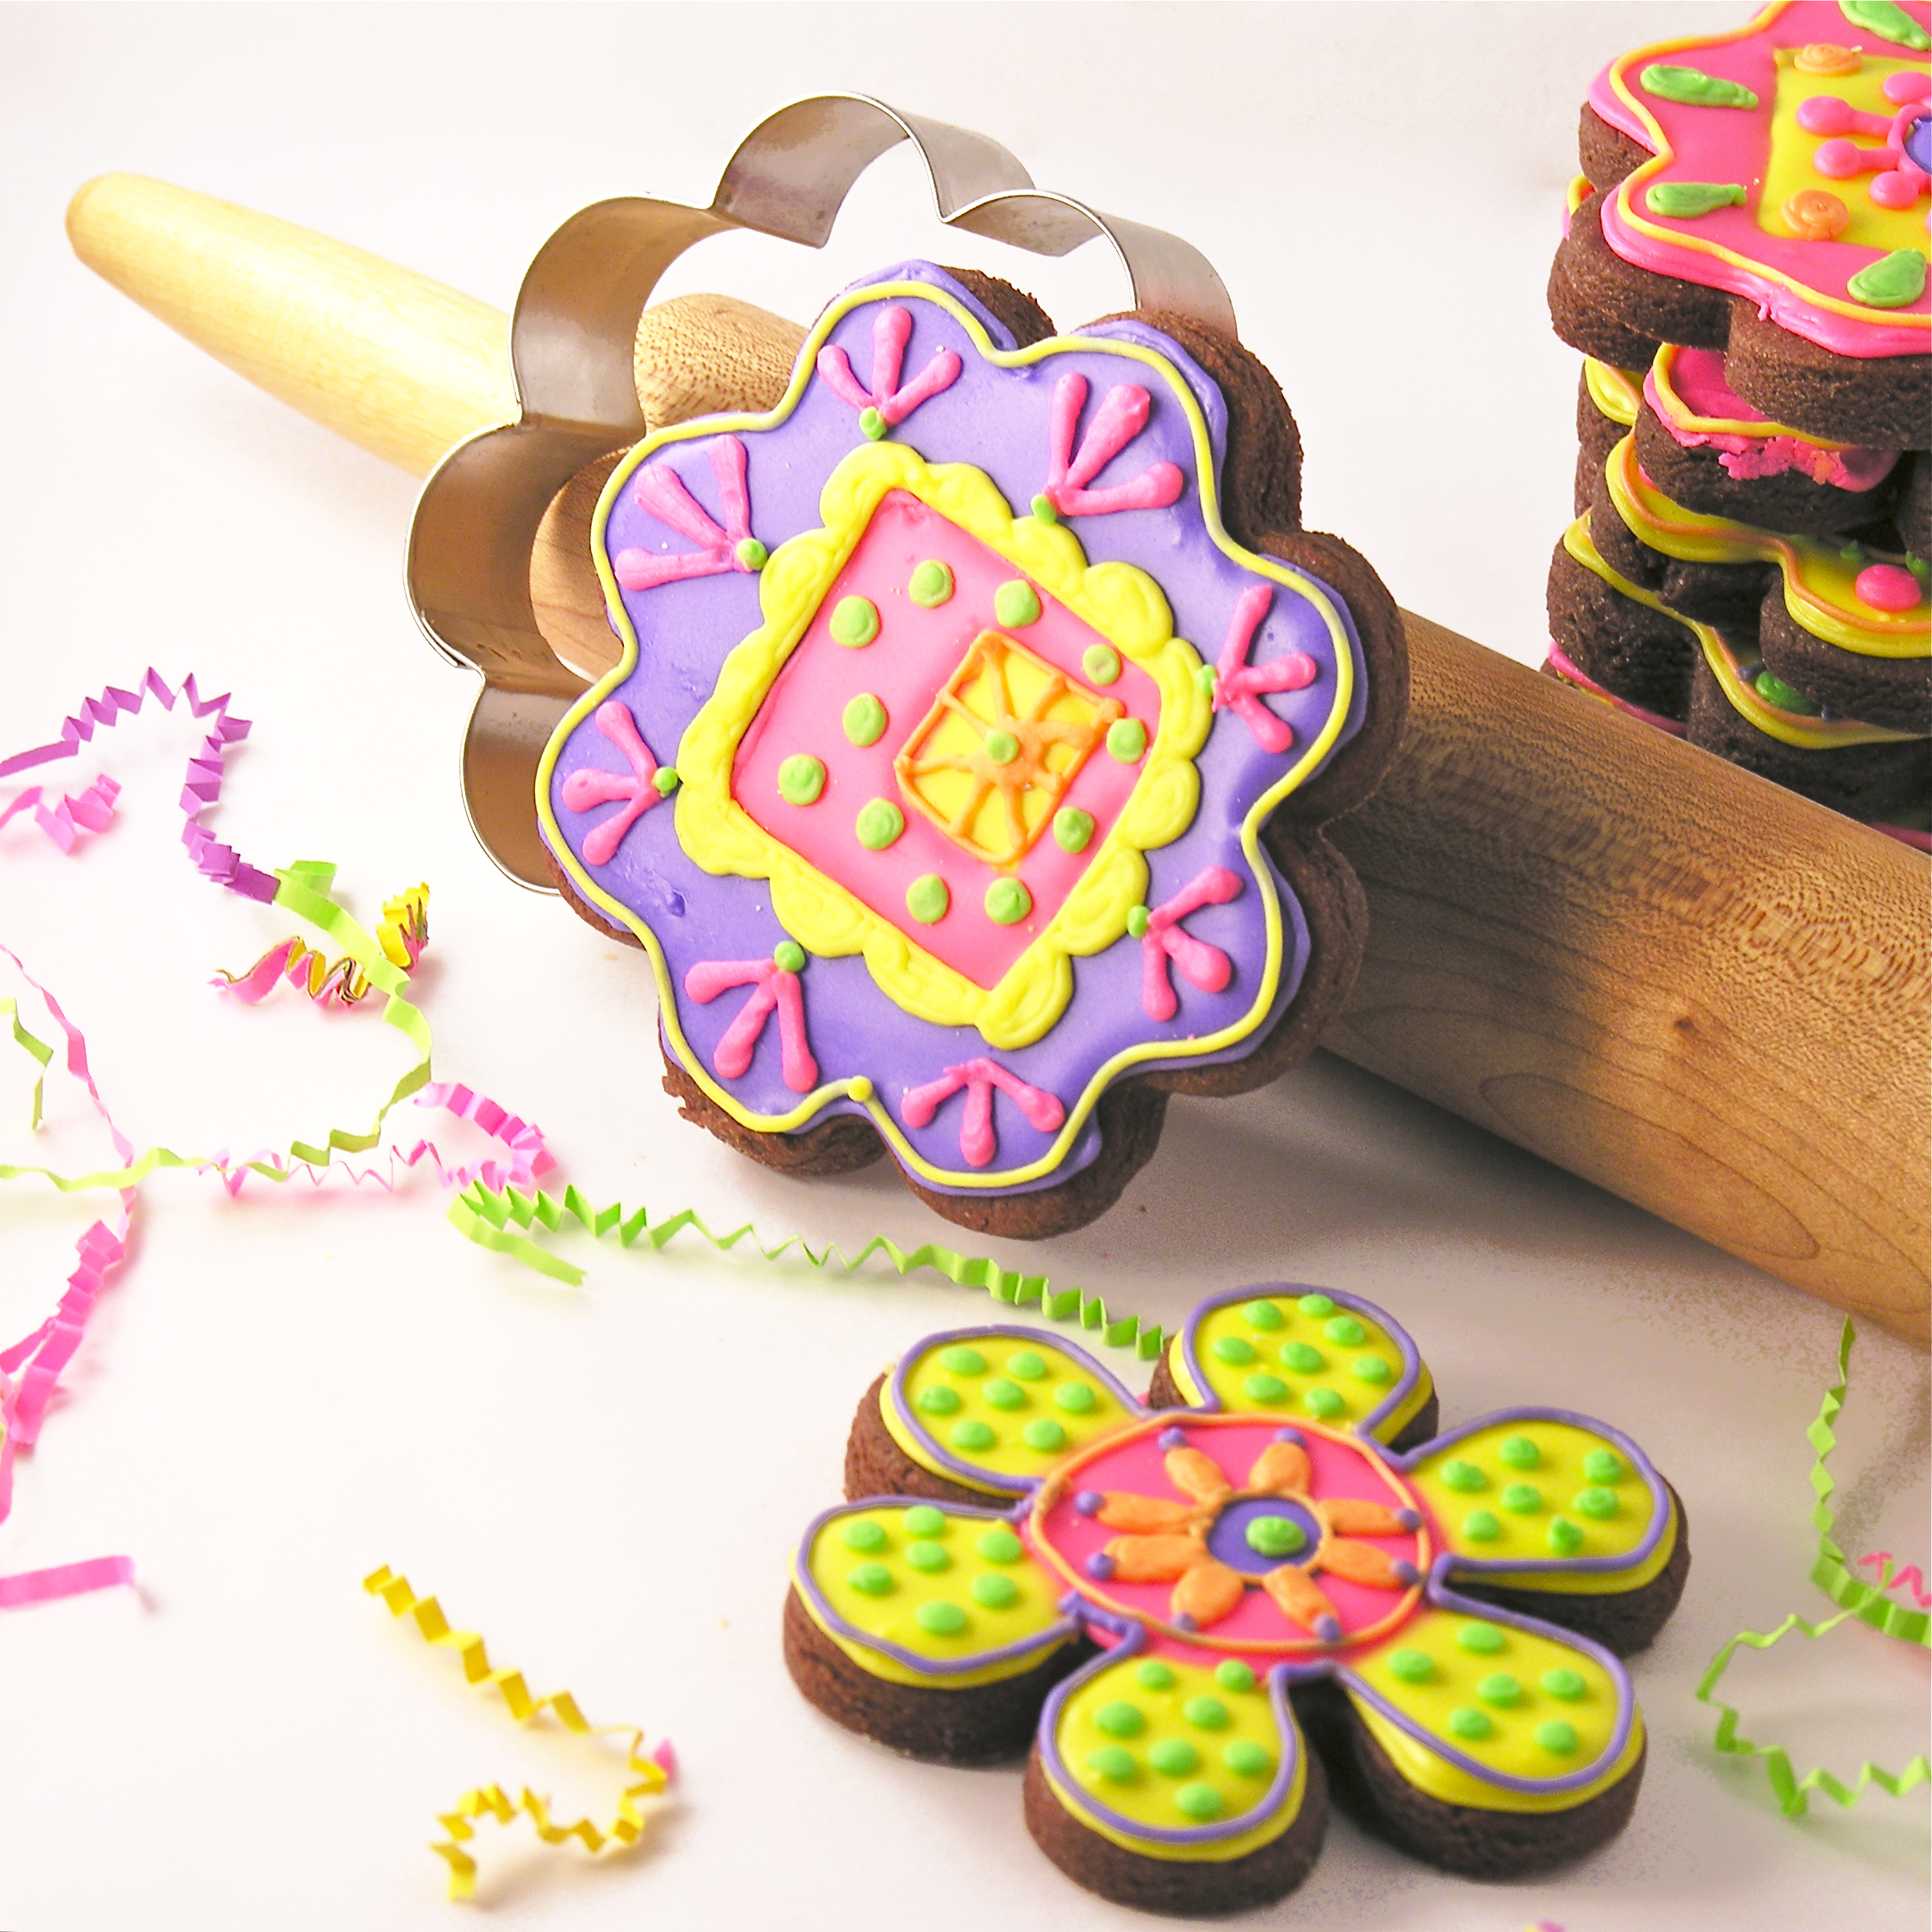
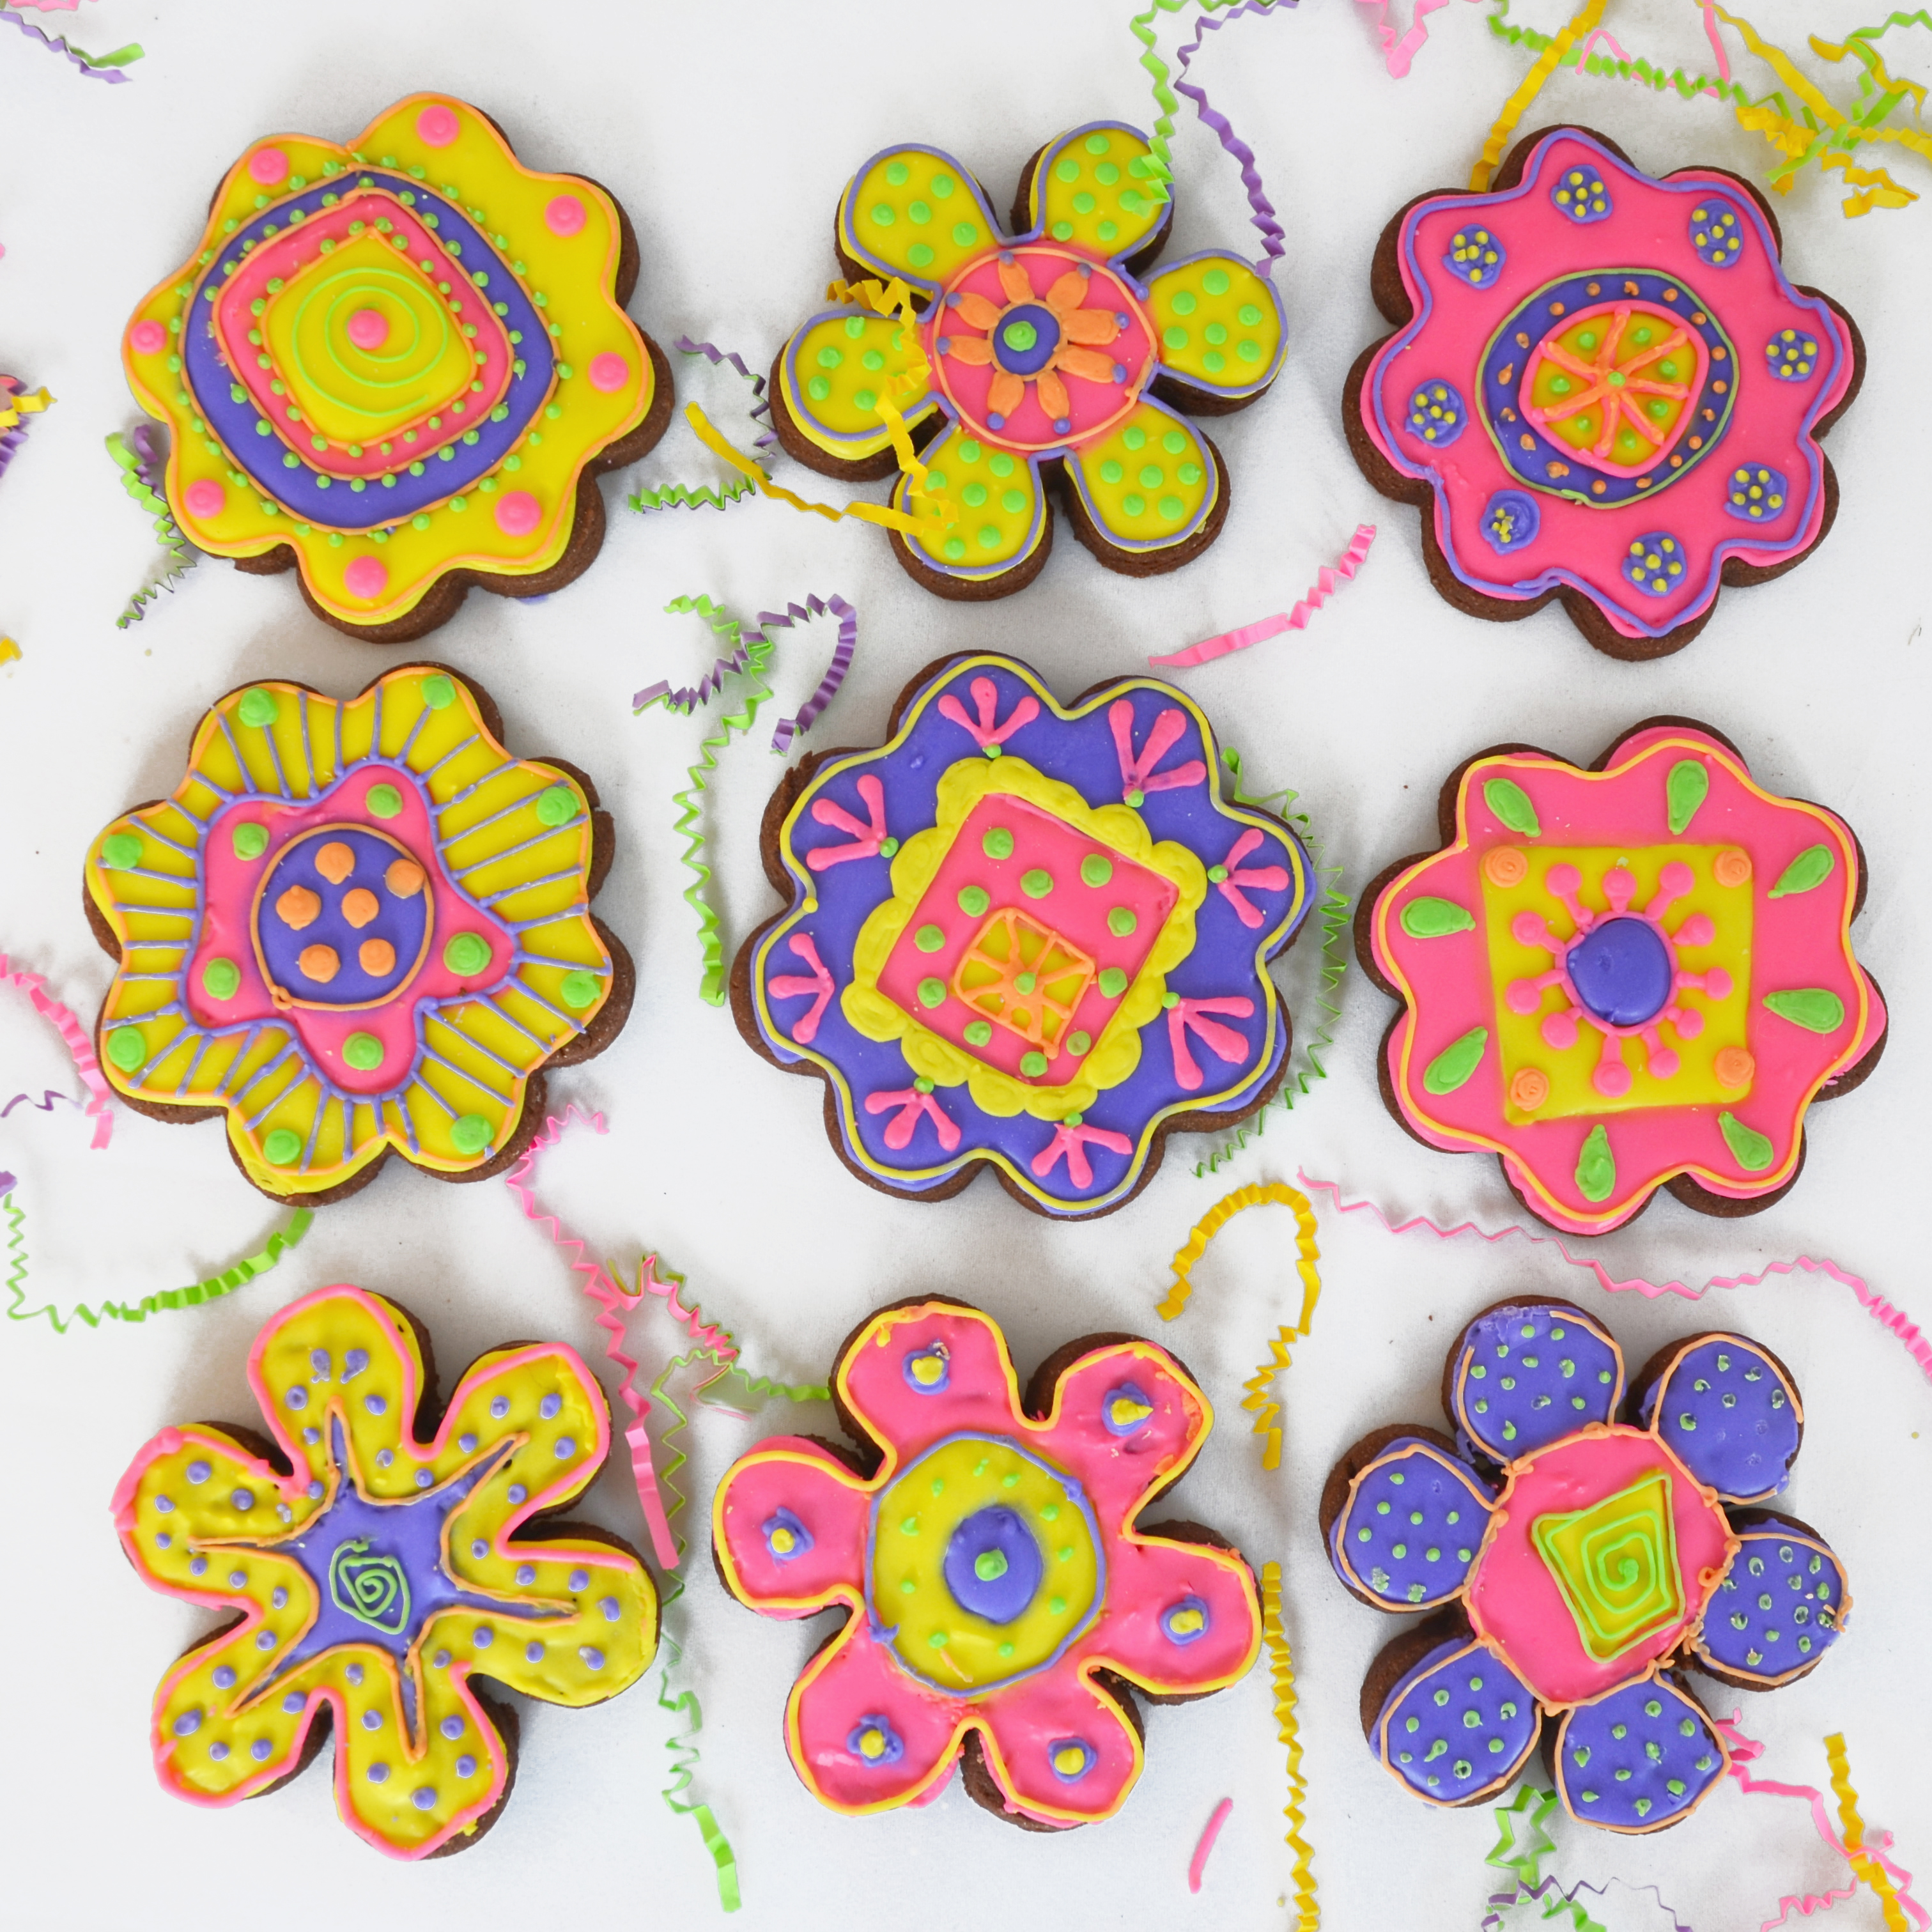
My thoughts:  These cookies are SO yummy.  I’m not usually a huge fan of cut-out cookies, but these are truly worth the effort of rolling out and cutting!  I like them thick- even if you don’t add sticks to make them into pops.  They are so much fun all set up in a vase~ what a perfect way to serve cookies at a party!  You could wrap these in cello bags and tie them with cute ribbons too- a perfect favor for a wedding or shower!  Hope you have fun with these treats!!!   Enjoy!! ~r  
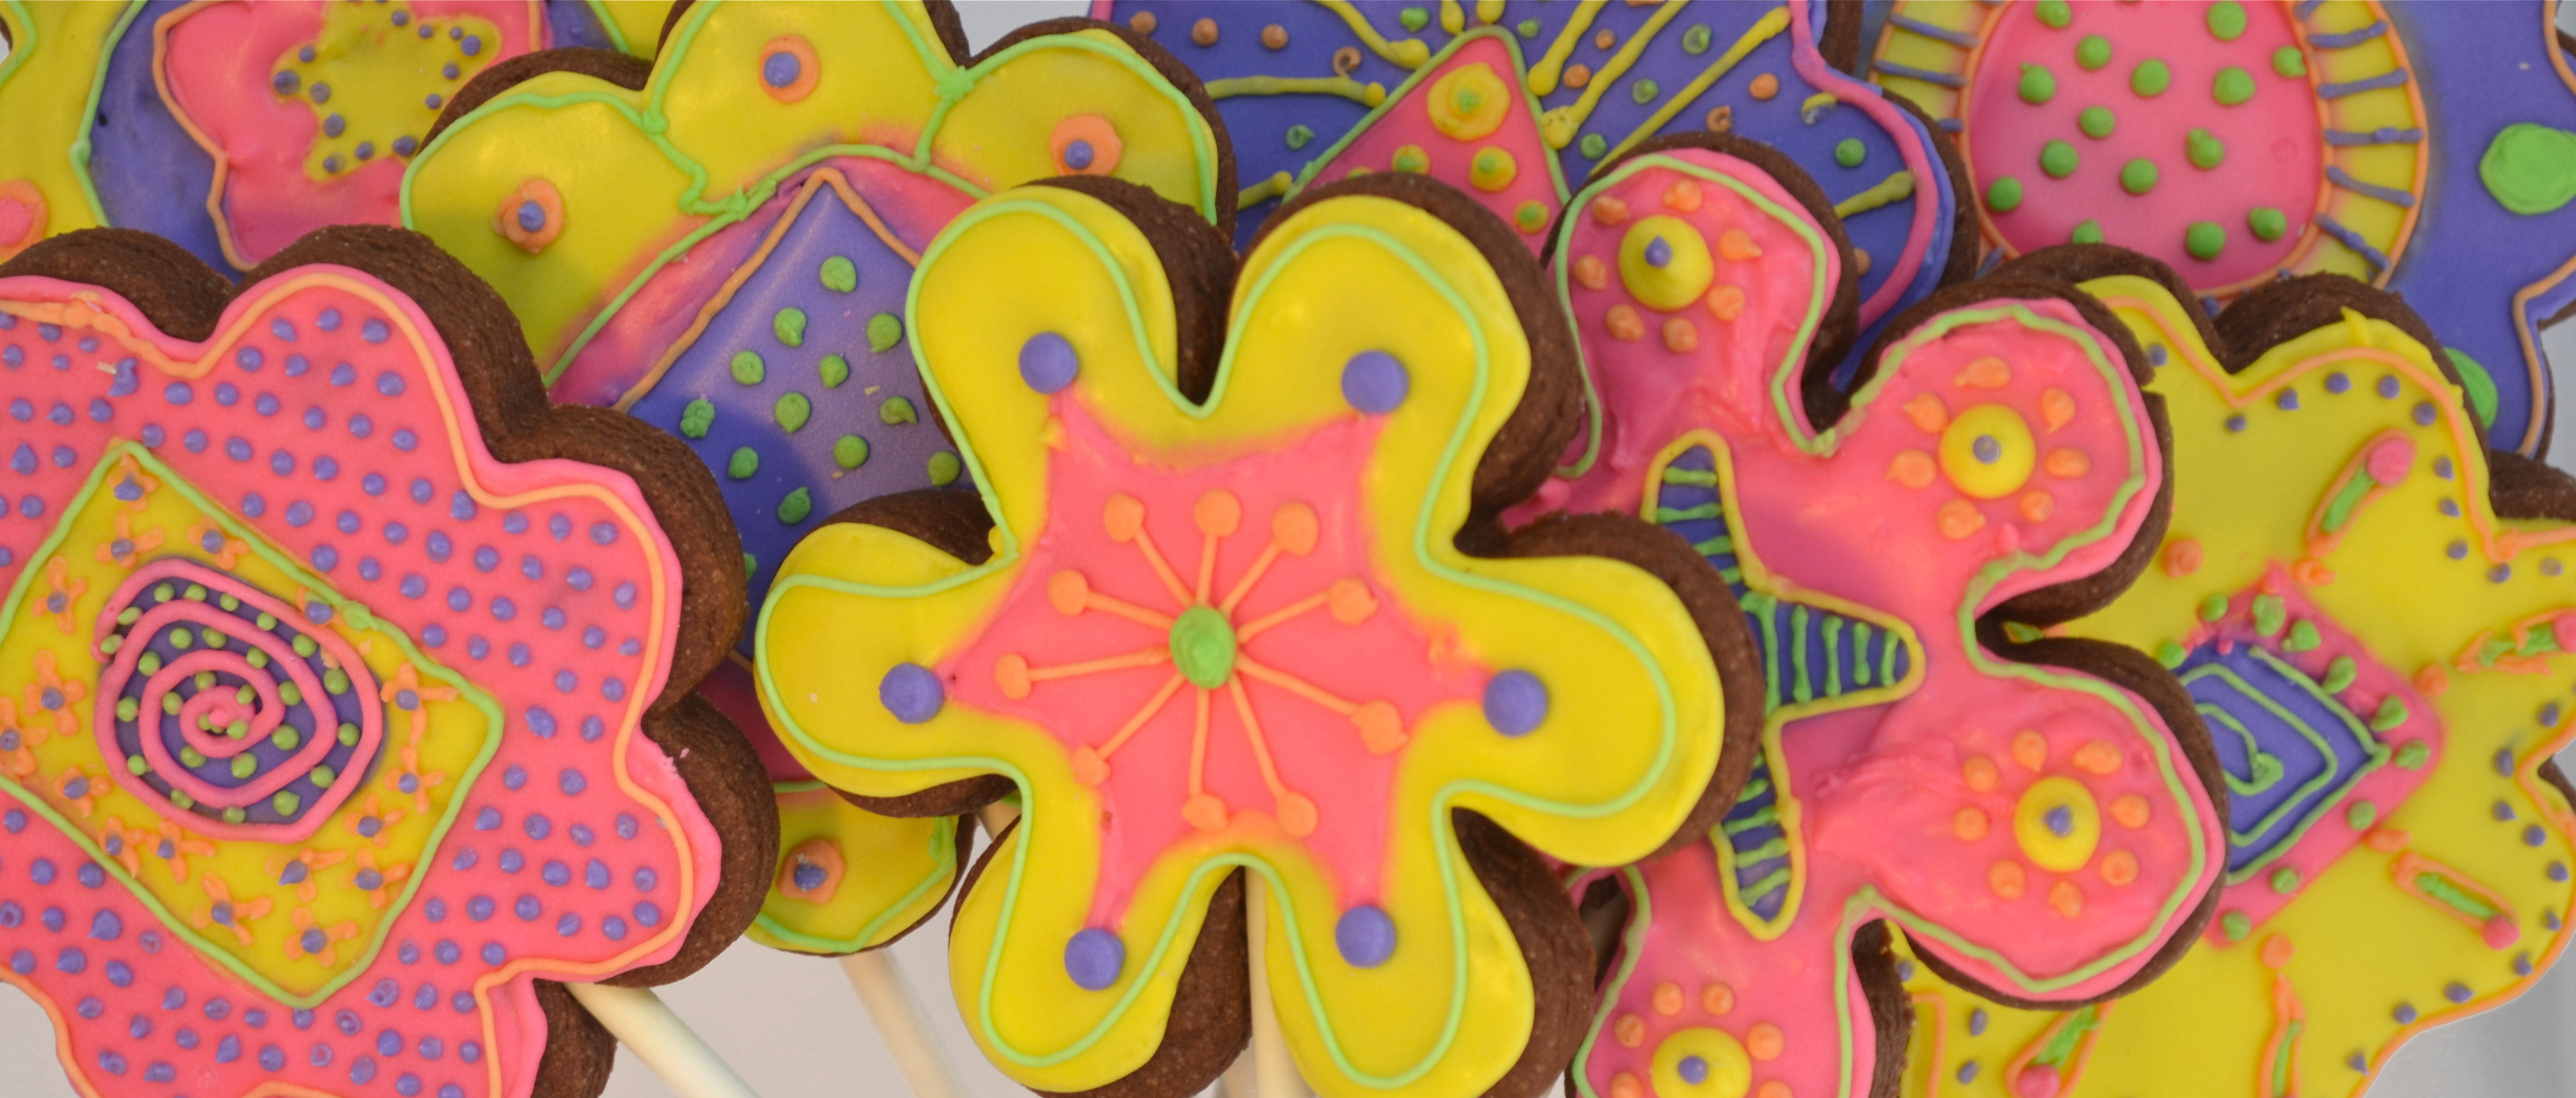
Royal Icing!!!


Other fun cut-out cookies to try:

Sugar cookie cut-outsHoney cut-out cookiesGingerbread Cookies!Easy Easter cut out cookies

%d bloggers like this: