RSS Feed

Tag Archives: coffee

Dark Chocolate Espresso Cookies

Posted on

Espresso Cookies!!!

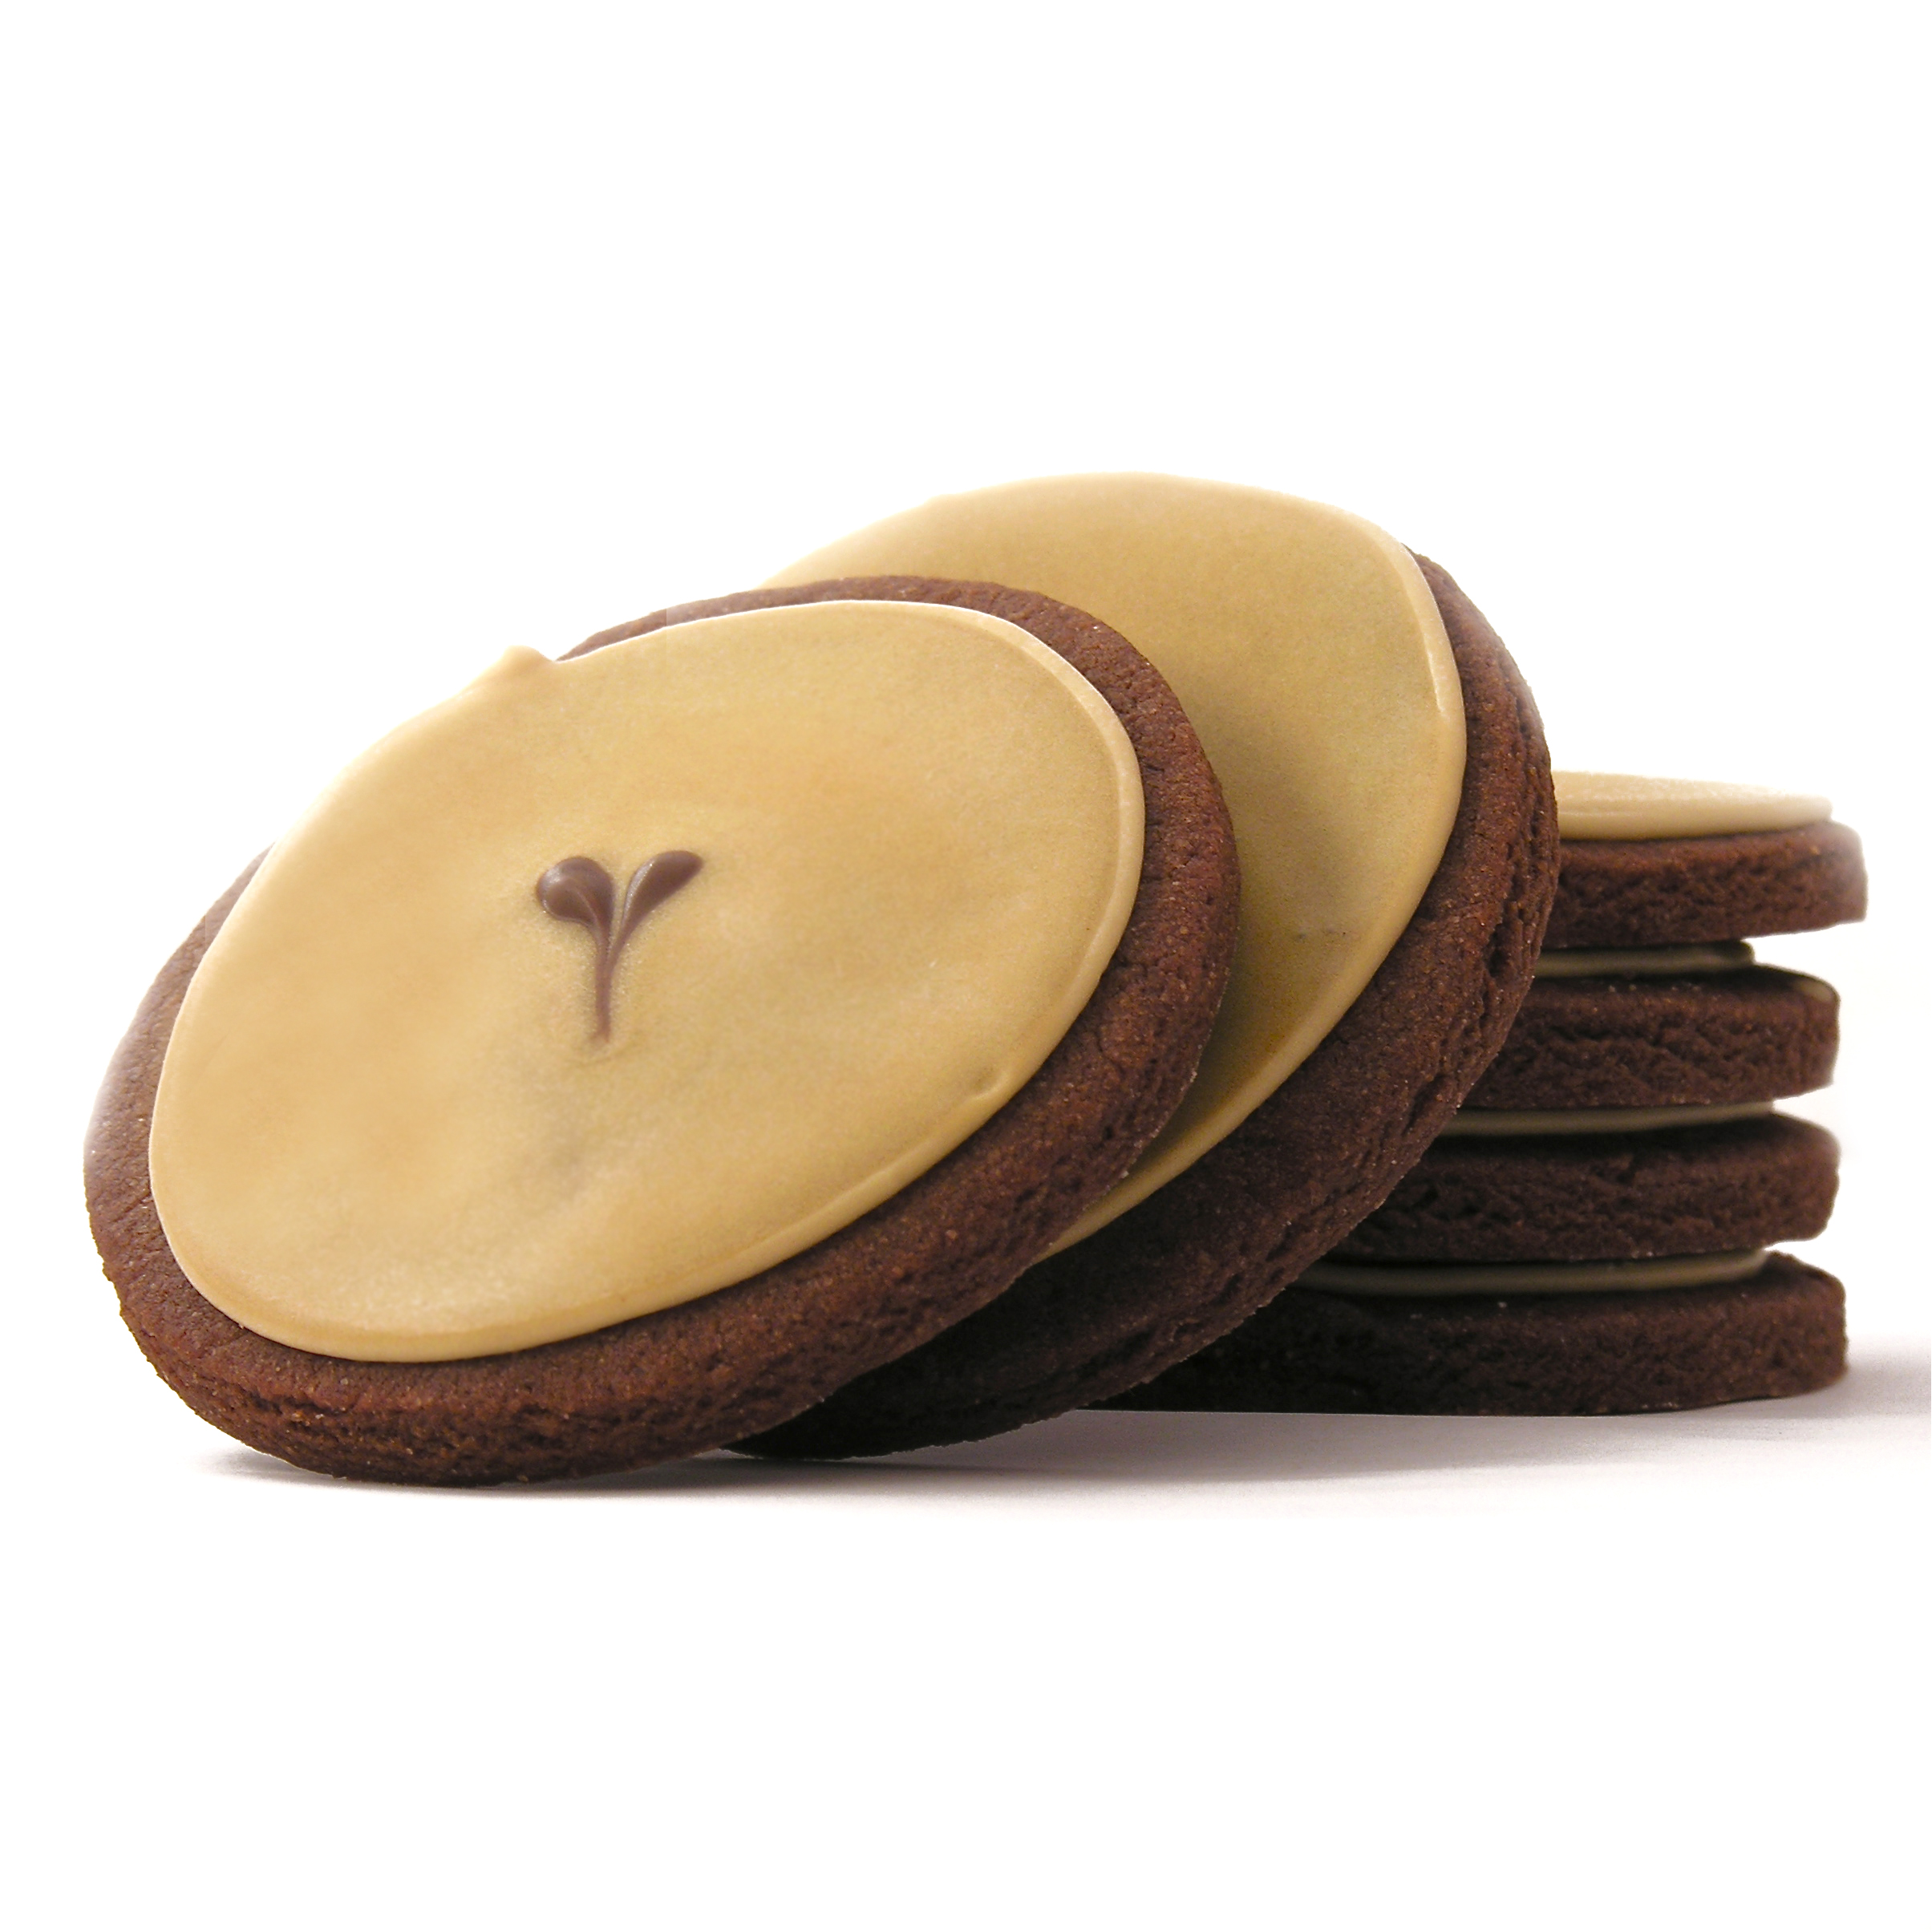
Dark chocolate cookies infused with espresso powder.  Once you’ve had one you will be craving a plateful!!!  They are really easy to make, and since they are a cut-out cookie they can be made in any shape you want.  Aren’t the plain round ones so fun though???

Espresso Cookies!!!

Here’s how to make them:  (printable recipe)

INGREDIENTS: (makes 36 medium cookies)

  • 2 sticks (1 cup) butter, softened
  • 1 1/2cups sugar
  • 2 eggs
  • 3 teaspoons vanilla extract
  • 3 teaspoons instant Espresso Powder
  • 2/3 cup unsweetened cocoa powder
  • 3 cups flour
  • 1/2 teaspoon salt
  • 1/2 teaspoon baking powder

DIRECTIONS:

  • Cream together butter and sugar in a large mixing bowl.
  • Mix in eggs and then cocoa.
  • Place vanilla and Espresso Powder together in a small cup until coffee dissolves.  Add this mixture to the batter and mix until completely incorporated.
  • Gradually add dry ingredients and mix until smooth (use clean hands at the end, to knead into a soft ball of dough)
  • Wrap in plastic and chill for at least one hour.
  • Allow cookie dough to soften a little at room temperature
  • Preheat oven to 350F degrees.
  • Roll out cookie dough on floured counter.  
  • Cut into desired shapes and place on a parchment-lined baking sheet.  
  • Bake for 8 to 11 minutes until the edges are firm.
  • Gently slide parchment paper off of cookie sheet and onto a flat surface.  Cool completely before removing cookies from paper.

Dark Chocolate Espresso Cookies!

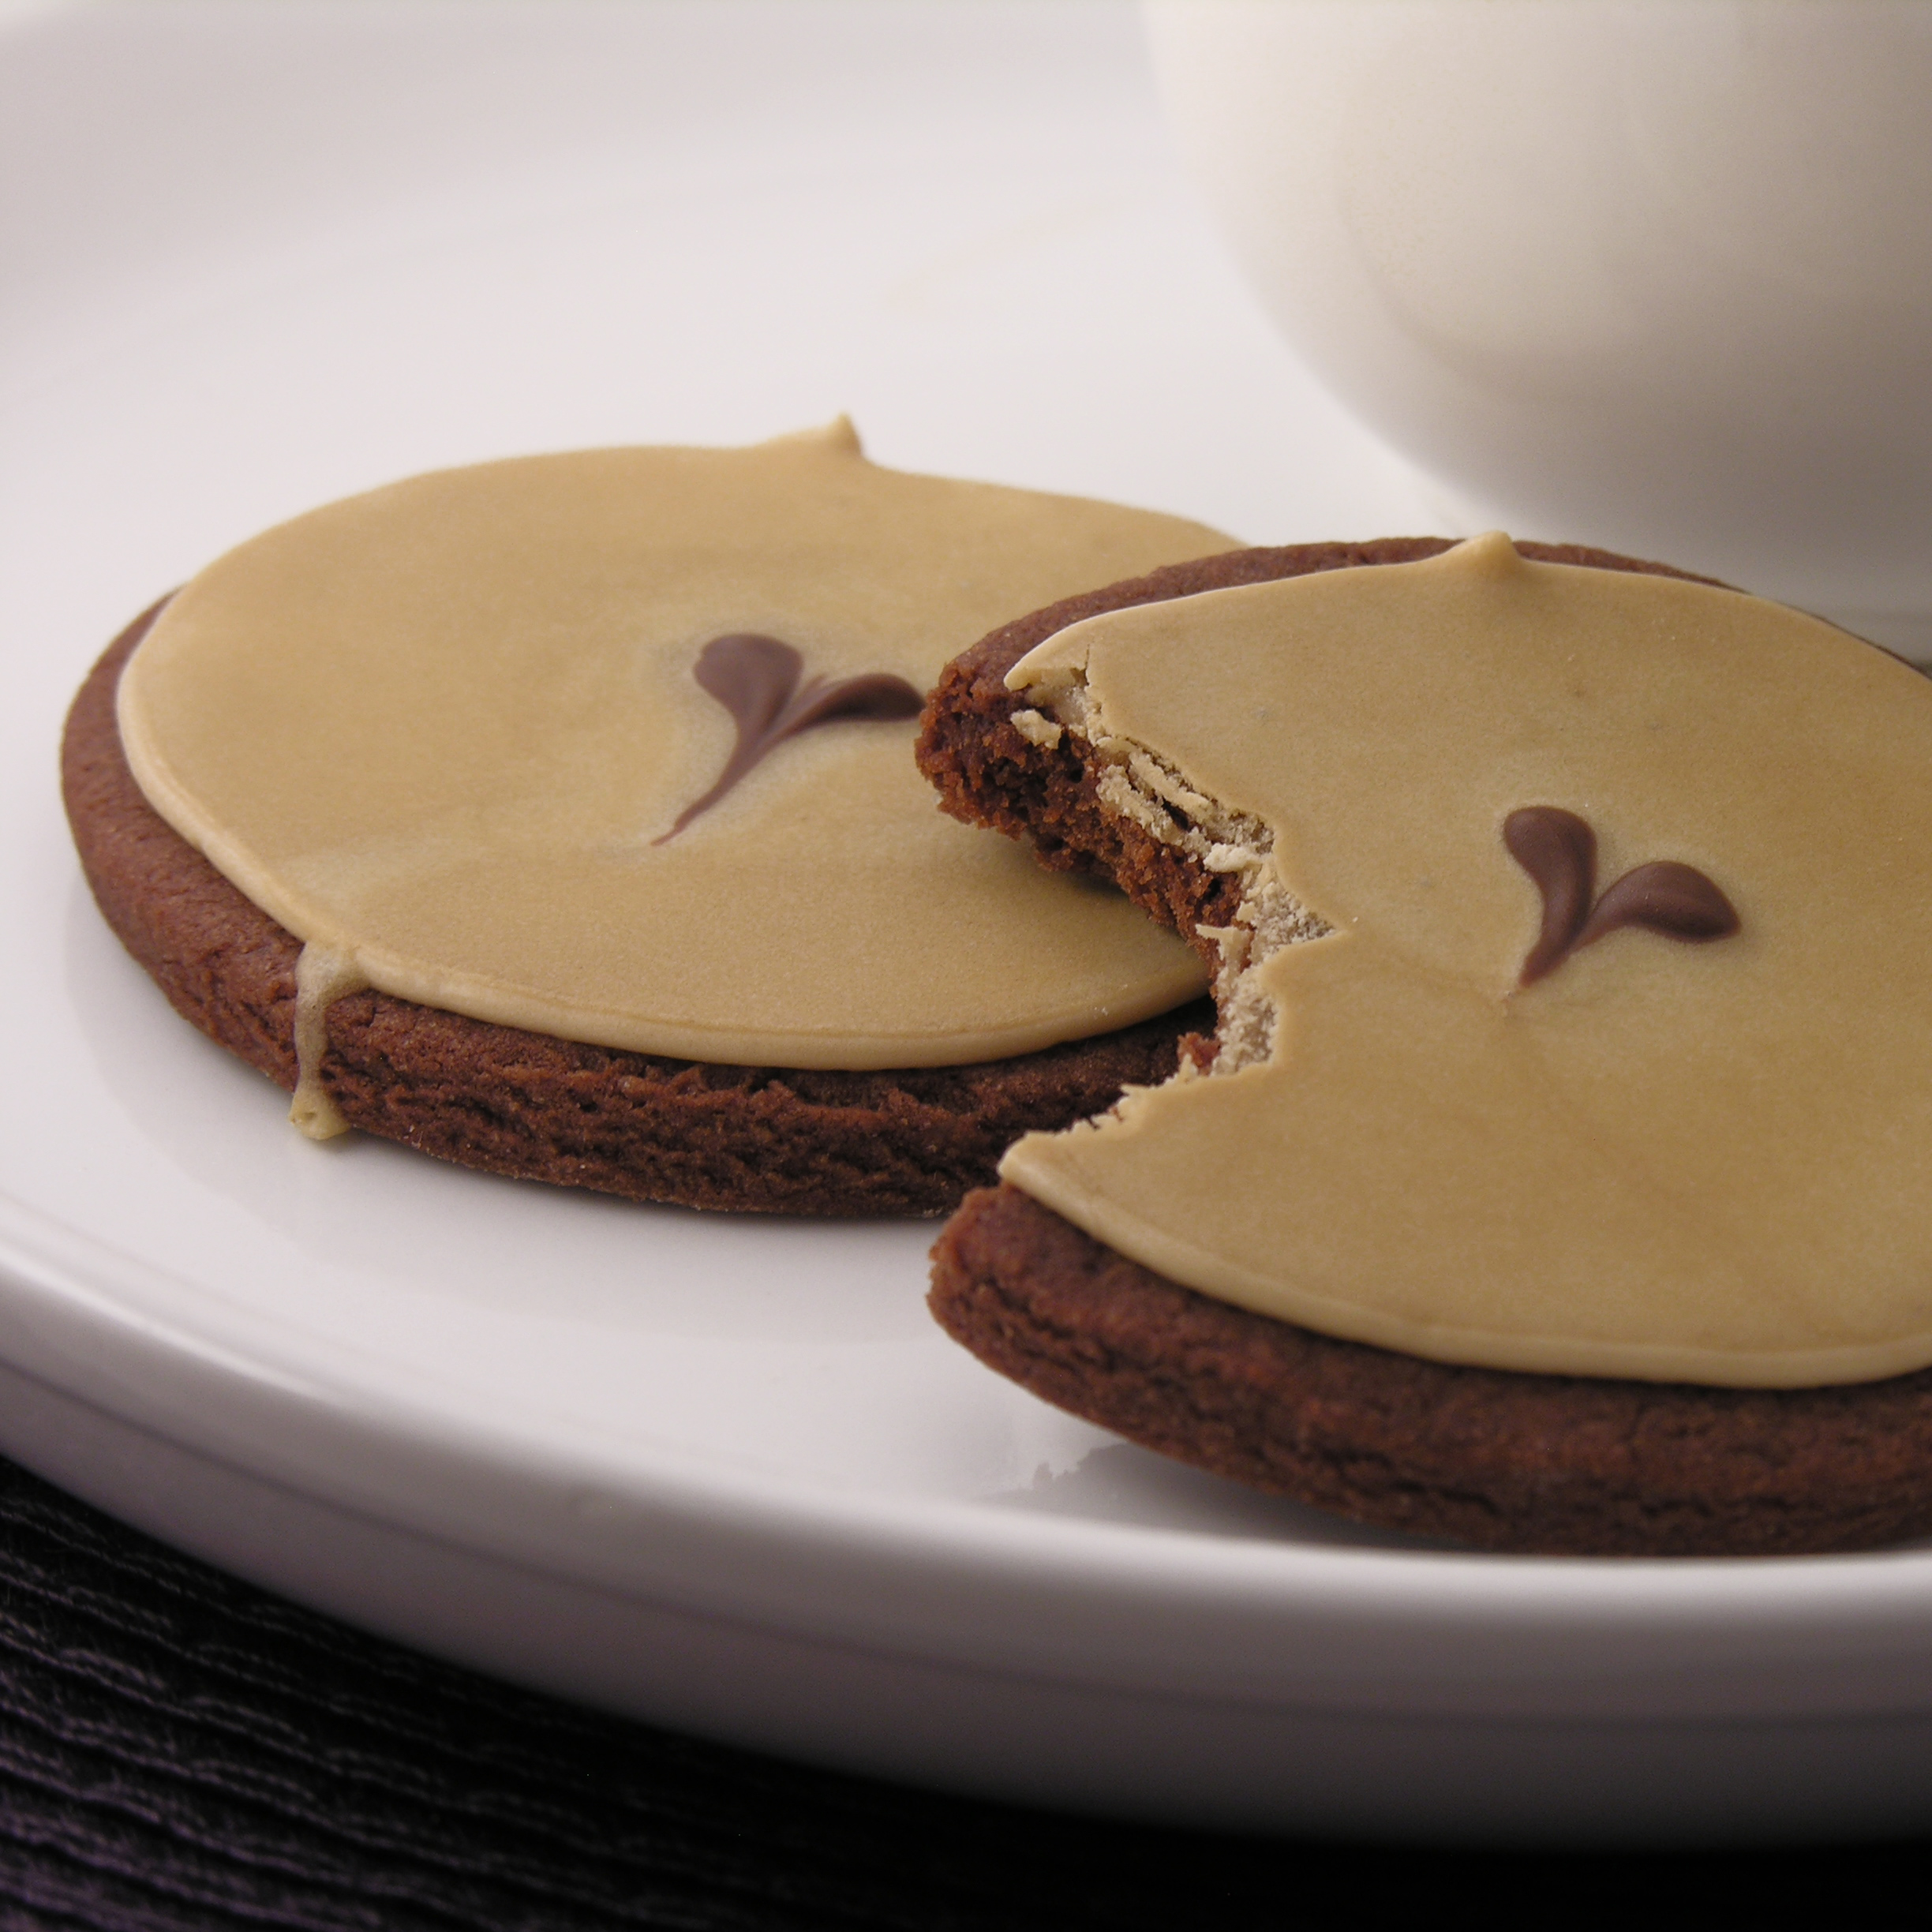
You can serve these cookies plain, or with a little cocoa powder sprinkled on top, or you can ice them.

I iced these with royal icing that I added a little espresso powder to.

For my royal icing recipe and techniques, click here.

To get the tiny heart shape at the center I used a little melted chocolate.  While the icing is still liquid, pipe a little circle just a bit above the center of the cookie.  Use a tooth pick to pull down through the icing and the chocolate, making a heart.  Allow the icing and chocolate to harden completely.  Enjoy!!

Chocolate Espresso Cookies!!!

My thoughts:  These are SO GOOD!!!!  I’m on a diet….and I wanted to eat them all….but I didn’t.  I gave them away.  sigh.  

These are simple to make and probably the easiest cut-out cookie dough I’ve ever worked with.  Not sticky or fussy at all!  I adore anything with coffee in it, so I would add even more espresso powder next time.  Make them to your taste by adjusting the amount you add.  Paired with a cup of coffee, they are  just…..perfect!  Enjoy!!!  ~r

Espresso Cookies!!!

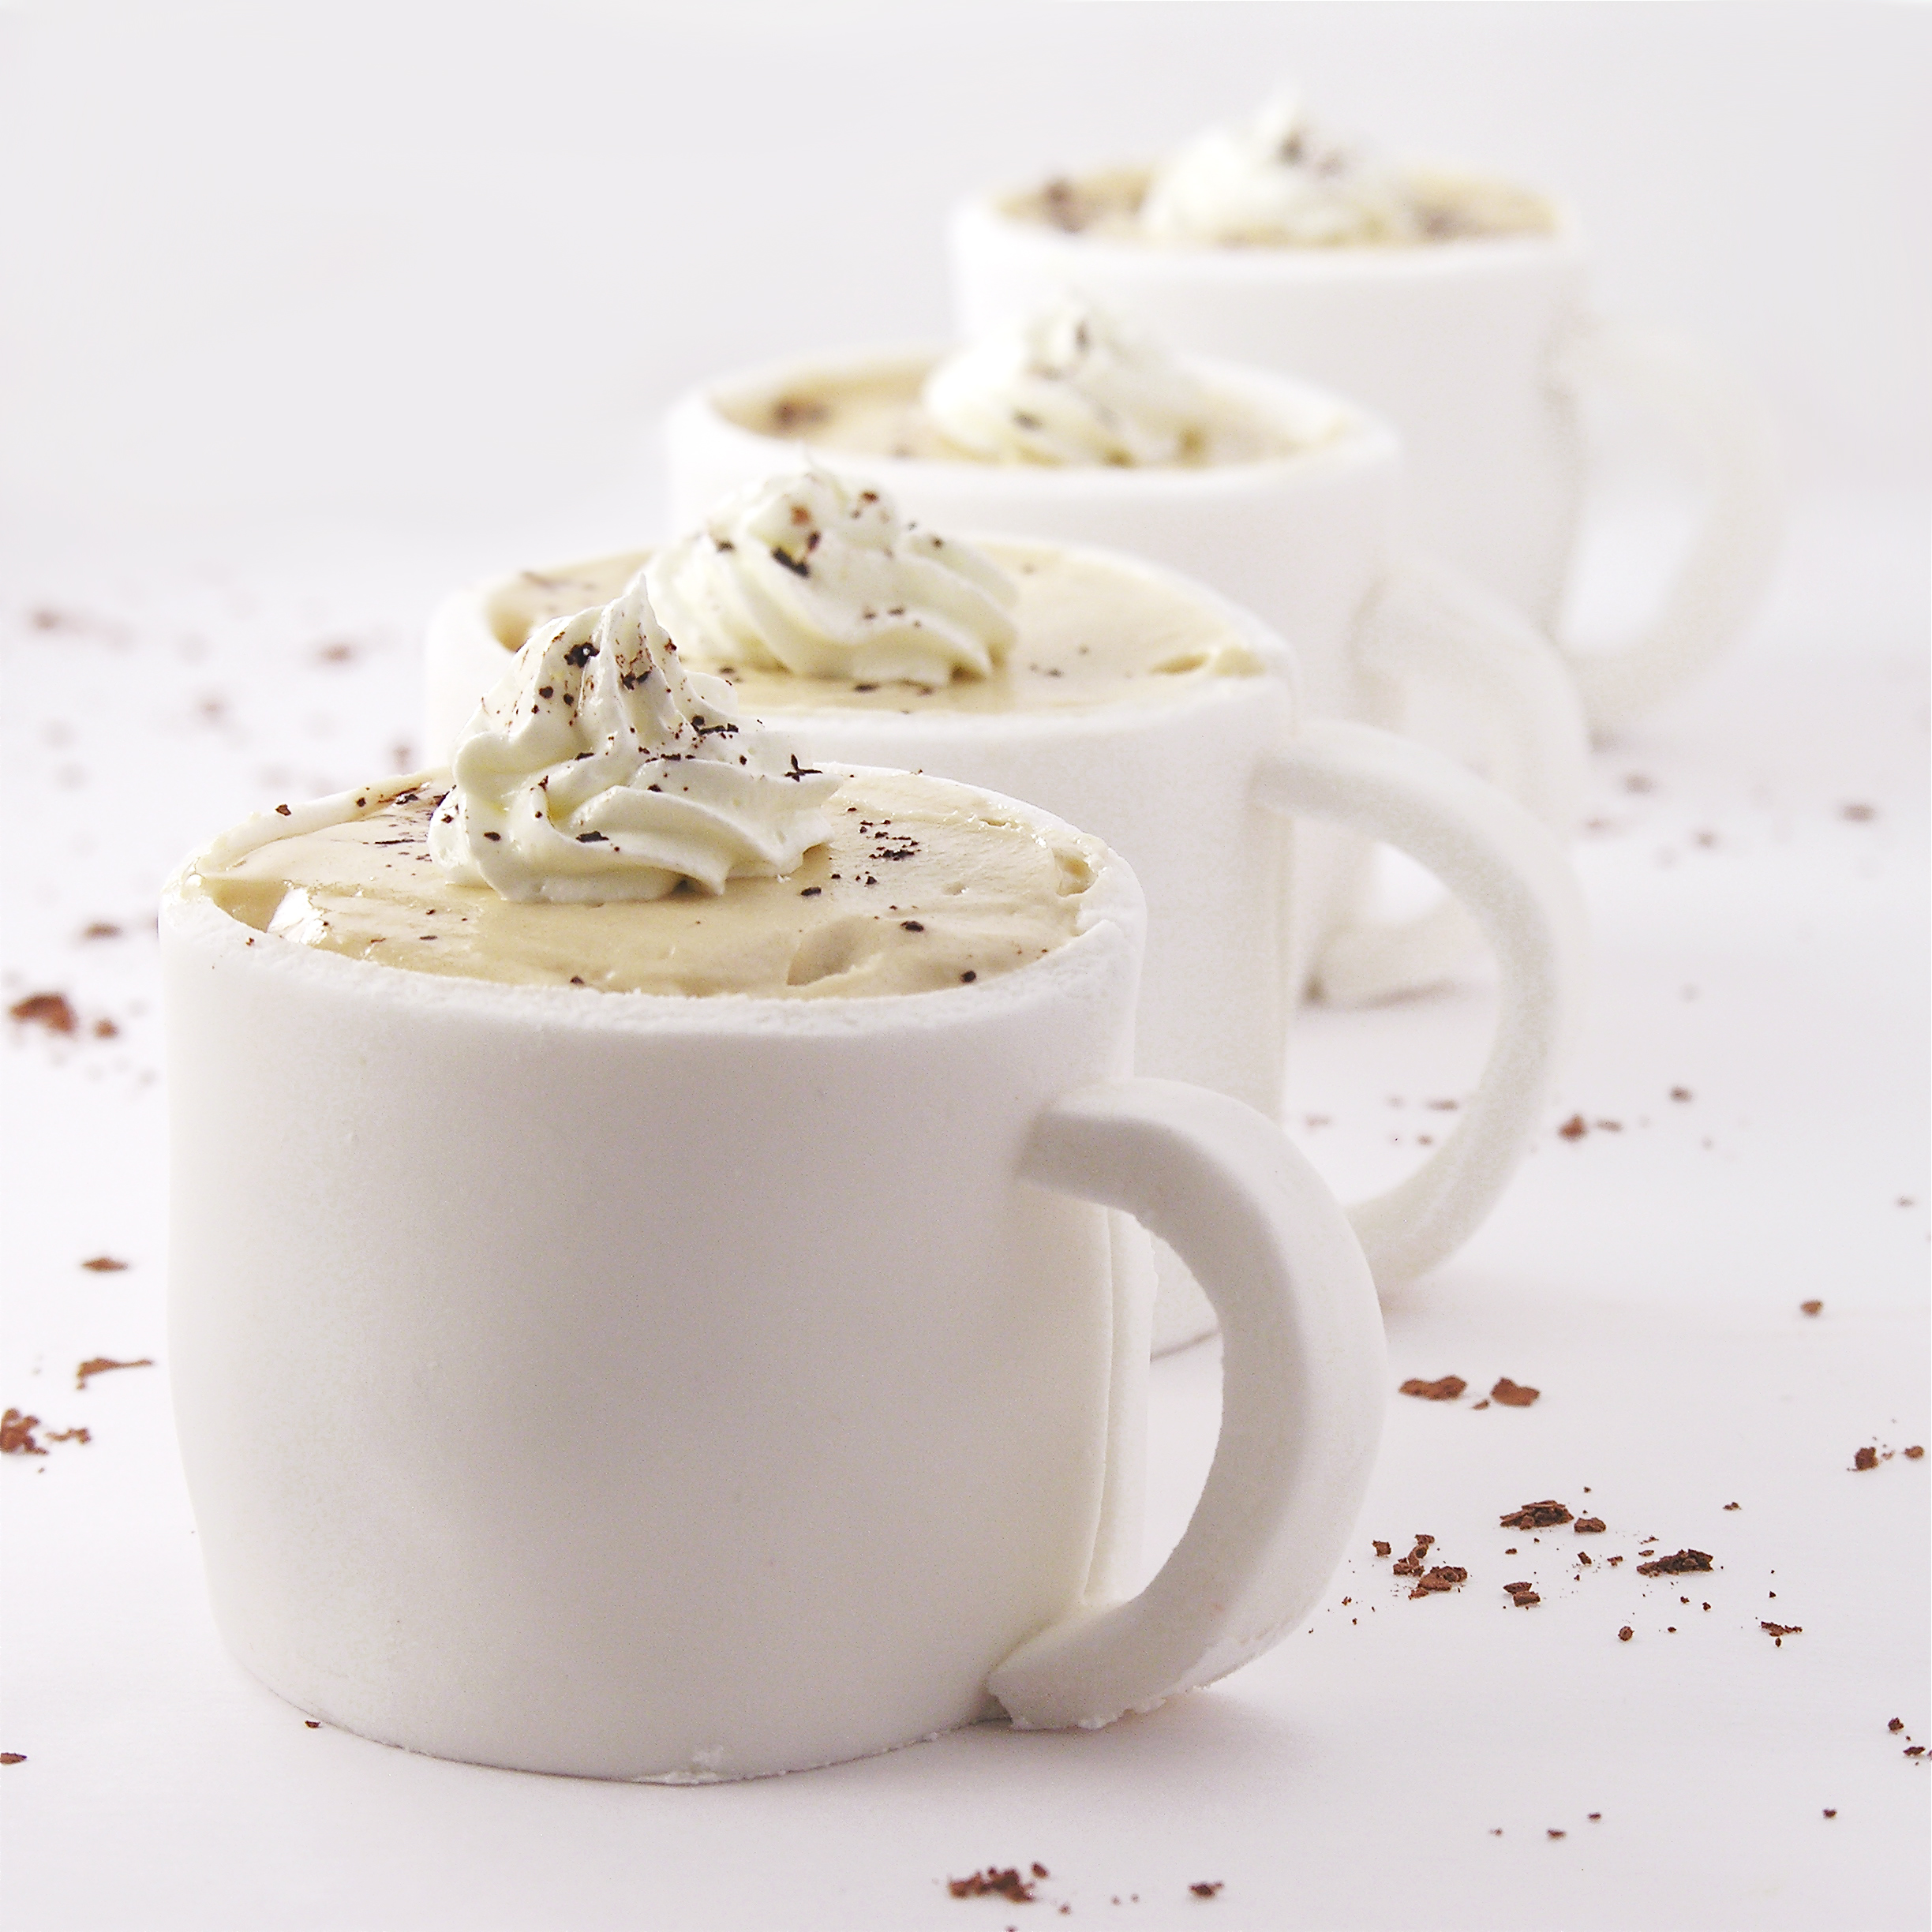
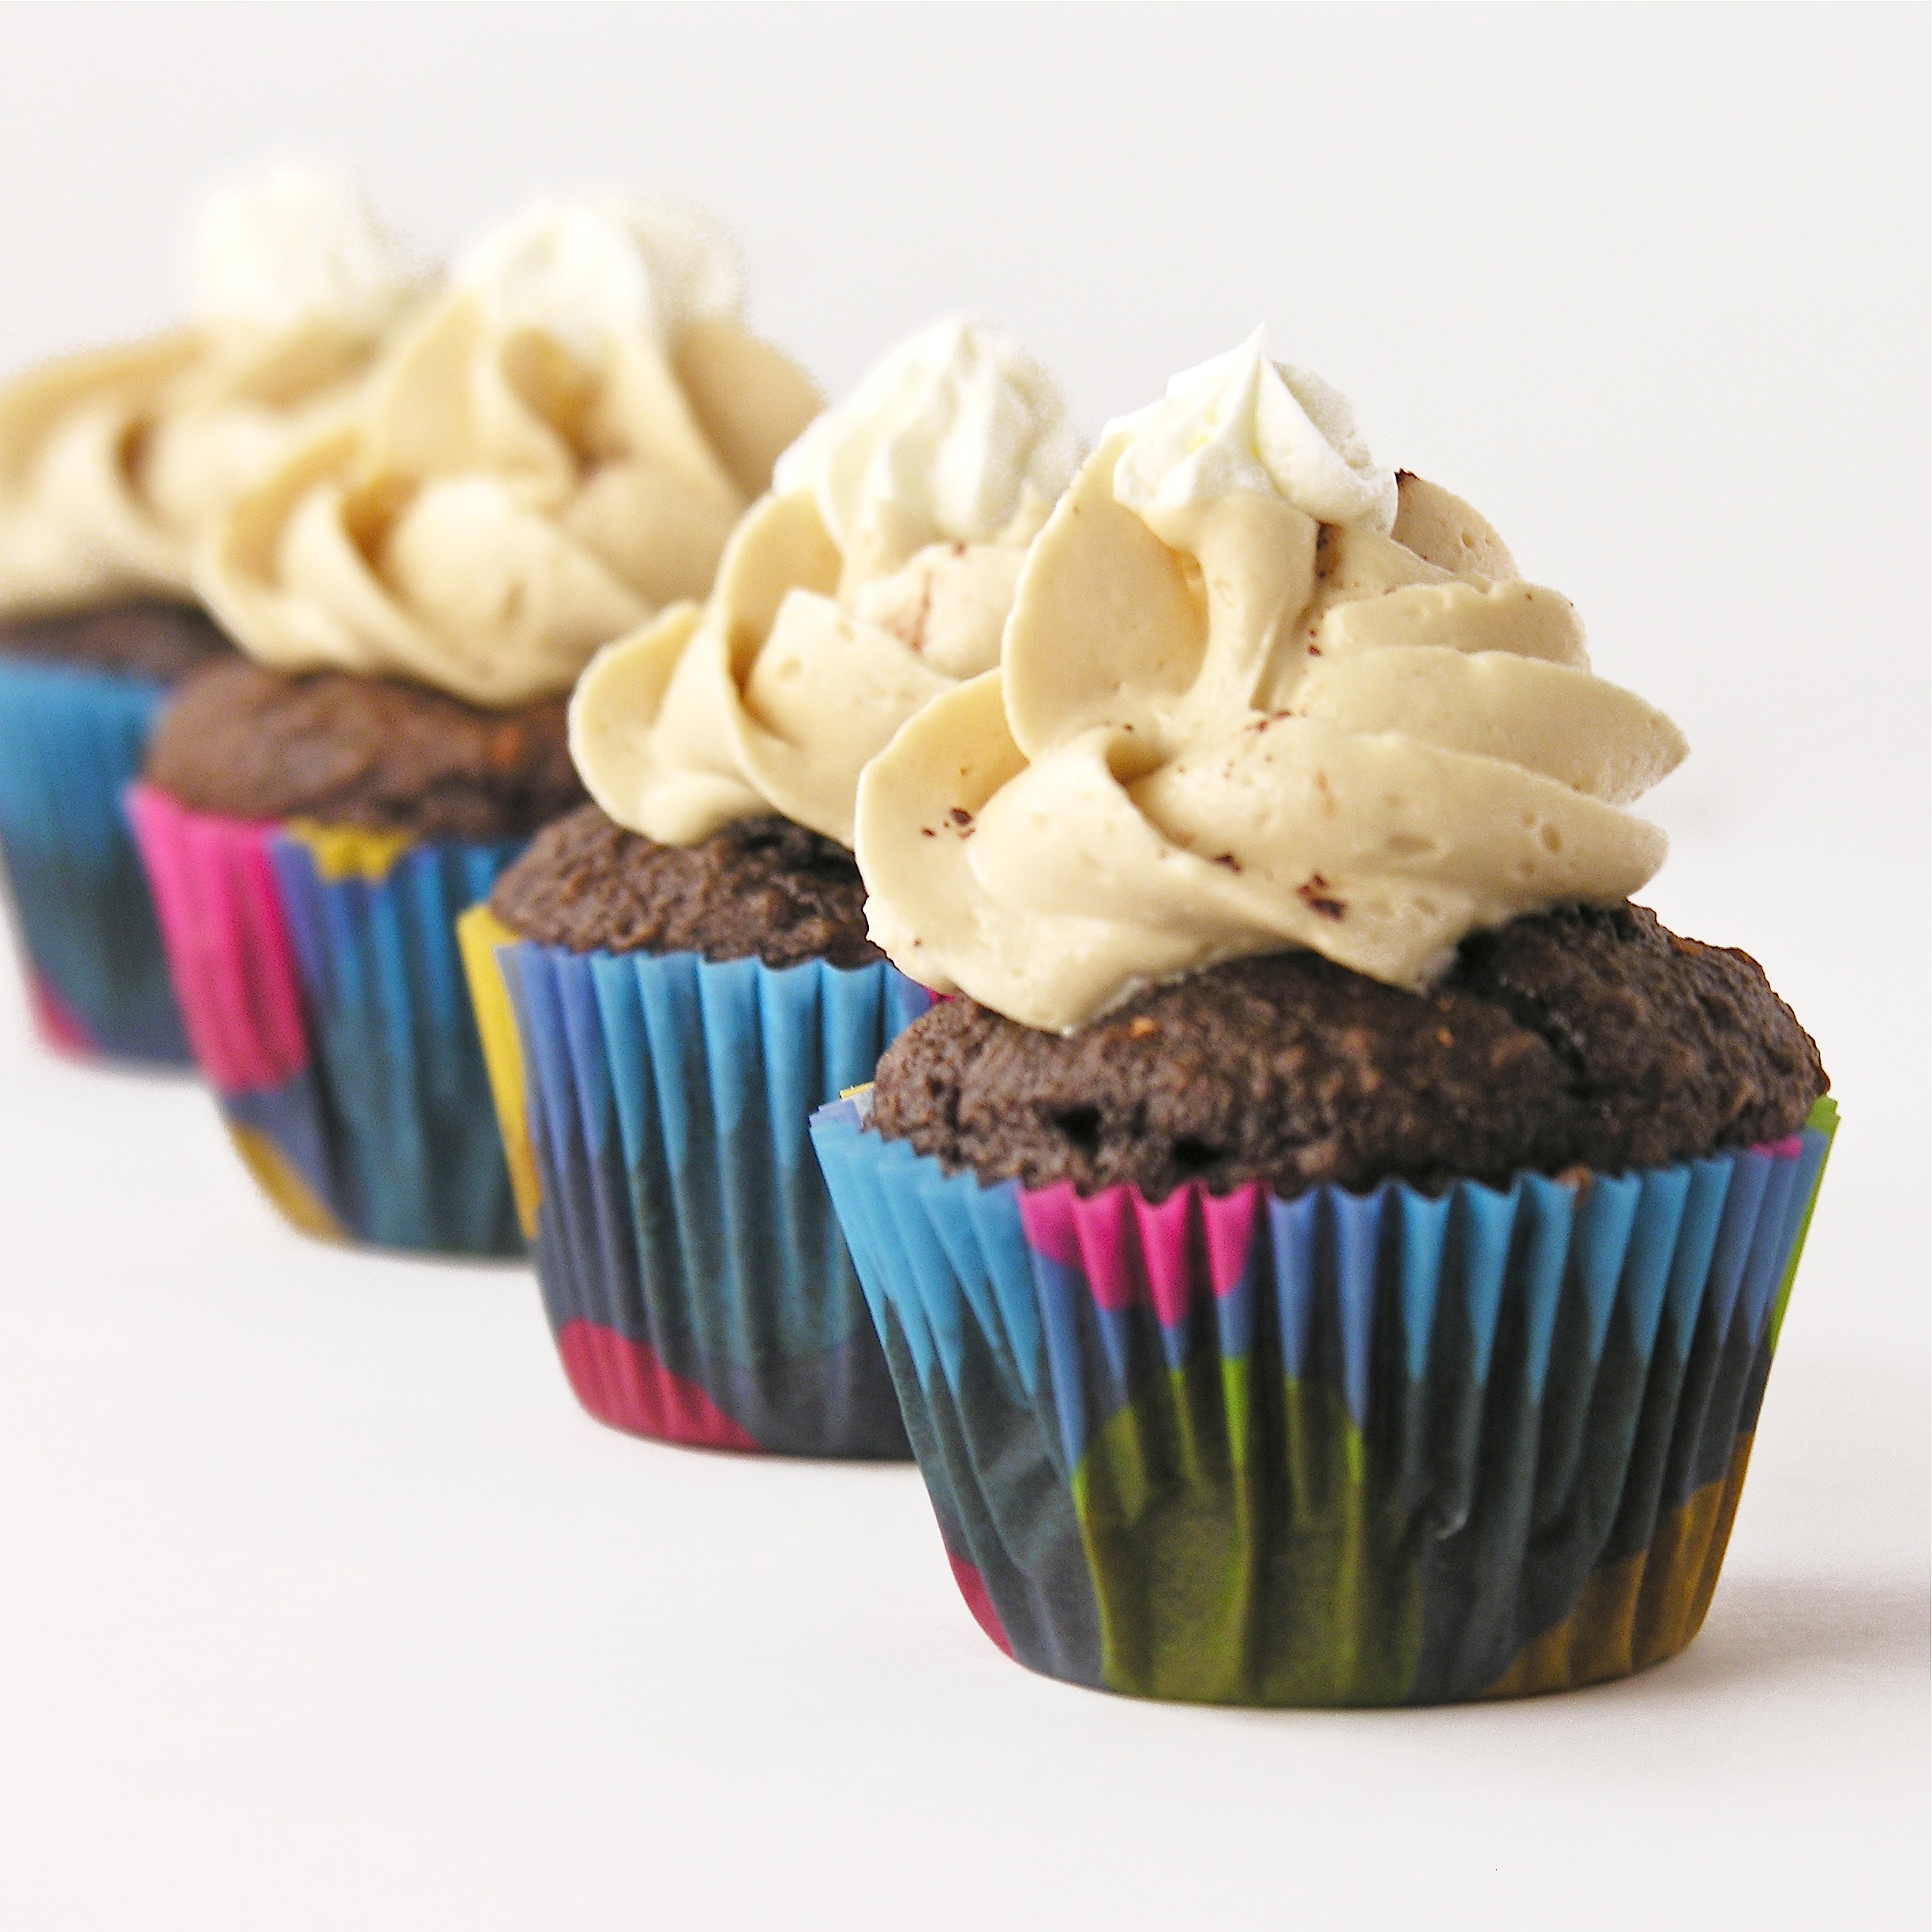
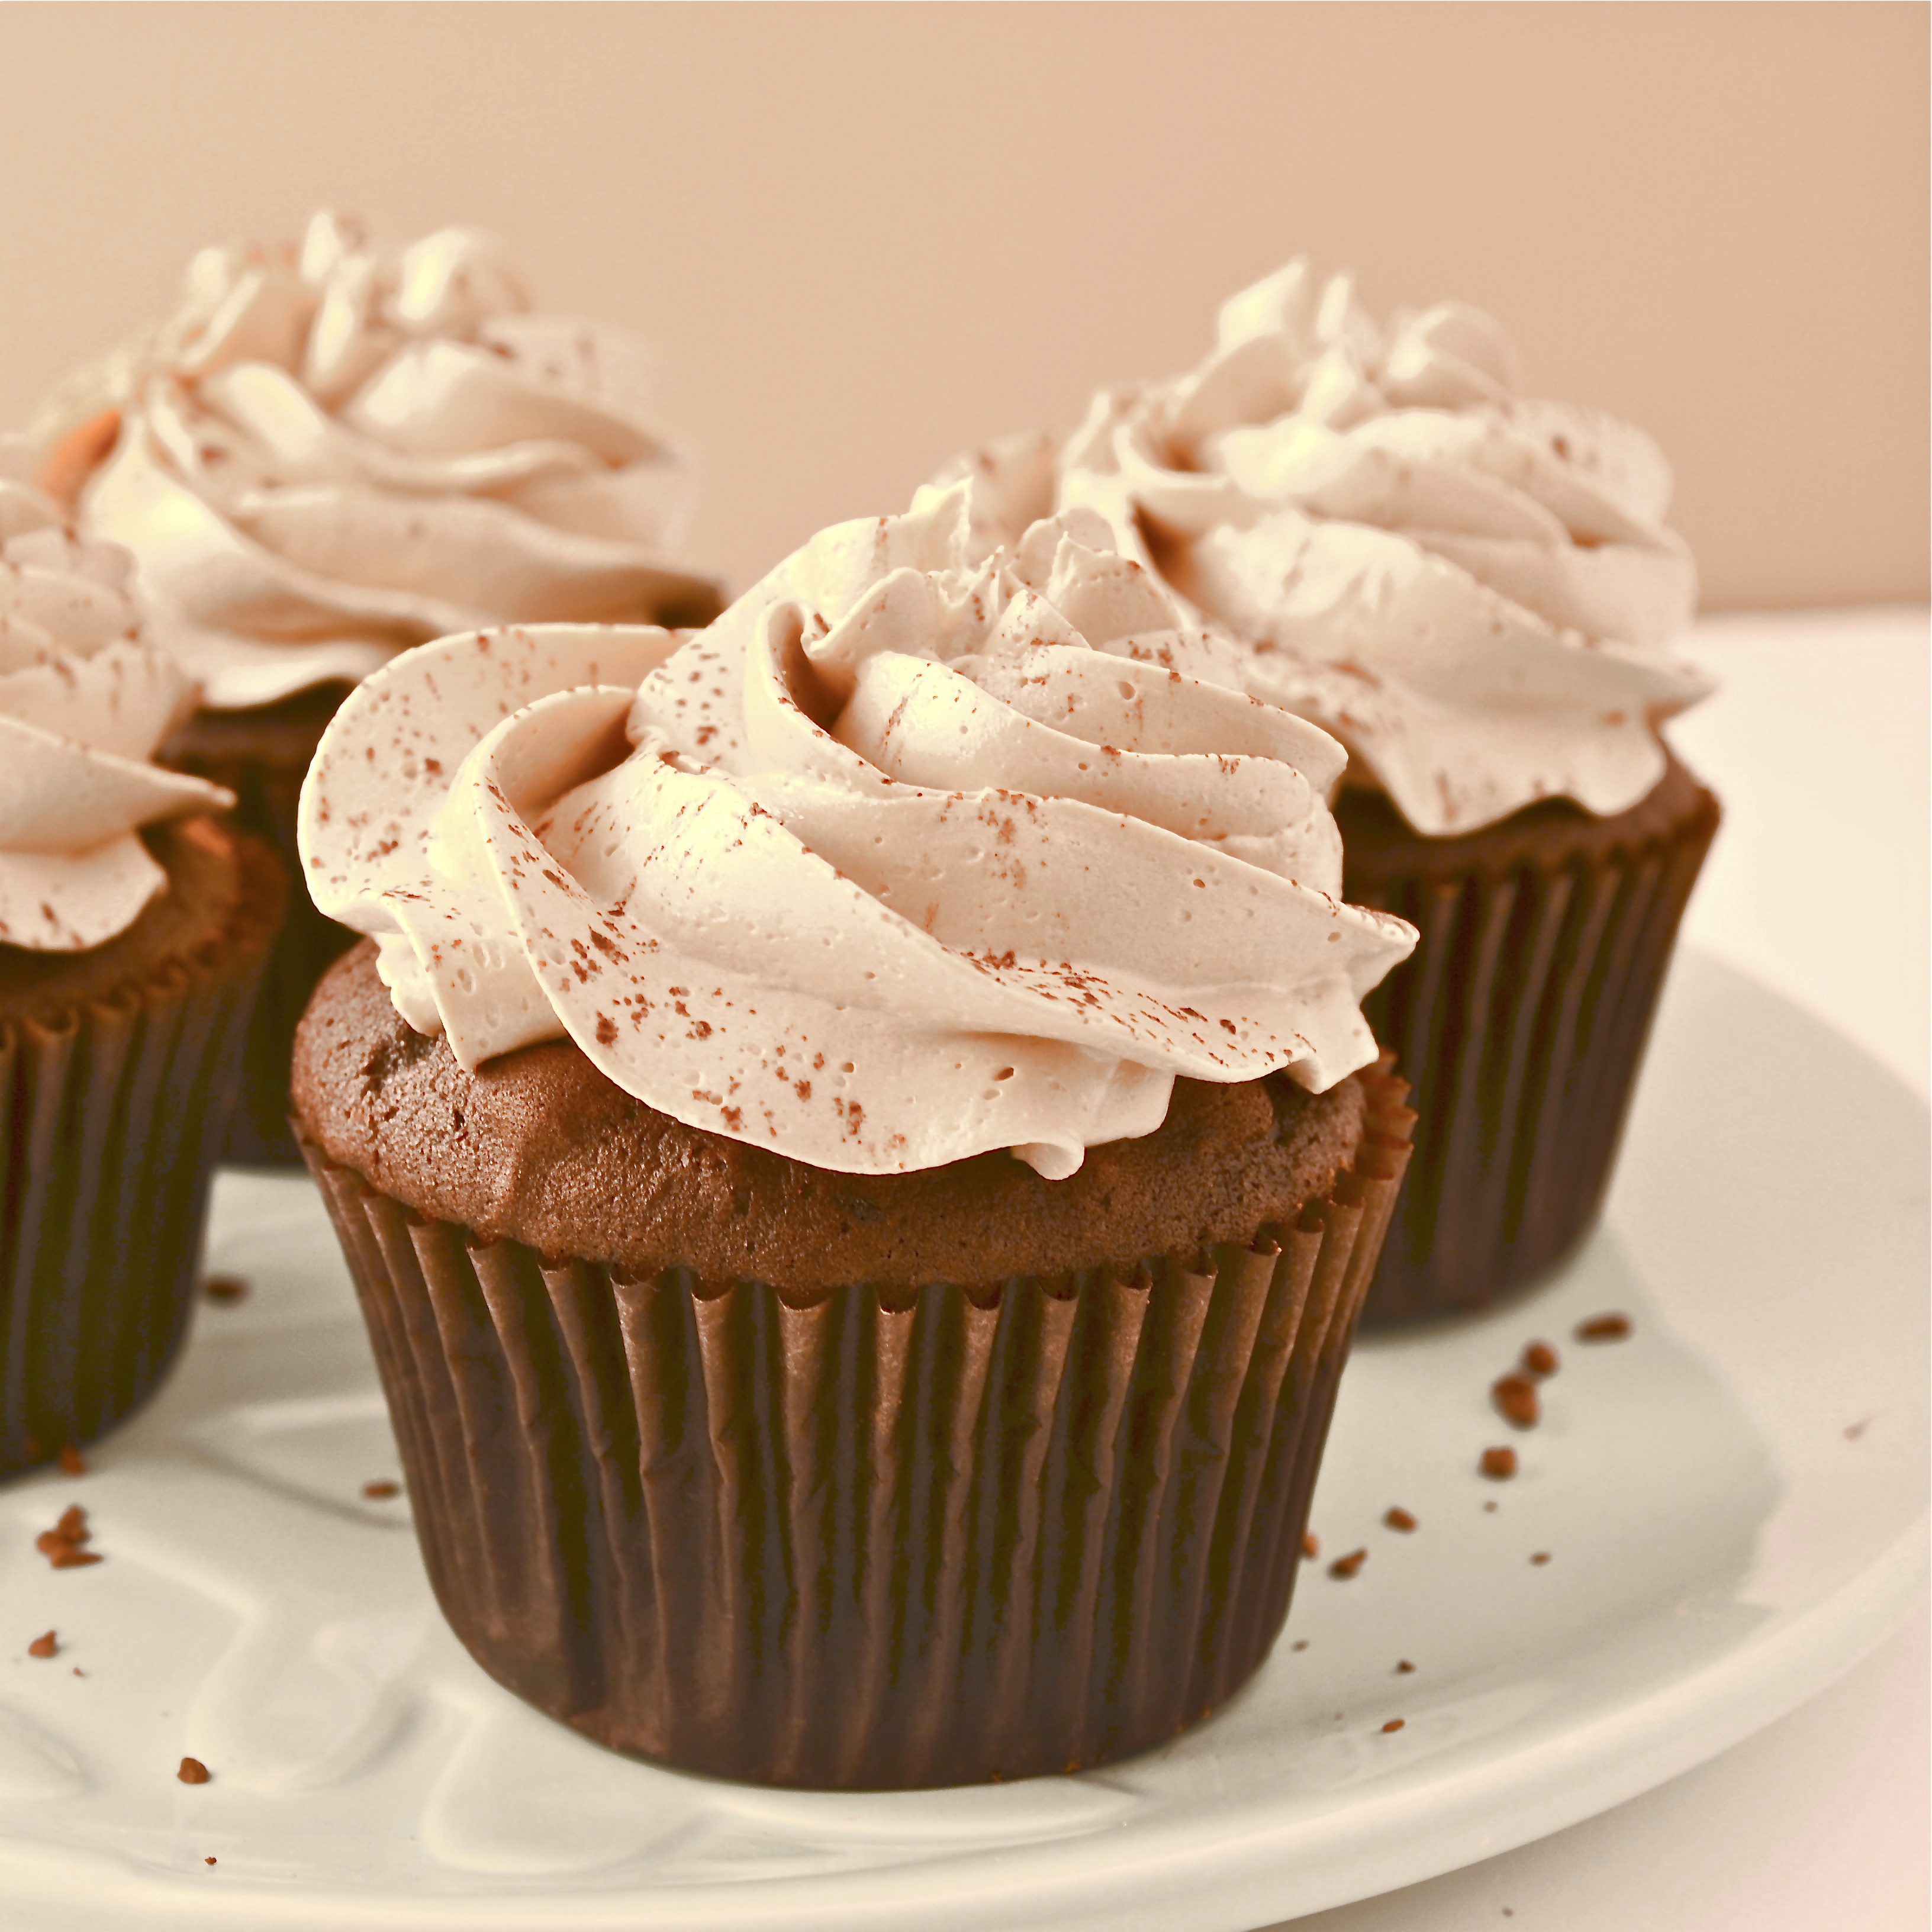
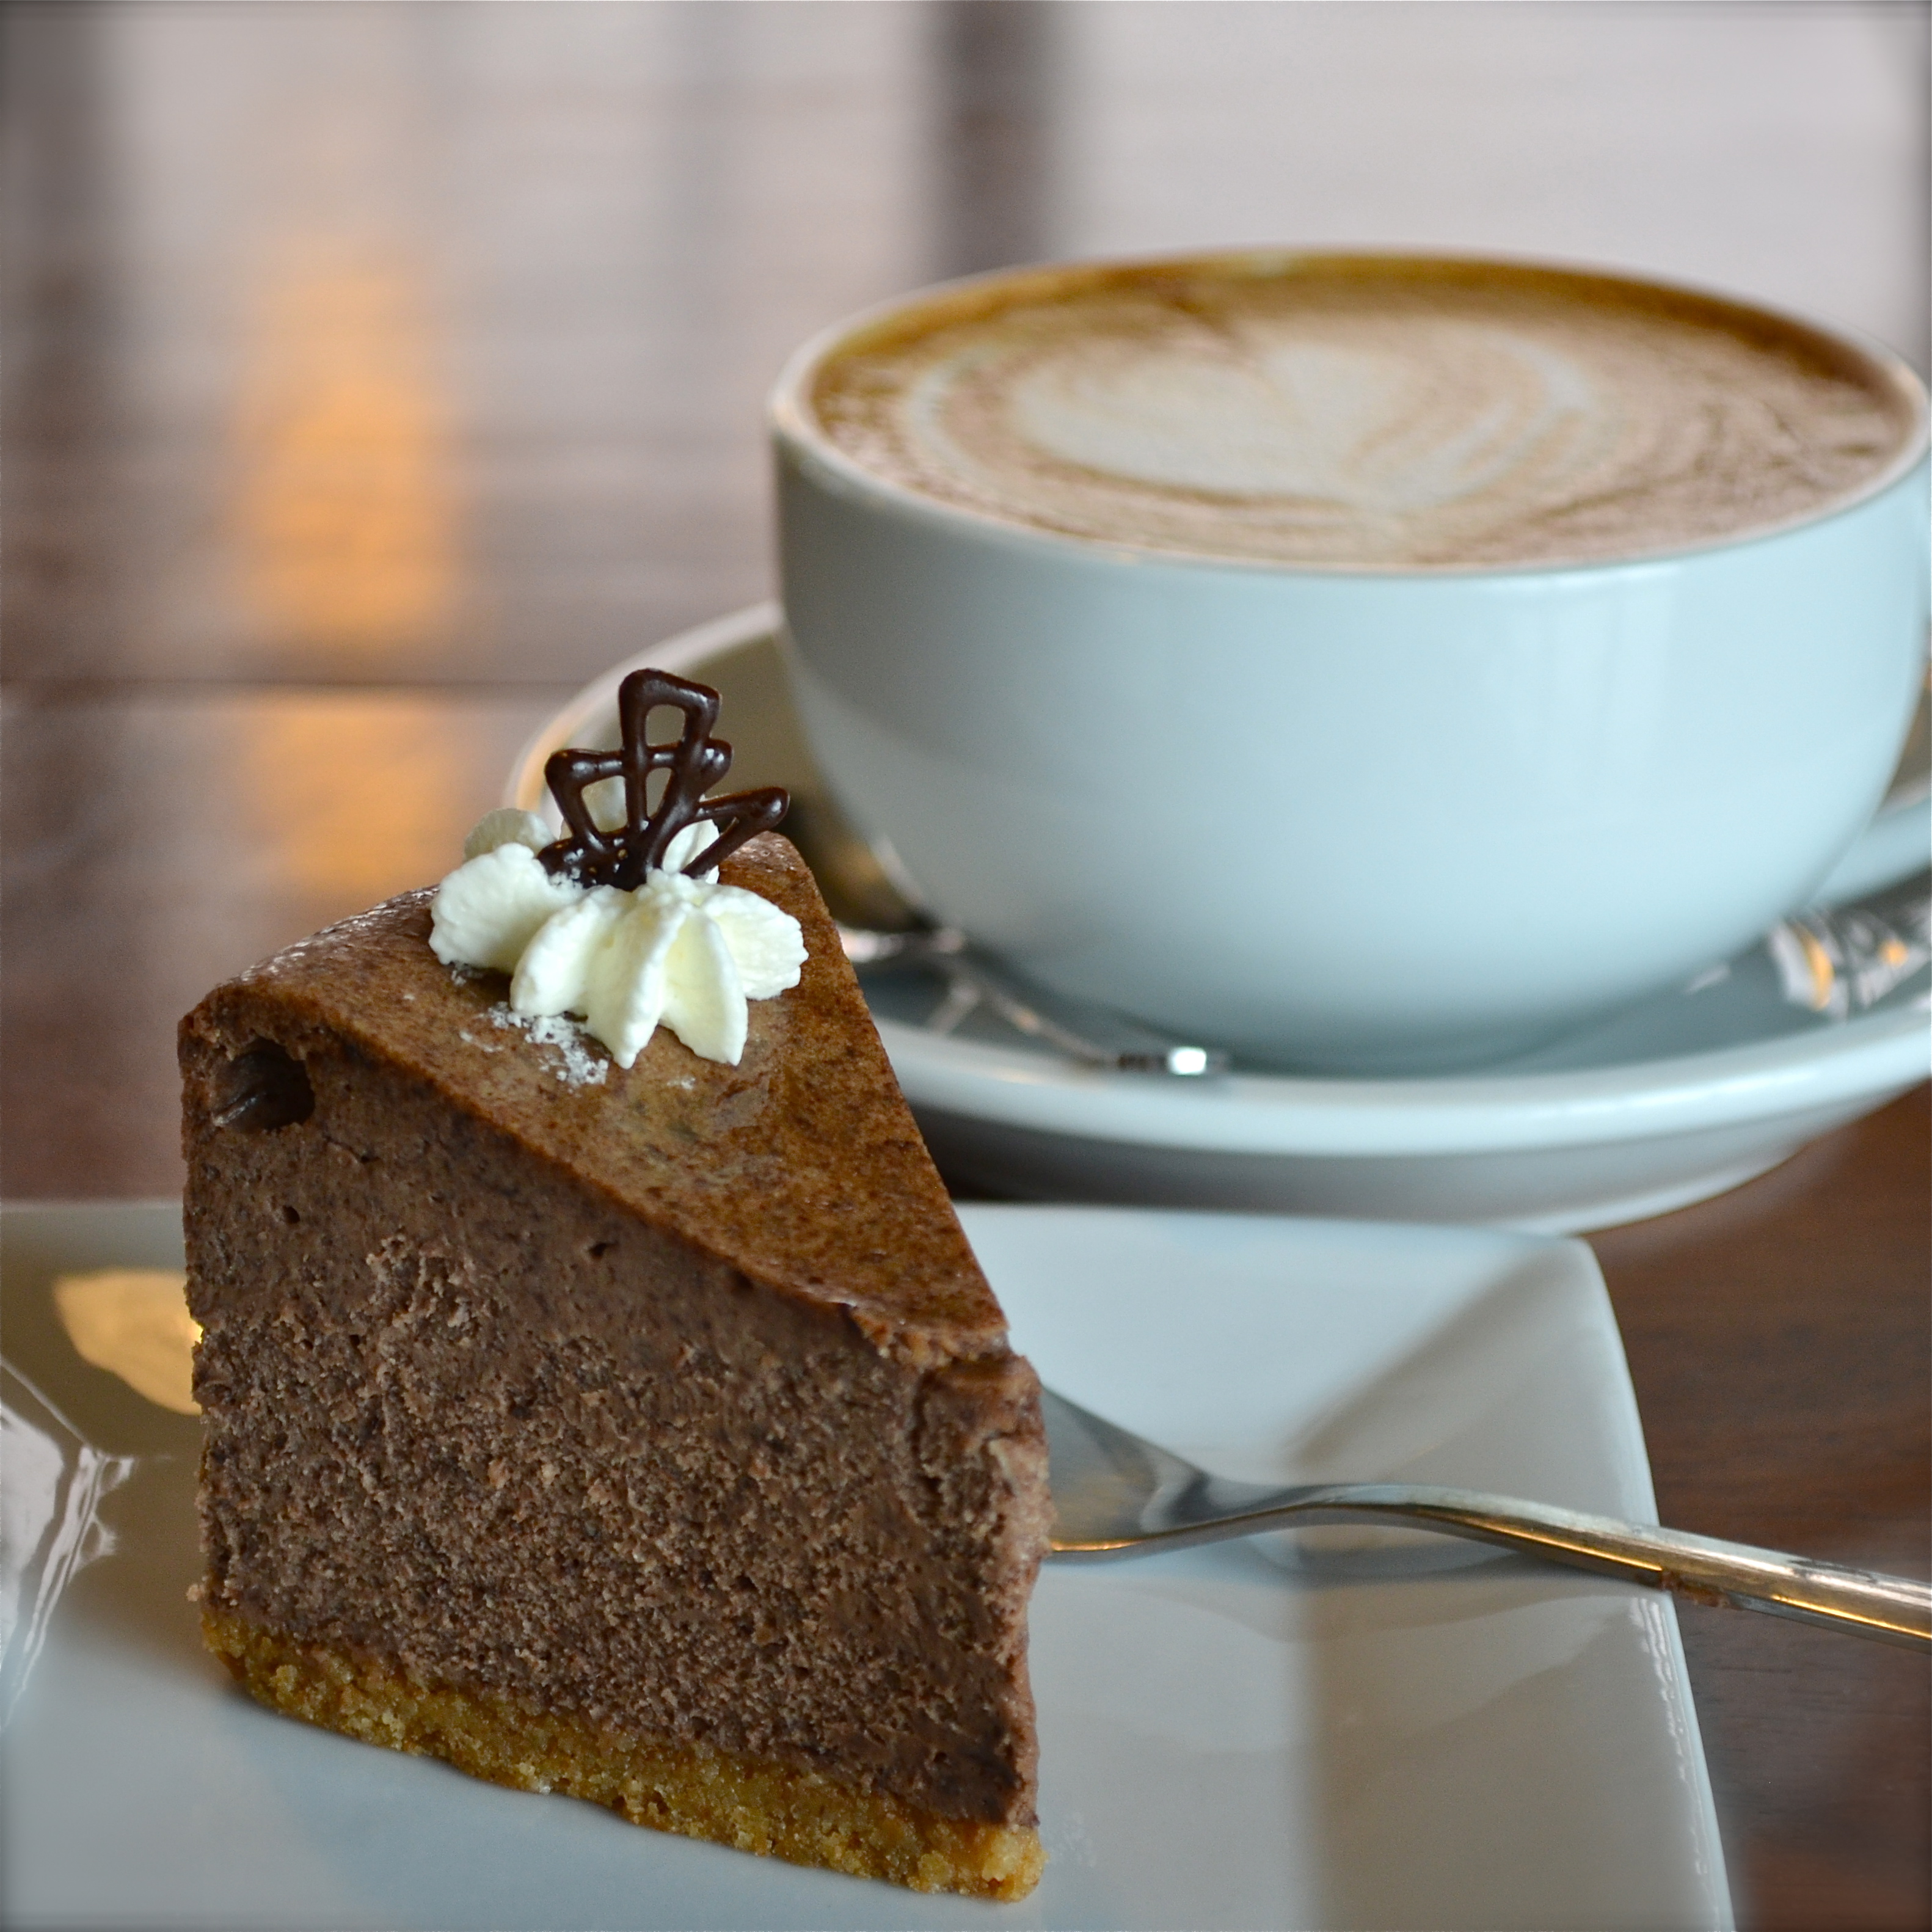
A few other desserts that would go well with your coffee:

Brownie Oreo Cookie CupCinnamon Roll Cheesecake!!Chocolate molten lava cupcakesGerman Chocolate Pie!

Advertisement

Mocha Cupcakes (in edible coffee cups!)

Posted on

Mocha cupcakes in edible fondant mug

Rich chocolate cupcakes and mocha buttercream nestled in an edible marshmallow mug…how much fun is that??

The past two posts have been full of my adventures with my friend Megan from Happily Ever After Cakes.  We made chocolate cut-out cookie pops decorated with royal icing and fondant-covered cupcakes decorated with fun ladybugs and caterpillars.  This is the third and final project from that weekend and I just love how it turned out!

This project starts with easy mini mocha cupcakes with mocha buttercream frosting.  You can stop there and they are just wonderfully yummy –even without the mug!

The mug uses my new-found love of marshmallow fondant to add a little “wow” factor to the cupcakes.

Let’s start with the cupcakes: (printer friendly recipe)

Mocha Cupcakes with ButtercreamINGREDIENTS: (makes and frosts 48 mini cupcakes)

  • One box of chocolate cake mix (plus eggs, oil and water to make according to box)
  • 3 Tablespoons of instant coffee granules (divided)
  • 2 sticks (1 cup) of salted butter- softened to room temperature
  • 2 sticks (1 cup) of unsalted butter- softened to room temperature
  • 3 cups of powdered sugar
  • 2 Tablespoons of vanilla

DIRECTIONS:

  • Preheat oven to 350F degrees
  • Make cake according to box, but add 2 Tablespoons of coffee granules to the water required by cake mix first.
  • Allow granules to dissolve and then add to cake mix with eggs and oil according to box.
  • Place mini cupcake liners into mini cupcake pan and spoon batter into liners.
  • Bake for about 12 minutes until centers are firm.
  • Cool completely
  • Make buttercream by placing vanilla and remaining 1 Tablespoon of instant coffee into a small bowl to dissolve.
  • Add butters and powdered sugar to a large bowl and beat on high until light and fluffy.
  • Remove a small bit of this vanilla-free icing to garnish the tops of cupcakes and set aside.
  • Add vanilla/coffee mixture and beat again until well- combined.
  • To make plain cupcakes, just pipe coffee frosting on top of cooled mini cupcakes and then pipe a tiny bit of the white frosting at the tip of the cupcake.
  • Sprinkle with cocoa powder if desired.

Yum.

To make the cupcakes into little edible mugs, you will need to make fondant and a thick buttercream ahead of time. My previous post goes into great detail on making fondant and buttercream icing.  Click here to see the entire process.

If you’d like to print the recipes for these two things:

Printer friendly recipe for thick buttercream icing

Printer friendly recipe for marshmallow fondant

Once you’ve made both of these items, assembling the little mugs is fairly easy:

  • Unwrap the mini cupcakes you wish to use in mugs.
  • Spread thick buttercream icing around the sides of each cupcake.
  • Roll fondant out  fairly thick and trim into rectangles that wrap around mini cupcake and touch without overlapping. (You’ll need to grab a cupcake and experiment until you know how long and high to make these)
  • Also cut small strips of fondant to use as mug handles.
  • Wrap sides of mug around the frosted edge of each mini cupcake and seal the edges by brushing with a bit of water and holding together.
  • Attach the handle over the sealed edge with a bit of water.

Spread buttercream over sides of mini cupcakeCupcakes ready to be covered in fondantWrap fondant around mini cupcakeAdd handle over seam, using water to attach it.

  • Set mugs on a plate or dish with a lipped edge to hold the handle in place until it sets.
  • Once handle is dried in place, pipe mocha frosting on top of cupcake to fill mug in.
  • Spread frosting flat and pipe a tiny bit of the white frosting on top.
  • Sprinkle with cocoa powder if desired.

Allow handle to harden in place.Pipe frosting into top of mug

Megan (more artistic than I!) decorated some mugs to personalize them for us.  She used decorating brushes with gel food coloring to paint the cups….aren’t they cute????

Edible mug cupcakes!!!My thoughts:  These are really yummy cupcakes- even without the mugs.  The mugs are a little time consuming, but if you want something REALLY unique and fun they are both!  The marshmallow fondant got rave reviews from our friends– they loved it and ate the entire mug with the cupcake.  

When you bite in, it is quite the surprise….so fun!!!!  Enjoy!!!

Edible mug cupcakes
You might also enjoy:

Nutter Butter Flip FlopsBlack Bottom Peanut Butter CookiesRaspberry Lemonade TrufflesFudgy bonbon cookies

Mocha Caramel Cream Cupcakes

Mocha Caramel Filled CupcakeIt’s that time of year here…that yummy cup of frou frou coffee just whispers your name until you find yourself nestled into an armchair at the local coffee shop watching it snow and sipping a mocha or a latte.  One with chocolate drizzled on top…or caramel.

Why not capture those flavors in a cupcake?

These yummy treats are coffee-infused chocolate cupcakes filled with creamy caramel and topped with coffee buttercream.

Oh.  My.

Bring it on winter!

Mocha caramel filled cupcakes3

Ingredients:

Cupcakes:

  • One boxed chocolate cake mix (plus water, oil and eggs to make according to box)
  • 1/4c milk (warmed)
  • 2 T instant coffee granules

Caramel Cream Filling:

  • 1 cup sugar
  • 1/2 c. water
  • 1 c. heavy whipping cream
  • 1 T. powdered sugar

Frosting:

  • 2 sticks (8 oz.) salted butter
  • 2 sticks (8 oz.) unsalted butter
  • 3 c. powdered sugar
  • 2 T. vanilla
  • 2 T. instant coffee granules

Directions:

Cupcakes:

  • Place 2 T. instant coffee granules into milk and stir.  Allow this to sit and dissolve.
  • Make mix according to box
  • Add coffee/ milk mixture to cake batter and blend well.
  • Scoop into 24 cupcake liners in cupcake tins and bake at 350F degrees for about 20 minutes.
  • Remove from tins immediately and allow to cool on counter.

Caramel Filling:

  • Combine sugar and water in a medium saucepan and bring to a boil.  Stir constantly and cook until mixture turns a caramel brown color. (about 10 minutes)
  • Remove from heat and slowly add cream, whisking vigorously (this will spit and splatter as you add it, so use caution!).

Making caramel cream: bring sugar mixture to a boil.Making caramel cream- boil until browned.Making caramel cream- add cream and whisk.

  • Chill in refrigerator until cold. (I did this the night before and just left it overnight)
  • When mixture is cold, add powdered sugar and beat on high until creamy and smooth.

Frosting:

  • Add 2T vanilla and 2T instant coffee granules together in a small bowl and allow the coffee to dissolve.
  • Place butters and powdered sugar in a large mixing bowl and beat on high until very fluffy.
  • Add vanilla/coffee mixture and beat until well combined.
  • Core cupcakes and pipe caramel filling inside.
  • Pipe frosting on top and sprinkle with a little cocoa powder.


My thoughts:  Goodness, I love these cupcakes.  The filling is a touch fussy since you need to chill it until cold, but I have to say that it is WORTH the wait.  I’m on a diet and I took ONE bite (to get a picture of the filling, of course..!) and I couldn’t stop.  I had to finish the cupcake.  I blew my diet for this cupcake…it is just so good.  Two people have asked for *just* a bowl of the coffee buttercream frosting…haha!  

Sigh.  I will dream of these cupcakes until the diet is over….in two months….and then I will eat 3 of them.

Make these and enjoy them on my behalf!!!!  ~r

Mocha Caramel Cream Cupcakes!

In other (non-recipe!) news, I finally have a DSLR camera!  (Nikon D5200) Yay!  I feel like my photos are a little off as I adjust to it though.  I had a system for making my point and shoot work for me and now I’m trying to adjust my system to get the right lighting and exposure.  I previously used a homemade light box to control my lighting and now I’m just so excited to sit down at a coffee shop and take pictures using natural light.  Yesterday I met my friend Ben for coffee and before he could take a bite or sip of his treats I was like, “WAIT!!!  I have to take a picture of that!”  So much fun.  So my apologies for my fairly awful pictures in this post– I’m learning!!!

Yummy coffee shop treats (and practice with my new camera!)

Yummy coffee shop treats (and practice with my new camera!)

Want some other winter dessert ideas?  Click on the image to be taken to the recipe.

German Chocolate CookieSpiced Mocha and Tim Tam Slams!Peppermint Hot Chocolate Cupcakes!!!Snowman Oreo Pops

Mocha Cheesecake Tart (gluten free!)

A little slice of happiness!!!

This recipe was created by myself and my gluten-free friend Brie.  It was an experiment and we LOVED it (mostly)…Our only mistake was adding too much coffee to our topping– and I am fixing the recipe to correct that!  If you LOVE coffee, add more (I LOVE coffee, so I thought the tart was perfect– but it is 11pm and I am still going strong…so maybe less is better!)

Brie is a photographer…so this post will be filled with her fun photos of the process!

My fun friend Brie!

INGREDIENTS:

Crust:

  • 2 1/2 cups of crushed graham cracker crumbs (gluten free!!!!)
  • 1/3 c. margarine
  • 2 T. sugar

Tart filling:

  • 1 box of PHILADELPHIA cream cheese- softened
  • 1/2c. sugar
  • 1/4 c. cocoa powder (Nestle)
  • 1 t. vanilla
  • 1 tub (8 oz) Cool Whip- thawed
  • 1/2c. mini chocolate chips (Nestle are gluten free)

Topping:

  • 1c. heavy whipping cream
  • 1T. instant coffee granules
  • 1/4 c. powdered sugar (check ingredients- I used Wal-mart brand and no gluten!)

DIRECTIONS:

  • Preheat oven to 350 degrees
  • Mix crushed grahams with sugar and melted butter.
  • Press into an 8 inch tart pan.
  • Place on a cookie sheet and bake at 350 degrees for 12-14 minutes- until edges are firm and crispy.
  • Remove from oven and cool completely.  Remove out tart ring.
  • Mix coffee granules in whipping cream and allow to sit for about 10 minutes. (If you don’t like coffee, just skip this step and make topping by whipping cream and powdered sugar without the coffee granules!)

Whipping cream plus coffee!

  • In a large bowl, cream together cream cheese, sugar, cocoa and vanilla until smooth.

Adding vanilla to the rich chocolatey goodness!

  • Fold in Cool Whip and blend until smooth.
  • Mix in mini-chocolate chips (saving a few for the top).
  • Spread in cooled tart crust.

Spread the filling into the crust…

yum!

  • In medium bowl, mix whipping cream/coffee blend with powdered sugar and whip on high until stiff peaks form.
  • Spread over top of tart and sprinkle with a few mini- chocolate chips.
  • Serve immediately if you want– or keep refrigerated until use.
  • Take pictures!!!! 🙂

Give me all your chocolate chips and nobody gets hurt…..!

My thoughts– YUM!!!!  Rich and creamy and I LOVED the gluten free crust (I would use it again for the flavor and consistency- and I’m not on a gluten free diet).  I really would use just whipped cream next time and skip the coffee altogether though- I think the two layers clashed in color- lol!  Really though– suprise your friends who have to be gluten free with this pie– they will love you for it!!!

%d bloggers like this: