Tag Archives: Cream Cheese

Leprechaun Truffles

Posted on

Green Apple Truffles

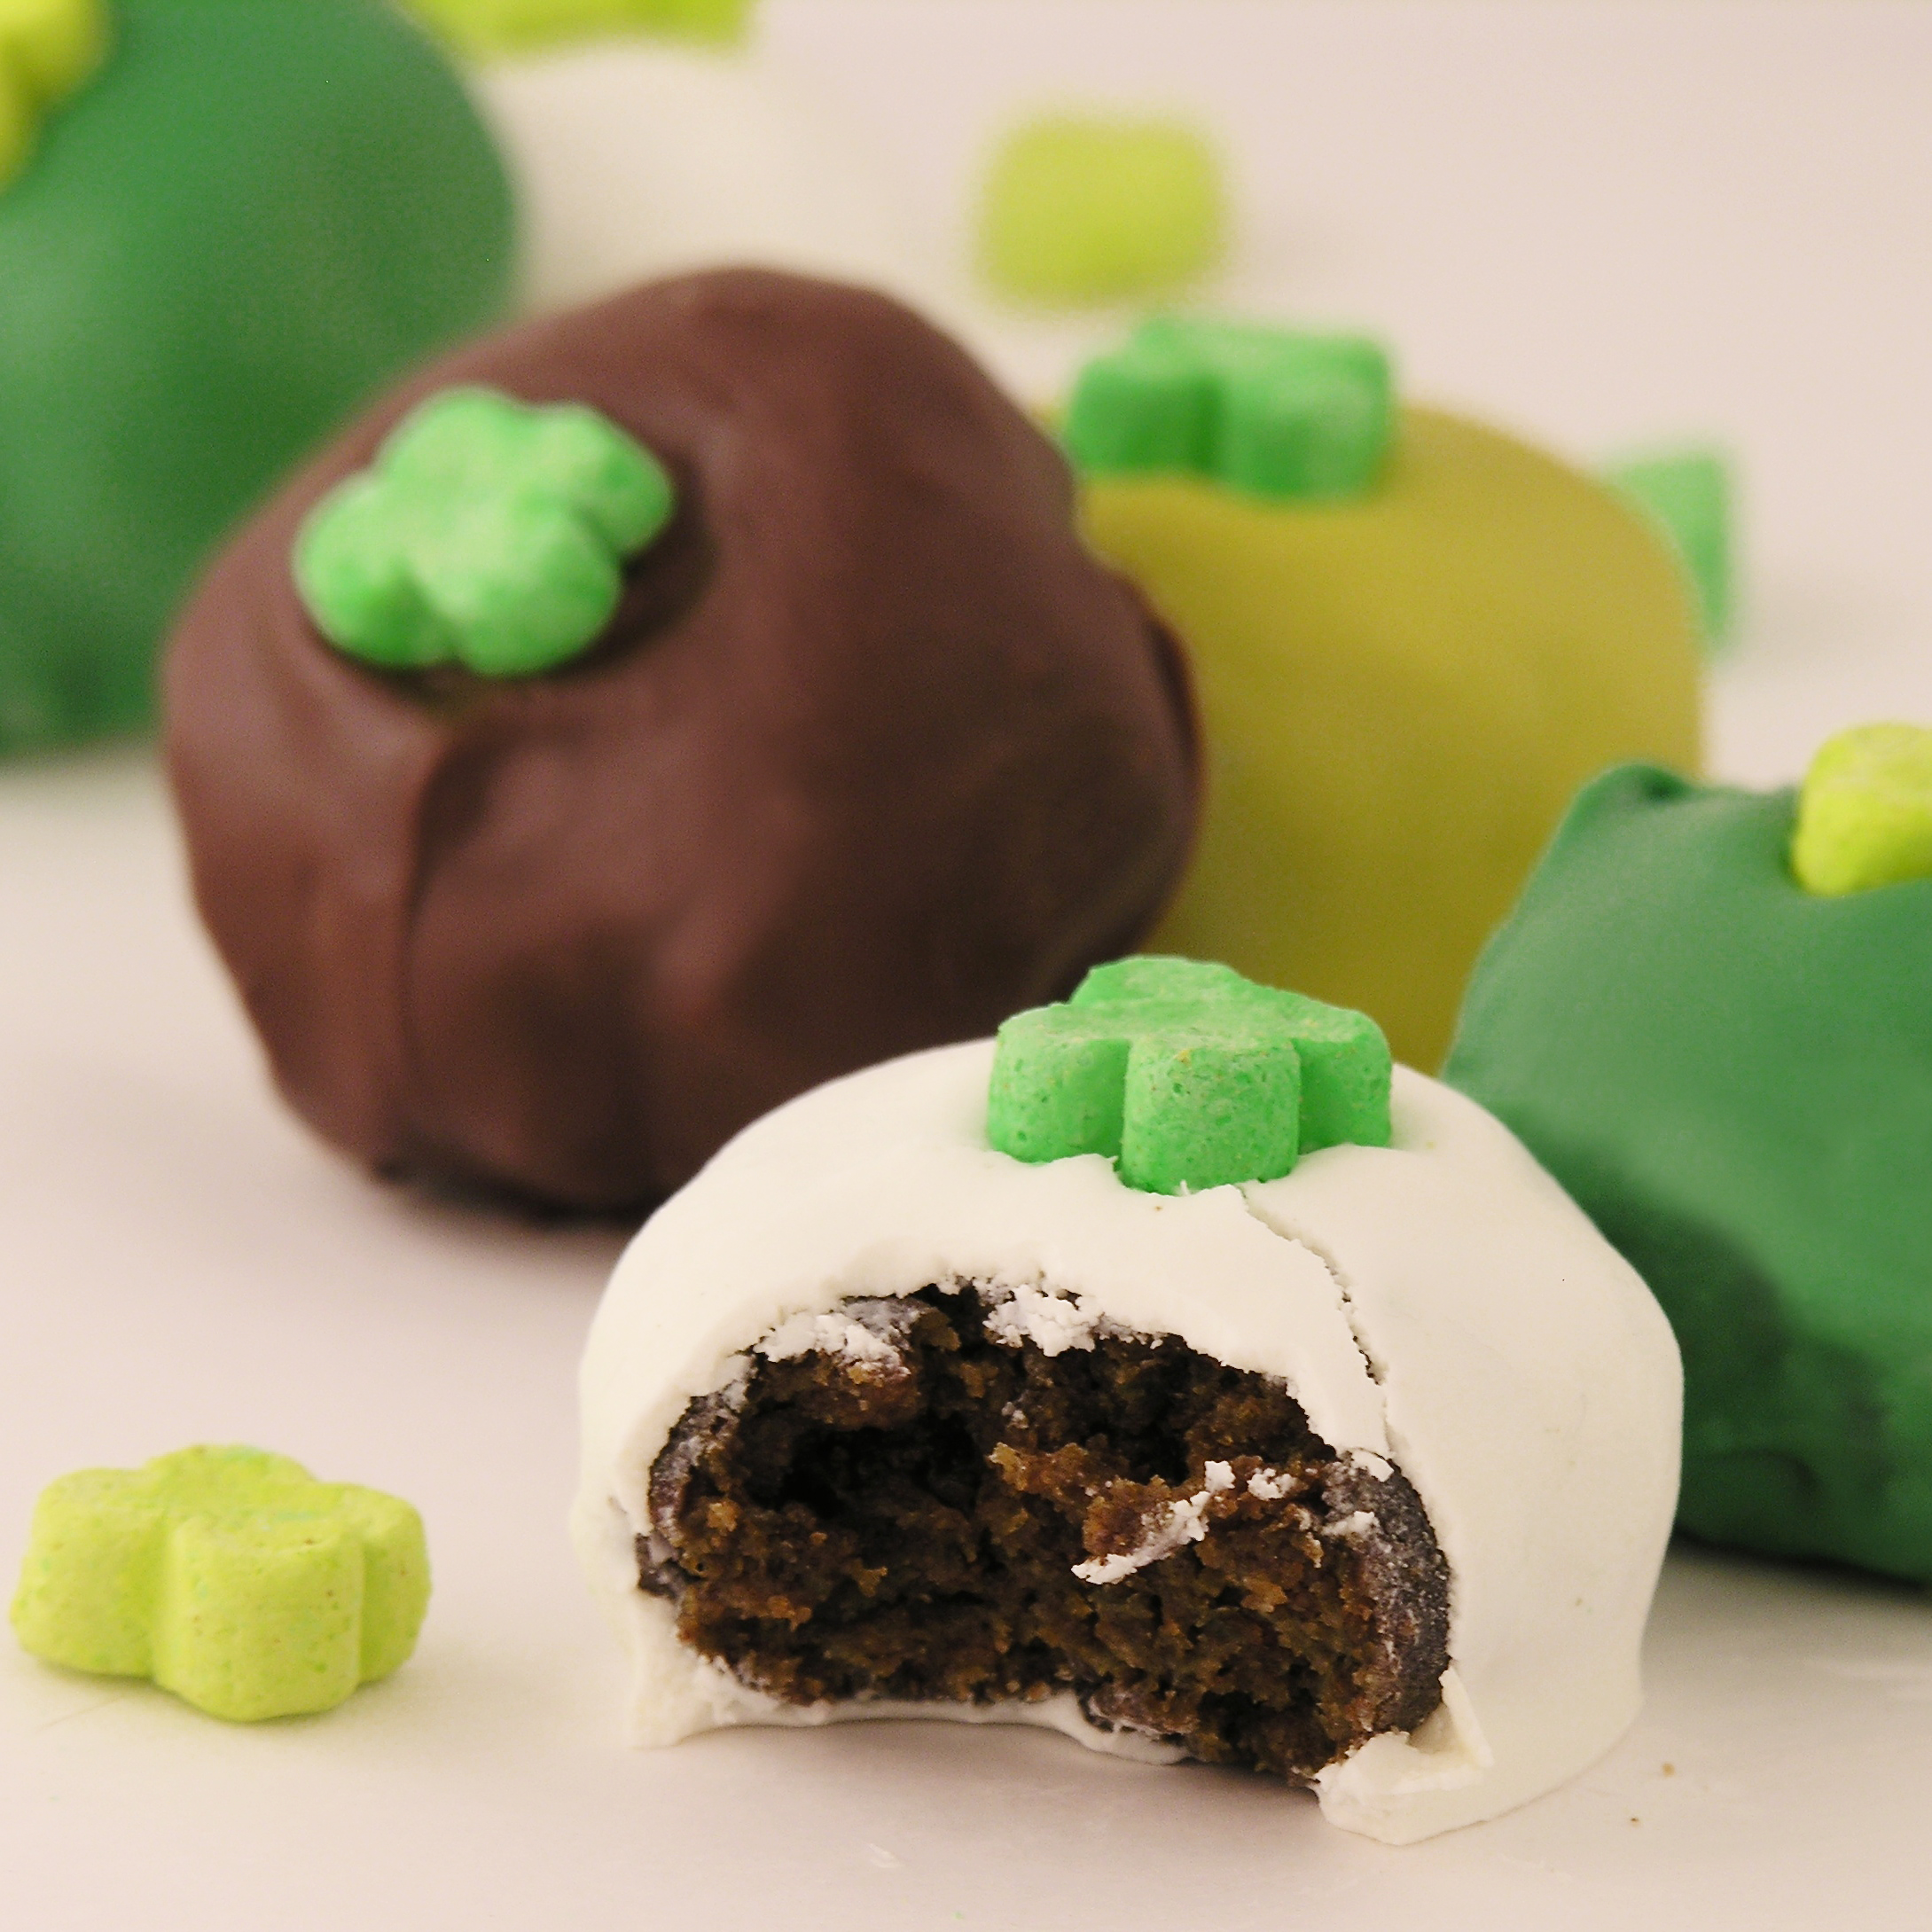
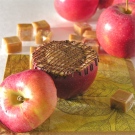
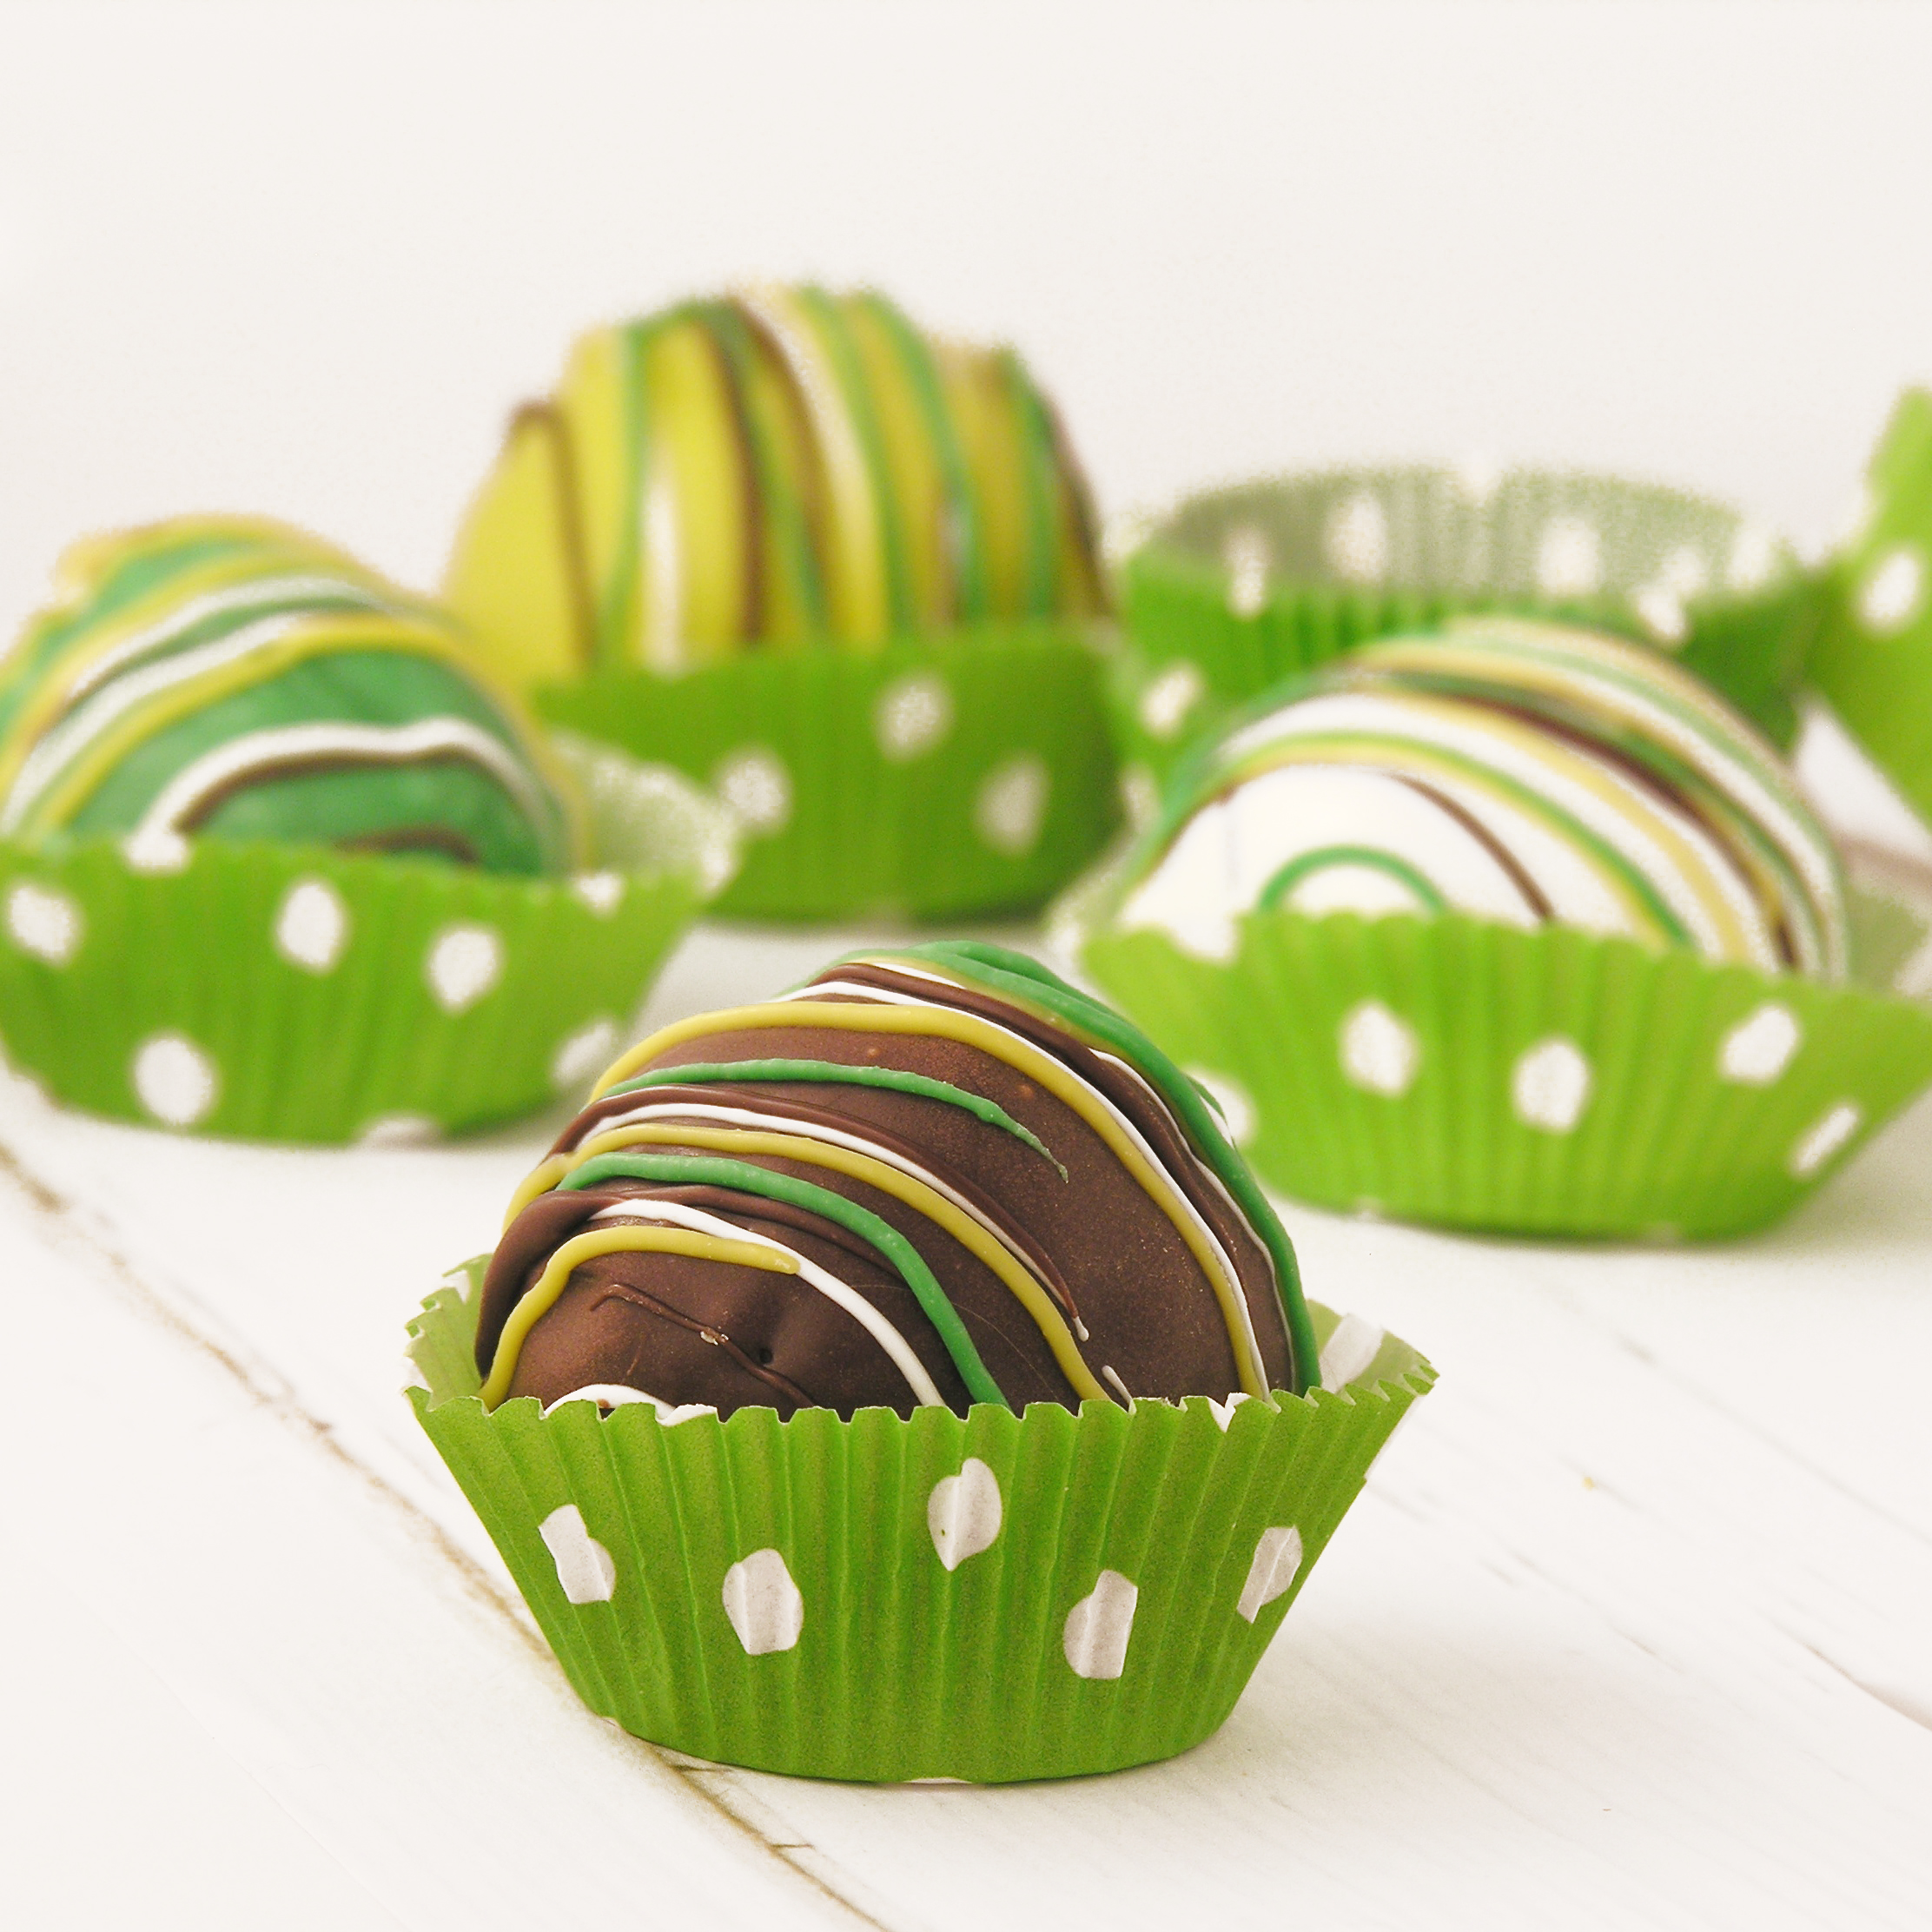
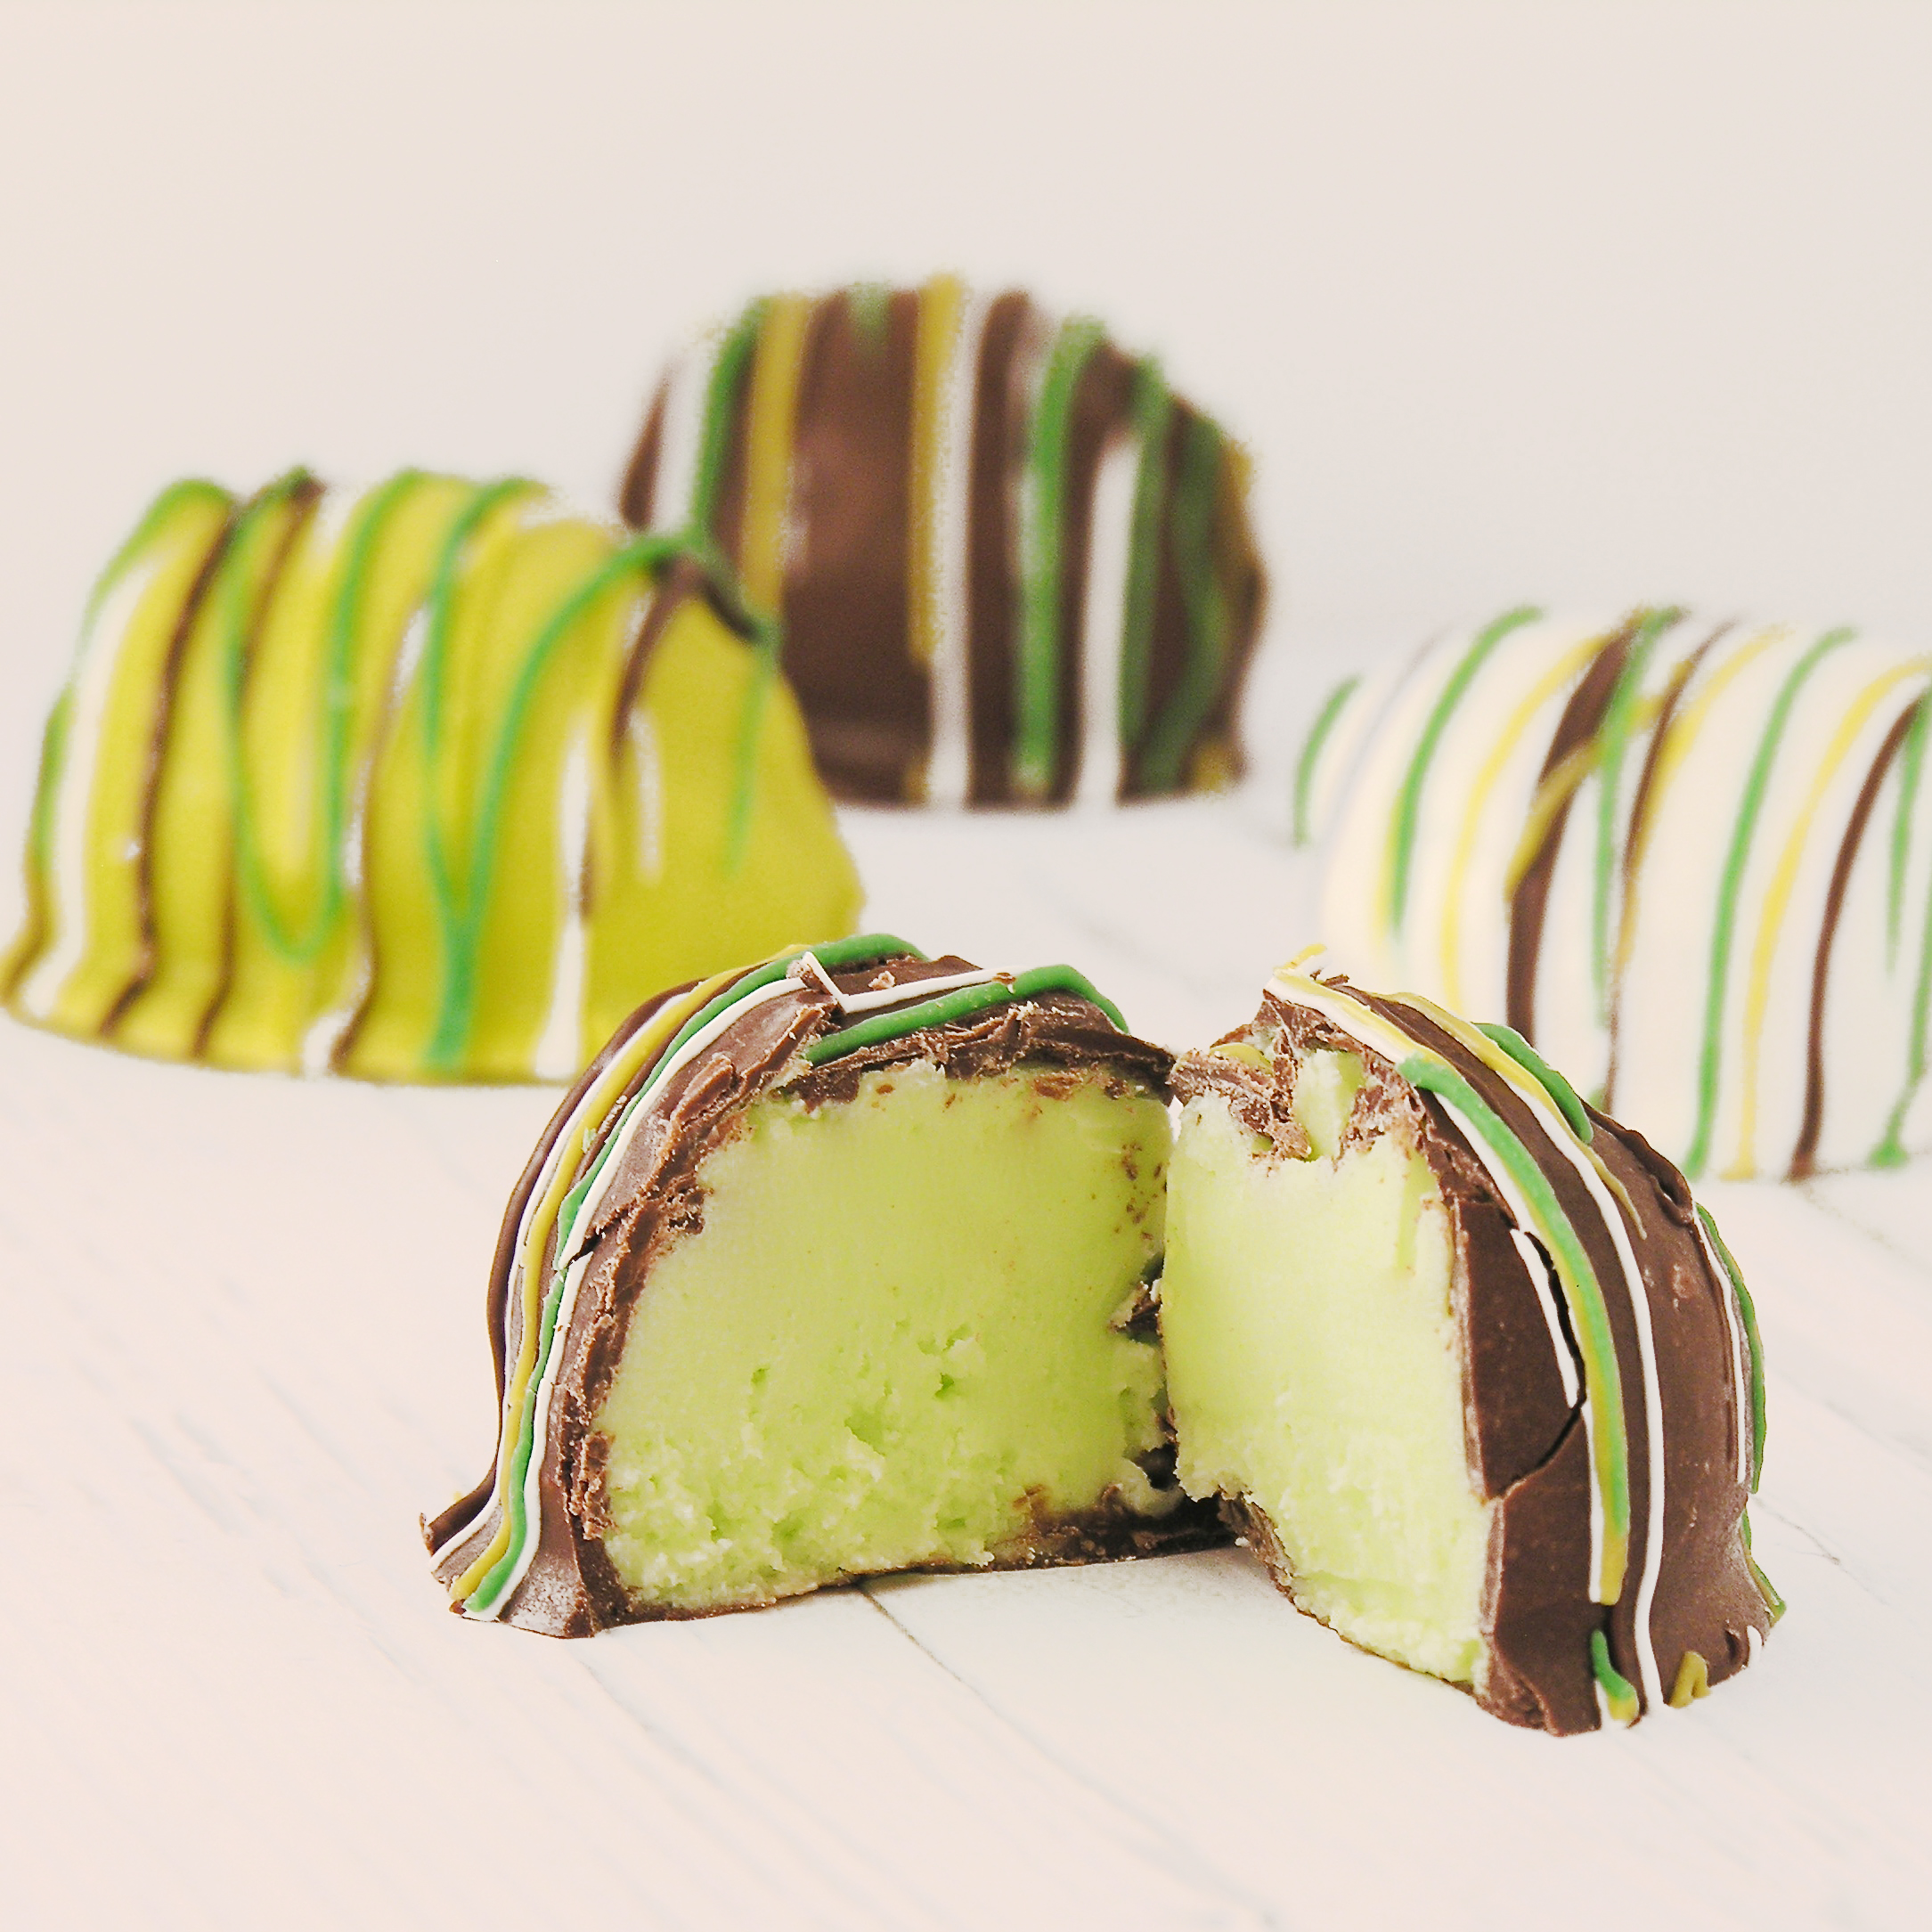
These fun truffles are made with green apple (or lime!) Kool Aid filling and they are SO yummy!

It’s the time of year when all things green are made. One of my favorite truffle fillings is made with Kool Aid, which makes the flavors limited only to what little packets of flavor you can find! I made these with green apple Kool Aid, but I’ve made them with lime before too- and they are delicious! This tart fruit filling is SO creamy and smooth. I absolutely love it!

Green Apple Truffles

Here’s how we made these delicious little green treats: (printable recipe)

INGREDIENTS:

  • 1 (8 oz) package of cream cheese (softened to room temperature!)
  • 3 cups of powdered sugar
  • 3 cups of white chocolate chips
  • 1 tsp vanilla
  • 1 (0.16oz) packet of Kool-Aid drink mix (any flavor- I used green apple)
  • 2 bags of Wiltons Candy Melts (in whatever colors you wish)

DIRECTIONS:

  • Cream together cream cheese, powdered sugar and Kool-Aid in a large mixing bowl.
  • Melt white chocolate chips in the microwave in 30 second increments (stirring in between) until smooth and creamy.
  • Add melted chips and vanilla to cream cheese mixture and combine until completely smooth.
  • Refrigerate for at least 30 minutes.
  • Remove mixture from refrigerator and use a small cookie scoop or melon baller to make small balls of filling (I placed these on a plate and put them back in the fridge to chill while I prepared my chocolate to dip)
  • Melt the Wilton’s Candy Melts in the microwave in 30 second increments, stirring until smooth and creamy.
  • Dip chilled balls of filling in the melted chocolate, draining away excess and placing on parchment paper to harden (if you want pictures of how I dip things click here for a previous recipe) The balls of filling need to stay cold, so keep them in the fridge until you are ready to dip them.
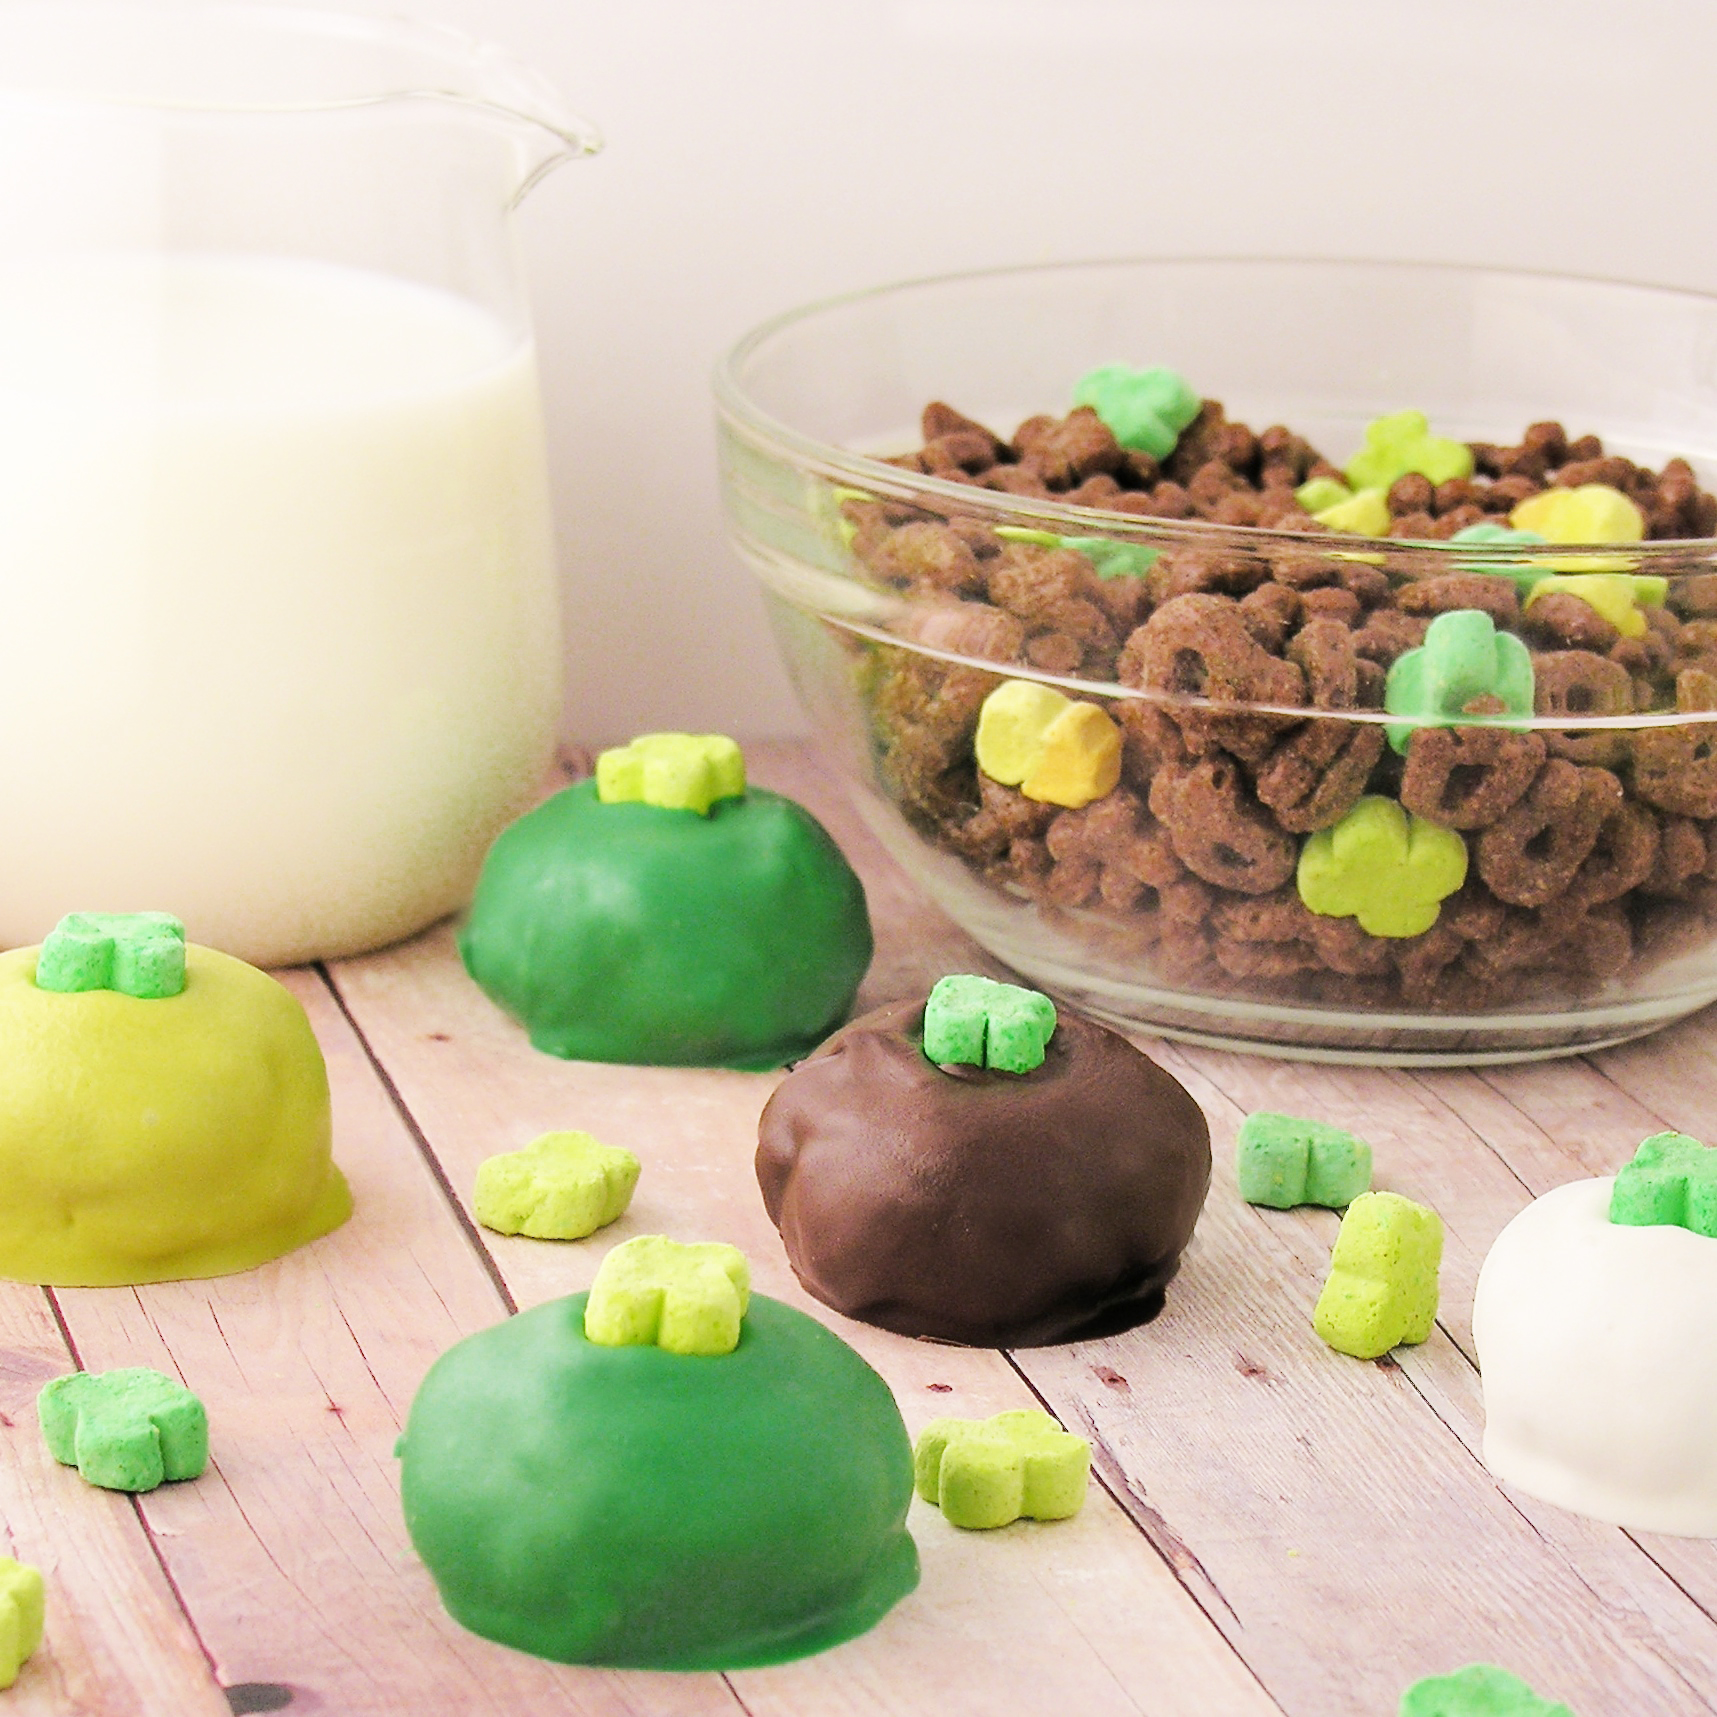
  • Decorate with drizzles of fun colored chocolate. 
  • Enjoy!

Green Apple Truffles

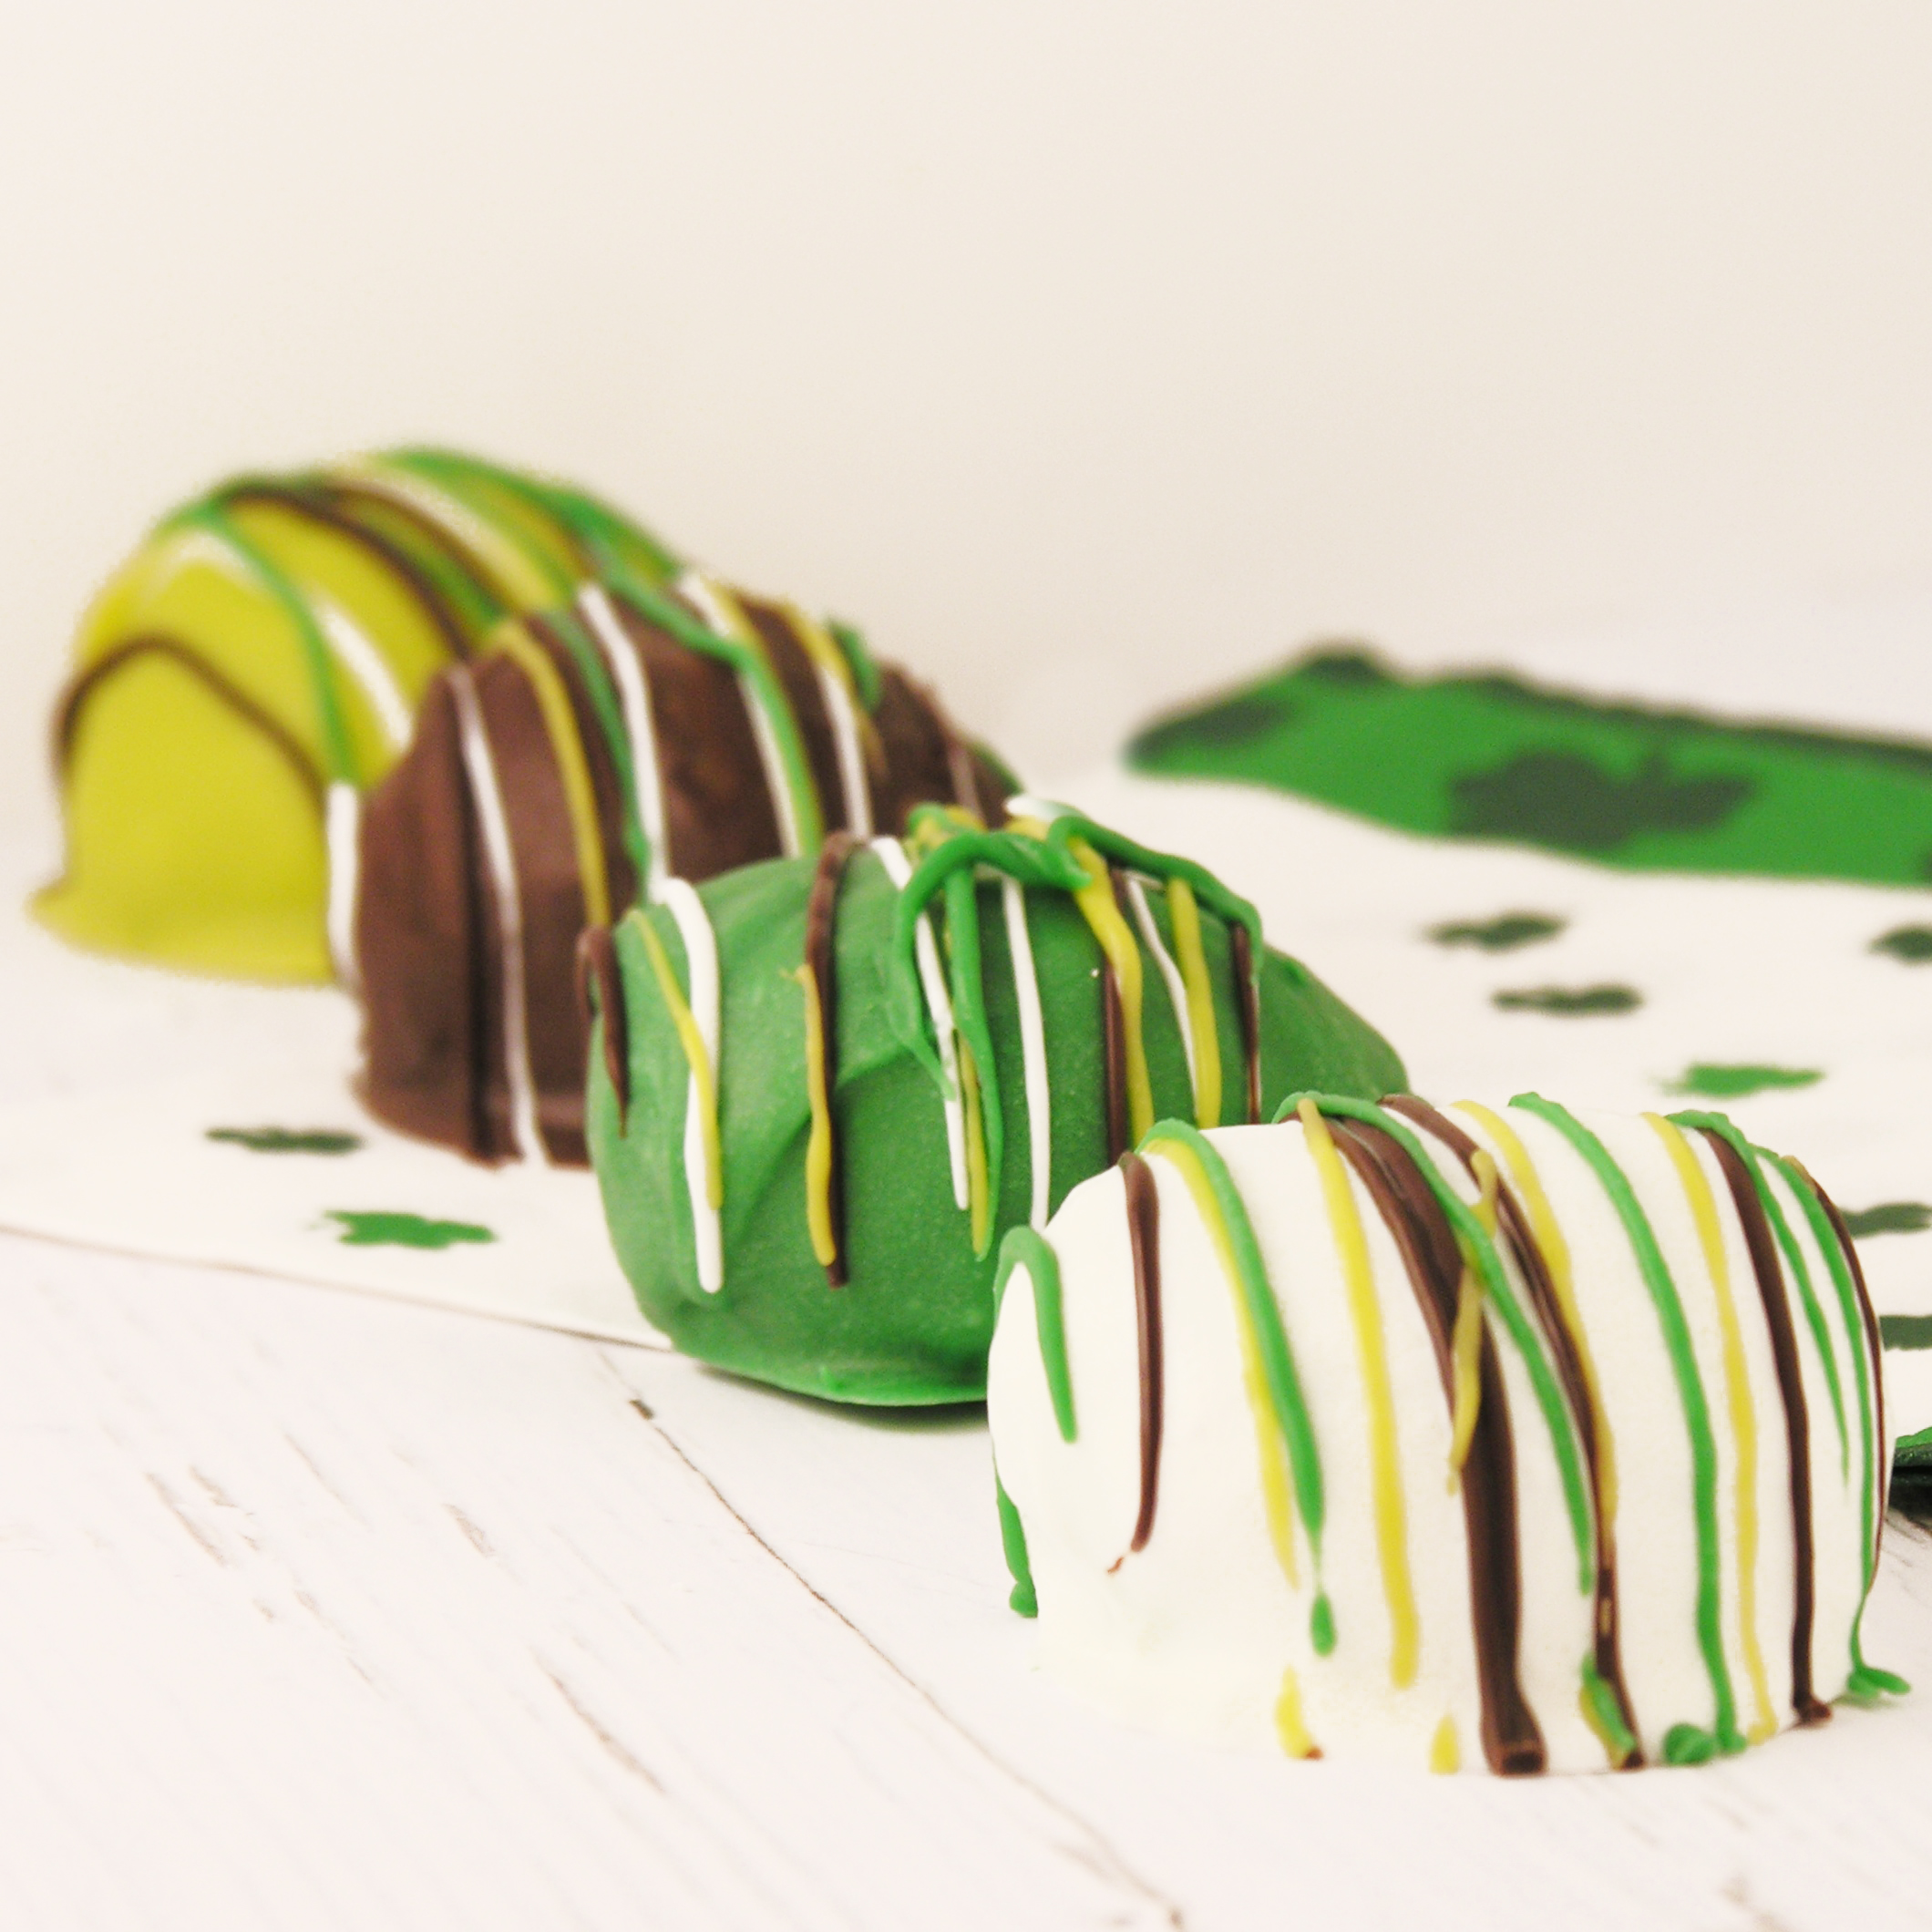
My thoughts: Aren’t they cute? They are SO yummy too… my only recipe tip is to make sure those balls of filling are chilled and your melted candy isn’t super hot. I allowed my candy melts to cool a bit before I dipped. You just don’t want that soft filling to start melting while you dip.

Green Apple Truffles

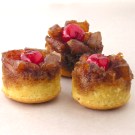
These are as fun as can be using all sorts of fillings, which makes them a good treat for any holiday!

Kool-Aid Truffles!!

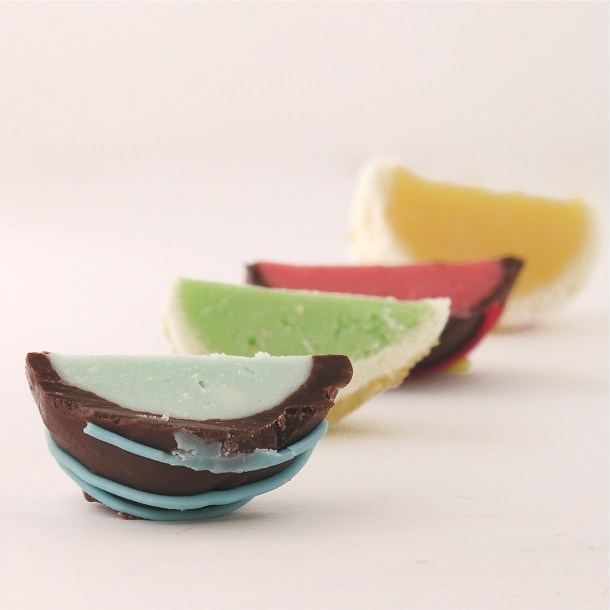
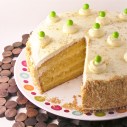
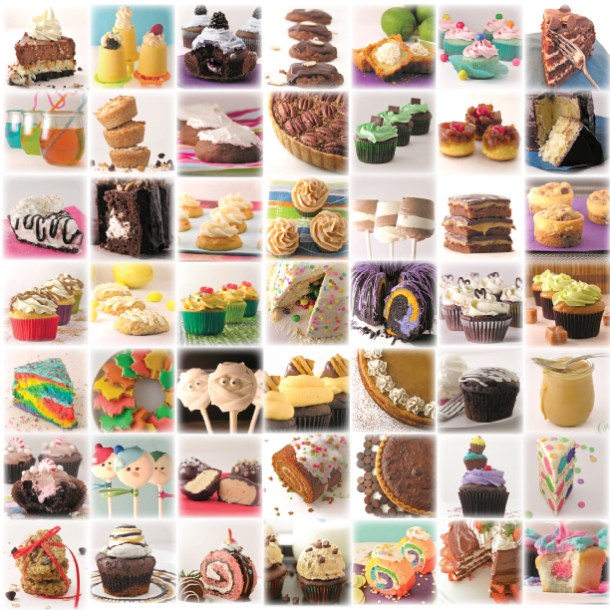
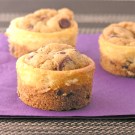
Here they are in other fun flavors. Click on the photo to see how I did them!

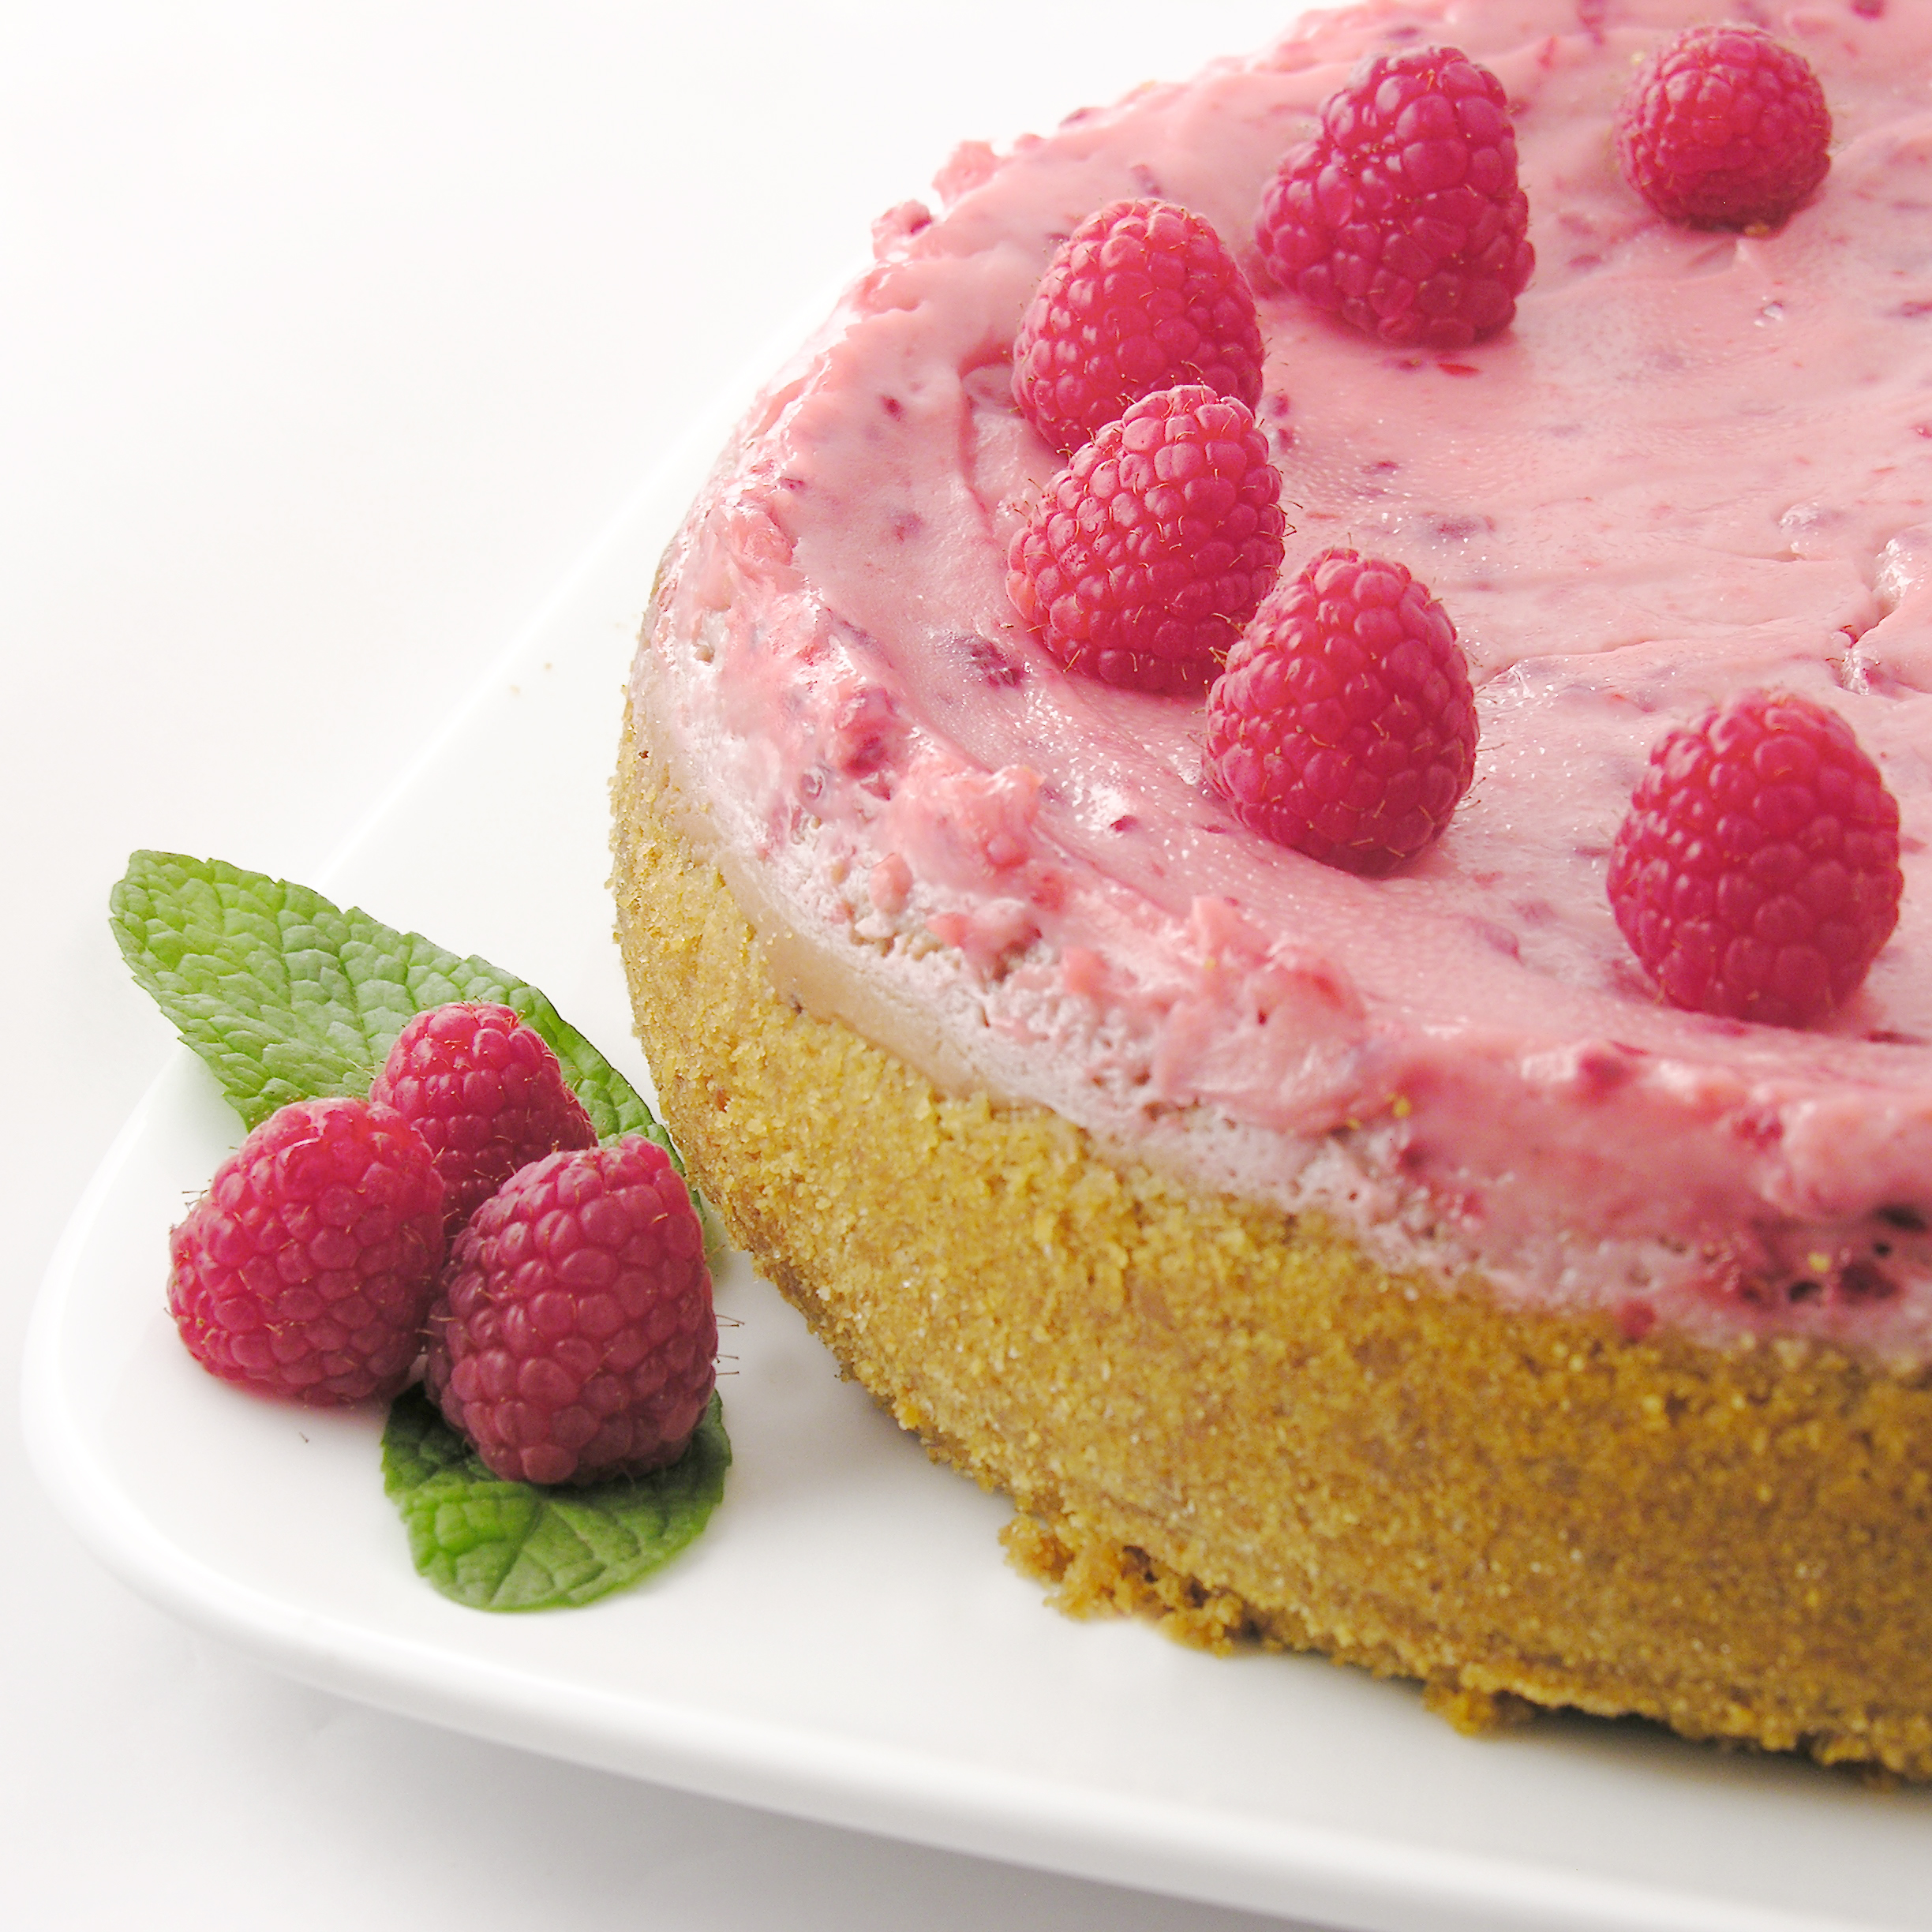
Finally, one of our most popular recipes on Easybaked is a St. Patricks Day treat! Bailey’s cupcakes are everyone’s favorite! You should probably try them. 🙂 Again, click on the photo to see the (oh so yummy!) recipe:

Baileys Irish Cream Cupcakes

Lucky Charms Truffles

Posted on

Lucky Charm Truffles

If you like Lucky Charms Cereal, you will love these chocolate-covered treats!

I was walking down the cereal aisle and a box of Chocolate Lucky Charms jumped into my cart and begged me to make a dessert with it.

That’s almost how it happened…! I love Lucky Charms and I adore the chocolate version. Did you know that just before St. Patrick’s Day they have a limited time version full of shamrocks and pots of gold. Too cute!

I had actually been wondering if the oft-used technique of Oreos + Cream Cheese, rolled into a ball and covered in chocolate would work with cereal. Perfect opportunity to try!

These are yummy little chocolate-y and marshmallow-y treats that are SO cute for the month of March!

Lucky Charm Truffle

Here’s how we put them together: (printable recipe)

INGREDIENTS: (makes 24-36 truffles, depending on how big you make them)

  • 4 cups of Lucky Charms Chocolate cereal (marshmallows and all)
  • 1 bar of Philadelphia Cream Cheese (at room temp)
  • 1 bag of Wilton’s candy melts (in any color you like- I used up some leftover bags in a variety of colors)

DIRECTIONS:

  • Finely crush cereal into crumbs (I used a food-chopper).
  • Combine with cream cheese until it forms a soft ball of dough.
  • Roll dough into small balls.
  • Melt candy melts in the microwave in 30 second increments, stirring between, until melted and smooth.
  • Use a fork to dip balls of cereal into the melted candy. Tap the fork on the side of the bowl to drain off excess melted candy, and slide fork along edge of bowl to remove excess.
  • Place each truffle on parchment paper to harden. Top with marshmallow bits from the cereal, or sprinkles.
  • Allow them to harden completely.

Lucky Charm Truffles

My thoughts: Aren’t they cute? They are pretty yummy too. I thought the consistency was a little weird, but once they are covered in chocolate it’s not as noticeable. I got a thumbs up from friends who tried them and kids LOVED them. Just a fun little St. Patricks Day project! Enjoy! ~r

Other yummy St. Patrick’s Day treats here on Easybaked: (click on image to see recipe)

Andes Mint CupcakesKey Lime CakeLime Soda Cupcakes!!!!Baileys Irish Cream Cupcakes

Chocolate Raspberry Cheesecake

Chocolate Raspberry Cheesecake!!Creamy chocolate cheesecake topped with a layer of raspberry and sour cream. Unbelievably yummy!!!

If you follow my blog on a regular basis, you will remember this cheesecake from last fall.  It is my Aunt’s recipe and it is literally the best cheesecake I’ve ever eaten.  It is so creamy and smooth…oh my.

I decided to add a few twists to the recipe by making it chocolate and adding raspberries to the topping.  It worked beautifully and added so much flavor!  It is really quite easy to make.  I hope you enjoy it as much as I did!!!!

Here’s the recipe (printable version):

INGREDIENTS:

Crust:
  • 1 1/4 cups Honeymaid graham cracker crumbs
  • 5 tablespoons butter, melted
  • 3 tablespoons sugar 
Filling: 
  • 3/4 cup sugar
  • 3 (8 oz.) Philadelphia cream cheese bars (must be the Philadelphia brand)~ softened to room temperature.
  • 2 eggs
  • 1 teaspoon vanilla
  • 1 teaspoon lemon juice
  • pinch of salt
  • 1 cup of semi-sweet chocolate chips
Topping: 
  • 1 pint (2 cups) sour cream
  • 1/2 cup sugar
  • 1 tsp. vanilla
  • pinch of salt
  • 1/3 cup of canned raspberry pie filling

DIRECTIONS:

  • Preheat oven to 350F degrees.
  • In a medium bowl, combine crust ingredients together until well combined.
  • Press into a 9″ spring form pan, pressing crumbs into bottom and about 1 1/2″ up sides of pan.    
  • For the filling, combine the sugar and softened cream cheese in a large mixing bowl and beat together until smooth.
  • Add the eggs, one at a time, beating between each addition.
  • Add the vanilla, lemon juice and salt and beat until smooth and creamy.
  • Melt the one cup of chocolate until smooth, and add to cheesecake mixture, beating until completely incorporated.
  • Pour into crust.
  • Bake at 350F degrees for 35-45 minutes.
  • While cheesecake is baking, make topping by simply mixing together all of the topping ingredients.
  • After 35-45 minutes of baking, remove cheesecake from oven and turn oven down to 325F degrees.
  • Pour topping over hot cheesecake, gently spreading to edges.
  • Return cheesecake to oven and bake for an additional 12-15 minutes.
  • Remove cheesecake from oven and leave sides on pan while allowing cheesecake to cool to room temperature.  
  • Refrigerate several hours (or overnight)
  • Run a small knife around the edges of the pan and remove them before serving.
  • Serve with extra raspberry pie filling– YUM!
  • Enjoy!!!!


Chocolate Raspberry Cheesecake!!
My thoughts:  You can see in my pictures that I added a cup of raspberry pie filling over the crust before I poured the cheesecake batter in.  It was really yummy, but made it hard to remove the bottom of the springform pan (which I always do before pictures).  If you don’t mind leaving the bottom on, this is a yummy addition to the recipe!  Just gently spread it out over your graham crust and pour the cheesecake over the top.
Chocolate Raspberry Cheesecake!!

We love raspberries here at Easybaked!  Check out our other yummy raspberry recipes!

Raspberry Lemon Cream Cups!!!Raspberry Confetti KissesRaspberry Truffle TartRaspberry Lemon drop Cakes!!!

Classic Cheesecake with Sour Cream Topping

Posted on

Classic Cheesecake with Sour Cream Topping
Creamy classic vanilla cheesecake with a sweet and light sour cream topping.

This is the best cheesecake I’ve ever made.  That’s saying a lot because I’ve made many, many cheesecakes.

In case you missed last week’s post, Easybaked is featuring family “tried and true” recipes during the month of November.  This week our star baker is my Aunt Vonda.  She is the queen of desserts in our family and literally everything she makes is scrumptious!  This cheesecake is one of my very favorite family desserts.  I’ve wanted the recipe for years and once I finally got to make it for myself I was even more impressed.  Not only is is delicious….it is actually easier to make than most cheesecakes I’ve tried….and oh, SO good.

Vonda's Cheesecake3
This is the cheesecake for a cheesecake purist.  No crazy toppings or fillings- just plain cheesecake.  Usually I’m not a huge fan of plain cheesecake, but the flavor and texture of this one is incredible.

Vonda's Cheesecake5
Want the recipe?

Here you go: (printable version)

INGREDIENTS:

Crust:
  • 1 1/4 cups Honeymaid graham cracker crumbs
  • 5 tablespoons butter, melted
  • 3 tablespoons sugar 
Filling: 
  • 3/4 cup sugar
  • 3 (8 oz.) Philadelphia cream cheese bars (must be the Philadelphia brand)~ softened to room temperature.
  • 2 eggs
  • 1 teaspoon vanilla
  • 1 teaspoon lemon juice
  • pinch of salt
Topping: 
  • 1 pint (2 cups) sour cream
  • 1/2 cup sugar
  • 1 tsp. vanilla
  • pinch of salt
DIRECTIONS:
  • Preheat oven to 350F degrees.
  • In a medium bowl, combine crust ingredients together until well combined.
  • Press into a 9″ spring form pan, pressing crumbs into bottom and about 1 1/2″ up sides of pan.    
  • For the filling, combine the sugar and softened cream cheese in a large mixing bowl and beat together until smooth.
  • Add the eggs, one at a time, beating between each addition.
  • Add the vanilla, lemon juice and salt and beat until smooth and creamy.
  • Pour into crust.
  • Bake at 350F degrees for 35-45 minutes.
  • While cheesecake is baking, make topping by simply mixing together all of the topping ingredients.
  • After 35-45 minutes of baking, remove cheesecake from oven and turn oven down to 325F degrees.
  • Pour topping over hot cheesecake, gently spreading to edges.
  • Return cheesecake to oven and bake for an additional 12-15 minutes.
  • Remove cheesecake from oven and leave sides on pan while allowing cheesecake to cool to room temperature.  
  • Refrigerate several hours (or overnight)
  • Remove edges of spring form pan before serving and serve with fresh fruit, pie filling or a chocolate or caramel sauce.
  • Enjoy!!!!

Creamy classic cheesecake
My thoughts:  Well, you already know how much I love this cheesecake because I’ve gone on and on about it.  This is a must-try recipe.  You will love it.  A huge thanks to my Aunt Vonda for sharing her recipe with us!!!  Yum!!!  ~r

Creamy cheesecake with sour cream topping
Other cheesecake recipes we love here at Easybaked:
Cinnamon Roll Cheesecake!!Triple Chocolate Cheesecake 3Peanut butter cup cheesecakeTurtle Cheesecake

Salty Caramel Cheesecake Bars

Caramel Cheesecake6

Creamy caramel cheesecake over a pretzel crust is topped with a layer of dulce de leche and dark chocolate.  Sweet and salty perfection!

I’ve been craving caramel lately.  Maybe because it’s fall now and caramel seems to be a fall treat.  Whatever the reason, I went on a hunt for caramel cheesecake and found this one at Bon Appetite.  I wanted to add salty to the recipe, so I used a pretzel crust instead of grahams and added dark chocolate.  It is really good.  A subtle caramel flavor with just a hint of salt from the crust.

Caramel Cheesecake5

Want to know how these are made?  Here you go:  (Printable recipe)

INGREDIENTS: (makes 24 cheesecake squares)

Crust:

  • 3 cups of crushed pretzels
  • 2 Tablespoons of sugar
  • 1  stick (1/2 cup) of butter

Cheesecake:

  • 3 packages of cream cheese (8 oz.), softened to room temperature.
  • 1 cup sugar
  • 3 eggs
  • 2 teaspoons of vanilla
  • 1 can (13.4 oz) of Nestle La Lechera Dulce de Leche (or 1 cup of your own- find recipe here)

Topping:

  • 1 bag (10 oz.) Nestle Dark Chocolate Morsels.
  • 12 Tablespoons of butter

DIRECTIONS:

  • Preheat oven to 325F degrees.
  • Make crust by combining crushed pretzels, butter and sugar together and pressing into a greased 9×13 pan.
  • Bake at 325F for about 10 minutes.  Cool completely.
  • In a large bowl, cream together sugar with cream cheese.
  • Add eggs, one at a time, beating on low speed between each one.
  • Add vanilla and 1/2 of the can (about 1/2 cup) of Dulce de Leche.
  • Beat on medium until completely combined.
  • Pour cheesecake over cooled crust and bake at 325F for 45 minutes. (Until center is set)
  • Cool at room temperature.
  • Carefully spread remaining Dulce de Leche over the top of the cooled cheesecake.
  • Melt 12 Tablespoons of butter with dark chocolate chips until smooth.
  • Pour over top, carefully spreading chocolate to cover entire cheesecake.
  • Carefully set pretzels on top of chocolate.  Each one will be in the center of one piece when it is cut, so place them according to how big you want your pieces.
  • Lightly sprinkle with coarse salt.
  • Refrigerate overnight.
  • Before serving, allow cheesecake to warm a little and then using a sharp knife, cut into squares with a pretzel centered in each.
  • Enjoy!

Salted Caramel Cheesecake

My thoughts:  These are really so yummy.  My only problem?  The crust was a little crumbly (you can see in the pictures).  I’m almost positive I didn’t get my pretzels chopped fine enough.  Make sure you chop/food process them into FINE bits- not coarse.

If you don’t want a salty crust just use graham crackers– or Oreos…oh my, caramel cheesecake over Oreos?  Yes, please!  The cheesecake is delicious.  It would be good over any crust.  I hope you enjoy trying it!!!  ~r

Salted Caramel Cheesecake!

Other caramel desserts you might enjoy:

Salted Caramel Cookie Cups (2)Inside-out Caramel Apple!!Caramel Fudge Brownies!!Turtle Cheesecake

Red Velvet Cookies with Cream Cheese Icing

Posted on

Red Velvet Cookies!!

These rich red velvet cookies are covered in a smooth cream cheese icing.  Add a glass of milk and you have the perfect dessert!

I like to experiment in the kitchen.  Usually it takes a few tries before I get something exactly the way I like it (ok, sometimes more than a few tries!)  These cookies were perfect the 1st time.  They are just beautiful cake-like cookies right out of the oven, and they are sooo easy to make.  They honestly could stand alone if you aren’t an icing fan.  The cream cheese icing is incredibly yummy though….so if you are like me and want icing on everything you eat, be sure to try this one!

Red Velvet Cookies!!!

Here’s how to make these yummy cookies: (printable recipe)

INGREDIENTS: (makes 24 medium cookies)

Cookies:

  • 1 cup brown sugar
  • 1 stick (1/2 cup) of butter (softened)
  • 1 egg (beaten)
  • 1/2 cup evaporated milk
  • Red food coloring (to desired shade)
  • 2 cups flour
  • 1/2 teaspoon baking soda
  • 1/2 teaspoon salt
  • 2 squares (1 oz. each) of unsweetened baking chocolate (melted)
  • 1 teaspoon of vanilla

Icing:

  • 4 oz (1/2 package) cream cheese (softened)
  • 1/4 cup of butter (softened)
  • 1/2 teaspoon vanilla
  • dash of salt
  • 2 cups powdered sugar
  • 1/2 cup white chocolate chips (melted)

DIRECTIONS:

Cookies:

  • Preheat oven to 375F degrees.
  • Cream together butter and brown sugar.
  • Add egg and blend well.
  • Put evaporated milk into a small bowl and stir in food color until a deep shade of red.
  • Add dry ingredients, alternating with the red evaporated milk.  (I used a mixer at this point to fully incorporate the red)
  • After batter is well combined, add the vanilla and melted chocolate and blend on low speed until completely combined.
  • Cover cookie sheets with parchment paper and use a medium cookie scoop to spoon dough on sheets.
  • Bake at 375F degrees for 10 minutes.
  • Slide cookies off sheet with parchment paper and allow them to cool on paper completely.

Icing:

  • On medium speed, beat together cream cheese, butter, vanilla, and salt until creamy.
  • Gradually add powdered sugar, beating until smooth.
  • Melt white chocolate chips in the microwave in 30 second increments, stirring between, until smooth.
  • Add melted white chocolate to icing and beat on low until completely combined.
  • Place in a zip-top bag fitted with a decorating tip and pipe frosting on top of cooled cookies.

Red velvet cookies with cream cheese icing!!

My thoughts:  These are easy and really so moist and flavorful.  Perfect with a cold glass of milk or a cup of coffee!  Hope you enjoy them!  ~r

Other fun cookie ideas:

Chocolate Chip Oatmeal CookiesGerman Chocolate CookieGingerbread Cookies!New Zealand Chocolate cookies

Cinnamon Roll Cheesecake with Cream Cheese Frosting

Posted on

Cinnamon Roll Cheesecake!!

This rich and creamy cheesecake has bits of cinnamon roll baked inside.  Little pockets of cinnamon and sweet brown sugar make it into nearly every bite.  You will have a hard time stopping at just one piece!!!

When a craving hits I generally create a brand new recipe to satisfy my curiosity.  A craving hit me right in the middle of church last Sunday.  Right in the middle of a great sermon on Romans I suddenly thought~ “I wonder what cinnamon roll and cheesecake would taste like all together”.  I wondered if you could use refrigerated cinnamon rolls as a crust…I wondered if you could swirl a brown sugar/ cinnamon mixture into a cheesecake without getting tons of cracks…I wondered if the cinnamon cream cheese tubs would work…I also listened to the sermon.  I’m fairly good at multi-tasking 🙂

When I got home I decided two things:

1. I am taking a vacation to Peru in a few weeks and I cannot spend any extra money- so the ingredients needed to be already in my house.

2. I would google “cinnamon roll cheesecake” to see what others had done.

The googling resulted in a surprise.  Several blogs featured recipes and they were all the same recipe from the same source!  Every one of the blogs just ranted and raved about the amazing-ness of this recipe.

I looked the recipe up in Culinary Concoctions by Peabody and realized I already had all of the ingredients.

It was meant to be.

Cinnamon Roll Cheesecake!!!!

It is, as all the other blogs out there have said, AMAZING.  Unbelievably good.  Exactly what I was hoping for in a combination of cheesecake and cinnamon roll.

It is also a labor of love.  Regular cheesecakes take some time.  This is a regular cheesecake and a batch of cinnamon rolls…all together.  Set aside some time and several clean mixing bowls!!

Here’s how to make it:

INGREDIENTS:

Cinnamon Roll Batter:

  • 2/3 cup sugar
  • ¼ cup butter, at room temperature
  • 1 egg
  • ½  cup  milk
  • 1 tbsp vanilla extract
  • 2 cups flour
  • 2 tsp baking powder
  • 1/2 tsp salt

Cheesecake filling:

  • 2 pkg. (8 oz. each) cream cheese, at room temperature
  • 1 cup sugar
  • 1 tbsp vanilla extract
  • 2 tbsp flour
  • 3 eggs

Cinnamon Filling:

  • 1/3 cup butter, melted
  • 1 cup brown sugar
  • 3 tbsp cinnamon

Cream Cheese Frosting:

  • 2 ounces cream cheese, at room temperature
  • 3 tbsp butter, at room temperature
  • 2 tsp vanilla
  • 1 cup powdered sugar
  • milk (if needed to thin frosting)

DIRECTIONS:

  • Preheat oven to 350 degrees F.
  • Grease a 9-inch Springform pan.

Cinnamon Roll Batter:

  • Using a mixer,  cream together the butter and sugar.
  • Add egg, milk, and vanilla. Beat for about one minute, scraping down bowl.
  • Add flour, baking powder, and salt to the creamed ingredients. Mix on low speed until throughly combined.

Cheesecake Filling:

  • In a separate bowl, use a mixer to beat cream cheese and sugar for about 2 minutes on medium-high speed.
  • Add the eggs one at a time, beating together scraping down the bowl after each addition.
  • Add the vanilla and flour and beat for another minute.

Cinnamon Filling:

  • In a small bowl, combine the melted butter, cinnamon, and brown sugar. Mix until thoroughly combined.

You have three individual parts to this cheesecake now.  The batter, the cheesecake and the filling.
Here is how to put them together:

  • Spread half of the batter onto the bottom of the Springform pan. It will be sticky and thick so spray your hands with baking spray and press down. It will be a thin layer, but trust me it will rise up during baking.
  • Pour all of the cheesecake batter on top of the cinnamon roll batter that is in the prepared pan.
  • Drop spoonfuls of the cinnamon filling over the entire top of the cheesecake.
  • Take the rest of the base batter and drop spoonfuls over the entire top of cheesecake. Once finished, take a knife to swirl the ingredients together.  I say swirl, but its really just a big yummy chunky mess– just kind of gently mix all the toppings together without digging into the bottom crust.

Cinnamon Roll Cheesecake - steps

  • Bake for about 50-55 minutes, cake will be puffy and lightly browned.
  • Let it cool for 20 minutes at room temperature and then cover and move to fridge for at least 4 hours (or overnight).  
  • Remove cake and let it warm up to room temperature just a bit. While you are waiting, make your cream cheese frosting.

Cream Cheese Frosting:

  • In a clean bowl, beat the cream cheese and butter together for about 2 minutes.
  • Add remaining ingredients and beat until desired consistency is reached. If too thick, thin out with milk.
  • Pipe over the top of chilled cheesecake and serve….so yummy!

Cinnamon Roll Cheesecake!!!!!My thoughts:  If you don’t mind a little extra prep time in the kitchen, this recipe is truly worth every bit of effort.  The best part?  Since it has cinnamon rolls in it you really CAN eat cheesecake for breakfast with no guilty conscience… and I can tell you that a piece of this with a cup of coffee really is a perfect way to start the day!!!!  Enjoy!!!  ~r

Is it cheesecake?  Is it cinnamon roll?It's BOTH!!!!!

Is it cheesecake? Is it cinnamon roll?
It’s BOTH!!!!!

Other cinnamon inspired treats from Easybaked:  Just click on an image to get the recipe!

Cinnamon Cheesecake SundaesMexican Chocolate MilkCinnamon Roll Cupcakes!Pumpkin Pie Dip!

Strawberry Lemonade Cupcakes!!!!

Posted on

Strawberry Lemonade Cupcakes!!!!

Two years ago today, I started a blog.  I had no idea it would blossom into what it is today, and no idea I would have so much fun with it!  I’ve made such great new friends, learned so much about photography and design, and loved every second of the process.

In honor of our anniversary, I chose the recipe that is (by far!) the most visited on the site and re-made it in cupcake form.  Strawberry Lemonade Cake is already on the Easybaked site twice:

Strawberry-Lemonade Layer CakeStrawberry Lemonade Birthday Cake

Strawberry Lemonade Layer Cake                       Strawberry Lemonade Birthday Cake

The Layer Cake is more like a torte, the lemonade mixture is more like a filling than a frosting.

The Birthday Cake has a lemonade frosting, and it is one of my very favorite frostings ever.  It’s soooo creamy and light.

Both recipes top the list of my most popular recipes, together they have been viewed just over 435,000 times (as of today…!)

It seemed fitting that I feature everyone’s favorite recipe to celebrate two years with all of you~ so let me present:  Strawberry Lemonade Cupcakes:

Strawberry Lemonade Cupcakes!!!!!

These are easy to make (much easier than a layer cake, in my opinion) and just the yummiest treat.  I loved the pink wrappers and the paper straws I found for these- I think they would be such a fun shower, picnic or birthday party treat!!

INGREDIENTS:

  • One box of strawberry cake mix (plus oil, water and eggs as directed on box)
  • 2- 8oz. packages of Philadelphia Cream Cheese (softened to room temp.)
  • 1 packet (0.23oz.) of Kool-Aid Lemonade
  • Yellow food coloring  (as desired for color)
  • 1- 7oz. container Jet-Puffed Marshmallow Creme
  • 1/3 c. powdered sugar
  • 8 oz. Cool Whip Topping
  • Confetti sprinkles and paper straws to decorate as desired

DIRECTIONS:

  • Make cake according to box and bake in 24 cupcake liners placed in cupcake tins, as directed.  Cool completely.
  • In a mixing bowl, cream together cream cheese, lemonade and yellow food coloring until smooth.
  • Beat marshmallow creme and powdered sugar into cream cheese mixture and then fold in Cool Whip until completely smooth.  
  • Spoon frosting into a zip top bag that has a piping tip inserted into one corner (I used a Wilton 1M star tip).
  • Pipe frosting on tops of each cupcake- you can be generous, as this recipe makes a lot of frosting and the frosting is so light and fluffy.
  • Decorate as desired.
  • Refrigerate and serve chilled.  
  • Enjoy!!!!!

Strawberry Cupcakes!!!!

My thoughts:  A tried-and-true recipe in a fun new format…what’s not to love about that?!?  I’m incredibly thankful for all of YOU who visit, comment, “like”, rate and (most of all) MAKE the recipes I create!  I had no idea how much I would love hearing from complete strangers that a recipe “made my husband’s birthday perfect” or “made all the kids at the party laugh”.  When I hear how happy a recipe makes you and your family it literally makes my day…and fuels my desire to bake and share more!  Here’s to another year of Easybaked recipes!  Enjoy!  ~r

Strawberry Lemonade Cupcakes Front and Back

06-13-14 Did you know, that this recipe is now available in a set of adorable note cards? With a picture of these cupcakes on the front, the recipe on the back, and lots of space inside to write a note, these are a PERFECT little gift!  Why send just a card, when you can send the gift of a recipe as well?!?  Click here for more information and to order.

Strawberry Lemonade Cupcakes !!!!

A year of easybaked recipes.....

Such a fun year….check out our photo gallery for these and other yummy treats!

Easter Mini-Cheesecakes

Posted on

Easter Cheesecake Cups

These colorful mini-cheesecakes are made with malted milk ball eggs and have a sugar cookie crust…yum!

I love seasonal candy.  I love Cadbury eggs at Easter and Tim Tams at Christmas and conversation hearts at Valentines Day….but the Whopper brand malted milk ball eggs are the best.  Did any of you use the outside shell as colorful “lipstick” as a kid?  So fun!  Crunch them up in a whipped cheesecake and put them in a fun Mini Cheesecake Pan for a dessert that will make everyone smile!

INGREDIENTS: (makes 12 mini cheesecakes)

  • One Nestle Sugar Cookie Dough Bar (the refrigerated dough that is scored into 24 squares)
  • 8 oz. of Philadelphia Cream Cheese (softened)
  • 1/3 c. granulated sugar
  • 2 t. vanilla
  • 1 (8 oz) container of Cool Whip
  • 2 bags (10 oz. each) of Whopper’s Robin Eggs (I used mini’s, but I’m sure the full size would work fine too.)  You could use regular Whopper candies to get the same flavors when the seasonal Robin’s Eggs are not available.

DIRECTIONS:

  • Preheat oven to 350 degrees.
  • Prepare pan by placing the metal disks into each cup (the Mini Cheesecake Pan comes with metal disks that sit at the bottom of each cup- like the bottom of a spring form pan!)
  • Break apart 1/2 of cookie dough bar.  (This recipe makes 12 cheesecakes but the bar contains 24 cookies.  You can double this recipe and make 24 cheesecakes or just make the other 12 cookies another time.)
  • Roll each cookie dough square into a ball and put it into a greased cup in the mini cheesecake pan.
  • Bake at 350 for 12-14 minutes.
  • Cool completely.
  • In a mixing bowl, cream together softened cream cheese and sugar. 
  • Add vanilla.
  • Smash one full bag of Malted Milk Chocolate Eggs.  I put them in a ziplock , placed them on a cutting board and hit them with a hammer until they were in pieces about the size of mini chocolate chips.
  • Fold about 2/3 of Cool Whip and  the one bag of smashed eggs into the cream cheese mixture.
  • Spoon cheesecake mixture into a large zip-top bag.  Clip a large piece of one corner off and pipe filling evenly over each cooled cookie crust.
  • Use a knife or spatula to smooth tops of cheesecakes flat across top of pan.
  • Freeze for about 3-4 hours (or overnight)
  • Remove from freezer, pop cheesecakes out by pushing up on the bottom of each cup. (This took a little practice for me- you have to push it up high enough to grab it by the cookie part.)
  • Remove the metal disk from the crust.
  • Pipe remaining 1/3 of Cool Whip on top of each cheesecake and decorate with  malted milk chocolate eggs as desired
  • Keep refrigerated until serving.

Easter Cheesecake Cups

My thoughts:  These are a yummy, colorful and fun Easter treat!  They go together fast too- which is always a bonus for me.  You can make these in a muffin tin, if you don’t want to invest in the mini-cheesecake pan- but mine has been a great addition to my kitchen- so many fun things to make in it!!!  Hope you enjoy these fun little treats!!!  ~r

Easter Cheesecake Cups!!

Other Easter ideas from Easybaked (click on an image to get the recipe):

Chocolate Easter Eggs with Peanut Butter FillingEasy Easter cut out cookiesOreo pops!!!!!Raspberry Confetti Kisses

Other ways to use your Mini Cheesecake Pan:

frozen s'more cupsMini Pineapple Upside Down CakesMini chocolate chip cookie cheesecakesMini Cookie Dough Cheesecake

Butterscotch Caramel Cheesecake

Creamy butterscotch cheesecake and a thick layer of caramel sauce over a gingersnap crust .  A unique combination of delicious seasonal flavors!!!

Are you ready for Thanksgiving?  Have you decided what you’re having for dessert yet–other than the proverbial pumpkin pie?  This cheesecake combines three unique fall flavors- ginger, butterscotch and caramel- and it simply melts in your mouth.  Wow your guests with an Easybaked cheesecake!!

INGREDIENTS:

Crust:

  • One bag (13 oz.) of Archway ginger snaps, finely crushed. (approximately 2 cups)
  • 1/4 c. butter

Cheesecake:

  • 2 (8oz.) packages of Philadelphia Cream Cheese (softened)
  • 1/2c. sugar
  • 3 eggs
  • 2 c. butterscotch chips (melted)
  • 1 c. heavy whipping cream
  • 3 tsp. vanilla

Caramel Topping:

  • 32 Kraft caramels (unwrapped)
  • 1/2c. butter
  • 1 can (14oz.) sweetened condensed milk

DIRECTIONS:

  • Preheat oven to 325 degrees
  • Crush cookies into fine crumbs and add melted butter.  Combine well and press into the bottom of a 9-Inch Springform Pan
  • Beat softened cream cheese with sugar until smooth.
  • Add eggs one at a time, beating in between each one.
  • Add remaining cheesecake ingredients, beating until smooth.
  • Pour into crust and allow to sit at room temp for 30 minutes.
  • Place on a cookie sheet and bake for 60 minutes,
  • Turn off oven, open oven door a little and allow to sit for another 30 minutes.
  • Remove from oven and run knife around edge of pan.  Remove edge of pan. 
  • Allow to come to room temperature (make caramel topping during this time.)
  • Put caramels, condensed milk and margarine into a saucepan and melt over medium heat, stirring constantly until smooth (6-8 minutes)
  • Pour caramel over the top of the cooled cheesecake, spreading to edges.
  • Refrigerate overnight
  • Remove bottom of pan when cheesecake is thoroughly chilled.
  • Before serving, pipe whipped cream around edges of cheesecake if desired and sprinkle with a little cocoa powder.


My thoughts: A flavorful creamy cheesecake.  I love the gingersnap crust– that adds a lot of the fall spice to this.  I ADORE caramel- so there’s a lot of it on this cheesecake.  If you want less, simply halve the recipe and be happy!!  Have a wonderful Thanksgiving with your family and friends!!!!  Enjoy!  r~

One last yummy bite…..

Other cheesecake recipes from Easybaked that you might enjoy~ click on the image to be taken to the recipe:

Shop Amazon – Black Friday Deals Week