RSS Feed

Tag Archives: strawberry

Strawberry Cream Confetti Cups!

strawberry-cream-confetti-cups

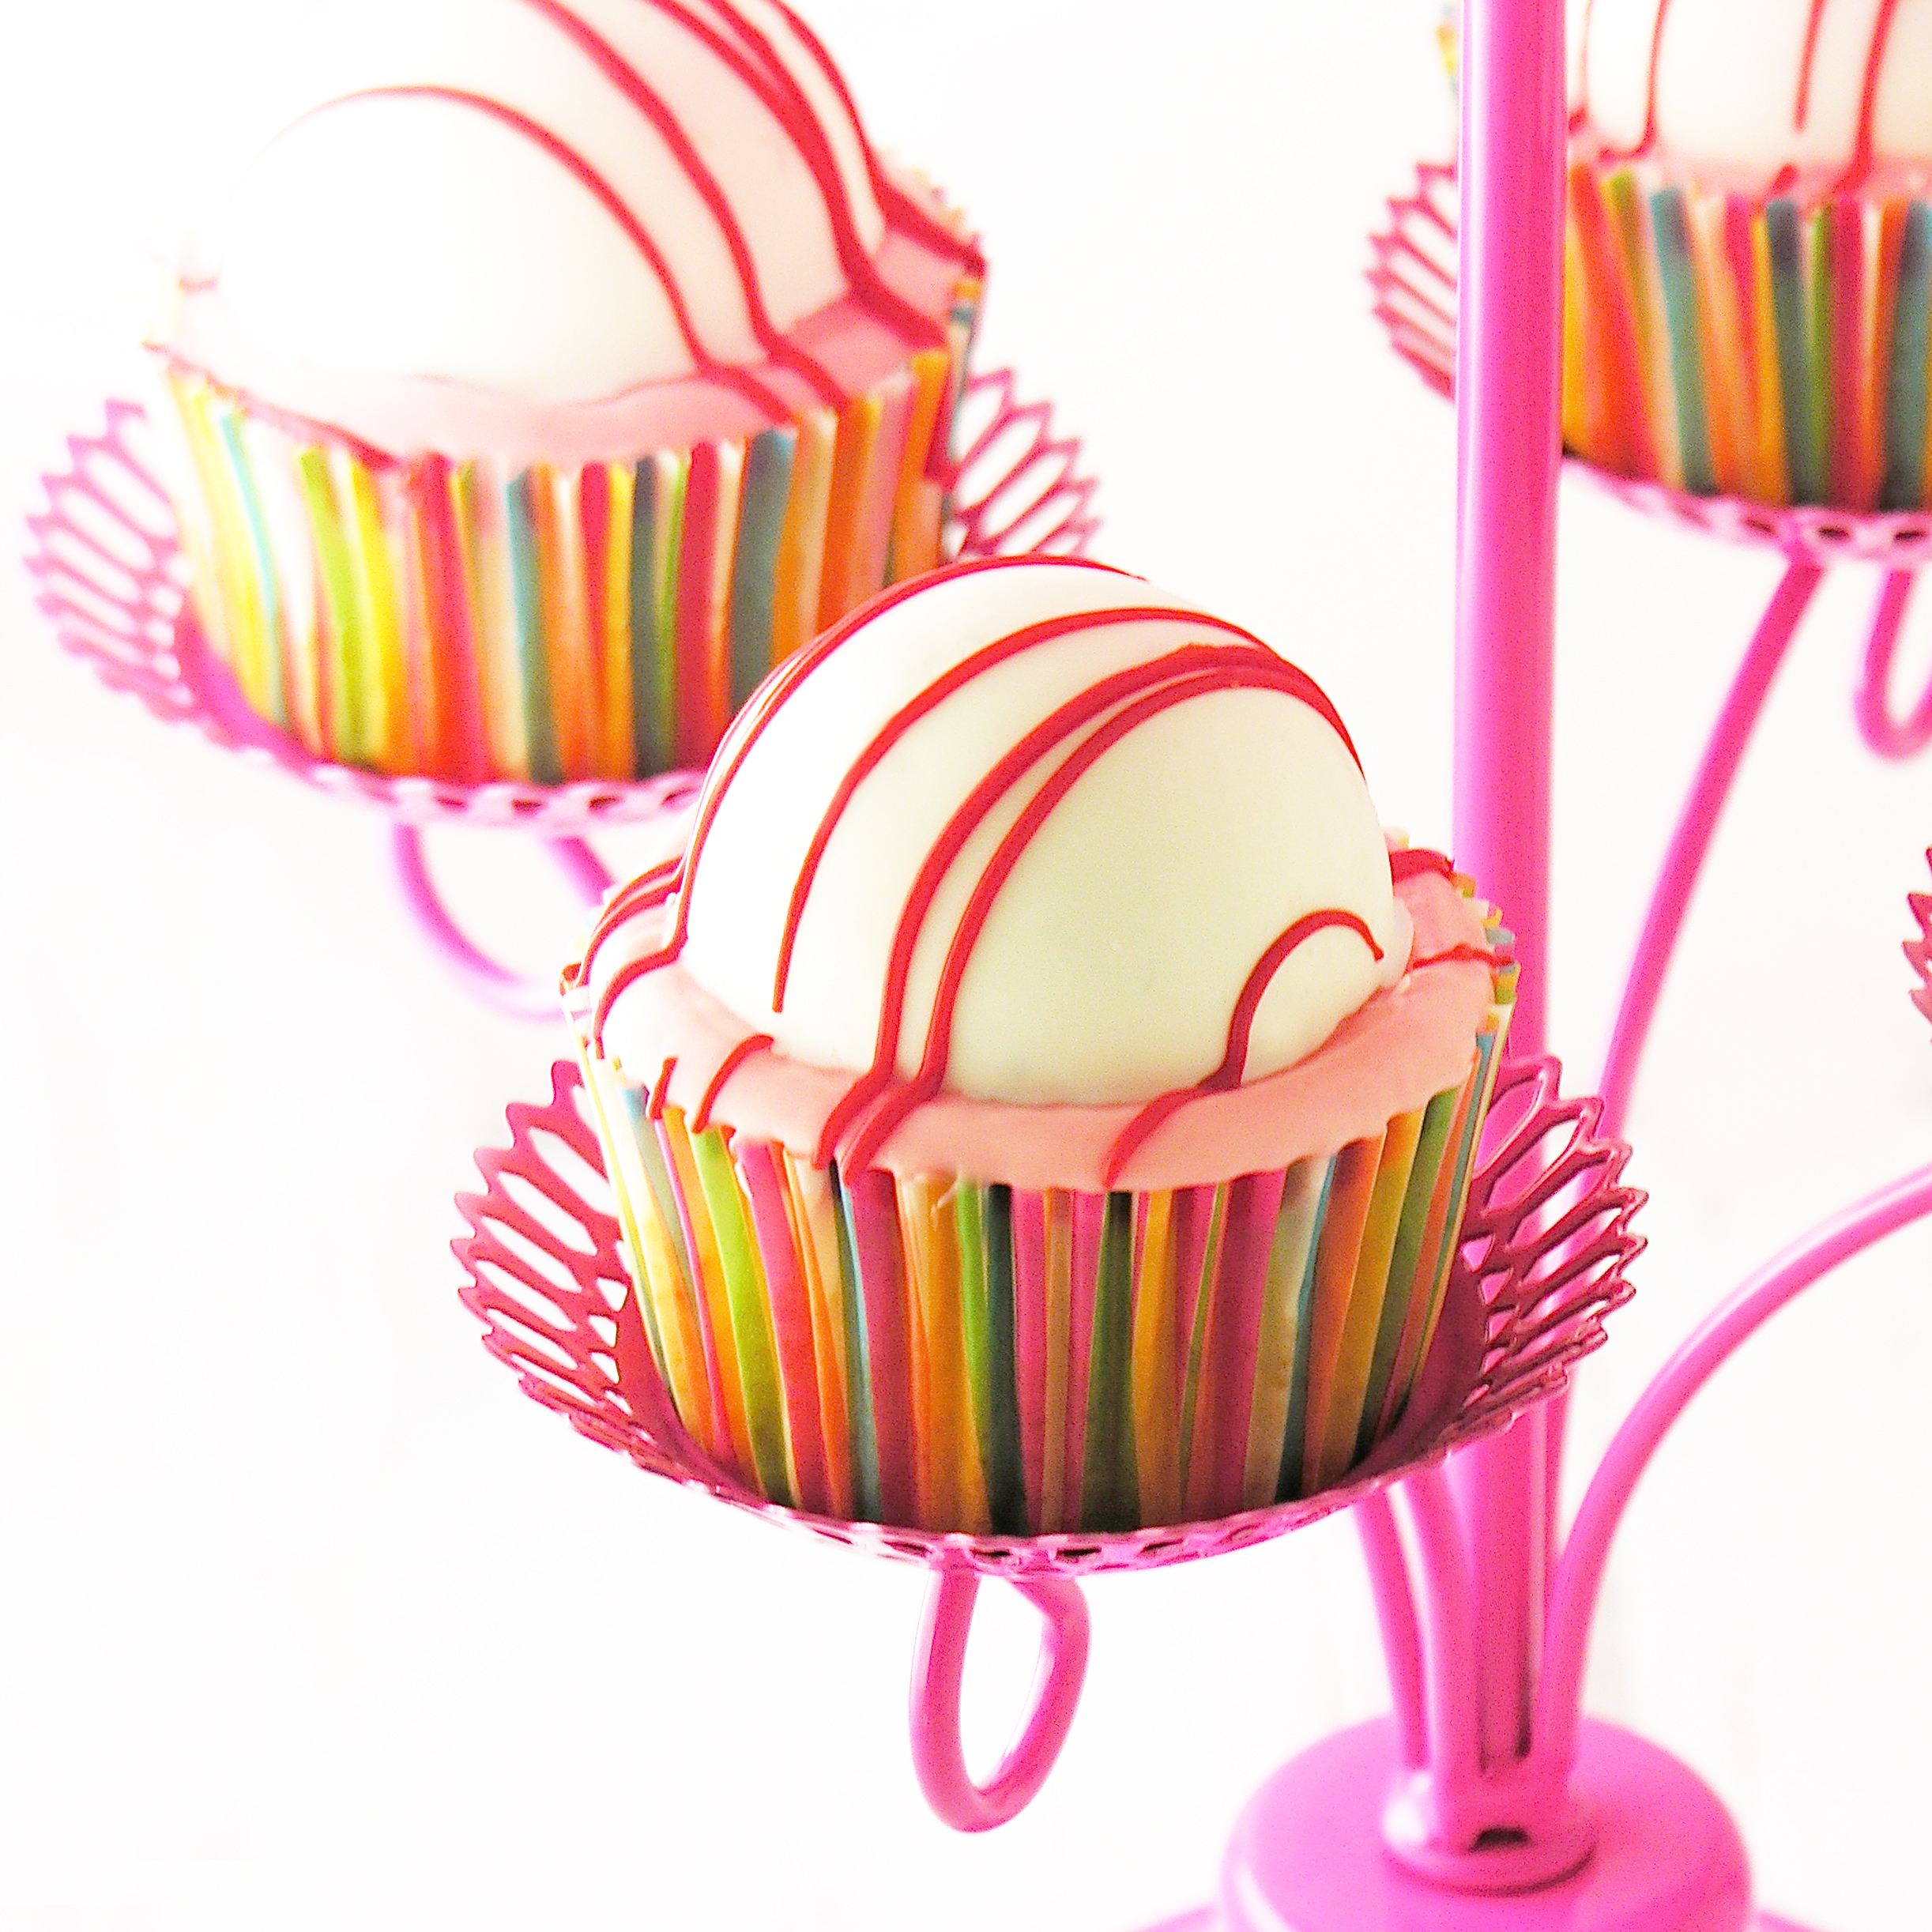
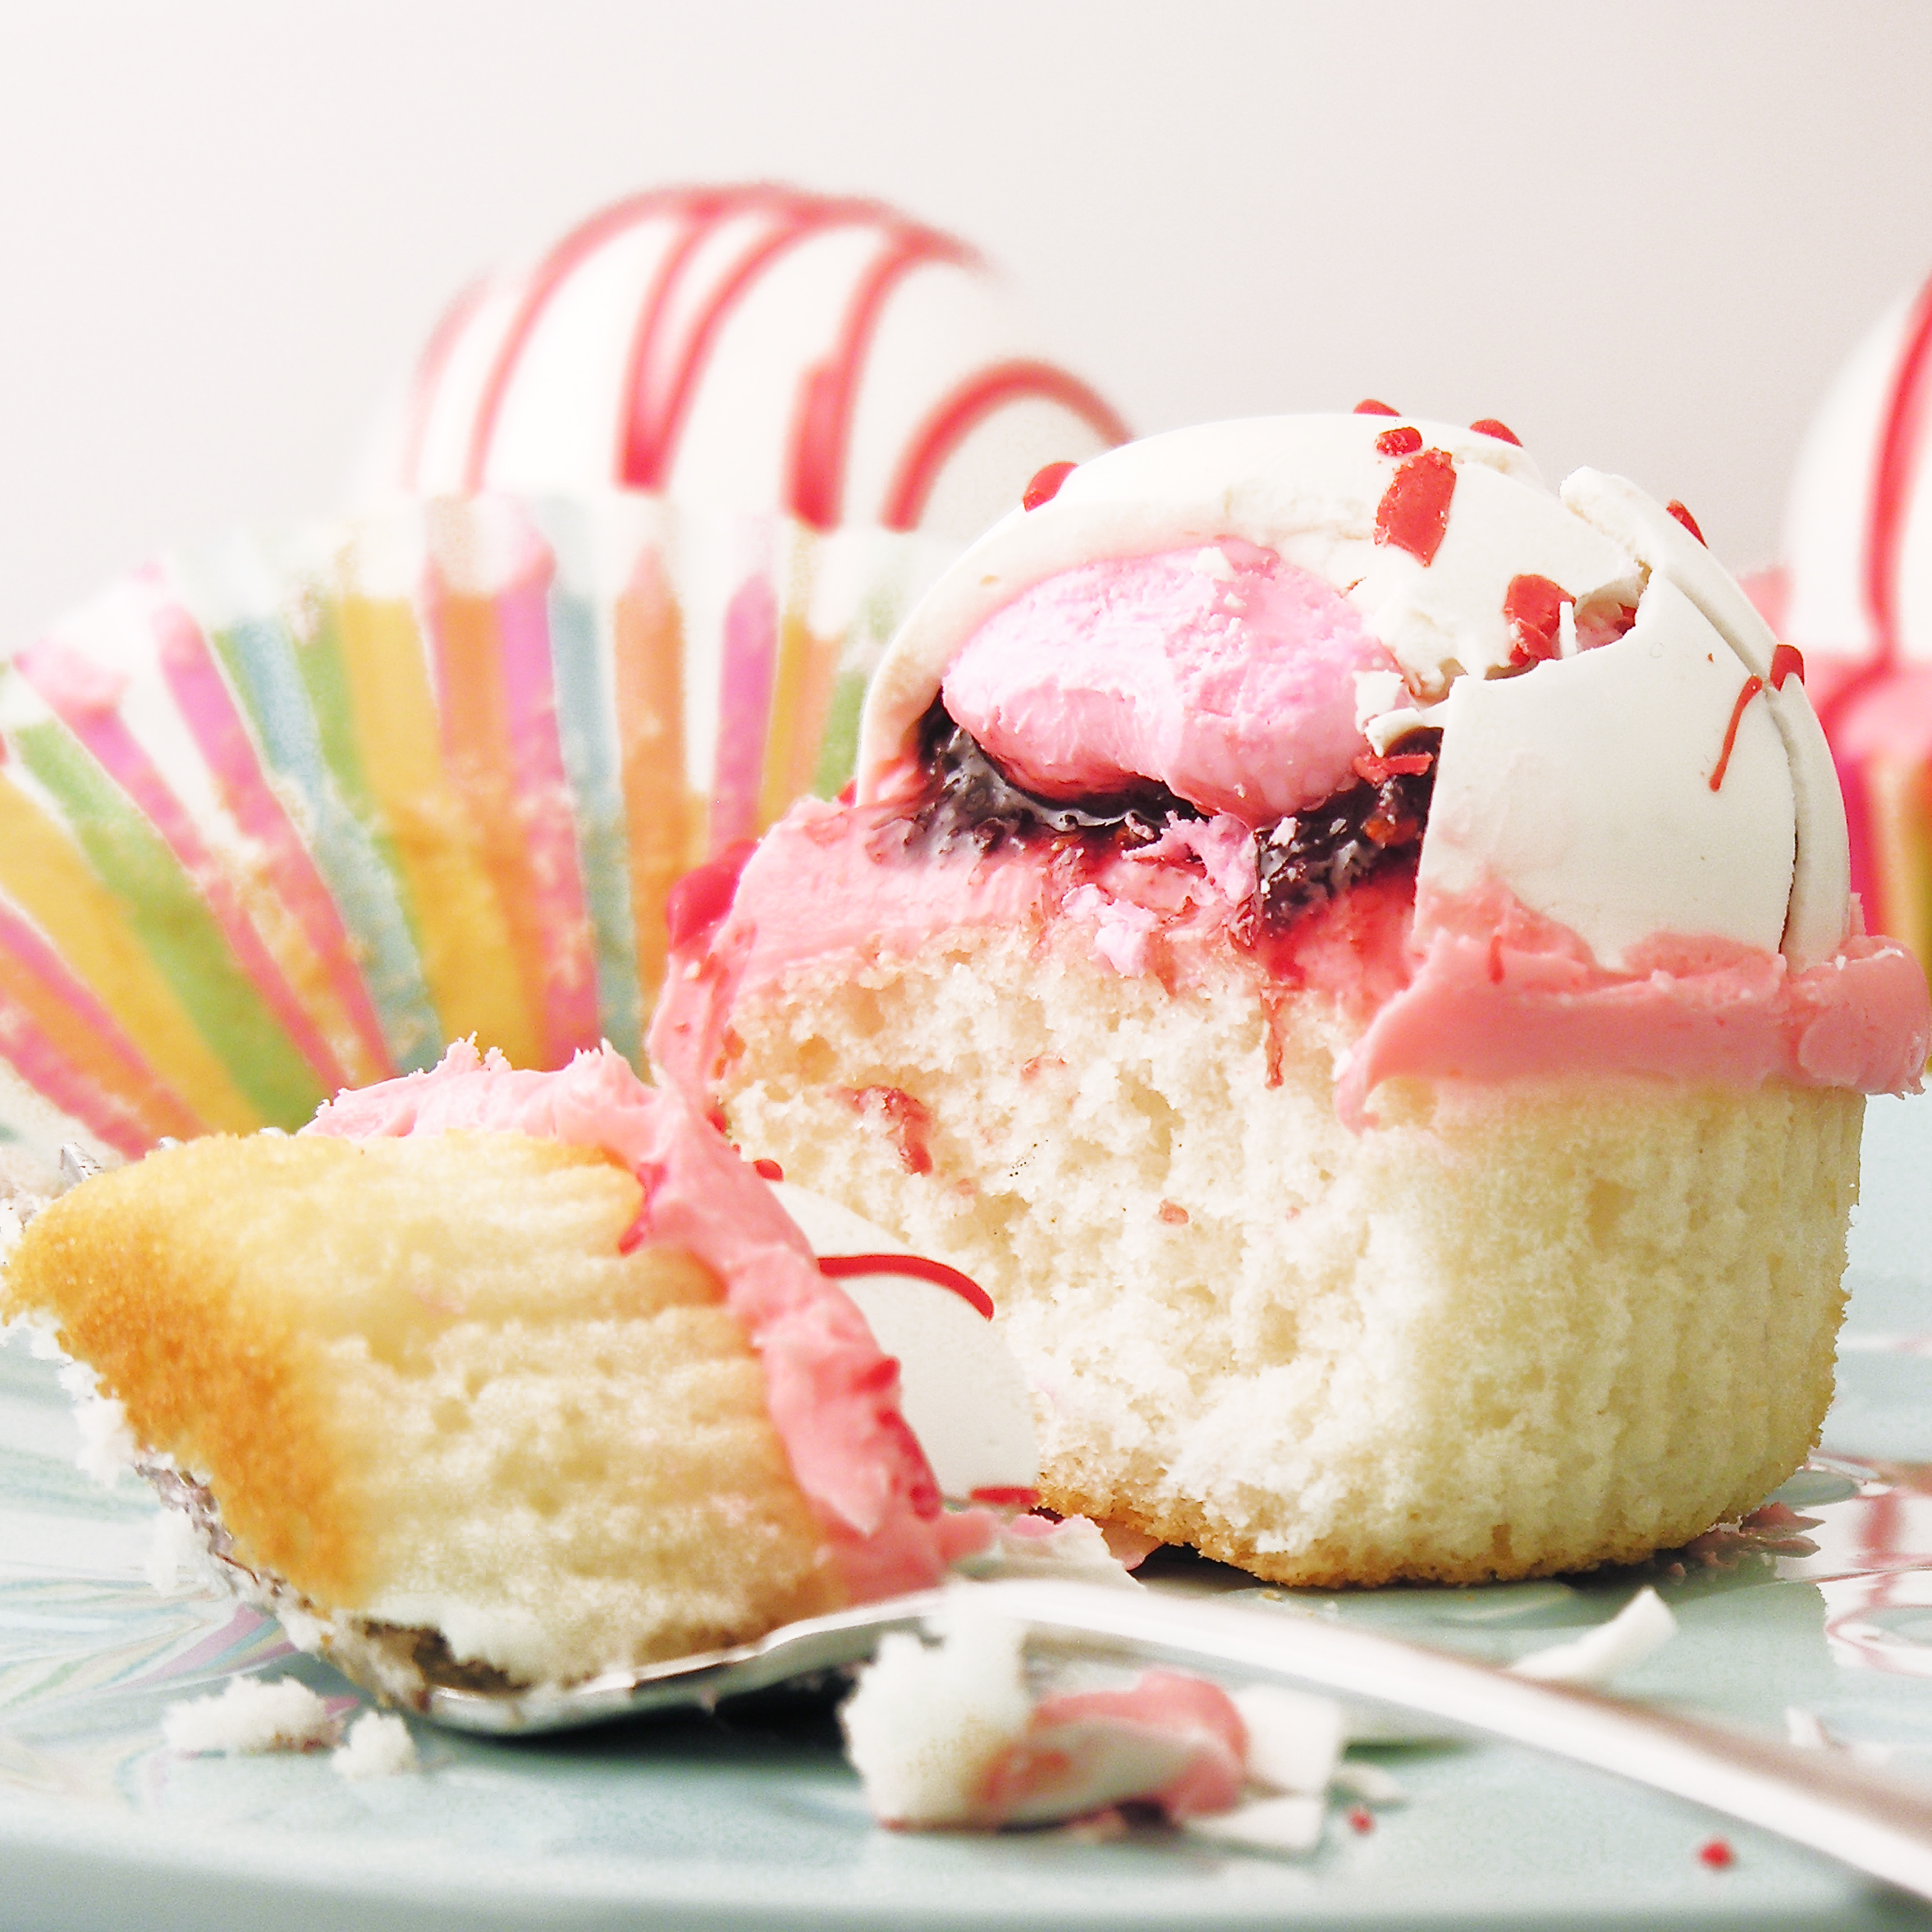
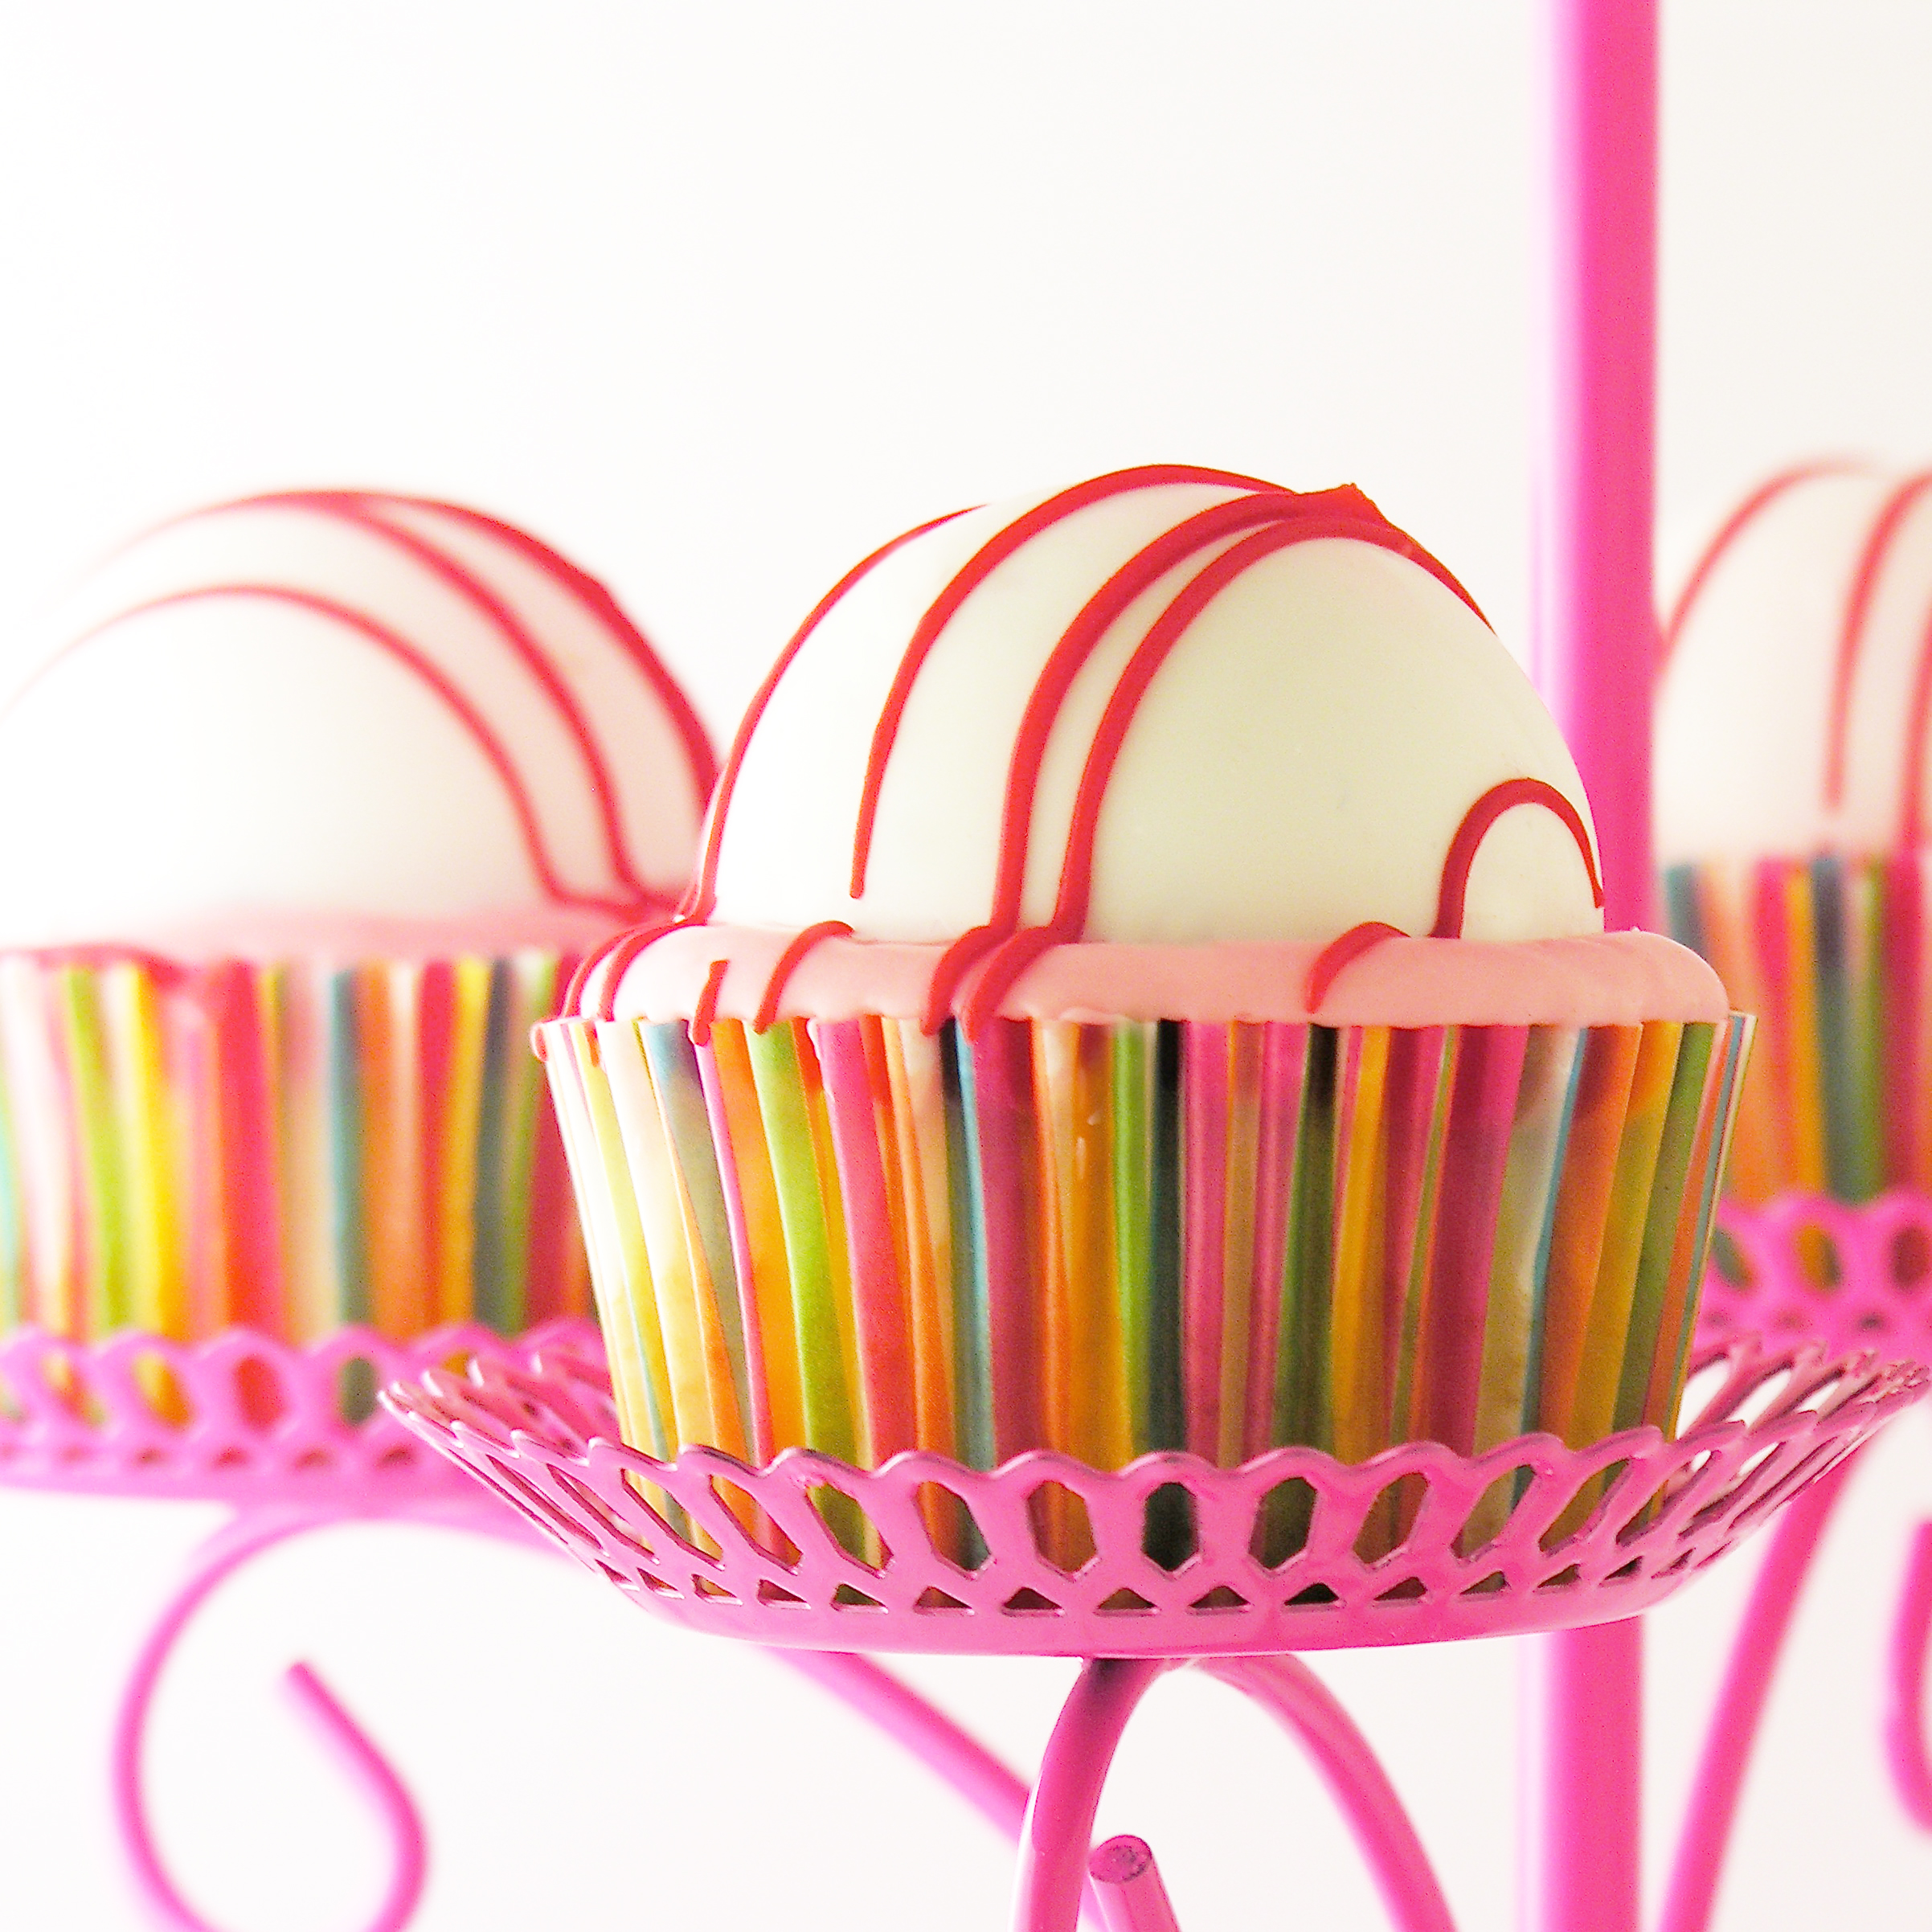
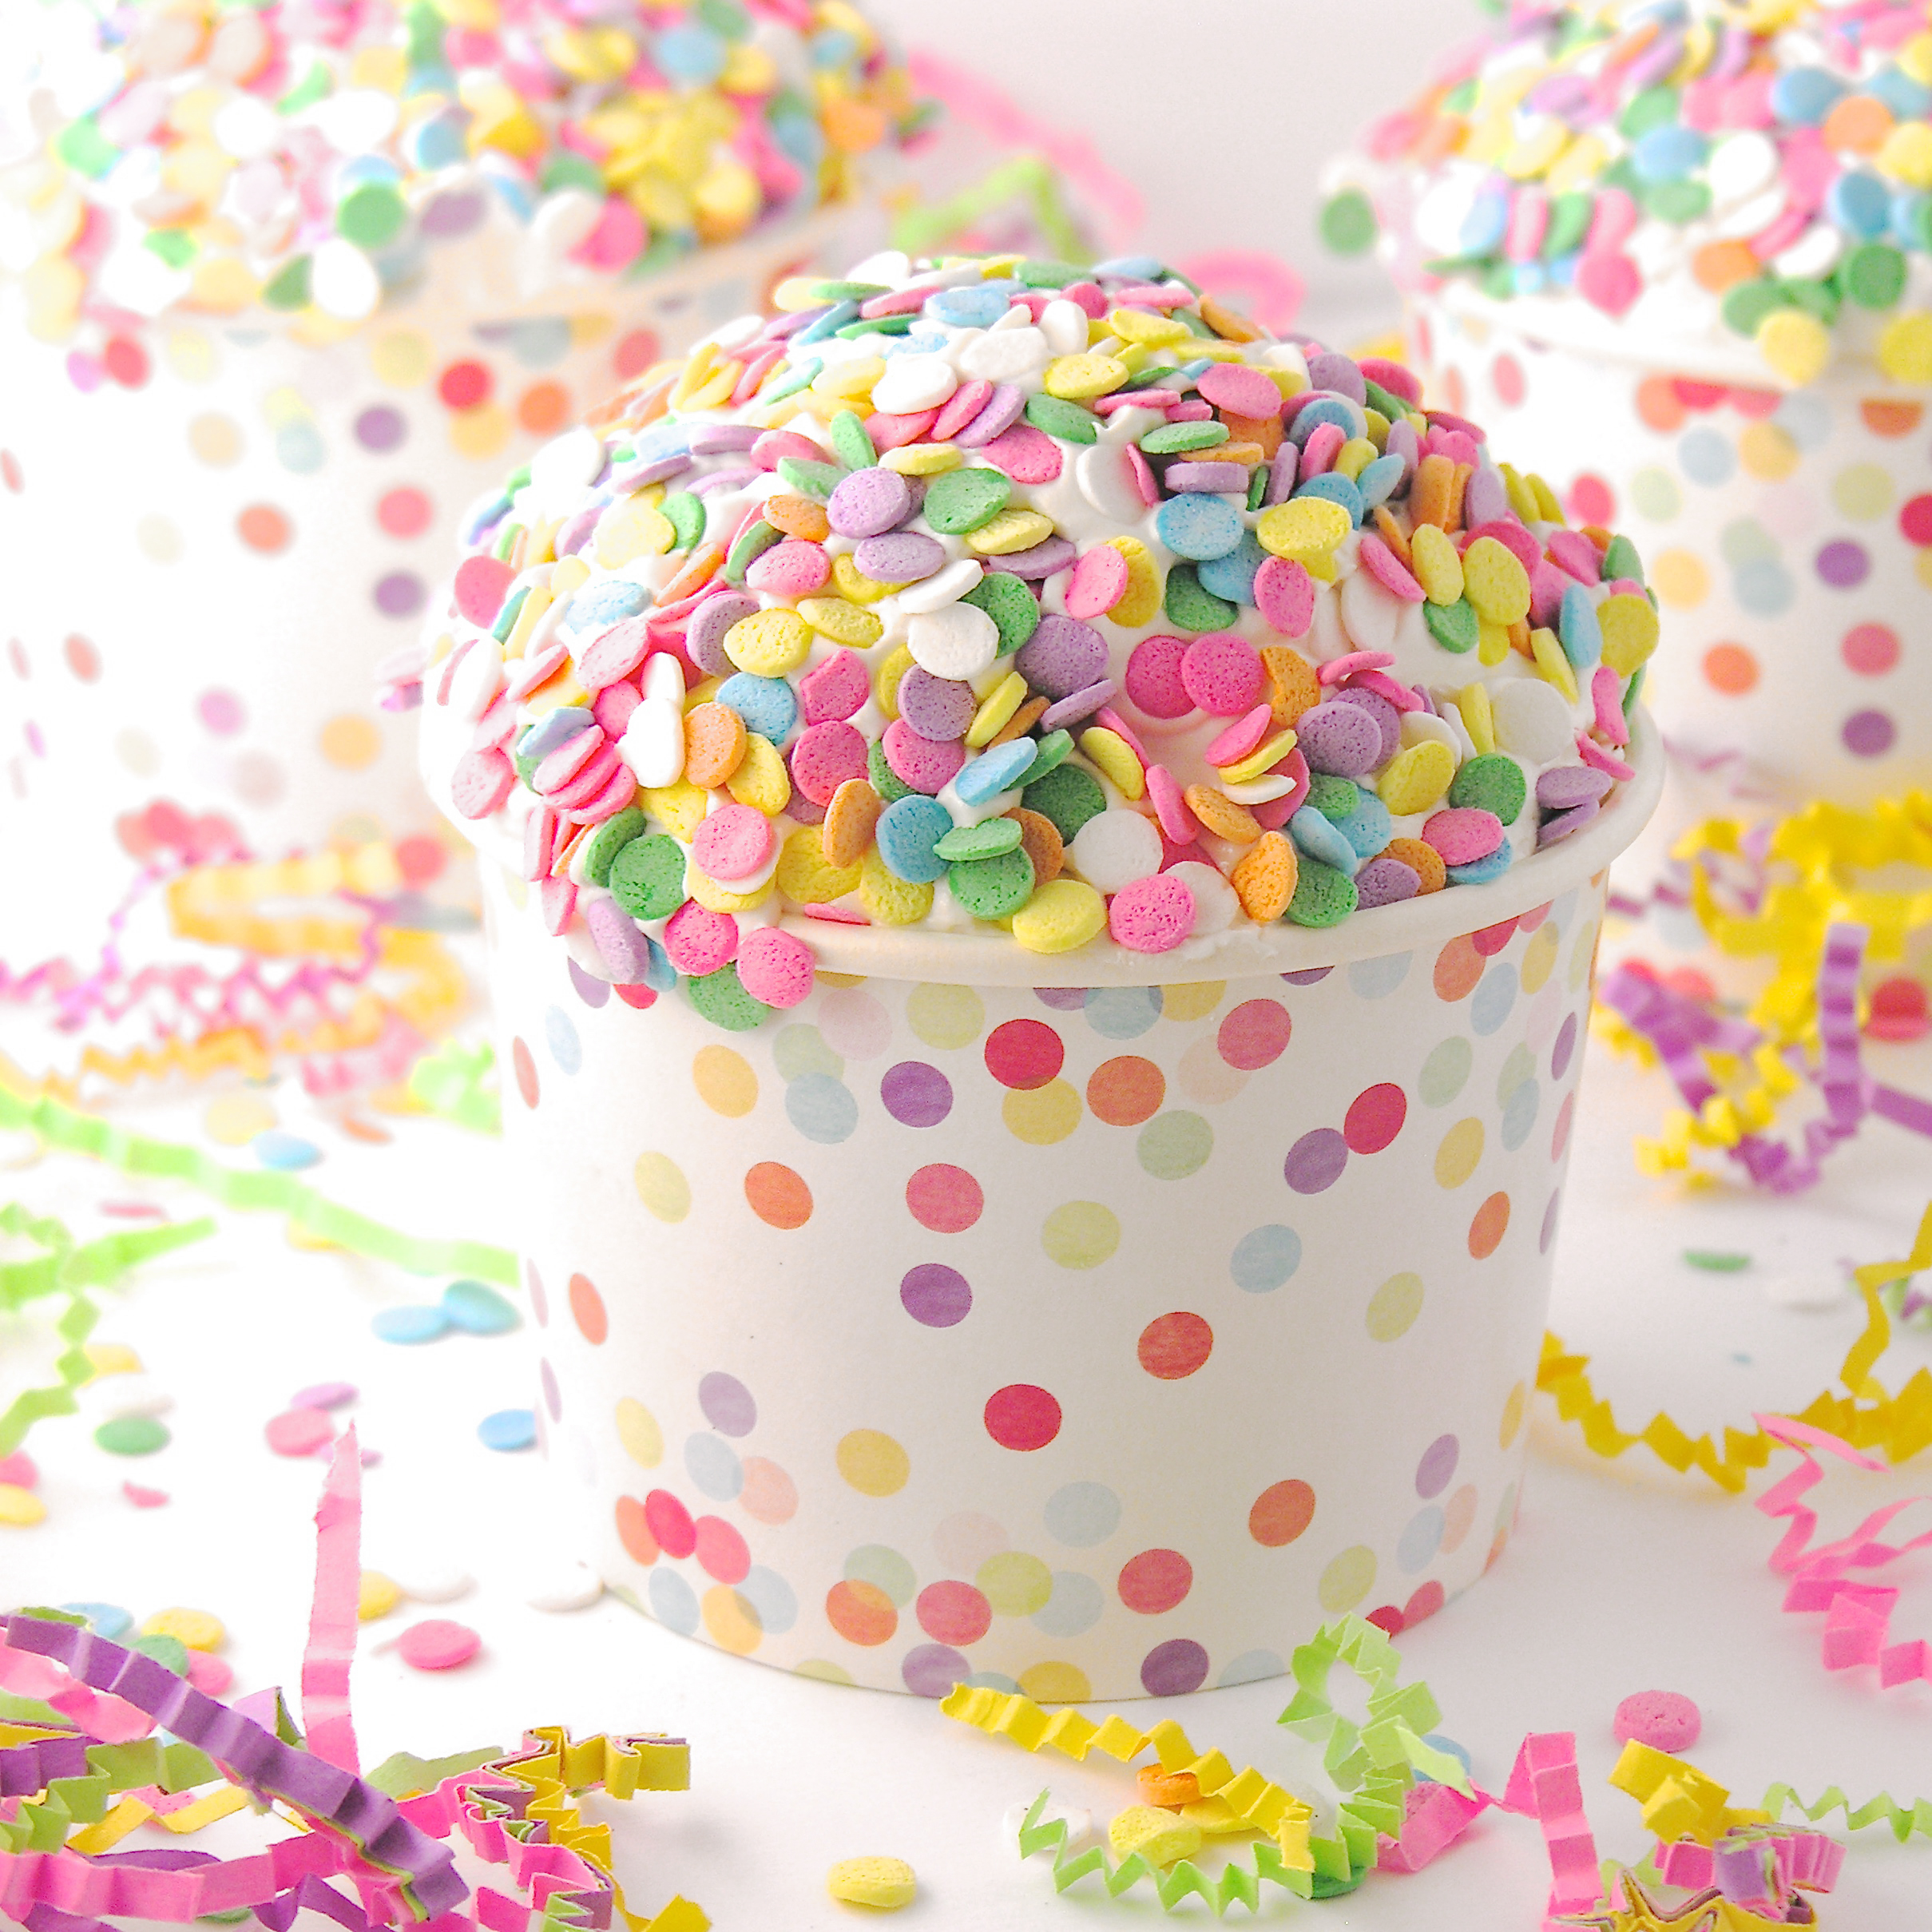
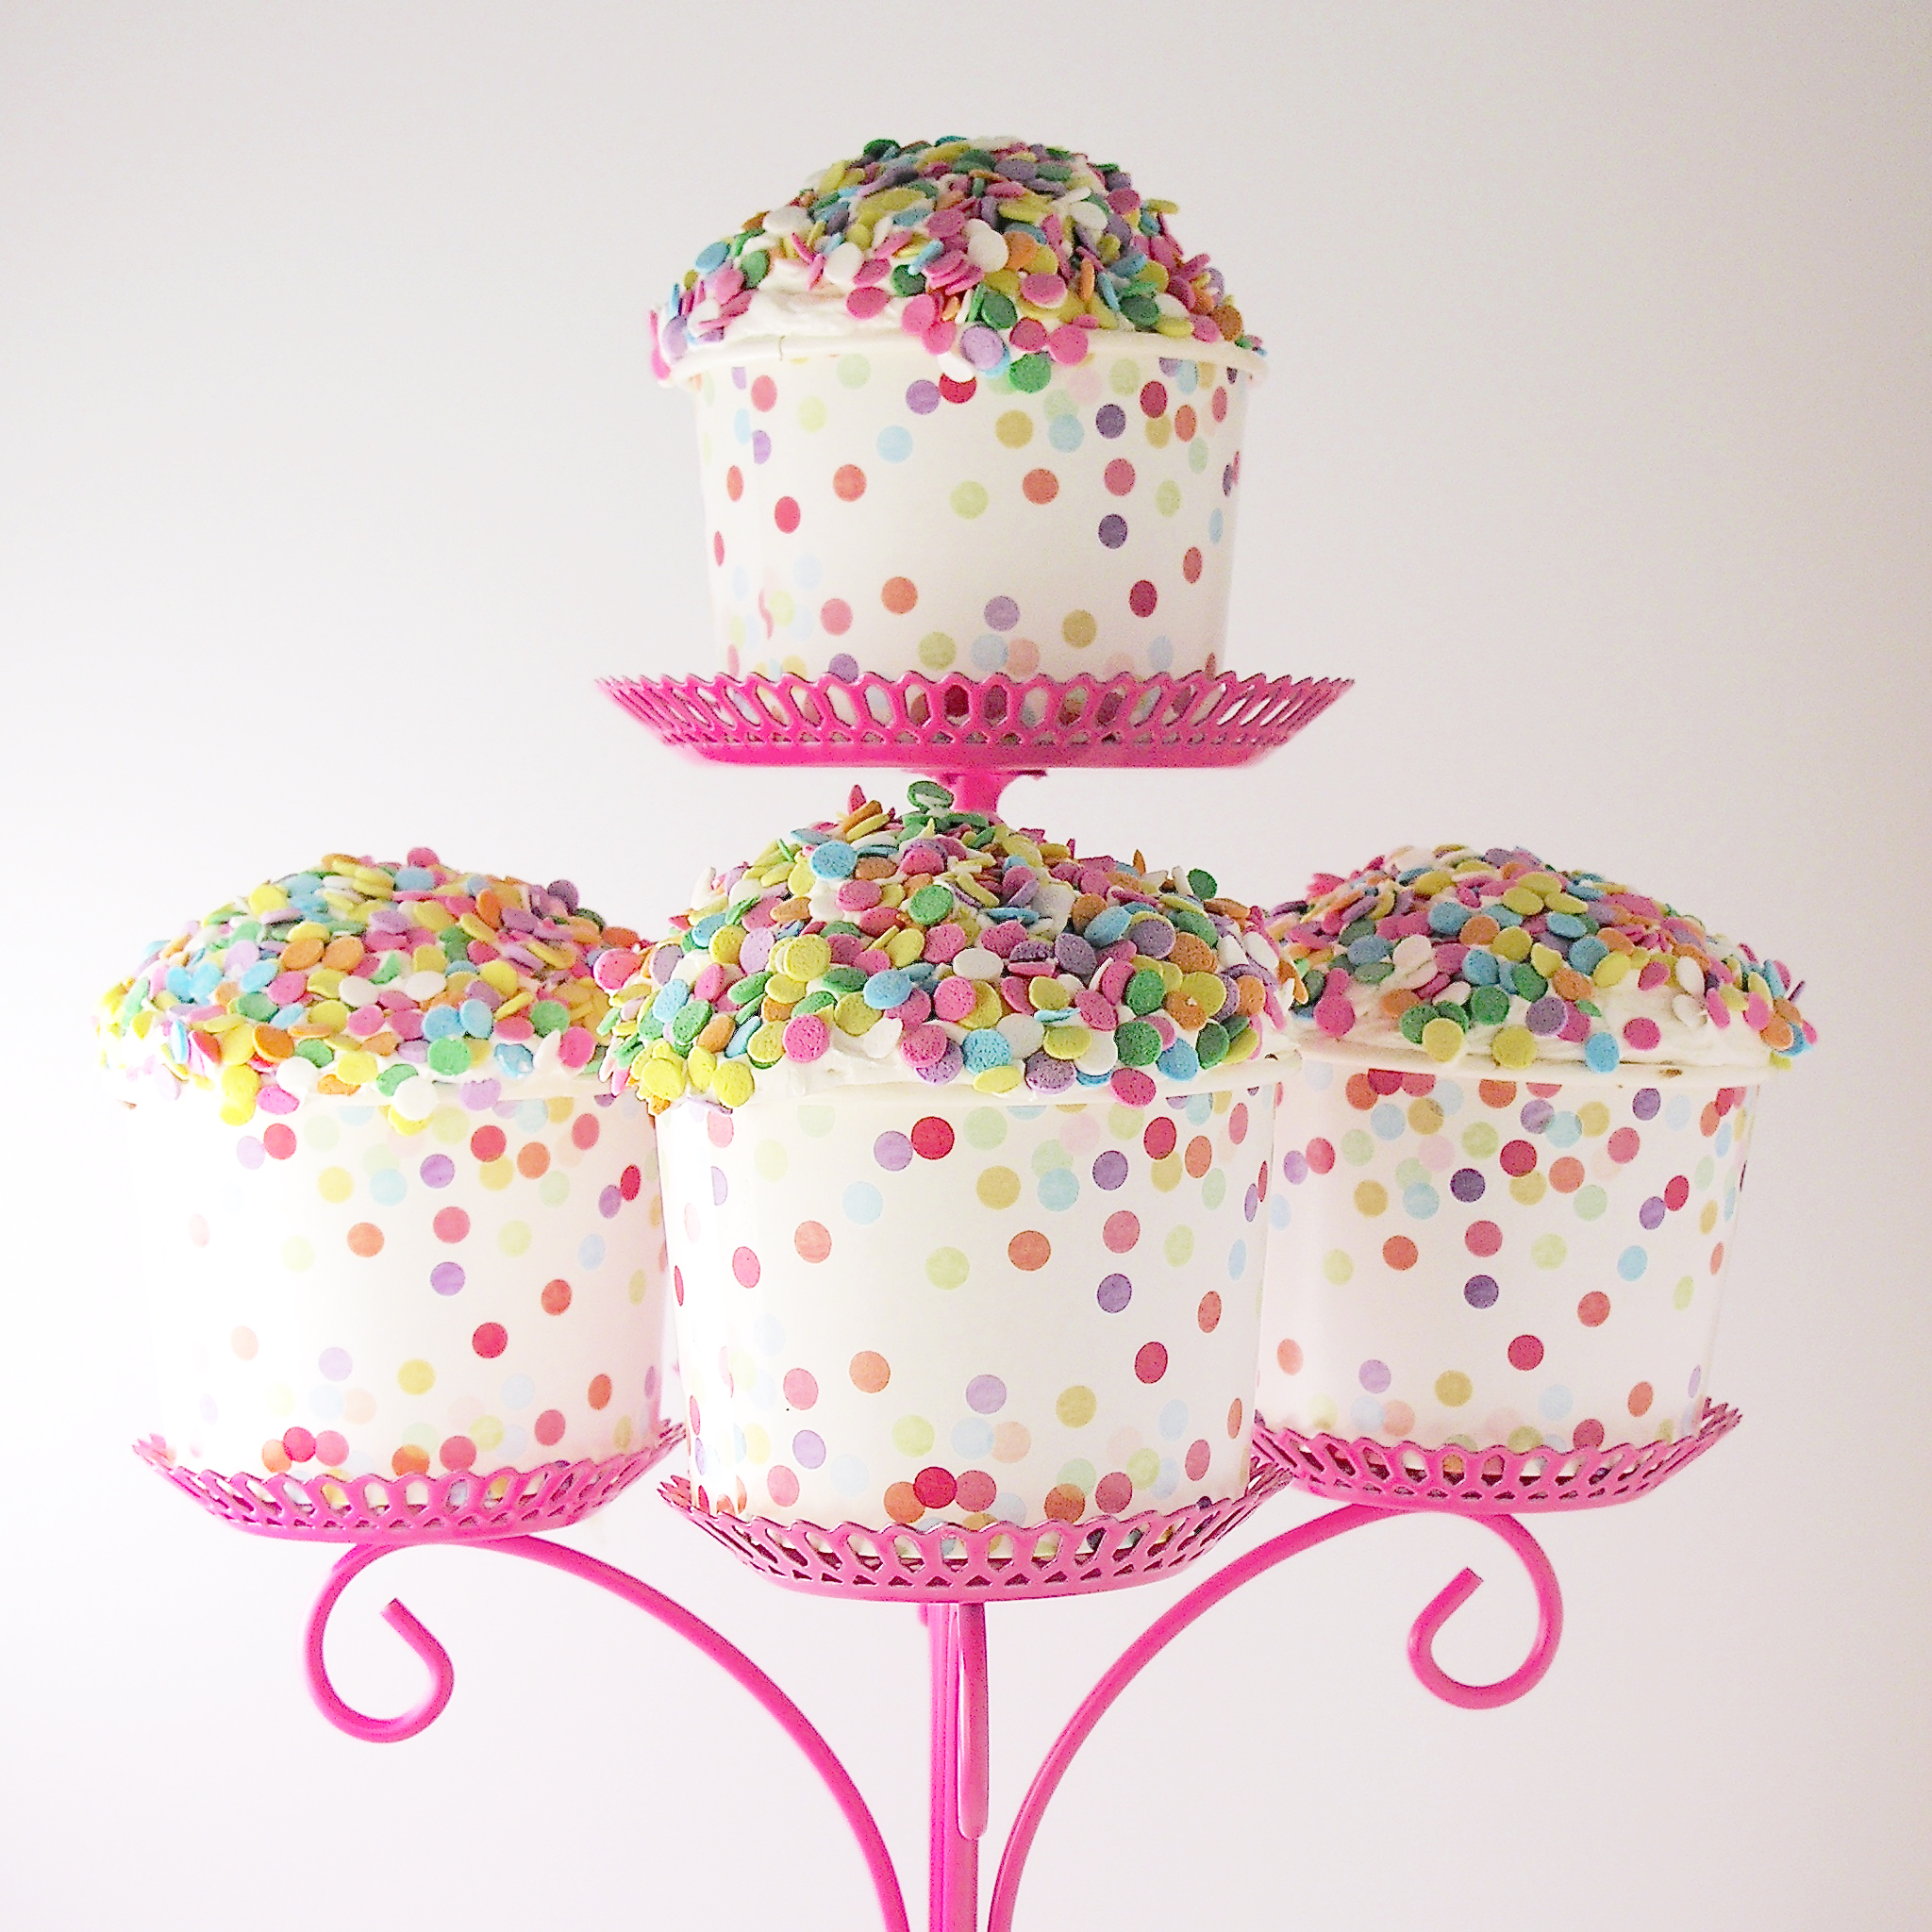
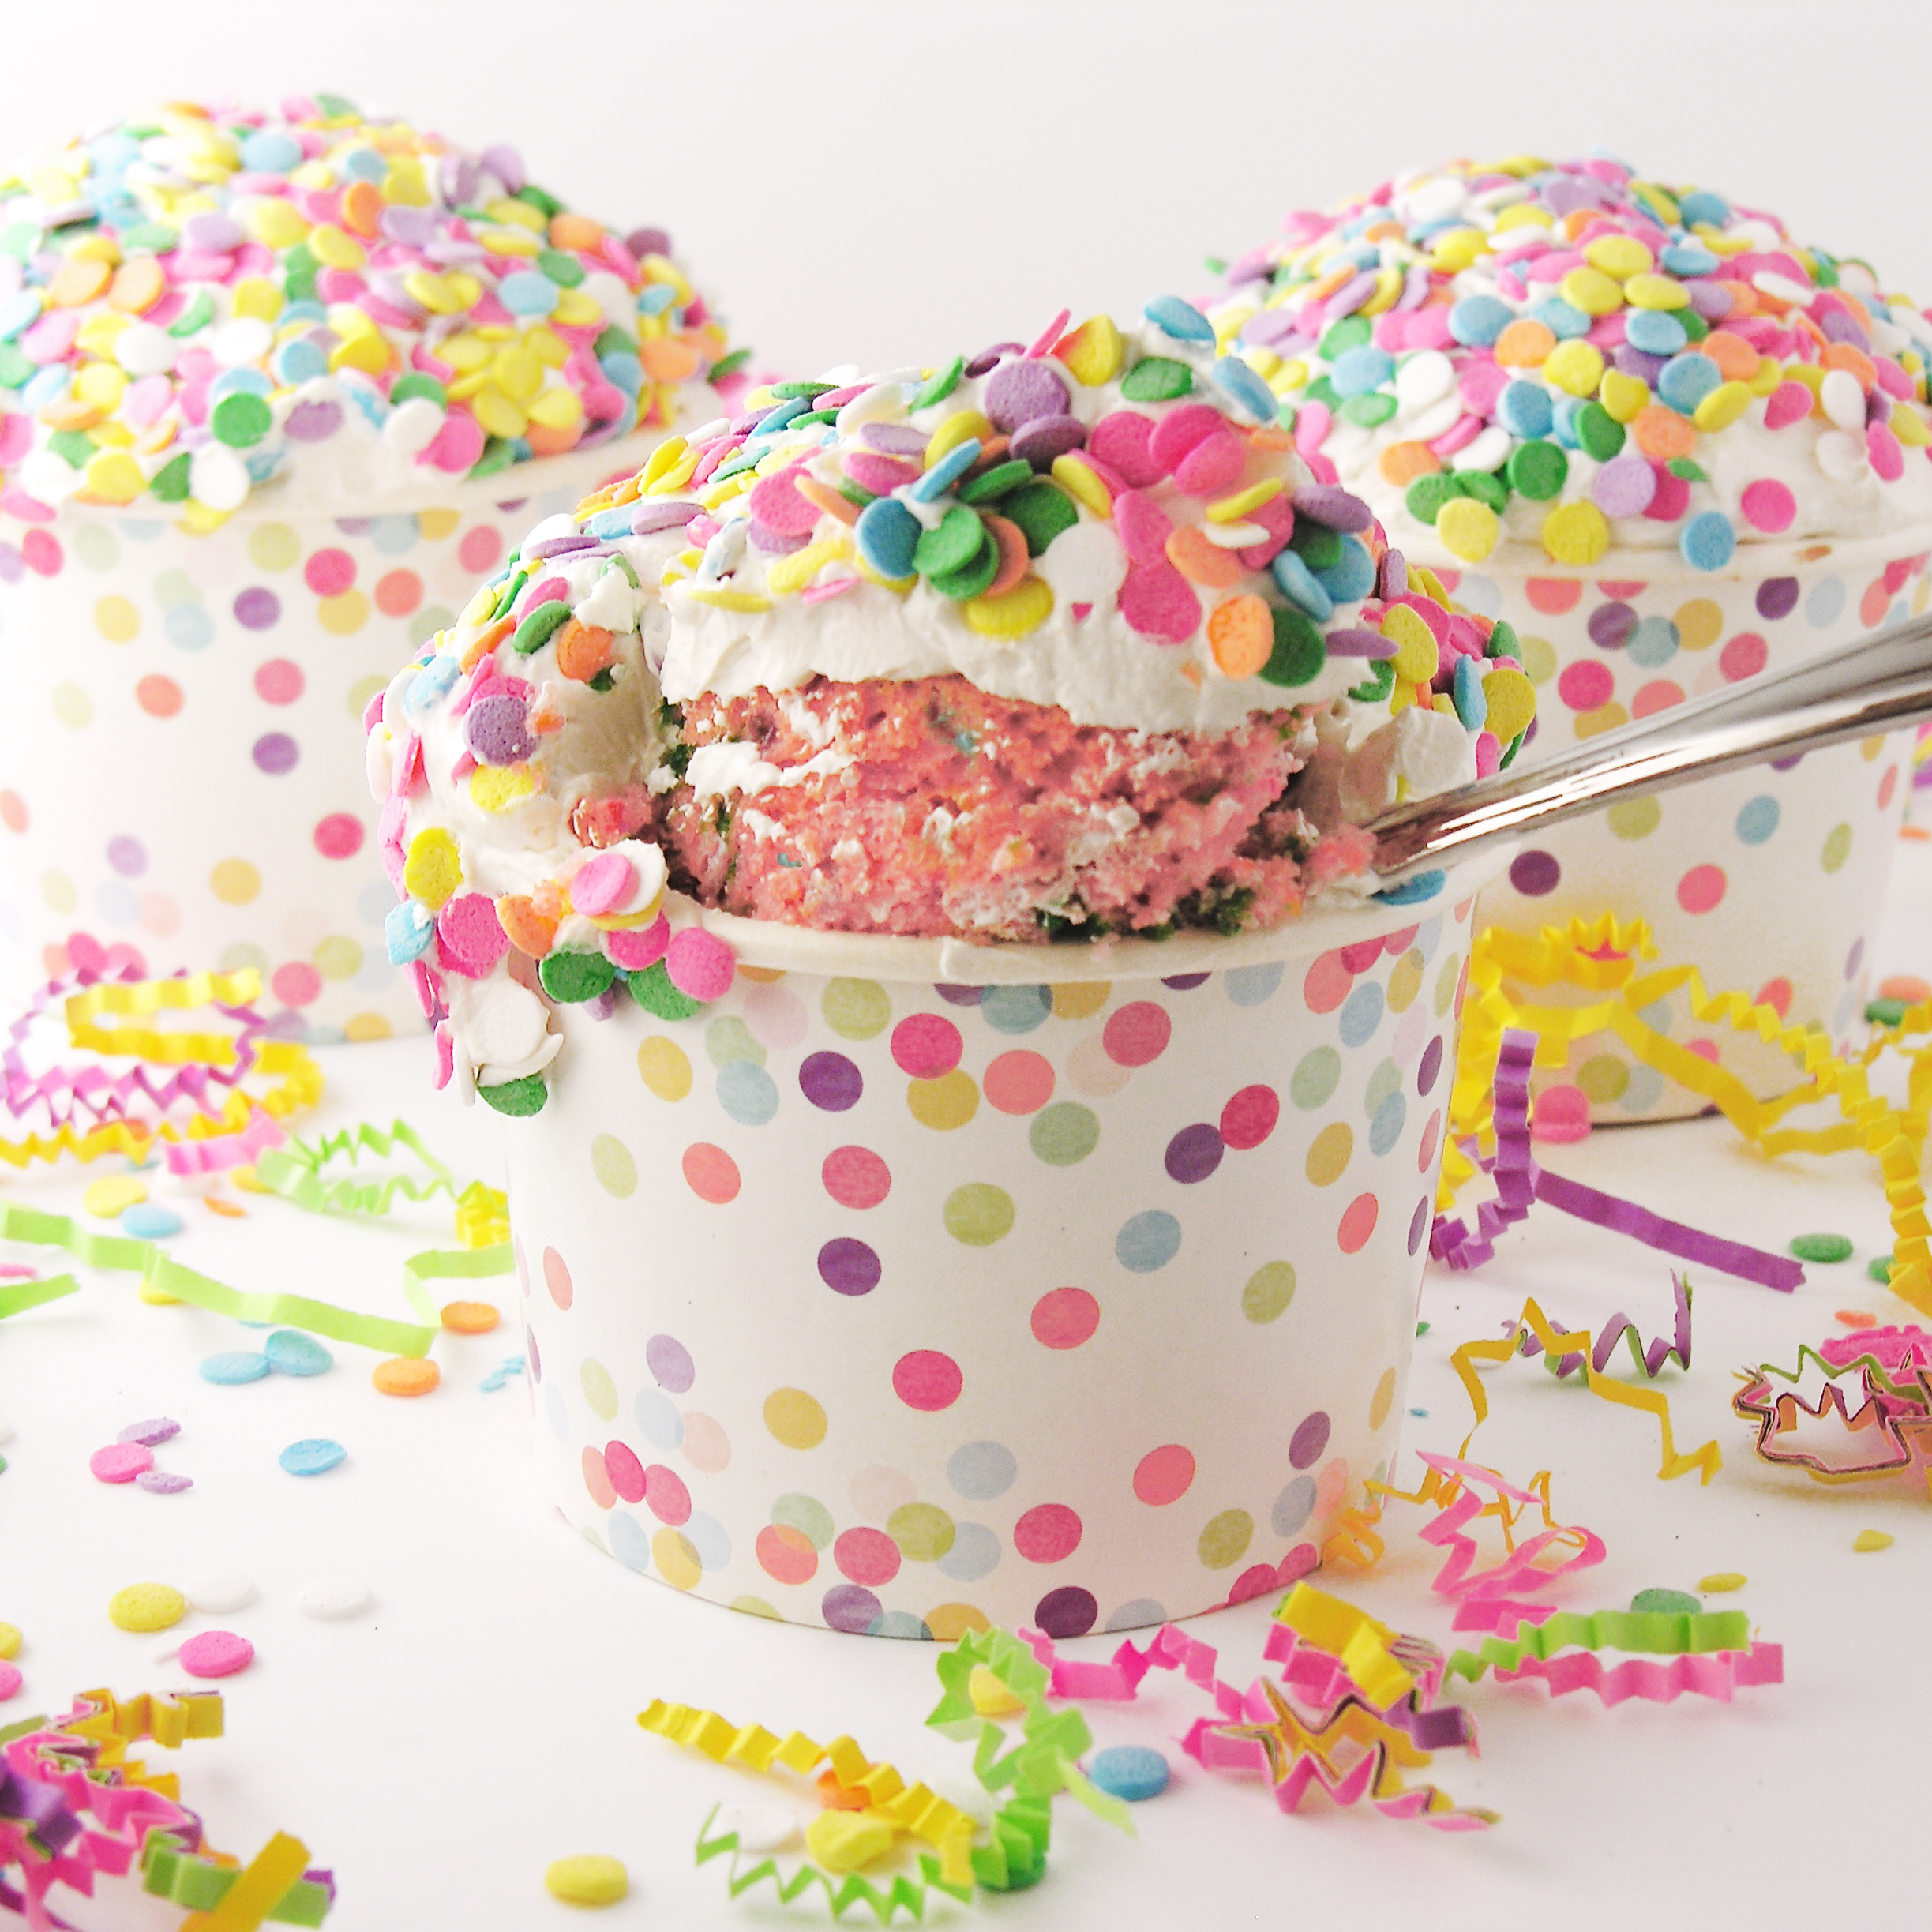
Nothing says “Happy New Year” like confetti!!!  These cakes, baked in cups, have confetti in every fun bite!

Confession: I am a confetti addict. I LOVE it. I don’t mind vacuuming it up for months after New Year’s Eve- at all! A few years ago we piled as much confetti as we could on my ceiling fan blades and at midnight we turned on the fan. Ah— SO much fun!!!!  You should totally try it. As a side note… on Cinco de May0 we also piled little candies on the fan and turned it on. We called it a “FAÑATA” ! 🙂 It hurt a little…but the memories!!!

Someday I want to be in Times Square on NYE…mainly for the confetti, but this year I will celebrate at my dad’s, and I have serious doubts about the level of confetti at our party…but he reads my blog, so maybe he will be inspired by my ideas! (*hint *hint dad…!)

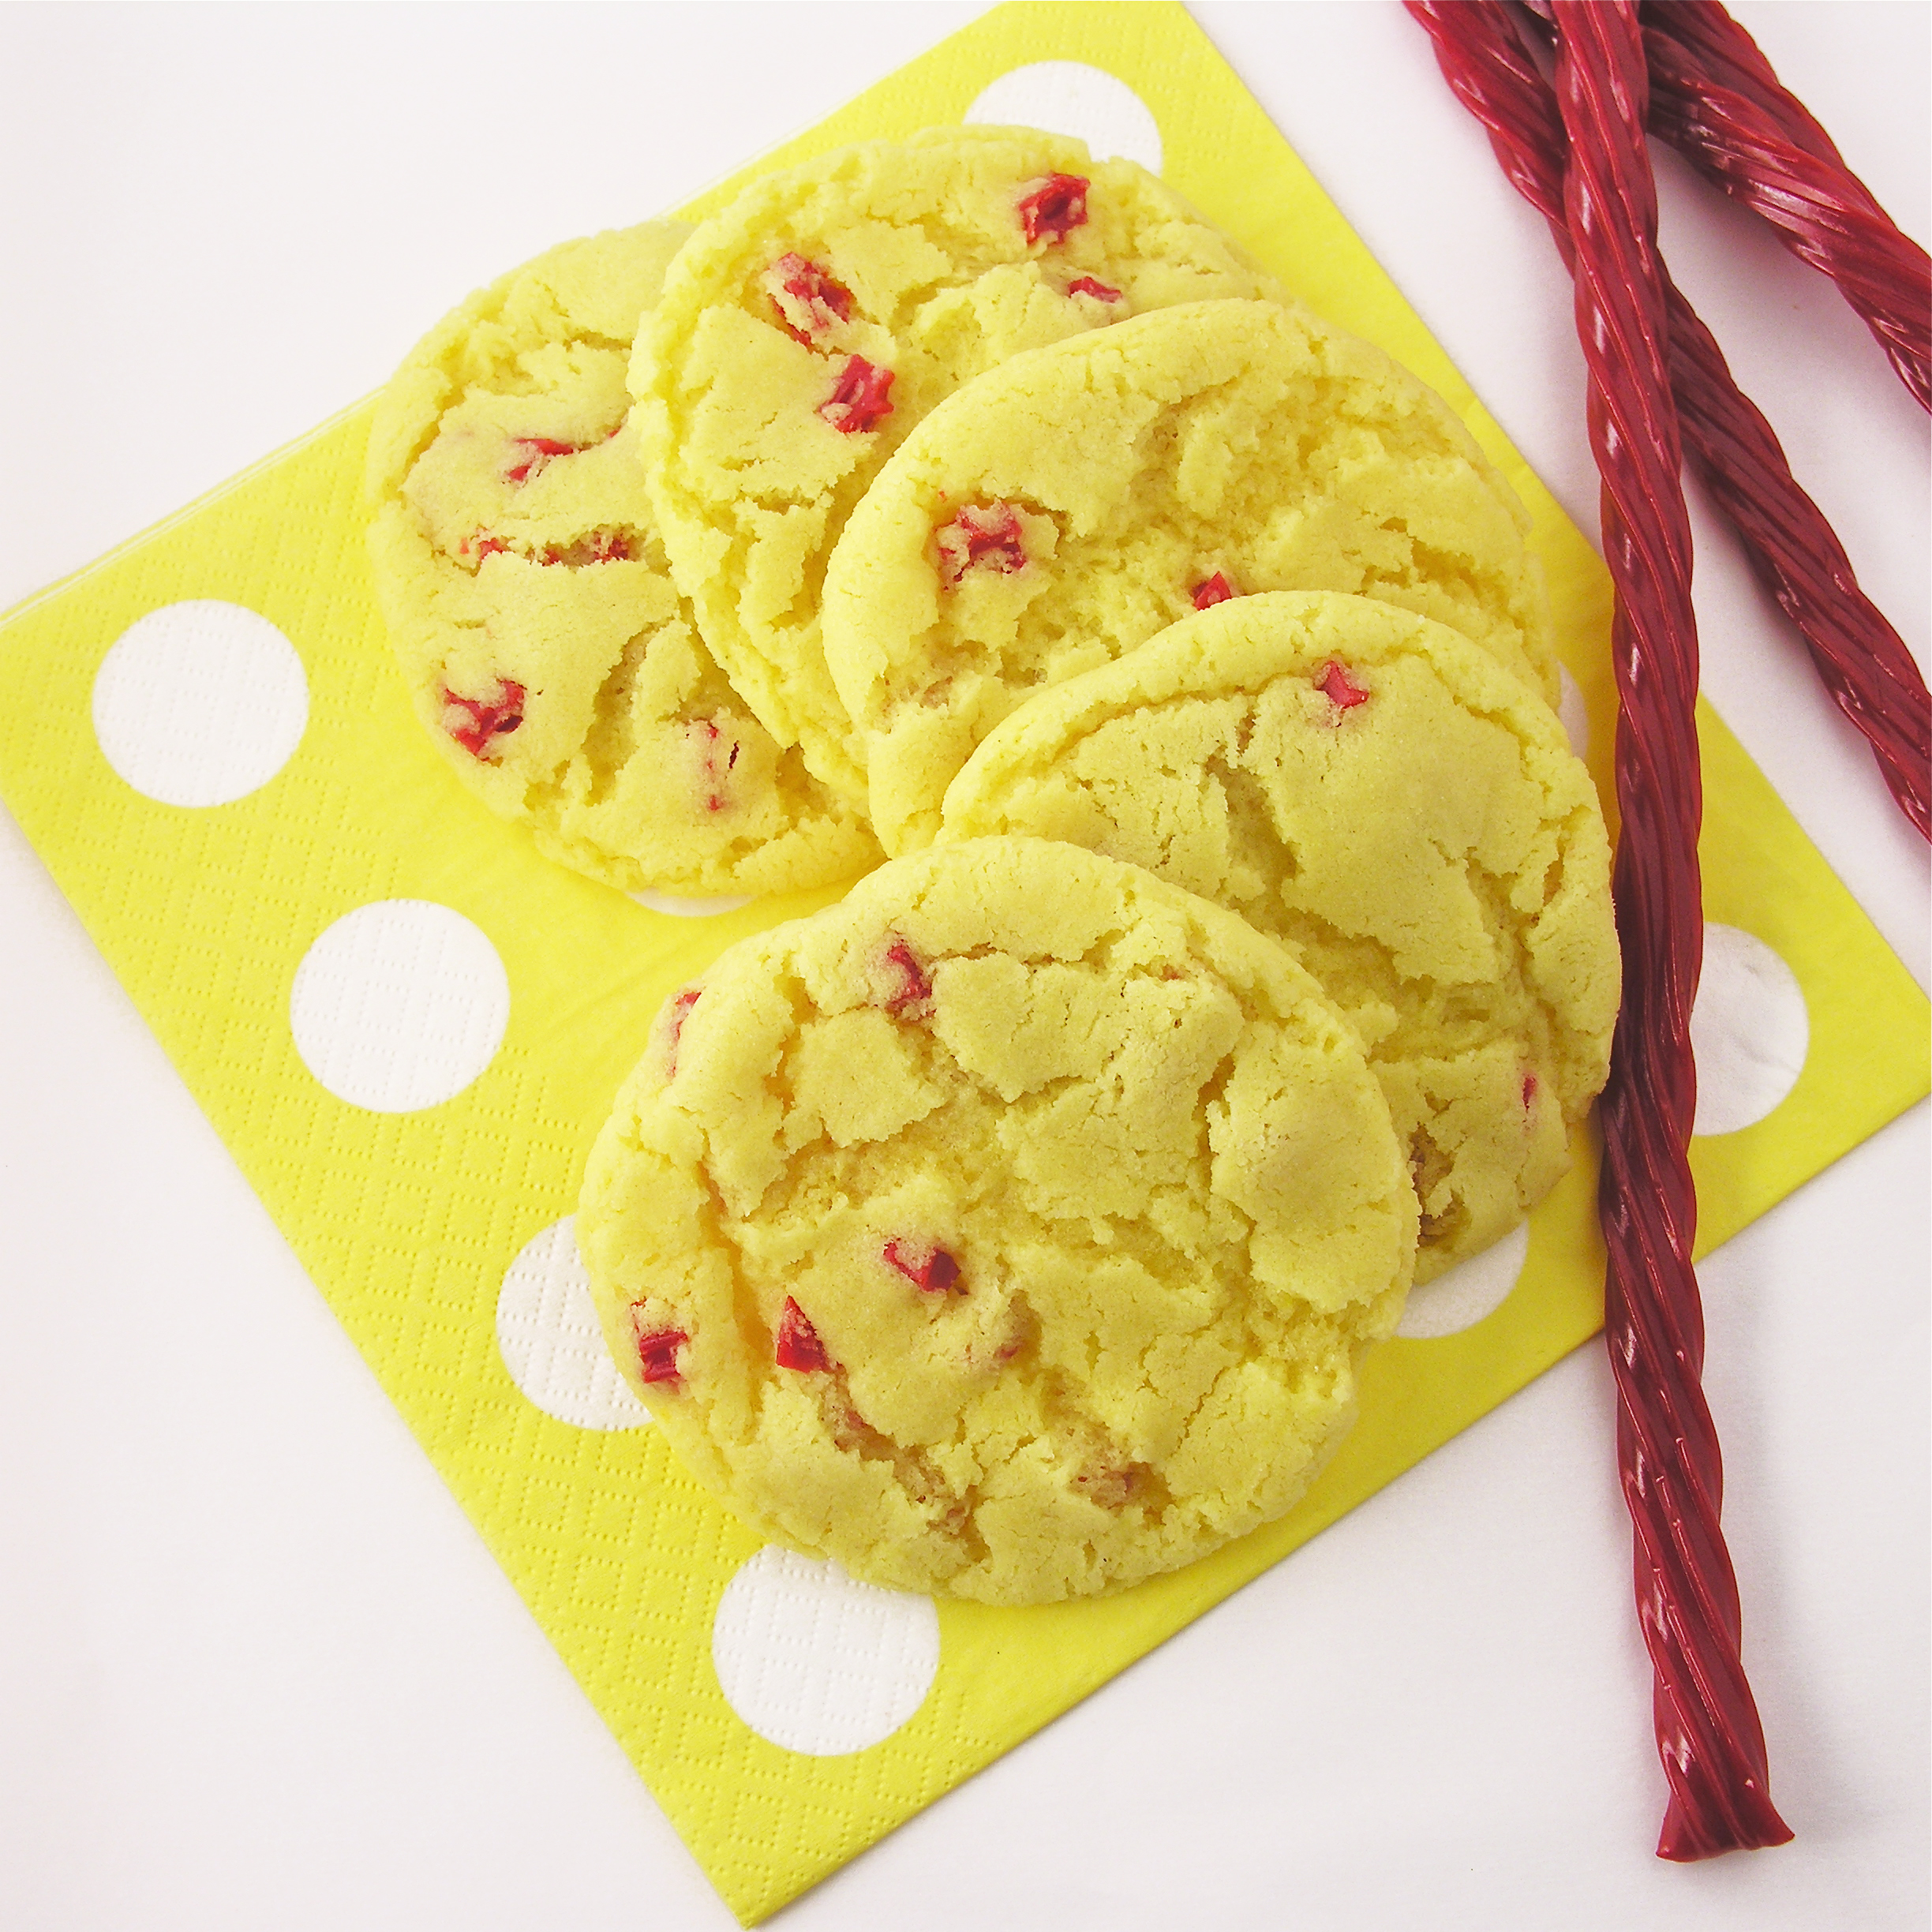
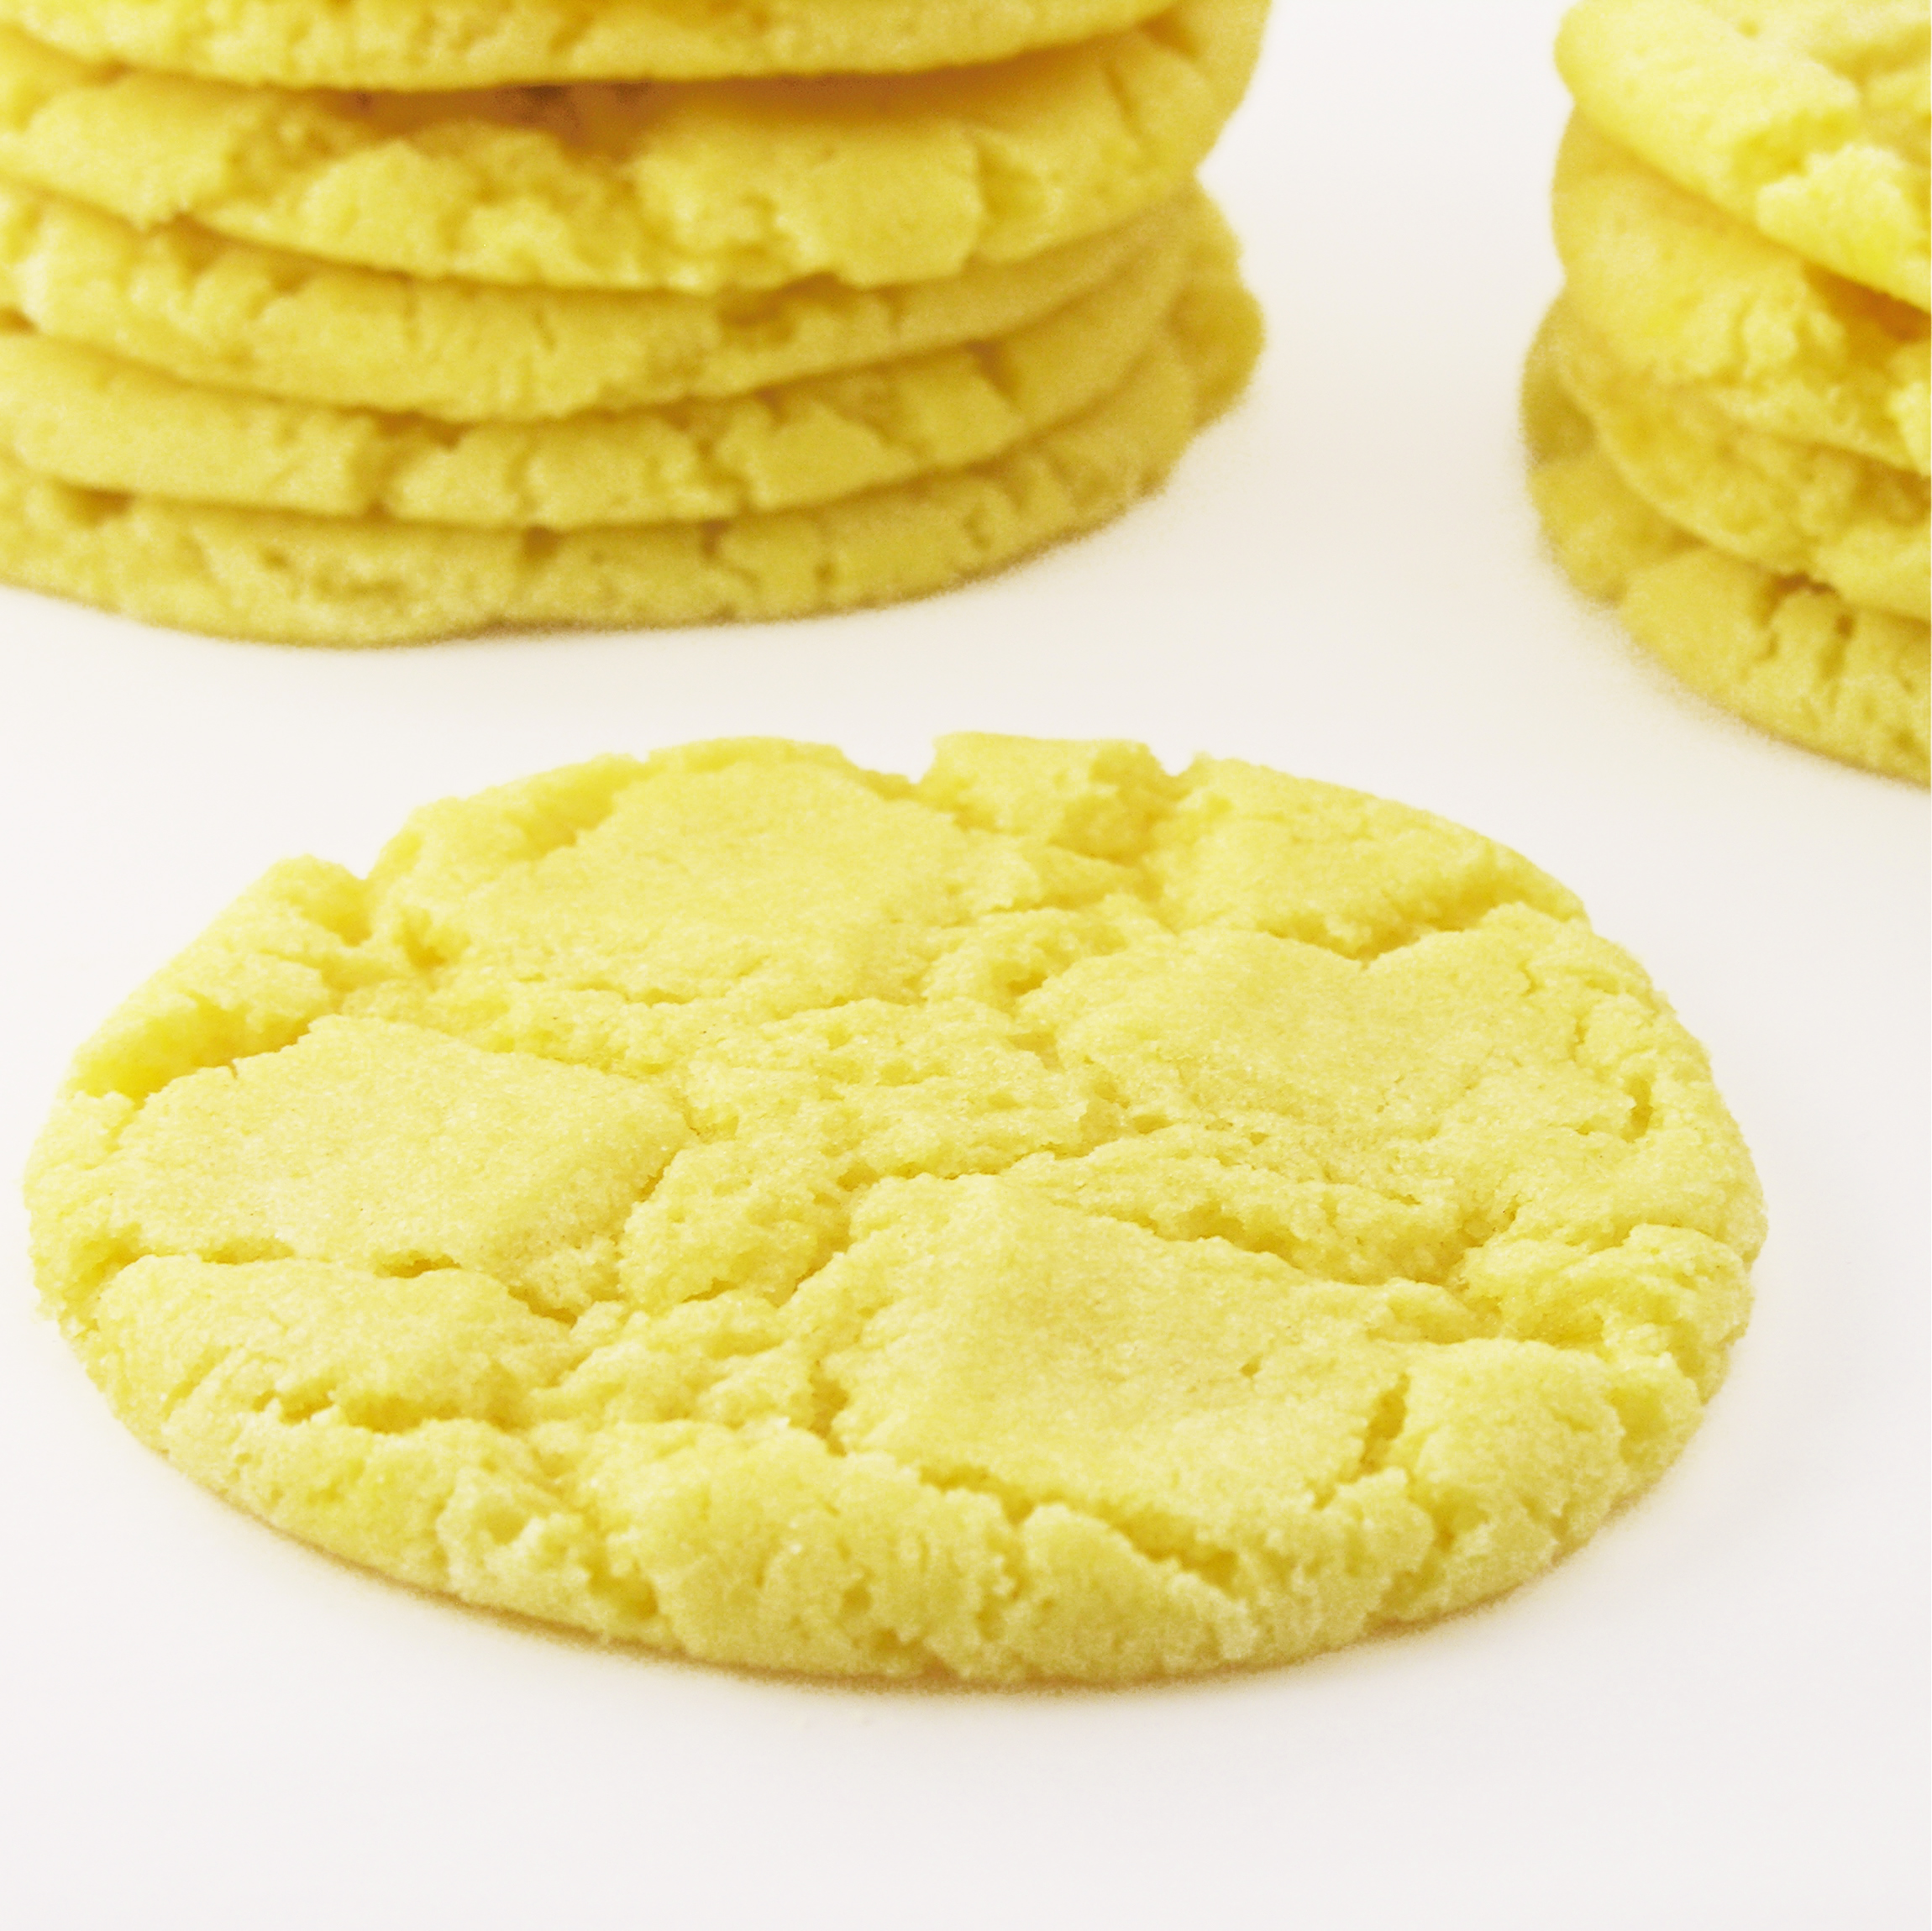
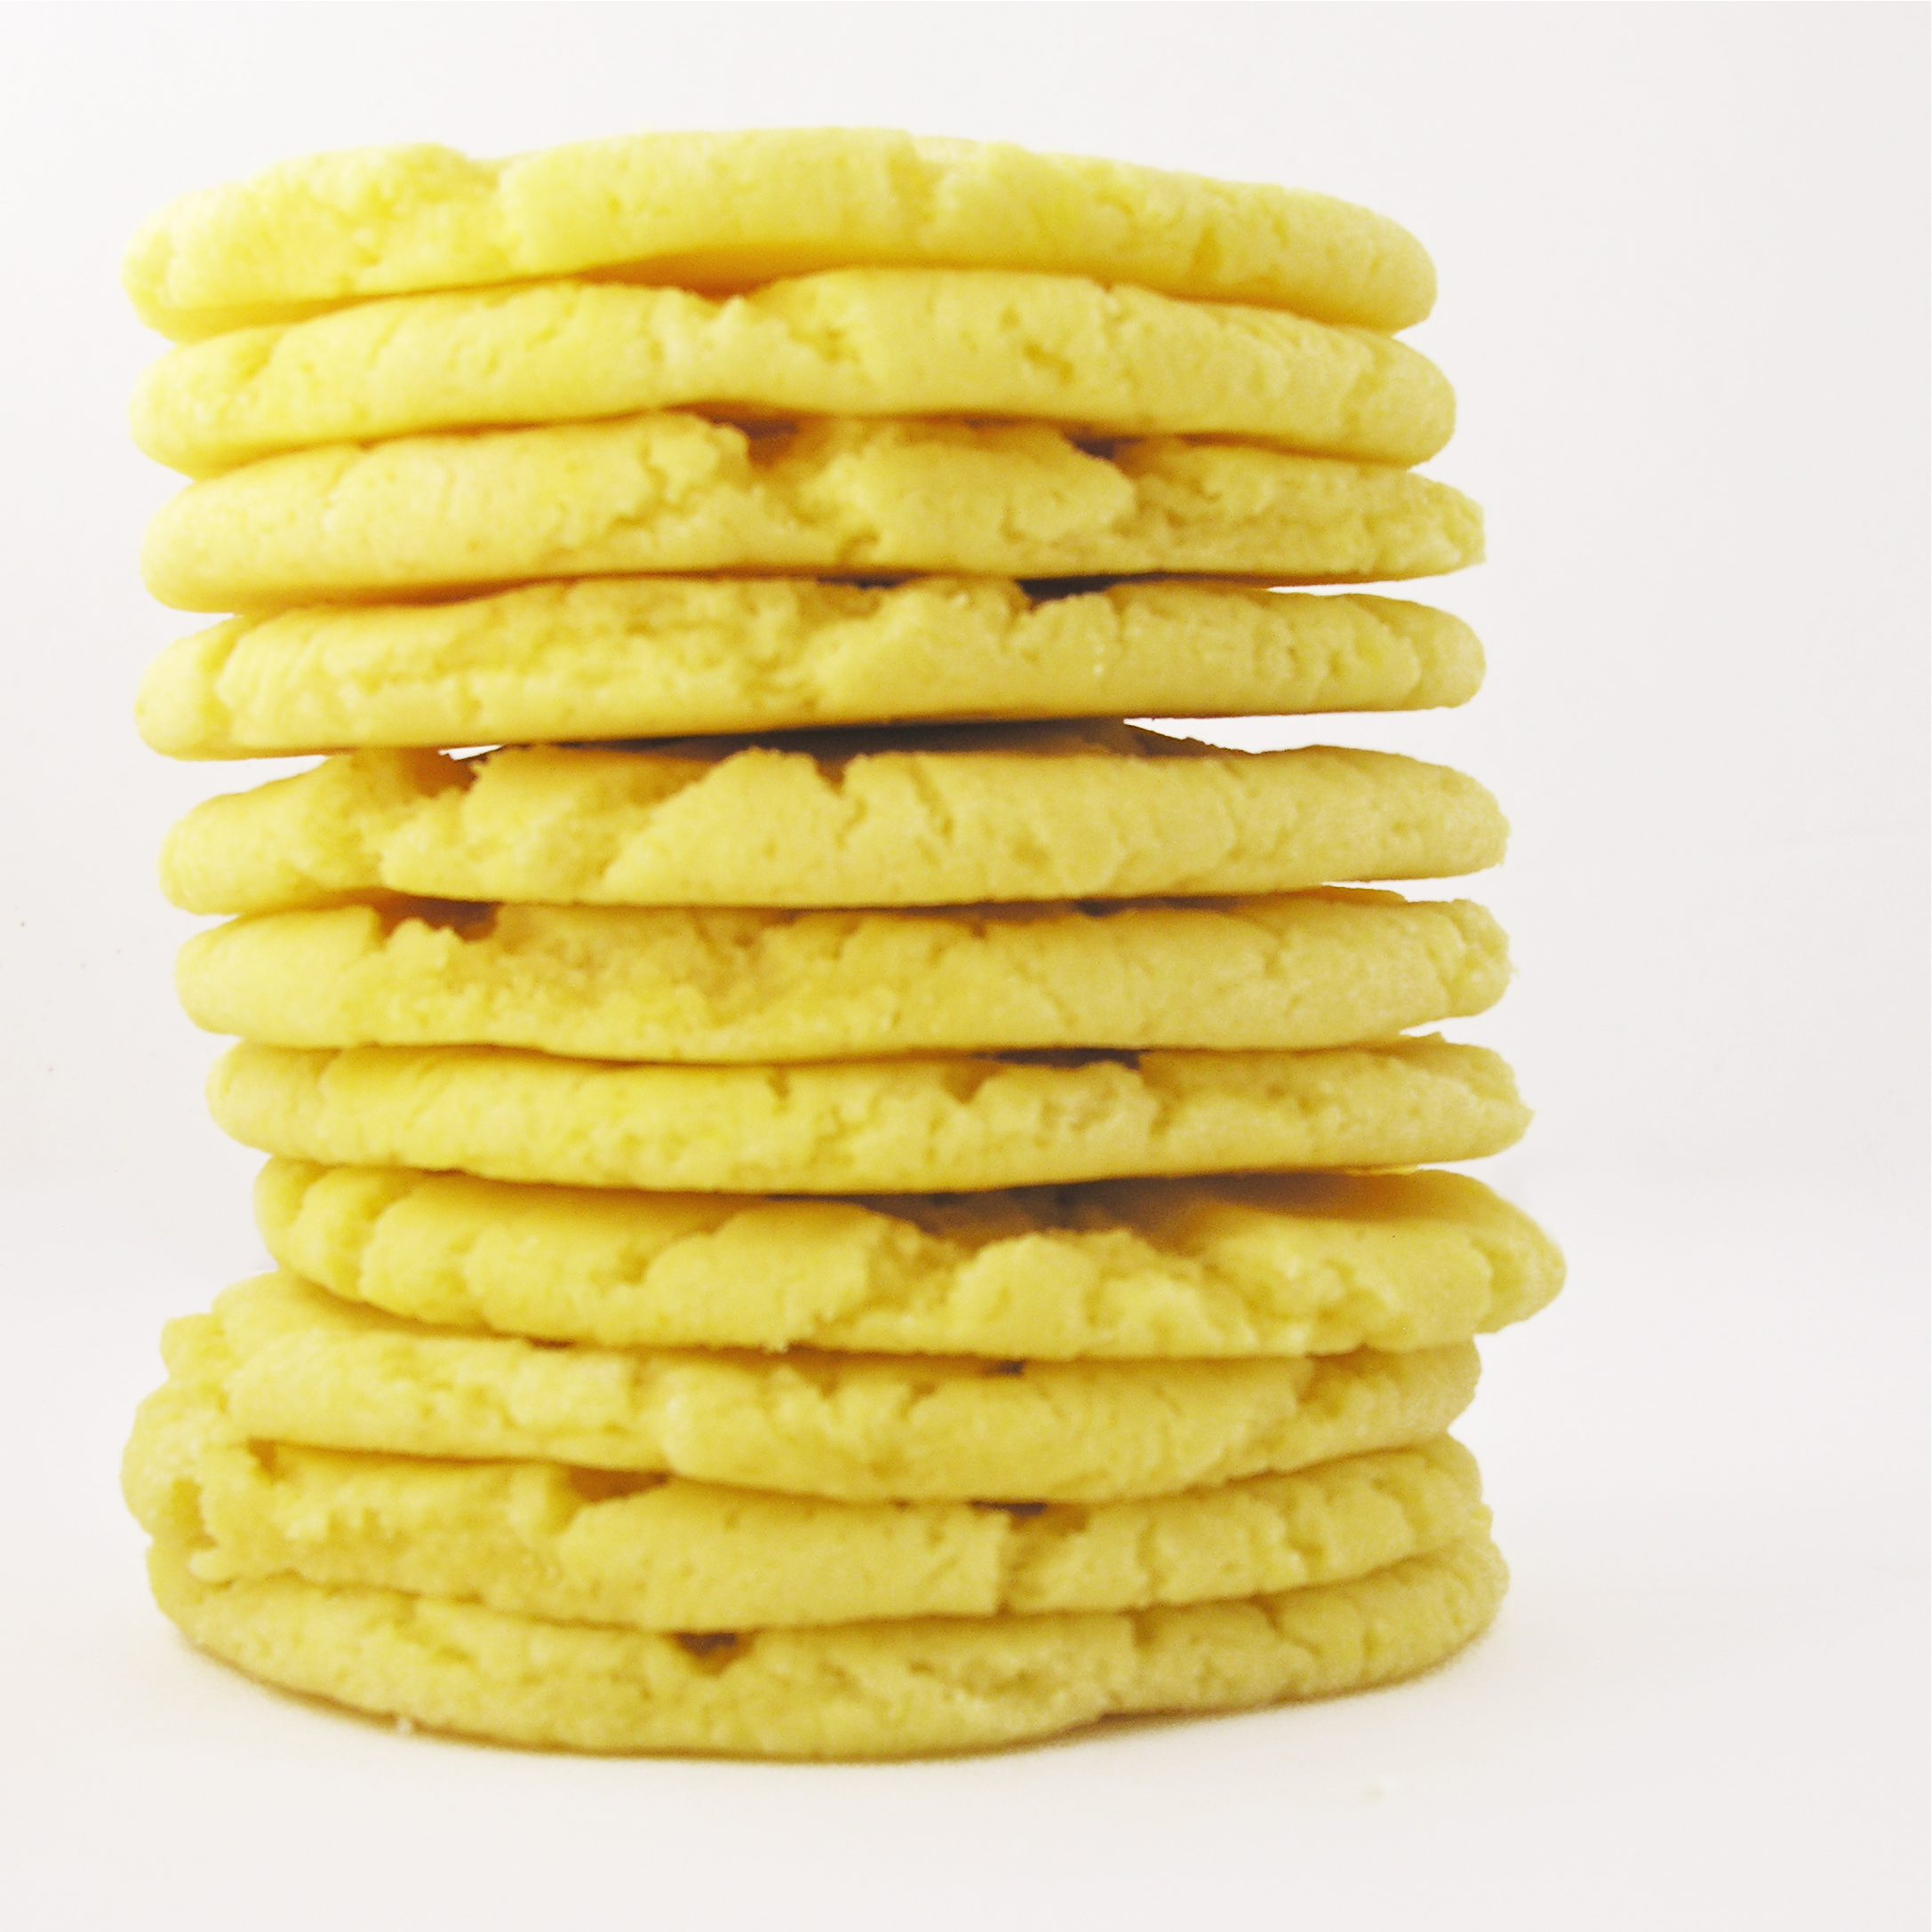
Whether your party includes real confetti or not, these cups of cake will add some edible confetti to the celebration! Plus the strawberry and cream flavors… oh my.

Here’s how we made them: (printable recipe here)

INGREDIENTS: (makes 12-16 cups of cake, or 24 cupcakes)

  • One boxed strawberry cake mix (plus water, oil and eggs to make according to package)
  • 2 cups (seriously- or more…) confetti sprinkles
  • 2 sticks (1 cup) salted butter, softened
  • 2 sticks (1 cup) unsalted butter, softened
  • 3 cups powdered sugar
  • 2 teaspoons of clear vanilla
  • A little white food coloring to brighten up the frosting (if desired!)
  • 12-16 (8 oz.) party cups. I got mine at Target in the dollar section, but there are all sorts on Amazon- like these. (or make these as cupcakes with polka dot cupcake liners!!)

DIRECTIONS:

  • Preheat oven to 350F degrees and place cups on cookie sheets (preferably the sort with edges, to prevent sliding!)
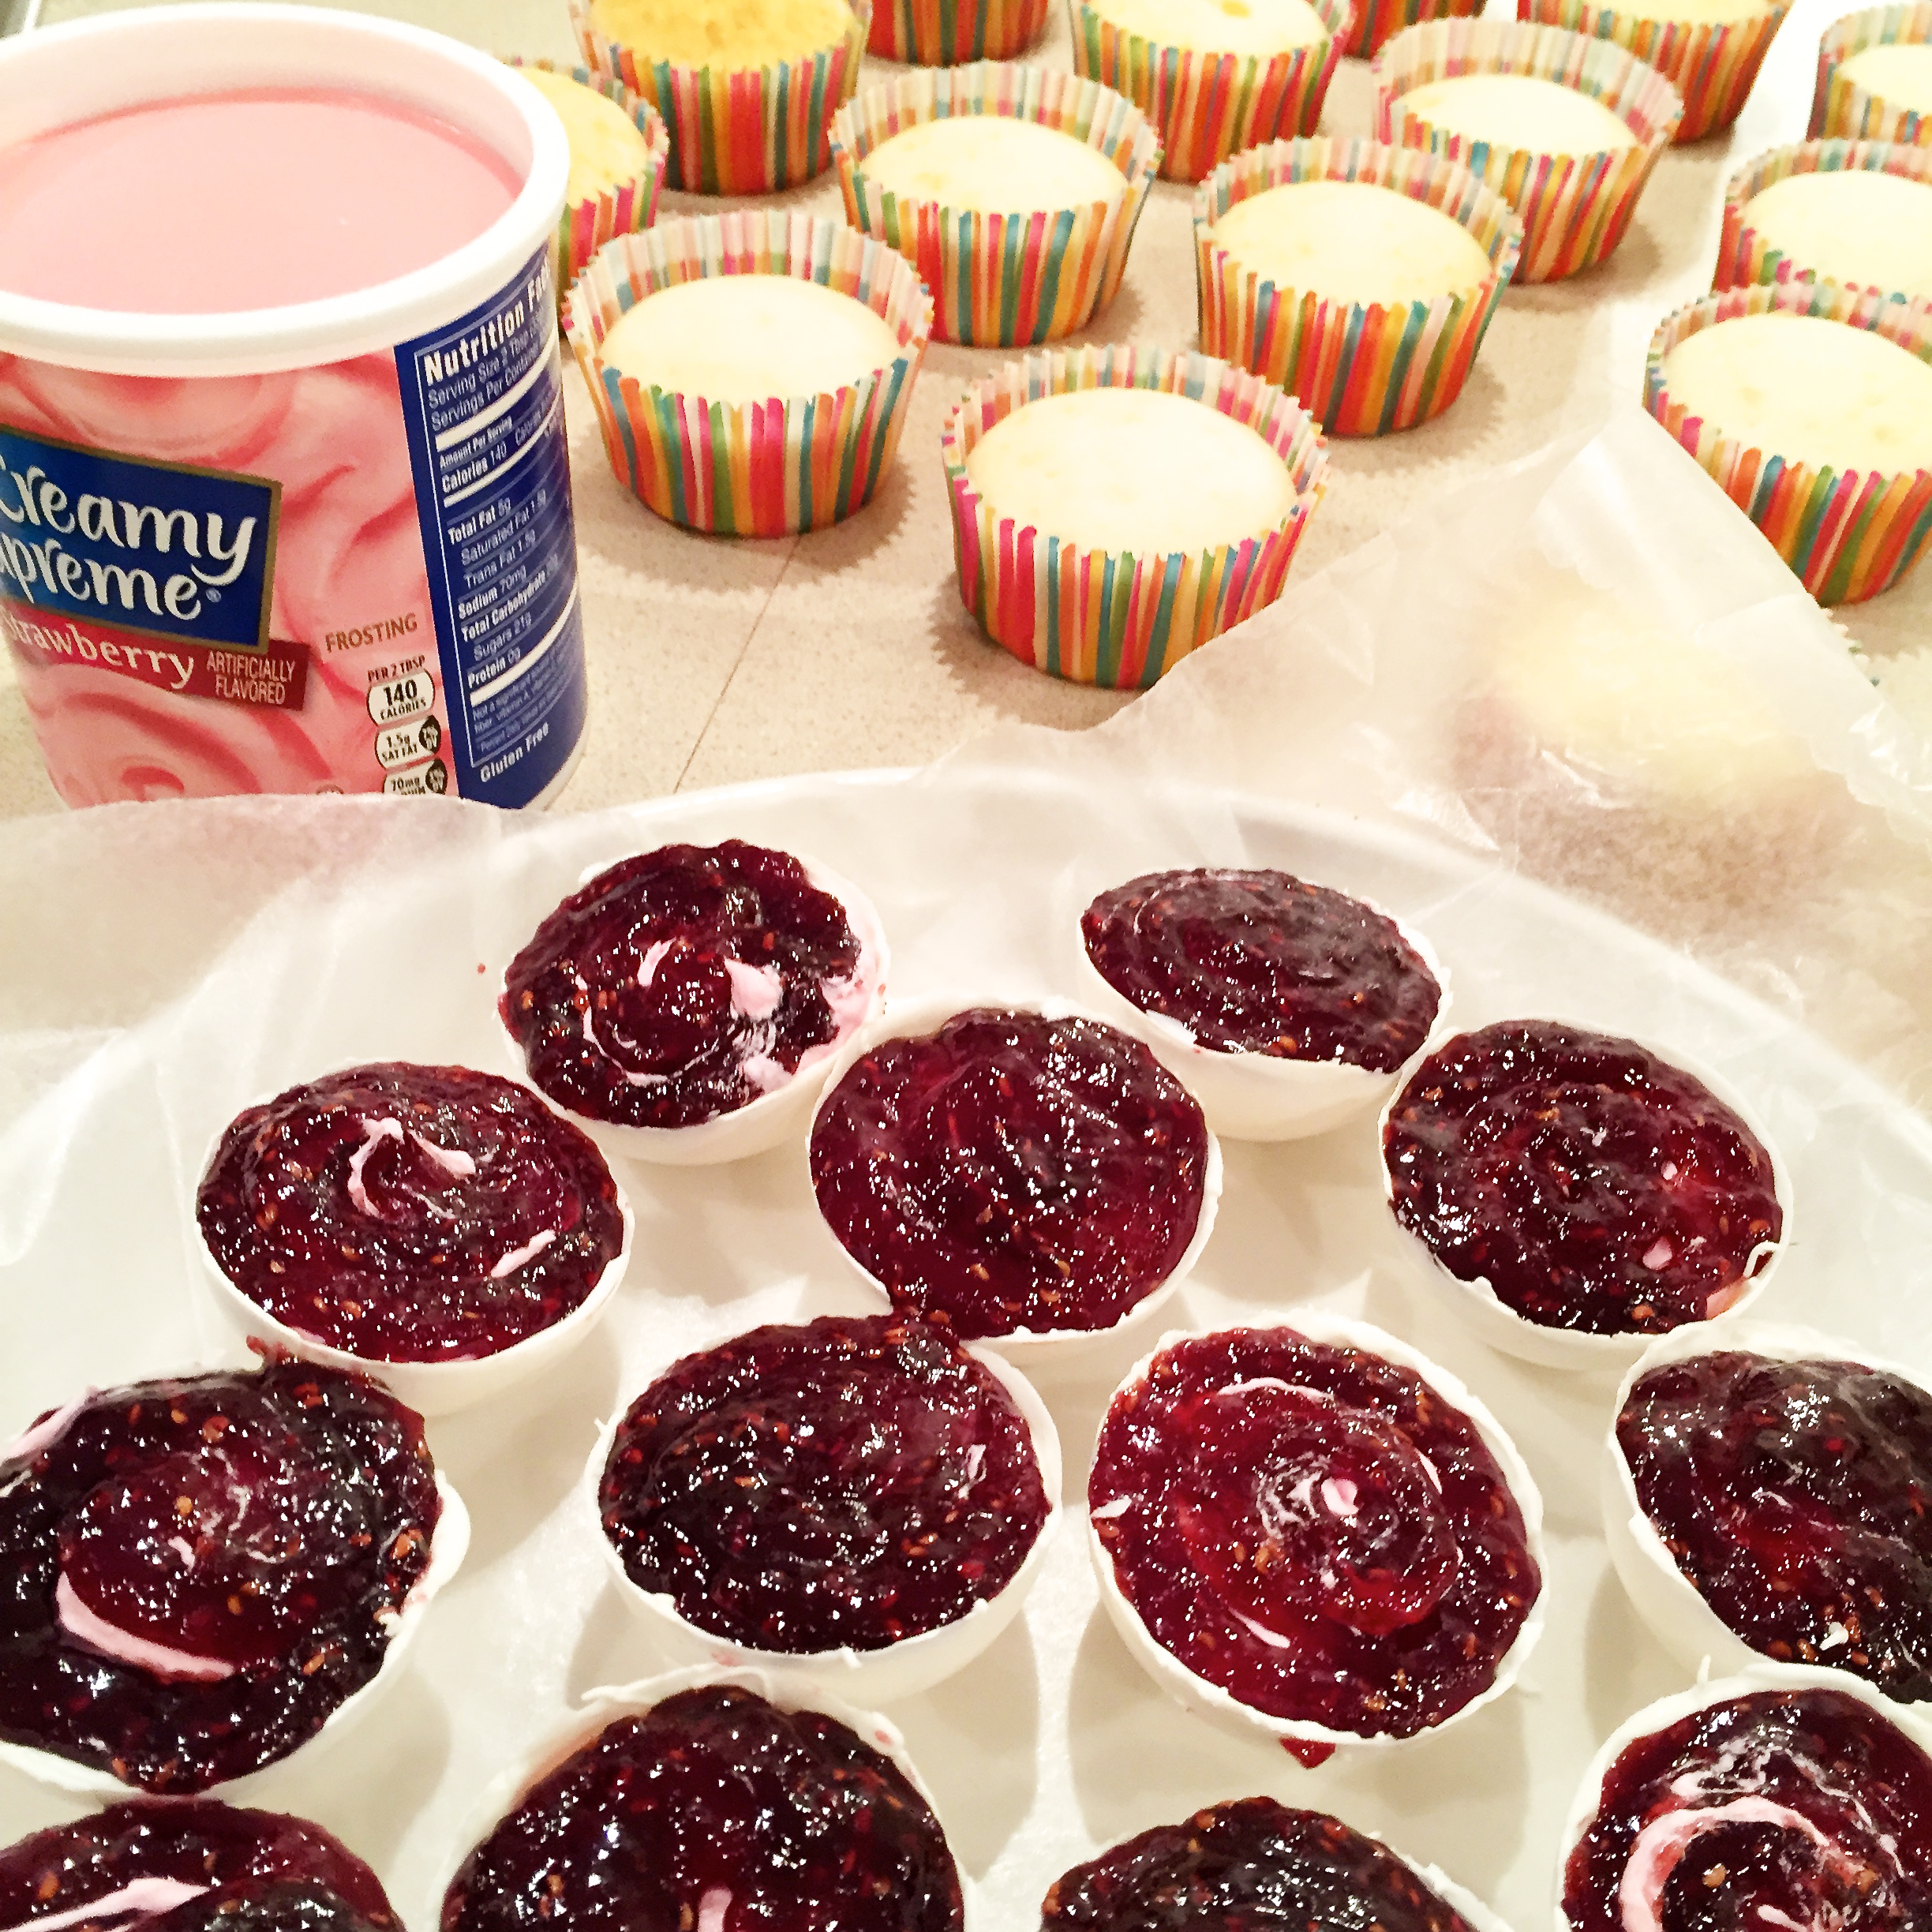
  • Make cake according to package.
  • Mix in a cup of confetti sprinkles, and spoon batter into cups, filling them about 1/2 full.
  • Bake according to package directions for cupcakes- but add a little extra time since they are bigger, and test with a toothpick. When it comes out clean, they are done!

*Note: I was a little uncomfortable baking in these paper cups- so I kept a constant eye on them. I’m not sure if they can burn- I suppose it depends on the cup- and I read about people who made cupcakes in Starbucks coffee cups and just did it with no problems. Please be careful though- and use your good judgement about baking in paper cups. If you have any hesitation, use cute cupcake liners instead! 😉

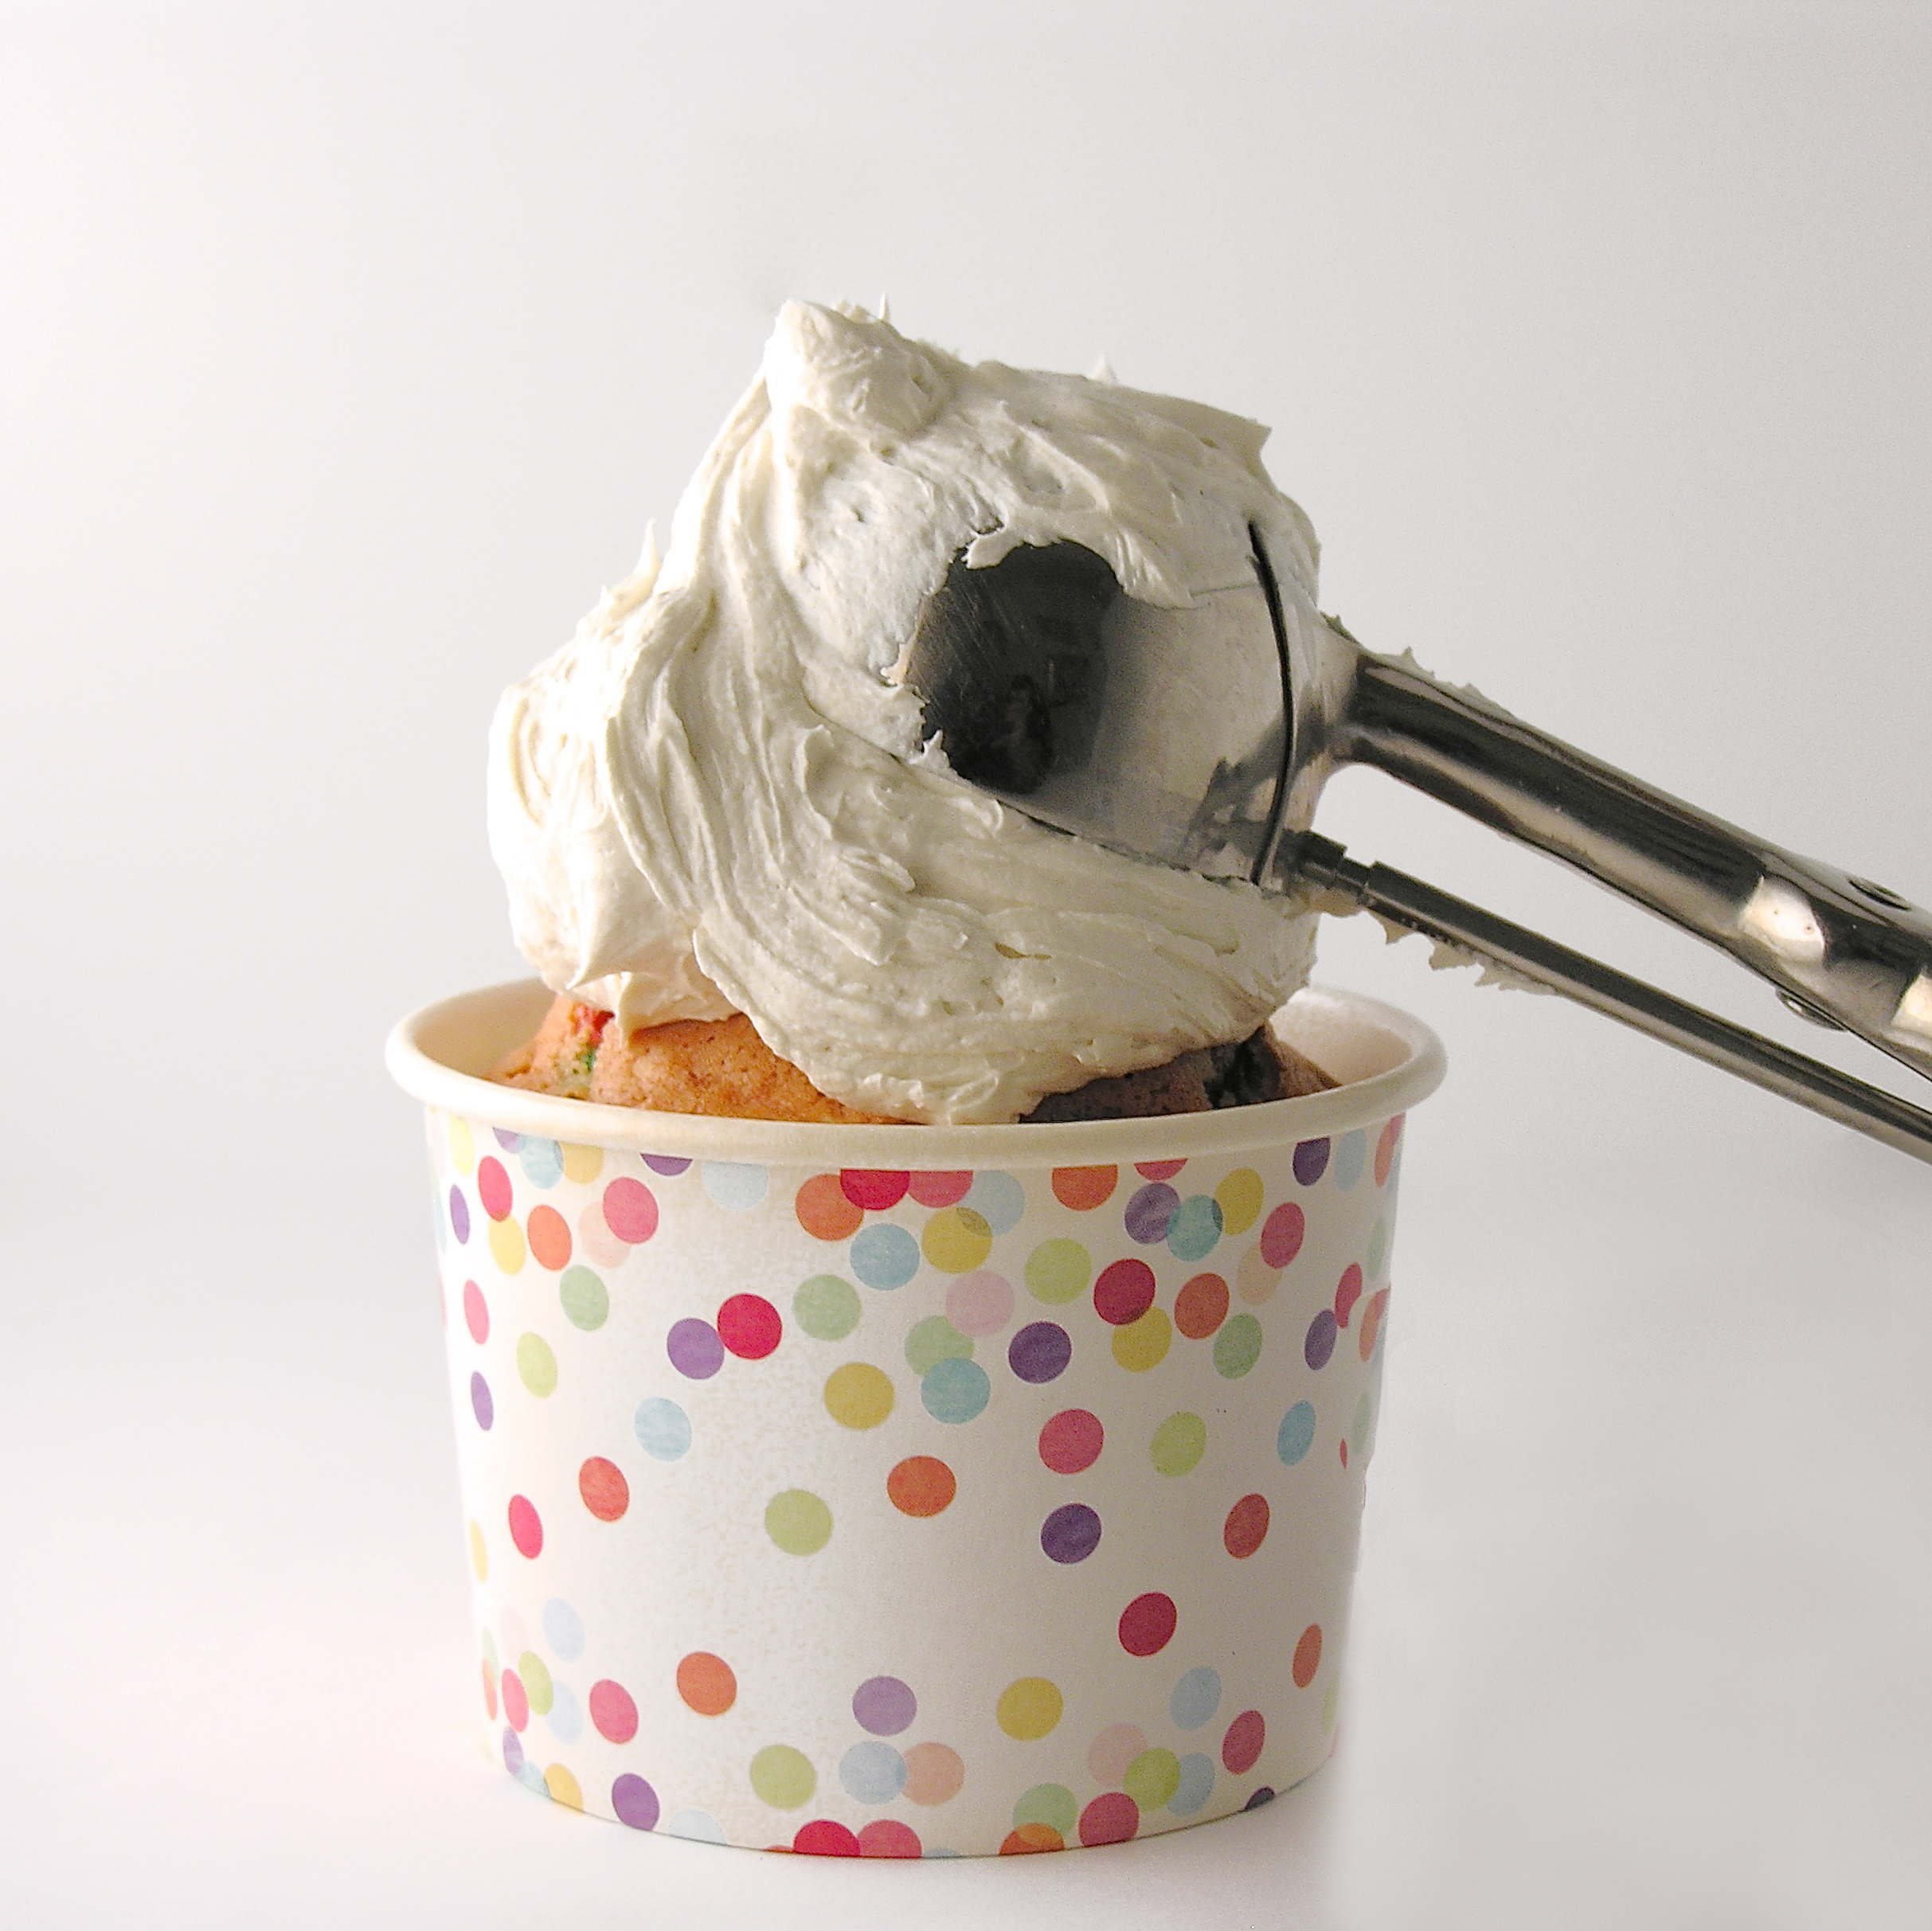
  • Remove from oven and allow them to cool completely.
  • Make frosting by combining butters, powdered sugar and vanilla in a large mixing bowl. Beat on high until very light and fluffy (about 4-5 minutes). Add white coloring if desired.
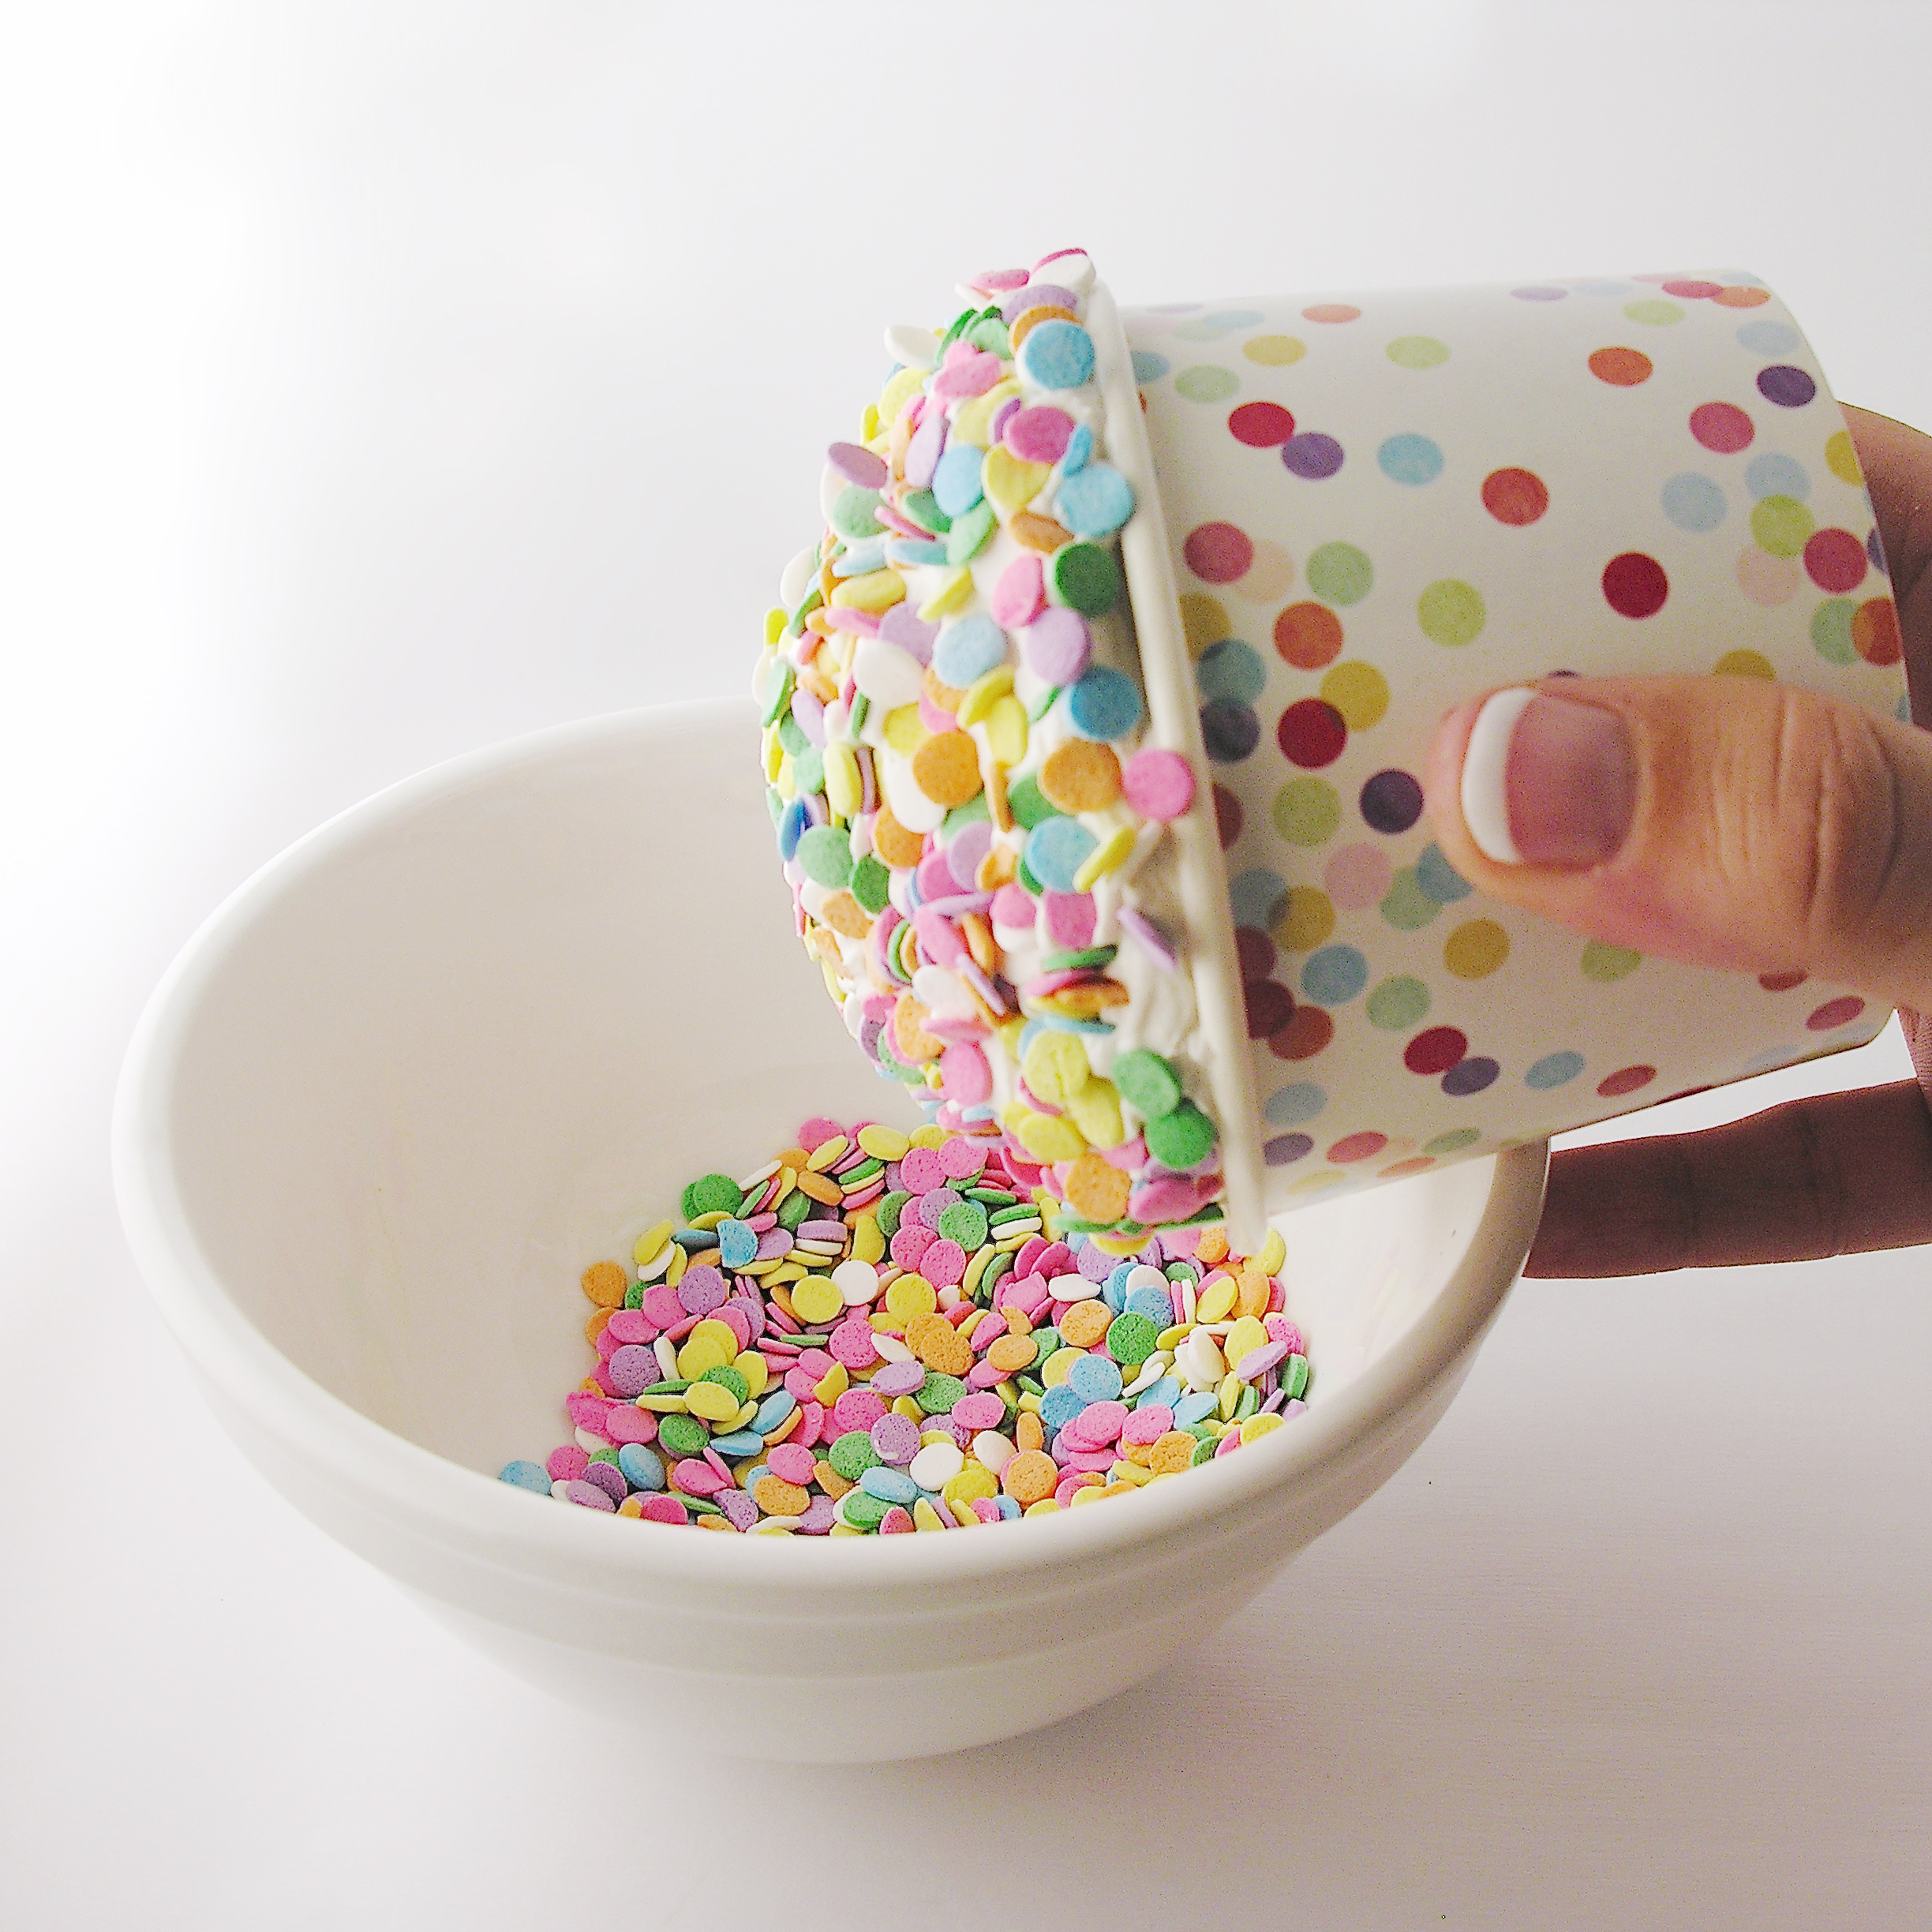
  • Scoop frosting on top of each little cake and then press the frosting into a bowl filled with confetti sprinkles to coat the top completely.

confetti-cupcakes2 confetti-cups7

confetti-cups

My thoughts: These are a delicious and pretty way to say “Happy New Year!!!” I hope you love them as much as I do!!!

confetti-cups6

confetti-cups3

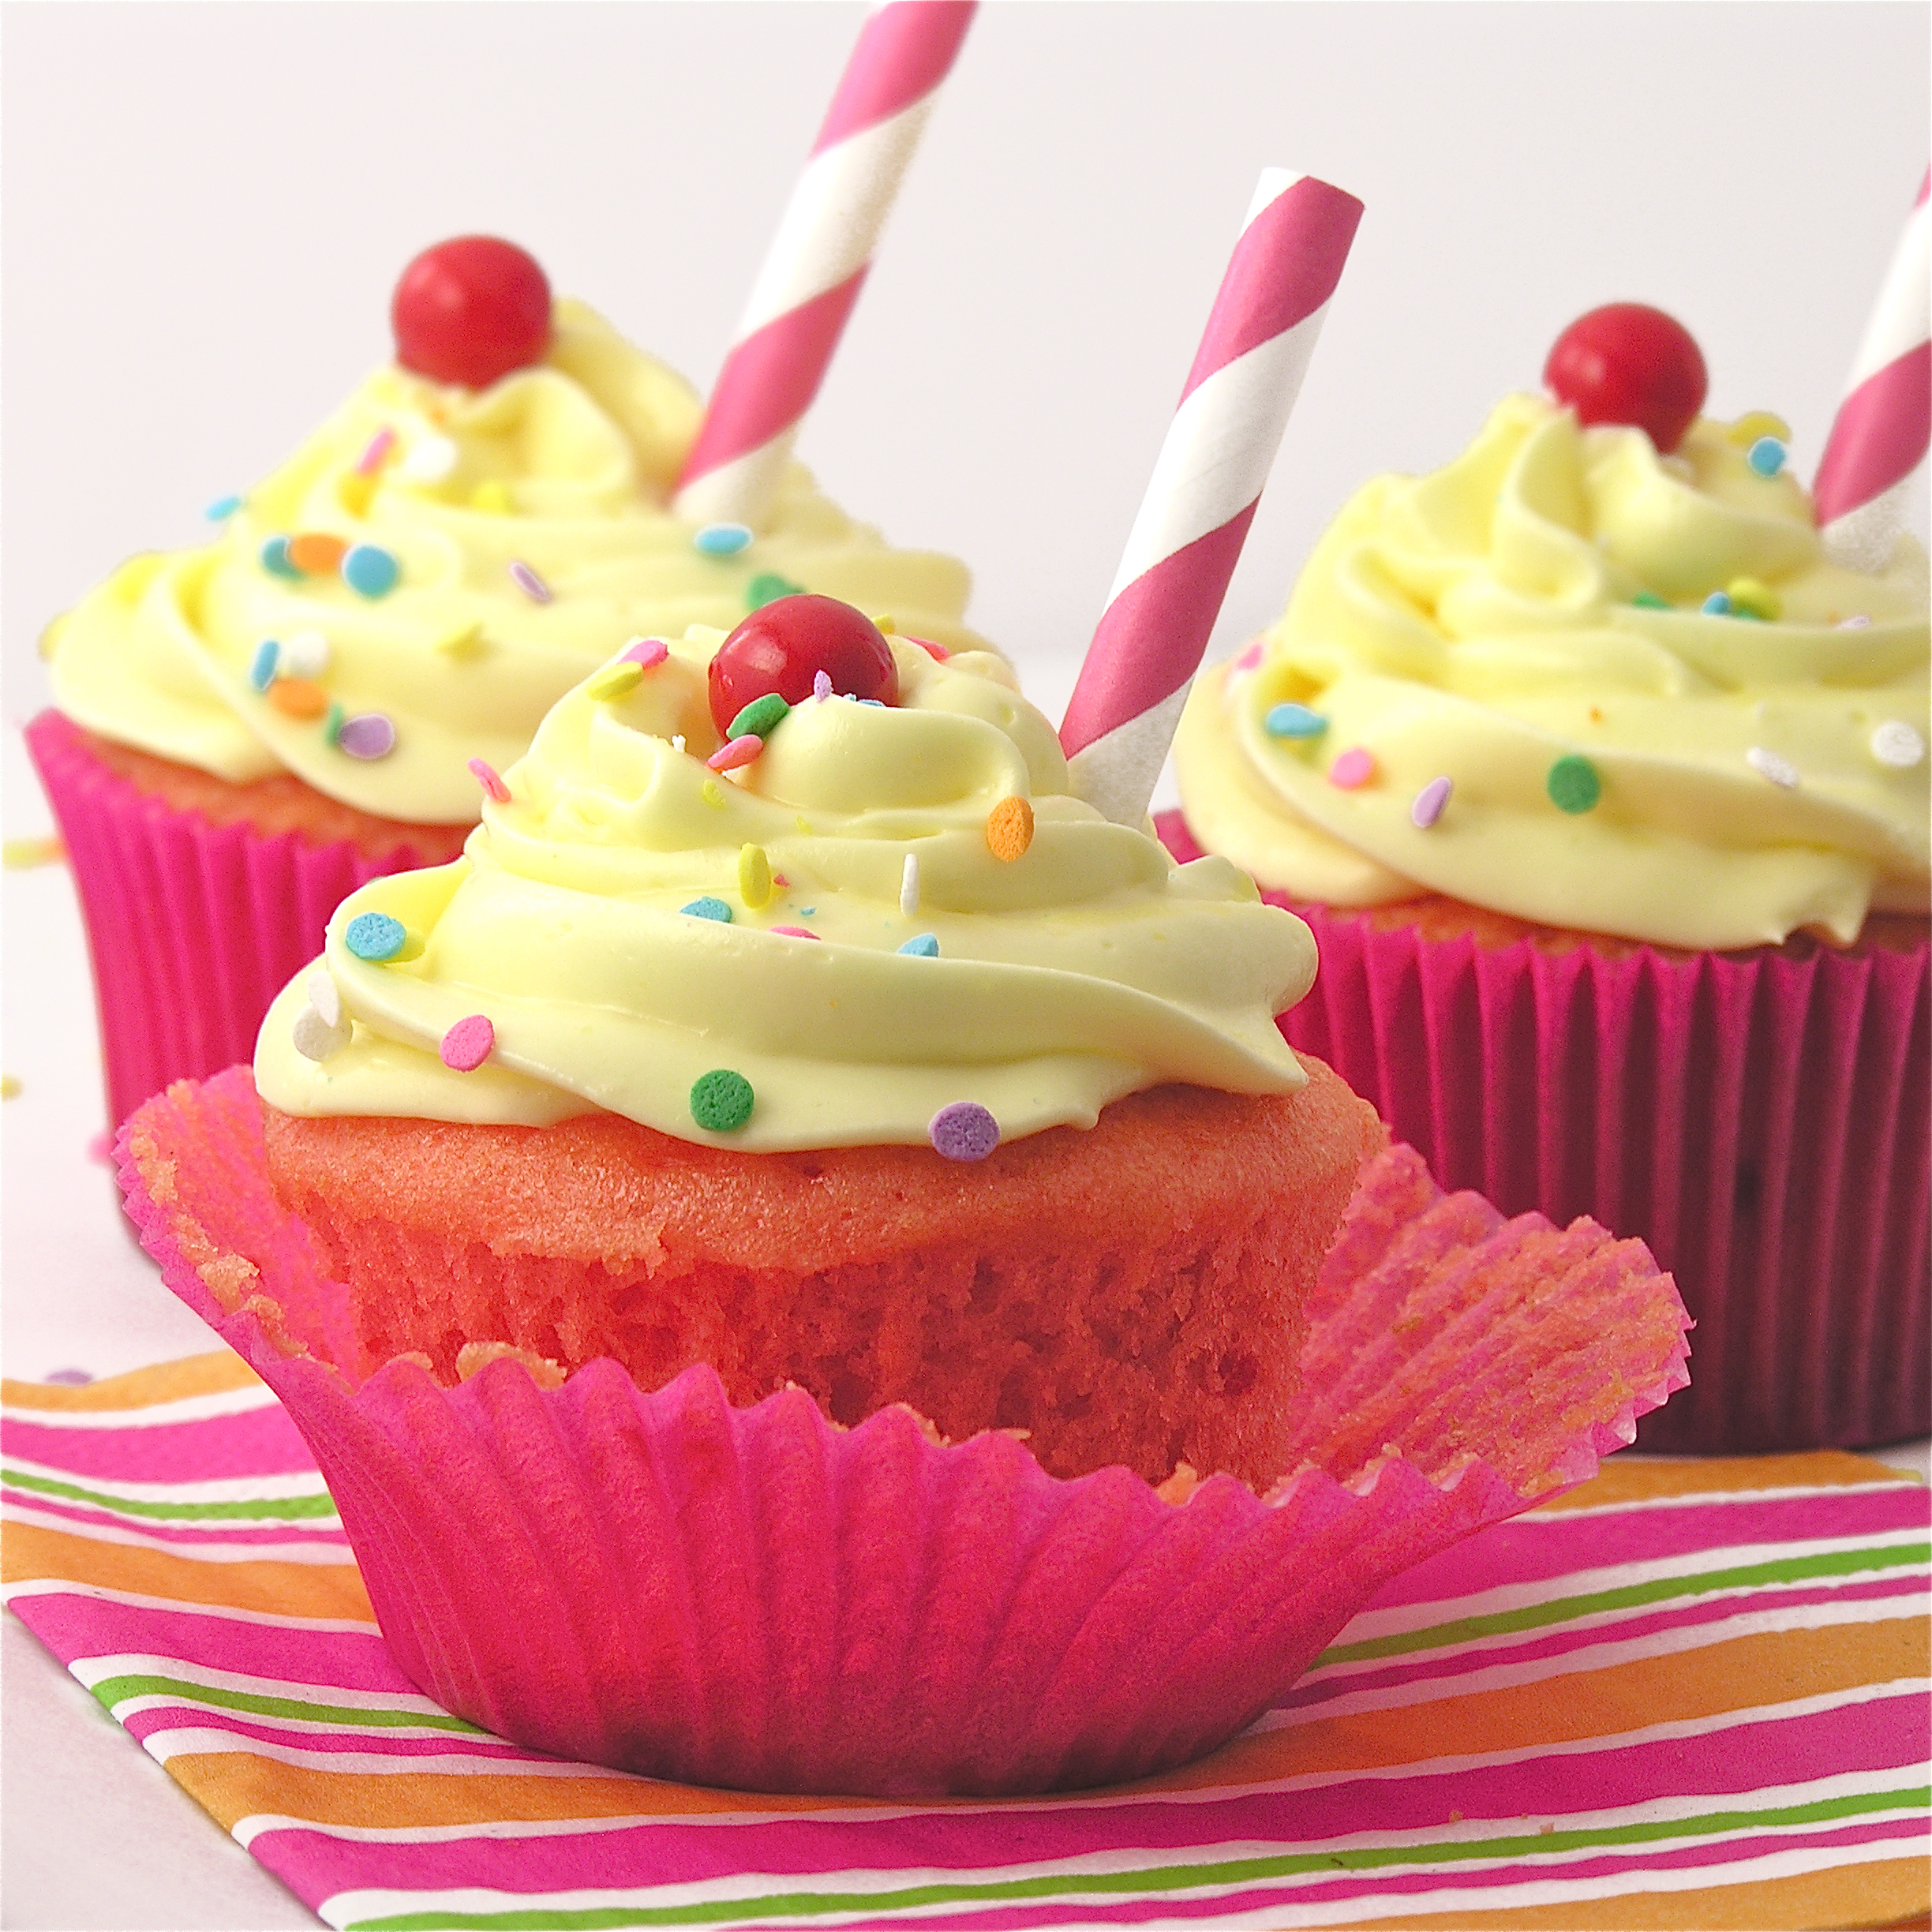
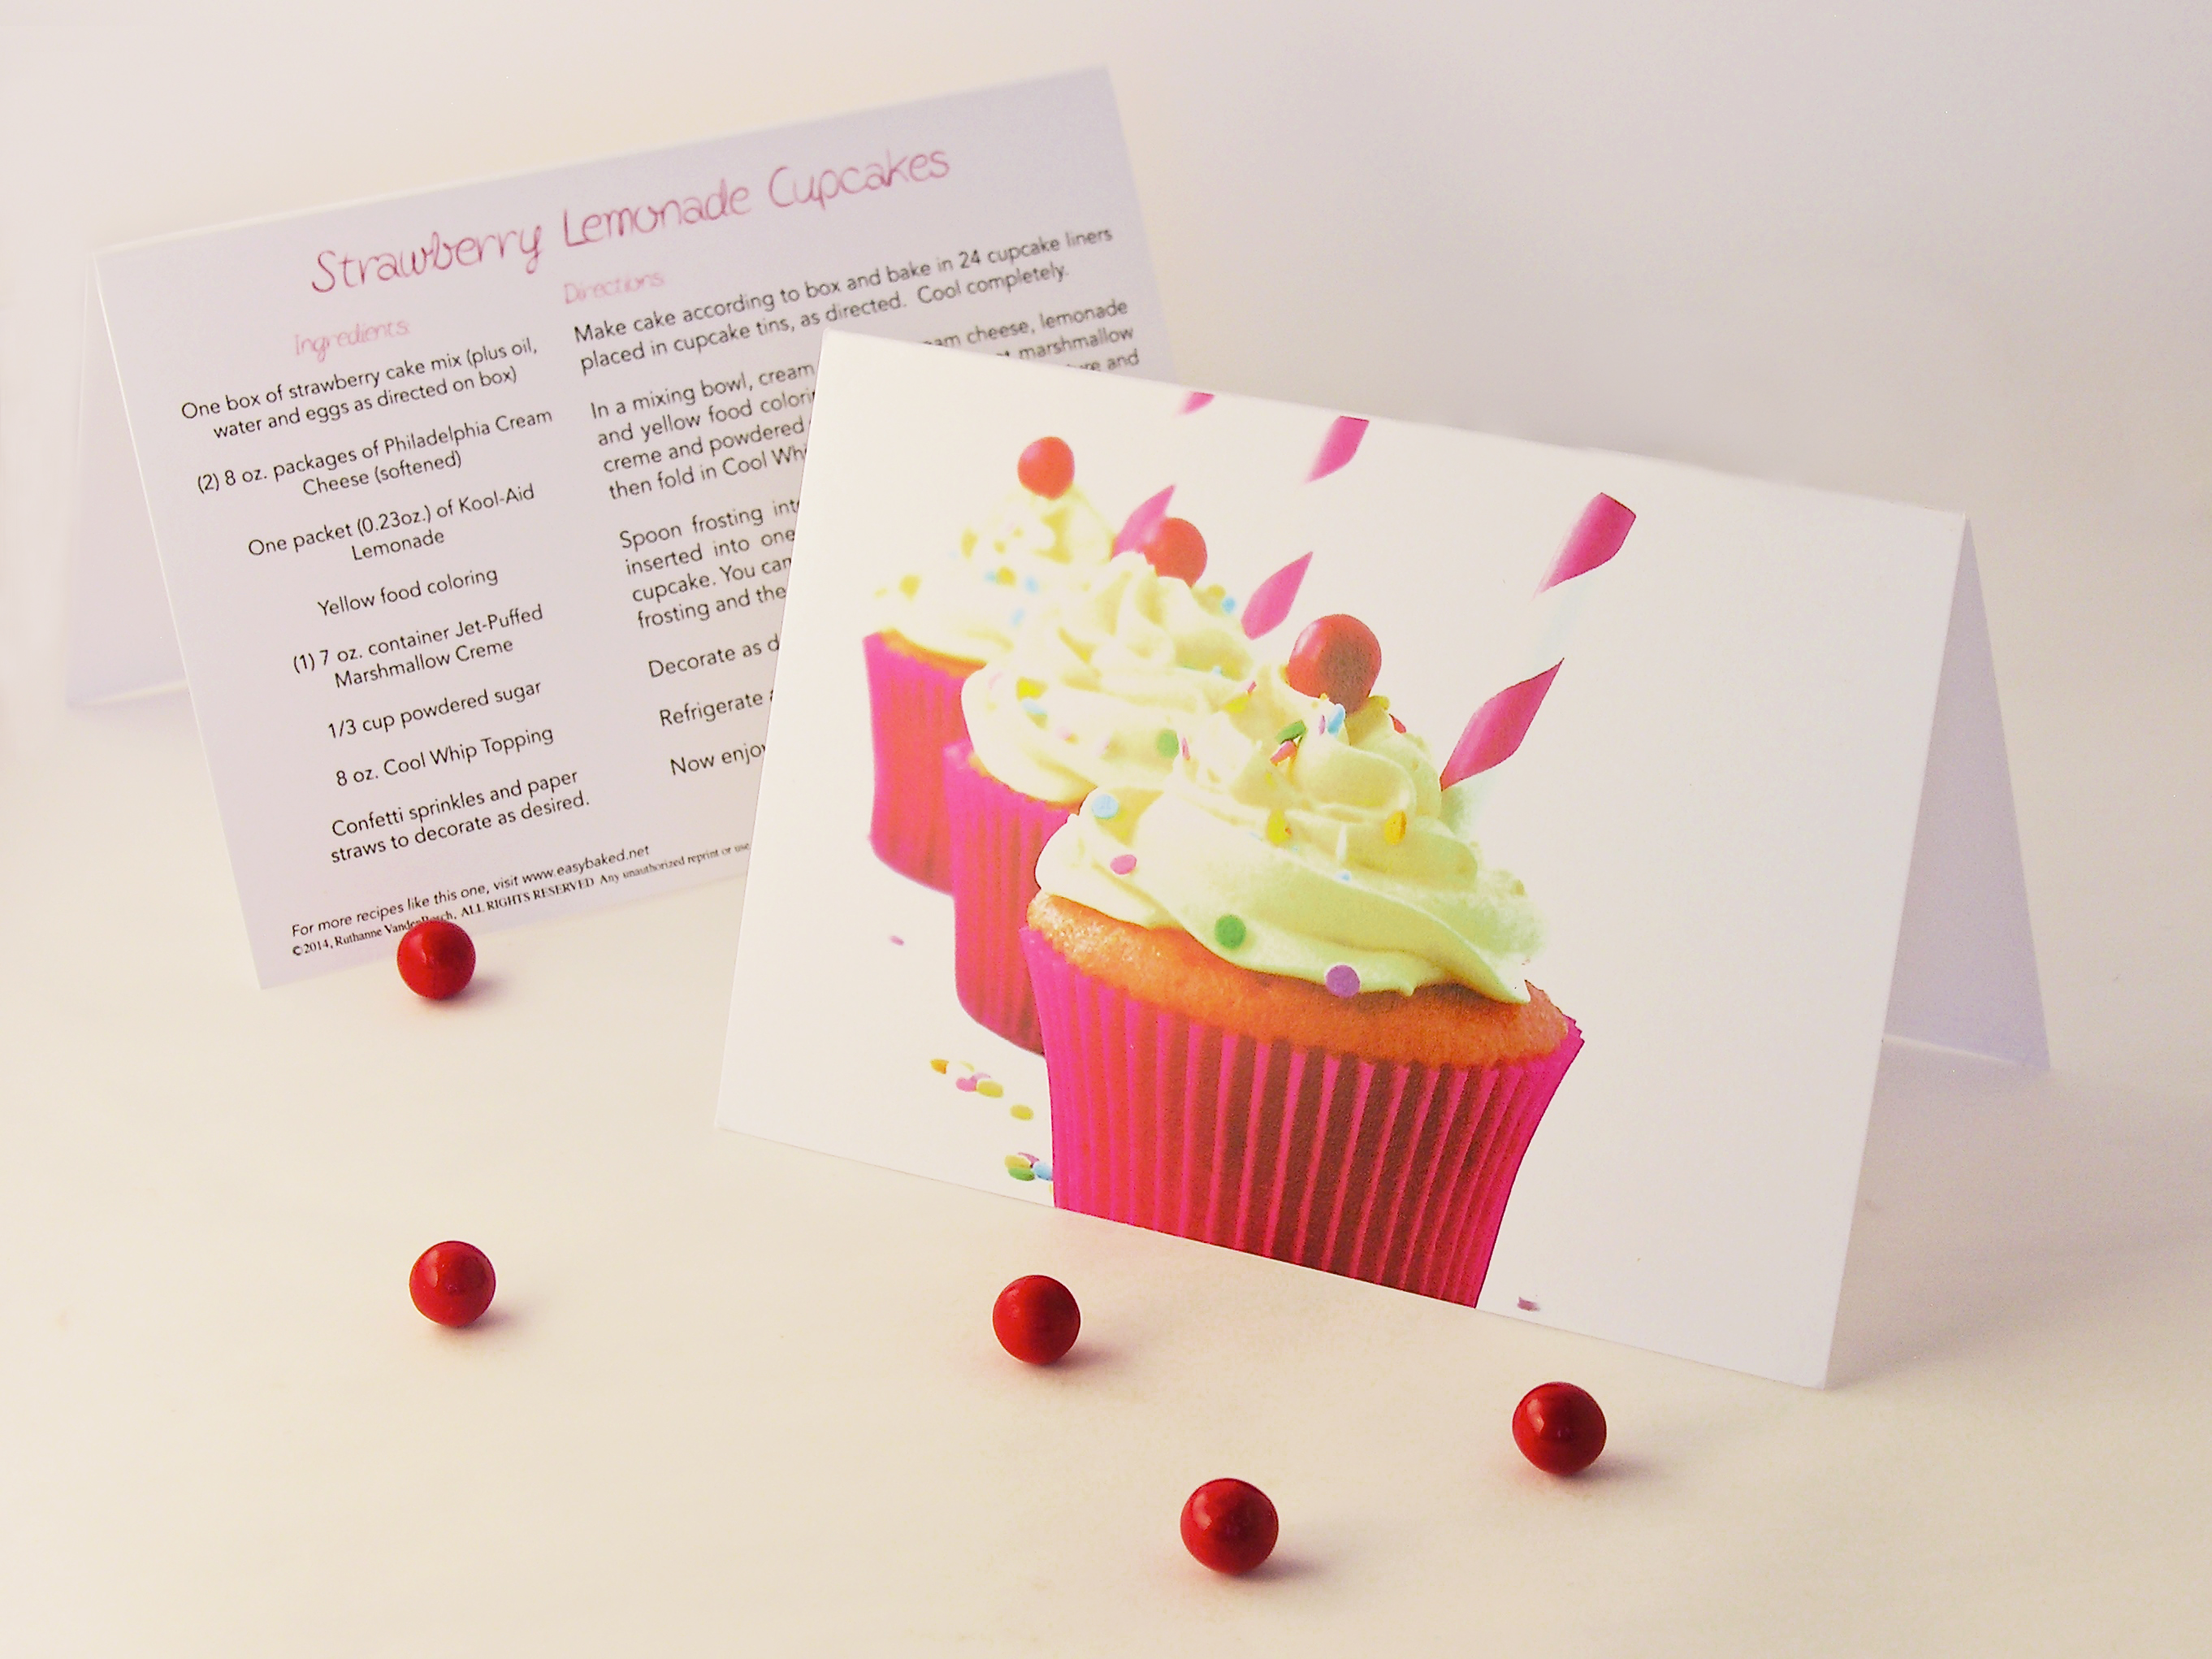
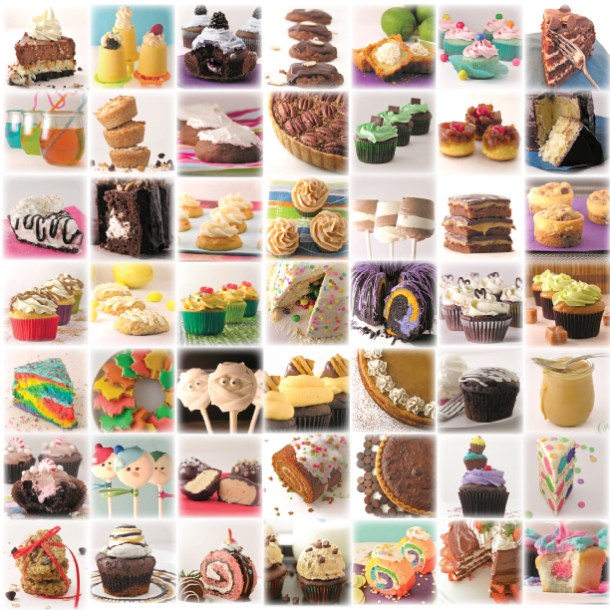
Other fun New Year’s treats to make for your party! (click on a photo to see the recipe)

Confetti cookies!Ball Drop CupcakesPink Champagne Cupcakes1Raspberry Confetti Kisses

Advertisement

Berry Bomb Cupcakes

Posted on

Berry Bomb Cupcakes1

These delicious cupcakes are topped with a dome of raspberry cream and a touch of black raspberry jam- a perfectly pink Valentine’s Day treat!

I love berries over vanilla cake- it reminds me of summer and makes me smile. I got a little creative with the presentation, but I think that makes them just perfect as a Valentine– don’t you?

Berry Bomb Cupcakes3

These are incredibly delicious and fun to make. They use a fun (and inexpensive) silicone mold that I got here and have used before on my Peanut Butter Bomb Brownies. I just love how beautiful the dome of white chocolate looks atop these cupcakes! There are so many possibilities for fillings….!

Want to know how we made these cute little desserts? Here you go: (Printable recipe)

INGREDIENTS:

  • One boxed white cake mix (with water, oil and eggs to make according to package)
  • 1 large jar of black raspberry preserves
  • 1 can of strawberry frosting
  • 2 packets of Dream Whip
  • 3/4 cup milk
  • 1 tablespoon of raspberry extract
  • 6 tablespoons powdered sugar
  • Pink food color gel (to desired shade)
  • 2 bags of Wiltons candy melts in bright white.

DIRECTIONS:

  • Make cake mix according to package and divide into 24-28 cupcake liners placed in a muffin tin. Fill only about 1/2 full so that they bake up flat and not mounded up and over edges. Bake according to package.
  • Make Berry Bomb filling by combining Dream Whip, milk, extract, and powdered sugar in a mixing bowl and blending together with mixer until stiff peaks form. Add coloring to desired shade of pink.
  • Melt Wiltons candy melts and use a brush to “paint” the melts into the inside of the silicone mold. Do two layers and then freeze until hard (5 minutes).
  • Place filling into a large zip-top bag and clip a corner. Pipe filling into hardened cups- about 3/4 full- and then top with a little jam. 
  • Use a knife to spread jam flat and freeze another 5-10 minutes.
  • Carefully remove berry bombs from mold and place, round side down and sticky jam side up, on a wax-papered plate. Keep these cool until all bombs are made.

Berry Bomb Cupcakes5

  • Open strawberry frosting and warm in the microwave for about 15 seconds- just until it softens a bit when stirred,
  • Spoon frosting over tops of cupcakes, allowing it to spread to edges.
  • Gently set a bomb on top of cupcake, pressing it into the soft frosting (I used wax paper to touch chocolate to prevent fingerprints)
  • Allow frosting to firm up and hold the bomb in place.
  • Drizzle with a little red or pink melted candy melts if desired. Keep refrigerated until serving.
  • Enjoy!!!!!!!

Berry Bomb Cupcakes2

My thoughts: These are a fun and refreshing twist on a berry-topped cupcake. The bombs take a little time to make- since you have to to do them in batches of 6. I recommend you start making them when you start the cupcakes. You can be in and out of the freezer while you are baking and save a little time. My other thought- serve these with a fork!!! When you bite into them and that white candy shell breaks it is too much to hold onto. I promise. Use forks 🙂  I hope you enjoy making and eating these as much as I did!!  ~r

Berry Bomb Cupcakes4


Other Valentines Day treats to try (click on a photo to see the recipe)

Chocolate covered Strawberry cupcakes1Frog Oreos!!Strawberry layer cakeCake balls filled with cream cheese frosting


Chocolate Covered Strawberry Cupcakes

Posted on

Chocolate covered Strawberry cupcakes1Easy and fun, these are the perfect Valentine’s Day cupcake!

The story begins: “I had an extra tub of strawberry frosting….”

Last fall, as I was preparing to leave the Navajo reservation and move back to the Midwest, I committed to using up everything in my cupboards rather than buying any new food that I would have to fit in my car for that long trip home.

One of the items in the back of my baking cupboard was one tub of strawberry frosting, and it was the inspiration for this yummy (and incredibly easy!) cupcake idea.

I used a chocolate mix for these cupcakes (also remaining in my cupboard), but you could certainly make your favorite chocolate cupcake recipe for these.

Chocolate Covered Strawberry Cupcakes

When they all were done and I’d taken some pictures, I decided to hold this recipe for February as a fun Valentine’s Day treat! Here it is!!! (printable version)

INGREDIENTS:

  • One boxed chocolate cake mix (with water, oil and eggs to make according to package)
  • One tub of strawberry frosting
  • 1/2 cup of whipping cream
  • 1 cup of semi-sweet chocolate chips
  • 24 Pink Sixlets candies and sprinkles (as desired for decoration)

DIRECTIONS:

  • Make cake mix according to package and bake in 24 cupcake liners placed in tins as directed. Cool.
  • Make chocolate sauce by melting whipping cream and chocolate chips together in a sauce pan, stirring often, until fully melted and smooth.
  • Spoon strawberry frosting into a microwave-safe bowl, and heat for 15-30 seconds until smooth and liquid when stirred.
  • Grasp a cooled cupcake by the bottom and dip the entire top of the cupcake into the softened strawberry frosting. Set each cupcake on a cookie sheet and set these in the refrigerator to harden up for 5 to 10 minutes.
  • Gently spoon a dollop of chocolate onto the center of a cupcake and smooth it toward the edges, trying to keep it from running over. A couple of mine did and they were fine once they hardened up, just a little messy.
  • Place decorations on immediately and refrigerate until both chocolate and strawberry frosting are firm. They should be fine at room temperature once they have hardened.
  • Enjoy!

Chocolate Covered Strawberry Cupcake2

My thoughts: These are such an easy cupcake to make, but they are SO yummy- and cute! I love the chocolate and strawberry combination. I hope you have a chance to make these for YOUR sweetheart this year! ~Enjoy!

Other fun Valentine recipe ideas (just click on a photo to see the recipe!)

Frog Oreos!!White Chocolate Strawberry Cookies!!Chocolate covered Strawberry cake roll-- all fixed!!!Raspberry Confetti Kisses

White Chocolate Strawberry Cookies

White Chocolate Strawberry Cookies!!Just in time for Valentines Day- these pretty pink strawberry cookies are made using a cake mix and full of creamy white chocolate chips.

These are such easy and pretty little cookies!  They are chewy and moist and flavorful- I really think you are going to love them!

Here’s the recipe: (printable version)

INGREDIENTS:

  • 1 box of Duncan Hines Strawberry cake mix
  • 1/3c. margarine (soft, at room temperature)
  • 1/2 box (4 ounces) of Philadelphia cream cheese (soft, at room temperature)
  • 1 bag of white chocolate chips
  • 1 egg

DIRECTIONS:

  • Preheat oven to 350 degrees.
  • Cover 2 cookies sheets with parchment paper.
  • Cream together margarine and cream cheese until smooth.
  • Add egg, stirring until smooth.
  • Melt 1/3 cup of white chocolate chips and stir in.
  • Add cake mix  and stir until combined.  Use clean hands to knead mixture into a heavy cookie dough.
  • Add remaining white chocolate chips and combine well.
  • Make evenly- sized small balls of dough using a spoon or a cookie scoop.

Strawberry Cookies!!!

  • Place on a parchment paper- covered cookie sheet, leaving room for cookies to spread as they bake.
  • Bake at 350 degrees for 12-14 minutes.
  • Remove from oven, slide parchment paper (cookies and all!) onto a clean counter, and cool.

White Chocolate Strawberry Cookies!!

My thoughts:  I really love these cookies.  The white chocolate chips are SO yummy.  I like them best warm out of the oven and all gooey!  These are an easy recipe to make with kids, and a perfect treat to give for Valentines Day!

White Chocolate Strawberry Cookies!!

Other fun Valentines treats on easybaked:

Strawberry Lemonade Cupcakes!!!!Strawberry layer cakeChocolate covered Strawberry cake roll-- all fixed!!!Rich Chocolate Ganache Mini Cupcakes

Lemonade Cookies…with a twist!

Posted on

Lemonade Cookies with Strawberry Bits!

Chewy lemonade cookies made with bits of strawberry licorice…a fun treat that every kid (or kid at heart) in your life will love!

Months ago I received a baking challenge from an 8 year old boy named Zao.  His mom Erika works with me and he asked her, “Do you think Ruthanne could make cookies with red licorice in them?”  Well, of course we can!

Now, as a little warning to you:  the bits of licorice are yummy, but they are very chewy and you end up eating licorice after the cookie is all gone in your mouth.  Remember bubble gum ice cream?  It’s a little like that sort of dilemma.  The taste combination is wonderful though and if you can get past the consistency you will love these!

For those of you not-so-brave folks out there….the cookies are soooooo yummy without the licorice too!  I made two batches– one with and one without the licorice.  I loved both varieties (and it gave me an excuse to eat TWO cookies instead of one!)

Lemonade cookies!

Here’s how to make them:  (printer- friendly recipe)

INGREDIENTS:

  • 1 1/2 cups granulated sugar
  • 1 cup butter, at room temperature
  • 1 large egg
  • 1/2 teaspoon vanilla extract
  • 1 packet (0.23oz.) Kool Aid Lemonade
  • Yellow food coloring gel 
  • 2 3/4 cups flour
  • 1 teaspoon baking soda
  • 1/2 teaspoon baking powder
  • 1/2 teaspoon salt
  • 1 cup of chopped Twizzler Strawberry Licorice. (I just chopped them into chocolate chip-size bits using a sharp knife)

DIRECTIONS:

  • Preheat oven to 350F degrees
  • Using a mixer, beat together butter and sugar until smooth and creamy.
  • Add egg and vanilla extract and mix until combined.
  • Add Lemonade powder and coloring gel (if needed) to create a nice yellow color. Mix well.
  • Blend in the dry ingredients, using clean hands to knead the dough together at the end.
  • Add chopped strawberry licorice bits at the very end and blend well (this step can be skipped if you aren’t feeling wild and crazy– you’ll just have yummy lemonade cookies!)
  • Roll rounded tablespoons of dough into balls and place on baking sheets that have been covered in parchment paper.
  • Bake for 8 to 10 minutes or until cookies are set. 
  • Slide parchment paper (with the cookies still on top) onto a cool counter and allow cookies to cool right on paper.

lemonade cookies!


My thoughts:  With or without the strawberry bits, these are great cookies.  I think they balance perfectly between sweet and tart. I was surprised at how many people loved the idea of putting licorice bits into cookies. I think they would be great with a strawberry or raspberry icing on top.  Yum….!  Enjoy!

Enjoying his cookies-- thanks for the recipe idea Zeo!

Enjoying his cookies– thanks for the recipe idea Zeo!

 Lemonade cookies with licorice


You might also enjoy:

Yummy Lime Cupcakes with Lemon Butter cream Frosting!Lemon-Lime and graham cracker truffleLemon Drop3Confetti Cups

Strawberry Lemonade Cupcakes!!!!

Posted on

Strawberry Lemonade Cupcakes!!!!

Two years ago today, I started a blog.  I had no idea it would blossom into what it is today, and no idea I would have so much fun with it!  I’ve made such great new friends, learned so much about photography and design, and loved every second of the process.

In honor of our anniversary, I chose the recipe that is (by far!) the most visited on the site and re-made it in cupcake form.  Strawberry Lemonade Cake is already on the Easybaked site twice:

Strawberry-Lemonade Layer CakeStrawberry Lemonade Birthday Cake

Strawberry Lemonade Layer Cake                       Strawberry Lemonade Birthday Cake

The Layer Cake is more like a torte, the lemonade mixture is more like a filling than a frosting.

The Birthday Cake has a lemonade frosting, and it is one of my very favorite frostings ever.  It’s soooo creamy and light.

Both recipes top the list of my most popular recipes, together they have been viewed just over 435,000 times (as of today…!)

It seemed fitting that I feature everyone’s favorite recipe to celebrate two years with all of you~ so let me present:  Strawberry Lemonade Cupcakes:

Strawberry Lemonade Cupcakes!!!!!

These are easy to make (much easier than a layer cake, in my opinion) and just the yummiest treat.  I loved the pink wrappers and the paper straws I found for these- I think they would be such a fun shower, picnic or birthday party treat!!

INGREDIENTS:

  • One box of strawberry cake mix (plus oil, water and eggs as directed on box)
  • 2- 8oz. packages of Philadelphia Cream Cheese (softened to room temp.)
  • 1 packet (0.23oz.) of Kool-Aid Lemonade
  • Yellow food coloring  (as desired for color)
  • 1- 7oz. container Jet-Puffed Marshmallow Creme
  • 1/3 c. powdered sugar
  • 8 oz. Cool Whip Topping
  • Confetti sprinkles and paper straws to decorate as desired

DIRECTIONS:

  • Make cake according to box and bake in 24 cupcake liners placed in cupcake tins, as directed.  Cool completely.
  • In a mixing bowl, cream together cream cheese, lemonade and yellow food coloring until smooth.
  • Beat marshmallow creme and powdered sugar into cream cheese mixture and then fold in Cool Whip until completely smooth.  
  • Spoon frosting into a zip top bag that has a piping tip inserted into one corner (I used a Wilton 1M star tip).
  • Pipe frosting on tops of each cupcake- you can be generous, as this recipe makes a lot of frosting and the frosting is so light and fluffy.
  • Decorate as desired.
  • Refrigerate and serve chilled.  
  • Enjoy!!!!!

Strawberry Cupcakes!!!!

My thoughts:  A tried-and-true recipe in a fun new format…what’s not to love about that?!?  I’m incredibly thankful for all of YOU who visit, comment, “like”, rate and (most of all) MAKE the recipes I create!  I had no idea how much I would love hearing from complete strangers that a recipe “made my husband’s birthday perfect” or “made all the kids at the party laugh”.  When I hear how happy a recipe makes you and your family it literally makes my day…and fuels my desire to bake and share more!  Here’s to another year of Easybaked recipes!  Enjoy!  ~r

Strawberry Lemonade Cupcakes Front and Back

06-13-14 Did you know, that this recipe is now available in a set of adorable note cards? With a picture of these cupcakes on the front, the recipe on the back, and lots of space inside to write a note, these are a PERFECT little gift!  Why send just a card, when you can send the gift of a recipe as well?!?  Click here for more information and to order.

Strawberry Lemonade Cupcakes !!!!

A year of easybaked recipes.....

Such a fun year….check out our photo gallery for these and other yummy treats!

Chocolate Strawberry Layer Cake!

Posted on

Chocolate Strawberry layer cake
Such an easy and refreshing dessert!  If you need something beautiful but quick, this is your recipe!

INGREDIENTS:

  • One boxed chocolate cake mix (with water, oil and eggs to make according to package)
  • One (8 oz) container of Cool Whip
  • One (7 oz) container of Jet Puffed Marshmallow fluff
  • One tub of ready-made chocolate frosting
  • About 25 ripe strawberries.

DIRECTIONS:

  • Make cake according to box and bake in 2-  8 or 9 inch round pans.
  • Cool cakes, trim off tops to level each cake and cut each cake into two layers
  • Mix Cool Whip and marshmallow fluff together until smooth.
  • Spoon frosting into bowl and heat for about 30 seconds in microwave.  Stir.  It should be a hot fudge consistency.
  • Wash and slice strawberries lengthwise (I used an egg slicer to make this easier).

Chocolate stawberry layer cake

  • Place one layer of cake on serving plate.  Spread with a bit of melted frosting and a bit of the cream mixture.
  • Place strawberries along the edge with points facing out.  Use small pieces to fill in the middle.

Chocolate strawberry layer cake

  • Do this with each layer and then top final layer with remaining cream and frosting.
  • Decorate as desired.
  • Keep refrigerated until serving.


Strawberry layer cakeMy thoughts:  I miss summer.  I’ve been craving strawberries and this yummy cake did the trick!  It is easy and delicious and you’ll impress everyone you serve it to!  Enjoy!!!  ~r

Other strawberry desserts you’ll love ~ click on the image to get to the recipe:

Chocolate Covered Strawberry CheesecakeStrawberry-Lemonade CakeStrawberry Cookies with Sweet Tart FrostingChocolate covered strawberry Cake roll!!

Favorites of 2011 and Happy Birthday to me!!!

It’s the last day of 2011.  This year I started a blog (!!) and met all of you– what a fun year!

Easybaked began in March at the urging of many friends…. since then I have become a fan of many of your blogs and marveled at your creative recipes, beautiful photos and funny stories.

It is also my birthday this week, and in pursuit of the perfect birthday dessert I decided to take a trip down memory lane through some of my favorite recipes, photos and blogs this year.

Here we go:  my best from 2012:

Greg from Rufus’ Food and Spirits Guide has encouraged me from almost day one of starting this blog- although we’ve never met, its been fun to share blogs!  Here’s one of his posts that I tried and loved:  Butterfinger Cookies!

Aimee from Clever Muffin  cracks me up!  When I met her she was living in London (so cool) and now she has moved back to Australia (even cooler!) Her yummy muffin recipes are great- but her sense of humor is even better– this is a blog worth following for sure!!  Here’s her Chocolate Chip Yogurt Muffins:

Christine from Angry Cherry is from Canada– and she’s a pastry chef in training (jealous!)  she makes beautiful things with ingredients I’ve never heard of, but I love how adventurous she is in pursuing her dreams.  Red Wine Truffle Cake from her:

Since I’m addicted to photography these days, I am drawn to blogs with jaw-dropping photography.  My favorite is Bravetart (plus, WHAT a fun name!)  The recipes are from Stella, a pastry chef and the photography is done by a variety of friends who are professional food photographers (dream…..!)  I just stare at the photographs and try to understand the angles and lighting….I really need to take a class.  In any case, here is her version of Red Velvet Cake (please come to my house and make this for my birthday….!)

My favorite cake decorators are the Davis sisters (and mom).  They have taken a hobby and turned it into a serious business and FUN blog- Happily Ever After Cakes!!  I am amazed by how many different types of cakes and cupcakes they are willing to try.  Here’s one of my favorites (I want to live on this cake!) a day at the beach (yes…this is a CAKE!)

I’m sneaking a favorite non-food blog into the lineup:  this blog is one of my favorite sources of inspiration and encouragement.  A good friend of mine is a chaplain with the military.  He’s deployed right now and shares his thoughts on a blog called Devos by Chaps….love it!

Last, but certainly not least is the cake I would choose to have on my birthday if someone else would make it…Its from The Art of Dessert and I think the picture speaks for itself…wow.  Let me present: Chocolate Wasted Cake:

so….birthday cake….

I also went through the archive of all the recipes created on easybaked this year.  The one recipe I couldn’t  get out of my head (I think because I wish it was summer out!) was Strawberry Lemonade Layer Cake.  A summer cake for a cold January birthday— perfect!  I tweaked the frosting recipe just a bit to make it thicker so that it would be more of a frosting than just a filling…and I LOVE it!!  Its light, whipped, very spreadable and tart with lemon — perfect!

Here’s the recipe (tweaked) or if you want the original just click here.

INGREDIENTS:

  • One box of strawberry cake mix (plus oil, water and eggs as directed on box)
  • 2- 8oz. packages of Philadelphia Cream Cheese (softened to room temp.)
  • 1 packet (0.23oz.) of Kool-Aid Lemonade
  • Yellow food coloring  (as desired for color)
  • 1- 7oz. container Jet-Puffed Marshmallow Creme
  • 1/3 c. powdered sugar
  • 8 oz. Cool Whip Topping
  • Rainbow sugar crystals

DIRECTIONS:

  • Make cake according to box and bake in 2- 9 inch round cake pans as directed.  Turn finished cakes over on cake racks and allow to cool completely.
  • Cream together cream cheese, lemonade and yellow food coloring until smooth.
  • Beat marshmallow creme and powdered sugar in and then fold in Cool Whip until completely smooth.  
  • Cut each cake layer in half.
  • Alternating layers of cake with layers of frosting, assemble cake.  
  • Cover top and sides with frosting.
  • Refrigerate and serve chilled.  Sprinkle with colored sugar just before serving.

A light and refreshing dessert after all the heavy holiday treats– perfect!

Thanks for sharing all of your fun recipes and stories with me this year— looking forward to sharing 2012 together!

Happy New Year!

Other favorite desserts on Easybaked~  just click the picture to get the recipe!

Cookie Dough CupcakesCinnamon Roll Filling in a yummy cupcake!Caramel Fudge Brownies!!Creamy Coconut Cheesecake

Strawberry Lemonade Layer Cake!!

Posted on

Moist strawberry cake layered with a rich lemonade cream filling.  Introducing summer——on a plate!

INGREDIENTS:

  • One box of strawberry cake mix (plus oil, water and eggs as directed on box)
  • 8oz. Philadelphia Cream Cheese (softened to room temp.)
  • 1 packet (0.23oz.) of Kool-Aid Lemonade
  • Yellow food coloring gel (as desired for color)
  • 2cups Jet-Puffed Marshmallow Creme
  • 8 oz. Cool Whip Topping
  • Fresh strawberries to garnish.

DIRECTIONS:

  • Make cake according to box and bake in 2- 9 inch round cake pans as directed.  Turn finished cakes over on cake racks and allow to cool completely.
  • Cream together cream cheese, lemonade and yellow food coloring until smooth.
  • Mix marshmallow creme in and then mix in Cool Whip until completely smooth.  Refrigerate until cake is cooled and cut.
  • Cut each cake layer in half.
  • Alternating layers of cake with layers of filling, assemble cake.  End with layer of filling.
  • Top with sliced strawberries.
  • Refrigerate and serve chilled.


My thoughts: YUM!!!!!  I’m a little obsessed with the filling I used in those confetti cups a few weeks back.  This lemonade filling is similar- but has more Cool Whip to make it light and fluffy.  I’ve never made a strawberry cake mix before– it is SO GOOD!  I love that this recipe uses a cake mix- it makes it a VERY easy and quick recipe that looks so fancy and fun!  I think you could drizzle some white chocolate over this and make it over-the-top fancy.  I really hope you enjoy this recipe— I’ve gotta have a piece –ready….set….GO!


Want to see more pictures of this cake done as a birthday cake?  The filling is made just a little thicker so that the entire cake can be frosted.  Just click here.  Enjoy!

 4-17-12: I love it when people try recipes I’ve posted and take pictures of the process- check out how “Don’t fight the Apple” made this recipe into yummy jar cakes to send to her boyfriend overseas!  Great idea!!

4-23-12: Or check out the tips and beautiful photos taken at Jam Hands.

Try some other fun strawberry desserts at Easybaked~ just click on an image to be taken to the recipe!

Strawberry layer cakeStrawberry Cookies with Sweet Tart FrostingStrawberry Lemonade Cupcakes!!!!Chocolate covered strawberry Cake roll!!

Chocolate-covered Strawberry Cheesecake!!

Posted on

White chocolate cheesecake covered with chocolate dipped strawberries??? I’ll have some of that! (in fact I went off my diet and did– just a little….)  This is my standard cheesecake recipe with a twist- it’s surrounded by Nilla Wafers and topped with loads of dipped strawberries!  Fun and fancy- you will impress your guests with this cheesecake!

INGREDIENTS:

Cheesecake:

  • 9 oz. chocolate wafer cookies (I use animal crackers)
  • 15-20 Nilla Wafers
  • 1/4 c. margarine (melted)
  • 2 (8oz.) packages of Philadelphia Cream Cheese (softened)
  • 1/2c. sugar
  • 3 eggs
  • 2 c. white chocolate chips (melted)
  • 1 c. heavy whipping cream
  • 2 tbsp. margarine (melted)
  • 3 tsp. vanilla

Toppings:

DIRECTIONS:
Cheesecake:
  • Preheat oven to 325 degrees
  • Crush cookies into fine crumbs and add melted margarine.  Combine well and press into the bottom of a 9-Inch Springform Pan
    .
  • Gently press Nilla wafers upright along the edges of the crust.
  • Beat softened cream cheese with sugar until smooth.
  • Add eggs one at a time, beating in between each one.
  • Add remaining cheesecake ingredients, beating until smooth.
  • Pour into crust and allow to sit at room temp for 30 minutes.
  • Place on a cookie sheet and bake for 60 minutes.
  • Turn off oven, open oven door a little and allow to sit for another 30 minutes.
  • Remove from oven and run knife around edge of pan.  Remove edge of pan. 
  • Allow cheesecake to come to room temperature and then refrigerate overnight.
Toppings:
  • CHOCOLATE:  Put 1/2c. whipping cream into saucepan and heat just until bubbling at edges.  Turn heat off, add chocolate chips, cover and allow to sit for 5 minutes.
  • After 5 minutes, stir until smooth.
  • Pour over top of cheesecake and allow this to harden.
  • STRAWBERRIES: Take the top off each strawberry and wash well.  Allow these to dry completely on paper towel.
  • Melt both dark and white chocolate candy melts in the microwave in 30 second increments, stirring in between until completely melted.
  • Gently dip strawberries in chocolate (half in dark and half in white).  Use a fork to drain away excess chocolate and set on parchment paper to harden.
  • Put remaining melted chocolate in ziplock bags.  Clip a corner and drizzle each strawberry with its opposite color.
  • Allow these to completely harden.
  • Add powdered sugar to remaining cup of  whipping cream and whip with mixer (you could use Cool Whip to save time on this part).
  • Spoon whipped cream into a zip-lock bag with a decorative tip added into one corner.
  • Gently place hardened dipped strawberries on cheesecake.
  • Pipe whipped cream around edges and between berries.
  • Keep chilled.  Serve the same day as you place the berries (they will eventually get “soggy”  if they sit too long.
  • ENJOY!!!
My thoughts:
This is the only recipe I’ve ever won a contest with.  Two, in fact!  The 1st was a recipe contest through our local newspaper.  The second was a contest with Ferrara Pan Candy Company.  It isn’t a recipe thats quick and easy, but it’s fun to make and sure to impress!!!  Here’s a couple of tips:  Get more than enough strawberries- you want similar sizes and you will need to go through a few to find enough of the same size.  Start placing the strawberries in the middle with the largest.  The smaller berries are easier to squeeze in around the edges 🙂  Enjoy!!!  r-
This recipe was shared on these wonderful blogs:
%d bloggers like this: