RSS Feed

Tag Archives: philadelphia cream cheese

Lucky Charms Truffles

Posted on

Lucky Charm Truffles

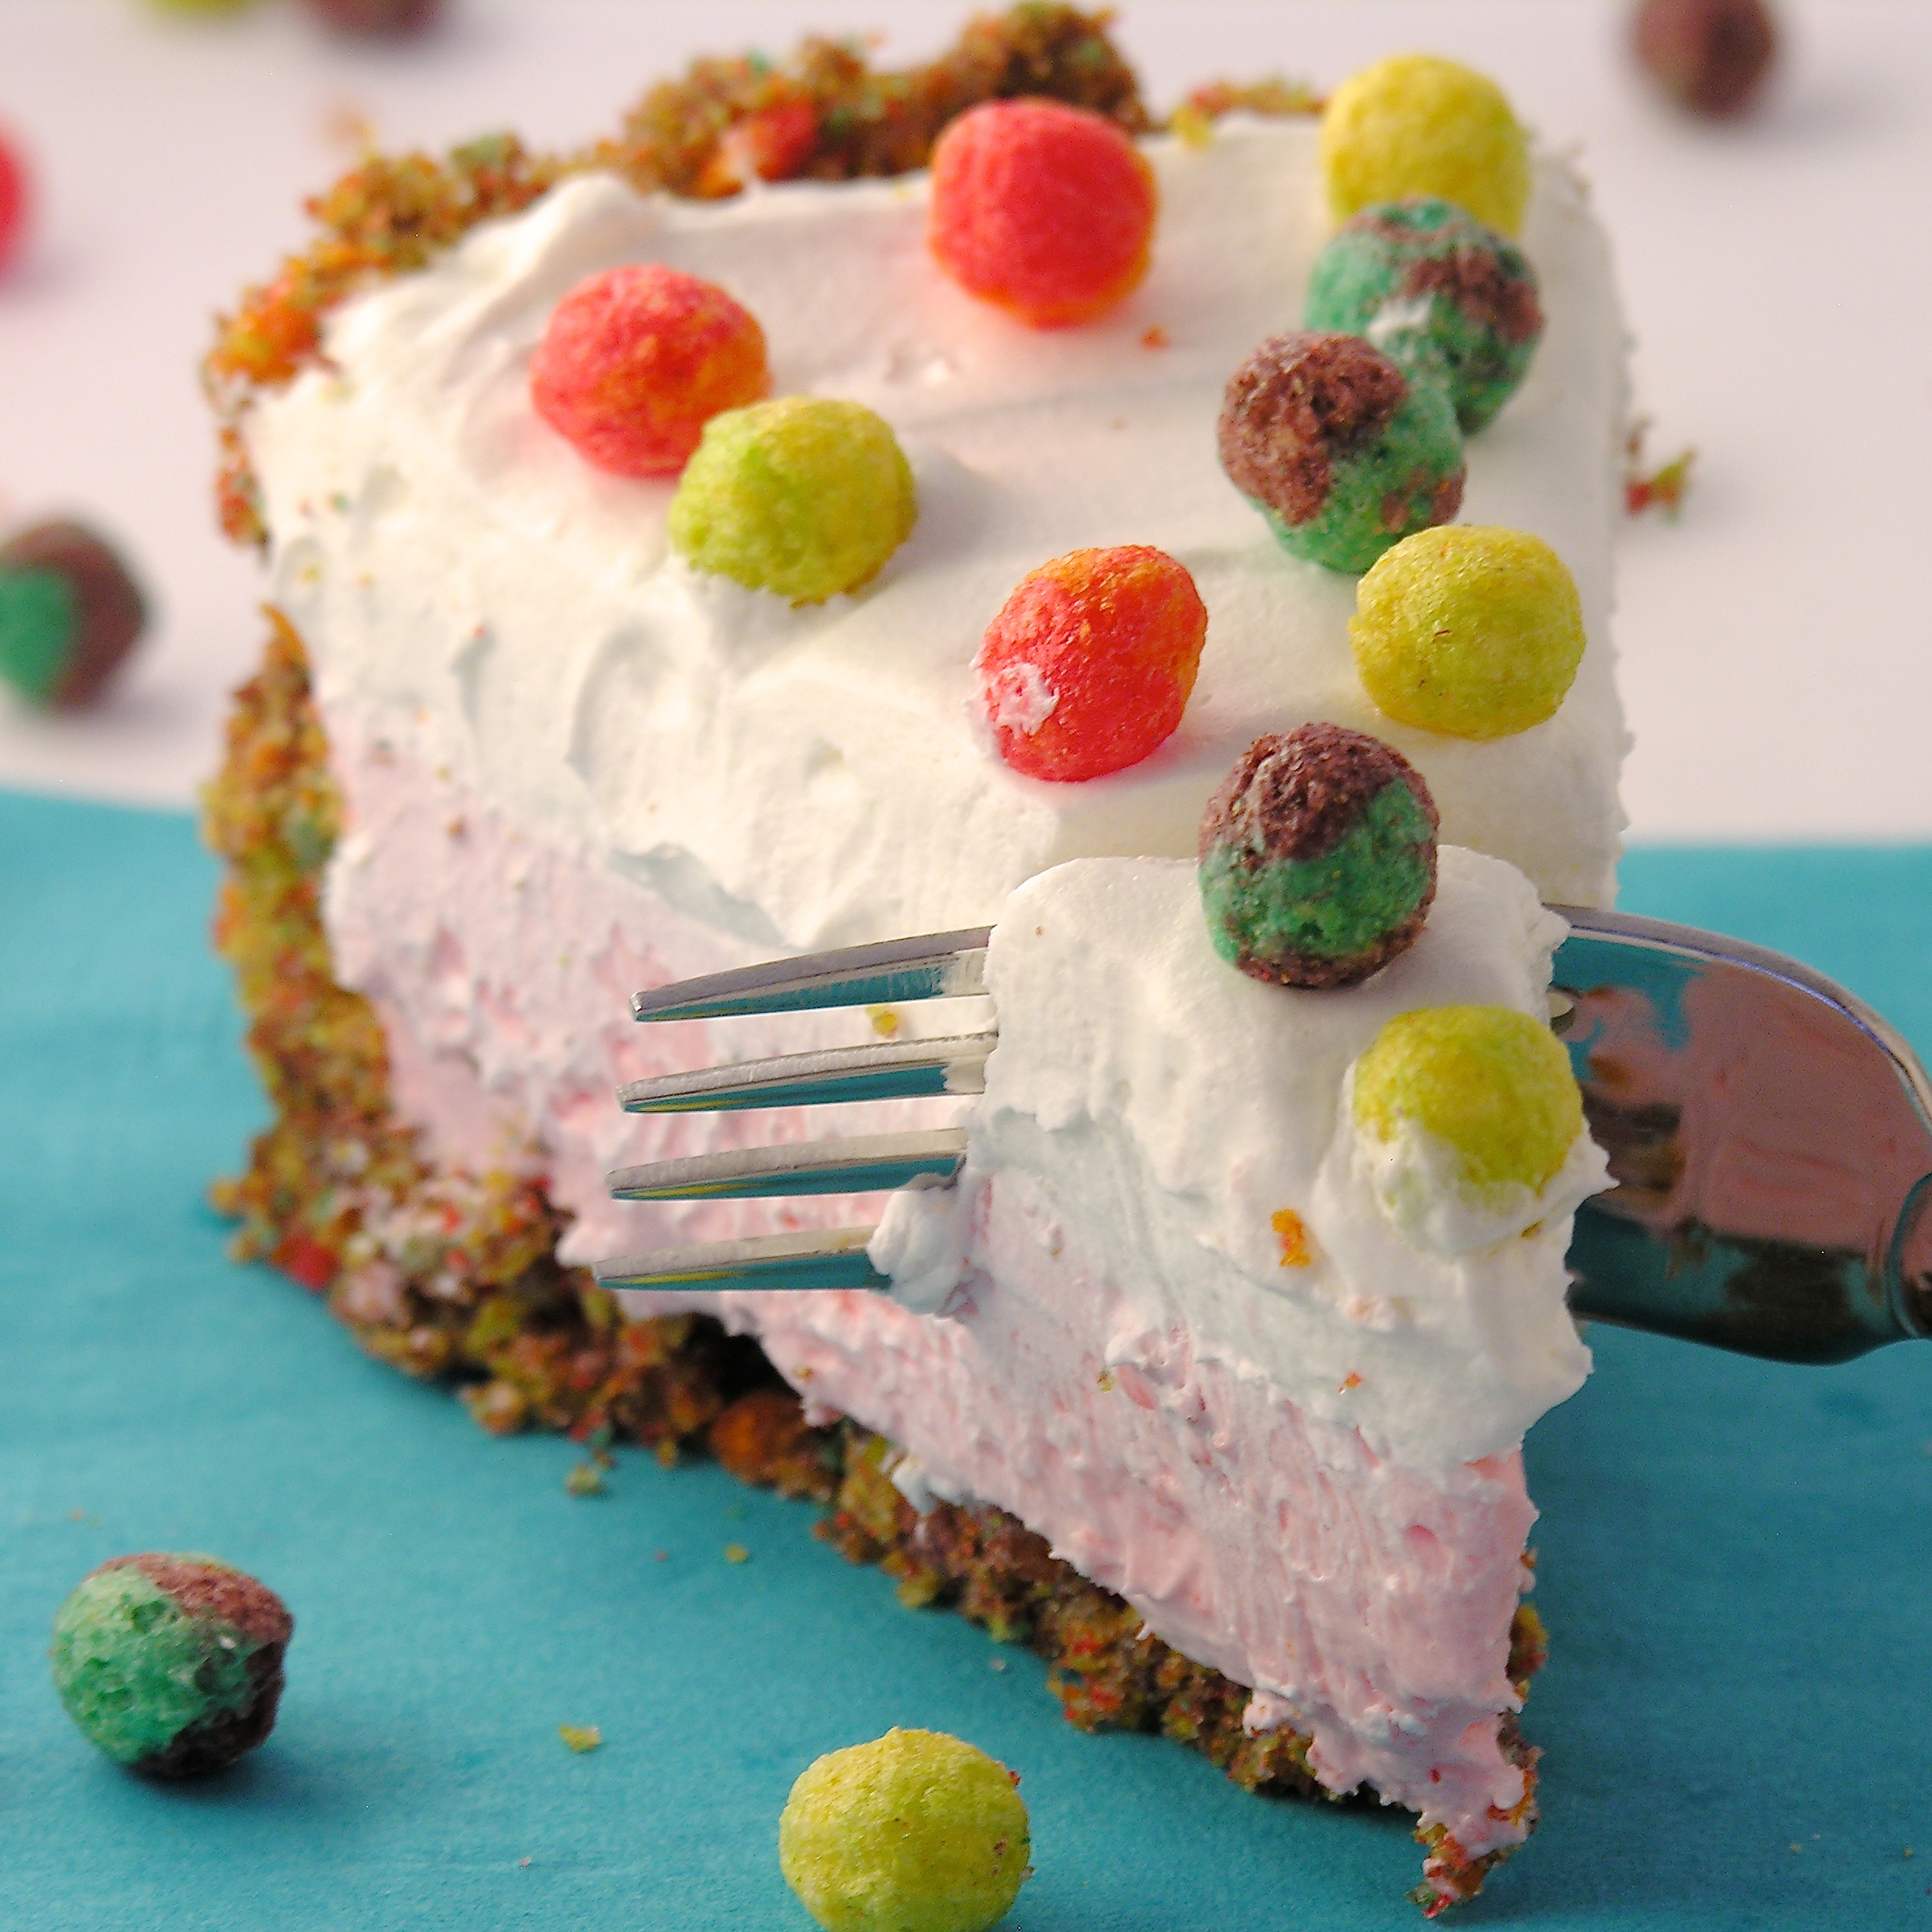
If you like Lucky Charms Cereal, you will love these chocolate-covered treats!

I was walking down the cereal aisle and a box of Chocolate Lucky Charms jumped into my cart and begged me to make a dessert with it.

That’s almost how it happened…! I love Lucky Charms and I adore the chocolate version. Did you know that just before St. Patrick’s Day they have a limited time version full of shamrocks and pots of gold. Too cute!

I had actually been wondering if the oft-used technique of Oreos + Cream Cheese, rolled into a ball and covered in chocolate would work with cereal. Perfect opportunity to try!

These are yummy little chocolate-y and marshmallow-y treats that are SO cute for the month of March!

Lucky Charm Truffle

Here’s how we put them together: (printable recipe)

INGREDIENTS: (makes 24-36 truffles, depending on how big you make them)

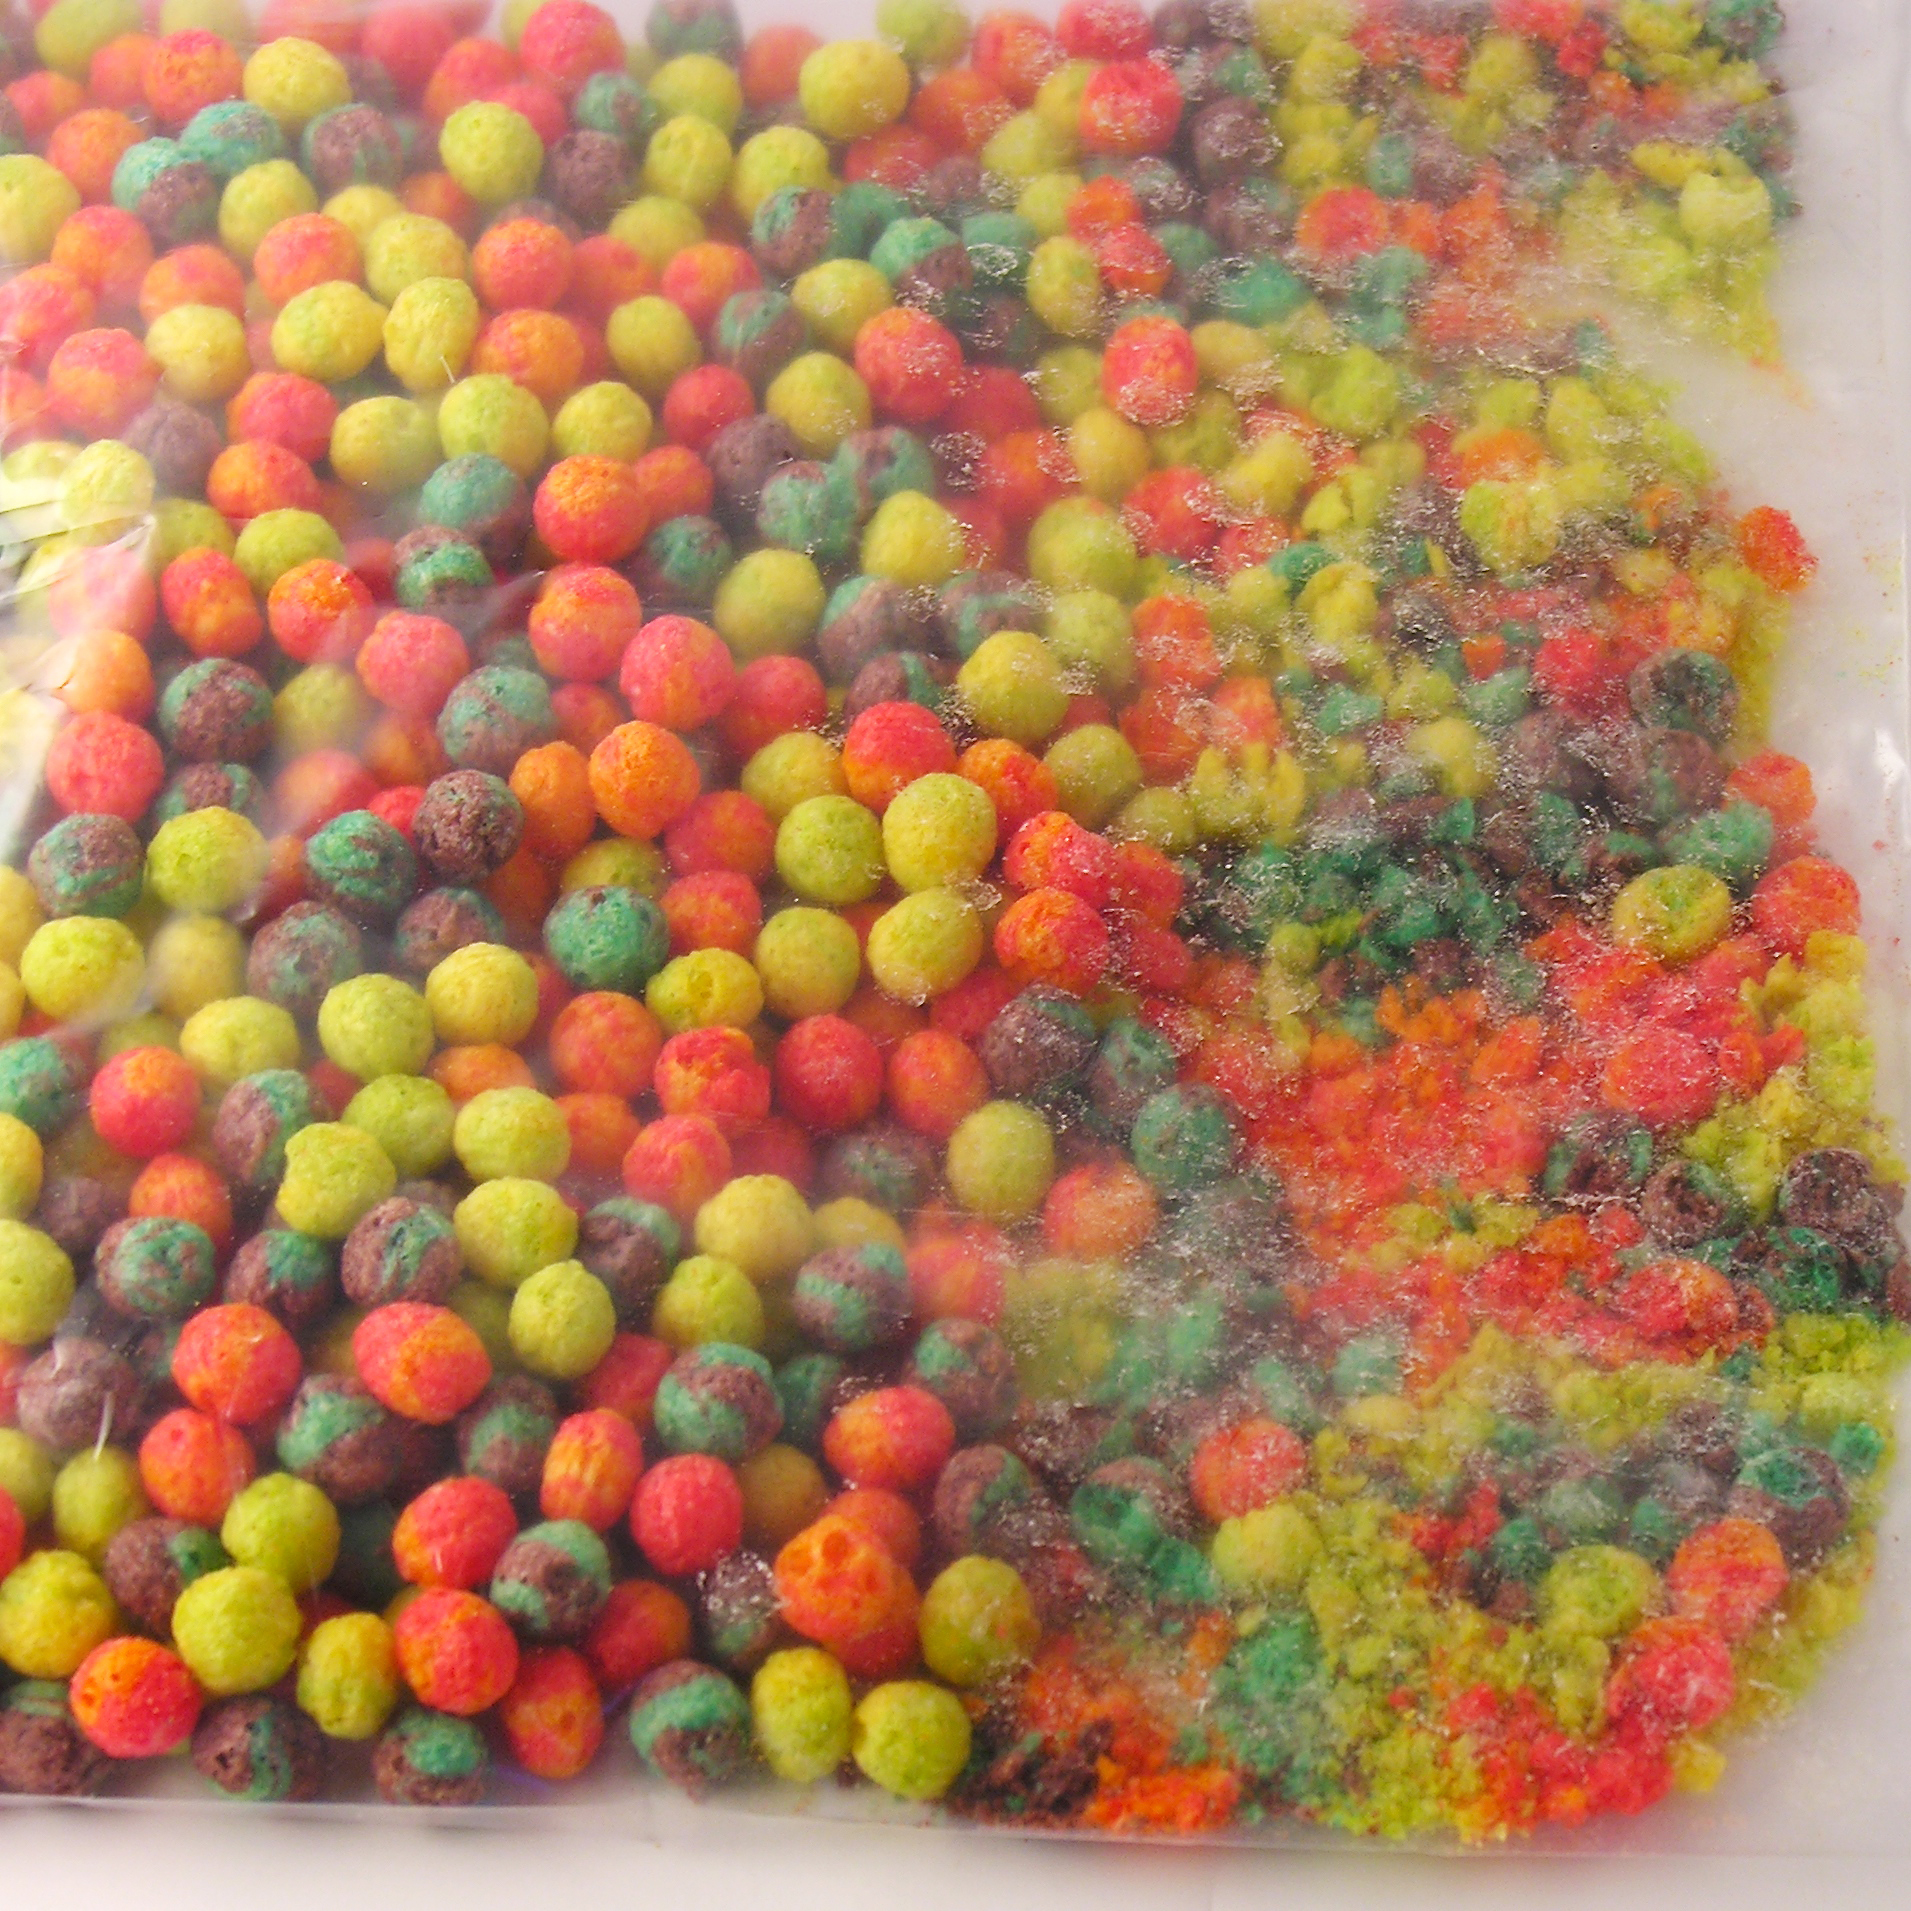
  • 4 cups of Lucky Charms Chocolate cereal (marshmallows and all)
  • 1 bar of Philadelphia Cream Cheese (at room temp)
  • 1 bag of Wilton’s candy melts (in any color you like- I used up some leftover bags in a variety of colors)

DIRECTIONS:

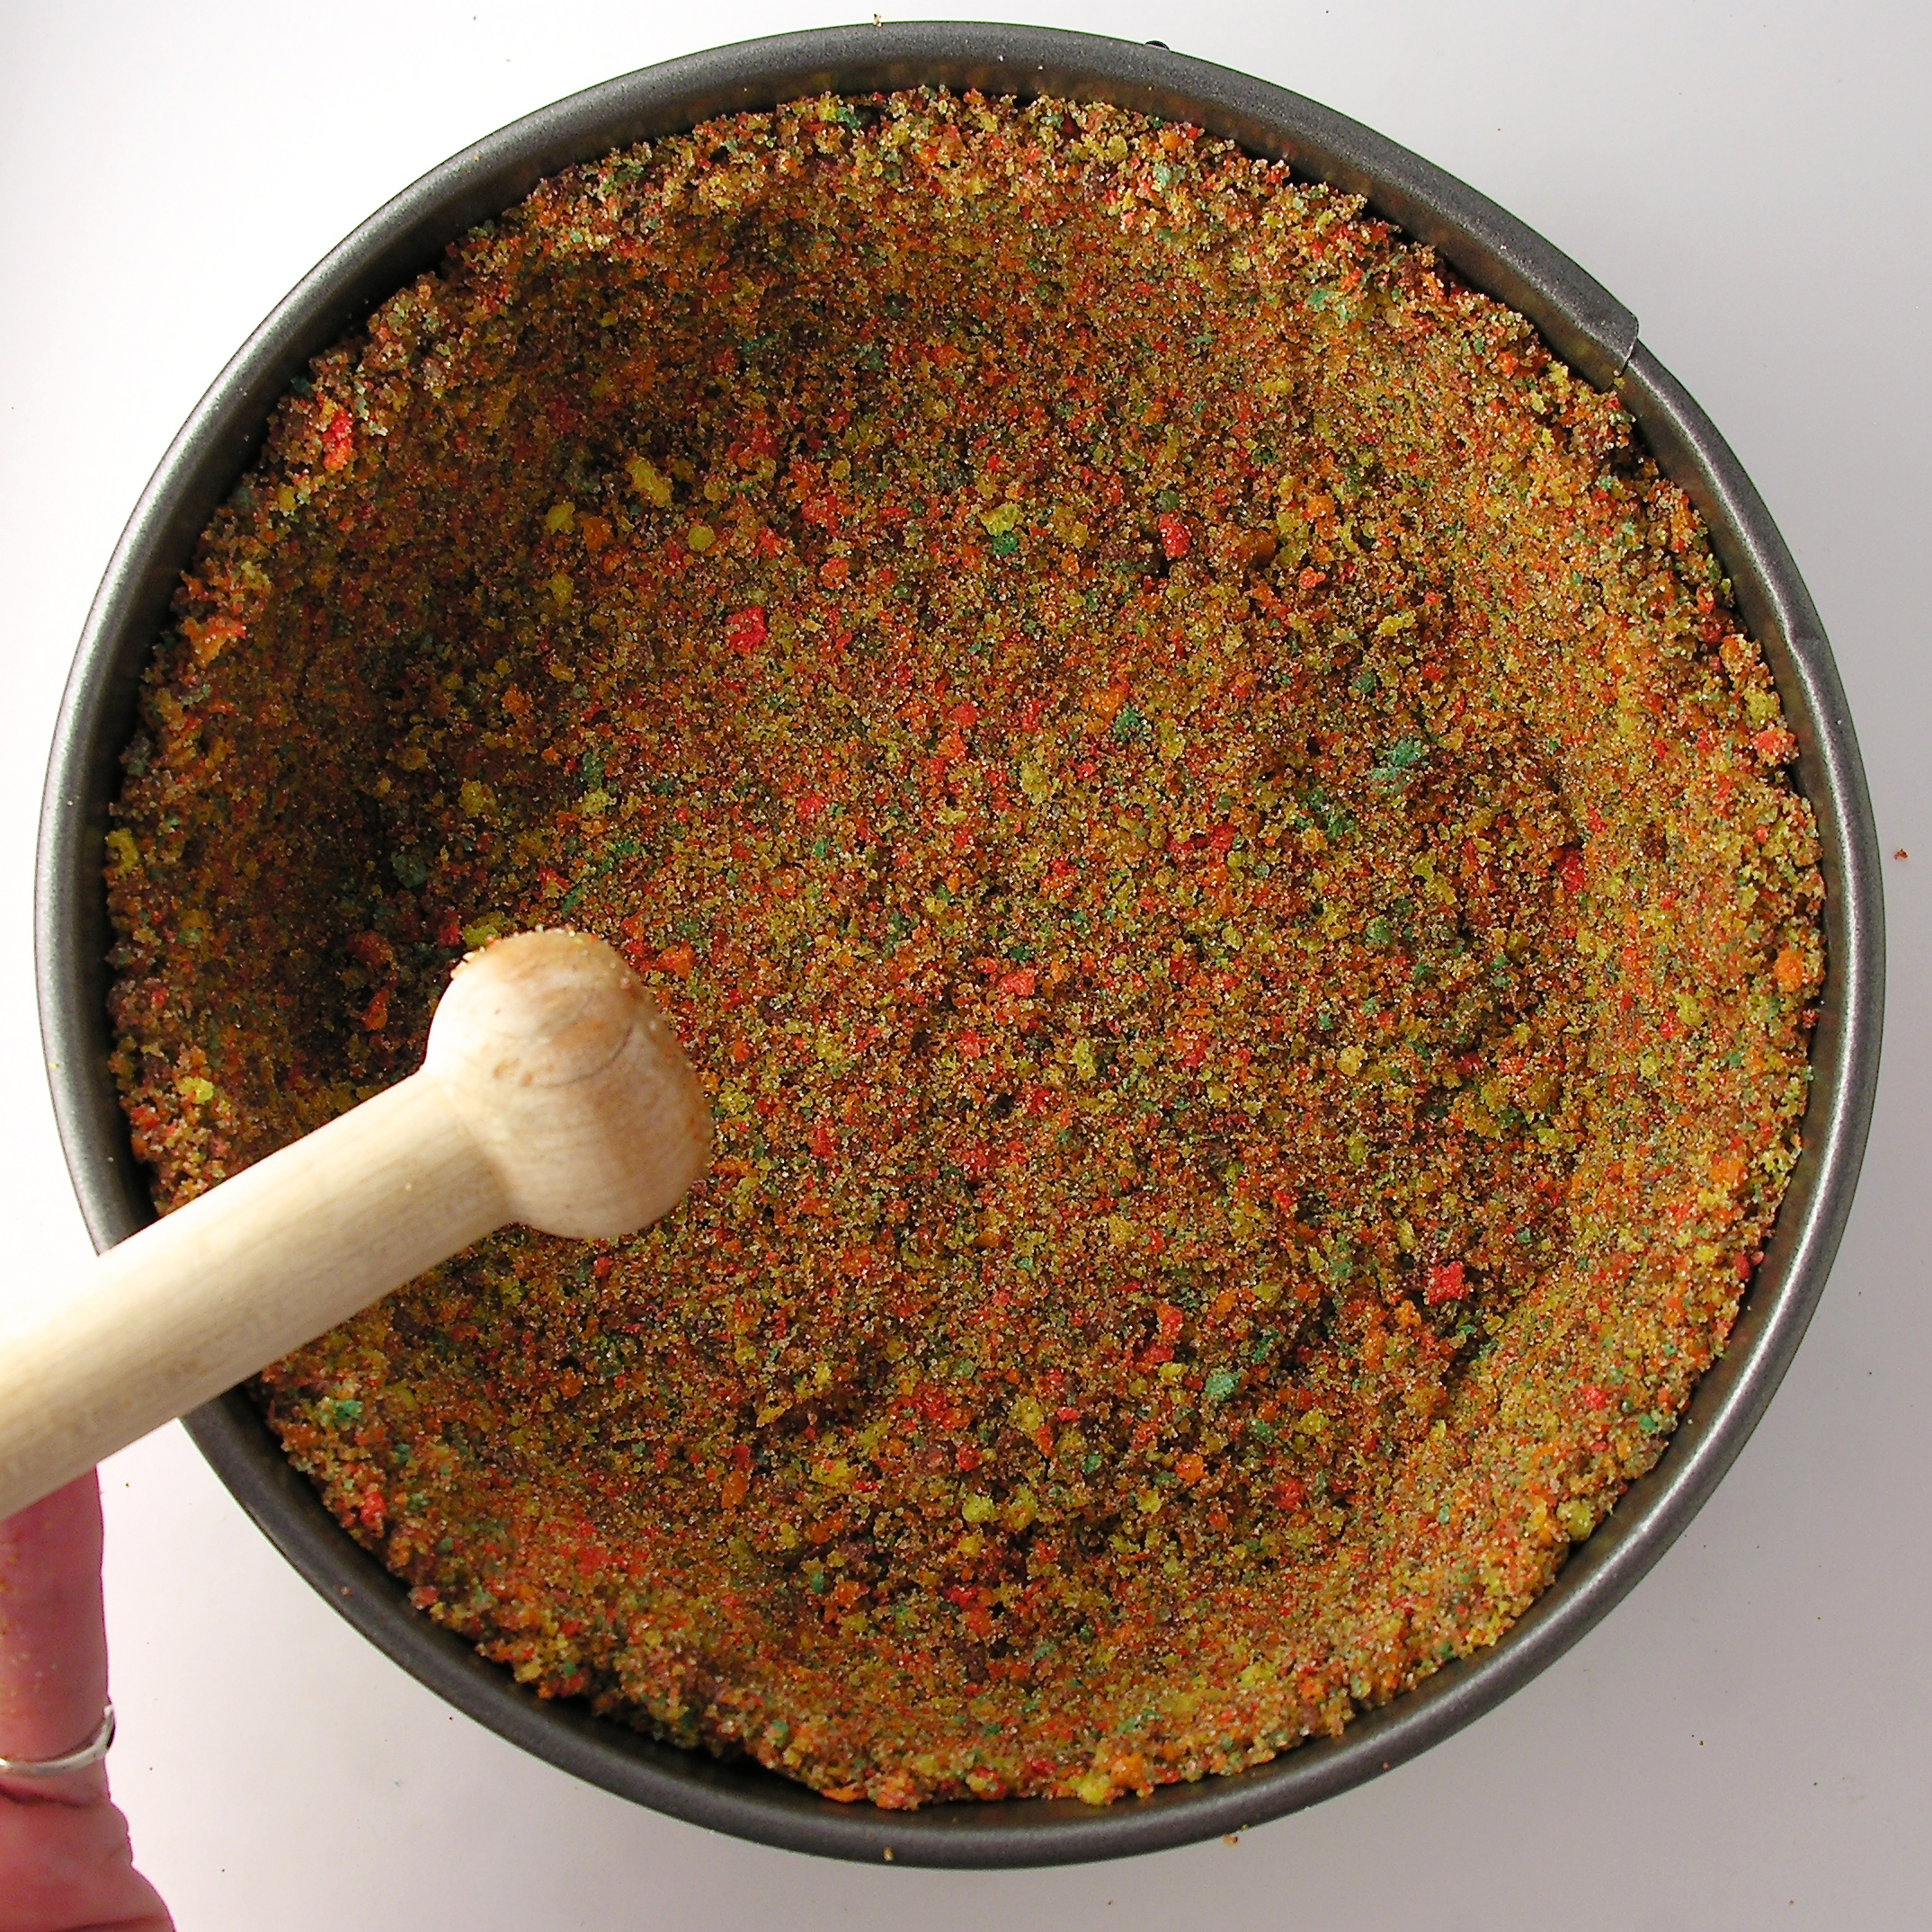
  • Finely crush cereal into crumbs (I used a food-chopper).
  • Combine with cream cheese until it forms a soft ball of dough.
  • Roll dough into small balls.
  • Melt candy melts in the microwave in 30 second increments, stirring between, until melted and smooth.
  • Use a fork to dip balls of cereal into the melted candy. Tap the fork on the side of the bowl to drain off excess melted candy, and slide fork along edge of bowl to remove excess.
  • Place each truffle on parchment paper to harden. Top with marshmallow bits from the cereal, or sprinkles.
  • Allow them to harden completely.

Lucky Charm Truffles

My thoughts: Aren’t they cute? They are pretty yummy too. I thought the consistency was a little weird, but once they are covered in chocolate it’s not as noticeable. I got a thumbs up from friends who tried them and kids LOVED them. Just a fun little St. Patricks Day project! Enjoy! ~r

Other yummy St. Patrick’s Day treats here on Easybaked: (click on image to see recipe)

Andes Mint CupcakesKey Lime CakeLime Soda Cupcakes!!!!Baileys Irish Cream Cupcakes

Advertisement

Kool Aid Pie!

Posted on

KoolAid PieWith a fruit cereal crust and sweet, creamy Kool Aid filling, this cake will have you and every child in your life asking for seconds!

This recipe is made in a springform pan- like a cheesecake. The crust is made of crushed Trix Cereal and I made my filling with watermelon Kool Aid.  It was perfect with the sweet crust and slightly tart filling.  The cool thing?  You can use ANY flavor of Kool Aid you want!  Blue Raspberry, Green Apple, Cherry, Grape, Strawberry….ANYTHING!

Kool Aid Cake!

So. Much. Fun!!!!!!!!!

Here’s how we made it: (for a printable recipe, click here)

INGREDIENTS:

  • 6 cups of Trix Cereal (crushed into about 3 cups)
  • 1 stick (1/2 cup) butter (melted)
  • 3 Tablespoons of sugar
  • 1 package (8 oz) of Philadelphia Cream Cheese (softened to room temperature)
  • 1 packet of Kool Aid drink mix (any flavor~ if you use a lemonade, add it to taste, as it will be more tart than the other flavors)
  • 1 (13 oz) jar of Jet-Puffed Marshmallow Creme
  • 1 tub (8 oz) of Cool Whip (thawed in refrigerator)

DIRECTIONS:

  • Preheat oven to 350F degrees
  • In a large mixing bowl, combine crushed cereal, sugar and melted butter. Mix until well- combined,
  • Press into an un-greased, 8″ springform pan, pressing crumbs up sides and into bottom.
  • Bake at 350F degrees for 15-18 minutes.
  • Leave sides on pan, and cool completely.

Crushed CerealKool Aid Pie Cereal Crust!!

  • Make filling by creaming together the cream cheese with the Kool Aid. Add Kool Aid according to how much flavor, color and tartness you enjoy.  I added the whole packet, and YUM!
  • Mix in the entire container of Marshmallow Creme and blend well.
  • Fold in 1/2 of the Cool Whip until well blended.
  • Carefully spoon filling into cooled cereal crust, and very gently (as to not pick up crumbs of cereal), spread it to the edges.
  • Spoon remaining Cool Whip on top.
  • Store chilled, and just before serving remove sides of pan, and sprinkle extra cereal on top.

Kool Aid Pie with Cereal Crust!

My thoughts:  The only thing even a tiny bit hard about this recipe is pressing that crust into a springform pan.  The rest is just mixing and pouring.  So easy- but such a pretty and fun dessert.  The watermelon version I made got RAVE reviews and it was gone in one evening.  Almost everyone had seconds!  I wasn’t sure how well the watermelon flavor would go over, but it was so refreshing!  I loved it!  I hope you get a chance to try this easy summer recipe!  Enjoy!!! ~r

Kool Aid Pie!!!

 More recipes that kids will love:

Hamburger Cookie!Toxic Slime-filled Cupcakes!Ladybug Oreo Pops!Confetti Cake Filled with Candy

Chocolate Raspberry Cheesecake

Chocolate Raspberry Cheesecake!!Creamy chocolate cheesecake topped with a layer of raspberry and sour cream. Unbelievably yummy!!!

If you follow my blog on a regular basis, you will remember this cheesecake from last fall.  It is my Aunt’s recipe and it is literally the best cheesecake I’ve ever eaten.  It is so creamy and smooth…oh my.

I decided to add a few twists to the recipe by making it chocolate and adding raspberries to the topping.  It worked beautifully and added so much flavor!  It is really quite easy to make.  I hope you enjoy it as much as I did!!!!

Here’s the recipe (printable version):

INGREDIENTS:

Crust:
  • 1 1/4 cups Honeymaid graham cracker crumbs
  • 5 tablespoons butter, melted
  • 3 tablespoons sugar 
Filling: 
  • 3/4 cup sugar
  • 3 (8 oz.) Philadelphia cream cheese bars (must be the Philadelphia brand)~ softened to room temperature.
  • 2 eggs
  • 1 teaspoon vanilla
  • 1 teaspoon lemon juice
  • pinch of salt
  • 1 cup of semi-sweet chocolate chips
Topping: 
  • 1 pint (2 cups) sour cream
  • 1/2 cup sugar
  • 1 tsp. vanilla
  • pinch of salt
  • 1/3 cup of canned raspberry pie filling

DIRECTIONS:

  • Preheat oven to 350F degrees.
  • In a medium bowl, combine crust ingredients together until well combined.
  • Press into a 9″ spring form pan, pressing crumbs into bottom and about 1 1/2″ up sides of pan.    
  • For the filling, combine the sugar and softened cream cheese in a large mixing bowl and beat together until smooth.
  • Add the eggs, one at a time, beating between each addition.
  • Add the vanilla, lemon juice and salt and beat until smooth and creamy.
  • Melt the one cup of chocolate until smooth, and add to cheesecake mixture, beating until completely incorporated.
  • Pour into crust.
  • Bake at 350F degrees for 35-45 minutes.
  • While cheesecake is baking, make topping by simply mixing together all of the topping ingredients.
  • After 35-45 minutes of baking, remove cheesecake from oven and turn oven down to 325F degrees.
  • Pour topping over hot cheesecake, gently spreading to edges.
  • Return cheesecake to oven and bake for an additional 12-15 minutes.
  • Remove cheesecake from oven and leave sides on pan while allowing cheesecake to cool to room temperature.  
  • Refrigerate several hours (or overnight)
  • Run a small knife around the edges of the pan and remove them before serving.
  • Serve with extra raspberry pie filling– YUM!
  • Enjoy!!!!


Chocolate Raspberry Cheesecake!!
My thoughts:  You can see in my pictures that I added a cup of raspberry pie filling over the crust before I poured the cheesecake batter in.  It was really yummy, but made it hard to remove the bottom of the springform pan (which I always do before pictures).  If you don’t mind leaving the bottom on, this is a yummy addition to the recipe!  Just gently spread it out over your graham crust and pour the cheesecake over the top.
Chocolate Raspberry Cheesecake!!

We love raspberries here at Easybaked!  Check out our other yummy raspberry recipes!

Raspberry Lemon Cream Cups!!!Raspberry Confetti KissesRaspberry Truffle TartRaspberry Lemon drop Cakes!!!

White Chocolate Strawberry Cookies

White Chocolate Strawberry Cookies!!Just in time for Valentines Day- these pretty pink strawberry cookies are made using a cake mix and full of creamy white chocolate chips.

These are such easy and pretty little cookies!  They are chewy and moist and flavorful- I really think you are going to love them!

Here’s the recipe: (printable version)

INGREDIENTS:

  • 1 box of Duncan Hines Strawberry cake mix
  • 1/3c. margarine (soft, at room temperature)
  • 1/2 box (4 ounces) of Philadelphia cream cheese (soft, at room temperature)
  • 1 bag of white chocolate chips
  • 1 egg

DIRECTIONS:

  • Preheat oven to 350 degrees.
  • Cover 2 cookies sheets with parchment paper.
  • Cream together margarine and cream cheese until smooth.
  • Add egg, stirring until smooth.
  • Melt 1/3 cup of white chocolate chips and stir in.
  • Add cake mix  and stir until combined.  Use clean hands to knead mixture into a heavy cookie dough.
  • Add remaining white chocolate chips and combine well.
  • Make evenly- sized small balls of dough using a spoon or a cookie scoop.

Strawberry Cookies!!!

  • Place on a parchment paper- covered cookie sheet, leaving room for cookies to spread as they bake.
  • Bake at 350 degrees for 12-14 minutes.
  • Remove from oven, slide parchment paper (cookies and all!) onto a clean counter, and cool.

White Chocolate Strawberry Cookies!!

My thoughts:  I really love these cookies.  The white chocolate chips are SO yummy.  I like them best warm out of the oven and all gooey!  These are an easy recipe to make with kids, and a perfect treat to give for Valentines Day!

White Chocolate Strawberry Cookies!!

Other fun Valentines treats on easybaked:

Strawberry Lemonade Cupcakes!!!!Strawberry layer cakeChocolate covered Strawberry cake roll-- all fixed!!!Rich Chocolate Ganache Mini Cupcakes

Easter Mini-Cheesecakes

Posted on

Easter Cheesecake Cups

These colorful mini-cheesecakes are made with malted milk ball eggs and have a sugar cookie crust…yum!

I love seasonal candy.  I love Cadbury eggs at Easter and Tim Tams at Christmas and conversation hearts at Valentines Day….but the Whopper brand malted milk ball eggs are the best.  Did any of you use the outside shell as colorful “lipstick” as a kid?  So fun!  Crunch them up in a whipped cheesecake and put them in a fun Mini Cheesecake Pan for a dessert that will make everyone smile!

INGREDIENTS: (makes 12 mini cheesecakes)

  • One Nestle Sugar Cookie Dough Bar (the refrigerated dough that is scored into 24 squares)
  • 8 oz. of Philadelphia Cream Cheese (softened)
  • 1/3 c. granulated sugar
  • 2 t. vanilla
  • 1 (8 oz) container of Cool Whip
  • 2 bags (10 oz. each) of Whopper’s Robin Eggs (I used mini’s, but I’m sure the full size would work fine too.)  You could use regular Whopper candies to get the same flavors when the seasonal Robin’s Eggs are not available.

DIRECTIONS:

  • Preheat oven to 350 degrees.
  • Prepare pan by placing the metal disks into each cup (the Mini Cheesecake Pan comes with metal disks that sit at the bottom of each cup- like the bottom of a spring form pan!)
  • Break apart 1/2 of cookie dough bar.  (This recipe makes 12 cheesecakes but the bar contains 24 cookies.  You can double this recipe and make 24 cheesecakes or just make the other 12 cookies another time.)
  • Roll each cookie dough square into a ball and put it into a greased cup in the mini cheesecake pan.
  • Bake at 350 for 12-14 minutes.
  • Cool completely.
  • In a mixing bowl, cream together softened cream cheese and sugar. 
  • Add vanilla.
  • Smash one full bag of Malted Milk Chocolate Eggs.  I put them in a ziplock , placed them on a cutting board and hit them with a hammer until they were in pieces about the size of mini chocolate chips.
  • Fold about 2/3 of Cool Whip and  the one bag of smashed eggs into the cream cheese mixture.
  • Spoon cheesecake mixture into a large zip-top bag.  Clip a large piece of one corner off and pipe filling evenly over each cooled cookie crust.
  • Use a knife or spatula to smooth tops of cheesecakes flat across top of pan.
  • Freeze for about 3-4 hours (or overnight)
  • Remove from freezer, pop cheesecakes out by pushing up on the bottom of each cup. (This took a little practice for me- you have to push it up high enough to grab it by the cookie part.)
  • Remove the metal disk from the crust.
  • Pipe remaining 1/3 of Cool Whip on top of each cheesecake and decorate with  malted milk chocolate eggs as desired
  • Keep refrigerated until serving.

Easter Cheesecake Cups

My thoughts:  These are a yummy, colorful and fun Easter treat!  They go together fast too- which is always a bonus for me.  You can make these in a muffin tin, if you don’t want to invest in the mini-cheesecake pan- but mine has been a great addition to my kitchen- so many fun things to make in it!!!  Hope you enjoy these fun little treats!!!  ~r

Easter Cheesecake Cups!!

Other Easter ideas from Easybaked (click on an image to get the recipe):

Chocolate Easter Eggs with Peanut Butter FillingEasy Easter cut out cookiesOreo pops!!!!!Raspberry Confetti Kisses

Other ways to use your Mini Cheesecake Pan:

frozen s'more cupsMini Pineapple Upside Down CakesMini chocolate chip cookie cheesecakesMini Cookie Dough Cheesecake

Butterscotch Caramel Cheesecake

Creamy butterscotch cheesecake and a thick layer of caramel sauce over a gingersnap crust .  A unique combination of delicious seasonal flavors!!!

Are you ready for Thanksgiving?  Have you decided what you’re having for dessert yet–other than the proverbial pumpkin pie?  This cheesecake combines three unique fall flavors- ginger, butterscotch and caramel- and it simply melts in your mouth.  Wow your guests with an Easybaked cheesecake!!

INGREDIENTS:

Crust:

  • One bag (13 oz.) of Archway ginger snaps, finely crushed. (approximately 2 cups)
  • 1/4 c. butter

Cheesecake:

  • 2 (8oz.) packages of Philadelphia Cream Cheese (softened)
  • 1/2c. sugar
  • 3 eggs
  • 2 c. butterscotch chips (melted)
  • 1 c. heavy whipping cream
  • 3 tsp. vanilla

Caramel Topping:

  • 32 Kraft caramels (unwrapped)
  • 1/2c. butter
  • 1 can (14oz.) sweetened condensed milk

DIRECTIONS:

  • Preheat oven to 325 degrees
  • Crush cookies into fine crumbs and add melted butter.  Combine well and press into the bottom of a 9-Inch Springform Pan
  • Beat softened cream cheese with sugar until smooth.
  • Add eggs one at a time, beating in between each one.
  • Add remaining cheesecake ingredients, beating until smooth.
  • Pour into crust and allow to sit at room temp for 30 minutes.
  • Place on a cookie sheet and bake for 60 minutes,
  • Turn off oven, open oven door a little and allow to sit for another 30 minutes.
  • Remove from oven and run knife around edge of pan.  Remove edge of pan. 
  • Allow to come to room temperature (make caramel topping during this time.)
  • Put caramels, condensed milk and margarine into a saucepan and melt over medium heat, stirring constantly until smooth (6-8 minutes)
  • Pour caramel over the top of the cooled cheesecake, spreading to edges.
  • Refrigerate overnight
  • Remove bottom of pan when cheesecake is thoroughly chilled.
  • Before serving, pipe whipped cream around edges of cheesecake if desired and sprinkle with a little cocoa powder.


My thoughts: A flavorful creamy cheesecake.  I love the gingersnap crust– that adds a lot of the fall spice to this.  I ADORE caramel- so there’s a lot of it on this cheesecake.  If you want less, simply halve the recipe and be happy!!  Have a wonderful Thanksgiving with your family and friends!!!!  Enjoy!  r~

One last yummy bite…..

Other cheesecake recipes from Easybaked that you might enjoy~ click on the image to be taken to the recipe:

Shop Amazon – Black Friday Deals Week

Mini Cookie Dough Cheesecakes

Posted on


These yummy little cheesecakes have chocolate chips in the crust and adorable little chocolate chip cookies baked right on the top.  A perfect mini party dessert!!

INGREDIENTS: (makes 12 mini cheesecakes)

  • 3/4 c. finely crushed graham crackers
  • 2 1/2 T. melted butter
  • 1/3 c. mini chocolate chips
  • 1 (8oz) bar of Philadelphia Cream Cheese (softened to room temperature)
  • 1/3 c. sugar
  • 1 egg
  • 1/4 t. vanilla
  • 1 tube of refrigerated chocolate chip cookie dough (I use Pillsbury)

DIRECTIONS:

  • Preheat oven to 325.
  • Open tube of cookie dough and using a small melon baller or Mini Cookie Scoop make 12 small cookie balls (about an inch in diameter) and set aside. (You will not use much of the dough for this recipe- which means you can make cookies later!!!)
  • Combine graham cracker crumbs with butter and mix well.
  • Add mini chips, and when well combined, evenly divide into a Mini Cheesecake Pan (make sure you place your metal disks in each cup first!)
  • Press crumbs into bottom of each cup using a Mini Tart Shaper
  • Combine softened cream cheese with sugar and add egg and vanilla.  Beat until smooth.
  • Evenly divide batter into each of the 12 mini cheesecake cups.
  • Place pan on a cookie sheet and bake at 325 degrees for 30 minutes.
  • Remove pan from oven and gently place one cookie dough ball on the top of each mini cheesecake.
  • Return pan to the oven for 10-12 minutes- until cookies are baked on the top of each cheesecake and starting to brown.
  • Remove from oven and cool completely.
  • Refrigerate overnight, remove from pan and ENJOY!!

My thoughts:  It took me two tries to get the cookie dough to bake on the top all cute and pretty.  Its all in the timing.  My first attempt at this recipe, I put the cookie dough on top before the cheesecake was baked.  The cookie dough sank and pushed the cheesecake batter right over the top of the pans, leaving a huge mess!  Putting the dough on near the end of baking worked perfectly.  Lesson?  When at first you don’t succeed, try again! (also, stock up on cream cheese when it is on sale so it doesn’t cost a fortune to experiment!)  I really hope you love these yummy little treats!  Enjoy!!  -r

%d bloggers like this: