Tag Archives: fancy

Butterscotch Ice Cream Towers

Posted on

Butterscotch Ice cream towers!!!!

 These beautiful, stacked desserts have layers of ice cream sandwich and a creamy butterscotch filling.  Topped with melted chocolate, they make a fun and elegant summer dessert!

Butterscotch Ice cream towers!

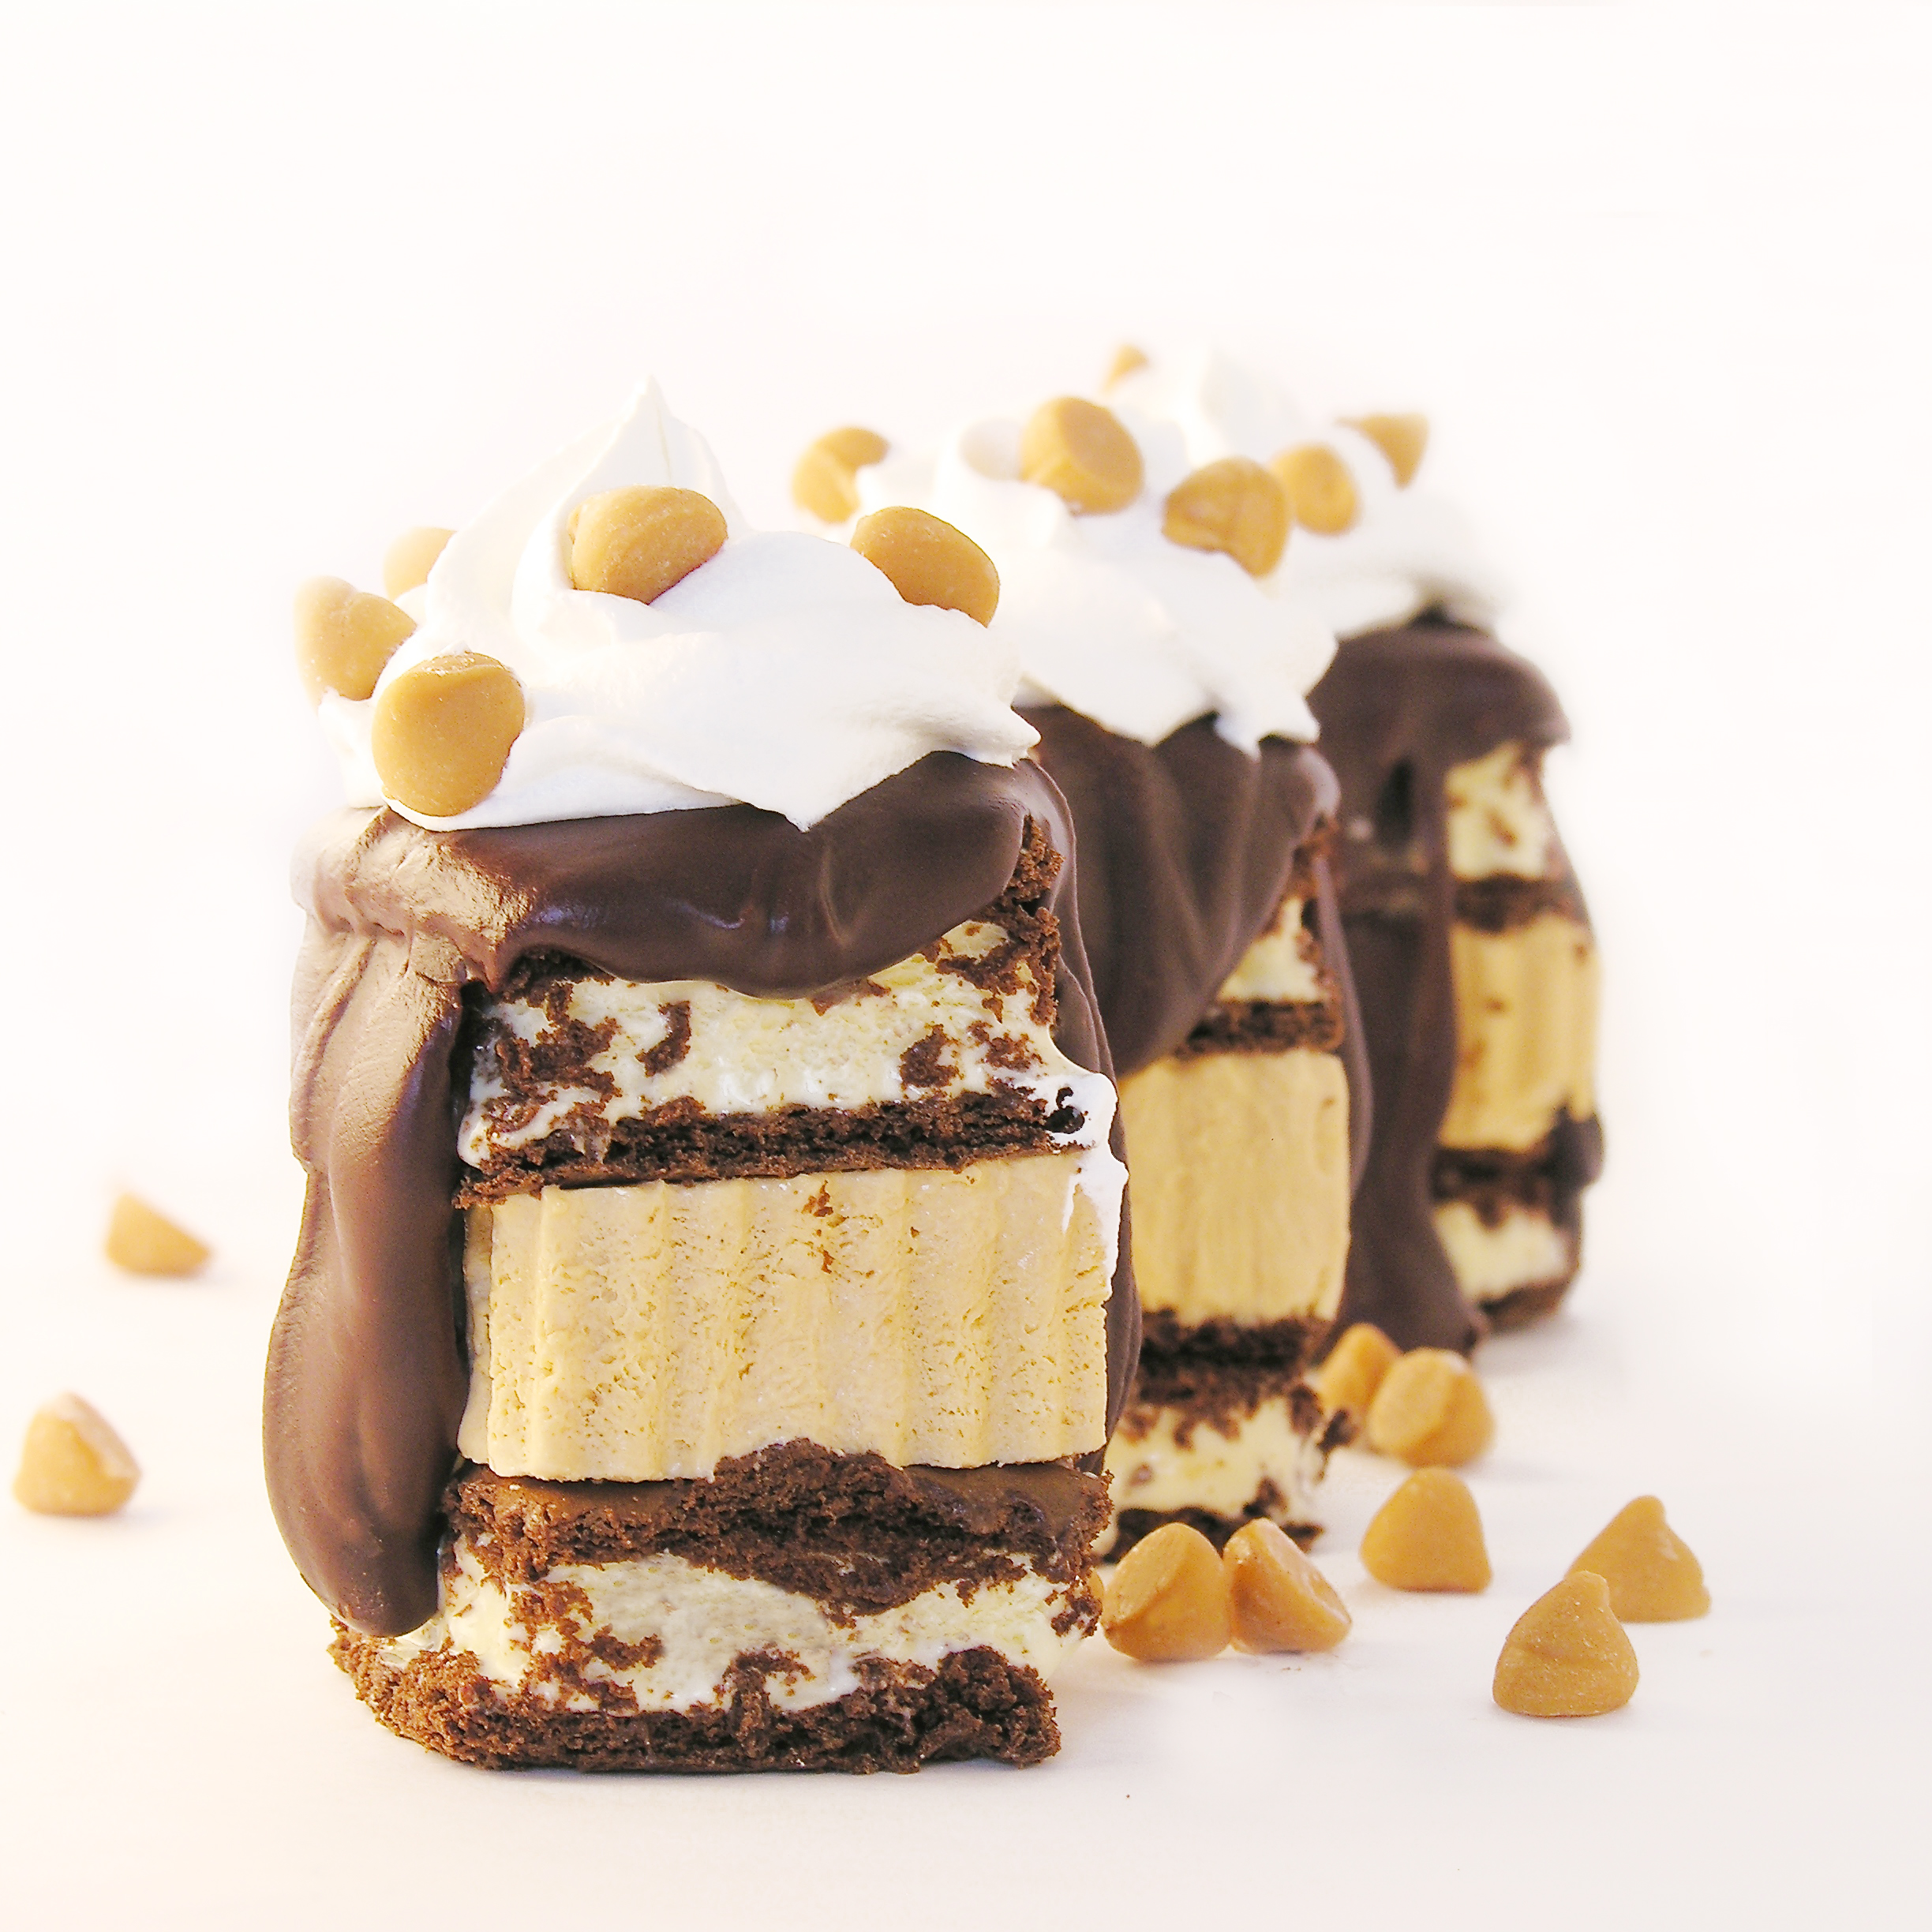
I’ve been craving ice cream sandwiches.  These little desserts were a combination of that craving and an extra box of butterscotch pudding in my cupboard.  I love how they turned out!  They require some hands-on time and an overnight in the freezer, so they aren’t a last minute idea- but I think the extra time is worth it!!  The end result is pretty and SO yummy!  Here’s the recipe:

INGREDIENTS: (printable recipe here)

  • One box of 12 ice cream sandwiches
  • 1 (3.4 oz) package of Jell-O Instant Butterscotch pudding mix
  • 1 1/2 cups of cold milk
  • 1 tub of Cool Whip topping
  • 1 cup of chocolate chips
  • 6 tablespoons of butter

DIRECTIONS:

  • Make butterscotch filling first, and freeze overnight
  • In a large bowl, beat together milk and pudding mix on high for 3 to 4 minutes until thick.
  • Fold in 1/2 of the container of Cool Whip topping
  • Put parchment paper in a small (I used a 9×9 square) pan, and spread pudding mixture evenly into container.
  • Freeze overnight.
  • To assemble, use a fluted square (I used a 2″ inch square) cookie cutter to cut ice cream sandwiches.  I got 2 squares from each sandwich. Return to freezer after cutting.

Butterscotch Ice cream Towers

  • Remove pudding mixture from freezer, lift out of pan using edges of parchment paper, and lay on a clean counter.
  • Cut squares using the same cookie cutter (dip in warm water between cuts, if it becomes sticky), return to freezer as you cut them.
  • Assemble no more than one or 2 hours before serving, and keep frozen.
  • Melt chocolate chips and butter together in the microwave in 30 second increments, stirring in between, until melted and smooth.
  • Place an ice cream sandwich square on a plate, top with butterscotch filling square, top with a second ice cream sandwich square.
  • Drizzle with melted chocolate (and I added a few butterscotch chips).
  • Return to freezer and keep frozen until serving.


Butterscotch Ice Cream Towers!!

My thoughts:  These are the most spectacular dessert to serve (you should have heard the oohhh’s and ahhh’s!), and the most awkward dessert to eat.  The kids figured out that you need to just pick these up and eat them with your fingers!  I allowed mine to melt just a touch, and then it was perfect with a fork!  The flavors are so yummy! Butterscotch and chocolate?  Yes, please!!!!  Enjoy!  ~r

Other yummy frozen treats:

Mango Smoothie PopsPudding popsicles!Frosty Almond Joy Cups!Heath Bar Ice Cream Dessert3


Chocolate Raspberry Cheesecake

Chocolate Raspberry Cheesecake!!Creamy chocolate cheesecake topped with a layer of raspberry and sour cream. Unbelievably yummy!!!

If you follow my blog on a regular basis, you will remember this cheesecake from last fall.  It is my Aunt’s recipe and it is literally the best cheesecake I’ve ever eaten.  It is so creamy and smooth…oh my.

I decided to add a few twists to the recipe by making it chocolate and adding raspberries to the topping.  It worked beautifully and added so much flavor!  It is really quite easy to make.  I hope you enjoy it as much as I did!!!!

Here’s the recipe (printable version):

INGREDIENTS:

Crust:
  • 1 1/4 cups Honeymaid graham cracker crumbs
  • 5 tablespoons butter, melted
  • 3 tablespoons sugar 
Filling: 
  • 3/4 cup sugar
  • 3 (8 oz.) Philadelphia cream cheese bars (must be the Philadelphia brand)~ softened to room temperature.
  • 2 eggs
  • 1 teaspoon vanilla
  • 1 teaspoon lemon juice
  • pinch of salt
  • 1 cup of semi-sweet chocolate chips
Topping: 
  • 1 pint (2 cups) sour cream
  • 1/2 cup sugar
  • 1 tsp. vanilla
  • pinch of salt
  • 1/3 cup of canned raspberry pie filling

DIRECTIONS:

  • Preheat oven to 350F degrees.
  • In a medium bowl, combine crust ingredients together until well combined.
  • Press into a 9″ spring form pan, pressing crumbs into bottom and about 1 1/2″ up sides of pan.    
  • For the filling, combine the sugar and softened cream cheese in a large mixing bowl and beat together until smooth.
  • Add the eggs, one at a time, beating between each addition.
  • Add the vanilla, lemon juice and salt and beat until smooth and creamy.
  • Melt the one cup of chocolate until smooth, and add to cheesecake mixture, beating until completely incorporated.
  • Pour into crust.
  • Bake at 350F degrees for 35-45 minutes.
  • While cheesecake is baking, make topping by simply mixing together all of the topping ingredients.
  • After 35-45 minutes of baking, remove cheesecake from oven and turn oven down to 325F degrees.
  • Pour topping over hot cheesecake, gently spreading to edges.
  • Return cheesecake to oven and bake for an additional 12-15 minutes.
  • Remove cheesecake from oven and leave sides on pan while allowing cheesecake to cool to room temperature.  
  • Refrigerate several hours (or overnight)
  • Run a small knife around the edges of the pan and remove them before serving.
  • Serve with extra raspberry pie filling– YUM!
  • Enjoy!!!!


Chocolate Raspberry Cheesecake!!
My thoughts:  You can see in my pictures that I added a cup of raspberry pie filling over the crust before I poured the cheesecake batter in.  It was really yummy, but made it hard to remove the bottom of the springform pan (which I always do before pictures).  If you don’t mind leaving the bottom on, this is a yummy addition to the recipe!  Just gently spread it out over your graham crust and pour the cheesecake over the top.
Chocolate Raspberry Cheesecake!!

We love raspberries here at Easybaked!  Check out our other yummy raspberry recipes!

Raspberry Lemon Cream Cups!!!Raspberry Confetti KissesRaspberry Truffle TartRaspberry Lemon drop Cakes!!!

Coconut Brownie Cups

Coconut Brownie CupsThese moist little brownie cups have a layer of creamy coconut and a yummy fudge topping.  Beautiful and easy to make, these are sure to impress!

I’m addicted to coconut.  I really do love it in everything.  Have you seen the coconut Oreos? The coconut M&Ms?  The coconut Hershey kisses?  Yeah….there’s no better flavor in my book!  That said, if you hate coconut (as many of my friends do), these little brownie cups can be made with other flavorings.  I’ve made them with mint, maple and raspberry flavorings and all of them are delicious!  You can add a little food coloring to make them pretty too.  This is a really fun, easy and versatile recipe- and I think you are going to love it!!Coconut Brownie Cups!!!

Here’s the recipe, it makes 24 cups: (printable version)

Brownie:

  • 1cup butter
  • 2 cup sugar
  • 3 eggs
  • 2 teaspoons vanilla
  • 2 cups flour
  • 1/2 cup cocoa
  • 1/2 teaspoon salt
  • 1 cup milk

Coconut filling:

  • 5 cups powdered sugar
  • 8 tablespoons melted butter
  • 2 teaspoons coconut extract
  • 1/2 cup shredded coconut

Chocolate Topping:

  • 12oz. semi-sweet chocolate chips
  • 12 tablespoons butter (do not substitute margarine here!)

DIRECTIONS:

Brownie:

  • Preheat oven to 350.
  • Cream butter and sugar together. 
  • Beat in eggs, cocoa, vanilla and salt.
  • Add flour and milk (alternating them and mixing well in between)
  • Spoon evenly into 24 cupcake liners in a cupcake tin.
  • Bake at 350 degrees for 10-12 minutes (don’t over bake- they will start to pull away from the liner)
  • Cool.  

Coconut Filling:

  • Add melted butter to sugar and extract.
  • Mix well, using water to bring it to a thick but spreadable consistency.
  • Add coconut and blend well.
  • Scoop filling into a large zip top bag fitting with a large round tip and pipe filling over the top of each brownie.
Coconut Cup Filling
Chocolate Topping:
  • Melt butter and chocolate together in the microwave in 30 second increments, stirring in between until completely melted and smooth.
  • Pipe over coconut filling and spread evenly over top
  • Chill until top layer is hard and use any extra topping to pipe fine lines on the top if desired~ be creative!!
  • Enjoy!!

Coconut Brownie Cup!
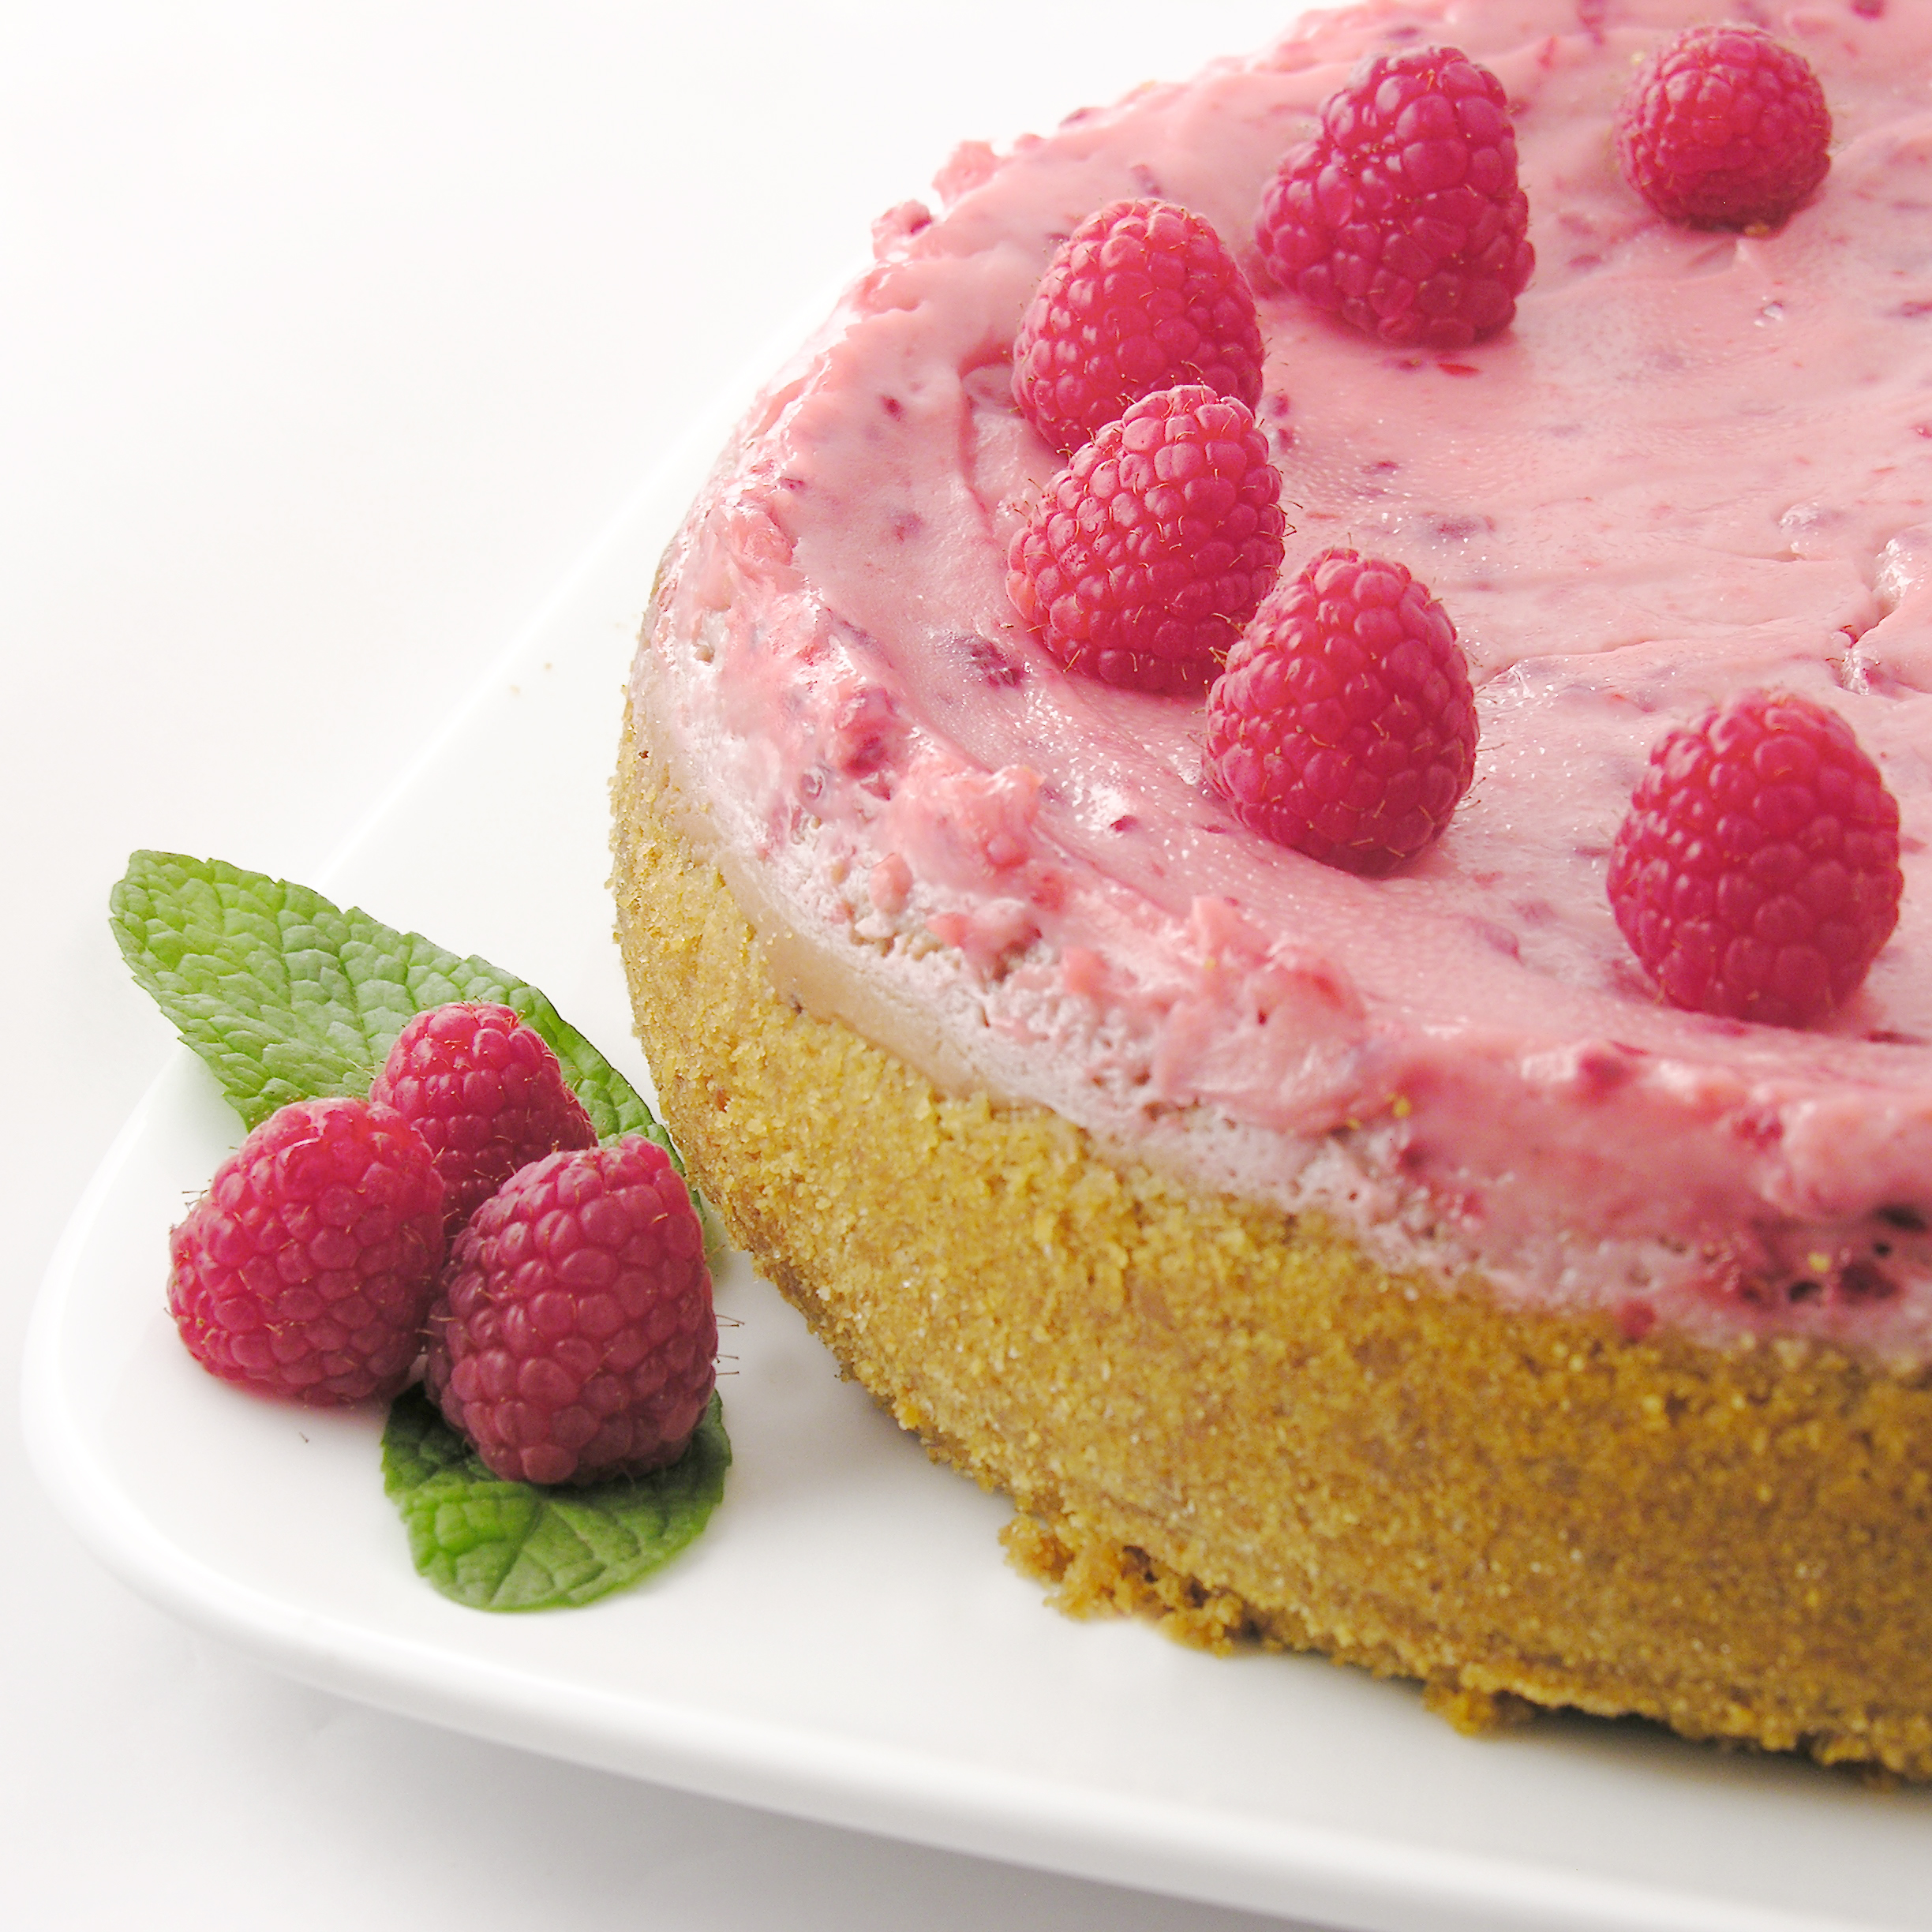
My thoughts:  These are one of my favorite go-to recipes.  I love how beautiful they are and I love the versatility of the flavors.  These are SO perfect for showers and parties.  You can even color the fillings to match school, team or wedding colors.  Very fun!  I hope you enjoy them!!!  ~r

Other fun and colorful recipes:
Rainbow Cake RollPolka Dot Cake!!!Tie-Dye Cake with Blue Raspberry Frosting!Confetti Cake Filled with Candy