RSS Feed

Tag Archives: summer

Mile High Key Lime Pie

Posted on

Key Lime Pie3

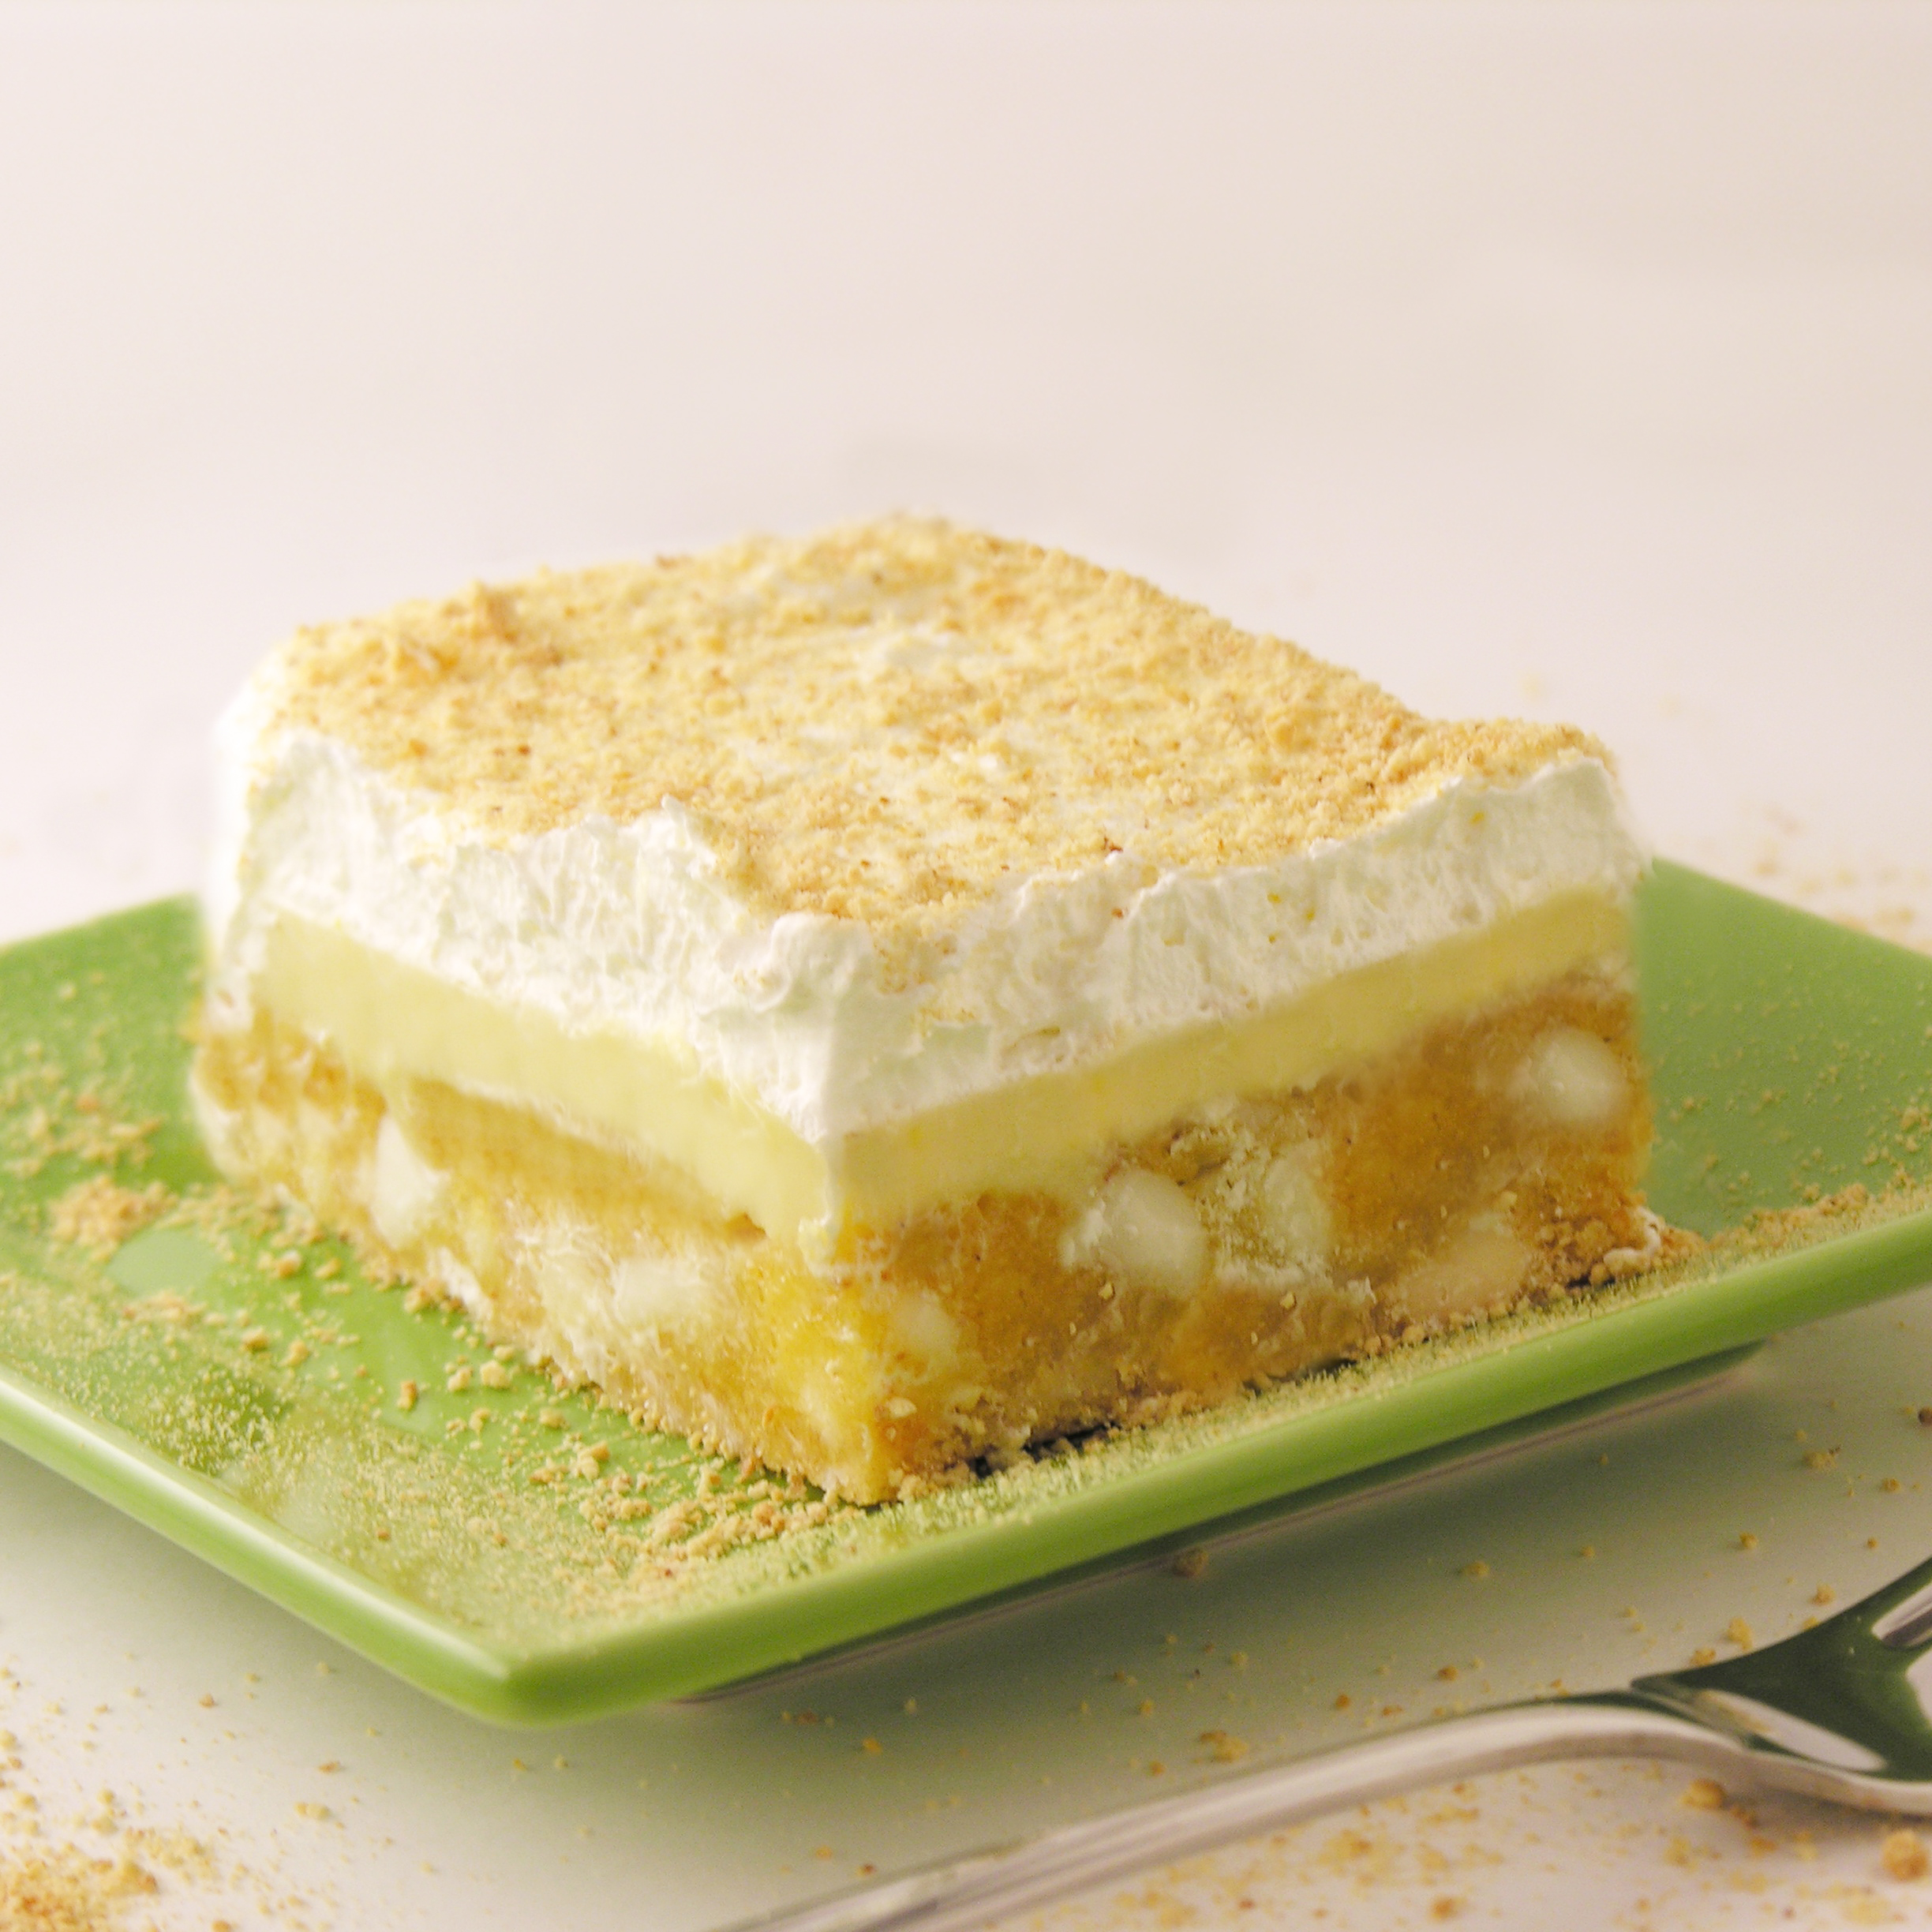
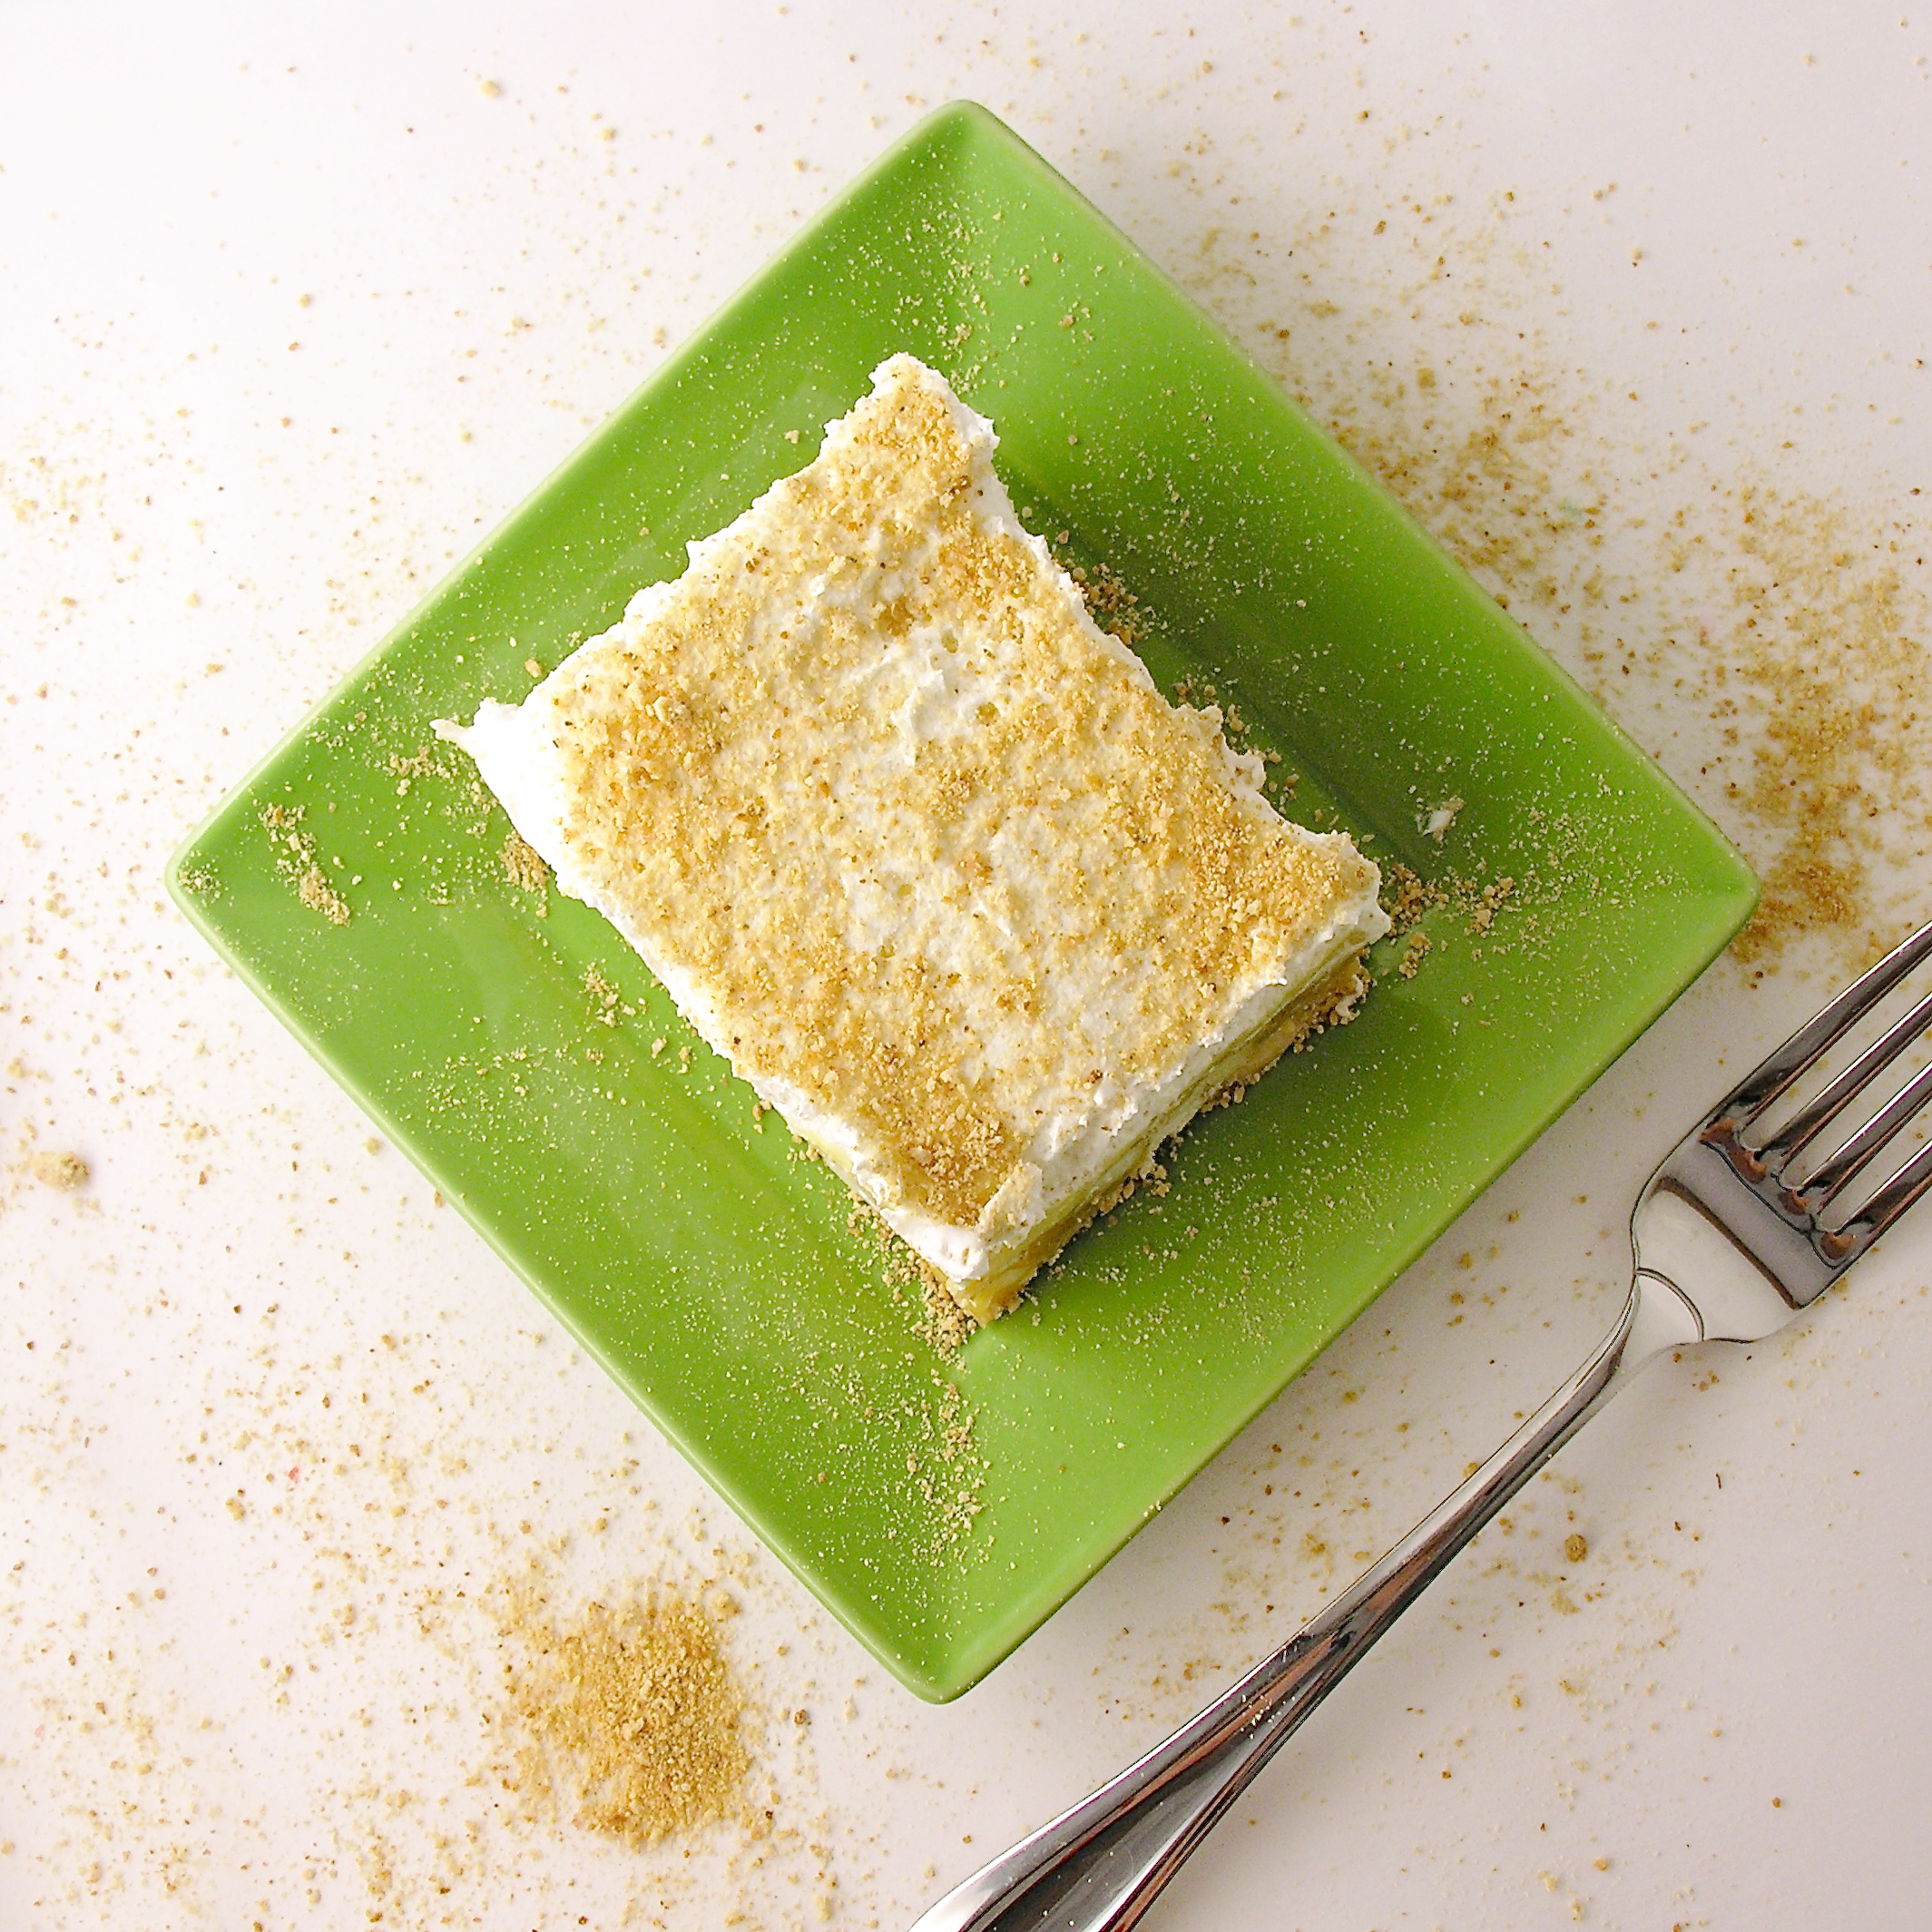
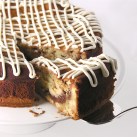
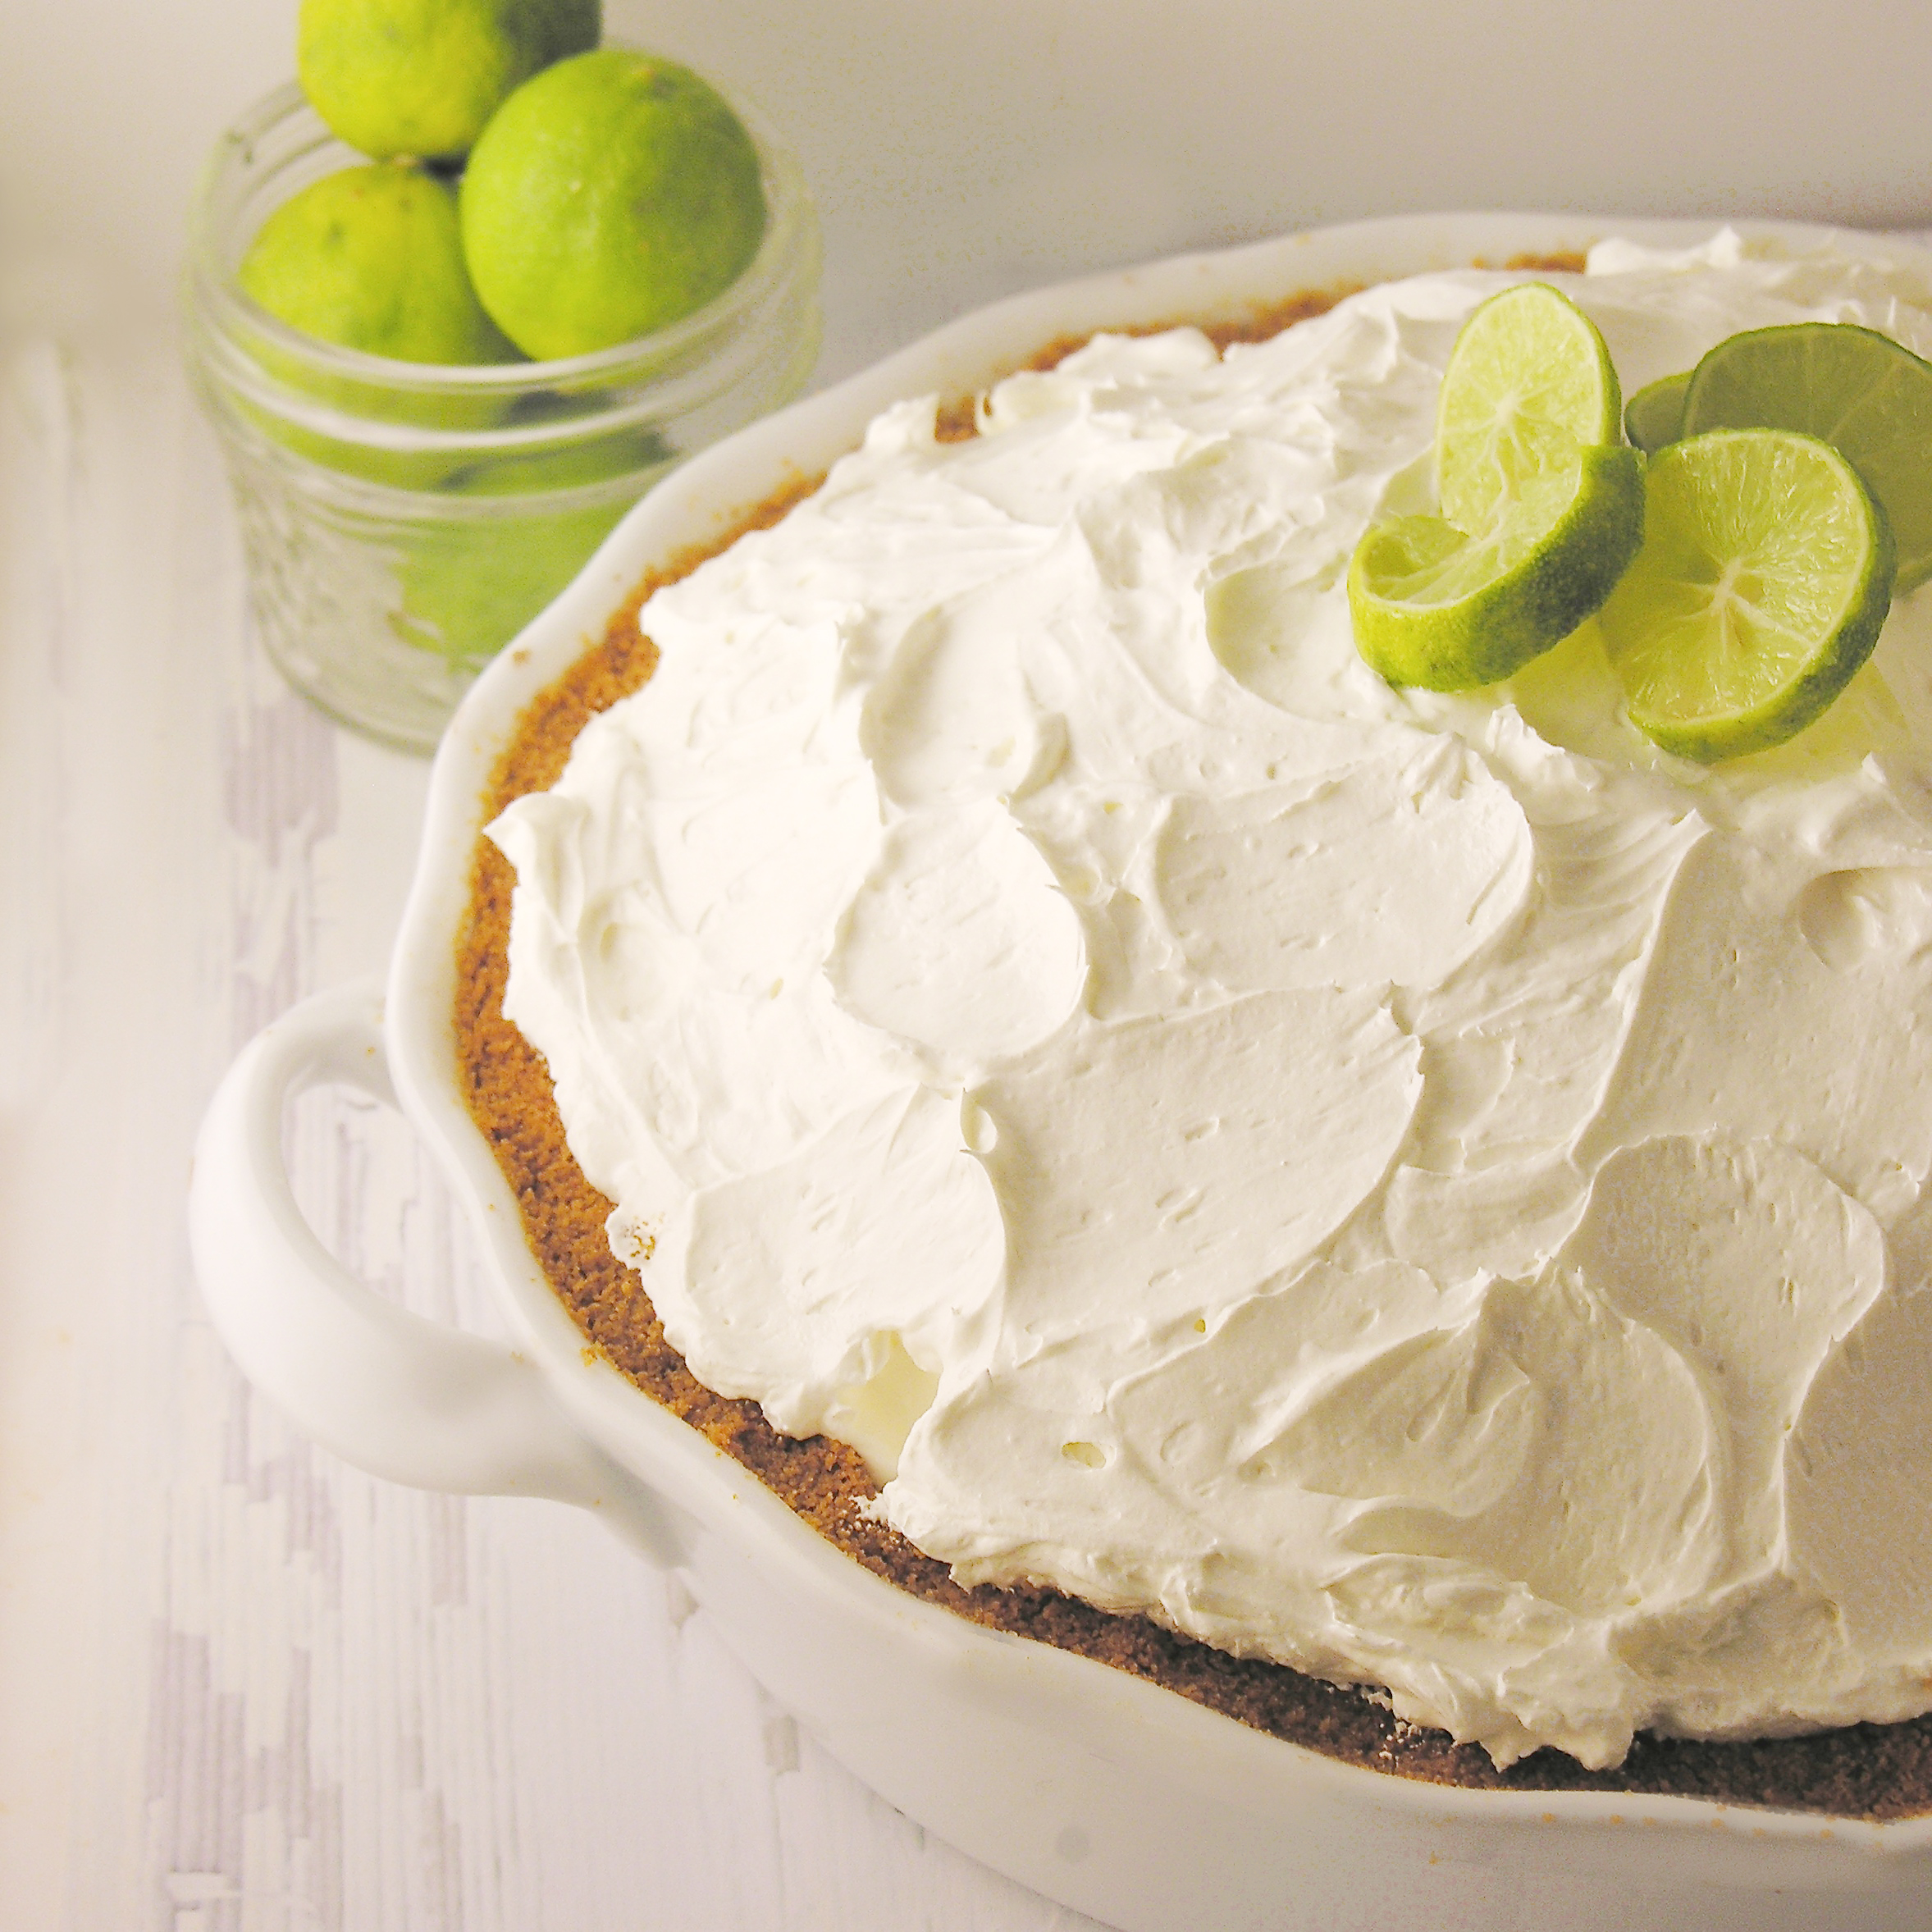
A Nilla Wafer crust filled with a creamy key lime pie and topped with piles and piles of sweet whipped key lime topping. If you love key lime pie, this is your new favorite recipe for it!!

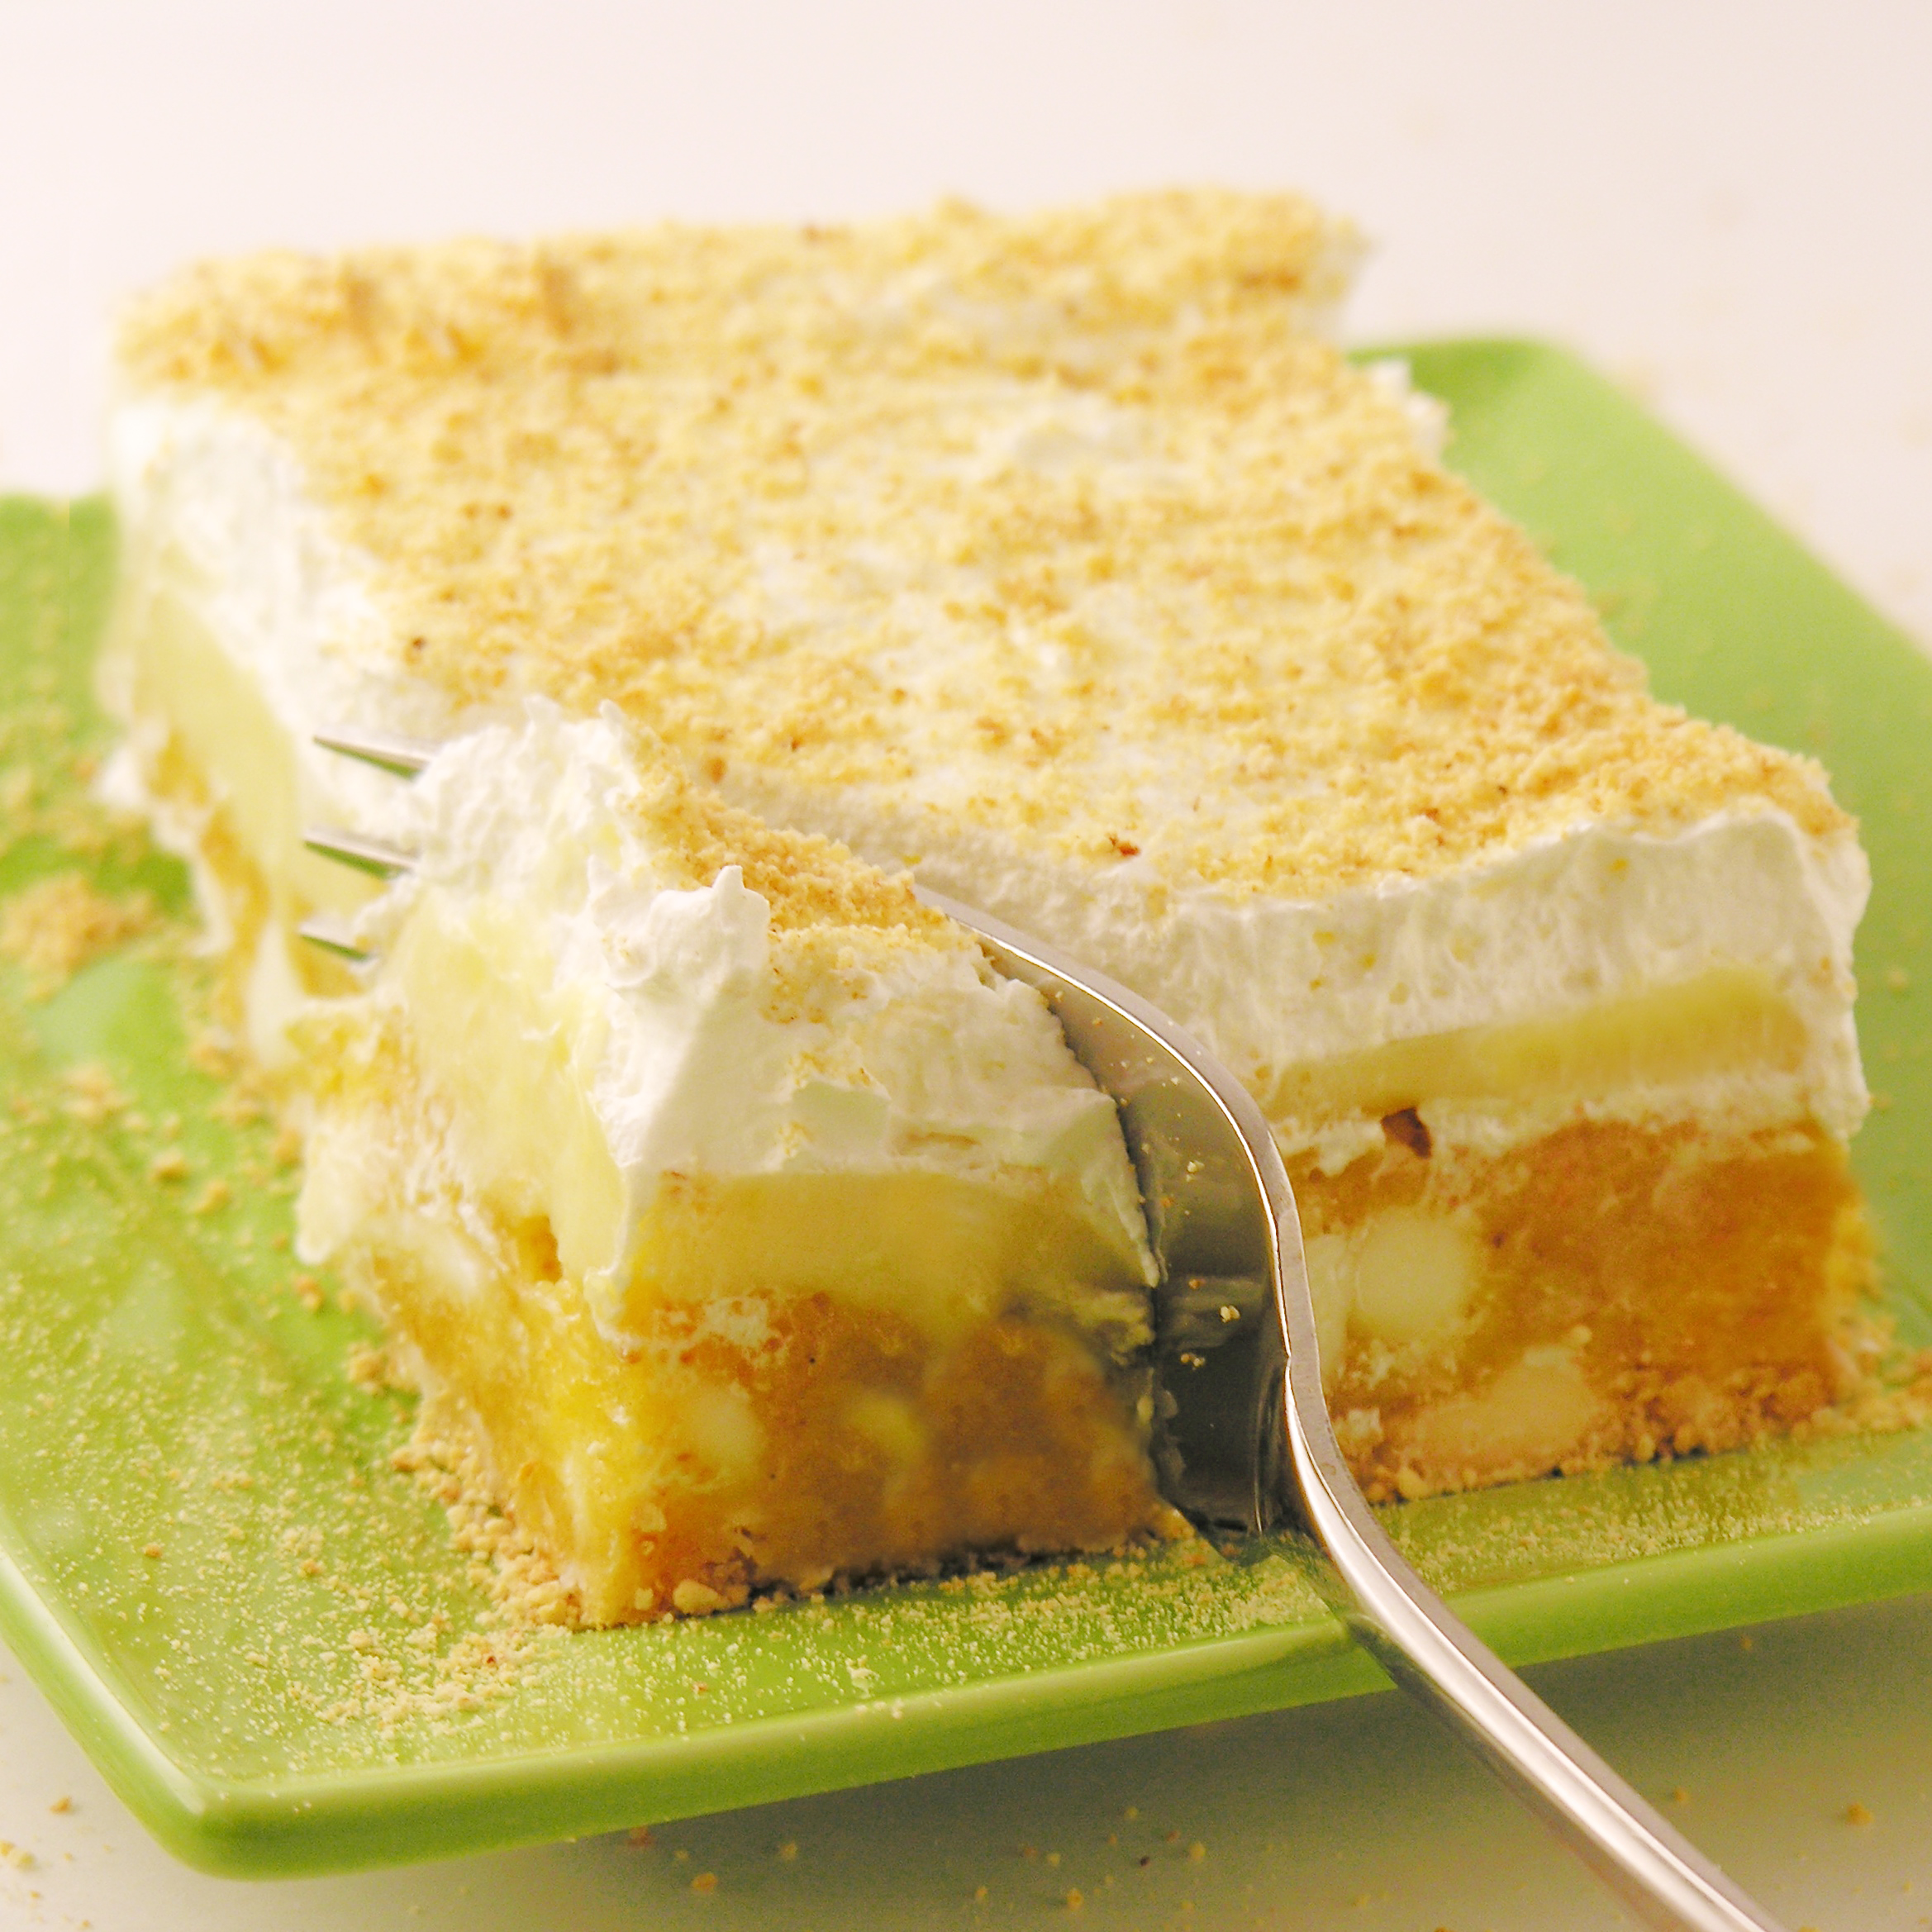
I adore key lime pie. I love that tart and smooth pie filling. Whenever I get the opportunity, I try key lime pies, and I can honestly say that this is the best I’ve had…so far! This recipe is courtesy of my friends Chuck and Heather Lane. They pinched it from a newspaper article years ago that claimed it as the recipe of one of the fancier restaurants in Fort Wayne. We were out for dinner one night not long ago, and they started talking about this pie and I (of course!) asked for the recipe. They had made a few “tweaks” to it, and I honestly think it is perfect. My only disappointment with this recipe is the pictures I took of it. I wish I’d waited to cut it until it had chilled completely. It is BEAUTIFUL when it is cut chilled. Perfect layers of happiness.

Anyway. I digress. Here’s the recipe~ I hope you love it as much as I do! (printable version)

INGREDIENTS:

  • 6 Tablespoons of butter, melted
  • 2 cups of finely crushed Vanilla Wafers
  • 2 3/4 cups of sweetened condensed milk (divided)
  • 3 egg yolks
  • 1 cup of key lime juice (divided)
  • 1 large (16 oz) tub of Cool Whip (softened in fridge)

DIRECTIONS:

  • Preheat oven to 350F degrees
  • Mix together crushed vanilla wafers and melted butter until well combined. Press into a greased pie pan.
  • Beat egg yolks and add 1 3/4 cups of sweetened condensed milk and 1/2 cup of key lime juice.
  • Mix well and pour into crust.
  • Bake at 350F degrees for 20-25 minutes. Cool completely.
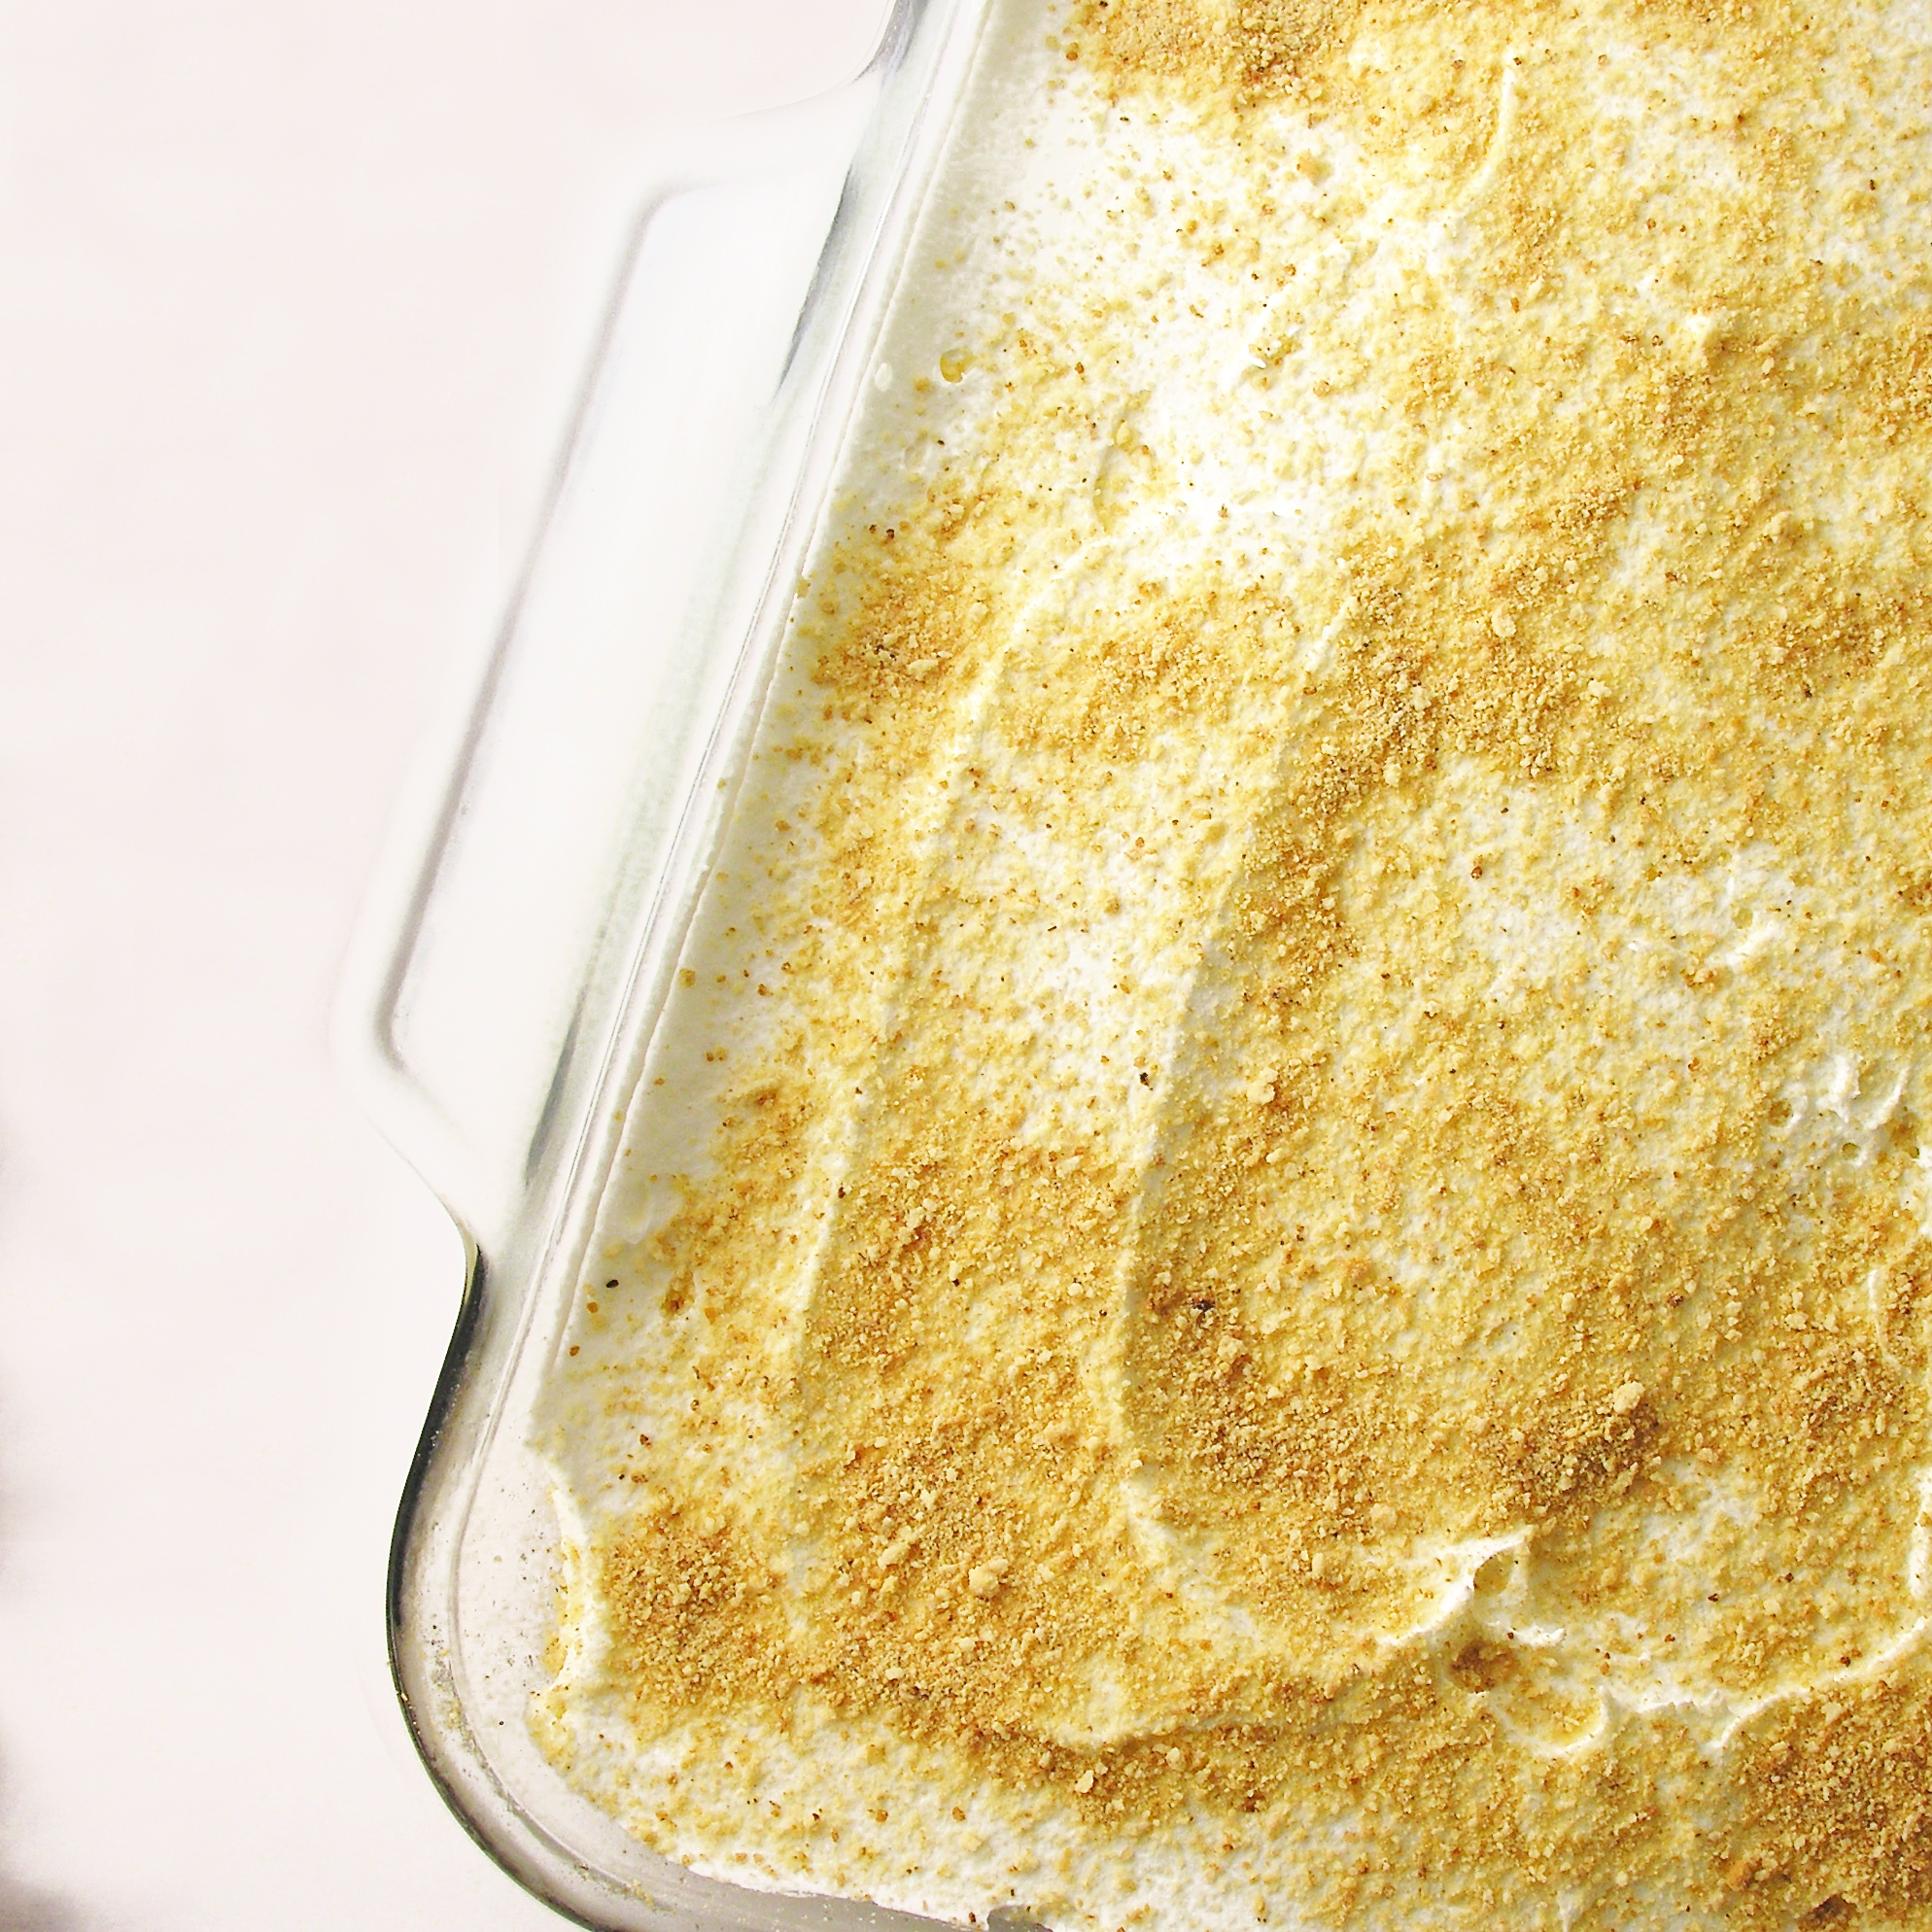
  • Beat together Cool Whip, 1 cup sweetened condensed milk, and 1/2 cup of key lime juice until smooth. It should have a nice shiny look.
  • Refrigerate for at least 30 minutes.
  • Top cooled pie with whipped topping and chill for several hours before cutting and serving.
  • Enjoy!

Key Lime Pie1

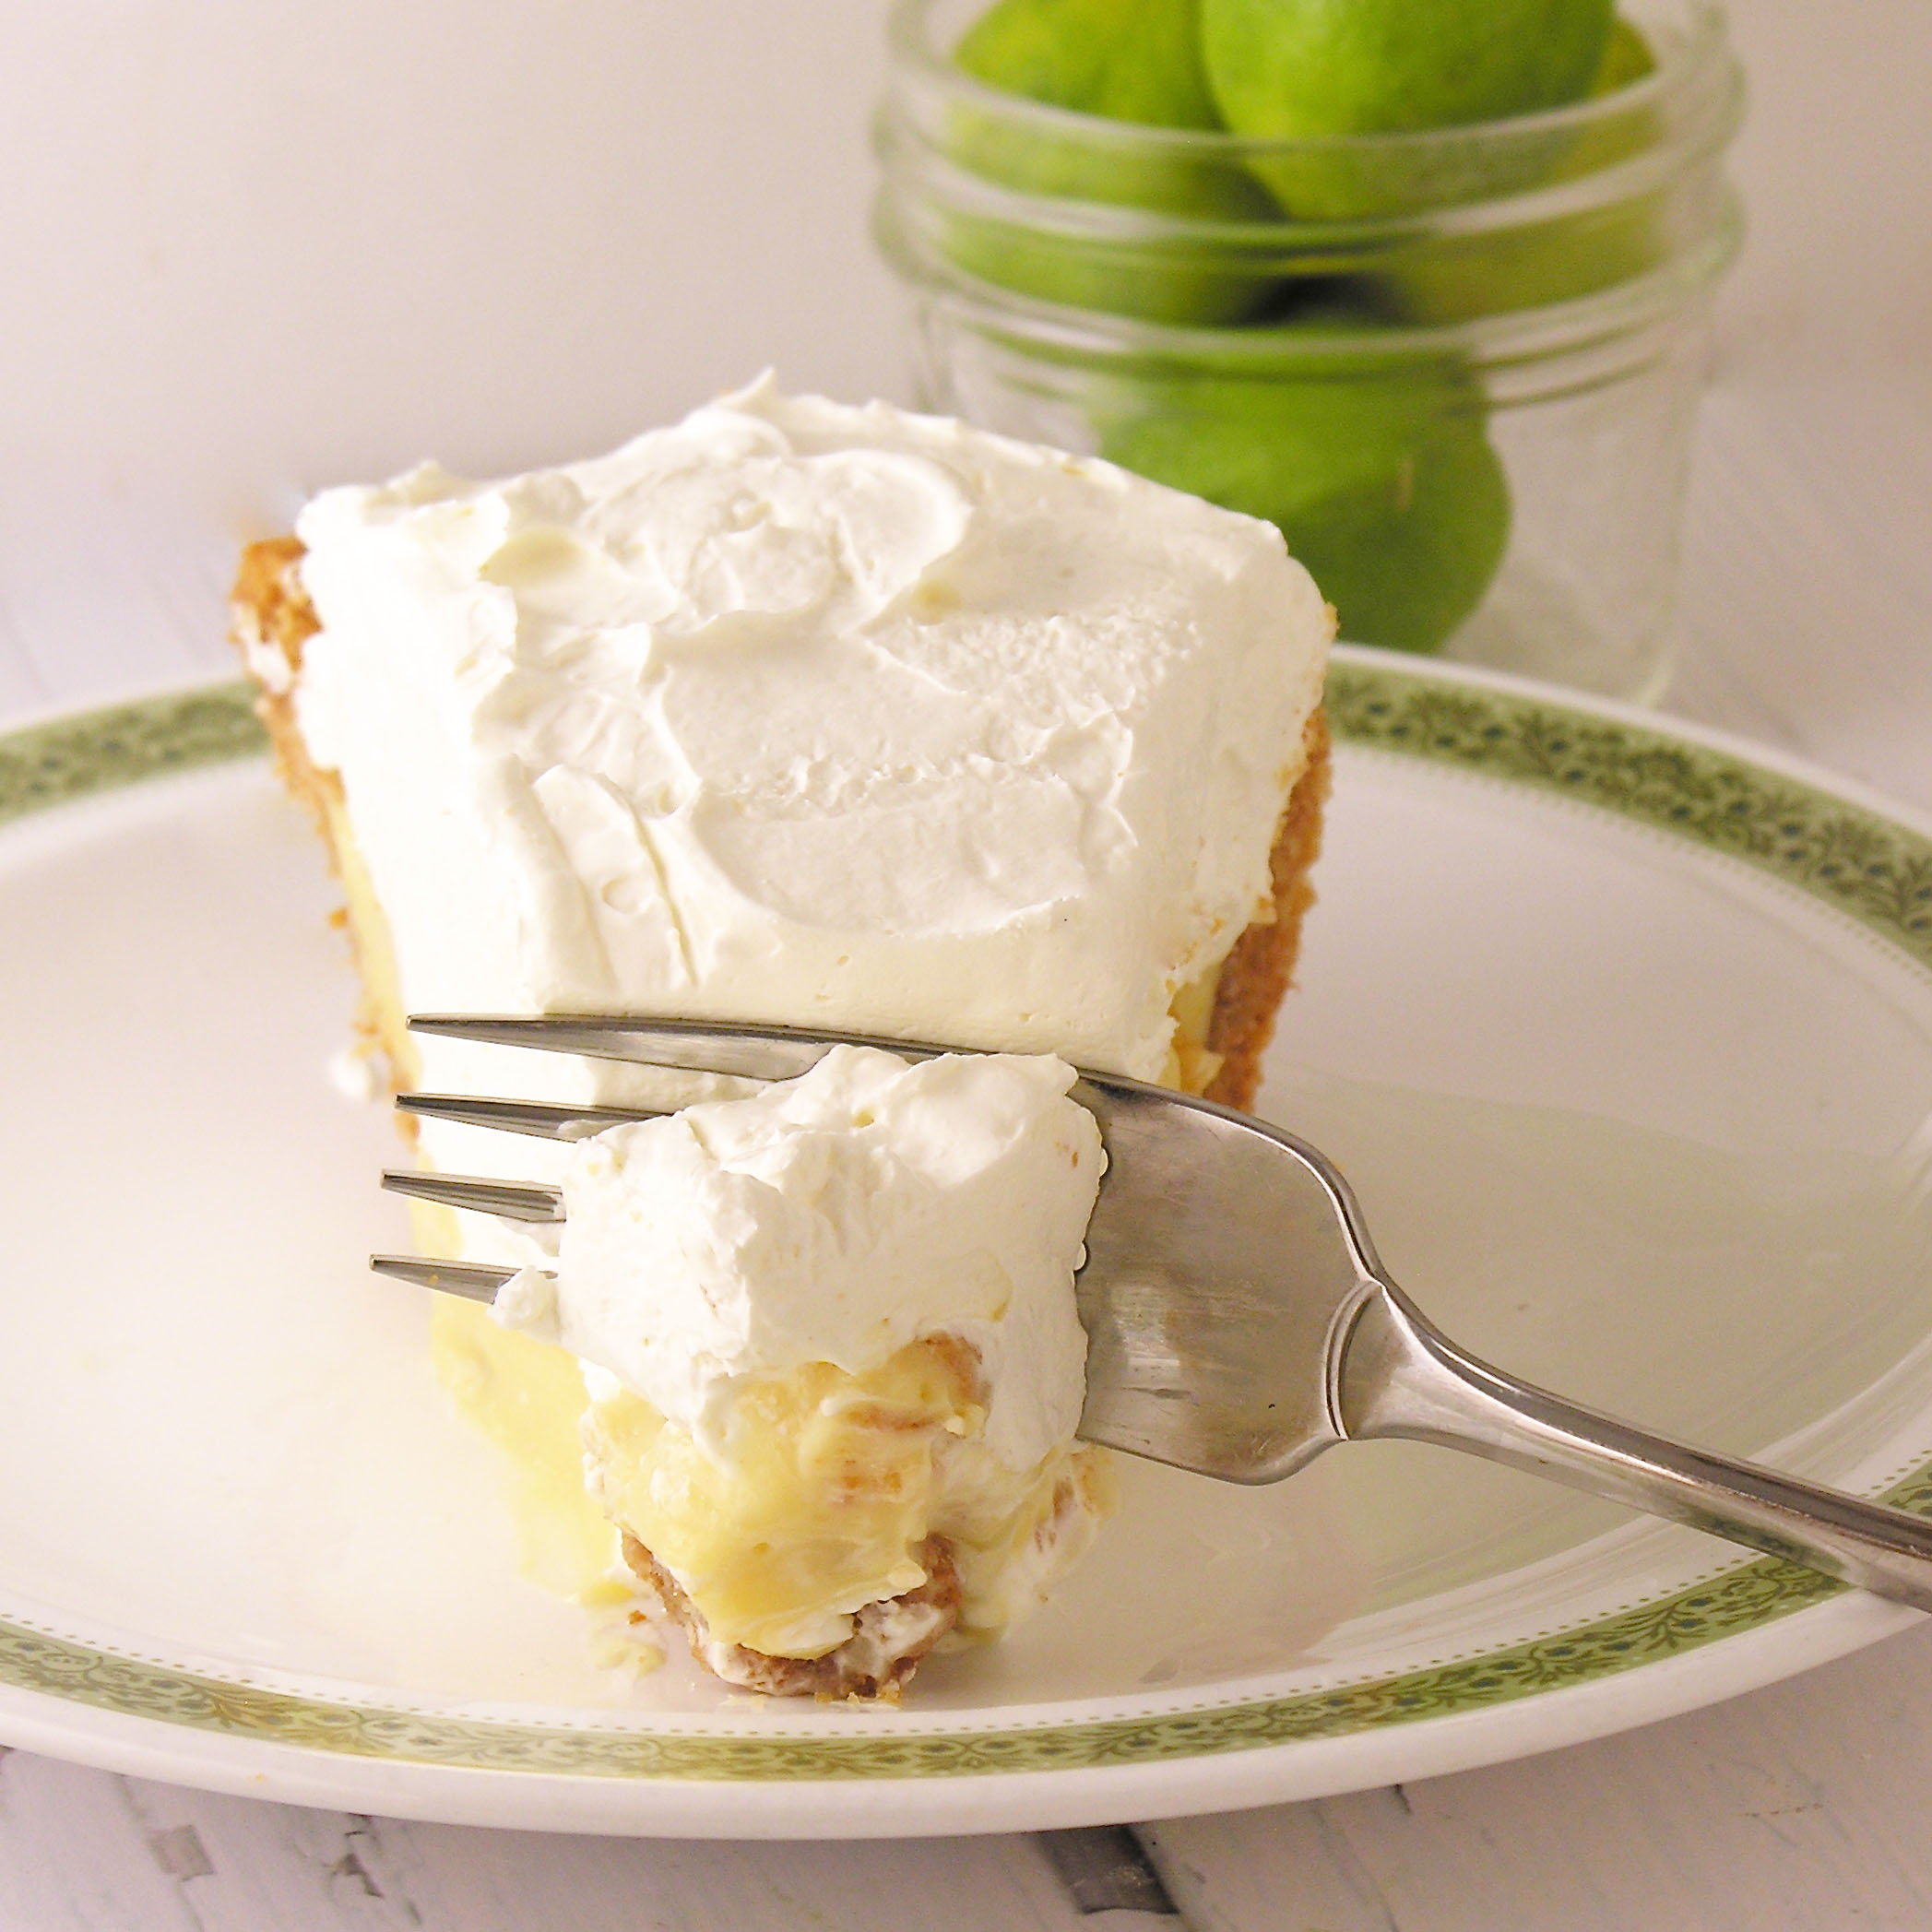
My thoughts: With the exception of squeezing a million little key limes, this is such an easy recipe~ and oh so delicious! My only tip: don’t cut into it until it is cold! 🙂 Enjoy! ~r

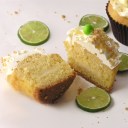
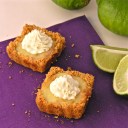
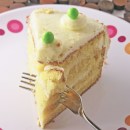
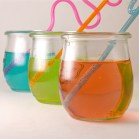
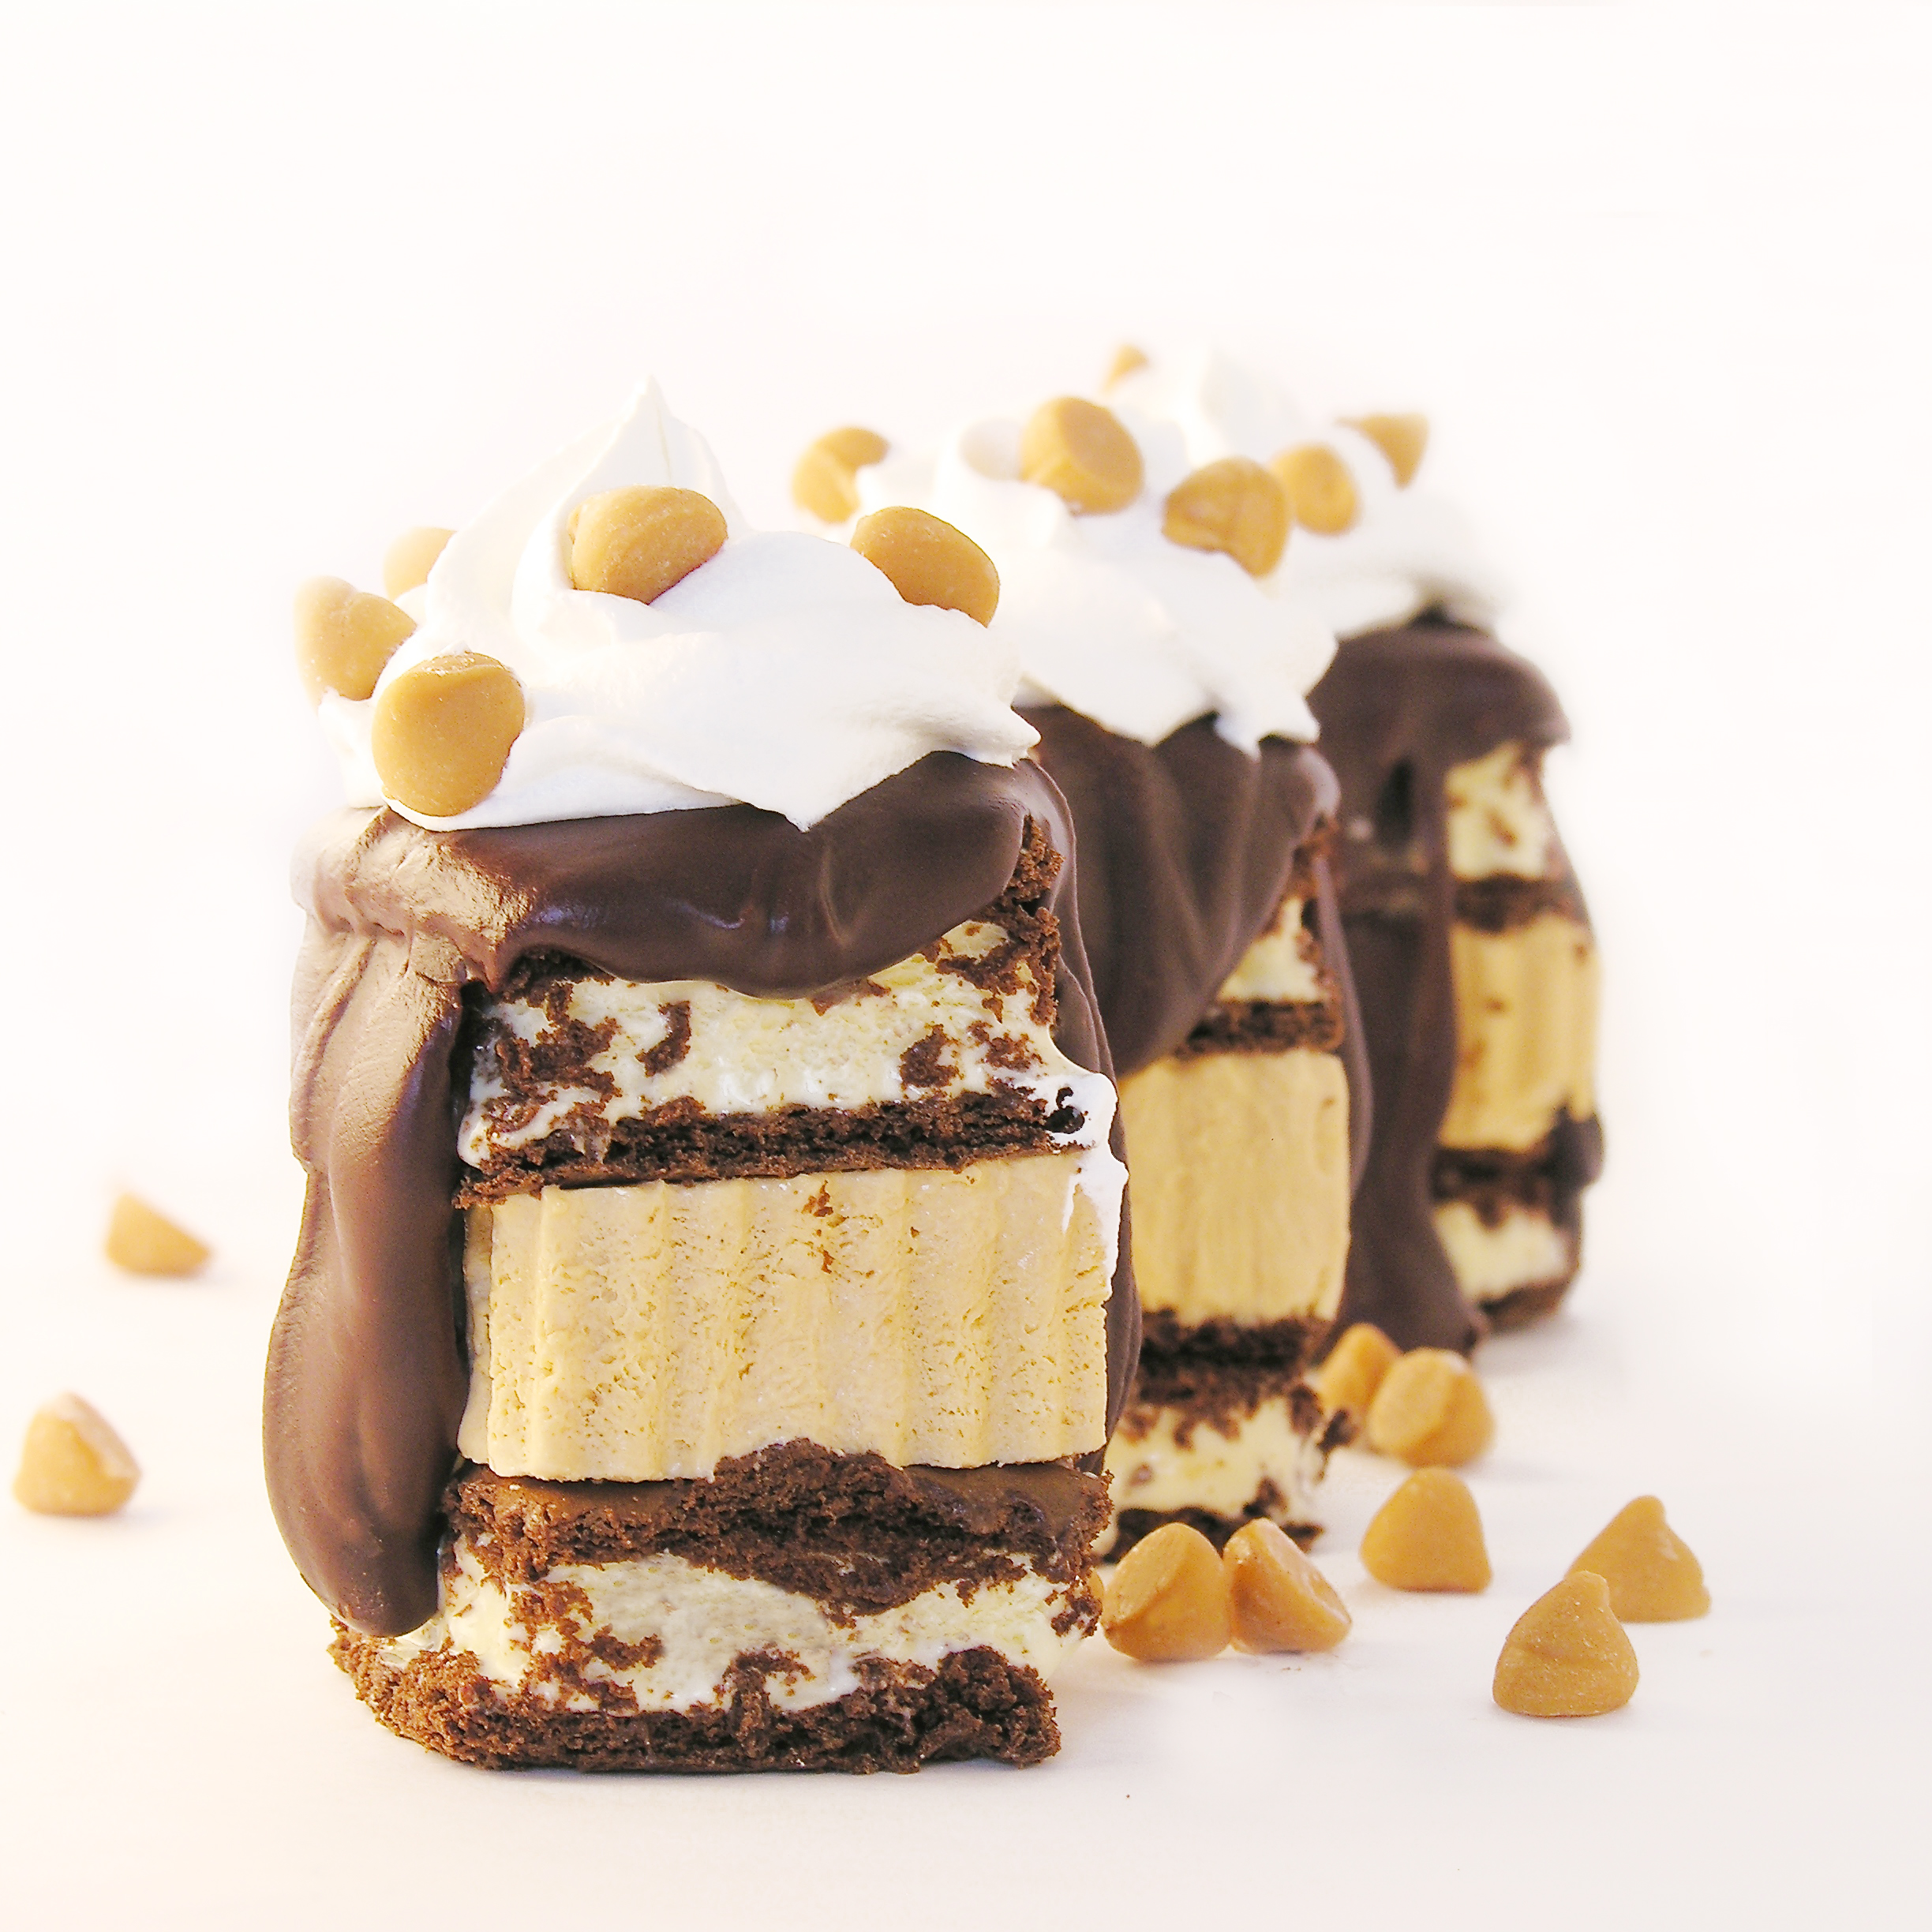
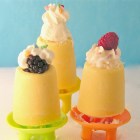
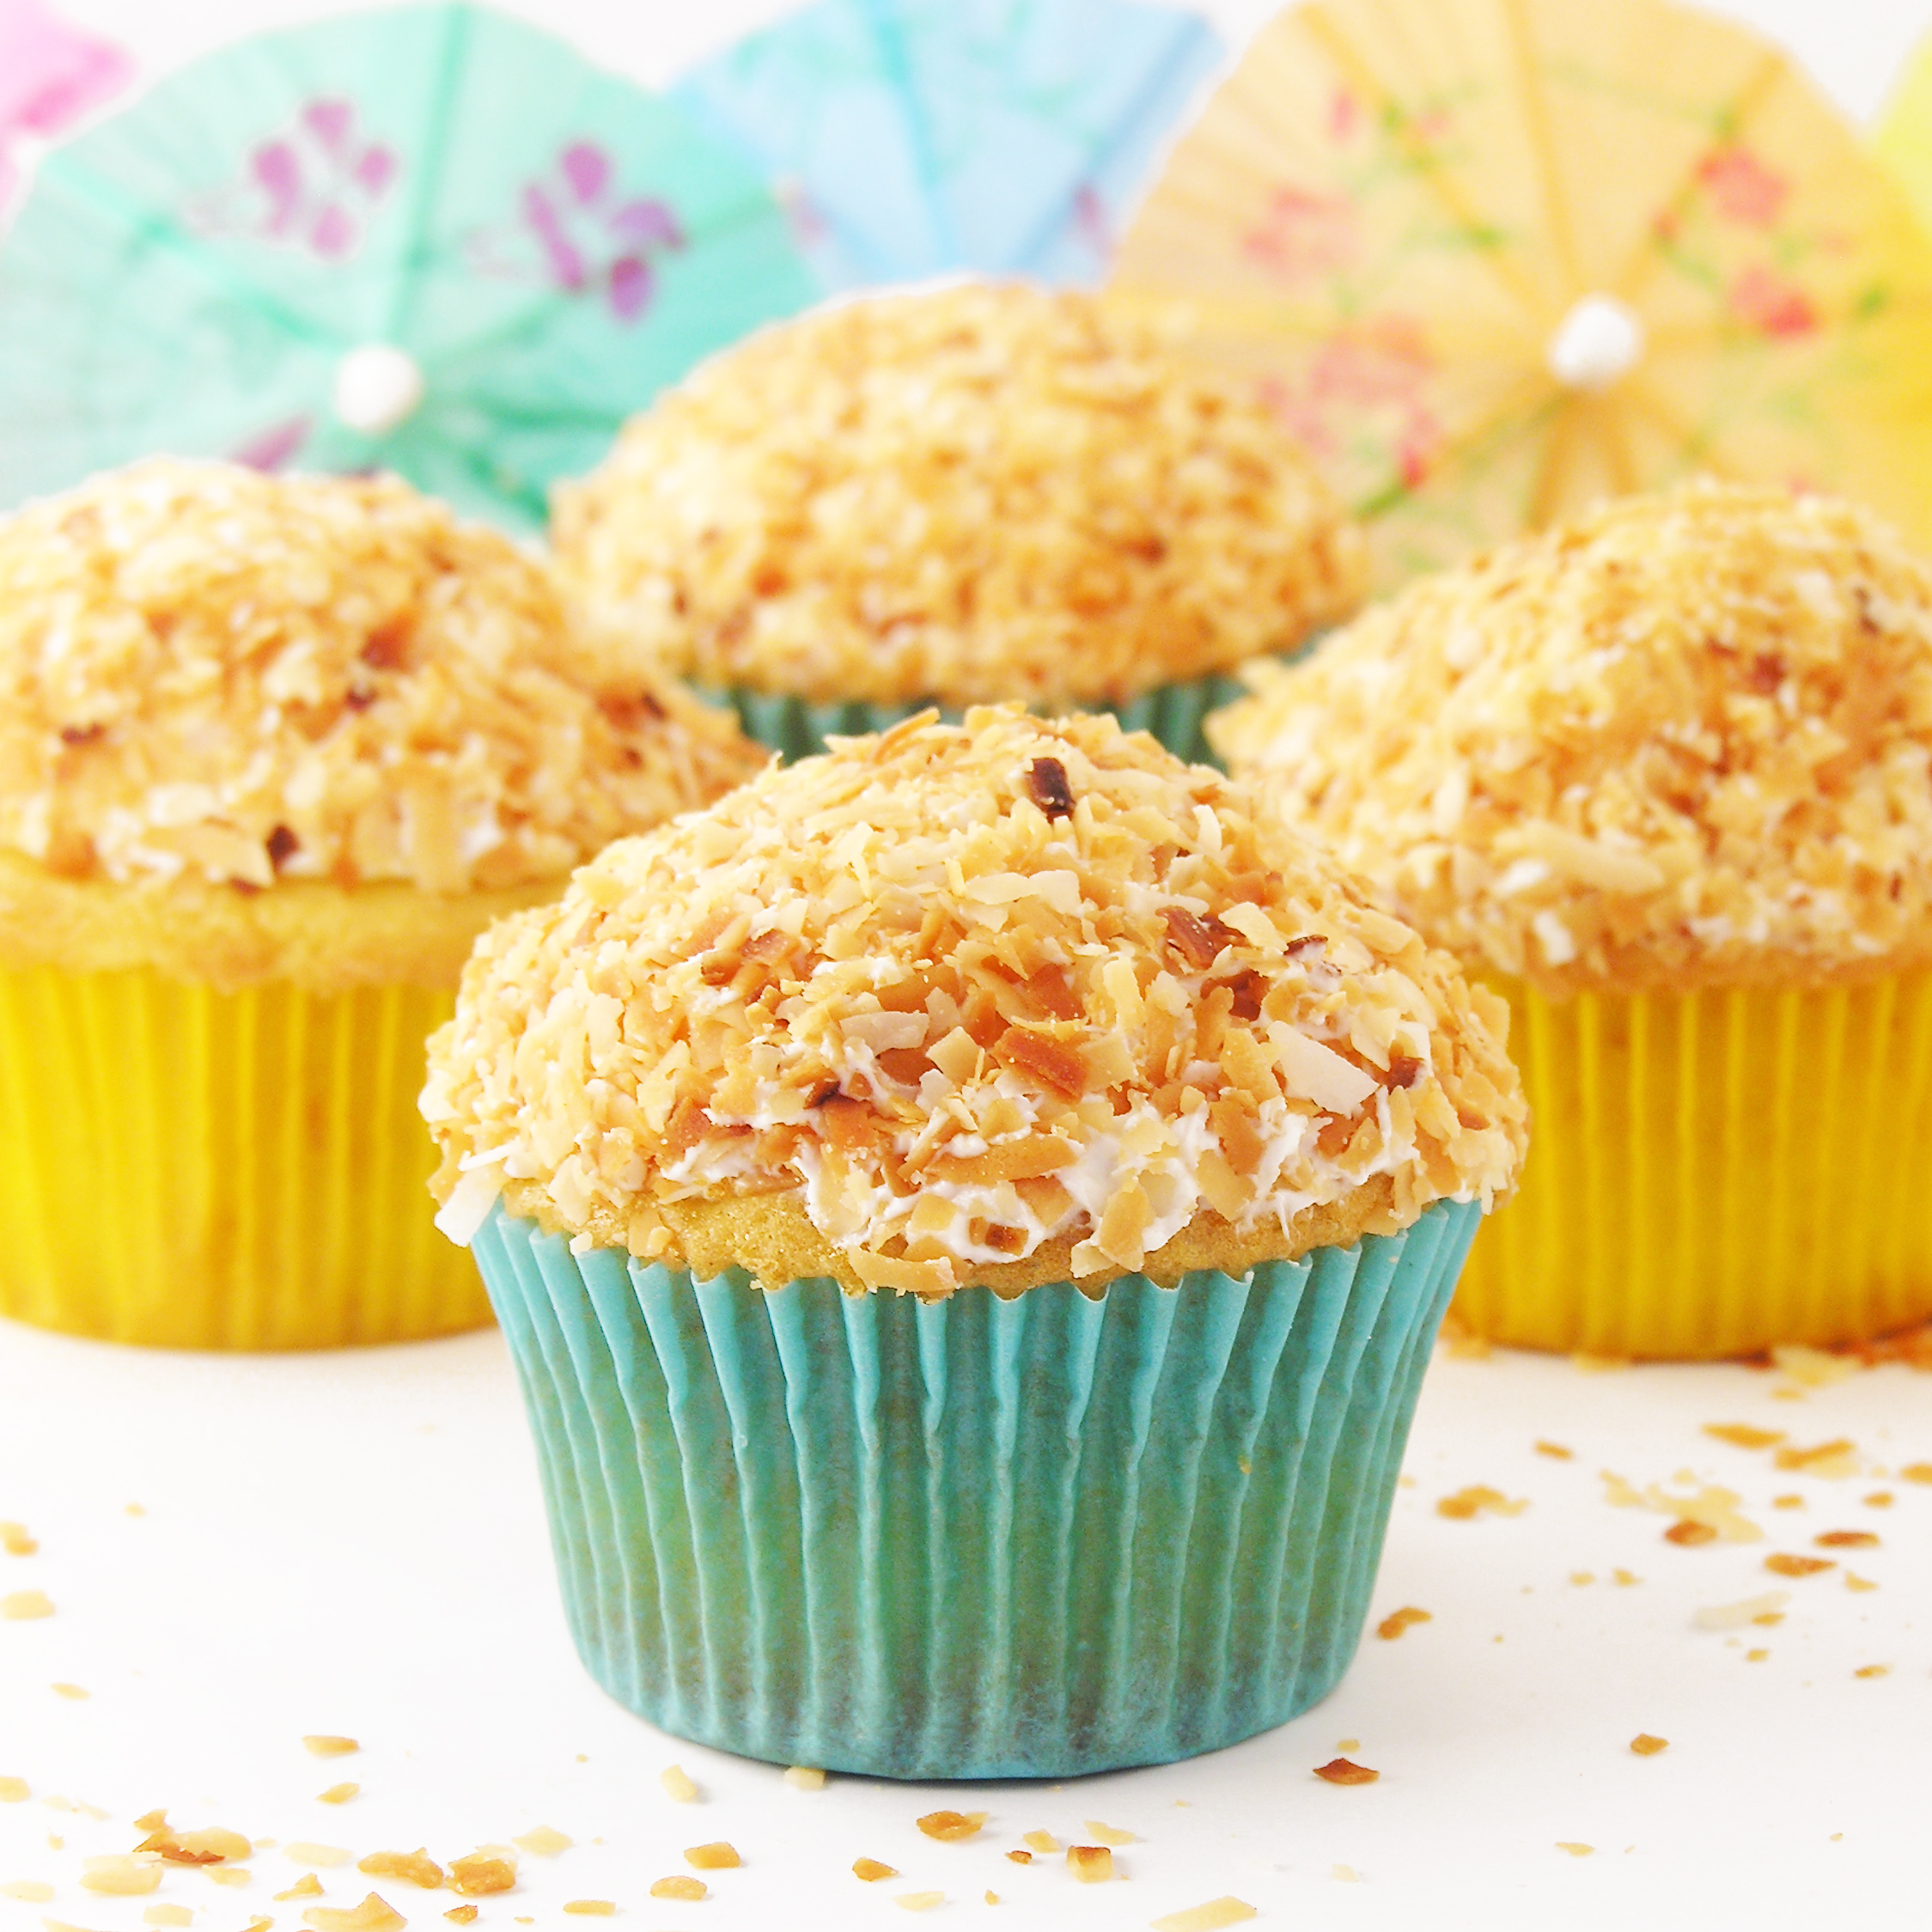
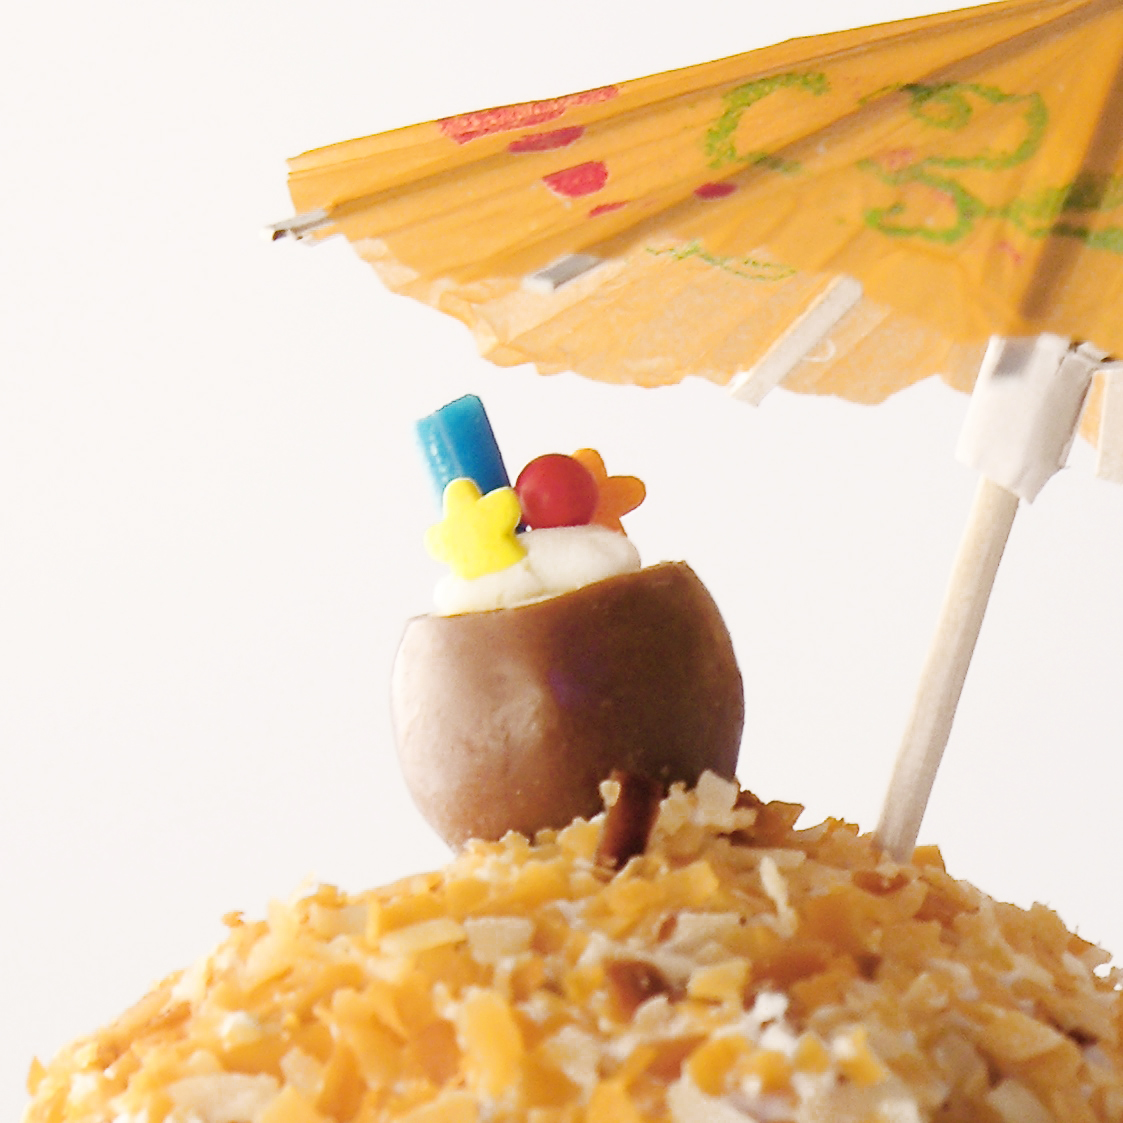
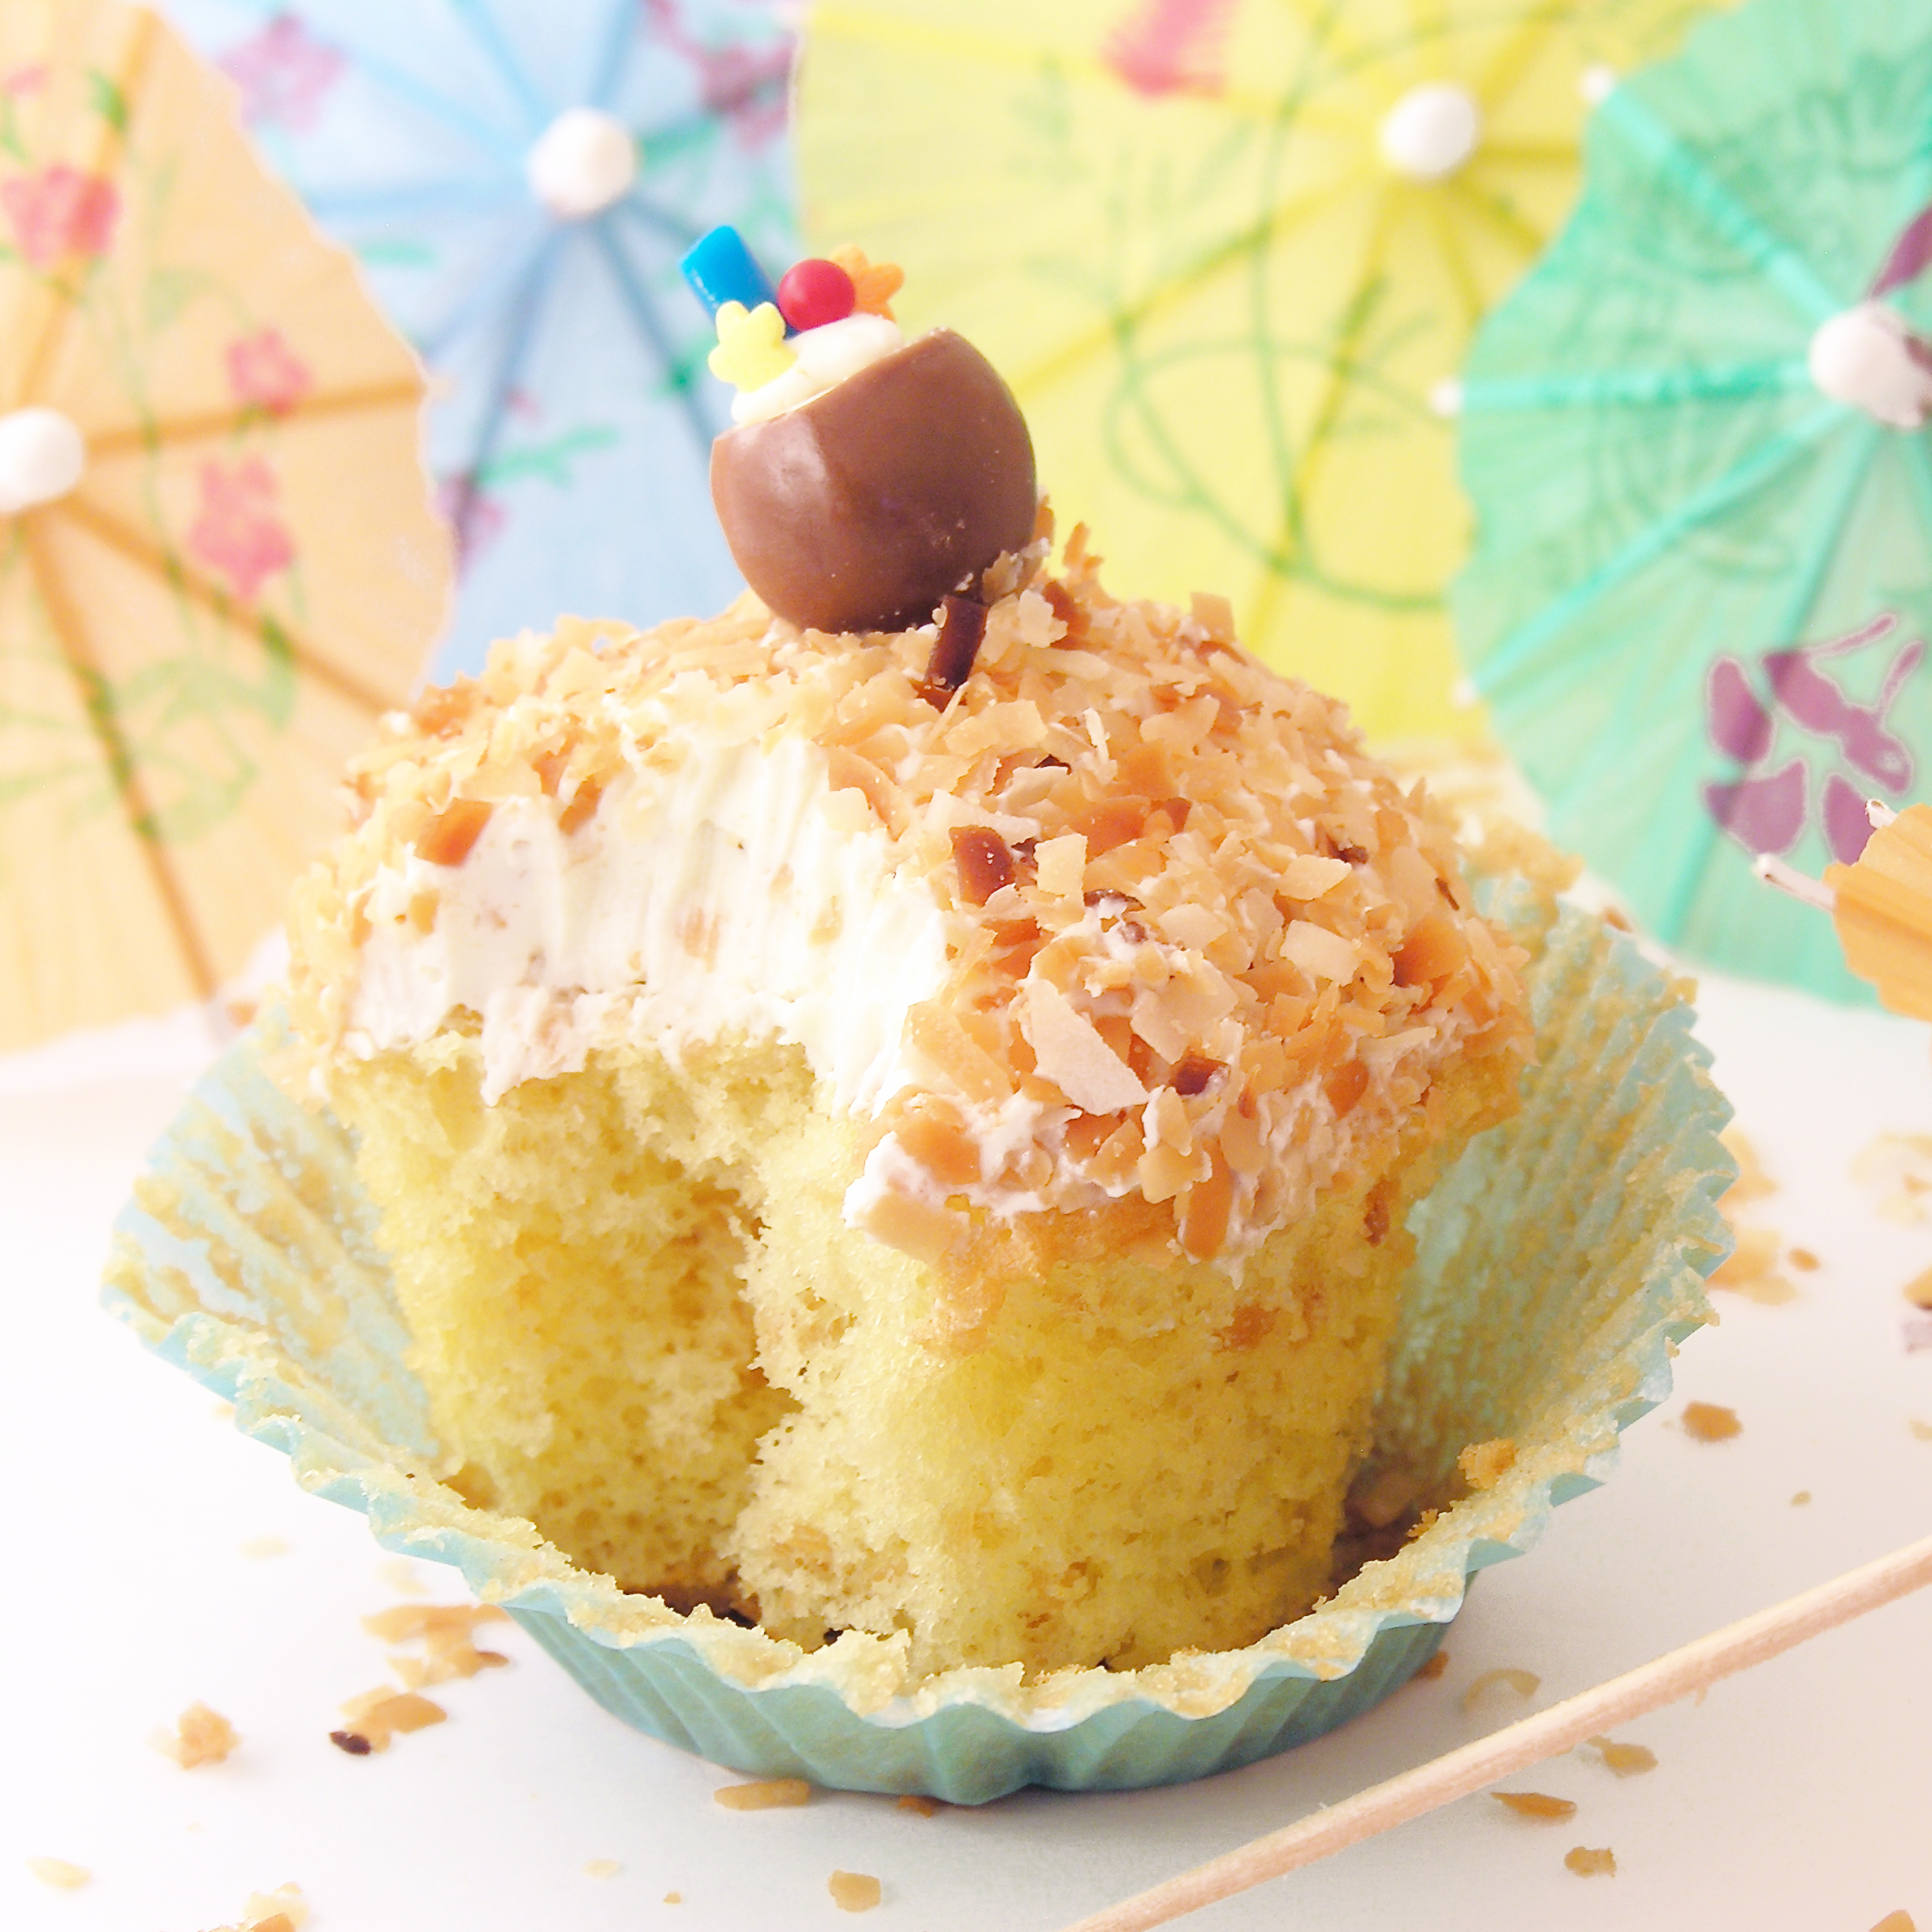
Other bits of key lime joy (click on photo to see recipe)

Key Lime Cupcakes!Key Lime TartletsKey Lime Cake!!!Key Lime Cookie Bars2

Advertisement

Key Lime Cookie Bars

Posted on

Key Lime Cookie Bars2

These delicious cookie bars have white chocolate and coconut on the bottom and key lime pie filling with whipped cream on top.  Such a refreshing treat for summer!

I love key lime pie. I love cookies. These smash those two worlds together into a sweet and tart summer dessert! Love it!

Key Lime Cookie Bars

Here’s how we made it: (printable recipe)

INGREDIENTS:

Cookie base:

  • 1 box of yellow cake mix
  • 1/3c. oil
  • 2 eggs
  • 1 cup of white chocolate chips
  • 1 cup of shredded coconut
  • 1/2 cup graham cracker crumbs

Key lime topping:

  • 1 cup of lime juice
  • 1 egg
  • 1 can (14oz) of sweetened condensed milk
  • One tub of cool whip, or 2 cups of whipping cream, whipped.

DIRECTIONS:

  • Preheat the oven to 350F degrees
  • In a mixing bowl, combine cake mix, oil and eggs well.
  • Add chips, coconut and graham crumbs, and mix together with clean hands until well- combined.
  • Press mixture into a greased cake pan and bake for 10 minutes at 350F degrees.
  • While this is baking, make key lime topping.
  • Mix together lime juice, condensed milk and one egg until well combined.
  • Pour over partially baked cookies and return to oven for another 20 minutes.
  • Cool completely and top with whipped topping, sprinkle with  graham crumbs, if desired.
  • Chill until serving, but allow dessert to return to room temperature before serving.
  • Enjoy!

Key Lime Cookie Bars4My thoughts: Sweet and fruity and white chocolatey….what is not to like here??? I love the sweet and tart balance of these little desserts and they just LOOK like summer! Enjoy! ~r
Key Lime Cookie Bars1

Other refreshing summer treats: (click on a photo to see the recipe)

Caramel Gelato!!!Kool Aid PieRaspberry Lemon Cream Cups!!!Root Beer Float Cupcakes!!!


Fourth of July Dessert Ideas!

Posted on

Bomb Pop Cupcakes!!!


Bomb Pop Cupcakes!

Oh my, I love the fourth of July! I love the picnics, and pool parties, and cookouts, and fireworks…and the time with family!

My parents have always (like always, for as long as I can remember!) had a giant pool party for the fourth and invited our entire extended family for burgers and brats and volleyball and sunshine….and for a competitive display of our best “at home” fireworks we could find, later in the evening. I have so many fun memories of chasing fireflies and waving sparklers with my cousins (that are all grown with kids of their own now!). This year is different. For starters, mom isn’t here to orchestrate the complexities of the celebration. The house is in boxes and bags- ready to show to whomever might be interested in buying, and the pool and yard are immaculately kept. Pool toys and floats are all deflated and either sold or put away. Sometimes I sit on the back porch and watch the fireflies and remember all the laughter and fun.

I know that these times are not forever over. This year is different, but once dad settles into his new place there will be other celebrations and family times over the fourth. This year though…my heart wasn’t in the “create something new and fun” place. So instead, I thought you might enjoy a collection of some of my previous red-white-and-blue recipes. You can click on the photo or the title, to be taken to the recipe.

American Flag Oreo Pops!!!!

American Flag Oreo Pops

Patriotic Polka Dot Cake!!!!

Patriotic Polka Dot Cake!!!

Patriotic Flip Flop Cookies!!!!

Flip Flop Cookies for the Fourth!

Patriotic Tie-Dye Cake!!!!

Patriotic Tie-Dye Cake!

Stars!!

Stars and Stripes Brownies!

Patriotic Bundt Cake!!!!

Red White and Blue Bundt Cake!

And if you are grilling out for the Fourth, you might need these…

BBQ Grill Cupcakes!!

BBQ Grill Cupcakes!

Hamburger Cookie!

Grilled Burger Cupcakes!

However you celebrate this summer, I hope you have fun making memories with your friends and family~ and I hope you enjoy trying fun, new recipes that become a part of your family traditions! ~r

73090_461339542512_3894329_n

Fishing Pond Cupcakes

Posted on

Fish Pond Cupcakes9

These delicious chocolate cupcakes are filled with a blue frosting “pond” and salty goldfish crackers! A perfect treat for the fish (or fishing!) lovers in your life!

We have a fishing theme on Easybaked these past few weeks. Last week I shared my fishing bobbers and this week a cute little fishing pond! I cannot underestimate the yummy sweet and salty combination of these cupcakes! Those goldfish are a perfect little bite of salt- and simply adorable! These are cute for Father’s day or Birthdays~ and you can even add a few little flower sprinkles for the girls in your life that adore their goldfish!


Fish Pond Cupcakes

These are easy-peasy to make, they use a boxed cake mix and a tub of frosting (although, if you are an over-achiever you certainly could do both from scratch!)

Here’s how we made them: (printable recipe)

INGREDIENTS:

  • One boxed chocolate cake mix (plus water, oil and eggs to make according to package)
  • Two tubs of white frosting
  • About 2 cups of green sugar crystals
  • One bag of Goldfish Baby crackers (they are smaller than the original crackers)
  • Green and blue food coloring gels

DIRECTIONS:

  • Make cake mix according to package and bake in 24 cupcake liners set in a baking tin. Cool completely.
  • Open one tub of frosting, spoon it into a bowl, heat it for about 15 seconds in the microwave to soften it a little and color it green with food color.
  • Open the second tub of frosting spoon it into a bowl, heat it for about 15 seconds in the microwave to soften it a little and color it blue with food color. Spoon it into a zip-top bag and set aside.
  • Pour green sugar into a small bowl.
  • To assemble: Cut a pond-shaped circle hole into the top of each cupcake using a small knife and pull out the core.
  • Dip the top of the cupcake into the green frosting and then into the green sugar, coating it completely.
  • Cut a corner off the bag holding the blue frosting and pipe it into the pond opening on the top of the cupcake.
  • Add a couple of goldfish and flower sprinkles if desired –and enjoy!!!

Fish Pond Cupcakes1Fish Pond Cupcakes8

Fish Pond Cupcakes7Fish Pond Cupcakes6

Fish Pond Cupcakes5Fish Pond Cupcakes10

 My thoughts: How fun!!! I hope you get a chance to make these cute little cupcakes for your next “fishy” get-together ~ maybe this weekend at the lake cottage??? ~Enjoy!!!

Fish Pond Cupcakes

Need some other fun summer ideas? We have lots of them! Click on a photo to see the recipe:

Cheesecake Sundaes frozen s'more cupsRoot Beer Float Cupcakes!!!!Pina Colada Cupcakes!

Fishing Bobber Cupcakes!

Posted on

Bobber Cupcakes1

If your dad loves fishing, these fun bobbers on waves of blue buttercream frosting will make him smile!

A perfect Father’s Day treat!

The idea for this recipe began last year before Father’s Day. I was pondering the idea of cutting a hole in the top of a cupcake and finding (or making) an edible golf ball to set inside of it. One morning the lightbulb came on: Lindt White Chocolate Truffles! They were perfect, and as I unwrapped all that yummy chocolate I brainstormed for other ideas.

Golf Cupcakes!!

One of those ideas was another Father’s Day treat- fishing bobbers! I filed the idea away until this year came around and then gave it a go. I wasn’t sure if I would be able to dip the truffle in warm chocolate without it melting, and if it would actually look like a bobber– but I love them! My dad loved them too.

Bobber Cupcakes9

Here’s how we made these yummy treats for dad: (printable recipe)

INGREDIENTS:

  • One boxed cake mix (plus water, oil and eggs to make according to package)
  • Blue food coloring gel
  • 2 sticks (one cup) of salted butter
  • 2 sticks (one cup) of unsalted butter
  • 3 cups of powdered sugar
  • 2 teaspoons of clear vanilla flavoring
  • 24 Lindt white chocolate truffles
  • One bag of Wilton candy melts in red

DIRECTIONS:

  • Make cake mix according to package.
  • Divide out about 1/3 of batter and color it blue
  • Swirl the 2 colors together (don’t mix too much!) and scoop into 24 cupcake liners placed in a baking tin.
  • Bake according to package and cool cupcakes completely
  • Make frosting by placing butters, powdered sugar and vanilla into a large bowl and beating on high until light and fluffy. 
  • Divide frosting in half and color one half blue. Swirl together the blue and white frosting and place into a large zip-top bag, fitted with a decorating tip.
  • Pipe frosting on top of cupcakes.
  • To make toppers: Unwrap all Lindt truffles.
  • Melt red candy melts in a bowl in the microwave for 30 second increments, stirring in between, until melted and smooth.
  • Allow candy melts to cool a little before dipping.
  • Use a small skewer or fork to dip each truffle into red candy melts, covering the bottom half in red. Place these on clean parchment paper to cool and harden.

Bobber CupcakesBobber Cupcakes13


  • Place remaining melted red chocolate into a small zip-top bag. Clip a corner and carefully pipe a small circle of red on the top of each “bobber”, covering the hole made by the skewer used for dipping.
  • Once “bobbers” are completely cooled and hardened, place them on the top of each cupcake and enjoy!!!

Bobber Cupcakes

My thoughts: I really have the most incredible dad. He is funny (hilarious!) and smart and brave. He loves golf (last year’s cupcakes) and he loves fishing (this year’s cupcakes)~ he goes to Canada every summer to fish for GIANT Walleye and Pike and then he fries them up for us all when he gets back- and they are delicious! He does roll his eyes when I say that I like bobber fishing best….but in any case, these are for you dad! I love you!!!!!!!

484544_10150888332207513_696367834_n

Need more ideas for your Father’s Day celebration? Try some of these! (click on a photo to see the recipe)

Chocolate Pecan TartCookie Dough BrownieBBQ Grill Cupcakes!!Golf Cupcakes!!!!


Bobber Cupcakes4Bobber Cupcakes8Bobber Cupcakes10

Oreo Flower Pops!

Posted on


Oreo Flower Pops!These cheery little Oreo Pops are sure to brighten anyone’s day, and they are SO easy to put together!

I know…another Oreo Pop!!!  I can’t stop sharing them with you– they are just so fun!  I have another one in the works for a few weeks from now too!  I’m in love with these fun little treats!

If you’ve been a fan of Easybaked for any time at all, you have seen (and maybe tried!) lots of these little bits of happiness on a stick, but if you are new here, let me share with you a pdf that will help you make the perfect Oreo Pop:  How to make an Oreo Pop.

Flower Oreo Pop

Here (once again!) is the recipe: (printable version)

INGREDIENTS:

  • One box of Double Stuff Oreos
  • Two bags of Wilton’s candy melts in any colors you choose
  • M&Ms (I used the pastel kind- but any will work!)
  • Mini chewy Sweet Tarts (or any other small candy for the center of the flower)
  • 24 lollipop sticks

DIRECTIONS: 

  • Carefully twist apart all of the Oreo cookies
  • Using one of the lollipop sticks, make an indentation in the white filling of each cookie.
  • Melt the Candy Melts in the microwave in 30 second increments, stirring until completely melted and smooth.
  • Dip the end of one stick into the melted Candy Melts, drizzle a little in the center of the white cookie filling and then gently press it into the indentation made.
  • Place the top of the cookie back on and allow Candy Melts to harden (10 minutes or so), cementing the cookie back together with a stick inside.
  • Holding the stick, lower the entire Oreo into the bowl of melted Candy Melts, spooning it over the top and sides to cover it completely.
  • Allow the excess  to drain off and gently place covered Oreo on a piece of parchment paper.
  • Before the Candy Melts harden, place M&Ms and Sweet Tarts on top in a flower pattern.
  • Allow Oreo Pop to harden completely
  • Cover in a treat bag and tie with a ribbon
  • Enjoy!!

Flower Pot Oreo Pops

My thoughts: These are easy to make, beautiful to share, and yummy to eat!  Don’t they look cute in a bouquet?  Fall is almost here, celebrate the last bits of summer with these cheery little treats!  Enjoy! ~r

More fun recipes from easybaked:

Chocolate cut-out cookiesCookie Dough Whoopie Pies!Cinnamon Roll Cheesecake!!German Chocolate Pie

Kool Aid Pie!

Posted on

KoolAid PieWith a fruit cereal crust and sweet, creamy Kool Aid filling, this cake will have you and every child in your life asking for seconds!

This recipe is made in a springform pan- like a cheesecake. The crust is made of crushed Trix Cereal and I made my filling with watermelon Kool Aid.  It was perfect with the sweet crust and slightly tart filling.  The cool thing?  You can use ANY flavor of Kool Aid you want!  Blue Raspberry, Green Apple, Cherry, Grape, Strawberry….ANYTHING!

Kool Aid Cake!

So. Much. Fun!!!!!!!!!

Here’s how we made it: (for a printable recipe, click here)

INGREDIENTS:

  • 6 cups of Trix Cereal (crushed into about 3 cups)
  • 1 stick (1/2 cup) butter (melted)
  • 3 Tablespoons of sugar
  • 1 package (8 oz) of Philadelphia Cream Cheese (softened to room temperature)
  • 1 packet of Kool Aid drink mix (any flavor~ if you use a lemonade, add it to taste, as it will be more tart than the other flavors)
  • 1 (13 oz) jar of Jet-Puffed Marshmallow Creme
  • 1 tub (8 oz) of Cool Whip (thawed in refrigerator)

DIRECTIONS:

  • Preheat oven to 350F degrees
  • In a large mixing bowl, combine crushed cereal, sugar and melted butter. Mix until well- combined,
  • Press into an un-greased, 8″ springform pan, pressing crumbs up sides and into bottom.
  • Bake at 350F degrees for 15-18 minutes.
  • Leave sides on pan, and cool completely.

Crushed CerealKool Aid Pie Cereal Crust!!

  • Make filling by creaming together the cream cheese with the Kool Aid. Add Kool Aid according to how much flavor, color and tartness you enjoy.  I added the whole packet, and YUM!
  • Mix in the entire container of Marshmallow Creme and blend well.
  • Fold in 1/2 of the Cool Whip until well blended.
  • Carefully spoon filling into cooled cereal crust, and very gently (as to not pick up crumbs of cereal), spread it to the edges.
  • Spoon remaining Cool Whip on top.
  • Store chilled, and just before serving remove sides of pan, and sprinkle extra cereal on top.

Kool Aid Pie with Cereal Crust!

My thoughts:  The only thing even a tiny bit hard about this recipe is pressing that crust into a springform pan.  The rest is just mixing and pouring.  So easy- but such a pretty and fun dessert.  The watermelon version I made got RAVE reviews and it was gone in one evening.  Almost everyone had seconds!  I wasn’t sure how well the watermelon flavor would go over, but it was so refreshing!  I loved it!  I hope you get a chance to try this easy summer recipe!  Enjoy!!! ~r

Kool Aid Pie!!!

 More recipes that kids will love:

Hamburger Cookie!Toxic Slime-filled Cupcakes!Ladybug Oreo Pops!Confetti Cake Filled with Candy

Popsicle Punch!!!!

Posted on

Popsicle Punch

 Love popsicles?  Love a fruity, refreshing punch?  Try making popsicle punch!  Everyone can choose their own flavor!

Popsicle Punch!!

I was sitting in the sun, thinking about punch the other day.  I was thinking about how you never really get to have punch unless you make a ton of it in a big punch bowl~ which sends it into the “only at a big party” category of treats.  I started thinking about how much fun it would be if you could make a single-serving punch, and suddenly—POPSICLES!!!!!!  A little bit of Sprite, maybe a bit of pineapple juice and a POPSICLE!  Choose your flavor, pick your punch!

I had to run to the store and get popsicles to try this little experiment, and YUM!!!!!!  YUM! YUM! YUM!!!!!!

I loved the plain popsicles- beautiful colors and delicious fruity punch.

THEN, I tried the popsicles that have the ice cream filling… you know, these:

Popsicle Punch!

So much creamy, fruity happiness in one little mug…. well, two little mugs because I had to try a couple of flavors:

Popsicle Punch!

That orange punch?  Like a creamsicle in a cup….!  Unbelievably good!!!

Here’s how I did it:

INGREDIENTS:

  • Sprite (or another lemon-lime soda)
  • Pinapple (or another fruit) juice
  • Popsicles!

DIRECTIONS:

  • Fill a cup about 1/2 full of soda (leave room for the popsicle- the ice cream ones foam up a bit) 
  • Add juice to taste- I added about 1 part juice for 4 parts soda.
  • Place a popsicle into cup and stir to dissolve
  • ENJOY!

Popsicle Punch!!!

My thoughts:  You can make individual cups of punch, or make the base punch in a big punch bowl (just the soda and the juice) and set a cooler full of popsicles out for people to choose flavors from.  I just made a cup of punch with a frozen juice bar— oh my.  So yummy!  The possibilities are endless!!!!  Enjoy!  ~r

Cheers!!!!

Cheers!!!!

Other fun beverage (and beverage inspired!) recipes:

Spiced Mocha and Tim Tam Slams!Cotton Candy Fizz Mexican Chocolate MilkMalted Milkshake Cupcakes


Butterscotch Ice Cream Towers

Posted on

Butterscotch Ice cream towers!!!!

 These beautiful, stacked desserts have layers of ice cream sandwich and a creamy butterscotch filling.  Topped with melted chocolate, they make a fun and elegant summer dessert!

Butterscotch Ice cream towers!

I’ve been craving ice cream sandwiches.  These little desserts were a combination of that craving and an extra box of butterscotch pudding in my cupboard.  I love how they turned out!  They require some hands-on time and an overnight in the freezer, so they aren’t a last minute idea- but I think the extra time is worth it!!  The end result is pretty and SO yummy!  Here’s the recipe:

INGREDIENTS: (printable recipe here)

  • One box of 12 ice cream sandwiches
  • 1 (3.4 oz) package of Jell-O Instant Butterscotch pudding mix
  • 1 1/2 cups of cold milk
  • 1 tub of Cool Whip topping
  • 1 cup of chocolate chips
  • 6 tablespoons of butter

DIRECTIONS:

  • Make butterscotch filling first, and freeze overnight
  • In a large bowl, beat together milk and pudding mix on high for 3 to 4 minutes until thick.
  • Fold in 1/2 of the container of Cool Whip topping
  • Put parchment paper in a small (I used a 9×9 square) pan, and spread pudding mixture evenly into container.
  • Freeze overnight.
  • To assemble, use a fluted square (I used a 2″ inch square) cookie cutter to cut ice cream sandwiches.  I got 2 squares from each sandwich. Return to freezer after cutting.

Butterscotch Ice cream Towers

  • Remove pudding mixture from freezer, lift out of pan using edges of parchment paper, and lay on a clean counter.
  • Cut squares using the same cookie cutter (dip in warm water between cuts, if it becomes sticky), return to freezer as you cut them.
  • Assemble no more than one or 2 hours before serving, and keep frozen.
  • Melt chocolate chips and butter together in the microwave in 30 second increments, stirring in between, until melted and smooth.
  • Place an ice cream sandwich square on a plate, top with butterscotch filling square, top with a second ice cream sandwich square.
  • Drizzle with melted chocolate (and I added a few butterscotch chips).
  • Return to freezer and keep frozen until serving.


Butterscotch Ice Cream Towers!!

My thoughts:  These are the most spectacular dessert to serve (you should have heard the oohhh’s and ahhh’s!), and the most awkward dessert to eat.  The kids figured out that you need to just pick these up and eat them with your fingers!  I allowed mine to melt just a touch, and then it was perfect with a fork!  The flavors are so yummy! Butterscotch and chocolate?  Yes, please!!!!  Enjoy!  ~r

Other yummy frozen treats:

Mango Smoothie PopsPudding popsicles!Frosty Almond Joy Cups!Heath Bar Ice Cream Dessert3


Piña Colada Cupcakes!

Posted on

Pina Colada Cupcakes!

 These pineapple cupcakes are full of coconut and rum flavored happiness.  A perfect pool party treat!

Aren’t these just the cutest little things?  I love the flavor combination of coconut and pineapple, it is such a refreshing taste!  The light whipped frosting on these, combined with the crunch of toasted coconut makes them such a delicious summer treat!  I even added a cute little edible coconut drink topper that I found on Party Pinchers.  So. much. fun!!!!

Pina Colada Cupcakes!!

INGREDIENTS: (printable recipe here)

  • 1 boxed pineapple cake mix (I used Duncan Hines), plus water, oil and eggs to make according to box directions.
  • 5 cups of shredded, sweetened coconut
  • 3 teaspoons of rum flavoring (divided)
  • 2 teaspoons of coconut flavoring
  • 2 sticks (1 cup) salted butter (softened to room temperature)
  • 2 sticks (1 cup) of unsalted butter (softened to room temperature)
  • 3 cups of powdered sugar
  • Decorations (as desired)

DIRECTIONS:

  • Preheat oven to 325F degrees
  • Spread 5 cups of coconut out on a large baking sheet that has edges.
  • Toast in 5 minute increments, stirring with a big spoon to evenly toast (It usually takes me about 20 minutes)
  • Allow coconut to cool, then place in a large zip-top bag, and crush into smaller pieces.
  • Make cake mix according to directions on box, and after it is made, add one cup of crushed, toasted coconut and mix completely into batter.
  • Add 2 teaspoons of rum flavoring and stir completely into batter.
  • Divide batter evenly into 24 cupcake liners placed into tins.
  • Bake according to package directions and cool completely.
  • To make frosting, place butters, coconut flavoring, remaining rum flavoring, and powdered sugar into a large mixing bowl and beat on high for 3 or 4 minutes until very light and fluffy.  Add one cup of crushed, toasted coconut and stir until well blended.
  • Use a spoon or a cookie scoop to place a rounded scoop of frosting on the top of each cupcake.  
  • Place the rest of the crushed coconut into a small bowl, and turn each cupcake upside down into it, pressing coconut into the top and sides of each scoop of frosting.
  • Decorate as desired. I found these cute little edible “coconut cups” on a site called Party Pinching, and I couldn’t resist making them for my pina colada cupcakes!  You just cut the tops off of a Whoppers malted milk ball, put a dab of melted white chocolate and add little flower sprinkles and a bit of string licorice.  FUN!

Pina Colada Cupcakes!Pina Colada Cupcakes!

My thoughts: I really thought these captured the flavors of coconut and pineapple in a perfect combination.  I loved the little crunchy bits of coconut in the cake and frosting.  These are such a festive cupcake and make a perfect refreshing summer or vacation dessert for all ages! 
Pina Colada Cupcakes!Other fun cupcake recipes:

Malted Milkshake CupcakesKey Lime Cupcakes!Brownie Oreo Cookie CupButter beer cupcakes


%d bloggers like this: