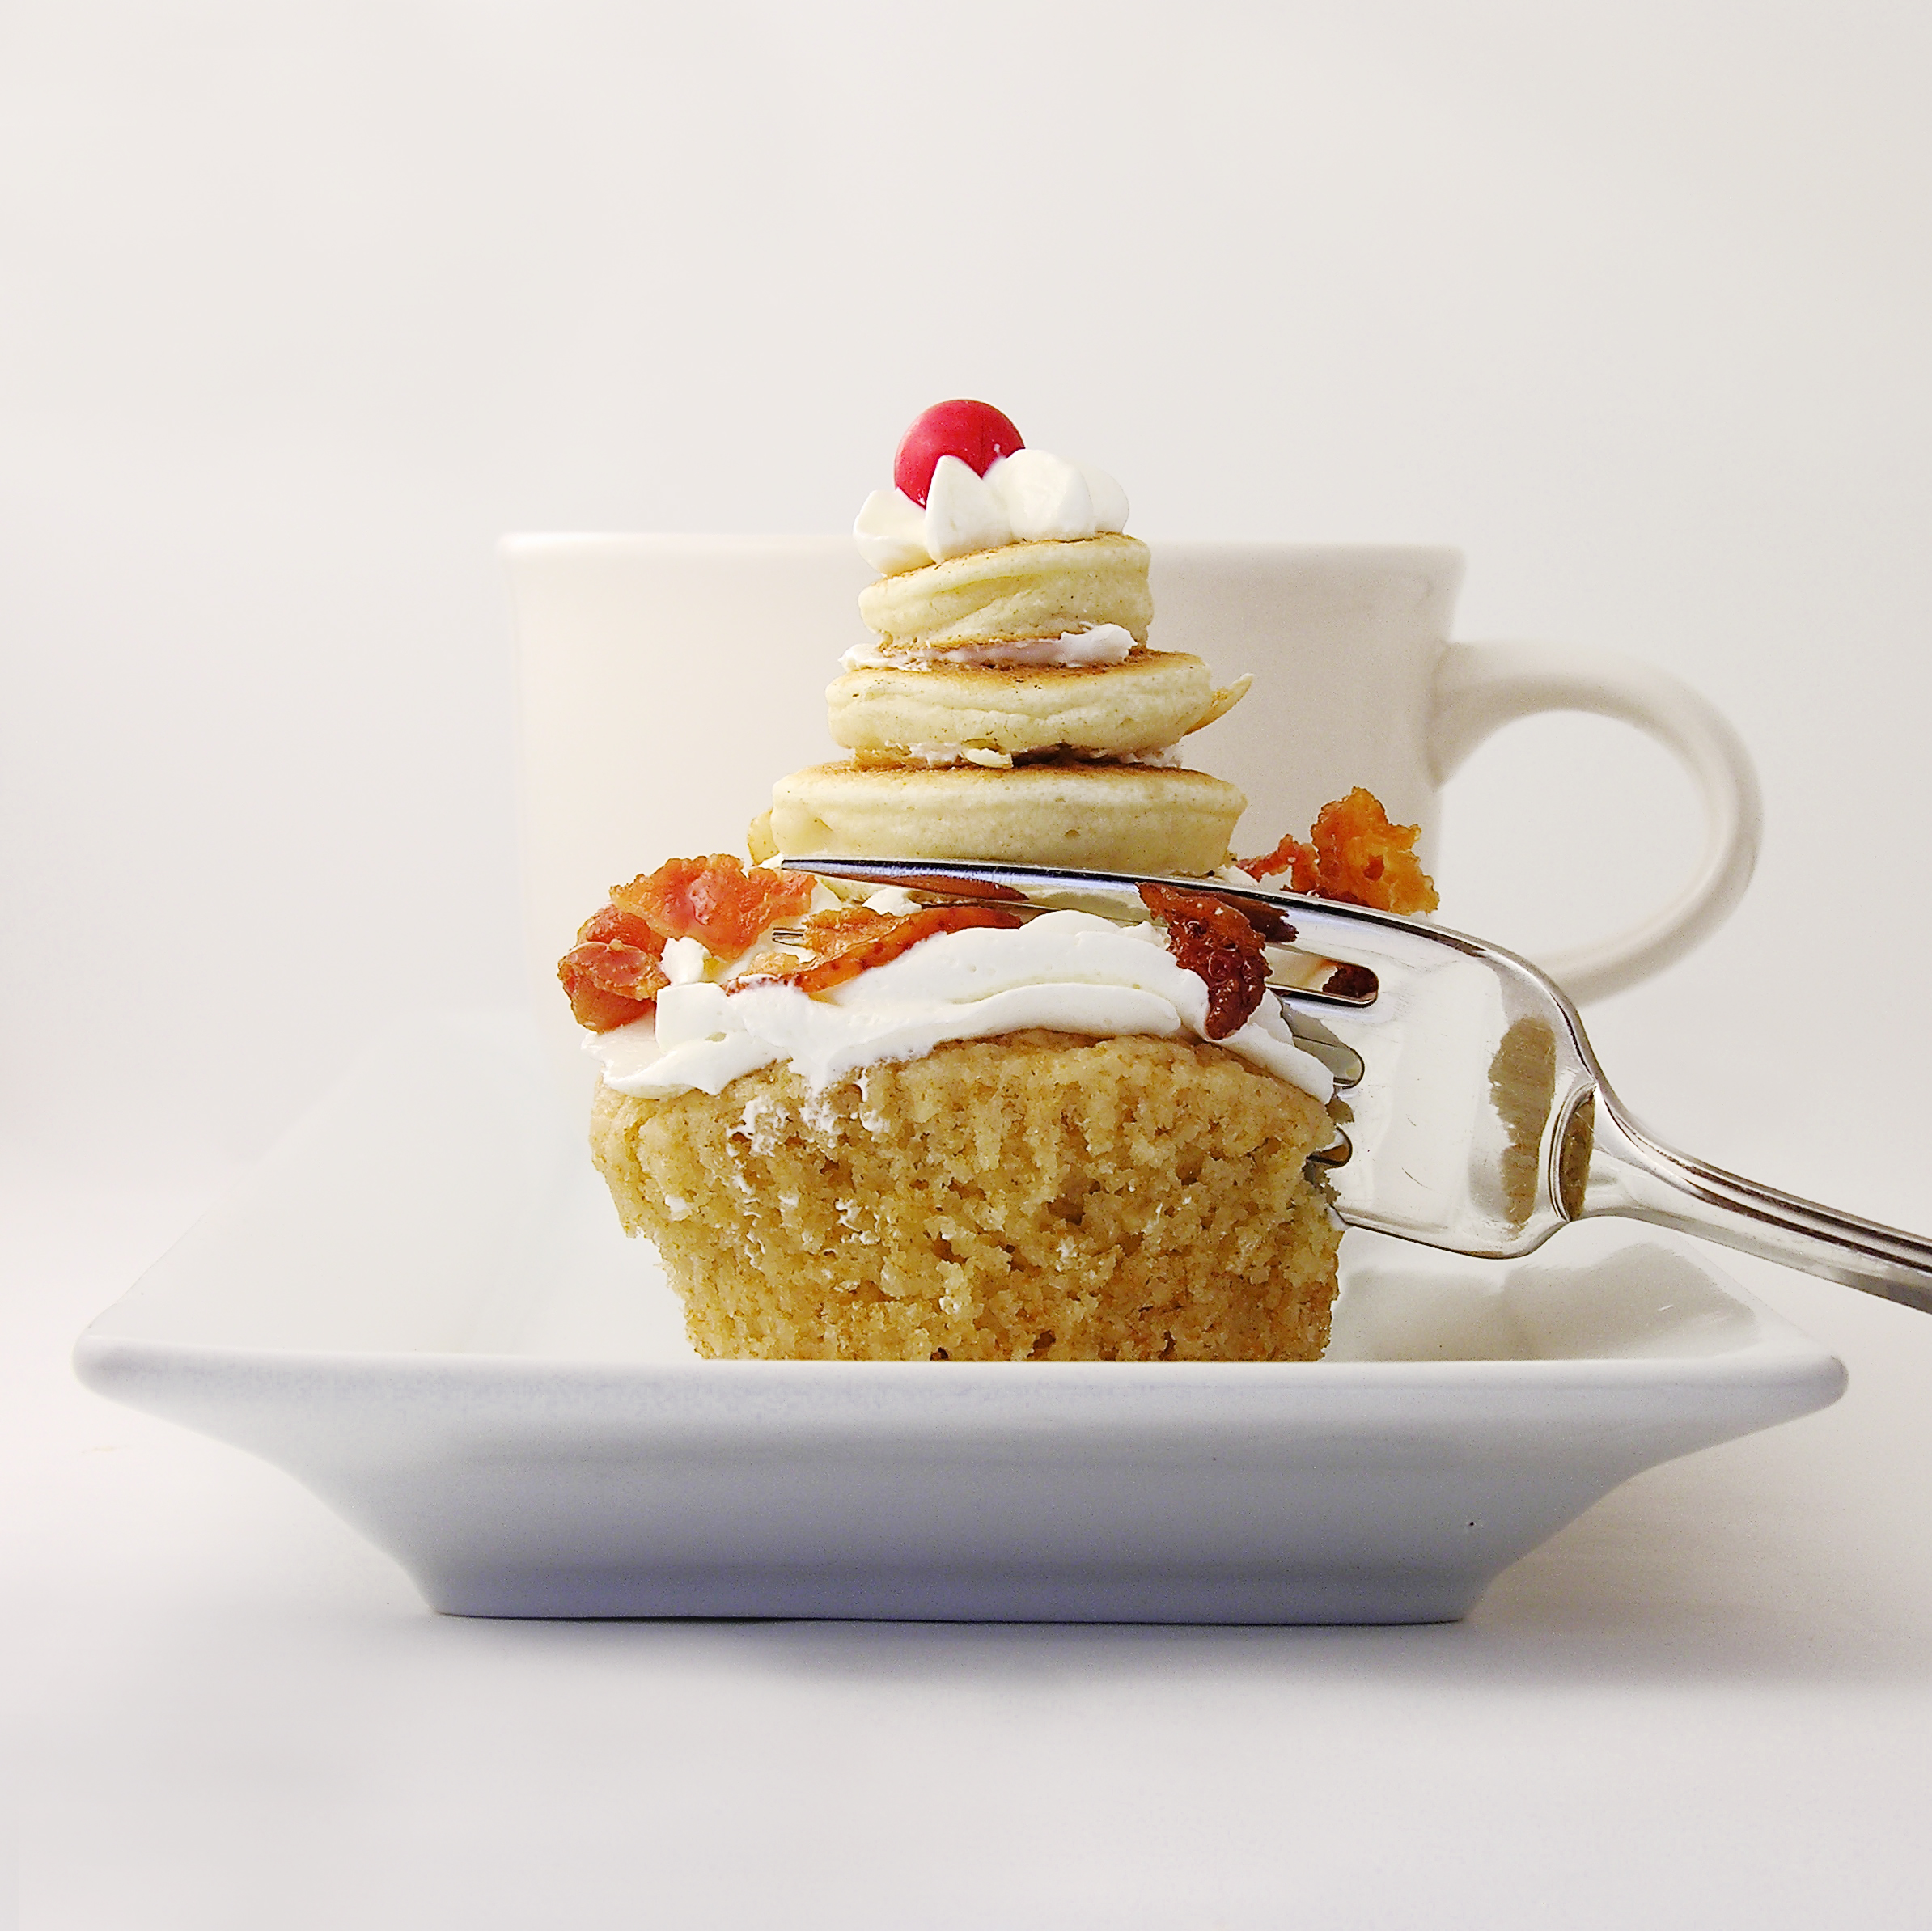
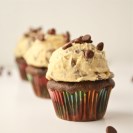
These sweet maple pancake flavored cupcakes are topped with syrup-coated bacon and real mini-pancakes. The only question remaining is, will you eat them for breakfast???
My answer to that question is a resounding YES, I will eat them for breakfast, and any other time of the day too!
Did you know that today is National Pancake Lovers Day??? There is no better way I know of to celebrate pancakes than by making these! [Plus, Monday is National Coffee Day, and believe me these go GREAT with coffee!]
 These cupcakes were a complete experiment, and when they came out of the oven and I tentatively tasted one, I smiled. They taste like pancakes- they really do! Here’s how we made them: (printable recipe)
INGREDIENTS:
Cupcakes:
- 2 1/2 cups all-purpose flour
- 3 teaspoons baking powder
- ½ teaspoon salt
- 1 cup sugar
- ½ cup butter, melted
- 1/4 cup whipping cream
- 2 eggs
- 3 teaspoons vanilla
- 1/2 cup maple syrup (I didn’t use the real stuff– too expensive!)
Frosting and toppings:
- 2 sticks (1 cup) of salted butter, softened
- 2 sticks (1 cup) of unsalted butter, softened
- 3 cups powdered sugar
- 2 teaspoons of vanilla
- 8 pieces of bacon, cooked until very crisp
- 1/4 cup of maple syrup
- Pancake batter- enough for about 50 mini pancakes (I used the add water and shake Bisquick bottle, and it took about 2 cups of batter to make these up.
DIRECTIONS:
Cupcakes:
- Combine all dry ingredients and mix in medium bowl
- In large bowl, whisk eggs, whipping cream and vanilla together, add melted butter slowly while whisking.
- Alternately add dry ingredients and syrup to the egg mixture, whisking until thick and smooth.
- Scoop evenly into 18-20 cupcake liners placed in muffin tins. Don’t overfill!
- Bake at 350F degrees for 14-18 minutes, until a toothpick inserted into the center comes out clean.
- Remove cupcakes from tin and allow them to cool completely.
Frosting and toppings:
- Crumble bacon into small pieces and toss with maple syrup until completely coated.
- Make mini pancakes on a hot griddle by using a small spoon and making just a tiny circle of batter. Let these cool on a piece of parchment paper.
- Make frosting by placing butters, powdered sugar and vanilla in a mixing bowl and beating on high for 3-4 minutes until very light and fluffy.
- Place frosting into a large zip top bag that has a decorating tip fitted into one corner.
- Pipe a circle of icing around the edge of the cupcake.
- Sprinkle with bacon.
- Place pancakes on top, using a small amount of frosting to stick them together into a stack.
- Add a dollop of frosting on top and add sprinkles or a red “cherry” sixlet, like mine.
- ENJOY!!!!
 My thoughts: These are really good. The sweet cupcake with that salty bacon….yum! I was a little skeptical about the bacon, but it really adds a wonderful flavor to these! If you are short on time, skip the mini pancakes on top and just frost these and sprinkle them with bacon. You could even use a bottle of those real bacon bits, but I suspect that the freshly cooked bacon tastes best. Happy Pancake Day to YOU!!! Enjoy!! ~r
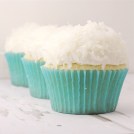
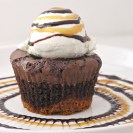
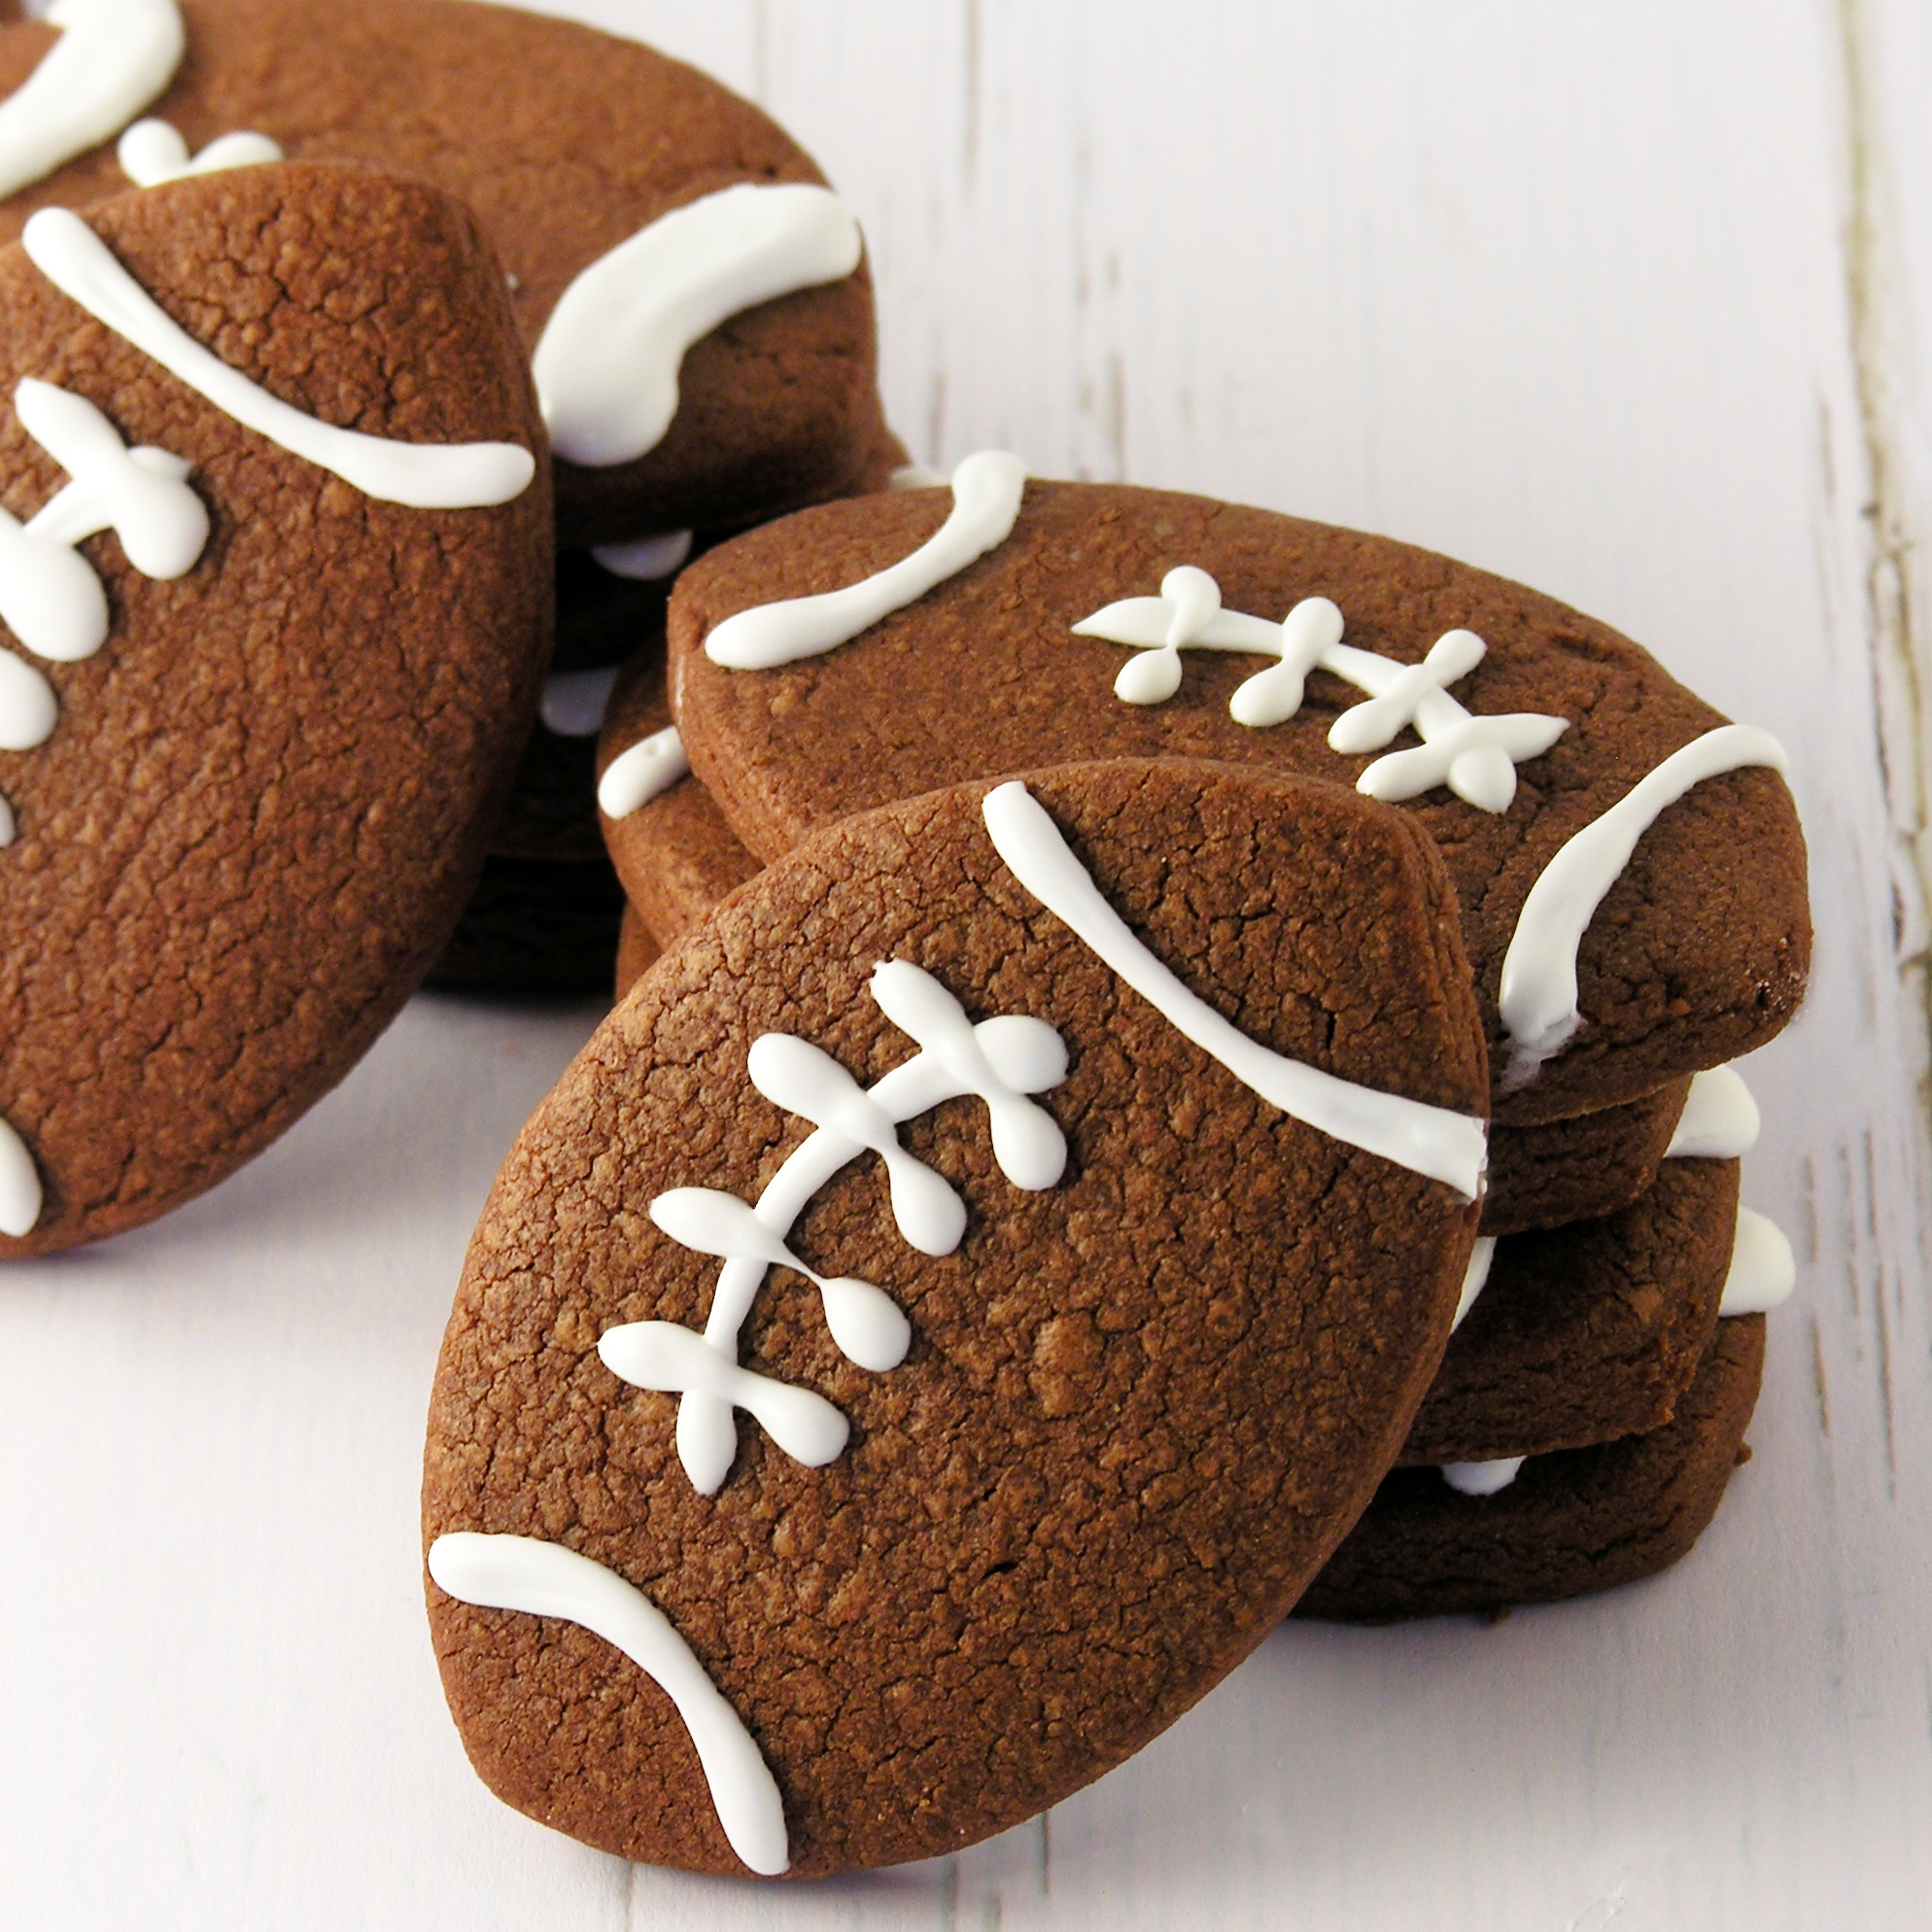
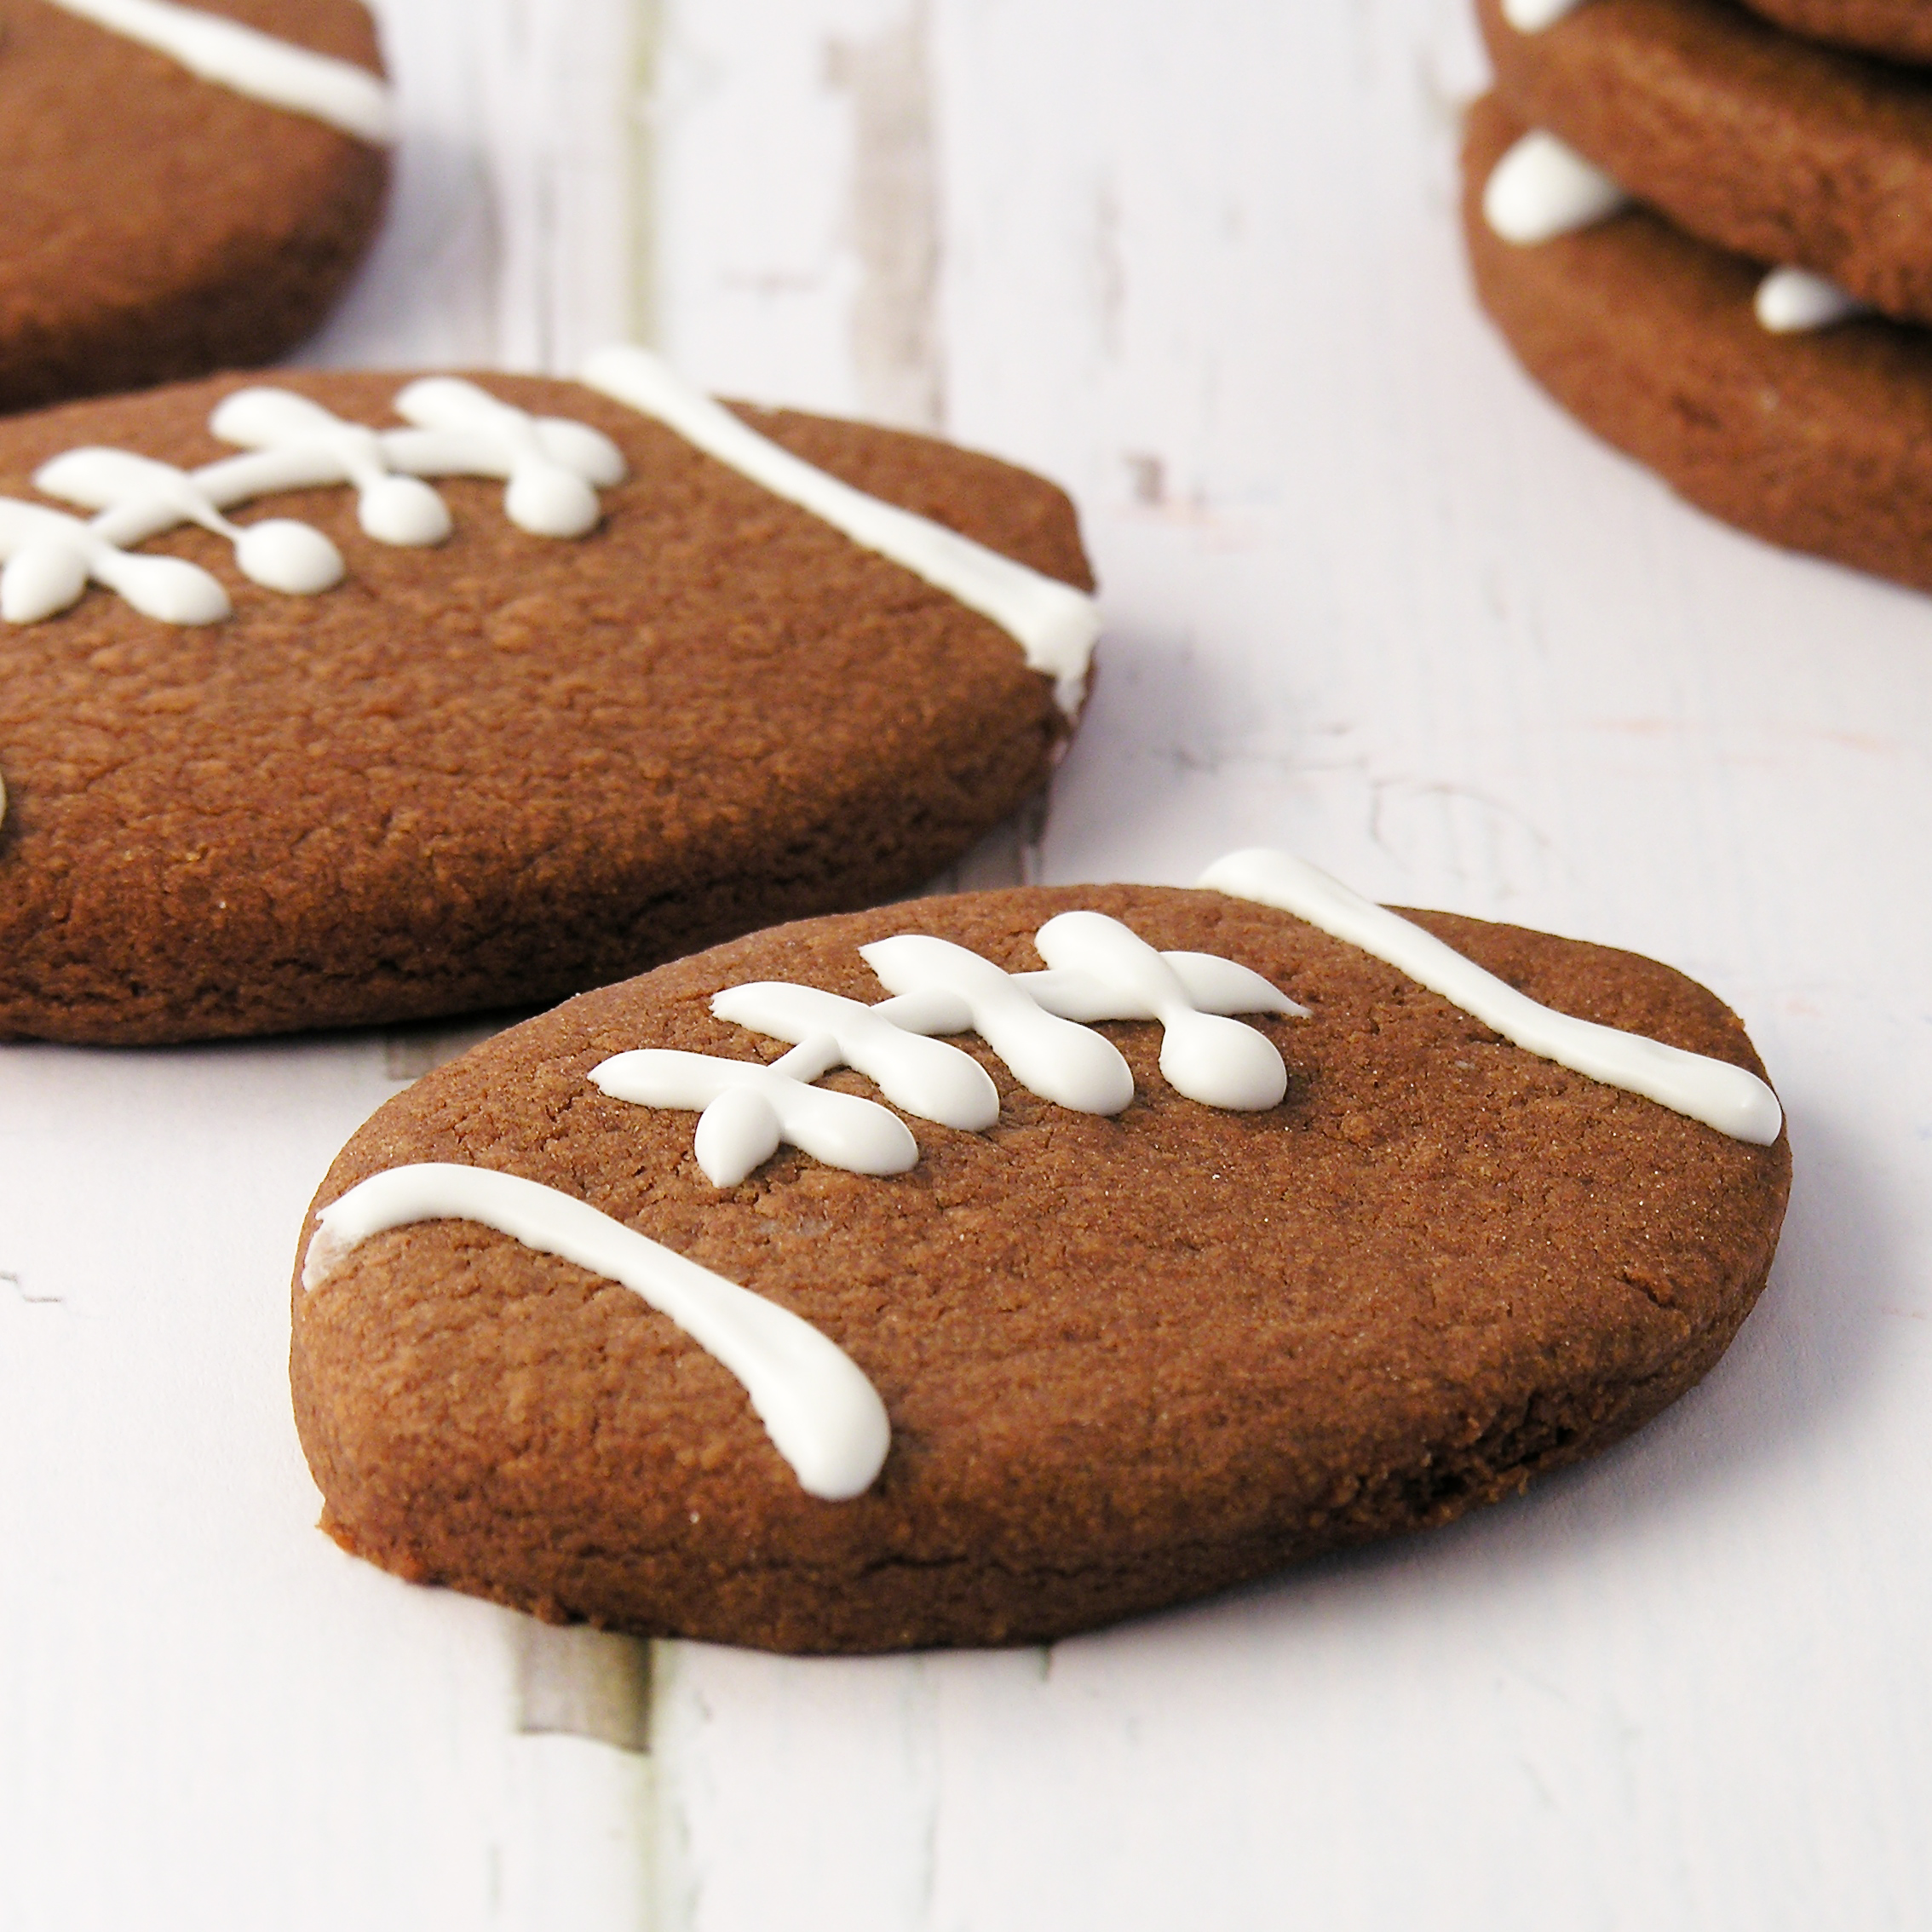
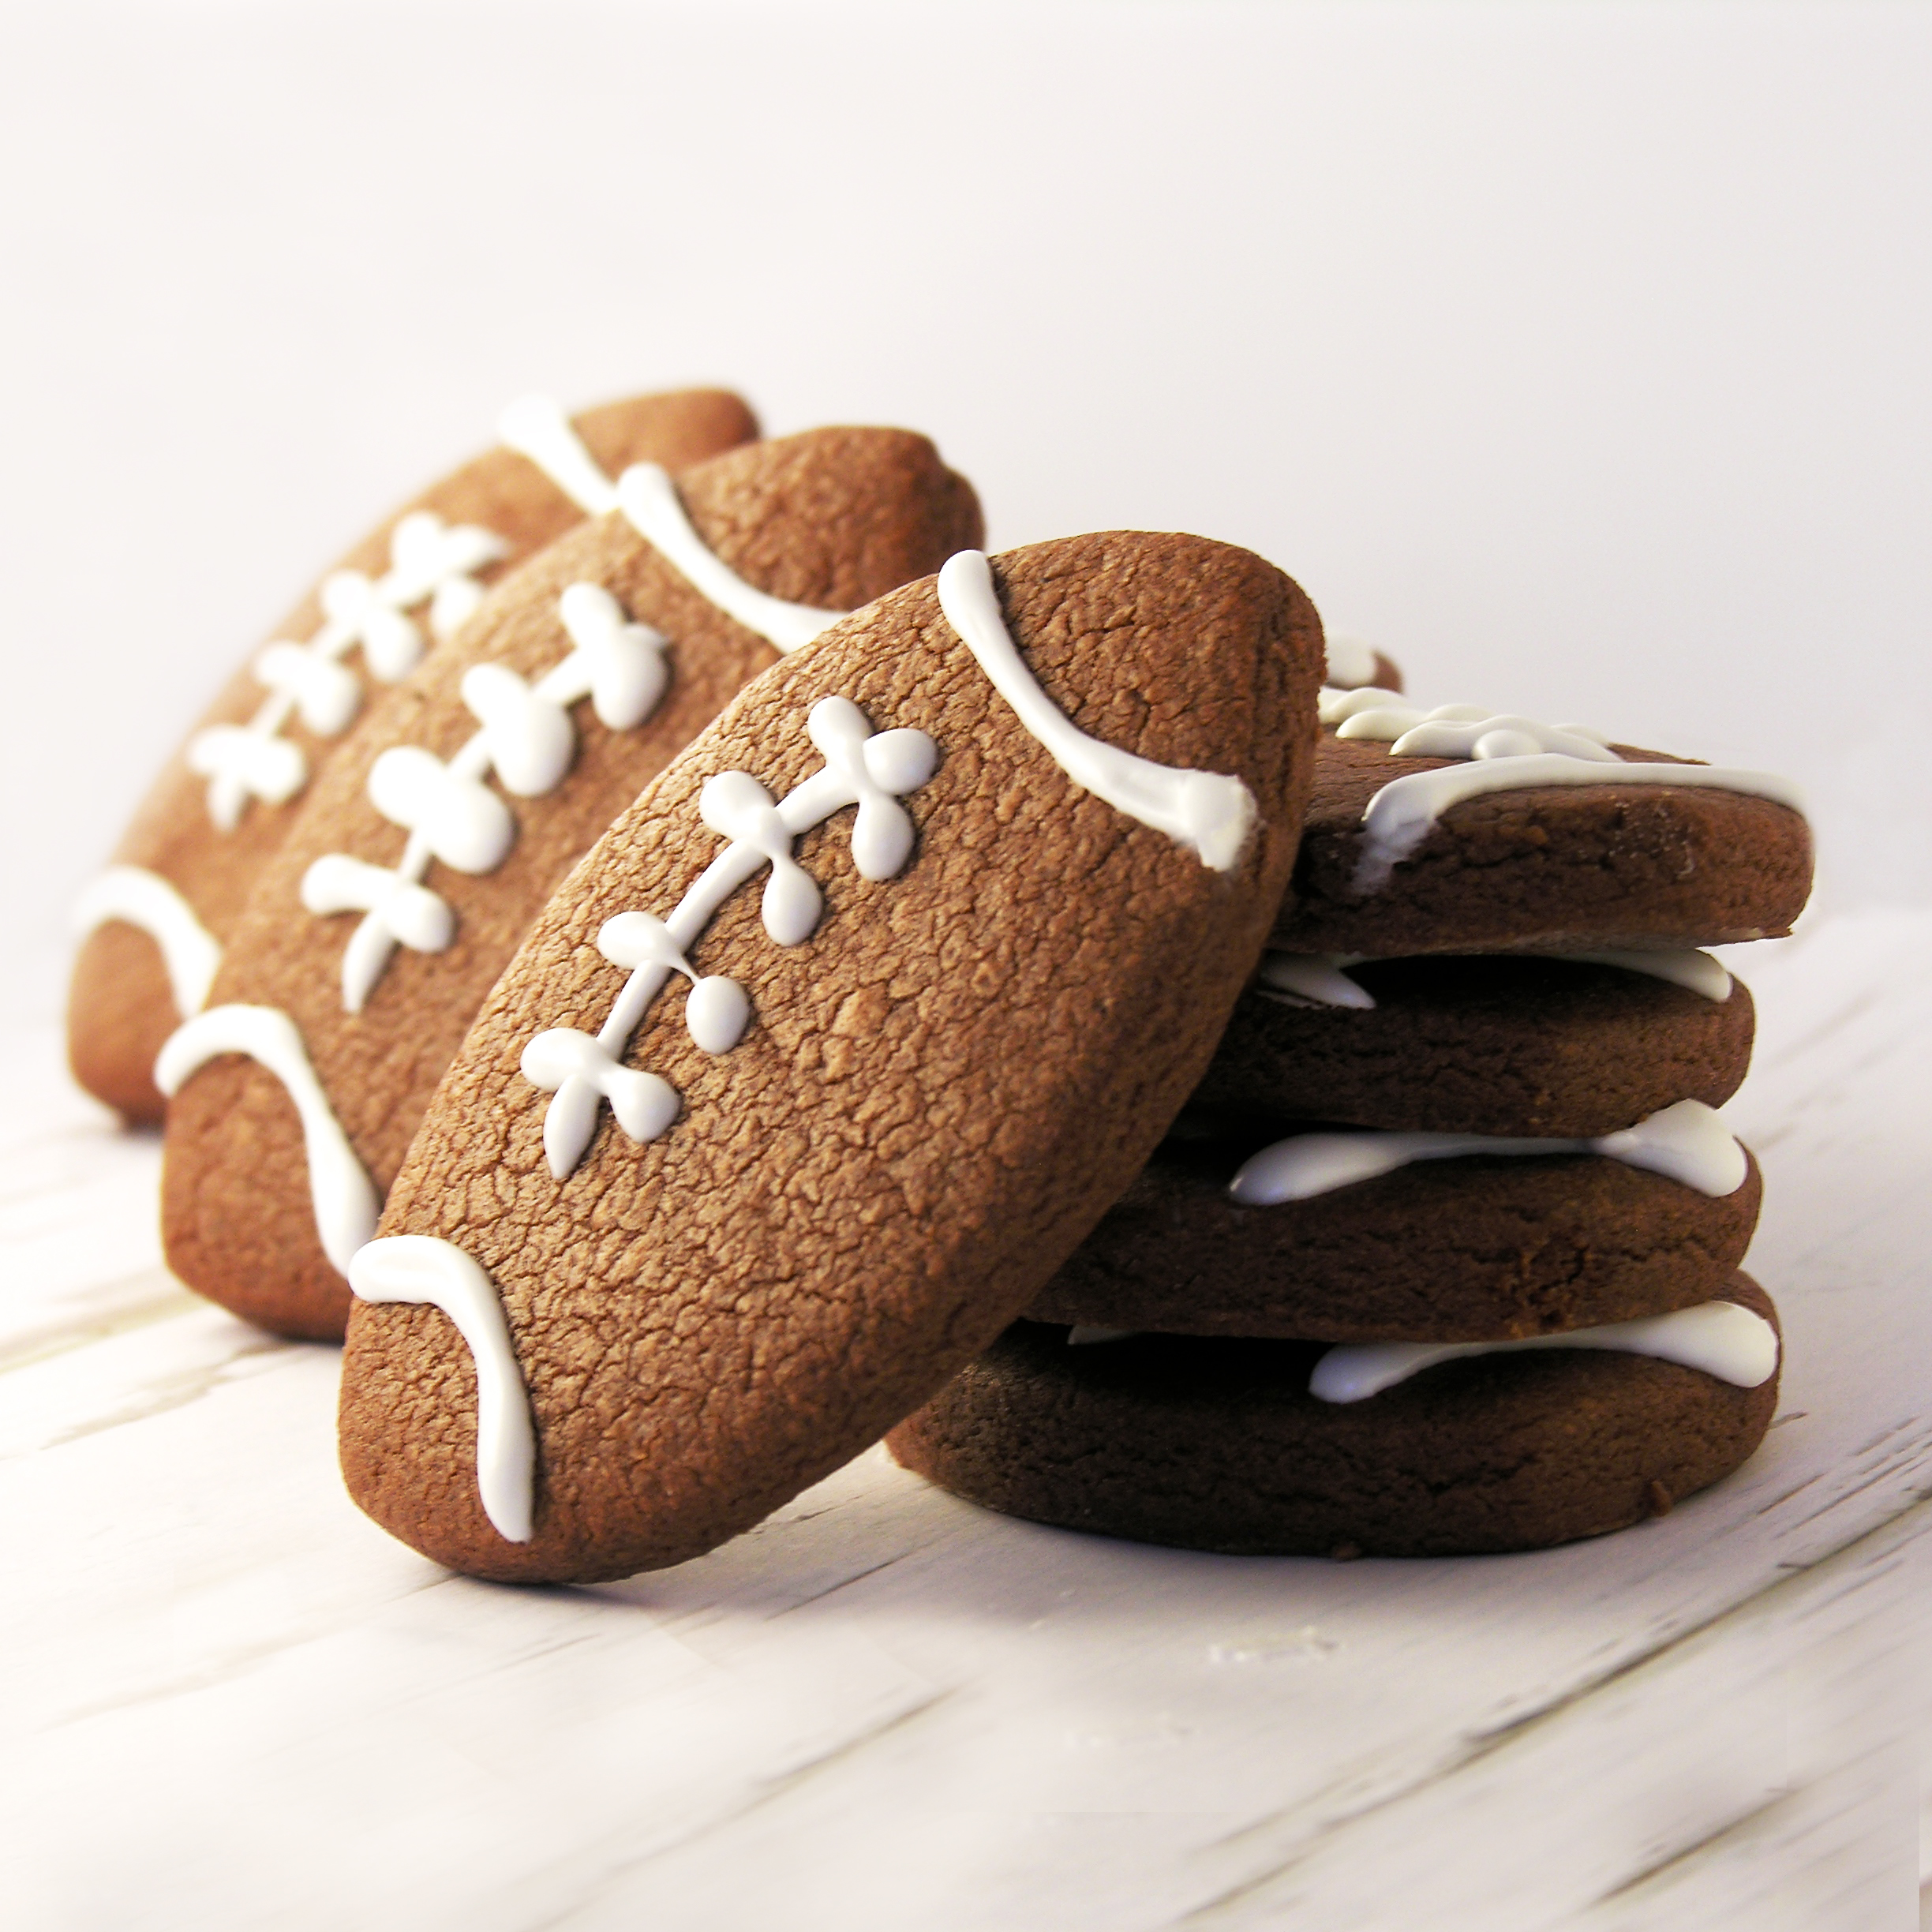
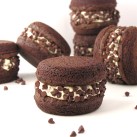
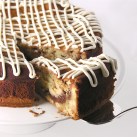
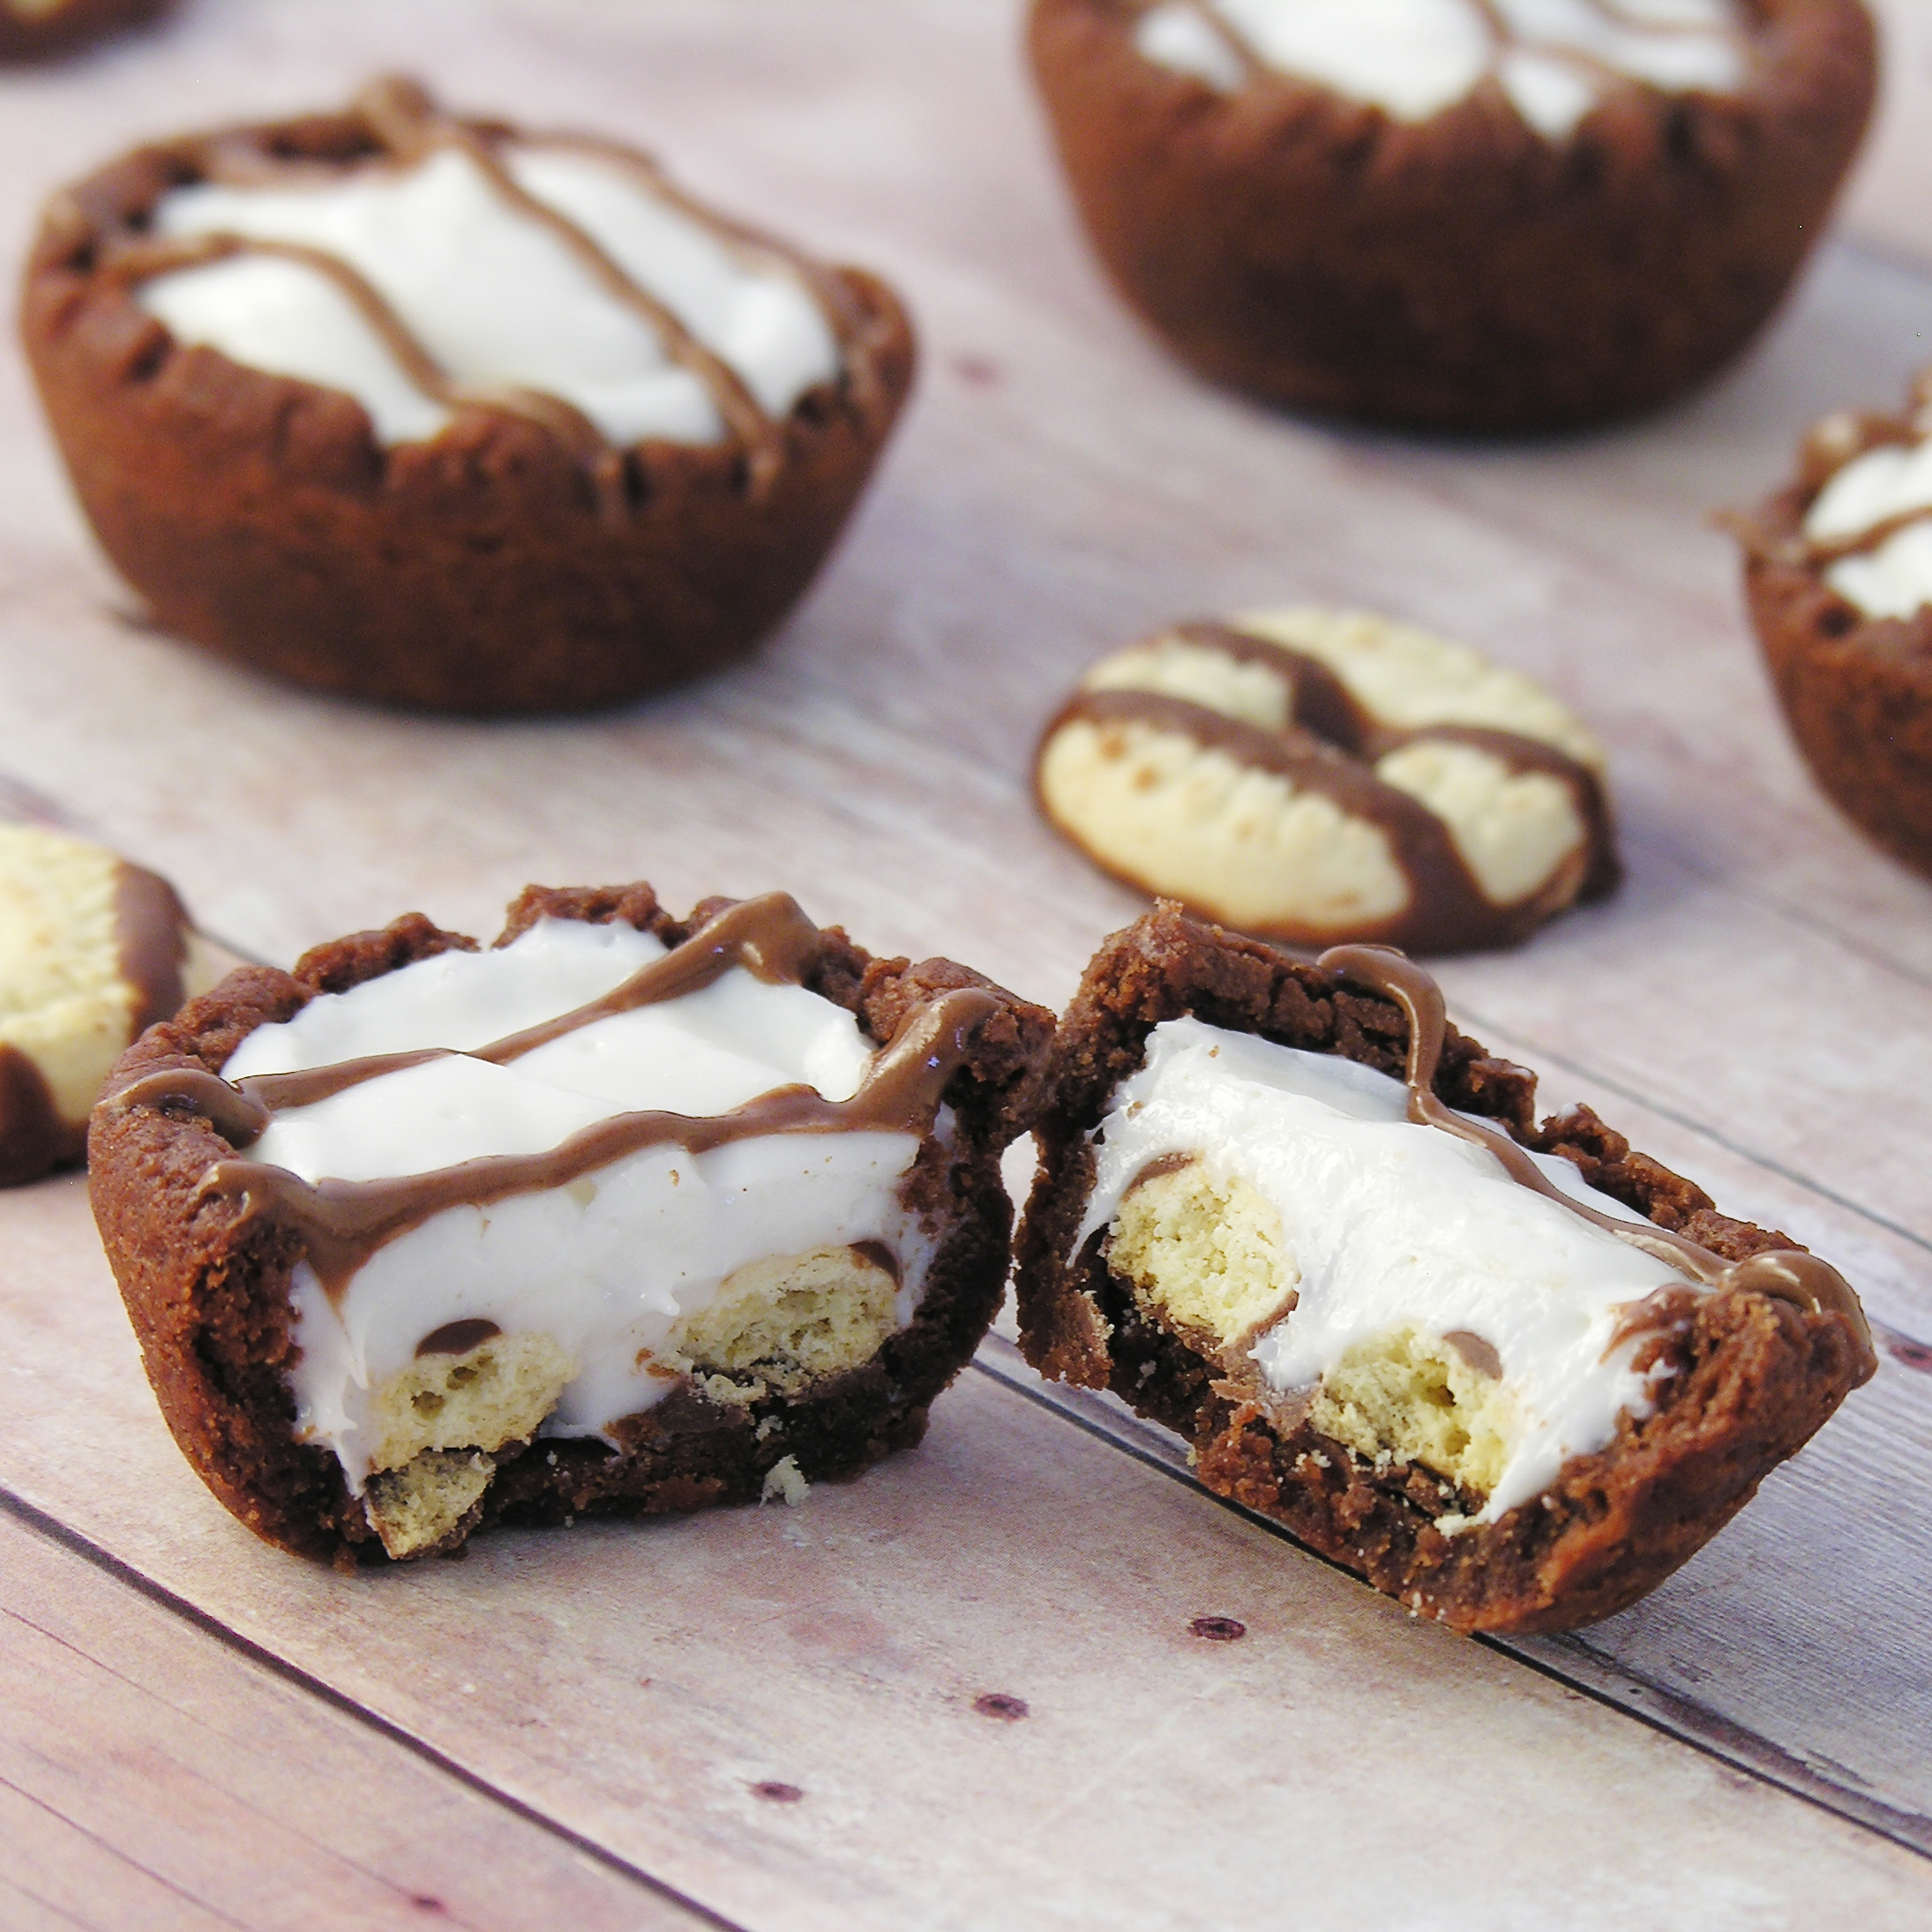
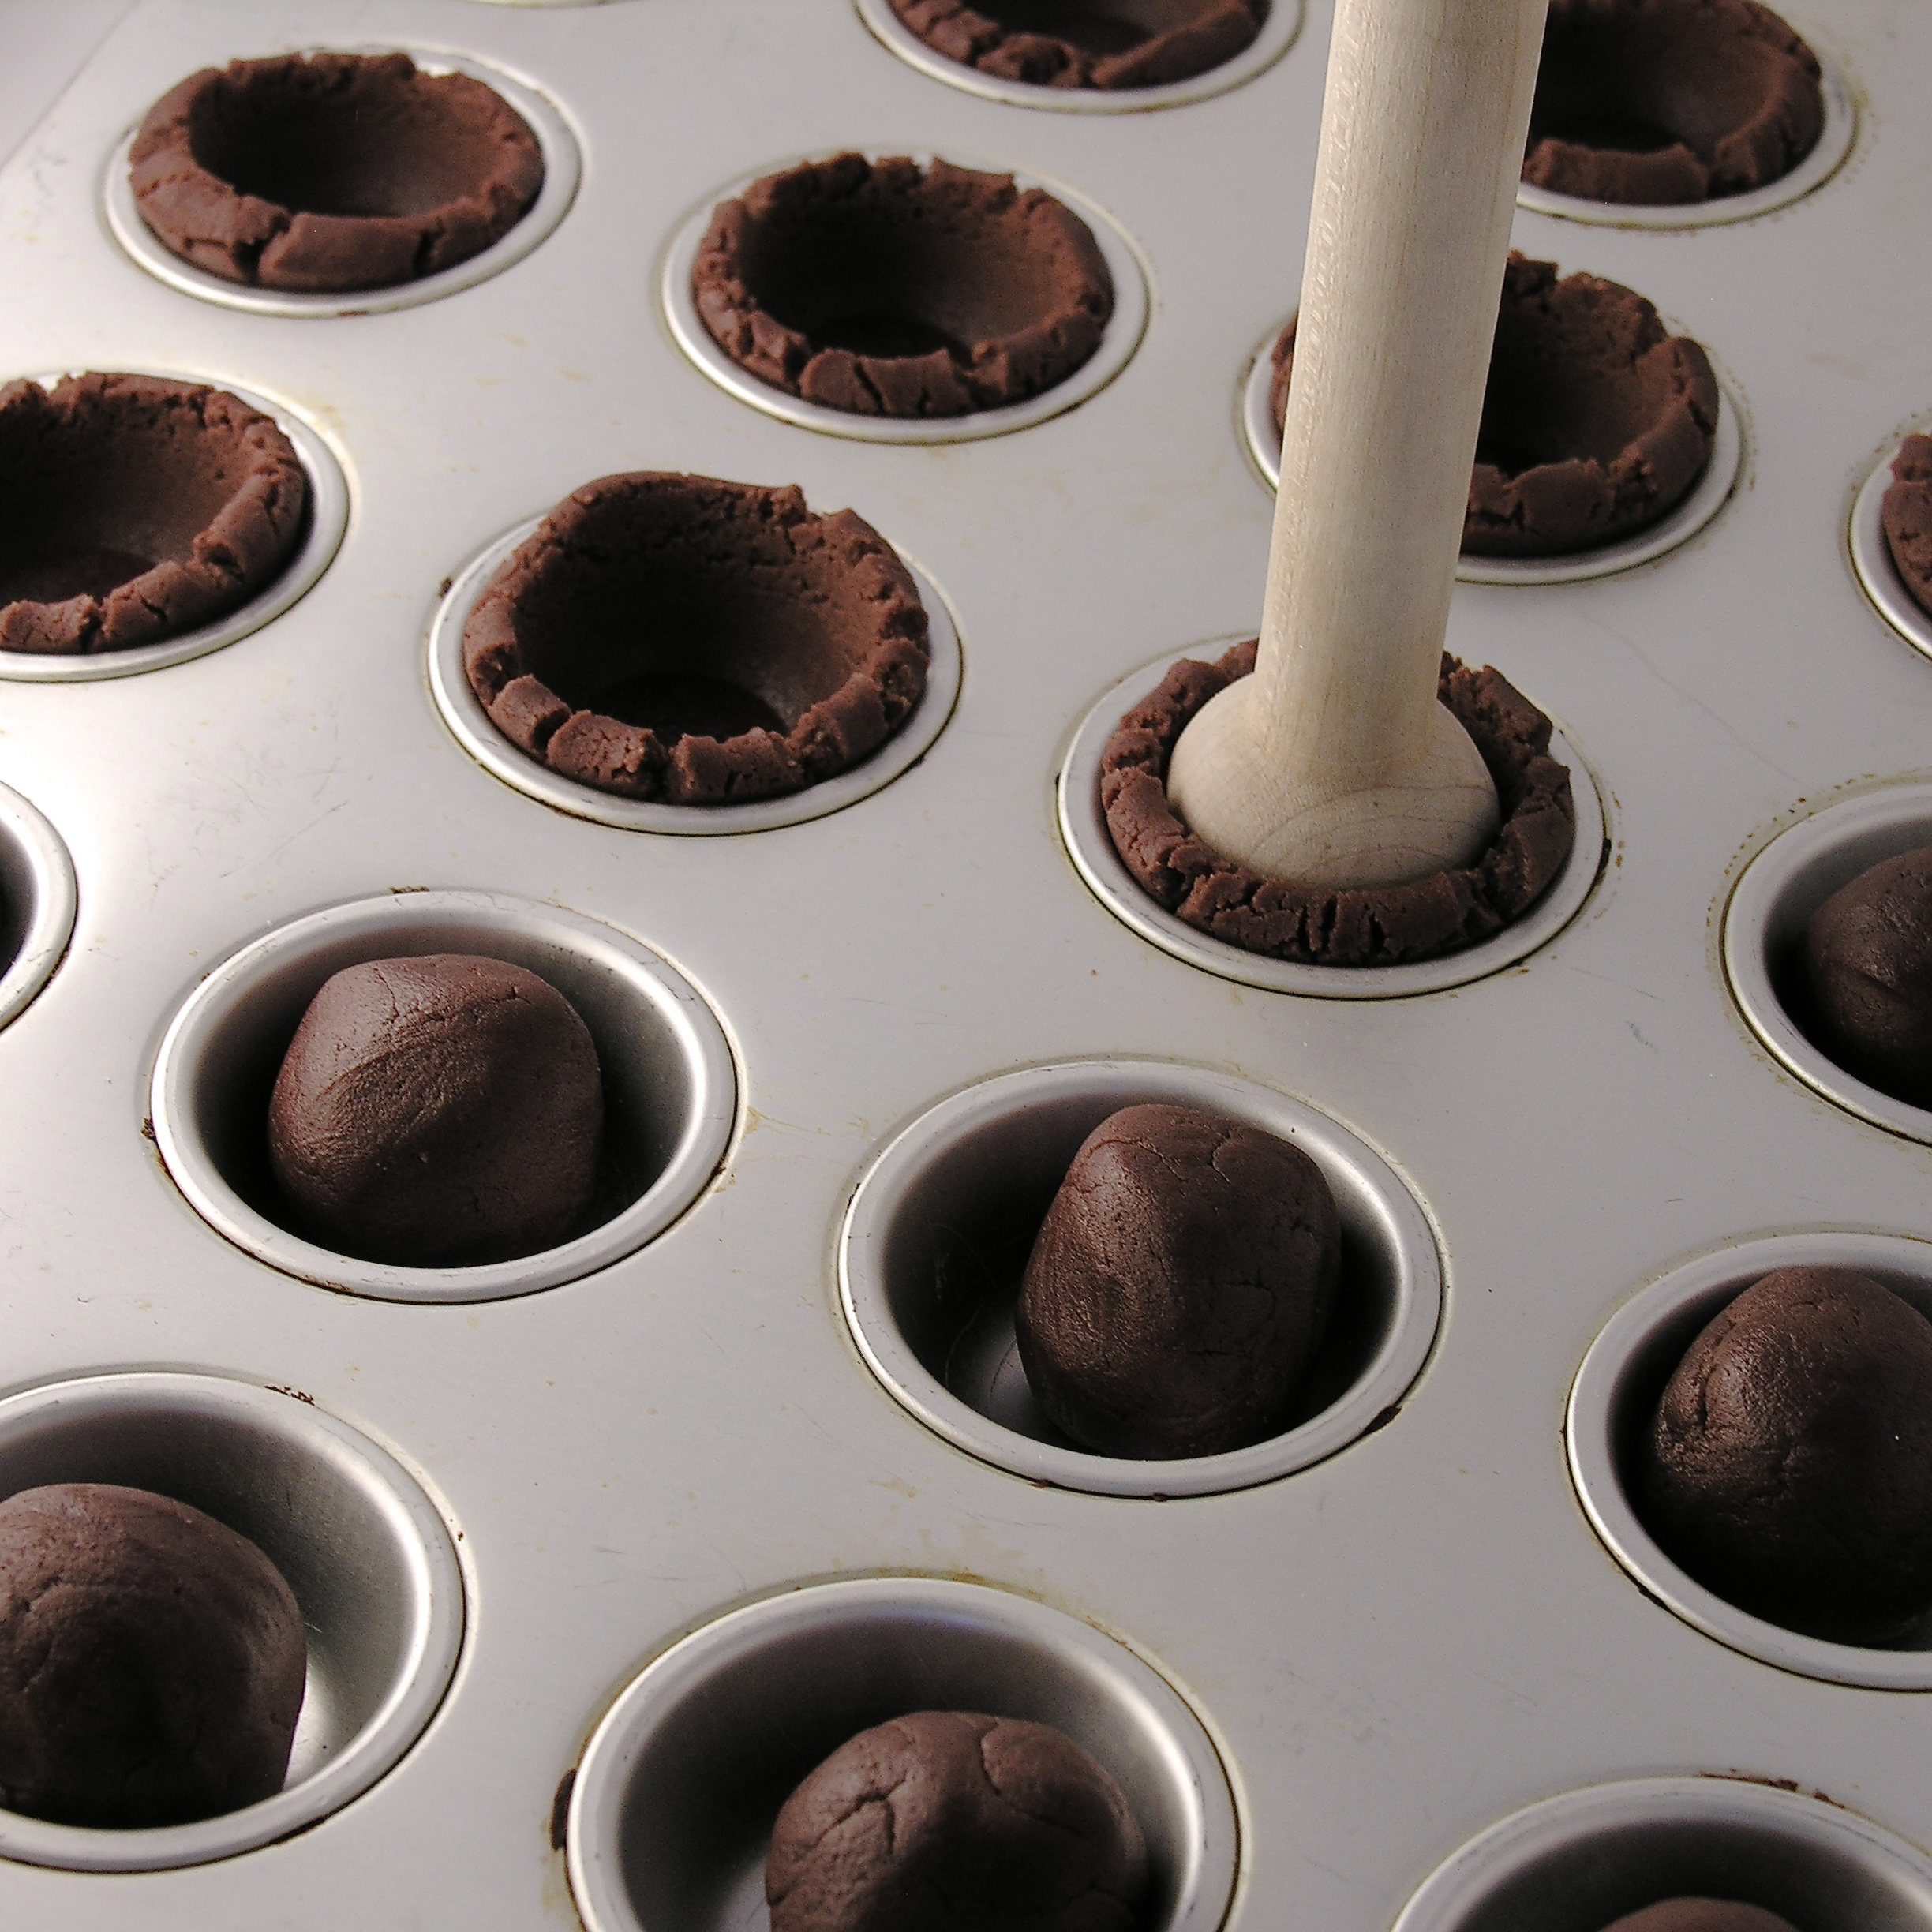
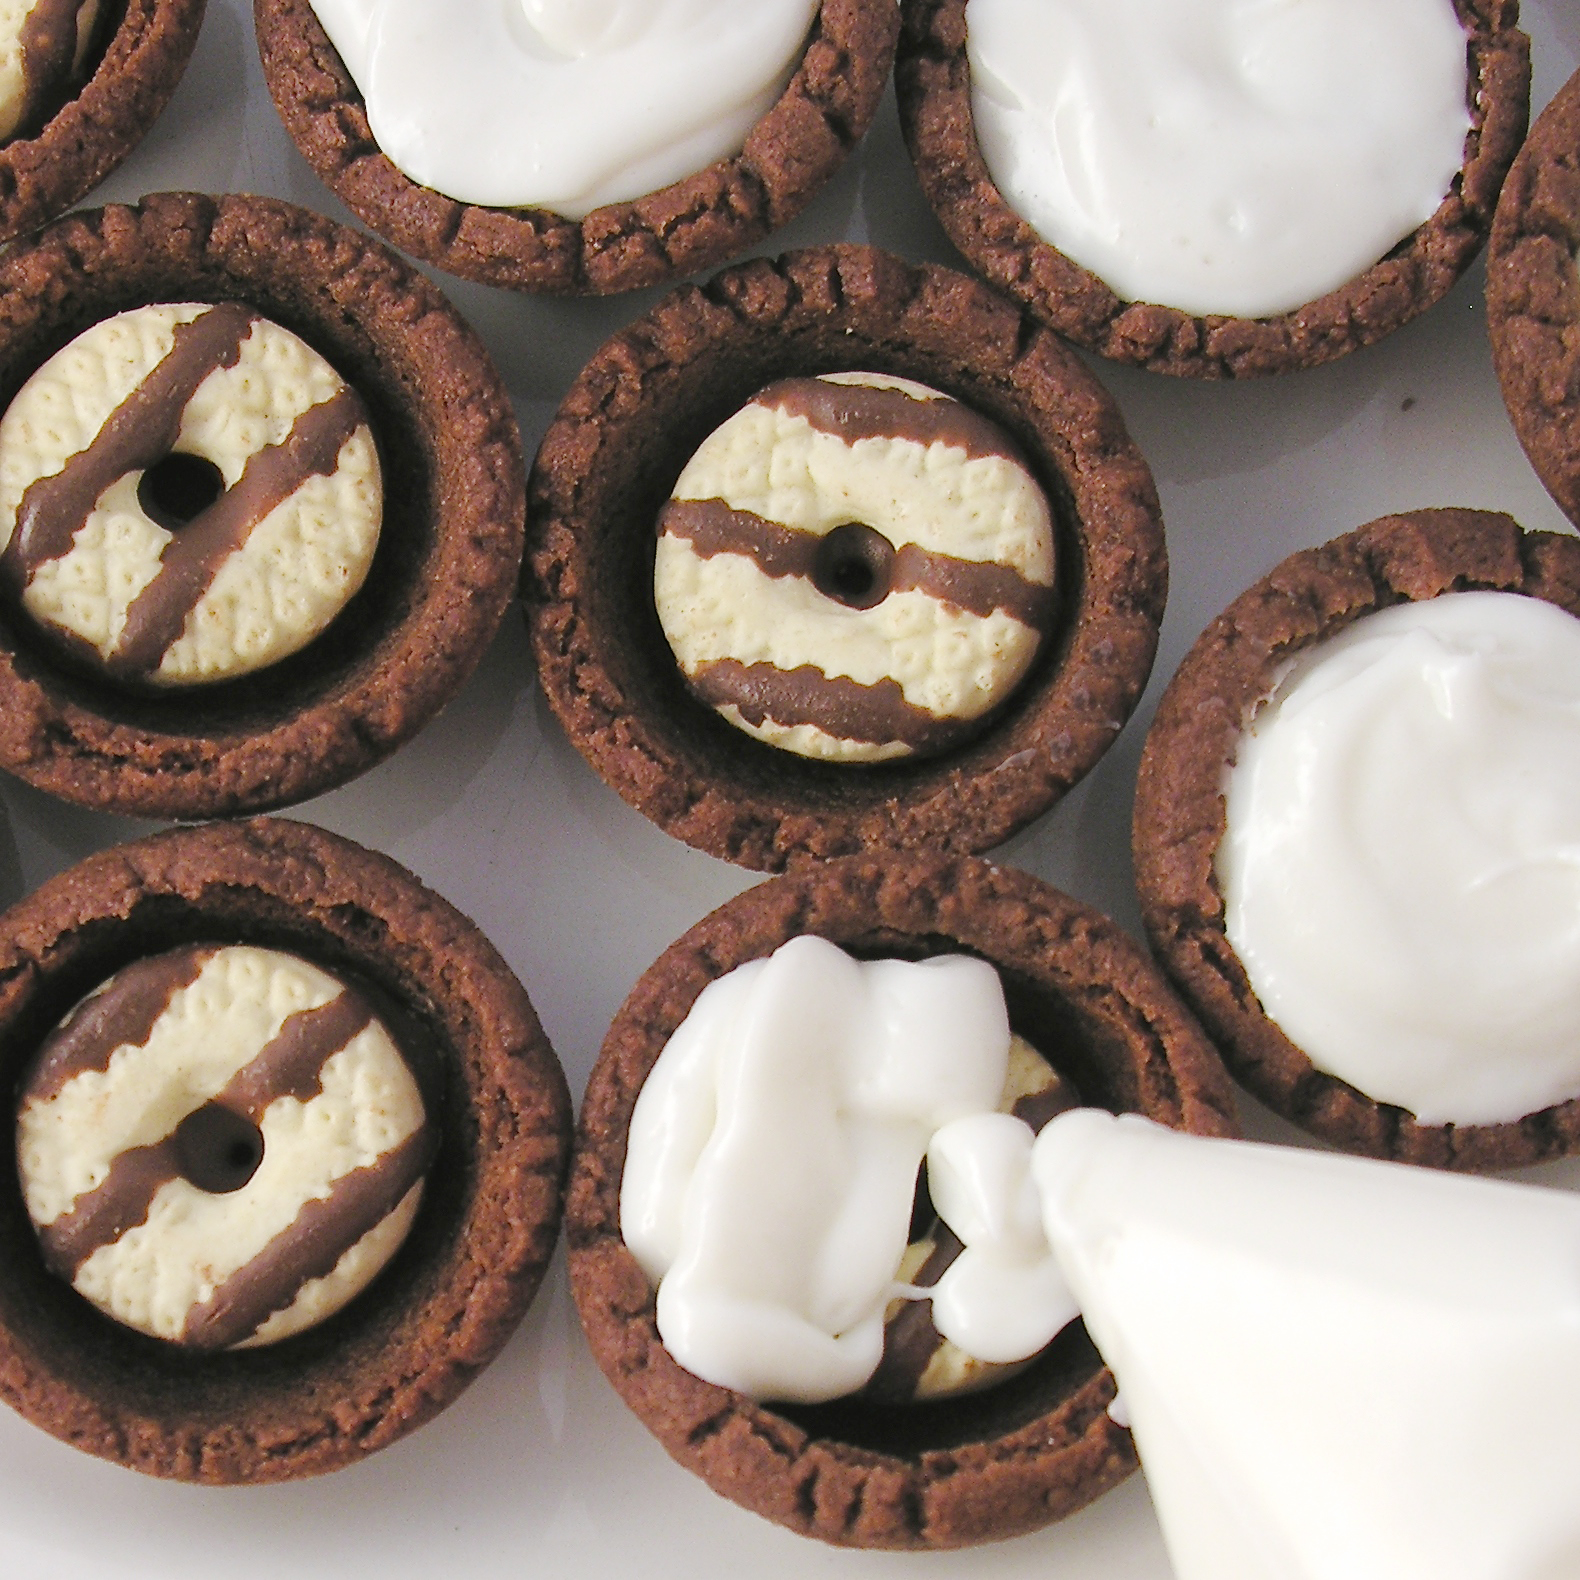
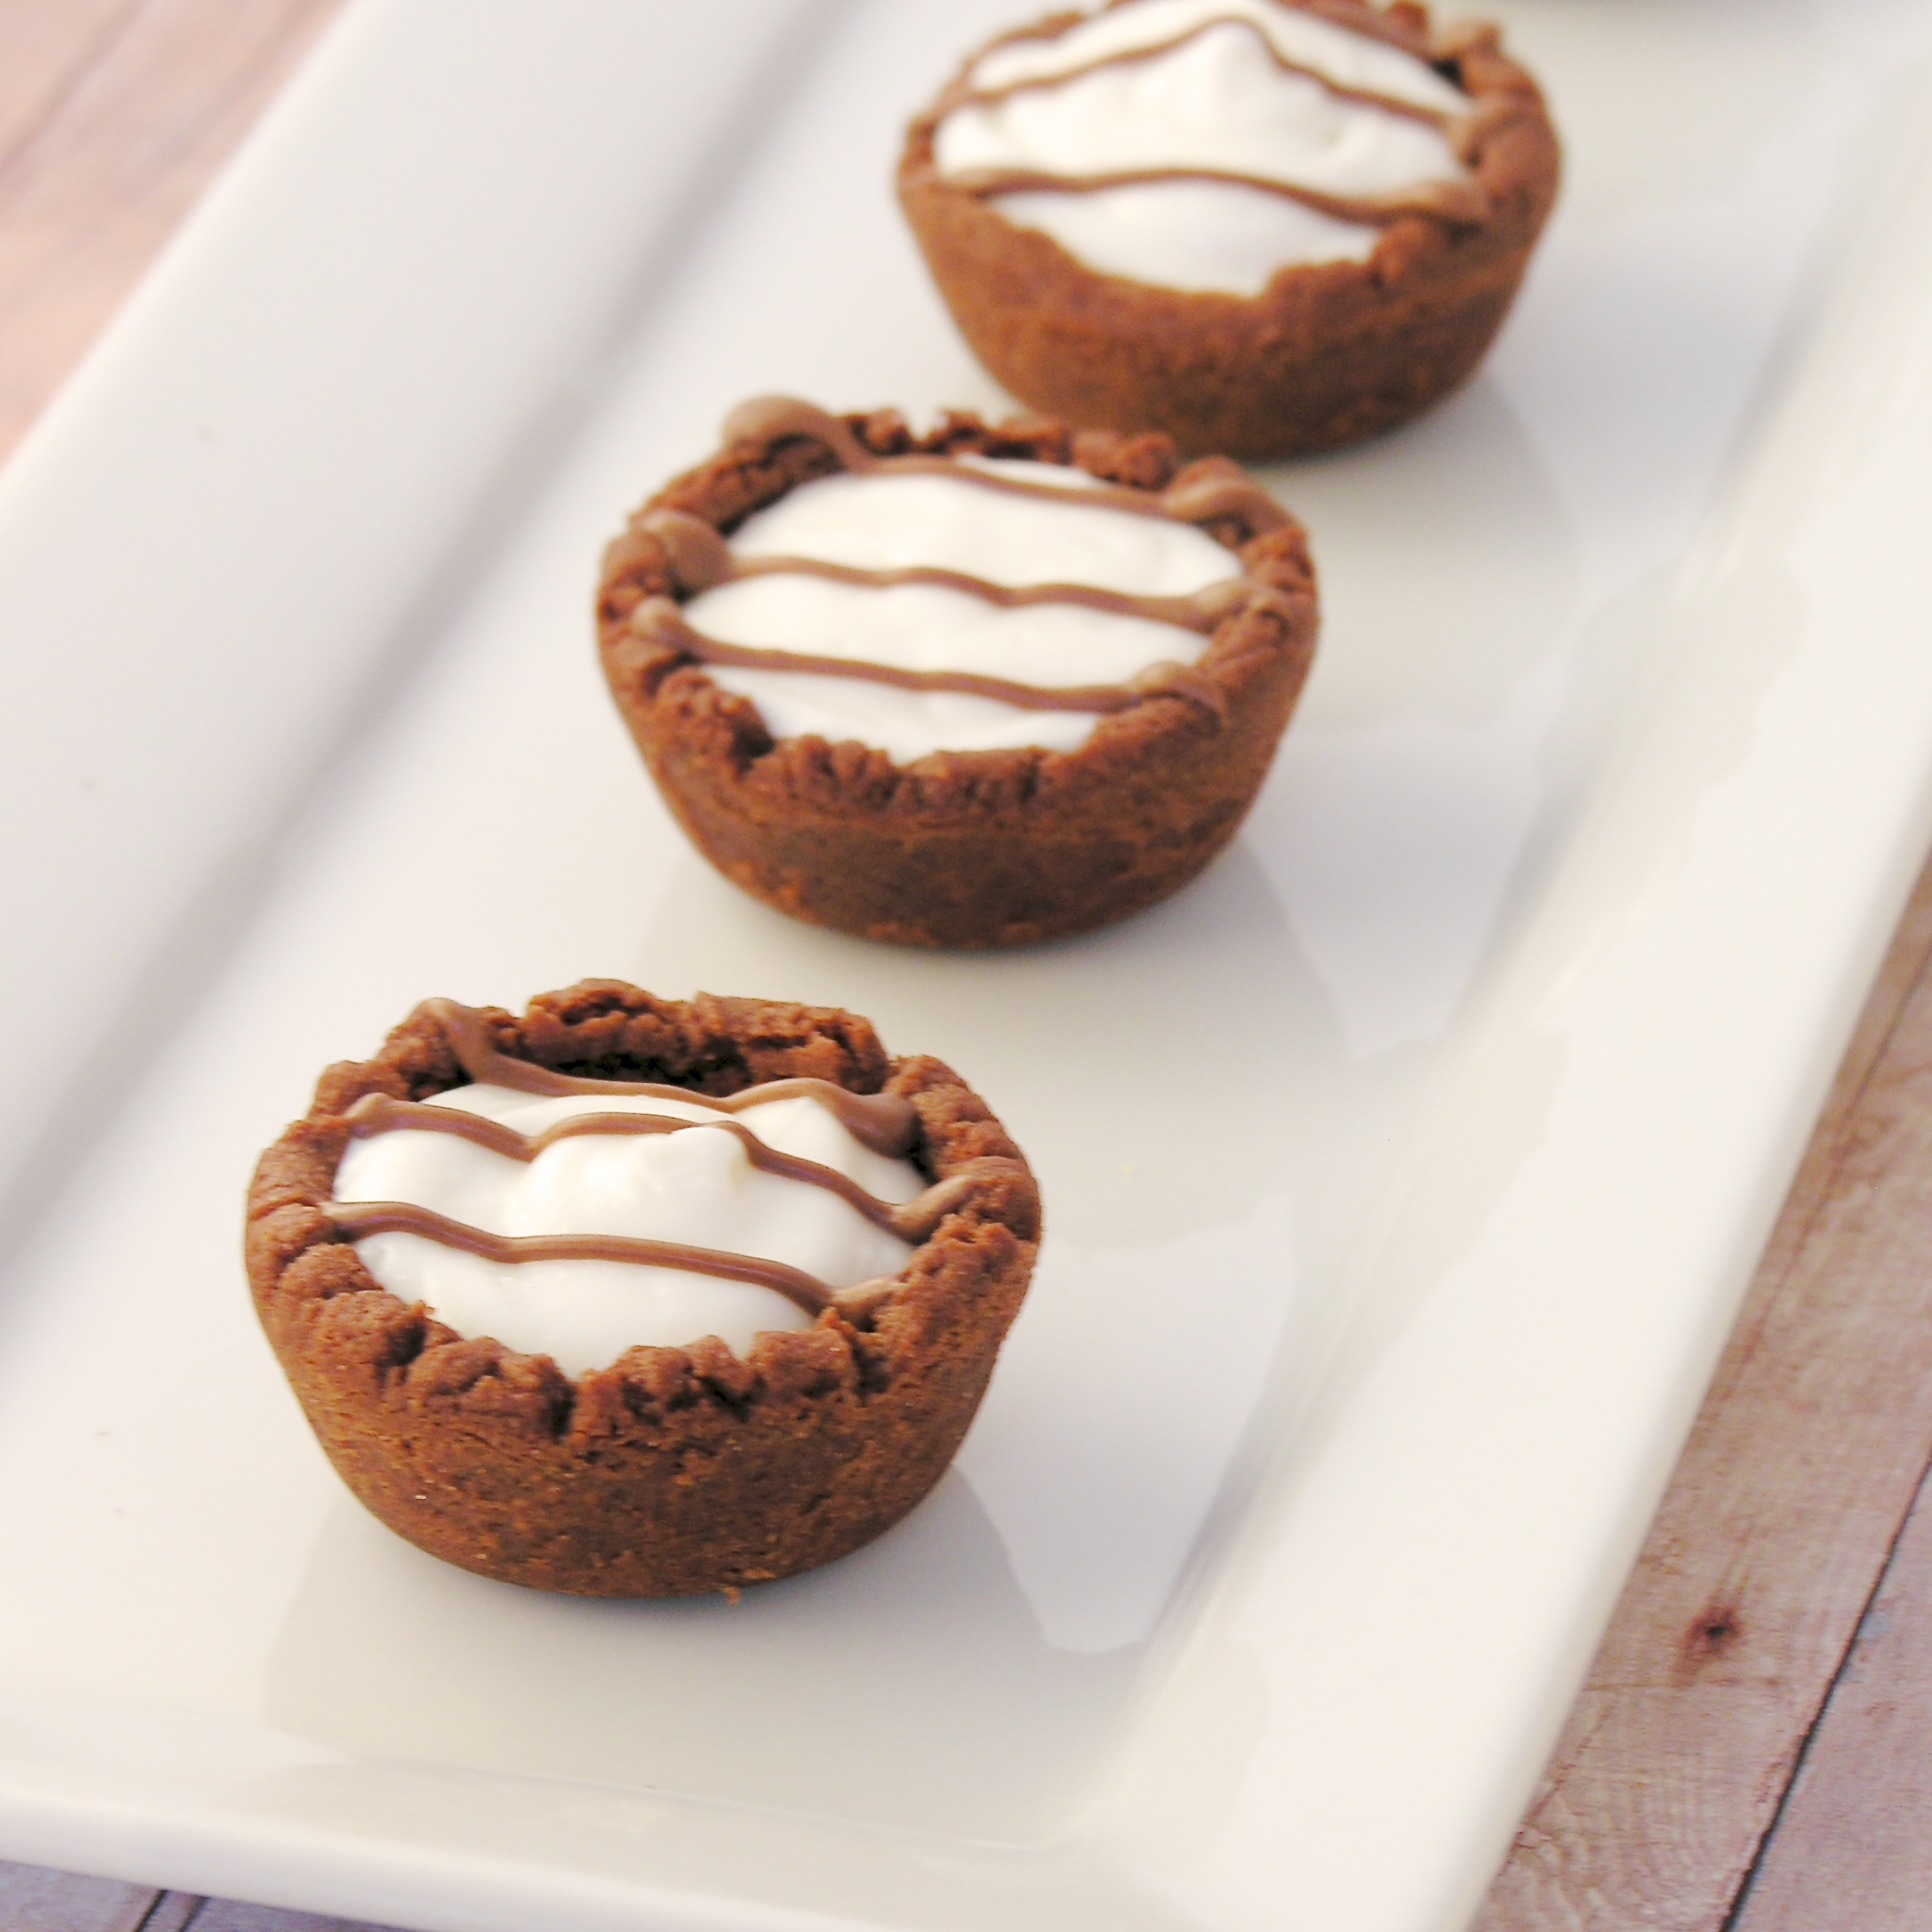
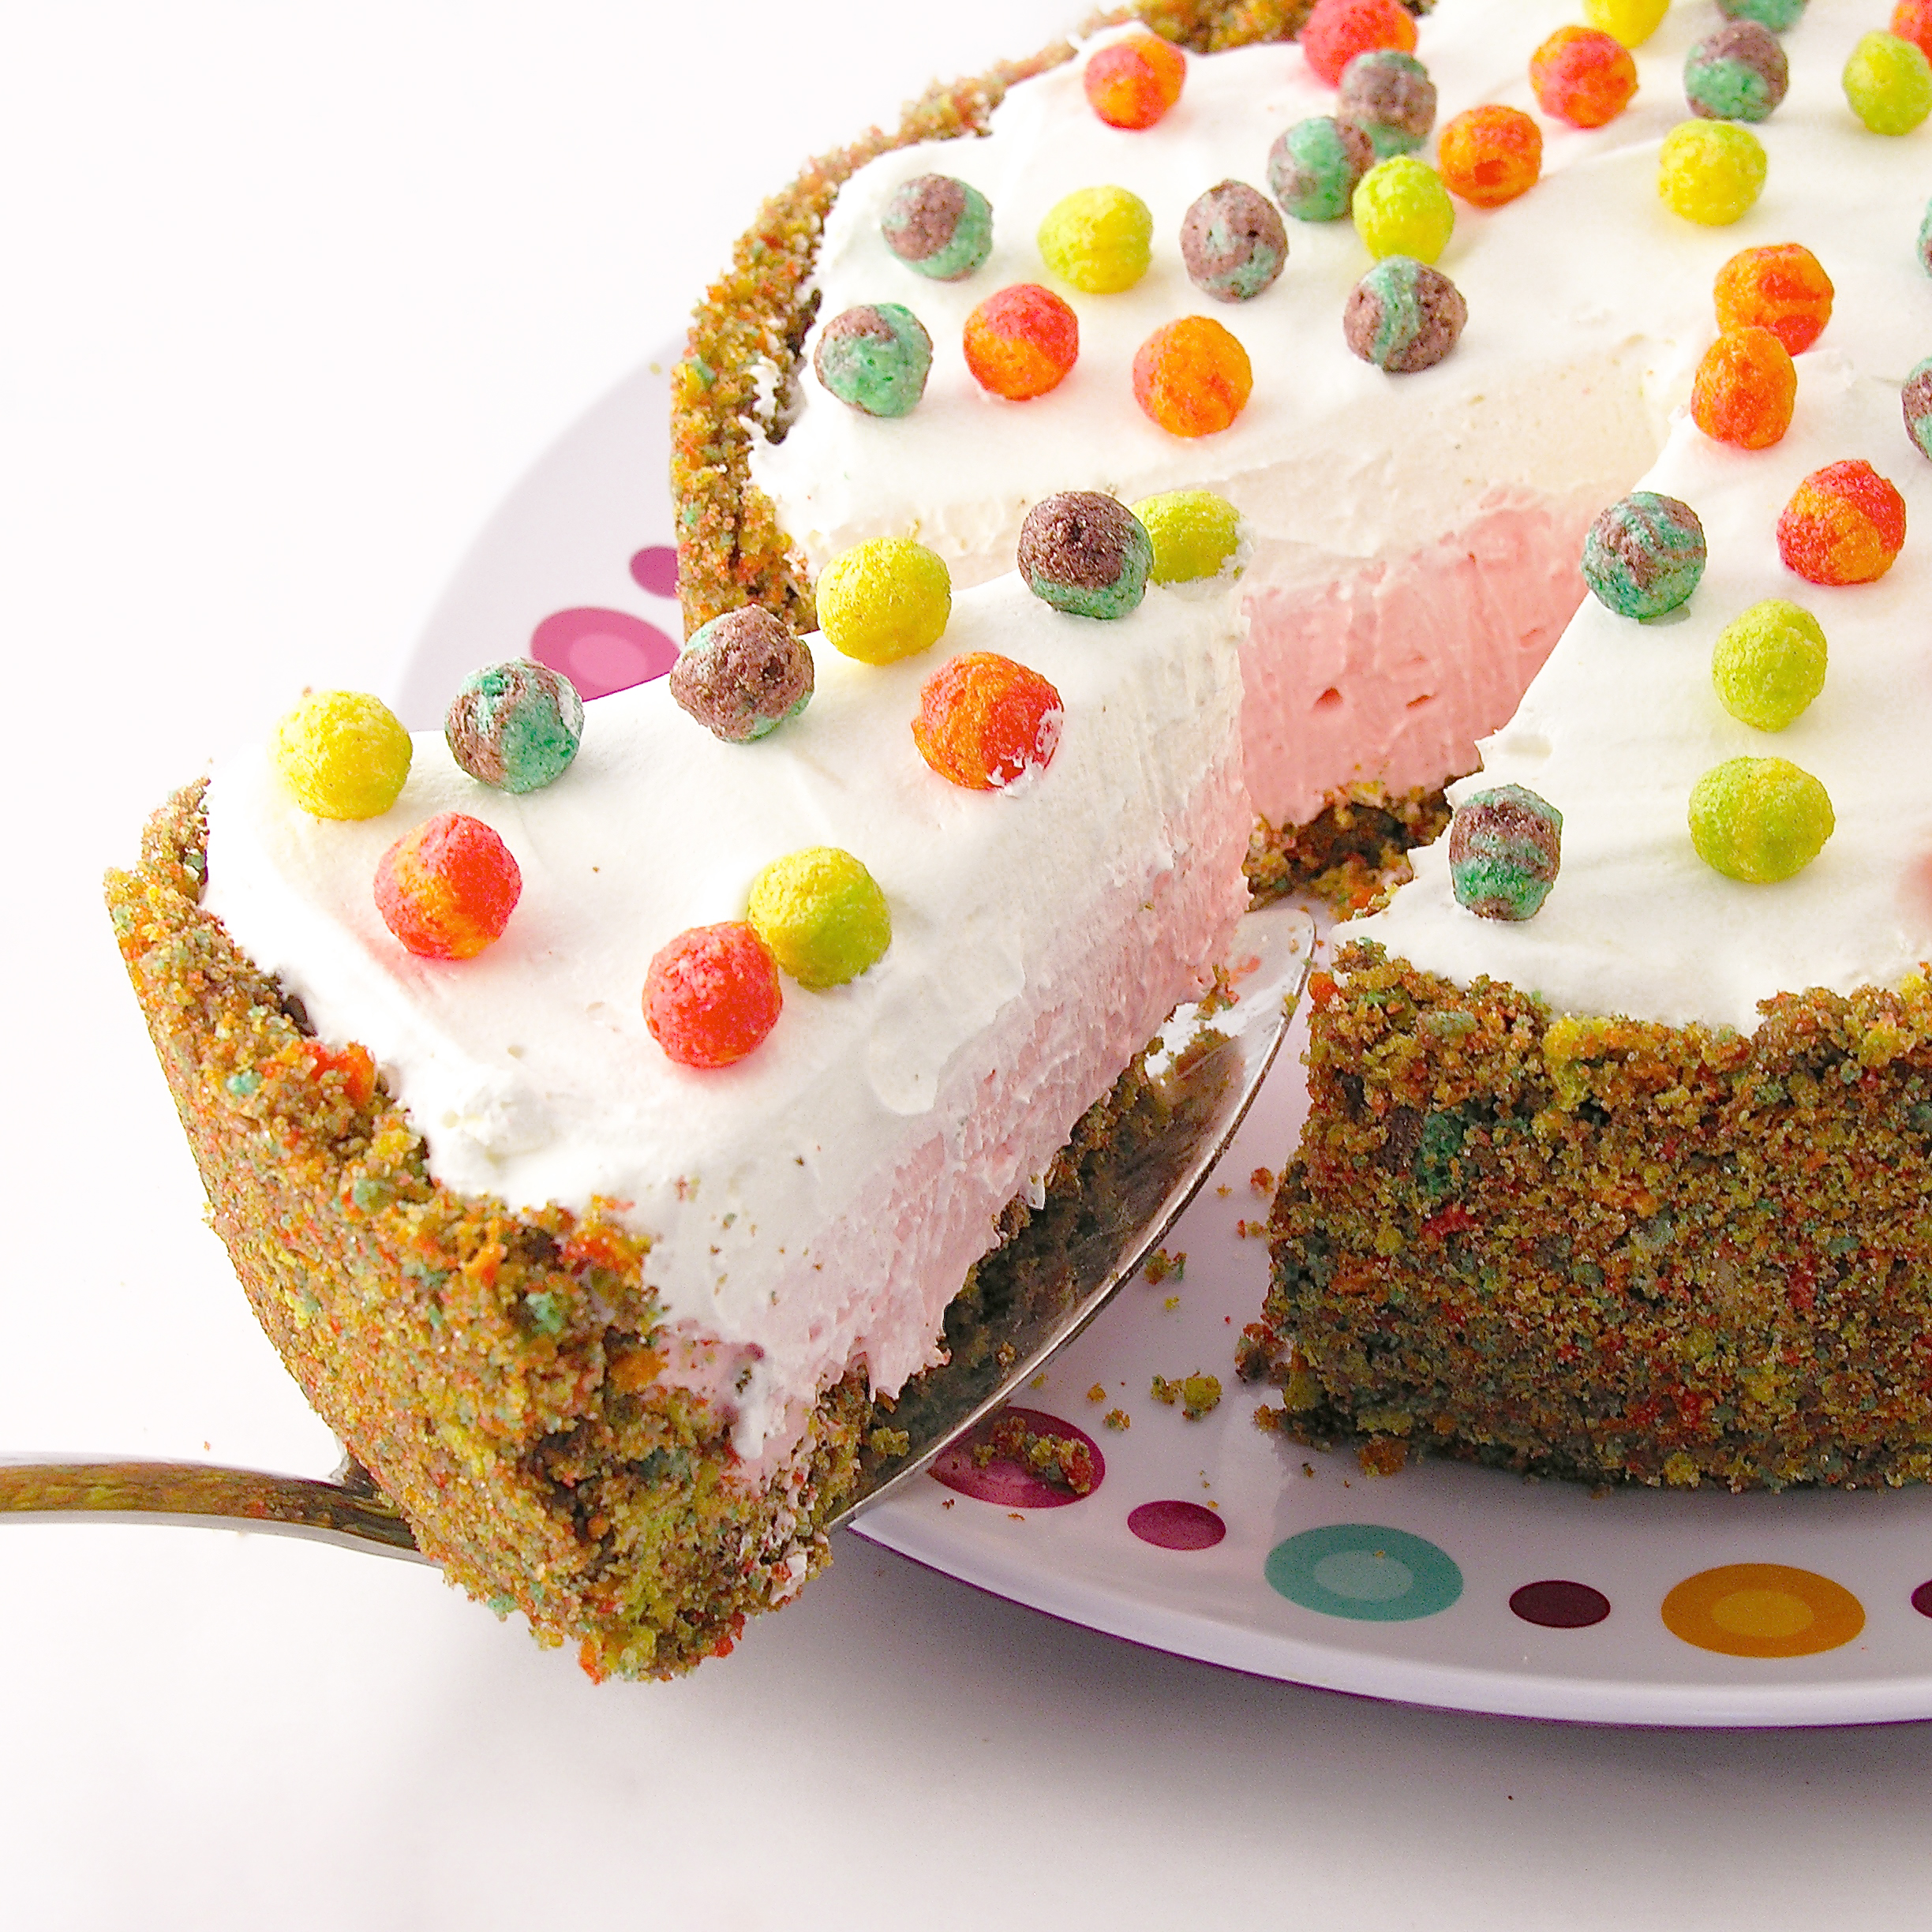
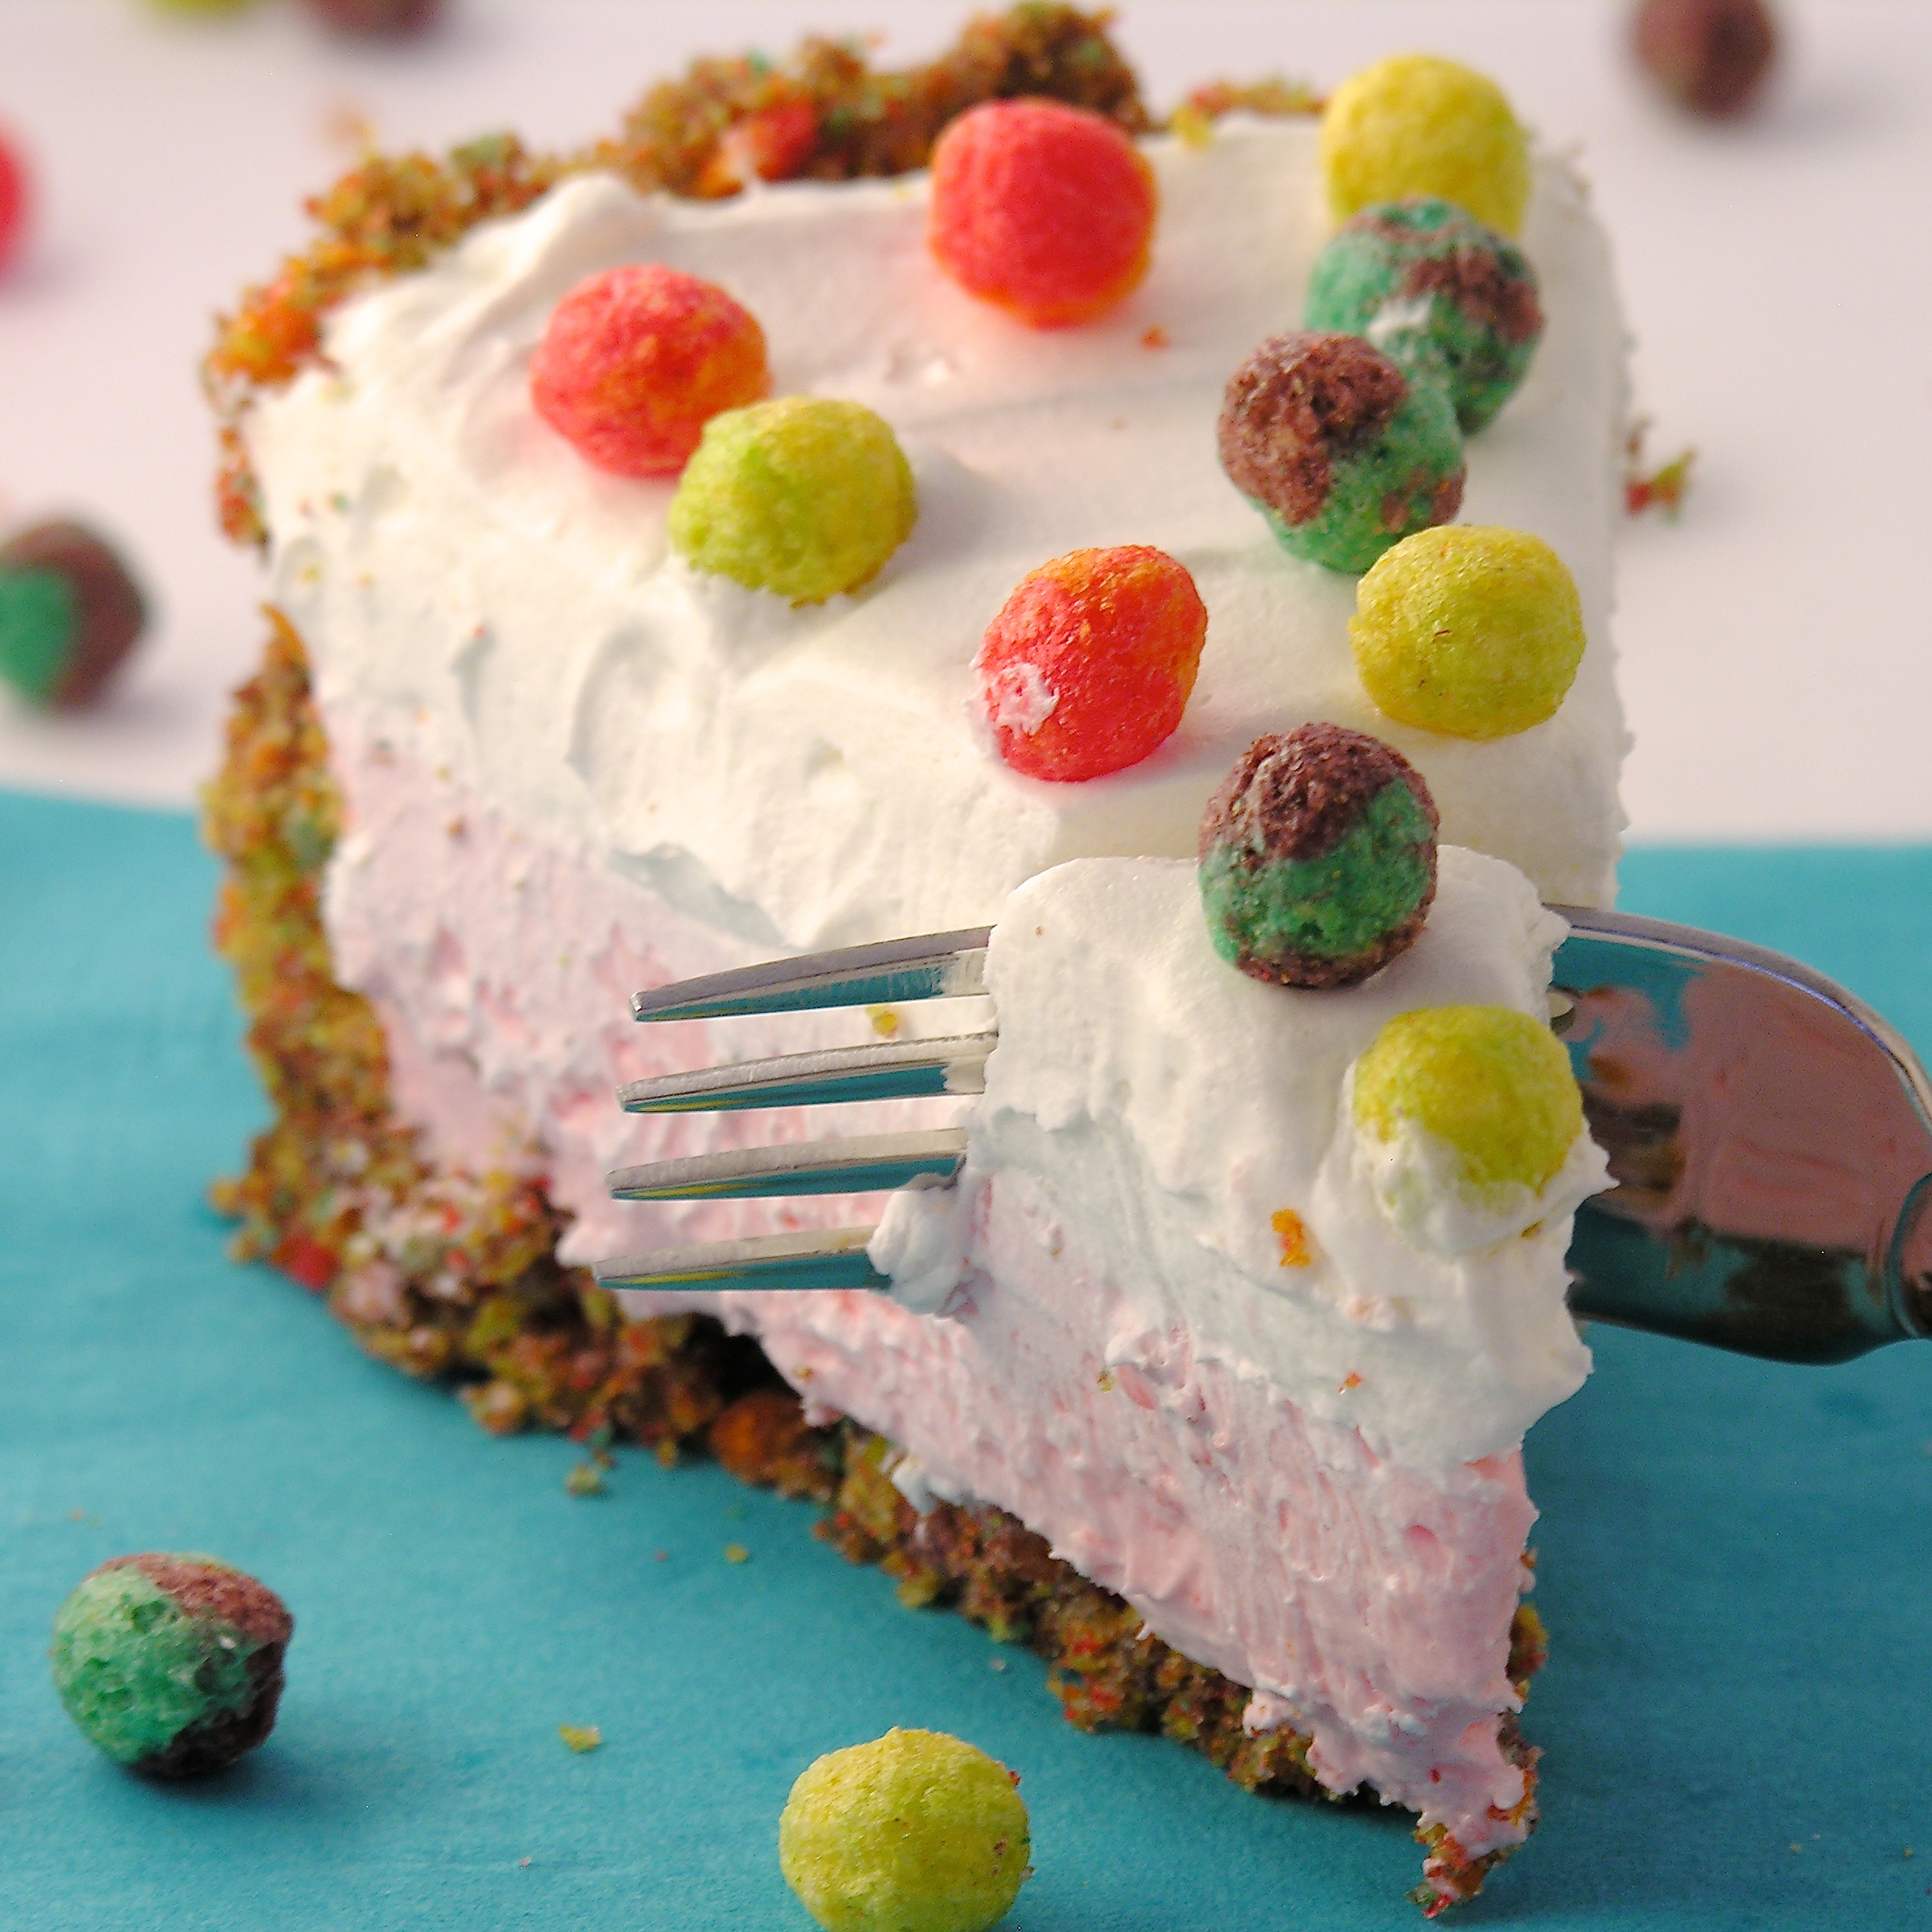
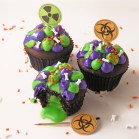
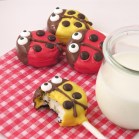
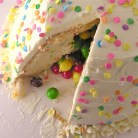
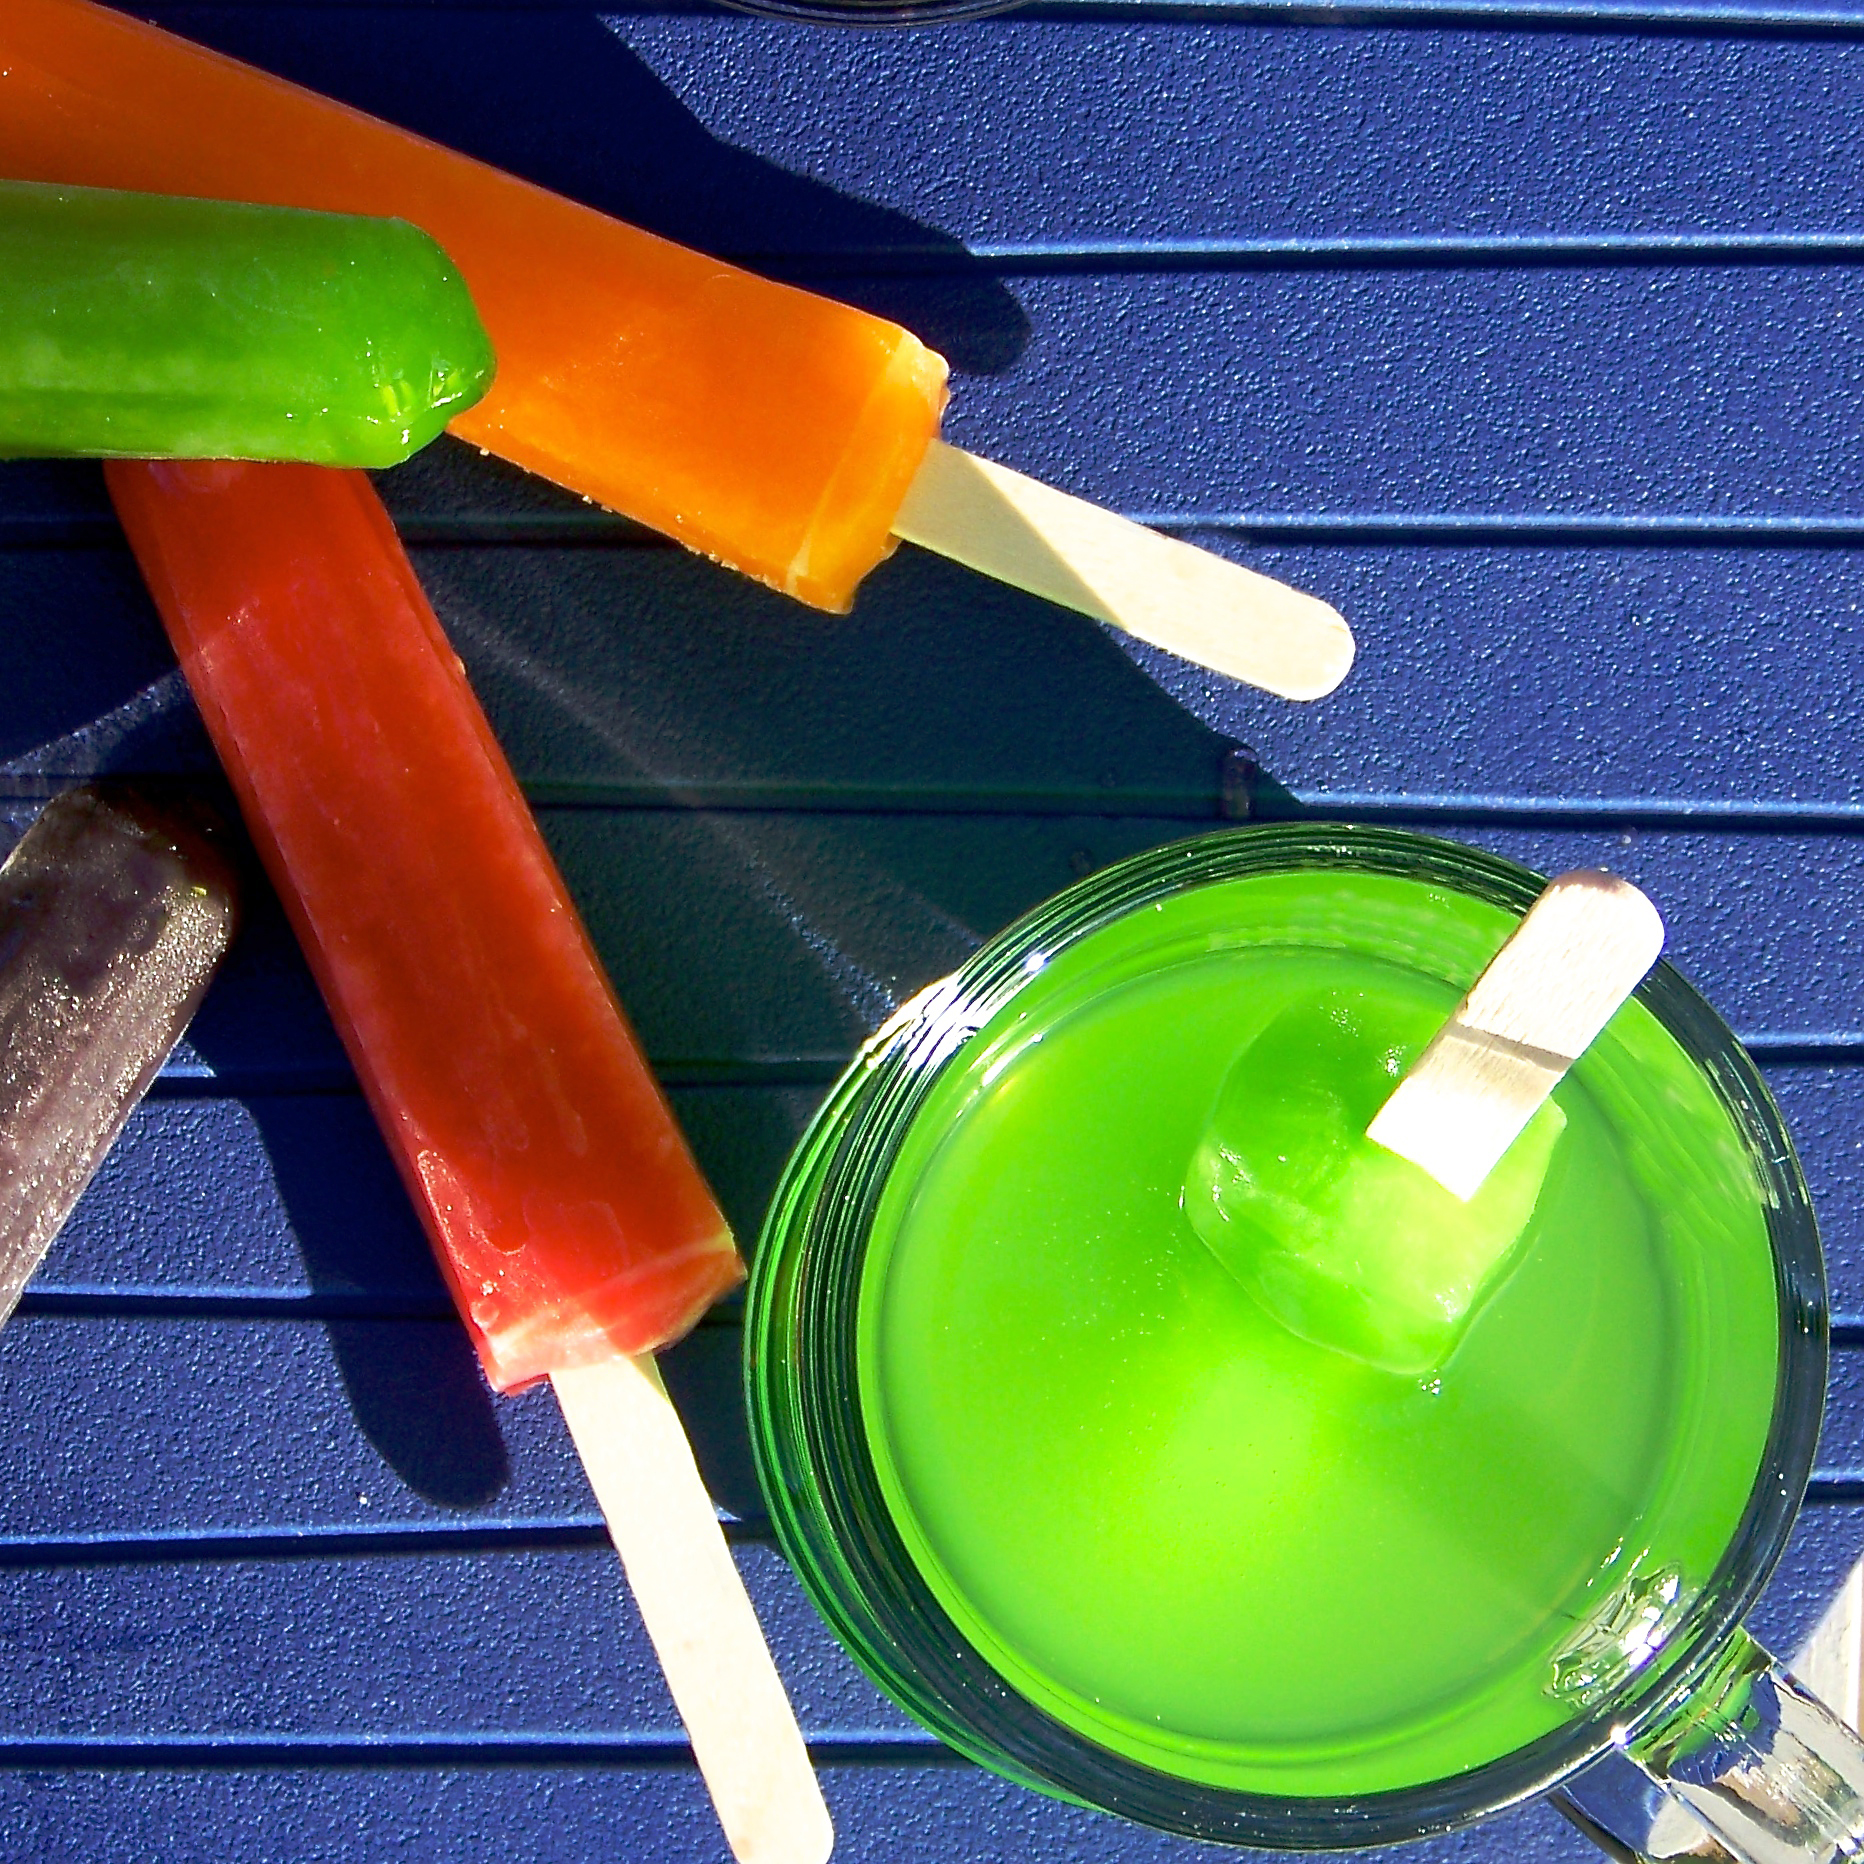
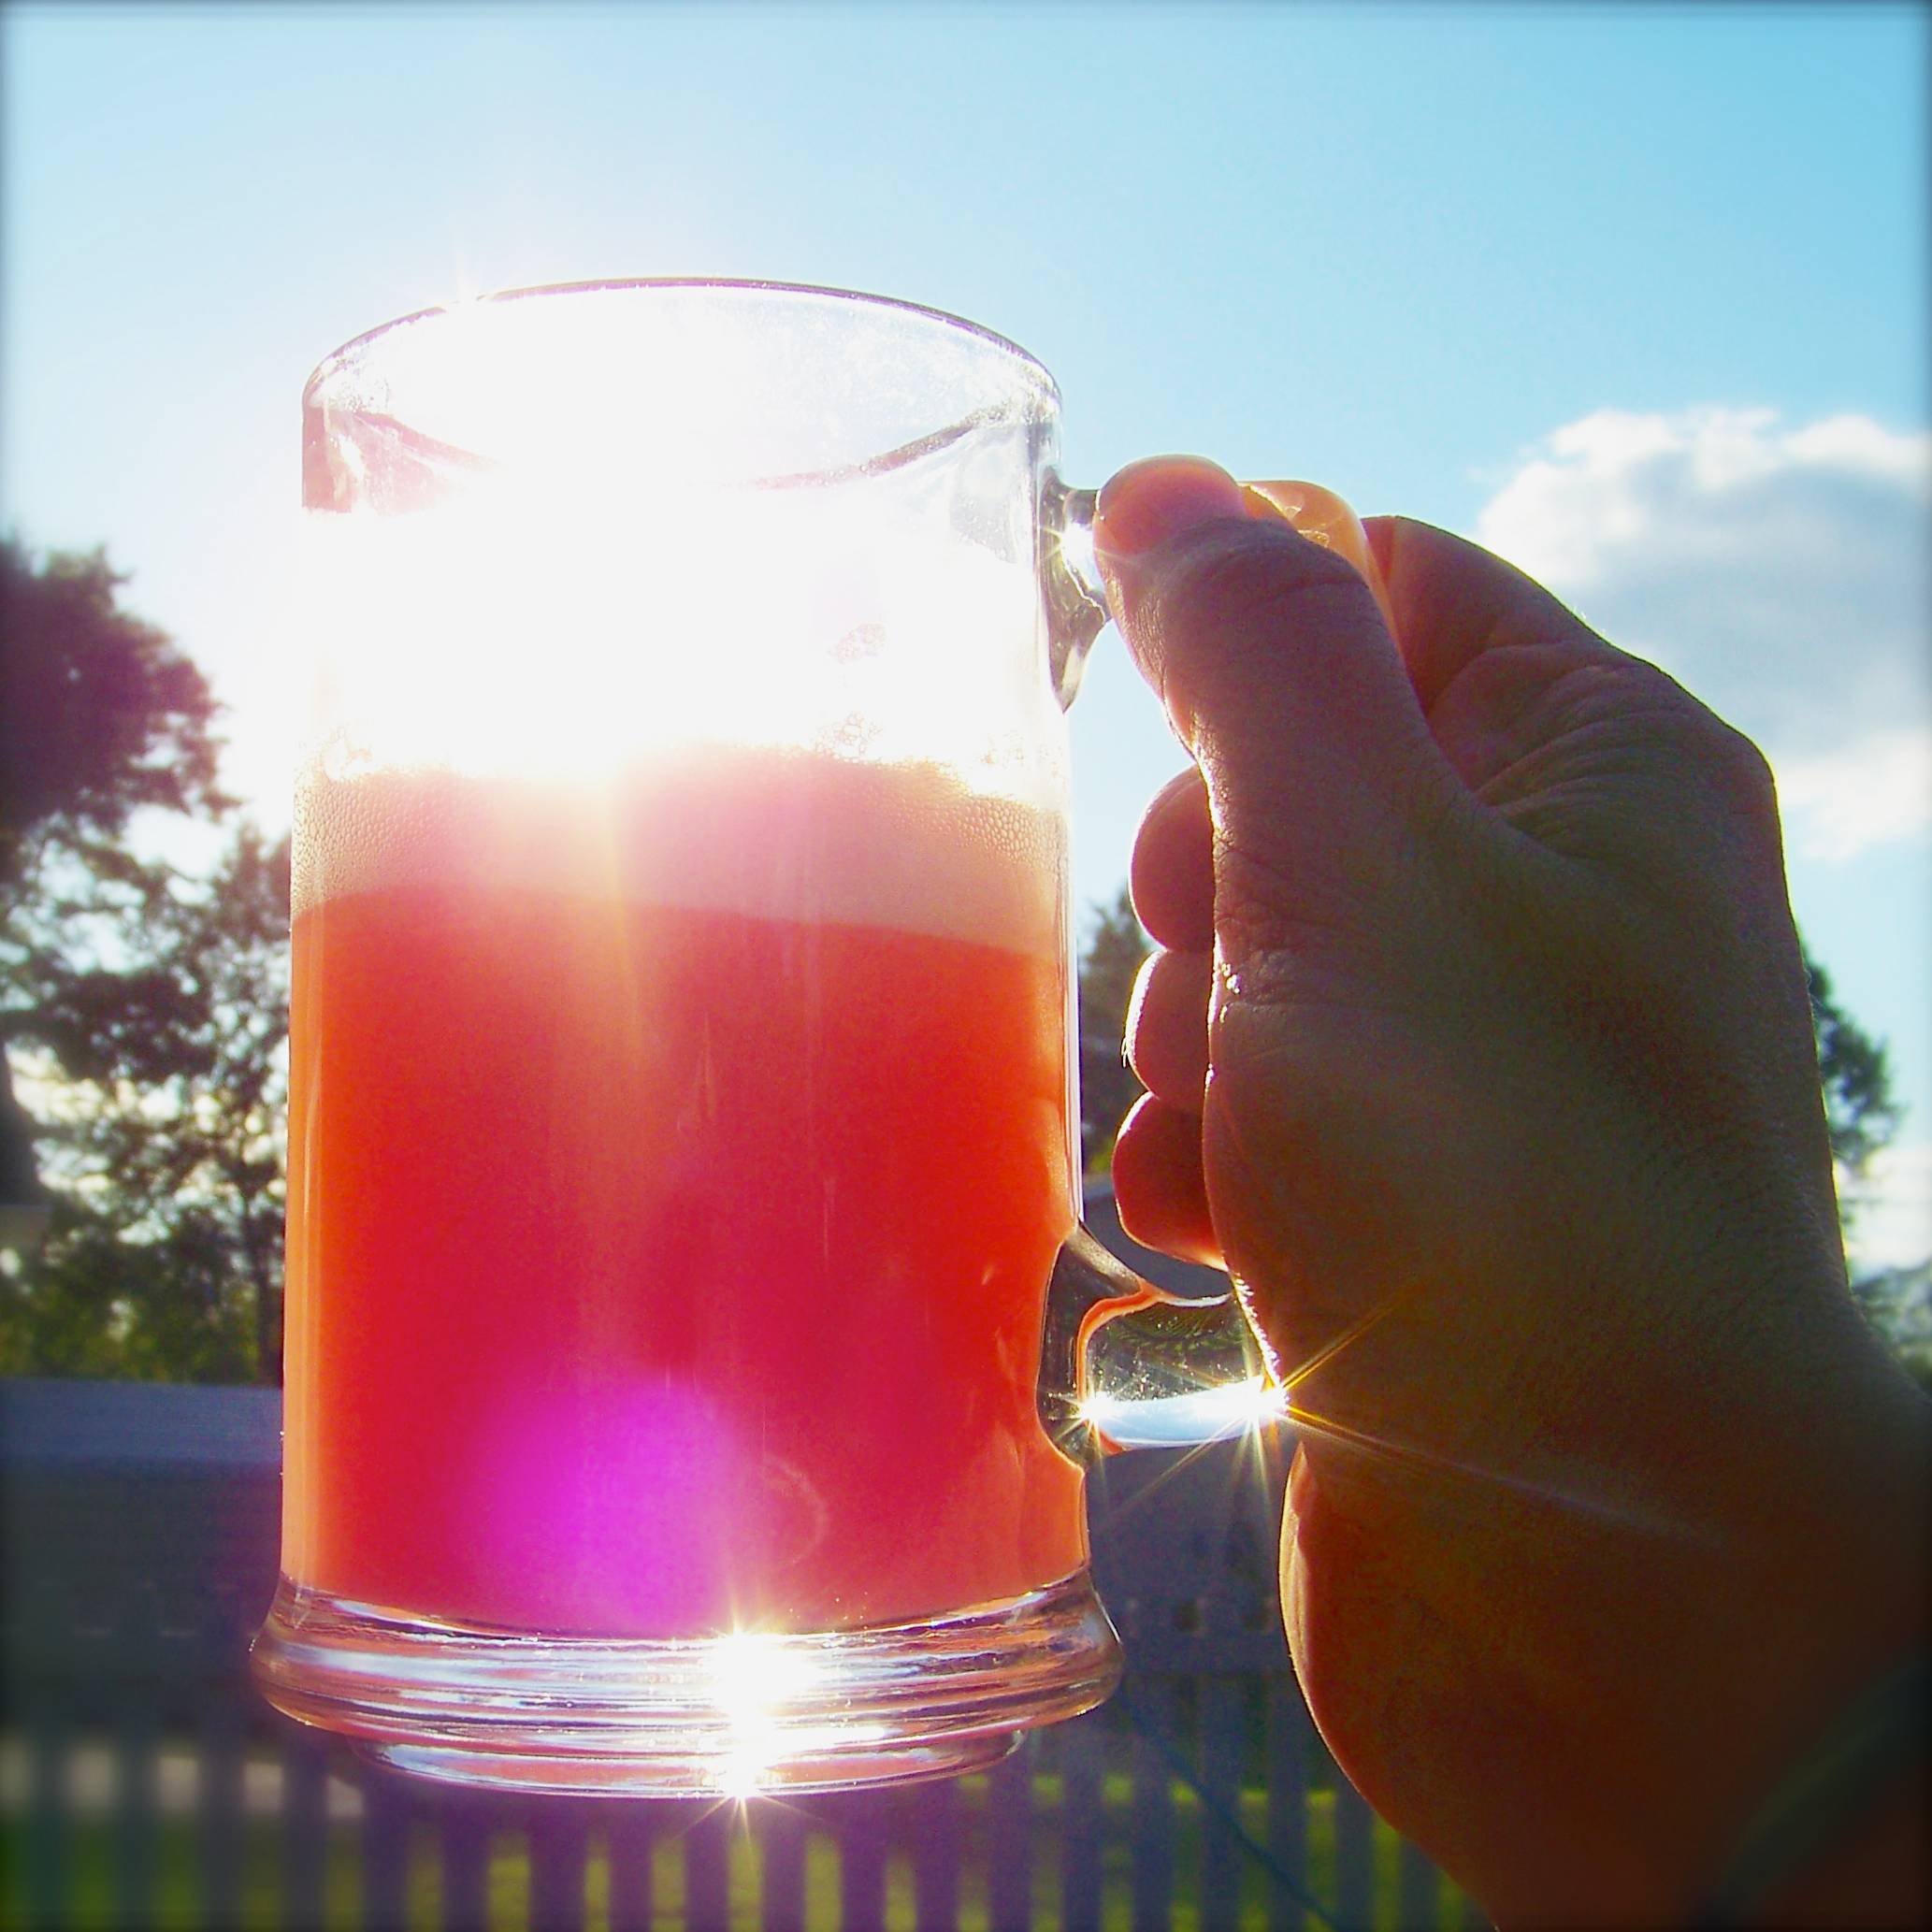
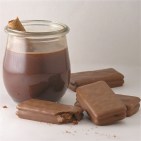
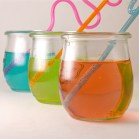
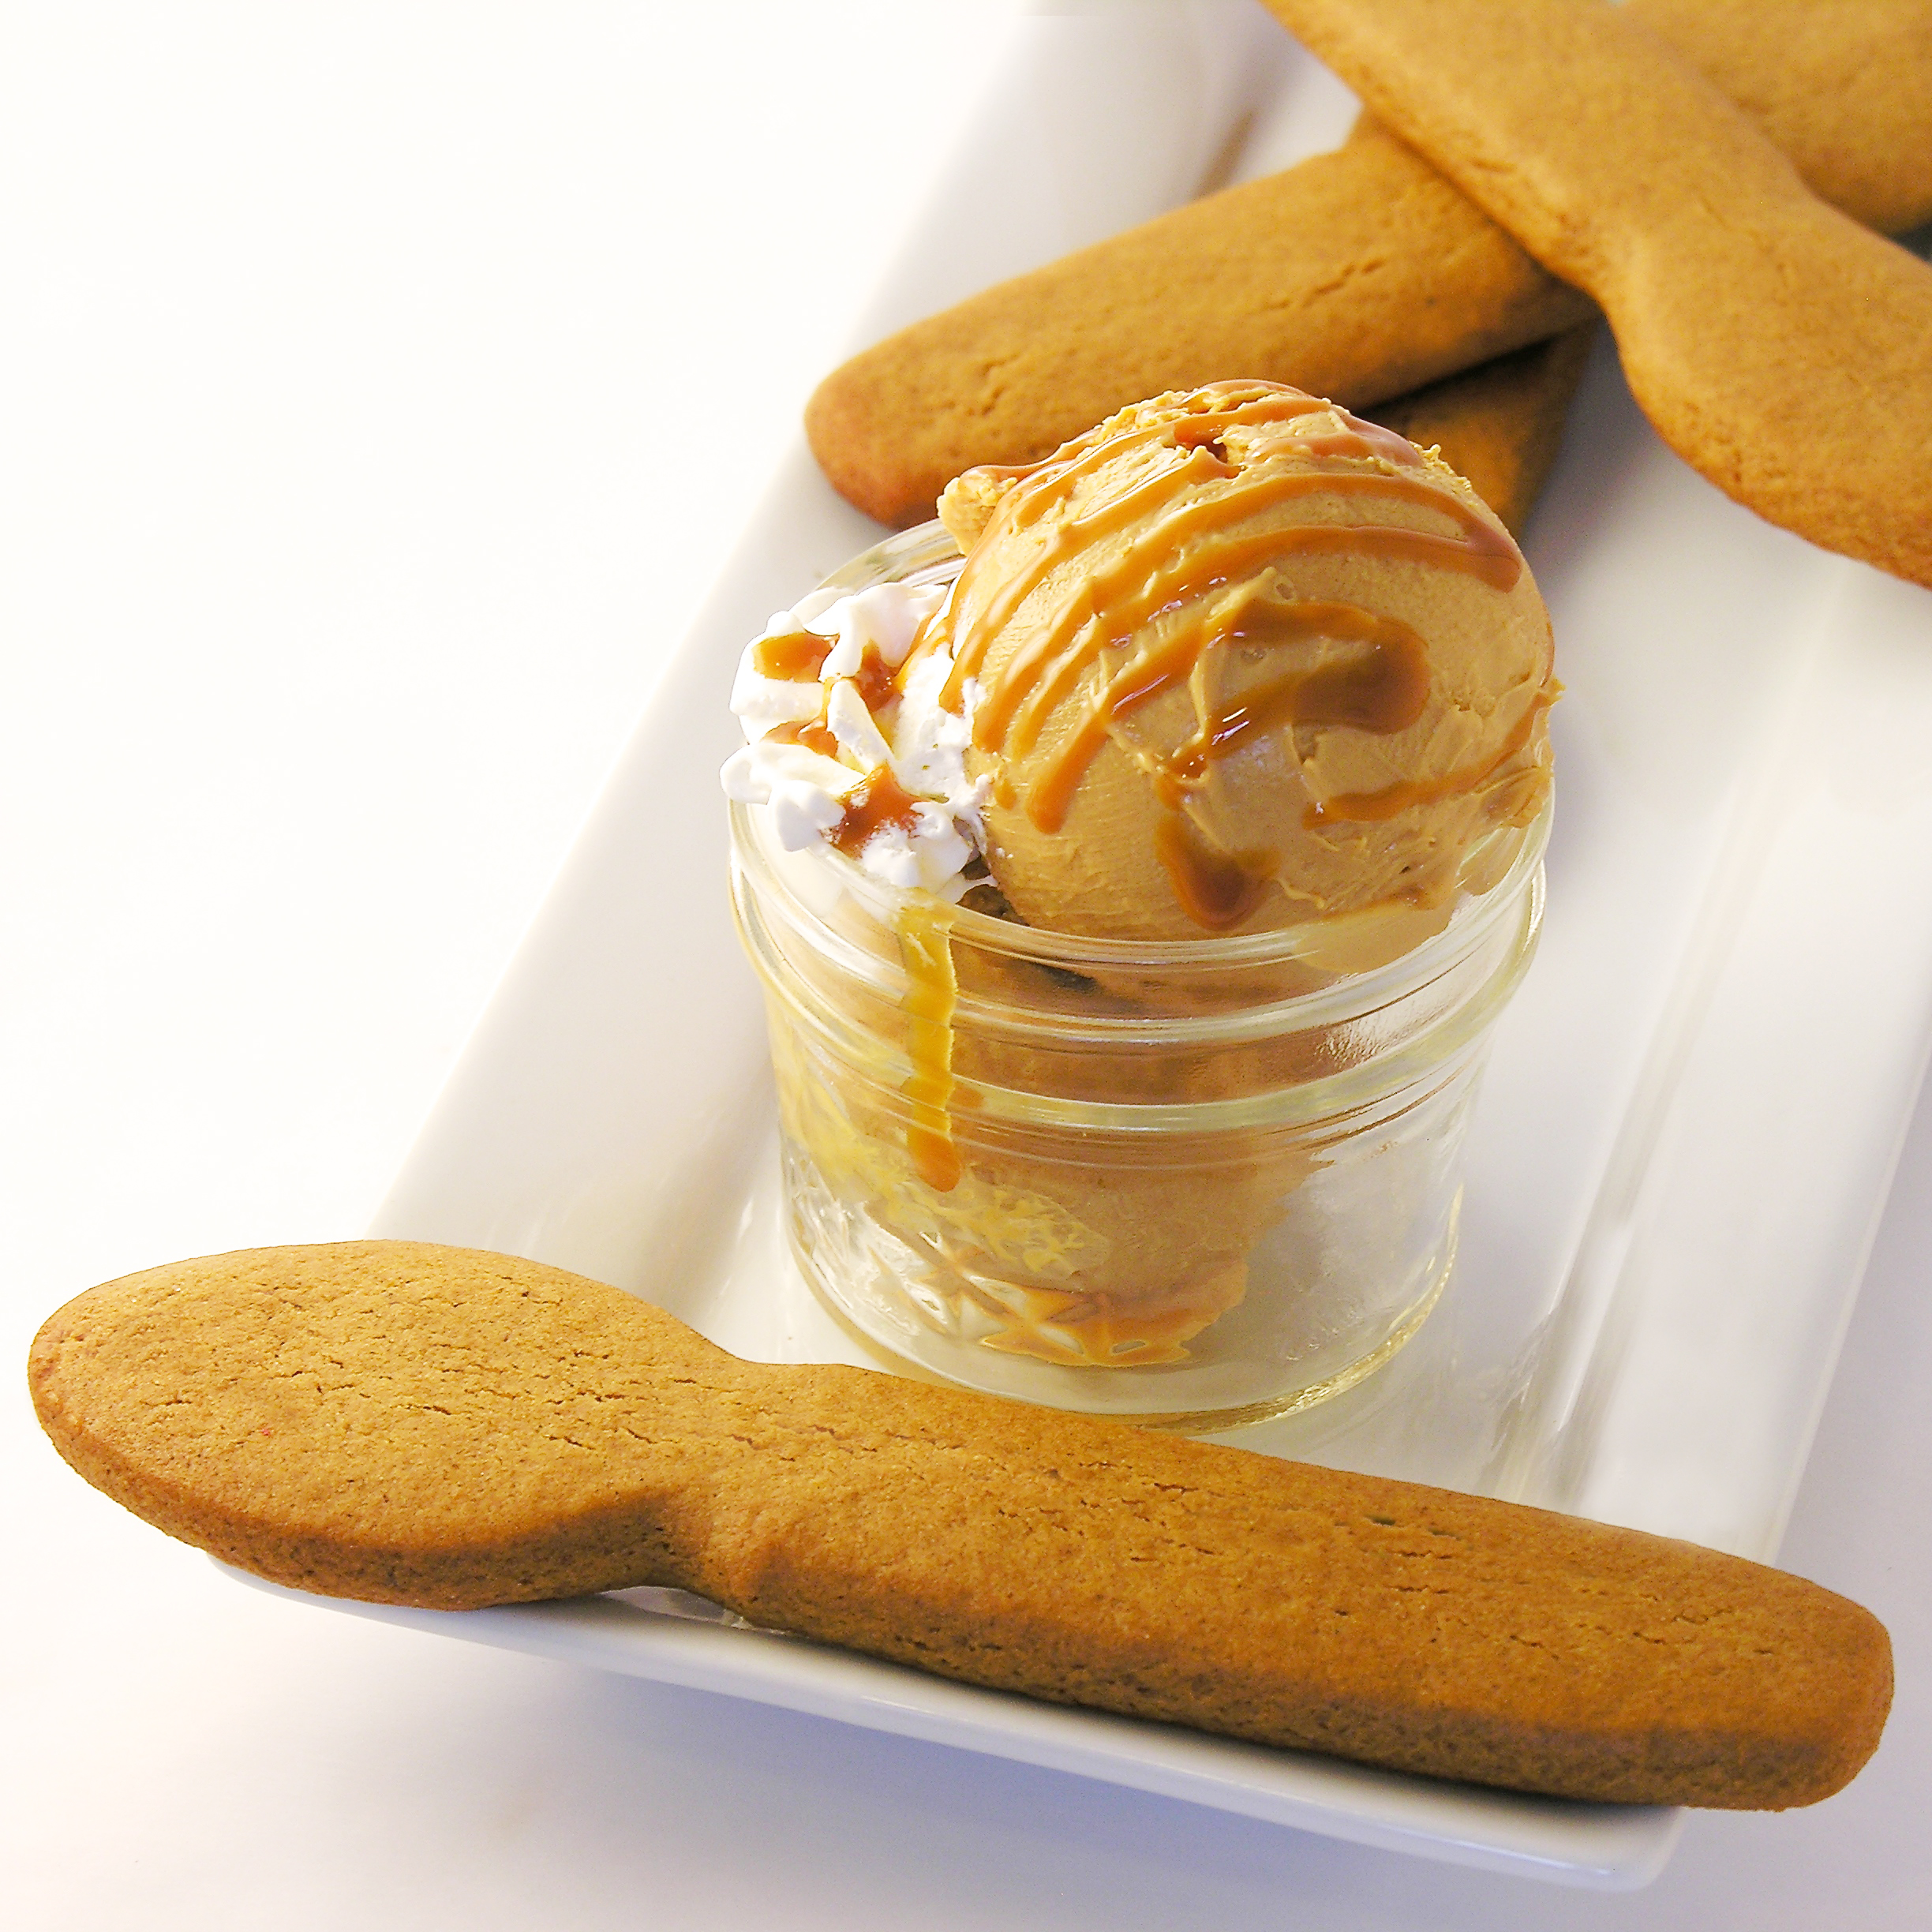
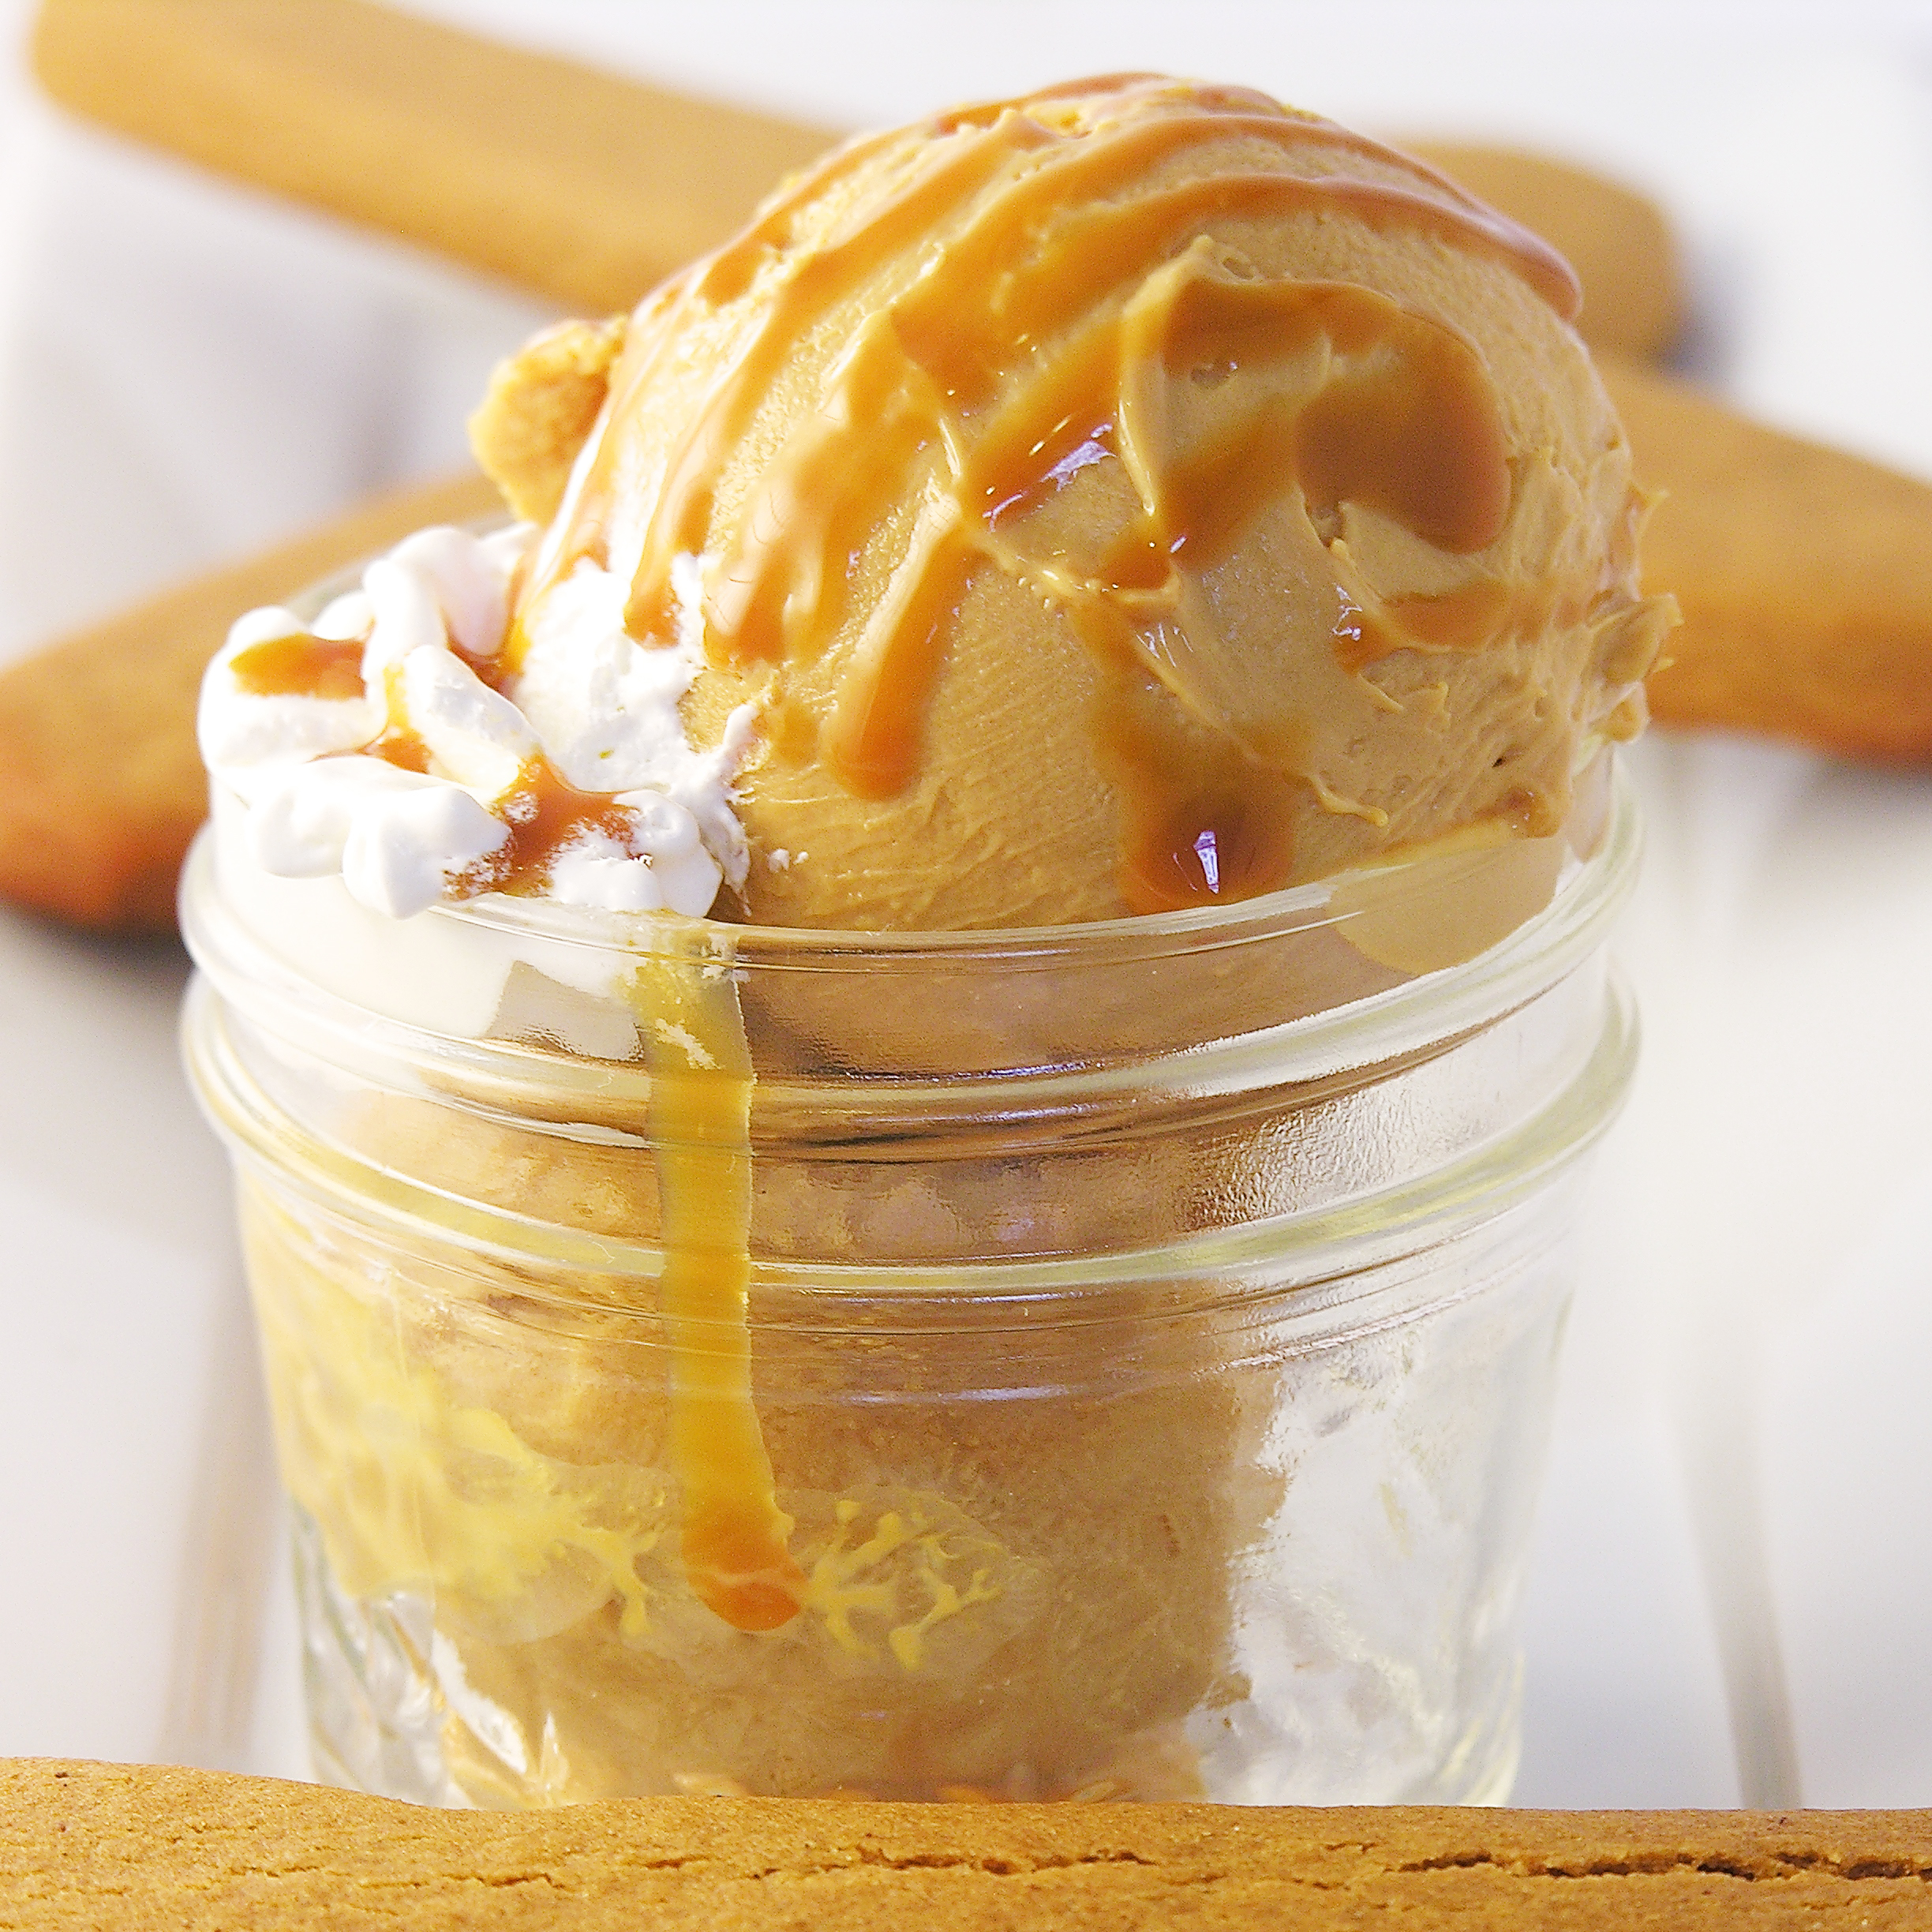
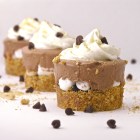
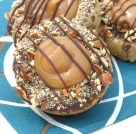
Other treats that you “could” eat for breakfast:


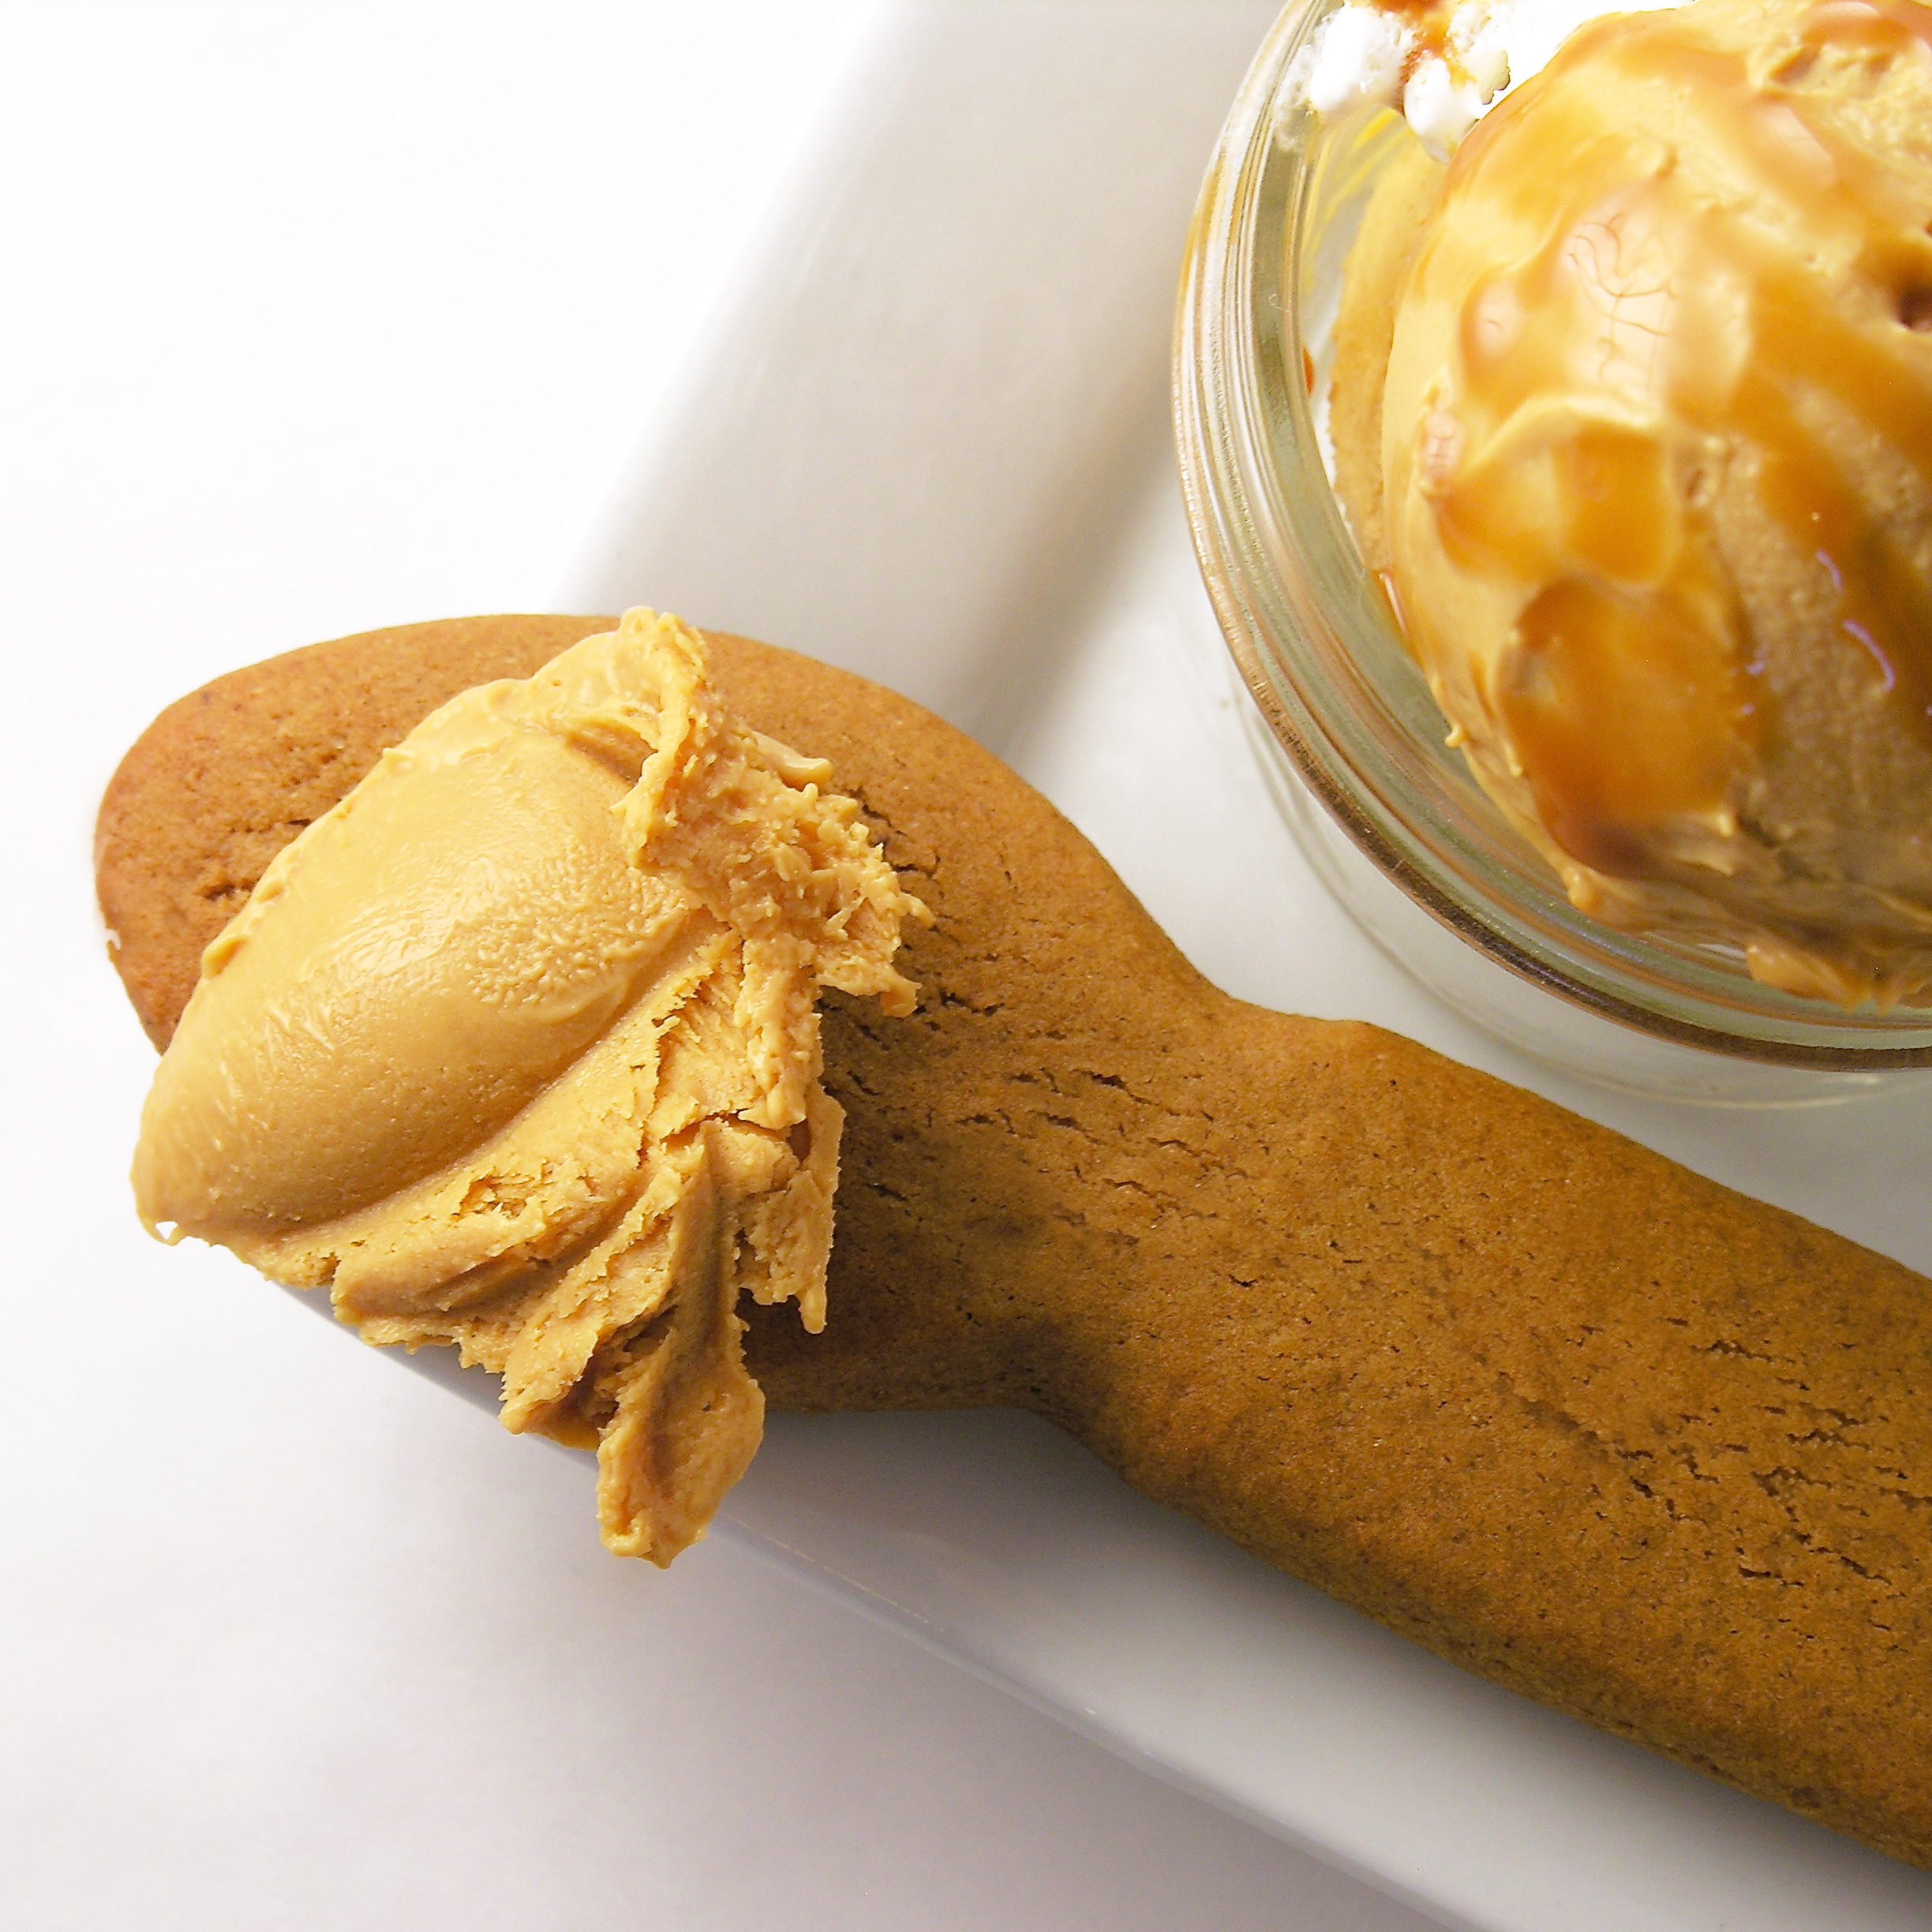
%20with%20Gingerbread%20Spoons%20Easybaked.net)
%20with%20Gingerbread%20Spoons%20Easybaked.net)
%20with%20Gingerbread%20Spoons%20Easybaked.net)
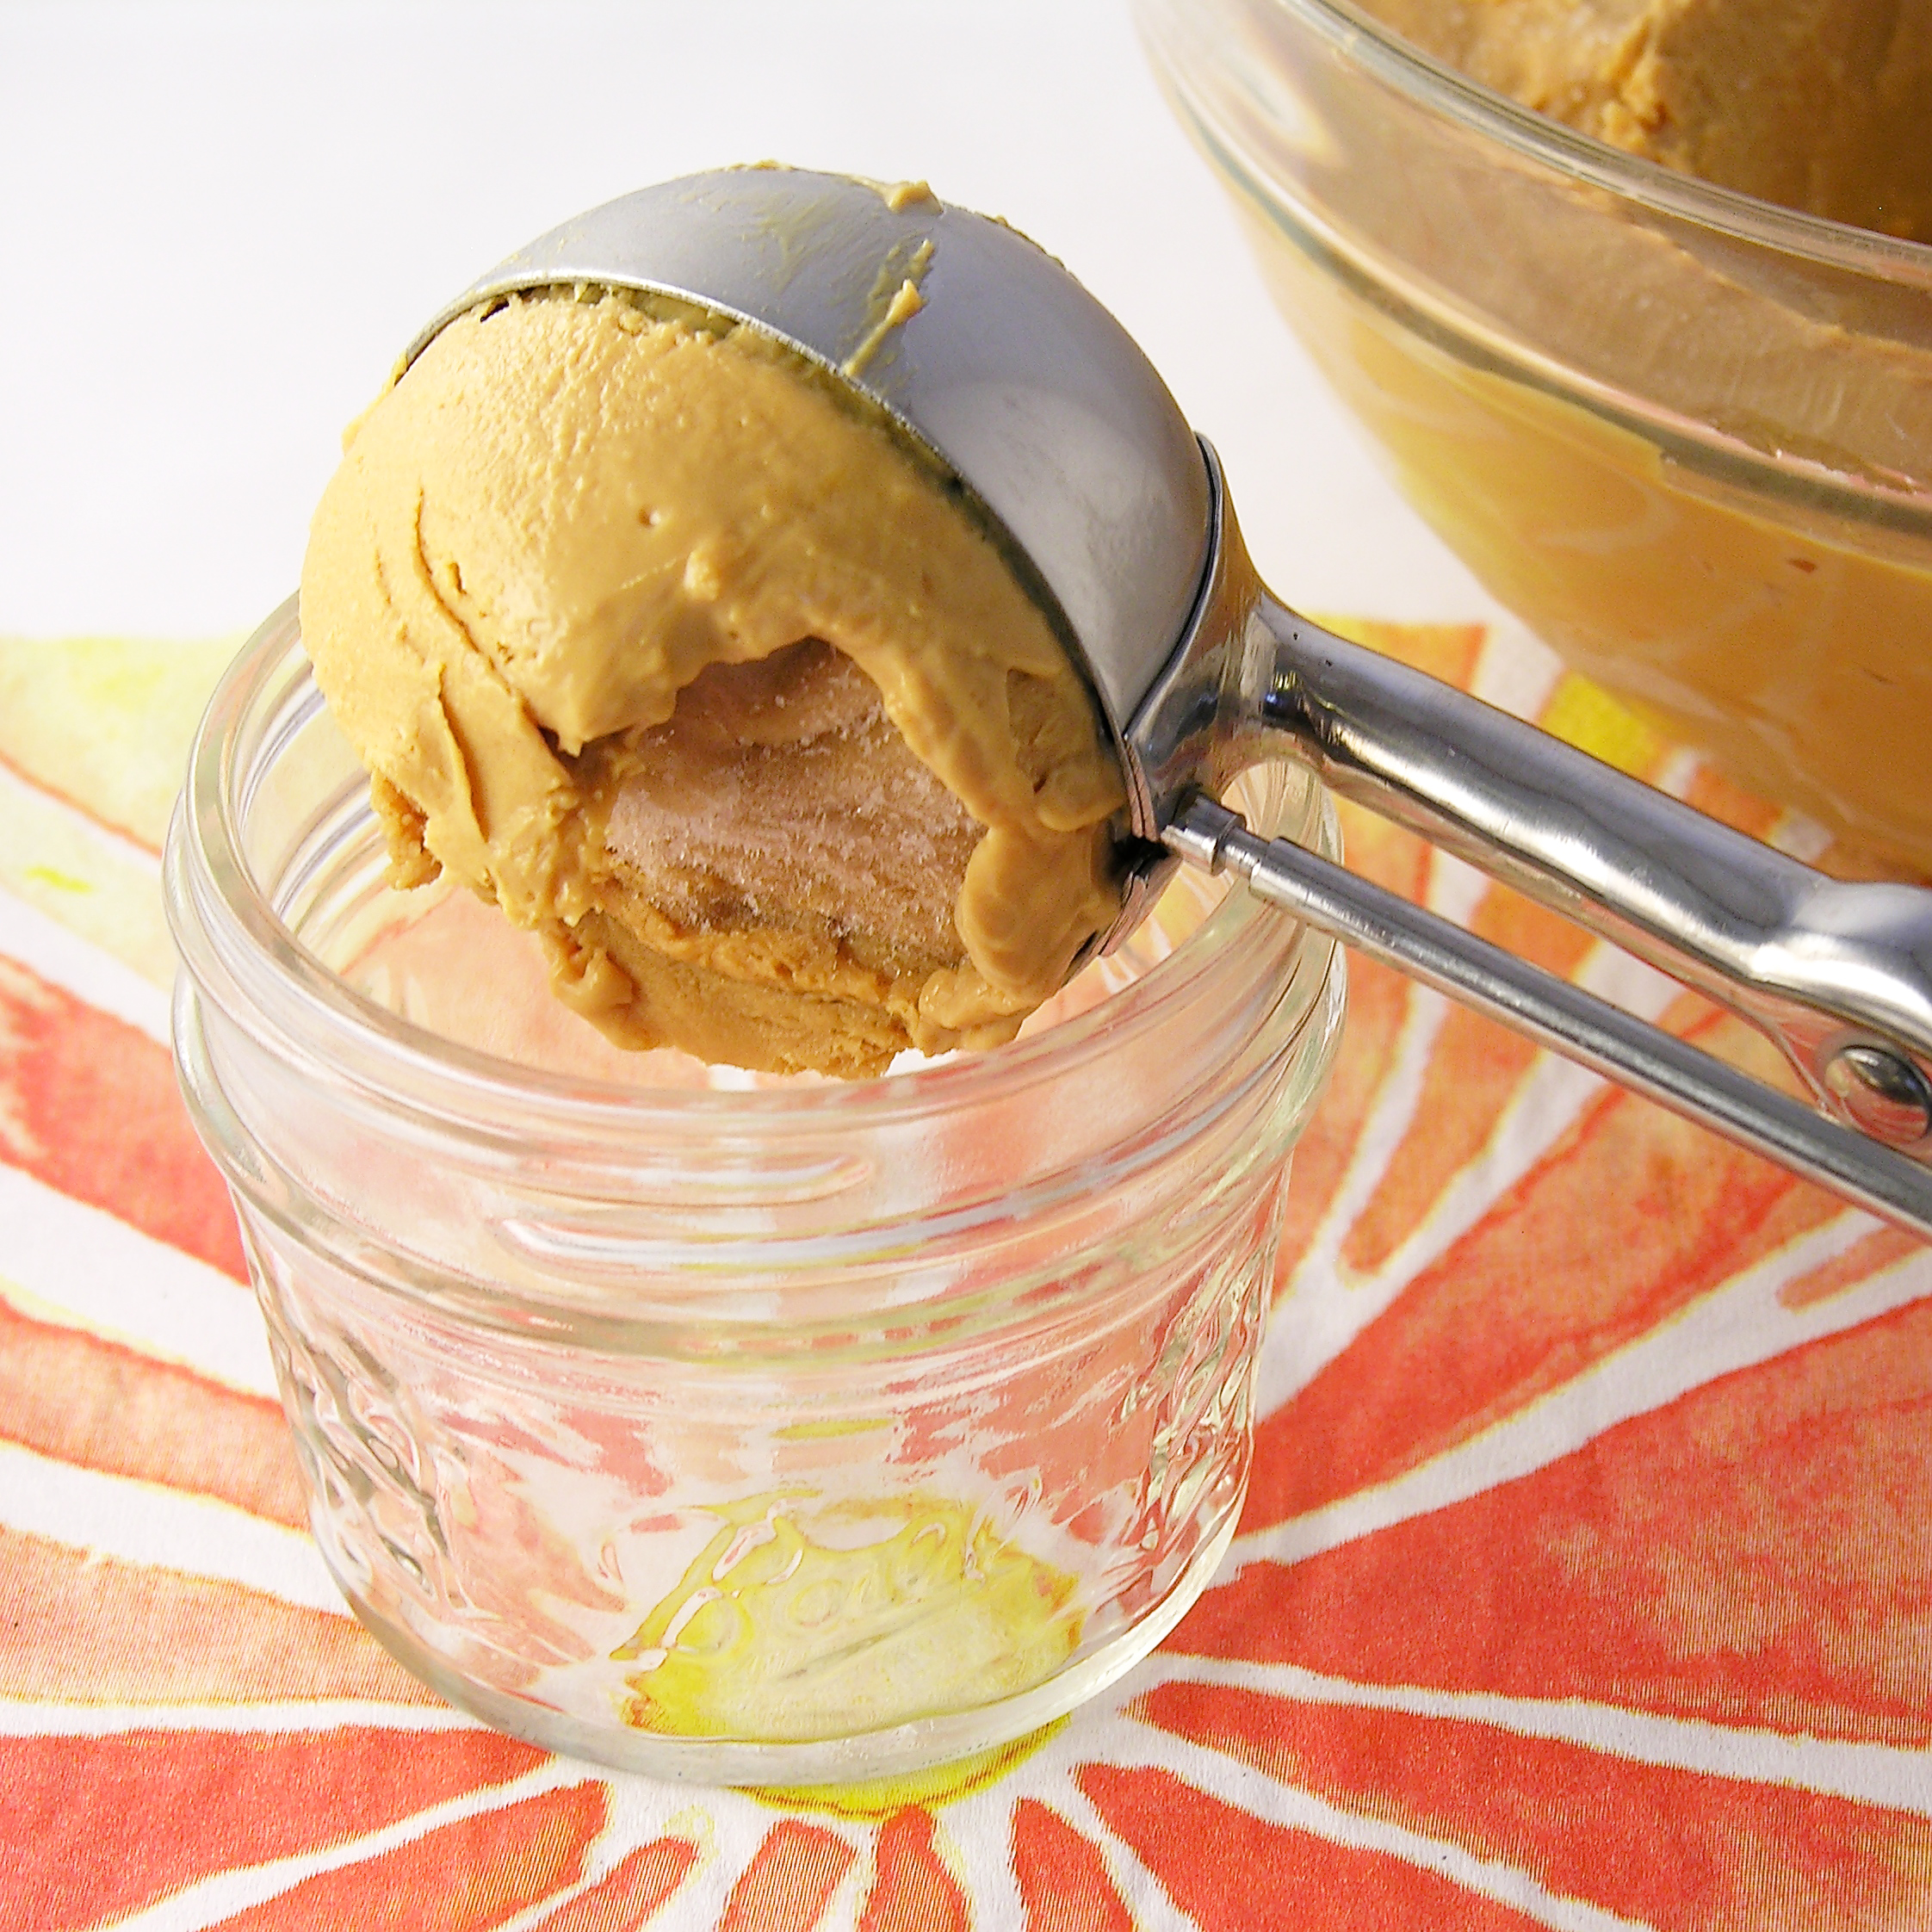
%20with%20Gingerbread%20Spoons%20Easybaked.net)


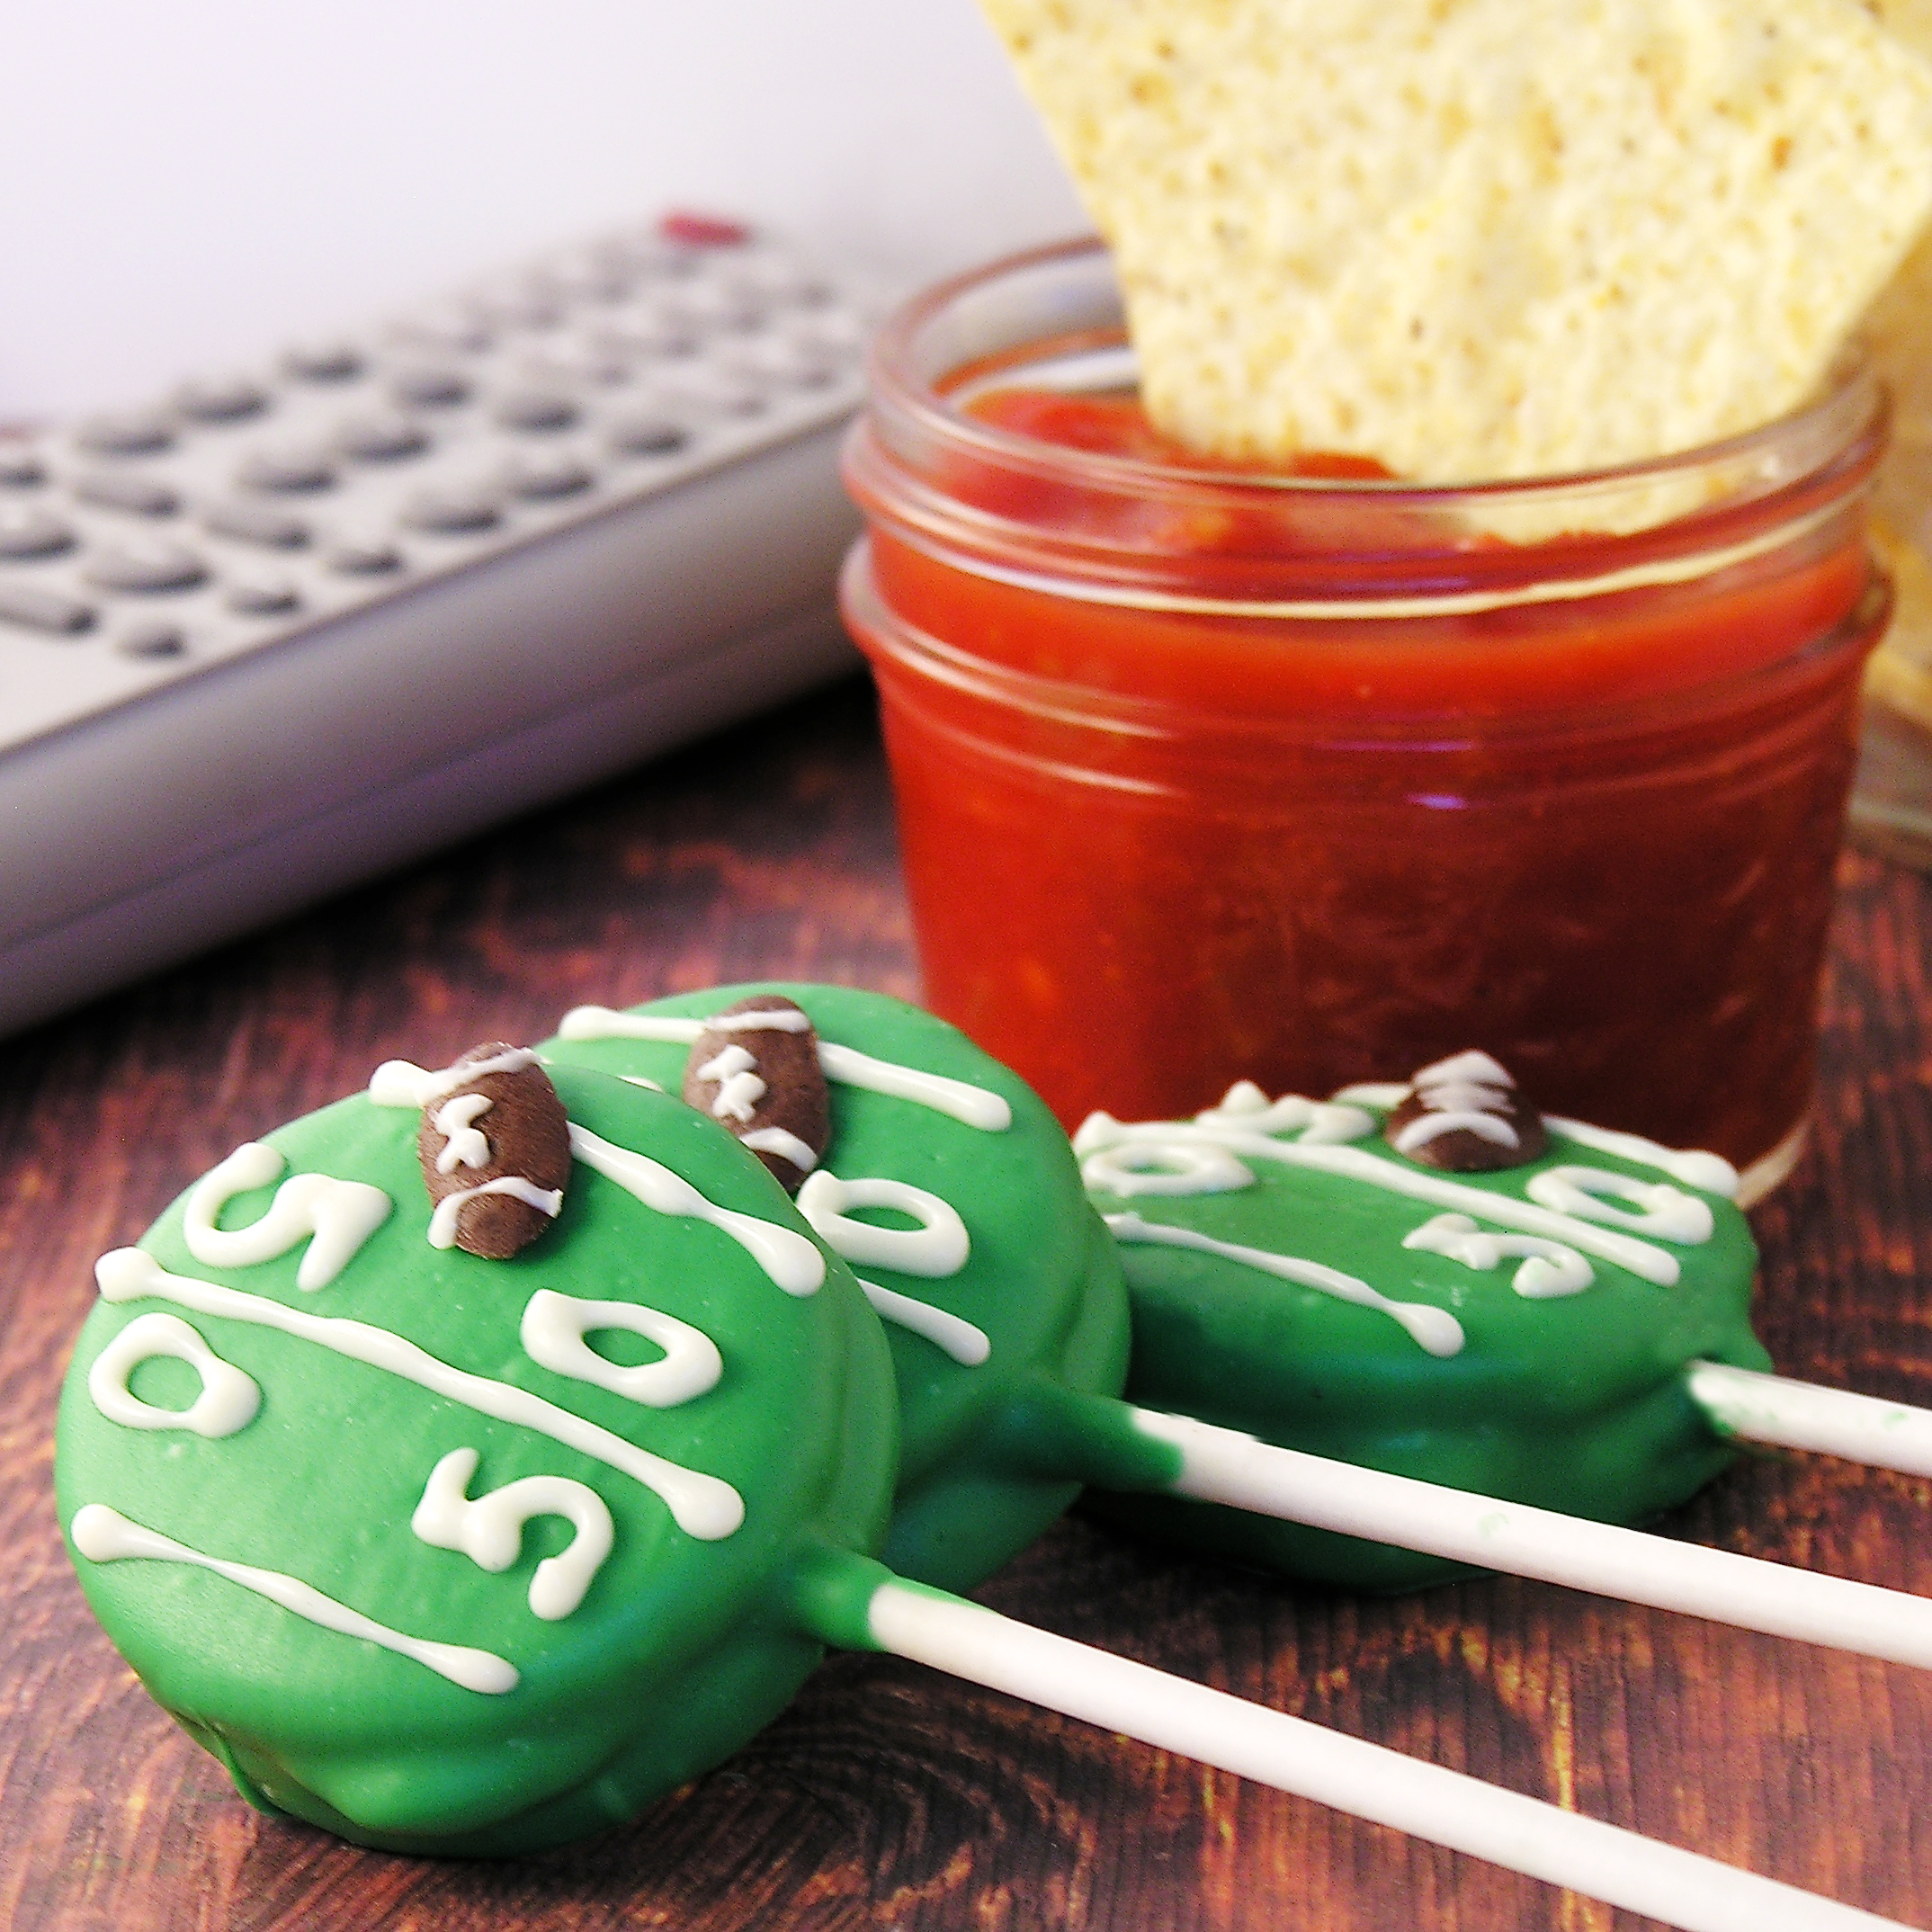


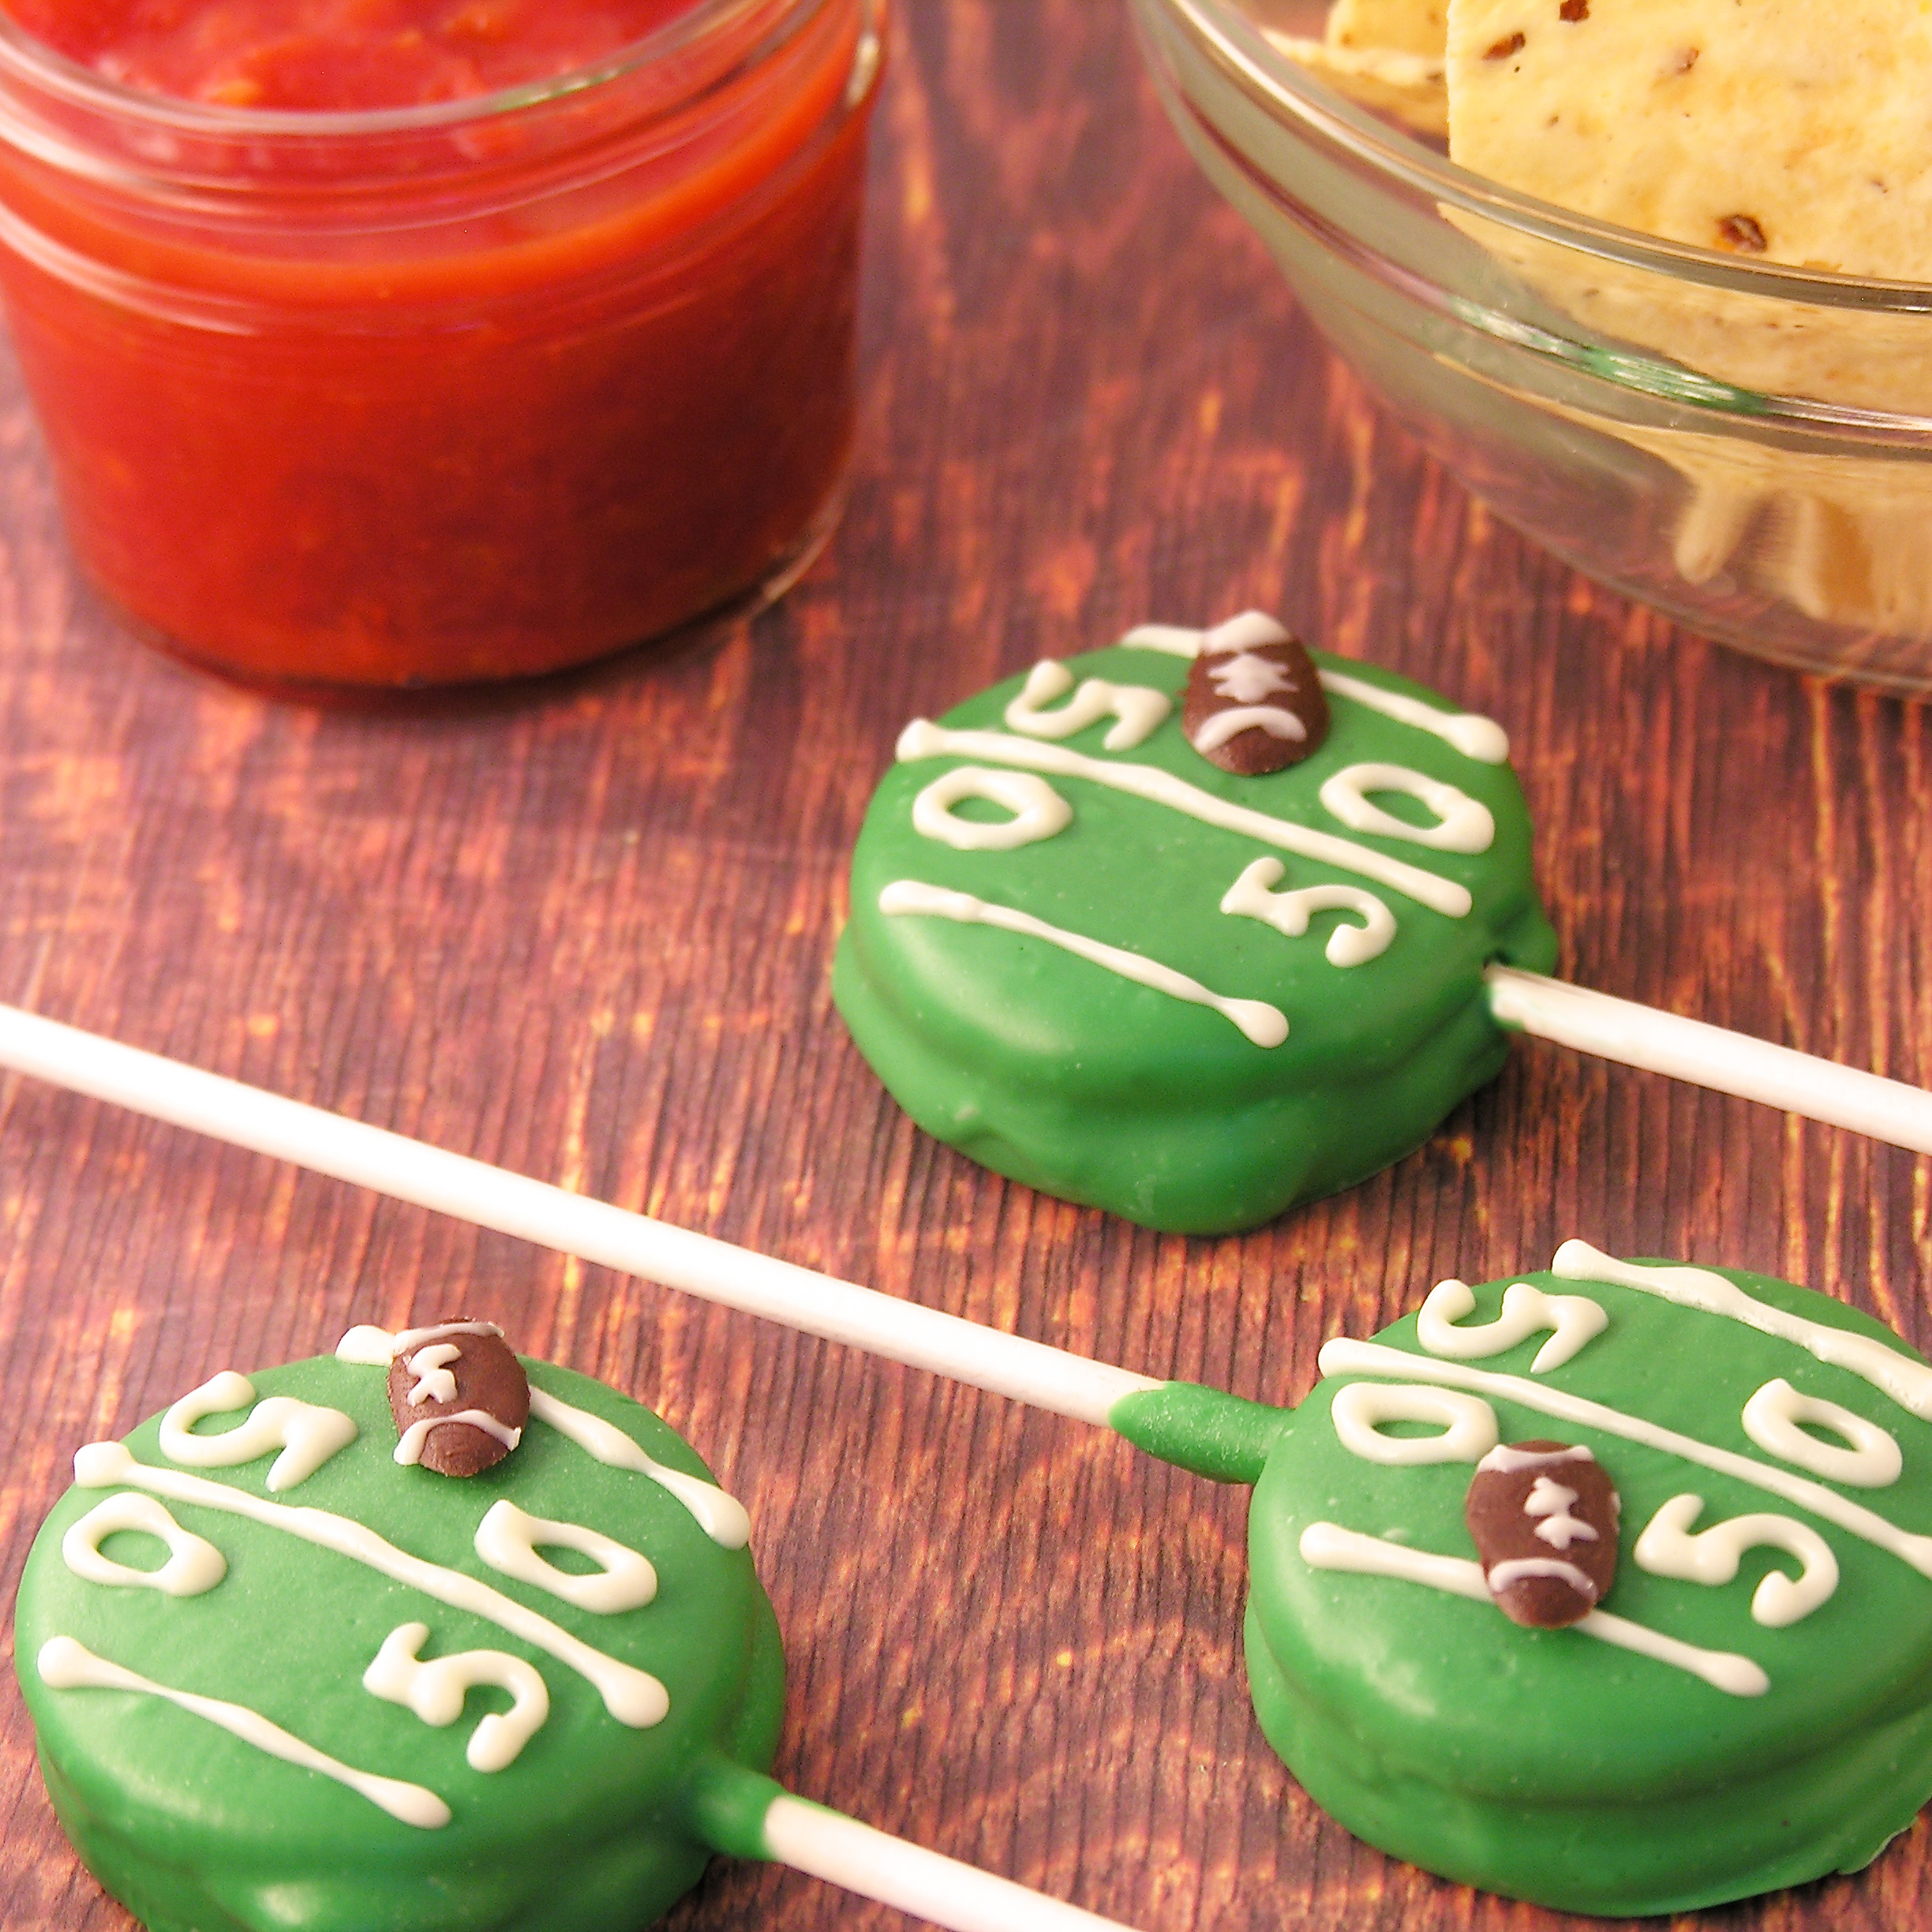


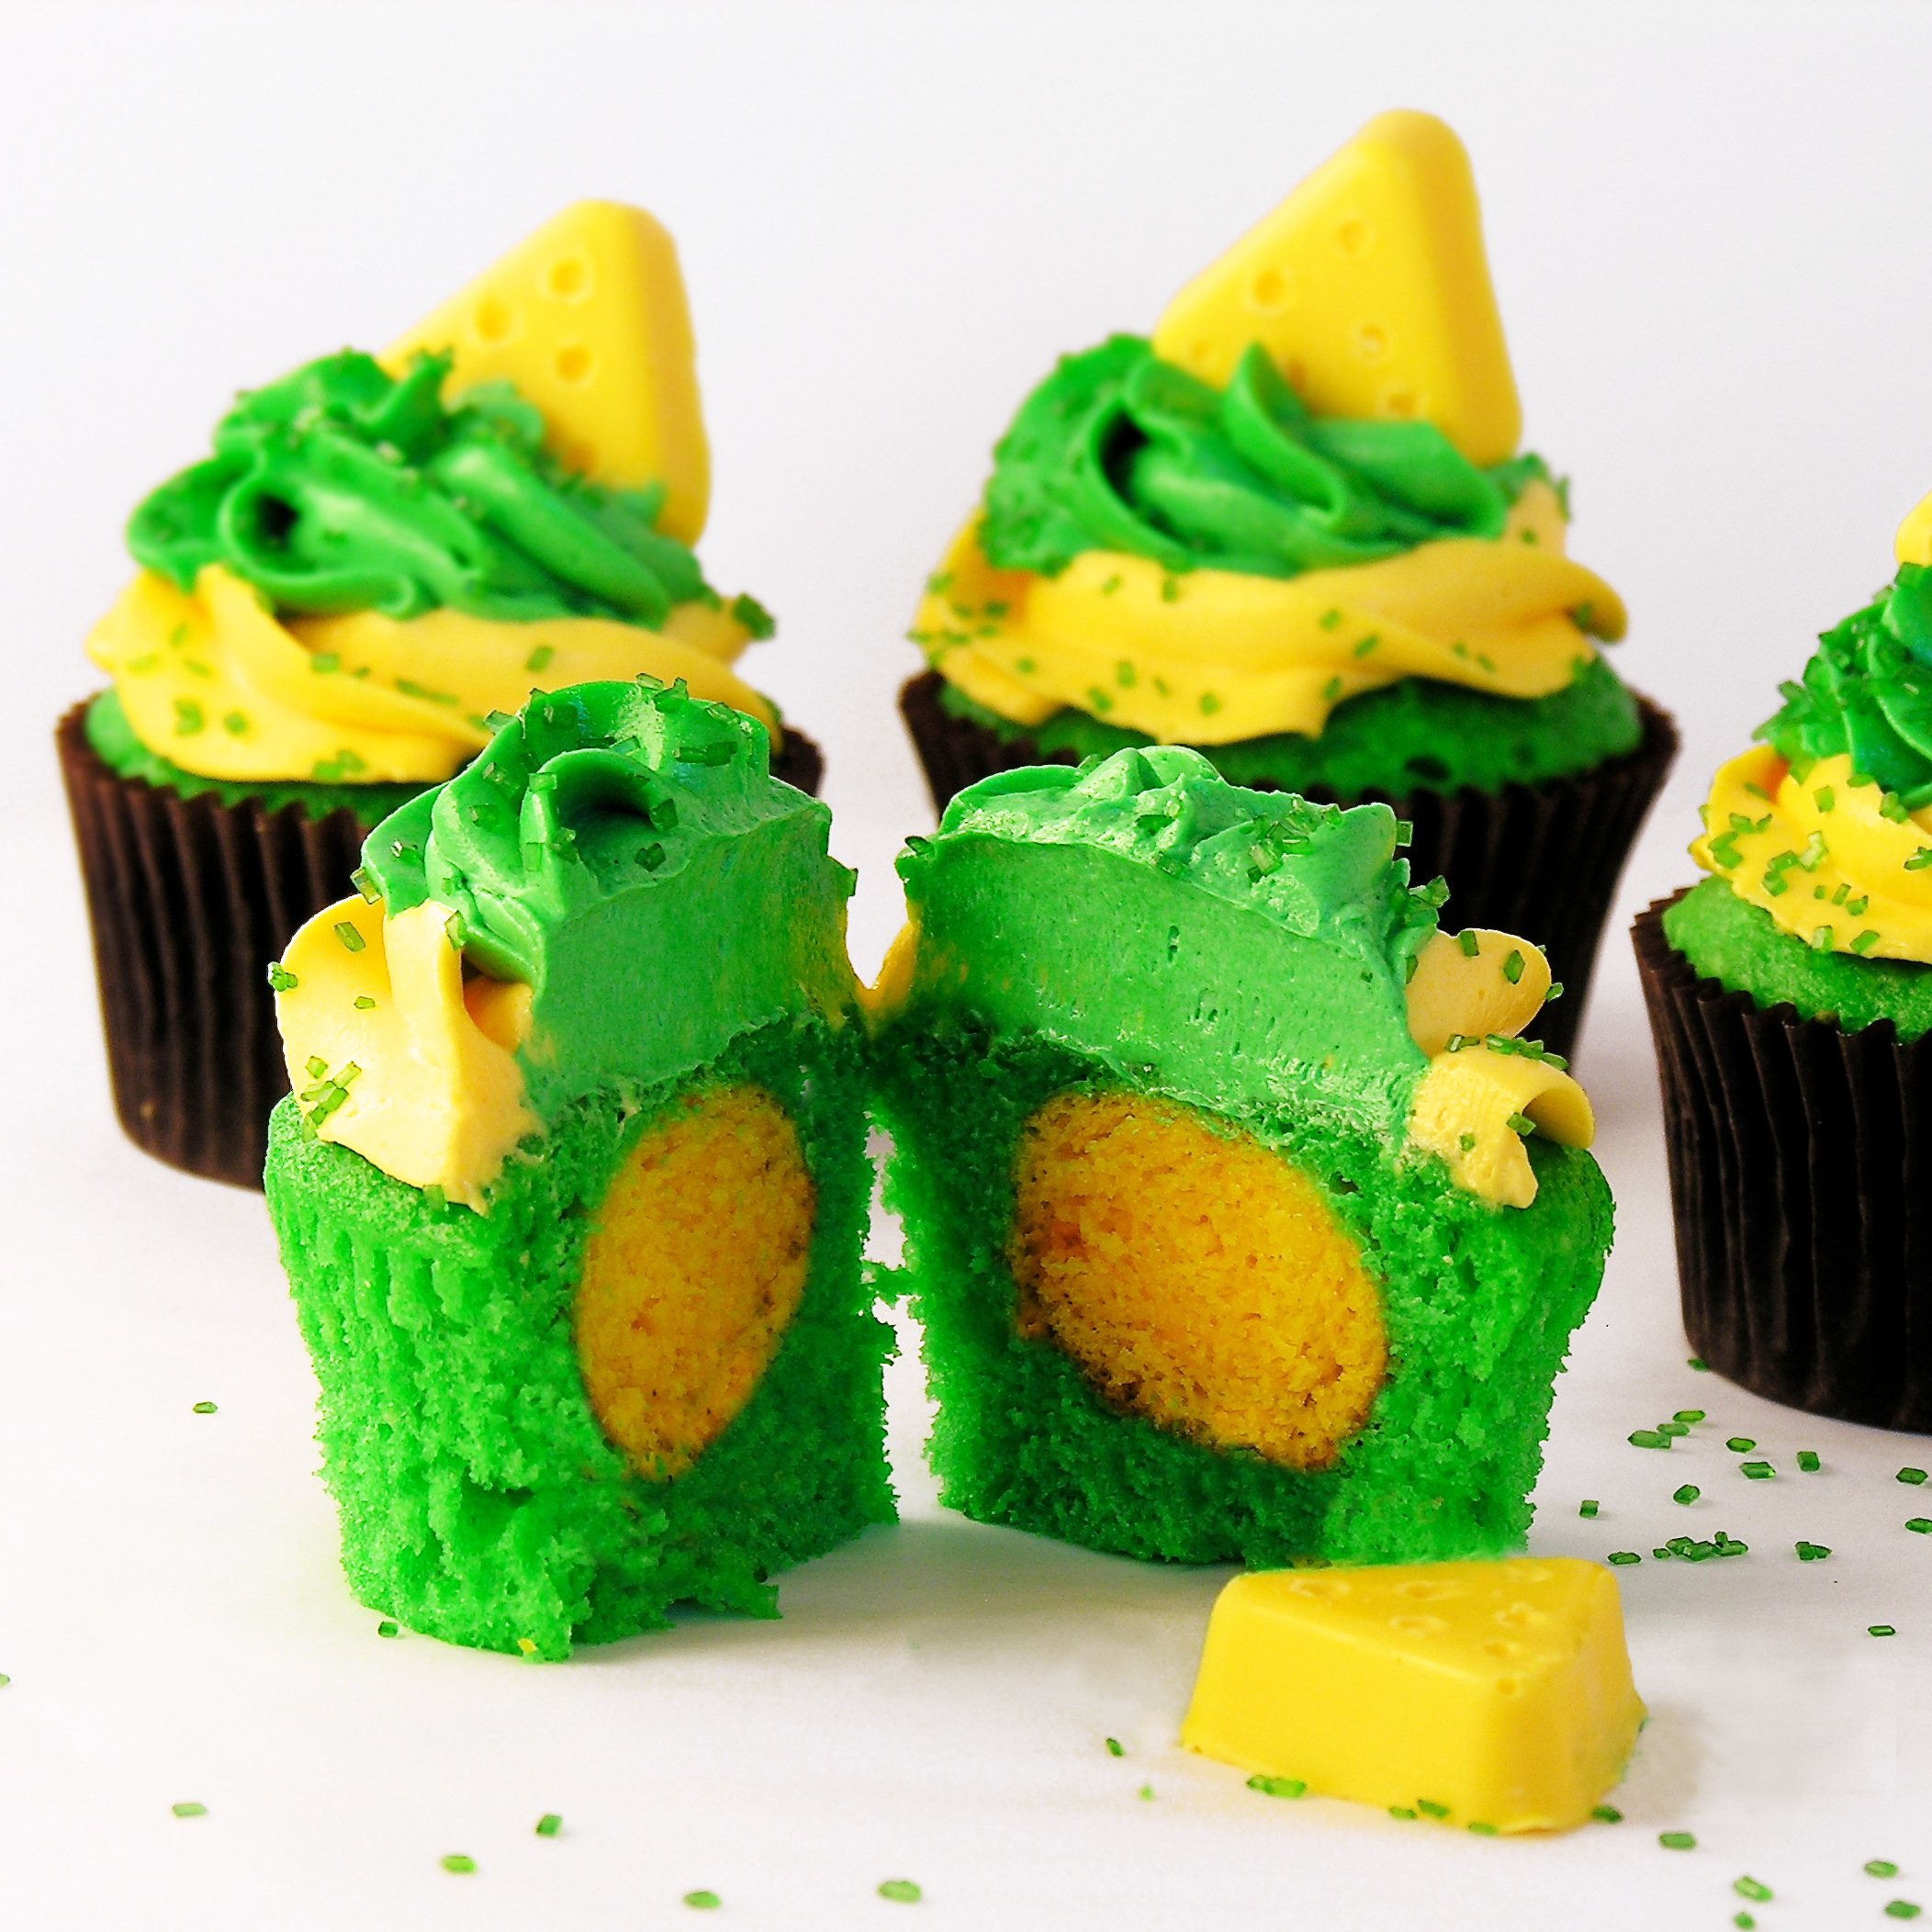
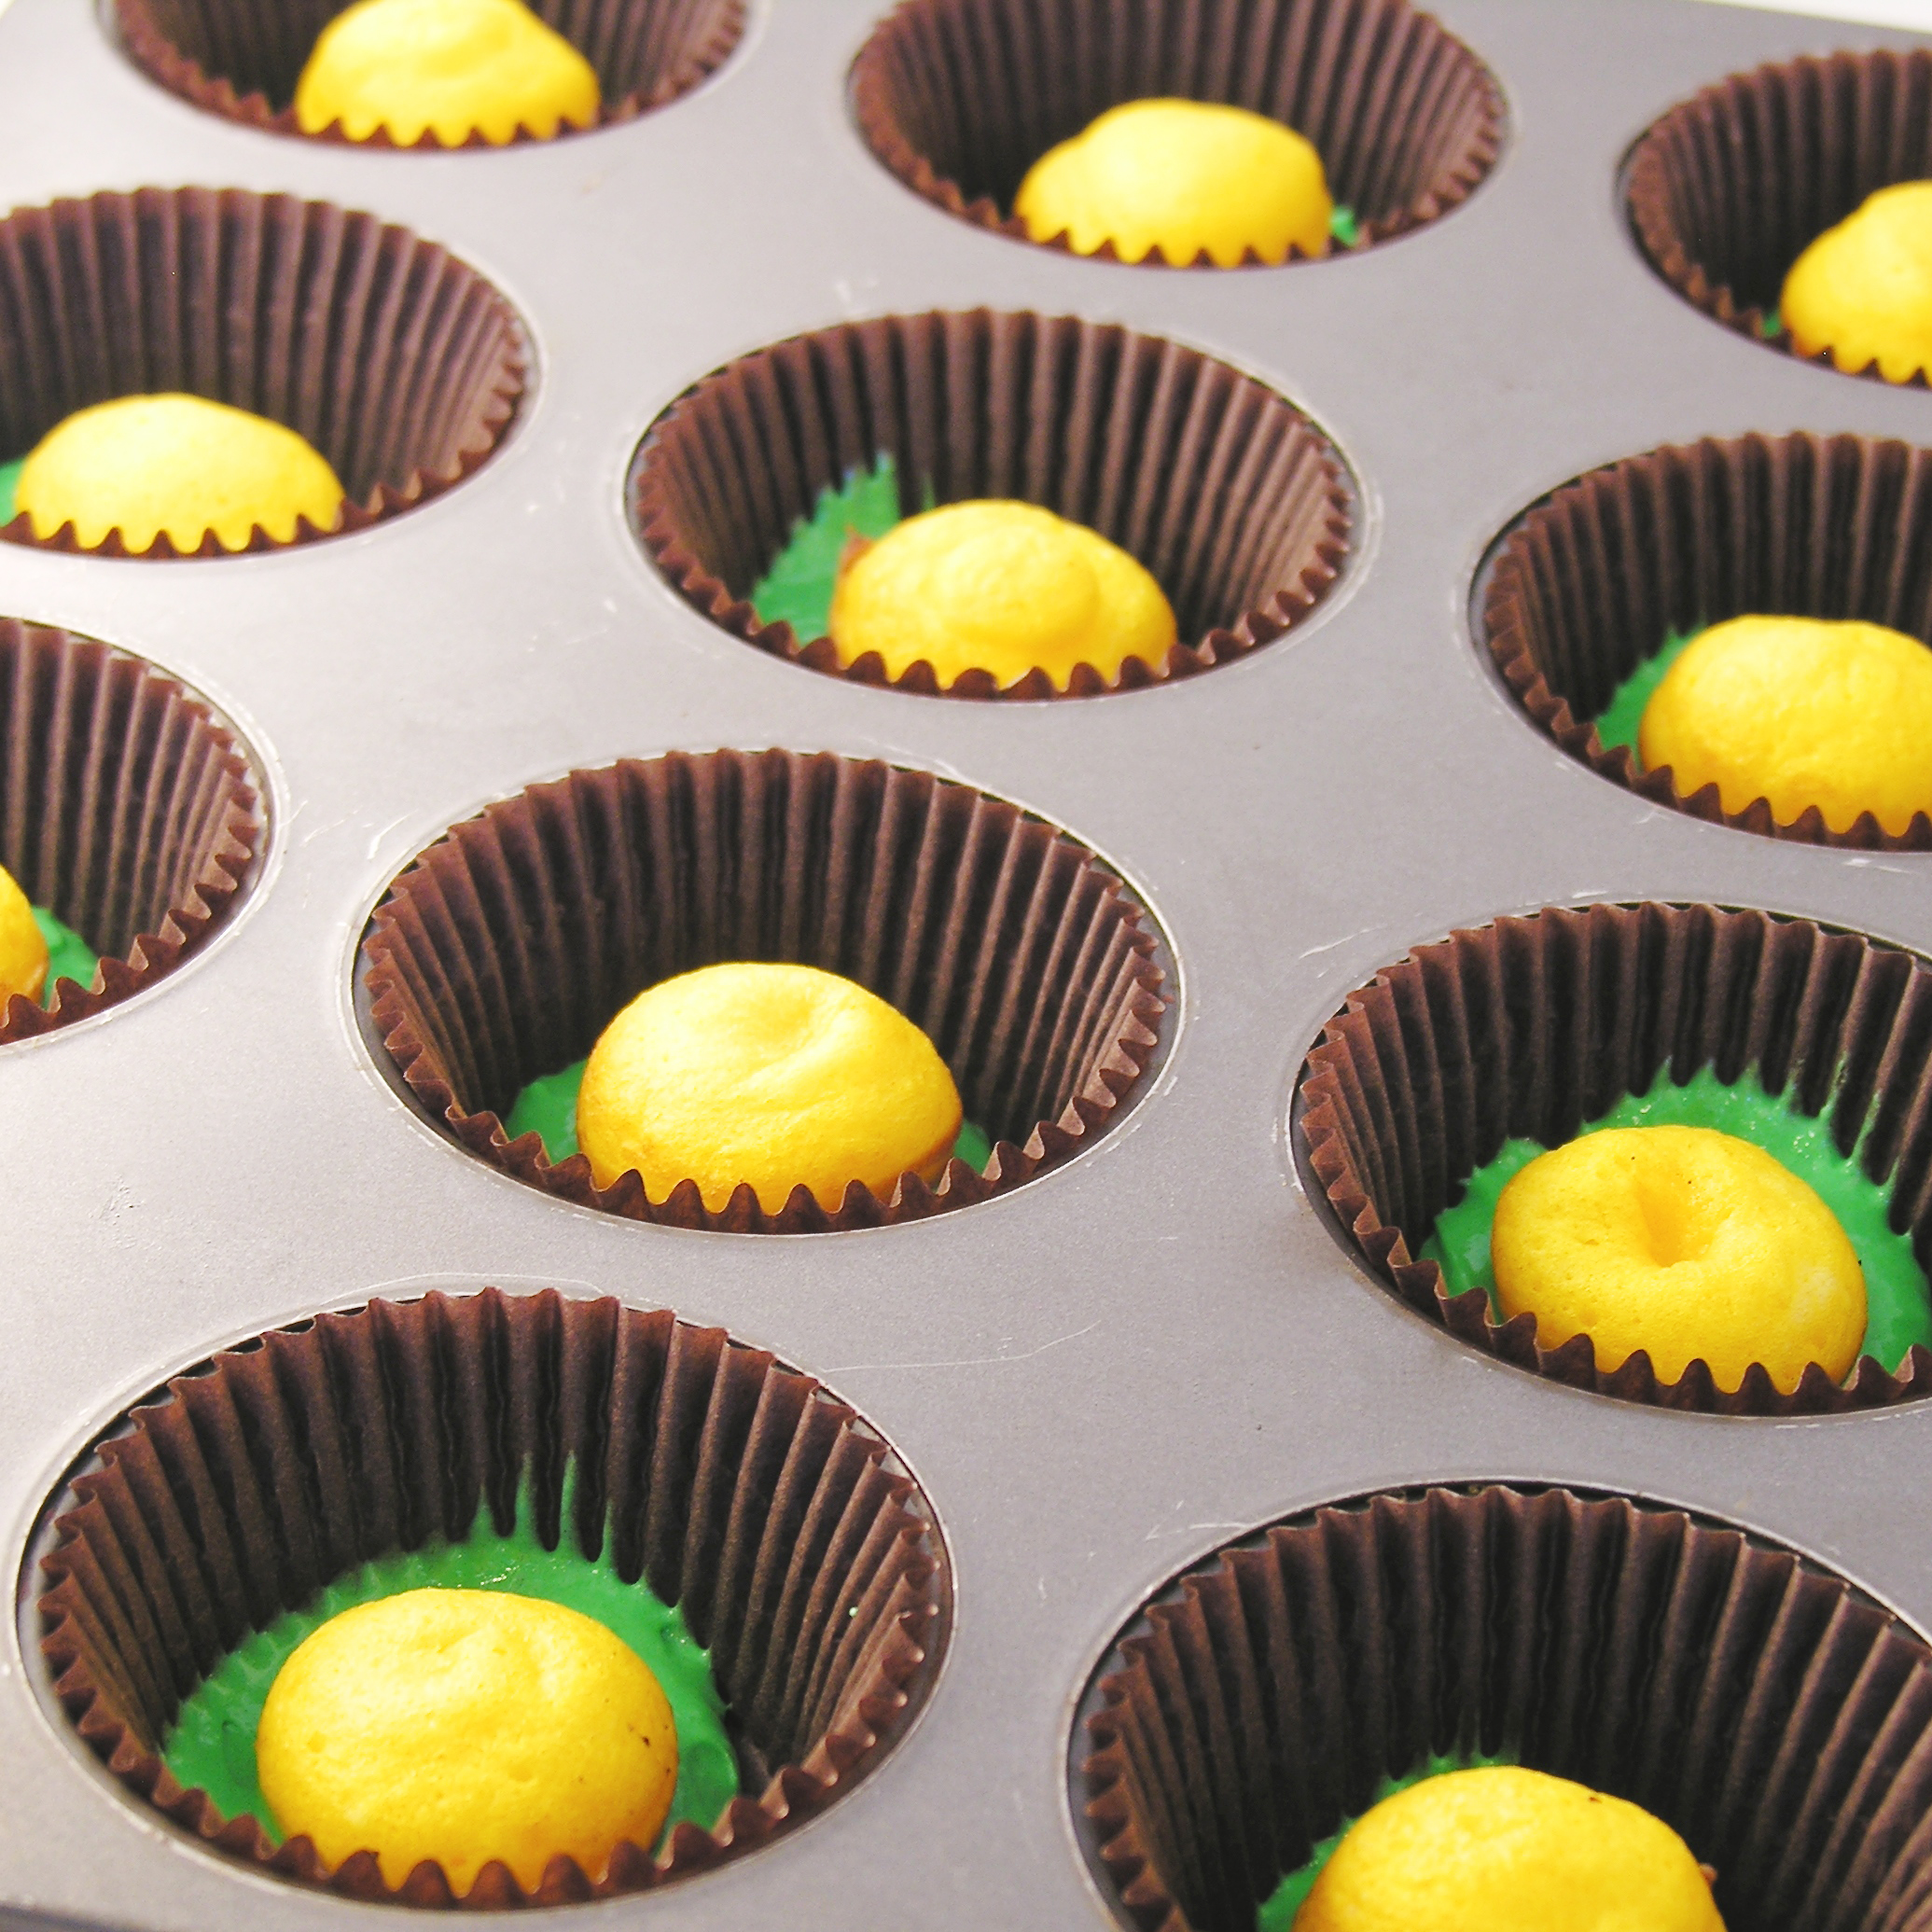
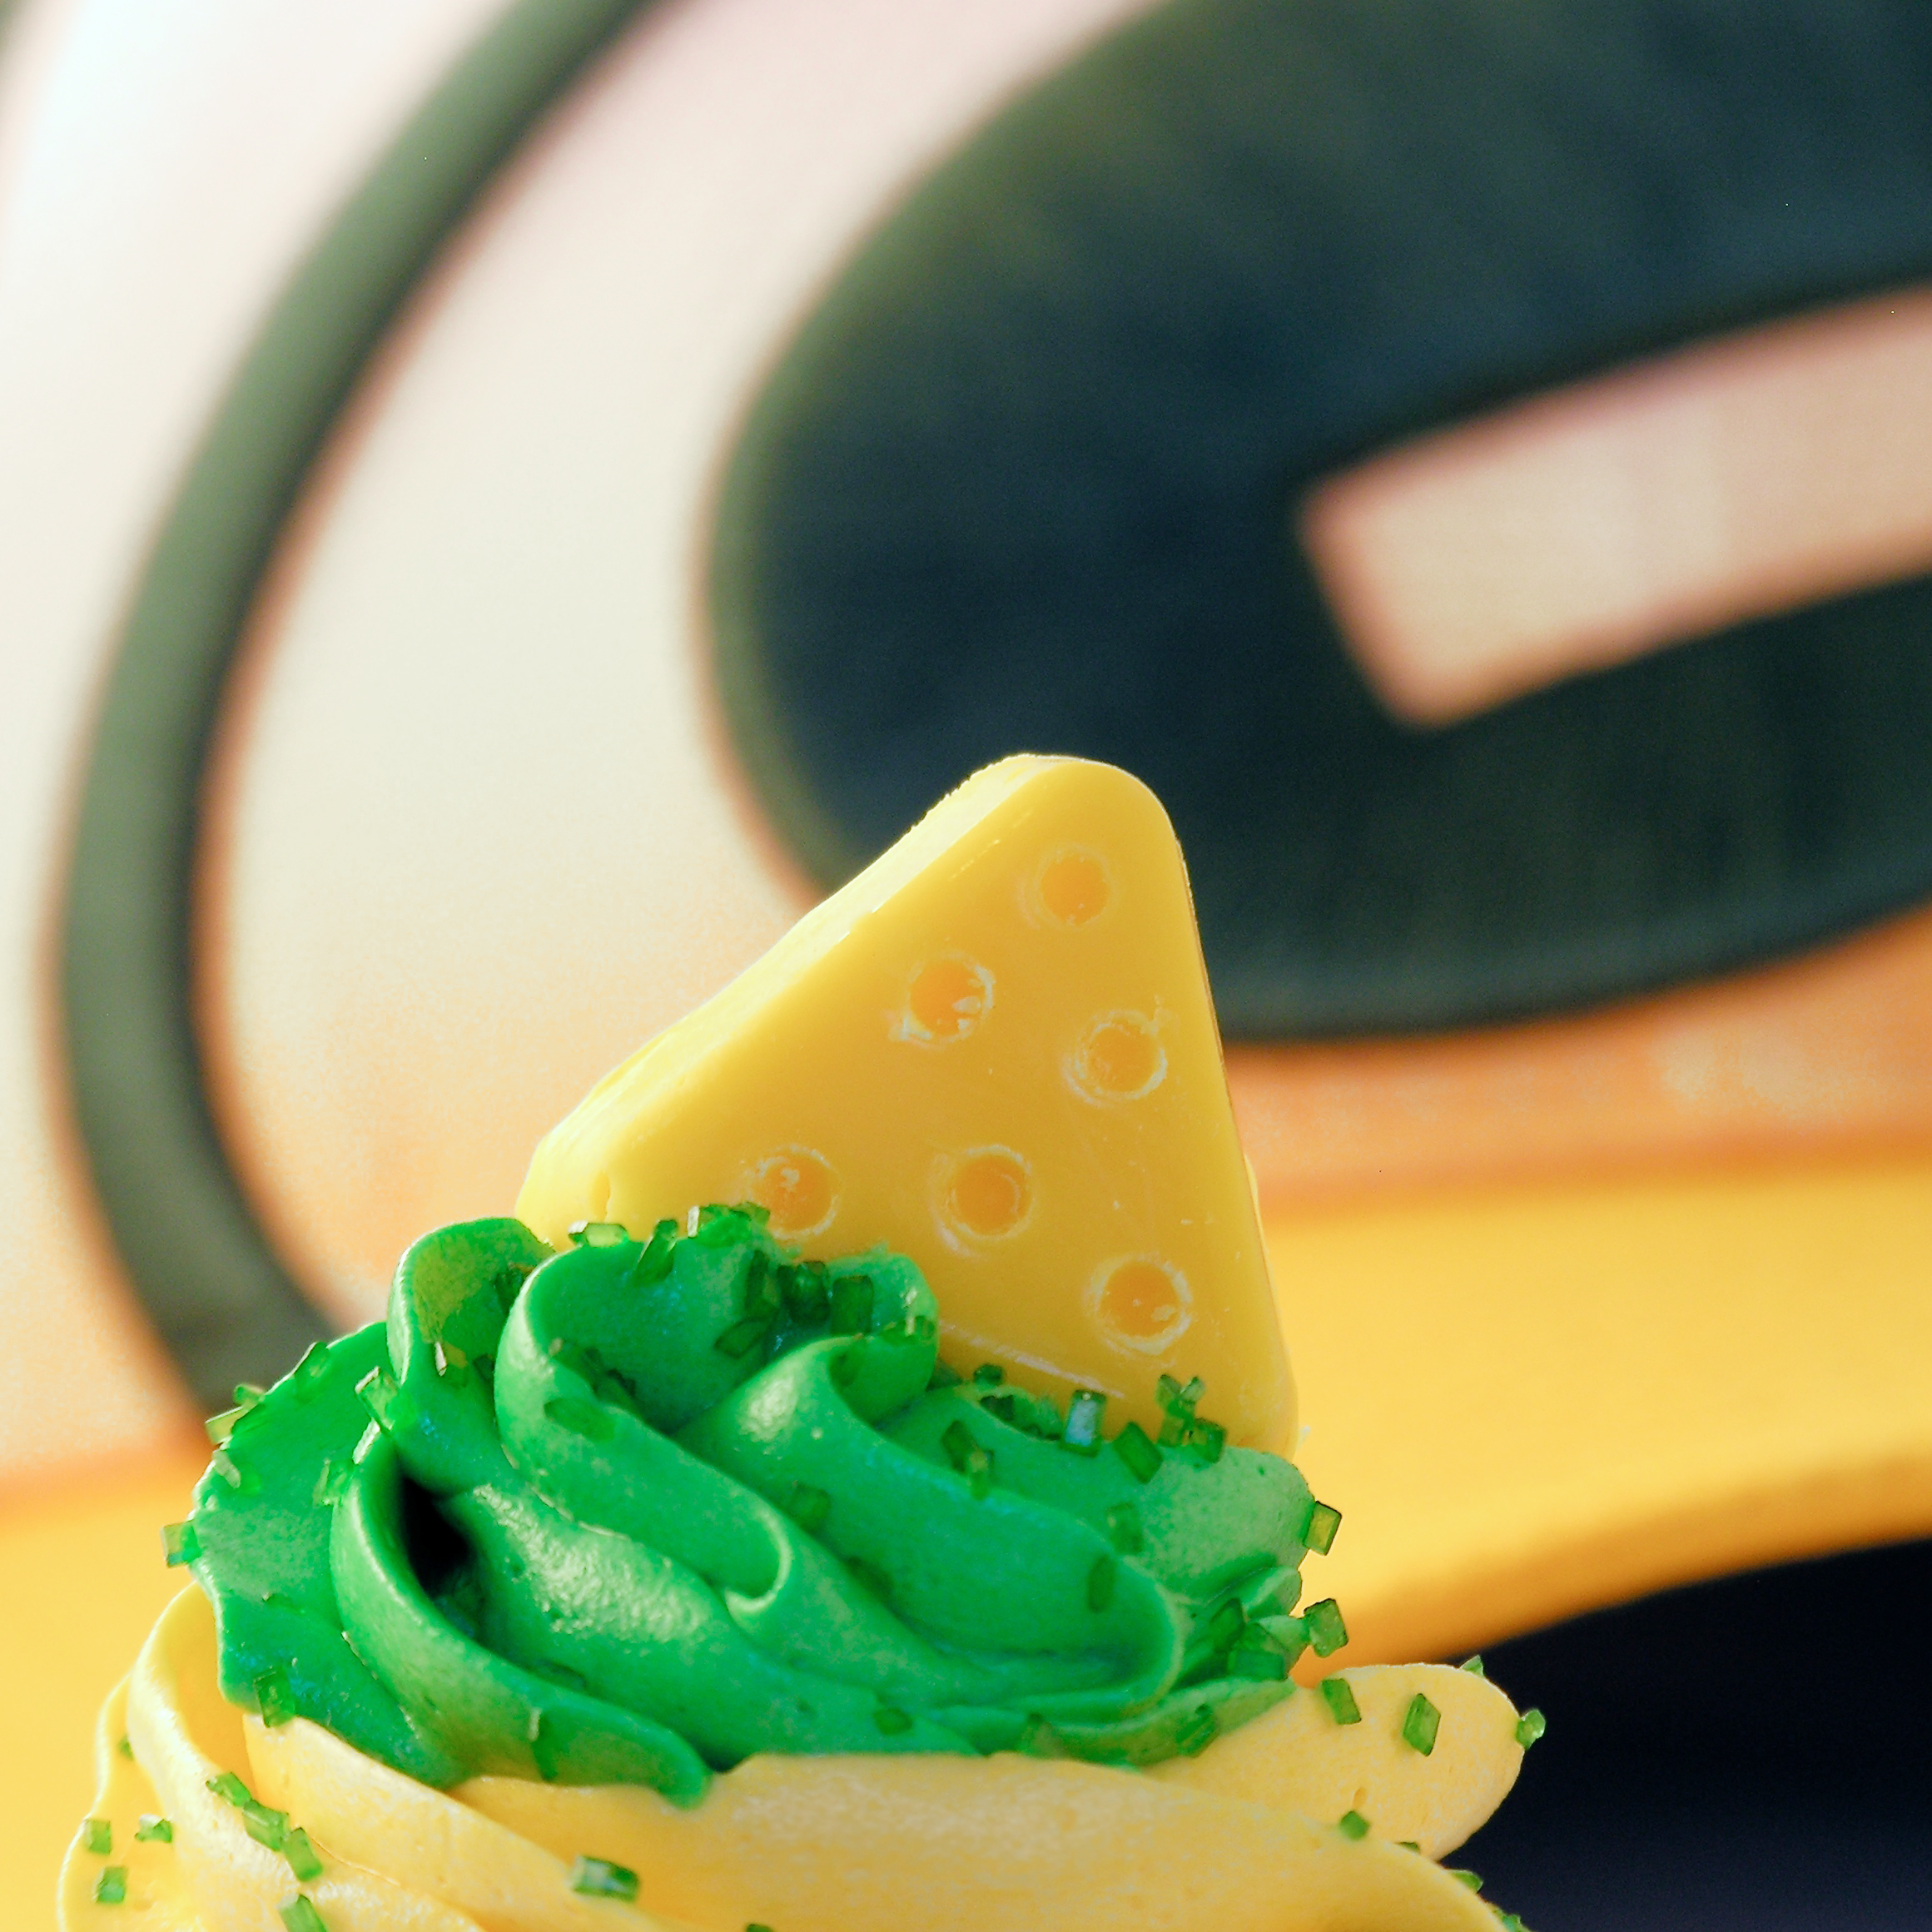
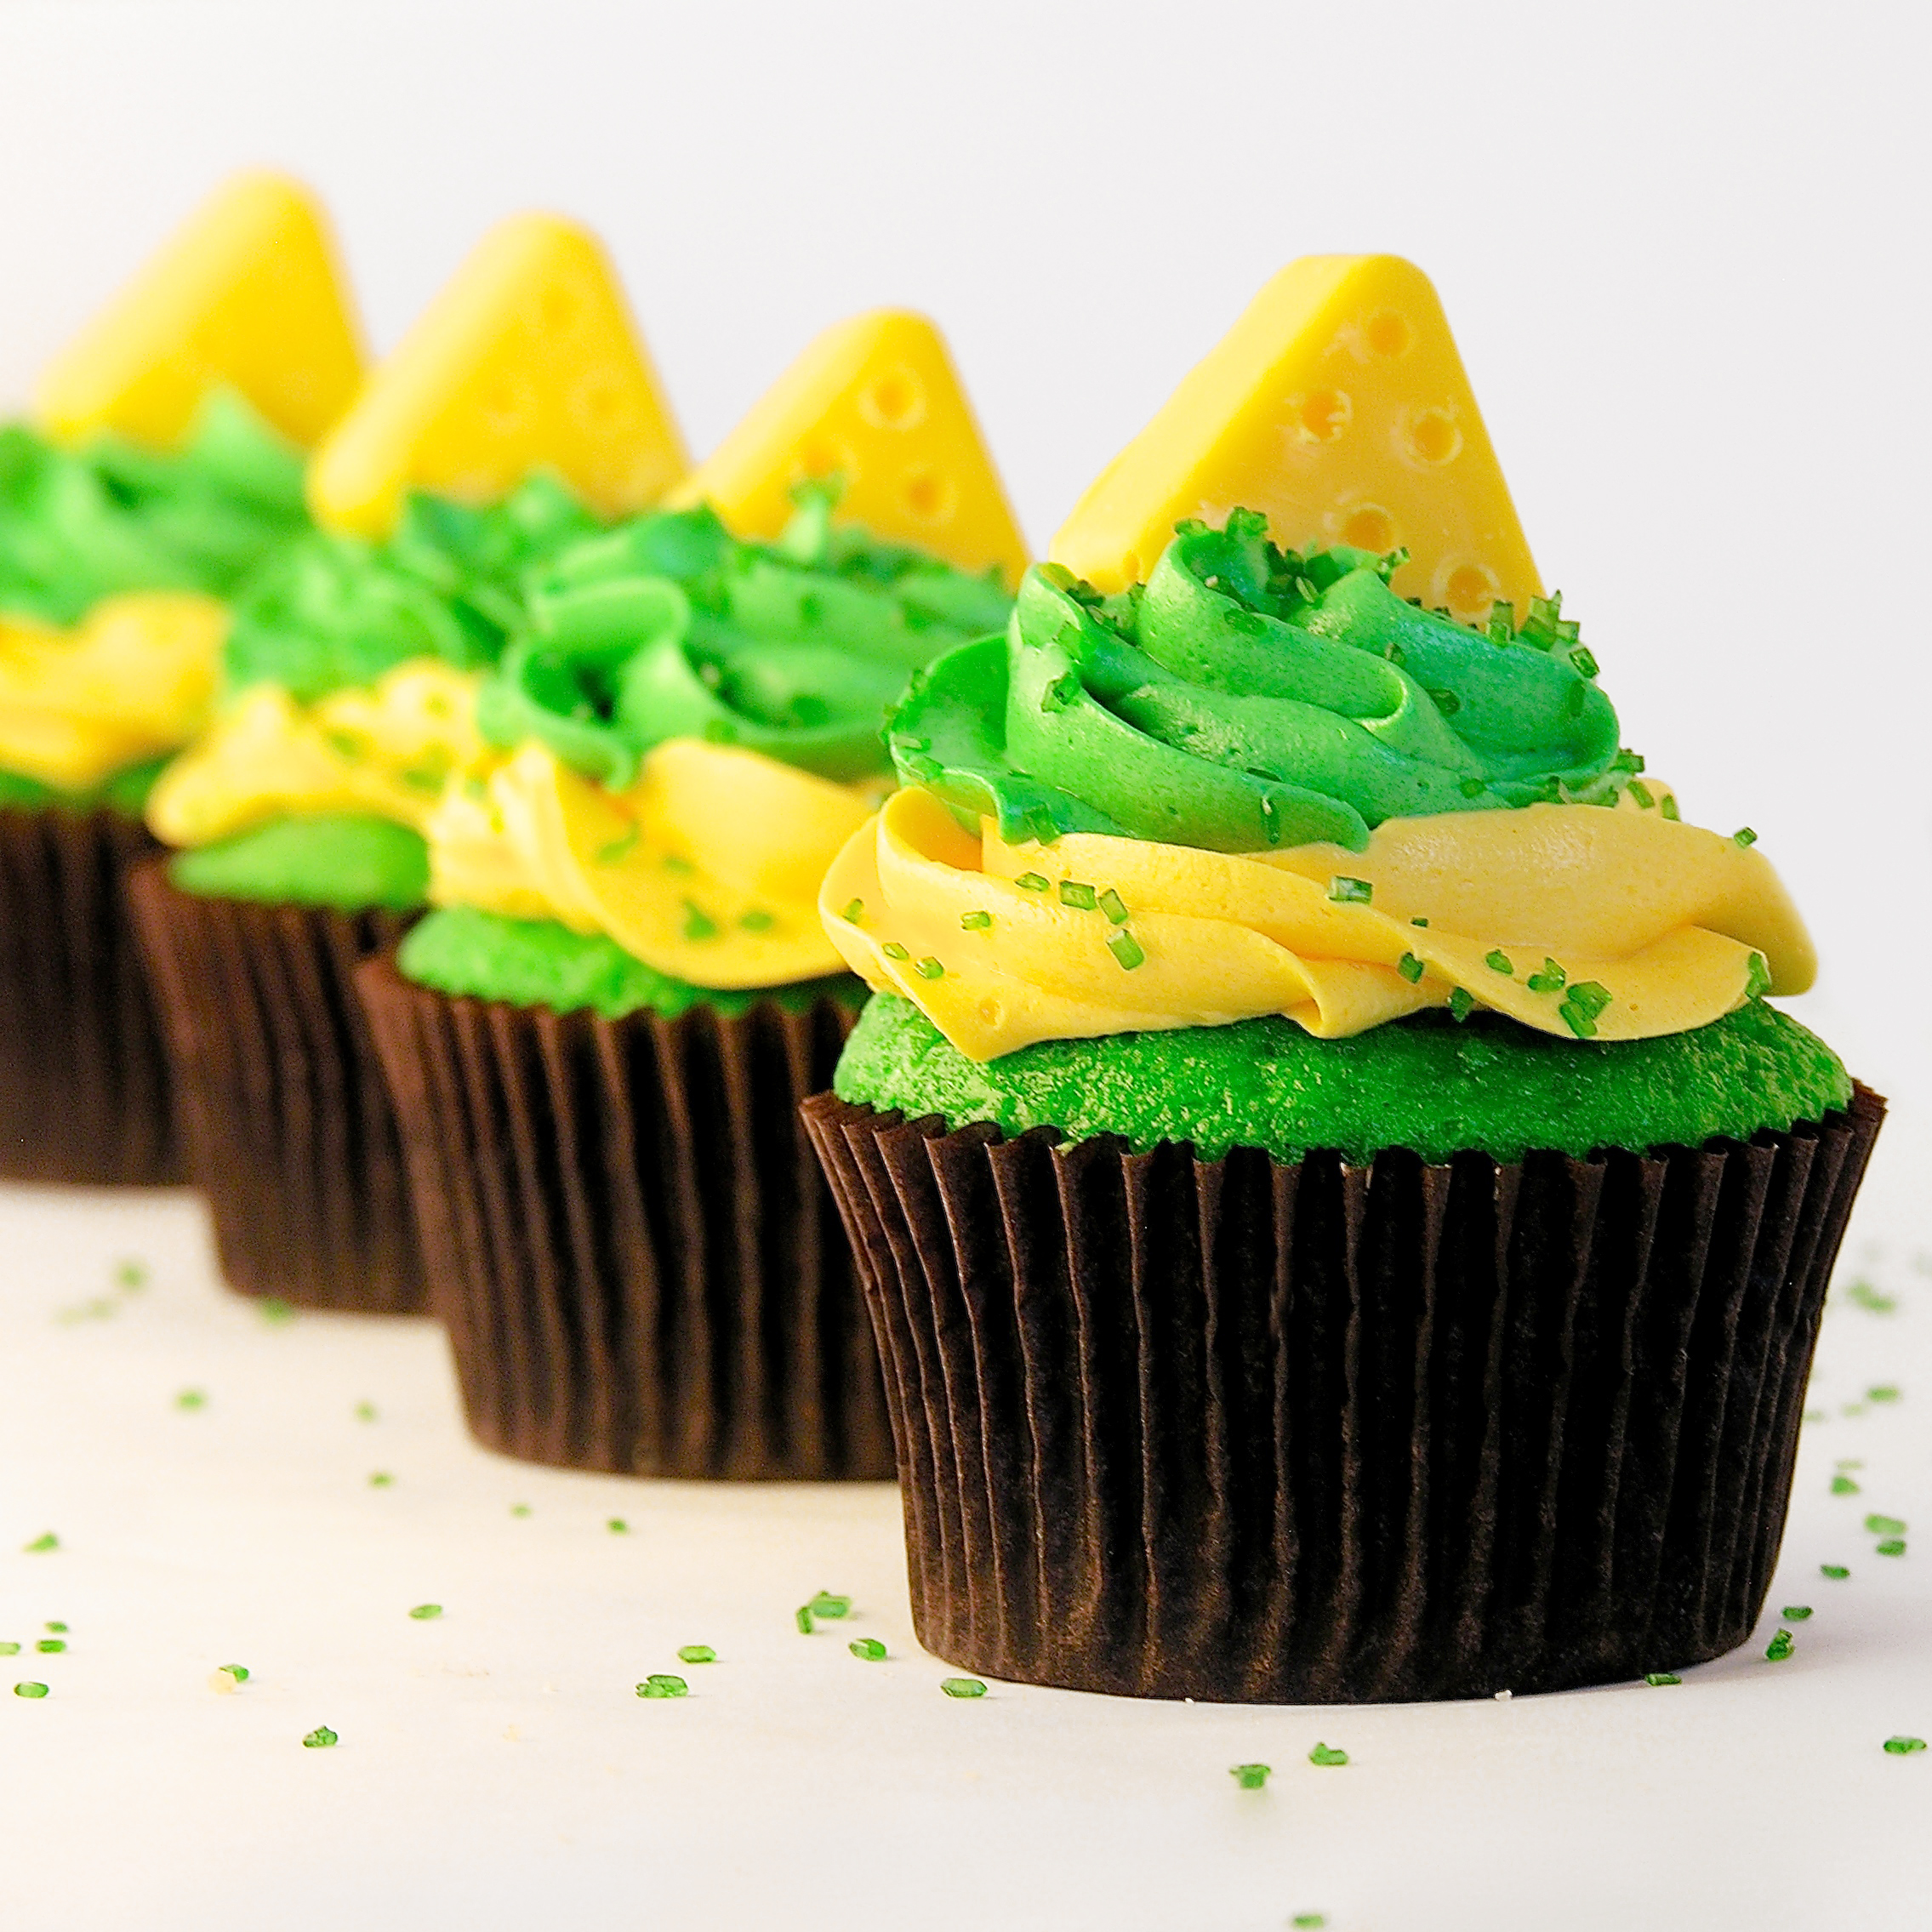
 These colorful Green Bay Packer CHEESEHEAD cupcakes are the perfect treat for game day!!! Make them in YOUR team colors and start the season off with some fun!