RSS Feed

Tag Archives: ice cream

Iced Mocha Pops!

Posted on

Mocha Pop3

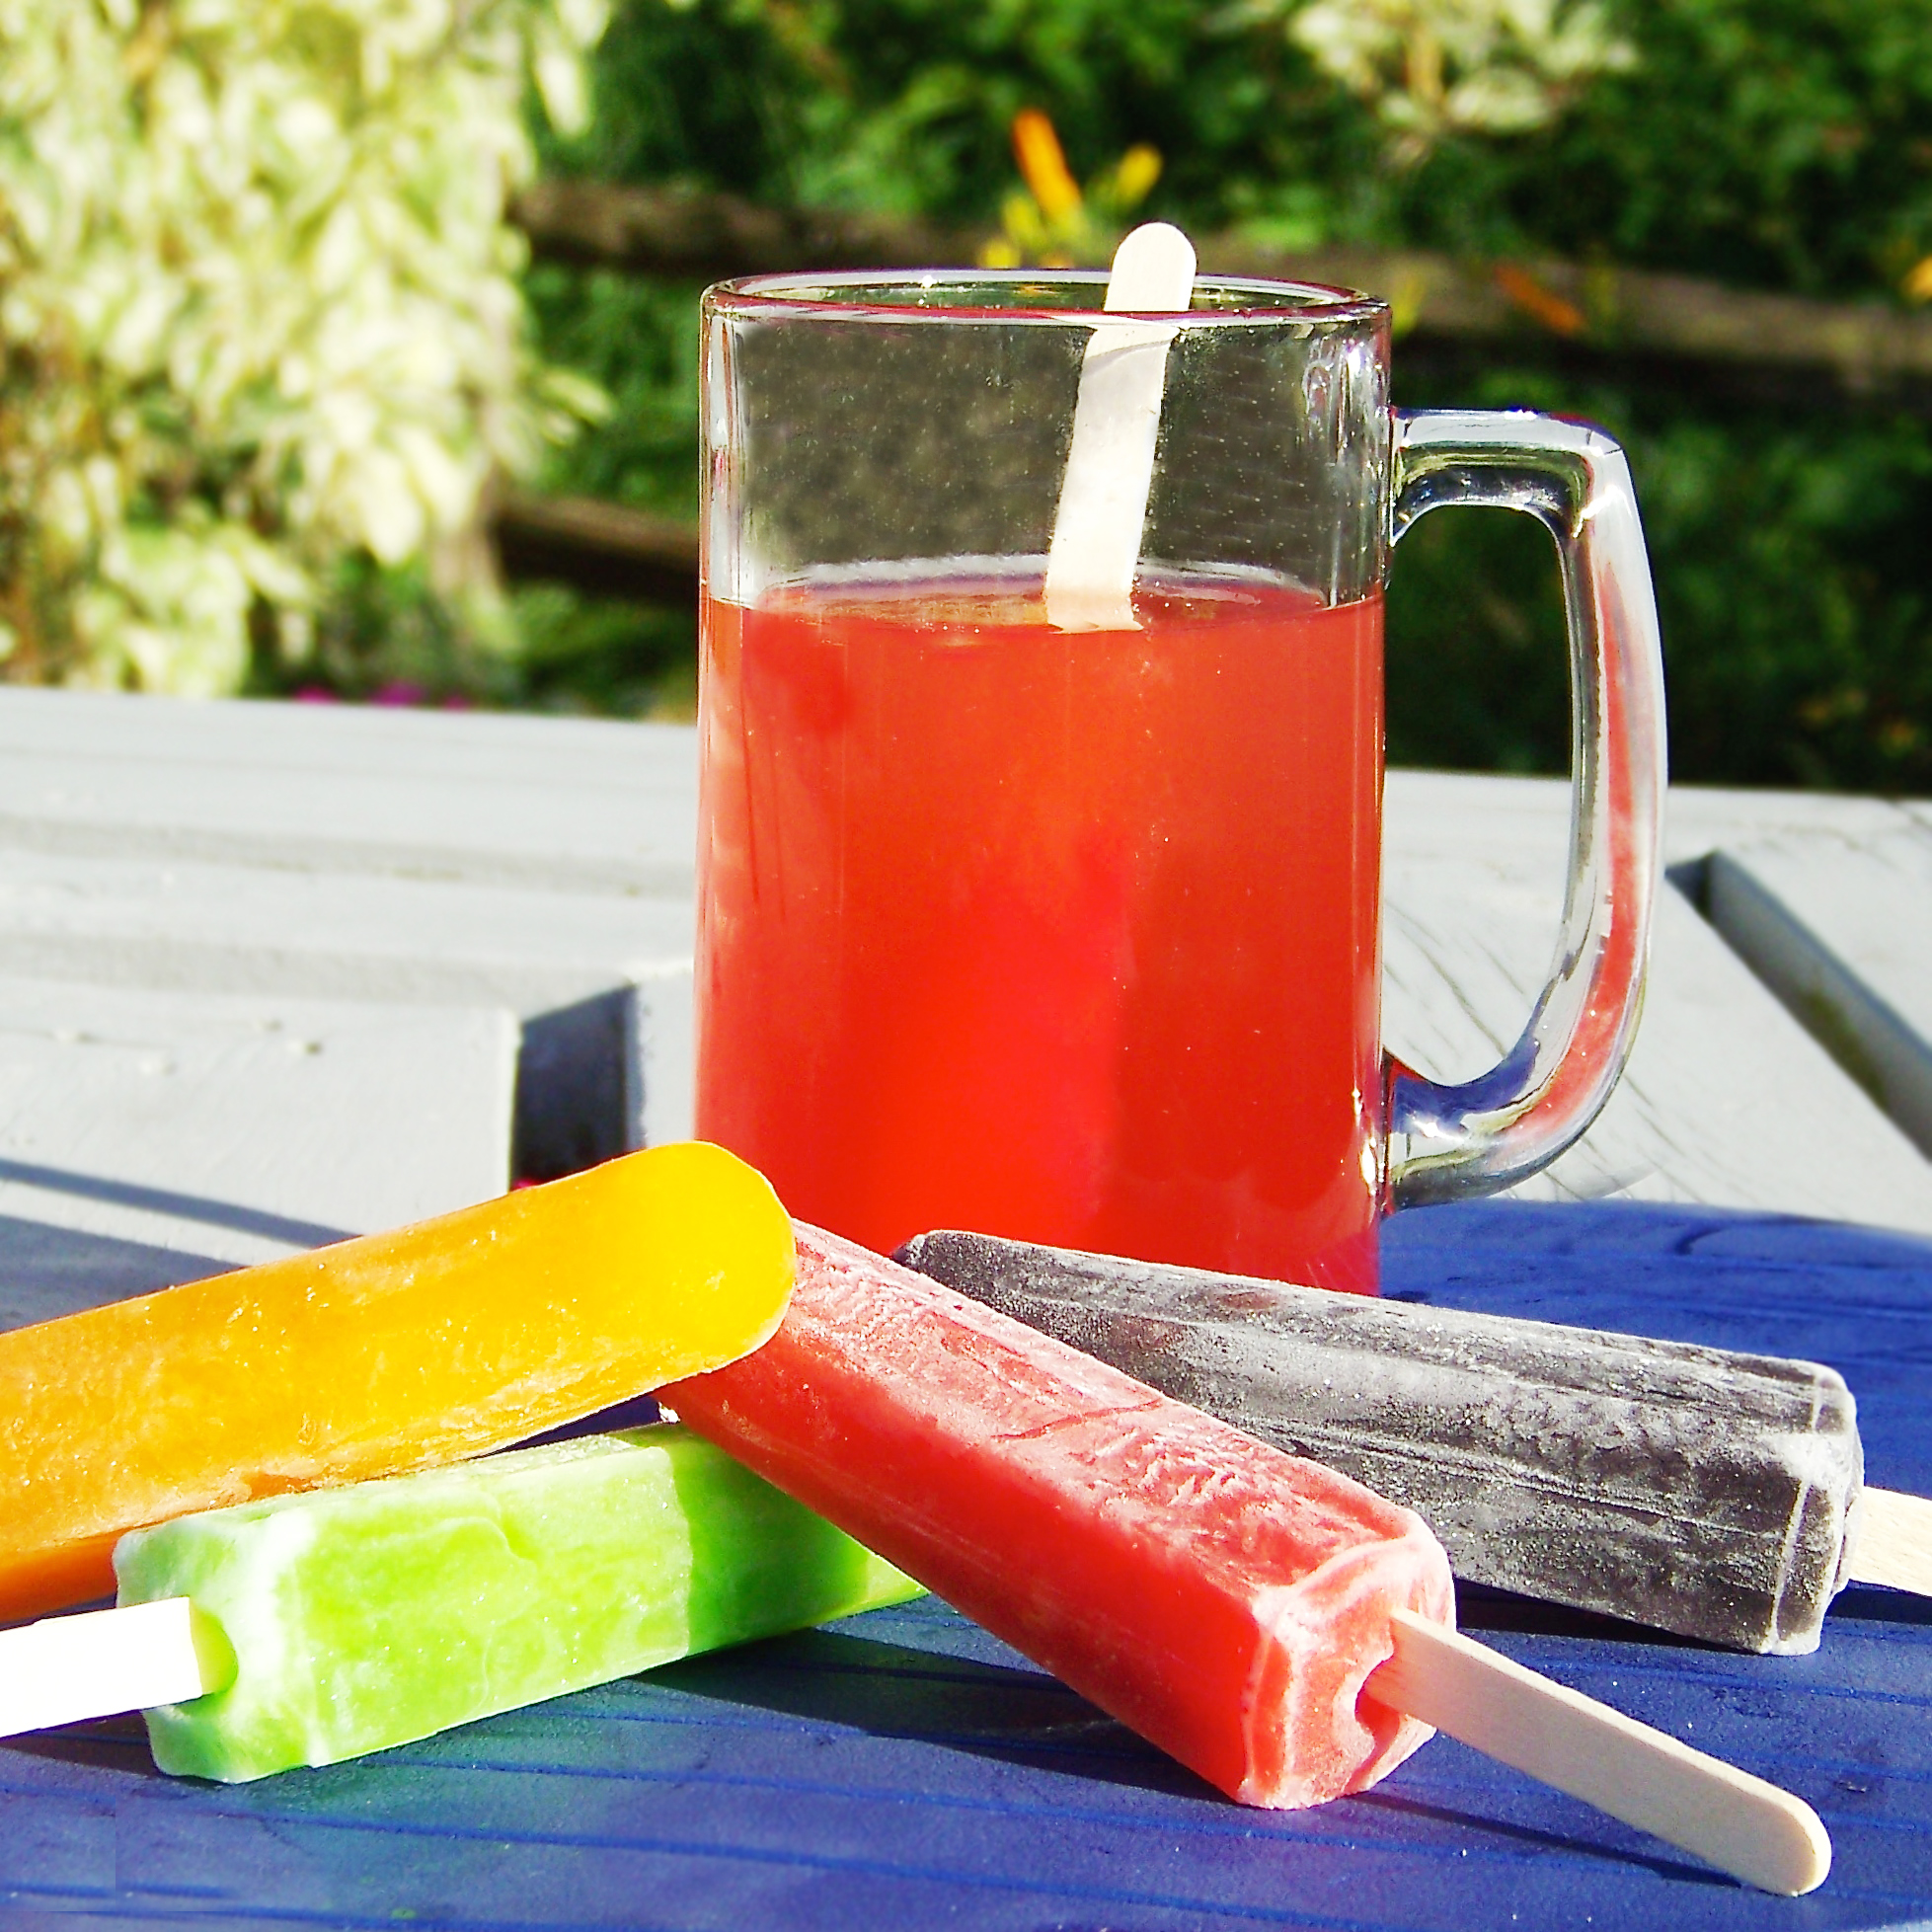
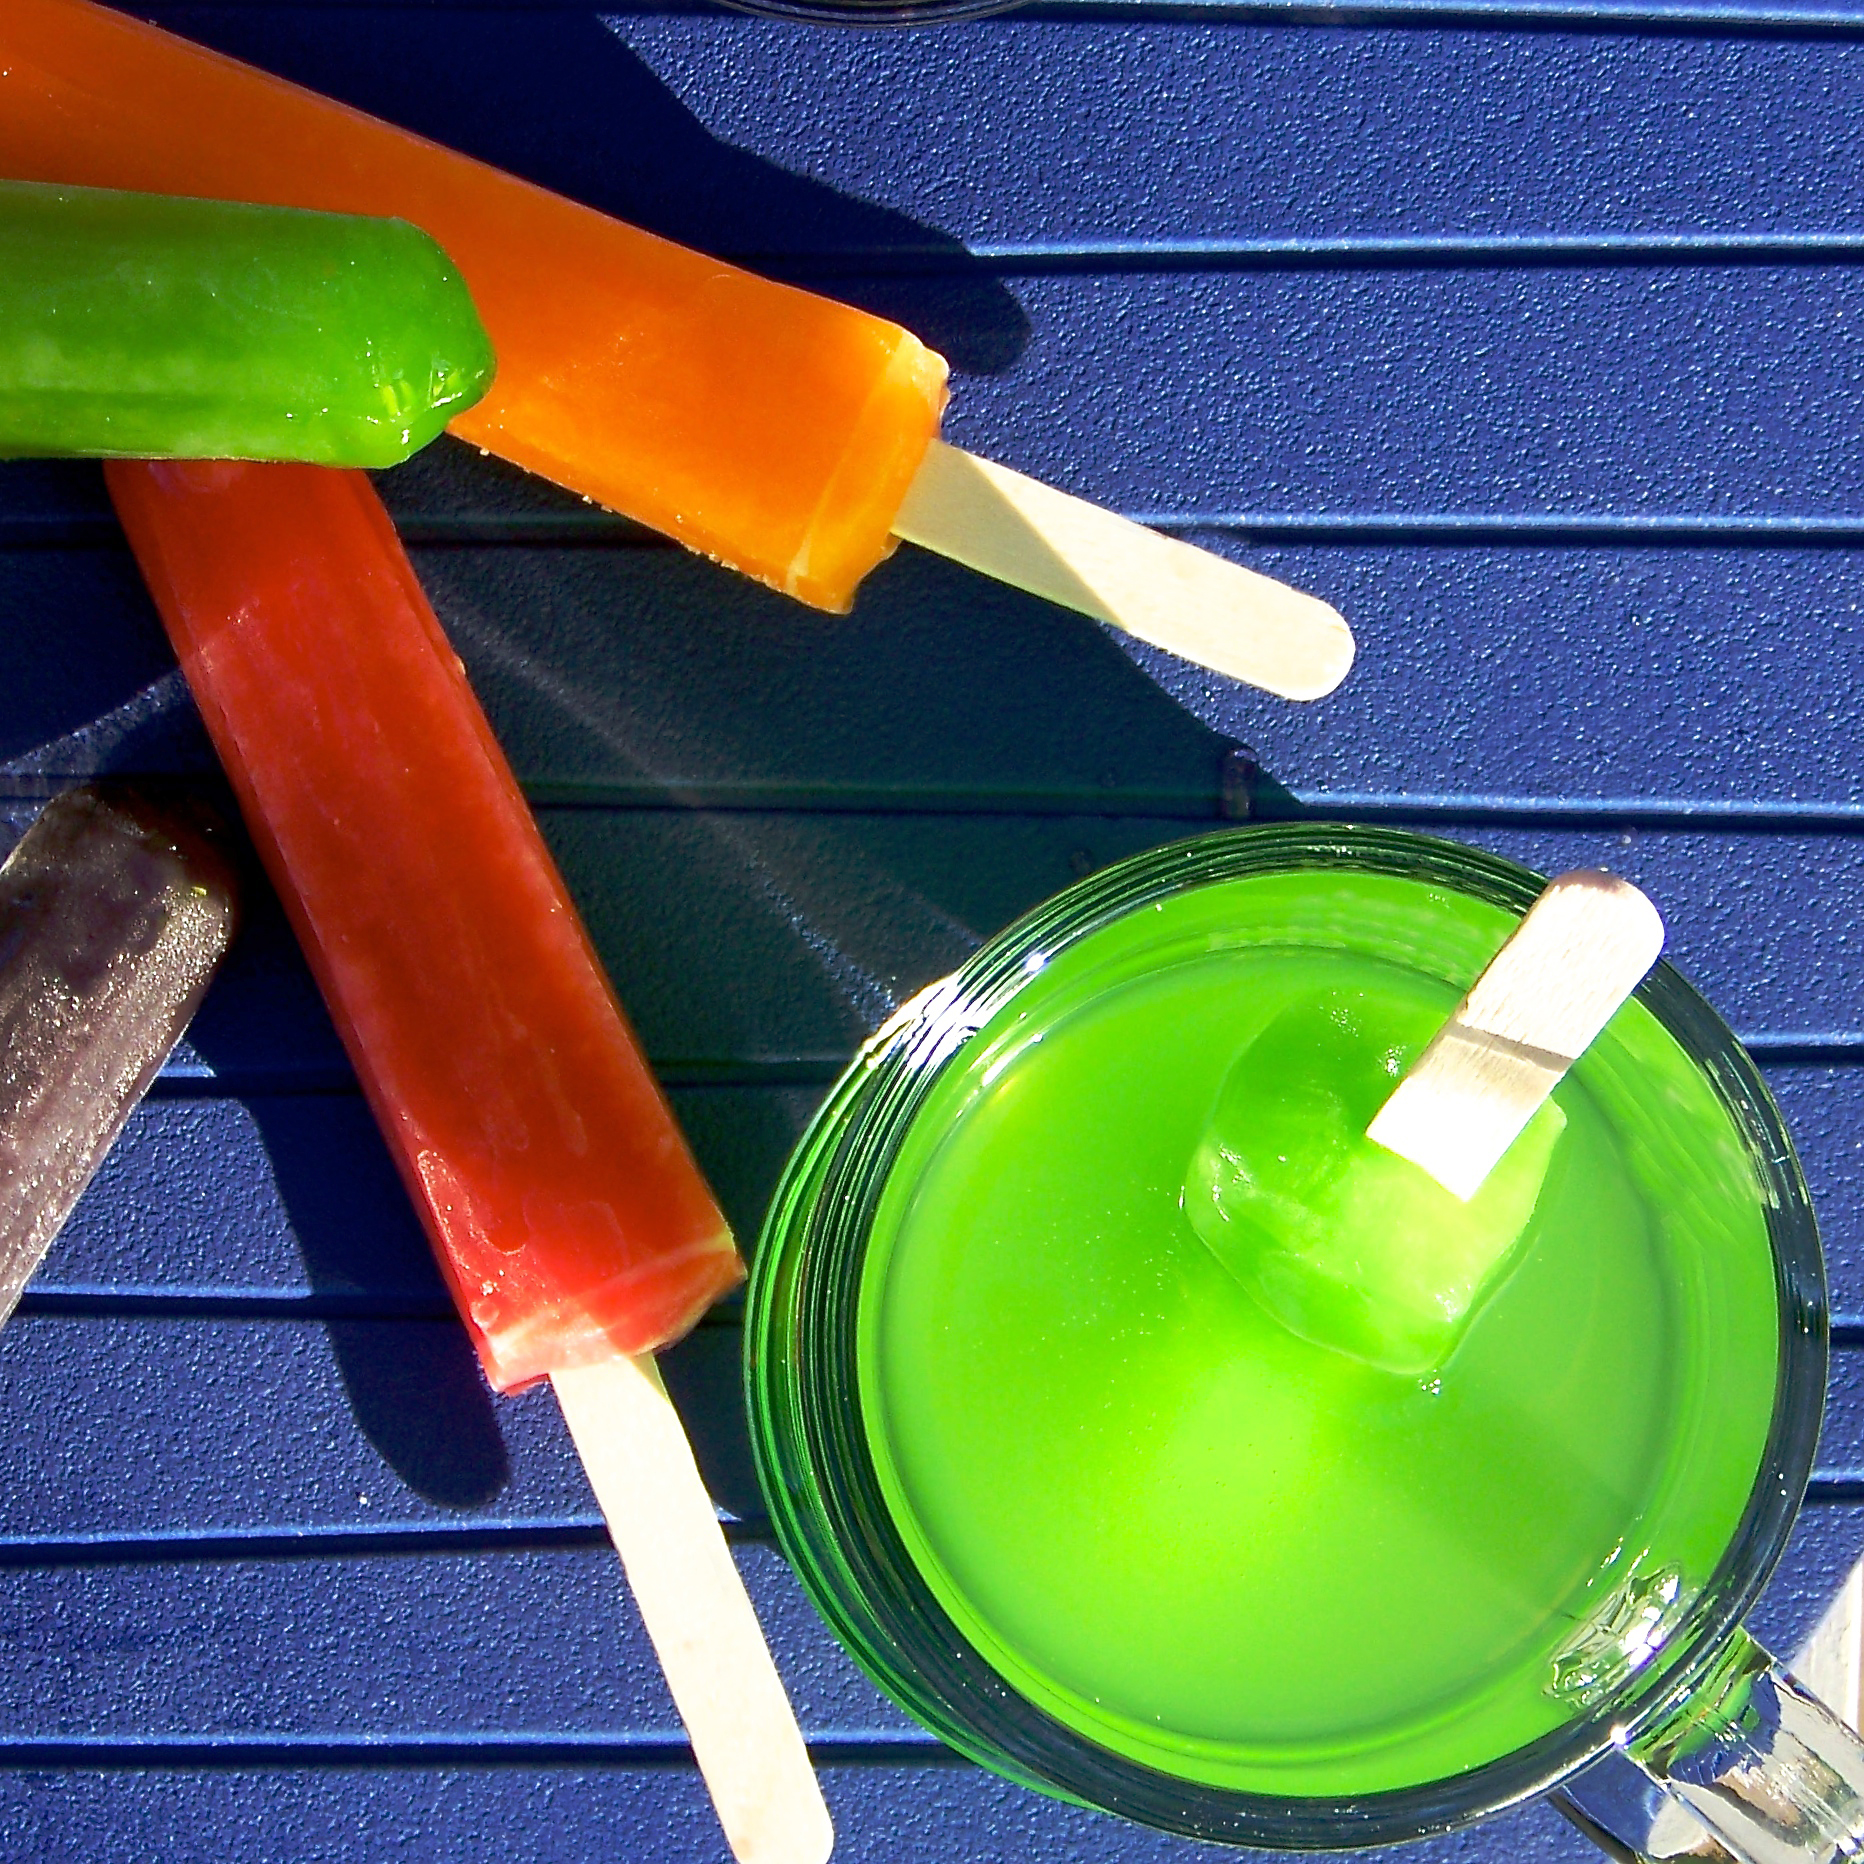
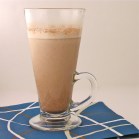
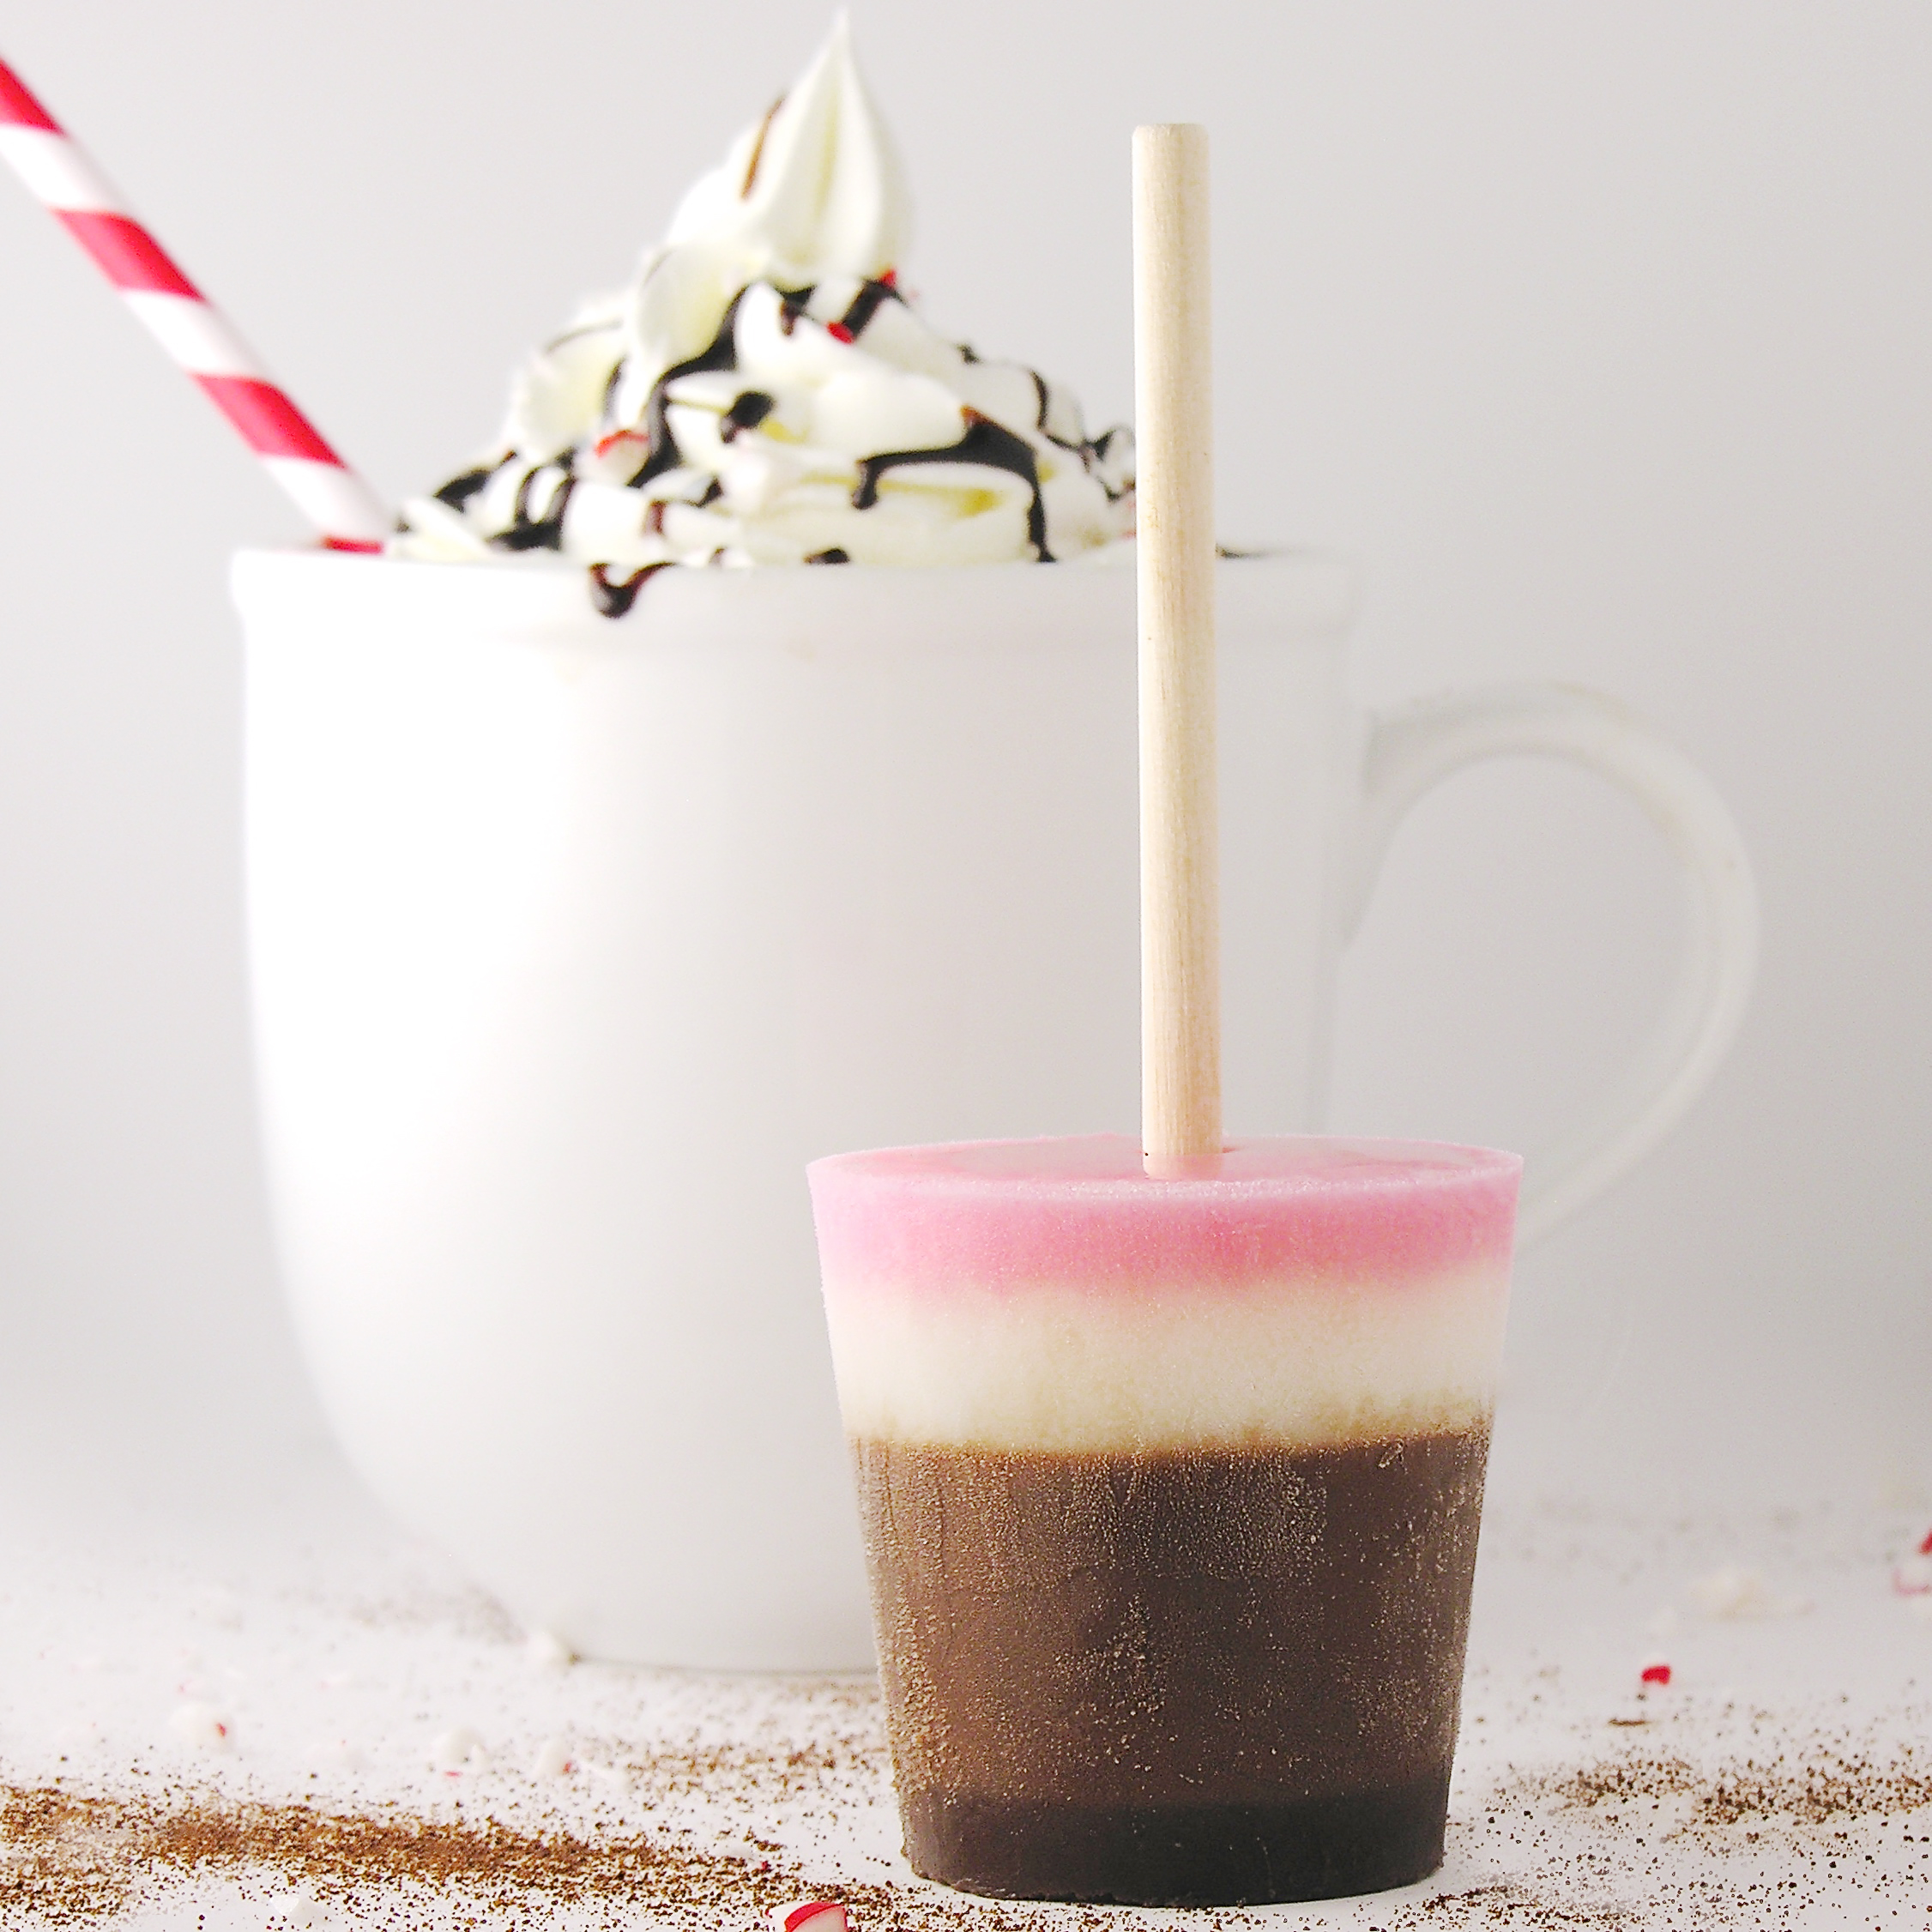
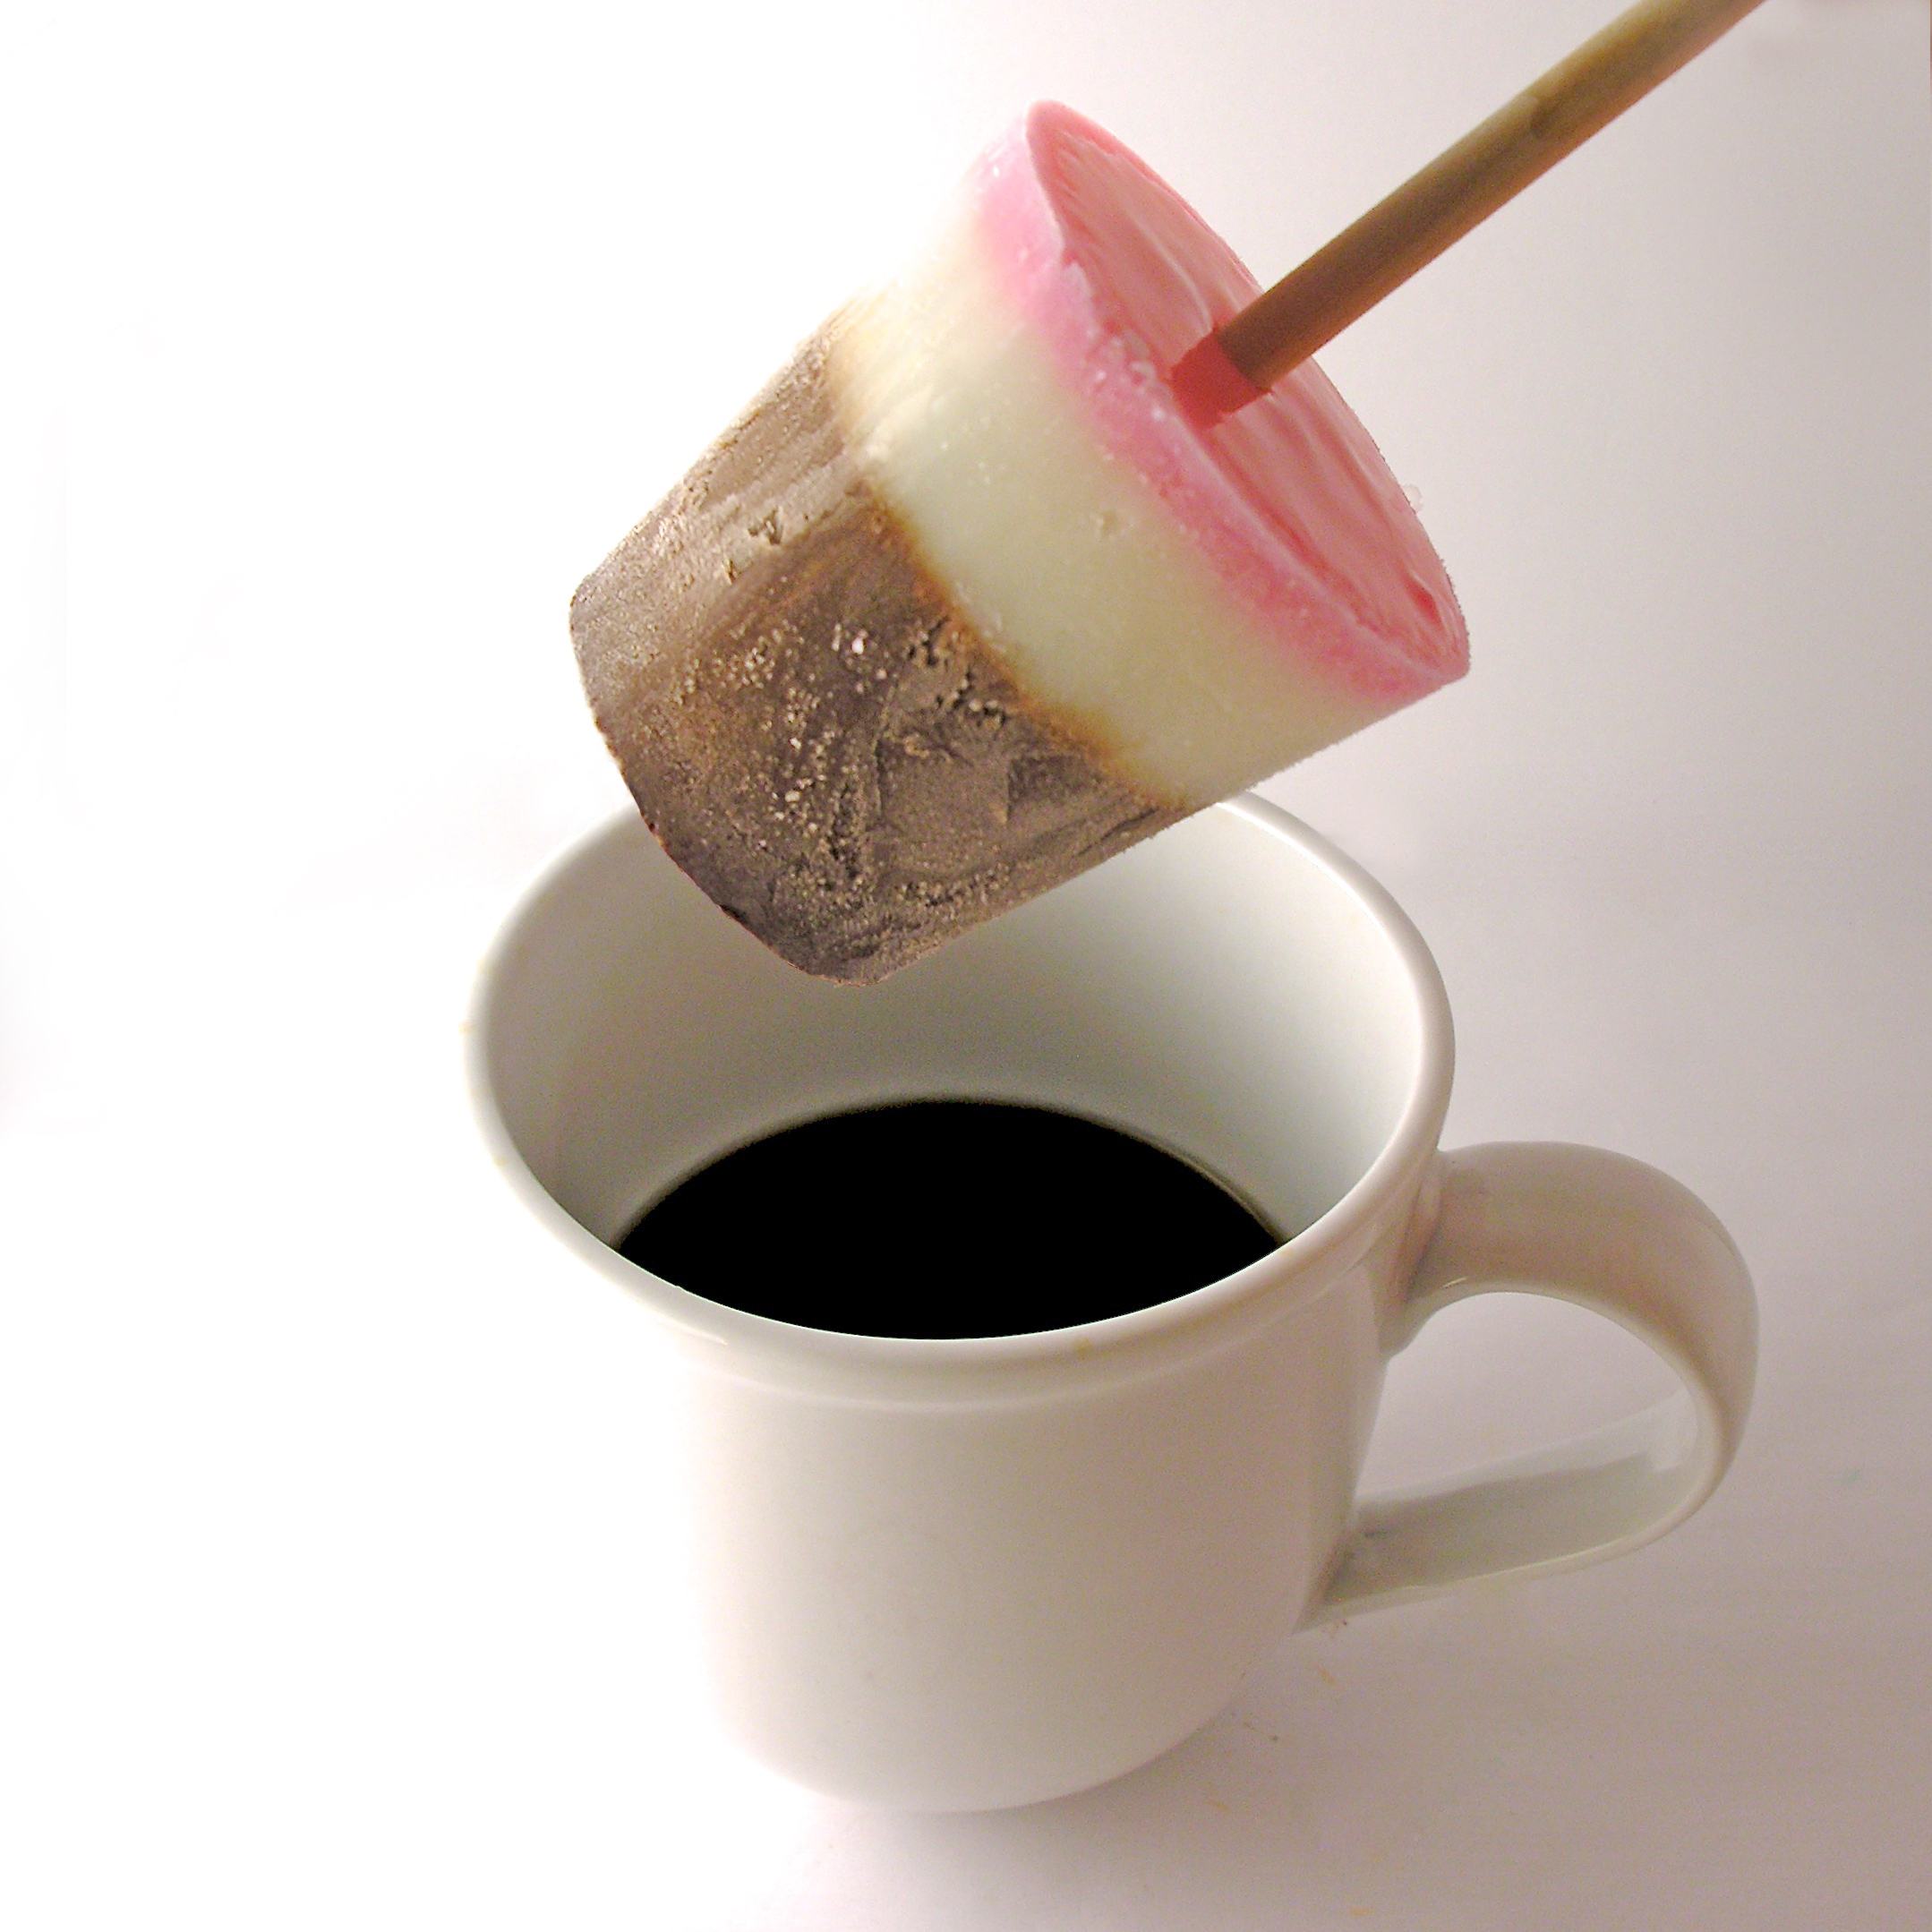
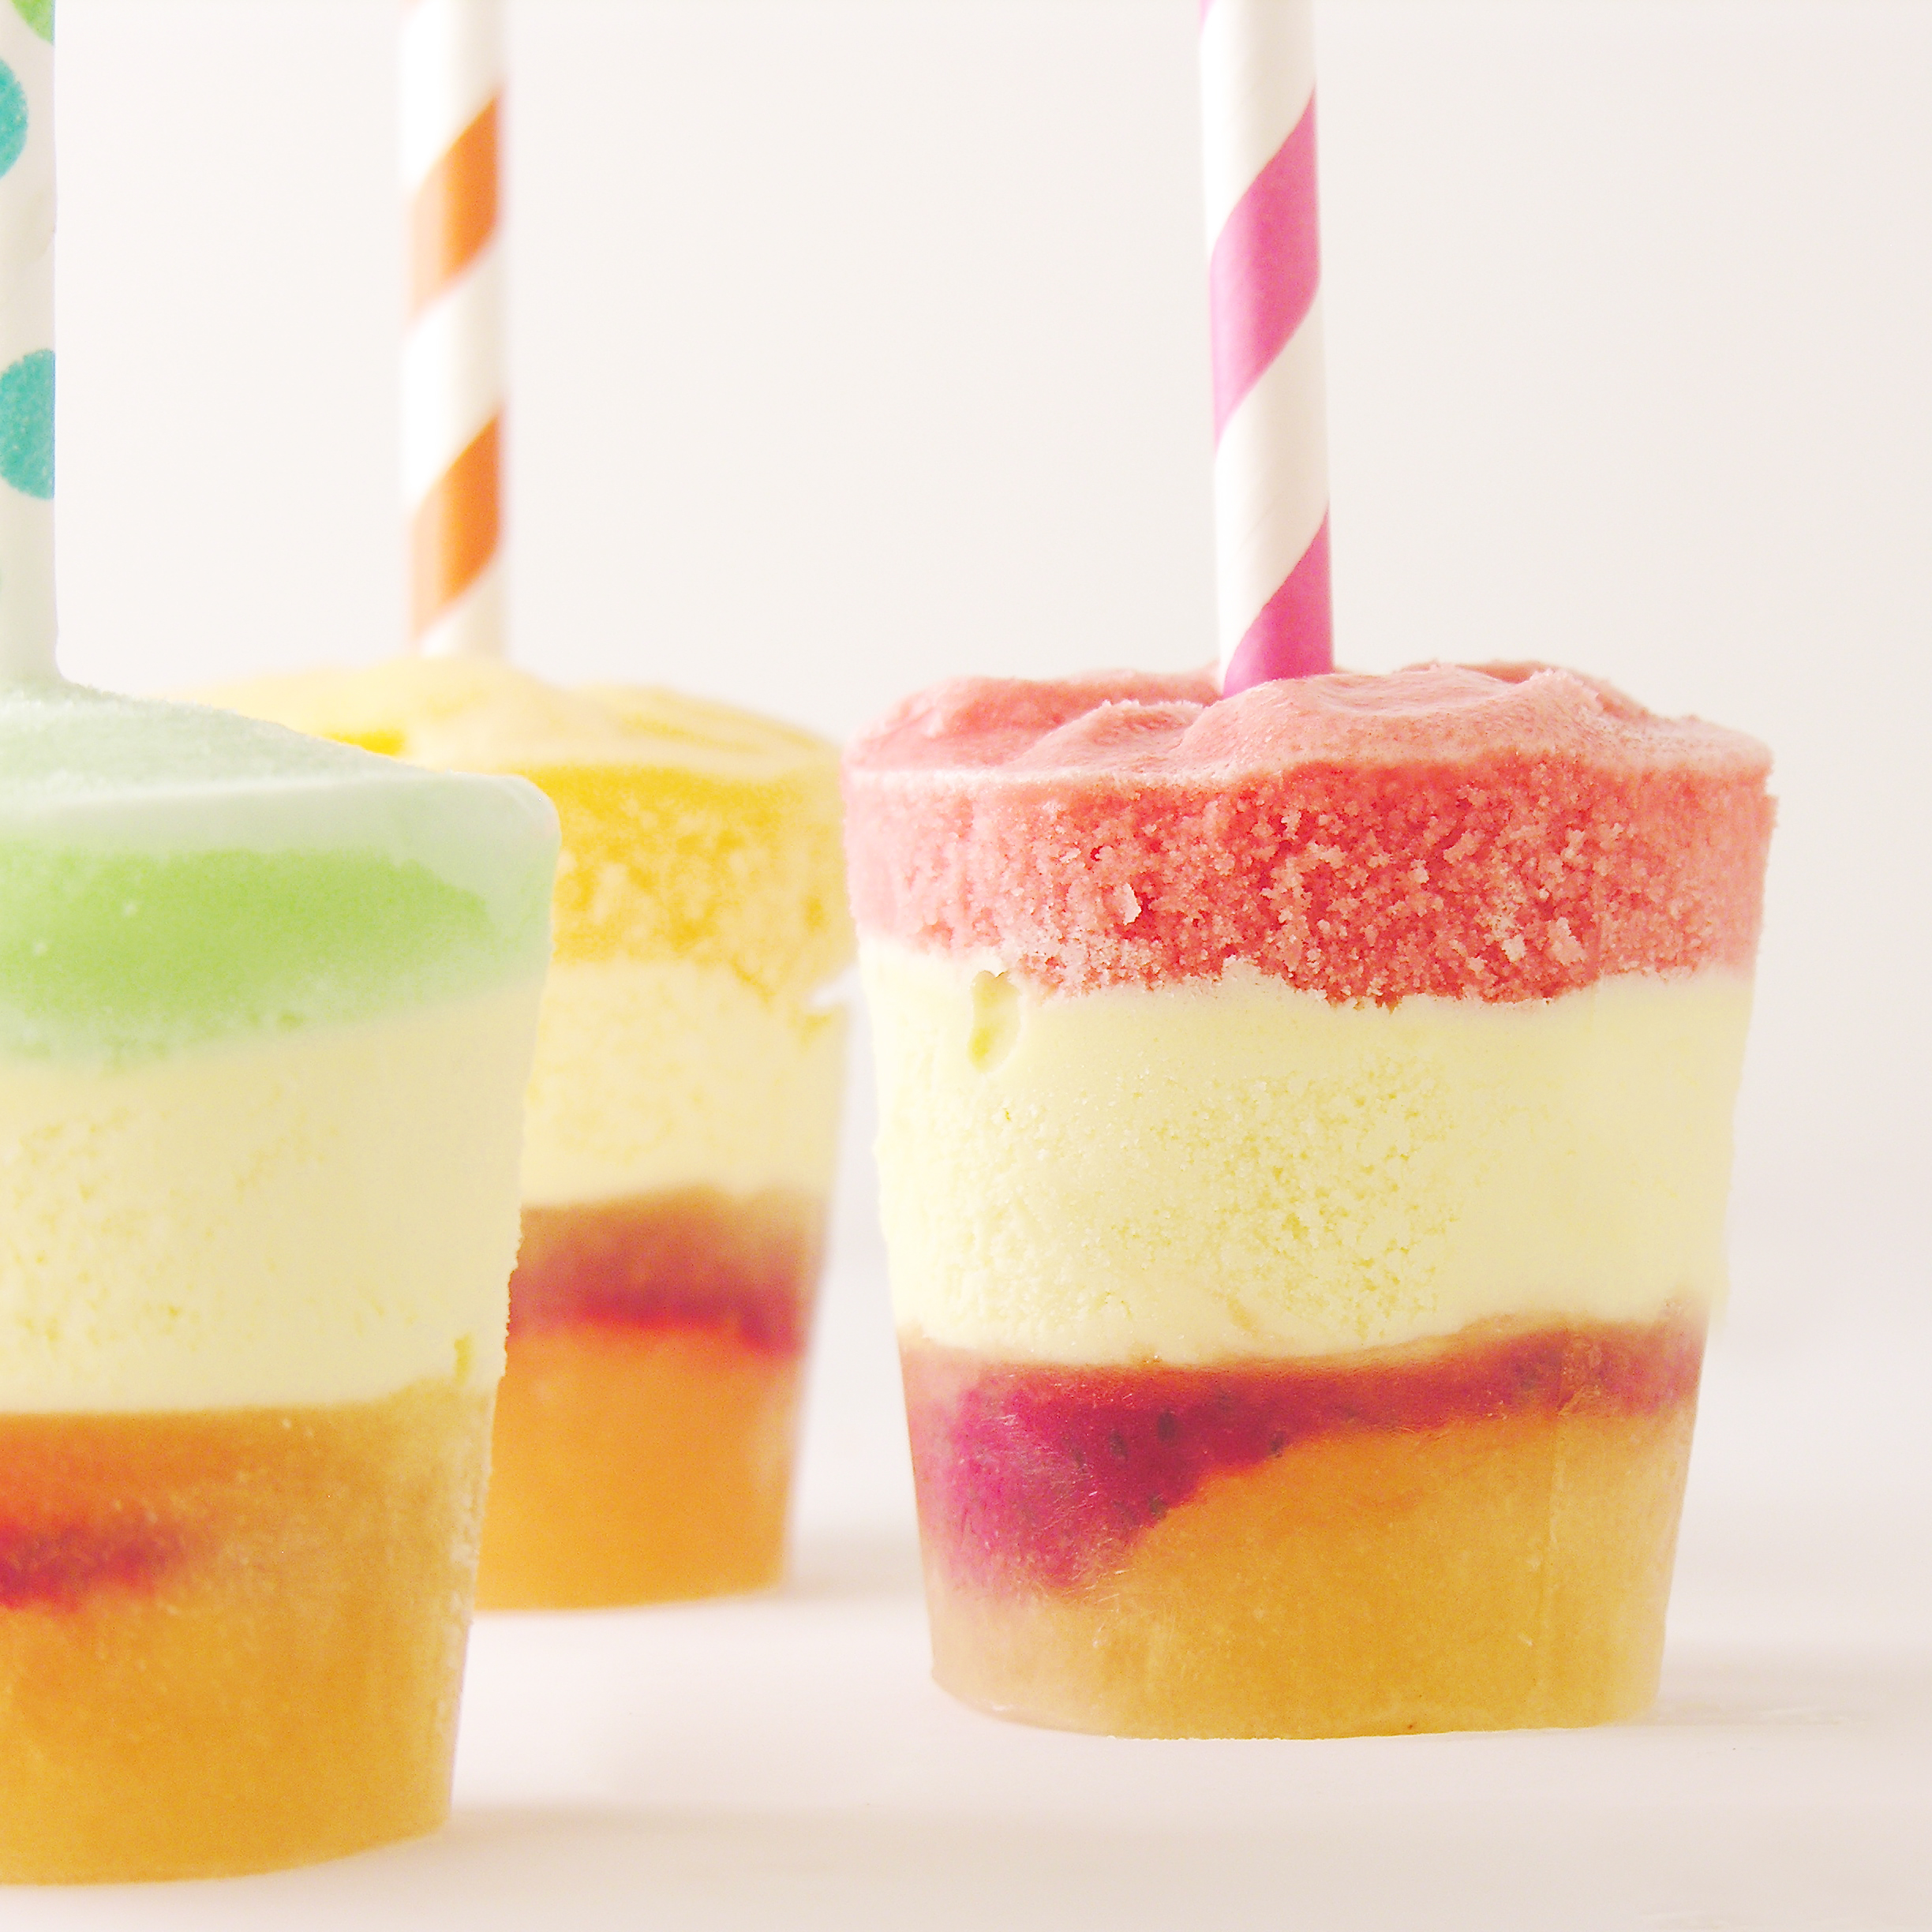
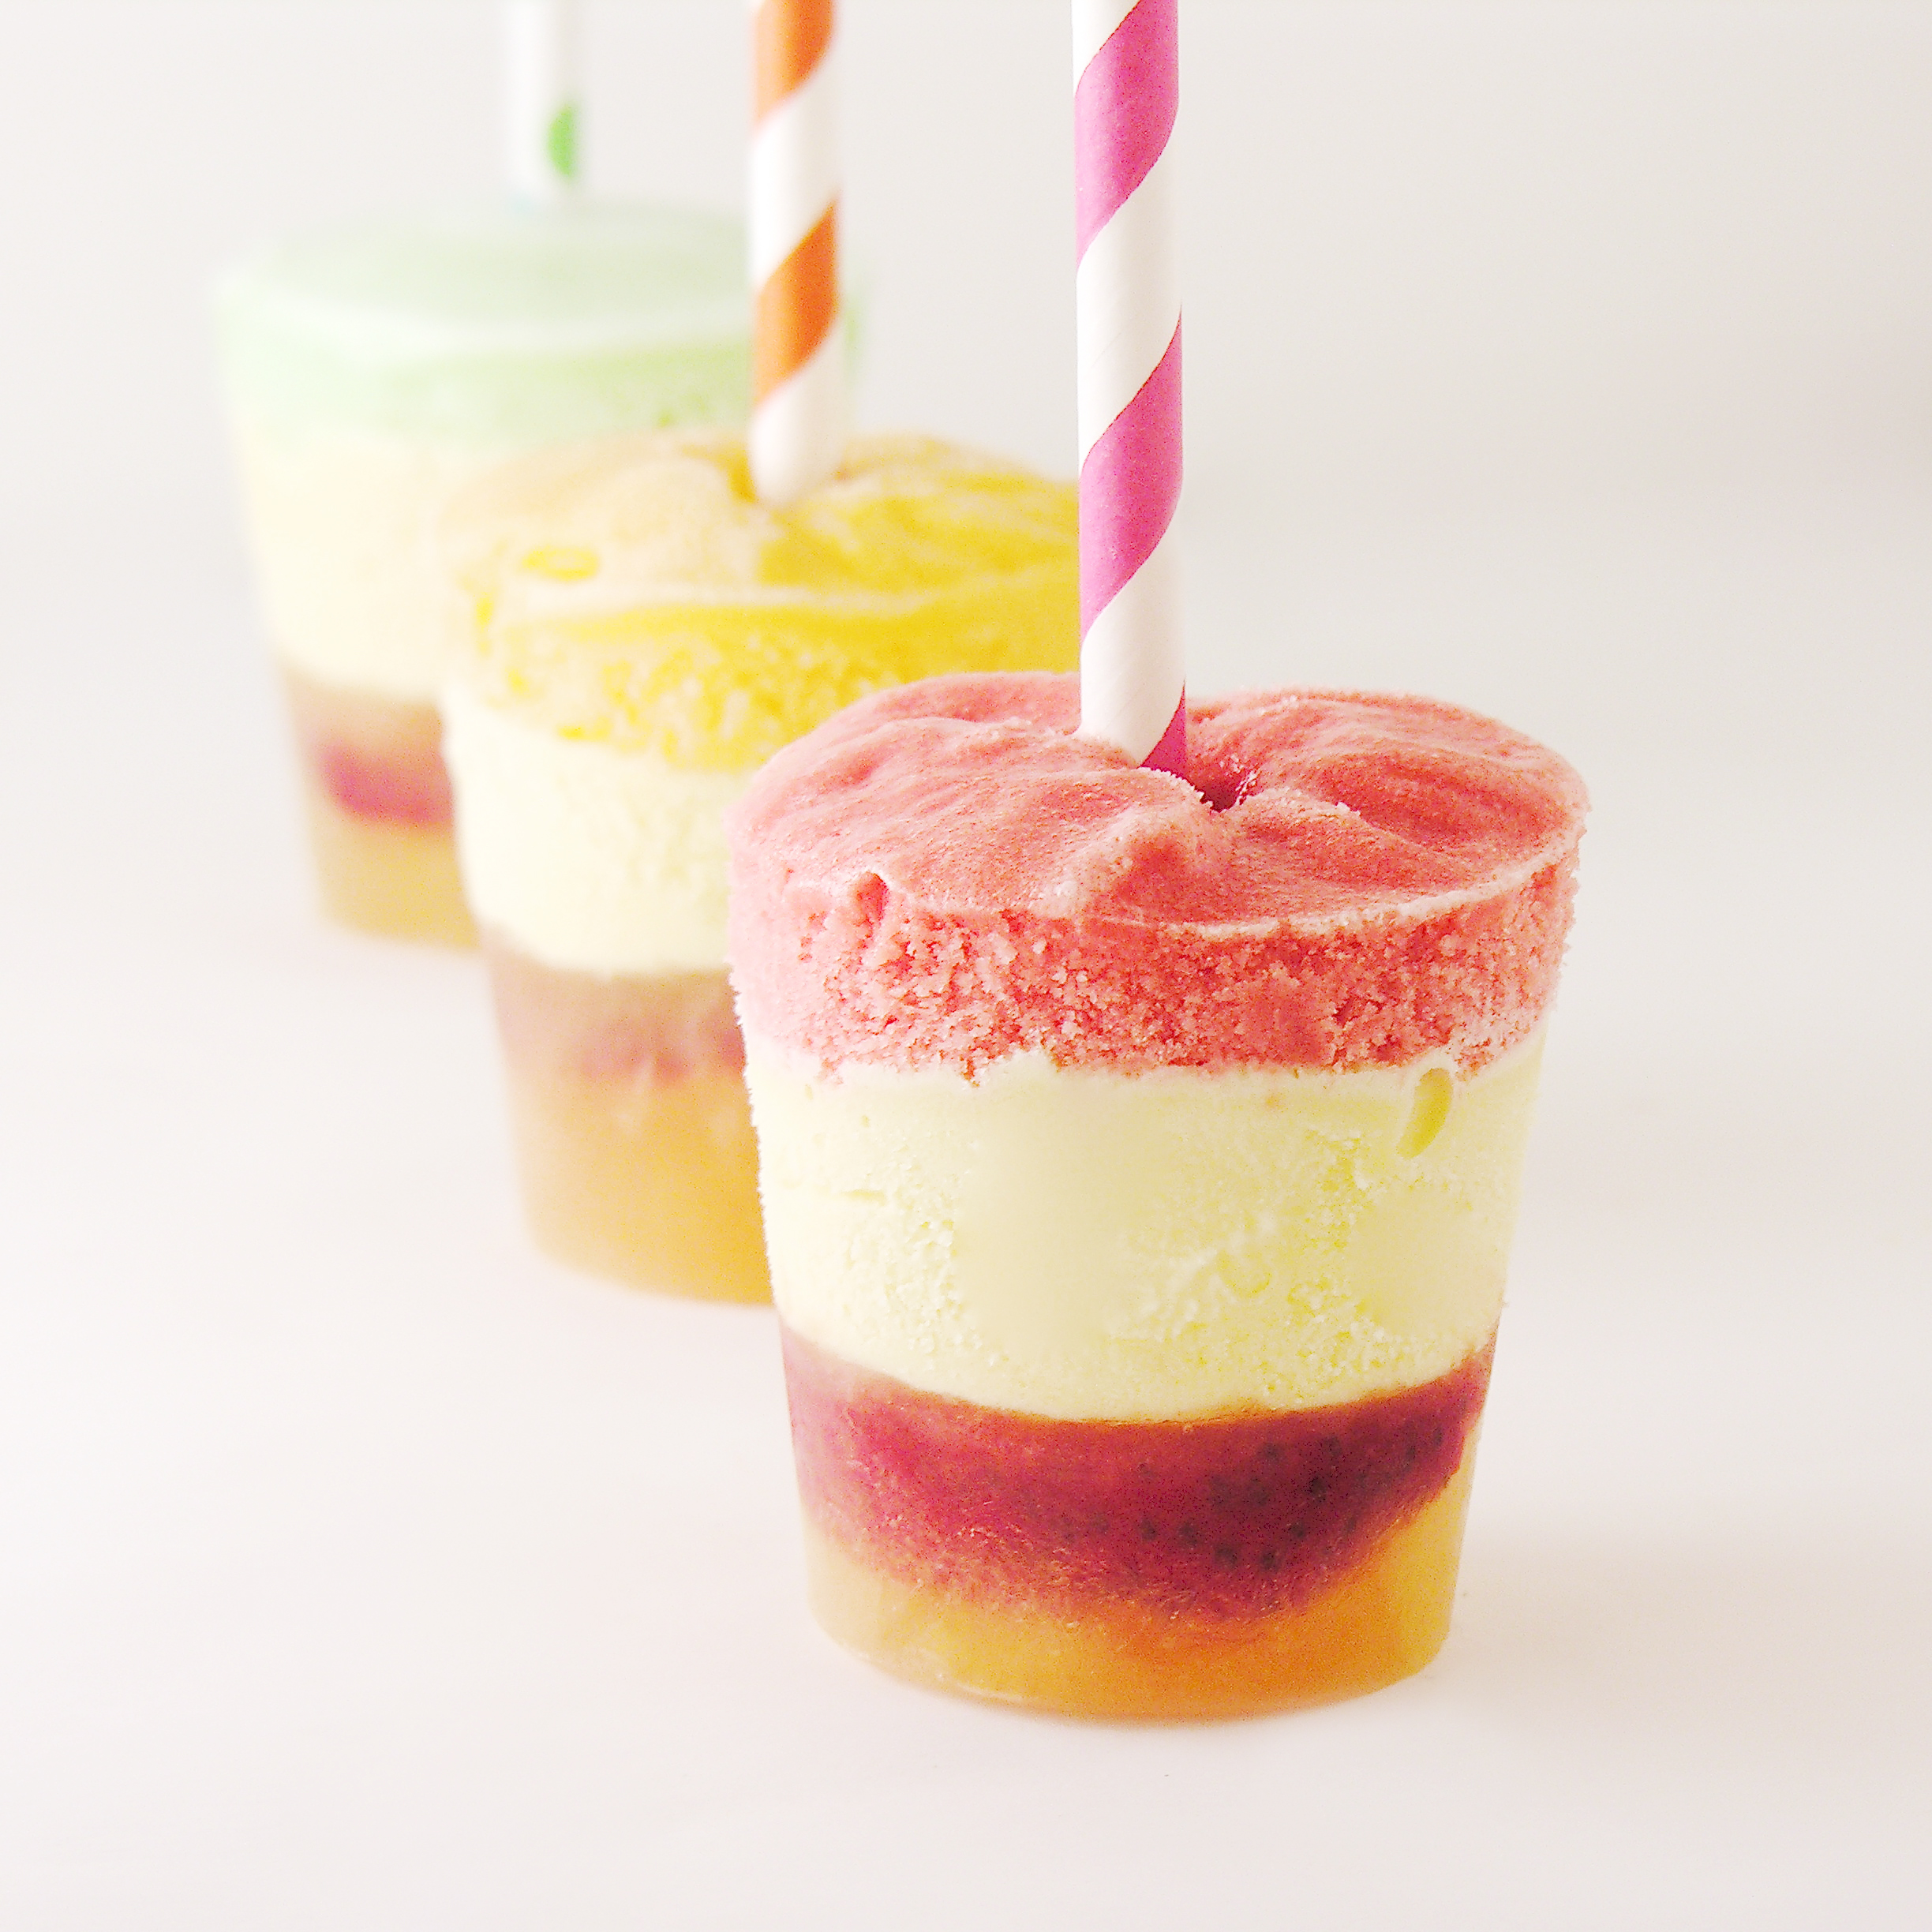
Stir this delicious frozen pop into your coffee, and you have an instant, creamy iced peppermint mocha! 

The heat of summer is here, and I find myself craving iced coffee drinks in yummy flavors. These easy-to-make frozen pops can be stored in your freezer and pulled out any time you have a craving for something a little more fun than just plain coffee!

I made mine with peppermint syrup- but you could certainly make yours with your favorite flavor! Don’t skimp on the chocolate- I used Torani Dark Chocolate Sauce and it is to die for!!  Seriously. Use it.

Iced Mocha Pops

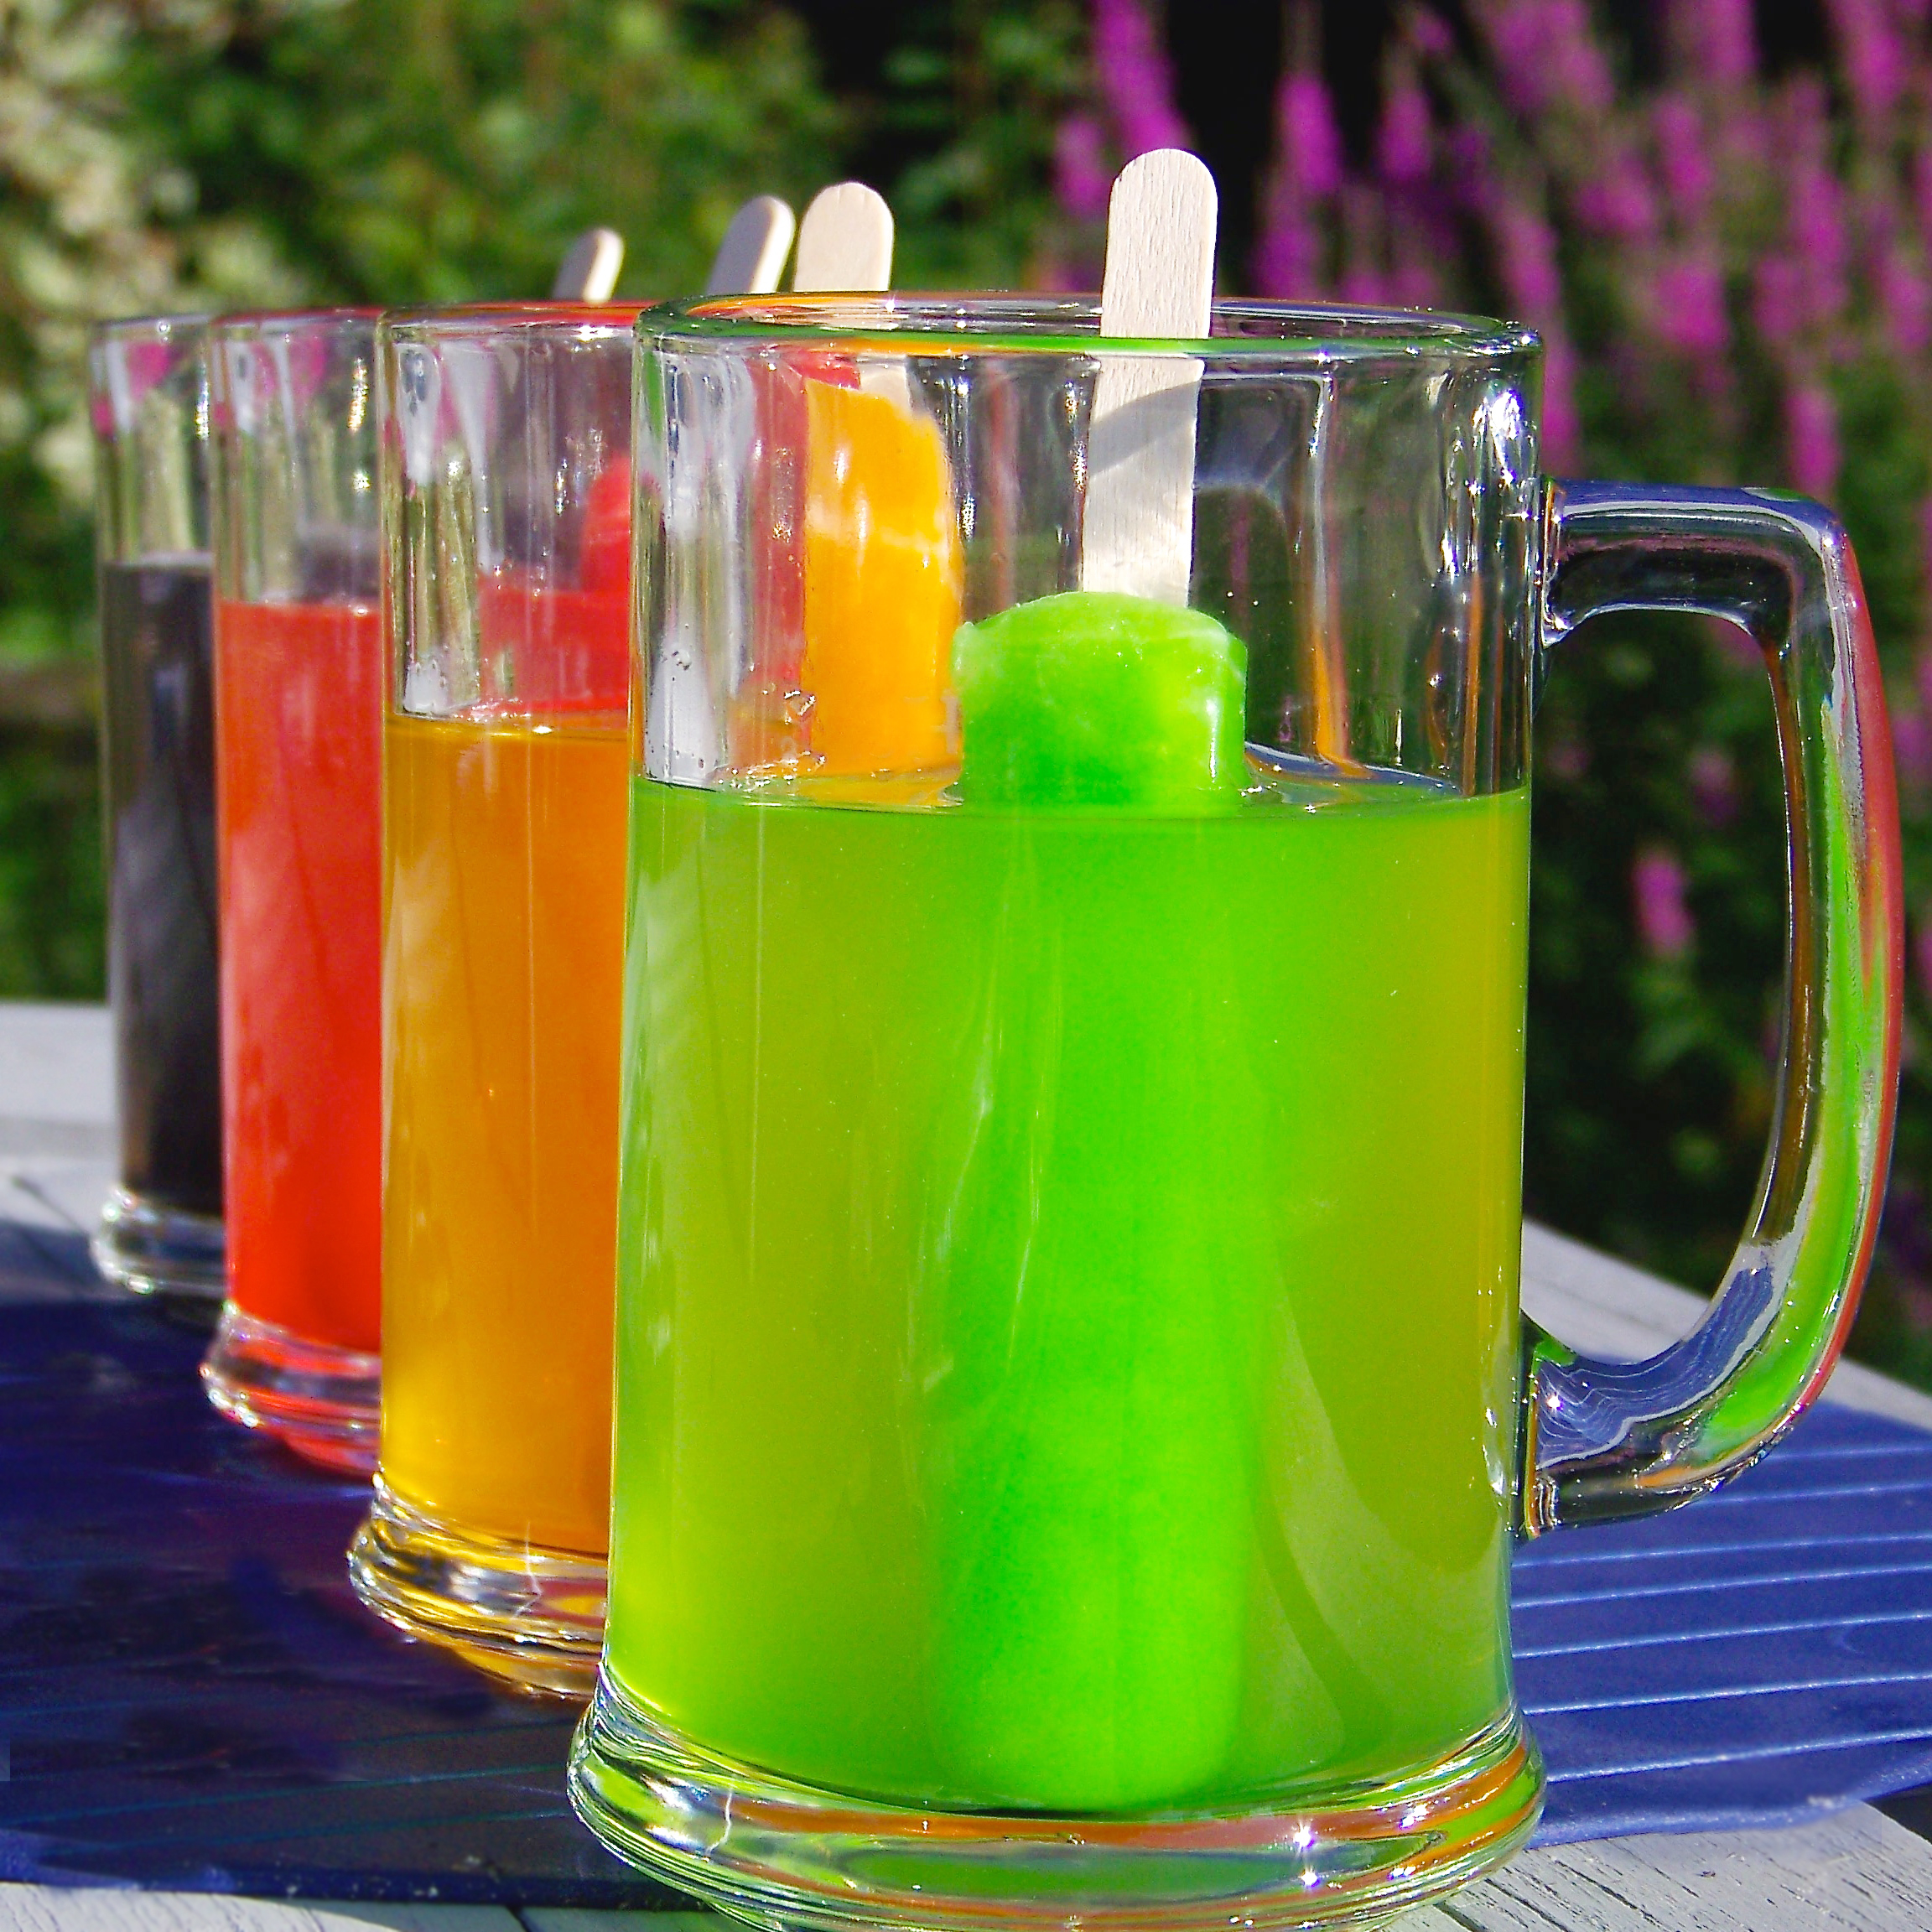
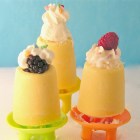
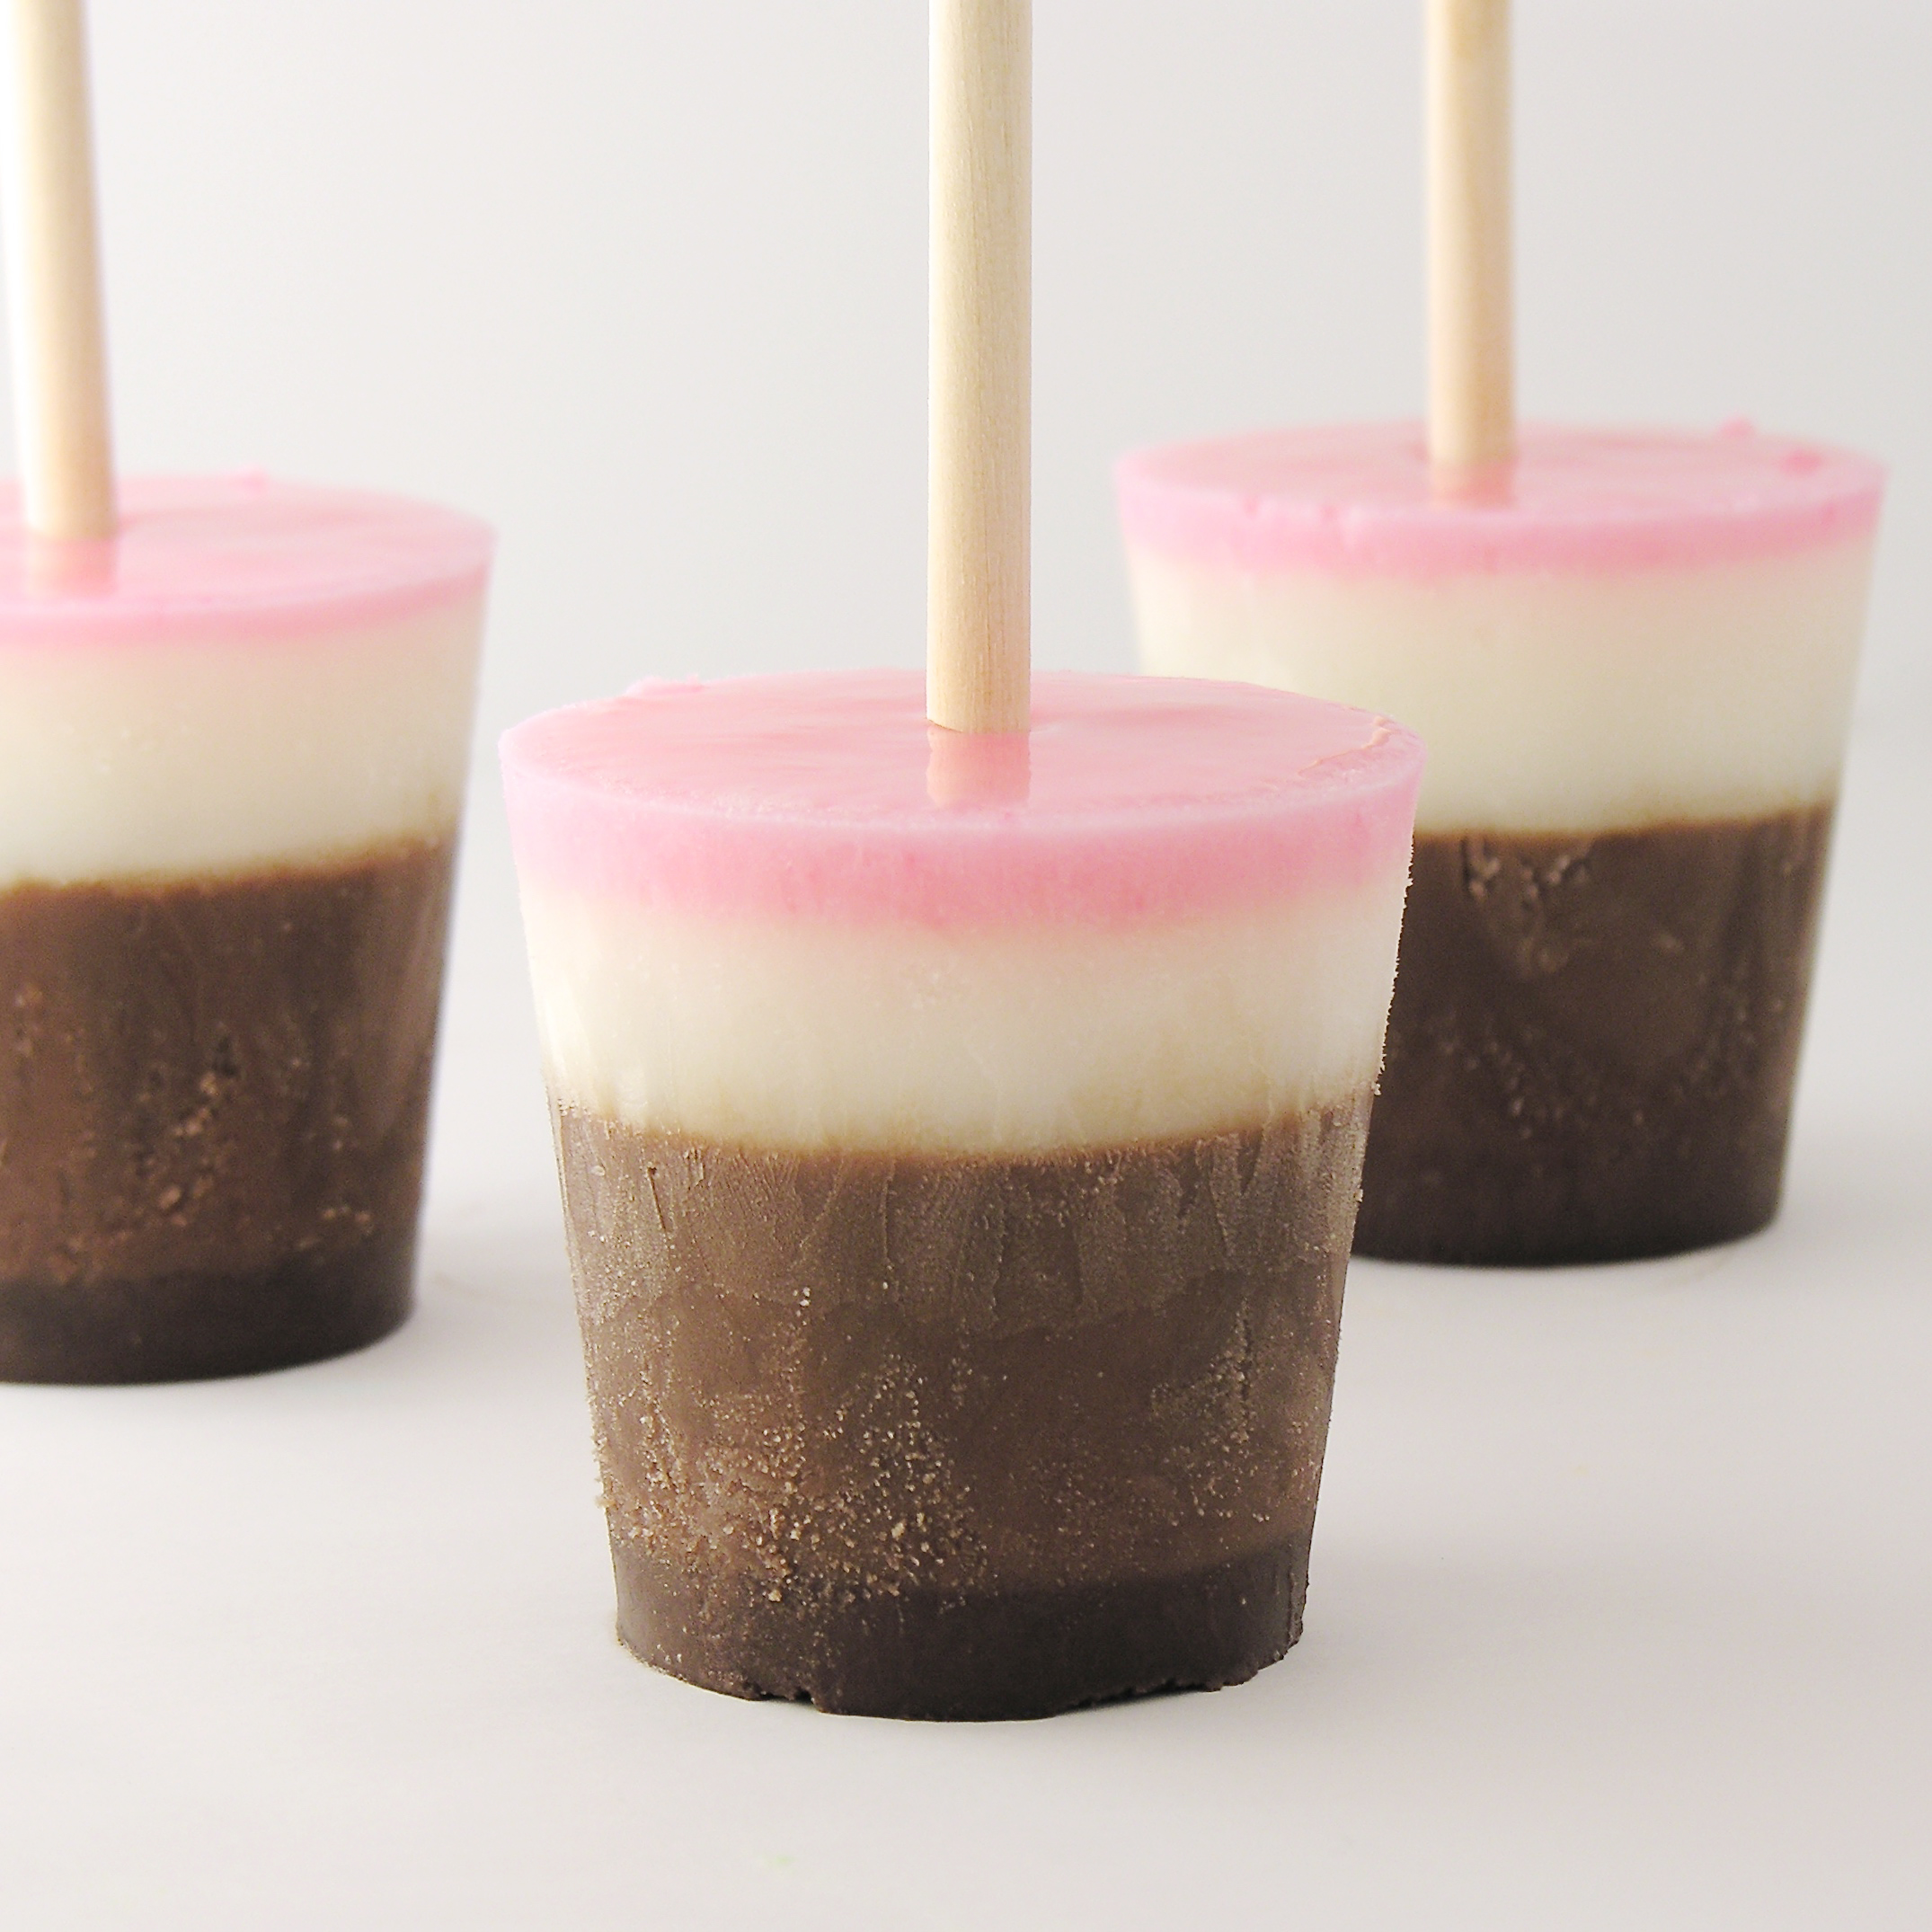
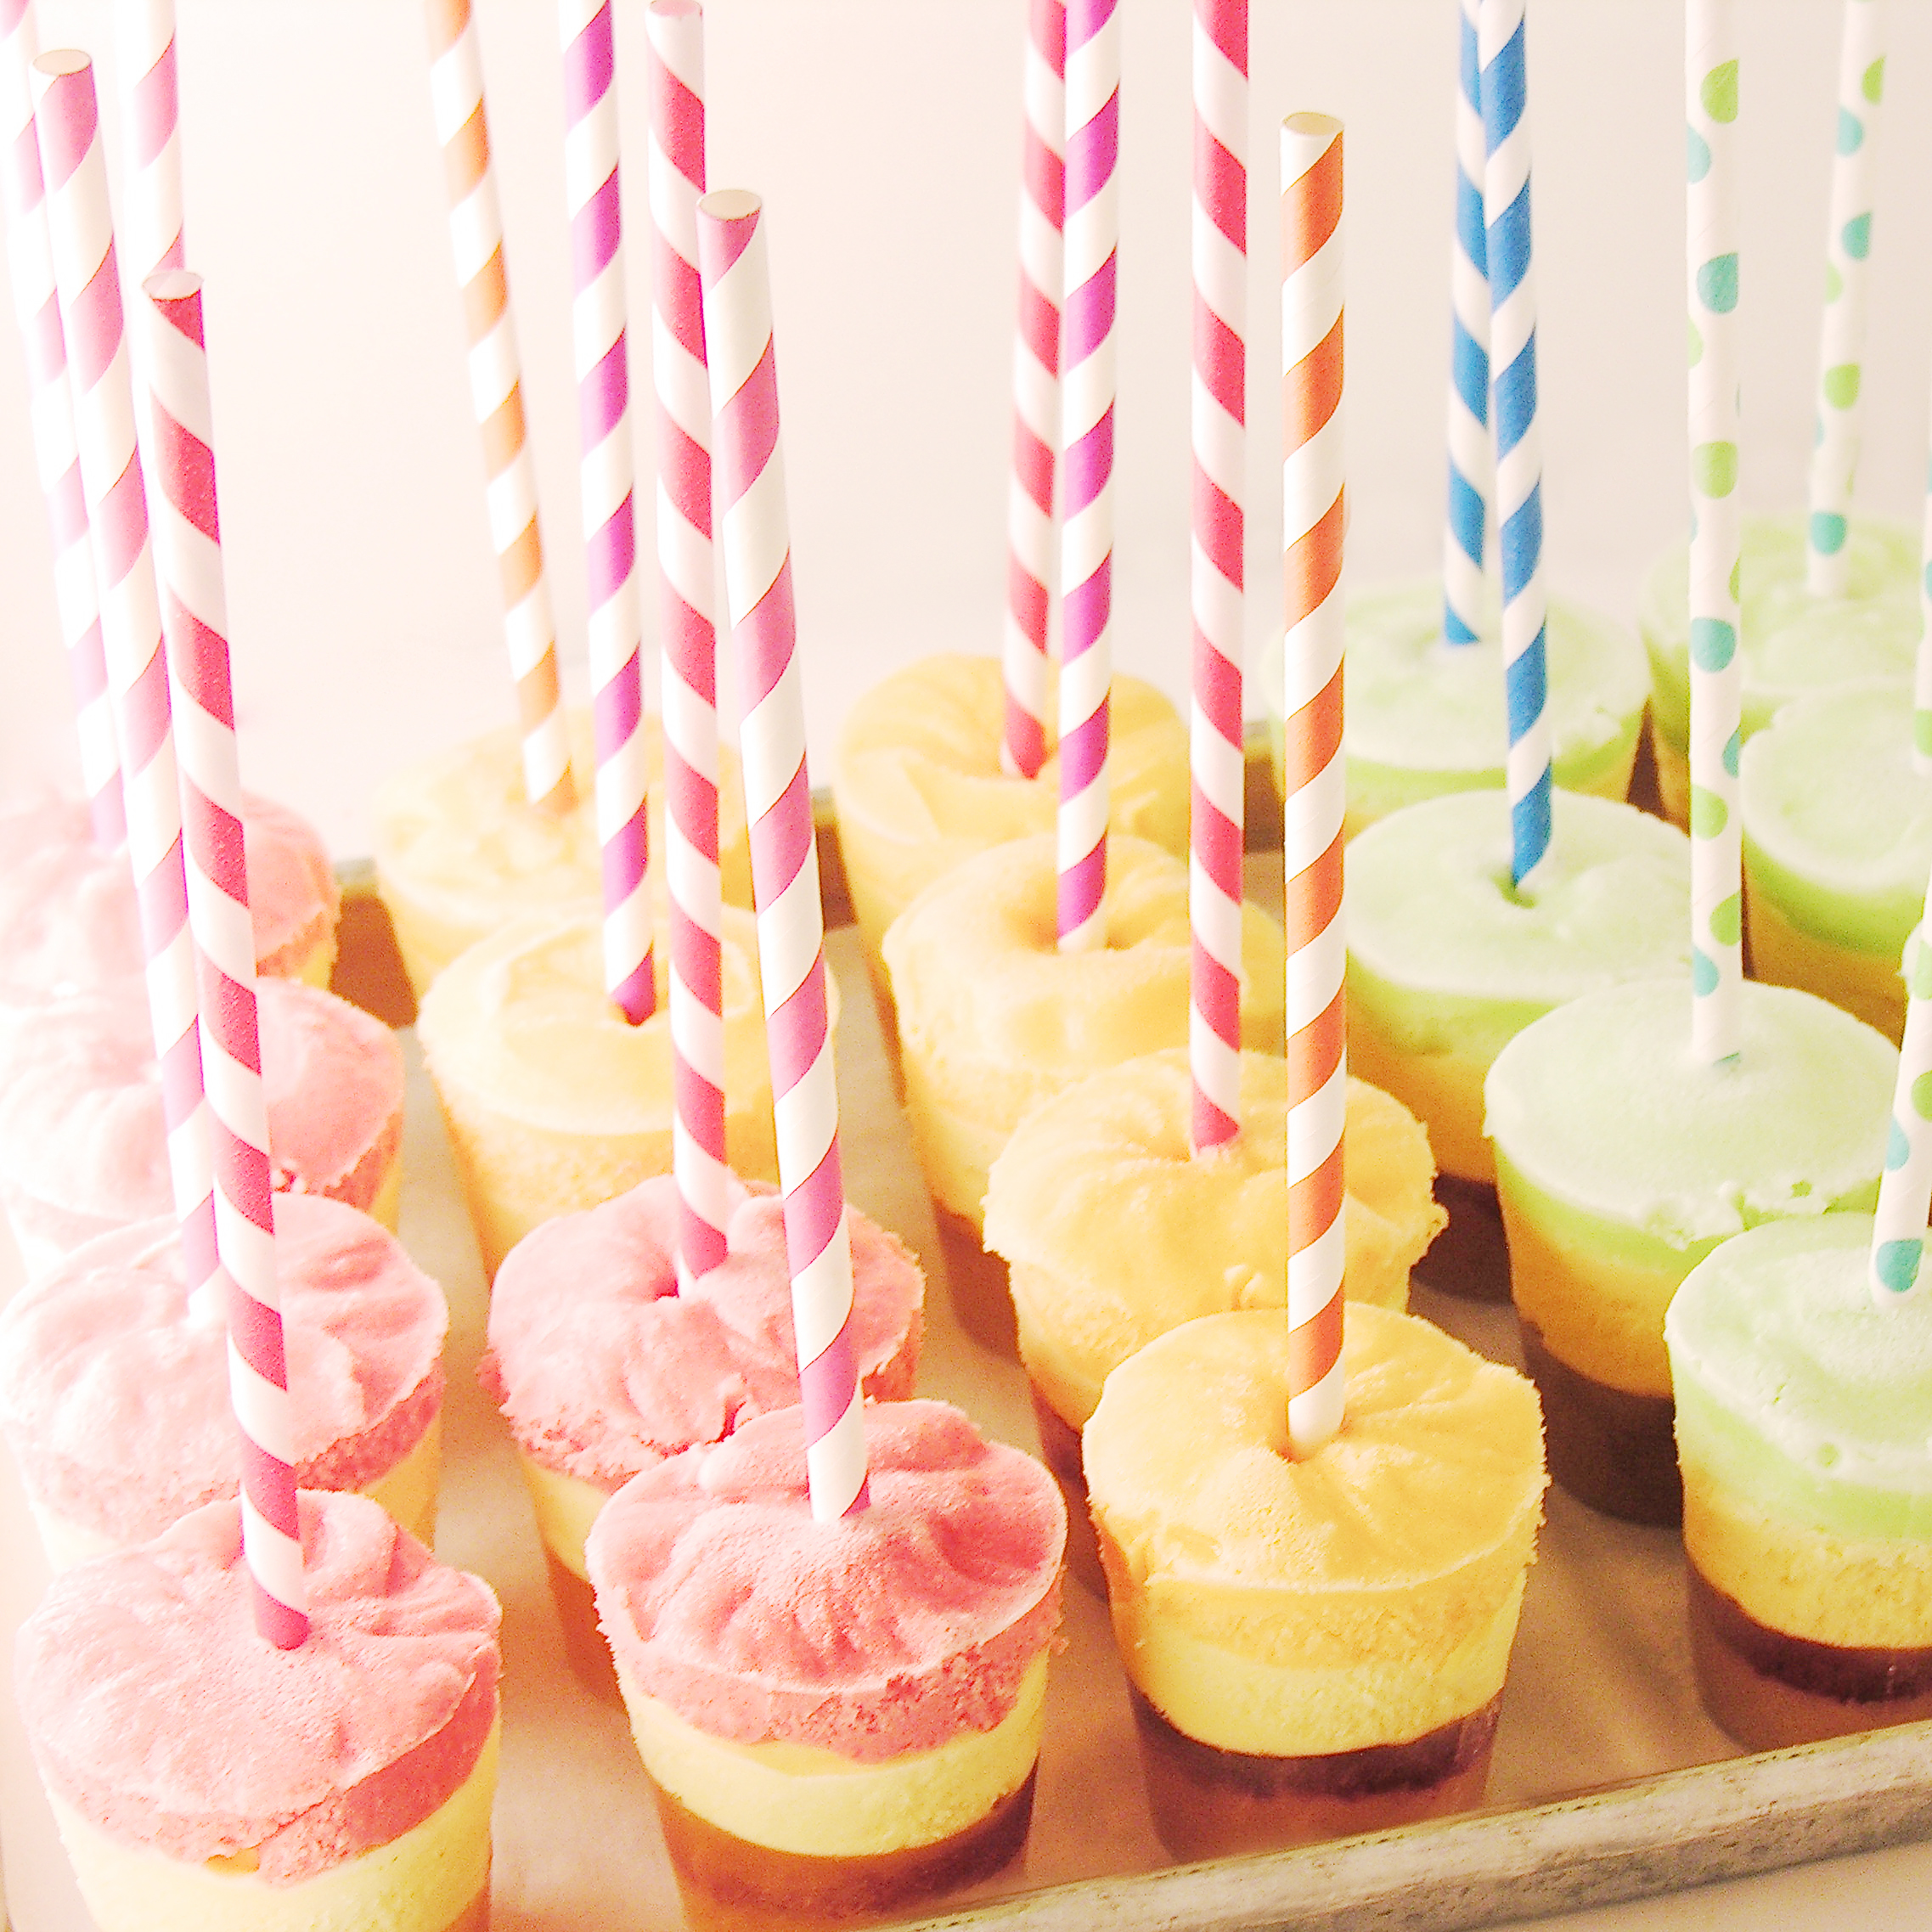
Aren’t they so fun?!? And the smiles when you serve these….. love it!

Here’s how we made them: (printable recipe)

INGREDIENTS (makes 10 pops)

  • 3 cups of whole milk (if you can get it in your part of the world, Fairlife ultra-filtered milk is SO worth trying. It is unbelievably creamy. I’ve never had milk this good…)
  • 2/3 cup Torani Dark Chocolate Sauce (plus a little to drizzle on top, if desired)
  • 3/4 cup Torani Peppermint Syrup (or whatever flavor you love!)
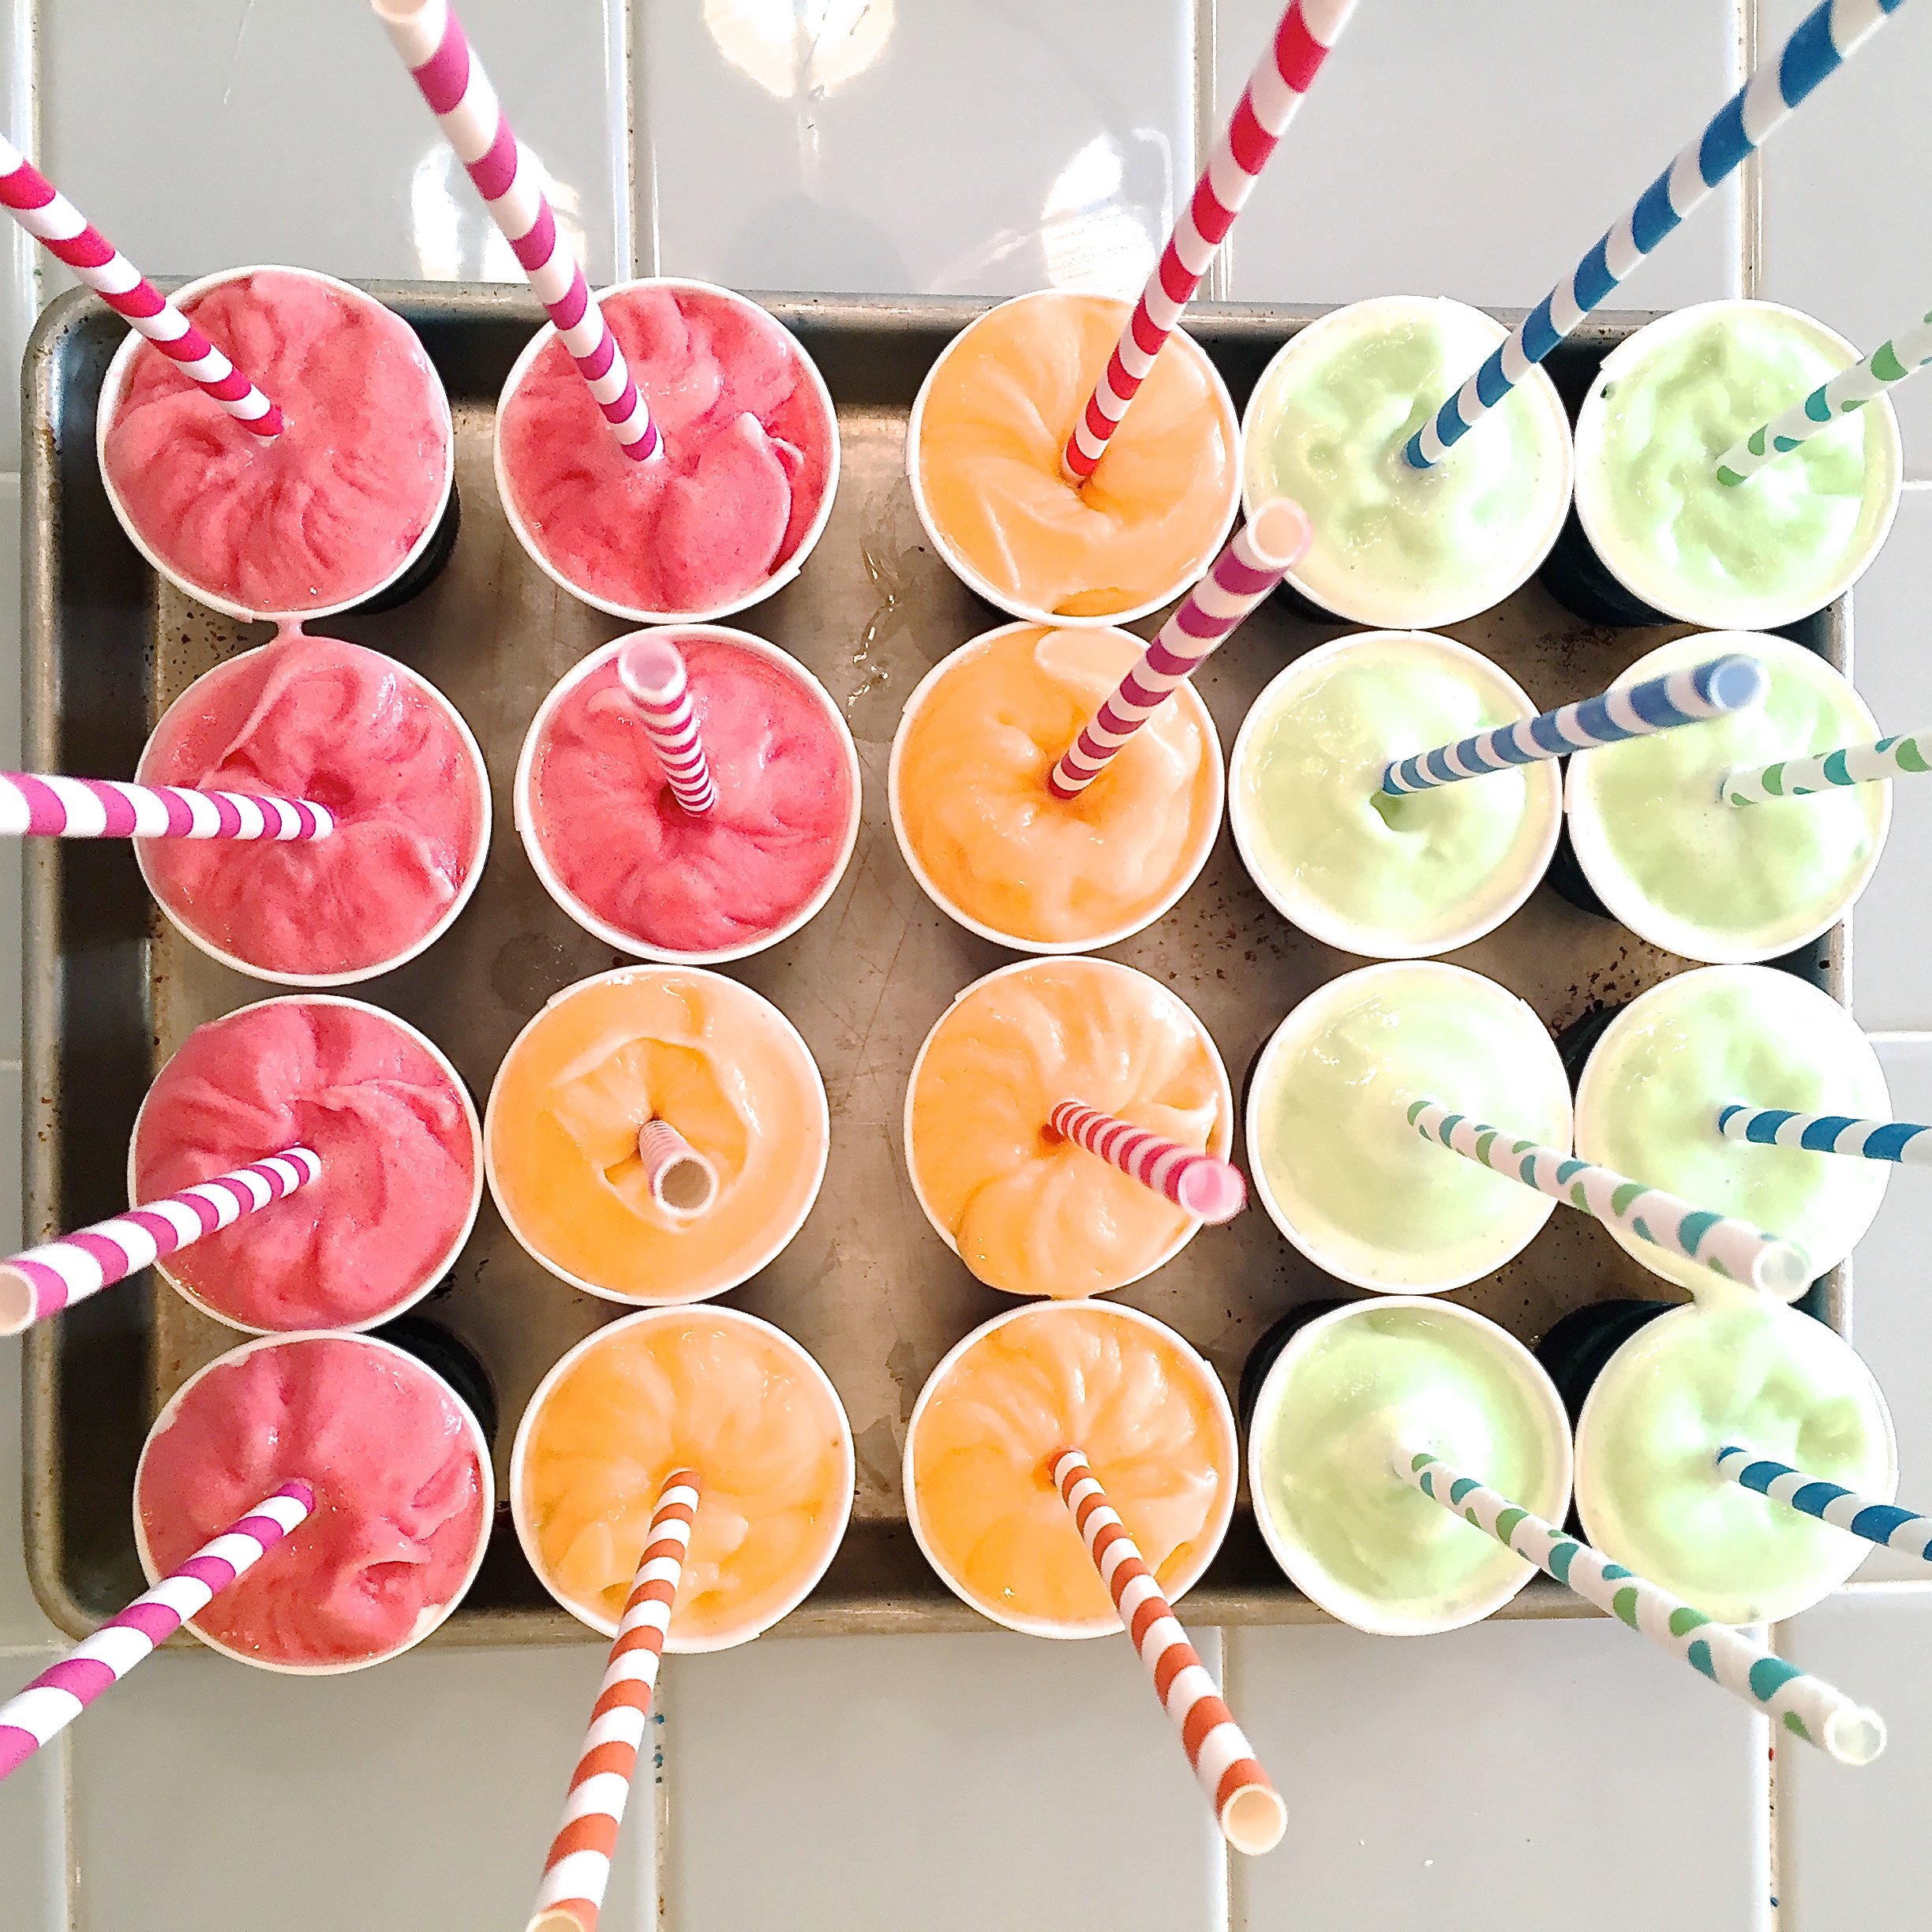
  • Pink food coloring (if desired- match the color to the flavor you use– you can have several flavors in your freezer and know which is which!)
  • Whipped Cream (to top, if desired)
  • 8 oz. of brewed coffee for each serving
  • Crushed ice

DIRECTIONS:

  • Heat 2 cups of milk in the microwave or on the stove until warm (not hot).
  • Add Dark Chocolate Sauce and mix until well-combined.
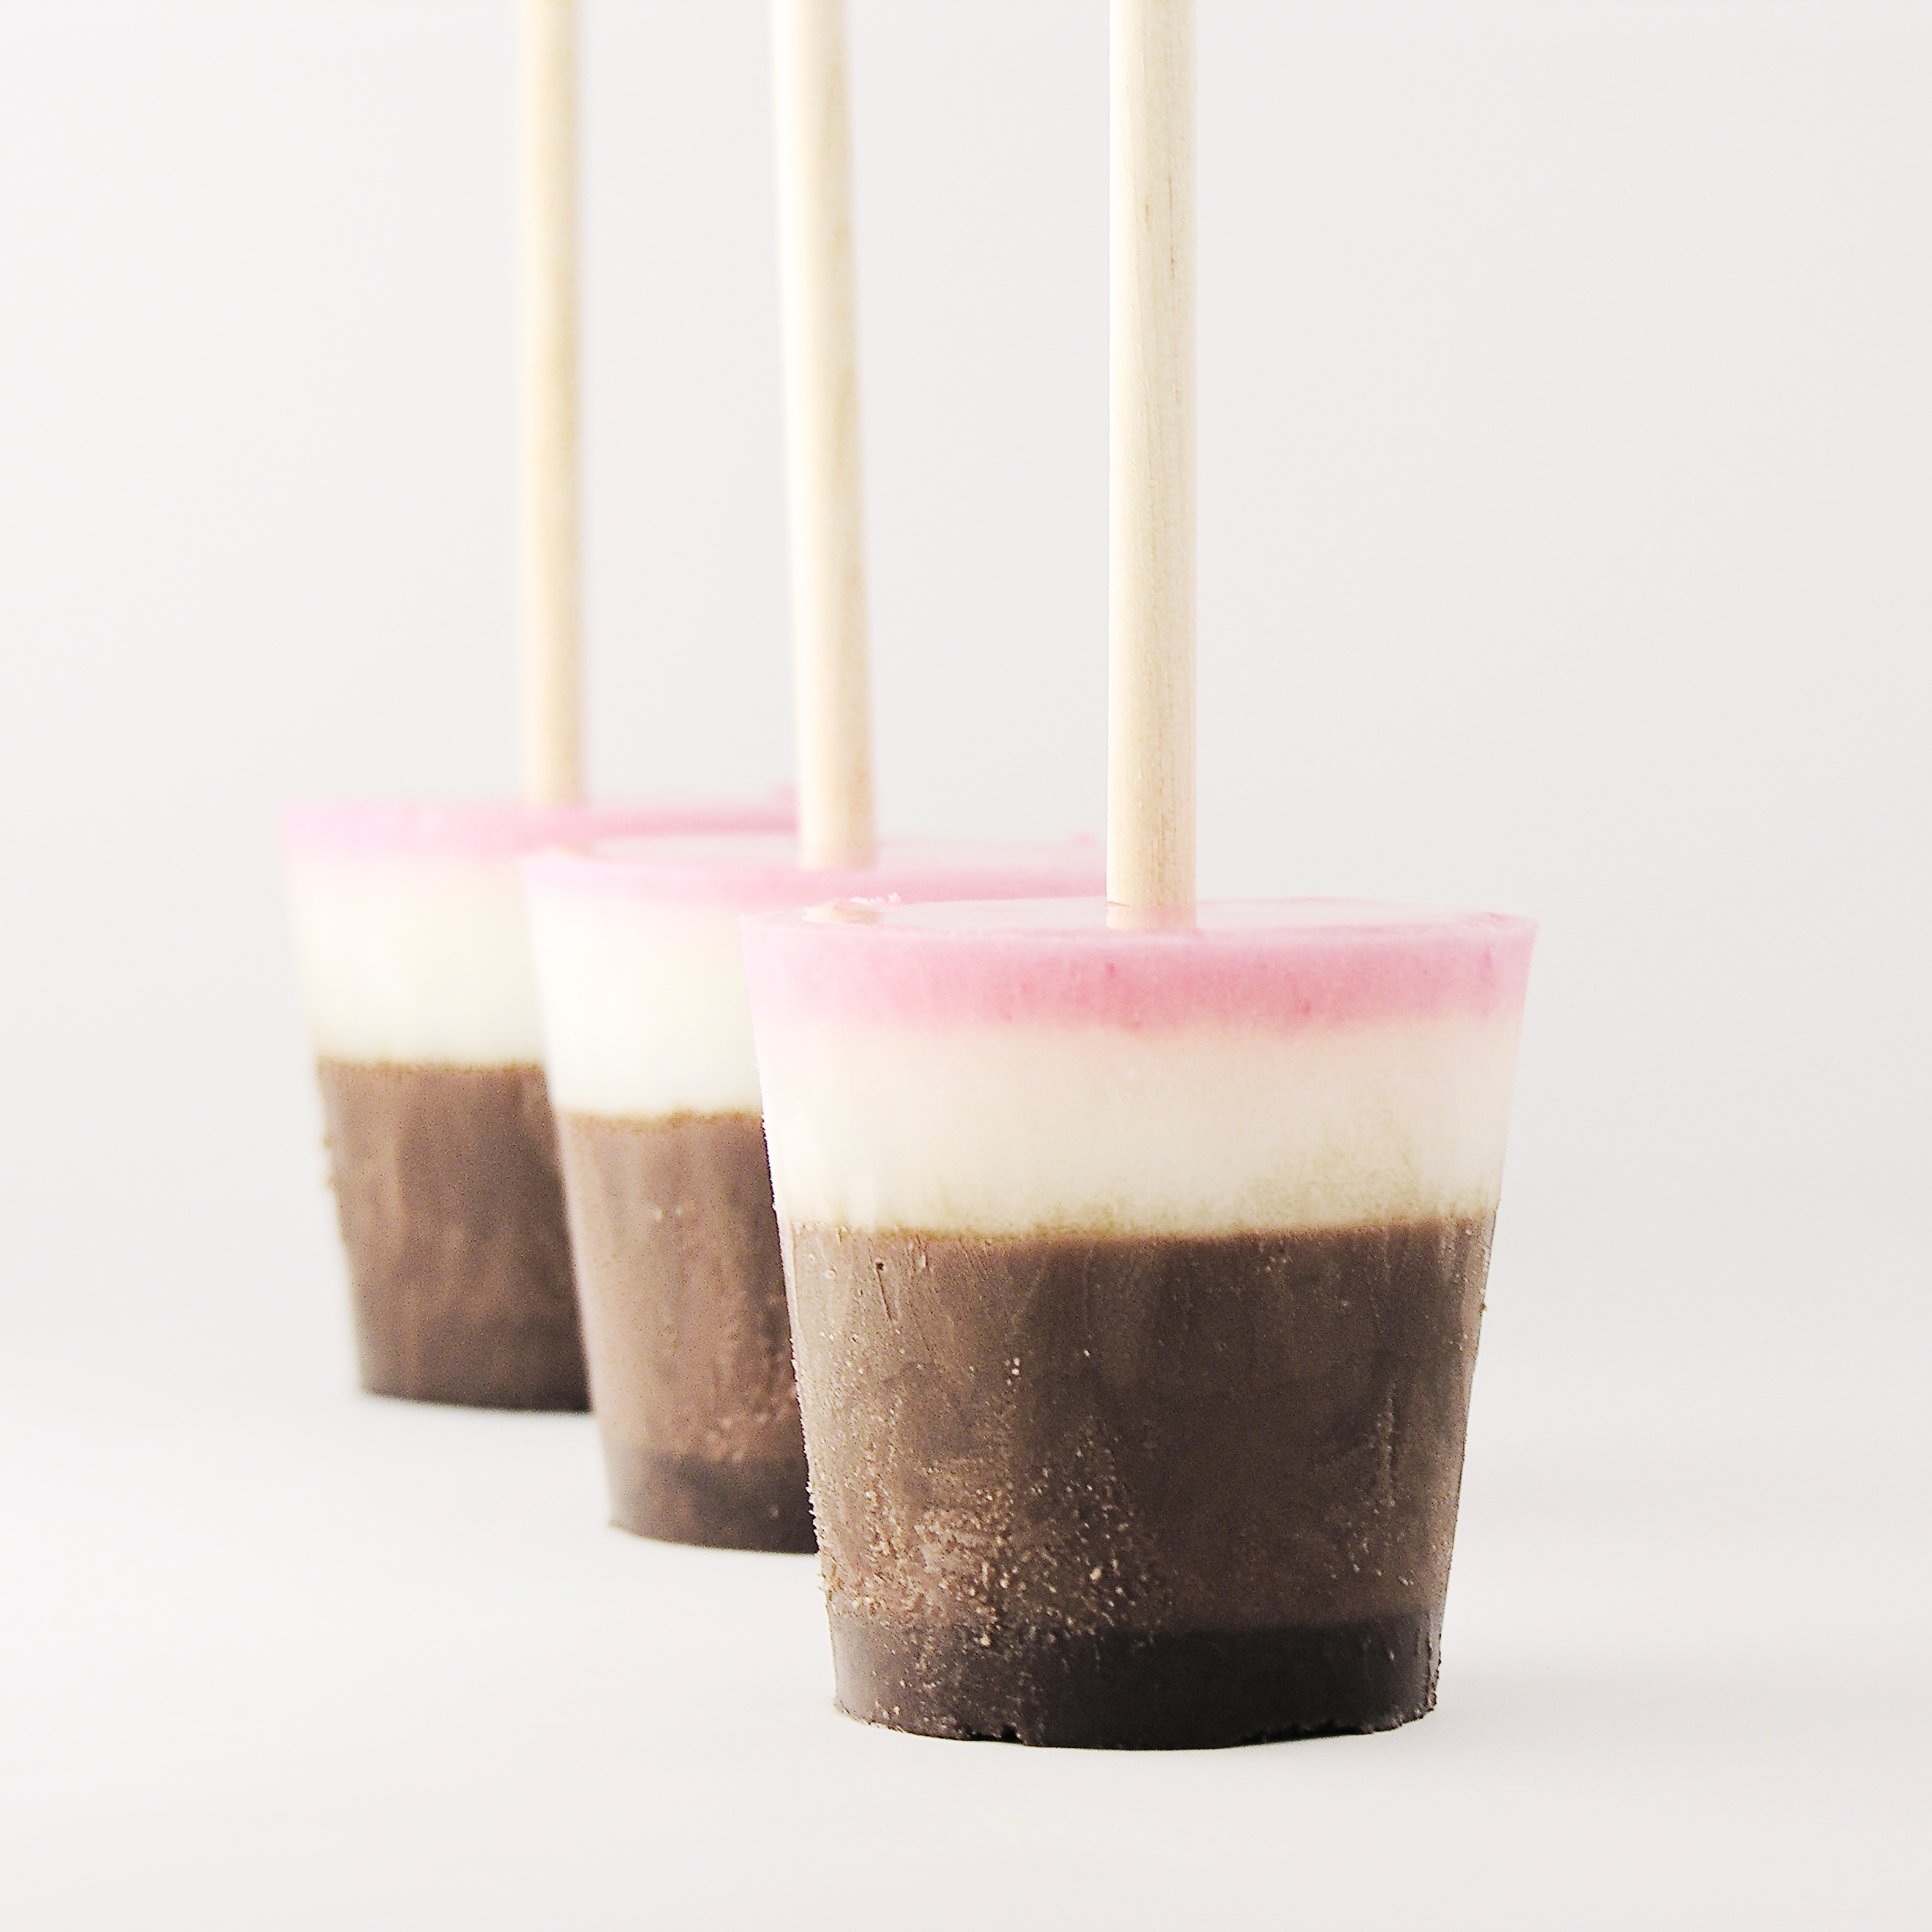
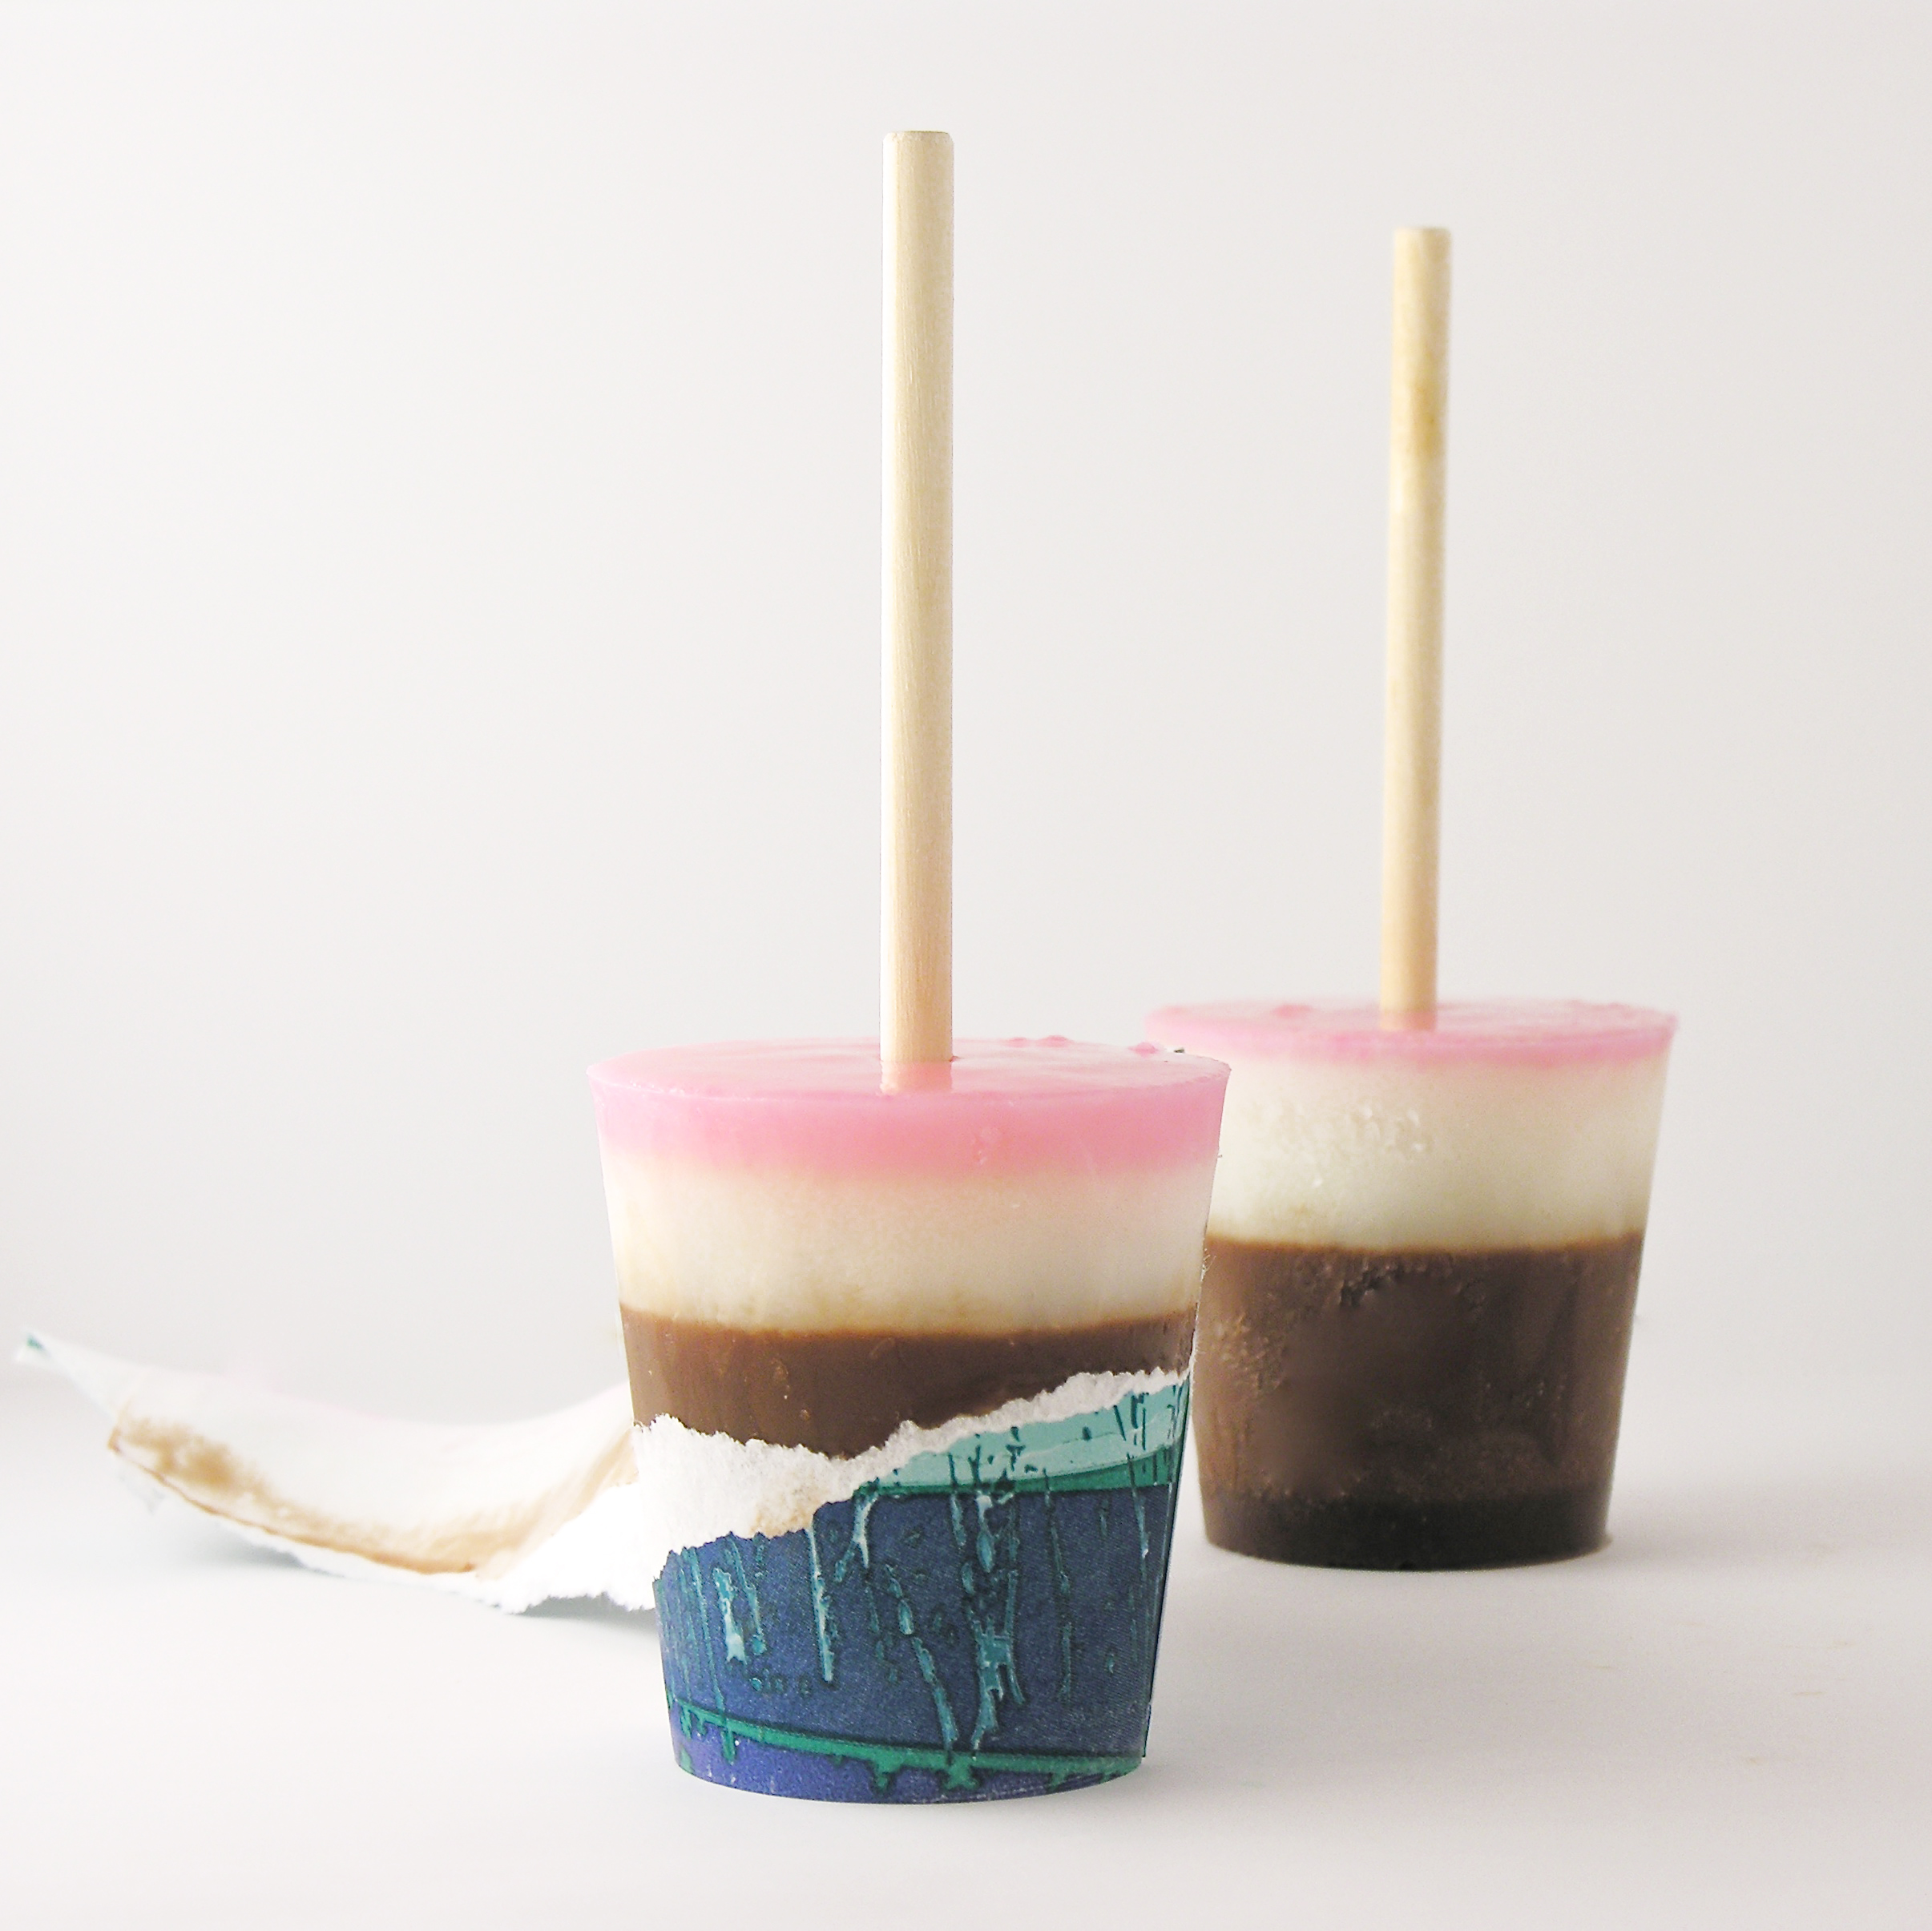
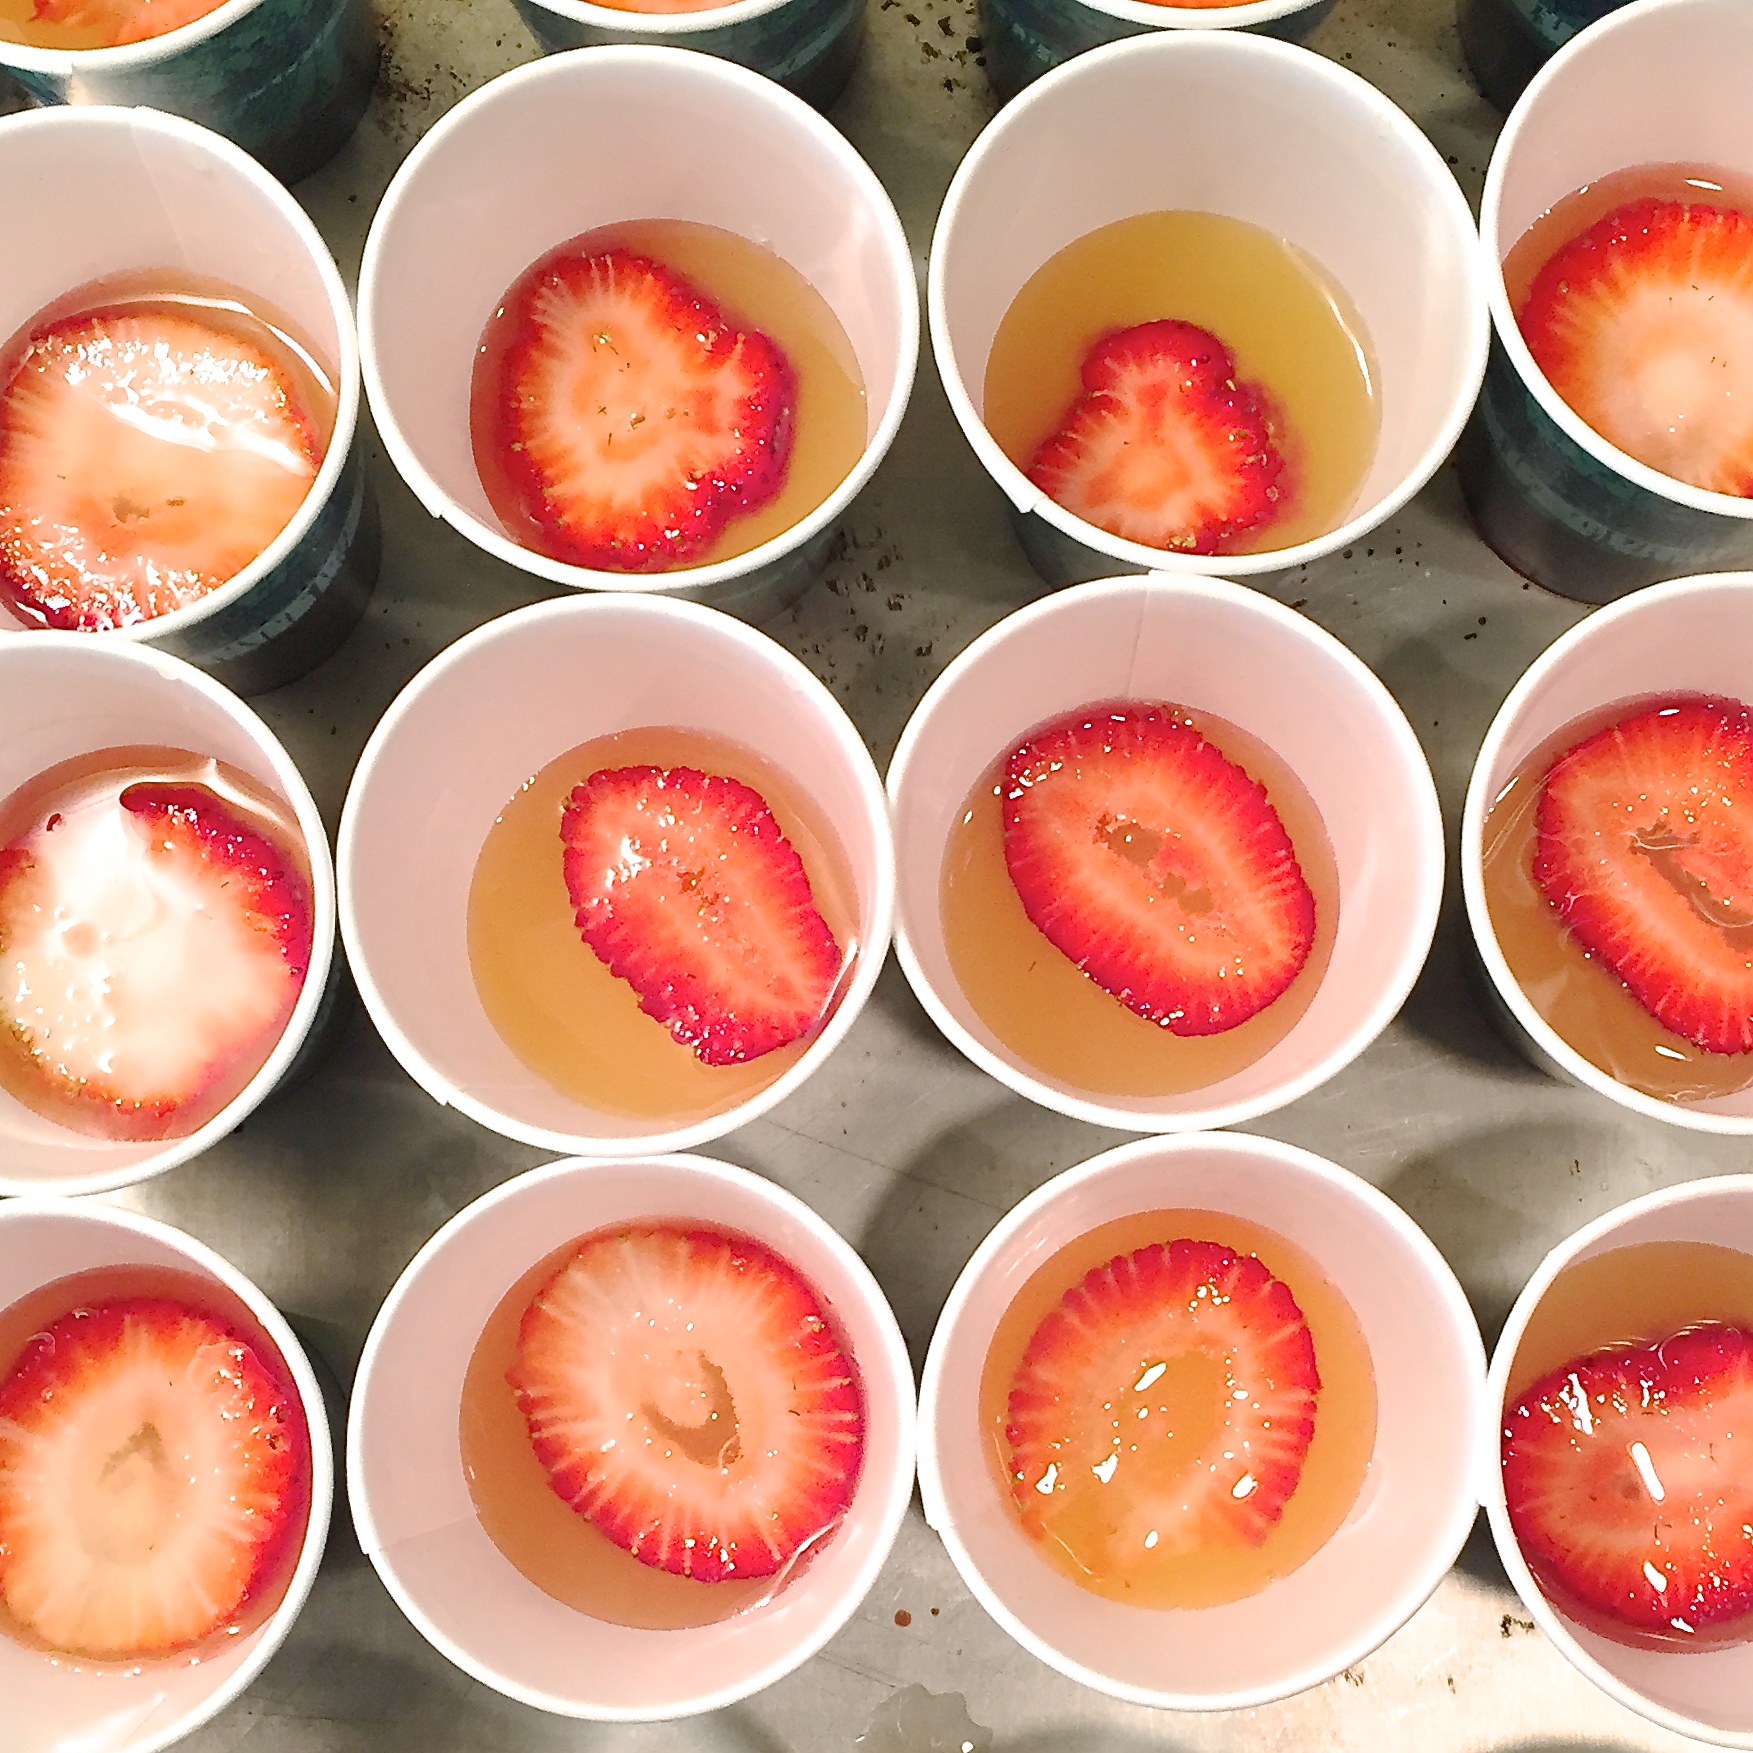
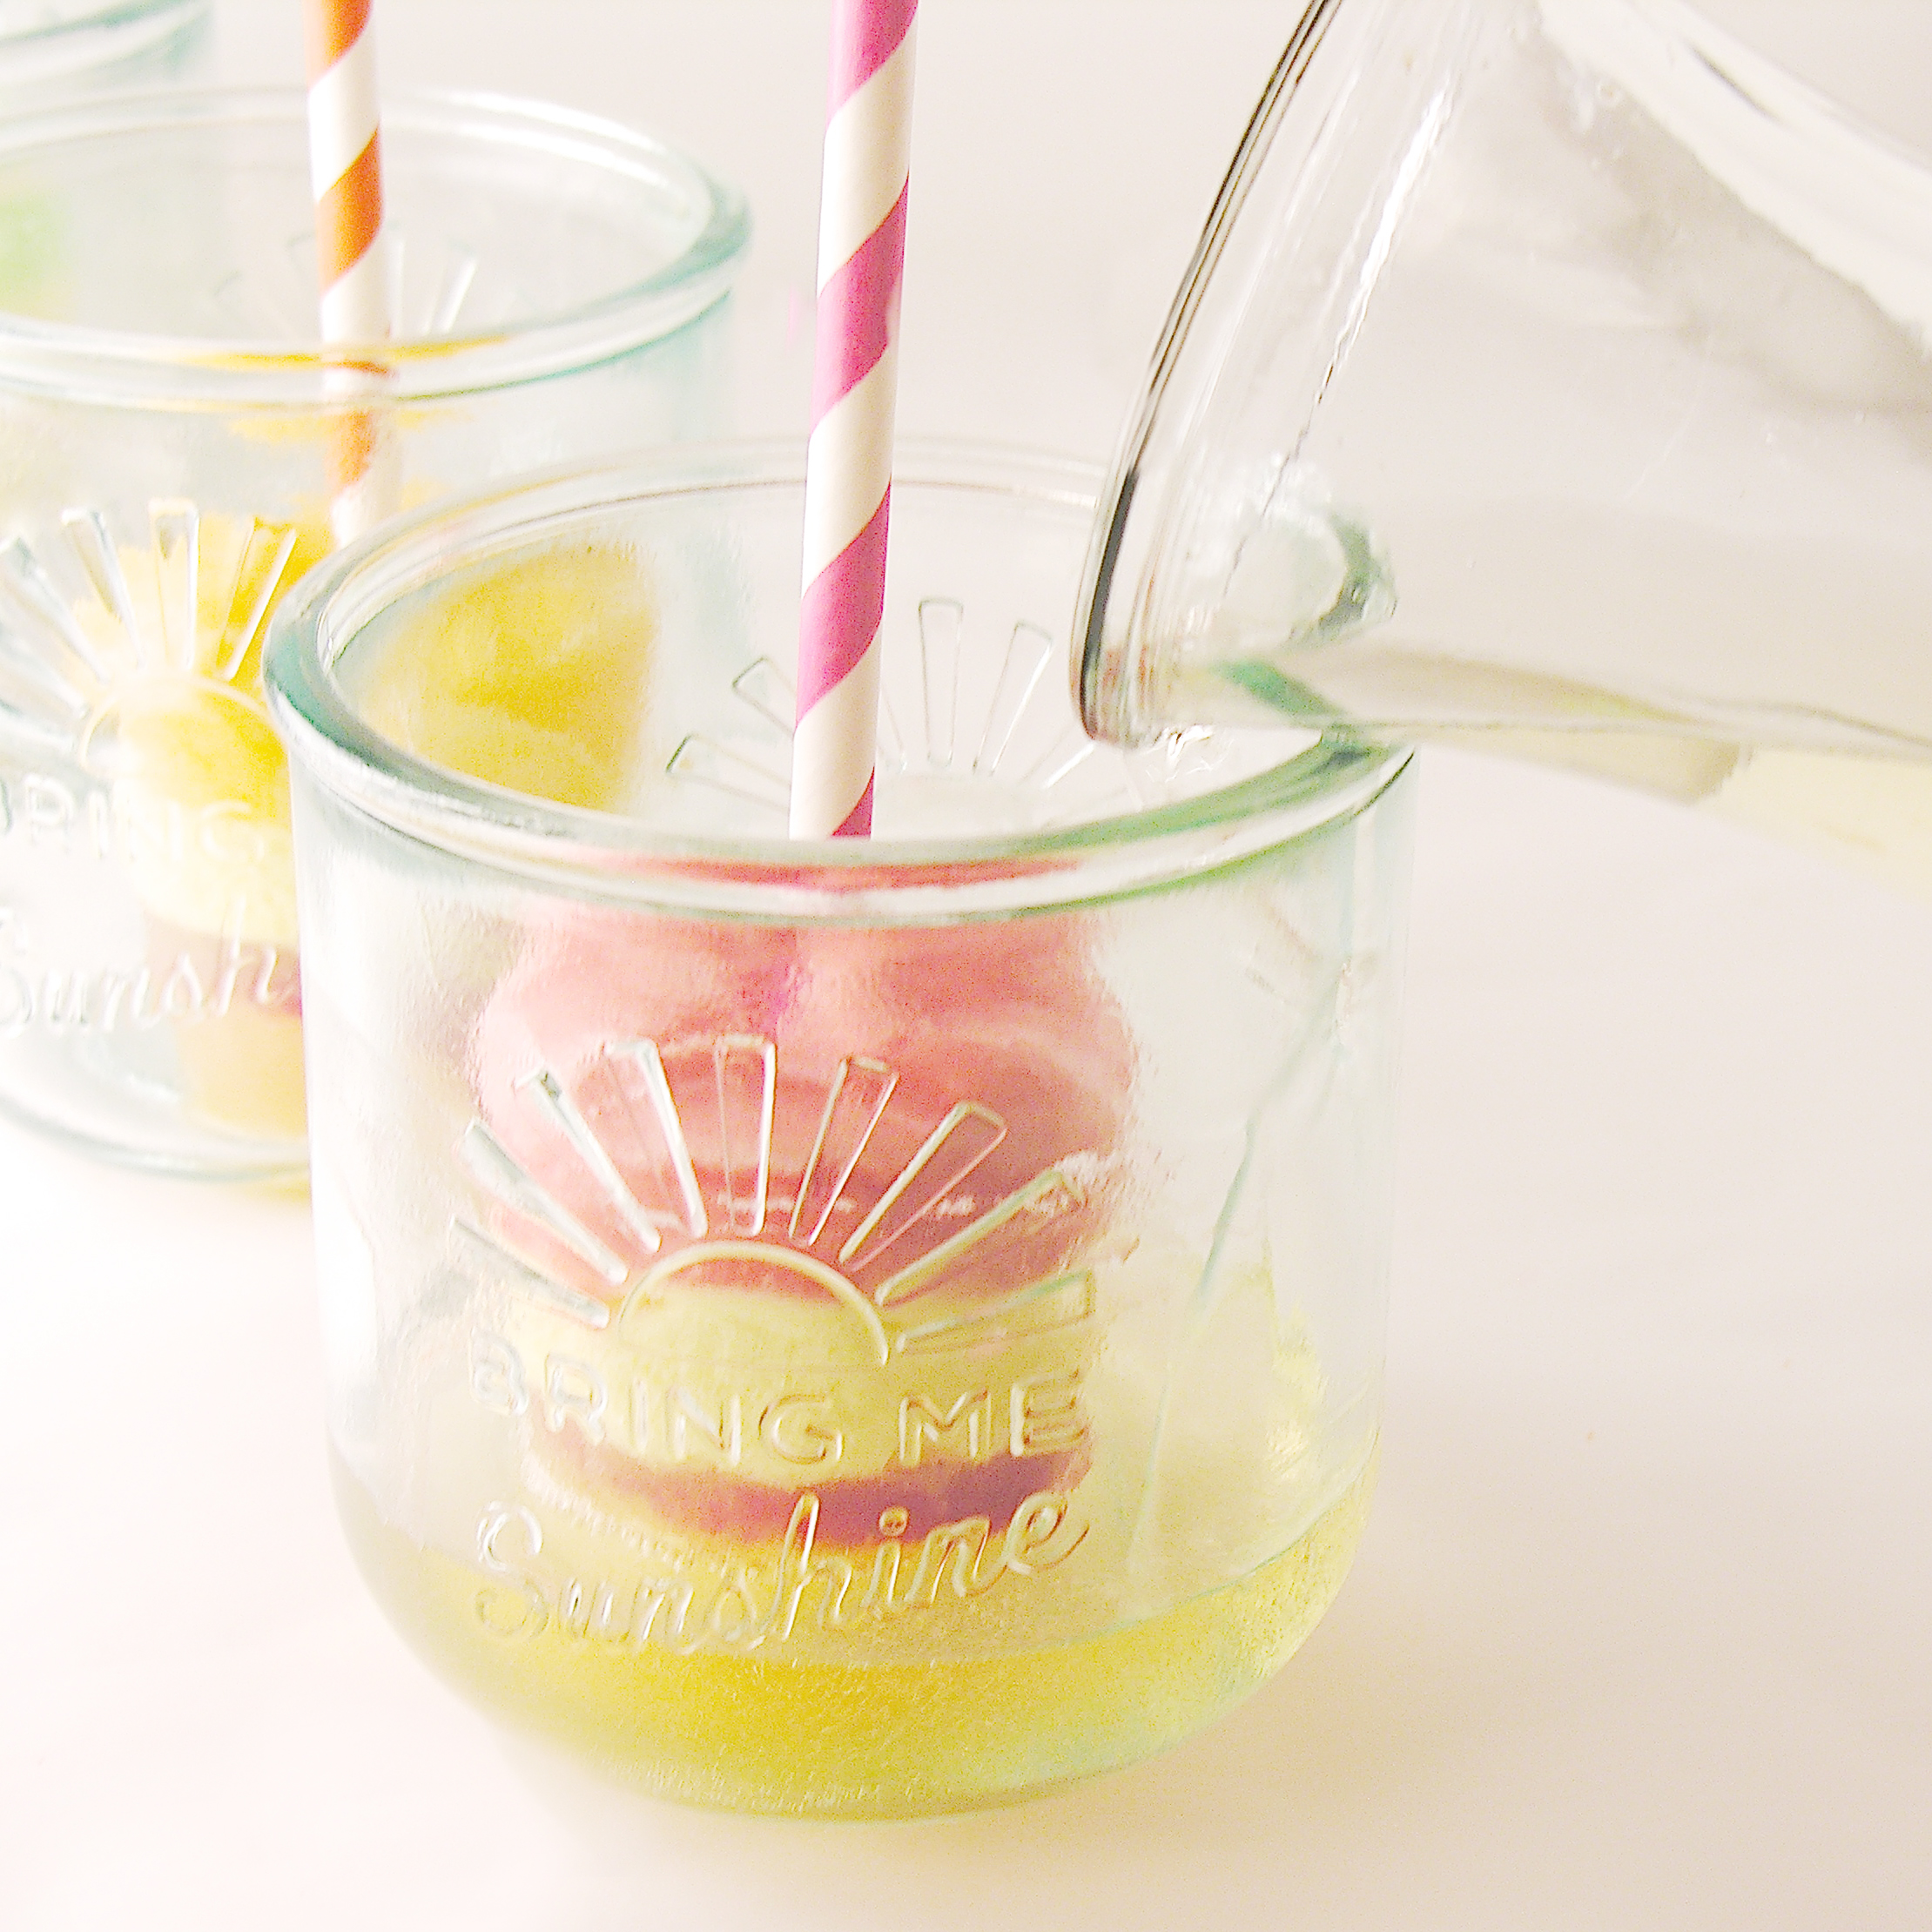
  • Set 10 (3 oz.) paper cups on a small baking sheet and pour Dark Chocolate milk mixture into each cup. Fill them about 2/3 full.
  • Freeze for 3-4 hours. Press a wooden dowel into each one (the pointed end helps with this) and re-freeze.
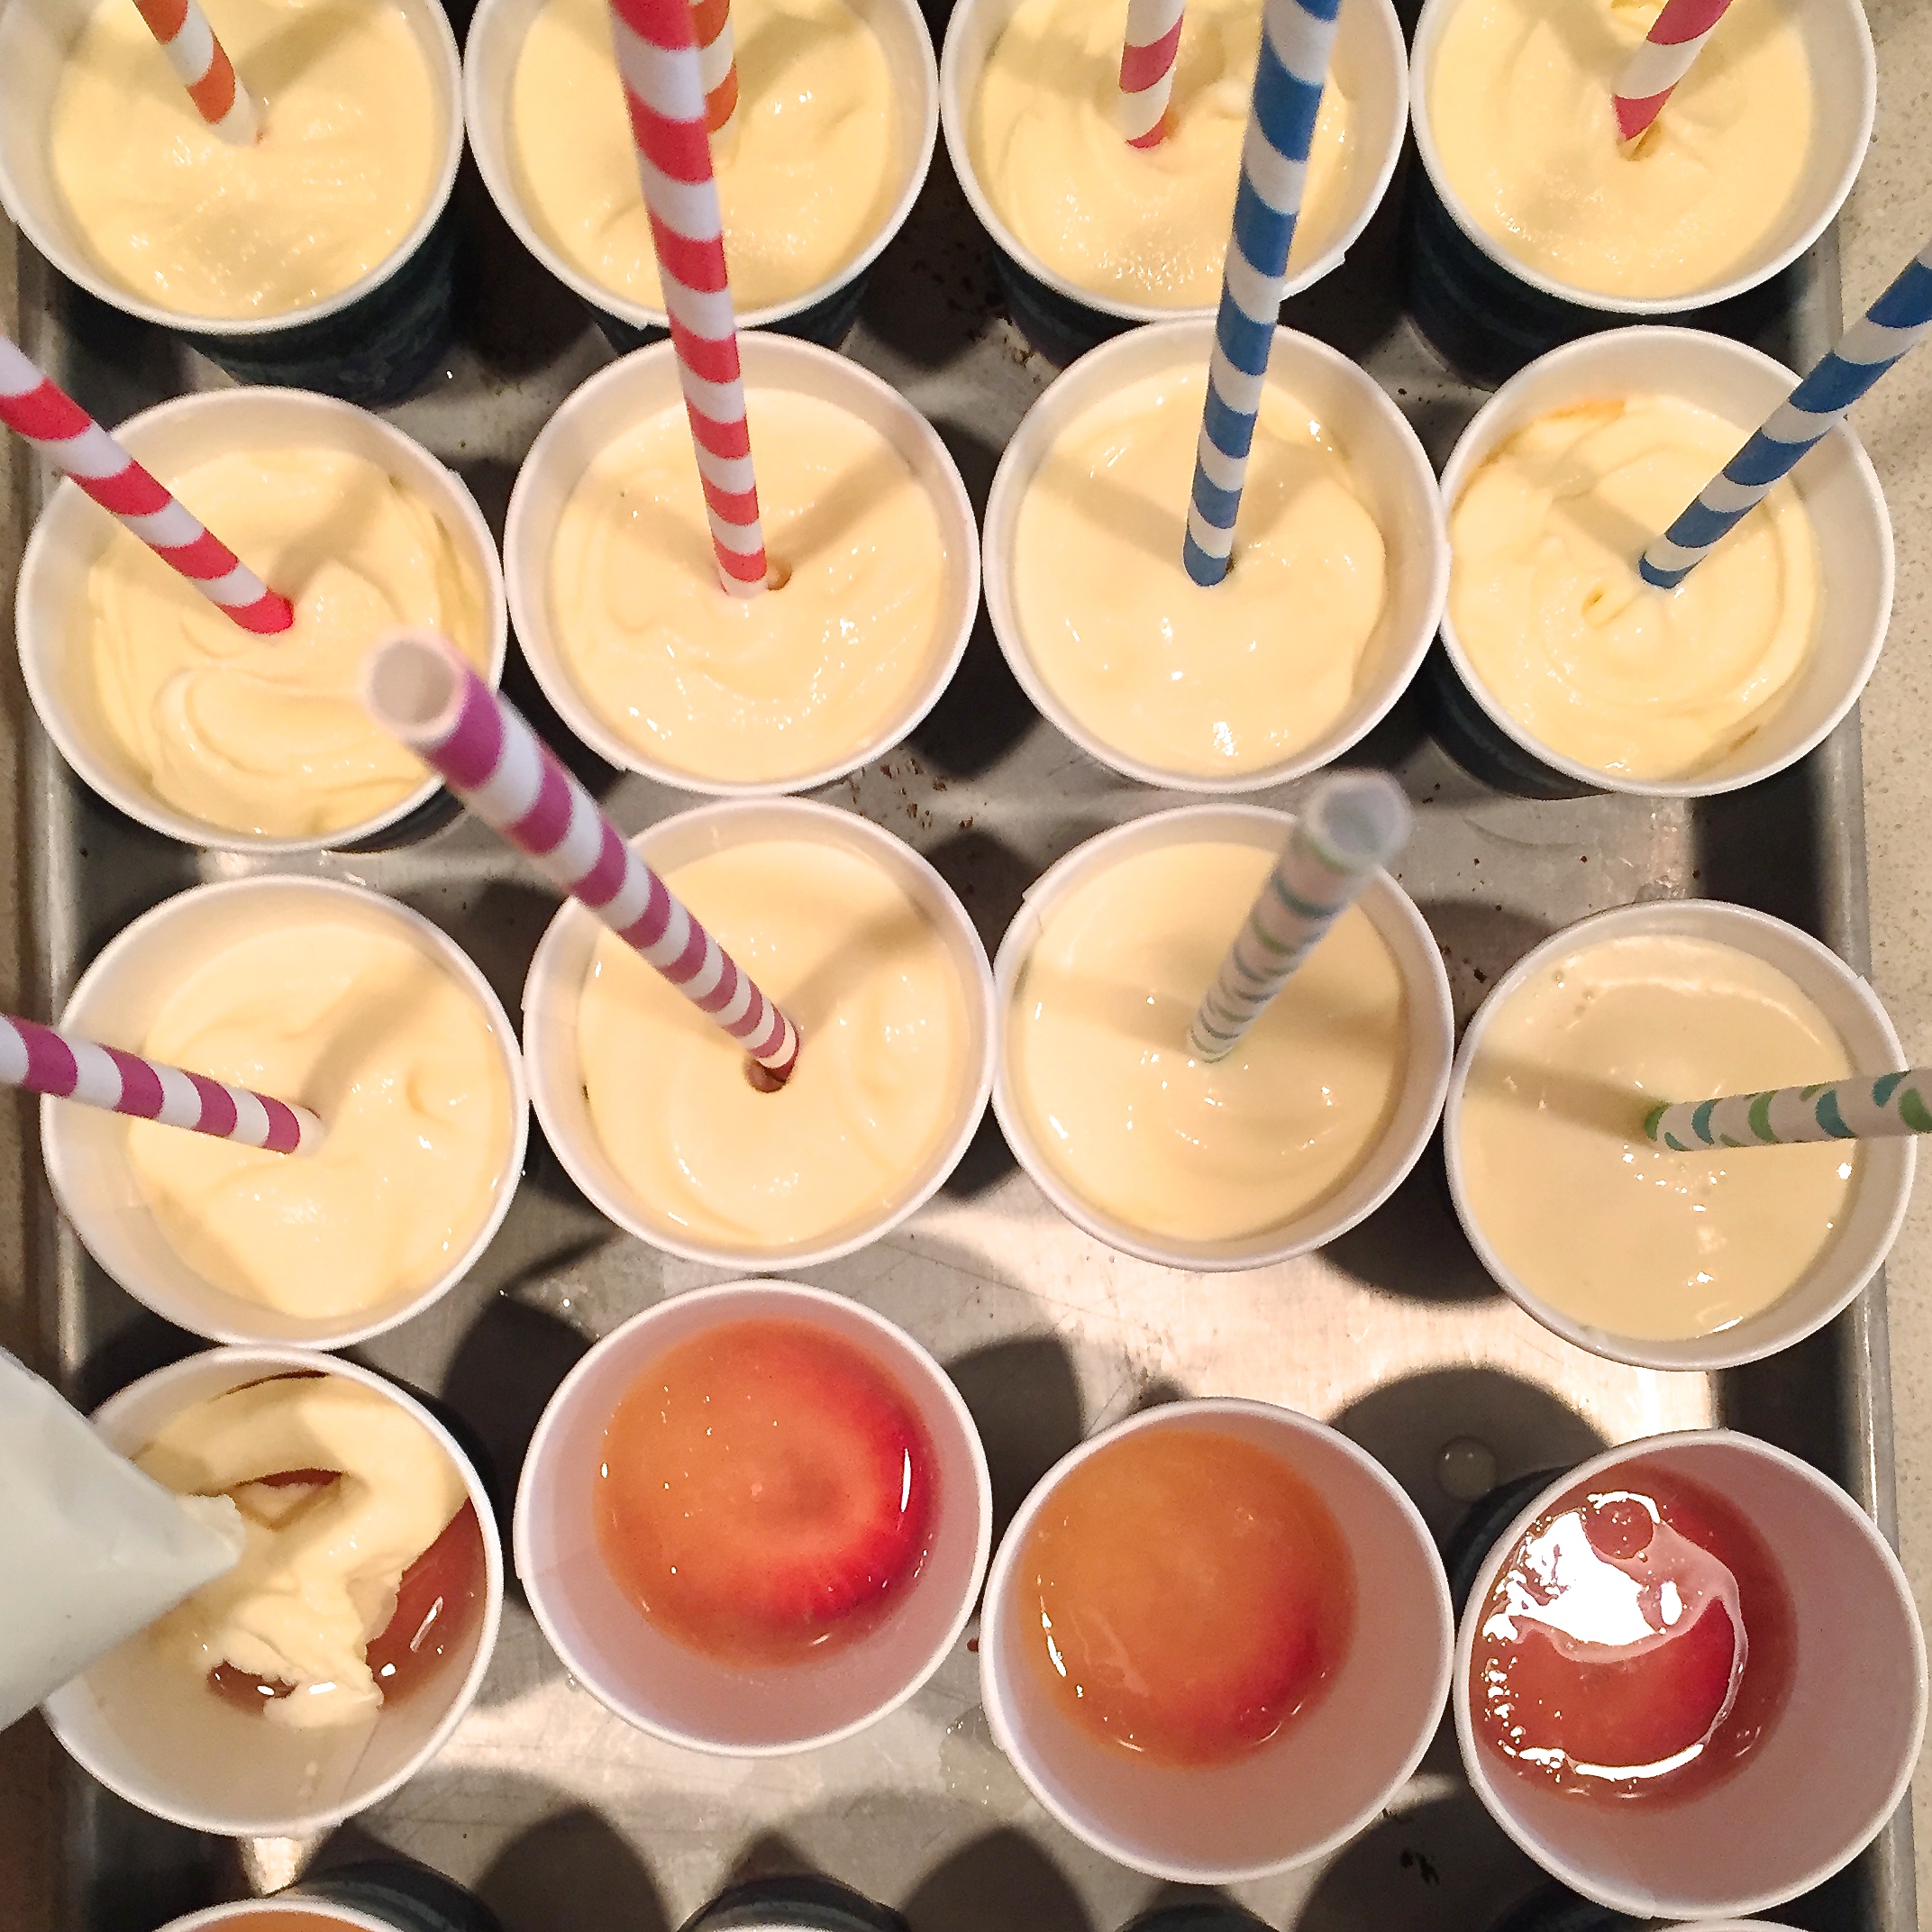
  • Mix peppermint syrup with remaining 1 cup of milk and pour all but about 1/3 cup into each cup, leaving a little room on the top of each pop to add some PINK peppermint milk.
  • Freeze for 3-4 hours (keep unused peppermint milk covered in fridge until you need it).
  • Add pink food coloring to remaining peppermint milk, and pour a little on top of each pop.
  • Freeze overnight.
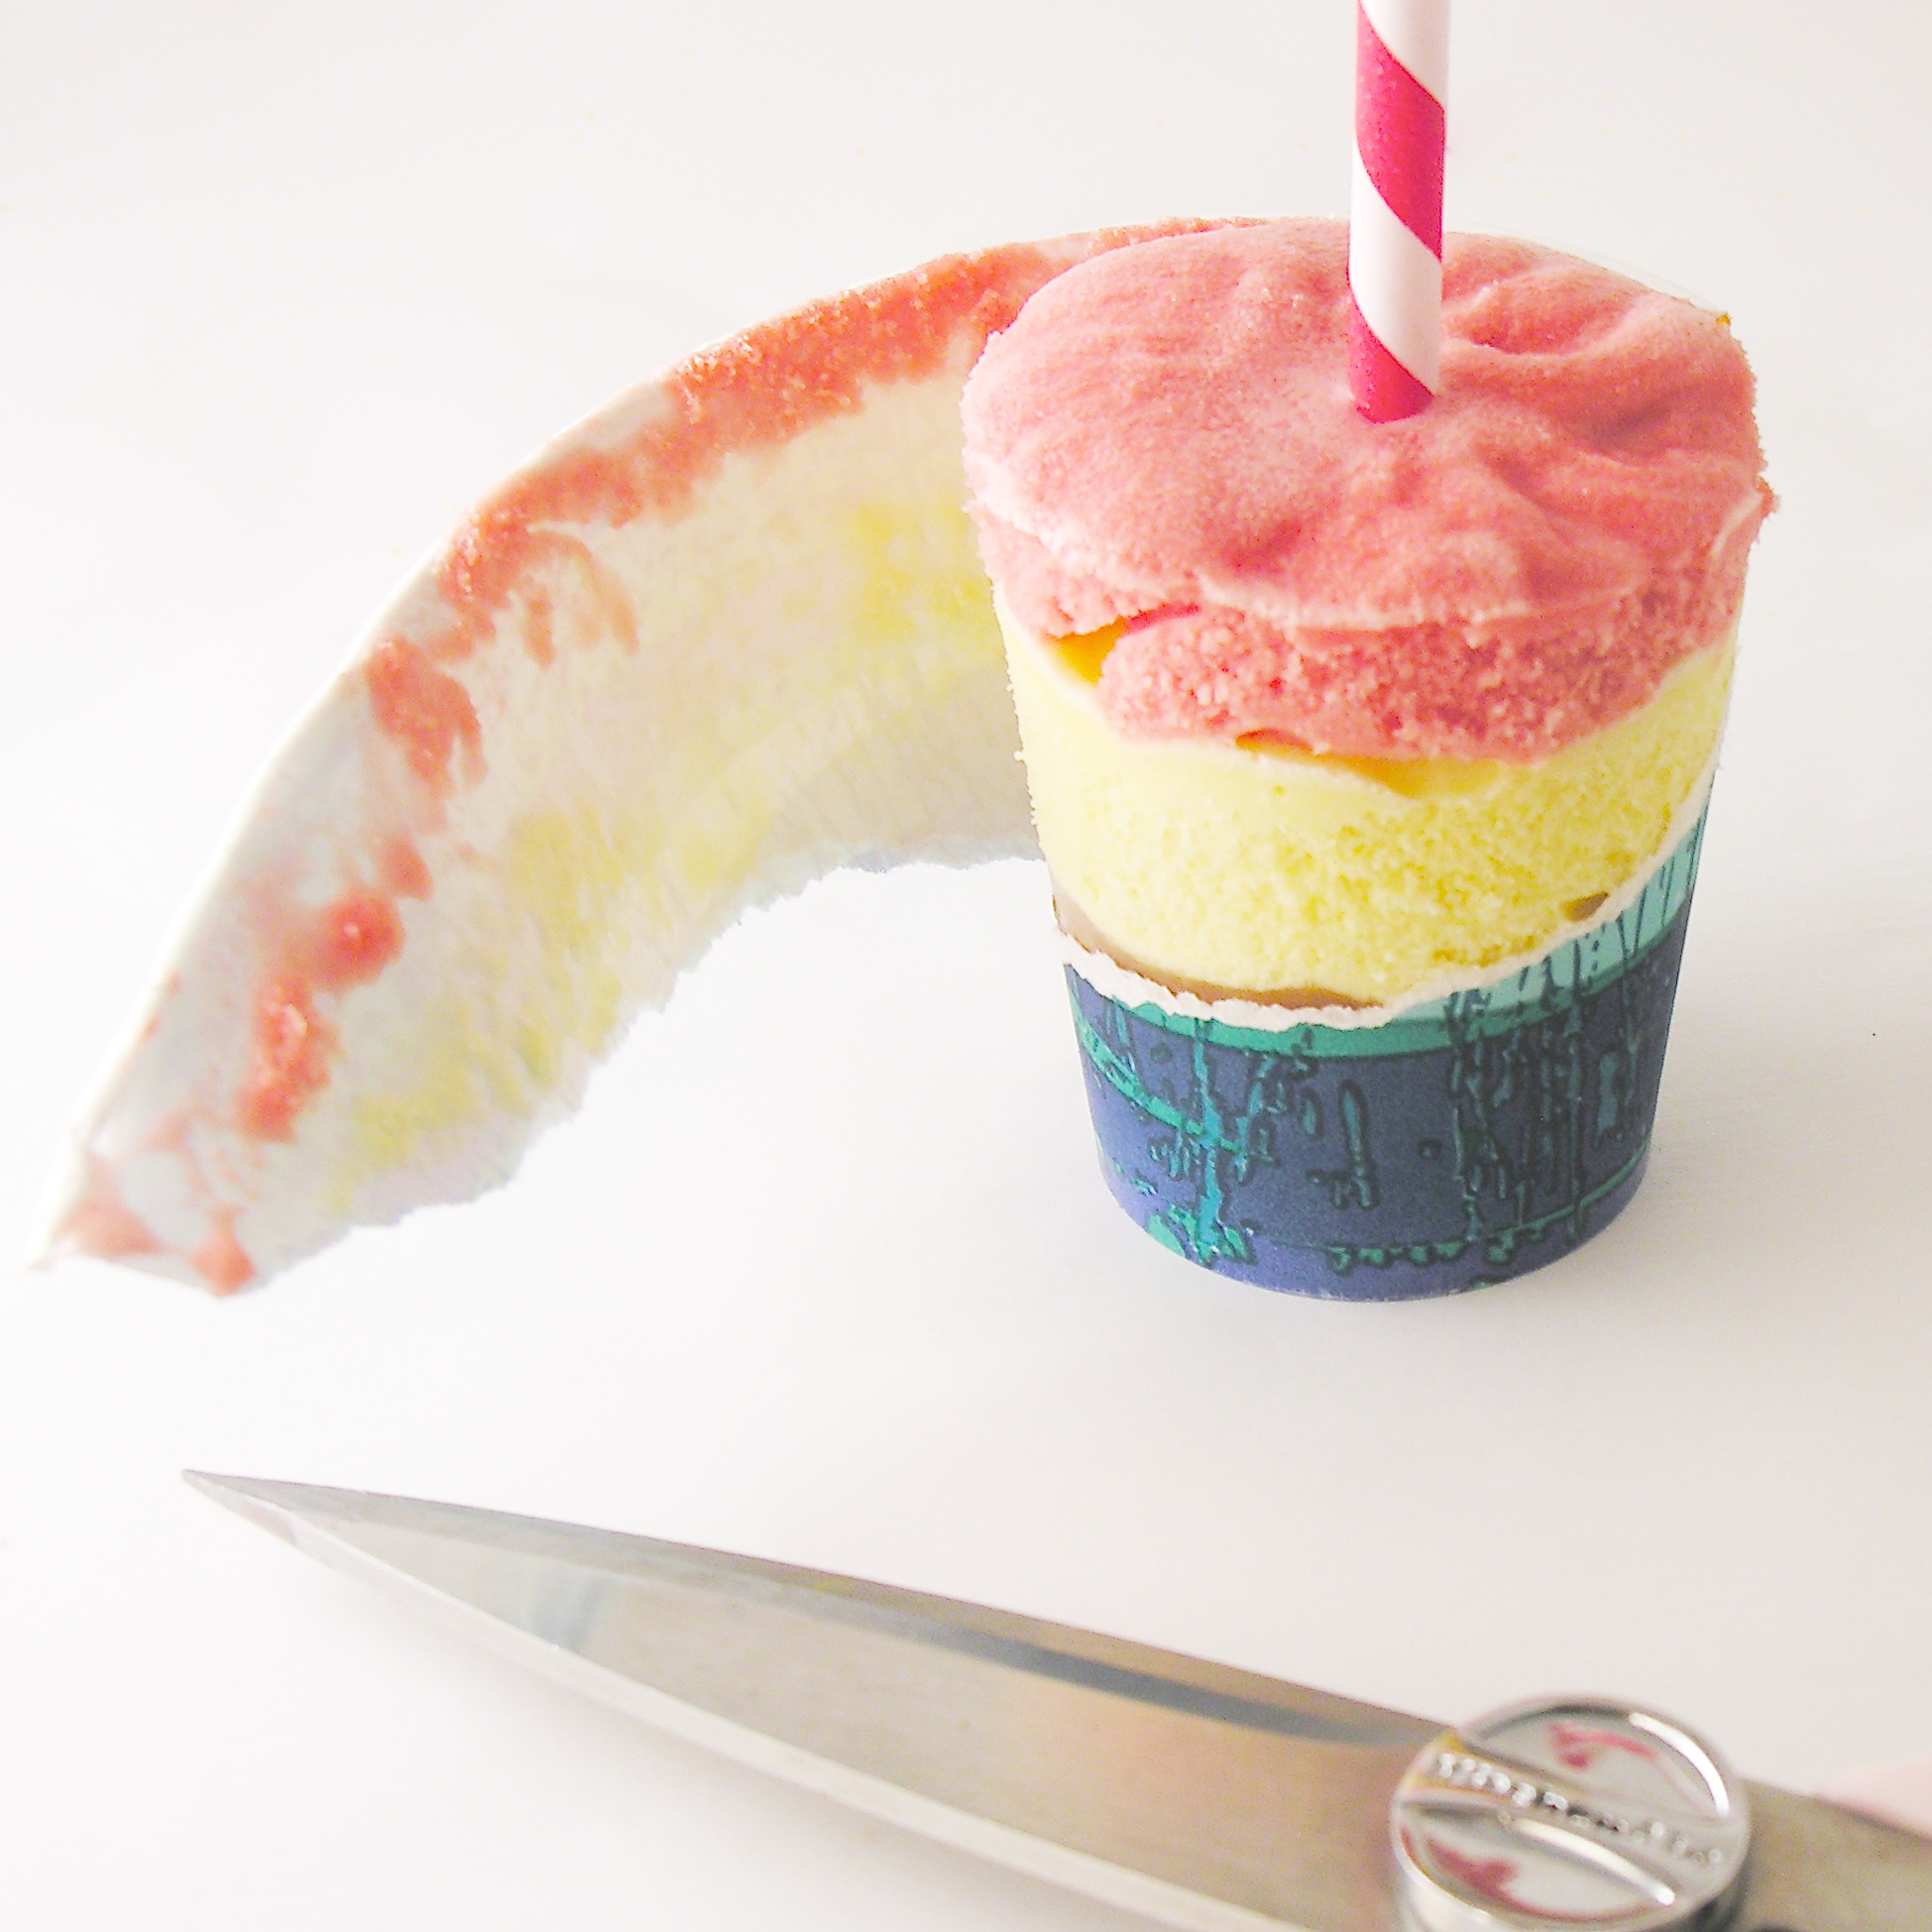
  • The next day, clip the top of the cup with a scissors and tear away the paper cup. Place uncovered pop on a paper plate or parchment paper in the freezer.

Iced Mocha Pops

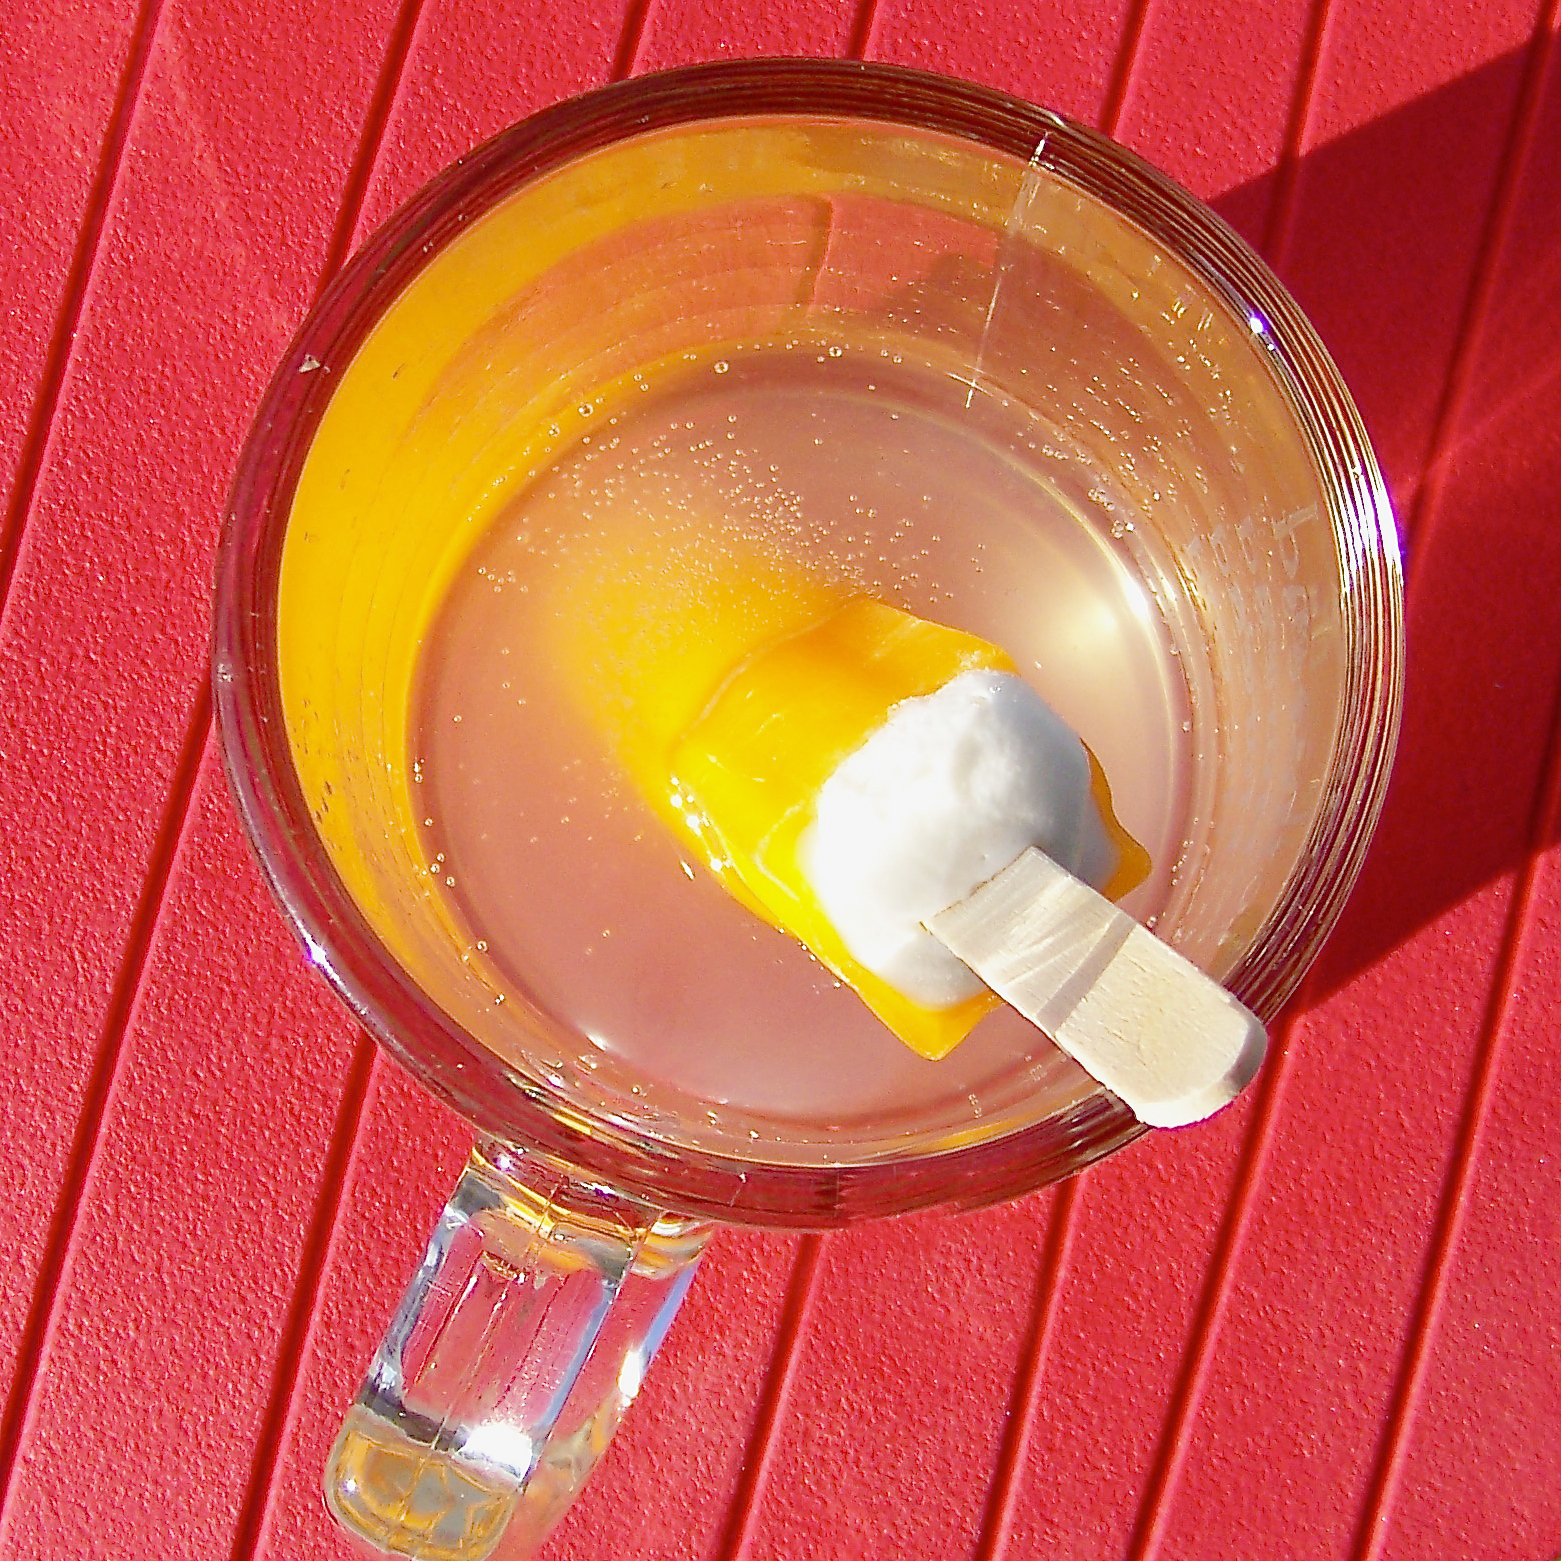
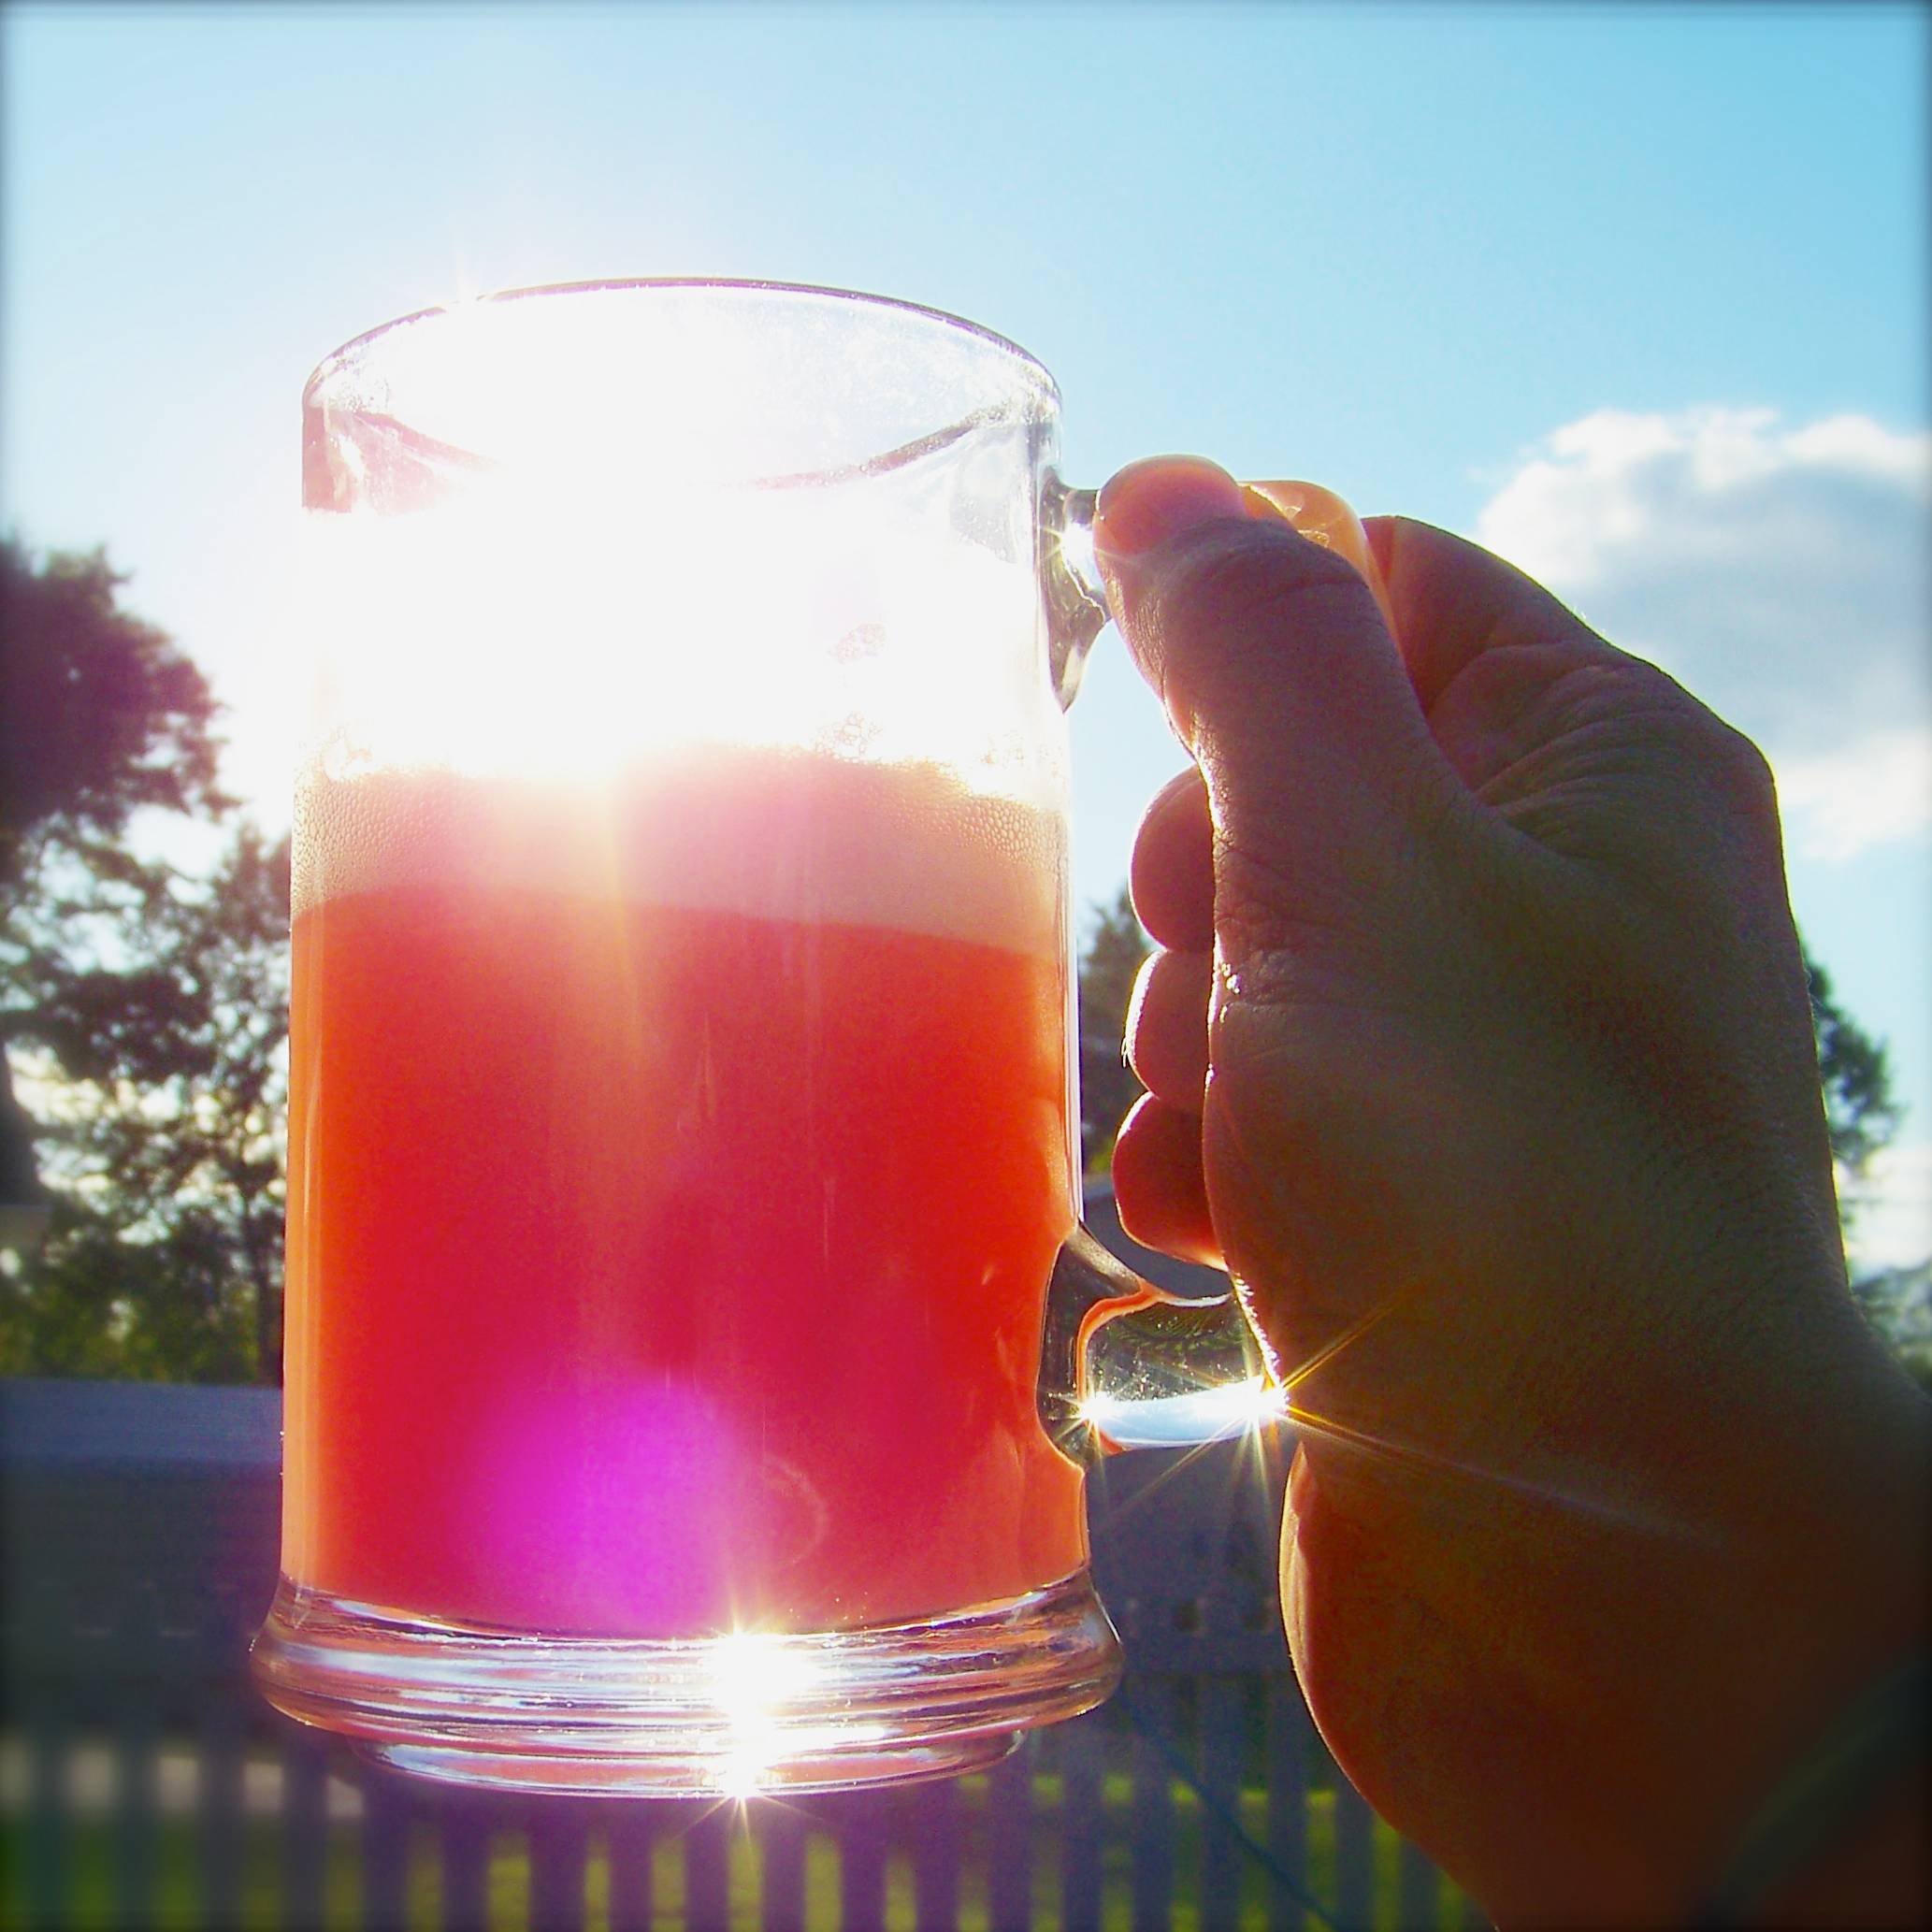
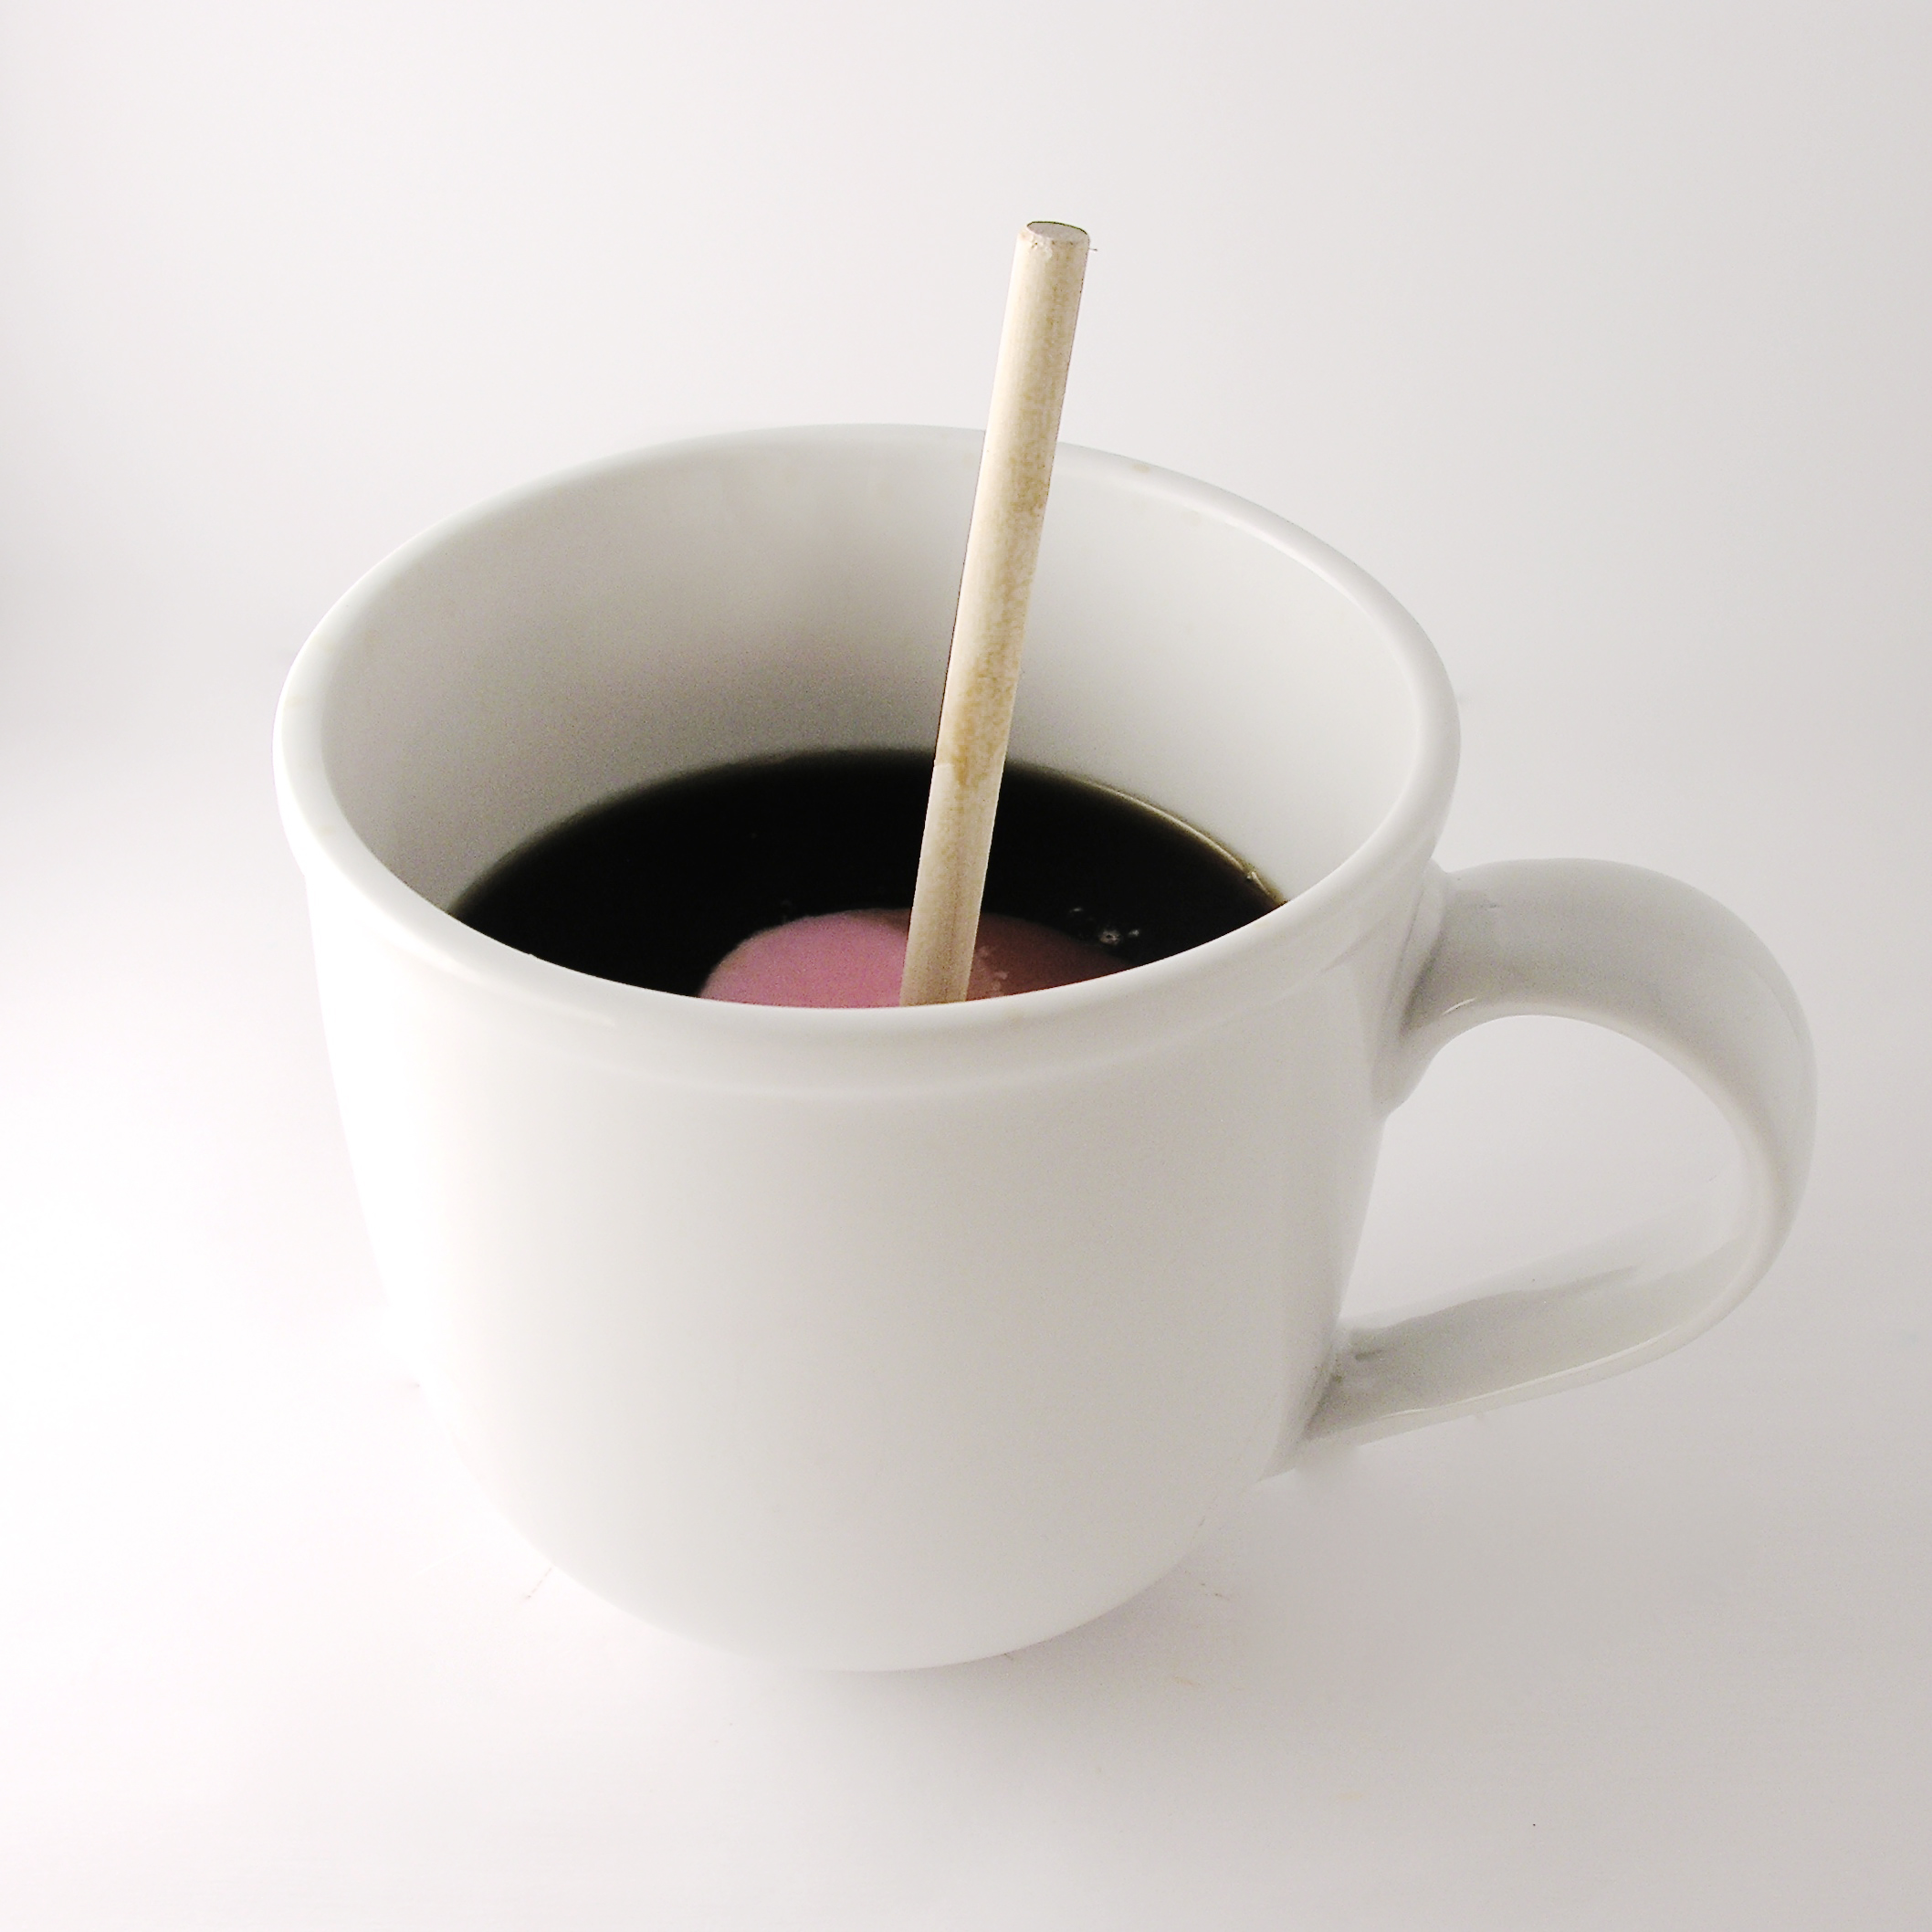
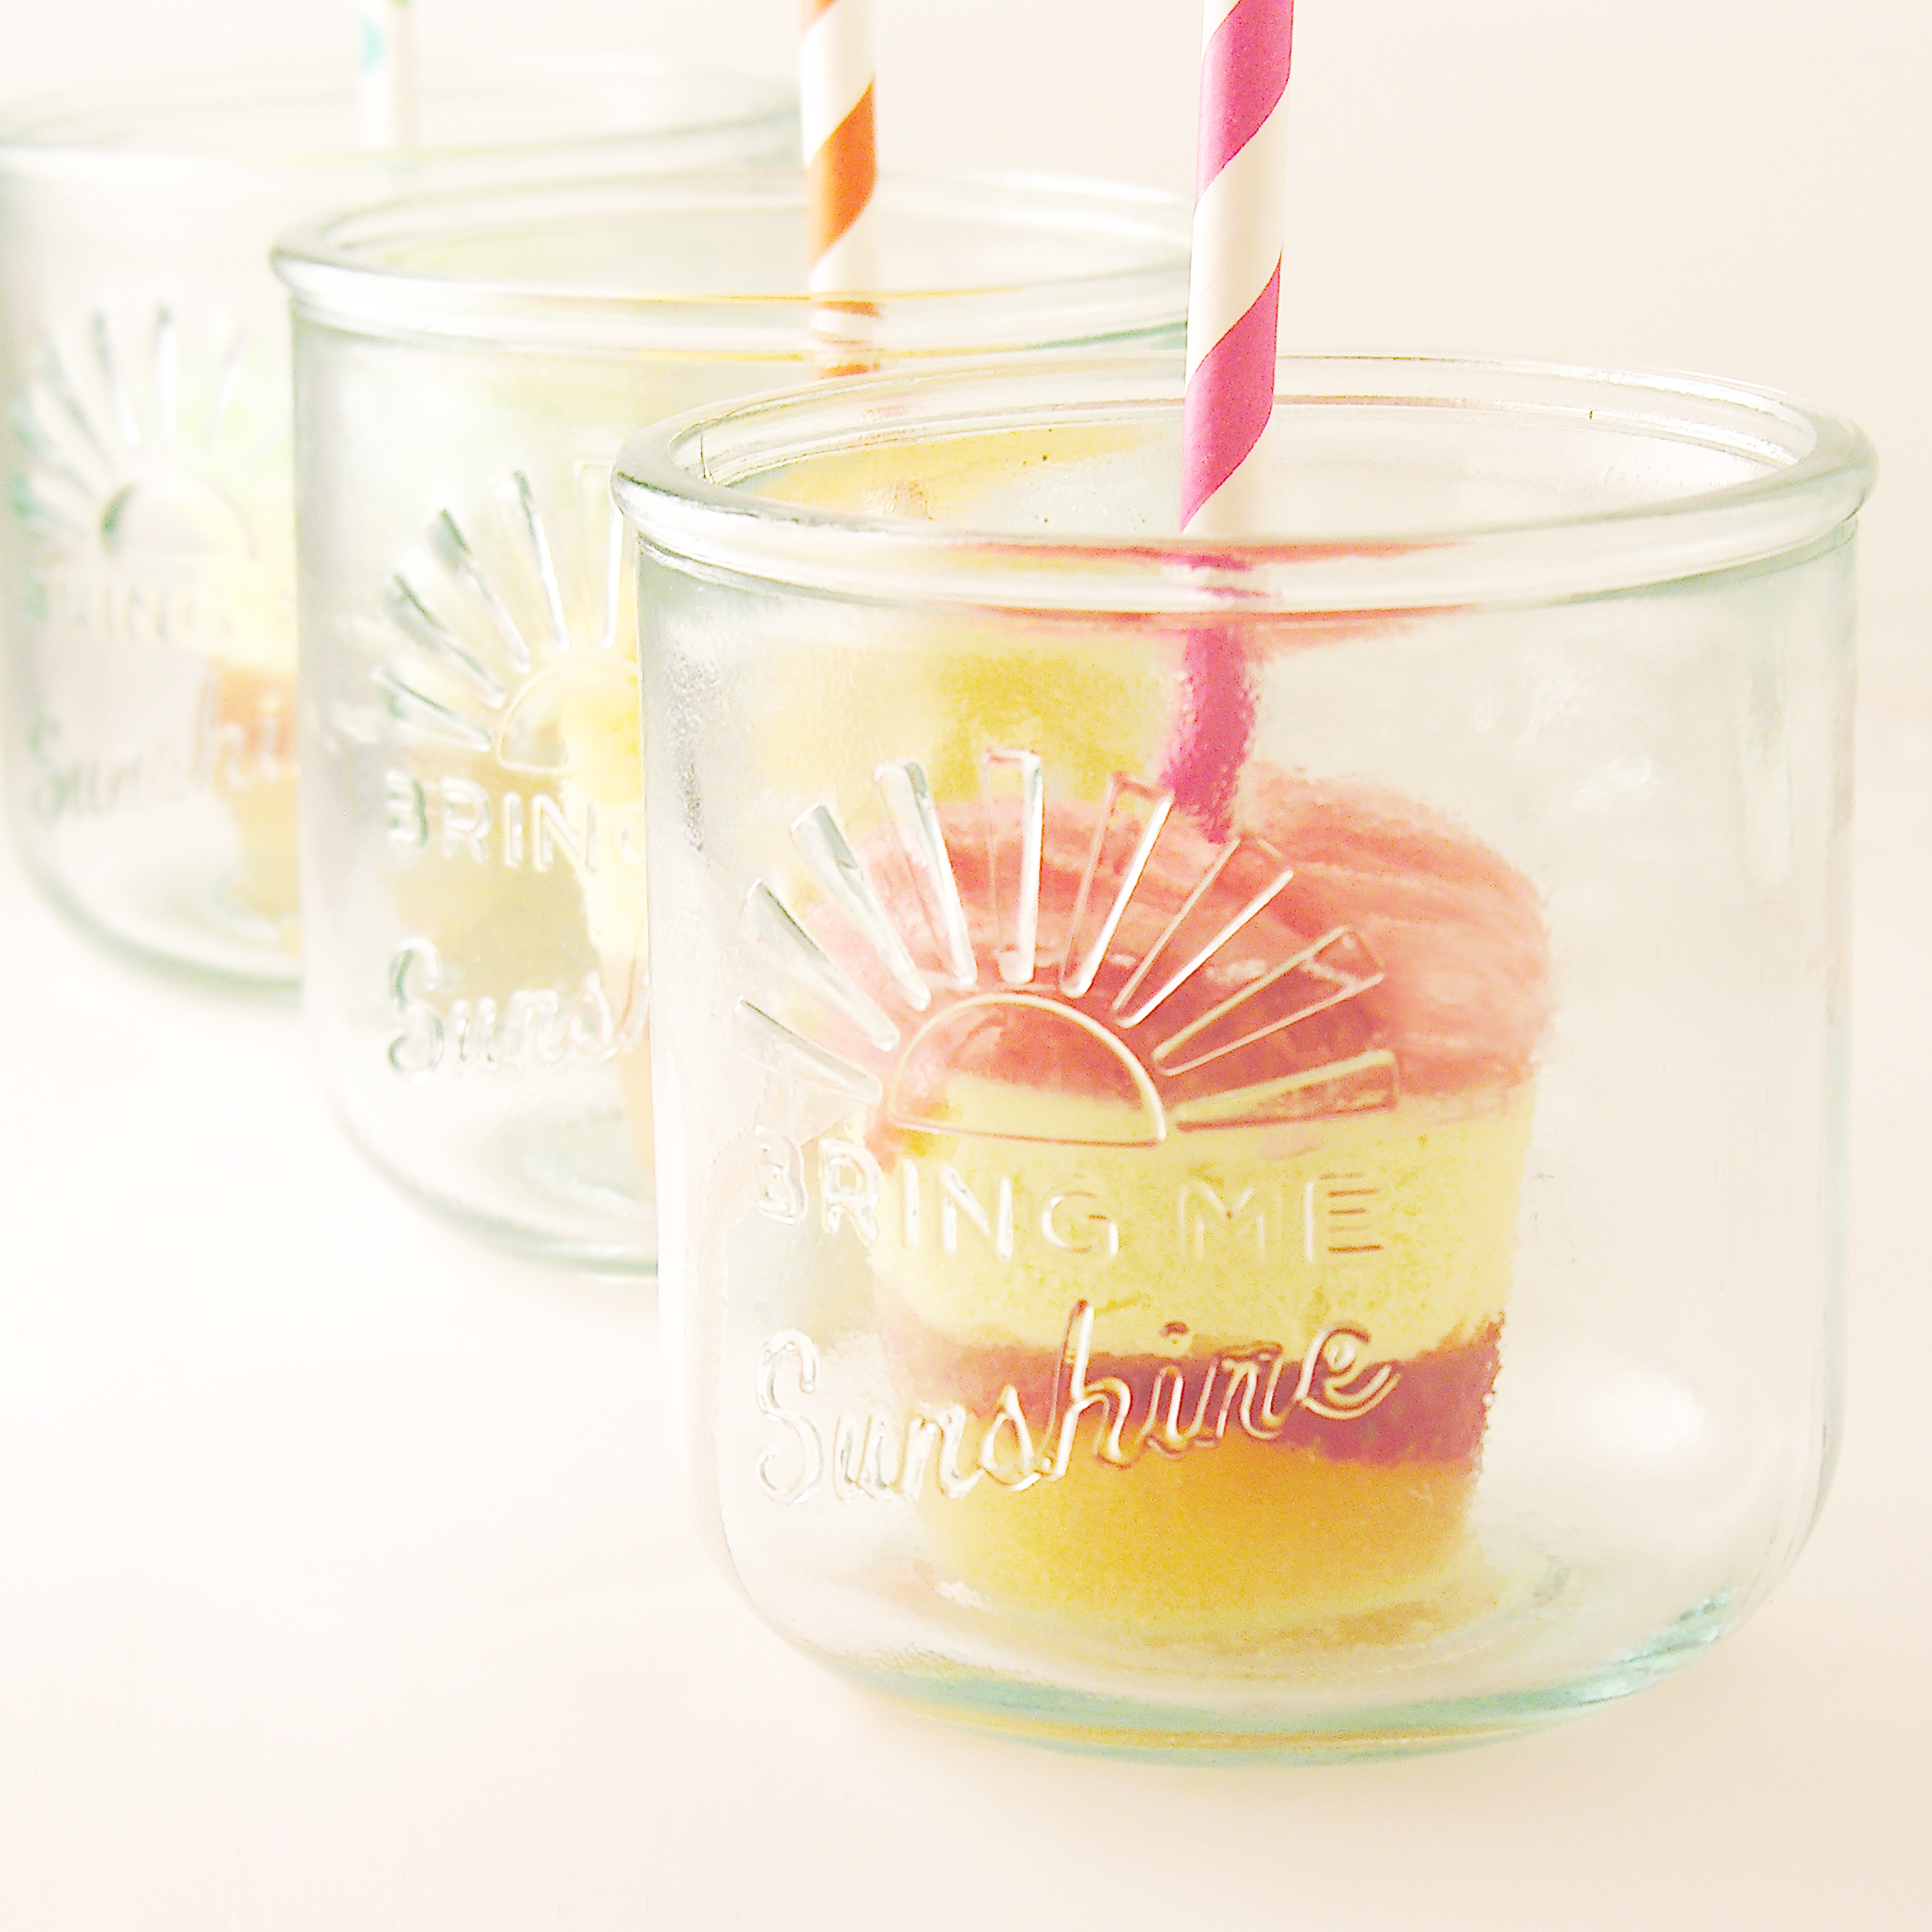
  • To serve immediately, in a 12-14 oz. cup, brew 8 oz. of strong coffee. I used my Keurig with a dark blend.
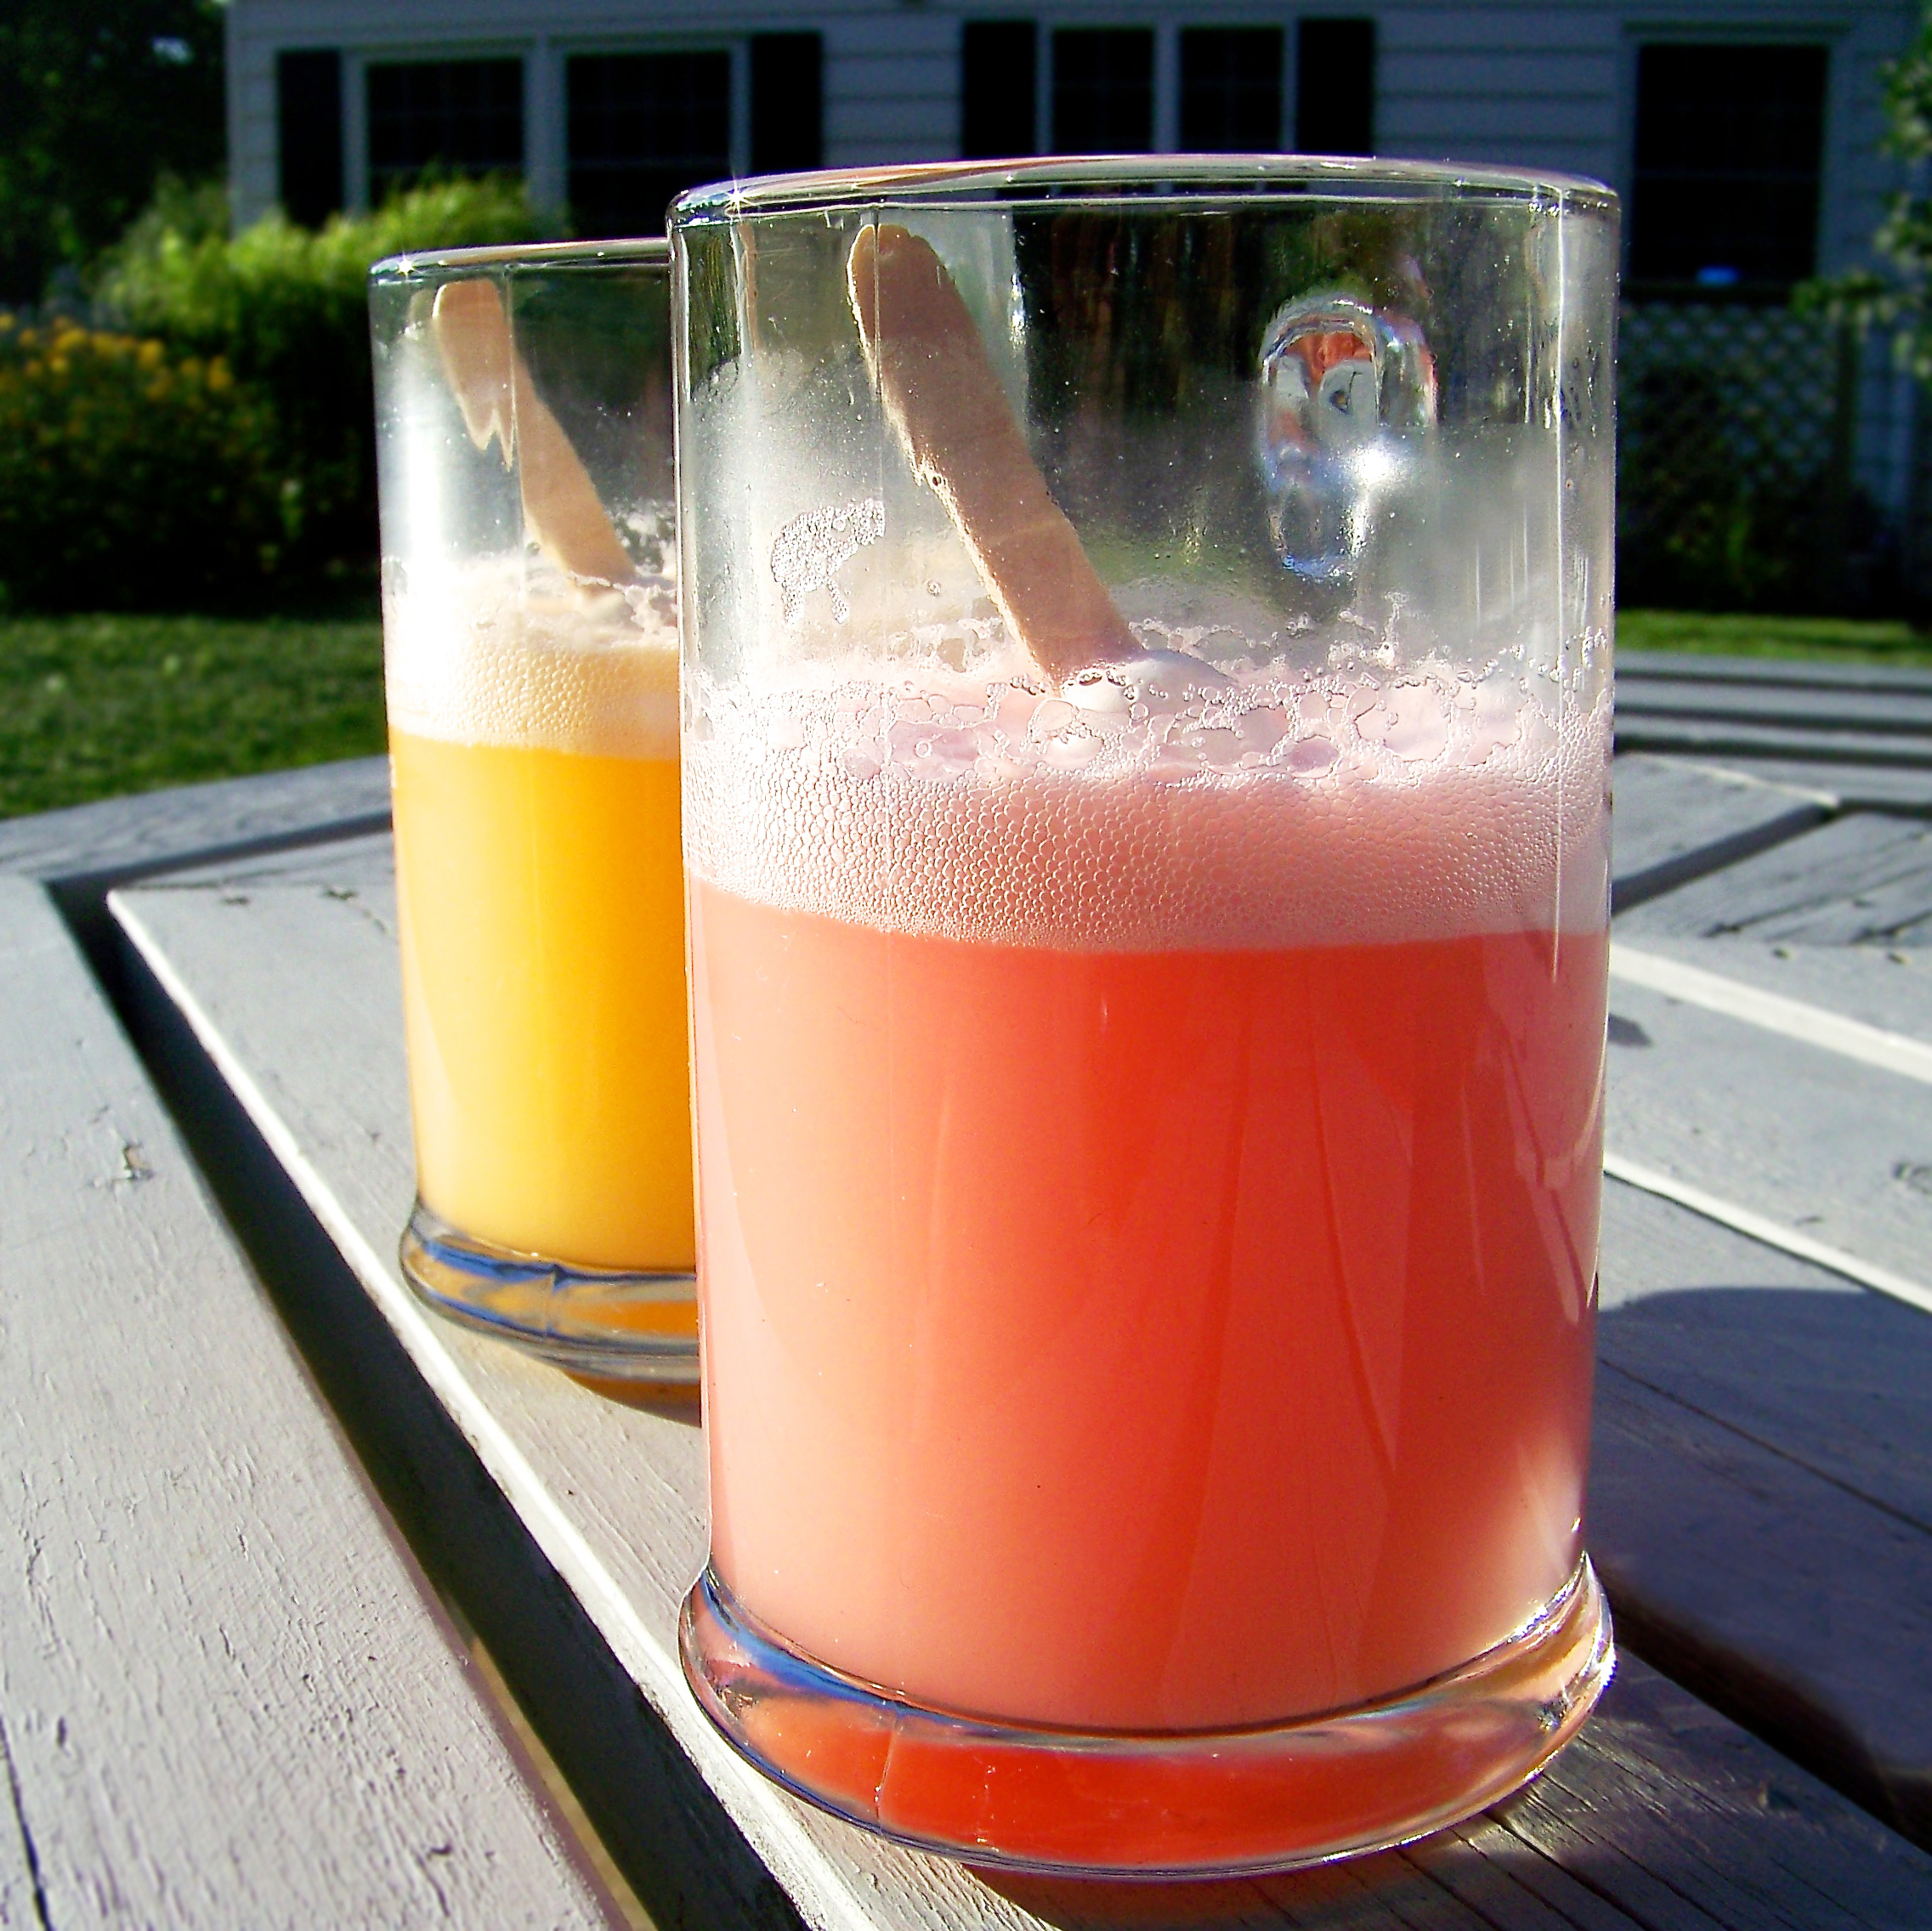
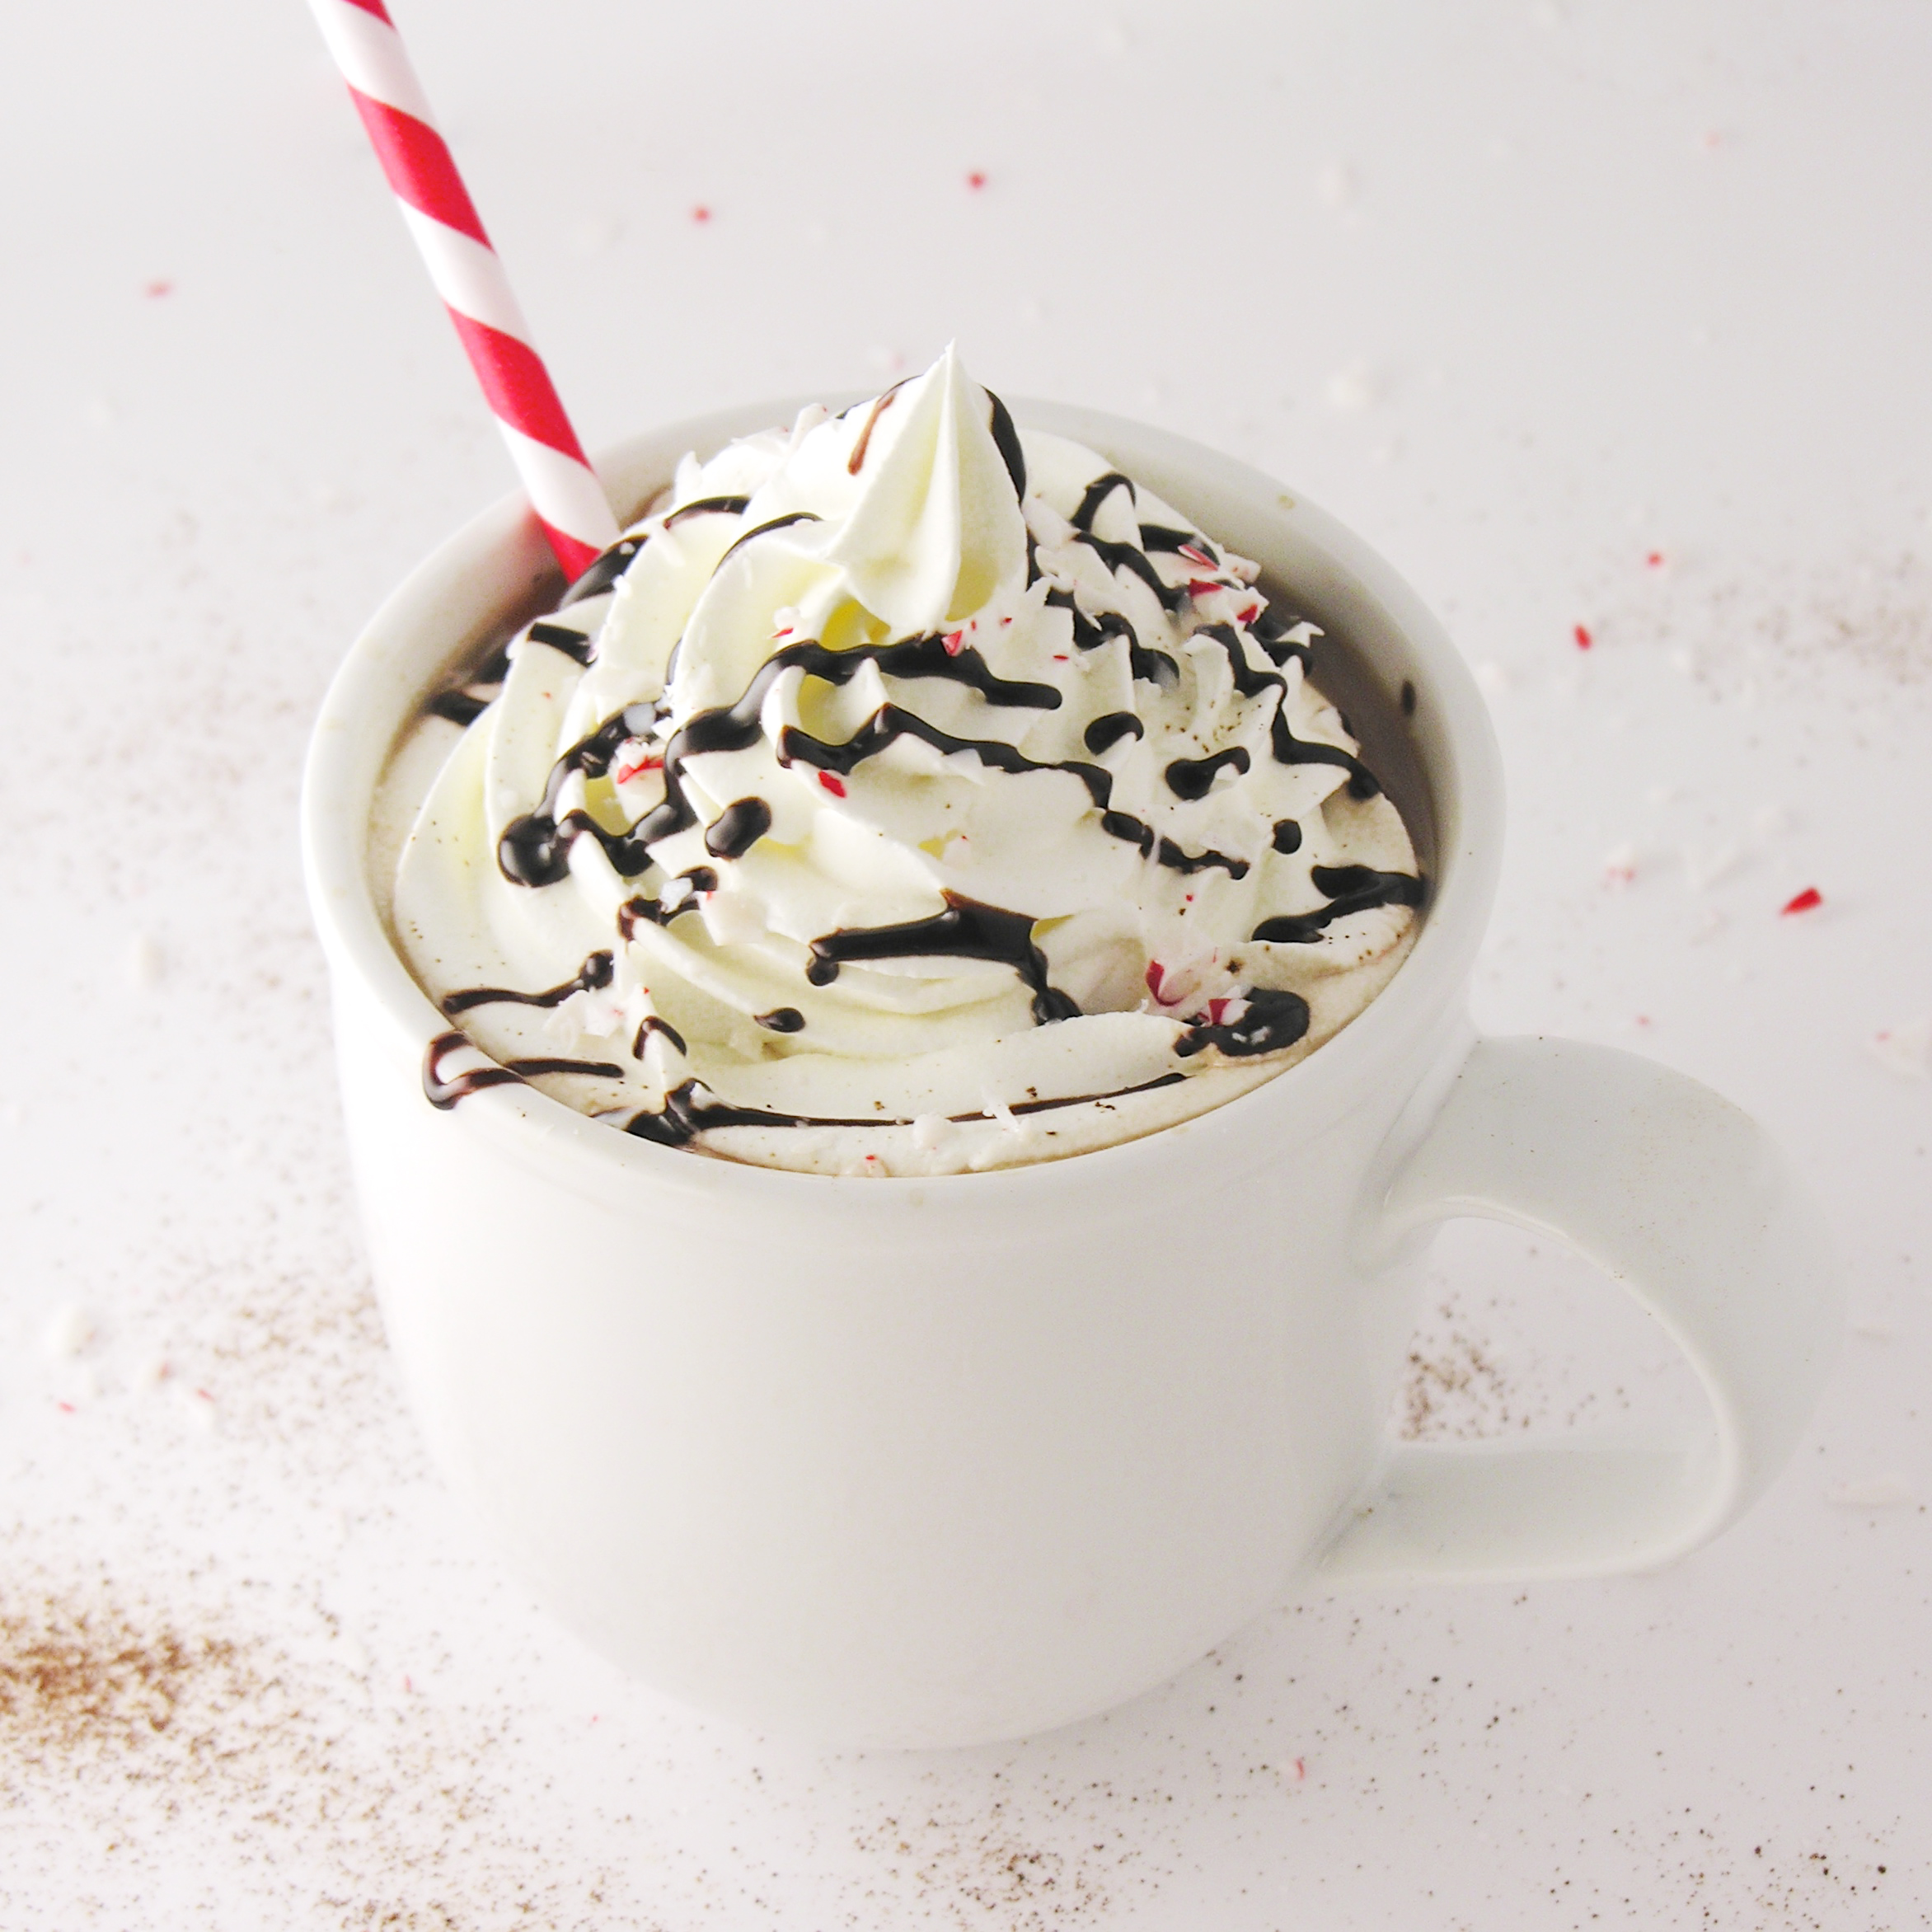
  • Place pop into coffee and stir until dissolved. Add a little crushed ice to chill completely and top with whipped cream and chocolate drizzles if desired.

Frozen Mocha PopFrozen Mocha Pop

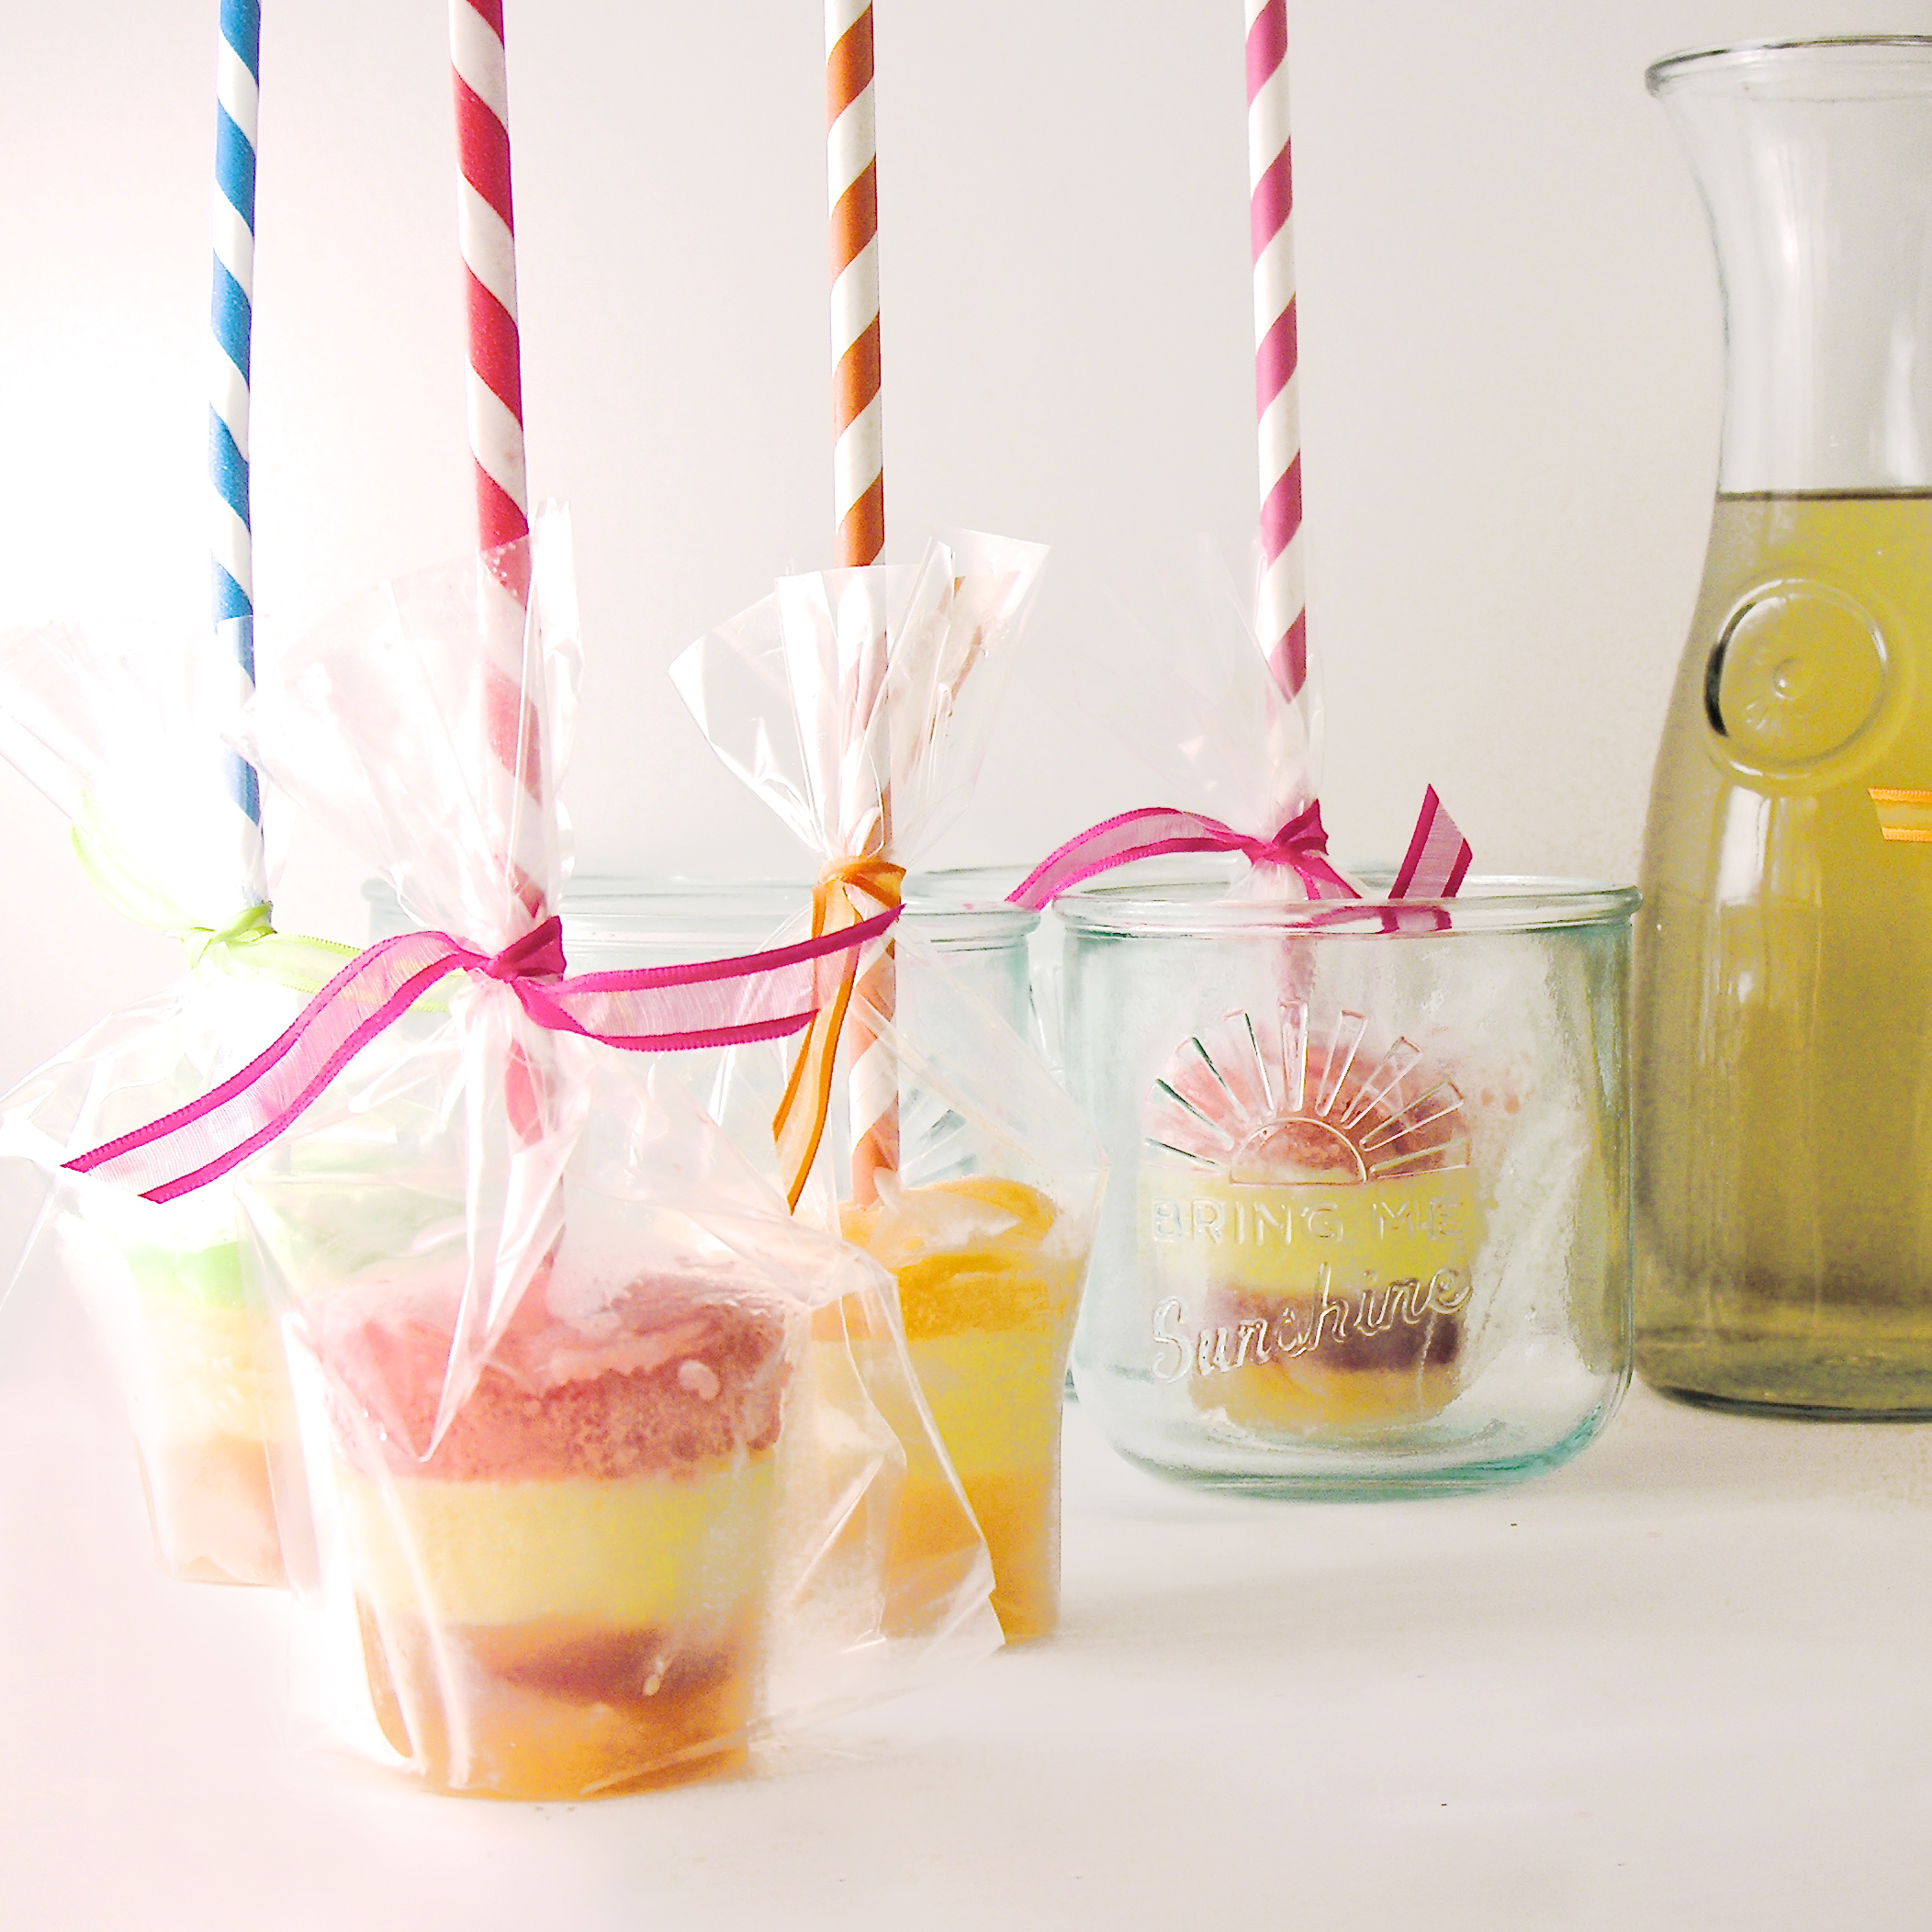
  • To have a mocha-on-demand, place these little pops into cake-pop cello bags and tie them shut. Keep these frozen for up to a month. When you are craving an iced mocha, simply make coffee and add a pop!
  • Enjoy!!!!

Mocha Pops5

My thoughts: Ah….these are so yummy! I love the deep chocolate taste and how it blends with the coffee. I made some with caramel syrup too, and I can’t wait to try others! Give yourself a day to make them, since they have to freeze in stages. I started my first batch in the afternoon and finally put them in to freeze overnight at 10pm! So plan ahead and start them early.

These are so cute in little cello bags with ties- a perfect addition to a coffee bar- just be sure to keep them on ice! Enjoy!!  ~r

Iced Peppermint Mocha Pops

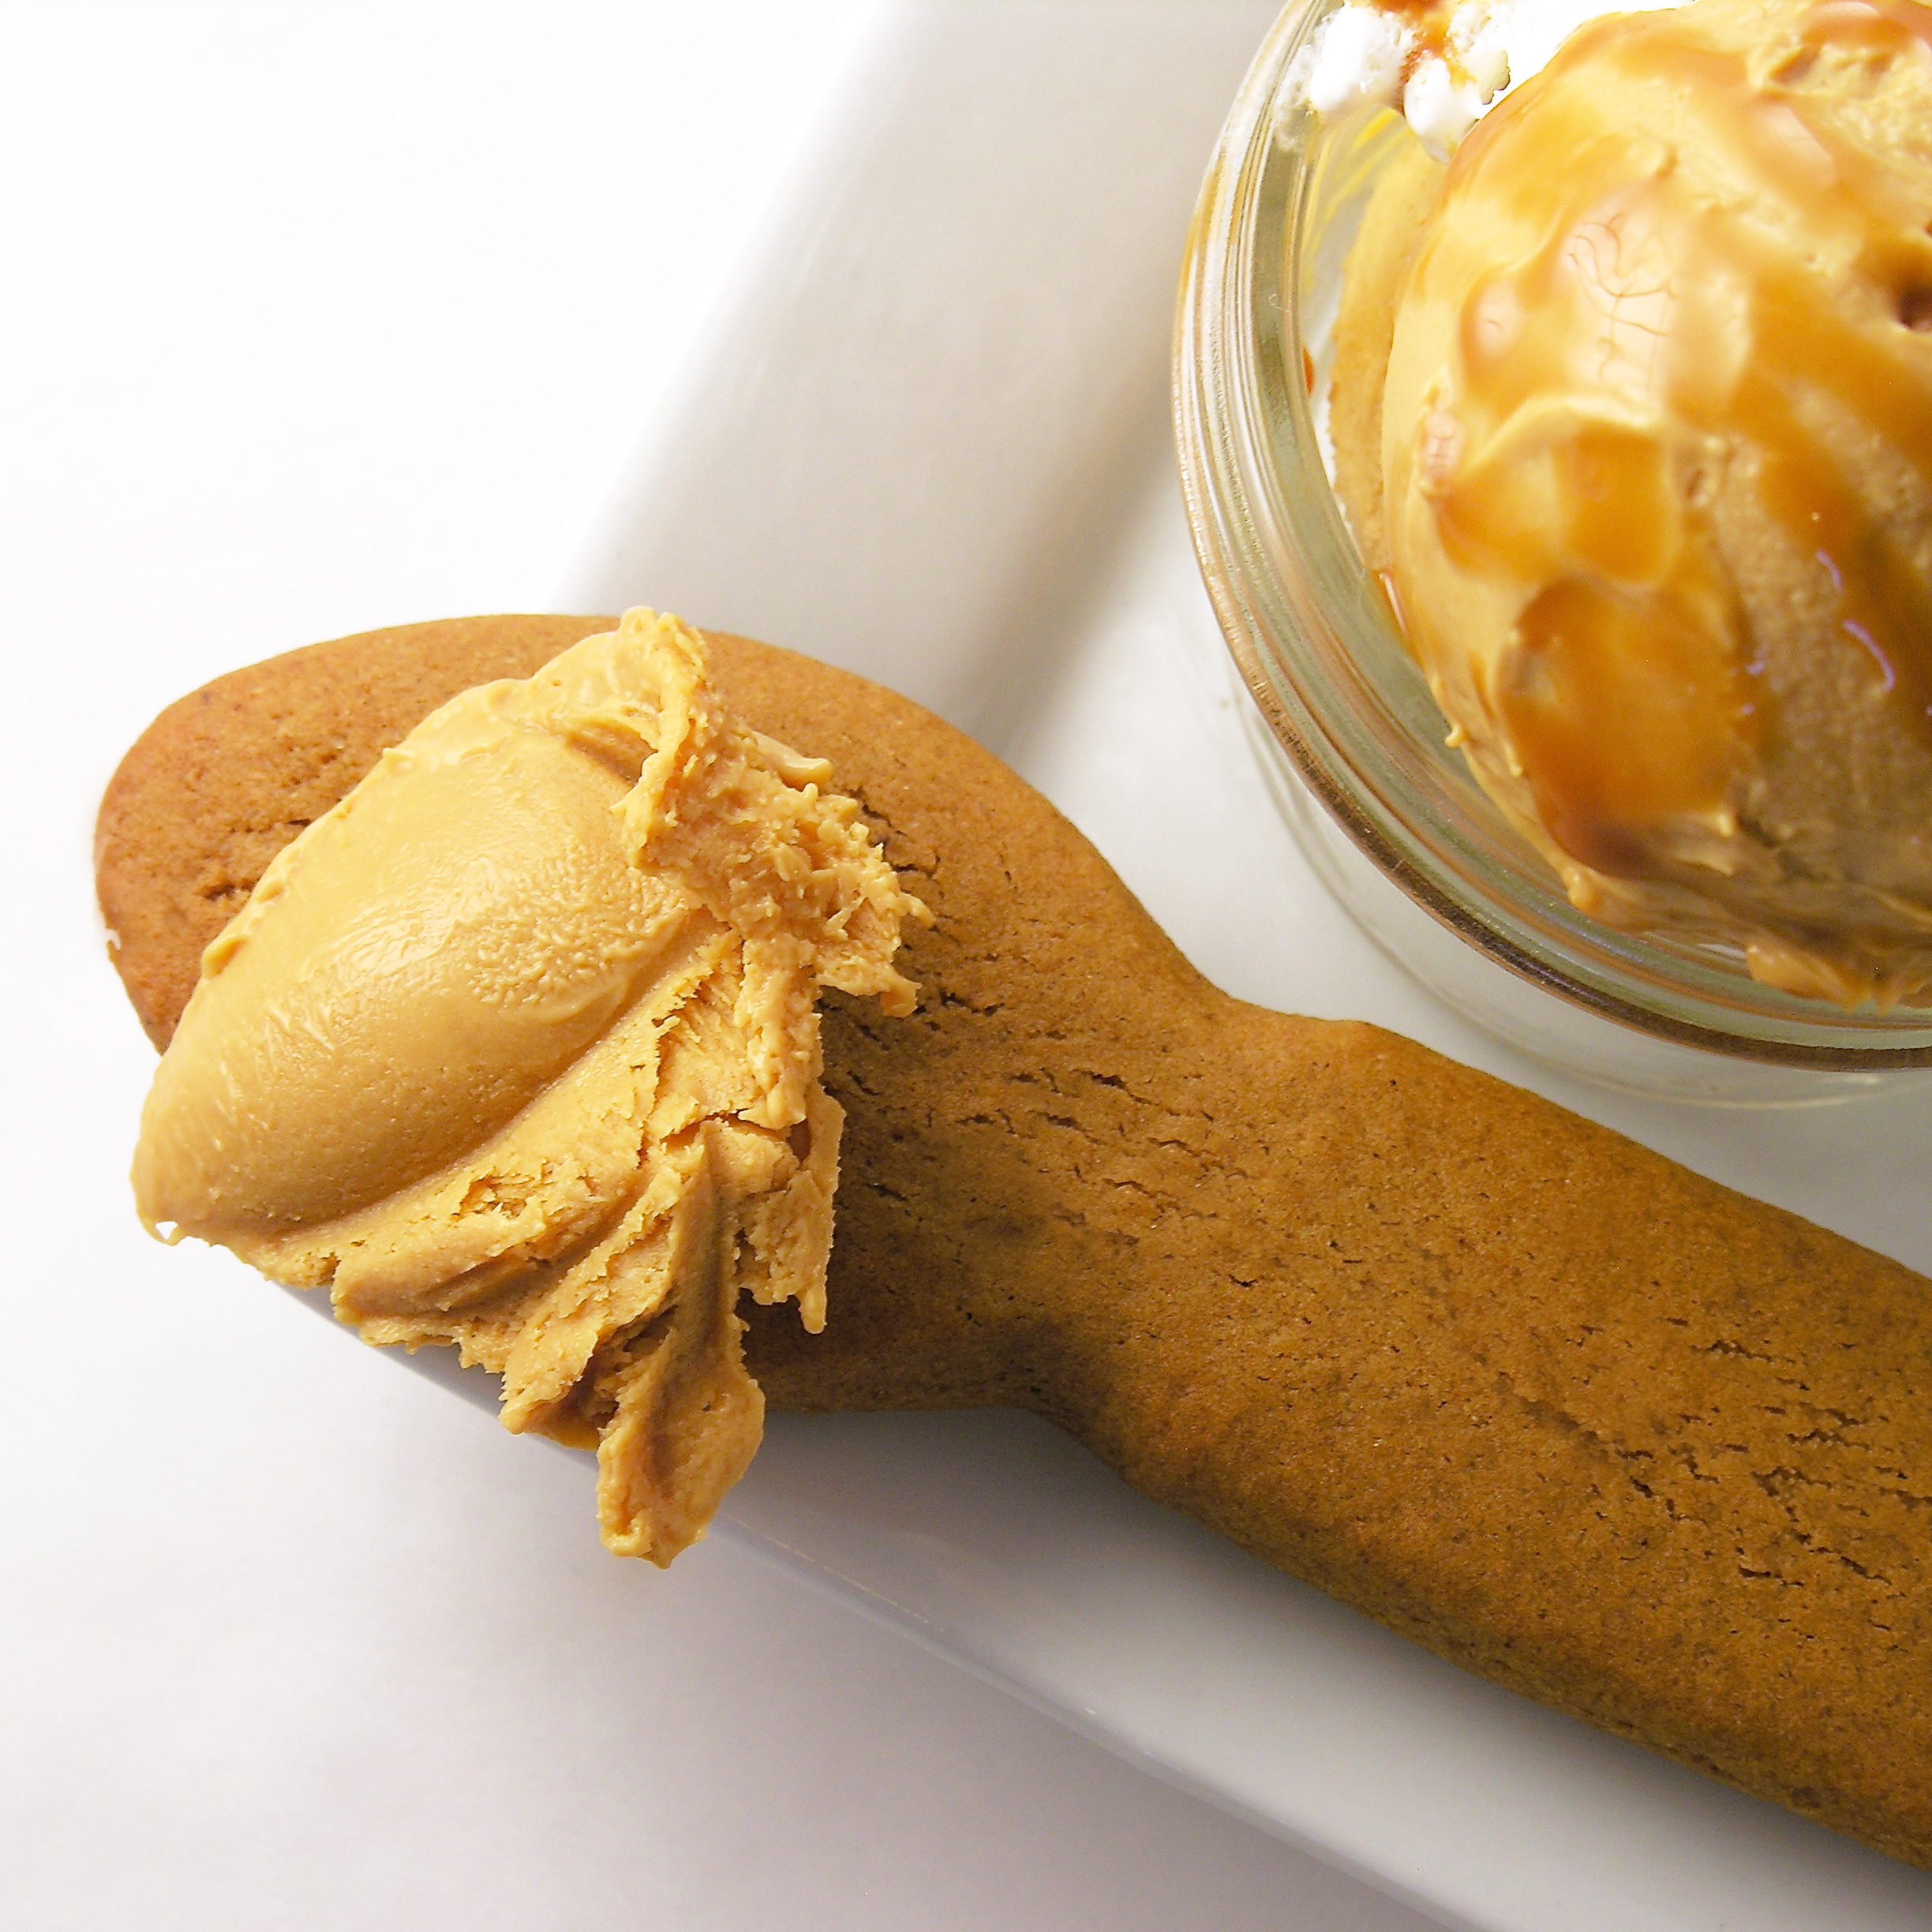
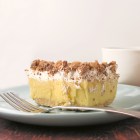
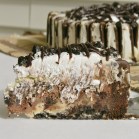
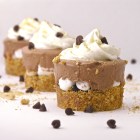
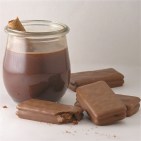
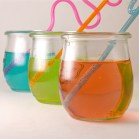
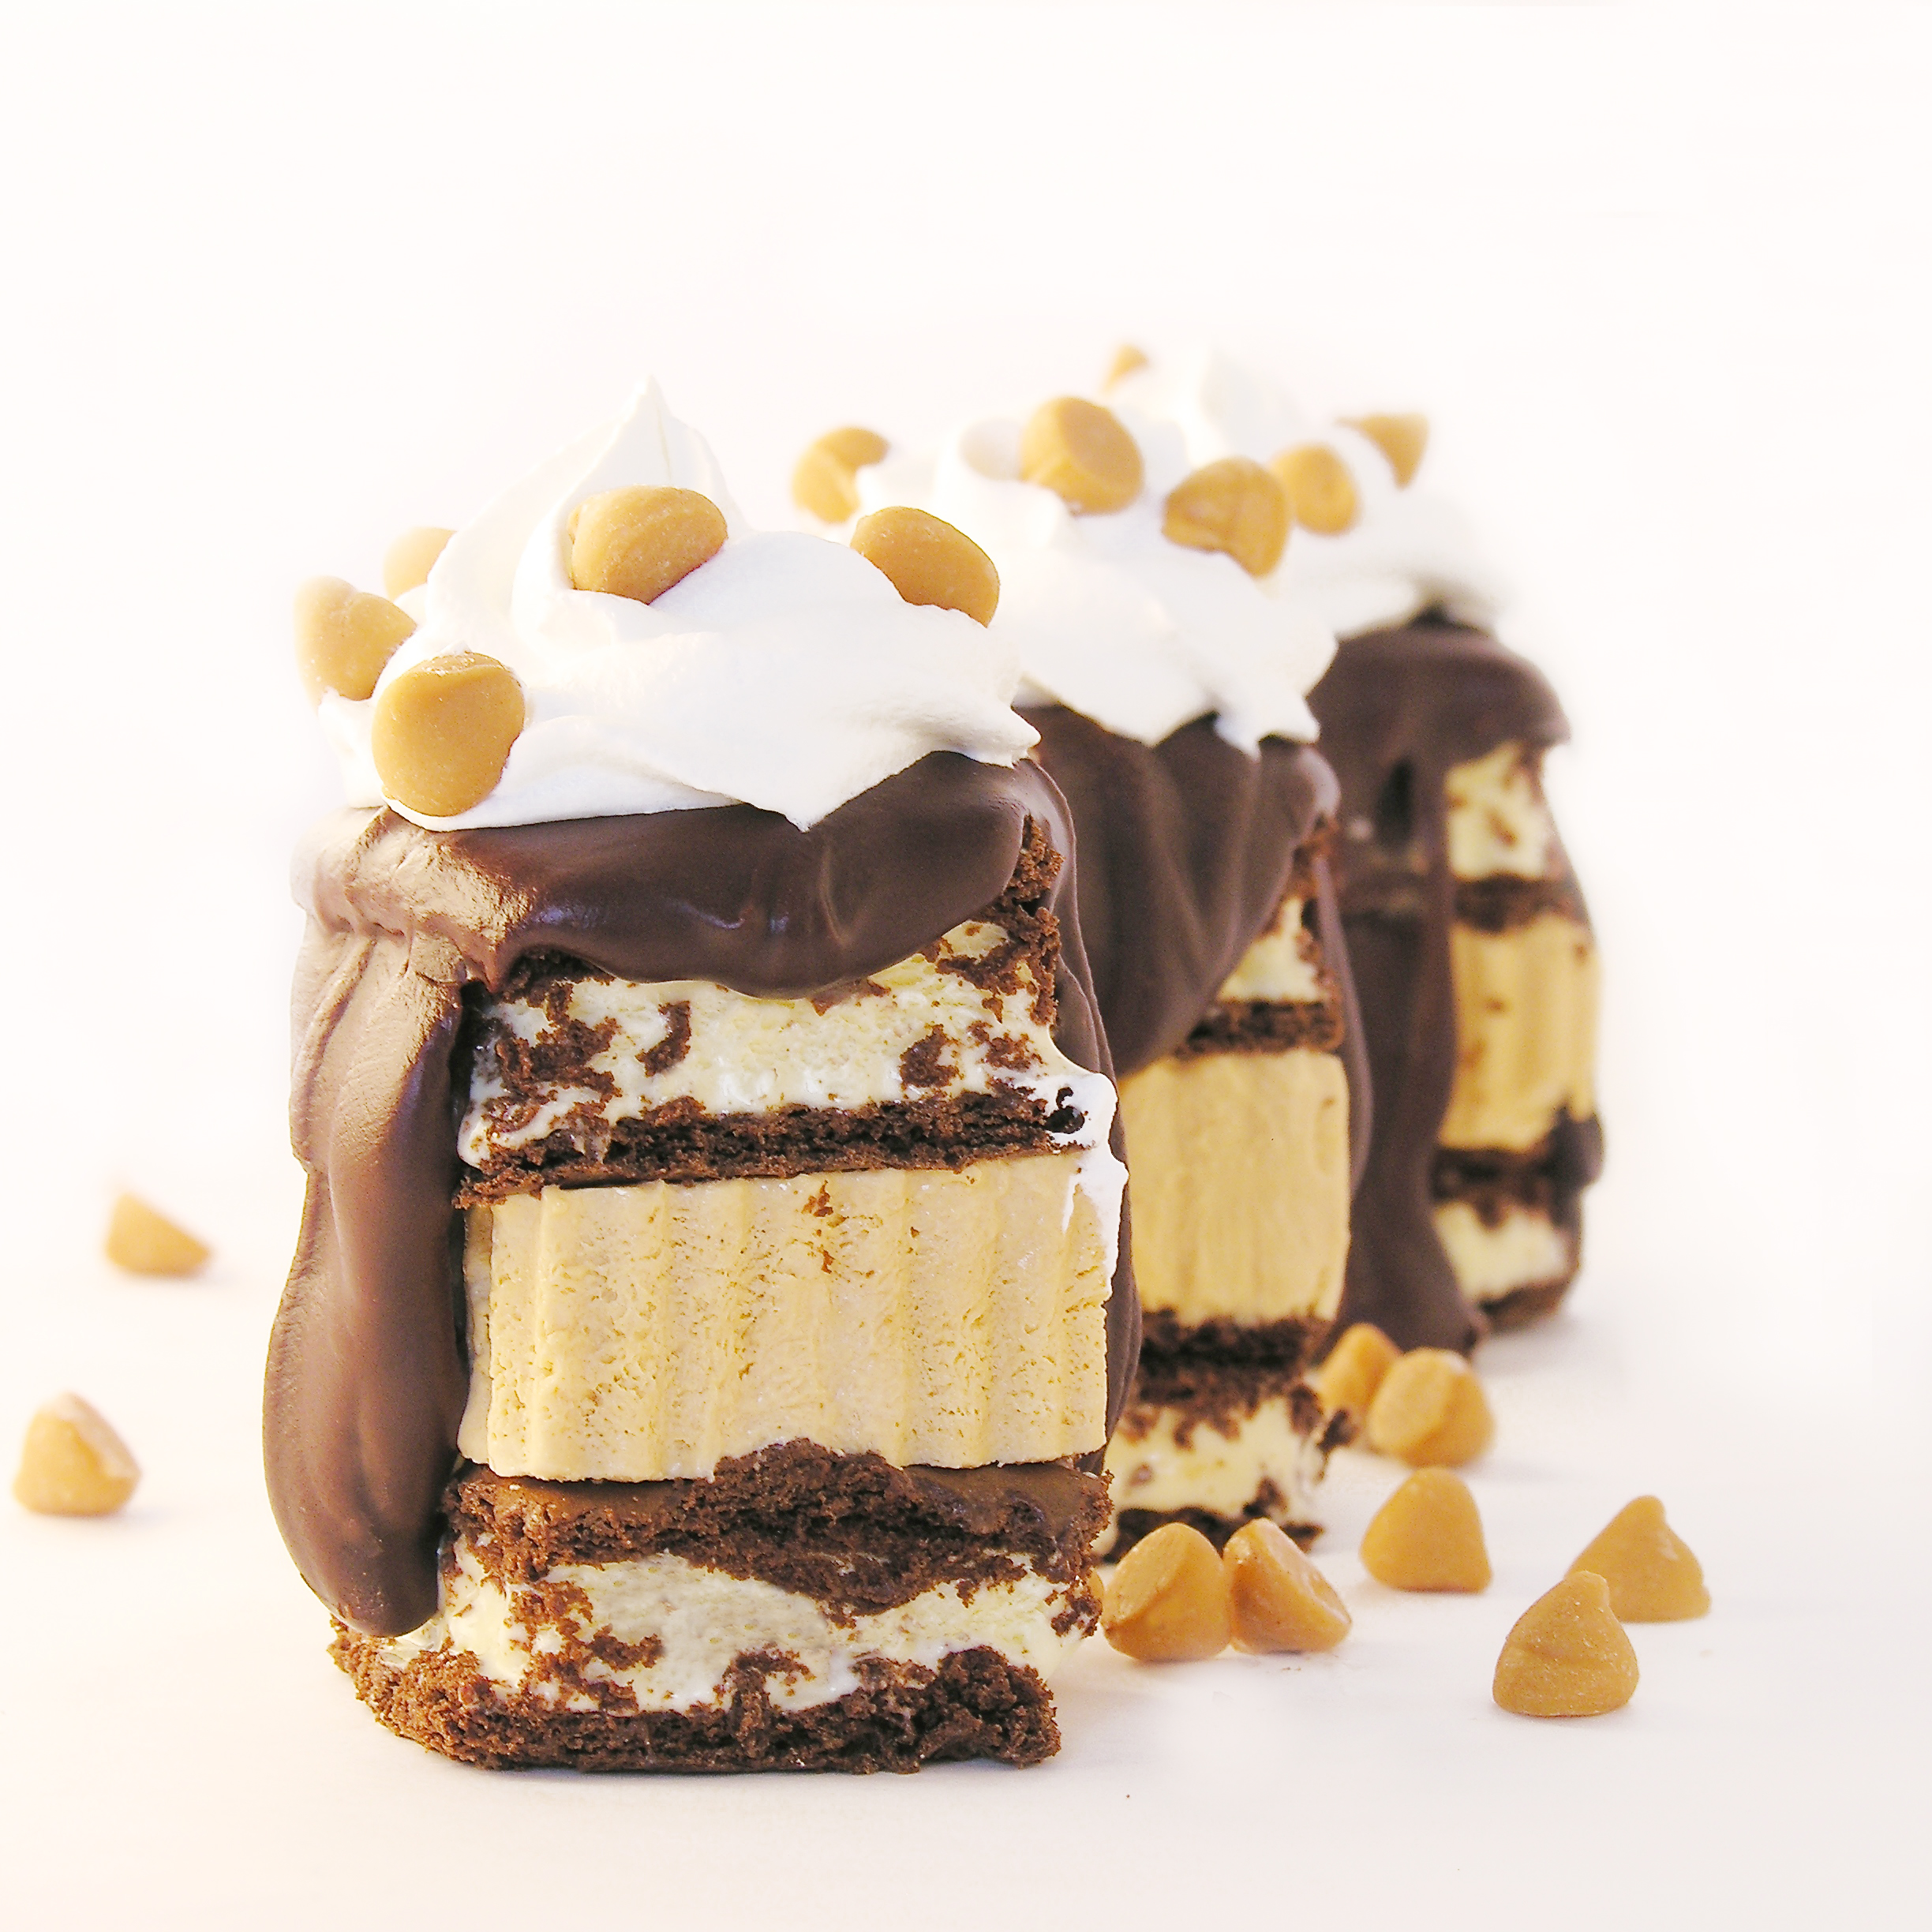
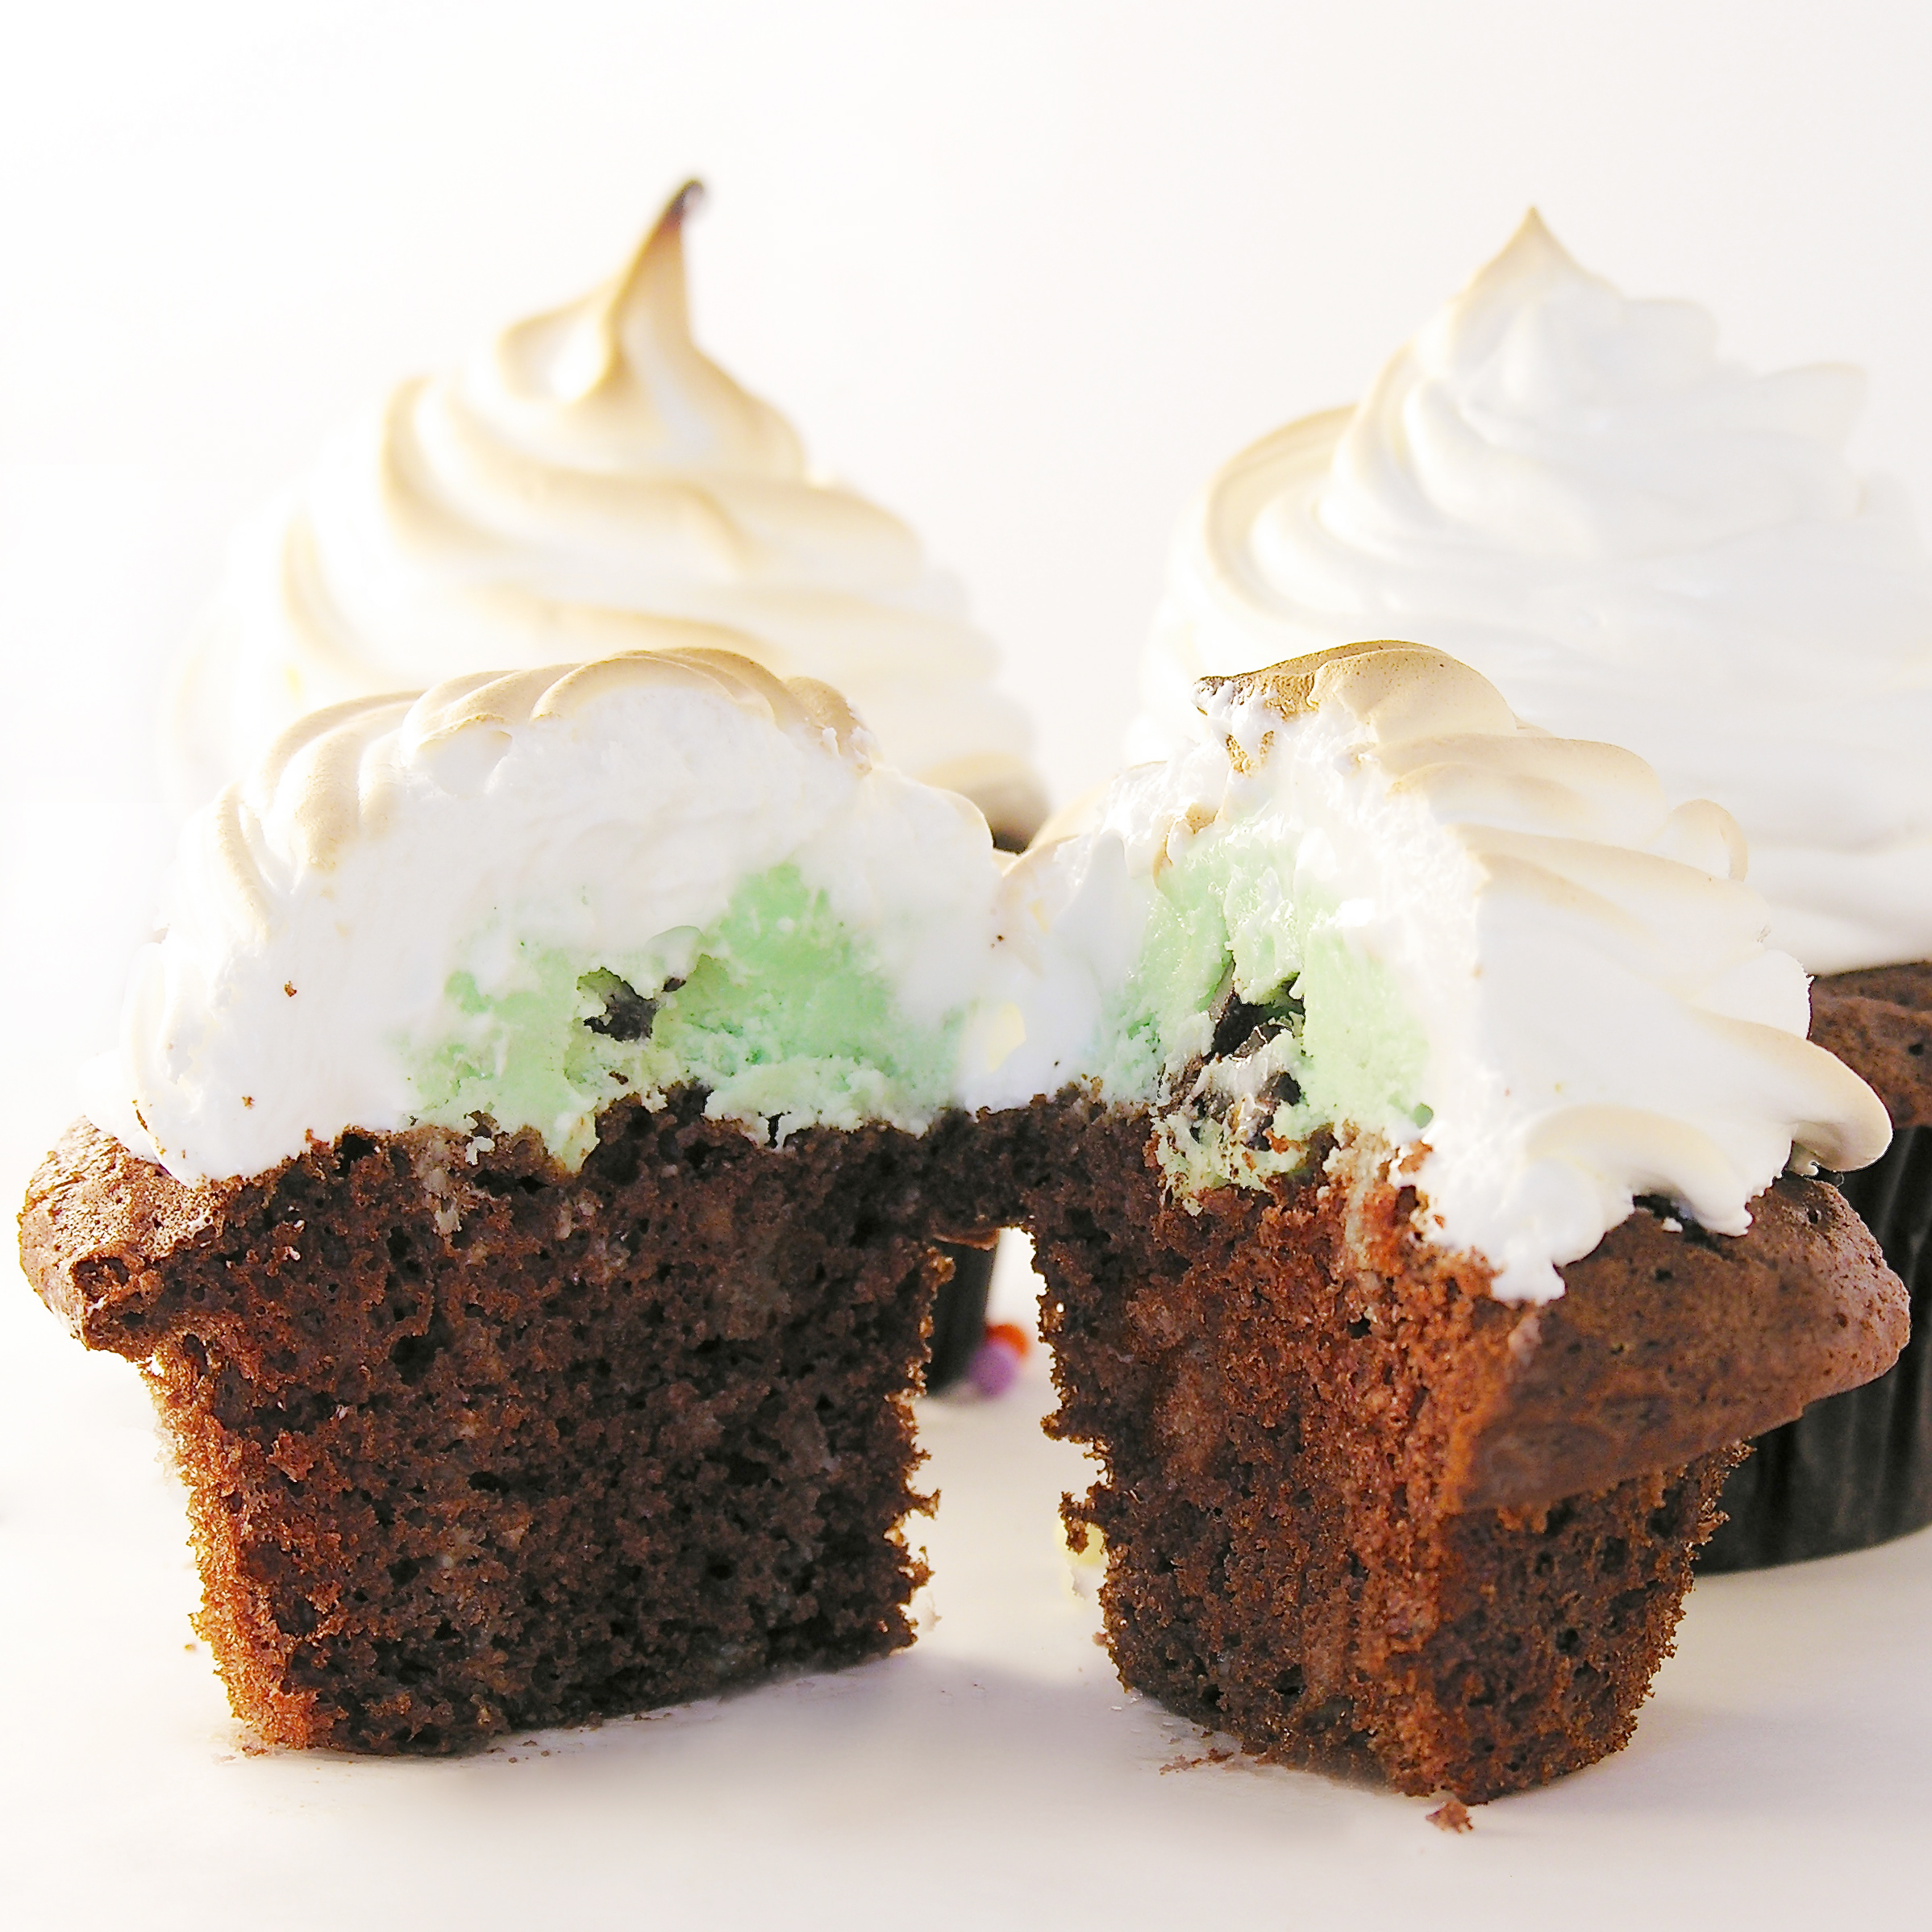
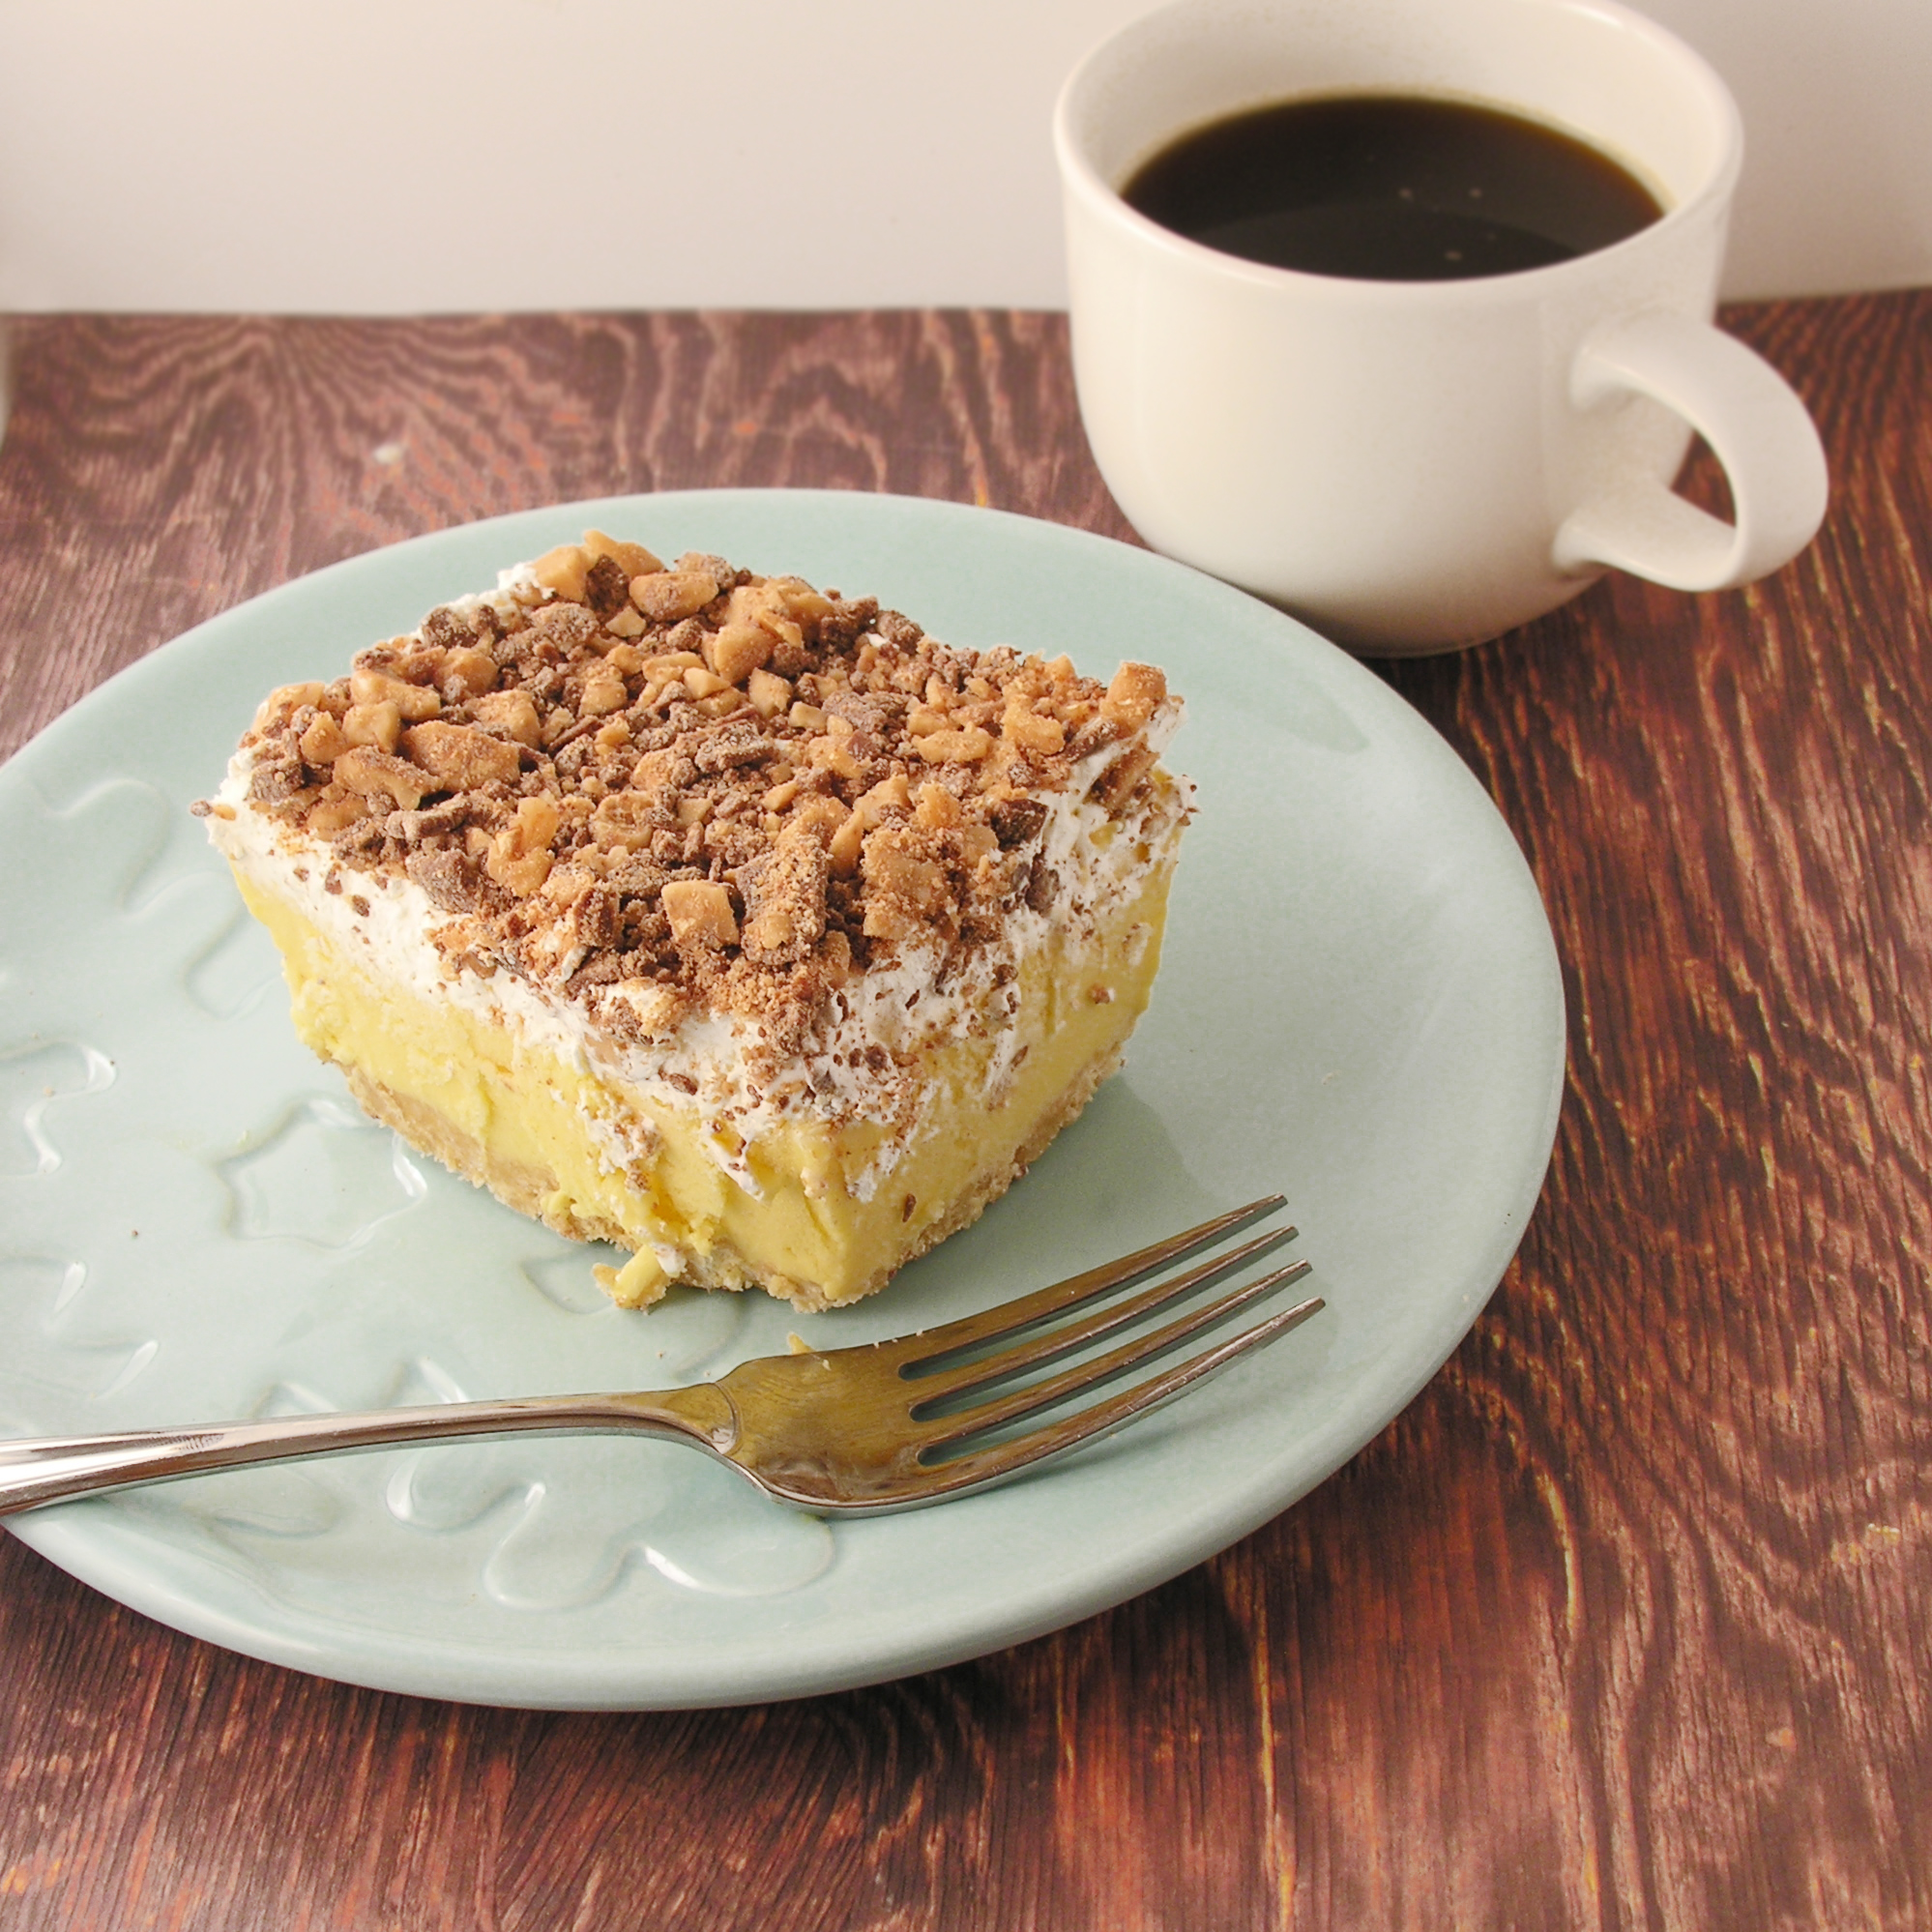
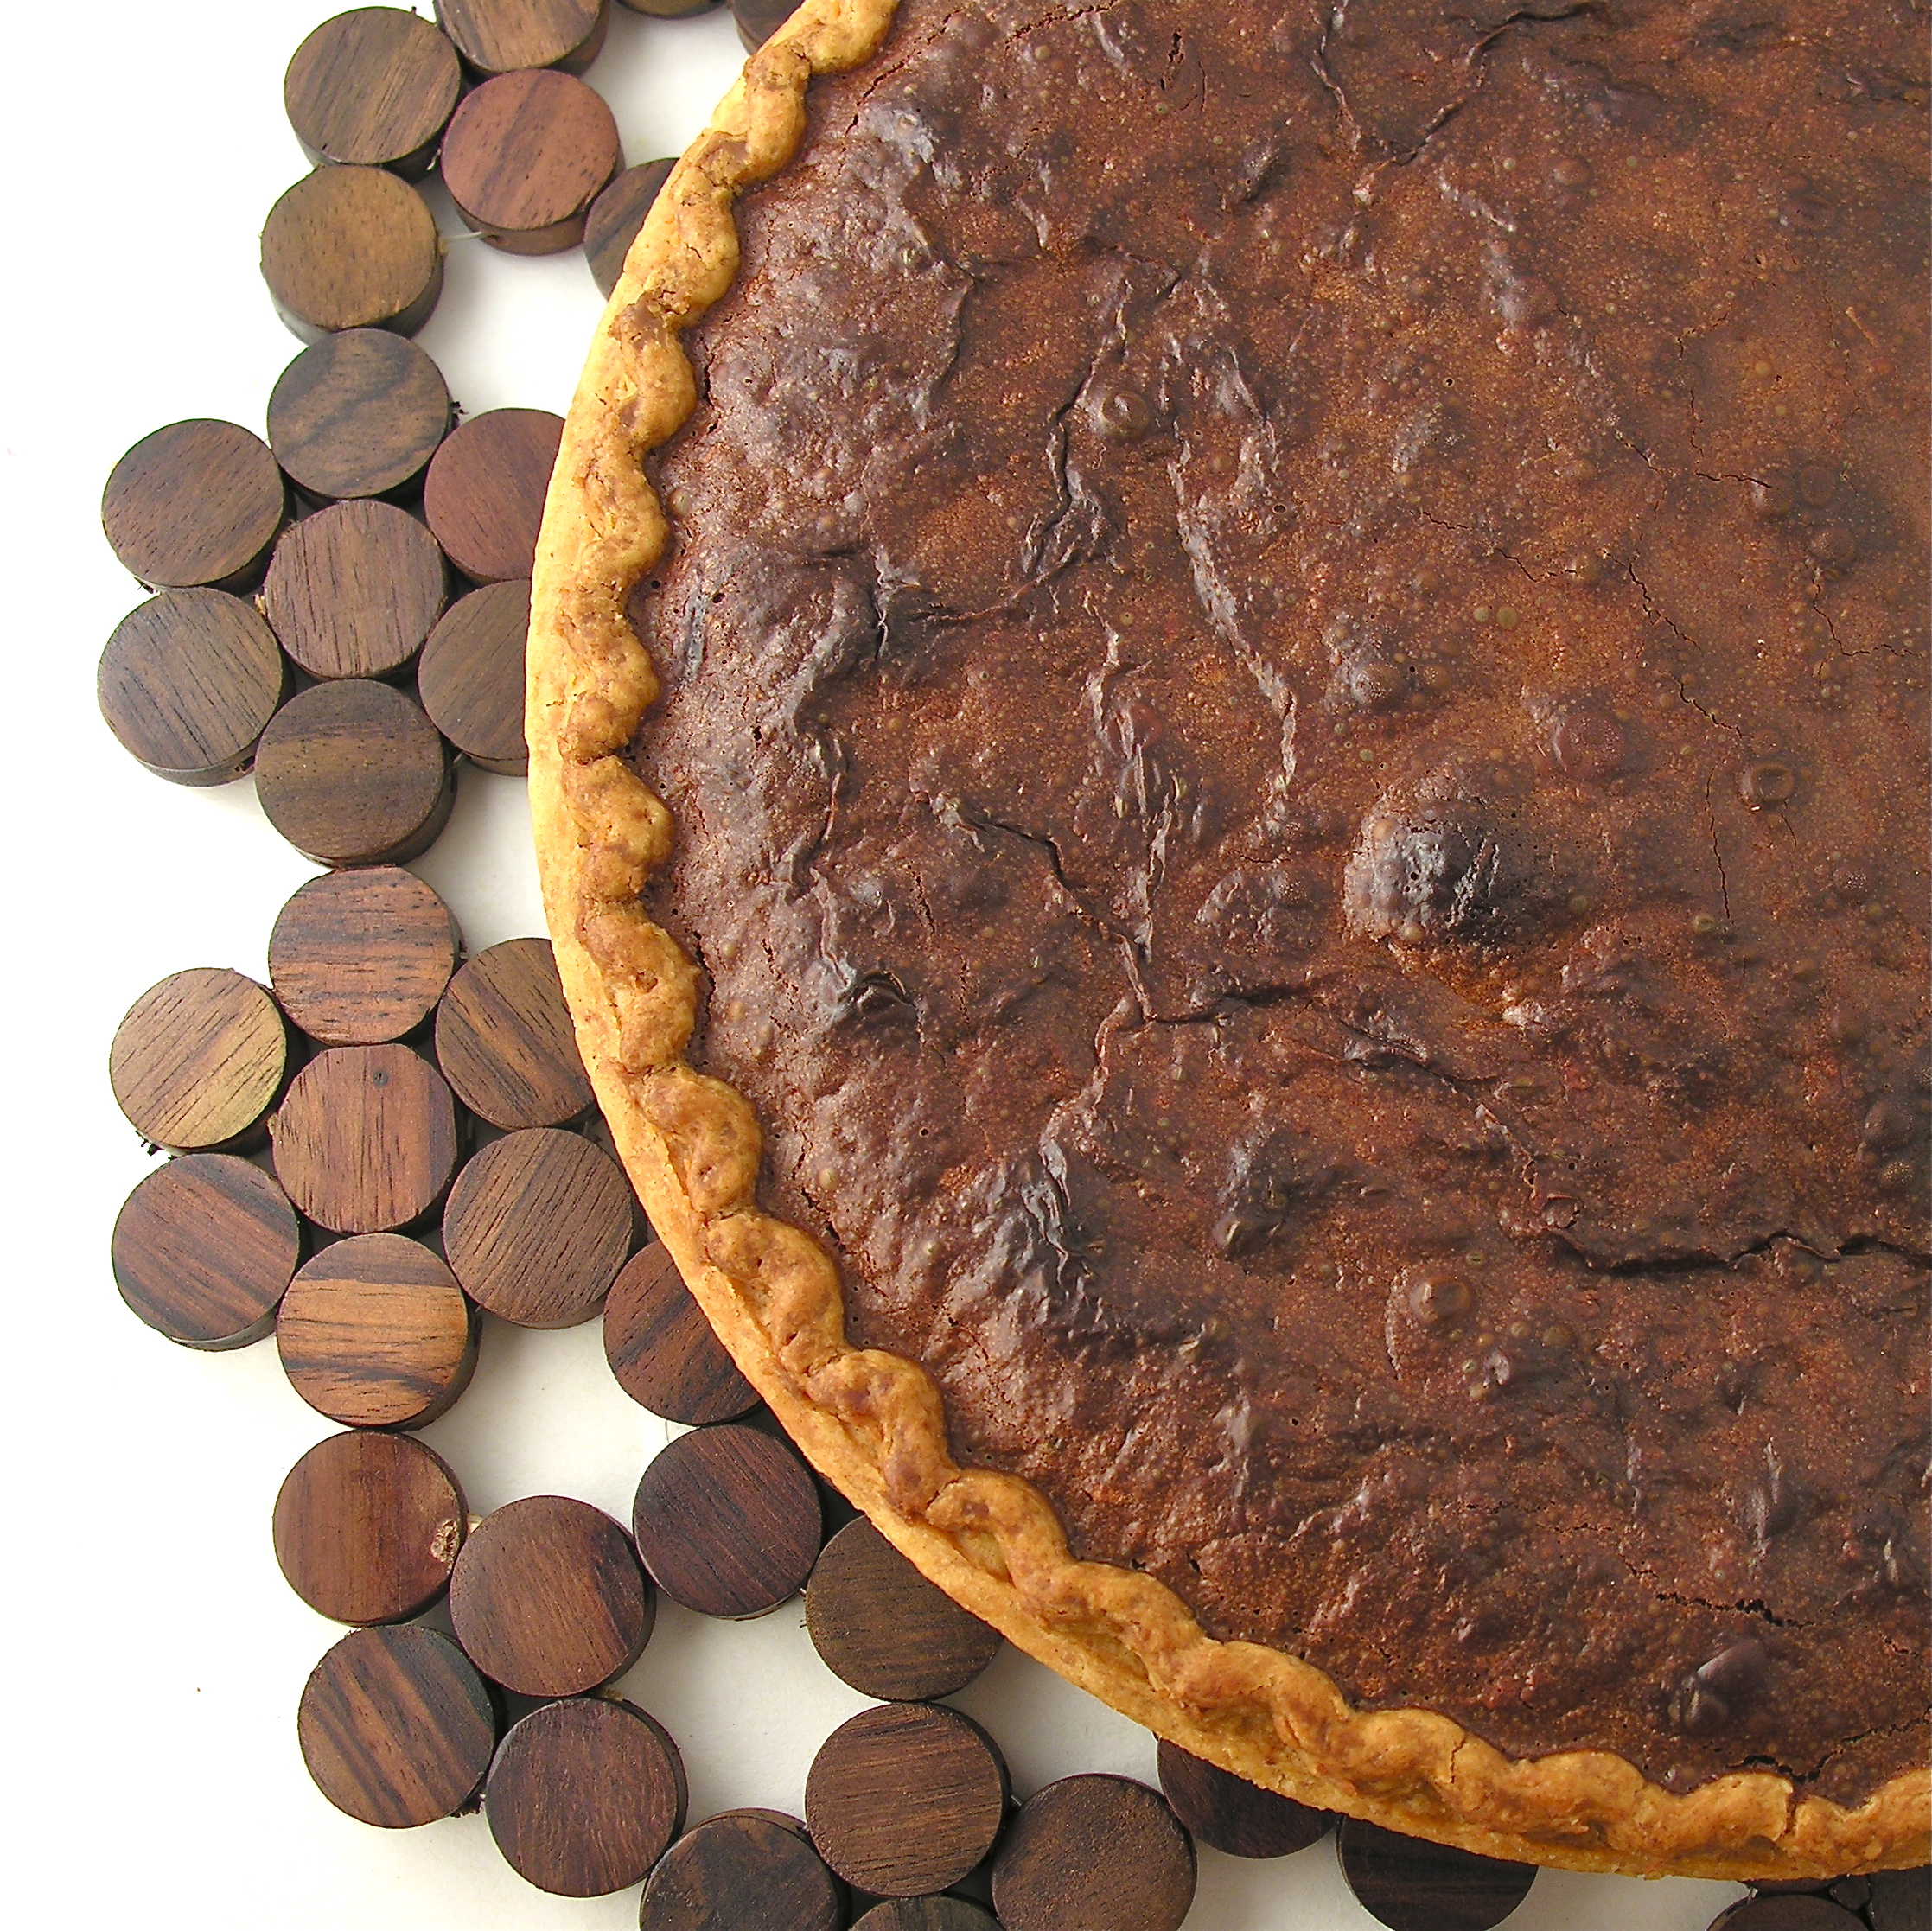
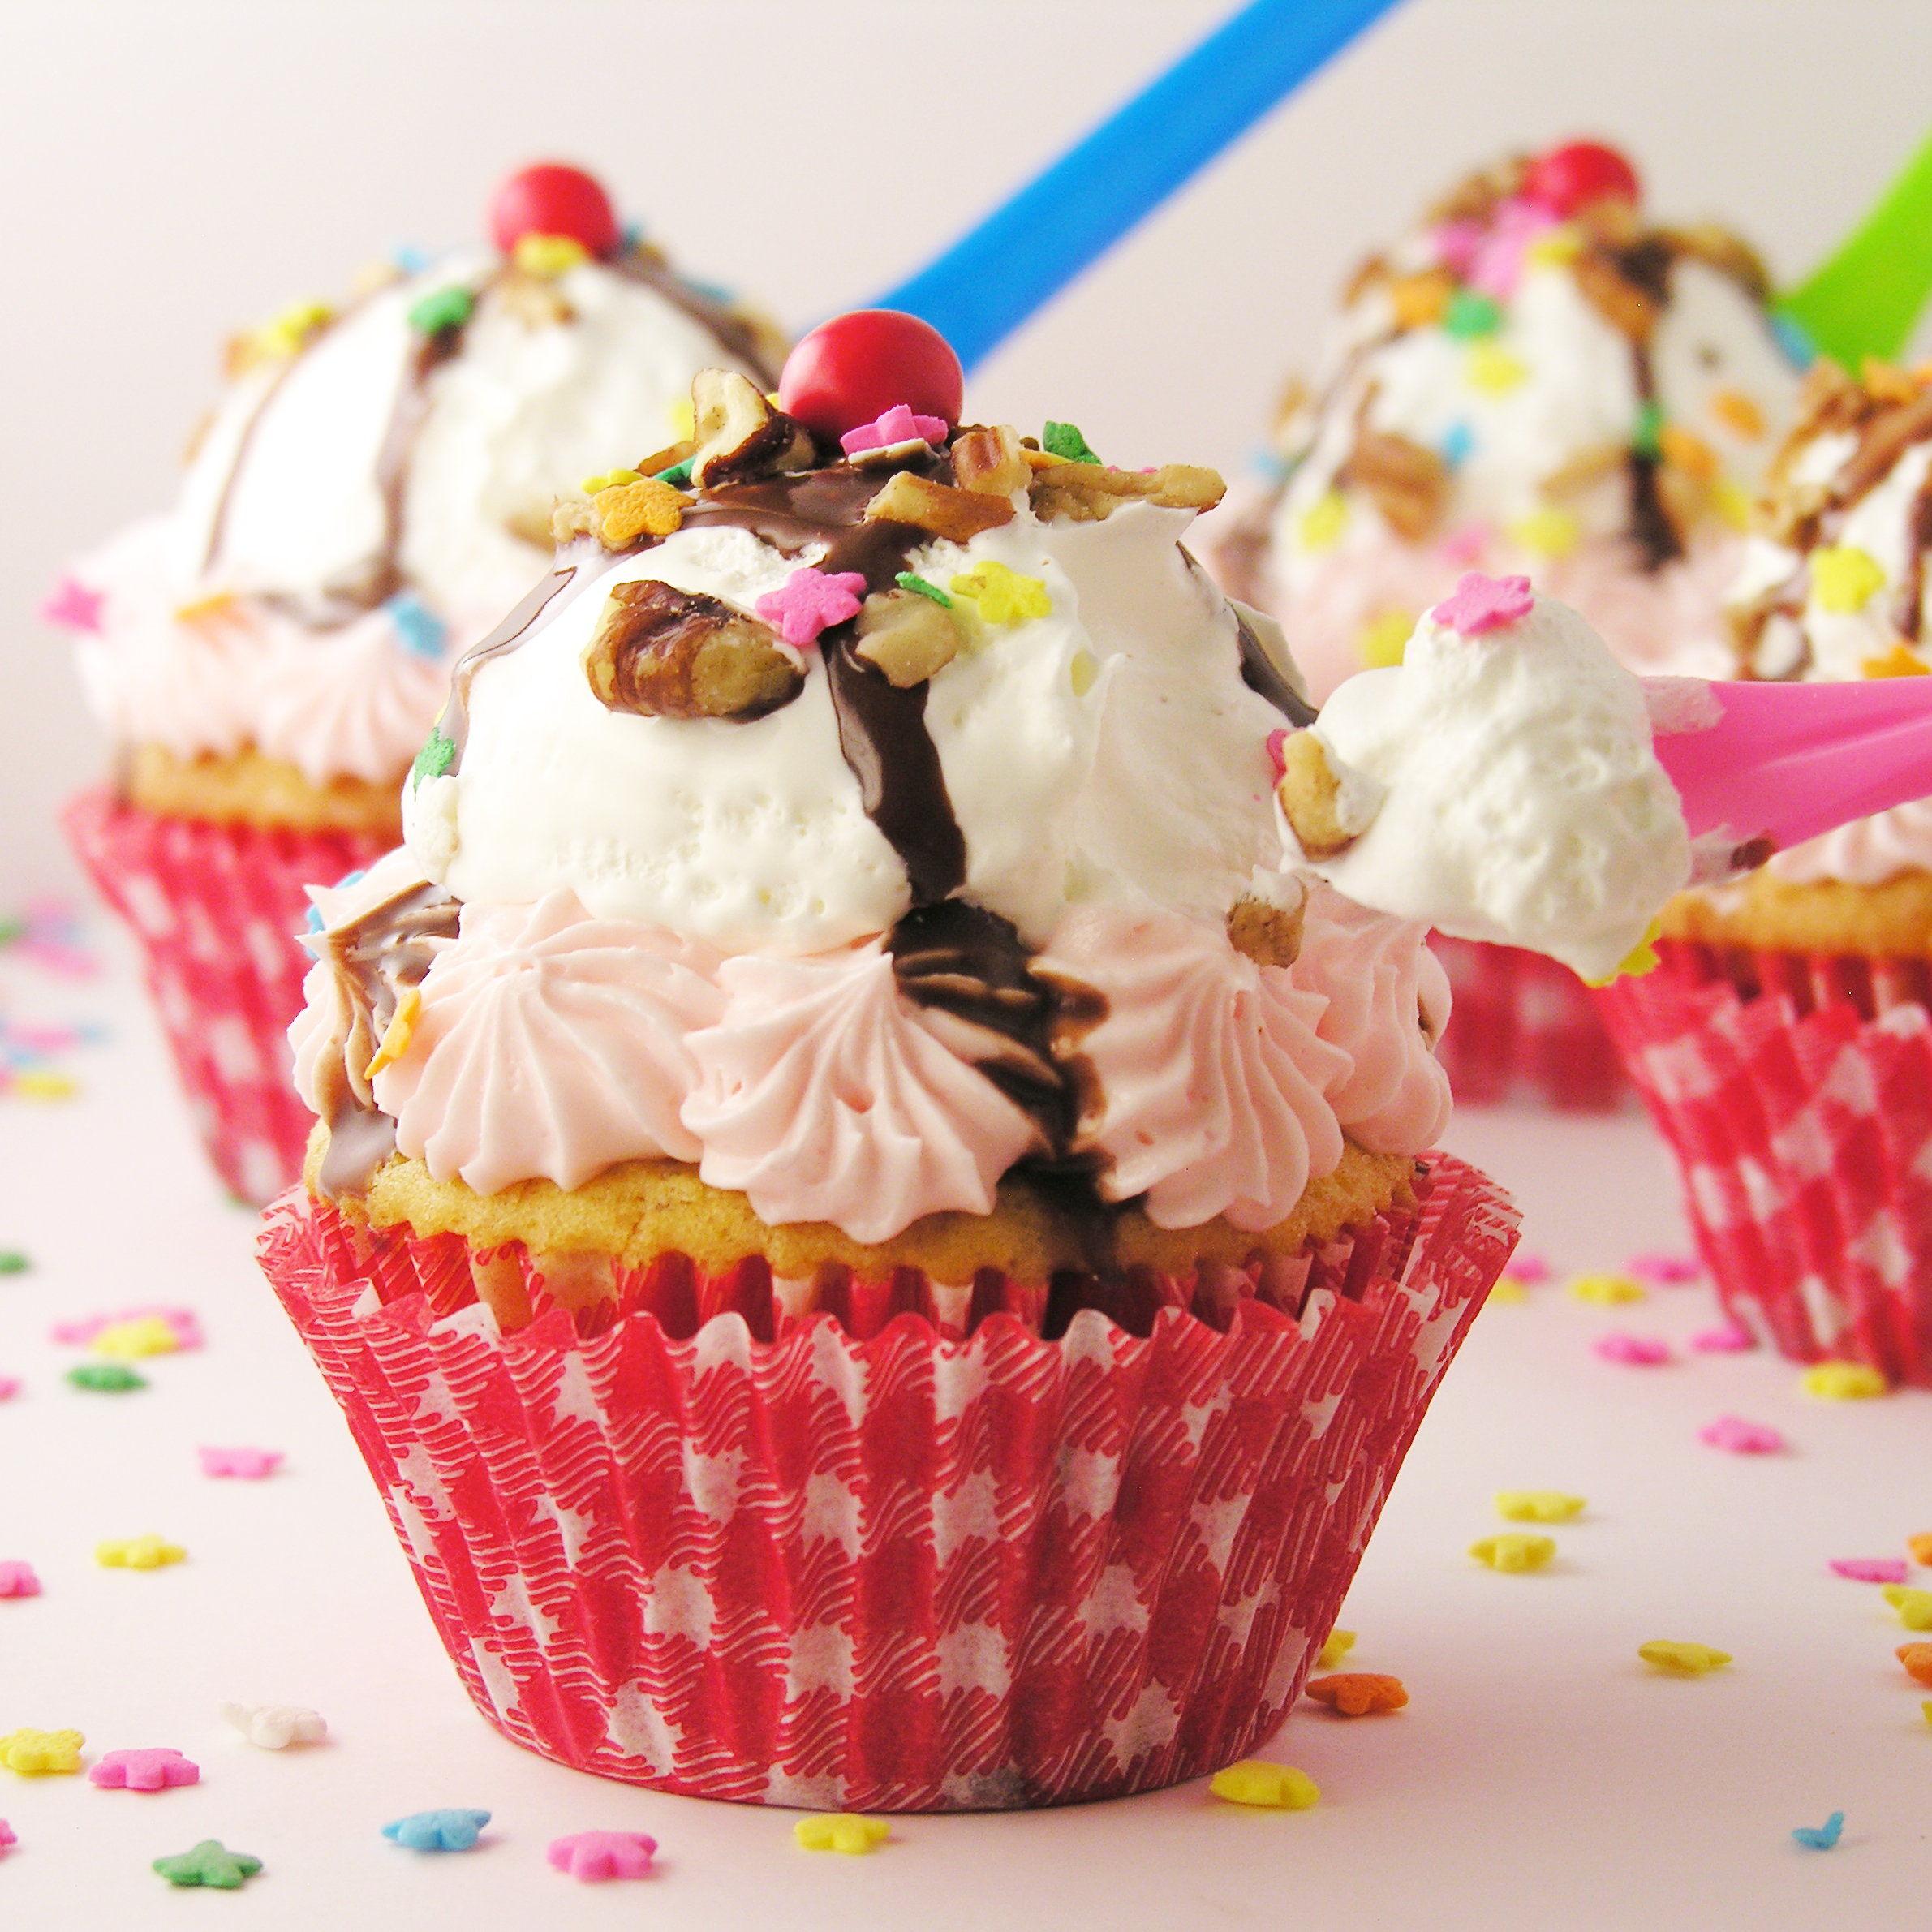
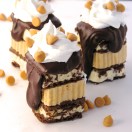
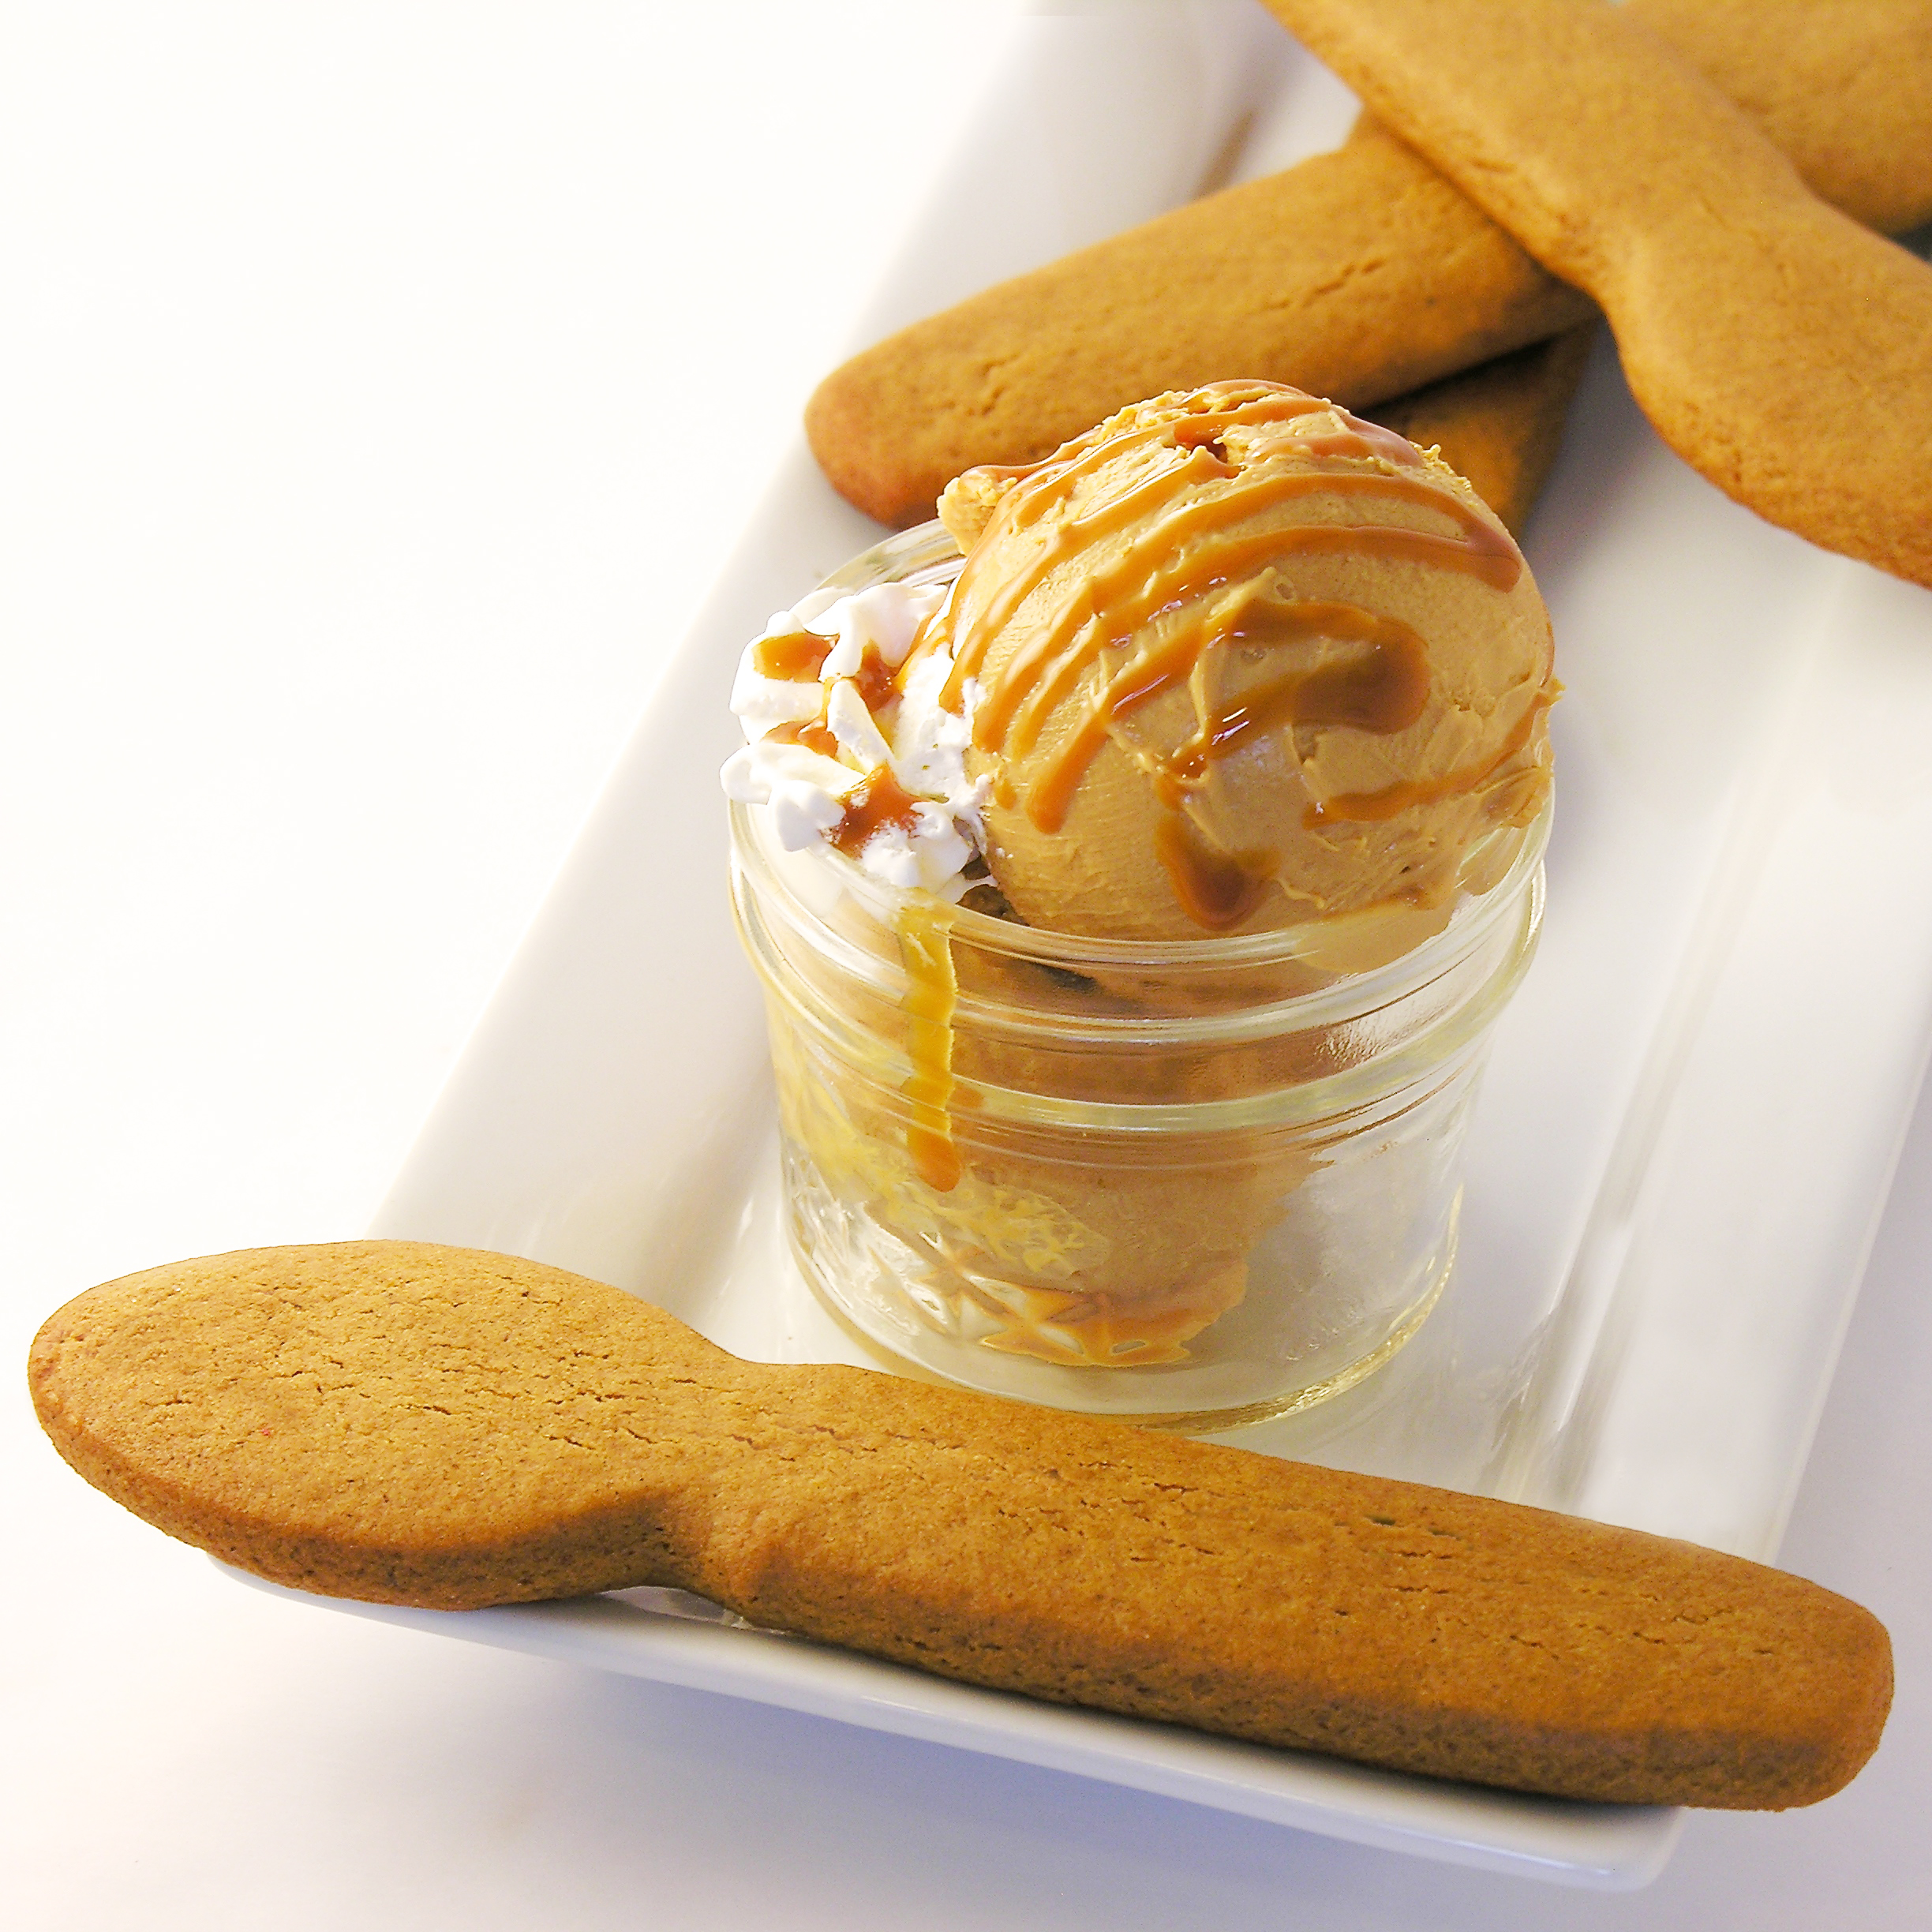
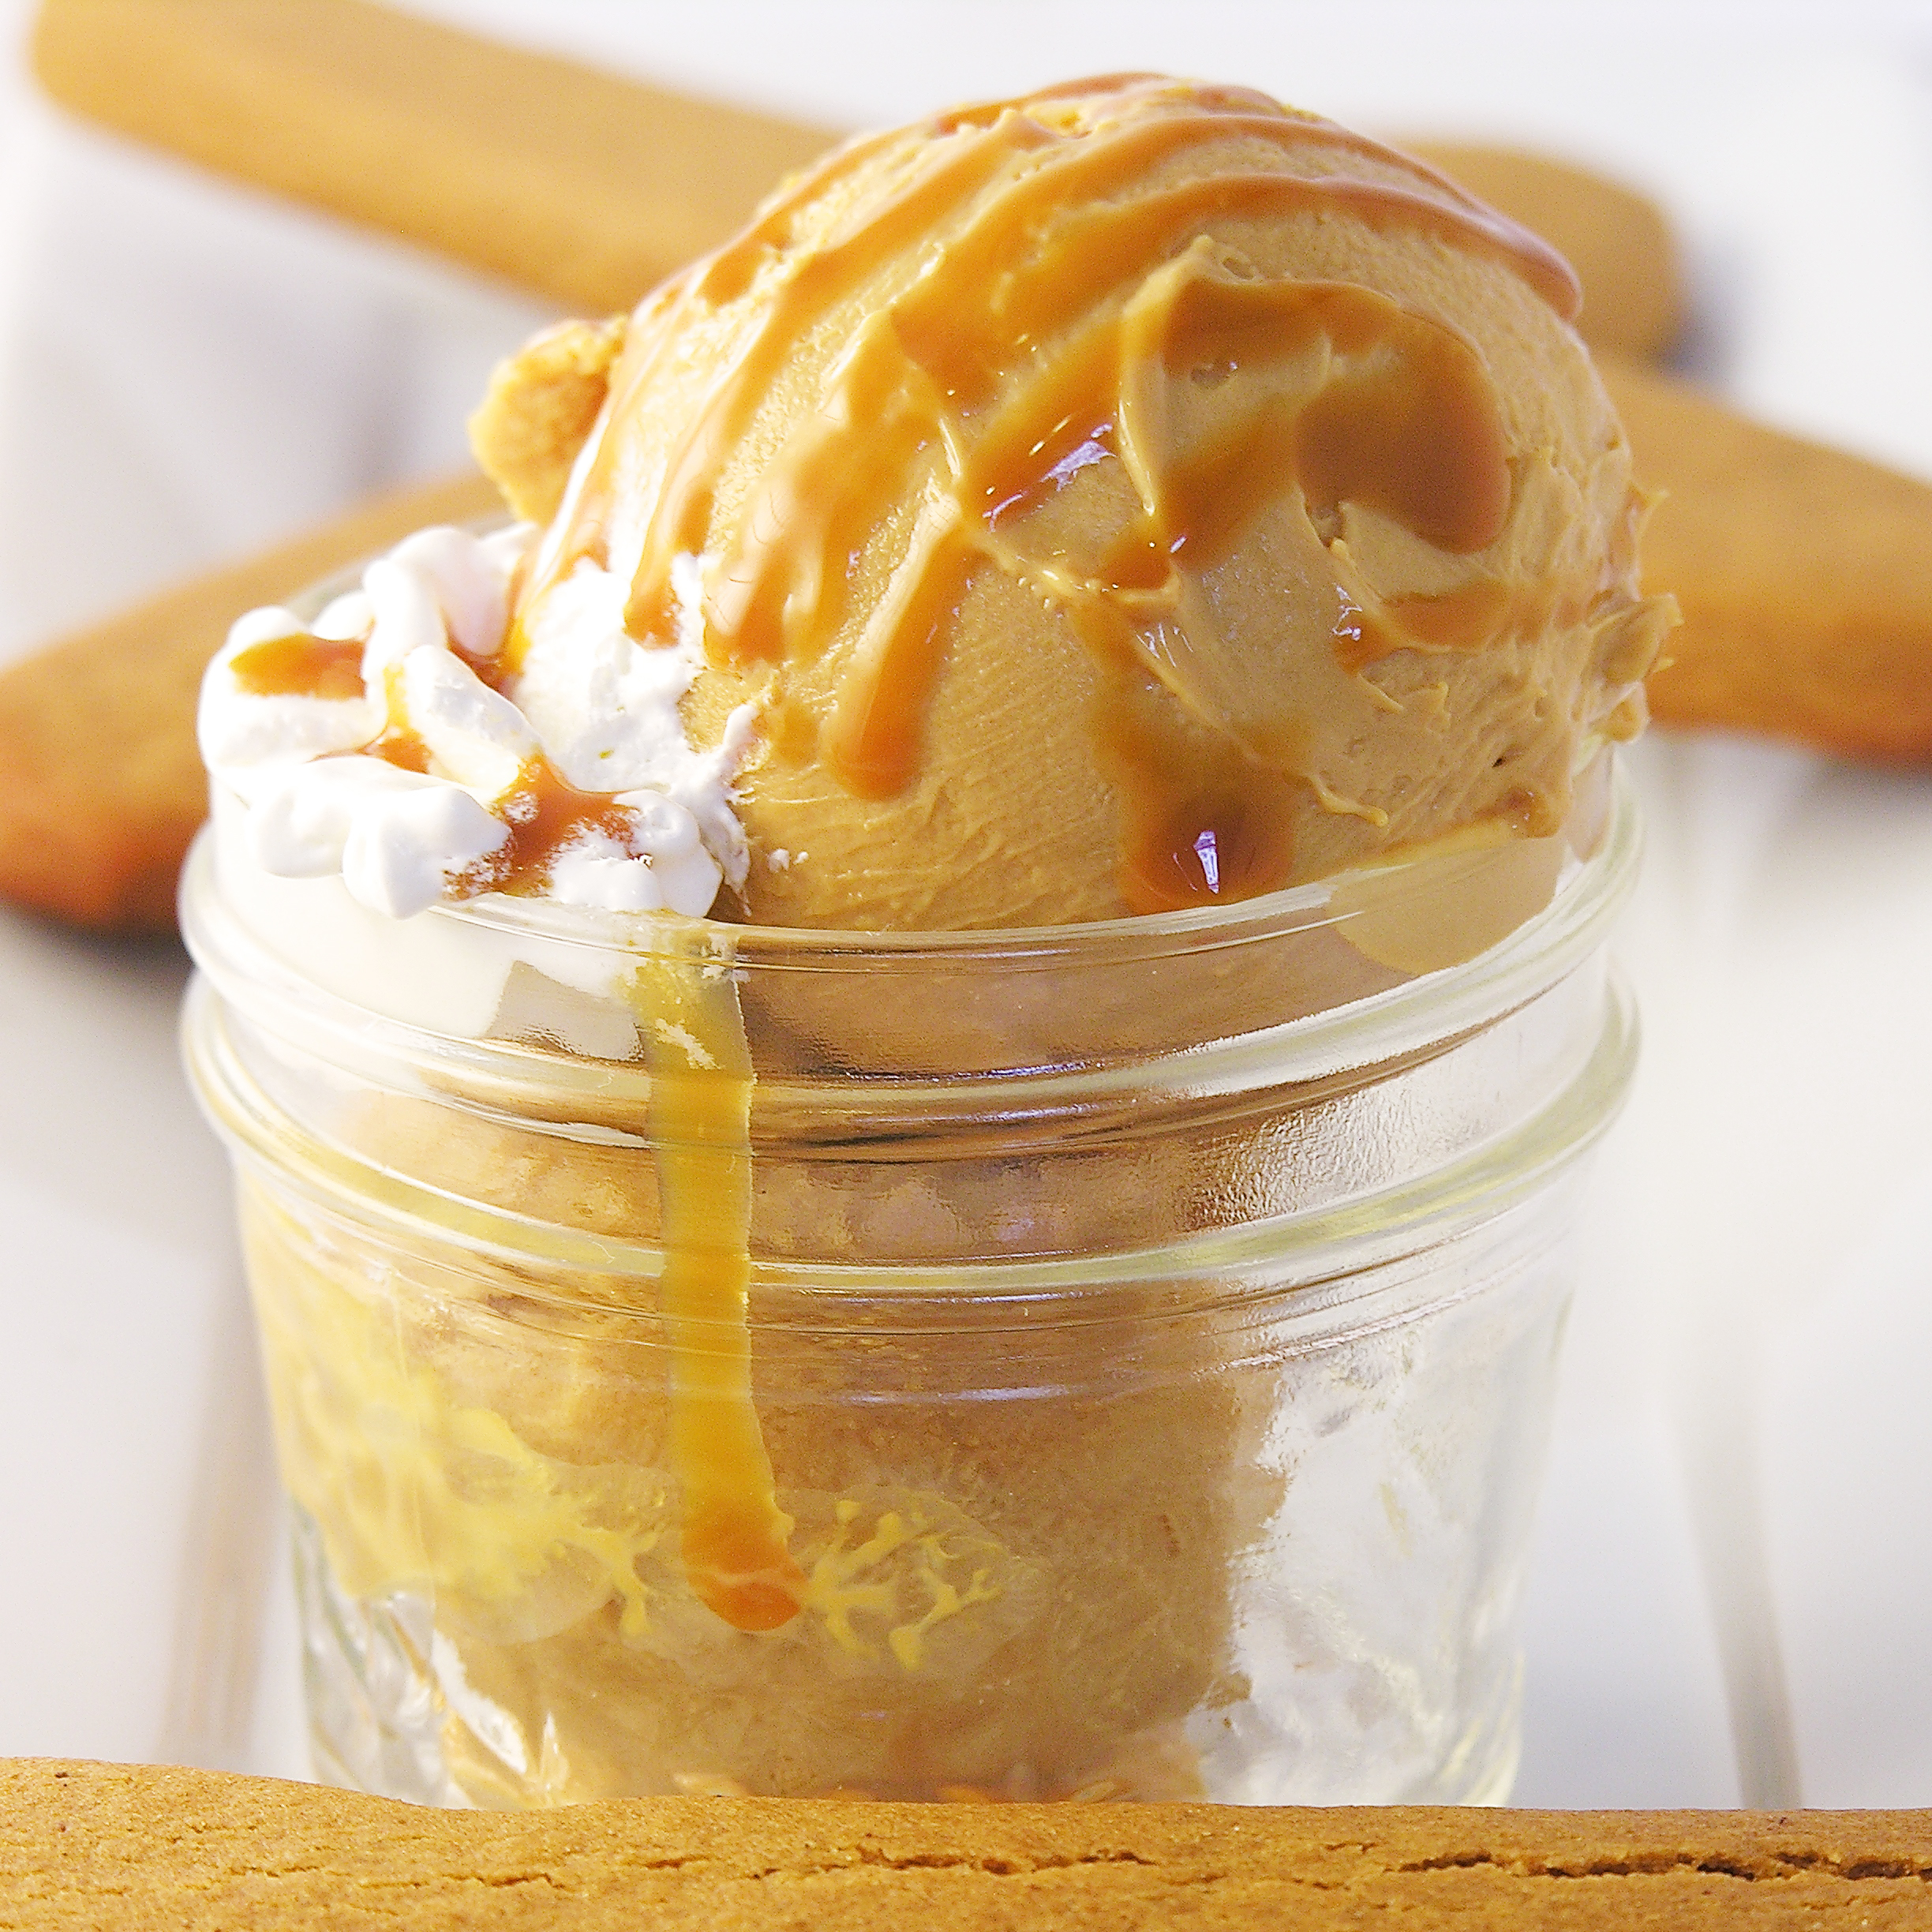
Other coffee themed desserts here on Easybaked: (click on a photo to see the recipe)

Espresso Cookies 6Mocha cupcakes in edible fondant mugMocha Caramel Cream Cupcakes!Spiced Mocha and Tim Tam Slams!

Advertisement

Baked Alaska Cookies!

Posted on

Baked Alaska1

These dark chocolate cookies are topped with a scoop of ice cream and a cloud of toasted meringue~ a cookie sized Baked Alaska! So fun!

Baked Alaska is a dessert that is dear to my heart. Every year, for as long as I can remember, my mom, sis-in-law and I have celebrated our (nearly-Christmas) birthdays with this dessert. At Christmas, the ice cream of choice is peppermint stick. I made these with Mocha Chip ice cream. Pick your favorite ice cream flavor, and give these sweet mini desserts a try!

Baked Alaska Cookies!!

Oh- and remember that hot fudge sauce I shared here a few days ago? Well…put that to good use here:

Baked Alaska Cookies!

Here is how we made these: (printable recipe)

INGREDIENTS: (makes about 18-22 desserts)

Cookies:

  • 1 sticks (1/2 cup) butter, softened
  • 3/4 cup sugar
  • 1 egg
  • 1/2 teaspoon vanilla extract
  • 1/3 cup unsweetened cocoa powder
  • 1 1/2 cups flour
  • 1/4 teaspoon salt
  • 1/4 teaspoon baking powder
  • 1/2 gallon of ice cream

Meringue topping:

  • 8 egg whites
  • 2 cups of granulated sugar
  • 1/4 teaspoon of cream of tartar

DIRECTIONS: (note: you will need a Kitchen Torch to toast the tops of these)

Cookies:

  • Preheat oven to 350F degrees.
  • Add butter, sugar, eggs, vanilla and cocoa together in  large mixing bowl.
  • Blend on medium speed with a mixer until smooth.
  • Gradually add dry ingredients and mix until smooth (use clean hands at the end, to knead into a soft ball of dough)
  • Roll out cookie dough on floured counter, using a floured rolling pin.
  • Cut into 2 1/2″ circles and place on a parchment-lined baking sheet.  
  • Bake for 8 to 11 minutes until the edges are firm.
  • Gently slide parchment paper off of cookie sheet and onto a flat surface. Cool. 
  • Place cookies back on cooled cookie sheets and freeze them to get them cold while you make meringue.

Meringue topping: (Don’t be afraid- this is easy! It just takes some quality time with your mixer.)

  • Place egg whites, sugar and cream of tartar in a medium heat-proof bowl that will set on the top of a sauce pan of boiling water without touching the water.  (I had to experiment a bit to find a good fit)
  • Bring water to a boil in the saucepan and set the bowl on top.
  • Whisk ingredients together for about 3-4 minutes.  Sugar will be dissolved and egg whites should be heated to about 145F degrees.
  • Remove bowl from top of sauce pan and beat on low until the mixture thickens a little, then beat on high for about 10 minutes.  The meringue will become the most beautiful, white, glossy mixture.  It should form stiff peaks before you stop beating it.
  • Spoon all that wonderful glossy white yumminess into a bag fitted with a decorating tip.

Assembly of dessert:

  • Assemble one dessert at a time, and then pop it into the freezer immediately.
  • Take a cold cookie, use a small cookie scoop or melon baller and place a scoop of ice cream in the center of the cookie.  Pipe meringue all around it, being careful to seal up all the ice cream at the bottom and them working your way up to a swirled top!

Baked Alaska CookiesBaked Alaska Cookies

  • Immediately toast this meringue with a Kitchen Torch to firm up the outside of the meringue and then FREEZE!
  • Serve frozen with a little bit of hot fudge on top.
  • Enjoy!!!!

Baked Alaska Cookies

My thoughts: **Smile** I loved these…. oh my. SO much! I made a mistake with the ice cream by using yogurt instead- it was softer than ice cream and harder to assemble- so use ice cream! I tried to take a picture of the inside and is was so soft that as soon as I cut into it, it fell apart into a pile of yummy frozen yogurt..that’s why there are no pictures of the insides 🙂 These were well-loved by everyone who tried them- including me!  Enjoy!!!  ~r

Baked Alaska5

Other mini desserts to try: (click on a photo to be taken to a recipe)

Turtle Cookie CupButterscotch Ice cream towers!!!!S'mores Pie!!!Marshmallow Turtle Pops!

Ice Cream Punch Pops!

Posted on

Punch Pops6

Add ginger ale to this cute frozen pop and you’ll have a cup of creamy, fruity, ice cream punch!  A perfect summer treat!

So I have this incredible punch recipe. It is soooooo yummy! I’ve made it for all sorts of parties, showers, picnics, and receptions. I’ve been asked for my recipe so many times that I’m actually surprised I haven’t added it here on Easybaked yet!

Last week I was craving it. I was headed to the pool and thinking about a cup of this creamy summer happiness- but you know punch…you have to throw all the ingredients into a big bowl and it is delicious for maybe an hour- and then it melts and you can’t save it for later. So I sat by the pool and thought about how to make punch in single servings, and these little ice cream punch pops came into being!

Punch Pops !

Aren’t they CUTE? I wrapped mine up in cello bags and tied them with ribbons. When anyone wants  cup of punch, all I need is some ginger ale to pour over the top. Stir….. and….

Punch Pops3

YUM! Punch in whatever fruit flavor you choose! One cup at a time!

These are fun and fairly easy to put together- they just take some freezer time. Make sure you have some freezer space available- and you need some height- so you can fit them in with those straws poking out of the top. Once they are made, you can place them in cake pop bags and tie them with cute ribbons. This makes storage in the freezer easier and keeps them fresh longer.

Here’s how I put these cute little pops together: (if you prefer a big bowl of punch, put all the ingredients in a punch bowl- but use a little less ginger ale).

INGREDIENTS: (makes 20 pops)

  • 24-30 oz of pineapple juice
  • ½ gallon vanilla ice cream
  • 1 quart of fruit sherbet- any flavor (I used 3 flavors and only used 1/3 of each quart)
  • 2 liters of ginger ale at room temperature
  • 6-7 strawberries, sliced 
  • 20 (3 oz) paper cups and 20 straws

DIRECTIONS:

  • In 20 small (3 oz) paper cups, measure about 1/8 cup of pineapple juice and add a slice of strawberry
  • Freeze until hard (4-6 hours)

Note: I did this on a small cookie sheet so that I could pop them all into and out of the freezer at once.

  • Scoop ice cream into a large zip top bag and microwave in 10 second increments until soft-serve consistency. Mix bag by squeezing. (Tip: wear gloves to keep your hands warm!)
  • Clip a corner off this bag and squeeze the softened ice cream over frozen juice, leaving room at the top for a layer of sherbet (you will add about twice as much ice cream as sherbet, and use almost all of the ½ gallon)
  • Slide a straw into the center of each cup and re-freeze until ice cream layer is hard (2-3 hours)
  • Scoop sherbet into a large zip-top bag and microwave/squeeze until a soft-serve consistency (this melts faster than ice cream, so be cautious)
  • Clip a corner off this bag and squeeze the softened sherbet over the top of the frozen ice cream. Tap each cup against the counter to flatten the sherbet out a little bit on top.
  • Re-freeze overnight (10-12 hours)

IMG_8489IMG_8496IMG_8500

  • To remove them from the cup, snip a tiny cut into one of the cup’s edges and tear the cup away.
  • Set the pop on a small cookie sheet that has been covered with parchment paper and keep frozen until use.

Punch Pop1Punch Pops!

  • If you want to place them in individual bags, keep them frozen, and one at a time, slide into a bag, tie shut and refreeze.

Punch Pops 9

  • To serve these cute little pops, simply place one in a glass that holds at least 12 ounces, and pour room temperature ginger ale over the top- just until the pop is covered. 
  • Stir your punch with the straw until it has melted into a cold frothy ice cream treat!

Punch Pops!Punch Pops!

Punch pops!

My thoughts: I love these! They taste exactly like my favorite punch and I love that I can have a cup of it whenever a craving strikes. I had a party a couple of days ago, and the guests enjoyed choosing a flavor (I made raspberry, lime and orange), and making their own punch! It’s just plain fun. 🙂

Oh- and don’t you love the glasses?!? I’m CRAZY about them! Bring me sunshine!!!!  I found them on Amazon while looking for something entirely different- and knew they would make perfect little punch glasses! They are actually intended to be candle holders- so if you use them you will have to wash by hand. I love them so much I will happily wash by hand every time! They are especially cheery with juice at breakfast! Click on the photo below if you want your own: 

I hope you get a chance to try these fun little punch pops- they really are one of my favorite ideas in awhile 🙂  ~r

Other frozen summer treats here on Easybaked:

Creamy Mango Pops!Frosty Almond Joy Cups!Raspberry Lemon Cream Cups!!!Heath Bar Ice Cream Dessert3


Banana Split Cupcakes!

Posted on

Banana Split Cupcakes

Do you like banana split sundaes? If so, you will love these little cupcake treats- tasty and oh, so cute!!

I love going out for ice cream- not the soft-serve window kind, but the sit-down in a cute parlor with a million combinations of ice creams and toppings to decide from kind. I usually skip the banana split, because I’m not a huge fan of bananas unless they are in bread (or, in this case a cupcake!). Banana splits are the gold-standard of ice cream though- they have that sundae “look” to them. They are pretty.

I wanted to capture the look, and flavor of a sundae in these cupcakes and I love how they turned out! YUM!!!!

A few months ago I made Root Beer Float Cupcakes using scoops of Cool Whip as ice cream. They were so easy and cute and DELICIOUS, that I used the same idea here~ with banana cupcakes and a yummy strawberry ice-cream-topping filling!

Banana Split Cupcakes2 Want to try them? Here’s how we made them: (printable recipe)

INGREDIENTS:

  • One boxed banana cake mix (I used Duncan Hines), plus water, oil and eggs to make according to box.
  • 1 stick (1/2 cup) of salted butter (softened)
  • 1 stick (1/2 cup) of unsalted butter (softened)
  • 1 1/2 cups of powdered sugar
  • 2 teaspoons of strawberry flavoring
  • 2 tubs of Cool Whip (frozen)
  • One jar of strawberry ice cream topping
  • One bottle of chocolate “shell” ice cream topping
  • 1/2 cup of chopped pecans
  • Sprinkles and spoons (optional)

DIRECTIONS:

  • Make cake mix according to package and bake in 24 cupcake liners in muffin tins.
  • Make frosting by combining butters, powdered sugar and strawberry flavoring in a large bowl and beating on high until light and fluffy. Place in a zip-top bag, fitted with a decorating tip.
  • When cupcakes are cool, remove a core from the center using a knife or a cupcake corer. Spoon about 1 tablespoon of strawberry ice cream topping into the middle (you could use pineapple here too, if you wanted) Place “top” of core back on cupcake.
  • Use a cookie scoop or a small ice cream scoop to scoop frozen Cool Whip onto the top of one cupcake. Immediately pipe frosting around the edges of the scoop to hold it in place. Keep cupcakes chilled as soon as they are frosted, and keep your second tub of Cool Whip in the freezer until ready to use.
  • Once all cupcakes are frosted, drizzle them with chocolate shell- this makes a little bit of a mess, but I just dropped them into a second cupcake liner to catch the drips 🙂

Banana Split CupcakesBanana Split Sundae

  • Immediately sprinkle with nuts and decorations.
  • Keep cupcakes refrigerated until serving.
  • Enjoy!!!

Banana Split Cupcakes

My thoughts: These are a little more time consuming that your average cupcake– but look at how fun they are!! The flavors and textures are just perfect too- that cold Cool Whip and those crunchy nuts with the banana cupcakes… YUM! I really hope you get a chance to try these little treats! ~r

Banana Split Cupcakes

Other ice cream- inspired treats here at Easybaked: (click on a photo to see the recipe)

Butterscotch Ice cream towers!!!!Heath Bar Ice Cream Dessert3Raspberry Lemon Cream Cups!!!Ice Cream Cake

Caramel Gelato with Gingerbread Spoons

Caramel Gelato with Gingerbread cookie spoonsThis creamy frozen caramel dessert is perfect when it is eaten with a spicy gingerbread cookie spoon.  Does dessert get much more fun than this?!?

This recipe has a story. I was flying home to Michigan for a wedding when I saw the most amazing dessert in one of those in-flight magazines.  It was some sort of mousse with a COOKIE SPOON in it.  I stared at it and thought….and wondered if spoon cookie cutters exist (they do), and I decided right then that I would make something caramel with gingerbread spoons.

Something caramel…..something sweet and rich.  About a week later, I saw this post on Foodgawker and the words, “Three ingredients. No churn. No machine. No whipping cream. It’s magic.” swirled in my head.  Sour cream, Sweetened condensed milk, Vanilla. No machine.

What if I added Dulce de Leche instead of the sweetened condensed milk?  I had to try it.  I felt like I was surely wasting a container of sour cream when I mixed this up….but then…. creamy, cold caramel deliciousness. It is magic.  You need to try this!

Caramel Gelato!!!

Here’s how: (printable recipe)

INGREDIENTS:

Caramel Gelato:

  • 1 1/2 cups of sour cream (use full-fat)
  • 1 can (13.4 oz.) of La Lechera Dulce de Leche (now….imagine coconut cream in this recipe….!)
  • 1 teaspoon of vanilla extract

Cookie Spoons:

  • 1 stick (1/2 cup) butter, softened
  • 1/2 cup sugar
  • 1 egg
  • 1/2 cup dark molasses
  • 1 tablespoon vinegar
  • 2 1/2 cups of all-purpose flour
  • 3/4 teaspoon of baking soda
  • 1/4 teaspoon salt
  • 1 teaspoon of ground ginger
  • 1/2 teaspoon of ground cinnamon
  • 1/2 teaspoon of ground cloves

DIRECTIONS:

Caramel Gelato:

  • Mix all ingredients together well, spread into a freezer safe bowl and cover tightly.  
  • Freeze overnight.
  • Allow gelato to warm a little before serving.

Gingerbread Cookie Spoons:

  • Cream together butter and sugar.
  • Beat in egg, molasses and vinegar.
  • Blend in sifted dry ingredients.
  • Chill 2-3 hours (this is important– the dough is very easy to roll after chilling)
  • Roll 1/8 inch to 1/4 inch thick on a floured counter or board and cut into spoon shapes, using a cookie cutter, and place on greased cookie sheets.
  • Bake at 375 degrees for about 10 minutes.  Check often- take out when cookies have risen and are easily removed from sheet.

Caramel Gelato!My thoughts: This caramel desert is unbelievably creamy and rich.  I pictured 2 scoops in my photos, but I would serve just one.  It is almost like frozen custard- so heavy and rich.  The caramel flavor is amazing though!  Amazing.  The cookies are so delicious with the caramel.  They are hard to actually use as spoons until the frozen caramel warms a bit.  I love this flavor combination!  I hope you get a chance to try it!  Enjoy!!! ~r

Caramel Gelato and ginger bread cookiesOther fun chilled desserts you might enjoy:

Heath Bar Ice Cream Dessert3Peppermint Ice cream pieIce Cream Cakefrozen s'more cups

Popsicle Punch!!!!

Posted on

Popsicle Punch

 Love popsicles?  Love a fruity, refreshing punch?  Try making popsicle punch!  Everyone can choose their own flavor!

Popsicle Punch!!

I was sitting in the sun, thinking about punch the other day.  I was thinking about how you never really get to have punch unless you make a ton of it in a big punch bowl~ which sends it into the “only at a big party” category of treats.  I started thinking about how much fun it would be if you could make a single-serving punch, and suddenly—POPSICLES!!!!!!  A little bit of Sprite, maybe a bit of pineapple juice and a POPSICLE!  Choose your flavor, pick your punch!

I had to run to the store and get popsicles to try this little experiment, and YUM!!!!!!  YUM! YUM! YUM!!!!!!

I loved the plain popsicles- beautiful colors and delicious fruity punch.

THEN, I tried the popsicles that have the ice cream filling… you know, these:

Popsicle Punch!

So much creamy, fruity happiness in one little mug…. well, two little mugs because I had to try a couple of flavors:

Popsicle Punch!

That orange punch?  Like a creamsicle in a cup….!  Unbelievably good!!!

Here’s how I did it:

INGREDIENTS:

  • Sprite (or another lemon-lime soda)
  • Pinapple (or another fruit) juice
  • Popsicles!

DIRECTIONS:

  • Fill a cup about 1/2 full of soda (leave room for the popsicle- the ice cream ones foam up a bit) 
  • Add juice to taste- I added about 1 part juice for 4 parts soda.
  • Place a popsicle into cup and stir to dissolve
  • ENJOY!

Popsicle Punch!!!

My thoughts:  You can make individual cups of punch, or make the base punch in a big punch bowl (just the soda and the juice) and set a cooler full of popsicles out for people to choose flavors from.  I just made a cup of punch with a frozen juice bar— oh my.  So yummy!  The possibilities are endless!!!!  Enjoy!  ~r

Cheers!!!!

Cheers!!!!

Other fun beverage (and beverage inspired!) recipes:

Spiced Mocha and Tim Tam Slams!Cotton Candy Fizz Mexican Chocolate MilkMalted Milkshake Cupcakes


Butterscotch Ice Cream Towers

Posted on

Butterscotch Ice cream towers!!!!

 These beautiful, stacked desserts have layers of ice cream sandwich and a creamy butterscotch filling.  Topped with melted chocolate, they make a fun and elegant summer dessert!

Butterscotch Ice cream towers!

I’ve been craving ice cream sandwiches.  These little desserts were a combination of that craving and an extra box of butterscotch pudding in my cupboard.  I love how they turned out!  They require some hands-on time and an overnight in the freezer, so they aren’t a last minute idea- but I think the extra time is worth it!!  The end result is pretty and SO yummy!  Here’s the recipe:

INGREDIENTS: (printable recipe here)

  • One box of 12 ice cream sandwiches
  • 1 (3.4 oz) package of Jell-O Instant Butterscotch pudding mix
  • 1 1/2 cups of cold milk
  • 1 tub of Cool Whip topping
  • 1 cup of chocolate chips
  • 6 tablespoons of butter

DIRECTIONS:

  • Make butterscotch filling first, and freeze overnight
  • In a large bowl, beat together milk and pudding mix on high for 3 to 4 minutes until thick.
  • Fold in 1/2 of the container of Cool Whip topping
  • Put parchment paper in a small (I used a 9×9 square) pan, and spread pudding mixture evenly into container.
  • Freeze overnight.
  • To assemble, use a fluted square (I used a 2″ inch square) cookie cutter to cut ice cream sandwiches.  I got 2 squares from each sandwich. Return to freezer after cutting.

Butterscotch Ice cream Towers

  • Remove pudding mixture from freezer, lift out of pan using edges of parchment paper, and lay on a clean counter.
  • Cut squares using the same cookie cutter (dip in warm water between cuts, if it becomes sticky), return to freezer as you cut them.
  • Assemble no more than one or 2 hours before serving, and keep frozen.
  • Melt chocolate chips and butter together in the microwave in 30 second increments, stirring in between, until melted and smooth.
  • Place an ice cream sandwich square on a plate, top with butterscotch filling square, top with a second ice cream sandwich square.
  • Drizzle with melted chocolate (and I added a few butterscotch chips).
  • Return to freezer and keep frozen until serving.


Butterscotch Ice Cream Towers!!

My thoughts:  These are the most spectacular dessert to serve (you should have heard the oohhh’s and ahhh’s!), and the most awkward dessert to eat.  The kids figured out that you need to just pick these up and eat them with your fingers!  I allowed mine to melt just a touch, and then it was perfect with a fork!  The flavors are so yummy! Butterscotch and chocolate?  Yes, please!!!!  Enjoy!  ~r

Other yummy frozen treats:

Mango Smoothie PopsPudding popsicles!Frosty Almond Joy Cups!Heath Bar Ice Cream Dessert3


Baked Alaska Cupcakes

Posted on

Baked Alaska Cupcakes!!!!Rich chocolate cupcakes topped with a scoop of ice cream and a cloud of toasted marshmallow meringue. Best. Dessert. Ever!!!!!

Every year for Christmas our family goes out to an incredible restaurant near Marshall, MI called Win Schulers. They have the most amazing prime rib…oh my.  Anyway, within a week of Christmas it is my birthday, my mom’s birthday and my sister-in-law’s birthday.  Schuler’s gives you a Baked Alaska for your birthday….so it’s a feast of Baked Alaska and it is SO good.  About 2 weeks ago I was craving it and suddenly was struck by the idea of making it in cupcake form.  A.M.A.Z.I.N.G.  Just go and make these.  Use your favorite ice cream.  You will love them…!

Baked Alaska Cupcakes!

Here’s the recipe: (printable version)

INGREDIENTS:

  • One boxed chocolate cake mix (plus the oil, water and eggs to make according to package)
  • One quart of your favorite ice cream (I used mint chip)
  • 8 egg whites
  • 2 cups of granulated sugar
  • 1/4 teaspoon of cream of tartar

DIRECTIONS:

  • Make cake mix according to box directions and divide equally into 24 cupcake liners in cupcake tins.
  • Bake according to package.
  • Cool completely (I refrigerated mine to get them nice and cold before adding the ice cream)
  • While they are baking and cooling, make the marshmallow meringue (I got my recipe here)

(Don’t be afraid….I was afraid to try this, it sounded complicated, but it isn’t hard- it just takes time with a mixer in your hand if you are like me and not fortunate enough to have a stand mixer!  It is actually kind of fun!  Make sure your bowl and beaters are free of any oils.  I swiped mine with a little lemon juice 1st)

  • Place egg whites, sugar and cream of tartar in a medium heat-proof bowl that will set on the top of a sauce pan of boiling water without touching the water.  (I had to experiment a bit to find a good fit)
  • Bring water to a boil in the saucepan and set the bowl on top.
  • Whisk ingredients together for about 3-4 minutes.  Sugar will be dissolved and egg whites should be heated to 145F degrees.
  • Remove bowl from top of sauce pan and beat on low until the mixture thickens a little, then beat on high for about 10 minutes.  The meringue will become the most beautiful, white, glossy mixture.  It should form stiff peaks before you stop beating it.
  • Spoon all that wonderful marshmallow yumminess into a bag fitted with a decorating tip.
  • Assemble one cupcake at a time, and then pop it into the freezer immediately.
  • Take a cupcake, use a small cookie scoop or melon baller and place a scoop of ice cream in the center of the cupcake.  Pipe meringue all around it, being careful to seal up all the ice cream at the bottom and them working your way up to a swirled top!

Marshmallow Meringue!Marshmallow Meringue!Marshmallow Meringue!!

  • When all cupcakes are prepared and in the freezer, use a kitchen torch
    to toast the marshmallow just before serving.
  • These are best served within a couple of hours of making them.  

Since they are a fork-eating-cupcake anyway, I see no harm in adding hot fudge….

Baked Alaska Cupcakes!!My thoughts: I loved them.  They satisfied my craving for a baked Alaska plus they have the cute factor of a cupcake!  Fun, fun, FUN!!!!! Enjoy!!!  ~r

Baked Alaska Cupcakes!!!Other yummy cupcakes:

Peanut Butter Cupcakes!!Key Lime Cupcakes!Doughnut cupcakes!!Chocolate molten lava cupcakes

Heath Bar Ice Cream Dessert

Heath Bar Ice cream Dessert2
This recipe is a classic family favorite.  It is one of my grandma’s recipes, and I say “one of” because my grandma is a treasure trove of recipes (especially desserts!)  My cousins and I joke about how many desserts show up at family gatherings.  The conversations go something like this:

“Oh no, we only have 8 desserts today…this could be a disaster.”

“There are 24 of us here…that means we can each only have 1/3 of a dessert.”

“I want to try a little of everything.”

“I get a third of that chocolate cake”

“There’s ice cream?  Does that count as a ninth dessert?”

This is nearly always one of the desserts at our family dinners.  It’s fabulous. Creamy and light and butterscotch-y…oh my.  You’ve got to try this one out with your family!

Heath Bar Dessert!!

Ready for the recipe?  Here you go: (printable version)

INGREDIENTS:

  • 1 stick (1/2 cup) butter, melted
  • 1 package (10 oz) Lorna Doone cookies, crushed (if you can’t get these specific cookies, use 2 cups of another brand of shortbread cookies)
  • 3 packages (3.4 oz) INSTANT vanilla pudding
  • 2 and 3/4 cups milk
  • 1 quart of butter pecan ice cream (softened)
  • 1 (8oz). Cool Whip
  • One bag of Heath Milk Chocolate Toffee Bits (or several crushed Heath bars)

DIRECTIONS:

Crust:

  • Combine  melted butter with crushed shortbread cookies and press into a 9″ by 13″ cake pan (I use glass)

Filling:

  • In a large bowl, combine milk and pudding and beat on high for about two minutes, until pudding becomes thick.
  • Add softened ice cream to pudding and stir by hand until well combined.
  • Pour over crust in pan.

Topping: 

  • Spread Cool Whip topping over the entire dessert.
  • Top this with desired amount of Heath Milk Chocolate Toffee Bits (I used the whole bag!!)
  • Cover dessert tightly with plastic wrap and freeze until serving.  Allow dessert to warm for several hours before serving.
  • Enjoy!

Heath Bar Ice Cream Dessert3
My thoughts: I love toffee and pecans and butterscotch and ice cream…this dessert just makes me smile.  It reminds me of family meals and laughter and love.  You can’t argue with a dessert that does that!  I hope you have a chance to try this recipe with your family!  Thanks for sharing your recipe grandma!  Love you!  ~r

Other yummy treats for your family:

German Chocolate Pie!Chocolate lava cupcakes!Peanut Butter Cup Layer CakePumpkin Roll

German Chocolate Pie

Posted on

German Chocolate Pie This rich chocolate pie is filled with creamy chocolate and coconut, and it is SO easy to make!

My apologies to those of you who have commented or asked questions here in the past few weeks~  the holidays got the better of me this year.  I got terribly sick on Christmas day and my sweet little Casper got sick a week later.  We are both still recovering, but SO much better!  As one of my friends said, “You can tell she’s really sick when she doesn’t even want to bake!”

Poor Casper in his cone of shame!

Poor Casper in his cone of shame!

This recipe just couldn’t be easier, and easy is what I needed this week!  Our family likes to eat at a wonderful Amish restaurant called Das Dutchmen Essenhaus and they have a german chocolate pie there that is AMAZING.  It is by far my favorite pie.  I’ve been looking for recipes that come close to recreating this pie and so far I’ve had no luck duplicating it.  This recipe is worth noting though, as it is easy and really yummy.  It is sooooo rich- serve it with ice cream or whipped topping, and in small slices.

(this slice is too big!!!)

(this slice is too big!!!)

INGREDIENTS: (recipe taken from here)

  • 1 8-ounce package Baker’s semi-sweet chocolate
  • 1/4 cup butter or margarine
  • 1 13-ounce can sweetened condensed milk
  • 1-1/3 cups  shredded coconut
  • 3 eggs, slightly beaten
  • 1/2 cup sugar
  • 1 9-inch unbaked pie shell (you’ll need a deep-dish)
  • whipped cream or ice cream (optional, but this is so rich, you’ll need it)

DIRECTIONS:

  • Preheat oven to 400F degrees.
  • In a saucepan, melt chocolate and butter over medium heat.
  • Add sweetened condensed milk, coconut, eggs and sugar. Stir until blended.
  • Pour into unbaked pie shell (I used a frozen one, and the filling came all the way up to the top!)
  • Set pie on a cookie sheet and bake in a preheated 400 deg oven for 30 -40min.
  • Cool or serve warm with a dollop of whipped cream or ice-cream.
  • Store in refrigerator.


Das Dutchmen Essenhaus German Chocolate Pie German Chocolate Pie!

My thoughts:  A simple and delicious dessert, this is a great “need something at the last minute” recipe to have on hand.  Enjoy!!!! ~r

German Chocolate Pie!Other pie recipes you might enjoy from Easybaked: (click on the image to be taken to the recipe)

Peanut butter pieFruit Loop Pie!Blackberry Tart!Chocolate Pecan Tart

%d bloggers like this: