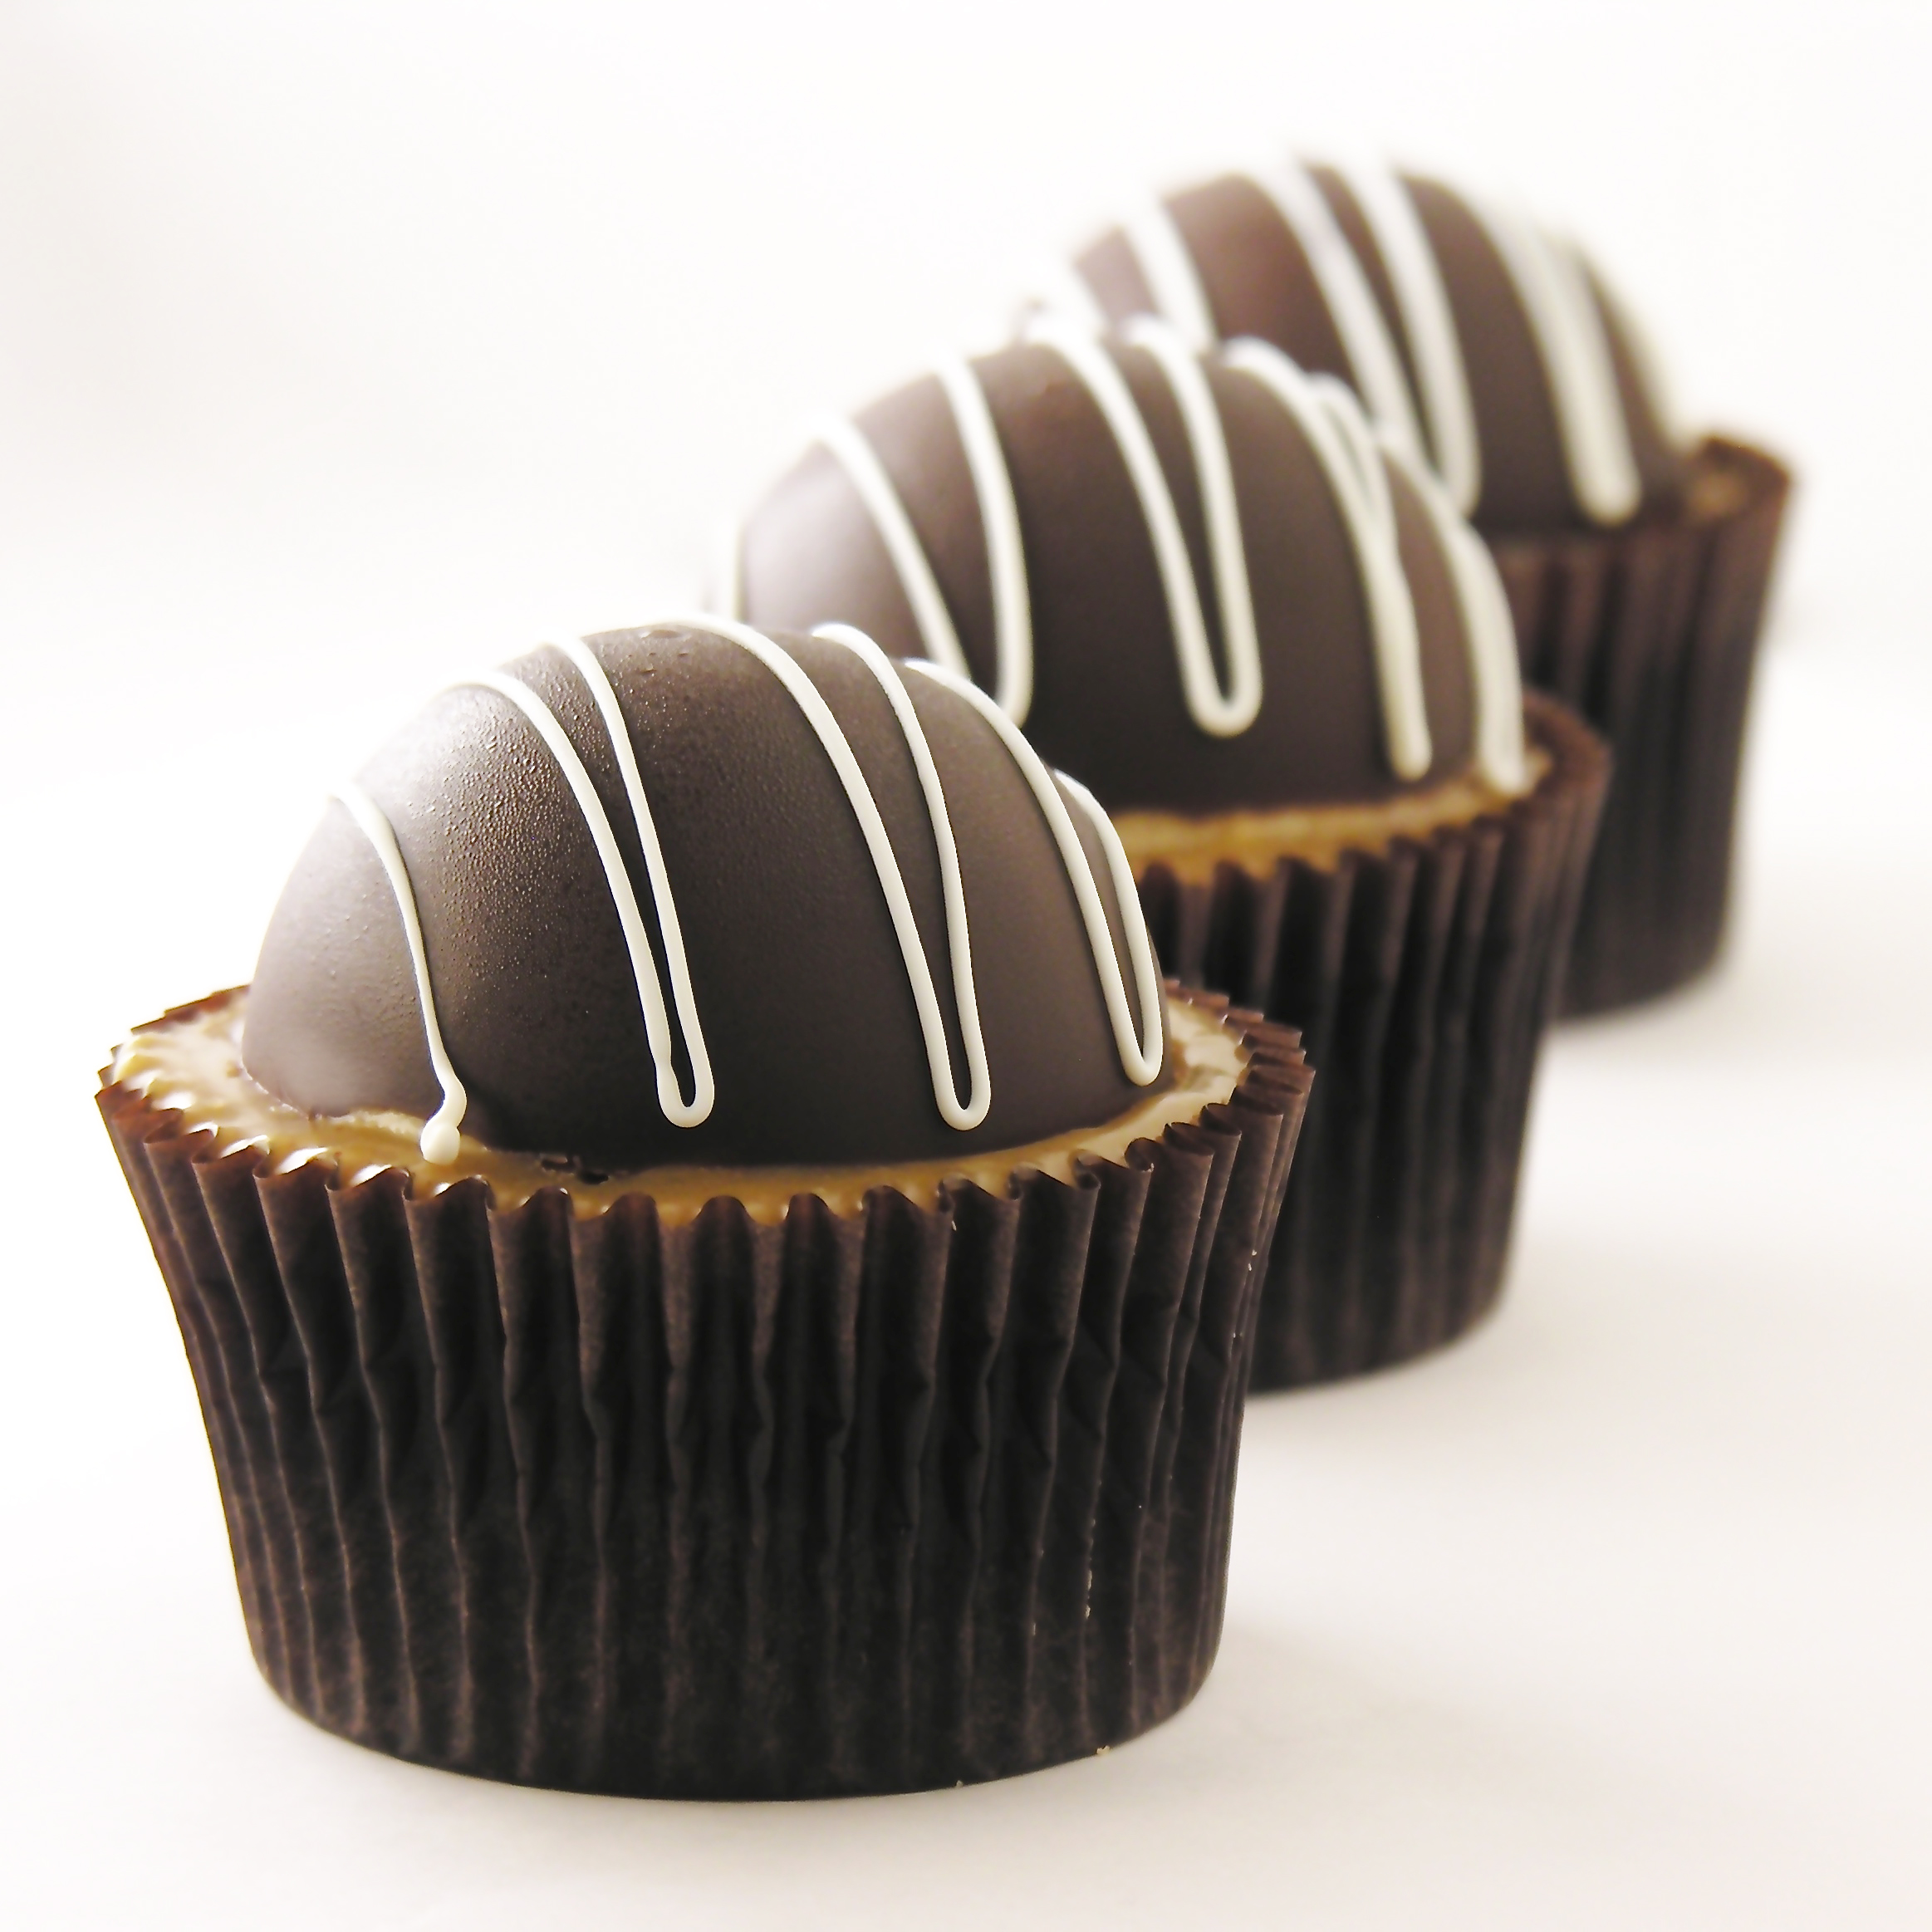
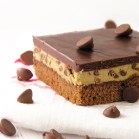
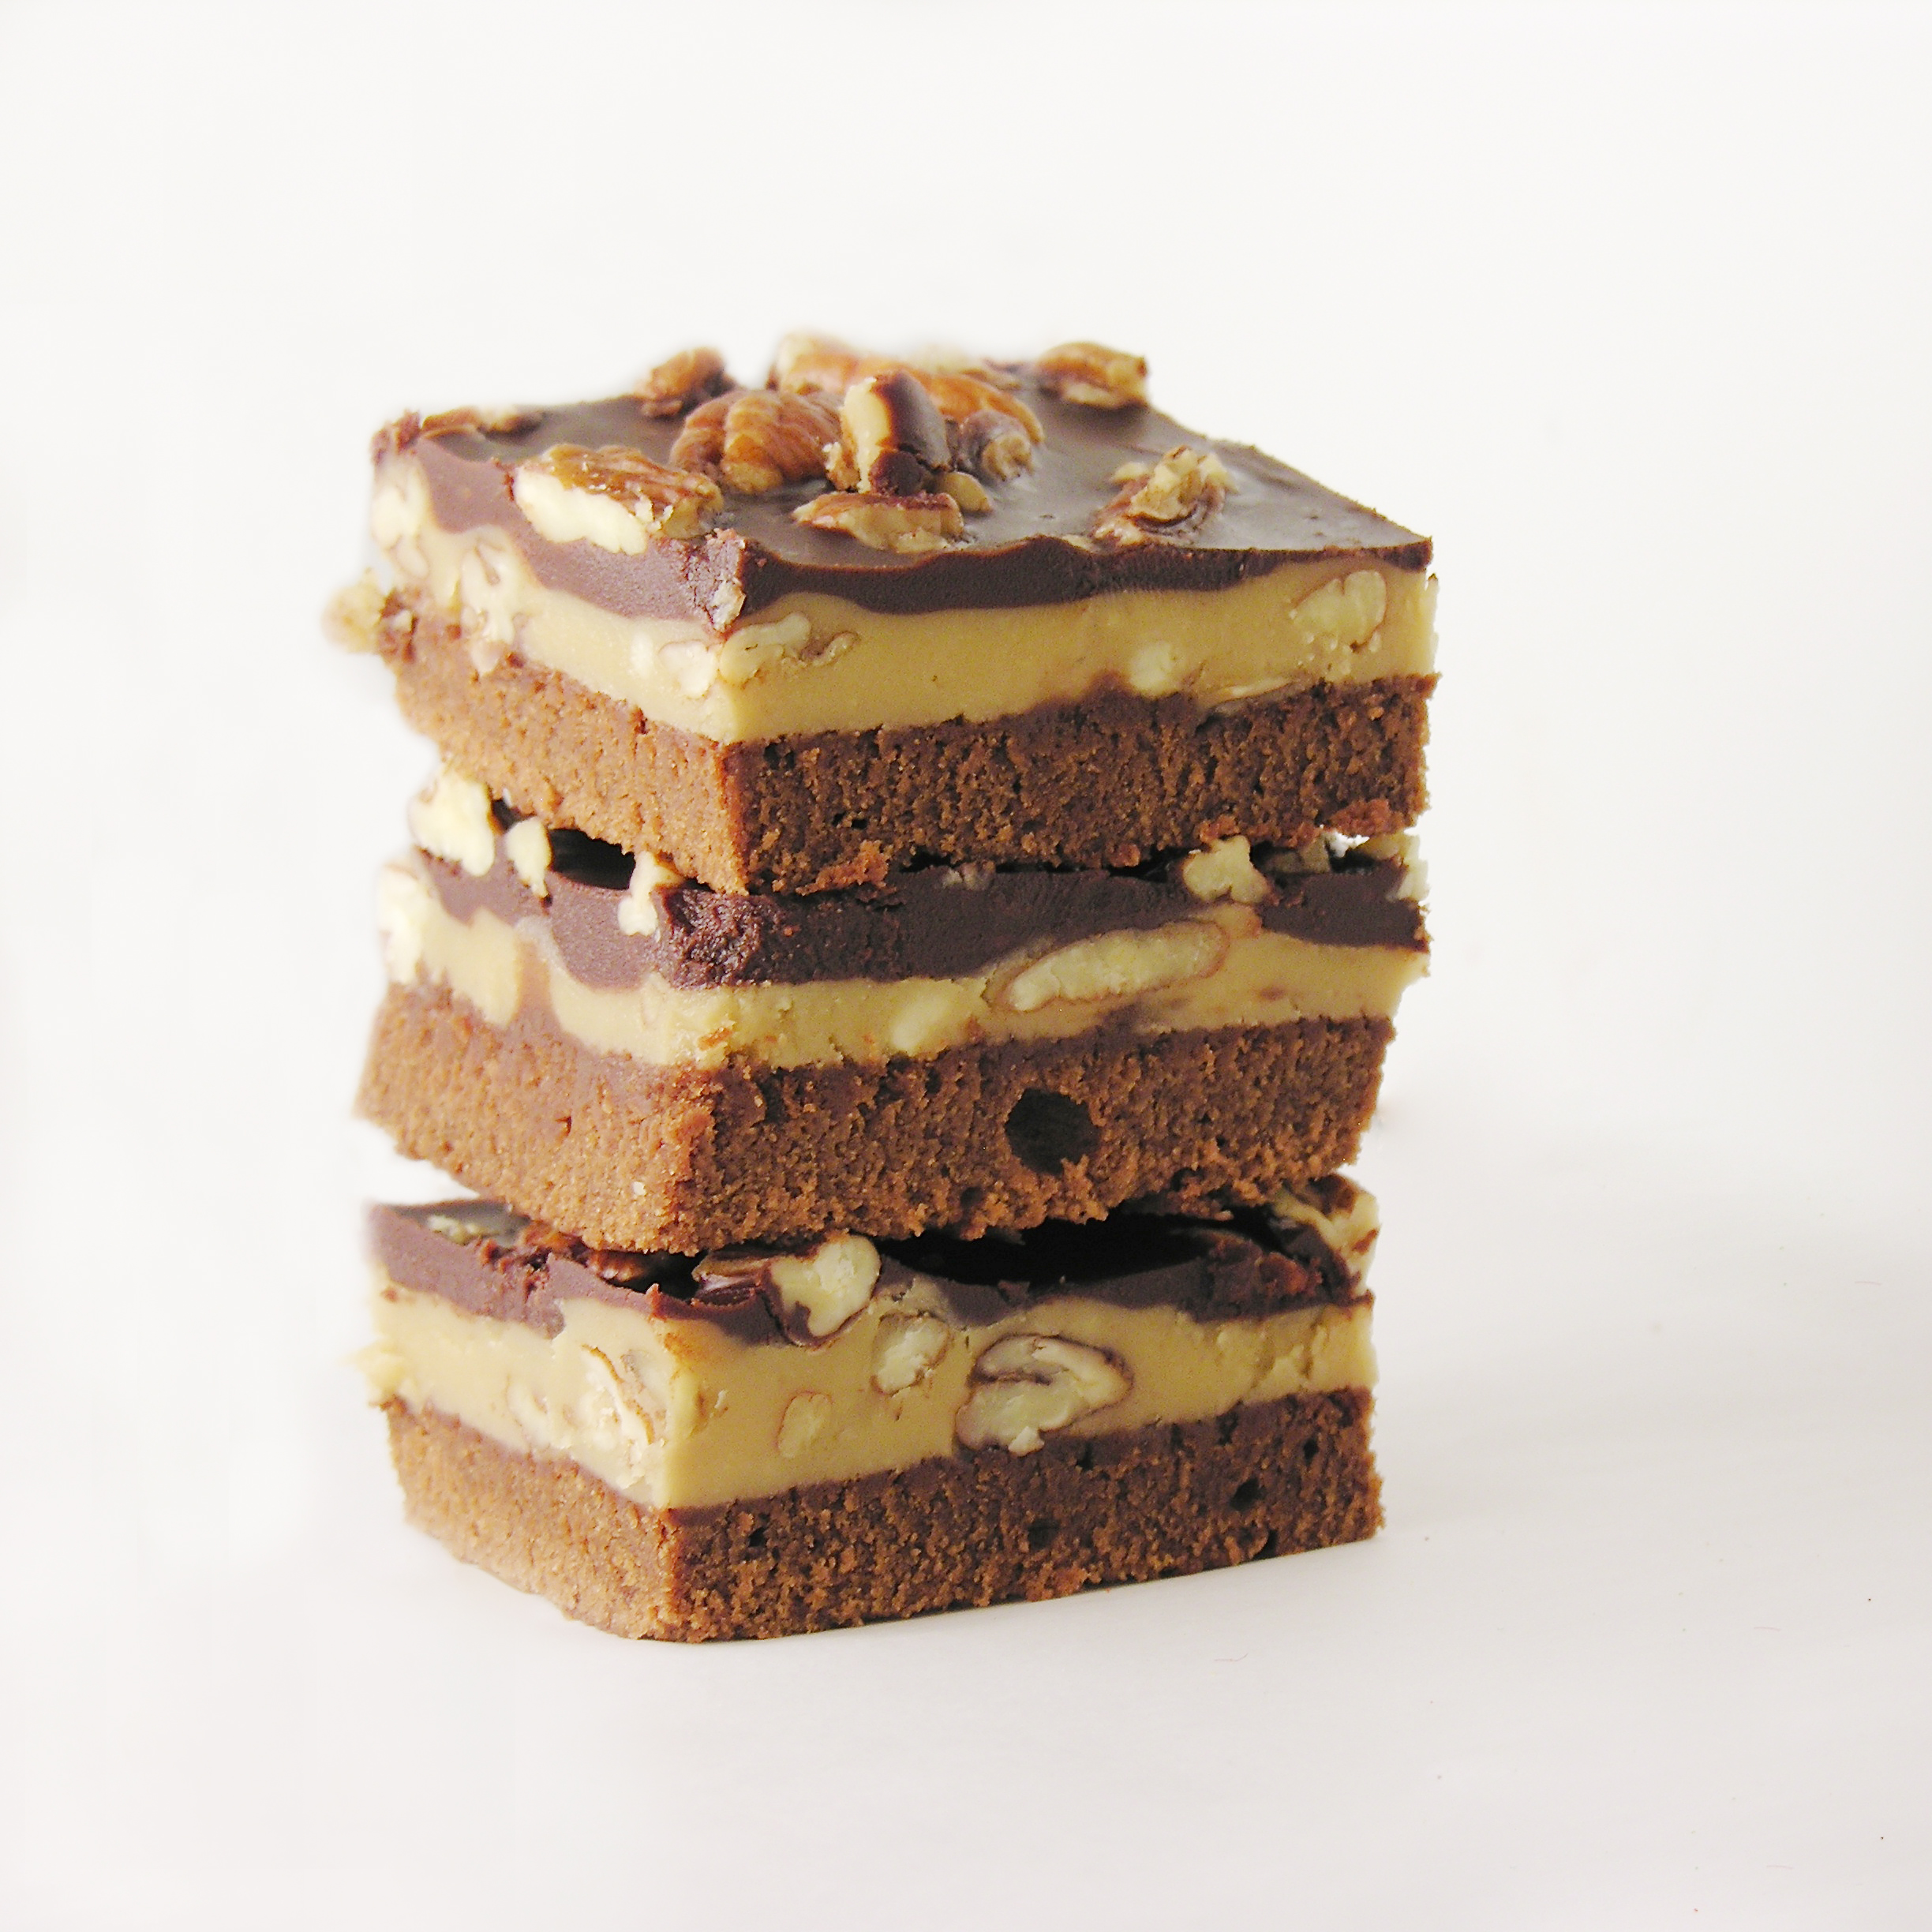
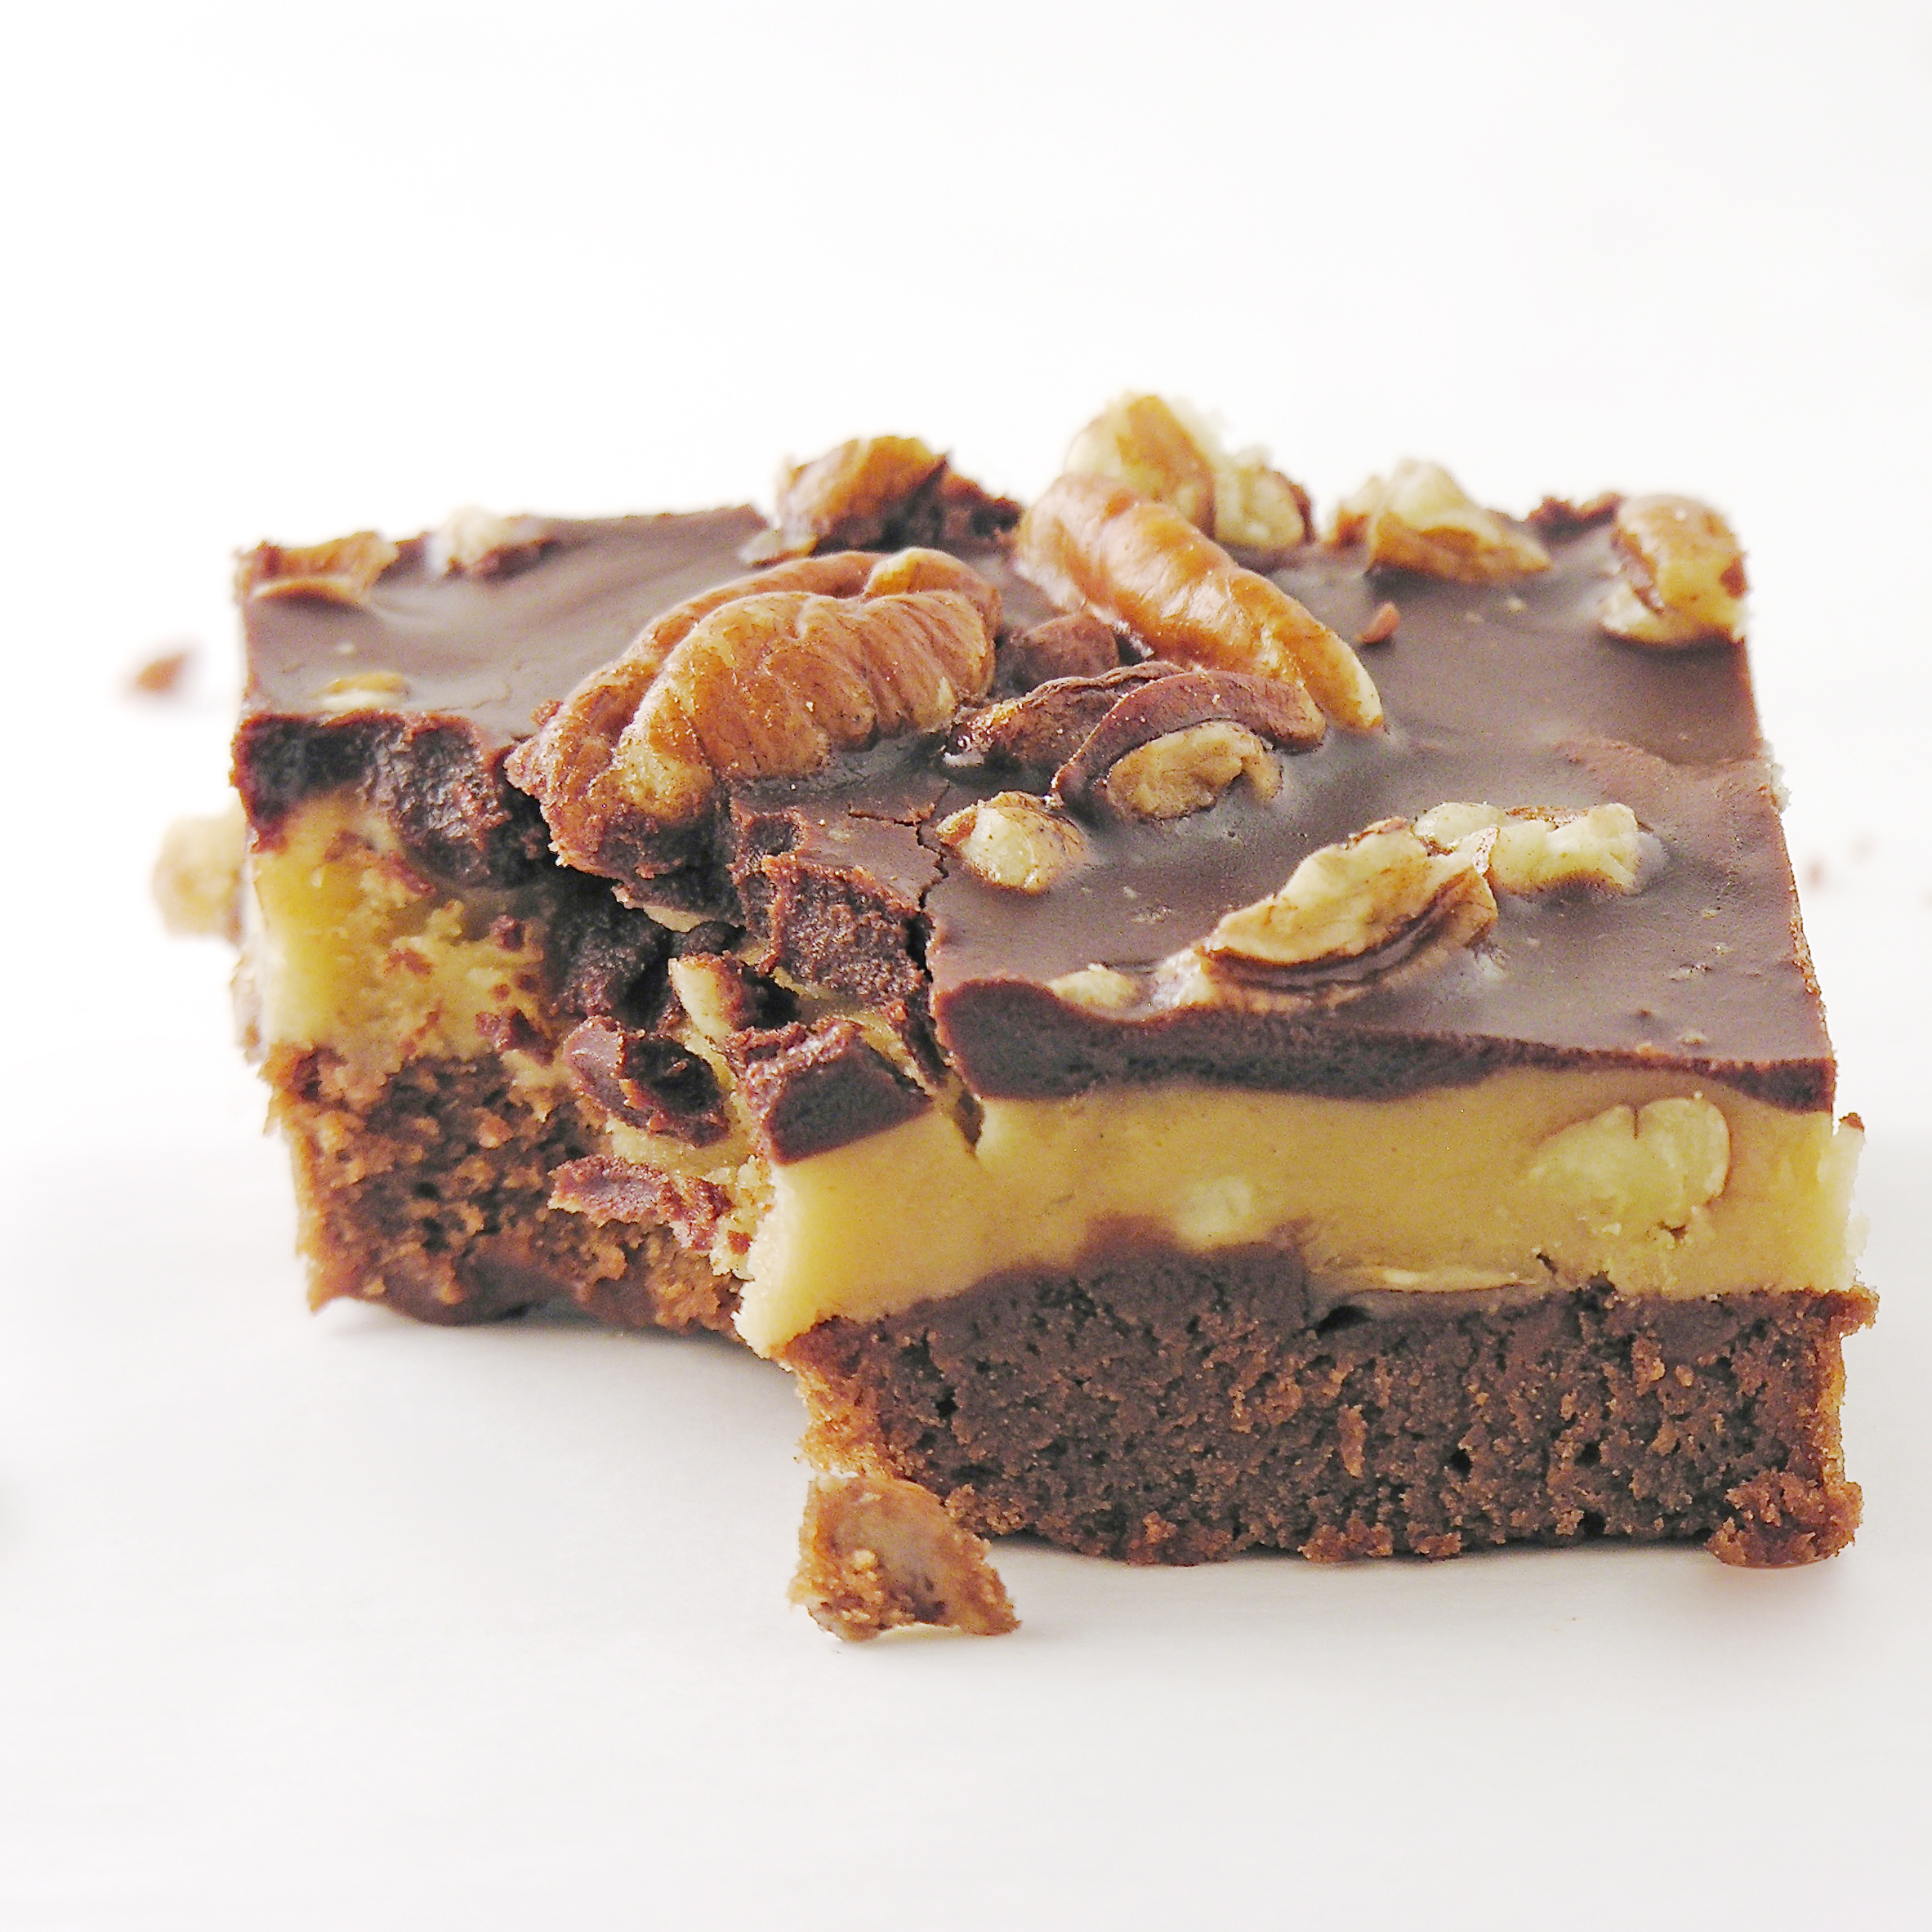
A dense brownie covered in creamy praline filling and topped with chocolate fudge and pecans. This will satisfy the most demanding sweet tooth!!!!
I adore pralines. Especially around Thanksgiving and Christmas when anything with pecans is somehow better. Some people say they are just too sweet- and this filling is no exception! Paired with this not-too-sweet brownie, I think it is perfect though. These got rave reviews and several people exclaimed, “These taste like Christmas!”
 So let’s make these yummy little treats! (printable recipe)
INGREDIENTS:
Brownie:
- 1cup butter
- 2 cups sugar
- 3 eggs
- 2 teaspoons vanilla
- 2 cups flour
- 1/2 cup cocoa
- 1/2 teaspoon salt
- 1 cup milk
Praline Filling:
- 1 cup whipping cream
- 12 Tablespoons of butter
- 3 cups of brown sugar (packed)
- 1 1/2 cup of finely chopped pecans (divided)
- 3 cups of powdered sugar
- 2 teaspoon of vanilla
Fudge Topping:
- 12oz. semi-sweet chocolate chips
- 12 tablespoons butter (do not substitute margarine here!)
DIRECTIONS:
Brownie:
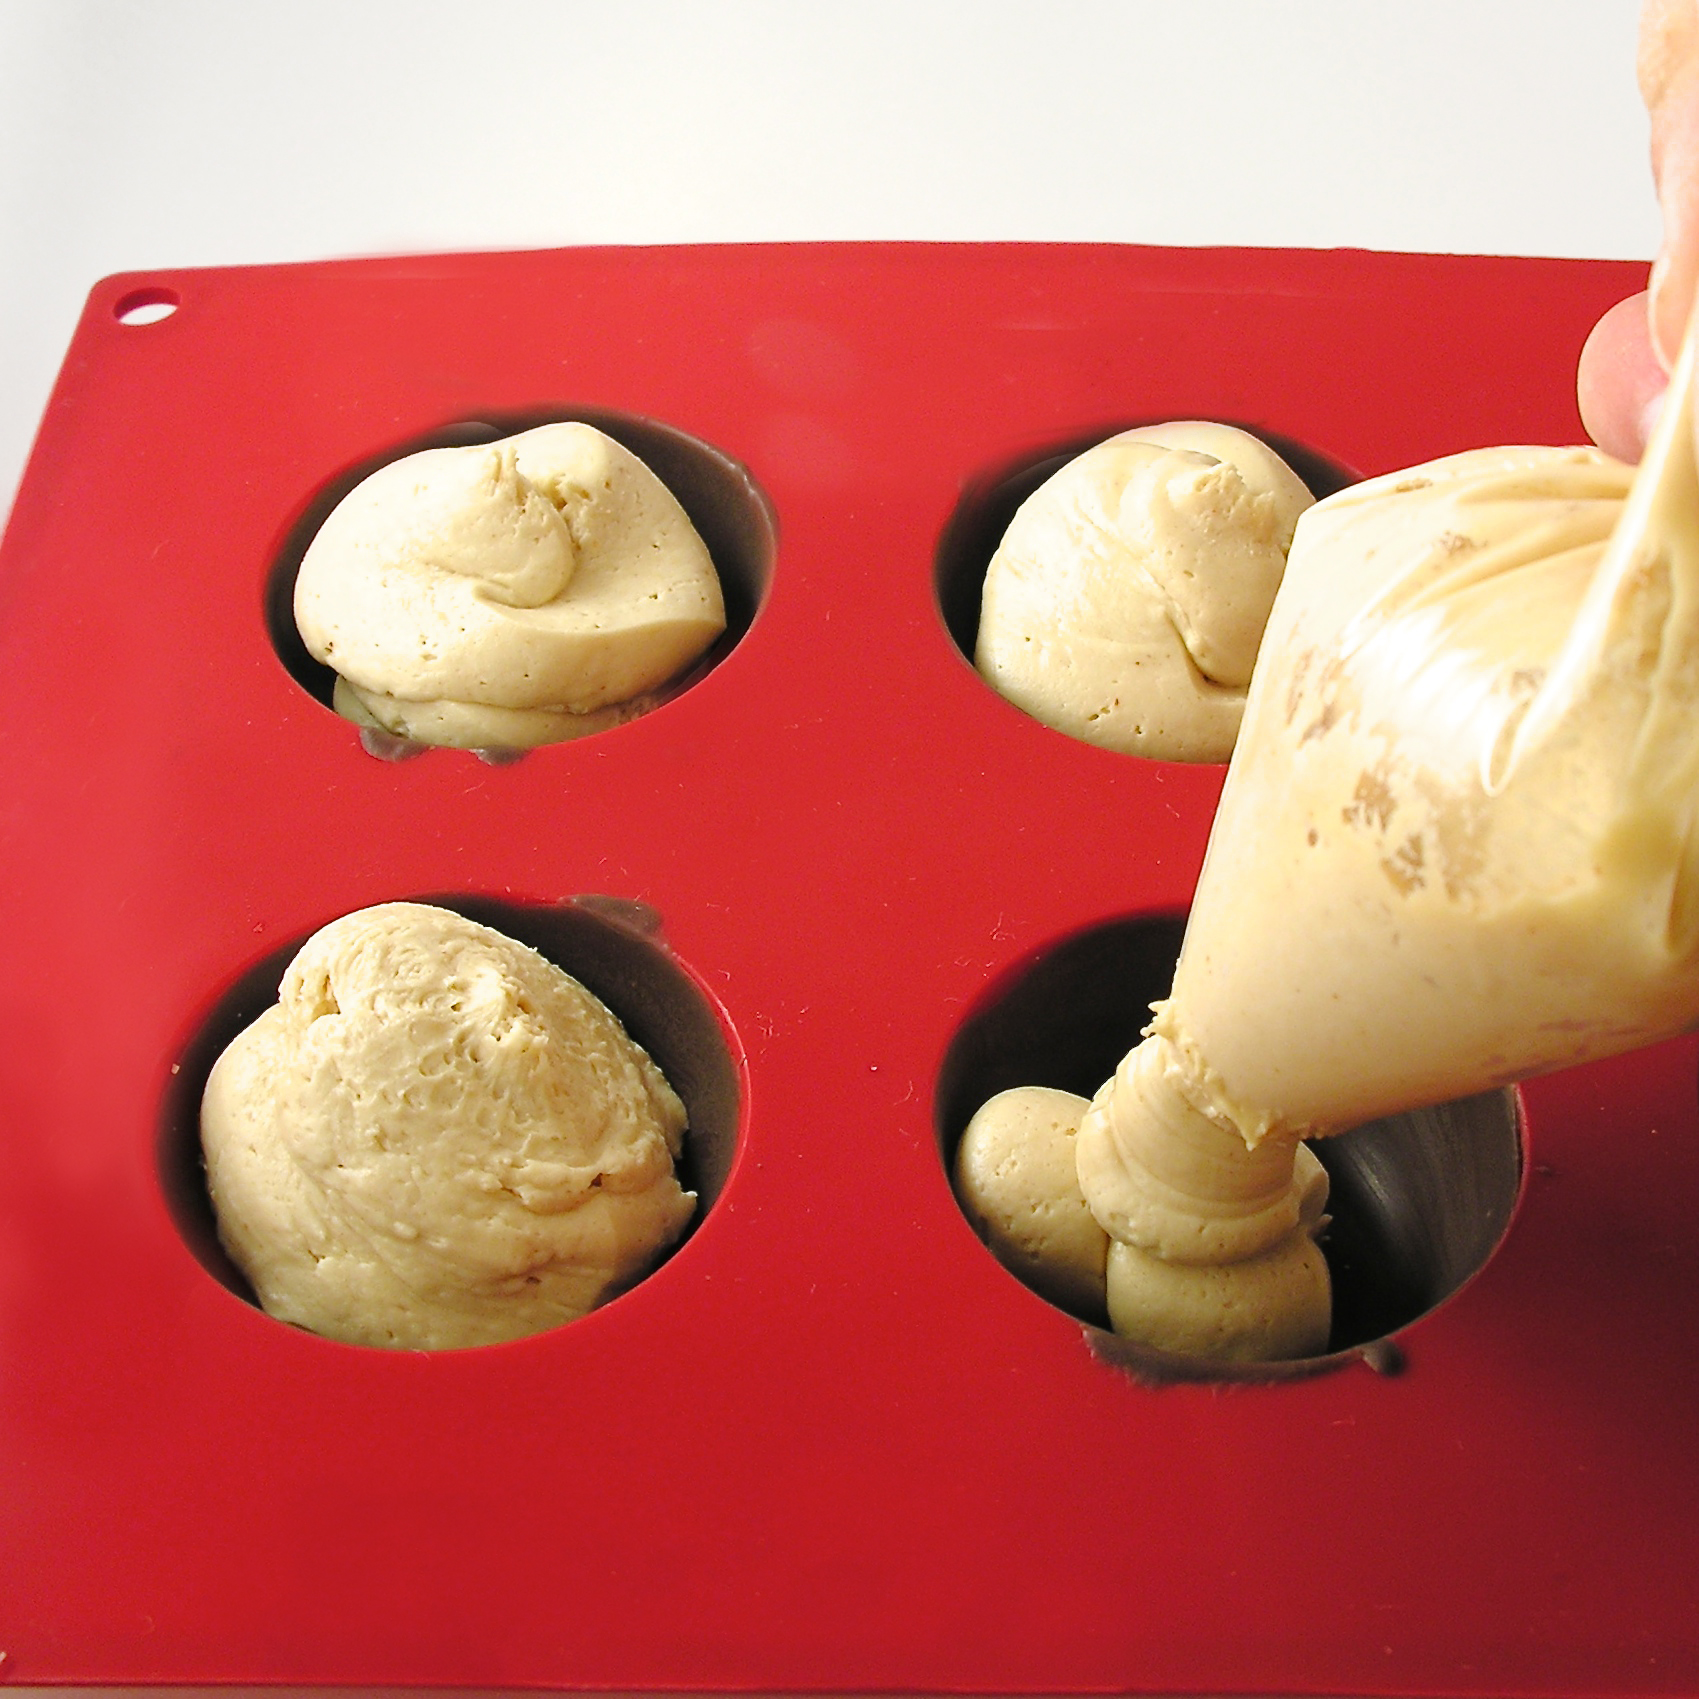
- Preheat oven to 350.
- Cream butter and sugar together.
- Beat in eggs, cocoa, vanilla and salt.
- Add flour and milk (alternating them and mixing well in between)
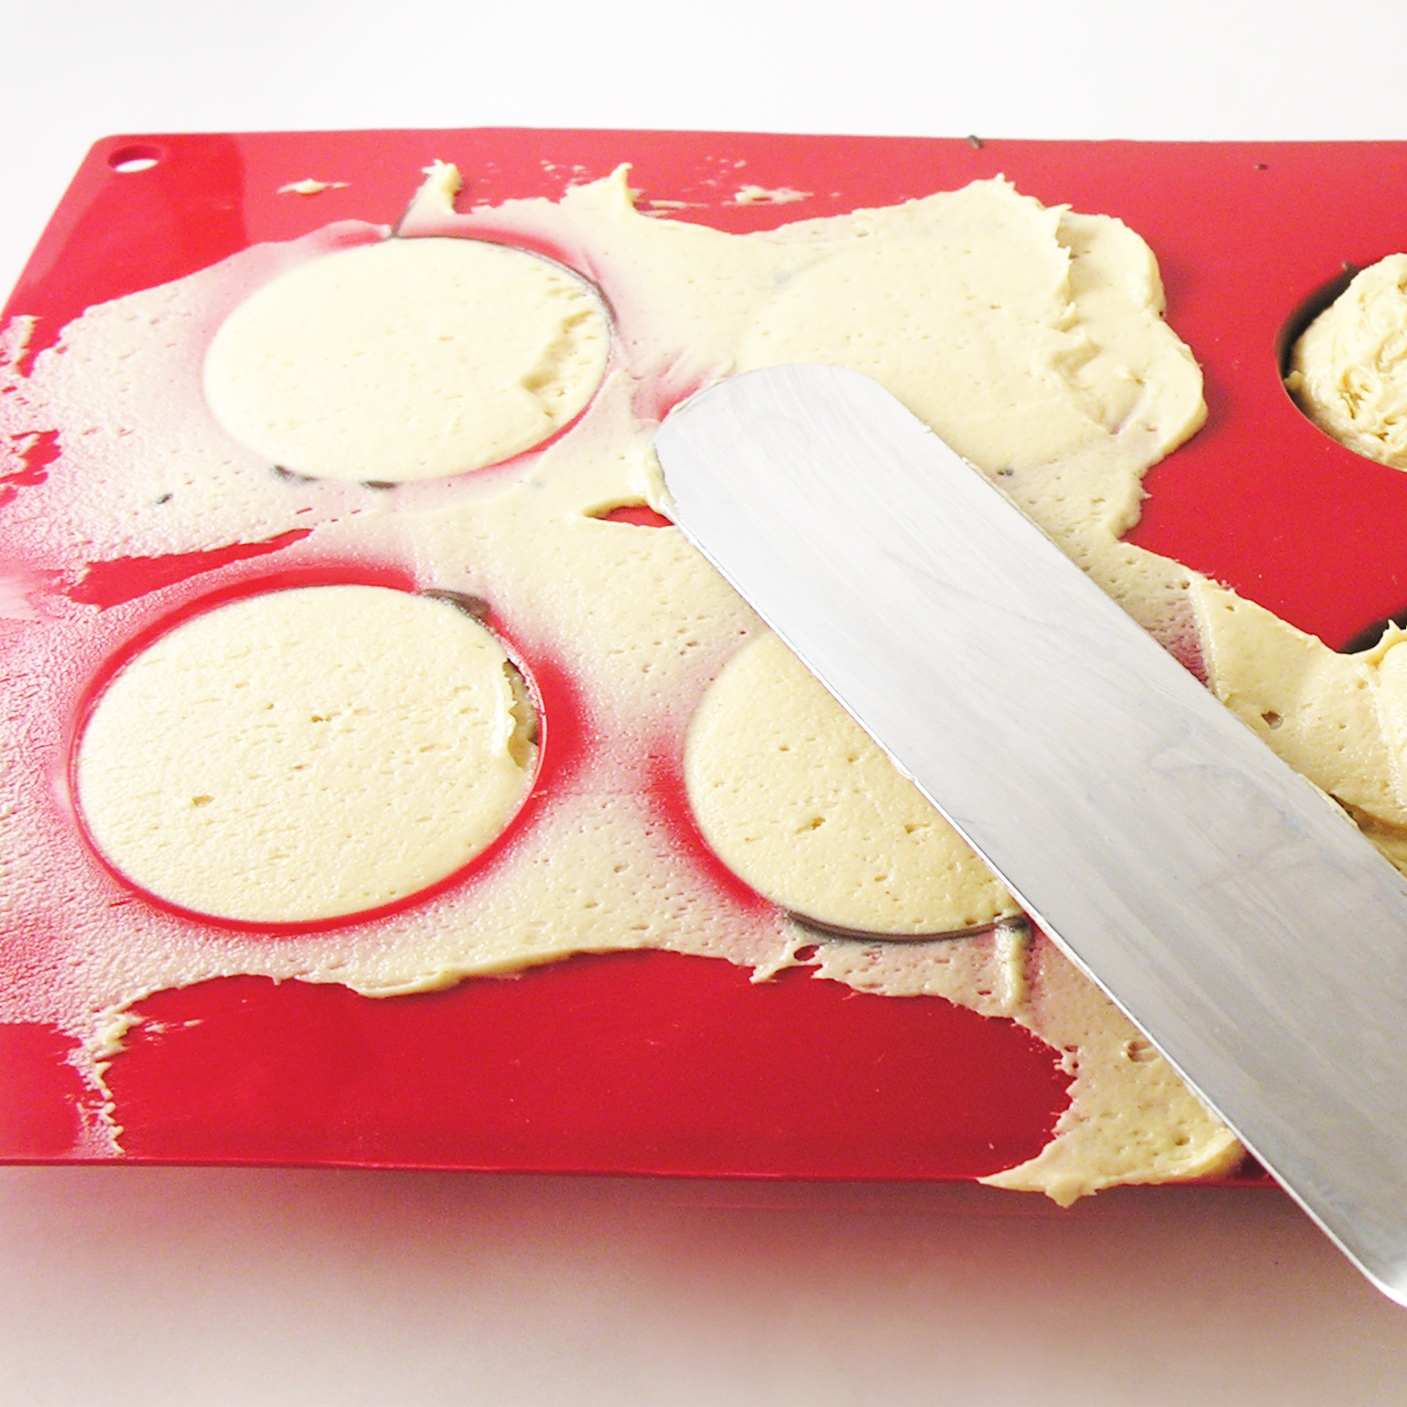
- Spread evenly in greased jelly roll pan (12 1/2 x 17 1/2 x 1″).
- Bake at 350 degrees for 15 minutes or until done in center and just starting to pull away from sides.
- Cool.
Praline filling:
- In a large saucepan, mix cream, butter and brown sugar.
- Cook over medium heat, stirring often, until mixture comes to a boil.
- Cook for one minute, stirring constantly and then remove from heat.
- Stir in powdered sugar, vanilla and 1 cup of pecans (you may need to do this in a separate bowl if your saucepan isn’t big enough)
- Cool for 5 minutes, stirring often until it thickens up a bit.
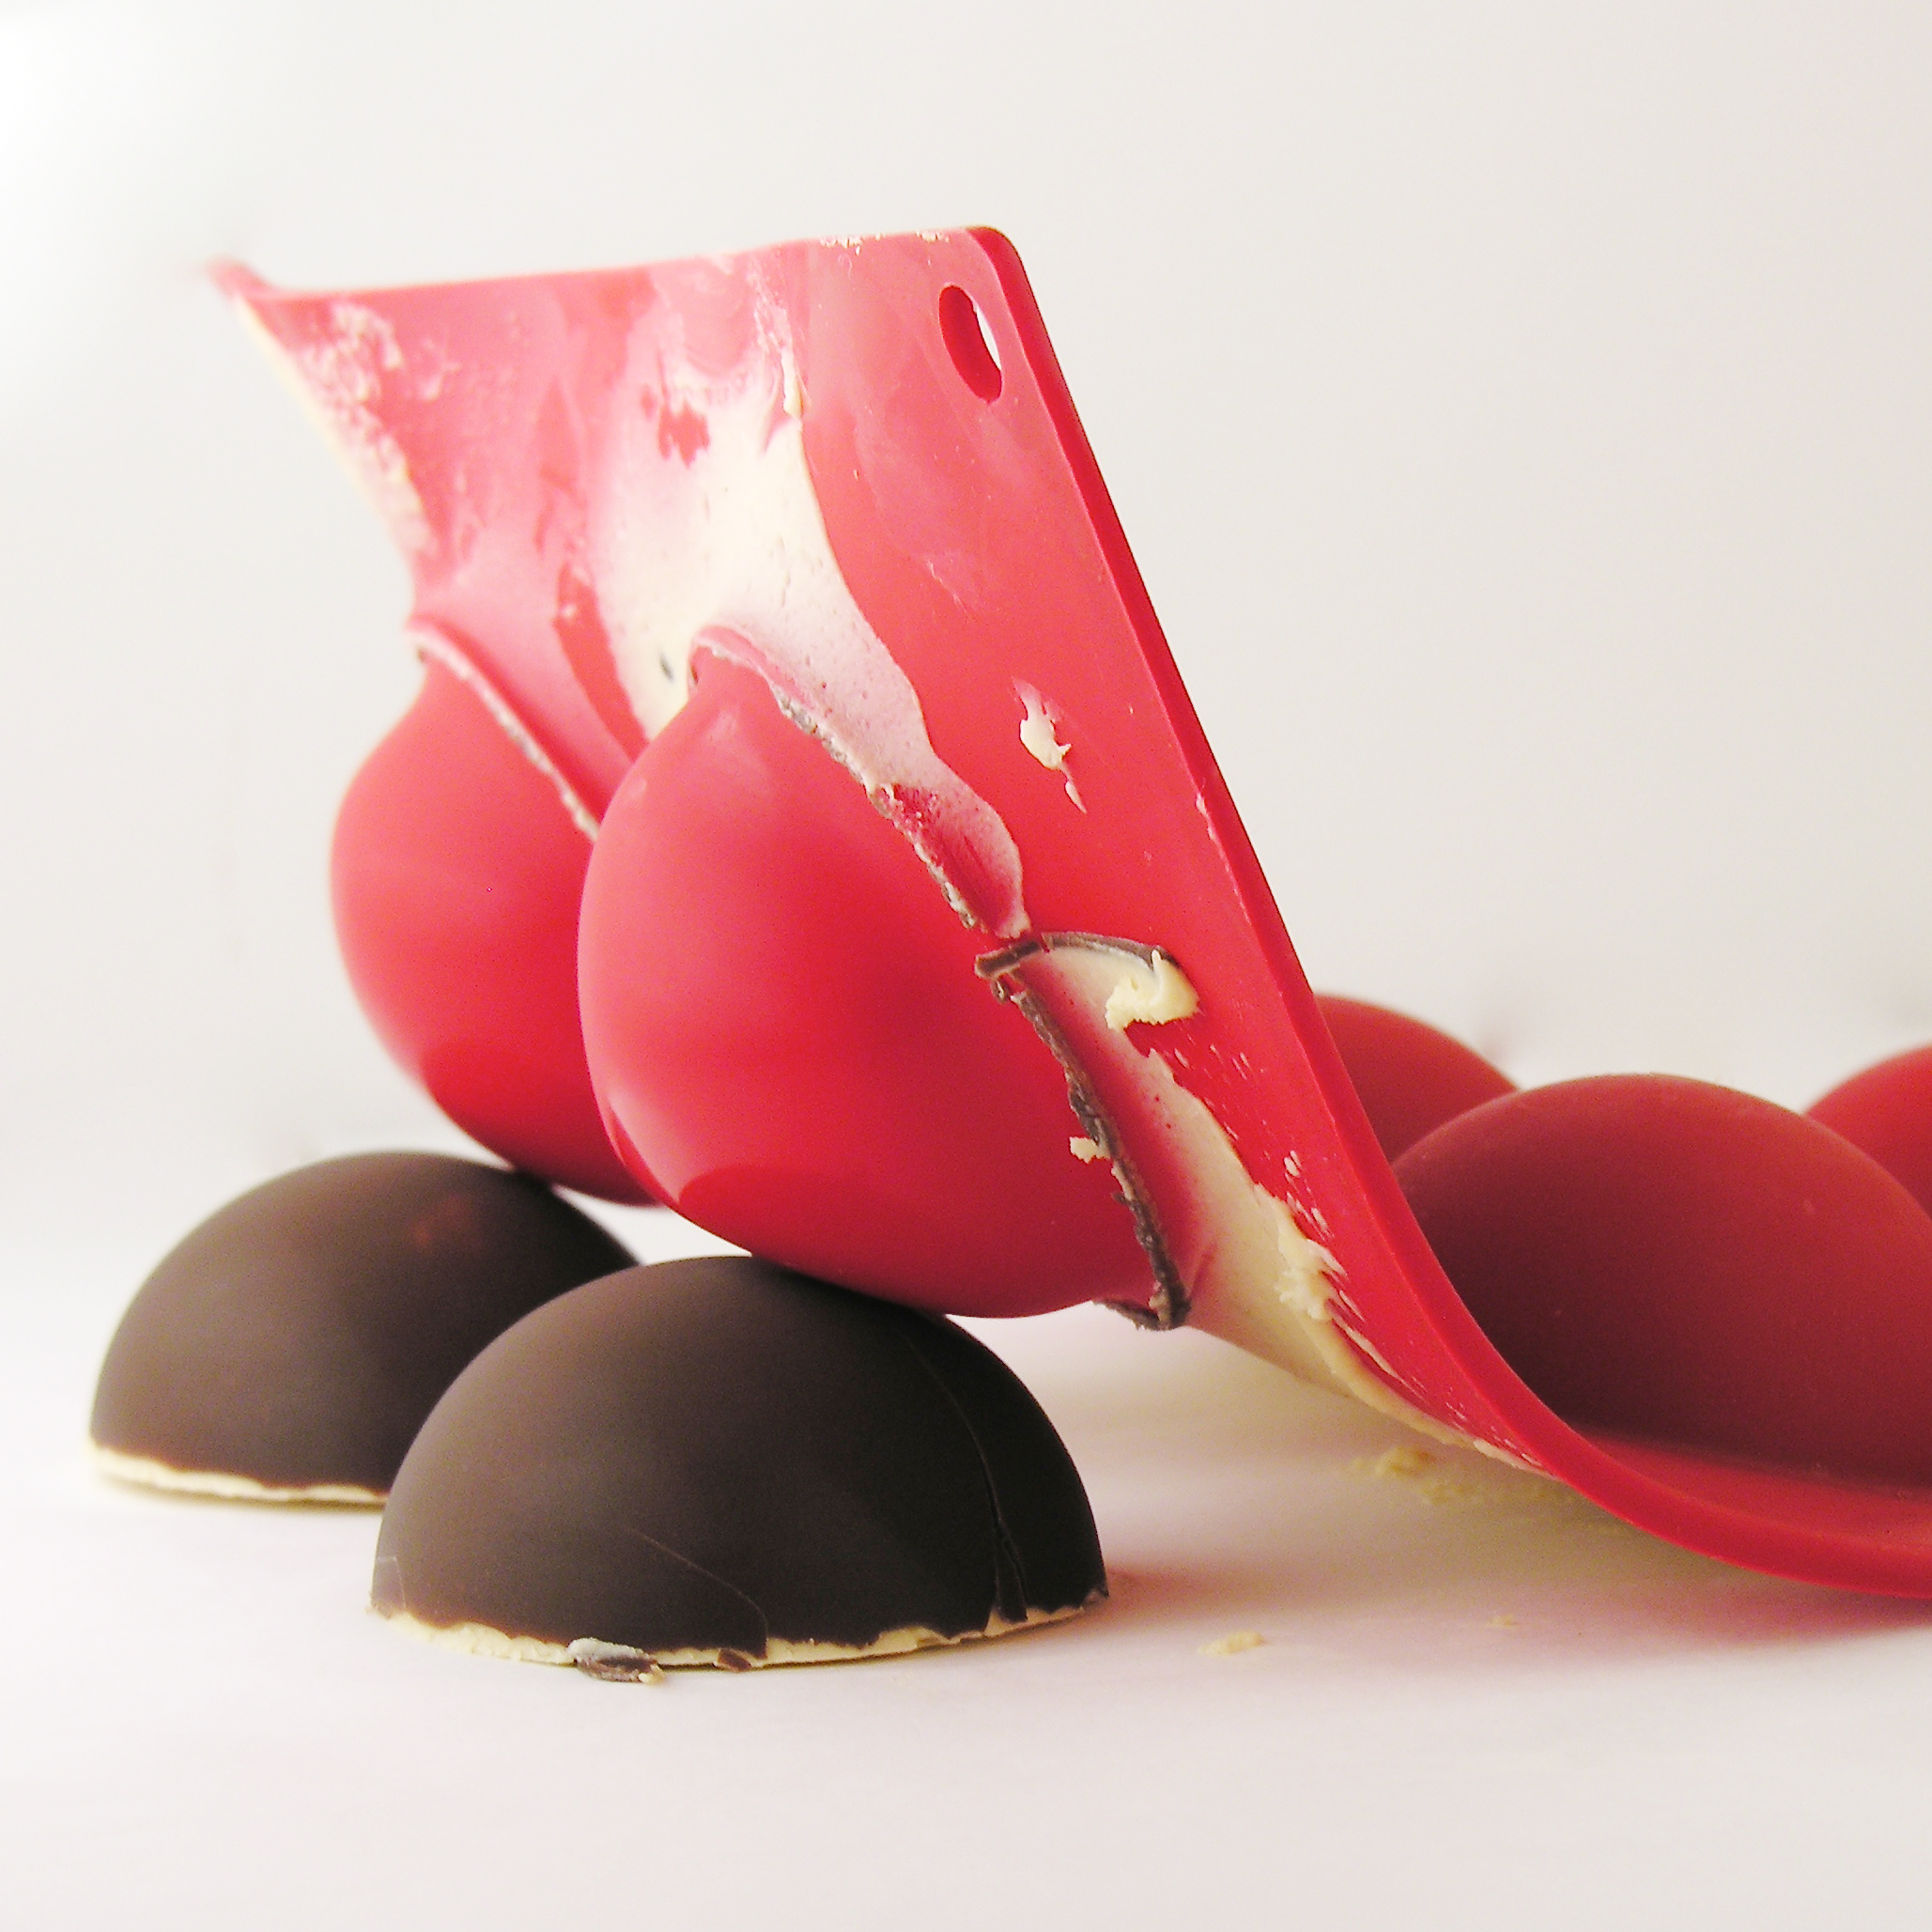
- Spoon mixture over cooled brownies and spread into a smooth layer over the top.
 Fudge Topping:
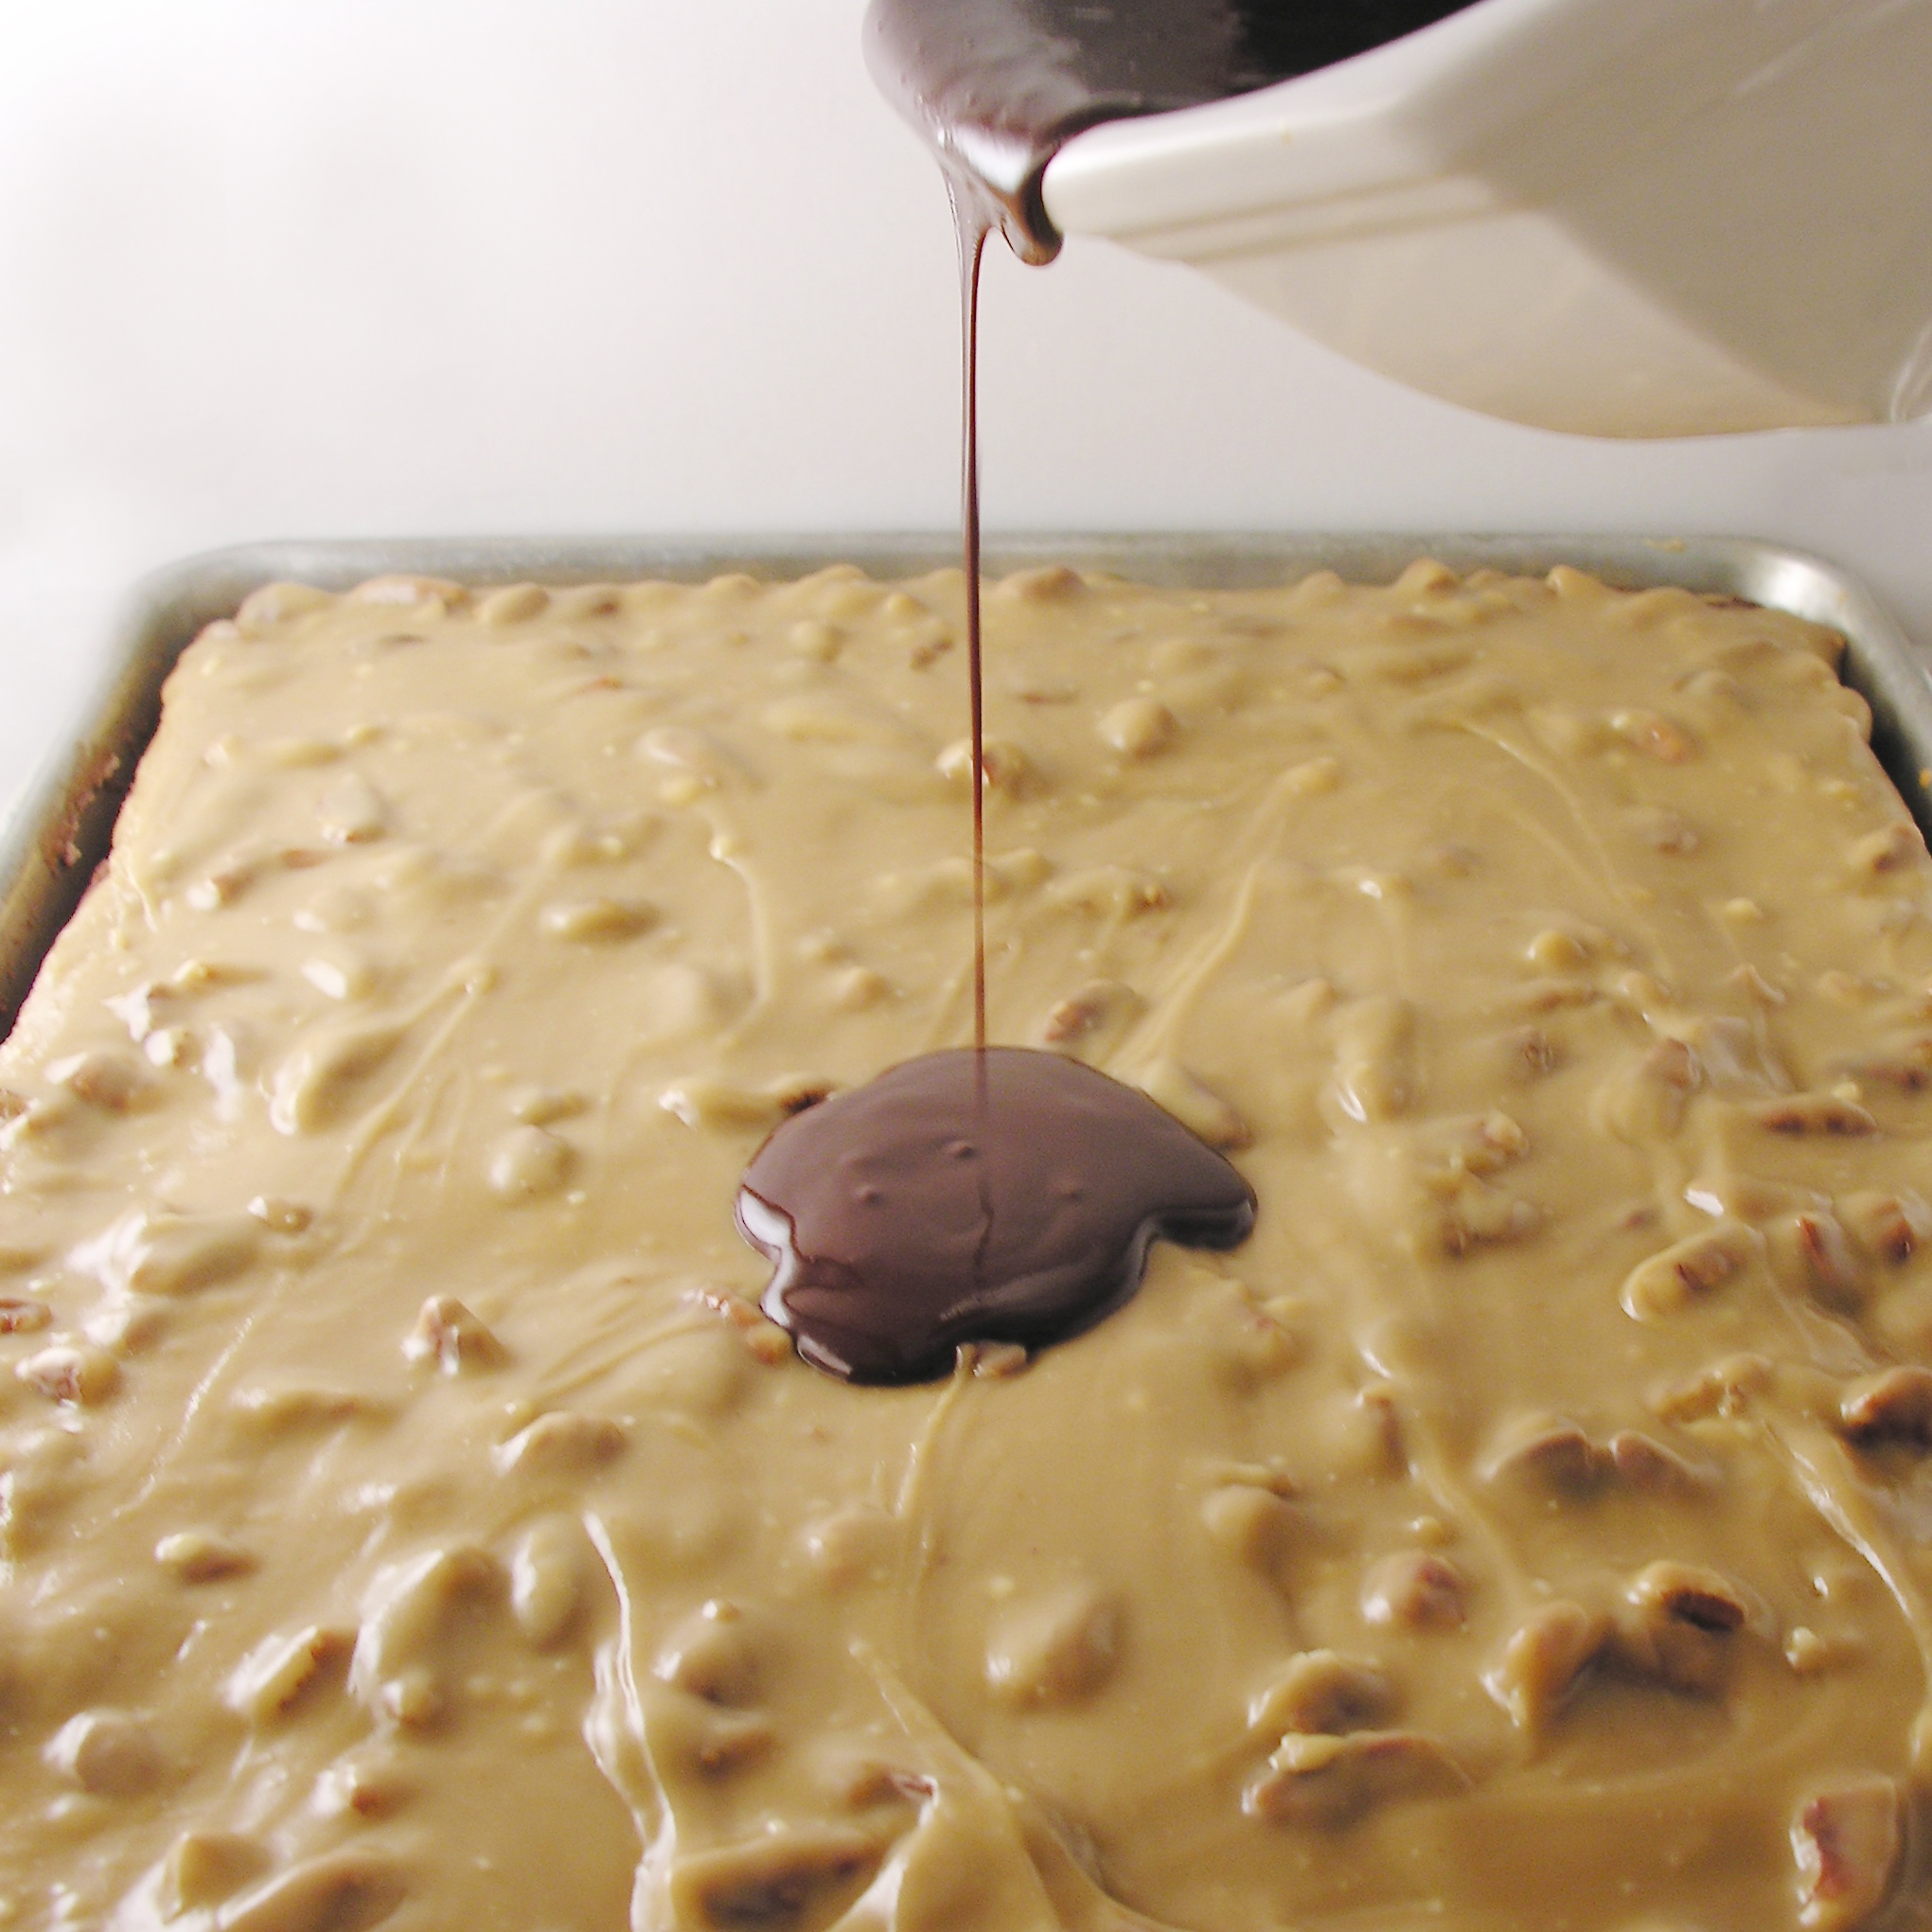
- Melt butter and chocolate together in the microwave in 30 second increments, stirring in between until completely melted and smooth.
- Pour over praline filling and spread evenly over top.
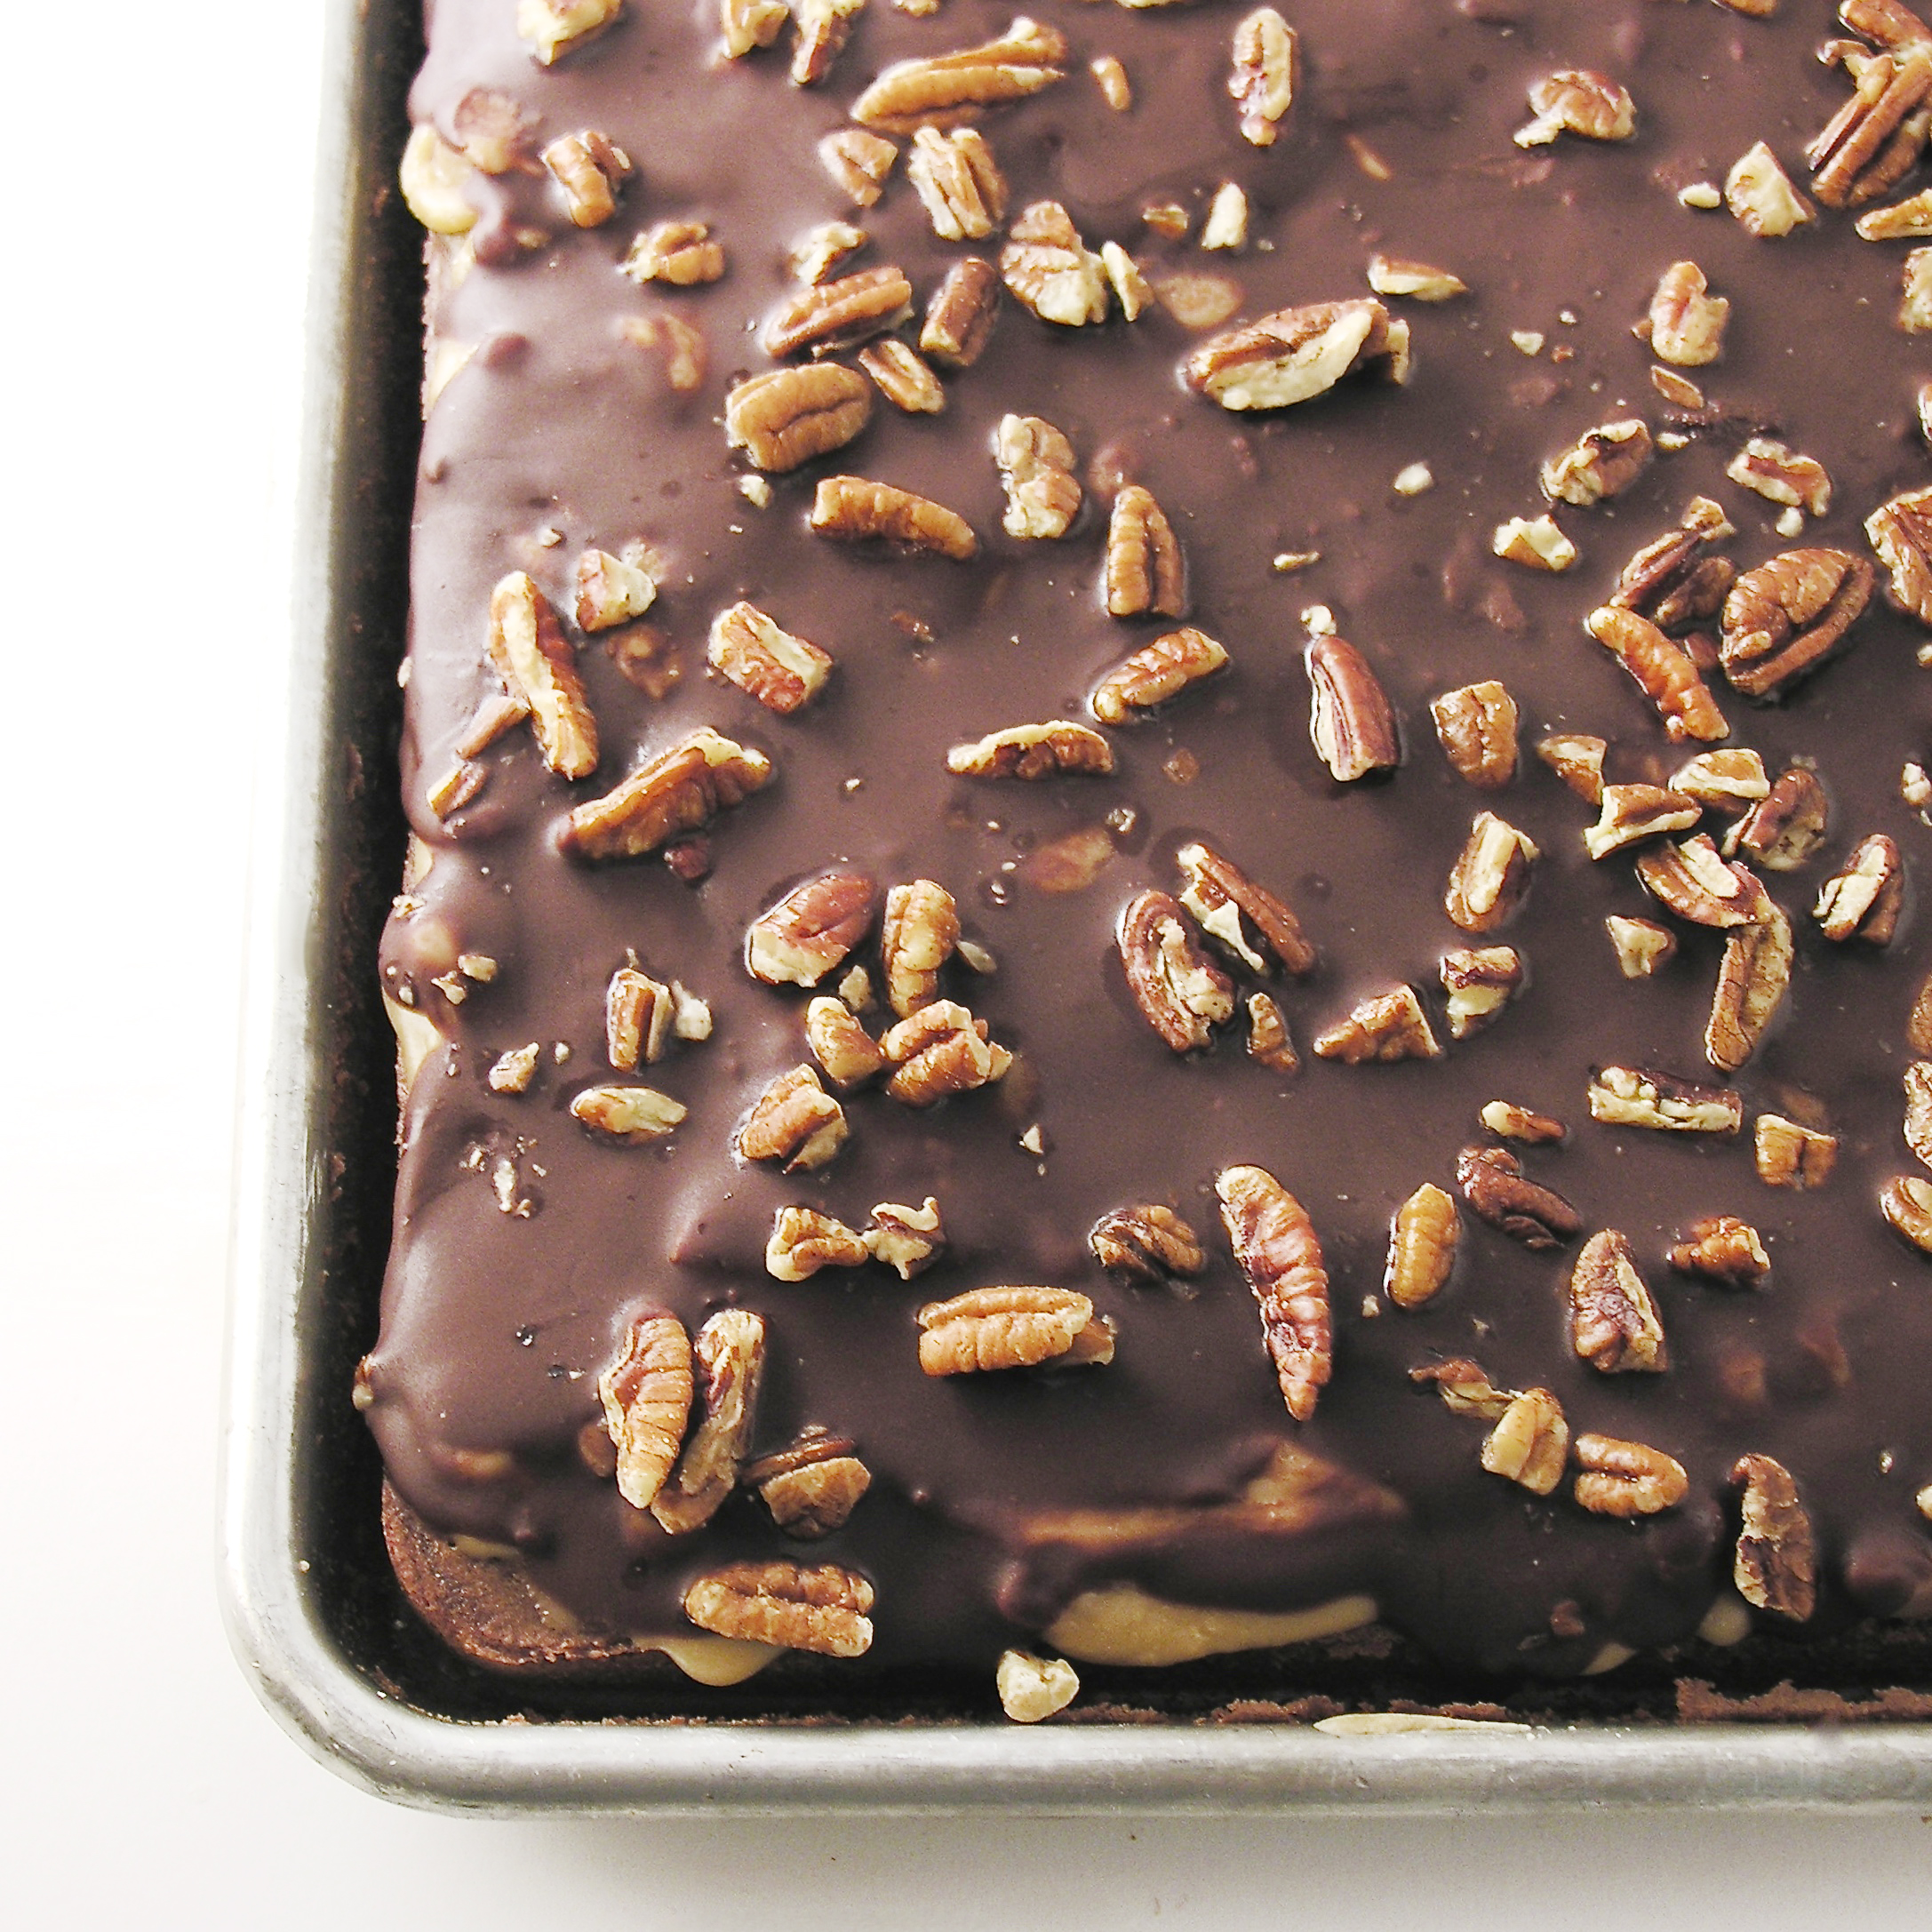
- Sprinkle with remaining 1/2 cup of chopped pecans.
- Chill until top layer is hard and cut into bars.
 My thoughts: These aren’t hard to put together and they are oh-so-yummy!!! I froze about half of the batch in an air-tight container for several weeks and just pulled them out for a party I was having- they freeze GREAT. In fact, they are pretty yummy frozen. 🙂 I hope you get a chance to try these and enjoy them as much as I did!
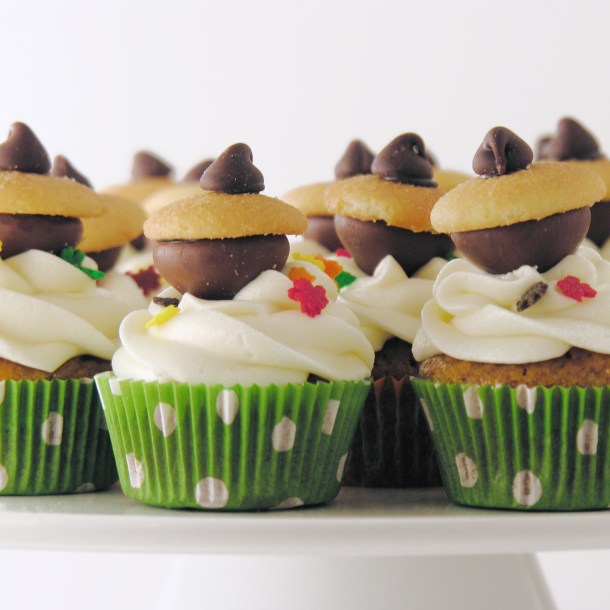
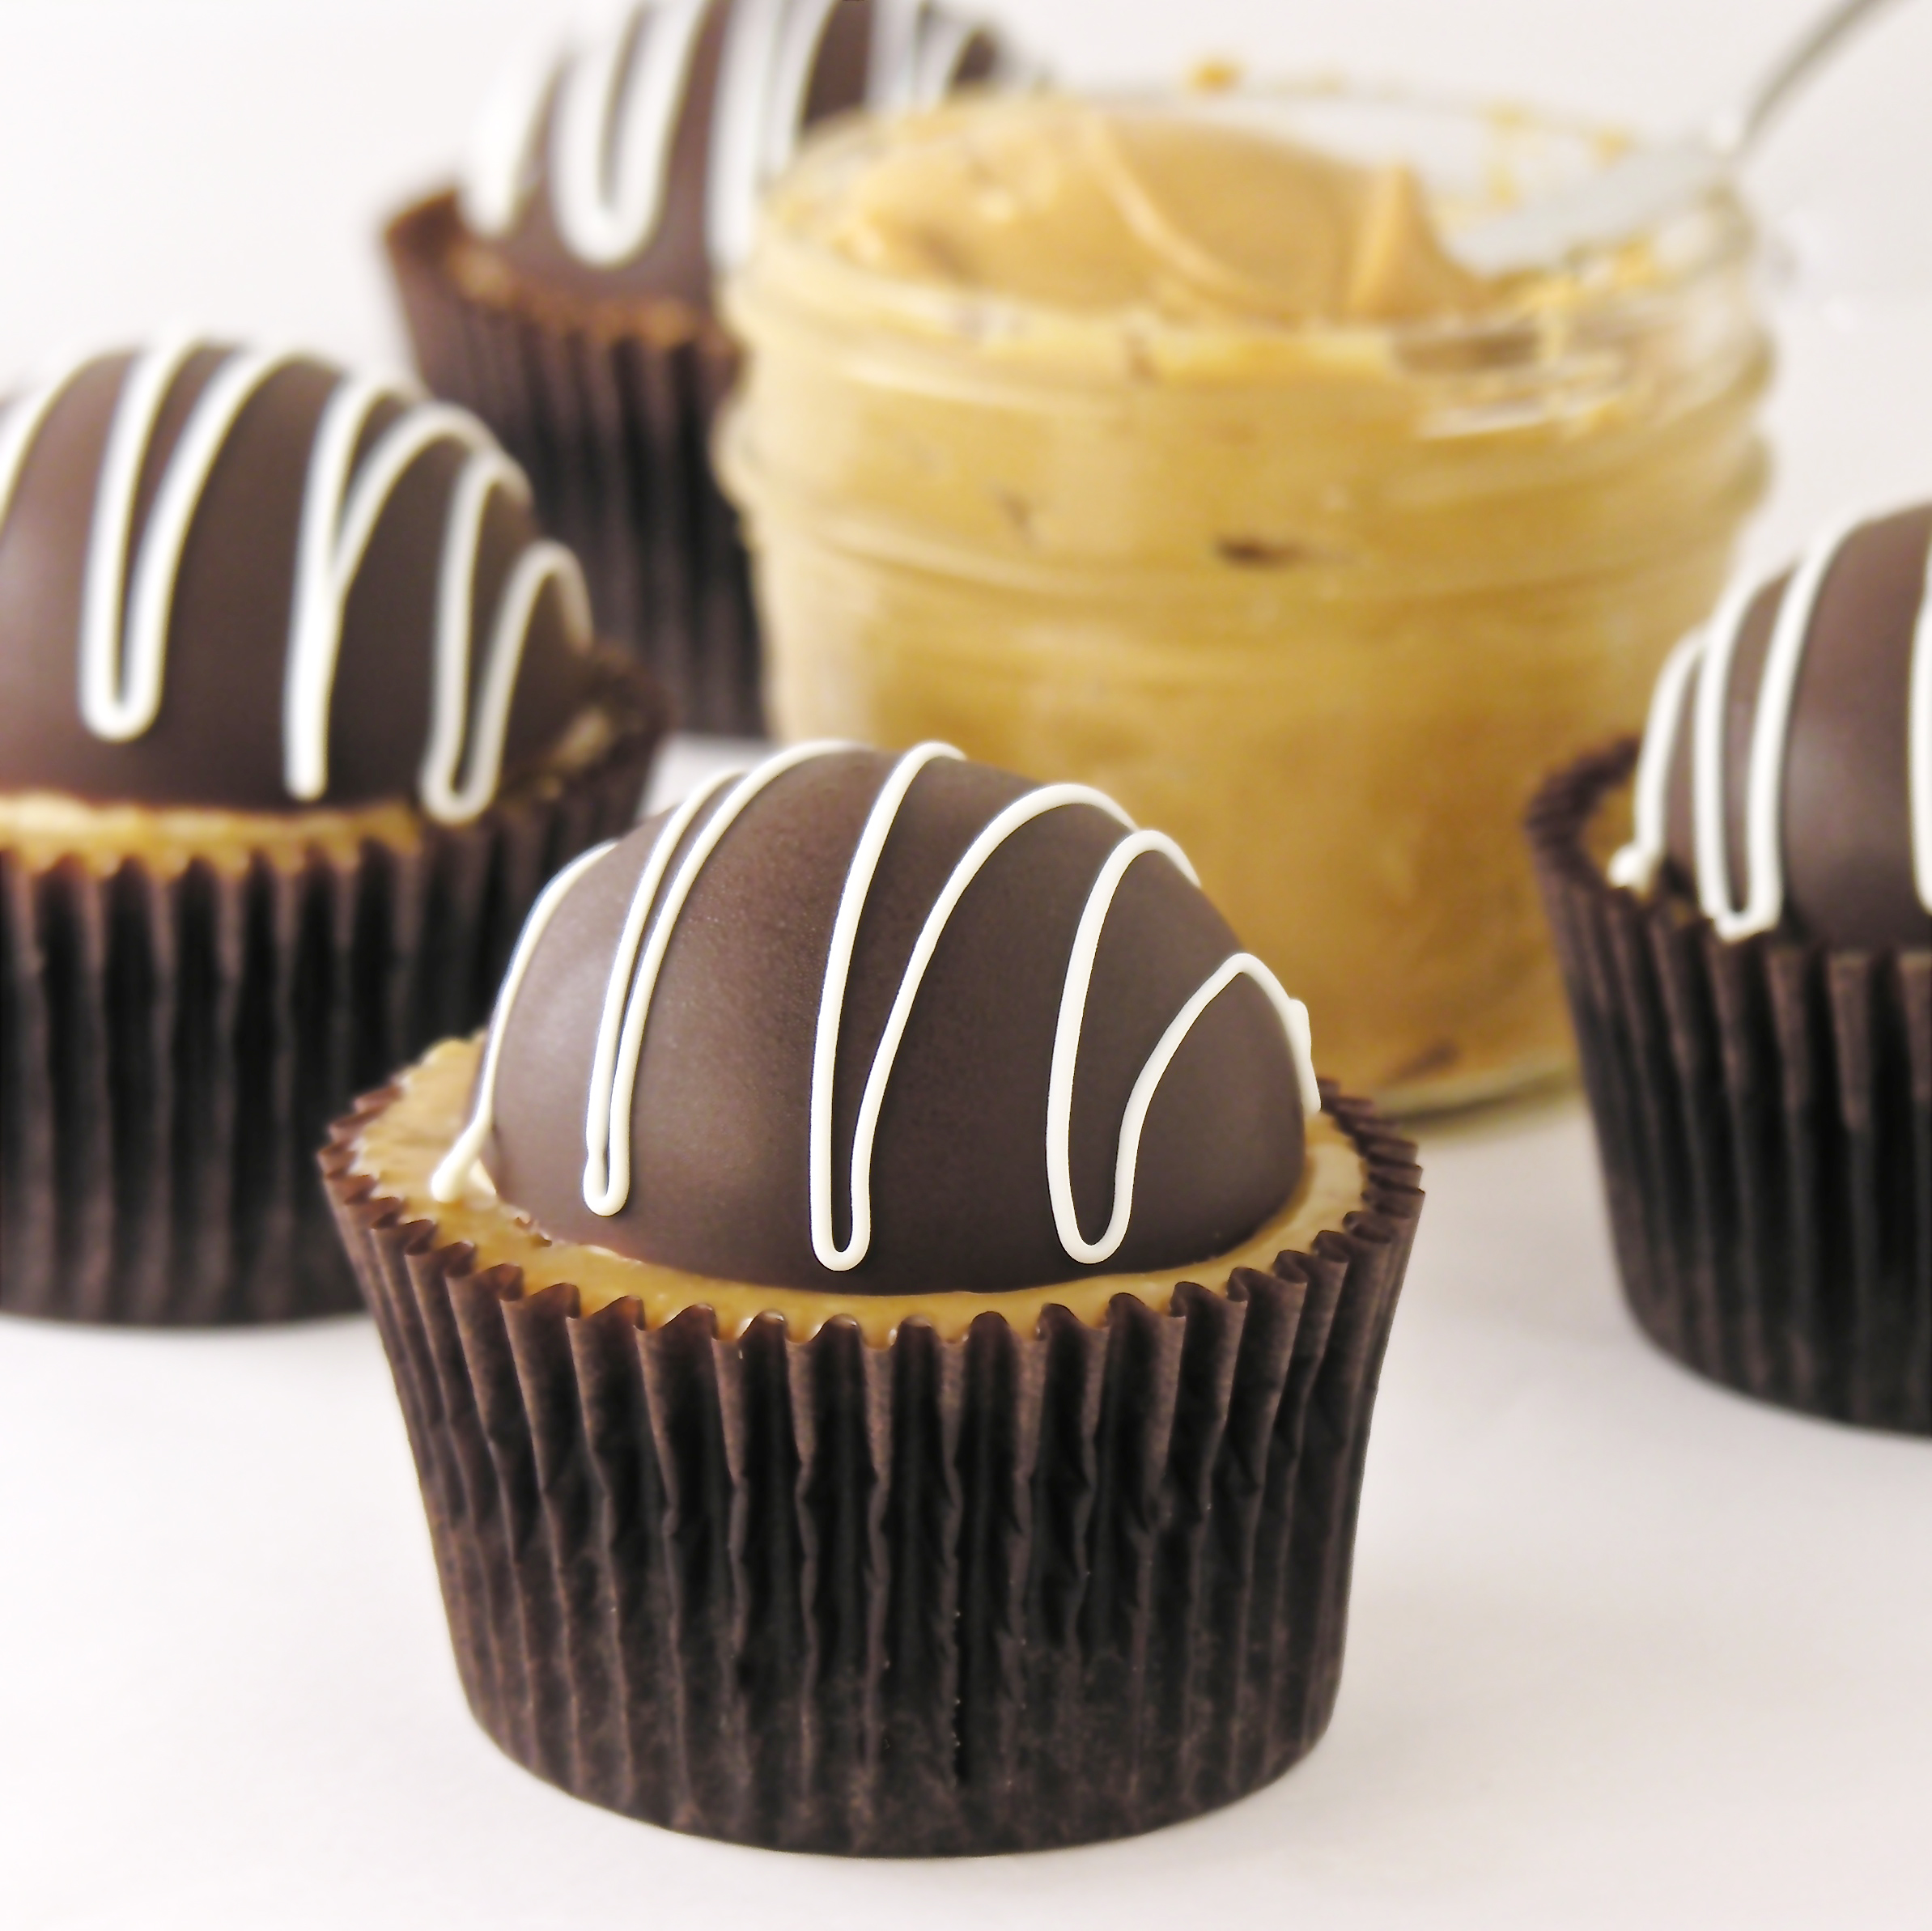
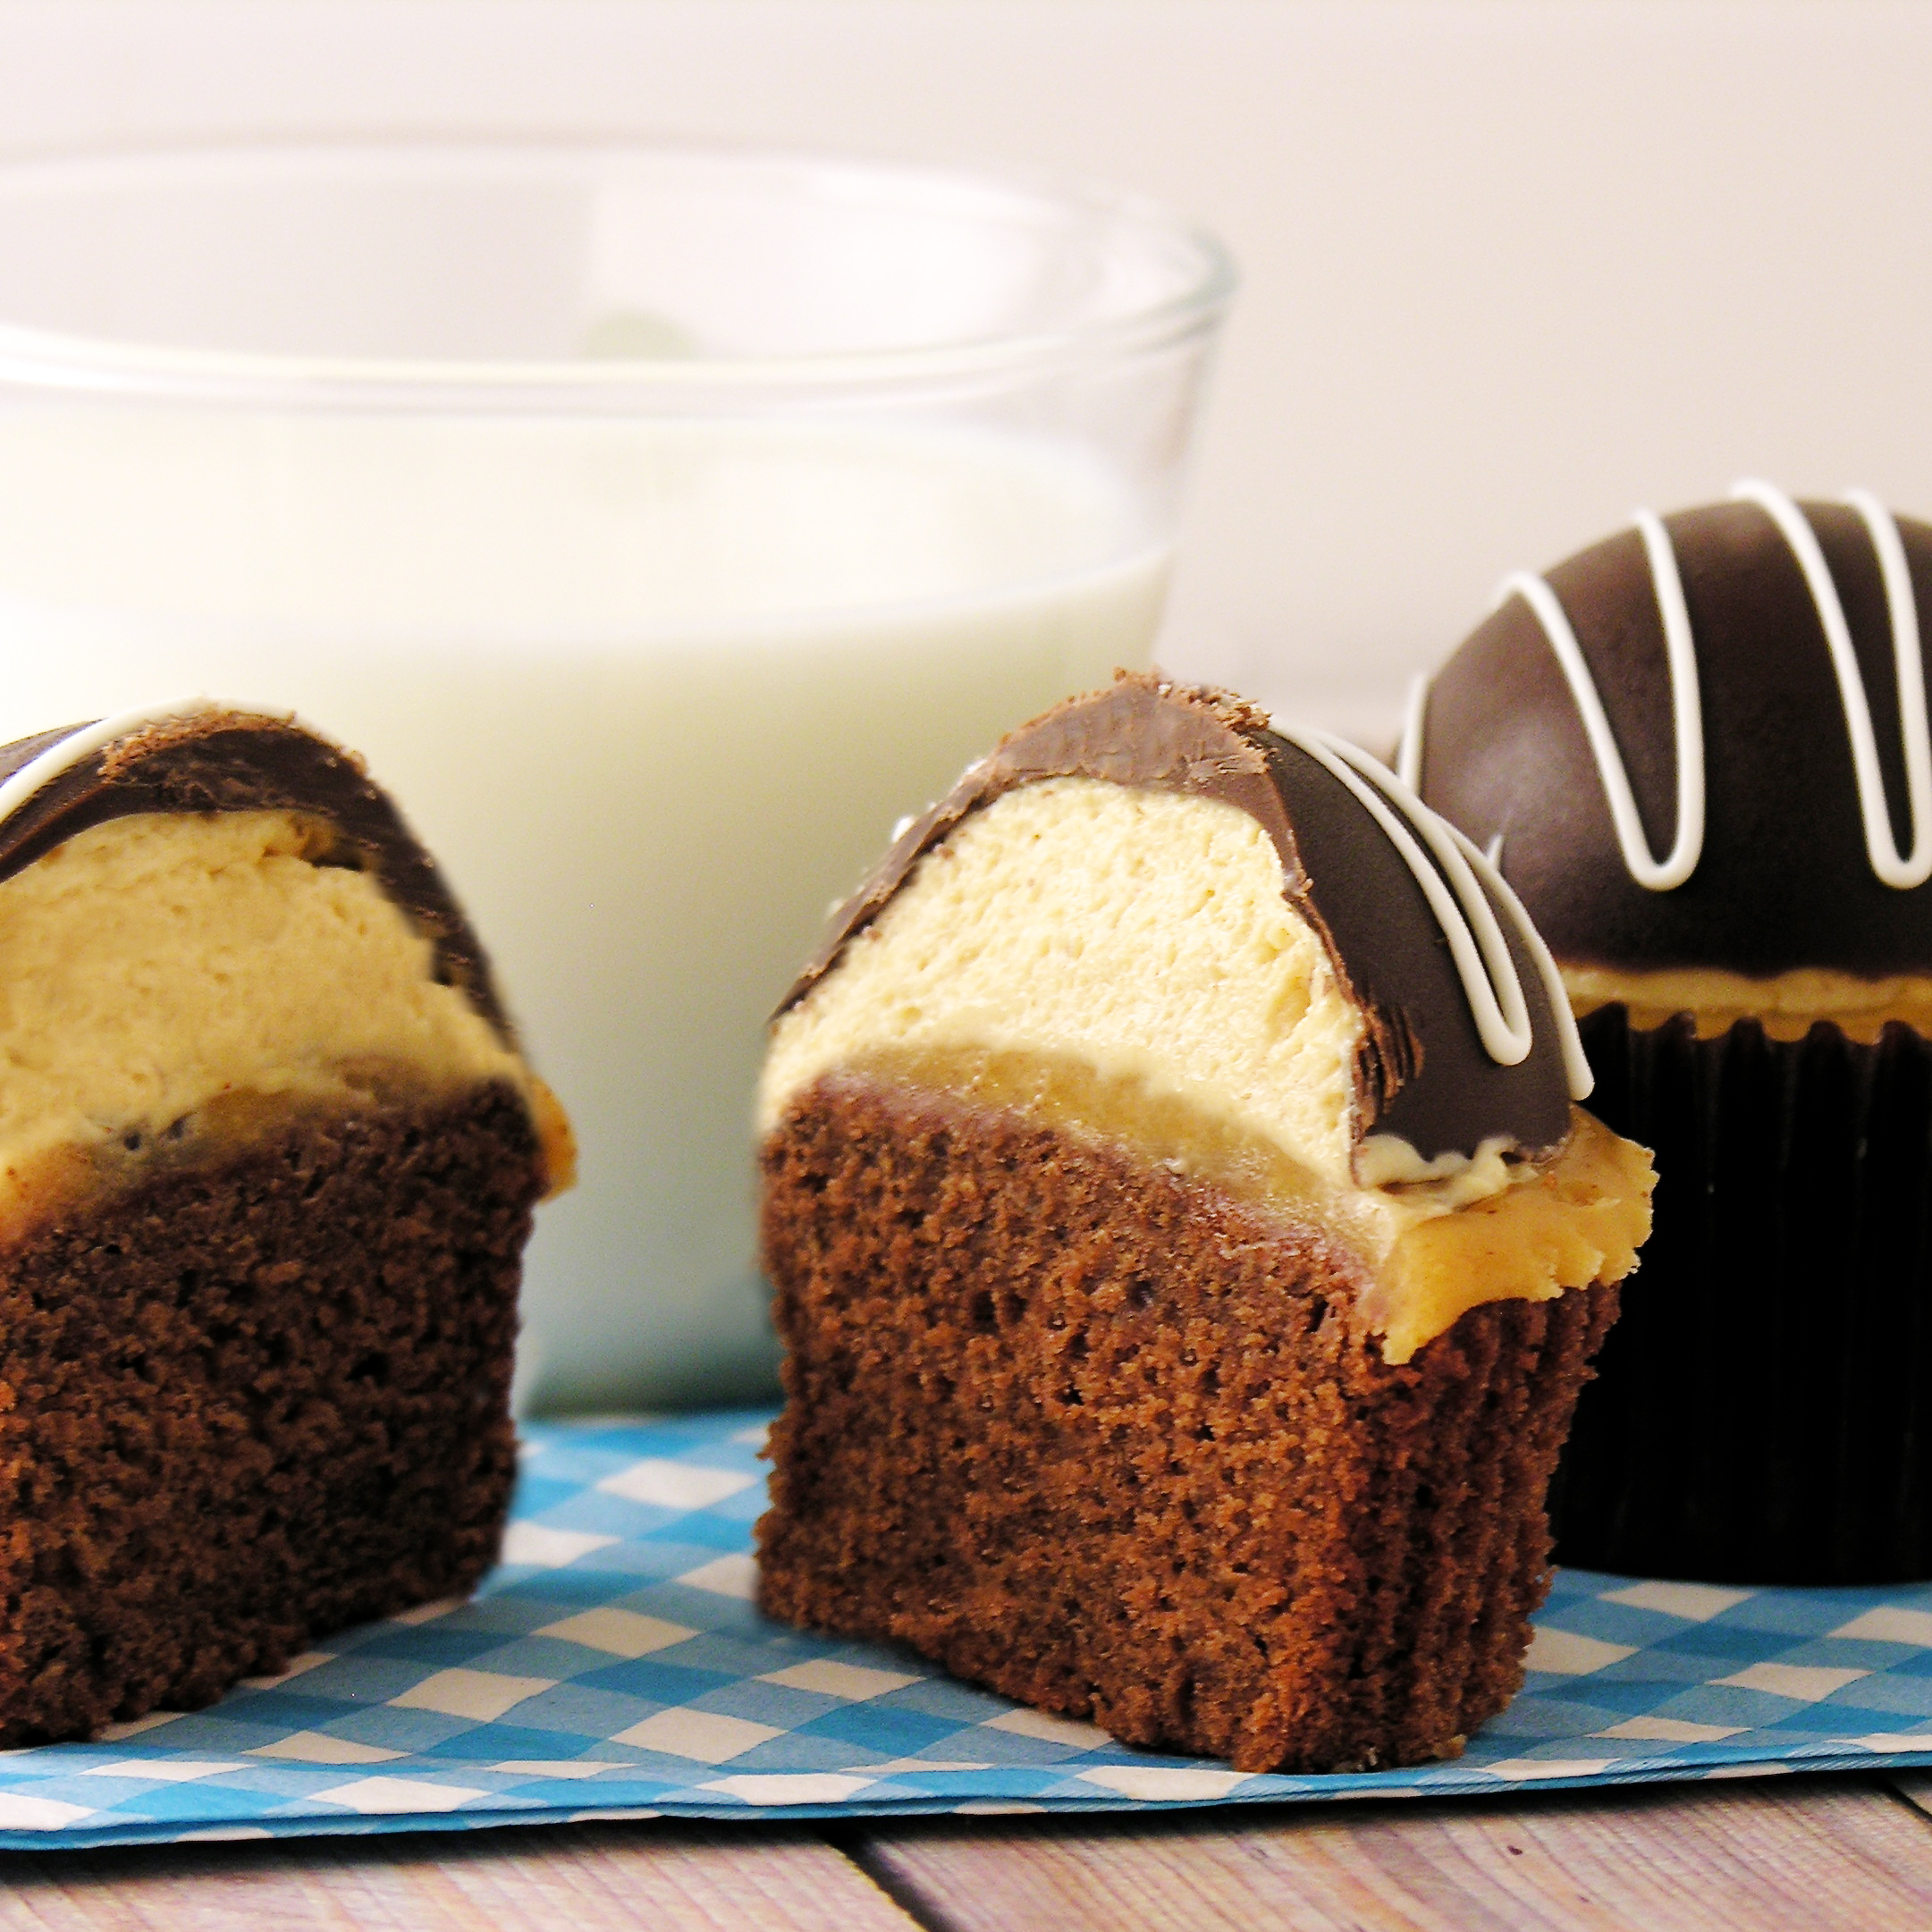
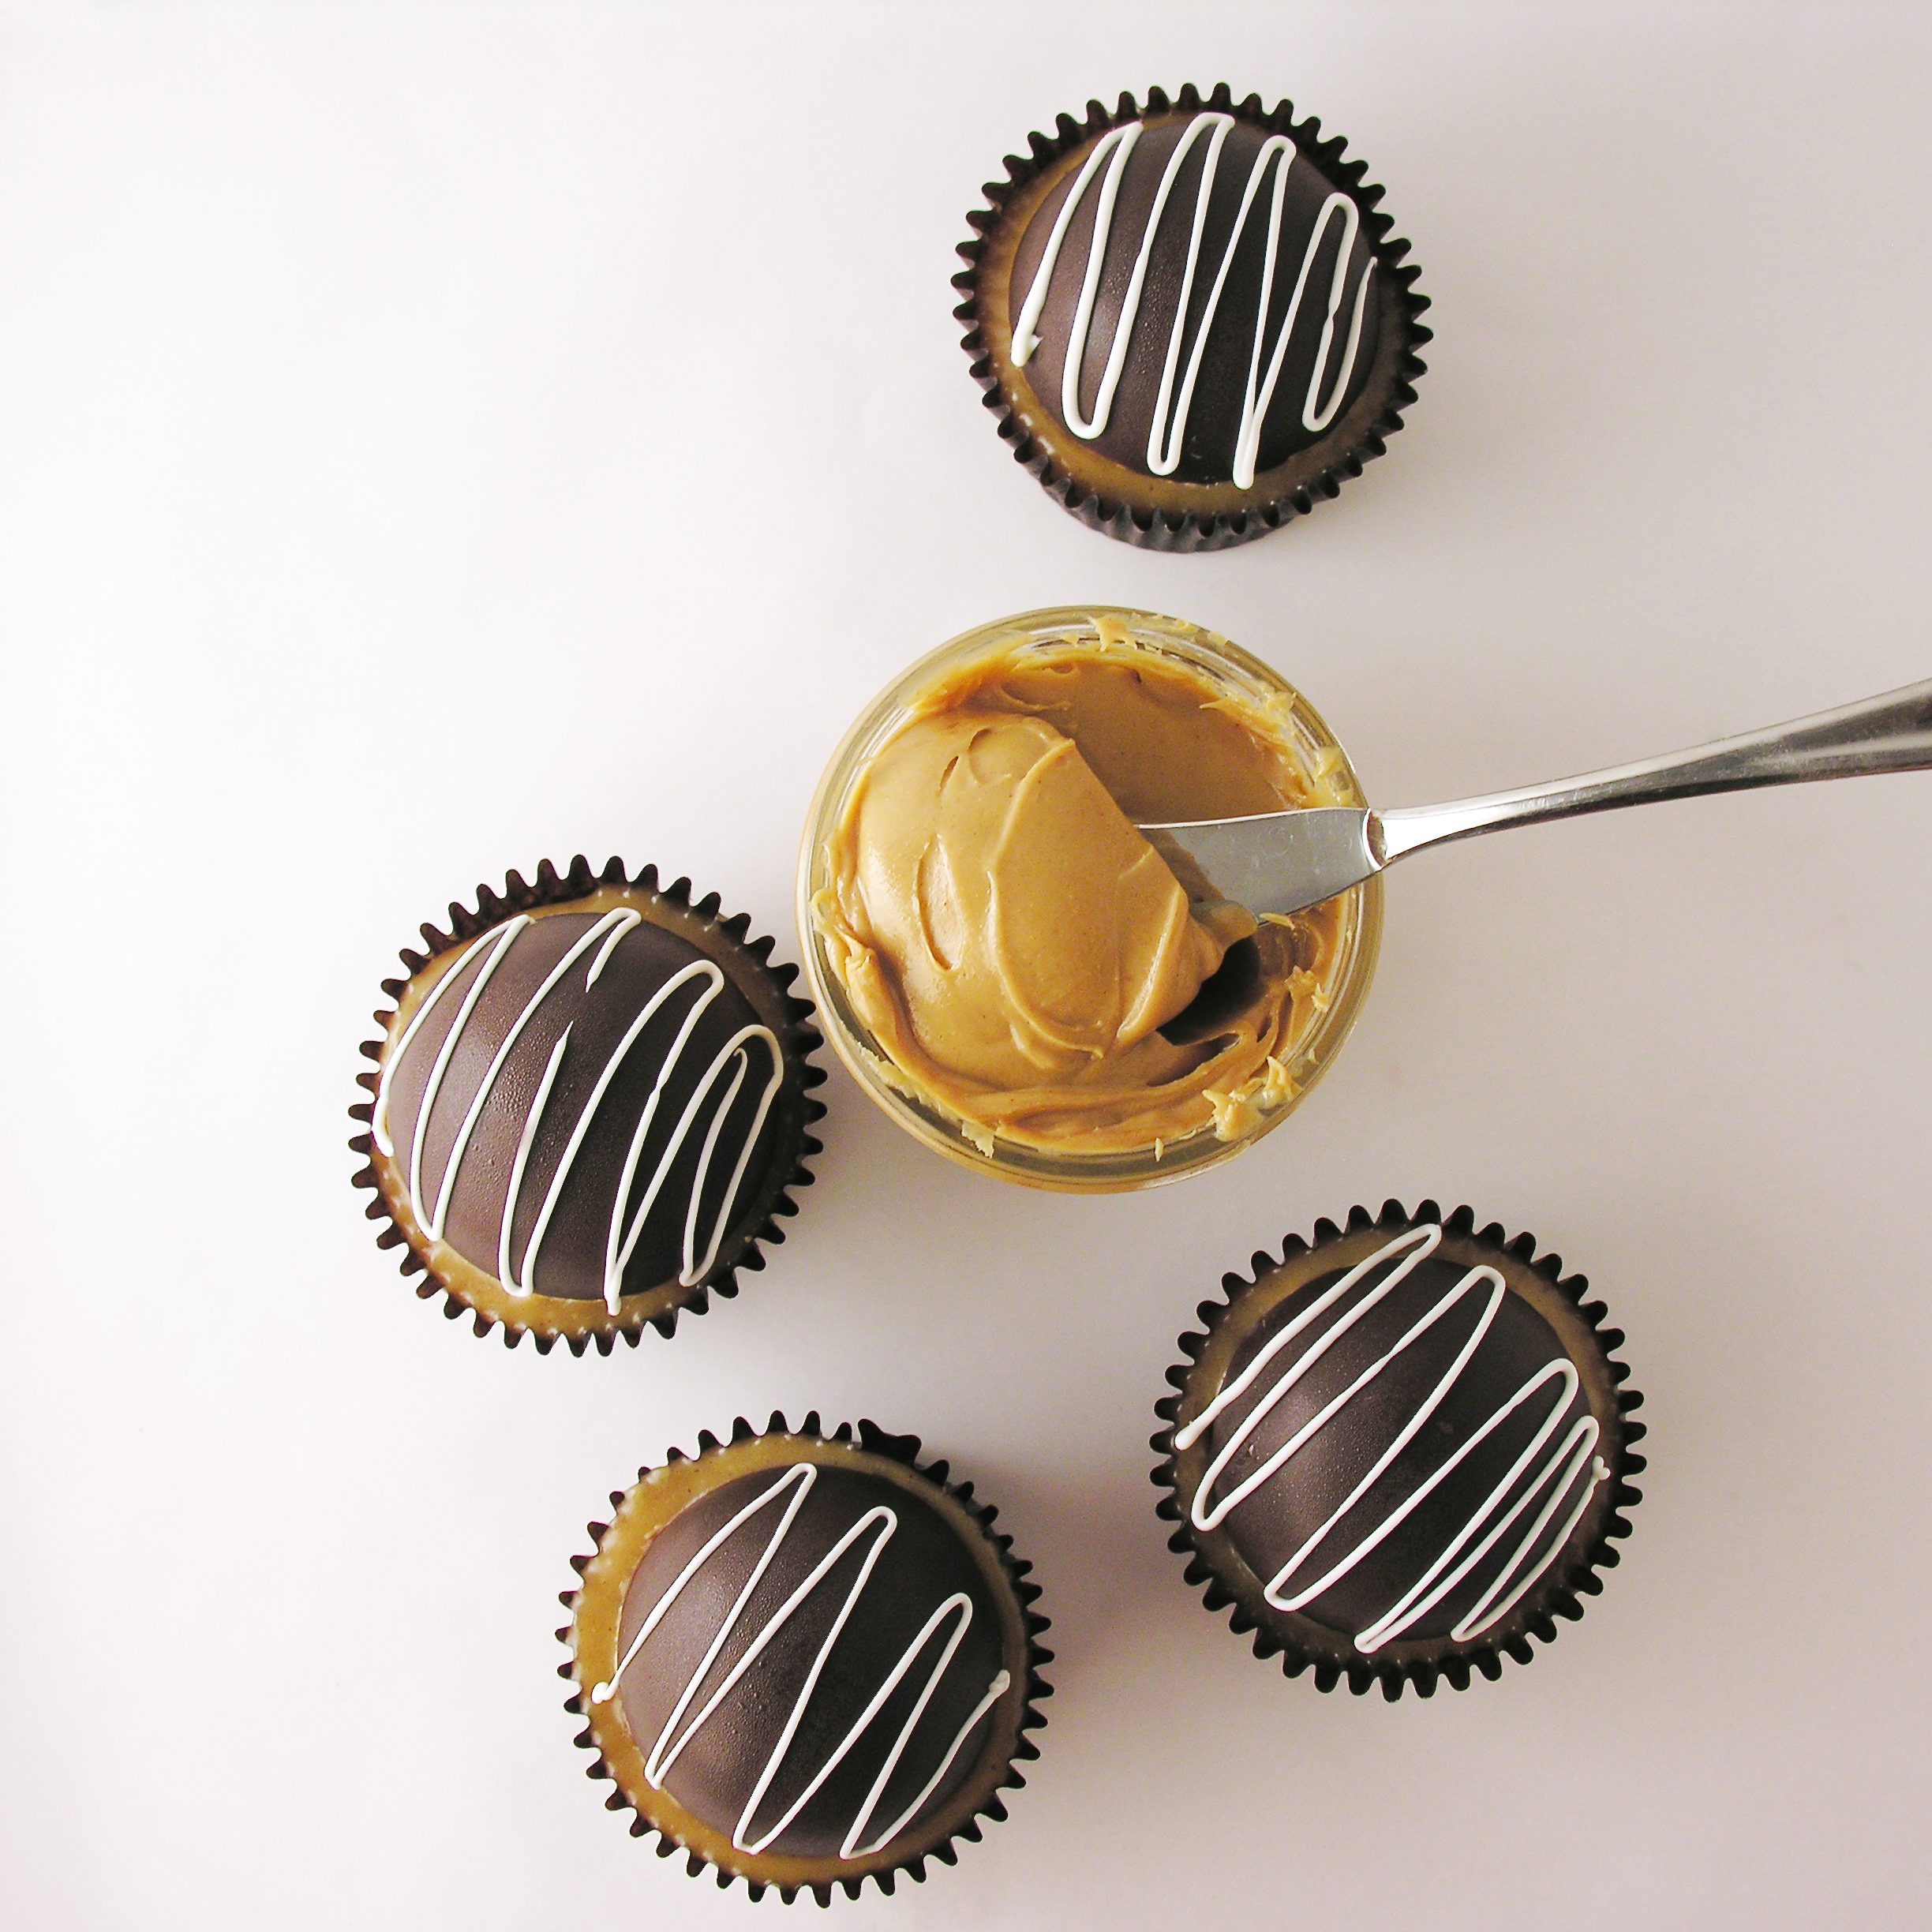
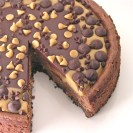
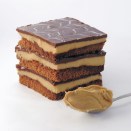
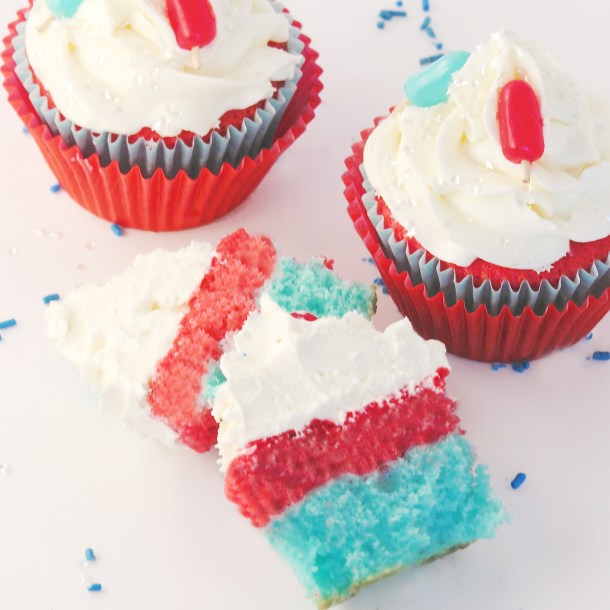
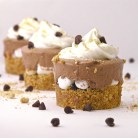
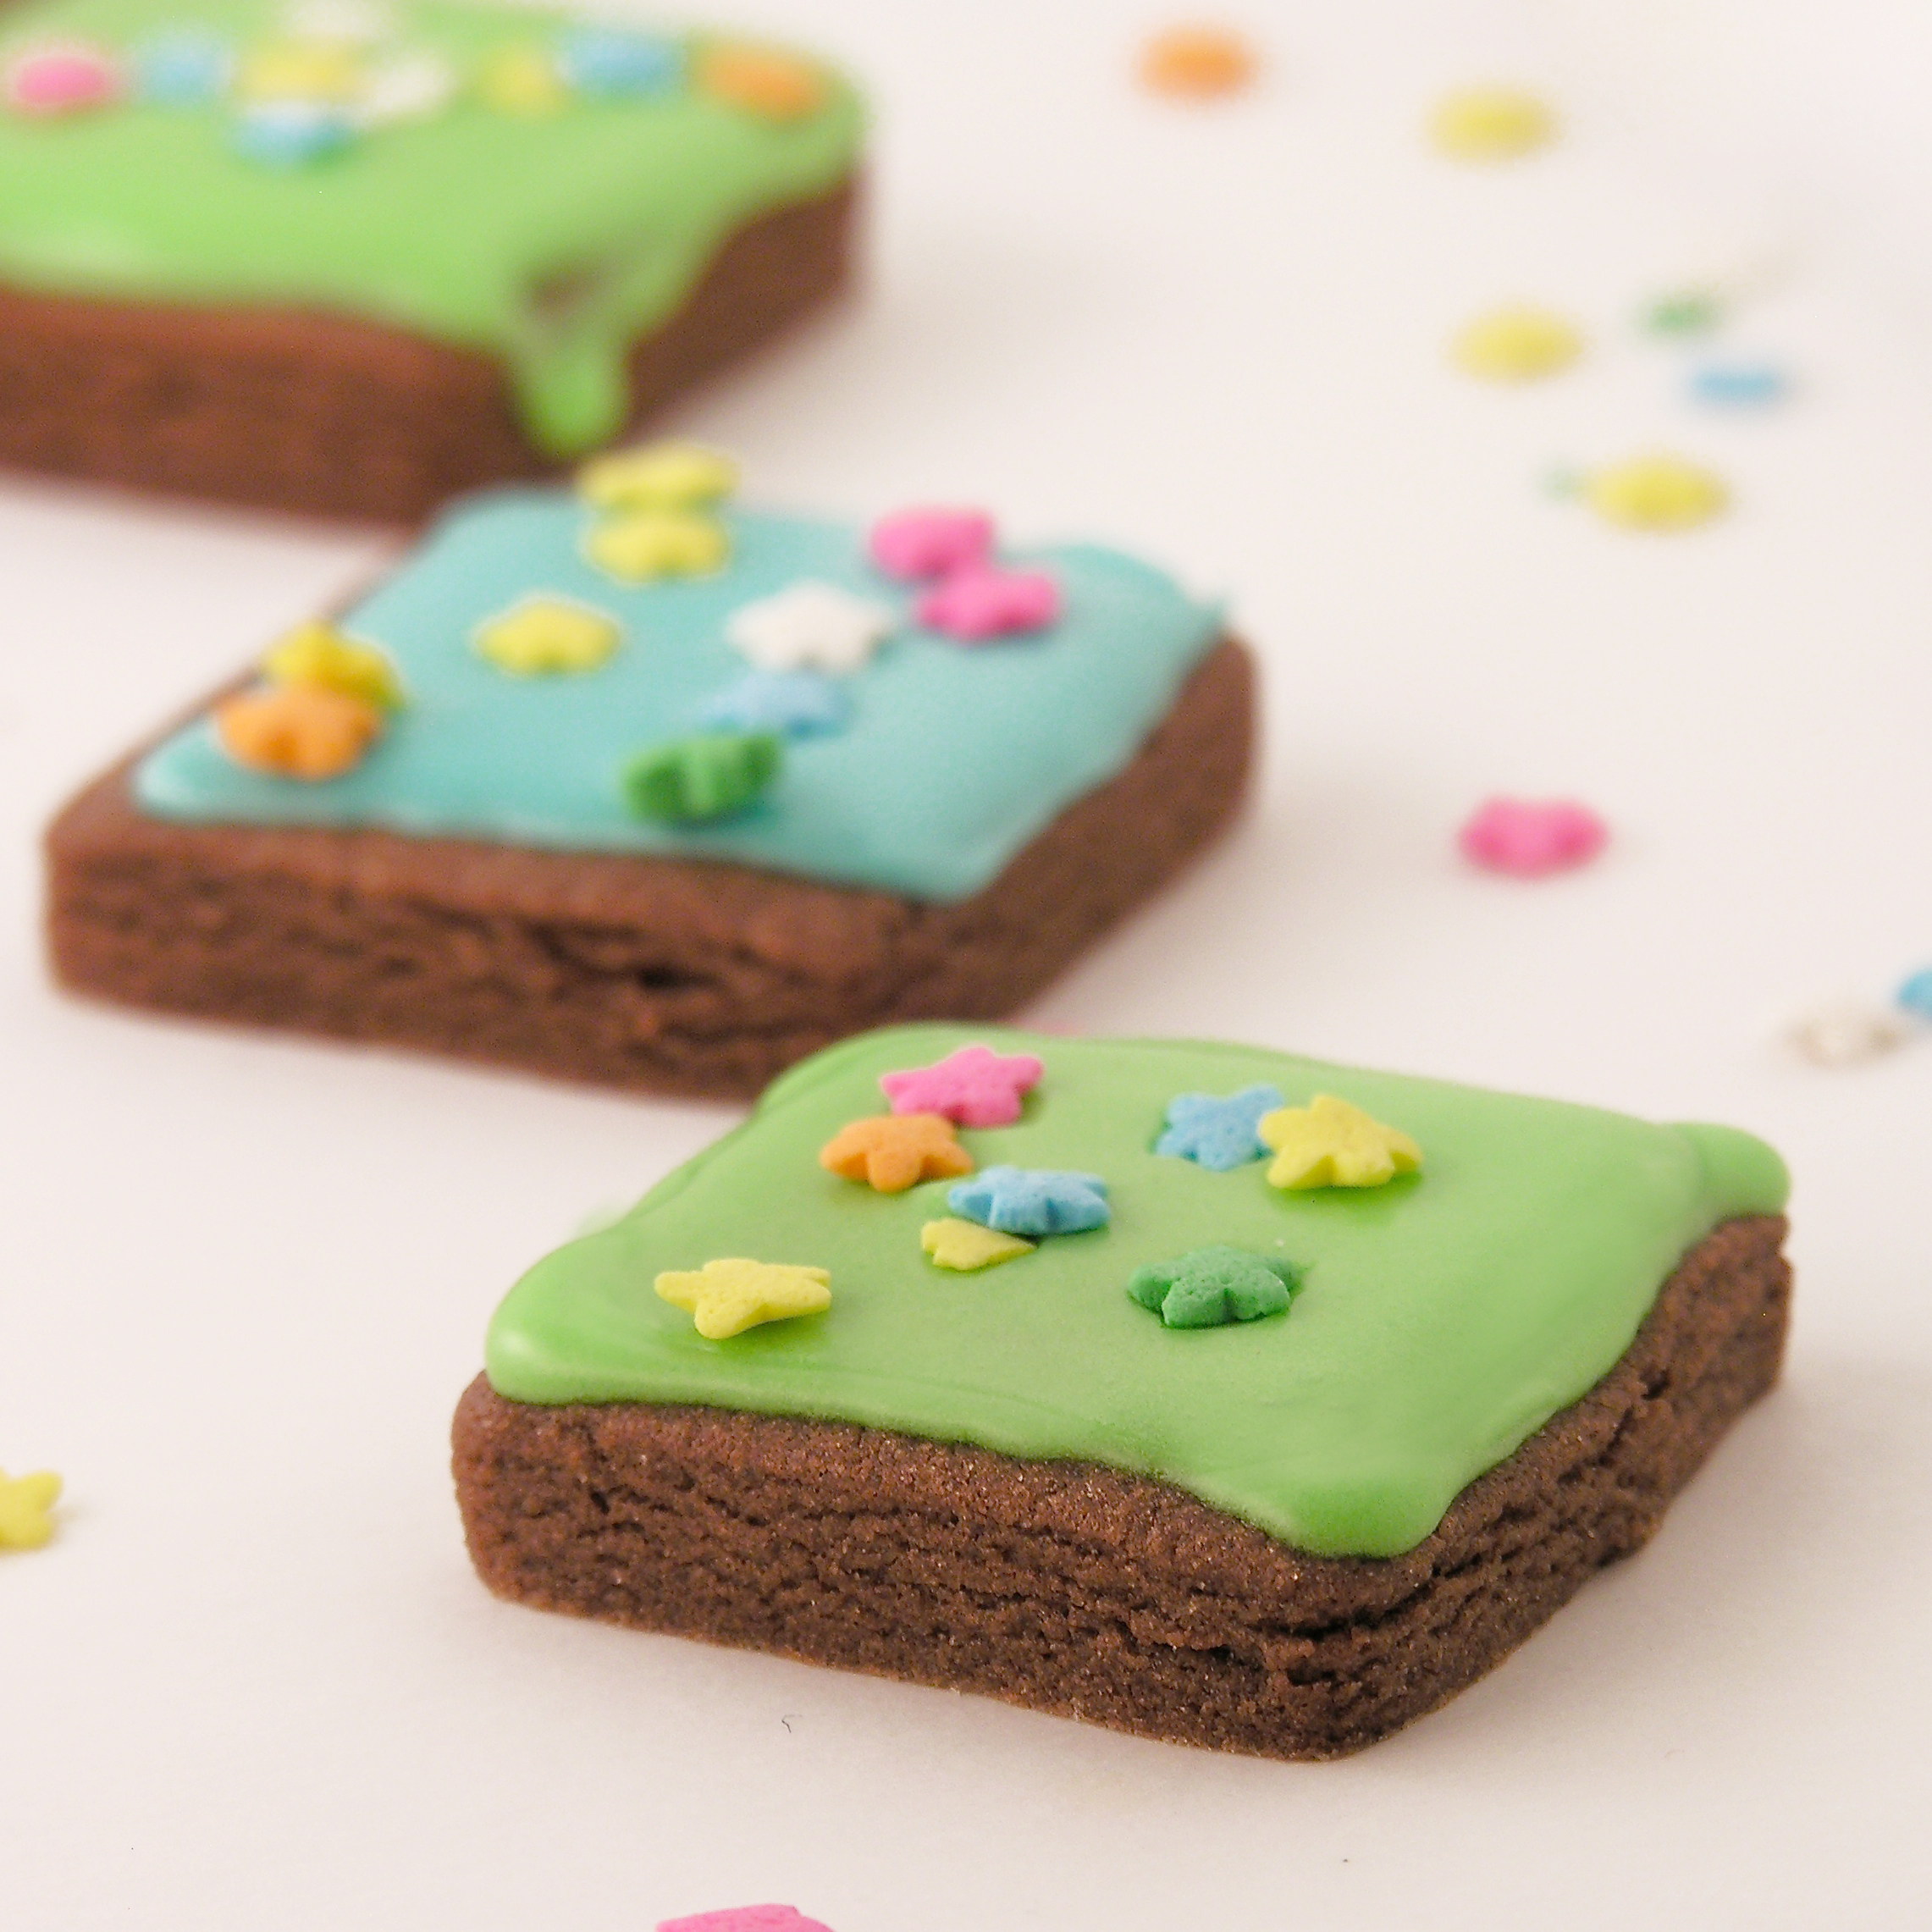
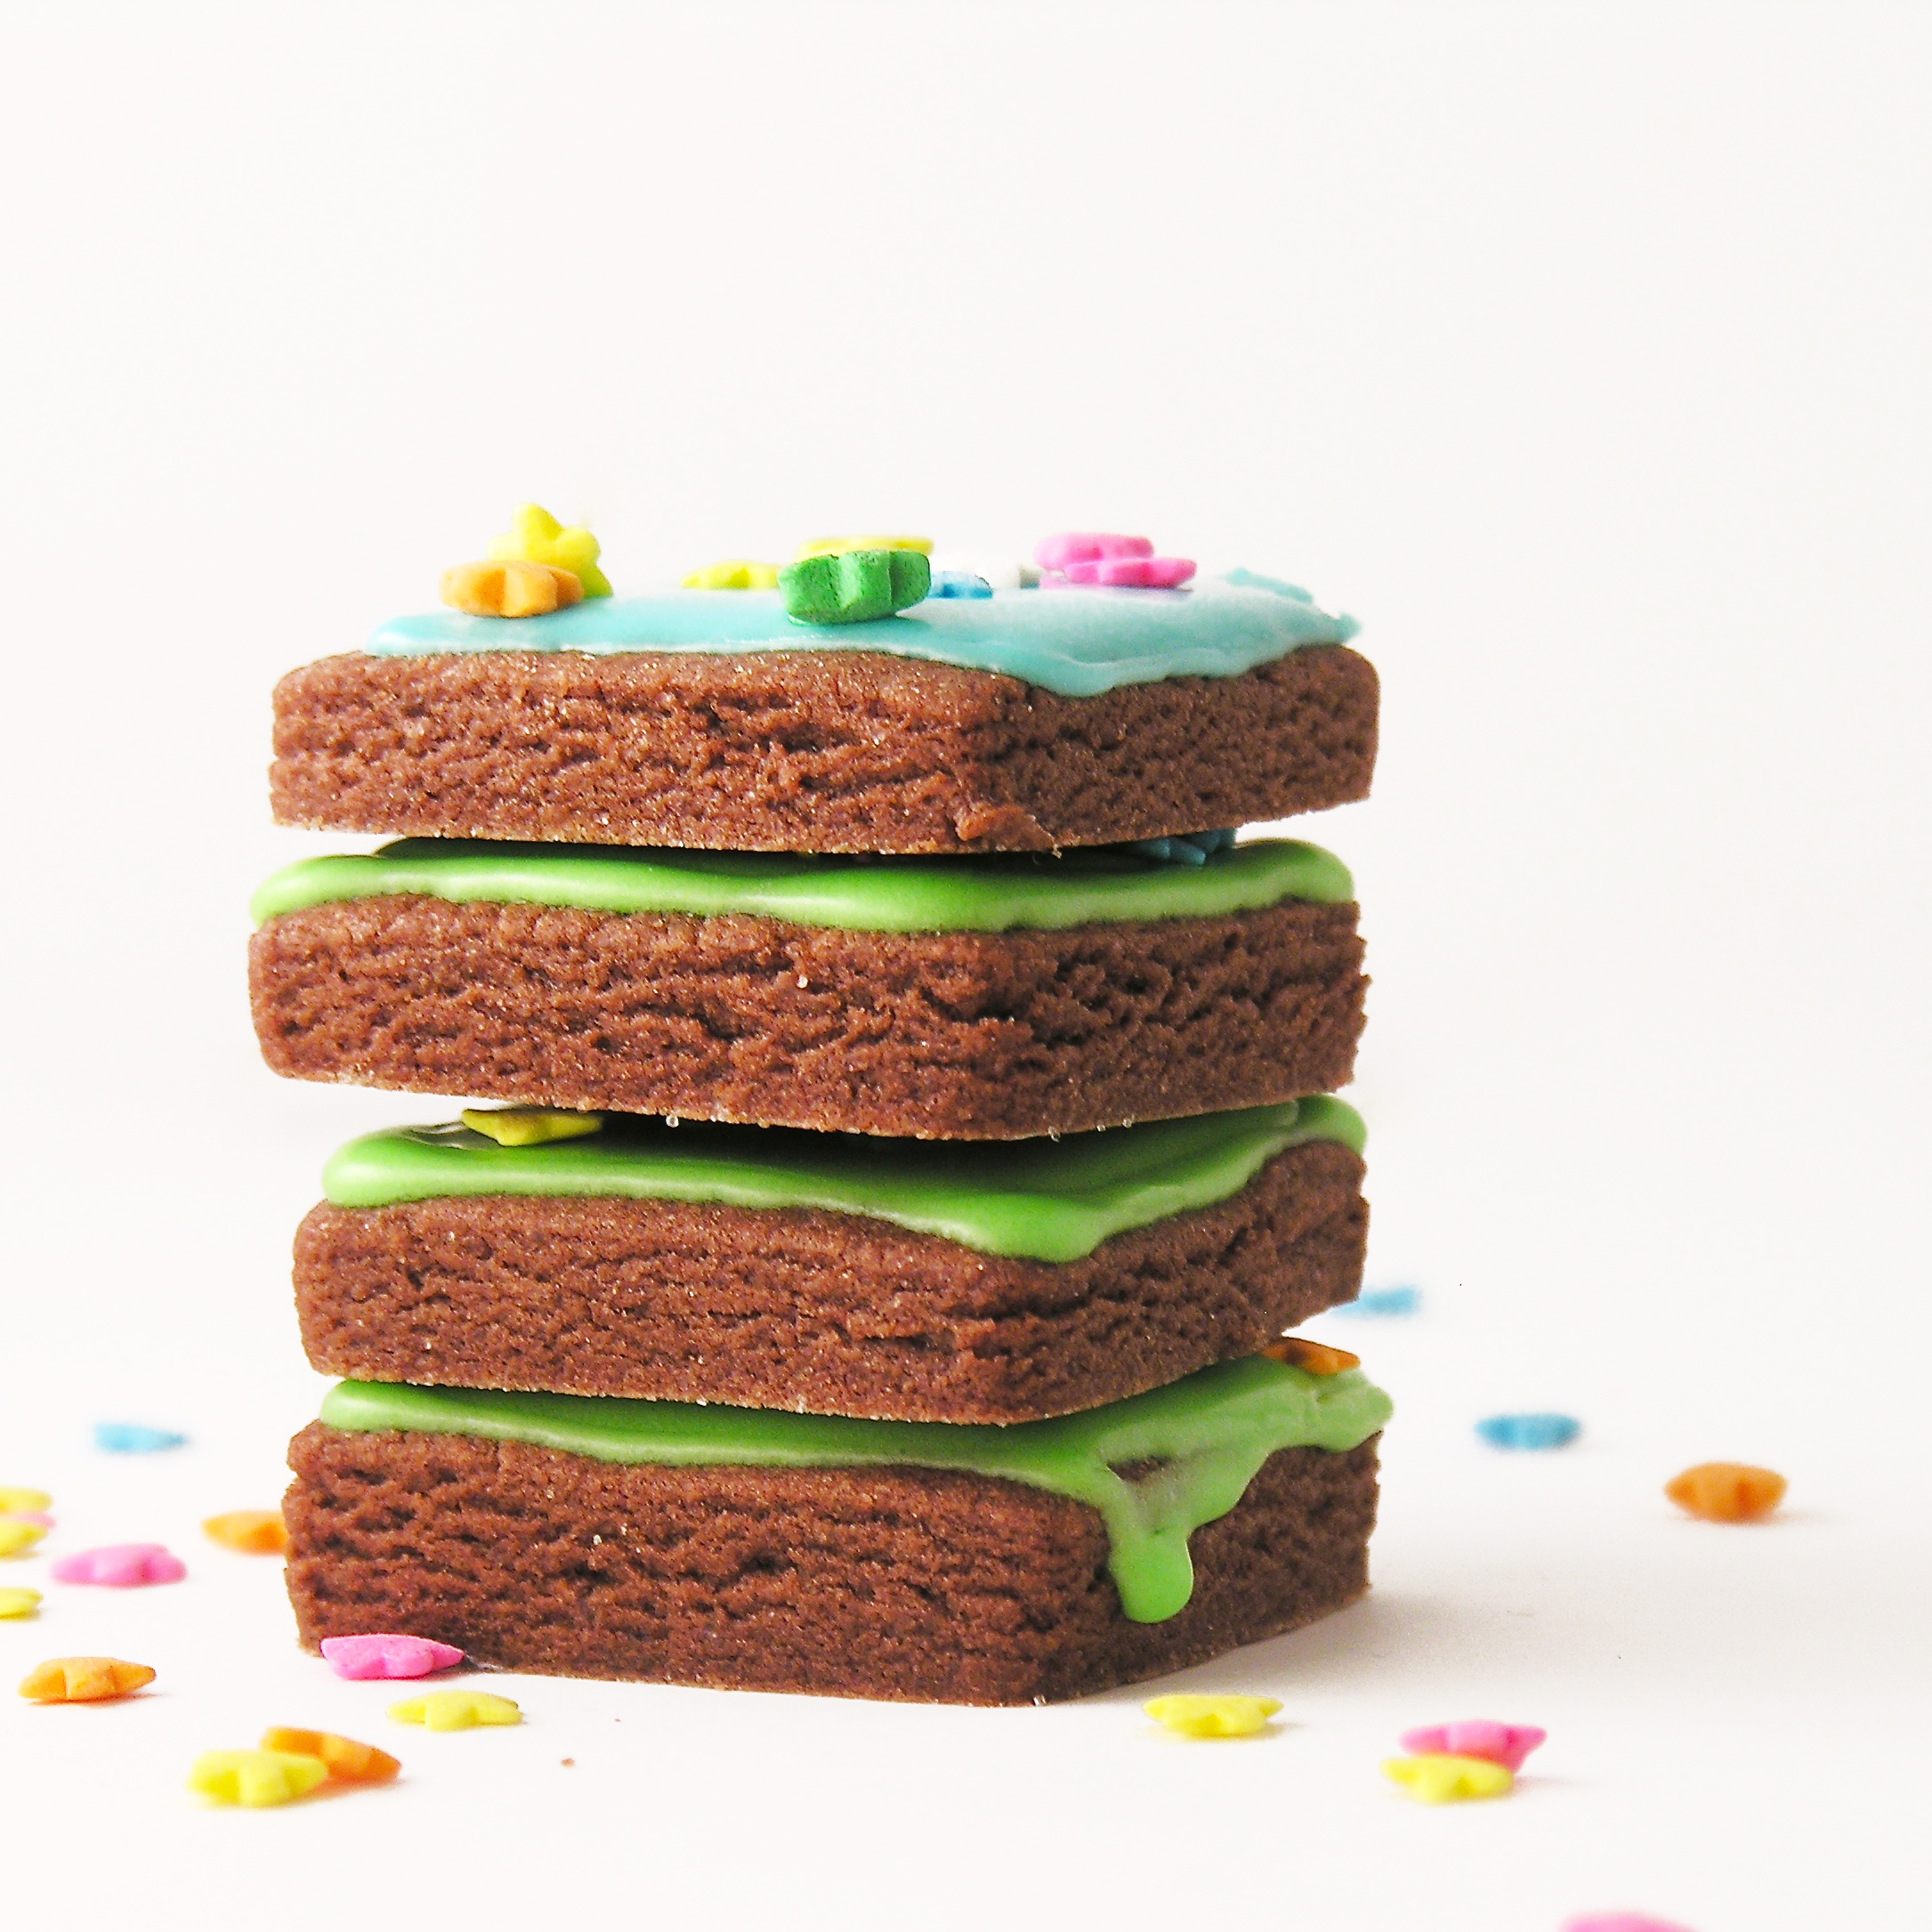
Other yummy Christmas desserts: (click on a photo to see the recipe)