RSS Feed

Tag Archives: cake pops

Watermelon Cupcakes

Posted on

Watermelon Cupcakes

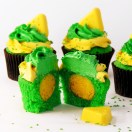
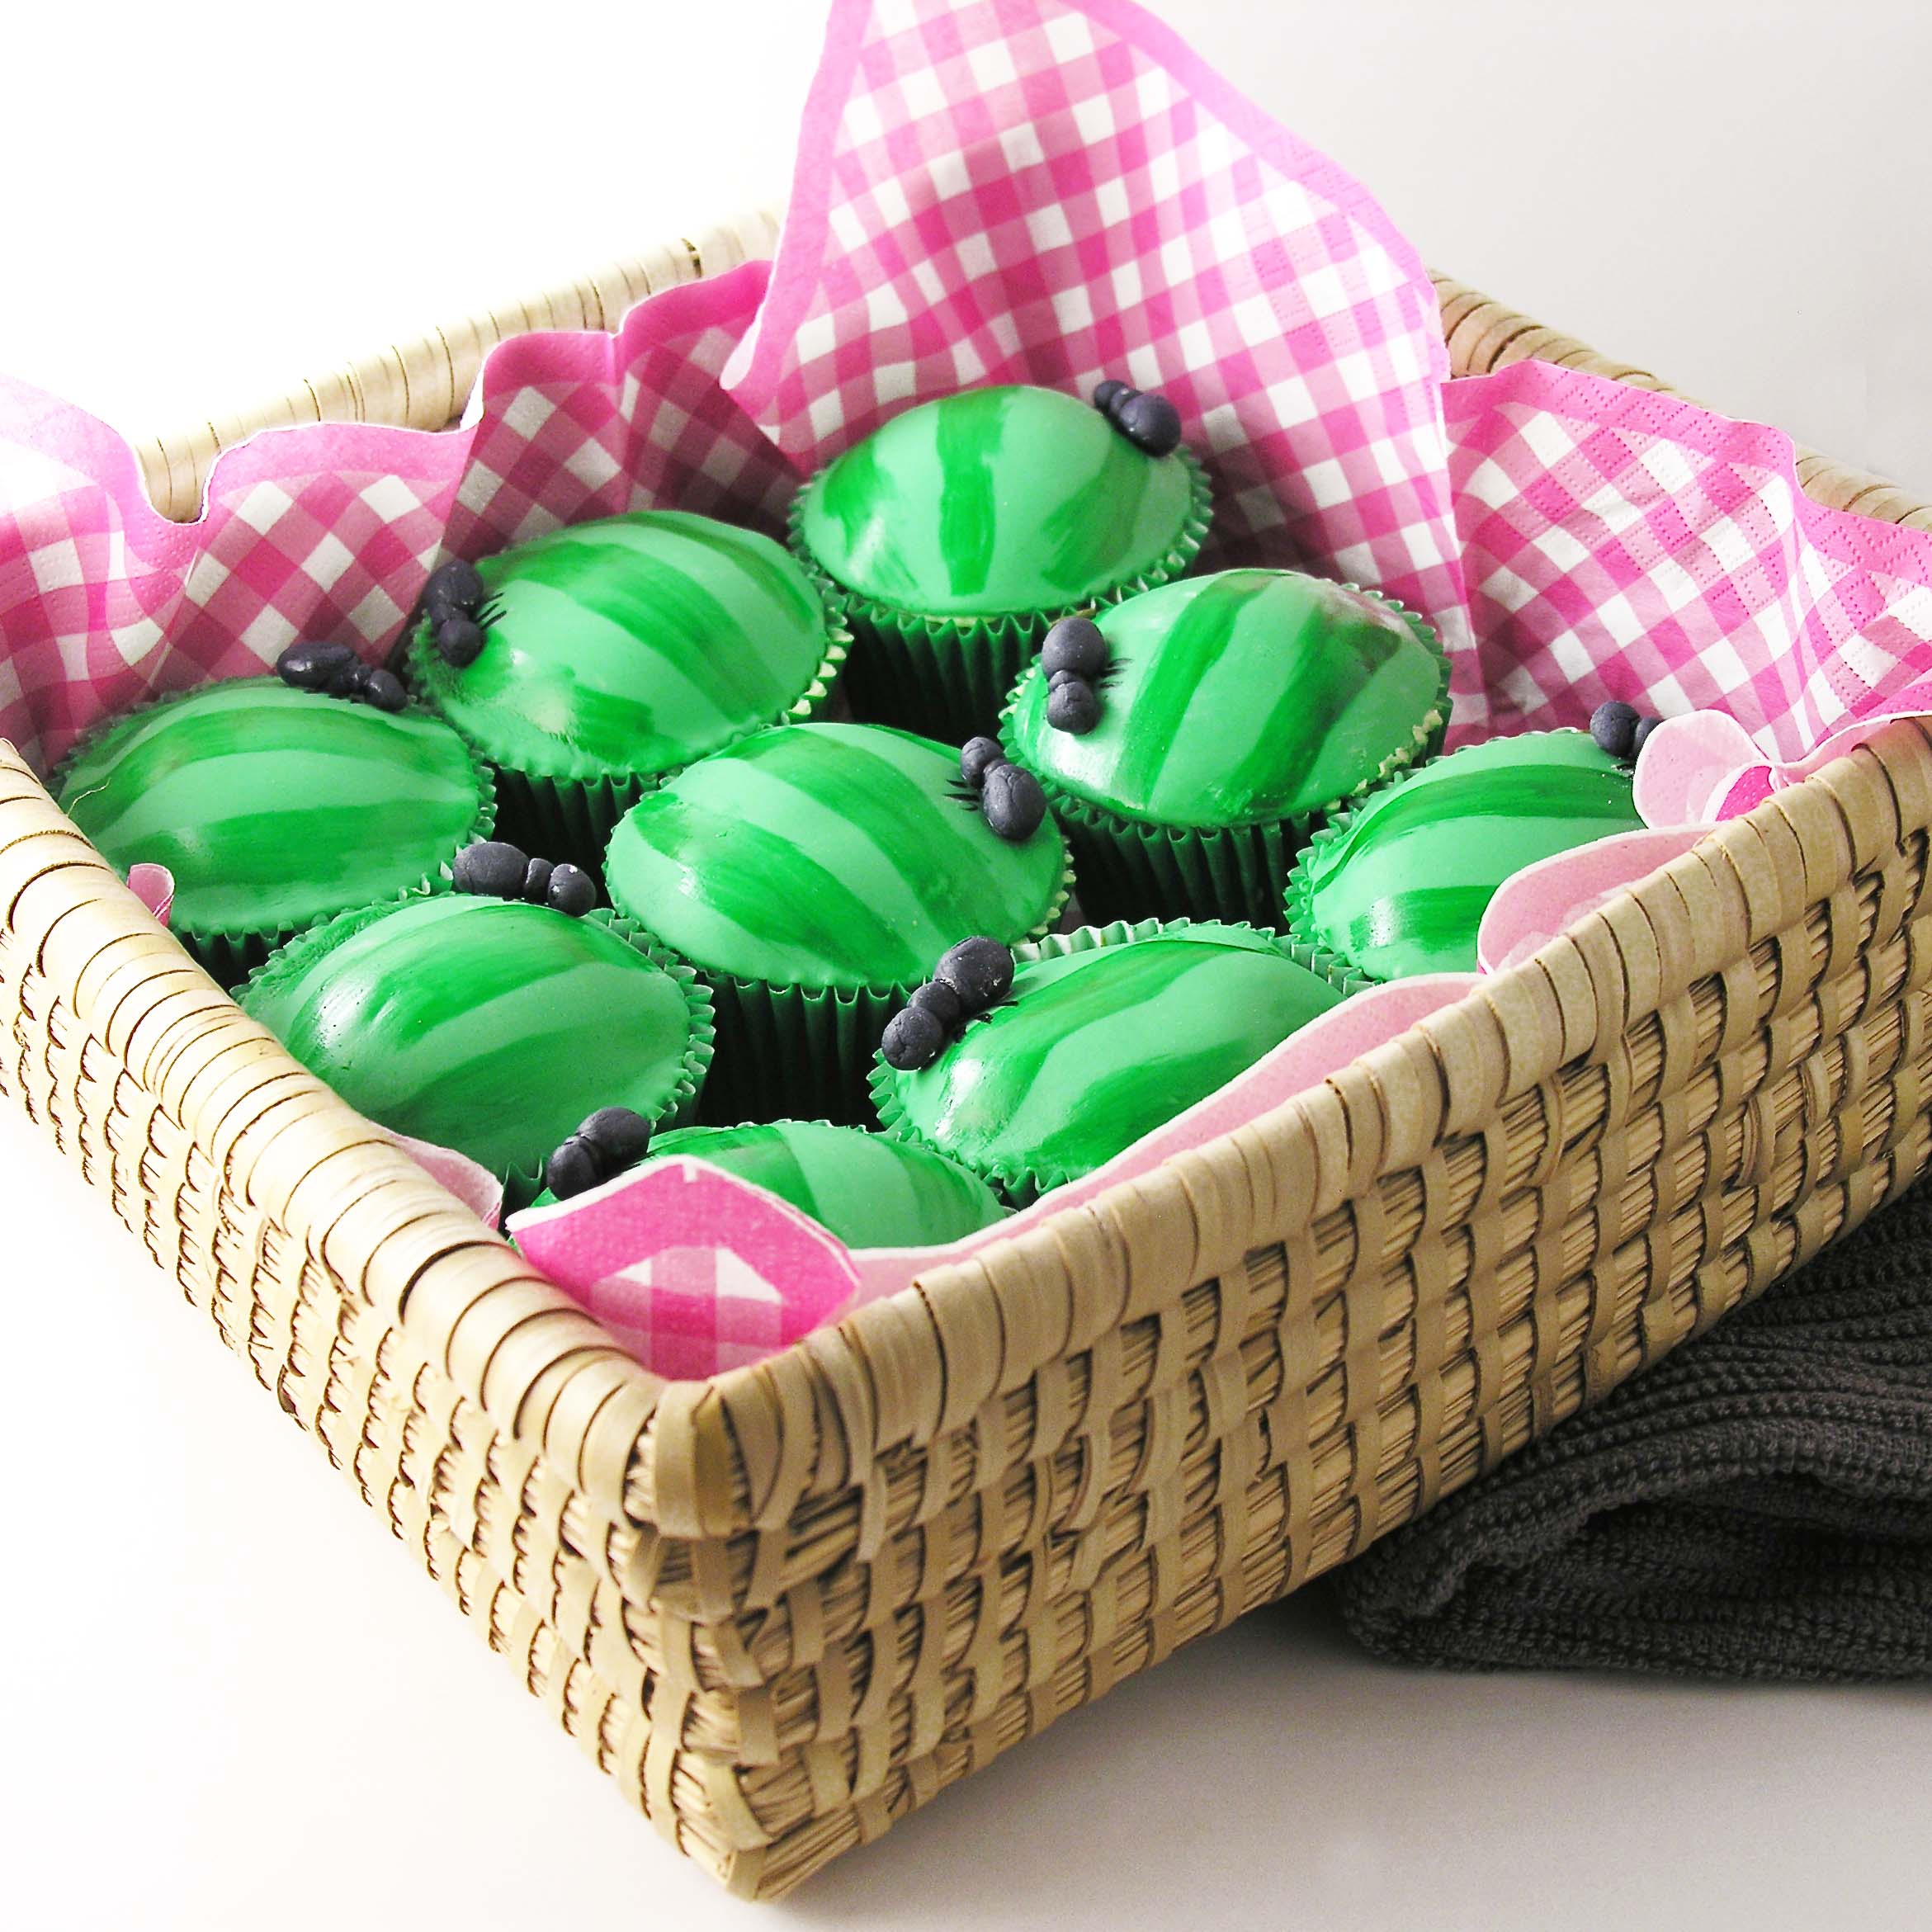
What could be a better picnic treat than these sweet watermelon cupcakes~ covered in “ants” and filled with chocolate chip seeds???

Watermelon Cupcakes

These are so fun to make- and watching people’s surprise at that filling is fun too! My favorite comment? “Oh my, this tastes like WATERMELON!”  Um…yes. It does. *smile*

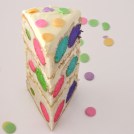
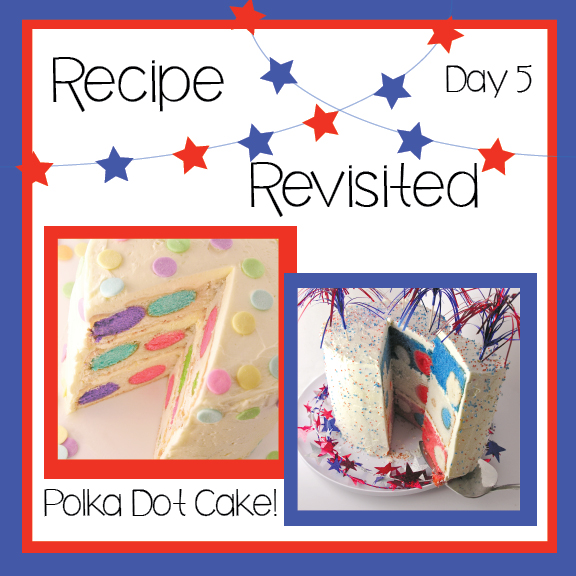
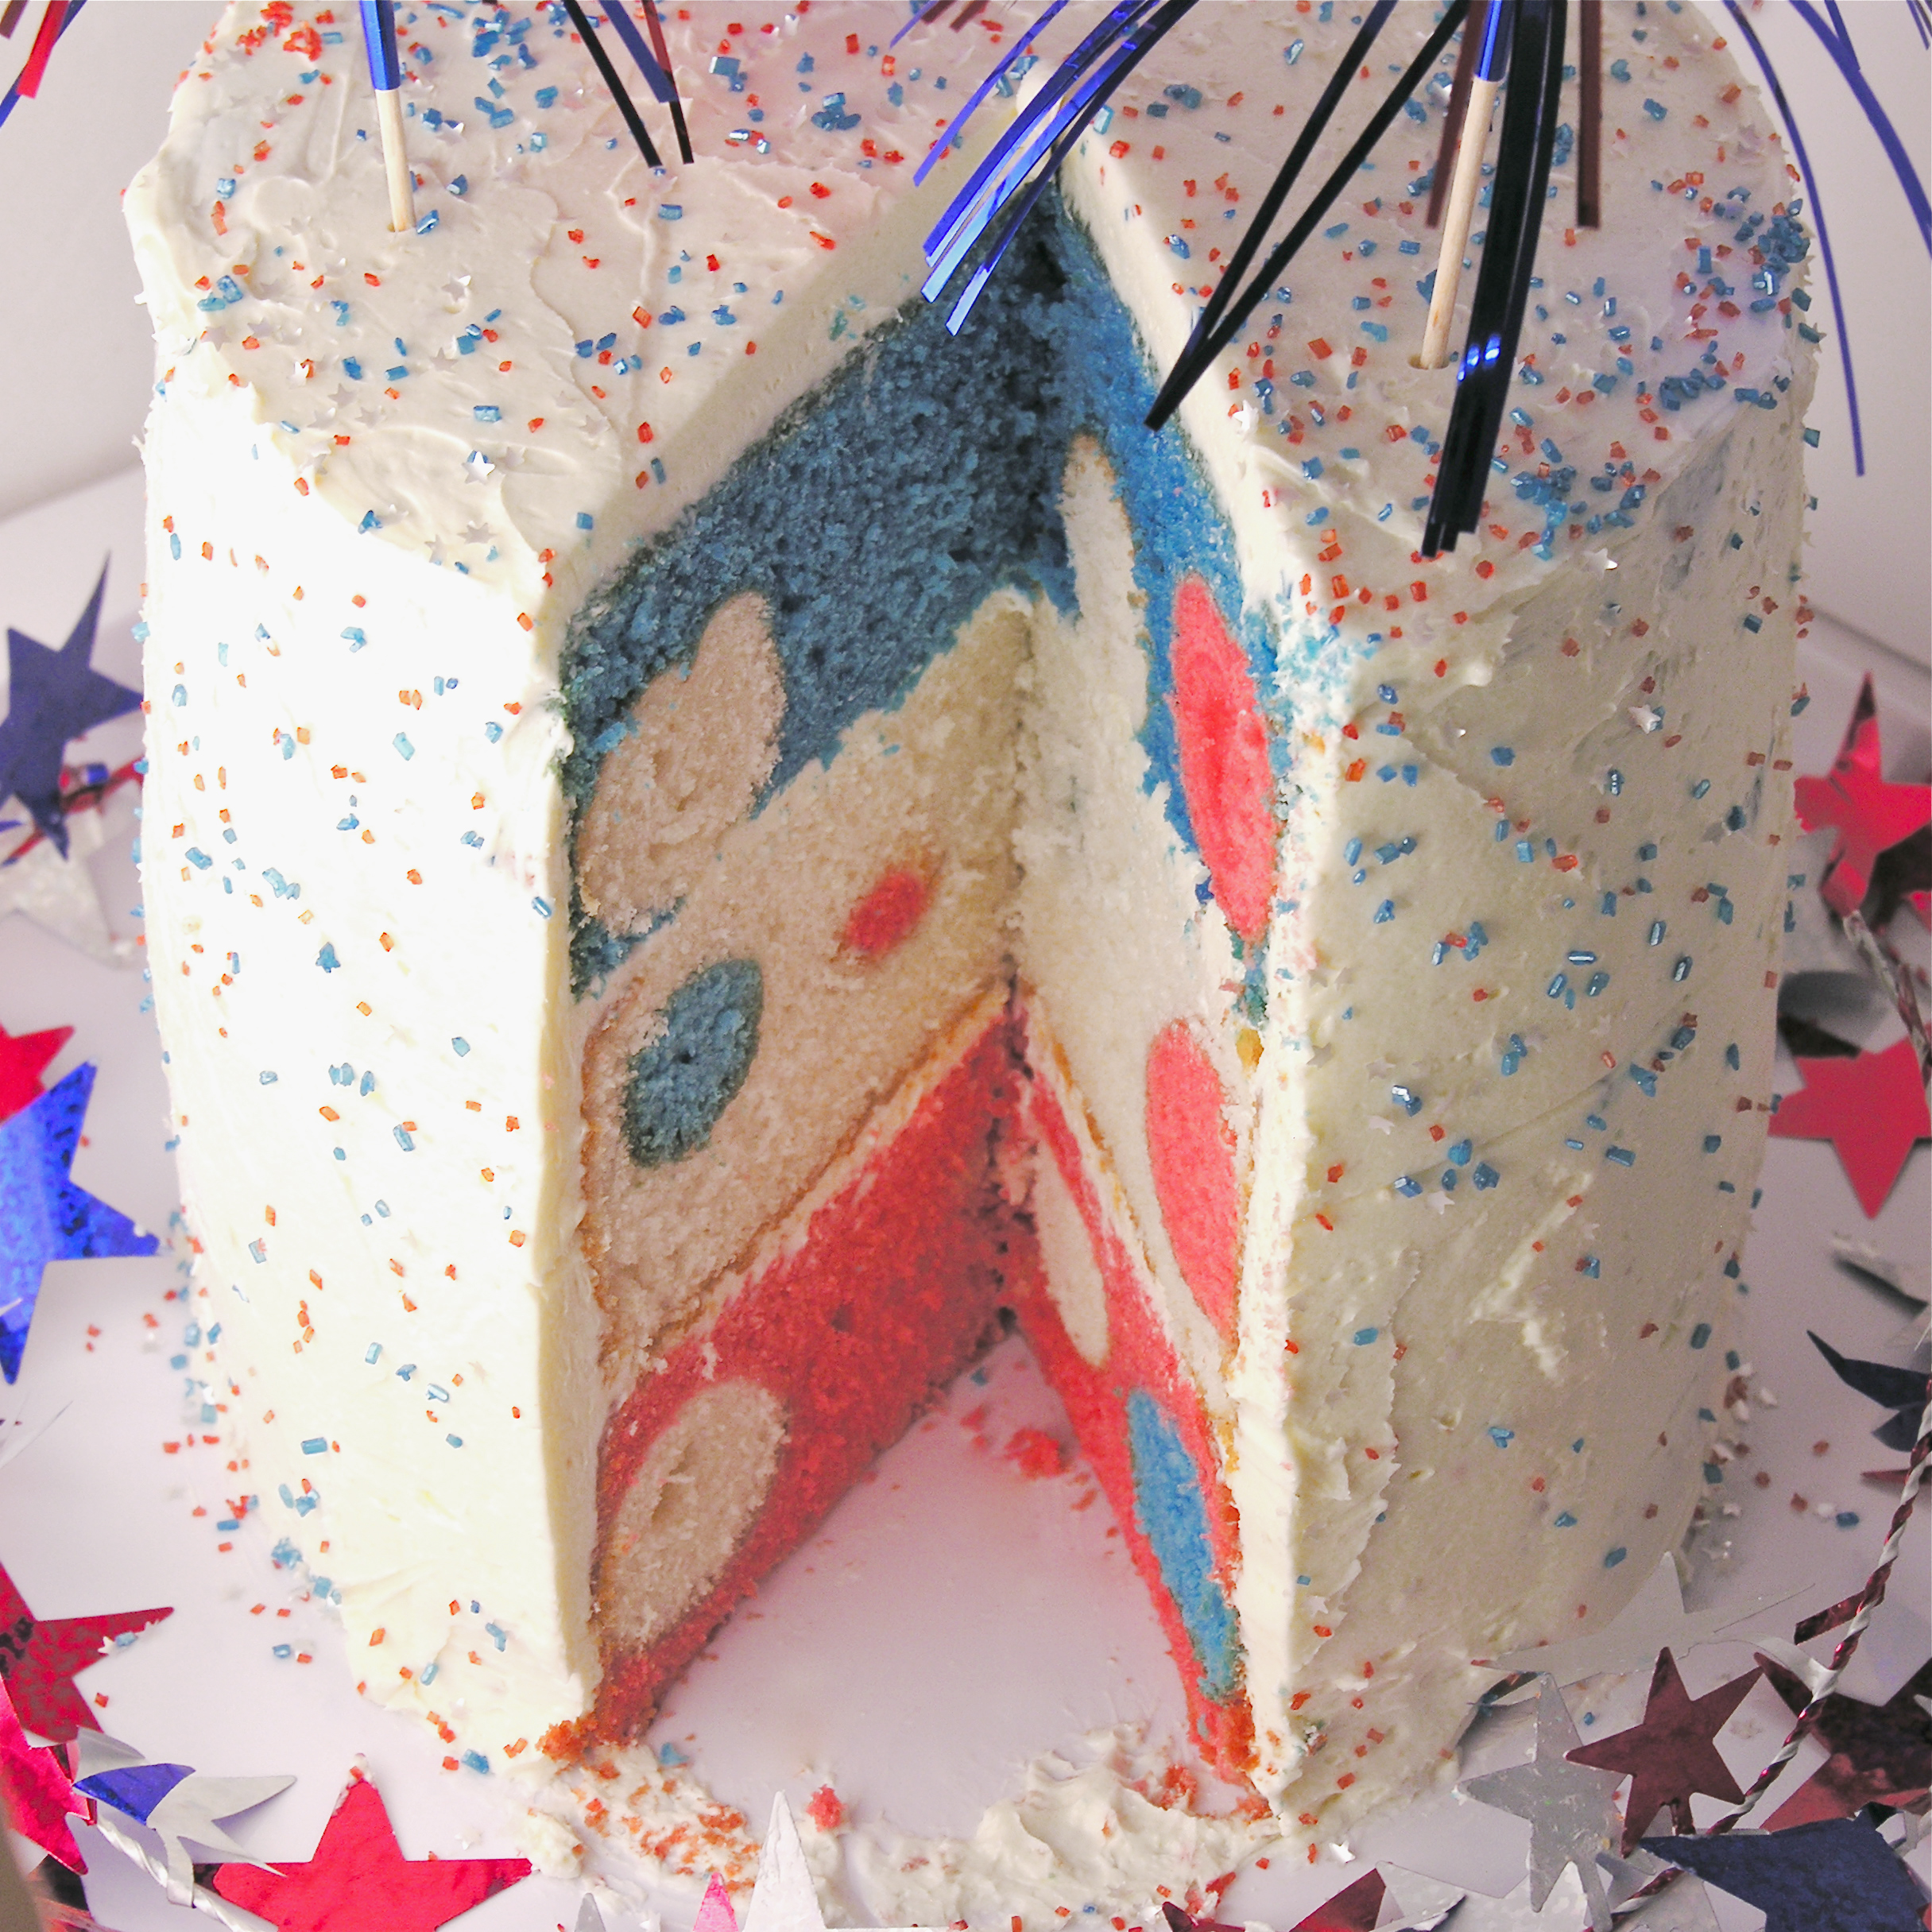
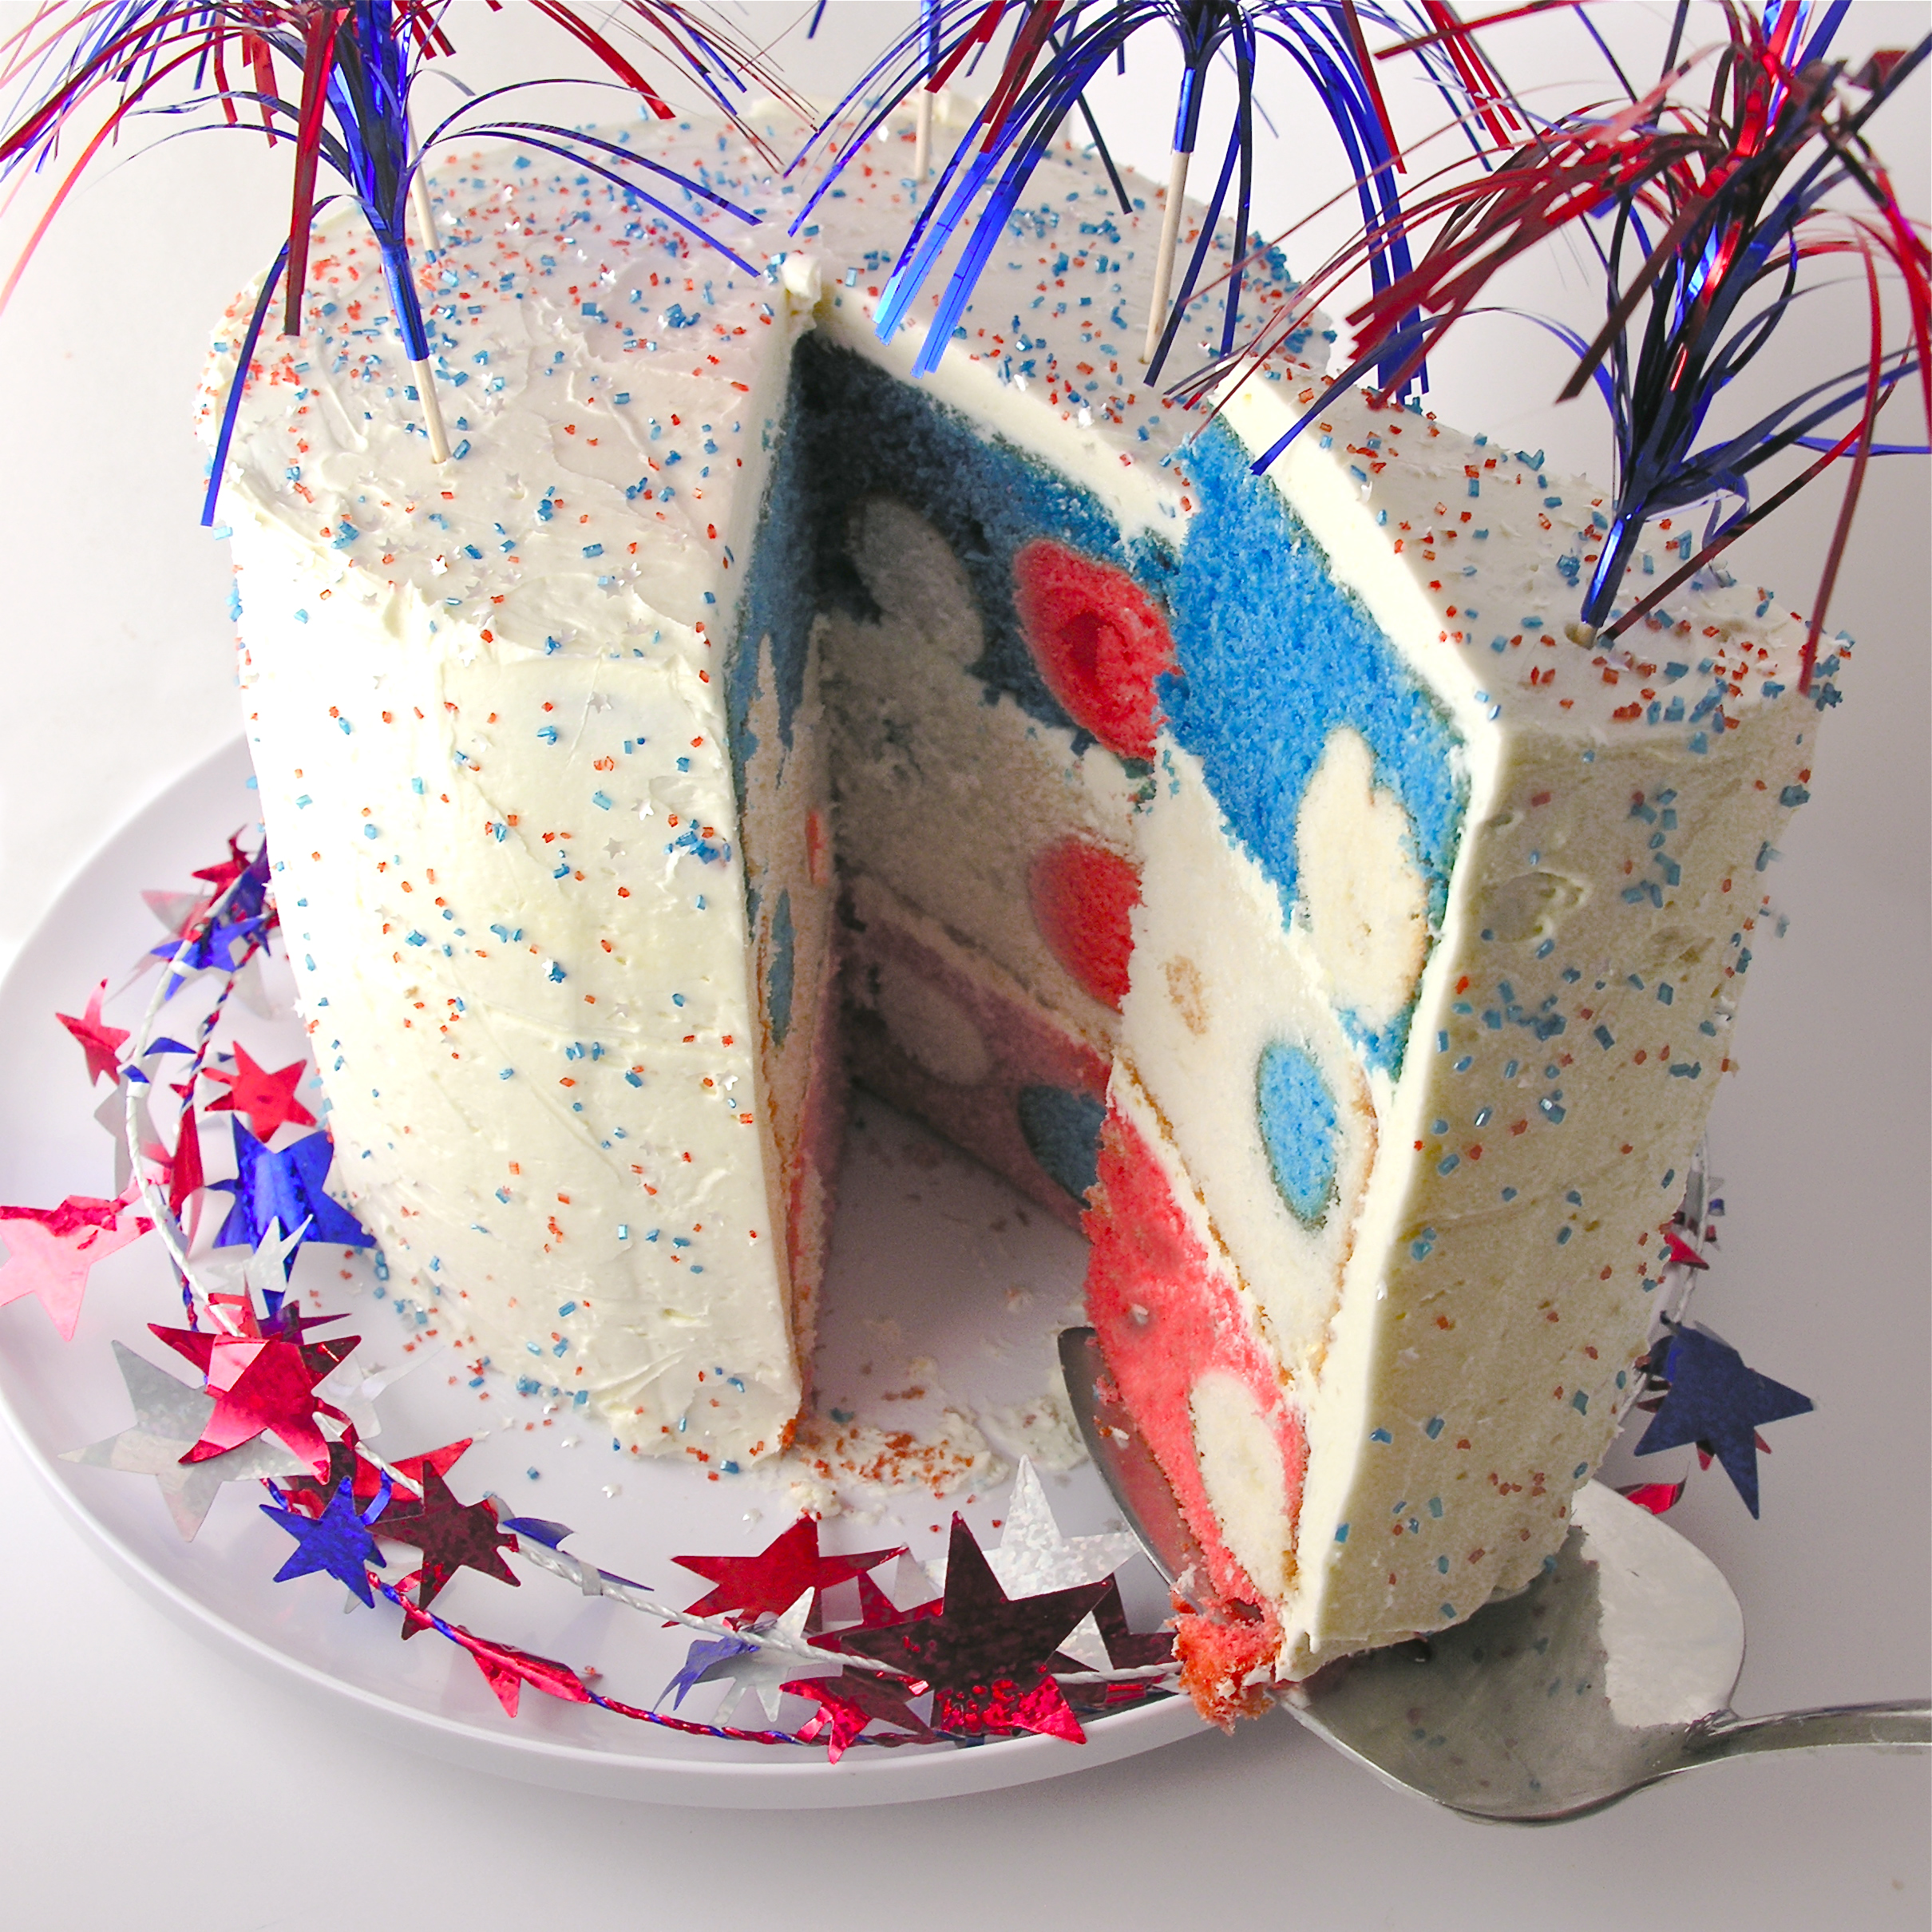
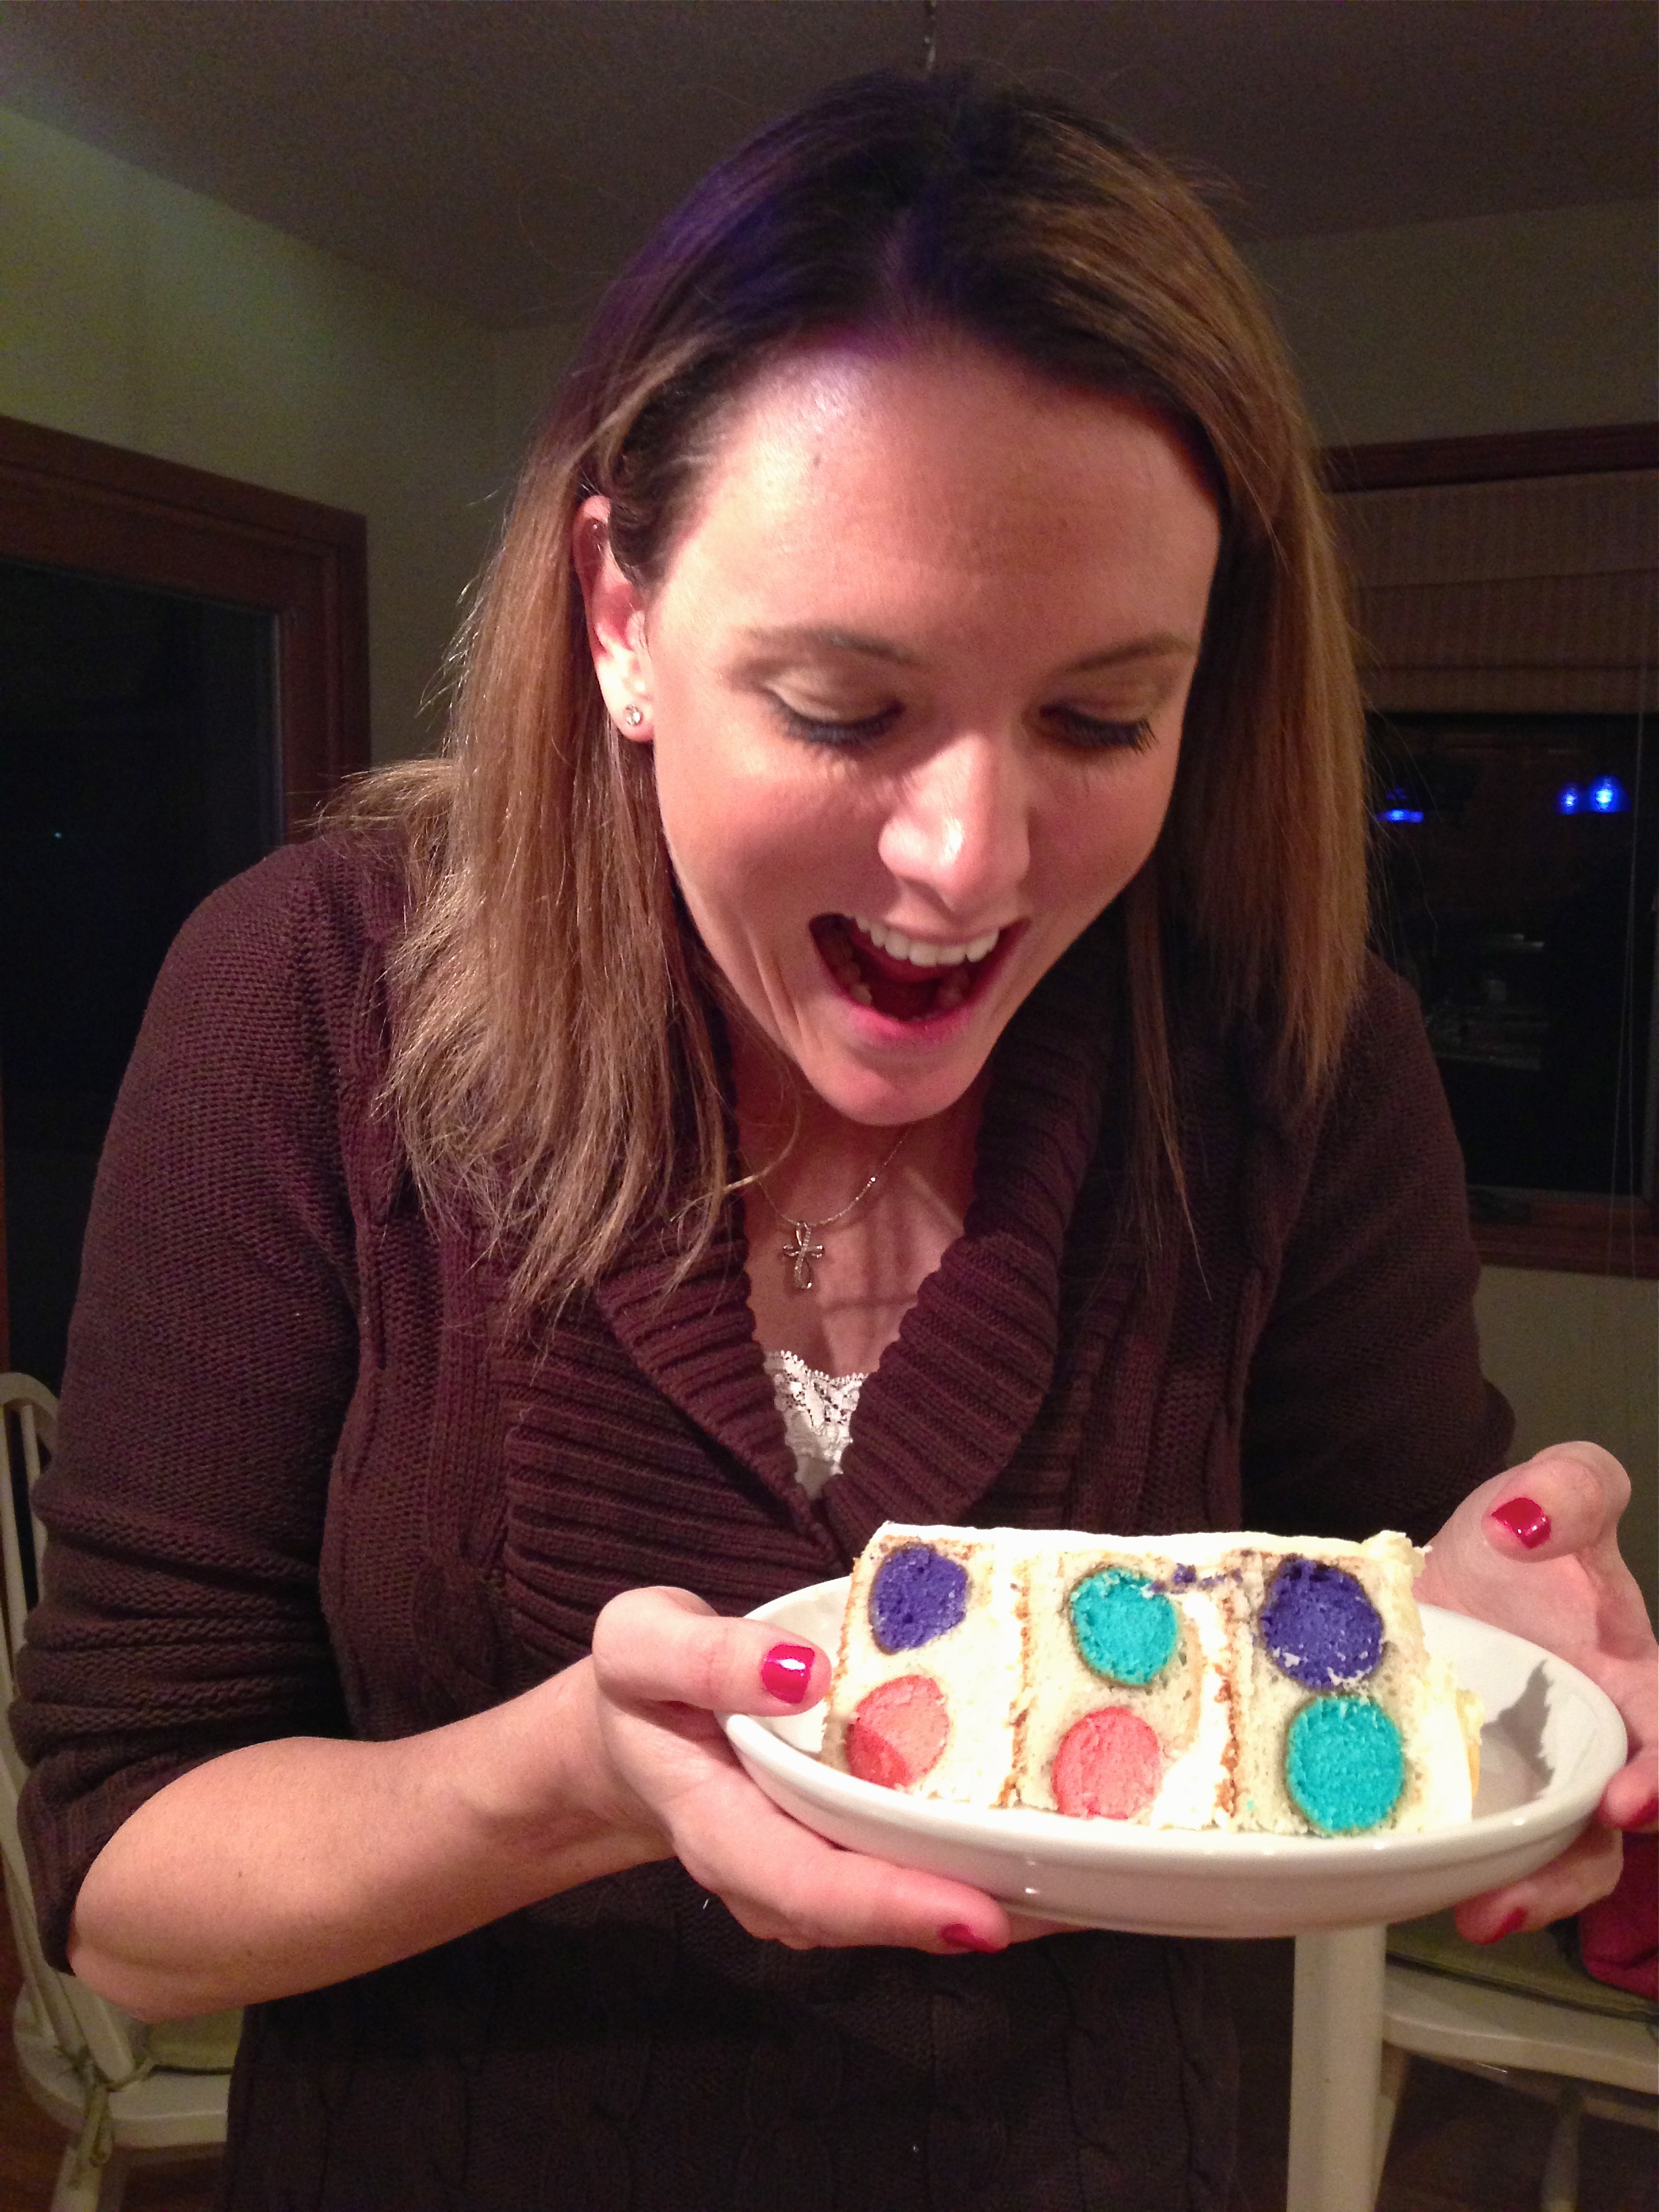
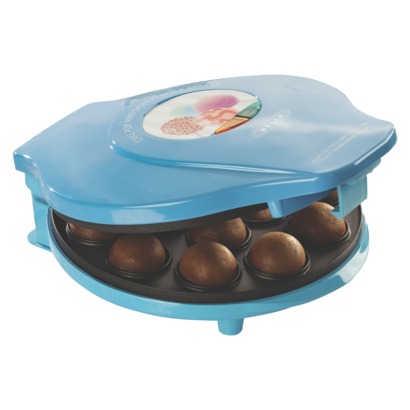
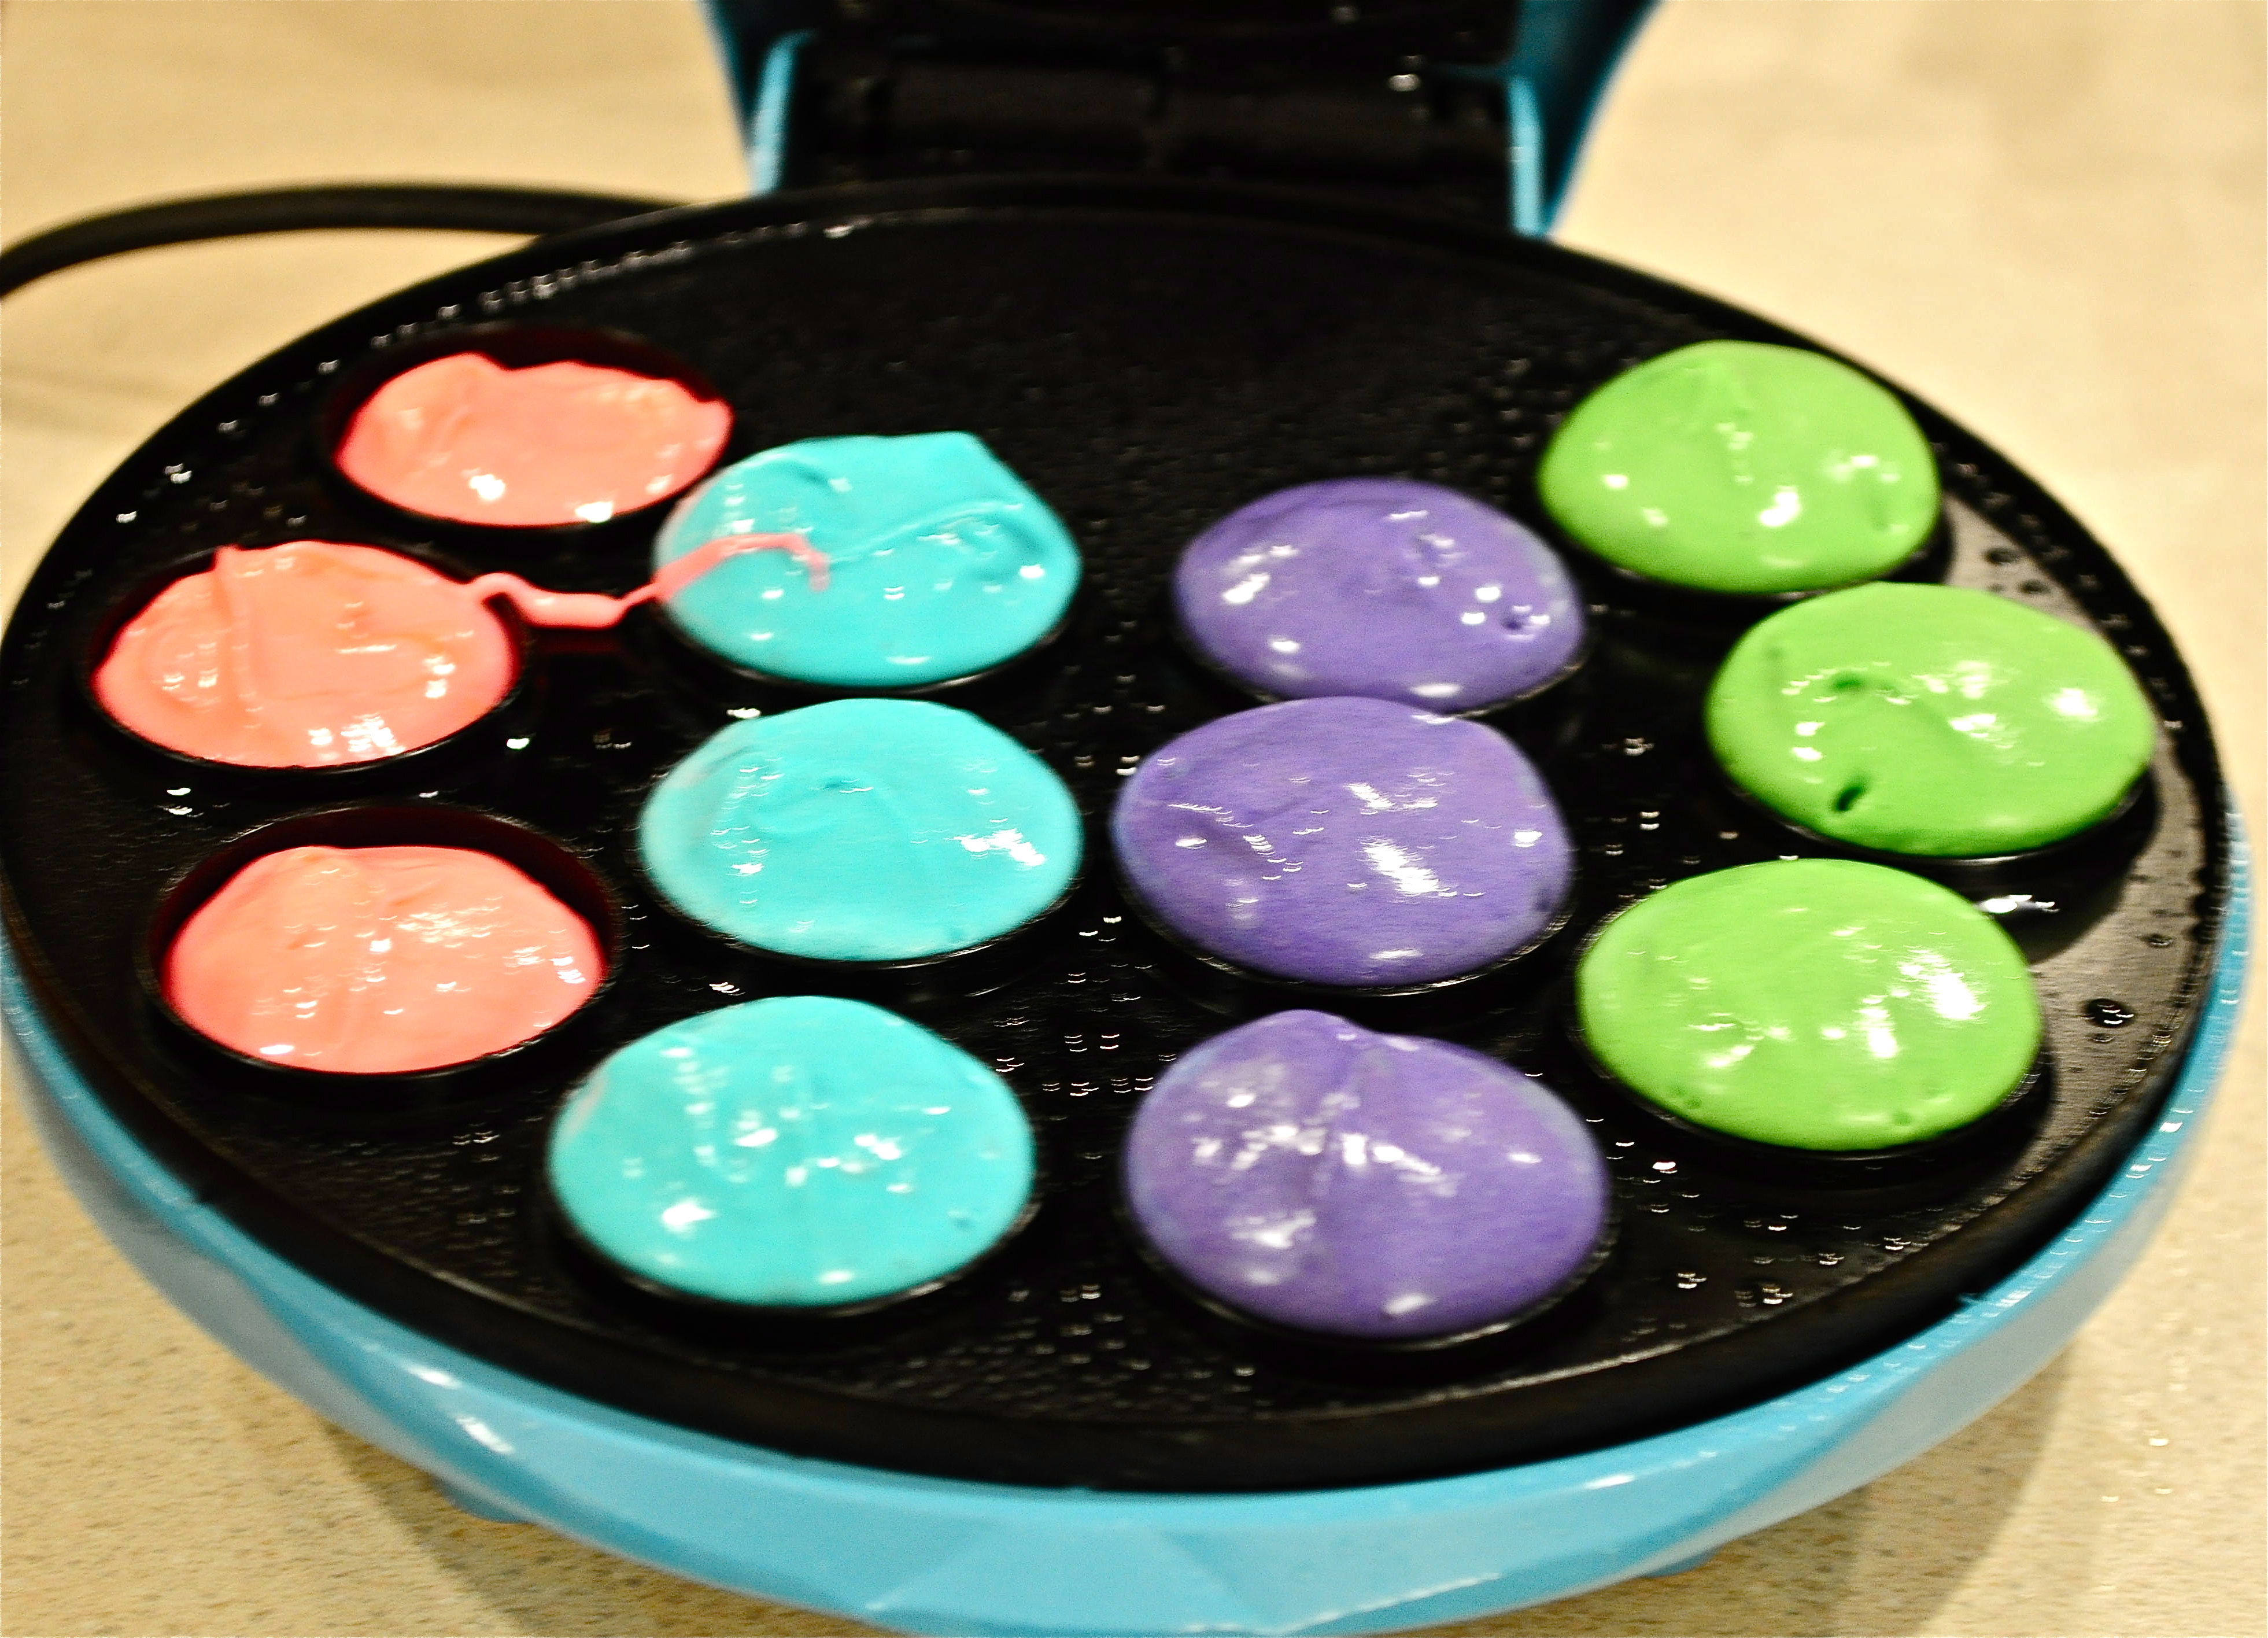
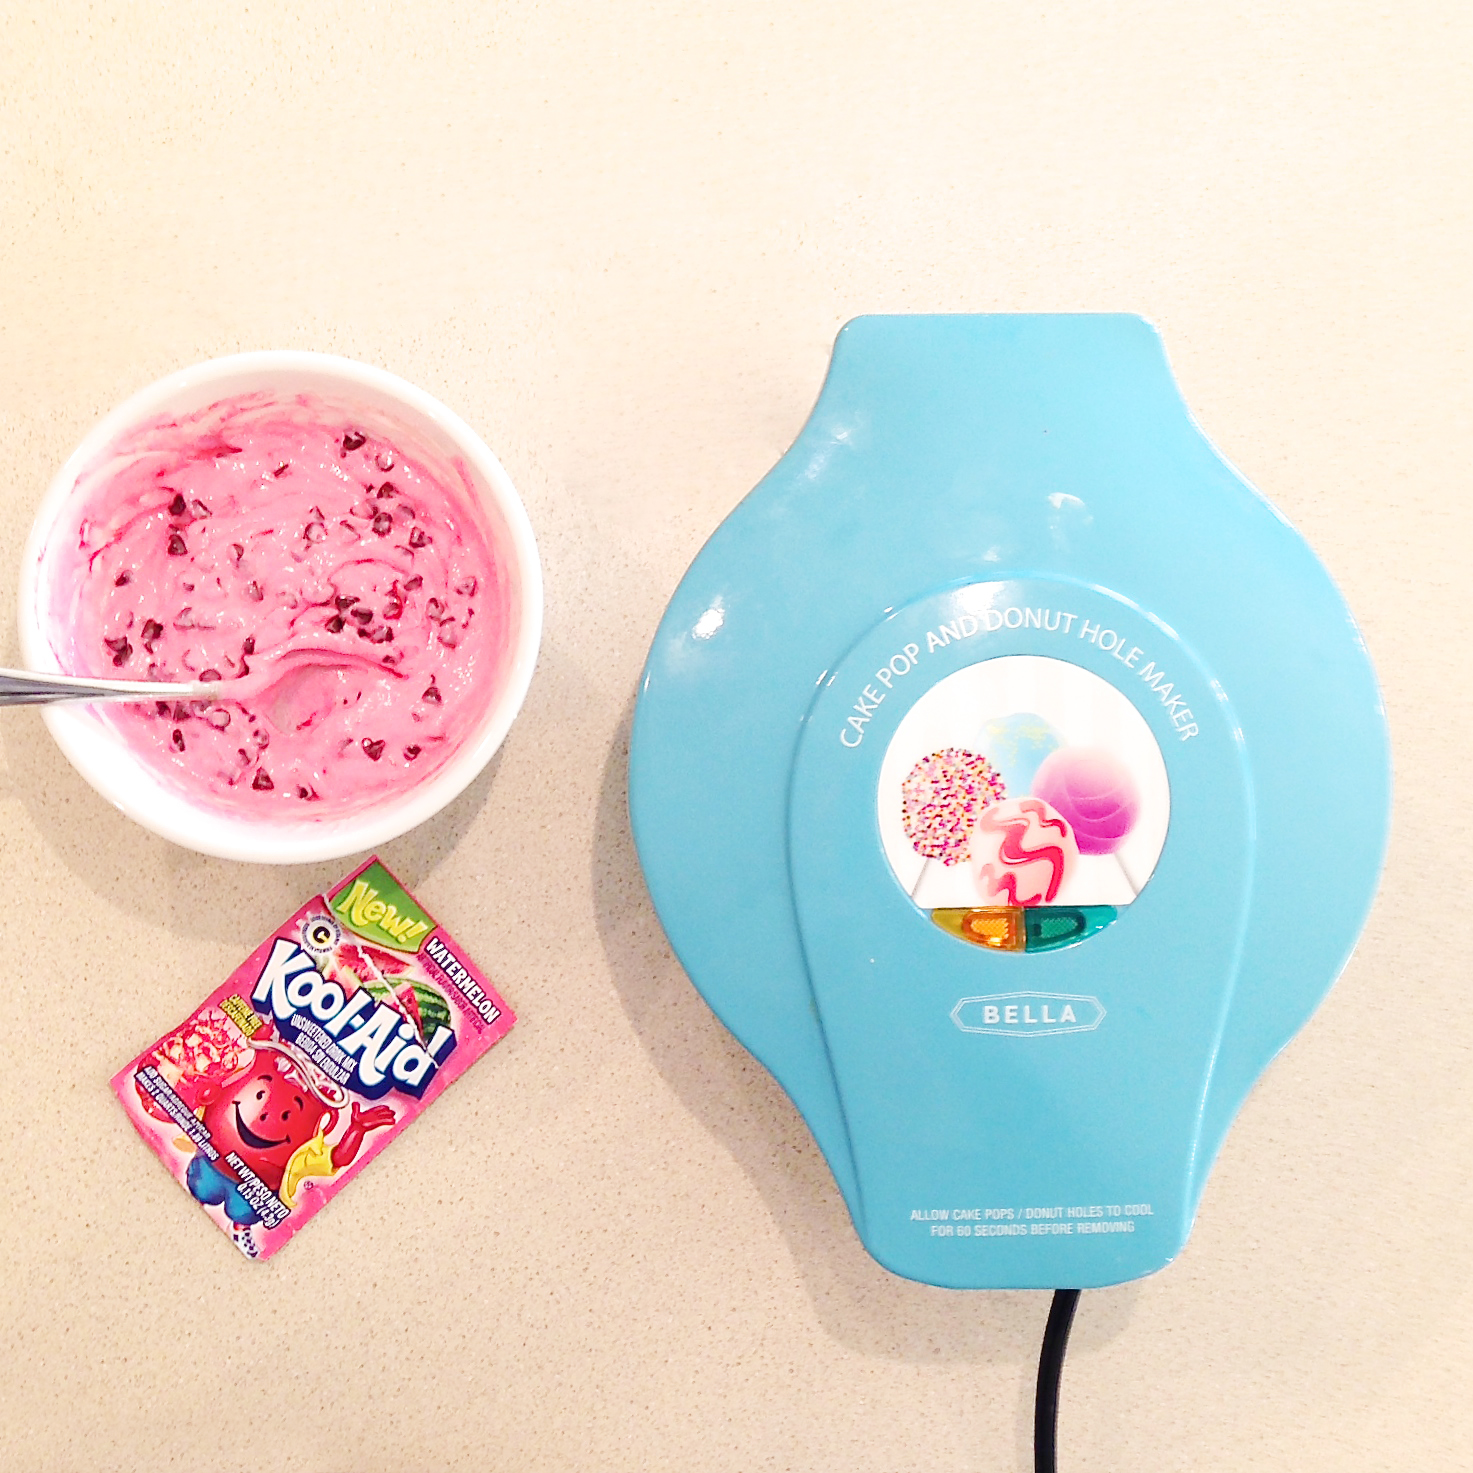
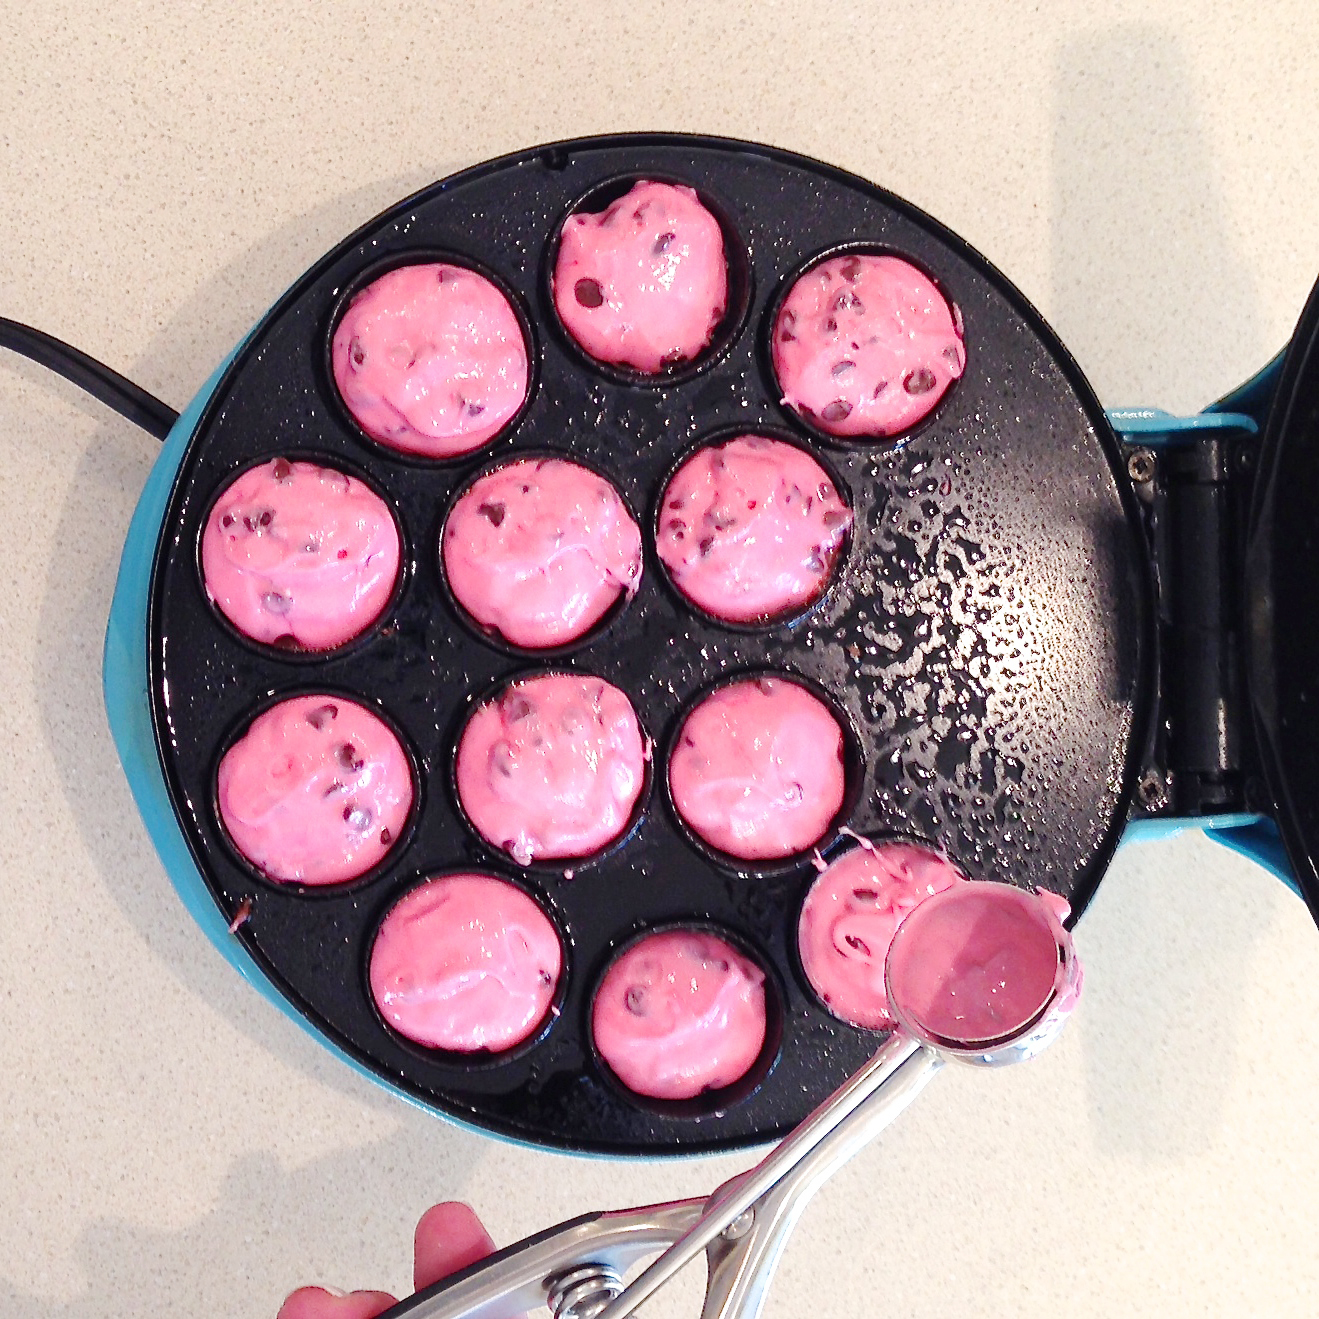
This recipe uses a cake pop maker. I hesitantly purchased one a few years back to make a polka dot cake, and I thought I’d end up selling it on a garage sale after that one use. NOT SO!!! I love it! So many possibilities! I just made fun little pancake balls the other day for breakfast- not to mention all the yummy recipes we have done here with it! Get a cake pop maker!! (or, if you must, make your pink centers in mini muffin tins. Just know that you are missing out on some serious fun!)

I also used fondant on the top of these cupcakes. I know that for many of you, this step is a tedious one and I say frost these cupcakes however you like! Green frosting, pink frosting with sprinkles of mini chips….whatever! Just don’t miss out on that fun center!

Watermelon Cupcakes

Here’s how we made them: (printable recipe)

INGREDIENTS:

  • One boxed white cake mix (with water, oil and eggs to make according to box)
  • One small packet of watermelon Kool-Aid drink mix
  • 1/2 cup mini chocolate chips
  • 1 stick of salted butter
  • 1 stick of unsalted butter
  • 1 1/2 cups of powdered sugar
  • 2 teaspoons of clear vanilla
  • Green, Pink, and Black  Food Color Gels
  • One box of Wilton fondant in white (or make your own, using my recipe)

DIRECTIONS:

  • Make cake mix according to package
  • Remove one cup of batter and place in a separate bowl.
  • Add 1/2 a packet of Watermelon Kool-Aid powder (use more or less to taste)
  • Add pink color gel to intensify the color to desired shade
  • Mix in mini chocolate chips.
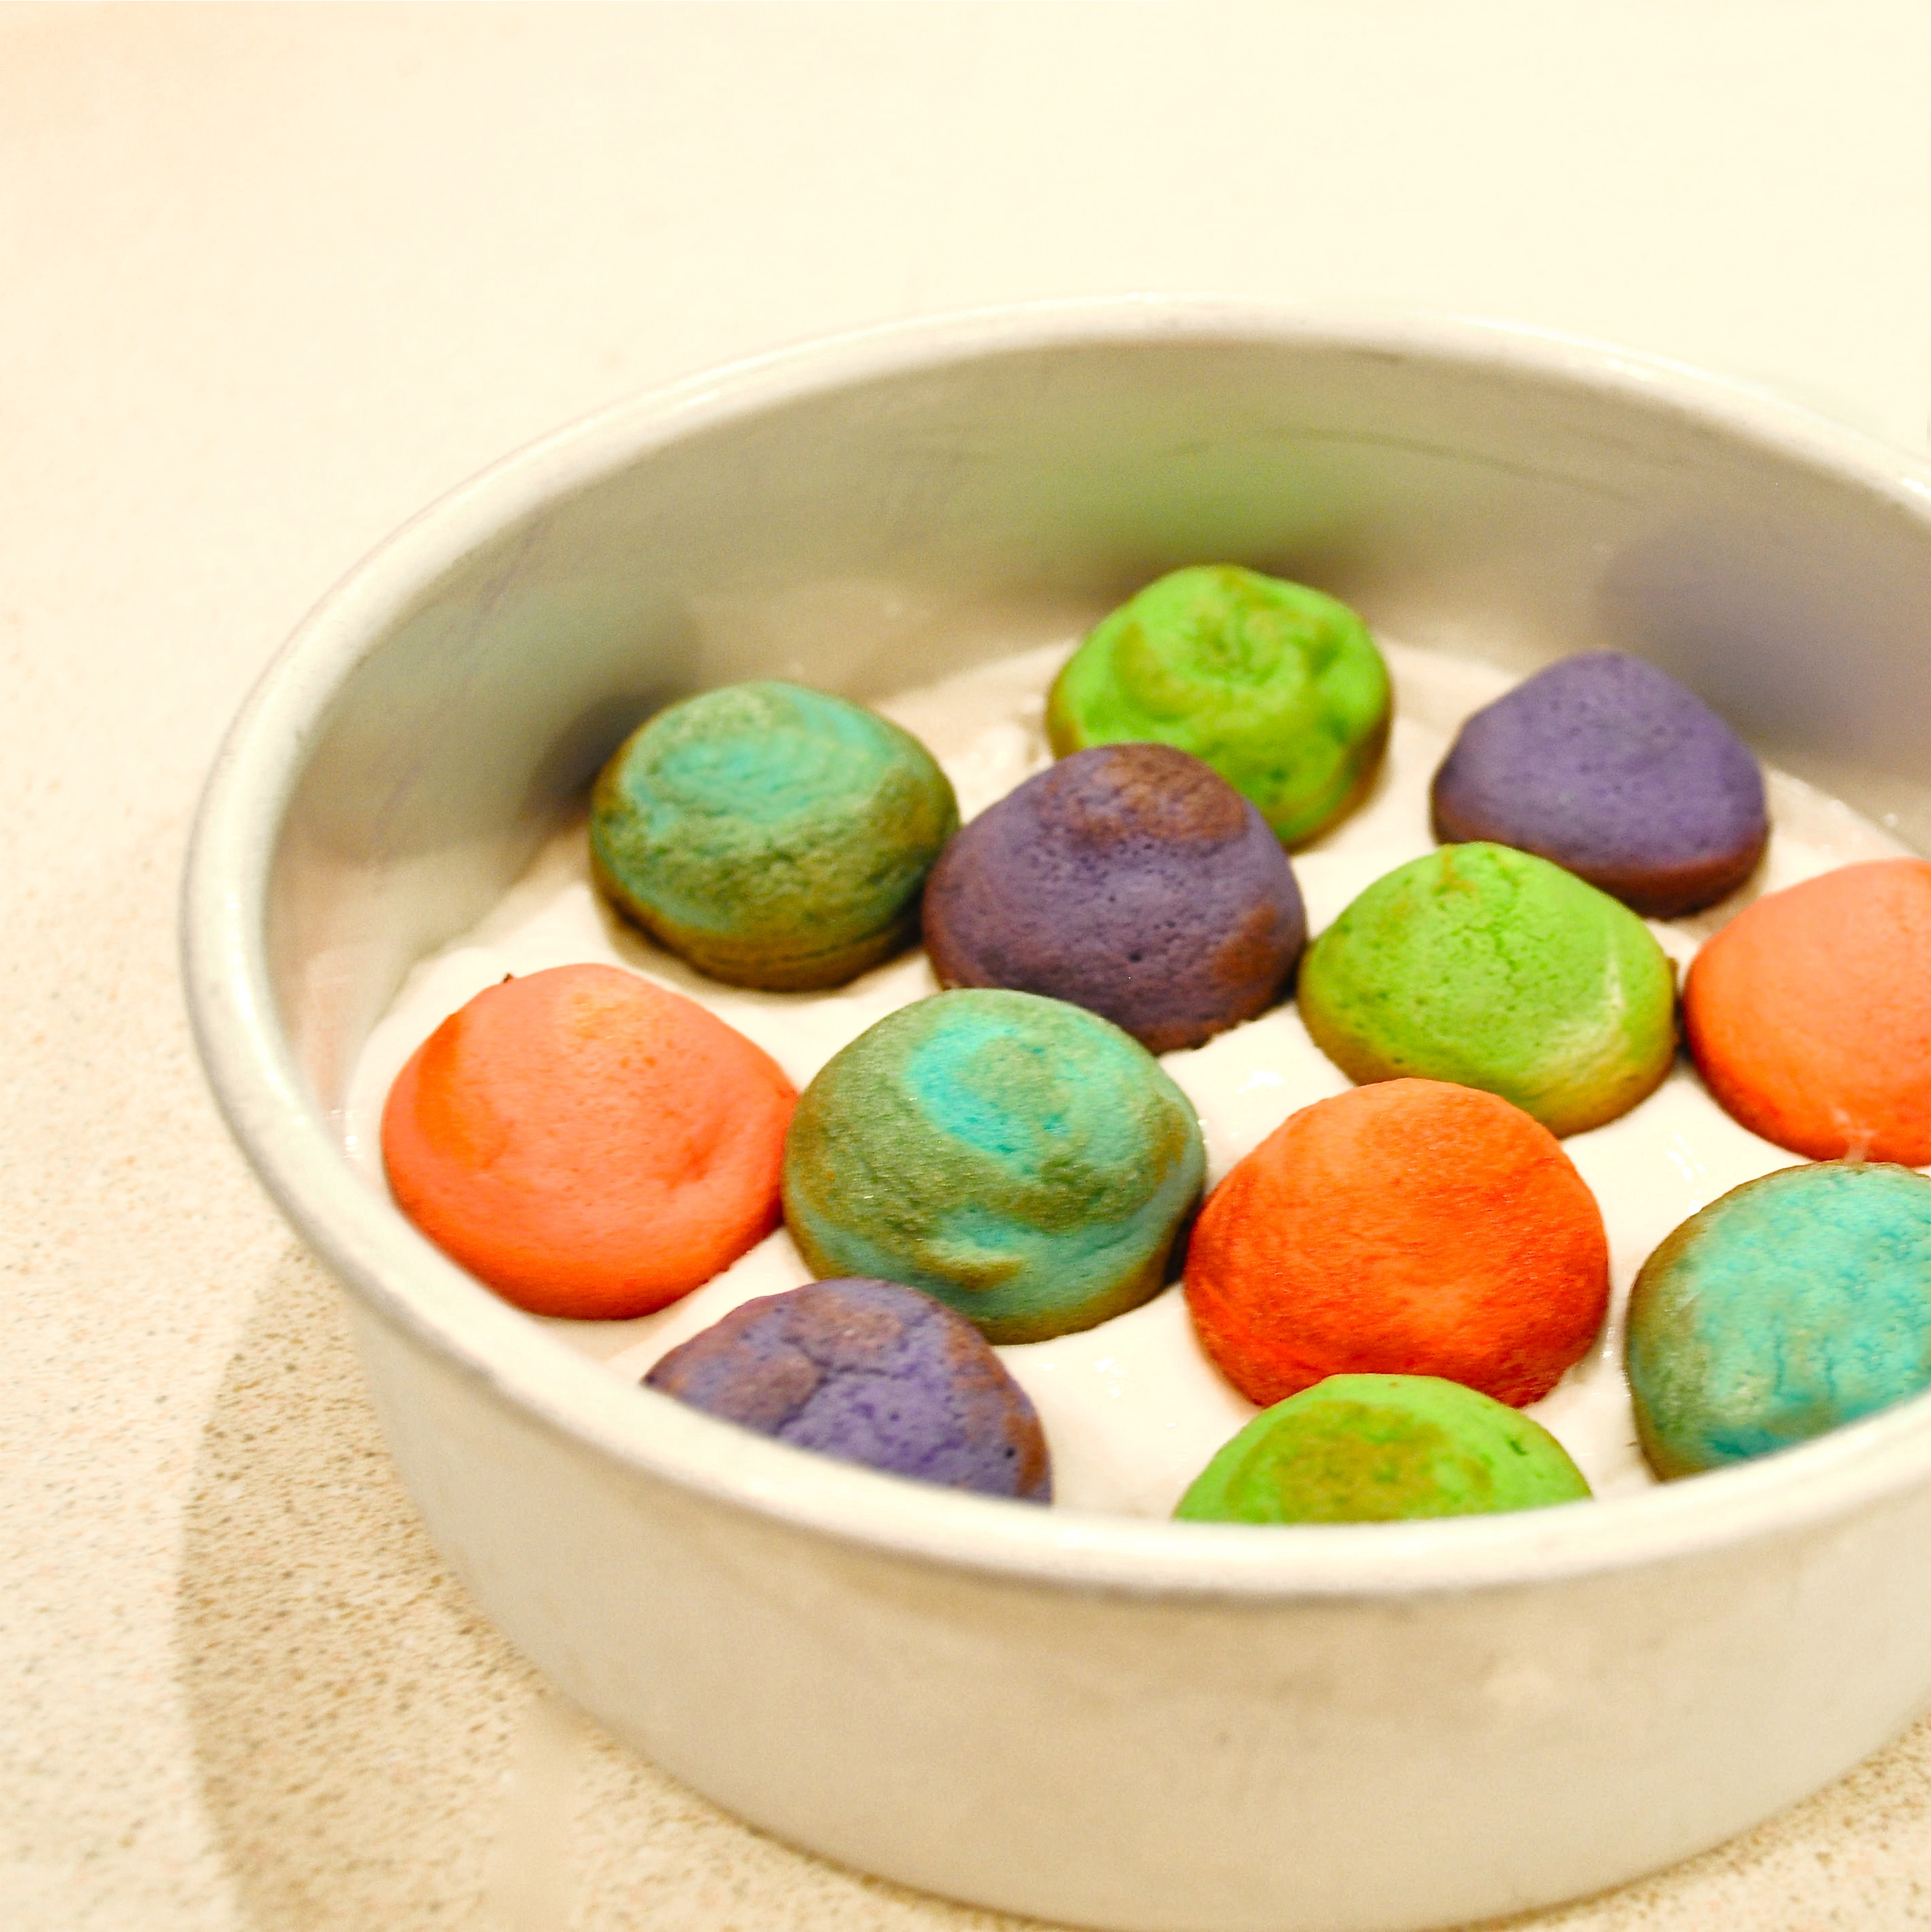
  • Bake in cakepop maker (or use a small mini-muffin tin), making 24 cake pops (or mini-muffins)

Watermelon Cupcakes CentersWatermelon Cupcakes Centers

  • Add green color gel to remaining batter, mixing well.
  • Spoon a little green batter into a cupcake liner, placed in a cupcake tin.
  • Place pink cake pop on top.
  • Spoon green batter over the top, covering the cake pop. Use less, rather than more batter here- if you use too much it will bake over the edges.
  • Bake at 350F degrees for 15-18 minutes.
  • Cool completely.
  • Make frosting by placing butters, powdered sugar and vanilla in a large mixing bowl and beating on high for 3-4 minutes until very light and fluffy.
  • Color frosting green, if desired, and set aside.
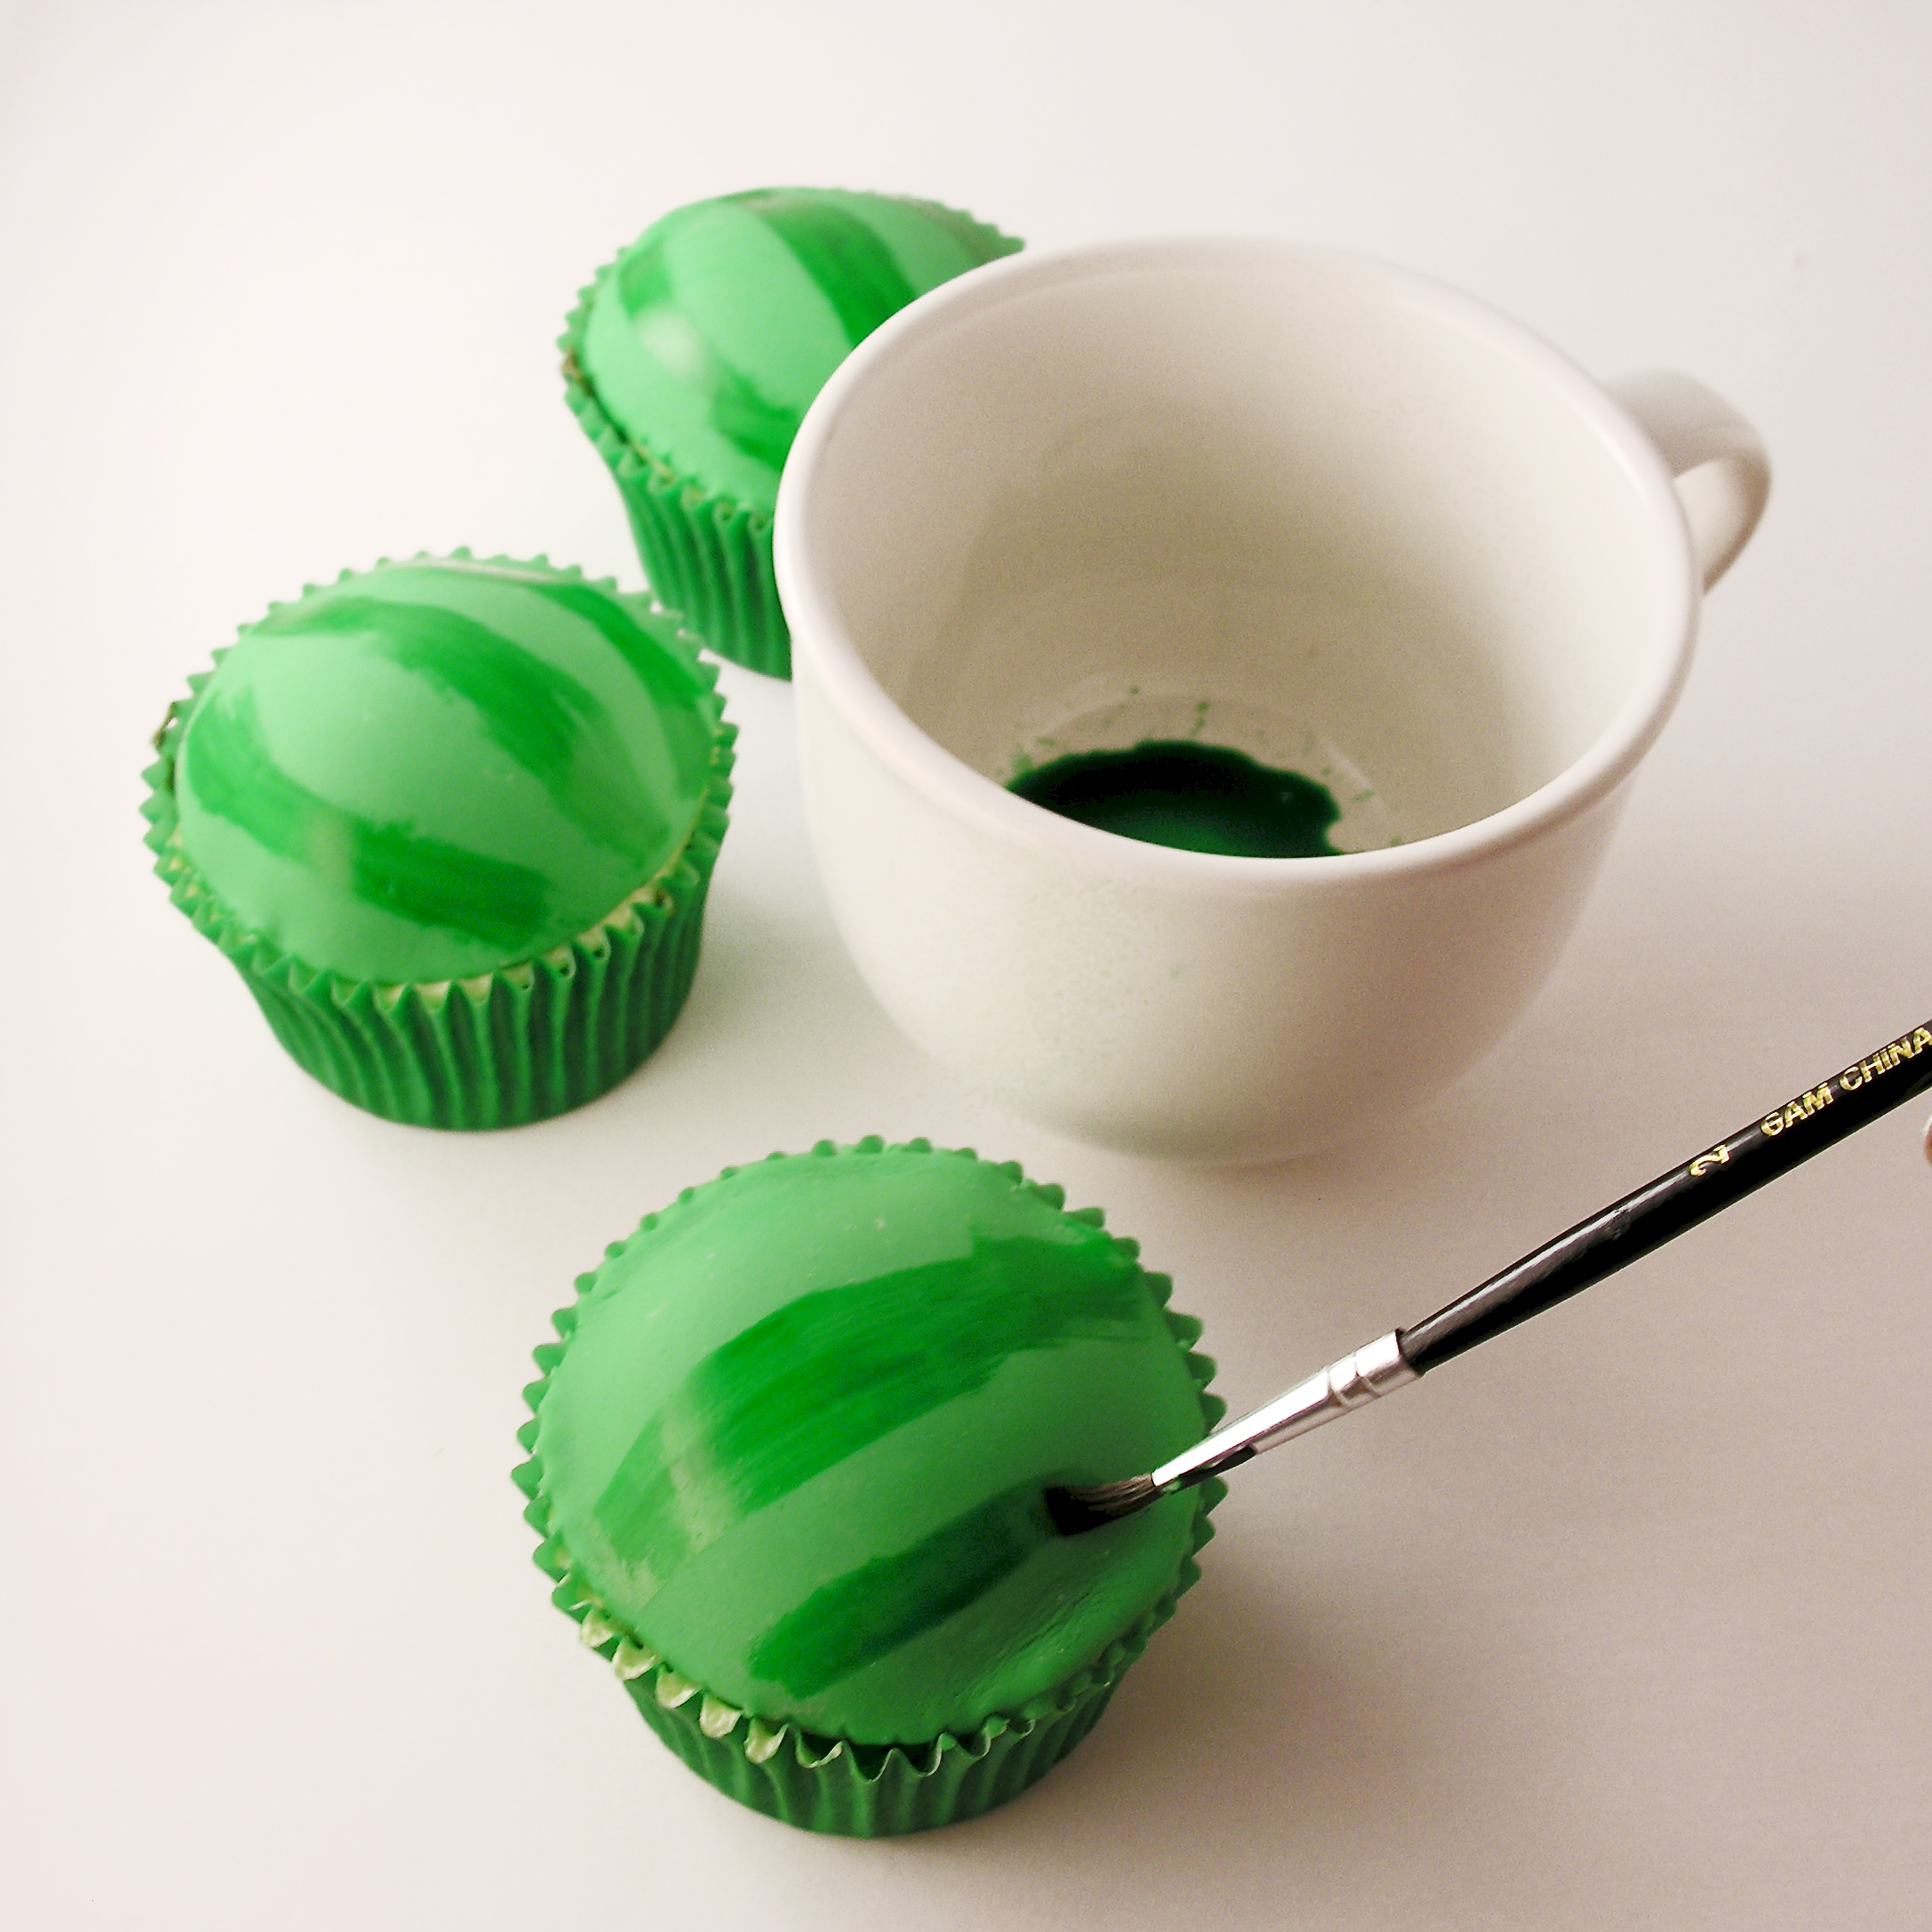
  • IF you use fondant, color a batch with green color gel (leave out a little bit to make ants if desired), cut into circles that fit the top of your cupcakes using a round cookie cutter. Keep circles covered to prevent drying.
  • Working one cupcake at a time, spread frosting and then gently lay fondant on top of frosting and press edges down inside of cupcake liner.
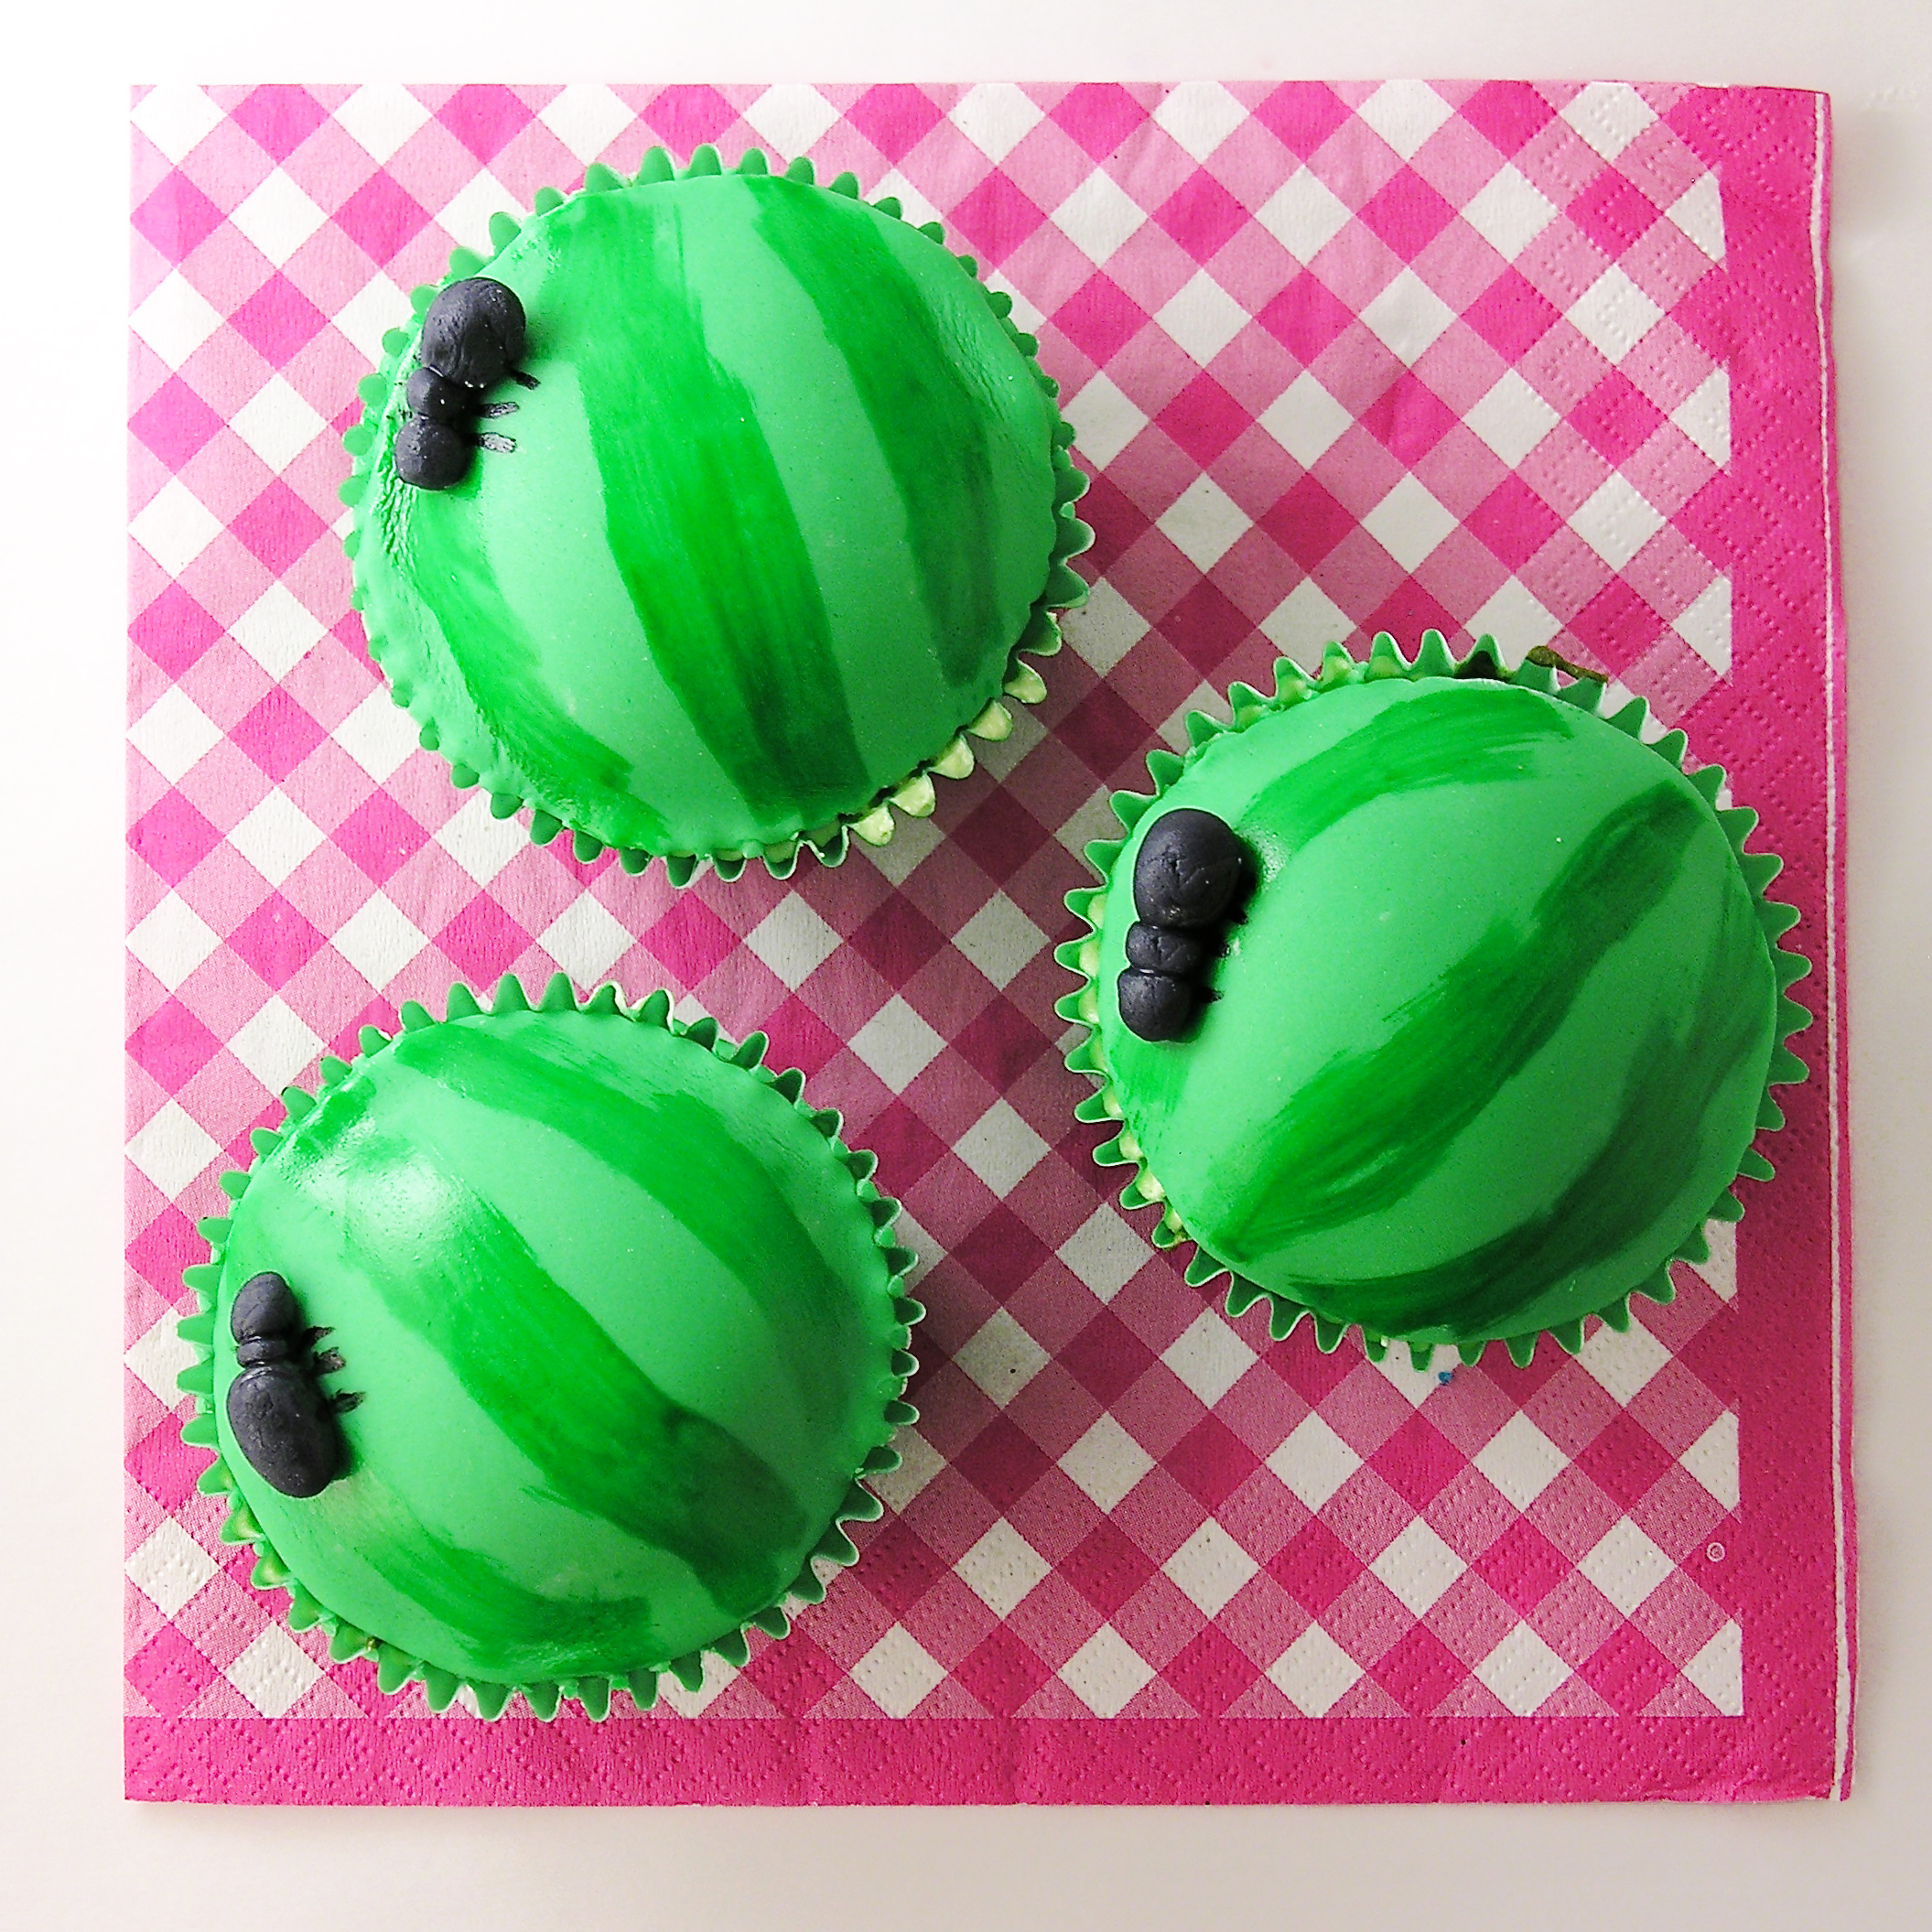
  • Use dark green color gel with a little water (think watercolor paints) to paint on watermelon stripes.
  • Color remaining fondant black and roll into 3 small balls to stick together as an ant on each cupcake. use a toothpick or small brush to paint little ant legs under each ant.

Watermelon CupcakesWatermelon Cupcakes

***If you have used fondant before, this should all be easy, but if this is your 1st time and you are wondering what I mean by things like “color fondant”, see my tutorial on making and using fondant here. You’ll make your ants like the caterpillars shown in the tutorial.***

Watermelon Cupcakes7
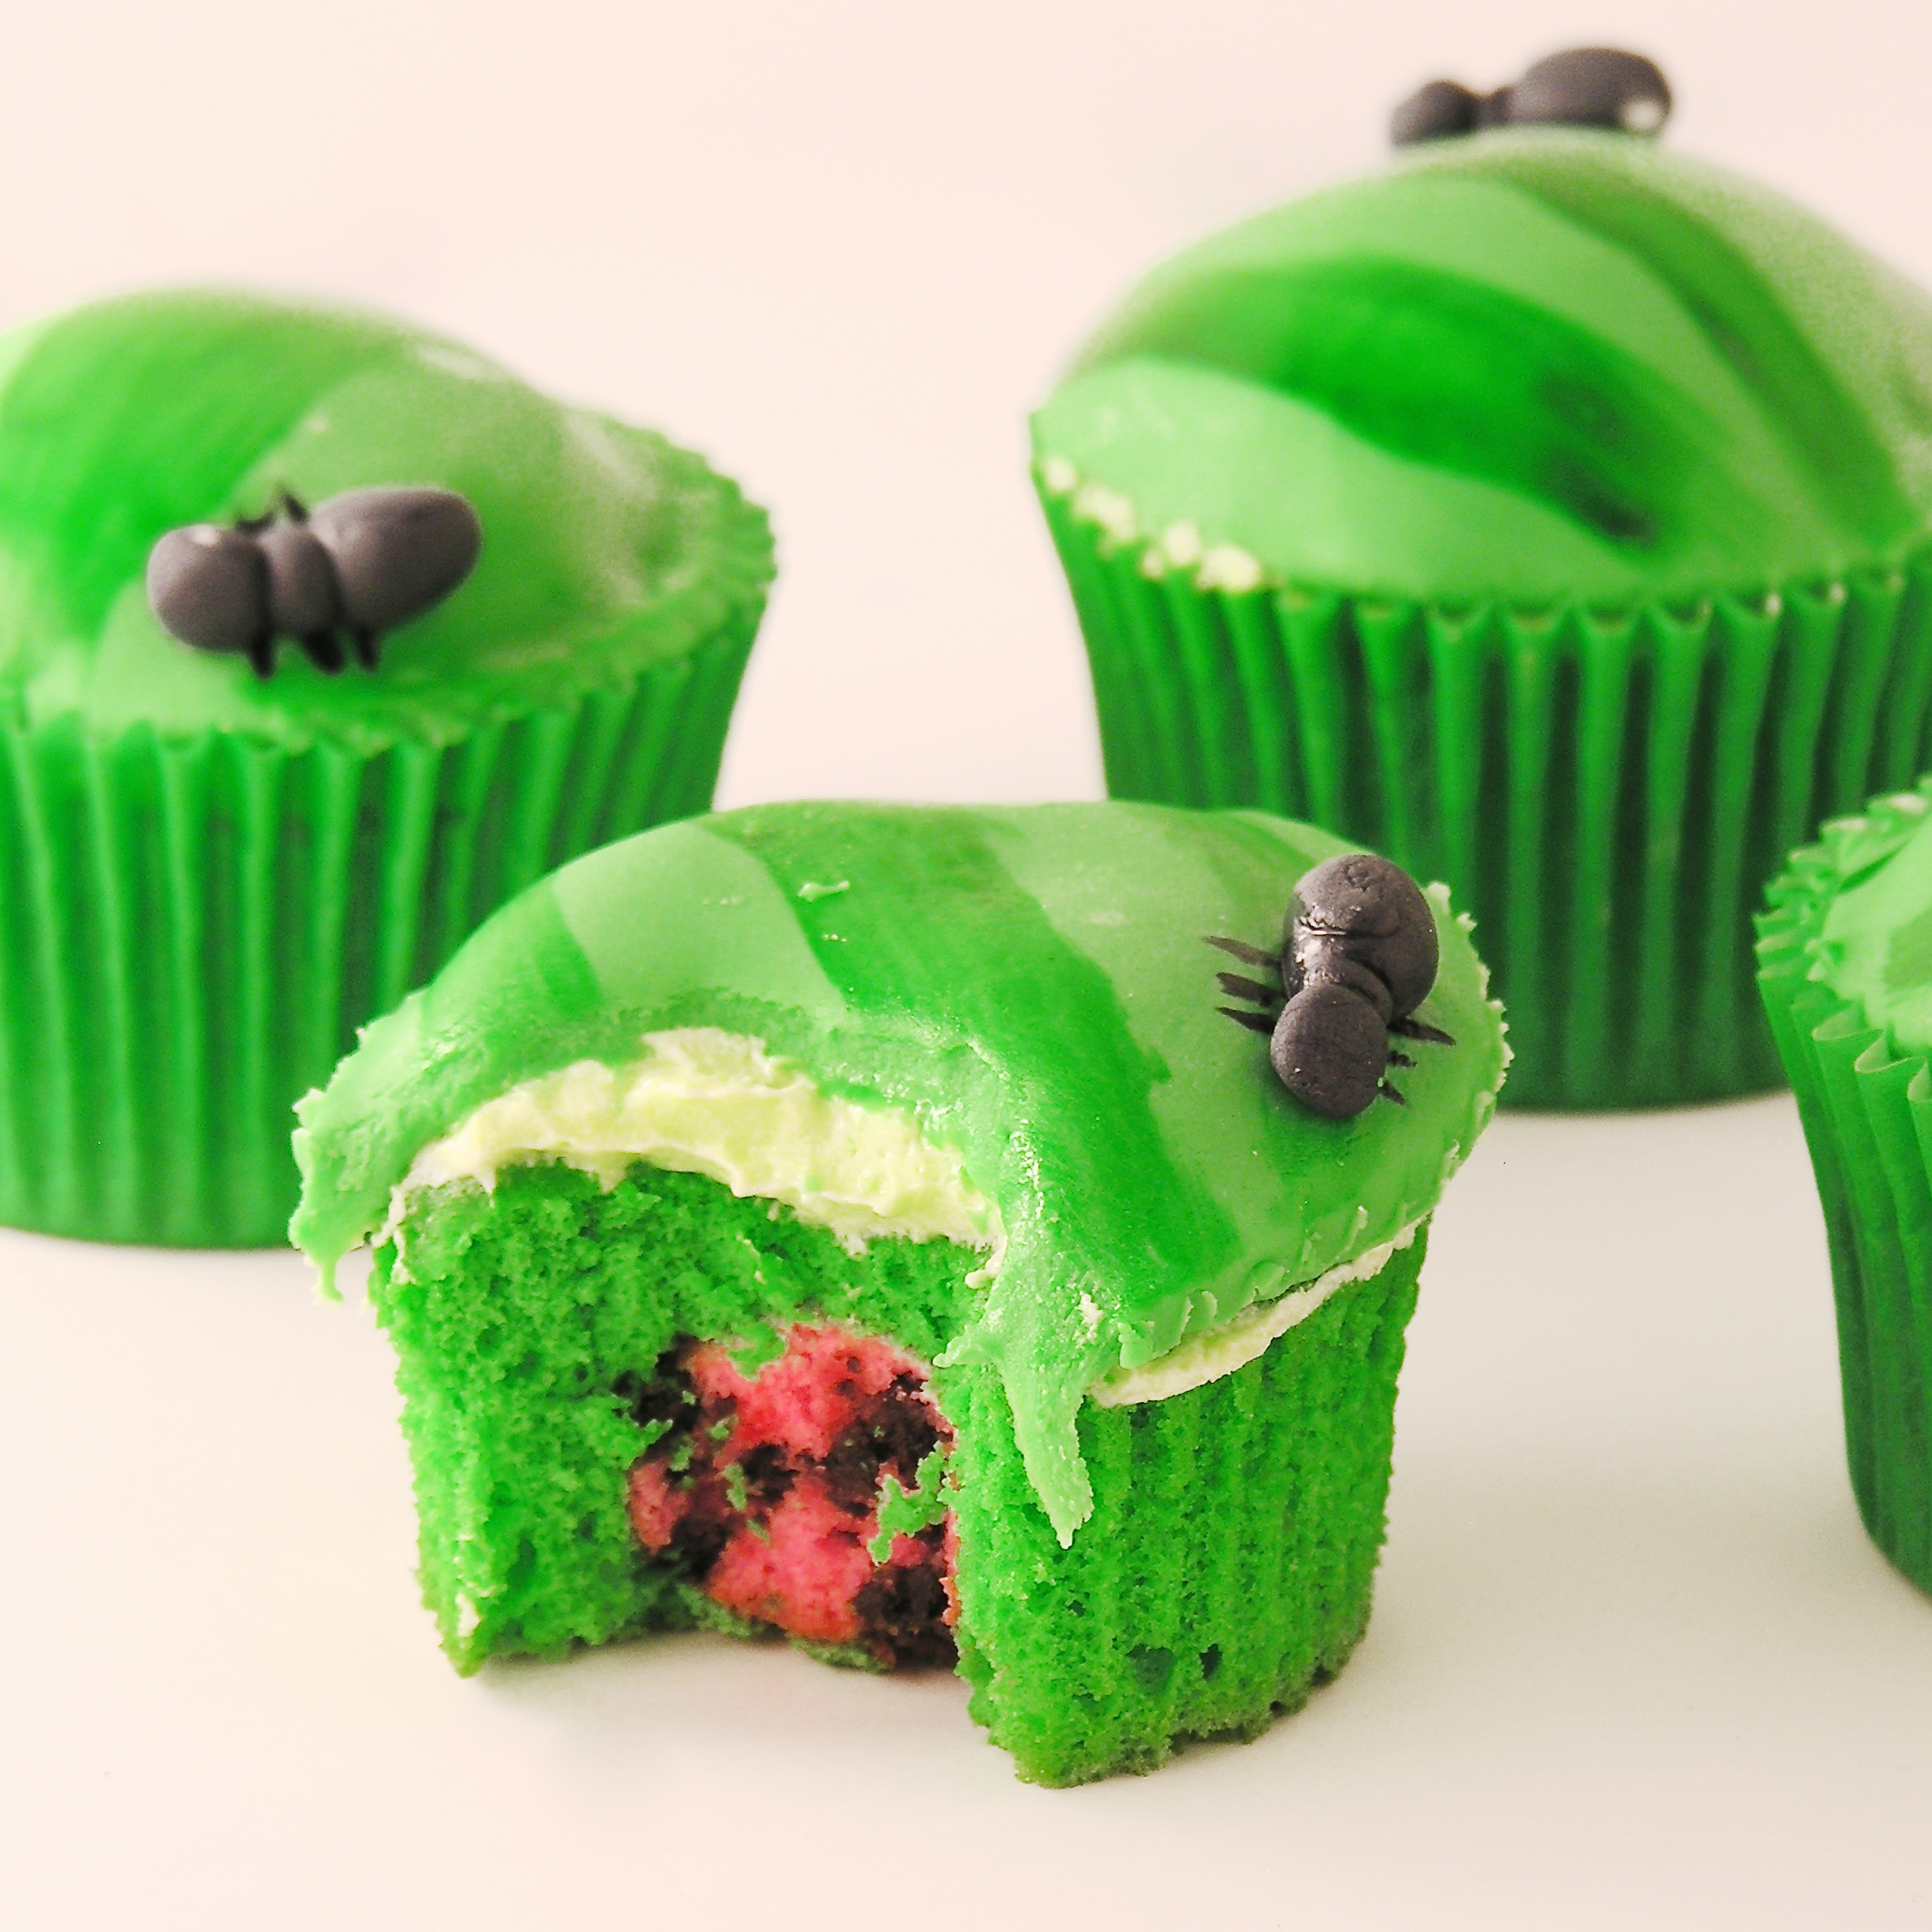
My thoughts… These are really fun little cupcakes. I’m not a huge fan of watermelon flavor, but only the center is flavored and for me it was the perfect little surprise “pop” of flavor. You could certainly add Kool-Aid to your frosting too- it will just end up being a little pink, rather than green.

Watermelon Cupcakes

Nothing says SUMMER like watermelon~ enjoy these little cupcakes at YOUR next summer celebration!! ~r

Other ways to use that cake pop machine you just got 😉 (click on a photo to see the recipe)

Polka Dot Cake!!!Gender reveal cupcakes5Patriotic Polka Dot Cake!!!!Green Bay Packer Cupcakes!

Advertisement

Polka Dot Cake~ a recipe revisited!

Posted on

Revisited Recipes!Day #5 is here, along with our final revisited and recreated recipe.  I’ve really enjoyed remembering these recipes with all of you.  I hope you have found one to try for this upcoming holiday weekend!

Our final recipe is my personal favorite of the week, mainly because it brings the most smiles.  If you want to make a cake that will be a show-stopper at your holiday celebration, this is it.

Polka Dot Cake Revisited!This recipe was published recently, in January of 2013.  It is so incredibly fun to make.  I’ve made it 5 times now and each time I do, I love it more.  You can color the cake layers, you can color the polka dots…endless fun possibilities!

It is not a difficult recipe, but it is time consuming and it requires a cake ball maker (or, according to my commenters on the recipe, a mini muffin tin).

It takes two cake mixes and I made both mixes and simply divided them evenly into the three colors.  I made 12 cake balls in each color and one layer of each color.

The original blog post has detailed instructions and photos, so I recommend you visit there 1st if you want to make this cake.  The comments are also very helpful and full of tips on making this work well.

To see the original recipe and instructions click here.

To print the original recipe click here.

Patriotic Polka Dot Cake!!!!

Patriotic Polka Dot Cake!!!

Patriotic Polka Dot Cake!!!!Thank you so much for joining me this week for a trip down memory lane.  I hope it was as fun for you as it was for me.

Did you catch all of our recipe remakes this week?  If not, click on the ones you missed to be taken to the post!

Patriotic Tie-Dye Cake!!!!Patriotic Flip Flop Cookies!!!!Patriotic Bundt Cake!!!!Patriotic Oreo Pops- yum!!!

Polka Dot Cake!!!

Posted on


Polka Dot Cake!!!It just makes you smile, doesn’t it?  I don’t think I can adequately express how happy this cake makes me.

I made this cake for my friend Nikki’s birthday and it made her happy too…

Happy Birthday!!!                      Surprise!!!!

I simply can’t take credit for the idea behind this cake,  that credit goes to an adorable blog called “Once Upon a Pedestal”.  I can’t even take credit for finding the idea… that goes to my wonderful Pinterest addicted friend Laura.  I can tell you this: it is NOT hard to make.  It does take some time, but it is very easy to put together, and the “wow” factor?  Incredible!

Polka Dot Cake!!!!!!

The 1st question everyone asks is “How did you get the polka dots INSIDE the cake?” They are cake balls.  To make this recipe, you will need one piece of special equipment: a cake pop/ doughnut hole maker.  I feel like I walked by those like 100 times over the holidays in various stores and every time I thought, “I wonder why you would ever buy one of those?”  Now I know!  Here’s the one I got: Bella Sensio Cake Pop Maker

Cake pop maker

There are several brands and varieties- I’m sure they all work great- I would look for one that does 12 at once, just as a time saver!  The good news?  Once you make this cake, your friends will all want to borrow your cake pop maker and you won’t have to store it anywhere!

Are you ready to see how this is done?  Here we go: (printable recipe)

INGREDIENTS:

  • 2 boxed white cake mixes (plus the oil, water and eggs to make them according to the package)
  • You favorite frosting (I used my buttercream recipe, doubled, which you can get by clicking here)
  • Sprinkles or candy to decorate the cake.

DIRECTIONS:

  • Plug in/turn on your cake pop maker to warm it up.
  • Make one of the cakes according to package directions.
  • Divide batter evenly into smaller bowls based on the number of colors you want to use (I did 4)
  • Color the batter using color gels (I love the Wilton brand in particular because it gives such a vivid color)
  • Following the directions for your particular cake pop maker, make cake balls using each of the colors.

(with mine I sprayed it with Pam, used a small (2 tsp) cookie scoop, rapidly scooped batter in and immediately closed the lid.  My directions said 4-5 minutes and they all were burnt to a crisp– about 2 minutes worked perfectly for me.  I just set them out on a plate to cool then…be prepared to experiment a little with this– you will have some extra pops at the end, so its ok if you mess some up!)

Polka Dot Cake Pops

  • While cake balls are cooling, preheat oven to 350F, and make the second cake mix according to package.
  • Spray 3 – 6″ round pans with non-stick spray and set a circle of parchment paper in the bottom of each one (to keep your layers pretty!)
  • Spread a thin layer of batter in the bottom of each pan, place cake balls on top in any pattern you choose and divide remaining batter over the top of the balls so they are completely covered.

Assembling a Polka Dot Cake

Ready to bake!


  • Bake layers at 350F degrees for about 30 minutes.  You can use the toothpick test (I recommend it!) but be careful to hit cake and not cake balls….you can kind of tell where they are- they bump up just a bit.
  • When cooked all the way through, tip over on a cake rack to cool completely.
  • Trim, if needed, to flatten layers and use frosting to stack all three layers and cover the entire cake with frosting.
  • Decorate as desired.


Polka Dot Cake!!!!!My thoughts:  I’m not a cake decorator, and my buttercream is a whipped frosting that is OH so yummy, but not very good for a smooth cake surface….it still makes me smile…bumps and all.  You can decorate your cake however you like.  I used Wilton Jumbo Confetti Sprinkles on this one.  I really hope you give this cake a try– if you have any questions about the process just ask!!  — or check out “Once Upon a Pedestal”, as her pictures were very helpful.  She also uses a different type of cake pop pan than I did.  I hope this recipe idea made you smile on this cold winter morning– enjoy!!!!!  ~r

Polka Dot Cake!!!!

Polka Dot Cake Tips

Other Easybaked cake recipes you might enjoy: (click on the photo to see the recipe)

Chocolate Mousse CakeOld fashioned Red velvet cakeStrawberry-Lemonade CakeTie-Dye Cake with Blue Raspberry Frosting!

Red Velvet Cake Balls- filled with Cream Cheese Frosting!

Surprise!!!  These red velvet cake balls are filled with cream cheese frosting!  A fun treat for birthdays, holidays, showers….it is all in the decorating!

INGREDIENTS:

  • One red velvet cake mix (with oil, water and eggs to make according to box)
  • One tub of ready-made cheesecake frosting.
  • 2 (12 oz.) bags of Wilton White Candy Melts
  • Sprinkles or dark chocolate candy melts to use for decorating.

DIRECTIONS:

  • Bake cake mix according to package and cool
  • While cake is baking/cooling- spoon 1/2 of the tub of frosting into a ziptop bag.  Clip a corner and pipe dime-size dollops of frosting onto a cookie sheet covered in parchment paper (pipe about 35-40) Place in freezer.

  • Cut cooled cake into pieces and chop into fine crumbs using a food processor or food chopper.
  • Mix cake crumbs with remaining frosting until it can be formed into balls that hold together (you may not need all the frosting).
  • Roll about one tablespoon of cake into a ball, press it flat and put a frozen frosting bit in the center.  Wrap cake dough around frosting and smooth into a ball. (try to keep the frosting bits frozen- I did only 5 at a time and kept the rest in the freezer.  The frosting will not freeze hard- it will be more like taffy when you peel it from the parchment paper).

  • Refrigerate cake balls for a few hours.
  • Melt Candy Melts in microwave in 30 second increments until smooth.
  • Dip cold cake balls into white chocolate candy melts (this is the hardest part for me….I made a huge mess trying different techniques and finally settled on a fork, tapping it against the edge of the bowl until excess has drained away.  Some people use toothpicks or spoons or special dipping tools….I think this part is just a mess for me no matter how I do it!)
  • Place dipped cake balls on parchment paper to harden.  If you are decorating with sprinkles, do this before the chocolate hardens.  Otherwise, just drizzle with some dark chocolate for a more elegant look:

My thoughts: These are SO good.  The frosting in the middle is a fun surprise and it adds a yummy creaminess to the cake balls.  Hassle?  Yes.  I am convinced that cake balls and cake pops are not my gifting– so many people make them look effortless and that is NOT the case for me!  I love the taste though….so once in awhile….ENJOY!!!

.

My First Attempt at Cake Pops :)

Posted on


It’s Memorial Day.  I have extra down time and I start thinking about cake pops– they are all the rage these days…I look up some info by googling “What are Cake Pops?” and get literally hundreds of recipes for these little treats.  Cake + Frosting= balls of happiness.  Add a stick and cover them in chocolate–CAKE POPS!  So I decided to give them a try…..

INGREDIENTS:

(we went with only things I already had in the house, but these flavors were really yummy!)

  • 1 box of yellow cake mix (and water, oil and eggs to make according to package)
  • 1/2 tub of Wiltons decorating frosting
  • 1 bag of Wilton Dark Candy Cocoa Melts
  • Small amounts of Wilton colored candy melts to decorate with
  • 24 Lollipop sticks

DIRECTIONS:

  • Make cake according to directions and cool.
  • Cut cake into small pieces and scoop into a large mixing bowl.
  • Using a hand mixer, blend cake into crumbs.

Crumbs!!!

  • Add frosting and mix with mixer until combined.
  • Using hands, knead cake and frosting into a dough-like consistency
  • Use a cookie scoop to measure out scoops of dough.  Roll into balls with hands.

Cake and Frosting balls (and Casper watching for crumbs!)

  • Melt dark chocolate candy melts in the microwave in 30 second increments, stirring in between.
  • Dip the end of a sucker stick into the chocolate and press into the top of each ball of dough.  Allow this chocolate to harden.

Pre-dipped sucker sticks.

  • Dip entire ball of dough into remaining chocolate- covering completely.  Set upright by putting end of stick in a block of styrofoam (or I used a shoebox that I poked holes into!)

Dipping....

Creative use of a shoe box....

  • Melt colored candy melts in the same manner as you melted the dark chocolate ones and drizzle over the top .

Drizzle drizzle....

  • Allow chocolate to harden completely and serve!
    My thoughts:  What a glorious mess this made. wow.  In almost every answer on “how to make cake pops” I read something along the lines of- these take practice…don’t expect your first batch to be beautiful etc…and I disregarded this thinking that I’ve dipped almost everything I own in chocolate- how hard could this be???  
    The cake part is easy.  Making crumbs- easy. Mixing in frosting and making balls- easy.  Sticks- easy.  Dipping these?   CRAZY messy!   After my 1st five pops were dipped I decided that I was never doing this again.  By pop #15 I was thinking I might do this again- but not for 20 years.  I dropped pop #22 on the ground and had to eat it (well I couldn’t serve it could I??)
    One bite in and  I decide I am making these for EVERYTHING!!!!  I’d never tasted one of these and I am blown away- no wonder everyone is going through the hassle!
    Advice:
    1.  Don’t wear your favorite white shirt while making these. 😦
    2. Eat these over a plate so that when they fall apart you don’t have to wonder how clean the floor is.
    3. These take practice- don’t expect your 1st batch to be beautiful- lol 🙂
    ENJOY!!!!!!!! r-
%d bloggers like this: