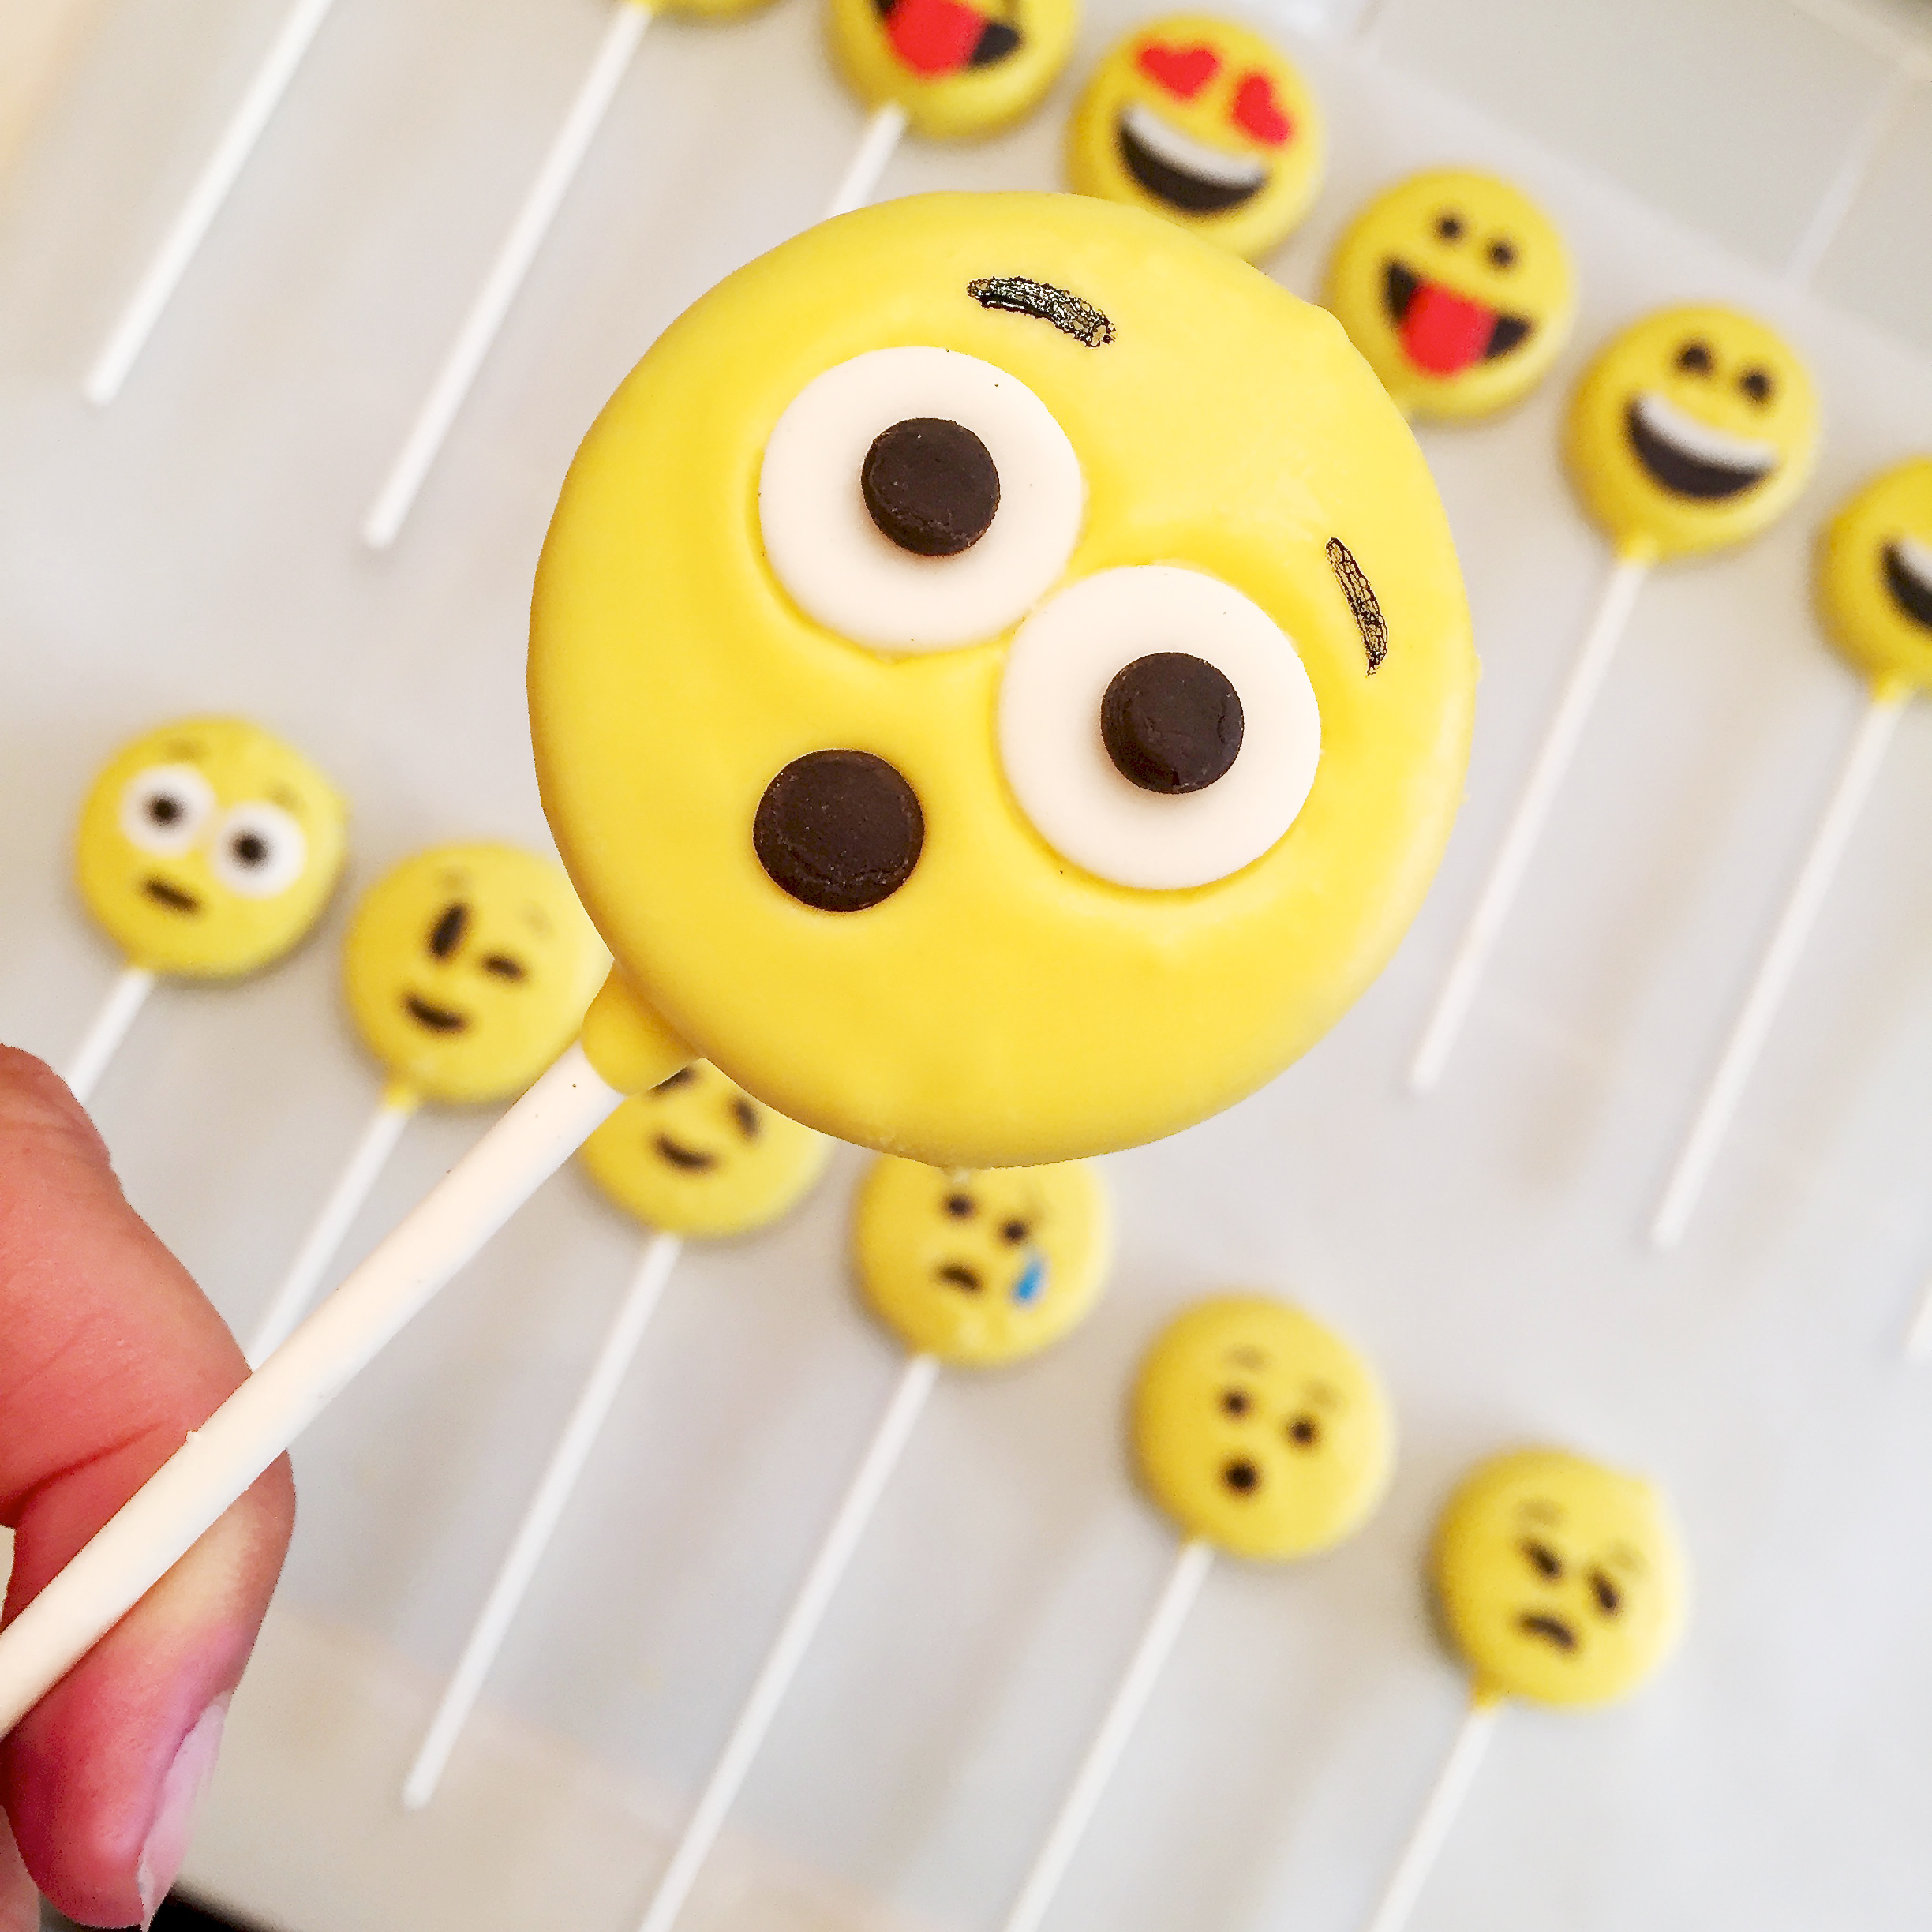
Surprise everyone with these adorable Emoji Oreo Pops! They look difficult- but I found some cookie cutters that make fast work of these cute little faces!
I’m not sure when the Emoji craze hit, but all of a sudden, these cute little social media expressions are EVERYWHERE! Pillows, T-shirts, masks, cards, balloons… People are even throwing Emoji parties (which actually sounds really fun…!)

In any case, when I decided to re-create these little guys I was unaware of how popular they are! I always google my ideas to see if I’m original or re-creating something, and there were a few Emoji Oreos and cookies out there- but they were mostly hand-drawn faces, and let’s face it: I am NO artist! I wondered if there were cookie cutters in the shapes of the faces- so I could use fondant. Most of the cutters were for full-sized cookies, not Oreos. But then I found these from JB Cookie Cutters. They are available in a 2 inch size which was perfect!

Look at all the faces you can make with this set of cookie cutters! Very, very fun!!!! 🙂
Let me show you how we put these little cookies together (printable recipe here)
INGREDIENTS: (makes about 25 cookies)
- One box of Double Stuff Oreos
- One and a half bags of Wilton’s Candy Melts in yellow
- One box of Wilton’s white fondant
or make your own- recipe here
- A little powdered sugar to roll the fondant out with
- Gel food coloring
in black, red and blue
- You’ll also need some lollipop sticks, (and a set of tweezers, some toothpicks and a small paintbrush are helpful!)
DIRECTIONS: (if you have never made Oreo Pops before, click here for tips!)
- Make all the components for your Emoji faces first! They will be ready to place on the melted candy when the time comes!
- If you have never worked with fondant before, you might find our tutorial here helpful.
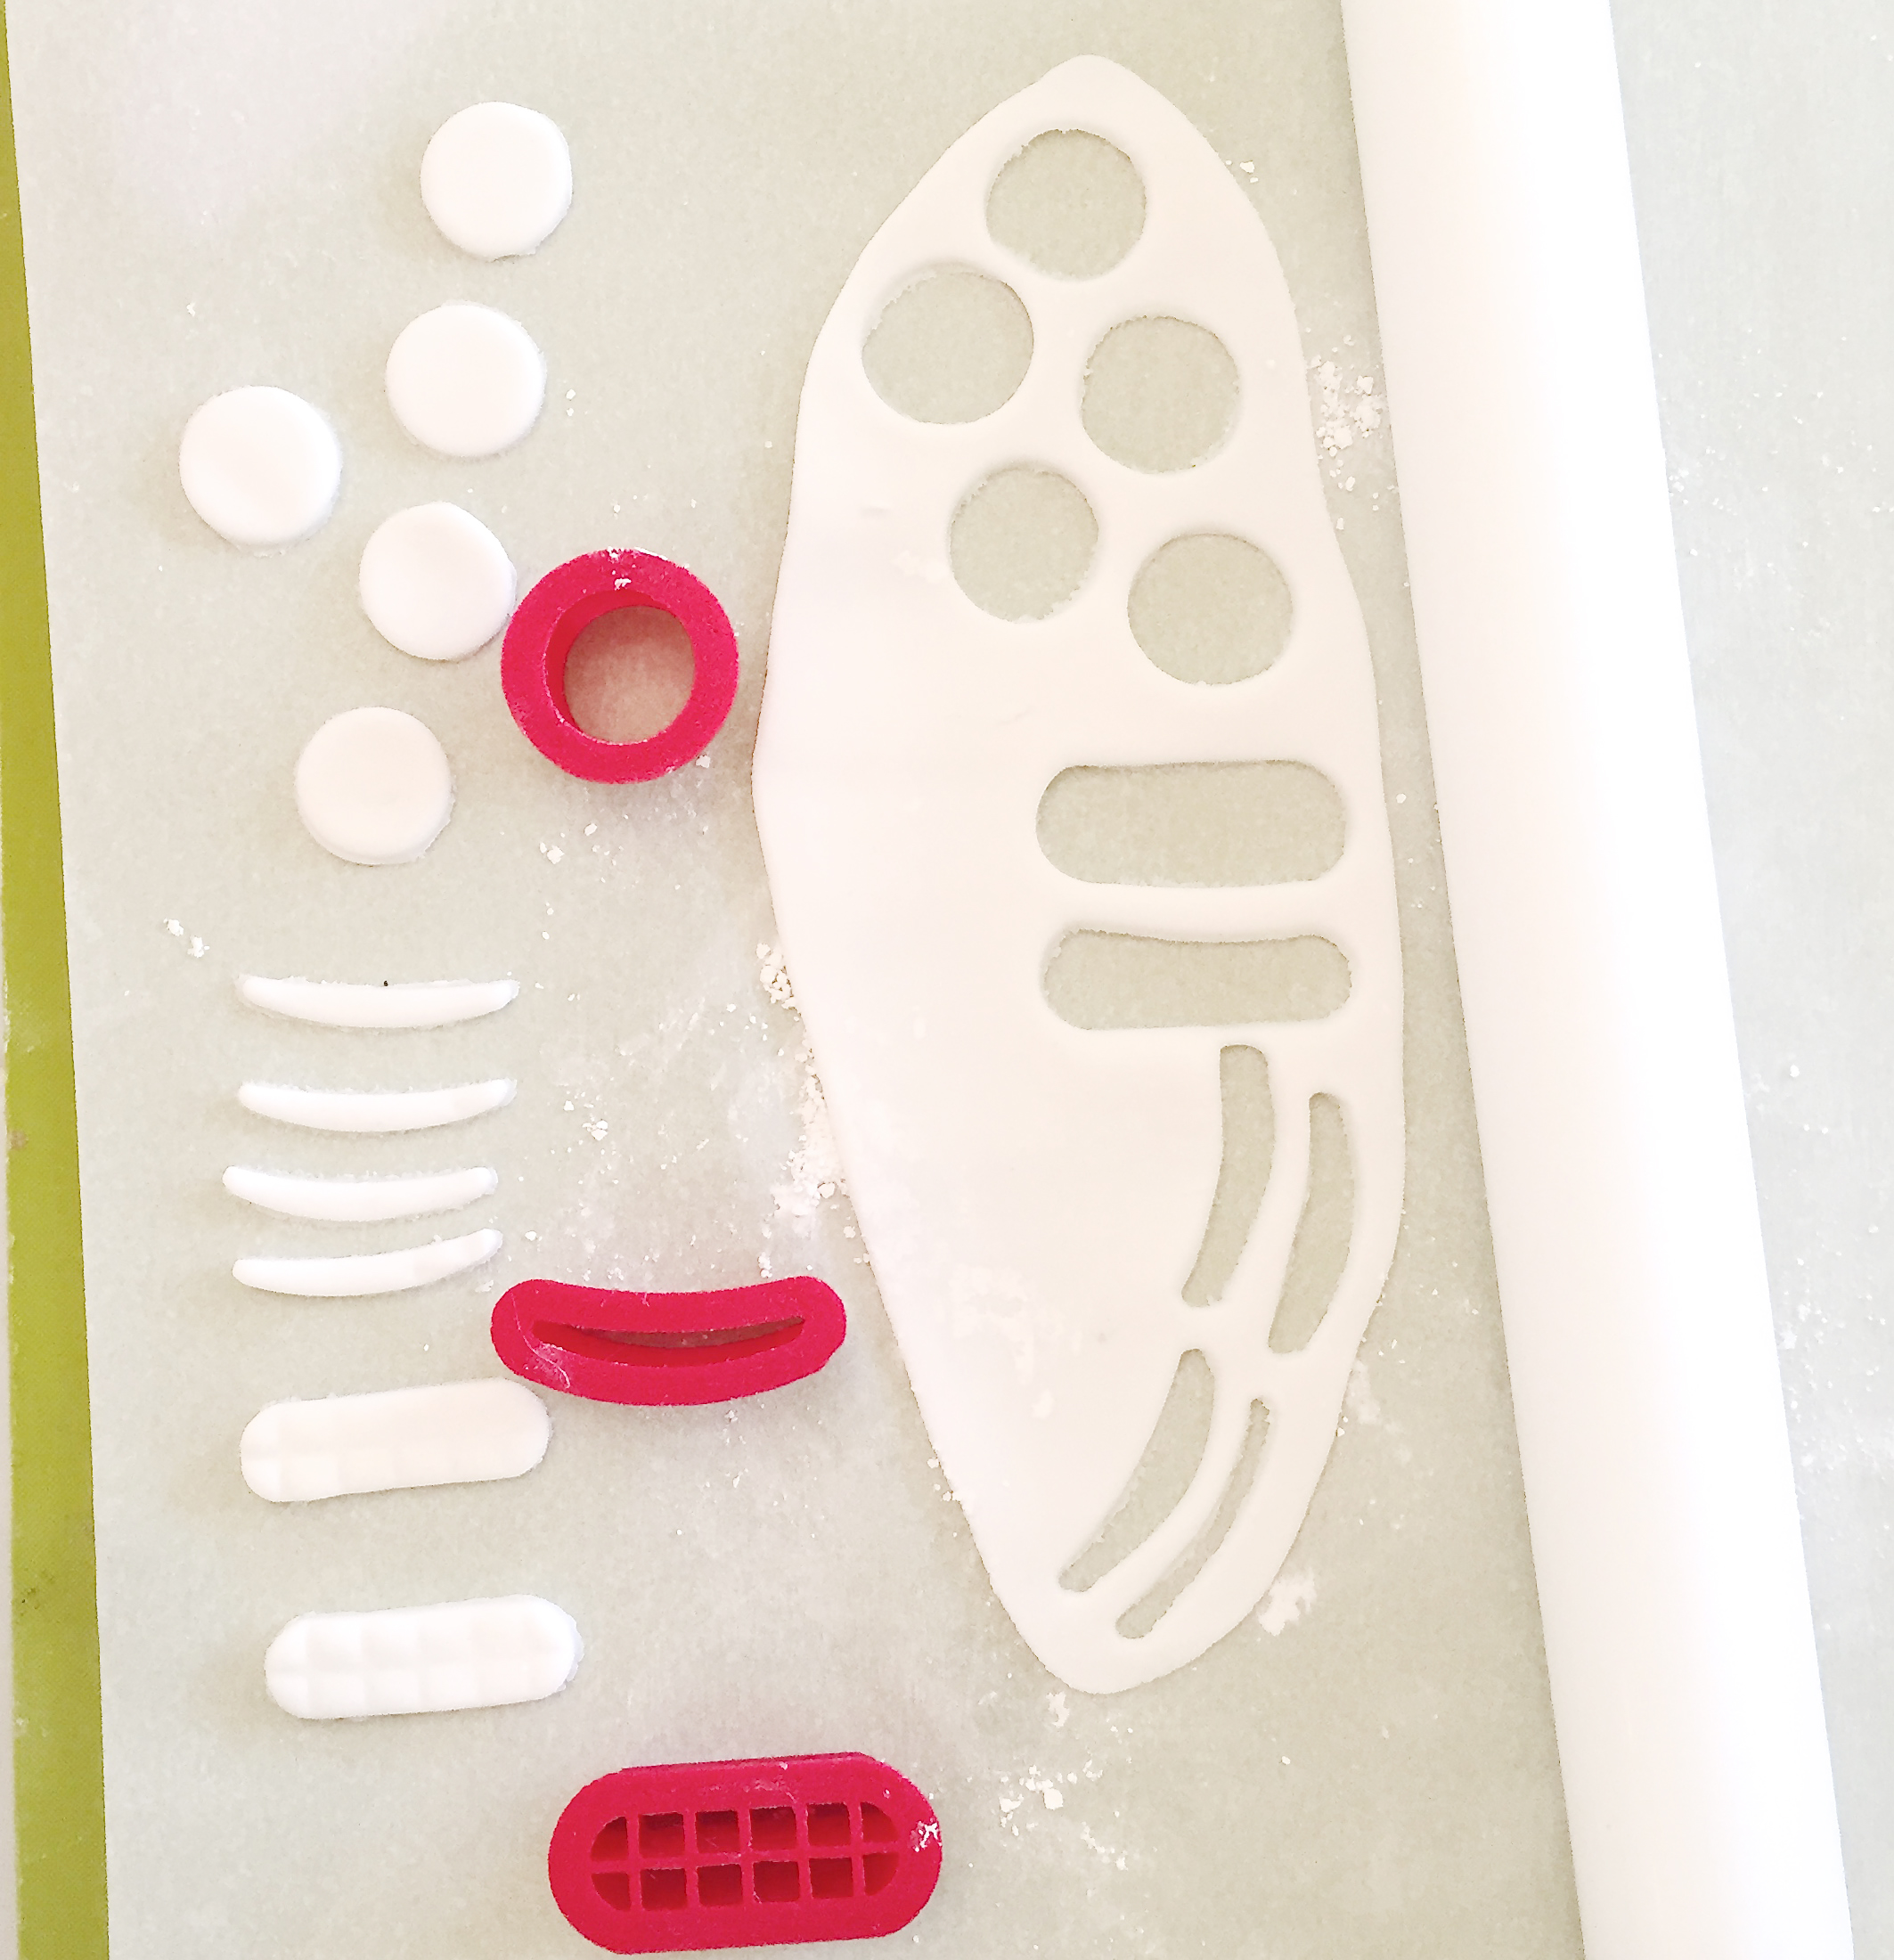
- Pull a small ball of fondant off the block of Wilton’s white fondant and roll it into a ball.
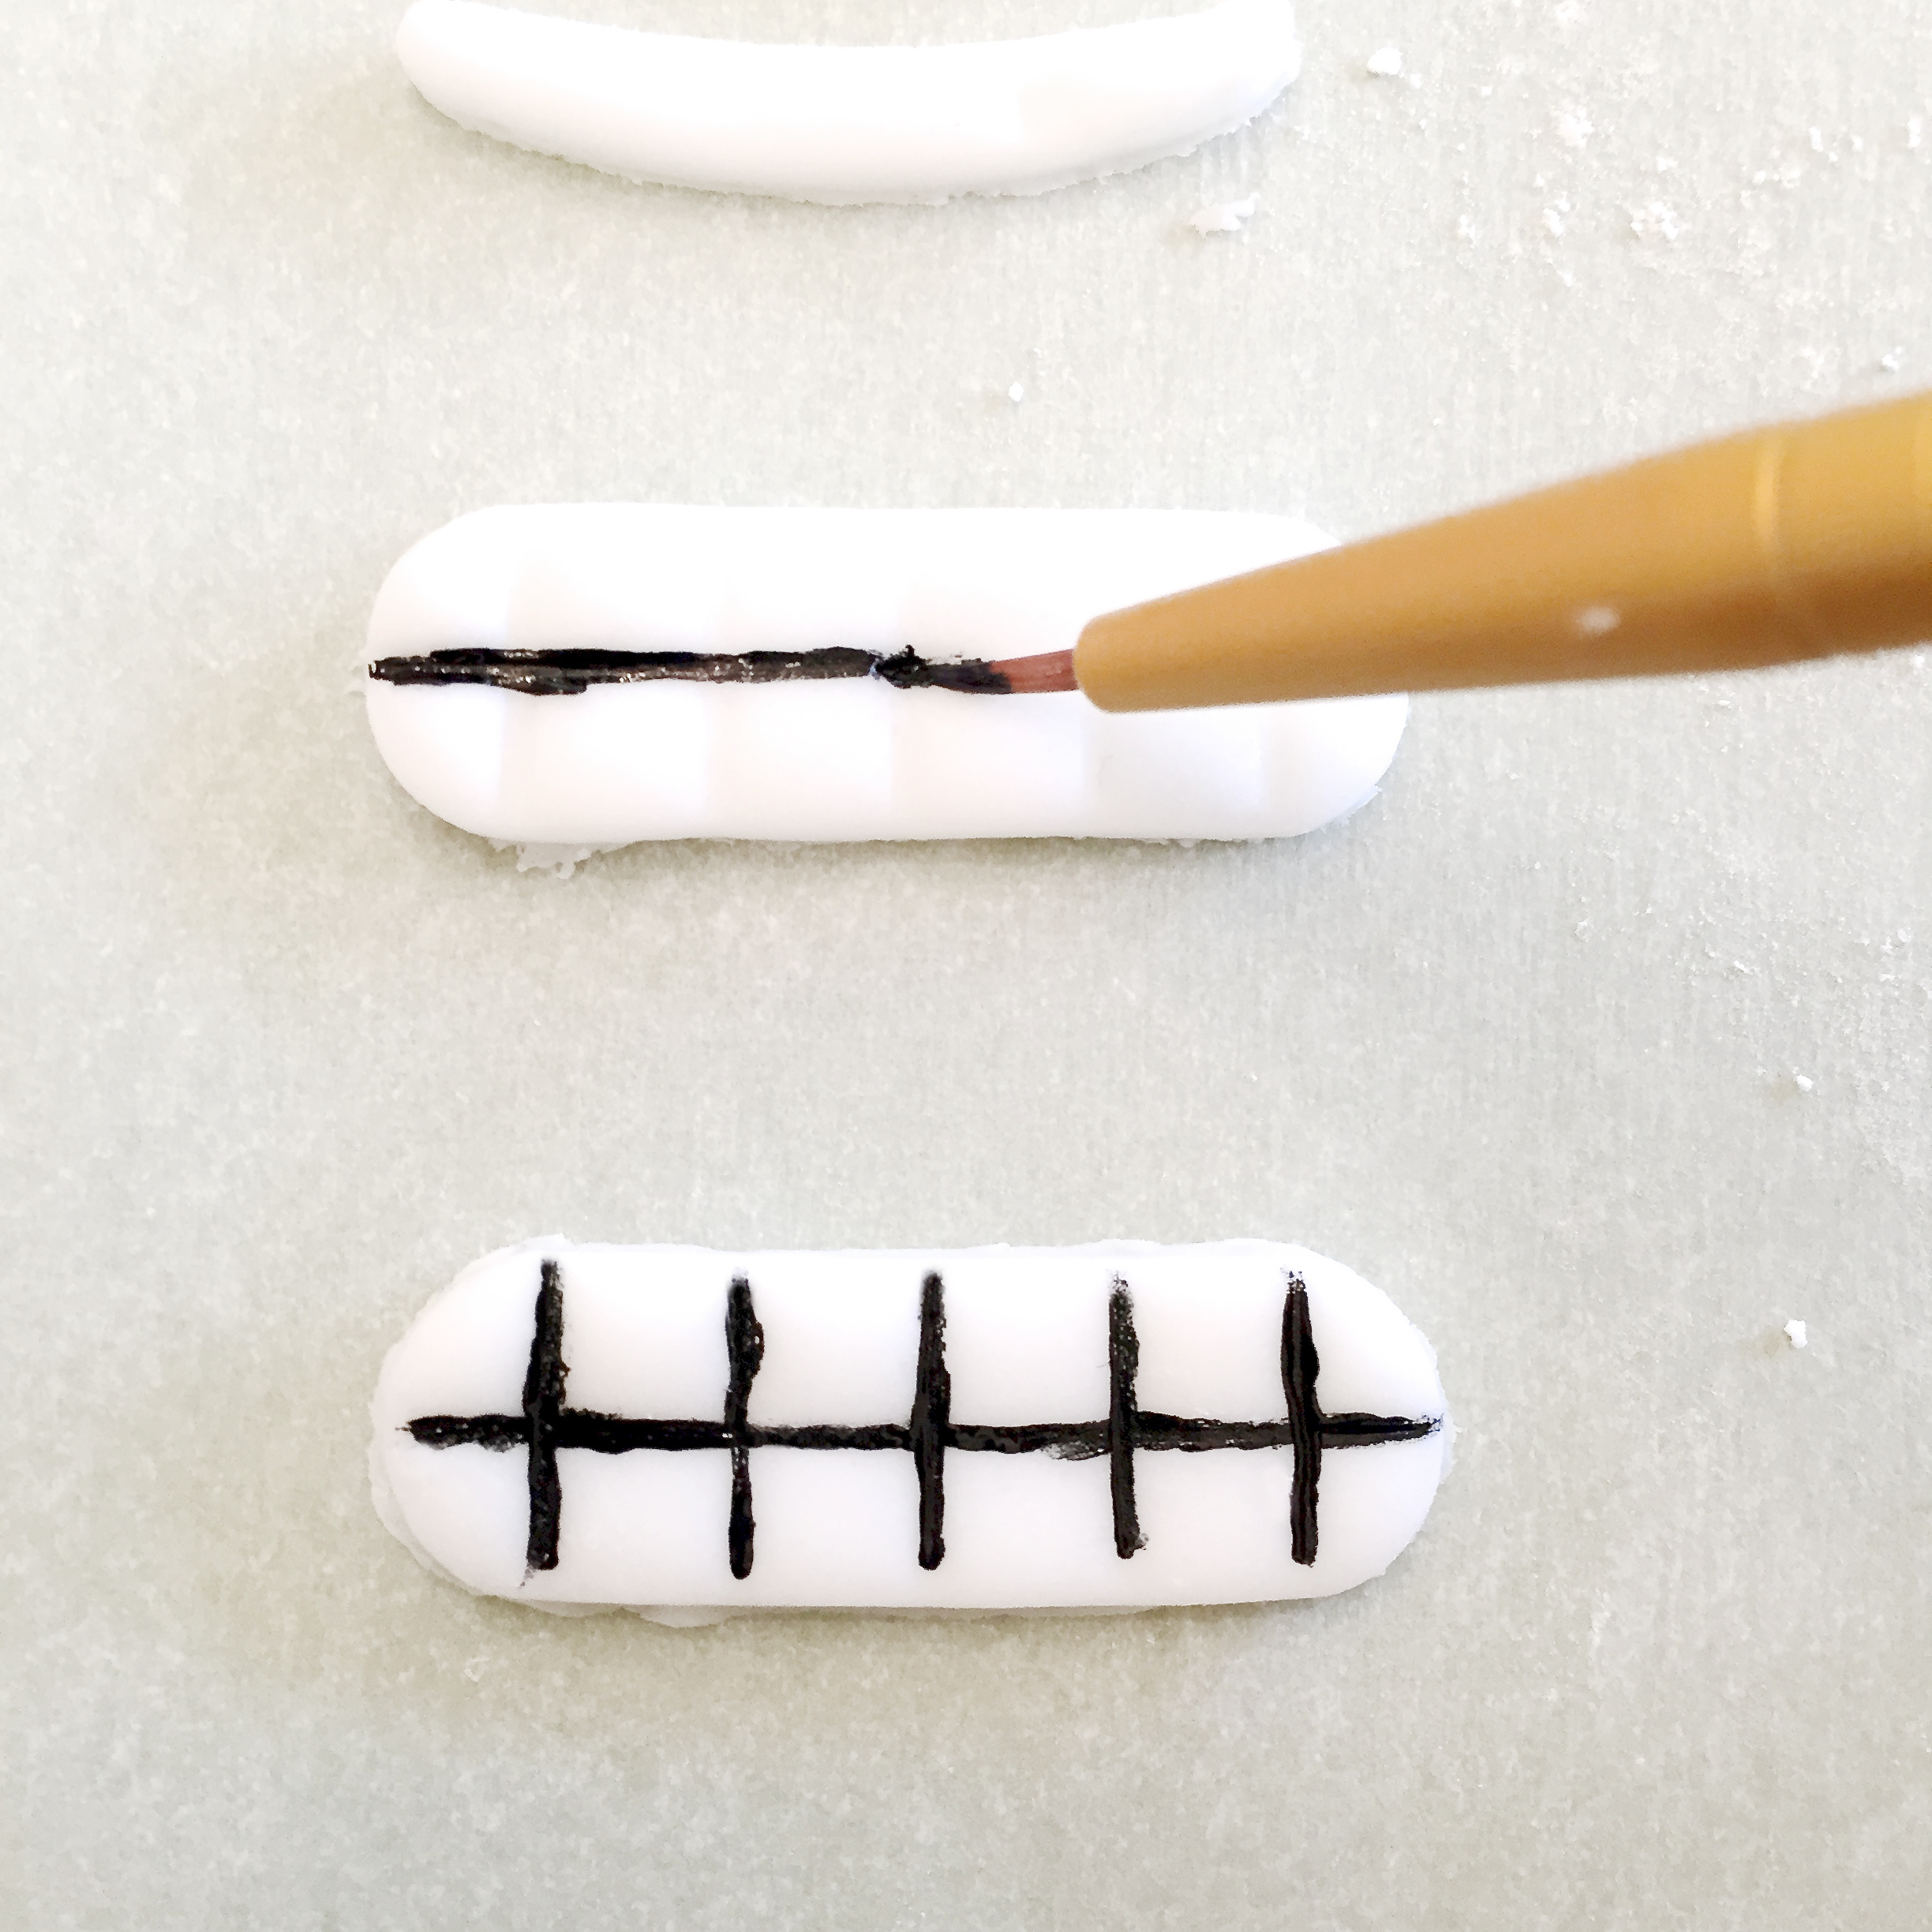
- Using a small rolling pin and a little powdered sugar, roll the fondant out like cookie dough and cut all the white pieces of the faces you want to make. The big eyes and teeth are easy- but the little teeth need a toothpick’s help to poke them out of the cutter when it picks them up off the table. You will also want to “paint” the black lines on the big teeth with black gel food coloring. You can use a toothpick or a small brush to do this.
- You want to work with fondant starting with the lightest colors 1st and ending with the darkest, so next up is blue tears- then red tongues and hearts- and finally all the black pieces.
- To color fondant, add gel to the center of the ball and knead it with your hands. You will get colored hands (unless you wear gloves).
- Once you are finished with a color, you can keep it soft by protecting it from air (under a small dish or glass).
- One note: When you get to the black pieces, the little eyebrows are SO tiny that I skipped cutting them out and just used a toothpick to draw them on the faces at the end (I can draw eyebrows…) 🙂
- To stick two pieces together (like pupils on the eyes, and tongues on the mouths), brush a little water on the back of the piece you want to “glue on” and place it where you want it.
- Once your pieces are finished, just let them sit and harden up a bit while you make your Oreo Pops!
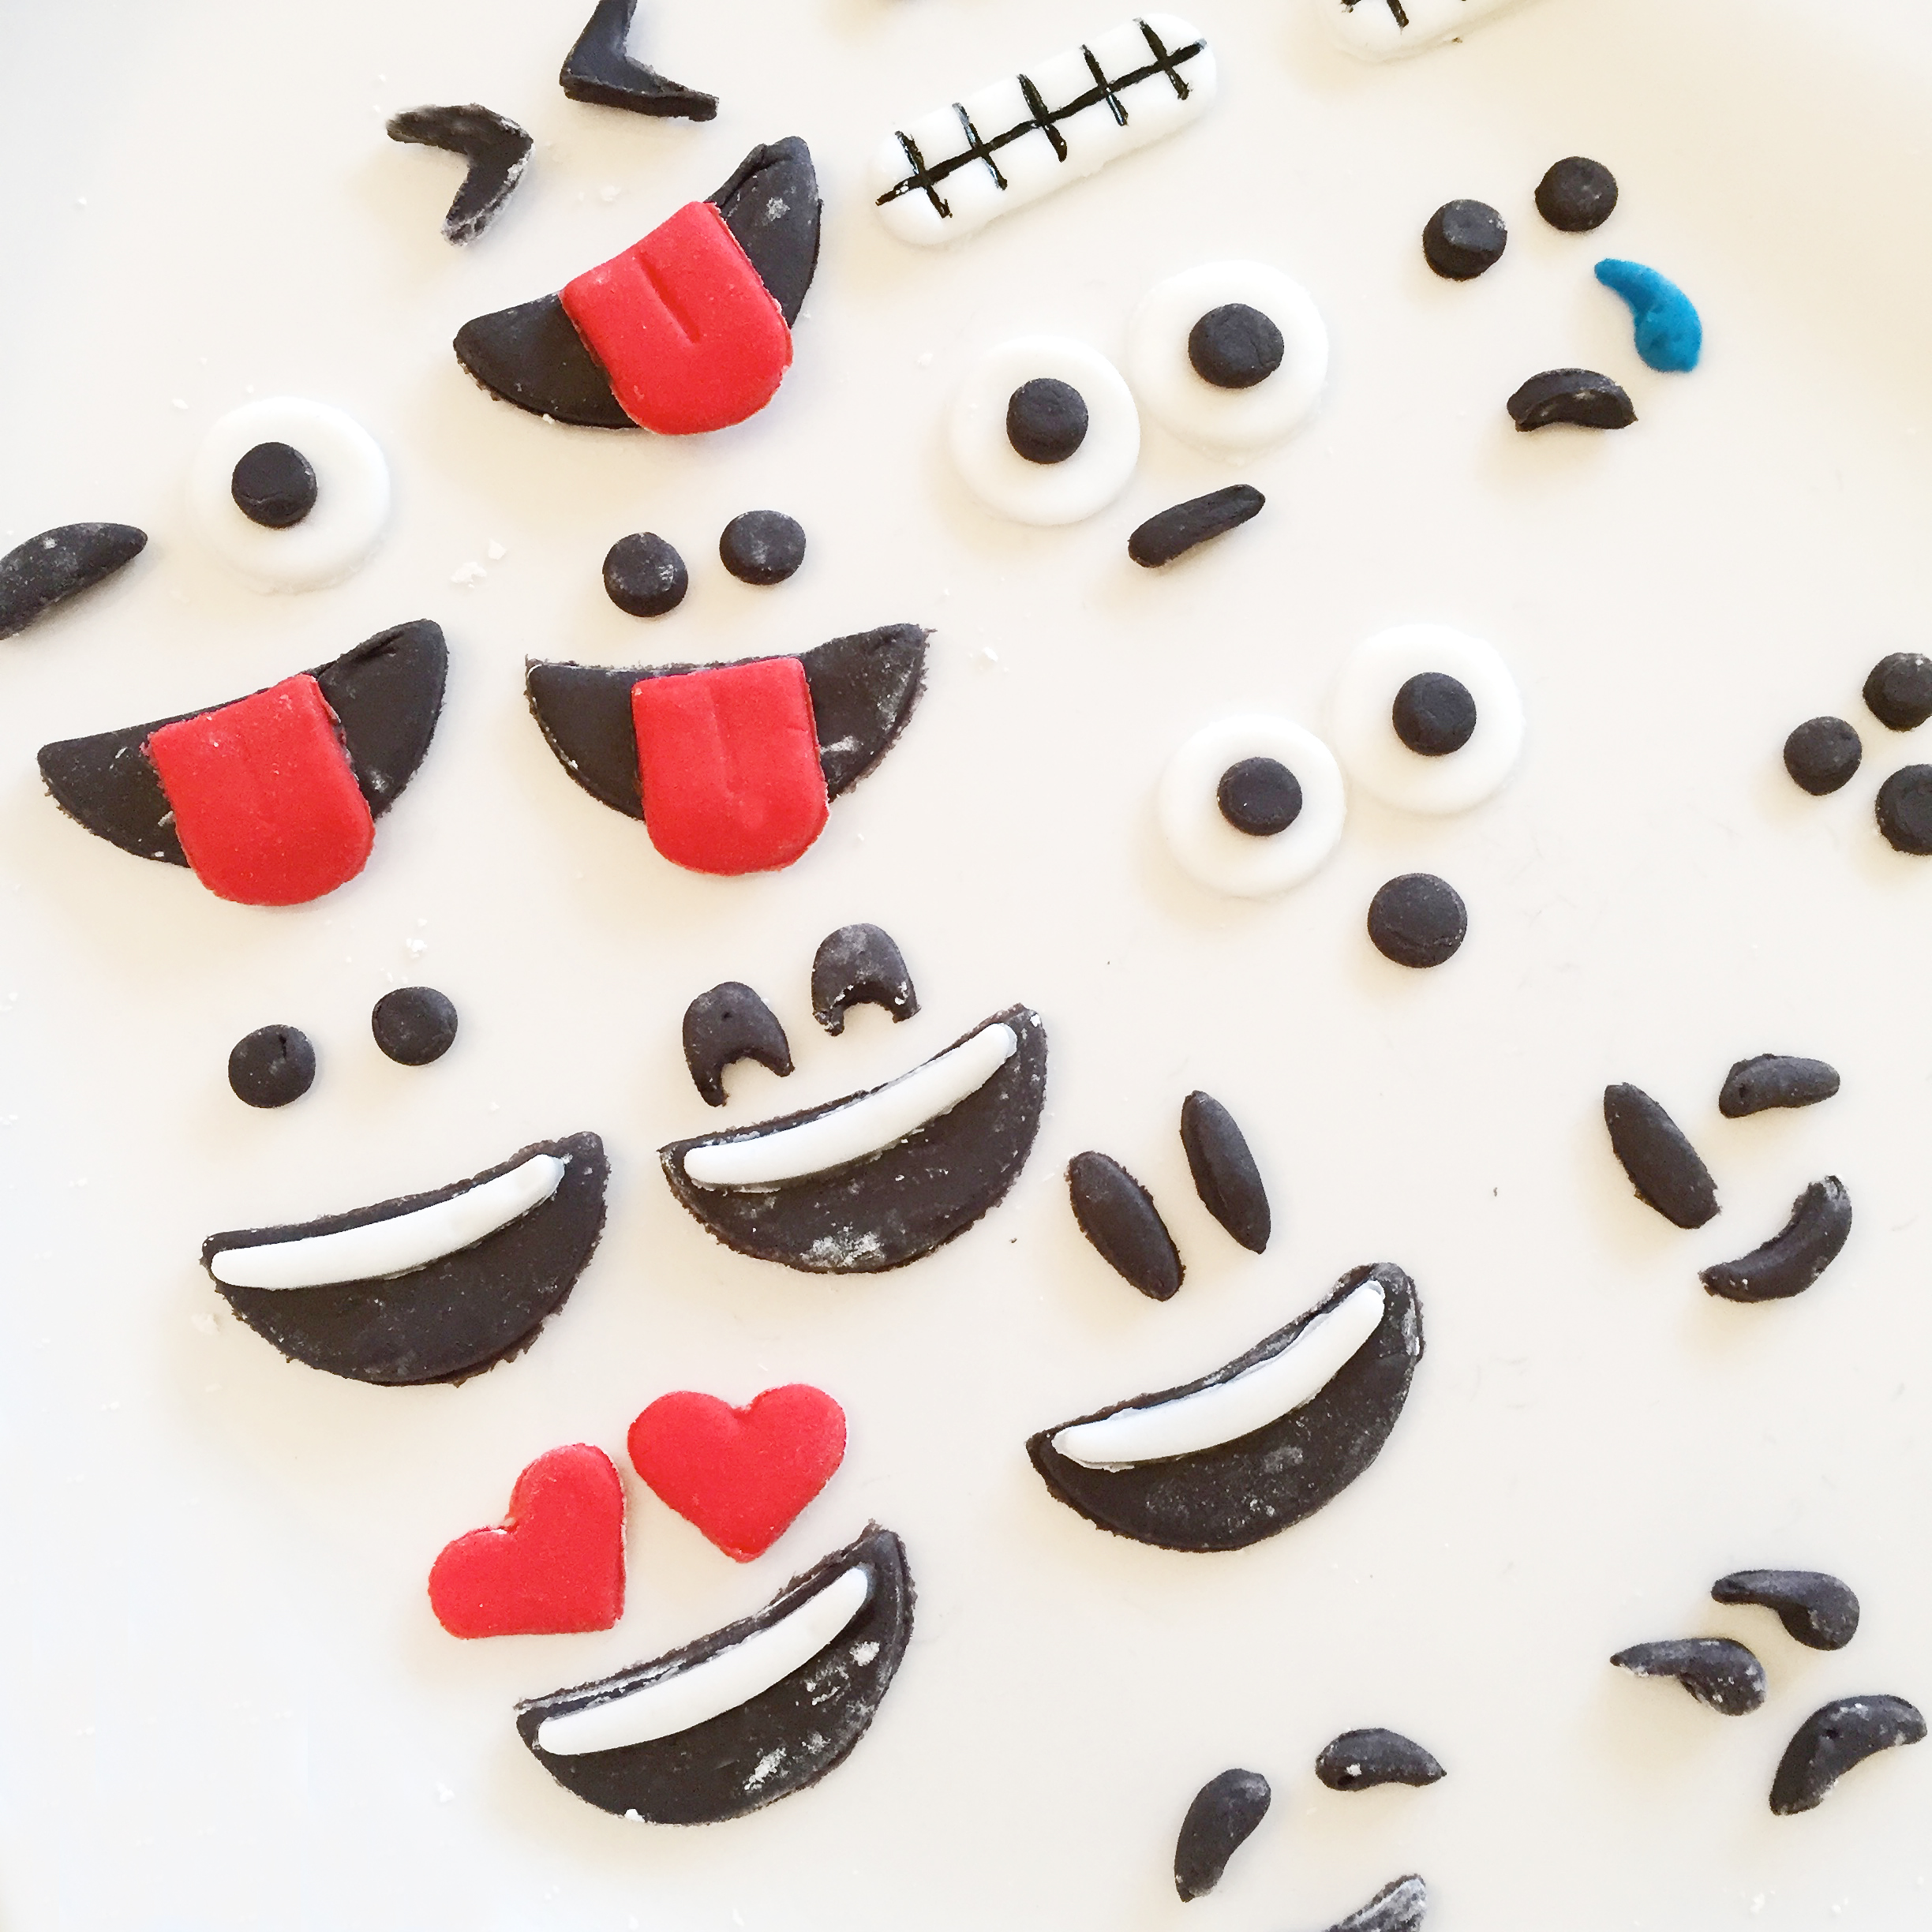
- See the powdered sugar on the black pieces? Use a little paintbrush to brush that off once your Oreo pops are completed.
- Twist apart all of your Oreos.
- Melt your yellow candy melts in the microwave in 30 second increments, stirring in between, until melted and smooth.
- Dip the end of a lollipop stick into the melts, spread a little on the top of the white filling of the Oreo and then press the stick into the white filling.
- Place the top of the Oreo back on so that the stick is in the middle with the filling.
- Do this for all the Oreos, and set them on a large plate or cookie sheet to FREEZE for about 10 minutes.
- Hold a chilled pop by the stick, and spoon yellow candy melts over the top, bottom and sides of the Oreo.
- Tap stick against the side of the bowl to get extra melts off, and gently pull the bottom of the Oreo along the edge of the bowl, scraping off excess melts.
- Set Oreo on parchment paper to harden- but before it hardens, place your fondant face on top. I used my fingers, but tweezers and a toothpick would be helpful in placing and positioning each piece. I honestly felt like I was playing the game “Operation”. You need steady hands!
- Allow Oreo to harden up.
- Brush away extra powdered sugar from face, and paint on some eyebrows for the faces that require some 🙂
- Let these sit for a couple hours to fully harden (you can chill to speed this up) and then serve! I placed them in individual cello bags
and tied them with ribbons to make giving them away easy!
- Enjoy!

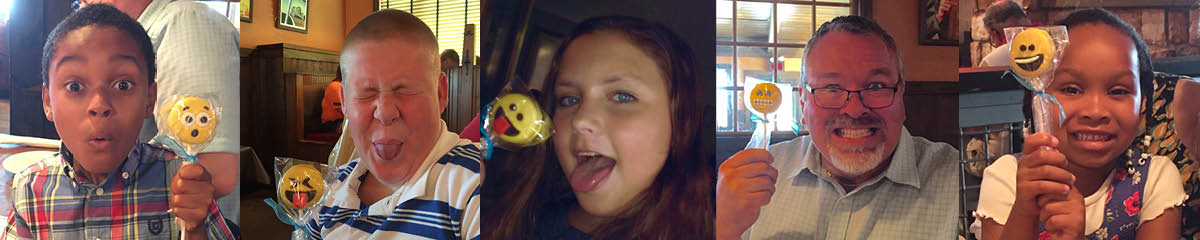
My thoughts: These are probably the most fun dessert I’ve ever given away. These were a HUGE hit with everyone and resulted in lots of Emoji selfies 🙂 Here’s a little glimpse of the fun:
Of course, these are time consuming. Even with the added help of the little cookie cutters, they take time. If your time is limited, I recommend you make the fondant faces and then assemble the pops later. The good thing about these is that they keep for several weeks when they are tied up in those cello bags- so you can do them WAY ahead of an event! I hope you are brave enough to tackle these- and that my other posts on Oreo Pops and the use of fondant are helpful! Enjoy! ~r

Other Oreo Pop ideas: (click on a photo to see the recipe)