RSS Feed

Tag Archives: buttercream recipe

Gender Reveal (Surprise!) Cupcakes

Posted on

Gender reveal cupcakes!!!
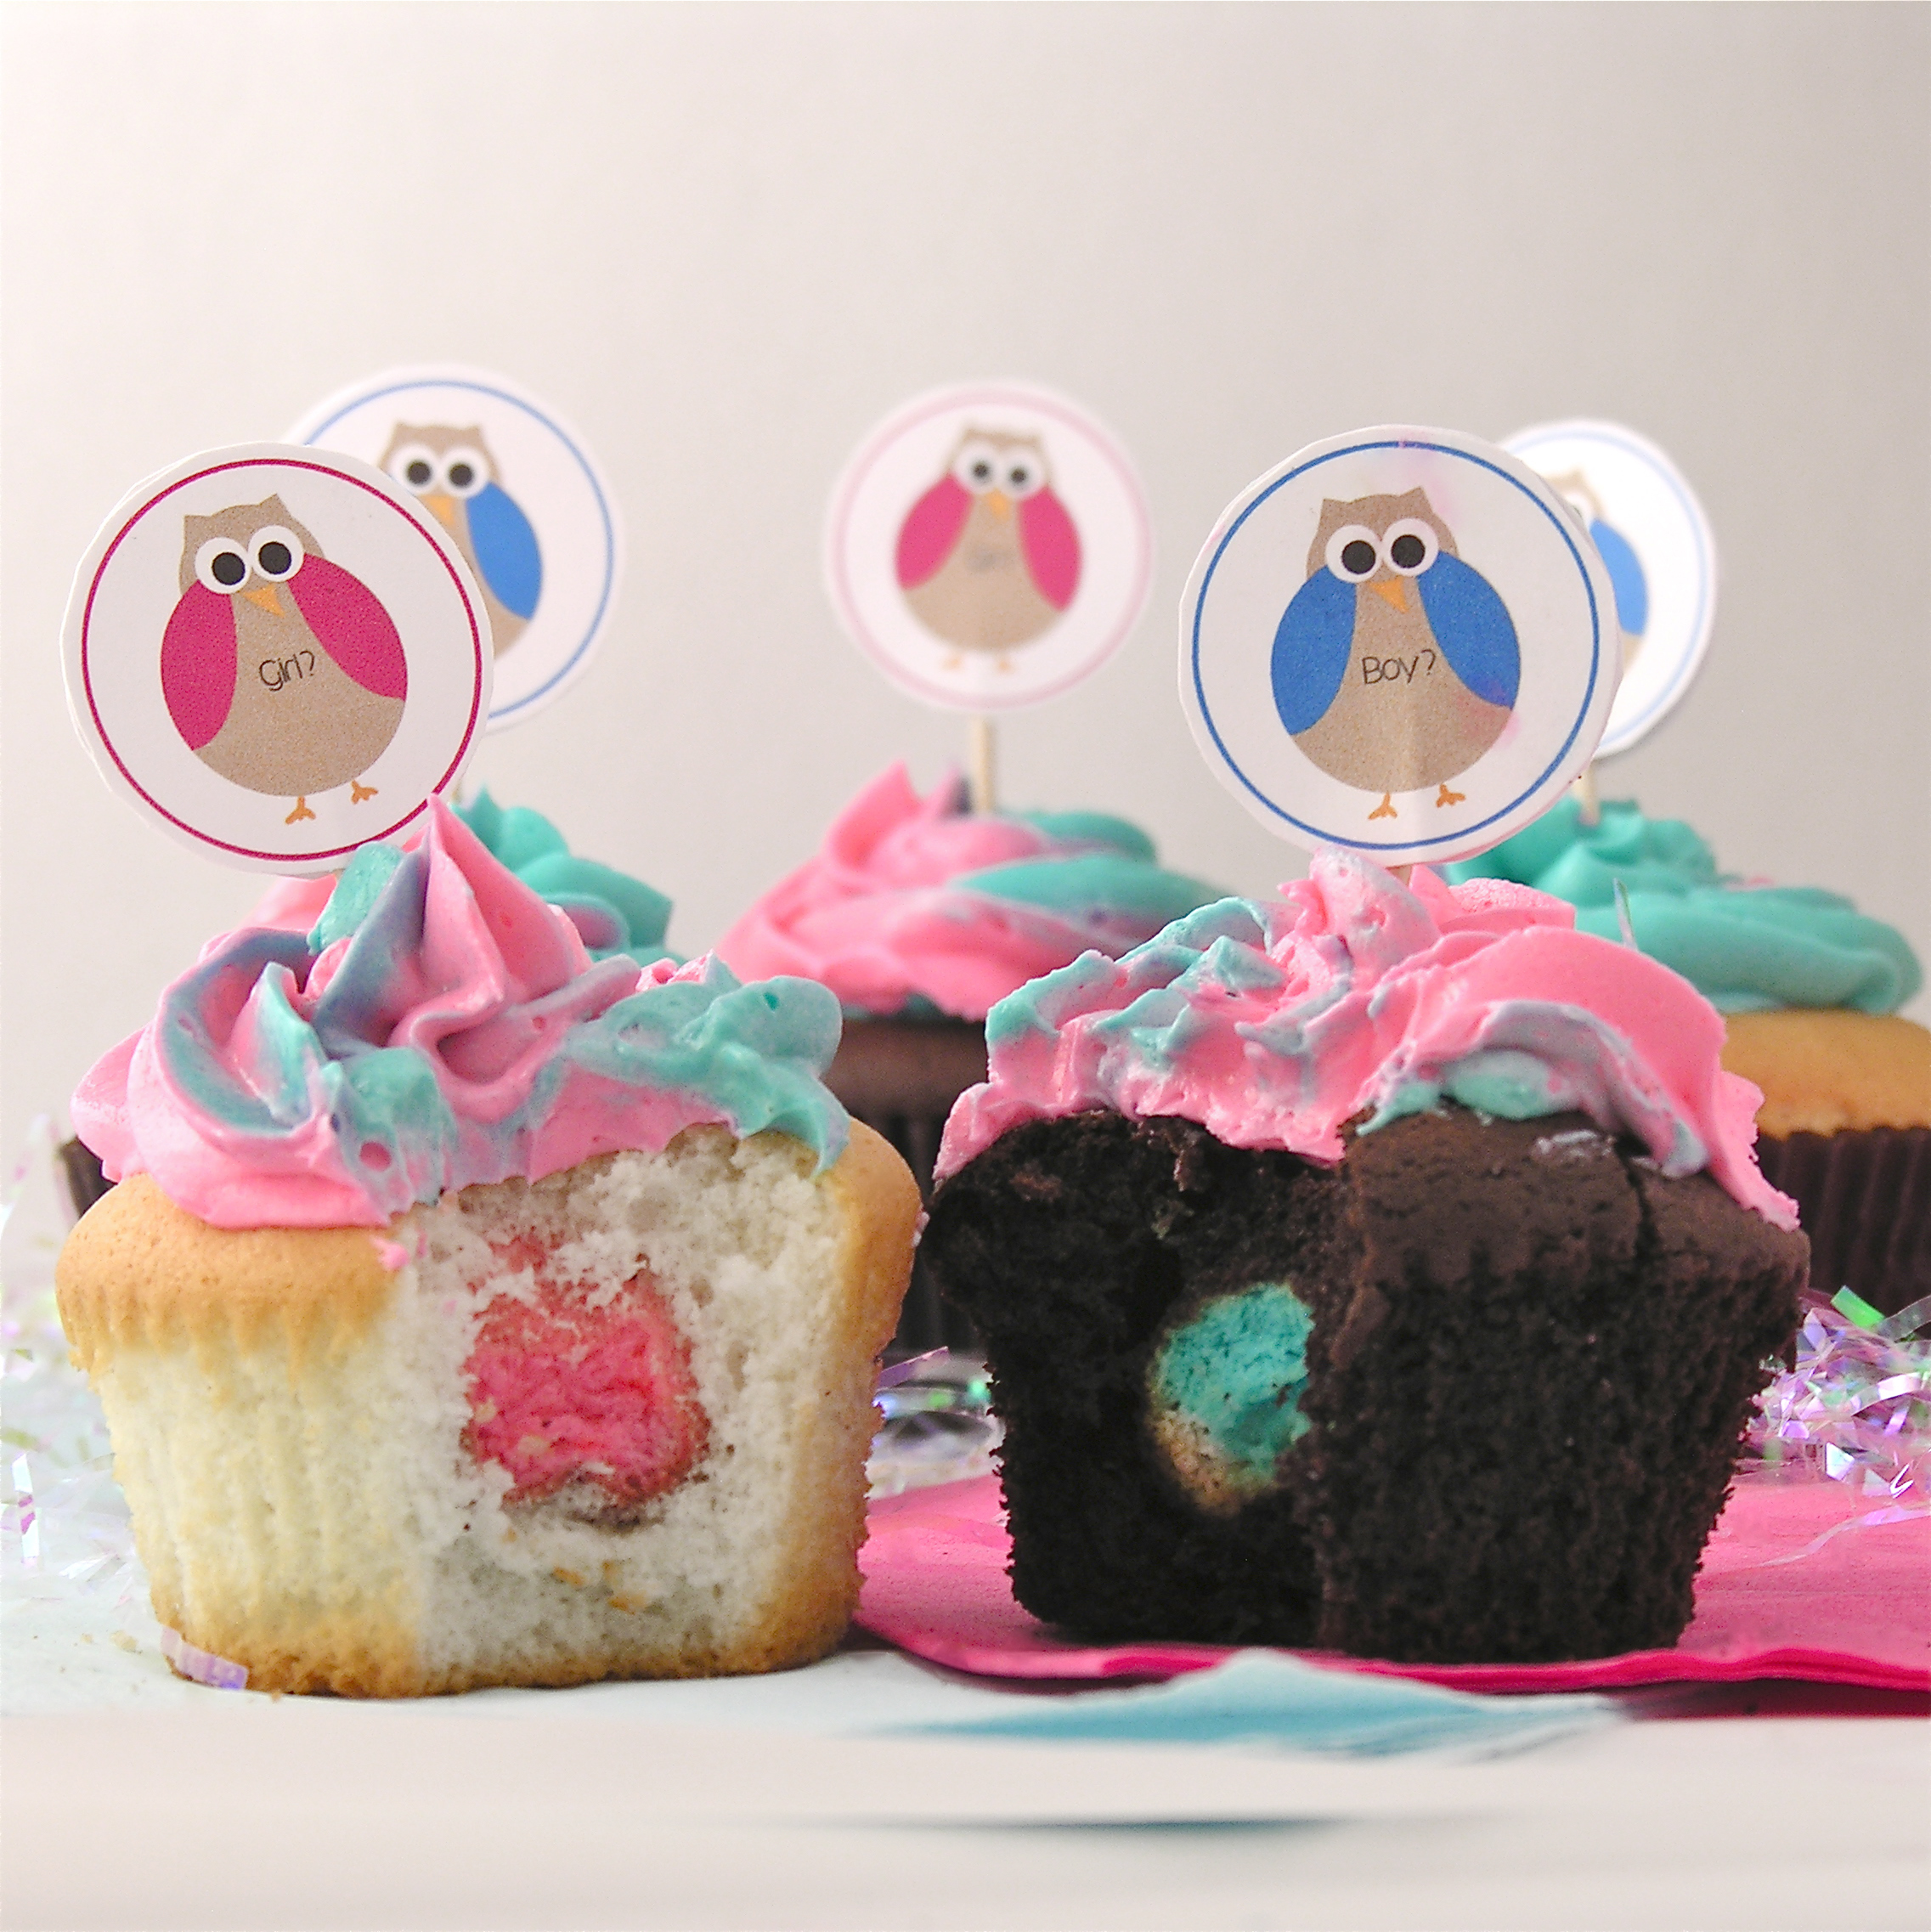
These cupcakes hold a secret—- is it a boy, or is it a girl?  The latest trend of having a gender reveal party is SO much fun when the gender is revealed with a yummy dessert!  Plus, I’ve included free printable cupcake toppers to go along with your party theme!

Gender reveal Cupcakes

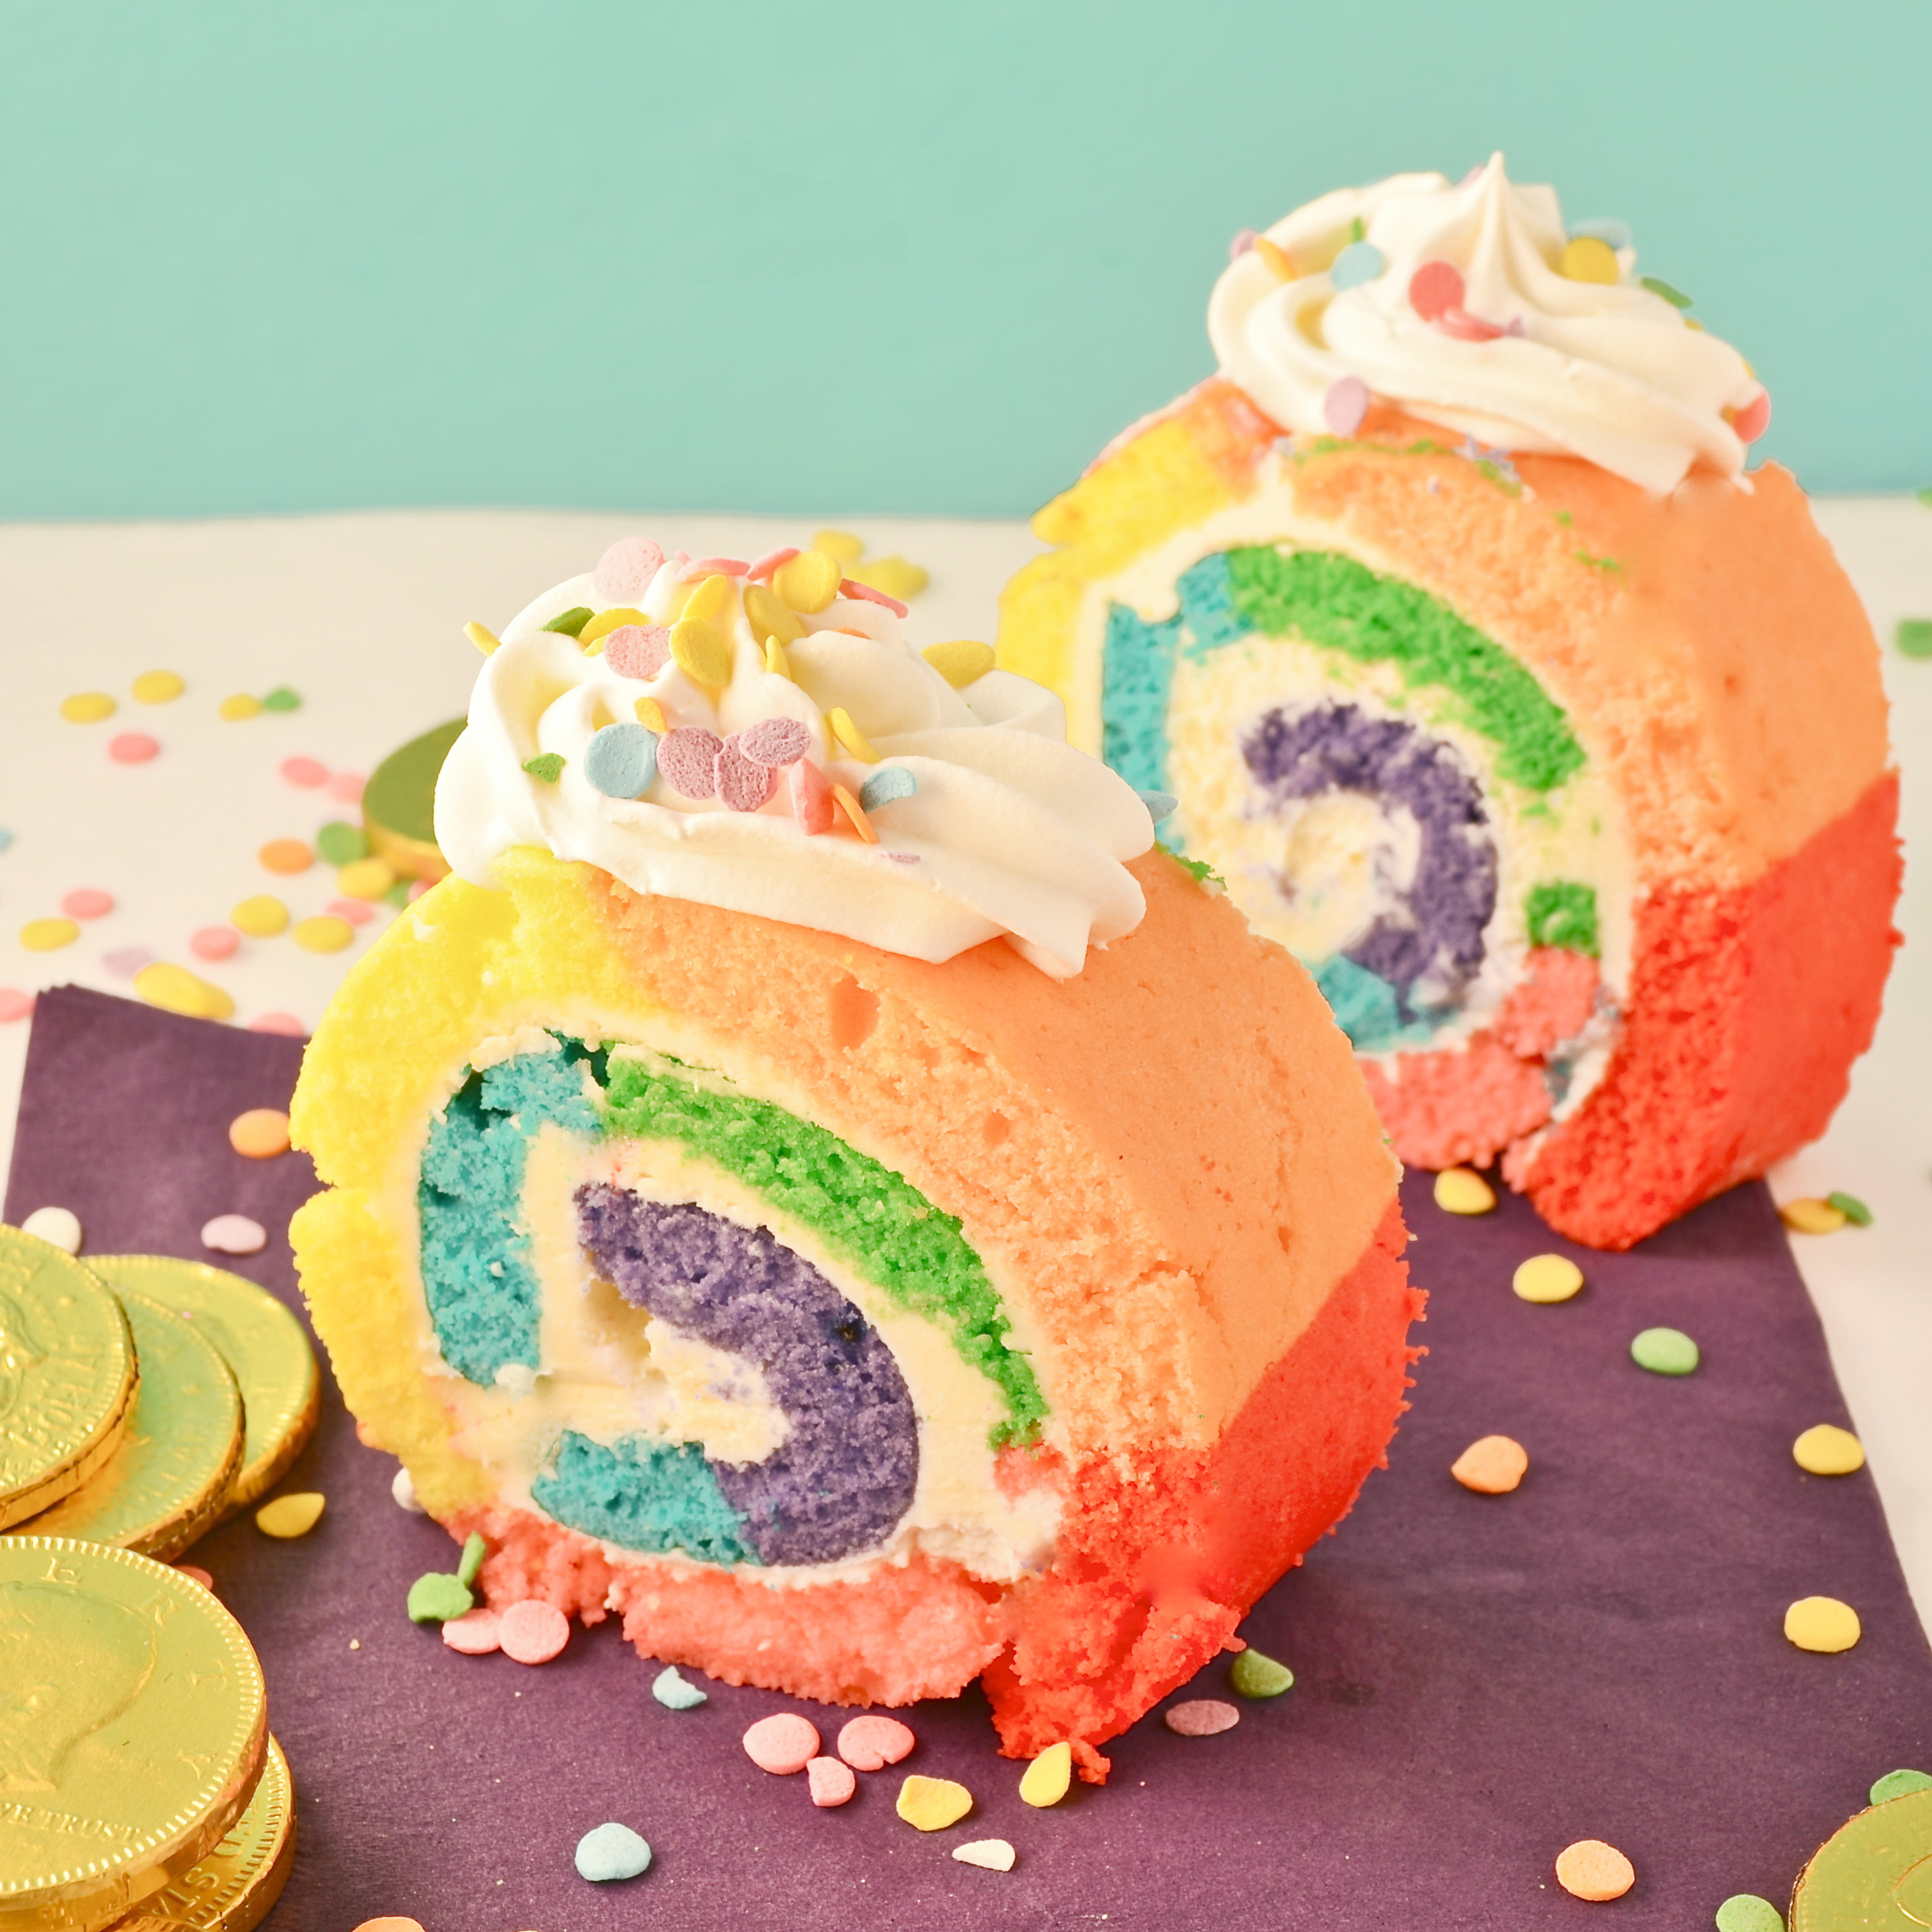
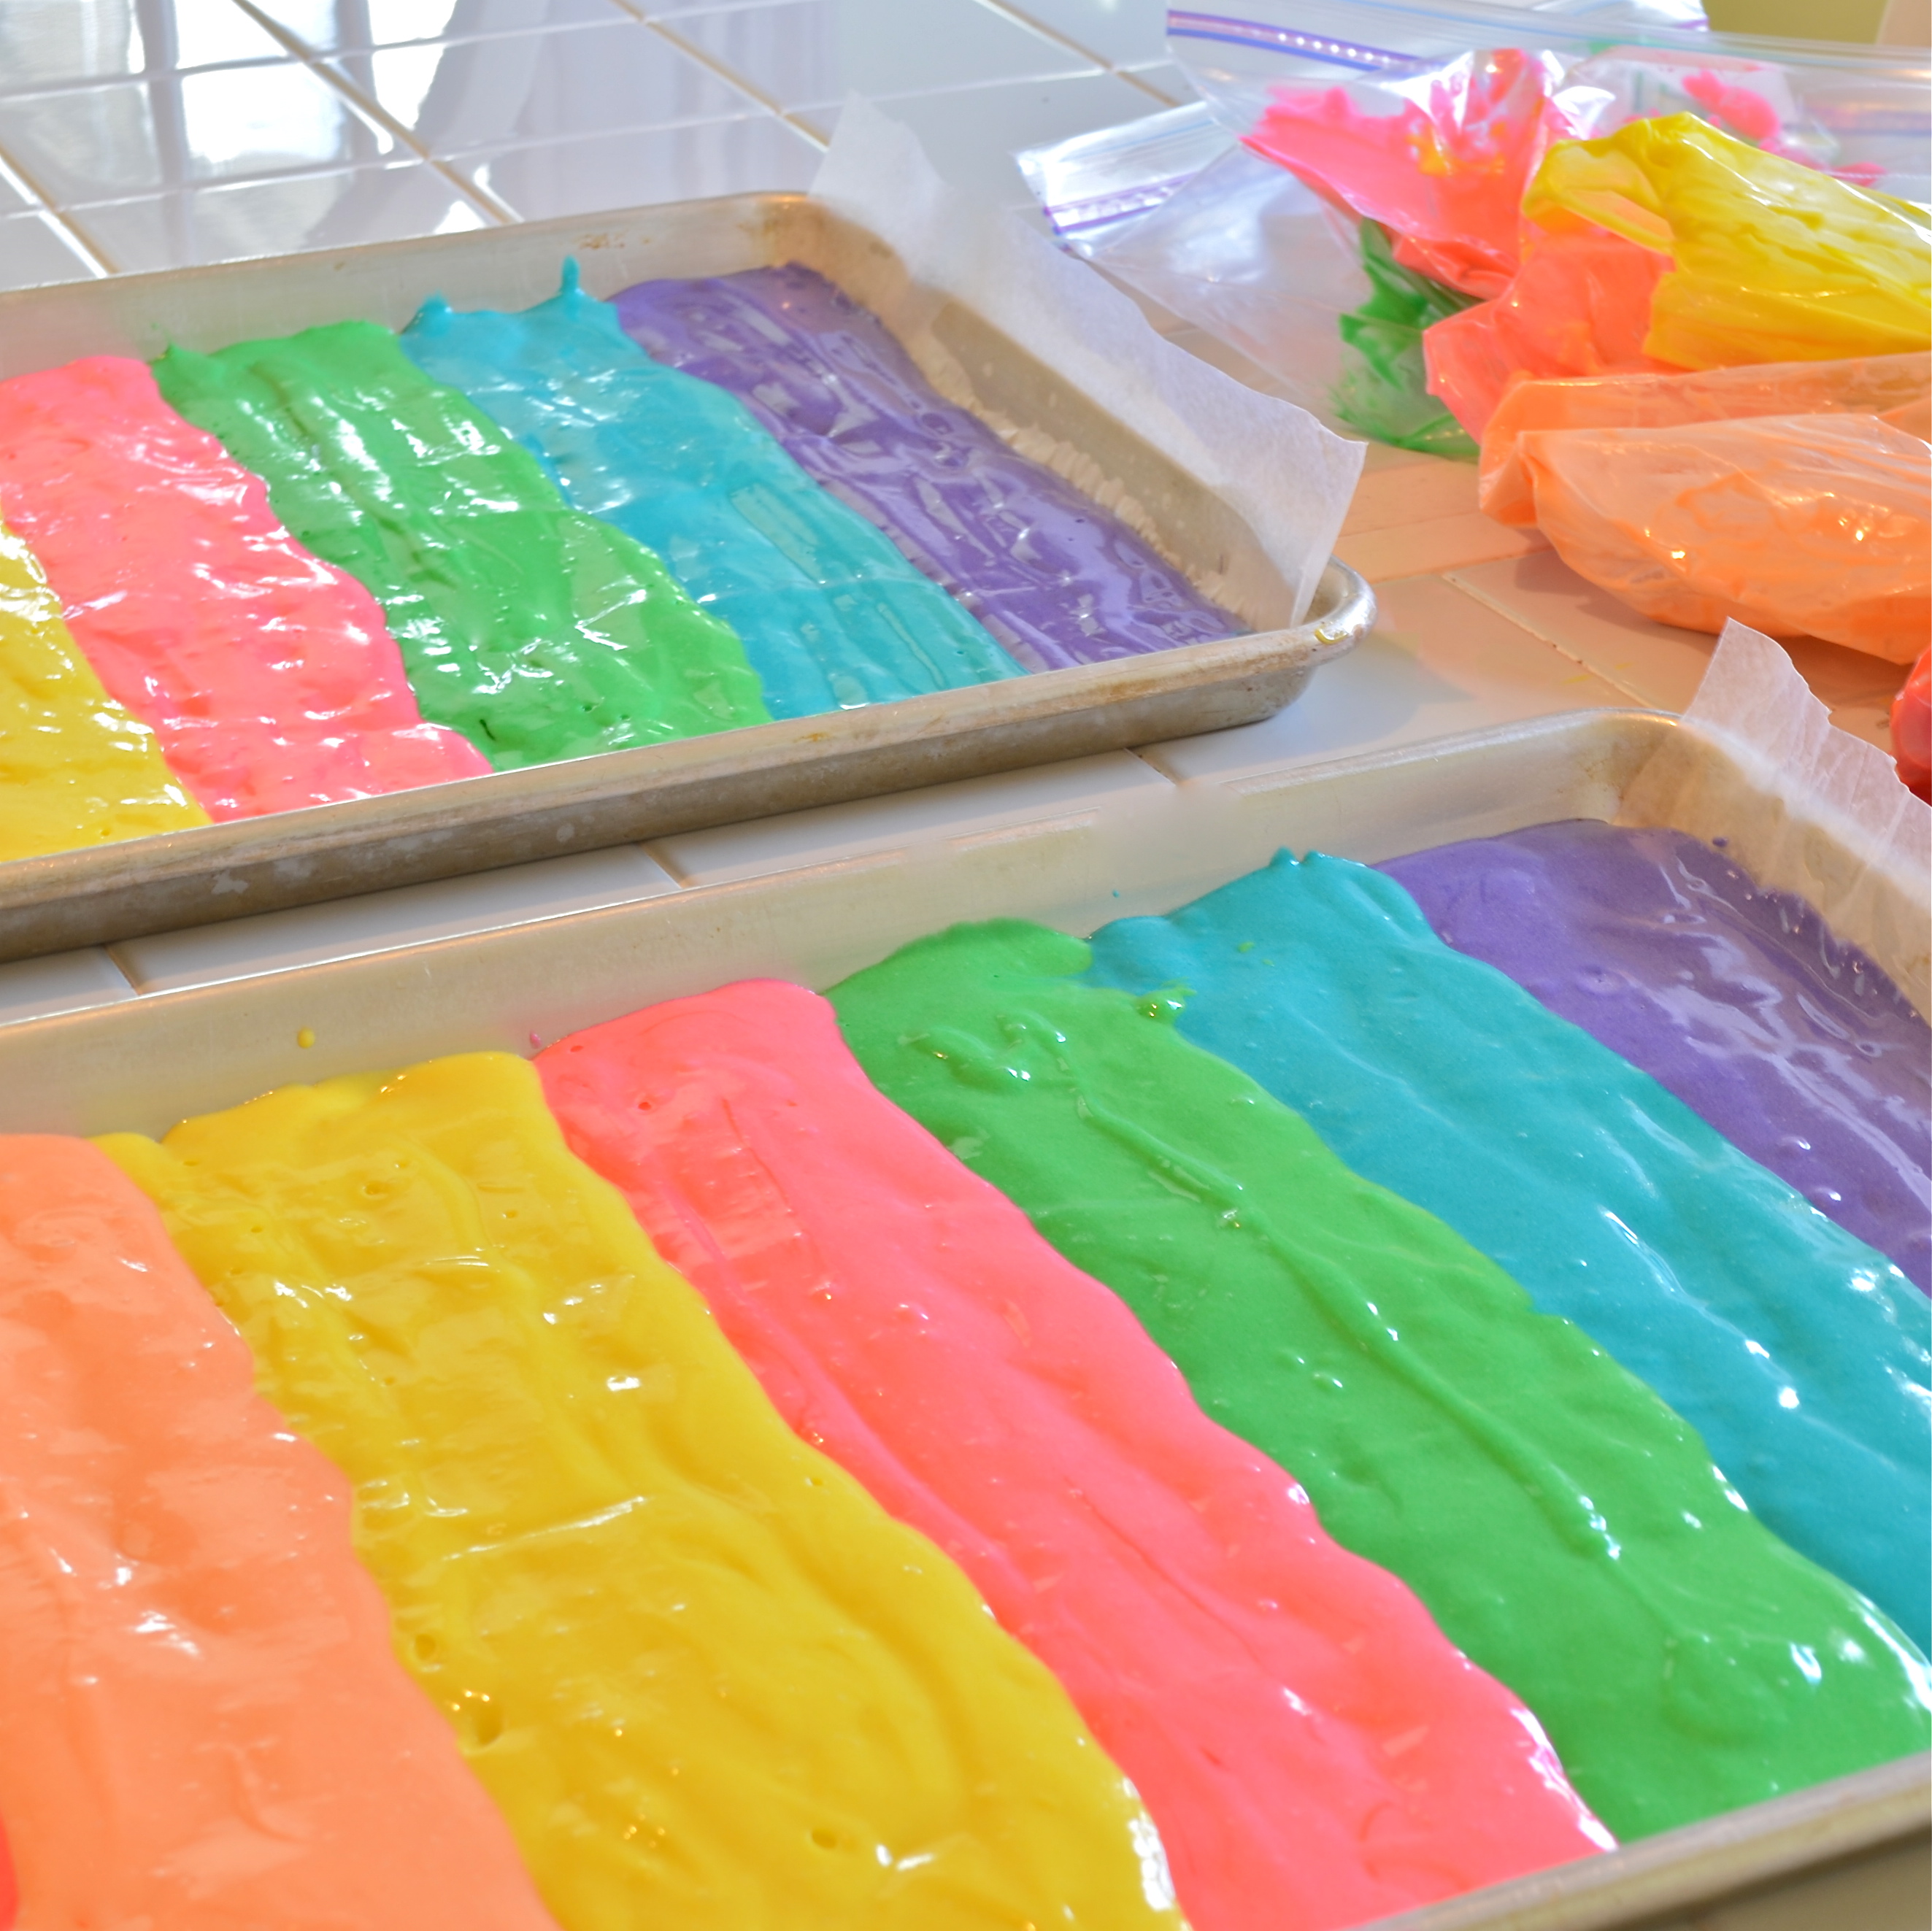
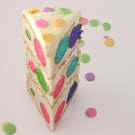
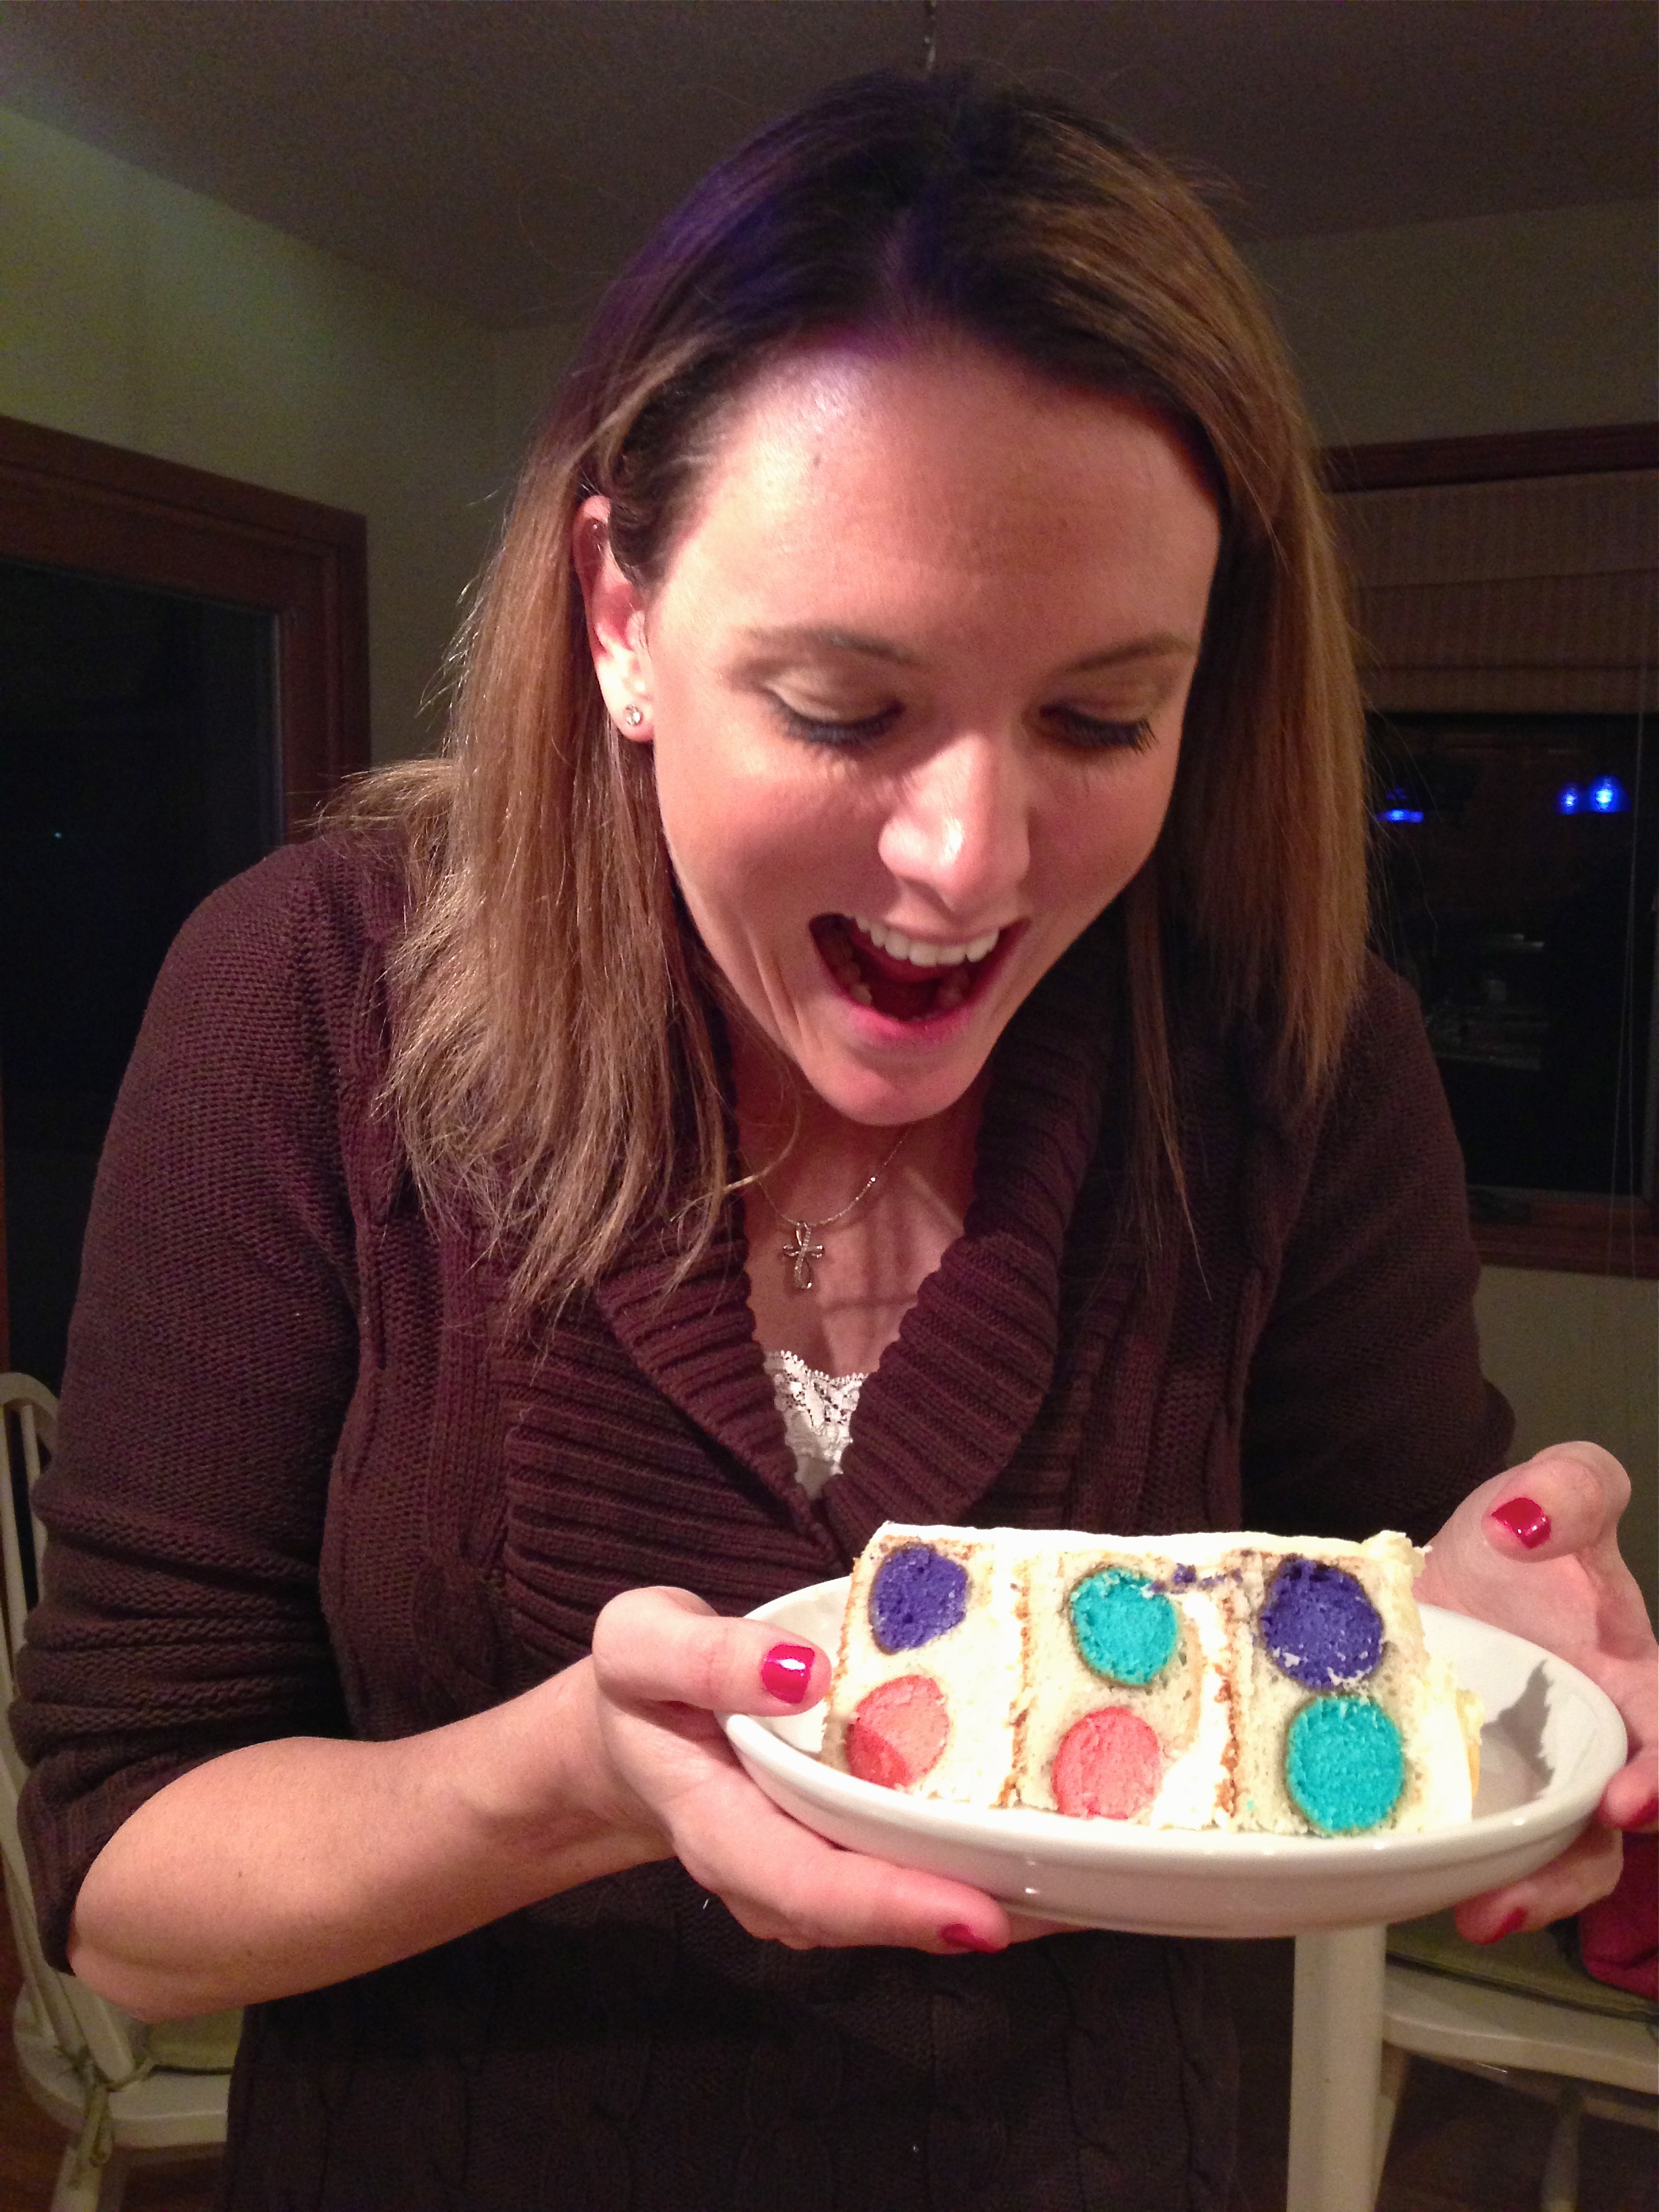
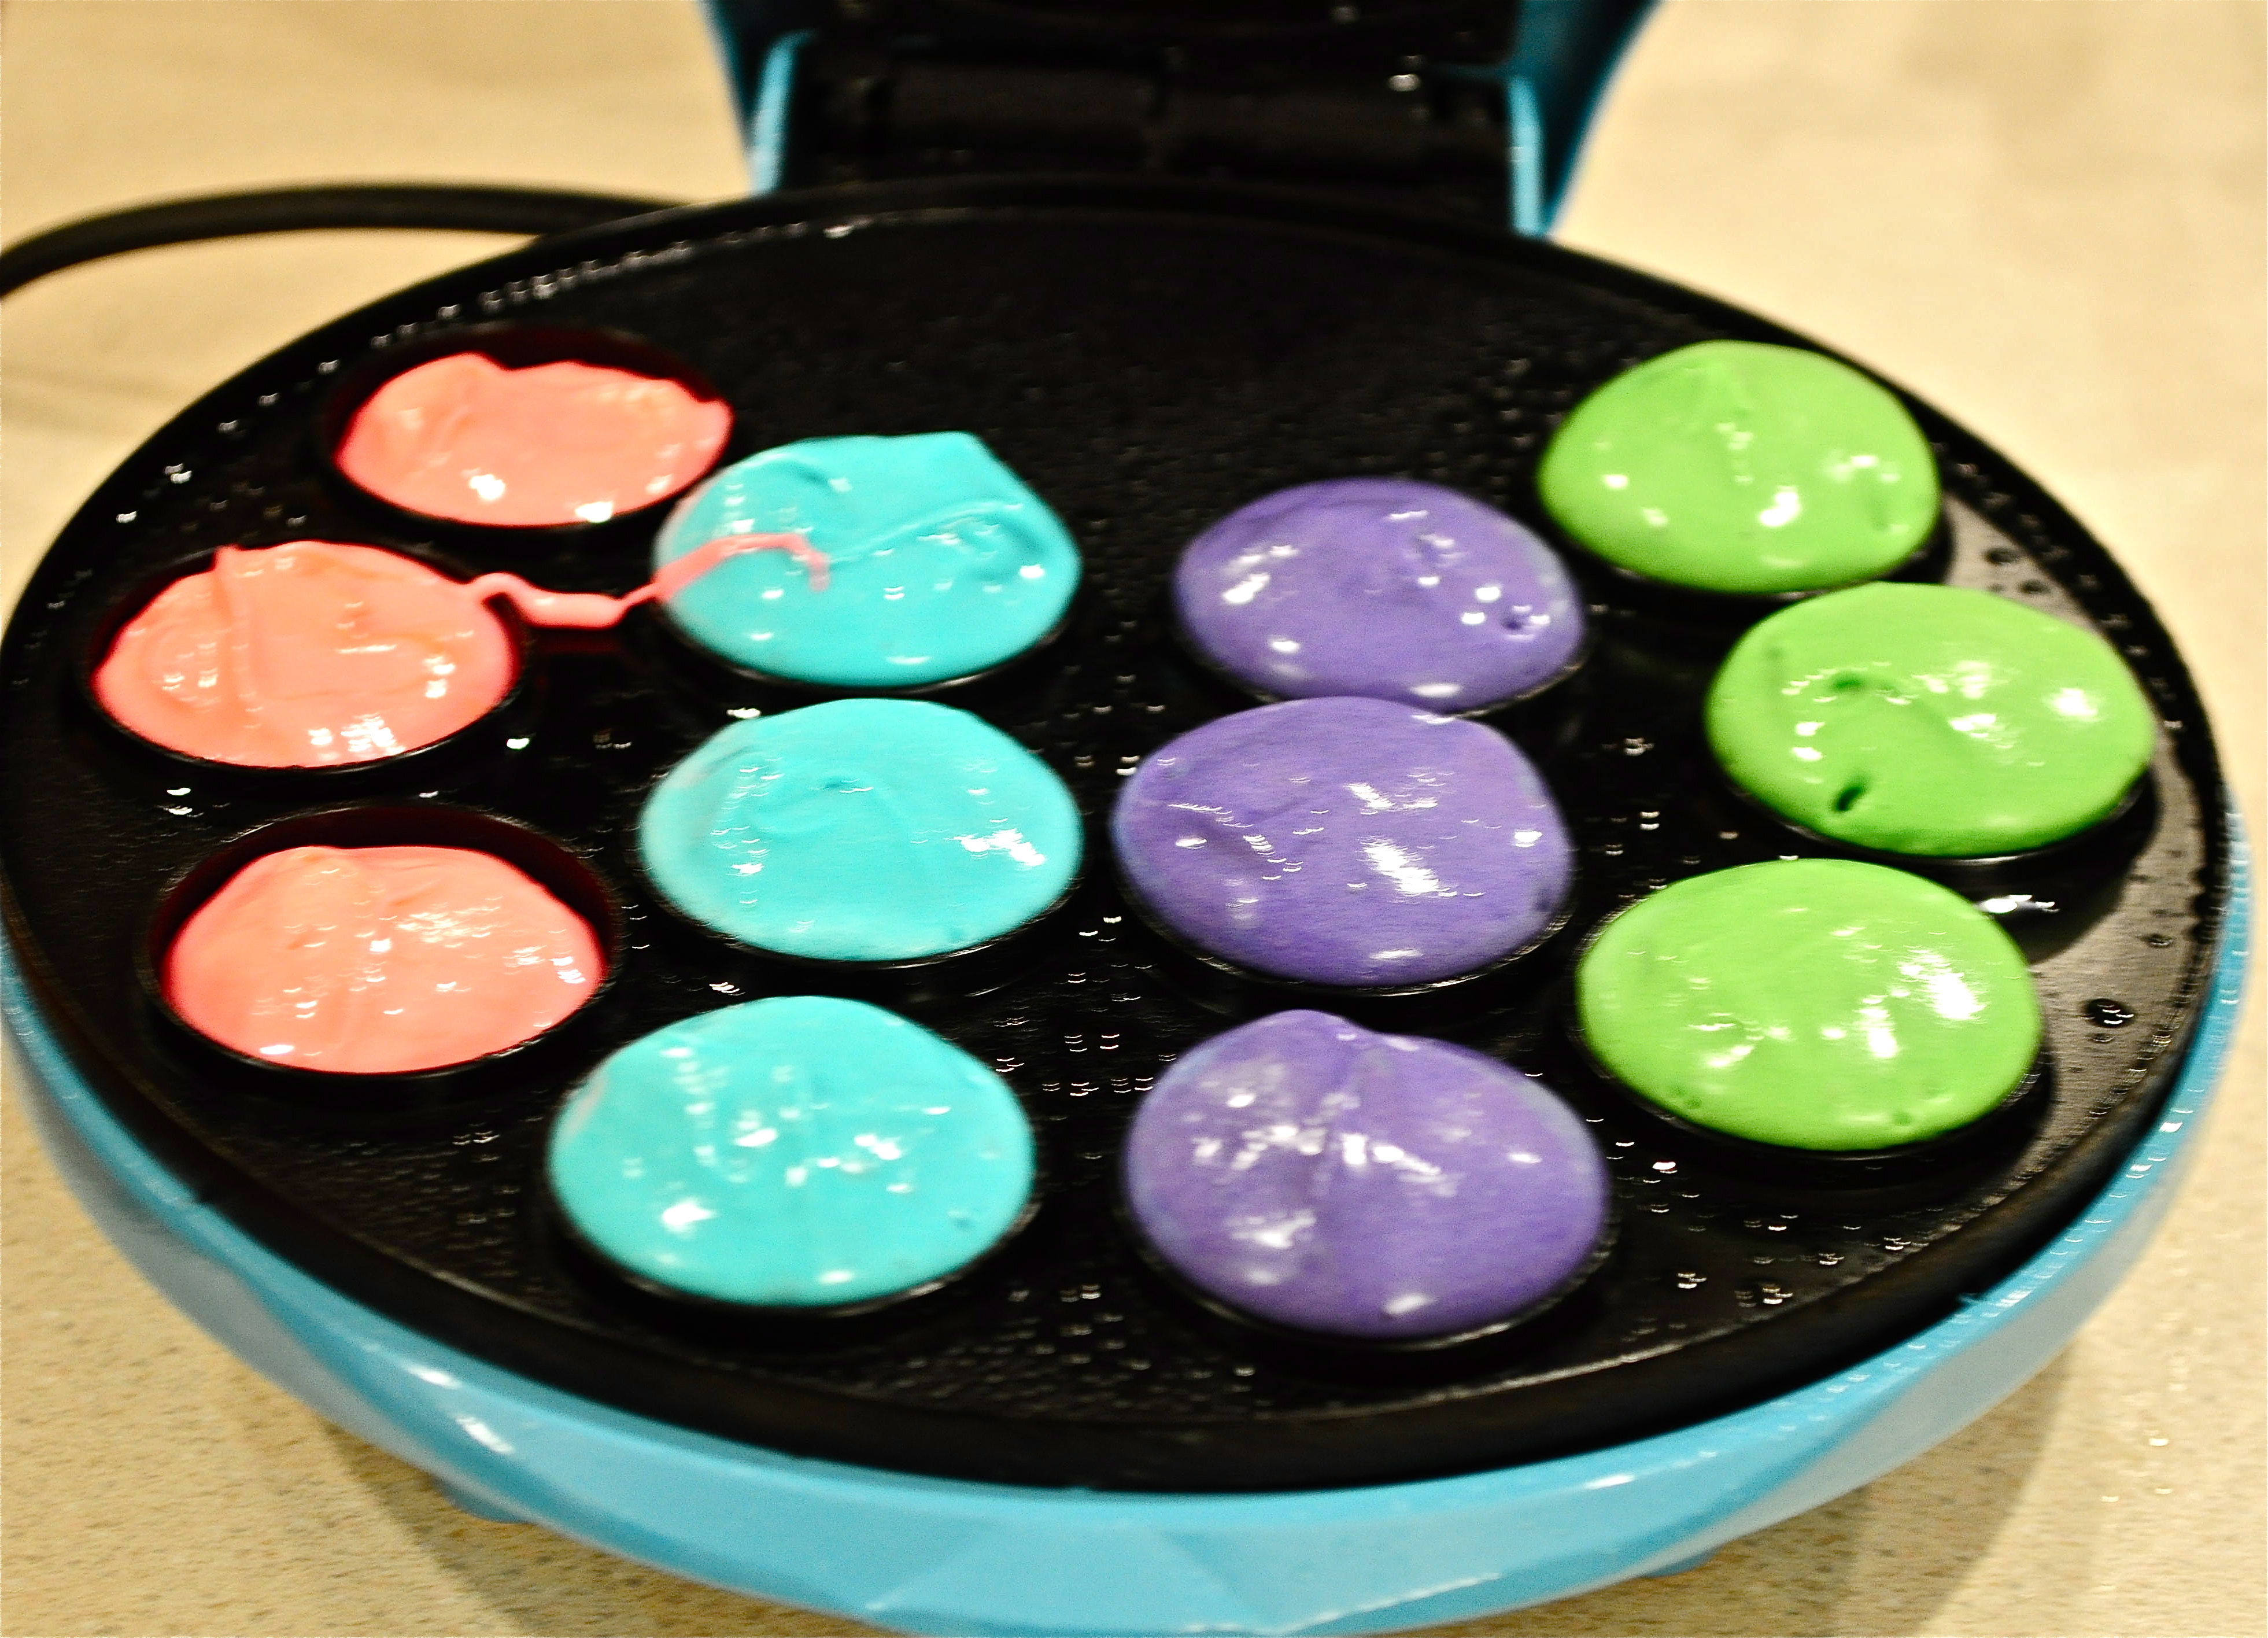
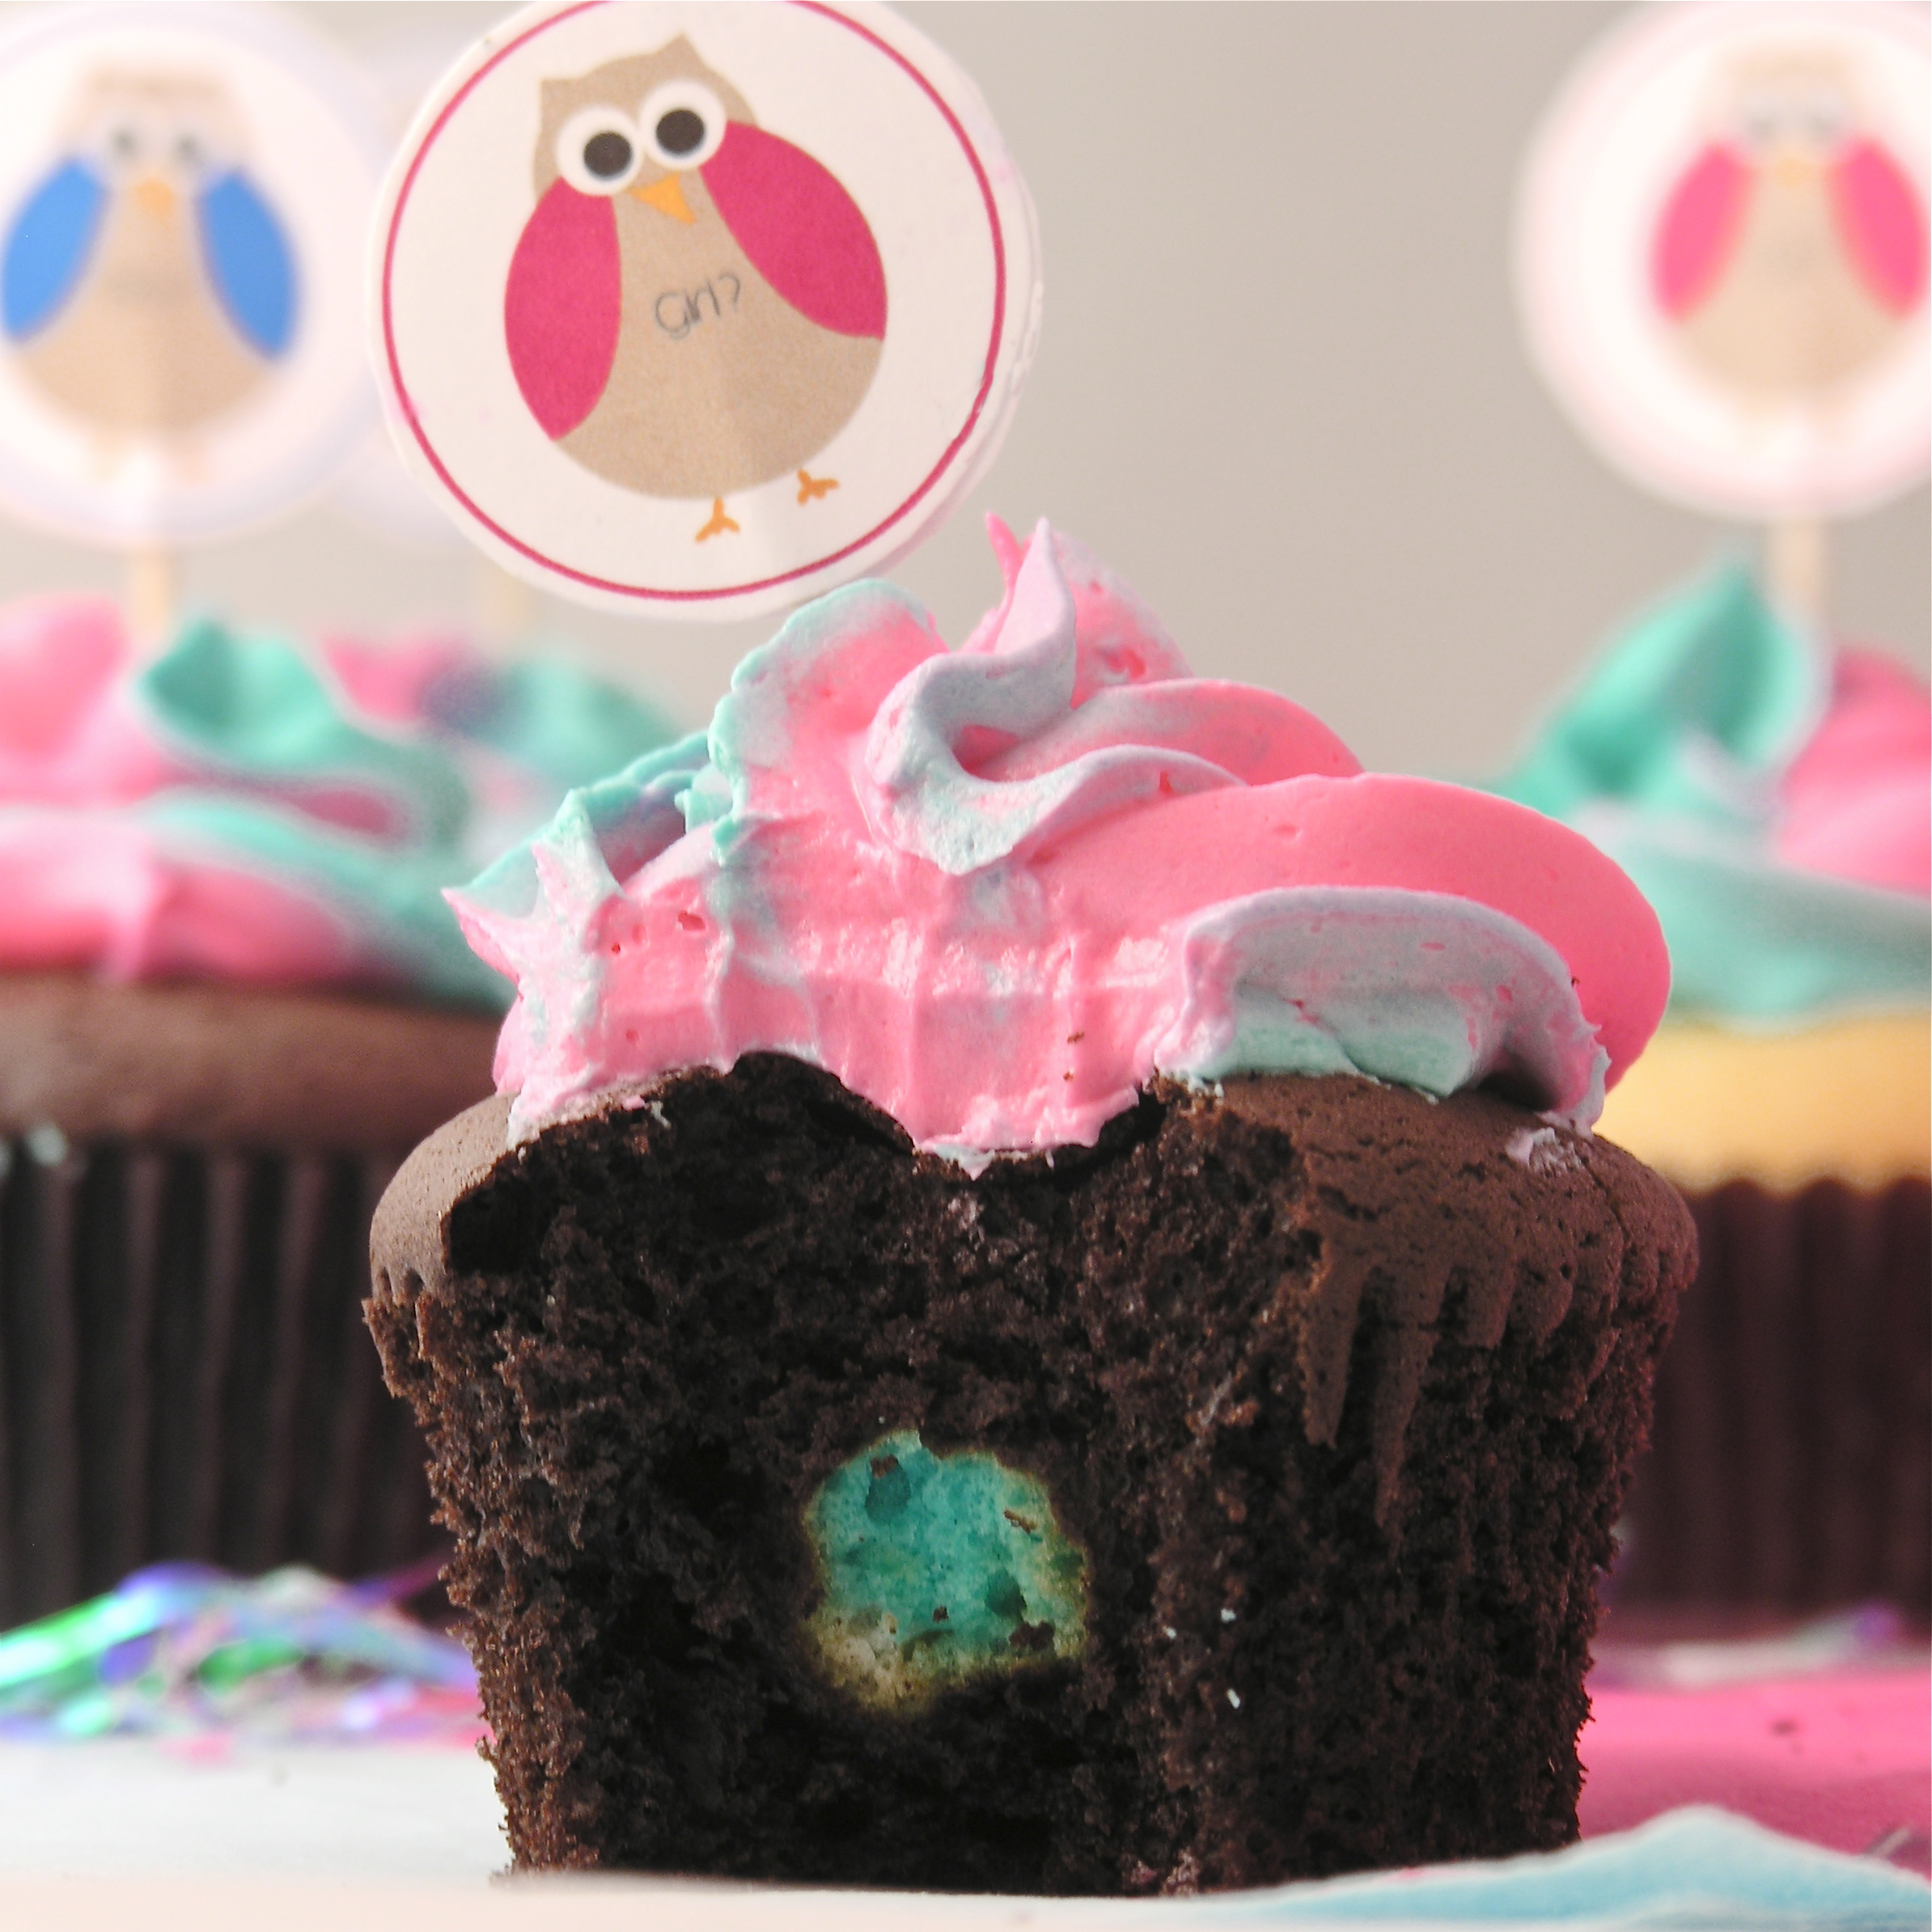
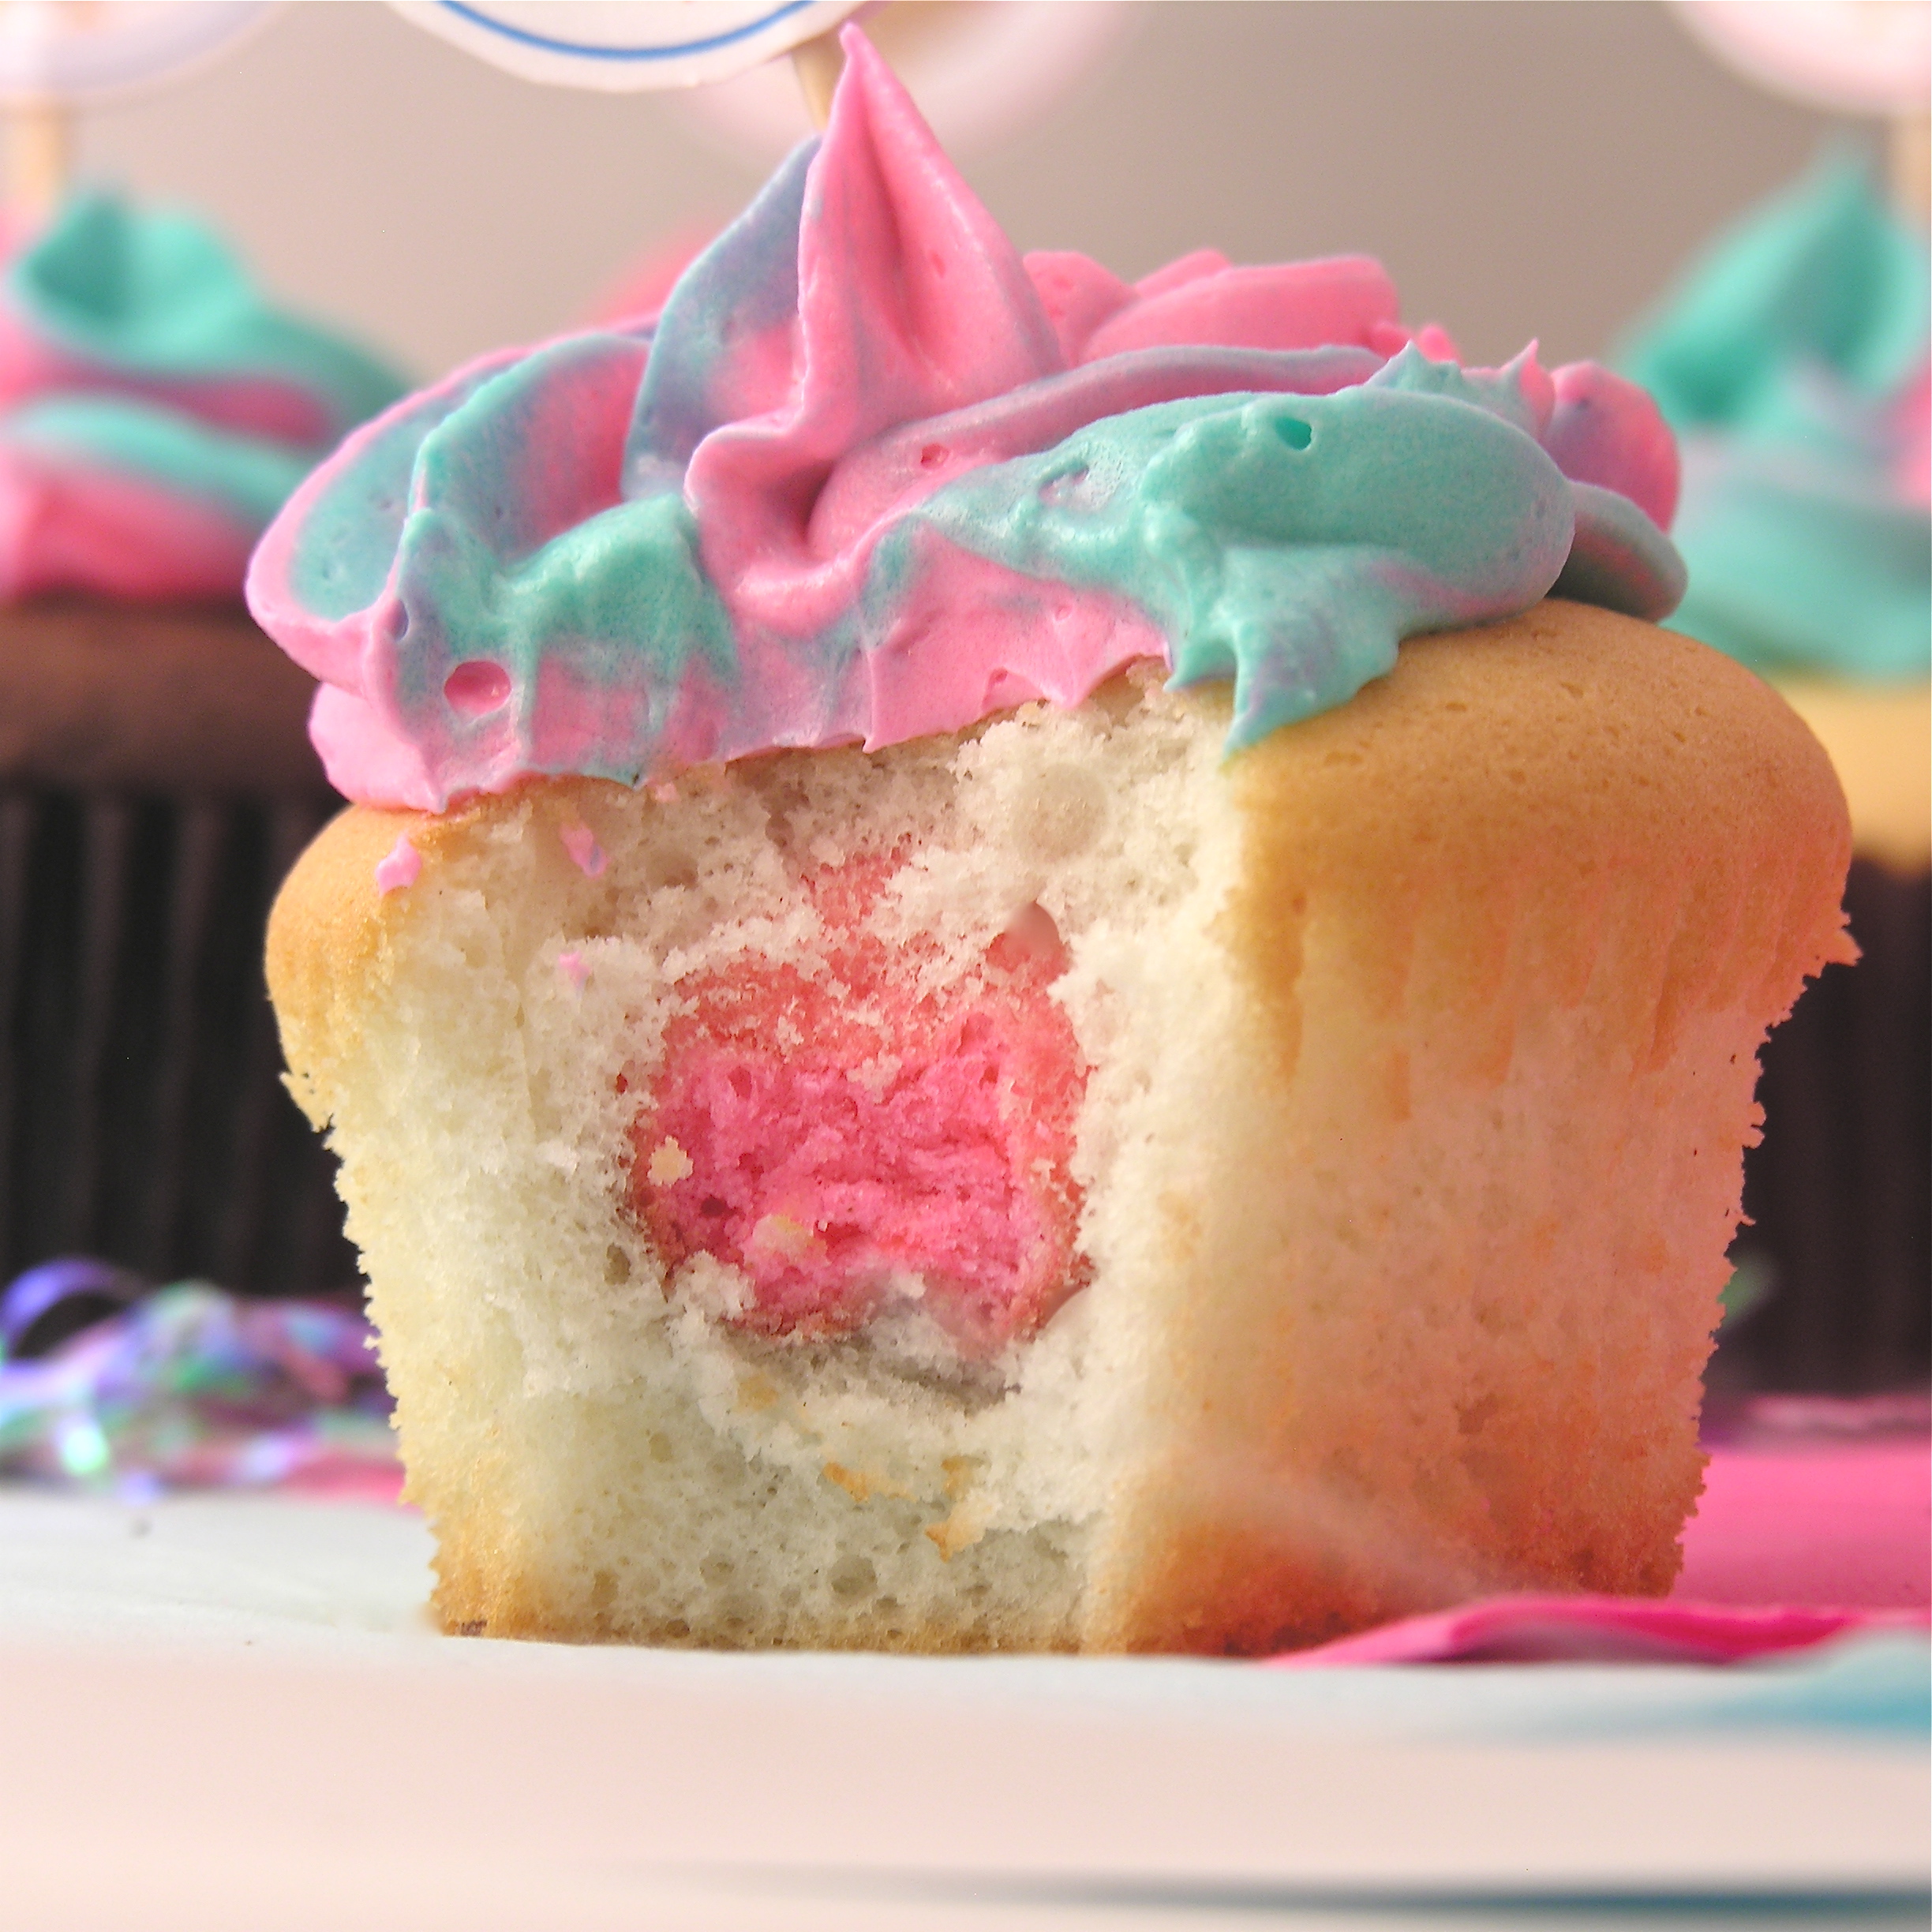
A few weeks ago, Easybaked featured  a Polka Dot Cake using a Cake pop maker.  It was so much fun that I couldn’t help but think of other ways to use the idea.  These cupcakes are just wonderful– when you bite in the color is seamless- you can’t even tell that the cake pop was baked ahead.  Want to know how to do this?

Here we go:

INGREDIENTS:

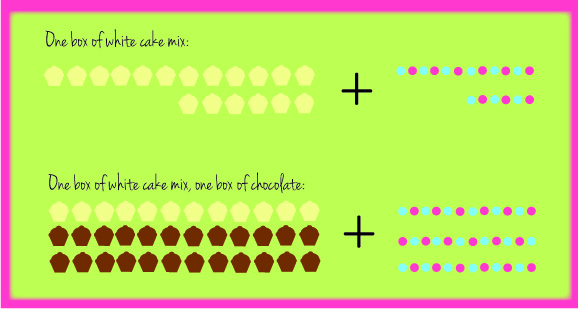
  • 1 white cake mix (for about 18 cupcakes) or 1 white/ one chocolate for a combo and about 36 cupcakes
  • The oil, eggs and water required by your boxed mix(es)
  • Gel food coloring
  • Frosting (I used my buttercream recipe ~double it if you add the second cake mix)

This little chart should help you see how many cupcakes are made with just the white mix and how many are made when you use both a white and chocolate mix (I’m bad with math…I need visuals!!):

Gender reveal cupcakes

DIRECTIONS:

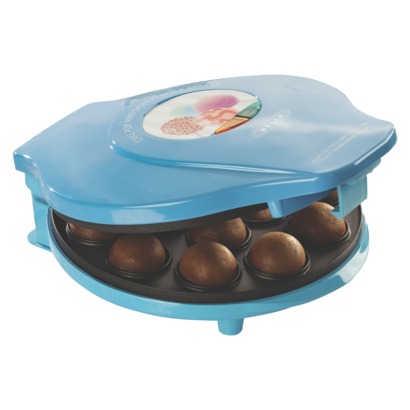
  • Plug in/heat up your cake pop maker
  • Make white cake mix according to box.
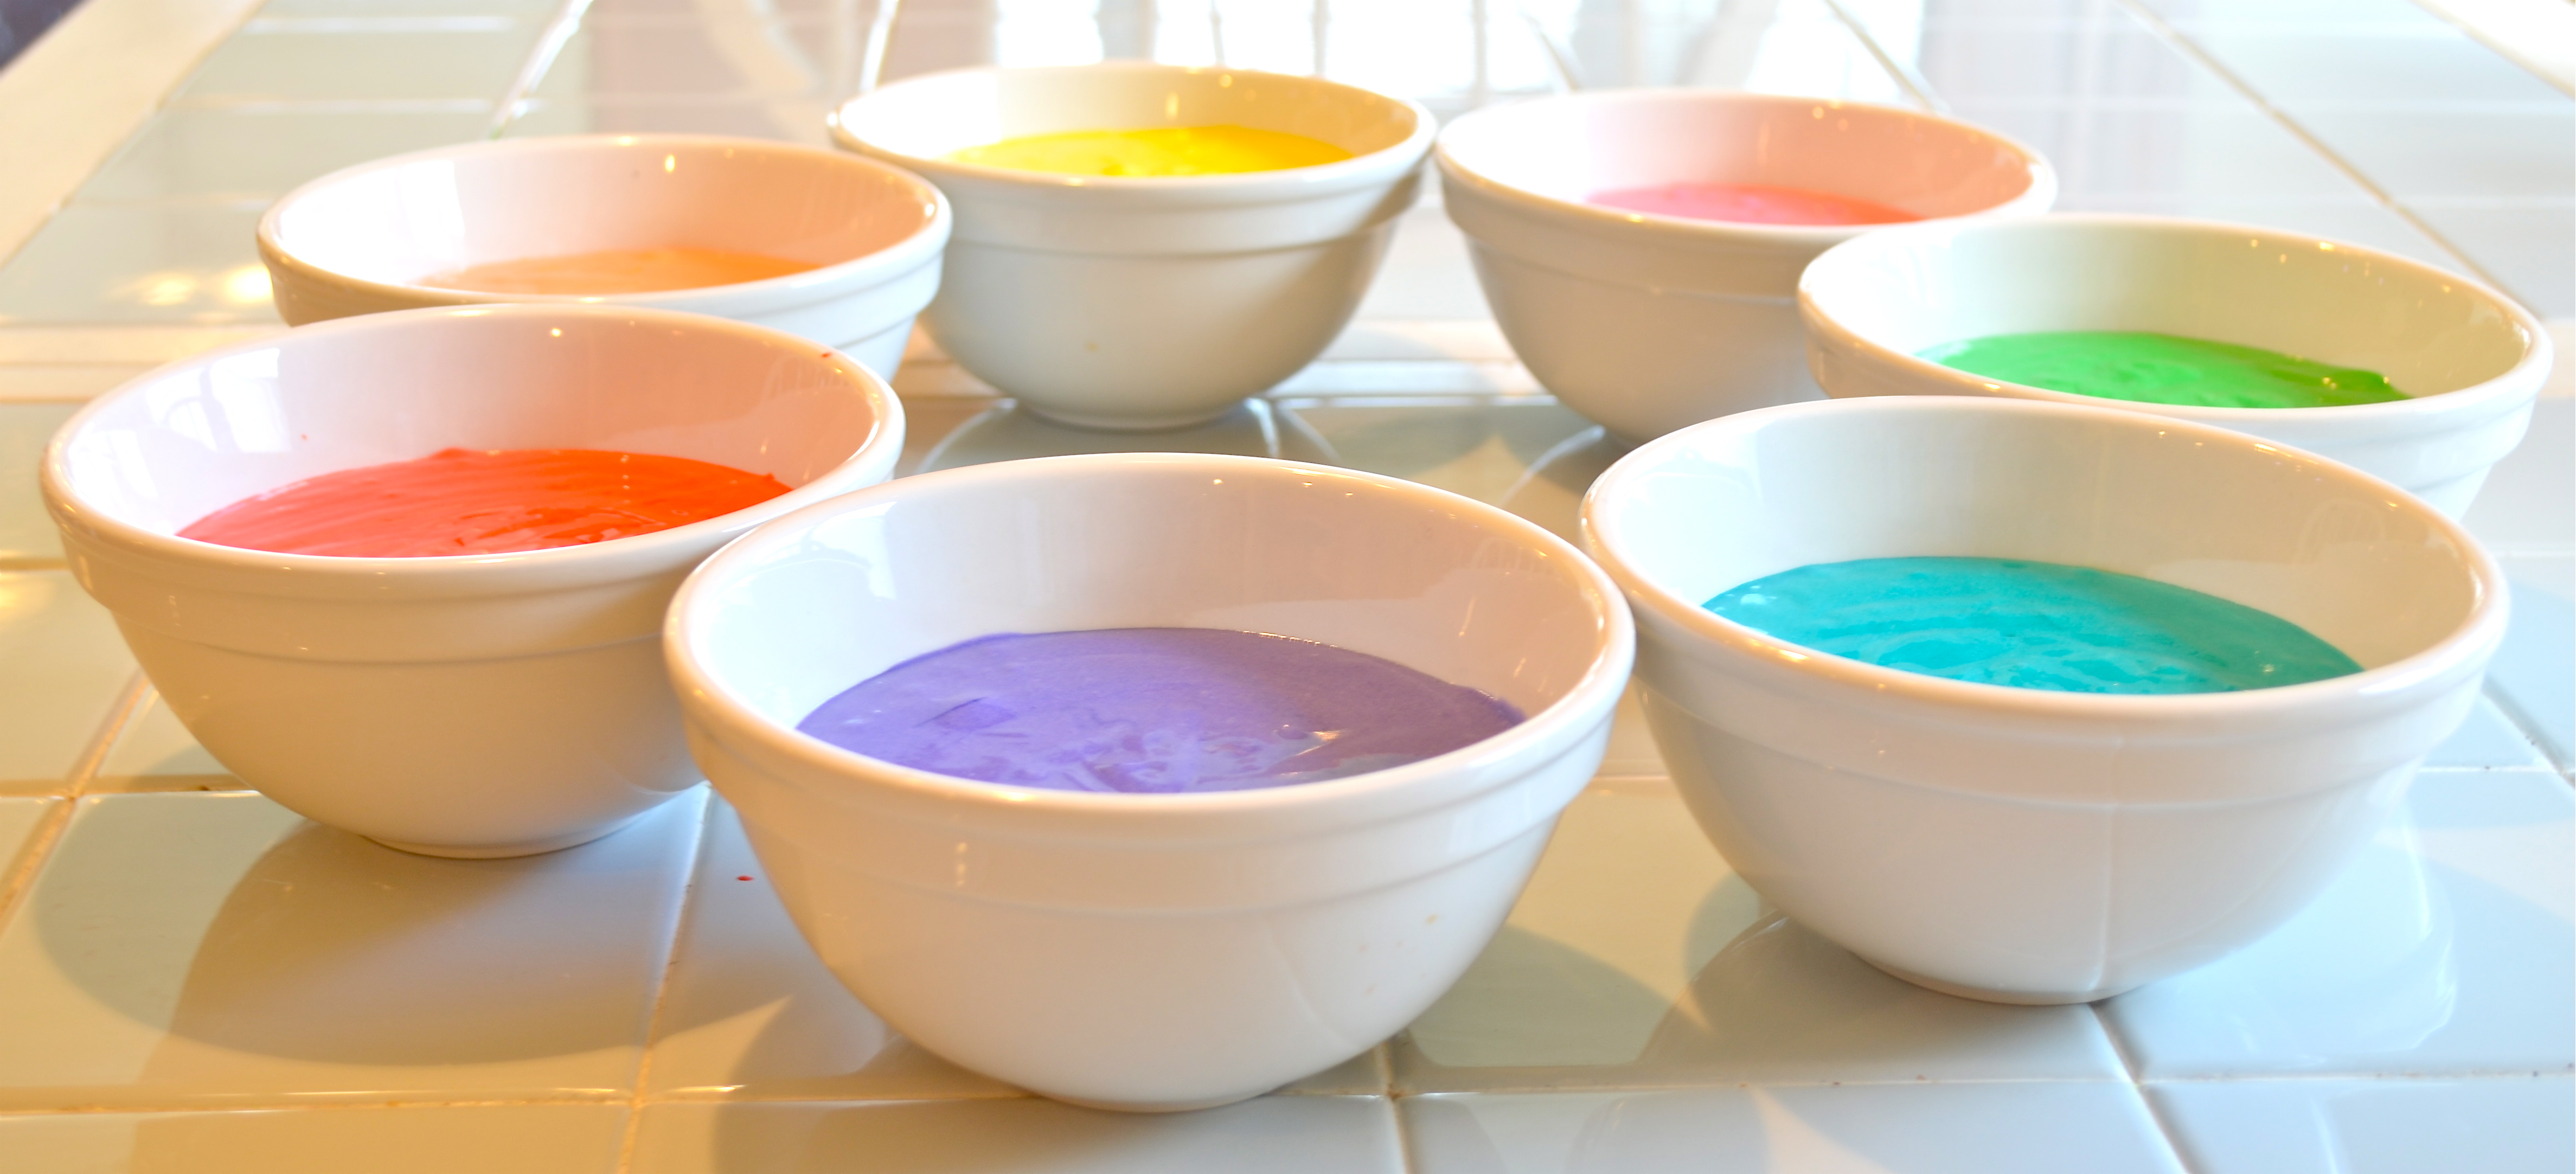
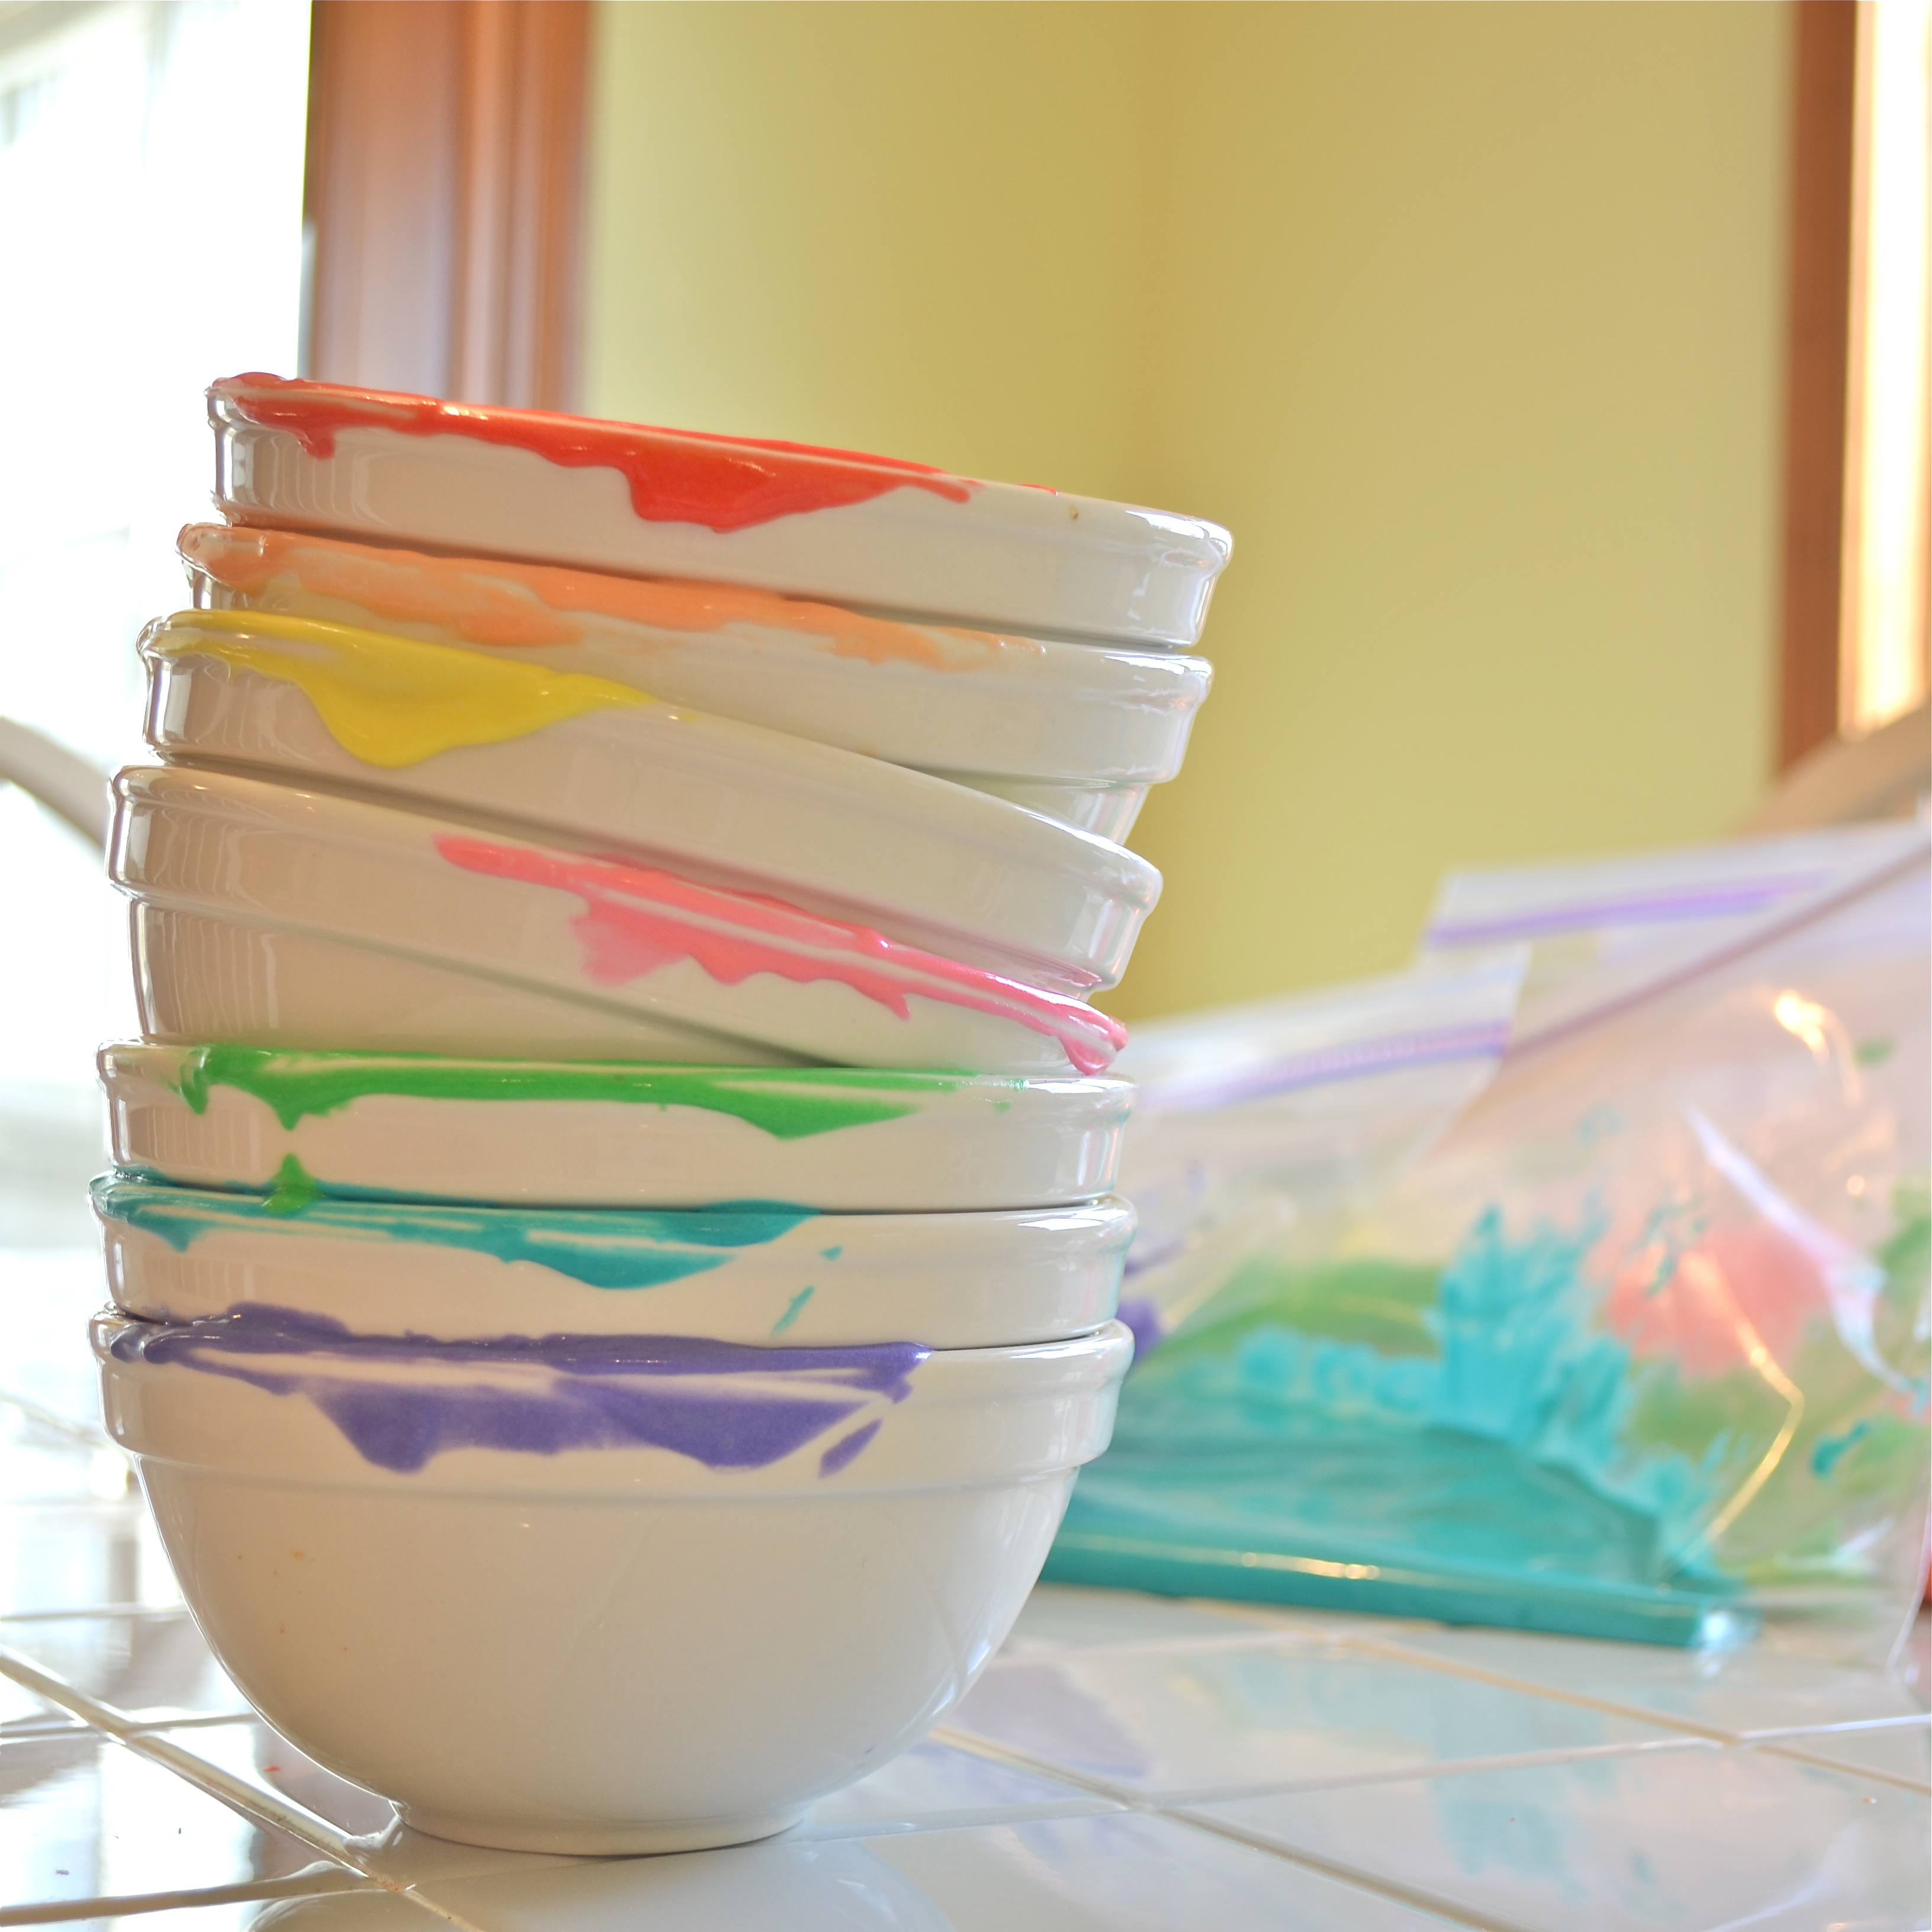
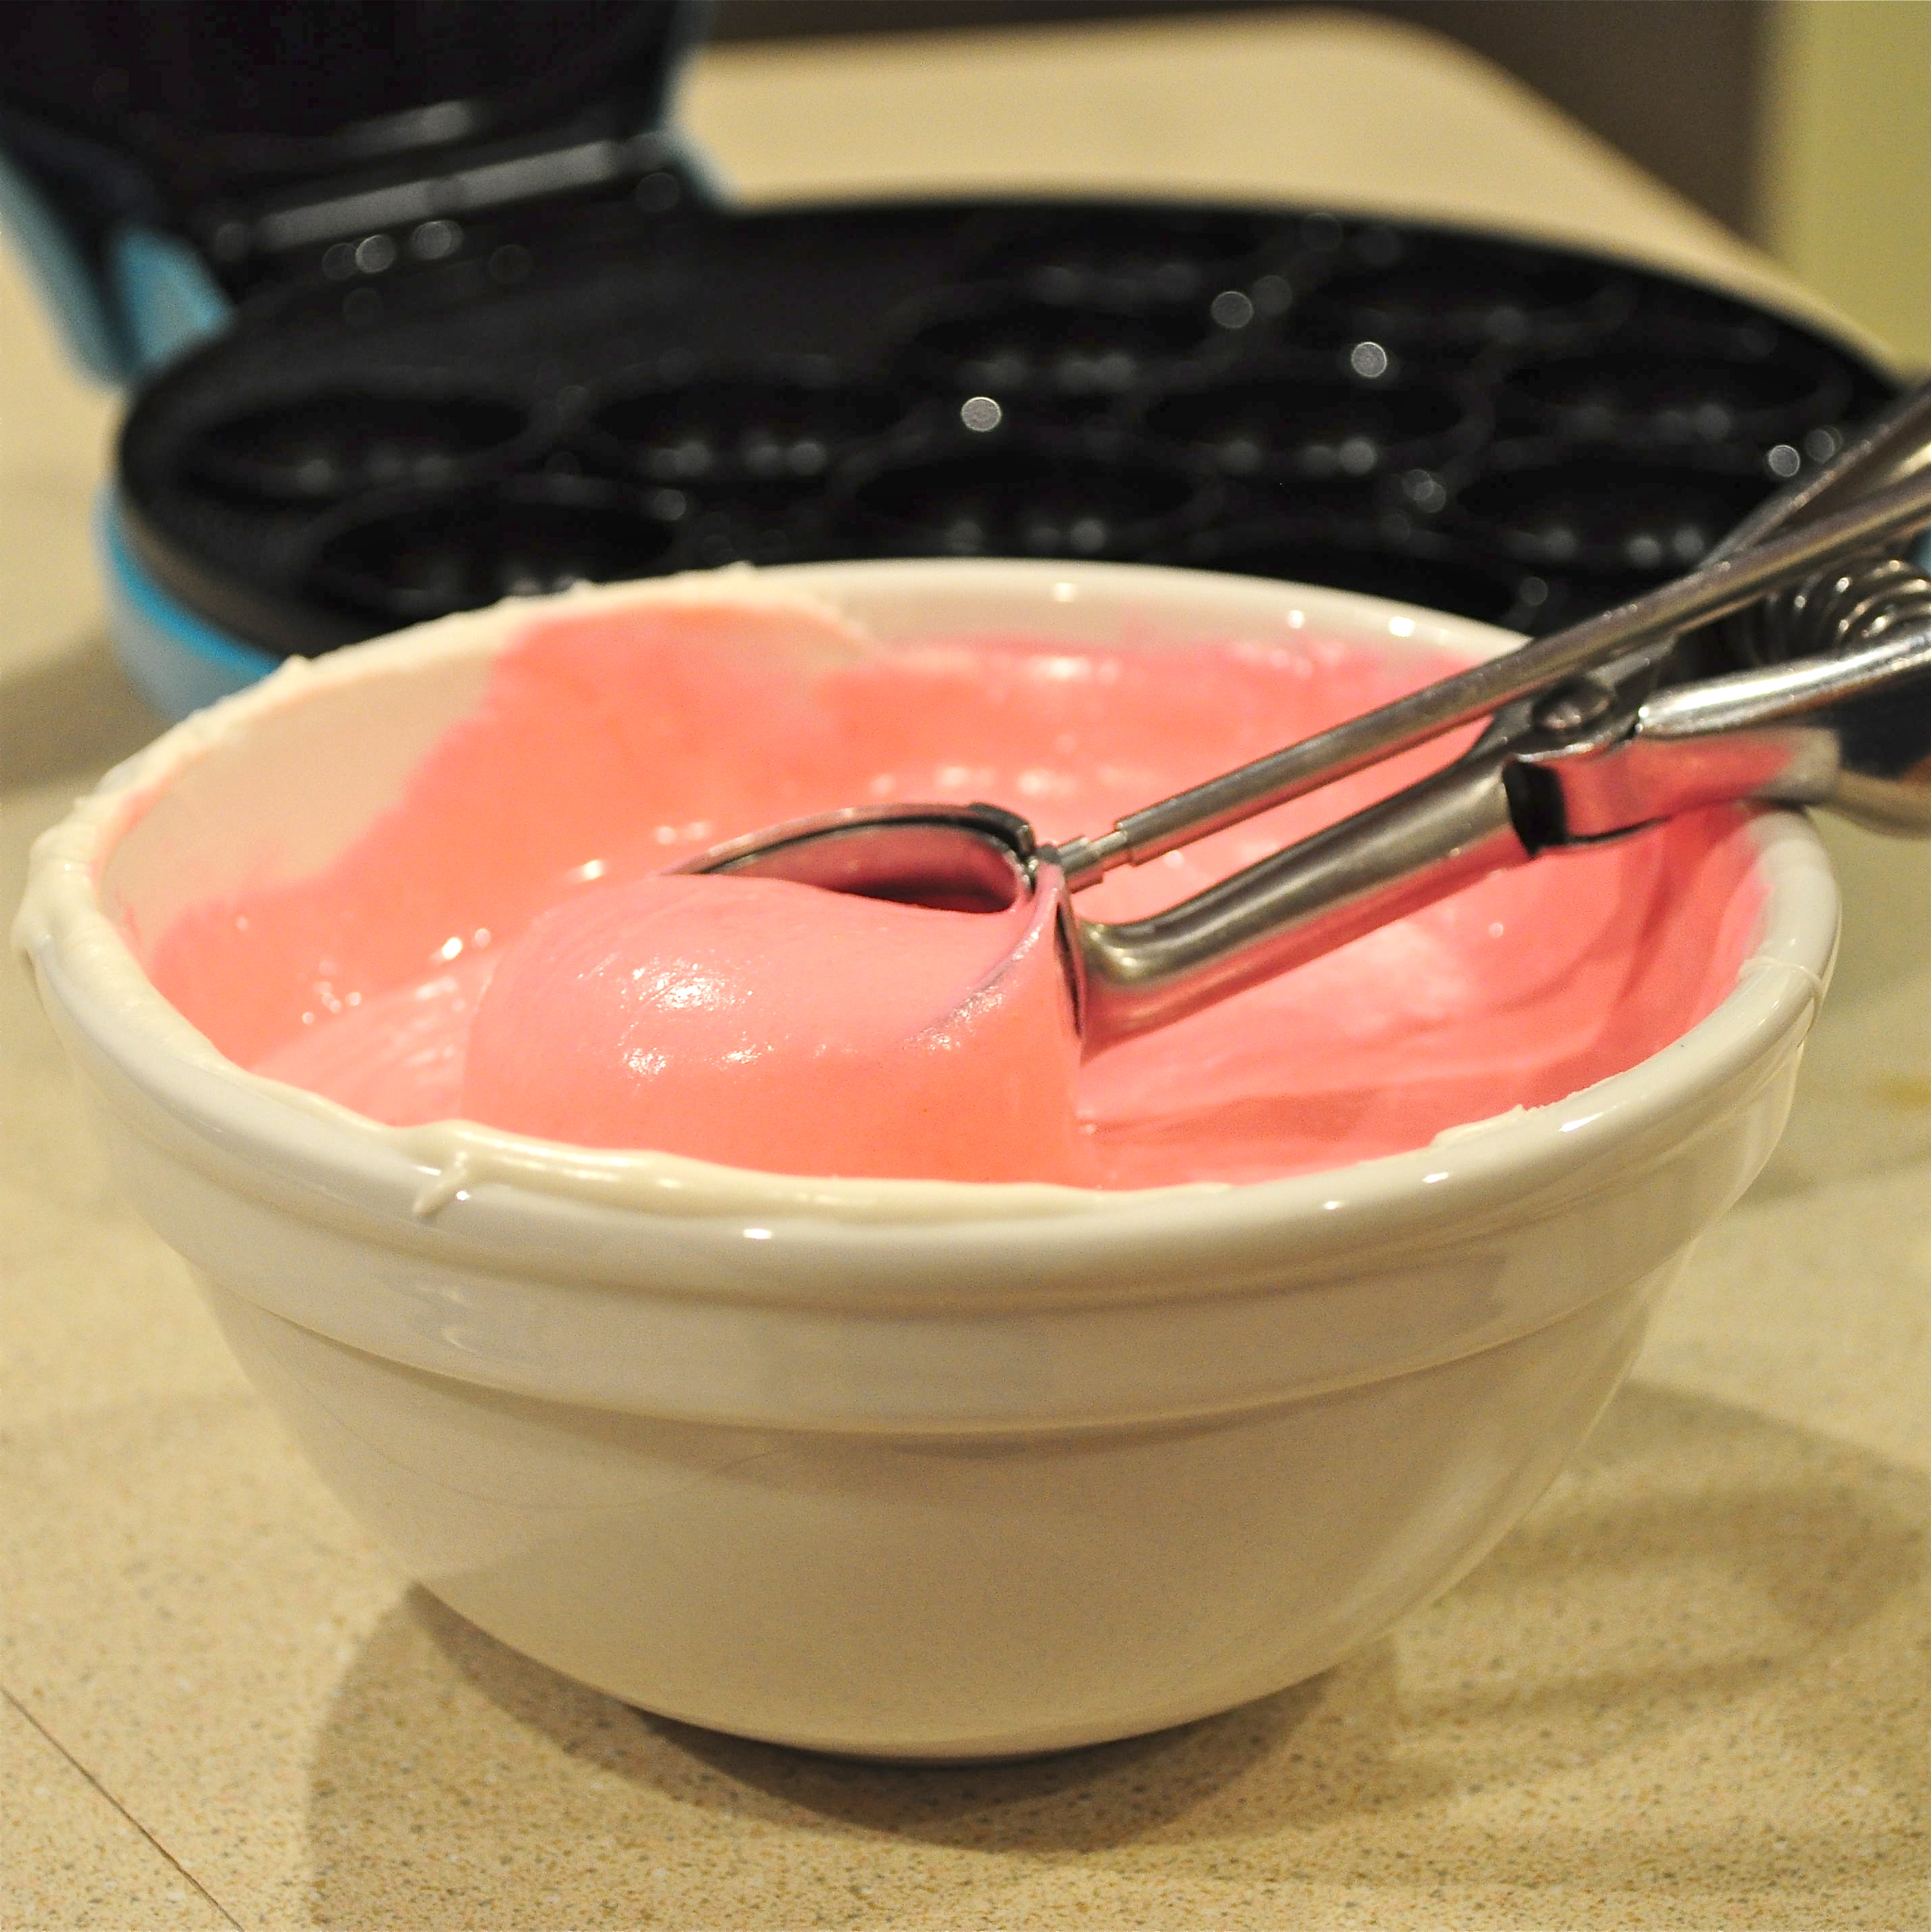
  • Take about 3/4 cup (1 1/4 cup for the double batch!) of batter and place it into a smaller bowl.
  • Color the batter using color gel (I like Wilton brand of Gel food coloring because they always come out bright.  Try Aqua or Pink.)
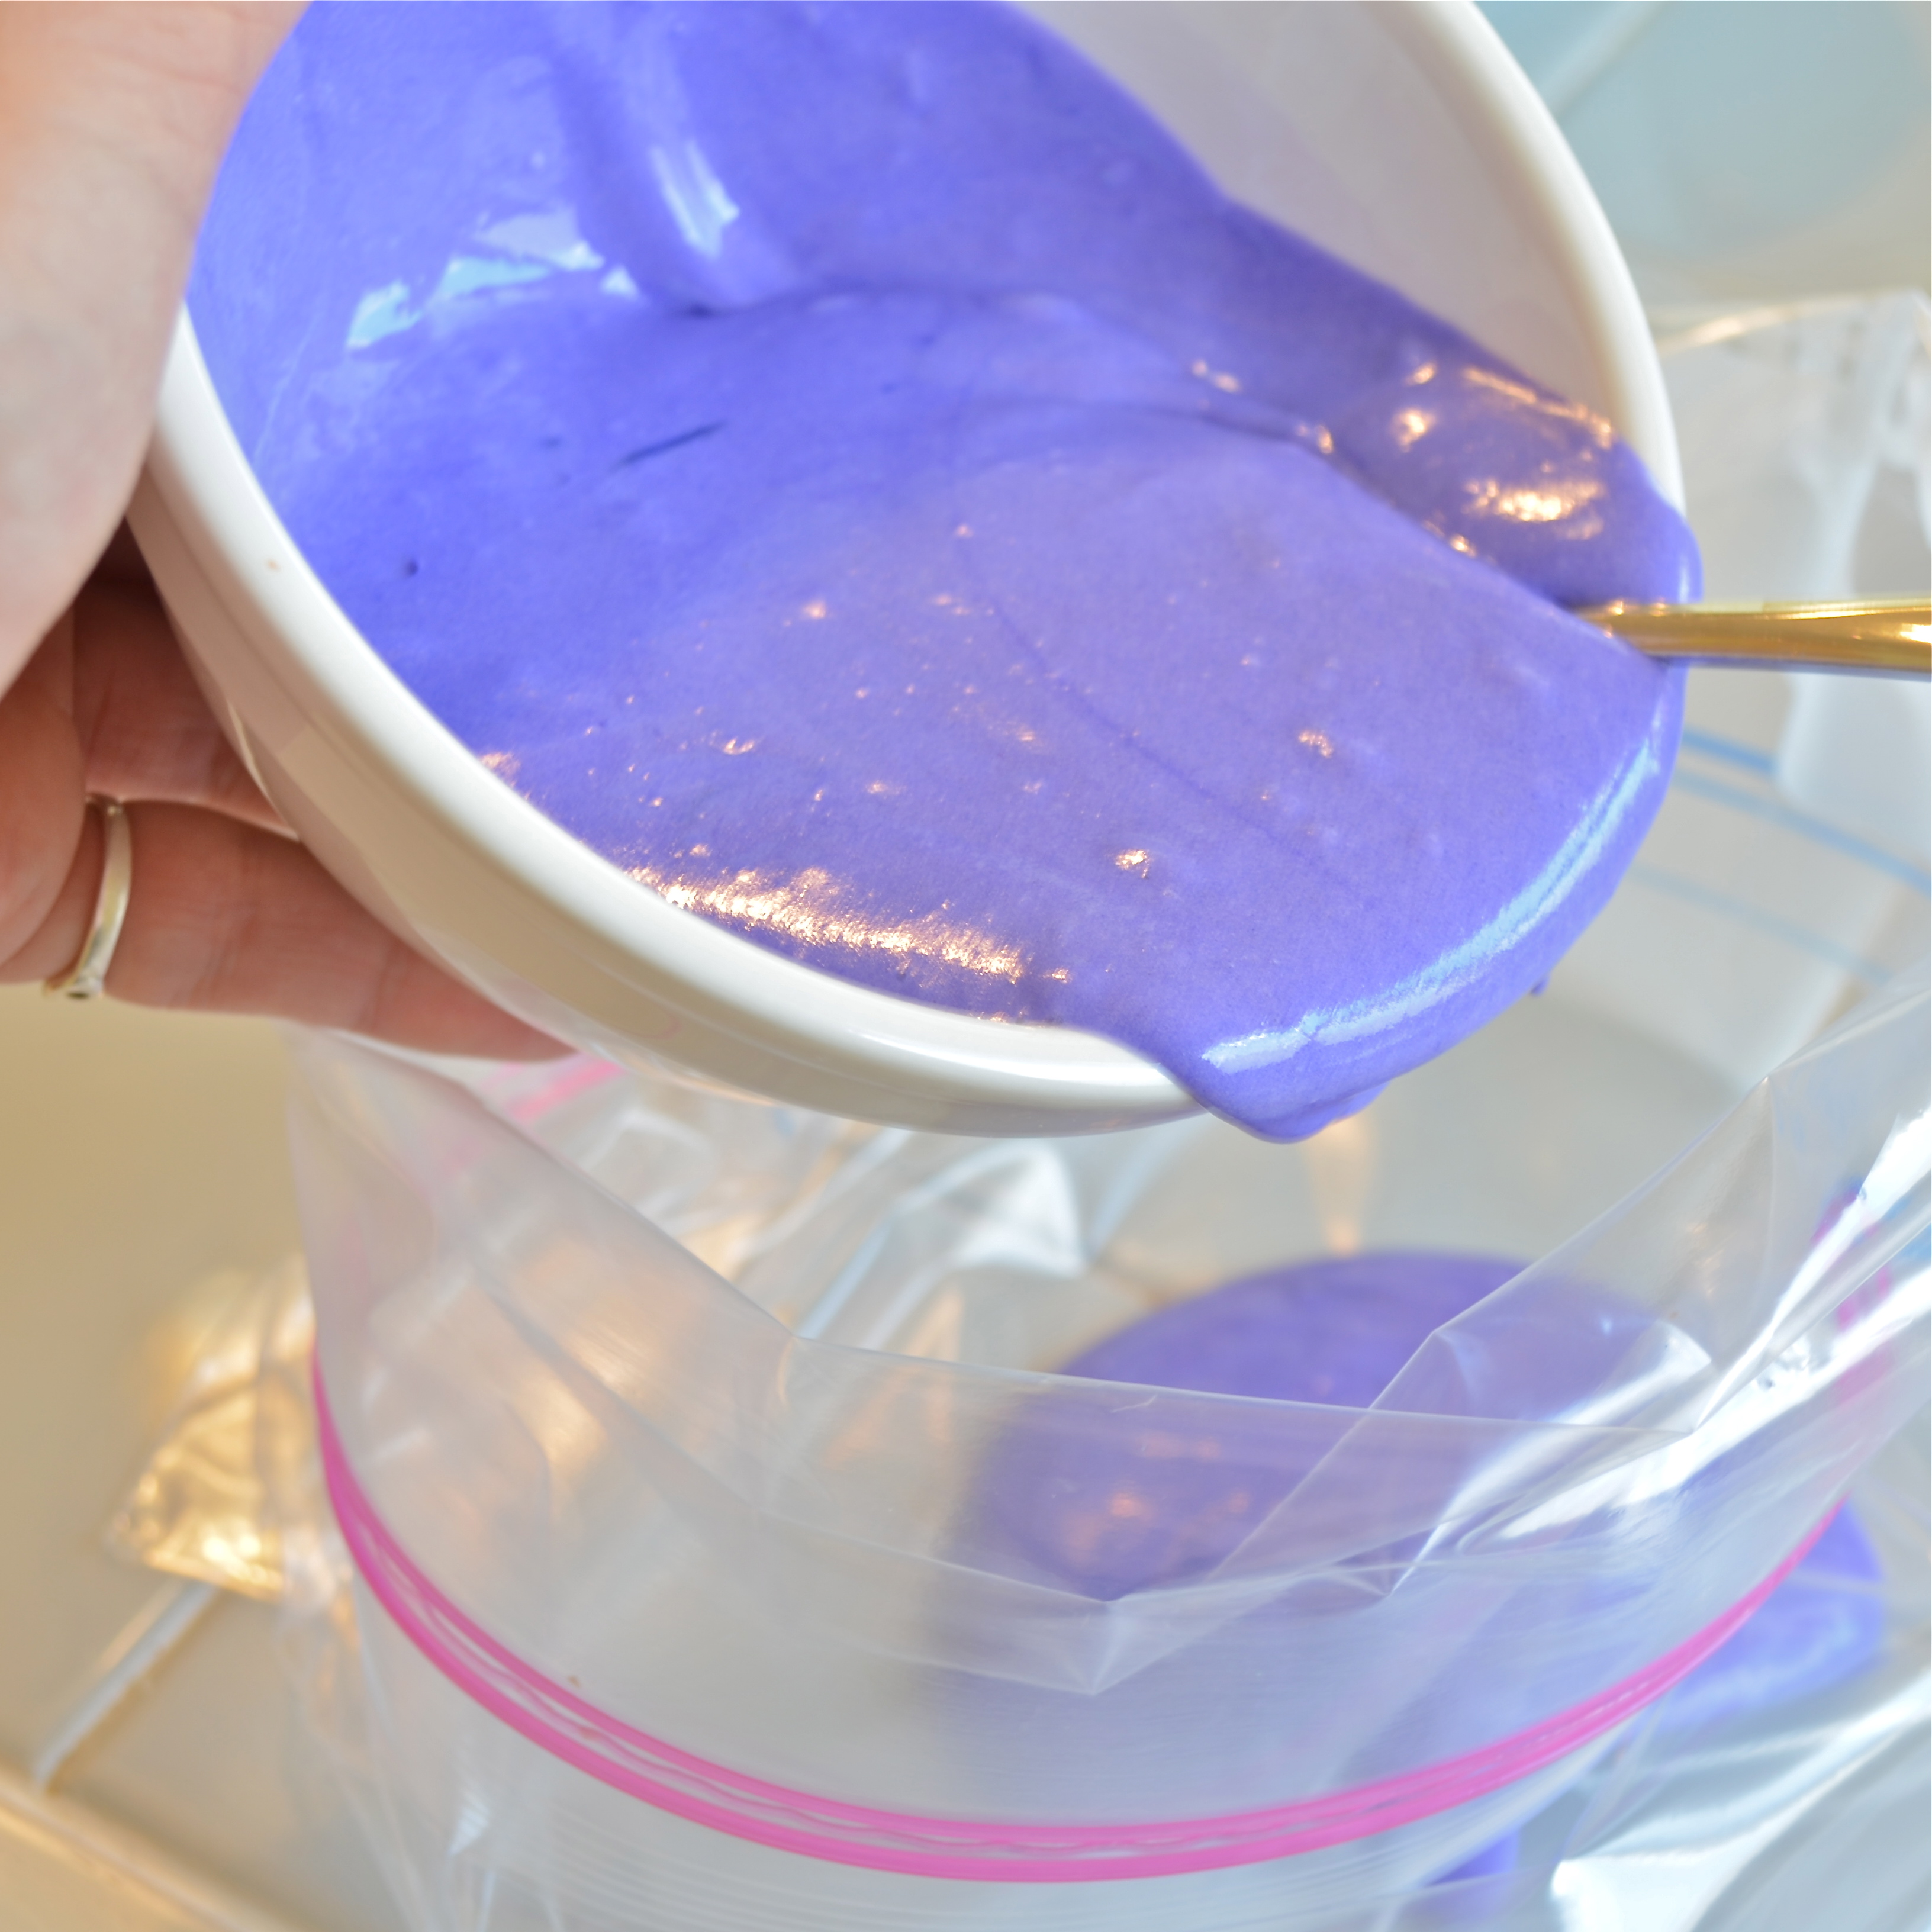
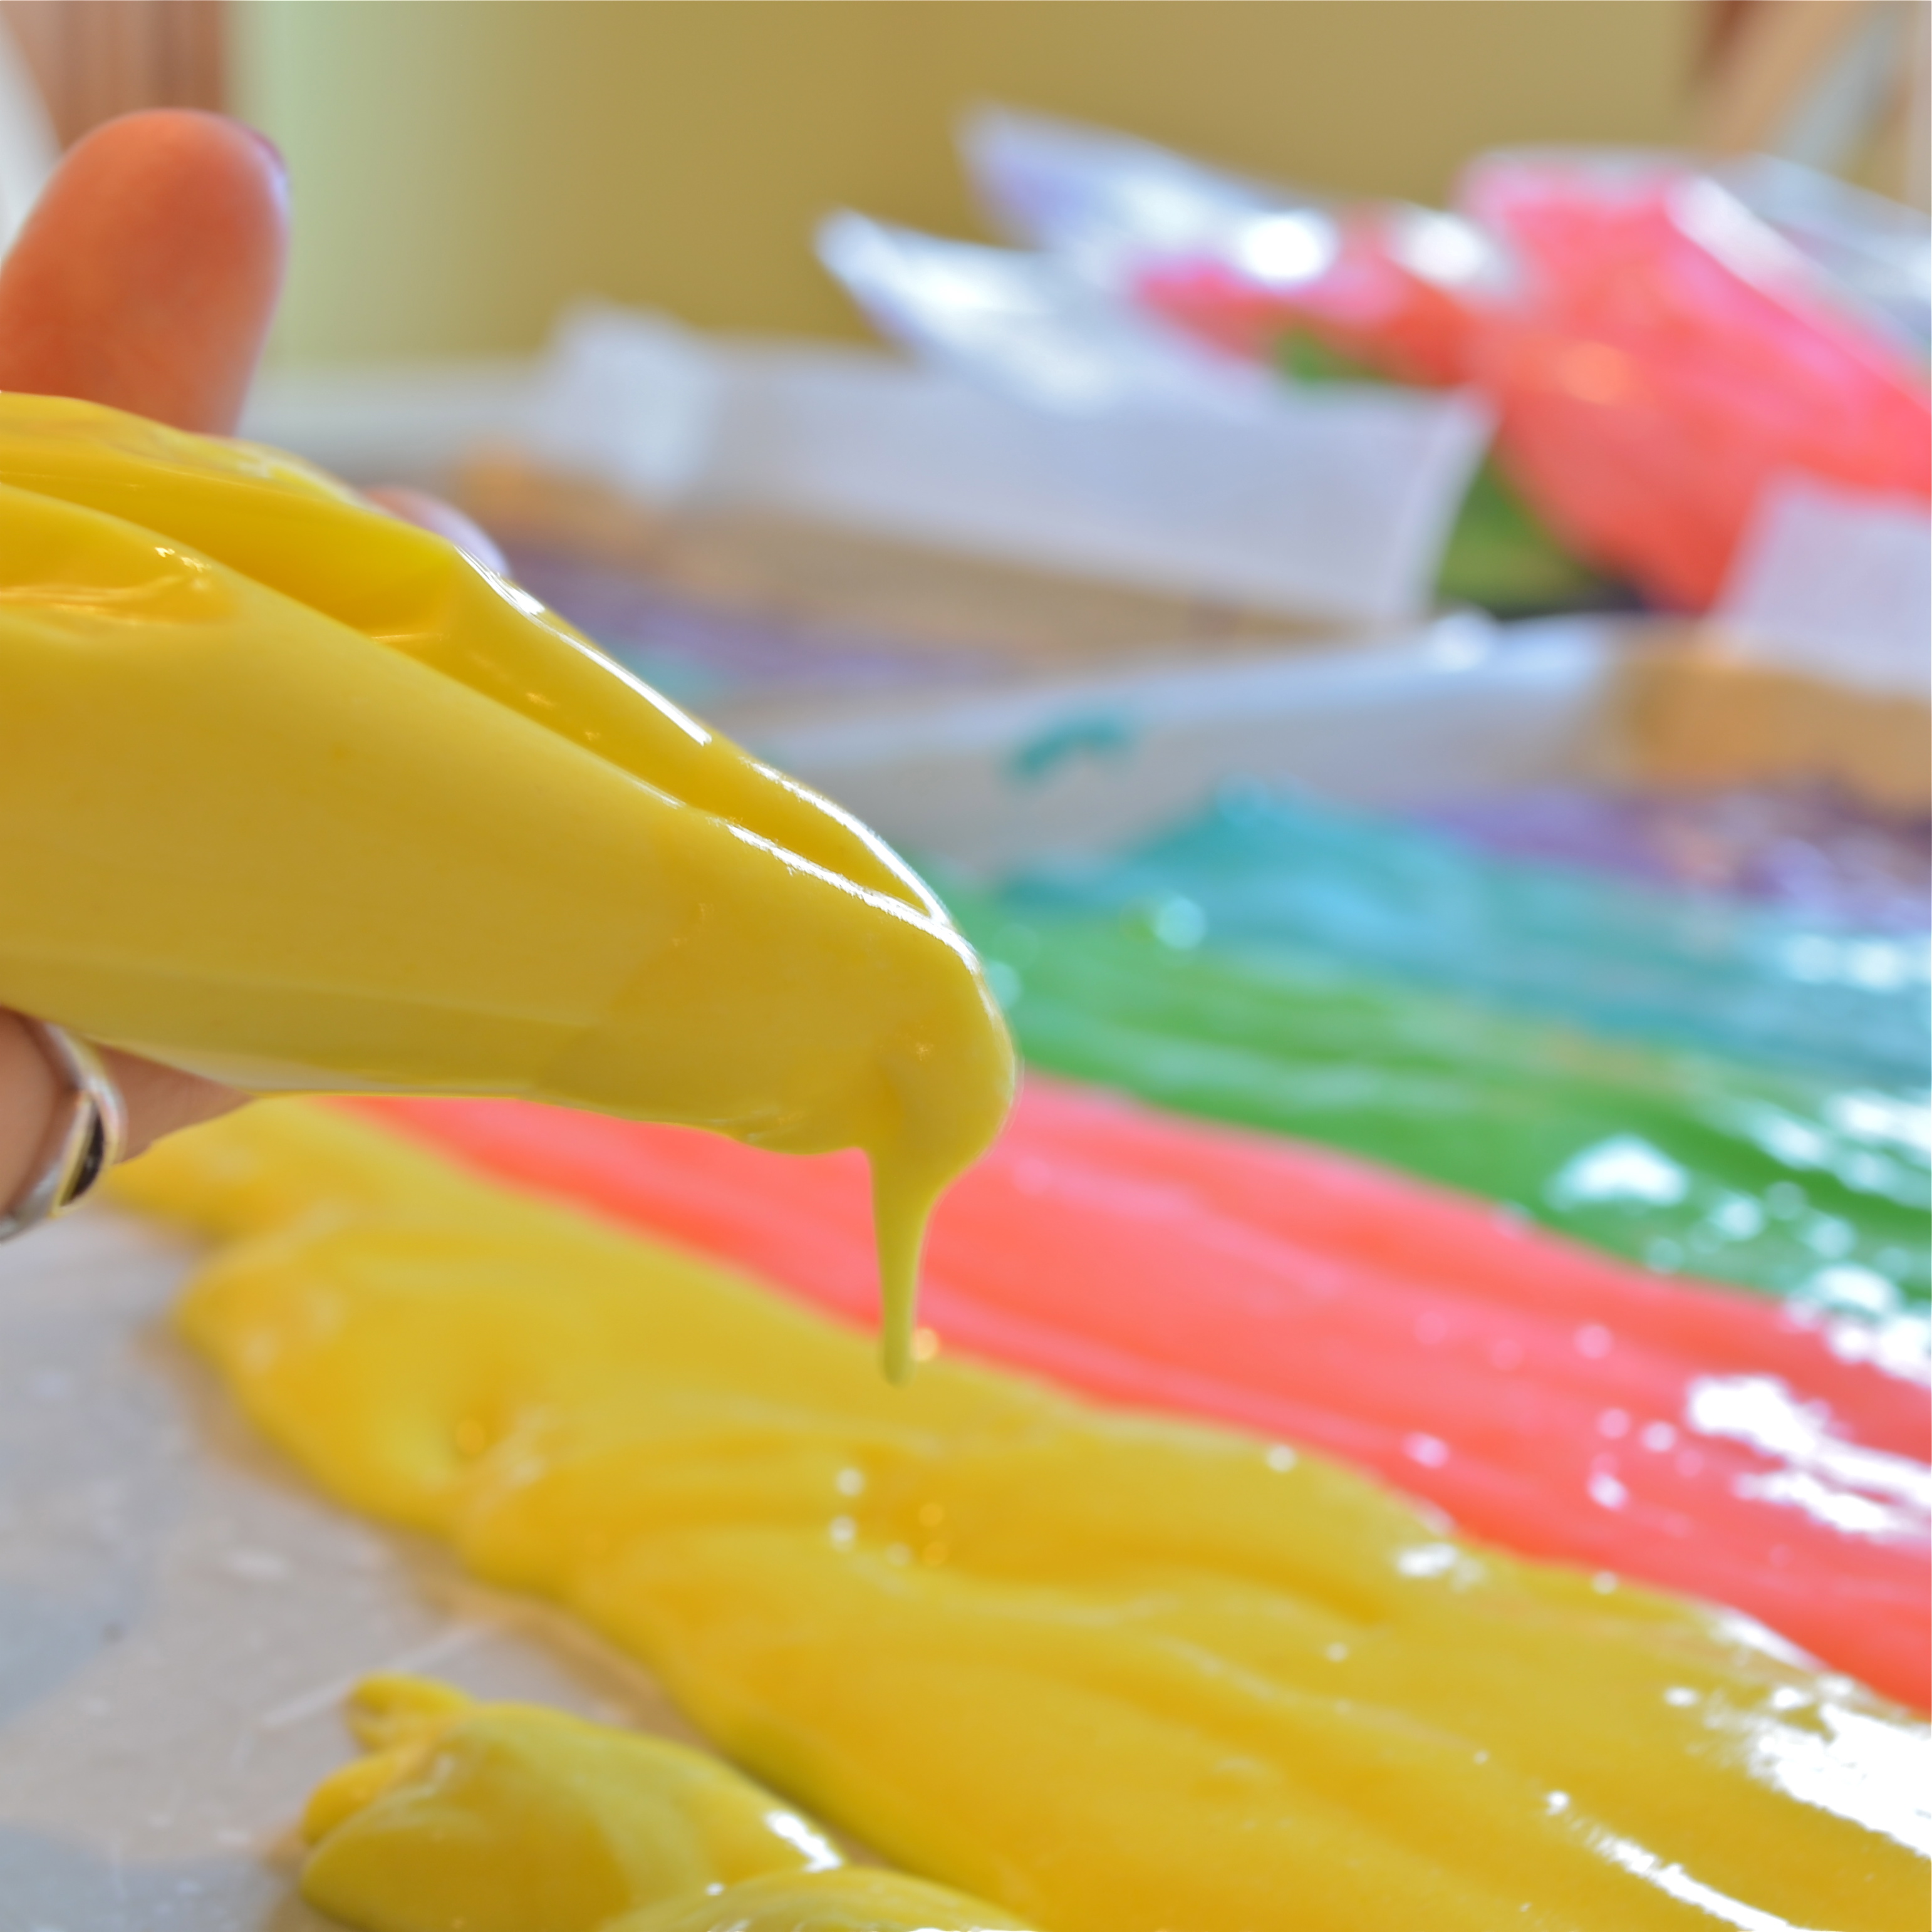
  • Follow the directions on your cake pop maker to use the colored batter to make cake balls.  Helpful hints:  work fast and use a small cookie scoop to evenly spoon batter into cups, and check them- I burnt my 1st batch following the directions!  You should have enough batter to have a practice round and adjust.

Color batter with gelsScoop batter into cake pop maker

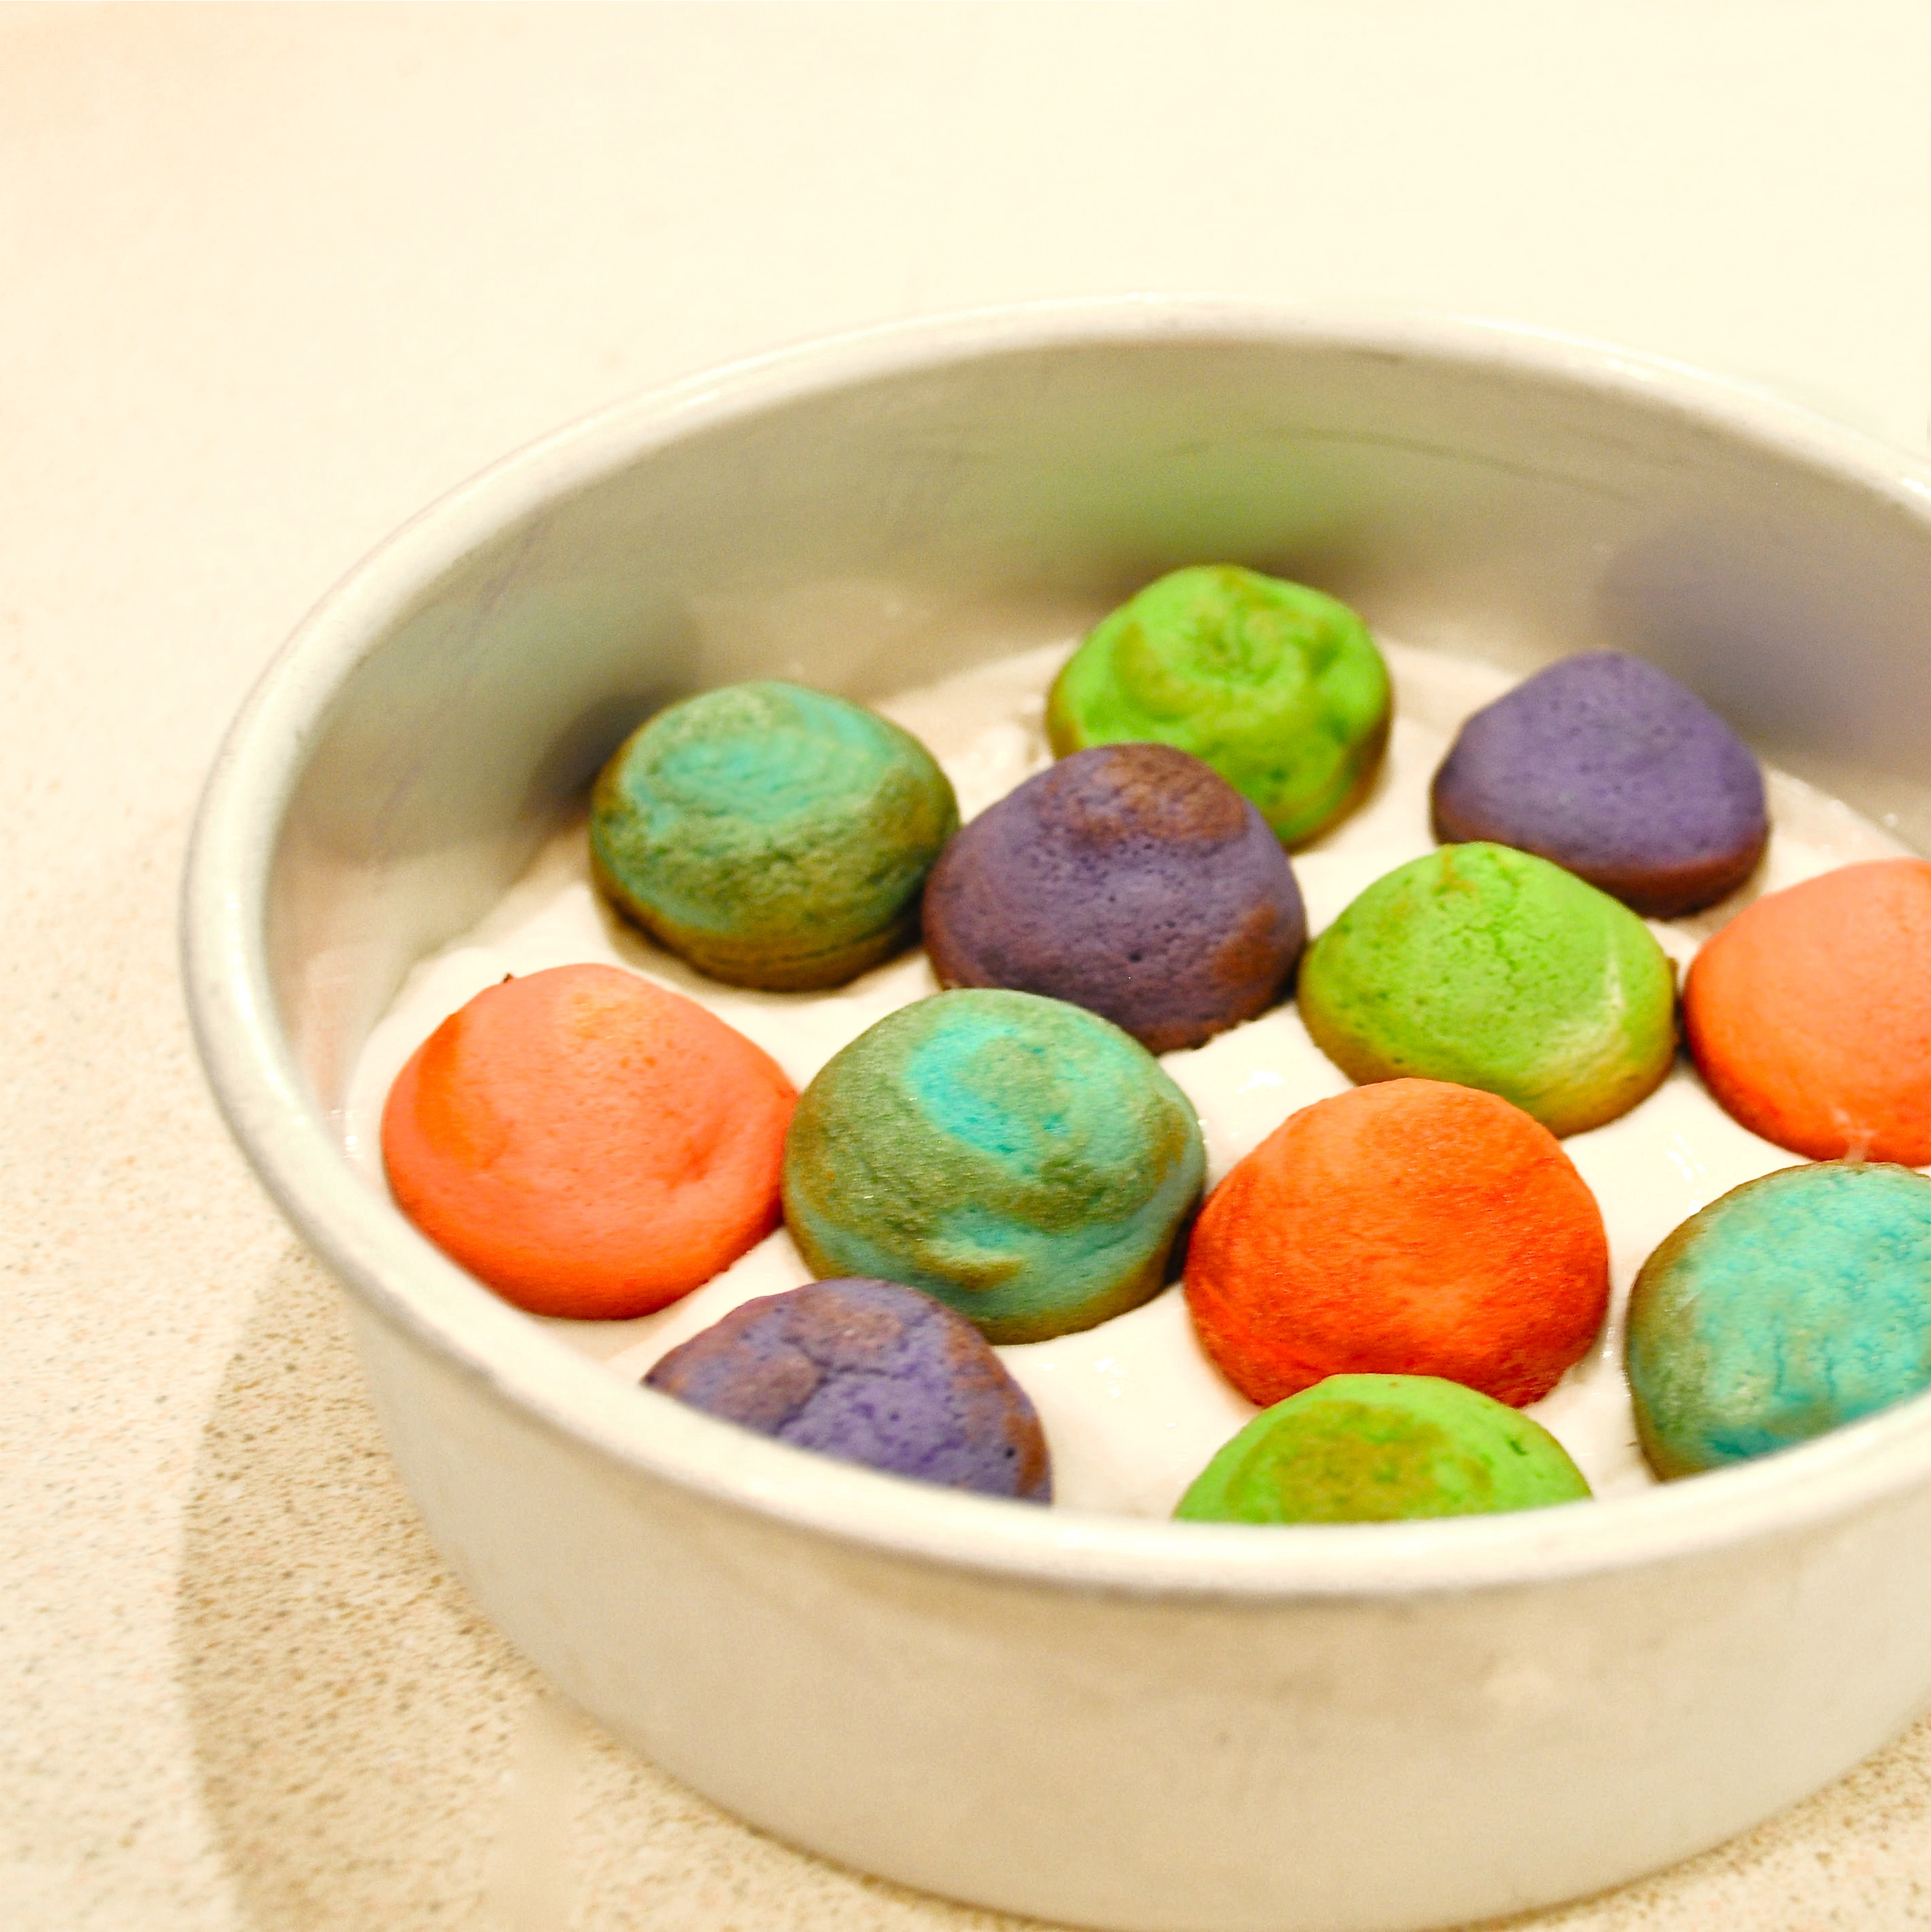
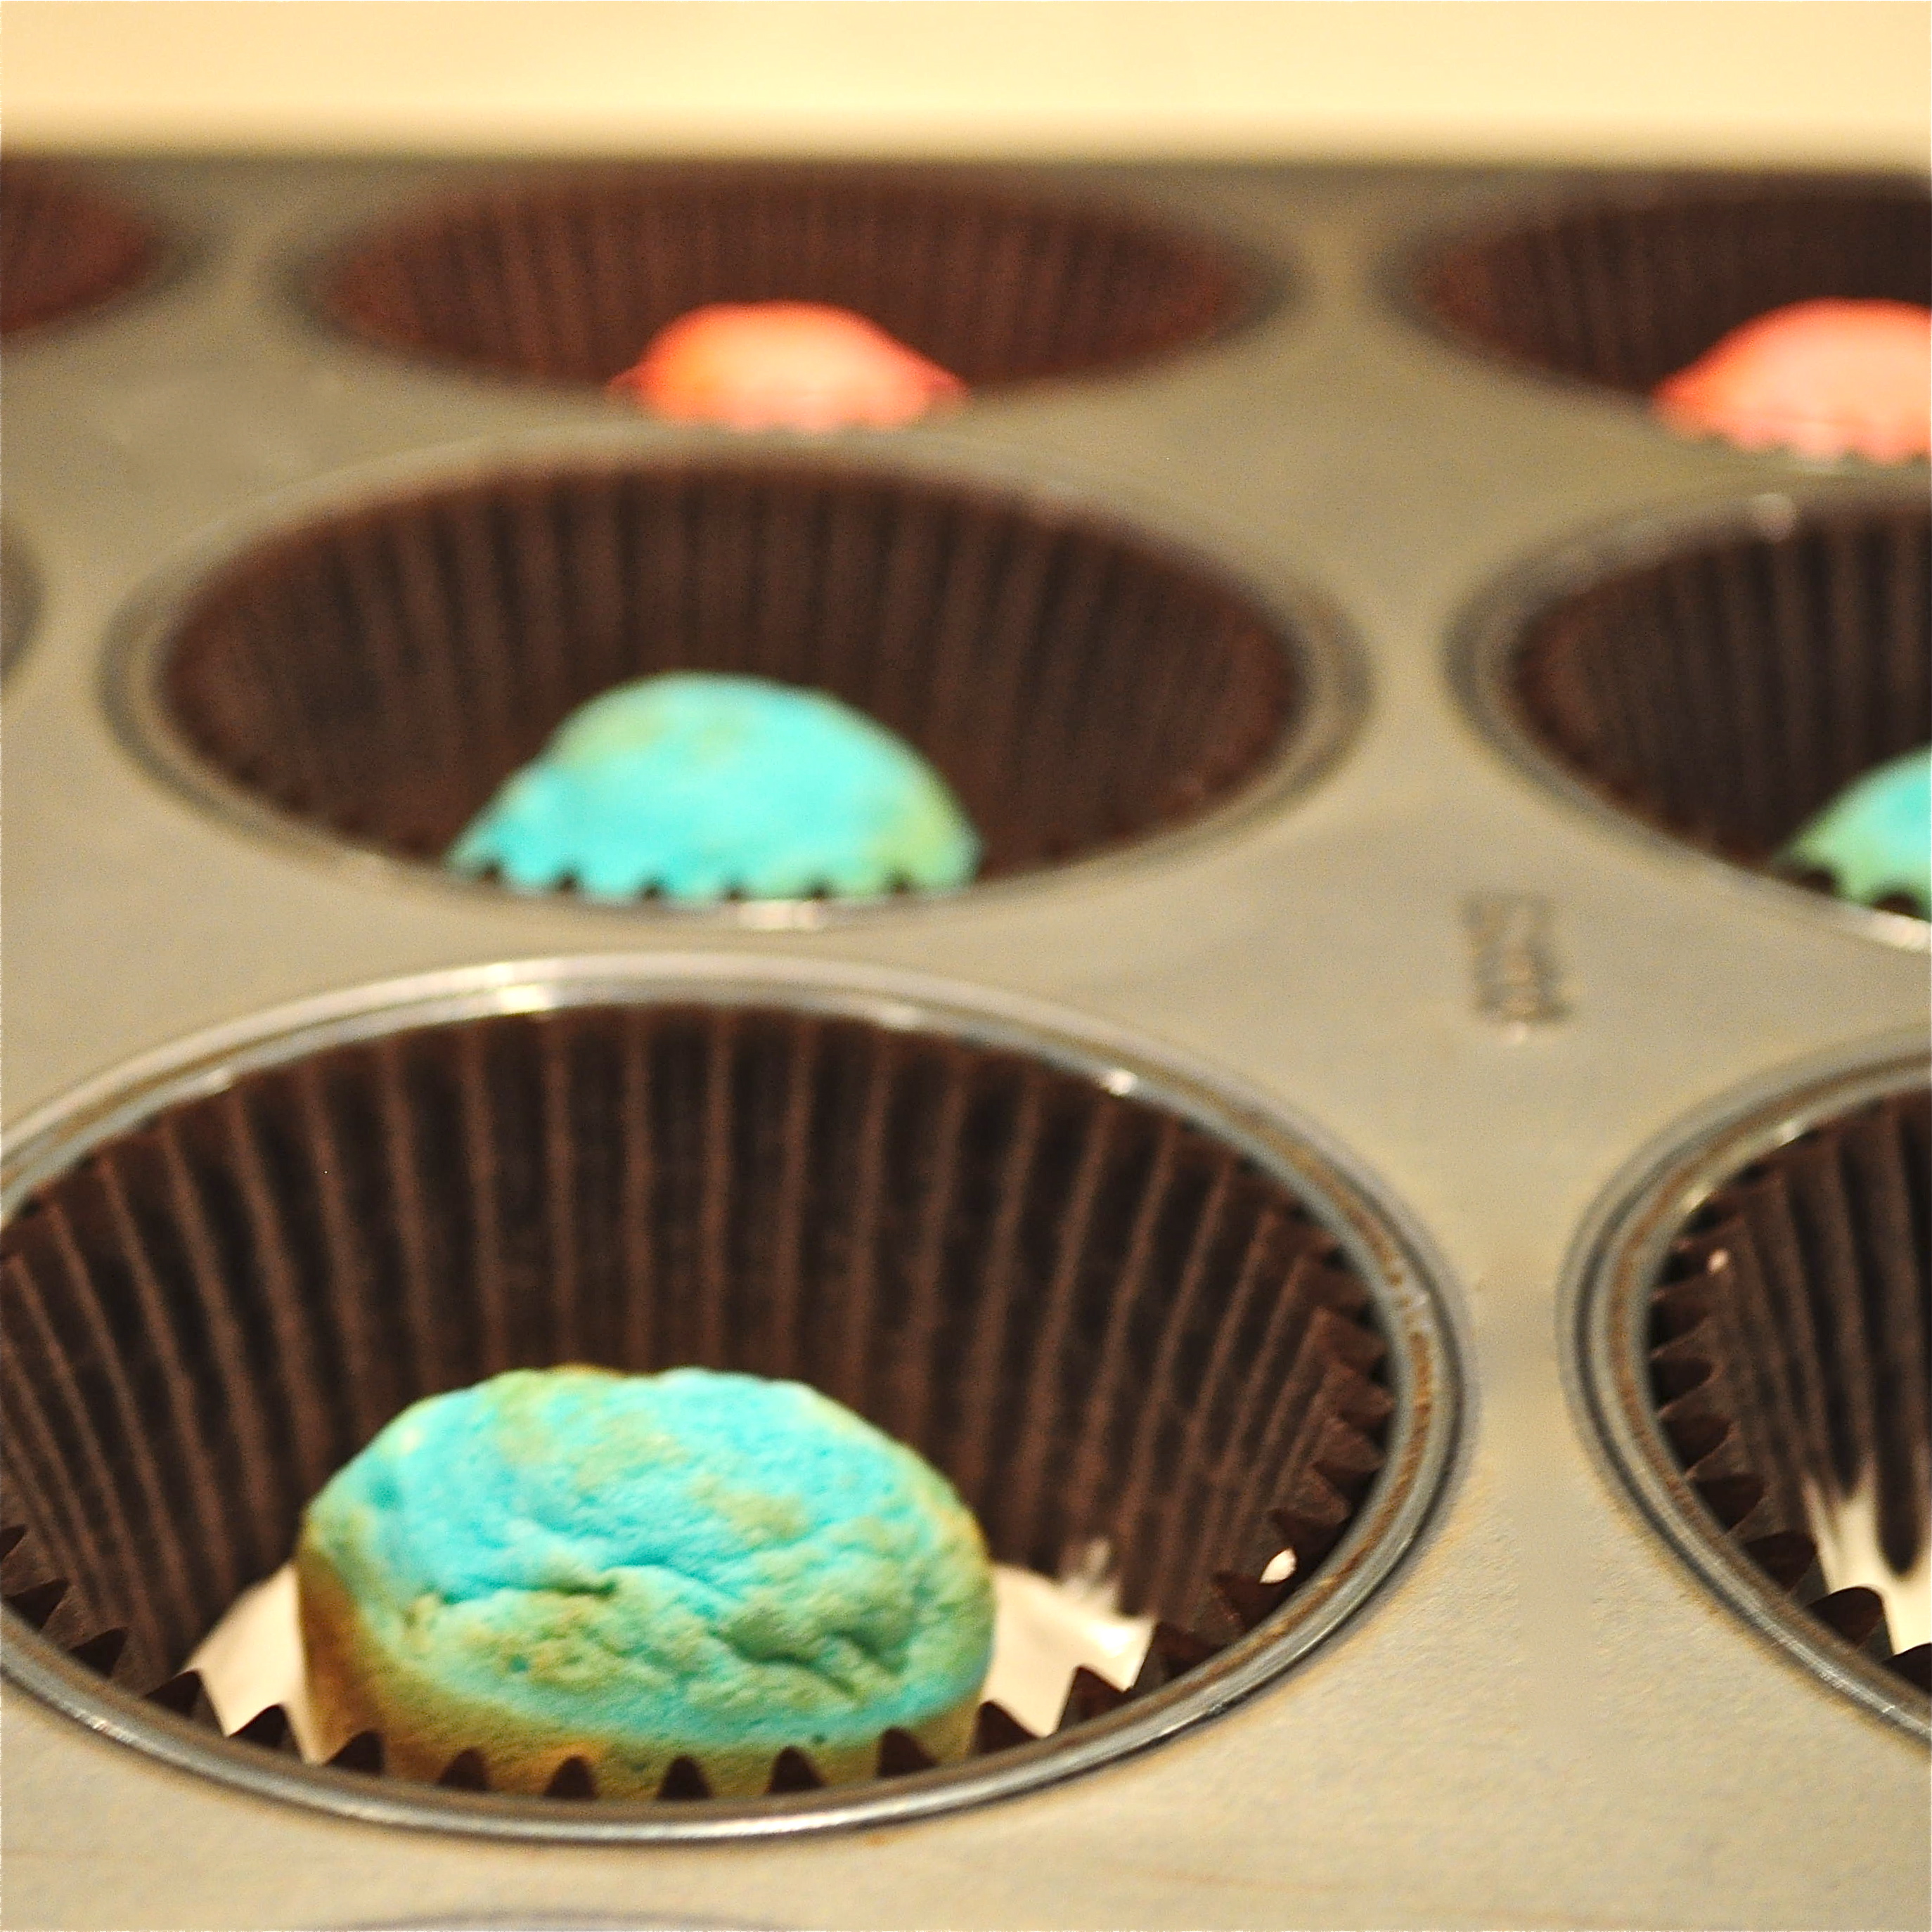
  • While cake balls cool, spoon small amounts of your remaining white cake mix into 12-18 cupcake liners in a cupcake tin. (start with 12 and see how much batter you have left for the rest).
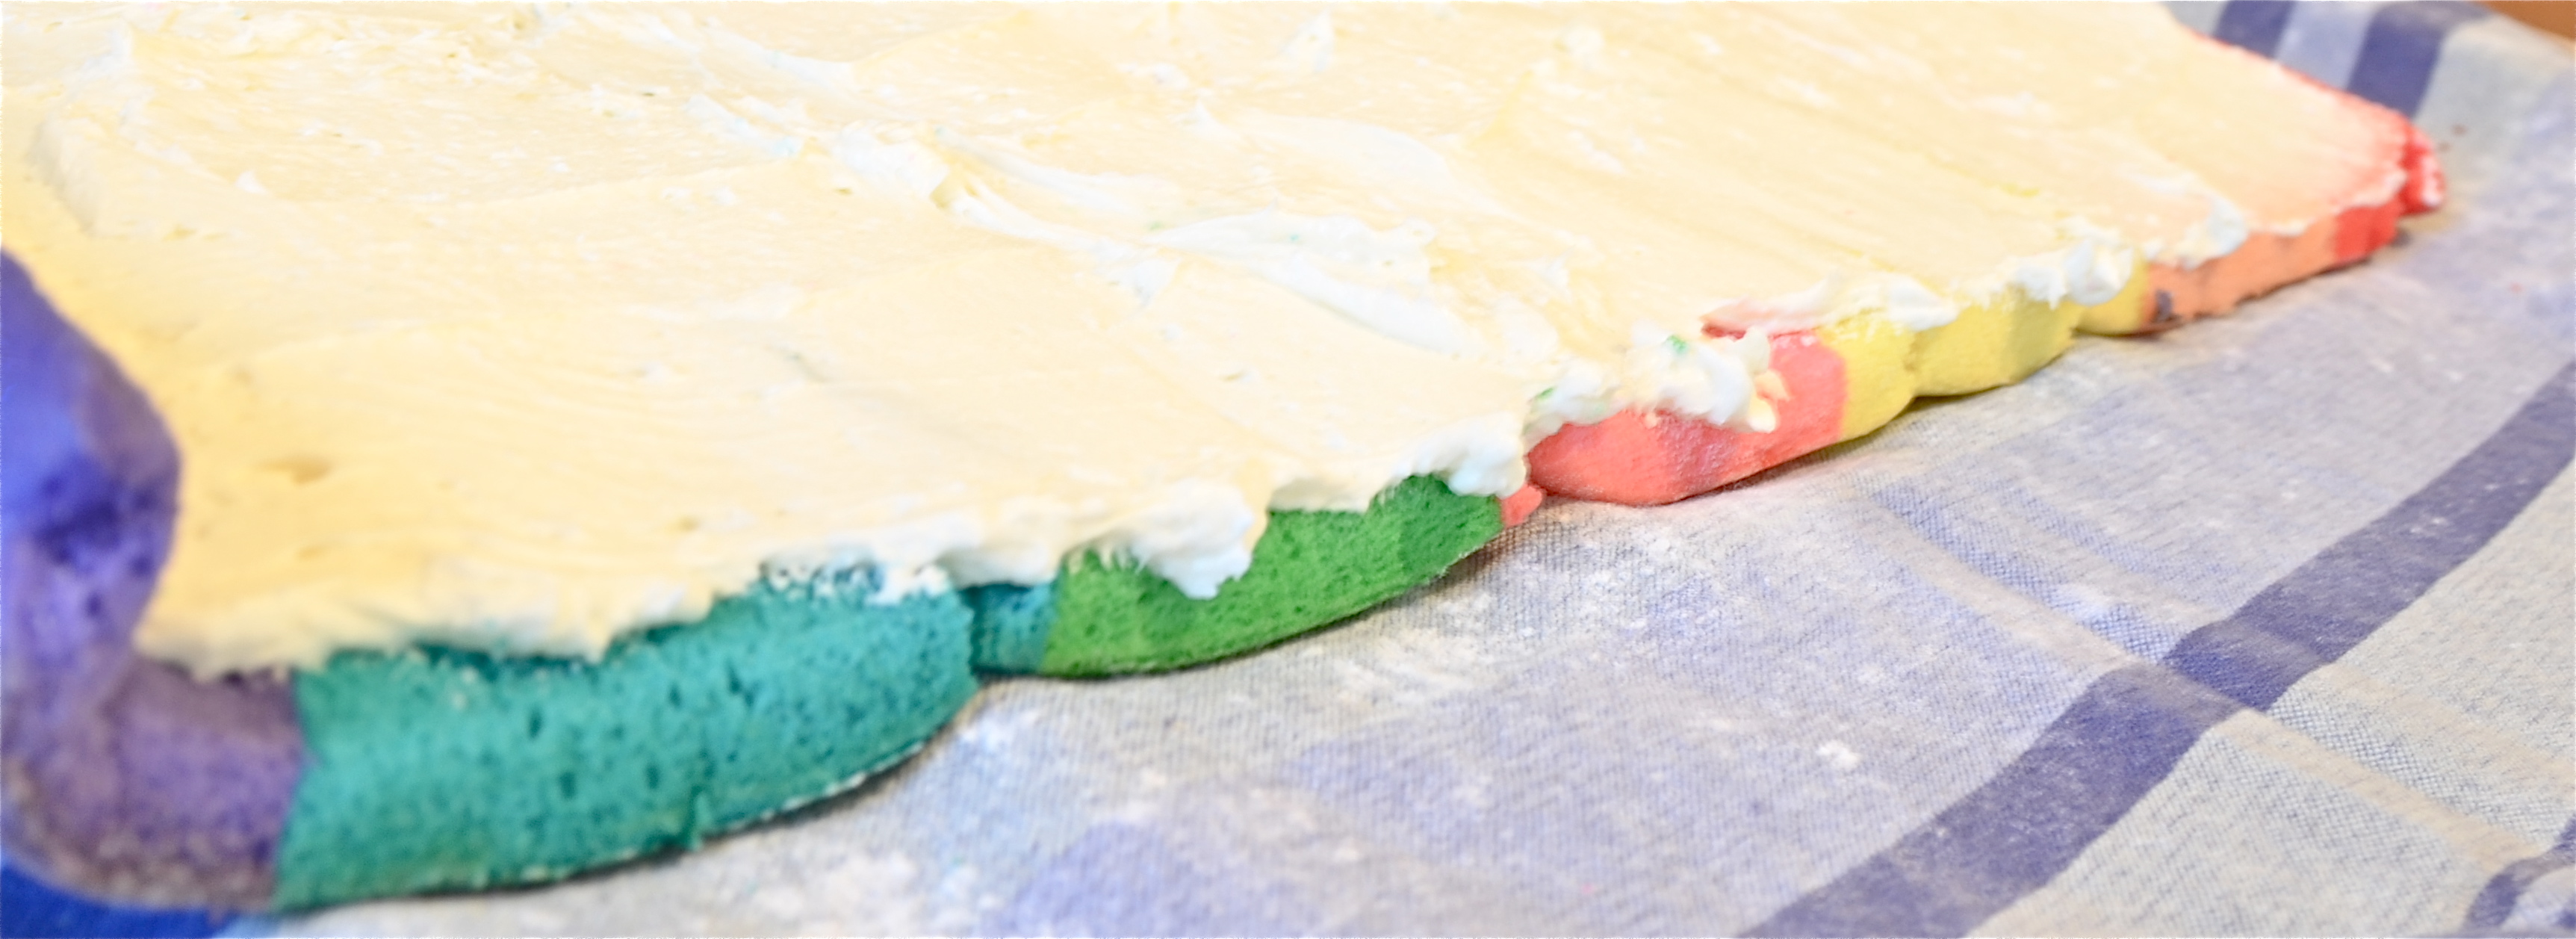
  • Spread the batter out along the bottom so you have a thin layer in each liner.
  • Set a cooled cake ball in the center of each liner and carefully scoop batter over the top (I found a medium cookie scoop to make this job MUCH easier!)

    Set cake ball into center of cupcake...Scoop batter over top of cake ball.

  • After your 12 are filled, continue on until you have used up all of your cake batter.
  • Bake at 350F degrees for about 20 minutes.
  • (If you are making the double batch, make your chocolate cake mix while the white cupcakes bake.  Set these up with the cake balls hidden inside the batter and bake for the same amount of time.)
  • Remove from tins immediately and cool on the counter.  Frost and decorate as desired.

Gender reveal cupcakes- two tone frostingPiping two tone icing colors!

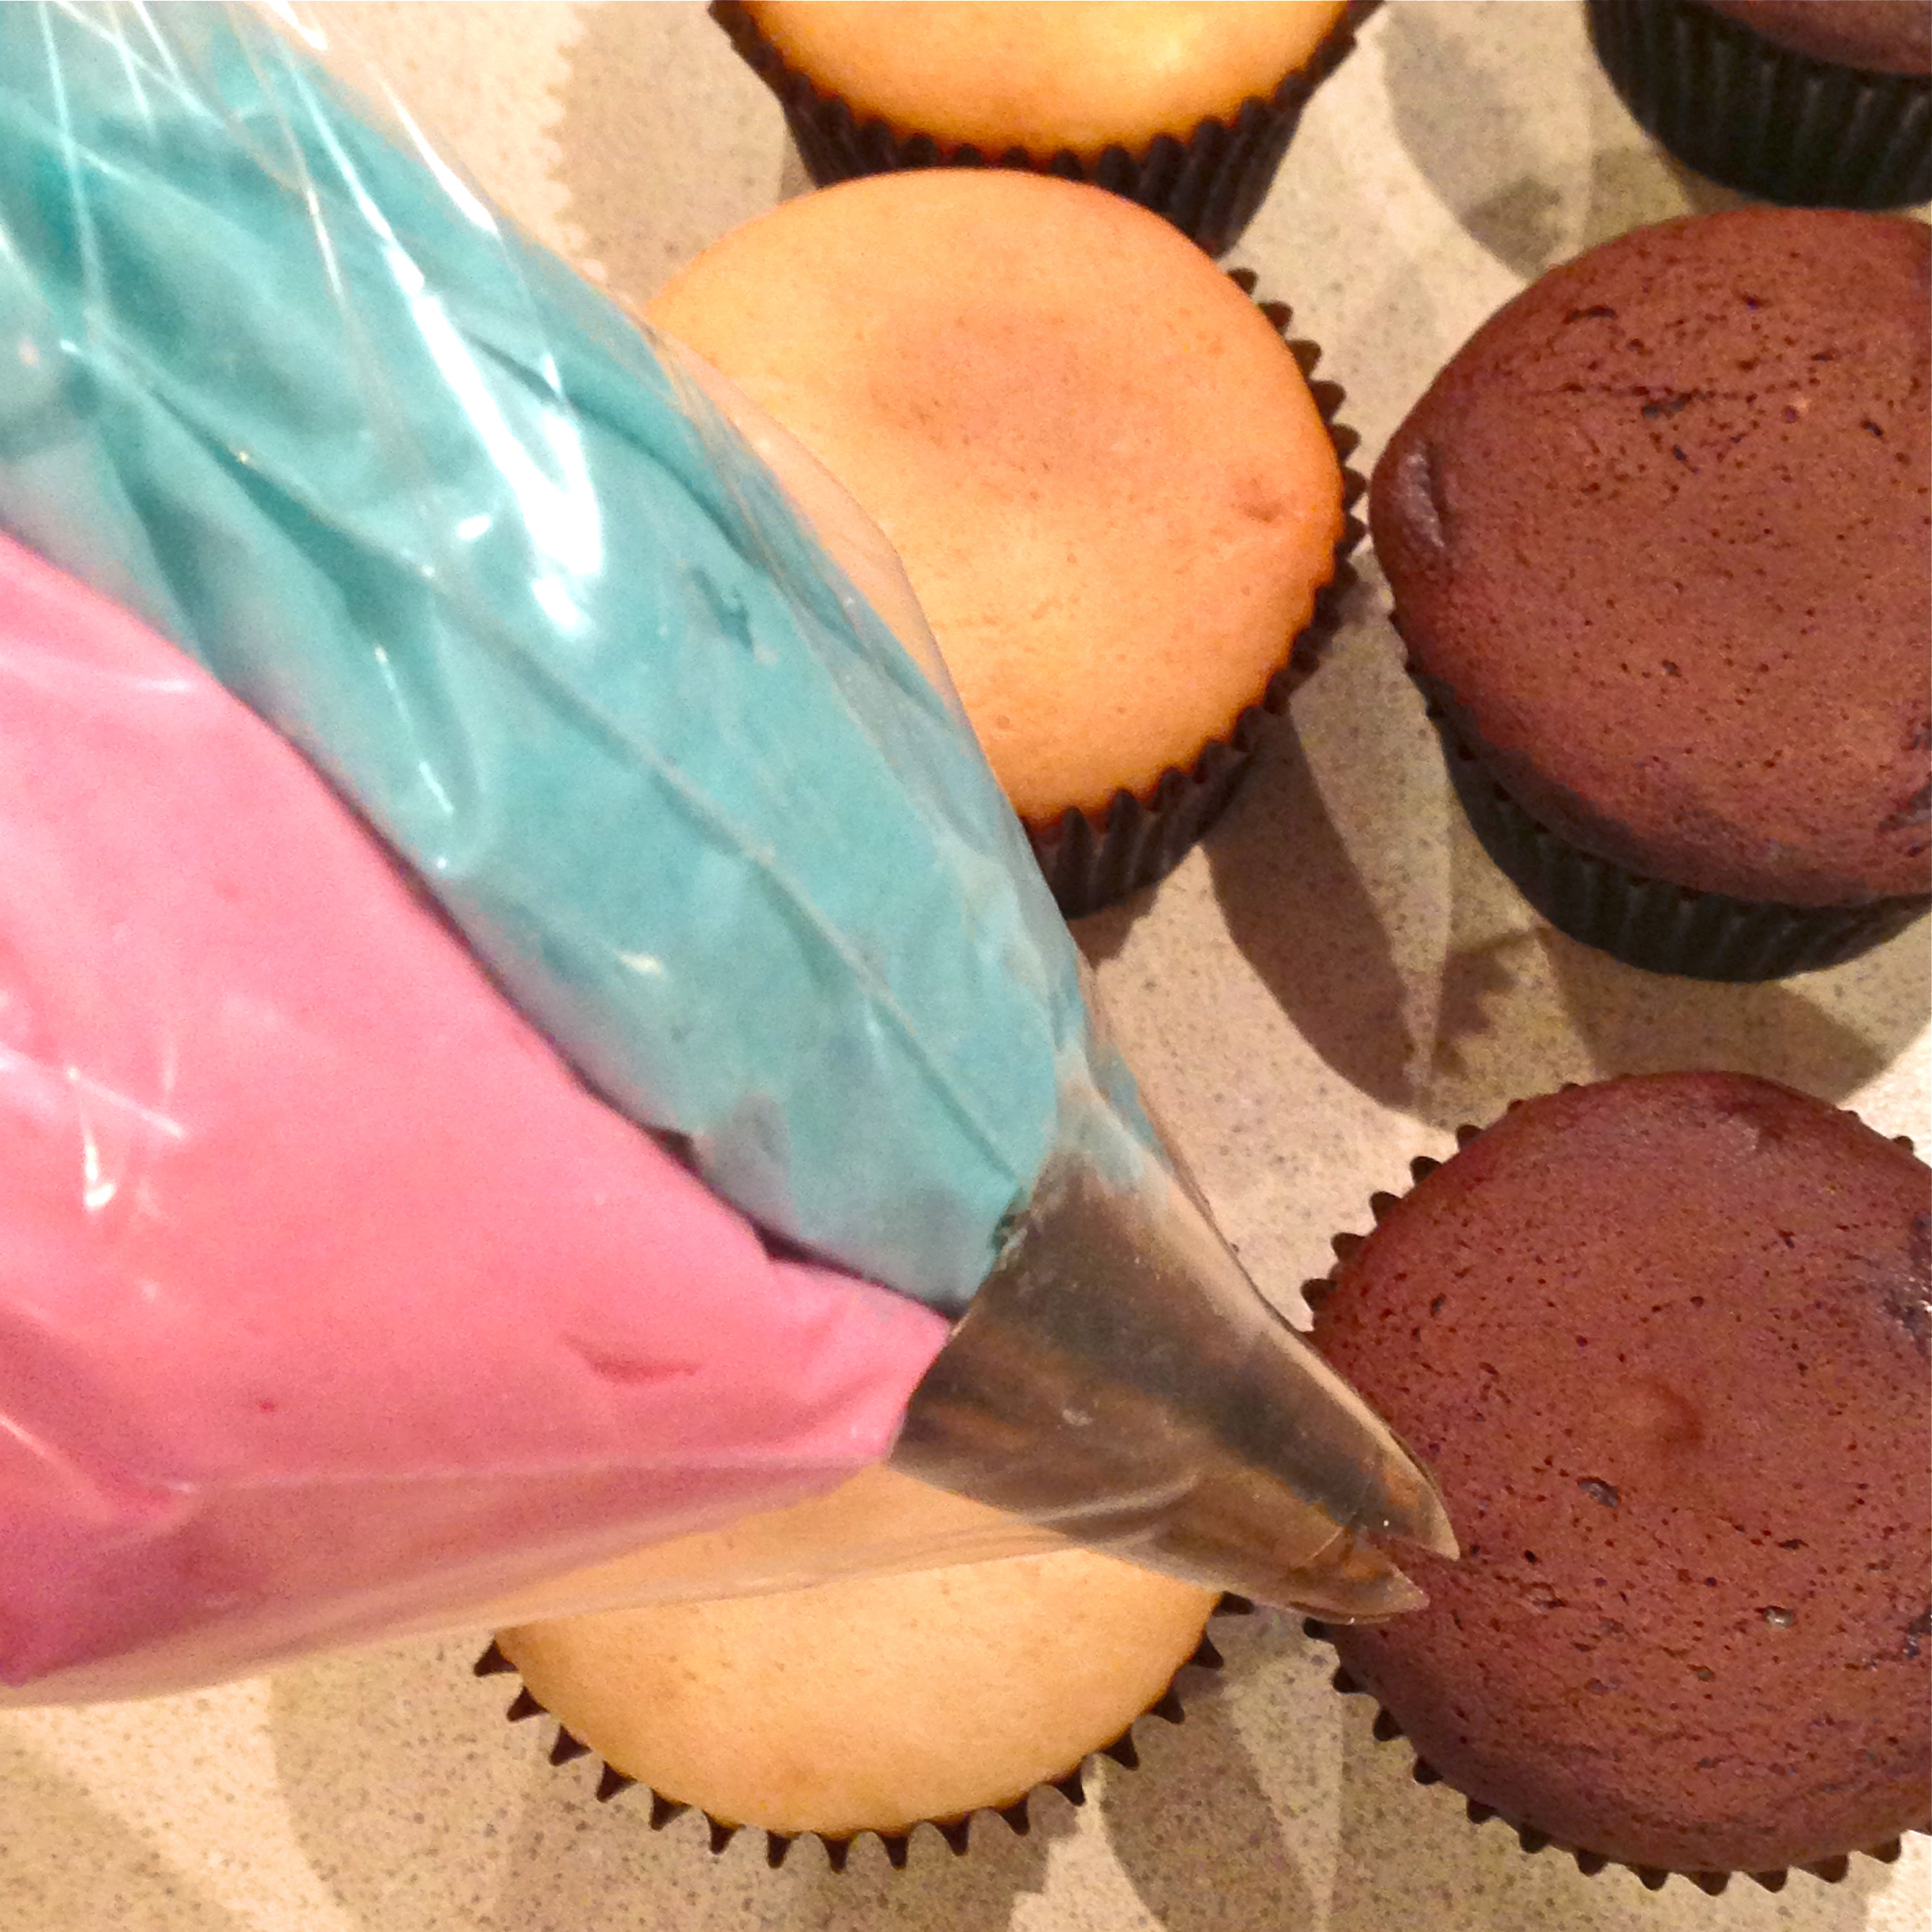
Do you see how I piped the two-tone icing colors?  I’m sure there must be a better method than this…I am so not a cake decorator.  It turned out ok- but it was a little fussy to keep equal pressure on both colors at the same time.

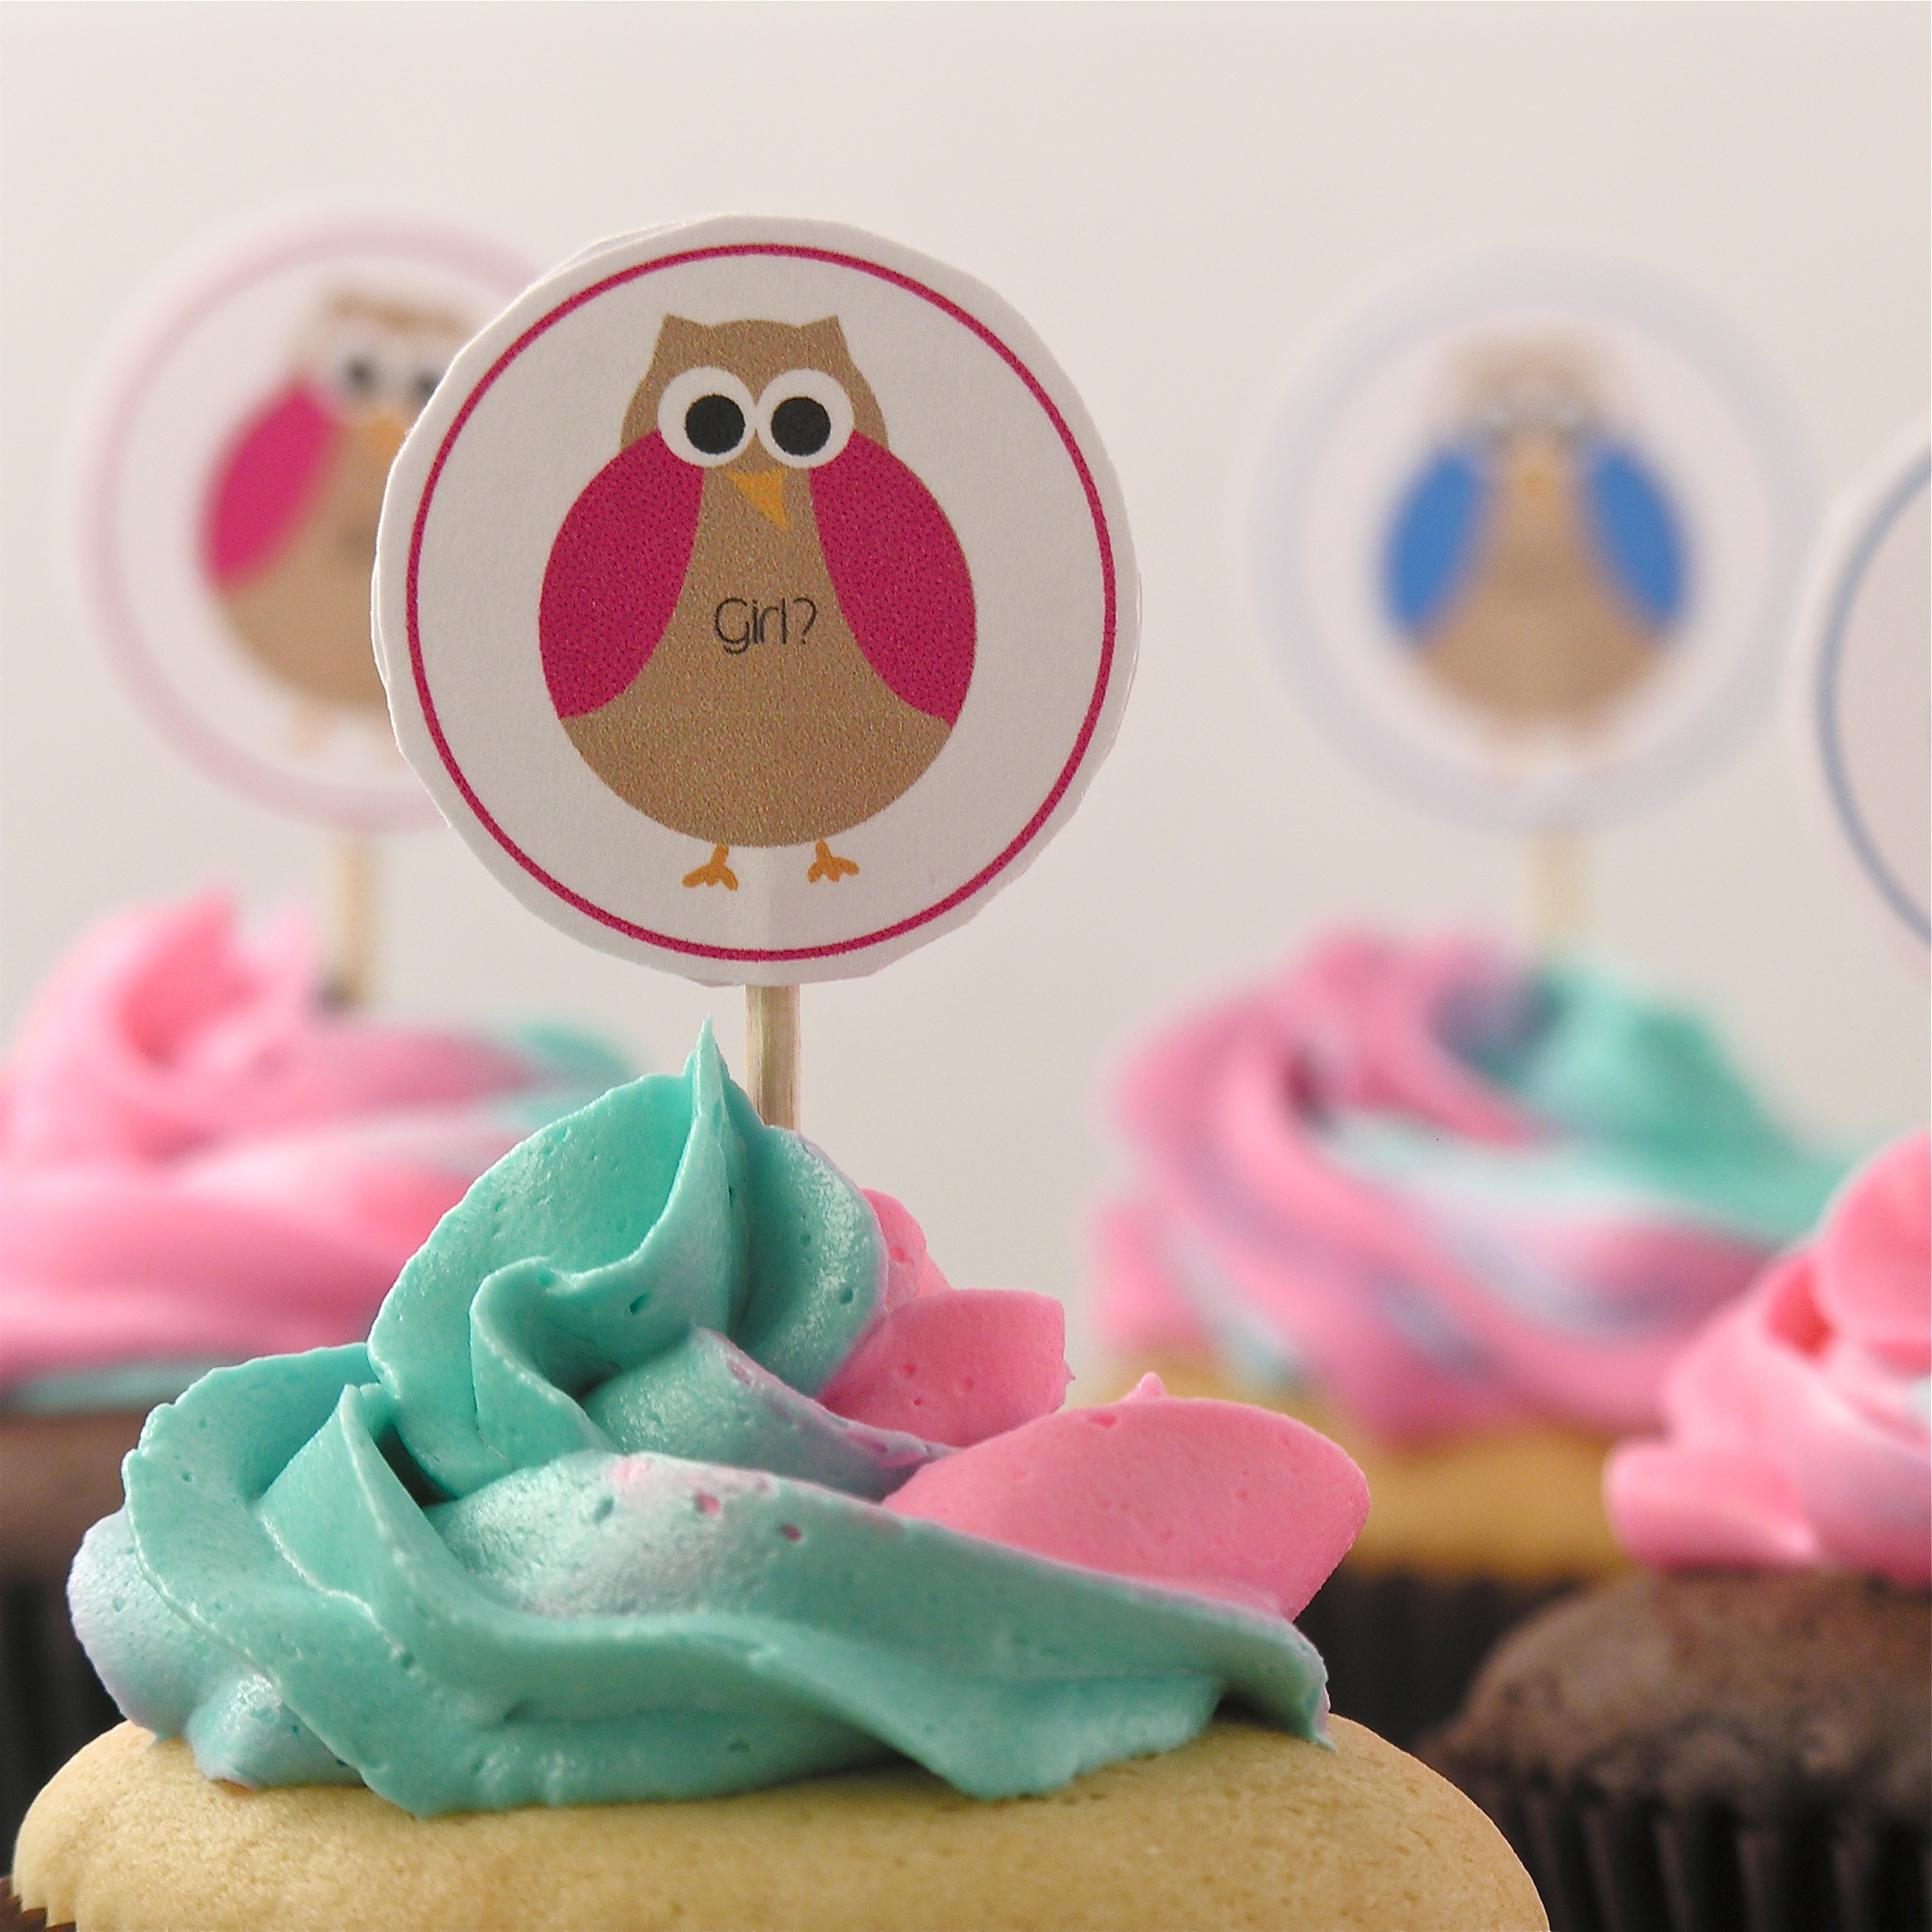
The toppers are easy and inexpensive to make.  Simply click here to get a free pdf file of the owl toppers.  Print them on a heavy card stock paper, cut them out and use double sided tape to stick them back to back around a toothpick (one boy owl and one girl, back to back).

It's a boy!!!

It’s a boy!!!

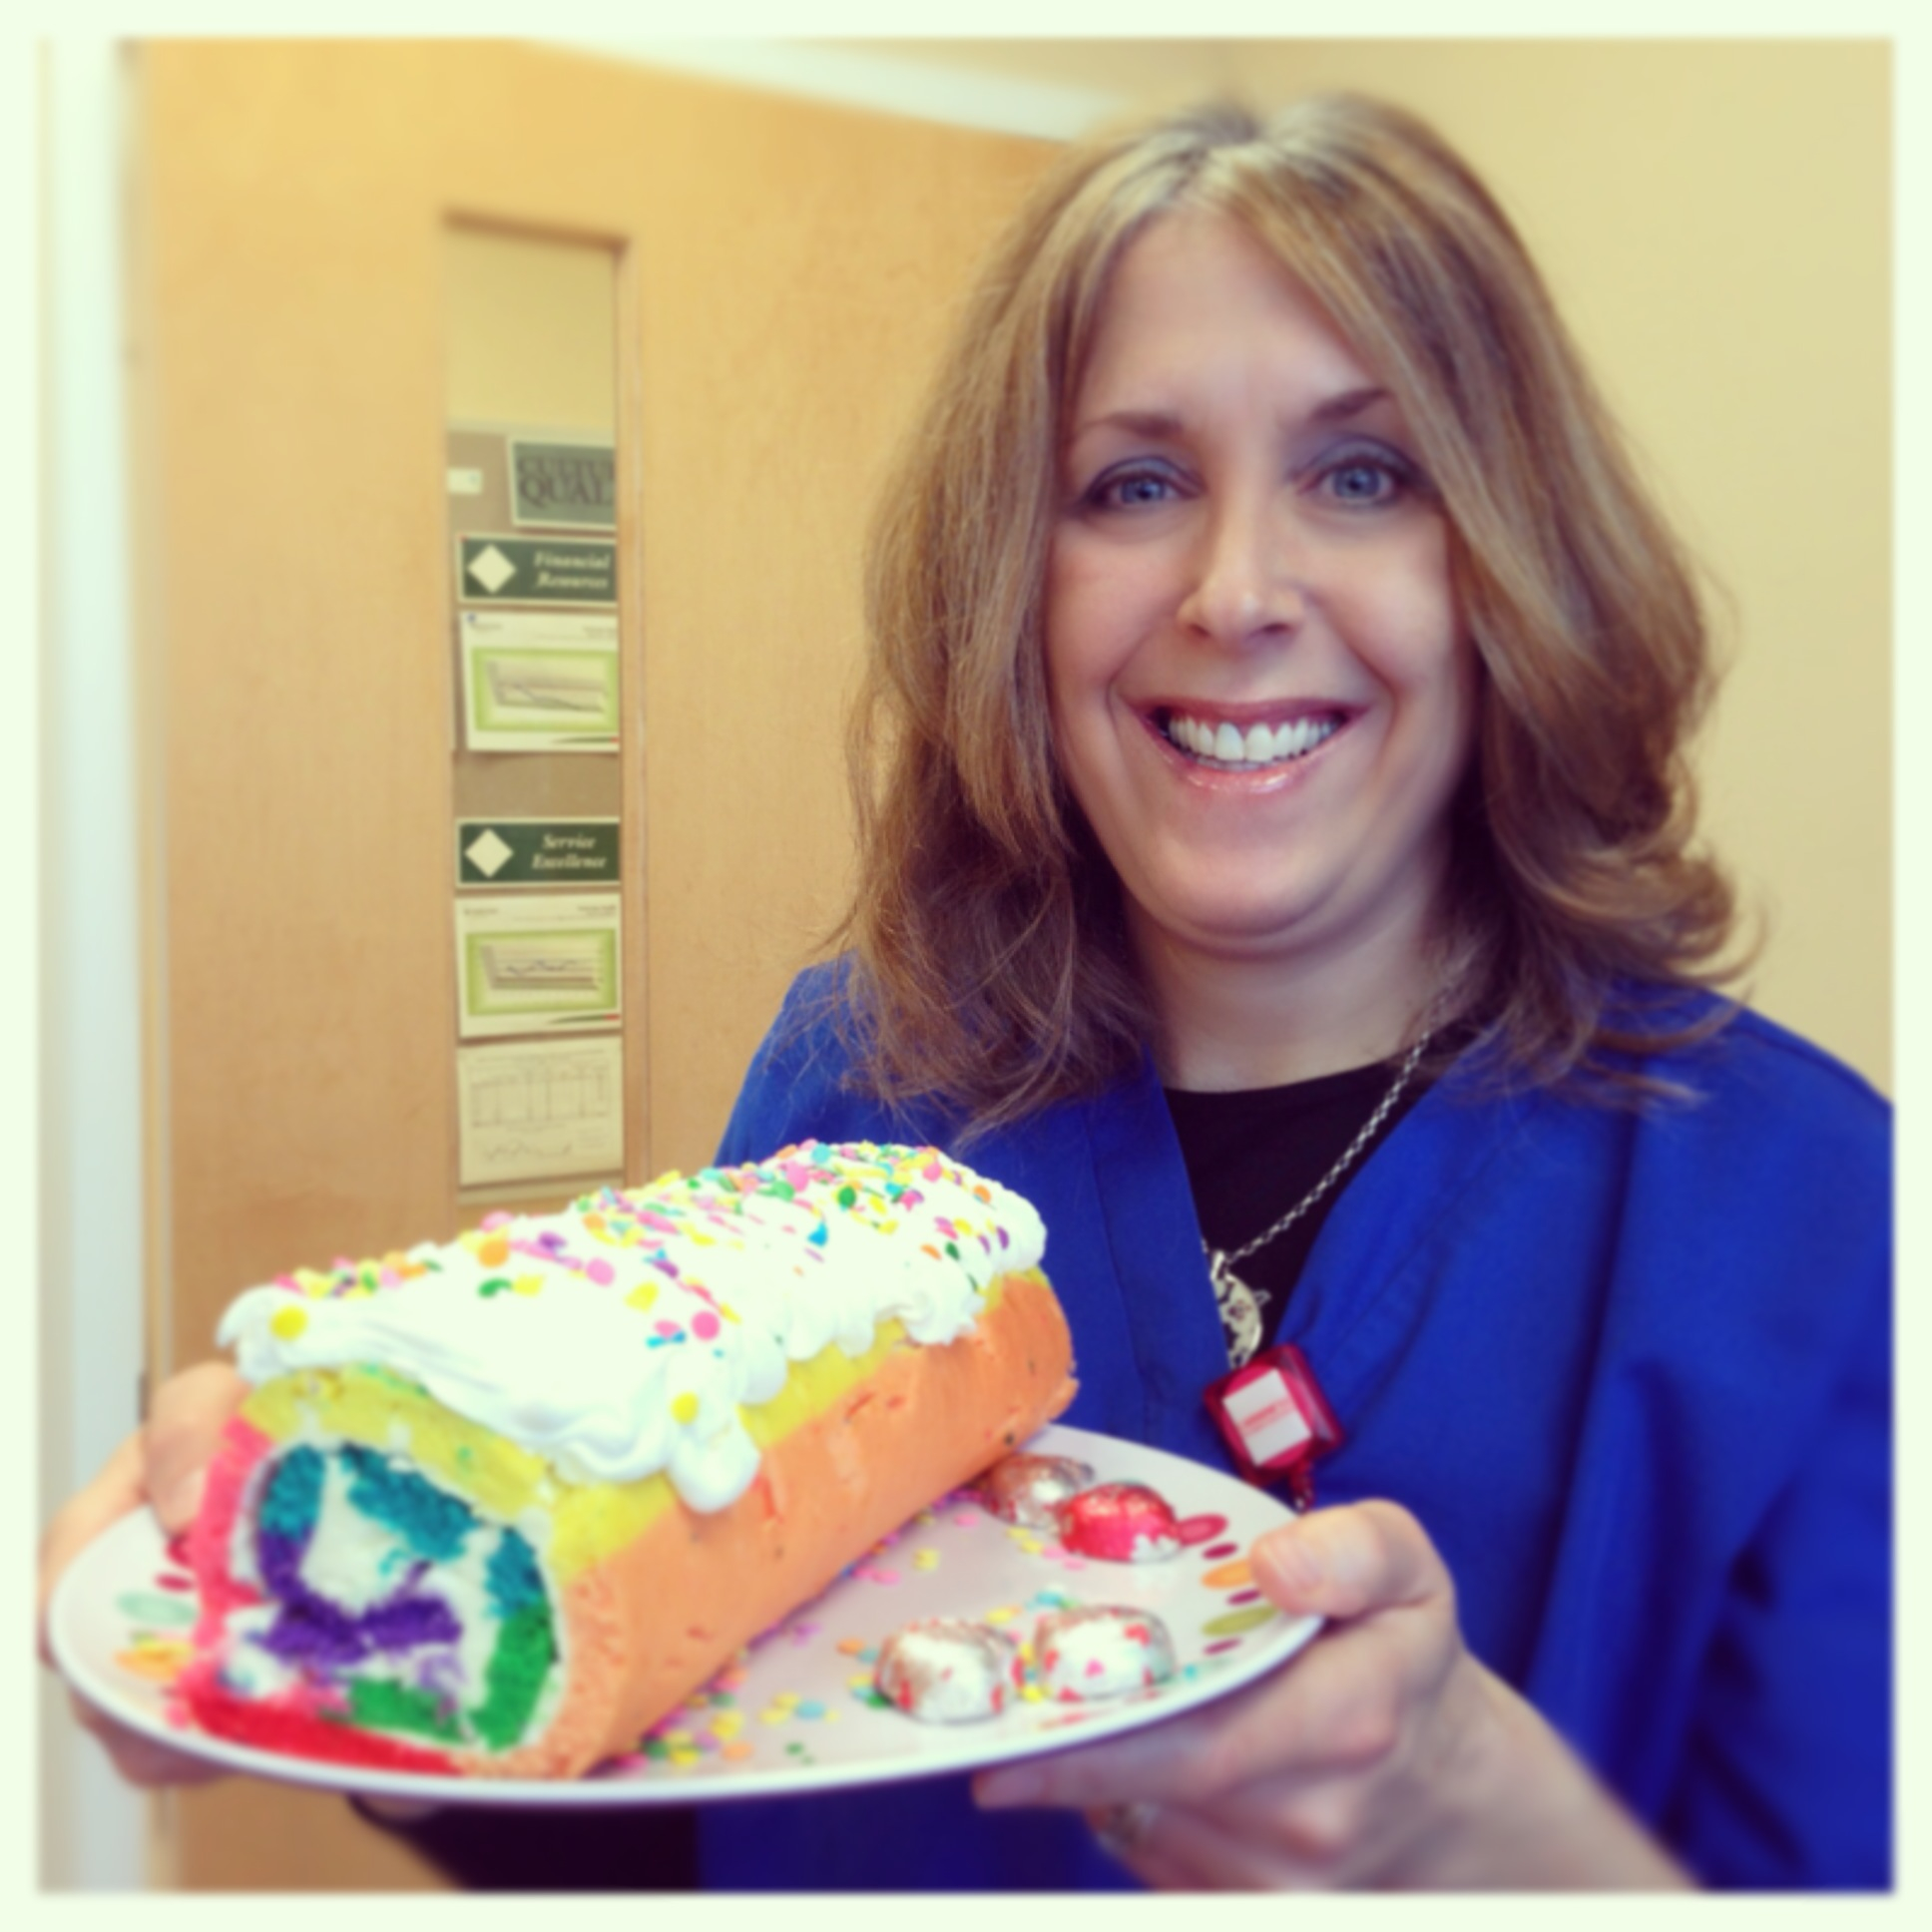
My thoughts:  I love how the final cupcake is….just a cupcake.  It isn’t anything fancy or cream-filled…just a cupcake with a surprise.  These would be fun cupcakes for any party- you could even incorporate them in a game—whoever gets the (__color___) cupcake gets a prize!  I hope these make their way into a party of yours soon!  Enjoy!!! ~r

It's a girl!!!

It’s a girl!!!

Want some other shower ideas from easybaked?  Click on the image to be taken to the recipe.

Gender Reveal CupcakeRaspberry Confetti KissesGender reveal cookiesKool-Aid Truffles!!

Advertisement

Rainbow Cake Roll

Posted on

Rainbow Cake Roll

Fun rainbow-colored cake swirled with rich buttercream- a perfect St. Patrick’s Day treat!

I had so much fun making this cake  this cake was torture.

I love cake rolls like crazy, but I could not find a recipe that tasted good AND didn’t crack terribly when rolled up.  I tried 4 recipes and finally settled on plain old cake mix again– it still cracked, but tasted soooo yummy and it was definitely the easiest.

I hesitated to post this, as it is essentially a recipe experiment *fail*, but then I thought it would be a good chance to ask all of YOU if you have a fail-safe vanilla cake roll recipe…?  I love the technique and the colors- I just need a good recipe.

For now, we will go with the cake mix version~

Things to keep in mind if you want to try this recipe:

1. Use my buttercream recipe.  When it is refrigerated it gets nice and hard, cementing your happy little cracked roll together and holding it together even at room temperature.

2. Set aside several hours and take your time.

3. Use color gels.  You will not get the vibrant colors with liquid color.

Honestly, people loved this cake.  Once it is cut you can barely tell it cracked.  I made this one for my friend Dawn’s birthday and it was such a fun and cheery cake.  She only likes white cake with vanilla frosting…this is a great way to spice up that combination with color!

Here we go:

INGREDIENTS:

  • 1 boxed white cake mix (with oil, water and eggs according to box)
  • Gel icing colors (I use Wilton Brand gels)
  • 2 sticks (8 oz) butter
  • 1 1/2 c. powdered sugar
  • 3. t. clear vanilla flavoring
  • Cool Whip Topping and sprinkles for garnish.

DIRECTIONS:

  • Preheat oven to 350F degrees
  • Make boxed cake mix, but add just a little less oil and water.  My Pillsbury mix called for 1 cup of water and 1/3 cup of oil.  I used 3/4 c. water and 1/4 c. oil instead.  I used the same # of eggs (3)
  • Scoop about 3/4 c. of mix into 6 or 7 small bowls and color as desired.

Pretty cake batter!!!

  • Cover the bottom of a standard jellyroll pan (mine is about 12″ by 17″, and about 1″ deep) with waxed paper- allowing the paper to extend just a bit over each end.
  • Lightly spray with non-stick cooking spray.
  • Spoon each color of batter into a small ziptop bag and gently pipe colors into pan in stripes.  Just settle in and take your time here.  This is a labor of love.  Use paper towel to wipe up drips and remember that you are piping a THIN layer of cake– you don’t want to make it so thick you run out before you get to the end of the pan.  Patience is the key…believe me, I’ve done this 4 times now with different cake recipes and it just takes time.

Pour batter into small ziptopPipe in stripes!Piped cake rolls!

(It also involves a lot of dishes…pretty, colorful, messy dishes.)

Rainbow dishes!

  • Bake your cake at 350F degrees for 12-15 minutes– check often- you can’t roll a crunchy over-baked cake!
  • Remove from oven and place a clean towel that has been sprinkled with powdered sugar over the roll.  Tip the pan over onto the towel and peel away the wax paper.
  • Gently roll cake up in towel from one short end to the other.

Peel wax paper off of rainbow cakeRoll cake in towel, starting at short end.

  • Refrigerate for one hour.
  • While cake is cooling, make buttercream icing.
  • Put softened butter, powdered sugar and vanilla in a large mixing bowl and beat on high until light and fluffy.
  • When cake is cooled, gently unroll (here is where the cracking happens…be gentle and patient)
  • VERY carefully, spread buttercream over entire surface of the cake and re-roll.  I had cracks that went the entire length of the cake and still just gently rolled it together, letting the buttercream hold it together.

Buttercream on top!

  • Gently place on a plate and refrigerate until buttercream hardens.
  • Once cake roll has hardened it can be easily moved and cut.  Top it with whipped cream and sprinkles– that helps to hide some of the cracks 😉
Not perfect, but so much fun!

Not perfect, but so much fun!


My thoughts:  I feel a little guilty publishing this on a site called EASYbaked, but I couldn’t resist.  I would make it again- it just makes me smile.  I hope a few of you brave souls will attempt this and enjoy it as much as I did!  Please– if you have a good vanilla cake roll recipe I’d love to hear about it.  You can link to your recipe if it is on a blog, or post the recipe in the comments or in-box message me on the Easybaked Facebook page.  I’m excited to find a way to make this cake “perfect” 🙂

Happy Birthday Dawn!

Happy Birthday Dawn!

Other happy rainbow desserts you might like for St. Patricks Day:

Fruit Loop Pie!Skittles cake!Tie-Dye Cake with Blue Raspberry Frosting!Polka Dot Cake!!!

Polka Dot Cake!!!

Posted on


Polka Dot Cake!!!It just makes you smile, doesn’t it?  I don’t think I can adequately express how happy this cake makes me.

I made this cake for my friend Nikki’s birthday and it made her happy too…

Happy Birthday!!!                      Surprise!!!!

I simply can’t take credit for the idea behind this cake,  that credit goes to an adorable blog called “Once Upon a Pedestal”.  I can’t even take credit for finding the idea… that goes to my wonderful Pinterest addicted friend Laura.  I can tell you this: it is NOT hard to make.  It does take some time, but it is very easy to put together, and the “wow” factor?  Incredible!

Polka Dot Cake!!!!!!

The 1st question everyone asks is “How did you get the polka dots INSIDE the cake?” They are cake balls.  To make this recipe, you will need one piece of special equipment: a cake pop/ doughnut hole maker.  I feel like I walked by those like 100 times over the holidays in various stores and every time I thought, “I wonder why you would ever buy one of those?”  Now I know!  Here’s the one I got: Bella Sensio Cake Pop Maker

Cake pop maker

There are several brands and varieties- I’m sure they all work great- I would look for one that does 12 at once, just as a time saver!  The good news?  Once you make this cake, your friends will all want to borrow your cake pop maker and you won’t have to store it anywhere!

Are you ready to see how this is done?  Here we go: (printable recipe)

INGREDIENTS:

  • 2 boxed white cake mixes (plus the oil, water and eggs to make them according to the package)
  • You favorite frosting (I used my buttercream recipe, doubled, which you can get by clicking here)
  • Sprinkles or candy to decorate the cake.

DIRECTIONS:

  • Plug in/turn on your cake pop maker to warm it up.
  • Make one of the cakes according to package directions.
  • Divide batter evenly into smaller bowls based on the number of colors you want to use (I did 4)
  • Color the batter using color gels (I love the Wilton brand in particular because it gives such a vivid color)
  • Following the directions for your particular cake pop maker, make cake balls using each of the colors.

(with mine I sprayed it with Pam, used a small (2 tsp) cookie scoop, rapidly scooped batter in and immediately closed the lid.  My directions said 4-5 minutes and they all were burnt to a crisp– about 2 minutes worked perfectly for me.  I just set them out on a plate to cool then…be prepared to experiment a little with this– you will have some extra pops at the end, so its ok if you mess some up!)

Polka Dot Cake Pops

  • While cake balls are cooling, preheat oven to 350F, and make the second cake mix according to package.
  • Spray 3 – 6″ round pans with non-stick spray and set a circle of parchment paper in the bottom of each one (to keep your layers pretty!)
  • Spread a thin layer of batter in the bottom of each pan, place cake balls on top in any pattern you choose and divide remaining batter over the top of the balls so they are completely covered.

Assembling a Polka Dot Cake

Ready to bake!


  • Bake layers at 350F degrees for about 30 minutes.  You can use the toothpick test (I recommend it!) but be careful to hit cake and not cake balls….you can kind of tell where they are- they bump up just a bit.
  • When cooked all the way through, tip over on a cake rack to cool completely.
  • Trim, if needed, to flatten layers and use frosting to stack all three layers and cover the entire cake with frosting.
  • Decorate as desired.


Polka Dot Cake!!!!!My thoughts:  I’m not a cake decorator, and my buttercream is a whipped frosting that is OH so yummy, but not very good for a smooth cake surface….it still makes me smile…bumps and all.  You can decorate your cake however you like.  I used Wilton Jumbo Confetti Sprinkles on this one.  I really hope you give this cake a try– if you have any questions about the process just ask!!  — or check out “Once Upon a Pedestal”, as her pictures were very helpful.  She also uses a different type of cake pop pan than I did.  I hope this recipe idea made you smile on this cold winter morning– enjoy!!!!!  ~r

Polka Dot Cake!!!!

Polka Dot Cake Tips

Other Easybaked cake recipes you might enjoy: (click on the photo to see the recipe)

Chocolate Mousse CakeOld fashioned Red velvet cakeStrawberry-Lemonade CakeTie-Dye Cake with Blue Raspberry Frosting!

Fall Acorn Cupcakes

Posted on


A rich vegan cupcake recipe topped with vanilla buttercream and a cute little candy acorn.

INGREDIENTS: (makes about 24 cupcakes)

  • 3 cups of flour
  • 2 cups of sugar
  • 1/2 cup of cocoa
  • 1 teaspoon salt
  • 2 teaspoons baking soda
  • 2 tablespoons of vinegar
  • 1 teaspoon vanilla
  • 3/4 cups oil
  • 2 c. water

For acorns:

DIRECTIONS:

  • Add dry cupcake ingredients together and mix to remove lumps.
  • Add liquids and mix until smooth
  • Divide equally into cupcake liners in muffin tins.
  • Bake at 350F degrees for 20-25 minutes.
  • Allow cupcakes to cool completely and frost with your favorite buttercream recipe (click here for mine) tinted with fall food coloring.
  • Make acorns by melting candy melts in the microwave in 30 second increments, stirring between.  Dip unwrapped hershey kiss in chocolate and attach to bottom of cookie.  Dip butterscotch/peanut butter chip in chocolate and attach to top of cookie.  (Click HERE for more details on making these)
  • When hardened, gently place one acorn on the top of each cupcake.


My thoughts:  Ever since I posted these cute little acorns last fall I’ve wanted to put them on cupcakes!!  This was that day.  The vegan cupcake recipe is SO yummy.  The buttercream frosting isn’t vegan, but you can drizzle your cupcakes with a bit of powdered sugar glaze to keep them a treat for your vegan friends.  You can use the cupcake recipe to make a yummy bundt cake too– and that is PERFECT with a light sugar glaze on top.  I use this cake/cupcake recipe all the time- it is very moist and flavorful.  Enjoy!!!~r

Other recipes you might enjoy (click on the image to be taken to the recipe):

%d bloggers like this: