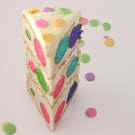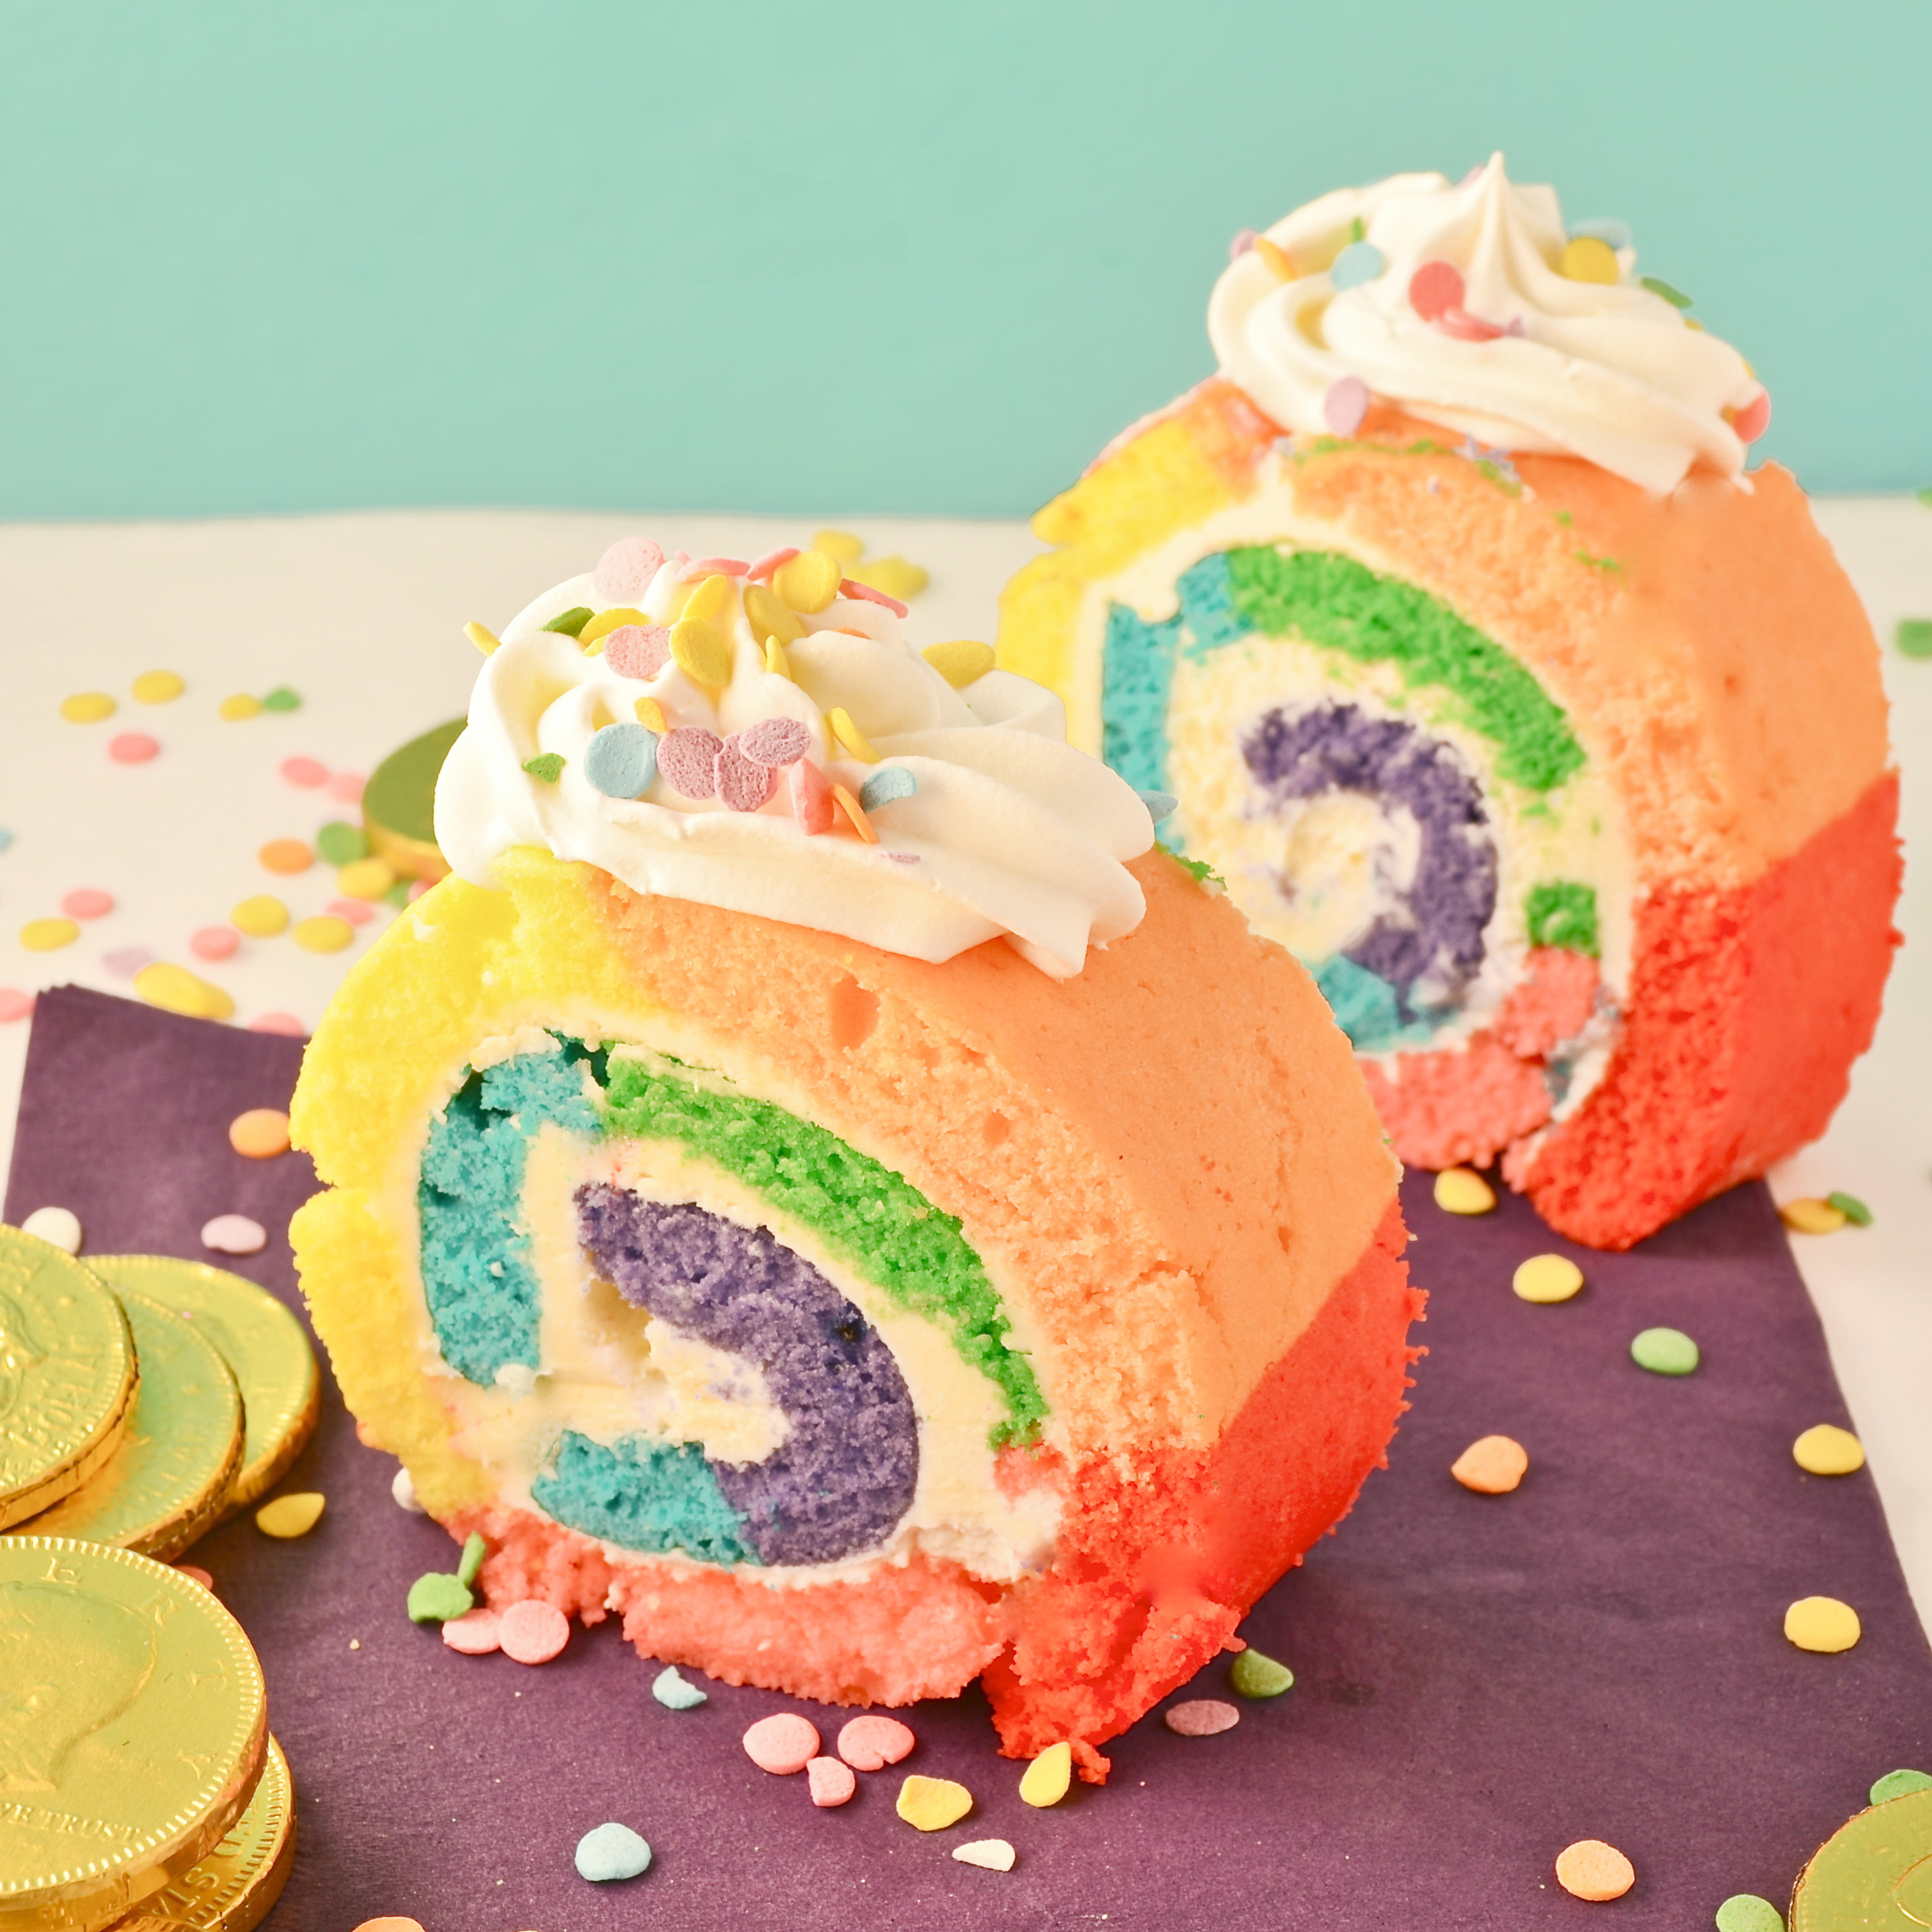

Fun rainbow-colored cake swirled with rich buttercream- a perfect St. Patrick’s Day treat!
I had so much fun making this cake this cake was torture.
I love cake rolls like crazy, but I could not find a recipe that tasted good AND didn’t crack terribly when rolled up. I tried 4 recipes and finally settled on plain old cake mix again– it still cracked, but tasted soooo yummy and it was definitely the easiest.
I hesitated to post this, as it is essentially a recipe experiment *fail*, but then I thought it would be a good chance to ask all of YOU if you have a fail-safe vanilla cake roll recipe…? I love the technique and the colors- I just need a good recipe.
For now, we will go with the cake mix version~
Things to keep in mind if you want to try this recipe:
1. Use my buttercream recipe. When it is refrigerated it gets nice and hard, cementing your happy little cracked roll together and holding it together even at room temperature.
2. Set aside several hours and take your time.
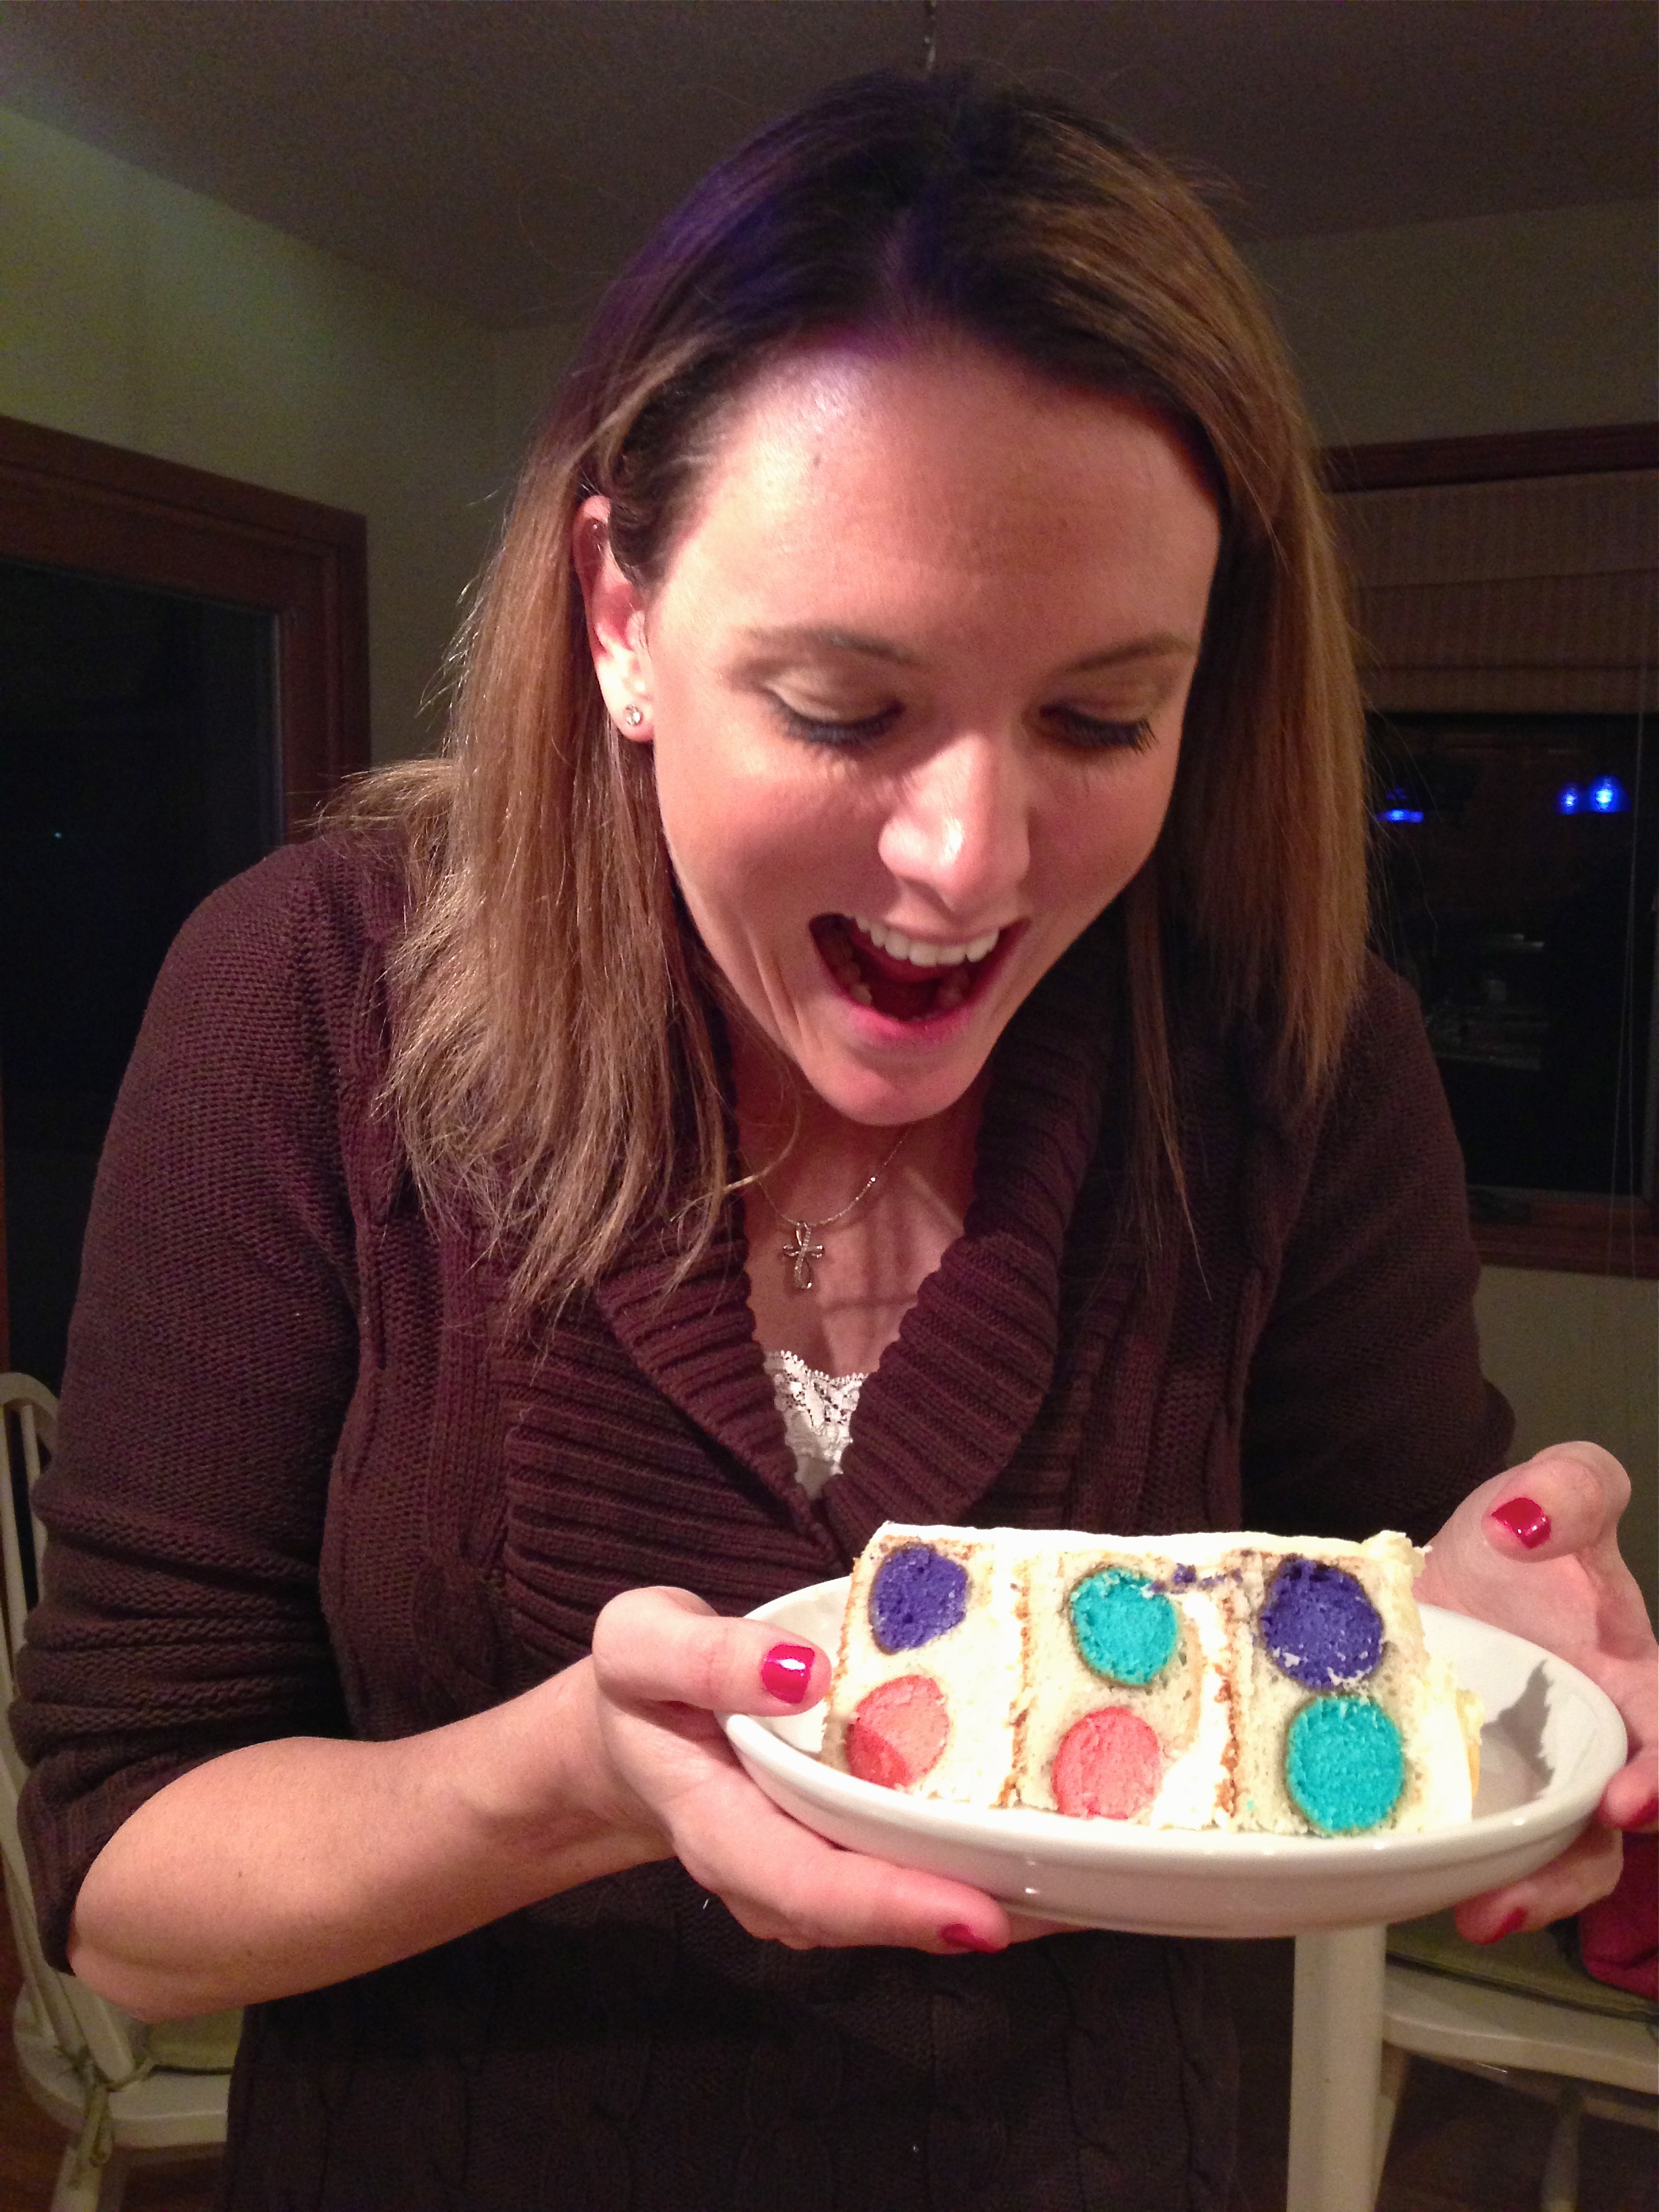
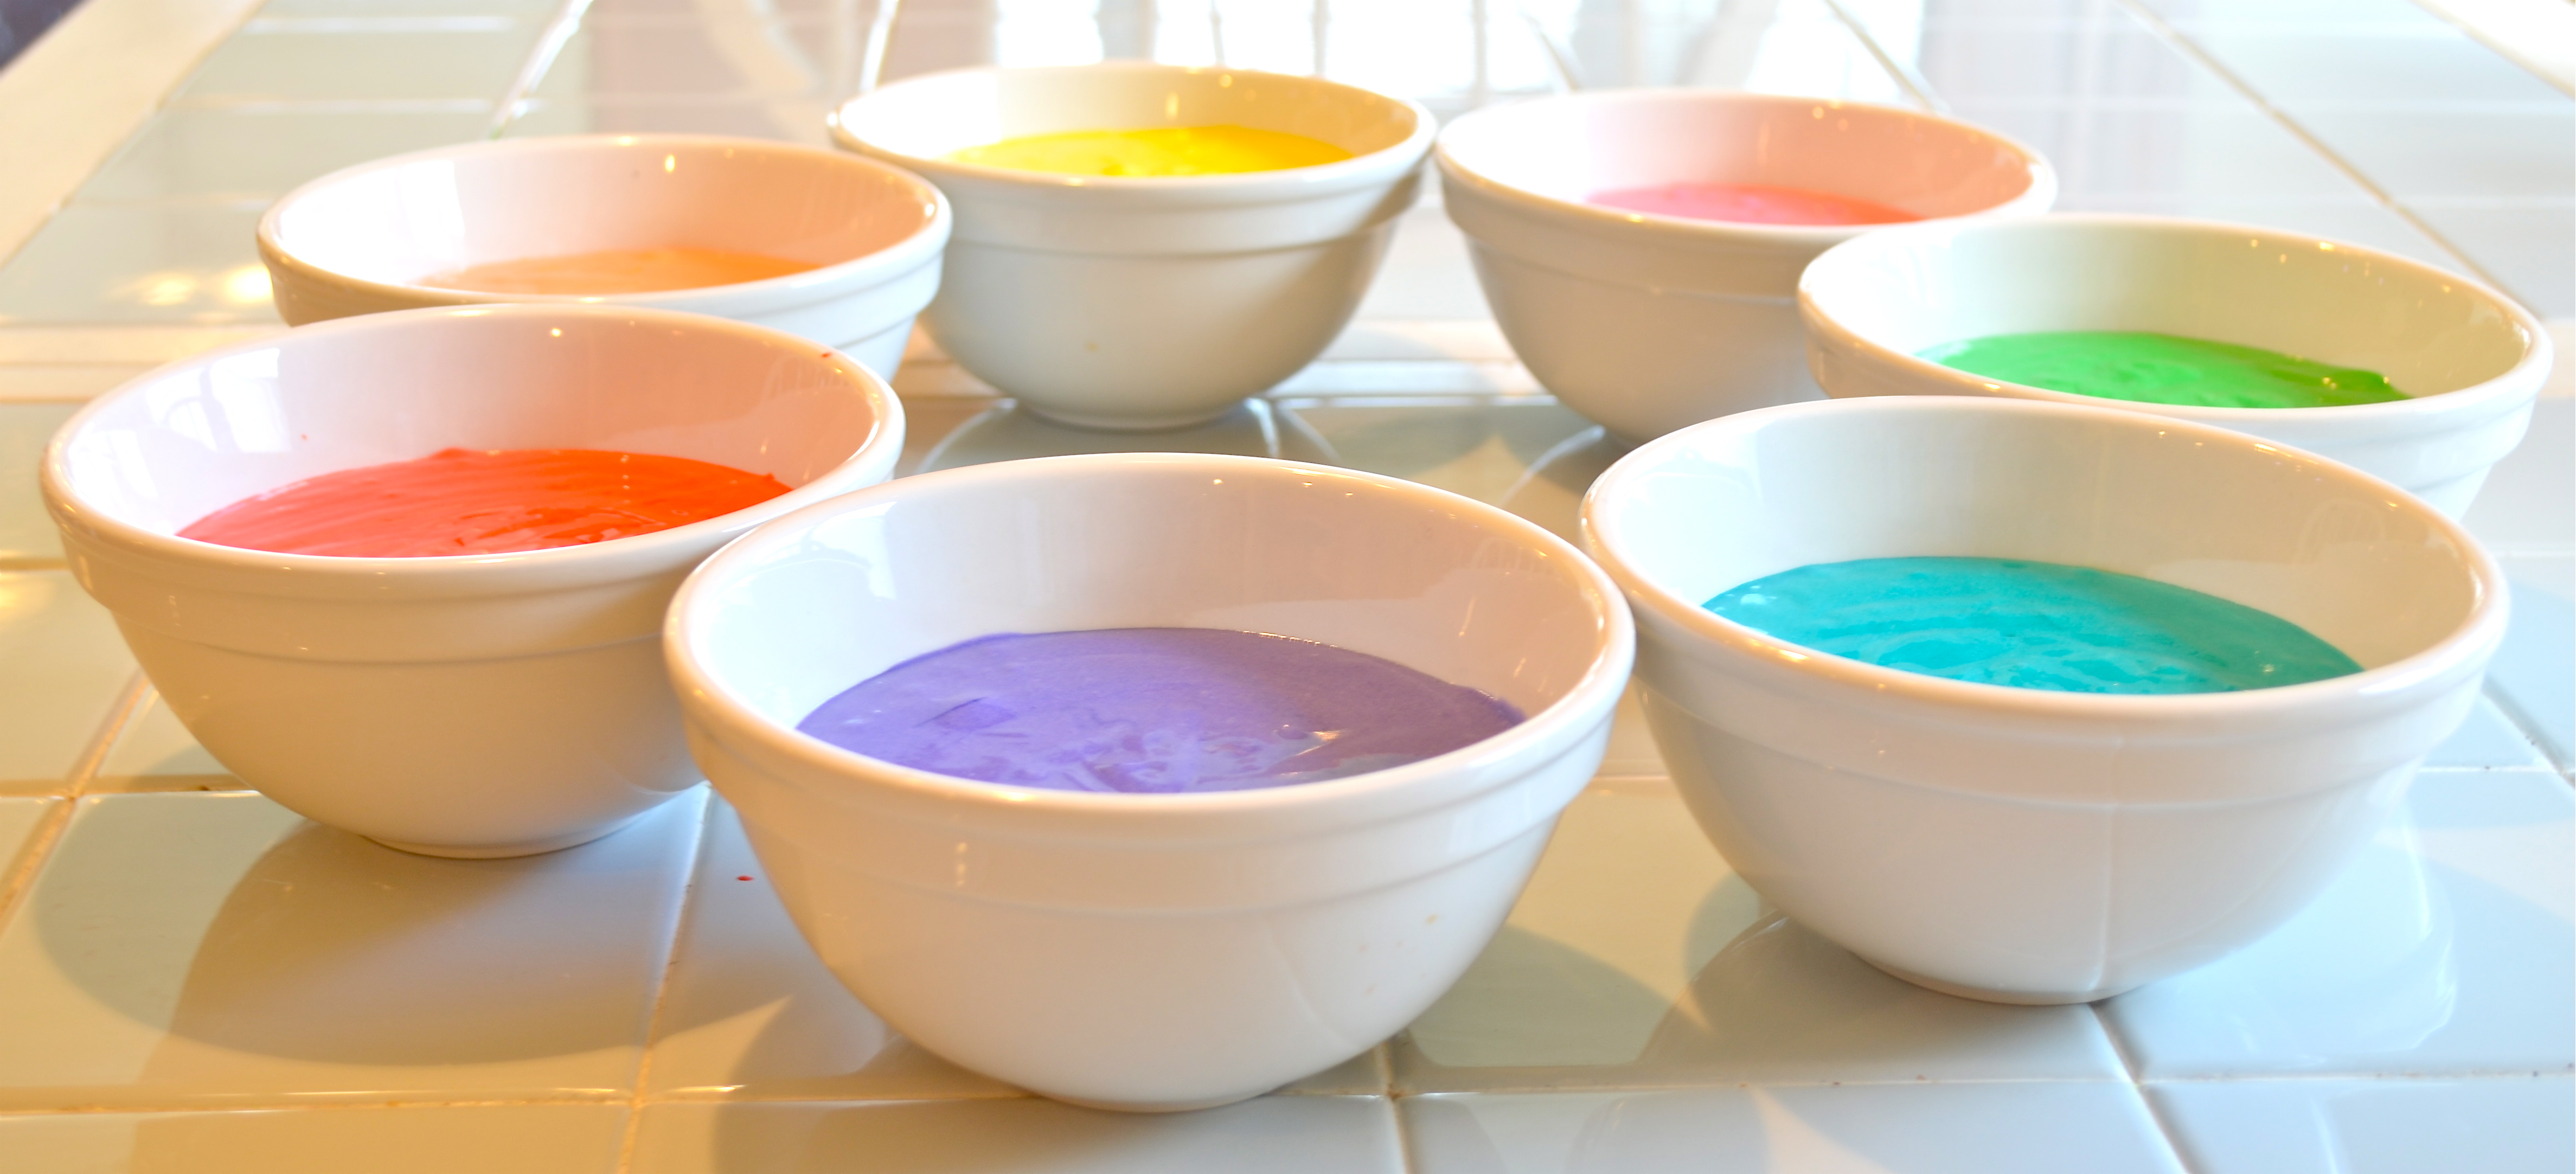
3. Use color gels. You will not get the vibrant colors with liquid color.
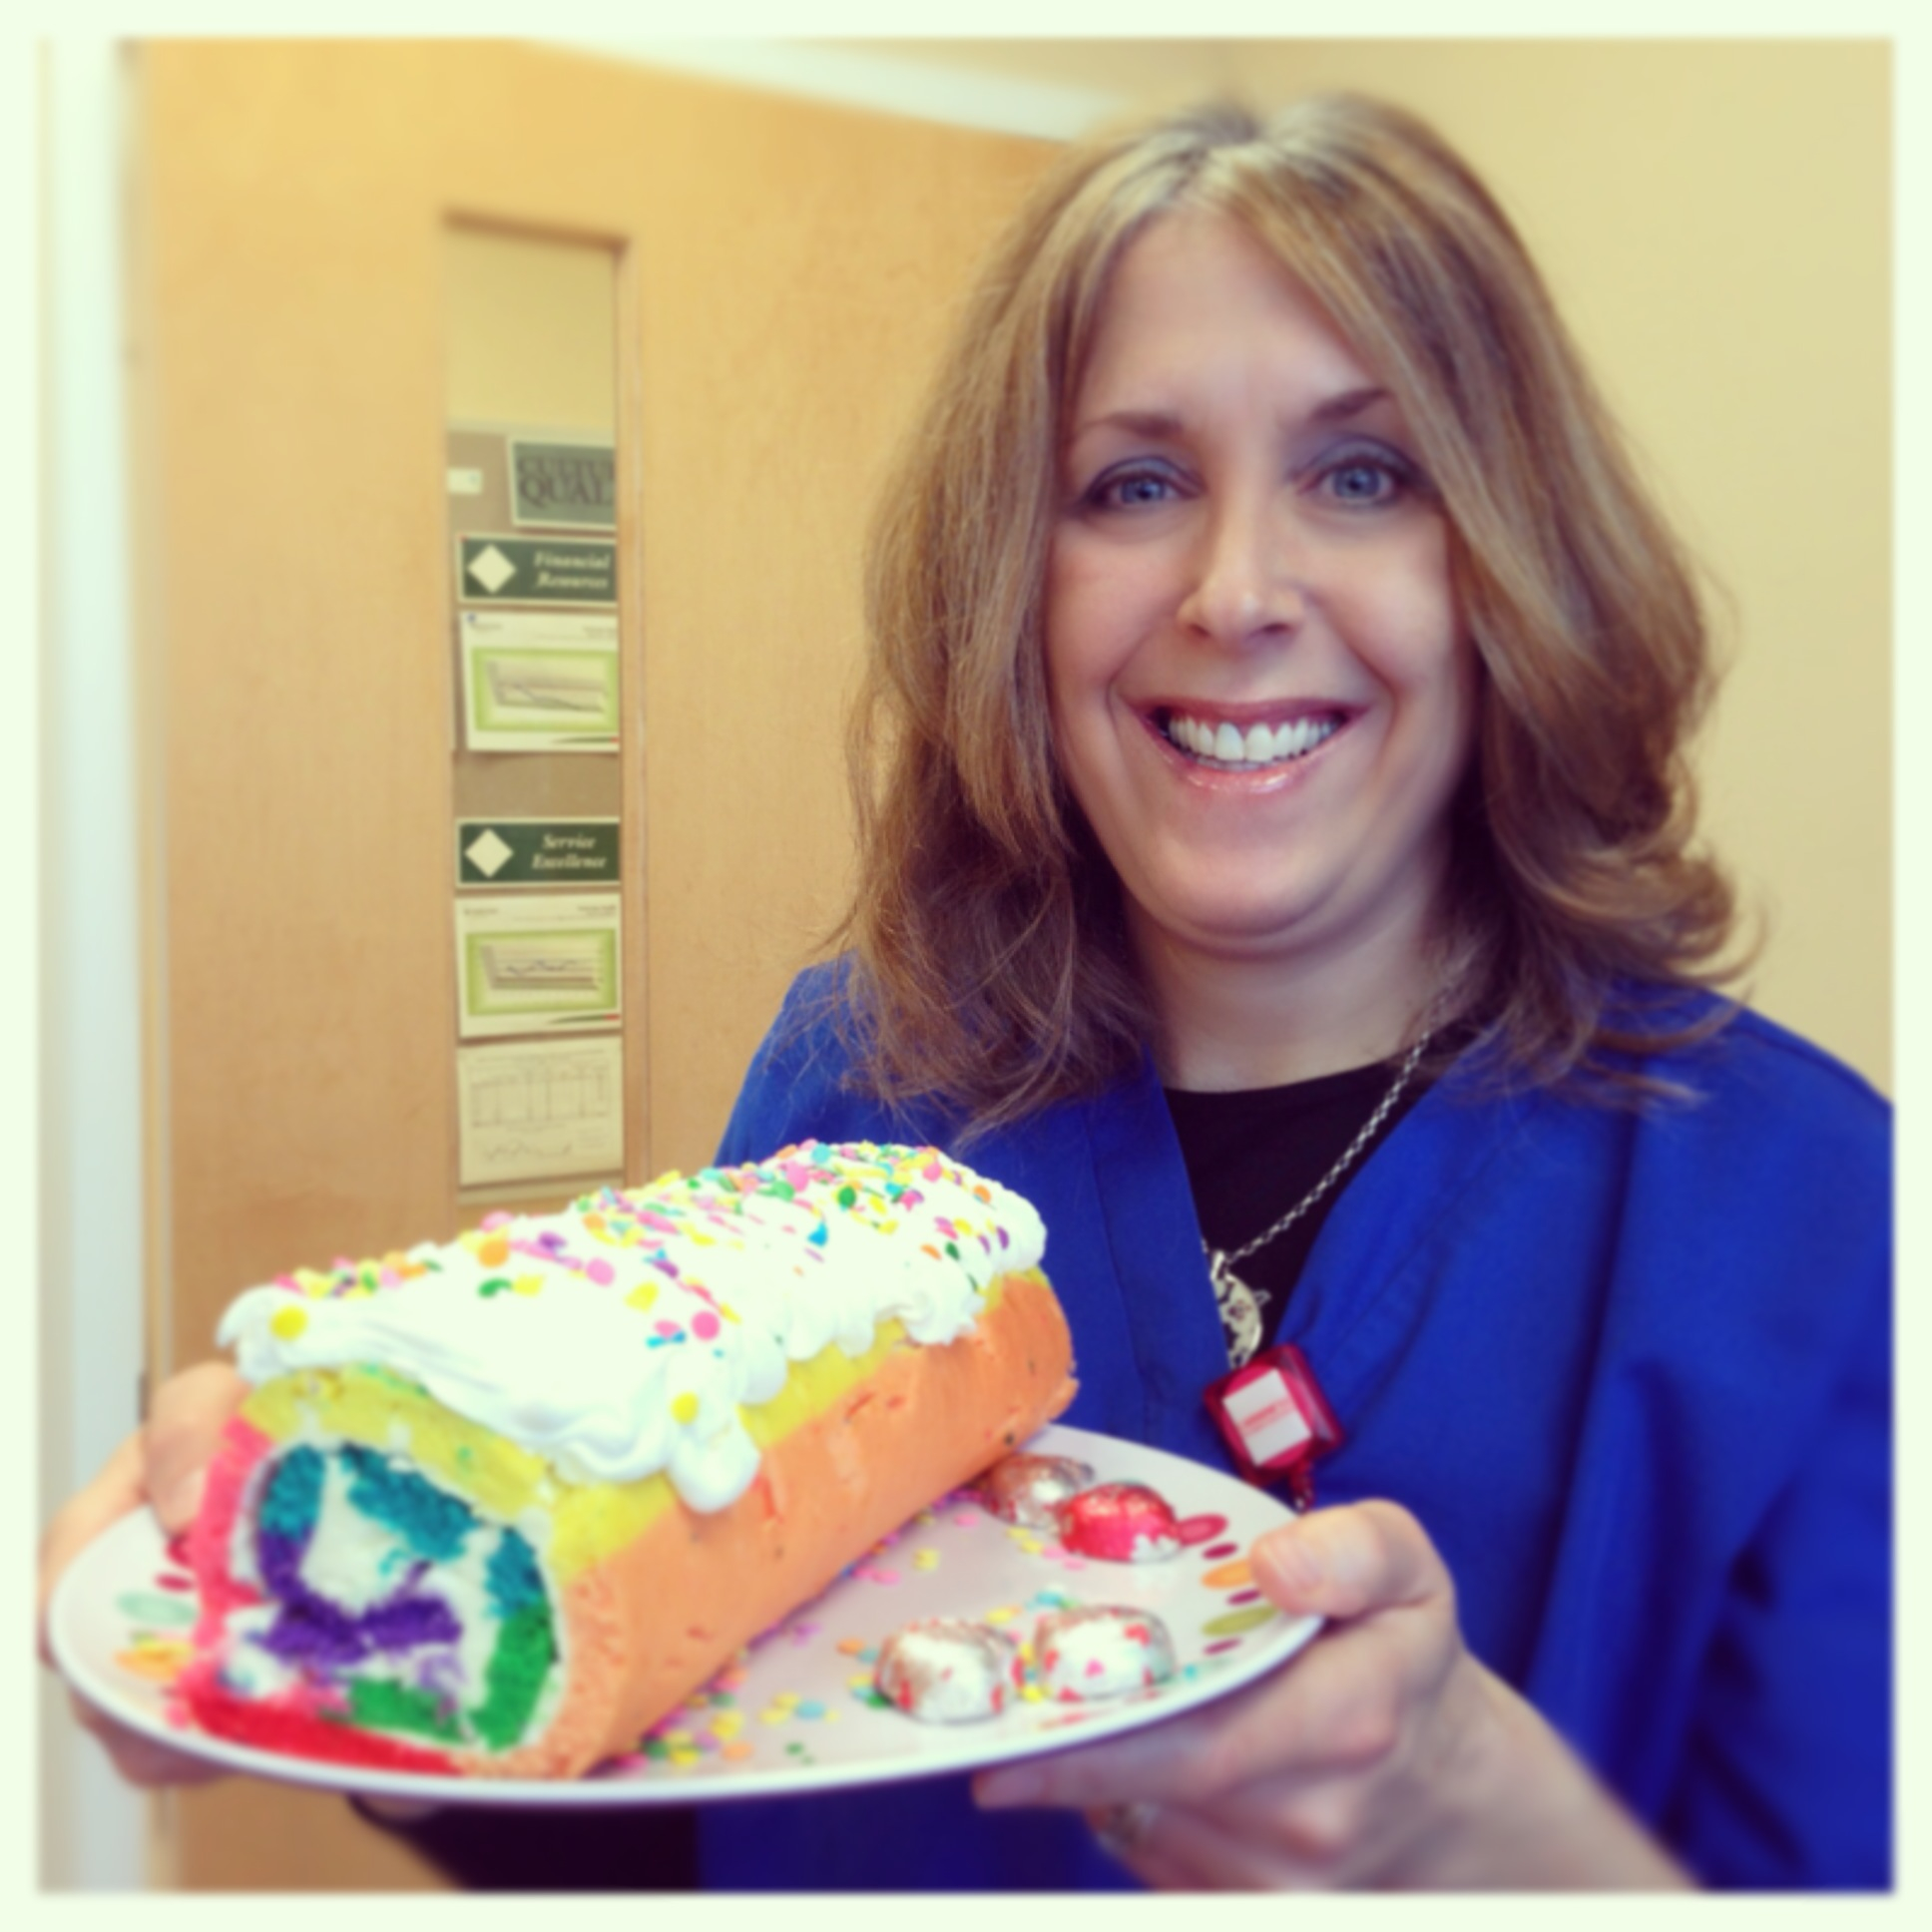
Honestly, people loved this cake. Once it is cut you can barely tell it cracked. I made this one for my friend Dawn’s birthday and it was such a fun and cheery cake. She only likes white cake with vanilla frosting…this is a great way to spice up that combination with color!
Here we go:
INGREDIENTS:
- 1 boxed white cake mix (with oil, water and eggs according to box)
- Gel icing colors (I use Wilton Brand
gels)
- 2 sticks (8 oz) butter
- 1 1/2 c. powdered sugar
- 3. t. clear vanilla flavoring
- Cool Whip Topping and sprinkles for garnish.
DIRECTIONS:
- Preheat oven to 350F degrees
- Make boxed cake mix, but add just a little less oil and water. My Pillsbury mix called for 1 cup of water and 1/3 cup of oil. I used 3/4 c. water and 1/4 c. oil instead. I used the same # of eggs (3)
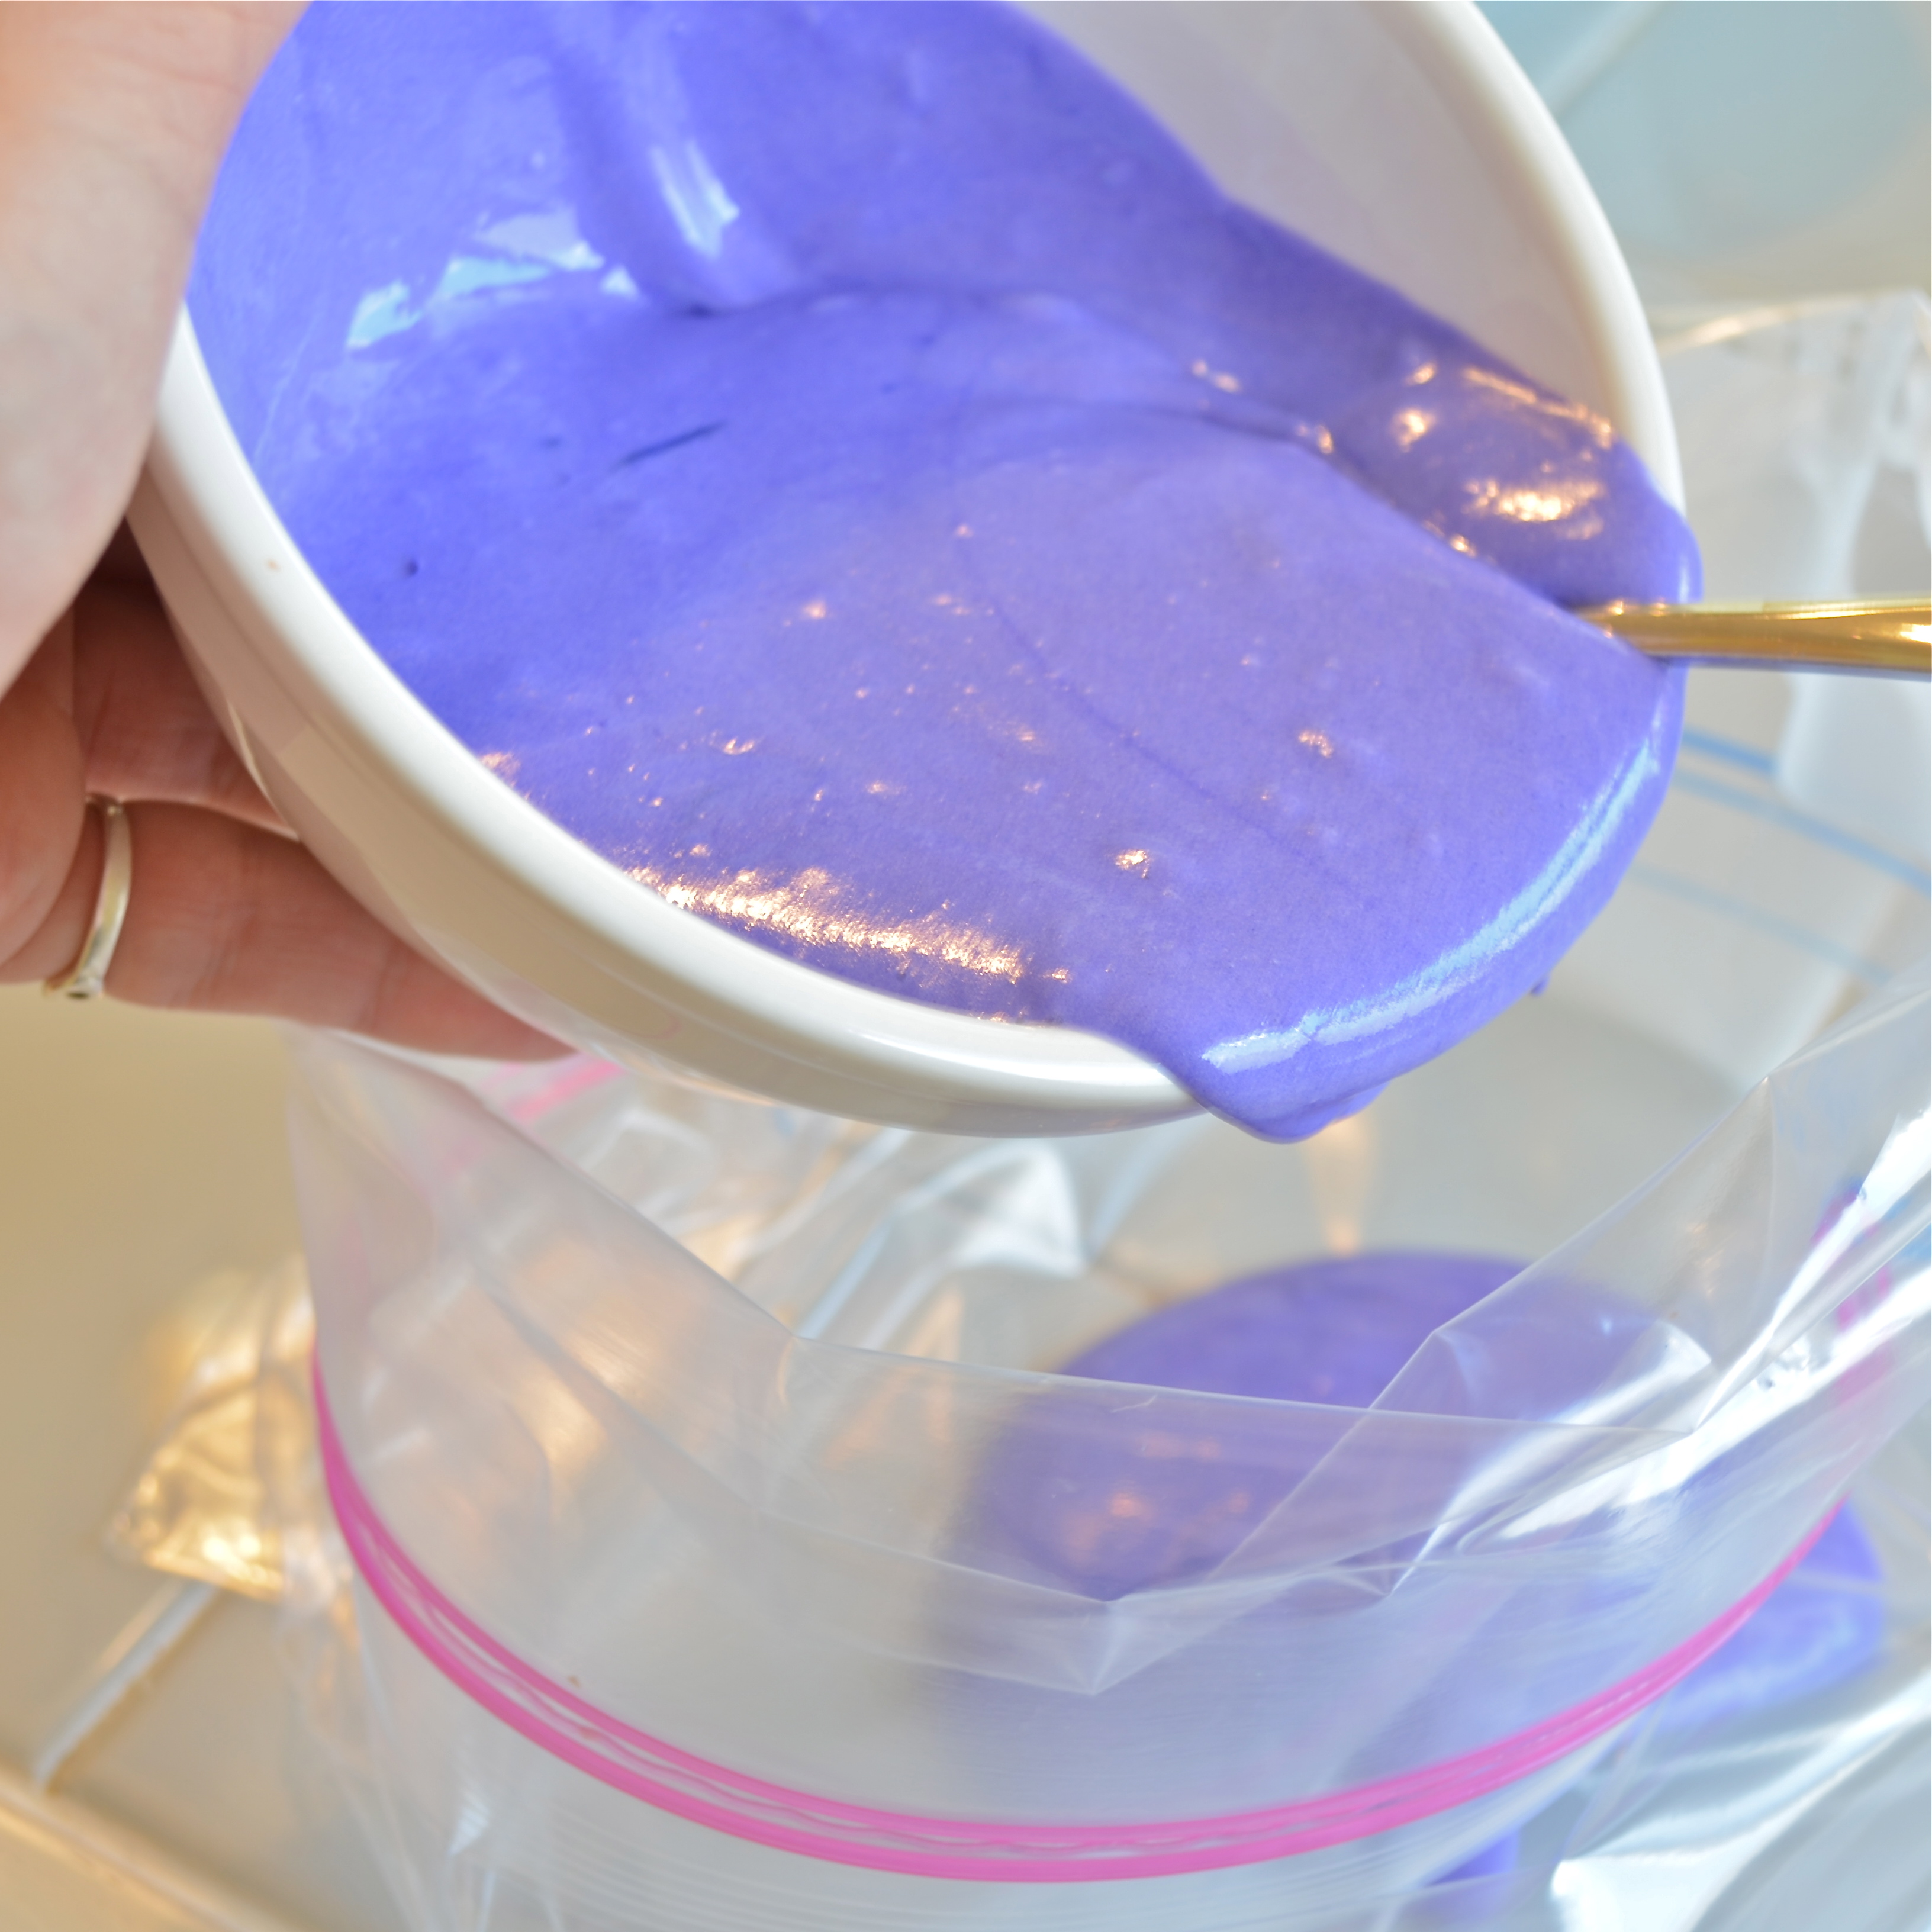
- Scoop about 3/4 c. of mix into 6 or 7 small bowls and color as desired.
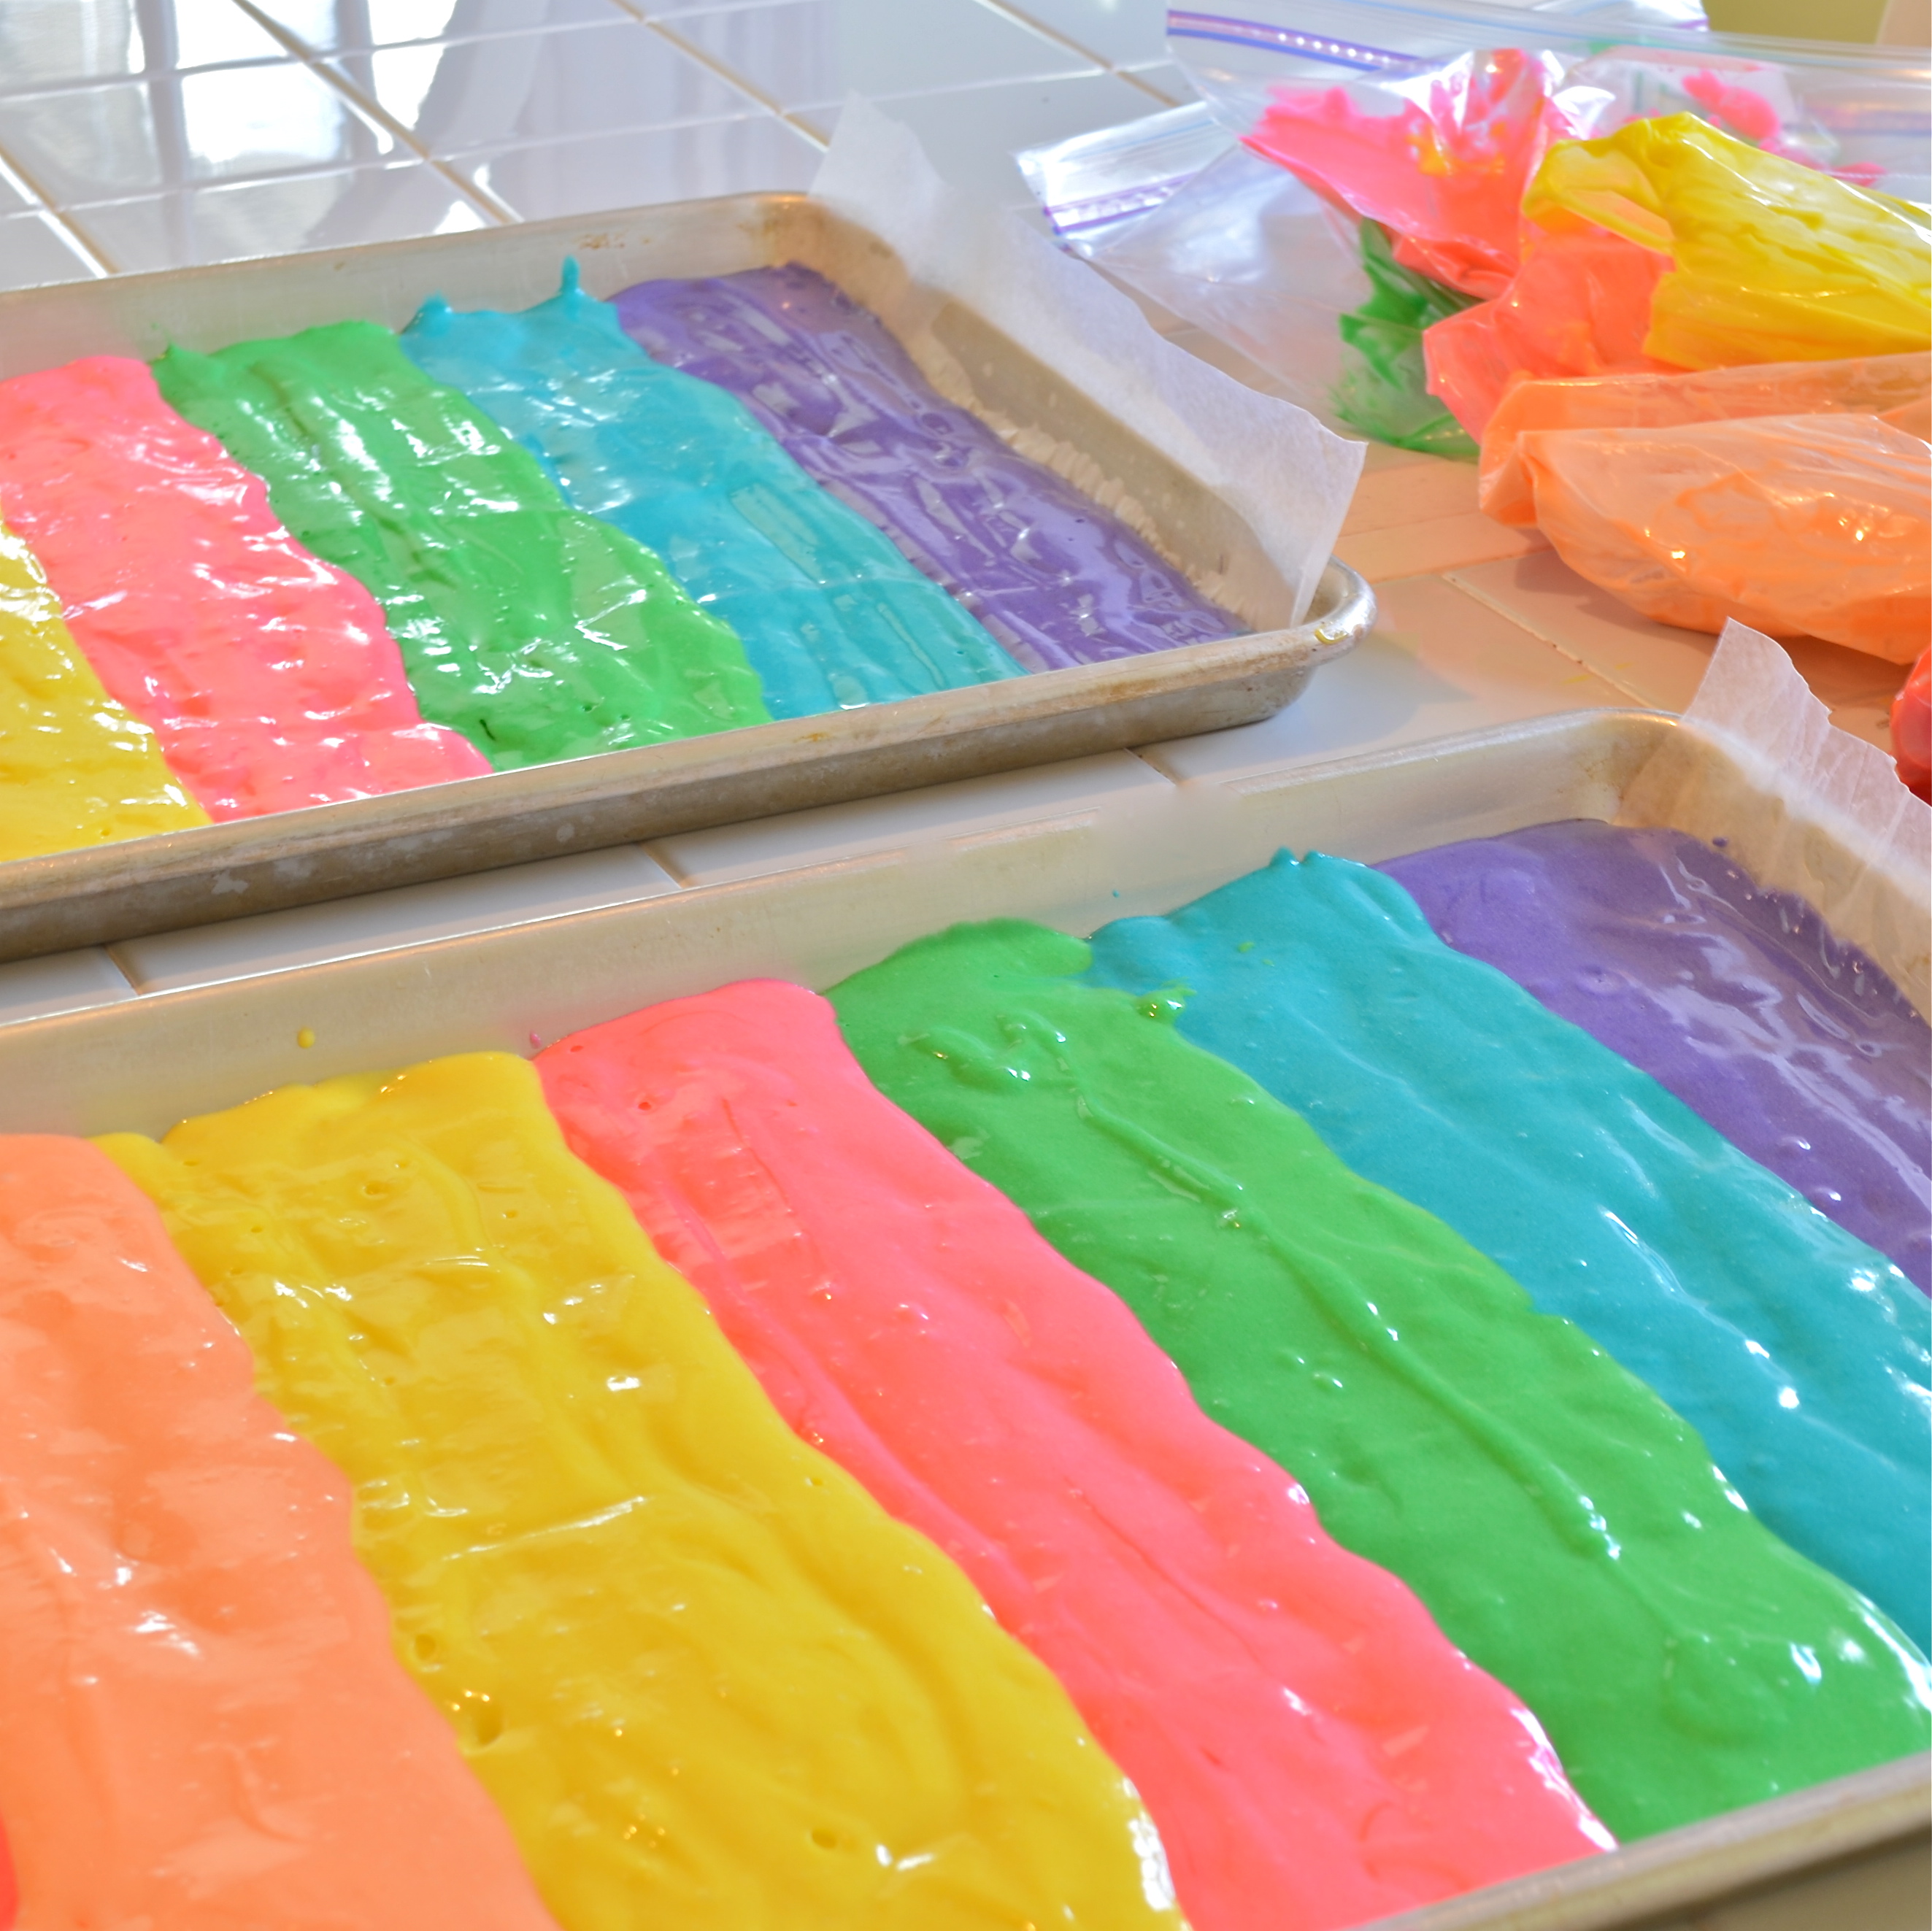
- Cover the bottom of a standard jellyroll pan (mine is about 12″ by 17″, and about 1″ deep) with waxed paper- allowing the paper to extend just a bit over each end.
- Lightly spray with non-stick cooking spray.
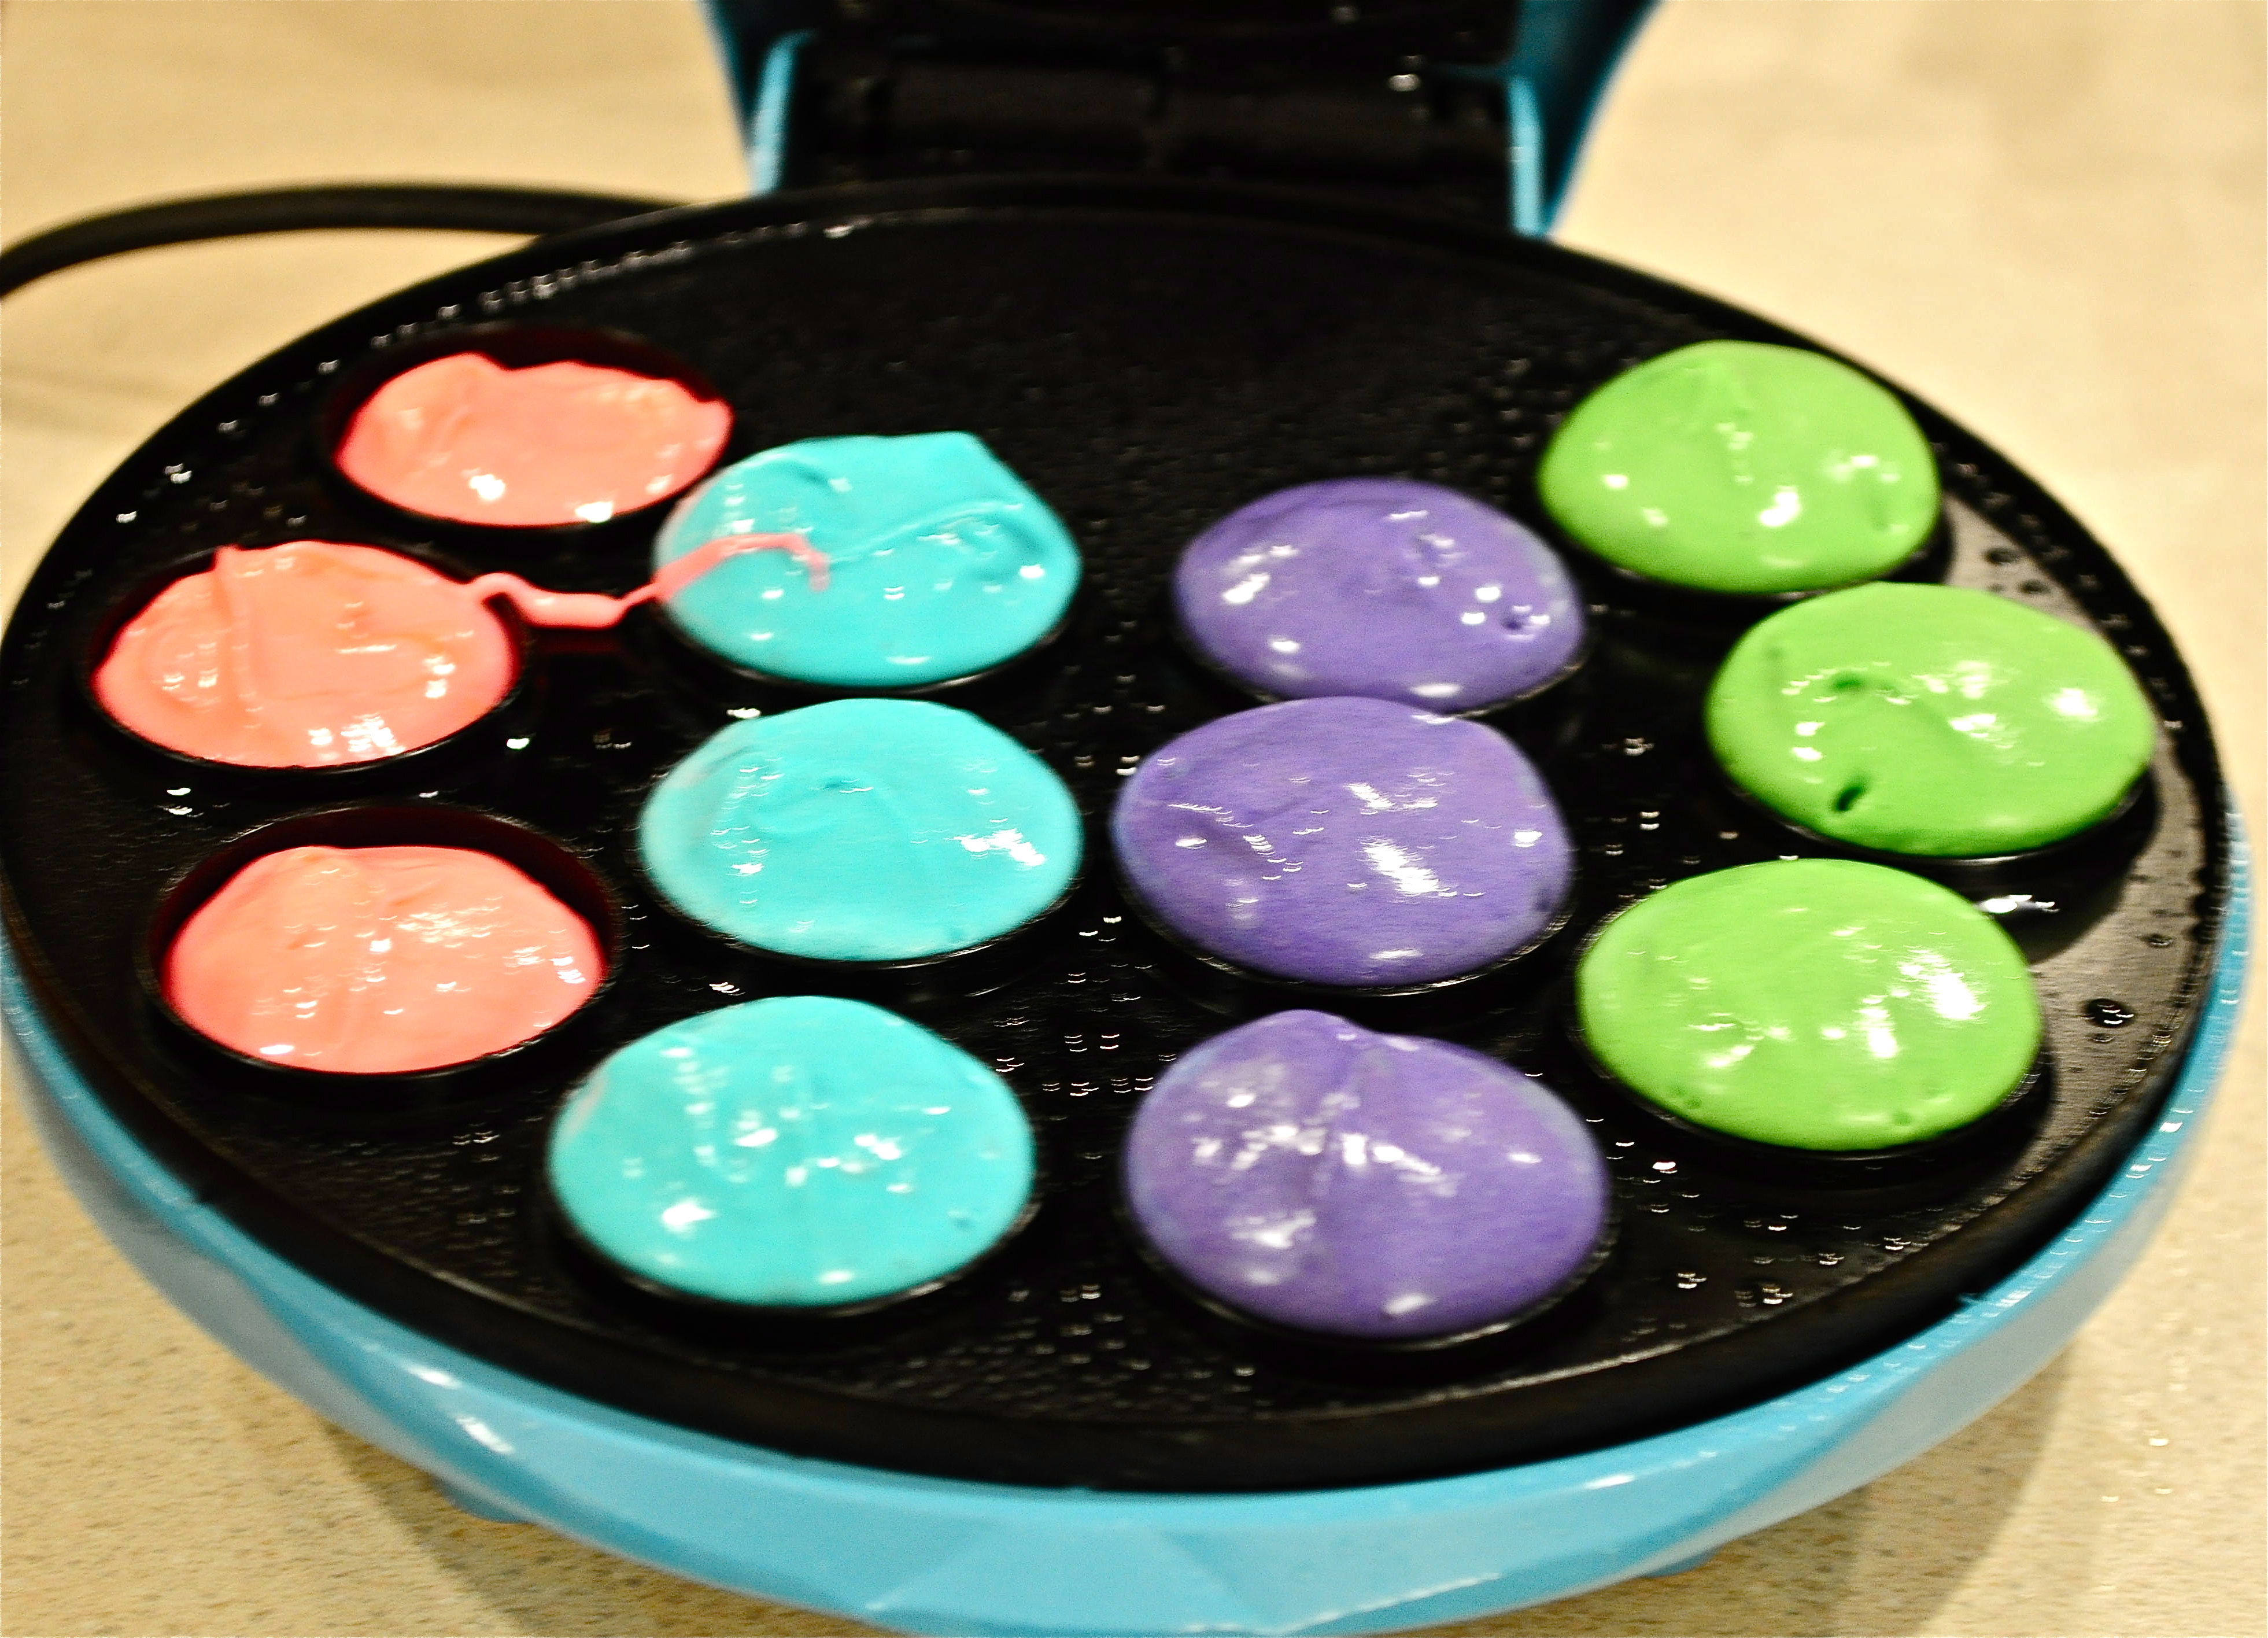
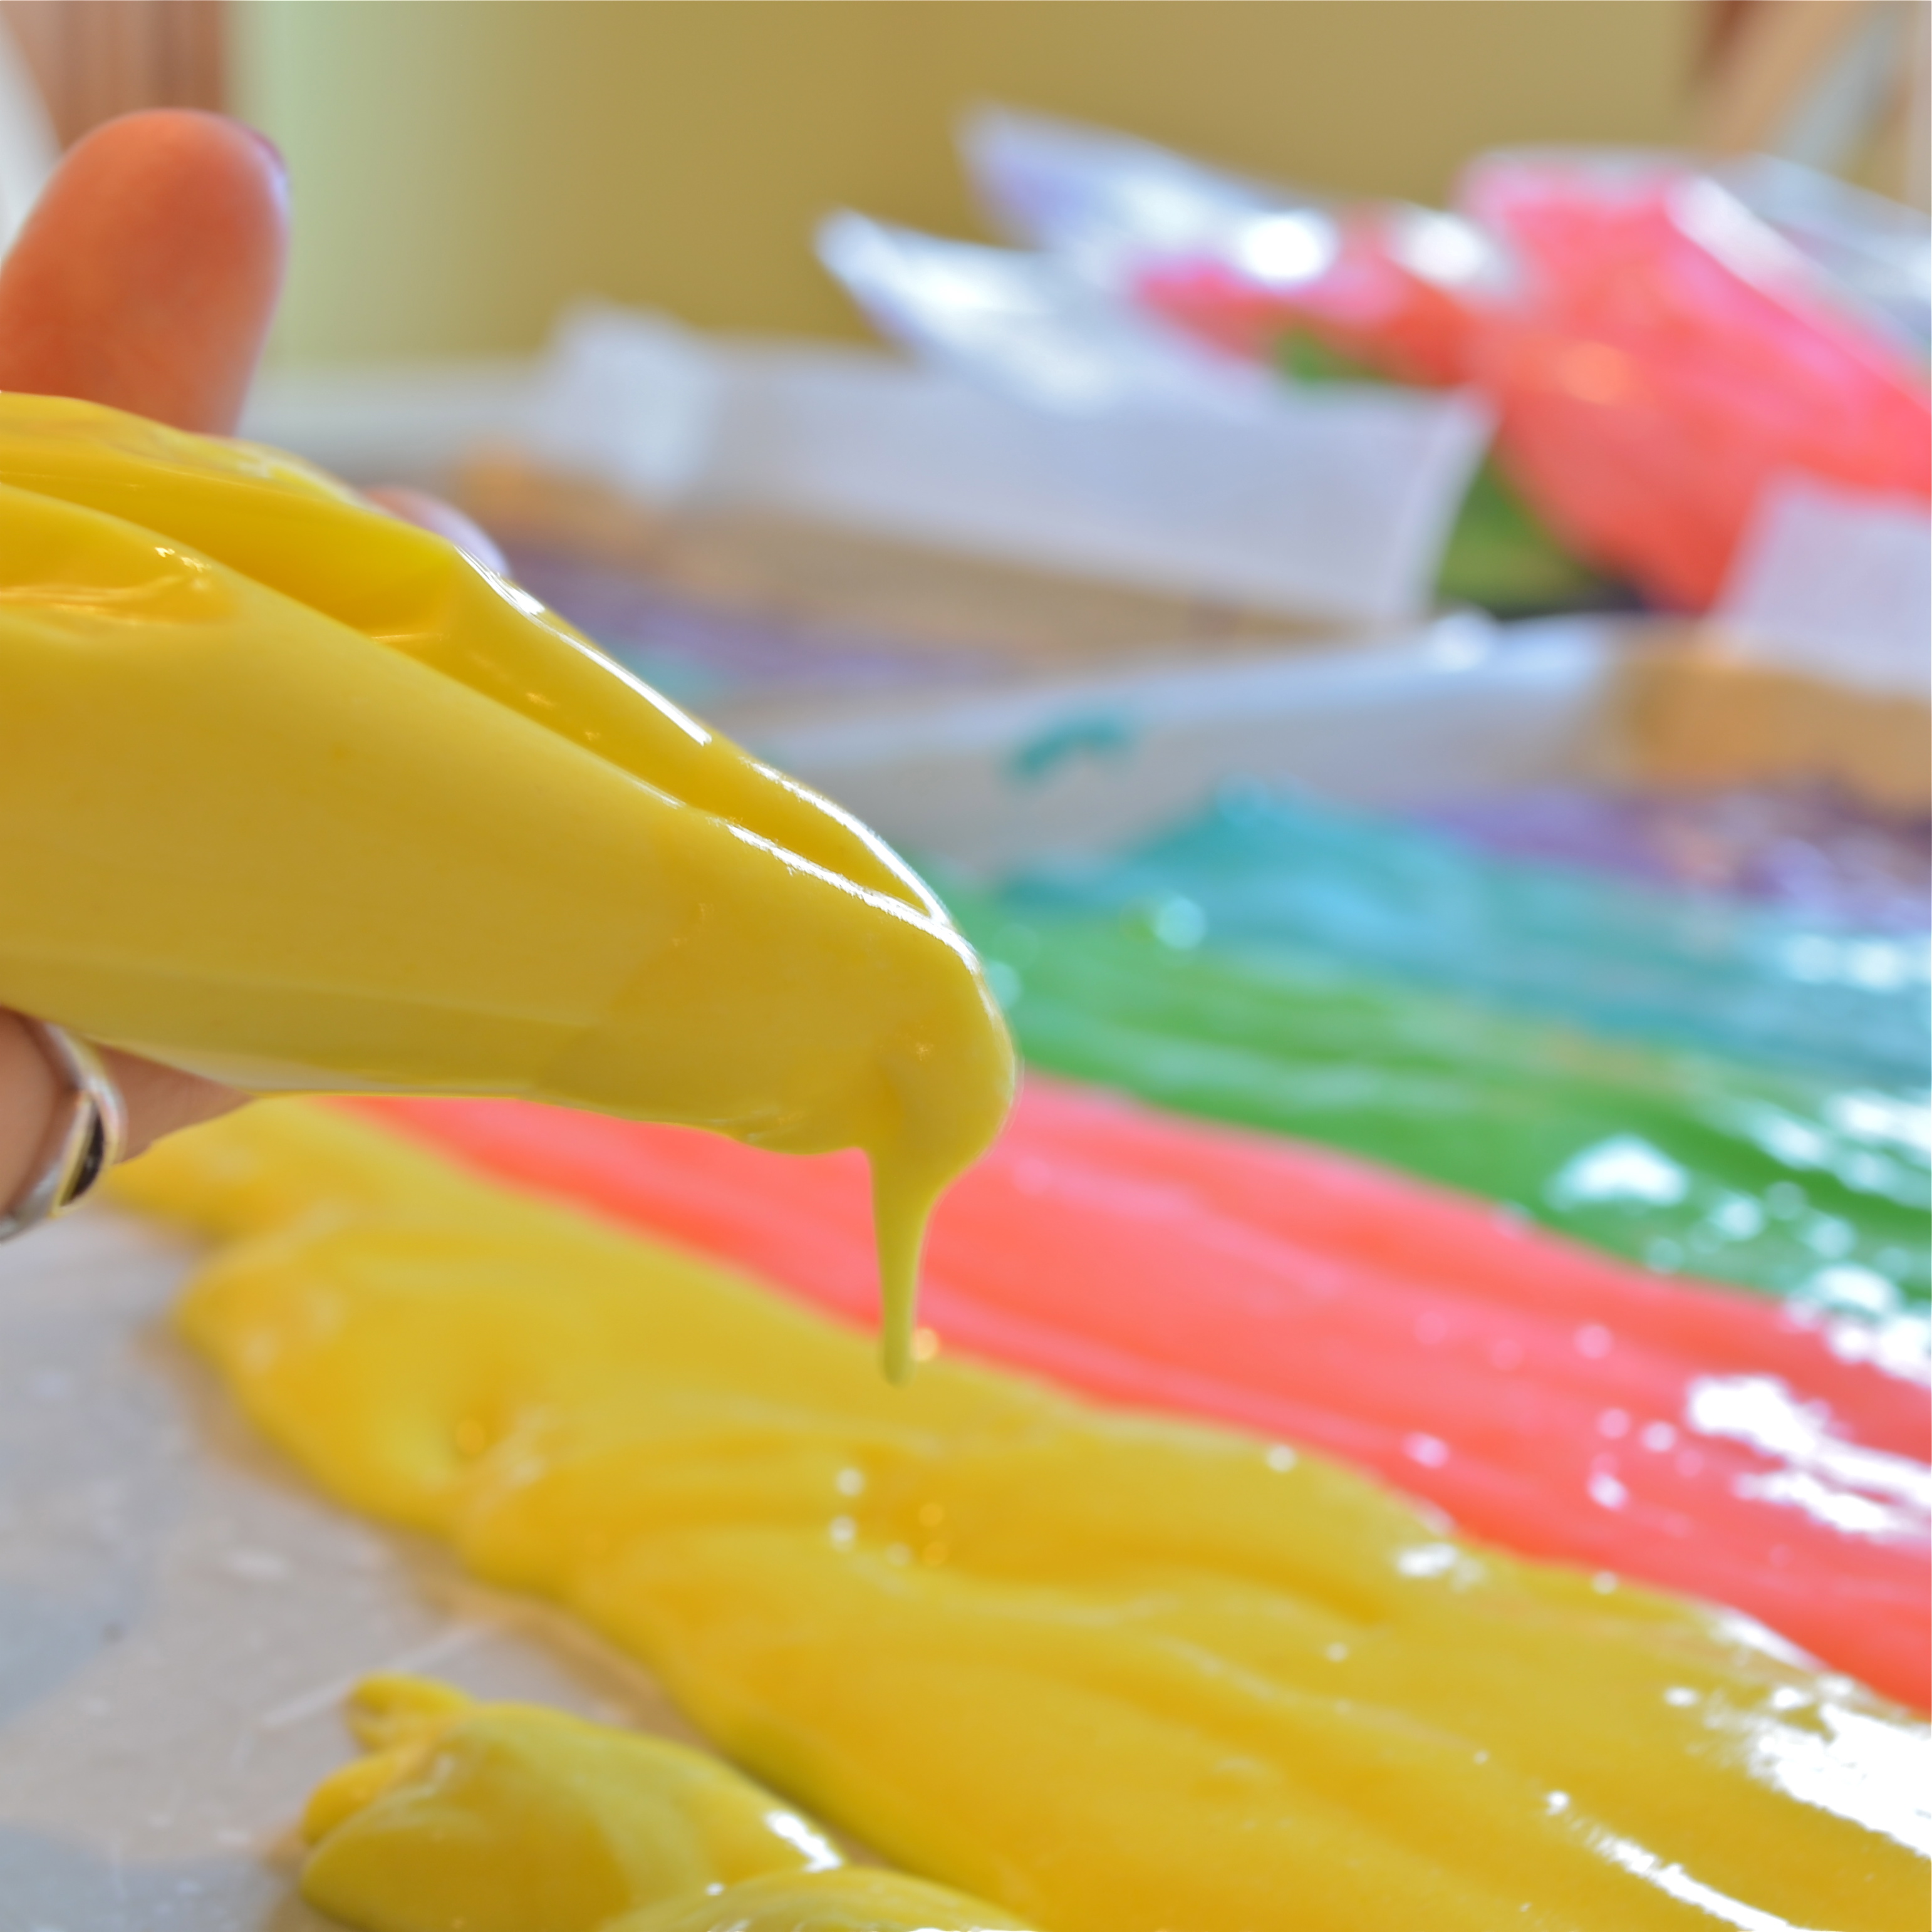
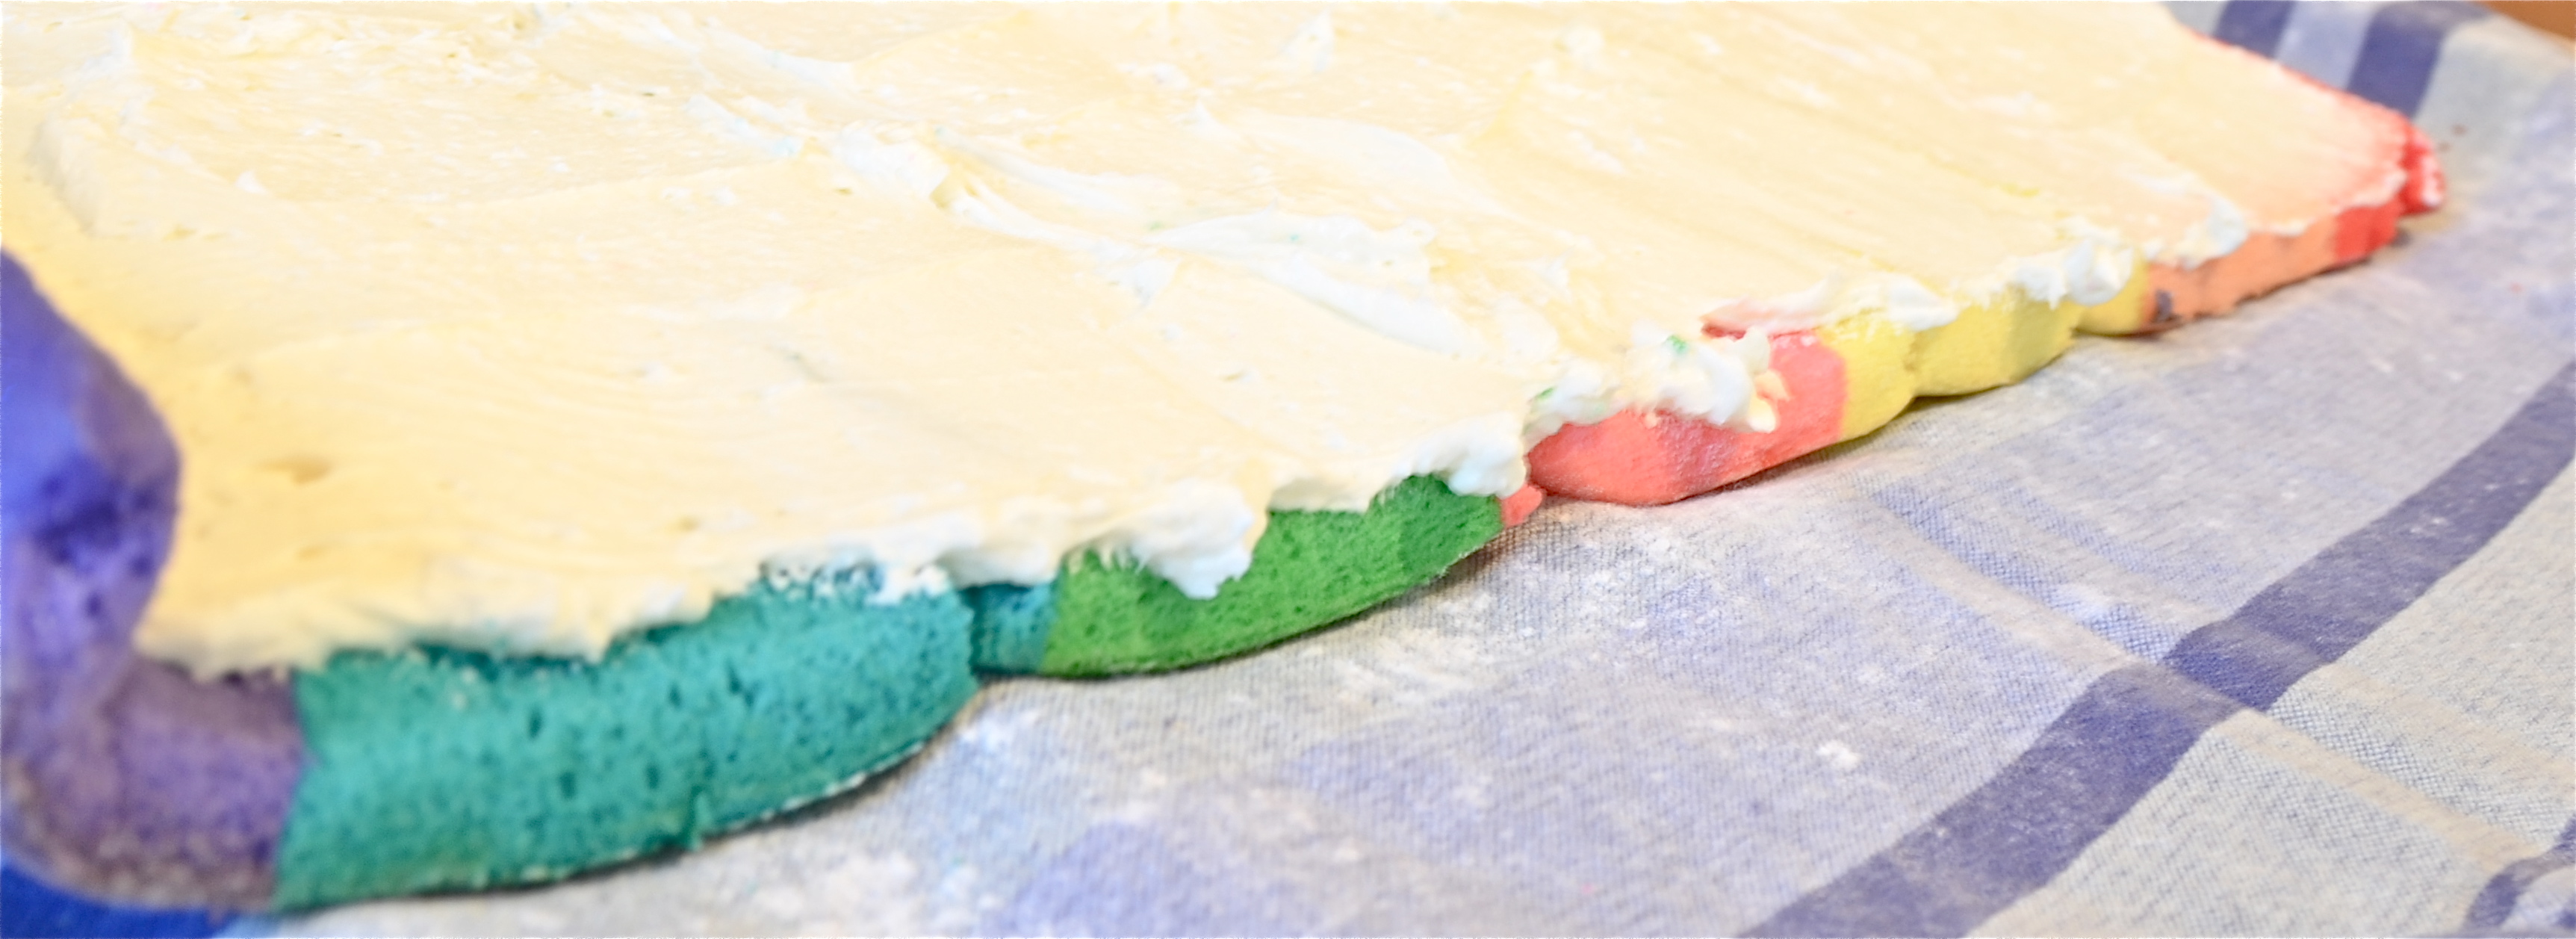
- Spoon each color of batter into a small ziptop bag and gently pipe colors into pan in stripes. Just settle in and take your time here. This is a labor of love. Use paper towel to wipe up drips and remember that you are piping a THIN layer of cake– you don’t want to make it so thick you run out before you get to the end of the pan. Patience is the key…believe me, I’ve done this 4 times now with different cake recipes and it just takes time.
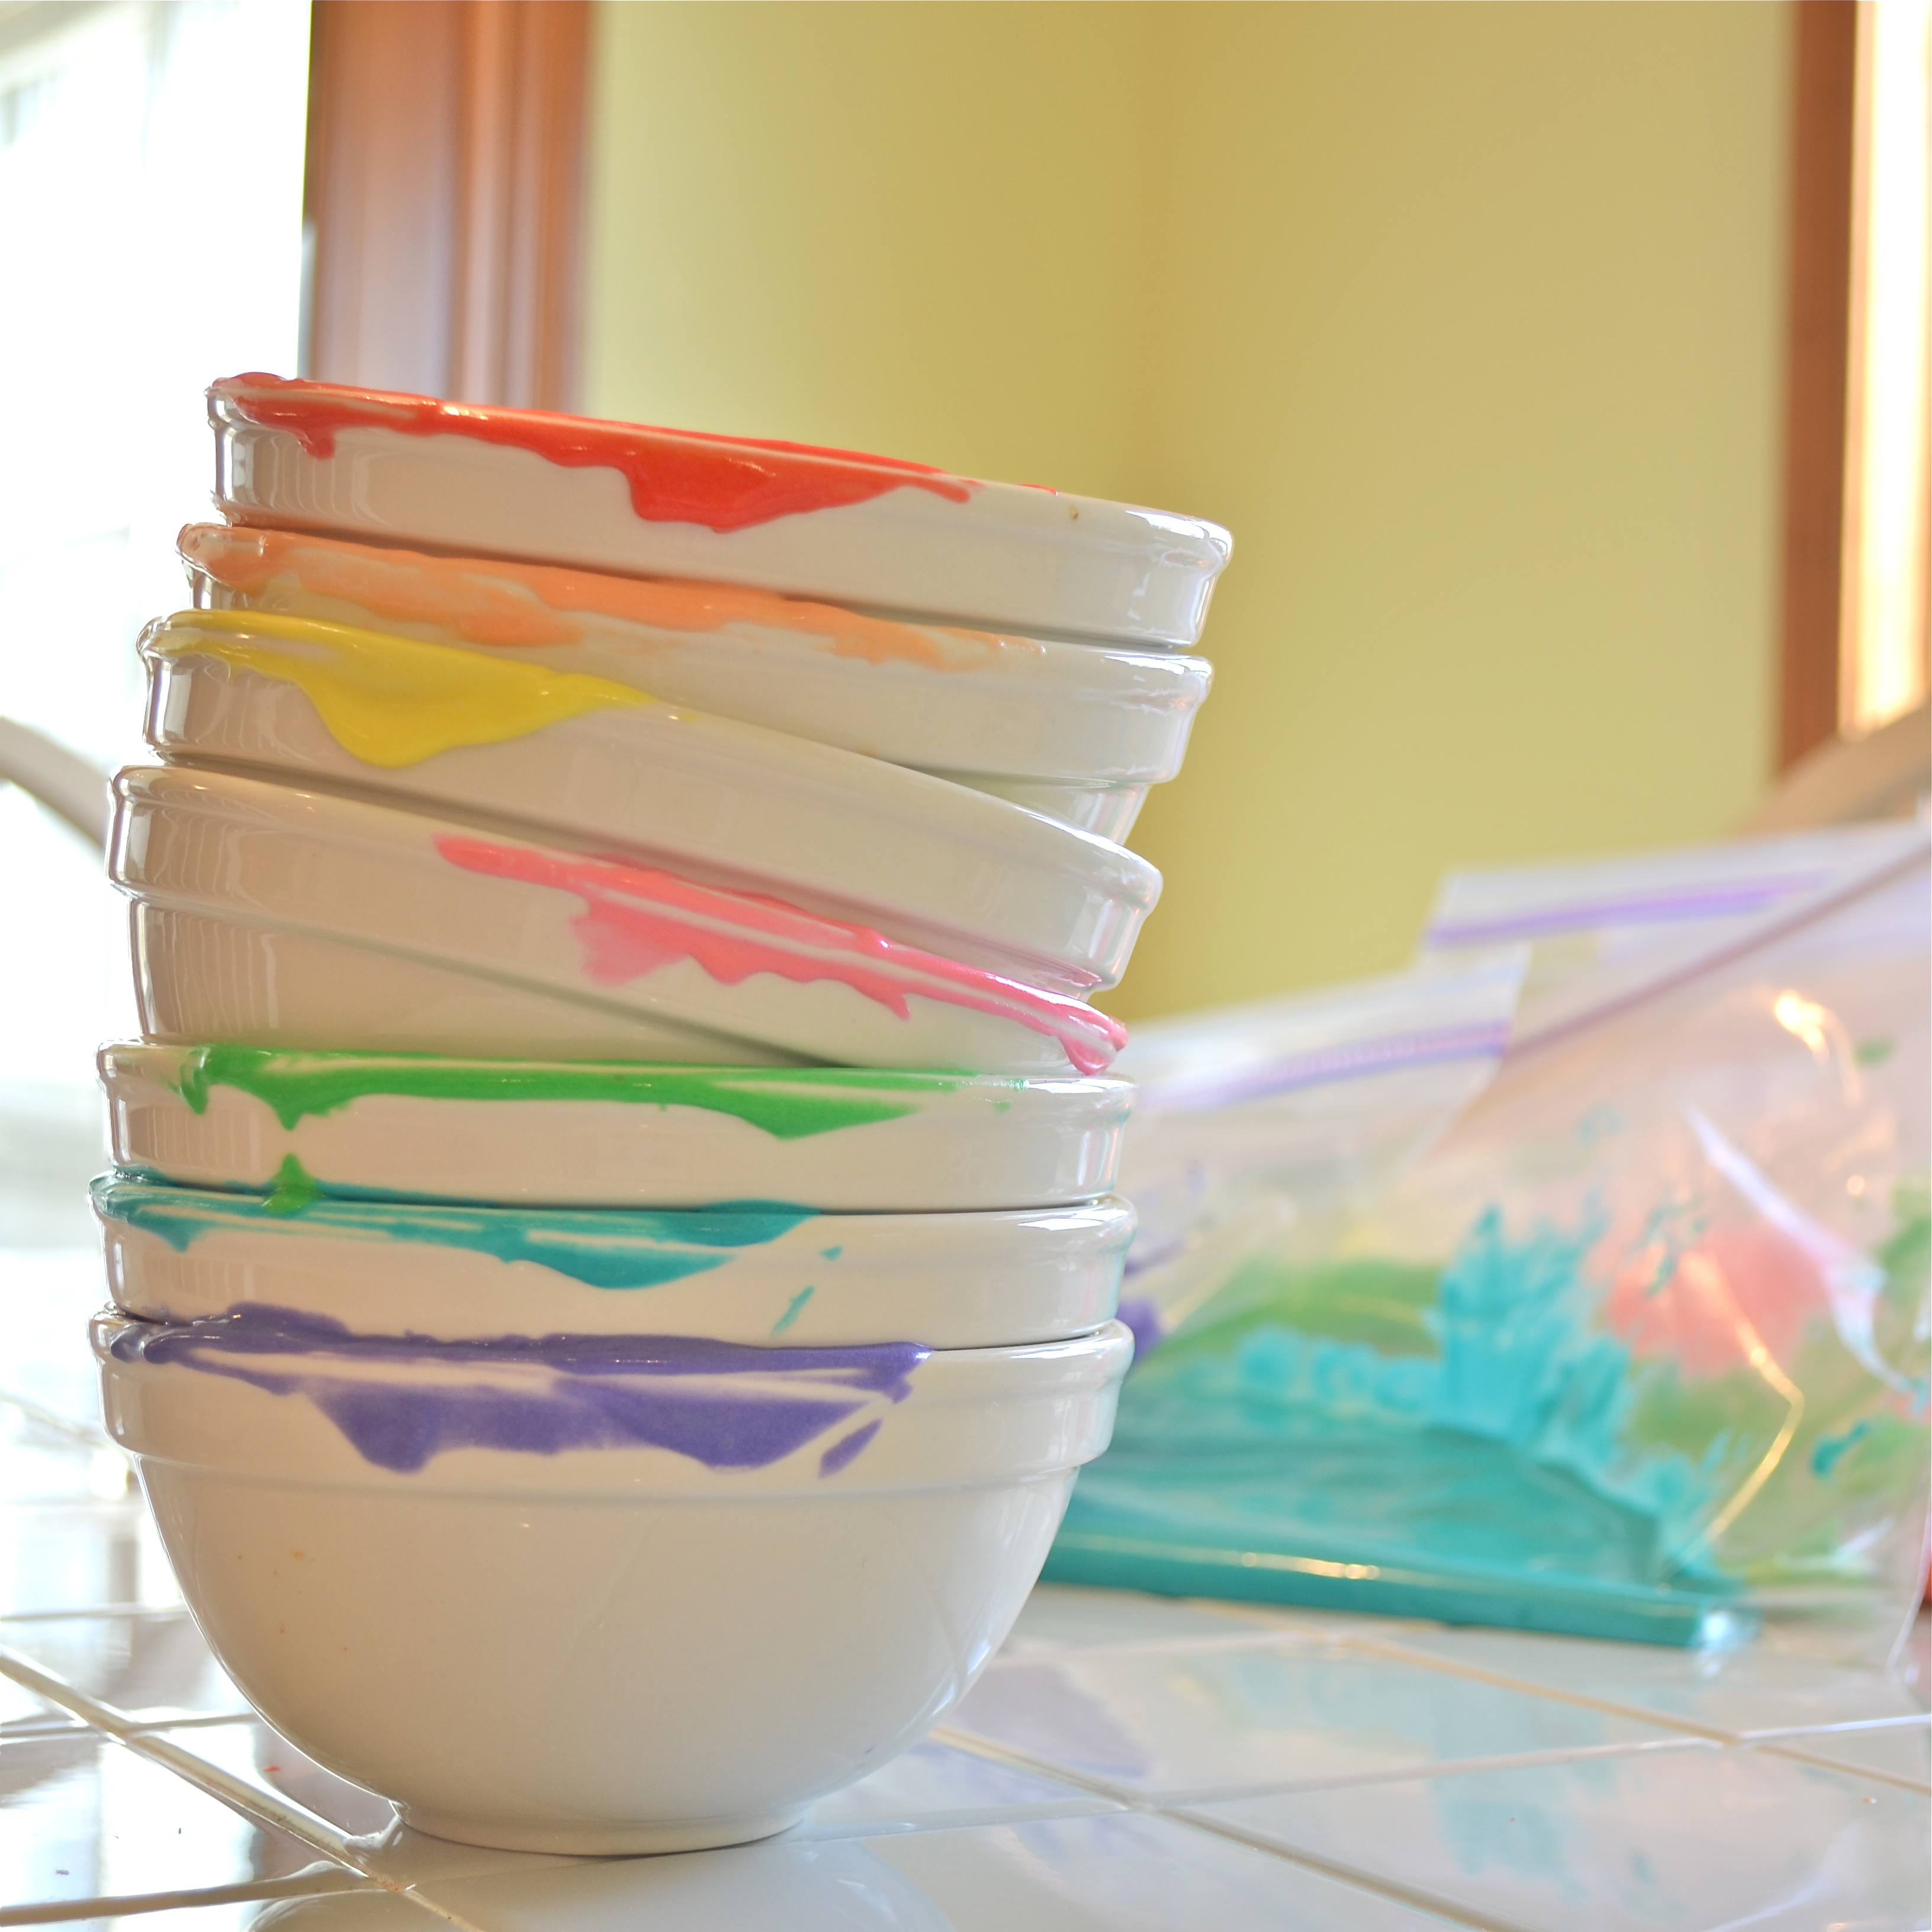
(It also involves a lot of dishes…pretty, colorful, messy dishes.)

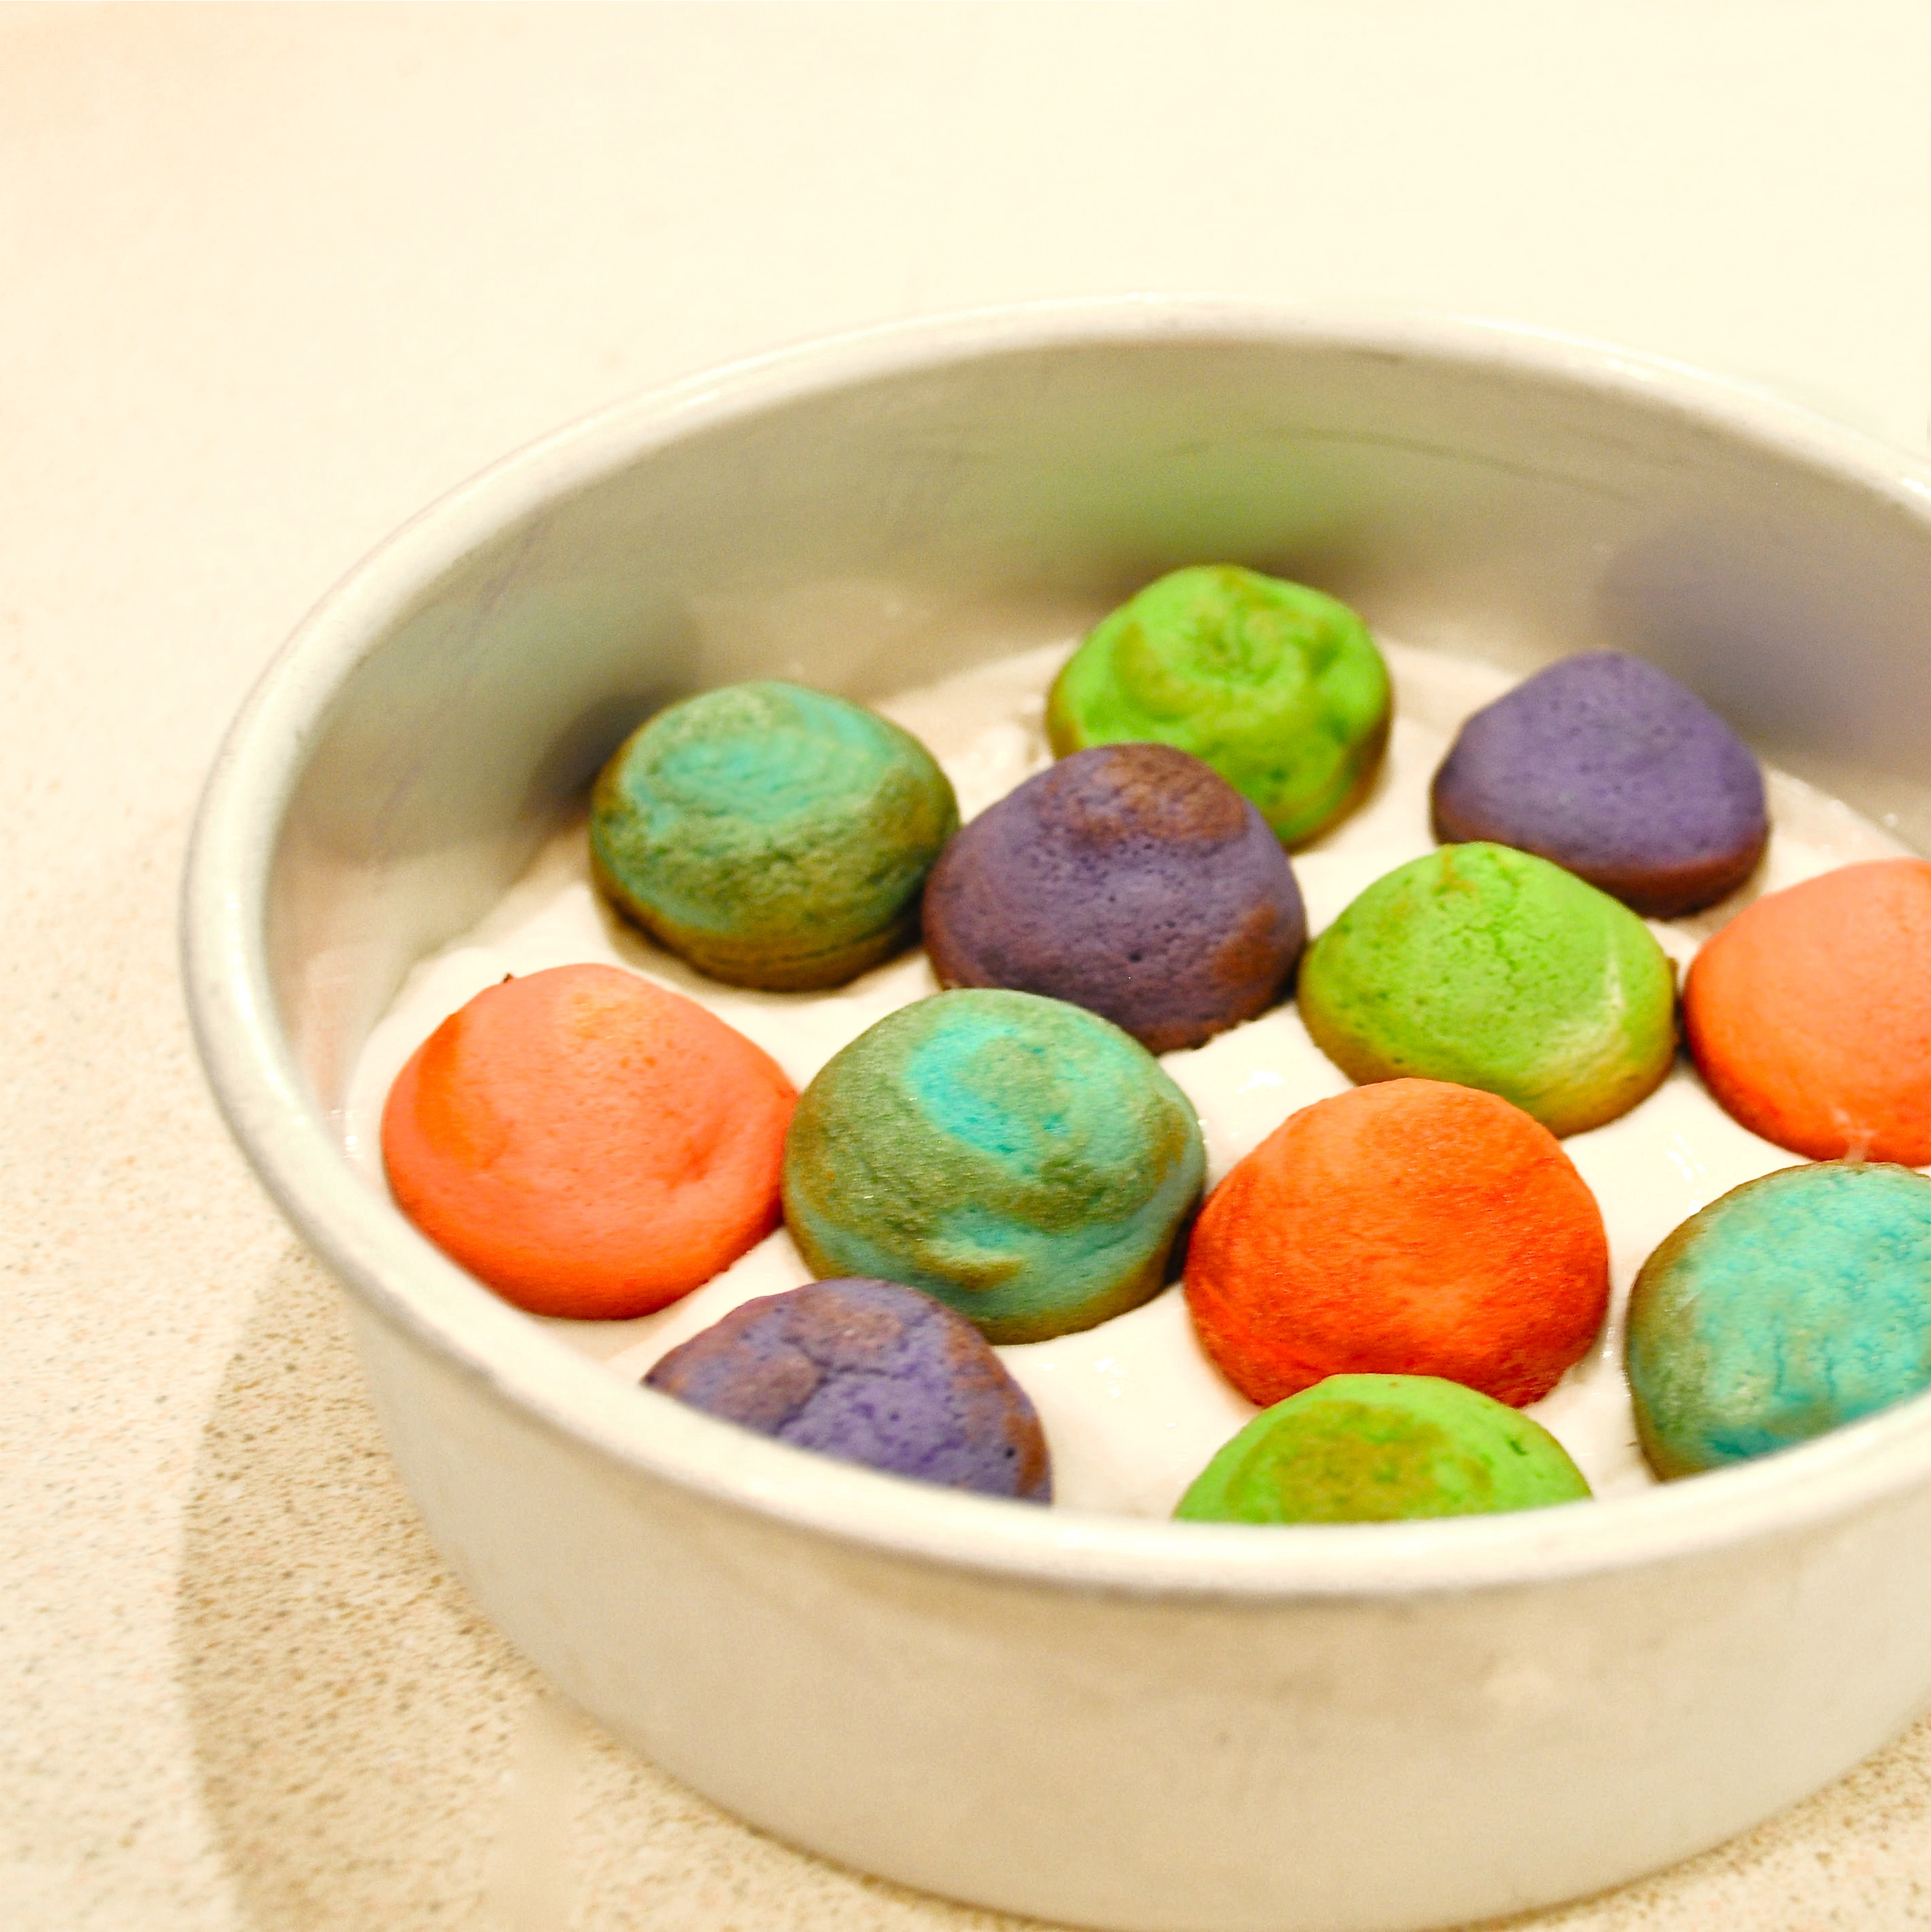
- Bake your cake at 350F degrees for 12-15 minutes– check often- you can’t roll a crunchy over-baked cake!
- Remove from oven and place a clean towel that has been sprinkled with powdered sugar over the roll. Tip the pan over onto the towel and peel away the wax paper.
- Gently roll cake up in towel from one short end to the other.


- Refrigerate for one hour.
- While cake is cooling, make buttercream icing.
- Put softened butter, powdered sugar and vanilla in a large mixing bowl and beat on high until light and fluffy.
- When cake is cooled, gently unroll (here is where the cracking happens…be gentle and patient)
- VERY carefully, spread buttercream over entire surface of the cake and re-roll. I had cracks that went the entire length of the cake and still just gently rolled it together, letting the buttercream hold it together.
- Gently place on a plate and refrigerate until buttercream hardens.
- Once cake roll has hardened it can be easily moved and cut. Top it with whipped cream and sprinkles– that helps to hide some of the cracks 😉

Not perfect, but so much fun!

My thoughts: I feel a little guilty publishing this on a site called EASYbaked, but I couldn’t resist. I would make it again- it just makes me smile. I hope a few of you brave souls will attempt this and enjoy it as much as I did! Please– if you have a good vanilla cake roll recipe I’d love to hear about it. You can link to your recipe if it is on a blog, or post the recipe in the comments or in-box message me on the Easybaked Facebook page. I’m excited to find a way to make this cake “perfect” 🙂
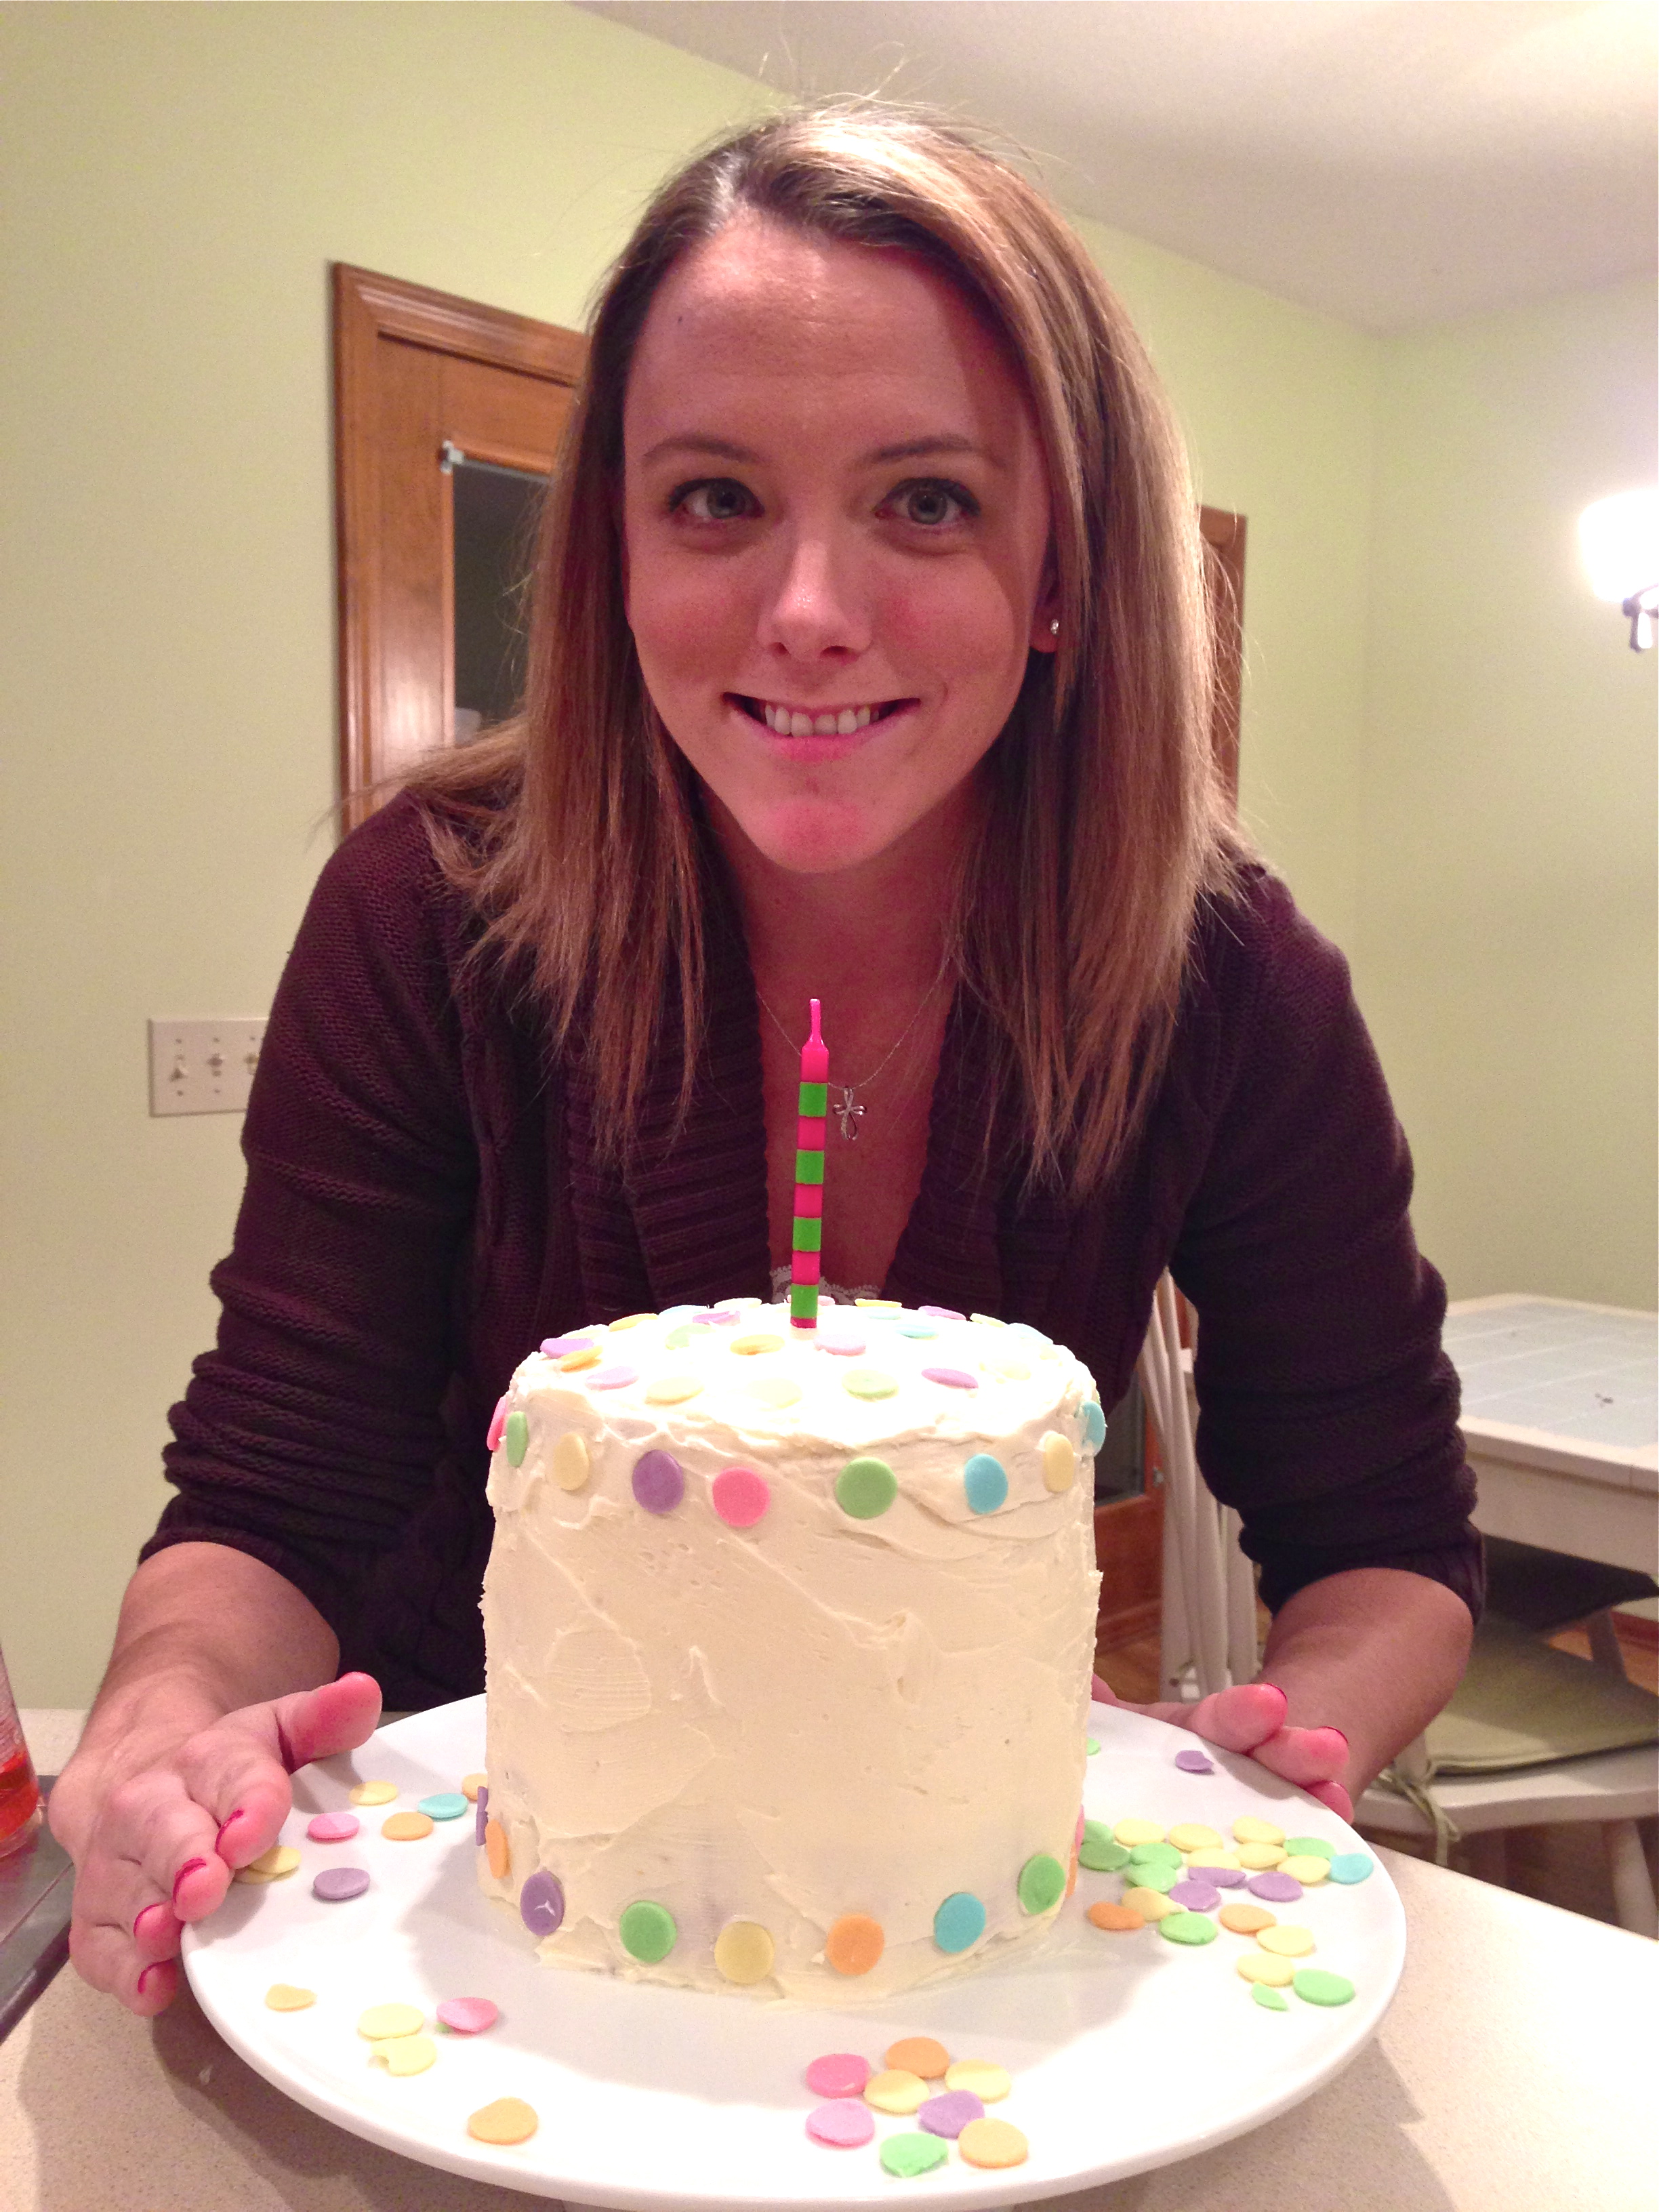
Happy Birthday Dawn!
Other happy rainbow desserts you might like for St. Patricks Day: