Tag Archives: confetti cake

I’m MARRIED!!! (plus a great recipe for fondant…)

Posted on

Reception29e

My last post here was two years ago yesterday. I was beginning to feel like creating content for this site was work instead of joy, and a hobby should always bring joy! I’ve just started to feel like I miss creating and sharing recipes though, so I am back, checking in with you all, and hoping to share new things here again- maybe a little less frequently than my usual one time per week though!

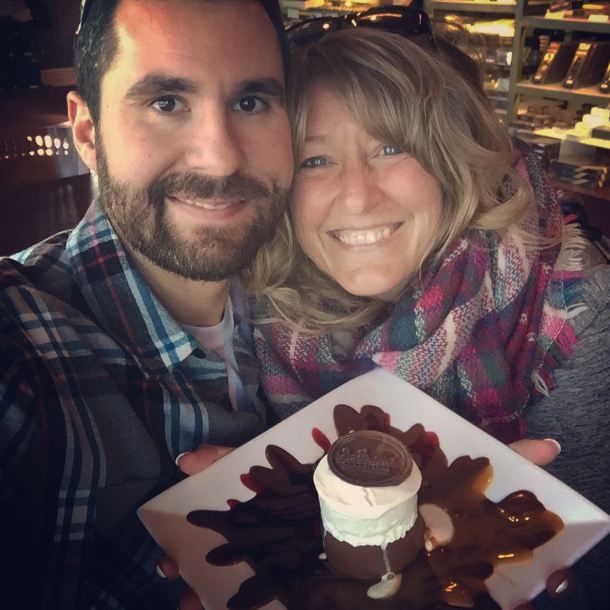
So… a lot has happened in these two years! Just after I posted my last recipe here, I began walking every morning with a friend I’d known for about 8 years named Nick. We walked all that fall, winter and spring and became really close friends. Last summer he asked if I’d be interested in dating (which I was!), in December he proposed, and we were married 5 months ago! It is such a wonderful thing to have someone to walk life with. He is an incredible man, and I’m so thankful that God brought us together!

Plus he loves desserts as much (maybe more!) than I do!

58578414_10155950238392513_5197066502976569344_n

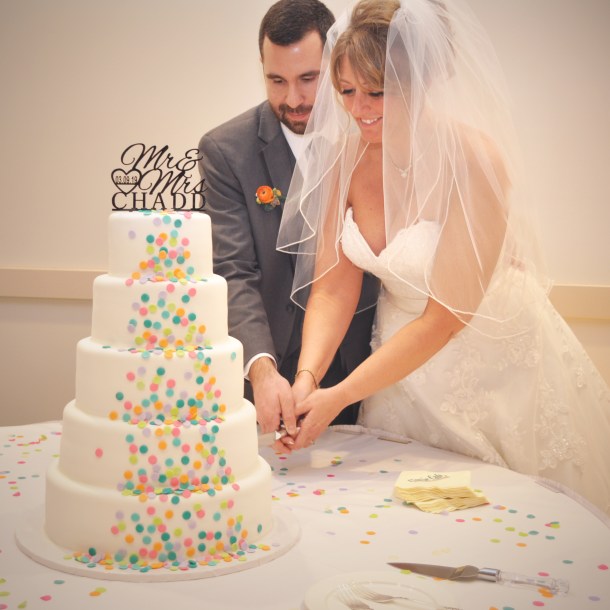
So obviously our wedding cake was a really important element of our wedding! My dear friends Megan and Wendy Davis from Happily Ever After Cakes did our cake and it was incredible on several levels.

First: They live almost 10 hours away. They made the cakes, drove them cross-country and assembled them here.

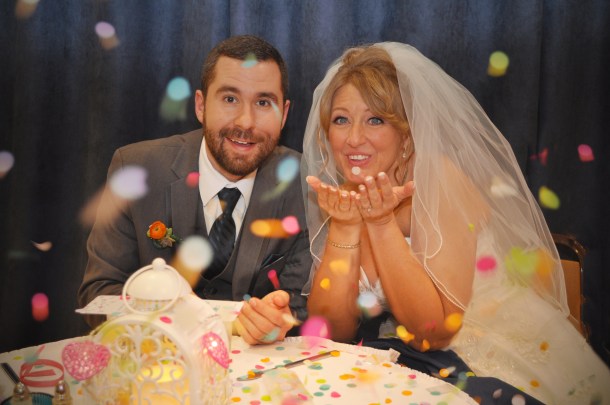
Second: Our wedding theme was confetti, and they matched our colors perfectly in fondant.

Third: It was a 5 layer cake- and each layer was a different flavor with a different filling. And all of the flavors were epic. I tried them all (of course!)

Reception28.2e

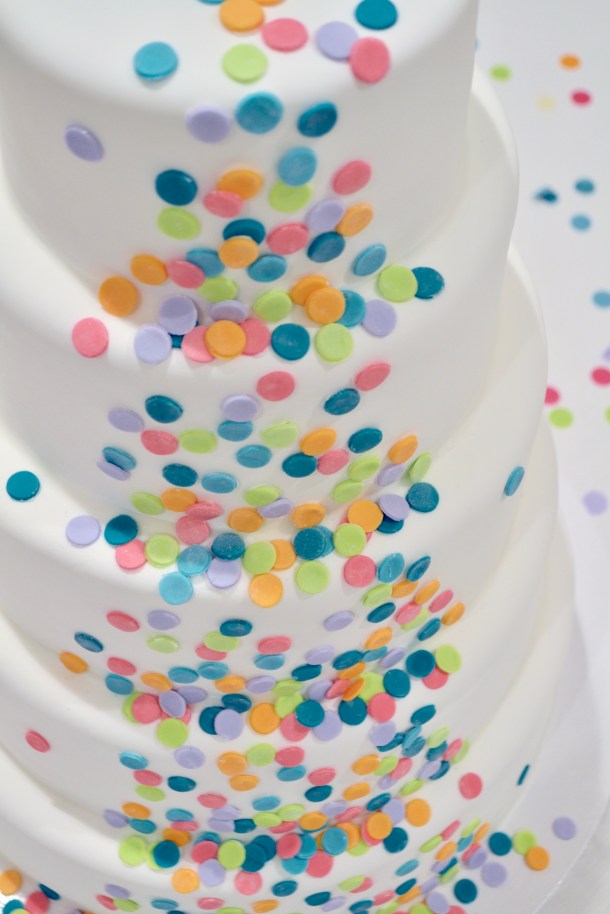
Wendy and Megan make delicious cake (top secret recipe) and amazing fillings, but what puts their cakes over the top is their made-from-scratch fondant. I usually want to peel fondant off to get rid of it- but not this. It’s soft, and sweet, and absolutely delicious.

Megan shared their recipe with me on a visit several years ago, and I posted about it here. I thought it was worth a second share though- just in case you missed it the 1st time, so here you go: (printer-friendly recipe)

INGREDIENTS:

  • 4 cups mini marshmallows (half of a 16 oz. bag)
  • 4 cups powdered sugar- plus a little for dusting.
  • 2 tsp water
  • 1/2 teaspoon of clear vanilla
  • gel colors to color fondant as desired

DIRECTIONS:

  • Place your mini marshmallows and water into a large mixing bowl and microwave on high for about one minute- until they are puffy and melted.
  • Stir them together with a rubber spatula until they are completely smooth (if not melted completely, put them back in the microwave on high for 5-10 seconds).
  • Add clear vanilla and mix well.
  • Add about 1/4 of the powdered sugar, stir until smooth, add another 1/4 and stir.  It will become difficult to stir and very sticky.
  • Pour the rest of the powdered sugar onto a clean counter or cutting board.
  • Scrape the sticky fondant mixture out of the bowl and onto the powdered sugar and begin to knead it together with clean (powder sugar coated!) hands.  It will gradually become like a smooth clay consistency.  Use a metal scraper to keep it from sticking to the counter/ board.
  • This can now be colored with gel, rolled out and cut, or stored (tightly wrapped) in the fridge for about one week.  
  • Have your cupcakes or cake all made and cooled.
  • Make enough fondant to cover your item(s).  Here is a great chart by Wilton to help you determine how much you’ll need for various projects.
  • Make up some  thick buttercream icing (recipe here) and you are ready to go!

Reception28.1e

My thoughts: YAY! It is fun to be at a place where I can jump back into sharing my ideas here again. I’ve missed you all! Until the next recipe….

Reception27e

Enjoy!


Tie-Dye Cake with Blue Raspberry Frosting

Posted on

Swirls of colors plus a blue raspberry frosting make everyone smile when they see this cake!

This recipe is dedicated to my nephew Marshal, who informed me a few weeks ago that today, October 10, 2012 is an important day:  it marks the 2 year anniversary of the release of  “My Little Pony: Friendship is Magic” TV show.

Confused?  I was!  Apparently this show, targeted toward young girls, has gained a cult following among teenage boys– they call themselves “Bronies”…I guess Bro+ponies= Bronies.  Um…yeah. Learned all of that on Wikipedia… SO Marshal was telling me that he and his friends wanted to make a rainbow cake (for the pony “Rainbow Dash”, of course) to celebrate the day.  The thought of making 6 layers of cake in different colors sounded exhausting, so instead I made 6 colors and just dumped them on top of each other in the same pan.  I love how it turned out!

Here’s how it was made:

INGREDIENTS: (printer friendly recipe)

  • One boxed white cake mix, plus eggs, water and oil to make it according to the box.
  • Icing colors in Purple, Blue, Green, Red, Orange and Yellow.
  • One stick (4 oz.) salted butter at room temp.
  • One stick (4 oz.) unsalted butter at room temp.
  • 1 1/2 cups powdered sugar
  • 2 teaspoons raspberry flavoring

DIRECTIONS:

  • Preheat oven to 350F degrees.
  • Make cake mix according to box (or make your own favorite white cake recipe!)
  • Grease 2- 9 inch cake pans and place a circle of parchment paper in the bottom of each.
  • Evenly divide batter into 6 bowls (about 1 cup of batter in each)
  • Add icing color gels to color each bowl of batter.
  • Pour 1/2 of the purple batter in the center of one pan.
  • Pour 1/2 of the blue batter into the center of the purple batter (adding the blue will push the purple toward the edges).
  • Continue to pour 1/2 of each color batter into the center using green, yellow, orange and red in that order.
  • In second pan do the same but in the reverse order, starting with the red 1st.
  • Bake at 350 according to package (mine took about 25 minutes)
  • Remove from oven and cool.  Tip over onto a wire cake rack to finish cooling.
  • Make frosting by adding butters, powdered sugar, raspberry flavor and a little blue icing gel color together and beating on high until light and fluffy.
  • Level off the tops of each cake layer and place one layer, cut side up on a serving plate.  Frost the top of this layer.
  • Place the second layer, cut side down on top and frost entire cake.
  • Sprinkle with rainbow sugar or decorate as desired.

ENJOY!!!

My thoughts:  Although this cake was created with Marshal’s celebration in mind, it would be such a fun and colorful addition to any party!!!  Lets hear it for tie-dye rainbow cake!!!!!  Thanks for the idea Marshal!!!

Candy Surprise Cake!

Imagine the moment you cut into a cake and pull that first piece out.  Now imagine a waterfall of candy pouring out of the center of the cake.  Every child’s dream come true!  This recipe was inspired by a conversation at work; my friend Mary was telling us how she liked to surprise her kids with candy-filled cakes on their birthdays.  She used a variety of candies and one time actually filled the cake with runny orange frosting and called it a volcano!  I loved the idea and decided to bake my cake in a bowl to make it tall enough to fill (Mary used layers).  What a fun idea for the upcoming Halloween season- the possibilities are as endless as the candy on the shelves!  Here’s how it was made:

INGREDIENTS:

  • One boxed cake mix (any flavor you’d like- I used confetti)
  • Water, eggs and oil to make mix according to box
  • Candy to fill center of cake (I used Skittles and it took about 1 1/2 cups of candy)
  • 1 stick of salted butter
  • 1 stick of unsalted butter
  • 1 1/2 c powdered sugar
  • 1 t. clear vanilla flavor
  • Sprinkles to decorate with if desired.

DIRECTIONS:

  • Preheat oven to 325 degrees.
  • Prepare cake according to package and pour into a greased and floured 2 quart glass bowl (I used my 2 Quart Batter Bowl from Pampered Chef)
  • Bake at 325 degrees for 1 hour and 10 minutes- or until a cake tester inserted into the middle comes out clean.
  • Cool for 15 minutes.
  • Run a knife around edges to loosen, and gently tip out onto a wire cake rack to cool completely.
  • Once cool, trim flat edge even and set on serving plate with dome side up.
  • Cut a round opening in the top of the cake, gently pulling the cake out.  Keep the top layer, but spoon out the core, leaving about an inch of cake at the bottom.

  • Gently pour candy into the center of the cake and place the top back on (like a pumpkin!)
  • Make frosting by beating softened butters, powdered sugar and vanilla on high until light and fluffy. 
  • Frost cake and decorate as desired.

  • Cut a slice and watch the smiles start!

My thoughts:  This is SO much fun to cut into and serve- it made everyone laugh when the skittles started pouring out!  It serves up messy (be prepared to scoop skittles out for each serving).   The Skittles started to get soft inside the moist cake eventually- they still tasted great- but if you want them fresh just serve this within a few hours of making it.  You’ll want to think this through for other candy types as well.  I’m guessing most would be best served right away.  Believe me— it is worth the surprise factor!!!!  Enjoy!!!! -r

9-24-12 My friend Angie from the Czech Republic just sent this picture of her cupcakes using this recipe:

SO fun!  Great job Angie!!  If you want to try a cupcake version of this cake, save some time with a Cupcake Corer to remove the centers!