I married into this recipe. My very first time visiting my husband’s grandma Gisela (Gisi, to us), she made this unbelievably delicious apple cake. I don’t even like cooked apples, but I politely took a piece and LOVED it!!!
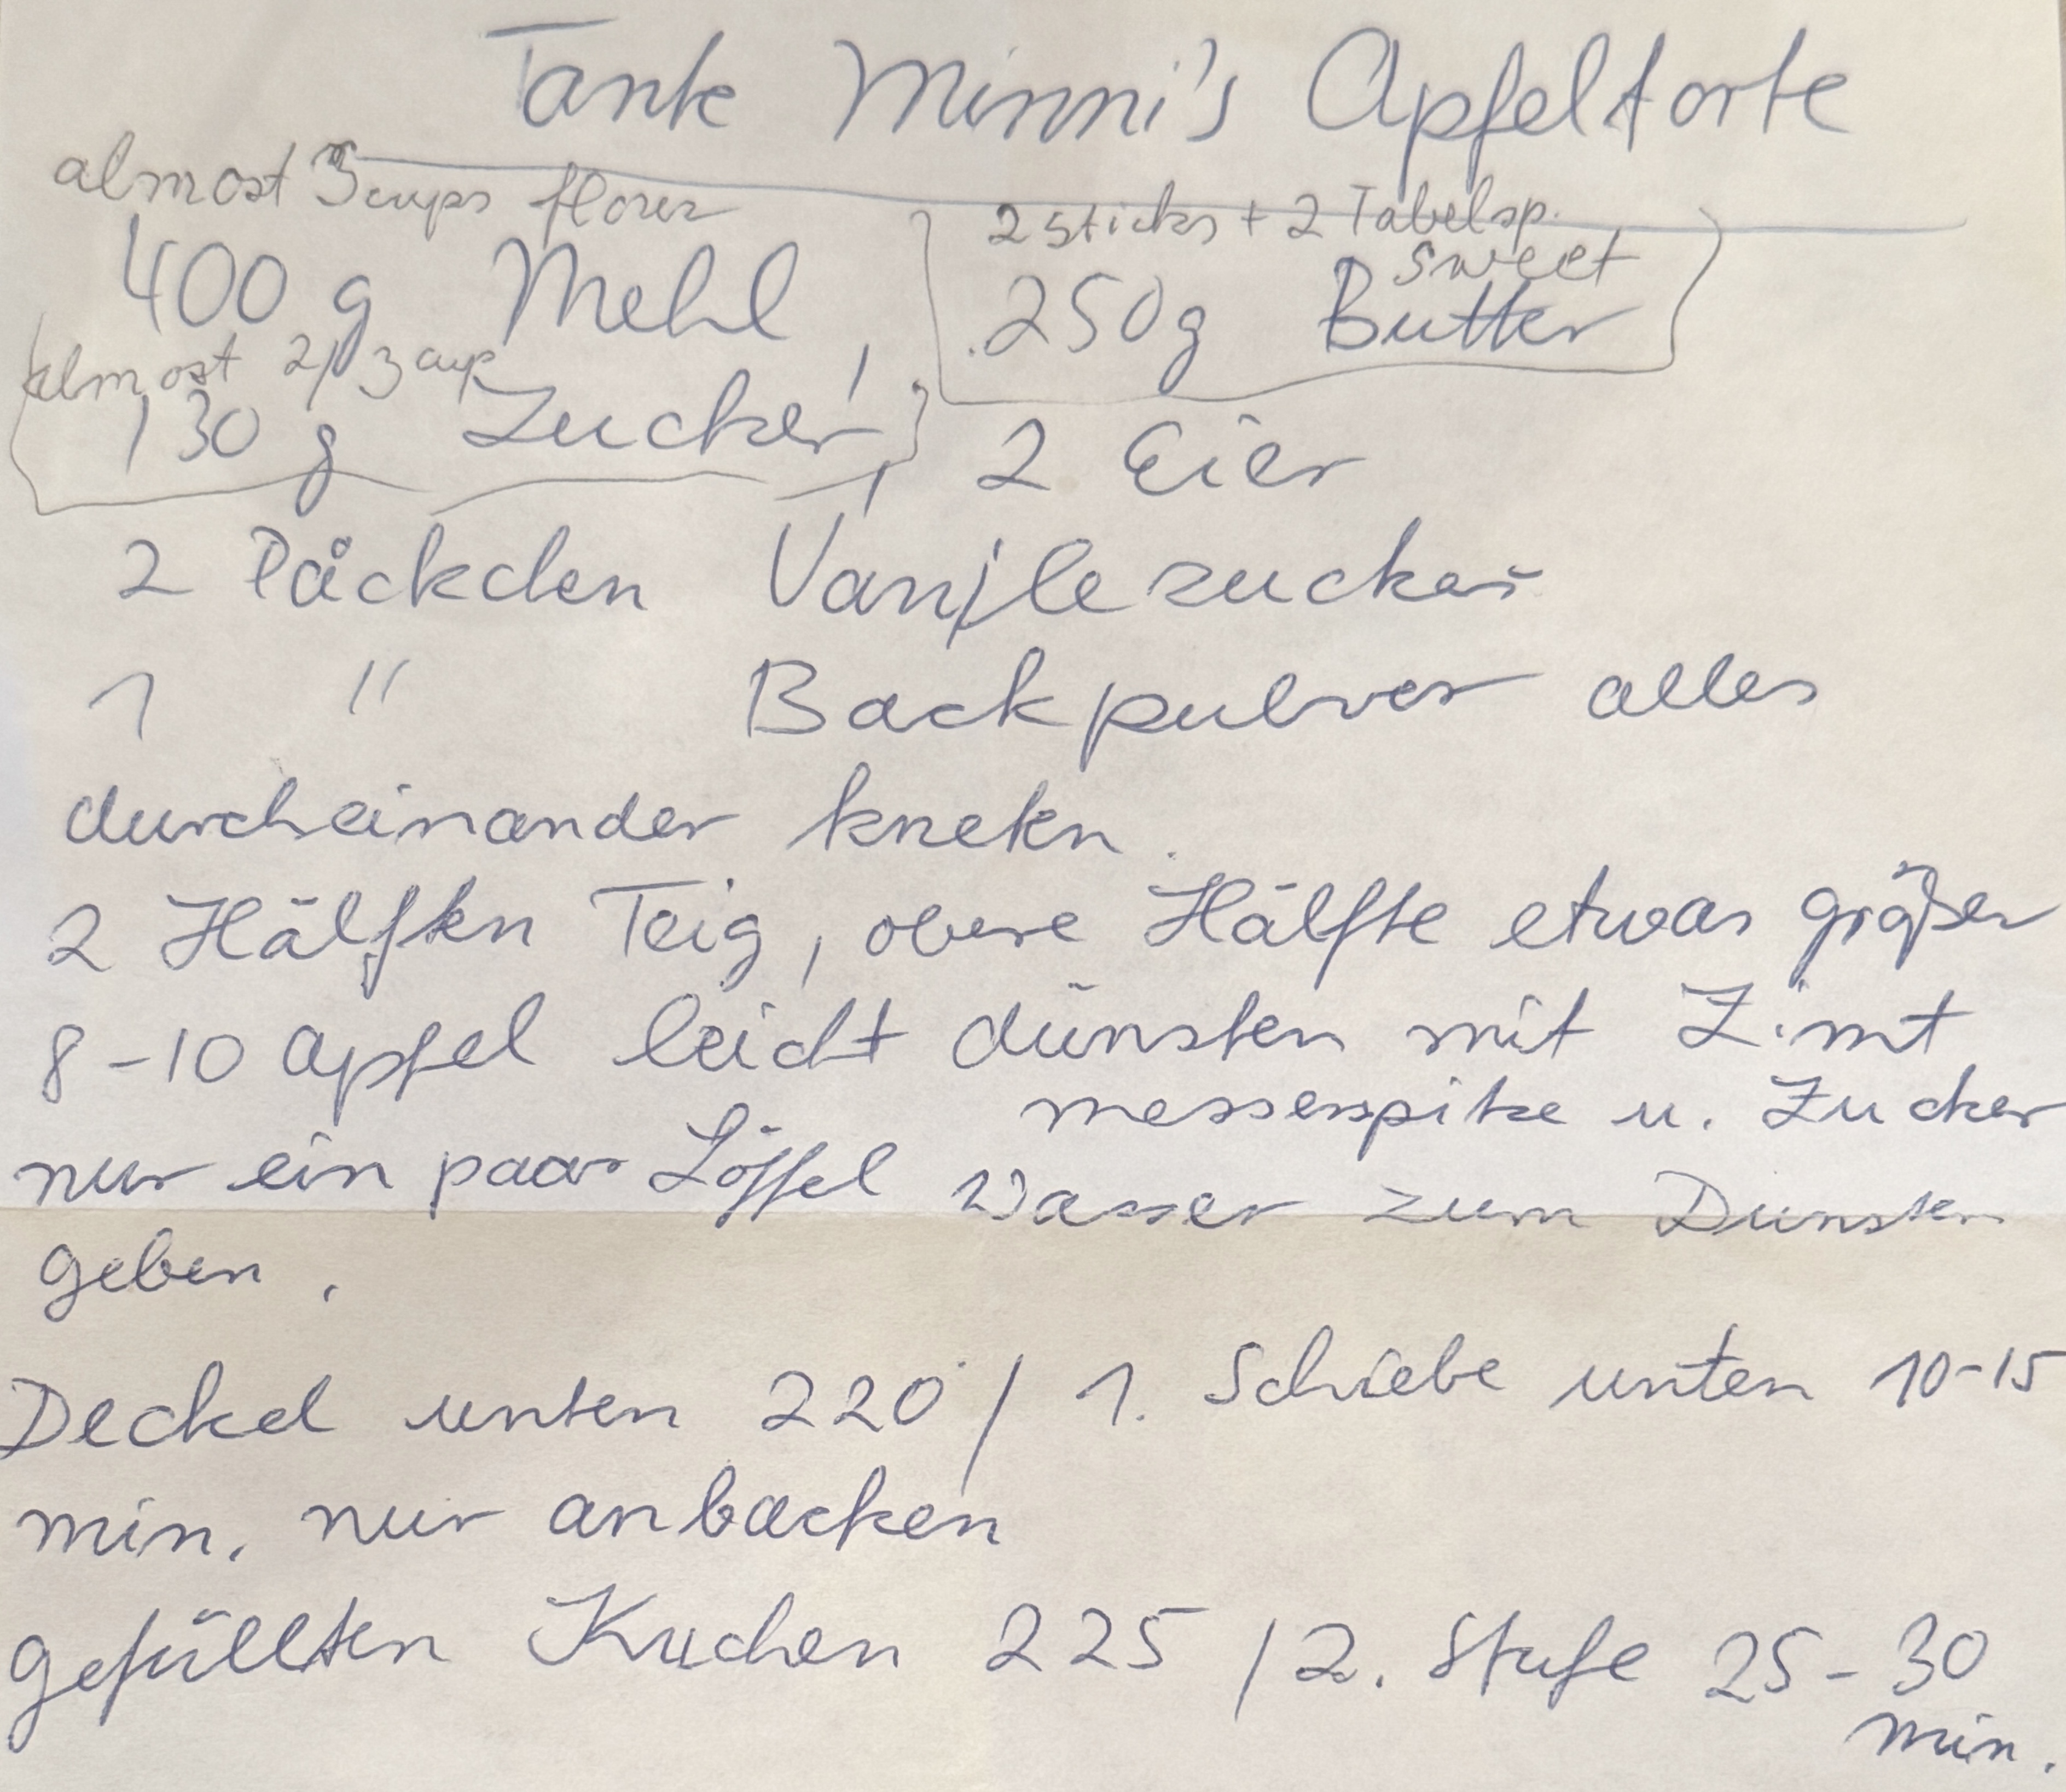
With all of my heart, I believe we need to carry the recipes of the ones we love forward into new generations. I’ve featured recipes from both of my grandmas, my aunts and my mom here on the Easybaked blog, and I knew that this recipe needed to be shared with the world. Last week, grandma Gisi patiently explained her recipe (translated from German) so that I could try it, and the results made me smile.
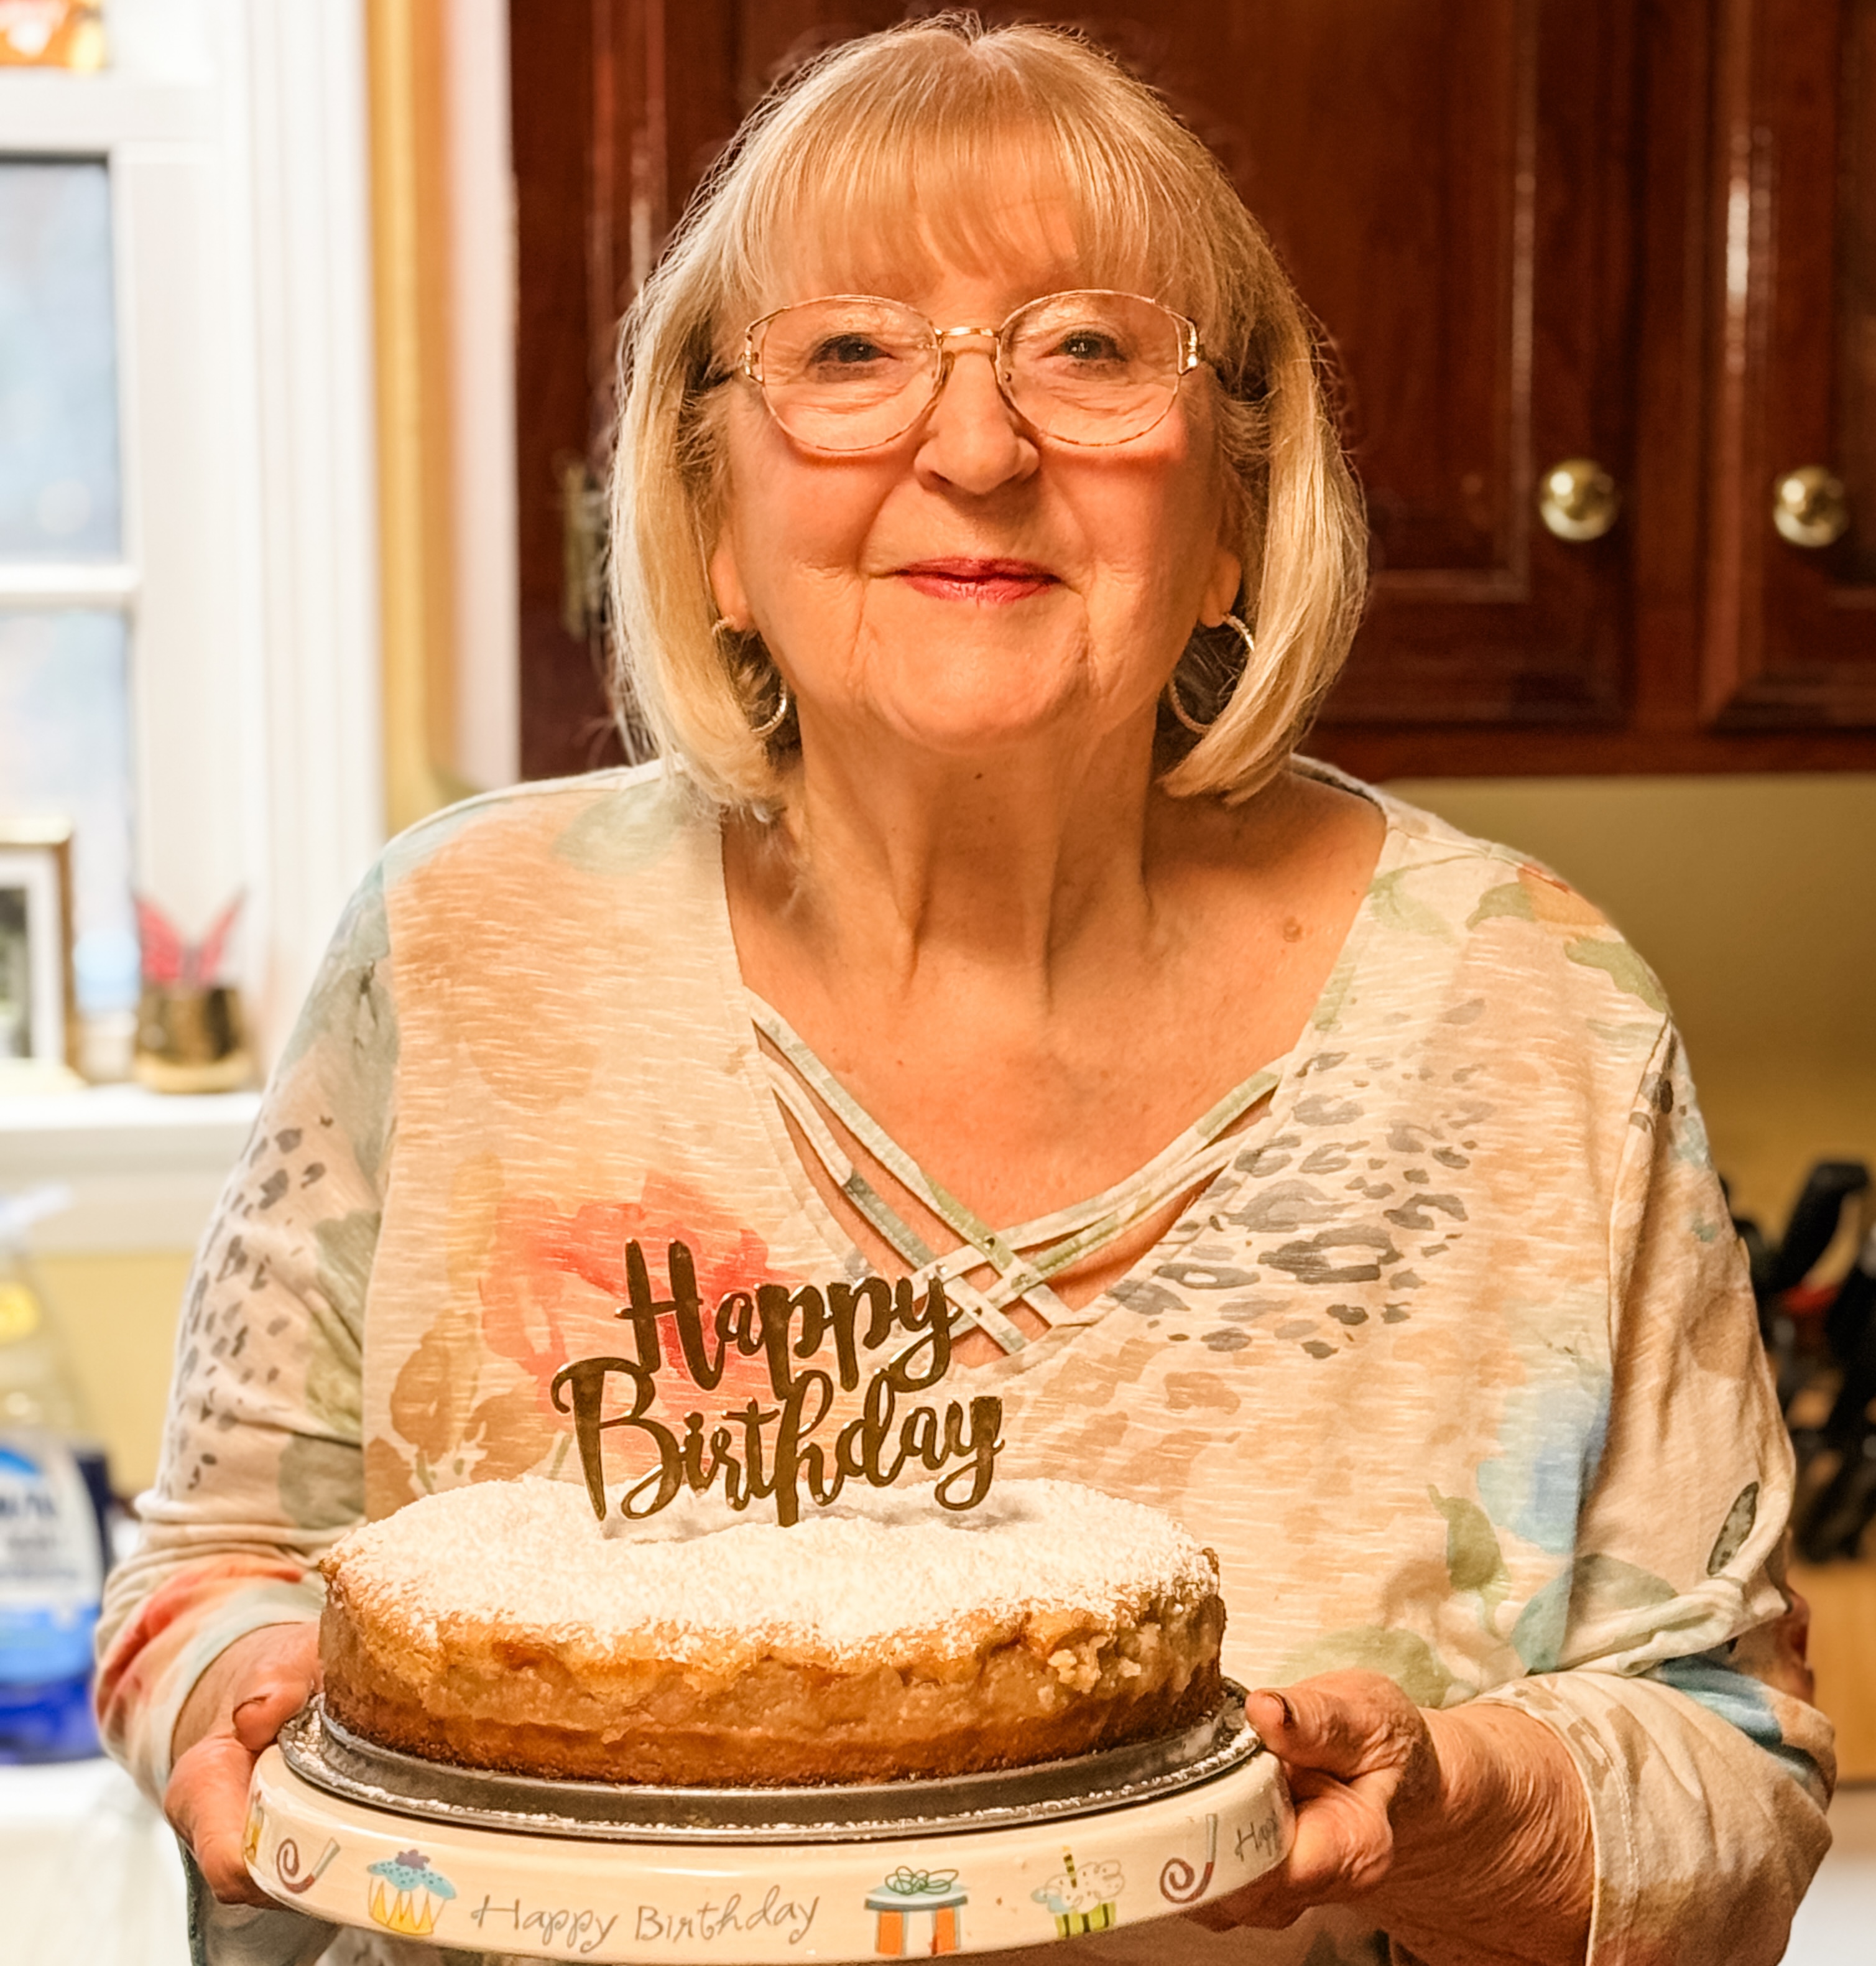
This was how she greeted us on our visit last week- the birthday we were celebrating was my husband’s.
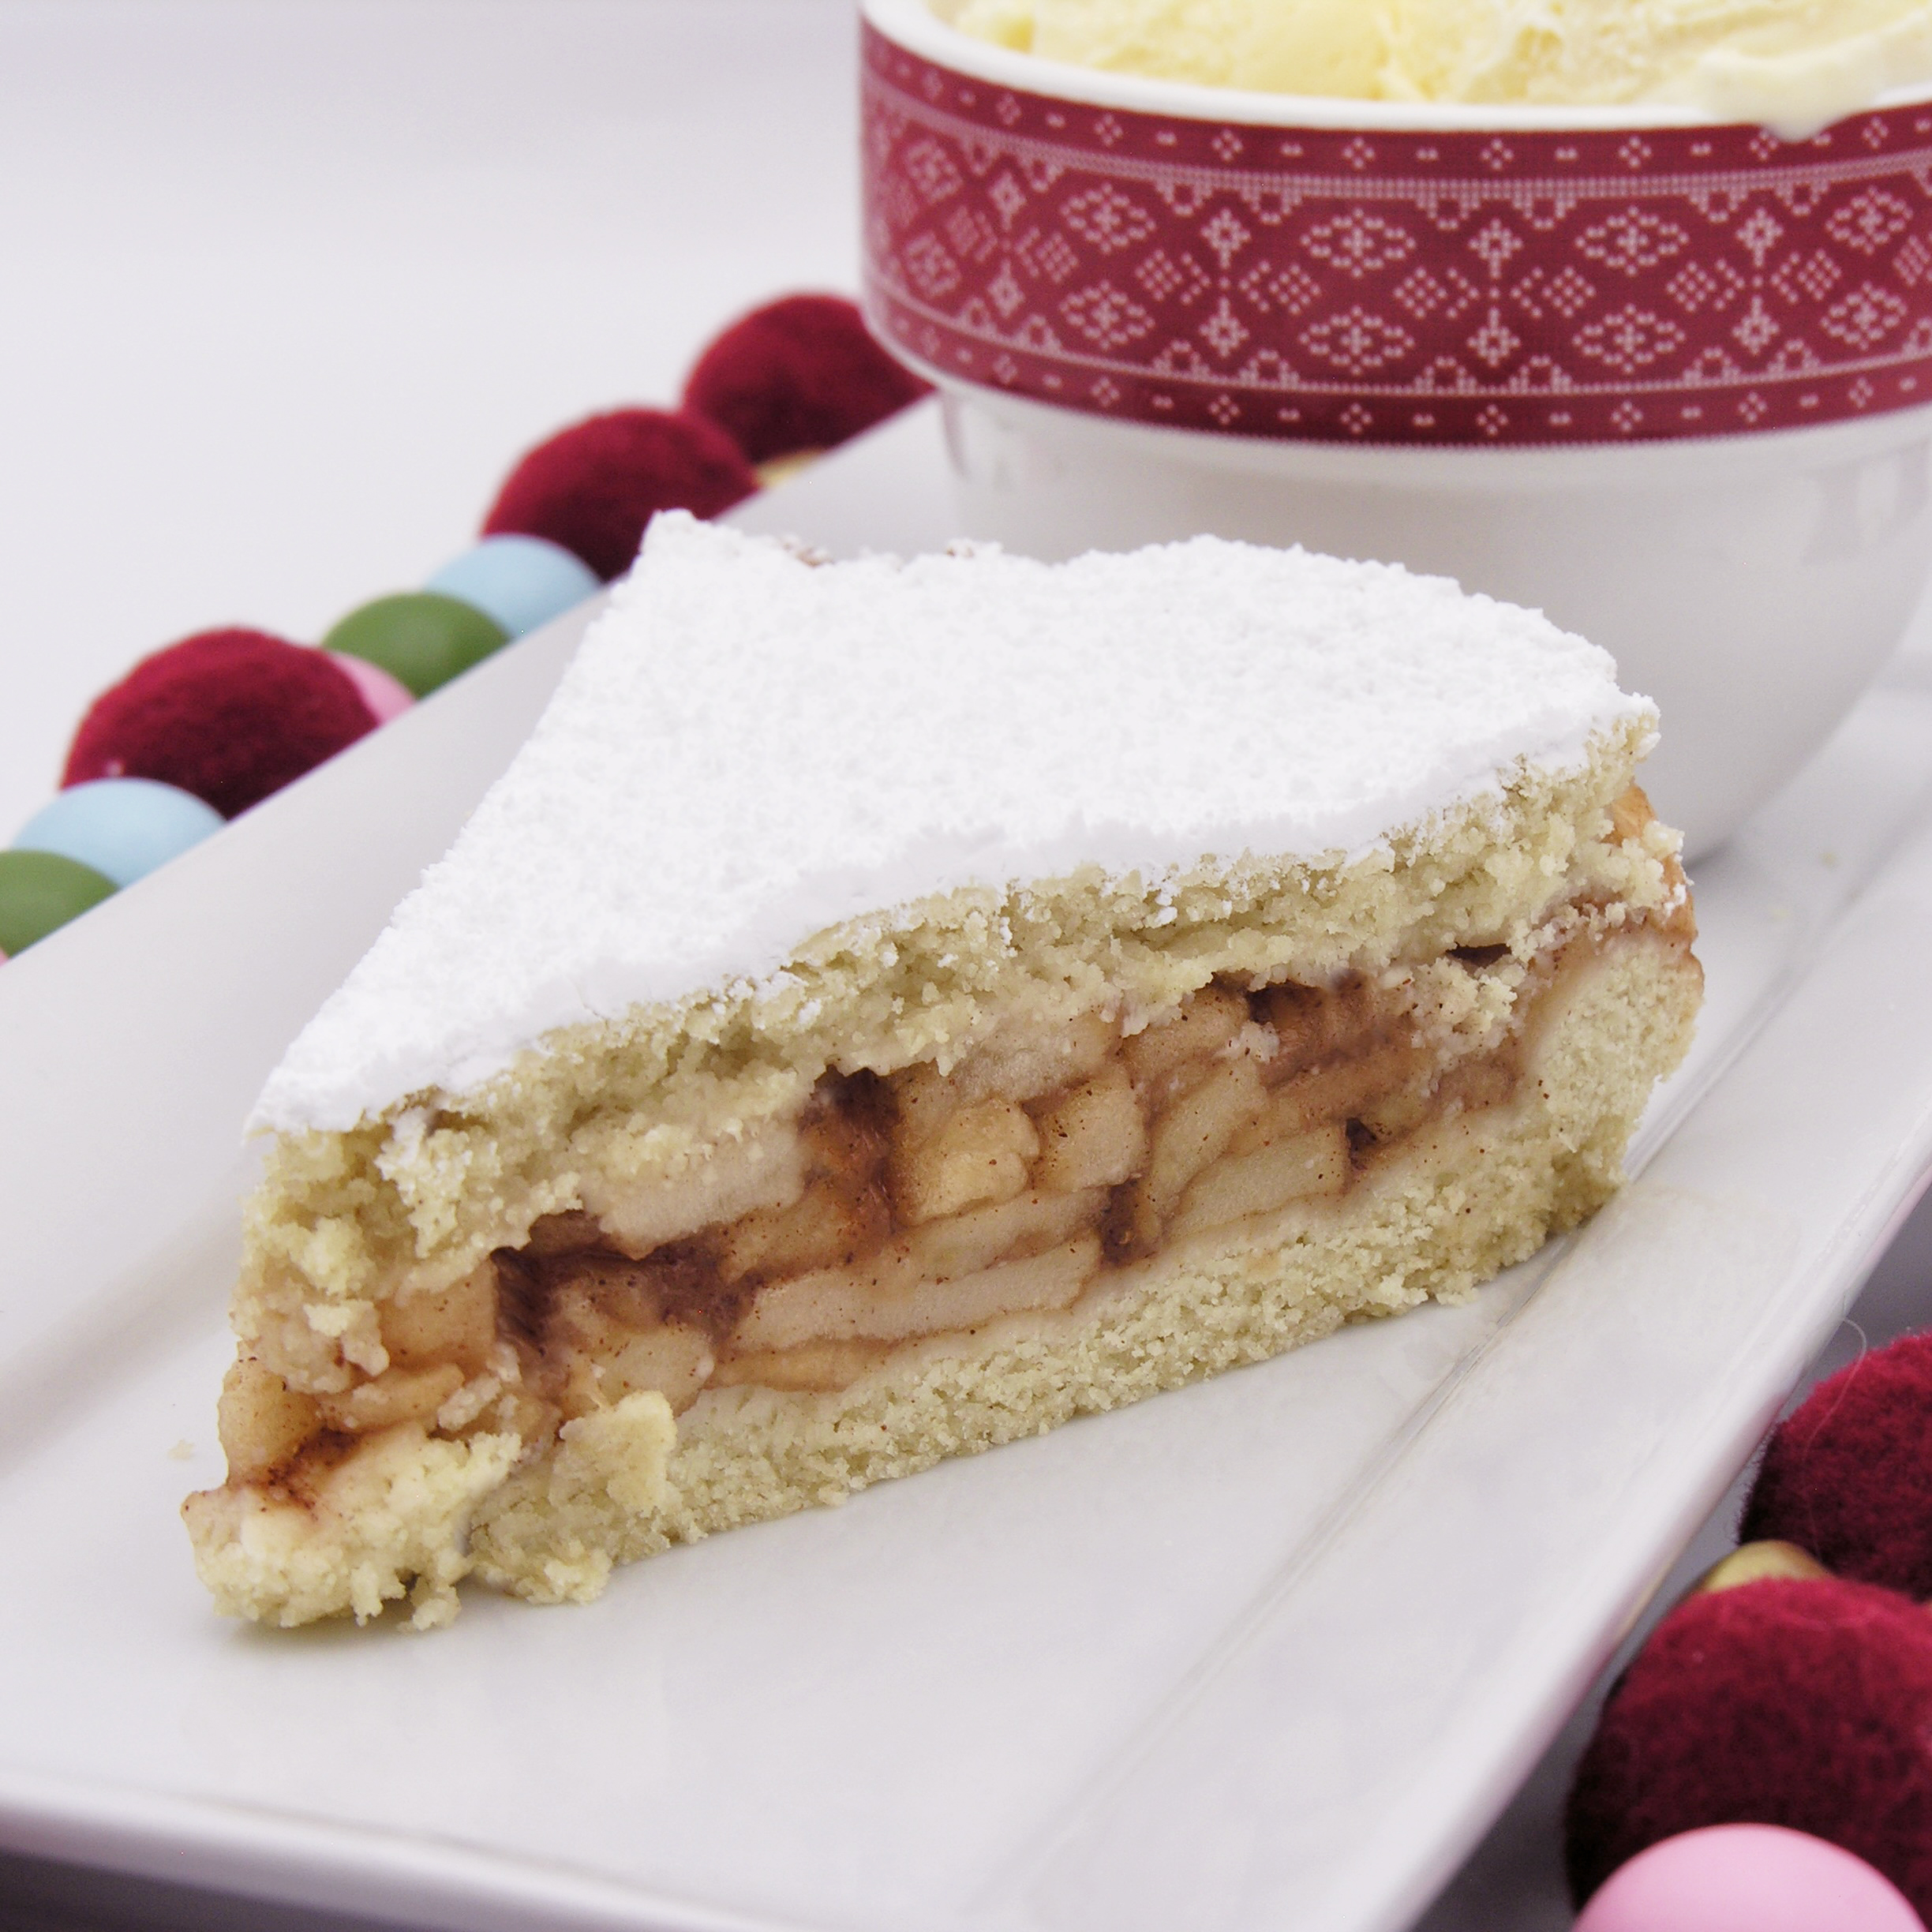
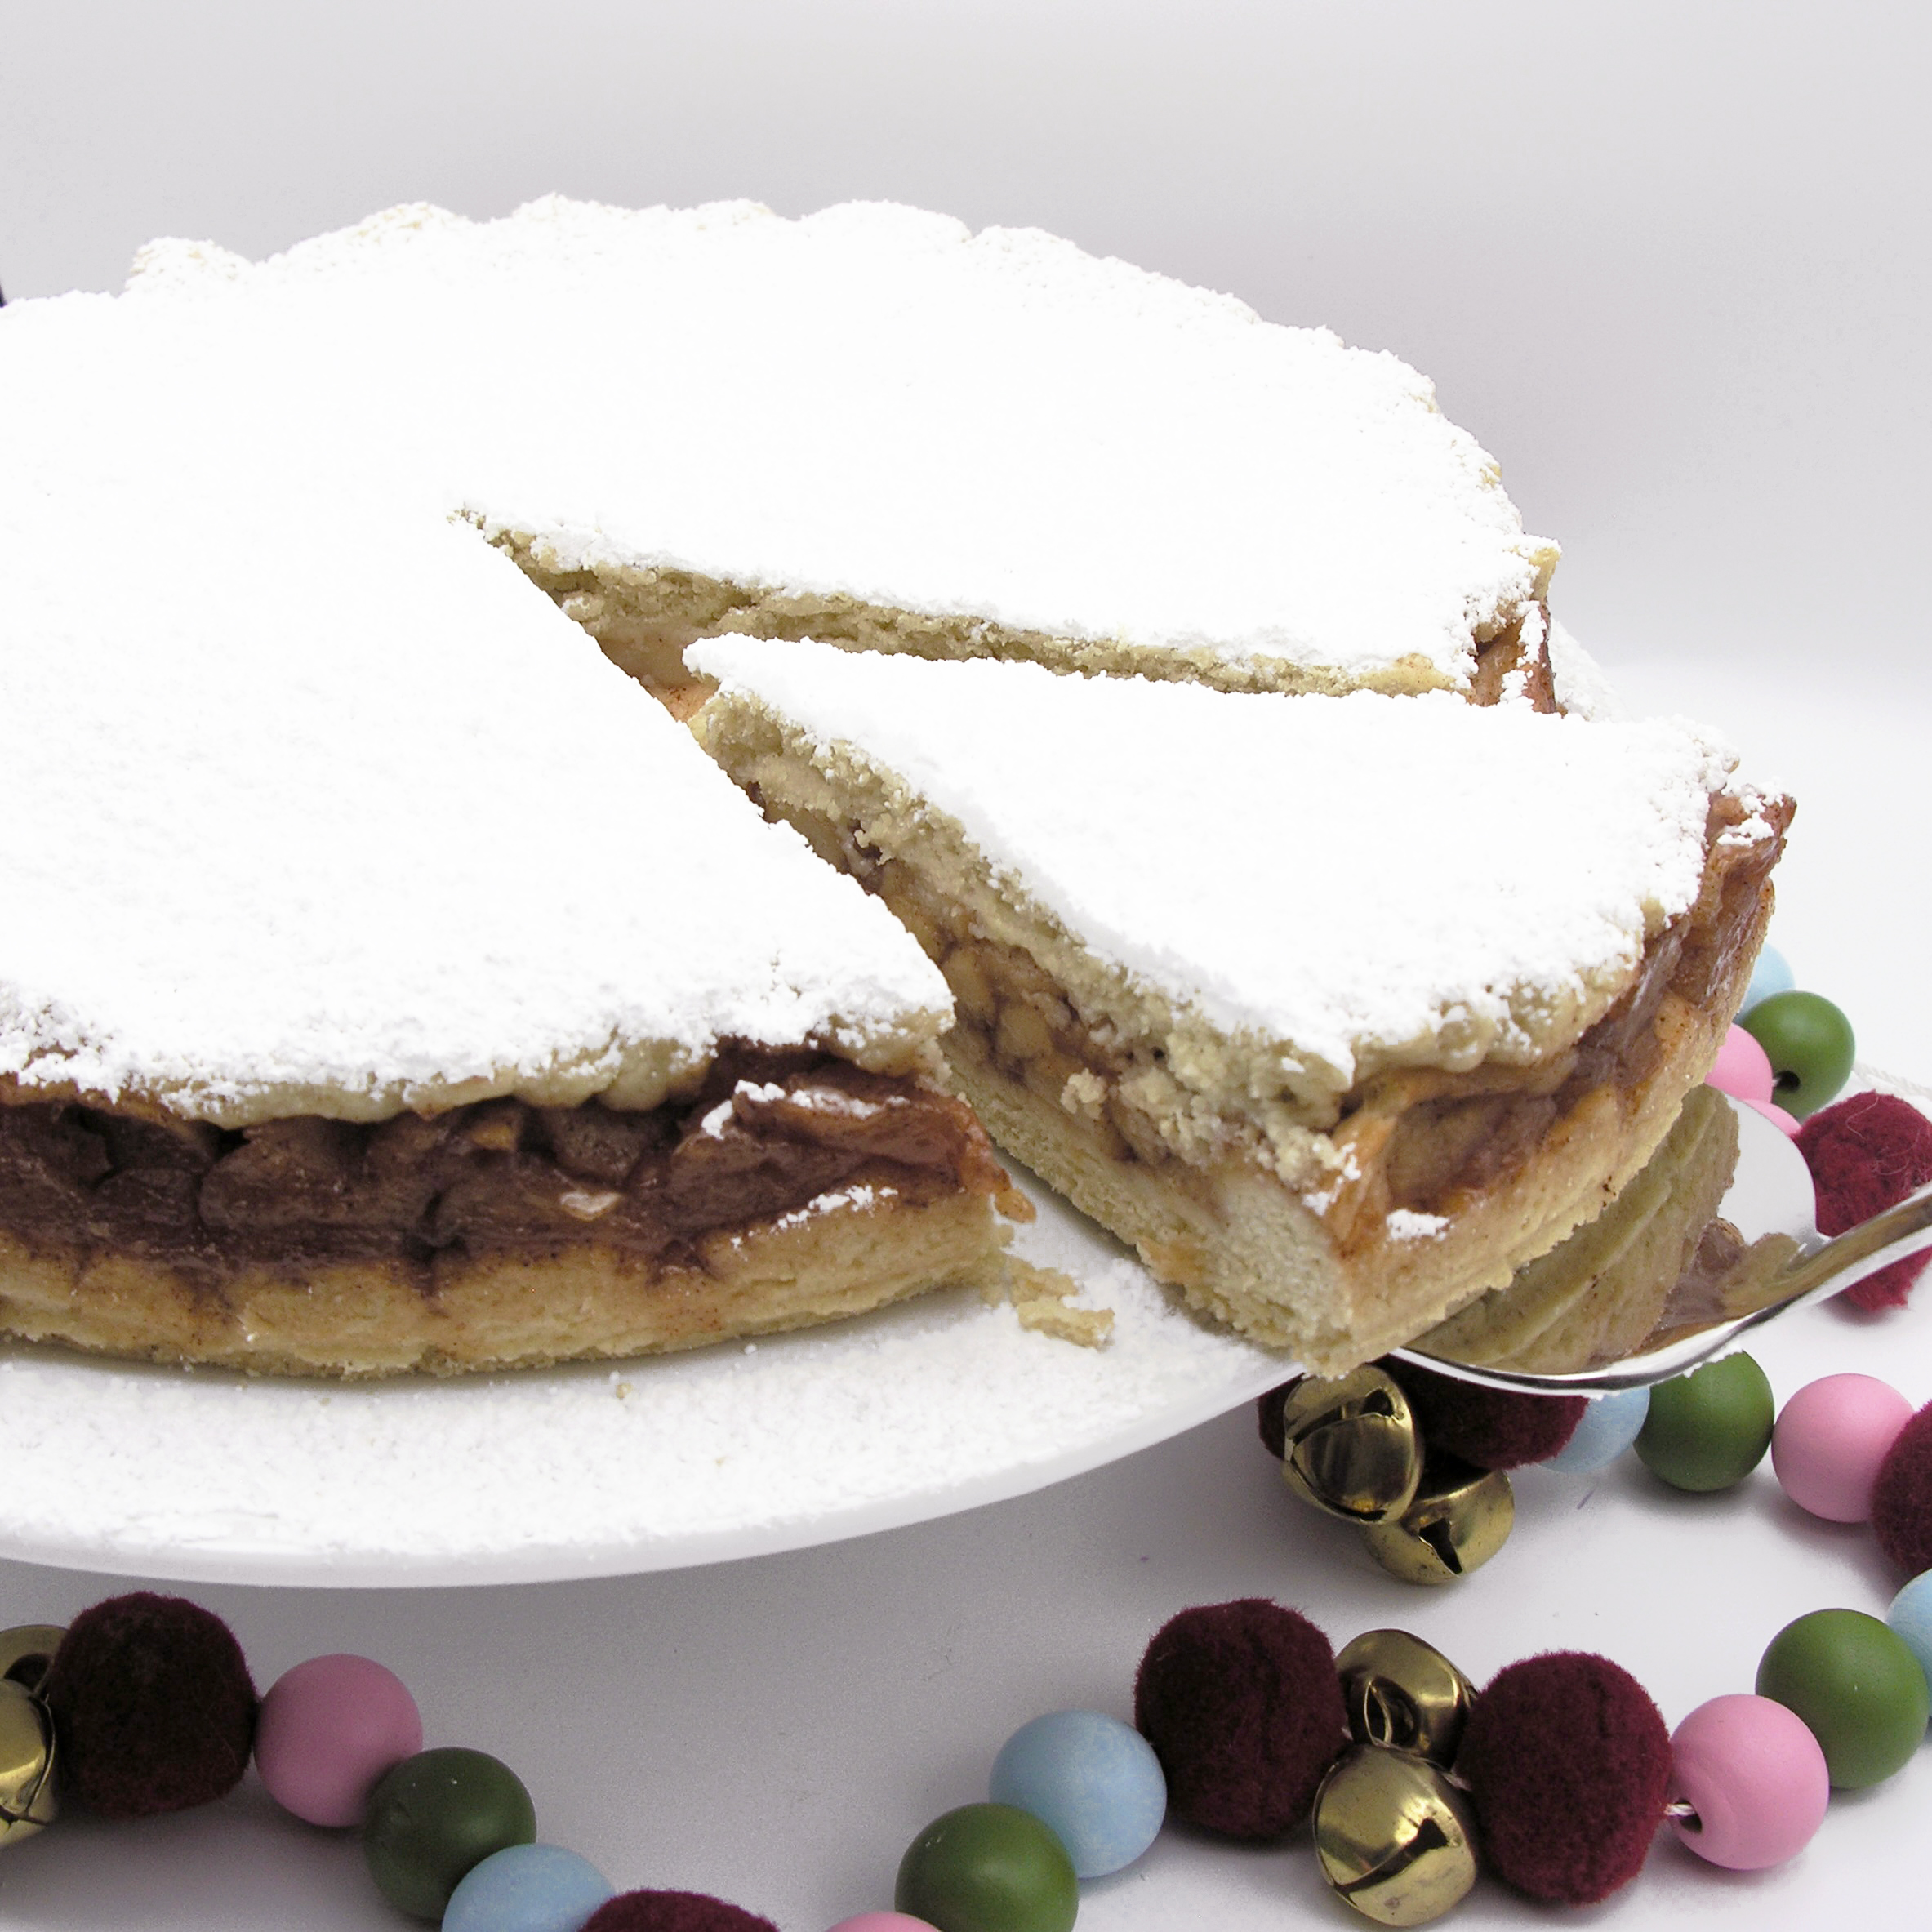
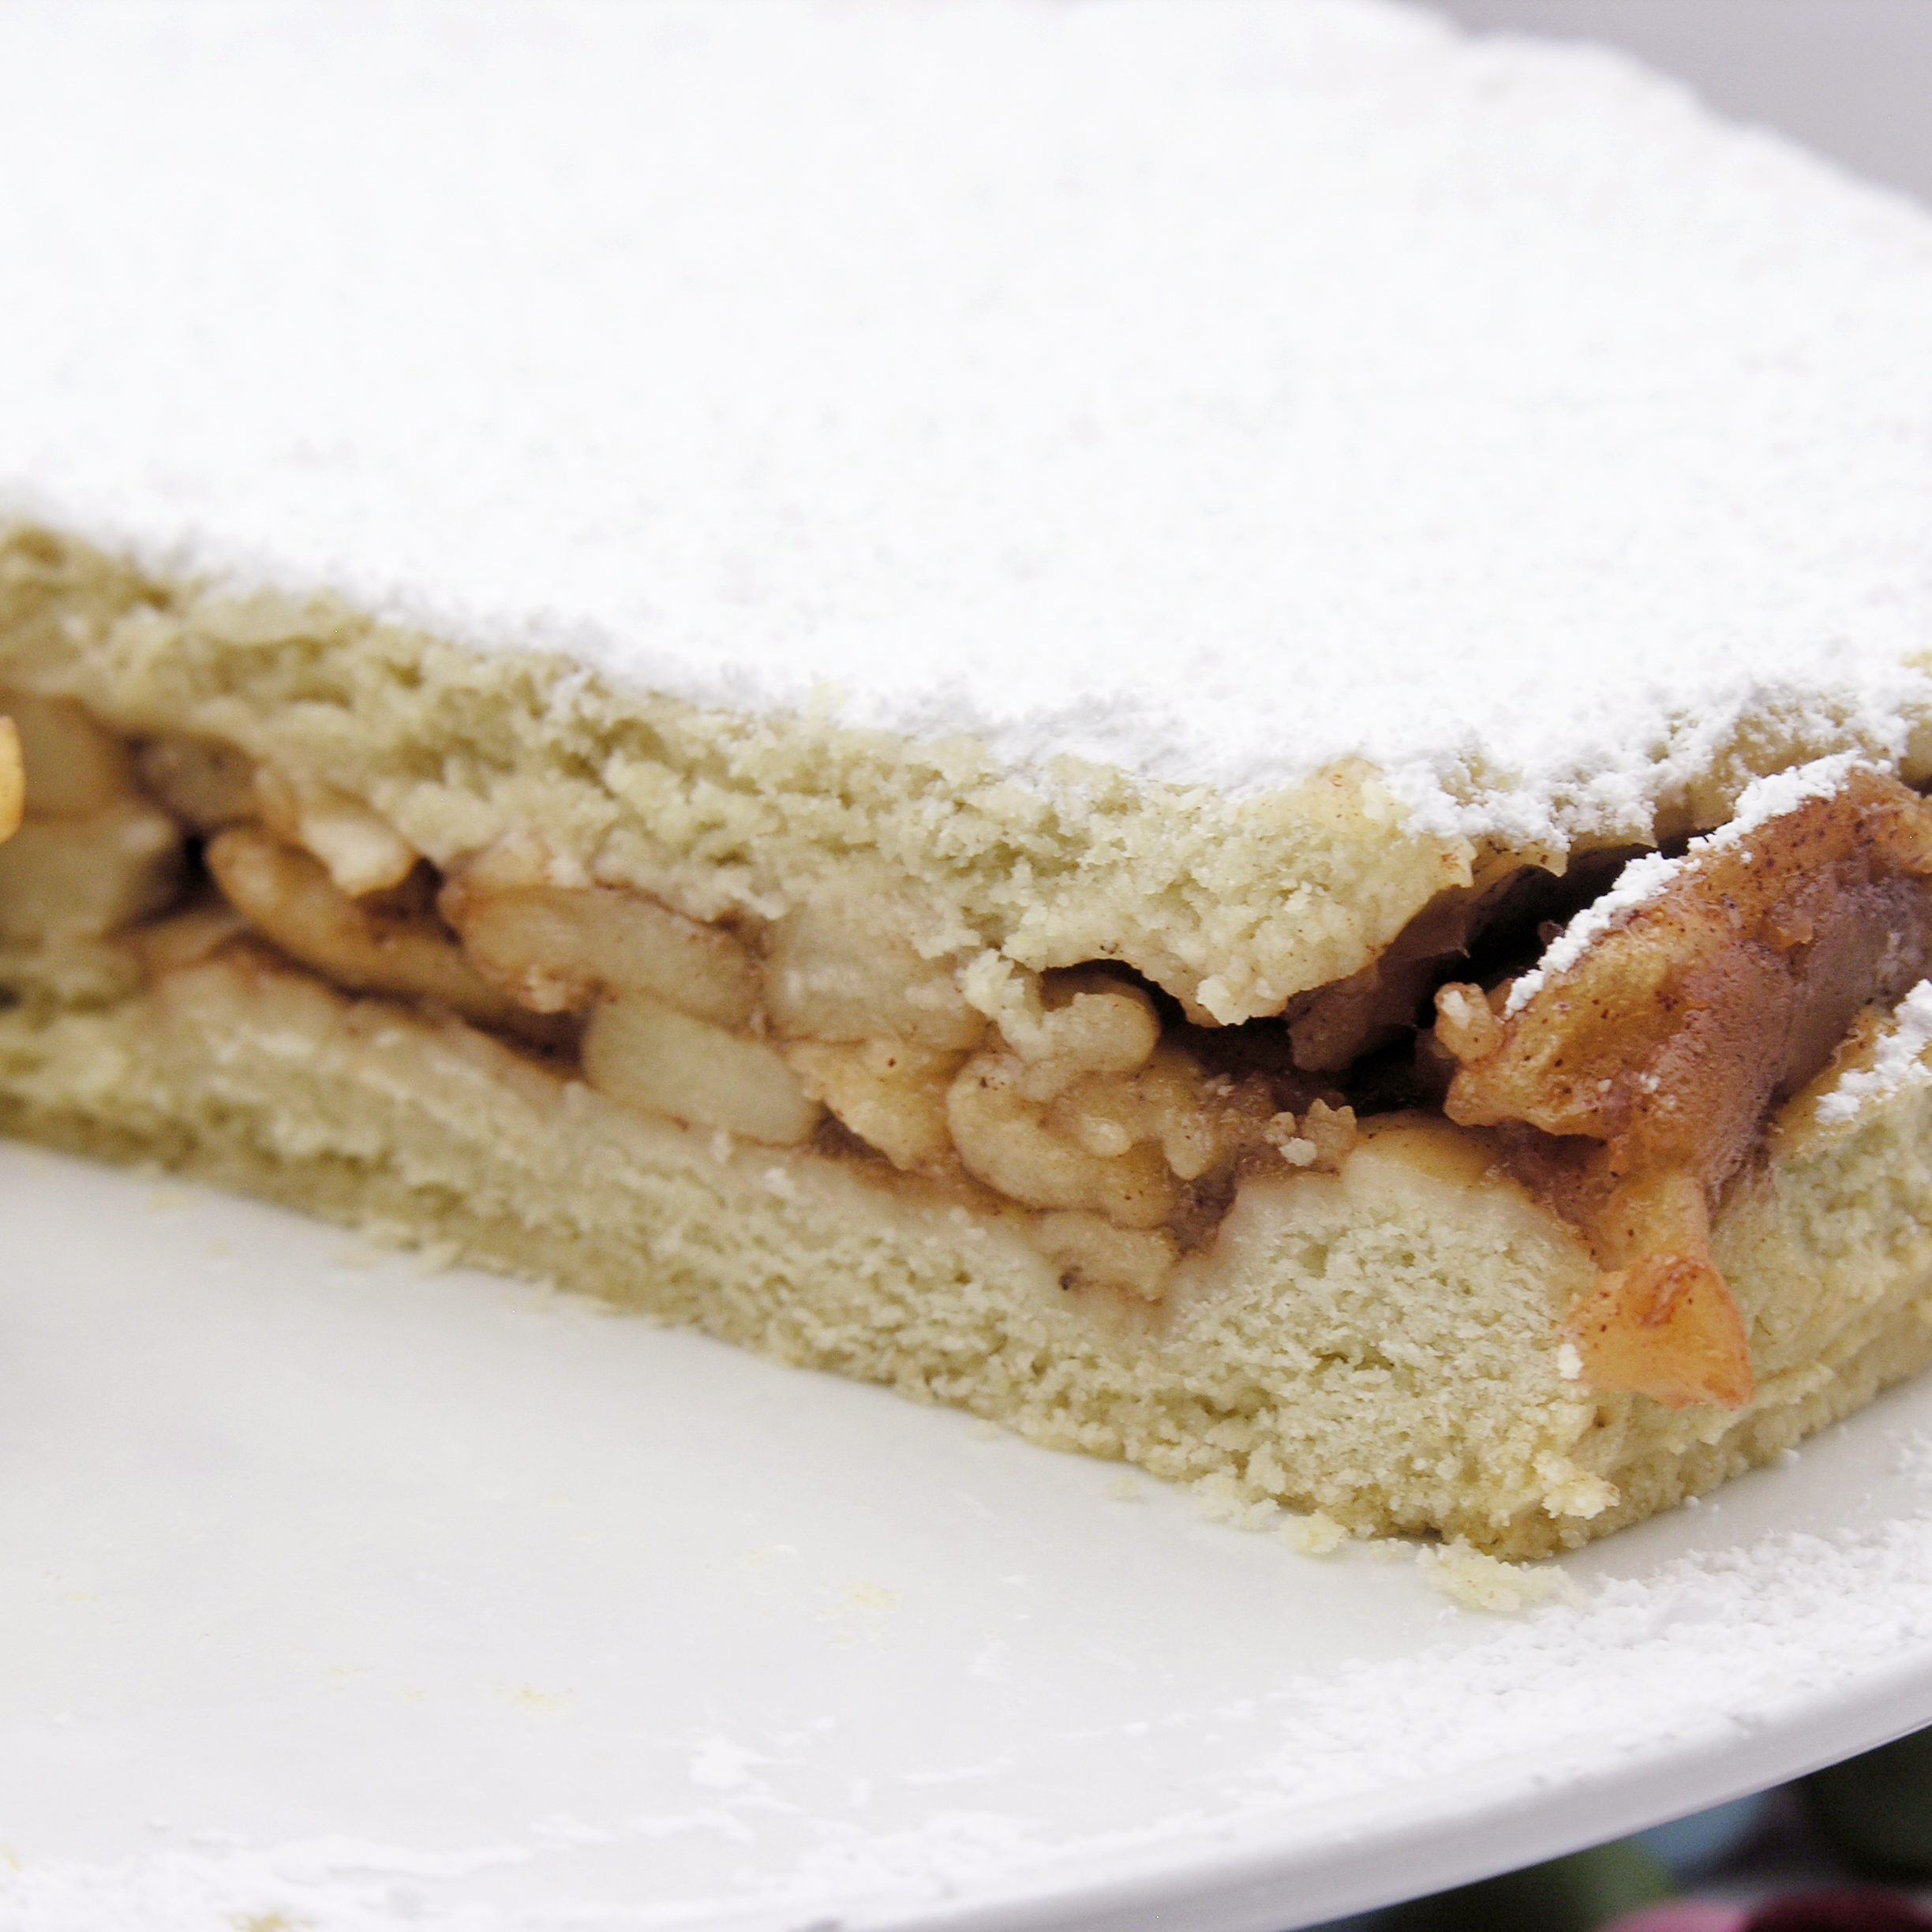
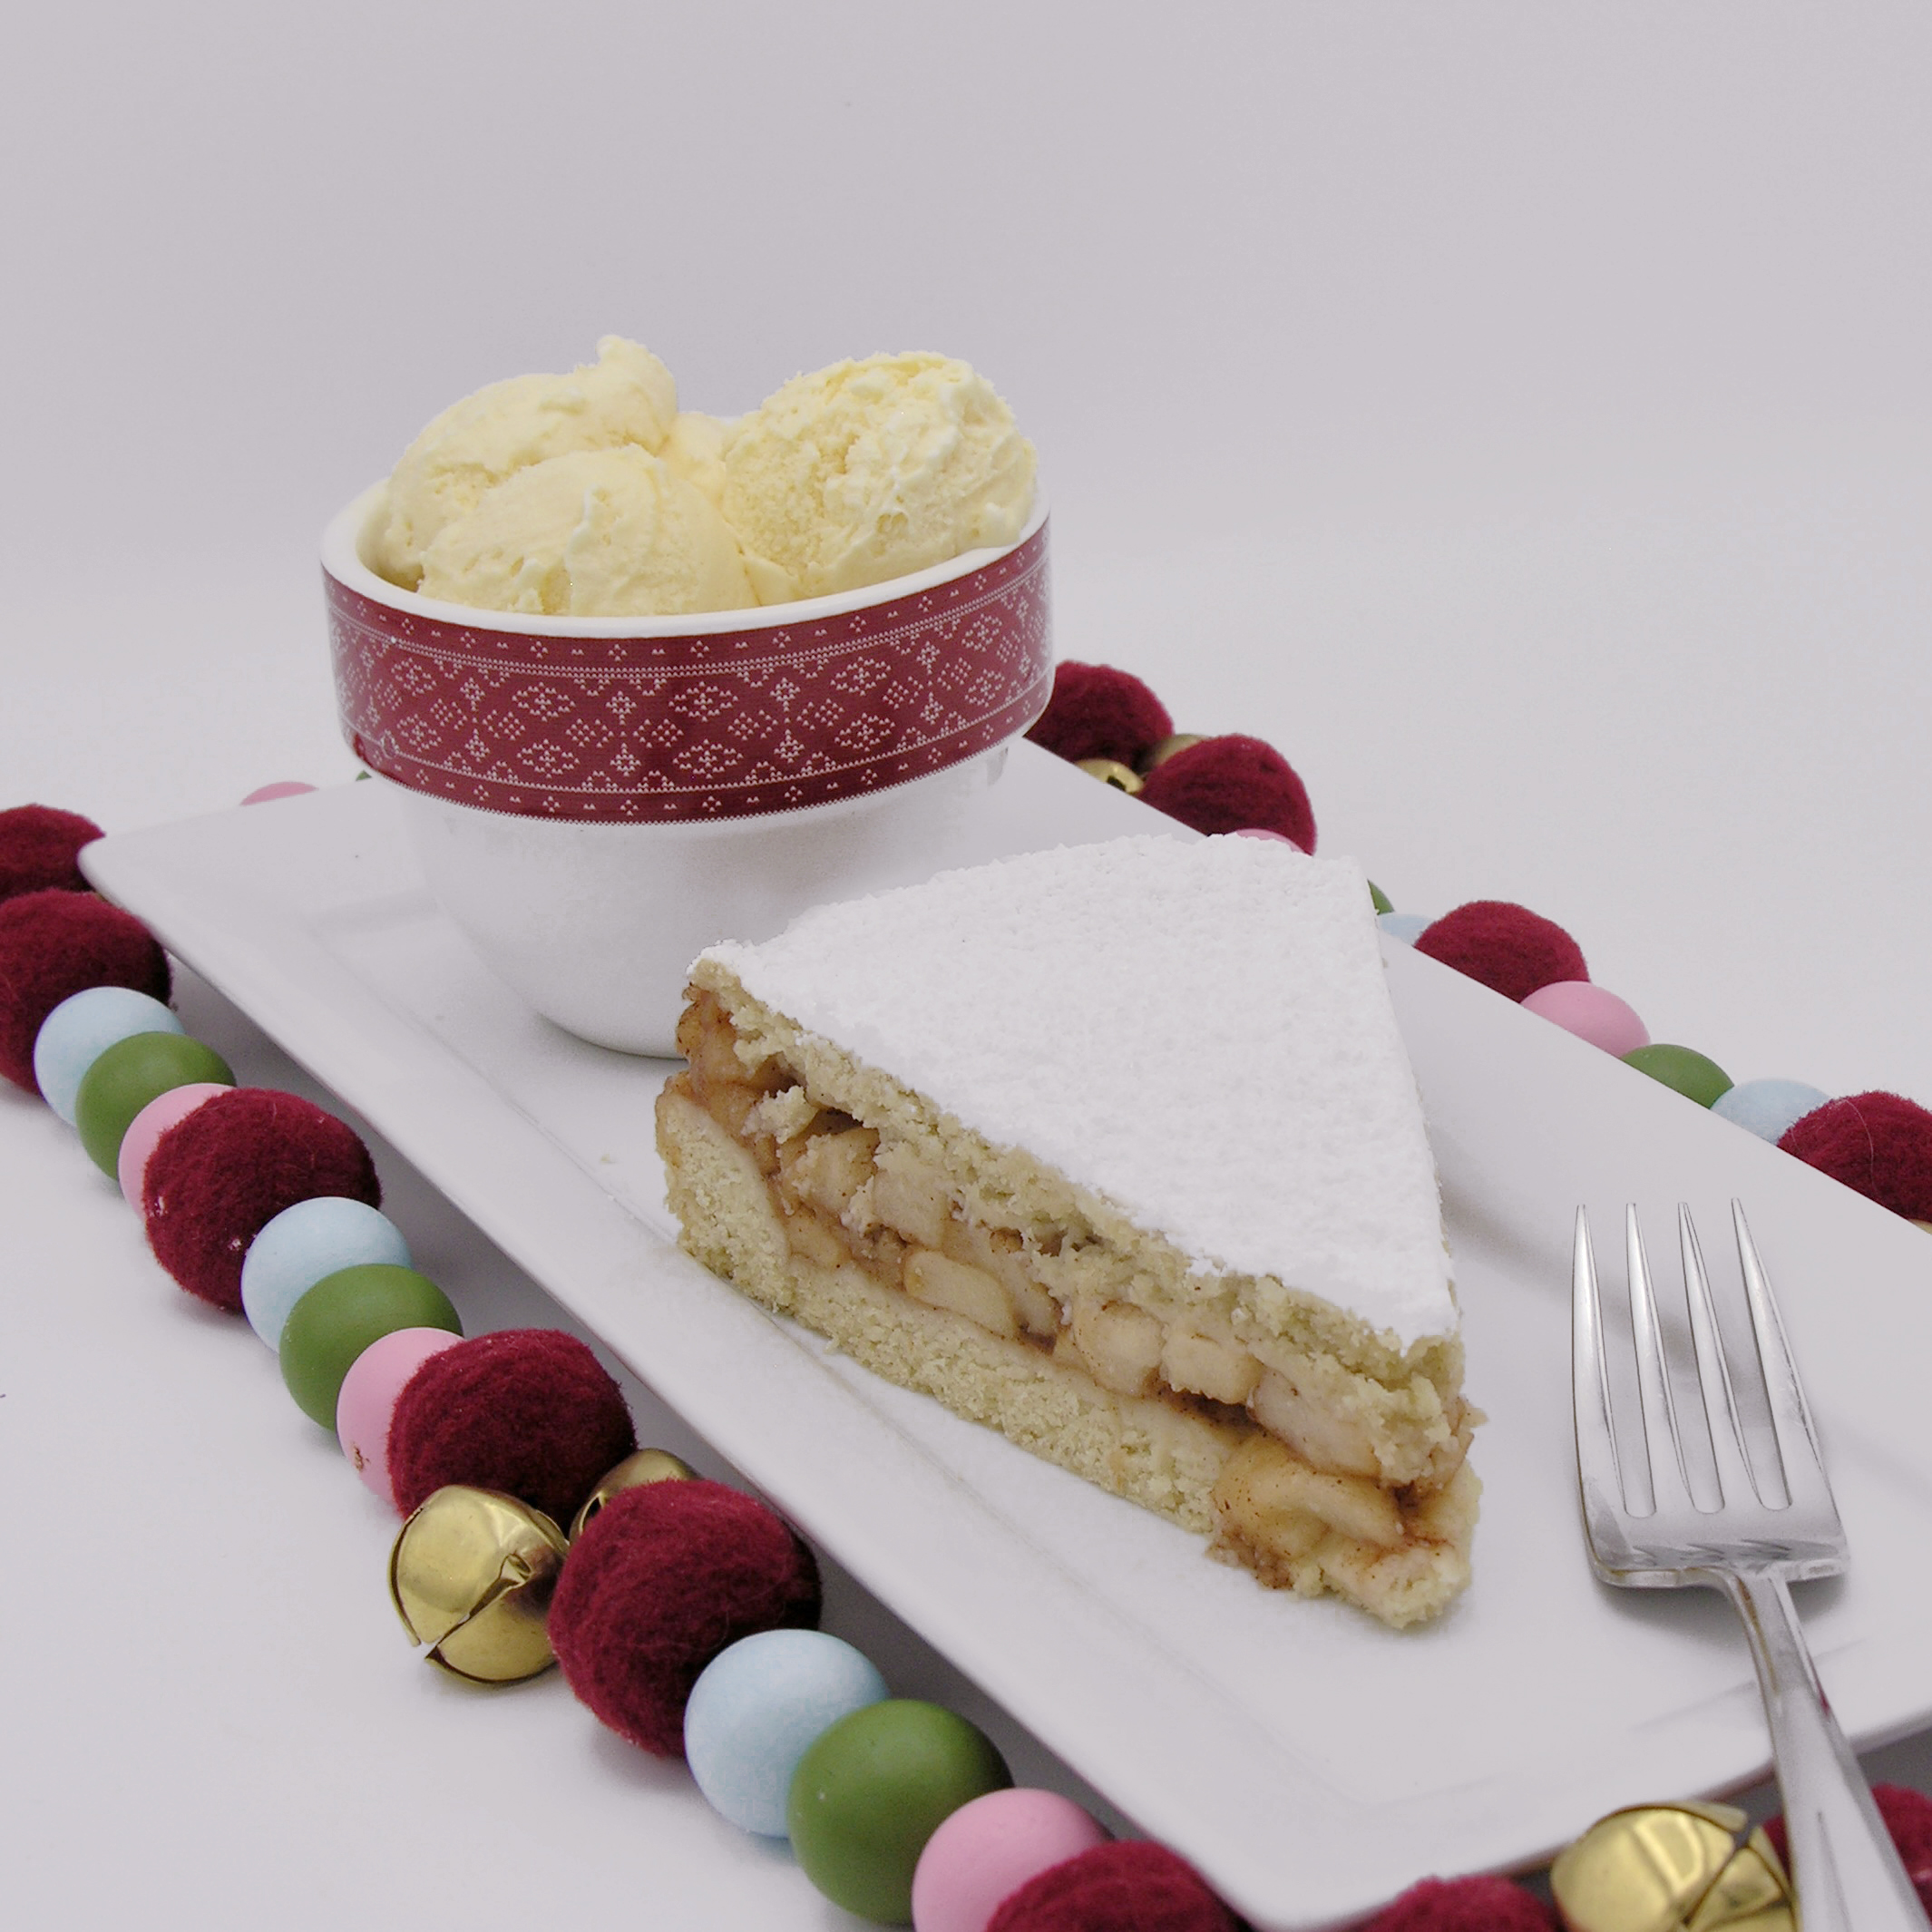
Grandma Gisi grew up in Neumarkt, a town in Bavaria, Germany. Her aunt Minni used to make this cake, and now she has made it for her own family occasions for years. To me, it feels like shortbread or butter cookies with a big sweet layer of tart apples in the middle. Is it a cake? A torte? It’s like nothing I’ve ever had before and it’s delicious!
Want to try it? Here’s the recipe (in English!!!) (printable recipe here)
Ingredients:
- 12 medium McIntosh apples, peeled, cored and thinly sliced
- Juice from one lemon
- 3-4 Tablespoons of water
- 1 1/3 cup of granulated sugar (divided into two 2/3 portions)
- 2 teaspoons of cinnamon
- 2 3/4 cups of flour (may need a little extra if dough is sticky)
- 2 sticks of butter plus 2 Tablespoons, softened to room temperature
- 2 eggs
- 1 teaspoon vanilla
- 1 Tablespoon of baking powder
- 1/4 cup of powdered sugar (to sift over the top of cake)
Directions: (pay attention to my extra notes!)
- Preheat oven to 350 degrees
- Prepare a 26cm (or 10 inch) springform pan by spraying it with cooking spray.
- Place prepared apples, lemon juice, 2/3 cup sugar, and cinnamon into a large pot and cook over the stove on medium heat, stirring to prevent them from burning.
- Cook apples until they are softened but not mushy and set aside. *Note: the amount of water needed depends on the size of your apples, so if your mixture is soupy after cooking (small apples), spoon some of the liquid away until the apples are still covered in a light sauce, but not dripping with it.*
- In a mixing bowl, cream together butter with 2/3 cup sugar, and add eggs and vanilla.
- Add flour and baking powder, and mix until combined.
- Knead dough together with your hands until it is smooth. Start with 2 and 3/4 cups of flour and if it is sticky, add a little extra flour until it is a nice roll-out cookie dough consistency.
- Divide dough into 2 equal parts, and press one part into the bottom of your springform pan, pushing the edge up a little along the sides (to hold the apple filling in a bit). Think cookie- not cake. I was surprised at how thin the layer of dough was, but it rose some in the oven.
- Bake this bottom layer at 350 degrees for about 12 minutes to firm it up a little.
- Remove from oven, pour apple filling in and spread it to cover the base.
- Press bits of the remaining dough flat with your hands and lay it on the top of the apples, pinching together each section to form a complete layer of dough on top of the apples. *Note: This step sounded difficult to me, so I simply rolled a 10 inch circle of the dough on parchment paper using a rolling pin, and flipped it over the apple layer like a pie crust*
- Bake at 350 degrees for 20 minutes (when you can see that it is beginning to brown a little on top, it is done).
- Cool and sift powdered sugar over the top before serving.
- Enjoy!
My thoughts: Other than the apple prep, this cake is really simple to make. Grandma Gisi told me that to make this cake the correct German way, you really need to purchase a 26cm springform pan. I found that a 10 inch one worked fine as well, but if you want to stay true to the original recipe, you should get that 26cm pan 🙂 I really hope you try and enjoy this delicious cake! Recipes from grandma are always the best!
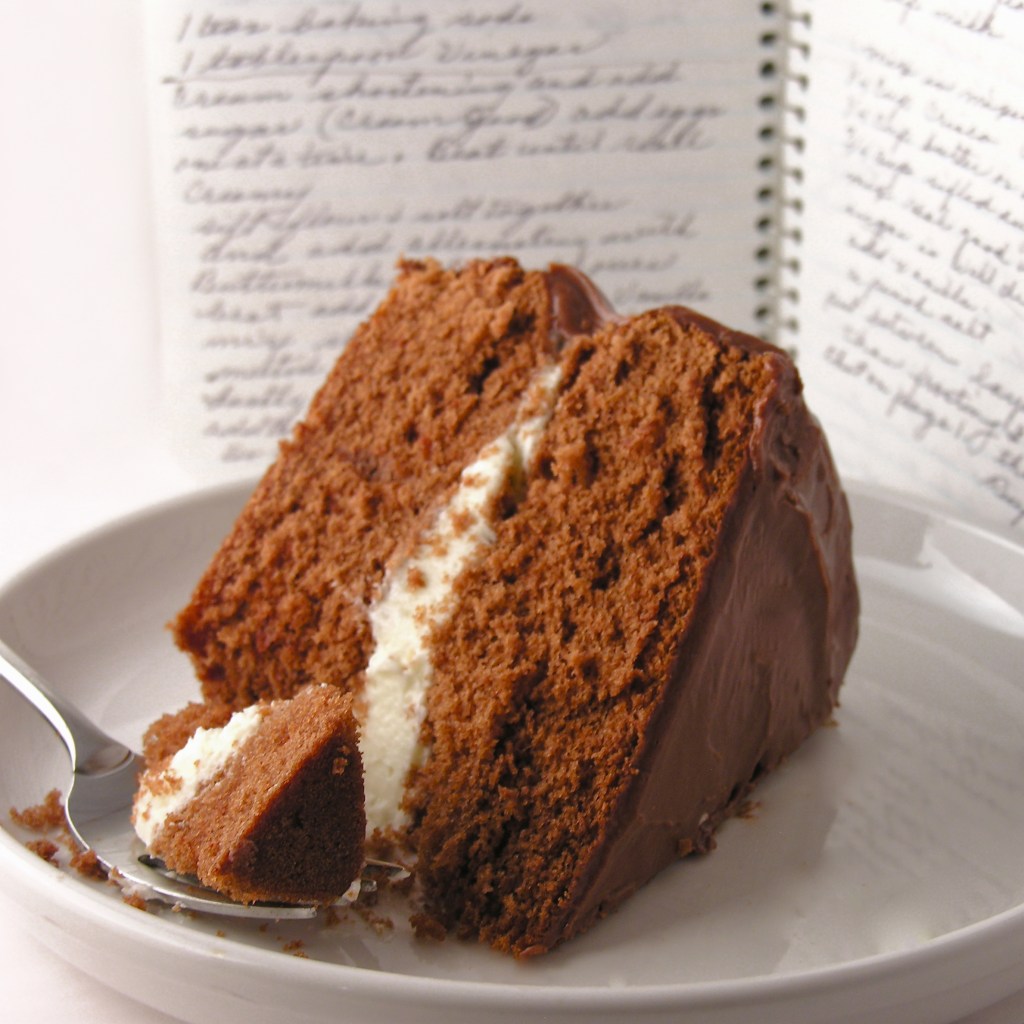
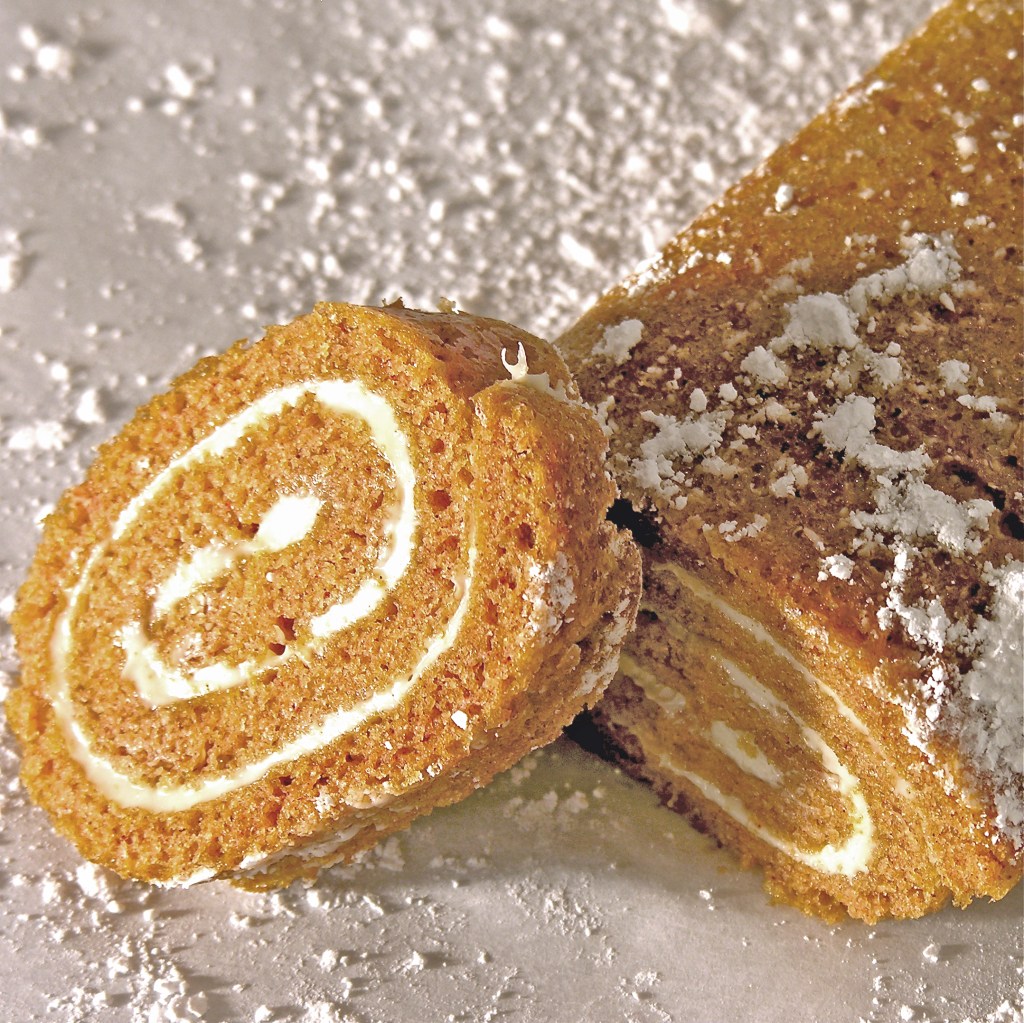
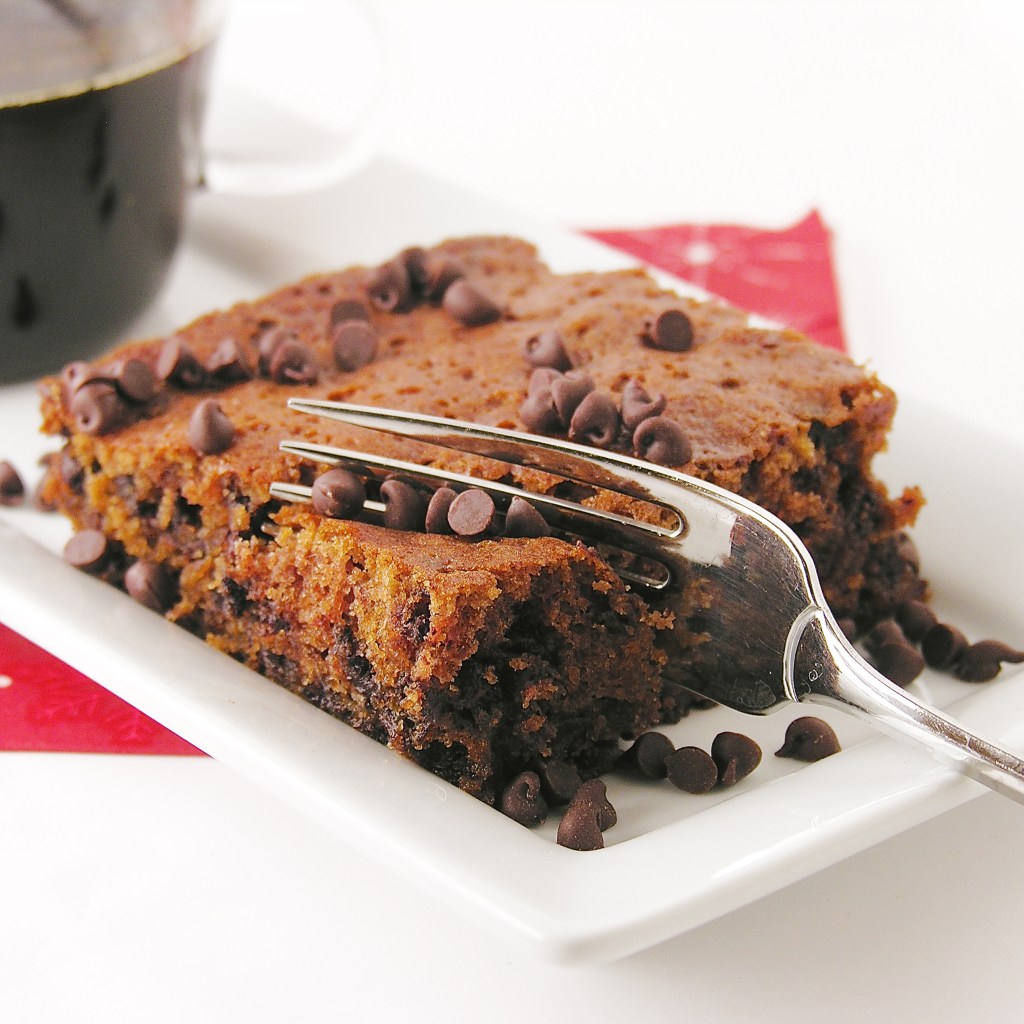
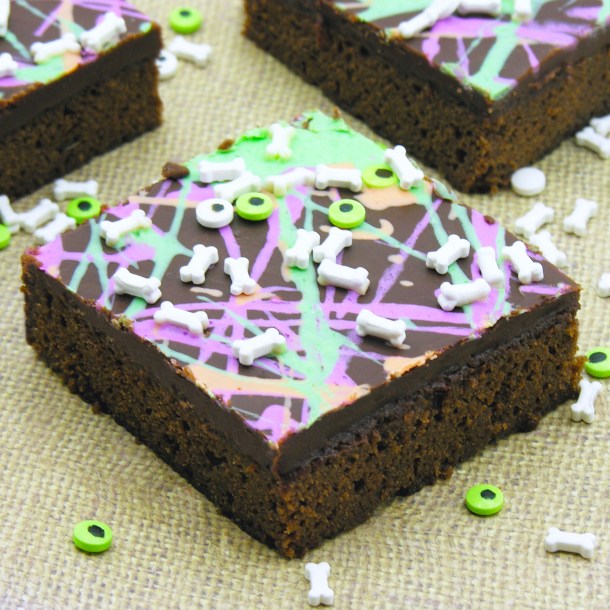
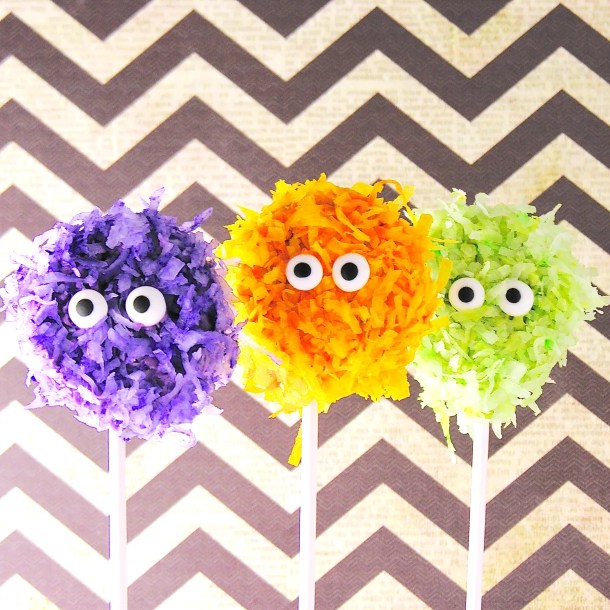
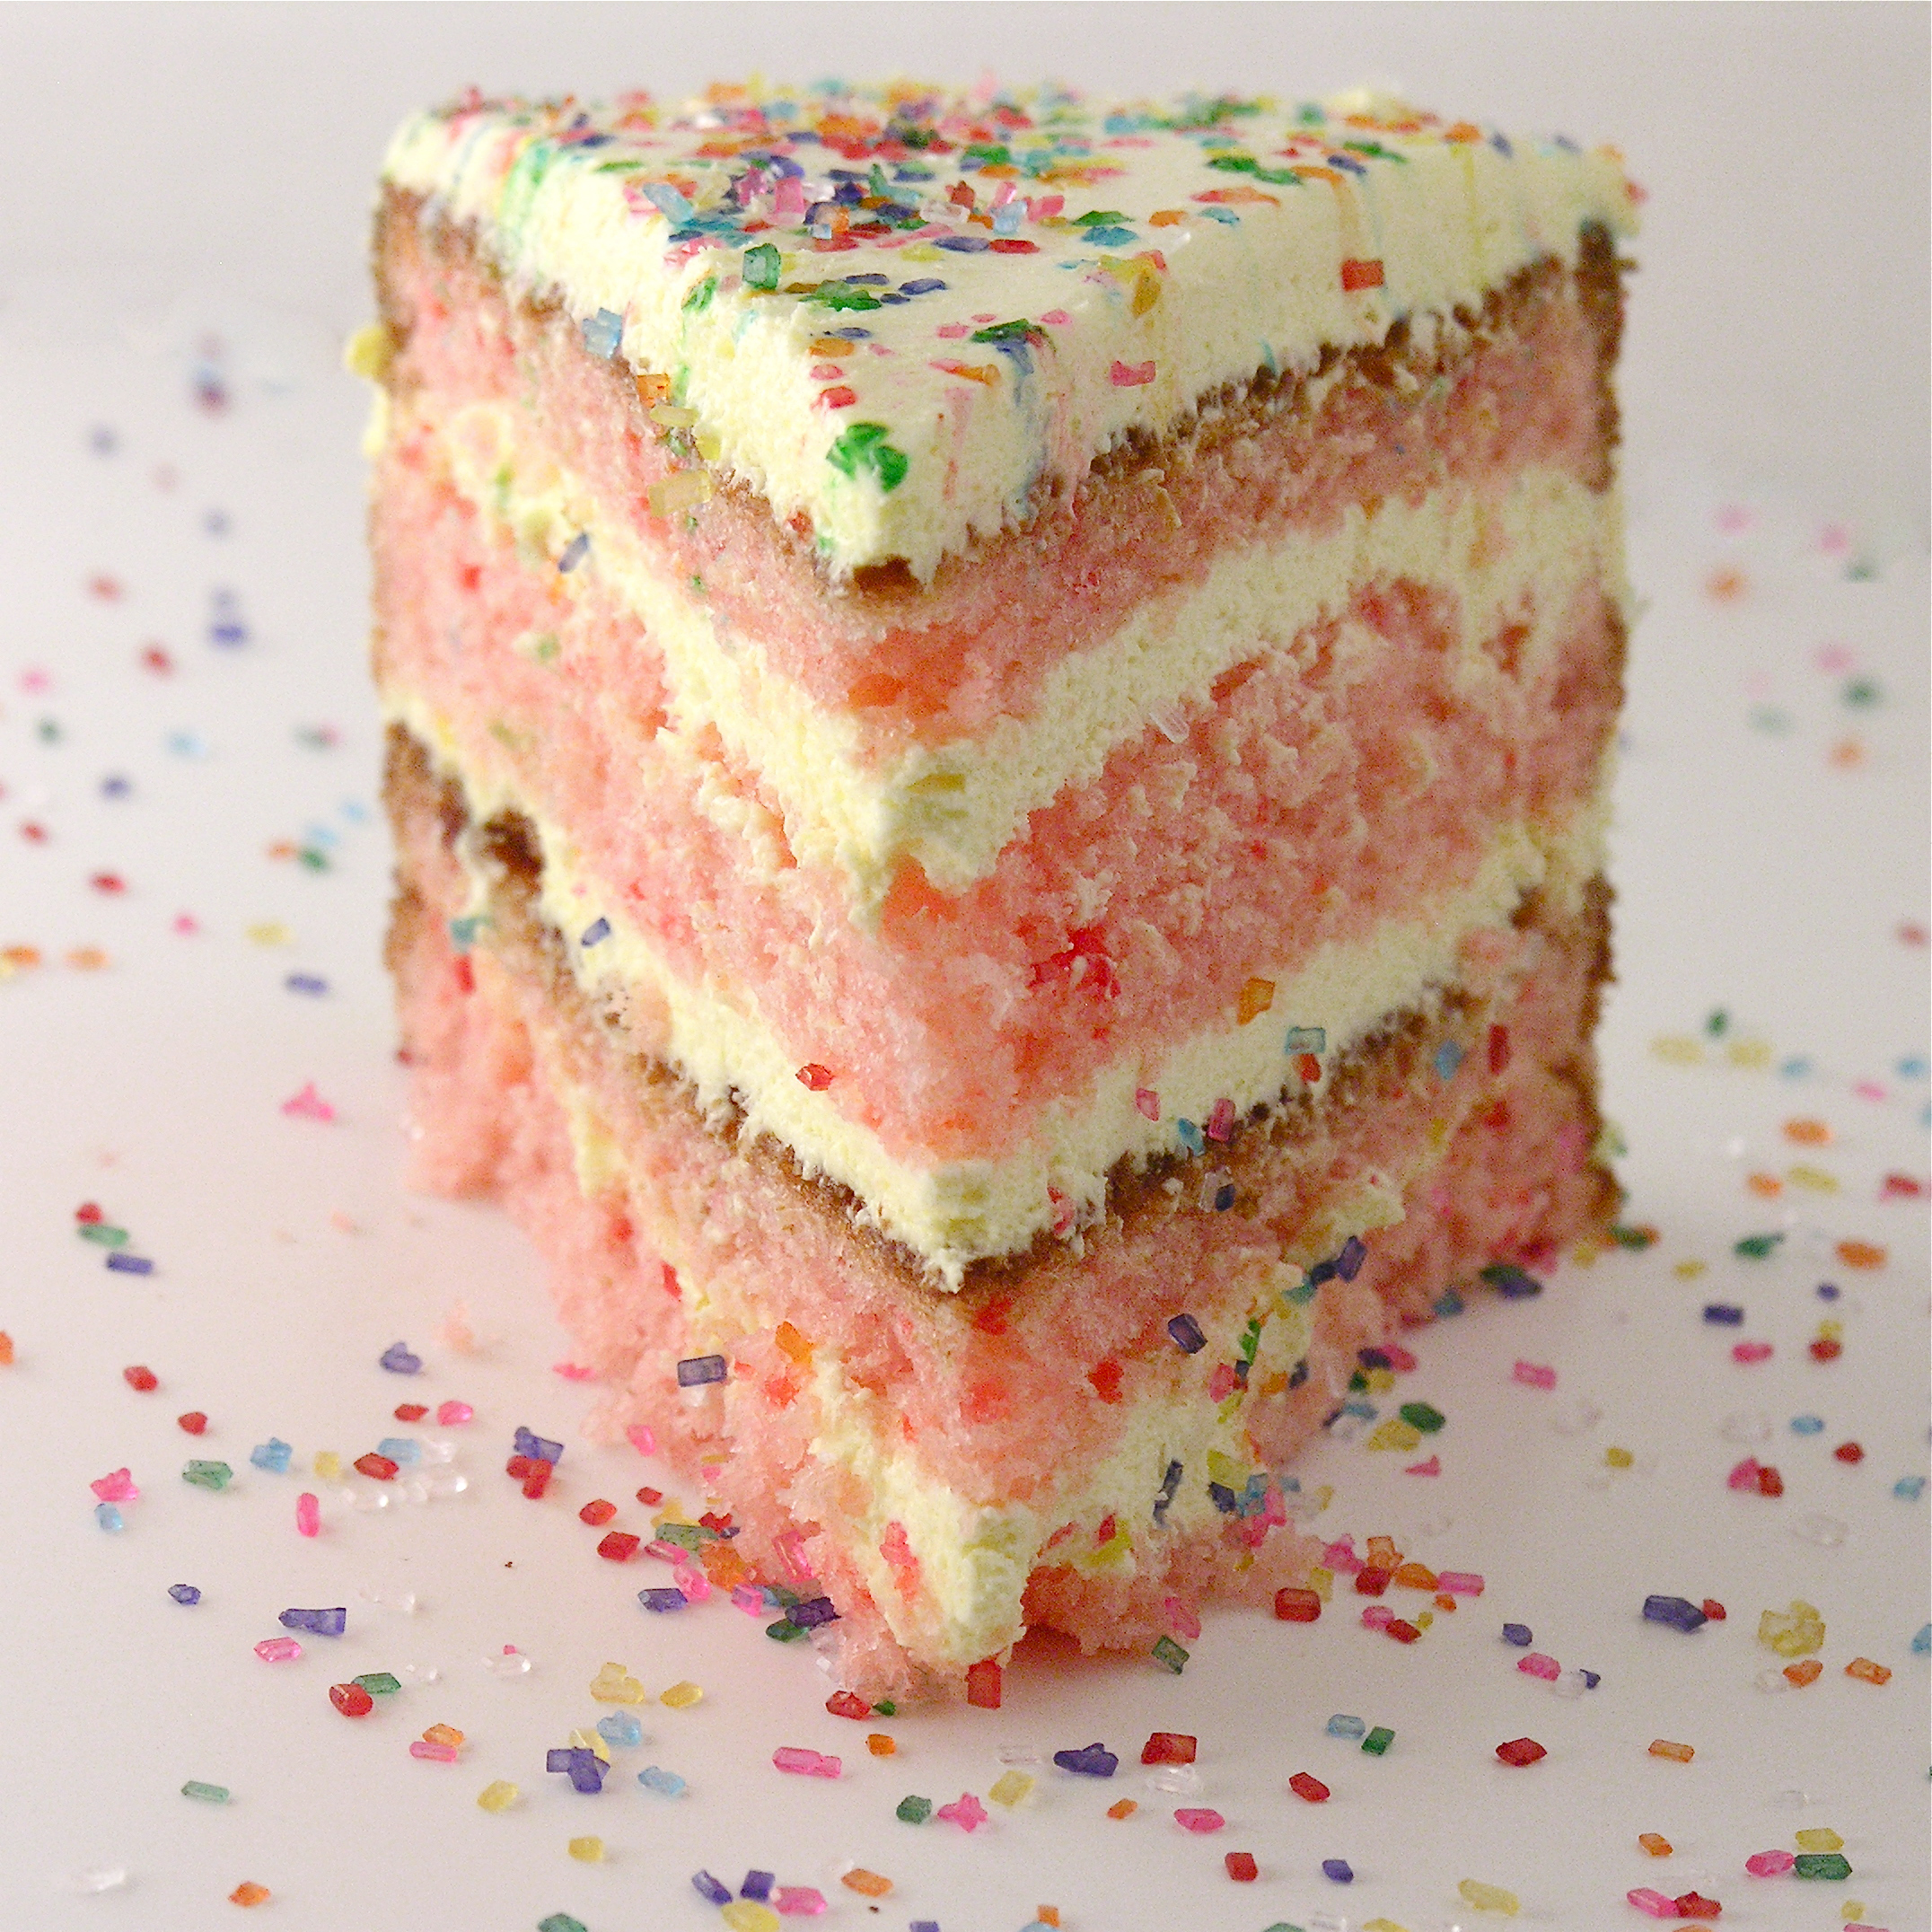
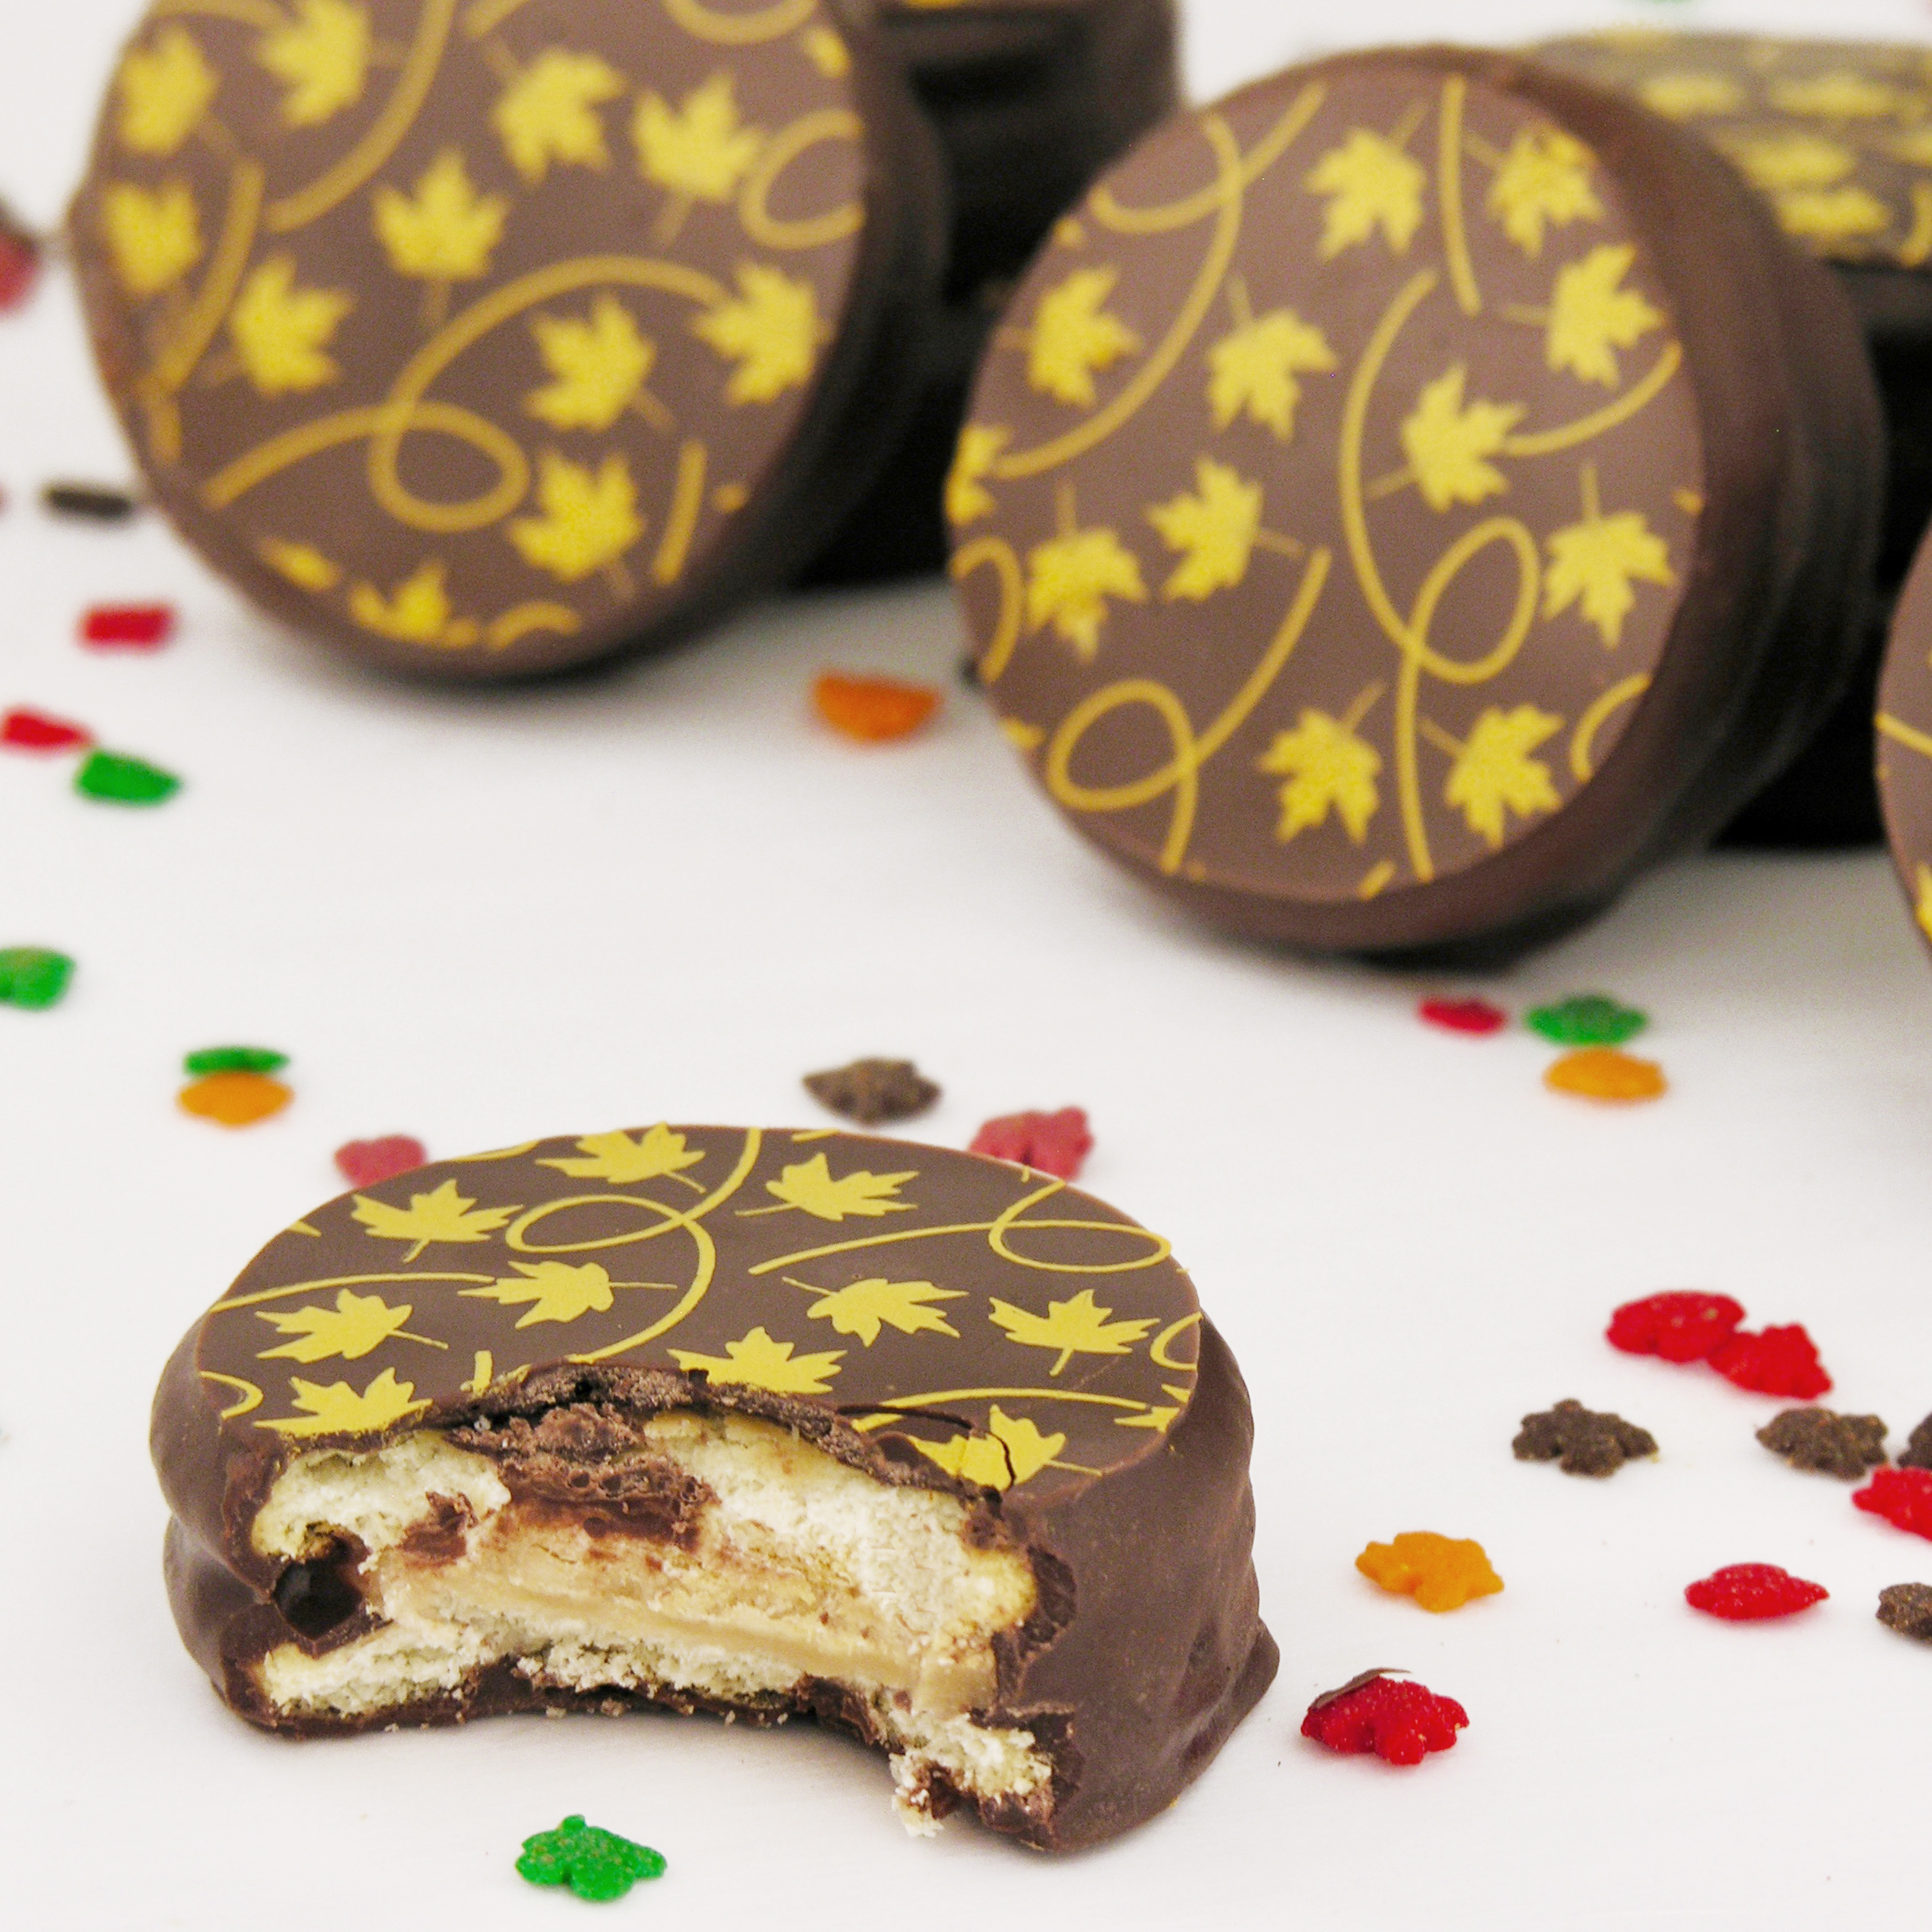
Other delicious family recipes you might want to try (click a photo to see the recipe):


 I love my


