Make a bouquet of Oreo flowers for mom this Mother’s Day!
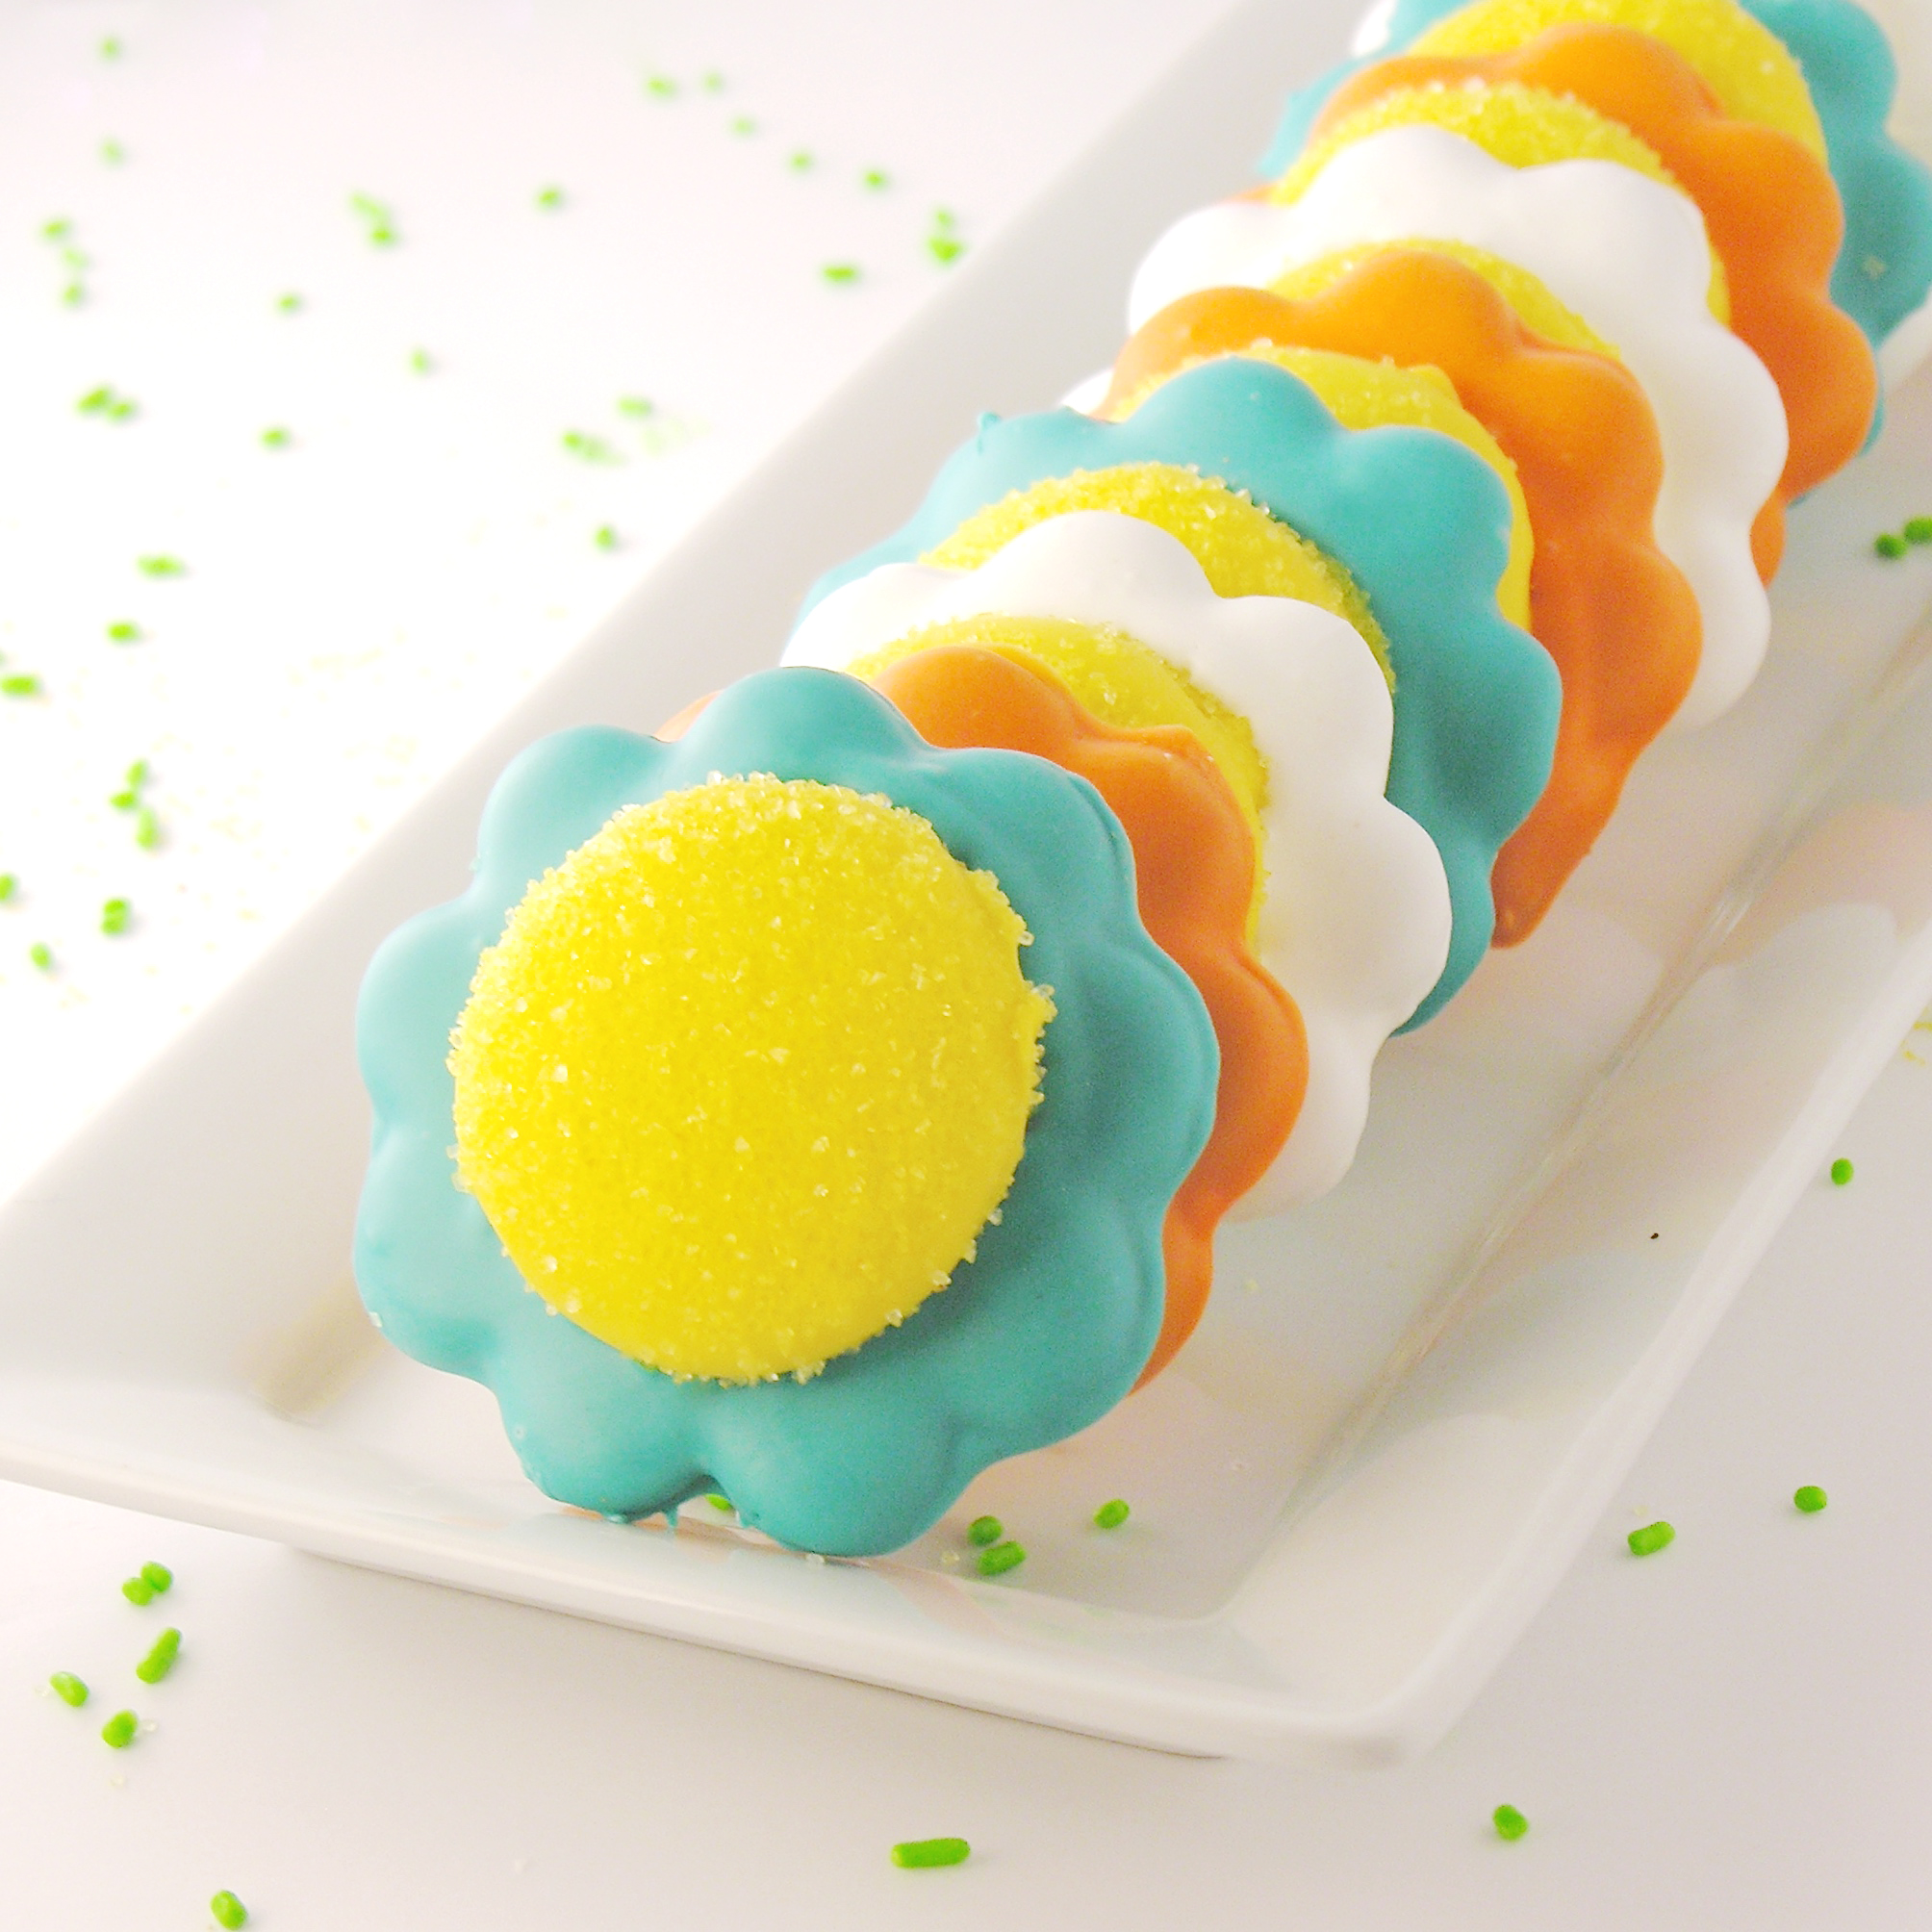
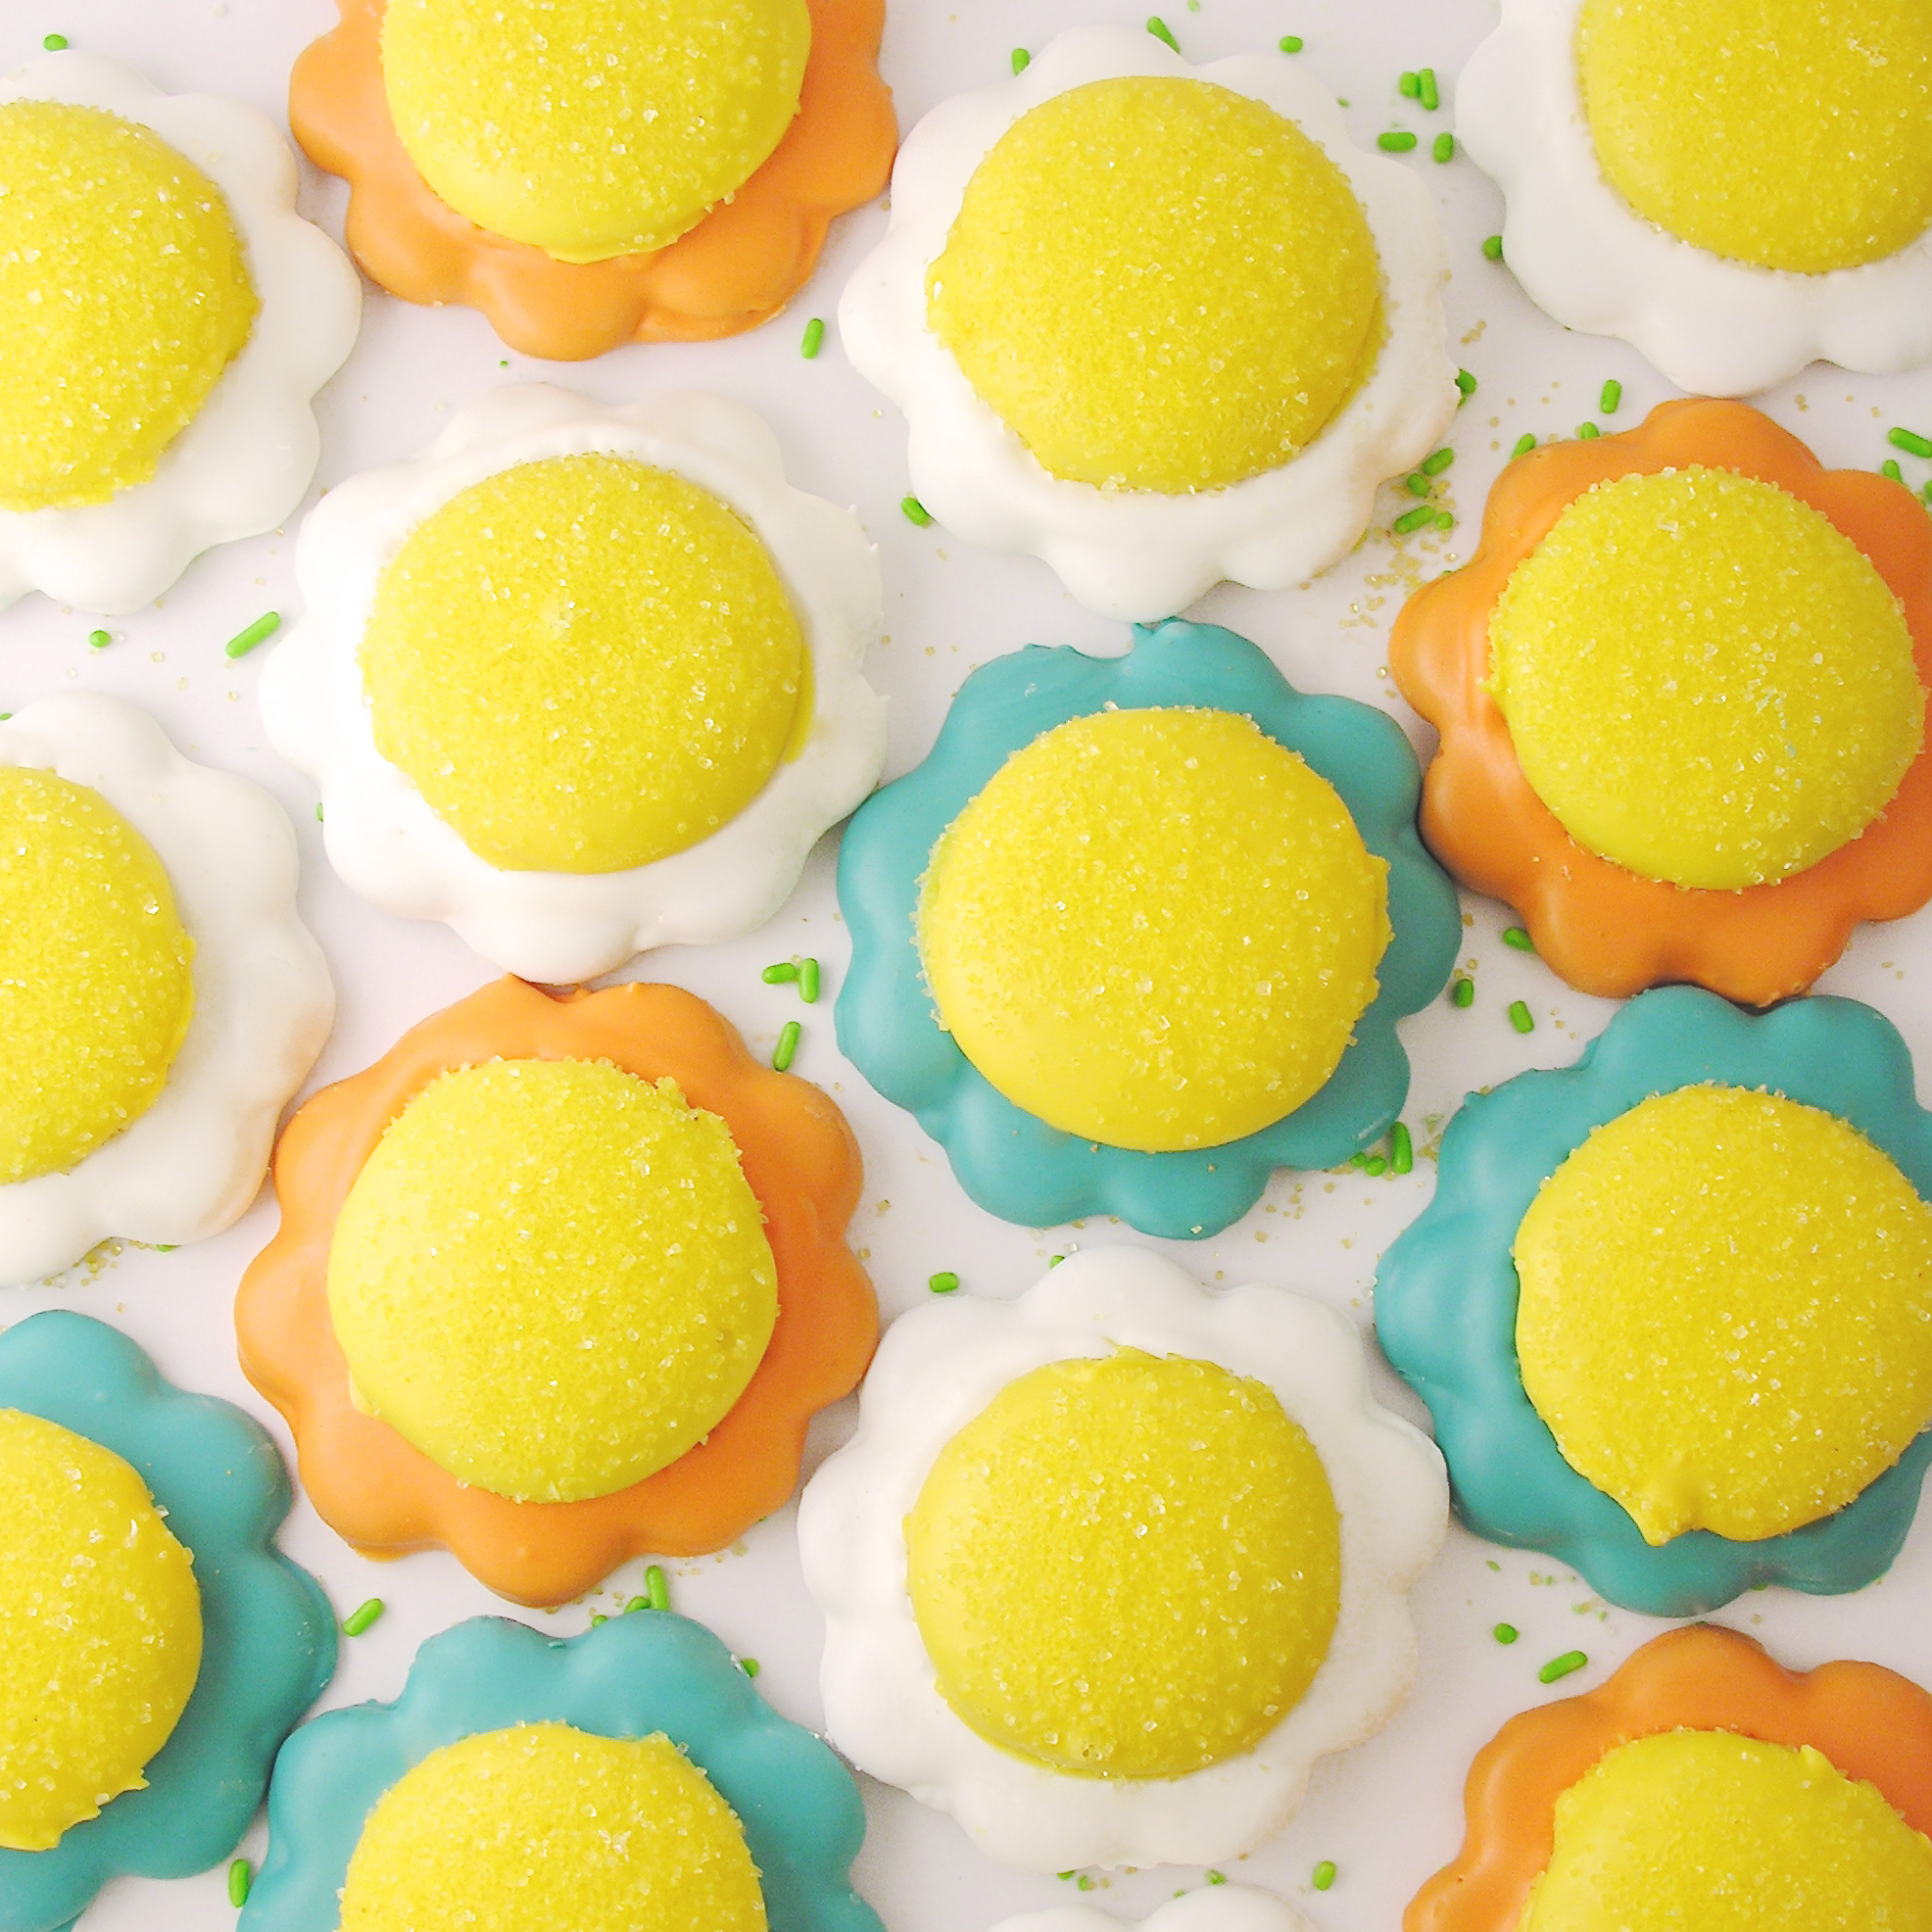
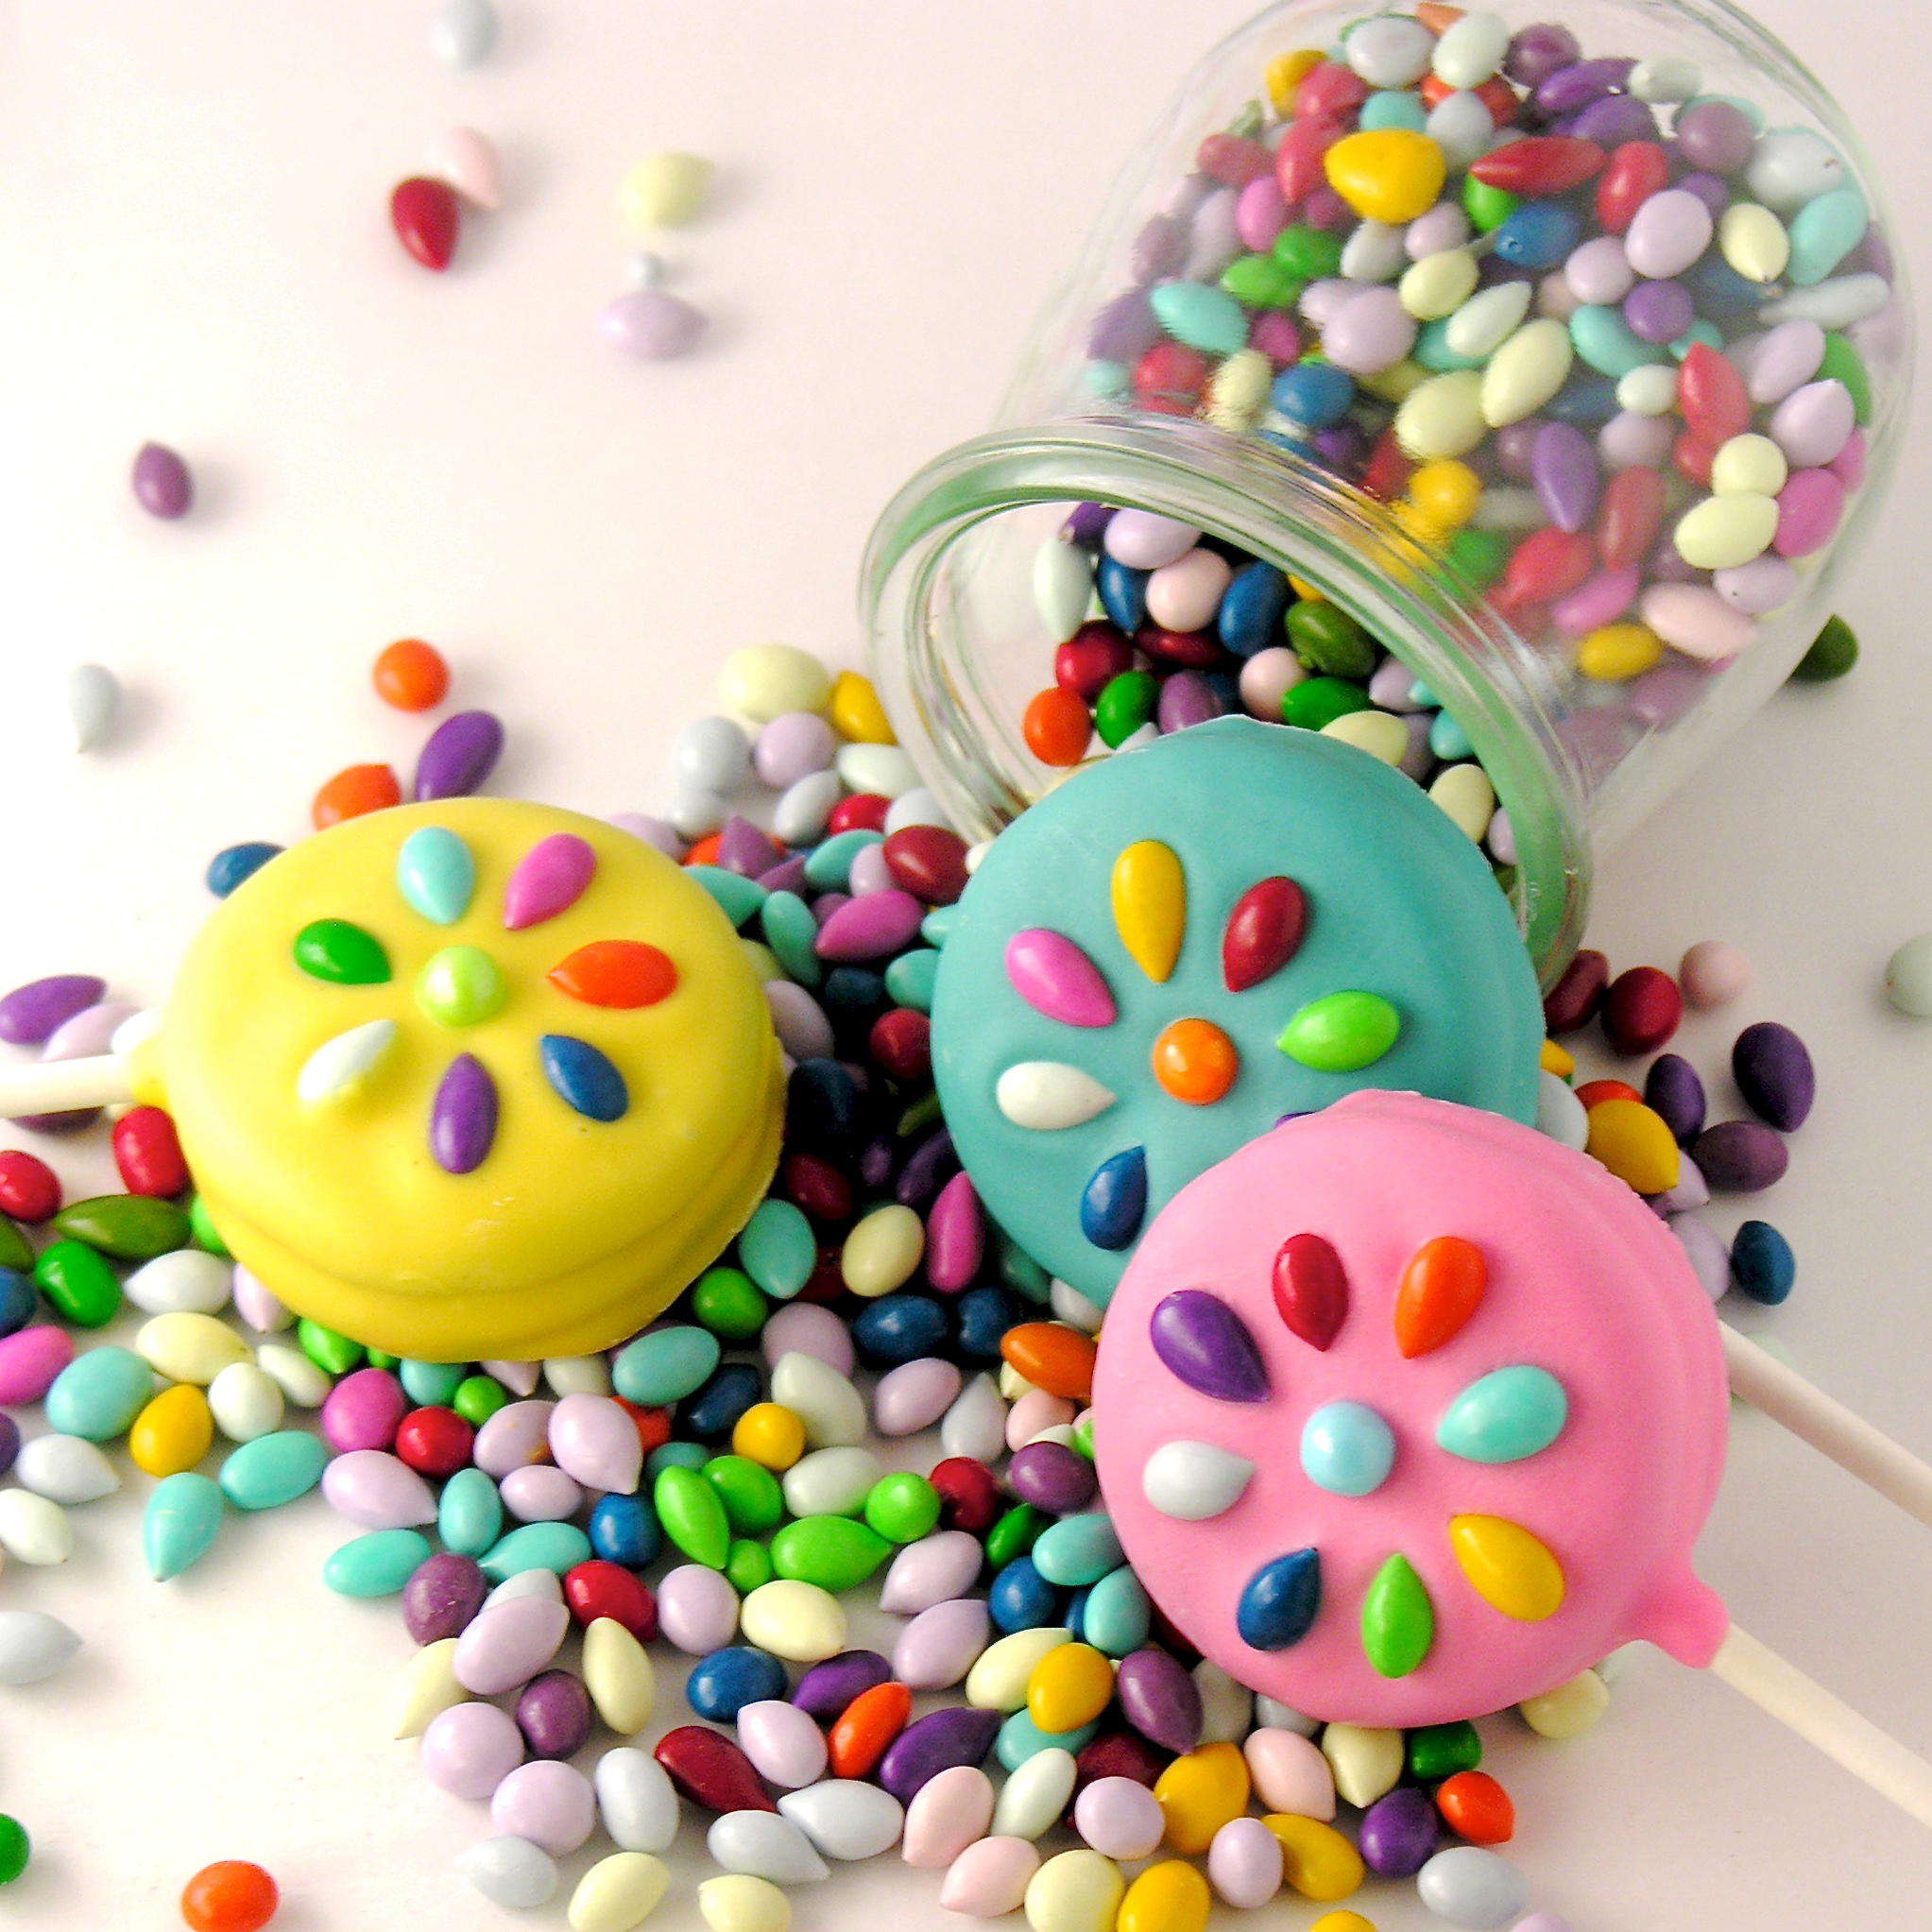
This is the third Oreo Pop recipe I’ve used these cute little sunflower seeds in this spring- and it might be my favorite! The fun bright colors just make you smile. Tie them up in little cello bags with pretty ribbon and they make the perfect Mother’s Day treat next weekend!

You’re smiling aren’t you? Just guessing… 🙂 I absolutely LOVE these- and the color combinations are only limited to the colors you can find in the sunflower seeds. Mine are a combination of Trader Joe’s and JoAnn’s Fabric ones. You can get them online- or maybe even at your grocery! Different companies make different colors. The JoAnn ones gave me those pretty teal blue and shiny purple ones. I just used little pearl sprinkles for the centers.

Here’s how we made these fun little pops:
(If you have never made Oreo Pops before, check out our tutorial here.)
INGREDIENTS: (makes 24-30 Oreo pops)
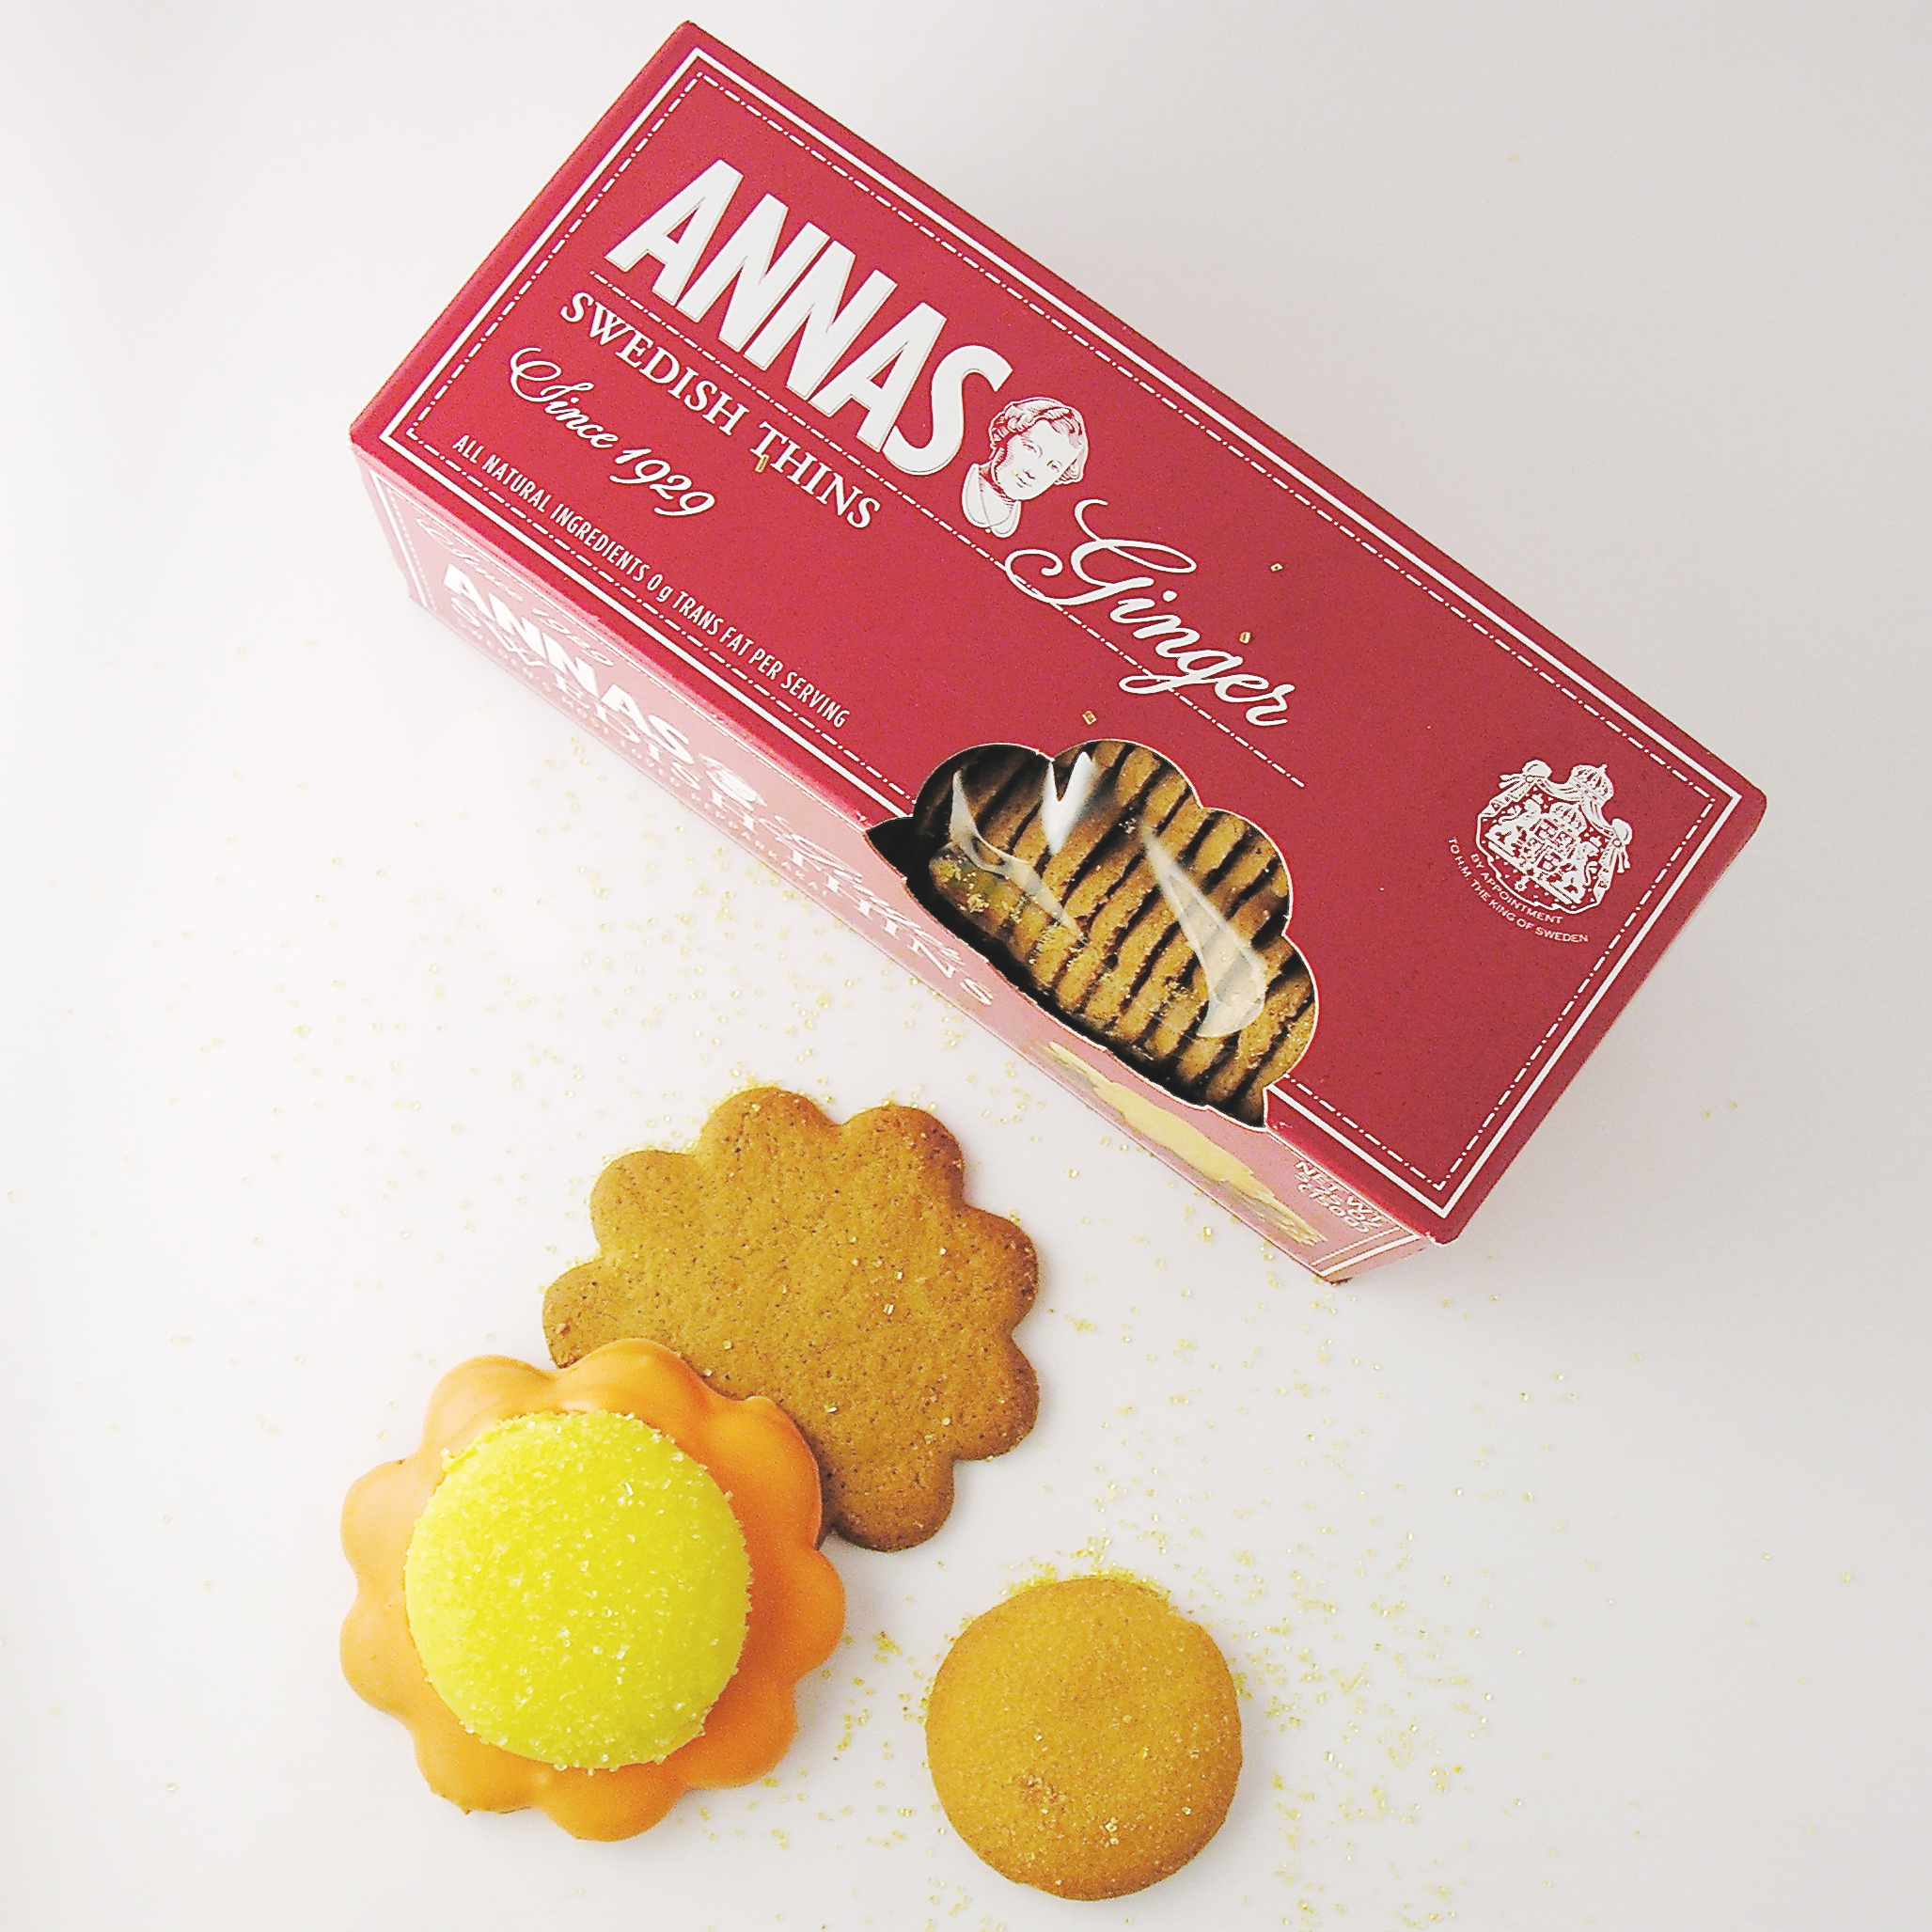
- One box of Double Stuff Oreos
- 1/4 cup of Wilton’s Candy Melts in white.
- Wilton’s Candy Melts in a variety of colors (you’ll need at least 2 bags of them)
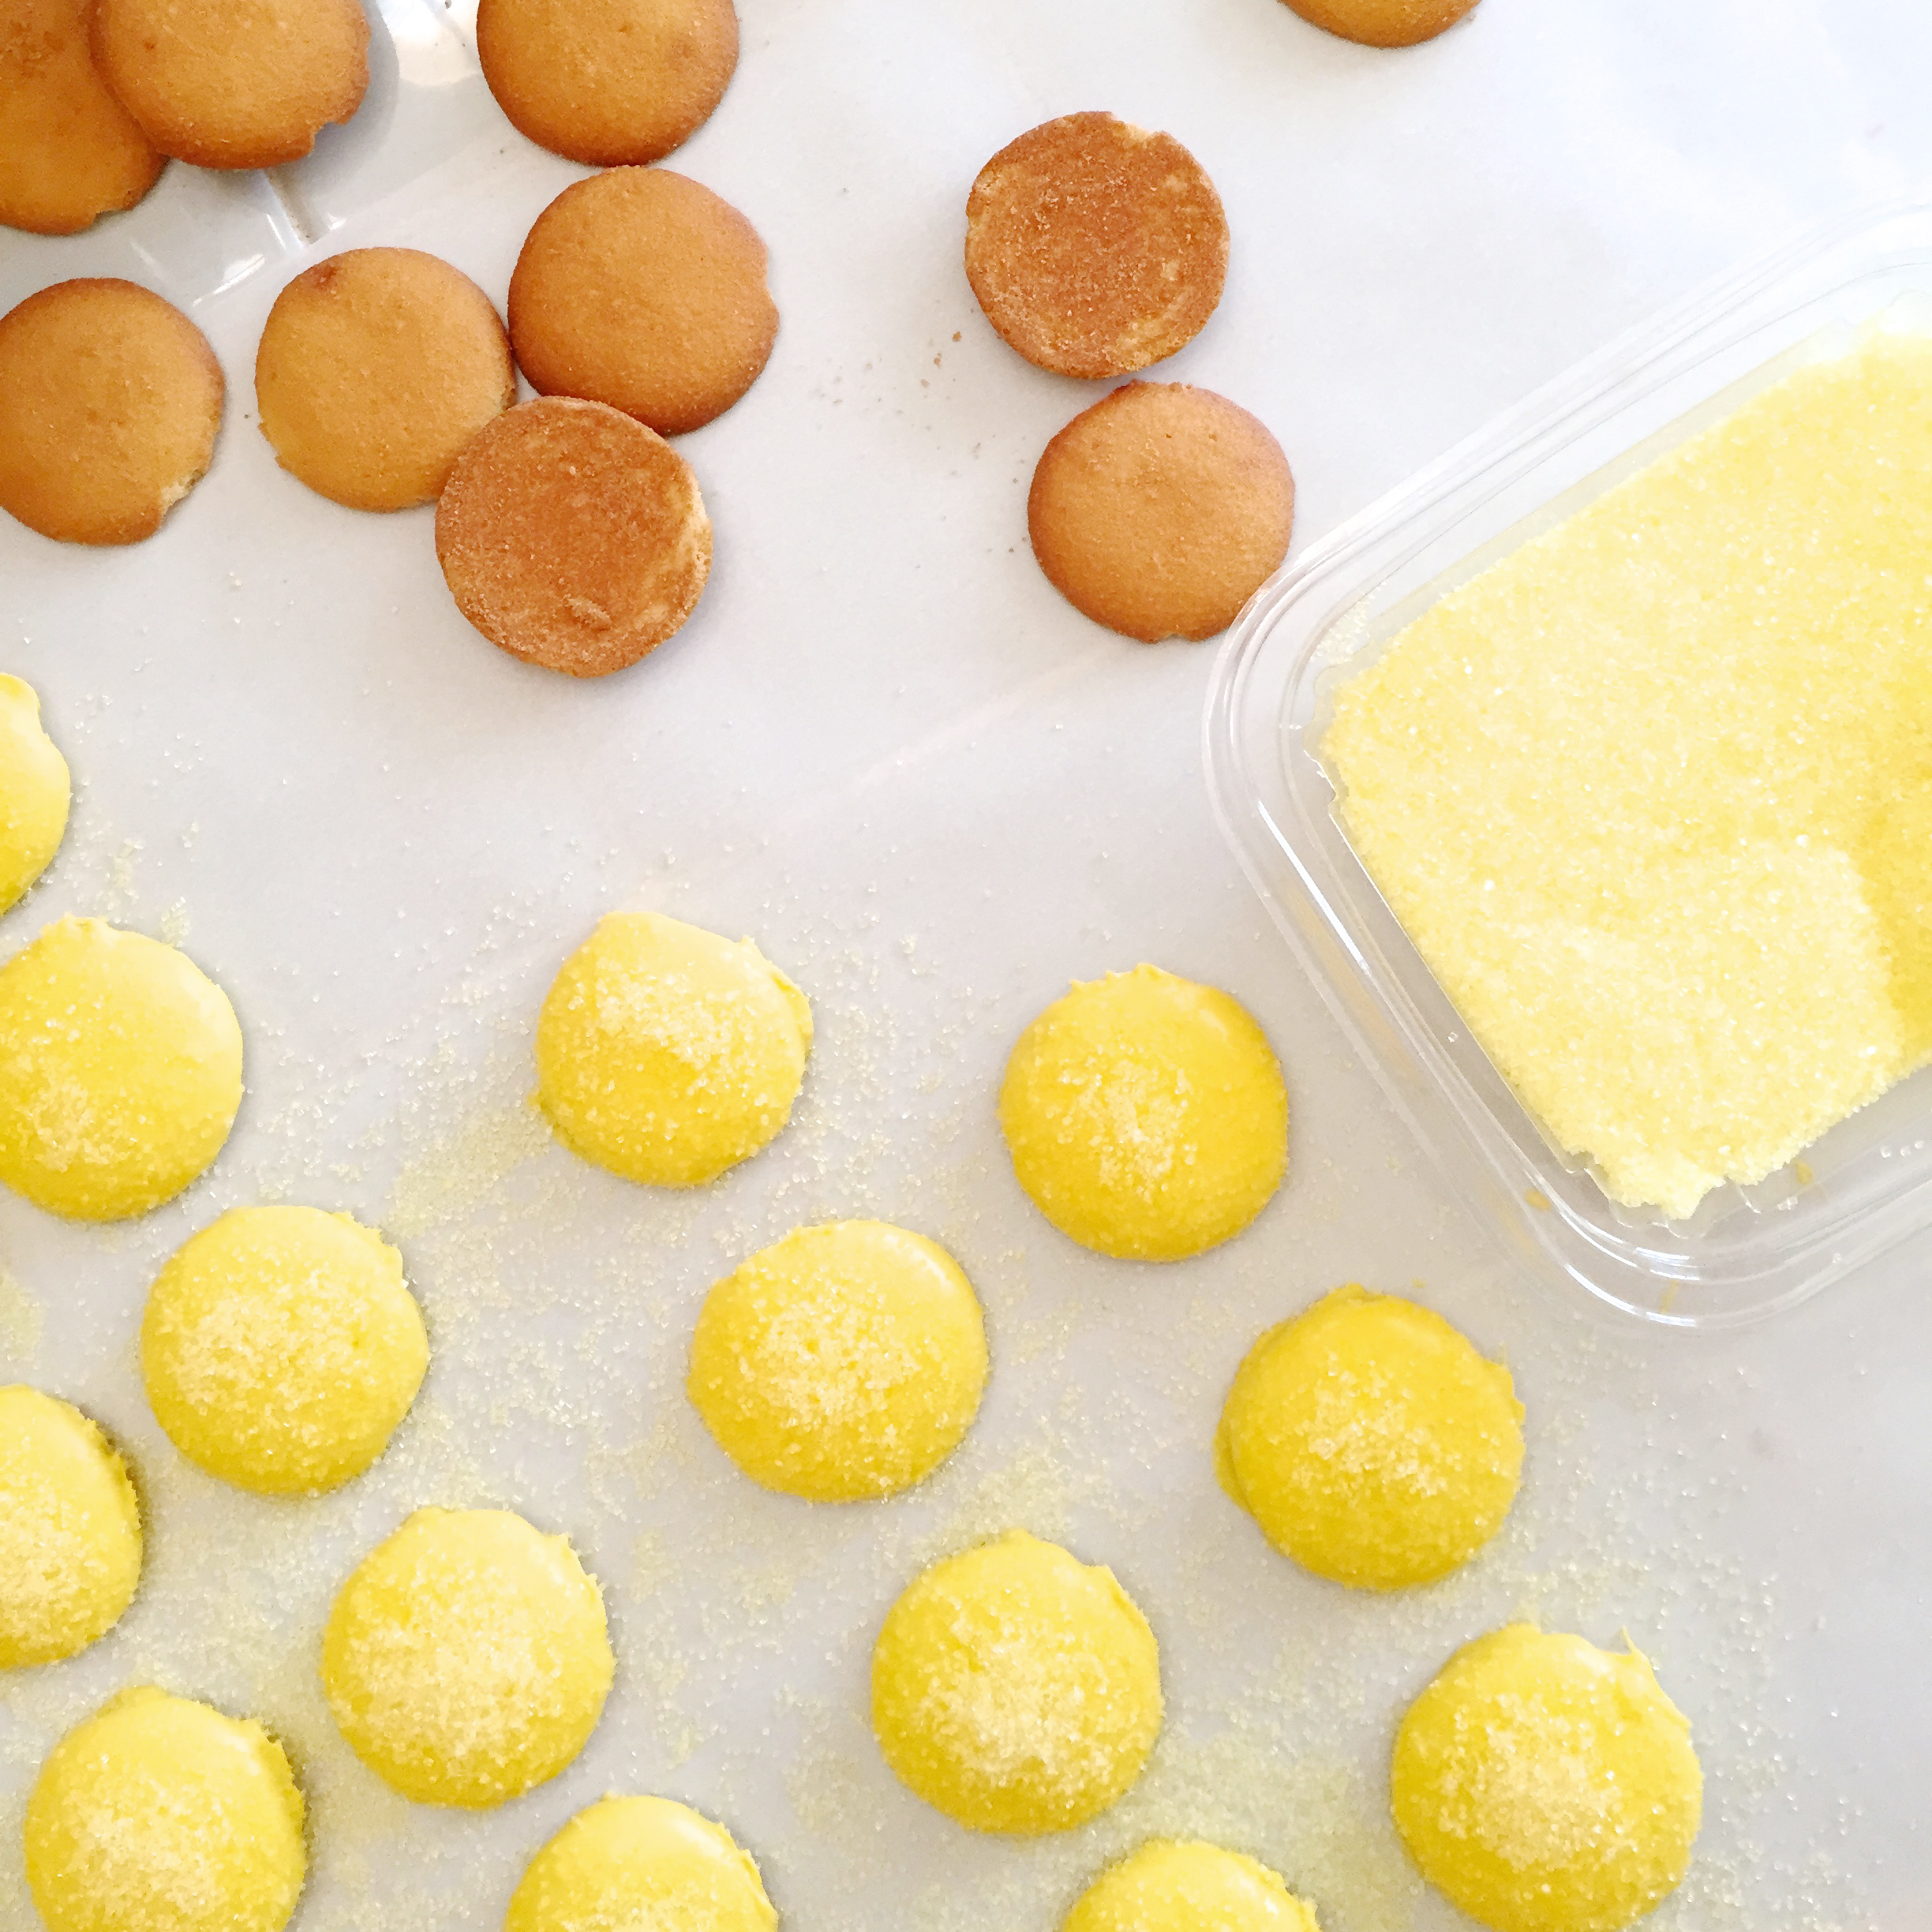
- Chocolate-covered sunflower seeds
- Edible pearl sprinkles
in a variety of colors
DIRECTIONS:
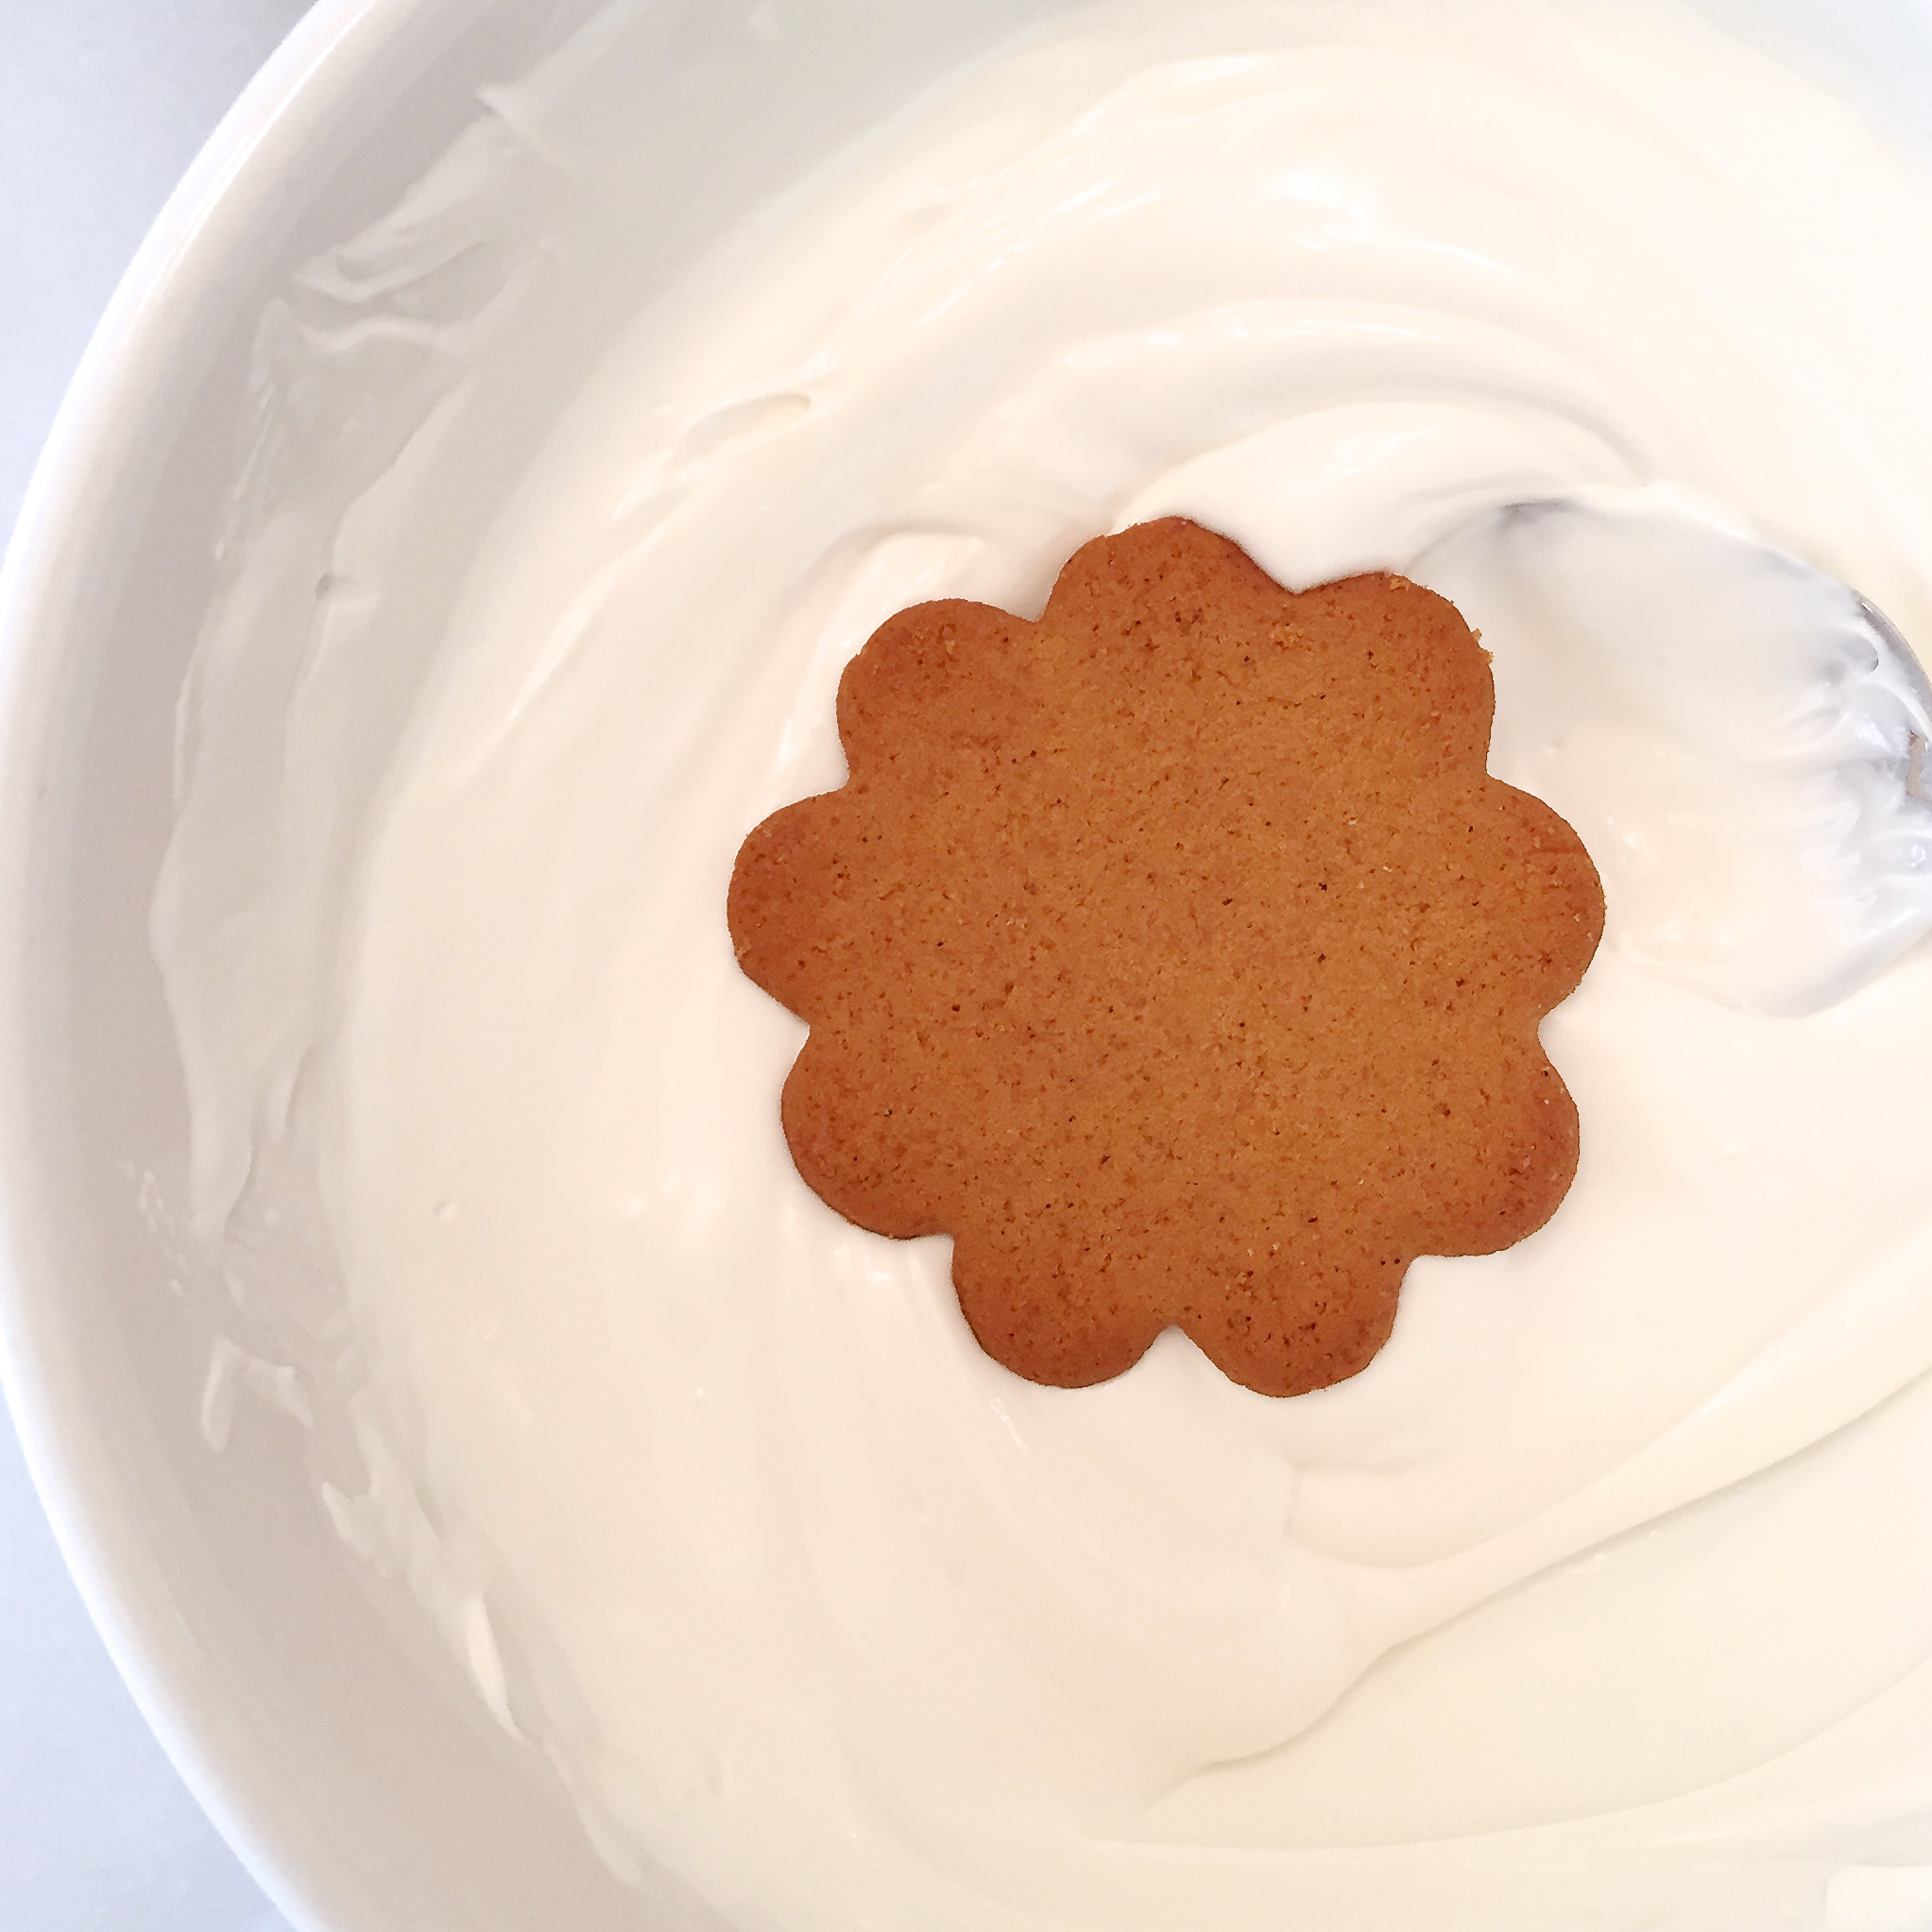
- Gently twist apart all Oreos.
- Melt white candy melts in the microwave in 30 second increments, stirring between until melted and smooth.
- Dip end of a lollipop stick into the white chocolate, spread a little on the top of the white Oreo filling and then press the stick flat into the center of the filling.
- Place top of Oreo on, and set on a cookie sheet. When all Oreos have sticks inserted, pop these in the freezer for 15-20 minutes (until they are nice and firmly set).
- Melt one color of Candy Melts in the microwave in 30 second increments, stirring between until melted and smooth.
- Gently dip Oreo in Candy Melts, using a spoon to cover all sides. Tap stick against side of bowl to drain excess. Set on parchment paper.
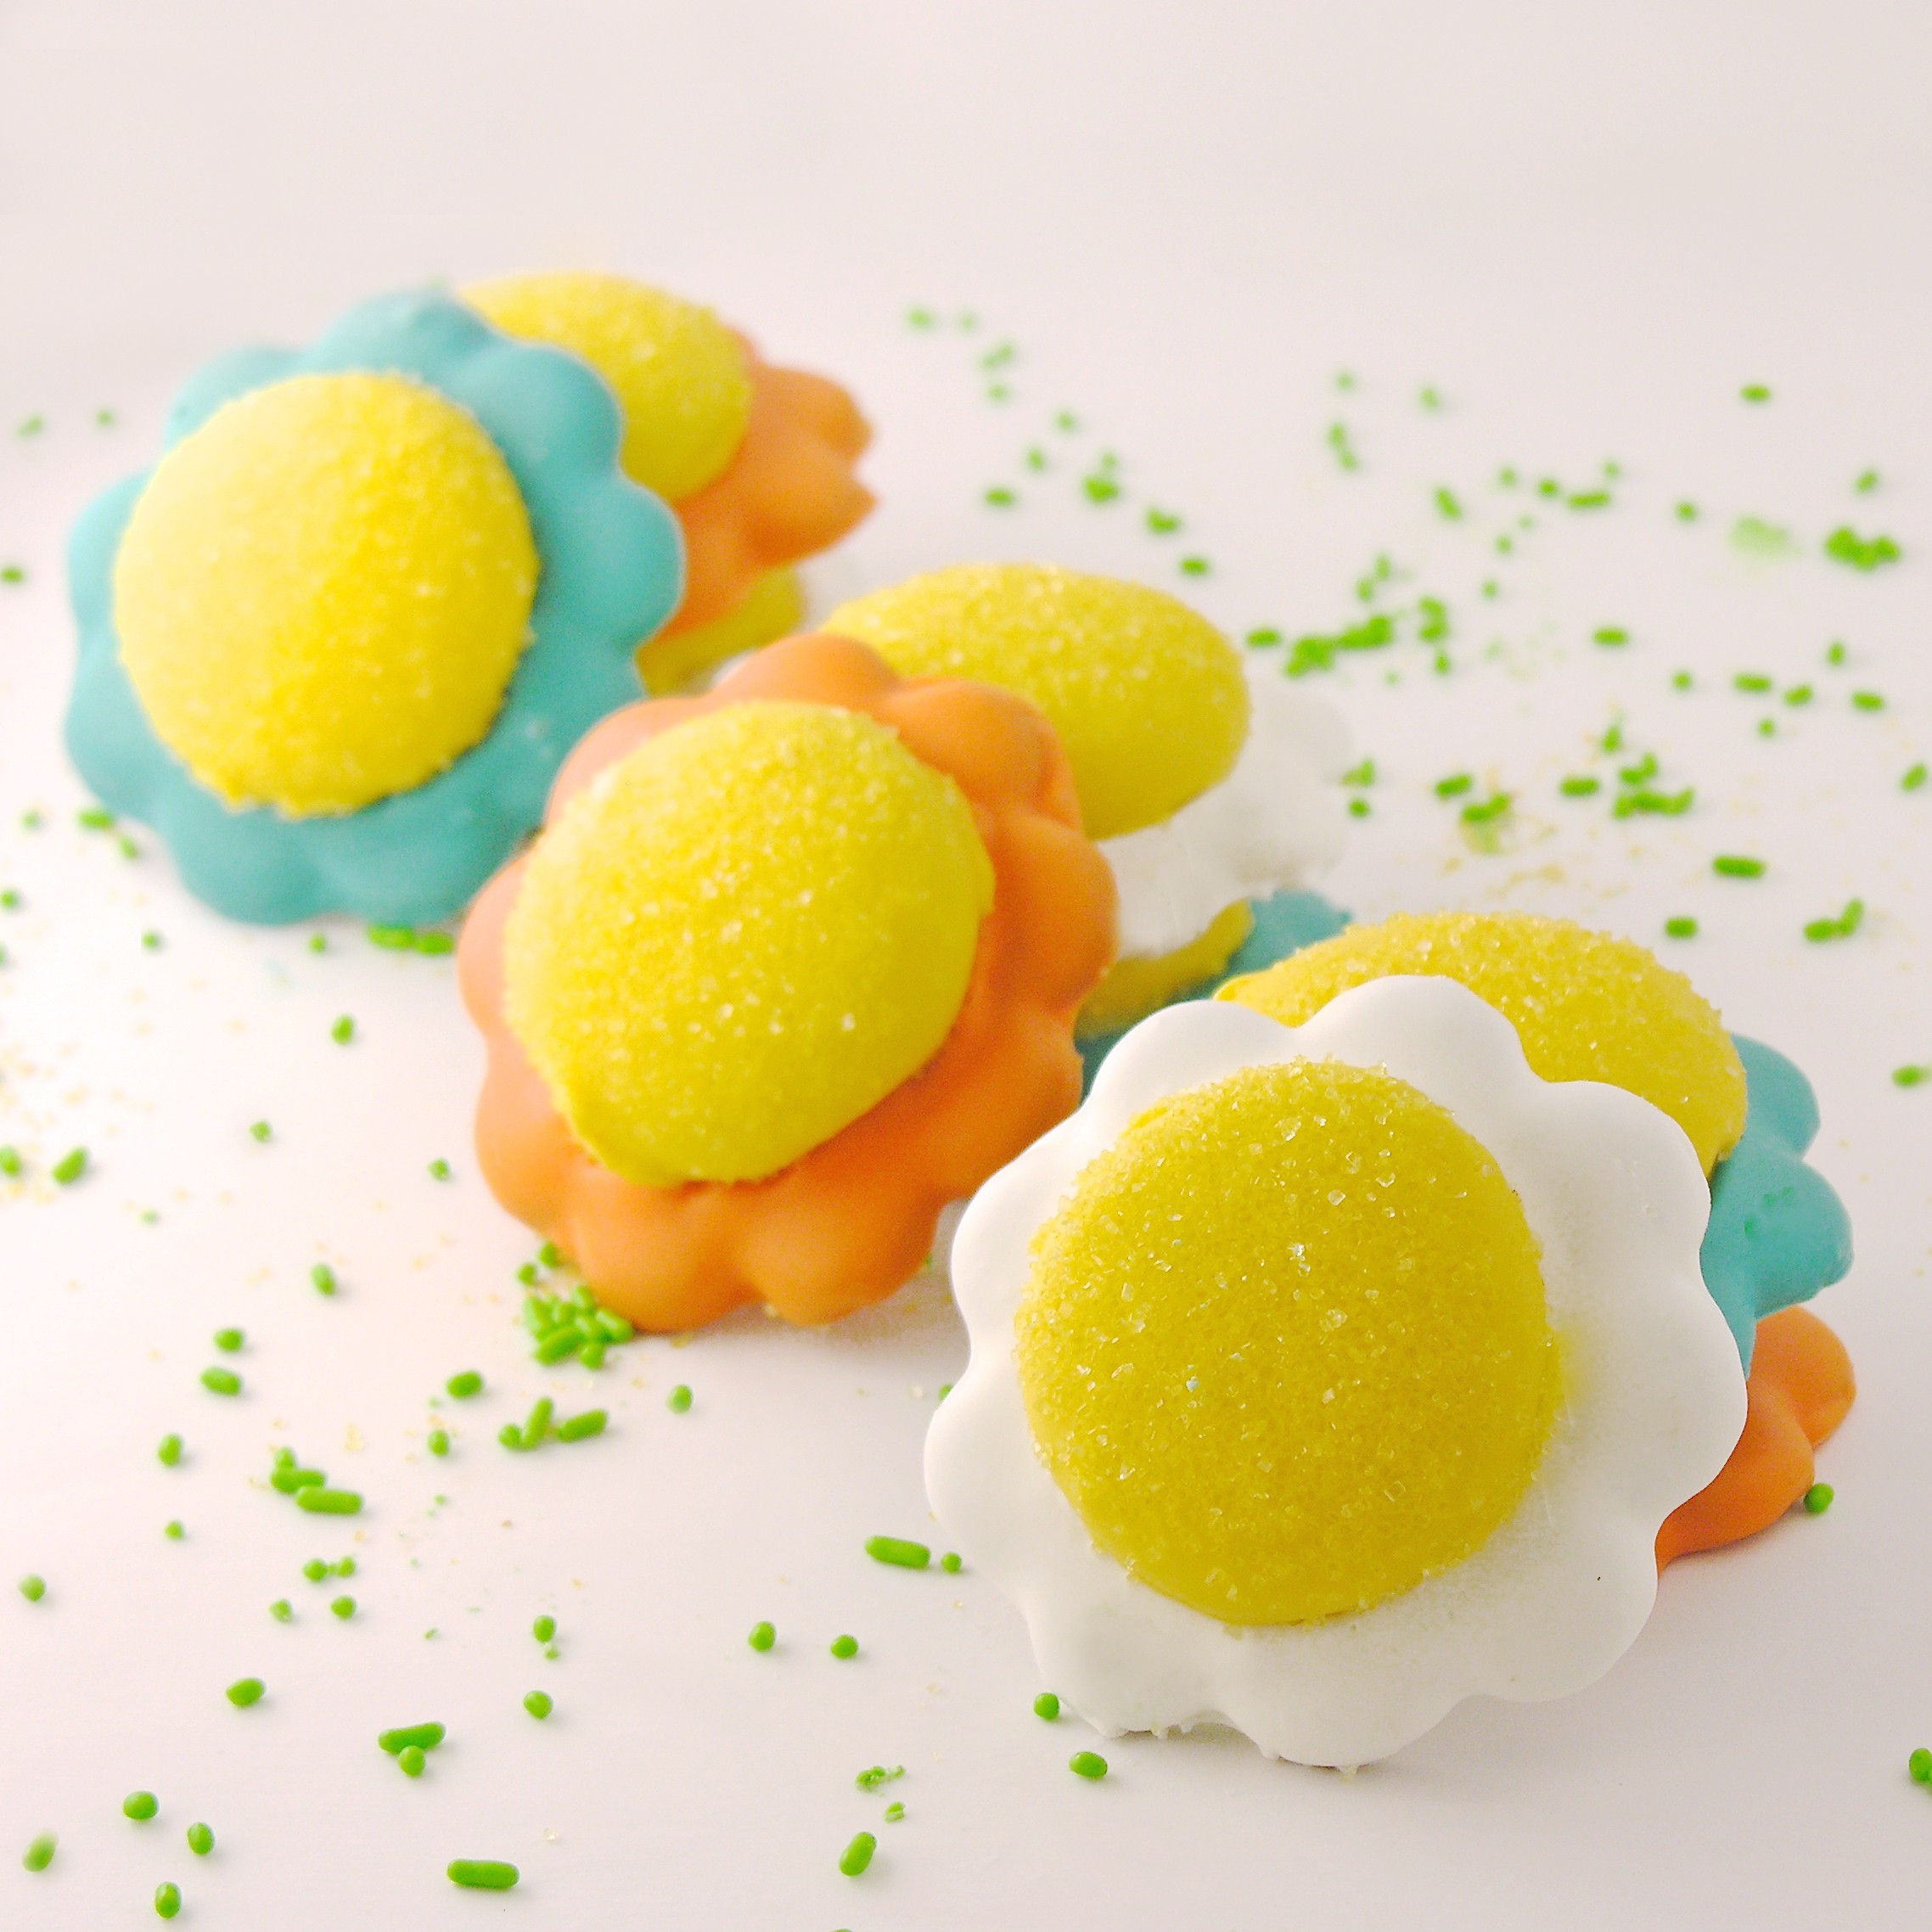
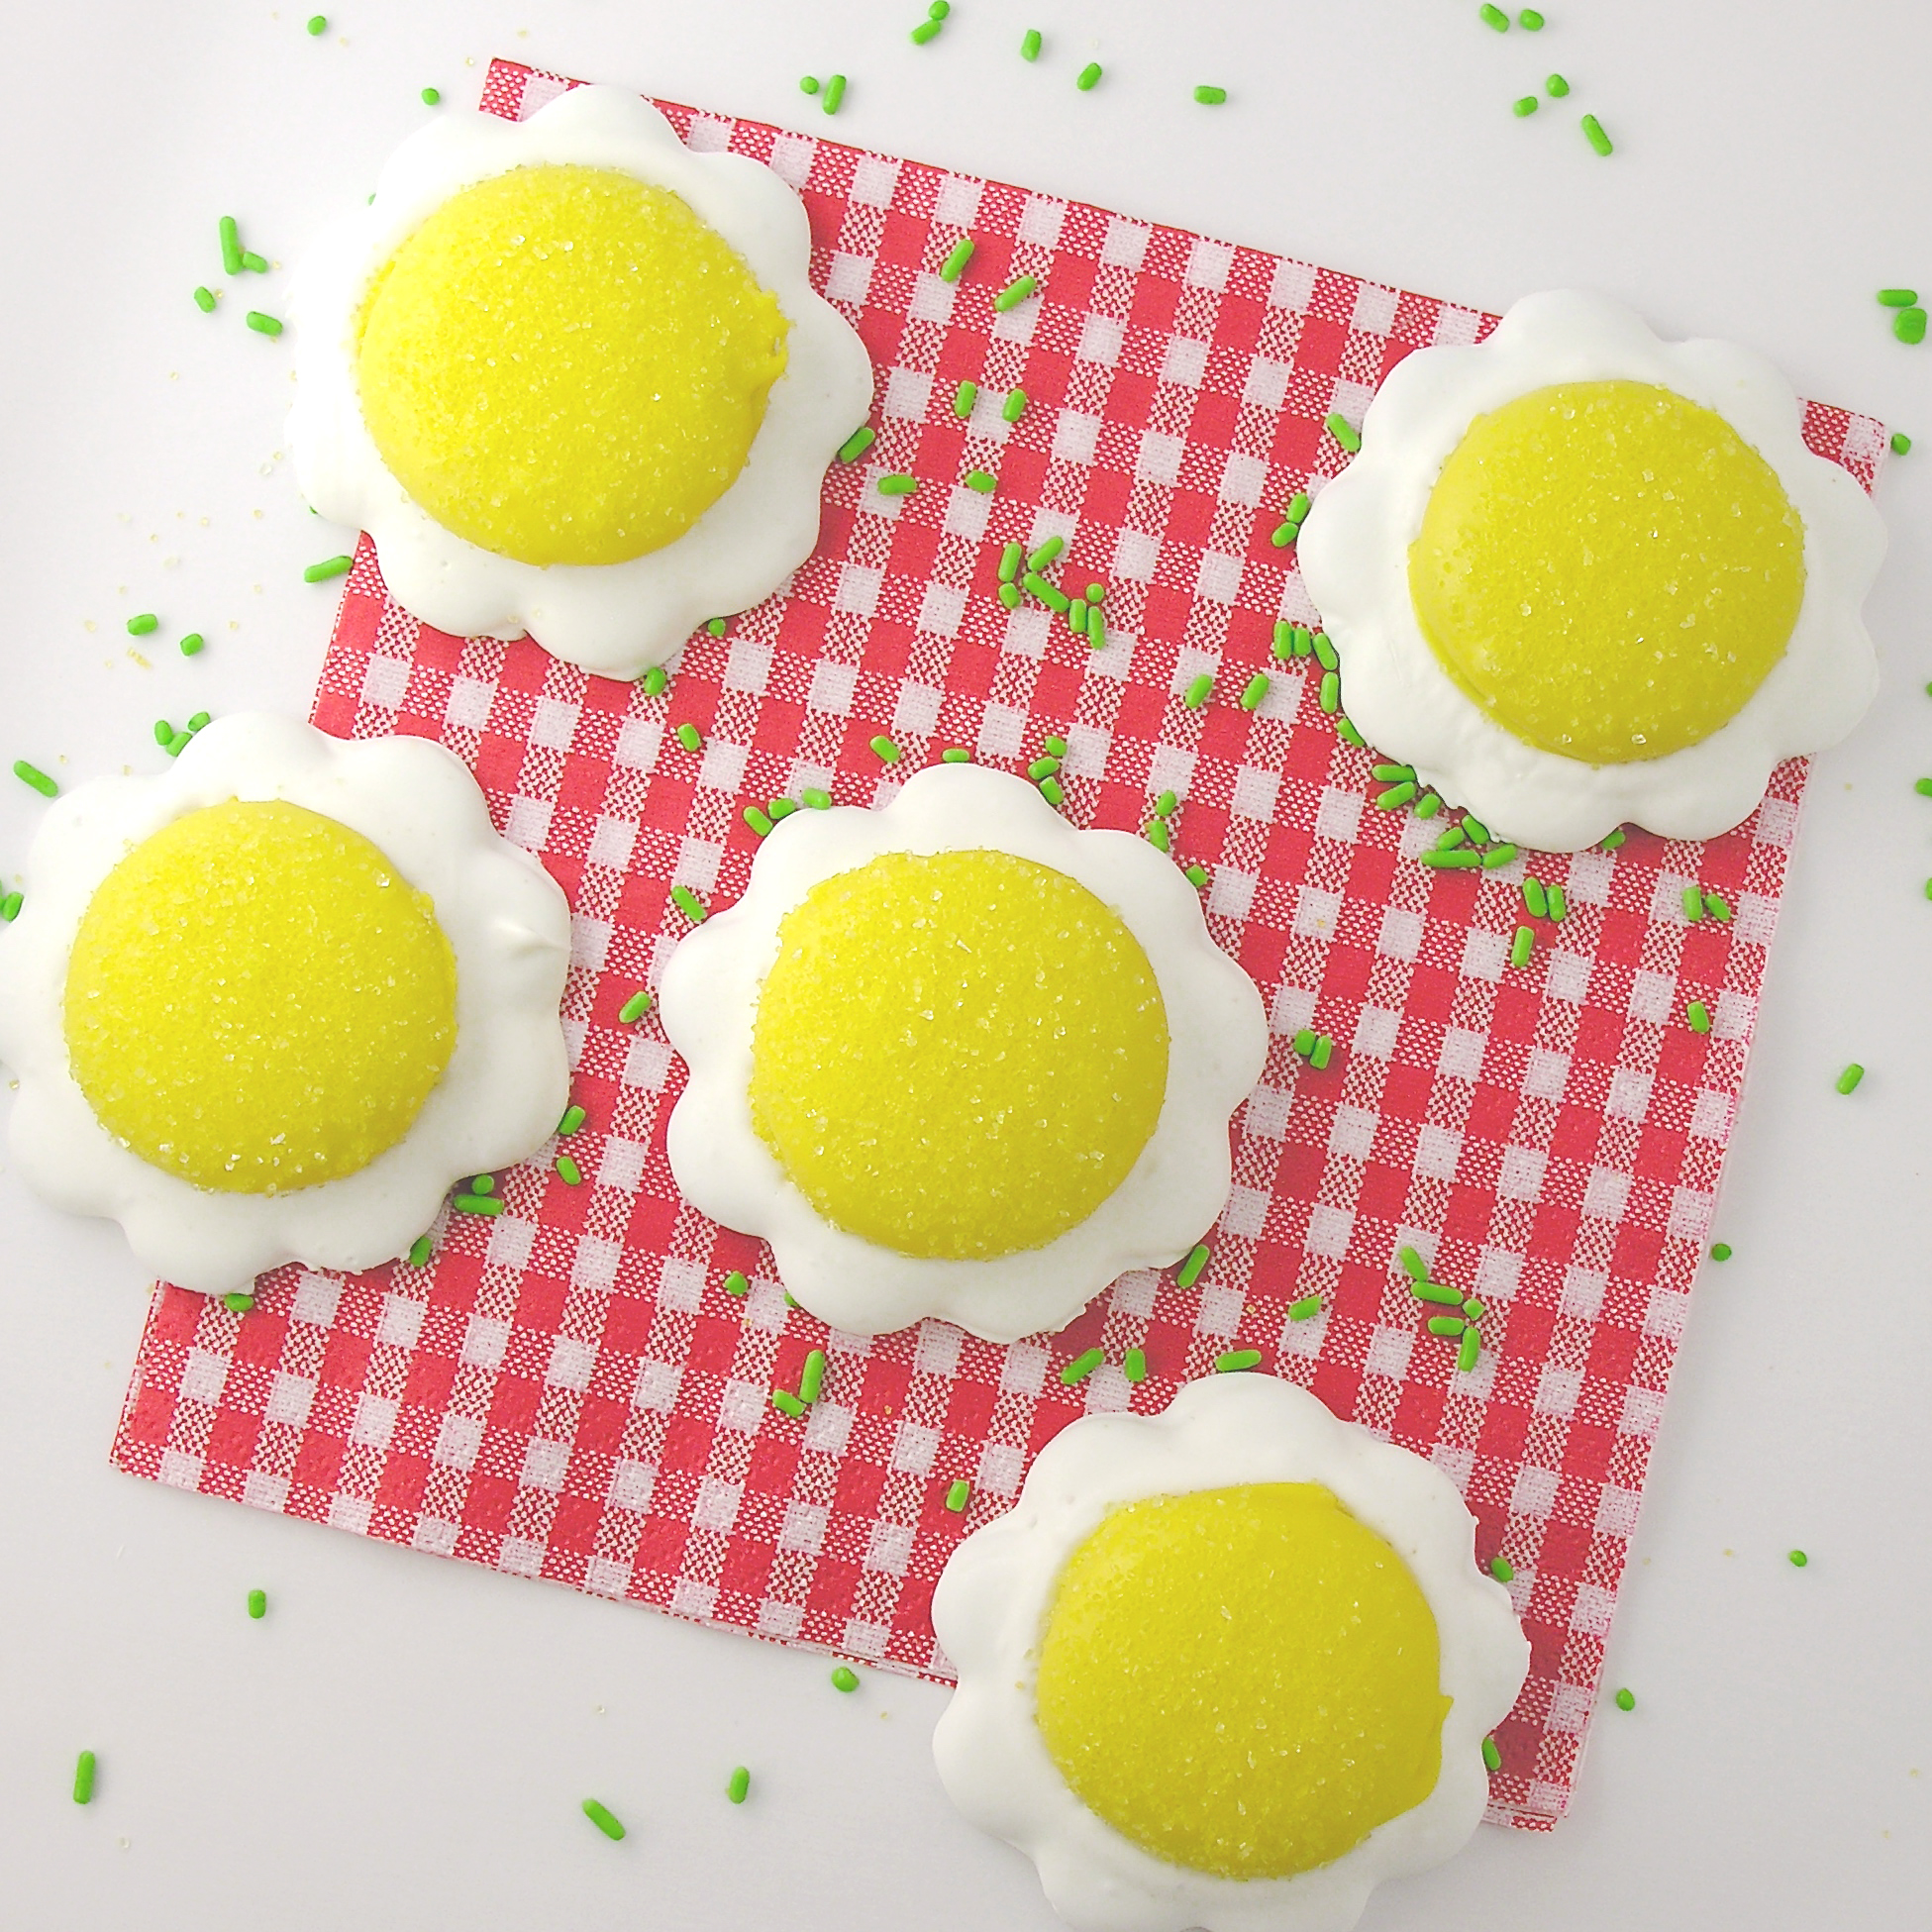
- While Candy Melts are still soft, set a pearl sprinkle at the center and then gently place sunflower seeds around the pearl in the shape of a flower (as pictured). Allow Candy Melts to harden completely.
- Repeat with other colors of Candy Melts.
- Store in a sealed container for 2-3 weeks. You can also tie them individually in small cello bags and store for the same timeframe. (These are a perfect treat to mail to mom or grandma!!!!)
- Enjoy!
My thoughts: I will never pick a bouquet of flowers without thinking of my mom 🙂 She never had a summer day where there wasn’t a huge bouquet of fresh-cut flowers from her garden sitting in the center of the kitchen table. This is her third Mother’s Day in heaven, but I know these would have made her smile if she was here.
Happy Mother’s Day, Mom. I love you, and miss you!

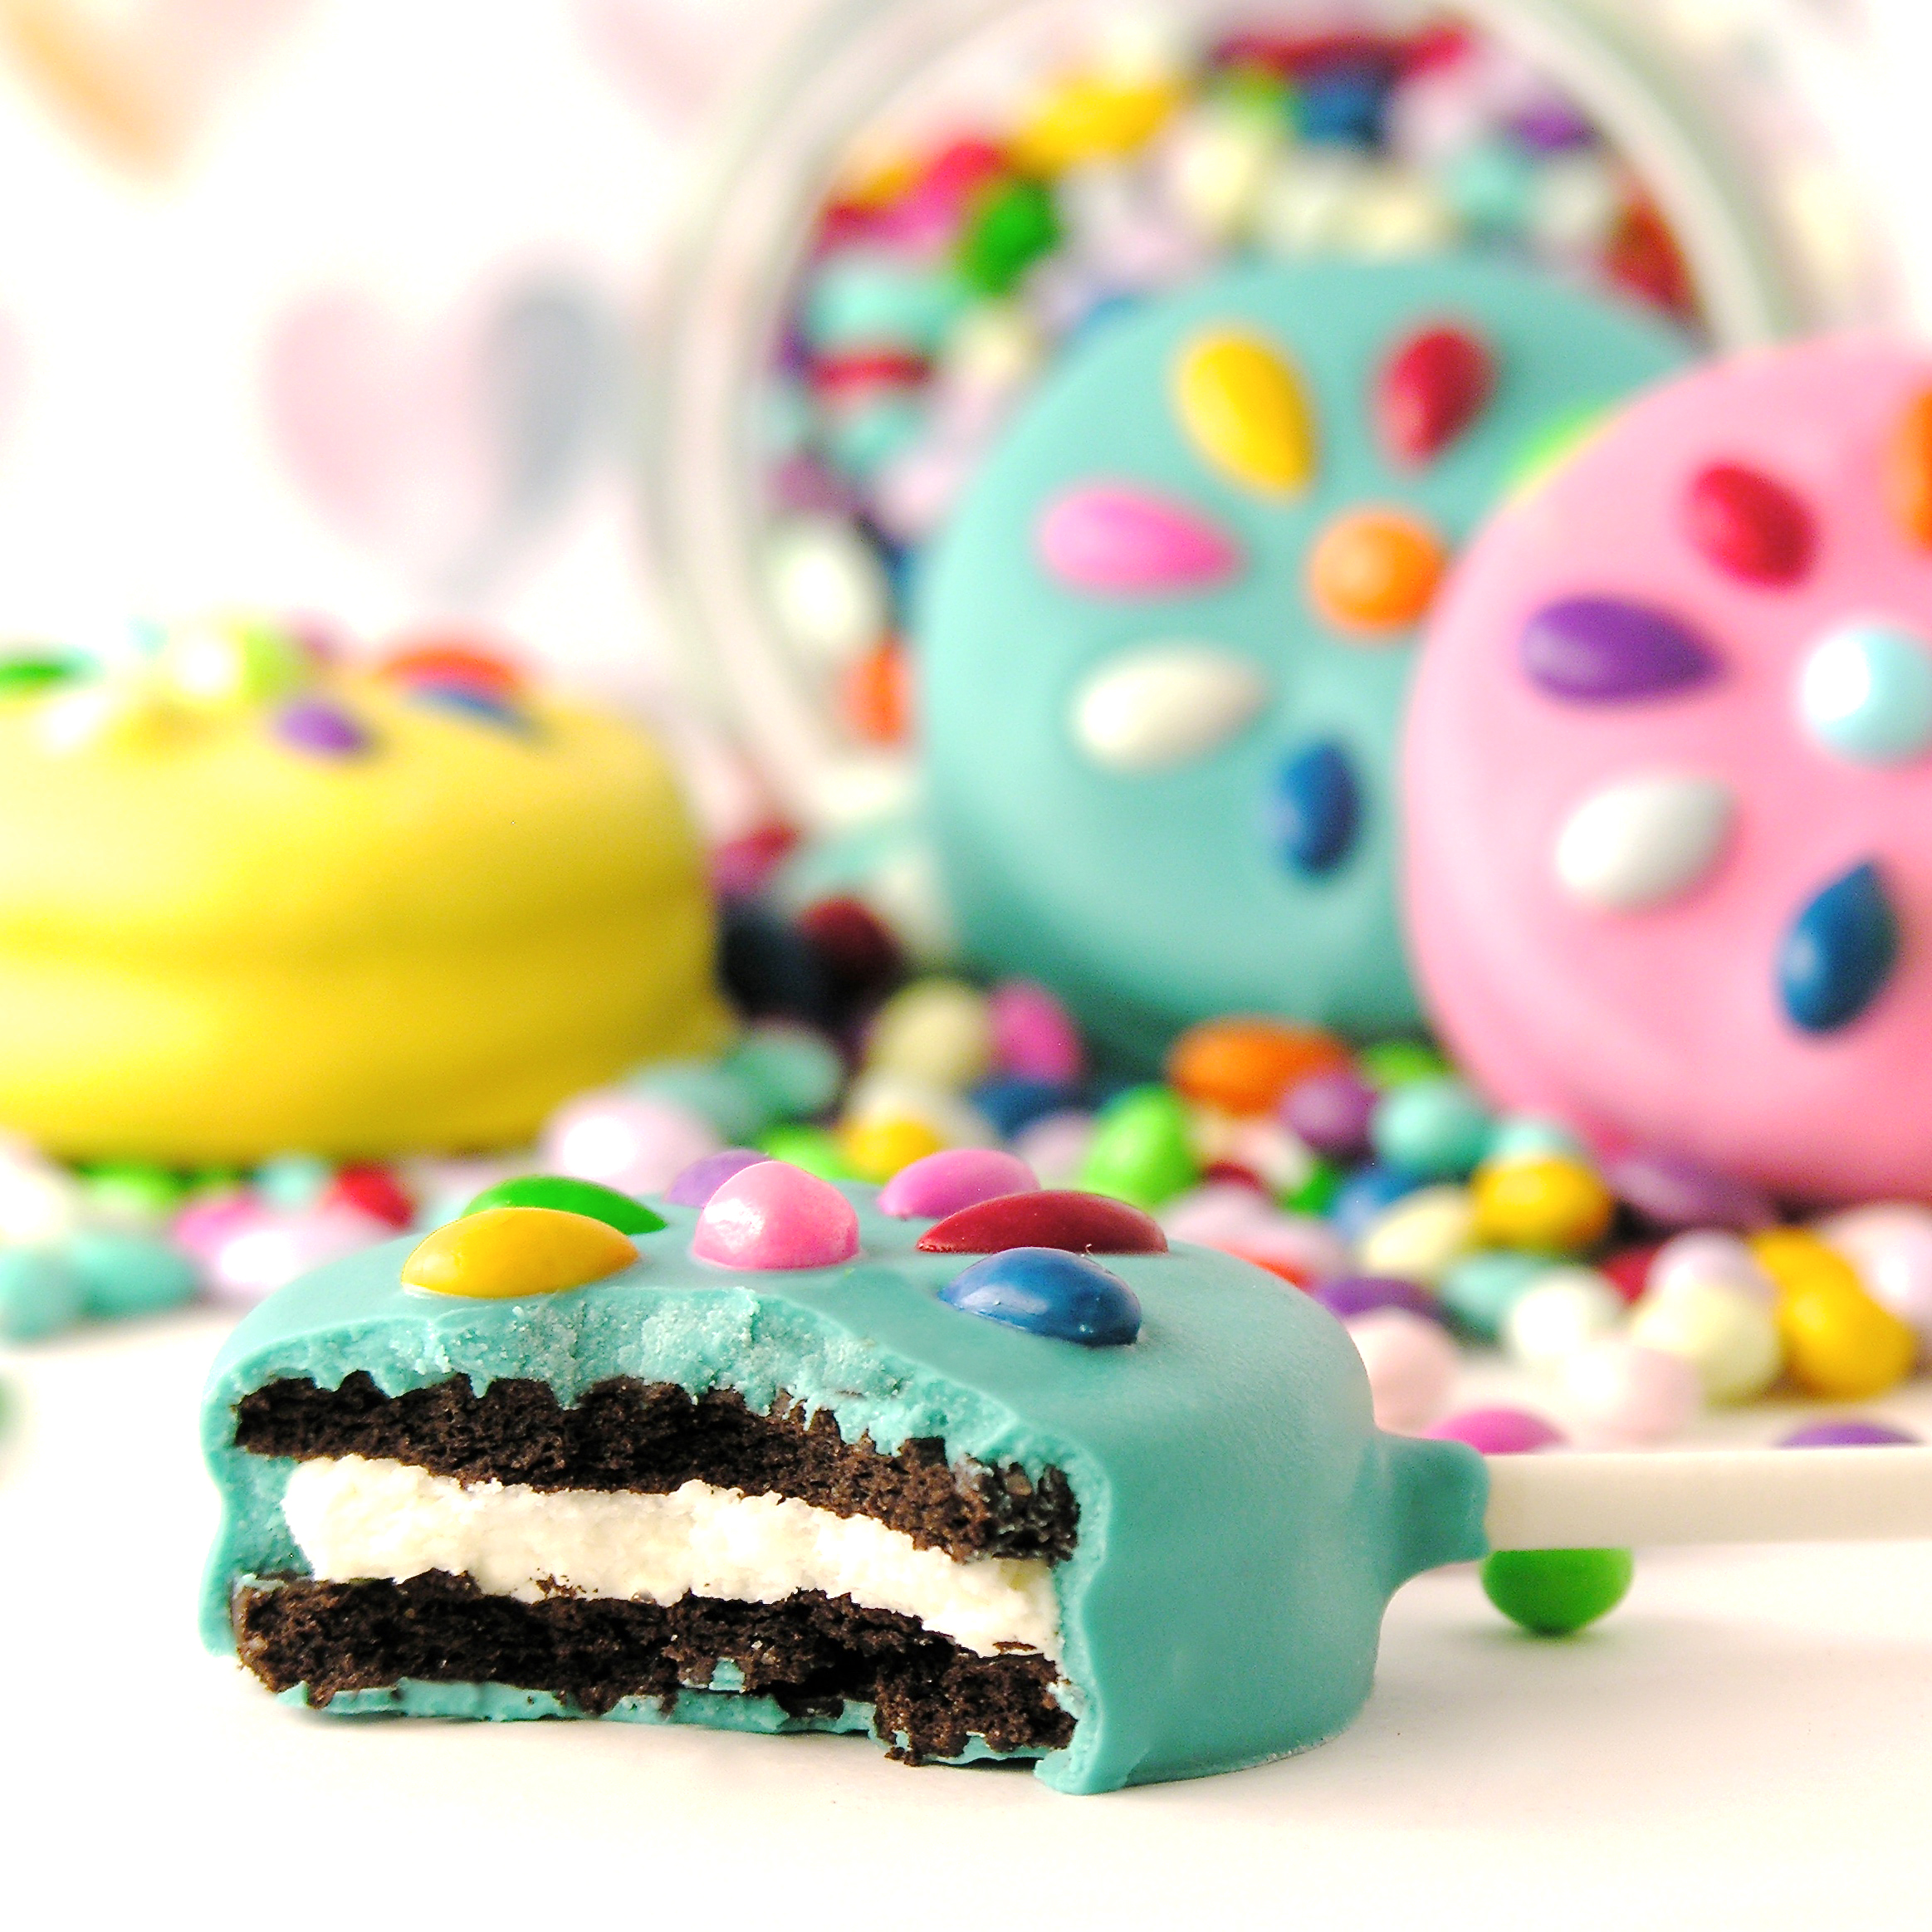
We have lots of fun recipe ideas for Mother’s Day! Click a photo to see the recipe:


Looking for that perfect gift for moms and grandmas? Get them my cookbook- specially designed to use with kids and grandkids, teaching them both kitchen skills and about God’s love for them! Fun!!! Click on the following link to find out more about it: Life Is Sweet: 12 Baking Devotions for Kids.
HAPPY MOTHER’S DAY!!!