One of the most frequent questions I’m asked about this blog is this: How do you keep coming up with new and original recipes?
The answer is this: I find elements (usually a filling, topping or frosting) that I love in one recipe and imagine ways to use it again in a totally new recipe.
Here’s an example: My friend Dawn’s friend Lily gave her a recipe for caramel chip bars. I changed a few elements in the recipe and made it my own. The bars are reeeeaaaaalllly good. The best part about them is the amazing caramel sauce that makes up the middle layer. How have I used this caramel sauce since?
(click on a picture to see the whole recipe)


This post is dedicated to sharing my favorites in the frosting, topping and filling world– I hope you can use some of these elements to create your own yummy treats (and if you do, please share them here with the rest of us!!!)
FROSTINGS:

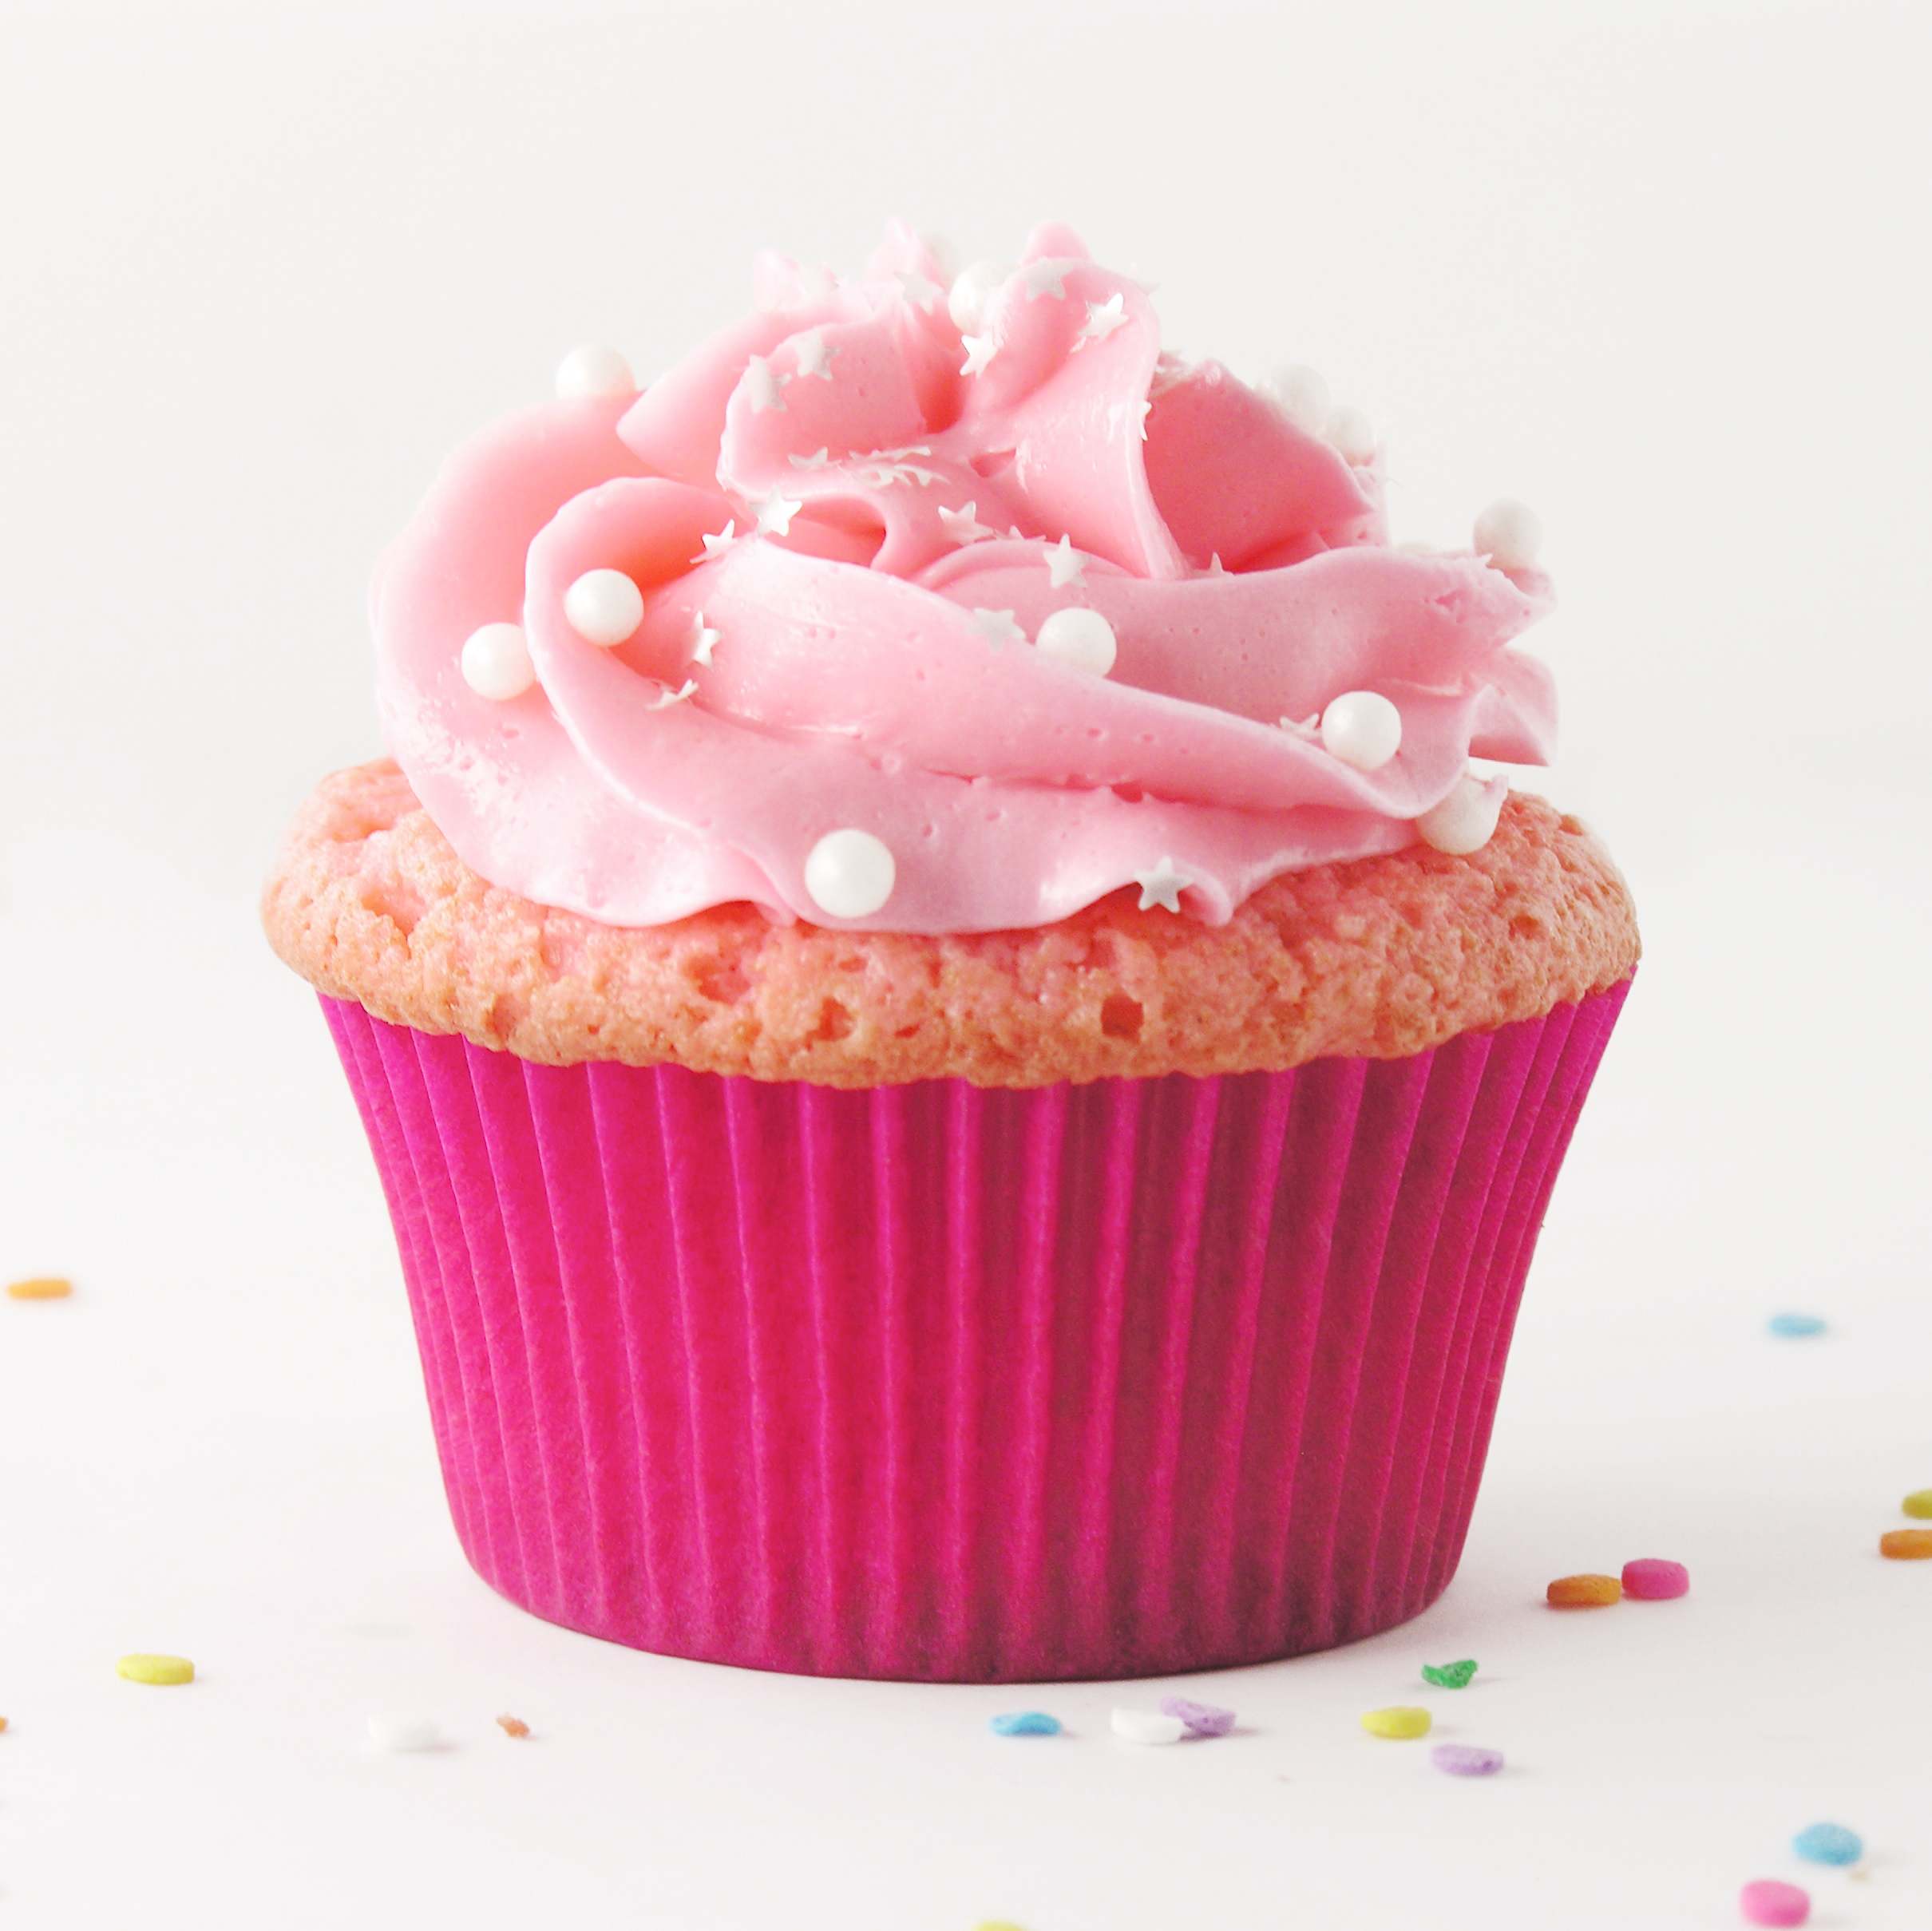
Buttercream Frosting:
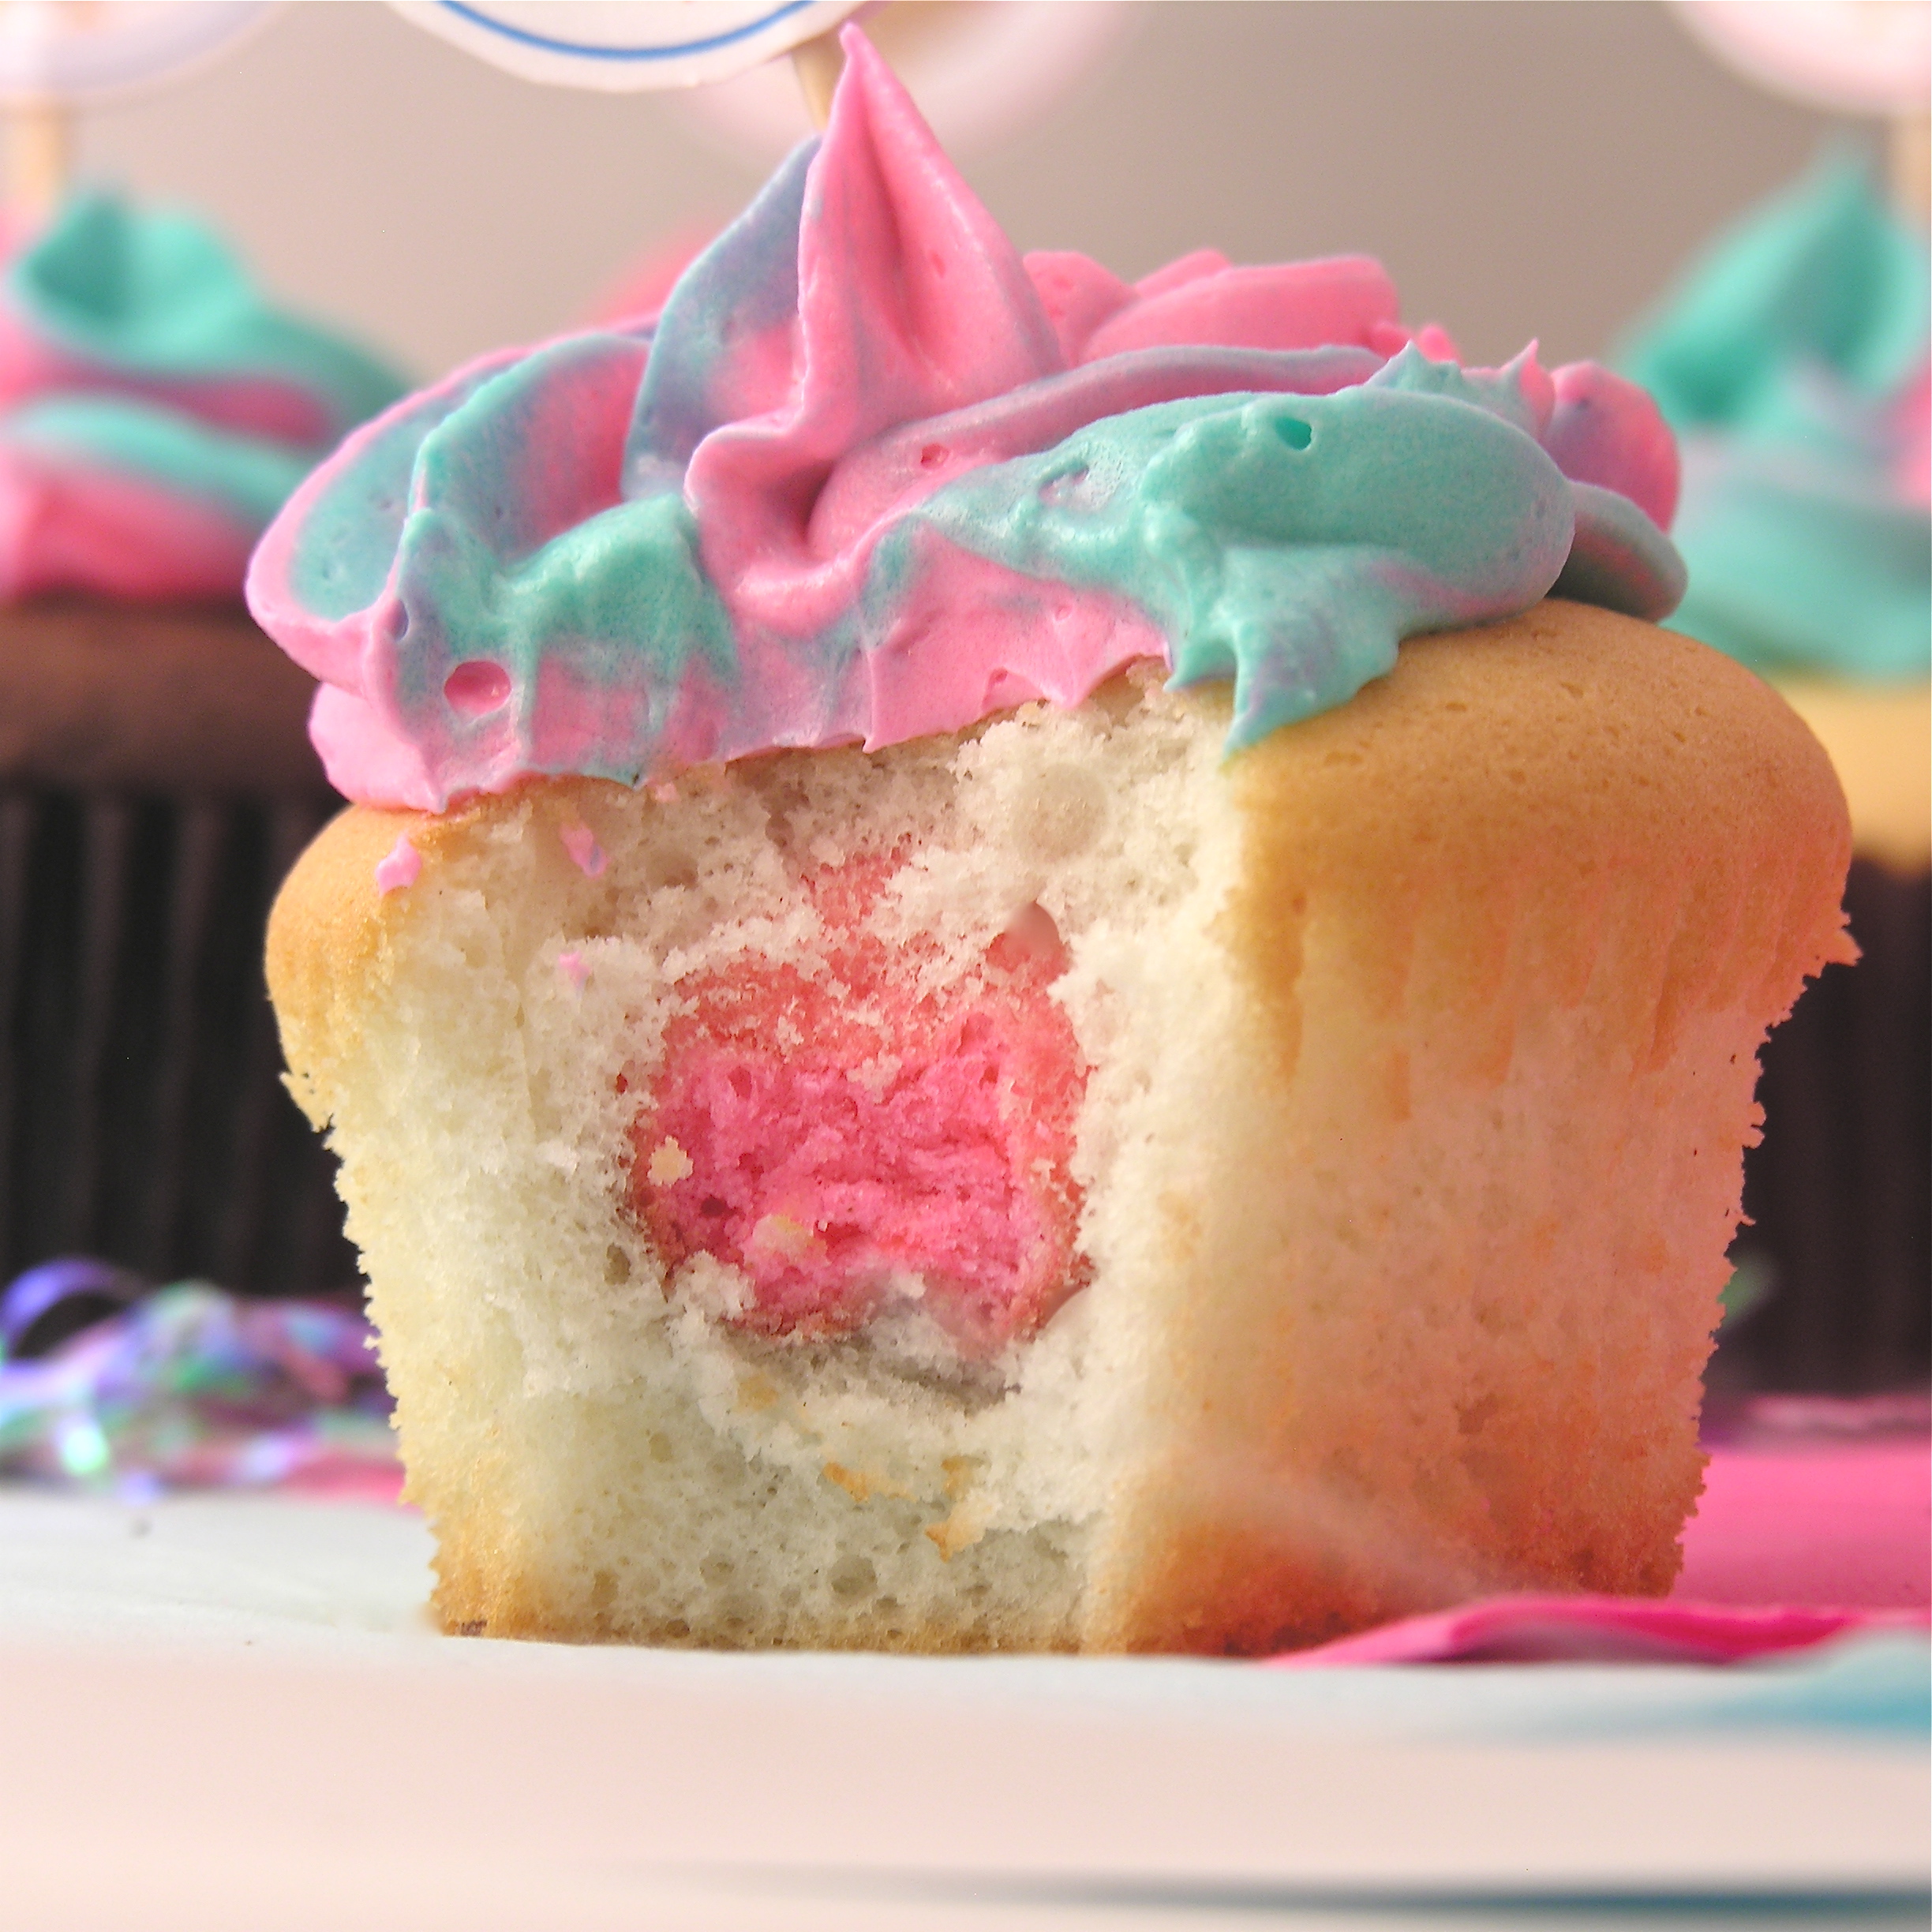
By far, my favorite frosting recipe ever. Light and whipped and a perfect blend of sweet and a touch of salty. If you want it flavored use extract in place of the vanilla. You can also add colors.
Ingredients:
- 1 stick (4 oz.)of salted butter (room temp)
- 1 stick (4 oz.)of unsalted butter (room temp)
- 1 1/2 c. powdered sugar
- 3 t. vanilla (use clear if you want white frosting)
Directions:
- Place all ingredients in a mixing bowl and beat on high until light and fluffy.
- This is enough to frost 12-18 cupcakes. Double this recipe to frost more or to frost an entire layered cake.

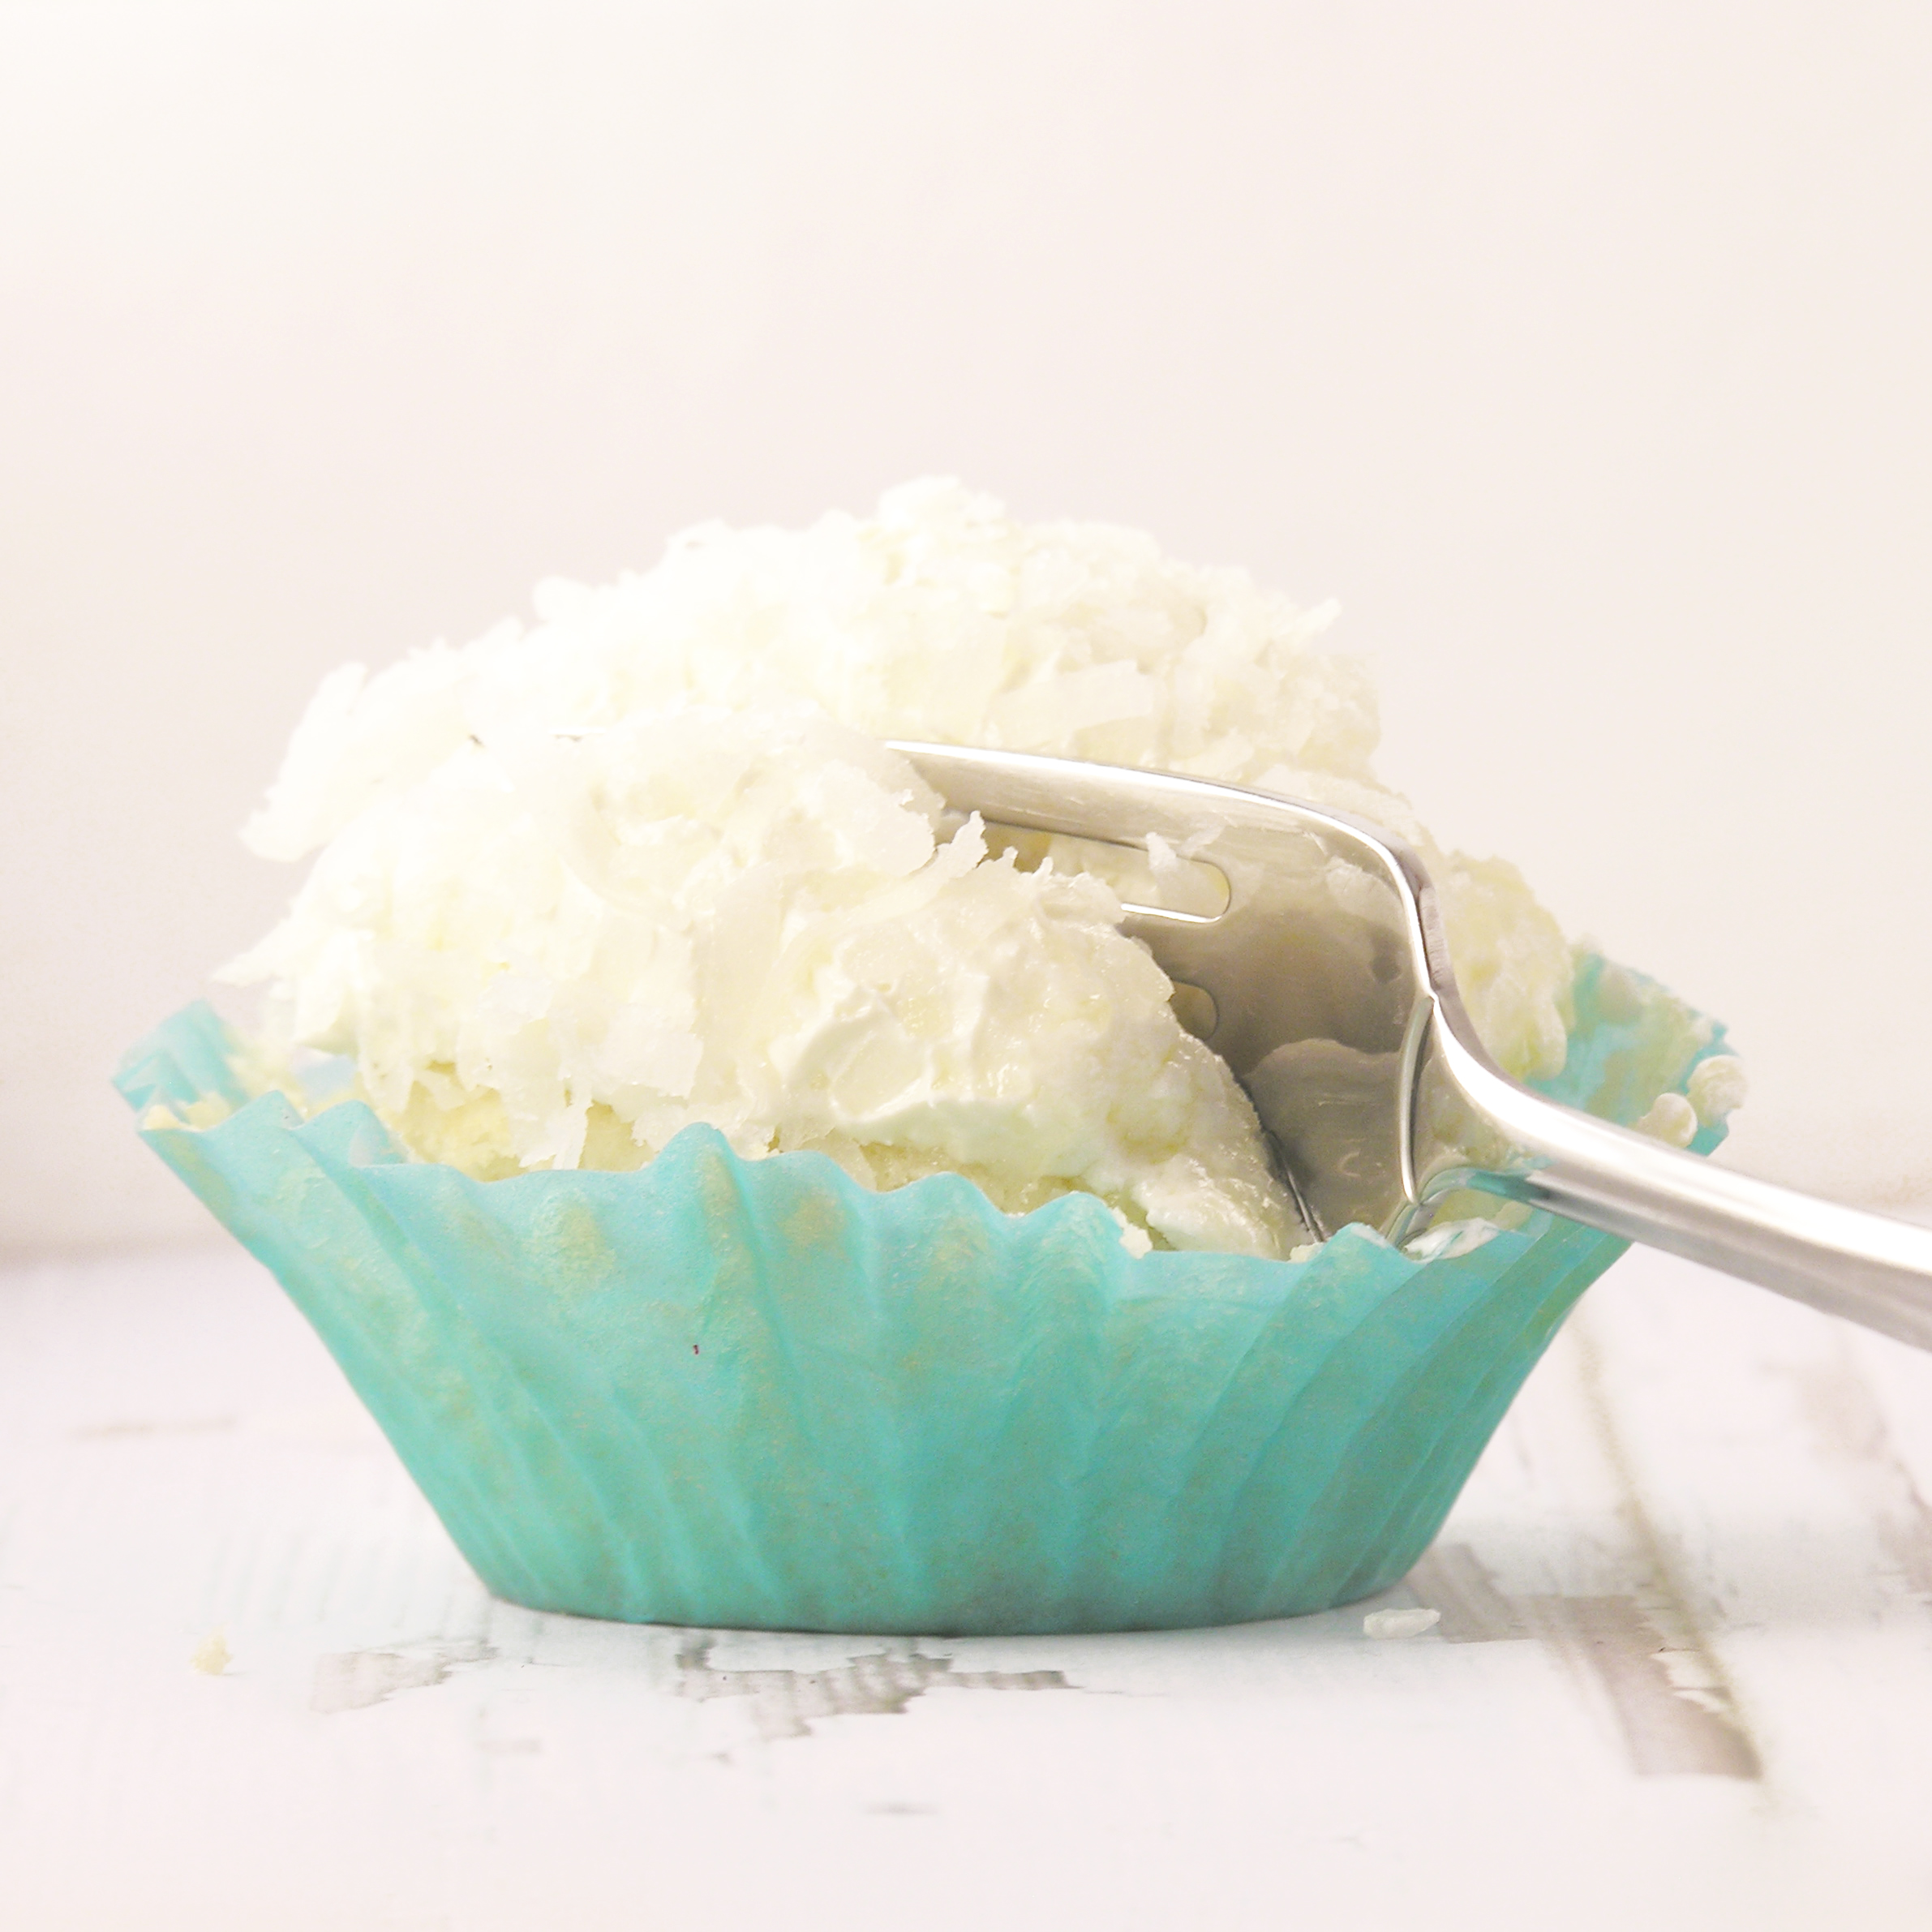
German Chocolate Frosting:
Ingredients:
- 1c. sugar
- 1c. evaporated milk
- 1/2c. butter
- 3 egg yolks (beaten)
- 1 1/3c. flaked coconut
- 1c. finely chopped pecans.
- 1 t. vanilla extract
Directions:
- In saucepan combine sugar, evaporated milk, butter and egg yolks. Cook over low heat (stir constantly!) until this thickens considerably (took me about 8 minutes).
- Remove from heat and stir in pecans and coconut.
- Chill until thick enough to spread.
- This makes enough frosting to frost a layer cake.

Kool-Aid Frosting:
Just plain fun. Use different flavors to be as creative as you want!
Ingredients:
- 2- 8oz. packages of Philadelphia Cream Cheese (softened to room temp.)
- 1 packet (0.23oz.) of Kool-Aid
- Food coloring (to deepen color if desired)
- 1- 7oz. container Jet-Puffed Marshmallow Creme
- 1/3 c. powdered sugar
- 8 oz. Cool Whip Topping
Directions:
- Cream together cream cheese, Kool-Aid and food coloring (if desired) until smooth.
- Beat marshmallow creme and powdered sugar in and then fold in Cool Whip until completely smooth.
- This makes enough frosting to frost a layer cake.

Whipped Cream Cheese Frosting:
Ingredients:
- 2 packets of Dream Whip
 (4 come in one box)
- 3/4 c. milk
- 1/2 t. vanilla
- 4 oz. (1/2 brick) of softened Philadelphia Cream Cheese
- 1/3 c. powdered sugar (divided)
Directions:
- Cream together softened cream cheese and about half of the powdered sugar. Set aside.
- Add remaining ingredients together in a large mixing bowl and stir until all powder is combined.
- Mix with an electric mixer (beaters are ok, but I like to use my whisk attachment if you have one) on high until very stiff peaks form.
- Add cream cheese mixture and continue beating on high until stiff and thick.
- This makes enough frosting to frost a layer cake.

Royal Icing:
Not my favorite frosting to work with, but perfect for a smooth and hard topping for cookies. Beautiful but a lot of work…
Ingredients:
- 1 lb of powdered sugar
- 3 T. meringue powder
- 6 T. water
- 1t. vanilla (use clear if you want white frosting)
- Food coloring
Directions:
- Add all ingredients together and mix with a mixer for at least 2 minutes until smooth and fluffy. Color as desired.
FILLINGS:

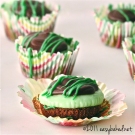
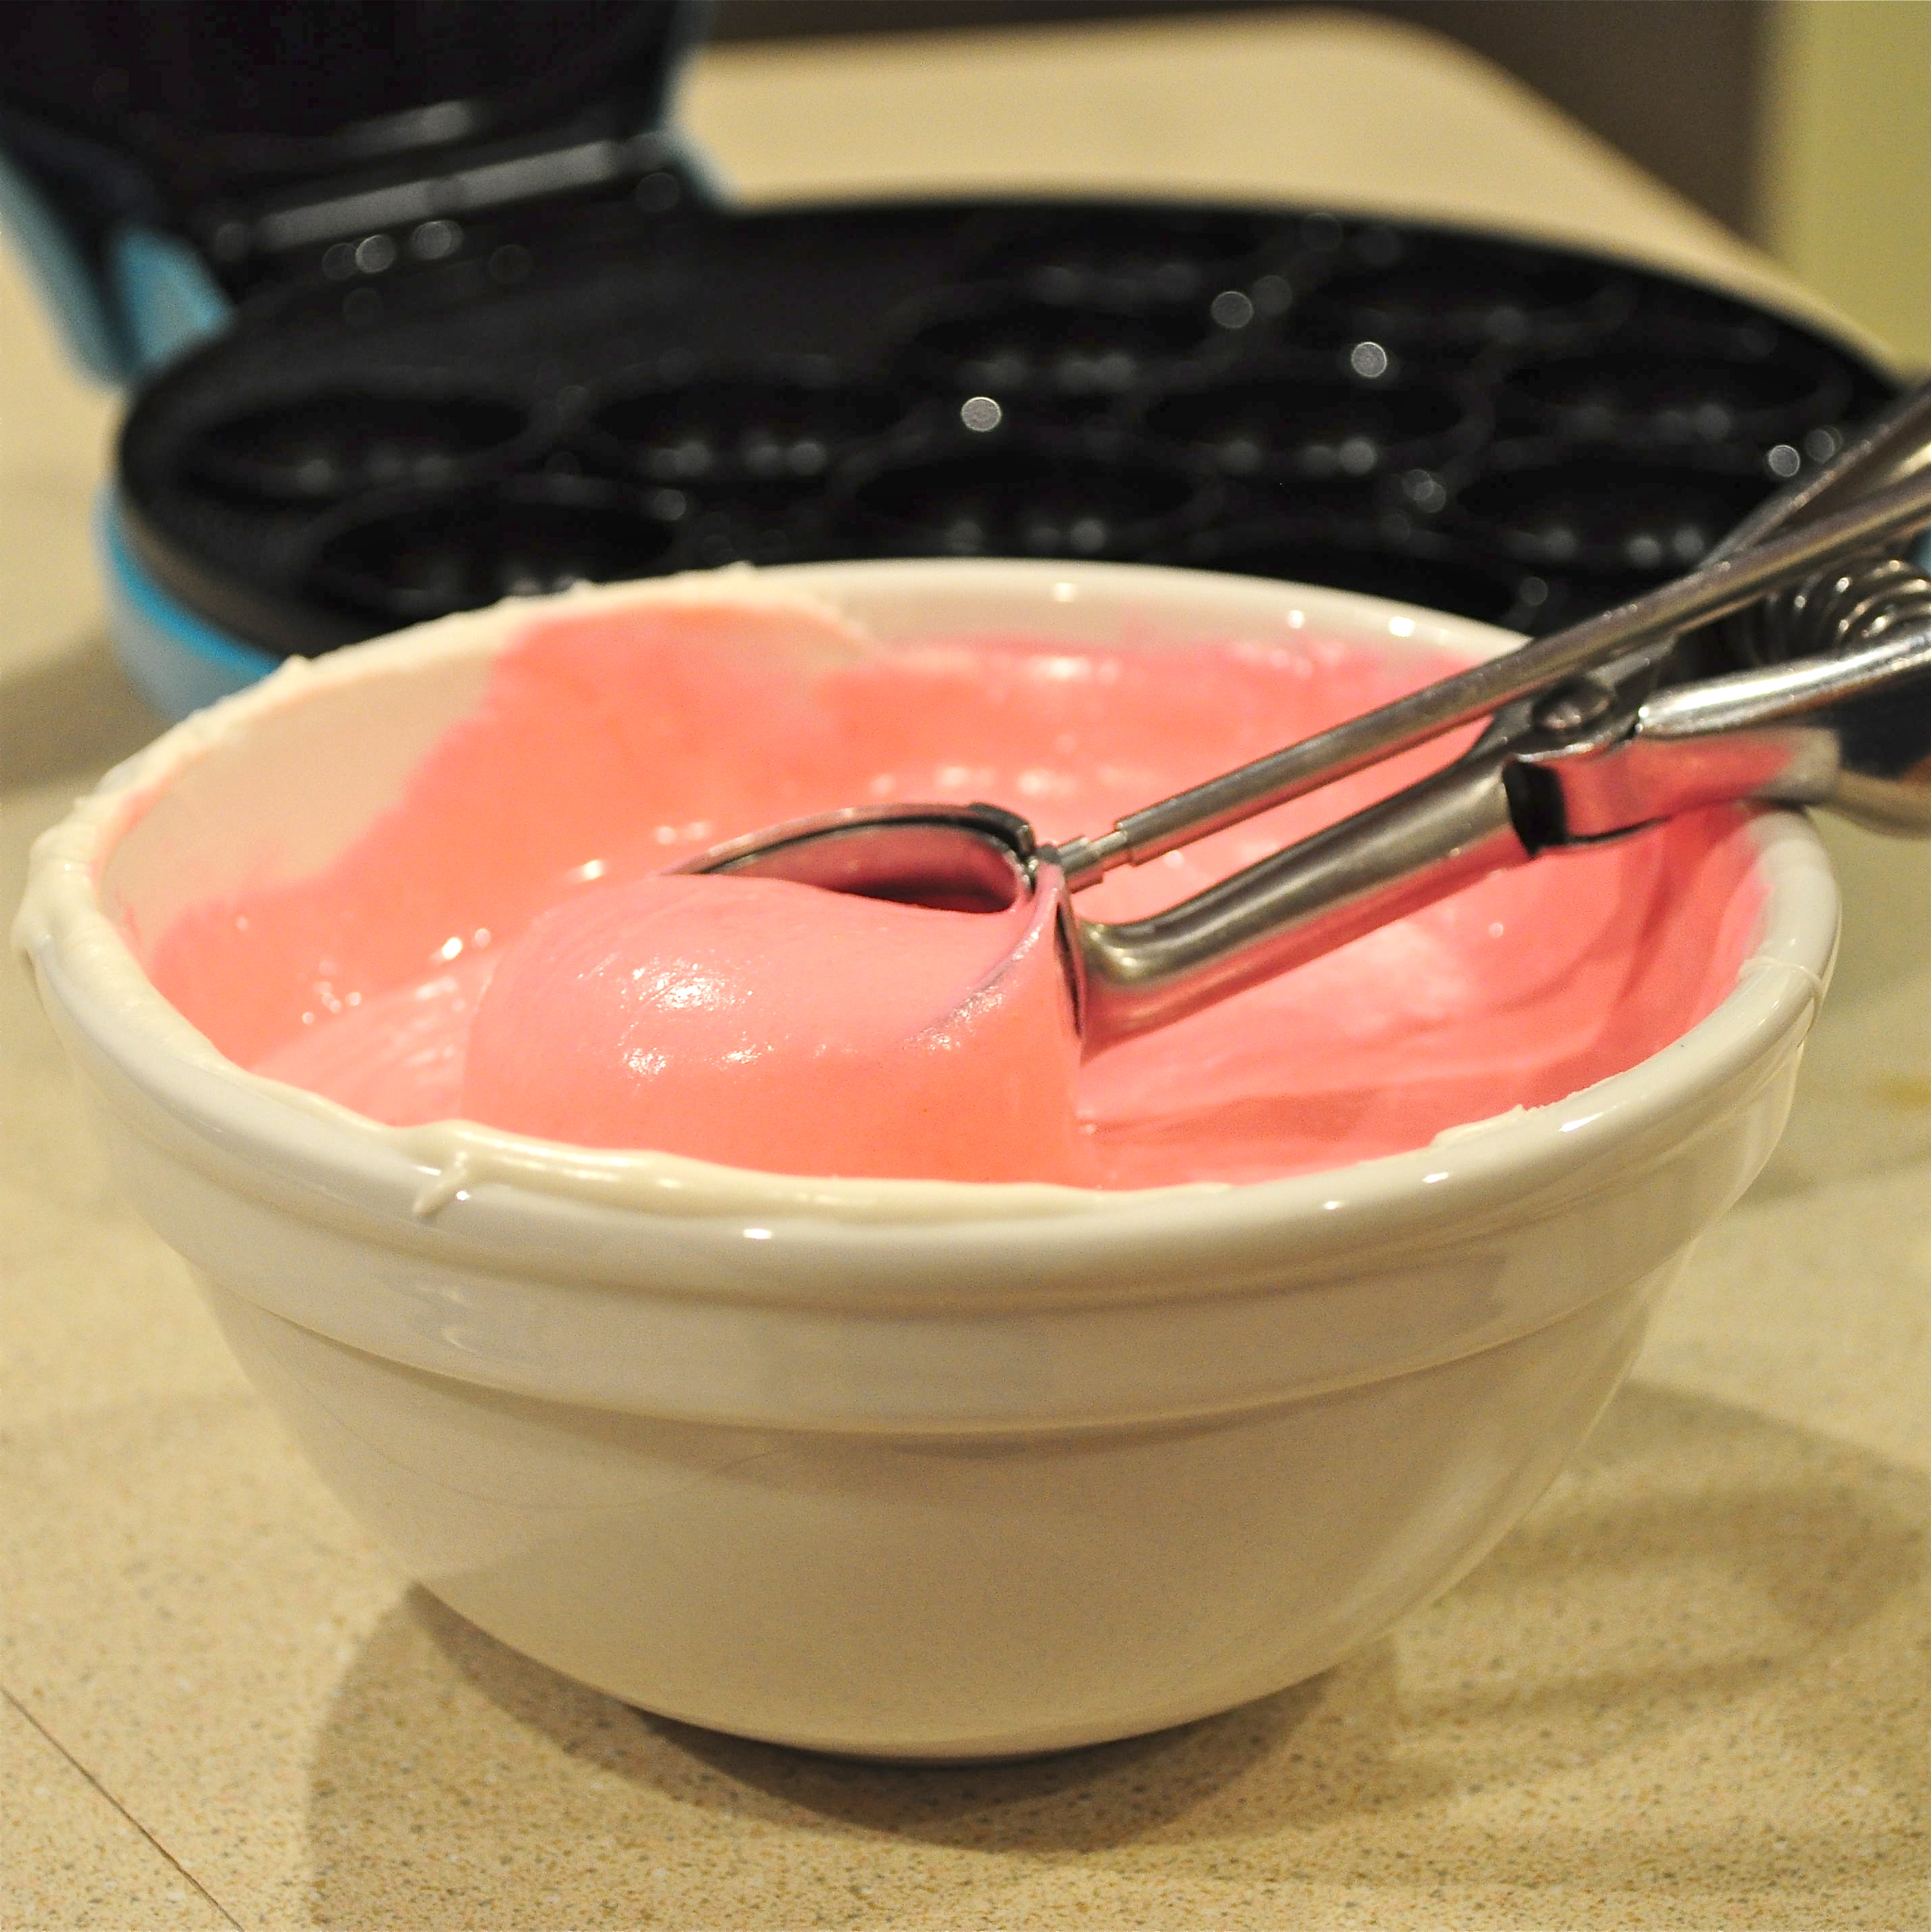
Mint Filling
This is perfect for layering inside of brownies and cakes. I’ve even made a peppermint patty tart using this filling as a layer inside.
Ingredients:
- 5 c. powdered sugar
- 8 tbsp. (one cup) melted butter or margarine
- 2 tsp. peppermint extract
- food coloring (if desired)
Directions:
- Add melted butter to sugar and extract.
- Mix well, using water to bring it to a thick but spreadable consistency.
- Add food coloring if desired.

Kool-Aid Filling
Perfect for making a cream pie or putting in little cookie cups- this filling’s potential is as endless as the flavors of Kool-Aid on the shelf! Kids will LOVE this!
Ingredients:
- 8oz. Philadelphia Cream Cheese
- 1 (0.22 oz.) packet Kool Aid in any flavor
- 2c. marshmallow fluff
- 8 oz. Cool Whip (refrigerator temp)
Directions:
- Cream together Kool Aid and Philadelphia Cream Cheese
- Add Marshmallow fluff and blend well.
- Fold in 1c. of Cool Whip.

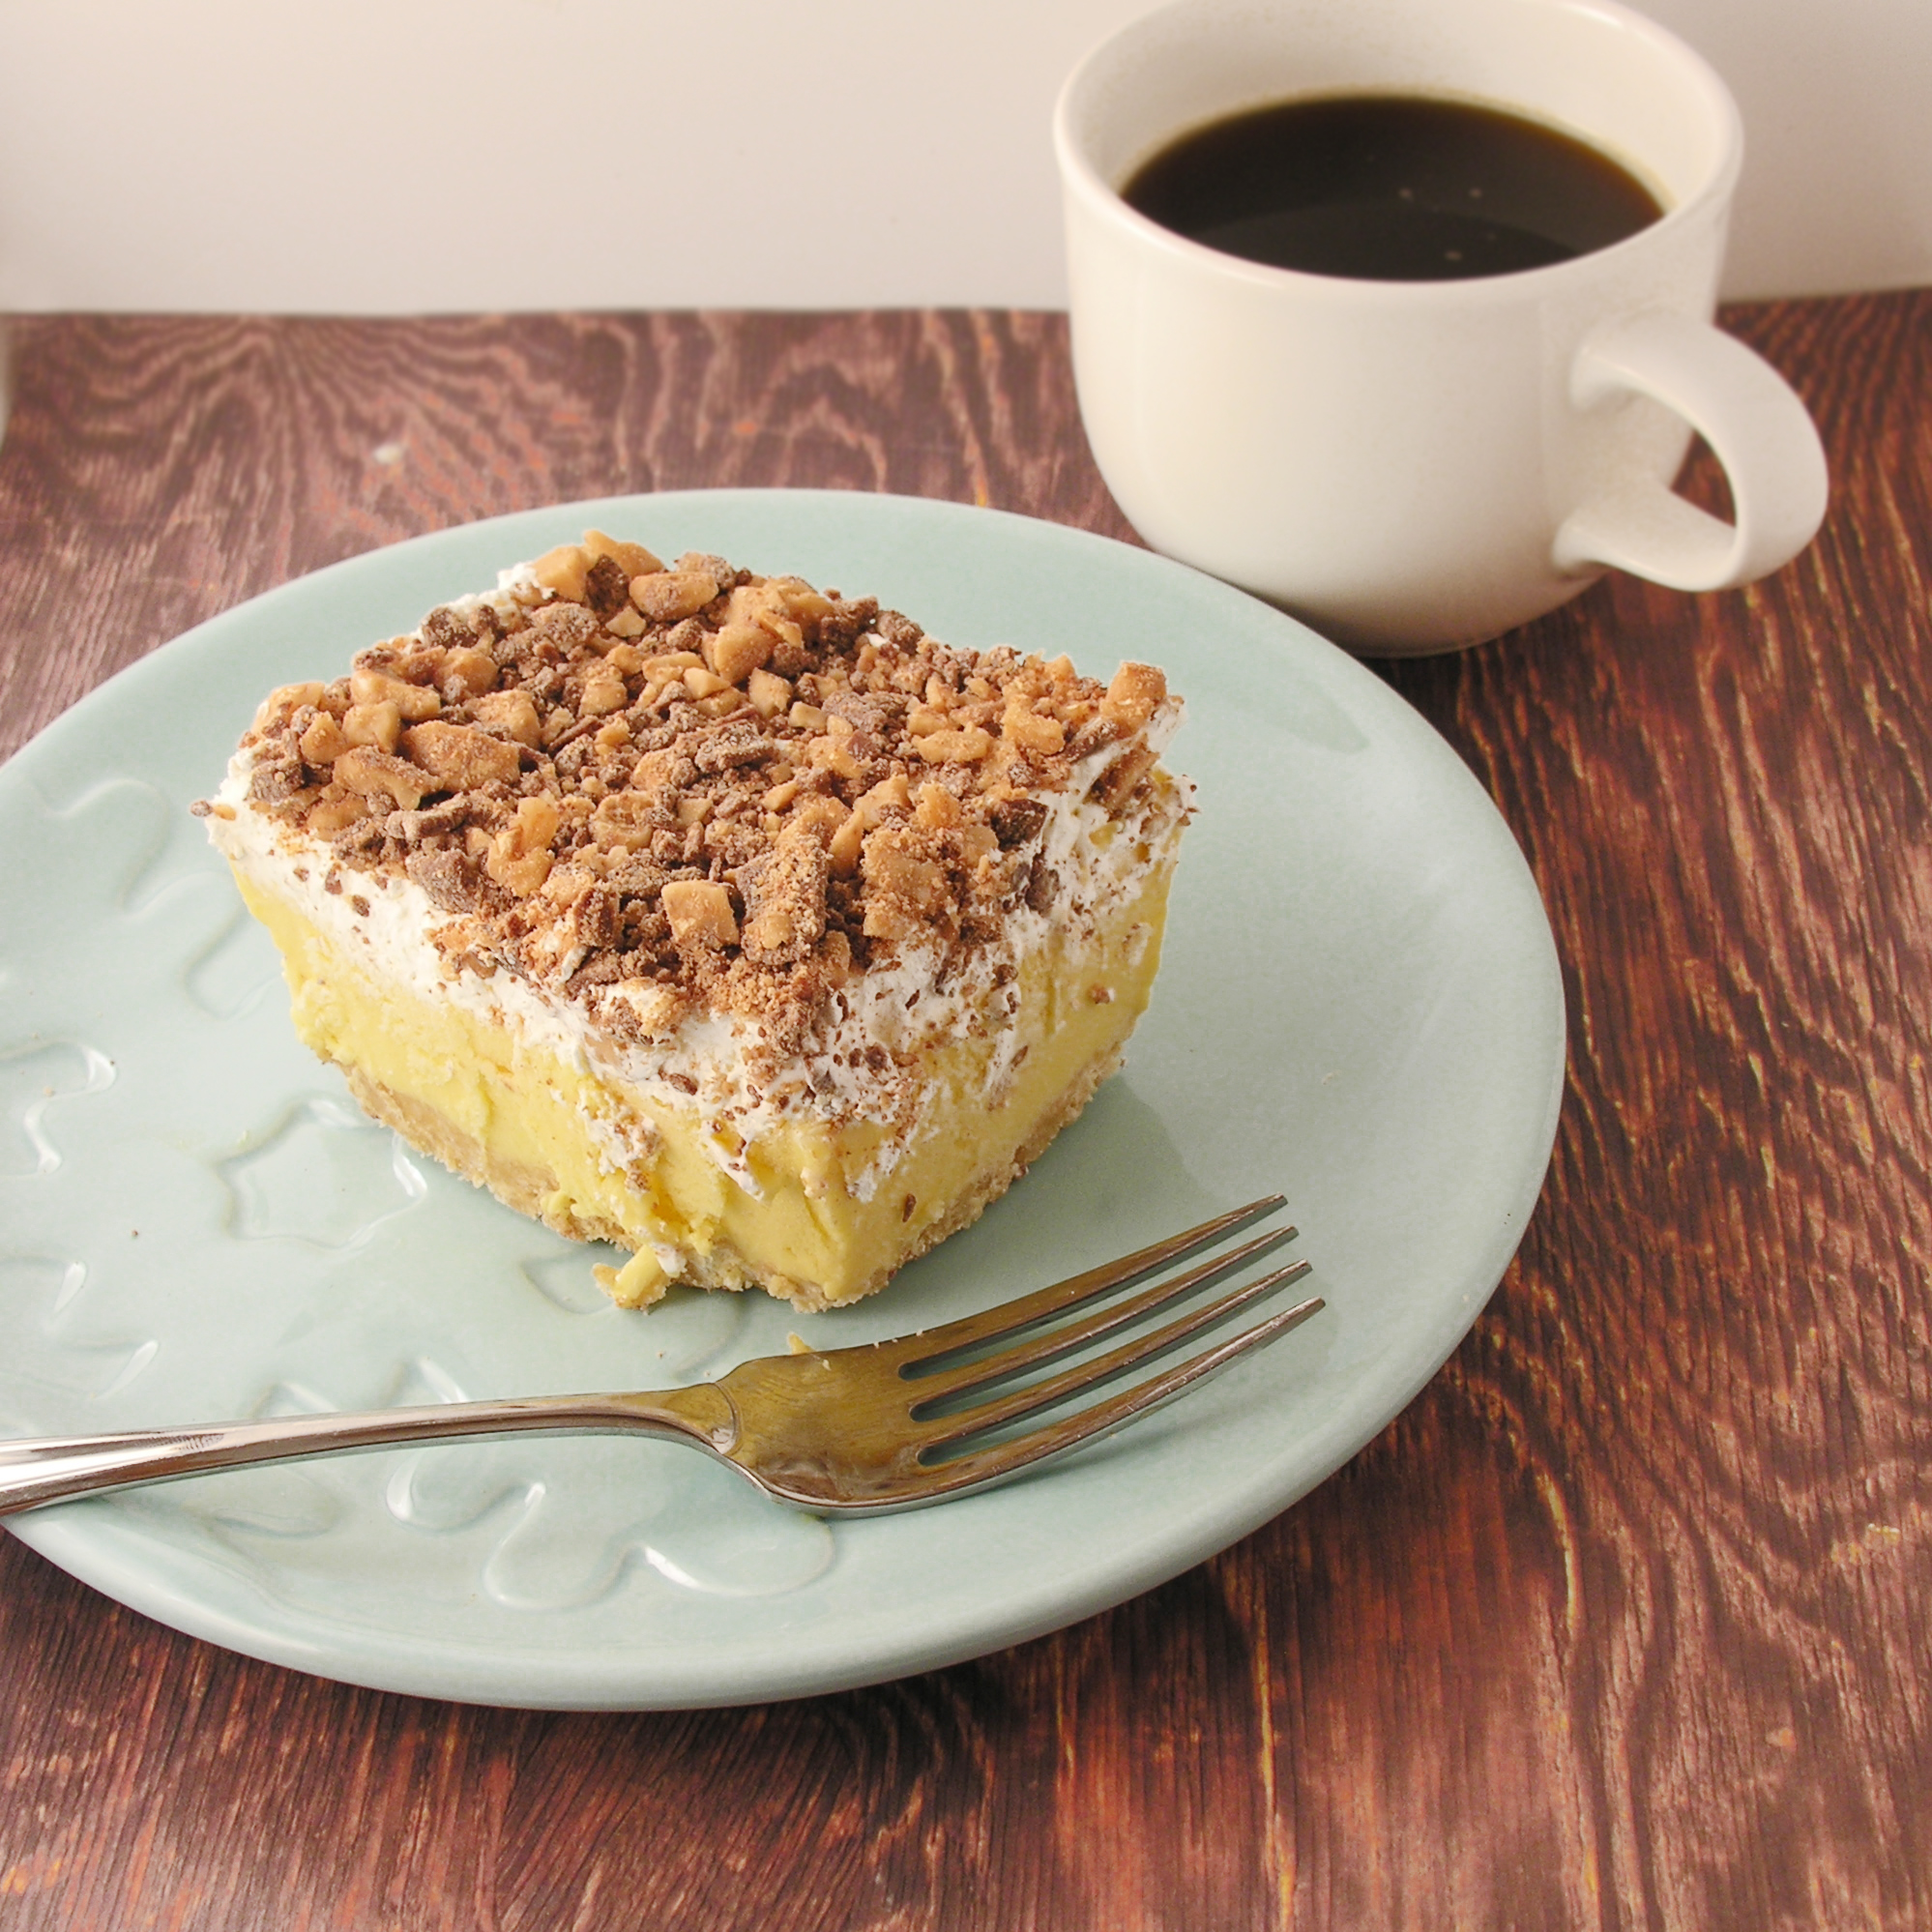
Chocolate Mousse:
A perfect creamy filling for a layer cake–YUM!
Ingredients:
- 2 packets of Dream Whip
- 3/4 c. milk
- 1 t. vanilla
- 3T. cocoa powder
- 3T. powdered sugar
Directions:
- Put Dream Whip, milk, vanilla, cocoa powder and powdered sugar into a mixing bowl and blend together.
- Using a mixer, beat until stiff peaks form (3-4 minutes)

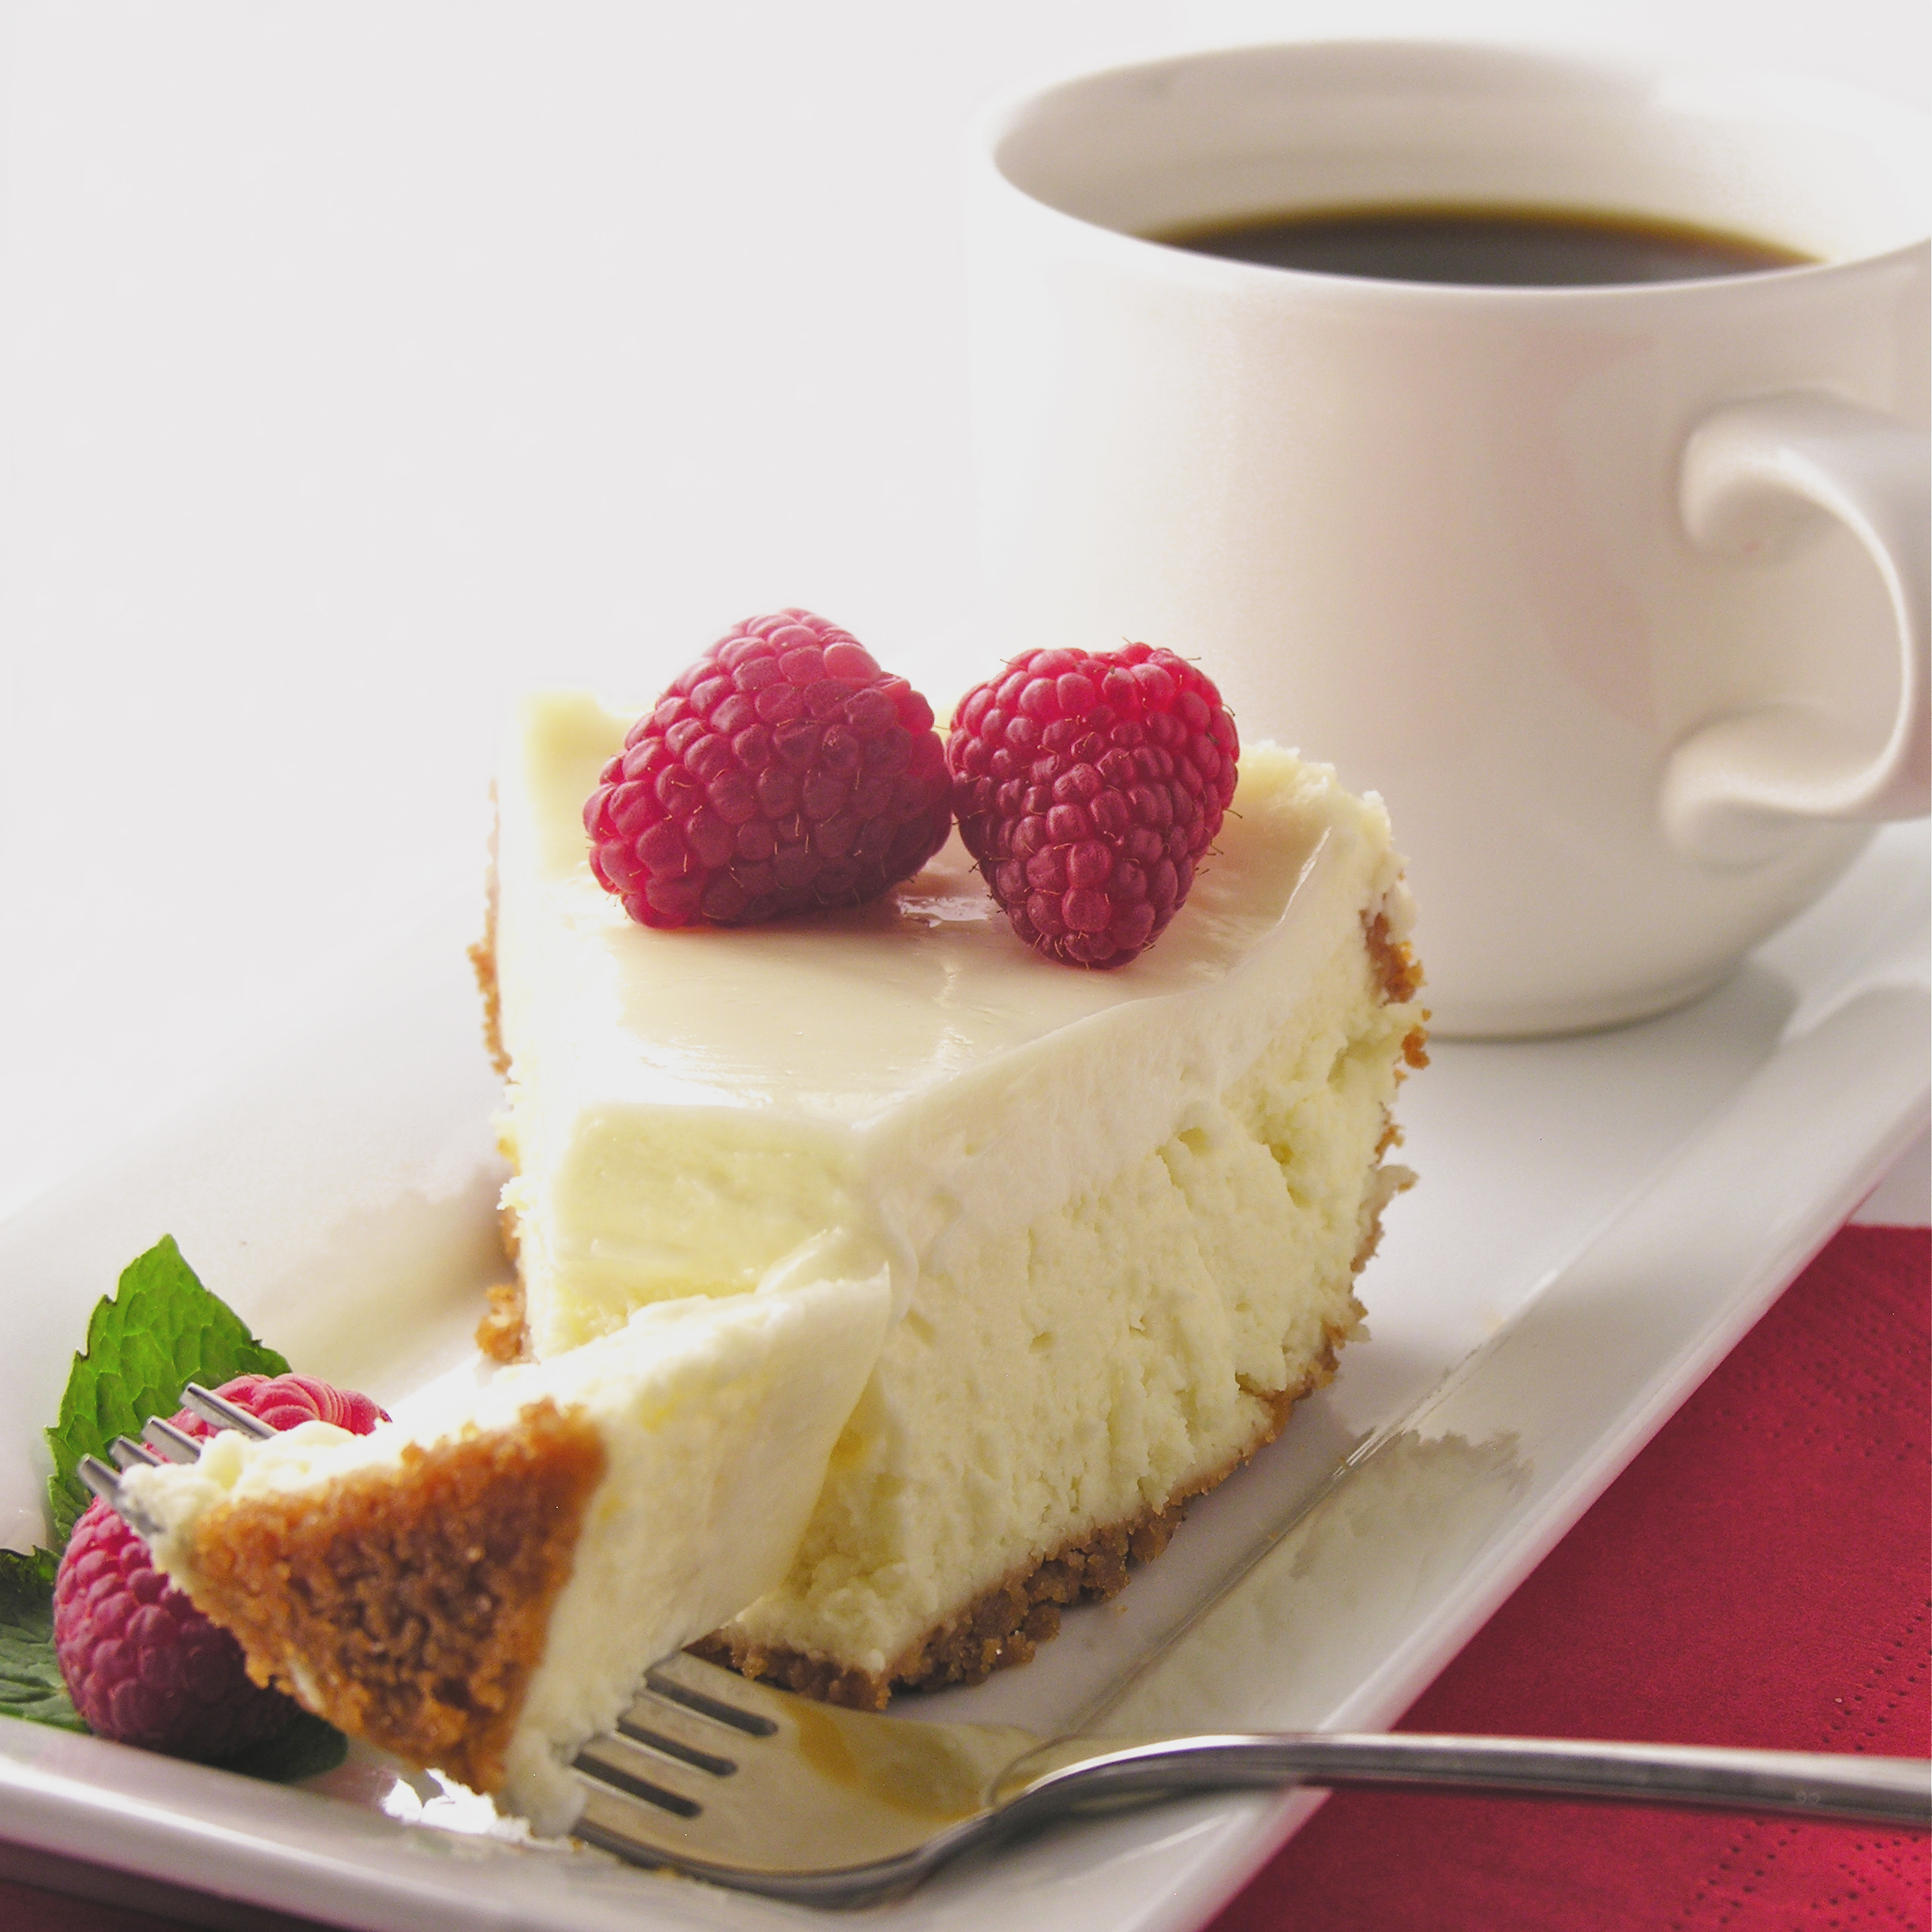
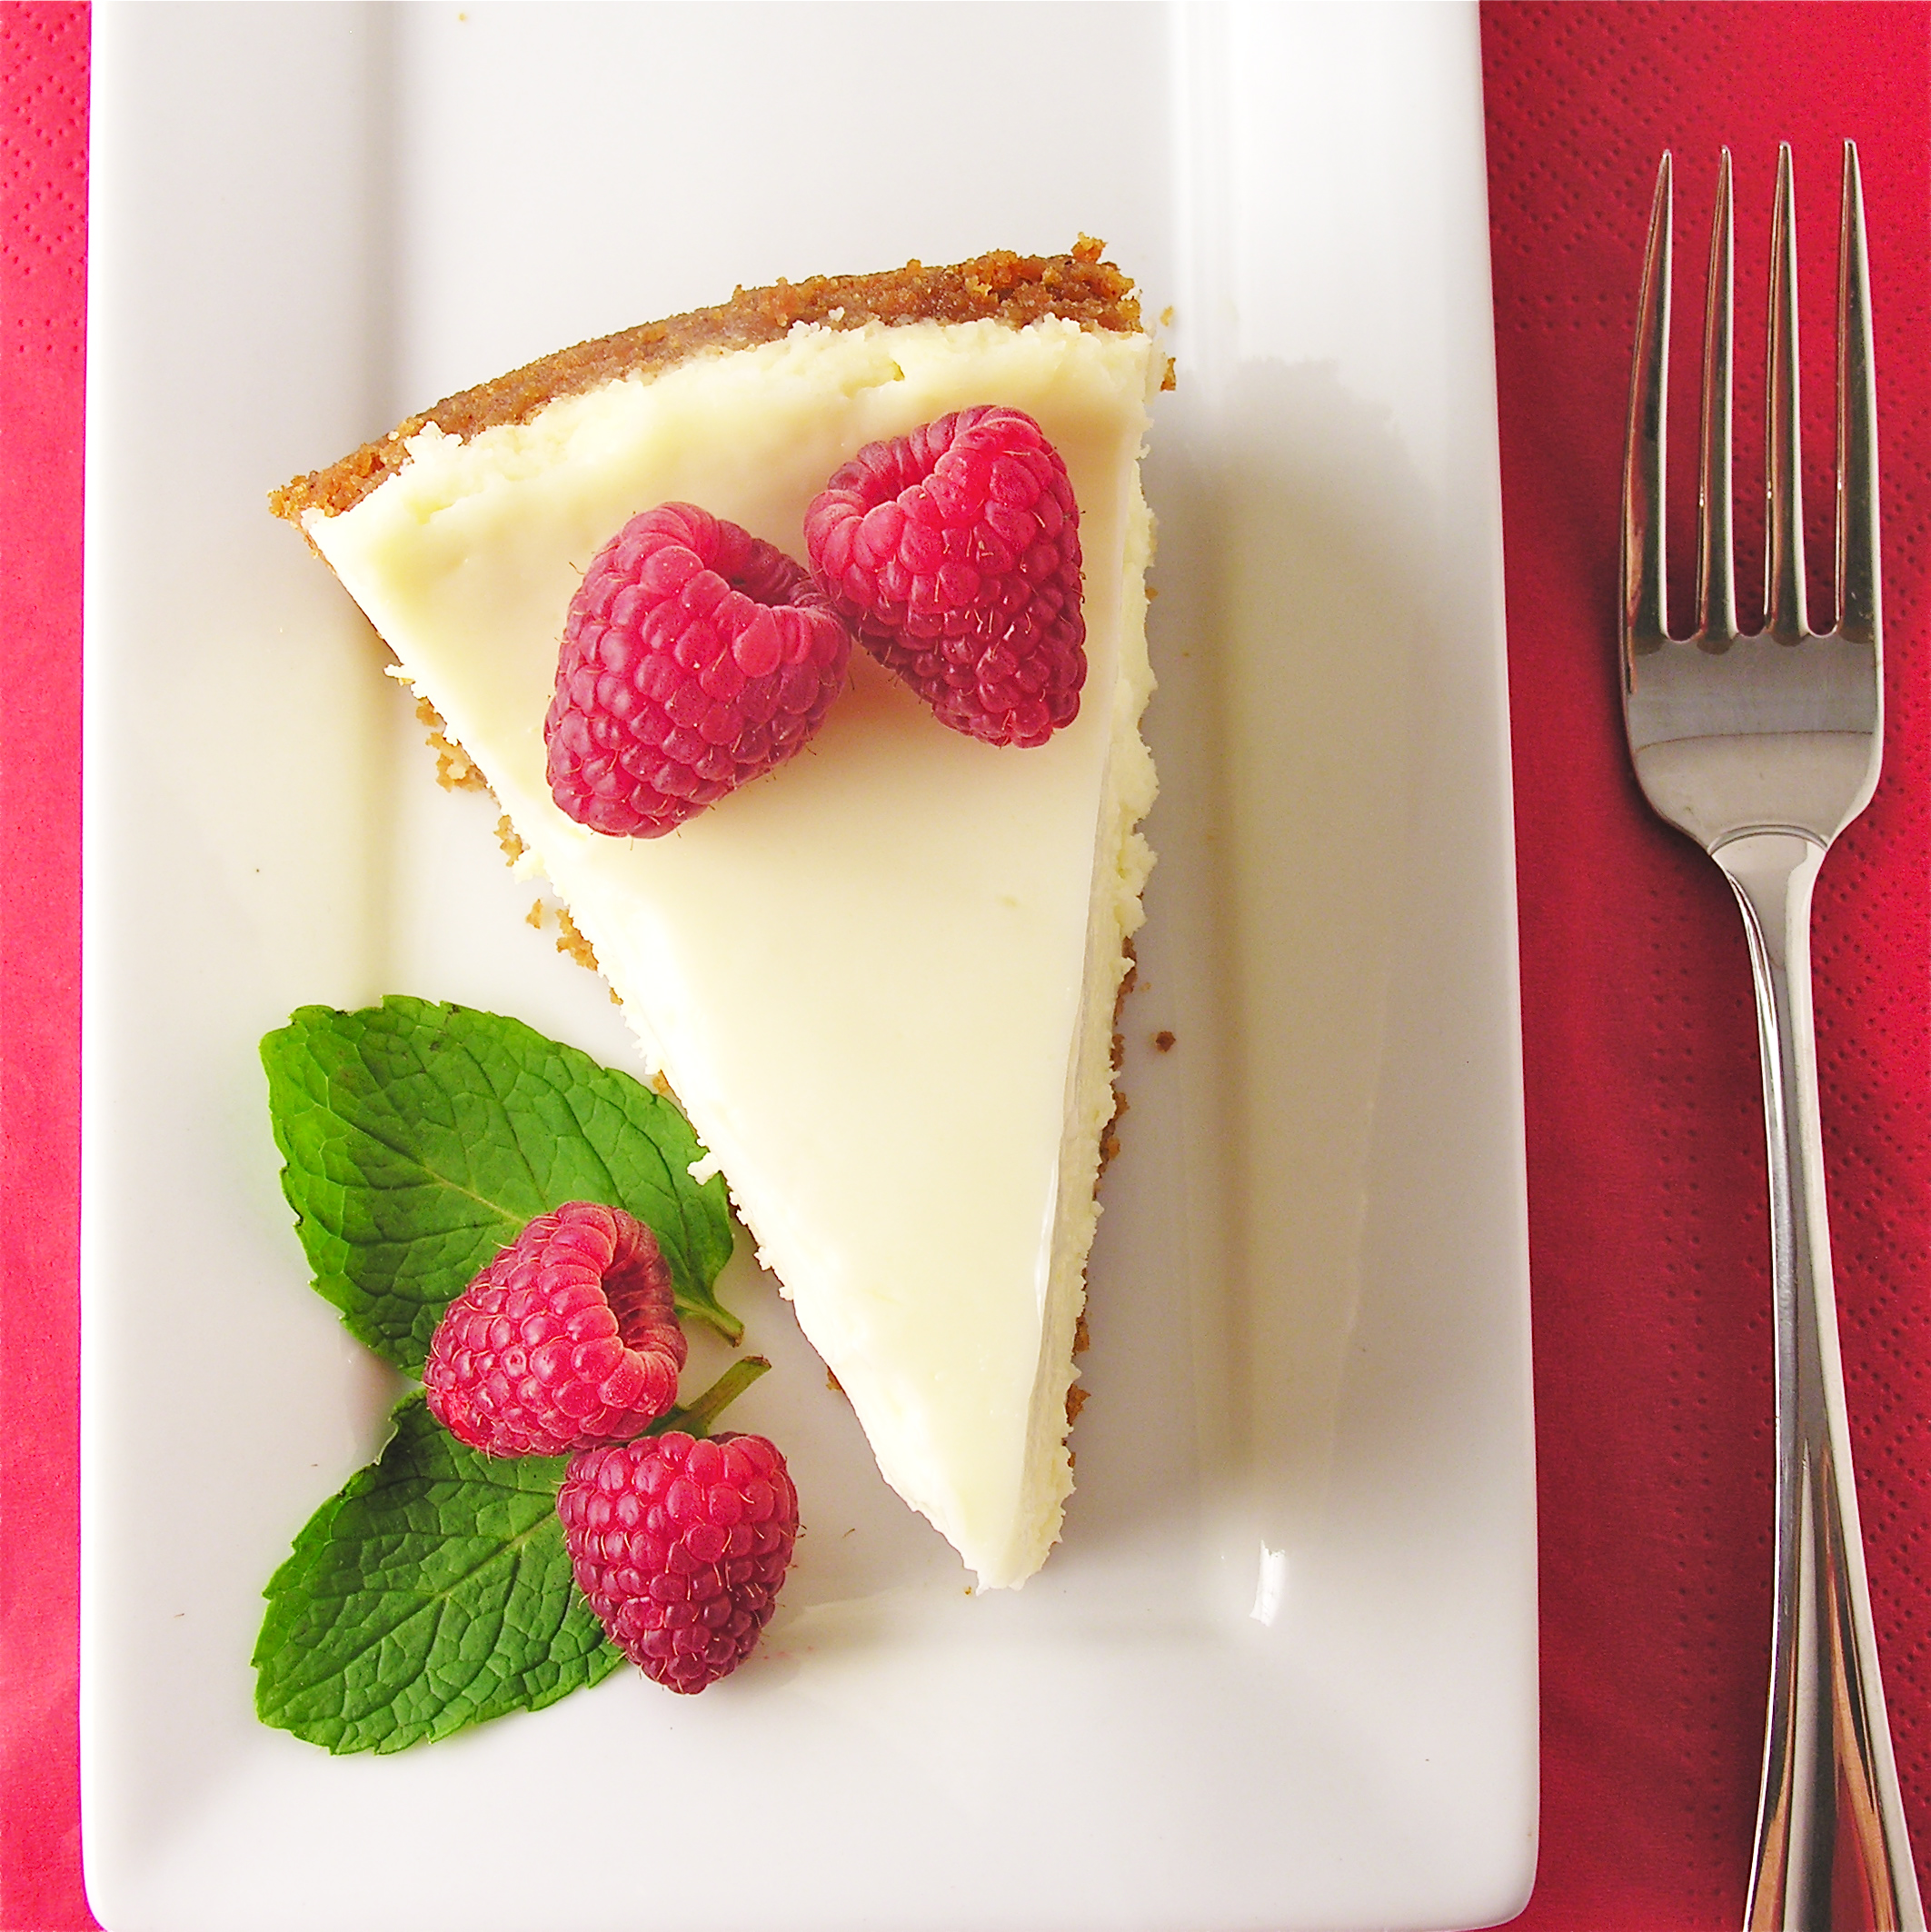
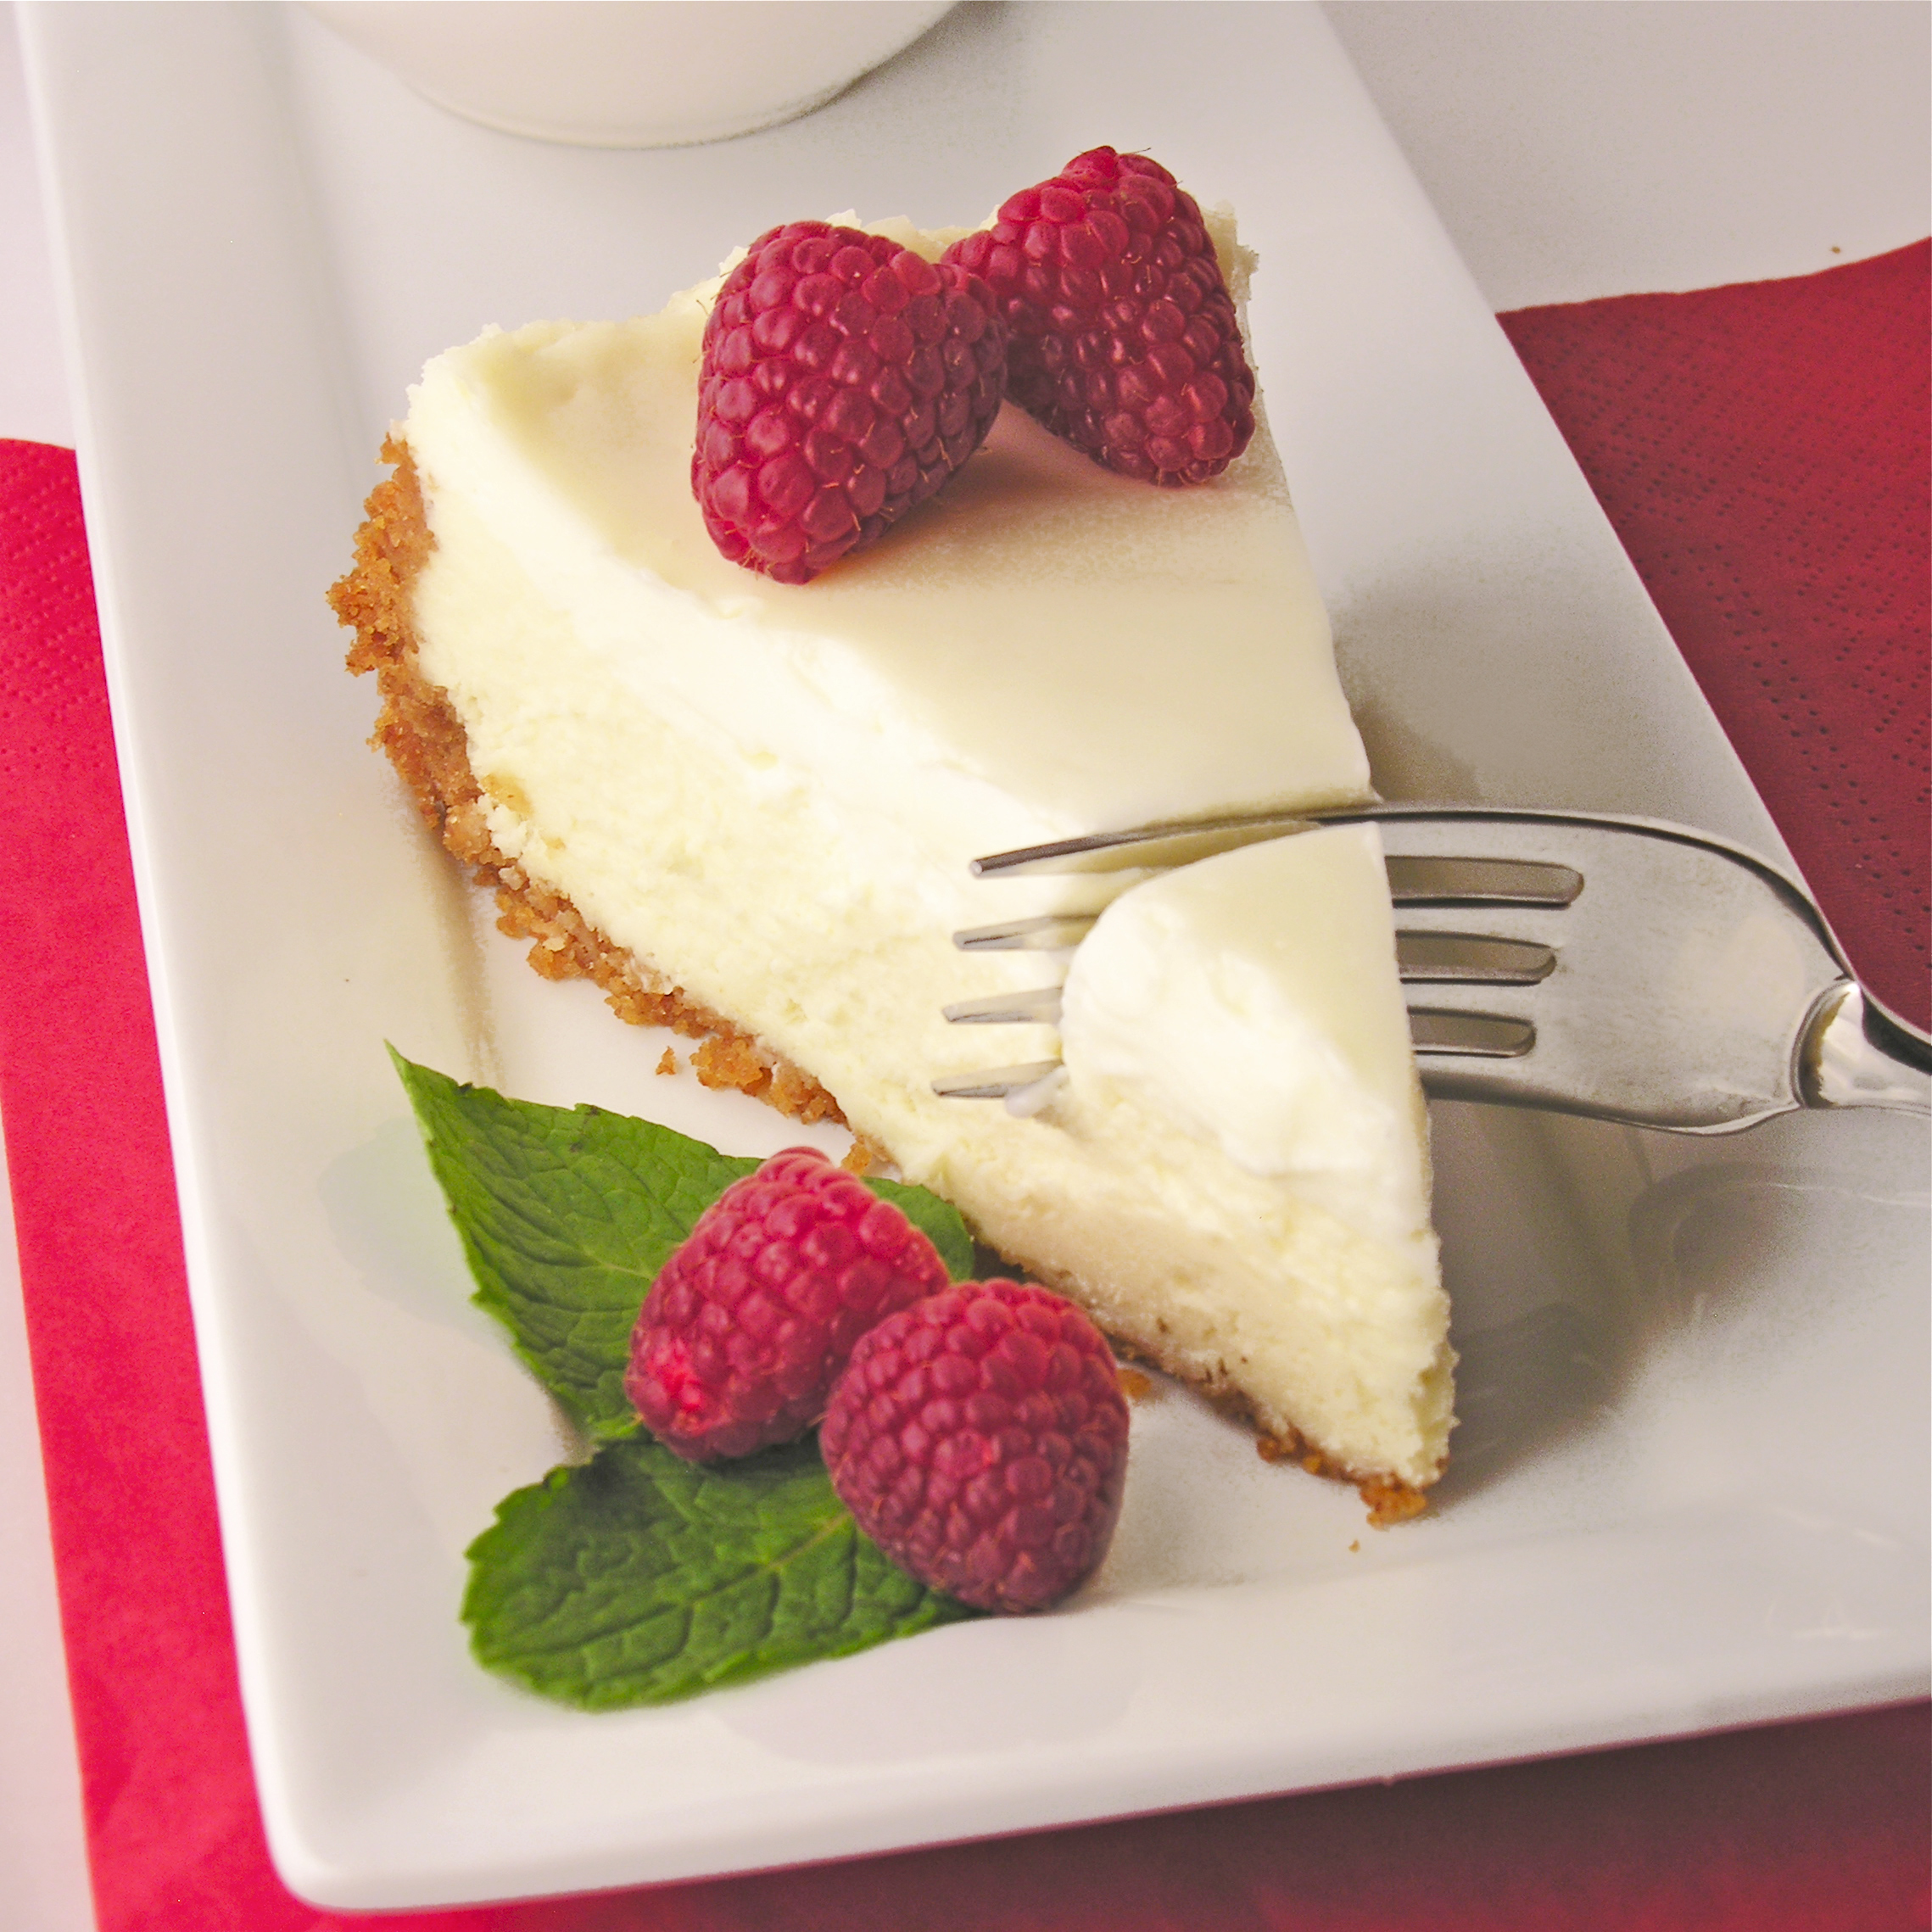
Easy Cheesecake Filling:
I’ve used this no-bake cheesecake filling for years- I like to make it and fill a pre-made graham crust for a super easy dessert!
Ingredients:
- 8 oz. of Philadelphia Cream Cheese
- 1/3 c. granulated sugar
- 2 t. vanilla
- 1 (8 oz) container of Cool Whip
- 1 c. mini chocolate chips
Directions:
- Cream together softened cream cheese and sugar.
- Add vanilla.
- Fold in Cool Whip and 1 c. chocolate chips.
TOPPINGS:

Chocolate glaze:
This glaze is nice because it hardens just enough to still cut- like a really hard fudge.
Ingredients:
- 12oz. semi-sweet chocolate chips
- 12 tsp. butter (do not substitute margarine here!)
Directions:
- Melt butter and chocolate together in the microwave in 30 second increments, stirring in between until completely melted and smooth.
- Pour over dessert and spread evenly. Allow glaze to harden.

Ganache:
This is a big go-to topping for me- you’ll see it in many varieties in my recipes. You can change the flavor by changing the type of chips you use. I’ve made dark chocolate, milk chocolate, white chocolate, butterscotch, cinnamon and peanut butter ganache using this recipe— it makes a GREAT (easy to cut!) topping for cheesecakes.
Ingredients:
- 1/2 c. whipping cream
- 1 c. chips (any flavor)
Directions:
- Warm whipping cream in a small saucepan until just bubbling around edges (stirring!)
- Turn off heat, add chips and cover pan for 5 minutes.
- Stir melted chips into hot whipping cream until smooth (add a little heat if the chips aren’t fully melted)
- Pour over dessert (or into cookie cups etc.) and allow ganache to harden.

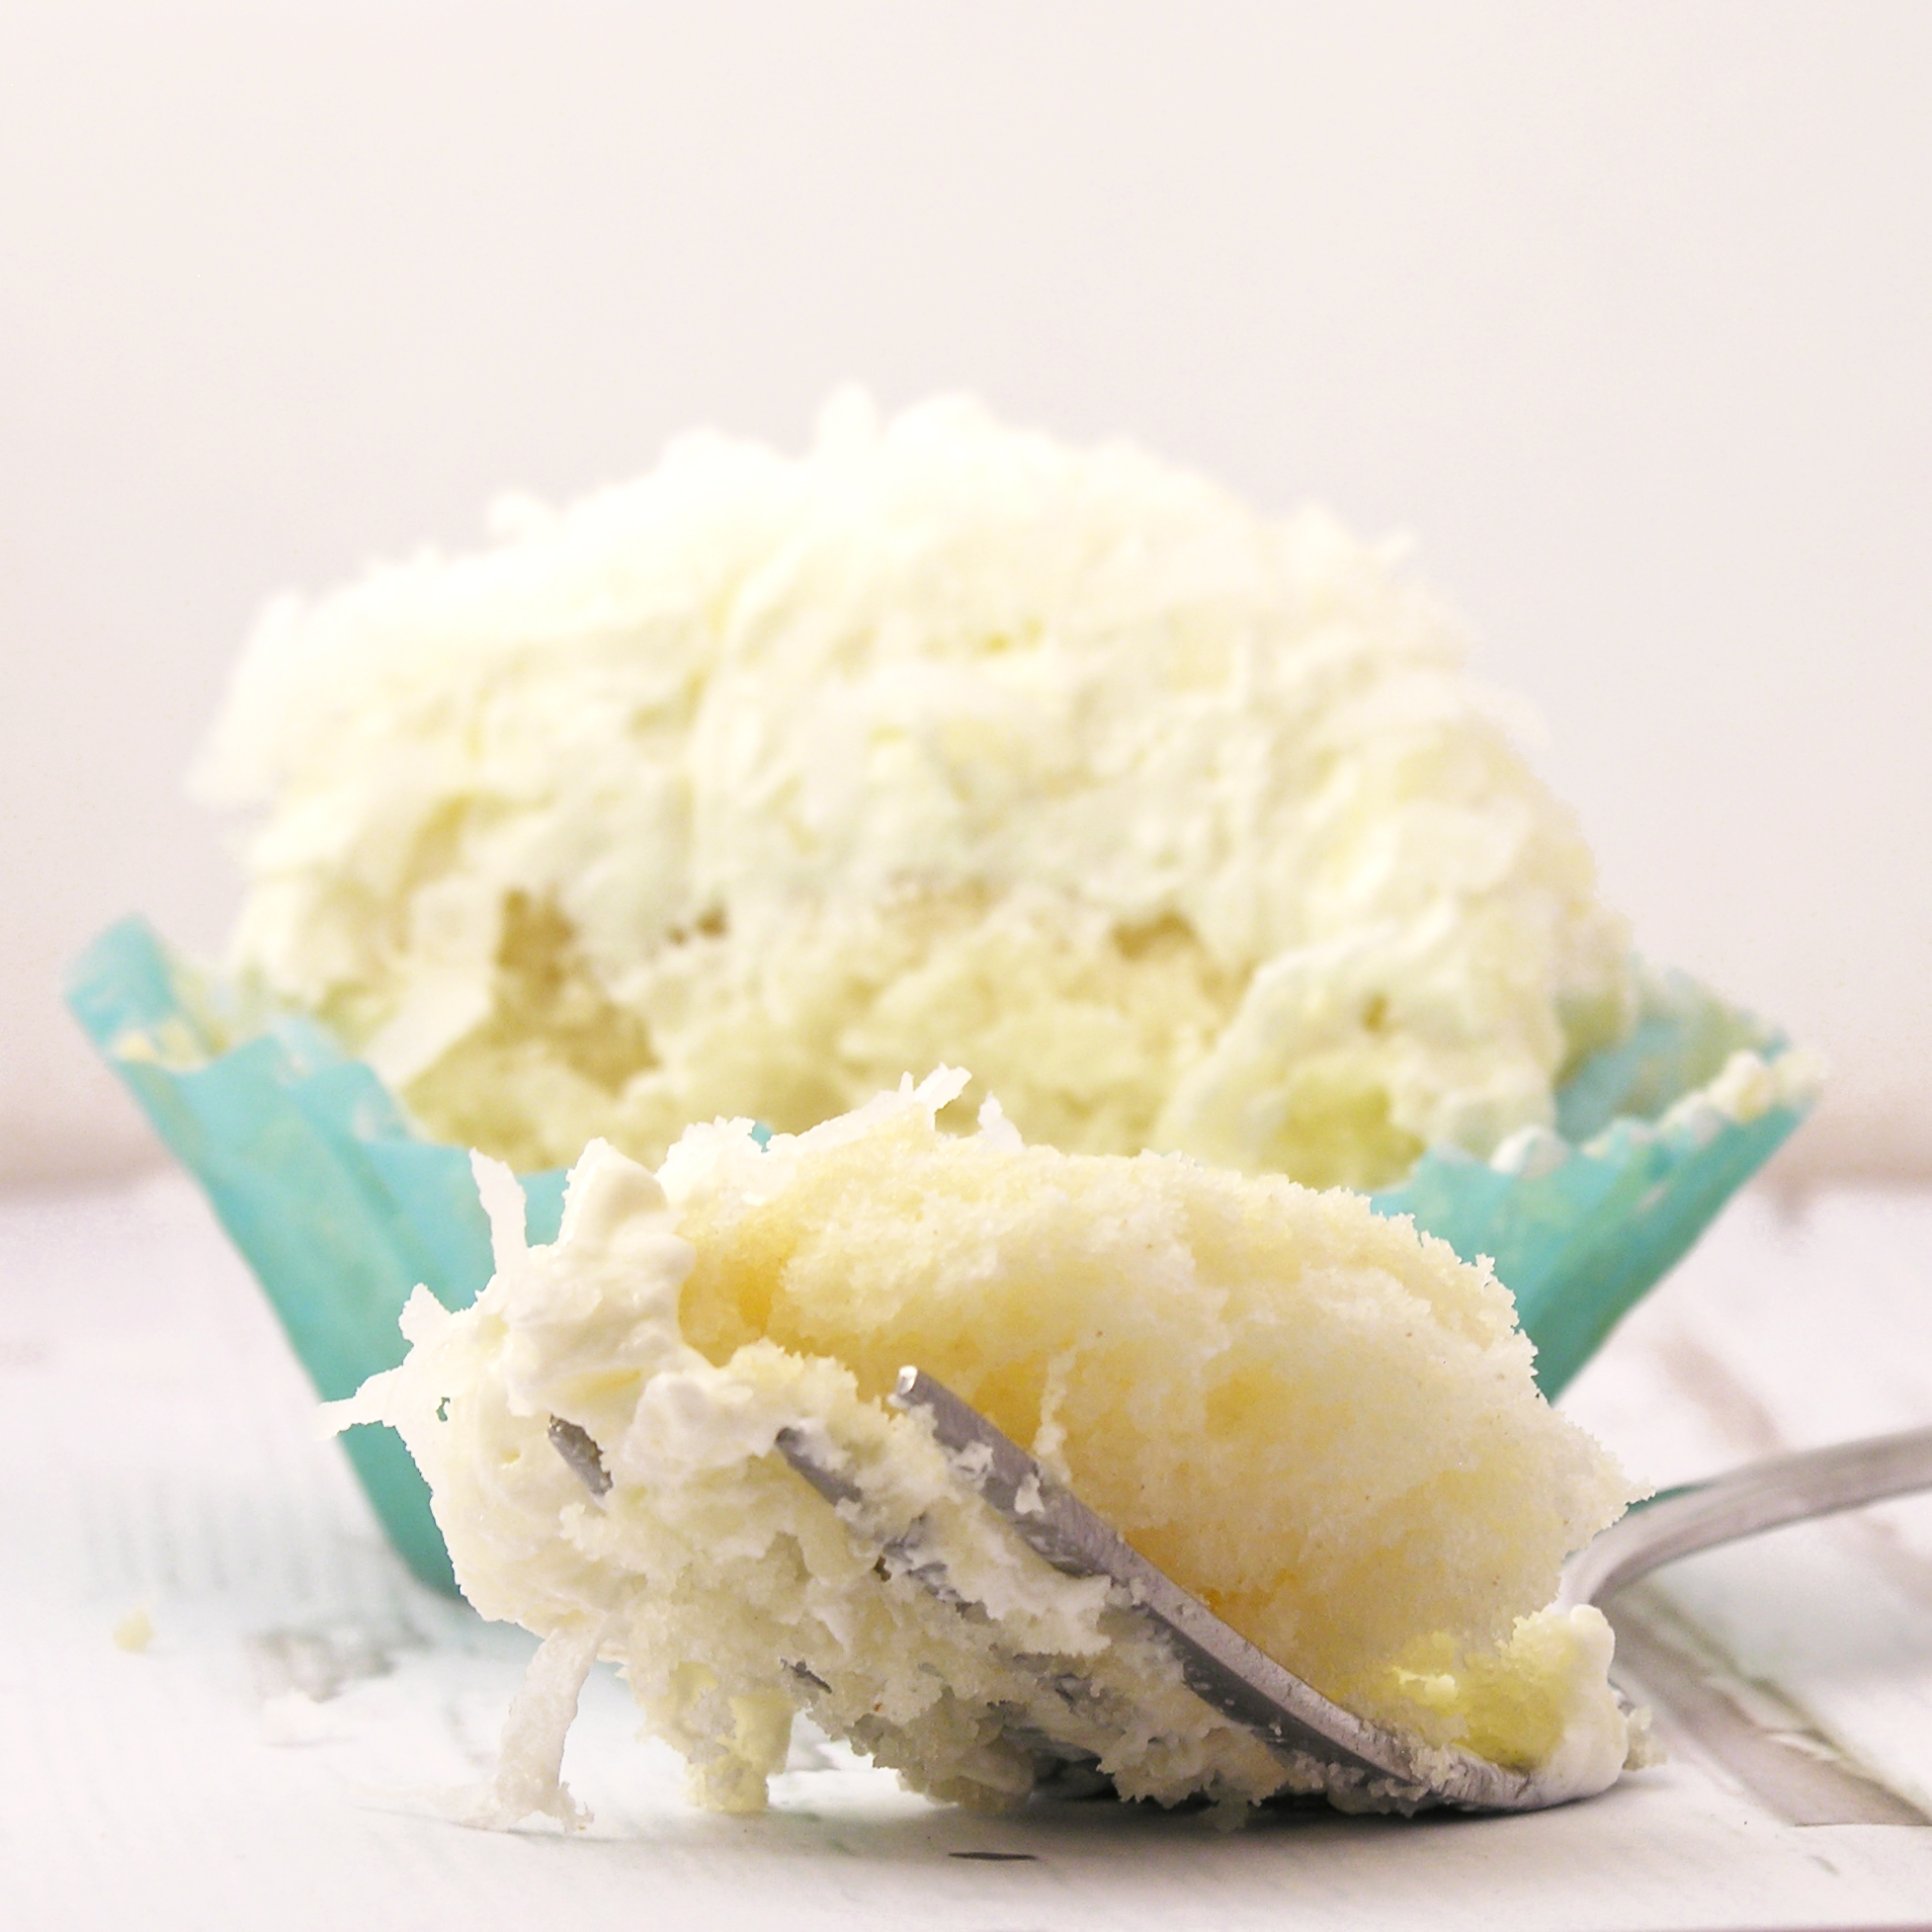
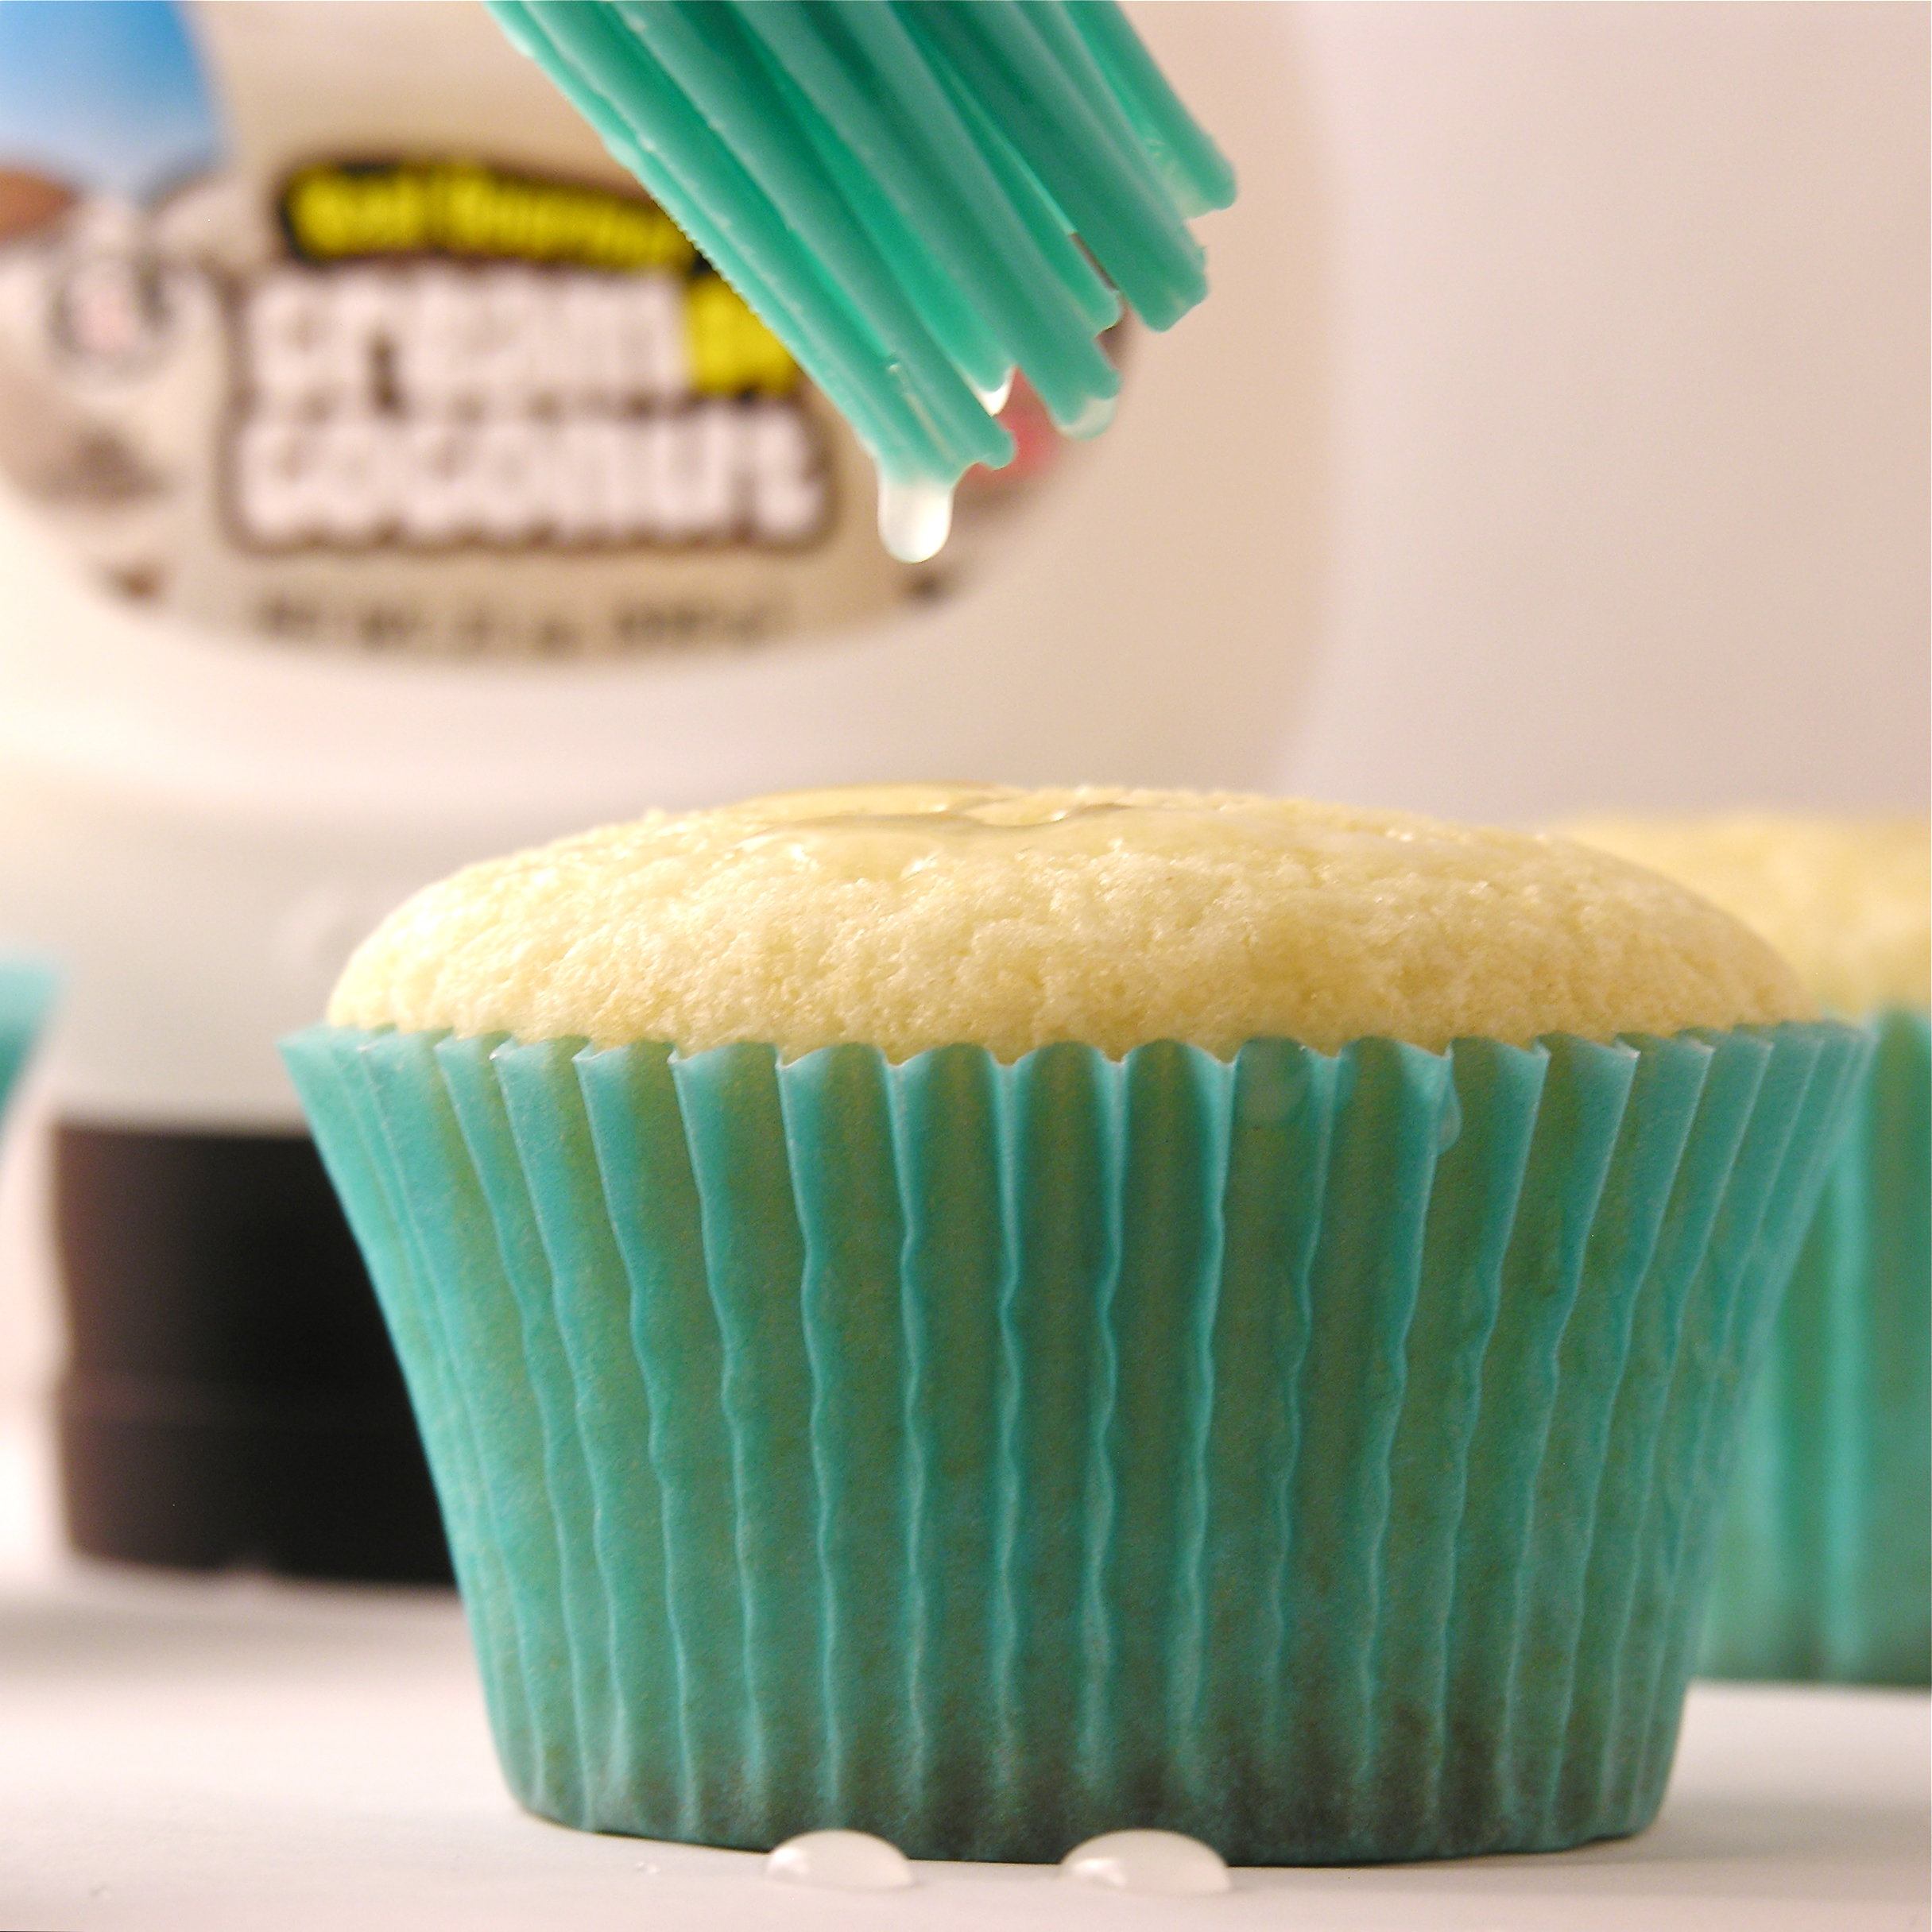
Melted Frosting Glaze:
Such a simple topping- yet so yummy!
Ingredients:
- One can of pre-made frosting
Directions:
- Spoon frosting into a microwave safe bowl.
- Warm in microwave for about 30 seconds.
- Stir until smooth and runny.
- Pour over dessert and allow glaze to harden.

Wilton’s Candy Melts:
The best thing to drizzle any dessert with. These are little candy wafers in a variety of colors that you can melt and drizzle. They harden into a solid layer though- so cutting them is more difficult.
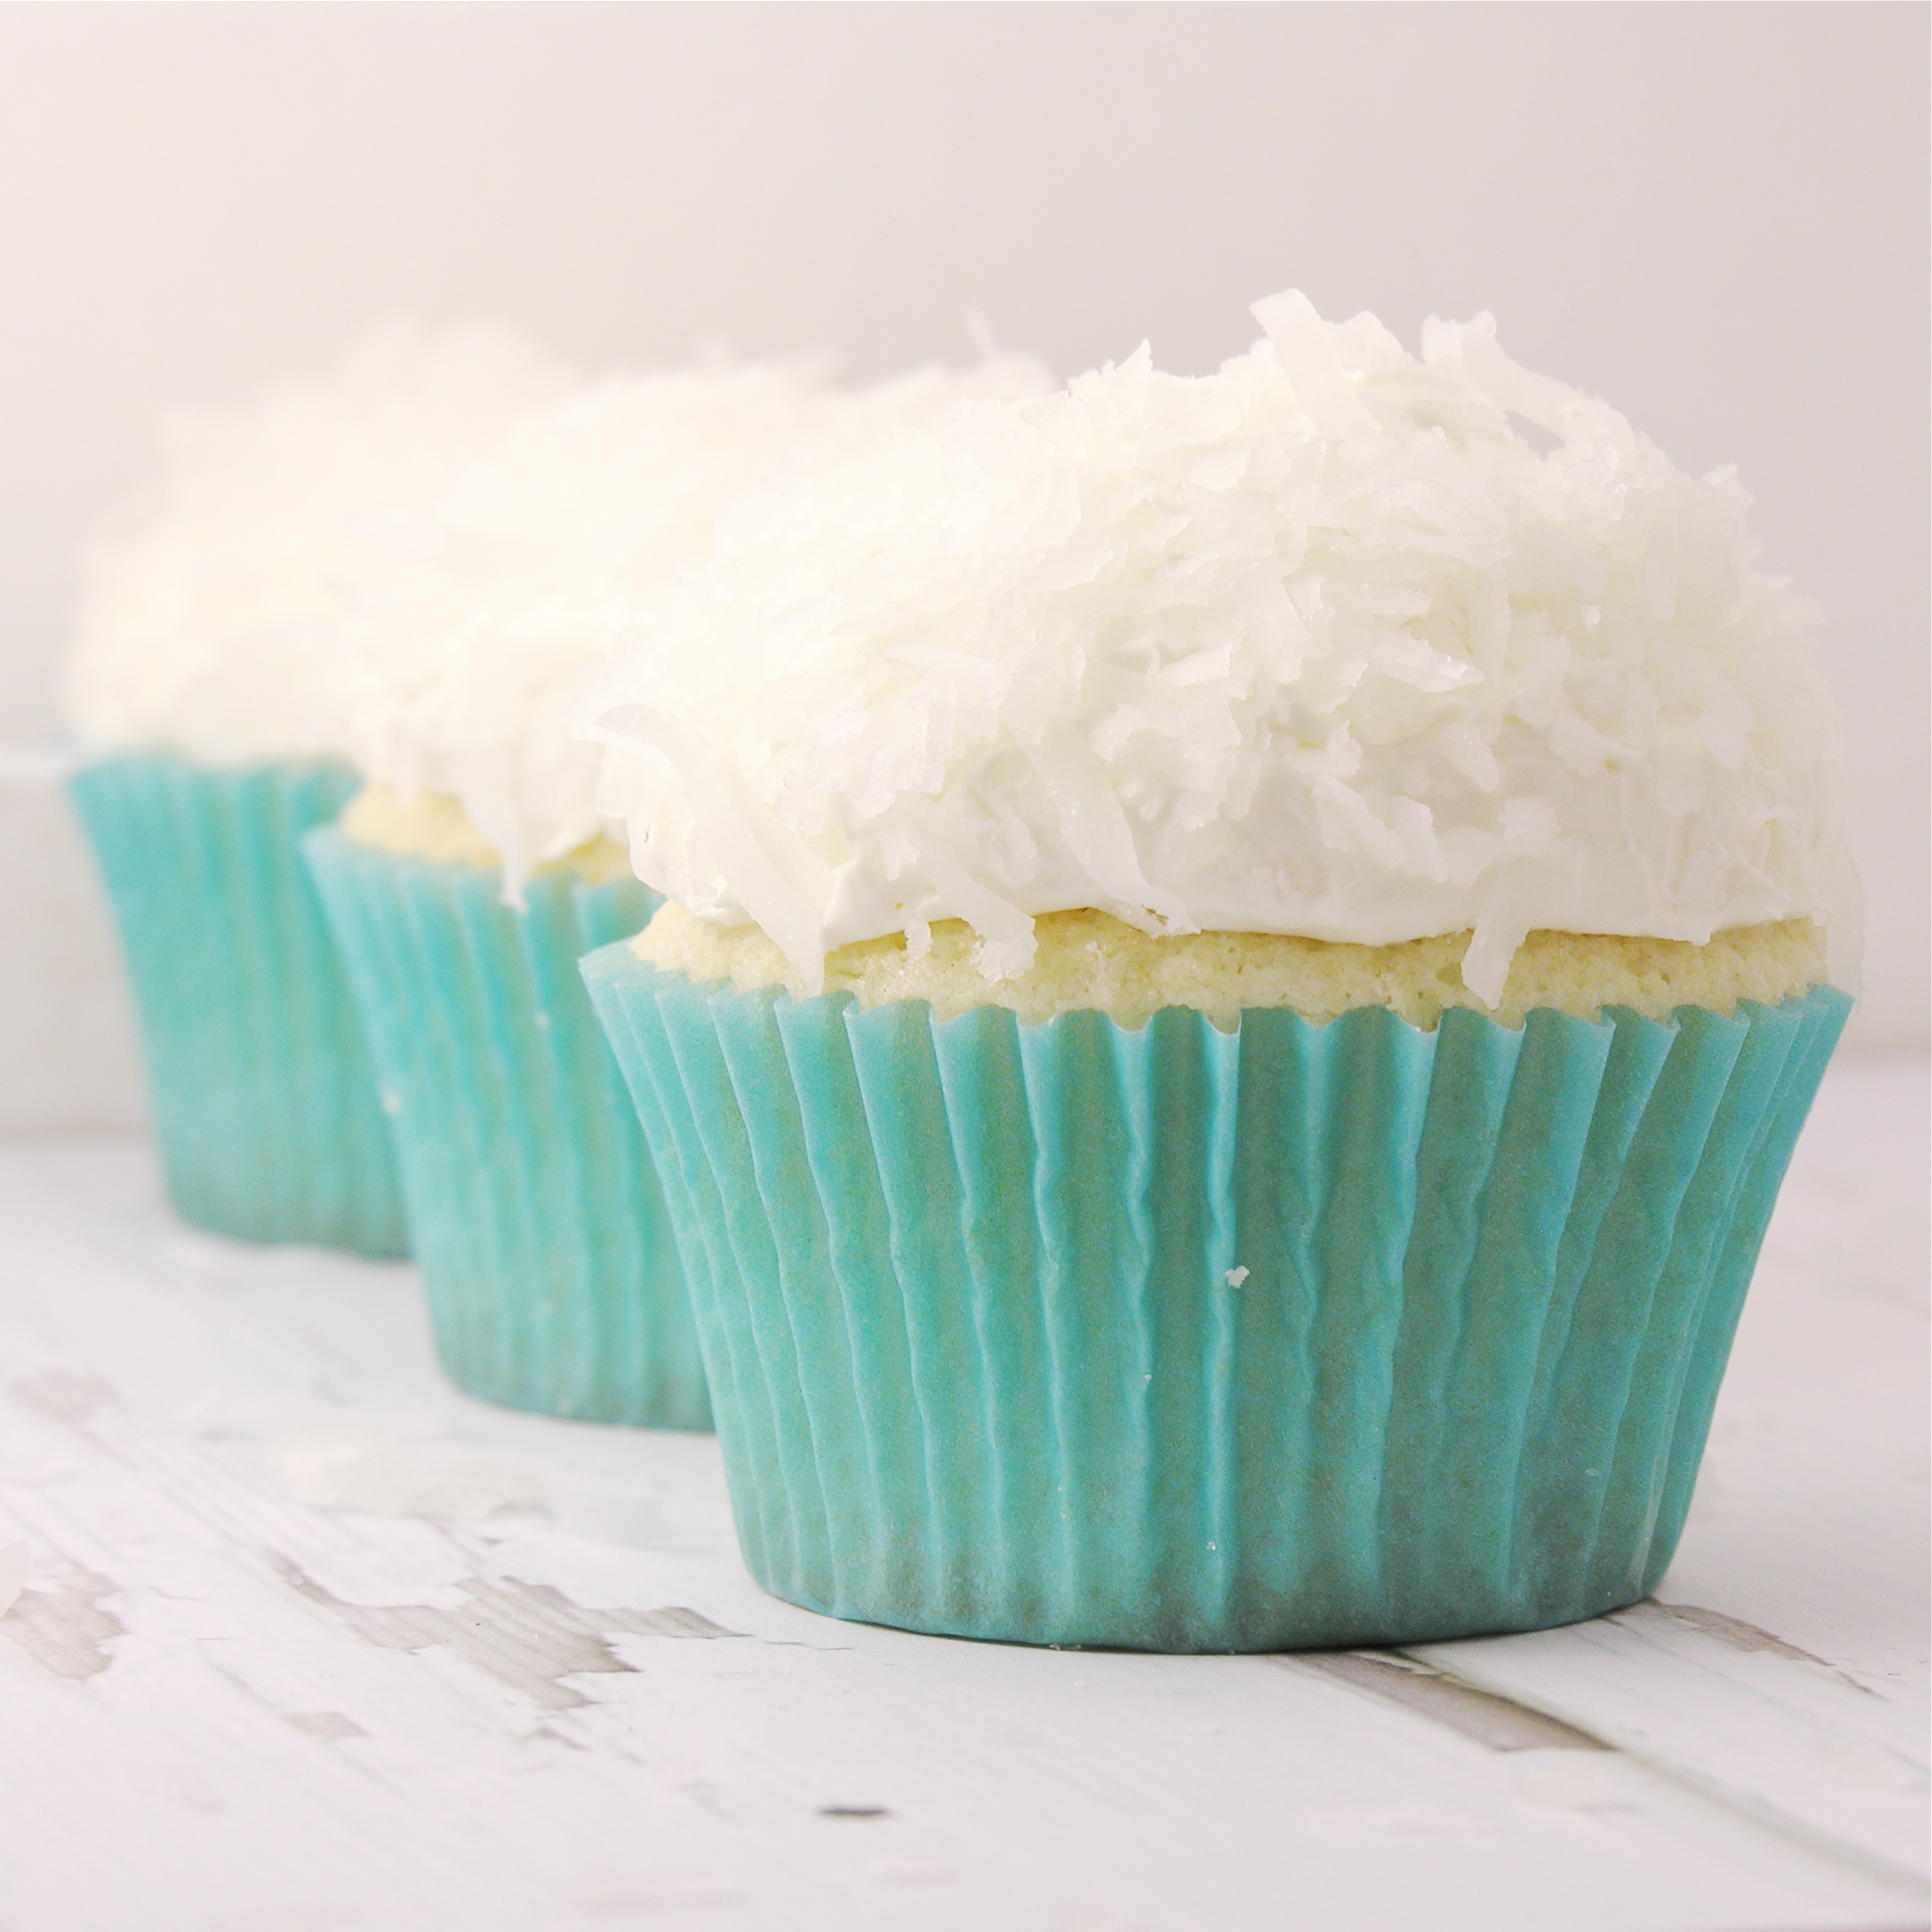
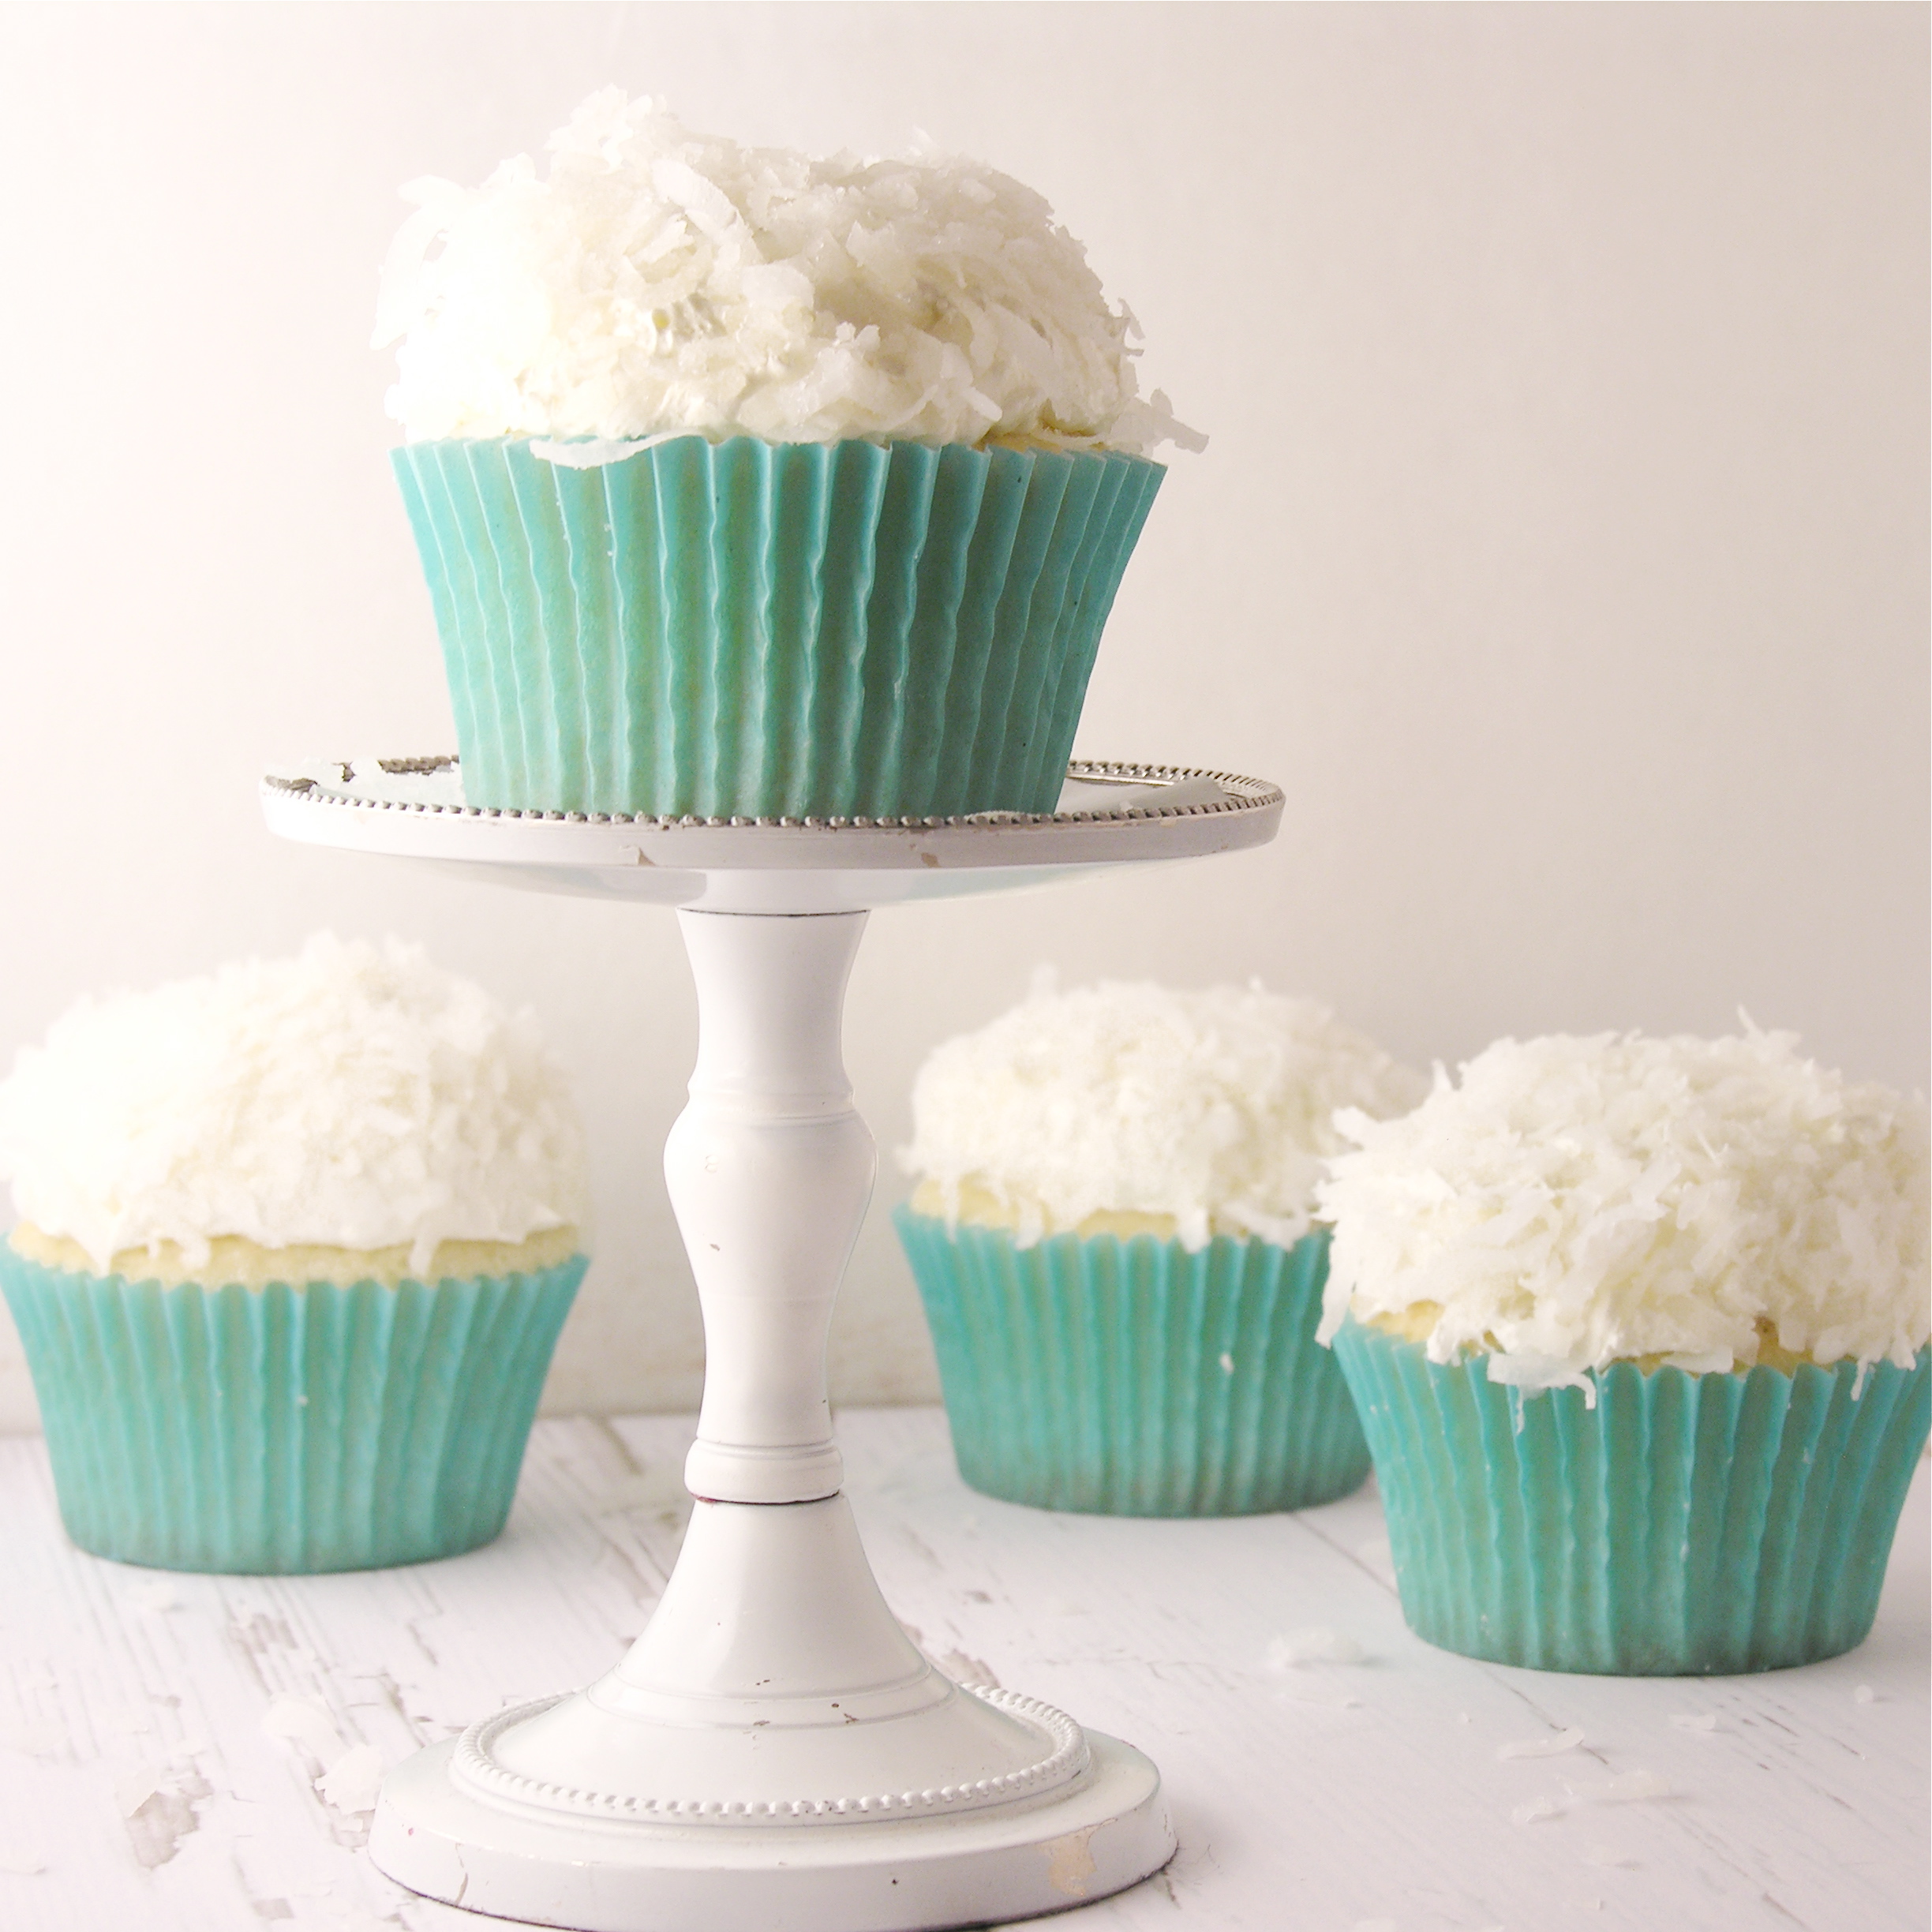
I hope this collection of my favorites inspires you to create wonderful new treats!
Enjoy your weekend– and Happy Father’s Day to all of you dads out there!! -r

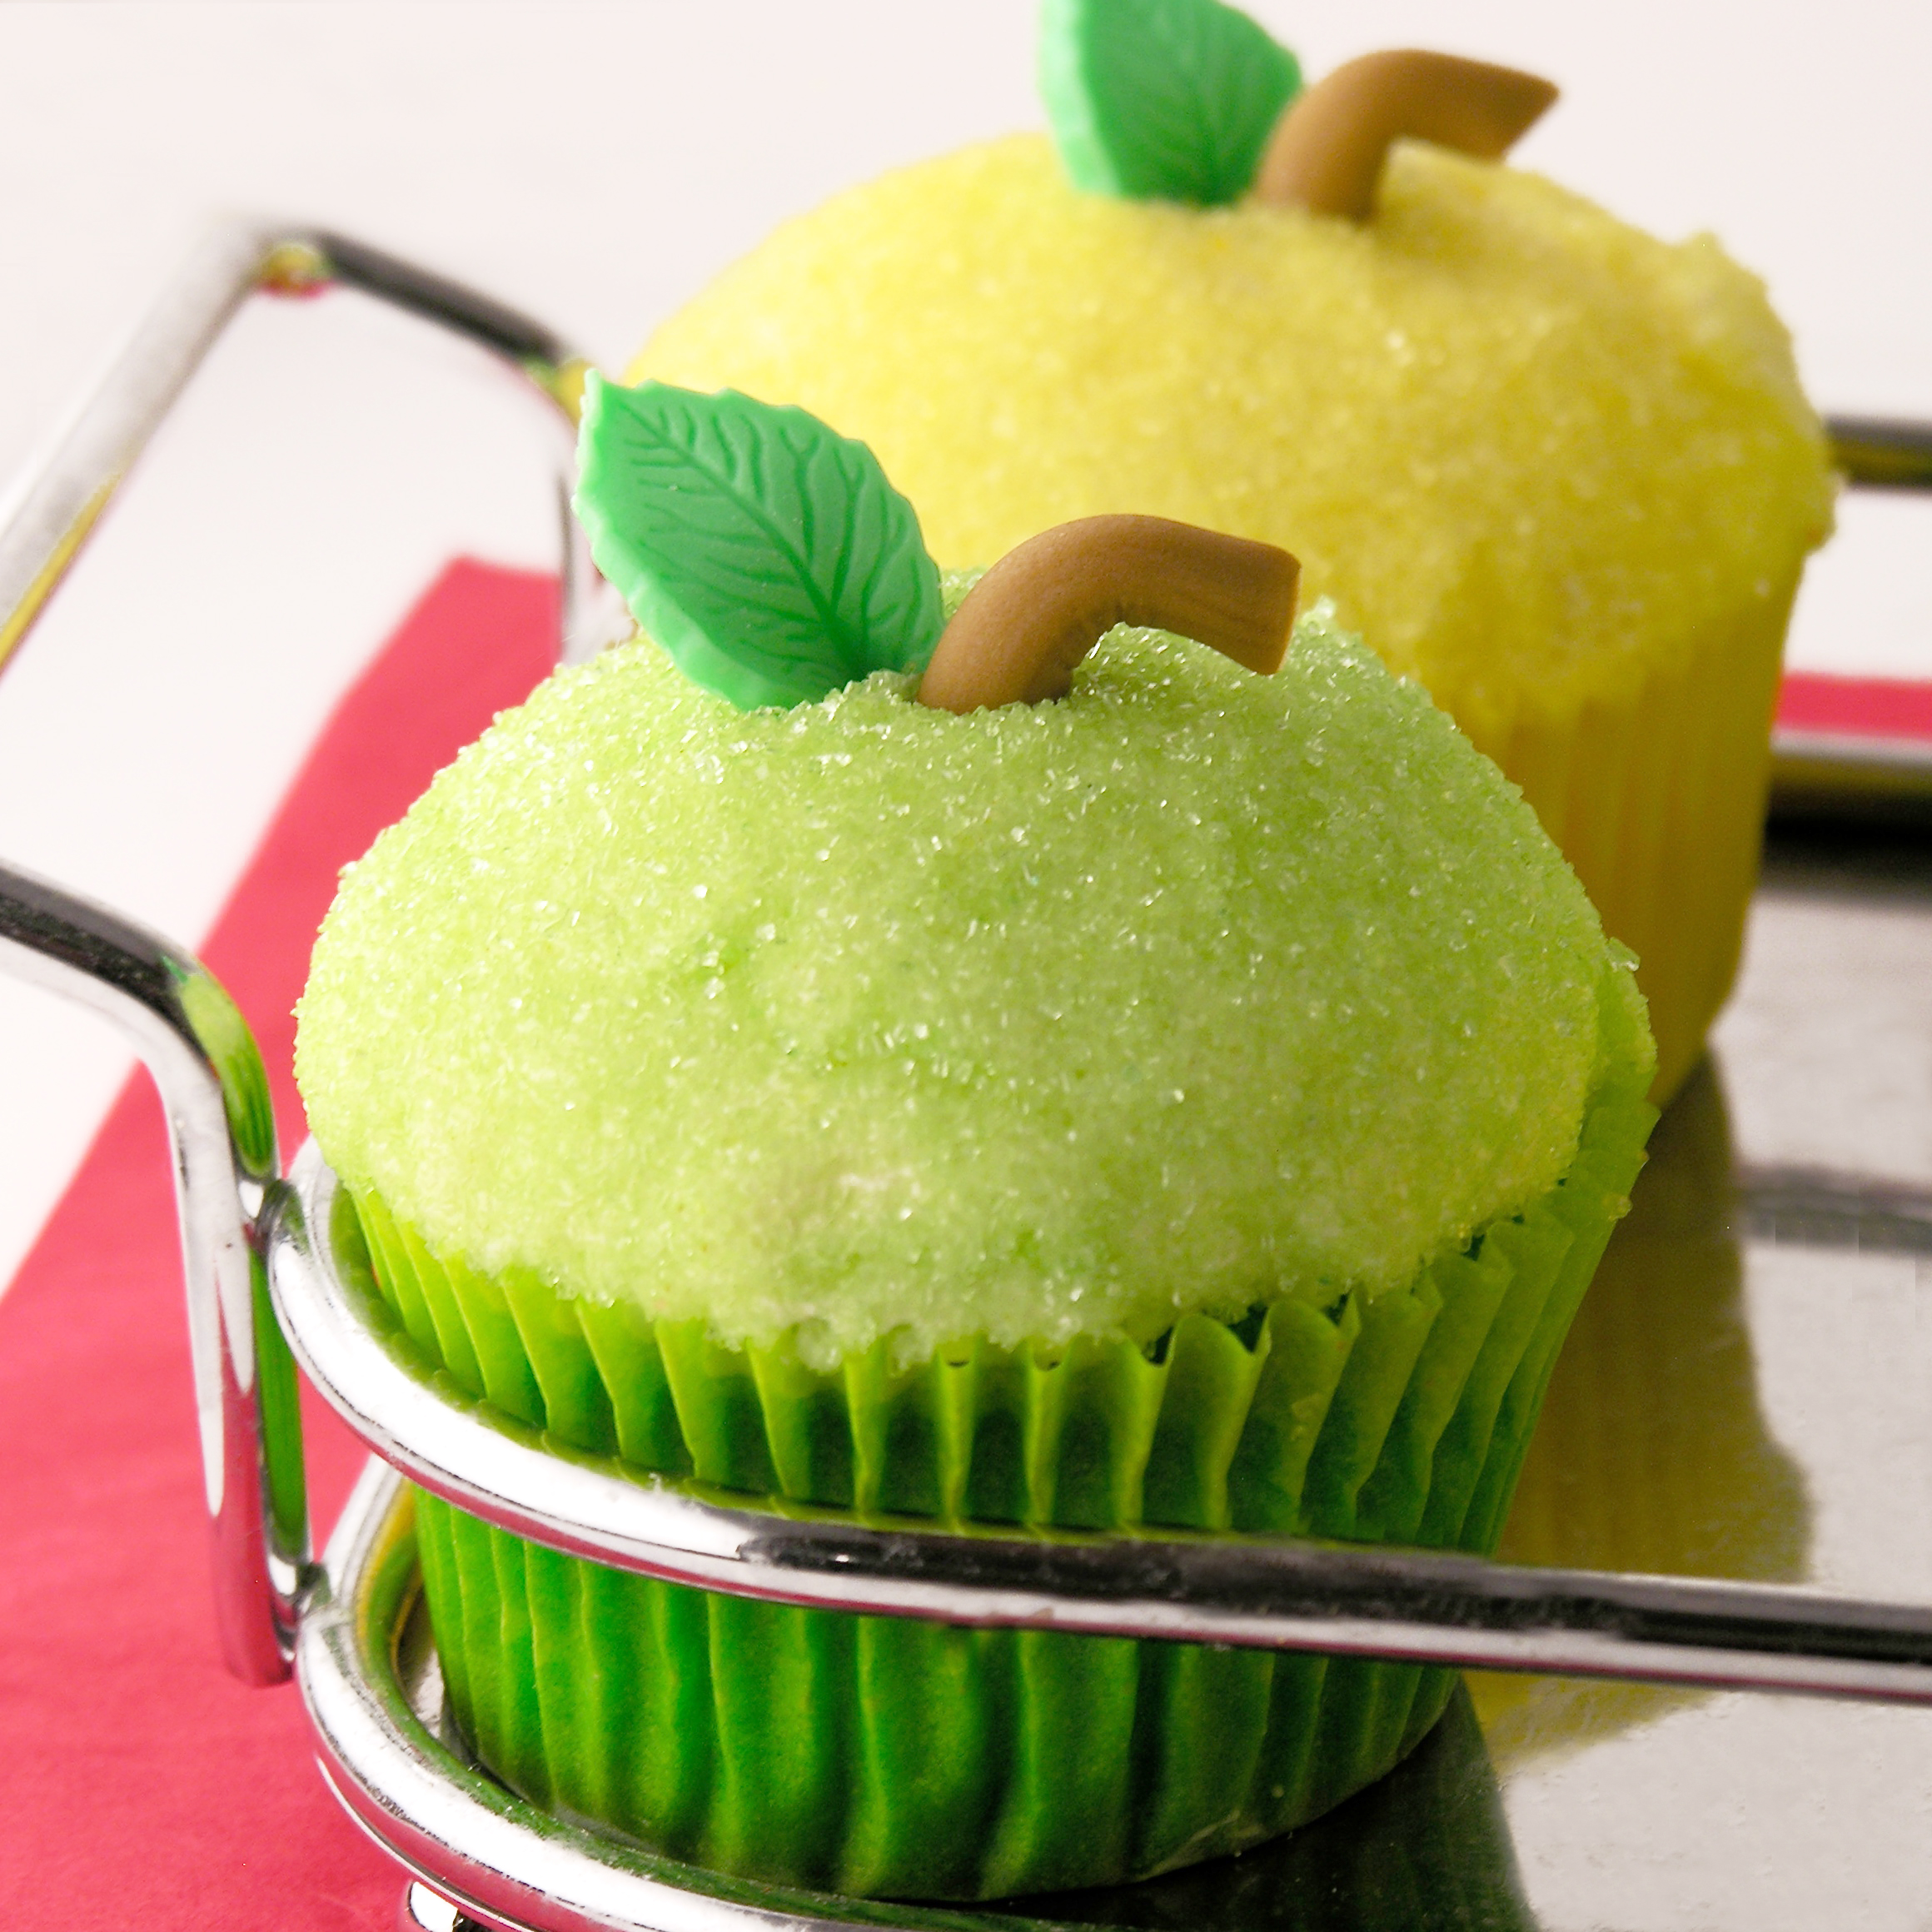
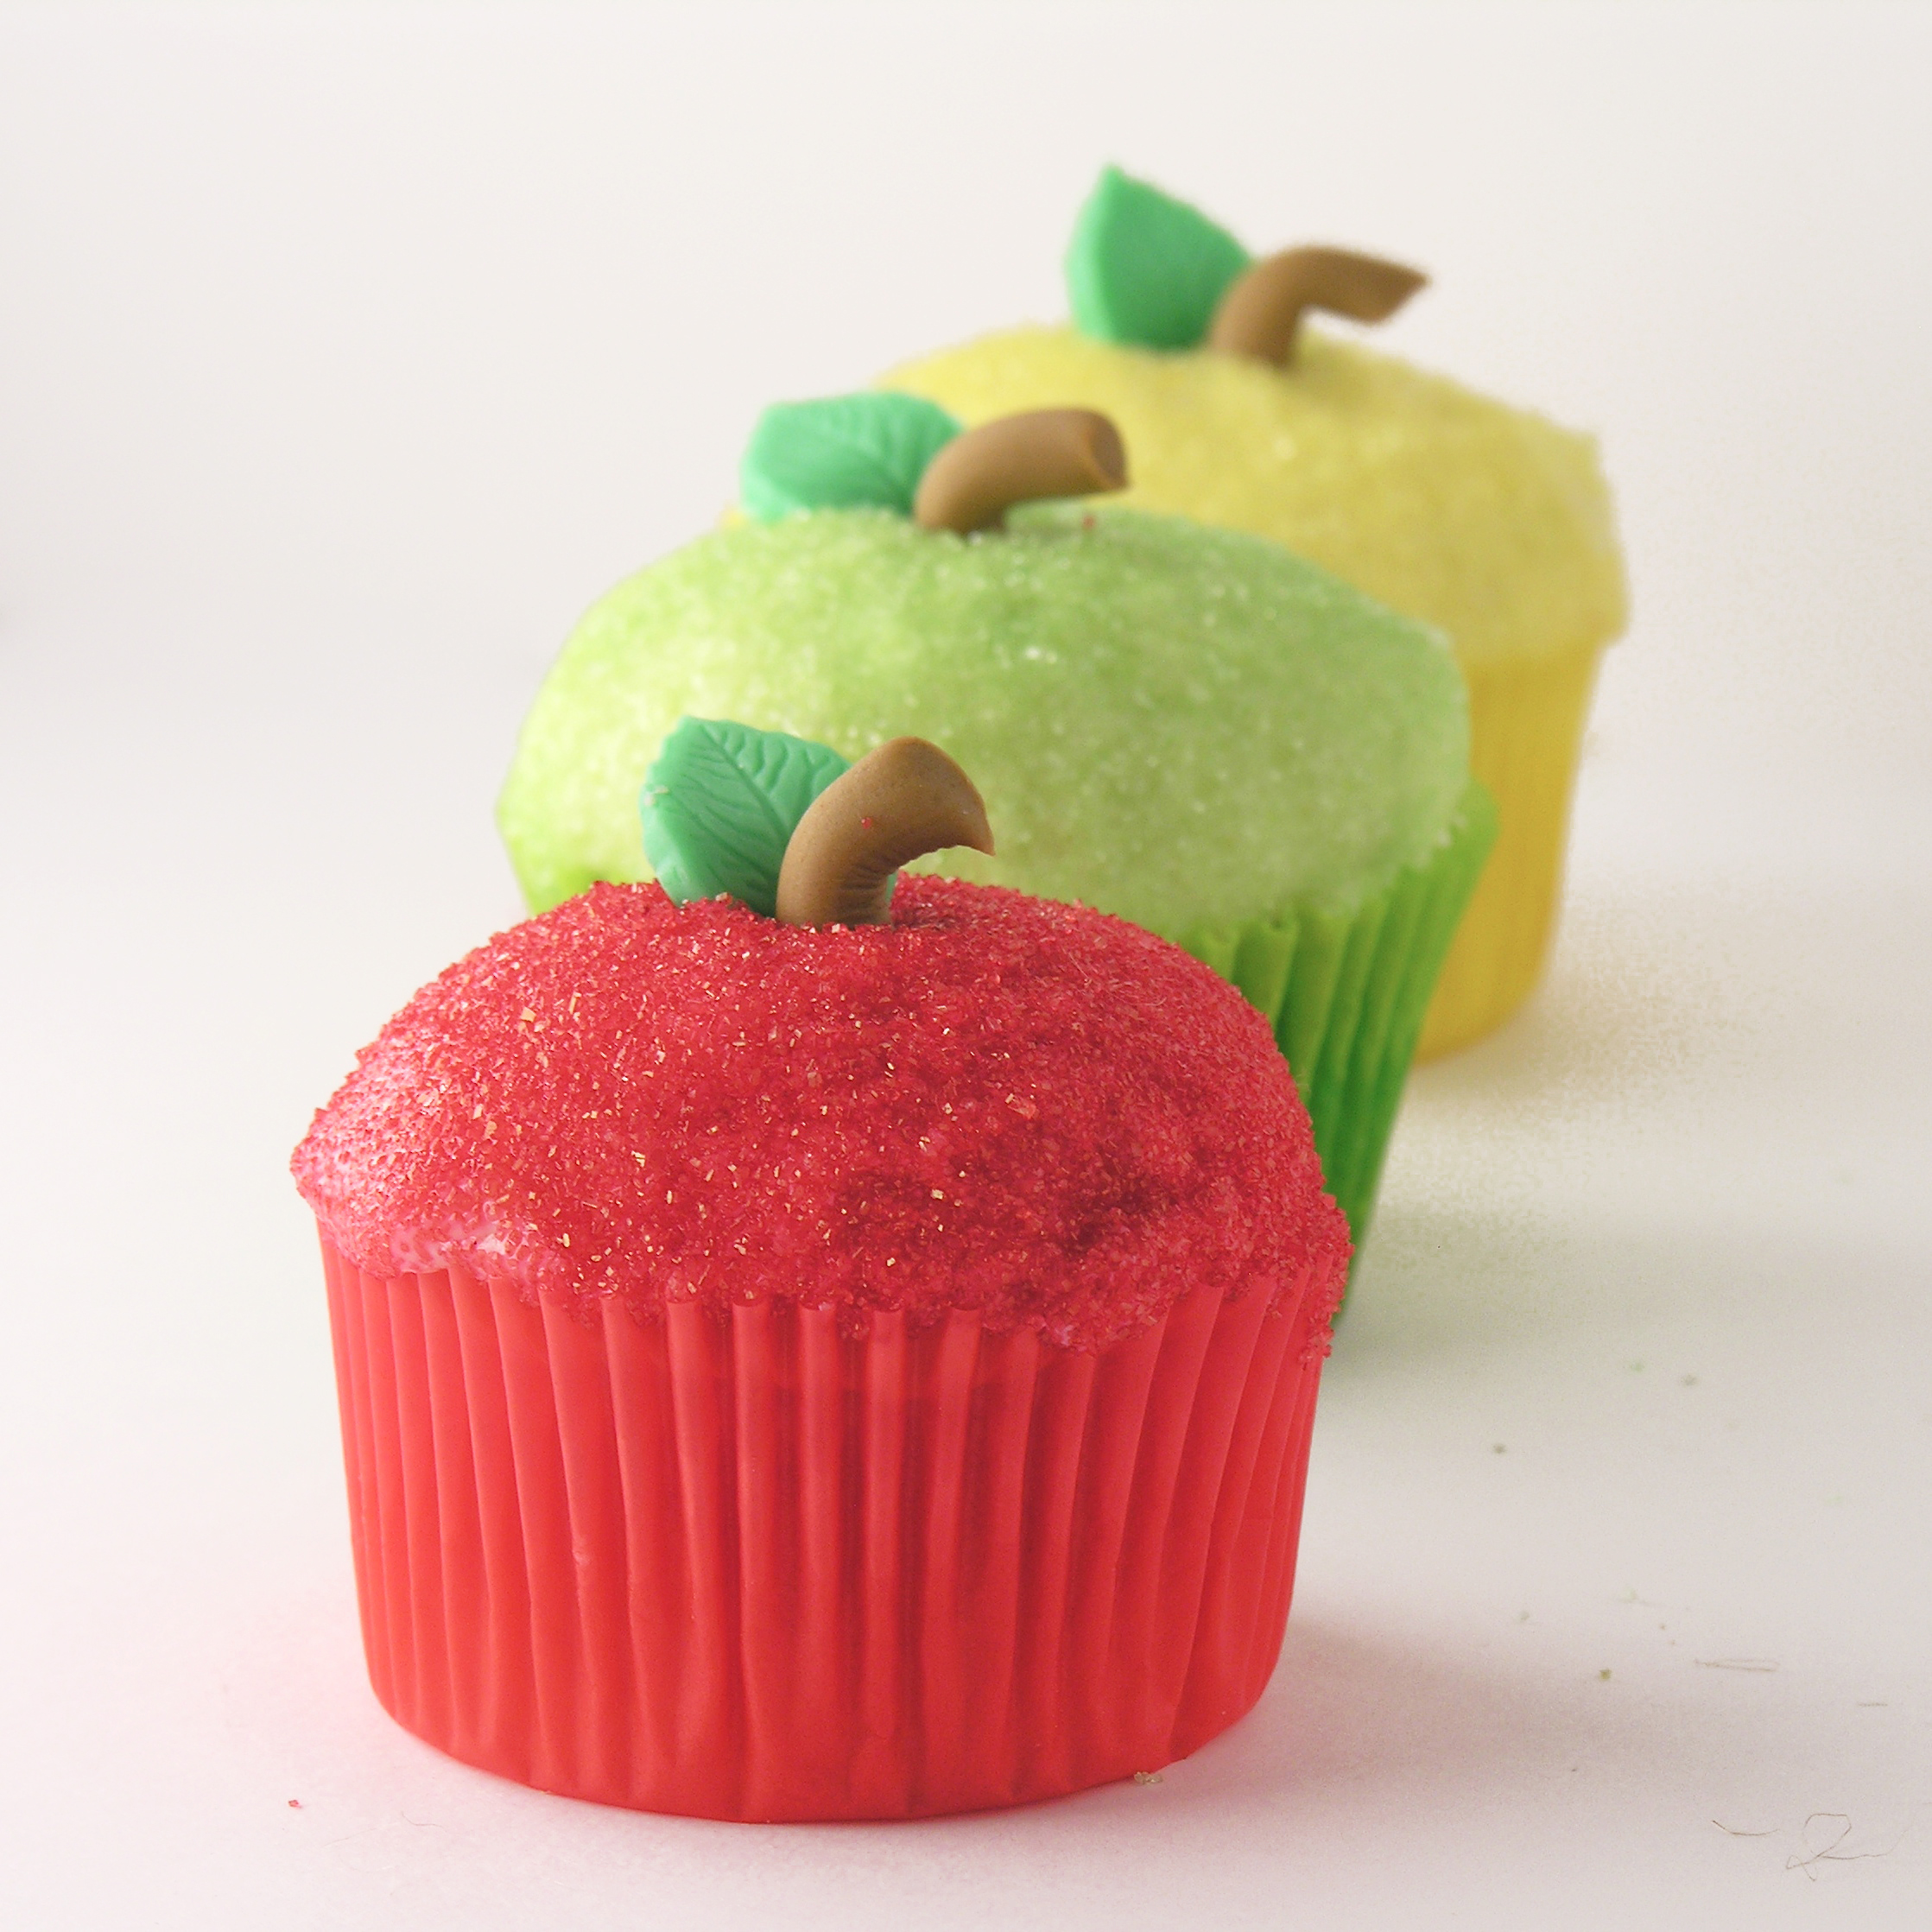
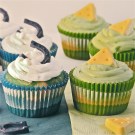
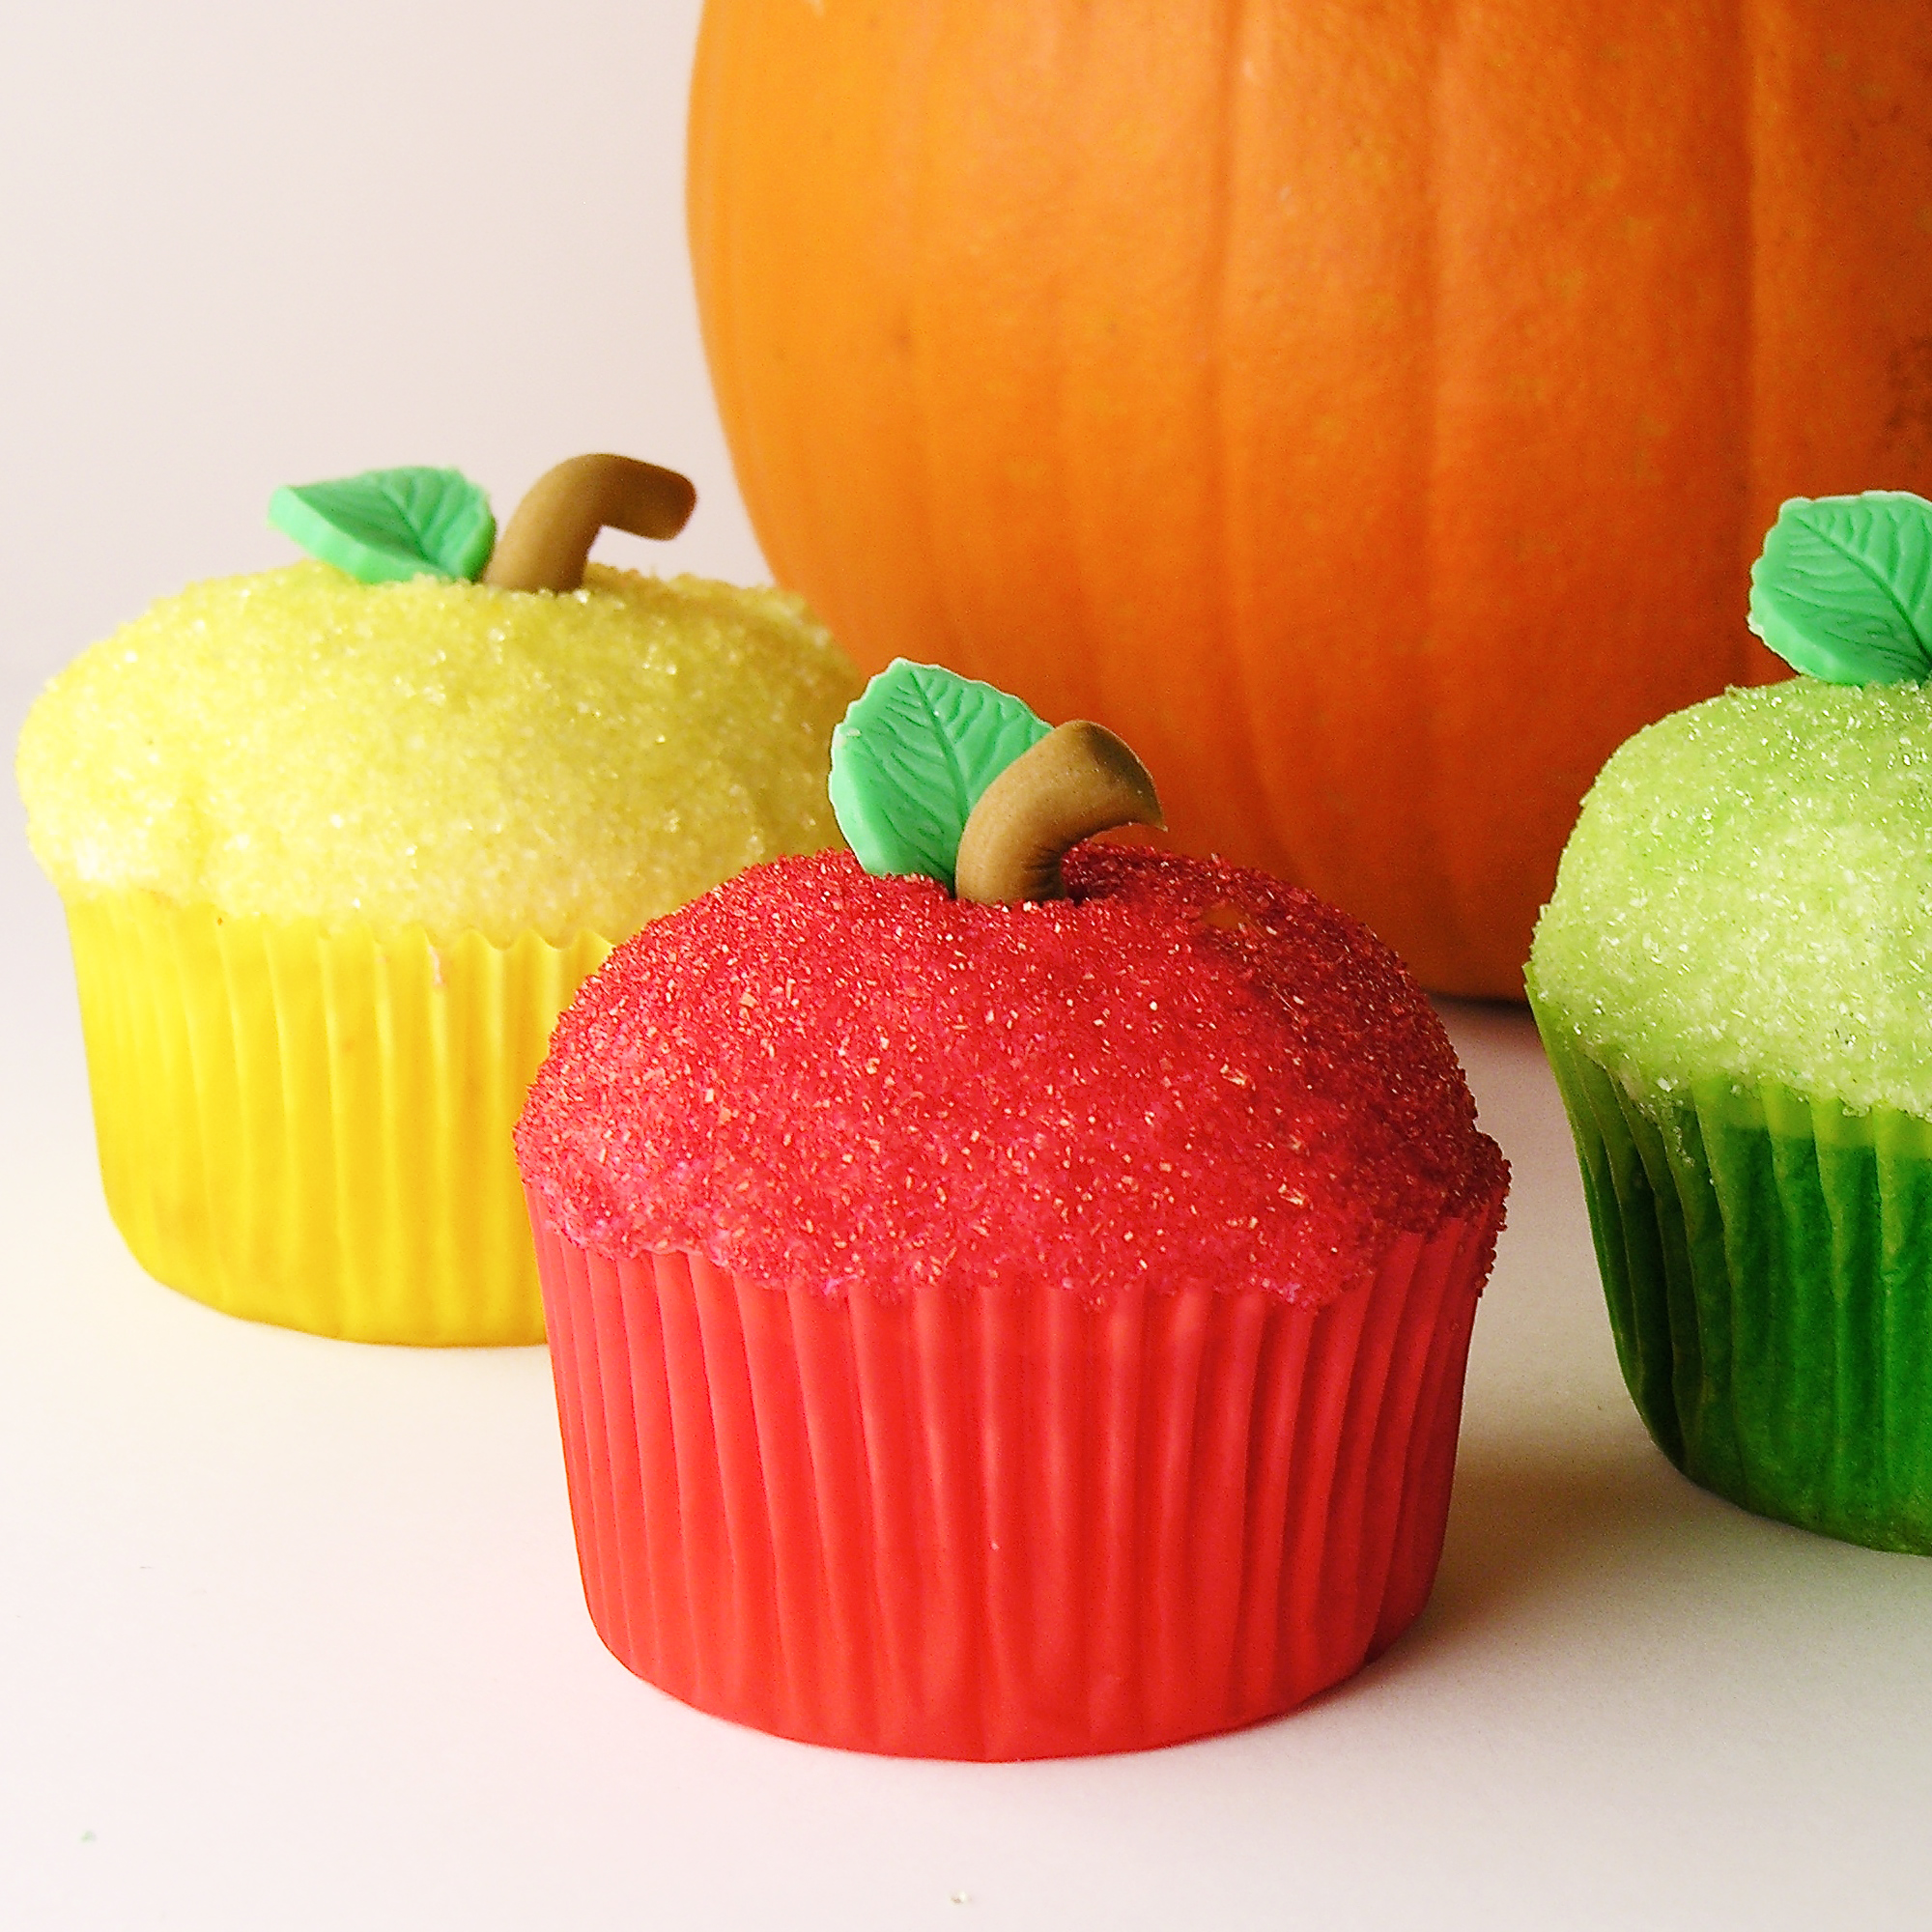 Celebrate fall with these cute little apple cupcakes! Filled with a chocolate chip “seed” core, these are sure to make everyone smile!


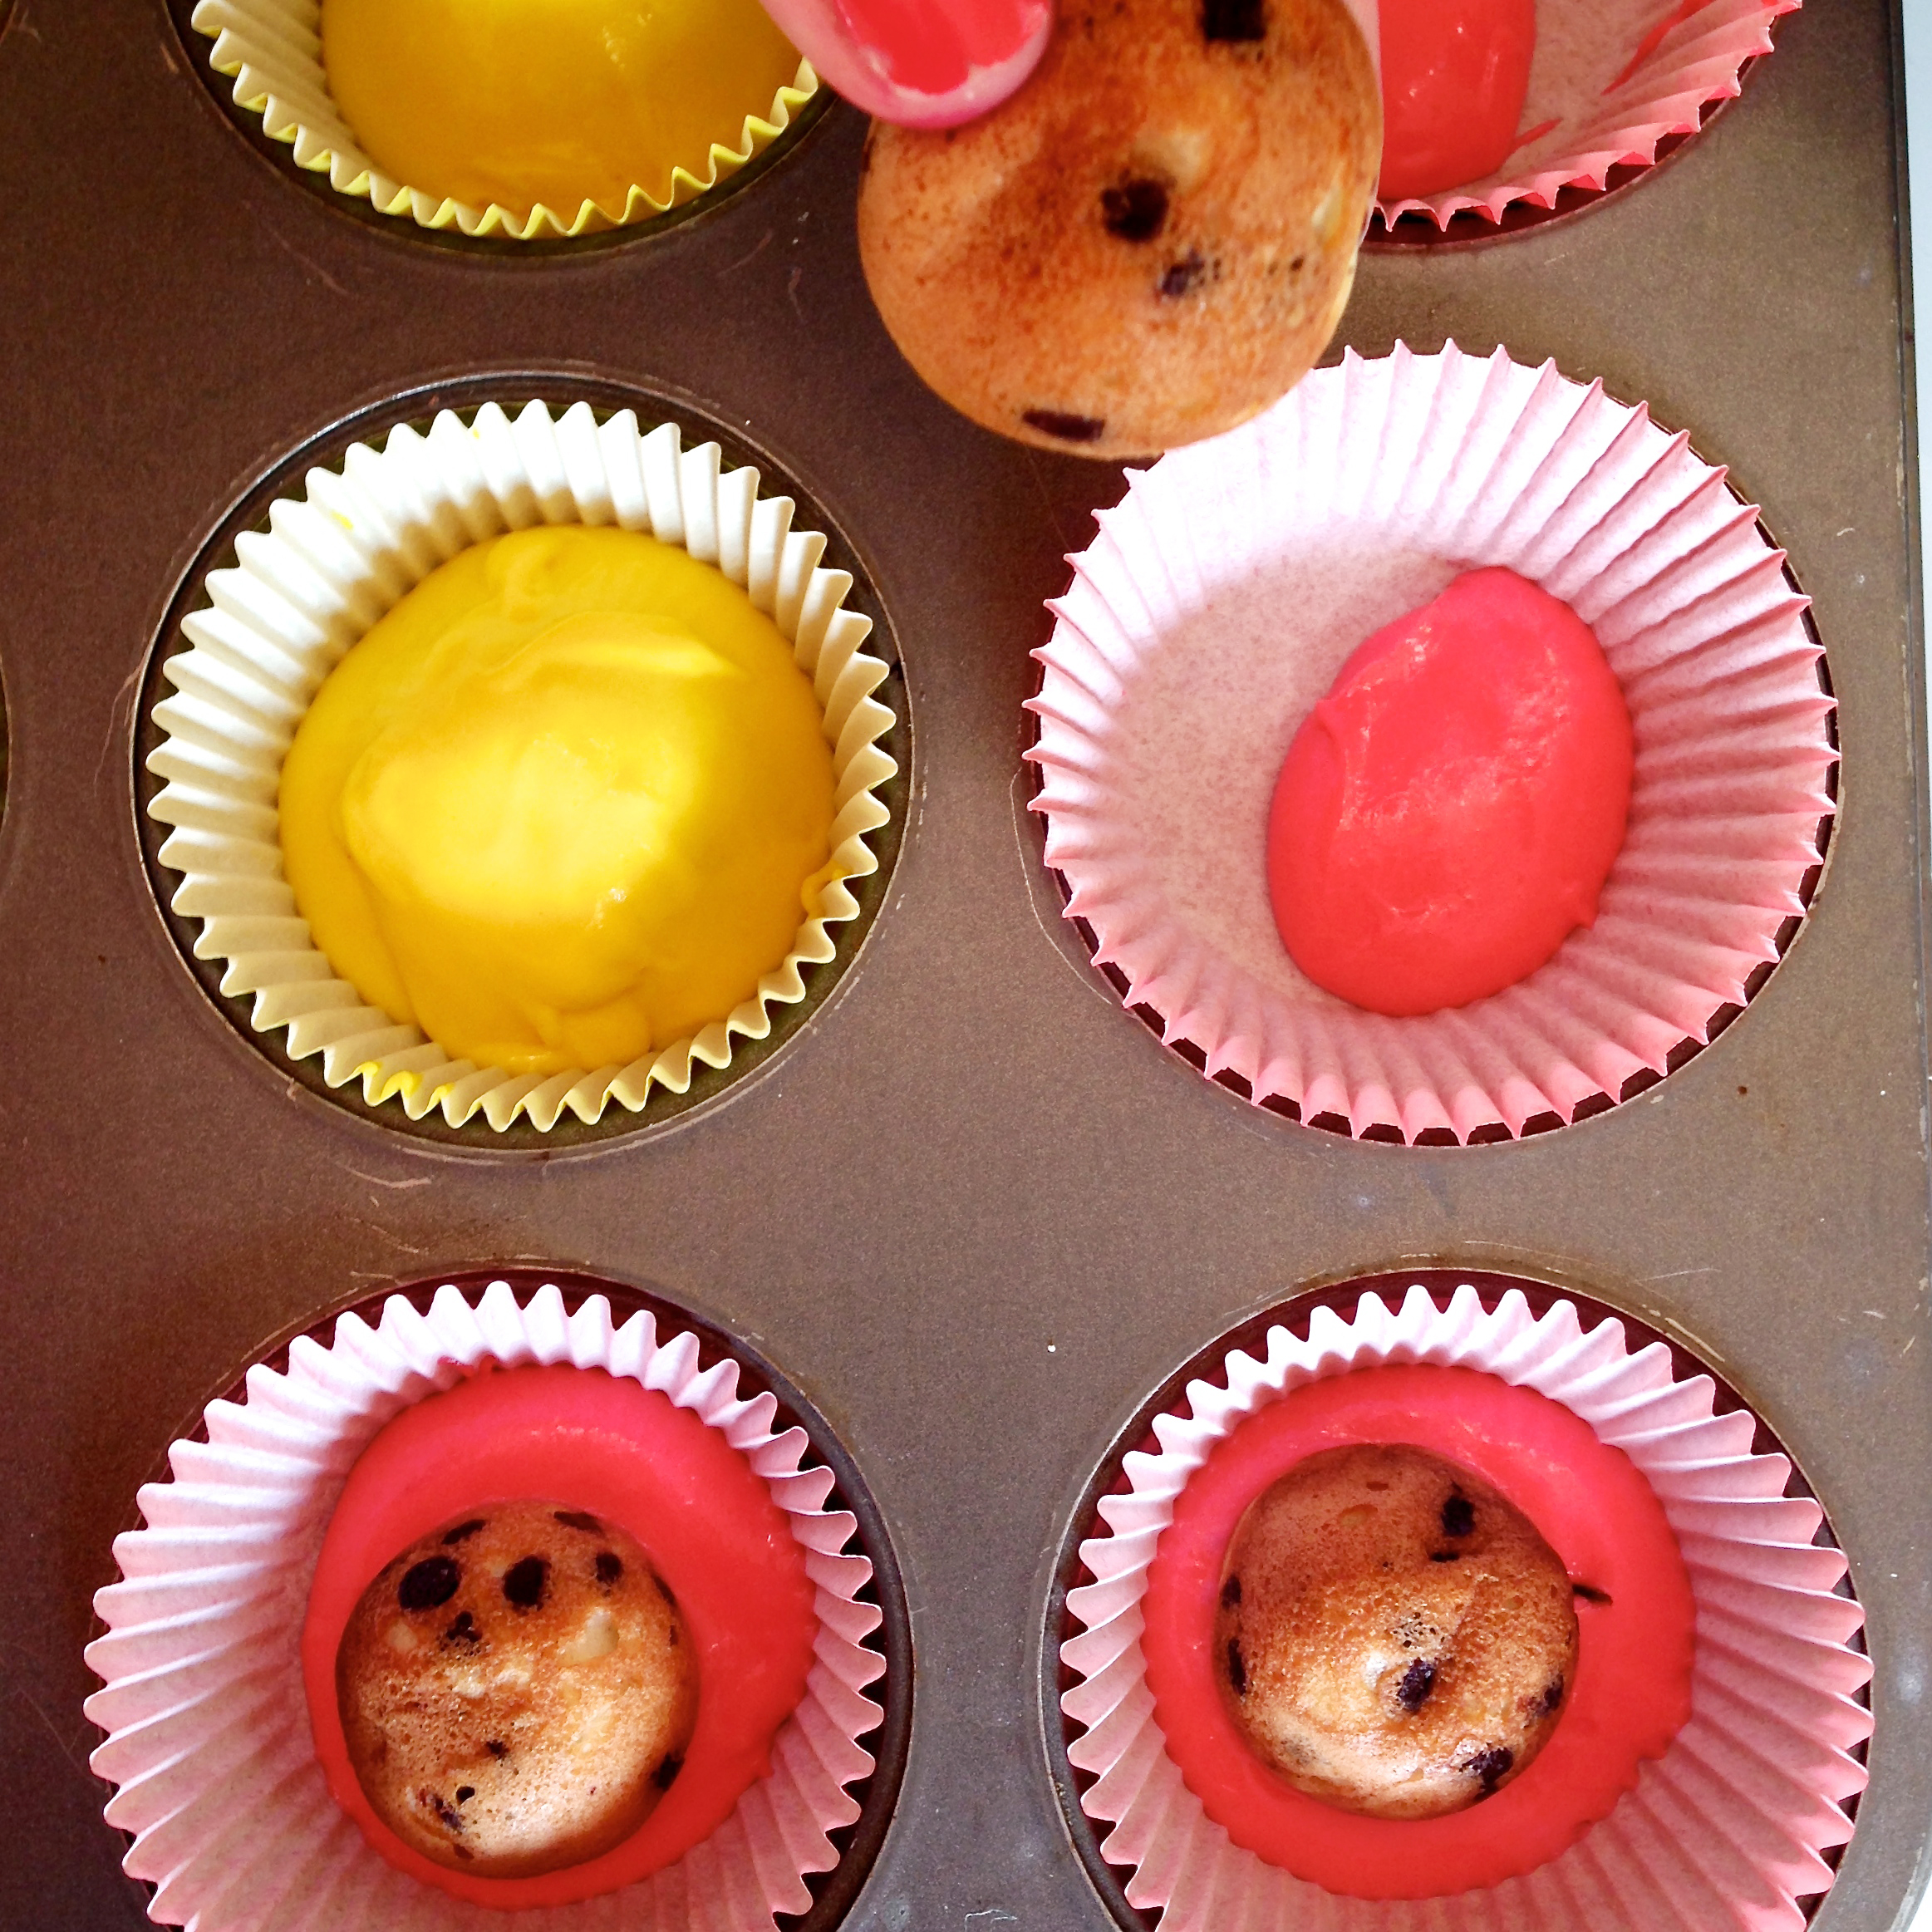
in white and color it with gel in green and brown, or you can make it from scratch and color it the same way.
to make leaves and just roll and cut the stems.