RSS Feed

Tag Archives: graham cracker crust

Classic Cheesecake with Sour Cream Topping

Posted on

Classic Cheesecake with Sour Cream Topping
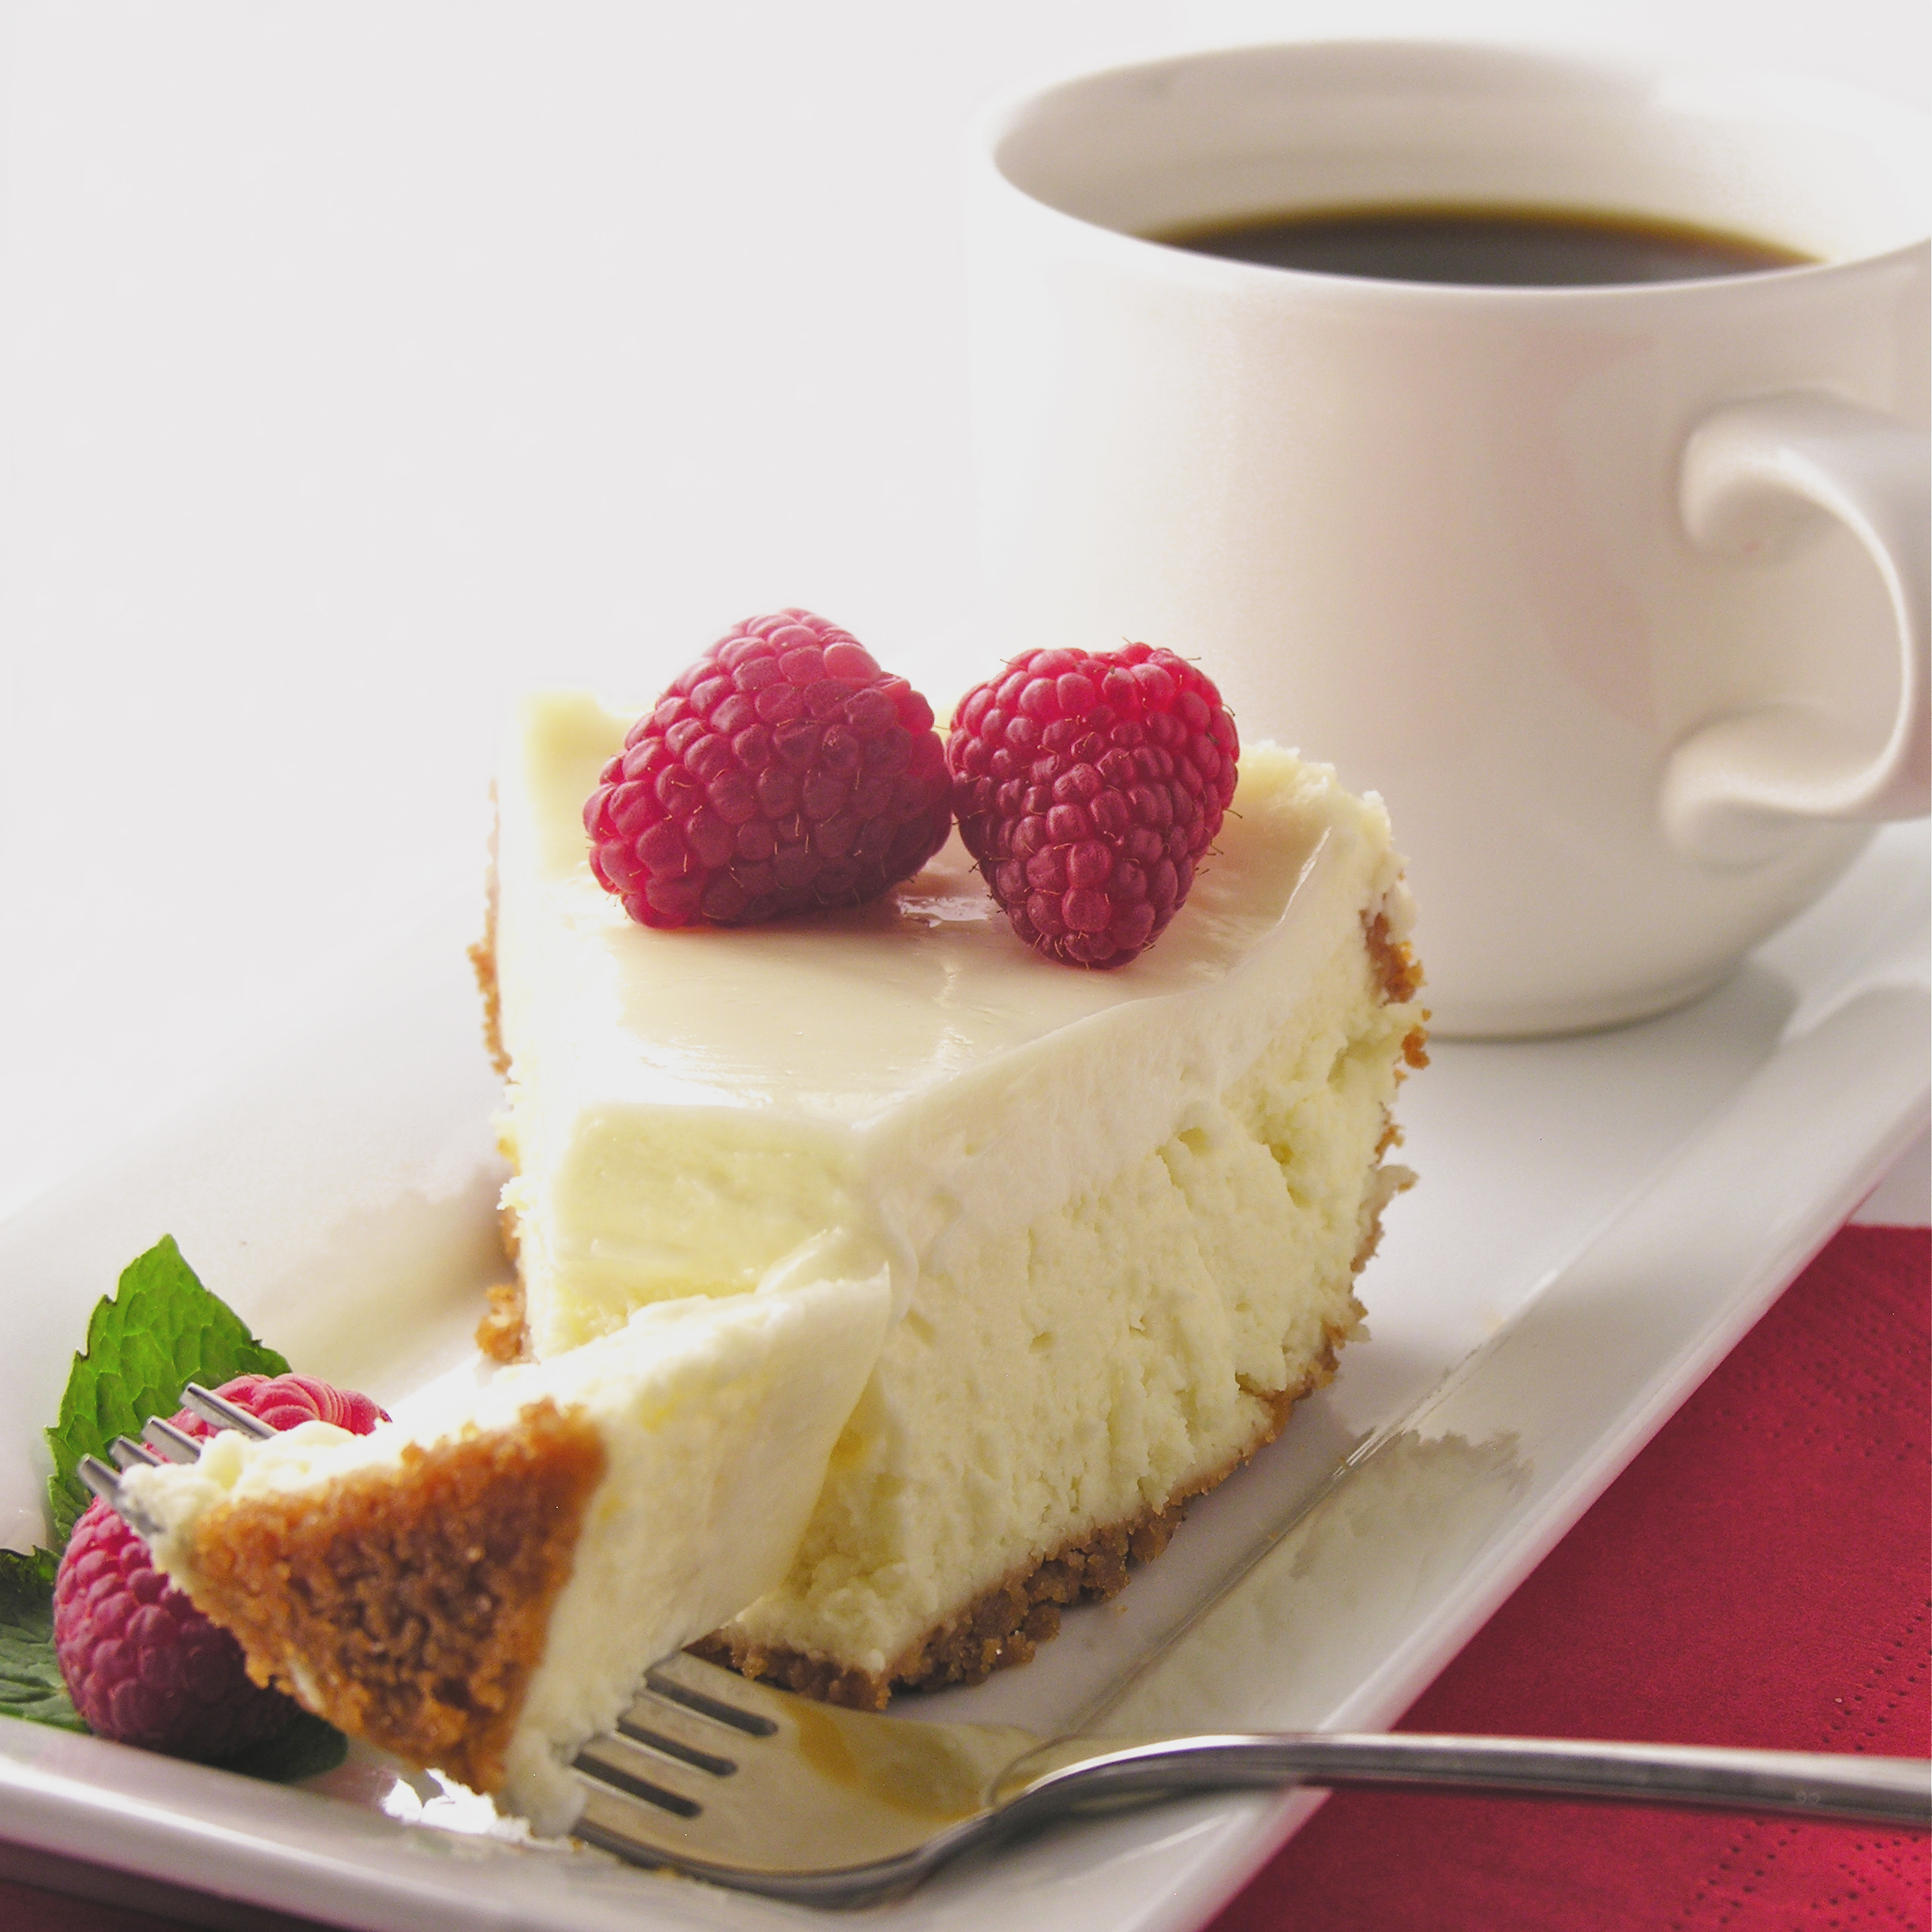
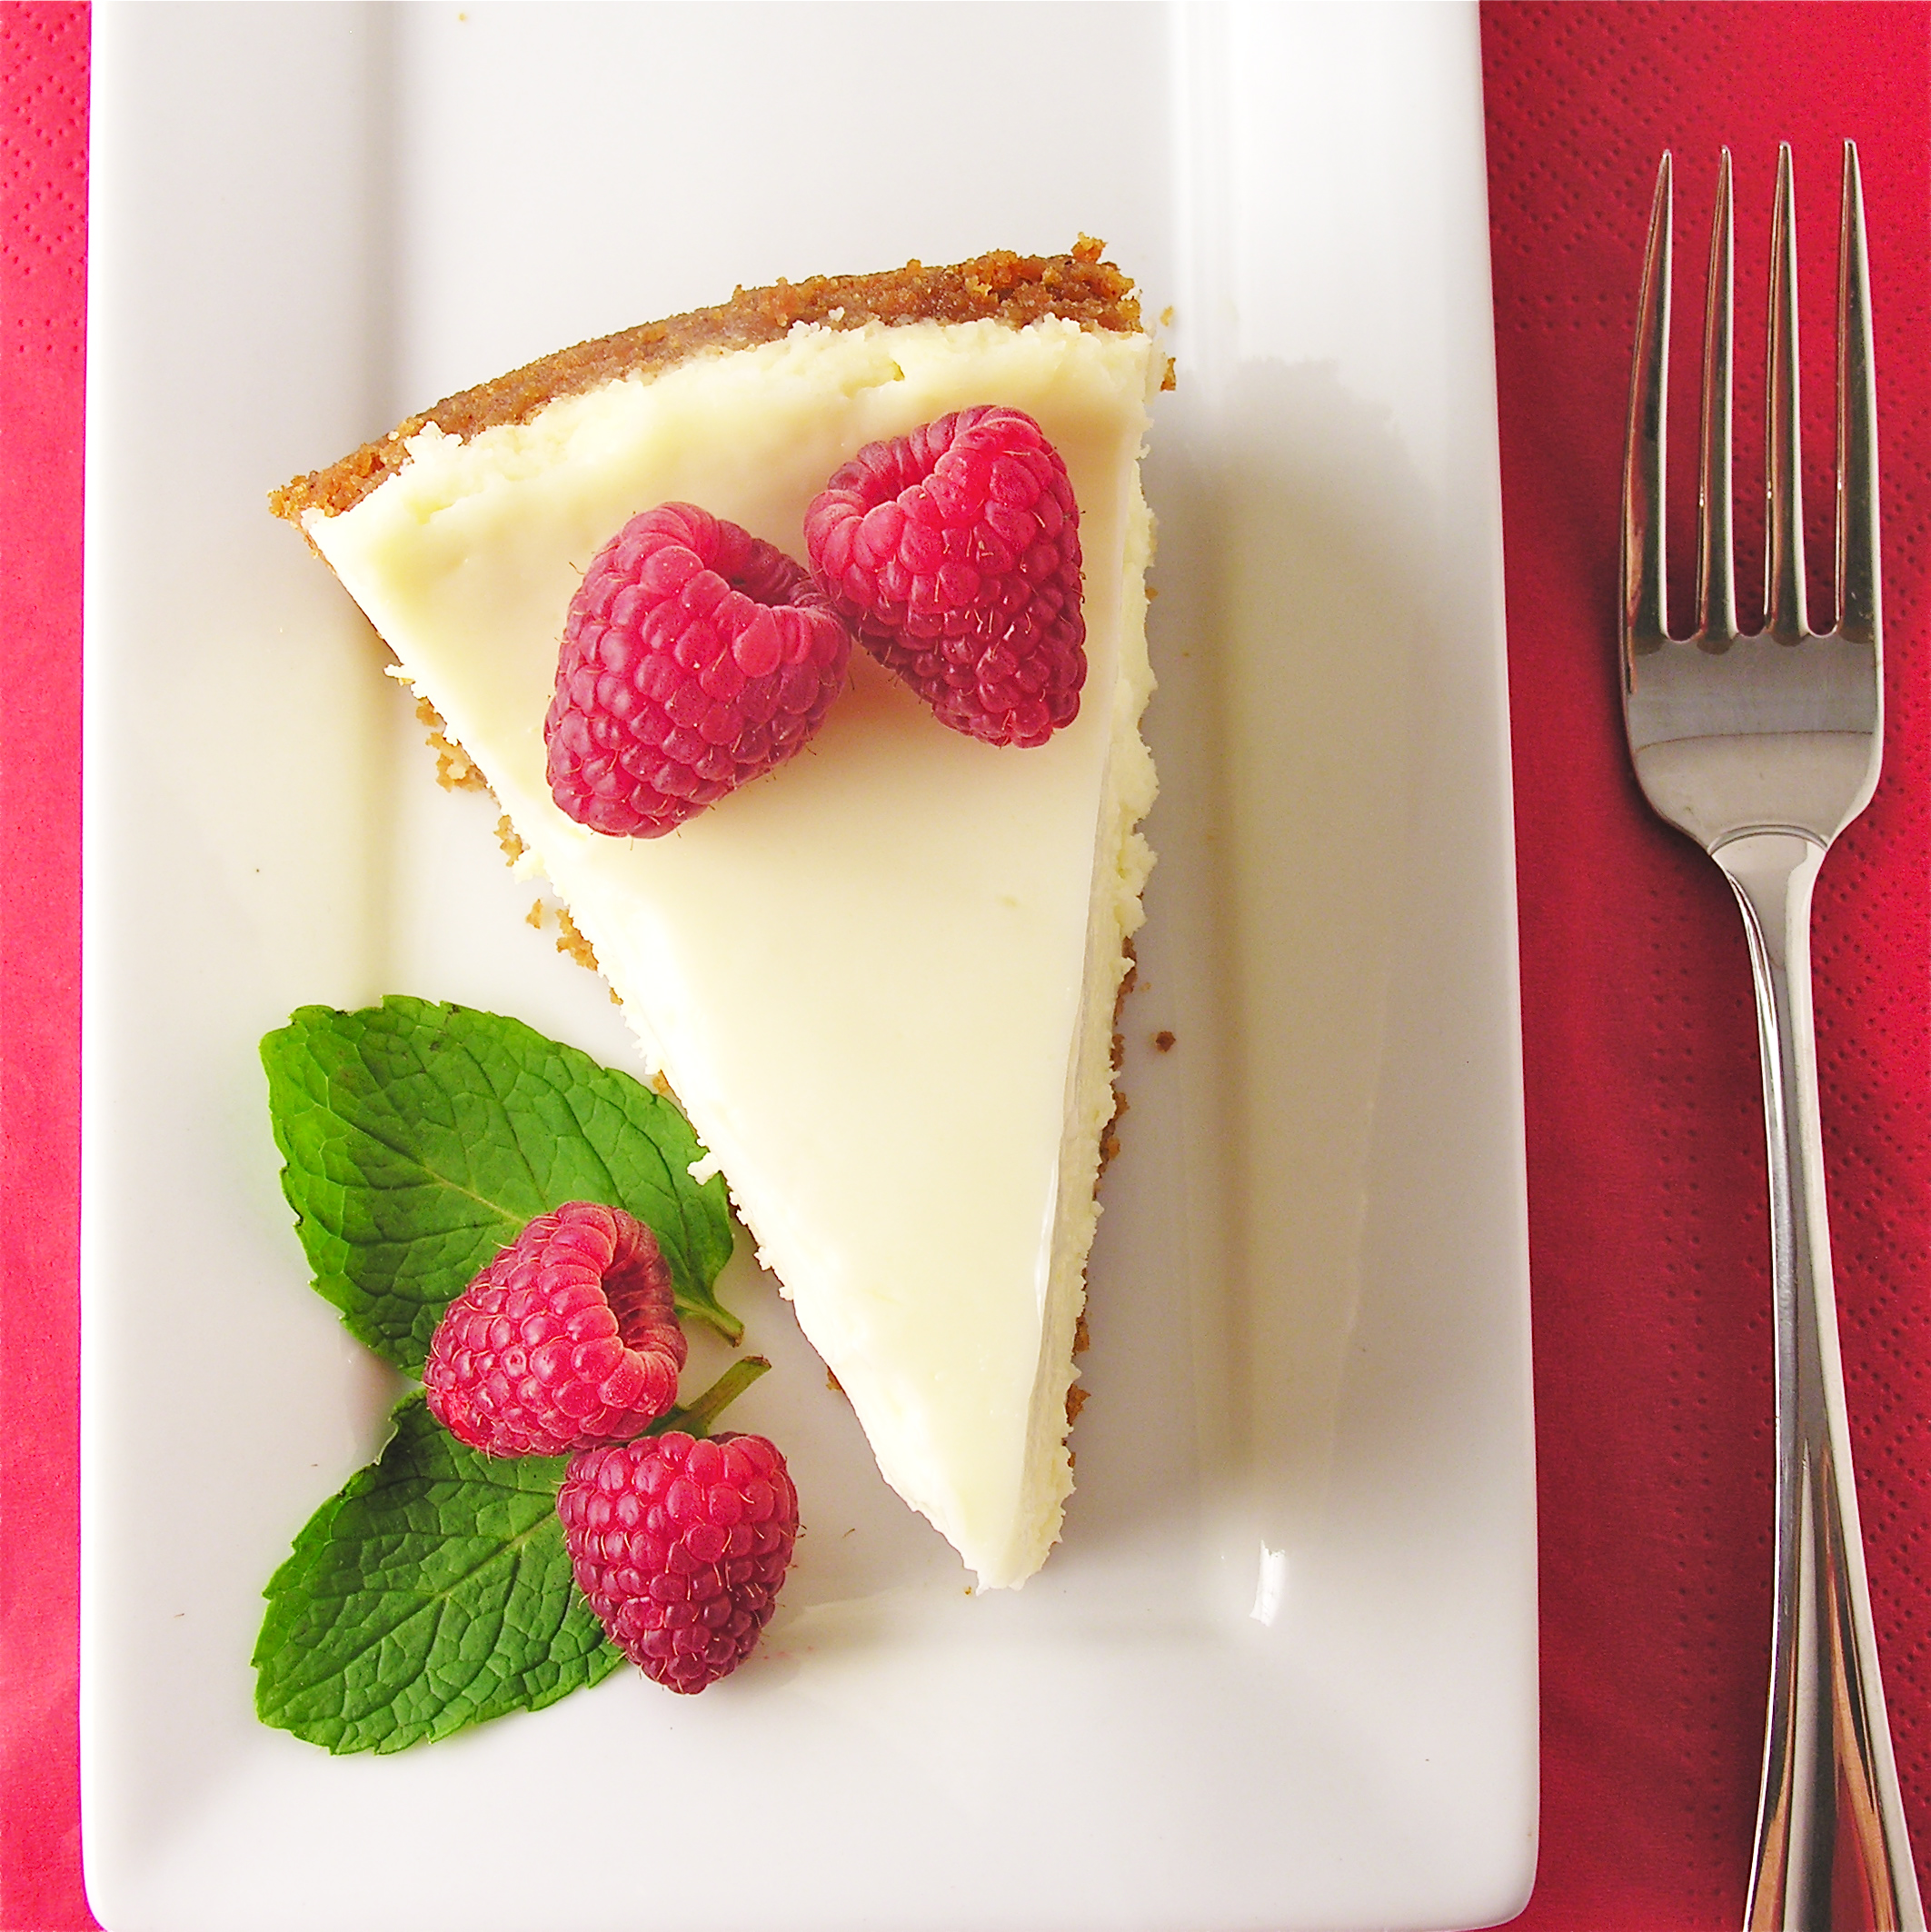
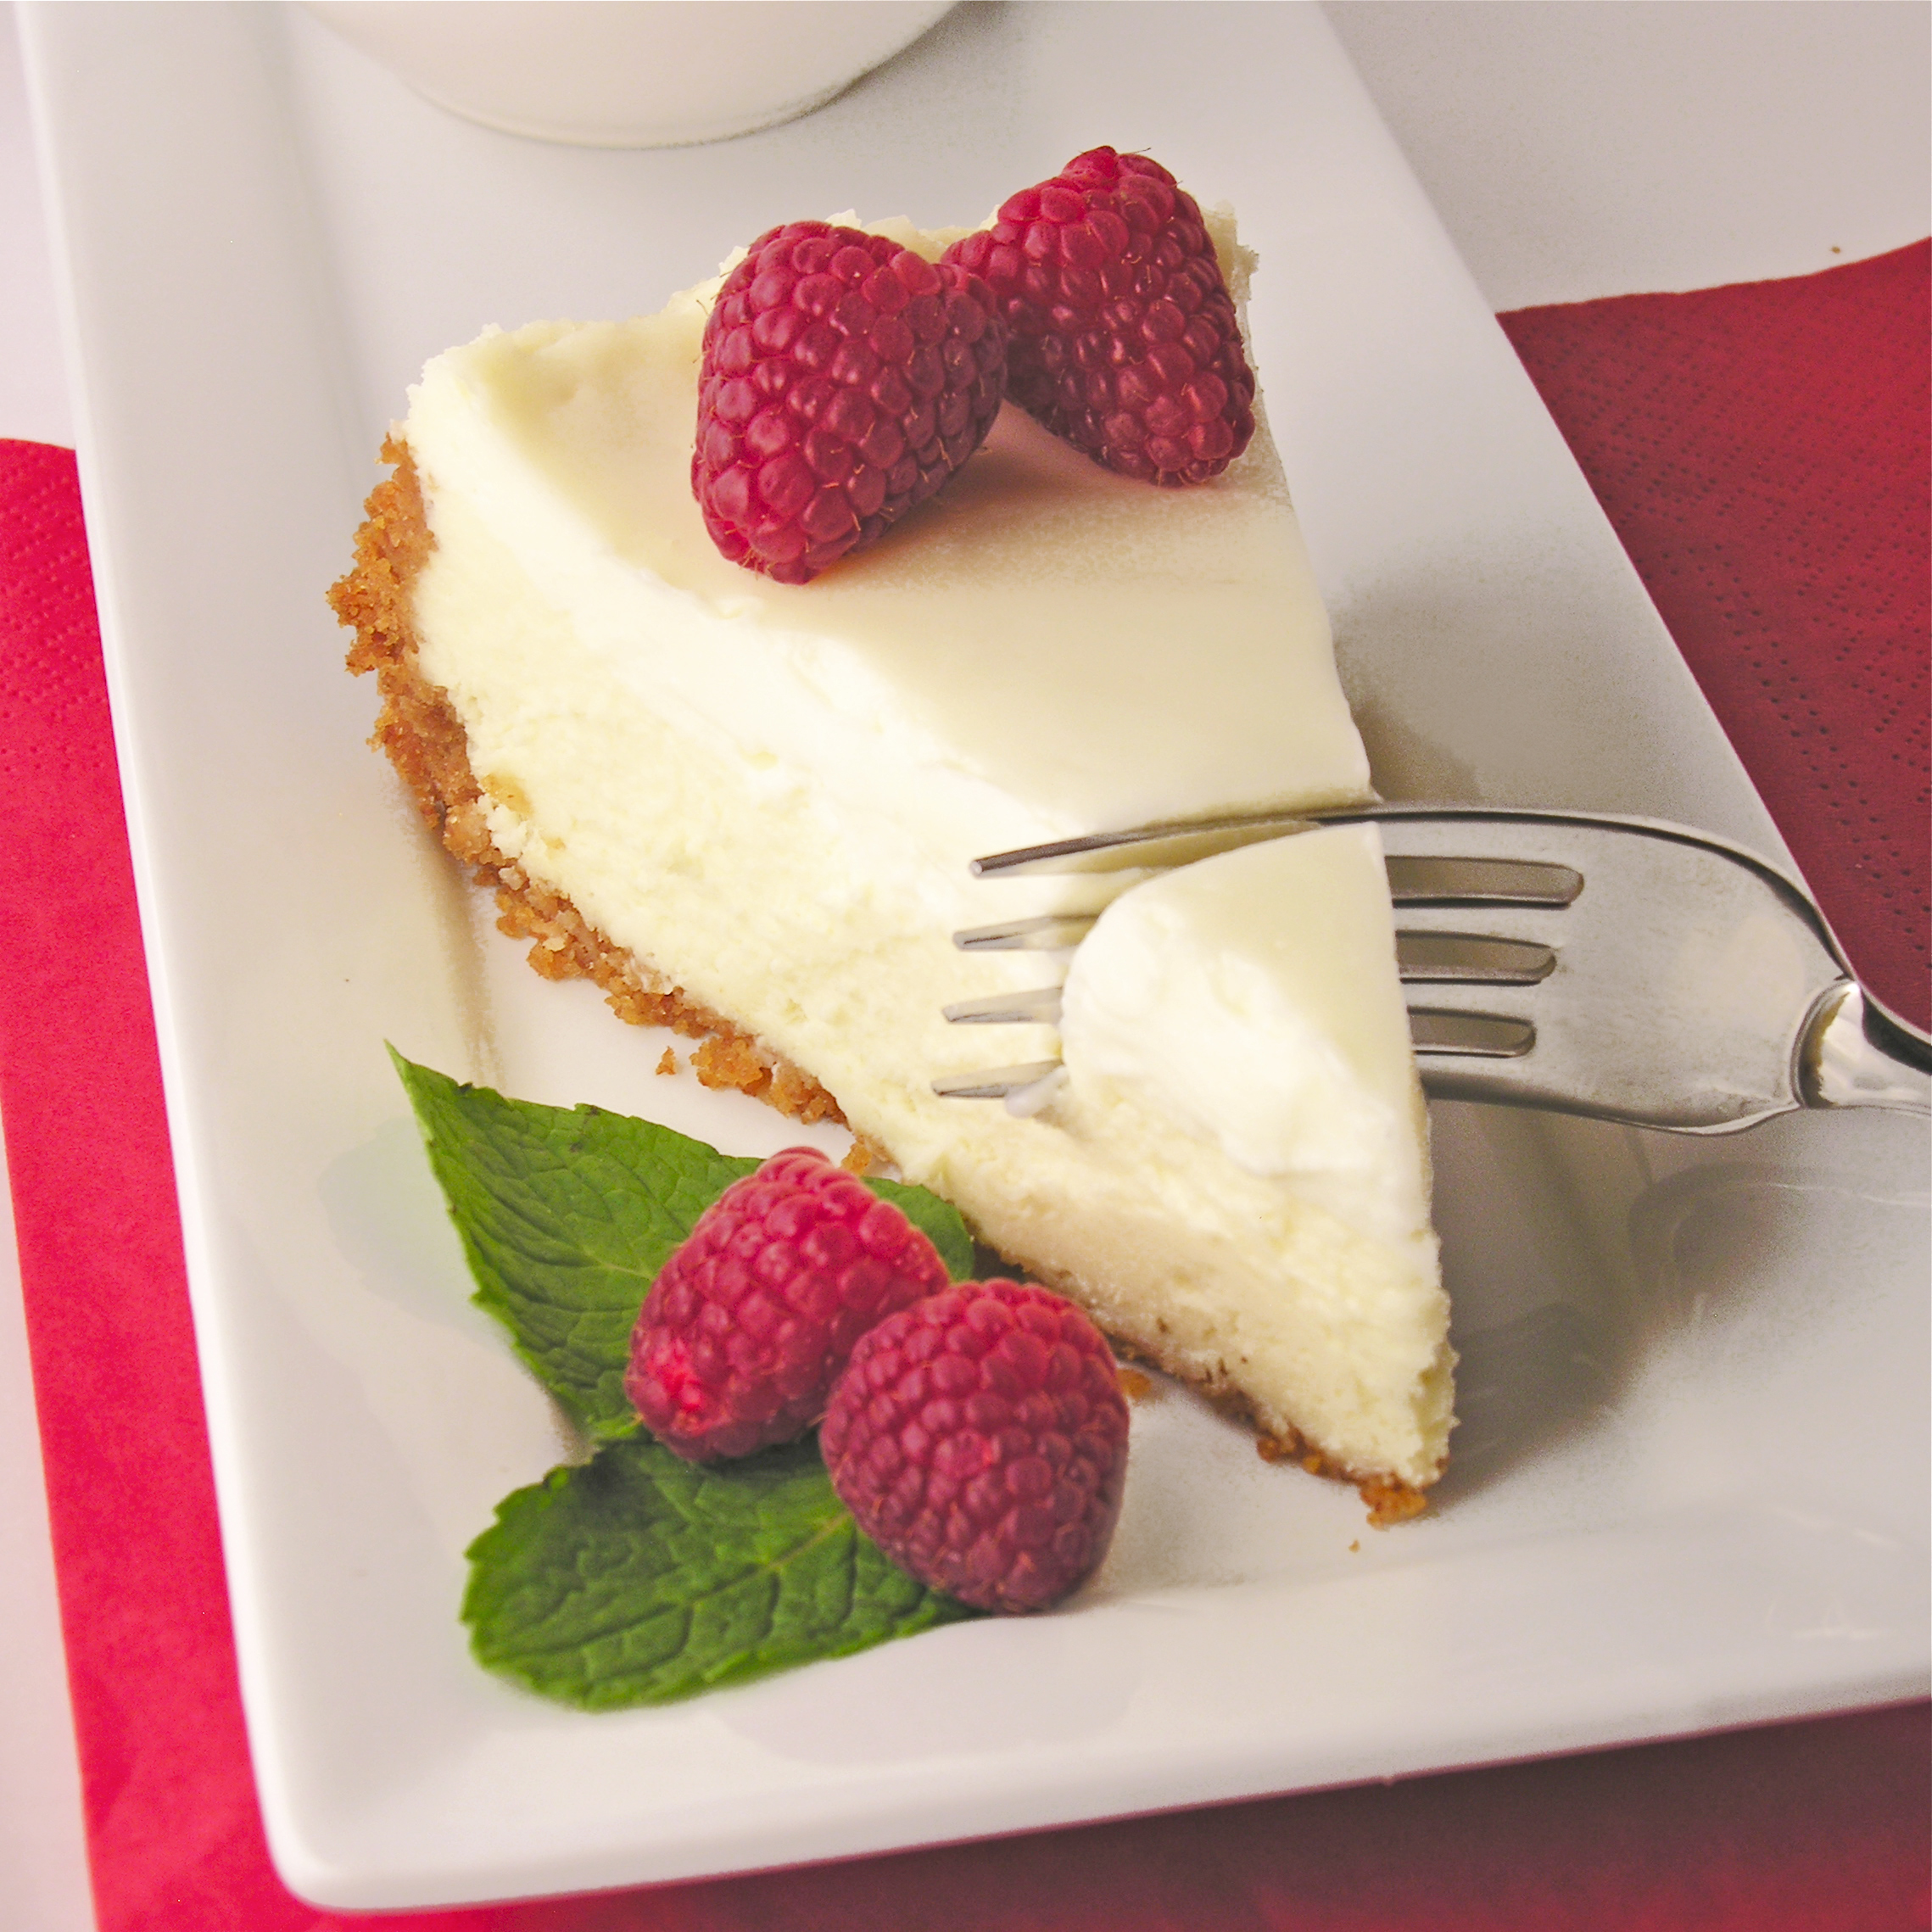
Creamy classic vanilla cheesecake with a sweet and light sour cream topping.

This is the best cheesecake I’ve ever made.  That’s saying a lot because I’ve made many, many cheesecakes.

In case you missed last week’s post, Easybaked is featuring family “tried and true” recipes during the month of November.  This week our star baker is my Aunt Vonda.  She is the queen of desserts in our family and literally everything she makes is scrumptious!  This cheesecake is one of my very favorite family desserts.  I’ve wanted the recipe for years and once I finally got to make it for myself I was even more impressed.  Not only is is delicious….it is actually easier to make than most cheesecakes I’ve tried….and oh, SO good.

Vonda's Cheesecake3
This is the cheesecake for a cheesecake purist.  No crazy toppings or fillings- just plain cheesecake.  Usually I’m not a huge fan of plain cheesecake, but the flavor and texture of this one is incredible.

Vonda's Cheesecake5
Want the recipe?

Here you go: (printable version)

INGREDIENTS:

Crust:
  • 1 1/4 cups Honeymaid graham cracker crumbs
  • 5 tablespoons butter, melted
  • 3 tablespoons sugar 
Filling: 
  • 3/4 cup sugar
  • 3 (8 oz.) Philadelphia cream cheese bars (must be the Philadelphia brand)~ softened to room temperature.
  • 2 eggs
  • 1 teaspoon vanilla
  • 1 teaspoon lemon juice
  • pinch of salt
Topping: 
  • 1 pint (2 cups) sour cream
  • 1/2 cup sugar
  • 1 tsp. vanilla
  • pinch of salt
DIRECTIONS:
  • Preheat oven to 350F degrees.
  • In a medium bowl, combine crust ingredients together until well combined.
  • Press into a 9″ spring form pan, pressing crumbs into bottom and about 1 1/2″ up sides of pan.    
  • For the filling, combine the sugar and softened cream cheese in a large mixing bowl and beat together until smooth.
  • Add the eggs, one at a time, beating between each addition.
  • Add the vanilla, lemon juice and salt and beat until smooth and creamy.
  • Pour into crust.
  • Bake at 350F degrees for 35-45 minutes.
  • While cheesecake is baking, make topping by simply mixing together all of the topping ingredients.
  • After 35-45 minutes of baking, remove cheesecake from oven and turn oven down to 325F degrees.
  • Pour topping over hot cheesecake, gently spreading to edges.
  • Return cheesecake to oven and bake for an additional 12-15 minutes.
  • Remove cheesecake from oven and leave sides on pan while allowing cheesecake to cool to room temperature.  
  • Refrigerate several hours (or overnight)
  • Remove edges of spring form pan before serving and serve with fresh fruit, pie filling or a chocolate or caramel sauce.
  • Enjoy!!!!

Creamy classic cheesecake
My thoughts:  Well, you already know how much I love this cheesecake because I’ve gone on and on about it.  This is a must-try recipe.  You will love it.  A huge thanks to my Aunt Vonda for sharing her recipe with us!!!  Yum!!!  ~r

Creamy cheesecake with sour cream topping
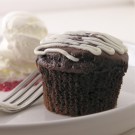
Other cheesecake recipes we love here at Easybaked:
Cinnamon Roll Cheesecake!!Triple Chocolate Cheesecake 3Peanut butter cup cheesecakeTurtle Cheesecake
Advertisement

Key Lime Cupcakes

Posted on

Key Lime Cupcakes!

These cupcakes are filled with a sweet key lime filling and topped with key lime buttercream…what could be better than that?  Oh, how about a graham cracker crust on the bottom of the cupcake?  This dessert is as close to key lime pie as you can get…without it being a pie!  (printer friendly recipe)

INGREDIENTS: (makes 24 cupcakes)

Filling:

  • 1 cup key lime juice (a labor of love….!)
  • 1 can (14 oz.) sweetened condensed milk
  • 1 egg

DSC_0009

Cupcakes:

  • 2 cups of graham crackers (finely crushed)
  • 3 Tablespoons of butter (melted)
  • 1 boxed yellow cake mix (plus water, oil and eggs to make according to package)

Frosting:

  • 2 sticks (8 oz) salted butter (at room temp)
  • 2 sticks (8 oz) unsalted butter (at room temp)
  • 3 cups of powdered sugar
  • 2 teaspoons vanilla
  • 2 Tablespoons of key lime juice

DIRECTIONS:

Filling:

  • Mix together key lime juice, sweetened condensed milk and egg and pour into a small casserole.
  • Bake at 325F degrees for 15-20 minutes (until center is set)
  • Cool completely.

Cupcakes:

  • Mix crushed graham crackers with melted butter.
  • Spoon about 1 teaspoon of this mixture into 24 cupcake liners in muffin tins (you’ll have a little left to garnish with at the end)
  • Press crumbs firmly into bottom of cup (I find my Mini Tart Shaper to be very useful for this)
  • Make cake mix according to box, and divide batter equally between the 24 cupcake liners.
  • Bake according to directions on box
  • Remove from oven and cool completely.
  • Core cupcakes (I love my Cupcake Plunger– it is so quick to use and saves the core to place back on top of the filling- to see a picture of how it works, click here).
  • Spoon cooled  filling into a zip top bag and clip a corner off.

Spoon Key Lime Filling into a zip top bag!

  • Pipe filling evenly into each cupcake, saving about 1/4 of a cup of filling to drizzle on the top at the end.
  • Place top of core back in place (you can trim some of the bottom off to make room for the filling if you need to)

Frosting:

  • Place butter, powdered sugar, vanilla and 2 Tablespoons of key lime juice into a large bowl.
  • Using a mixer, beat on high until light and fluffy.
  • Pipe frosting on top of cupcakes and drizzle remaining filling on top.
  • Sprinkle with remaining graham crust crumbs and ENJOY!!!!

Key Lime Cupcakes!

My thoughts:  I created these for a graduation party.  The challenge was to create a key lime cupcake for someone who LOVES key lime pie.  Key lime pie is one of my favorite desserts, so it was a fun task.  These were a big hit.  I love the balance between the tart center and the sweet cupcake and frosting.  

It’s spring~ you NEED a key lime cupcake!!!

Key Lime Cupcakes!!

You might also like:

Chocolate molten lava cupcakesCaramel Fudge Brownies!!Sweet Lime TartsTriple Chocolate Cheesecake 3

Sweet Lime Tartlets

Posted on


These tiny squares of graham crust filled with tart lime pie and whipped cream are a refreshing and fun party treat!

Yes, I finally got the Chicago Metallic Lift & Serve Squares Pan and I love it!  This recipe can be made as a plain lime pie in a pre-made graham crust (and it is really, really good)- but its just so CUTE made in these little squares– again, kudos to the creator of this pan- I love how the bottoms pop out and I’ve got so many fun ideas for this pan!

**Note: this recipe makes 24 squares.  Since the pan only makes 12 at a time you will need to use it twice.  I wanted to halve the recipe for you, but 1/2 a can of condensed milk AND 1/2 an egg???  Just easier to use the pan twice and have 24 pieces of yumminess!

INGREDIENTS: (double for a pie in a pre-made graham crust and eliminate crust ingredients)

  • 1 can of sweetened condensed milk
  • 1/2 c. lime juice
  • 1 egg
  • 9 full sheets of graham crackers (one sleeve or about 1 and 1/2 cups)
  • 1/4 c. sugar
  • 1/4 c. melted butter

DIRECTIONS:

  • Preheat oven to 325 degrees.
  • Crush graham crackers into fine crumbs and mix well with sugar and melted butter.
  • Place metal bottoms into each square opening in the pan and lightly spray with non-stick spray.
  • Scoop about 1 to 2 T of crumbs in each square well of the pan.  (You will have half left for your next batch).  Press into bottom and sides of each square using your fingers or a Mini tart shaper.
  • Mix together condensed milk, egg  and lime juice.  Spoon about 1 T of mixture into each crust (you should have half left).

  • Bake at 325 degrees for 15 minutes.  
  • Remove from oven, allow to cool, carefully press up on bottom- popping square dessert out of pan.  Remove metal bottom from crust. 
  • Repeat to make 24 total squares.
  • Chill several hours.  Top with whipped cream, graham crumbs, raspberries or other fruit— be creative!
  • Enjoy!!!

My thoughts:  This lime filling is simply delicious- the perfect blend of tart and sweet.  If you don’t mind the time involved, these squares are really cute– but if you just want a quick and easy dessert, buy a graham crust, double the filling recipe (2 cans of condensed milk, 2 eggs and 1 cup of lime juice).  Bake for 20 minutes instead of 15 and there you have it- yummy lime pie.  However you choose to make it, Enjoy!


Frosty S’more Cups

Posted on

Graham Crust topped with soft chocolate, mini marshmallows and creamy whipped pudding- all frozen in a cute individual cup!  YUM!

I’m back with a recipe using my Chicago Metallic Mini Cheesecake Pan  that I just love.  My Chocolate Chip Cookie Cheesecakes were my first experiment using this pan and these are my second experiment.  I’m just so impressed by how easy it is to make these using this pan- love it!  These frozen treats are rich and creamy and oh-so-yummy!  I hope you love them as much as I do!

INGREDIENTS:

  • 18 graham cracker squares (9 sheets or about 1 1/2 cups)
  • 1/3 c. butter
  • 1/2 c. milk chocolate chips
  • 1/4 c. whipping cream
  • 2 c. mini marshmallows
  • 1 1/2 c. cold milk
  • 1 box (4 servings, 3.9 oz)instant chocolate pudding
  • 1 (8 oz) container of Cool Whip (thawed in fridge)
  • 1/4 c. mini chocolate chips (as topping)

DIRECTIONS

  • Crush graham crackers into fine crumbs.
  • Melt butter and add to graham crackers, mixing until well combined to make crust.
  • Prepare pan by placing disks into the bottom of each cup.
  • Evenly divide crust mixture into all 12 cups, saving about 1/4 cup to use as topping later. (I used a Mini Tart Shaper to press crumbs firmly into the bottom of each cup).
  • Place milk chocolate chips and whipping cream into a small bowl and microwave in 30 second increments, stirring in between, until melted and smooth.
  • Spoon chocolate into a zip top bag, cut a tip off and evenly pipe chocolate into the center of each cup, on top of the crust.

  • Divide Marshmallows among cups.
  • Mix cold milk with pudding on medium speed for 2 minutes. Fold in 1/2 of the Cool Whip container (the rest will be used as topping).
  • Spoon filling into a large zip top bag (and ZIP it or you might have a mess!)  Clip a corner off and pipe pudding into each cup evenly.  Try to pipe it in between the marshmallows so that the whole cup is filled.  I did have a little left over (which was really tasty straight out of the bag!)
  • Use a knife to smooth the tops level with the top of the pan.
  • Freeze for at least a couple of hours.
  • Allow the pan to warm just a bit before popping each dessert cup out.  Poke a finger up through the hole in the bottom of the pan and grab that s’mores cup by its crust.  Remove the disk from the bottom and you are ready to add topping. 
  • For topping, I just piped a little bit of the left over Cool Whip on each dessert using a decorating tip.  Then I sprinkled the remaining crust and mini chocolate chips on top.
  • Serve cold right away– or put them in a sealed container and freeze until you are ready to serve.

My thoughts:  I love these so much.  They are ok at room temperature, but serve them frozen and they are amazing!  The pudding stays so creamy and that chocolate layer in the middle…. it is a miracle I didn’t just sit down and eat them all.  Seriously.  Enjoy!!!  -r

6-5-12: Check out this bloggers version using muffin cups: A Bunch of Bishops –so fun!

%d bloggers like this: