RSS Feed

Tag Archives: unique

Sunny Side Up Egg Cookies!!!

Posted on

Fried Egg Cookies

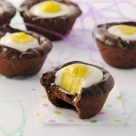
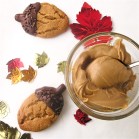
Whoever said you can’t have cookies for breakfast never tried these cookies!

A perfect April Fool’s treat!

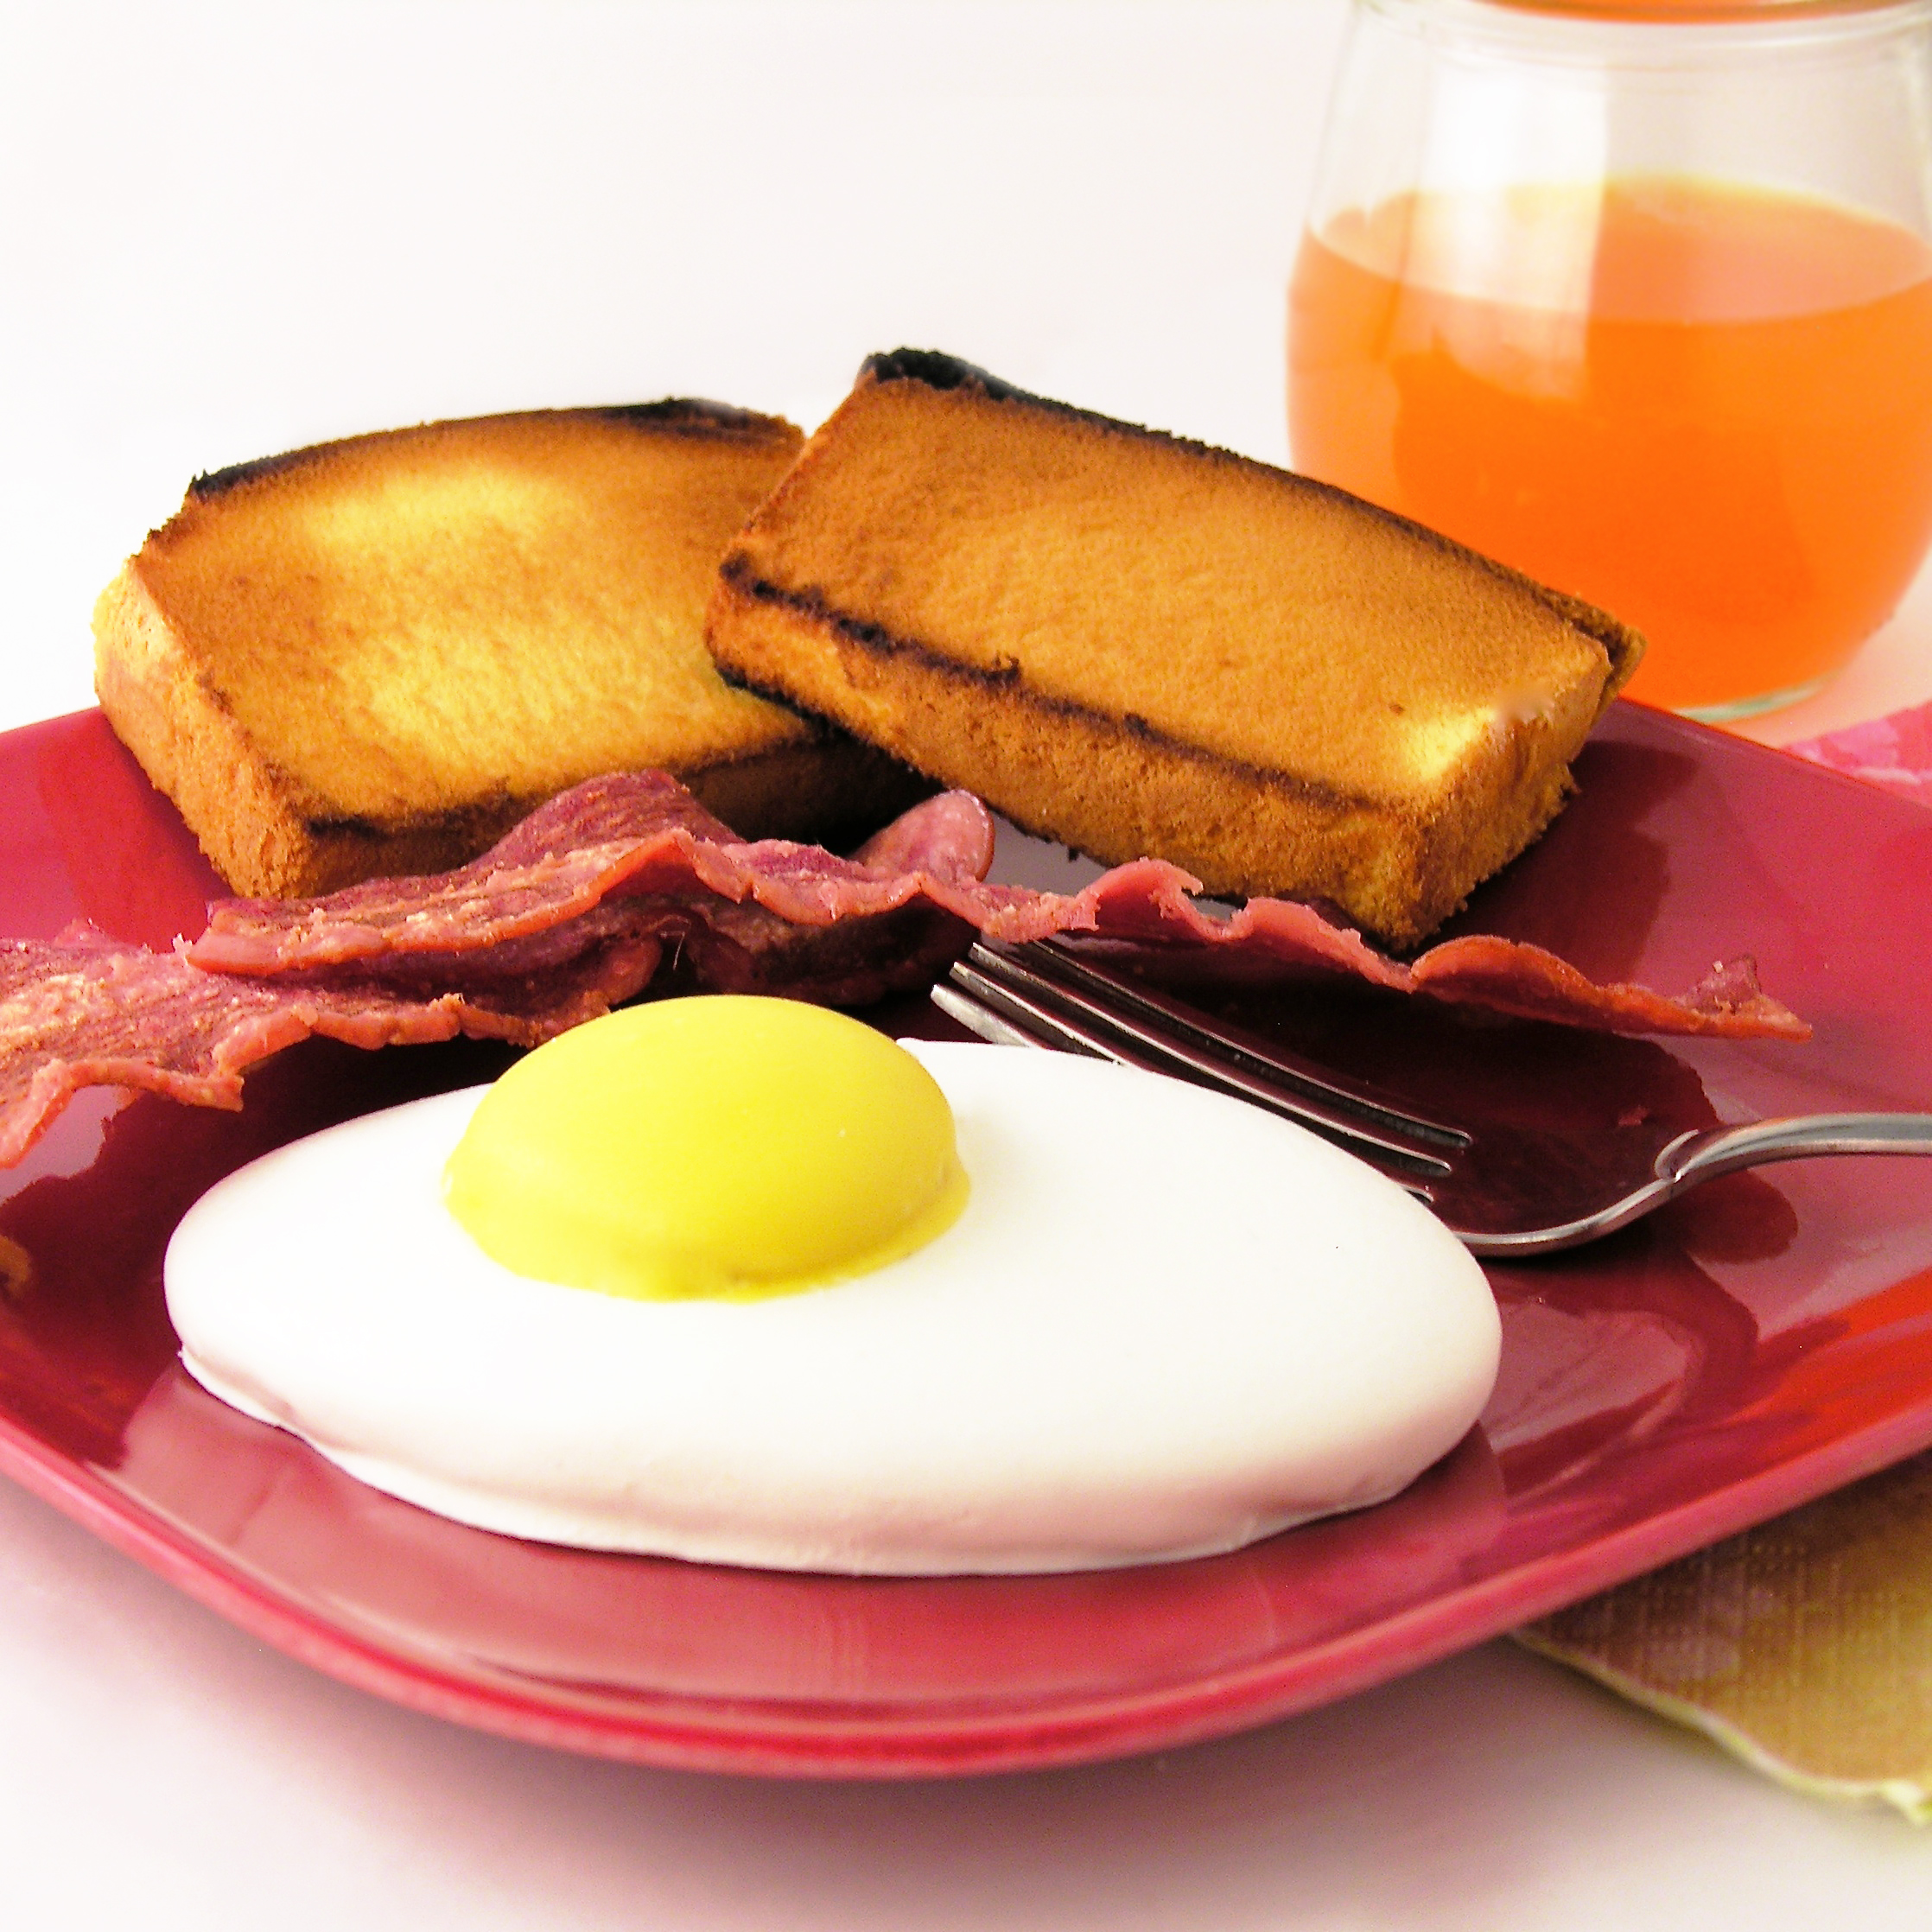
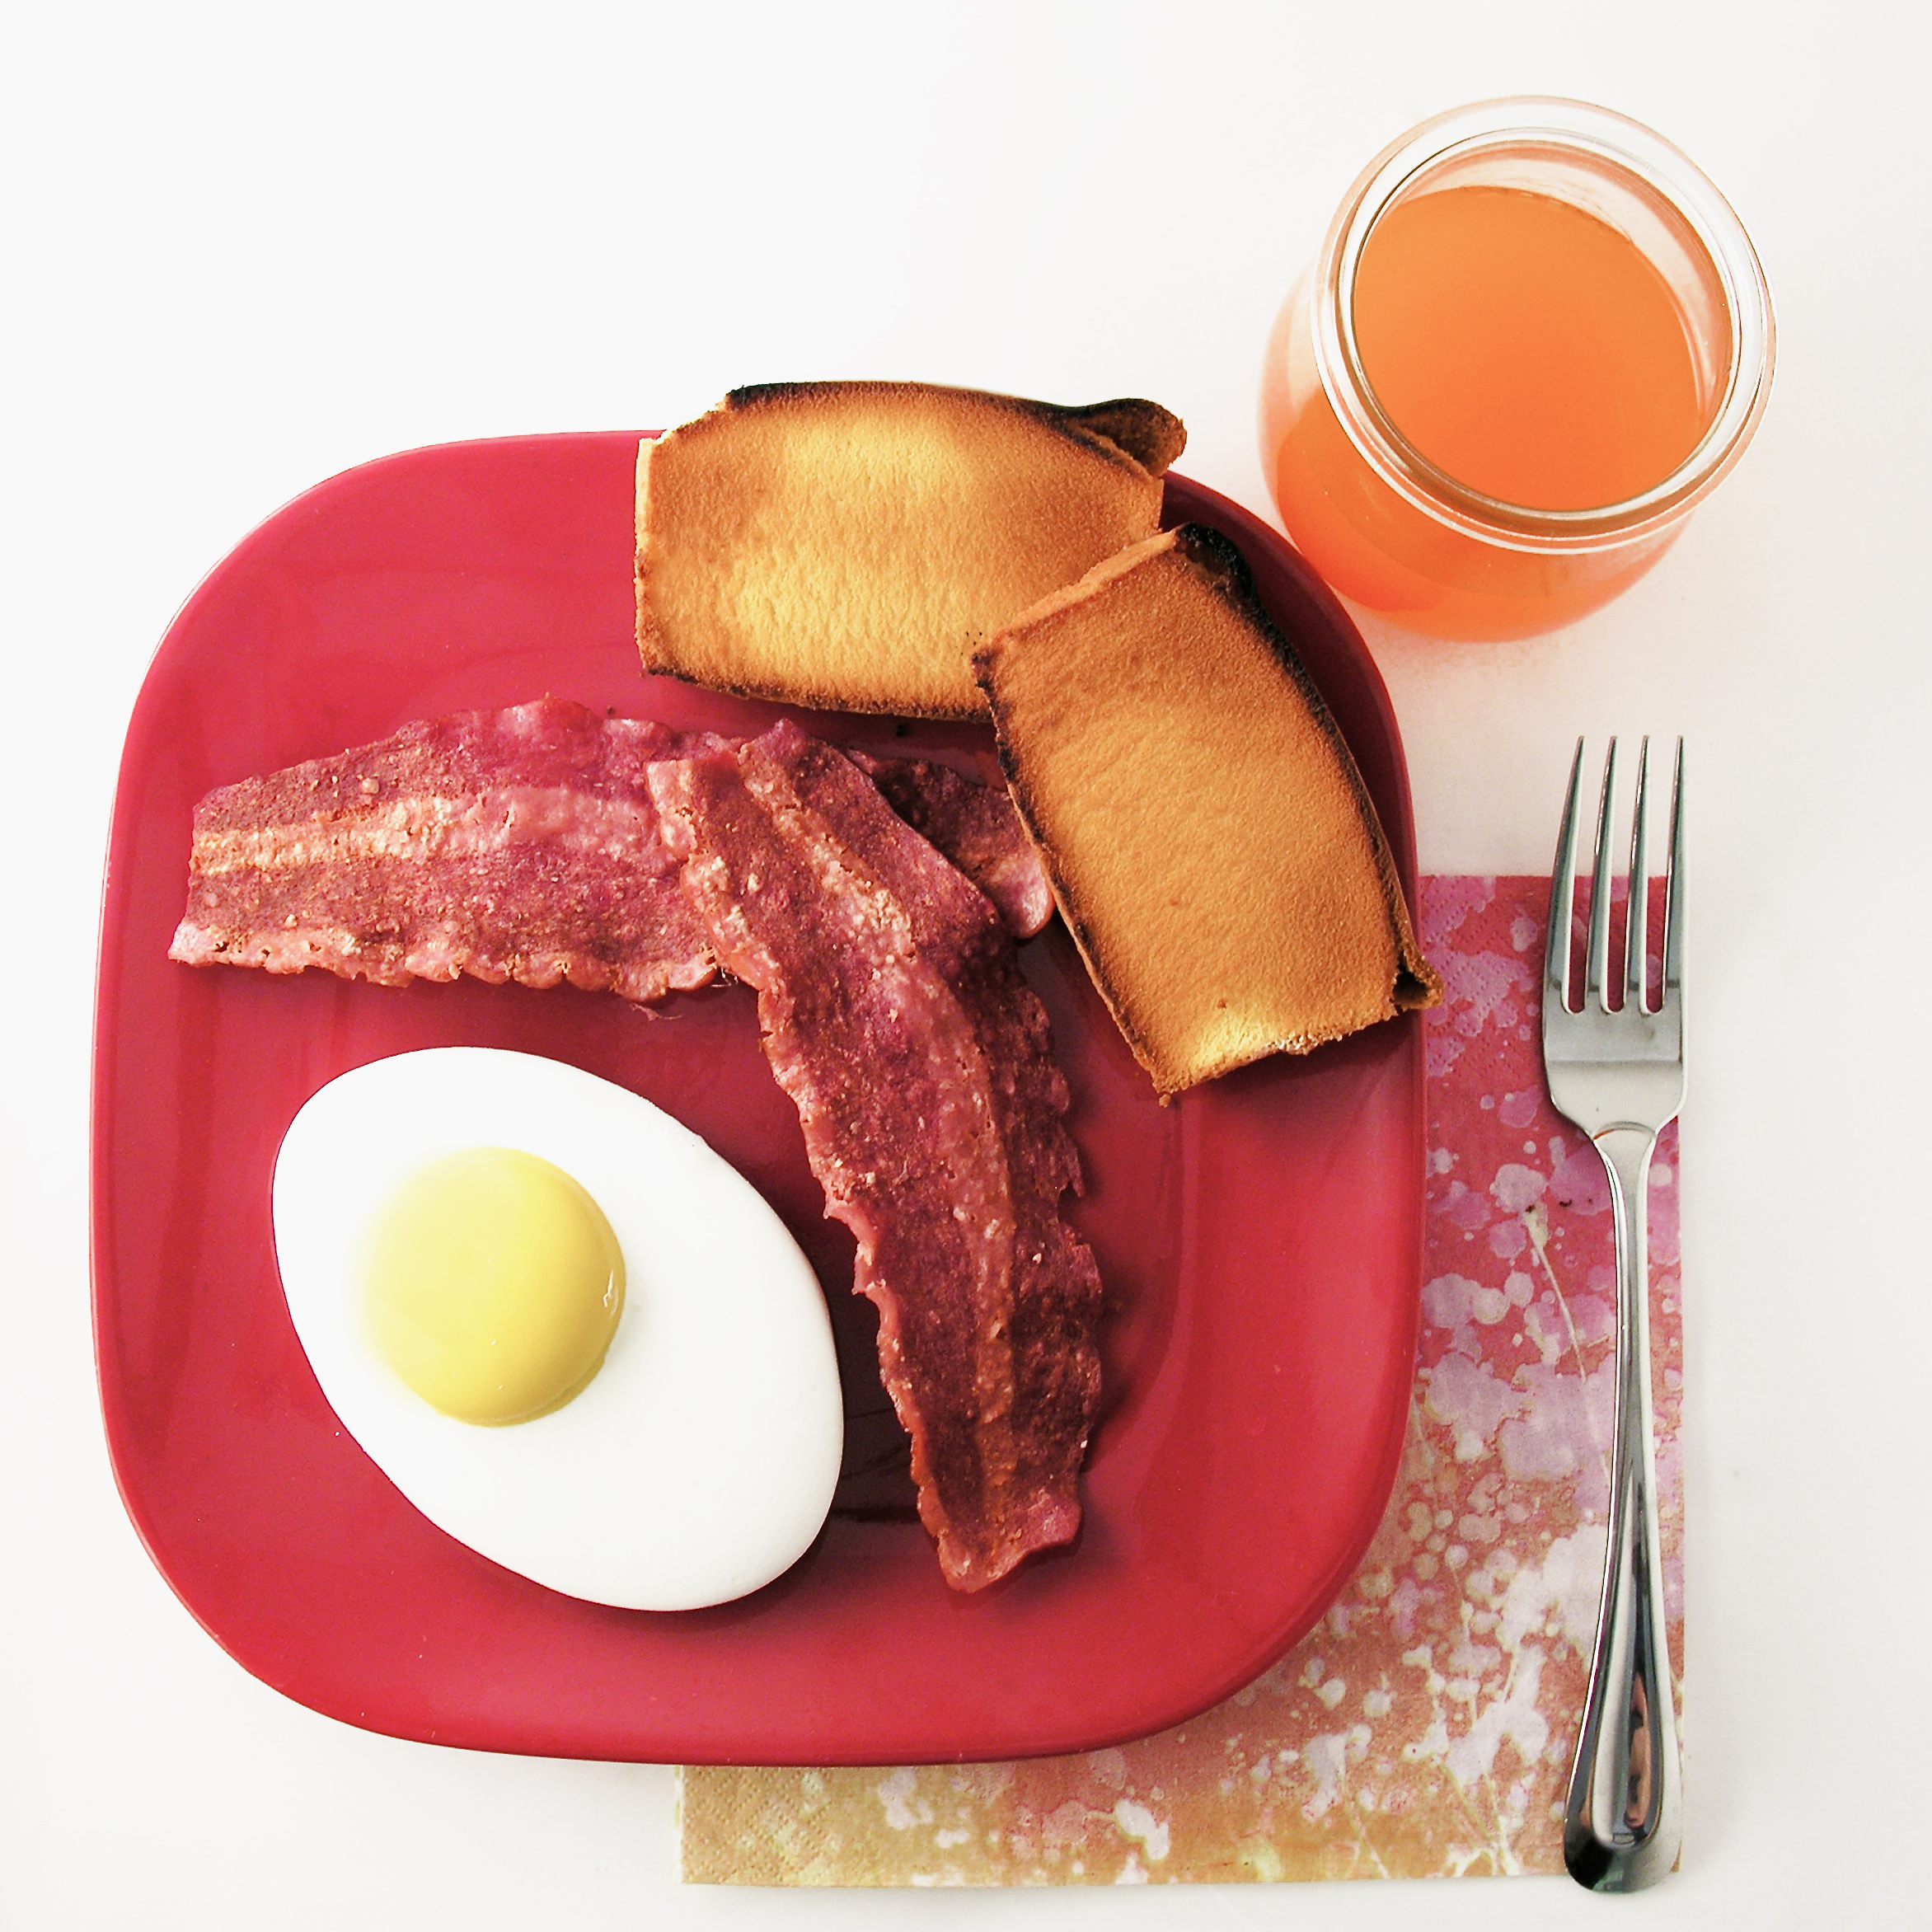
Tomorrow is April Fool’s Day, and we all know that if you don’t catch people early, they will remember what day it is and call your bluff! That’s why these little “breakfast” cookies are the perfect trick. I served them with bacon (salty and sweet…) and toasted pound cake. They are easy to put together and they are the cutest little things in Easter baskets too!

Egg cookies for EasterTwo holidays covered by one recipe? Perfect.

These are perfectly tasty too~ and so easy to create for yourself! Here’s how we did them (printable recipe)

INGREDIENTS: (makes 24-36 cookies, depending on the size of your cookie cutter)

  • 2 sticks (1 cup) unsalted butter (softened)
  • 1 1/2 cups of granulated sugar
  • 2 eggs
  • 1 teaspoon of vanilla
  • 1 teaspoon of butter flavoring
  • 3 cups of flour
  • 1 teaspoon of baking powder
  • 1/2 teaspoon of salt
  • 3 bags of Wiltons candy melts in white
  • 1 bag of Wilton’s candy melts in yellow
  • 24-36 Nilla Wafers

DIRECTIONS:

  • Preheat oven to 350F degrees.
  • In a large mixing bowl, cream together butter and sugar until smooth.
  • Add eggs, vanilla and butter flavoring and mix well.
  • Add all dry ingredients and mix until able to knead into a firm ball of dough (add additional flour if necessary).
  • Roll out on a floured counter with a flour coated rolling pin to desired thickness.
  • Cut using an egg shaped cookie cutter.
  • Place cookies on ungreased cookie sheets and bake at 350F degrees for 8 to 10 minutes.
  • Slide baked cookies onto parchment paper to cool completely.
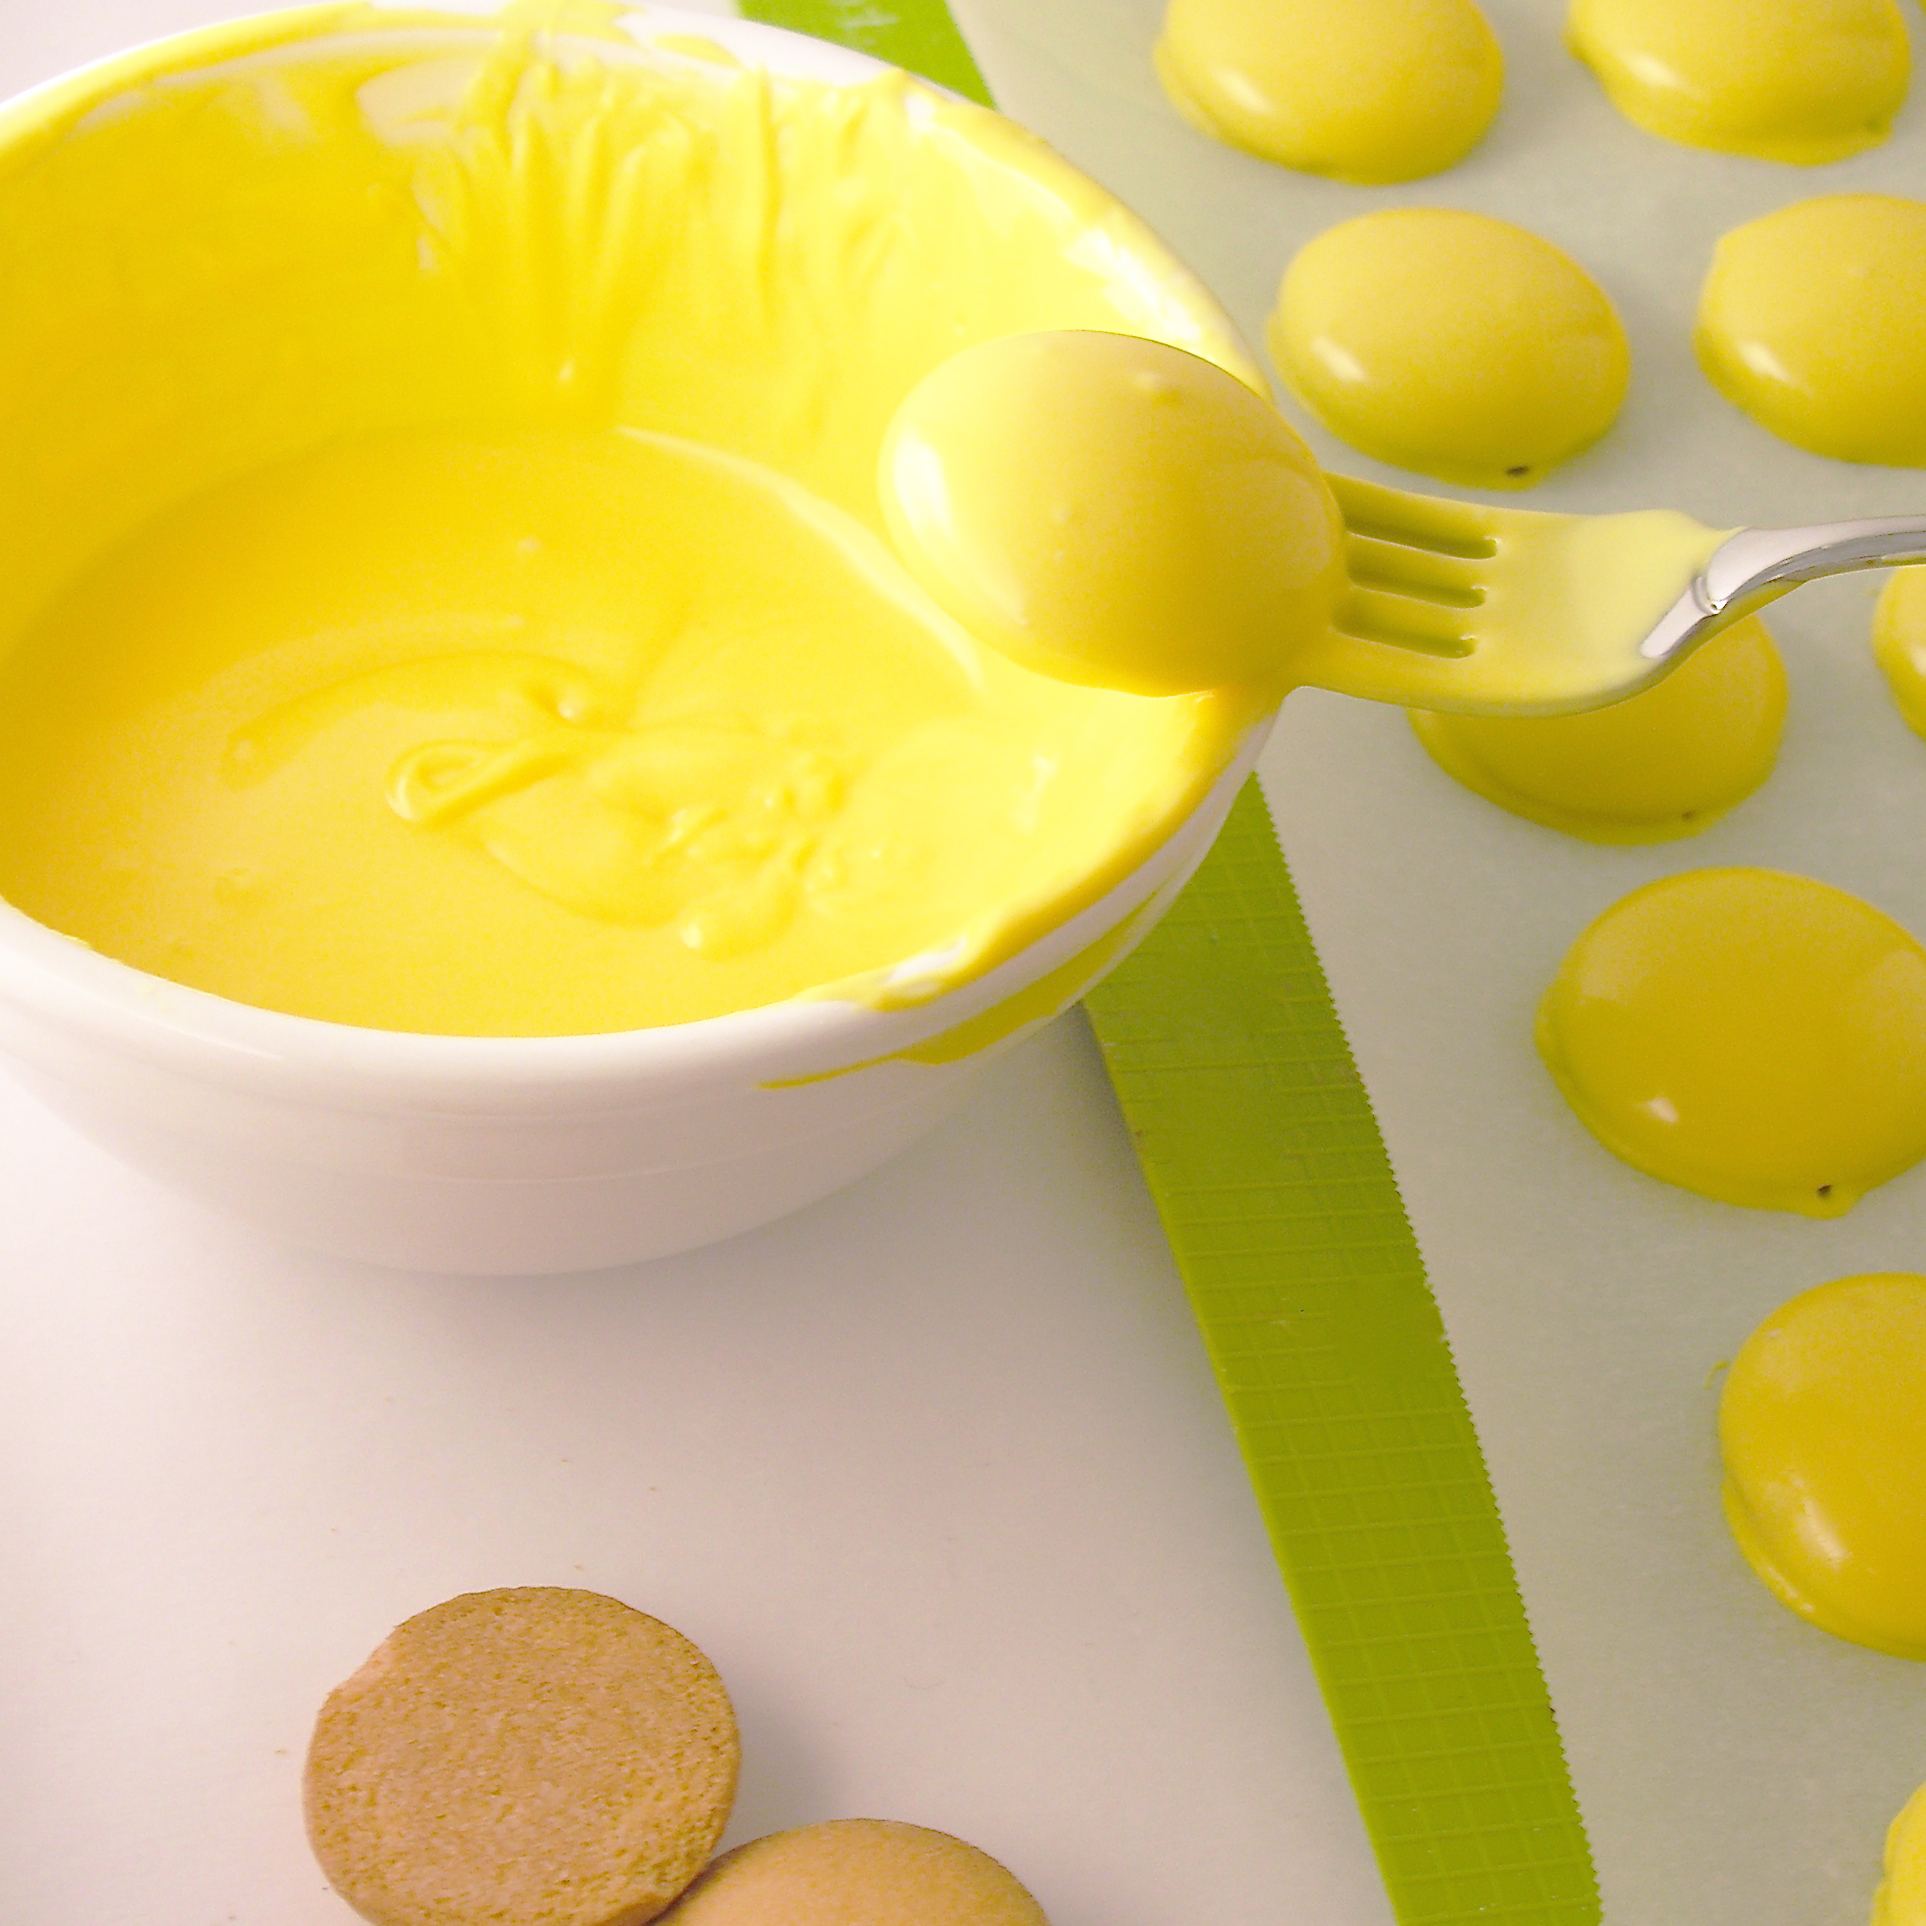
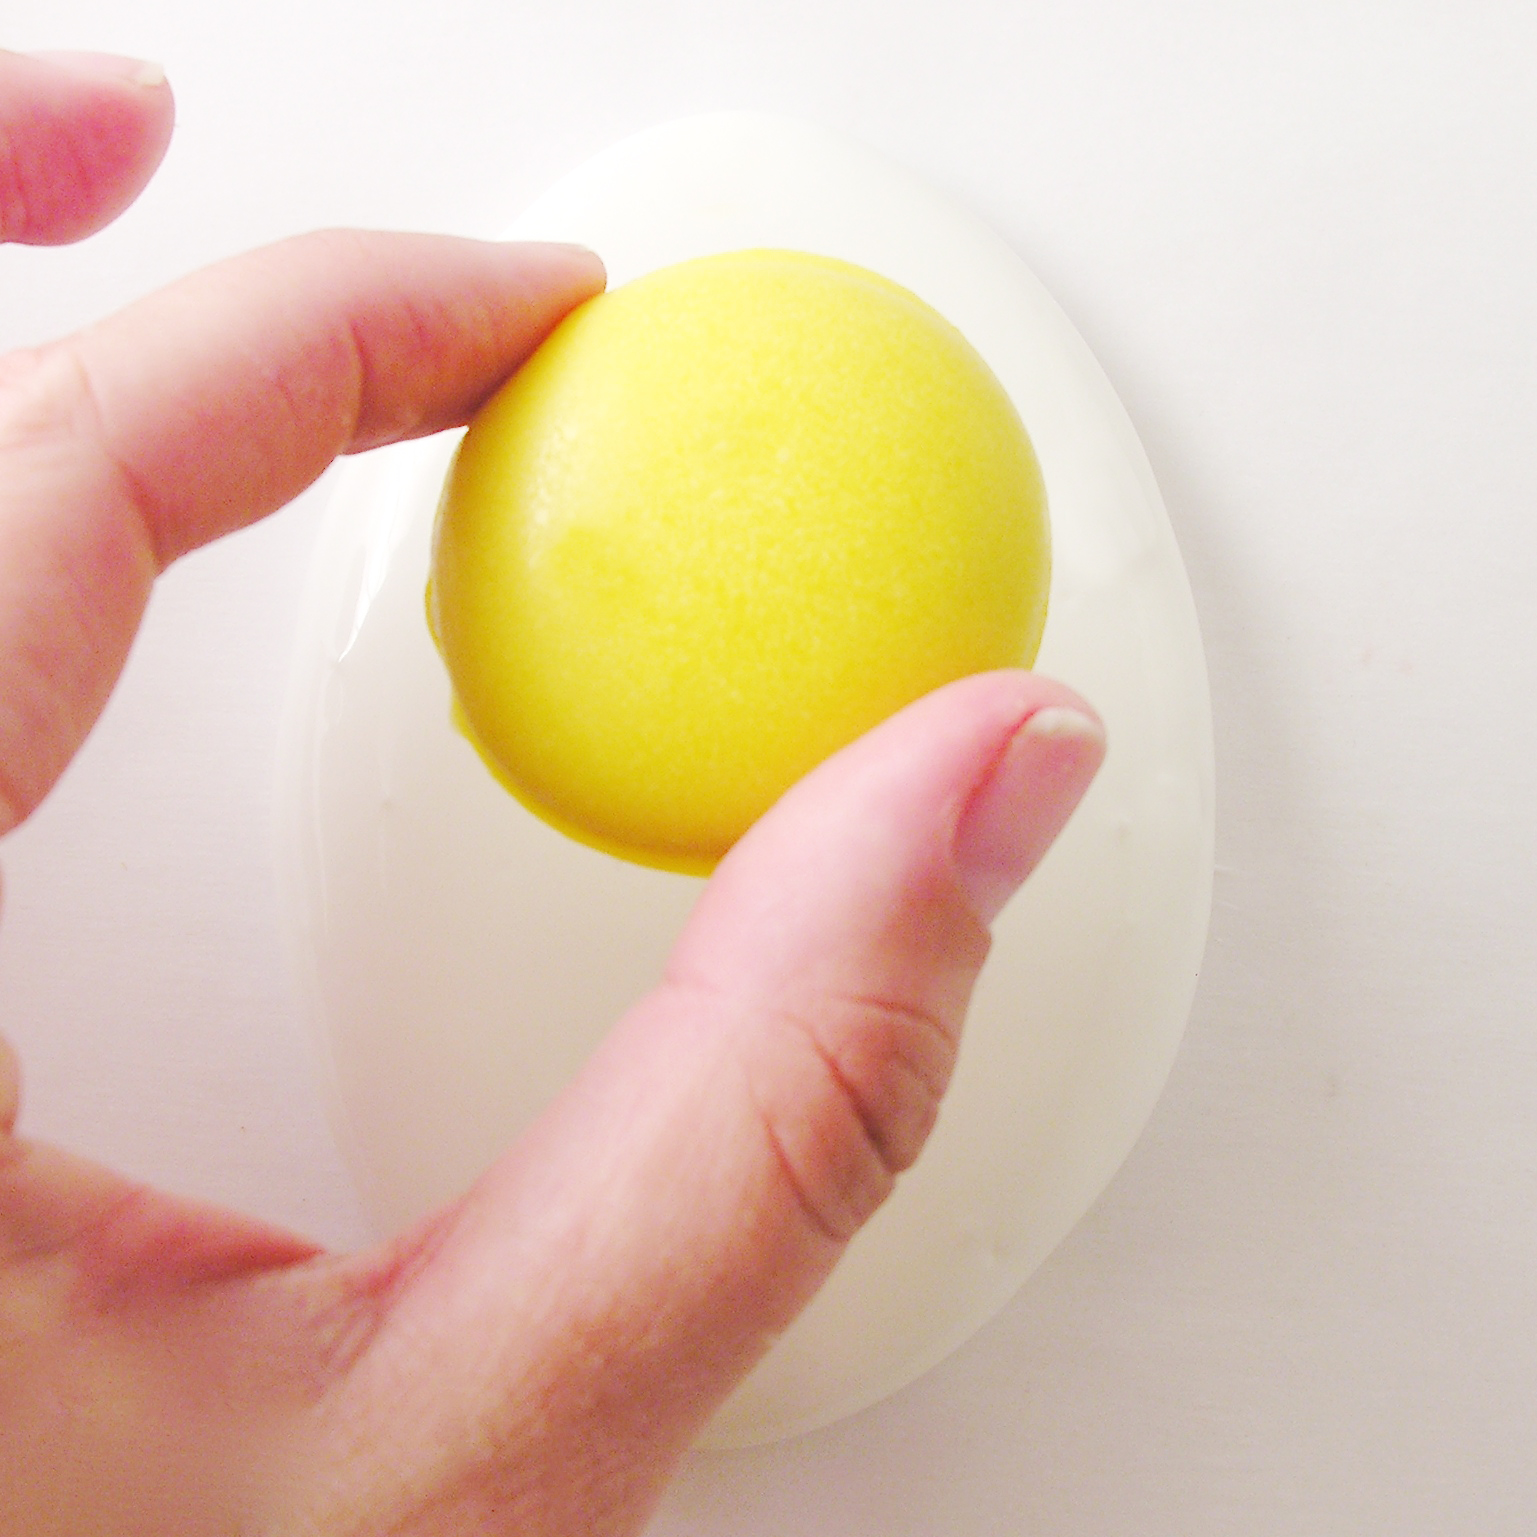
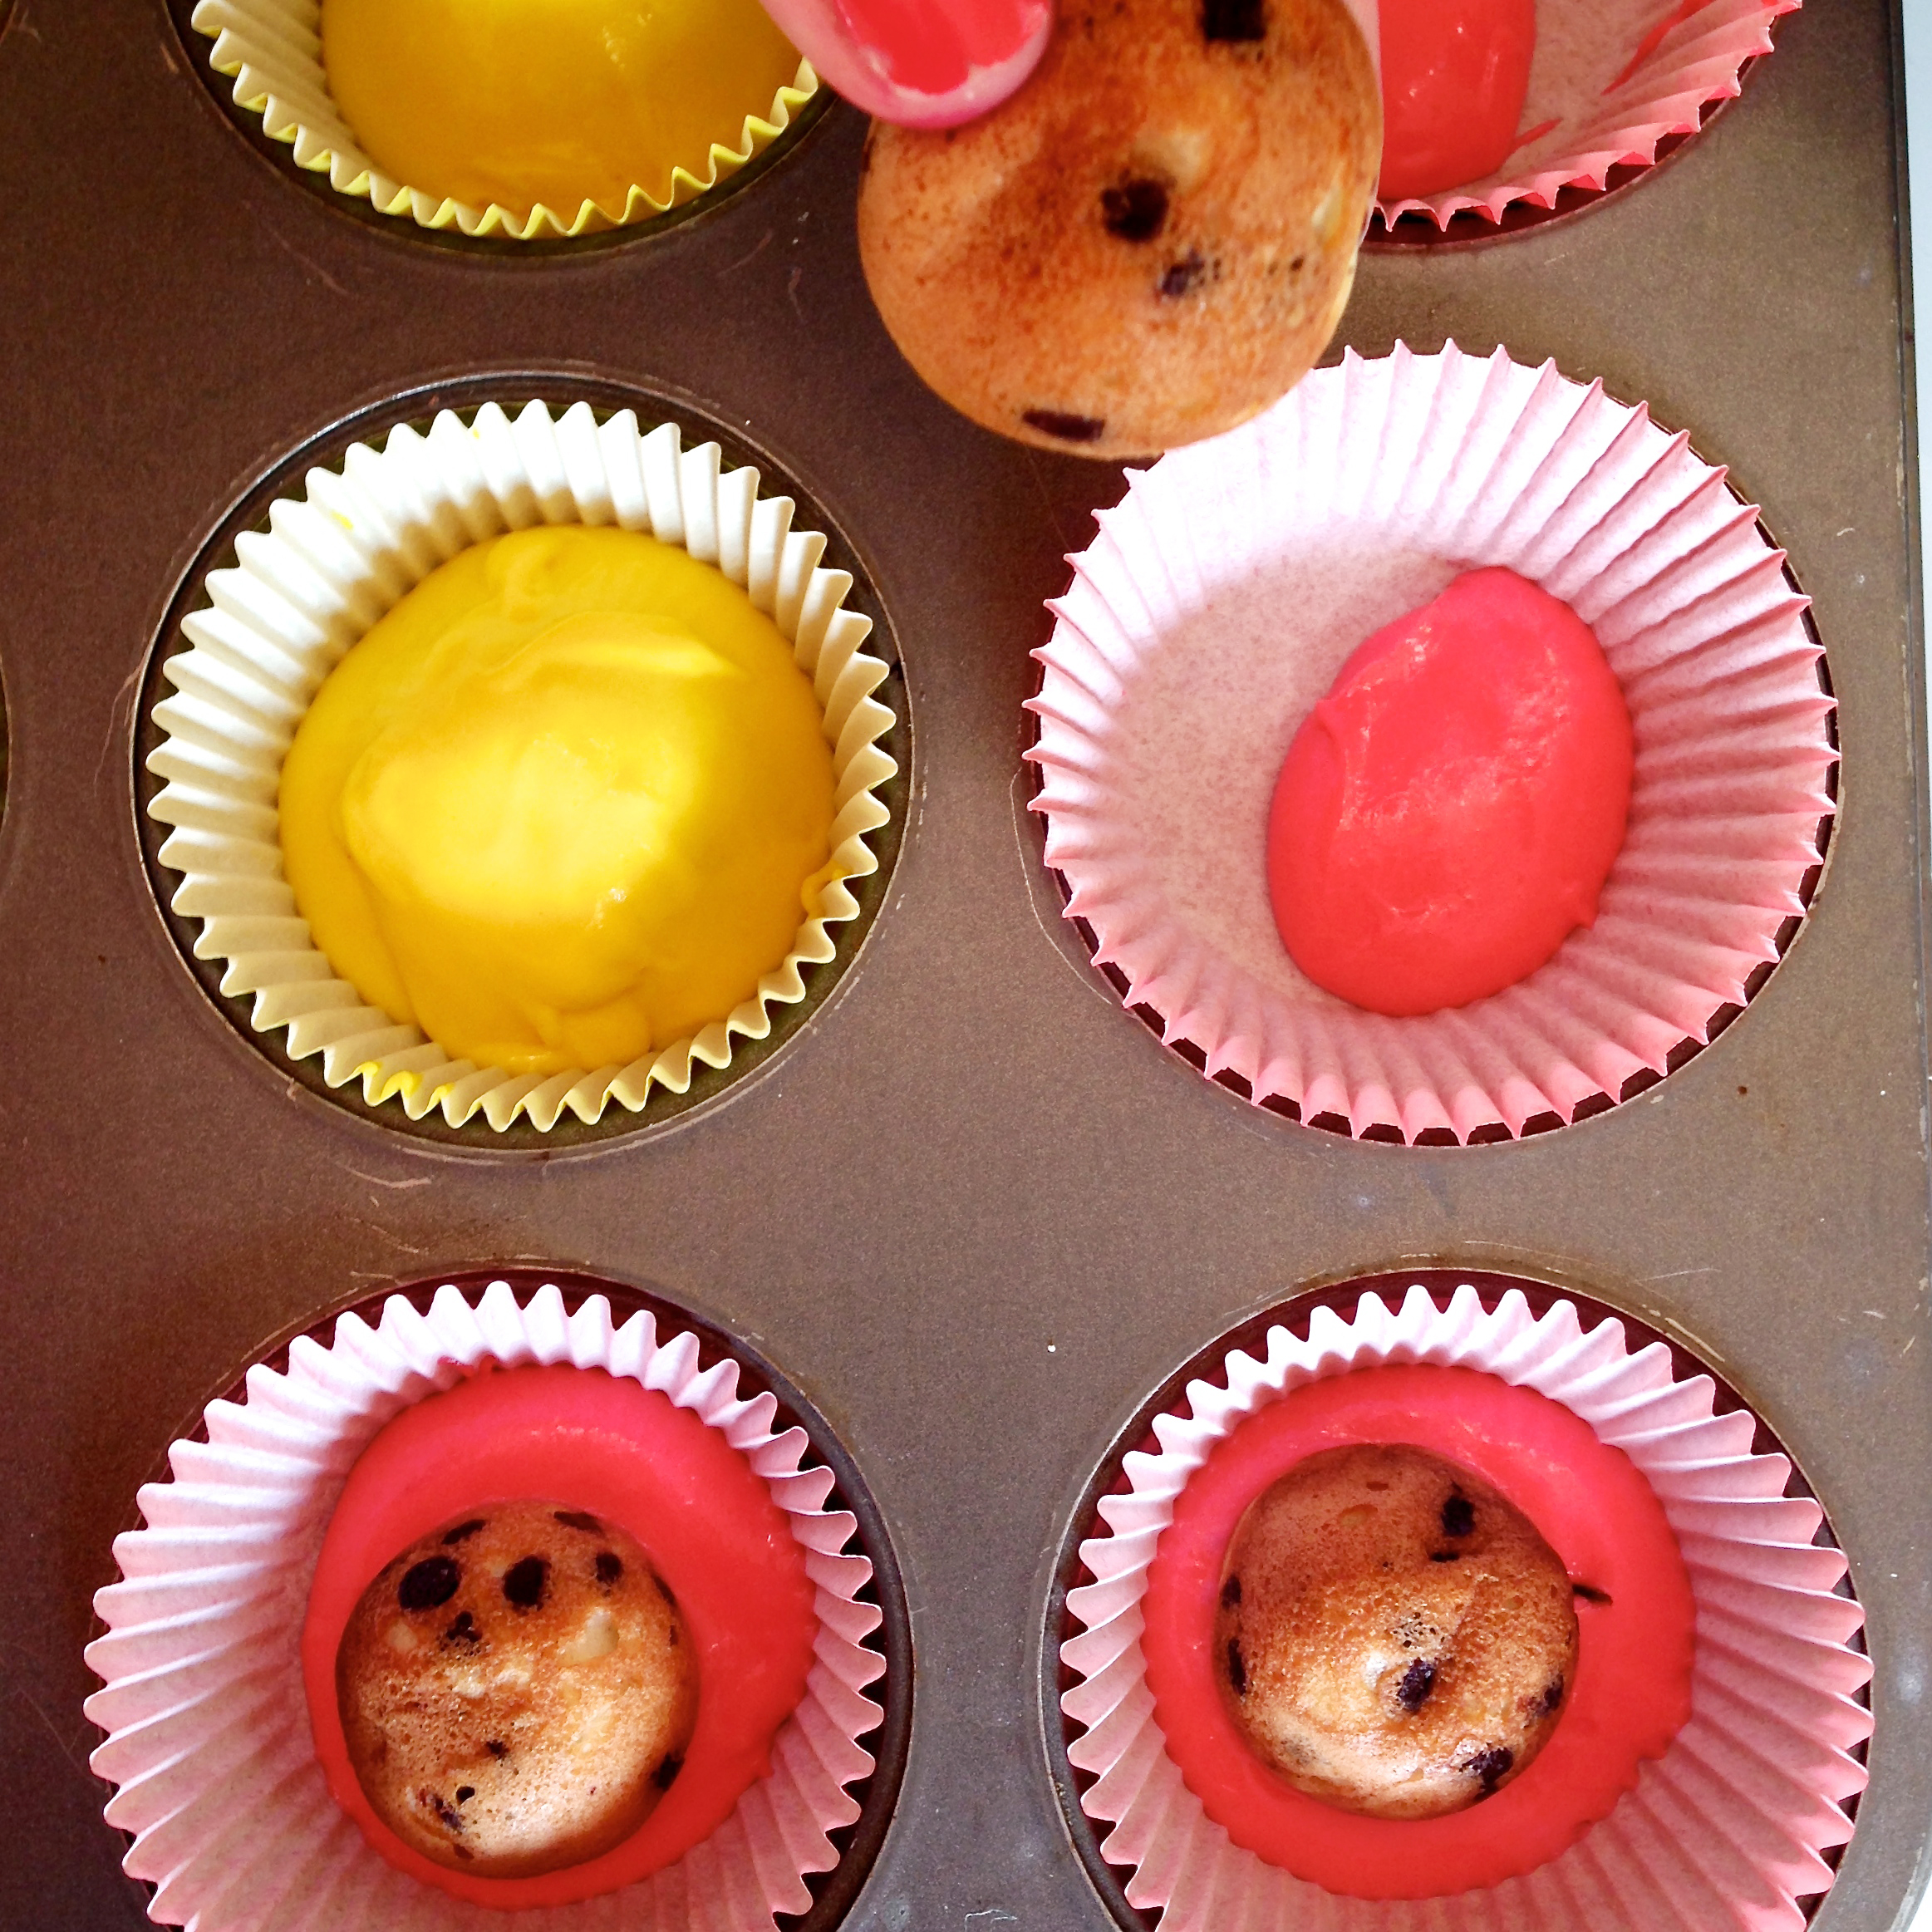
  • Melt 1/2 a bag of yellow candy melts in a small bowl in the microwave in 30 second increments, stirring in between, until smooth.
  • Gently dip Nilla wafers into yellow candy melts, covering completely and removing with a fork by tapping on the edge of the bowl and sliding bottom along edge. Place on parchment paper to harden completely. (I placed these in the fridge to harden more quickly so they would be ready to place on the egg “whites”)
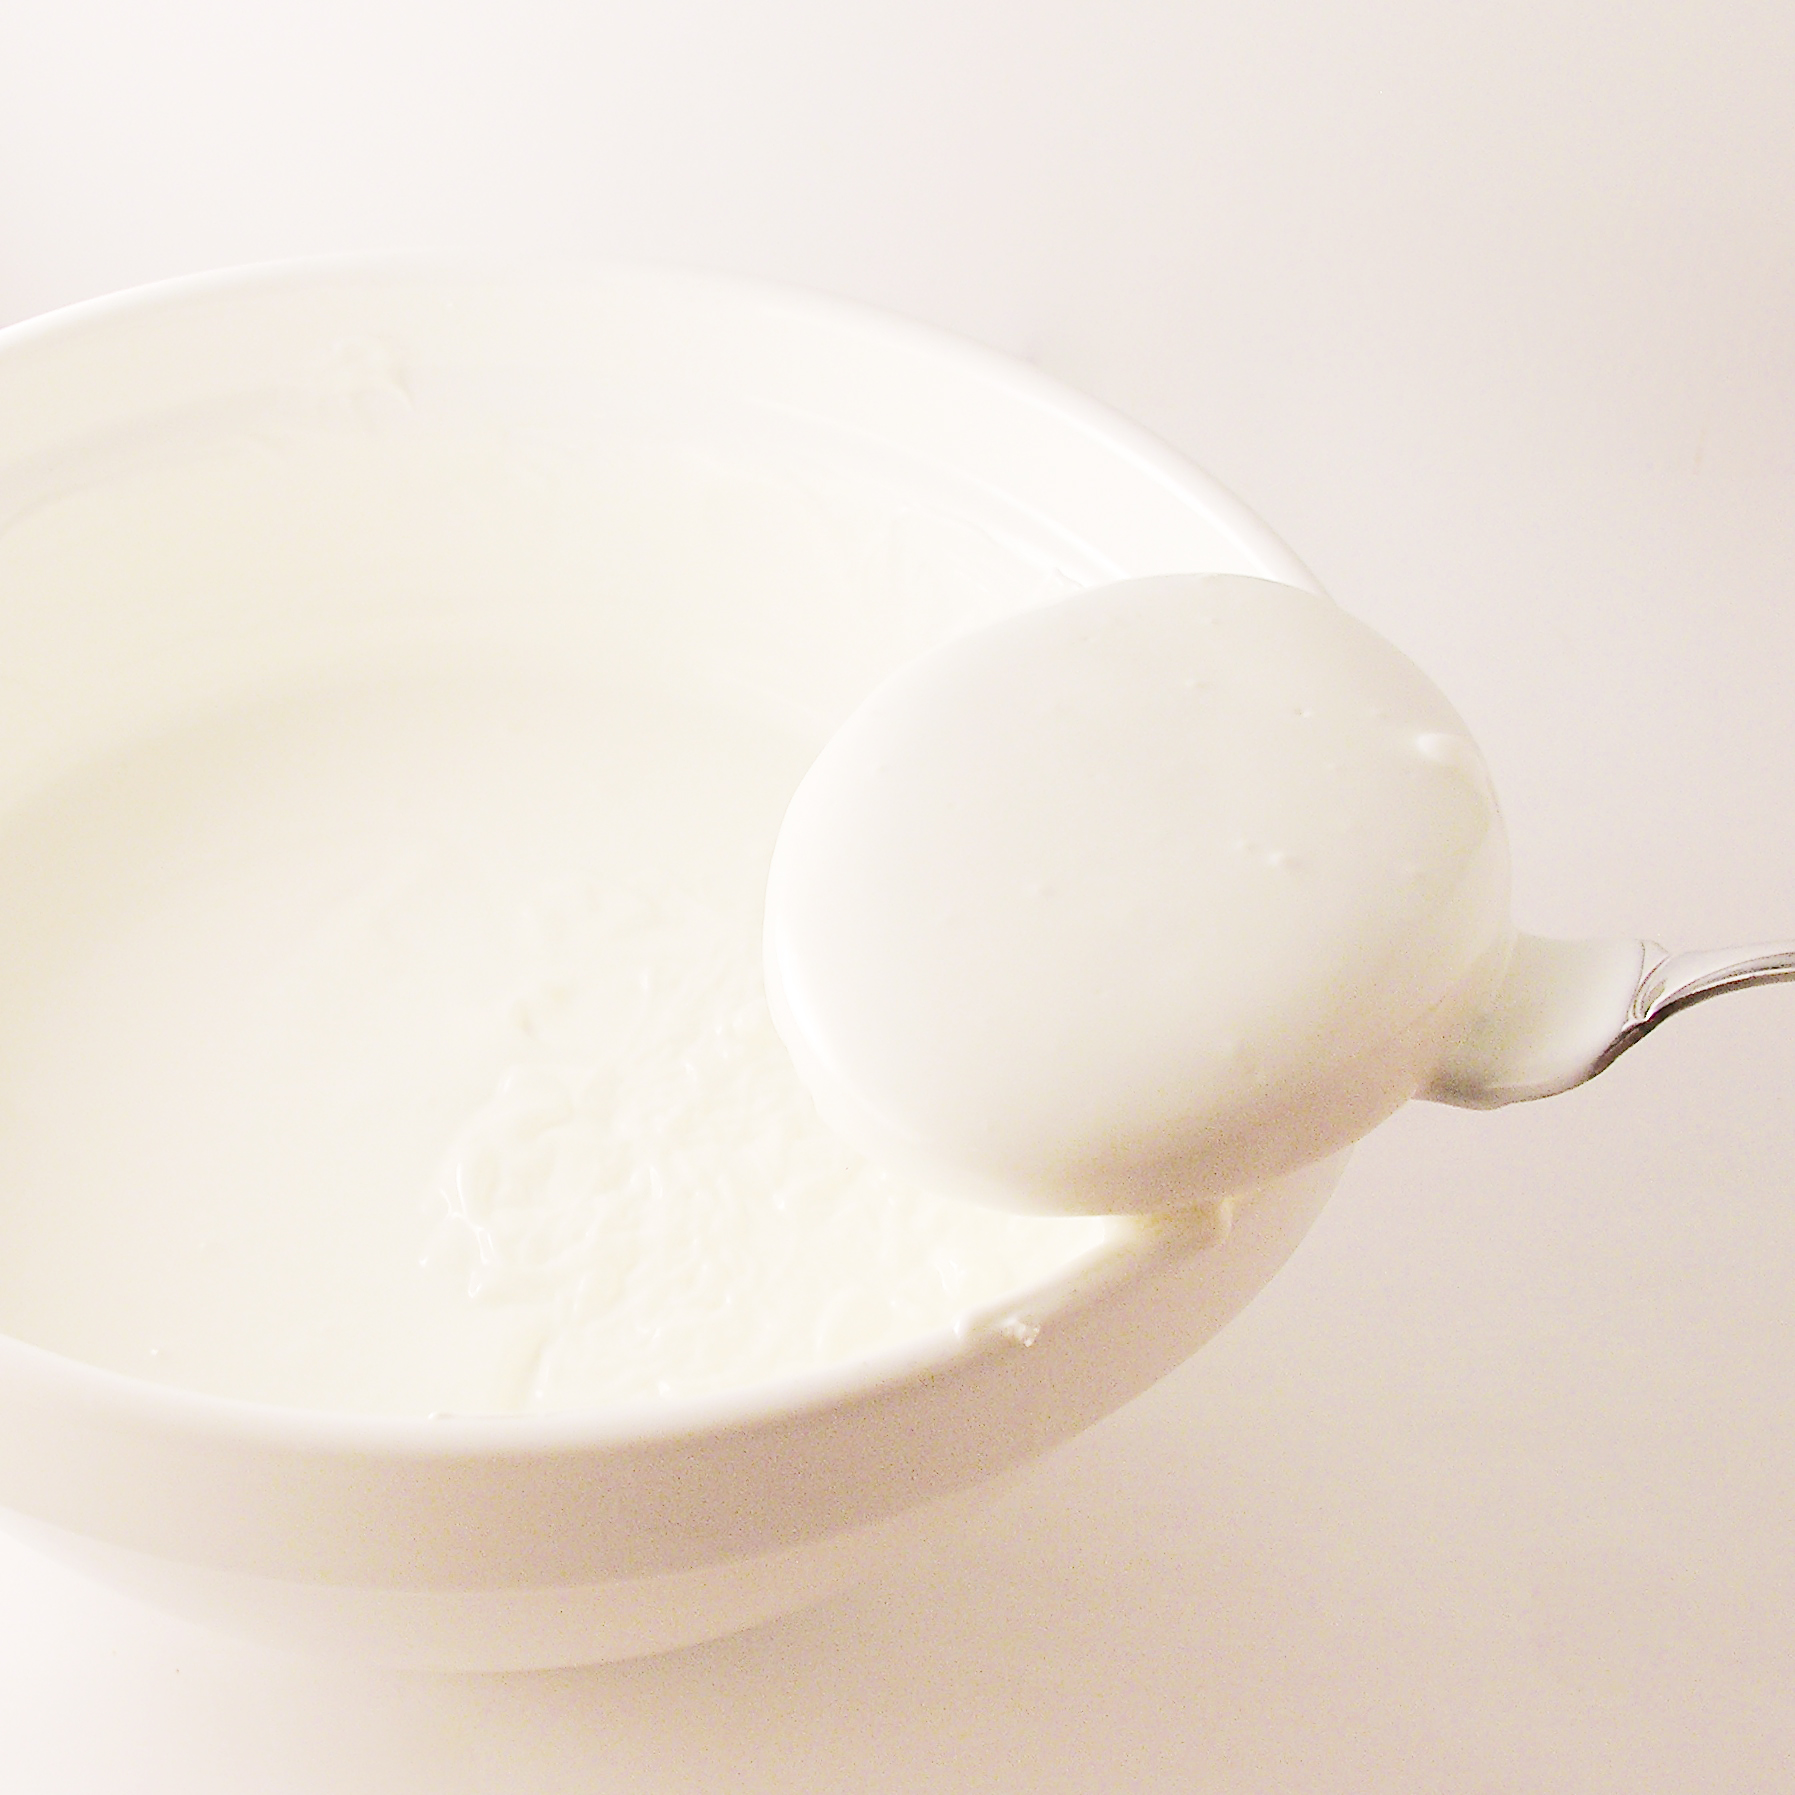
  • Melt white candy melts in a larger bowl, using the same technique as melting the yellow ones.
  • Gently dip each cooled egg cookie into the white candy melts, using the same technique as with the Nilla Wafers. 

Fried egg cookieFried Egg Cookie

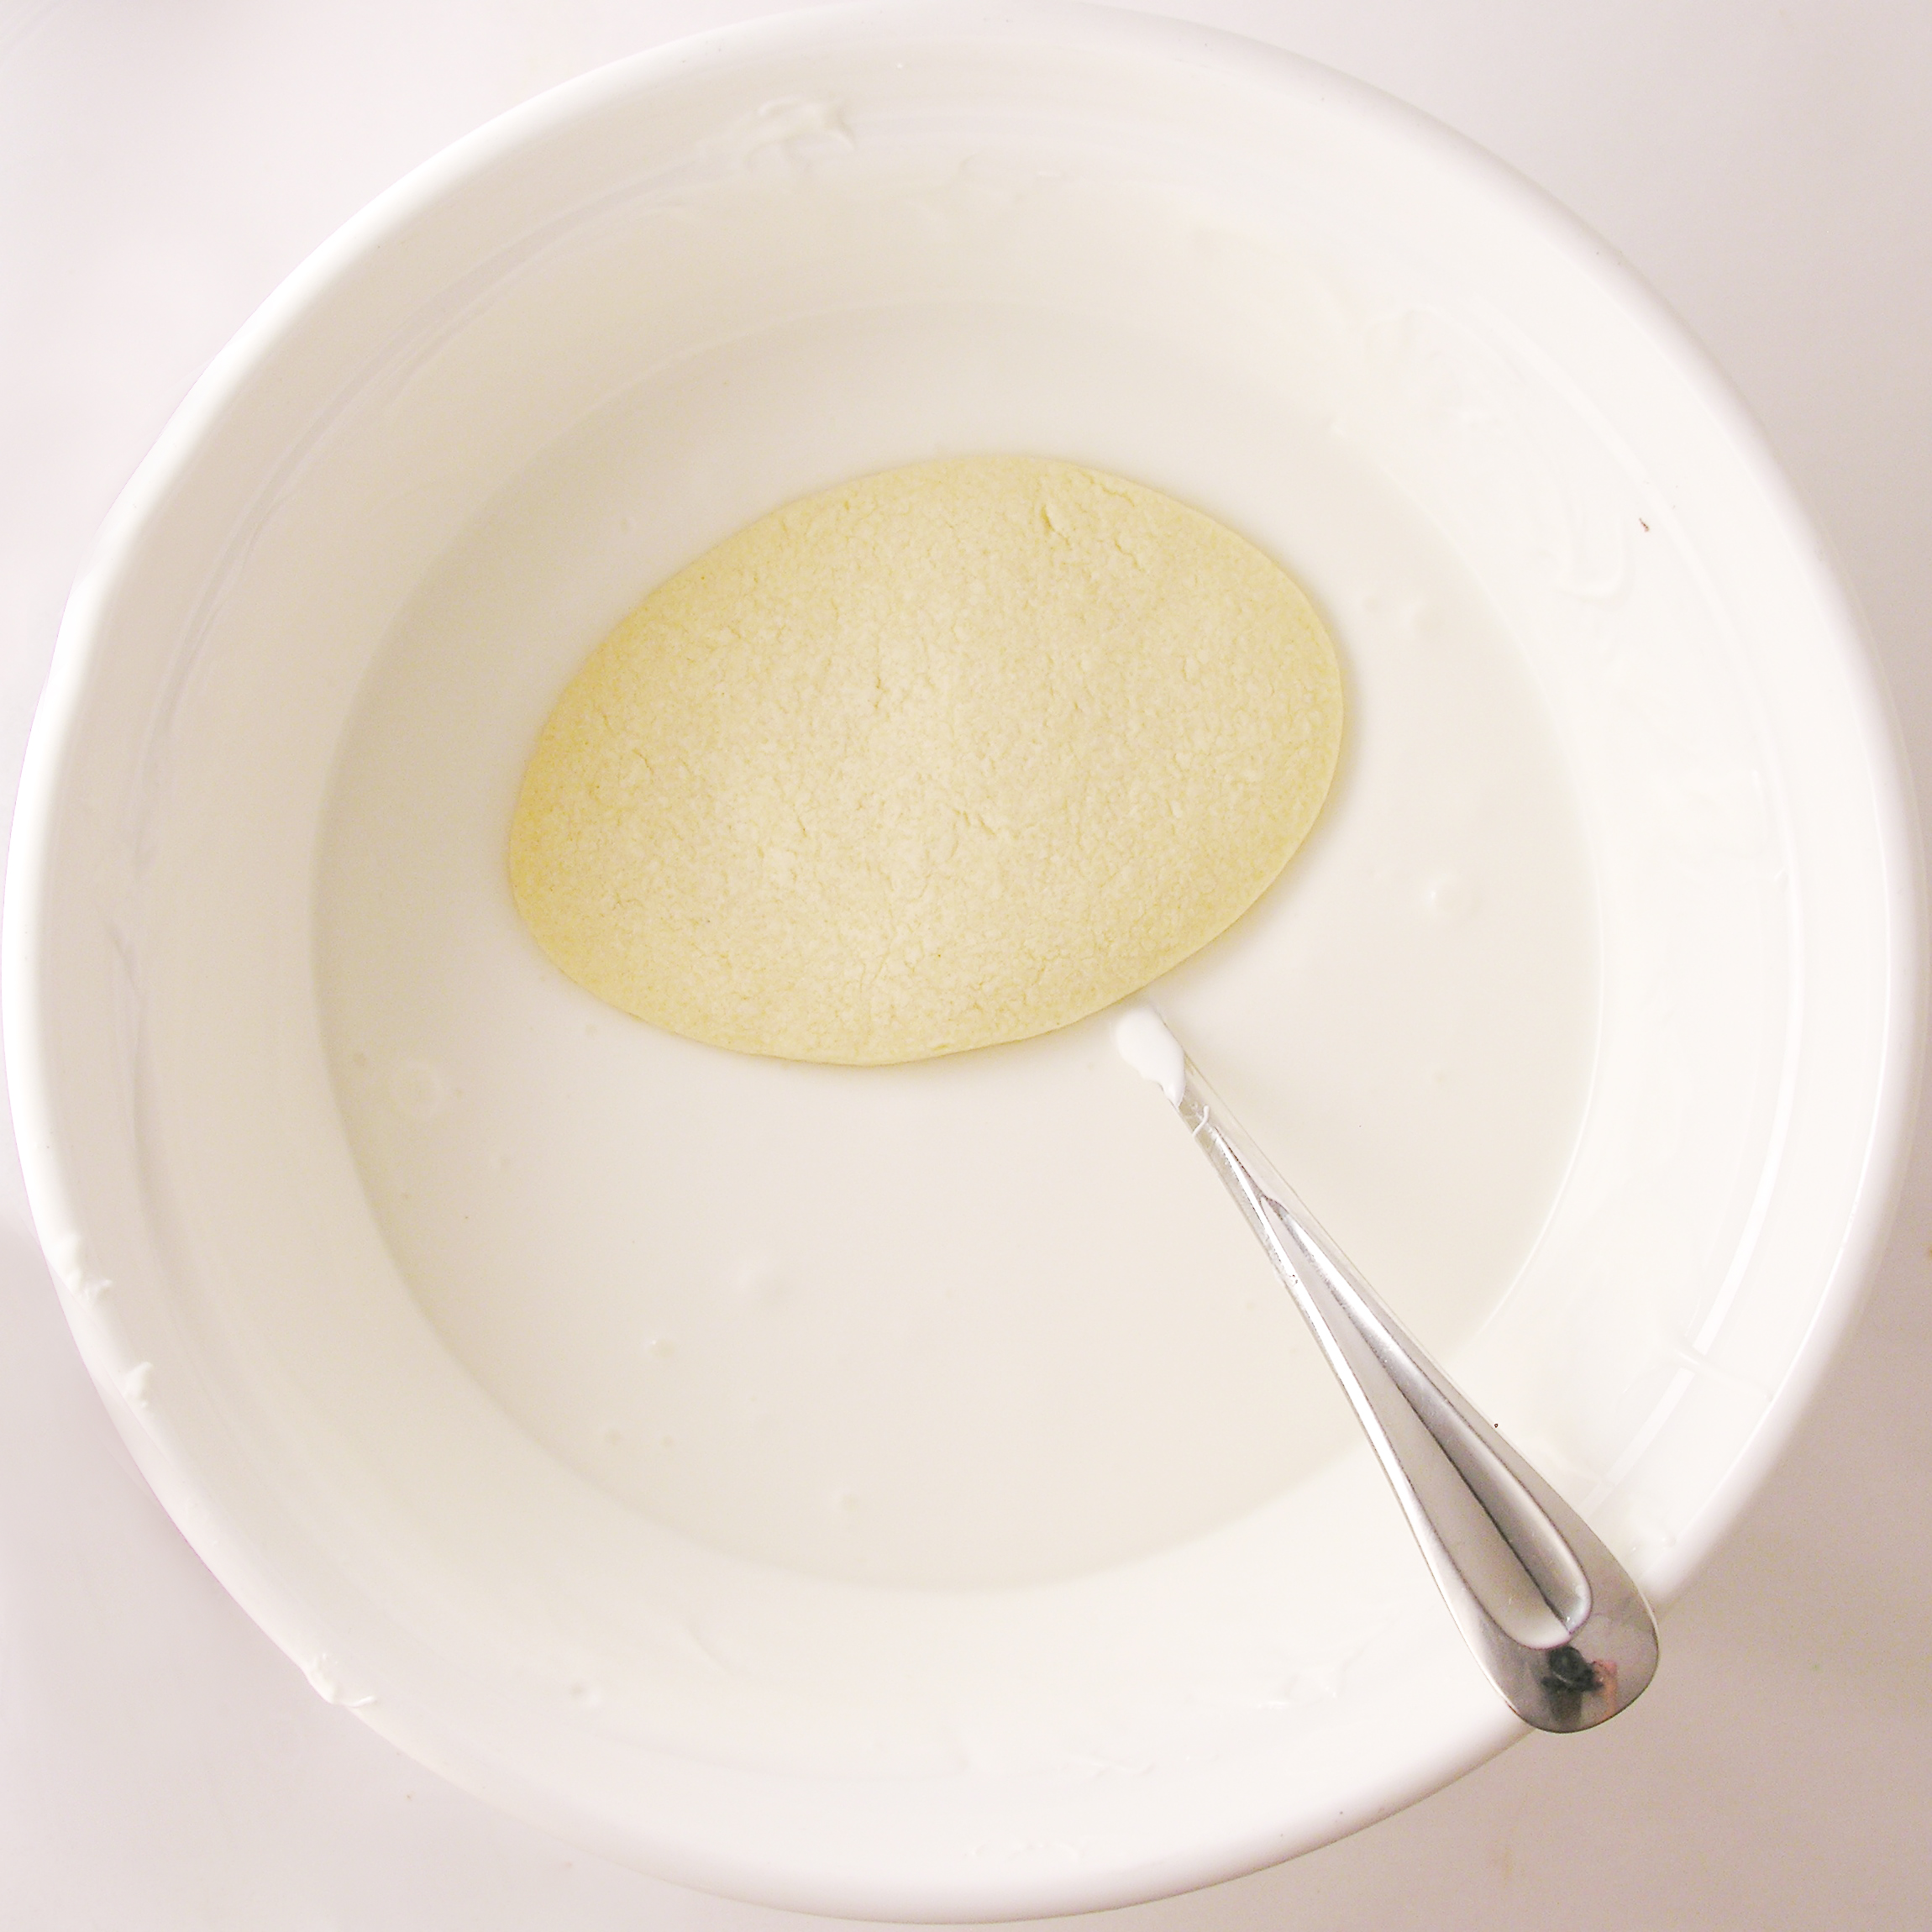
  • Place on parchment paper to harden, but before white egg hardens completely, place a yellow Nilla Wafer on top as a “yolk”.

Fried eggFried Egg cookies

  • Allow cookie to harden completely and serve up with bacon and toasted pound cake…and maybe coffee?
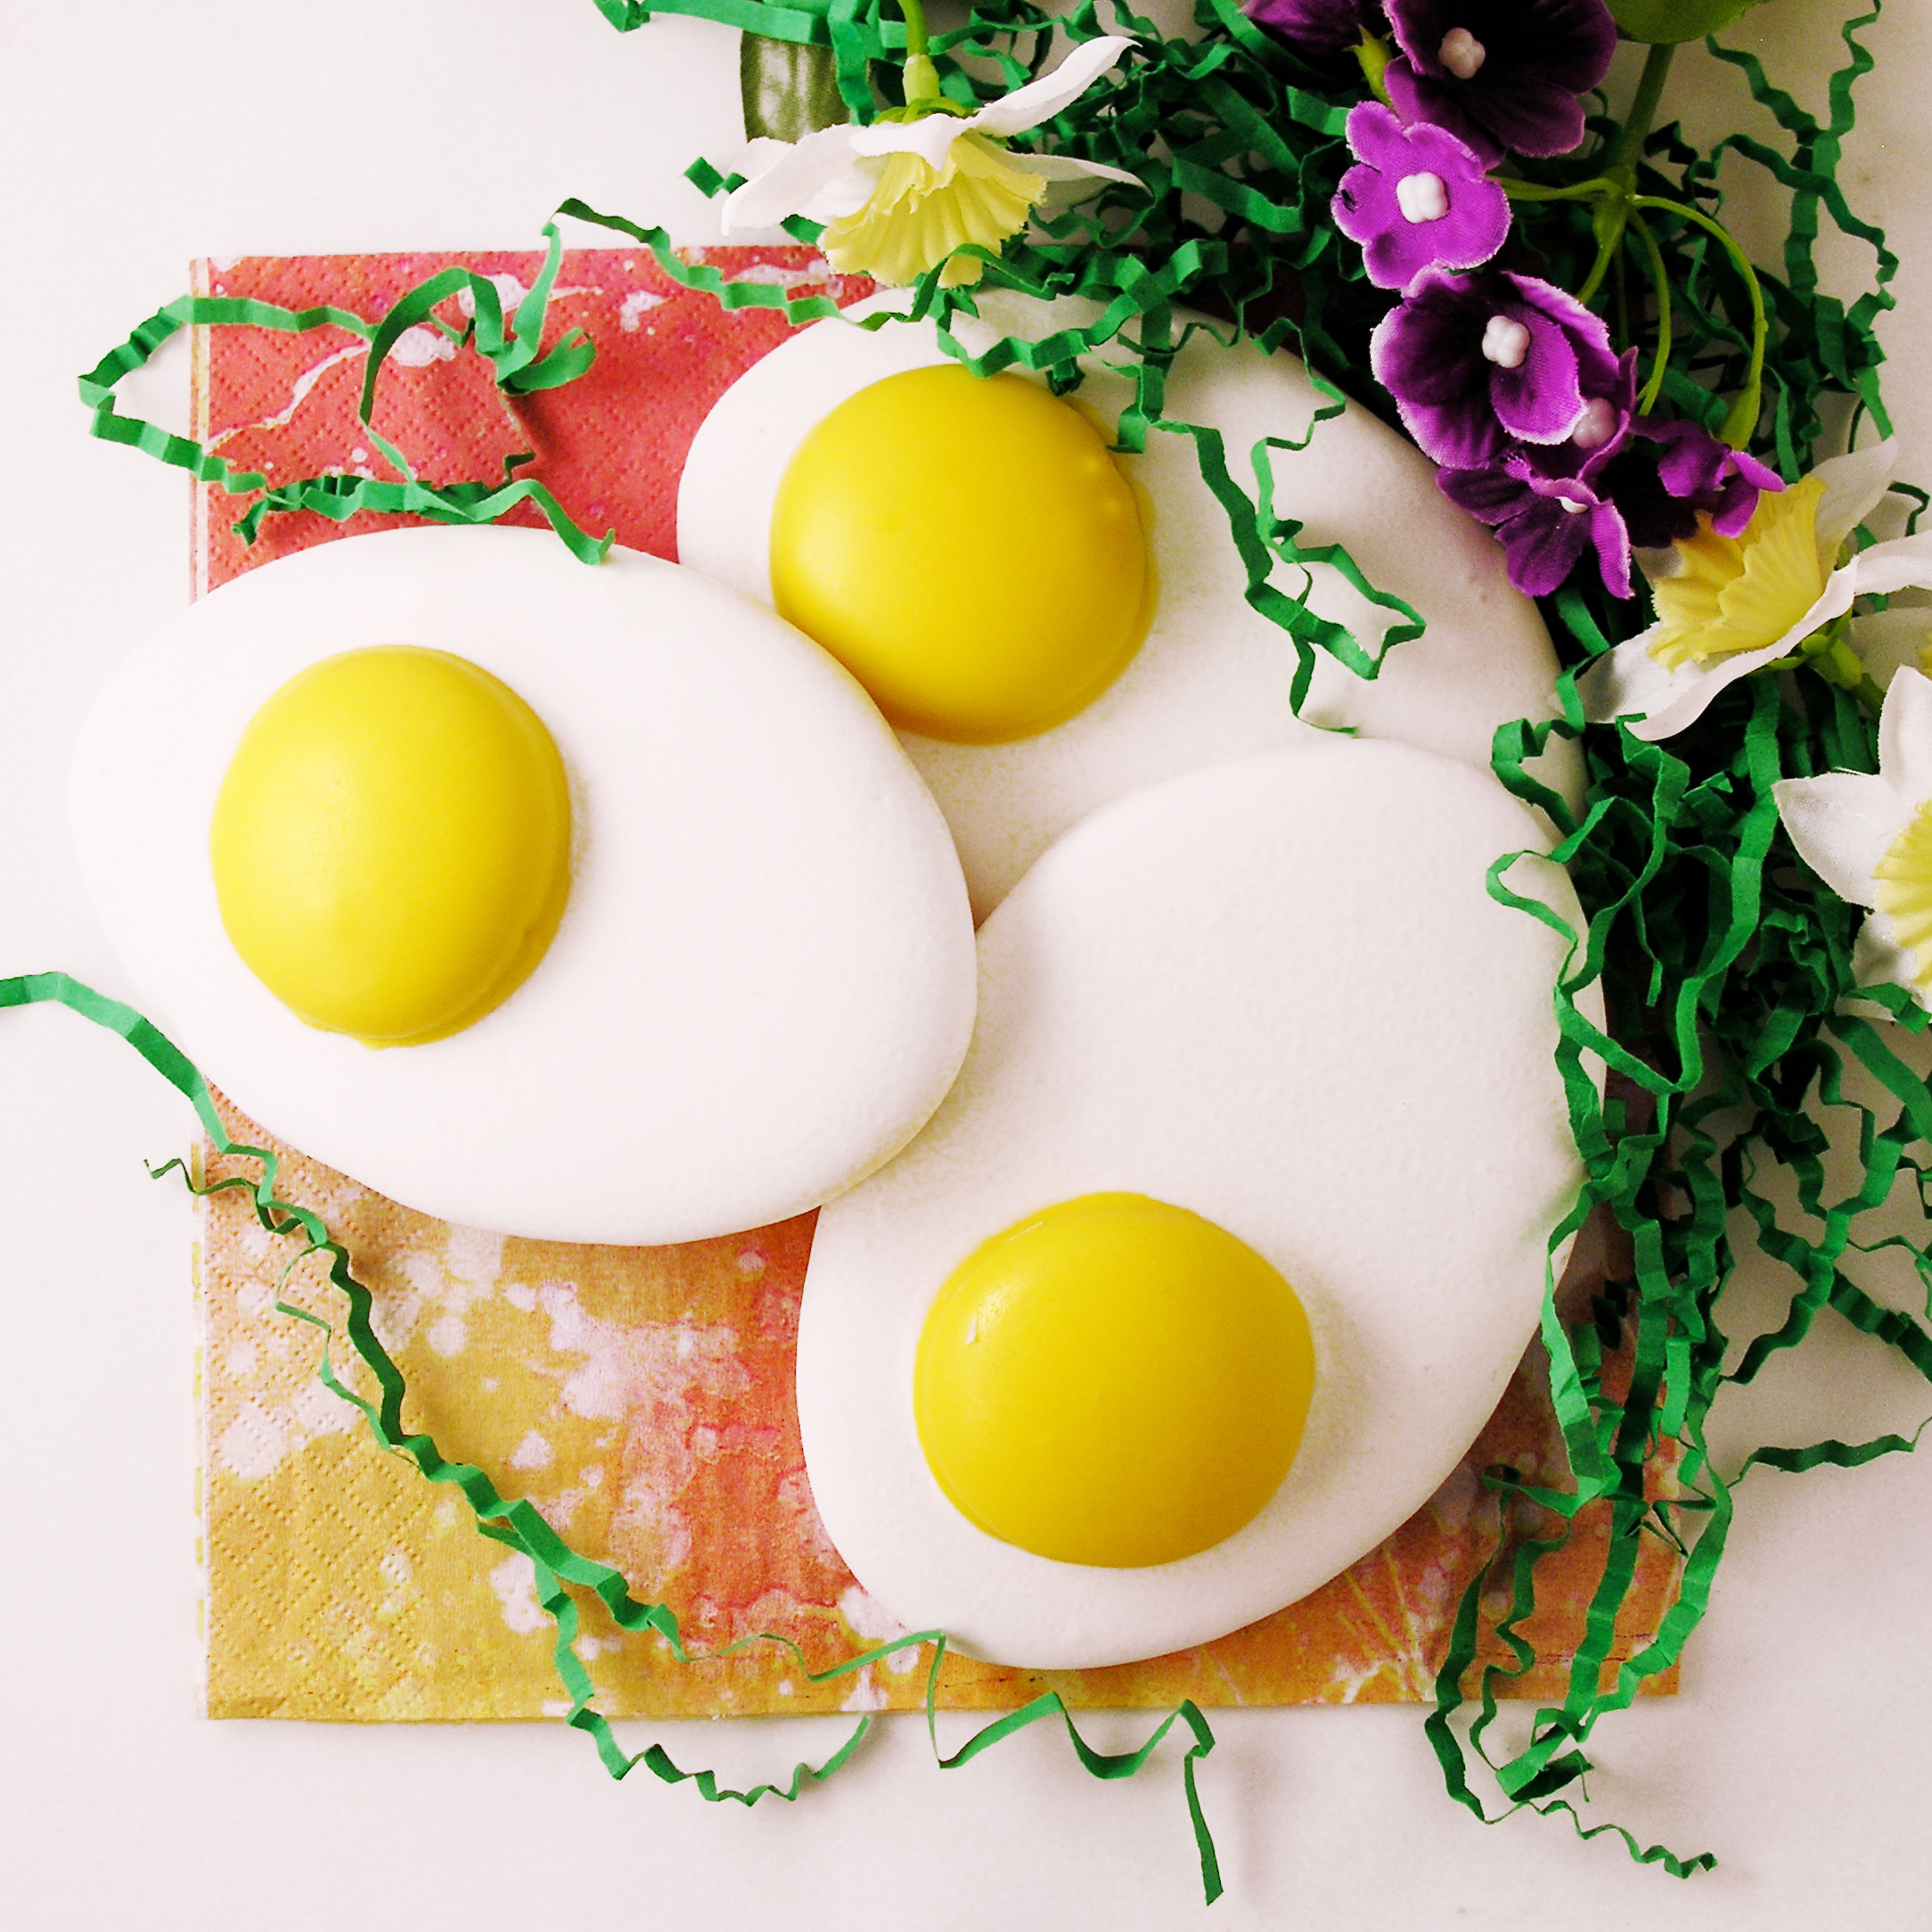
  • These can be placed into treat bags and put into Easter baskets too! Fun!!!

Fried egg cookie for Easter

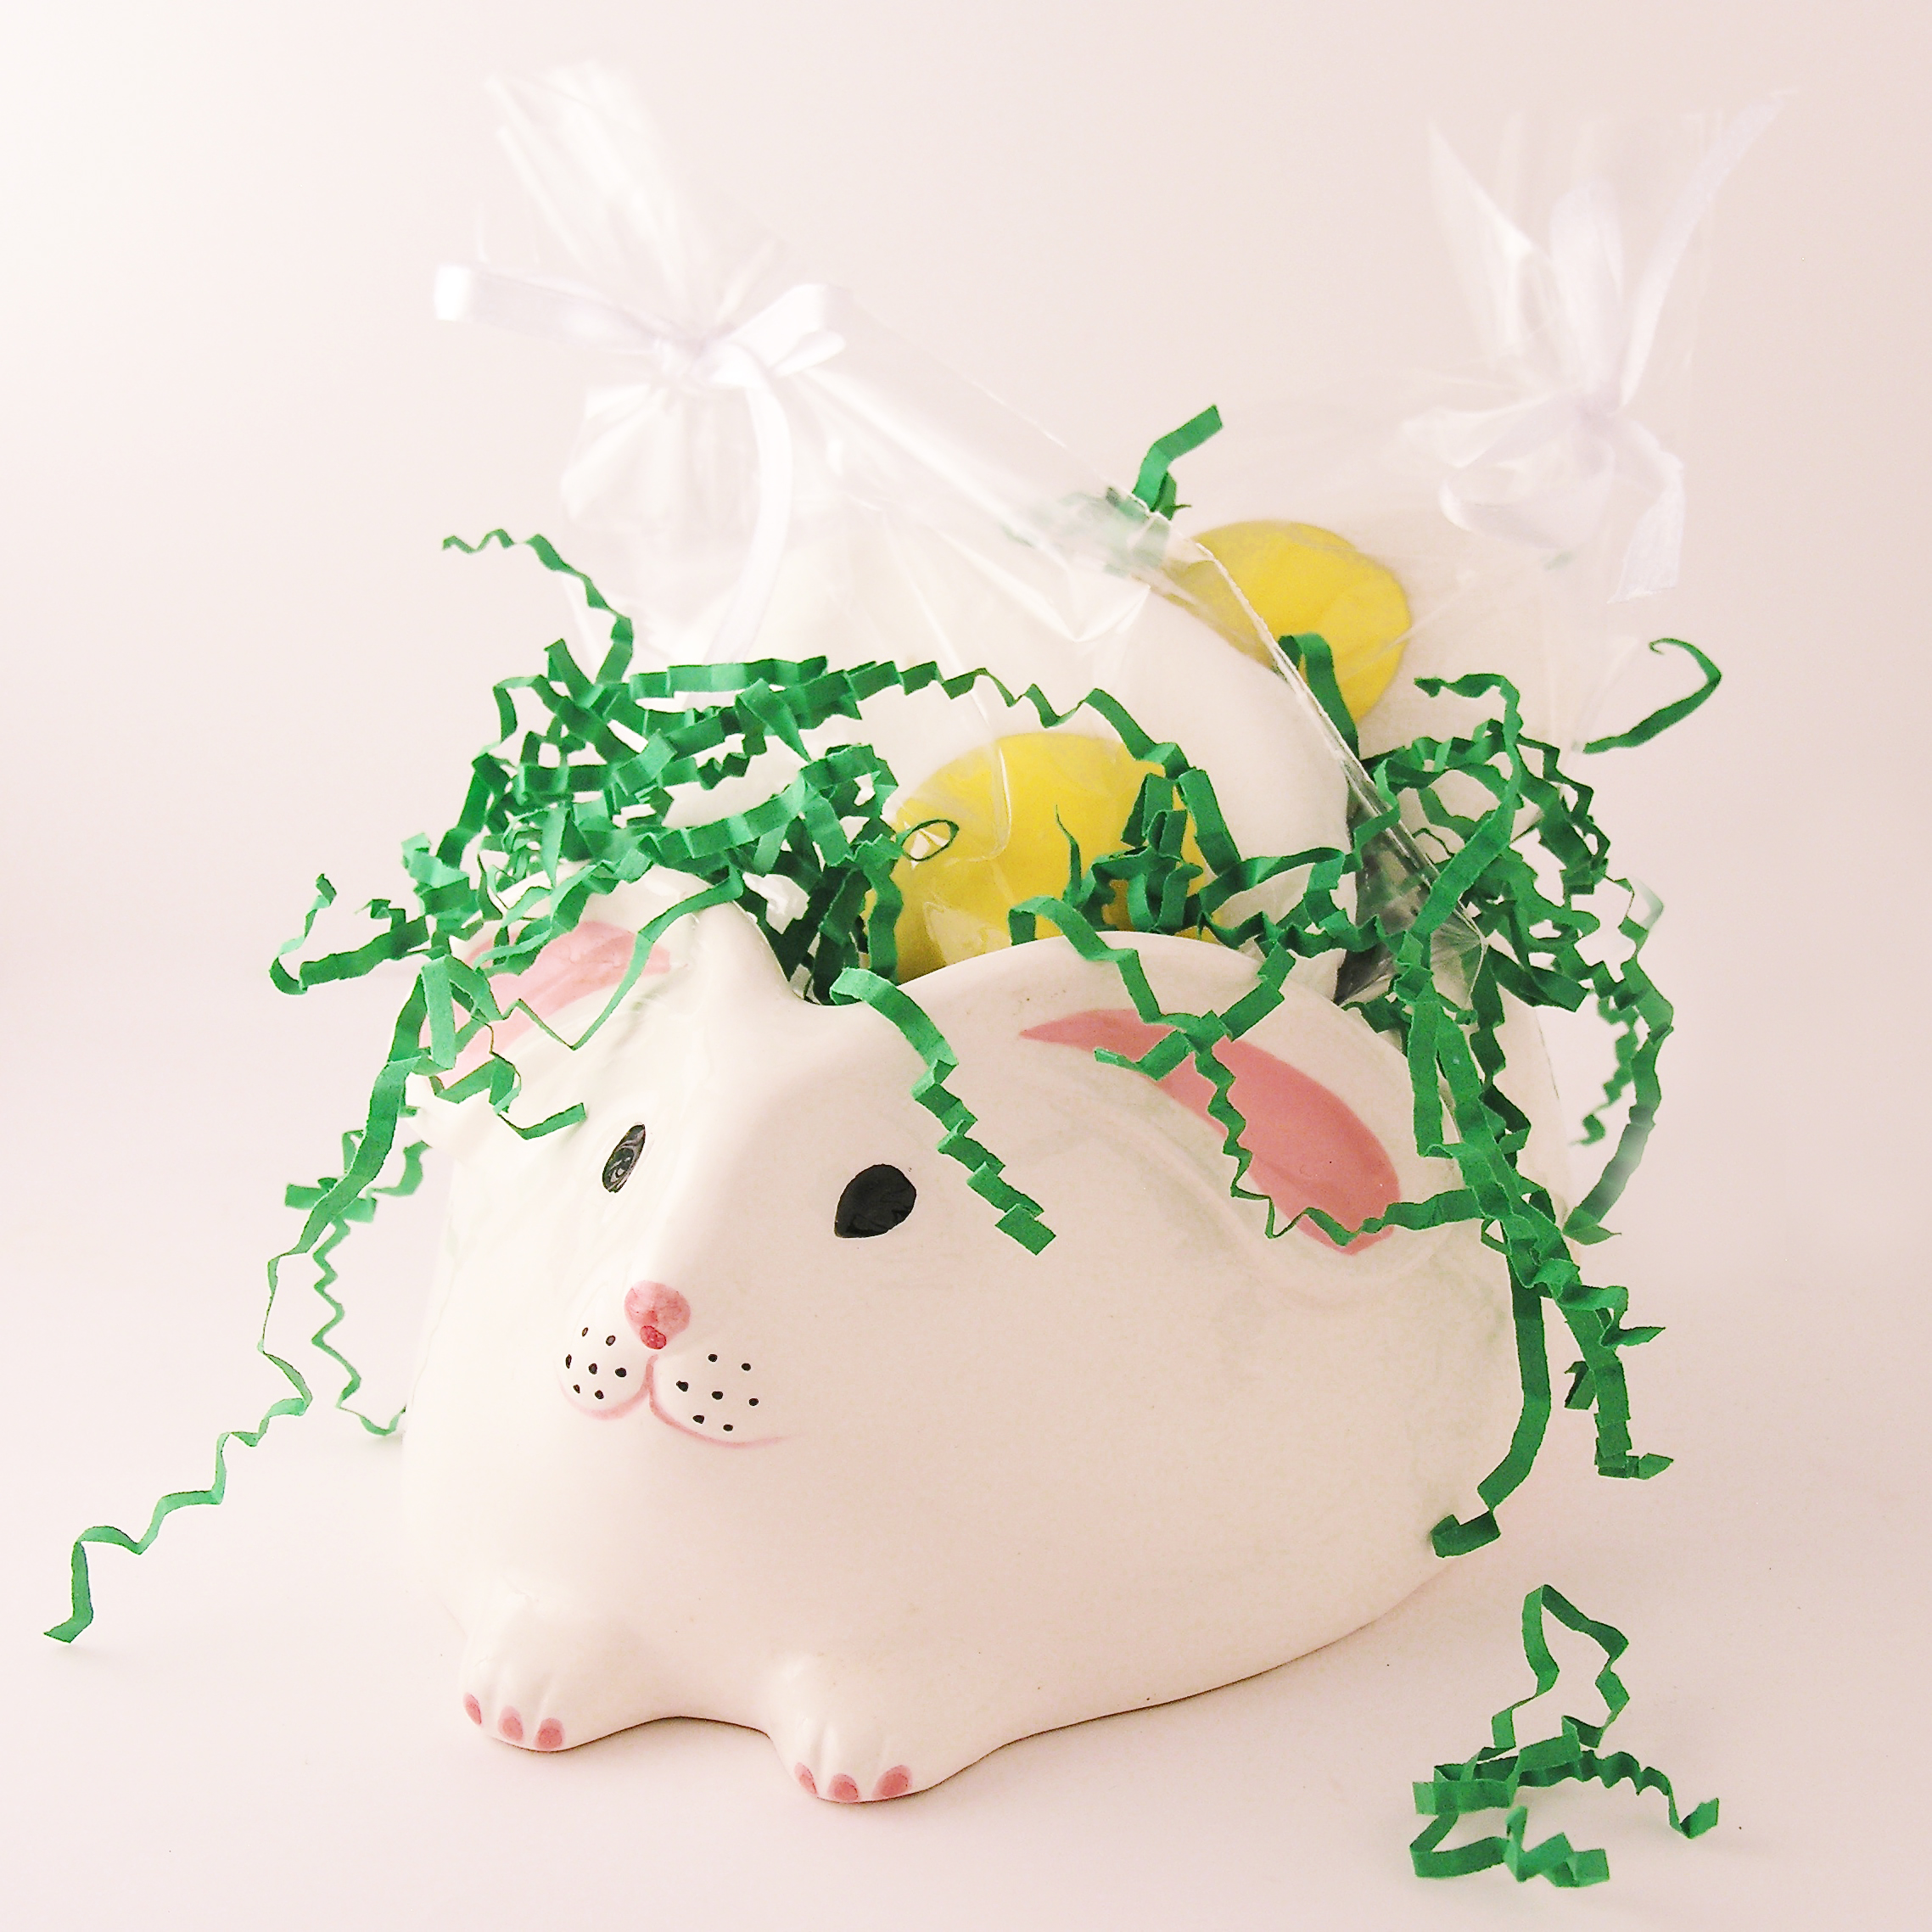
My thoughts…oh goodness, I’ve had fun with these. They aren’t hard to make, they are very realistic, and they make everyone laugh! I think they are cute in little treat bags too. Have fun- April Fool’s!!! ~r

Fried egg cookies!
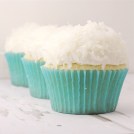
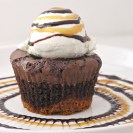
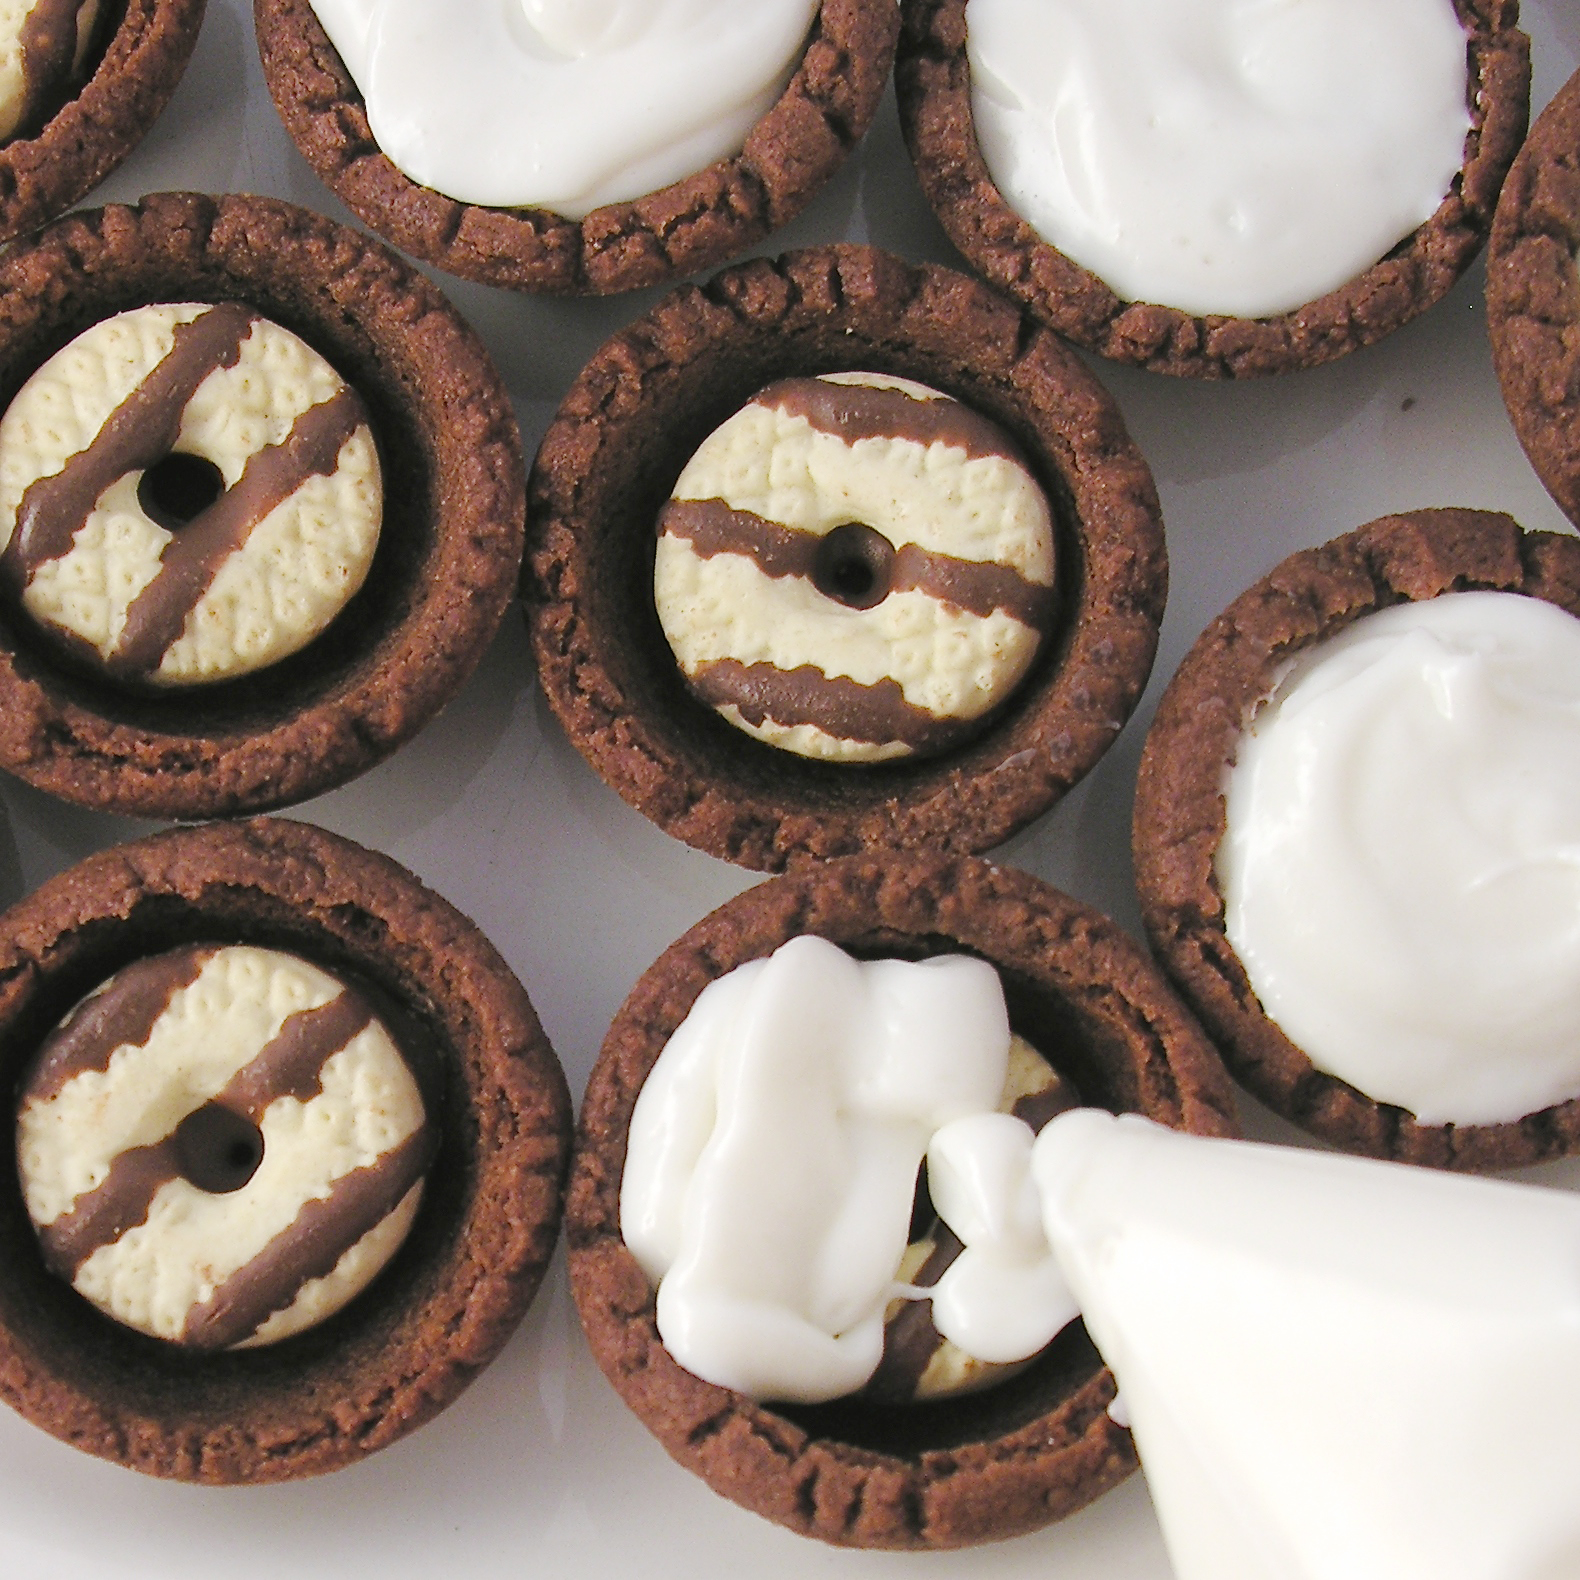
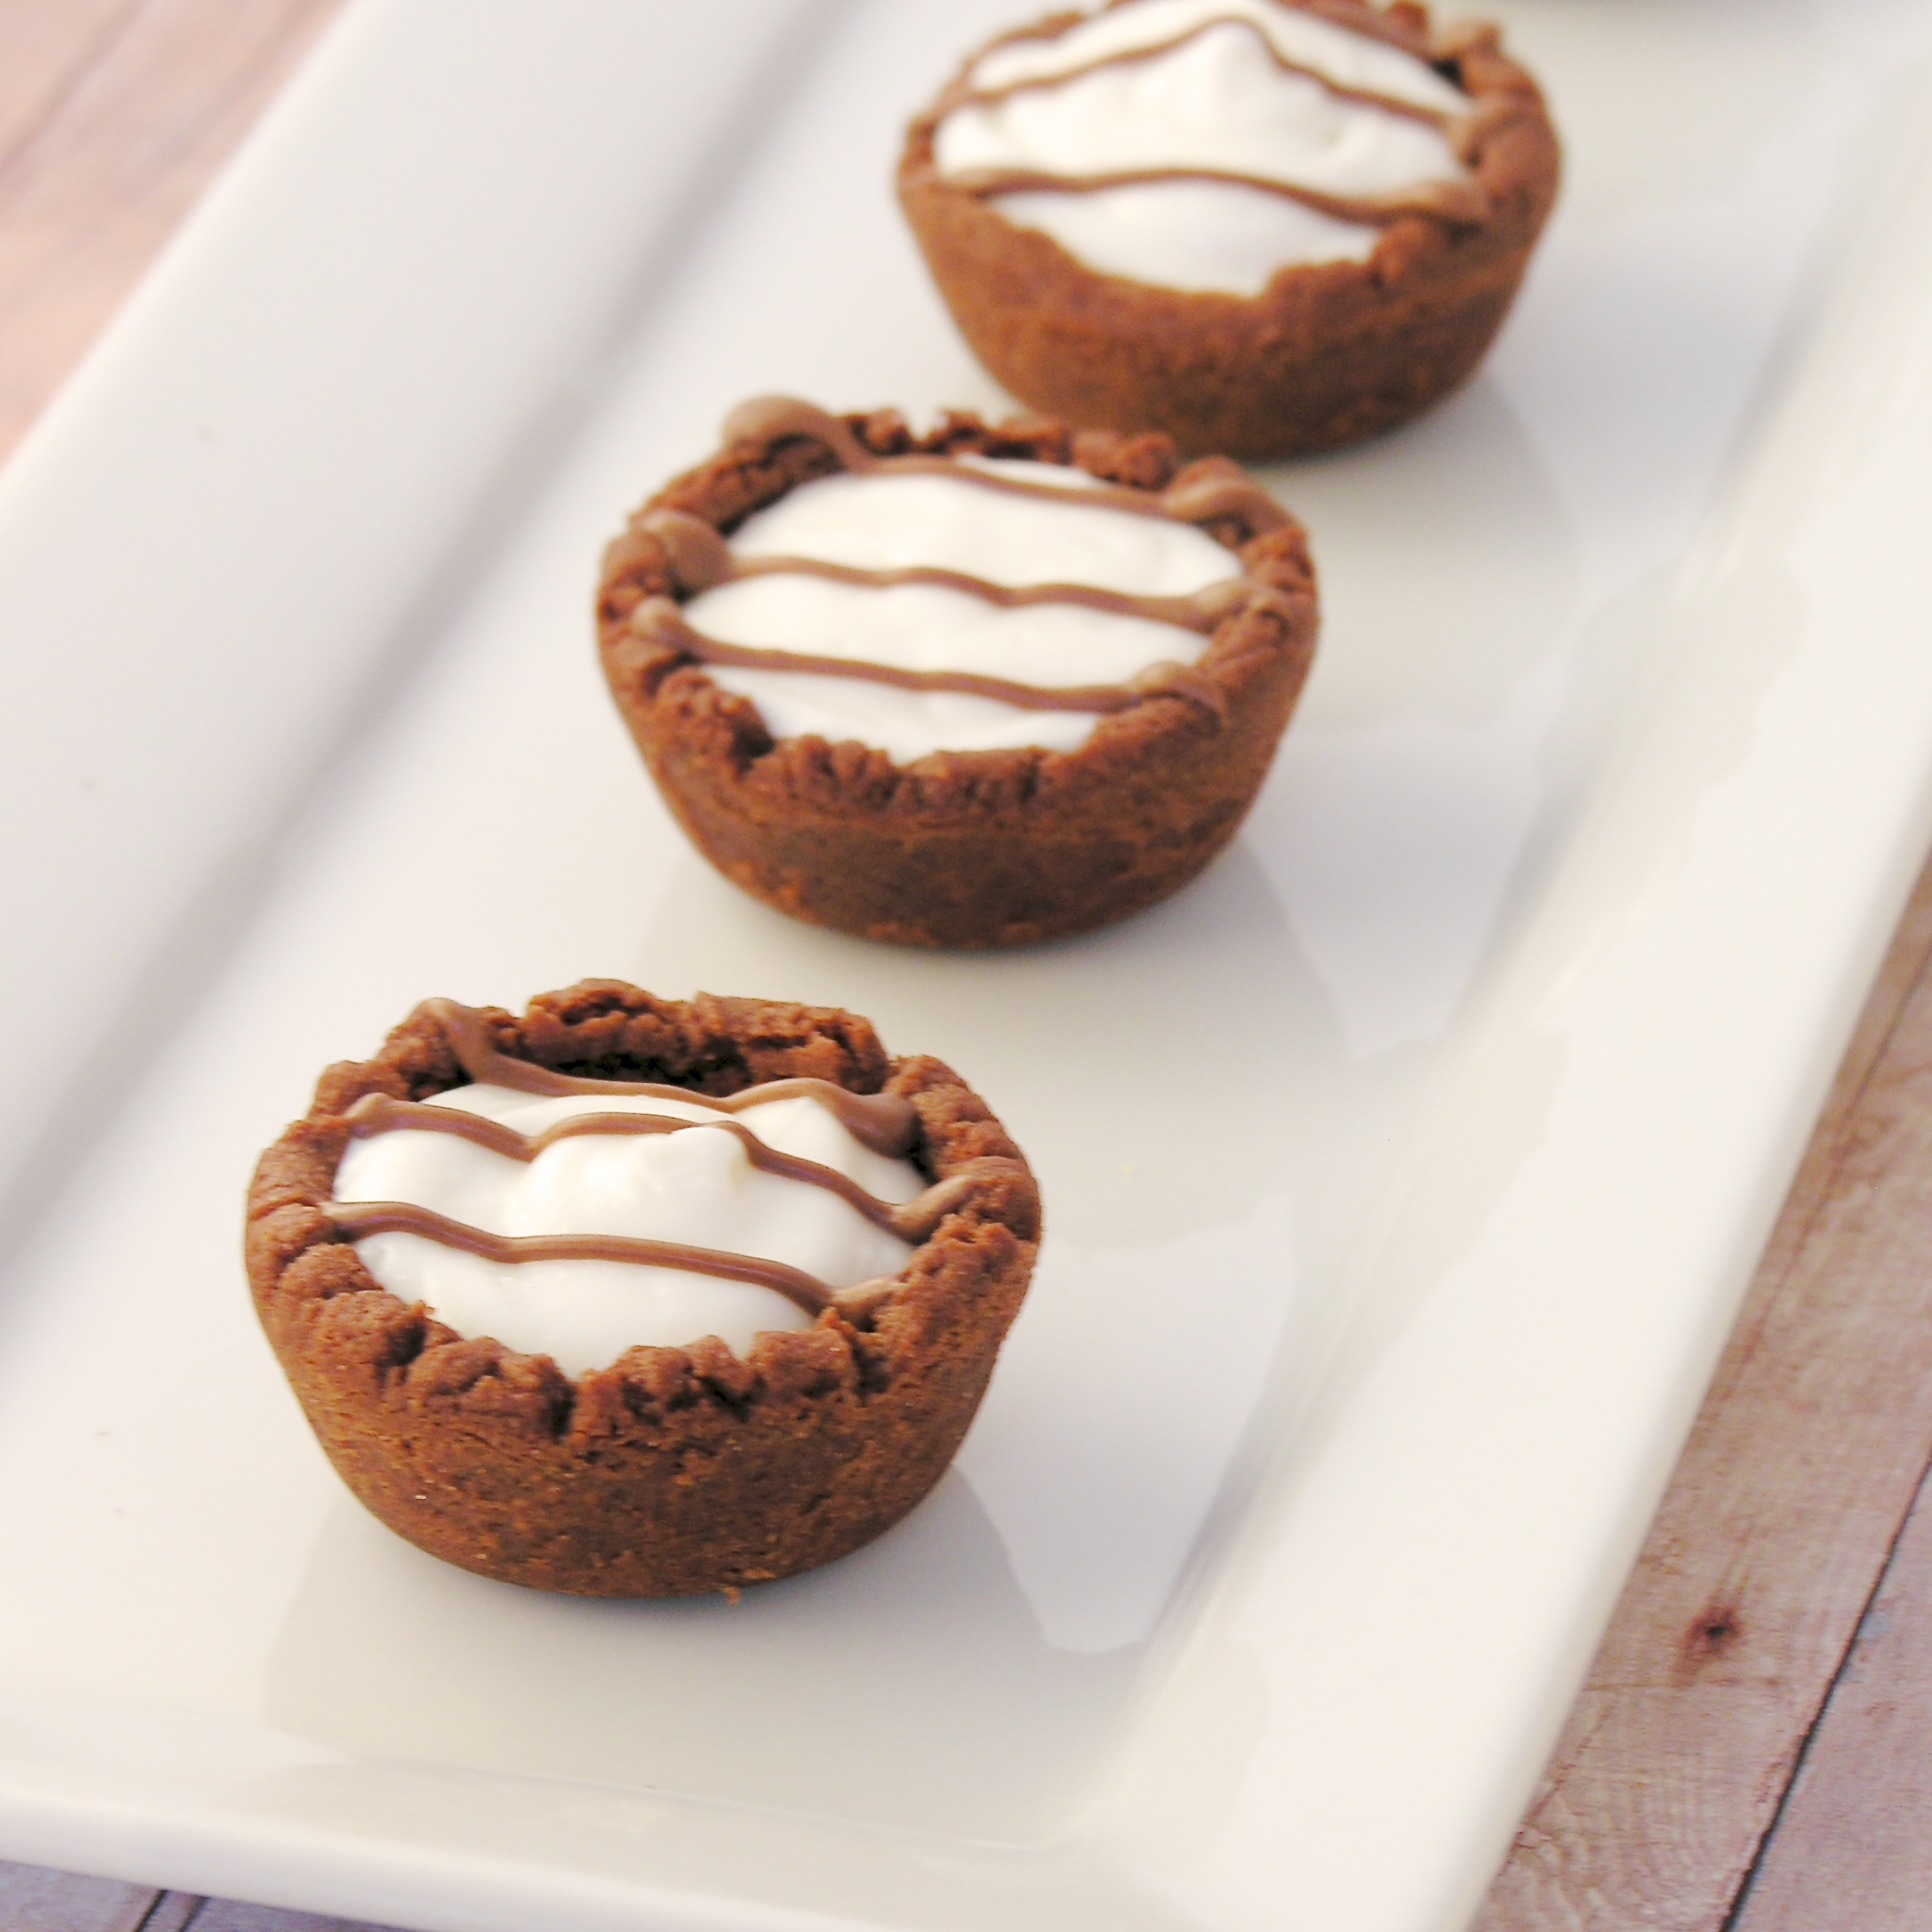
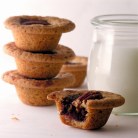
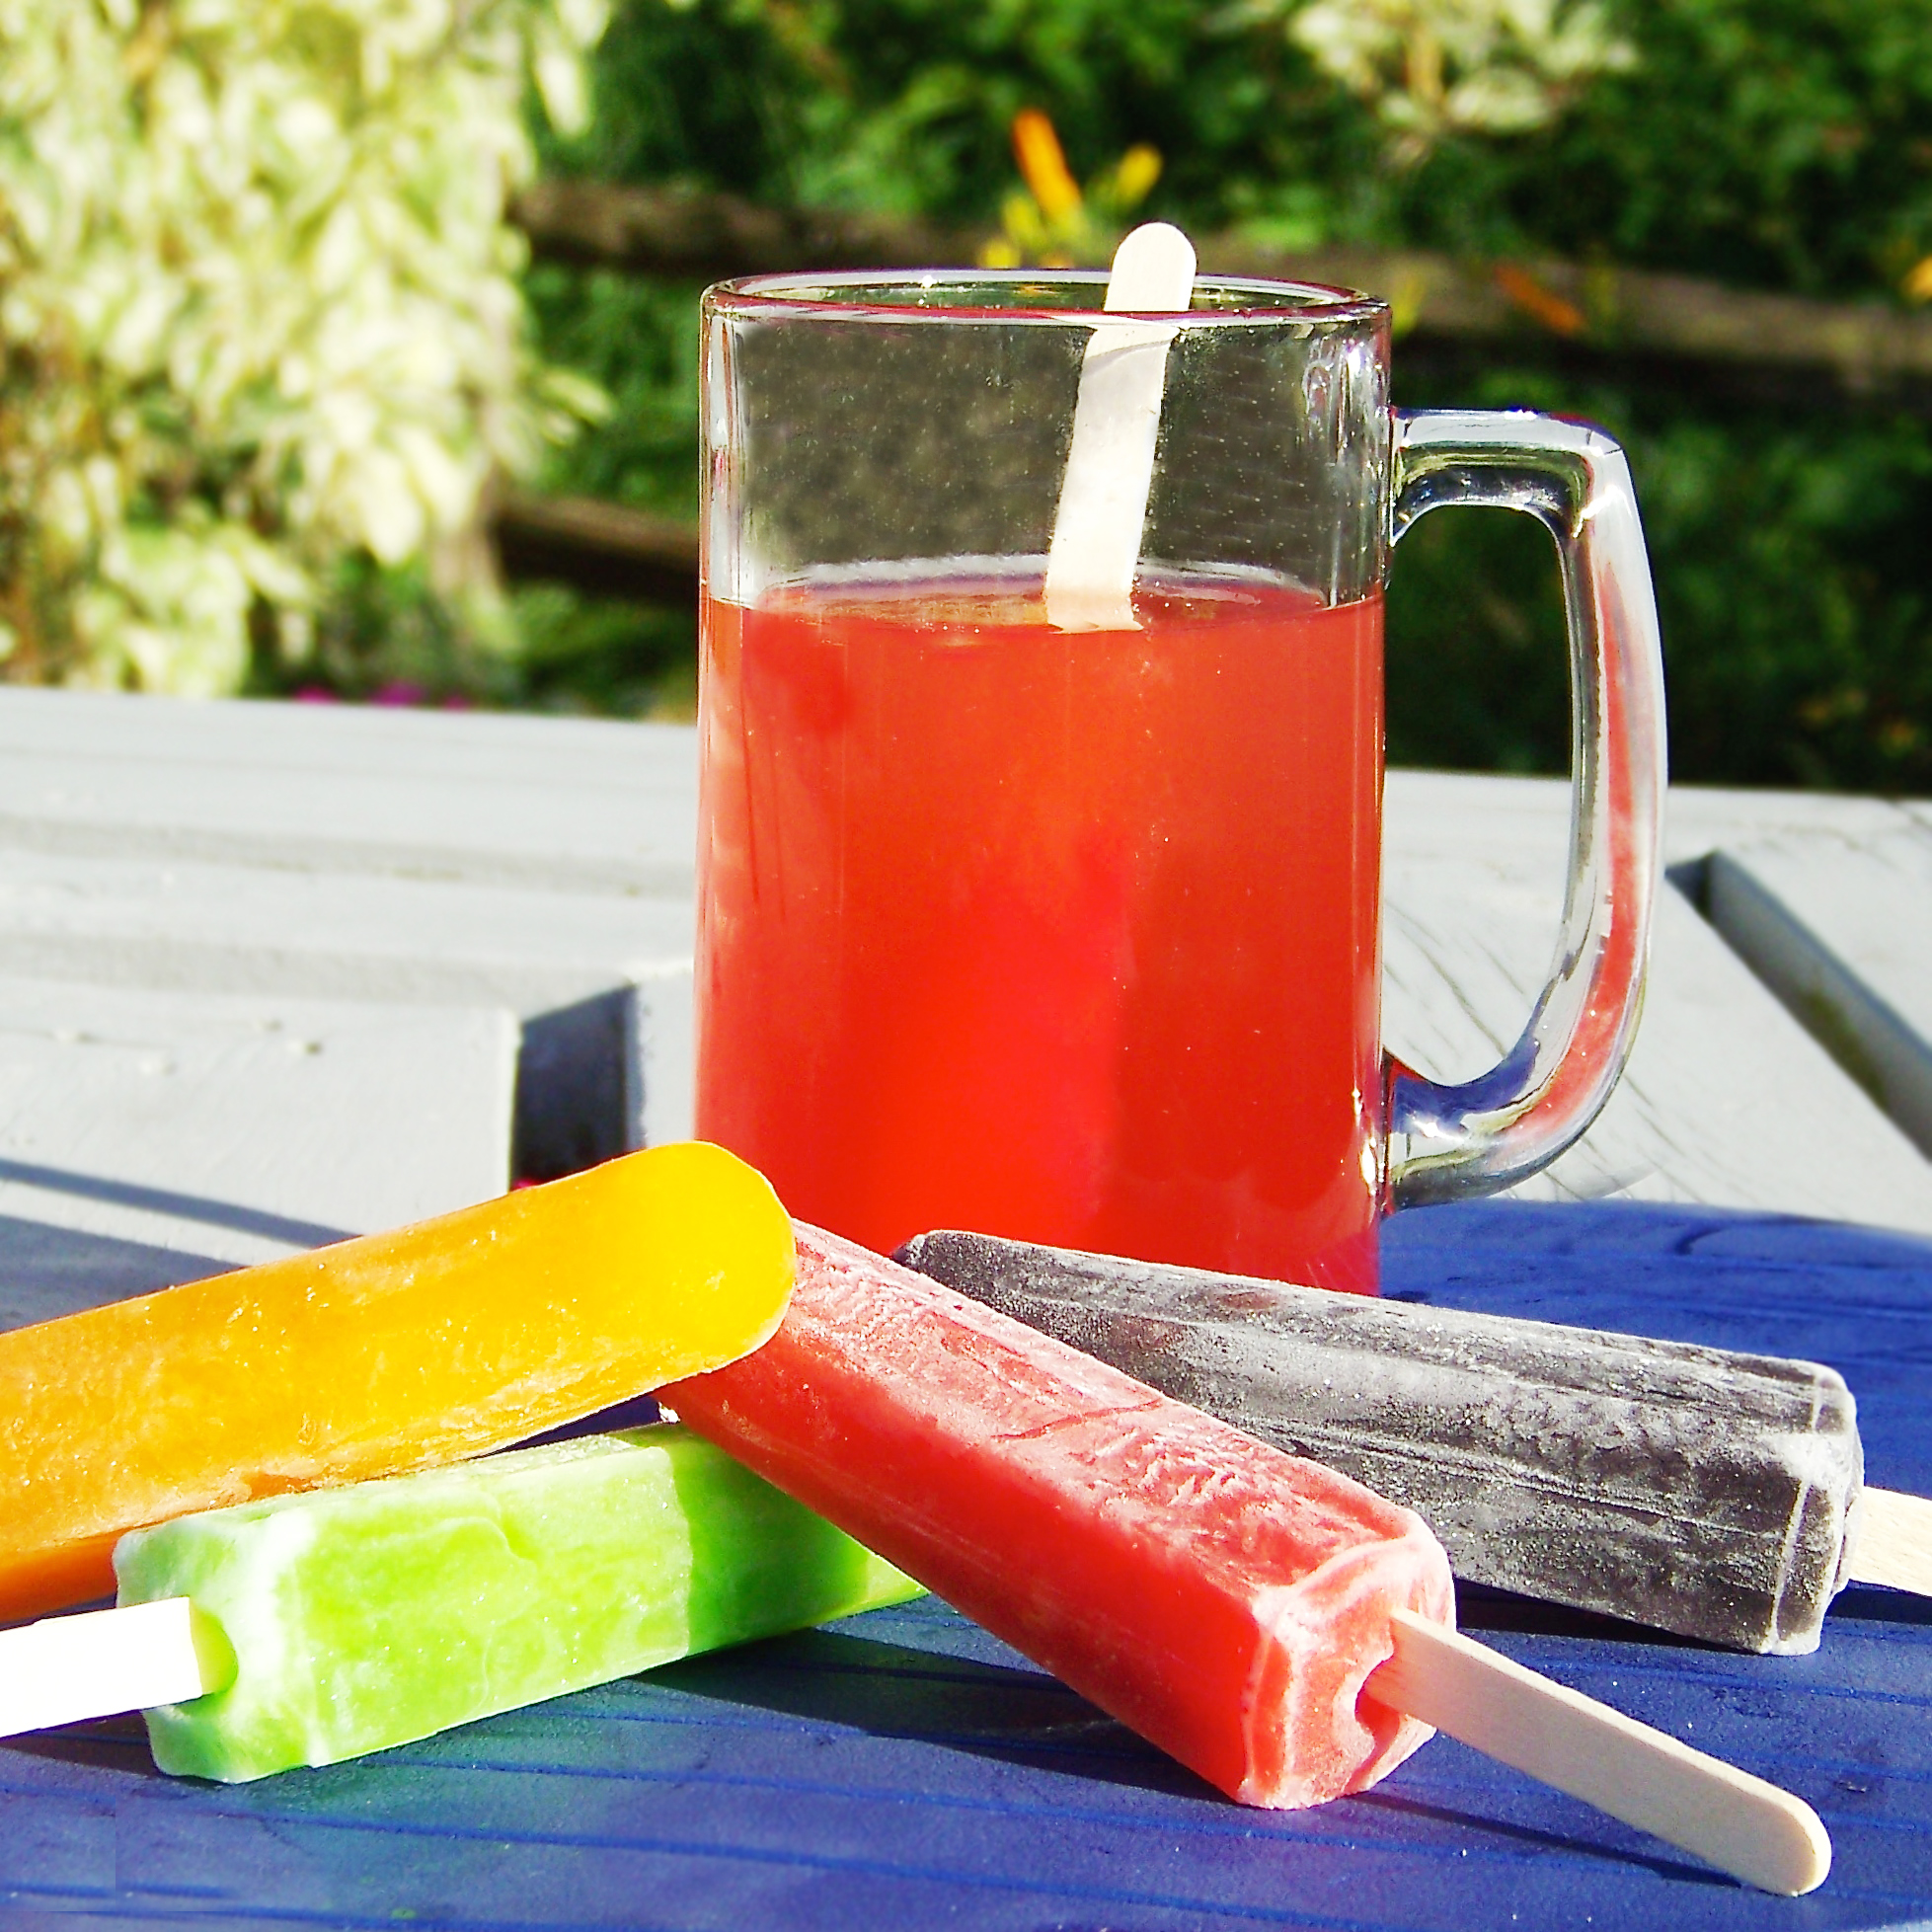
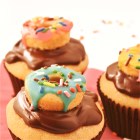
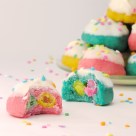
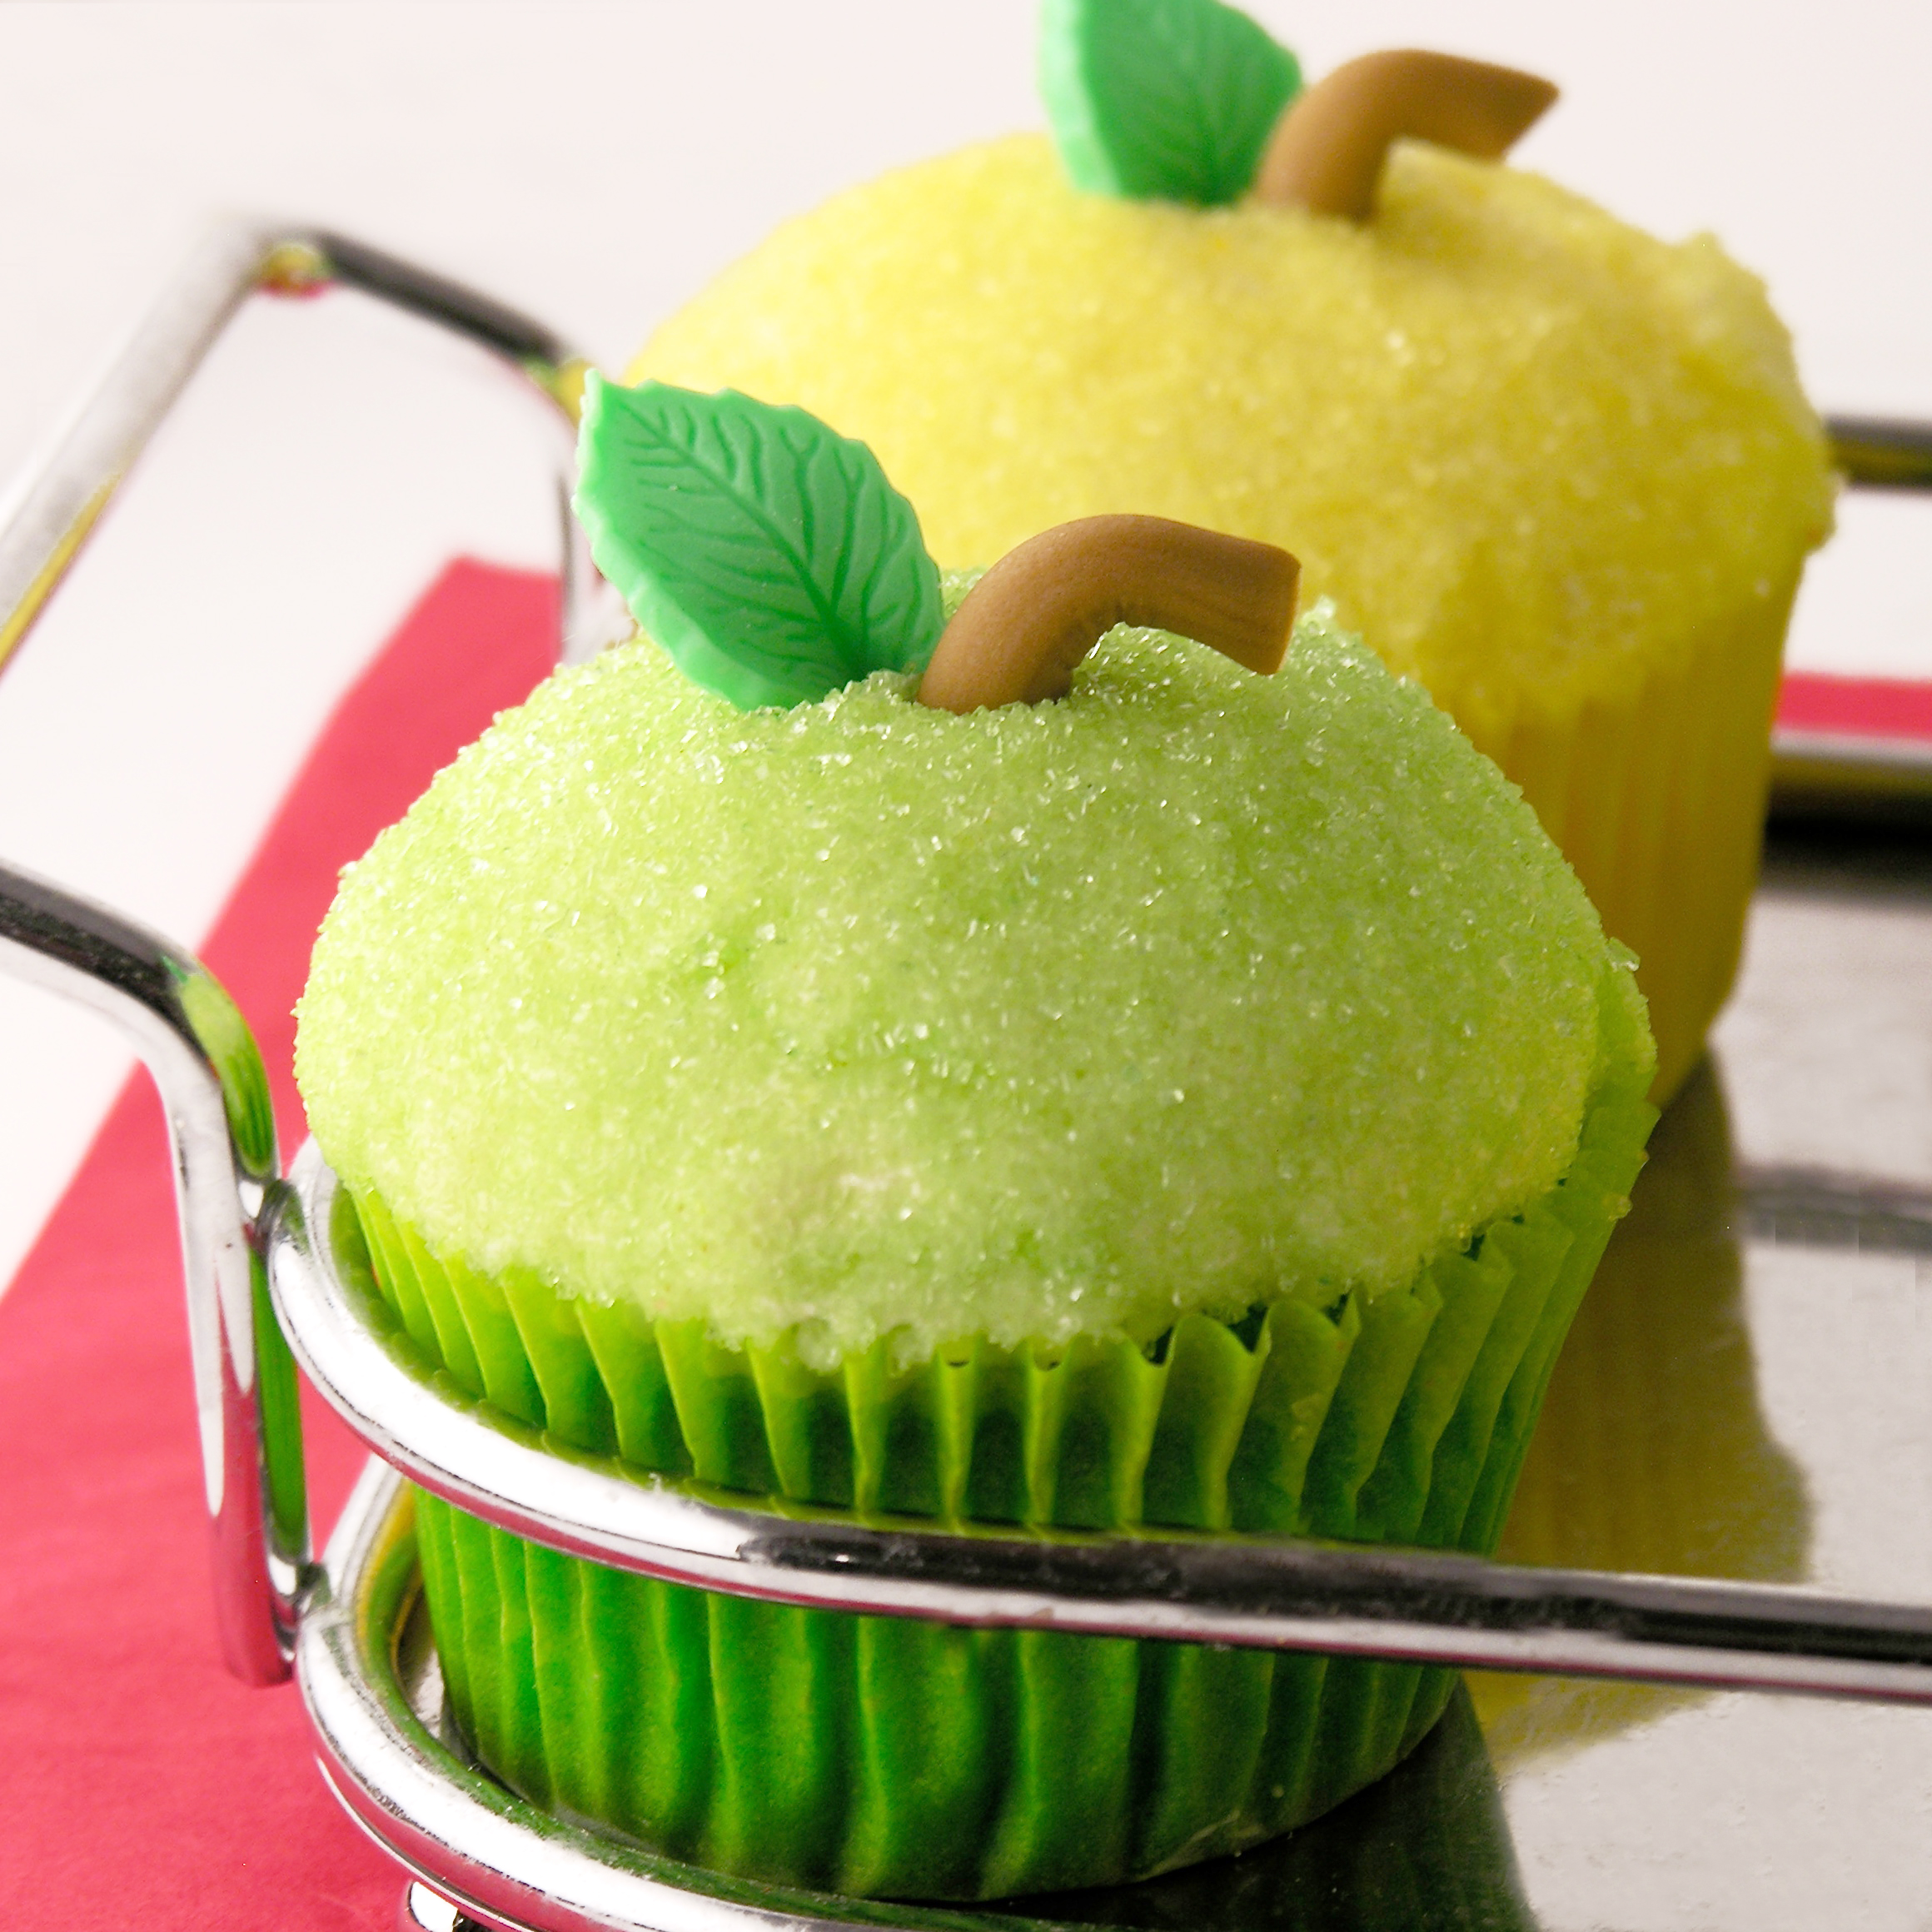
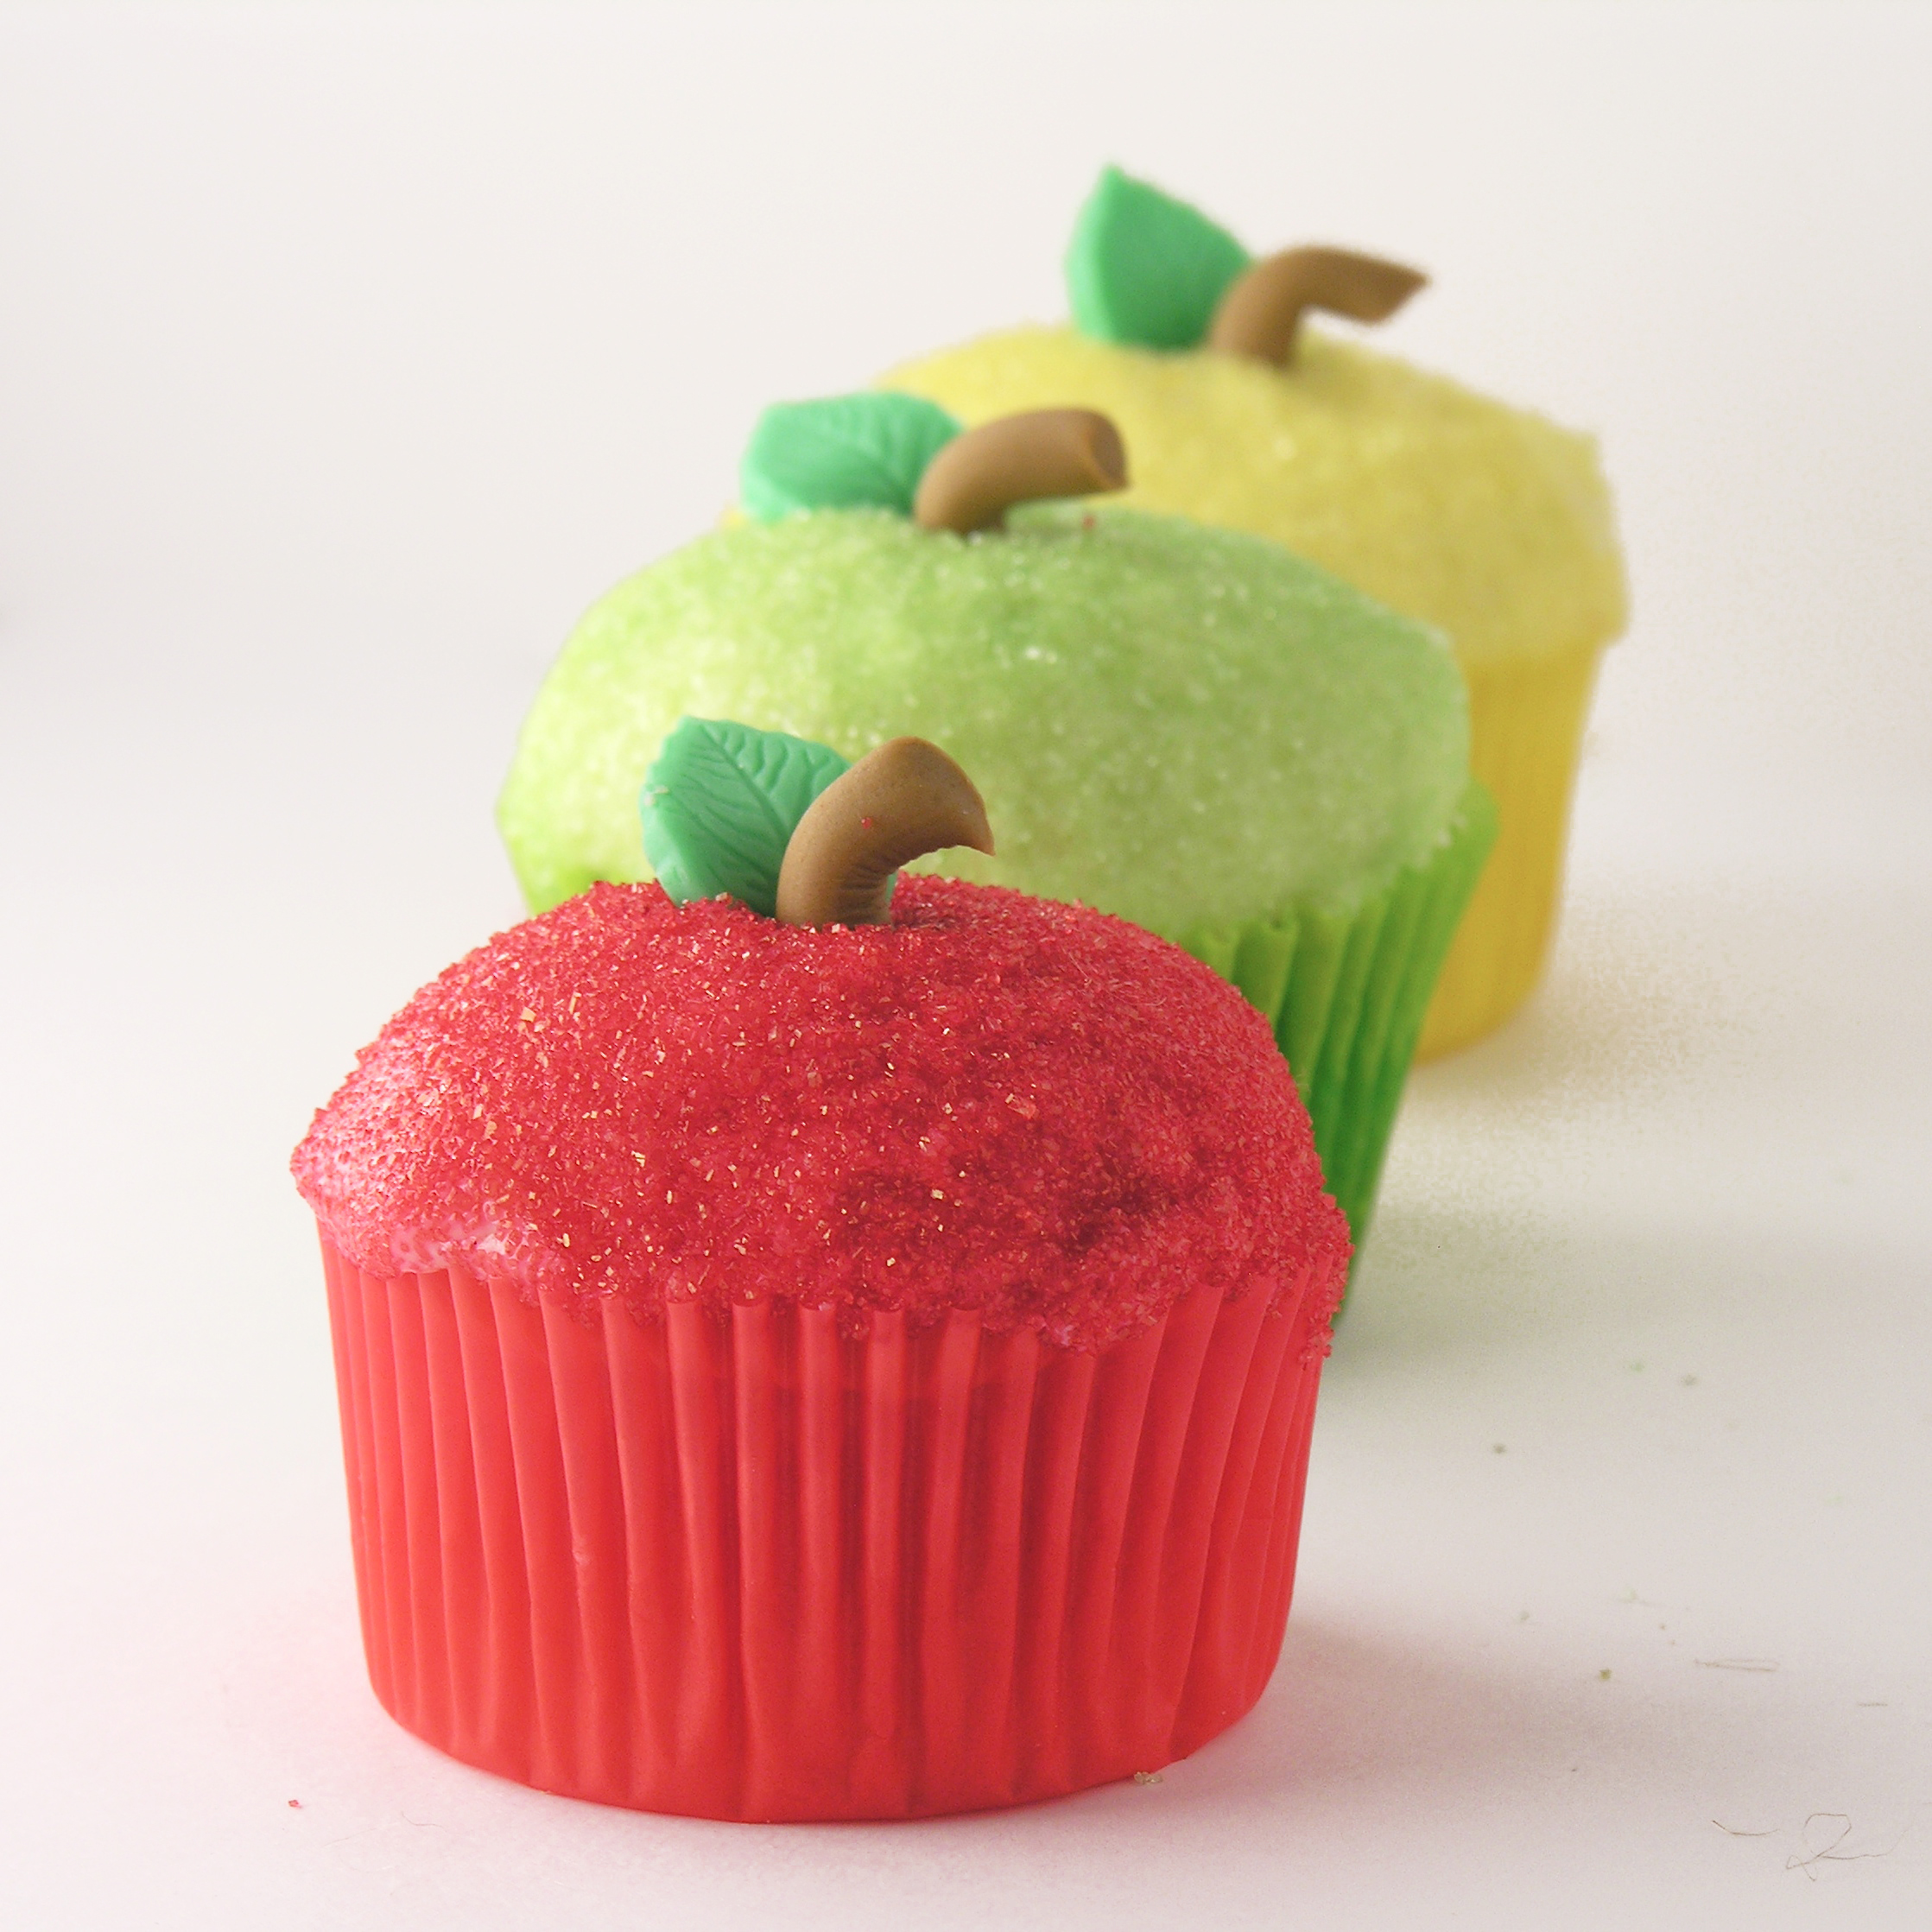
We have lots of fun Easter treats here on Easybaked! Check them out by clicking on a photo to see the recipe!

Jelly Bean Cookies!!!!Cadbury Egg Cookie Cups!!!!Easter Cheesecake CupsEasy Easter cut out cookies

Advertisement

Pumpkin Guts!

Posted on

Pumpkin Guts Dessert!

This delicious coconut cream pie dip is disguised as gooey pumpkin guts (with sliced almond “seeds”)~ a perfect Halloween treat!!

I love carving pumpkins. The smell is my favorite part, it reminds me of being very small and in a homemade costume anxiously awaiting trick-or-treat time. We always carved pumpkins several days earlier, but we lit them on Halloween and all evening the lids would quietly cook in the candle flame, filling the house with an indescribably wonderful scent that still reminds me of childhood whenever I smell it.

I carved a pumpkin for this recipe.

1. To serve this dip in.

2. To use as a reference in coloring this dessert!

Pumpkin Guts!!!!Isn’t it fun?  I savored the smell and enjoyed the squishy guts between my fingers…I even roasted a few seeds and ate them with salt as a reward for getting my pictures taken!

Want to know how to make this yummy fall treat?  It is SUPER easy!  (Printable recipe)

INGREDIENTS:

  • 3 cups of shredded sweet coconut (to desired consistency)
  • 1 cup of sliced almonds
  • 1 box (3.3 oz.) Jello Brand White Chocolate Pudding (instant)
  • Milk (to make pudding according to package)
  • Orange and yellow food coloring
  • Chocolate cookies for dipping!

DIRECTIONS:

  • Make pudding as directed on package and color to desired shade with food colors
  • Place coconut in a large zip-top bag and add the same food colors to the bag. Toss and mix coconut until colored as well.
  • Mix pudding with enough coconut to make a gooey pumpkin consistency.
  • Mix about half of the almonds in, and use the rest to sprinkle on top.
  • Serve with chocolate cookies or graham crackers for that “Almond Joy” taste!
  • Enjoy! 

Halloween dessert!My thoughts:  Well, I love coconut, almonds and chocolate- so this was a given “perfect” dessert for me!  I think it would be fun to serve this with a “murdered” pumpkin, I just didn’t have time to draw a dramatic face and stick a big knife in mine! Serve it up classy, or make it into a funny Halloween treat- either way, it is easy and soooooo yummy!  ~Enjoy!!!!! ~r

Pumpkin Guts!Other fun fall desserts here on Easybaked (click on a photo to see the recipe)

Halloween Swirl Cookies!!!Frosty Candy Corn Dessert!Ginger Maple CookiesSpider Cupcakes!

Creepy Earthworm Cupcakes

Posted on

Edible Jello Earthworm CupcakesThese fun little cupcakes will entertain your family and friends with slimy (raspberry!) earthworms poking out of the top!

Well, it’s October, and that means it is time for creatively creepy edibles!  Last year I had SO much fun with my Broken Glass Cupcakes and my Toxic Slime Cupcakes!  Oh my goodness, I love both of those recipes so much that it was hard to think of anything that fun and creepy for this year!!!

I loved the idea of worm-filled cupcakes and decided that gummy worms are way too cheery, with all their fun bright colors.  I wanted WORMS- big fat earthworms- in my cupcakes.

I’m not sure why these are not readily available for purchase in the candy aisle of my grocery store, but fortunately I found a TON of recipes for make-your-own gummy earthworms online.  I read about 10 recipes (they were all very similar) and gave it a shot.

Edible gummy earthwormlove them!!!!  I had a hard time biting into one to try out the flavor because they were so realistic!  These are really not very hard to make, and I can think of a TON of desserts these would be fun to serve with.  These are even Father’s Day friendly (I realized this when the men who were eating the cupcakes started talking about fishing with earthworms…) or maybe you could “dress up” my apple cupcakes from last week with a few worms! 🙂

Here’s how to make these fun little desserts: (printable recipe)

INGREDIENTS:

  • 1 boxed chocolate cake mix (plus water, oil and eggs to make according to package)
  • 2 sticks (1 cup) of butter (softened)
  • 1 1/2 cups of powdered sugar
  • 2 tablespoons of vanilla
  • Green sugar crystals
  • About 15 Oreo cookies crushed into crumbs
  • brown and green food color gels
  • 1 (6 oz) packet of raspberry jello
  • 4 (1/2 oz) packets of unflavored gelatin
  • 1/2 cup heavy cream
  • 3 cups boiling water

DIRECTIONS:

WORMS: (make the day before)

  • Take about 40-60 bendable plastic straws and pull them out to full length.
  • Place them each in a tall glass with the bendable part down.
  • Put a rubber band around the top to hold them together and upright.
  • Mix jello and unflavored gelatin together in a mixing bowl and add boiling water.
  • Stir until dissolved and refrigerate for about 20 minutes until cooled.
  • Place cream and a little bit of green food coloring in a separate bowl and mix well.
  • Mix cream with gelatin mixture until well combined.
  • Gently pour the mixture over the tops of the straws until they, and the glass are full.
  • Refrigerate overnight.
  • Place a sheet of parchment paper on a cookie sheet, and lightly spray it with cooking spray.
  • Run warm water over the glass until you can pull the entire jello mold out (straws and all!)
  • Gently pull apart straws and use a rolling pin to roll each little worm out.
  • Place each worm on the parchment paper until all of them have been removed from the straws.
  • Keep covered and refrigerated until use.

Gummy EarthwormsMaking Gummy EarthwormsHow to make gummy earthworms

CUPCAKES:

  • Make cake mix according to box and divide evenly among 24 cupcake liners placed in tins.
  • Bake according to package, and allow them to cool.
  • Make frosting by placing butter, powdered sugar and vanilla in a large mixing bowl and beating it on high for about 3 minutes, until light and fluffy.
  • Color frosting using a combination of green and brown to make a clay-like color for inside the cupcakes
  • Use a cupcake corer or a small knife to cut a core out of each cupcake.
  • Pour green sugar into a small bowl.
  • Use a knife to spread a thin layer of frosting on the top of each cupcake, around the hole cut out by the corer.
  • Turn the cupcake top down into the green sugar, coating the frosting entirely.
  • Spoon or pipe a small amount of frosting into each cored cupcake.
  • Set a worm into the frosting, letting it “stick” and be held in place.
  • Spoon Oreo crumbs over the worm and frosting, filling up the rest of the hole in the cupcake.
  • Keep refrigerated until serving.
  • Enjoy!!

Worm cupcakes

My thoughts:  These crack me up. Everyone loves them, but kids are SO suspicious that you might have used real worms!  One of my friends gave some to her grandkids and the oldest just sat and stared at hers and finally declared, “I saw one move!”  They are disturbingly life-like.  These are great covered in the fridge for a day, but at room temperature the worms start to dry out after a few hours. I hope you get a chance to try this creepy little treat!  Enjoy!!! ~r

Cupcakes with worms

Other creepy recipes for your October fun: (click on a photo to see the recipe)

Mummy Oreo Pops!Caramel Apple Cupcakes with misfortune cookiesBroken Glass Cupcakes3 Radioactive Cupcakes filled with SLIME!

Fall Apple Cupcakes

Posted on

Apple CupcakesCelebrate fall with these cute little apple cupcakes! Filled with a chocolate chip “seed” core, these are sure to make everyone smile!

Well. Fall is here. I just began to notice the changing leaves this week, and of course every morning it’s a little bit darker on my drive to work.

Every fall, our family makes a special trip to a local orchard to sample apples, doughnuts and cider. As the temperatures drop I find myself looking forward to pumpkins and rustling leaves and all the fun flavors that come with this new season! These little cupcakes don’t taste like apples, but they sure do look like them!  I even added a fun seeded core to these, using my trusty cake pop maker.

Apple cupcakes filled with seeds

How fun is that? Surprise chocolate chips are always a plus in my book! You can skip the “core” if you want- just make solid-colored cupcakes instead of using my added steps in the recipe. Either way, these are a lot of fun and easy to make!

Here’s the recipe: (printable recipe)

INGREDIENTS:

  • 1 boxed white cake mix (plus oil, water and eggs to make according to package)
  • Food coloring gels in desired colors.
  • 1/2 cup of mini chocolate chips (if making core)
  • 2 sticks (1 cup) salted butter, softened
  • 2 sticks (1 cups) unsalted butter, softened
  • 3 cups powdered sugar
  • 2 tablespoons of vanilla
  • Colored sugar sprinkles (in desired colors)
  • Fondant for stems and leaves (or use pretzel sticks for the stems and spearmint gummy leaves instead!)

DIRECTIONS:

  • Make cake mix according to package
  • Remove one cup of batter and place in a separate bowl.
  • Mix in mini chocolate chips.
  • Bake in cakepop maker (or use a small mini-muffin tin), making 24 cake pops (or mini-muffins)
  • Divide remaining batter into separate bowls and color using color gels. I did green, red and yellow apples, but you can do just one of those colors if you want.
  • Place cupcake liners into tins and spoon just a small amount of batter into each liner.
  • Use a cake pop to spread batter evenly into bottom of liner and then leave the cake pop in the center.
  • Spoon remaining batter evenly over the cake pops, covering each pop completely.

Cake pop apple coresCake pop apple cores

  • Bake at 350F degrees for 15-18 minutes.
  • Cool completely.
  • Make frosting by placing butters, powdered sugar and vanilla in a large mixing bowl and beating on high for 3-4 minutes until very light and fluffy.
  • Use a medium cookie scoop to scoop frosting on each cupcake, and then turn cupcake upside down into a bowl of decorating sugar, pressing until all of frosting is covered in sugar.
  • Decorate with fondant leaves and stems, or use pretzels and spearmint leaves.
  • To use fondant, you can buy it already made in white and color it with gel in green and brown, or you can make it from scratch and color it the same way. 
  • Use a leaf fondant cutter to make leaves and just roll and cut the stems.
  • If you are new to fondant, we did a tutorial on it here.  It is MUCH easier than it seems like it would be, and you can make such cute decorations with it!

Apple Cupcakes

My thoughts: These are such a happy fall treat! You can go all- out and make little chocolate chip cores, or just make plain cupcakes in various colors.  Either way, they are a yummy, easy, fall treat that look beautiful on a fall-themed table.  Hope you get a chance to try these!  Enjoy!! ~Ruthanne

Apple Cupcakes!

Other fun fall recipes here on easybaked:

Honey cut-out cookiesFall Acorn Cupcakes!German Chocolate CookiePeanut butter Acorn Cookies!

Pancake and Bacon Cupcakes!!!

Pancake Cupcakes!!!!These sweet maple pancake flavored cupcakes are topped with syrup-coated bacon and real mini-pancakes.  The only question remaining is, will you eat them for breakfast???

My answer to that question is a resounding YES, I will eat them for breakfast, and any other time of the day too!

Did you know that today is National Pancake Lovers Day???  There is no better way I know of to celebrate pancakes than by making these!  [Plus, Monday is National Coffee Day, and believe me these go GREAT with coffee!]

Pancake cupcakes with coffeeThese cupcakes were a complete experiment, and when they came out of the oven and I tentatively tasted one, I smiled. They taste like pancakes- they really do!  Here’s how we made them: (printable recipe)

INGREDIENTS:

Cupcakes:

  • 2 1/2 cups all-purpose flour
  • 3 teaspoons baking powder
  • ½ teaspoon salt
  • 1 cup sugar
  • ½ cup butter, melted
  • 1/4 cup whipping cream
  • 2 eggs
  • 3 teaspoons vanilla
  • 1/2 cup maple syrup (I didn’t use the real stuff– too expensive!)

Frosting and toppings:

  • 2 sticks (1 cup) of salted butter, softened
  • 2 sticks (1 cup) of unsalted butter, softened
  • 3 cups powdered sugar
  • 2 teaspoons of vanilla
  • 8 pieces of bacon, cooked until very crisp
  • 1/4 cup of maple syrup
  • Pancake batter- enough for about 50 mini pancakes (I used the add water and shake Bisquick bottle, and it took about 2 cups of batter to make these up.

DIRECTIONS:

Cupcakes:

  • Combine all dry ingredients and mix in medium bowl
  • In large bowl, whisk eggs, whipping cream and vanilla together, add melted butter slowly while whisking.
  • Alternately add dry ingredients and syrup to the egg mixture, whisking until thick and smooth.
  • Scoop evenly into 18-20 cupcake liners placed in muffin tins. Don’t overfill!
  • Bake at 350F degrees for 14-18 minutes, until a toothpick inserted into the center comes out clean.
  • Remove cupcakes from tin and allow them to cool completely.

Frosting and toppings:

  • Crumble bacon into small pieces and toss with maple syrup until completely coated.
  • Make mini pancakes on a hot griddle by using a small spoon and making just a tiny circle of batter.  Let these cool on a piece of parchment paper.
  • Make frosting by placing butters, powdered sugar and vanilla in a mixing bowl and beating on high for 3-4 minutes until very light and fluffy.
  • Place frosting into a large zip top bag that has a decorating tip fitted into one corner.
  • Pipe a circle of icing around the edge of the cupcake.
  • Sprinkle with bacon.
  • Place pancakes on top, using a small amount of frosting to stick them together into a stack.  
  • Add a dollop of frosting on top and add sprinkles or a red “cherry” sixlet, like mine.
  • ENJOY!!!!


Pancake Cupcakes!!!
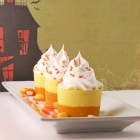
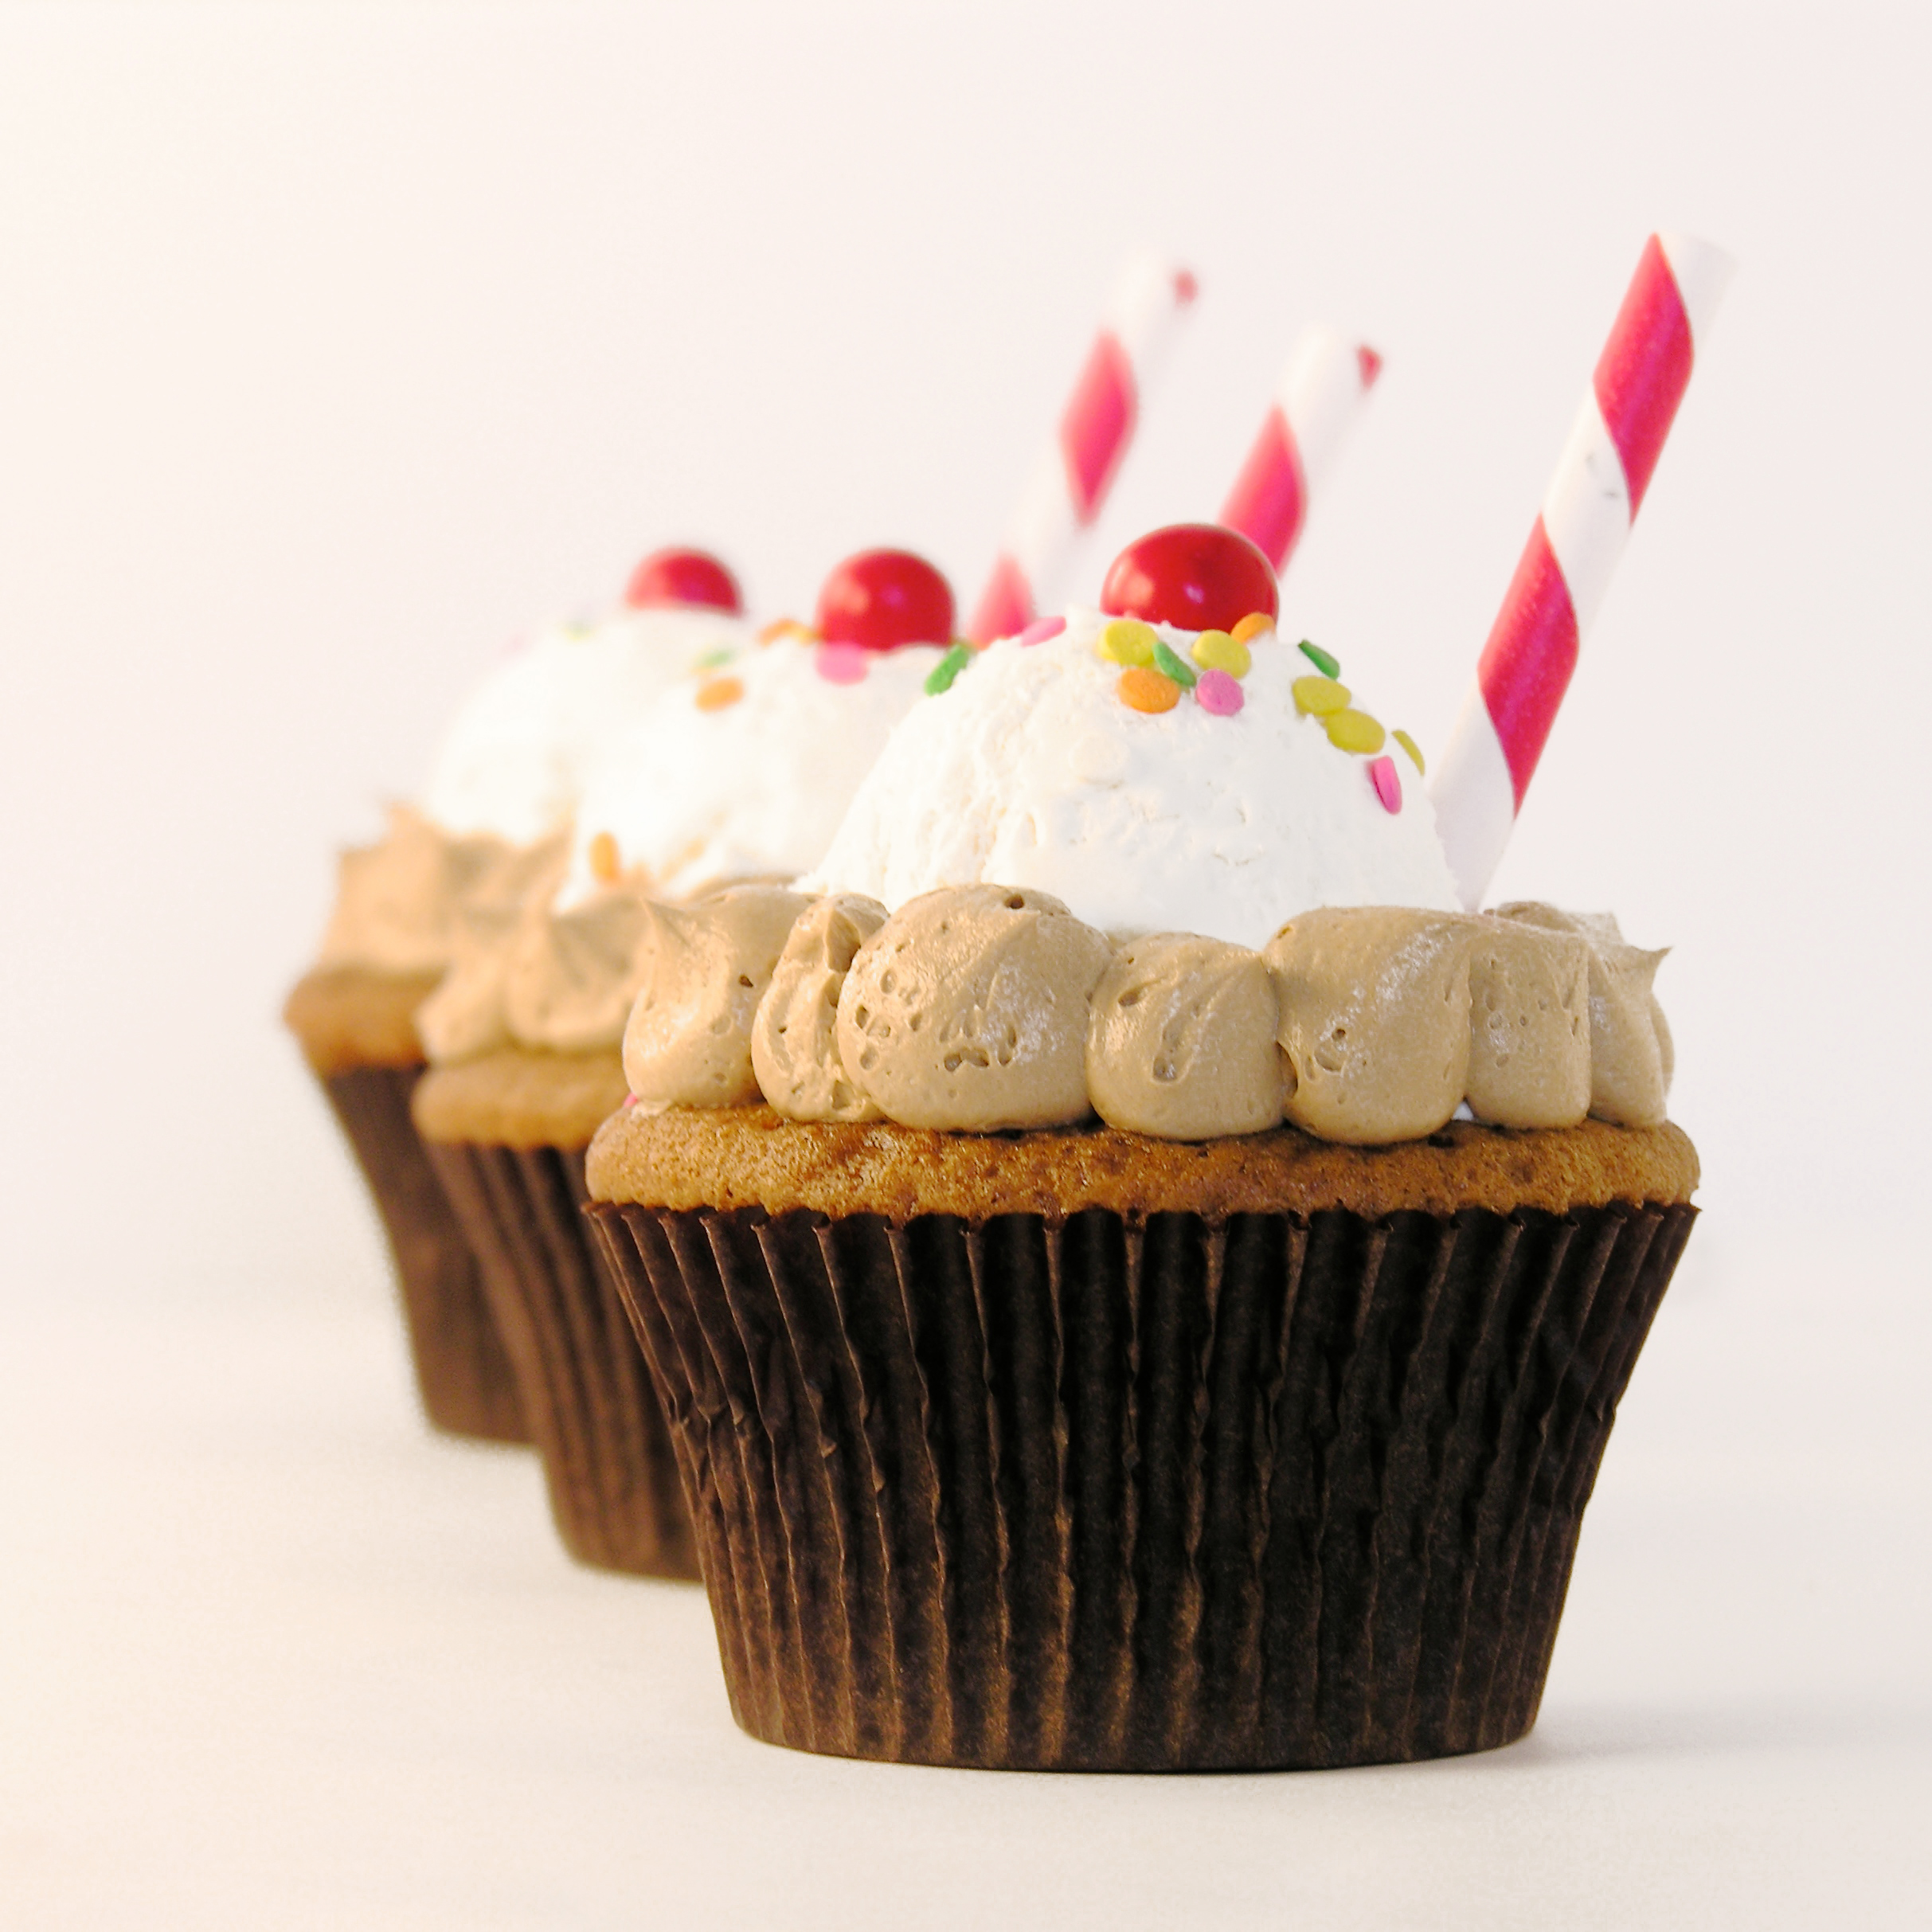
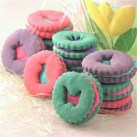
My thoughts:  These are really good.  The sweet cupcake with that salty bacon….yum!  I was a little skeptical about the bacon, but it really adds a wonderful flavor to these!  If you are short on time, skip the mini pancakes on top and just frost these and sprinkle them with bacon.  You could even use a bottle of those real bacon bits, but I suspect that the freshly cooked bacon tastes best.  Happy Pancake Day to YOU!!!  Enjoy!! ~r

Pancake and Bacon Cupcakes!

Other treats that you “could” eat for breakfast:

Tres Leches Cake with caramel and fruitRaspberry Lemon drop Cakes!!!Cinnamon Upside Down Cakes!!Mocha cupcakes in edible fondant mug

Cheesehead Cupcakes!

Cheesehead Cupcakes!!!!!
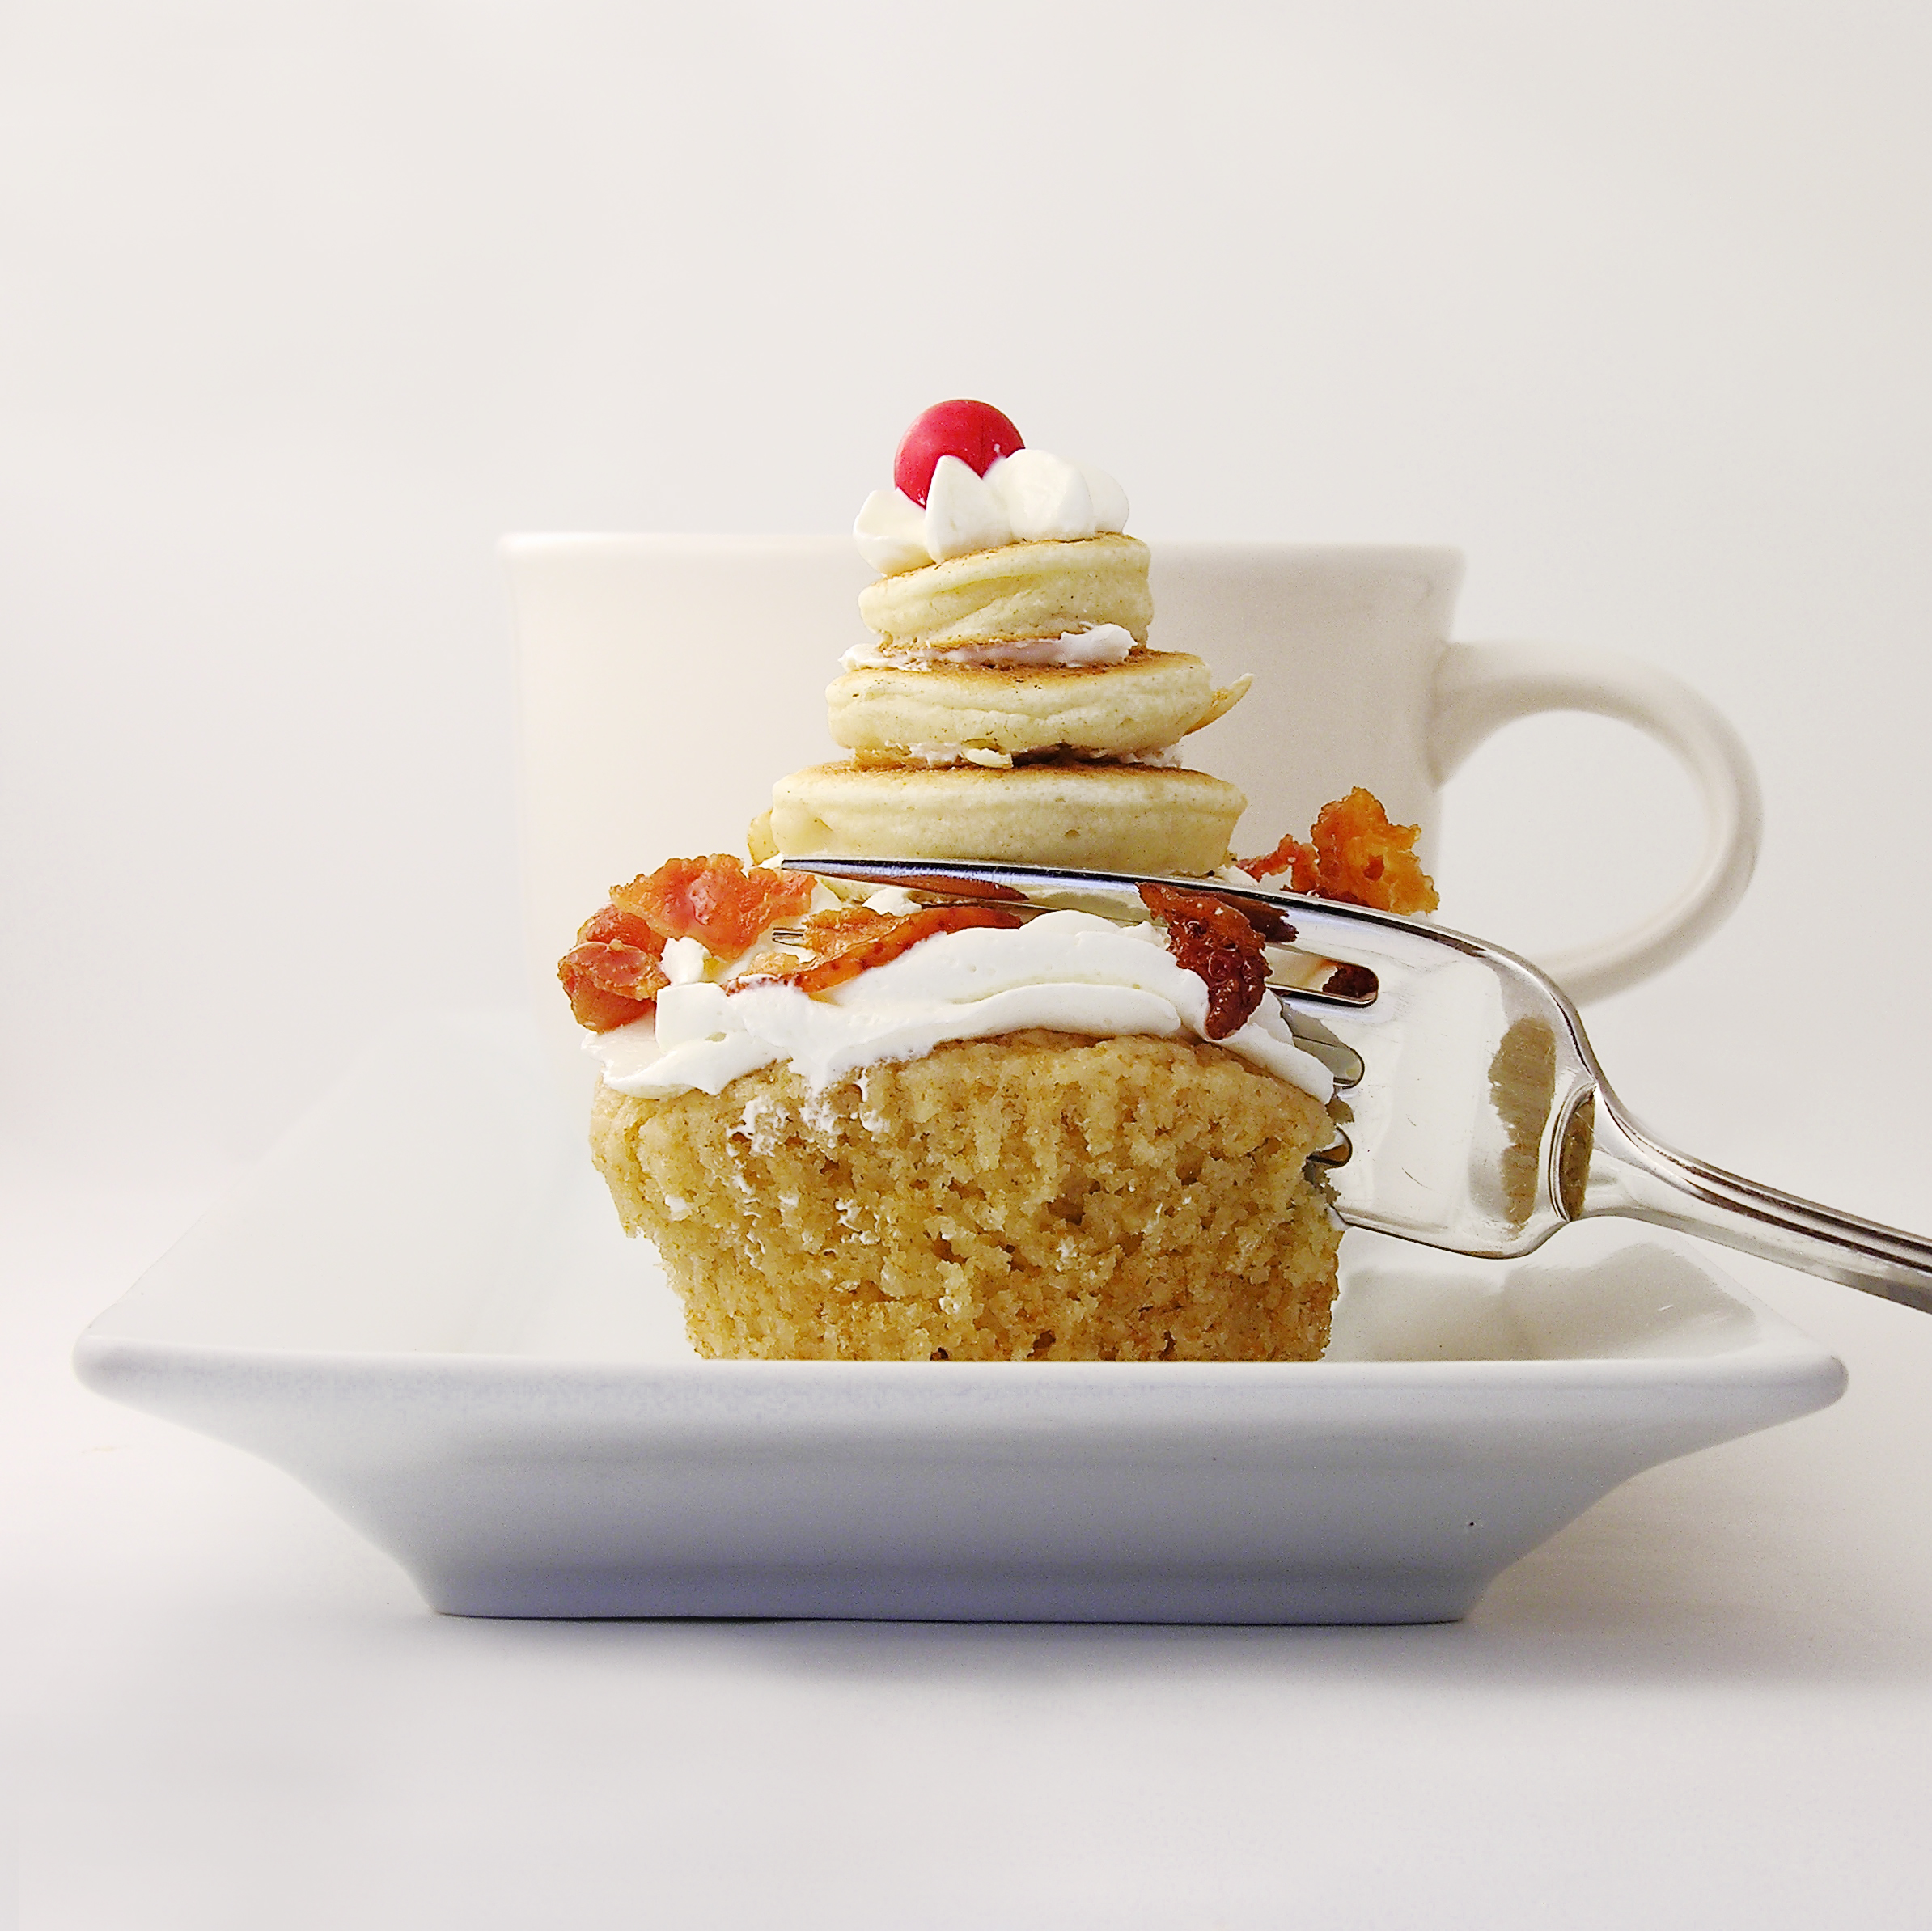
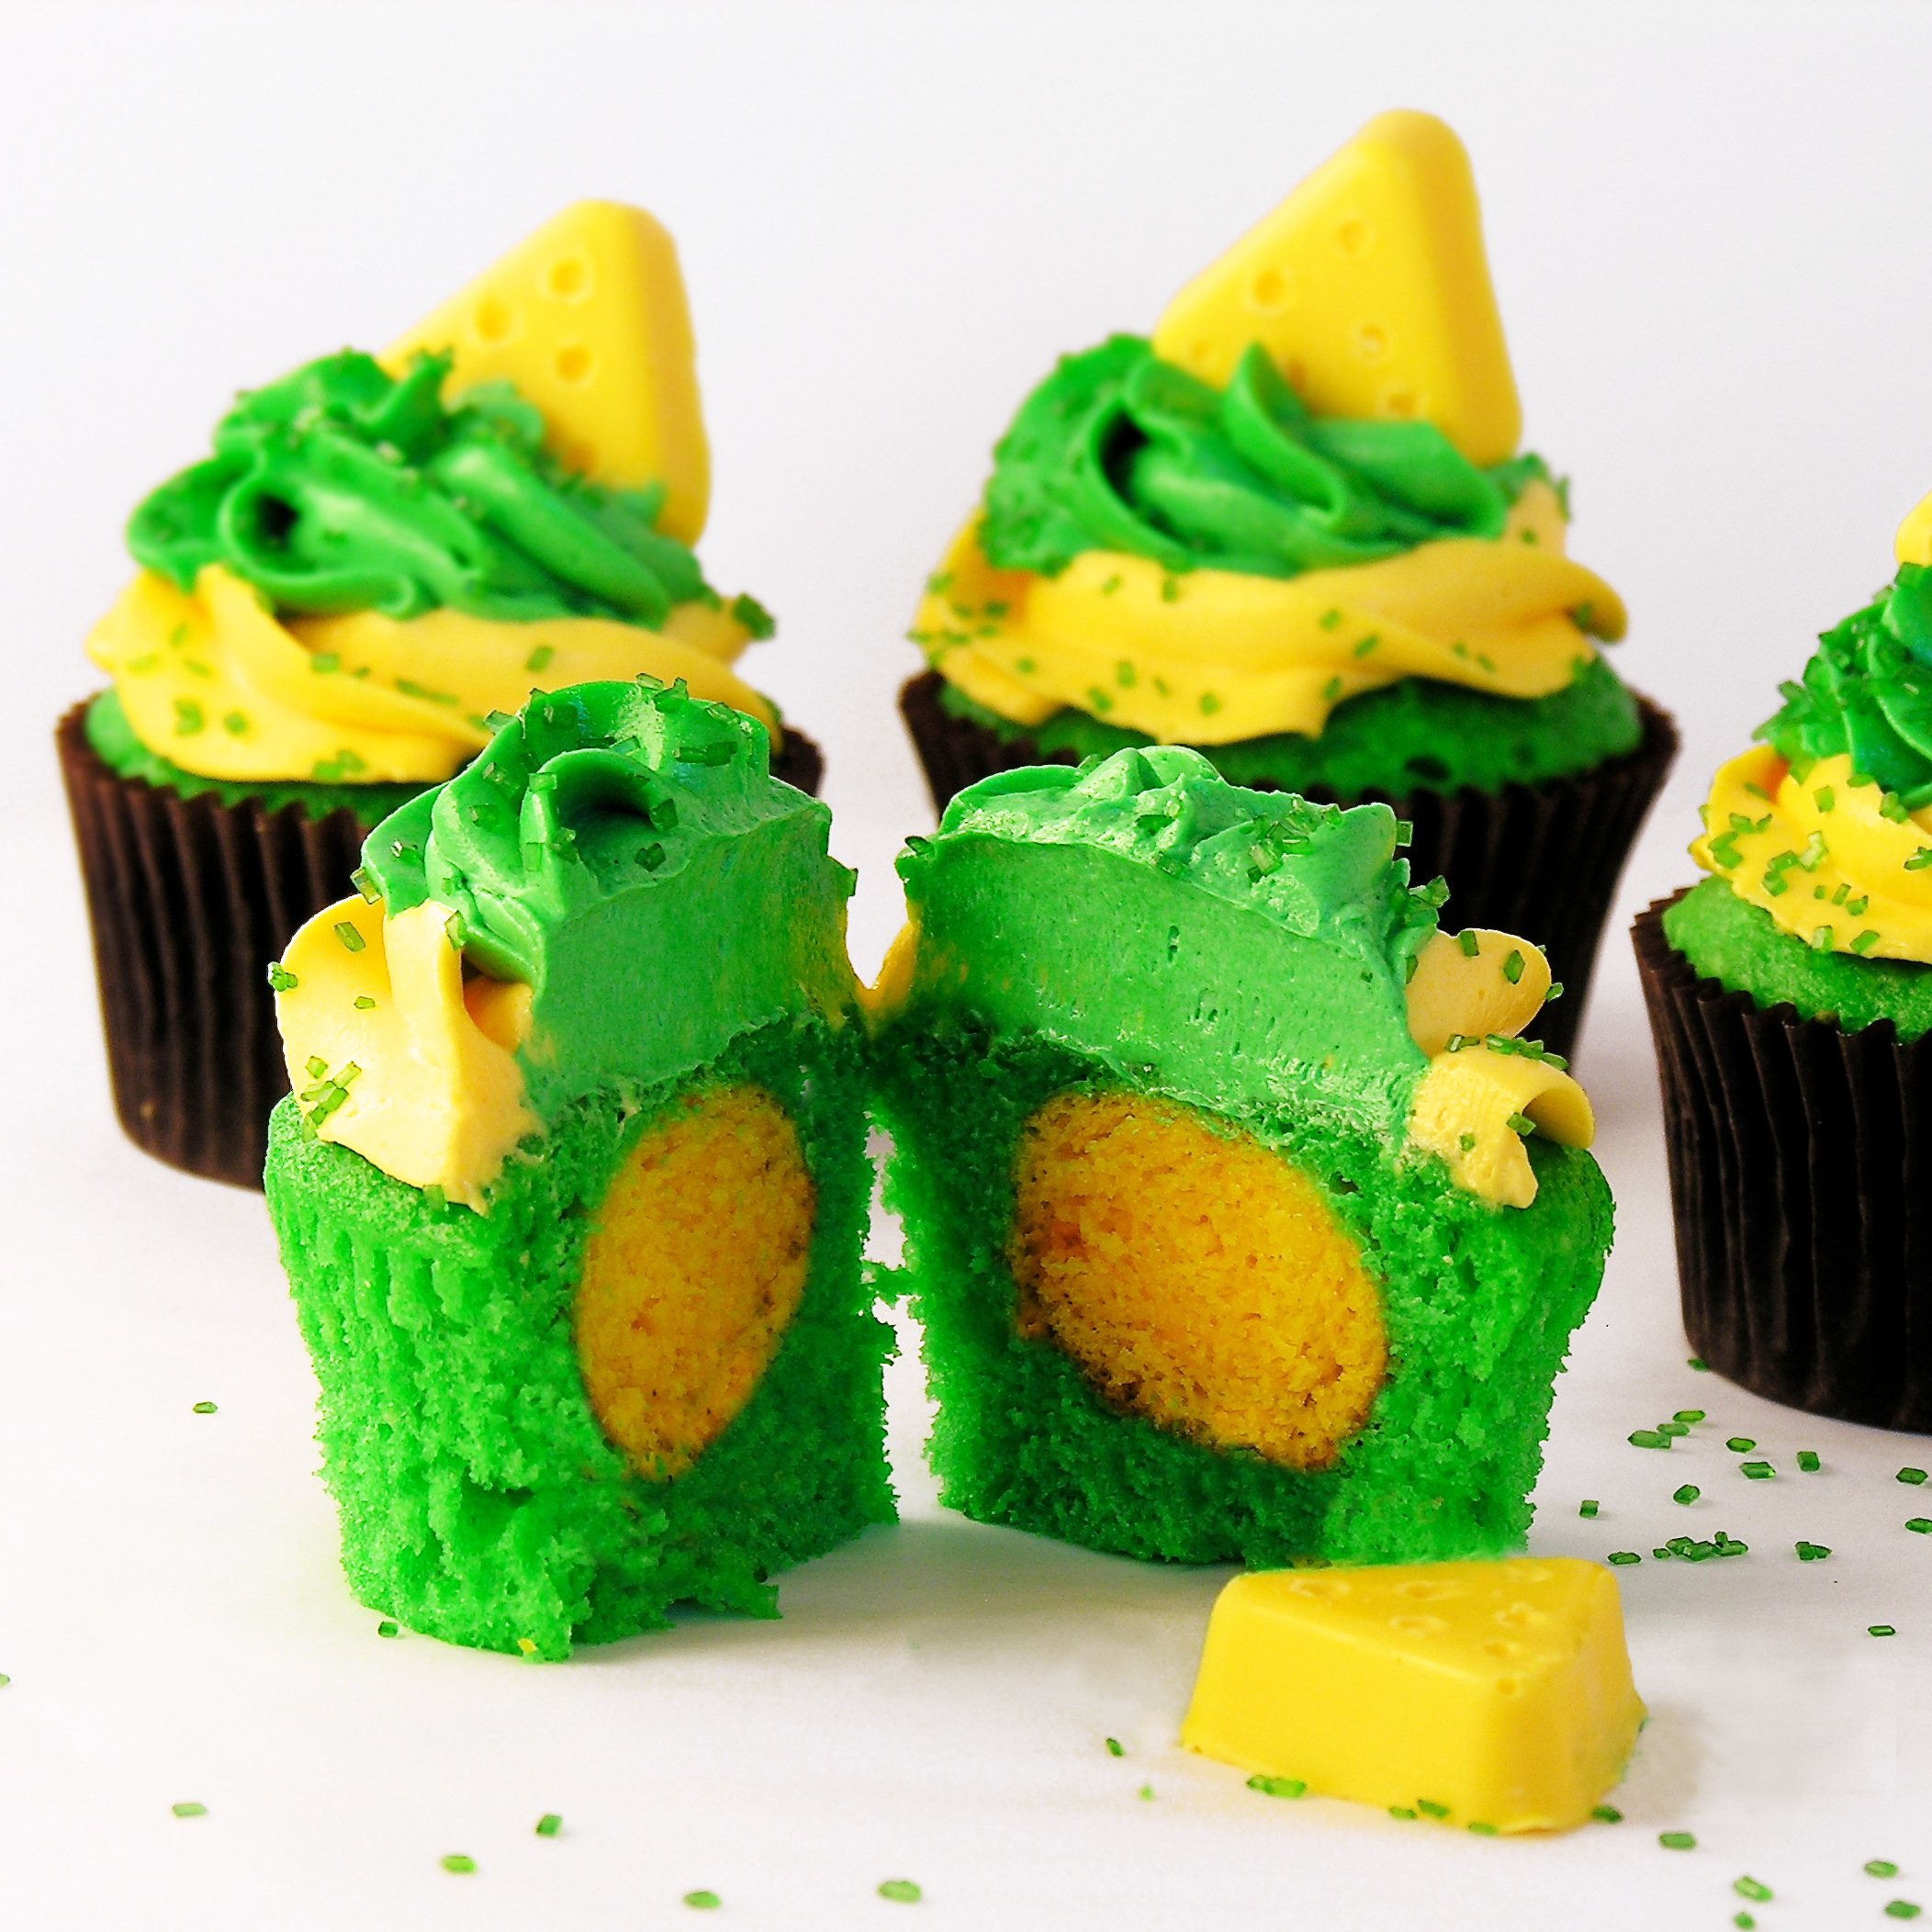
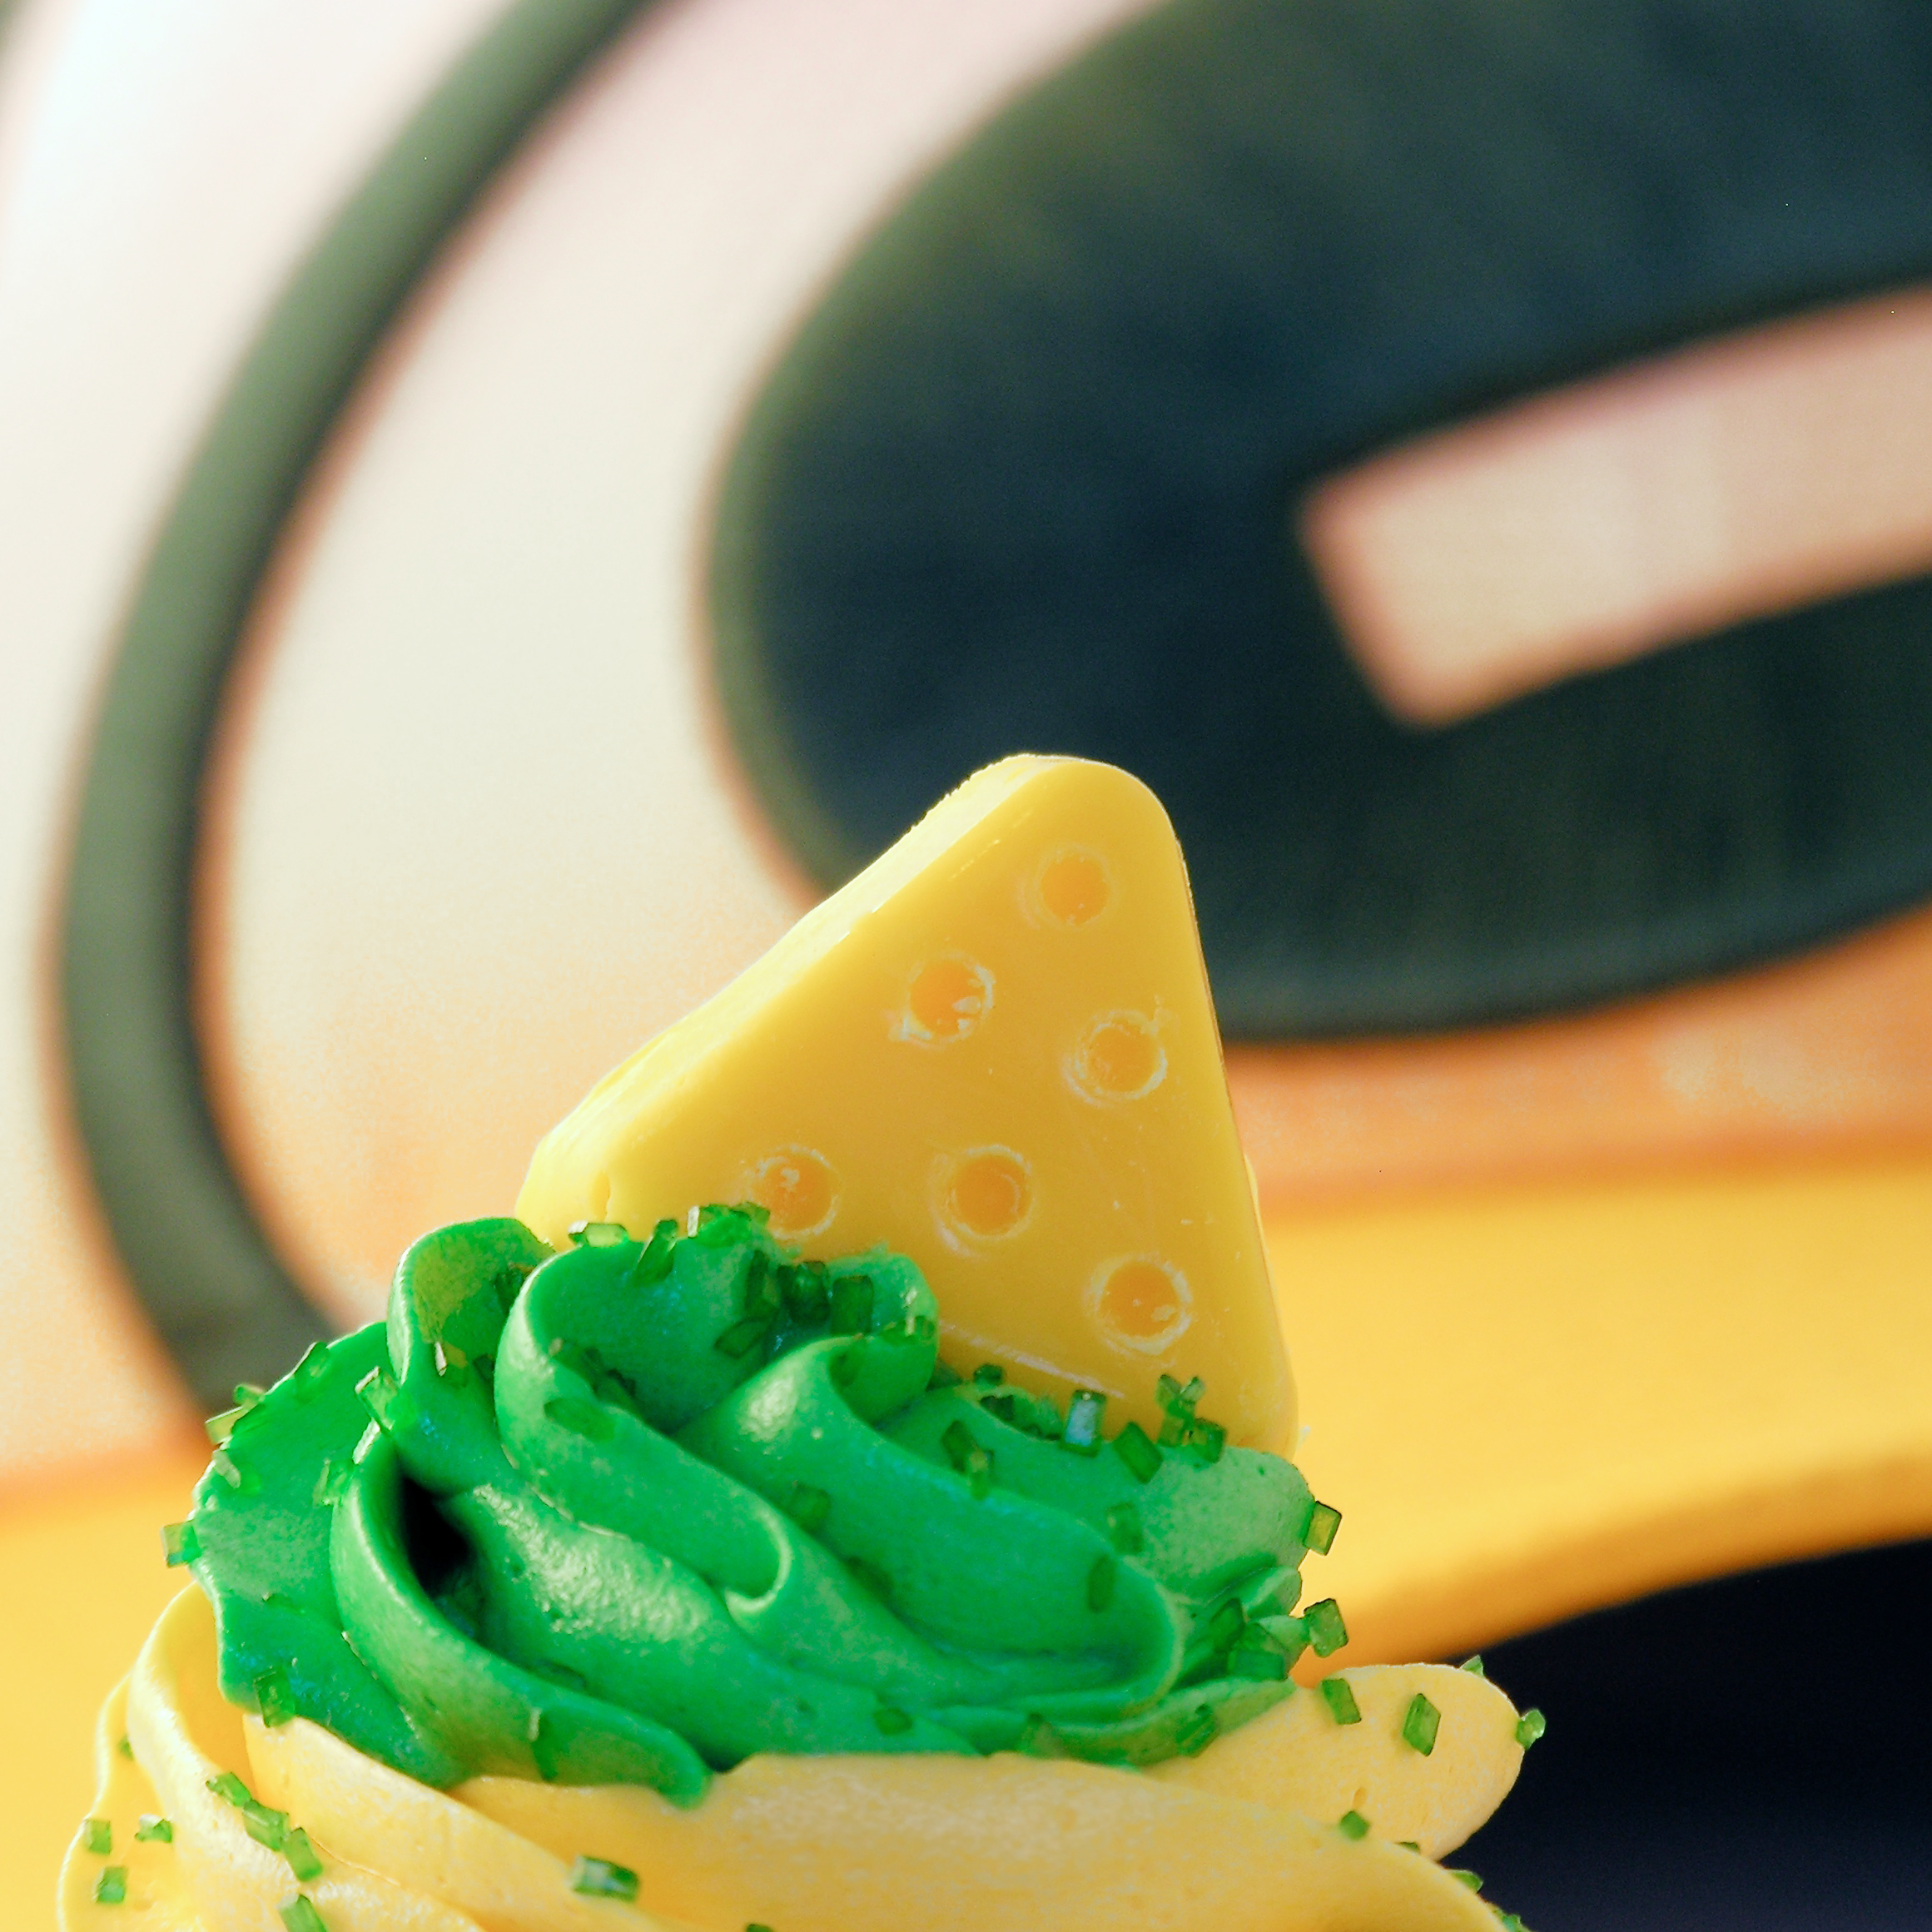
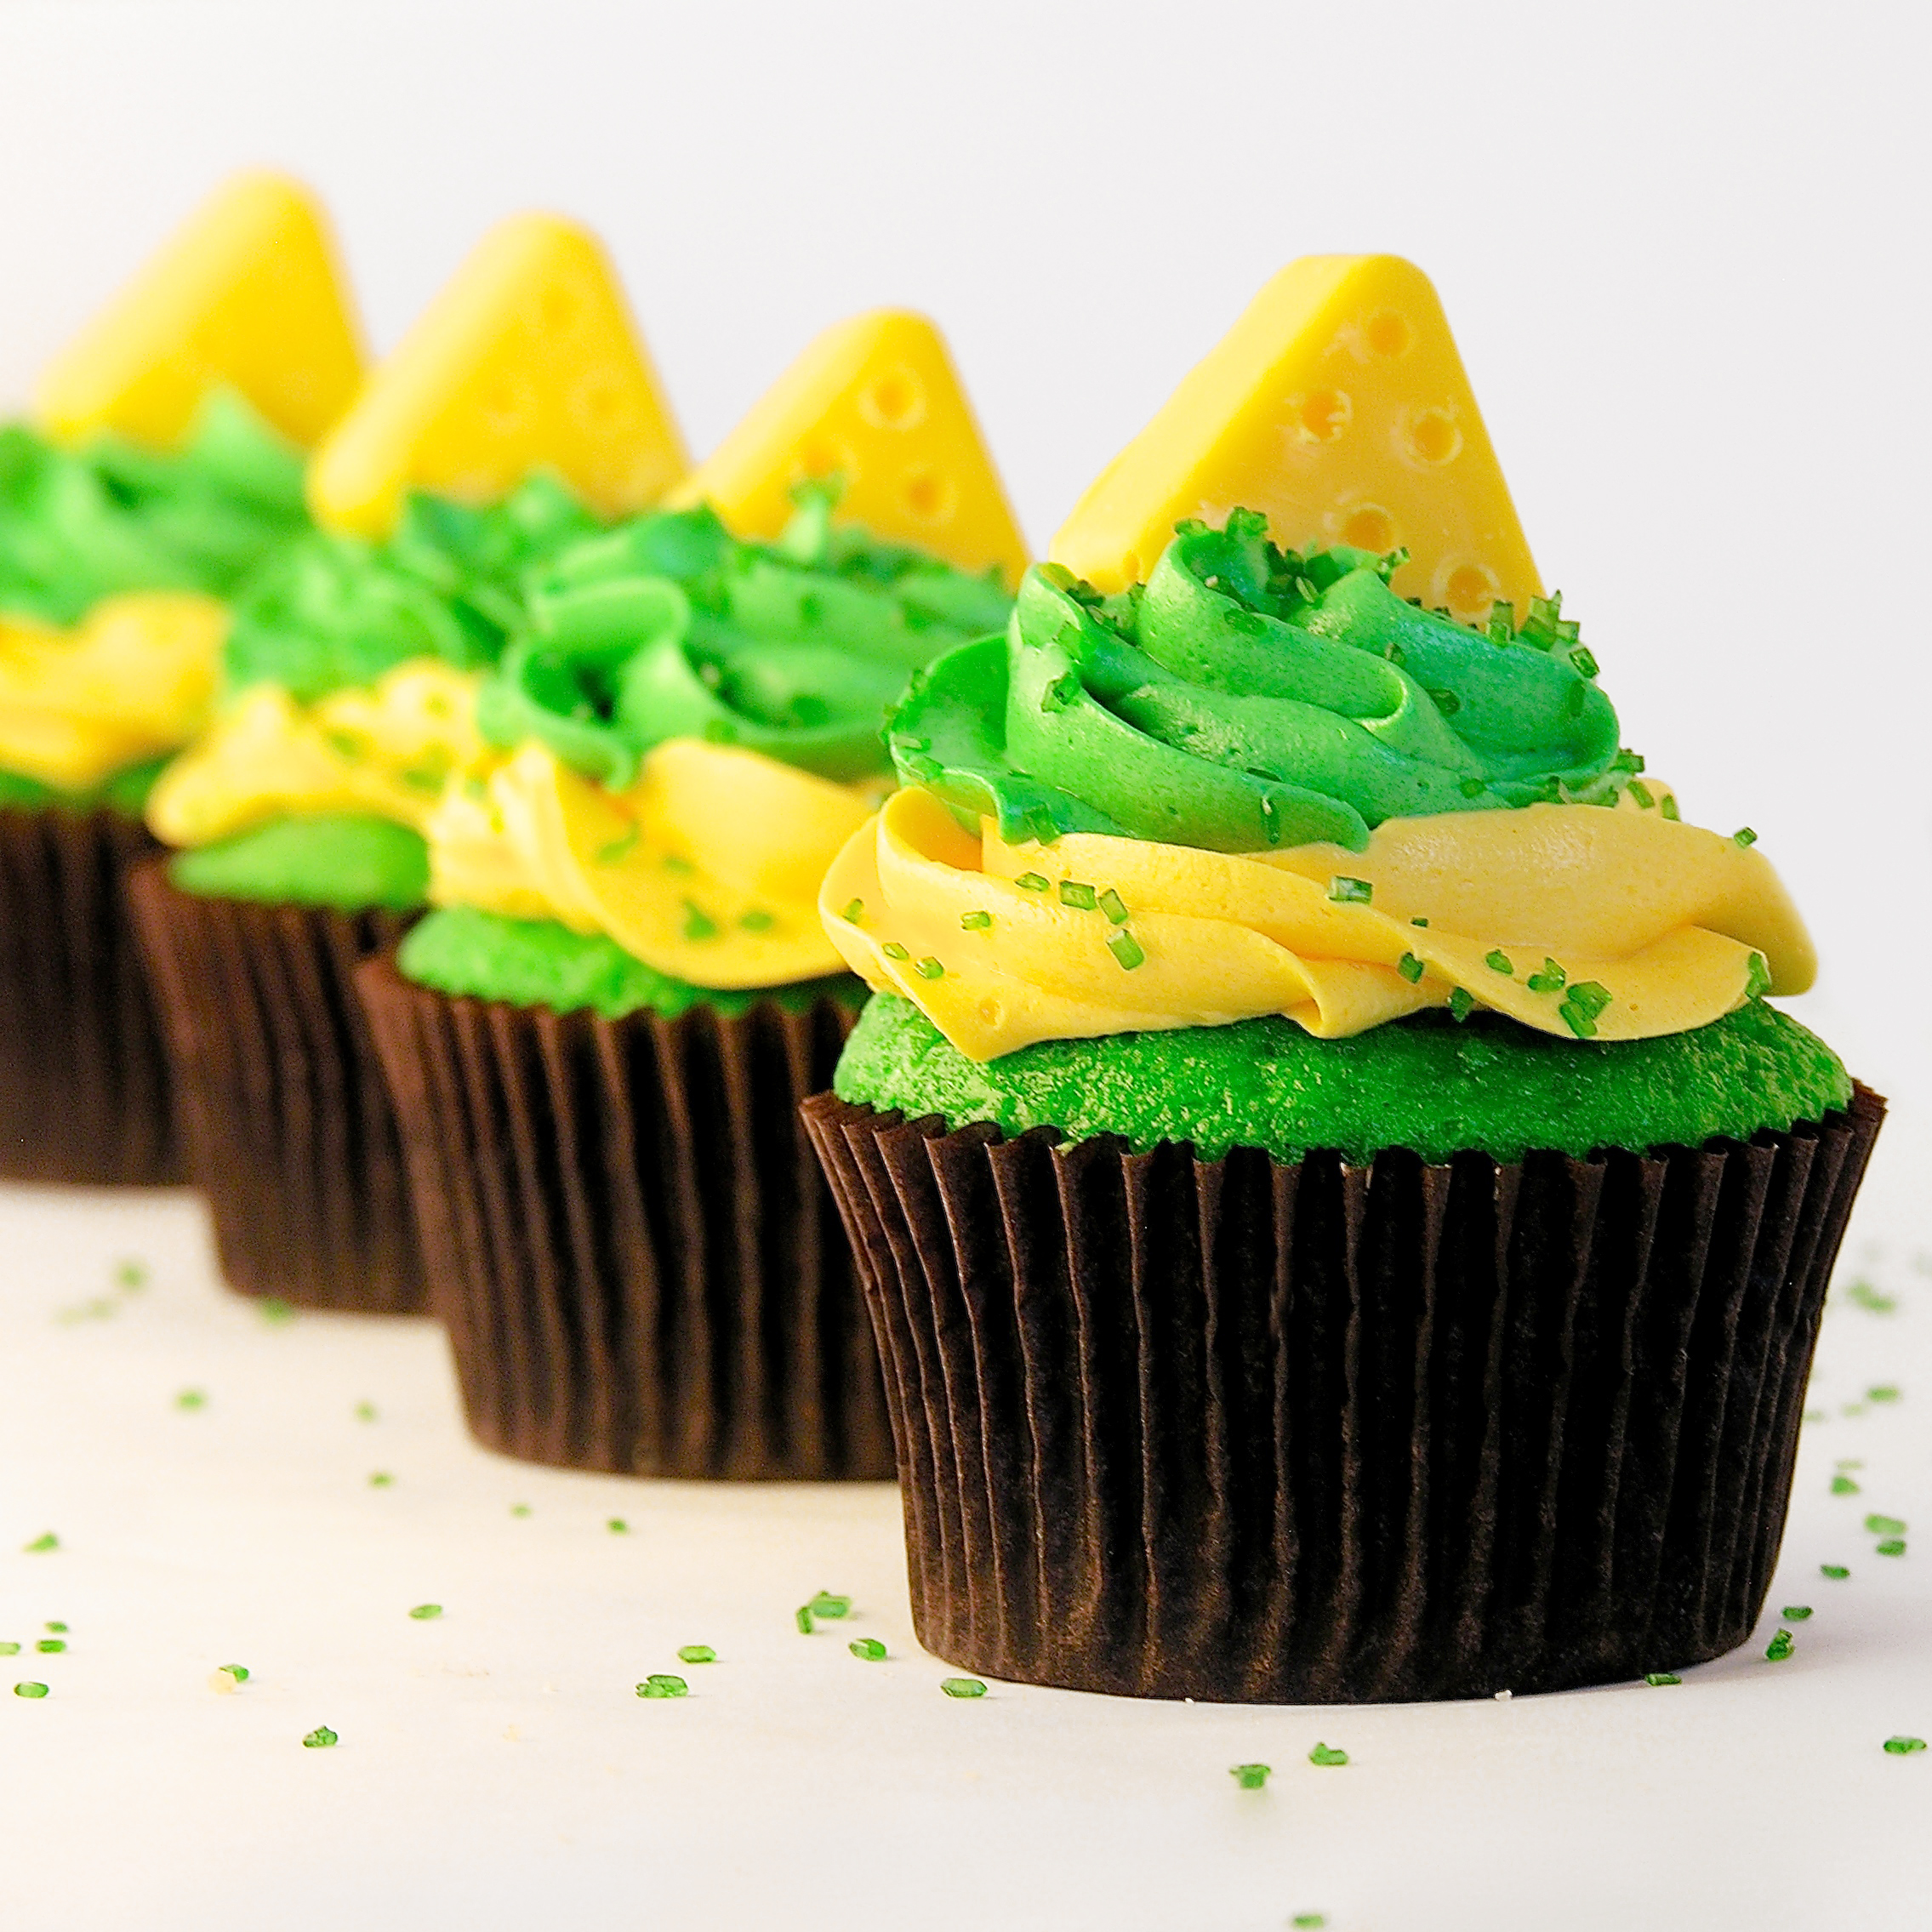
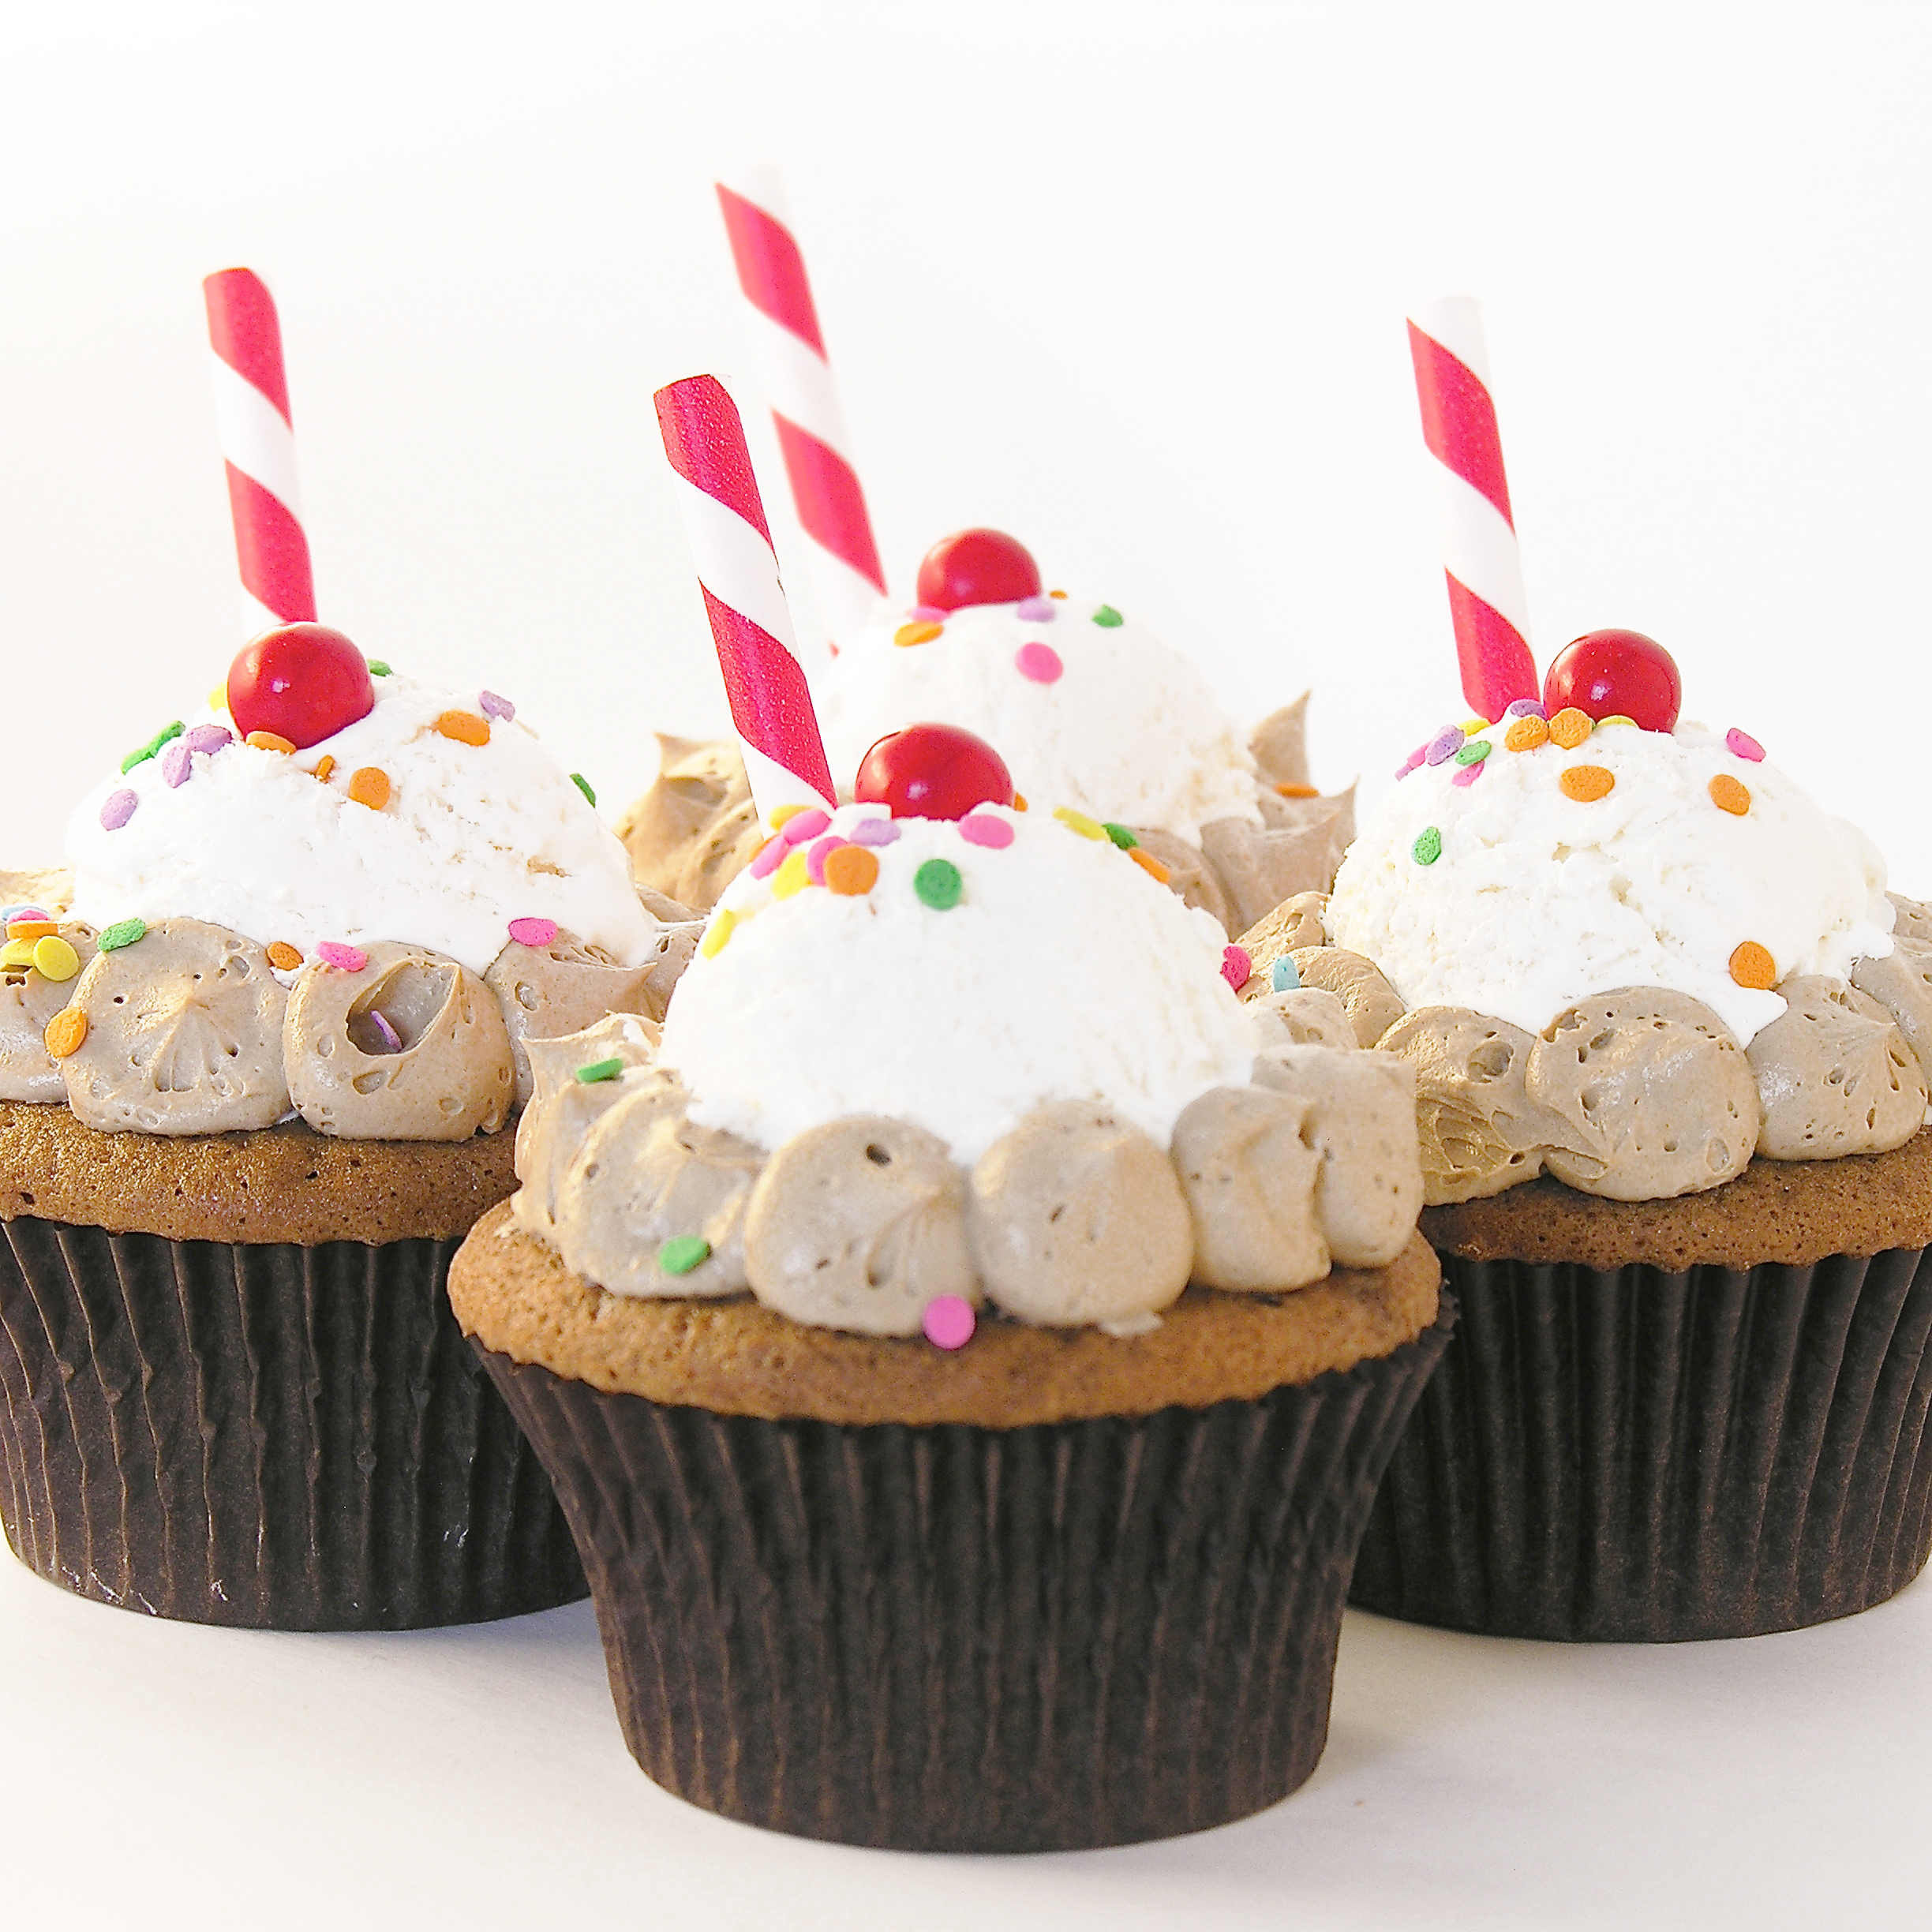
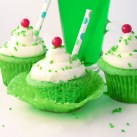
These colorful Green Bay Packer CHEESEHEAD cupcakes are the perfect treat for game day!!!  Make them in YOUR team colors and start the season off with some fun!

Today is the day!!!!  NFL football season starts!!!!  Tonight it’s the Packers vs. Seattle (GO PACK GO!!!!!!!), and I had to add some cheese on these fun little cupcakes to make them just perfect!

Wait— what’s inside?  That’s what makes these so much fun!!!!!

Green Bay Packer Cupcakes!A little splash of team color hidden in the middle.  You can make these in any team colors you want- but if you make them for the Chicago Bears or the Detroit Lions you will need this tutorial here to make your cupcake toppers. 🙂

Here is how we made these: (printable recipe)

INGREDIENTS:

  • One boxed white cake mix (plus water, oil and eggs to make according to box)
  • Green and gold food color gels (or your team colors)
  • 2 sticks (1 cup) of salted butter, softened
  • 2 sticks (1 cup) of unsalted butter, softened
  • 3 cups of powdered sugar
  • 1 teaspoon of vanilla (or any flavoring you’d like to add to your frosting)
  • 1 bag of Wilton’s candy melts in yellow (if you want cheesehead toppers!!)  You will also need little triangle chocolate molds for these.

DIRECTIONS:

  • Make cake mix as directed on box, and take about 1/4 of the batter and mix it with yellow food color gel.
  • Using a cake pop maker or a small mini muffin tin, make 24 small, baked balls of cake in yellow. (click here for pictures of how to make these cake balls)
  • Color remaining batter with green food color gel.
  • Preheat oven to 350F degrees.
  • Spoon a little bit of green batter into 24 cupcake liners placed in muffin tins.
  • Place one cake ball in each cavity in the center of the green batter.

Cheesehead Cupcakes!!!

  • Carefully spoon more green batter over the top of each yellow cake ball, filling each cup only 2/3 to 3/4 full (be careful to not over-fill. That is easy to do when you are focused on covering up that cake ball!)
  • Bake at 350F degrees for 15-18 minutes.
  • Allow cupcakes to cool completely.
  • Make frosting by placing butters, powdered sugar and vanilla in a large bowl and beating on high for 3-4 minutes until light and fluffy.
  • Divide frosting in half and color one half gold and the other half green. Place each color in a zip top bag that has been fitted with a decorating tip.
  • Pipe yellow icing on 1st followed by green and top with a bit of cheese!!!!!

Cheesehead Cupcakes!!!!!To make little cheese head cupcake toppers:

Say Cheese!!!!

Yes, that is a tire pressure gauge…..

  • Melt yellow candy melts in a microwave-safe bowl, in the microwave, in 30-second increments, stirring in between.
  • Put candy melts into a sturdy zip top bag, clip a corner and pipe into triangle candy molds.
  • Tap on counter to remove bubbles, and place in the freezer for 5 minutes, or until completely hardened.
  • Turn mold upside down and tap on counter to remove chocolate.
  • Repeat this process.
  • Allow the triangle chocolates to return to room temperature, and use whatever you find handy to put “holes” in your cheese.  I used a (cleaned in hot soapy water) tire pressure gauge for mine.  Let’s hear it for problem solving in the kitchen!!!!!!

Green Bay Packer Cupcakes!

My thoughts:  These are just plain fun.  I recommend using a cake pop maker for the center circles.  It really does take less time and it makes the most adorably round little cake balls.  Plus you can make a Polka-Dot cake with it too!!!  I hope you get a chance to celebrate your team with these fun and colorful cupcakes!!!  IT’S FOOTBALL SEASON!!!!!!


Cheesehead Cupcakes!!!

Other fun cupcake recipes you might enjoy:

Peanut Butter Cupcakes!!Coconut Cupcakes!!!Brownie Oreo Cookie CupPile of Cupcakes!

Fudge Stripe Cookie Cups

Posted on

Fudge Stripe Cookie cups

These dark chocolate cups have a surprise inside: a crunchy little fudge stripe cookie!

I just love those fudge stripe cookies.  Even when I am trying to watch my calorie intake, I get the little 100 calorie packs as a treat.  They are just soooo yummy!  Those little mini cookies were the inspiration for these cookie cups.  They fit perfectly inside, and make for a wonderful surprise when you bite into one!

Fudge Stripe Cookie Cups!

So much fun!  Best use of diet food  EVER!

Here’s how we made them: (for a printable recipe click here)

INGREDIENTS: (makes 44-48 mini cookie cups)

  • 1 stick (1/2 cup) butter, softened
  • 3/4 cup of granulated sugar
  • 1 egg
  • 1/2 teaspoon vanilla extract
  • 1/3 cup of unsweetened cocoa powder
  • 1 1/2 cups flour
  • 1/4 teaspoon salt
  • 1/4 teaspoon baking powder
  • One box of Keebler Mini Fudge Stripe cookies
  • One tub of vanilla frosting.
  • A little bit of melted chocolate to drizzle on top, if desired

DIRECTIONS:

  • Preheat oven to 350F degrees.
  • Make cookies by combining butter, sugar, egg, vanilla and cocoa powder and beating until completely combined.
  • Add other dry ingredients gradually, mixing with beaters until too heavy to beat. Use clean hands to knead dough into a soft ball.
  • Use a small cookie scoop (I used a scoop that holds 1/2 Tablespoon of batter) to portion out your dough into mini muffin tins that have been sprayed with non-stick spray.
  • Use a tart shaper or a wooden spoon to press the dough into a cup shape (really, the tart shaper works best for this and you will use it again- I use mine all the time!)

Making cookie cups

  • Bake at 350F degrees for 7 to 8 minutes and remove from oven.
  • Press centers in a second time with the tart shaper and allow them to cool for just a couple of minutes.
  • Use a small paring knife to pop each cup out and allow them to cool completely on the counter.
  • Place one mini Fudge Stripe Cookie to each cup
  • Spoon frosting into a small bowl and microwave for 20-30 seconds, until soft.  Stir until smooth.
  • Spoon frosting into a sturdy zip-top bag and clip a corner off.  Pipe frosting over cookie to the top of each cup

Fudge Stripe Cookie Cups!

  • Pipe chocolate stripes on top to decorate.
  • Allow frosting to firm up.
  • Enjoy!

Fudge Stripe Cookie Cups

My thoughts:  These are SO easy to make and such cute little desserts.  I’m addicted to desserts that surprise you when you bite into them- and these do just that!  I hope you enjoy making and sharing these fun little treats!  Enjoy!! ~r

Fudge Stripe Cookies1

Other cookie cup dessert recipes:

Salted Caramel Cookie Cup!!!Pecan Pie cookie cups with dark chocolateSeven Layer CupsMelted Smores cup


Popsicle Punch!!!!

Posted on

Popsicle Punch

 Love popsicles?  Love a fruity, refreshing punch?  Try making popsicle punch!  Everyone can choose their own flavor!

Popsicle Punch!!

I was sitting in the sun, thinking about punch the other day.  I was thinking about how you never really get to have punch unless you make a ton of it in a big punch bowl~ which sends it into the “only at a big party” category of treats.  I started thinking about how much fun it would be if you could make a single-serving punch, and suddenly—POPSICLES!!!!!!  A little bit of Sprite, maybe a bit of pineapple juice and a POPSICLE!  Choose your flavor, pick your punch!

I had to run to the store and get popsicles to try this little experiment, and YUM!!!!!!  YUM! YUM! YUM!!!!!!

I loved the plain popsicles- beautiful colors and delicious fruity punch.

THEN, I tried the popsicles that have the ice cream filling… you know, these:

Popsicle Punch!

So much creamy, fruity happiness in one little mug…. well, two little mugs because I had to try a couple of flavors:

Popsicle Punch!

That orange punch?  Like a creamsicle in a cup….!  Unbelievably good!!!

Here’s how I did it:

INGREDIENTS:

  • Sprite (or another lemon-lime soda)
  • Pinapple (or another fruit) juice
  • Popsicles!

DIRECTIONS:

  • Fill a cup about 1/2 full of soda (leave room for the popsicle- the ice cream ones foam up a bit) 
  • Add juice to taste- I added about 1 part juice for 4 parts soda.
  • Place a popsicle into cup and stir to dissolve
  • ENJOY!

Popsicle Punch!!!

My thoughts:  You can make individual cups of punch, or make the base punch in a big punch bowl (just the soda and the juice) and set a cooler full of popsicles out for people to choose flavors from.  I just made a cup of punch with a frozen juice bar— oh my.  So yummy!  The possibilities are endless!!!!  Enjoy!  ~r

Cheers!!!!

Cheers!!!!

Other fun beverage (and beverage inspired!) recipes:

Spiced Mocha and Tim Tam Slams!Cotton Candy Fizz Mexican Chocolate MilkMalted Milkshake Cupcakes


Root Beer Float Cupcakes!

Posted on

Root Beer Float Cupcakes!!!!These cupcakes capture all the summer flavors of a root beer float~ all you need is a frosty mug!

People ask me a lot about if I would ever open a bakery, and I always say no.  I can’t imagine making hundreds of the same thing every day.  My favorite part of baking is the process of creating something new.

I thought about this recipe for a long time.  I wanted root beer in the cupcake and root beer in the frosting, but how to create that “scoop of ice cream” flavor without actually using ice cream?  I sometimes cheat in my photos by using scoops of frozen cool whip instead of ice cream.  It melts slower and keeps a scoop shape longer under the heat of my photography lights.  I decided to try Cool Whip as my scoop of ice cream for these cupcakes.

Oh my.  If I could jump up and down and point giant neon arrows toward this cupcake recipe I would.  These are so, sooooooooooo good. You need to make these!!!  They even use a cake mix, so they aren’t horribly complicated.  That Cool Whip…with the root beer buttercream…. perfect.

Root Beer Float Cupcakes!!!Here’s the recipe: (printable version)

INGREDIENTS: (makes 24-26 cupcakes)

  • One boxed white cake mix, plus water, oil and eggs to make according to package.
  • 1 cup of root beer
  • 5 teaspoons of root beer concentrate (divided)
  • 1 stick (1/2 cup) of salted butter (softened)
  • 1 stick (1/2 cup) of unsalted butter (softened)
  • 1 1/2 cups of powdered sugar
  • 2 tubs of Cool Whip (frozen)
  • Sprinkles and straws (optional)

DIRECTIONS:

  • Make white cake mix as directed on box.
  • After beating cake, add root beer and 3 teaspoons of root beer concentrate. Mix well until combined.
  • Place cupcake liners in muffin tins and fill each one only about 1/2 full (these cupcakes rise a bit higher than just a plain mix)
  • Bake according to package directions, remove from oven and cool completely.
  • Make buttercream by adding both butters, powdered sugar and 2 teaspoons of root beer concentrate to a mixing bowl and beating on high for 4-5 minutes until very light and fluffy.
  • Place frosting into a sturdy zip-top bag that has been fitted with a large round decorating tip in one corner.
  • Assemble cupcakes one at a time.
  • Use a medium cookie scoop and place a ball of frozen Cool Whip in the center of a cupcake.
  • Pipe round “bubbles” around it immediately, by squeezing the frosting out into a circle and then pulling straight out.

Root Beer Float CupcakesRoot Beer Float Cupcakes

  • Only have one container of Cool Whip out at a time, and if it starts to get soft, switch it back into the freezer to harden up.
  • Keep these chilled until you serve them.
  • Just before serving, add some sprinkles and a straw for a root beer float feel!
  • Enjoy!!

Root Beer Float Cupcakes!!My thoughts:  Such a fun summer dessert.  It is actually very light and not too sweet because a lot of the topping is just Cool Whip.  I was really happy with how this experiment came out and I can’t wait to make them again!  Enjoy!!!!!

Root Beer Float Cupcakes!!

Our very first cookbook is available for purchase this week!!!  Check it out in our new “Store” tab.  You can also find our greeting cards from Warner Press and our fun new recipe notecards distributed by Trifle Recipe Cards there.

These aren’t our first cupcakes that recreate a yummy beverage!  Try these other fun recipes:

Lime Soda Cupcakes!!!!Malted Milkshake CupcakesStrawberry Lemonade Cupcakes!!!!Baileys Irish Cream Cupcakes

Caramel Pecan Marshmallow Pops

Posted on


Marshmallow Turtle Pops!

  Big marshmallows covered in creamy caramel and chocolate are dipped in pecans to make an incredibly decadent treat!

These are unbelievably good.  I was visiting my friend Andreya in San Diego last weekend and we passed a store while window shopping in La Jolla that had all sorts of dipped marshmallows.  I started craving them and had to try this.   These are like yummy caramel apples- but with a soft marshmallow inside, instead of an apple.  If you are looking for a really unique treat that is easy to put together, this is your recipe!!!  I couldn’t believe how easy and yummy  these were.

Caramel Pecan Dipped Marshmallows

Here’s the recipe: (printable version)

INGREDIENTS:

  • 2 bags of jumbo marshmallows (24 marshmallows)
  • 24 lollipop sticks
  • 32 Kraft caramels, unwrapped
  • 1 (14 oz) can of sweetened condensed milk
  • 1/2 cup of butter
  • 1 bag of dark chocolate Wilton’s candy melts
  • 2 cups of chopped pecans

DIRECTIONS:

  • Set marshmallows out on parchment paper and stick one lollipop stick into the flat side of each one.
  • In a medium saucepan, melt together caramels, butter and sweetened condensed milk, stirring constantly, until completely smooth (takes about 5 minutes)
  • Pour caramel mixture into a bowl.
  • Using stick, carefully dip each marshmallow into caramel, coating it to the top.  Gently tap stick against side of bowl to remove excess caramel and then slide bottom of marshmallow along bowl’s edge to remove most of caramel.  (It is ok if you remove it down to the marshmallow- the chocolate will cover this up!
  • Place upright on a sheet of parchment paper and cool.
  • Place chocolate candy melts into a bowl, and melt them in the microwave in 30 second increments, stirring in between, until completely melted and smooth.
  • Lay a fresh sheet of parchment paper out before beginning next step.
  • Place pecans in a small bowl.
  • Gently peel a marshmallow away from the parchment paper. This is a little tricky, as it will still be a bit gooey.  I held the stick, lifted, and peeled the paper away from the marshmallow.
  • Dip bottom of marshmallow into melted chocolate and slide bottom along edge of bowl to remove excess.
  • Dip bottom of coated marshmallow into pecans and set on fresh parchment paper to harden.

Once these are hardened up, you can serve them up on a pretty plate, or wrap them in cello bags to use as gifts or favors.
If you aren’t serving them right away, be sure to cover them so the marshmallows don’t harden up.

Caramel Pecan Marshmallow Pops!

My thoughts: These are a recipe I will make again.  I had fun putting them together and everyone who tried them asked me to make them again.  Easy. Yummy. Beautiful.  My kind of recipe!  Enjoy!! ~r

Other unique recipes you might enjoy:

Fruit Loop Pie!Raspberry Lemon Cream Cups!!!Cookie Dough Whoopie Pie!Doughnut cupcakes!!

%d bloggers like this: