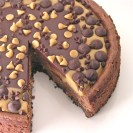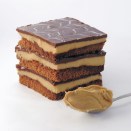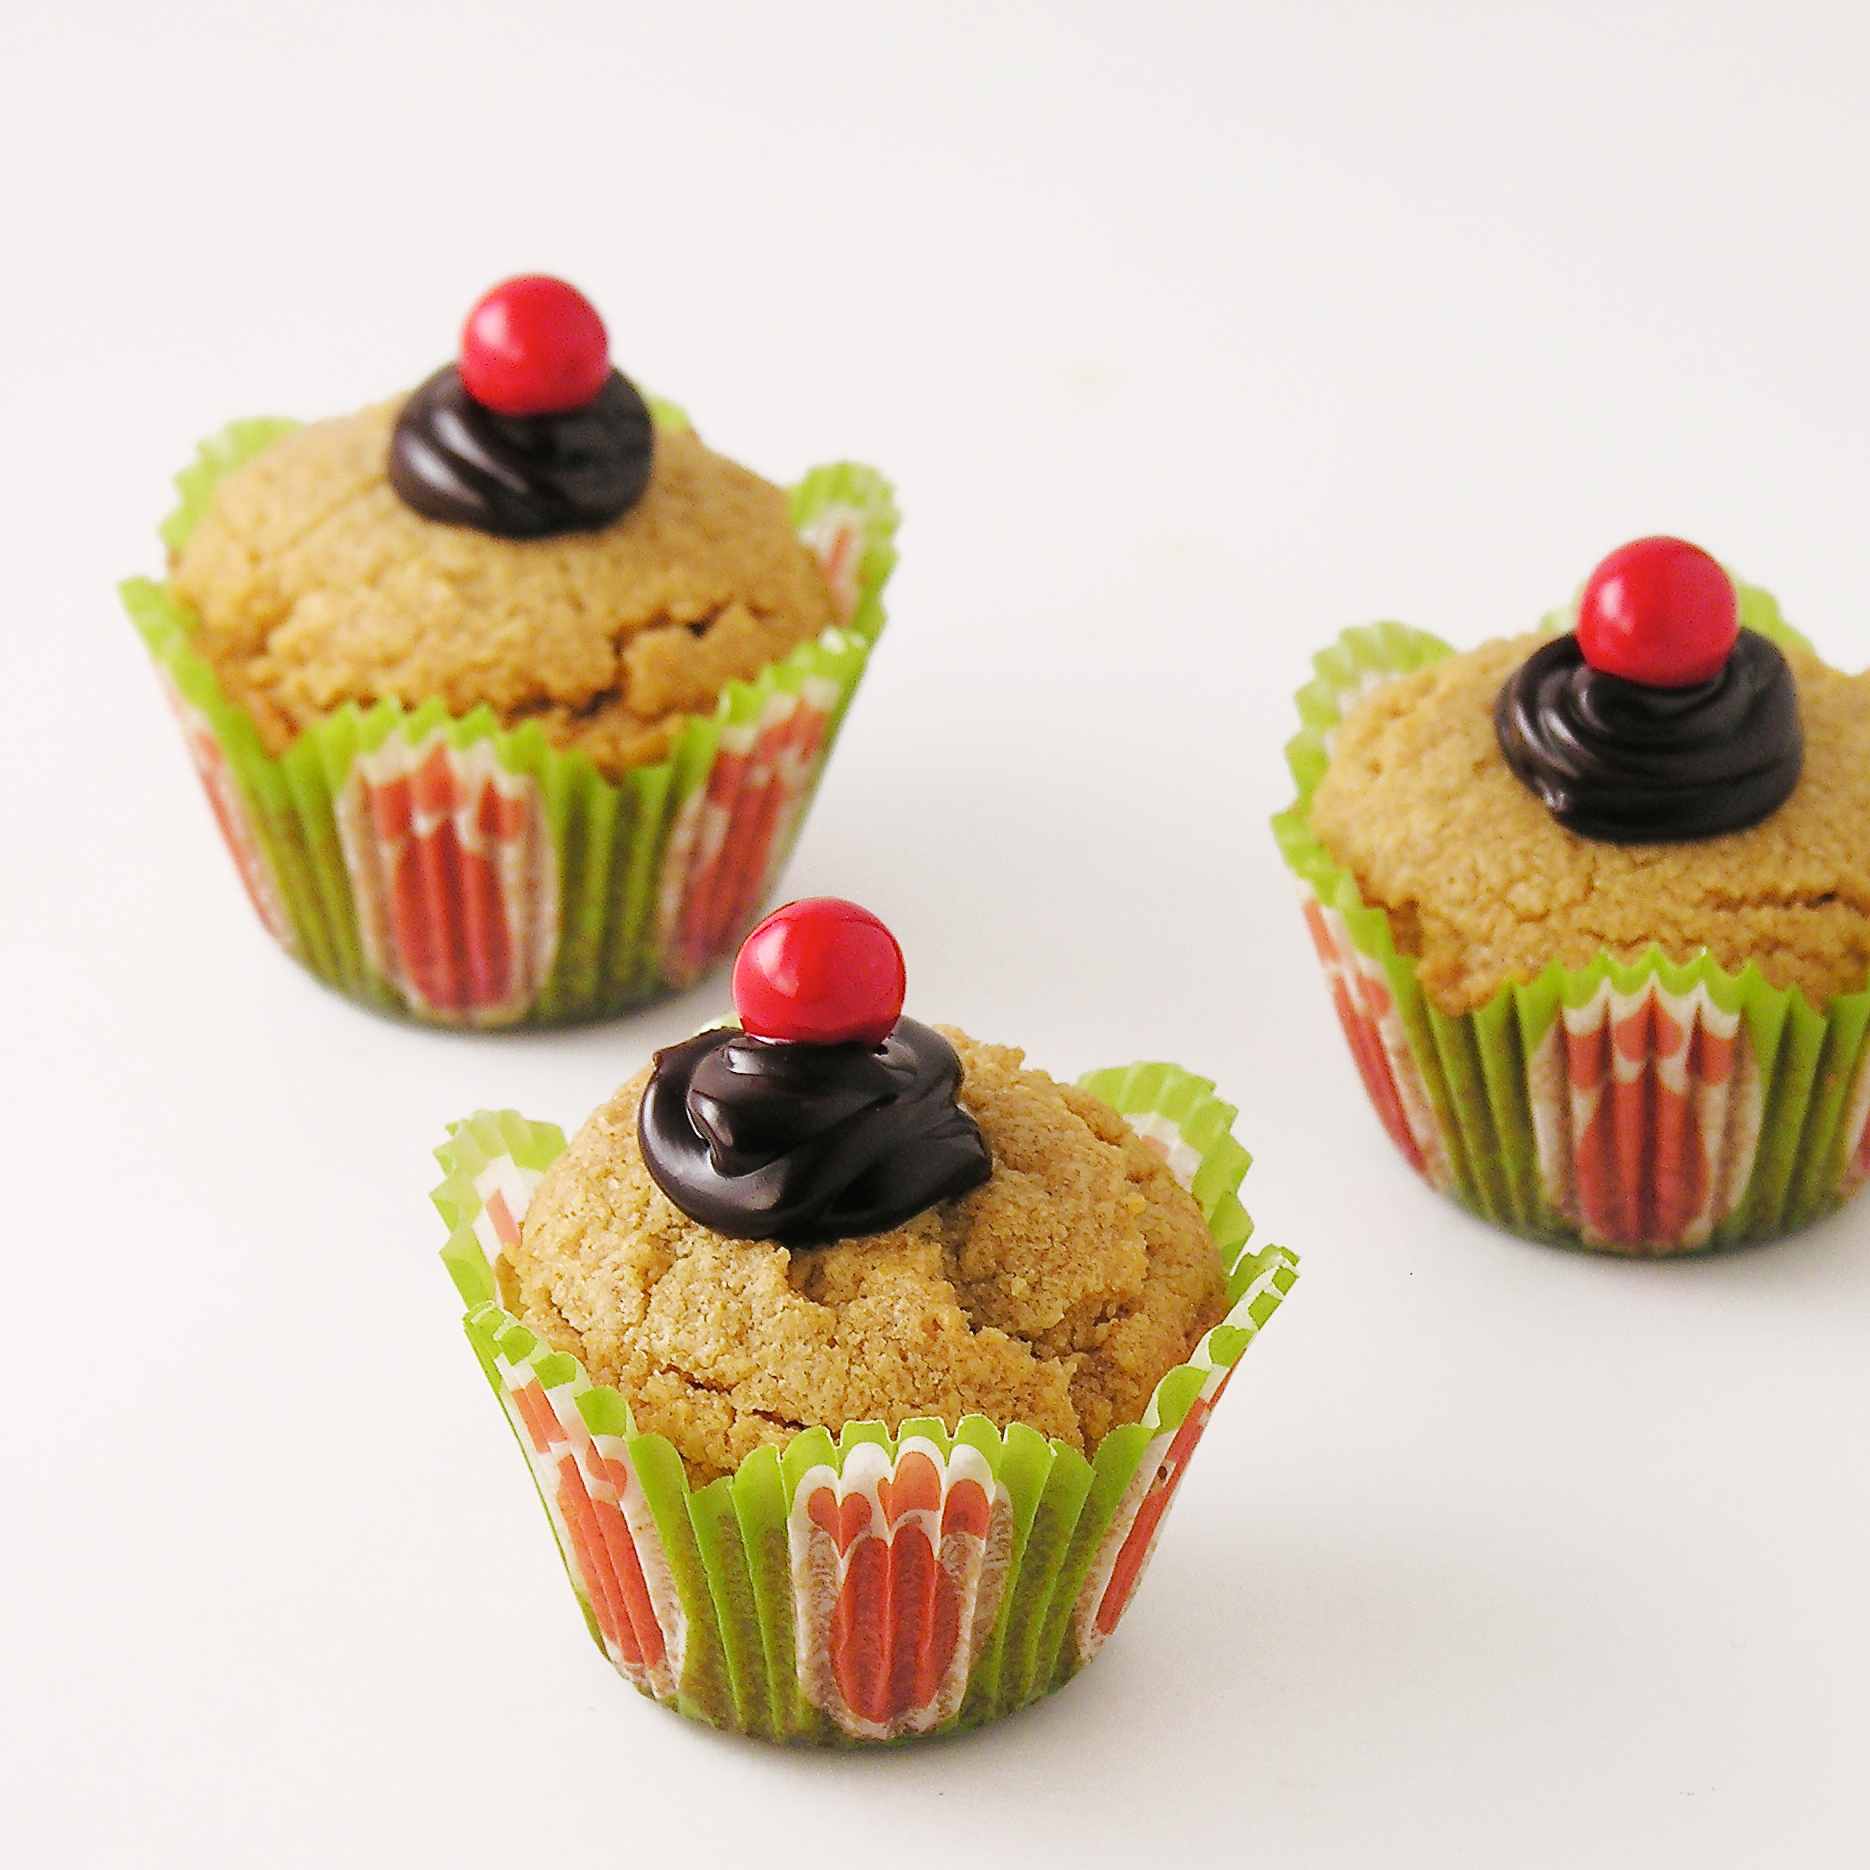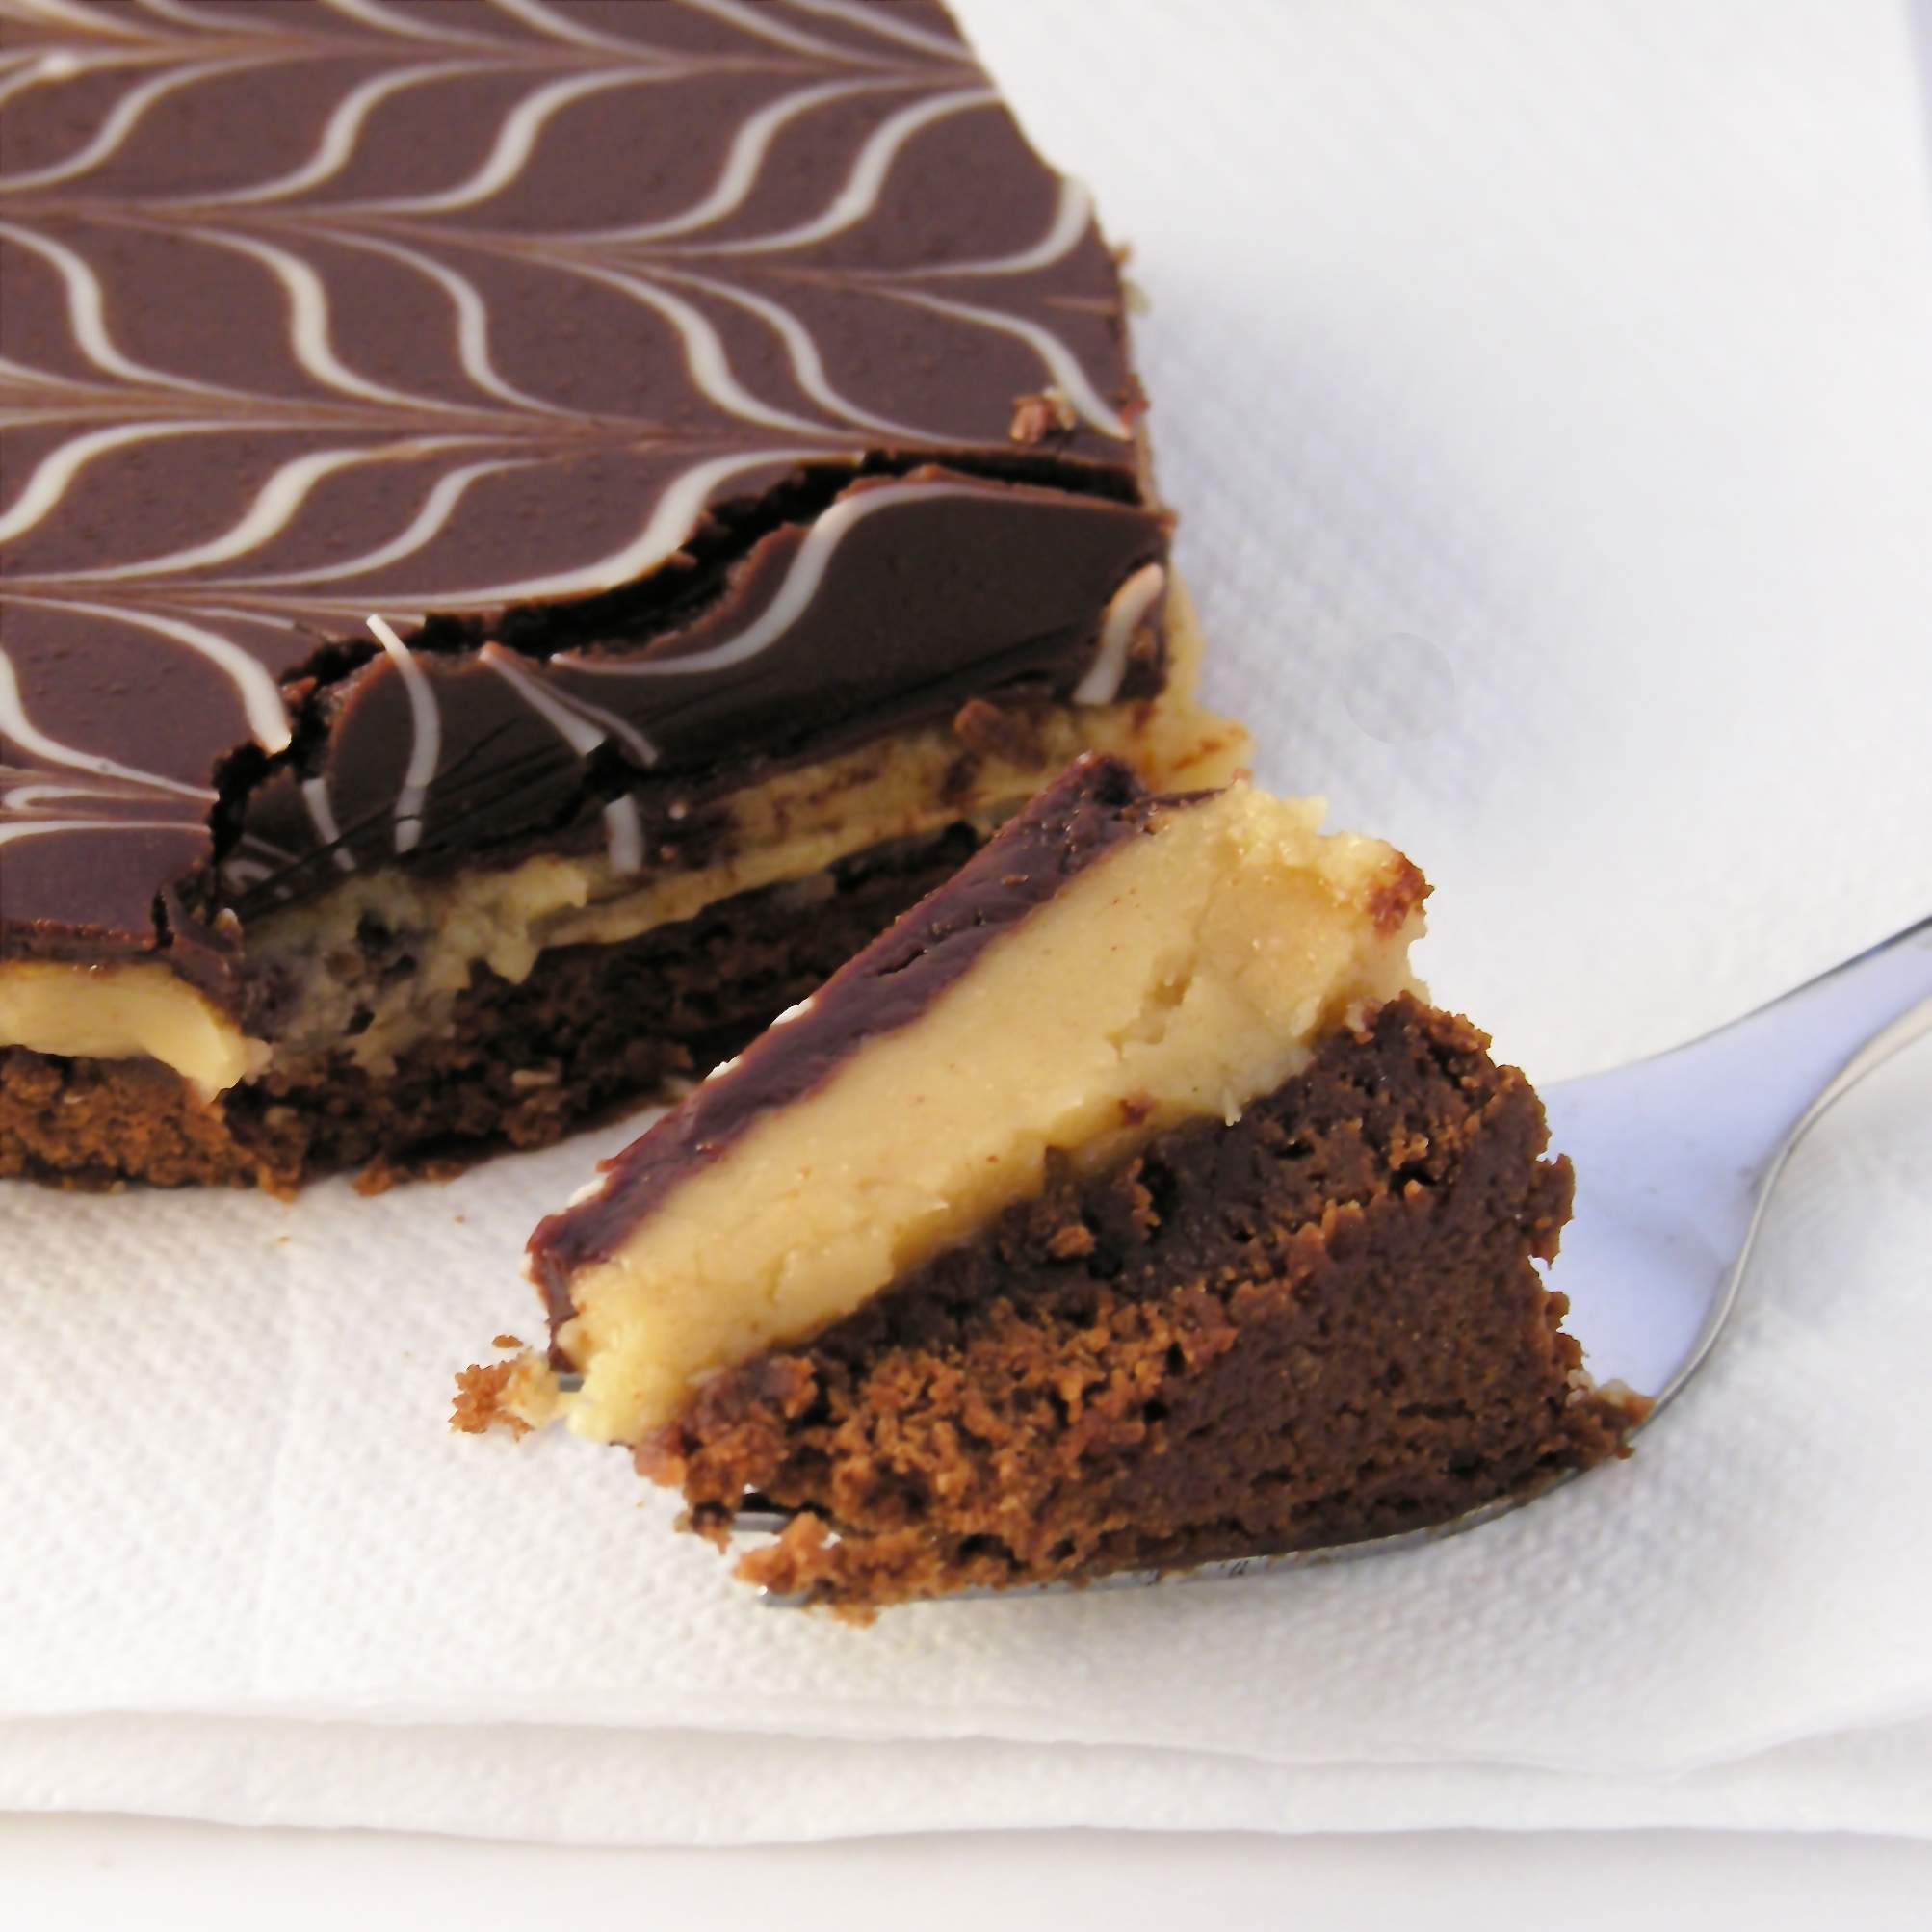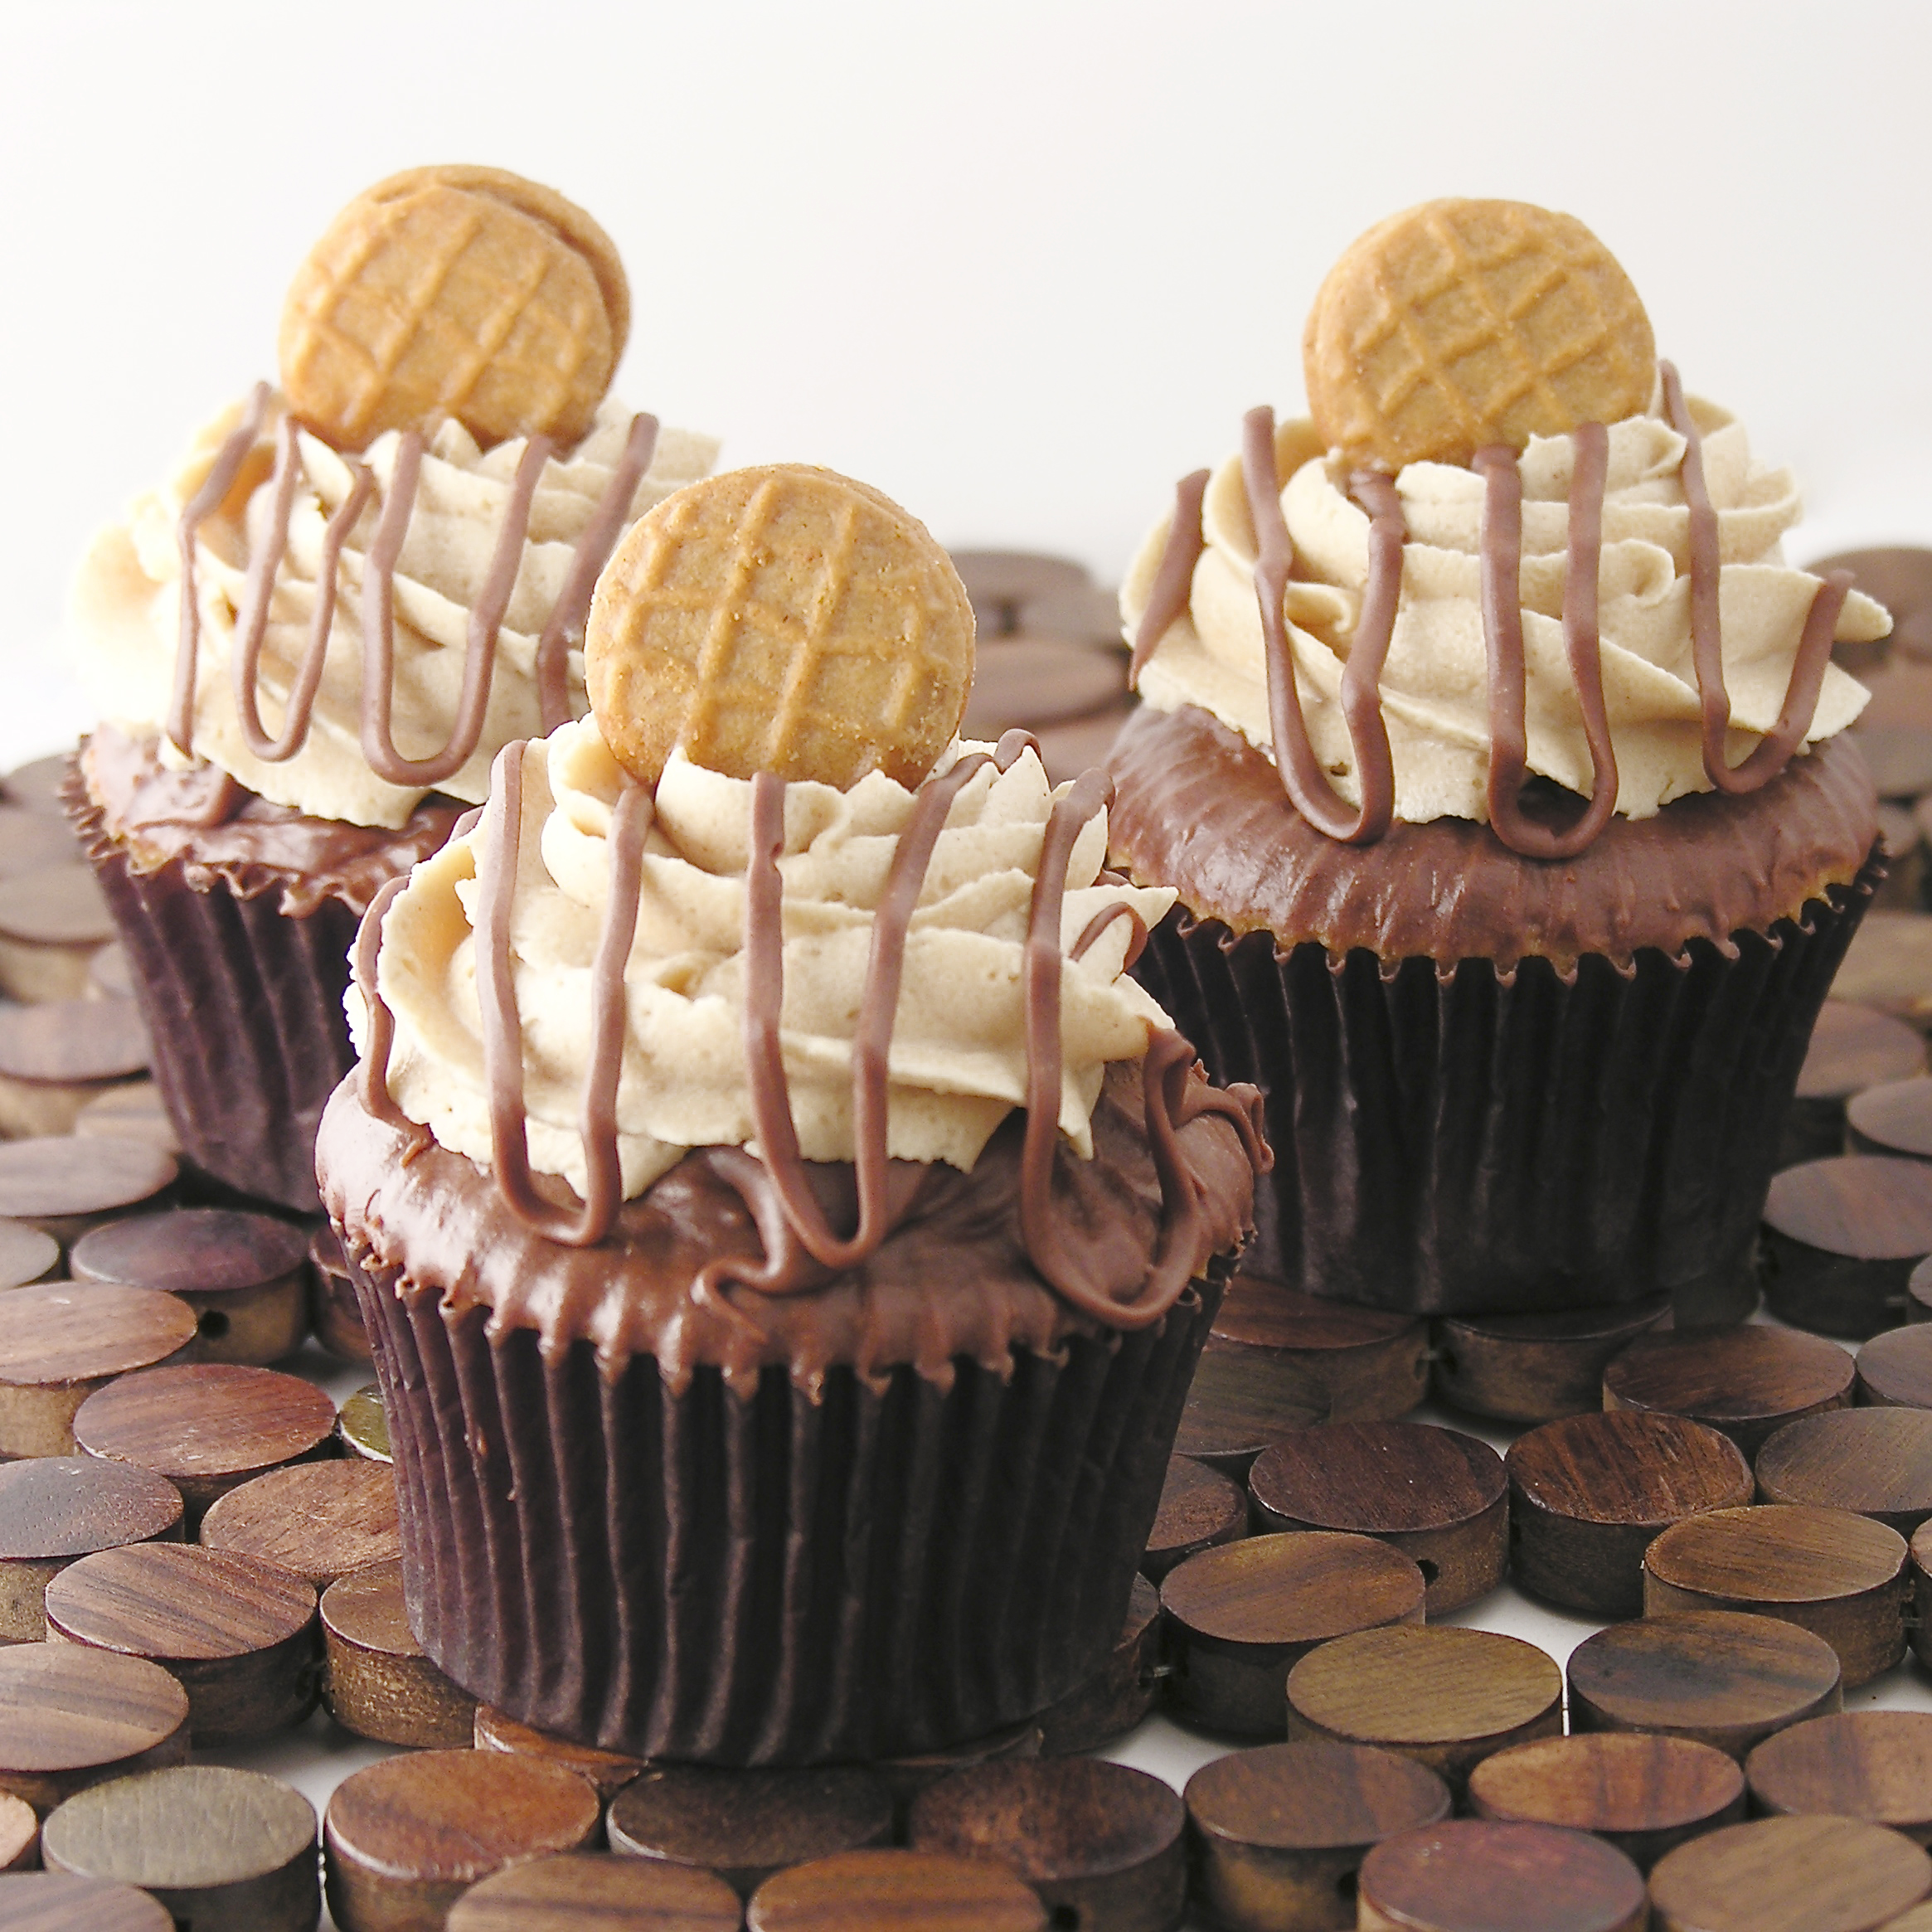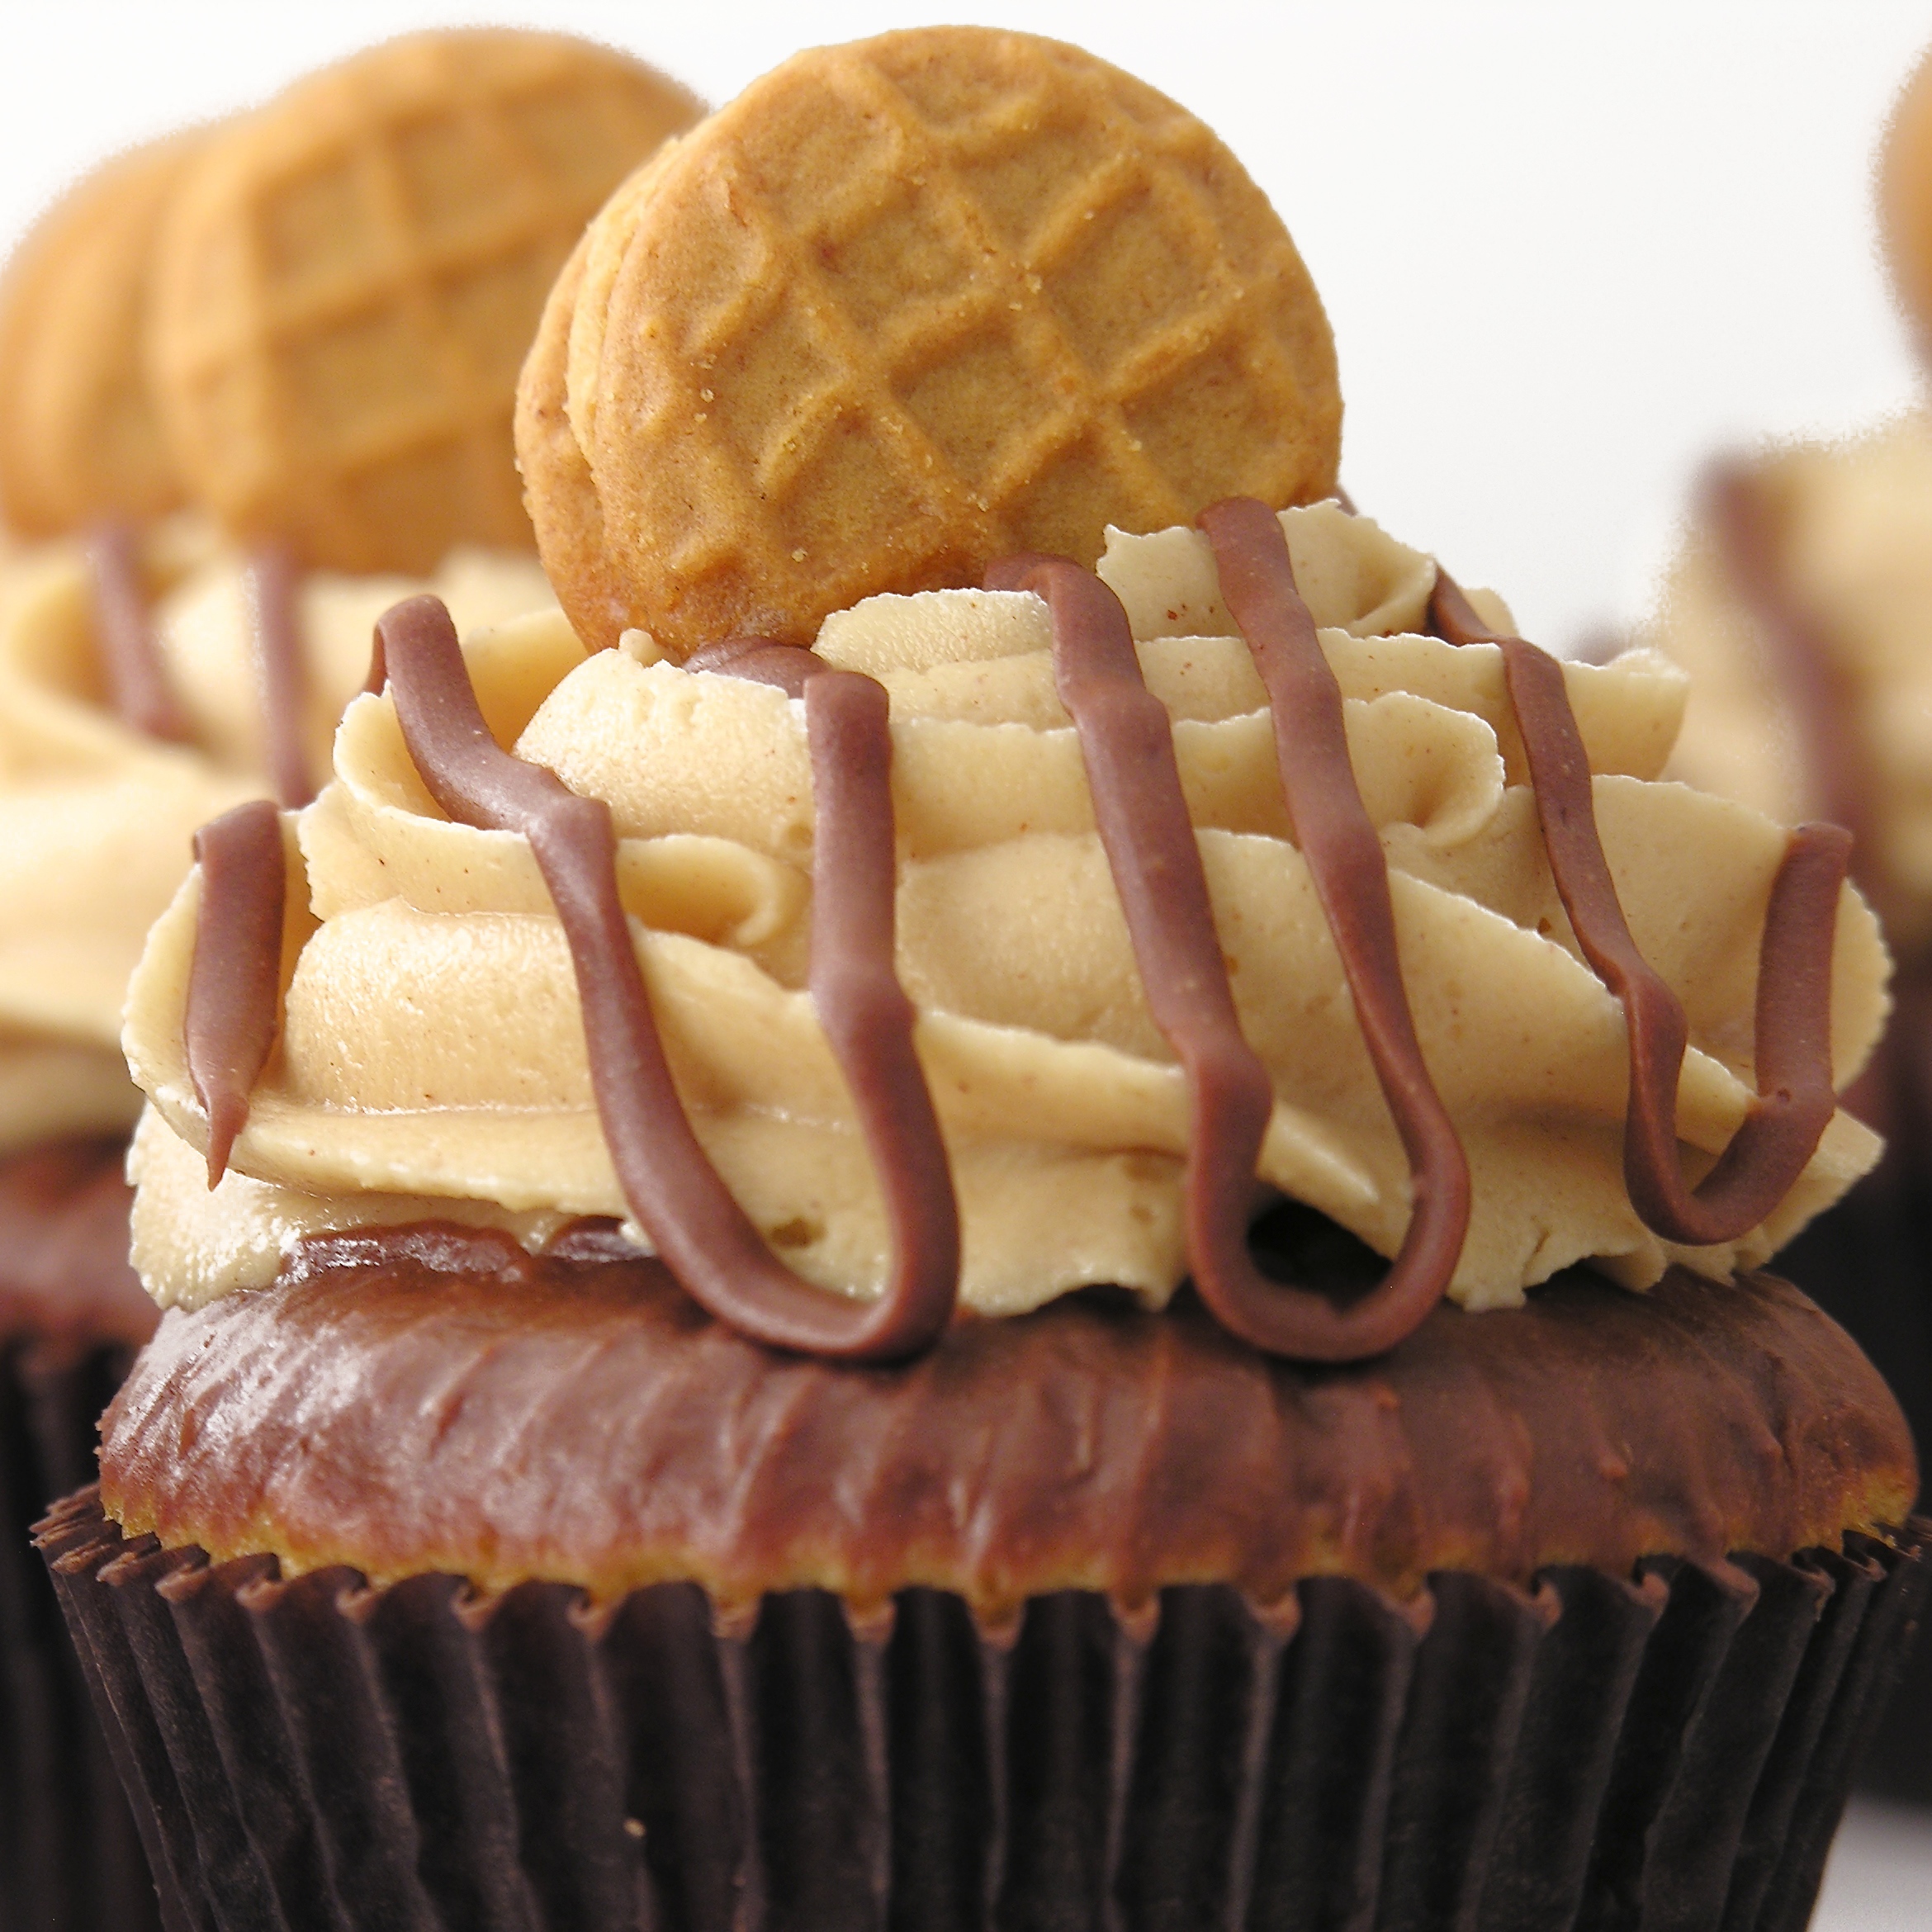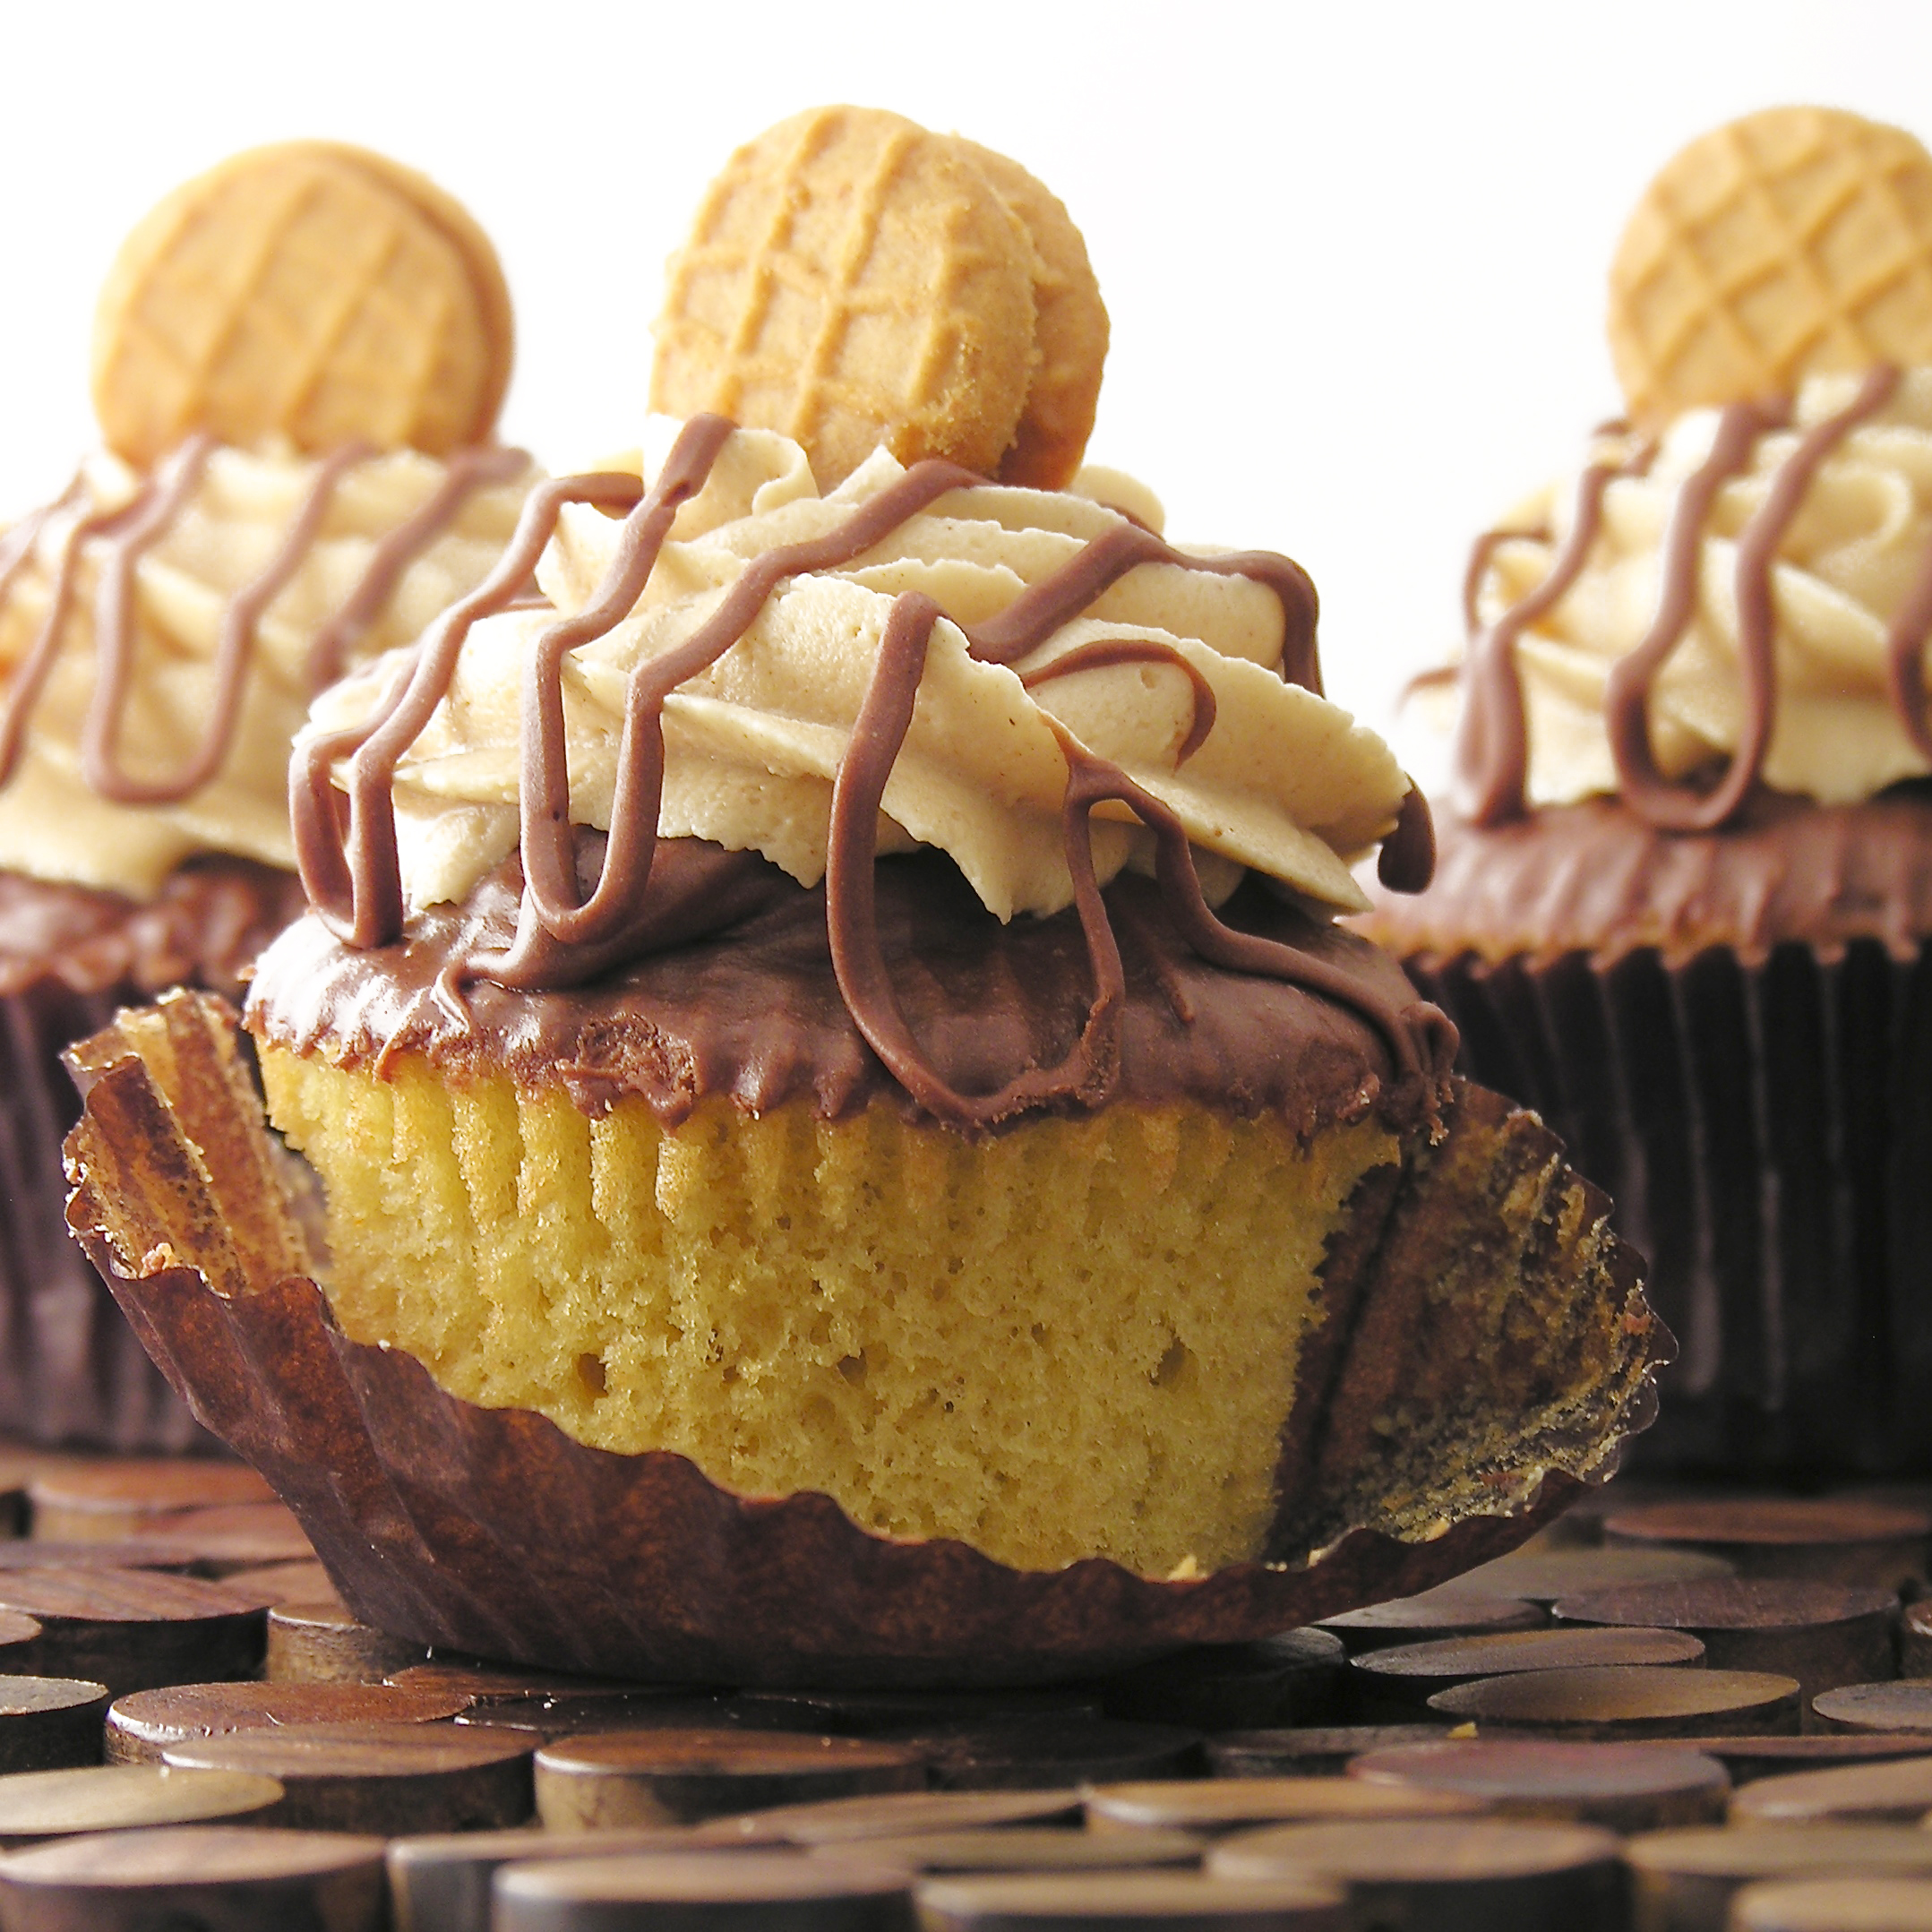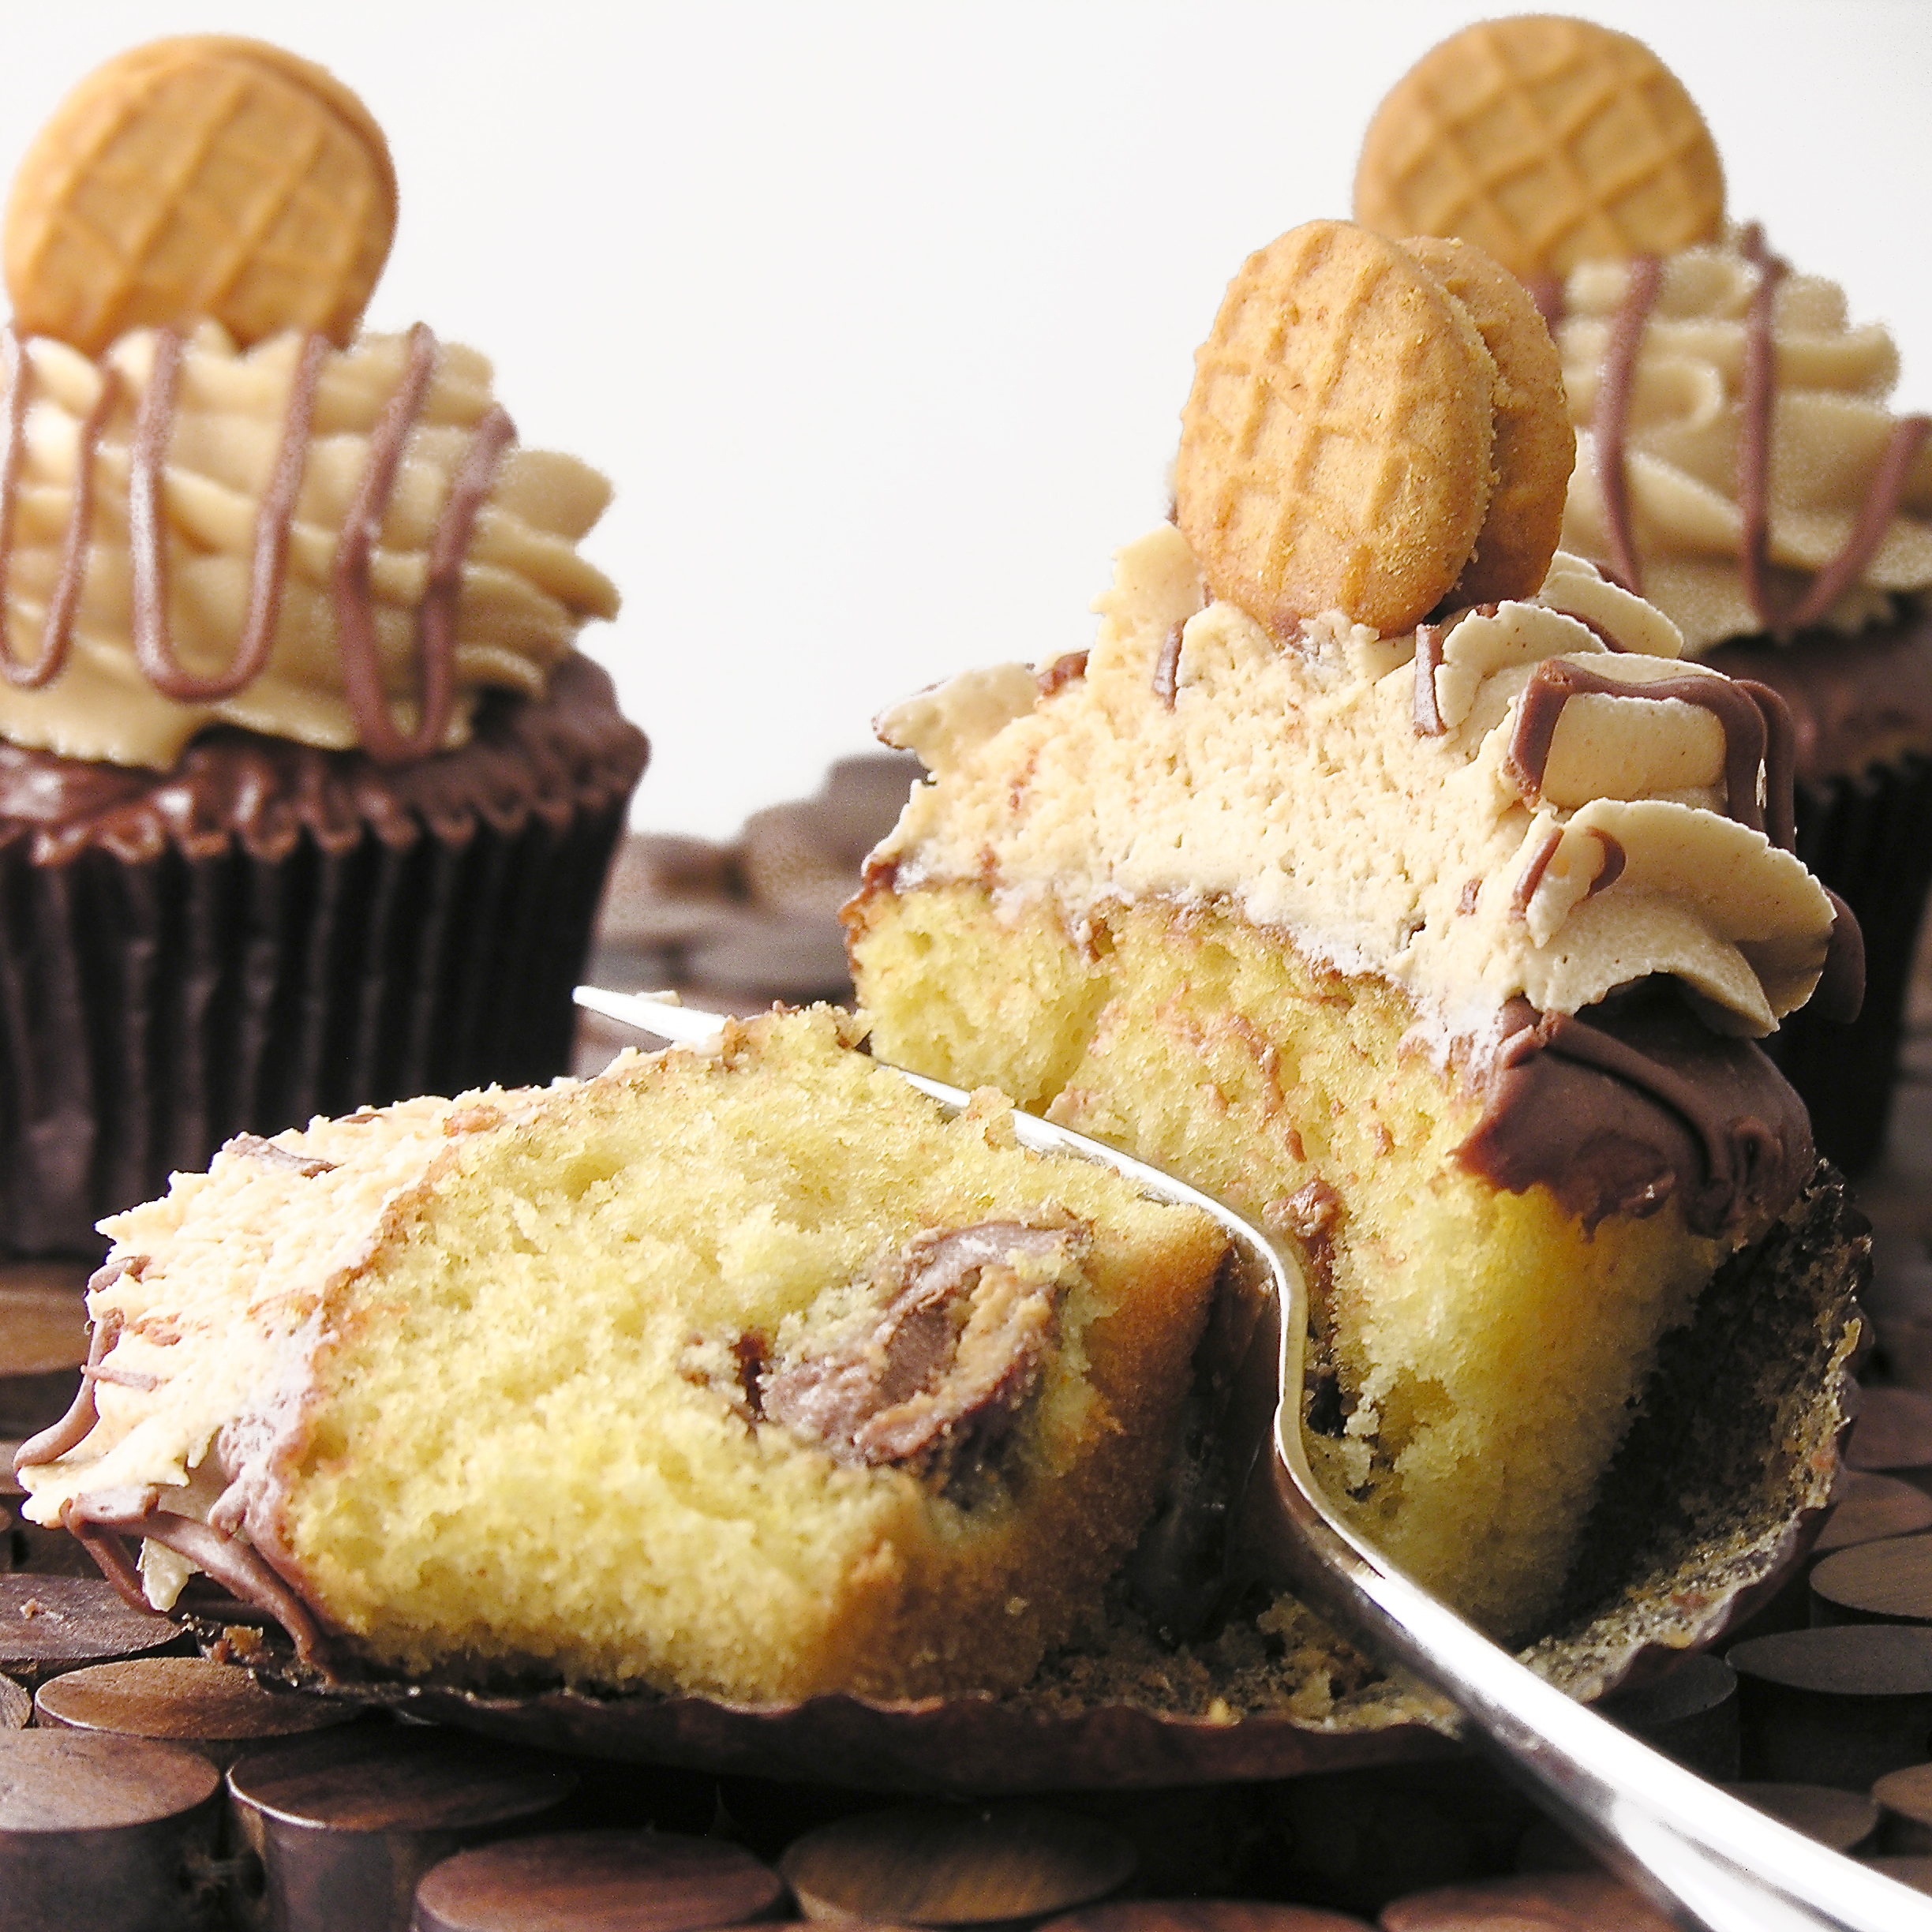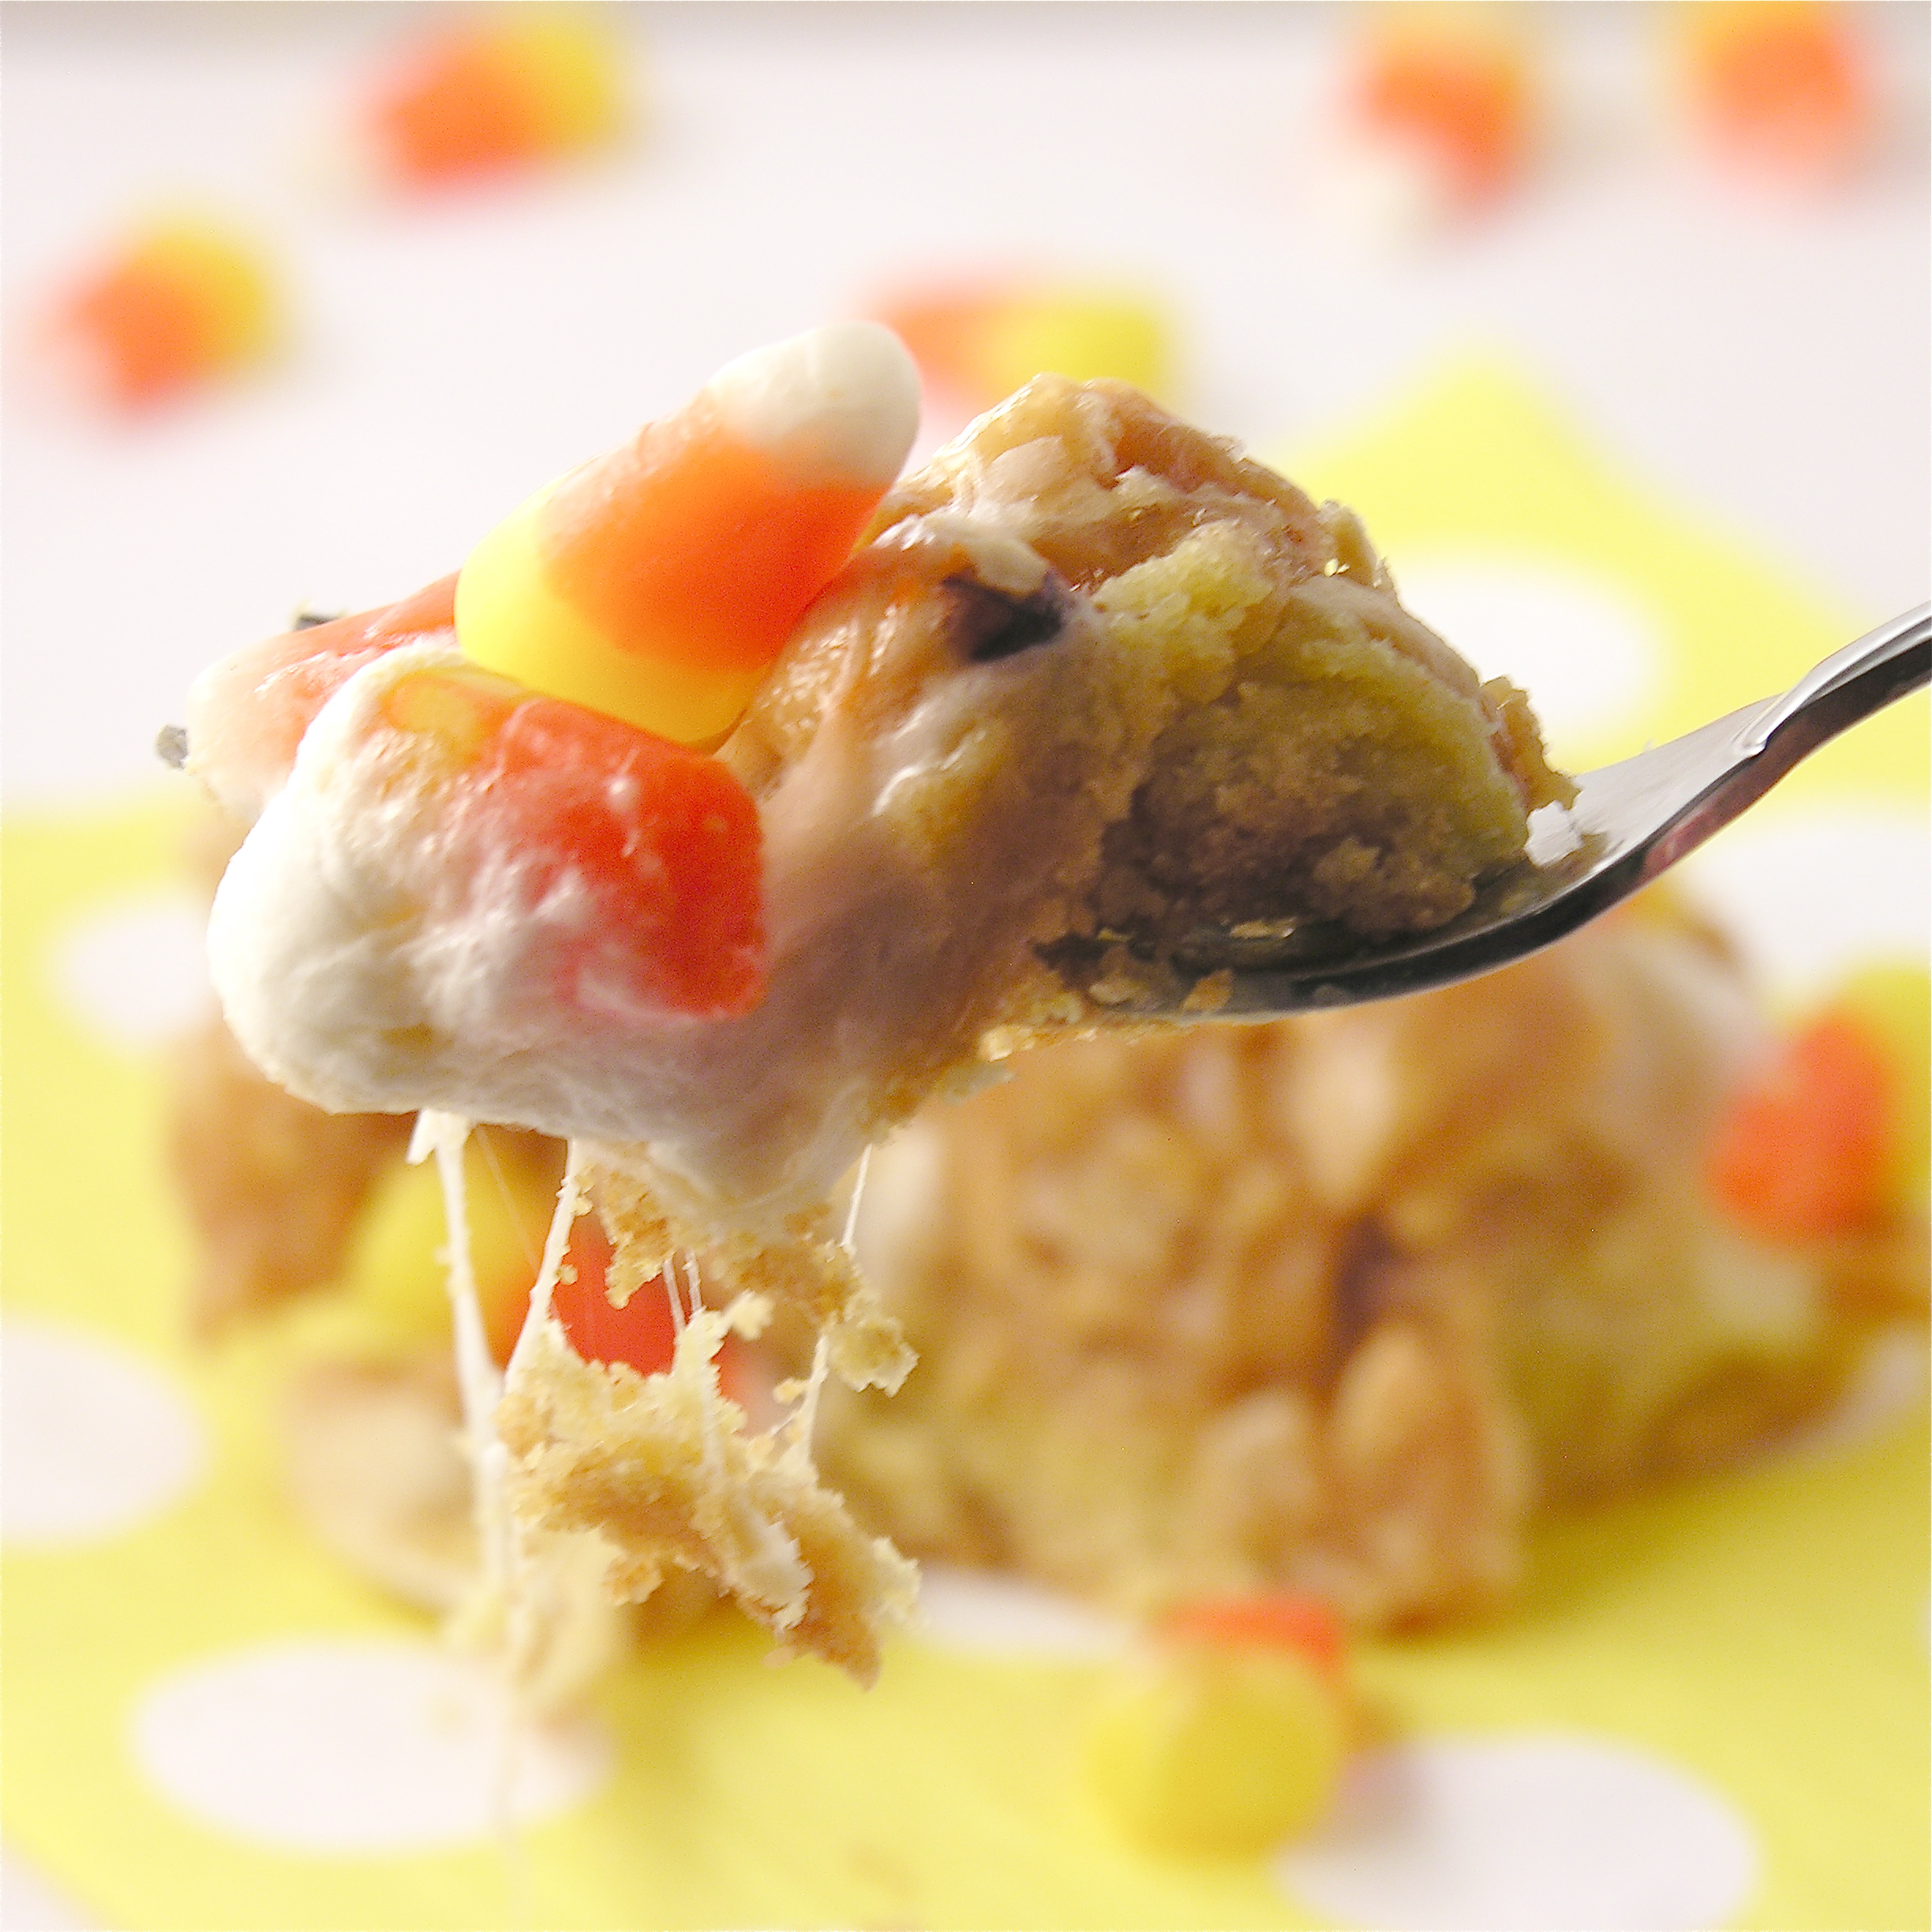
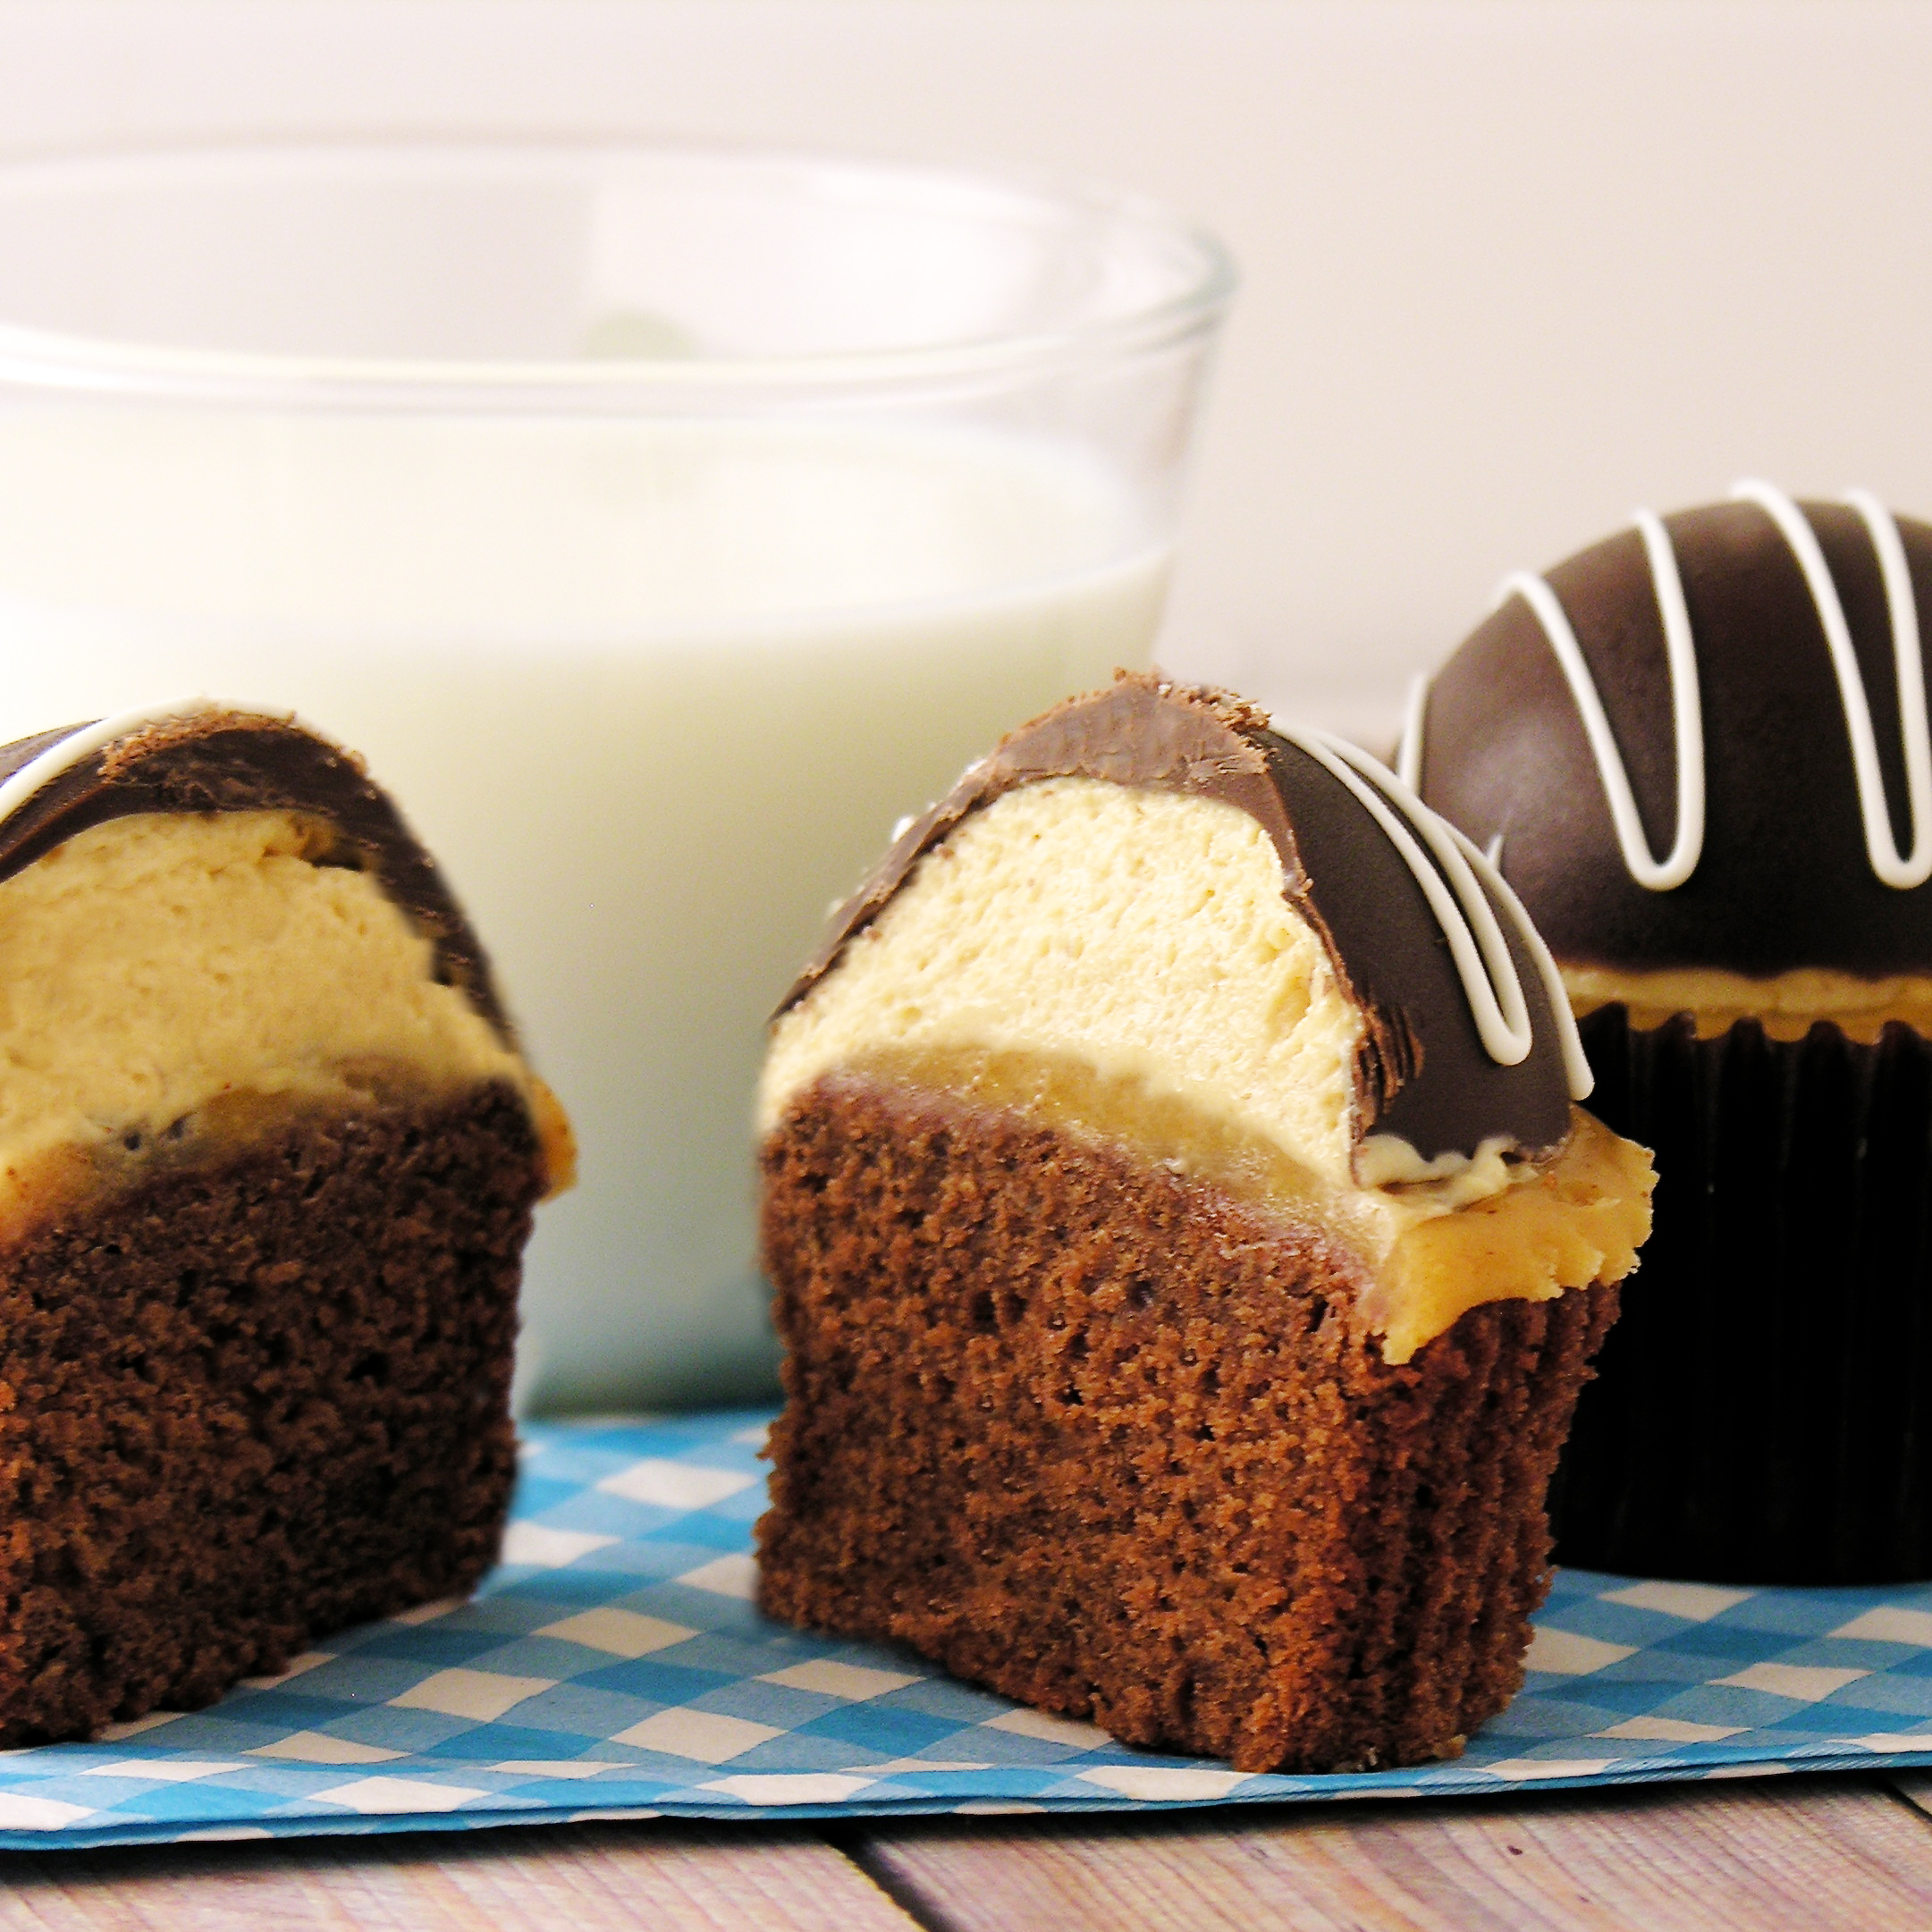
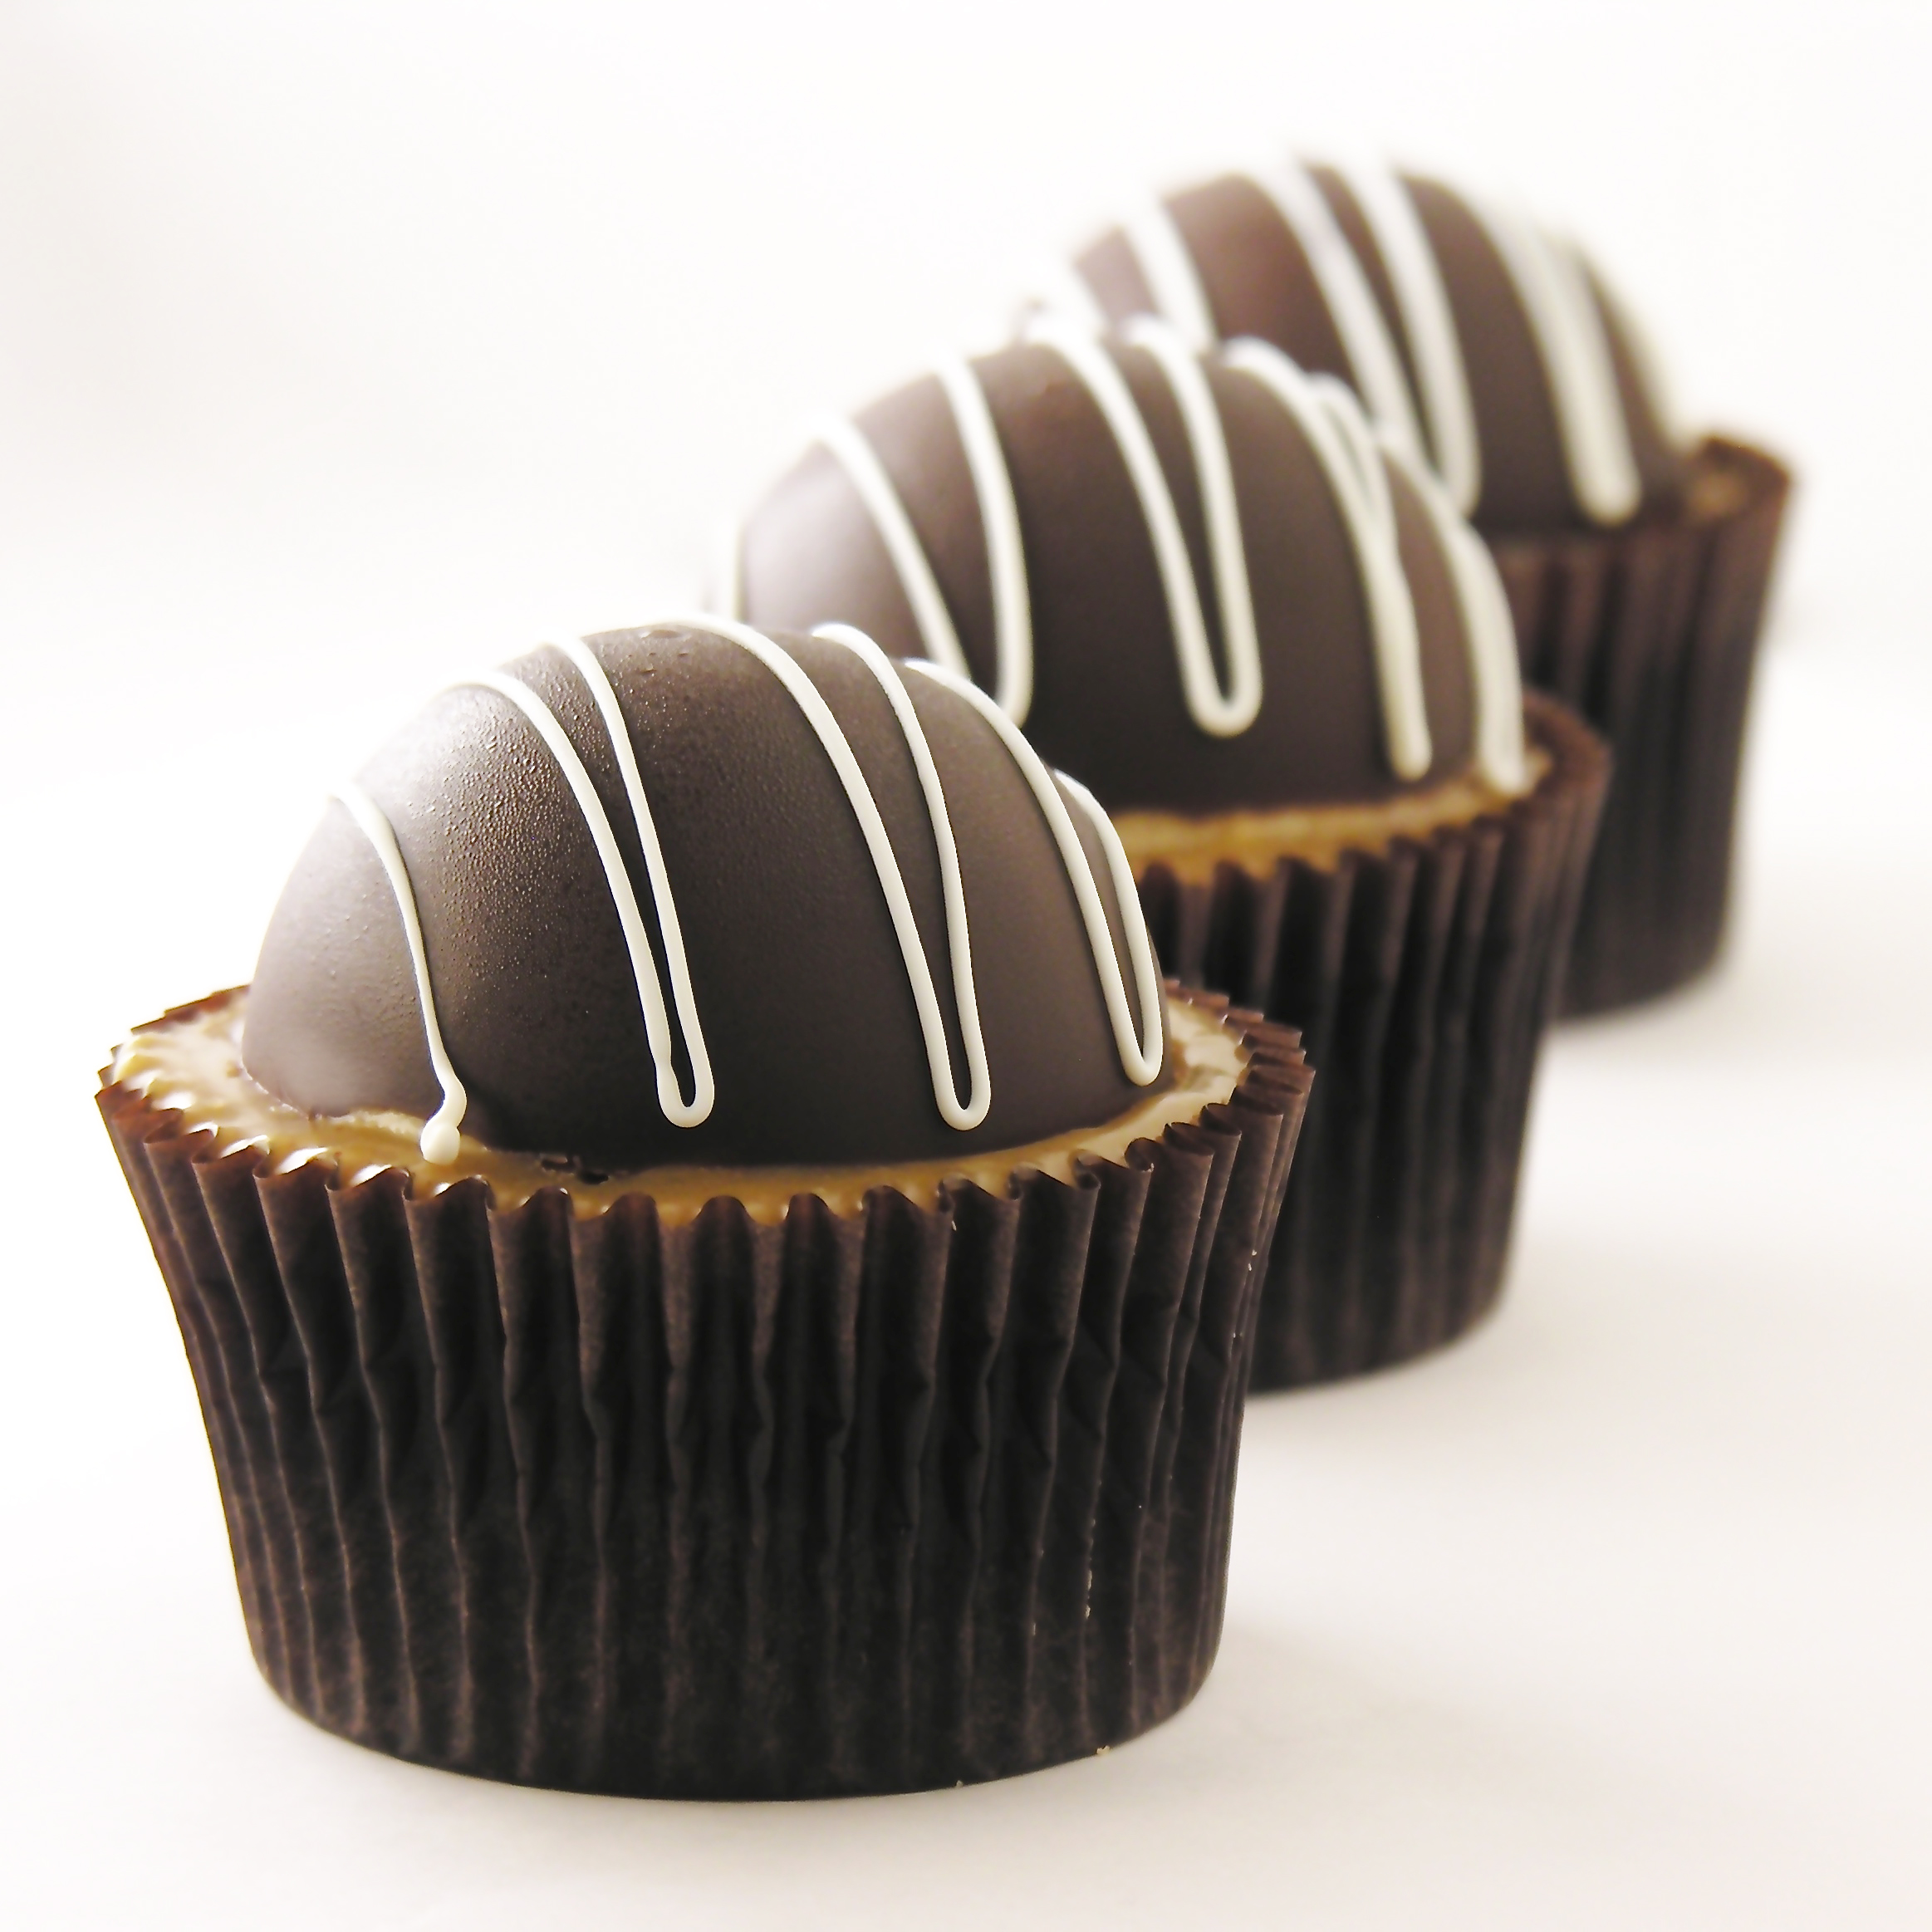
What could be more yummy than a chocolate brownie covered in creamy peanut butter ganache and topped with a chocolate covered peanut butter mousse bomb? If you are addicted to chocolate and peanut butter, this dessert is for you!
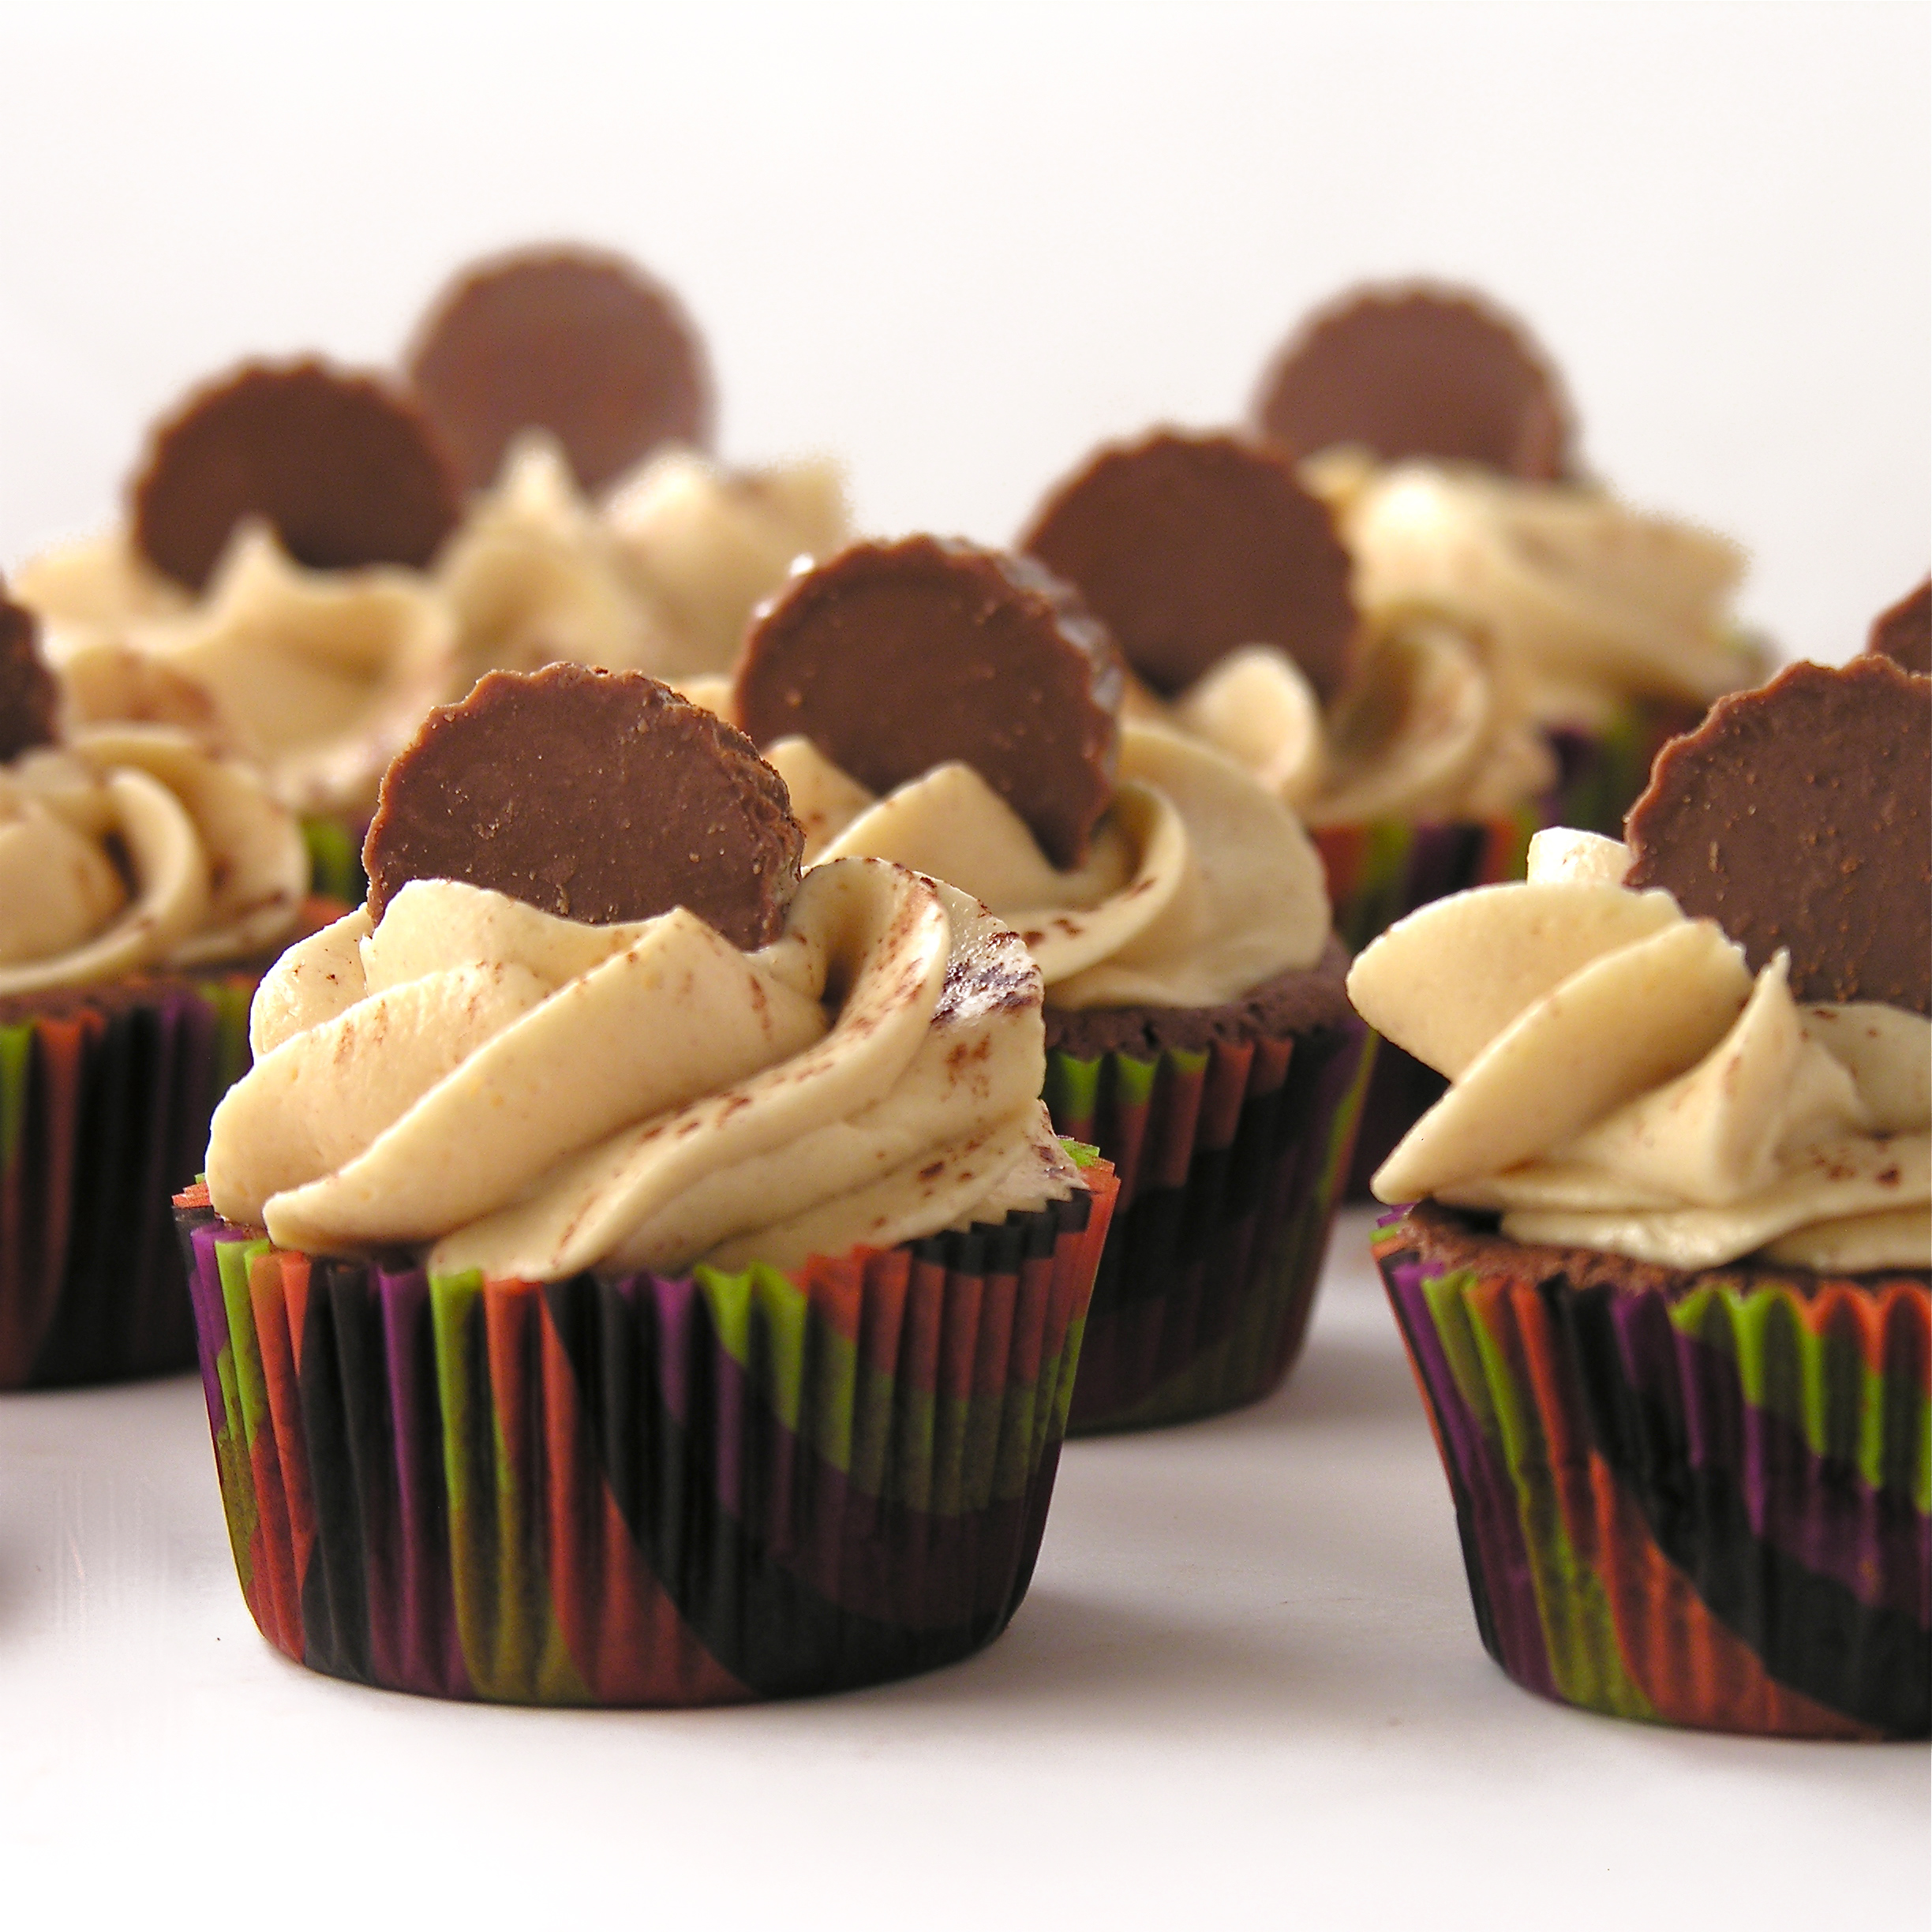
Chocolate and peanut butter are a timeless combination, and these brownies combine those flavors in such a fun way!
The homemade brownies are dense, but not too rich. They compliment that sweet creamy peanut butter mousse perfectly and are such a pretty dessert!
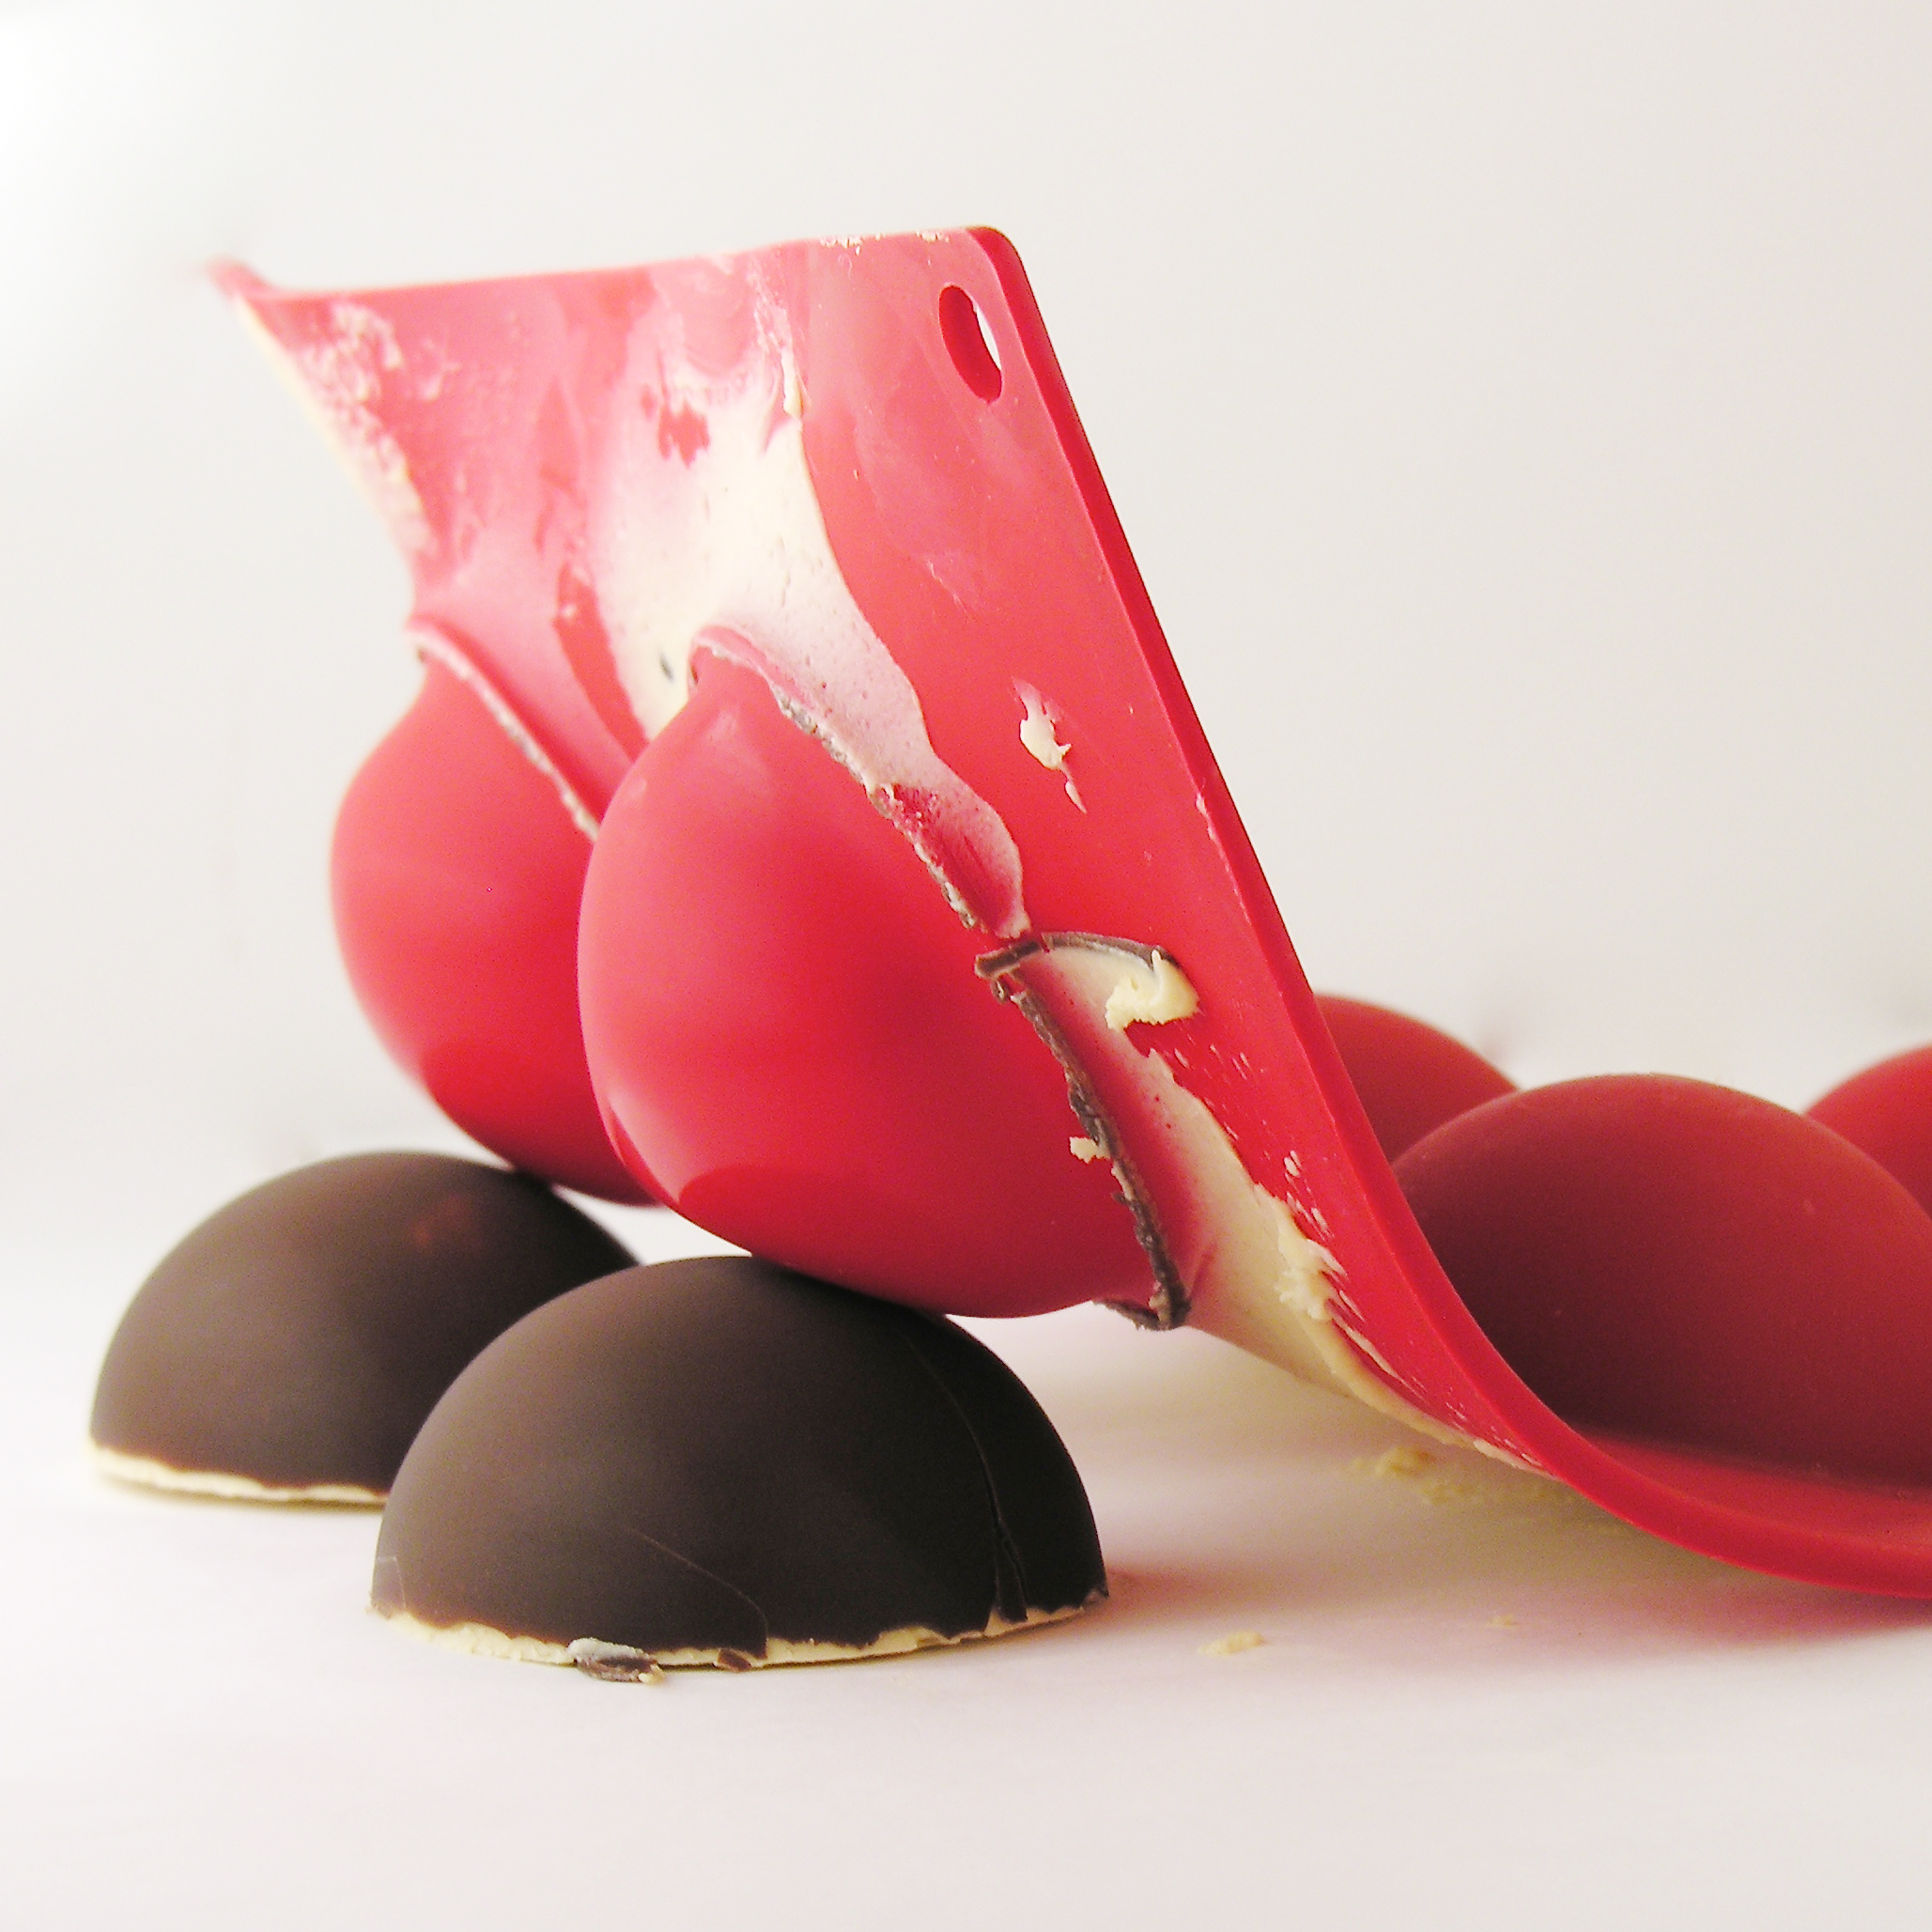
You will need a silicone bomb mold for this, and a brush for coating it in chocolate. I found both of these at a local cake-decorating shop and they were really inexpensive.
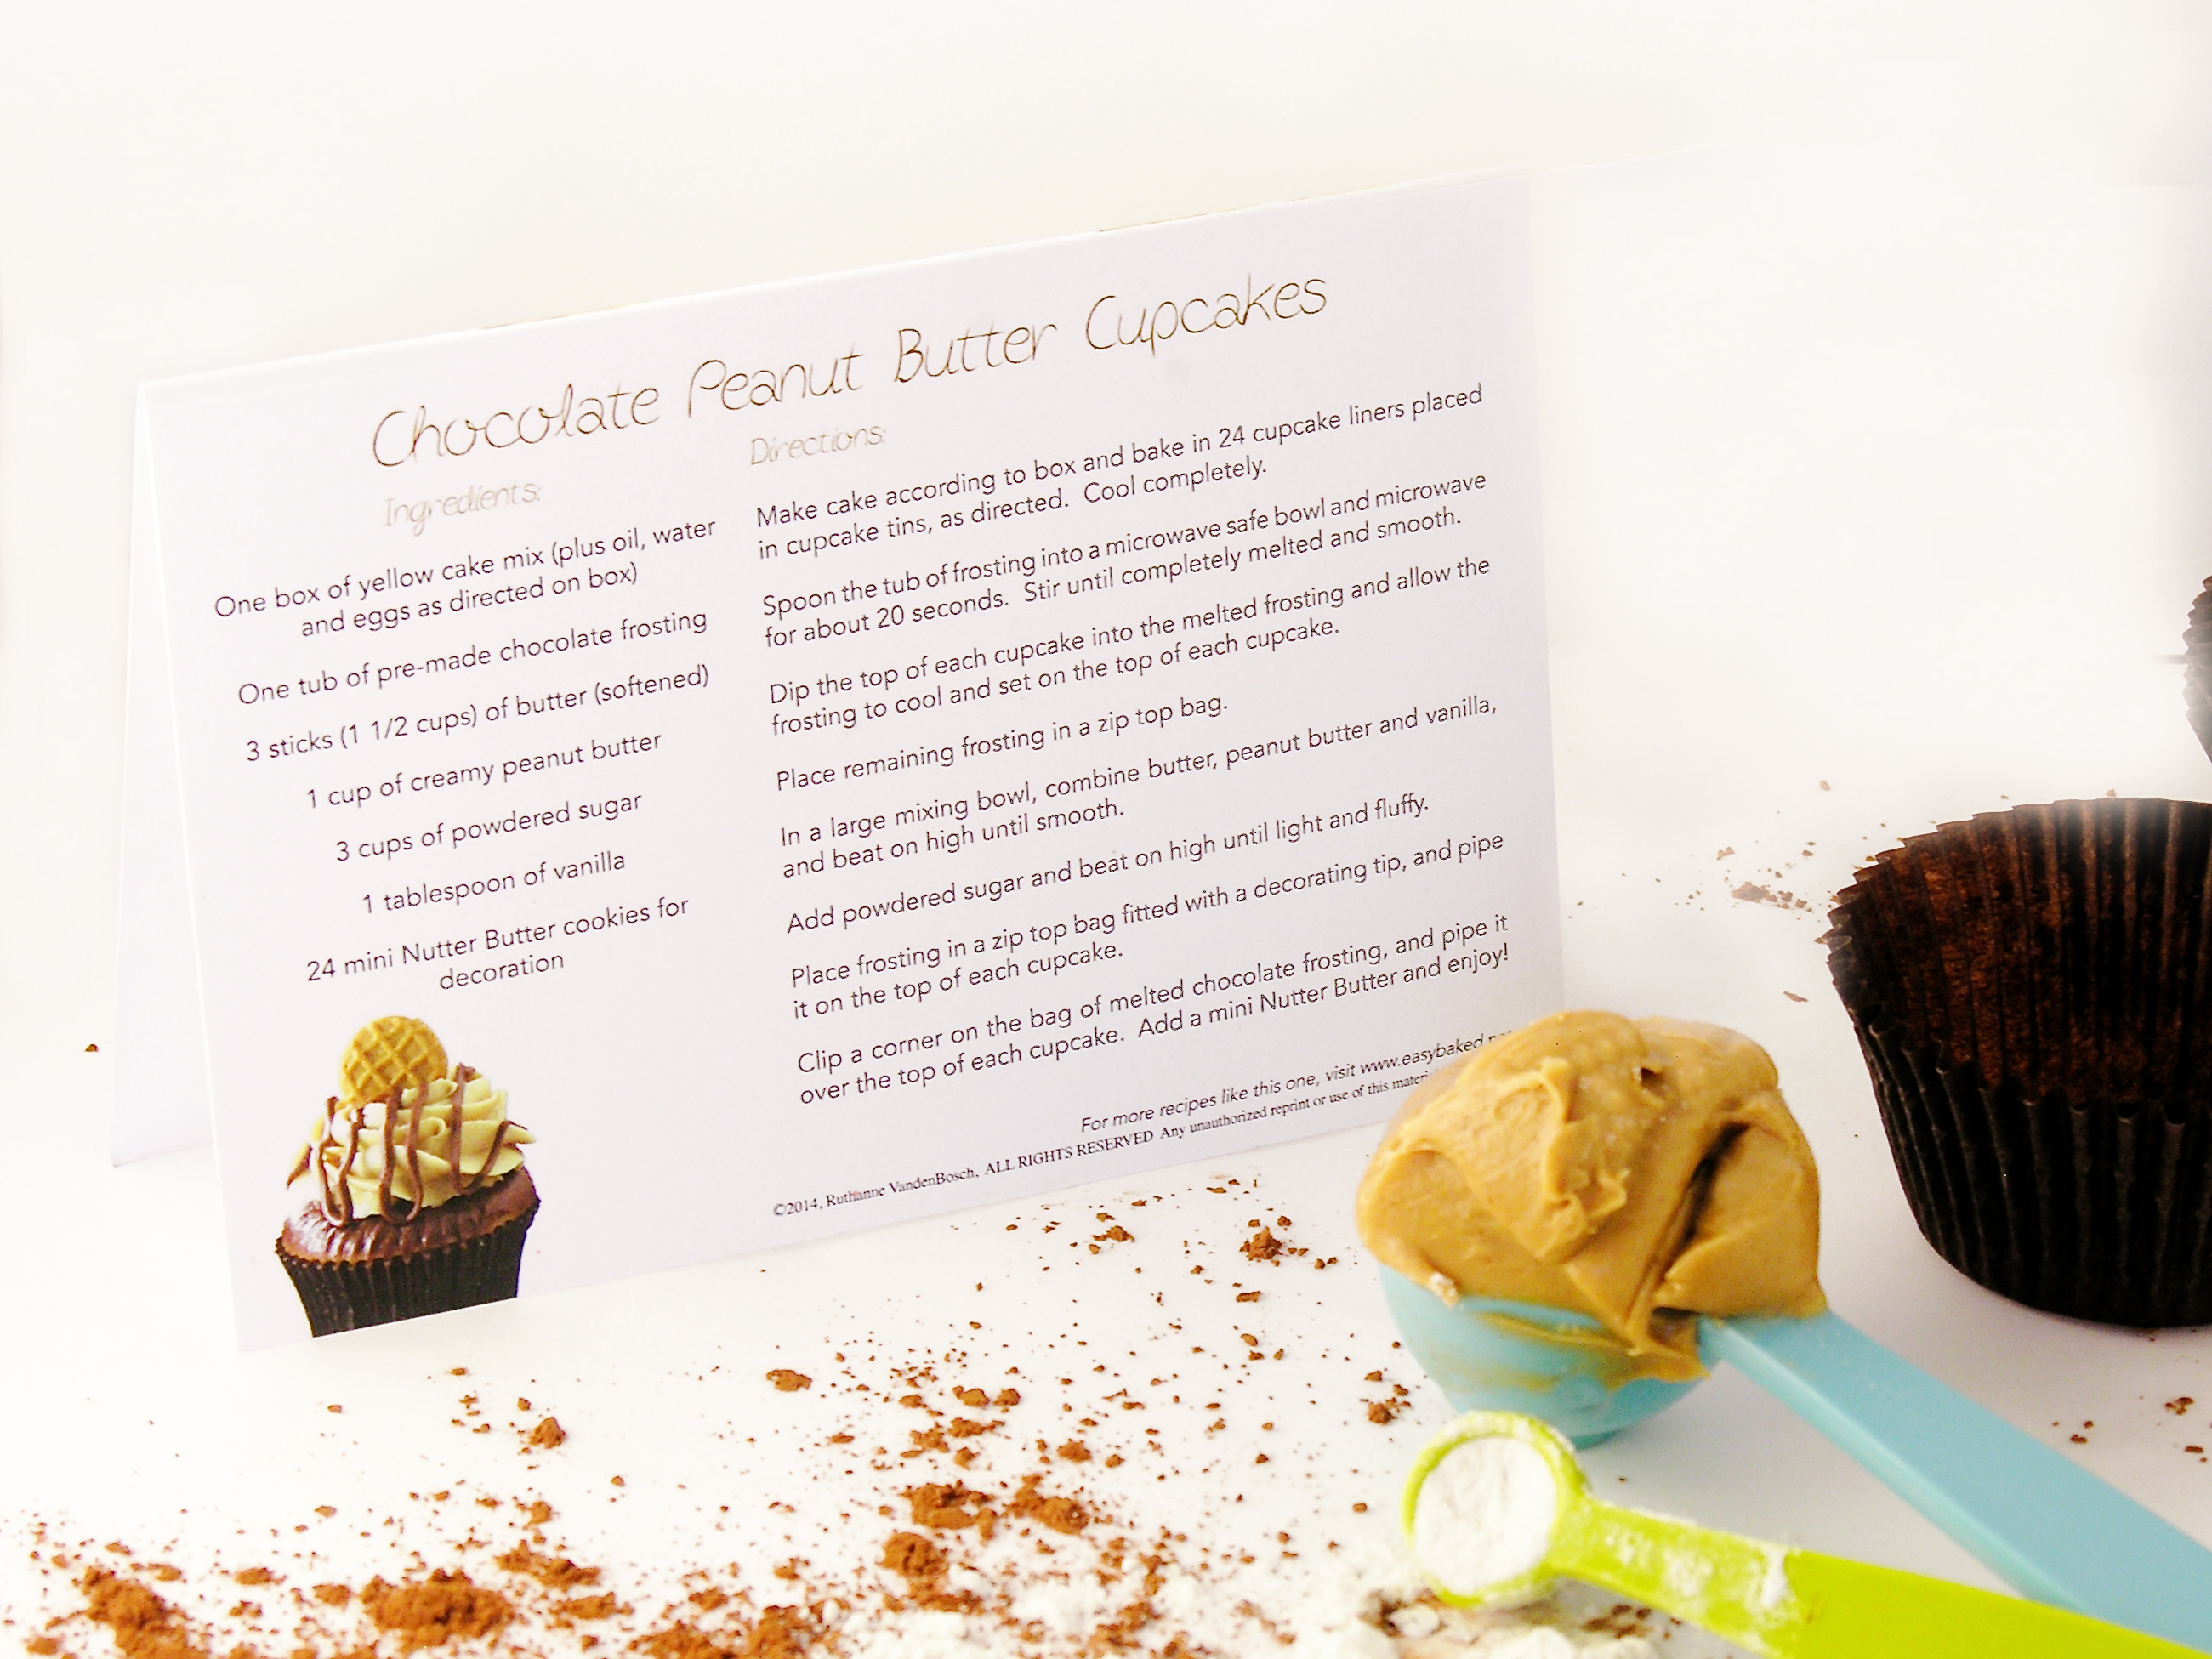
Want to see how we did these? Here’s the recipe: (printable version)
INGREDIENTS: (makes 18-24 brownie cups)
Brownie:
- Two sticks (1 cup) butter
- 2 cup sugar
- 3 eggs
- 2 teaspoons vanilla
- 1/2 cup cocoa
- 1/2 teaspoon salt
- 2 cups flour
- 1 cup milk
Ganache:
- 1 cup of peanut butter baking chips
- 1/2 cup of heavy cream
Bombs:
- 1 to 2 cups of dark chocolate candy melts
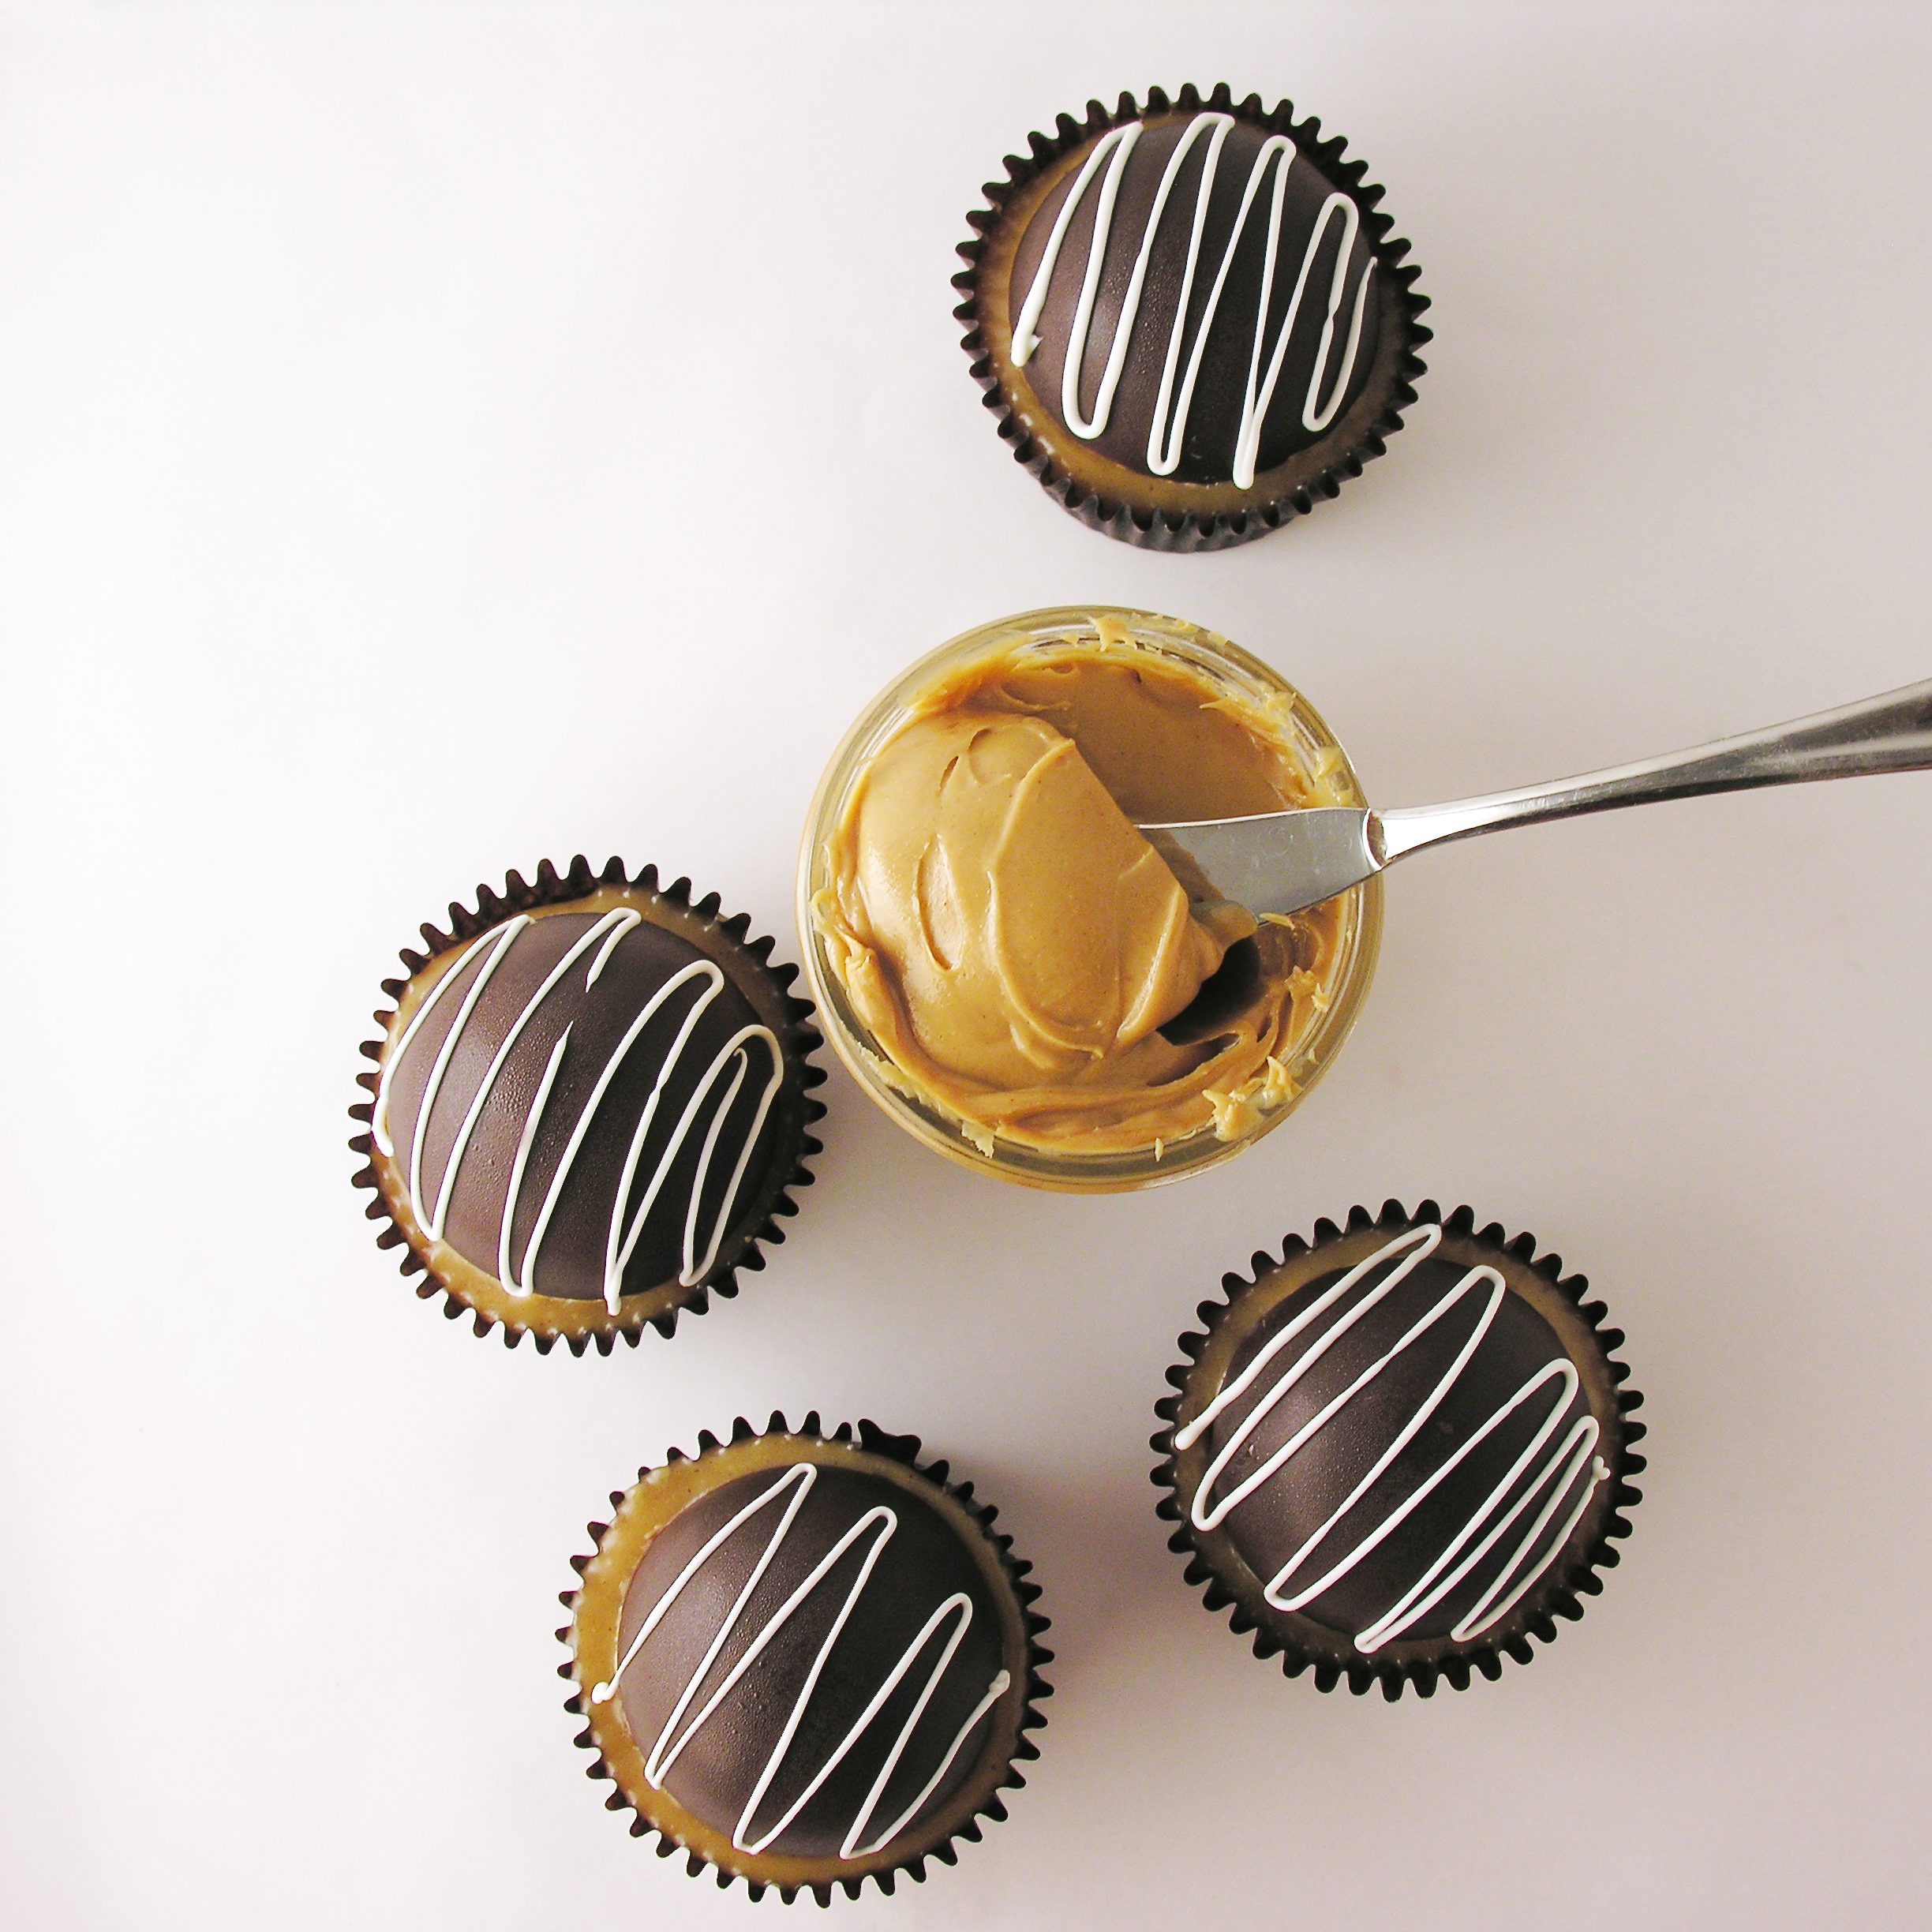
- 1 c. creamy peanut butter
- 8 oz. Philadelphia Cream Cheese (softened to room temperature)
- 1/2 c. sugar
- 8 oz. Cool Whip topping
DIRECTIONS:
Bomb:
- Make these first, so they are ready to use once you need them.
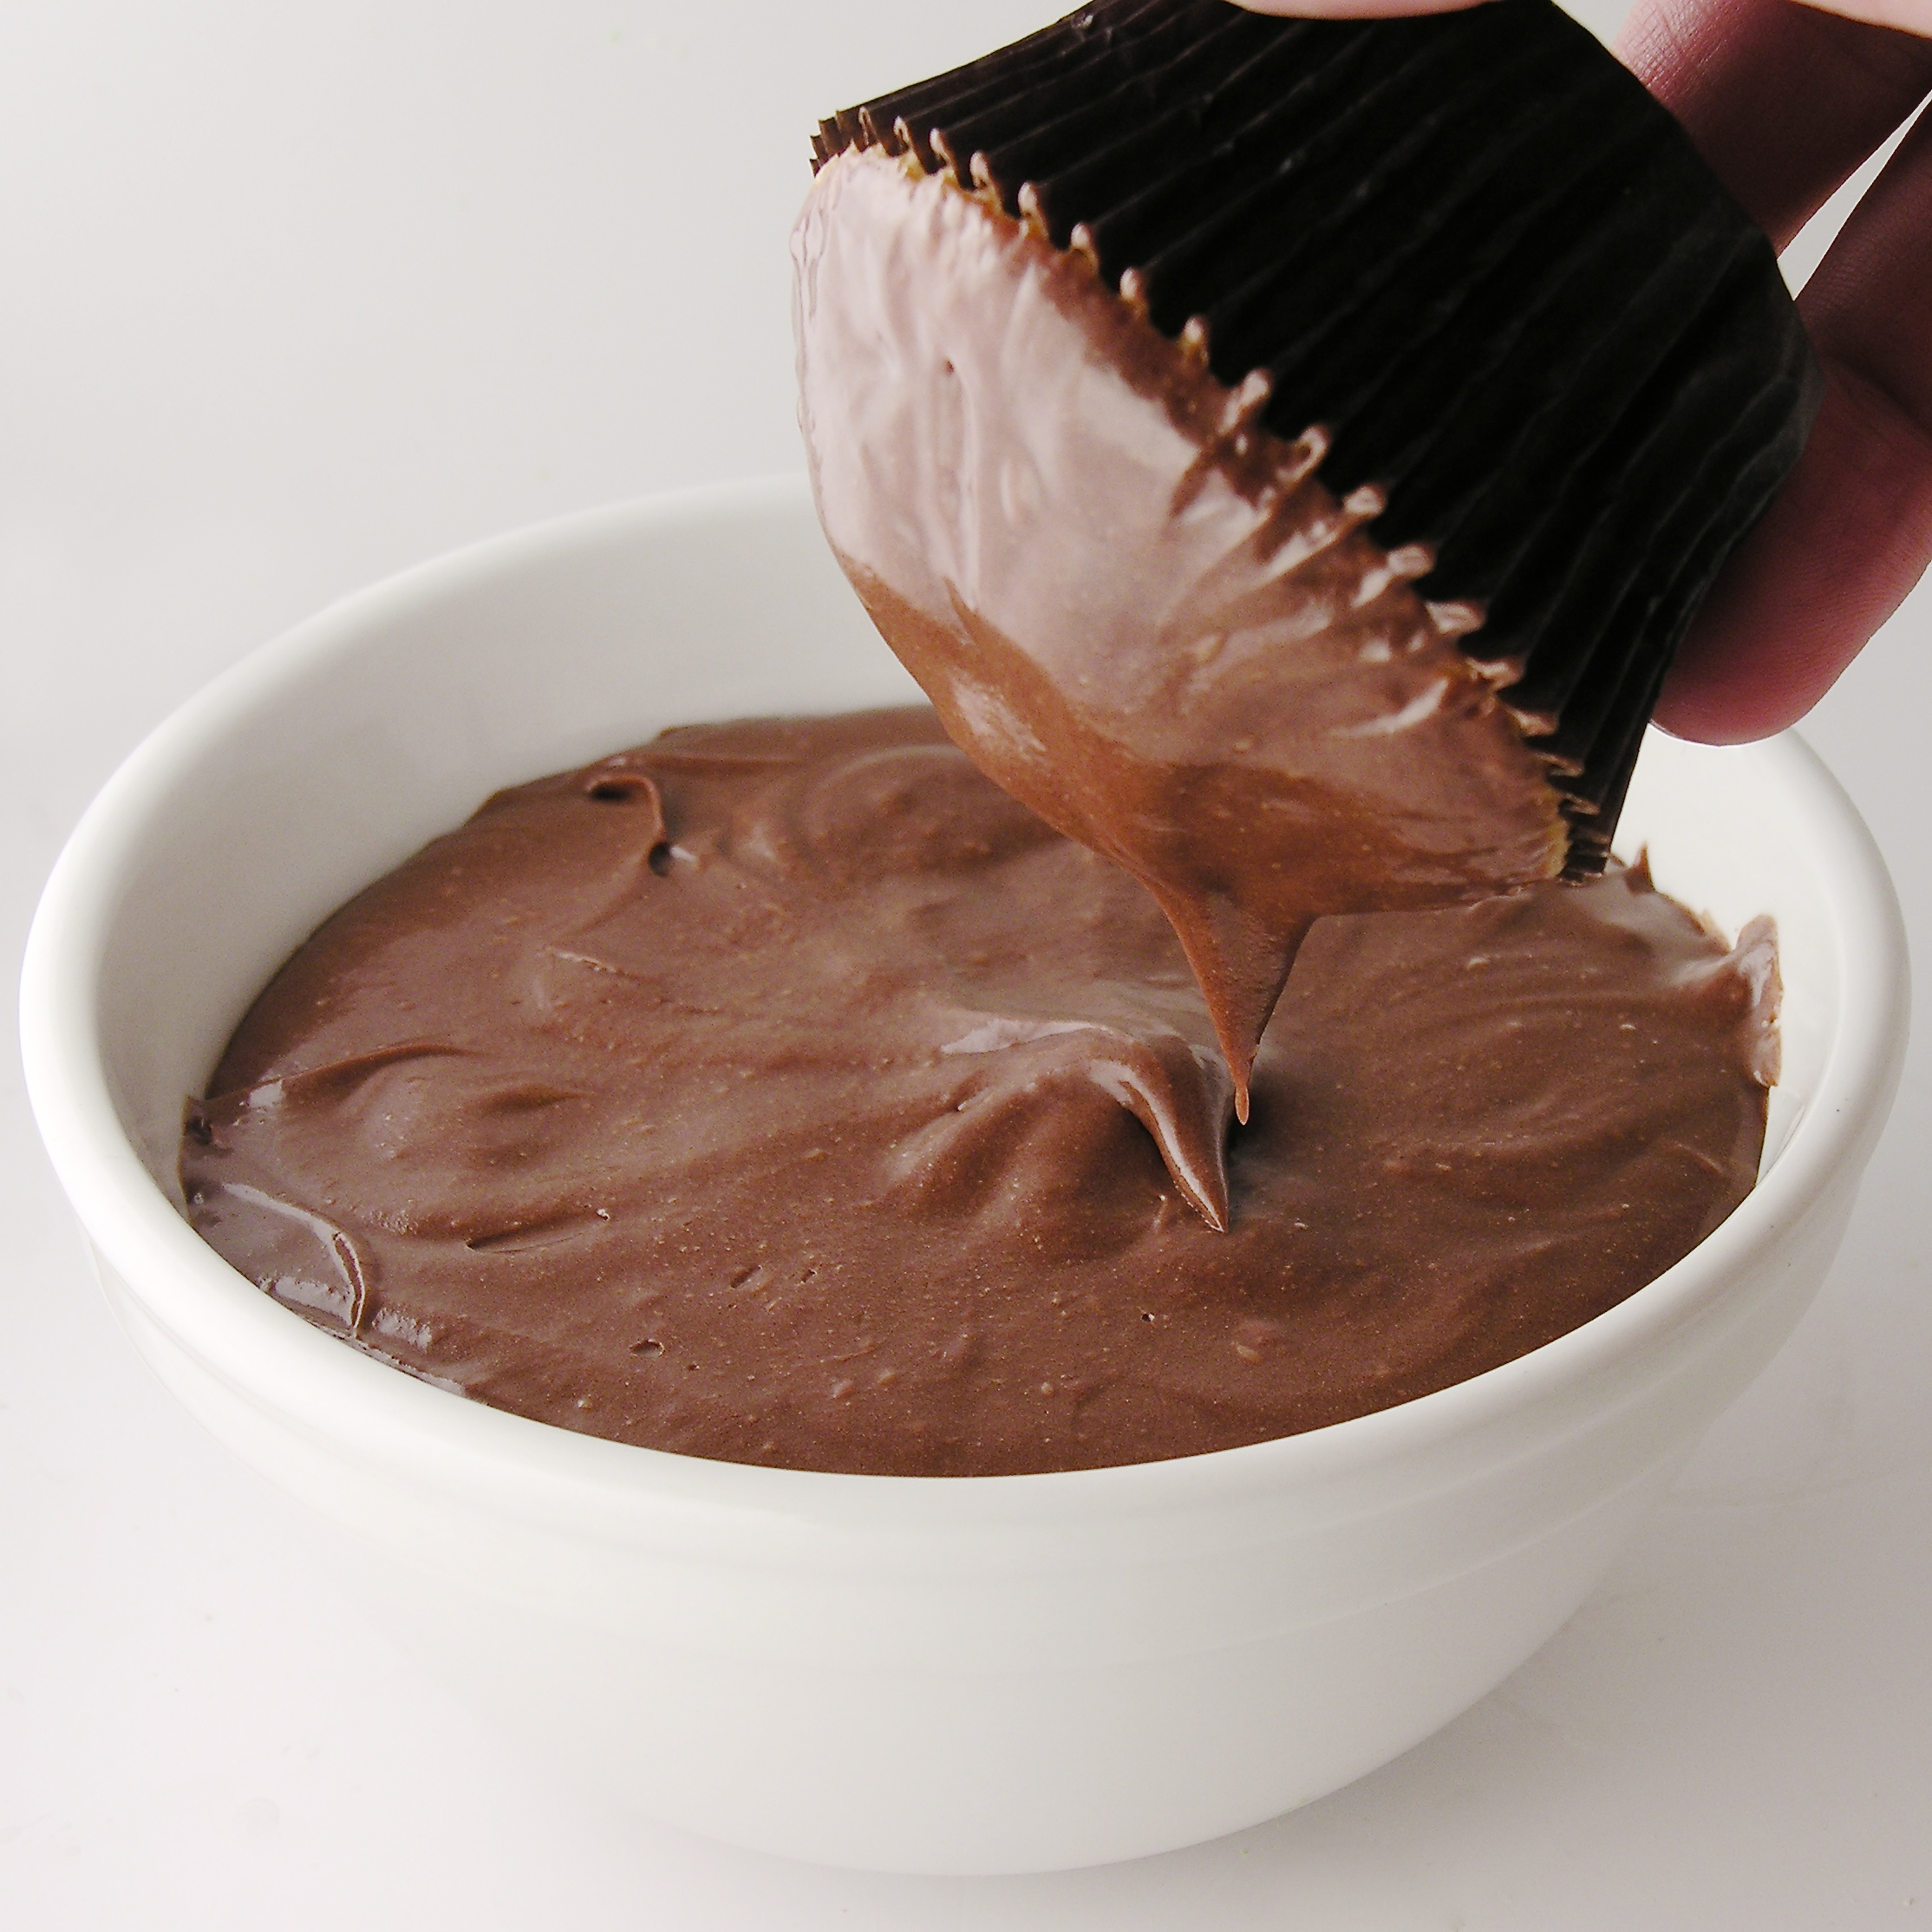
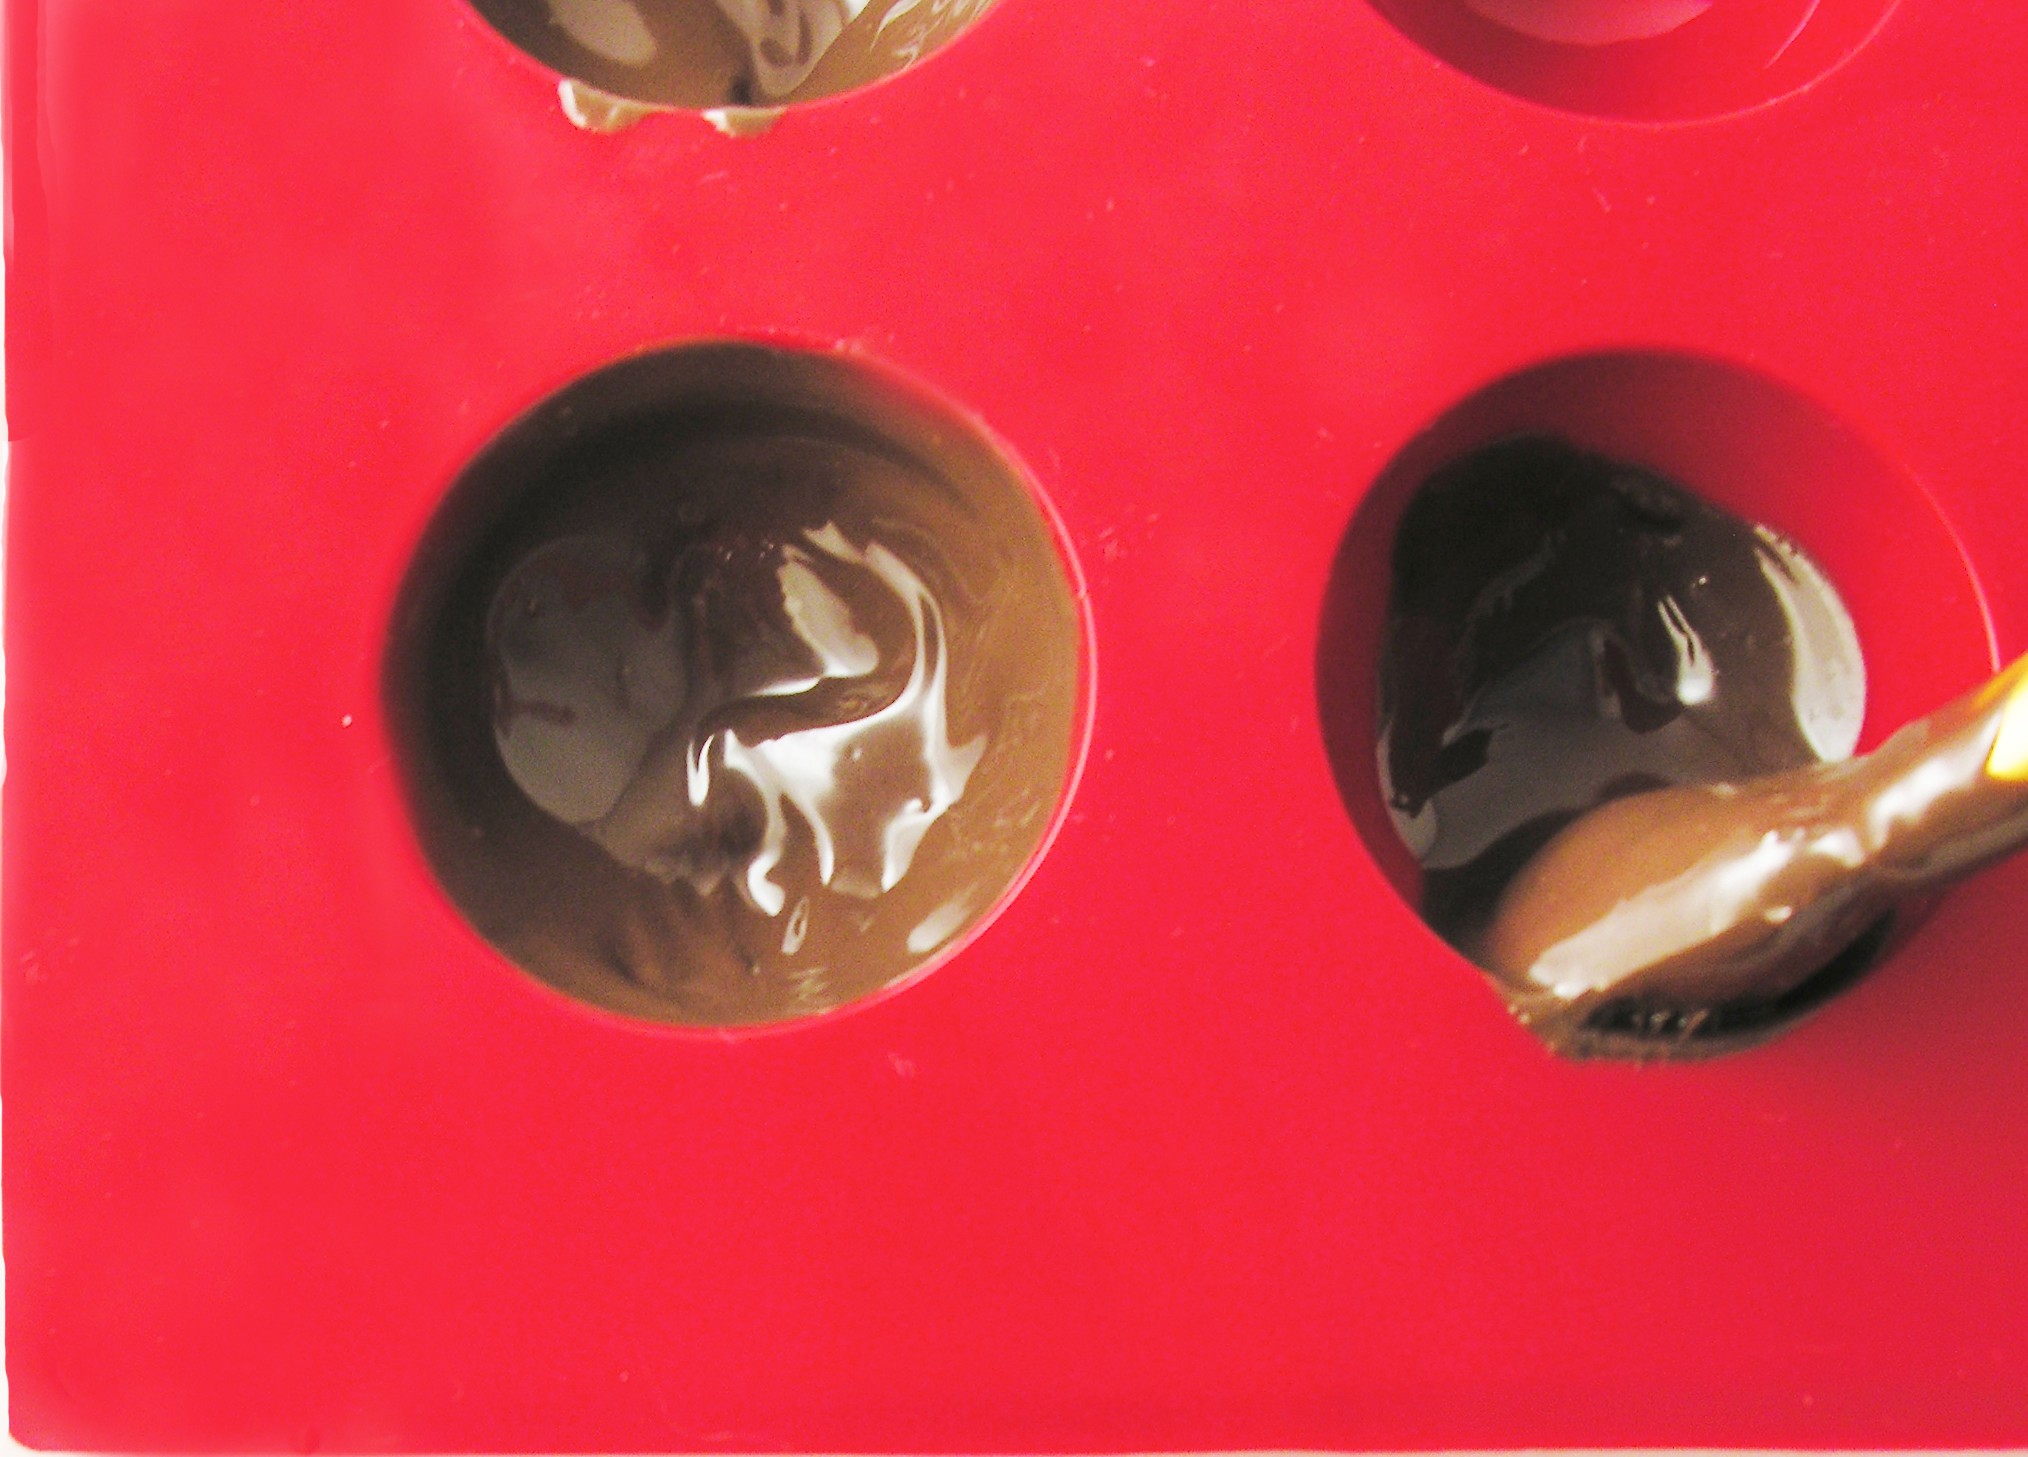
- Melt chocolate candy melts in 30 second increments in the microwave, stirring between until melted and smooth.
- Use a brush (clean, food brush) to brush the inside of each cavity of the bomb mold with melted chocolate.
- Freeze for about 3 minutes and repeat, to give a nice thick layer of chocolate. Re-freeze for another 4-5 minutes.
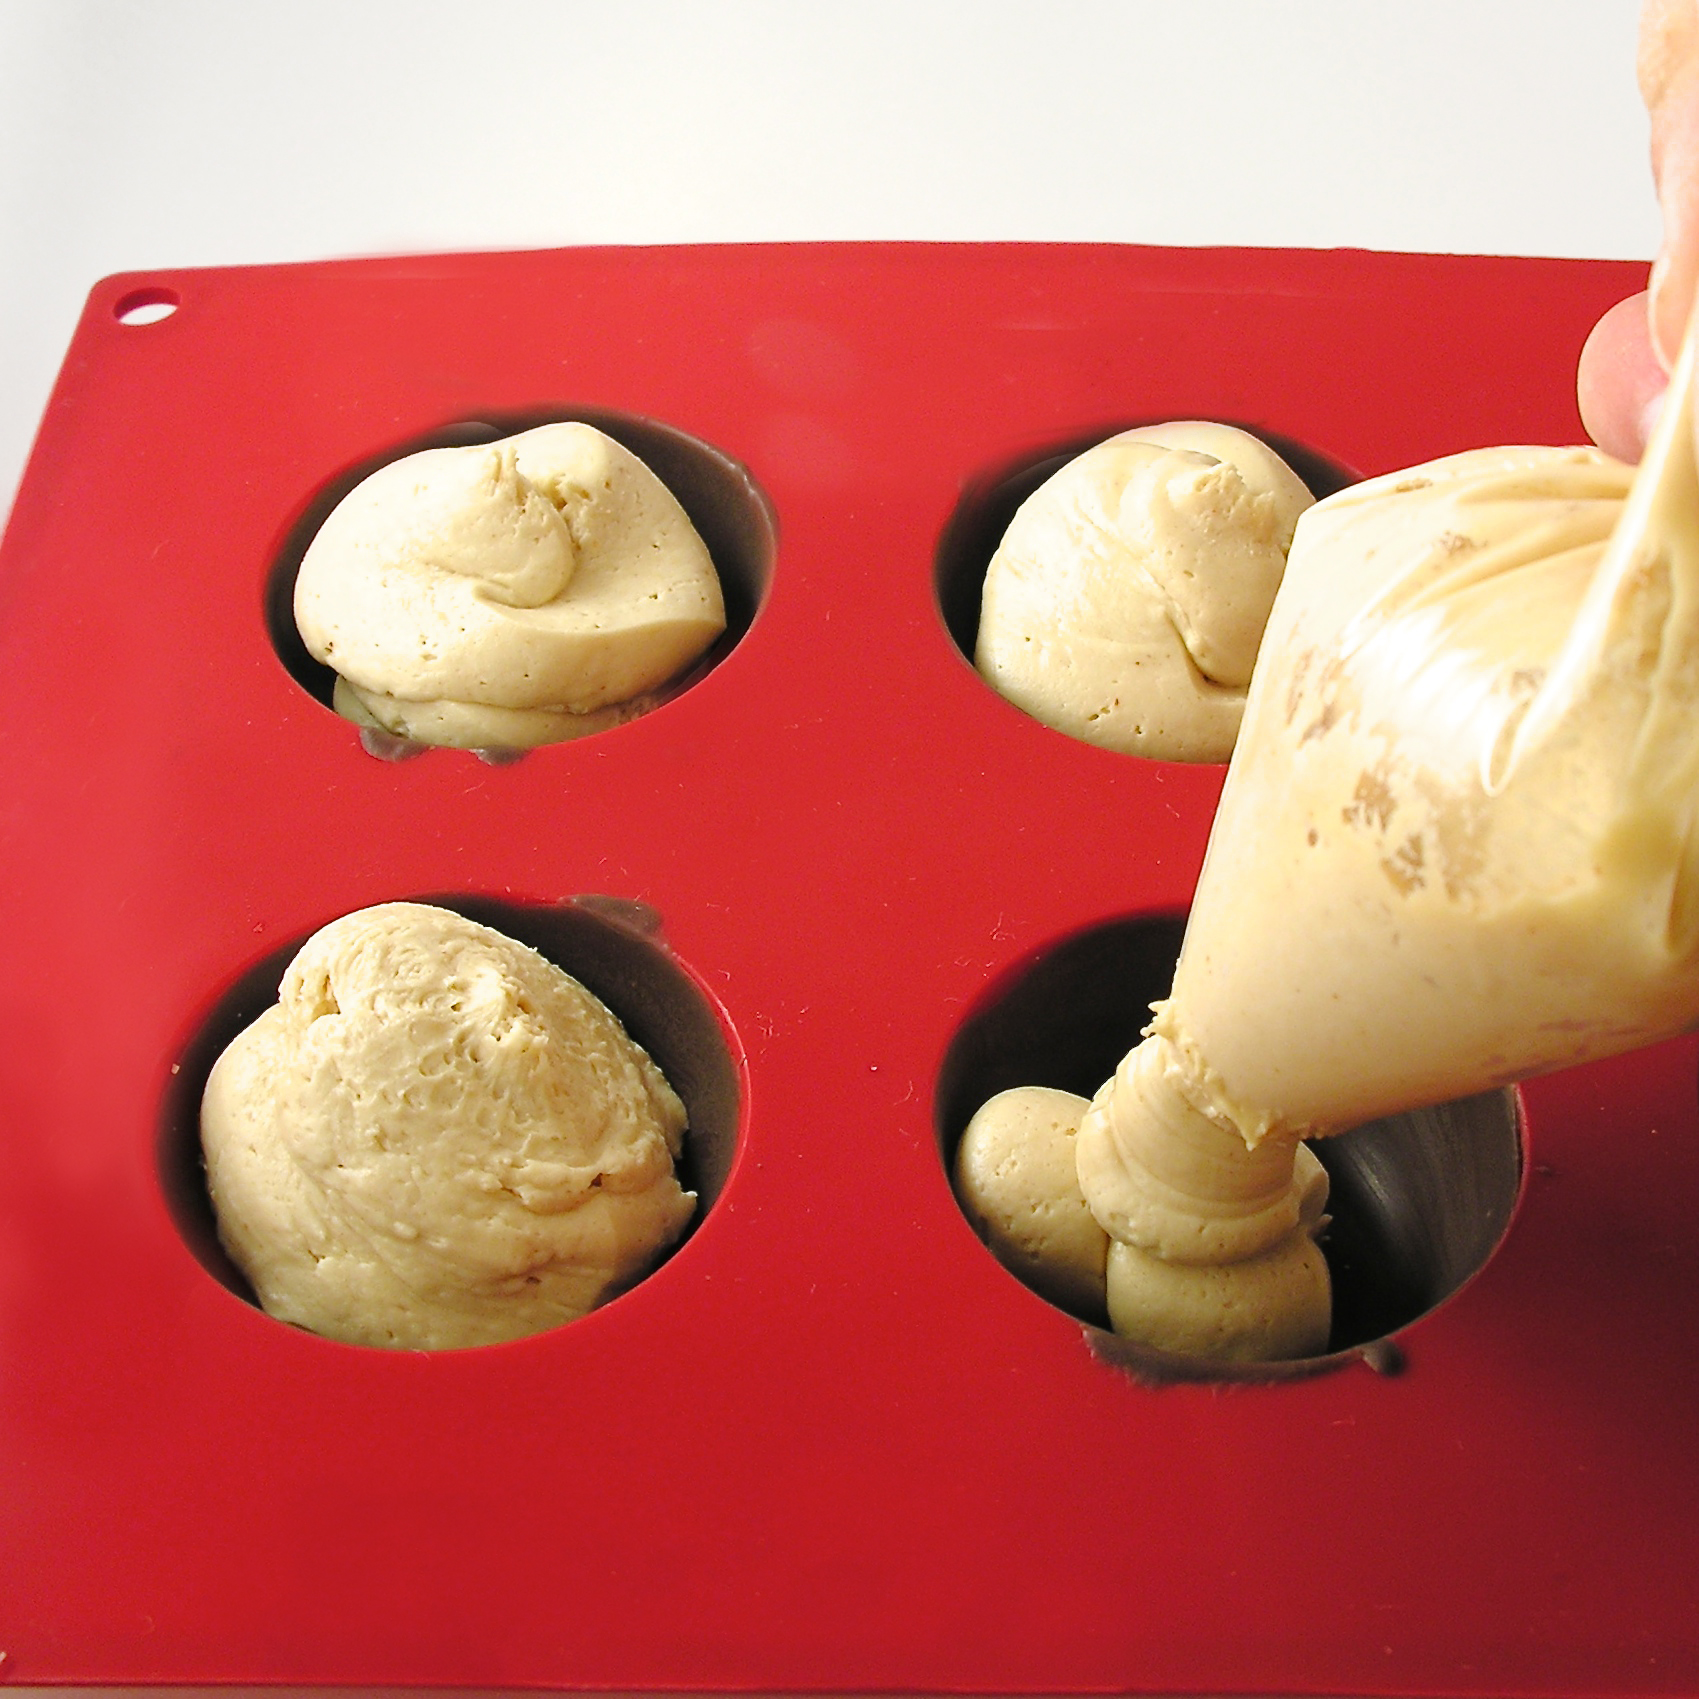
- Make filling by beating together peanut butter, cream cheese and sugar.
- Gently fold in the container of whipped topping.
- Place filling in a large zip-top bag and keep in the fridge until use.
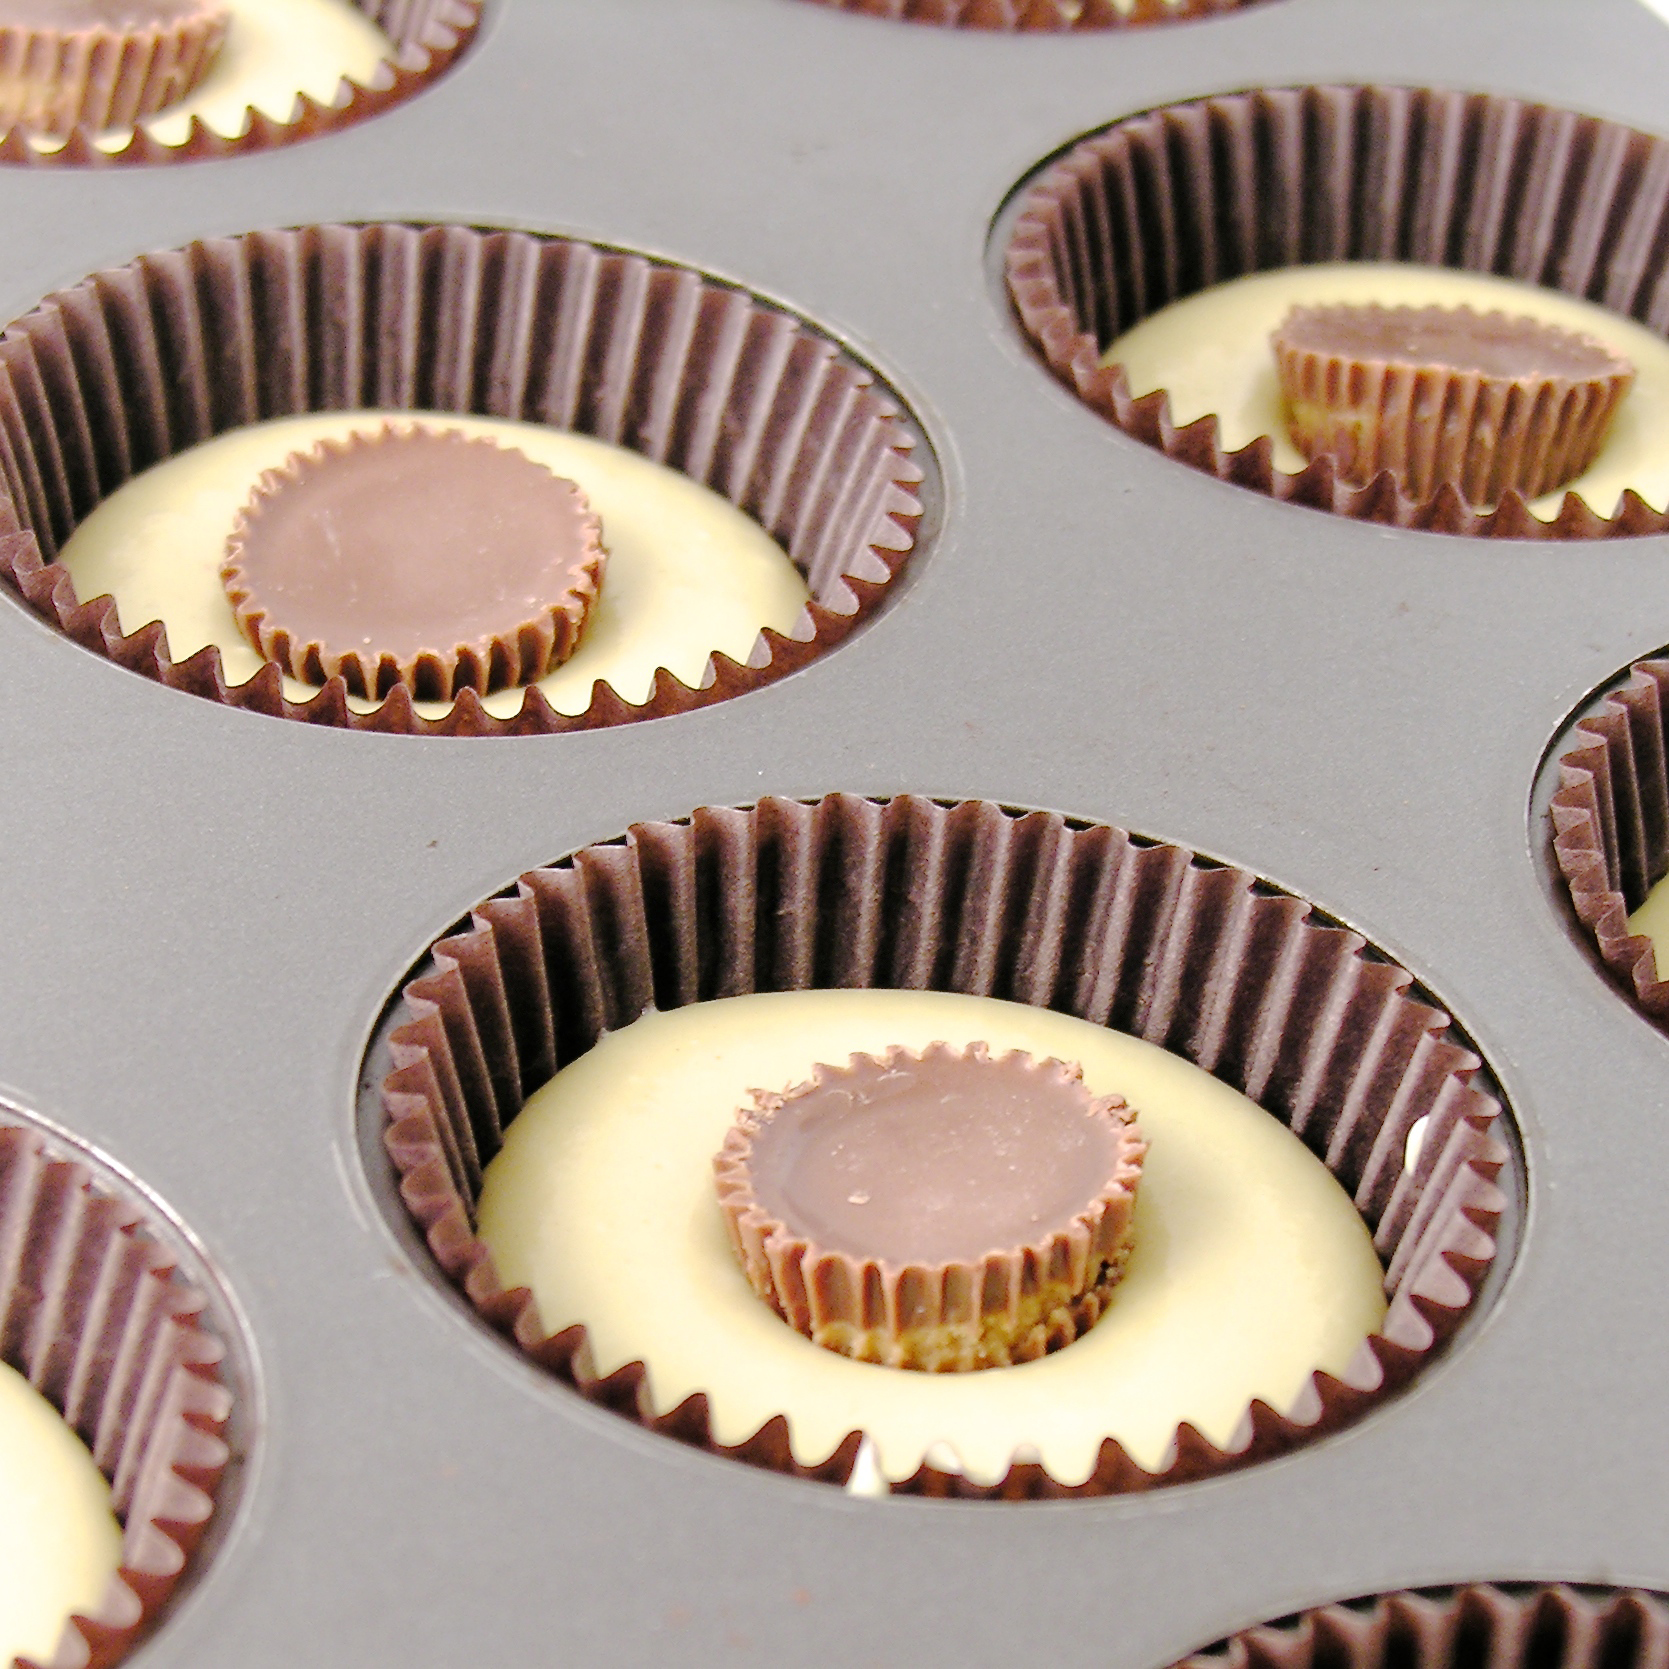
- Cut a corner off the bag, and squeeze filling into each chocolate coated bomb mold. Smooth tops with a spatula.
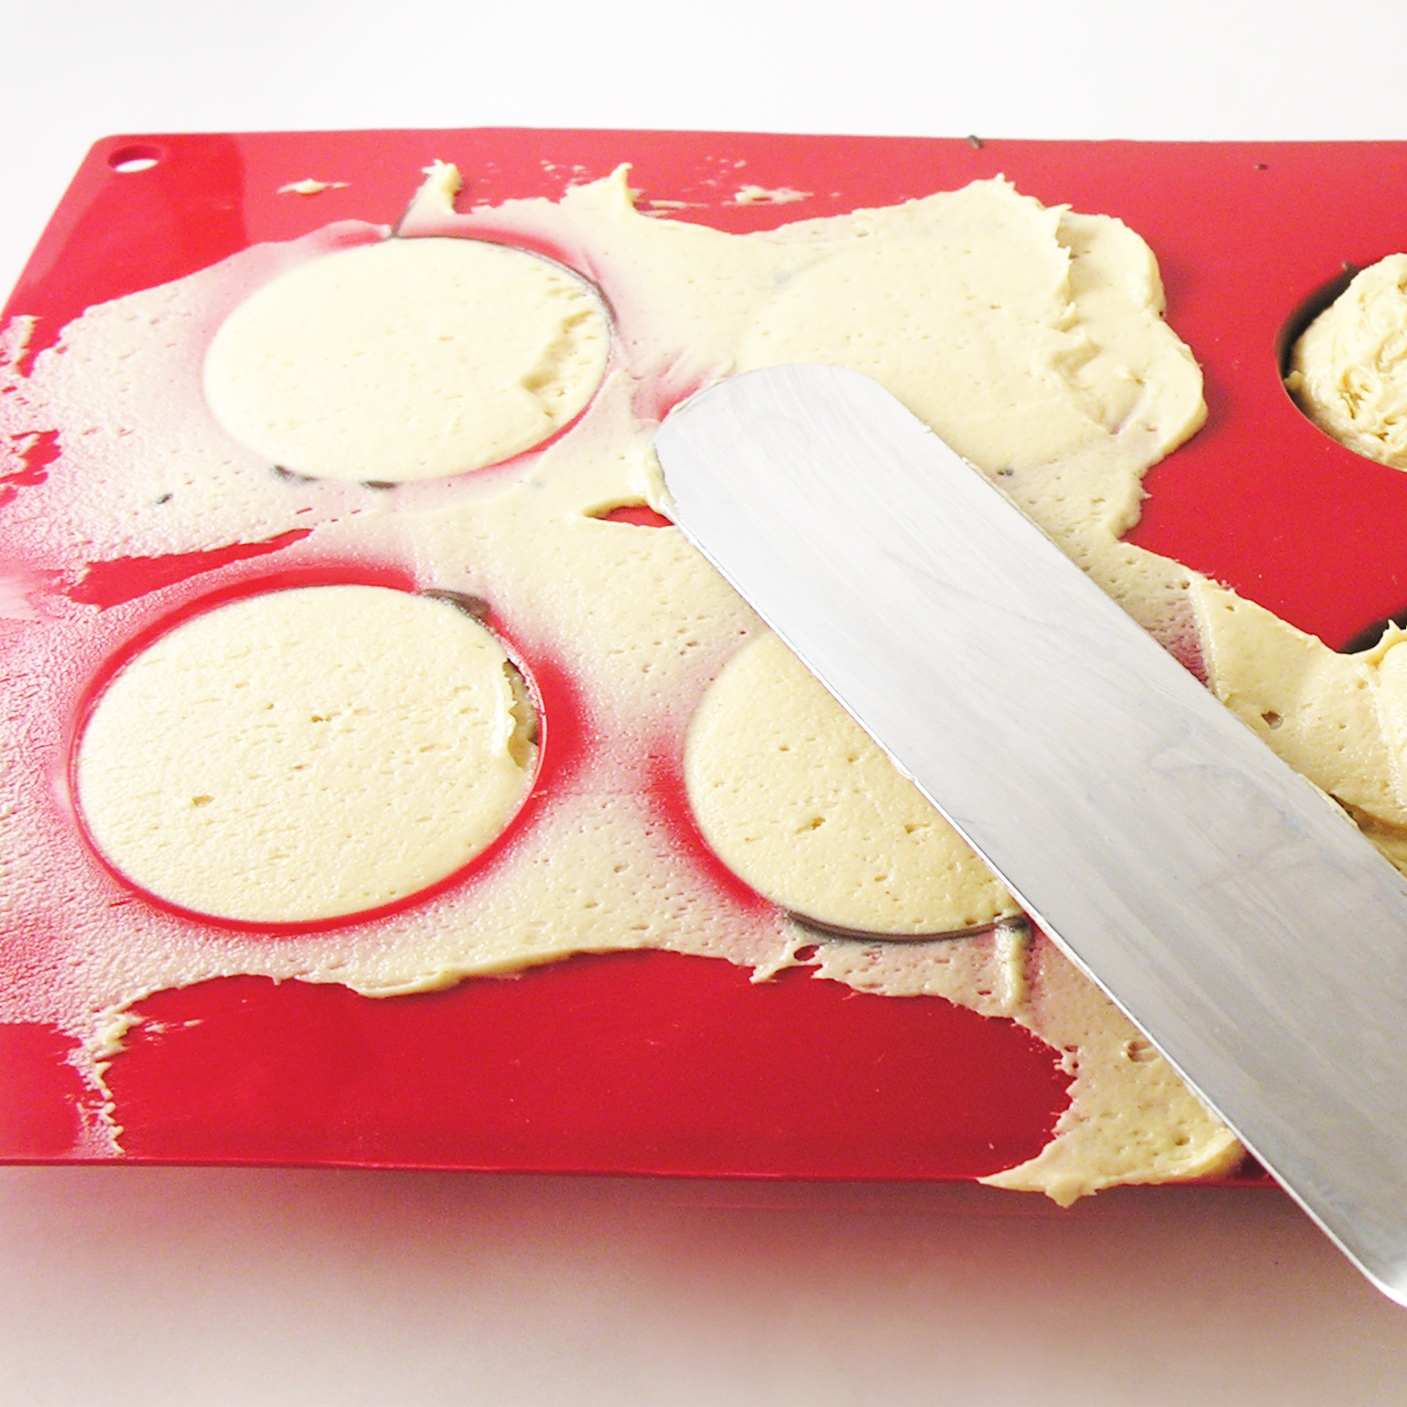
- Refreeze for about 15 minutes- until filling is hardened.
- Gently peel mold away from bomb. Place each one on a plate covered in parchment paper and freeze until use.
Brownie:
- Preheat oven to 350.
- Cream butter and sugar together.
- Beat in eggs, cocoa, vanilla and salt.
- Add flour and milk (alternating them and mixing well in between)
- Spoon into 18-24 cupcake liners placed in a muffin tin (only fill 1/3 to 1/2 full)
- Bake at 350 degrees for 12-14 minutes or until a tooth pick inserted in the center comes out clean.
Ganache:
- While brownies bake, heat peanut butter chips and heavy cream in a microwave safe bowl in 30 second increments. Stir and repeat until smooth and creamy.
- When brownies are out of oven, carefully remove them from muffin tins and spoon warm ganache over warm brownies. Allow both to cool until ganache is firm but still a bit sticky.
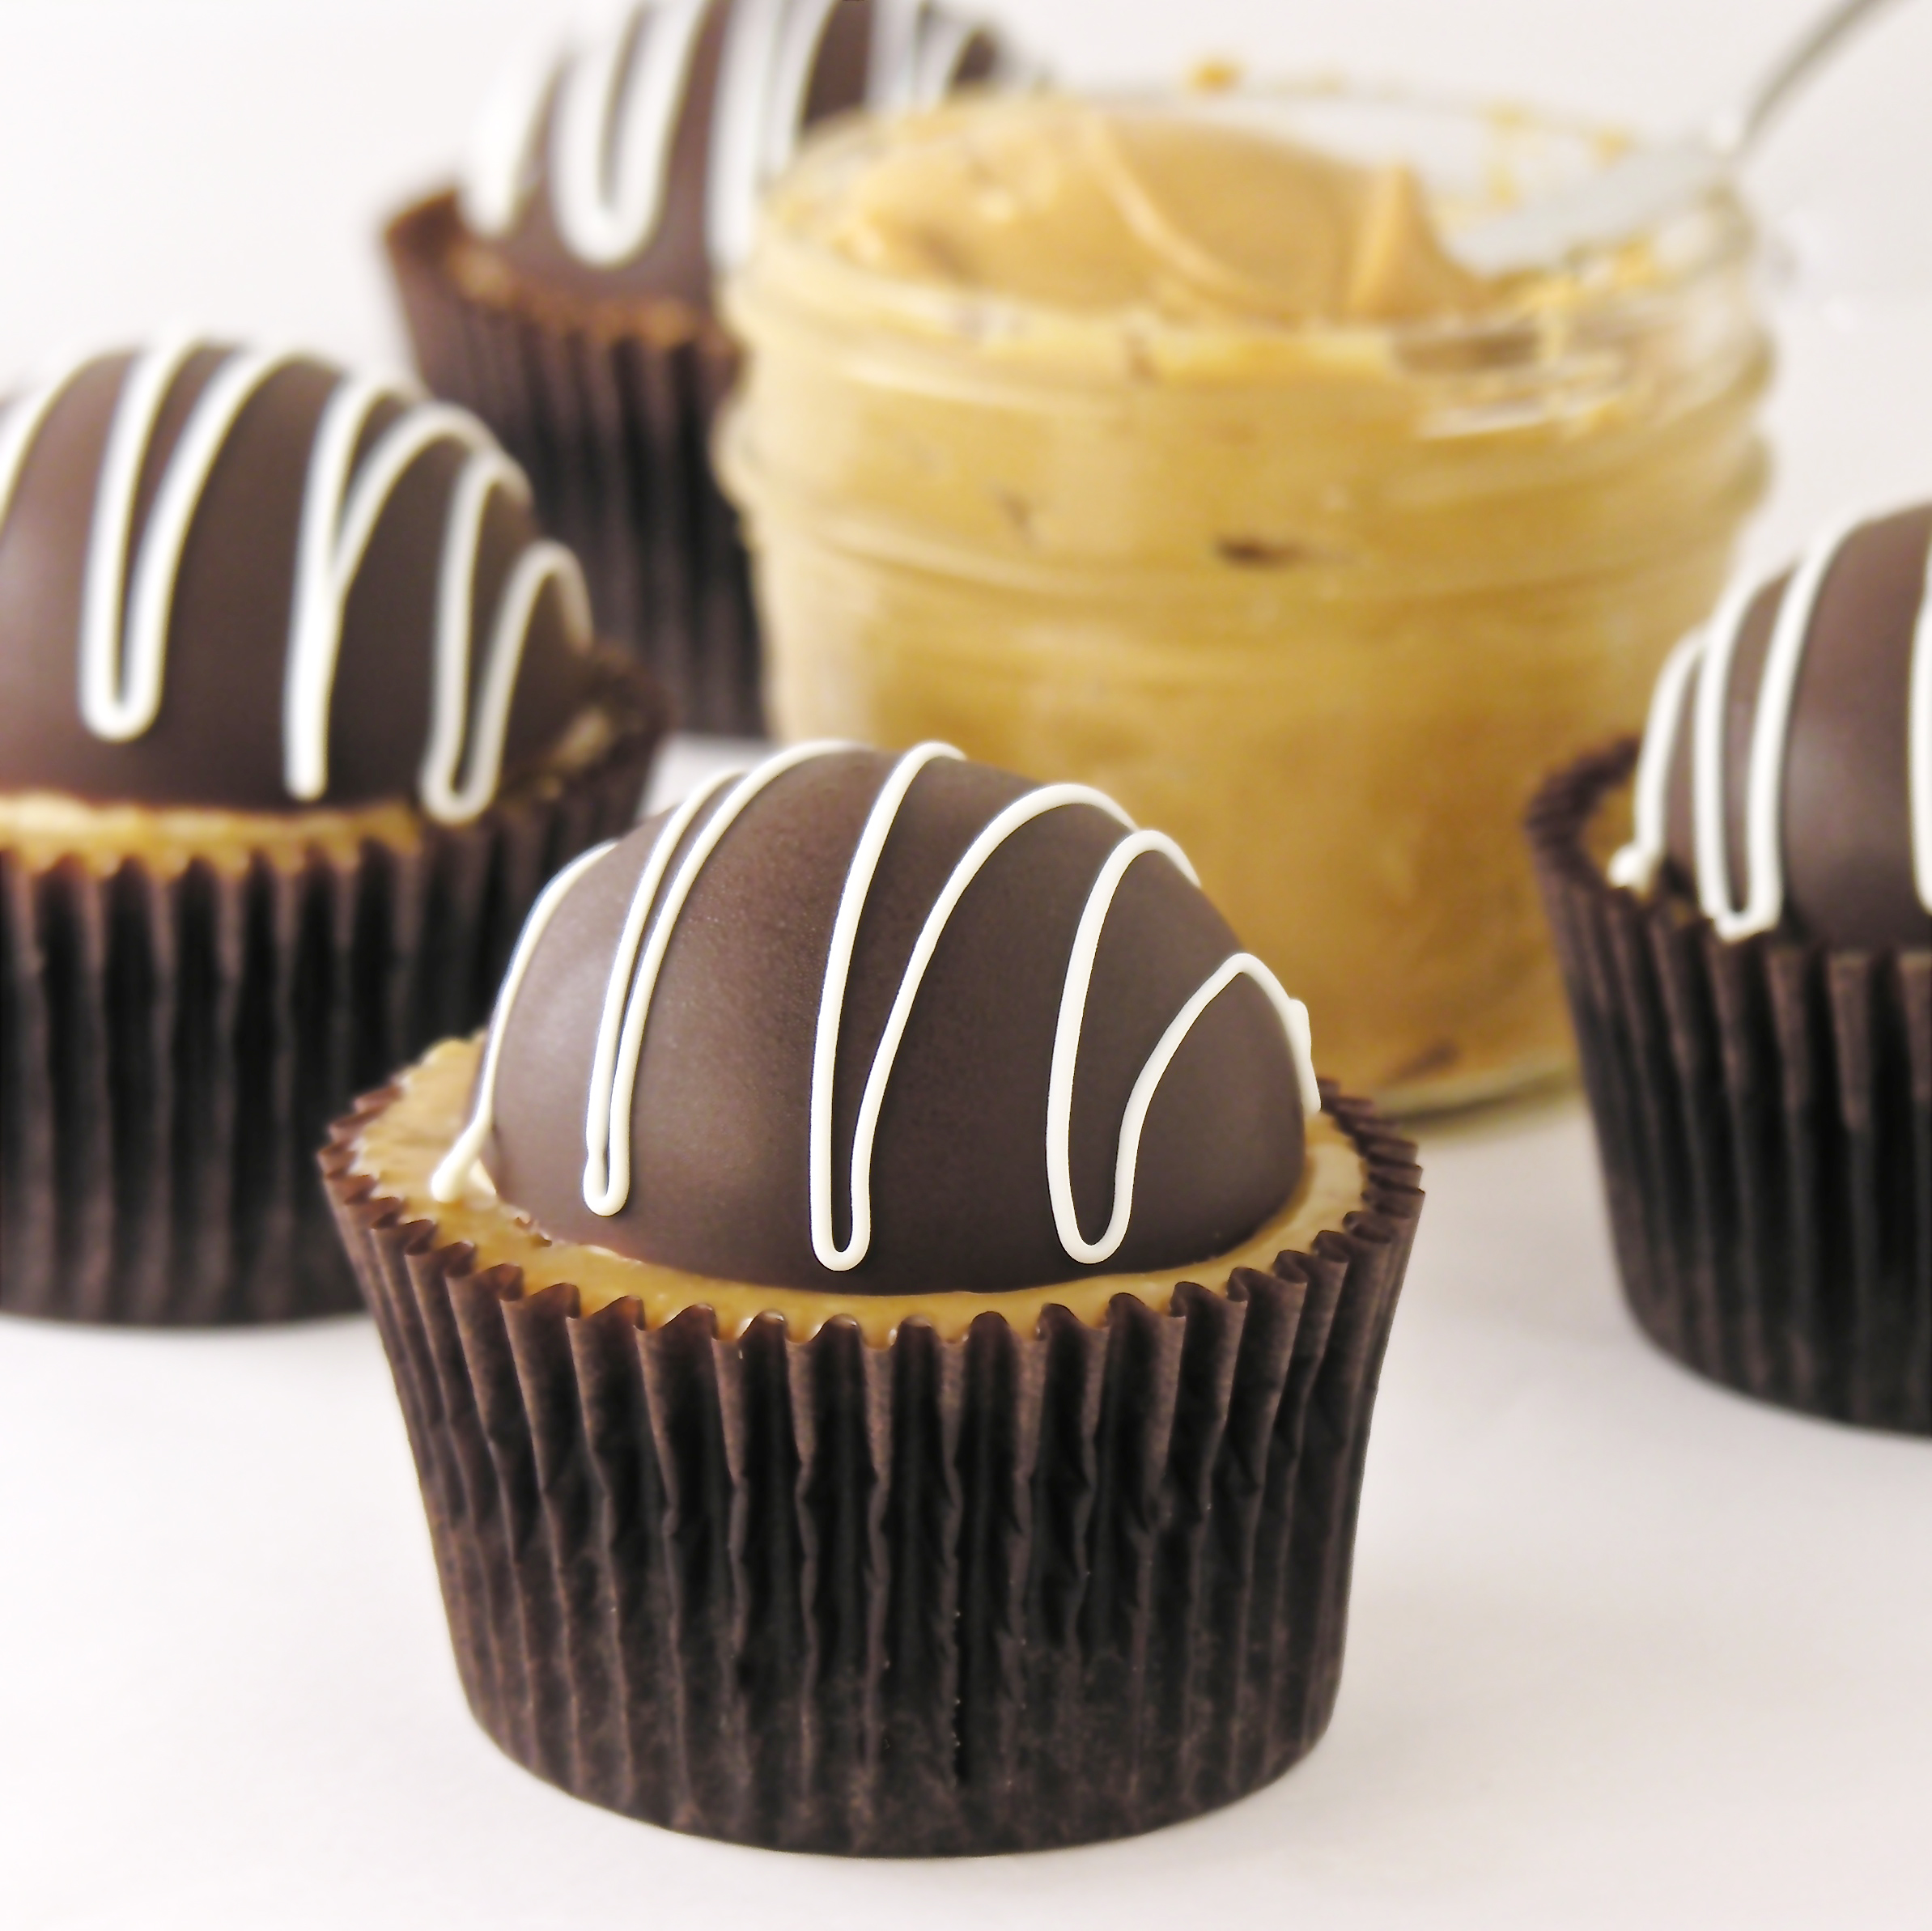
- Gently place a chocolate bomb on top of each brownie, and press gently into ganache.
- Drizzle a bit of white chocolate on top if you desire.
- Keep refrigerated. Leave at room temperature for a few minutes to warm before serving. Yum.
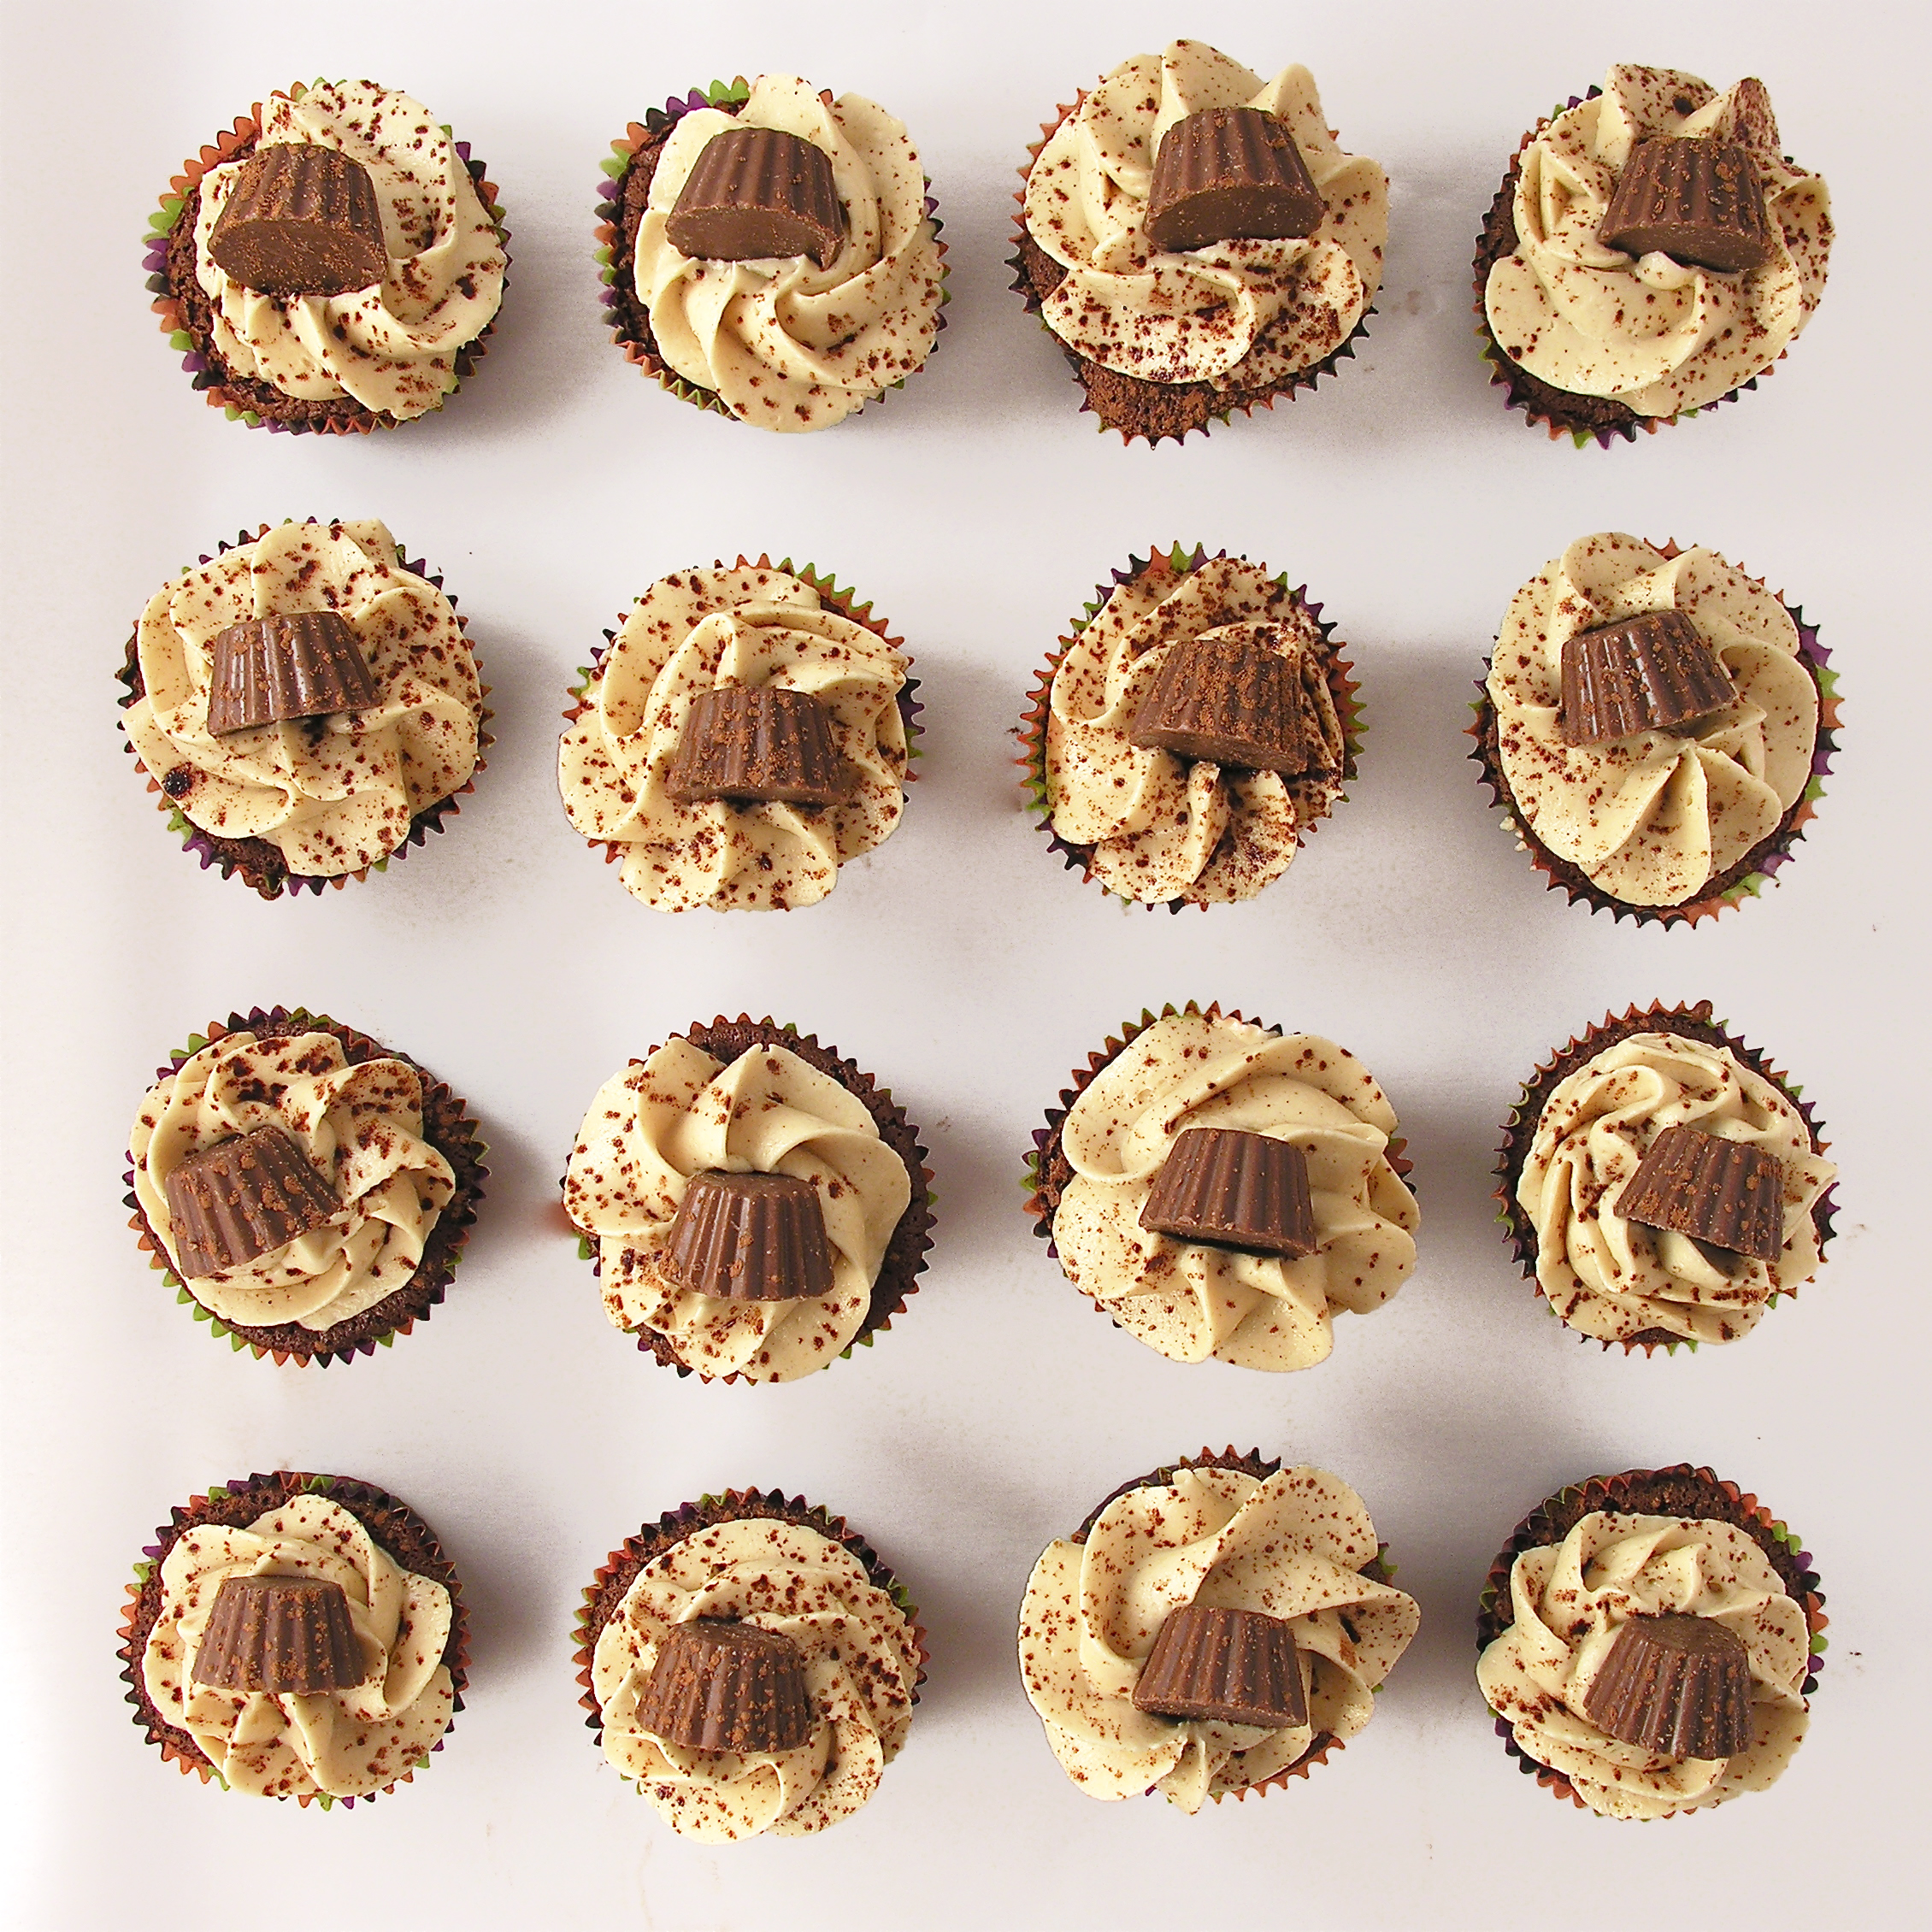
My thoughts: Yum!!! These were a huge hit among my friends and family. They do take a little extra time to make that bomb on top– but the wow factor is worth it! I will definitely be using these little silicone molds again- they are easy to use and I love that fun dome of chocolate! I hope you get a chance to try these!! Enjoy!!! ~r
Other yummy peanut butter treats on Easybaked: