Tag Archives: chocolate cake mix

Caramel Turtle Bundt Cake

Turtle Bundt Cake

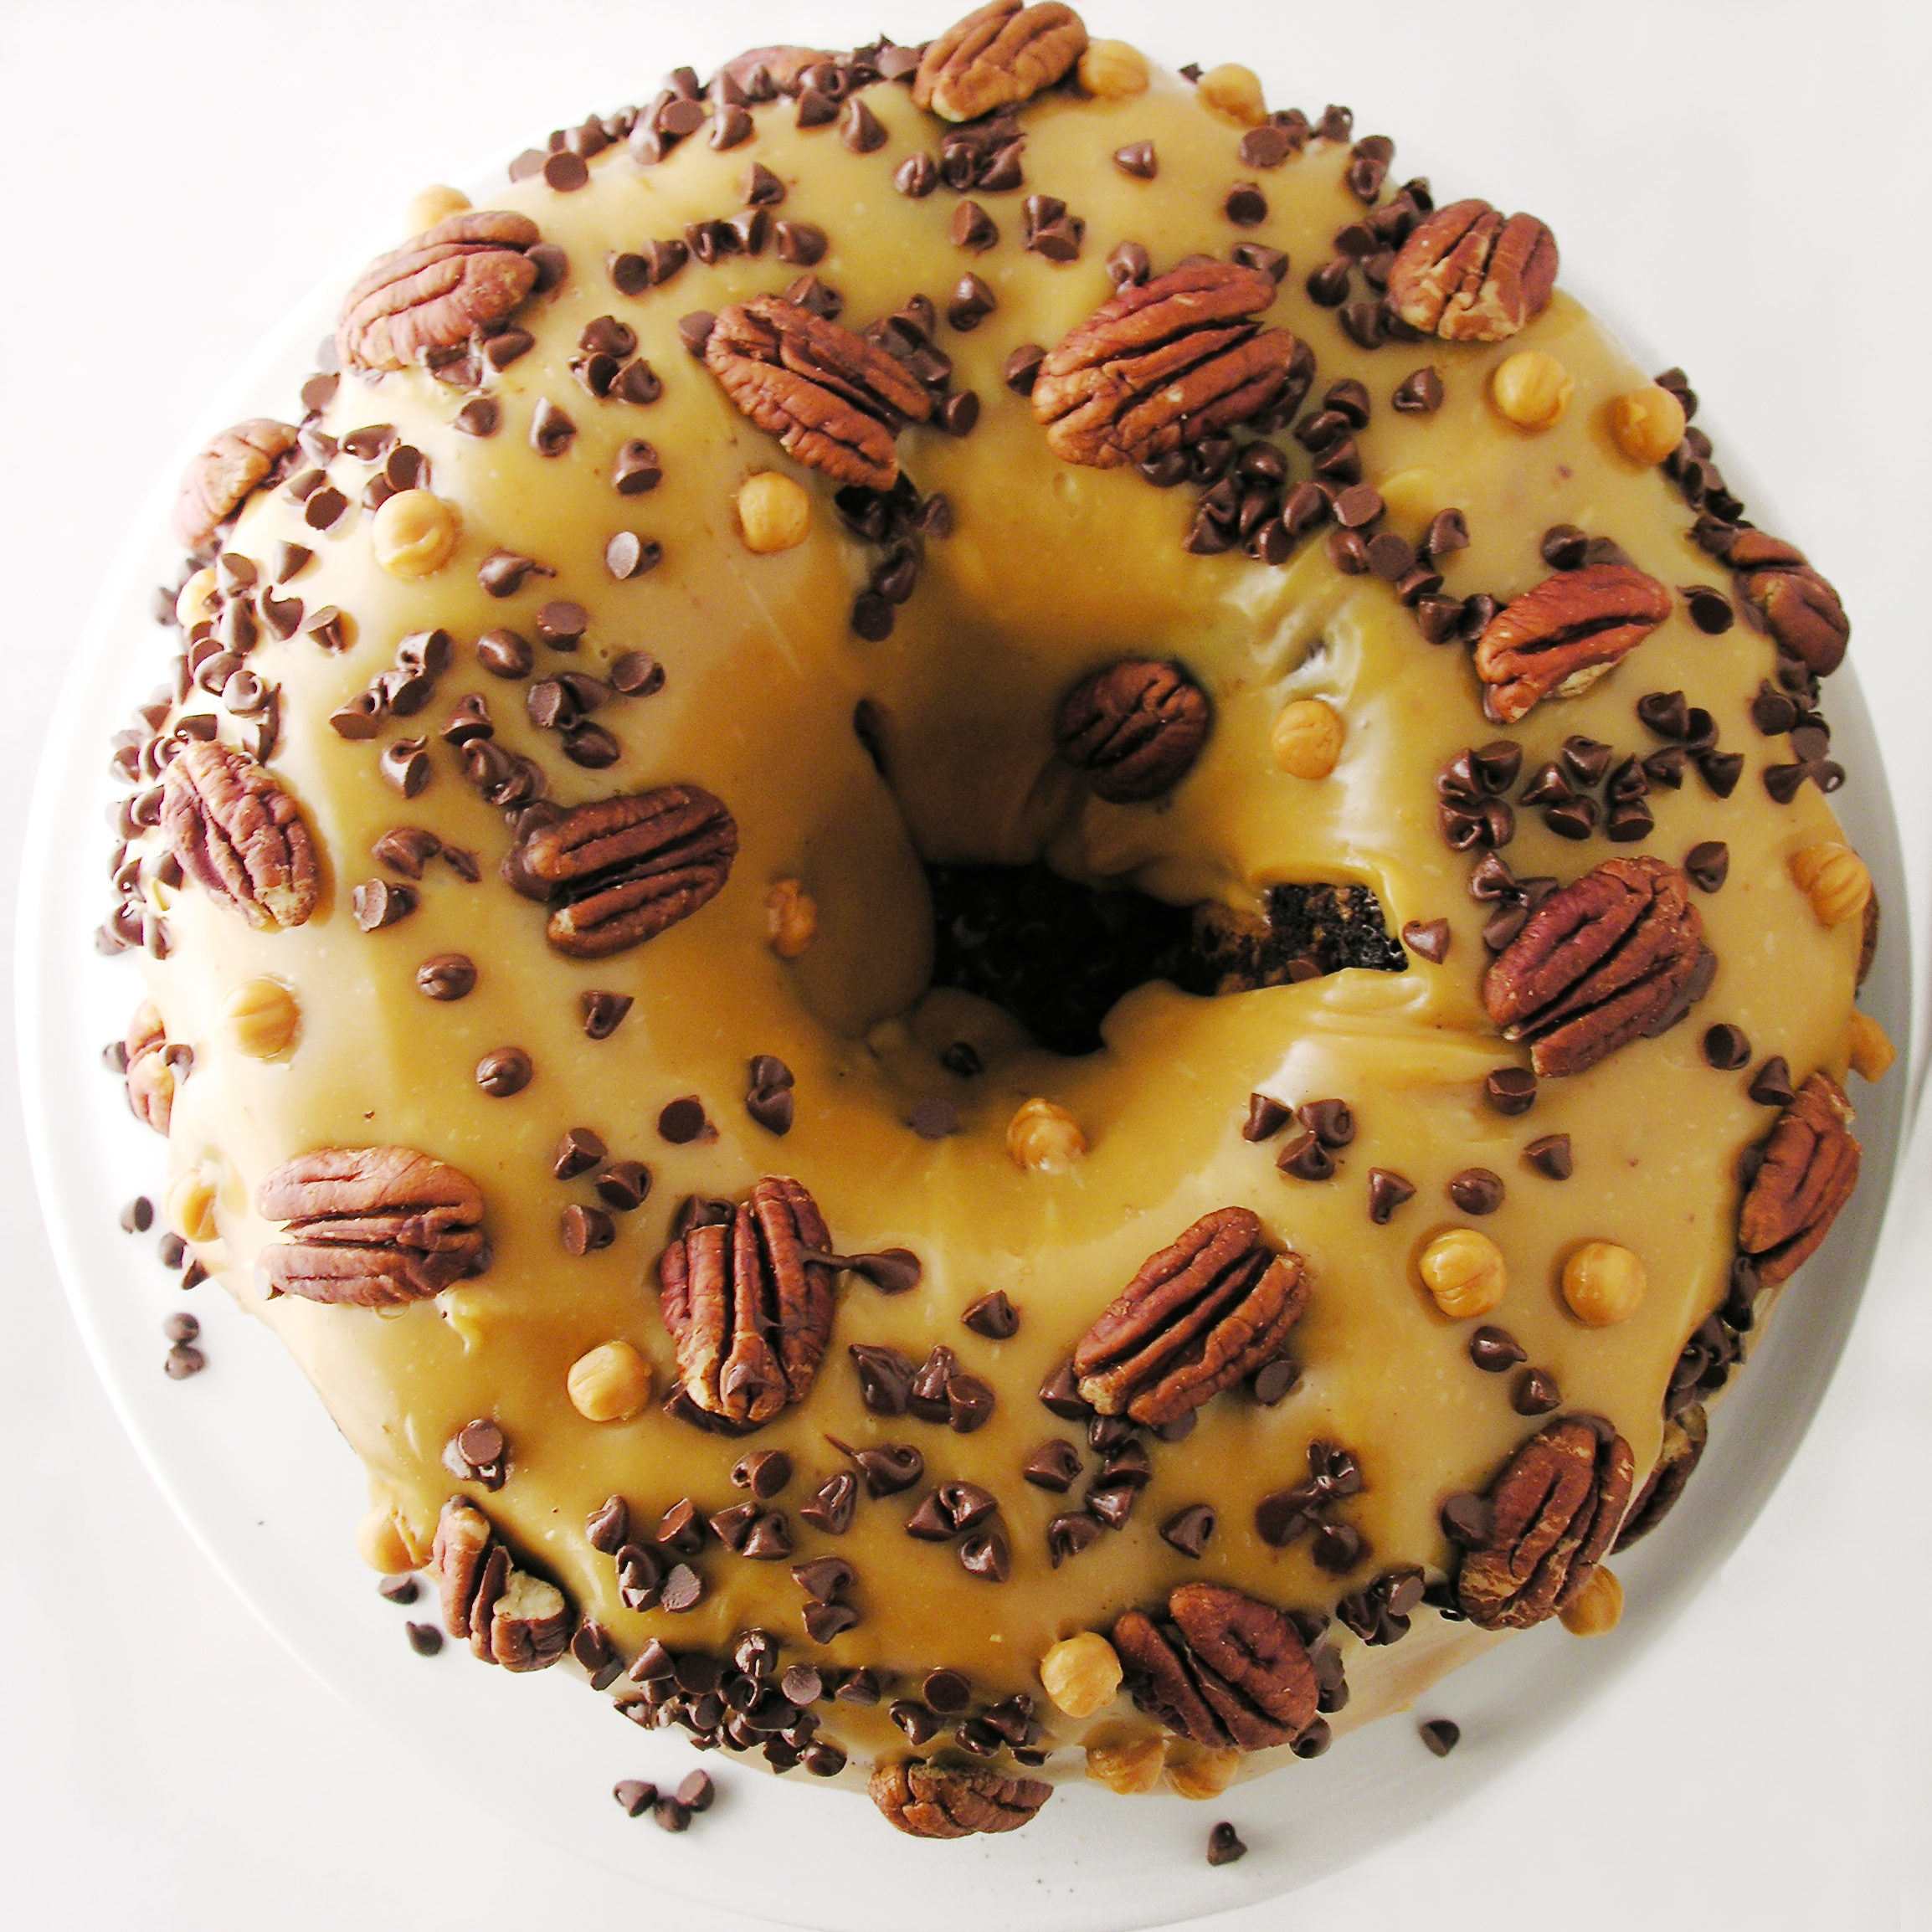
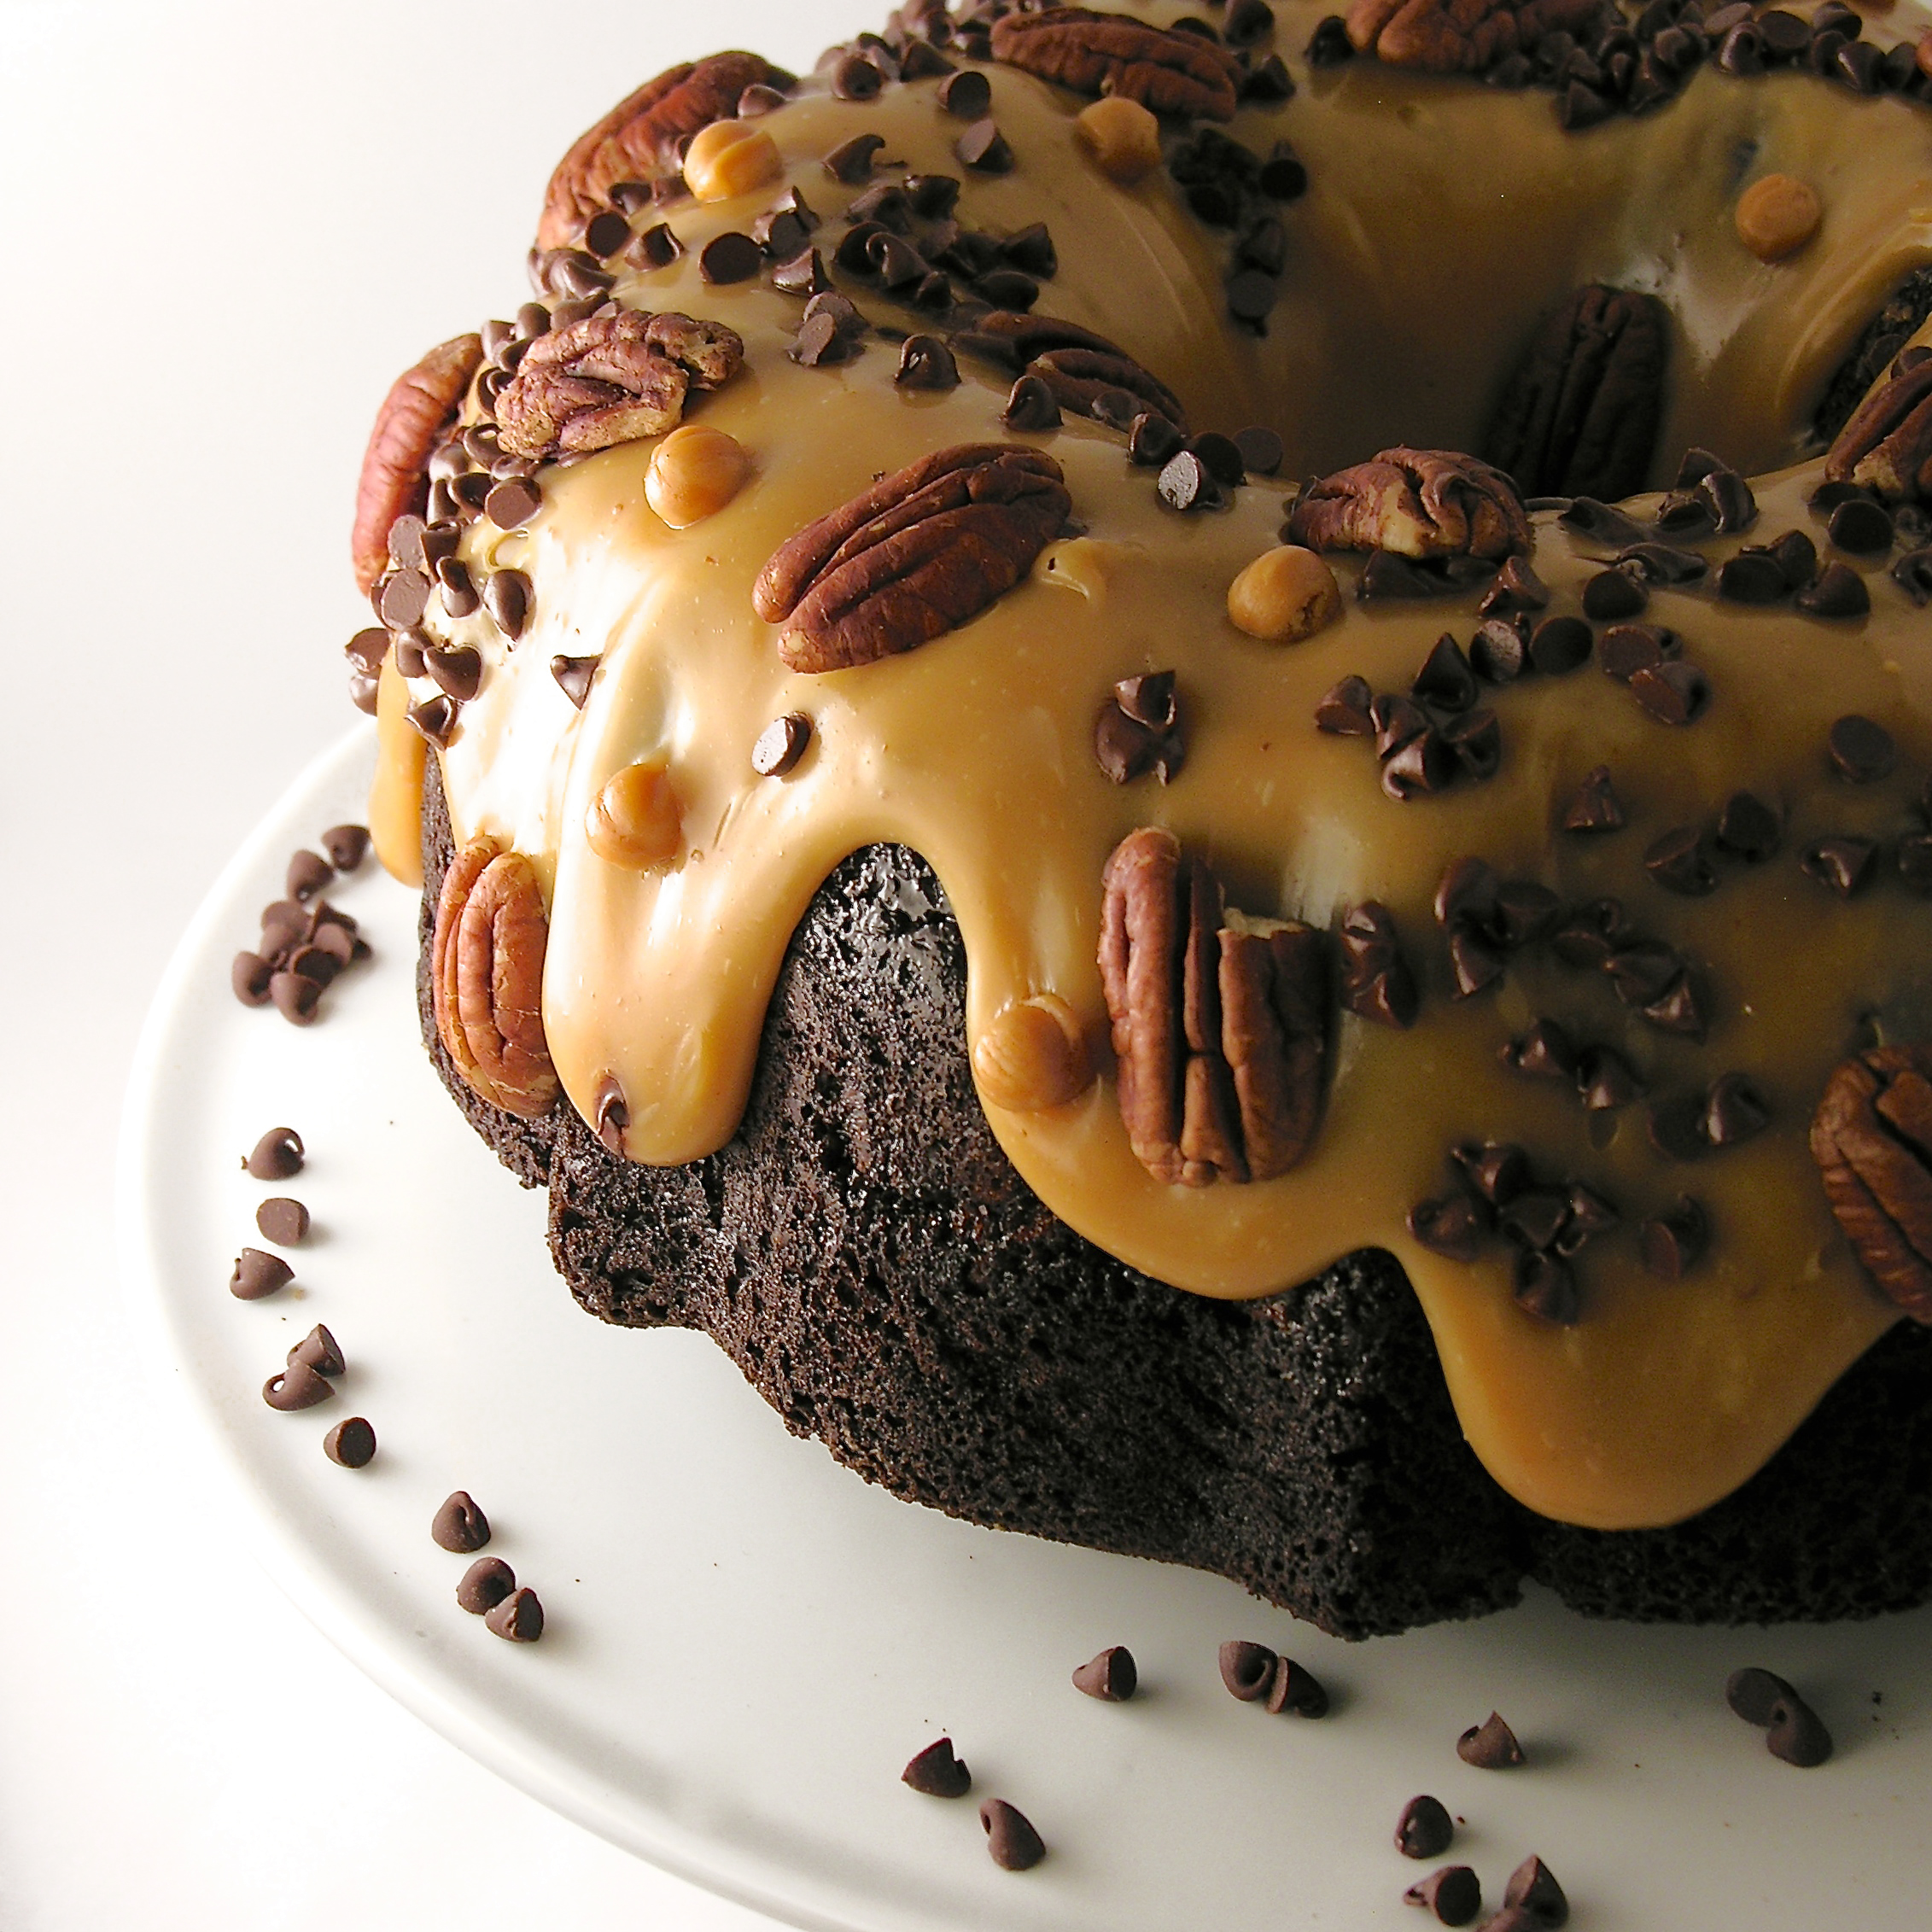
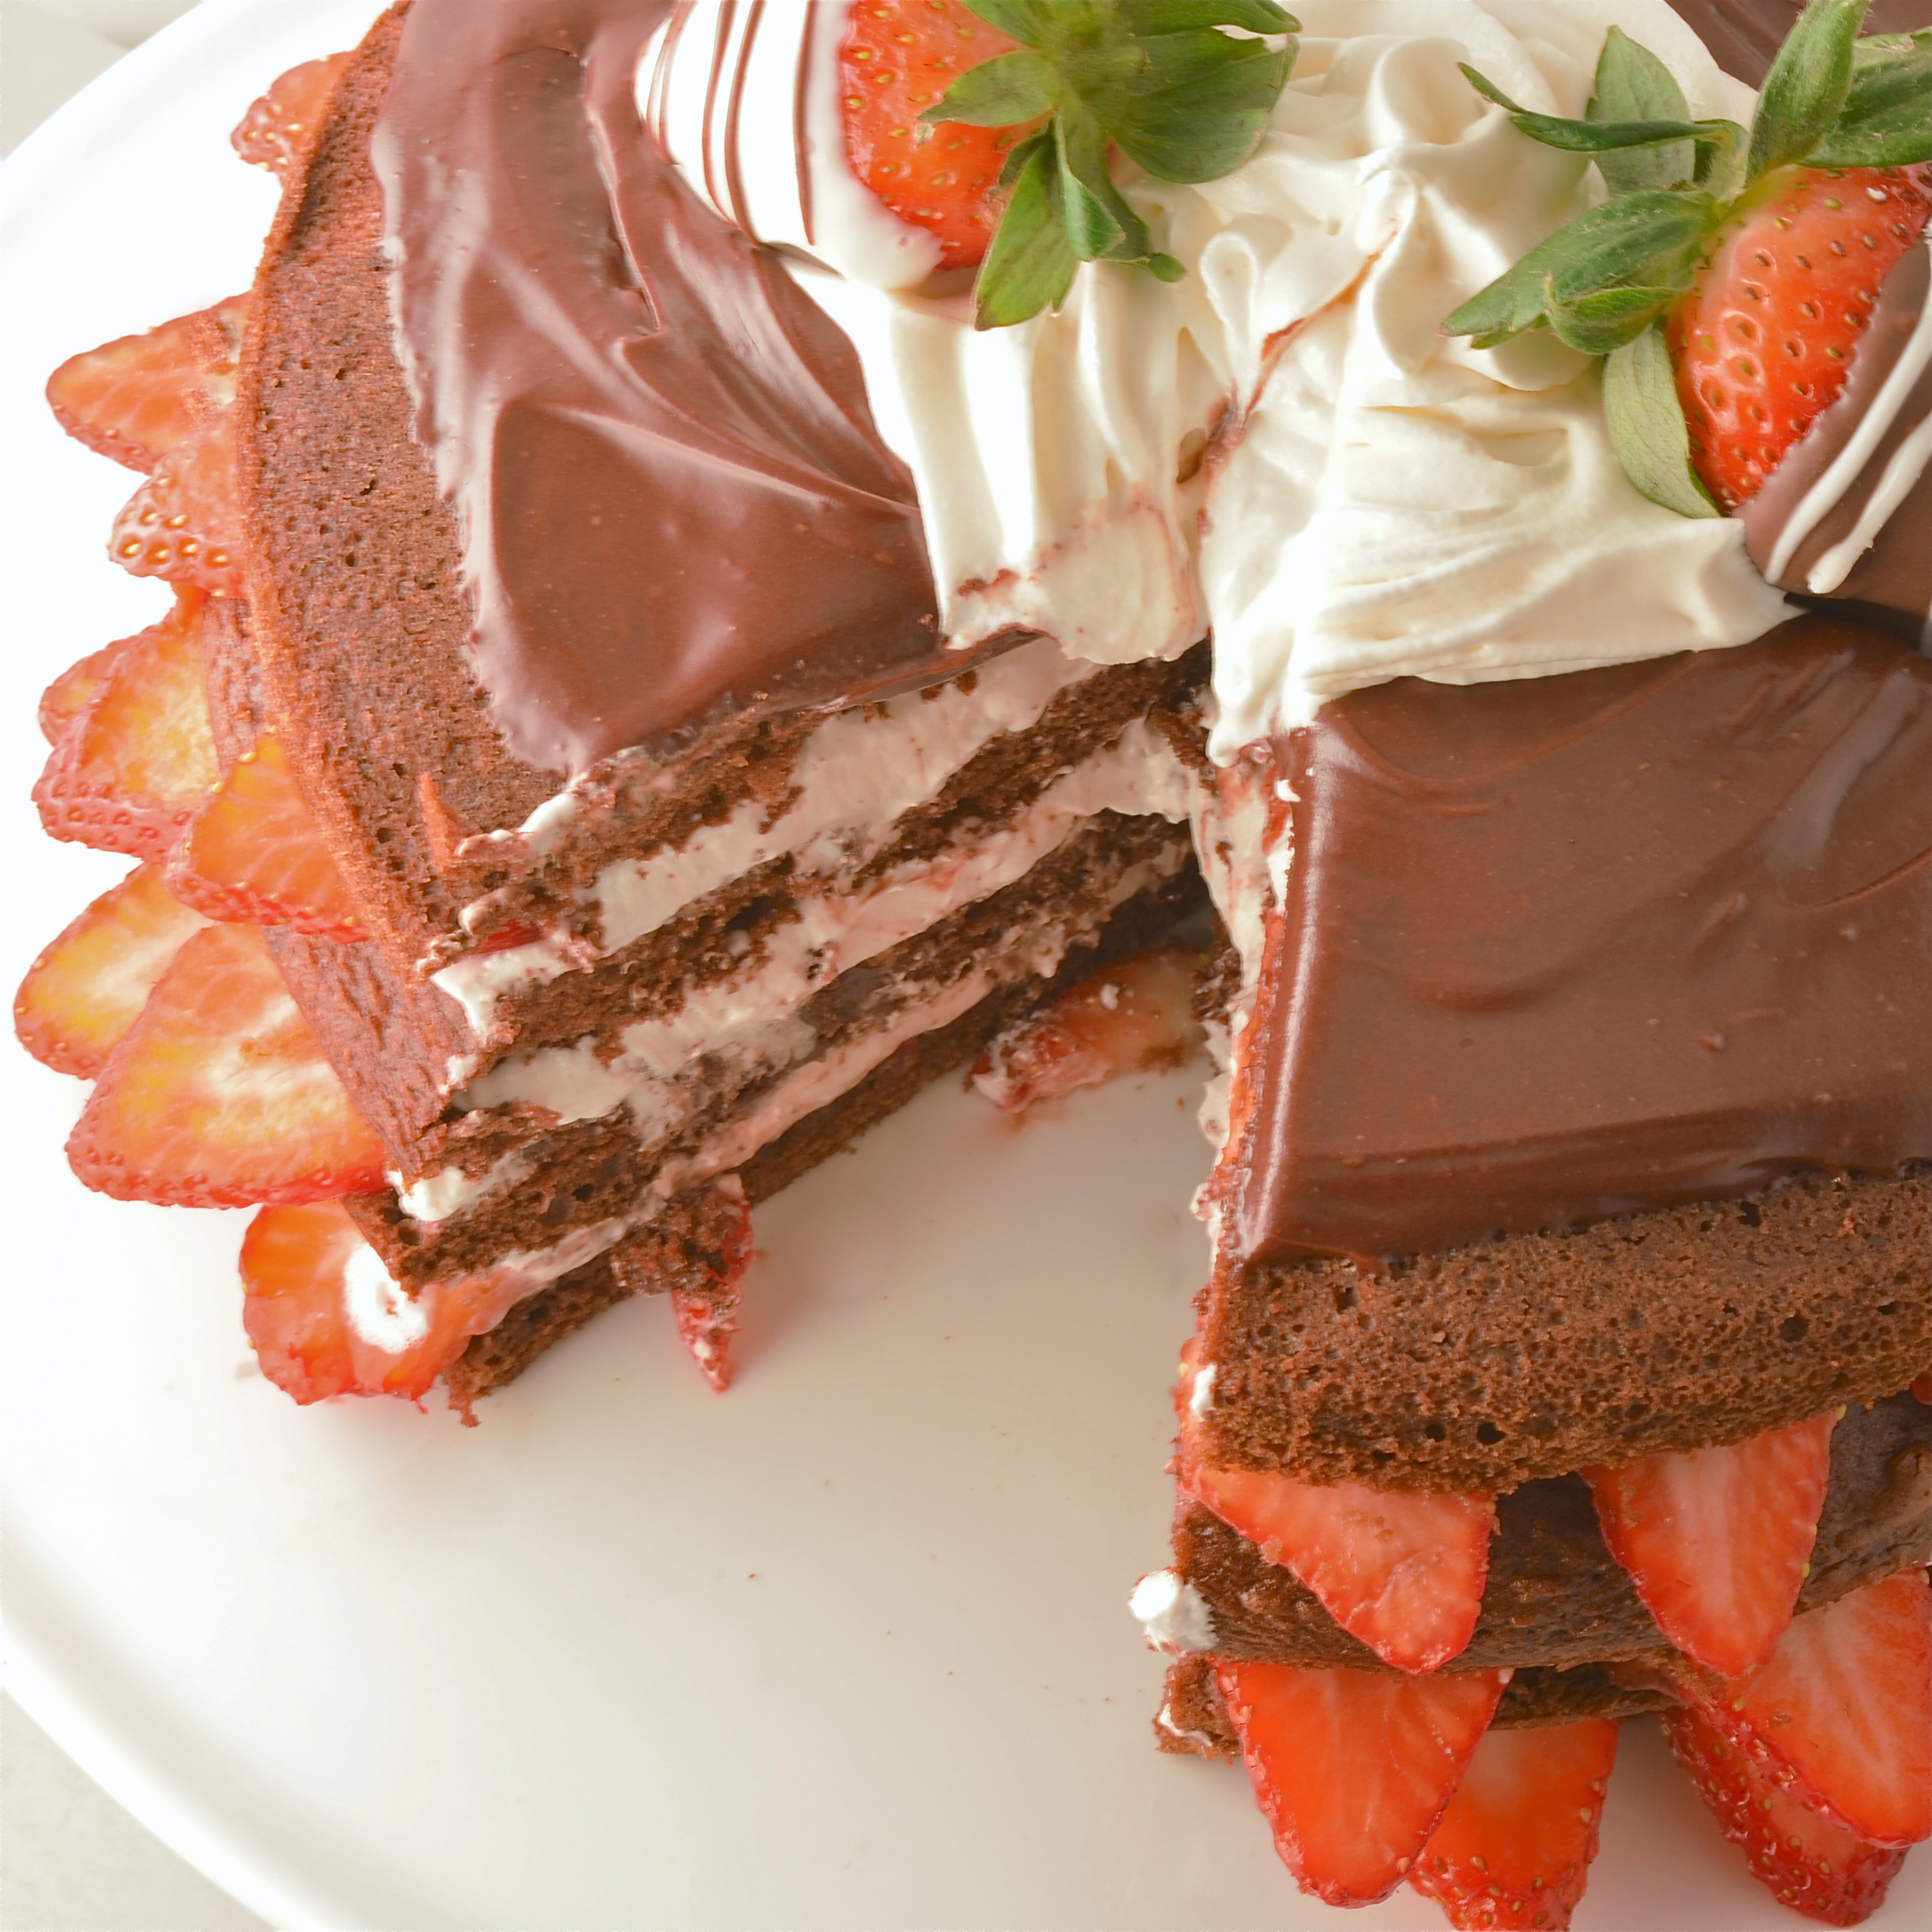
Swirls of caramel and chocolate cake, topped with caramel sauce and pecans, make this a beautiful and decadent dessert!

I love bundt cakes. They are just so pretty and fun to serve. This one is a combination of caramel and chocolate in a memorably beautiful and tasty display of yumminess!

Turtle Bundt3

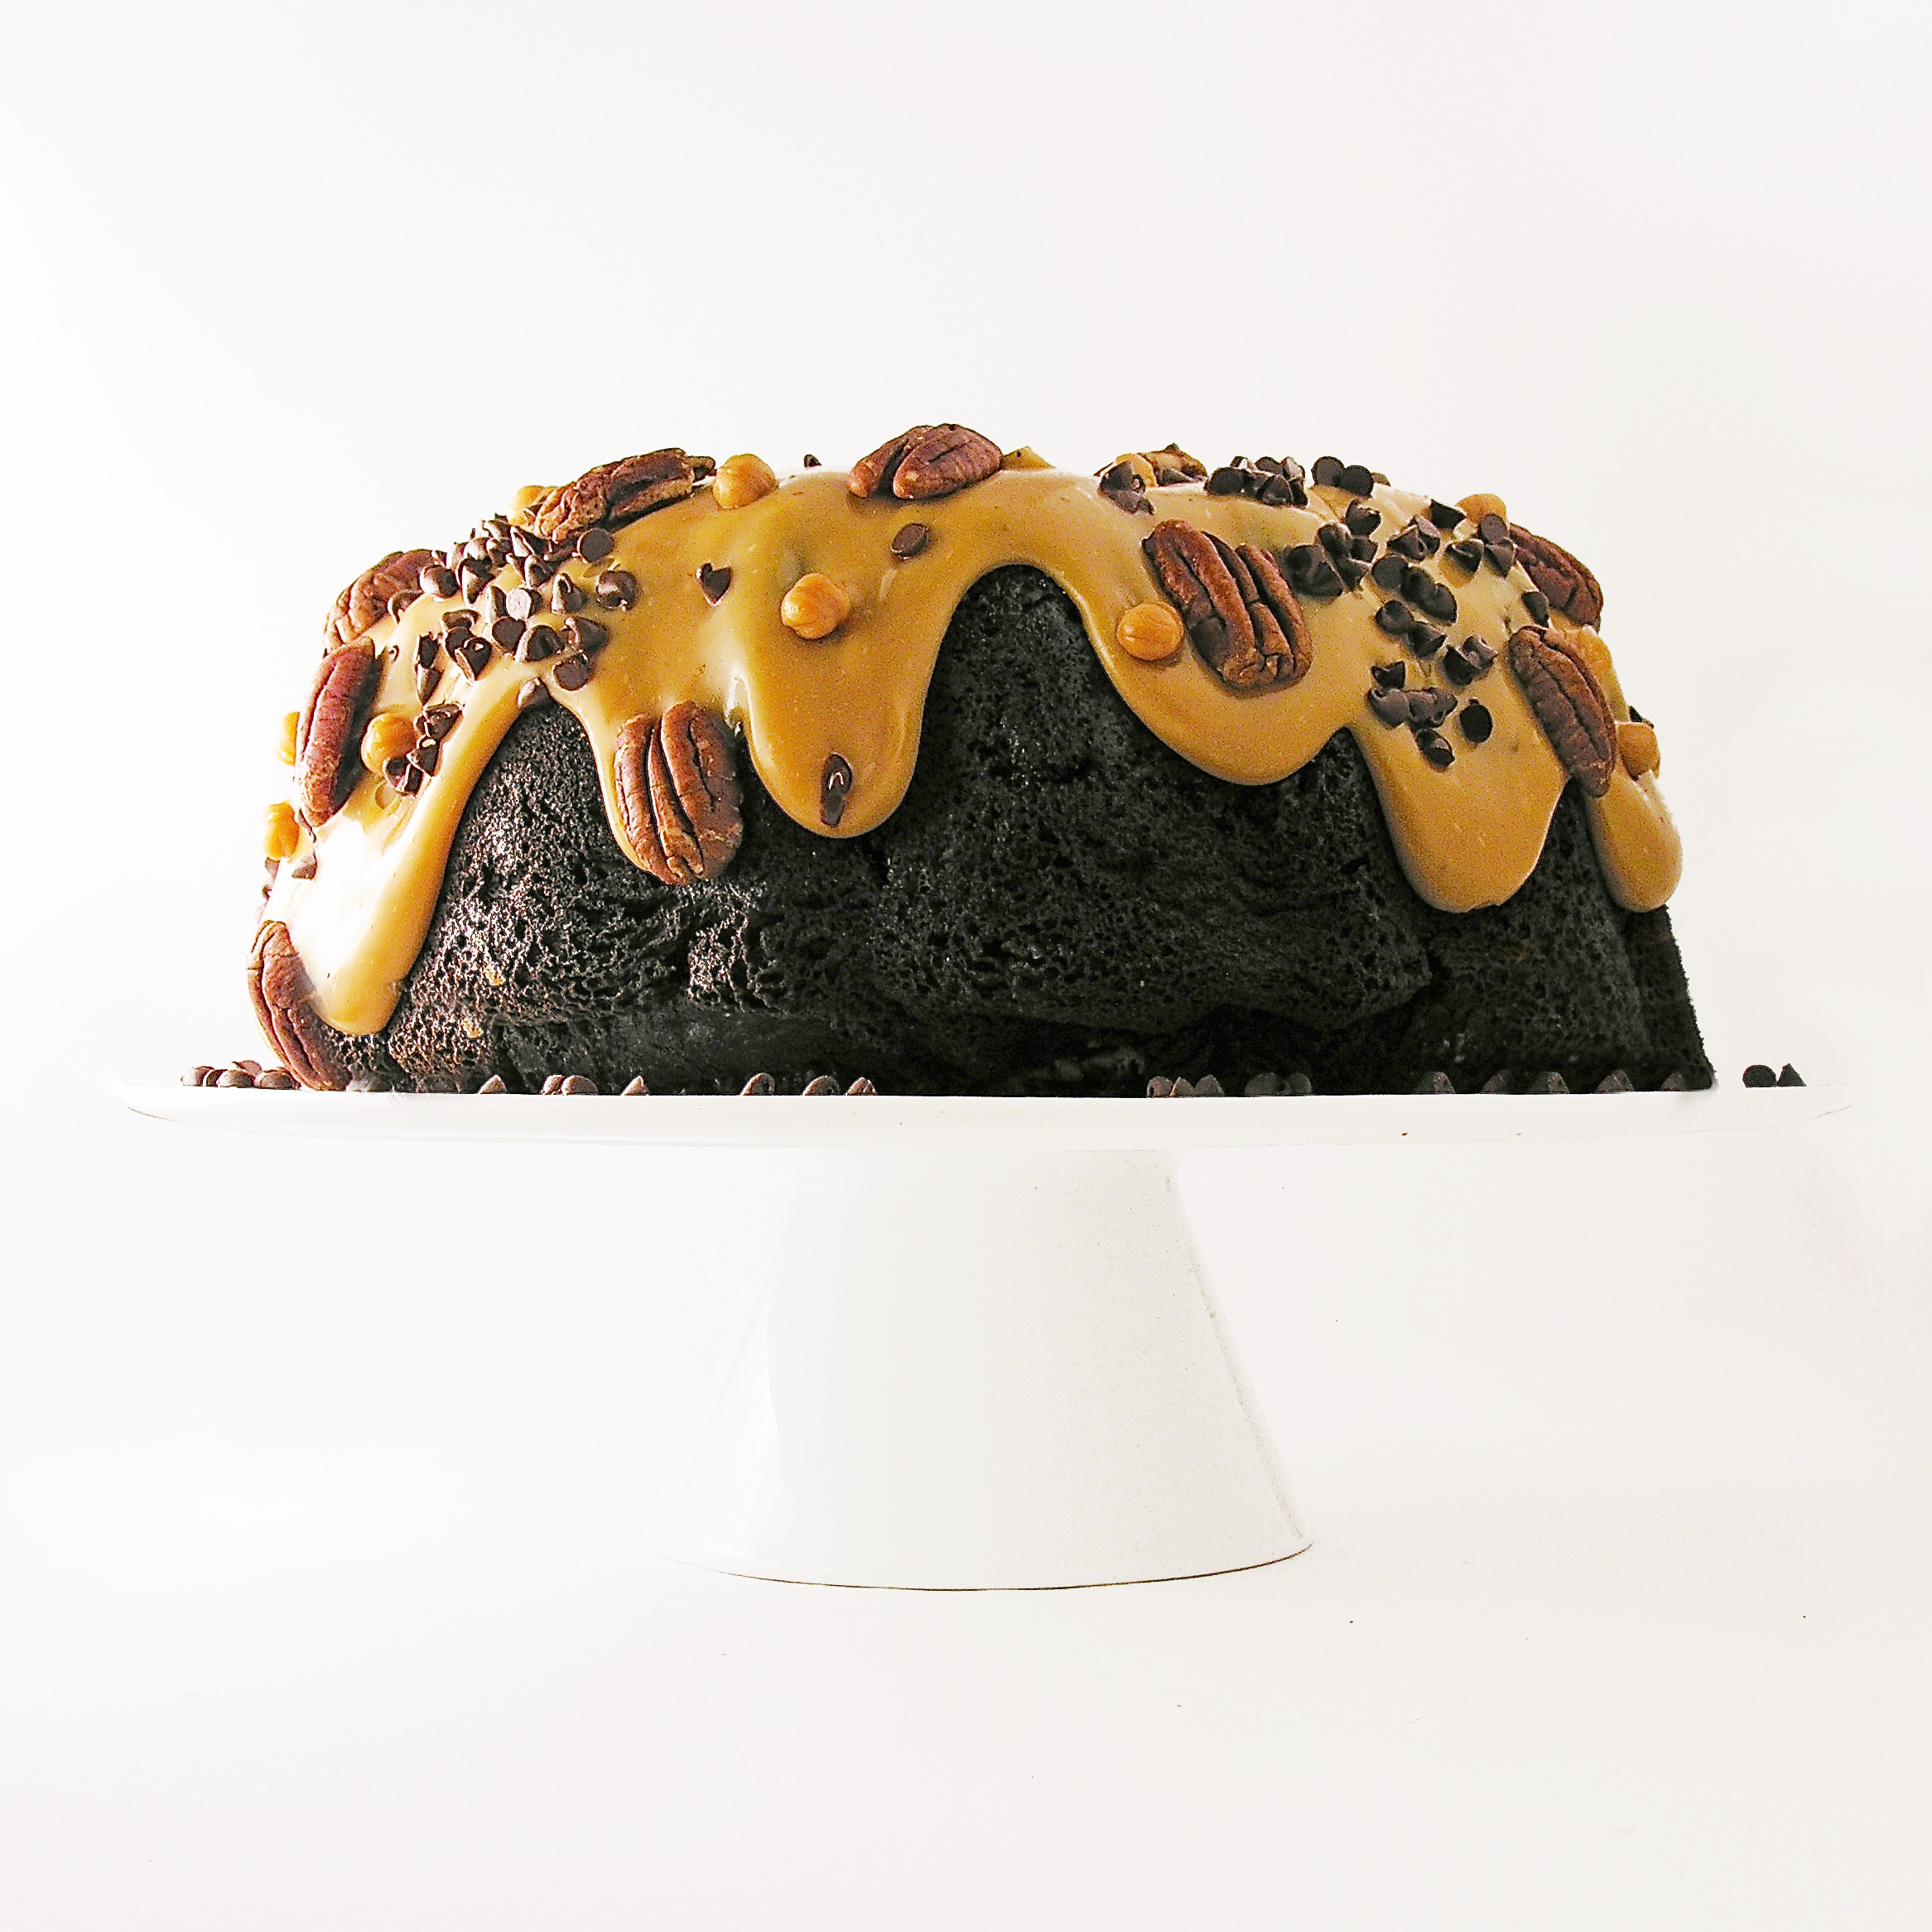
This uses cake mixes and Kraft caramels, so it is a quick and easy dessert to put together, and it serves a ton of people, 14-16 at least.

Here’s how we made it: (printable recipe)

INGREDIENTS:

  • One box of chocolate cake mix (plus water, oil and eggs to make according to box)
  • One box of caramel cake mix- I use Duncan Hines- (plus water, oil and eggs to make according to box)
  • 32 Kraft Caramels (unwrapped)
  • 1 can (14 oz.) of sweetened condensed milk
  • 1 stick (1/2 cup) of butter
  • Whole Pecans (as many as you want to sprinkle on top)
  • Mini chocolate chips (as many as you want to sprinkle on top)
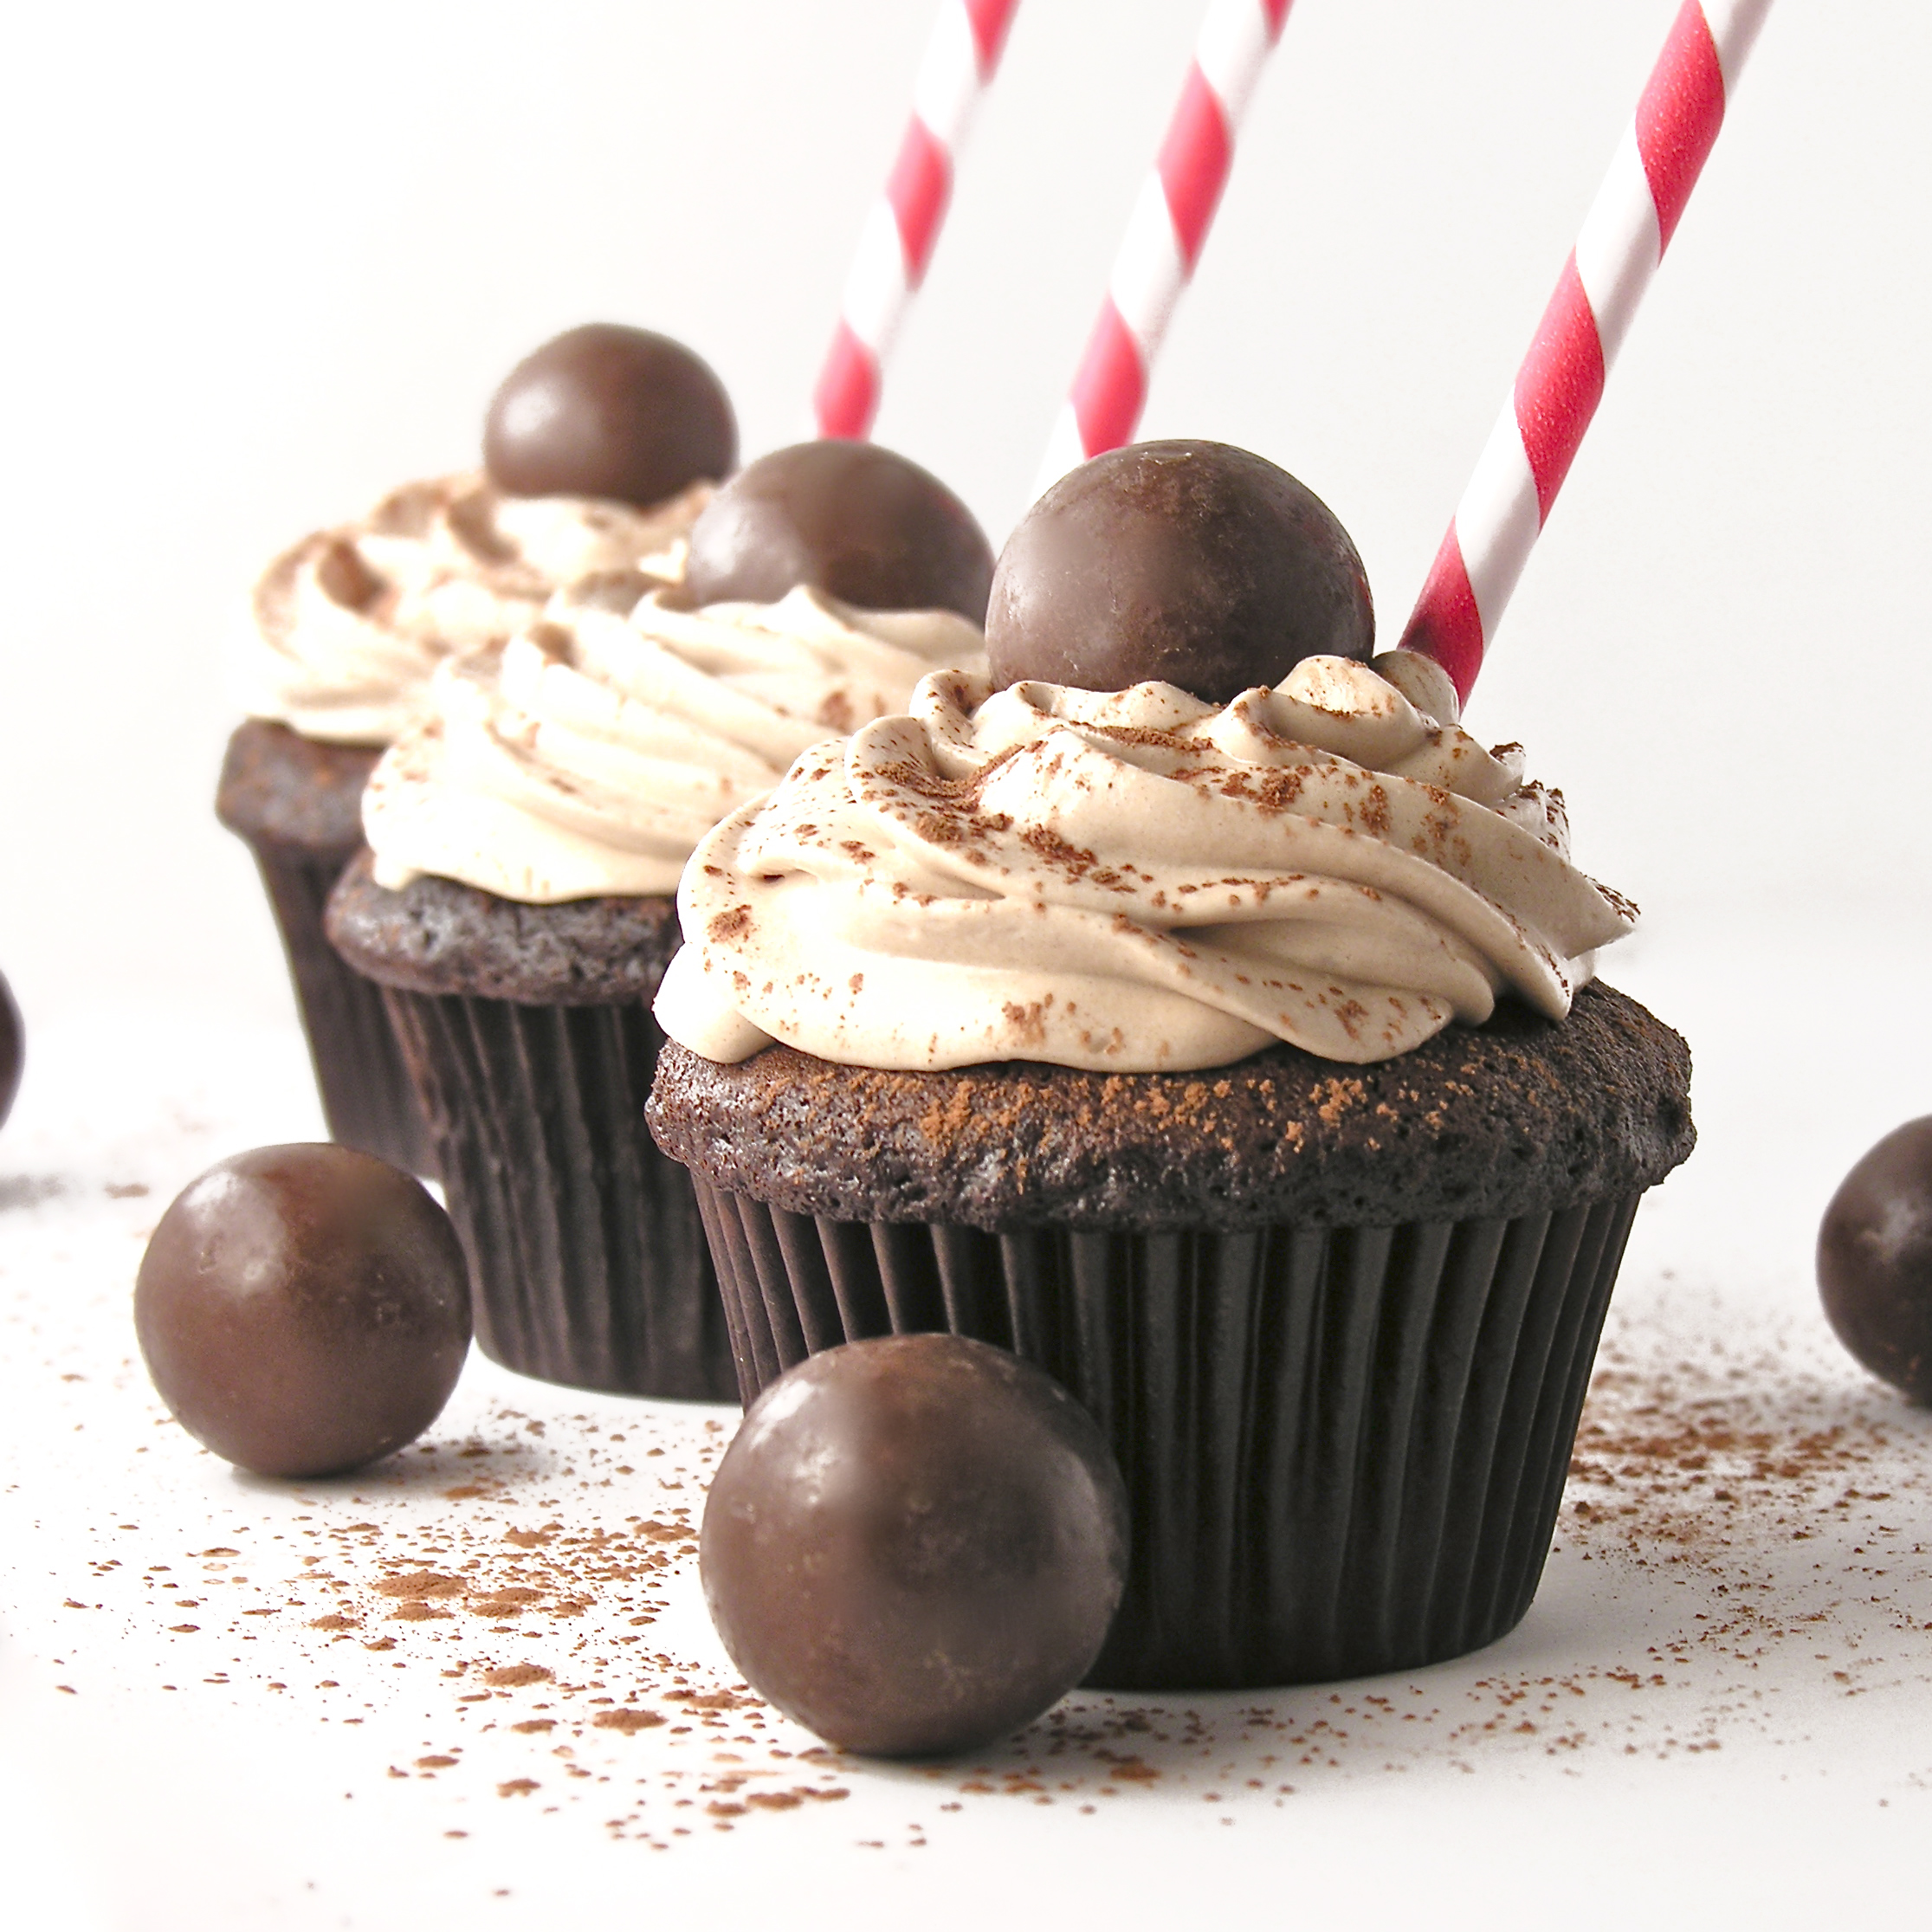
  • I also added some Kraft caramel bits as sprinkles because I had them and they sounded fun- those are the little round caramel bits you see in my photos.

DIRECTIONS:

  • Preheat oven to 350F degrees.
  • Make up both cake mixes according to package.
  • Alternate pouring them into a well-greased bundt pan. Fill the pan only 3/4 full. You will have a little cake mix left at the end, since both mixes don’t fully fit in the pan.
  • Place on a cookie sheet (just in case of overflow) and bake for 40-50 minutes. A cake tester or skewer should come out clean when cake is fully baked.
  • Allow cake to cool for 5-10 minutes in pan, and then tip onto a wire cake rack to finish cooling.
  • While cake cools, make caramel.
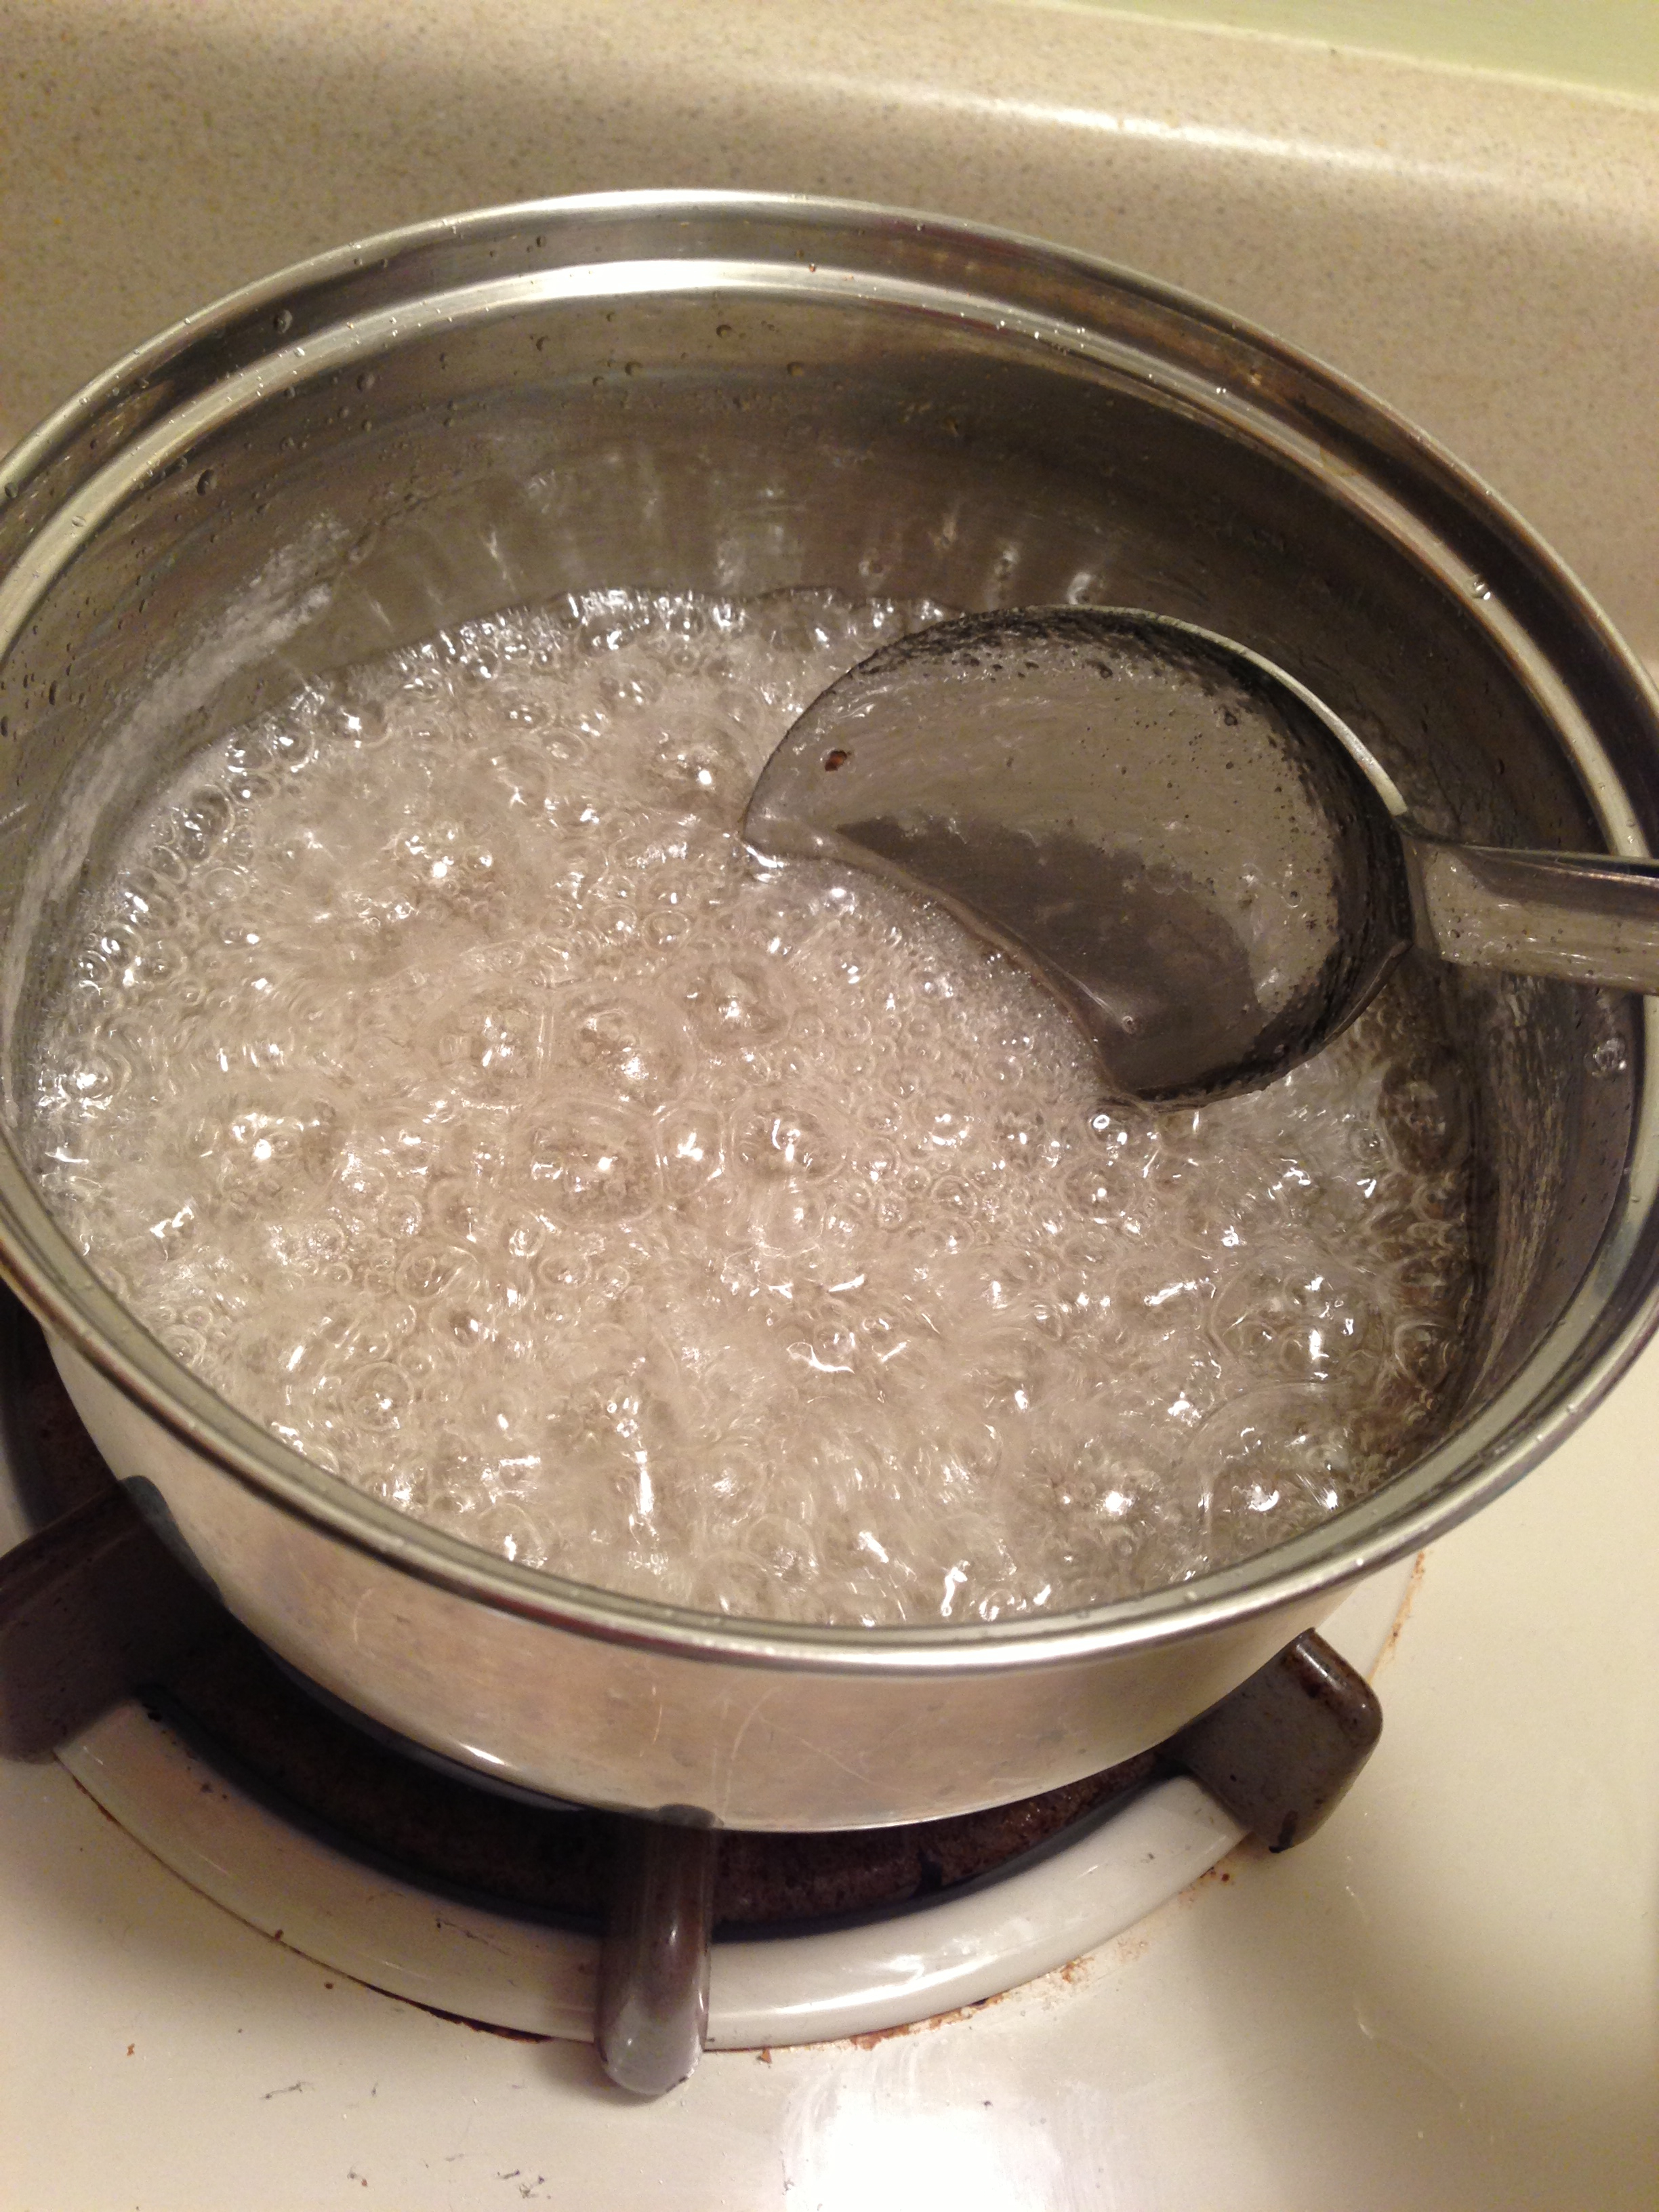
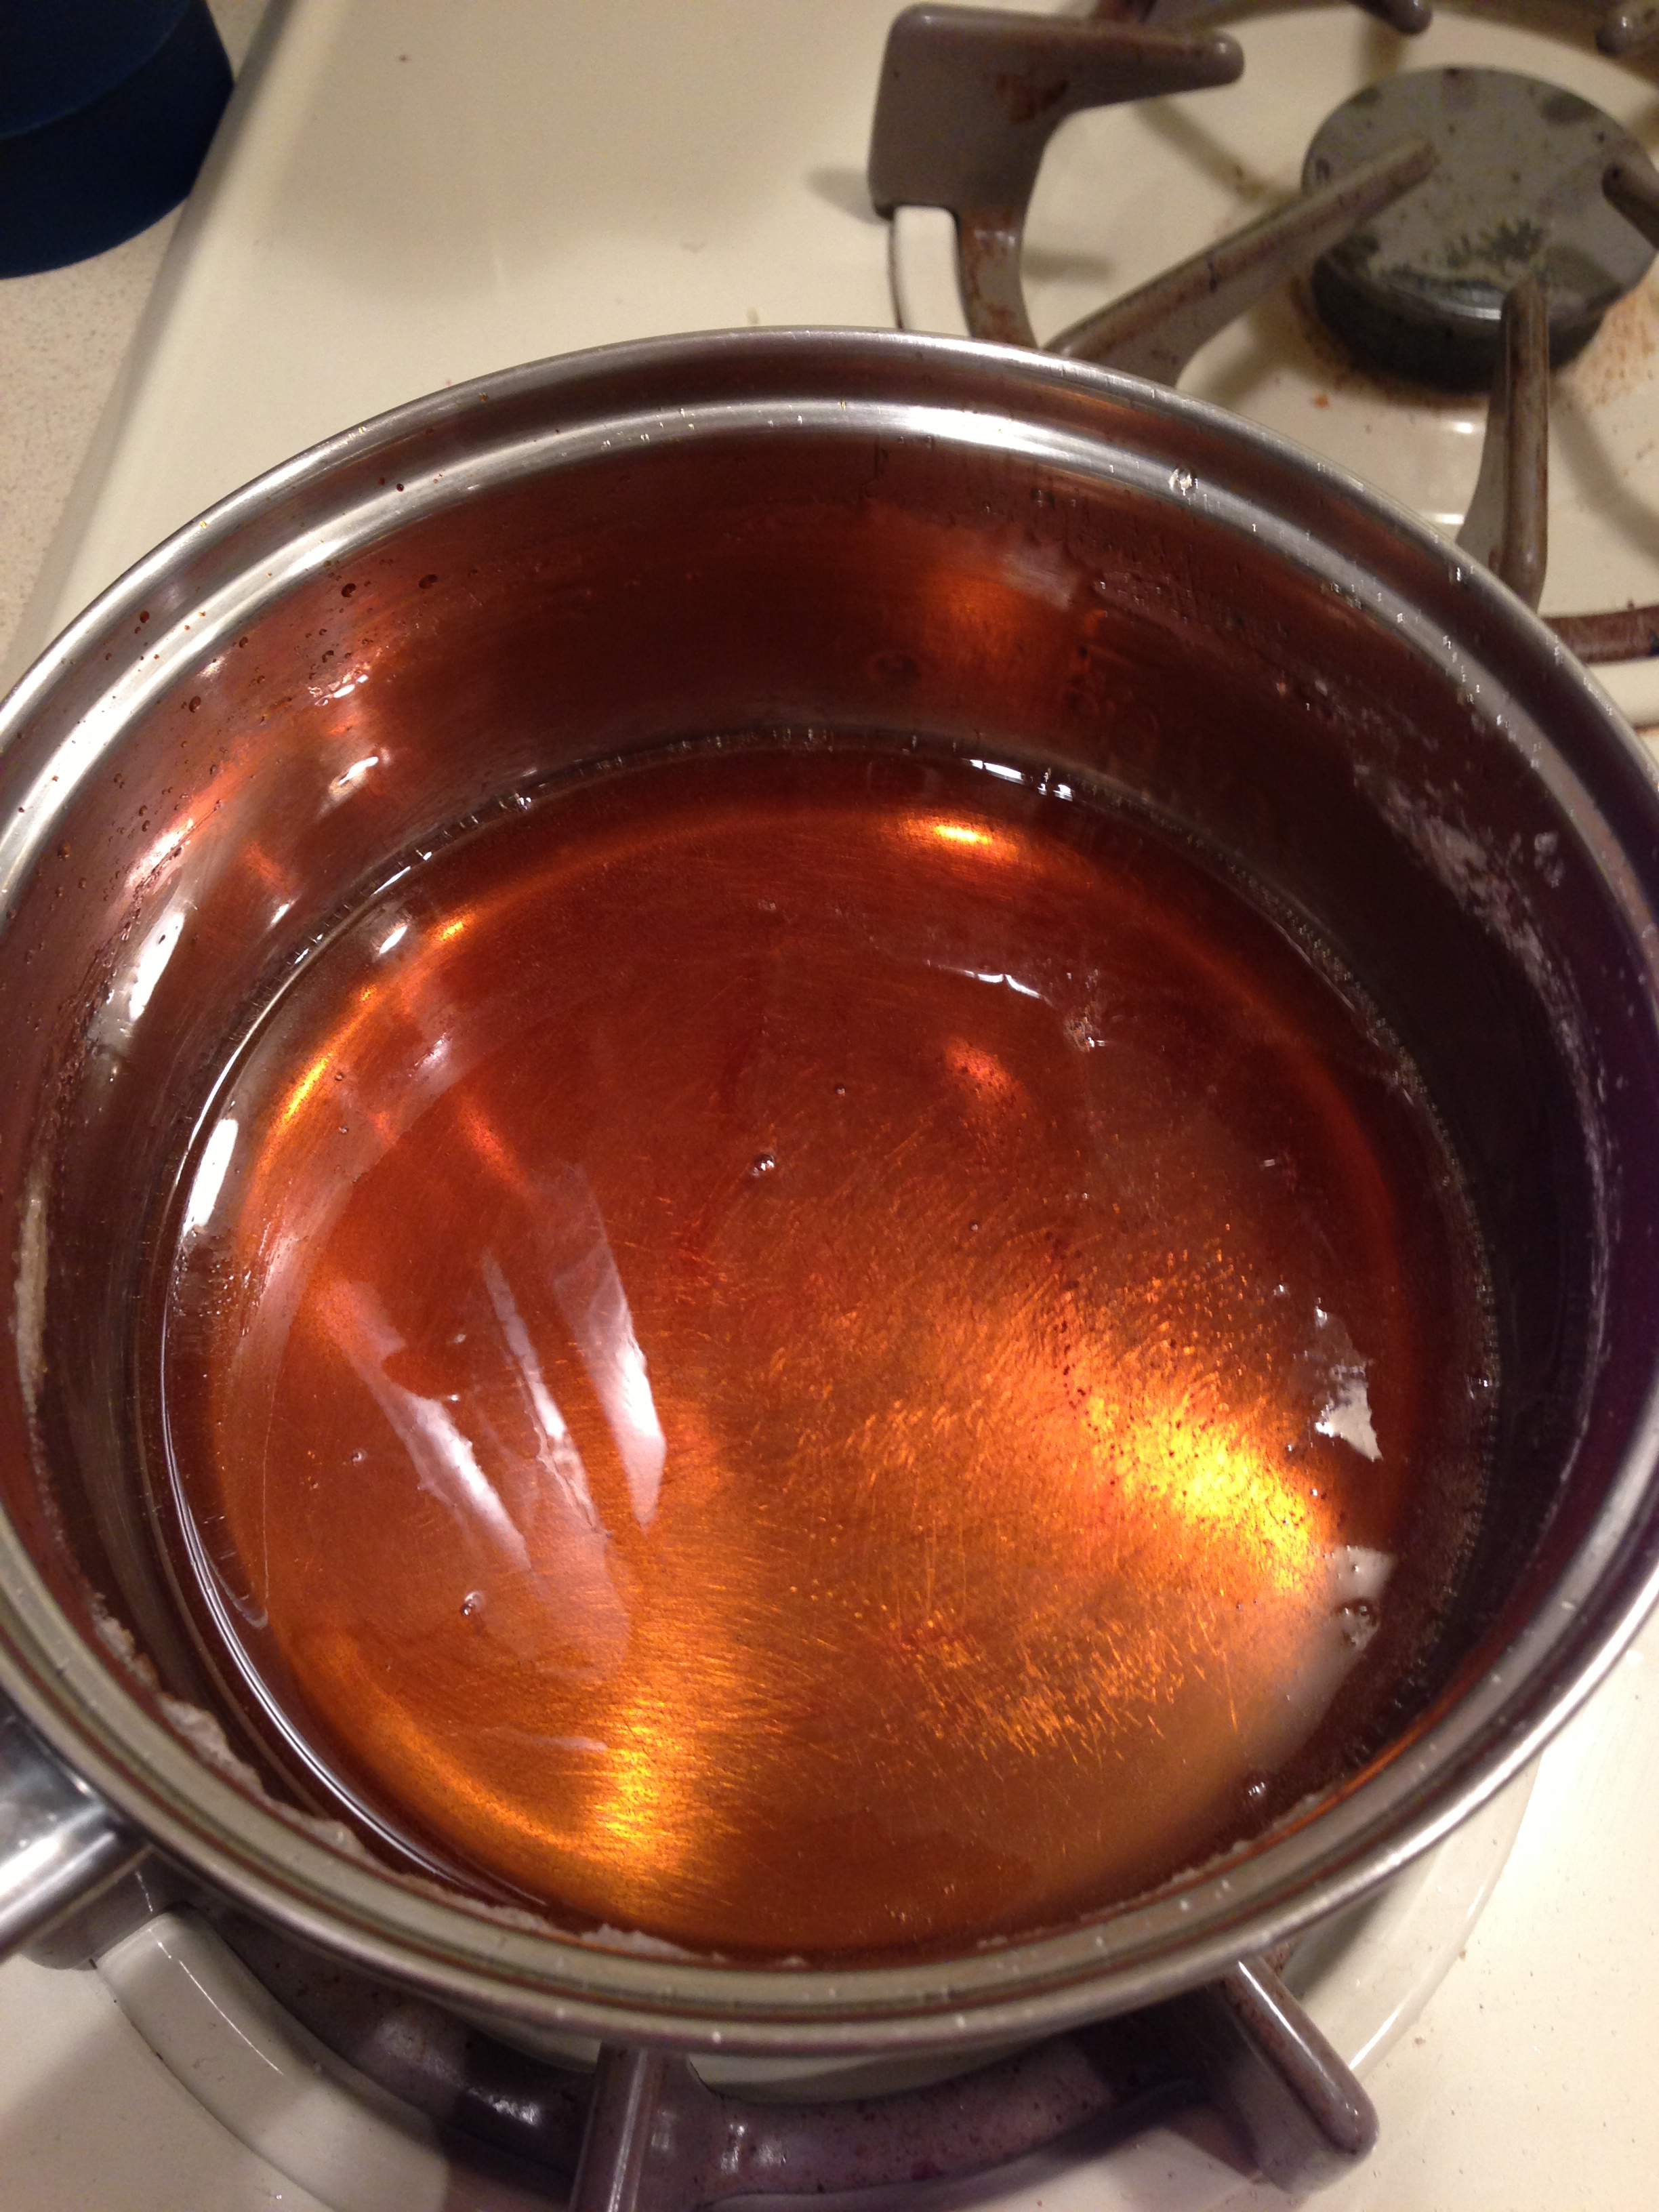
  • Place unwrapped caramels into a medium saucepan with sweetened condensed milk and butter.
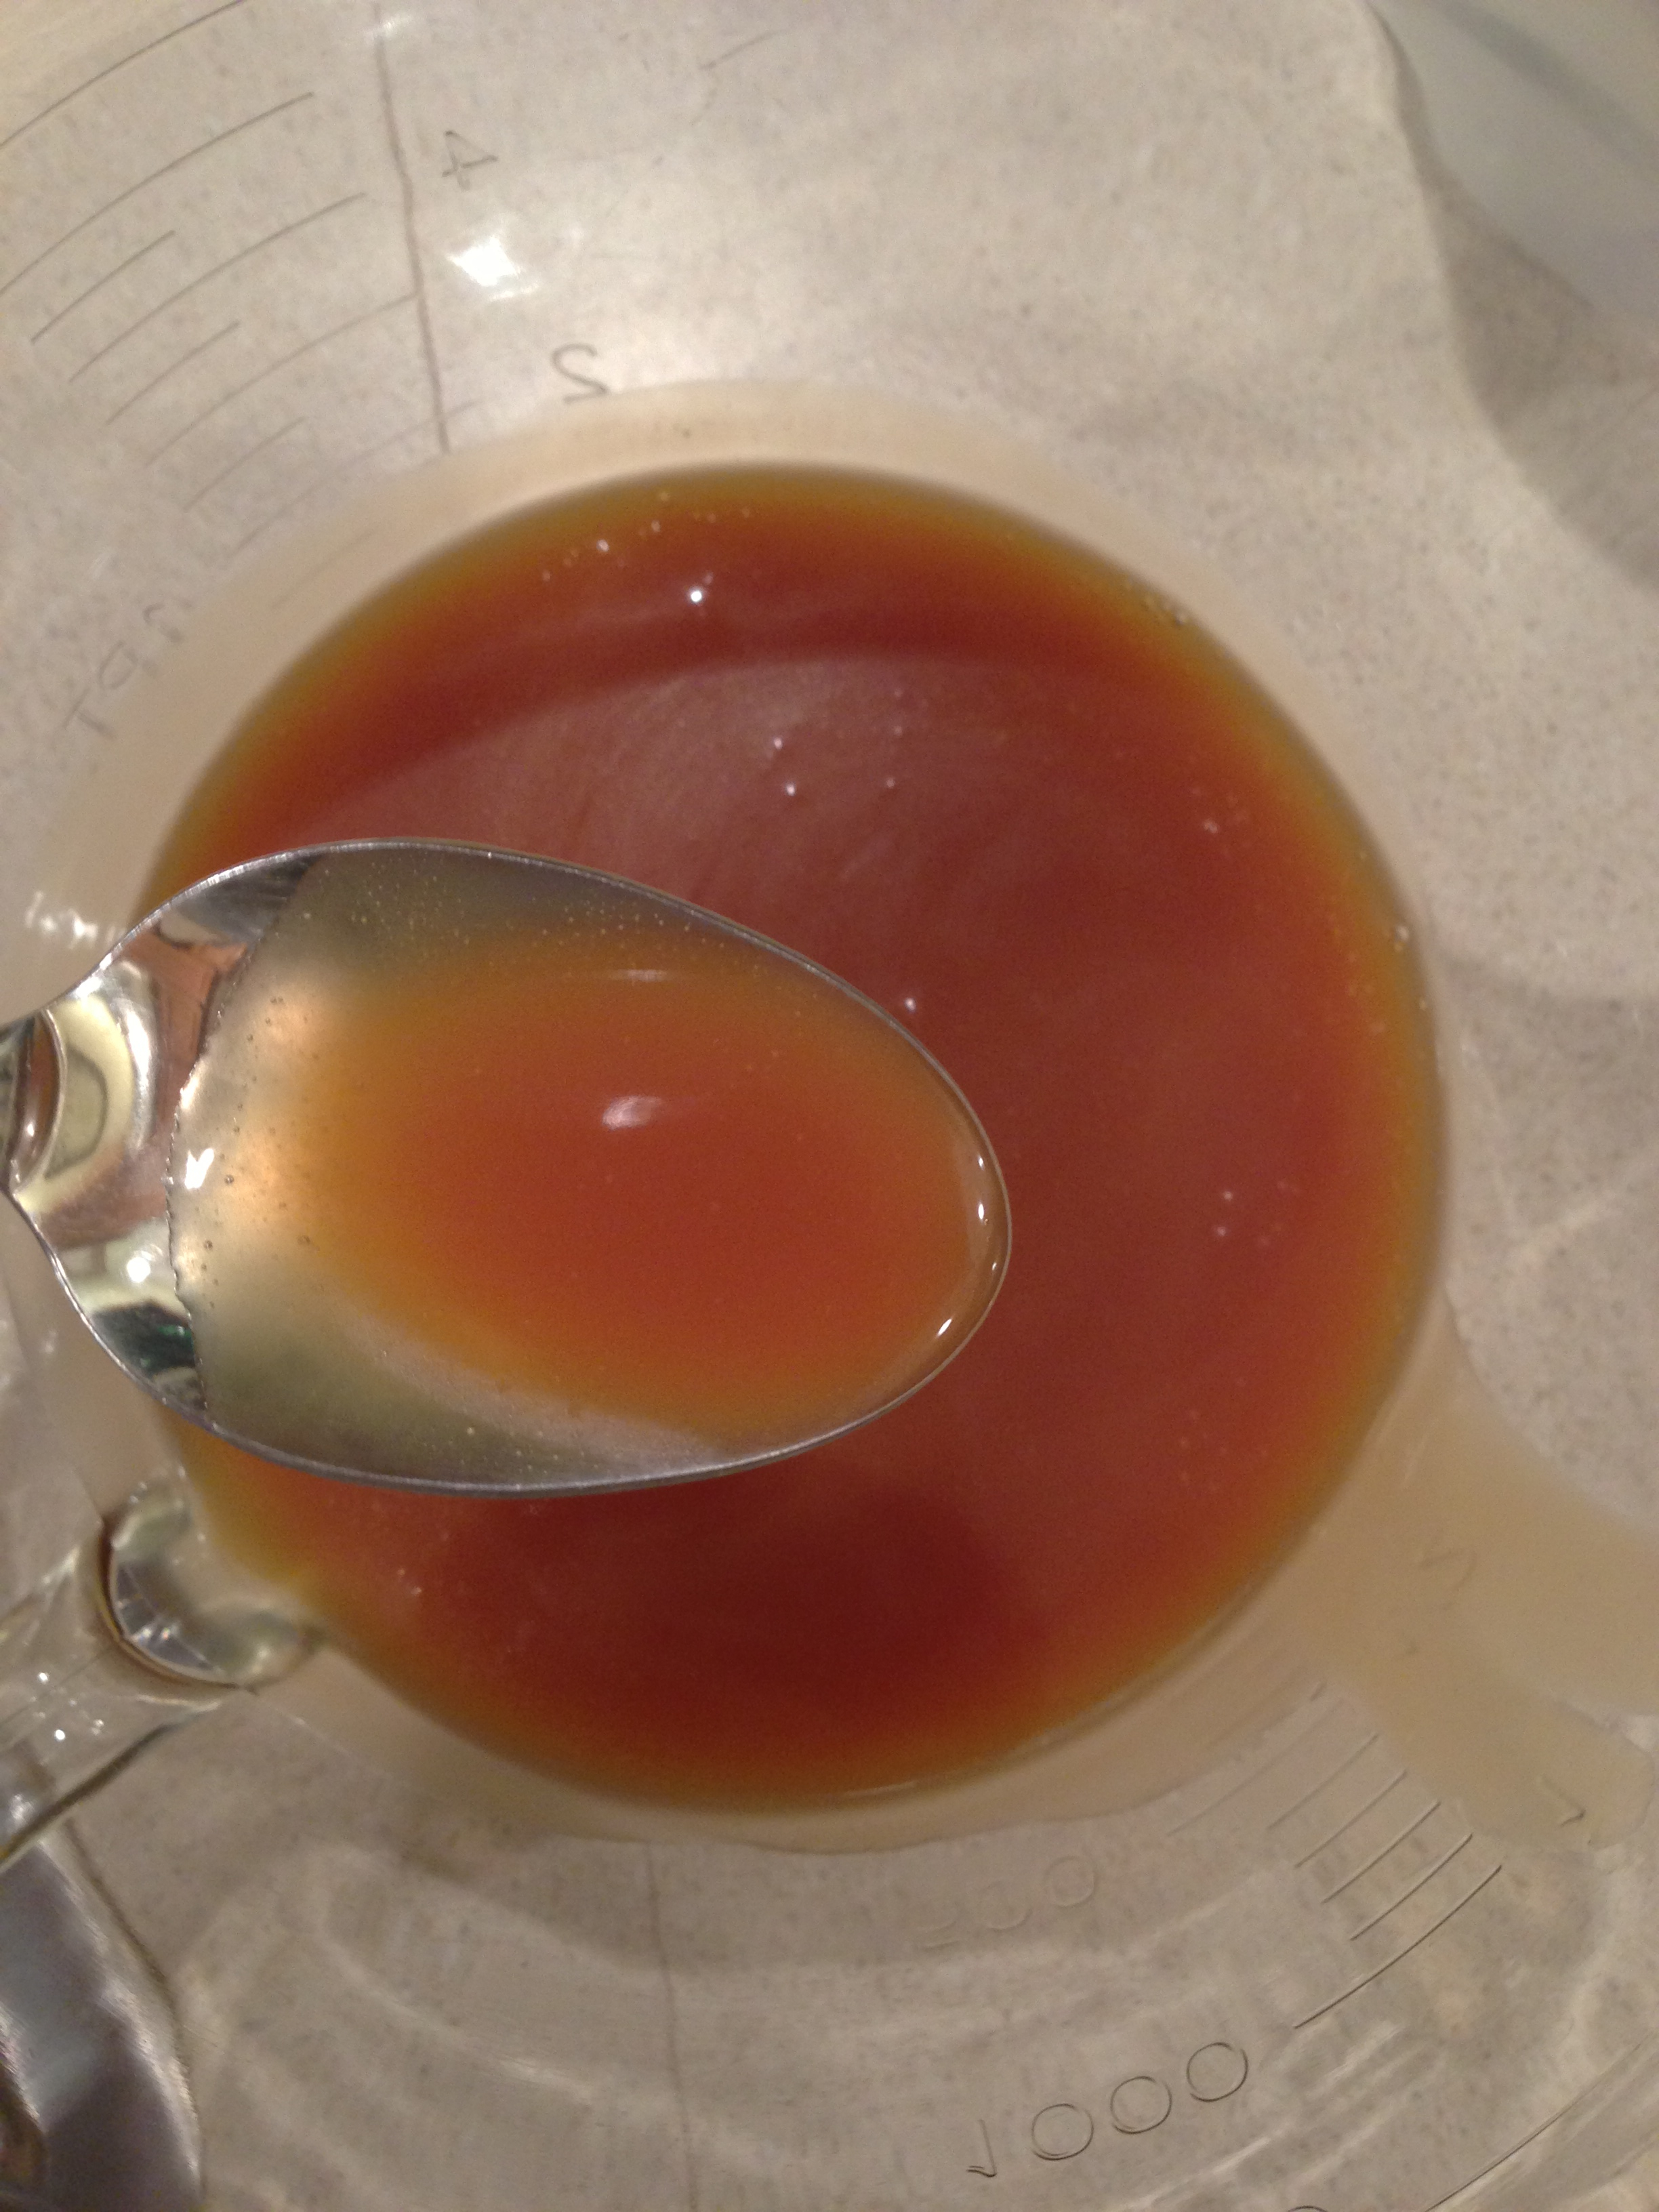
  • Heat on medium/high, stirring constantly, until caramels are completely melted and smooth.
  • Place cake on serving plate.
  • Pour caramel sauce over the bundt cake, allowing it to run down the sides.
  • Immediately sprinkle with nuts and chocolate chips. If you wait these will not stick to the caramel as it hardens.
  • Allow topping to cool and firm up before cutting.
  • Enjoy!

Turtle Bundt5

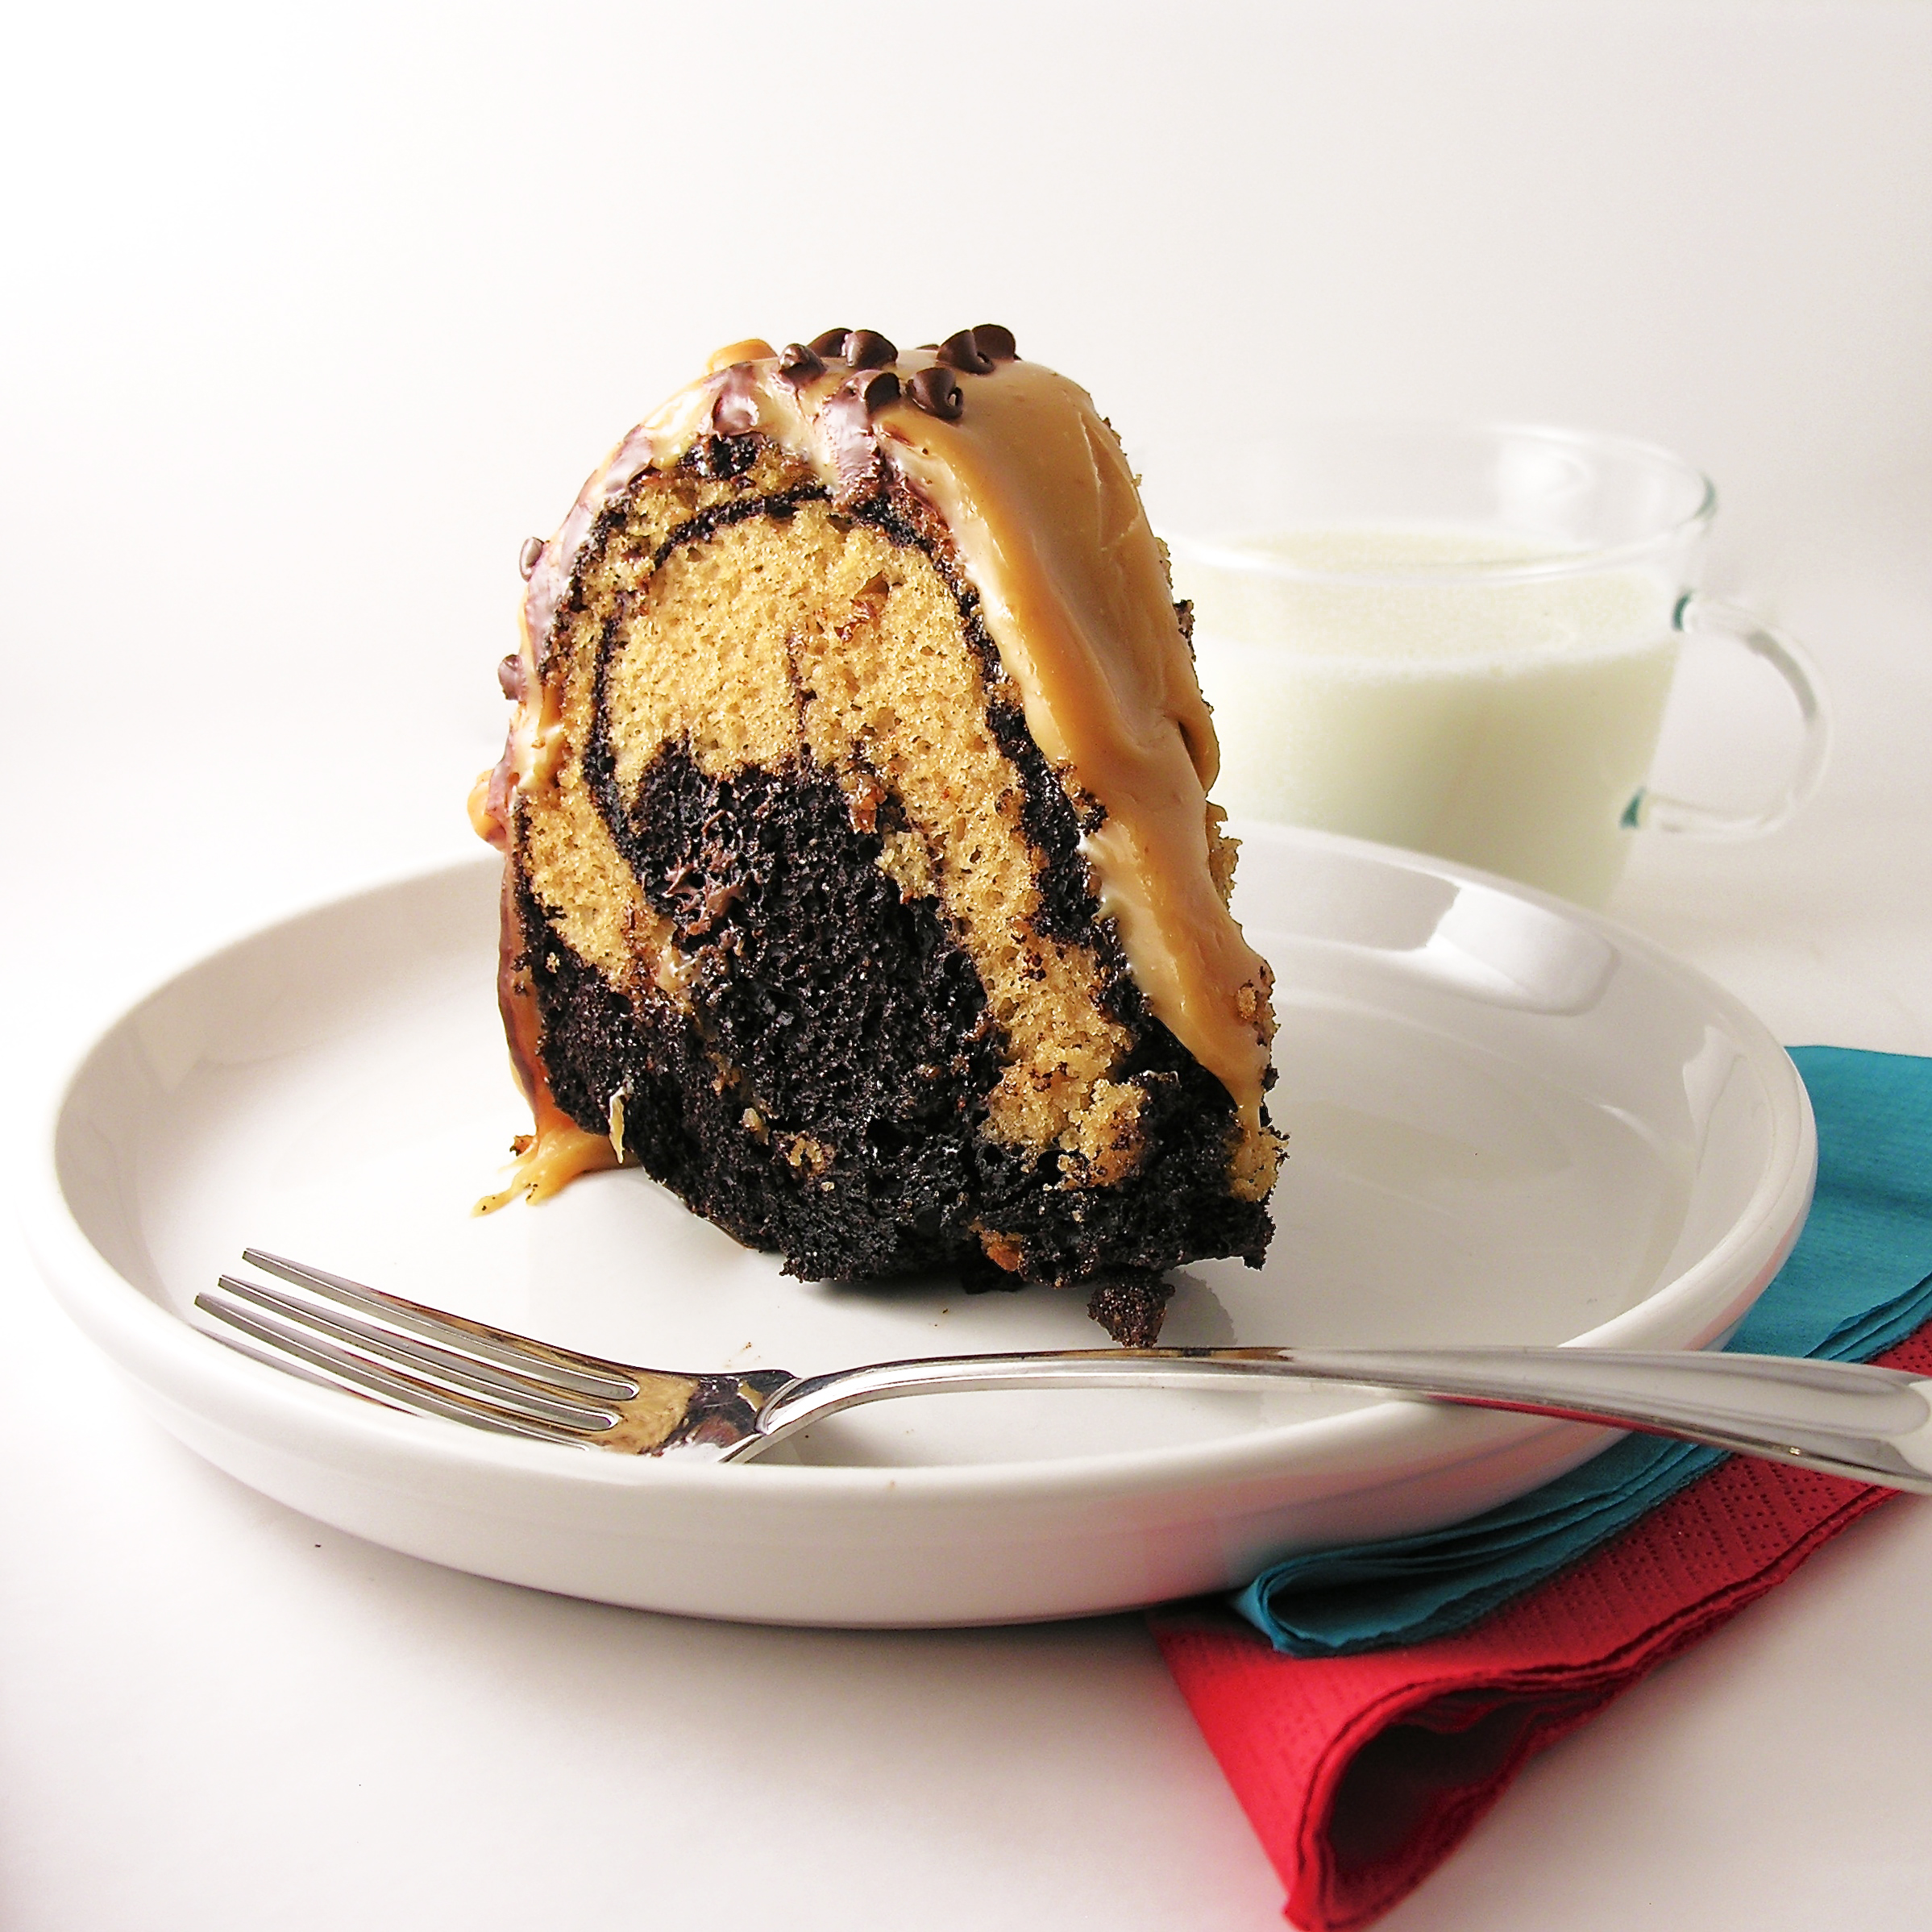
My thoughts: This is such a moist cake, and if you aren’t a big fan of frosting this is perfect- no frosting at all- just a soft caramel. It’s a perfect fancy dessert that is so quick to make, and fun to serve!

Turtle Bundt2

One more…

Turtle Bundt
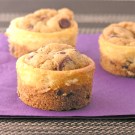
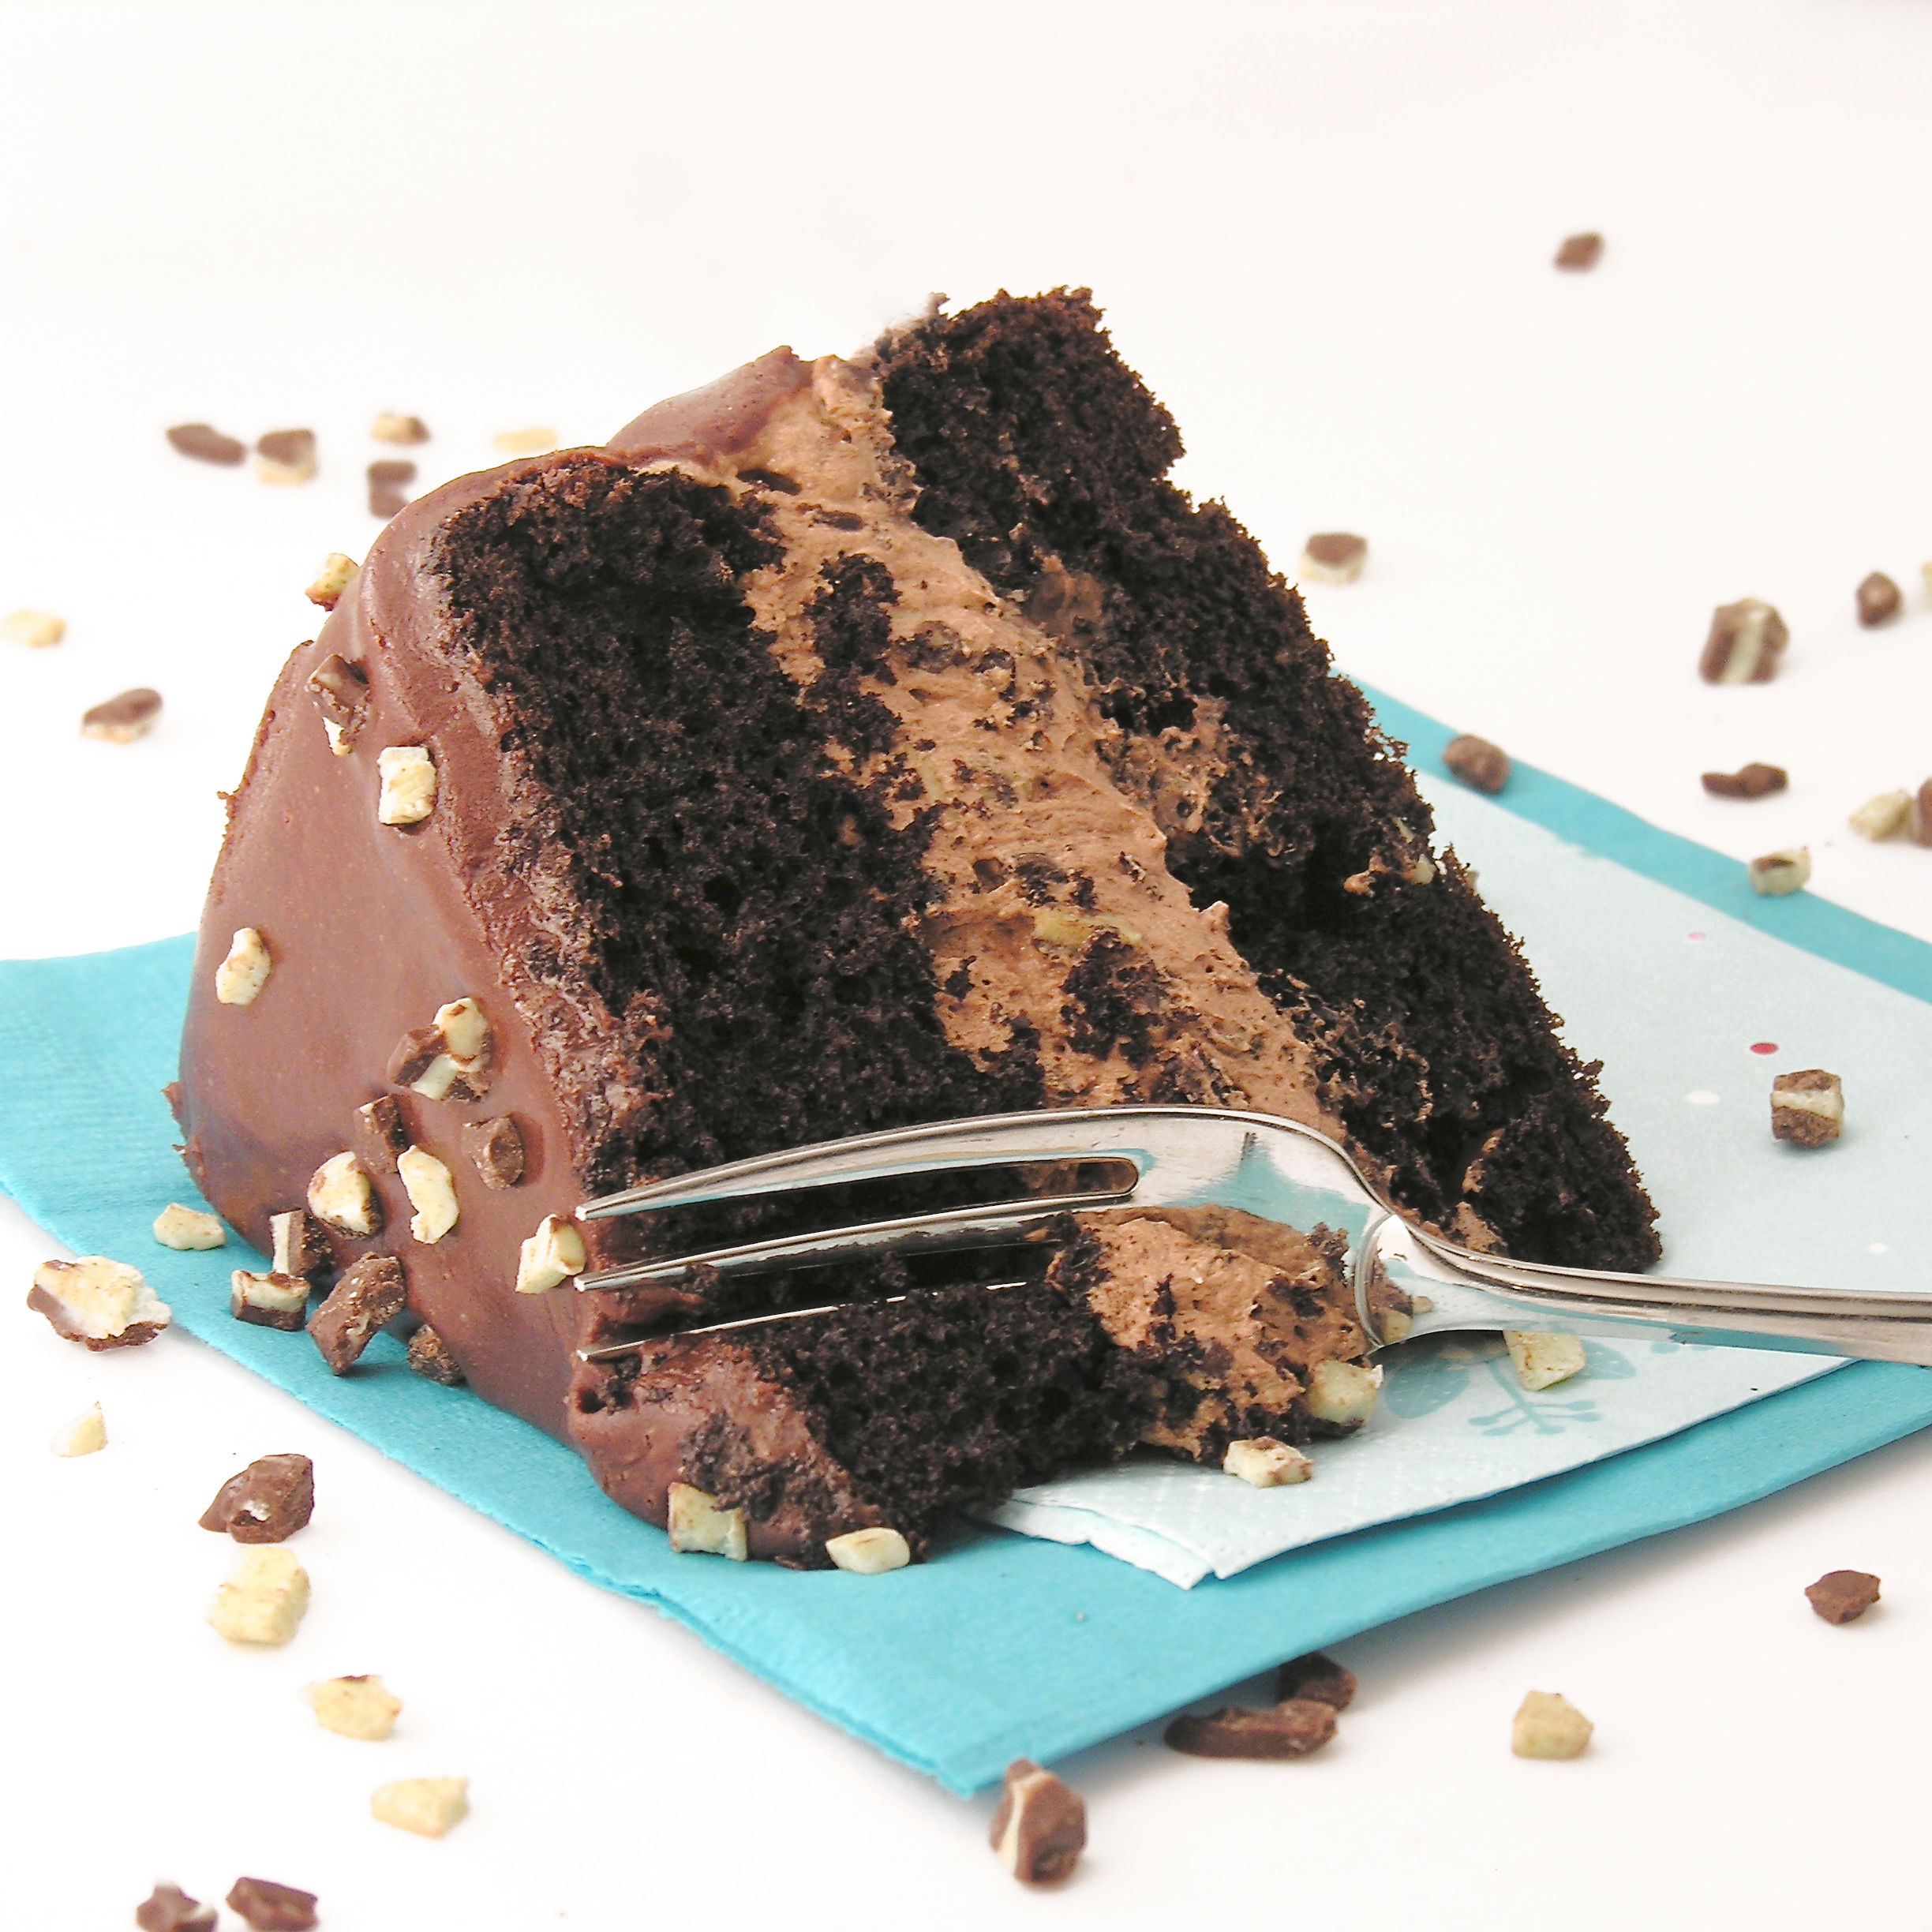
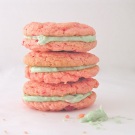
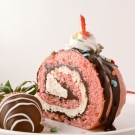
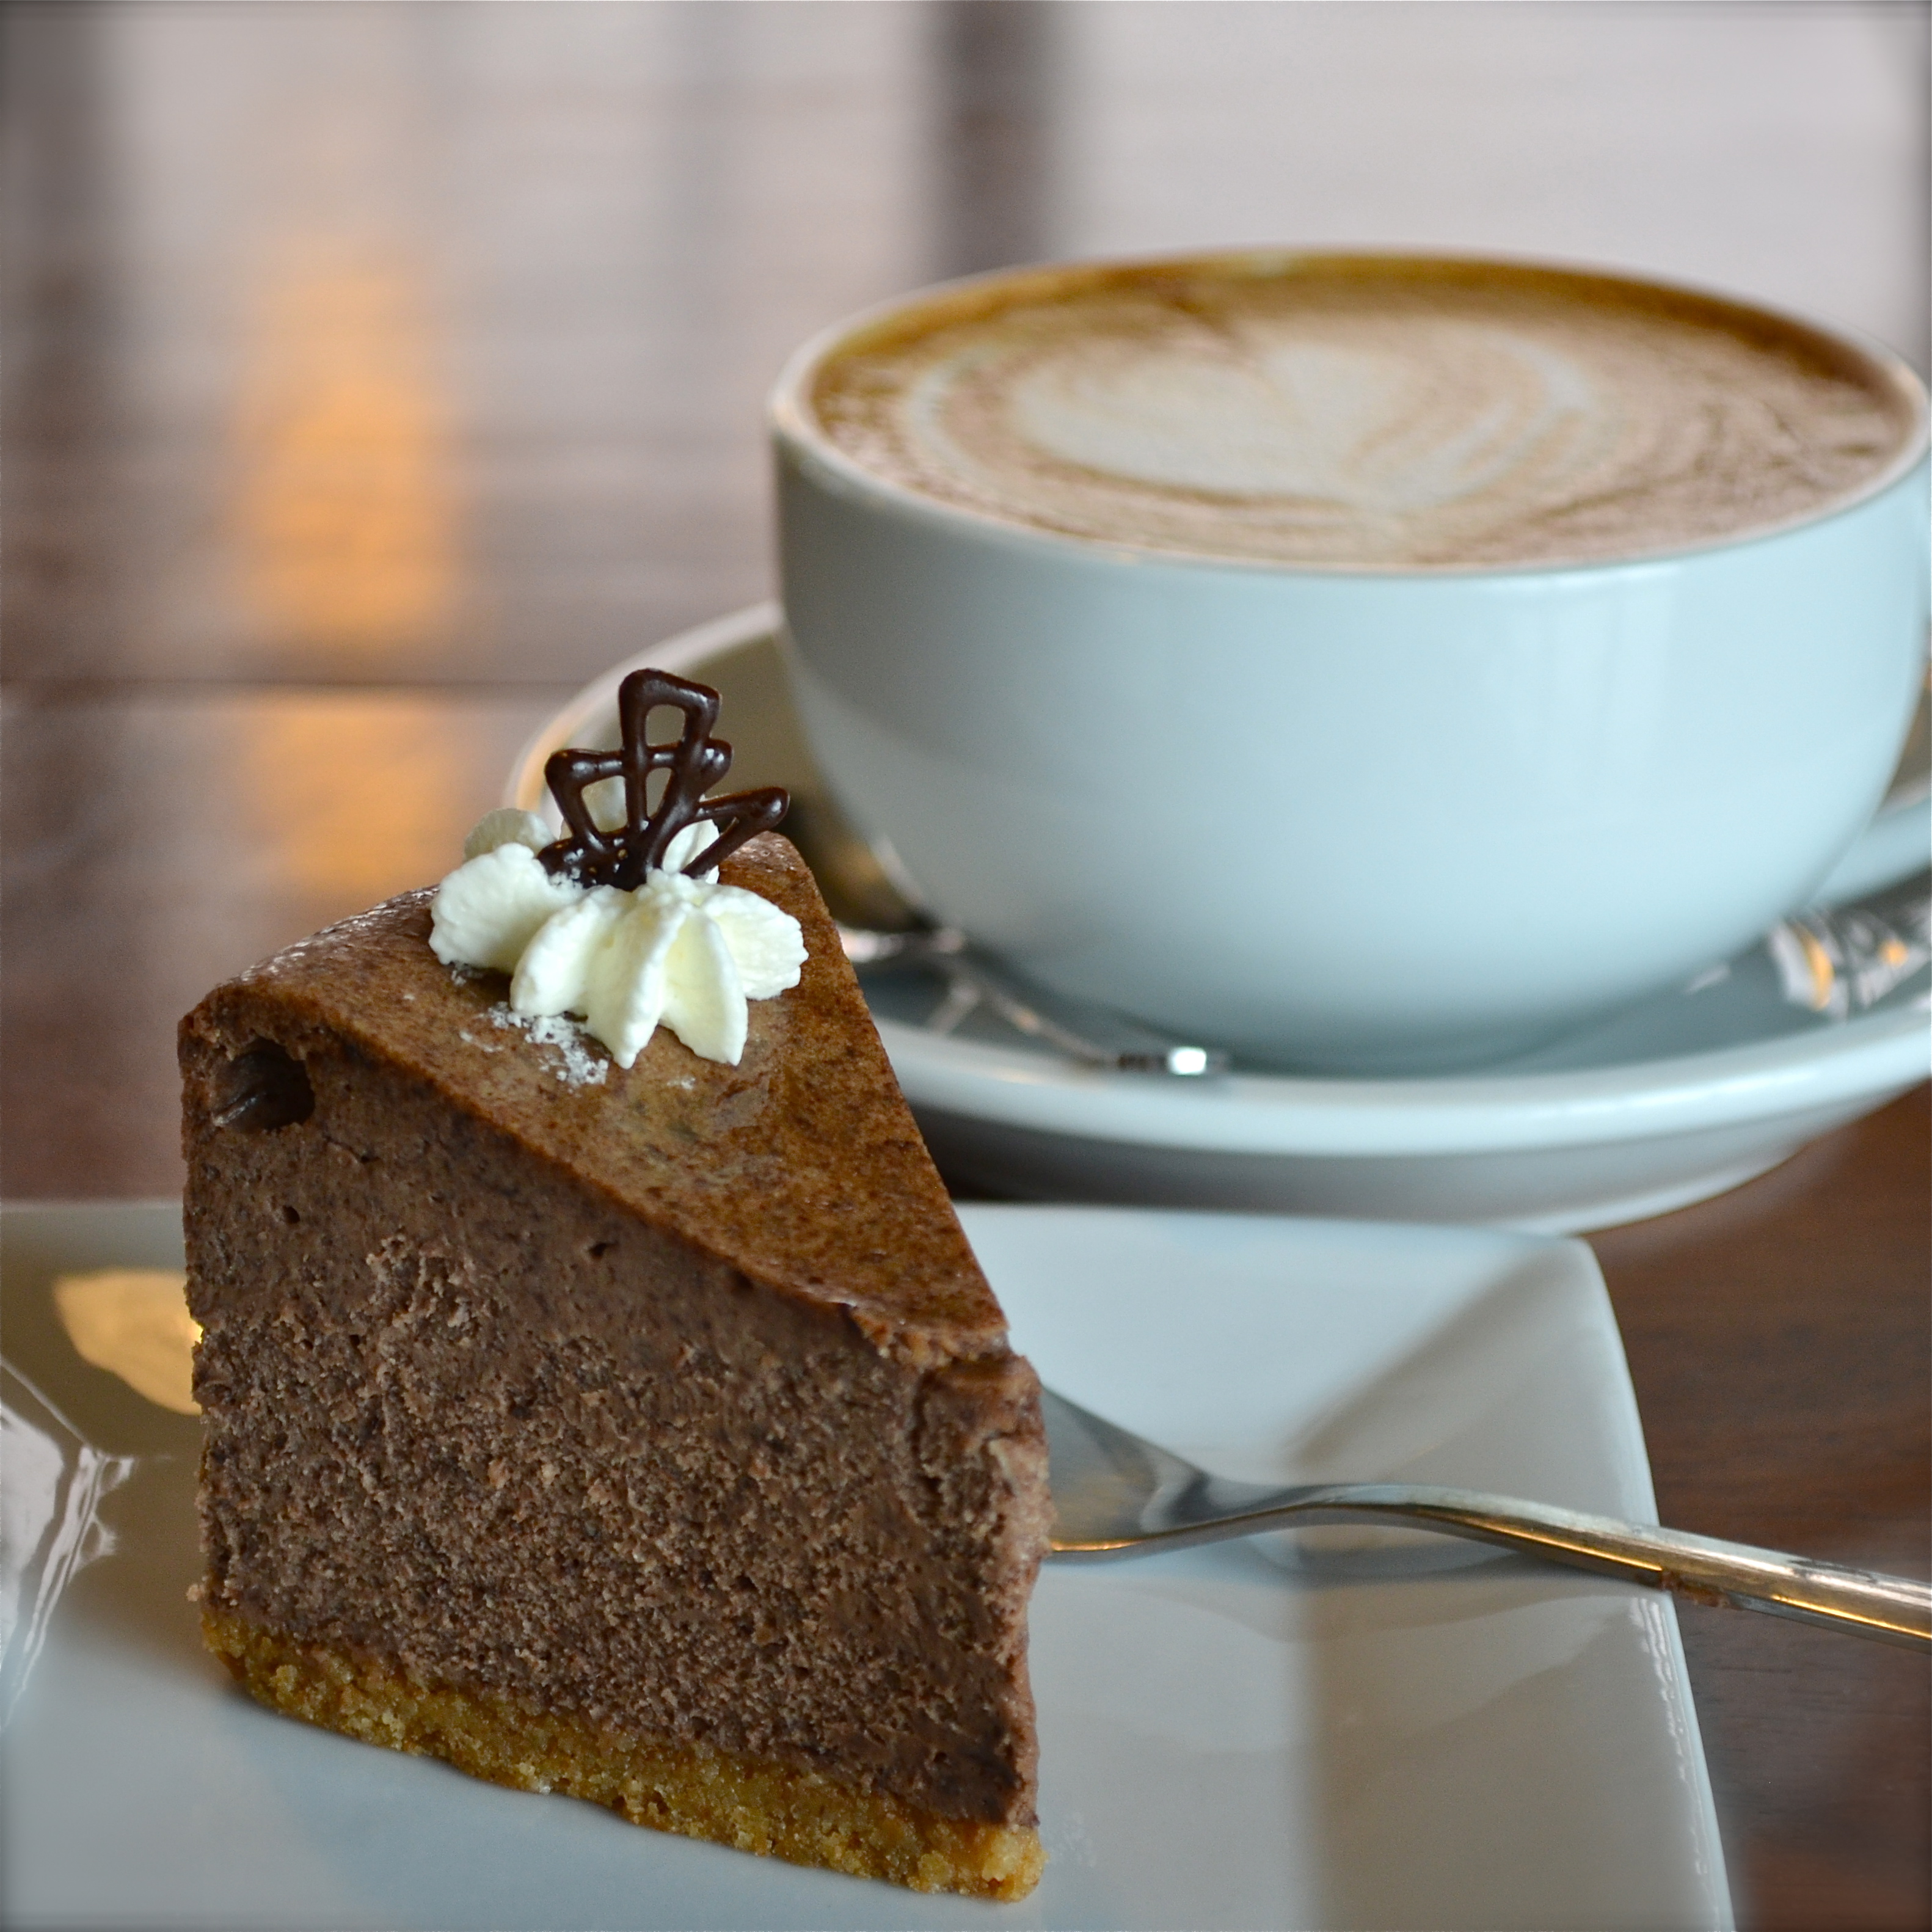
Other yummy caramel desserts you’ll love (just click on photo to be taken to recipe):

Caramel Fudge Brownies!!Salted Caramel Cookie Cup!!!Dulce de Leche caramel sauce form a canAlfajores- Peruvian Caramel Cookie!

Andes Mint Layer Cake

Posted on

Andes Mint Layer Cake!

This rich chocolate cake has a huge layer of Andes Mint whipped filling and is drizzled with fudge topping.  The perfect chocolate dessert!

Tah Dah!!!  One last melted frosting recipe…for now…This one has yummy melted chocolate frosting inside and poured all over the top.  YUM!!!!!!

I love making this cake in various forms.  It is SO quick and easy to put together and everyone loves it! This time I added Andes mint candies for a refreshing mint twist to this recipe.  I think you will love it!! Andes Mint Cake!!

Here’s the recipe:  (printable version)

INGREDIENTS:

  • 1 boxed chocolate cake mix (with oil/eggs/water to make according to directions)
  • 2 packets of Dream Whip  (found near the jello/pudding boxes at the grocery)
  • 3/4 cup milk
  • 1 teaspoon vanilla
  • 3 tablespoons cocoa powder
  • 3 tablespoons powdered sugar
  • Andes Baking Chips 10 oz
  • One container of pre-made chocolate frosting

DIRECTIONS:

  • Make cake mix according to box and bake in 2 – 8 or 9 inch round pans (I cut parchment paper to fit, spray the pan with non-stick spray, and place it in the bottom of each pan so that the cake comes out easier).
  • Cool cakes completely on a wire rack and while they are cooling make your whipped filling:
  • Put Dream Whip, milk, vanilla, cocoa powder and powdered sugar into a mixing bowl and blend together.
  • Using a mixer, beat until stiff peaks form (3-4 minutes)
  • Fold in Andes mint baking chips, saving aside a few for topping.
  • Scoop chocolate frosting into a microwave safe bowl and heat for only about 20-30 seconds in the microwave.  Heat until frosting is melted into a hot fudge consistency.
  • Use a large serrated knife to level your two cakes.
  • Place 1st cake on serving plate, leveled edge up.
  • Pour about 1/4 of melted frosting on top of cake and spread to cover (I put this layer in the fridge for about a minute just to cool the warm frosting down before adding the mousse layer)
  • Spoon all of the mousse on top of the cake and spread it ALMOST to the edges.
  • Top with second cake– put the leveled edge against the mousse…this keeps all the crumbs in the middle and leaves a nice flat surface on the top of your cake. Gently press top layer down to squeeze the mousse all the way to the edges.
  • Pour the rest of the melted frosting over the entire cake and let it drip over the edges.
  • Sprinkle the remaining Andes Mint bits on top.
  • Refrigerate until serving, this will make the middle layer firm and easy to cut.

Andes Mint Cake!!!!

My thoughts:  I love this cake.  It is a beautiful dessert that is just so quick and easy to put together!

That creamy mint filling….oh my. I hope you get a chance to try it!  Enjoy!  ~r

Andes Mint cake!!!!

Other yummy chocolate treats here on easybaked:

Brownie Oreo Cookie CupGerman Chocolate PieRich Chocolate Ganache Mini CupcakesCaramel Fudge Brownies!!

Malted Milkshake Cupcakes

Posted on

Malted Milkshake Cupcakes

Dark chocolate cupcakes topped with the creamiest malt frosting ever.  Like a malted milkshake minus the cup!

I have an addiction to chocolate malts.  Not chocolate shakes, just malts.  The creamy, chocolatey kind that you drink through a striped straw at the pool.  My mom makes the best chocolate malts ever.  They are really simple to make, but there’s just something about her leaning out of the patio door and asking, “Anyone want a malt?” that makes me smile.  It’s one of our summer traditions.

Moms Malts!!{Her easy recipe? Ice cream, malt powder, cocoa and milk~ a blender full of ice cream plus cocoa and malt to taste, and milk to desired consistency}

I wanted to make a frosting that tastes like a malt.  It took me a couple of tries, but I finally hit the mark.  It’s wonderfully creamy and smooth.  It is also a very soft whipped icing that must be kept refrigerated because it has milk in it, and because it will not keep a pretty piped finish if it gets warm.

Believe me, the flavor and texture are worth it!

Malted Milk Cupcakes

Here’s how to make these yummy cupcakes! (printable recipe)

INGREDIENTS:

  • One boxed dark chocolate cake mix (plus water, eggs and oil to make according to box)
  • 4 packets of Dream Whip
  • 1 1/2 cups of cold milk
  • 6 Tablespoons of unsweetened cocoa powder
  • 6 Tablespoons of malt powder
  • 1/2 -1 cup of powdered sugar (to desired consistency)

DIRECTIONS

  • Make cake mix according to box and bake in 24 cupcake liners placed in muffin tins.
  • Cool cupcakes completely.
  • Put Dream Whip, milk, cocoa powder, malt powder and powdered sugar into a mixing bowl and blend together.
  • Using a mixer, beat until stiff peaks form (3-4 minutes) 
  • Add extra powdered sugar if needed, to desired consistency.  This is a soft whipped frosting, so it won’t be the consistency of a stiff buttercream~ even with lots of powdered sugar.  (believe me, I tried!)
  • Spoon frosting into a zip-top bag fitted with a decorating tip and pipe frosting on cupcakes.
  • Refrigerate until serving and just before serving add a malted milk ball and sprinkle with cocoa powder if desired for garnish.

ENJOY!!!

Malted milk cupcakes!!!!

My thoughts:  these are *almost* as good as my moms malts.  This frosting is really yummy.  It would be a great filling for a layer cake too~ or even a filling for cupcakes.  You could fill chocolate cupcakes with this and then just spoon some chocolate ganache over the top.  Oh the possibilities!  Hope you get to try these and enjoy them as much as we did!  ~r

Malted Milk Cupcakes!!!More recipes you might like:

Chocolate Mousse CakeStrawberry layer cakeMini chocolate chip cookie cheesecakesCake balls filled with cream cheese frosting

Chocolate Strawberry Layer Cake!

Posted on

Chocolate Strawberry layer cake
Such an easy and refreshing dessert!  If you need something beautiful but quick, this is your recipe!

INGREDIENTS:

  • One boxed chocolate cake mix (with water, oil and eggs to make according to package)
  • One (8 oz) container of Cool Whip
  • One (7 oz) container of Jet Puffed Marshmallow fluff
  • One tub of ready-made chocolate frosting
  • About 25 ripe strawberries.

DIRECTIONS:

  • Make cake according to box and bake in 2-  8 or 9 inch round pans.
  • Cool cakes, trim off tops to level each cake and cut each cake into two layers
  • Mix Cool Whip and marshmallow fluff together until smooth.
  • Spoon frosting into bowl and heat for about 30 seconds in microwave.  Stir.  It should be a hot fudge consistency.
  • Wash and slice strawberries lengthwise (I used an egg slicer to make this easier).

Chocolate stawberry layer cake

  • Place one layer of cake on serving plate.  Spread with a bit of melted frosting and a bit of the cream mixture.
  • Place strawberries along the edge with points facing out.  Use small pieces to fill in the middle.

Chocolate strawberry layer cake

  • Do this with each layer and then top final layer with remaining cream and frosting.
  • Decorate as desired.
  • Keep refrigerated until serving.


Strawberry layer cakeMy thoughts:  I miss summer.  I’ve been craving strawberries and this yummy cake did the trick!  It is easy and delicious and you’ll impress everyone you serve it to!  Enjoy!!!  ~r

Other strawberry desserts you’ll love ~ click on the image to get to the recipe:

Chocolate Covered Strawberry CheesecakeStrawberry-Lemonade CakeStrawberry Cookies with Sweet Tart FrostingChocolate covered strawberry Cake roll!!

Mocha Caramel Cream Cupcakes

Mocha Caramel Filled CupcakeIt’s that time of year here…that yummy cup of frou frou coffee just whispers your name until you find yourself nestled into an armchair at the local coffee shop watching it snow and sipping a mocha or a latte.  One with chocolate drizzled on top…or caramel.

Why not capture those flavors in a cupcake?

These yummy treats are coffee-infused chocolate cupcakes filled with creamy caramel and topped with coffee buttercream.

Oh.  My.

Bring it on winter!

Mocha caramel filled cupcakes3

Ingredients:

Cupcakes:

  • One boxed chocolate cake mix (plus water, oil and eggs to make according to box)
  • 1/4c milk (warmed)
  • 2 T instant coffee granules

Caramel Cream Filling:

  • 1 cup sugar
  • 1/2 c. water
  • 1 c. heavy whipping cream
  • 1 T. powdered sugar

Frosting:

  • 2 sticks (8 oz.) salted butter
  • 2 sticks (8 oz.) unsalted butter
  • 3 c. powdered sugar
  • 2 T. vanilla
  • 2 T. instant coffee granules

Directions:

Cupcakes:

  • Place 2 T. instant coffee granules into milk and stir.  Allow this to sit and dissolve.
  • Make mix according to box
  • Add coffee/ milk mixture to cake batter and blend well.
  • Scoop into 24 cupcake liners in cupcake tins and bake at 350F degrees for about 20 minutes.
  • Remove from tins immediately and allow to cool on counter.

Caramel Filling:

  • Combine sugar and water in a medium saucepan and bring to a boil.  Stir constantly and cook until mixture turns a caramel brown color. (about 10 minutes)
  • Remove from heat and slowly add cream, whisking vigorously (this will spit and splatter as you add it, so use caution!).

Making caramel cream: bring sugar mixture to a boil.Making caramel cream- boil until browned.Making caramel cream- add cream and whisk.

  • Chill in refrigerator until cold. (I did this the night before and just left it overnight)
  • When mixture is cold, add powdered sugar and beat on high until creamy and smooth.

Frosting:

  • Add 2T vanilla and 2T instant coffee granules together in a small bowl and allow the coffee to dissolve.
  • Place butters and powdered sugar in a large mixing bowl and beat on high until very fluffy.
  • Add vanilla/coffee mixture and beat until well combined.
  • Core cupcakes and pipe caramel filling inside.
  • Pipe frosting on top and sprinkle with a little cocoa powder.


My thoughts:  Goodness, I love these cupcakes.  The filling is a touch fussy since you need to chill it until cold, but I have to say that it is WORTH the wait.  I’m on a diet and I took ONE bite (to get a picture of the filling, of course..!) and I couldn’t stop.  I had to finish the cupcake.  I blew my diet for this cupcake…it is just so good.  Two people have asked for *just* a bowl of the coffee buttercream frosting…haha!  

Sigh.  I will dream of these cupcakes until the diet is over….in two months….and then I will eat 3 of them.

Make these and enjoy them on my behalf!!!!  ~r

Mocha Caramel Cream Cupcakes!

In other (non-recipe!) news, I finally have a DSLR camera!  (Nikon D5200) Yay!  I feel like my photos are a little off as I adjust to it though.  I had a system for making my point and shoot work for me and now I’m trying to adjust my system to get the right lighting and exposure.  I previously used a homemade light box to control my lighting and now I’m just so excited to sit down at a coffee shop and take pictures using natural light.  Yesterday I met my friend Ben for coffee and before he could take a bite or sip of his treats I was like, “WAIT!!!  I have to take a picture of that!”  So much fun.  So my apologies for my fairly awful pictures in this post– I’m learning!!!

Yummy coffee shop treats (and practice with my new camera!)

Yummy coffee shop treats (and practice with my new camera!)

Want some other winter dessert ideas?  Click on the image to be taken to the recipe.

German Chocolate CookieSpiced Mocha and Tim Tam Slams!Peppermint Hot Chocolate Cupcakes!!!Snowman Oreo Pops

Cookie Dough Frosted Cupcakes

Cookie Dough CupcakesChocolate cupcakes topped with rich chocolate chip cookie dough frosting….my new favorite thing!

I love cookie dough.  When I was a little girl we always got little nibbles of it when mom was baking.  Now, of course, we know that those raw eggs could kill us…but I think that cookie dough might be worth that risk!!  

The best part of this recipe is that the frosting truly tastes like cookie dough (a light creamy cookie dough) and there are NO eggs in it.  So you could just eat it straight out of the bowl and forget the cupcakes….not that I would do that….ever….well…maybe just a little….

I made my cupcakes into minis- simply because I wanted to put a “scoop” of frosting on top and a full-size scoop would be a HUGE amount of frosting…I don’t have a problem with that, but I think most people might 😉

Cookie Dough Cupcakes3

INGREDIENTS:

  • One boxed chocolate cake mix (plus water, oil and eggs to make according to box)

***OR use your favorite cupcake recipe.  This is really all about the frosting– so do your favorite thing with the cupcake recipe/ flavor***

  • 2 sticks (8 oz.) unsalted butter(softened)
  • 2 sticks (8 oz.) salted butter(softened)
  • 2 c. powered sugar
  • 1 c. brown sugar (packed)
  • 3 T. vanilla
  • 1/3c. flour
  • 1 12 oz bag of mini chocolate chips.

DIRECTIONS:

  • Make cake mix (or your favorite cake recipe) and divide into mini cupcake liners in a mini cupcake tin. (makes about 48 mini cupcakes)
  • Bake according to box/recipe (mini cupcakes take less time, so adjust accordingly!)
  • Cool cupcakes completely.
  • Place all frosting ingredients except mini chips into a large mixing bowl and beat with mixer on low until combined and then high until light and fluffy.
  • Add mini chips (keep about 1/4 of a cup aside to sprinkle on top) and beat on low until fully combined.
  • Frost cupcakes.  You can use a knife to just spread it on or use a small or medium Cookie Scoop to make your cupcakes look like mine do.
  • Sprinkle remaining chips on top and gobble these cupcakes up!!!

Cookie Dough Cupcakes2
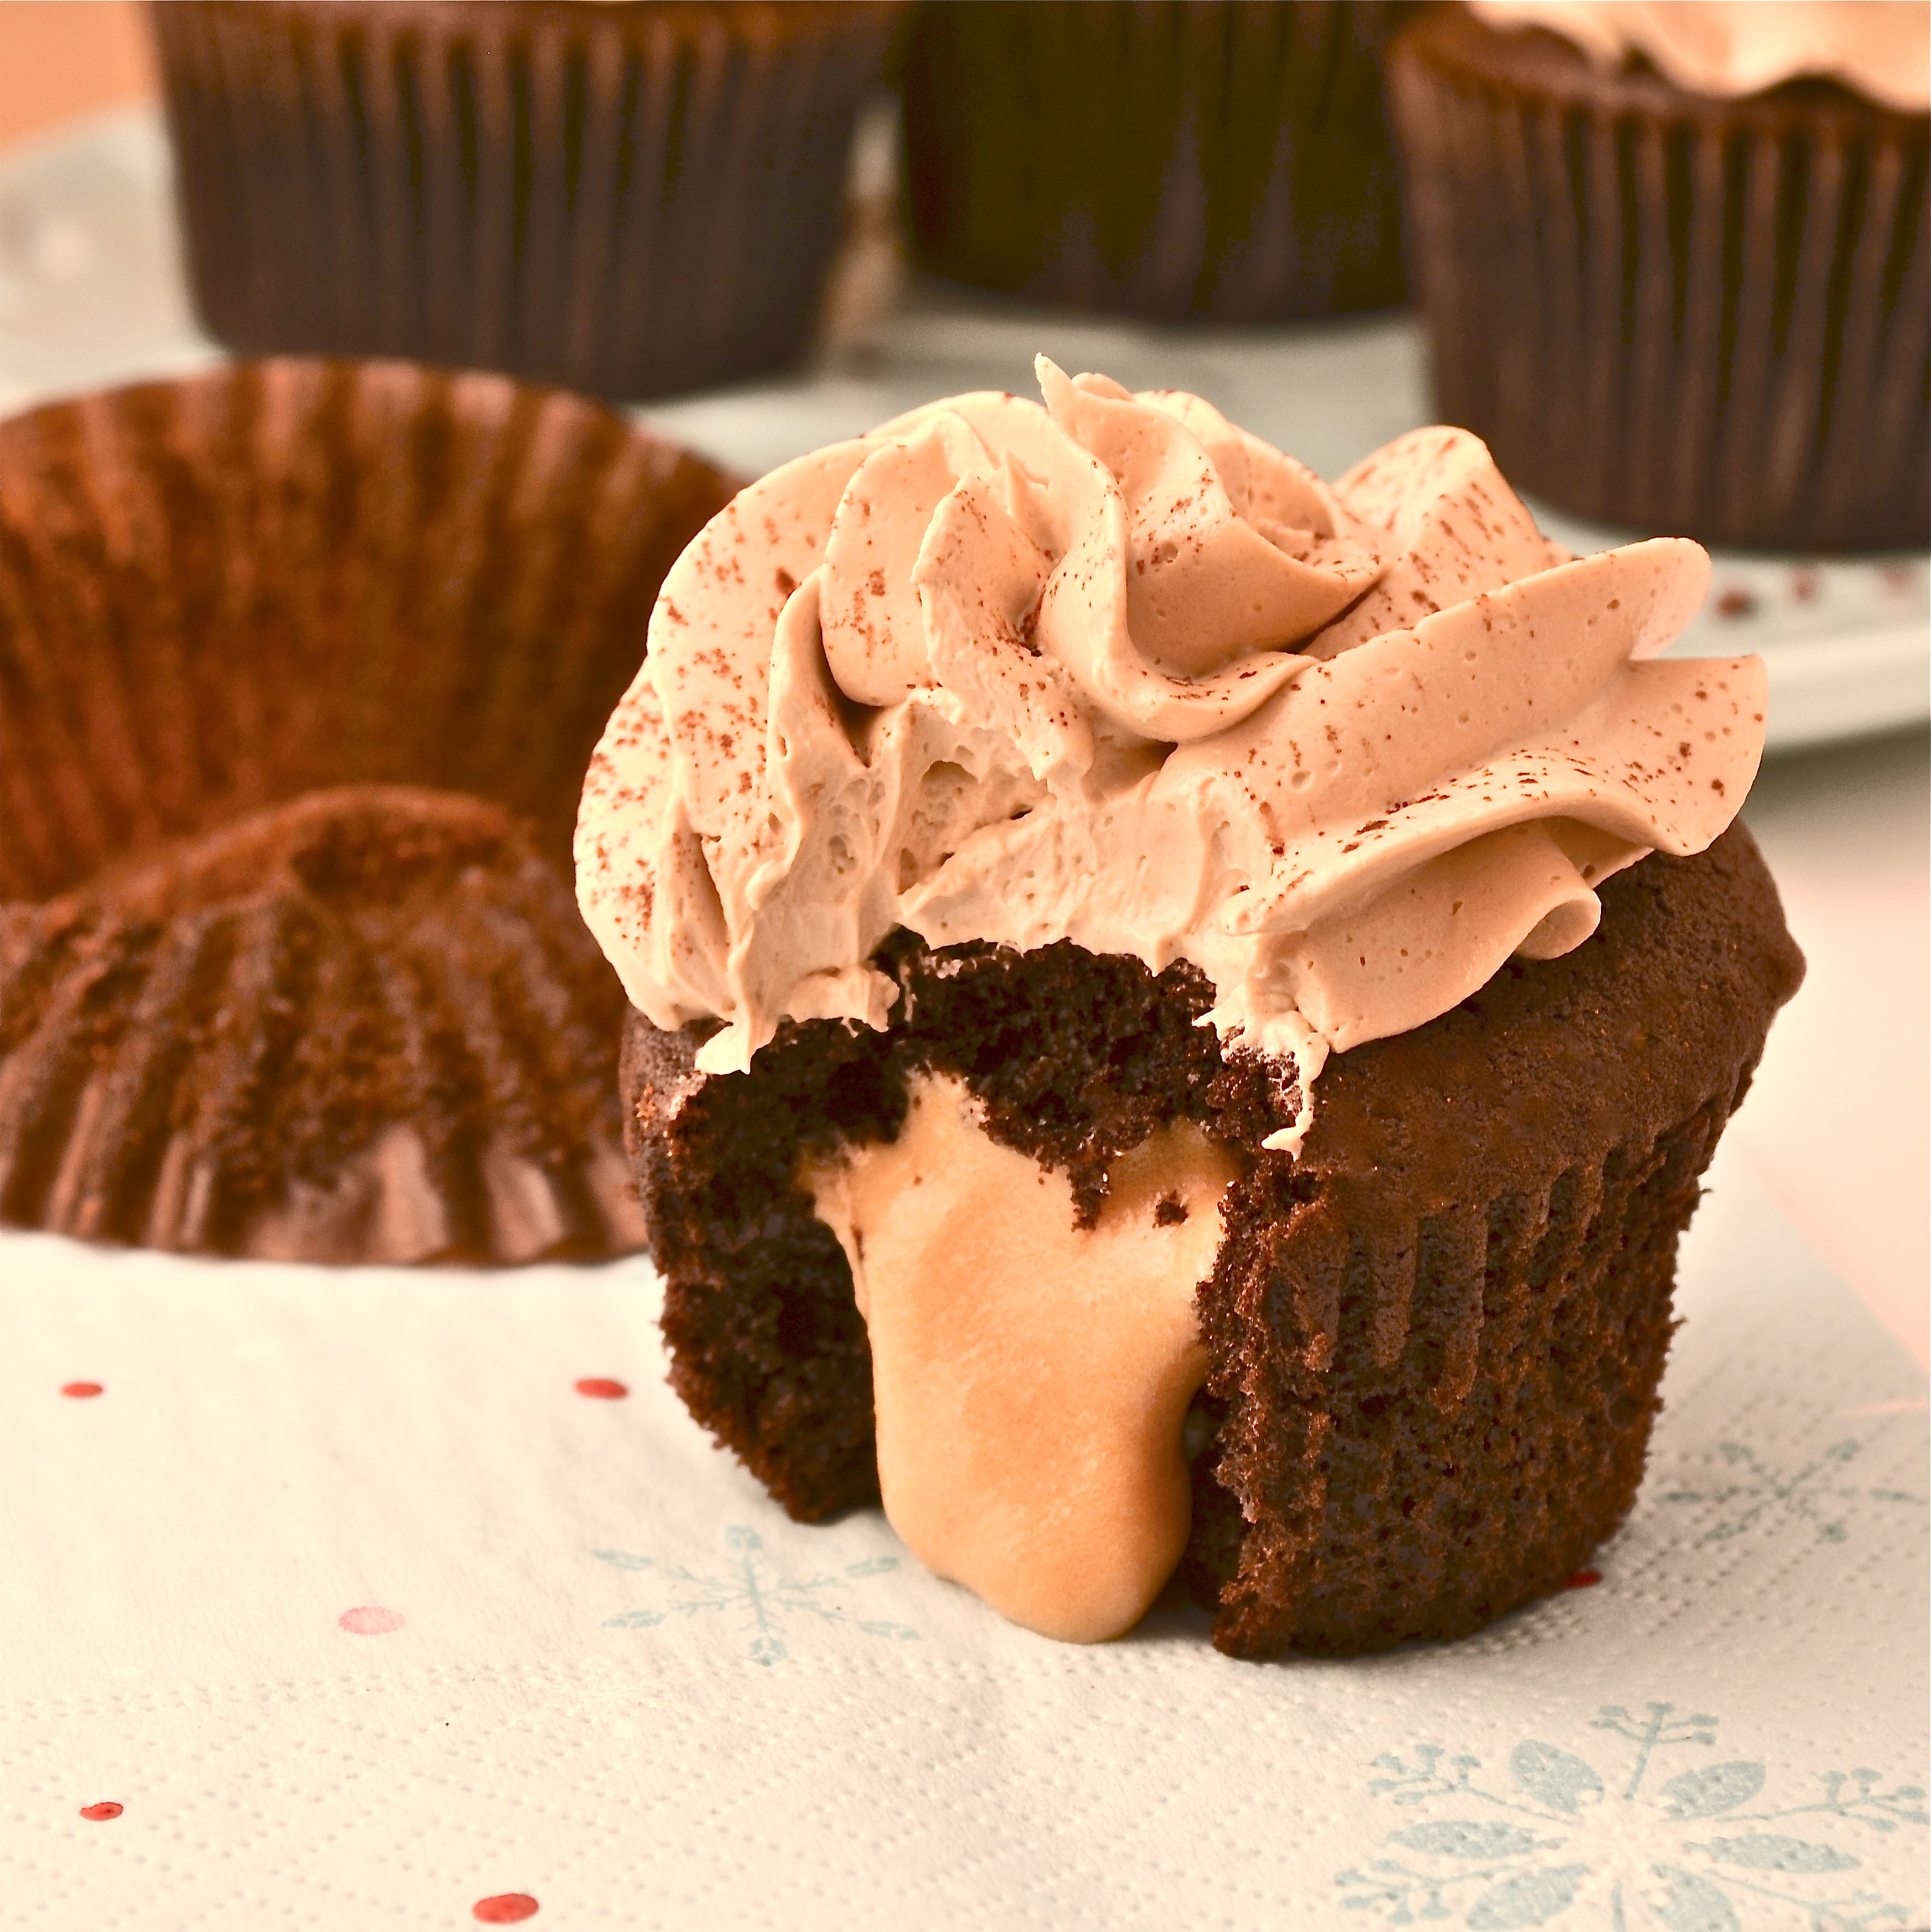
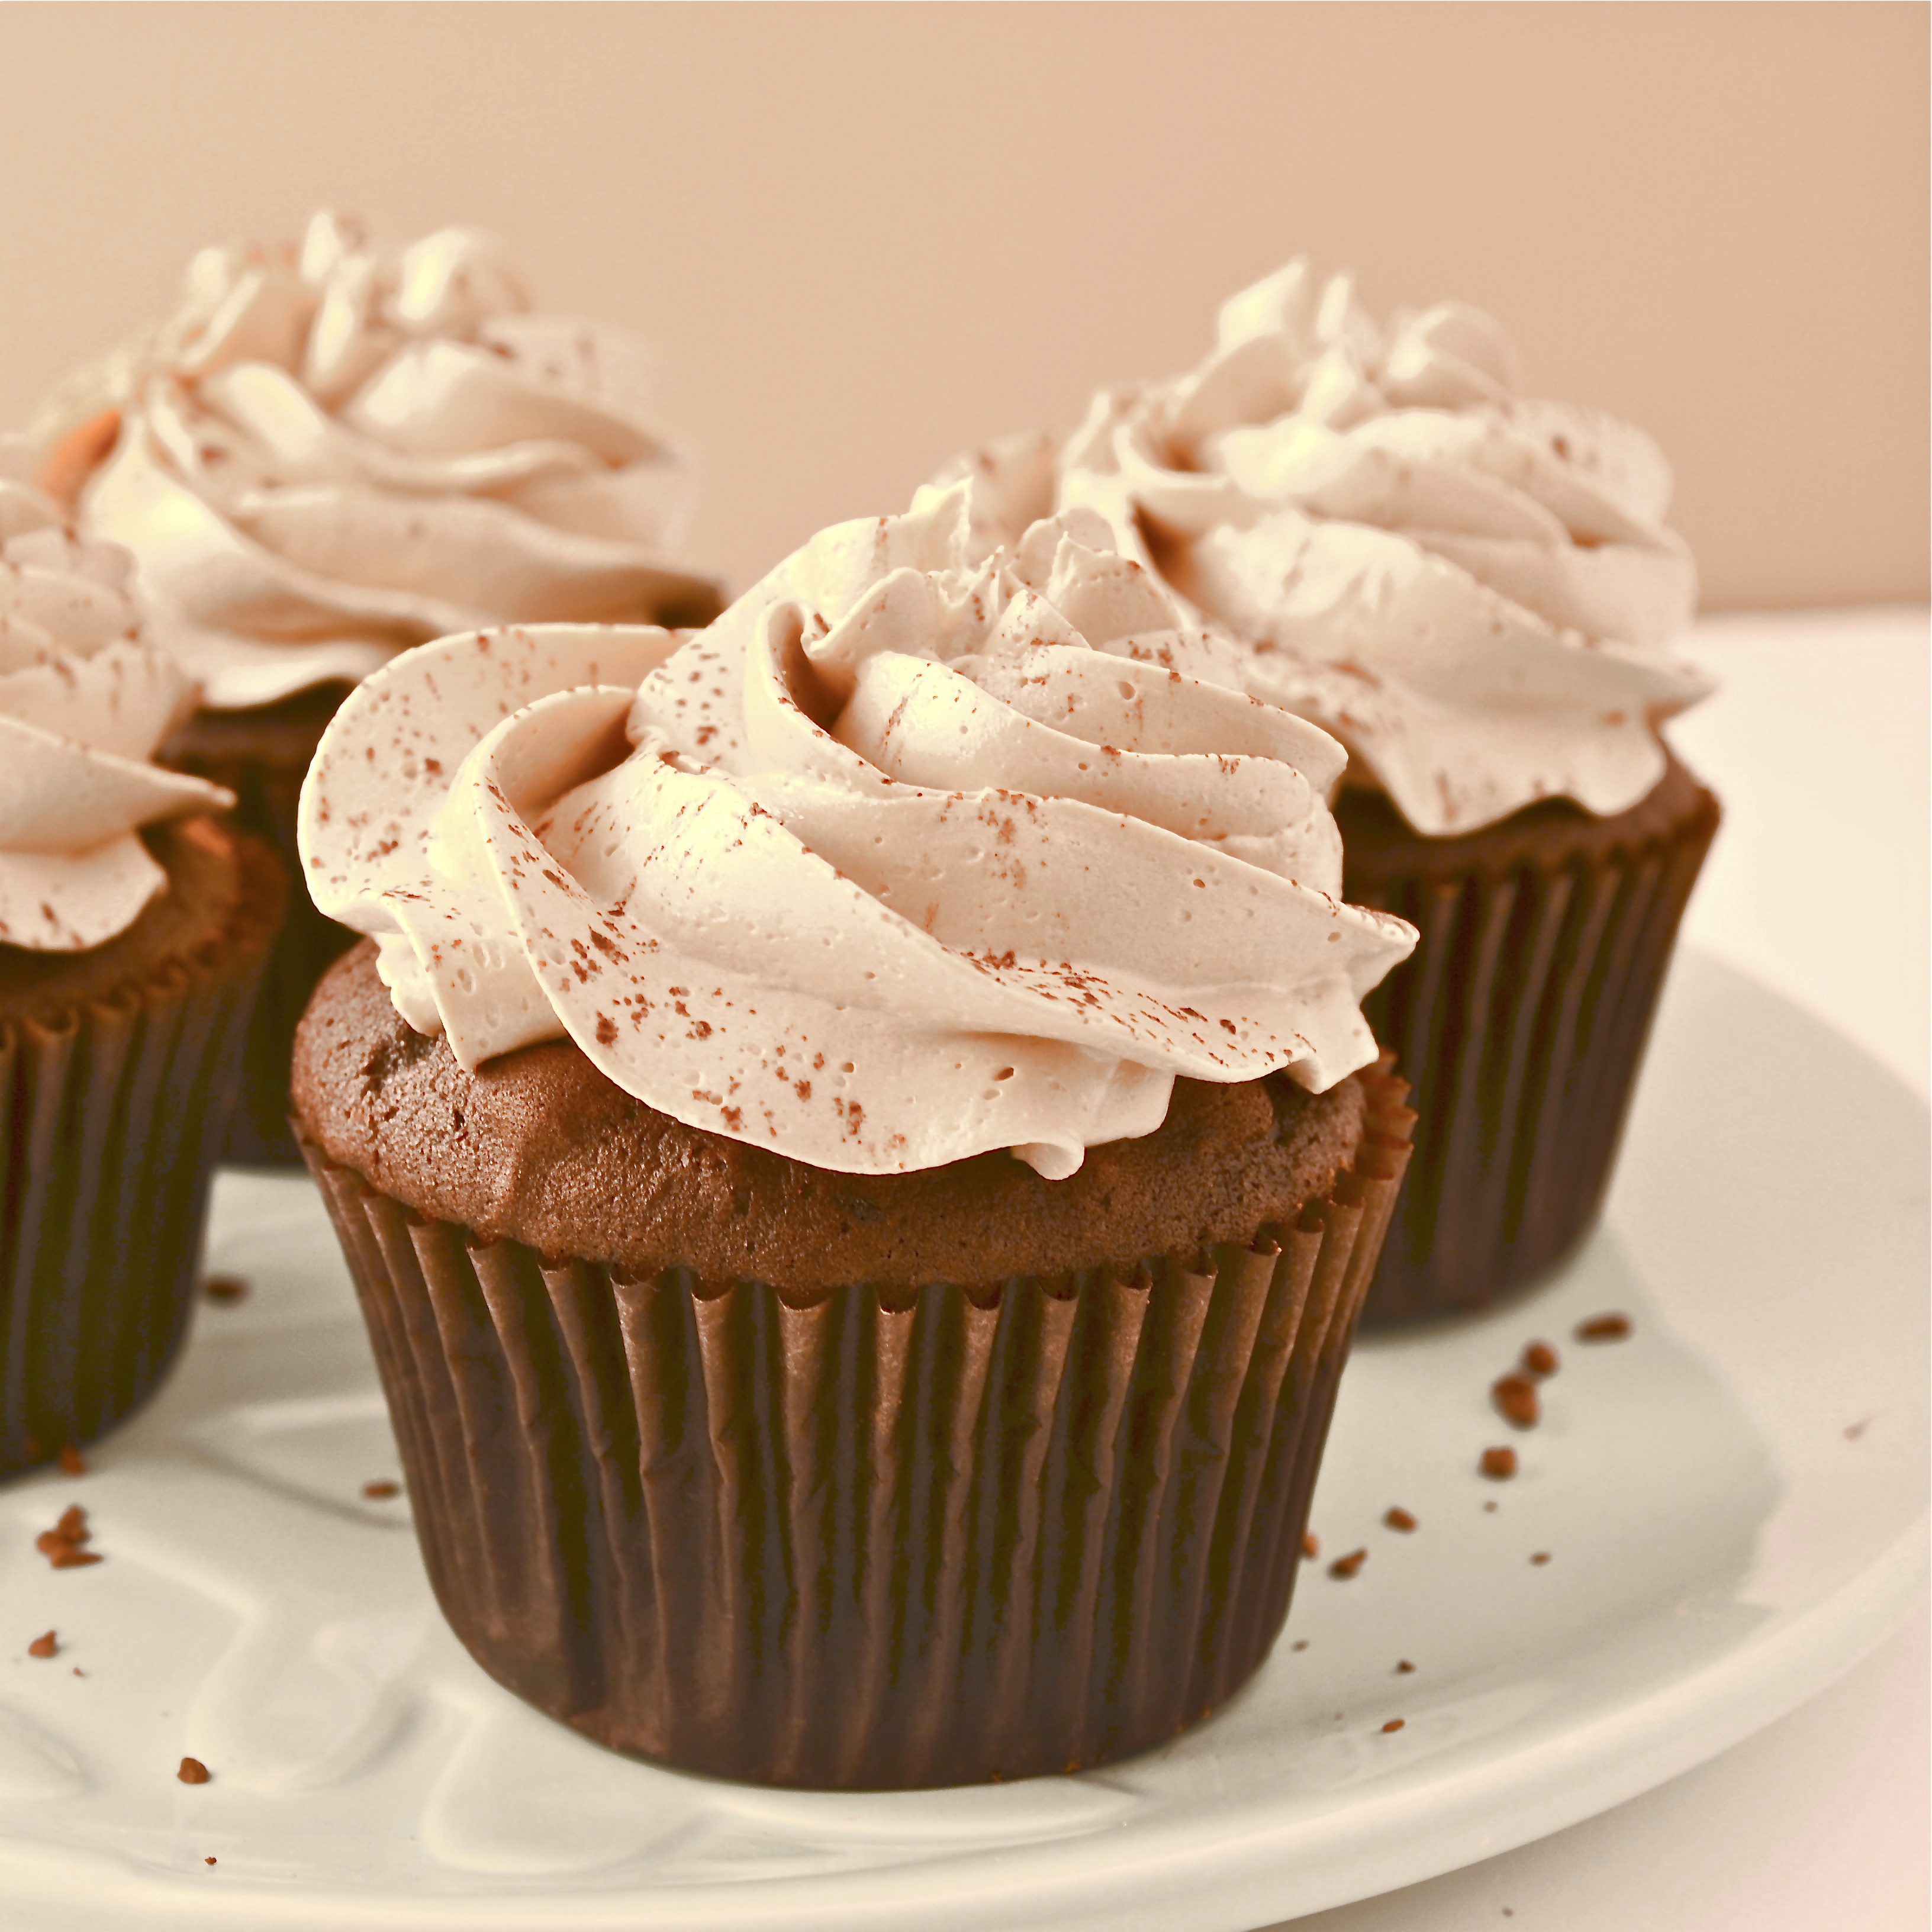
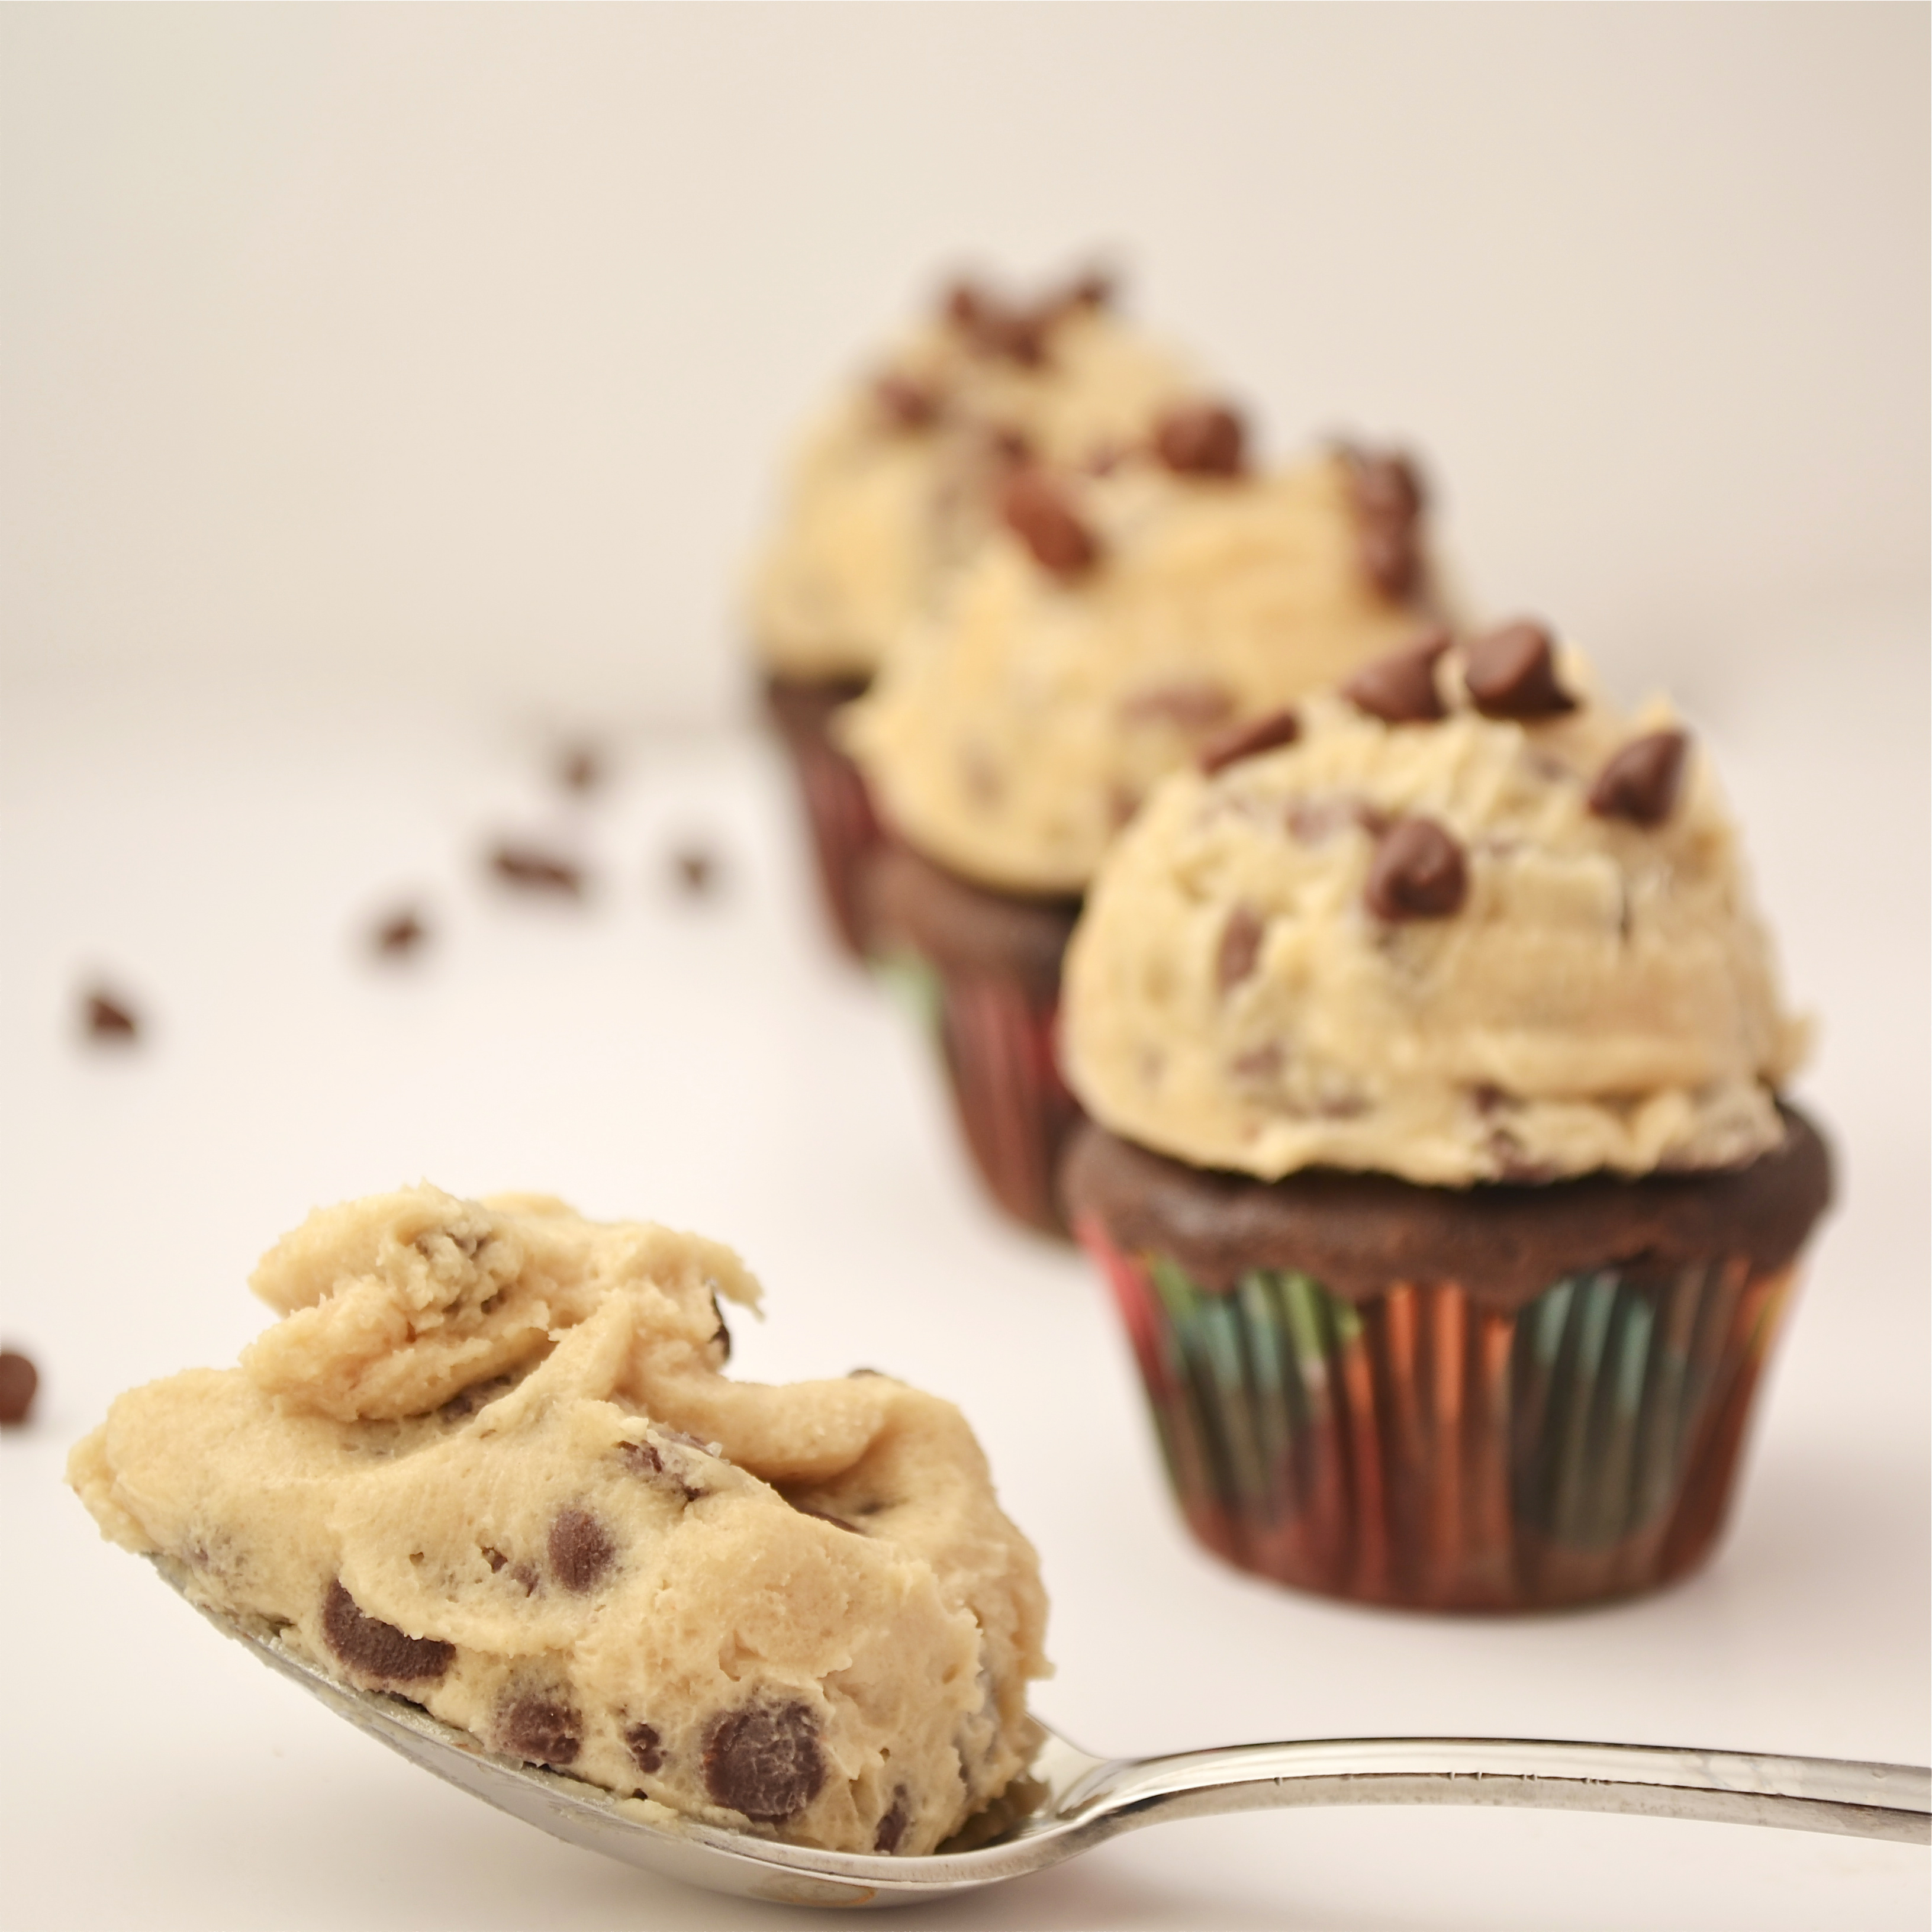
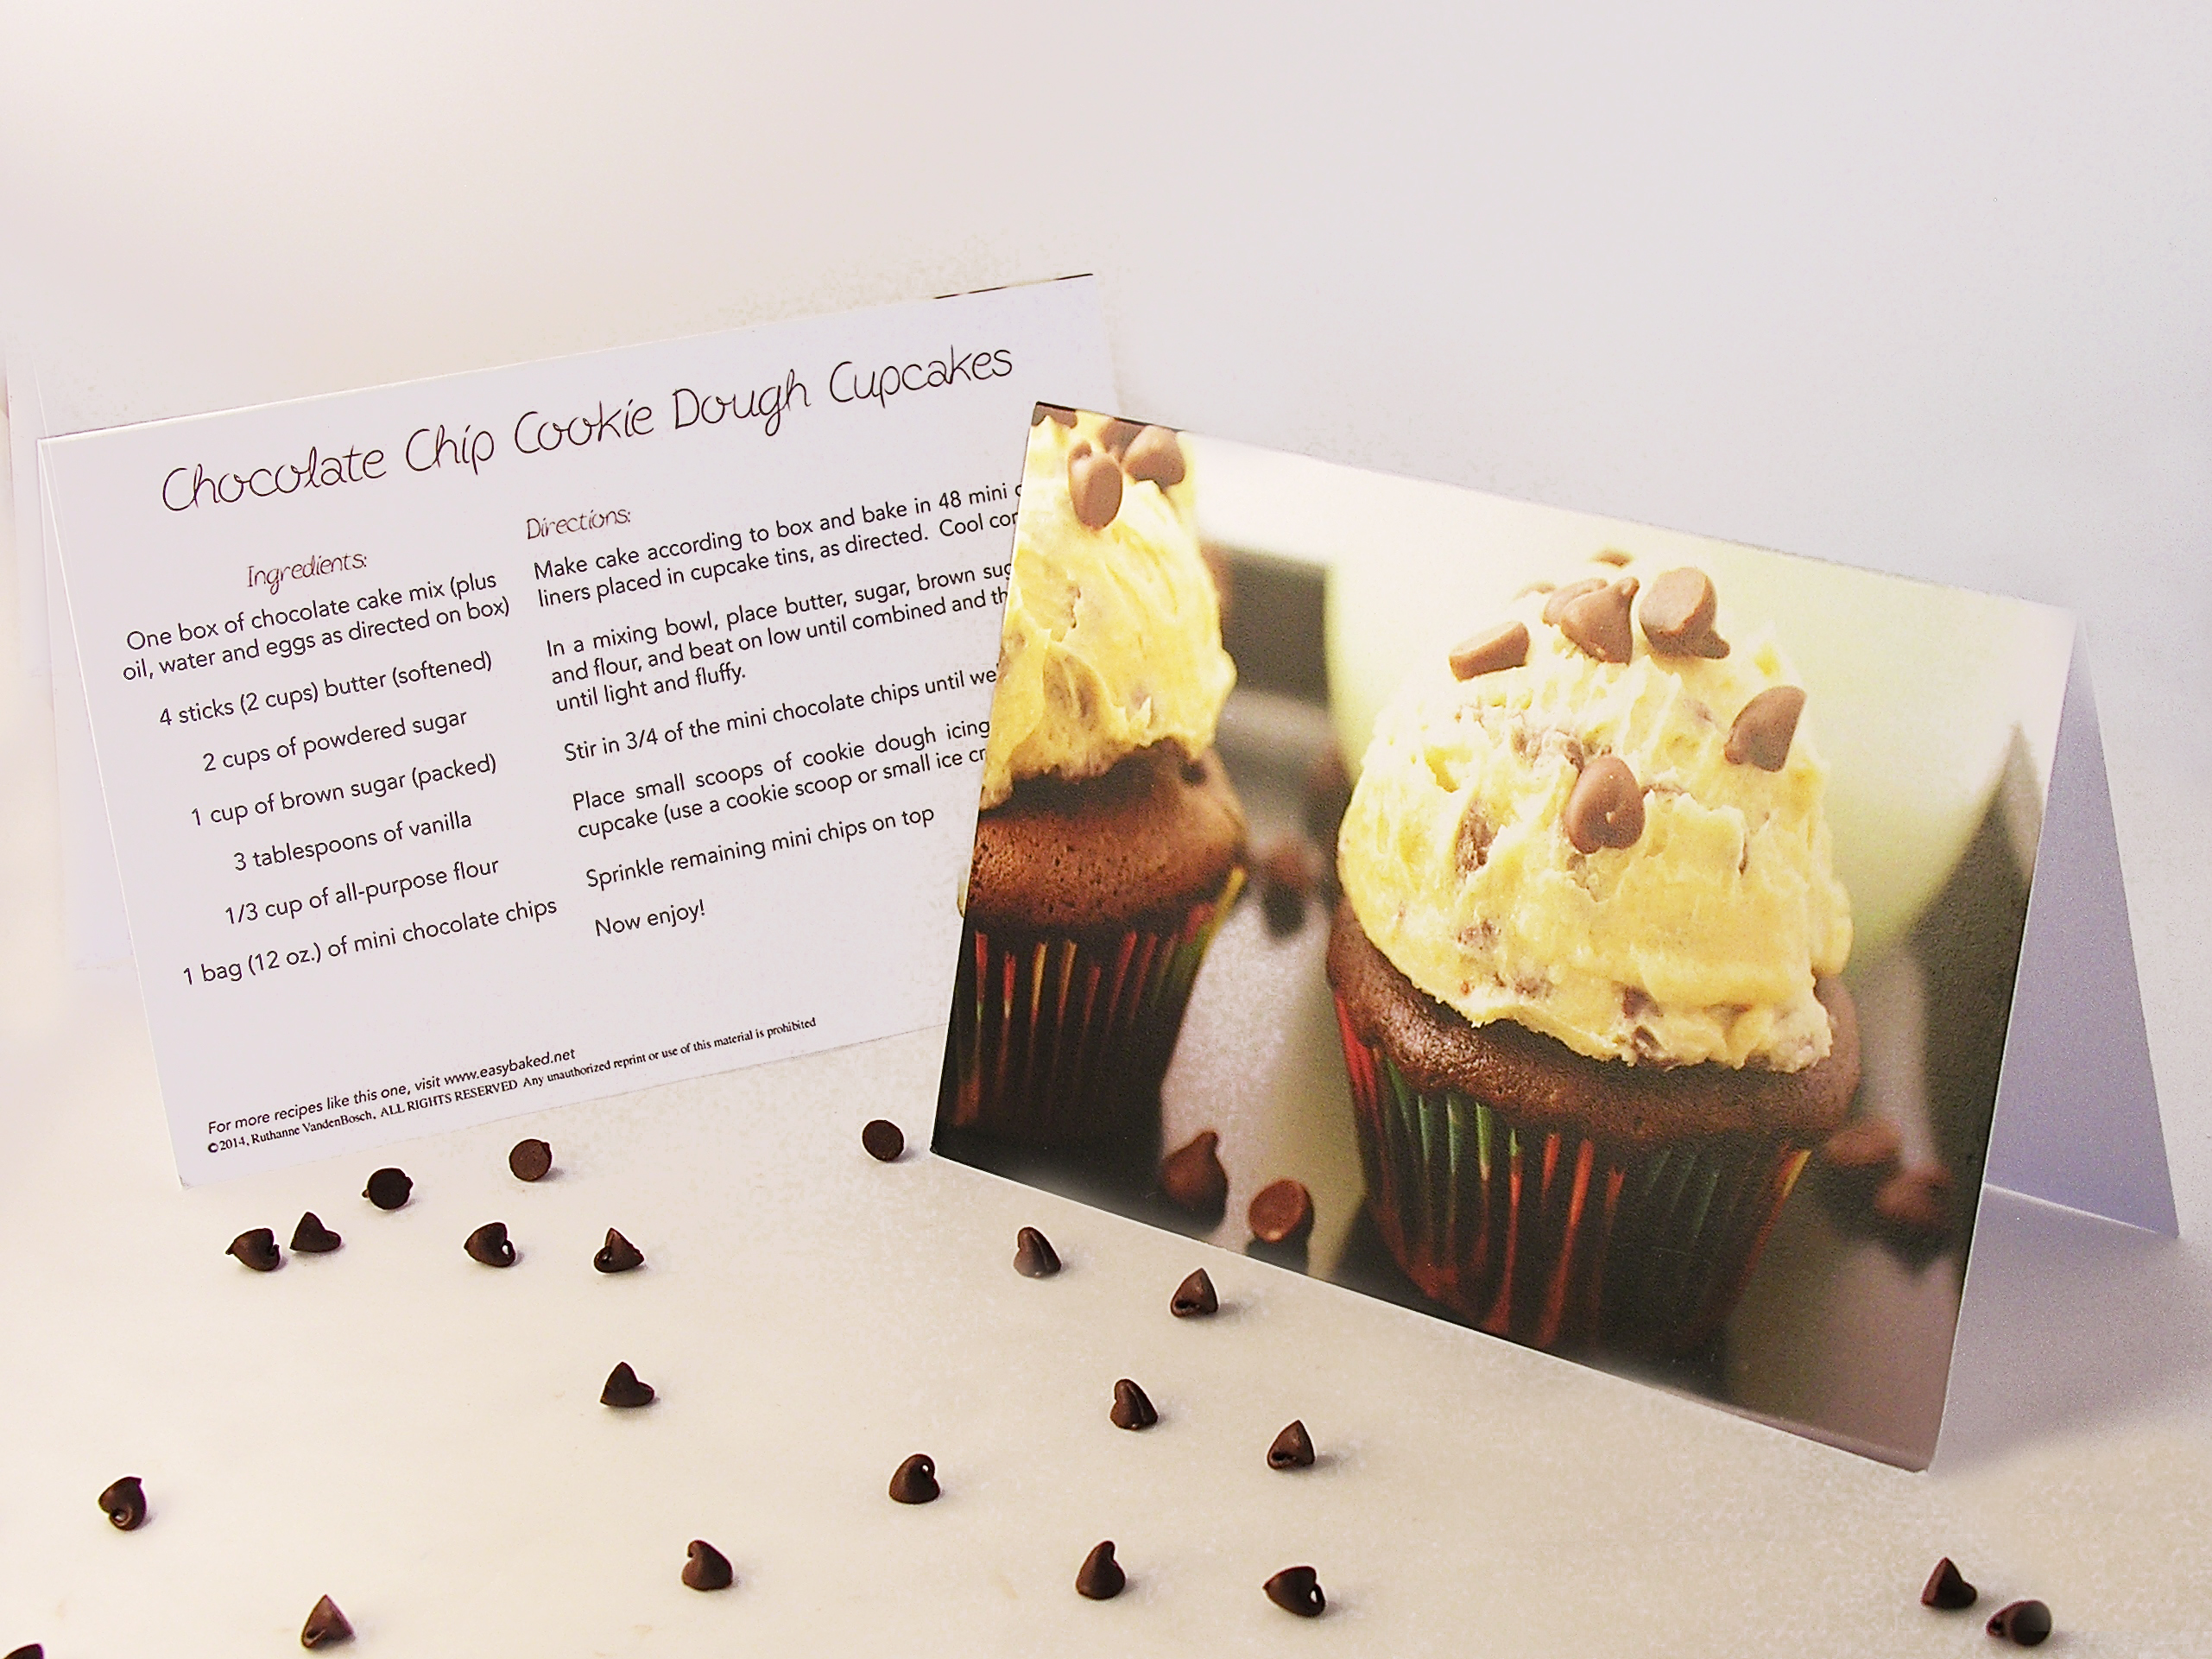
My thoughts: These are dangerous cupcakes for me.  I had to get them out of my house FAST.  I seriously wanted to eat them all.  Ah….cookie dough….sigh.  Enjoy these so much!!!!  ~r

Chocolate Chip Cookie Dough Cupcakes Front and Back6-13-14: Did you know that this yummy recipe is available on adorable blank notecards?  With a photo of the cupcakes on the front, the recipe on the back, and plenty of room to write a message inside, these are the PERFECT gift!  Why send just a card, when you can send the gift of a recipe as well?!?  Click here for more information and to order.

Chocolate chips are an important ingredient here at easybaked~  click on an image to be taken to the recipe:

Chocolate chip cookies!!!Mini chocolate chip cookie cheesecakesGooey filling in Seven layer cups!Mini Cookie Dough Cheesecake

A big pile of cupcakes!

Pile of Cupcakes!Make everyone smile with a stack of three colorful cupcakes!  Made with peanut butter cups, these mini-cupcake decorations are SO yummy with the chocolate cupcake they top.  The occasions you could serve these at are endless.  What a fun New Year’s Eve party treat, or birthdays?  What about a Dr. Seuss themed party?  SO much fun!!!!  Here’s how to put them together:

INGREDIENTS:

  • One boxed dark chocolate cake mix (with oil, water and eggs to make according to box)
  • 2 sticks (8 oz) salted butter (softened)
  • 2 sticks (8 oz) unsalted butter (softened)
  • 3 cups of powdered sugar
  • 2 tsp clear vanilla
  • 24 Reese’s miniature peanut butter cups (unwrapped)
  • 24 Reese’s minis peanut butter cups
  • Wilton Icing Colors
  • sprinkles, jimmies to decorate cupcakes

DIRECTIONS:

  • Make cupcakes according to the box.  I used brown cupcake liners to match the chocolate on the peanut butter cup toppers.
  • Cool cupcakes completely.
  • Make butter cream frosting by combining butters, powdered sugar and vanilla in a large mixing bowl.
  • Beat on high until frosting is light and fluffy.
  • Divide frostings into bowls and color using icing gels.  I made 5 colors, but you can do however many you want.
  • Pipe frostings on top of cupcakes and (using a smaller tip) pipe frosting on top of the two sizes of peanut butter cups.  (I clipped both corners of a zip top bag and put the large tip in one and the small in the other.  I piped the large cupcakes 1st and then squeezed the remaining frosting into the other corner and piped the frosting on the Reese’s cups.)
  • Gently stack the tiny cupcake on the medium and the medium on the full-size. (this buttercream recipe worked GREAT for these- it is nice and firm and hardens just a bit as it sets.  I didn’t lose even ONE topping!)
  • Decorate with sugars and jimmies as desired I used Red Sixlets Candy  for the large cupcakes and they looked so cute- like cherries!


Dr. Seuss Cupcakes!Aren’t they fun?  I just couldn’t stop taking pictures!

Fun Birthday Cupcakes!My thoughts: Goodness these cupcakes made me happy.  My friend Danielle and I made them together and we both kept saying, “Ah! They are so CUTE!”  My neighbors and coworkers were the recipients of these treats and the smiles when they saw them made my day!  I love easy ideas that are high on the “WOW” factor.  To give credit where it is due, my friend Megan from Happily Ever After Cakes pointed this idea out to me on Edible Crafts.  They had only used one cupcake topper, but I love it so much with two!!  Enjoy!!!!!!  ~r

Cupcake toppers

Need some ideas for your upcoming New Years Eve Party?  Try these fun treats!  Click on the image to be taken to the recipe:

Raspberry Confetti KissesConfetti CupsStrawberry Lemonade Birthday Cake!Cotton Candy Fizz

Peppermint Hot Chocolate Cupcakes

Posted on

Rich chocolate cupcakes filled with peppermint cream and topped with a chocolate frosting made with hot chocolate mix ~ a perfect winter treat!

(the hot cocoa frosting is to DIE for…just thought you should know that right up front….!)

I love hot chocolate…. it is one of my favorite parts of winter.  My friend Dawn recently suggested we participate in a Hot Chocolate Run.  If you’ve never heard of this (I hadn’t!) let me show you a little of the amazingness that makes up a Hot Chocolate Run.

Hot Chocolate RaceStarting line of the Hot Chocolate Race

Finisher's MugYUM!!!!

Nothing motivates better than chocolate, I always say!  Who needs a medal when you can have a big cup of cocoa and warm chocolate fondue after a race?

In any case, I’ve been moderately addicted to hot cocoa ever since that weekend.  We all know what happens when I get a flavor stuck in my mind right?  Cupcakes happen.  Hot Chocolate Cupcakes in this case– with some peppermint as a bonus.  If you don’t like peppermint you can easily leave it out of this recipe, but I love the combination!  Are you ready to make these?  Here we go.

INGREDIENTS:

  • One boxed dark chocolate cake mix (plus oil, water and eggs needed to make mix according to box)
  • One packet of Dream Whip (what is Dream Whip? Click HERE)
  • 1/2c. cold milk
  • 3 t. vanilla (divided)
  • 3 tablespoons of finely crushed peppermint candies (I used Peppermint Sprinkles )
  • 1 stick (4 oz.) of salted butter at room temp.
  • 1 stick (4 oz.) of unsalted butter at room temp.
  • 1 cup powdered sugar
  • 1/2 cup of hot cocoa mix (I used Nestle)
  • Kraft Mallow Bits  and peppermint candies to decorate as desired.

DIRECTIONS:

  • Make cake mix according to box, and bake in 24 cupcake liners in muffin tins.
  • Cool cupcakes completely.
  • Make cream filling by placing Dream whip, milk and 1 t. vanilla in a mixing bowl and beating on high until light and fluffy.
  • Add finely crushed  peppermint candy and gently fold in until well combined.
  • Hollow a core out of each cupcake (I used a Chicago Metallic Cupcake Plunger that was recommended to me by a friend– LOVED it!)

Chicago Metallic Cupcake PlungerSo easy to core cupcakes!

(If you have baking friends this is SUCH an inexpensive and fun stocking stuffer idea– it only took me about 5 minutes to core all 24 cupcakes– and I stopped to take pictures!)

  • Pipe filling into each cupcake core.
  • Make frosting by combining butters, powdered sugar, cocoa mix and 2 t. vanilla in a large bowl and beating on high until fluffy.
  • Pipe frosting over cupcakes and decorate as desired.  (The mallow bits were really yummy with this frosting!


Peppermint Hot Chocolate Cupcakes!!!

My thoughts:  Fun and yummy winter treat!!  Not a fan of peppermint?  Just leave the crushed peppermint out of the filling and you have a yummy whipped cream taste with your hot chocolate frosting instead!  

One note:  Put the peppermints on just before serving as the frosting eventually makes them a little sticky.  I hope you and your family love these little treats!  Enjoy!!!  ~r

Chocolate Lava Cupcakes

Posted on

These rich chocolate cupcakes are made with a cake mix, but filled with warm chocolate fudge that pours out when you take a bite~ yum!!!!!

INGREDIENTS: (makes 18-20 cupcakes)

  • One boxed dark chocolate cake mix (plus water, eggs and oil to make according to box)
  • 1 c. semi sweet chocolate chips
  • 1/2 c. whipping cream
  • 1/4 c. cocoa powder
  • 1/2 c. white baking chips

DIRECTIONS:

  • Heat semi-sweet chips and whipping cream in the microwave, stirring every 30 seconds until completely melted and smooth, making a ganache.
  • Refrigerate for about 2 hours, until hardened to a soft fudge consistency.
  • Scoop small balls of cold chocolate ganache out of bowl using a small cookie scoop (I highly recommend a small cookie scoop for this job- the chocolate is sticky and hard to work with until it is rolled in cocoa- a scoop makes it so much easier!)
  • Roll balls in cocoa powder and keep refrigerated until use.
  • Preheat oven to 350F degrees
  • Make cake mix according to box and spoon about 1 1/2 tablespoons of batter in 18-20 cupcake liners in tins.
  • Gently press a ball of ganache into the center of each cupcake.

  • Cover each ball with a small scoop of cake batter- just enough to cover the ball completely.
  • Bake at 350F for the time recommended on the box.
  • Remove from oven and serve warm with ice cream and drizzles of white chocolate.

If you aren’t serving immediately, warm each cupcake in the microwave for 15-20 seconds before serving.

My thoughts: I’ve had many a molten lava cake and cupcake before, but usually they fall apart right out of the pan.  These cupcakes hold together beautifully and don’t leak all that warm fudge out until they are cut into.  They are perfect re-heated and sooooo yummy with a little ice cream and raspberry sauce.  A perfect treat for a chilly fall day!!  Enjoy!!  ~r

Other cupcake recipes you might enjoy: (click on the image to be taken to the recipe)

Halloween Bundt Cake

Posted on

Creepy colors all swirled together inside make this bundt cake a holiday hit!  Drizzle it with gooey frosting and fun colors for a perfect (EASY!) party dessert!

Confession:  I needed a fast dessert a few nights ago, saw this online and decided to use a recipe rather than create a new idea.  Its a FABULOUS and EASY idea, so I just couldn’t help but share it!  Kudos to Lets get Cookin’ for this idea- wonderfully creative!  Here’s how I made my own: (printable recipe)

INGREDIENTS:

  • One box of white cake mix (and oil, water and eggs to make according to box)
  • One box of chocolate cake mix (and oil, water and eggs to make according to box)
  • Orange, Black and Purple gel icing colors (these gel colors give the batter the vibrant colors you see without having to add much–I invested in the Wilton set of 12 colors months ago and I LOVE them.  Click here to see them on Amazon.  You can order them there or sometimes find them at craft or cake decorating stores).
  • One tub of chocolate pre-made frosting
  • Wiltons Candy Melts in purple (and orange too if you want!)

DIRECTIONS:

  • Preheat oven to 325 degrees.
  • Make both cake mixes according to packages.
  • Divide the white cake batter into two bowls, equally.
  • Add black coloring to the chocolate cake to darken it.
  • Add purple to 1/2 of the white batter and orange to the other half.
  • Pour about 1/3 of the chocolate batter into the bottom of a well-greased bundt pan.
  • Pour all of the purple batter over the chocolate
  • Pour all of the orange batter over the purple
  • Pour another 1/3 of the chocolate batter over the colors.  You can use more than 1/3, but you want to give the cake room to rise- so leave a bit of room.  You can discard the remaining chocolate batter or make a couple of cupcakes with it.
  • Bake at 325 degrees for about 45-55 minutes (until the center is set and a cake tester inserted comes out clean).
  • Tip over on a cake rack and cool completely
  • To finish, melt the tub of frosting in the microwave (about 15-30 seconds) and stir well.
  • Place frosting in a zip-top bag, clip a corner and drizzle over entire top of cake.
  • Melt candy melts in the microwave in 30 second increments, stirring between until smooth and pipe these colors over the top as well.  I think both purple and orange would be fun, but I only had purple in my cabinet!

My thoughts- quick and easy and yummy moist cake that makes people smile and ask– “how’d you do that”?  Very fun!!  I have to add that the recipe over at Lets Get Cookin’ used vanilla frosting colored with the gels and drizzled over the top.  I decided to use chocolate because its what I had 😉  It was really yummy with the chocolate– I think you would get a better color match doing it with the vanilla frosting though- my candy melts color clashed a little with the inside purple color.  Also, I put a cookie sheet on the rack below the cake while it baked– just in case it dripped over.  It didn’t, but you might want to do that just to save yourself an oven-cleaning day!  Hope you get to try this cake– I think you are gonna love it!!!  ENJOY!  ~r