You’ll feel like you’ve struck gold when you bite into one of these fun rainbow Oreos. A perfect way to celebrate St. Patrick’s day and SO easy to make!
Prepare yourself.
National Oreo Day is just two days away. This year, the momentous occasion falls on Thursday, March 6th. There isn’t a store-bought cookie that I like better than an Oreo. All the fun flavors (cookie dough, peanut butter, birthday cake, mint, marshmallow…) are great- but I like mine just plain double stuf (I just realized they left an “f” off of stuf last week!) I’m not alone in my passion for this little cookie- over 362 billion cookies have been sold since it was first introduce in 1912!
This week I created these little rainbow Oreo pops in honor of the day (and to give you a head start on your St. Patrick’s Day ideas!)
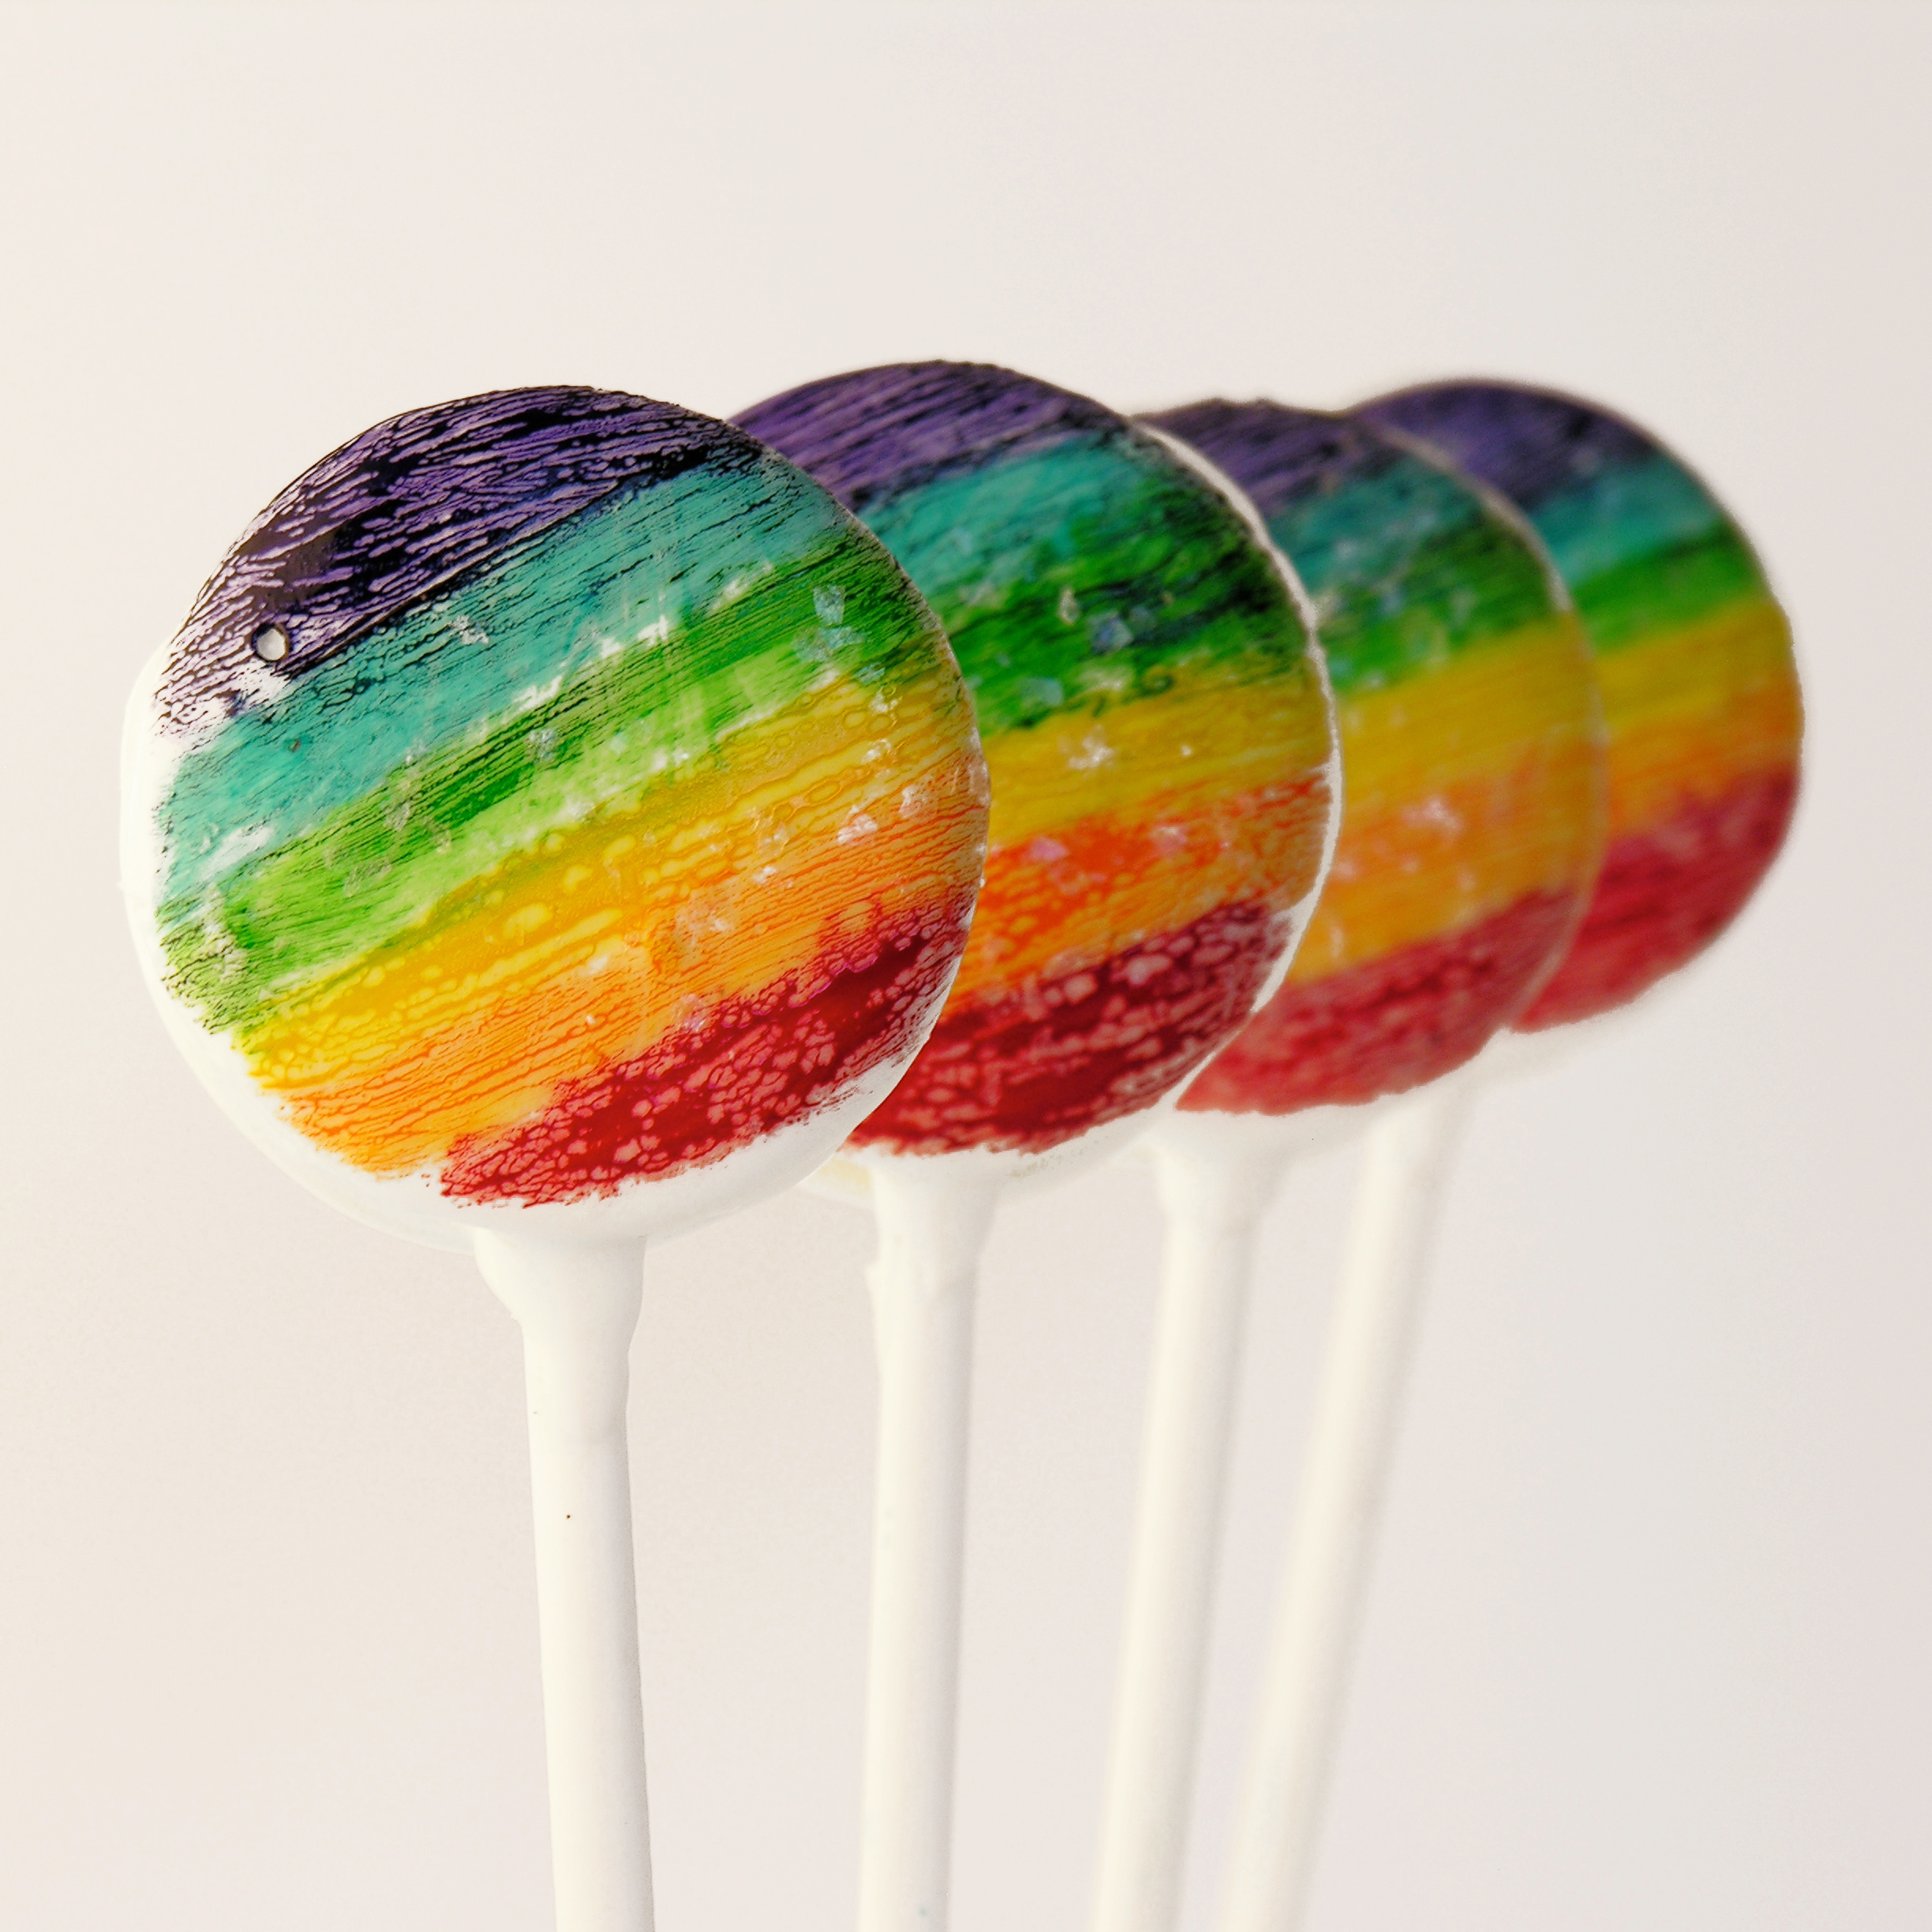 They are incredibly easy to make. Once your Oreo has been dipped, those rainbow stripes are just painted on with gel food coloring.
Here’s the recipe: (for a printable recipe click here, for a picture tutorial click here)
INGREDIENTS:
- One package of Double Stuf Oreos
- 2 (12oz.) bags of Wilton White Candy Melts
- 24 Lollipop sticks
- Food color gels in purple, blue, green, yellow, orange and red -I used these
DIRECTIONS:
- Carefully twist apart all of the Oreo cookies
- Using one of the pop sticks, make an indentation in the white filling of each cookie.
- Melt the Candy Melts in the microwave in 30 second increments, stirring until completely melted and smooth.
- Dip the end of one stick into the melted white chocolate, drizzle a little in the center of the white cookie filling and then gently press it into the indentation made.
- Place the top of the cookie back on and allow white chocolate to harden (10 minutes or so), cementing the cookie back together with a stick inside.
- Holding the stick, lower the entire Oreo into the bowl of melted white chocolate, spooning it over the top and sides to cover it completely.
- Allow the excess white chocolate to drain off and gently place covered Oreo on a piece of parchment paper to harden.
- Allow white chocolate to harden and cool completely.
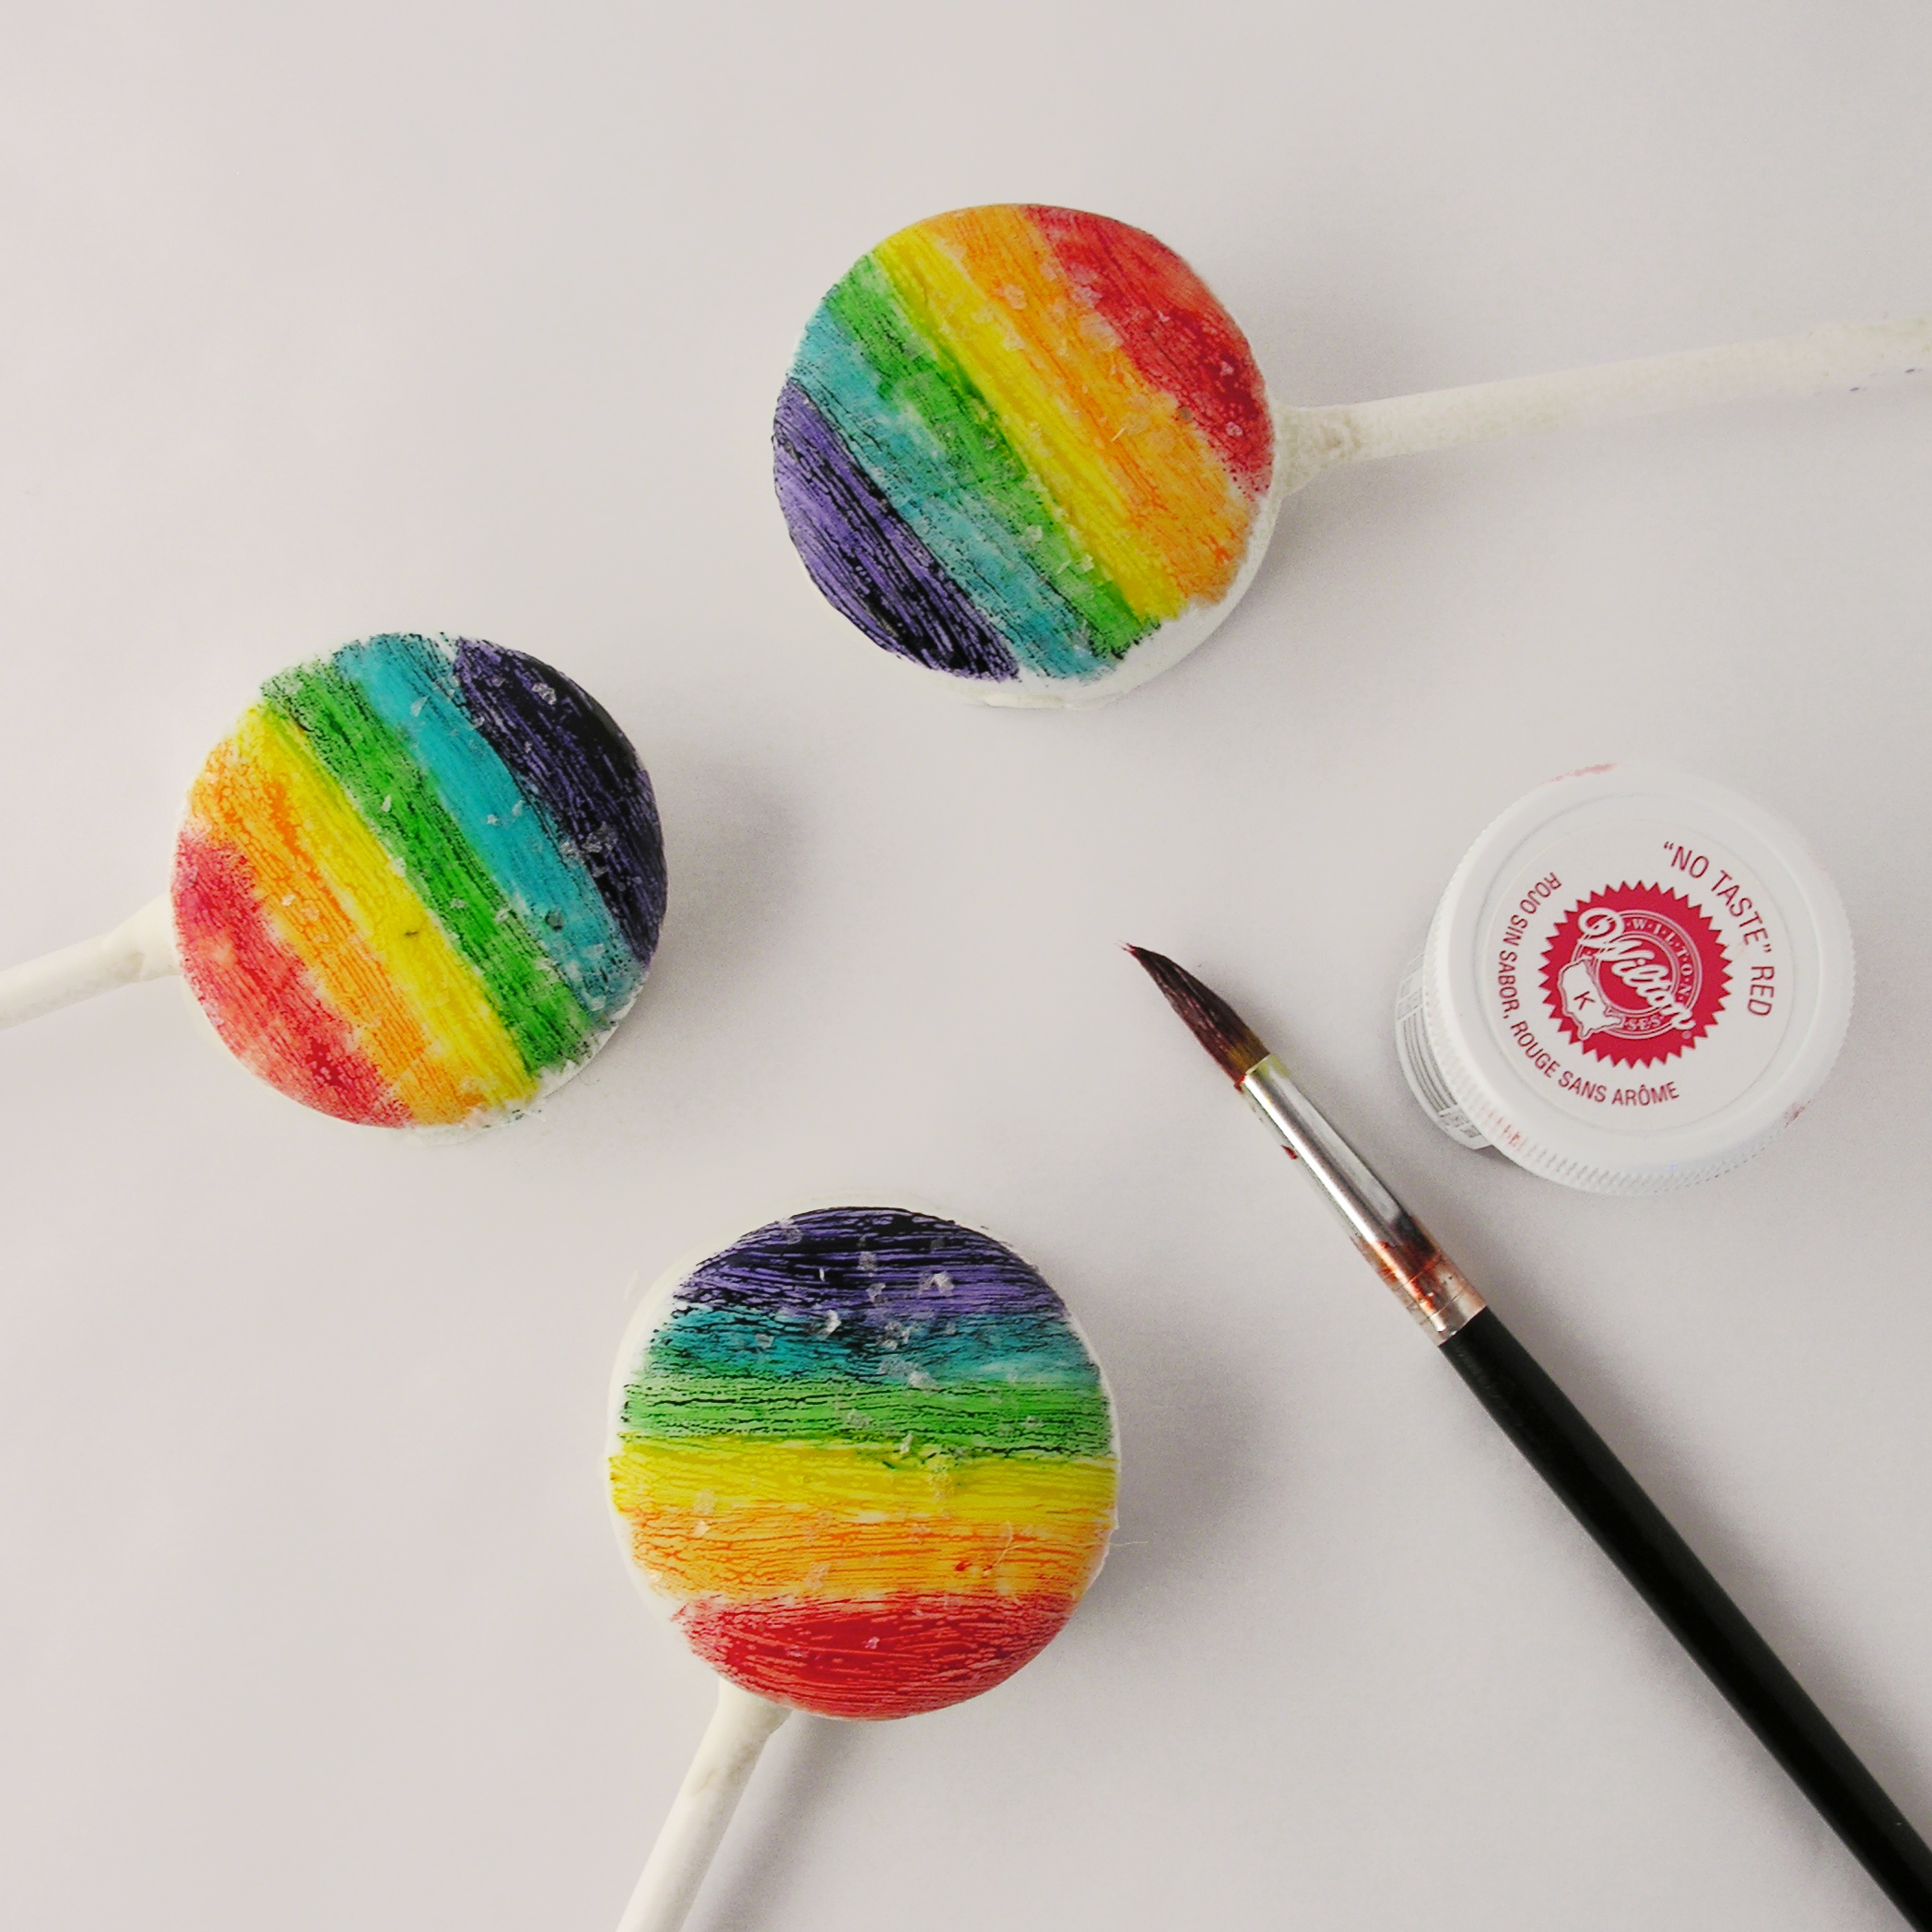
- Using a small paint brush (you can get one specifically made for food that won’t shed bristles- like a Wilton 7-Piece Decorating Brush Set), start in the middle of the cookie using the yellow, and paint a stripe across. Paint a yellow stripe on all cookies.
- Wash and dry your brush and paint the other colors, working from lightest colors to darkest.
- Allow the “paint” to dry for several hours.
- Eat and enjoy!!!
Aren’t they fun?????

My thoughts: You can see that I sprinkled a little bit of edible glitter on top when I was done. You have to do this before the paint completely dries. It makes them very fun and sparkly- more fun and sparkly than you can see in the pictures! Just an option, if you want to add it. You can also see that I didn’t agonize over painting perfect lines and not going over the edges. I really liked the messy paintbrush look of these. Put on your artist hat and have some fun!!!

Here’s a little collection of all things Oreo on Easybaked…as you can see, we love Oreos around here! Just click on a photo to see the recipe!
Oreo Pops…so many possibilities!


Nothing makes a crust like a crushed up Oreo cookie!!!


And my favorite Oreo dessert?

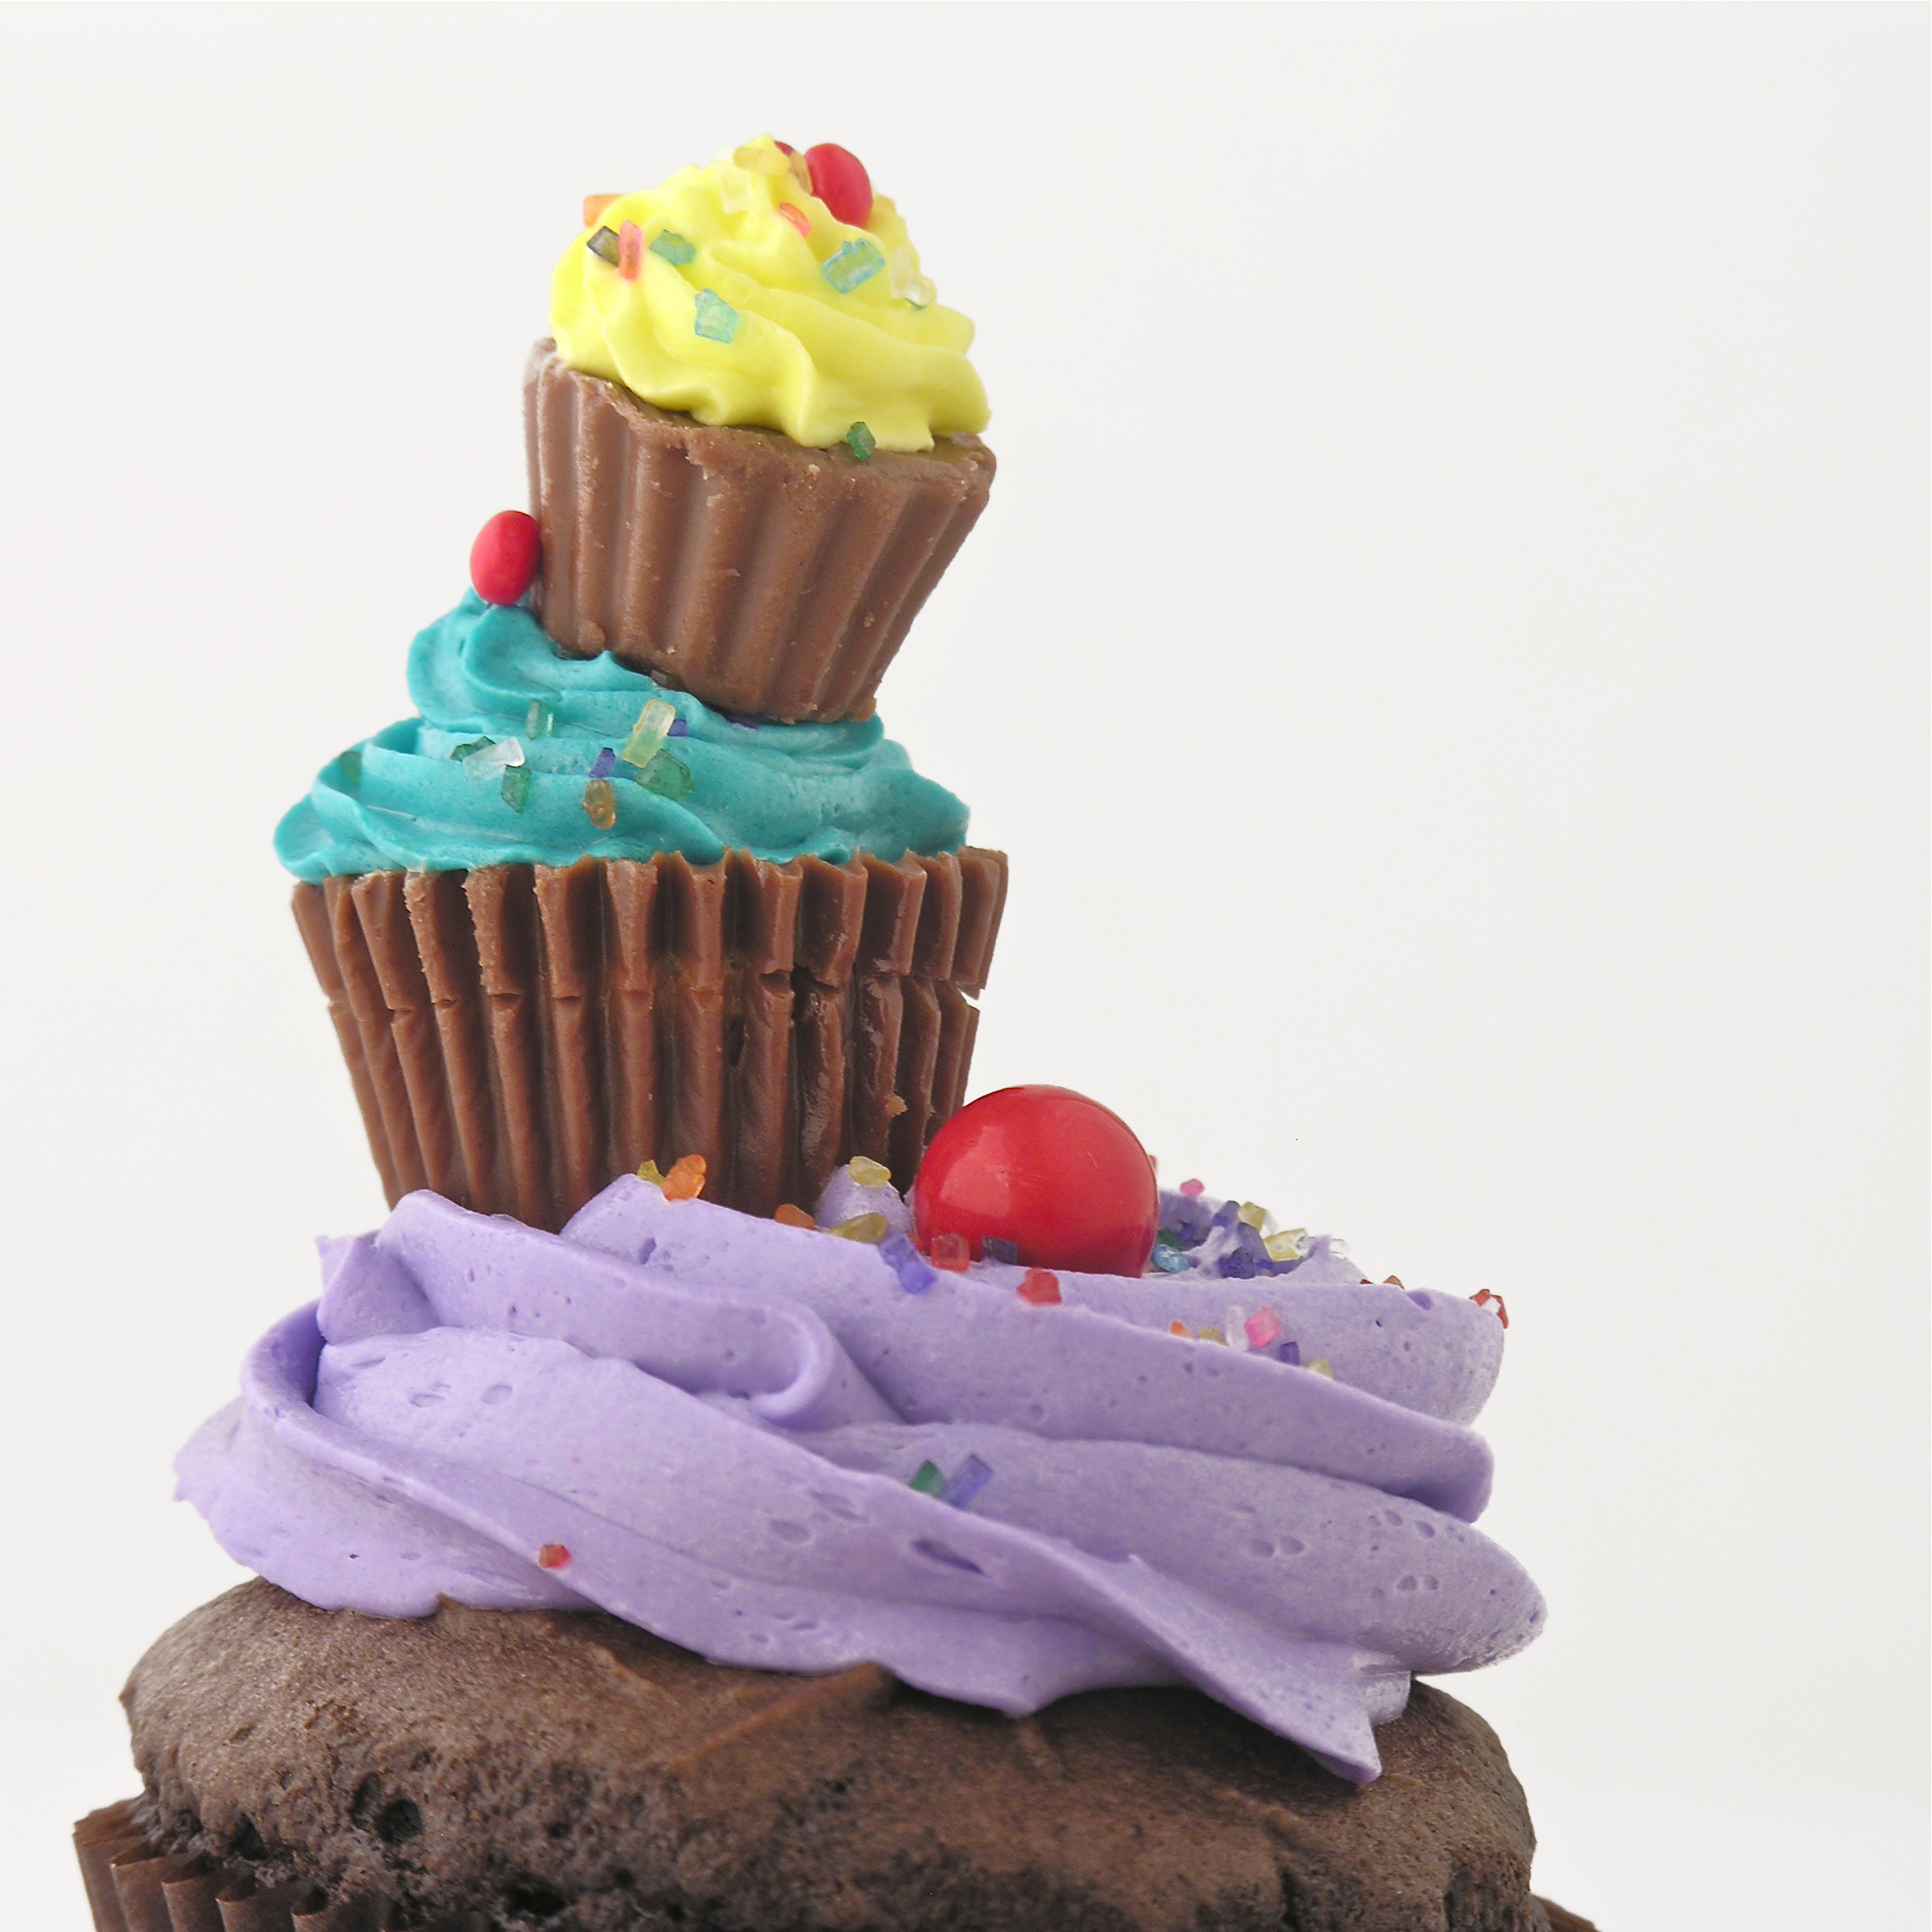
These yummy Brownie Oreo Cookie Cups!!!!!!
Happy Oreo day to you!!! I hope you have time to stop and enjoy some this week!!!! ~r