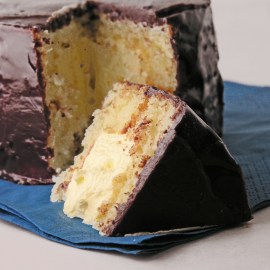
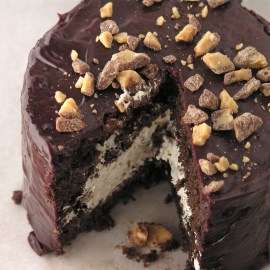
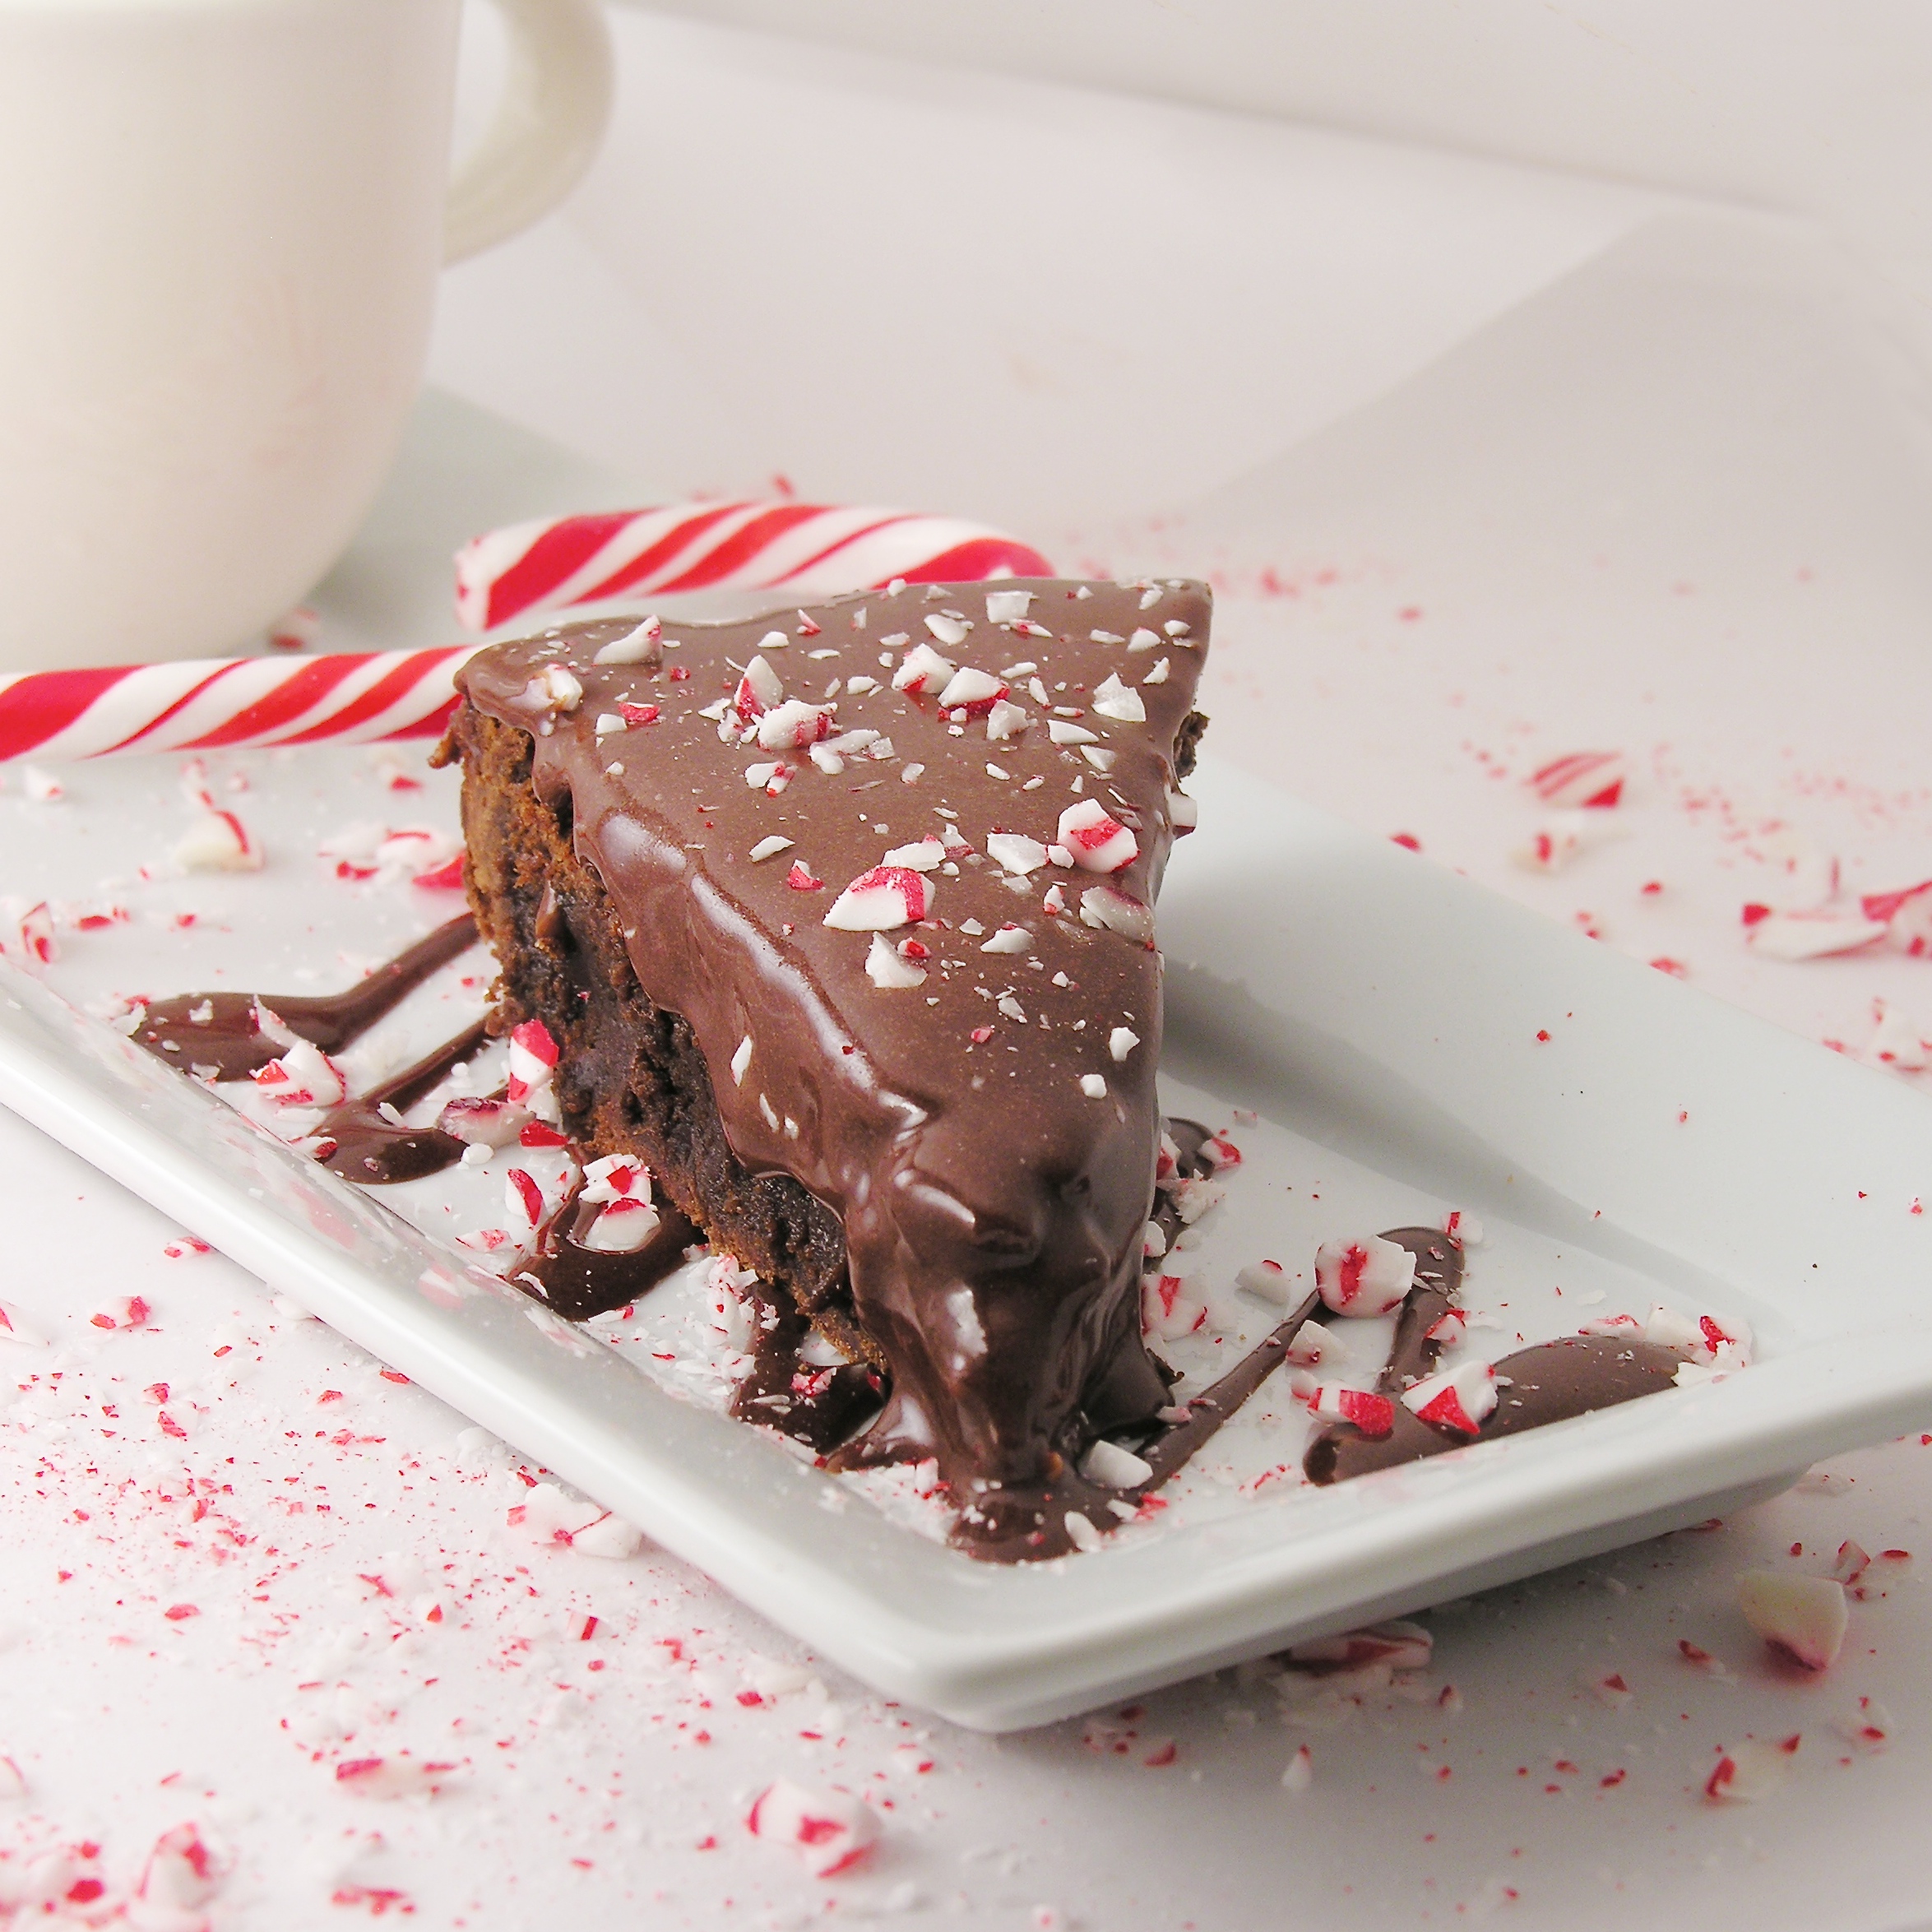
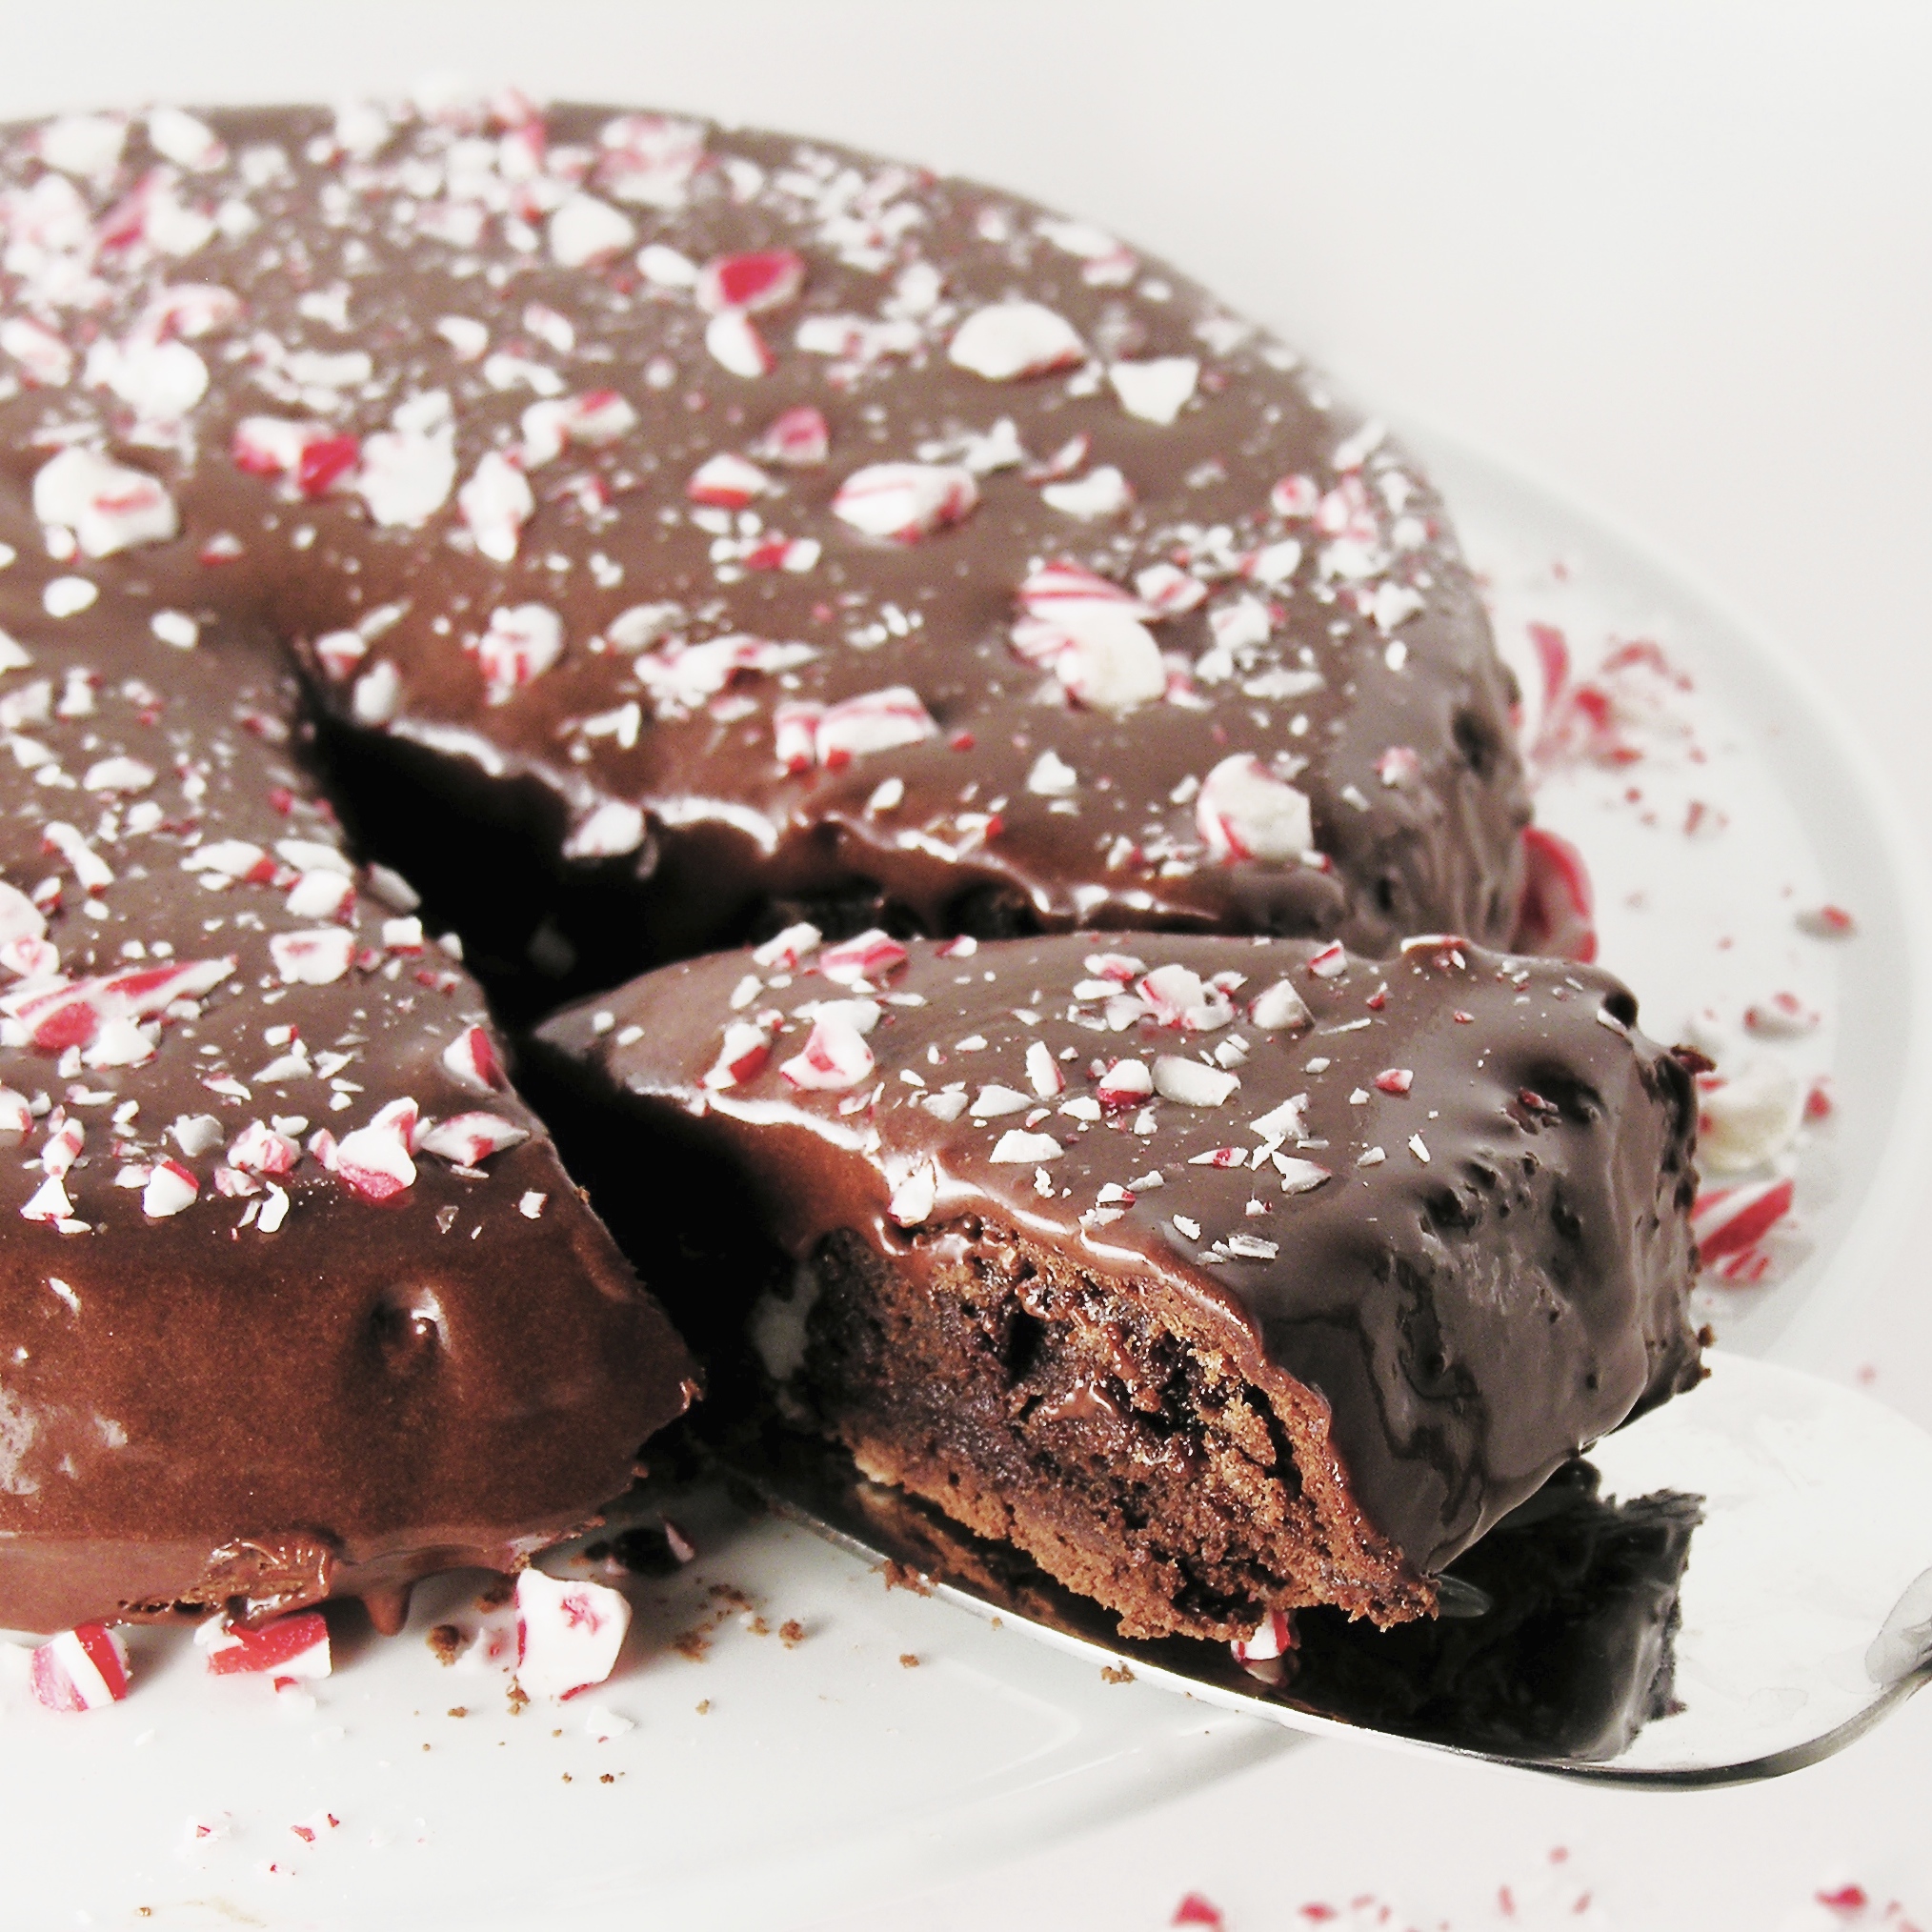
This rich chocolate cake has a huge layer of Andes Mint whipped filling and is drizzled with fudge topping. The perfect chocolate dessert!
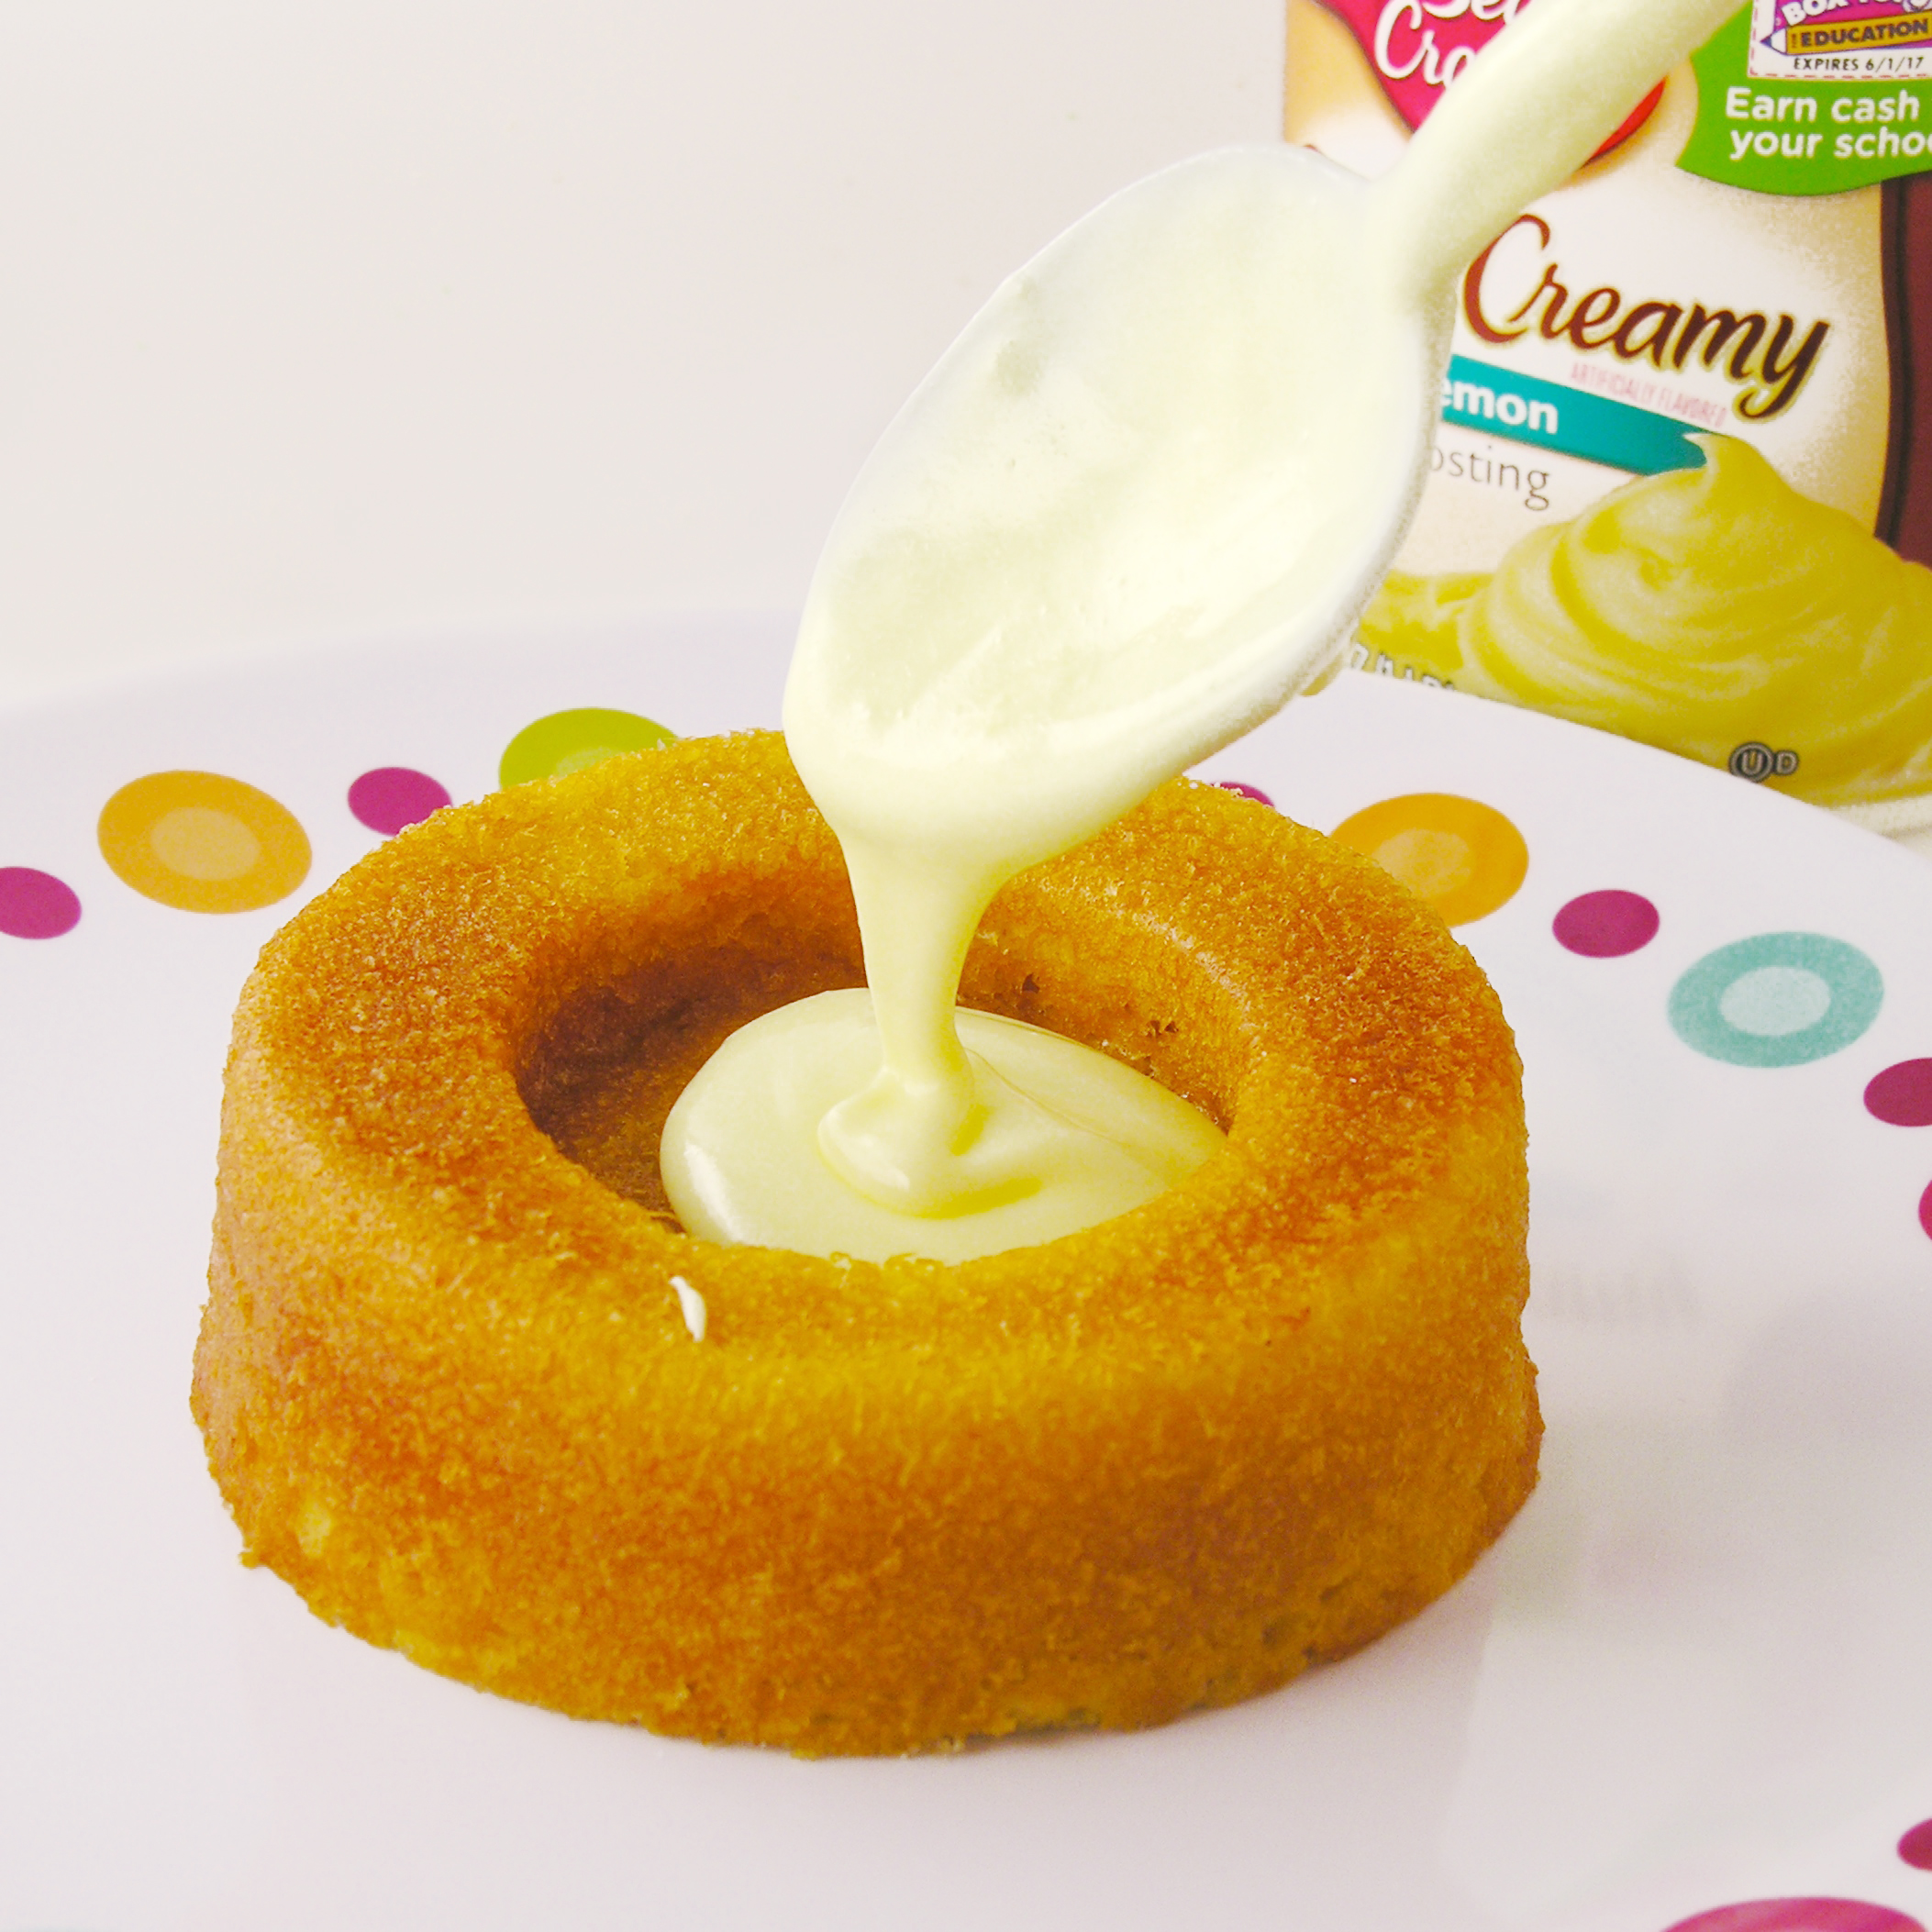
Tah Dah!!! One last melted frosting recipe…for now…This one has yummy melted chocolate frosting inside and poured all over the top. YUM!!!!!!
I love making this cake in various forms. It is SO quick and easy to put together and everyone loves it! This time I added Andes mint candies for a refreshing mint twist to this recipe. I think you will love it!! 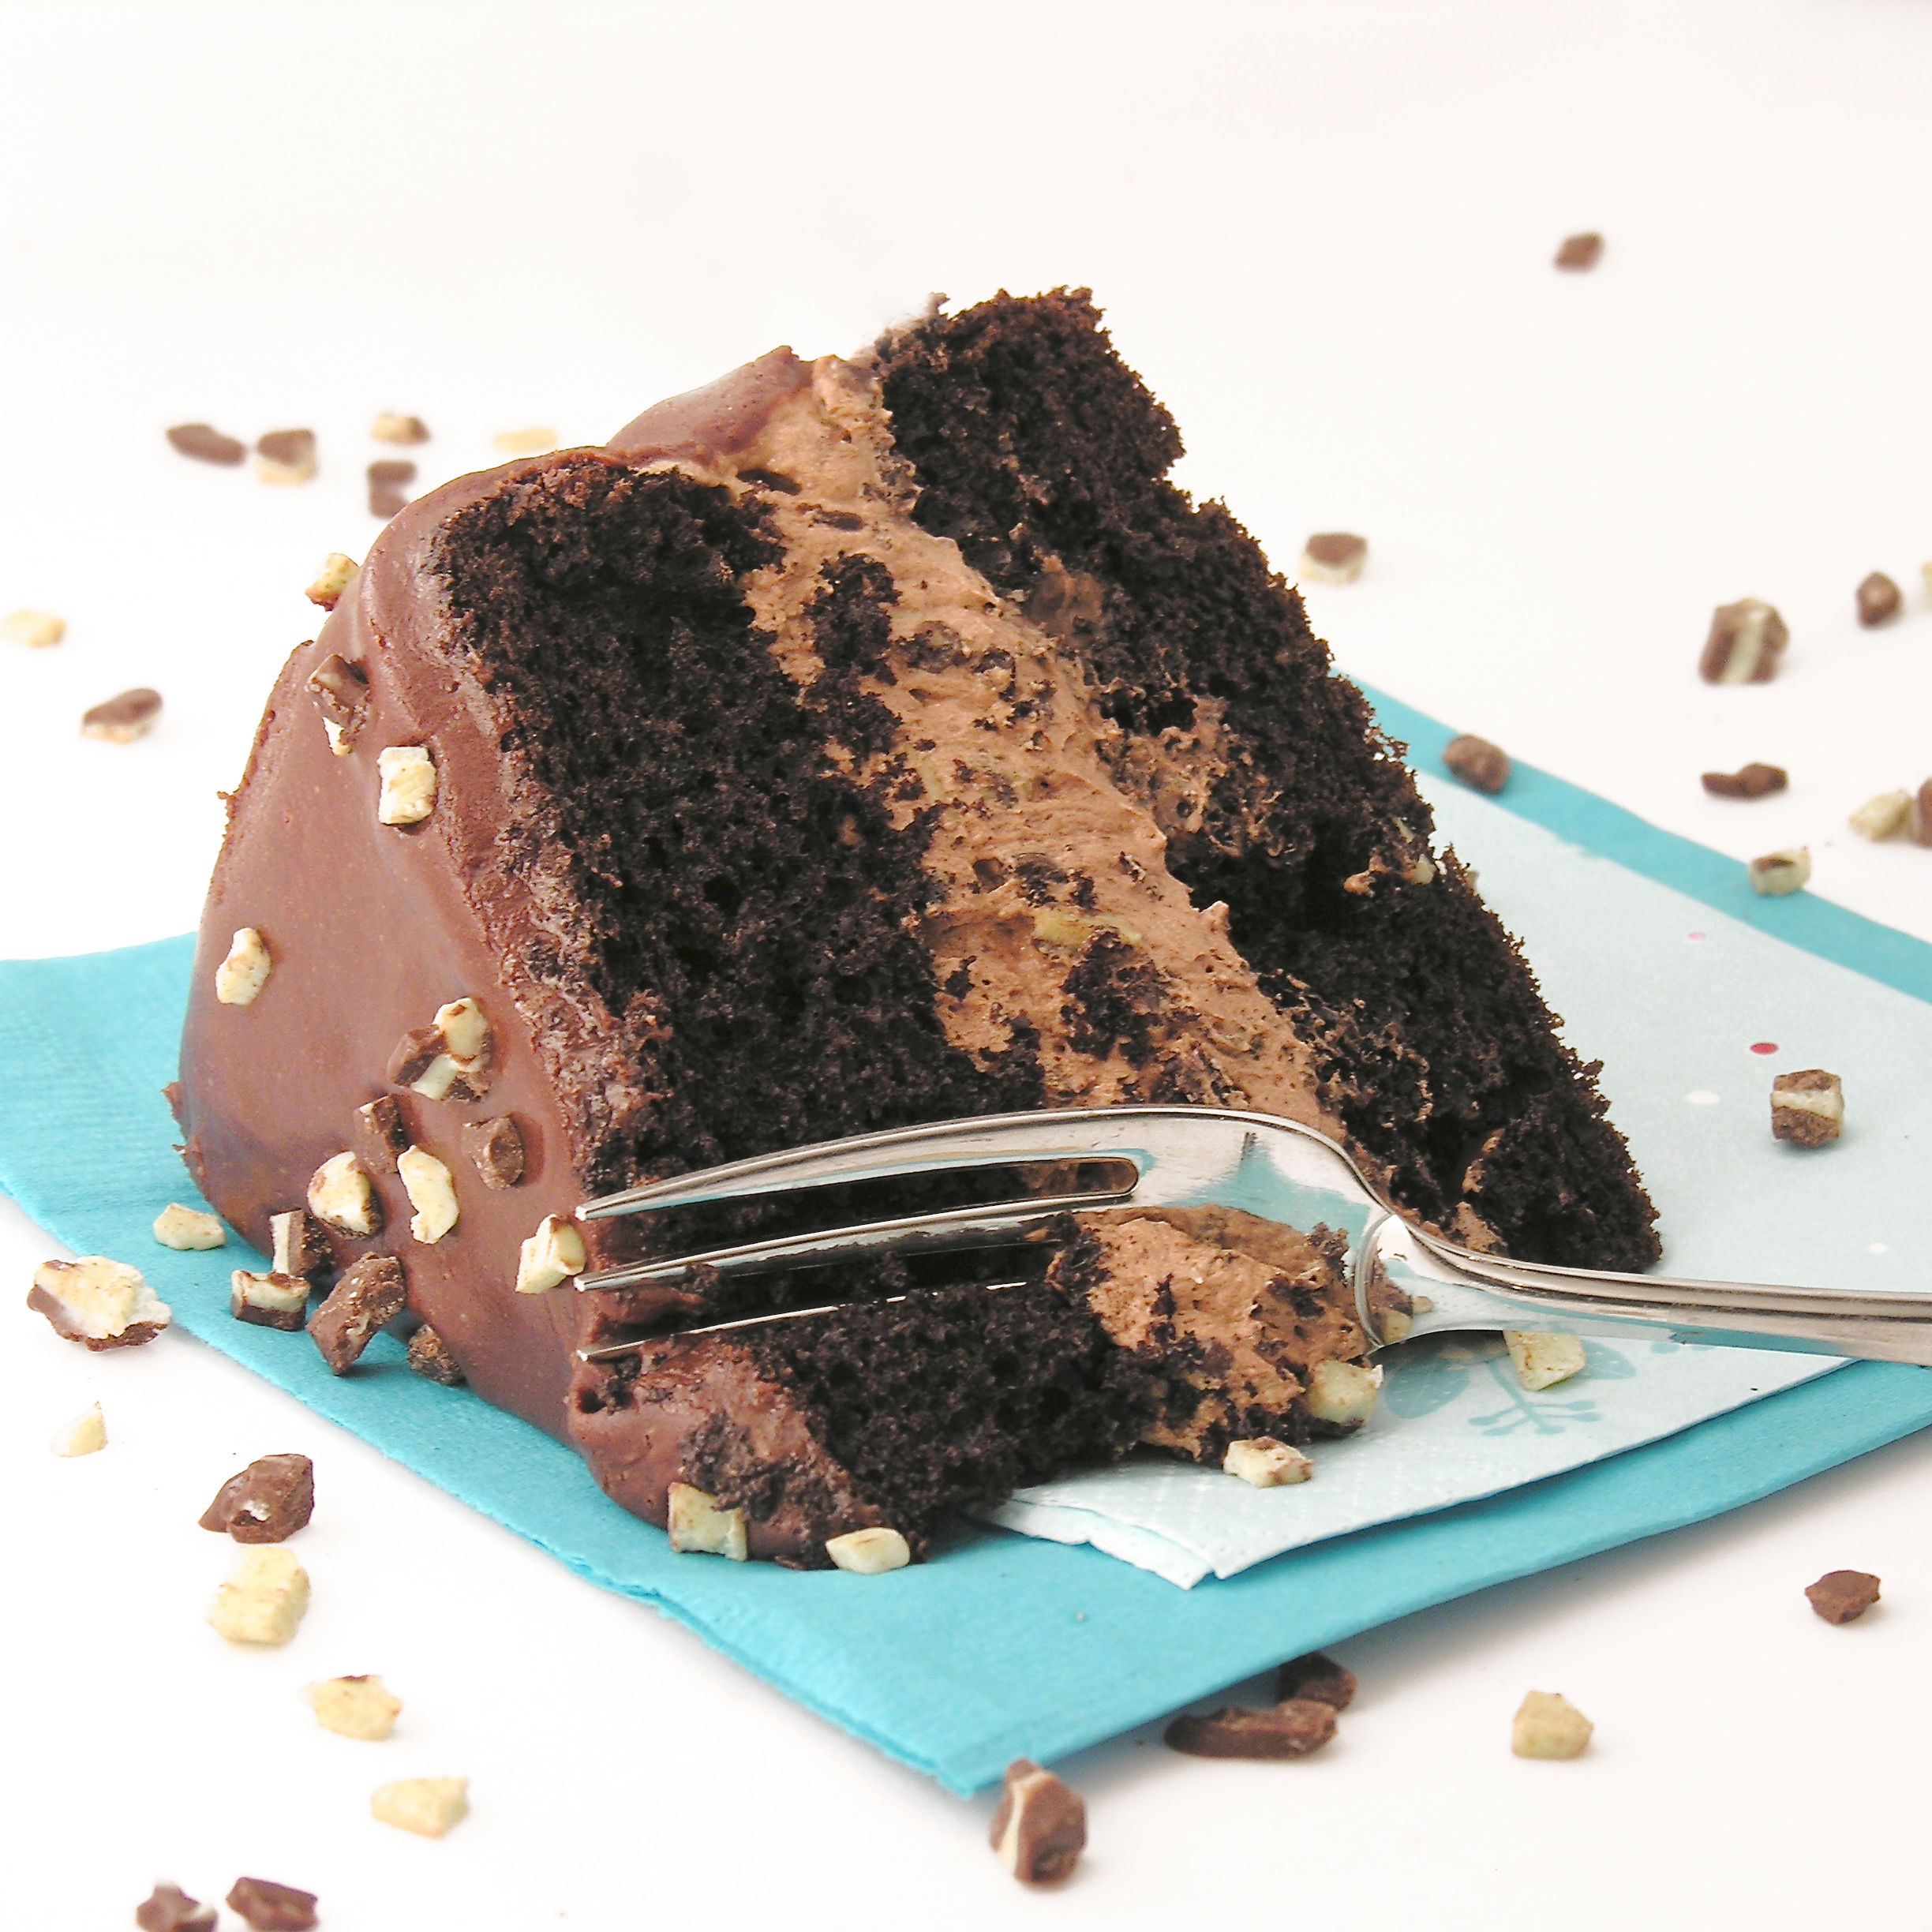

Here’s the recipe: (printable version)
INGREDIENTS:
- 1 boxed chocolate cake mix (with oil/eggs/water to make according to directions)
- 2 packets of Dream Whip
(found near the jello/pudding boxes at the grocery)
- 3/4 cup milk
- 1 teaspoon vanilla
- 3 tablespoons cocoa powder
- 3 tablespoons powdered sugar
- Andes Baking Chips 10 oz
- One container of pre-made chocolate frosting
DIRECTIONS:
- Make cake mix according to box and bake in 2 – 8 or 9 inch round pans (I cut parchment paper to fit, spray the pan with non-stick spray, and place it in the bottom of each pan so that the cake comes out easier).
- Cool cakes completely on a wire rack and while they are cooling make your whipped filling:
- Put Dream Whip, milk, vanilla, cocoa powder and powdered sugar into a mixing bowl and blend together.
- Using a mixer, beat until stiff peaks form (3-4 minutes)
- Fold in Andes mint baking chips, saving aside a few for topping.
- Scoop chocolate frosting into a microwave safe bowl and heat for only about 20-30 seconds in the microwave. Heat until frosting is melted into a hot fudge consistency.
- Use a large serrated knife to level your two cakes.
- Place 1st cake on serving plate, leveled edge up.
- Pour about 1/4 of melted frosting on top of cake and spread to cover (I put this layer in the fridge for about a minute just to cool the warm frosting down before adding the mousse layer)
- Spoon all of the mousse on top of the cake and spread it ALMOST to the edges.
- Top with second cake– put the leveled edge against the mousse…this keeps all the crumbs in the middle and leaves a nice flat surface on the top of your cake. Gently press top layer down to squeeze the mousse all the way to the edges.
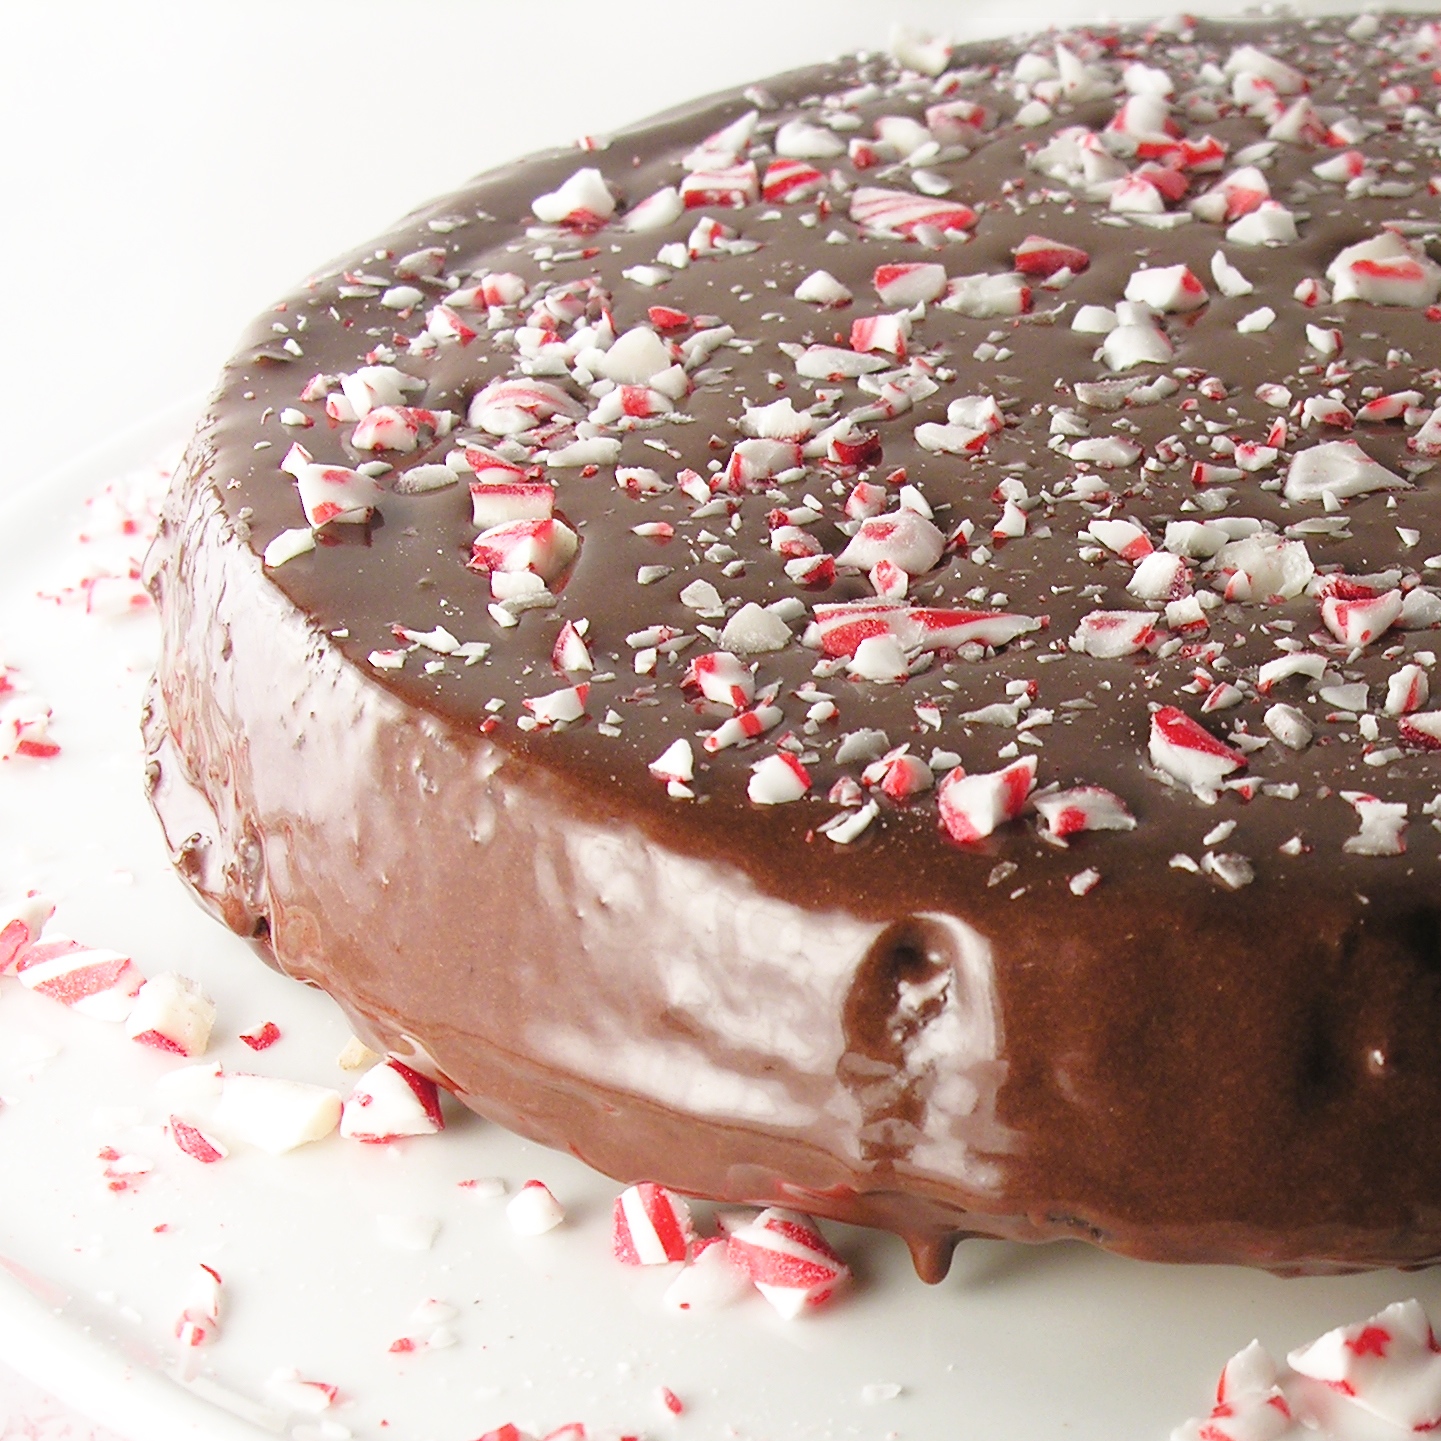
- Pour the rest of the melted frosting over the entire cake and let it drip over the edges.
- Sprinkle the remaining Andes Mint bits on top.
- Refrigerate until serving, this will make the middle layer firm and easy to cut.


My thoughts: I love this cake. It is a beautiful dessert that is just so quick and easy to put together!
That creamy mint filling….oh my. I hope you get a chance to try it! Enjoy! ~r


Other yummy chocolate treats here on easybaked: