Tag Archives: cute cupcakes

Love Bug Cupcakes

Posted on
These cute little bugs are filled with berry cream and jam. They sit on top of a dense, not-too-sweet brownie base, and are the *perfect* treat for your Valentine!

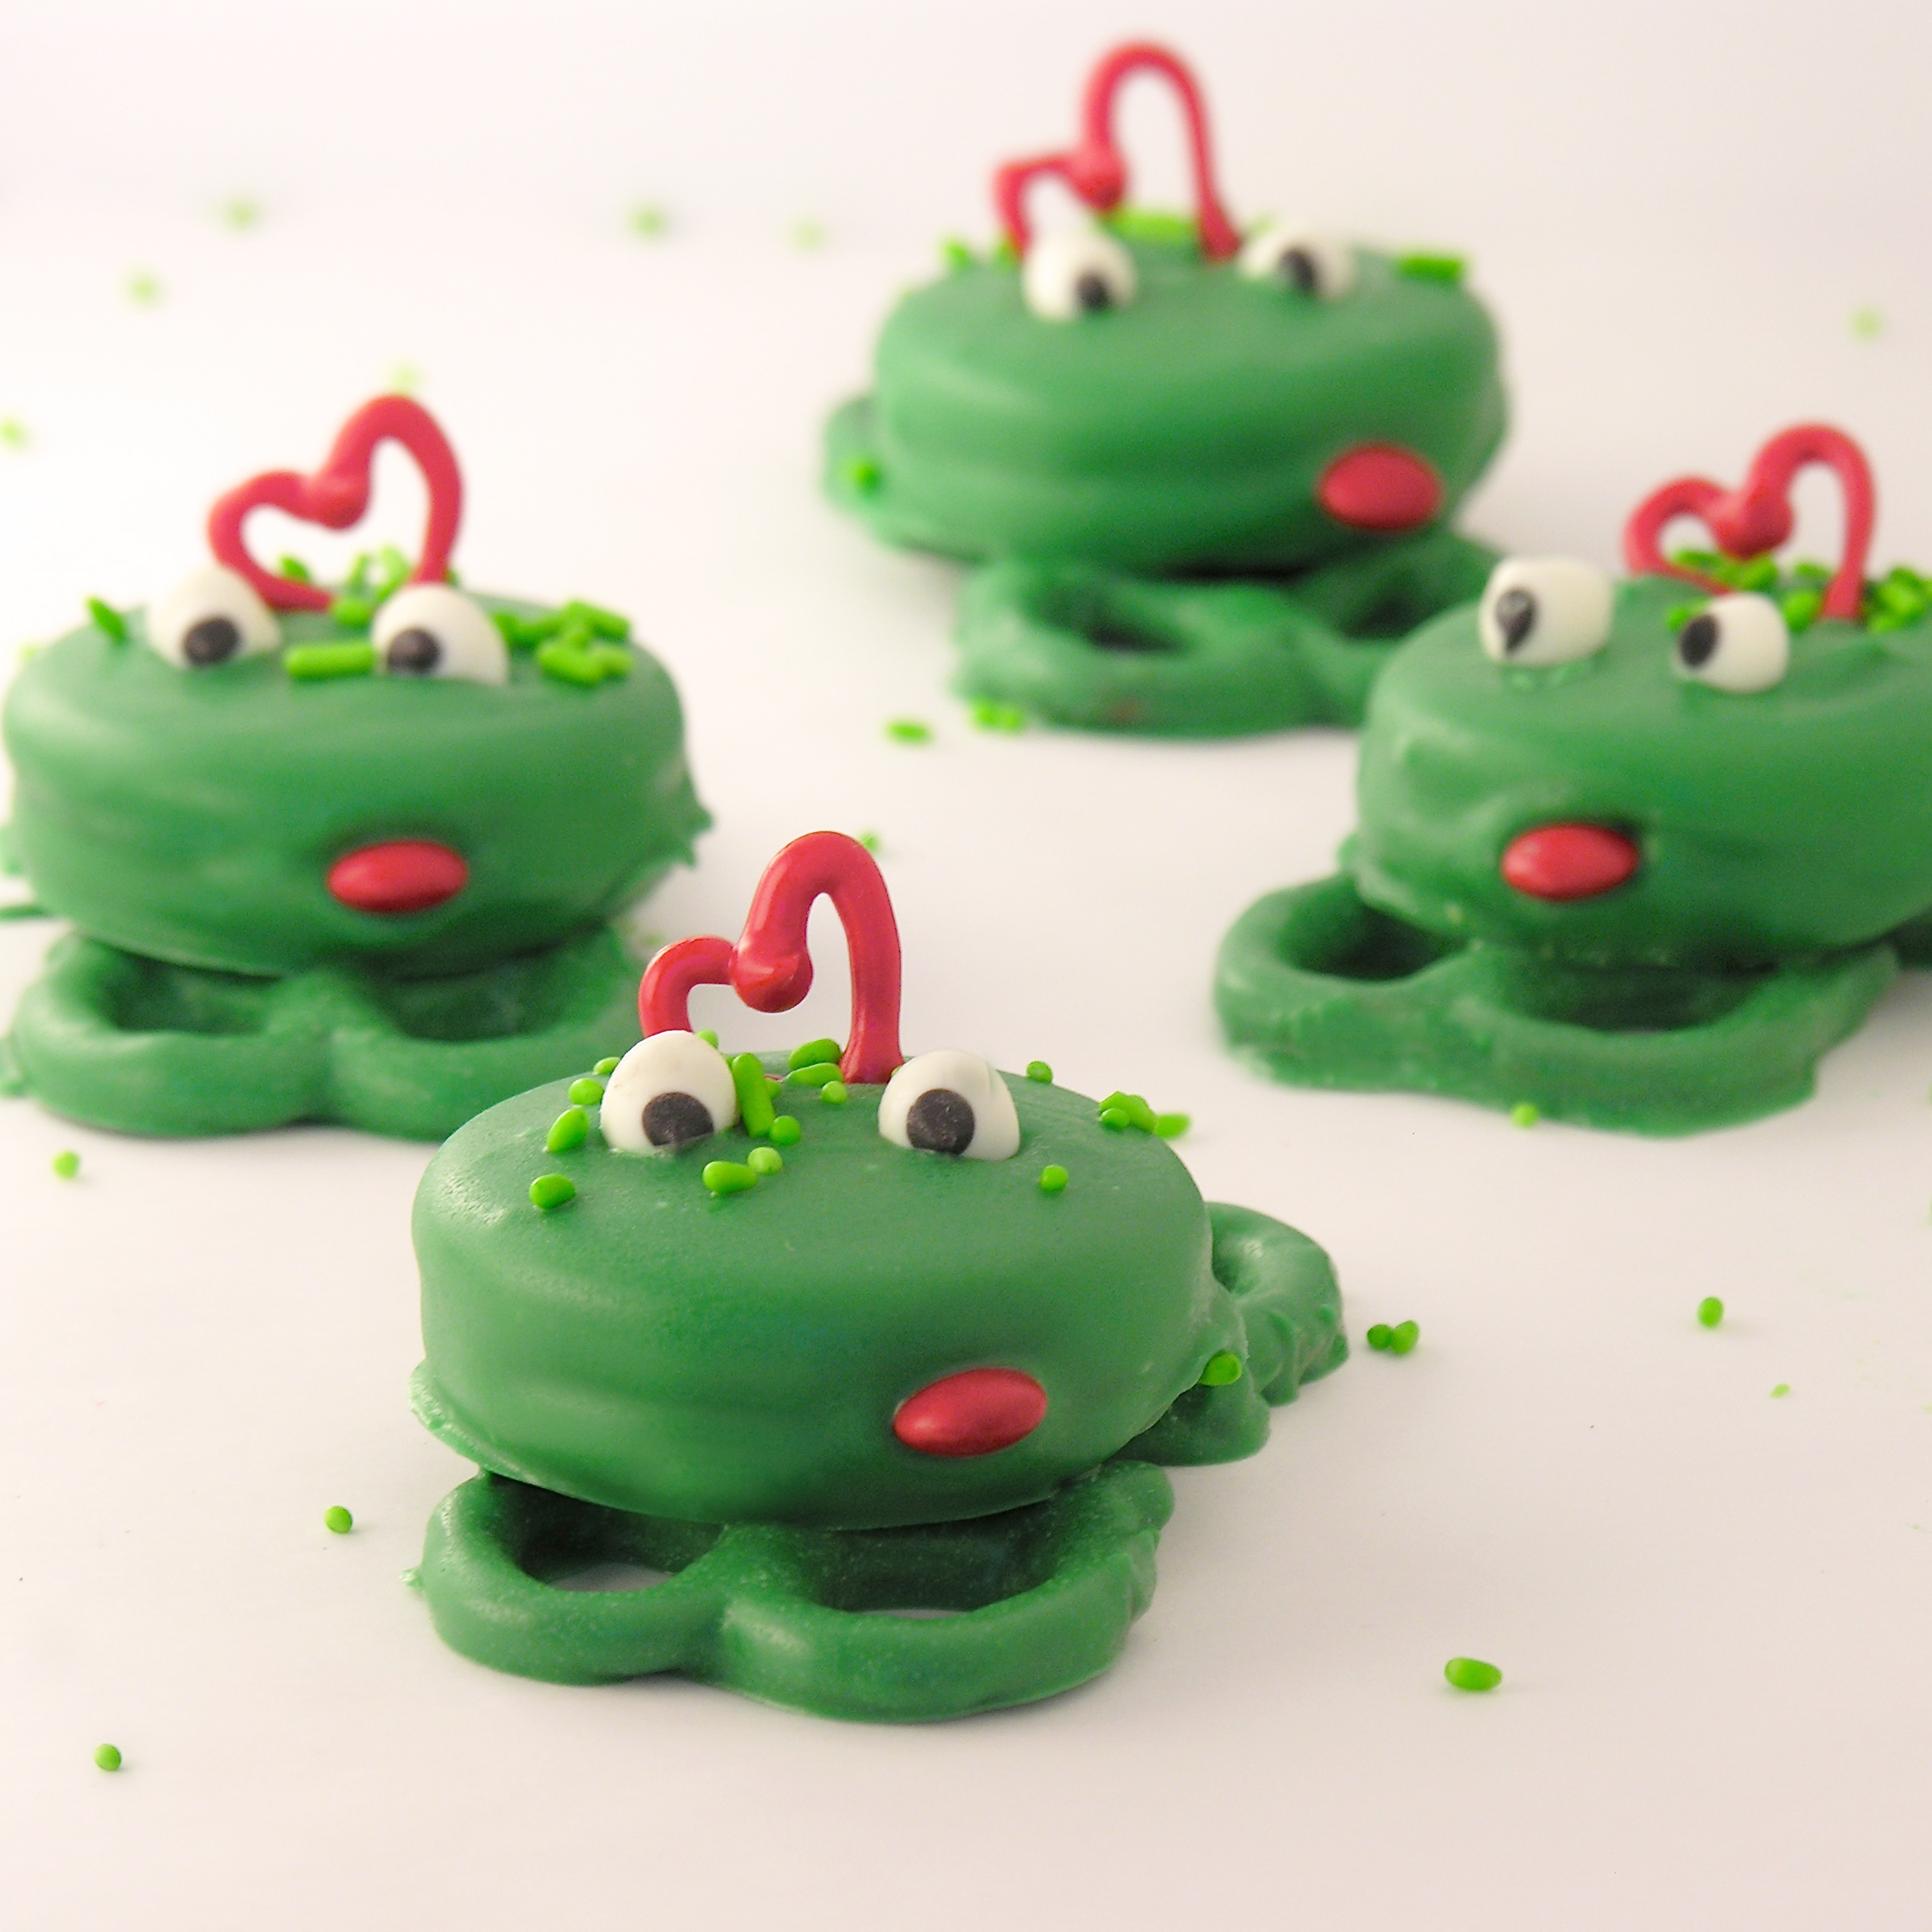
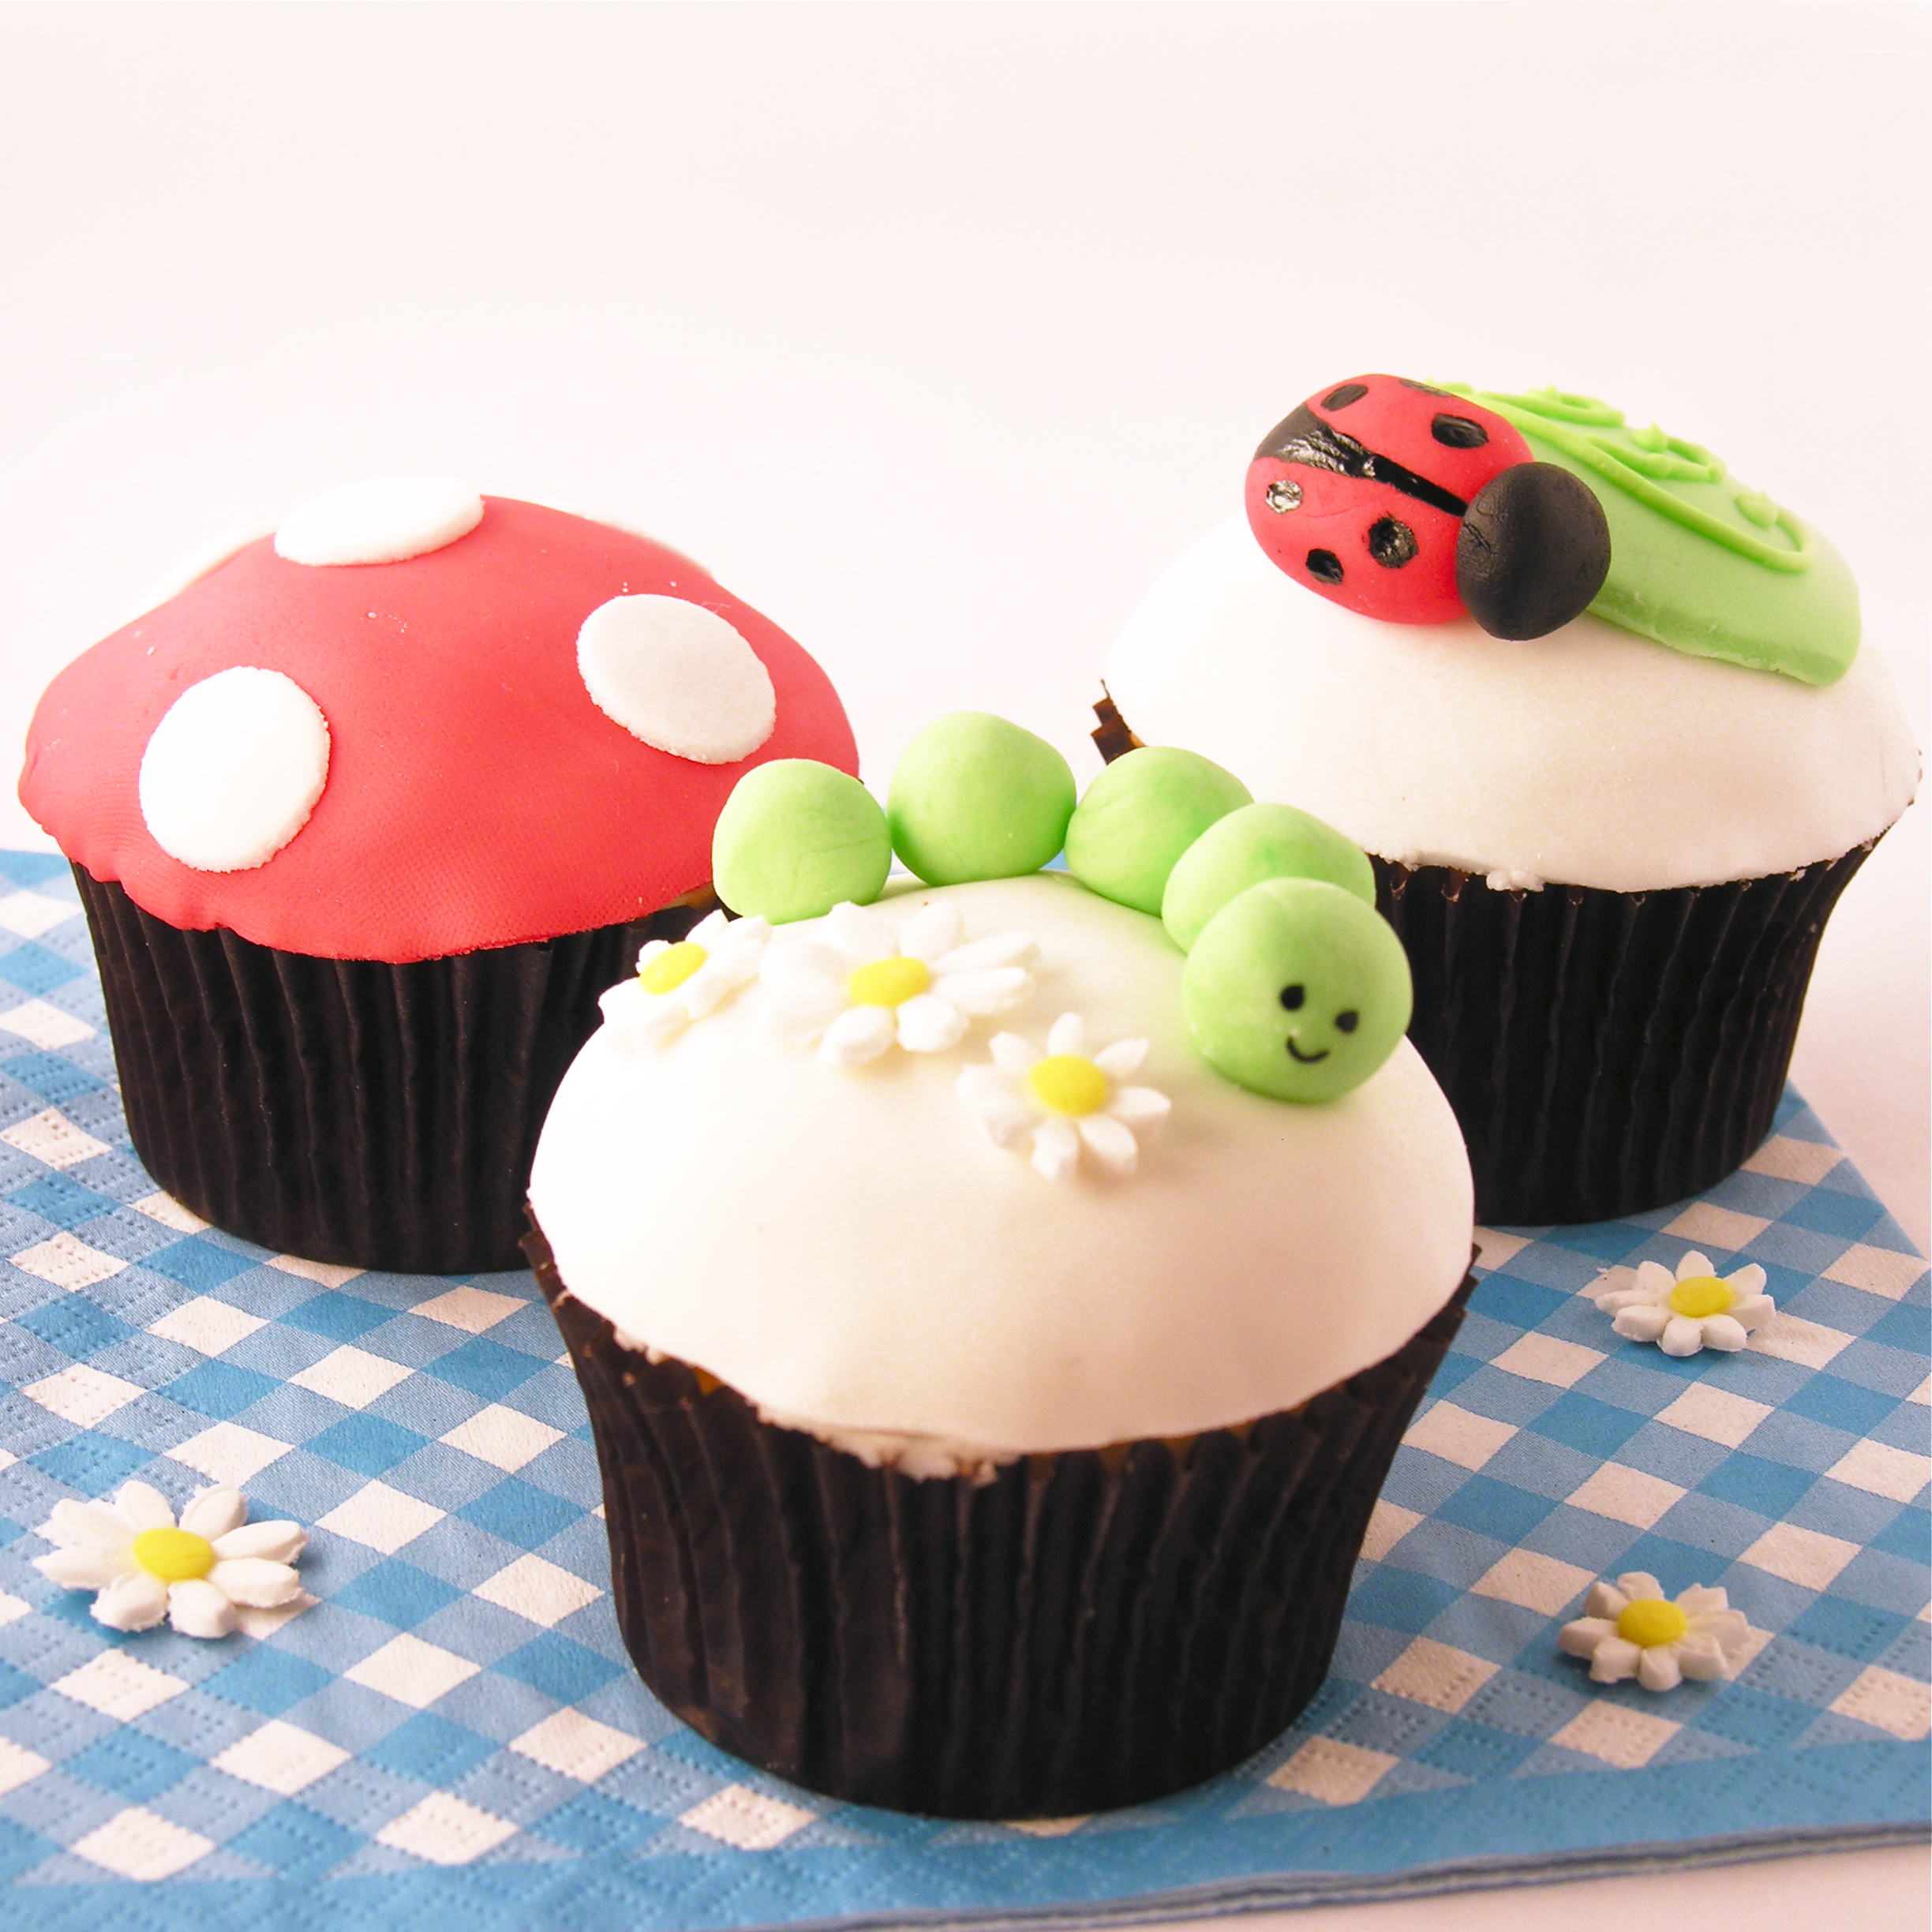
I feel like I am always on the lookout for something creative to make for Valentine’s Day. January is such a blah, grey month, and I miss having something to celebrate with colors and sprinkles. And along comes Valentine’s Day! Even as a single person (for WAY to many years!) I celebrated the day- just because you need SOMETHING in February to make you smile. In fact, if you are single and these love bugs make you want to roll your eyes, try my cute Frog Prince Oreo Pops instead! 🙂

These treats are a little on the fussy side. Obviously. Anything cute requires a little time. If you want a simple, delicious dessert- without the fuss- you can just pipe some topping on, add some sprinkles, and call it a day.

Want to know how to make these fun treats? Here is the recipe: (printable version)

Ingredients: (makes 24 love bug cupcakes)

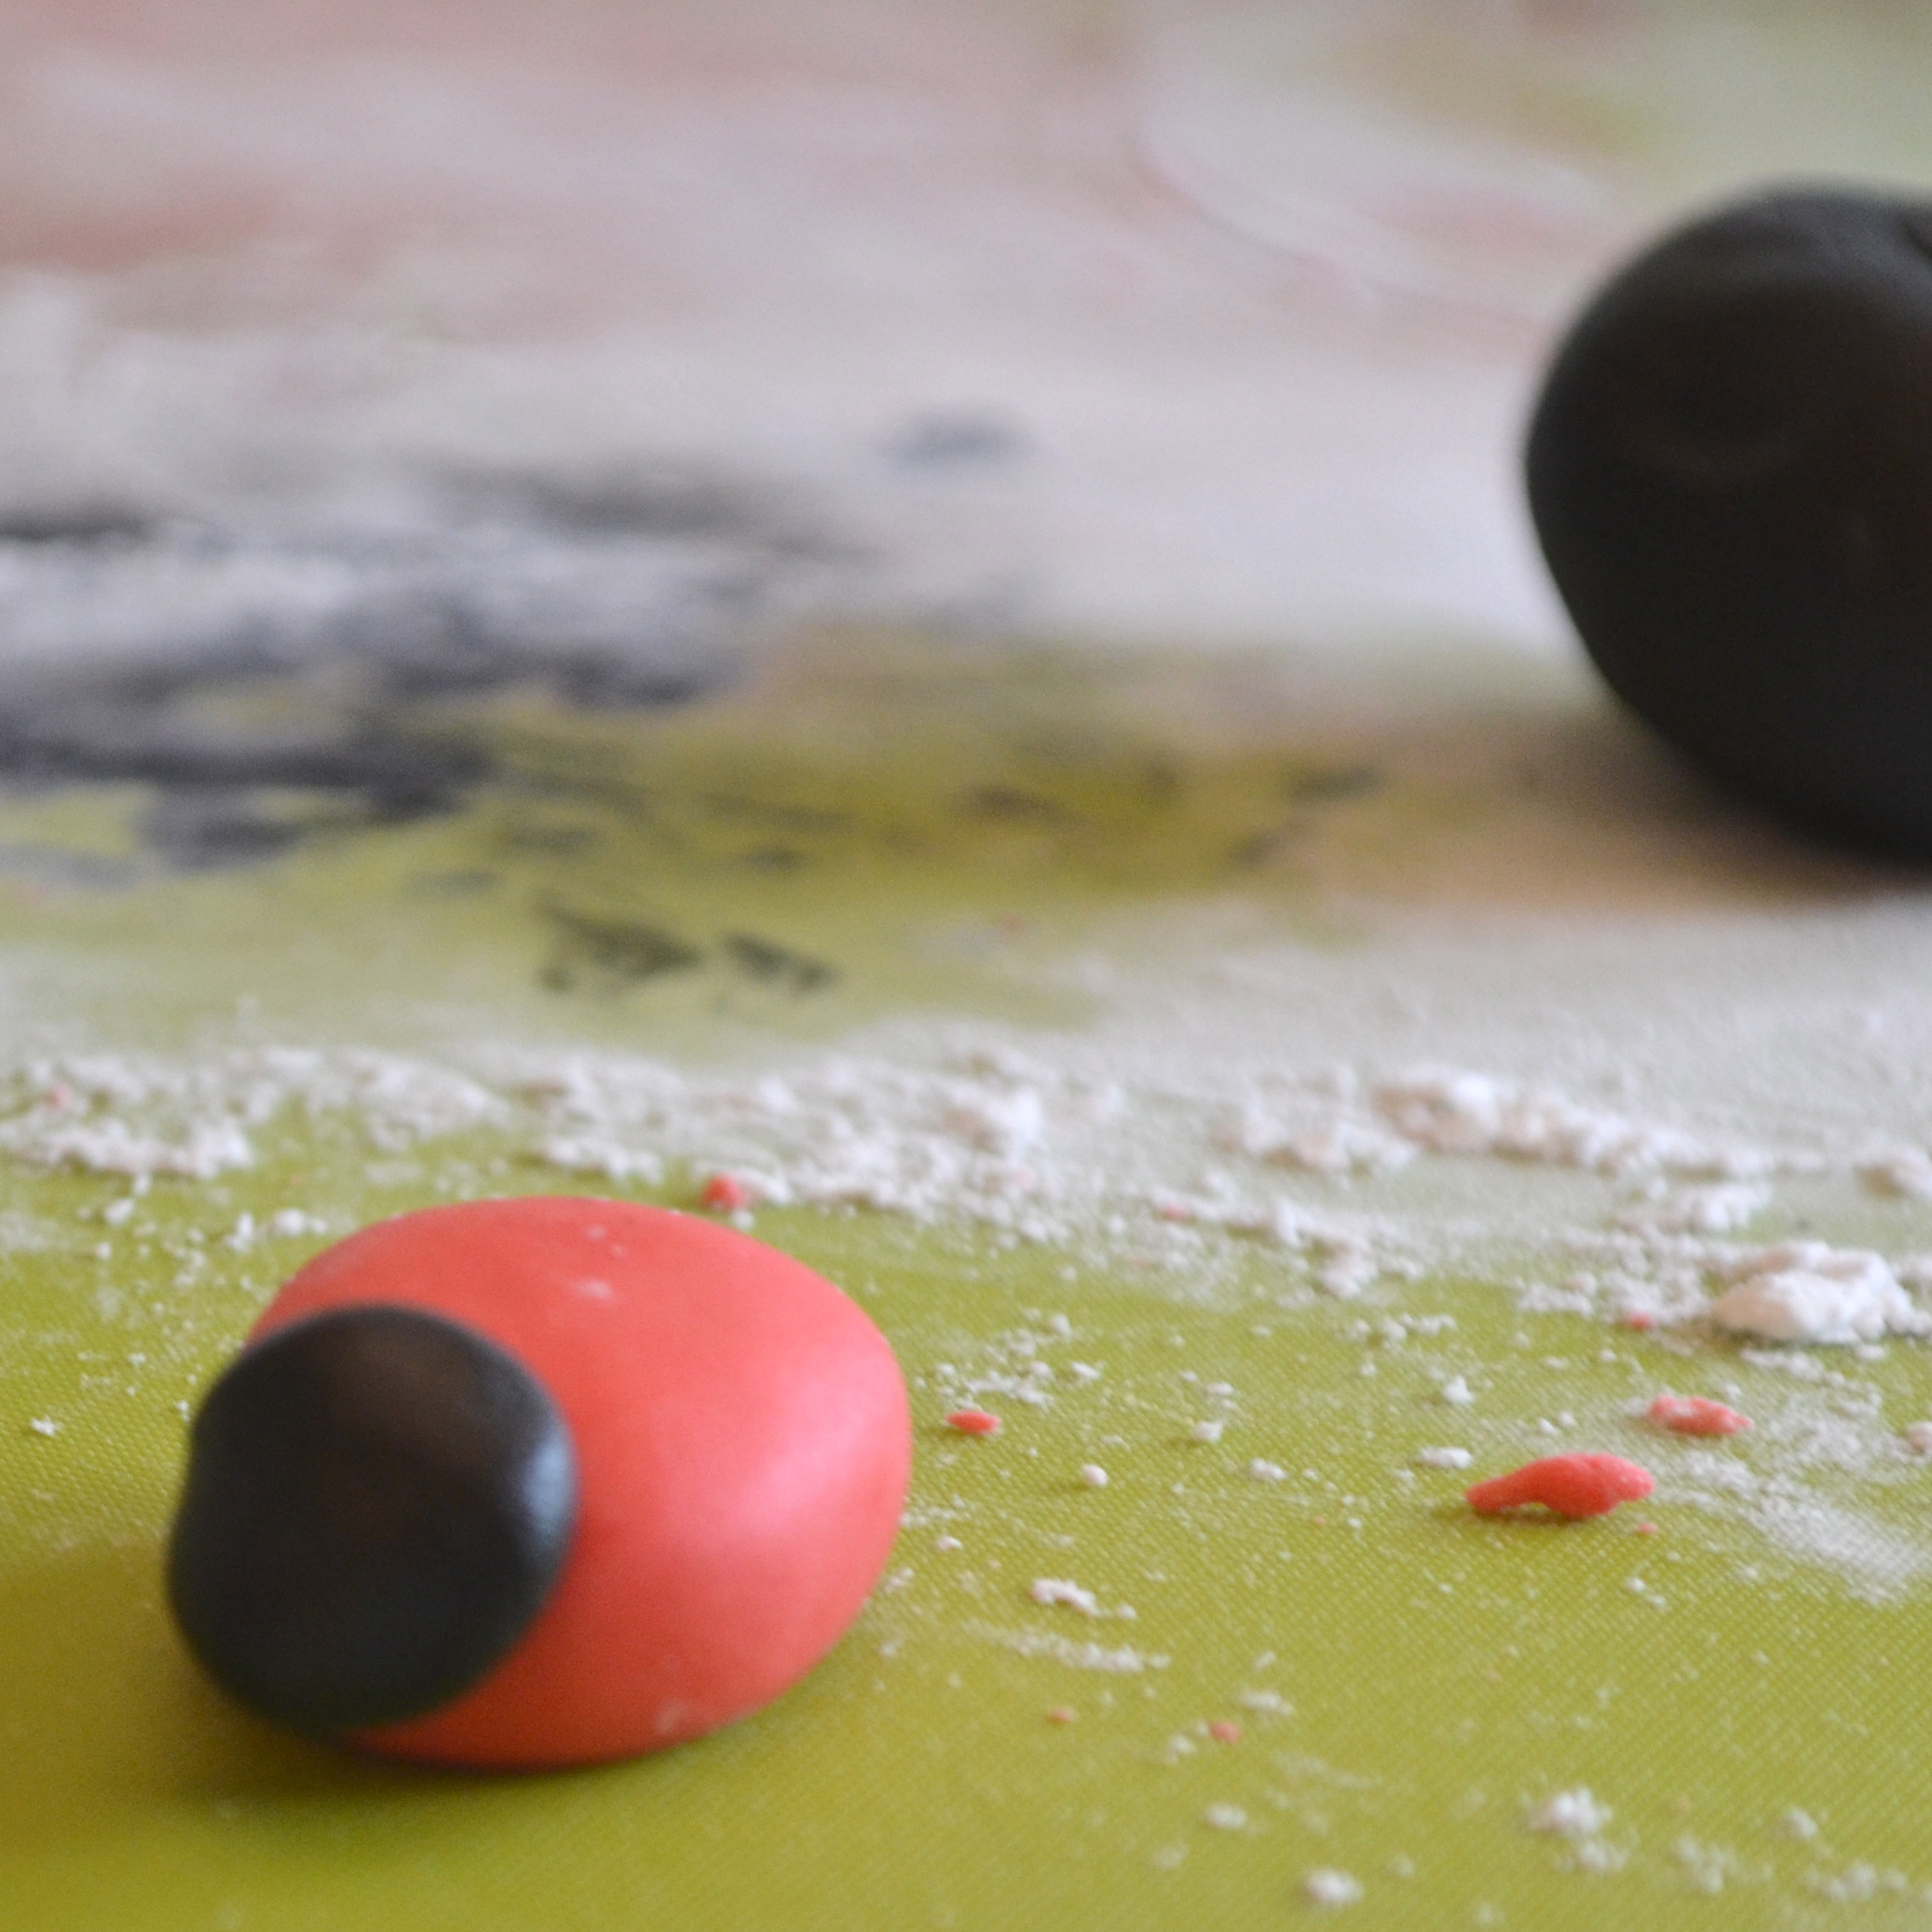
Love Bugs: (make these 1st)- you will need a silicone chocolate bomb mold to make these:

  • 5 cups powdered sugar
  • 8 tablespoons (1/2 cup) melted butter
  • 2 teaspoons strawberry or raspberry extract
  • 1 cup of raspberry jam
  • Food color in pink
  • One bag of Wilton’s Candy melts in pink
  • About 1/2 cup of Wilton’s Candy melts in black
  • 48 candy eyes
  • Candy heart sprinkles

Brownie cups:

  • 1 cup butter
  • 2 cup sugar
  • 3 eggs
  • 2 teaspoons vanilla
  • 2 cups flour
  • 1/2 cup cocoa
  • 1/2 teaspoon salt
  • 1 cup milk

Chocolate Glaze:

  • 6oz. semi-sweet chocolate chips
  • 6 tablespoons butter (do not substitute margarine here!)
  • Green jimmies for grass!

DIRECTIONS:

Berry Love Bugs:

  • Melt pink candy melts in microwave in 30 second increments, stirring between until smooth.
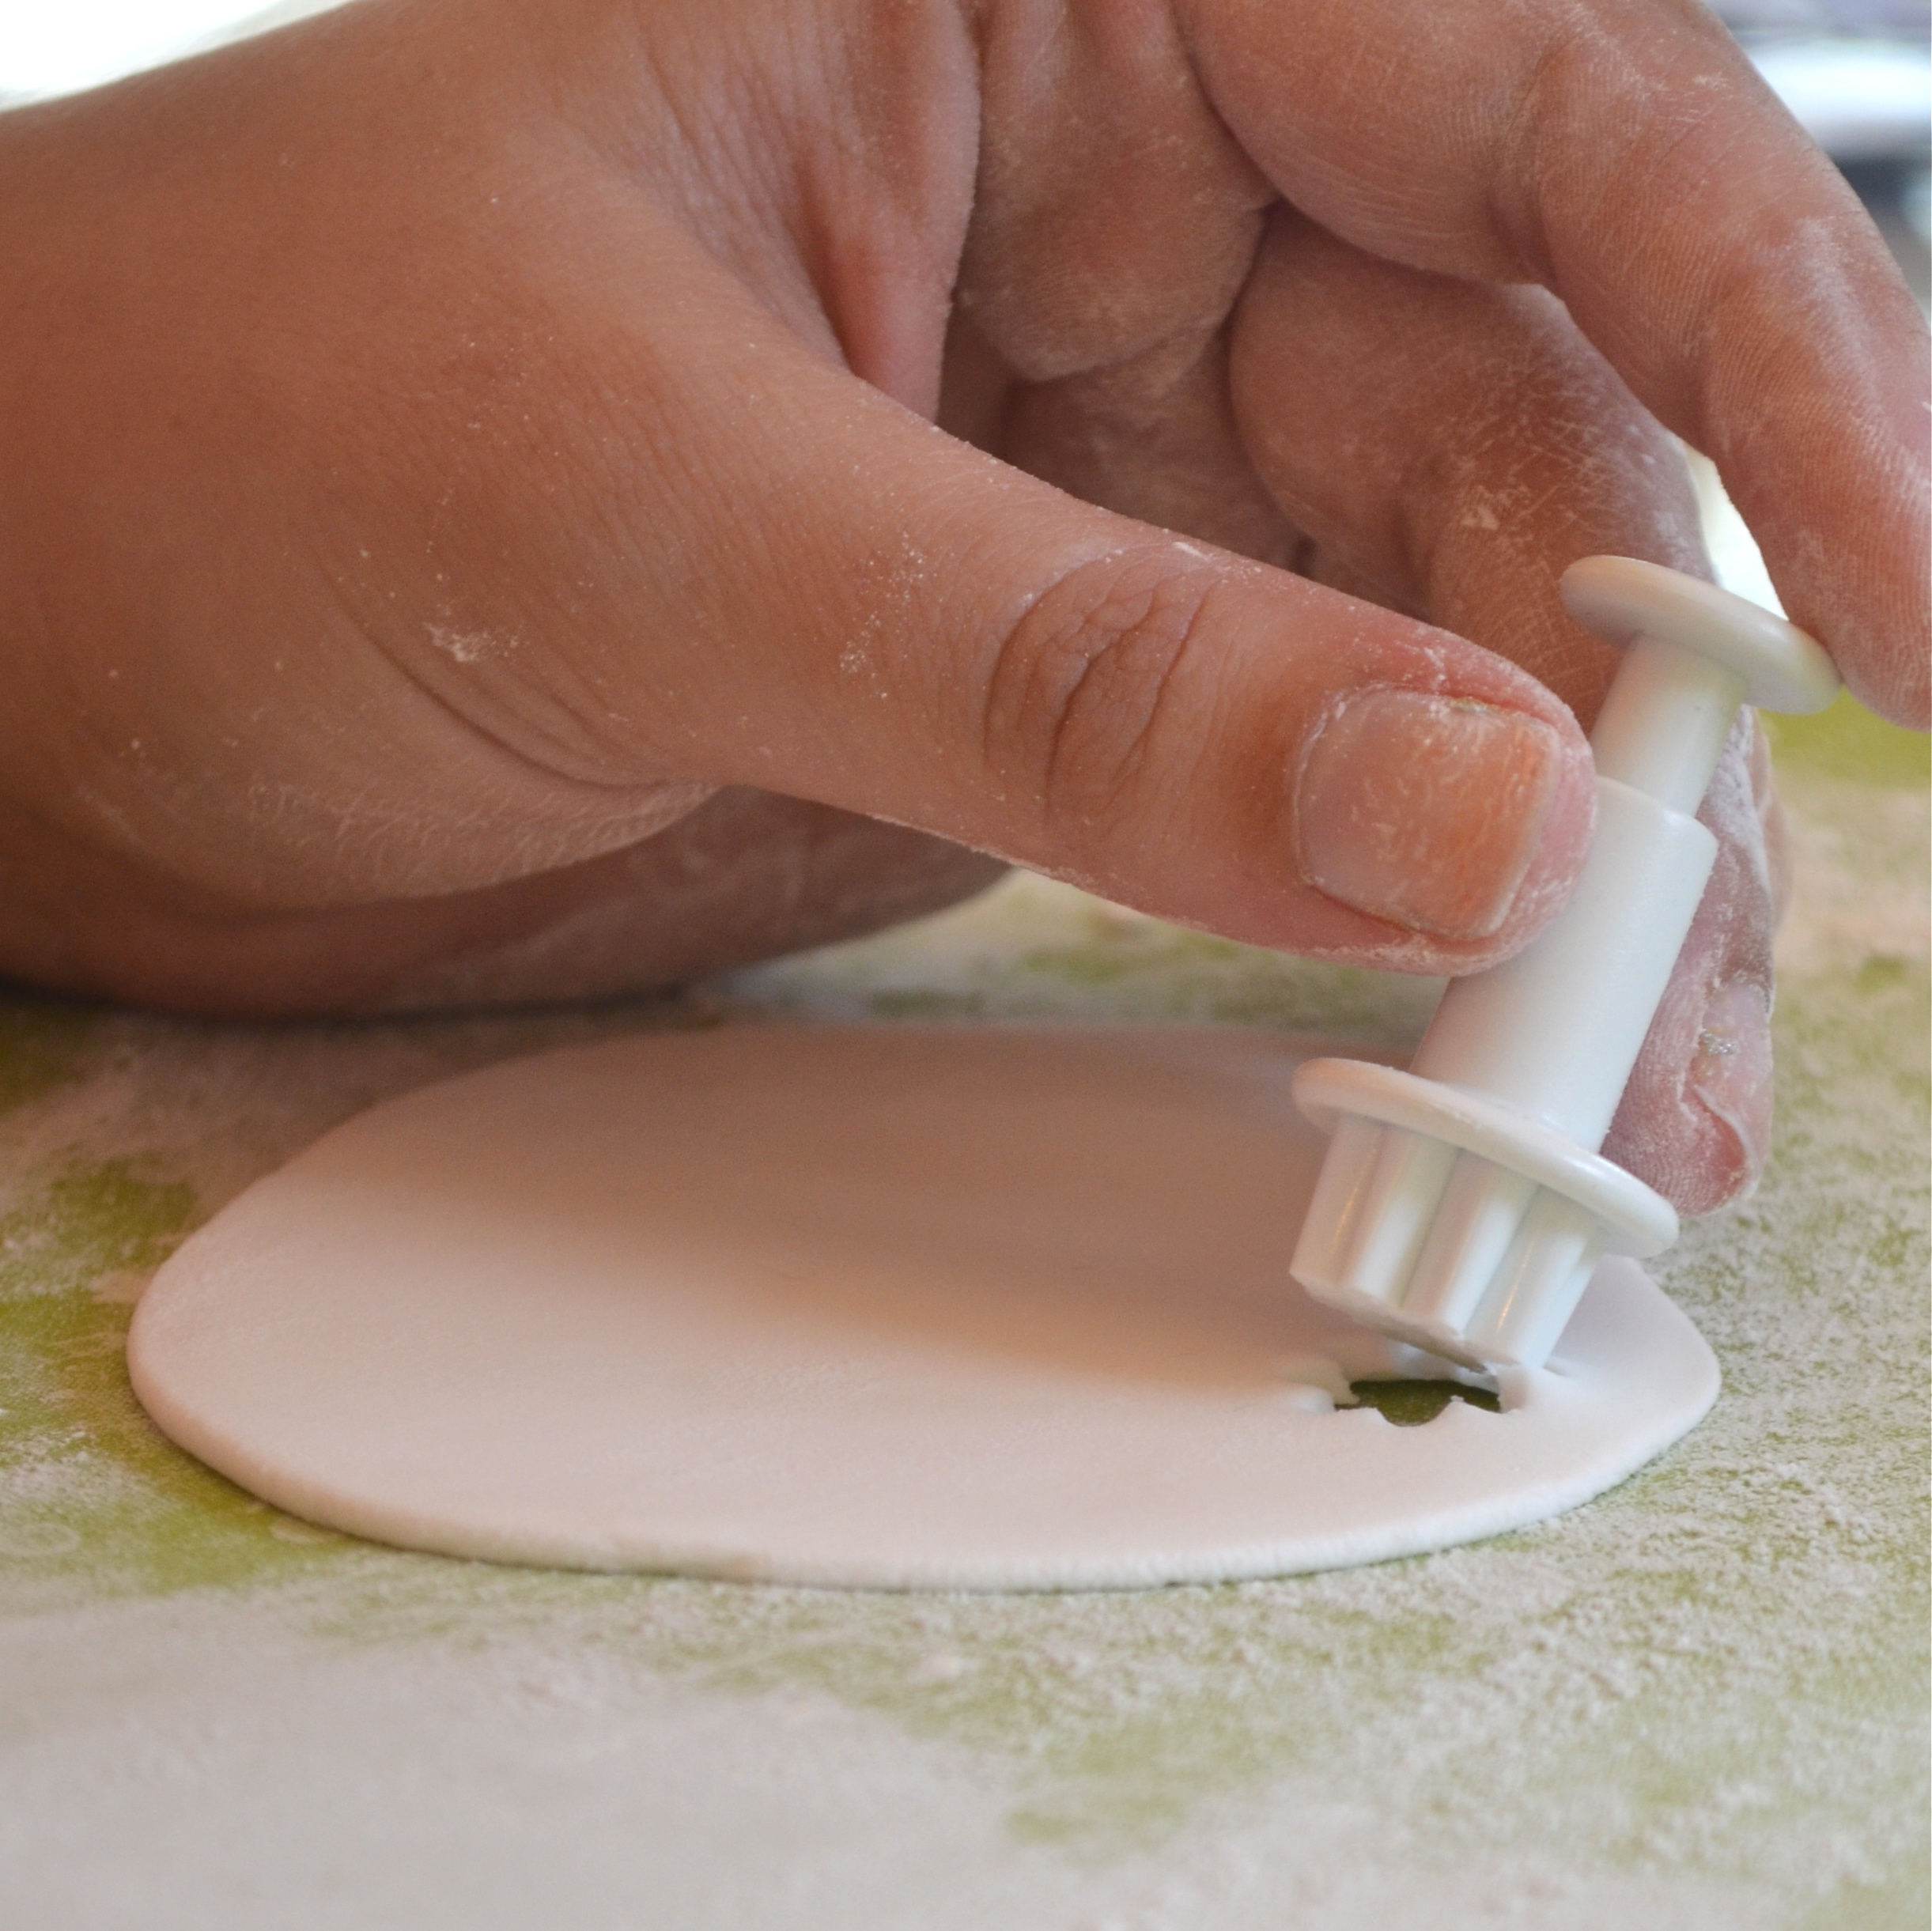
  • Use a clean paint brush to brush melts into a chocolate bomb mold and freeze for a couple minutes until hard.
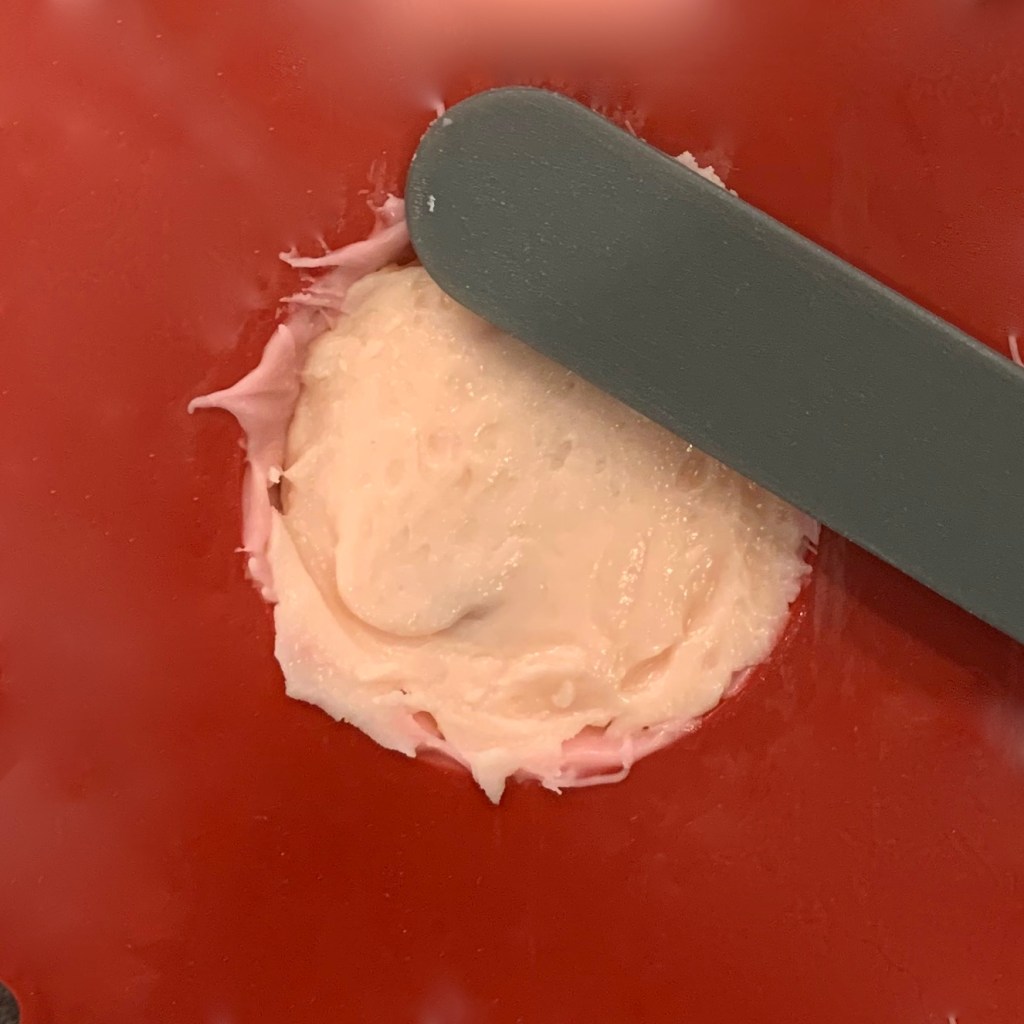
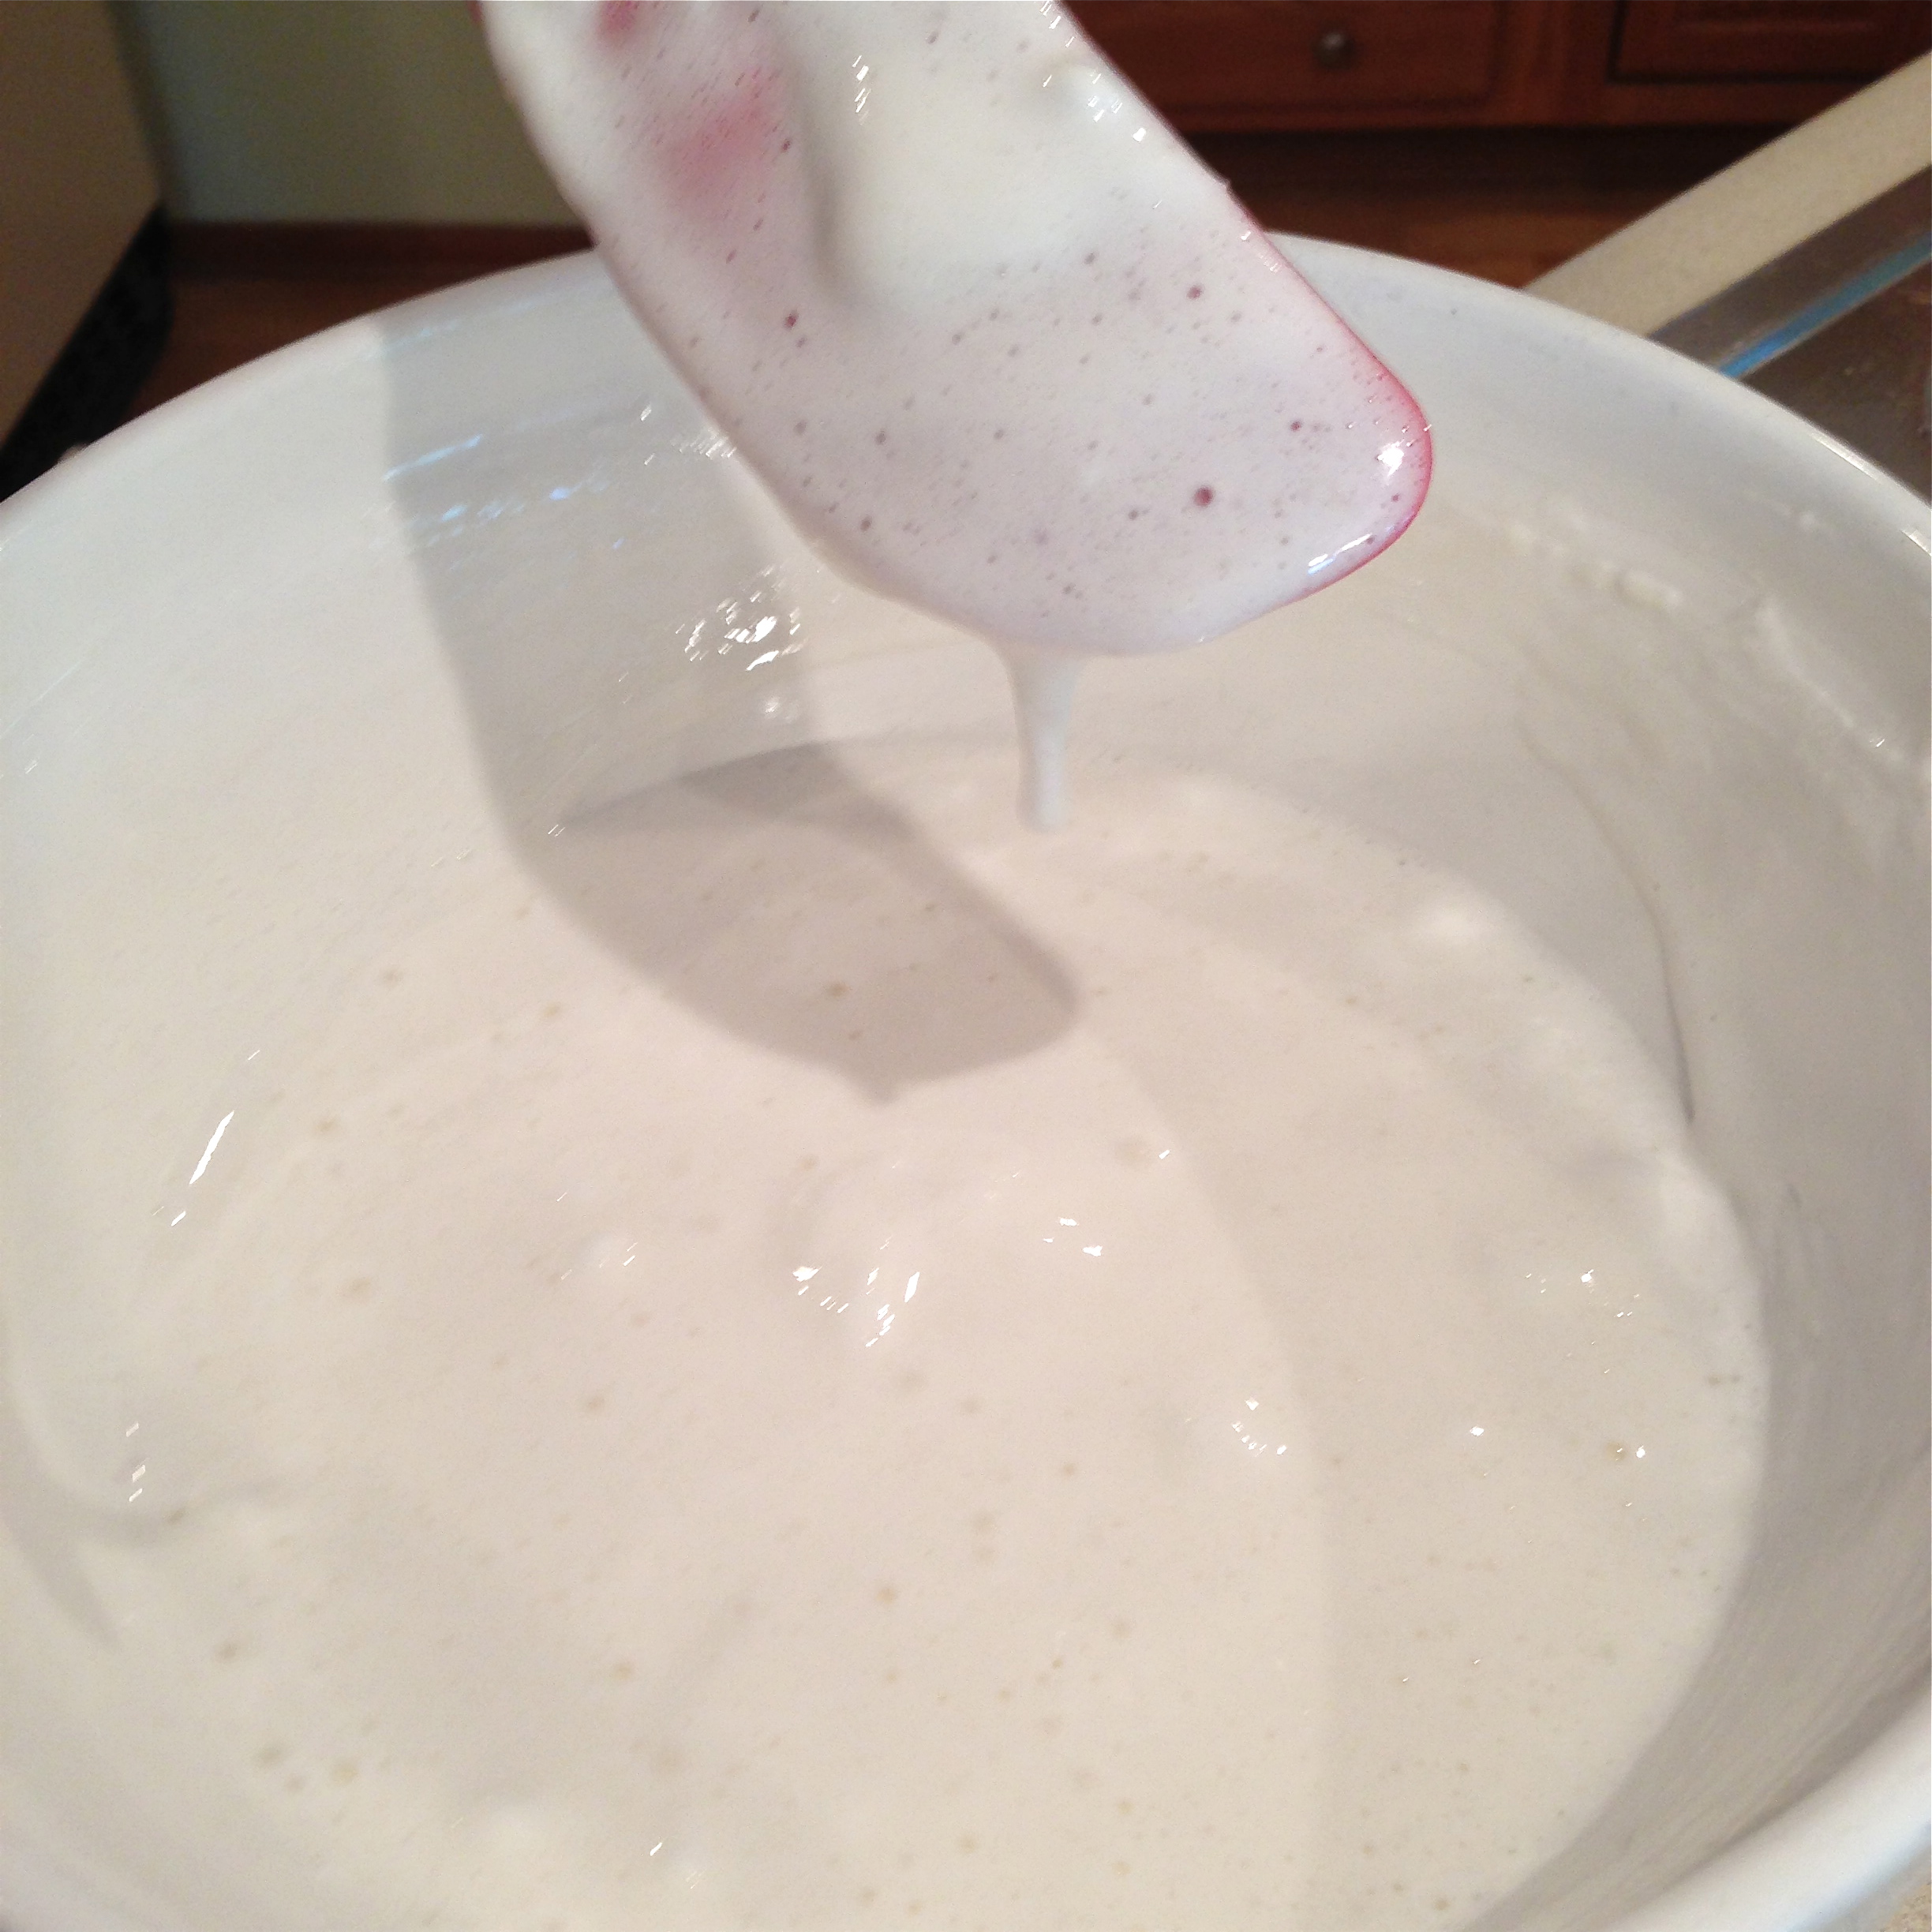
  • Make berry filling  by adding melted butter to sugar and extract.
  • Mix well, using water to bring it to a thick but spreadable consistency.
  • Add pink food coloring to make it a fun pink color.
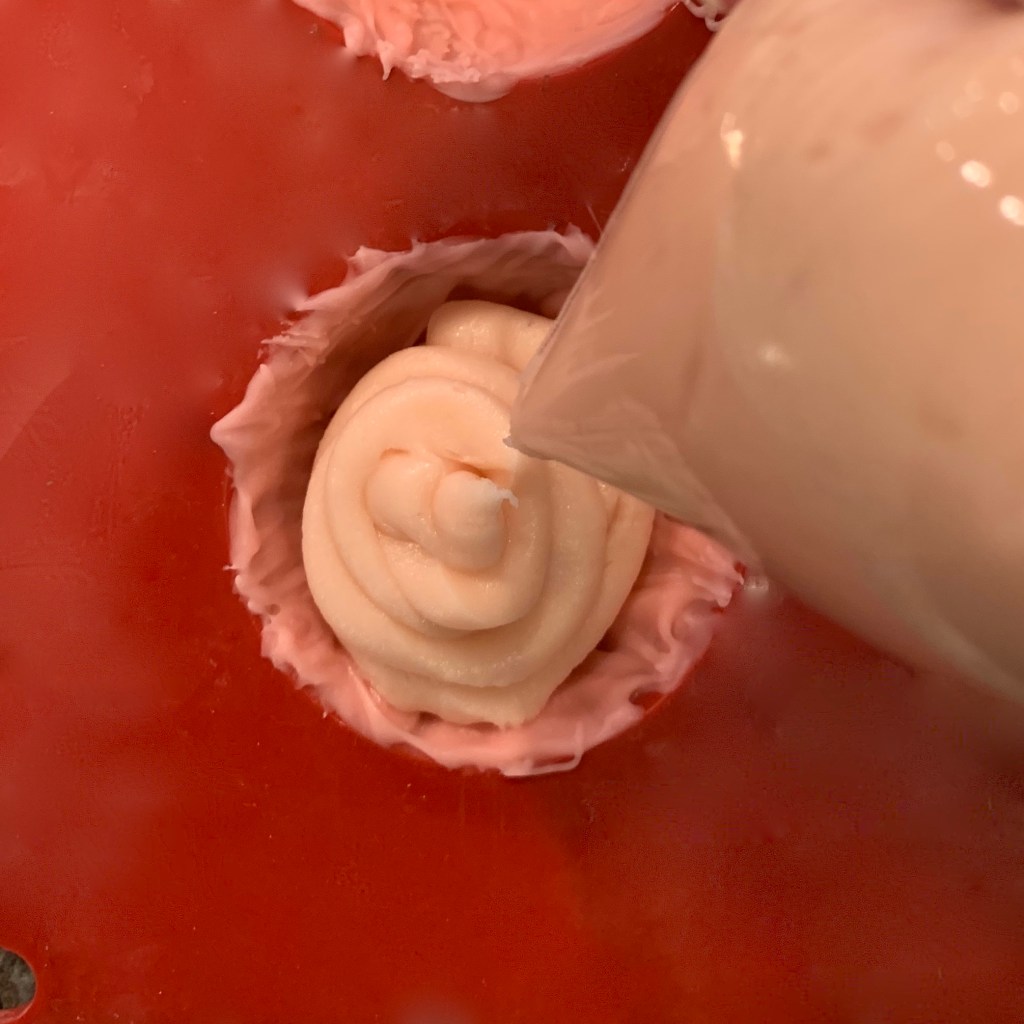
  • Place filling into a large zip-top bag and seal tightly.
  • Cut a corner off bag and pipe berry filling into each pink shell- filling them about 1/4 full.
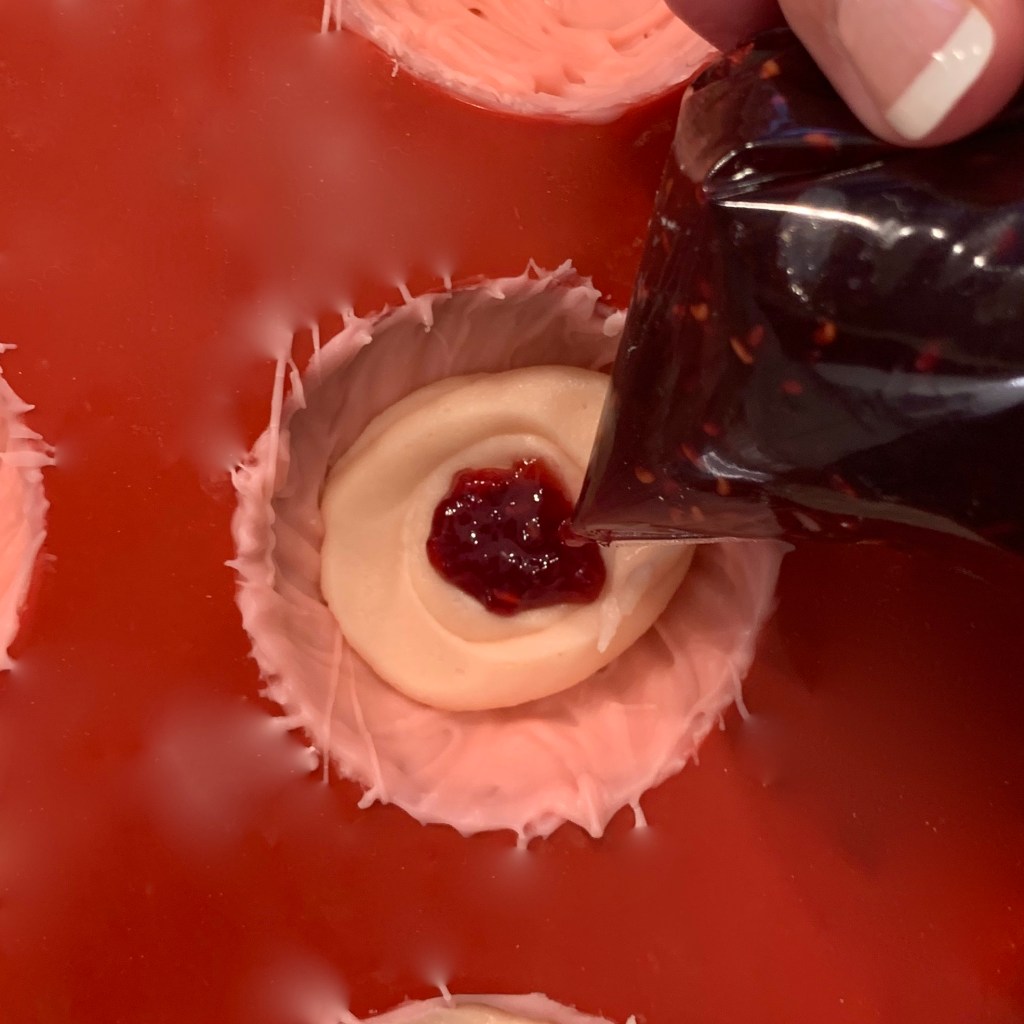
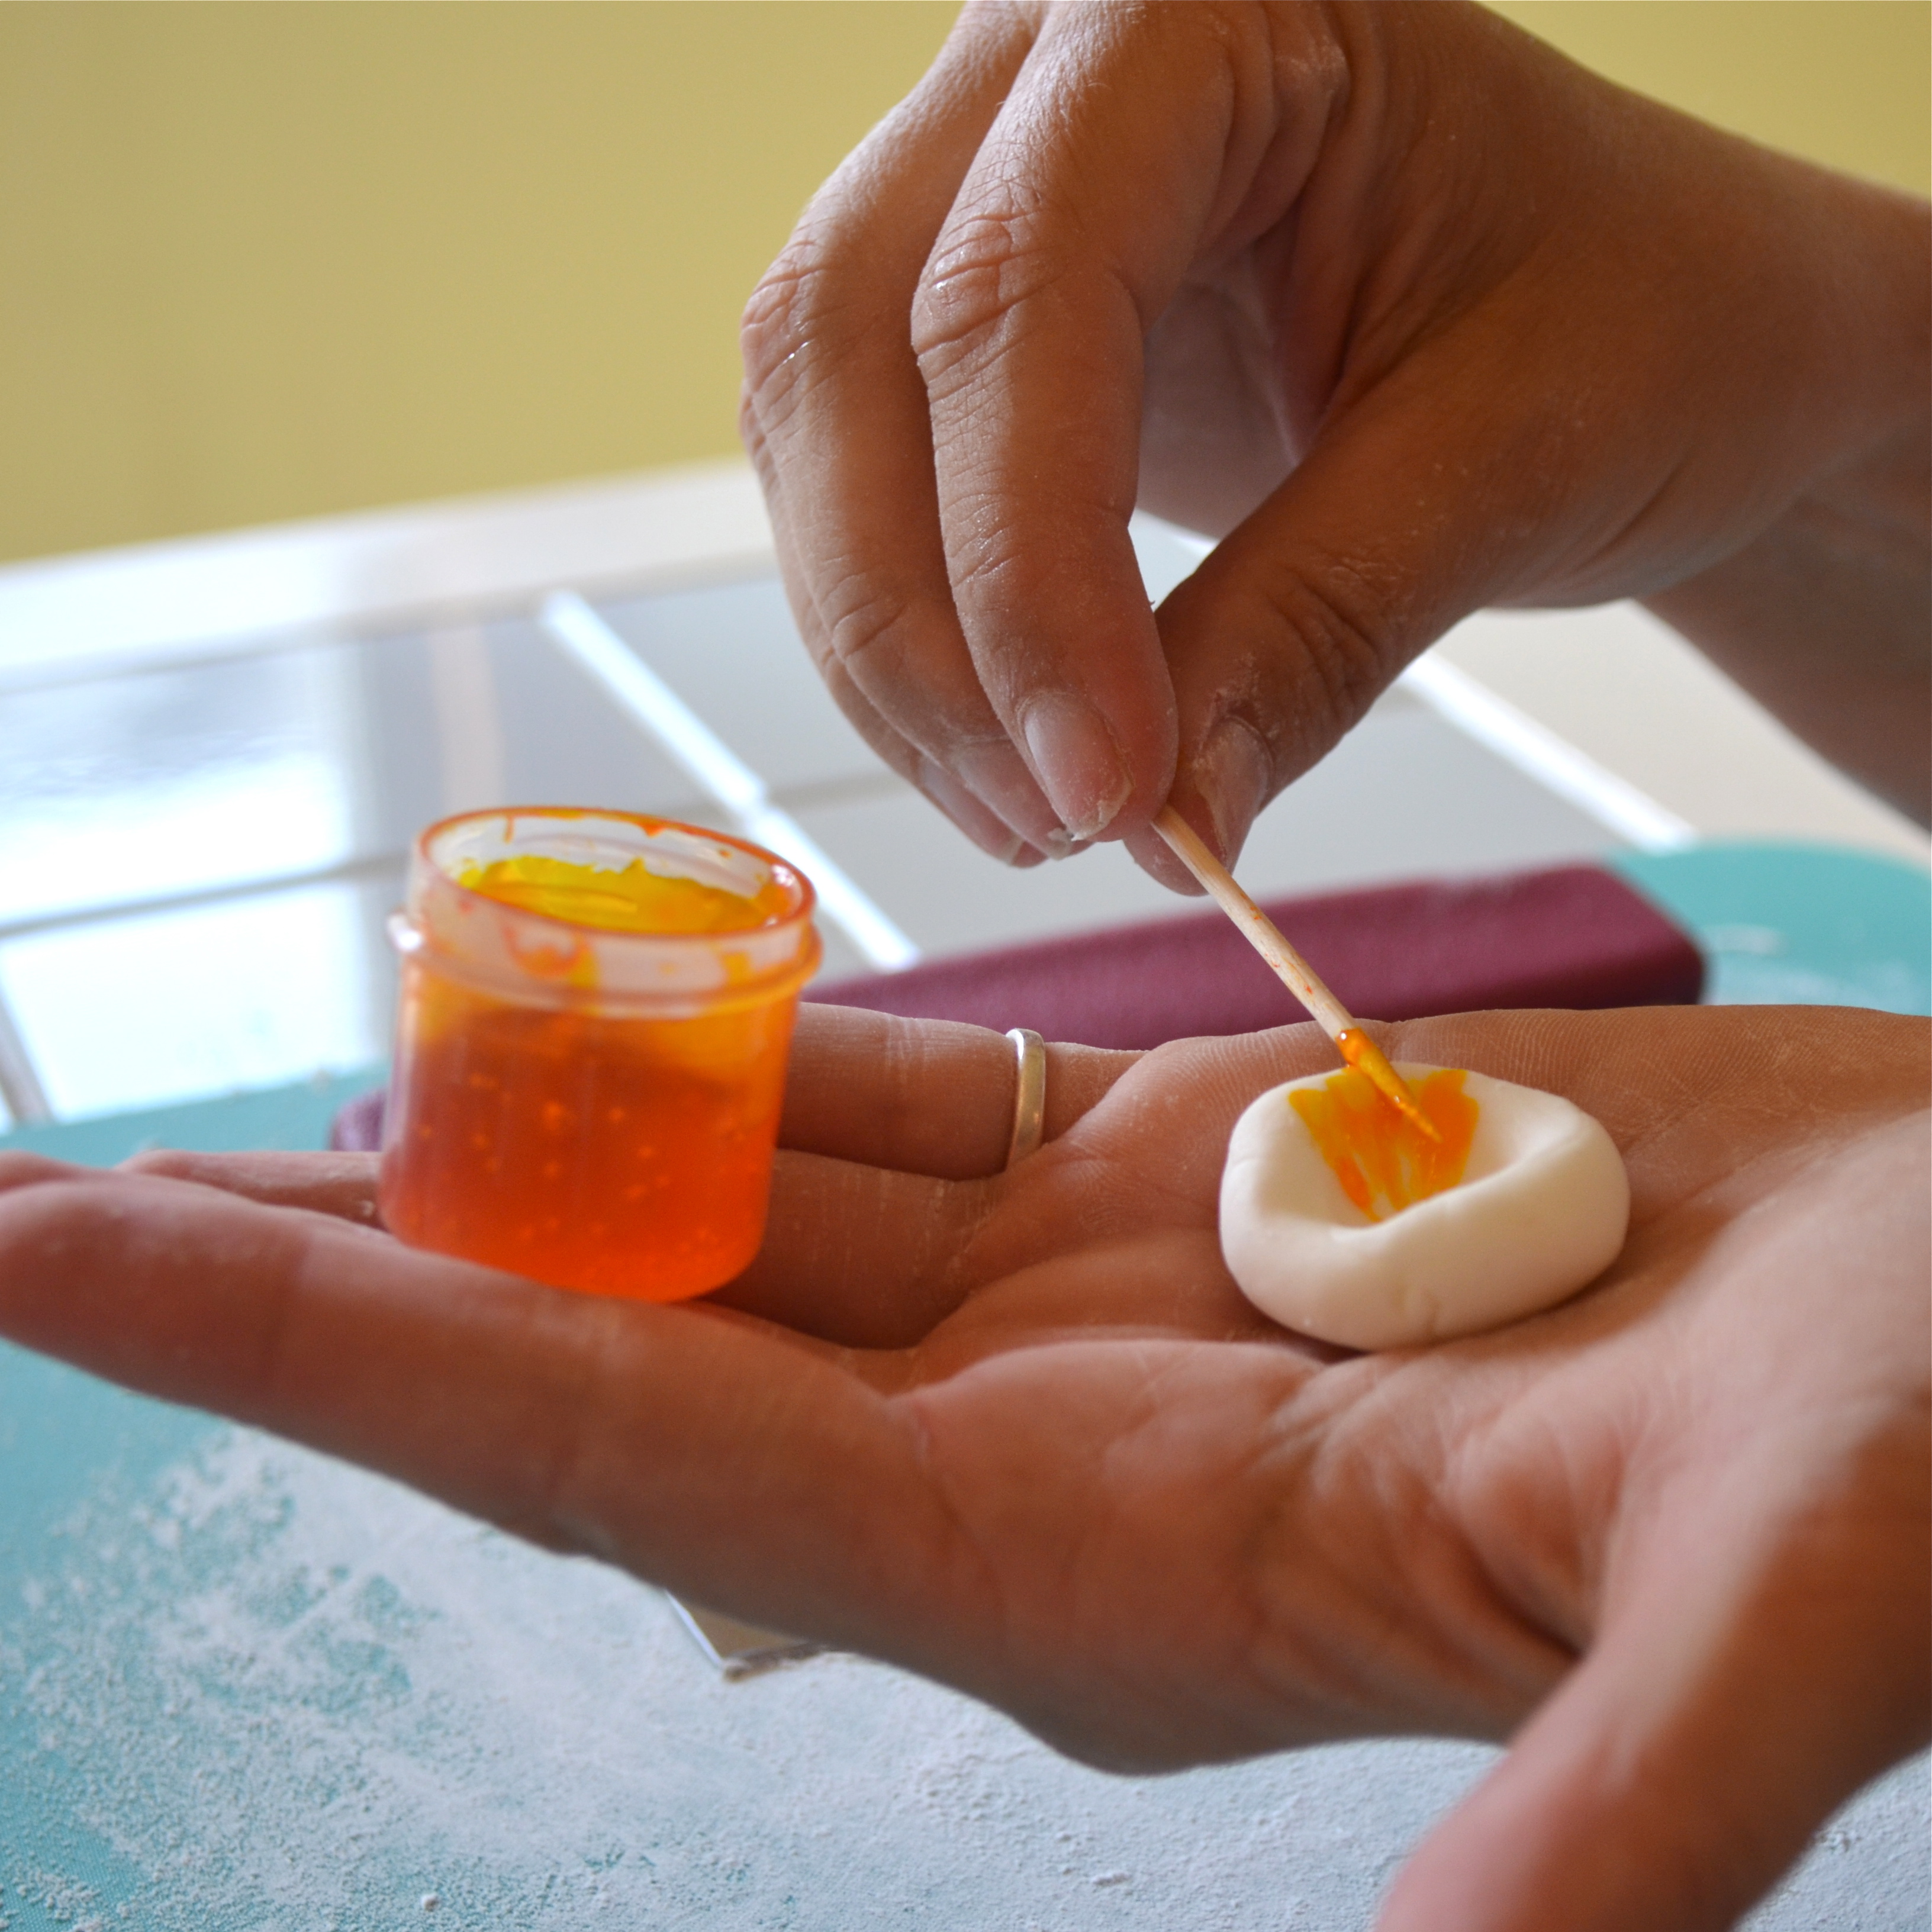
  • Place jam into a small zip-top bag, clip corner and pipe a little bit in the center of each pink shell.
  • Pipe more berry filling over the top until it is level .
  • Use a knife to spread berry filling to edges of shell.
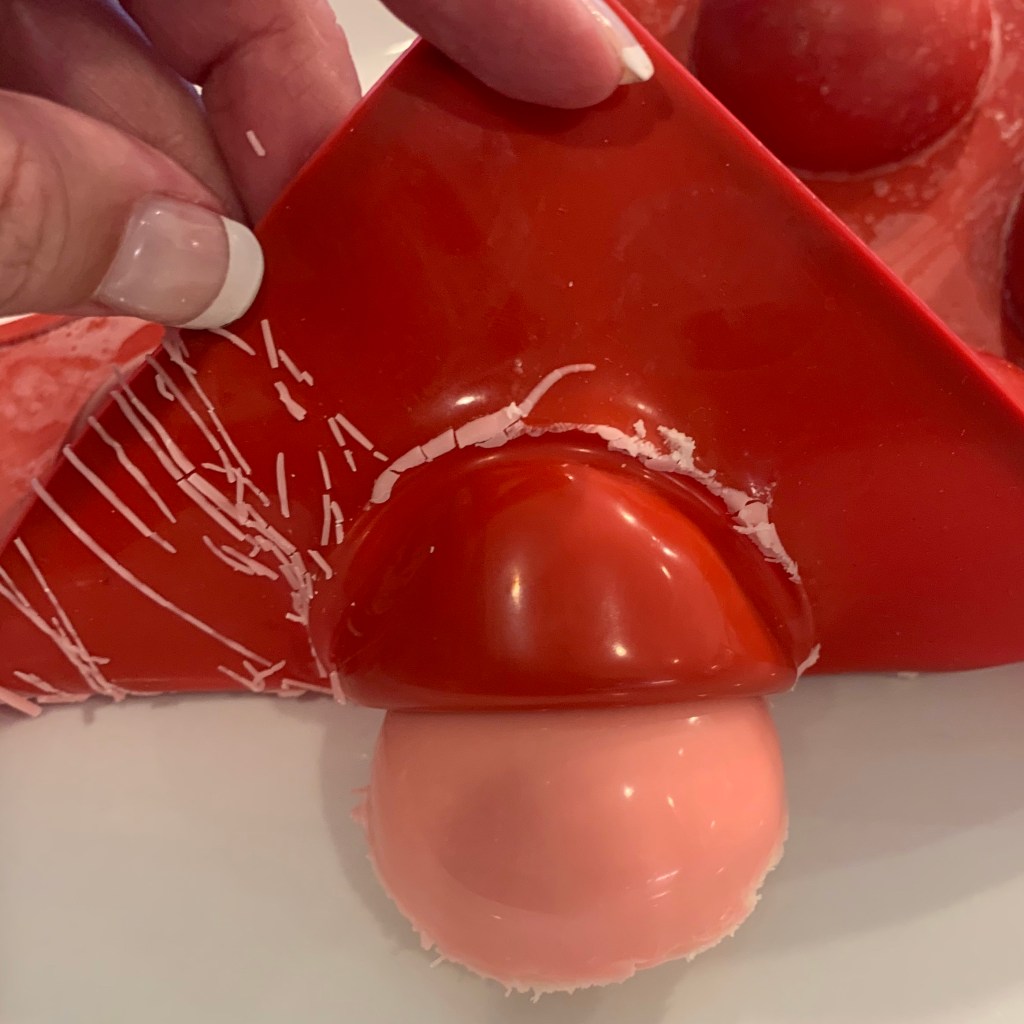
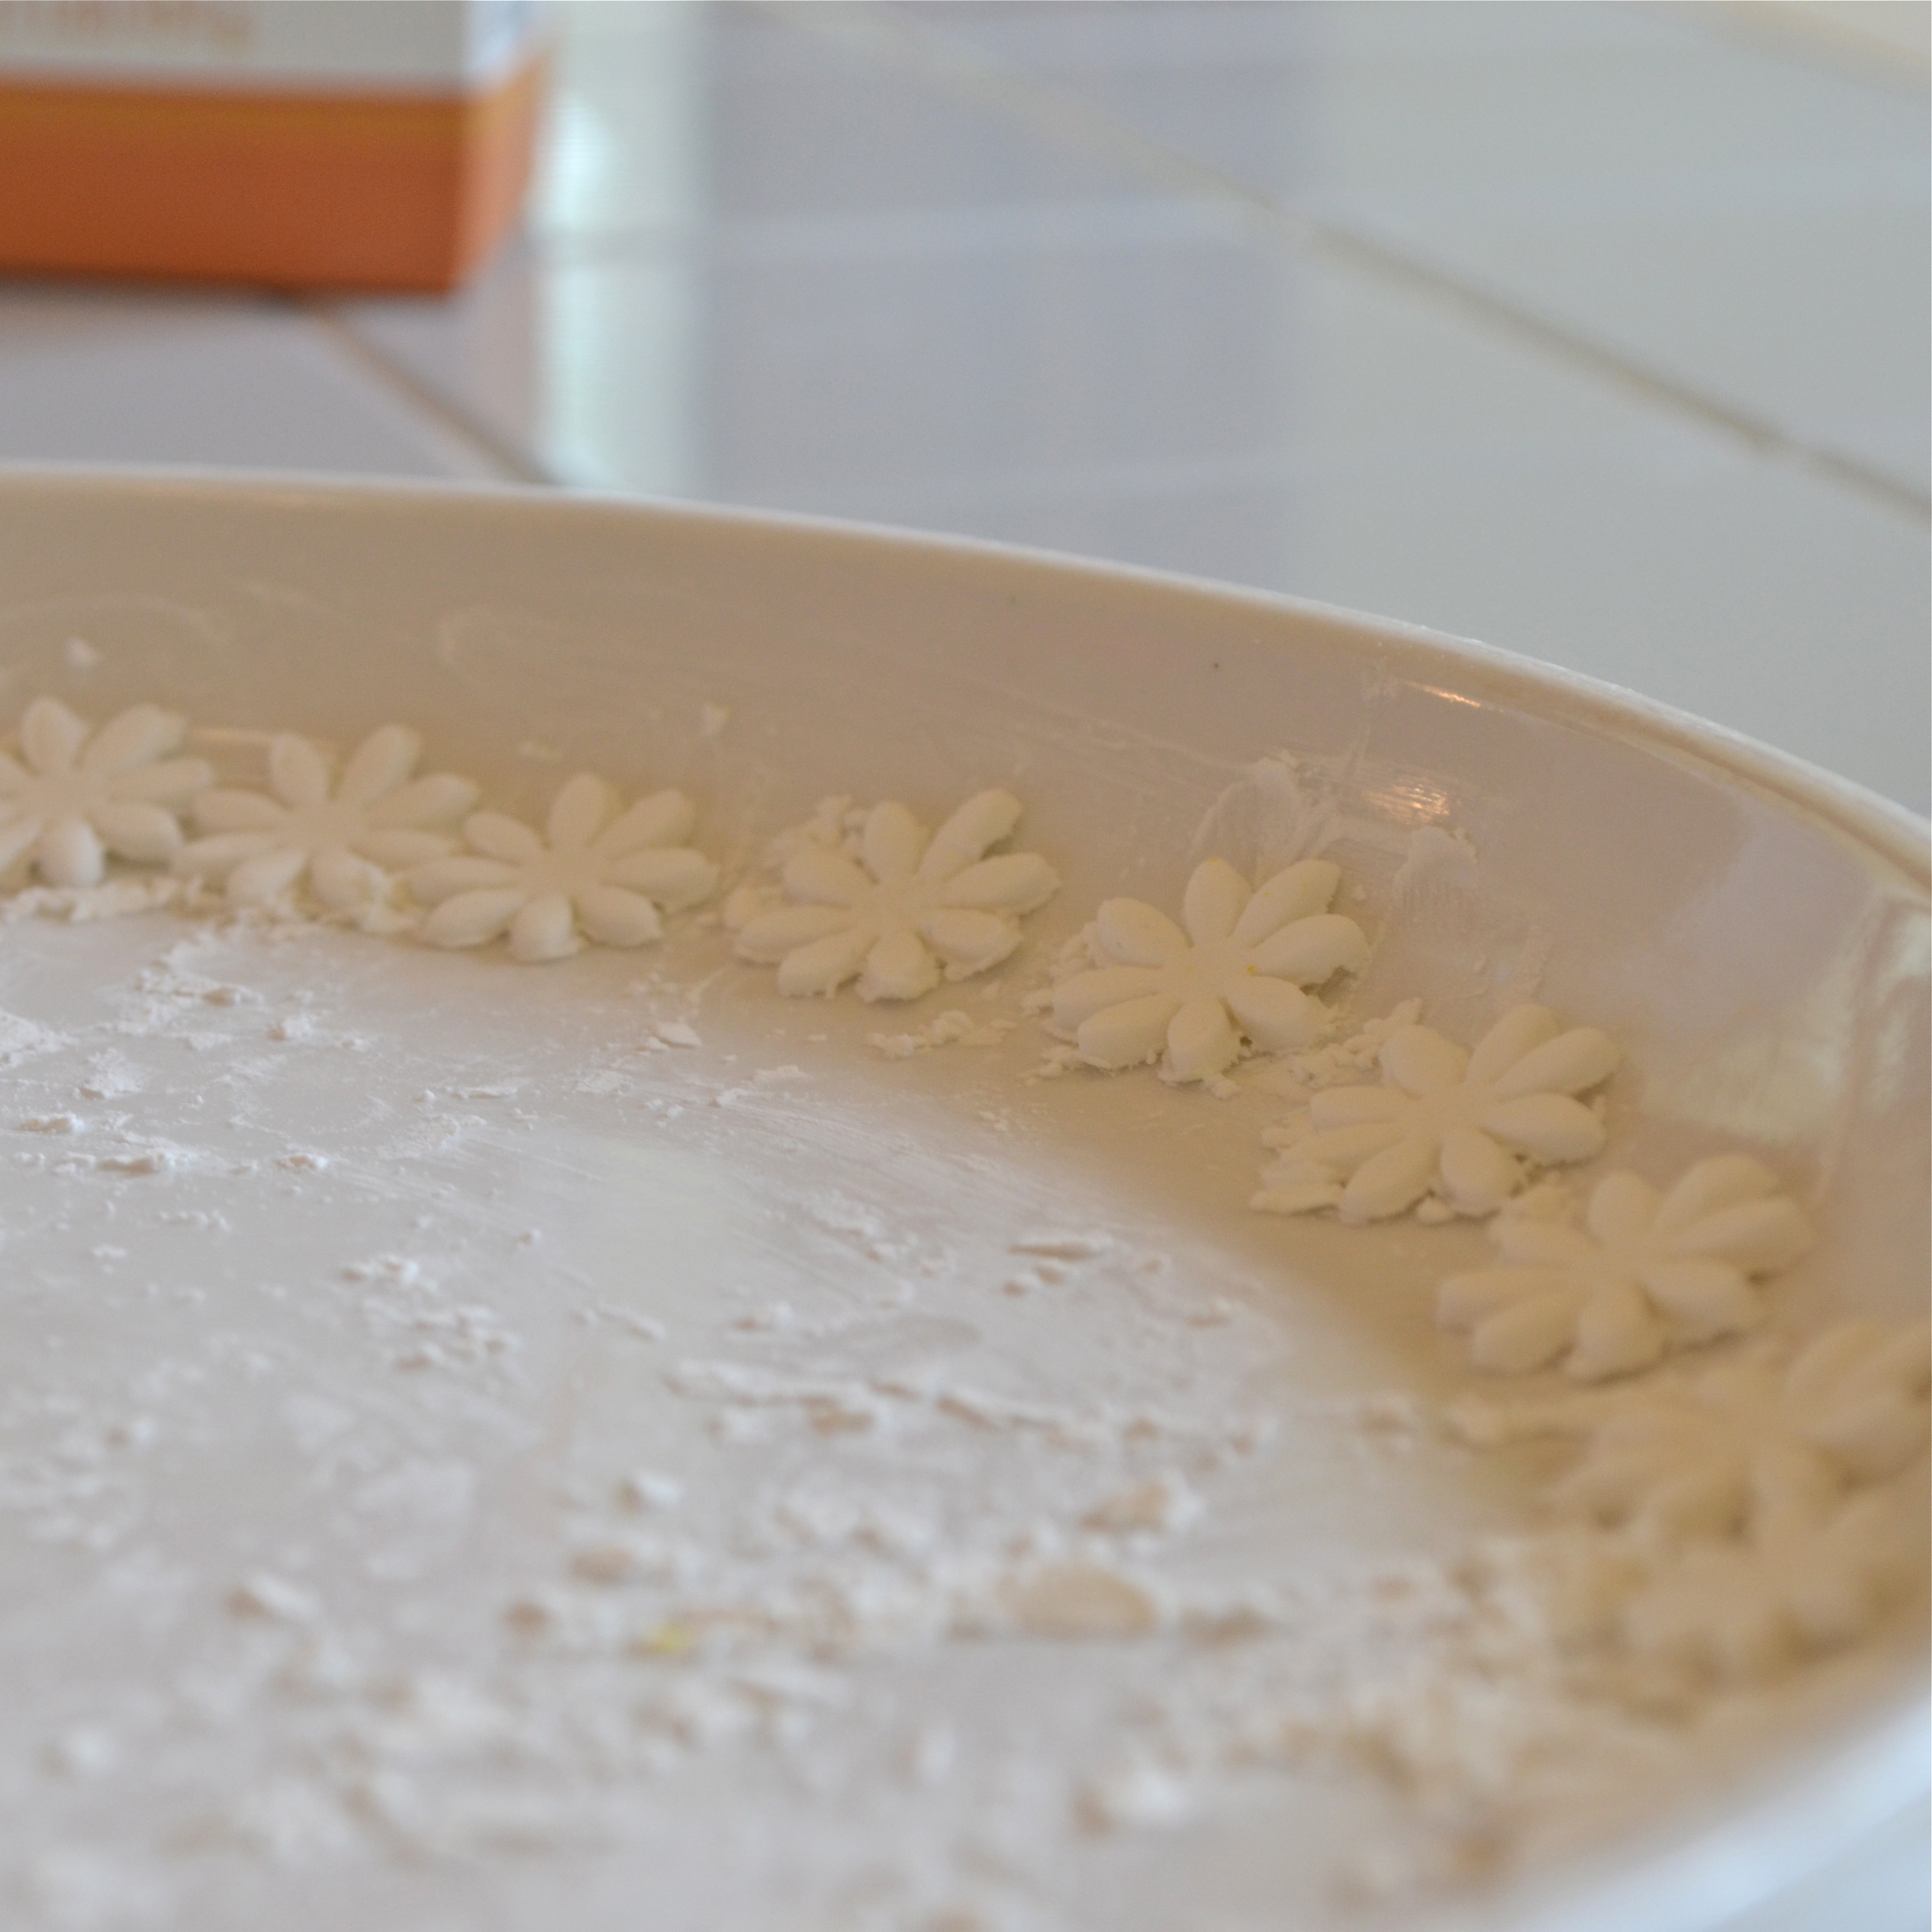
  • Refreeze these for a few minutes before gently popping them out and setting them on a plate. 
  • Repeat this process until you have 24 berry bombs ready.

Brownie cups:

  • Preheat oven to 350F.
  • Cream butter and sugar together. 
  • Beat in eggs, cocoa, vanilla and salt.
  • Add flour and milk (alternating them and mixing well in between)
  • Spoon evenly into 24 cupcake liners in a cupcake tin.
  • Bake at 350F degrees for 15-18 minutes (don’t over bake- they will start to pull away from the liner)
  • Cool.  

Chocolate Glaze:

  • Melt butter and chocolate together in the microwave in 30 second increments, stirring in between until completely melted and smooth.
  • Set aside until cupcakes are ready to assemble.
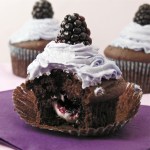
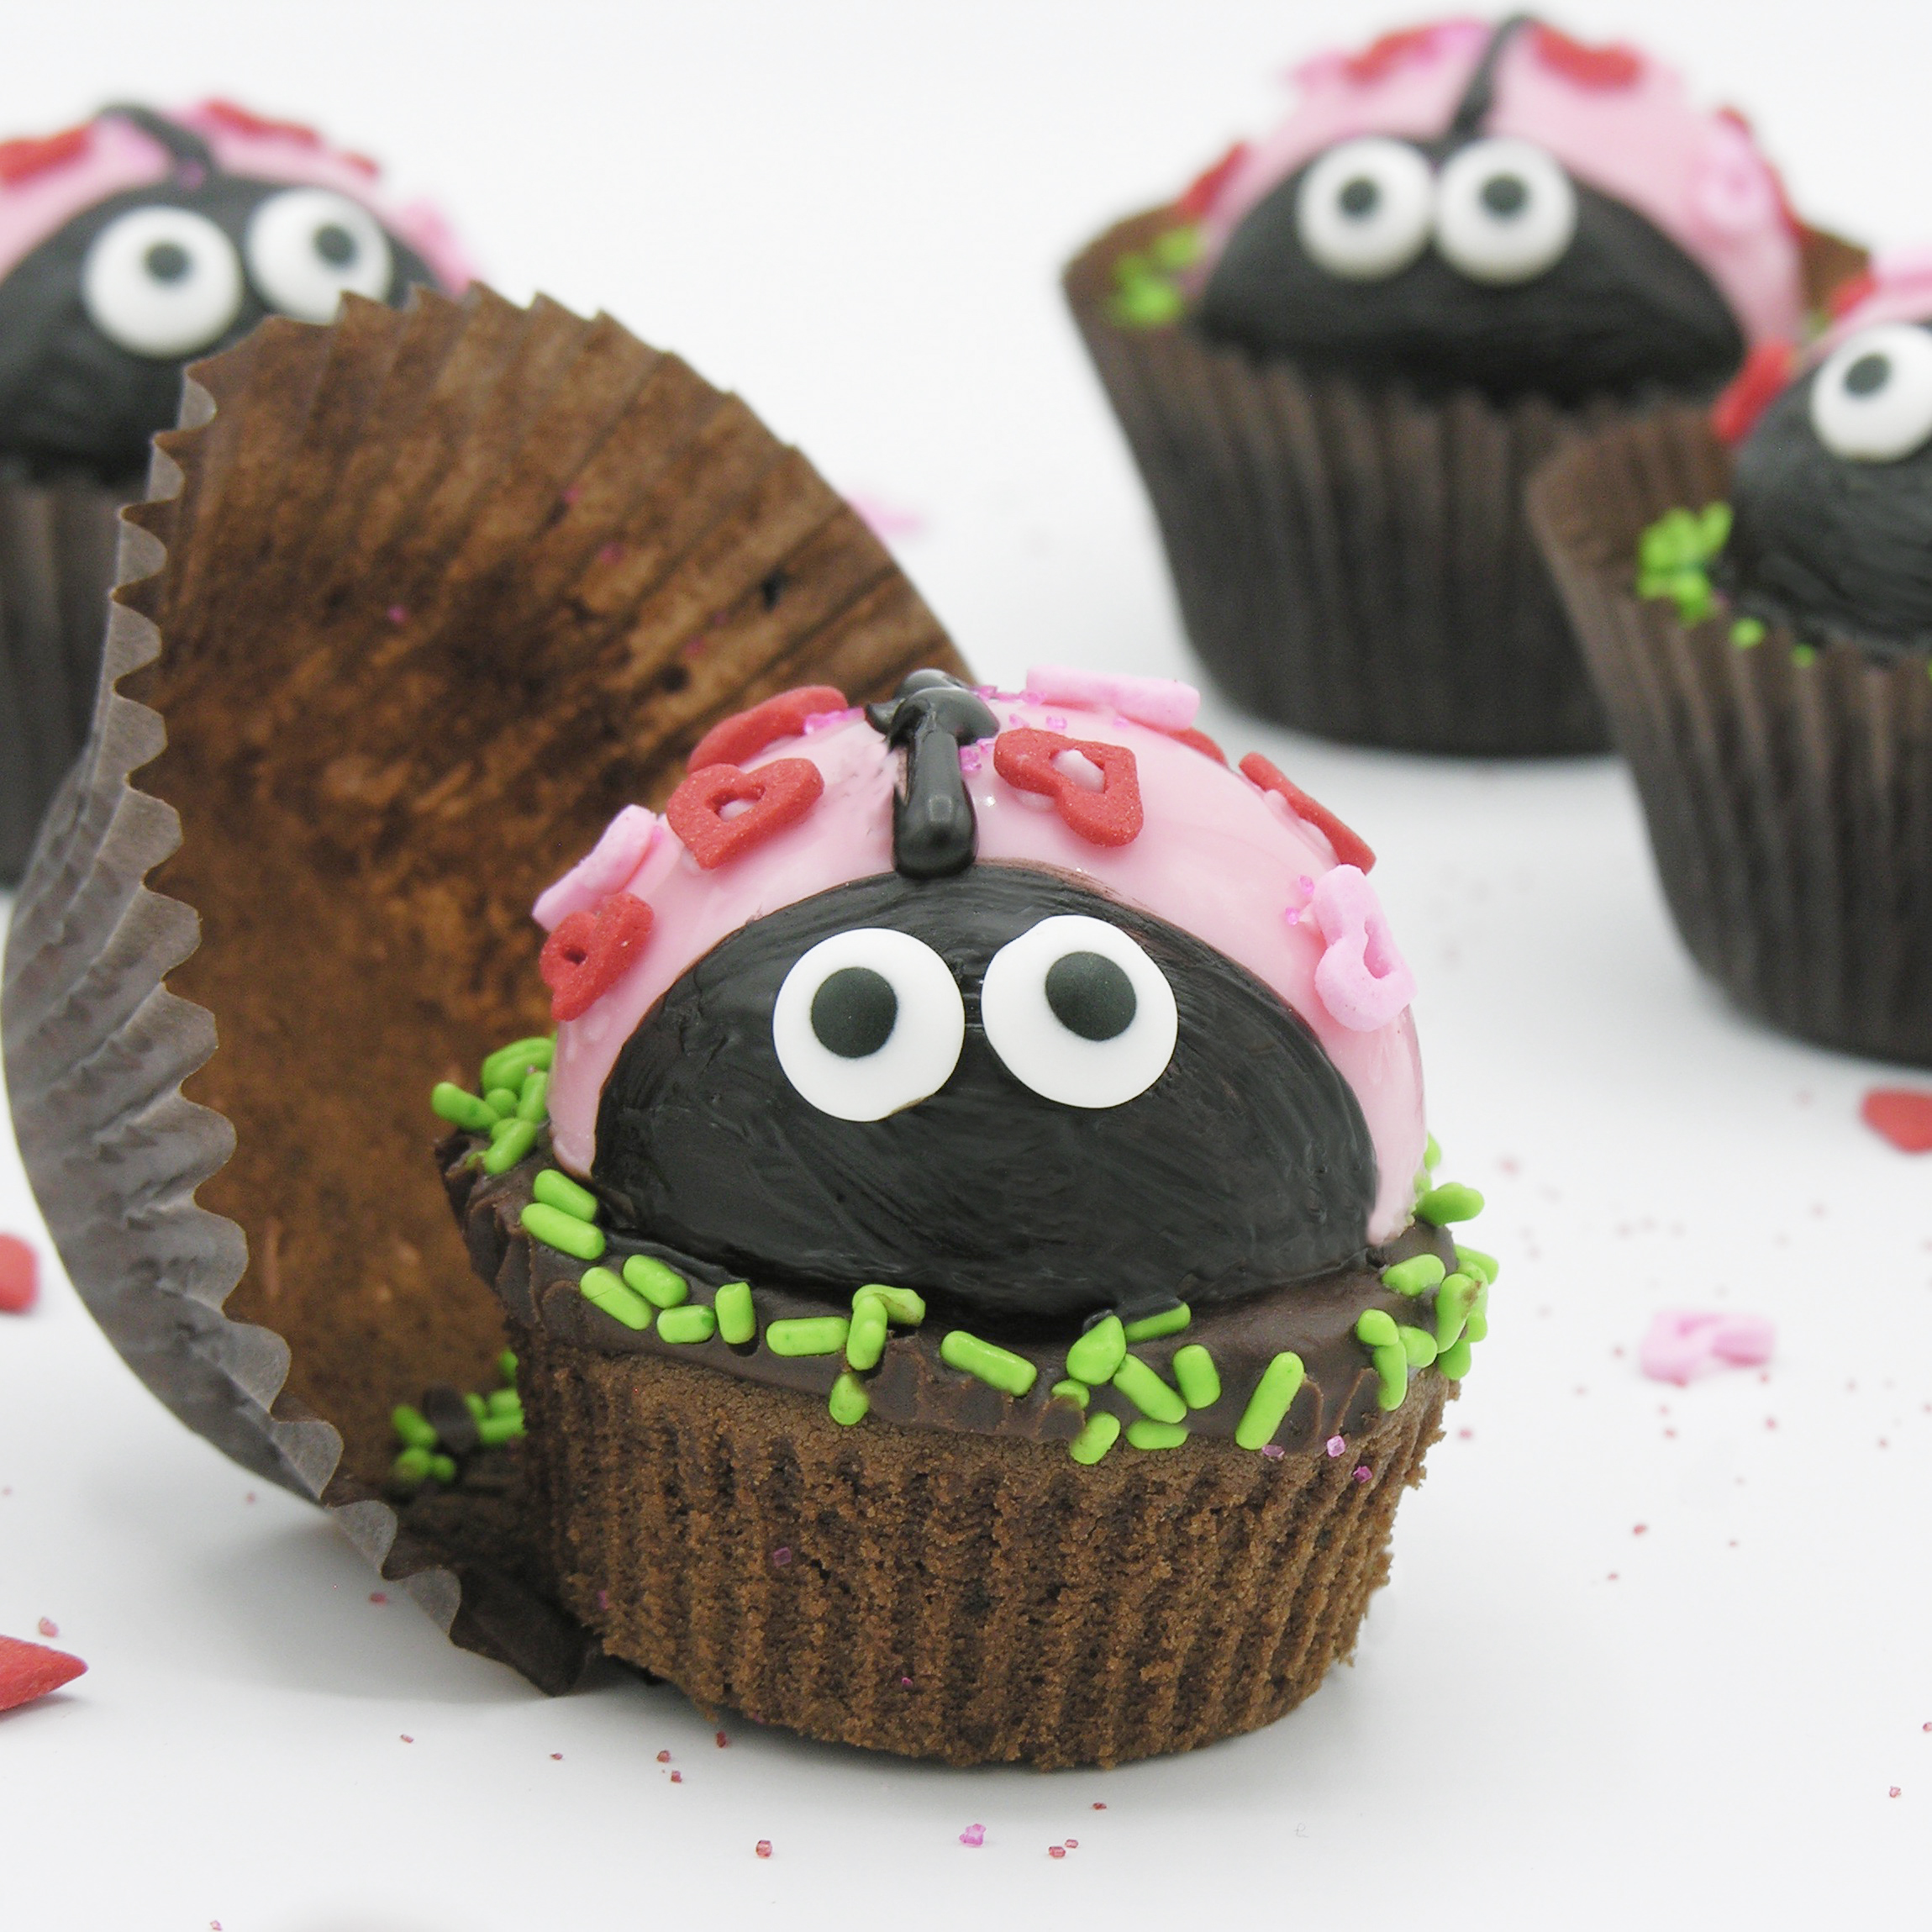
  • Assemble the cupcakes by spooning a little chocolate glaze on top of a brownie and spreading to all edges.
  • Place a berry bomb in the center and sprinkle green jimmies around edge.
  • Allow this all to harden up (refrigerate to speed process up).
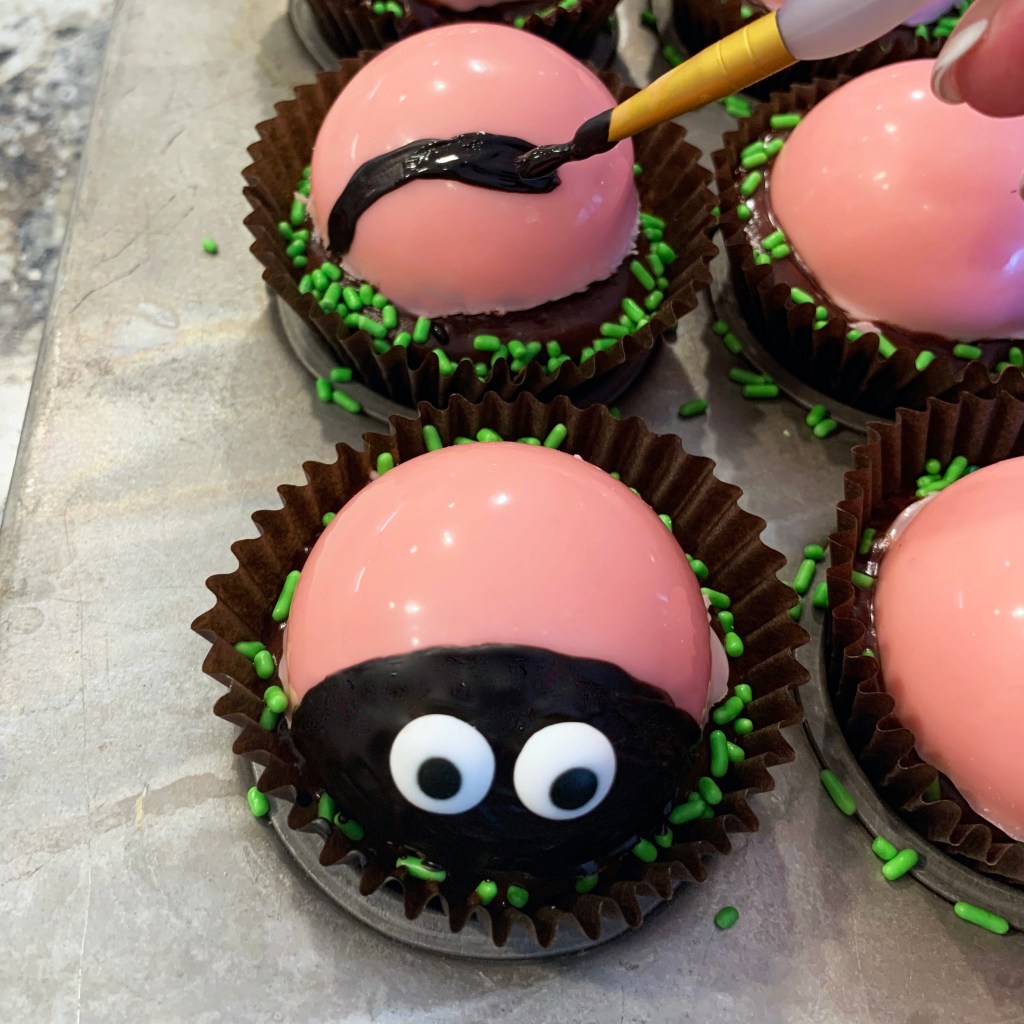
  • Melt black candy melts in microwave in 30 second increments, stirring between until smooth.
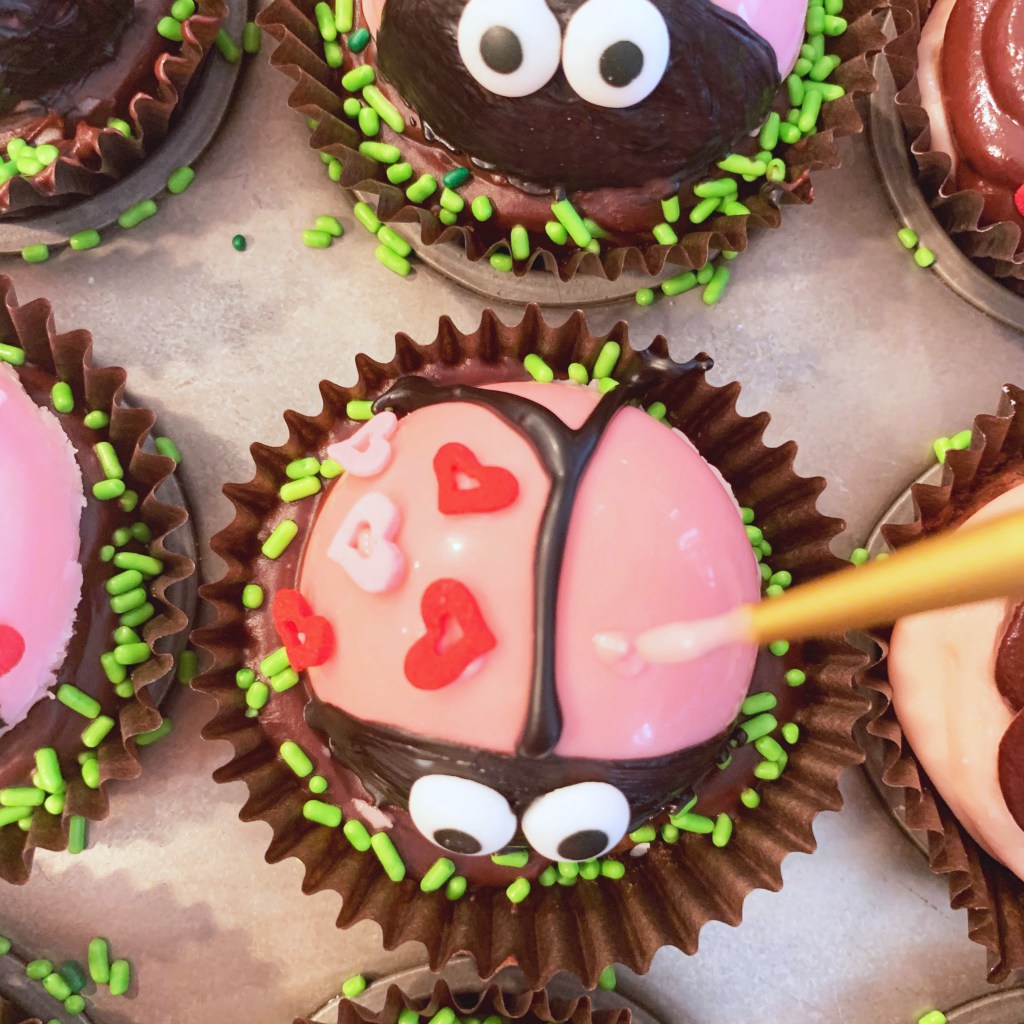
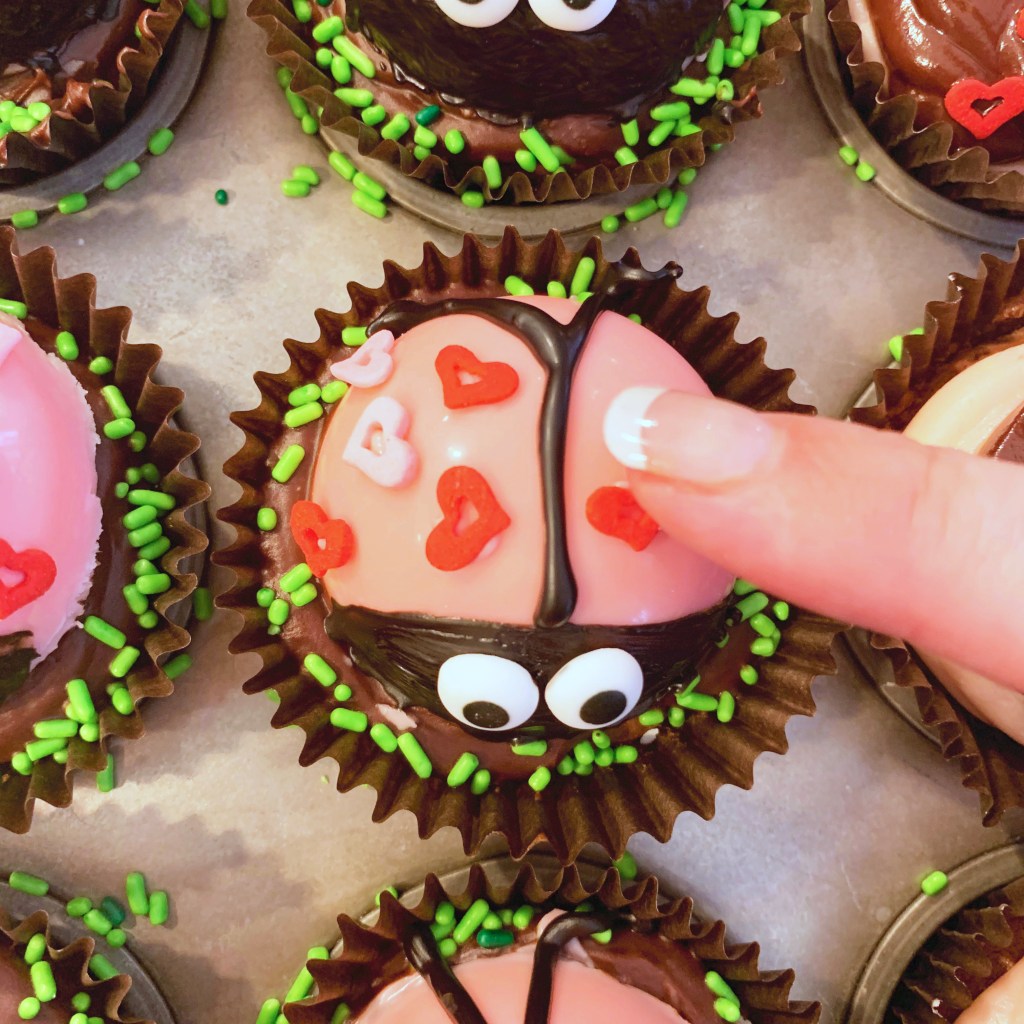
  • Use a clean paint brush to paint a black face on the front of each bomb, and immediately place eyes before candy melts harden. Place the rest of the melts in a plastic zip-top bag, cut a corner and pipe the center line down the bug’s back.
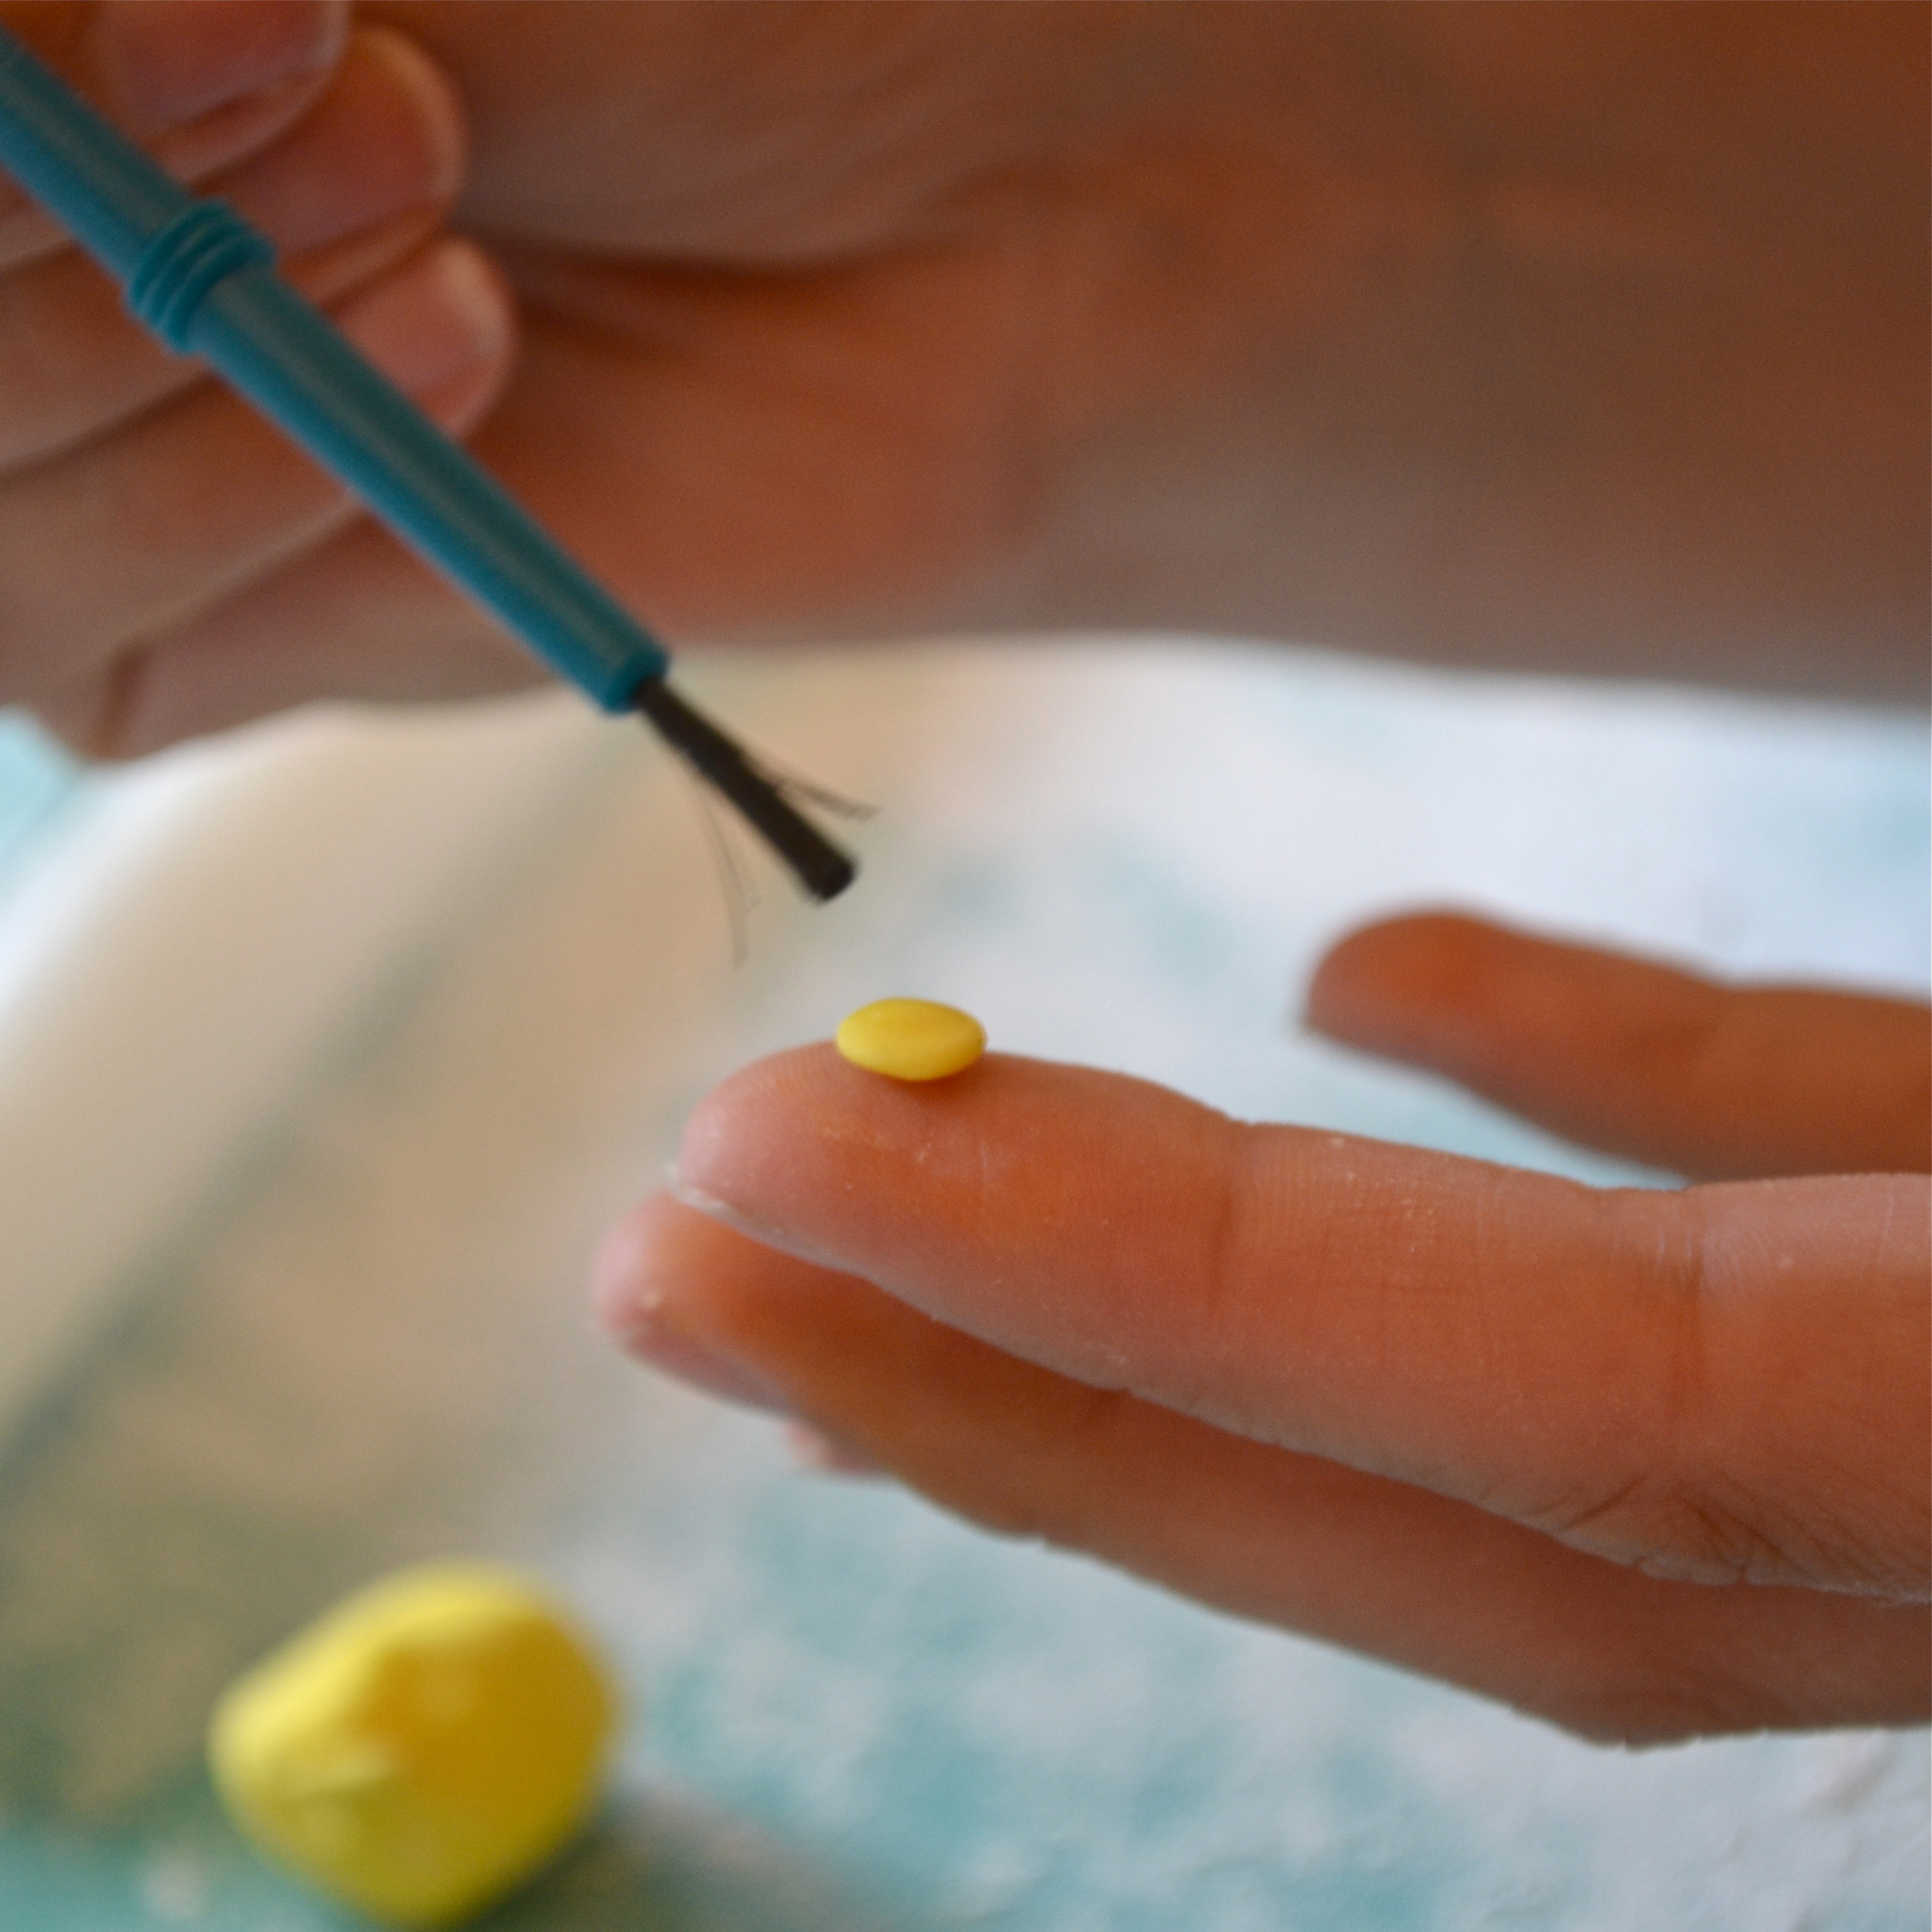
  • Melt just a few pink candy melts, and use a paint brush to stick each little candy heart “dot” in place.
  • Enjoy!

My thoughts: These are delicious. Think chocolate covered strawberries. I made half of mine with the love bug domes, and half with just the berry icing and chocolate glaze- just to save time. Either way, they are delicious and sure to make YOUR Valentine smile! Enjoy! ~r

Looking for other fun baking ideas for Valentine’s Day? Click on the title to see the recipe:

Fondant…how to make it, use it and eat it!

Posted on

Fun fondant cupcake toppers

Homemade fondant that is easy AND tasty?  Here you go!!!

Every time I see cute cupcakes or cakes decorated in fondant I love them…and then I dismiss the possibility of making them for two reasons:

1. Fondant is really hard to make and use.

2. Fondant tastes bad and everyone just peels it off to get to the real frosting and cake underneath.

My good friend Megan from Happily Ever After Cakes set out to prove me wrong on both counts….and she did!

If you follow the comings and goings of easybaked, you know that I recently had a visit from my dear friend Megan for a weekend long baking extravaganza.  This is project #2 from that weekend.

Before Megan came, I knew we would be tackling fondant cupcakes and we both went on an internet hunt for fun and easy ideas to try.  We saw these cute garden themed cupcakes on a Flickr site called Hello Naomi and decided to try them out!

The cupcakes are just plain white cupcakes (use your favorite flavor/recipe!)  What’s amazing is, of course, what’s on top.  There are two recipes involved~ a thick buttercream that acts like a glue on the top of each cupcake and the actual fondant recipe.

Let’s start with those two recipes and then I can tell you how we pulled it all together.

Thick Buttercream Frosting: (makes about 4 cups of frosting)

(printer-friendly recipe)

INGREDIENTS:

  • 1 stick (1/2 cup) butter (softened)
  • 1/2 cup Crisco
  • 1 tsp clear vanilla (or any flavoring you might want!)
  • 4 c. powdered sugar
  • 1 Tablespoon of half-and half cream.

DIRECTIONS:

  • Beat together butter, Crisco and vanilla with a mixer until smooth.
  • Add powdered sugar gradually and mix until combined and a little crumbly.
  • Add half and half cream and mix on low.  You might need to add a little more until frosting is a thick but smooth consistency.
  • Don’t beat frosting on high speed or for too long to prevent air bubbles that will keep it from spreading smoothly.
  • This frosting can be used to frost cupcakes or cakes that will have fondant laid over the top.  It has a sticky consistency that acts as a glue to attach the fondant.  It can be kept in a tightly sealed container in the refrigerator for about a week.

Marshmallow Fondant (recipe from about.com site)- they have a great video tutorial too!! (makes about 1 1/2 lbs of fondant.)

(printer-friendly recipe)

INGREDIENTS:

  • 4 cups mini marshmallows (half of a 16 oz. bag)
  • 4 cups powdered sugar- plus a little for dusting.
  • 2 tsp water
  • 1/2 teaspoon of clear vanilla
  • gel colors to color fondant as desired

DIRECTIONS:

  • Place your mini marshmallows and water into a large mixing bowl and microwave on high for about one minute- until they are puffy and melted.
  • Stir them together with a rubber spatula until they are completely smooth (if not melted completely, put them back in the microwave on high for 5-10 seconds).
  • Add clear vanilla and mix well.
  • Add about 1/4 of the powdered sugar, stir until smooth, add another 1/4 and stir.  It will become difficult to stir and very sticky.
  • Pour the rest of the powdered sugar onto a clean counter or cutting board.
  • Scrape the sticky fondant mixture out of the bowl and onto the powdered sugar and begin to knead it together with clean (powder sugar coated!) hands.  It will gradually become like a smooth clay consistency.  Use a metal scraper to keep it from sticking to the counter/ board.
  • This can now be colored with gel, rolled out and cut, or stored (tightly wrapped) in the fridge for about one week.  Megan recommended refrigerating it overnight before use, so we did.

Melt marshmallowsMix until smoothPour onto counterKnead together with hands

Now comes the fun part….

  • Have your cupcakes or cake or cookies all made and cooled.
  • Make enough fondant to cover your item(s).  Here is a great chart by Wilton to help you determine how much you’ll need for various projects.
  • Make up some of that thick buttercream icing and you are ready to go!

We needed to cut circles to cover each cupcake and we used a circle cutter set, which was nice because we could choose the perfect size to cover our cupcake tops.  We simply powdered a cutting board and rolled out the fondant using a fondant rolling pin.   We cut out the cupcake tops in white  (we saved the red tops for later when we colored fondant).

Rolling out fondant

Roll fondant out into a fairly thin layer and cut round pieces out to fit the tops of your cupcakes.

  • To place the fondant circles on top of the cupcakes just spread some of that sticky buttercream icing on top of a cupcake, smooth it as much as you can and place fondant circle on top.  
  • Gently press the edges down to touch the top of the cupcake liner and smooth it with your fingers.
  • We made daisies to go on top of the caterpillar cupcakes, so we cut out the white flowers before we colored anything.  Megan got me two cute daisy fondant cutters and they were SO fun to use!
  • Roll your fondant out, cut out daisies and lie them on a powdered sugared curved edge to harden a bit.  I used a plate with a lip on it.

Cut daisies out of fondantSet daisies on curved edge to harden

Time to color a little fondant for those yellow centers:  

  • To color just add a little gel color to the center of a bit of fondant and mix it with your hands.  
  • Use a little powdered sugar to prevent the fondant from sticking to your hands.

Tips:  keep fondant under a glass to keep it moist until you need it.  If it gets too dry you can add a little bit of Crisco to soften it up.  If it gets too sticky and the powdered sugar isn’t helping, you can use a little cornstarch to dry it up.

  • Roll a bit of yellow fondant into a small ball, press it flat and brush a tiny bit (just make it damp!) of water on it.  Press into center of white daisy—–so cute!

Water acts like glue with fondant…..something to remember as you start to decorate.

Add color gel to fondantKeep fondant under a glass to keep it moist.Use a little water on the fondant flower centerPress yellow center into daisy

Next, we colored some fondant green and rolled out little caterpillar body parts.  We let them set awhile and cut leaves out of the green as well– you can use that wonderful circle cutter set to make them– we “glued” them on white cupcake tops using water (just a little!).

The last colors we made were the red and black for the lady bugs and mushroom caps.  Both of these dark colors get ALL over your light colors if you aren’t careful about washing your hands– so make them up after you’ve already cut and shaped the lighter colored parts!  We just cut circles out for the mushroom caps and shaped ladybugs by hand….

ladybugs!All of the shapes– the bugs and daisies and mushroom spots were “glued” on with a little water and the last step was to paint on little faces and ladybug spots.  We dipped right in to our black gel food color to do this– Megan got us a fine-tipped decorating brush that made short work of painting.

Ladybug and Caterpillar cupcakes!

Aren’t they fun?

My thoughts:  I realize this entire post is a far stretch from the “EASY” in “Easybaked”…but it was honestly not as difficult as I thought it would be.  I can see myself making fun embellishments for topping off regular cupcakes in the future now that I know how simple fondant is to make.

The best part?  It is honestly SO yummy.  The fondant isn’t rubbery or hard- you bite into the cupcake and the fondant is soft and tastes like marshmallow-y frosting.  I wasn’t tempted to peel it off at ALL! (promise!)  I even enjoyed snacking on the little critters and flowers on top.  Yum….!

ladybug and caterpillar cupcakes!Other fun and yummy cupcake ideas:

Butter beer cupcakesblackberry cream cupcakeAndes Mint CupcakesChocolate molten lava cupcakes