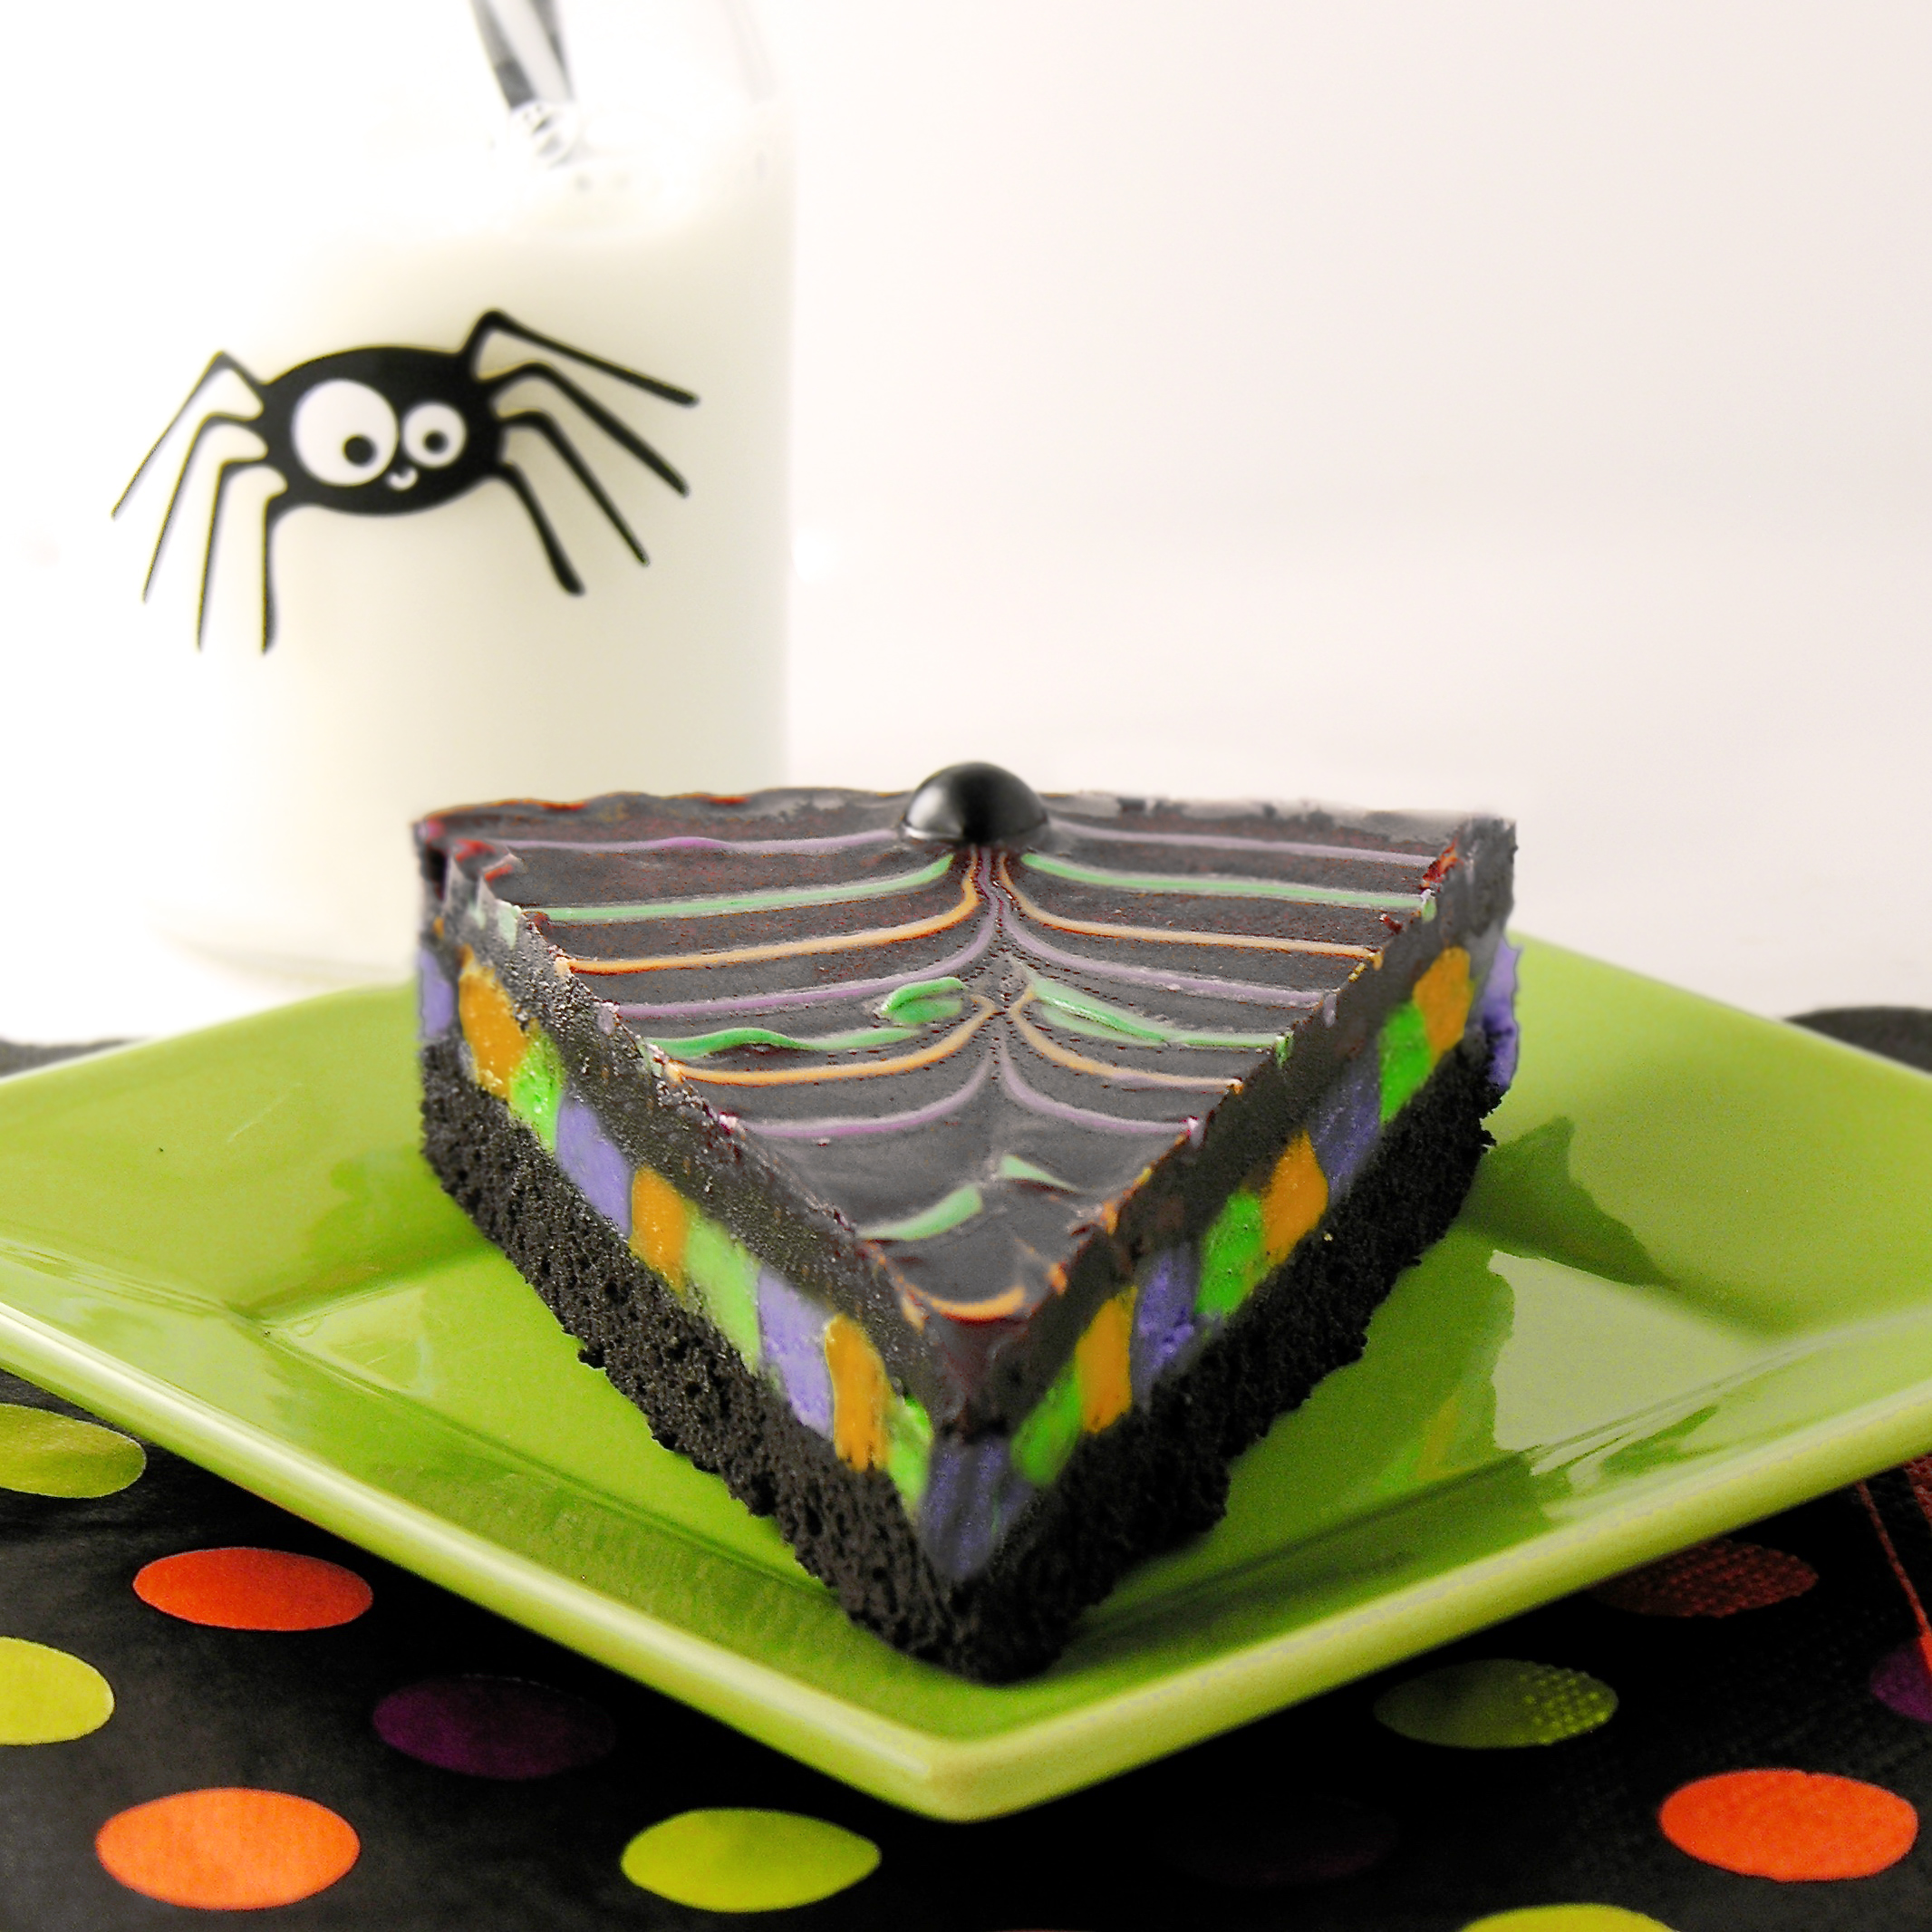
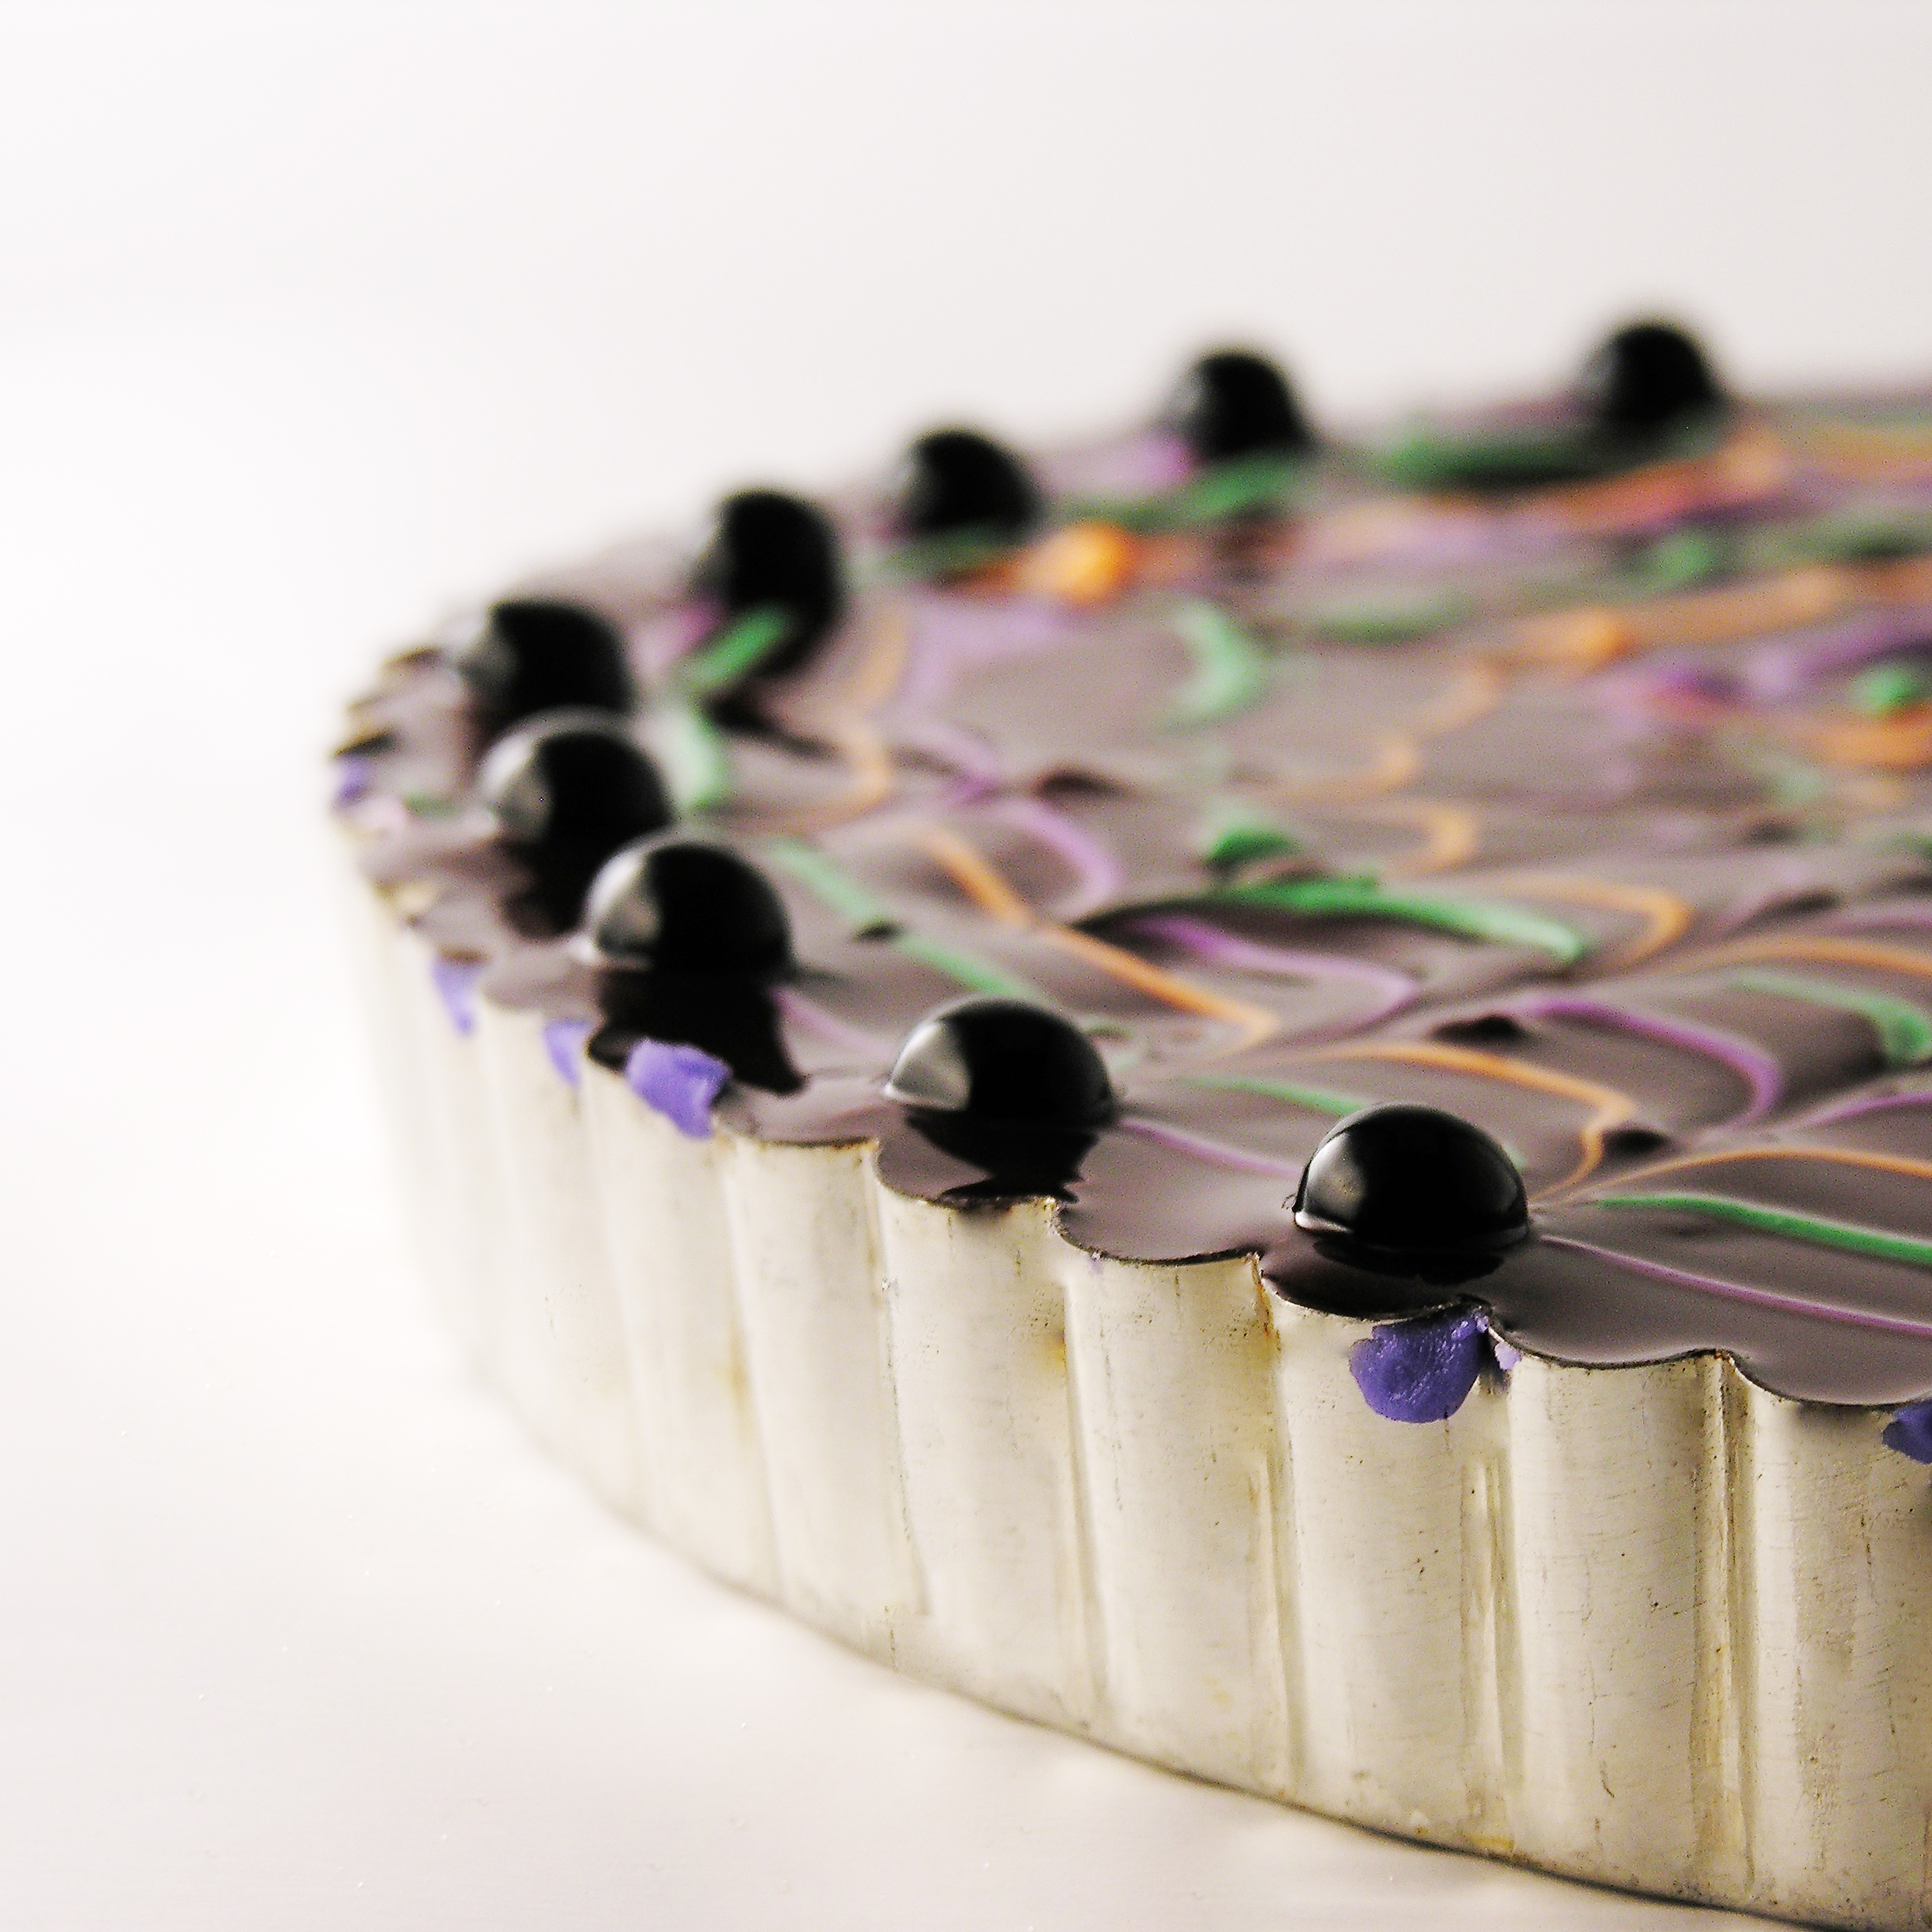
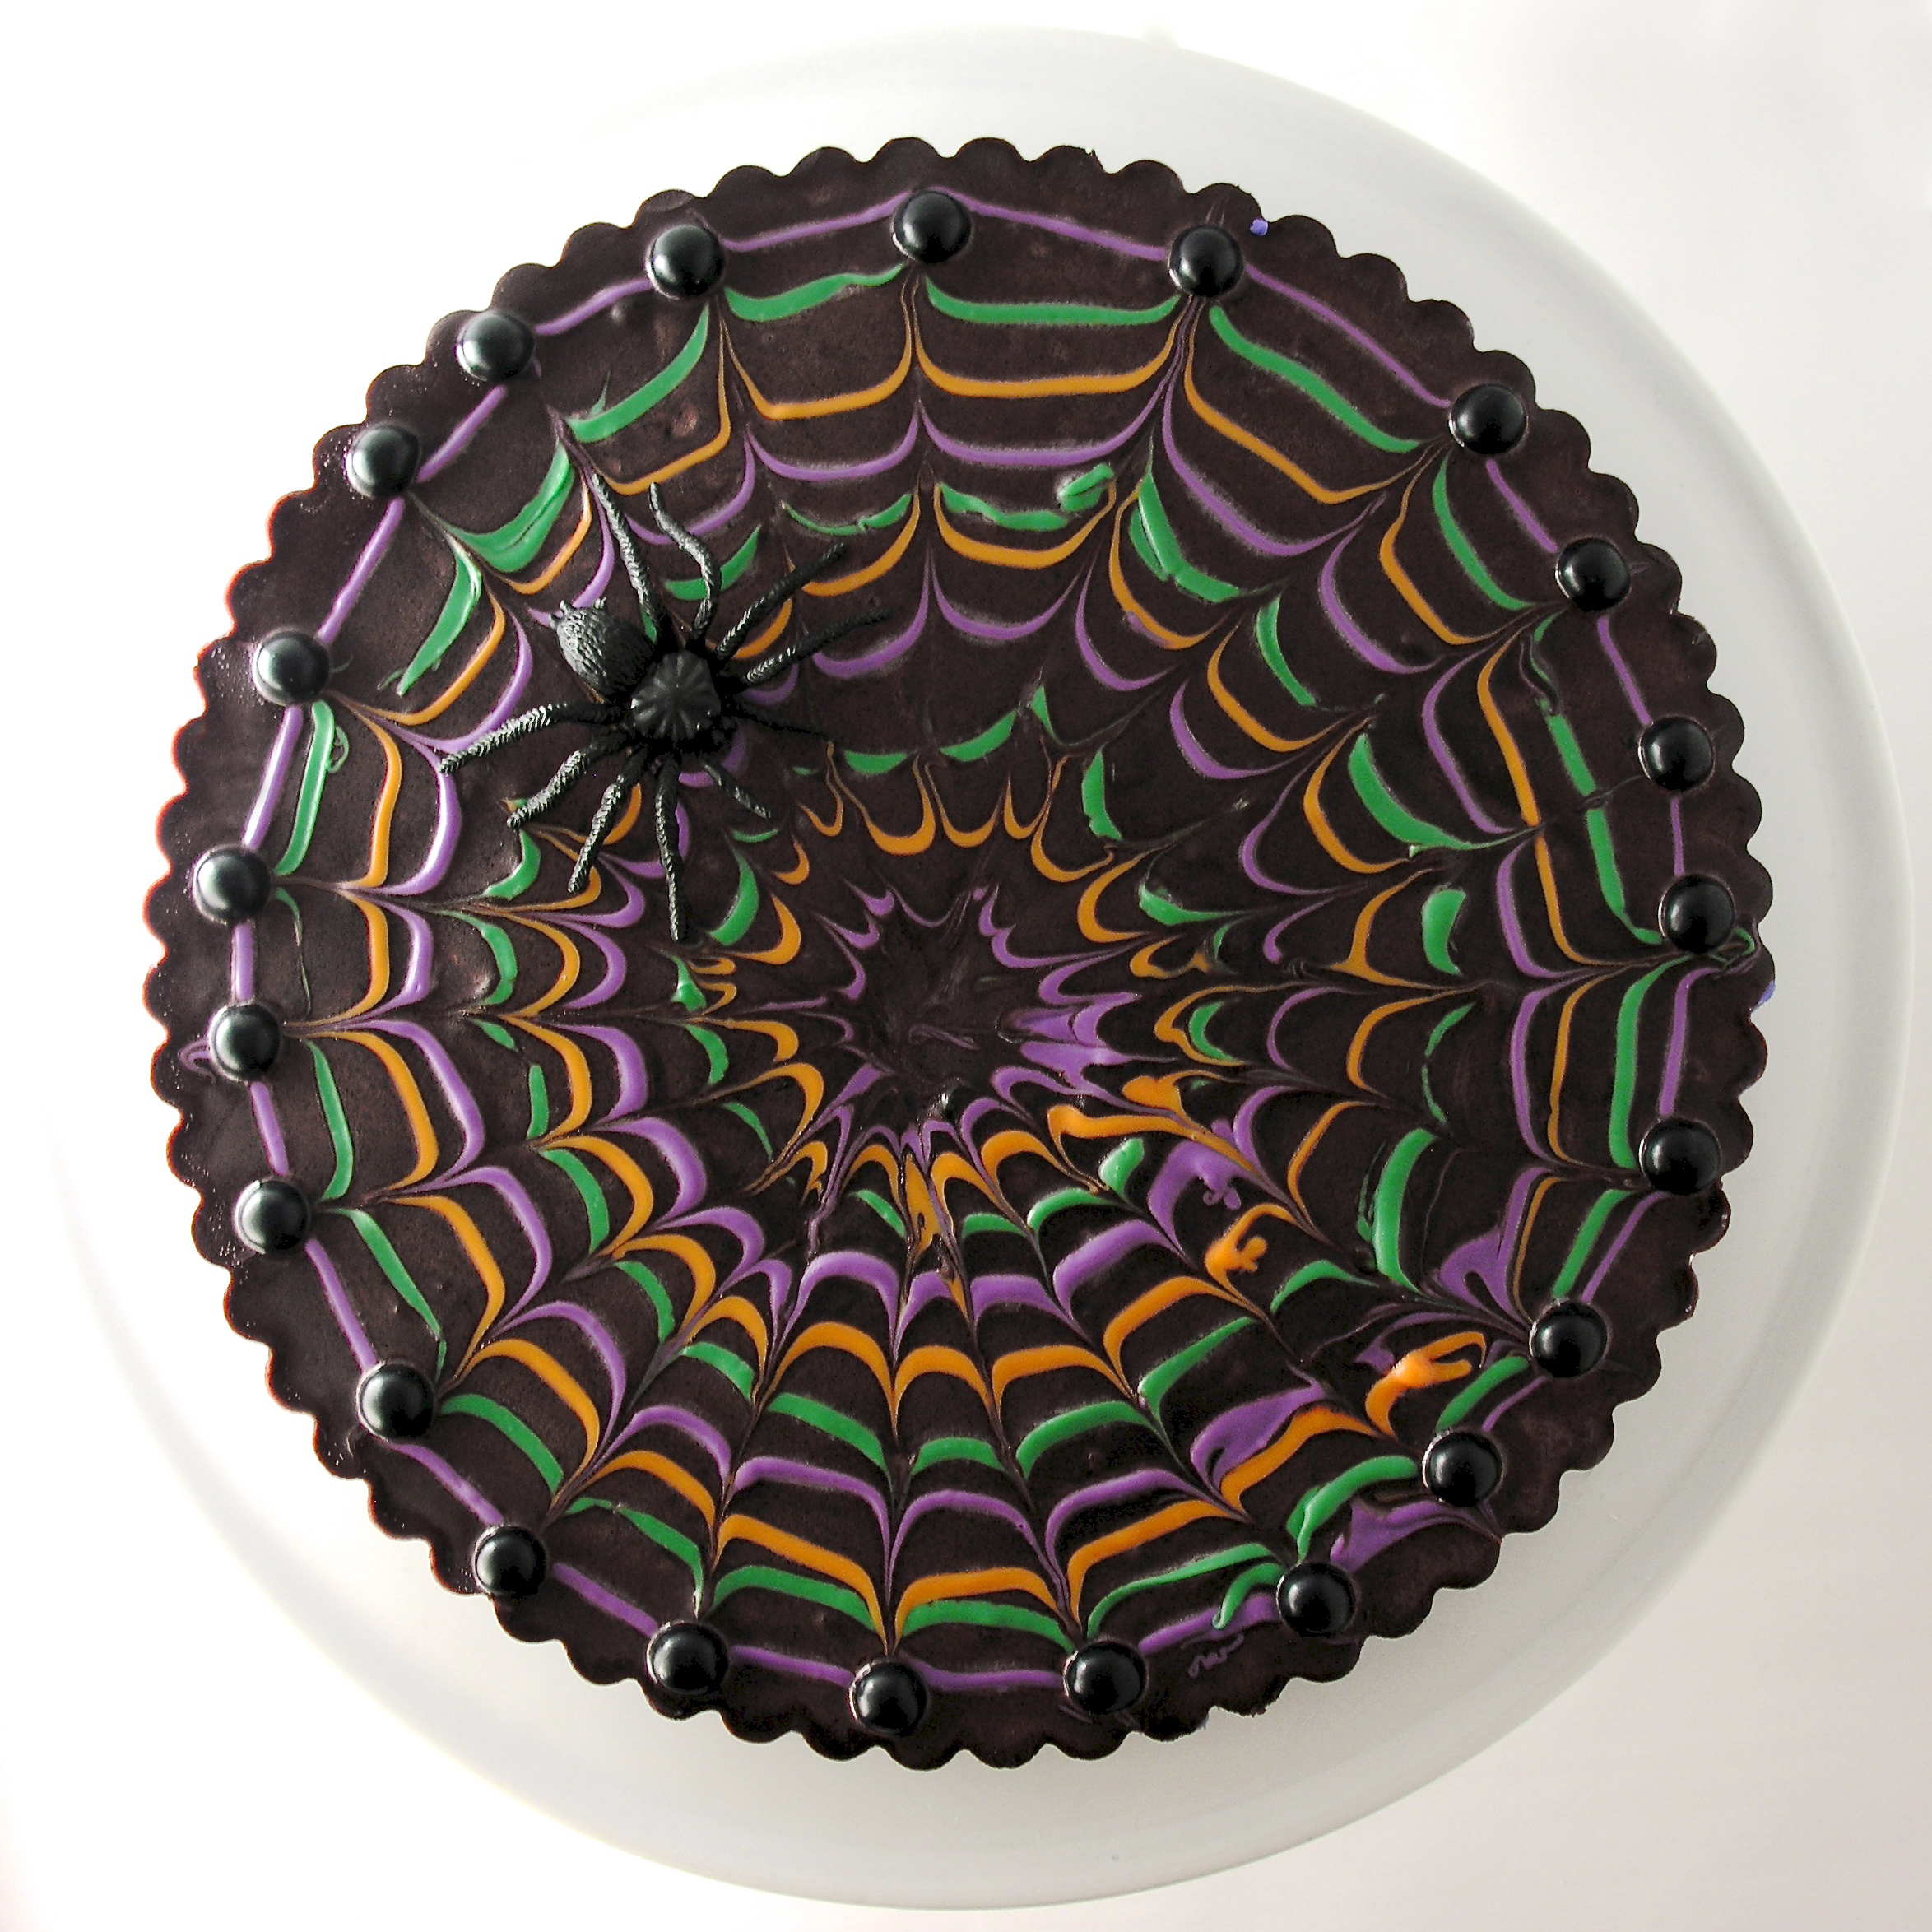
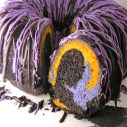
Fun stripes of color make this tart a beautiful addition to your fall table. Rich dark chocolate and creamy mint filling make it a delicious one!
Isn’t this fun? I love the October colors and the mint filling, but this could be made with any flavoring and in any combination of colors. Plus….it is EASY- I promise! The only special equipment you need is a 9 inch tart pan with a removable bottom- and if you don’t have that, you can make these in a regular 9×9 brownie pan. They aren’t quite as pretty- but still very fun!
 This is my mom’s famous brownie recipe. If you’ve been following us on Easybaked for very long, you know that I use this recipe ALL THE TIME. I just rearrange it into different ideas. You also know that we lost my mom almost two years ago very suddenly to cancer. Every time I re-make her recipe into something new, it makes me smile. She would have loved this idea, and I wish she were here to try it!
The original recipe for these is here. The brownie is baked in a large jellyroll pan (like a Texas sheet cake) and then covered in mint and chocolate glaze. That recipe was WAY too large to use in a tart pan, so I reduced it to 1/3 of it’s size for this idea. I had to google crazy things like “what is 1/3 of 2 cups”- only to realize that 1/3 of one cup times 2 is…..(wait for it)….. 2/3 of a cup. Sigh. Math is not my strong suit. 🙂

I really hope you enjoy making, serving and (of course!) eating this fun little tart, dear friends!
Here is how we made it: (printable recipe is here)
INGREDIENTS:
Brownie:
- 1/3 cup butter
- 2/3 cup sugar
- 1 egg
- 1 teaspoon vanilla
- 3 tablespoons of dark cocoa powder (try to use dark- it makes it easier to color the brownie black)
- Pinch of salt
- 2/3 cup flour
- 1/3 cup milk
- Food coloring gel
 in black
Mint filling: (this makes a little more than you need- but makes certain you have enough of each color)
- 5 cups powdered sugar
- 8 tablespoons butter
- 2 teaspoons mint extract
- Food coloring gel in orange, green and purple
Chocolate glaze/spiderweb:
- 1 cup of dark chocolate chips (again, use dark so it is easier to color black)
- 6 tablespoon of butter
- Food coloring gel in black
- About 1/4 cup of Wilton’s candy melts in each color: orange, green and purple
DIRECTIONS:
NOTE: Throughout this recipe, be careful when moving the tart pan, as holding it from the bottom will cause the edges to slide off. I usually keep tarts on a cookie sheet when I bake and decorate them- I took this one off (very carefully!) so I could photograph the process for you.
Brownie:
- Preheat oven to 350F.
- Cream butter and sugar together.
- Beat in eggs, cocoa, vanilla and salt.
- Add flour and milk (alternating them and mixing well in between)
- Add black food coloring gel until batter is a dark almost-black color.
- Spread evenly in 9 in tart pan that has been set on a cookie sheet.
- Bake at 350 degrees for 14-16 minutes or until a toothpick inserted into the center comes out clean.
- Cool completely.
Mint filling:
- Melt butter and add to powdered sugar.
- Add extract.
- Mix well, using water to bring it to a thick but spreadable consistency.
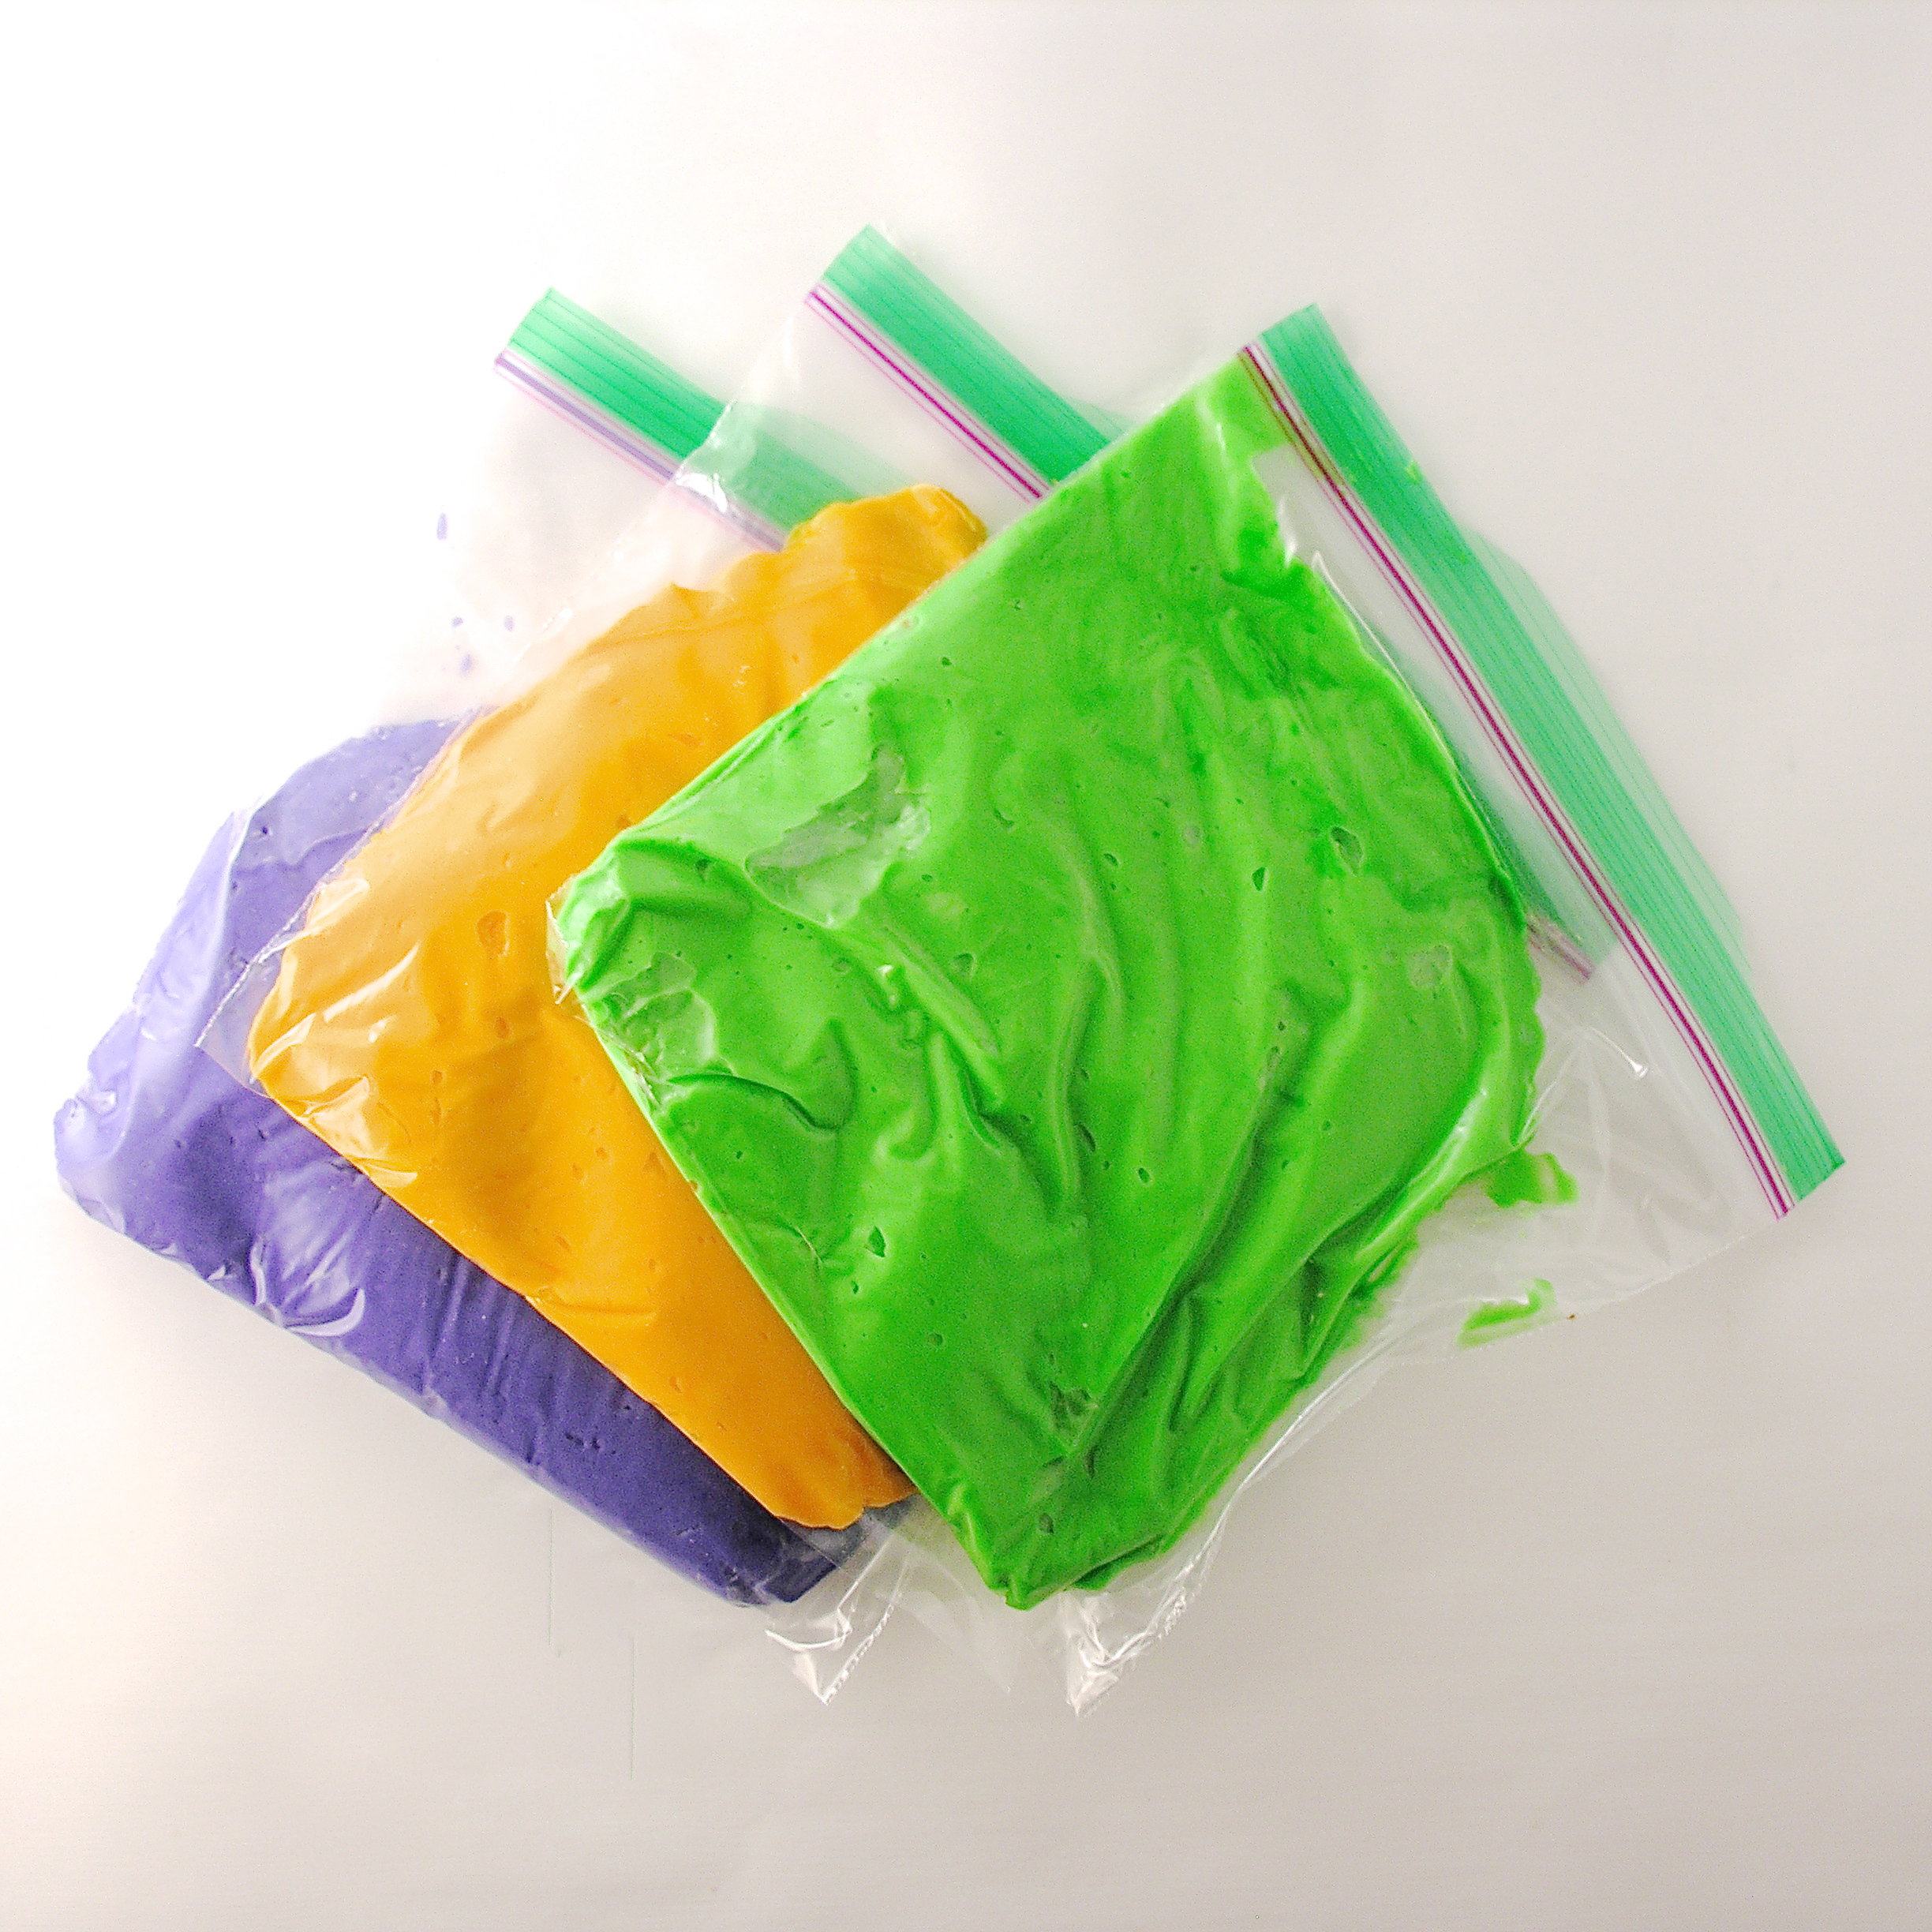
- Divide filling into three bowls and mix in gel food coloring until you get a desired shade of green, orange and purple.
- As soon as color is mixed in, spoon each filling color into a small and sturdy (use freezer, not sandwich) zip-top bag. Push all the air out and seal tightly. As this filling is exposed to air it begins to harden up- so sealing these up right away prevents this. If you are slow, you can always add a little more water to get it back to the right consistency.
- Set aside until brownie has cooled.
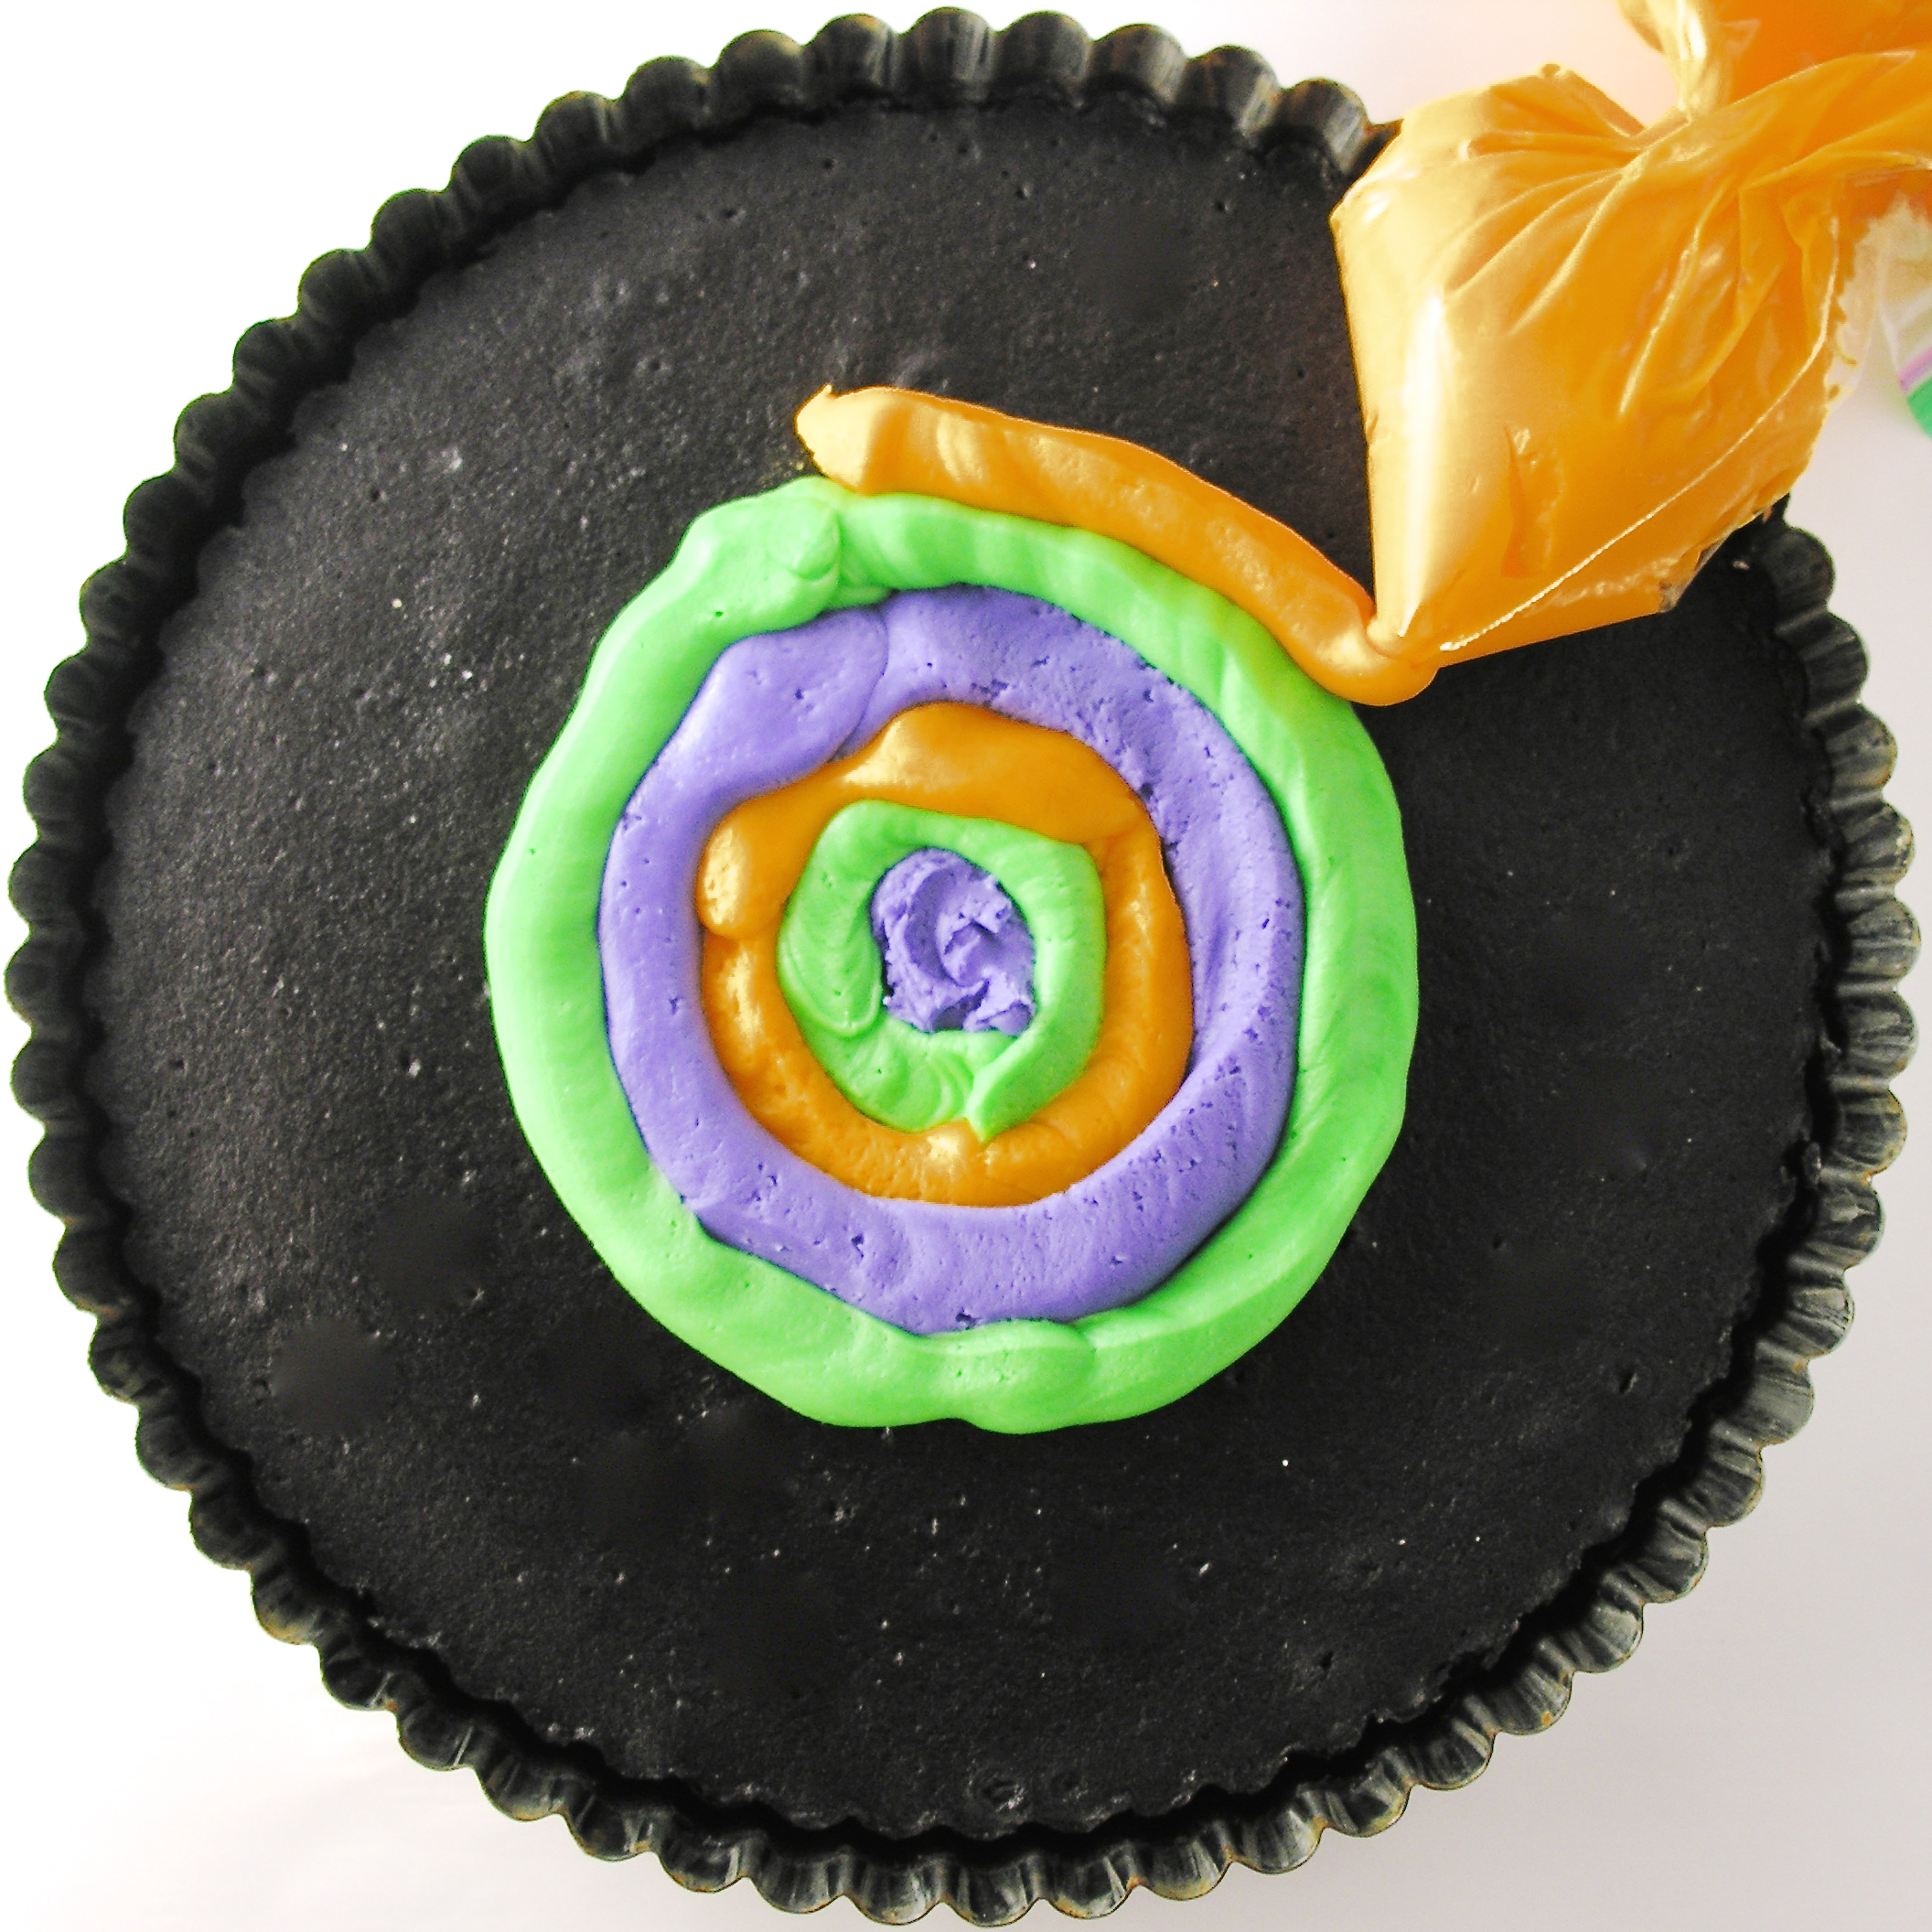
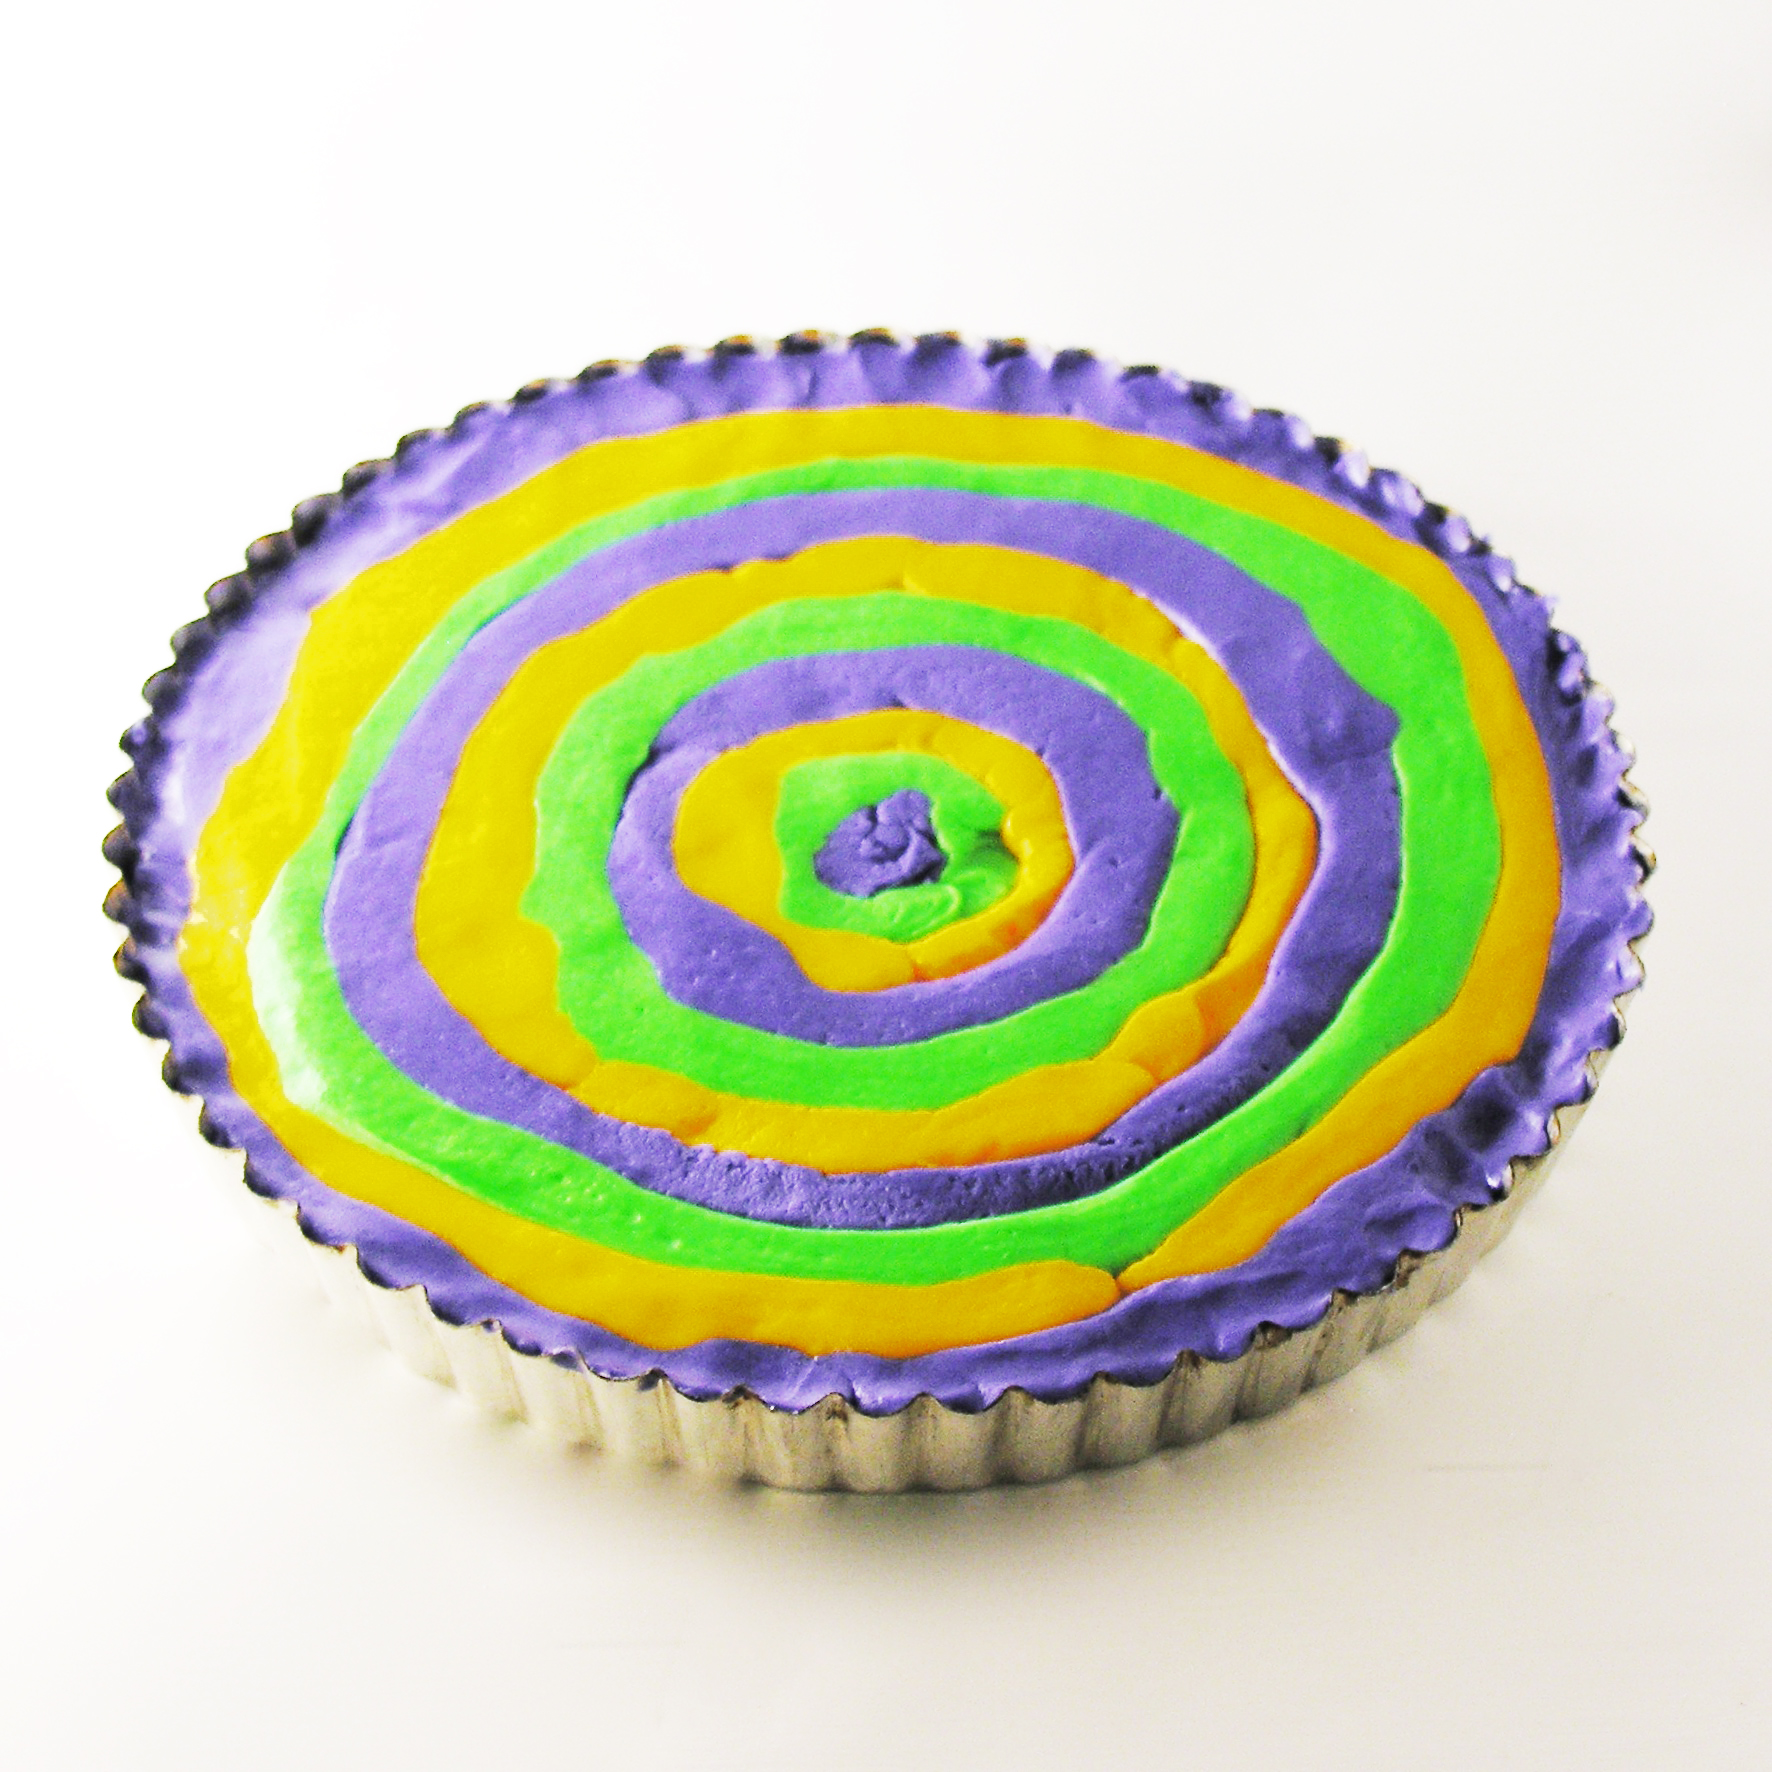
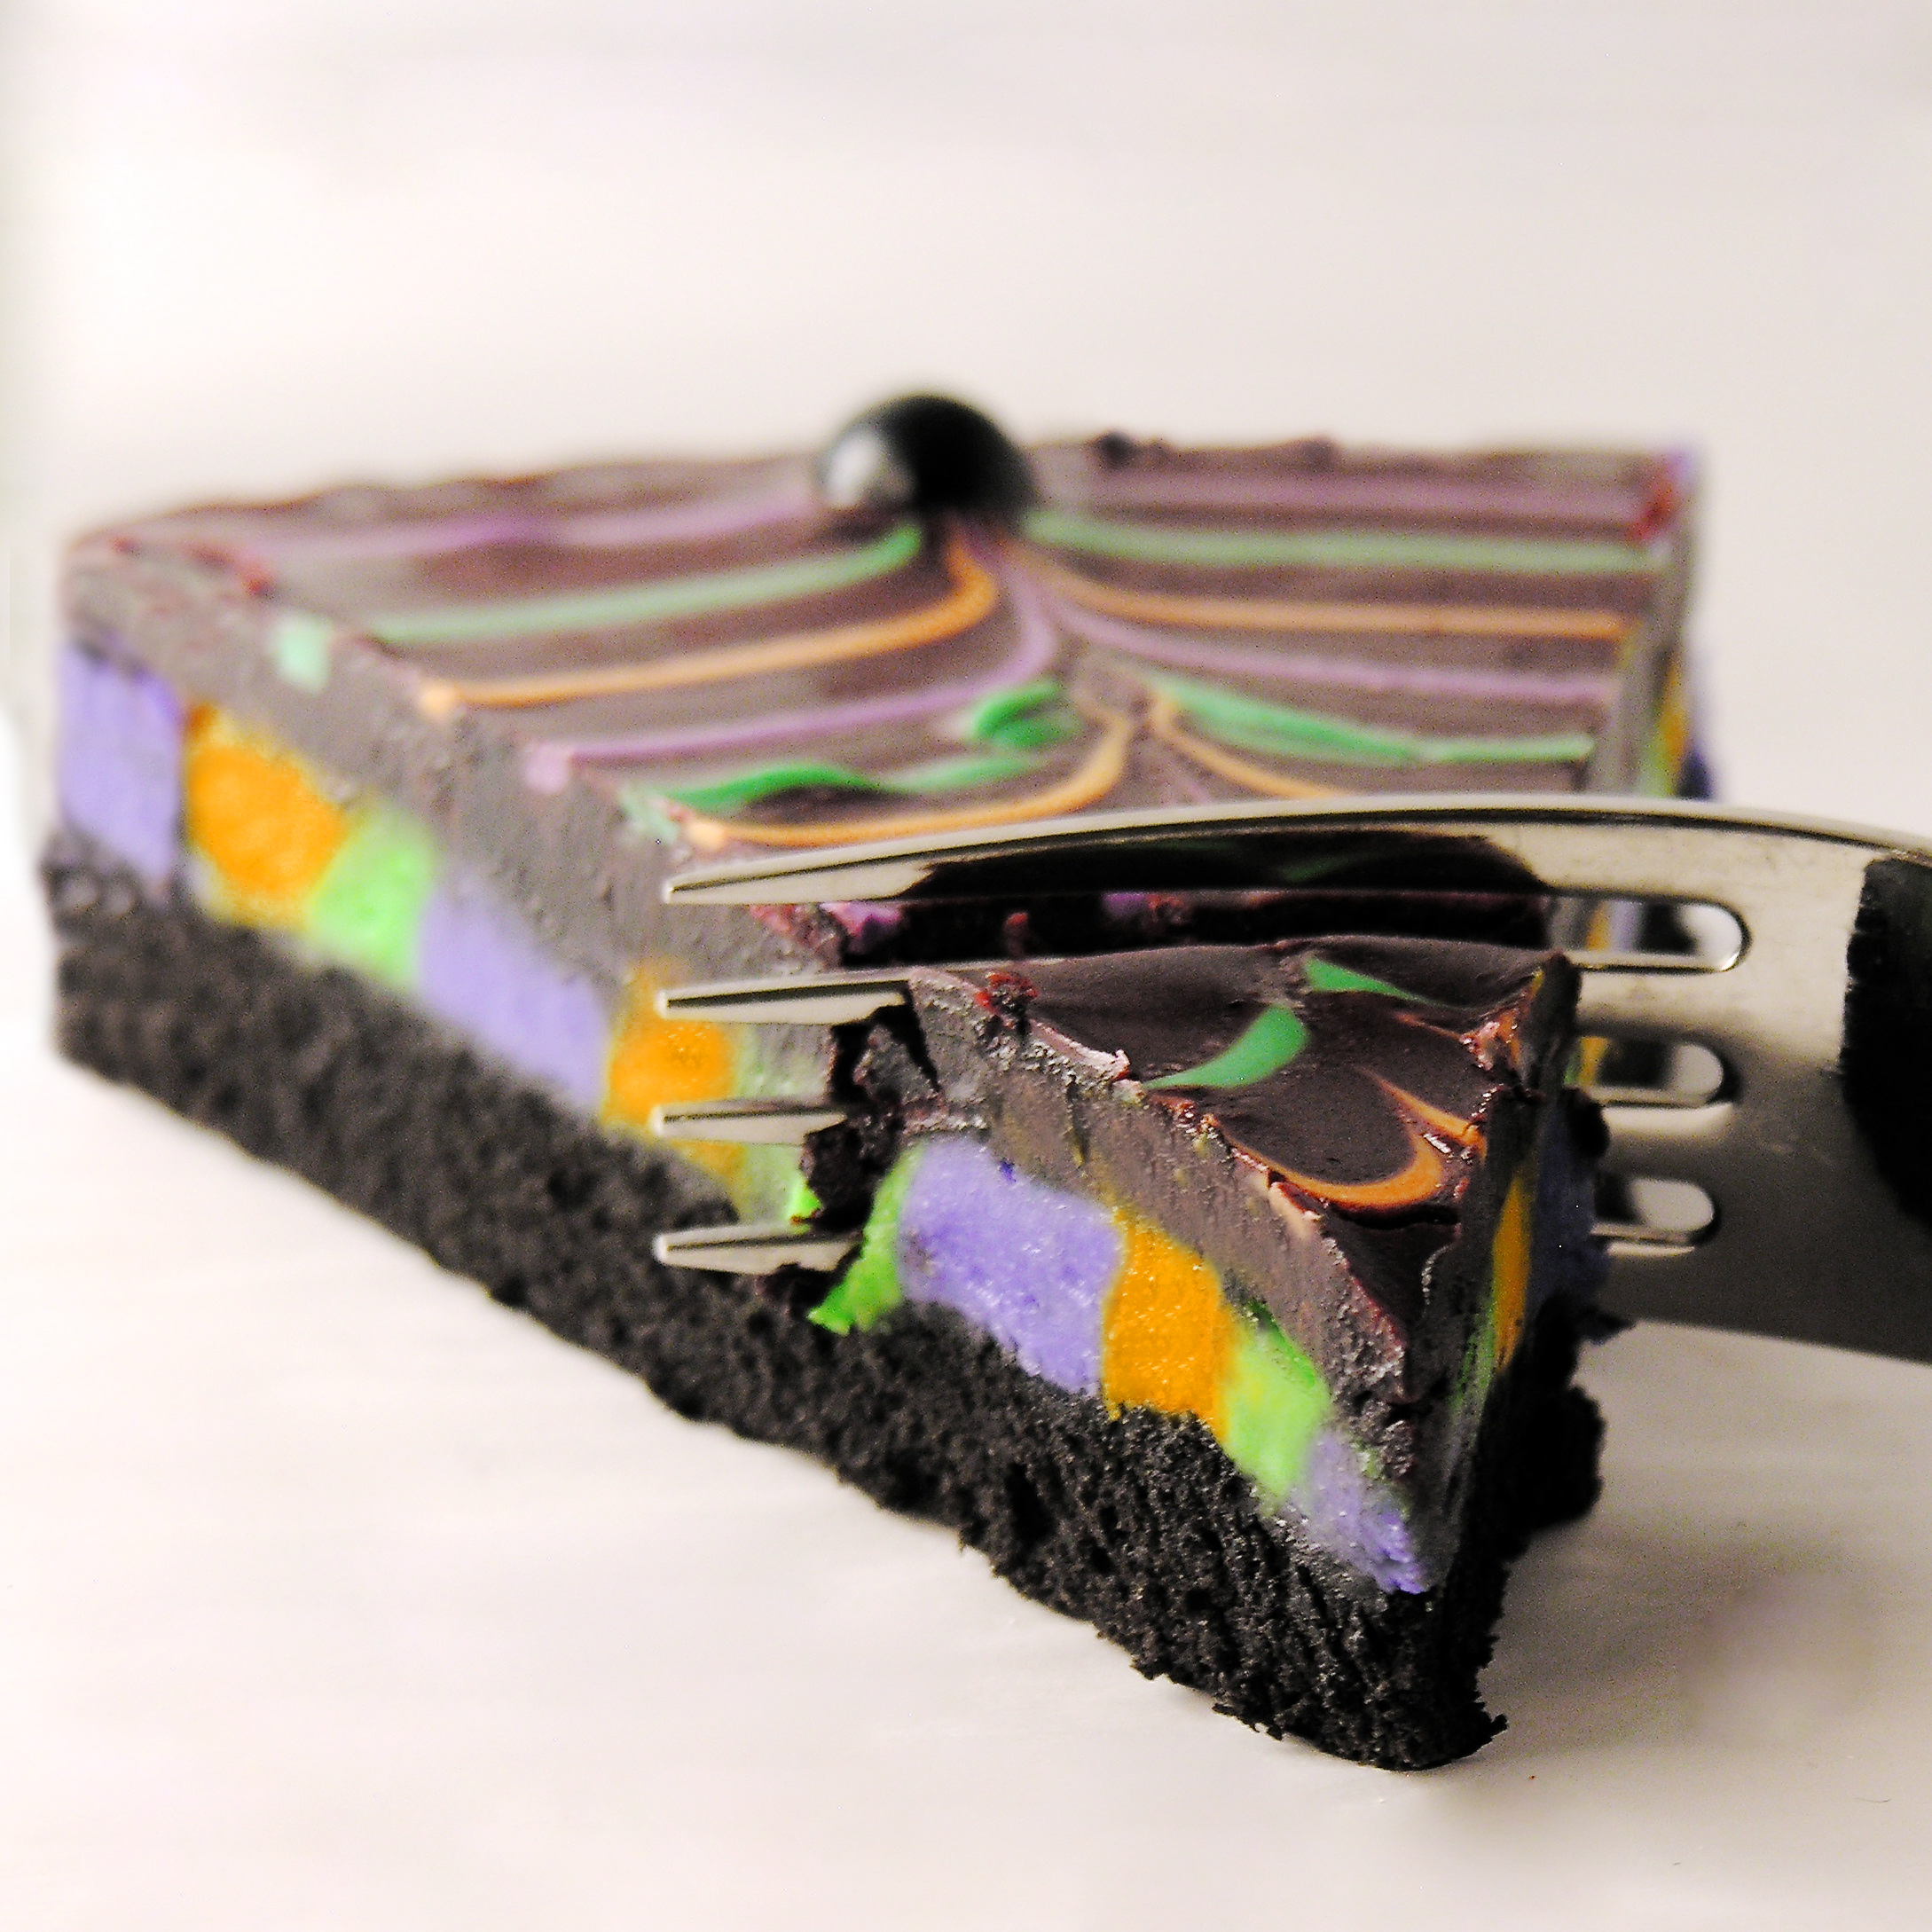
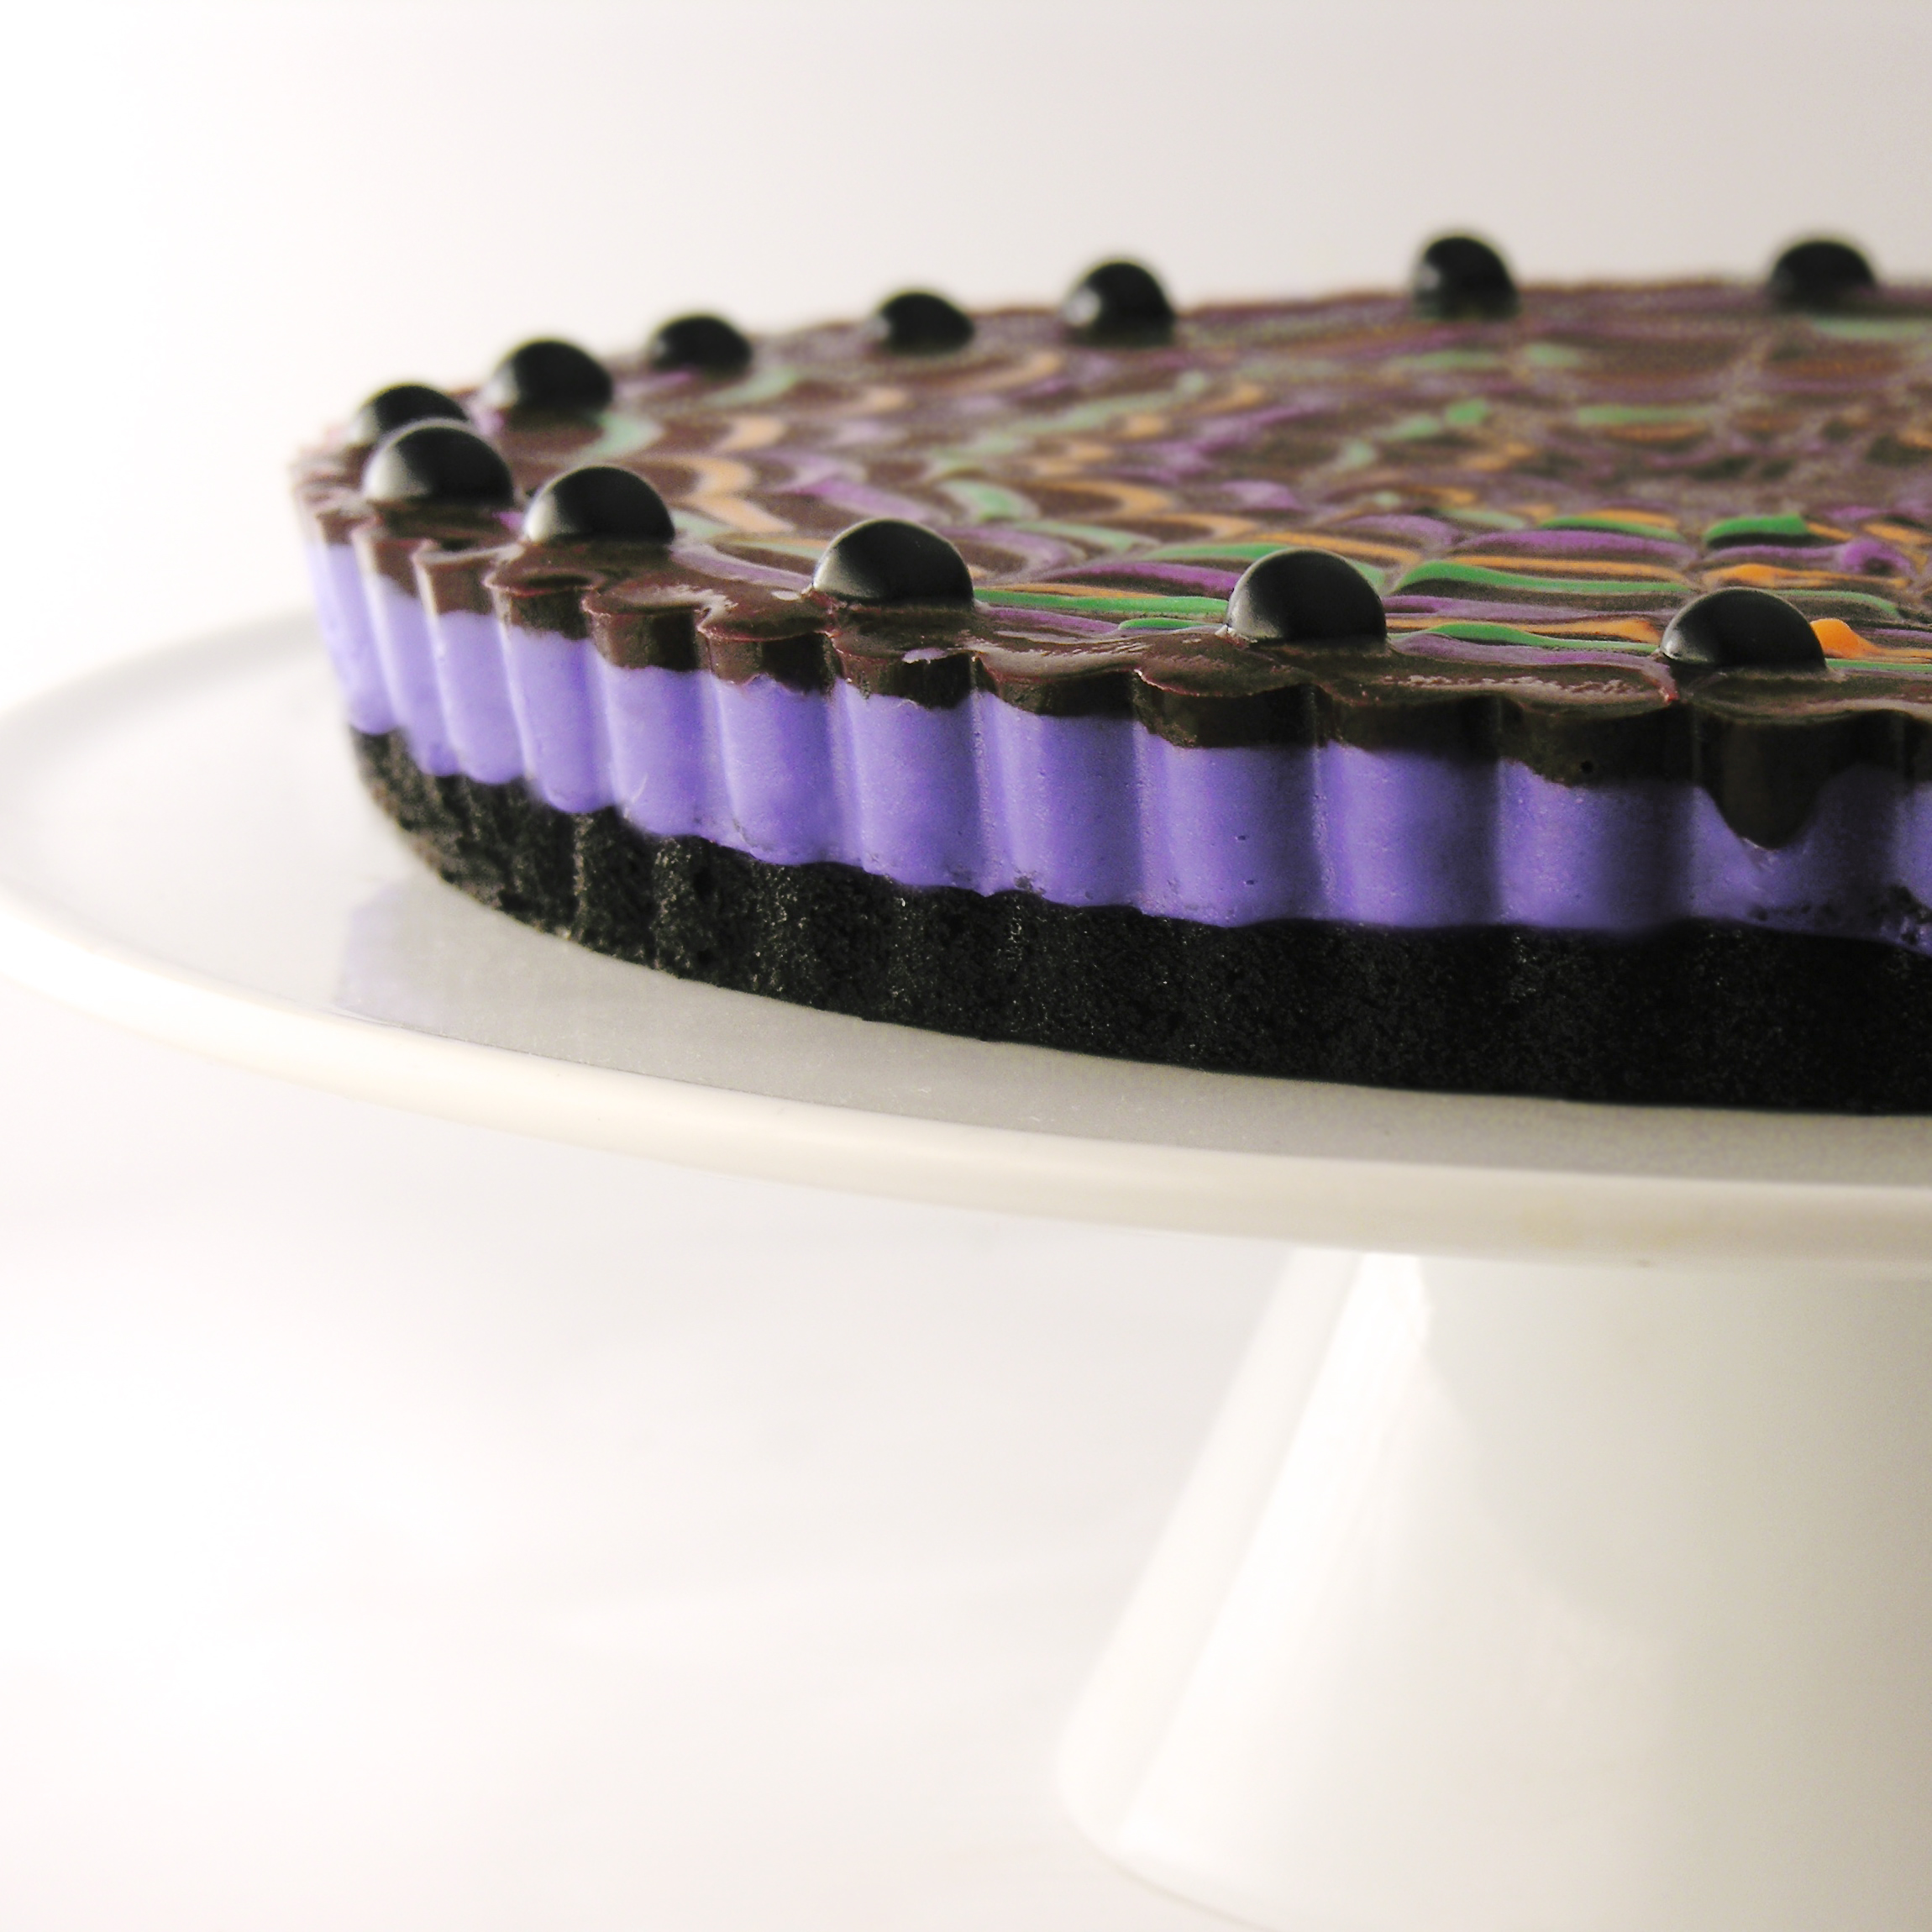
- Cut a corner off each bag, and squeeze filling out into a circle at the center. Alternating colors, add rings around this until the entire top of the brownie is covered with filling.


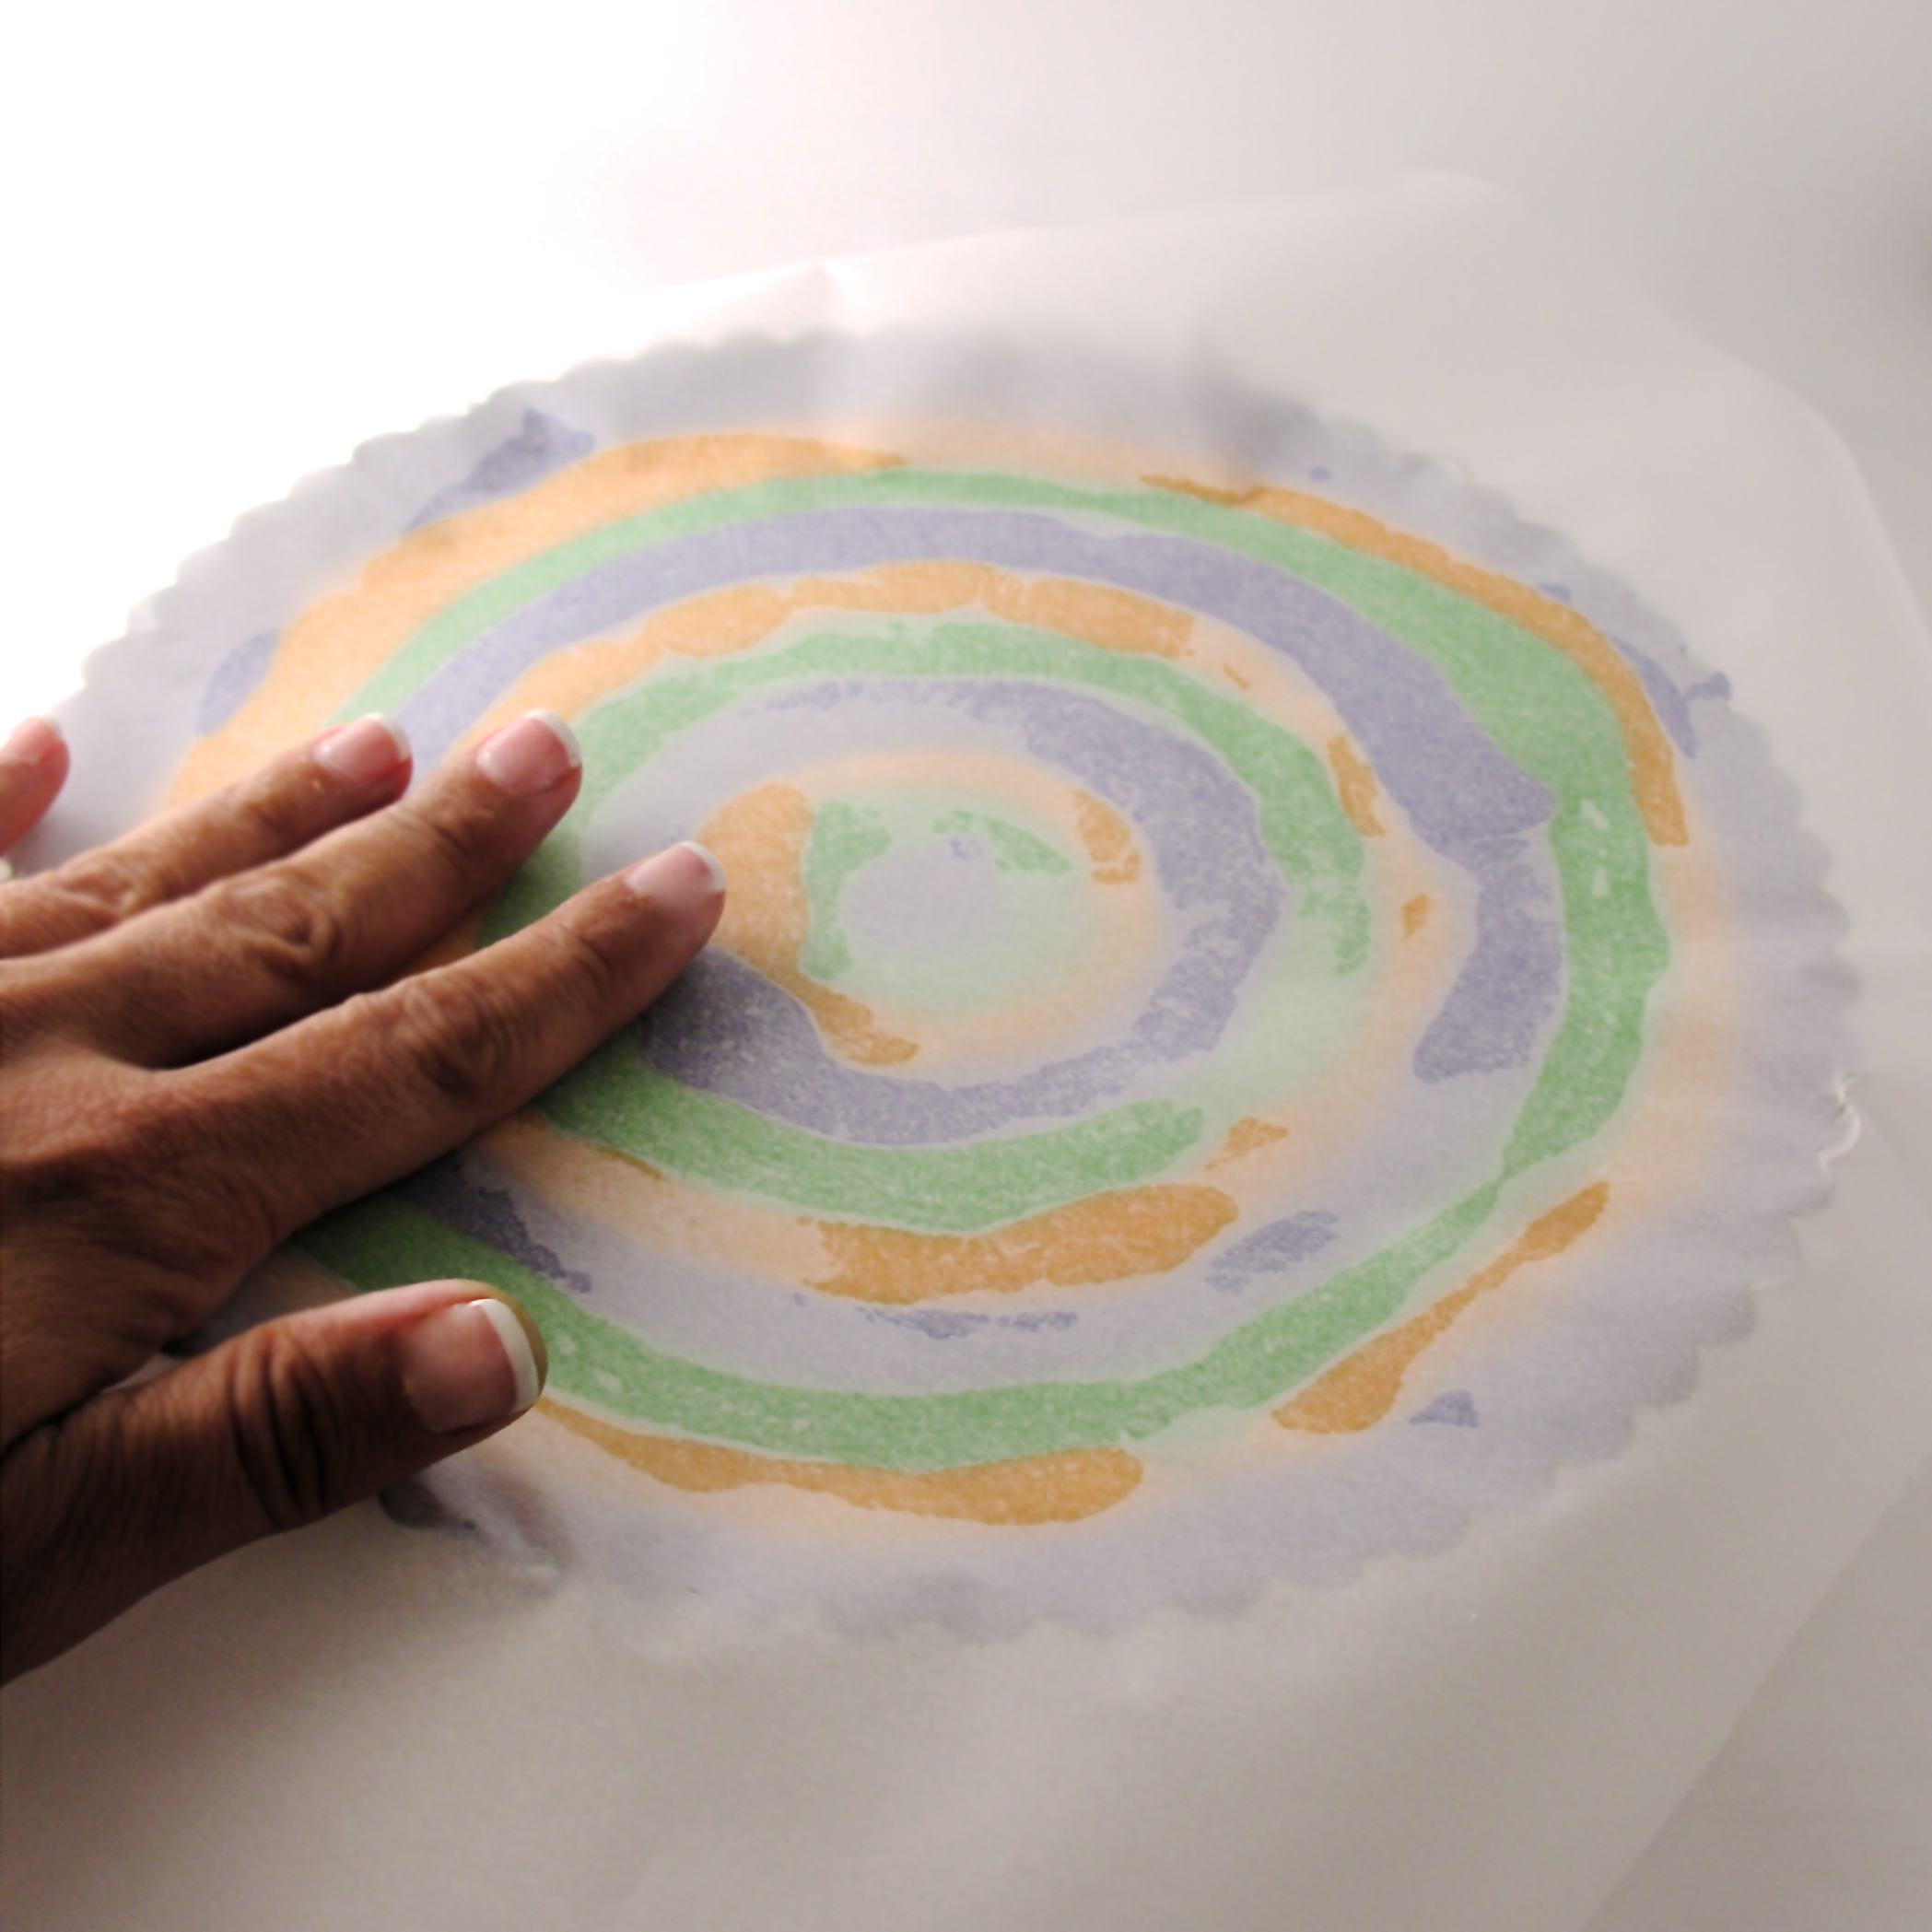
- Once the top is covered, set a piece of parchment paper or wax paper on top and gently press the filling down so that it goes all the way to the edges. You might need to push it into some of the fluted edge. Try to make it nice and flat. The glaze will cover all the ridges, but you want to be sure that the edges are pushed down enough that the glaze has room to get to the edge of the pan without overflowing.


Chocolate glaze:
- Melt butter and chocolate together in the microwave in 30 second increments, stirring in between until completely melted and smooth.
- Add black gel food coloring until glaze is a dark almost-black (I added quite a bit and never got it completely black- but close!)
- BEFORE pouring glaze onto tart: melt each color of candy melts and place each in individual zip-top bags (so they are ready as soon as glaze is poured)
- Pour glaze over top of mint filling, using a spoon or knife to push out to all the edges.
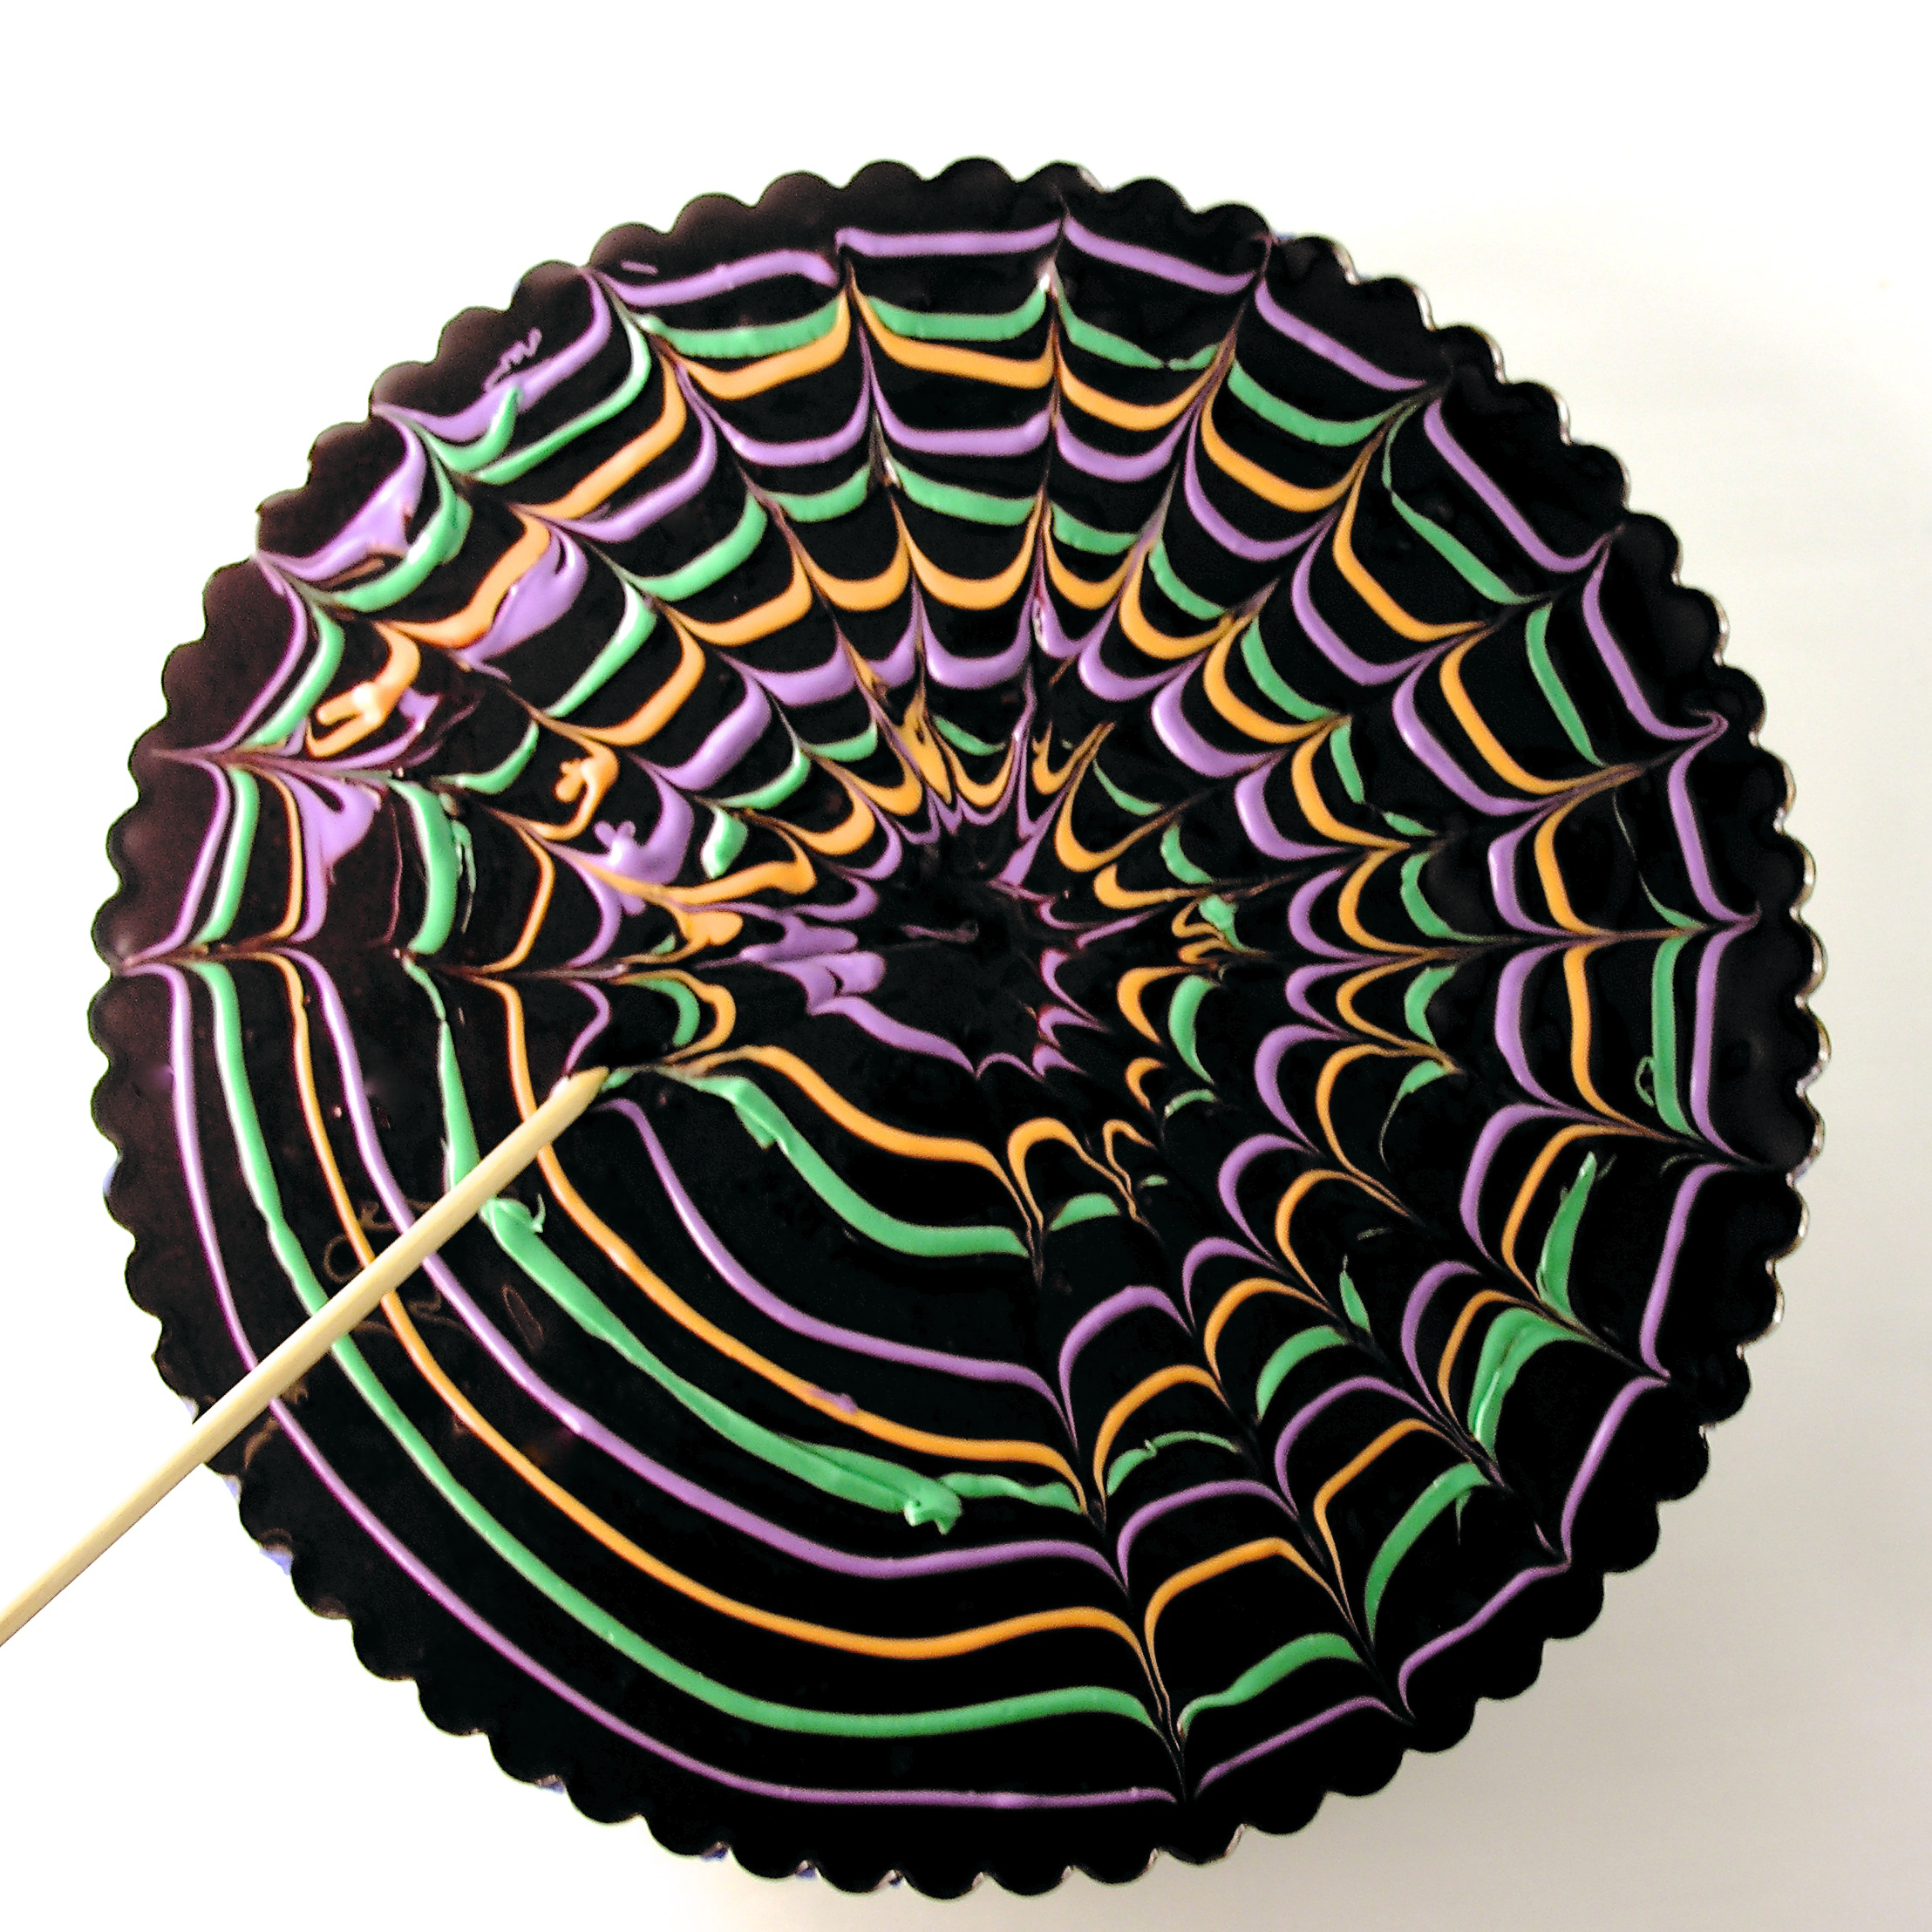
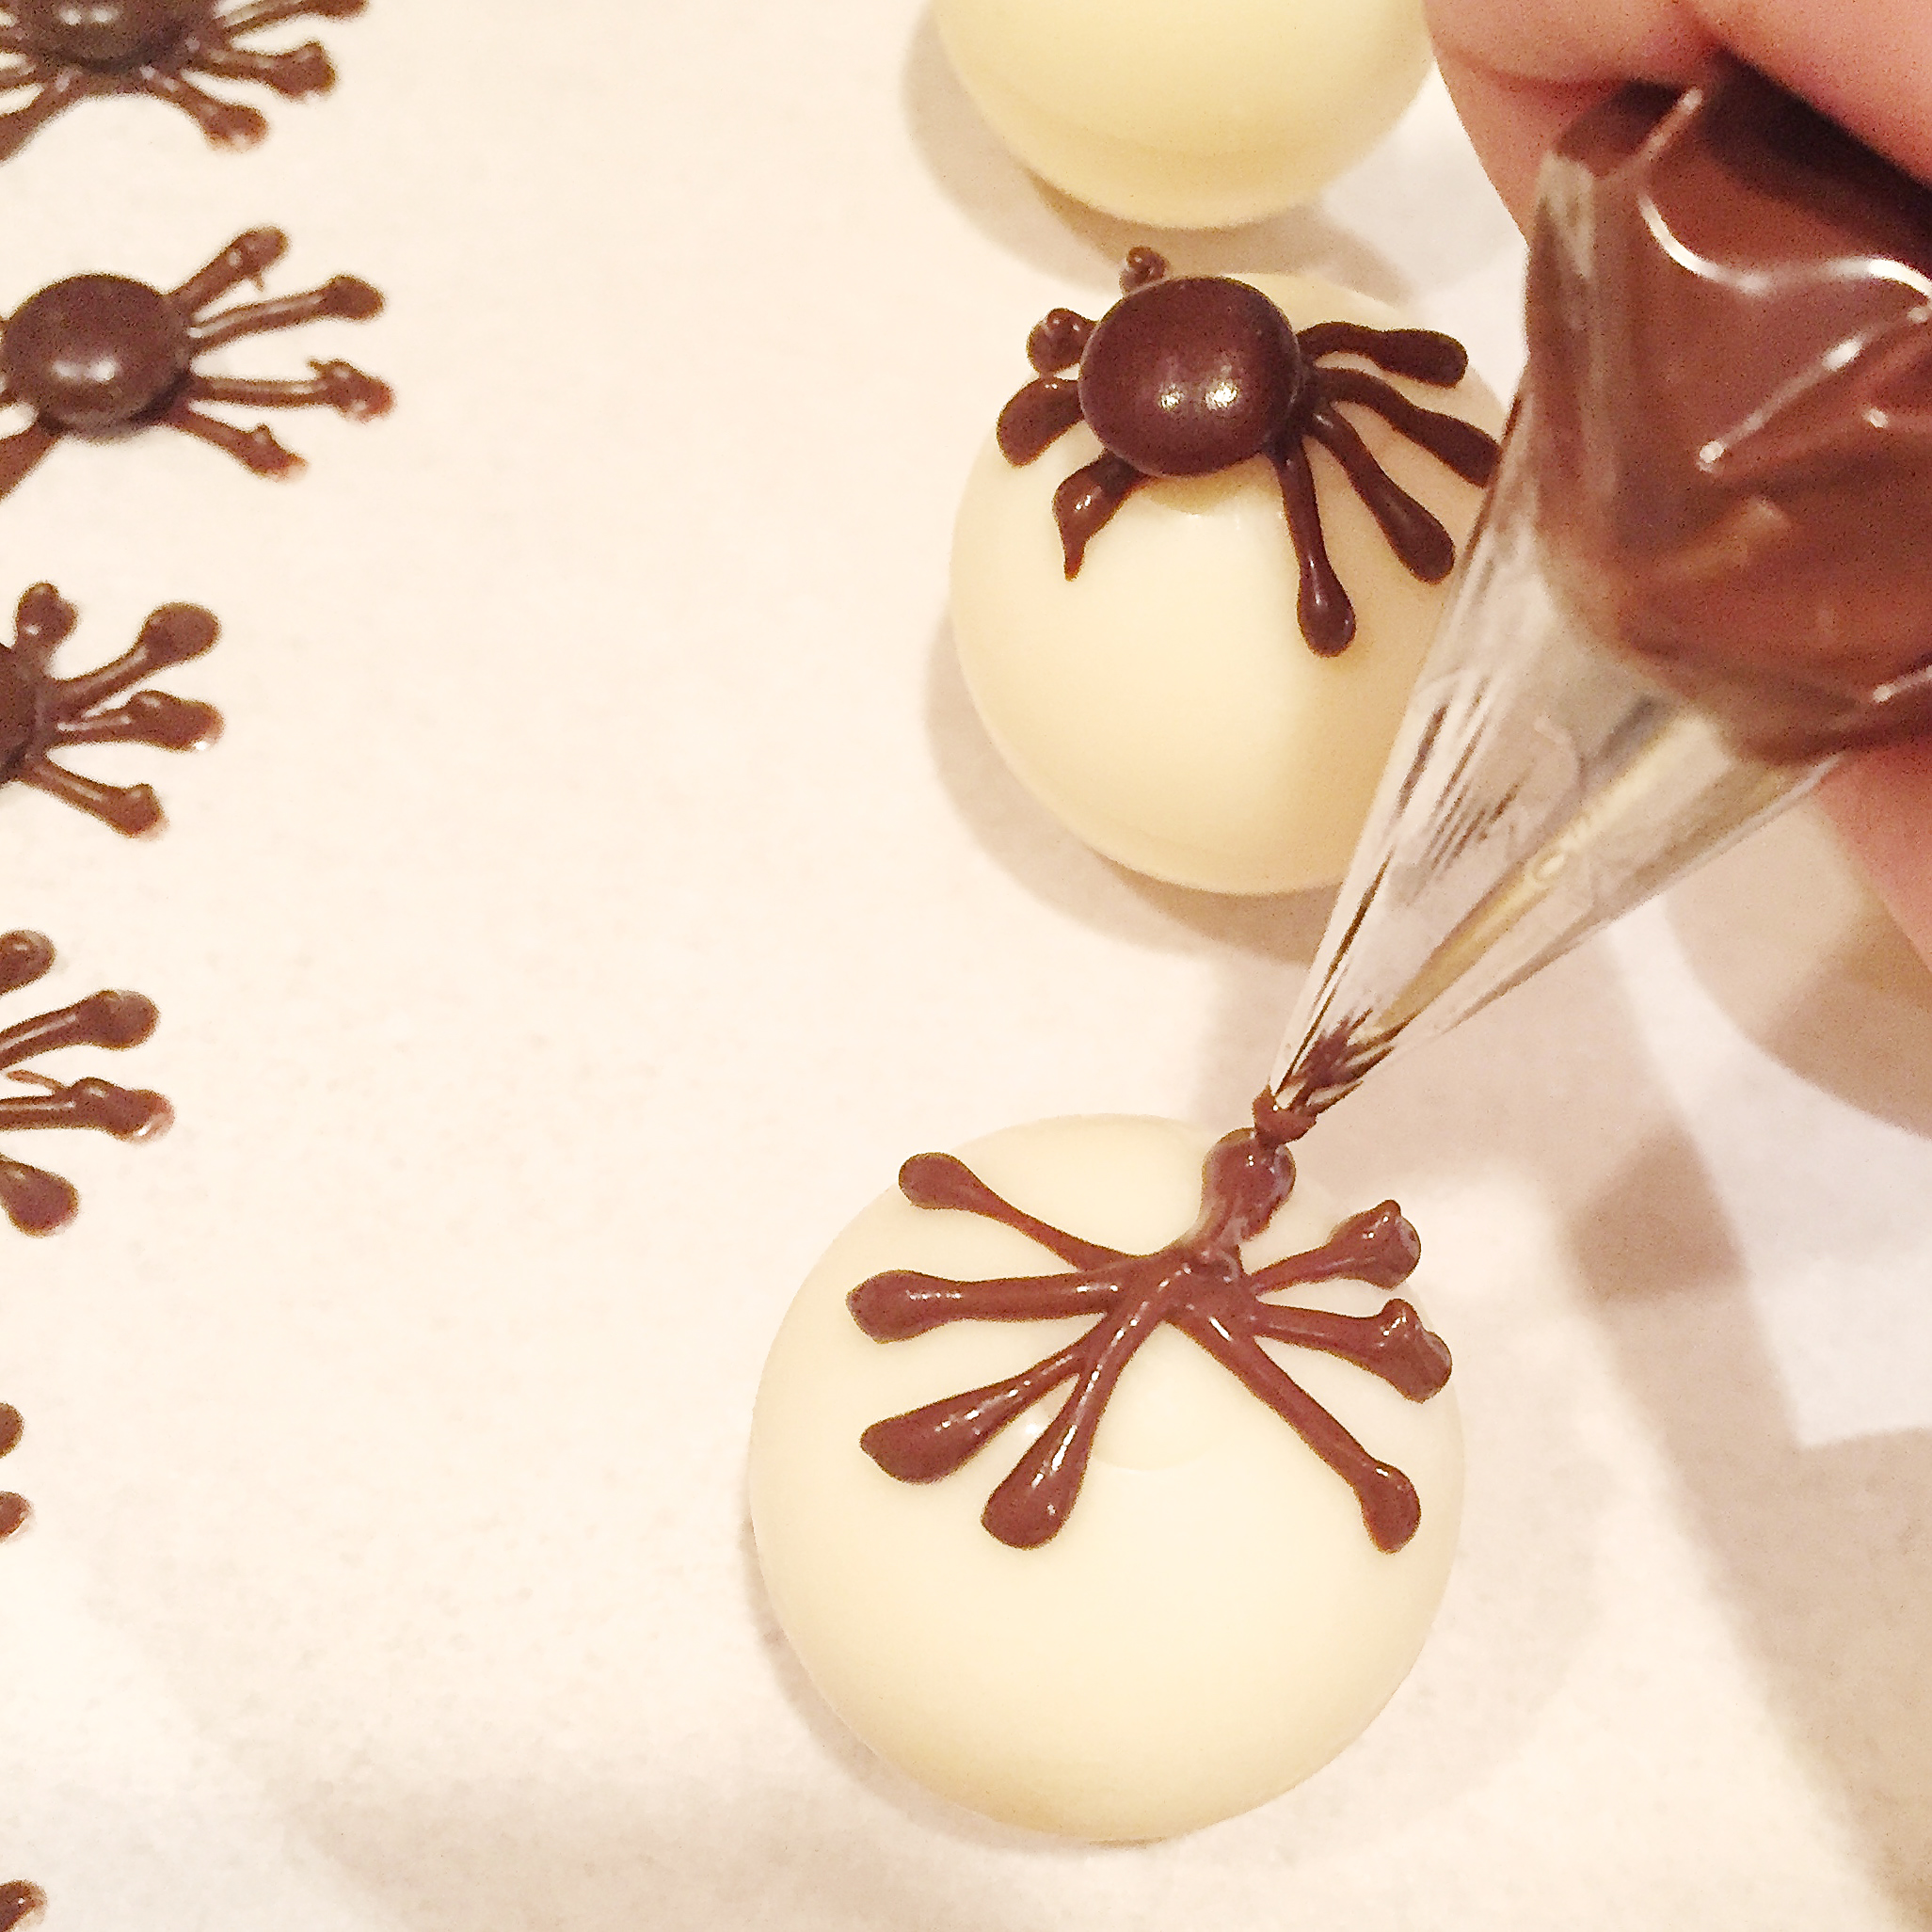
- Before glaze hardens, cut a small corner on each bag of melted Wilton’s candy melts and pipe circles (like a target shape) in alternating colors on top of the melted glaze.
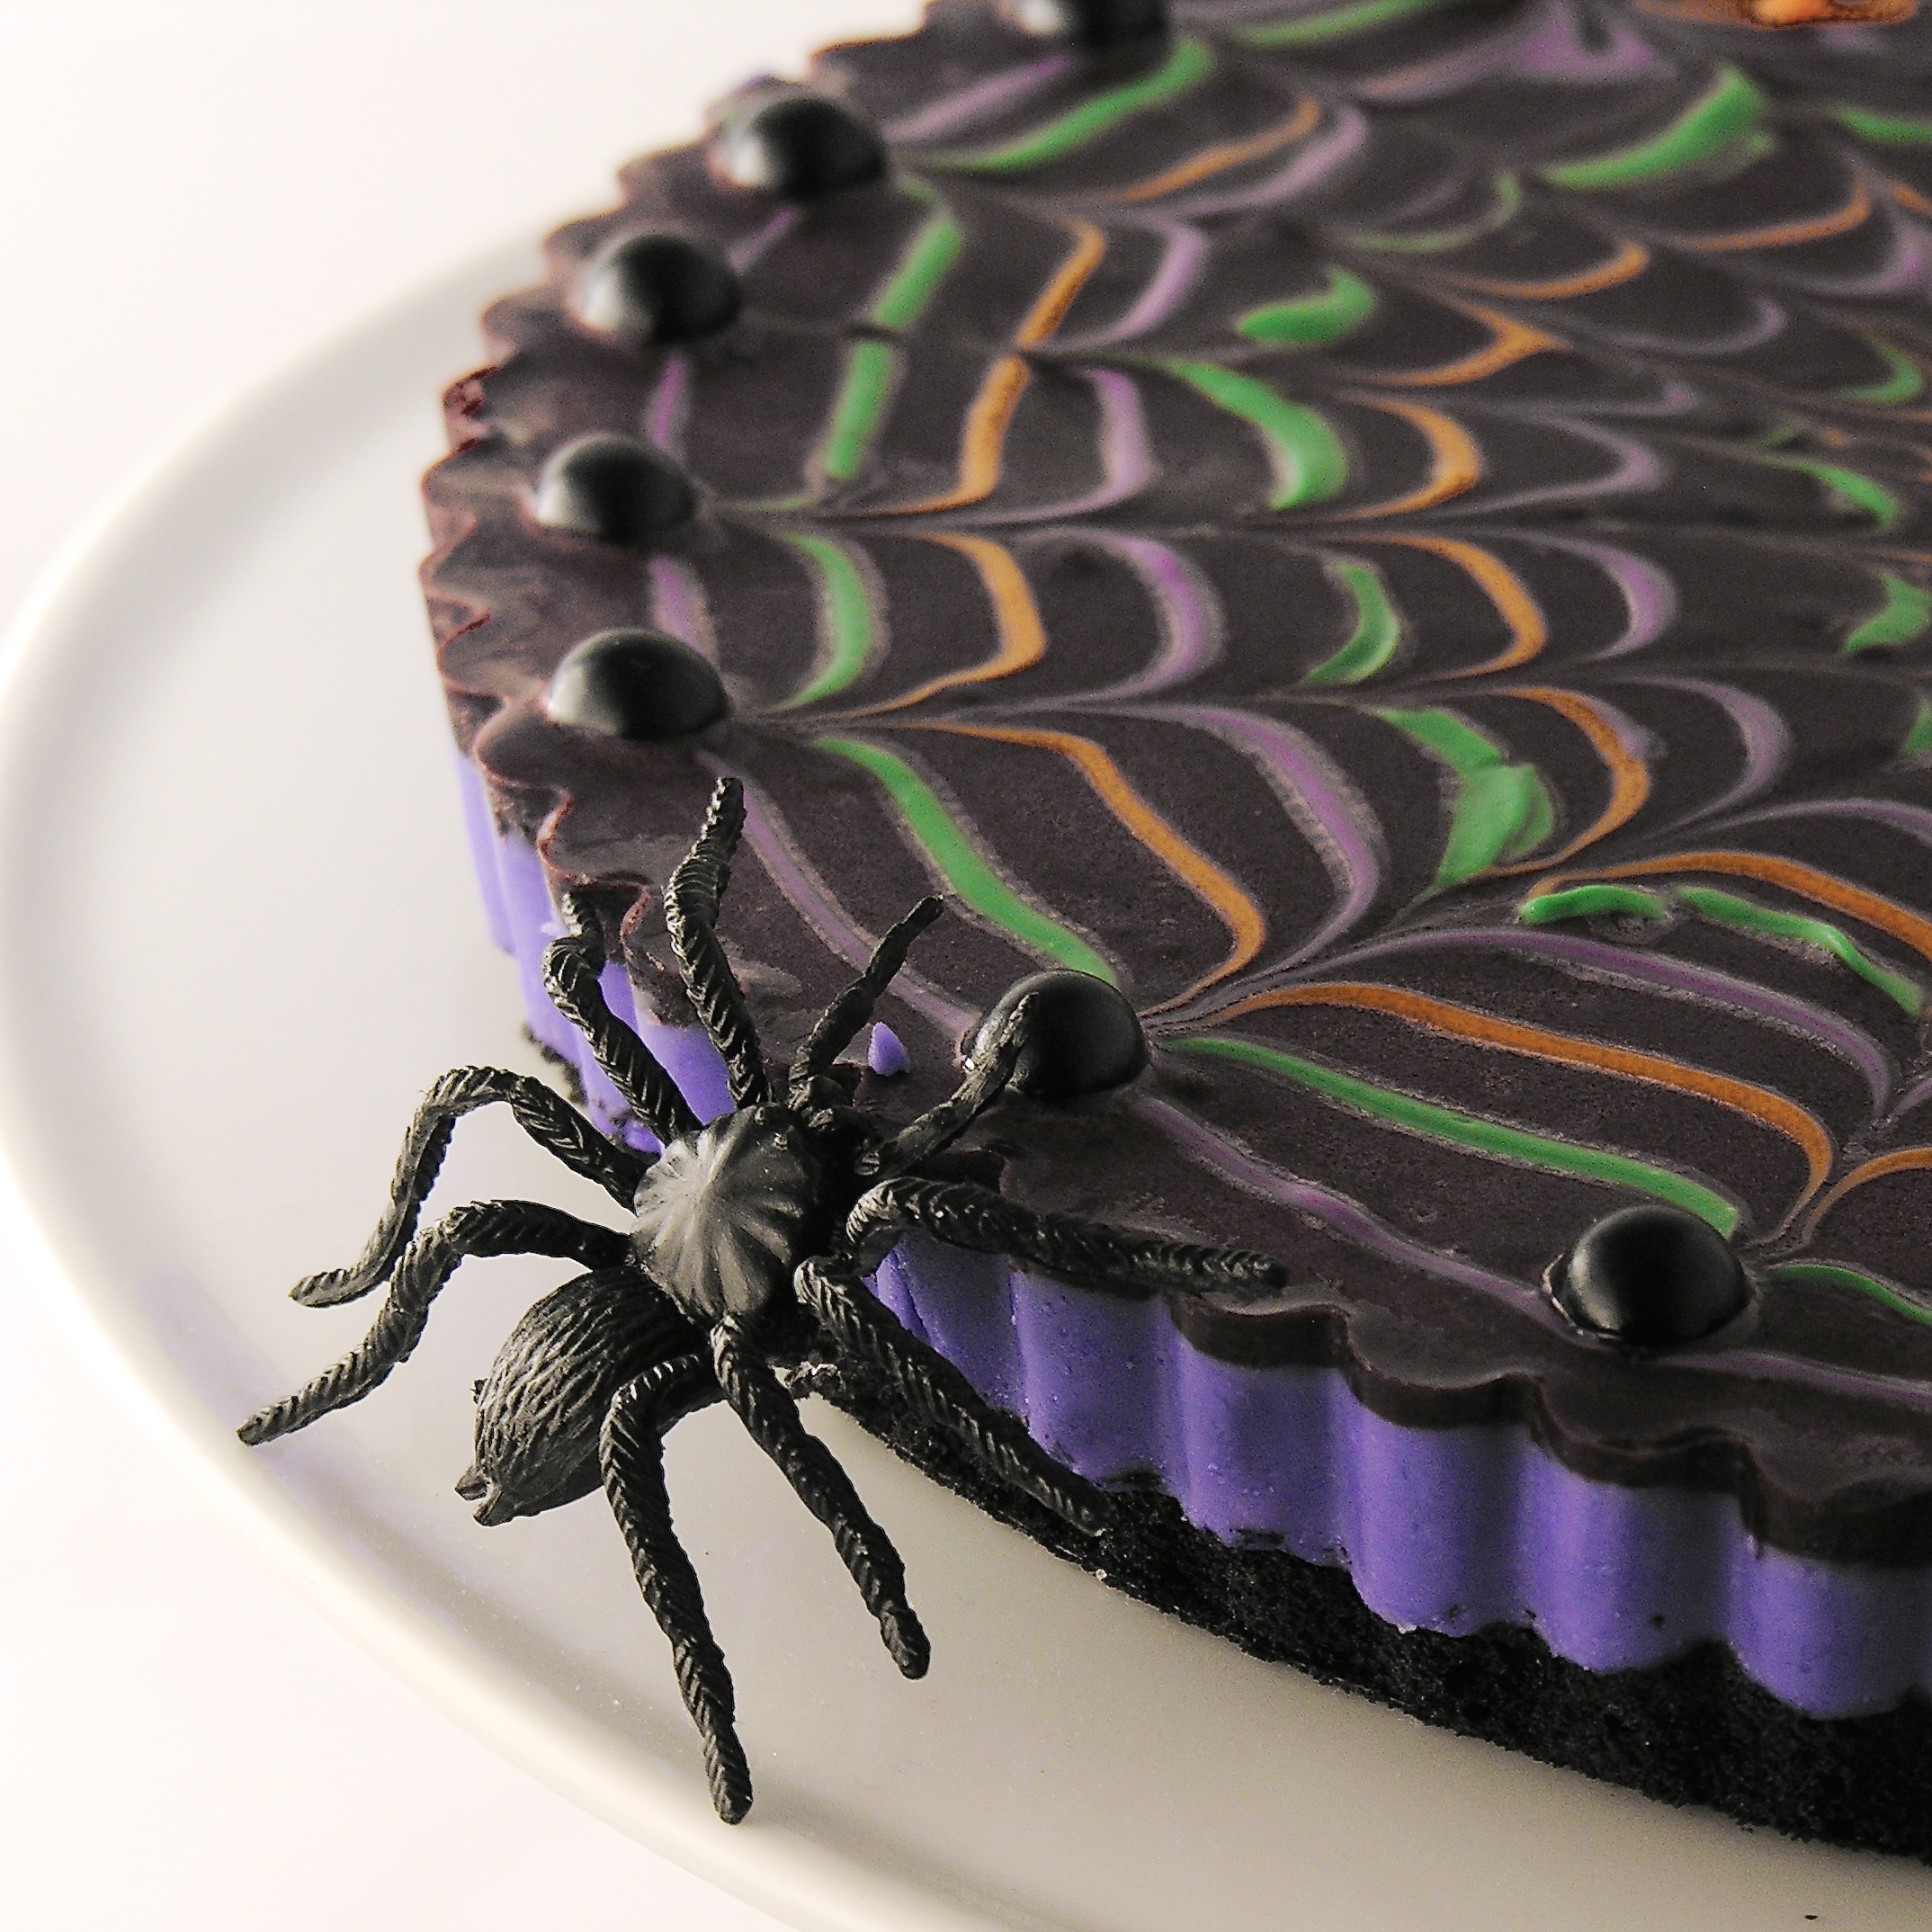
- Use a toothpick or skewer to draw lines through the glaze, starting at the center and drawing lines out to the edge.
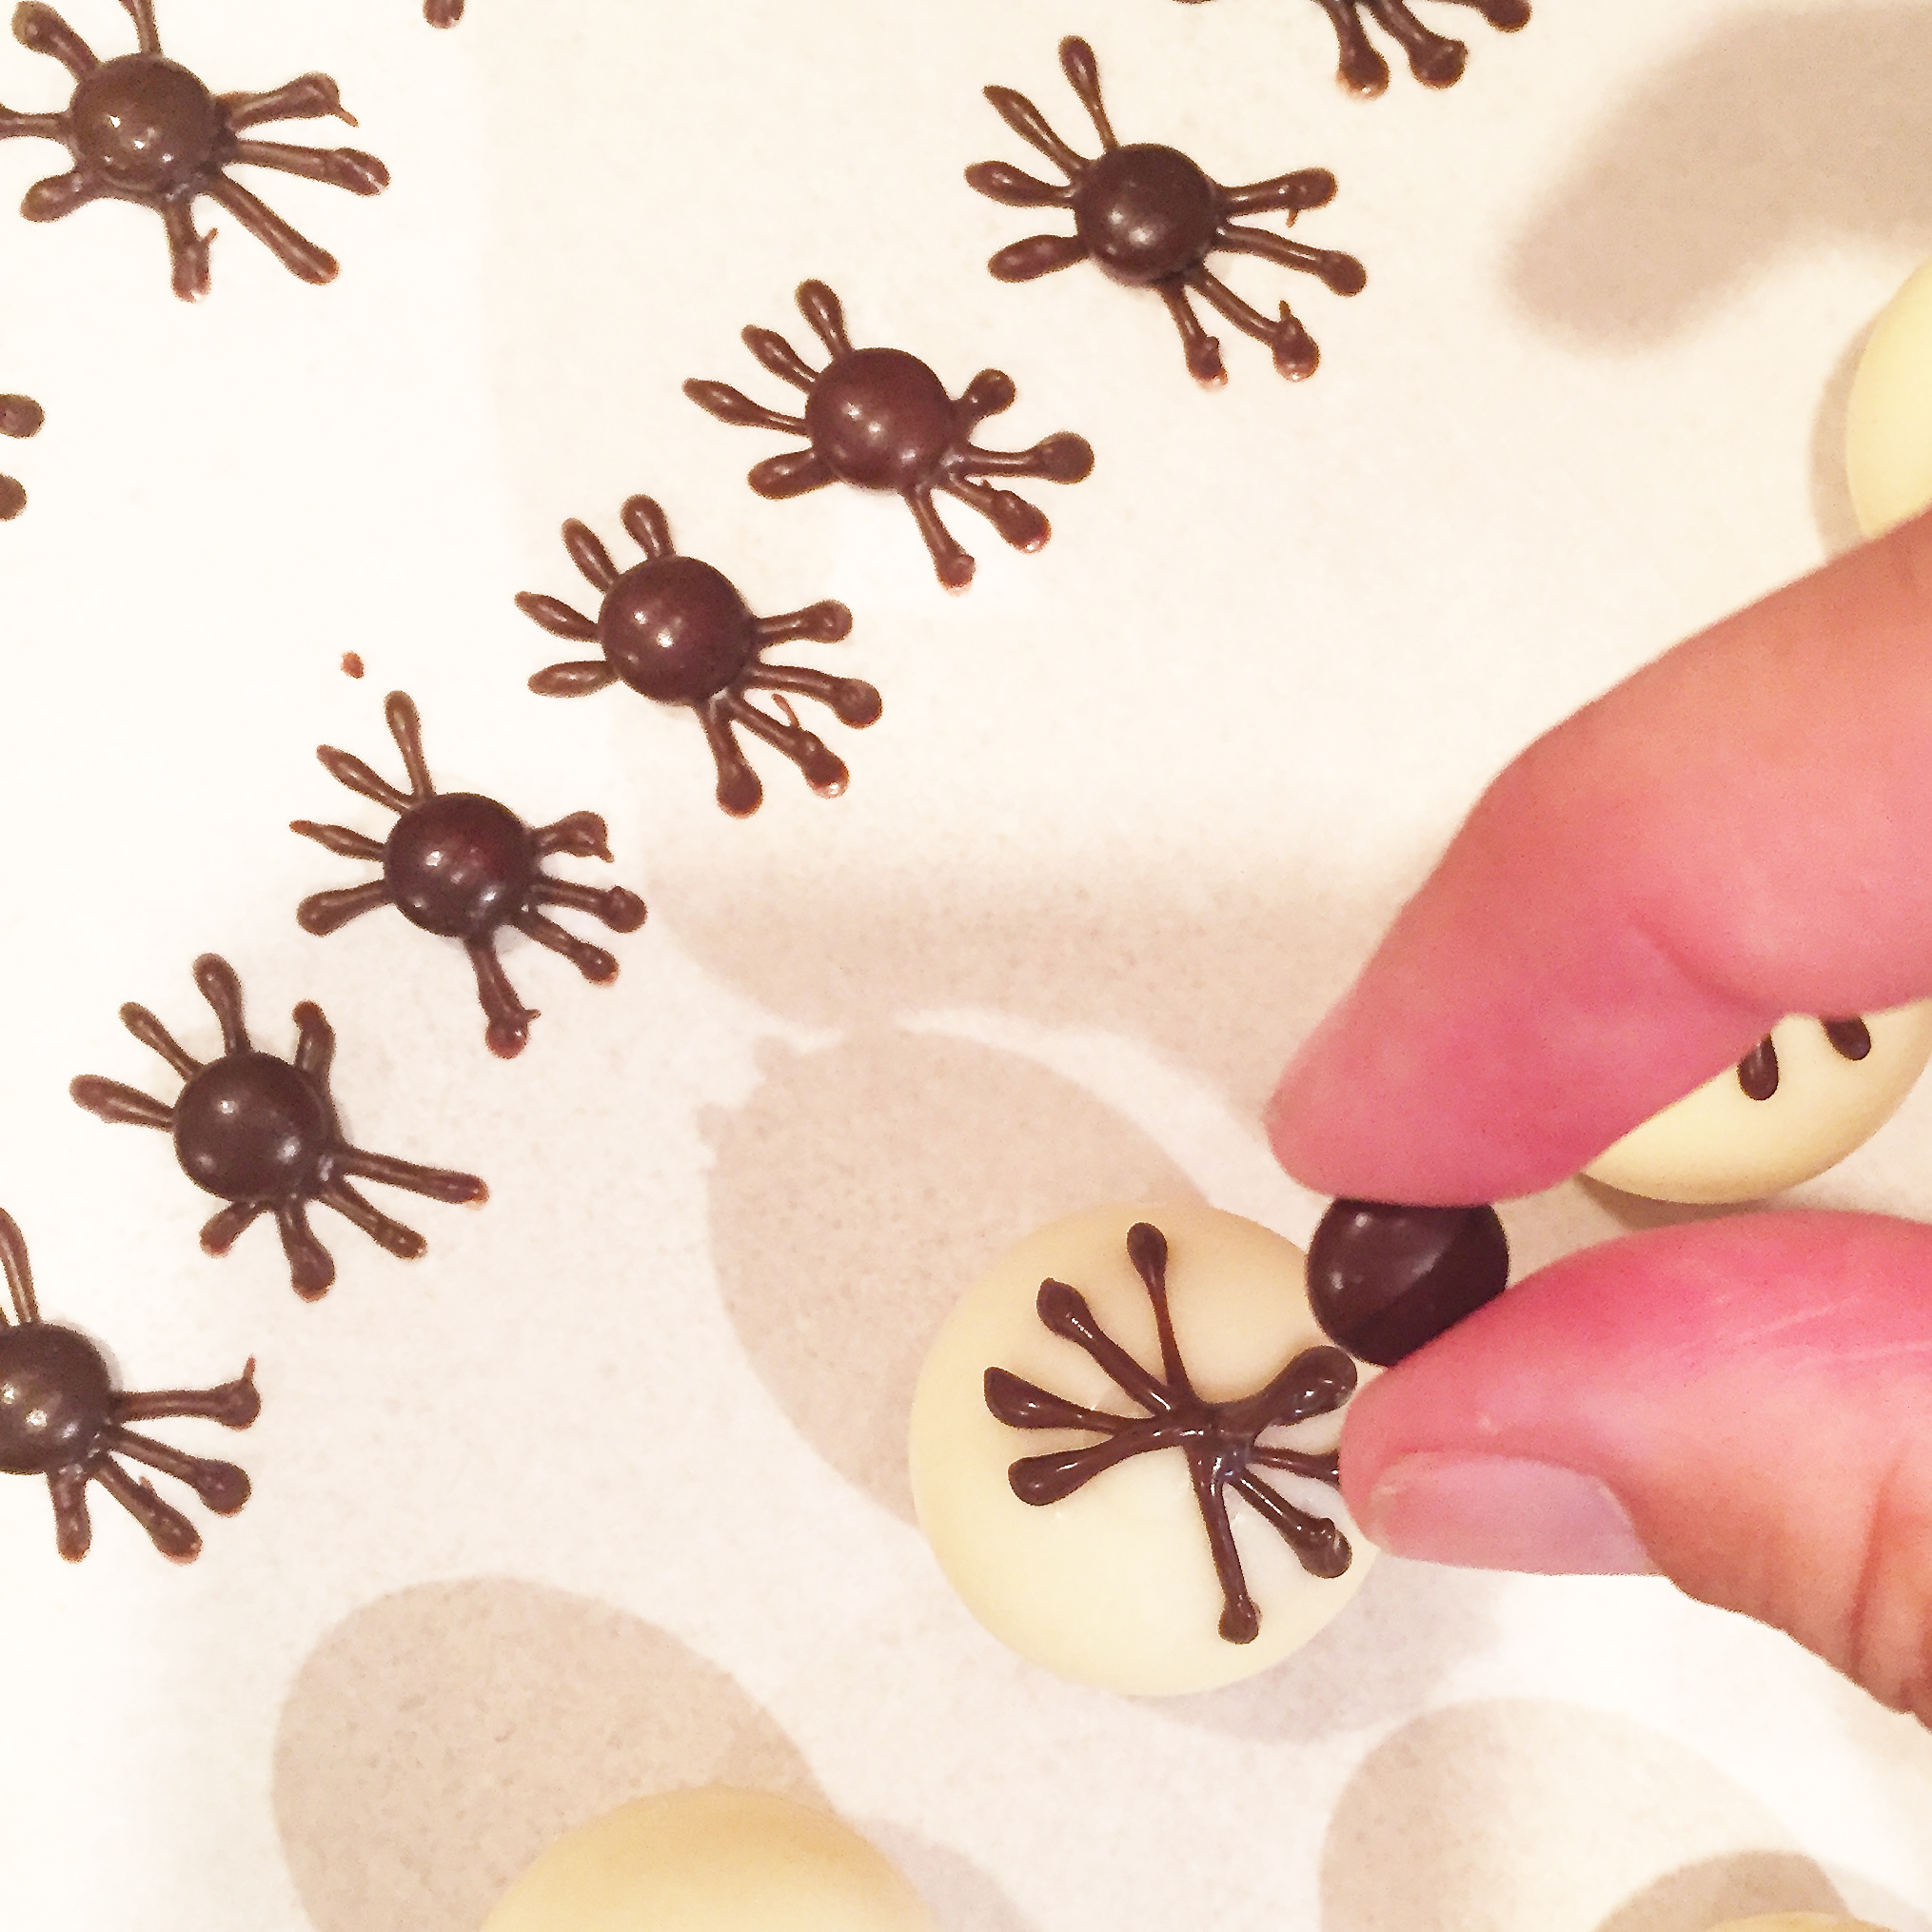
- Add (if desired) black Sixlets at each point around the edge.
- Chill until top layer of glaze is hardened. Do not remove outer ring of tart pan until this has completely hardened. Then, push up on the bottom firmly, until the edges slide out of pan. This takes a little patience- I refrigerated my tart overnight and then let it sit out for about 30 minutes before I was able to push the bottom up and remove that outer ring. If you have a hard time, push up in different spots along the edge, loosening all the edges 1st, before pushing the whole thing out.
- Enjoy!


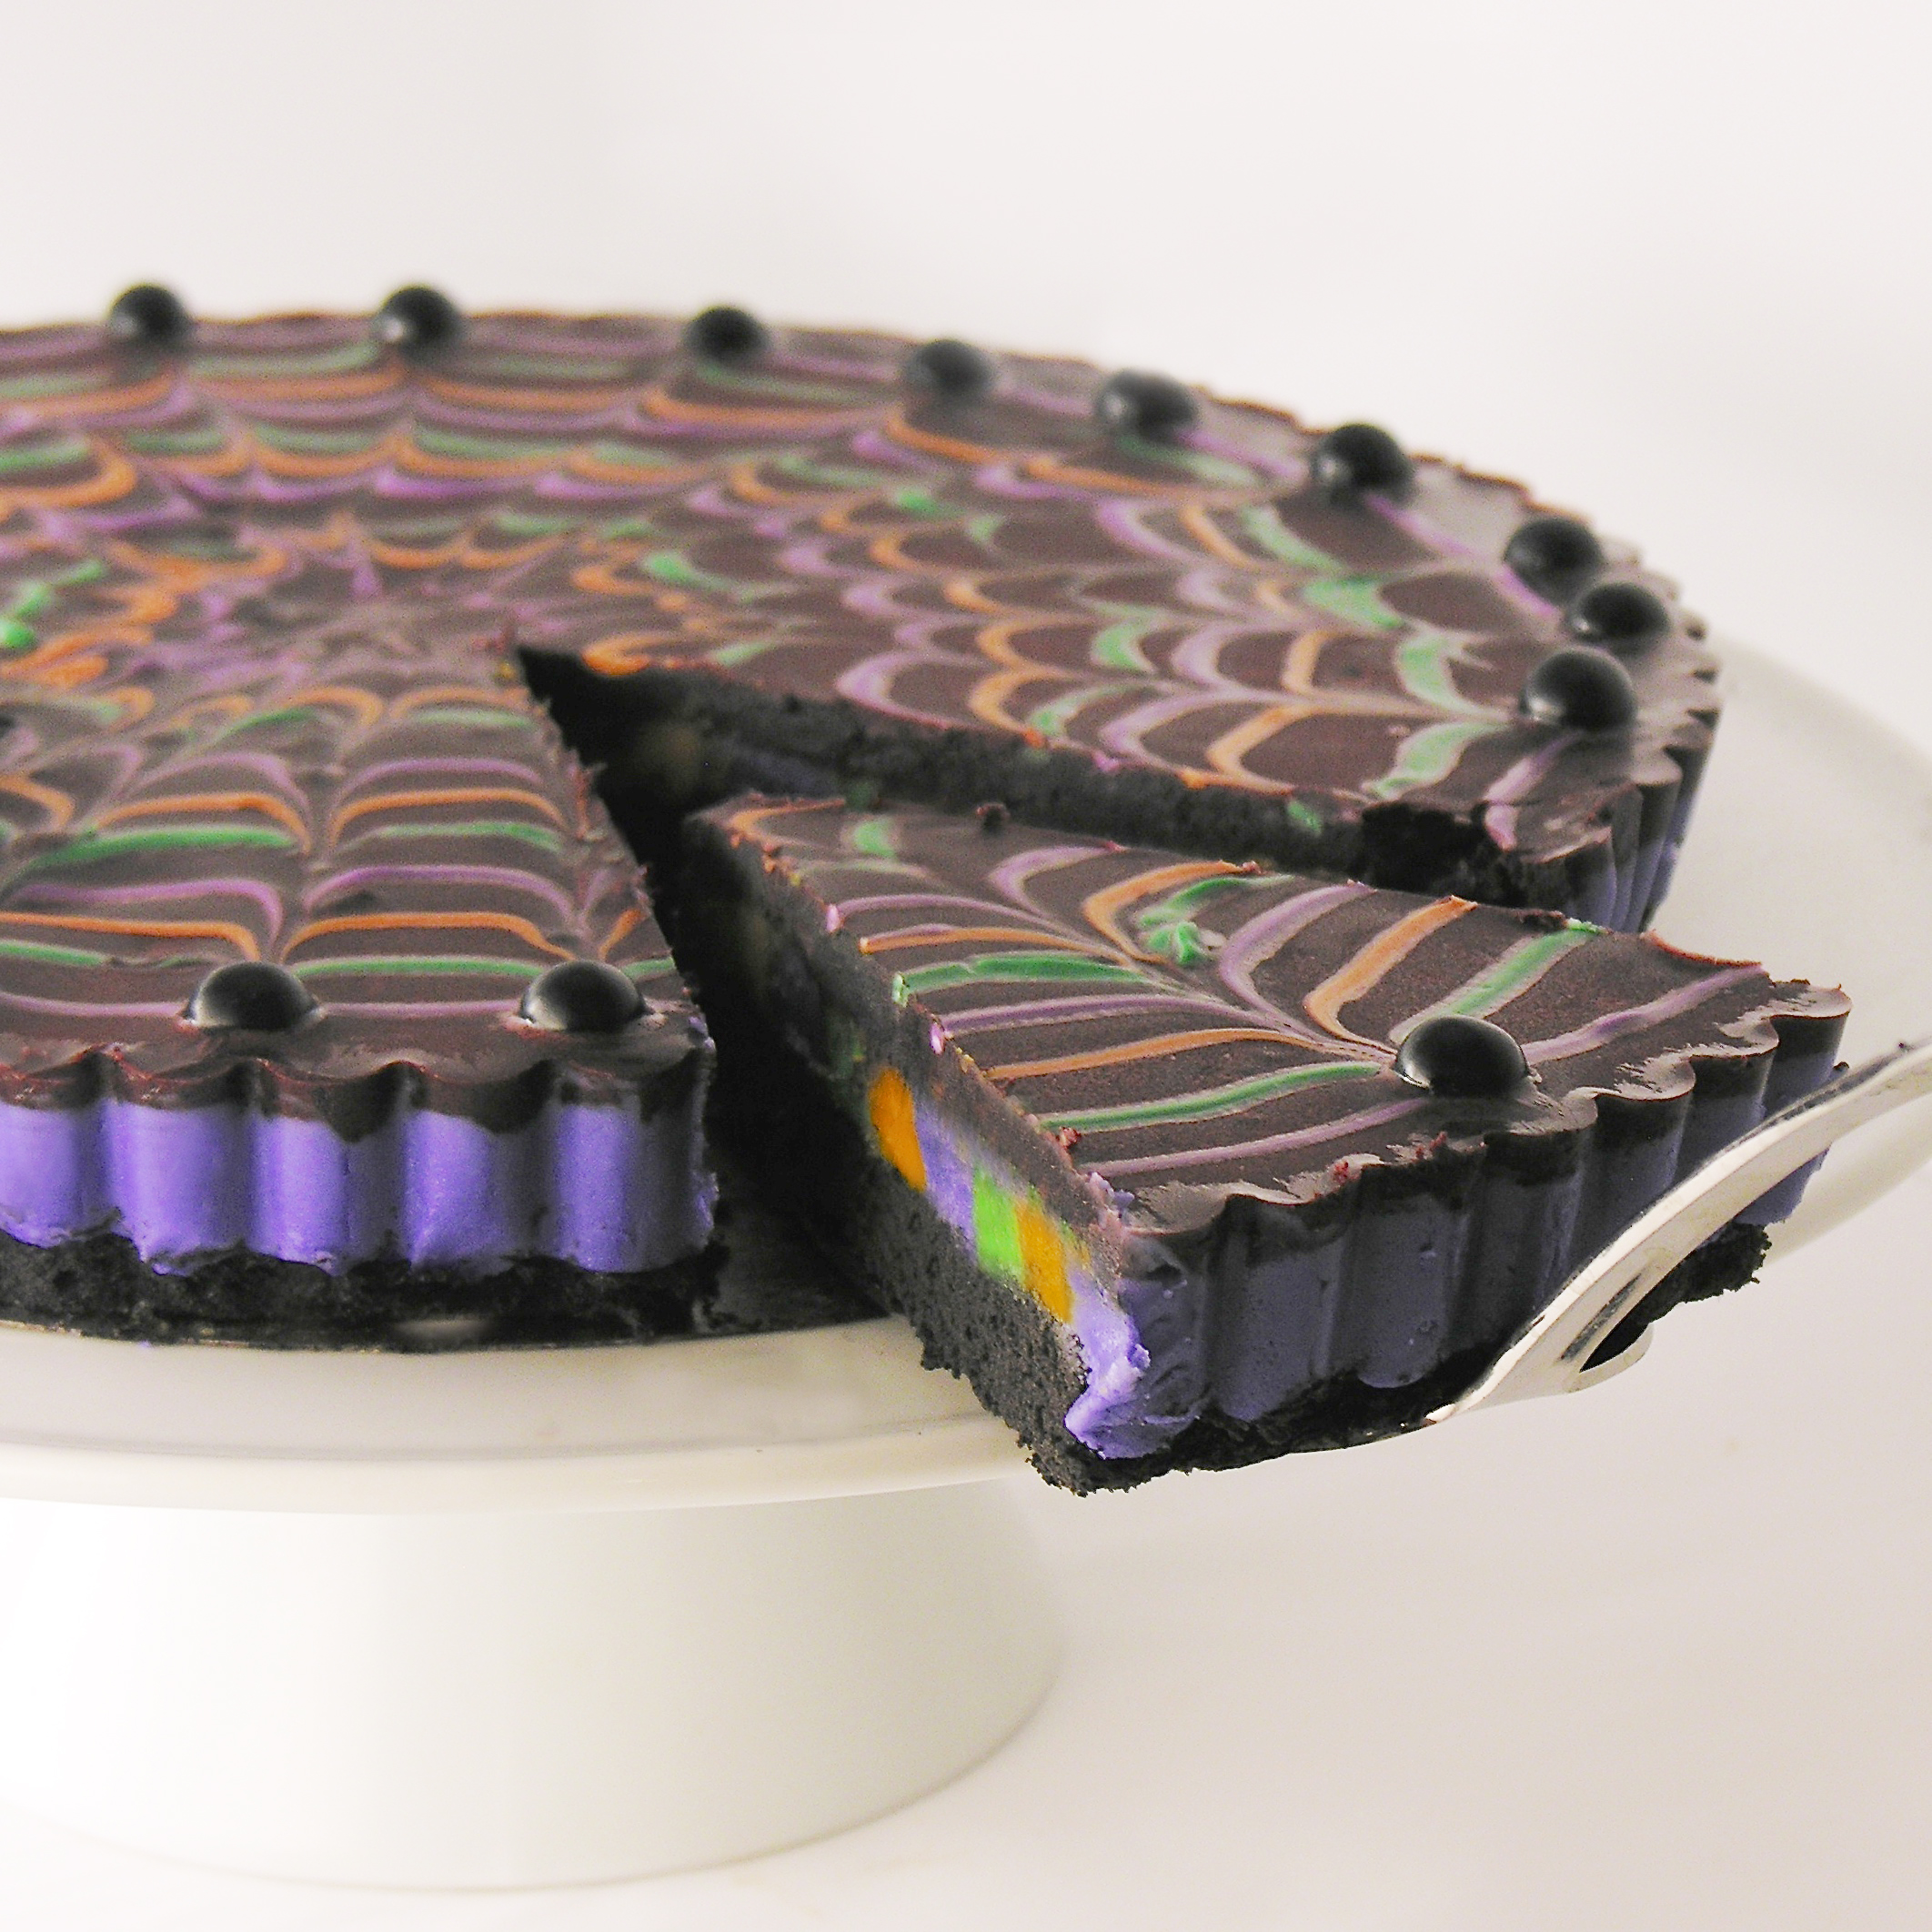
My thoughts: I wish you could have seen my face when I cut into this and pulled out that first piece. So many recipe ideas work great in my head but are a flop in the kitchen. This one was not a flop! It worked perfectly- and I love that striped layer SO much! I really hope you give this one a try, and enjoy it as much as I did! As always, when I post this brownie recipe… this one’s for you mom! *heart*


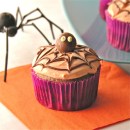
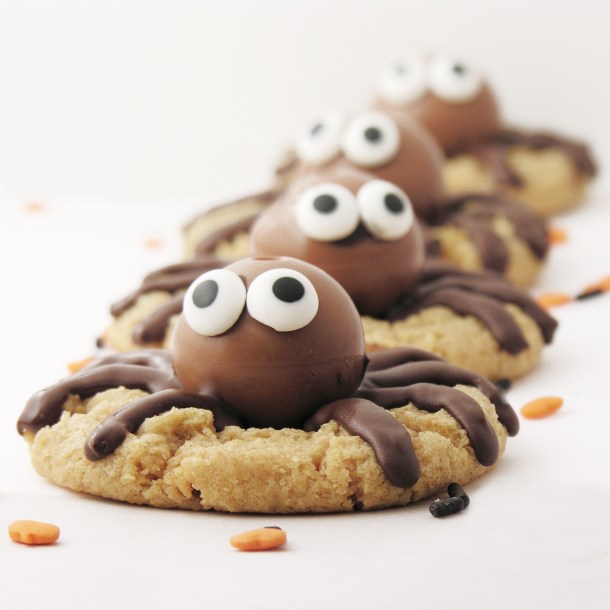
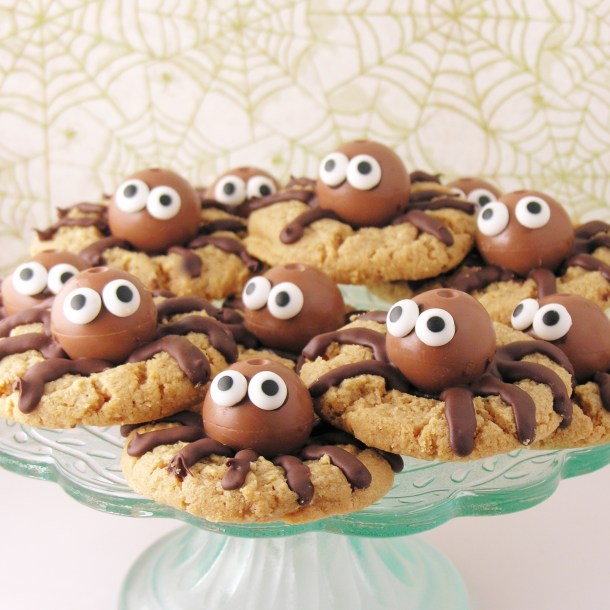
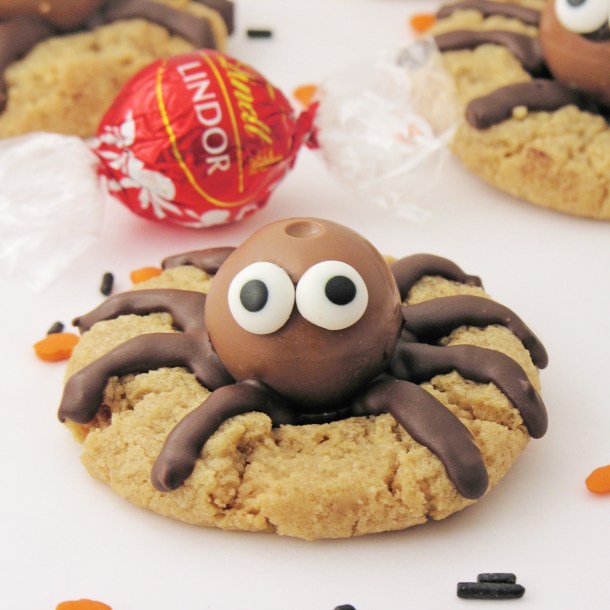
We have LOADS of fun October dessert ideas here on Easybaked! Here are a few of them: (click on photo to see recipe)