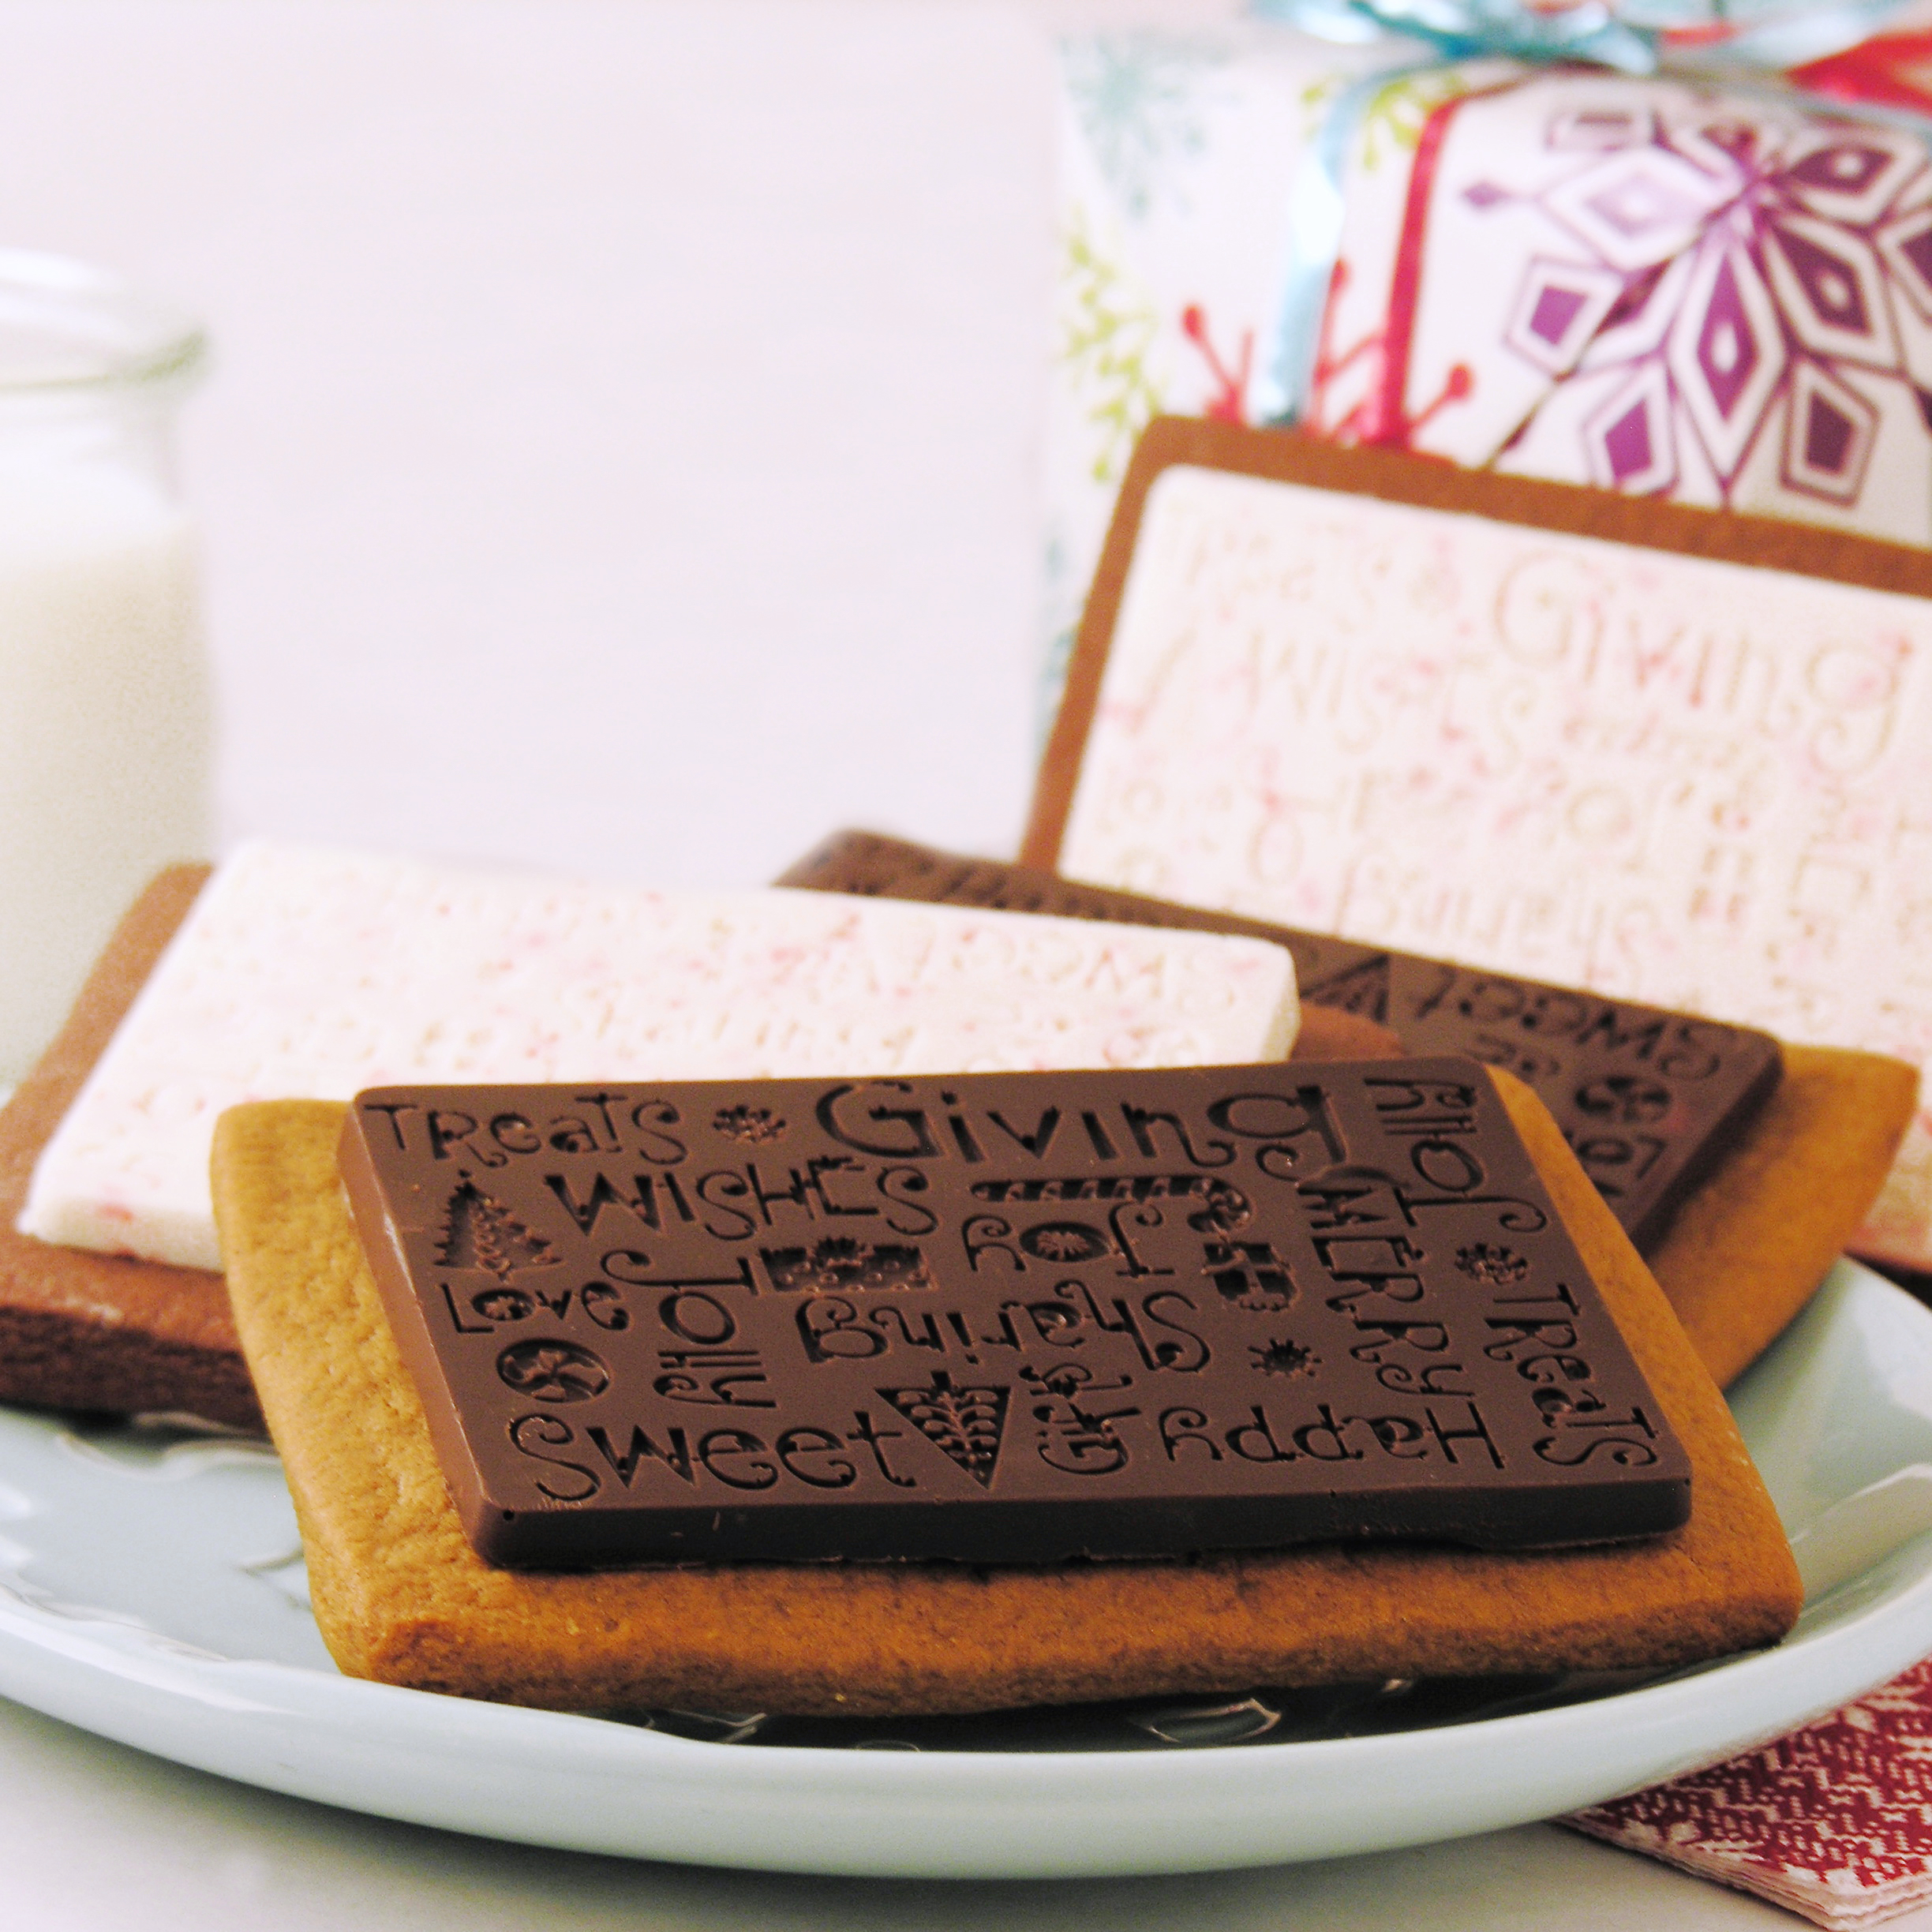
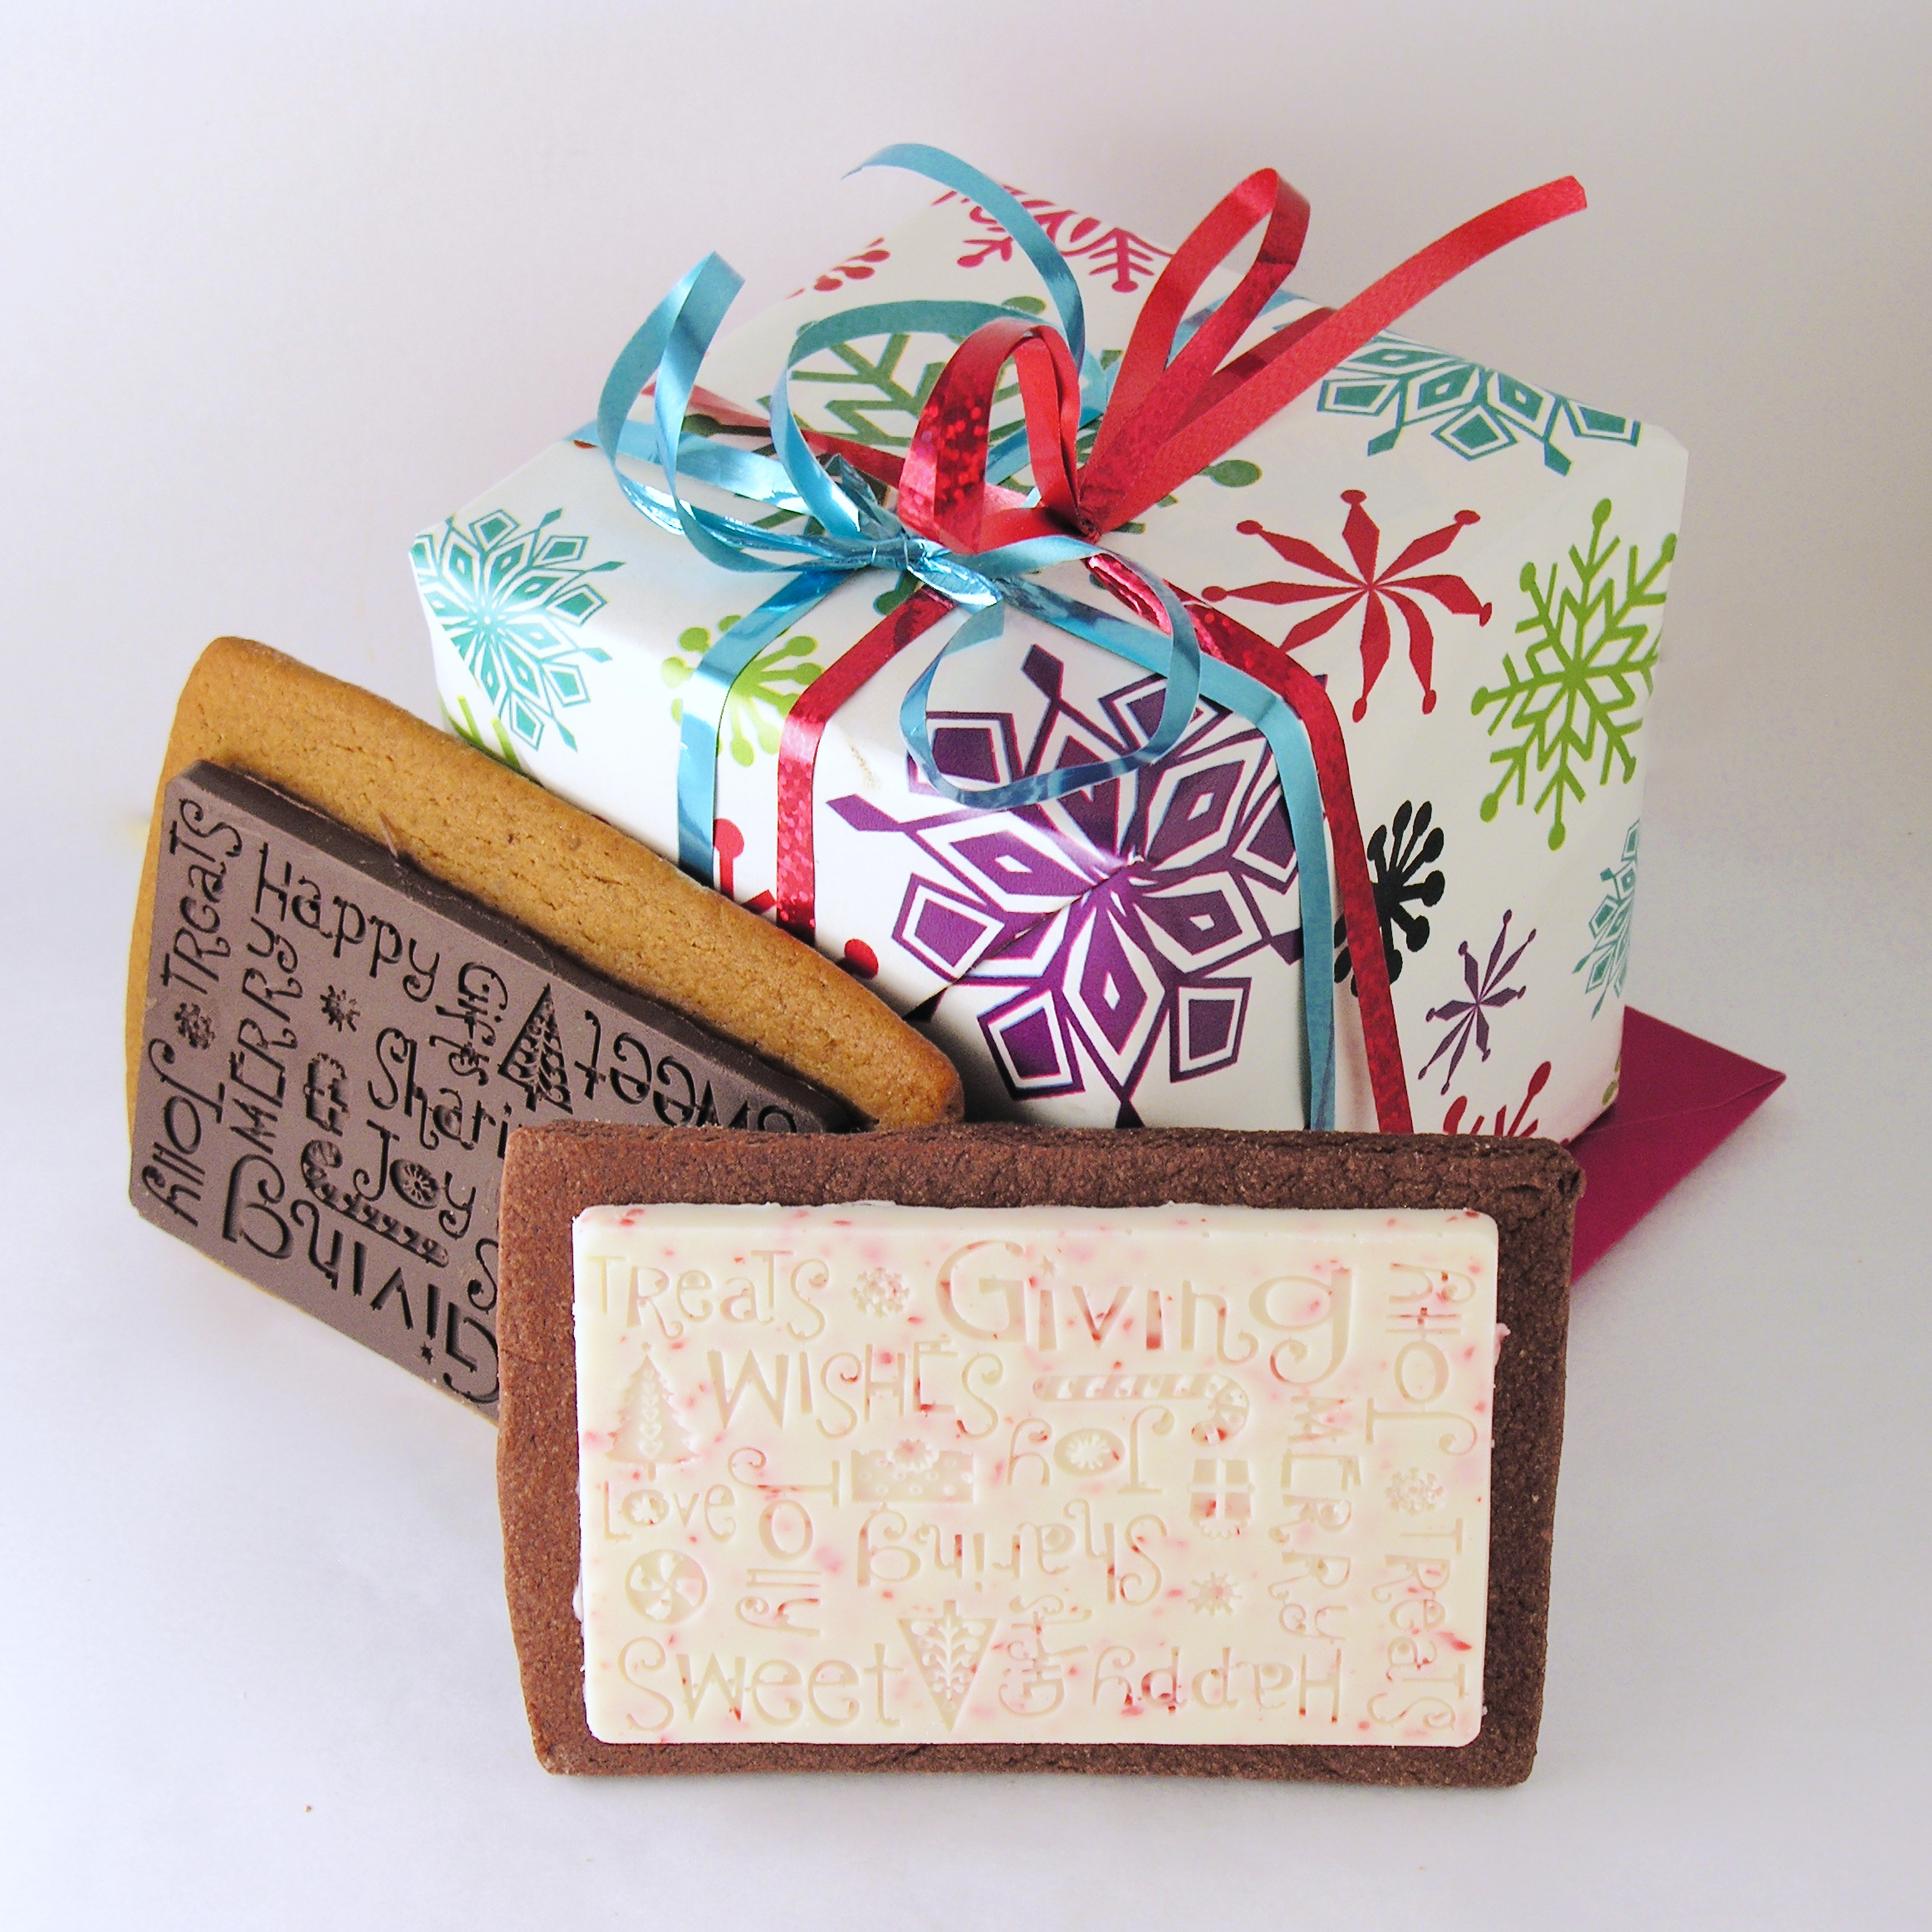
These adorable cookies don’t just taste yummy- they also bear Christmas words of cheer with every delicious bite!
I saw this fun silicone mold by Wilton at my local grocery, and I couldn’t resist! So fun!!!
I made two varieties of these little cookie cards: Peppermint mocha and Gingerbread chocolate. Both were delicious and so fun to make!
You can use any of your favorite cut-out cookie recipes partnered with any Wilton Candy Melt flavors on top, but I thought these two combinations were delicious!
Want to know how to make these? Let’s start with the “card” toppers.
- You’ll need about 3 bags of Wilton Candy Melts to make 24 cookie toppers.
- Melt them in the microwave, one bag at a time, in 30 second increments, stirring between until smooth.
- Spoon about 2 tablespoons into each cavity and use a small spoon to spread into corners.
- Tap mold on counter to remove bubbles and freeze for about 10 minutes.
- Carefully peel the mold away from each bar and repeat this process until you have 24.
This process takes a little time, but it can be done ahead of time and the little bars can be stored in an airtight container in a cool spot until needed. Keep different flavors separated from each other, and put a little parchment or wax paper between layers.
Then you can make the cookies!
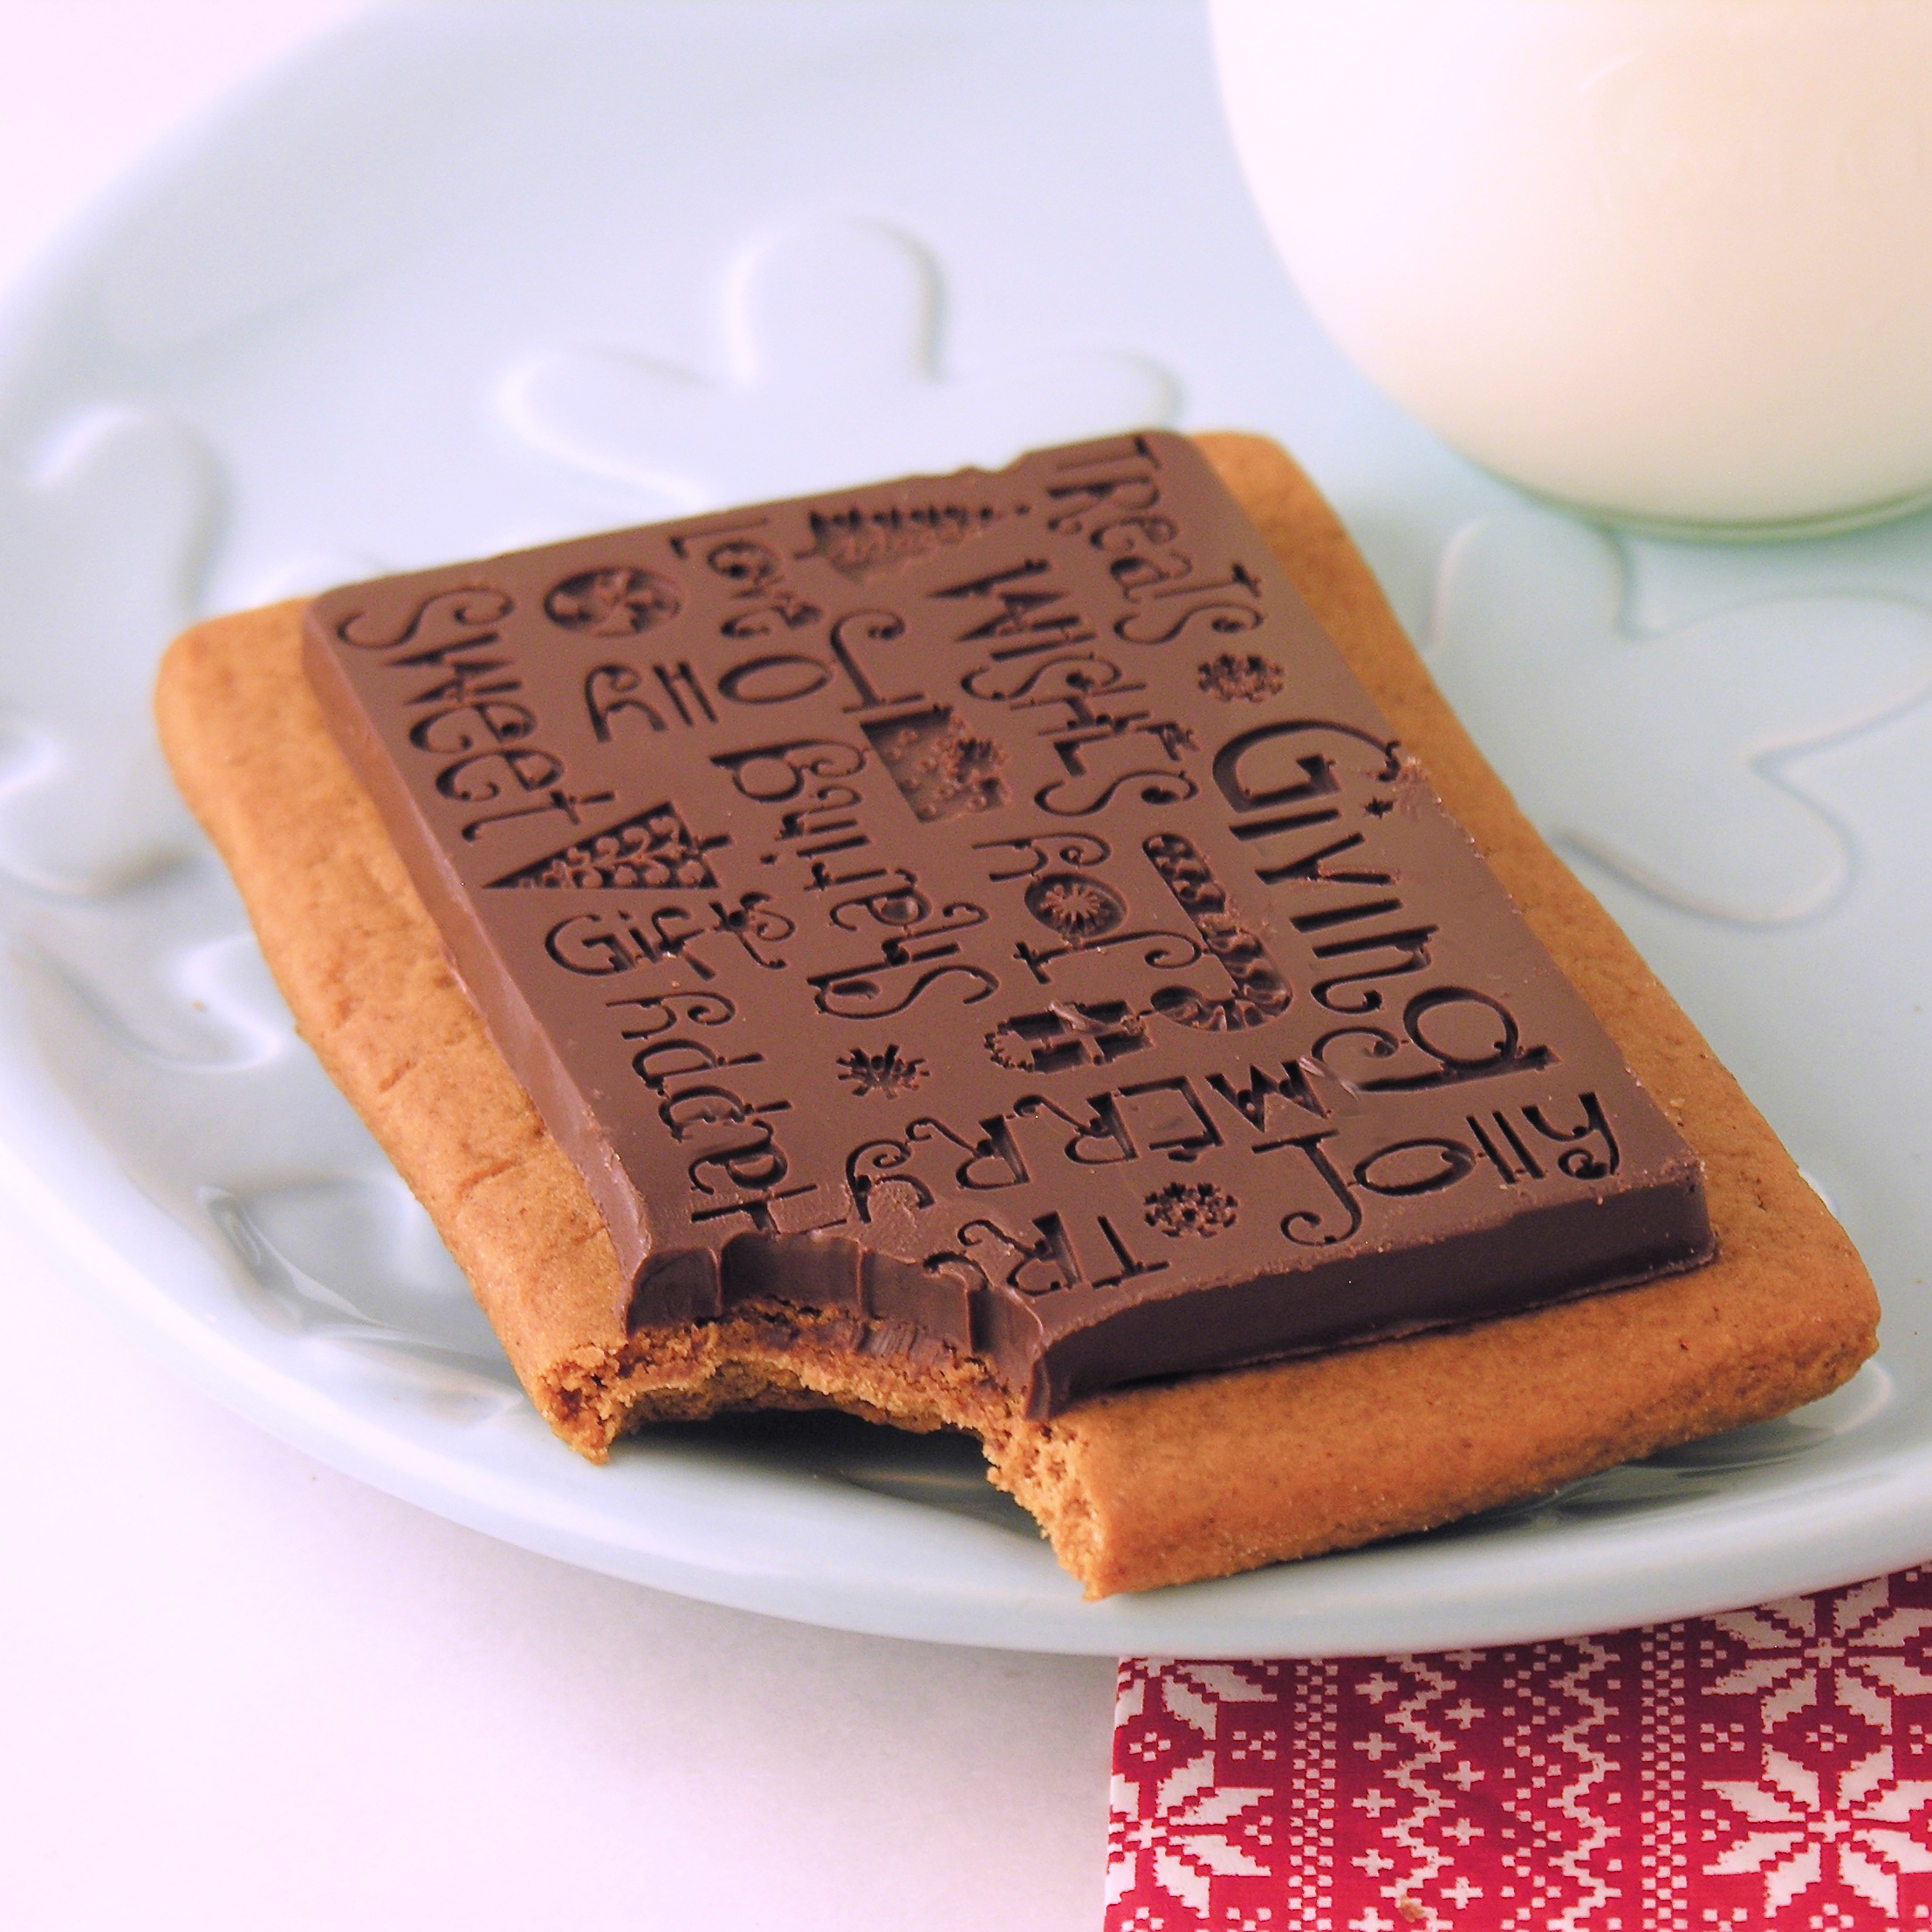
One of my favorite Christmas recipes (of all time) is my grandma’s gingerbread cookie recipe. It’s on this blog a couple of times, but you can get the original (in grandma’s handwriting!) by clicking here. I paired this cookie with dark chocolate Wilton’s candy melts.
The other recipe I used, with peppermint card toppers, was my espresso cutout cookies. There’s nothing like peppermint, coffee and chocolate all together! You can see this recipe originally published on Easybaked by clicking here.

- Make your cookie dough according to whatever recipe you desire and then use a cookie cutter to cut a large rectangle cookie. I used a 4.5″ x 3″ cutter that I found here
.
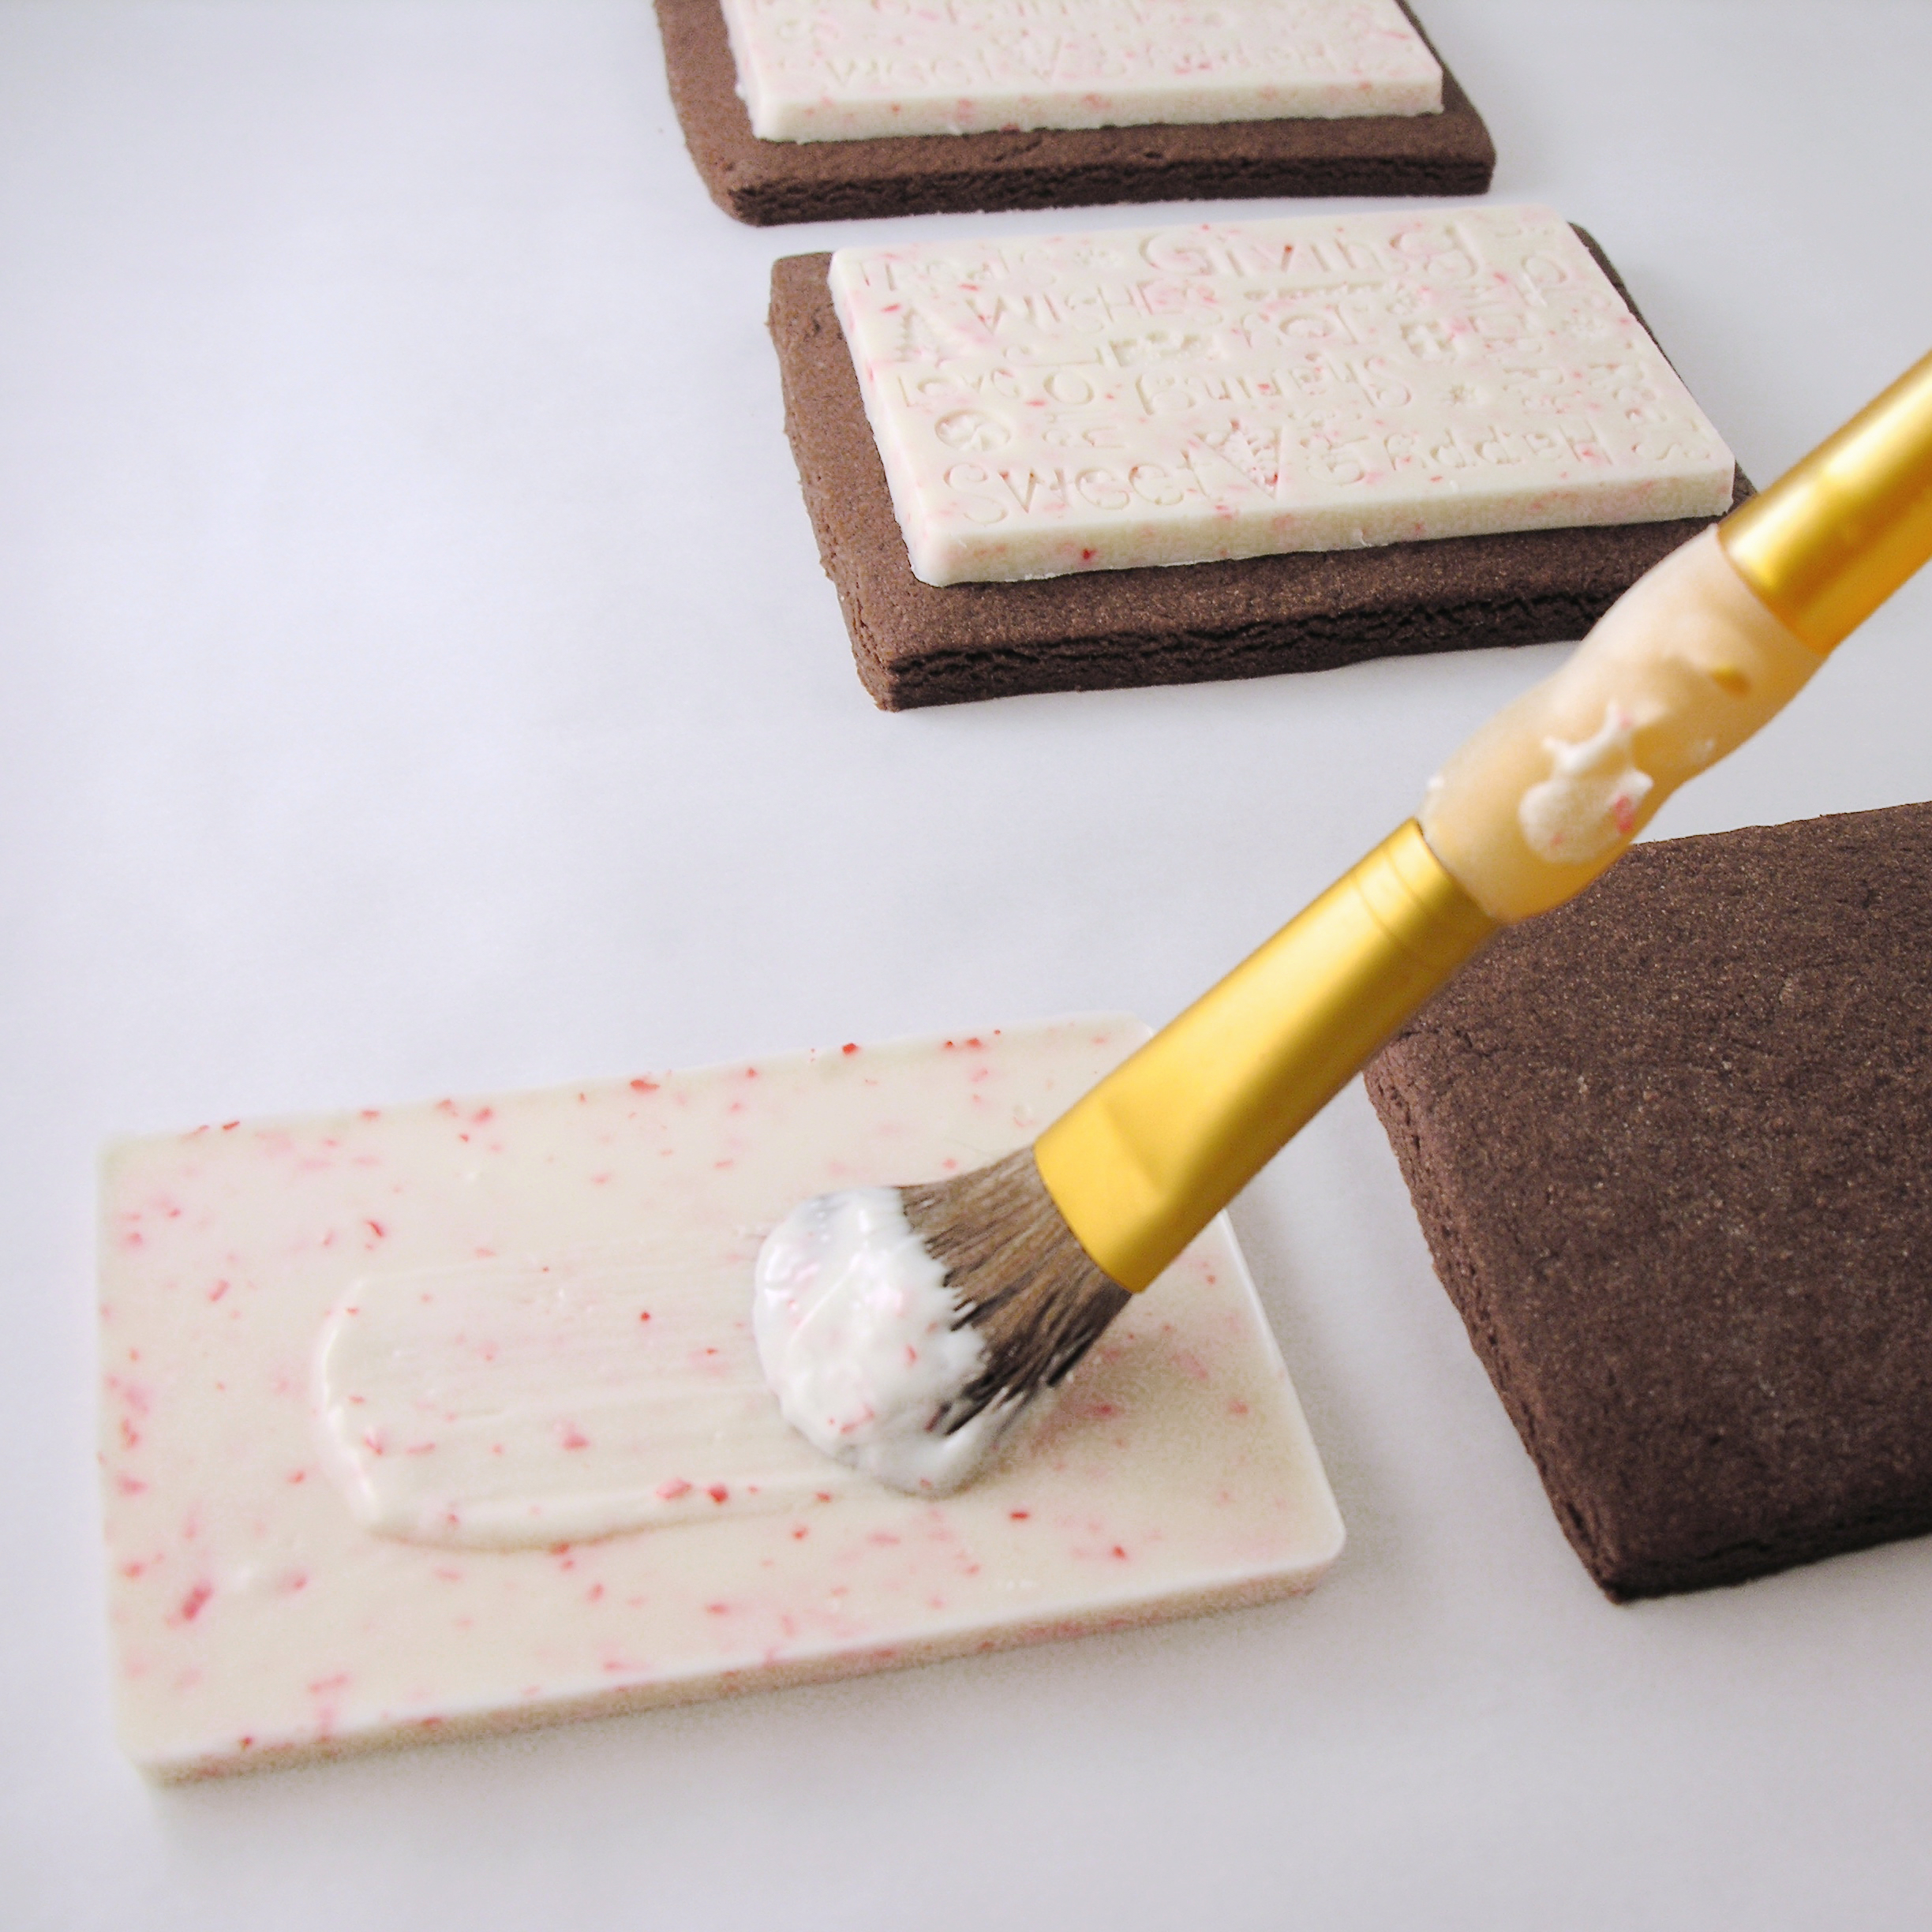
- Bake, cool and then take a little extra Candy Melt and a food-safe brush and brush melted candy on the back of each bar to attach it to the top of each cookie.
- Press the bar down using a little wax paper on the top (if you touch it with your bare fingers you will get prints!)
- Allow bar to harden onto the cookie and then serve! I placed each one in a little cello bag sealed with a sticker and gave them away with gifts.
So fun!!!!
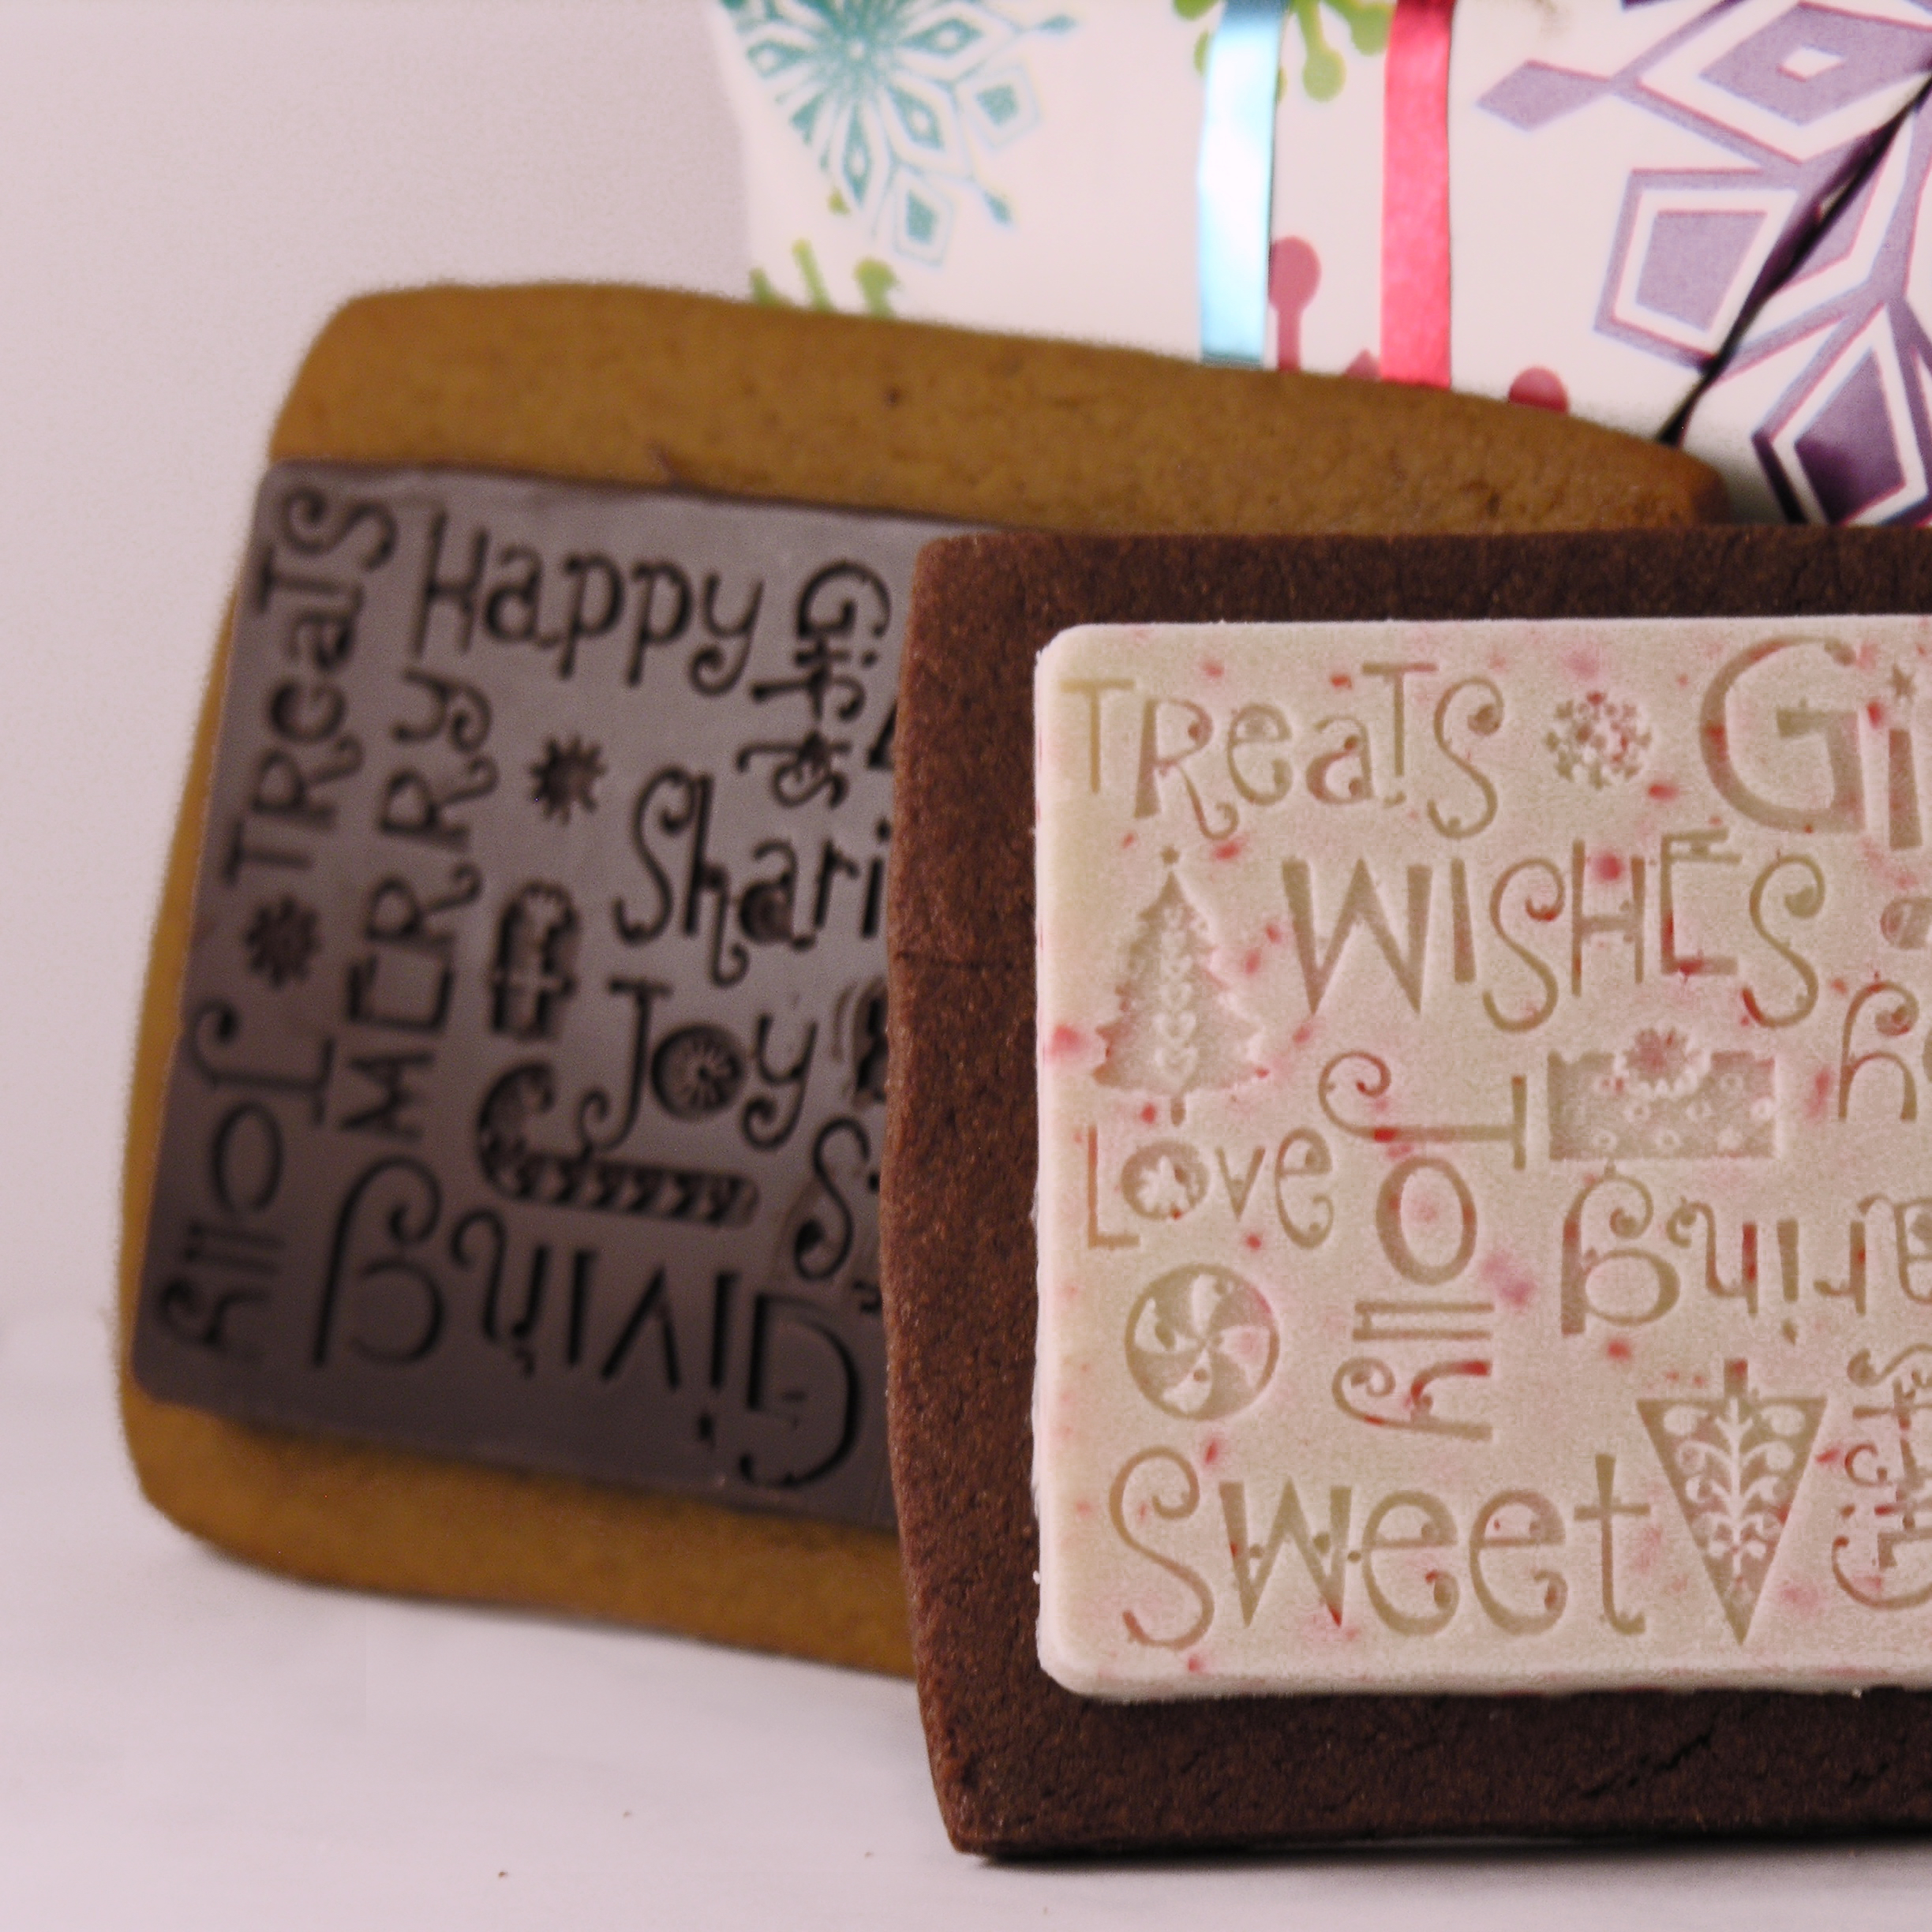
My thoughts: These are a fun, creative and easy way to say Merry Christmas! The variety of flavors you can use is limited only by your imagination- but I recommend you use a cookie recipe that doesn’t “puff up” too much. You can see in my photos that my gingerbread cookies puffed up a little- making my edges not as pretty and straight as those chocolate espresso ones that don’t expand much at all. The gingerbread/chocolate combination was so yummy that I got over the slightly curved edges though! I hope you get a chance to try these- so fun!! ~r
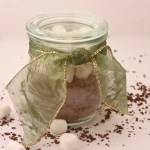
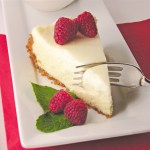
Other Christmas recipe ideas here at Easybaked: (click on a photo to see the recipe)

.


