RSS Feed

Tag Archives: kids party

Cookie Monster Oreos!!!!!

Posted on

Cookie Monster Oreos

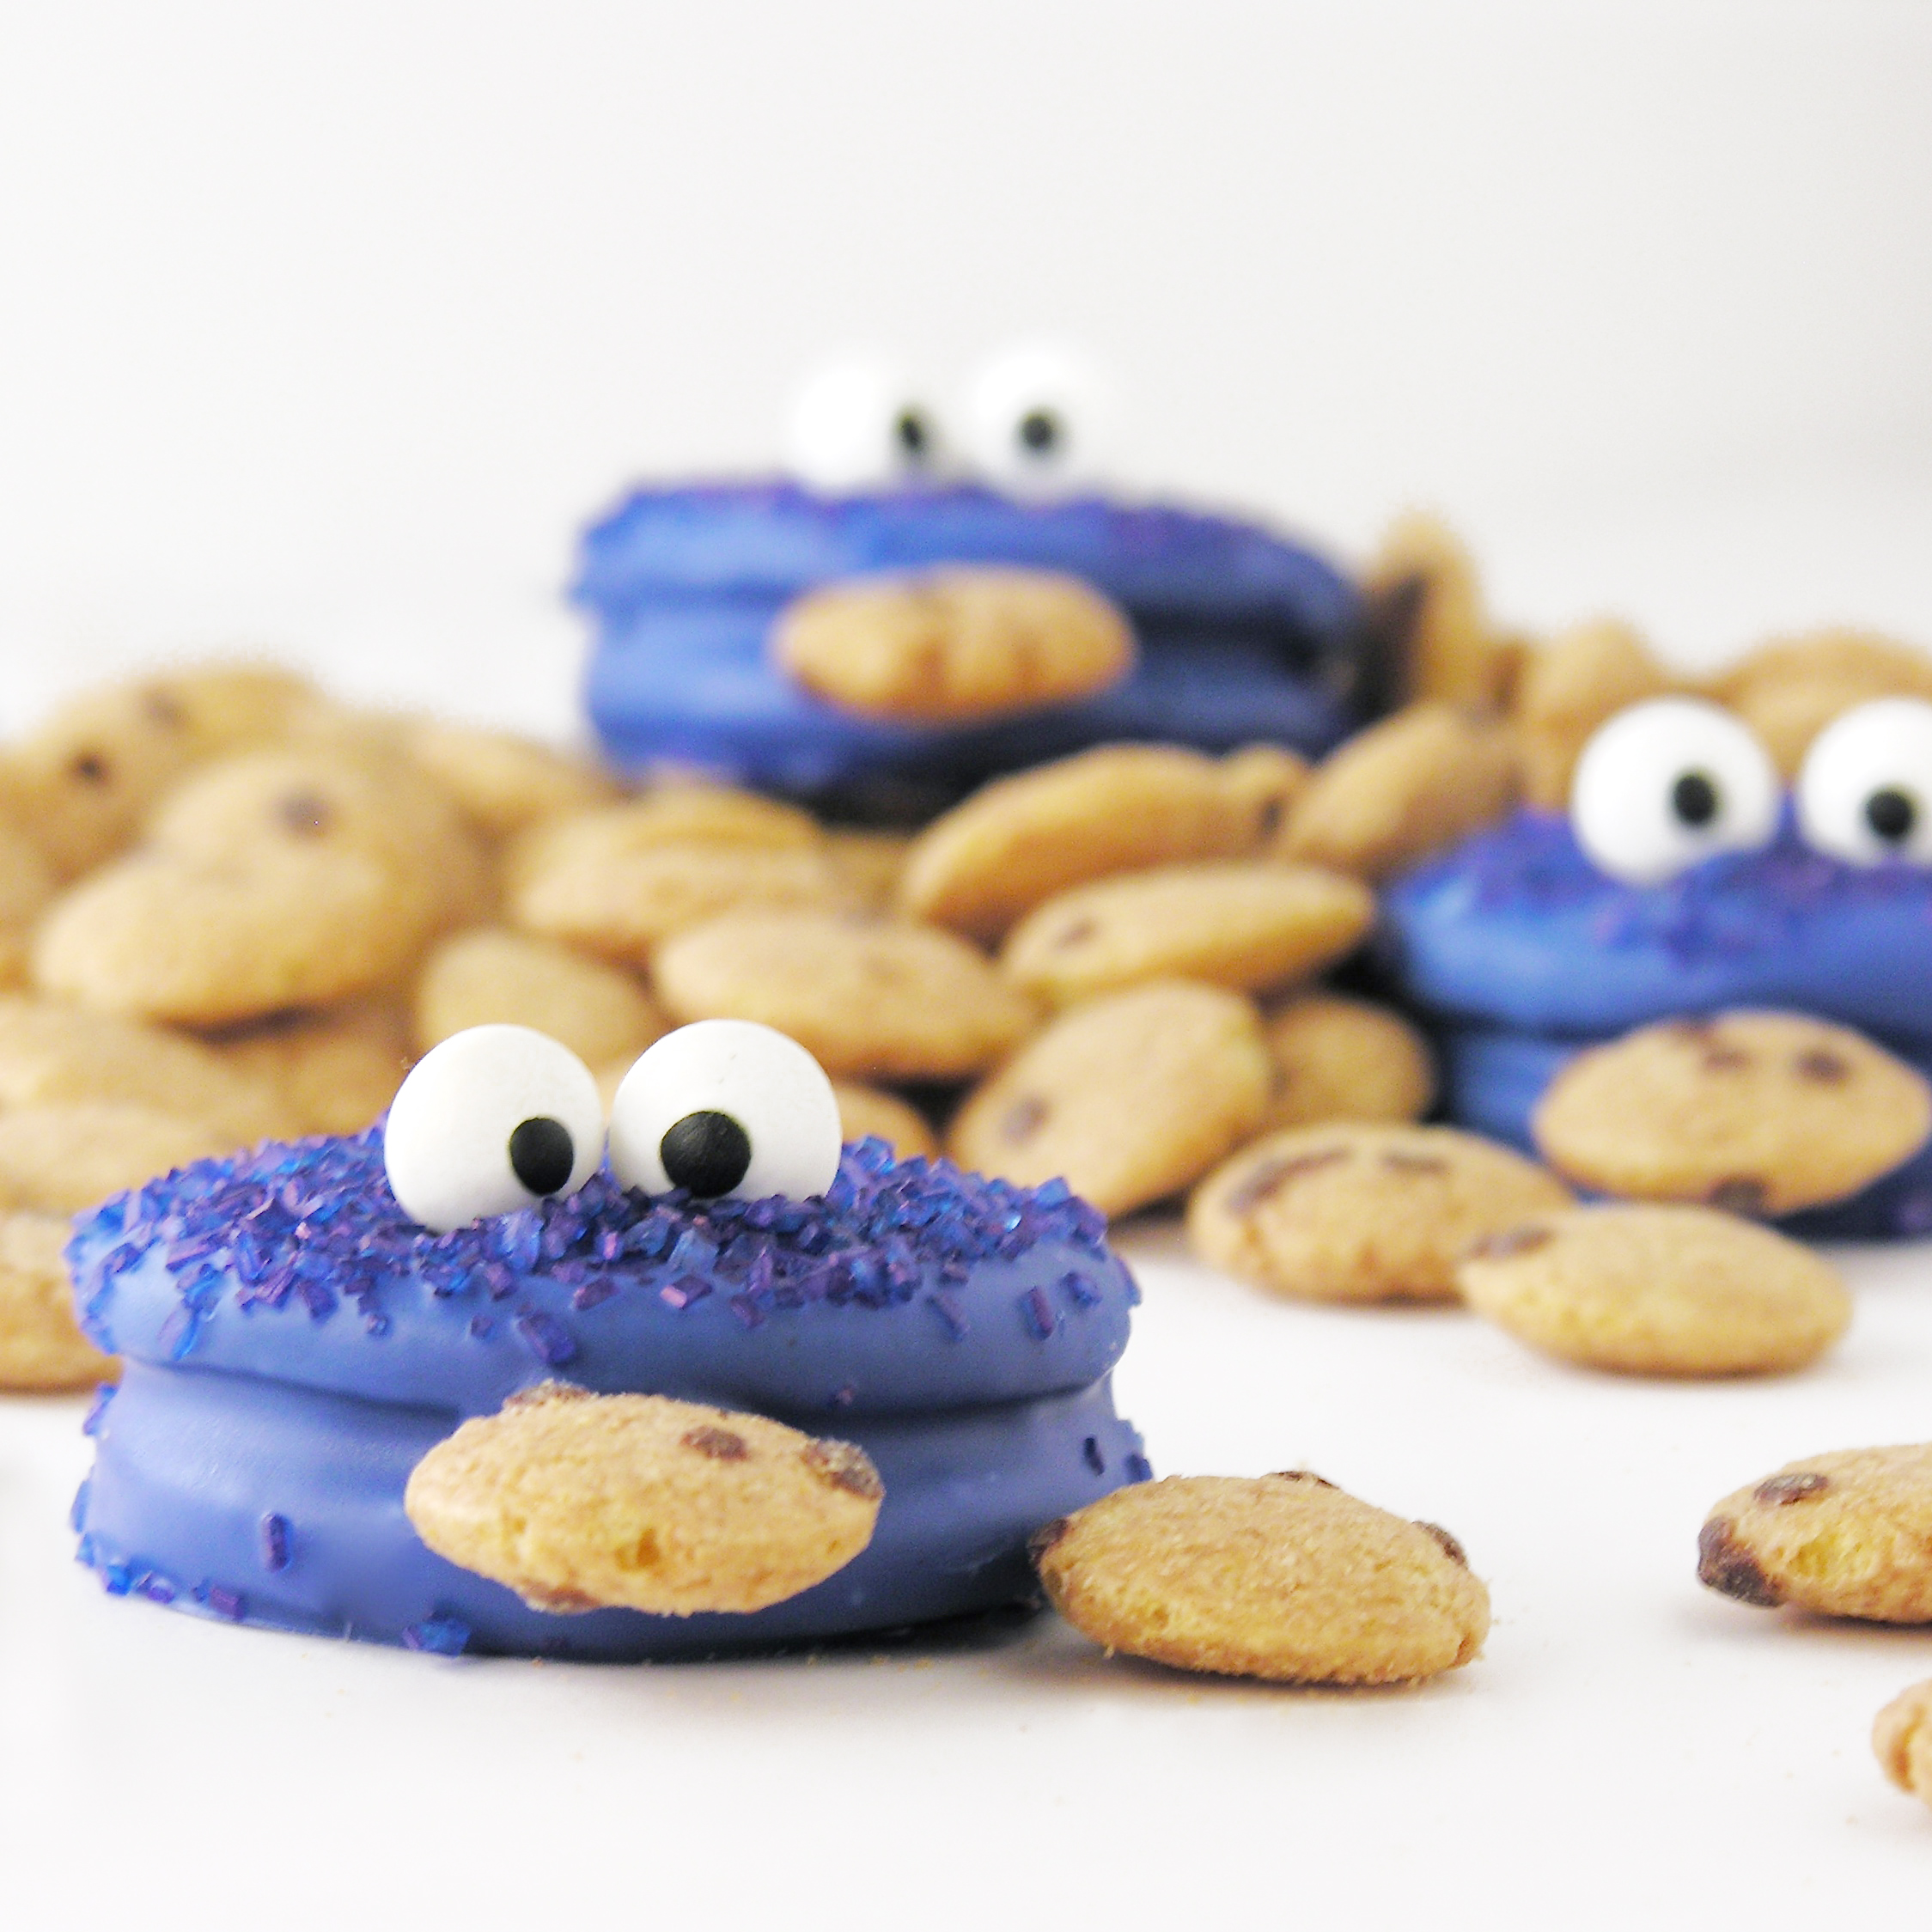
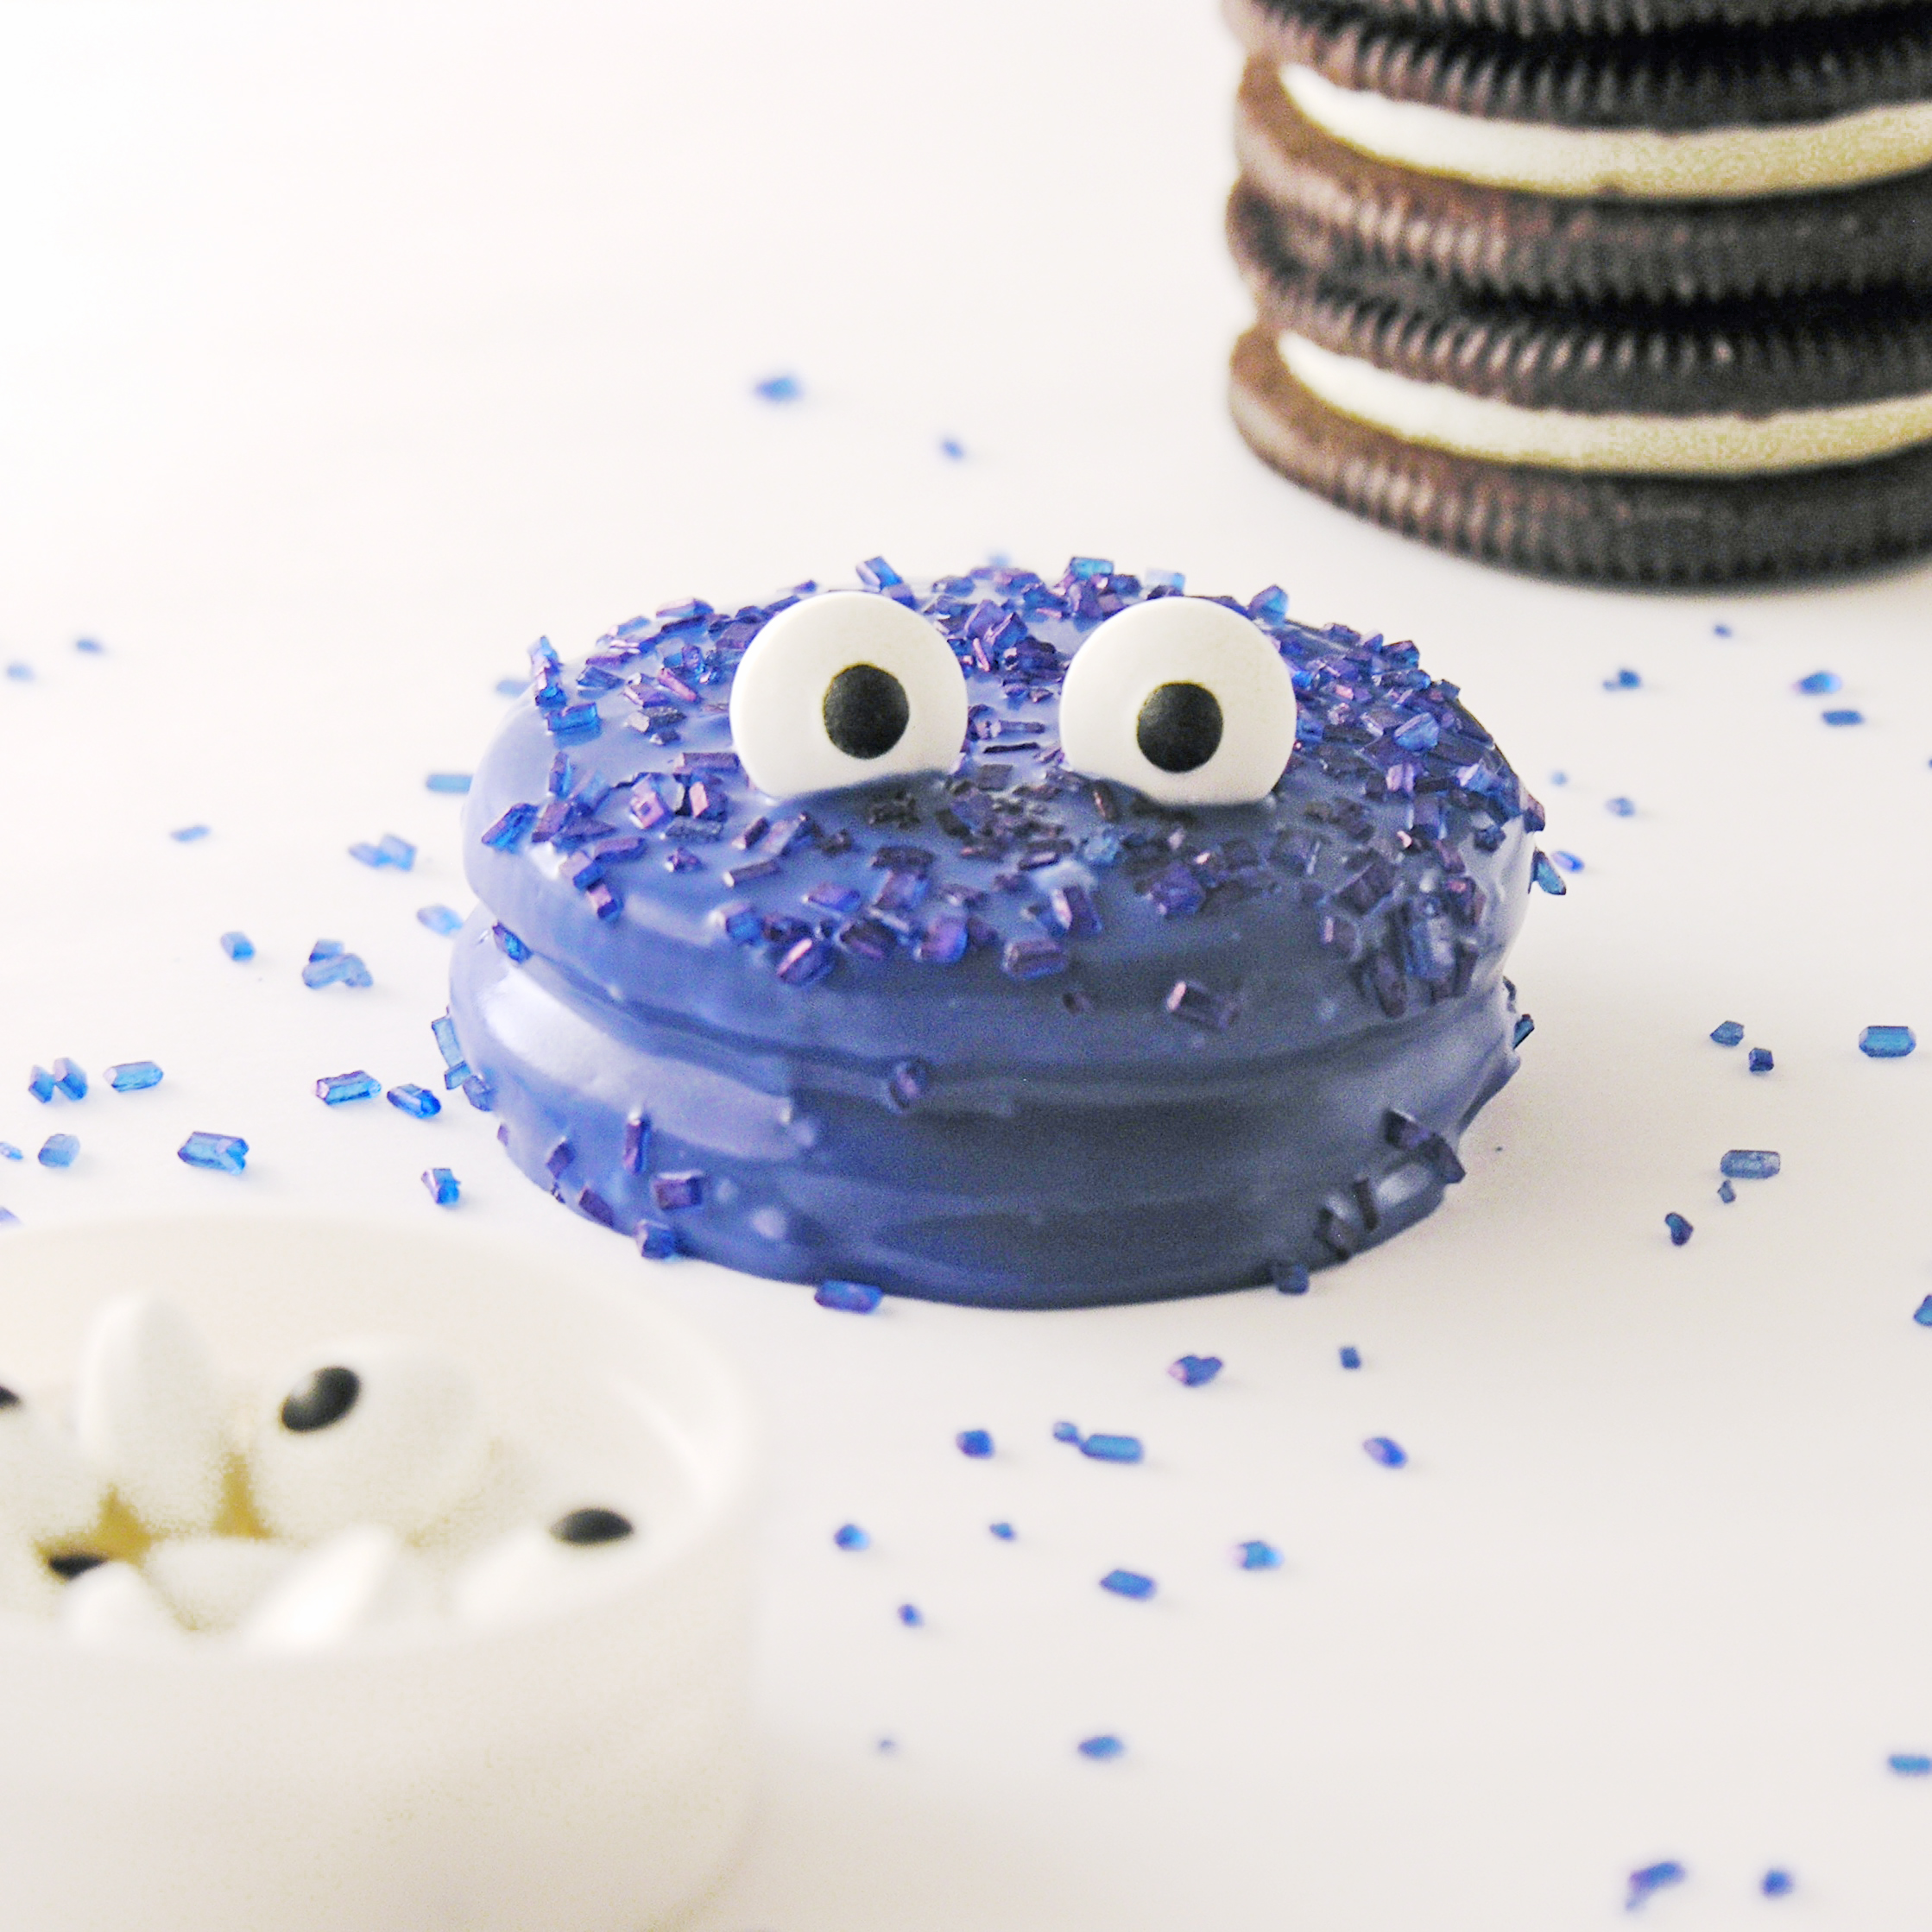
Turn your cookies into Cookie Monsters with these adorable Oreo treats!

So, Valentine’s Day happened last month, and I have started a tradition of making my Oreo Prince Charming Frogs as little Valentines for friends and family. As I was popping little red M&Ms into like 100 little frog “mouths”, it suddenly occurred to me that they looked a little like Cookie Monster. I brainstormed for a cute little cookie, got myself some blue candy melts, and had so much fun making these little guys this week!!!!!

Cookie Monster Oreos7

Ah….so cute and fun! I gave them as gifts to as many kids as I could… and the smiles…. 🙂 You need to try these…!!!!!!

Here’s how we put them together (I took pictures as I went!)

INGREDIENTS: (makes 24-28 cookies)

  • One package of Double Stuff Oreos (you need that wide opening to fit a mini-cookie!)
  • One bag of Wilton’s Candy Melts in royal blue
  • Candy eyes
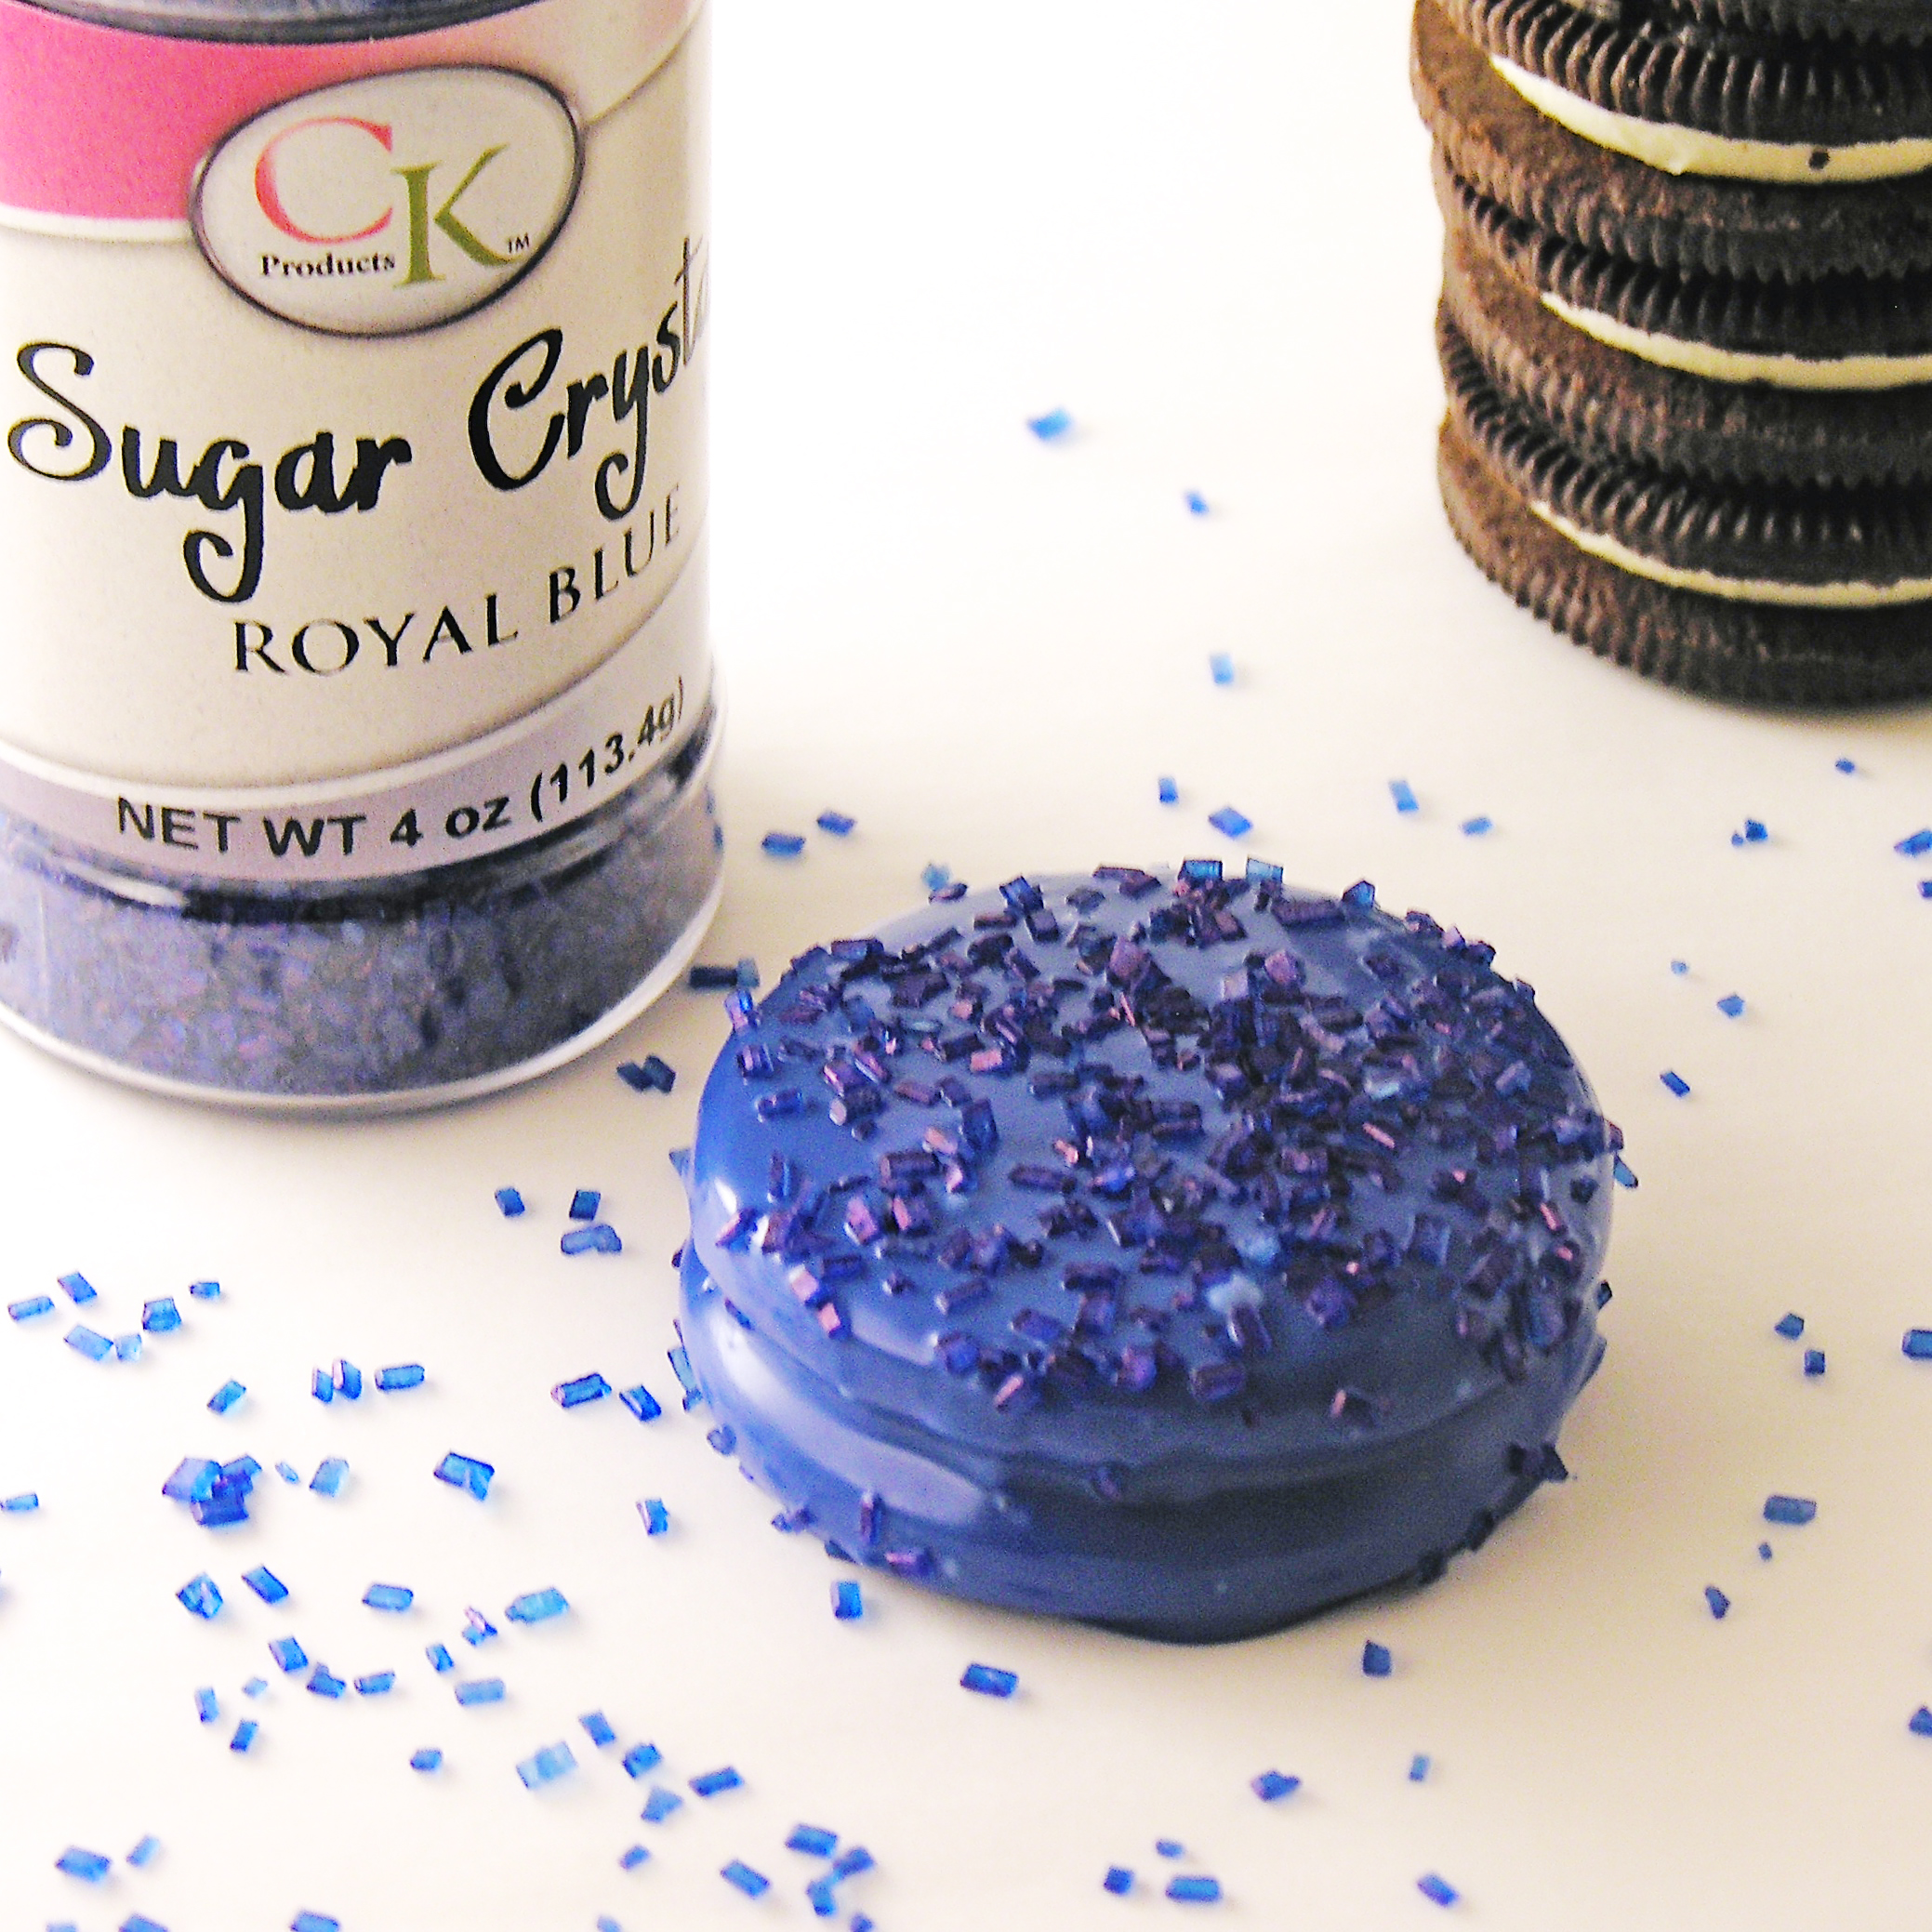
  • Royal Blue decorating sugar (I had such a time finding this- I wanted blue jimmies, but settled on these sugar crystals from CK Products.)
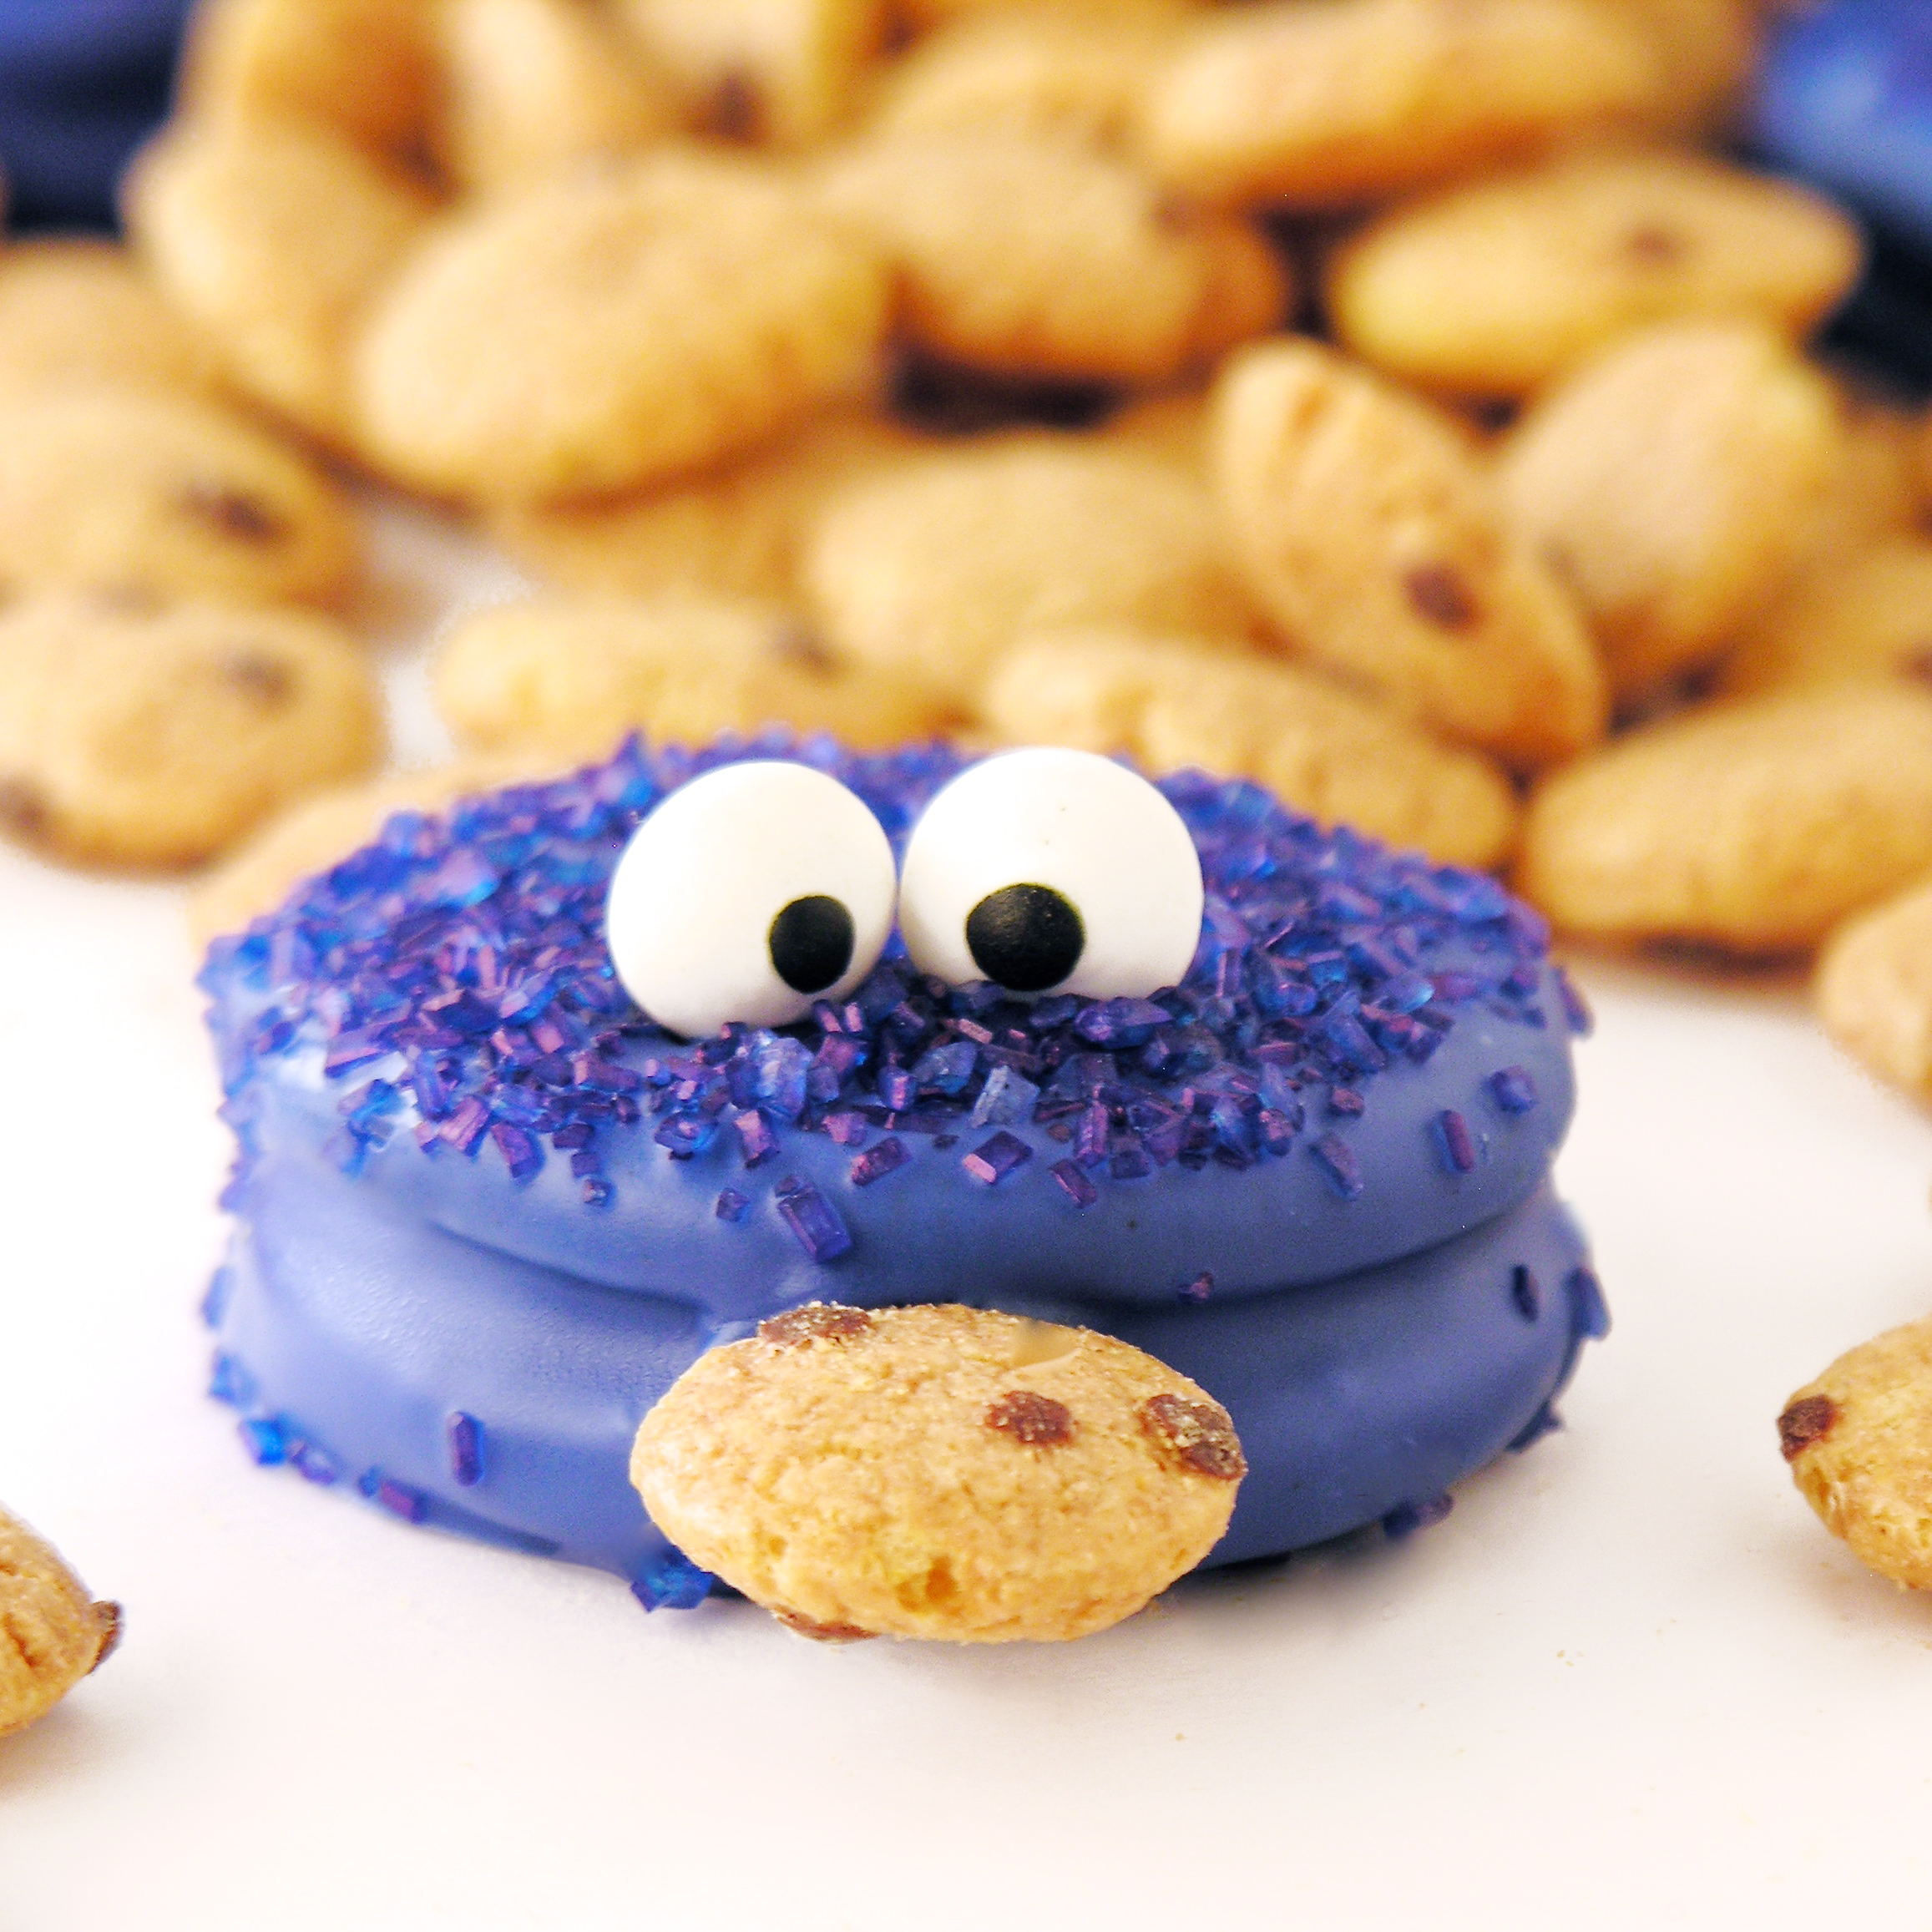
  • A box of Cookie Crisp cereal.
  • Several drinking straws.

DIRECTIONS:

  • Place Candy eyes, and about 24-28 pieces of cookie cereal into two small bowls. 
  • Place parchment paper over flat working surface.
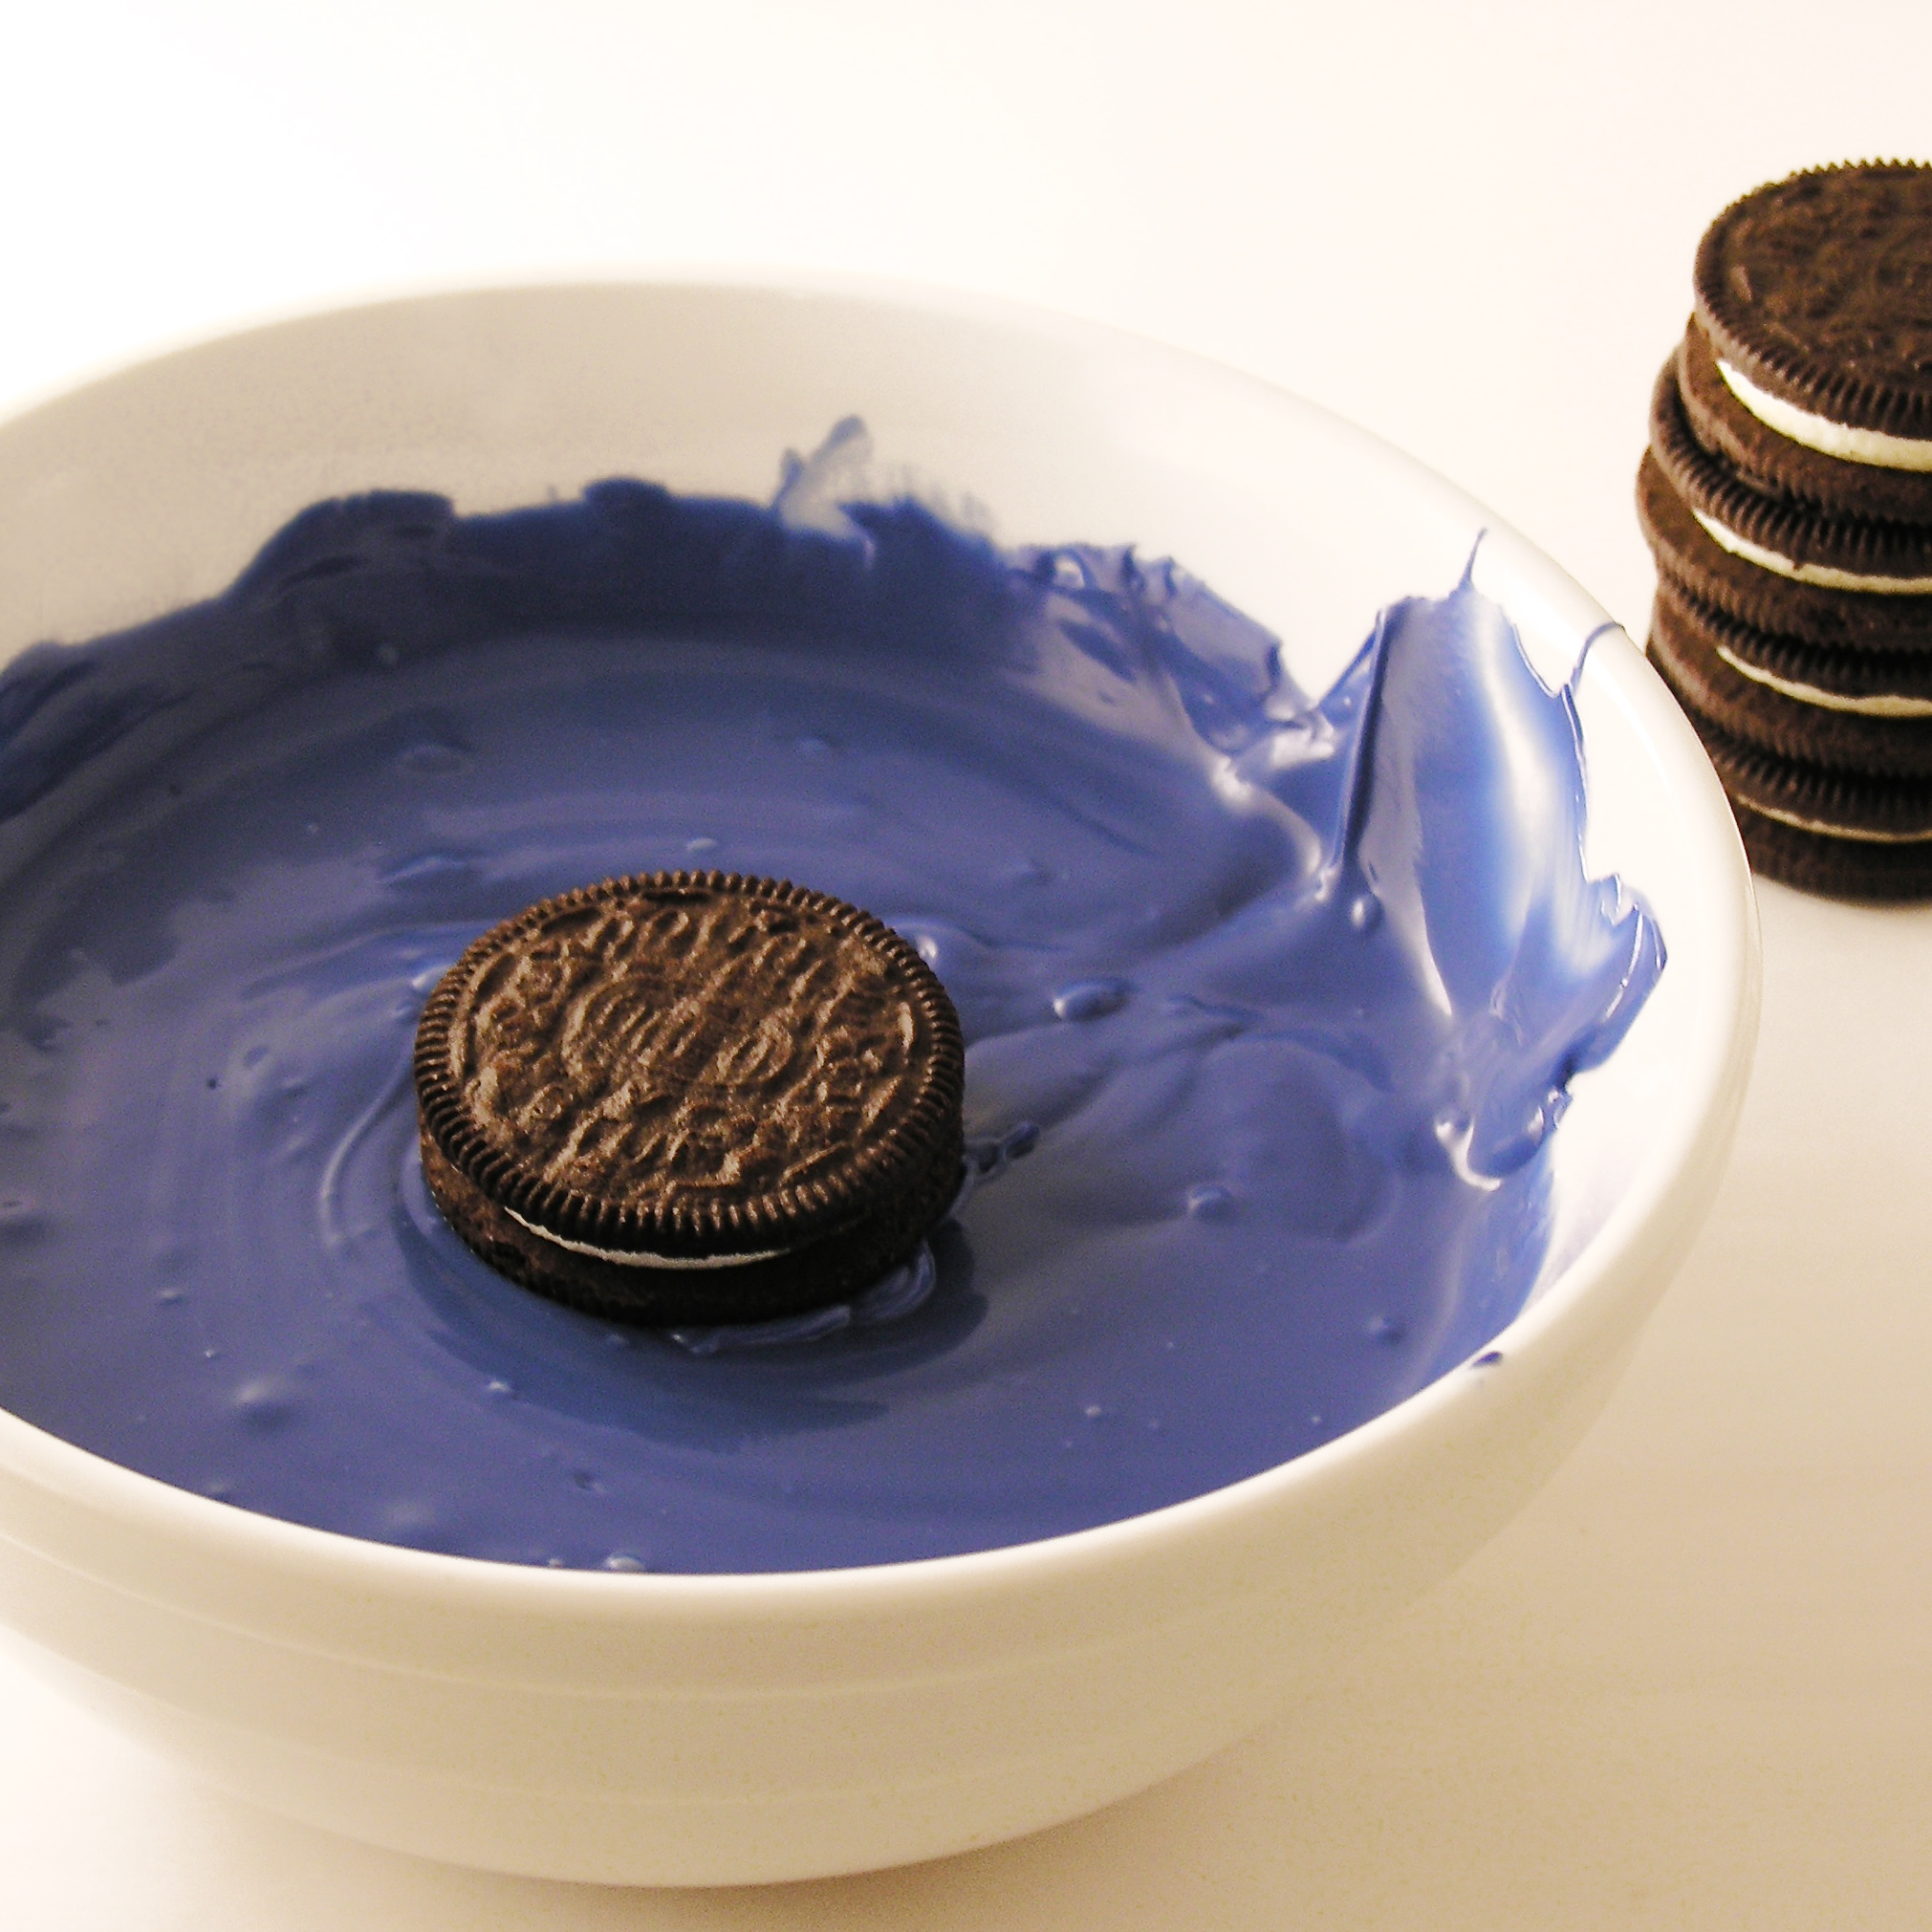
  • Melt Candy Melts in microwave in 30 second increments, stirring between until melted and smooth.
  • Dip Oreo in melts and use a fork to lift out. Tap firmly against side of bowl to remove excess candy and slide along bowl edge as you remove it.
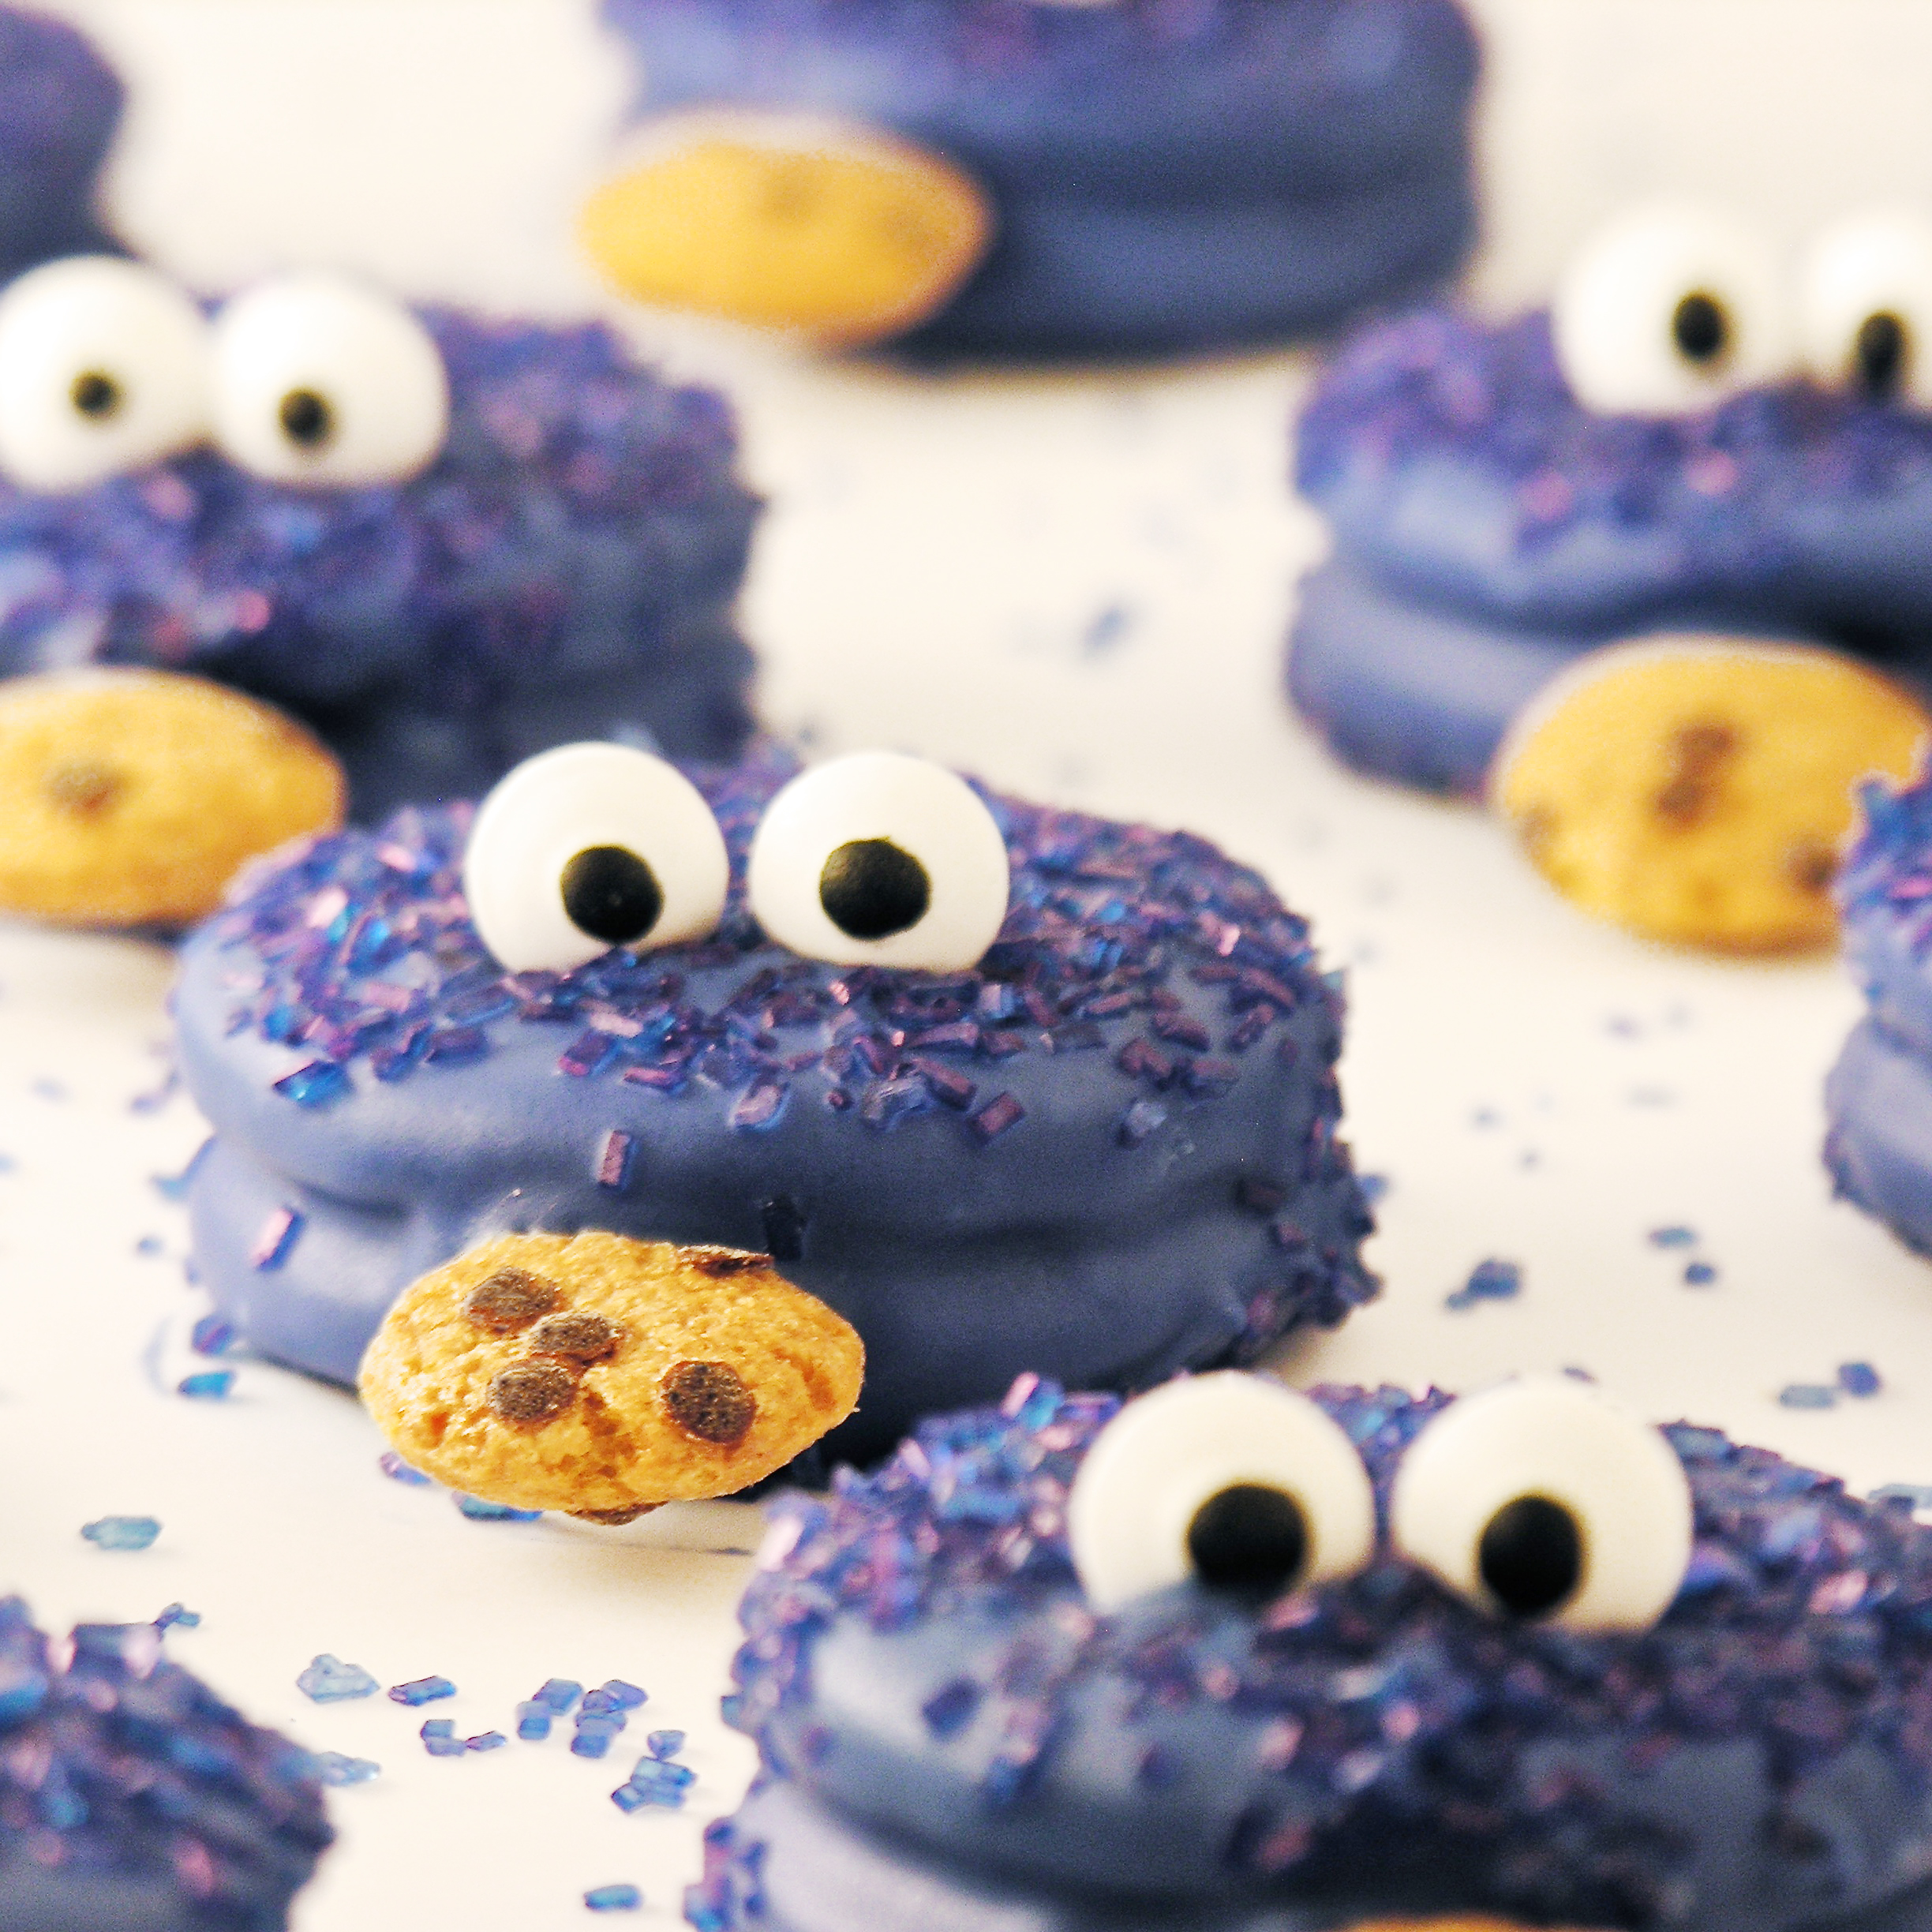
  • Gently slide covered Oreo onto parchment paper. Immediately sprinkle with sugar, and place eyes (a tweezer helps with this).

Cookie Monster Oreos1Cookie Monster Oreos2

Cookie Monster Oreos10Cookies Monster Oreos9

  • Place a piece of cookie cereal in “mouth”. You may need to wait a little bit until the melts harden up a bit and get sticky. I found that a drinking straw placed in front of each one helped hold the cookie in place until it hardened.

Cookie Monster Oreos3

  • Allow little monsters to harden and then share them with anyone who needs a smile 🙂

Cookie Monster Oreos4

My thoughts: SO. FUN. I really loved making these and sharing them. I packaged them up in little cello bags that I got at Michaels, and I made stickers for the back using Avery square labels (#22806). I will attach the pdf for these here. Be sure when you print them on these labels to print them as “actual size”.  Sometimes printers will automatically shrink an image to fit a page better, and if you let it do that they won’t line up with the stickers. I also tied up a few bags of just cookie cereal to go along with them. It was really fun.

Cookie Monster Oreos11

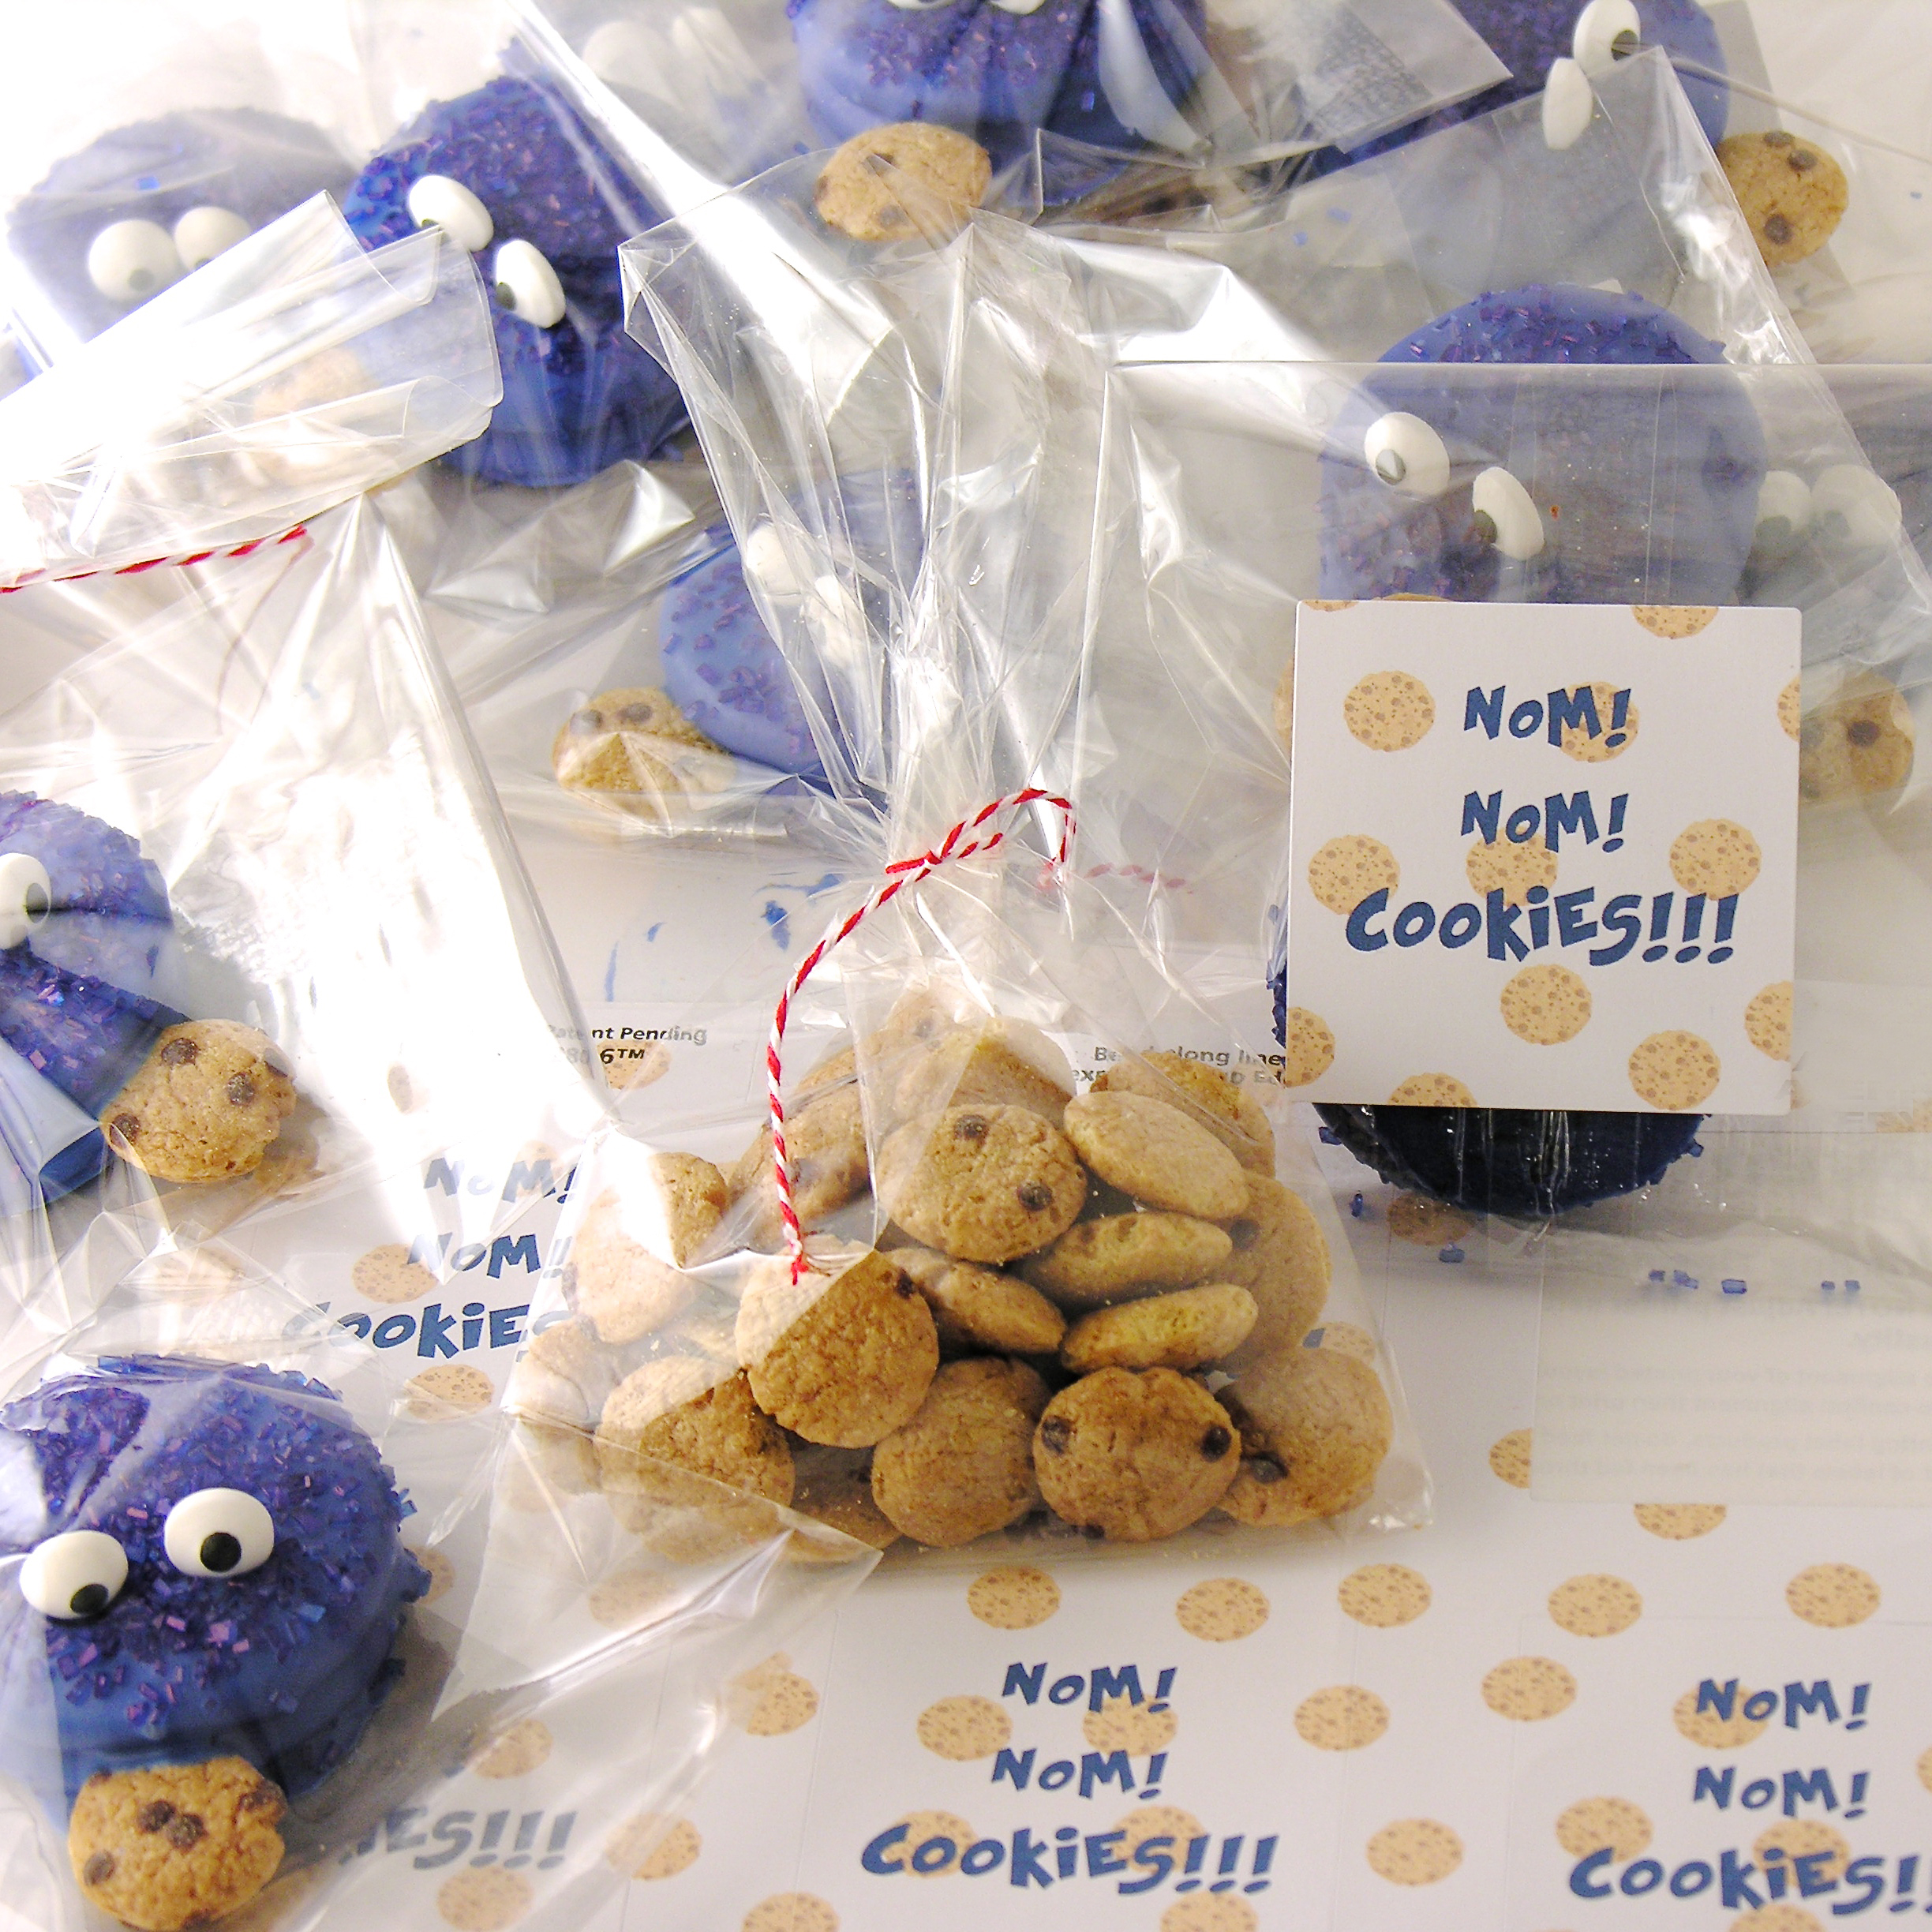
The perfect finishing touch!  Enjoy these dear readers!!!!!!  ~r

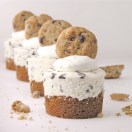
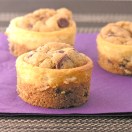
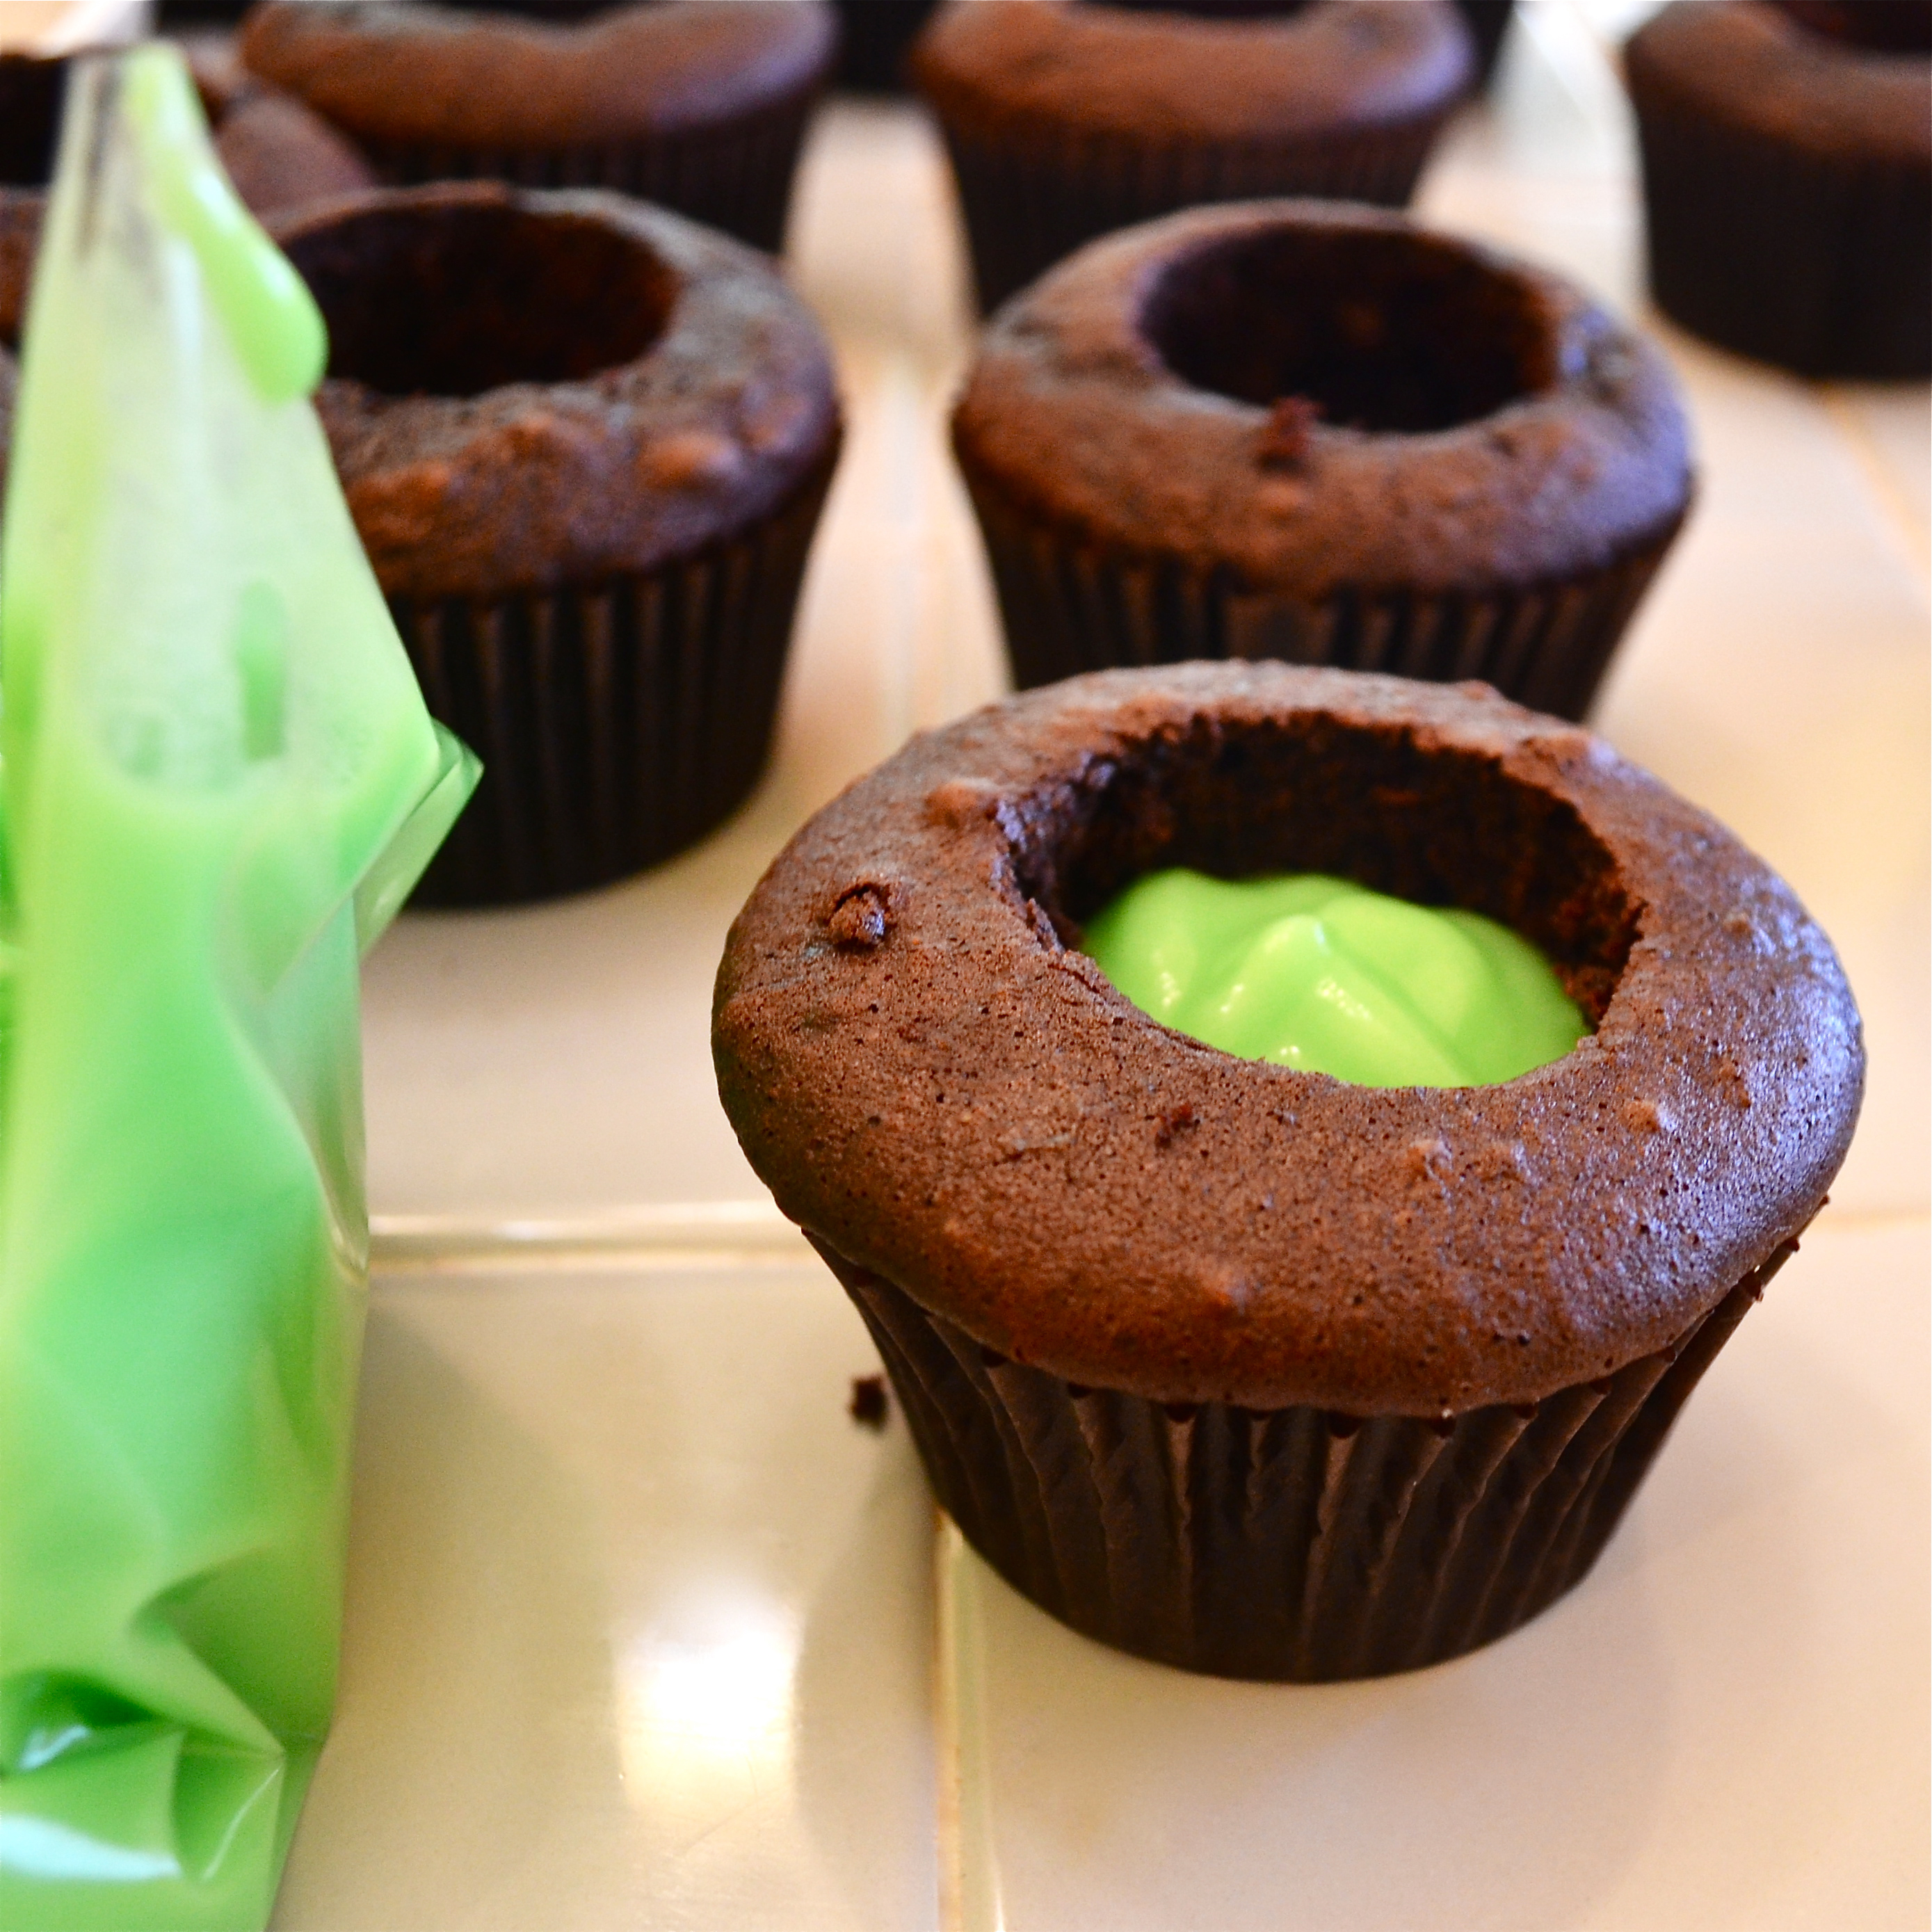
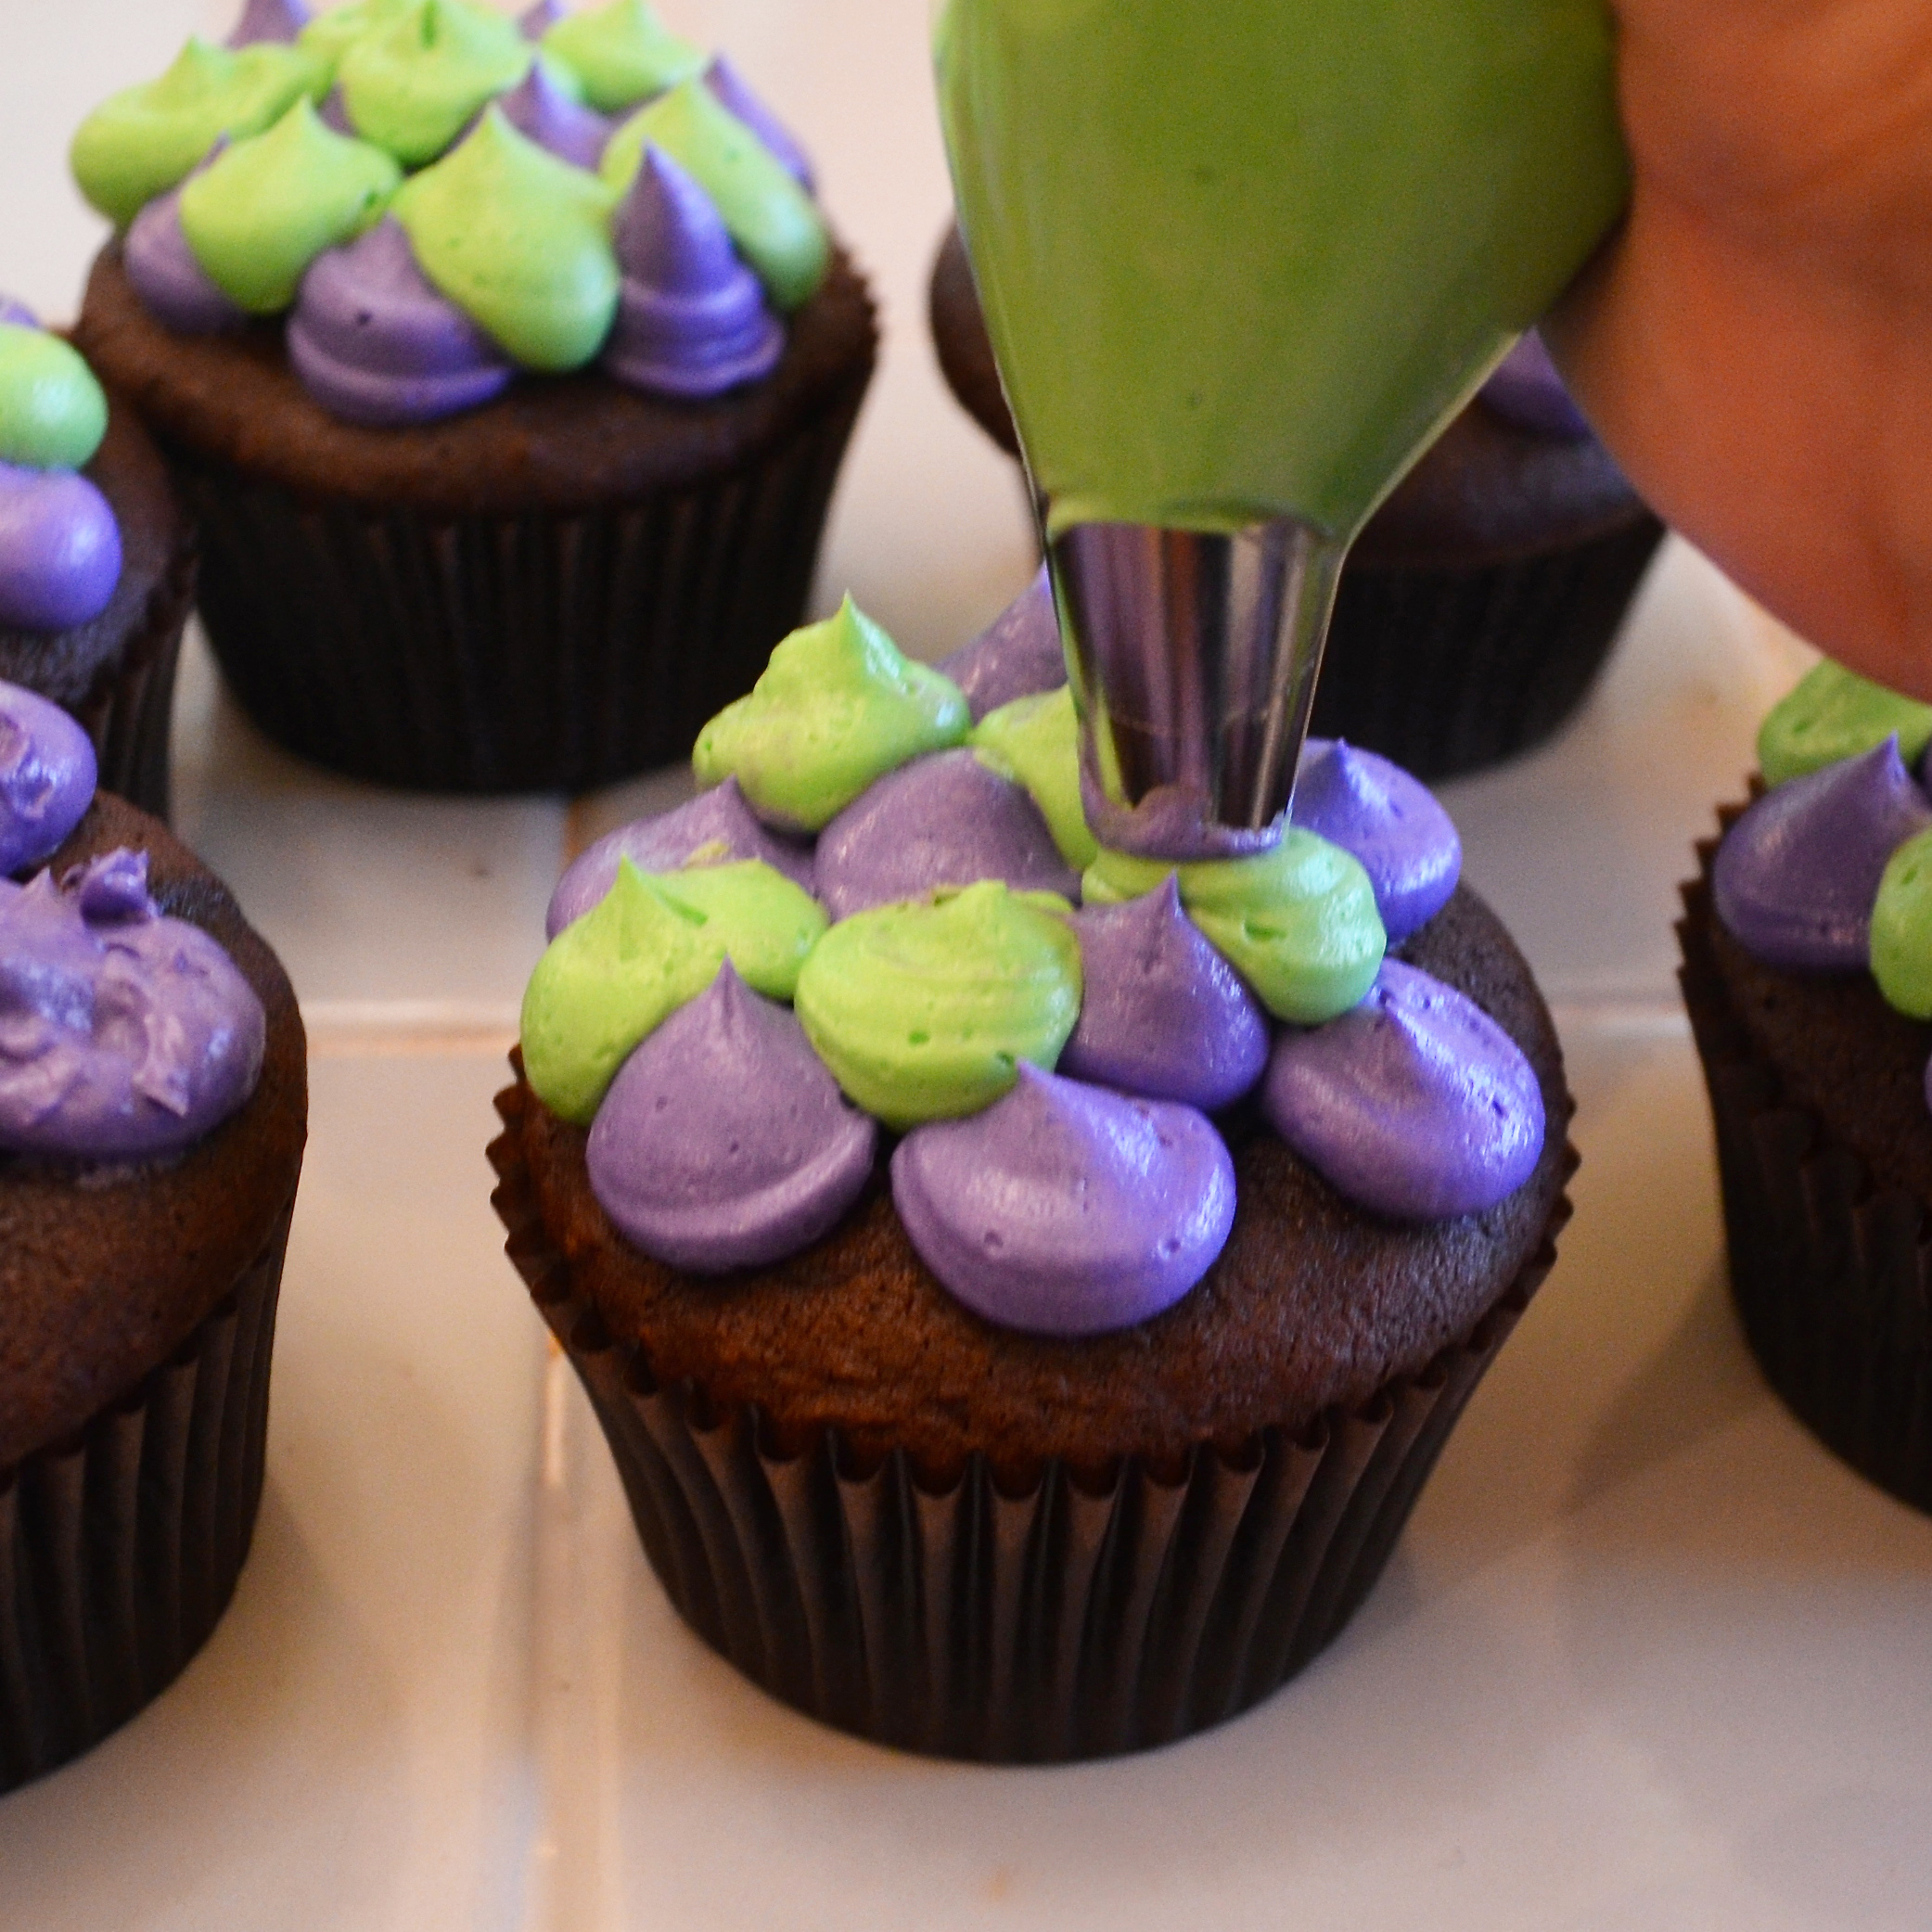
Other desserts for the Cookie Monster in you! (Click on a photo to see the recipe)

Chocolate chip cookies!!!Mini chocolate chip cookie cheesecakesChocolate Chip Oatmeal CookiesMini Cookie Dough Cheesecake


Advertisement

Toxic Slime-filled Cupcakes!

Posted on


Toxic Slime-filled Cupcakes!
Fudge cupcakes filled with toxic green slime!  Yummy white chocolate pudding makes the slime and fun buttercream and bones complete this mad-scientist dessert.  Print some free radioactive cupcake toppers and you have such a fun October treat!!

These cupcakes are delicious…..  I know the green slime might throw you off, but that slime is the creamiest pudding filling….oh my.  It is like a custard filled doughnut…but better.

I’m a scientist in my day job, so when thinking creepy I tend toward the blood and guts variety more than ghosts and monsters.  I knew I wanted green slime, so I looked up recipes for ideas (realistic slime….it needed to be realistic….)  and I came across an adorable blog with the idea of using plain old pudding with green food coloring– easy! Plus I loved her frosting “blob” technique, so a few parts of this recipe are borrowed from ideas on Make Bake Celebrate.

I also created some free printable “radioactive” cupcake toppers for you.  Just click here for the link, print 2 pages on card stock, cut them out and use double-sided tape to stick them back-to-back over a toothpick.    Easy-peasy and a perfect finish on these!  Aren’t they fun?!???

Radioactive Cupcakes3
Lets make these cute little cupcakes together!  (printable recipe)

INGREDIENTS:

  • One boxed cake mix (plus water, oil and eggs to make according to box)
  • One box (3.3 oz.) Jello Brand White Chocolate Pudding (instant)
  • Milk (to make pudding according to package)
  • Green food coloring gel
  • Purple food coloring gel
  • 2 sticks (1 cup) salted butter
  • 2 sticks (1 cup) unsalted butter
  • 1 teaspoon clear vanilla
  • 3 cups powdered sugar
  • Sprinkles/ decorations for tops of cupcakes  (I used Wilton Bones Sprinkles)

DIRECTIONS:

  • Preheat oven to 350F degrees.
  • Make cupcakes according to box and divide evenly into 24 cupcake liners placed in cupcake tins.
  • Bake according to times given on boxed mix.
  • Remove from oven and cool completely.
  • Make pudding according to package and at the end add green food color gel (I used Leaf green by WIlton ) until it looks like radioactive slime!!!  Carefully spoon into a zip-top bag.
  • Core your cooled cupcakes- you can use a paring knife to just remove a core, but a cupcake corer is much faster and more uniform.  I use the Chicago Metallic Cupcake Plunger and it is cheap and small and perfect for the job!
  • Carefully clip a corner of your green slime (pudding) bag and fill each cupcake cavity about half full of “slime”.
  • Trim a little off the bottom of the “core” you removed and place it back on top of the filling- like a little cupcake cork!

Filling Cupcakes with Slime!Filling cupcakes with slime!

  • Make frosting by combining butters, powdered sugar and vanilla in a large mixing bowl and beating it on high until light and fluffy.
  • Divide frosting in half and mix green into one half and purple into the other half until fully combined.
  • Place each color of frosting in a bag that has been fitted with a Wilton 2A round decorating tip.  Pipe round dots of frosting in alternating colors all over each cupcake top.

Frosting creepy cupcakes!

  • Add sprinkles, bones, skulls, eyeballs…. any cool and creepy decorations you want!
  • Top each cupcake with a free printable topper and ENJOY!!!!

Radioactive Cupcakes filled with SLIME!
My thoughts:  I would make these again in a heartbeat.  I might make them again this weekend.  Yes, they are super fun, but the pudding is really SO good inside!  I feel like every cupcake should have pudding inside…!  I always love to watch the reactions when people bite into things for the first time– and these don’t disappoint!!!  Lots of laughter and smiles at this yummy green slime!  Enjoy!!!!!! ~r

Radioactive Cupcakes!!!

Other fun Halloween treats to try!!

Sweet Tart and Pixie Stix CakePeanut Butter Caramel SauceHalloween Bundt CakeFall acorn cupcakes!

%d bloggers like this: