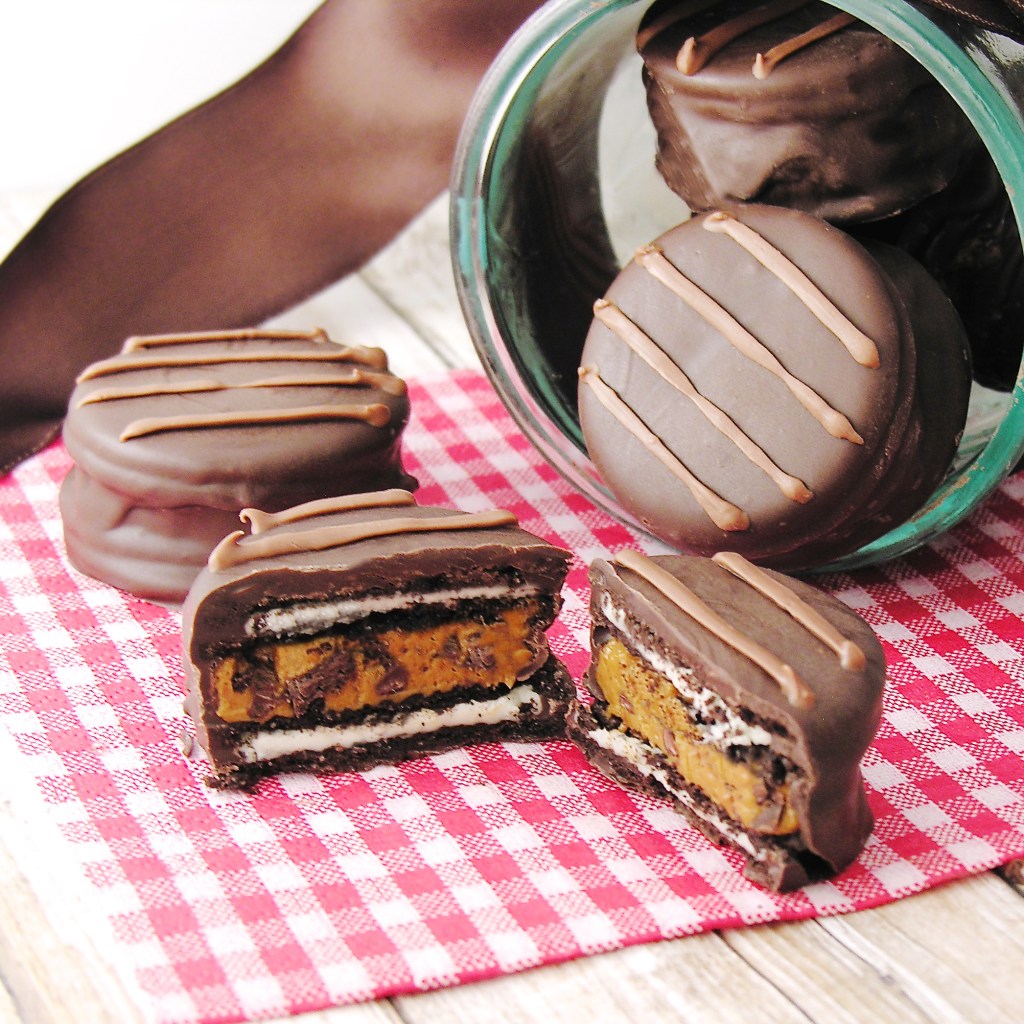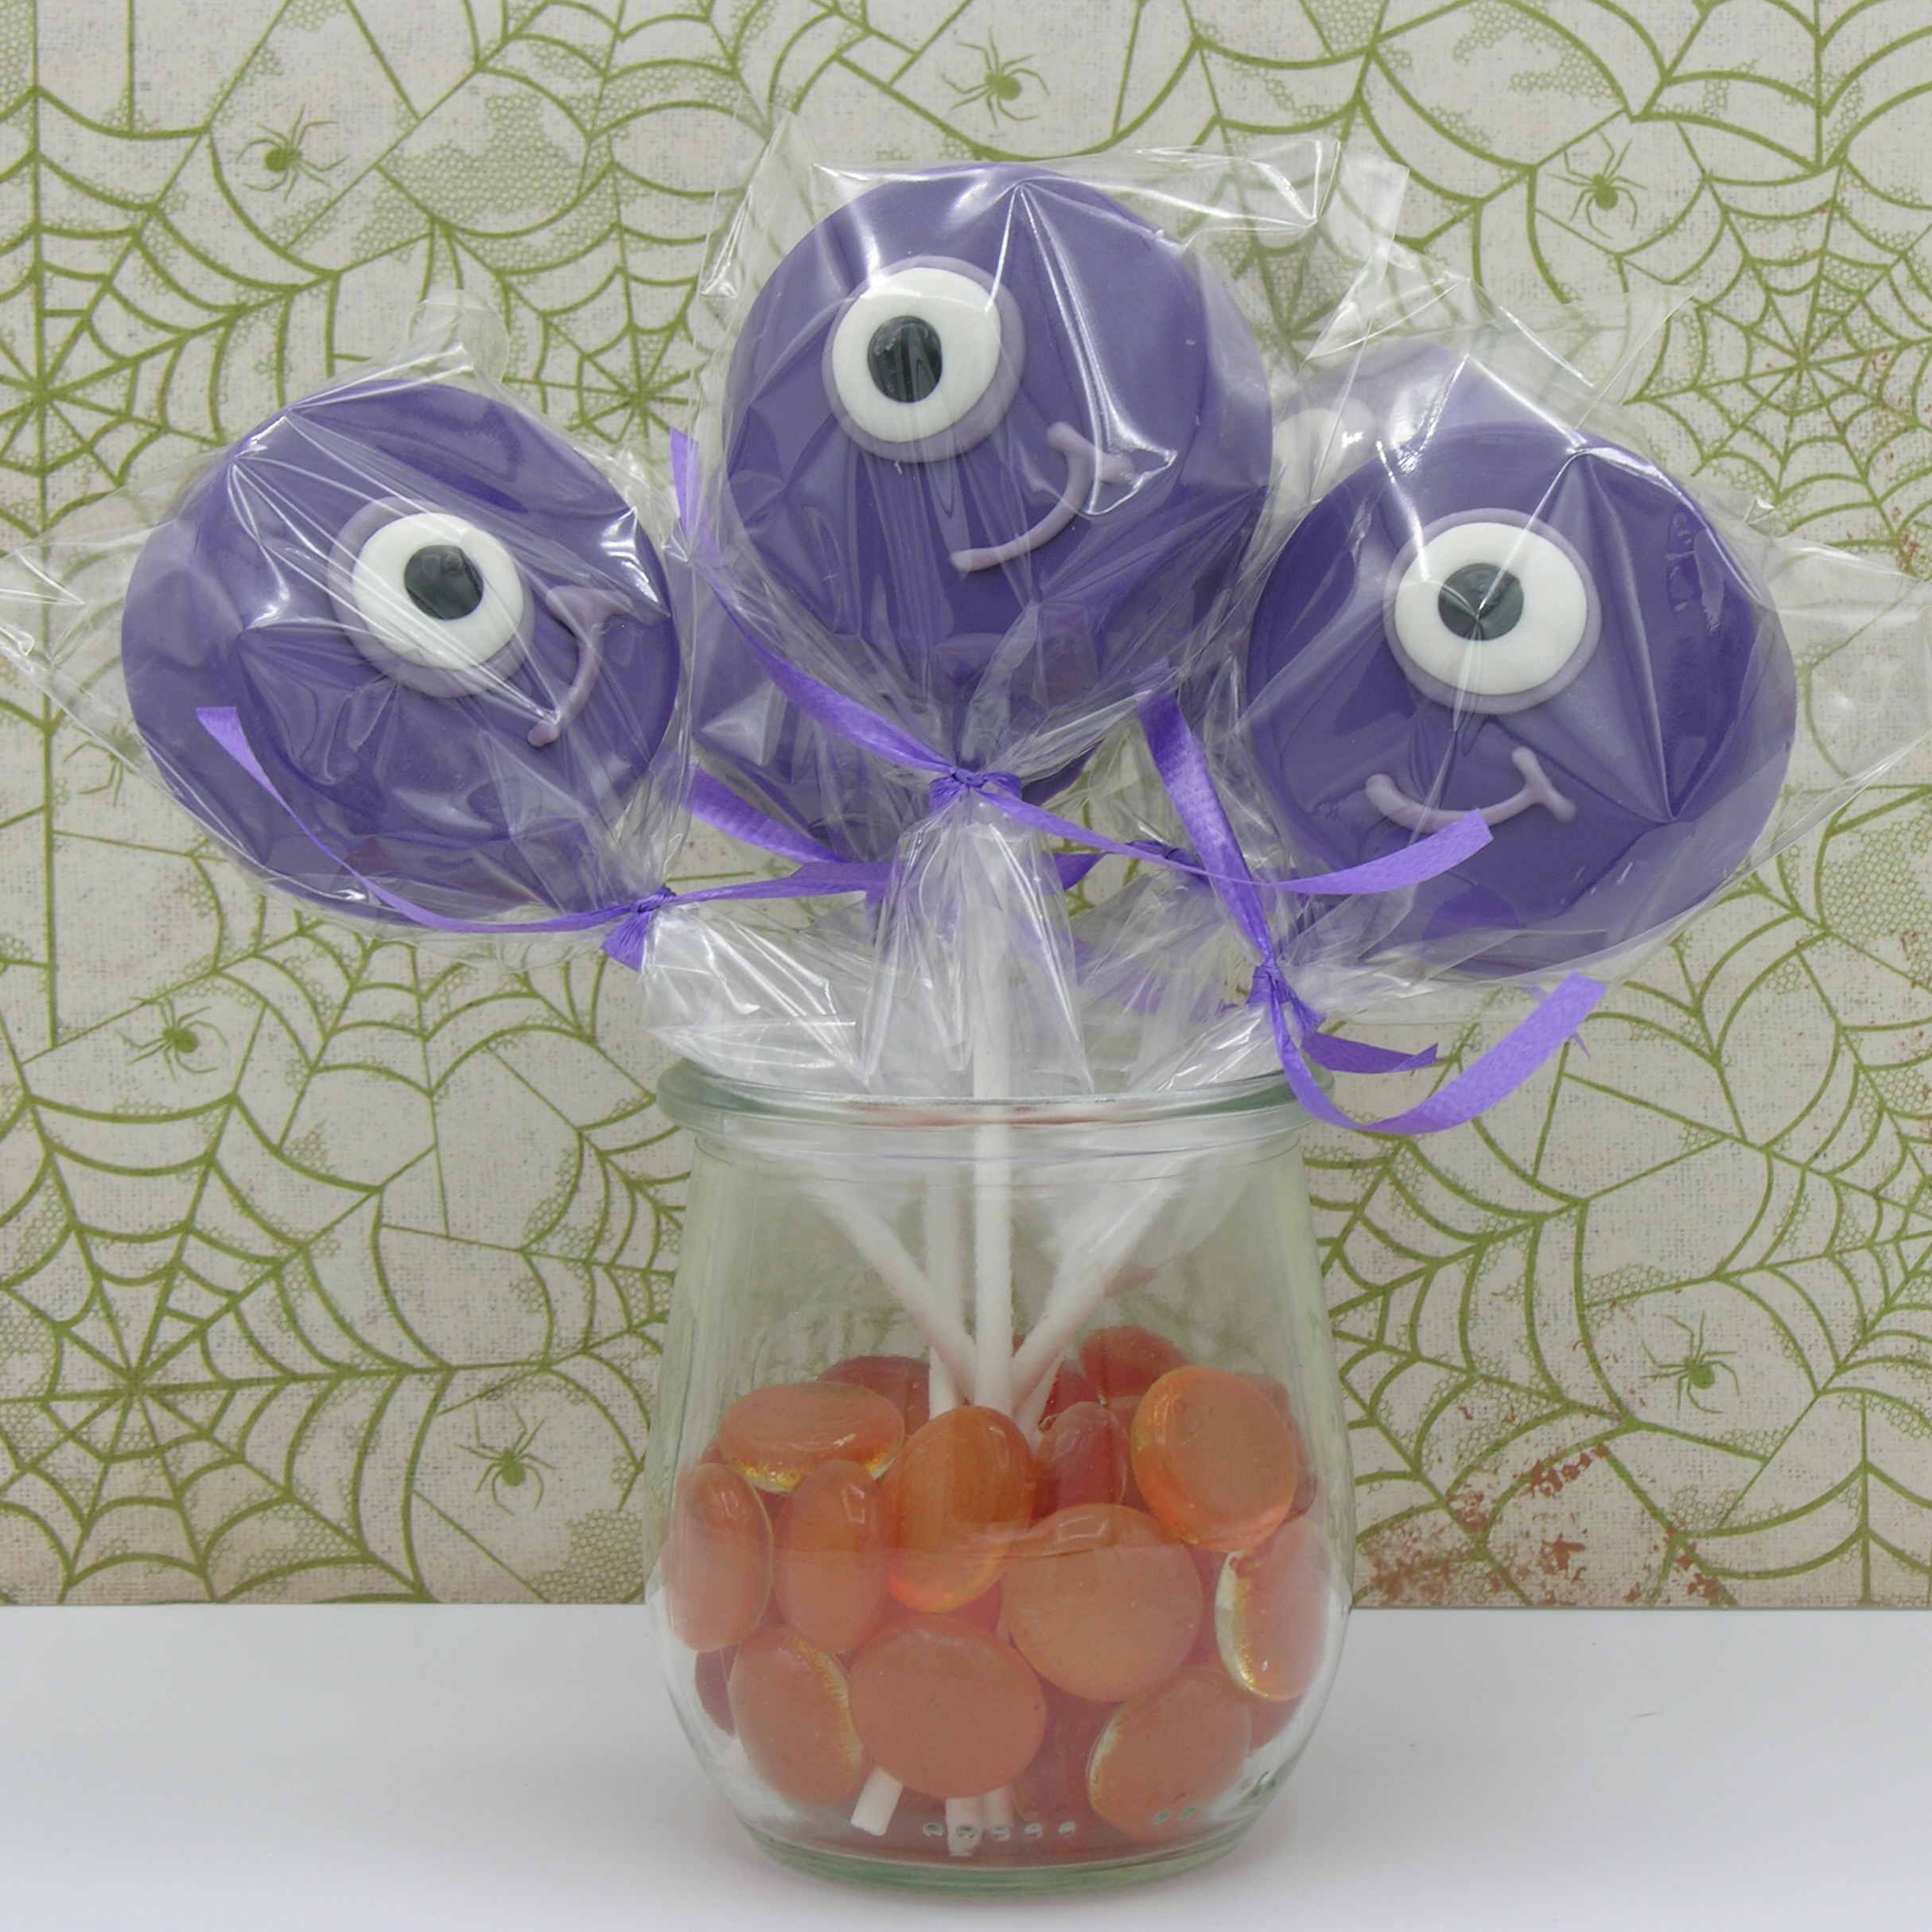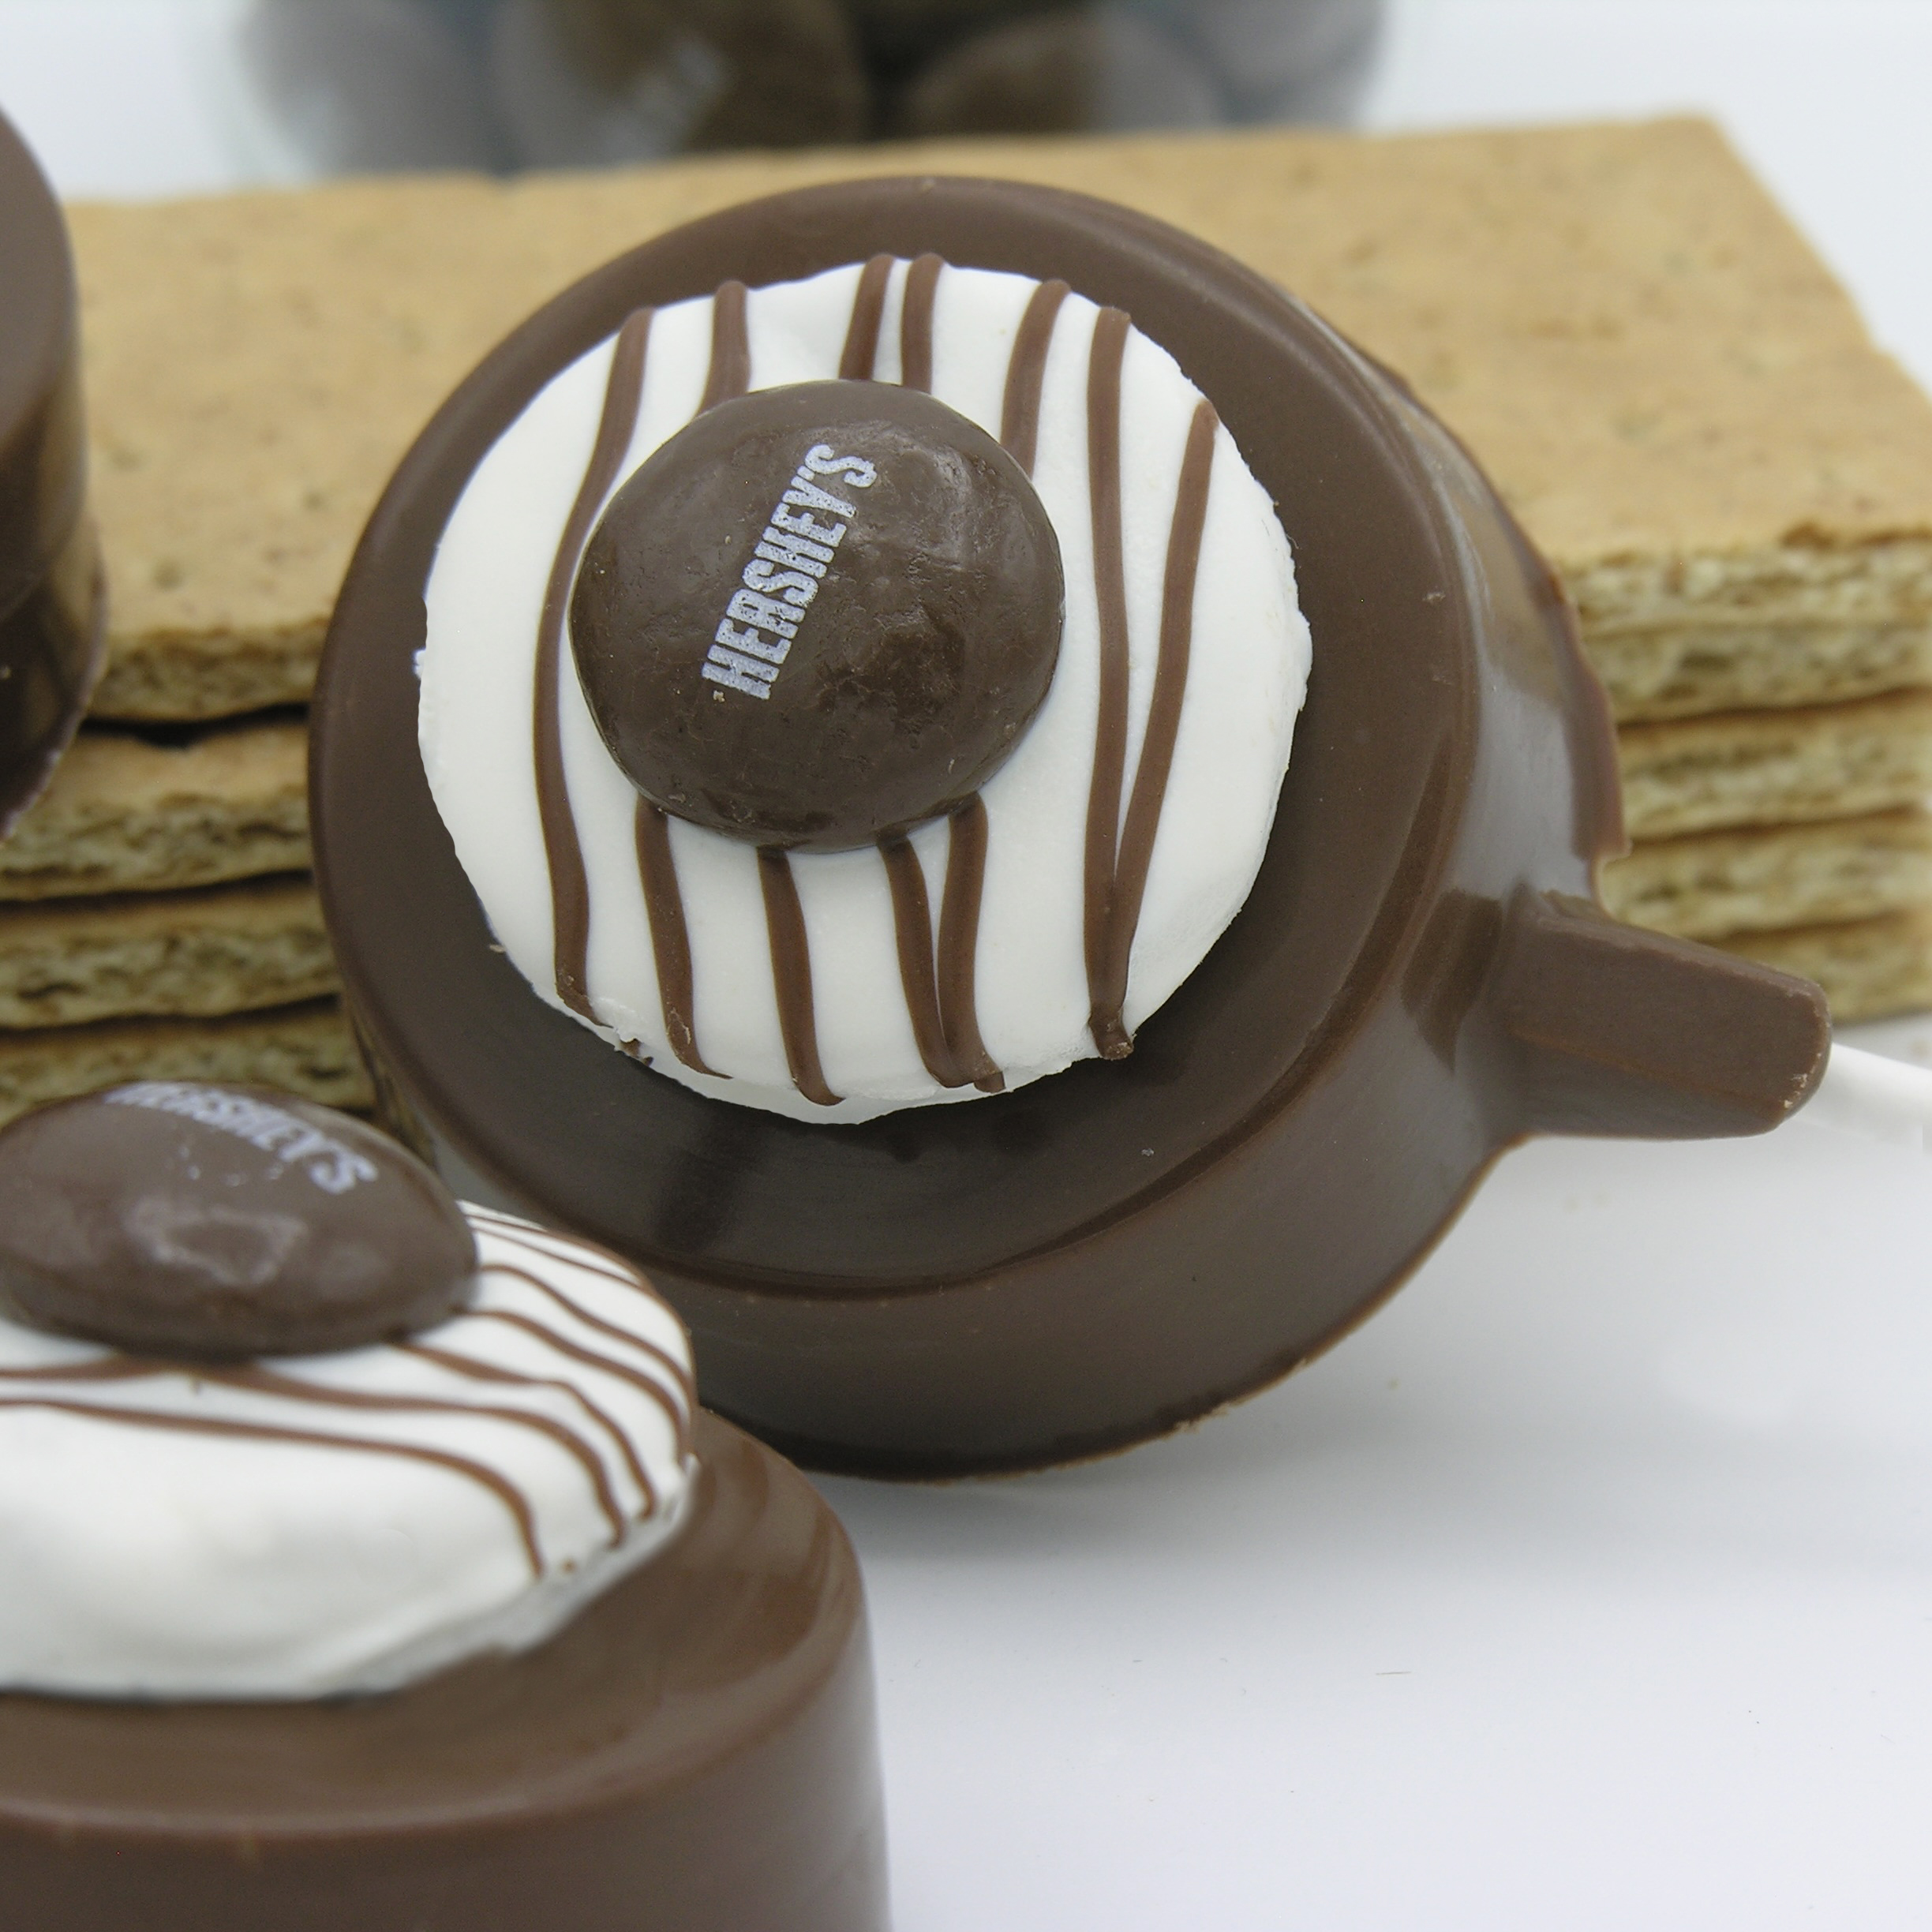
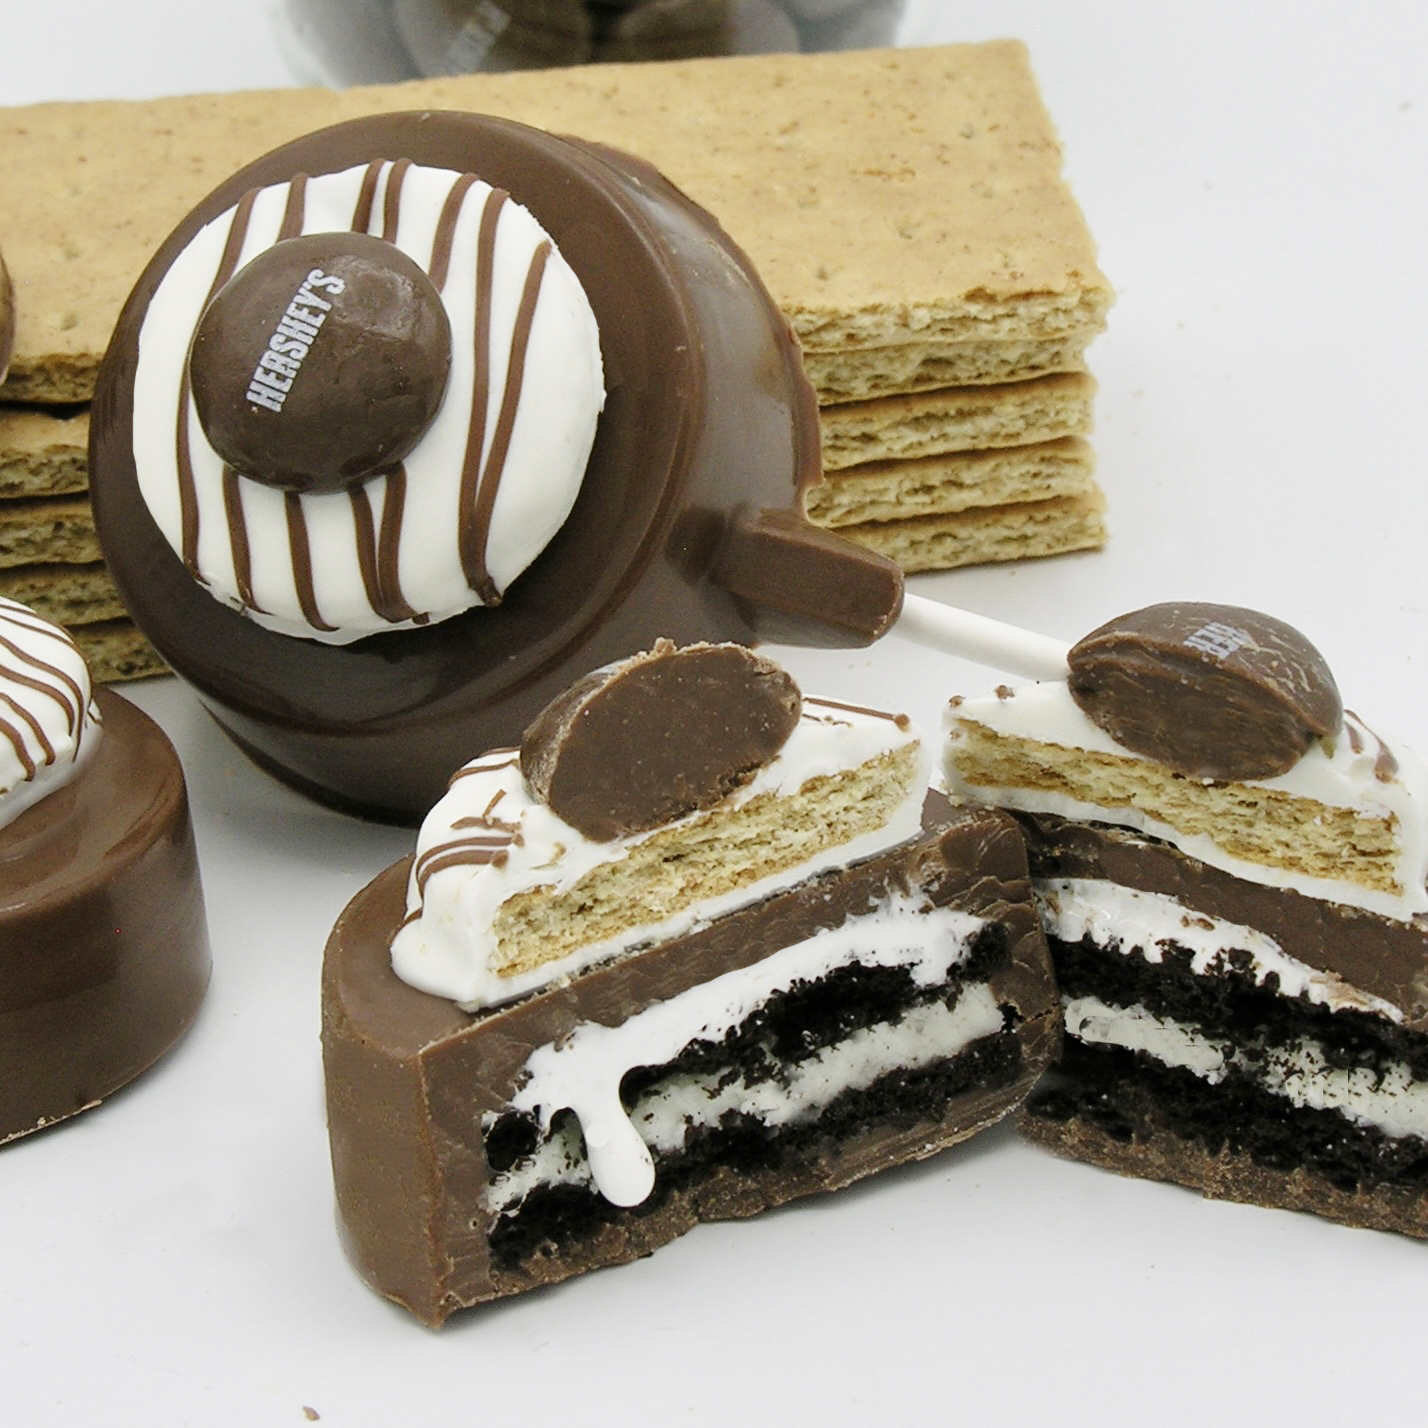
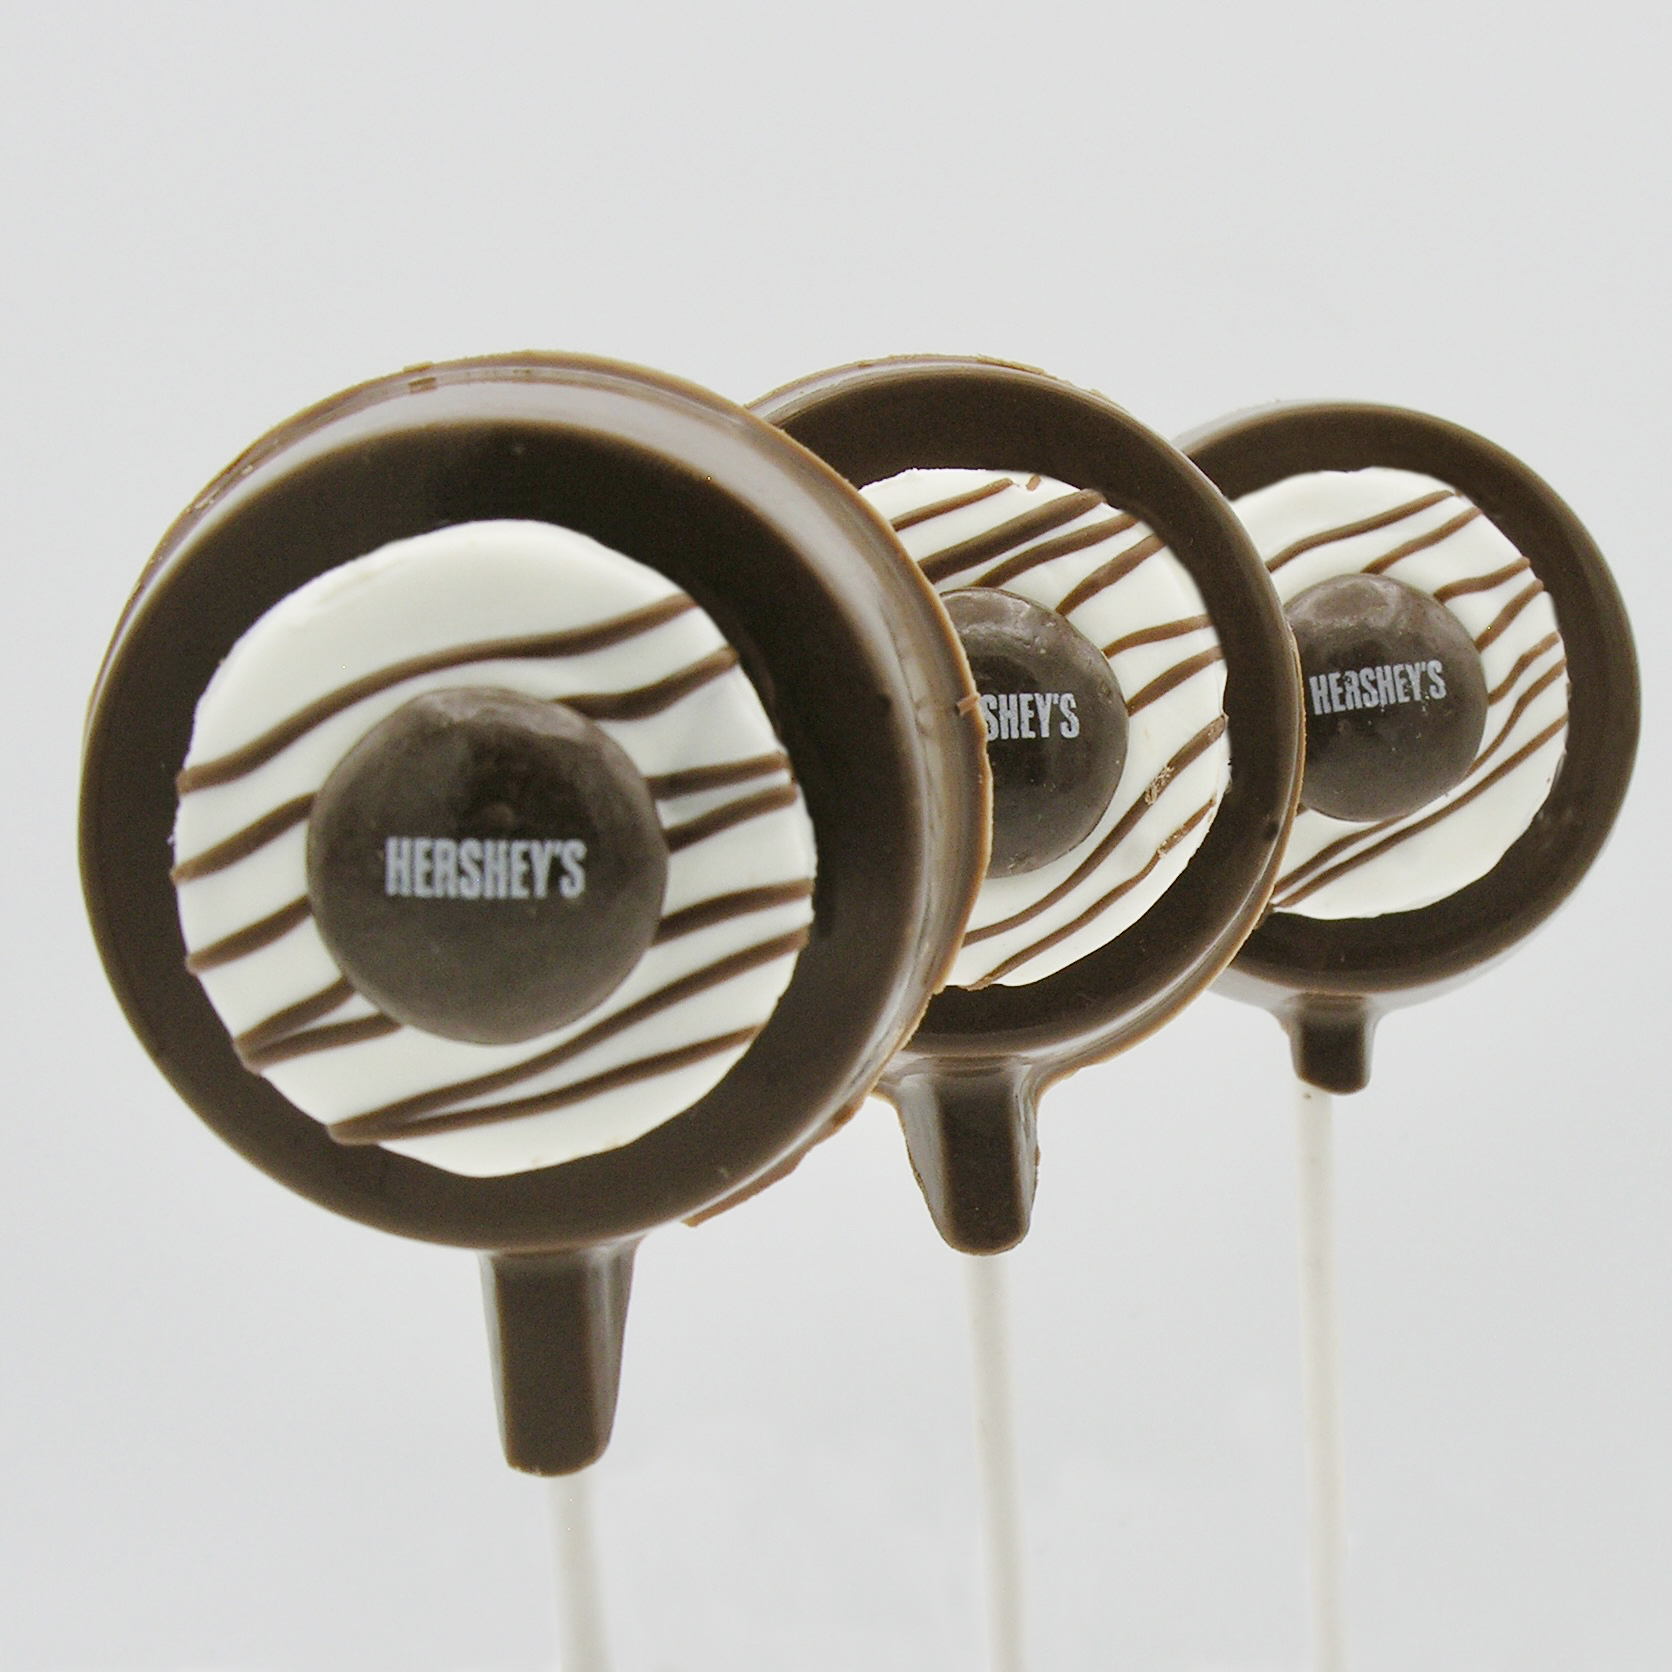
These are one of my new favorite treats! Take a S’more, add an Oreo, and you have… a S’mOreo! These take a little while to put together, but the end result is SO worth the effort!
(The links to Amazon in this recipe are affiliate links. Your purchases help to support future recipe creations here on Easybaked!)
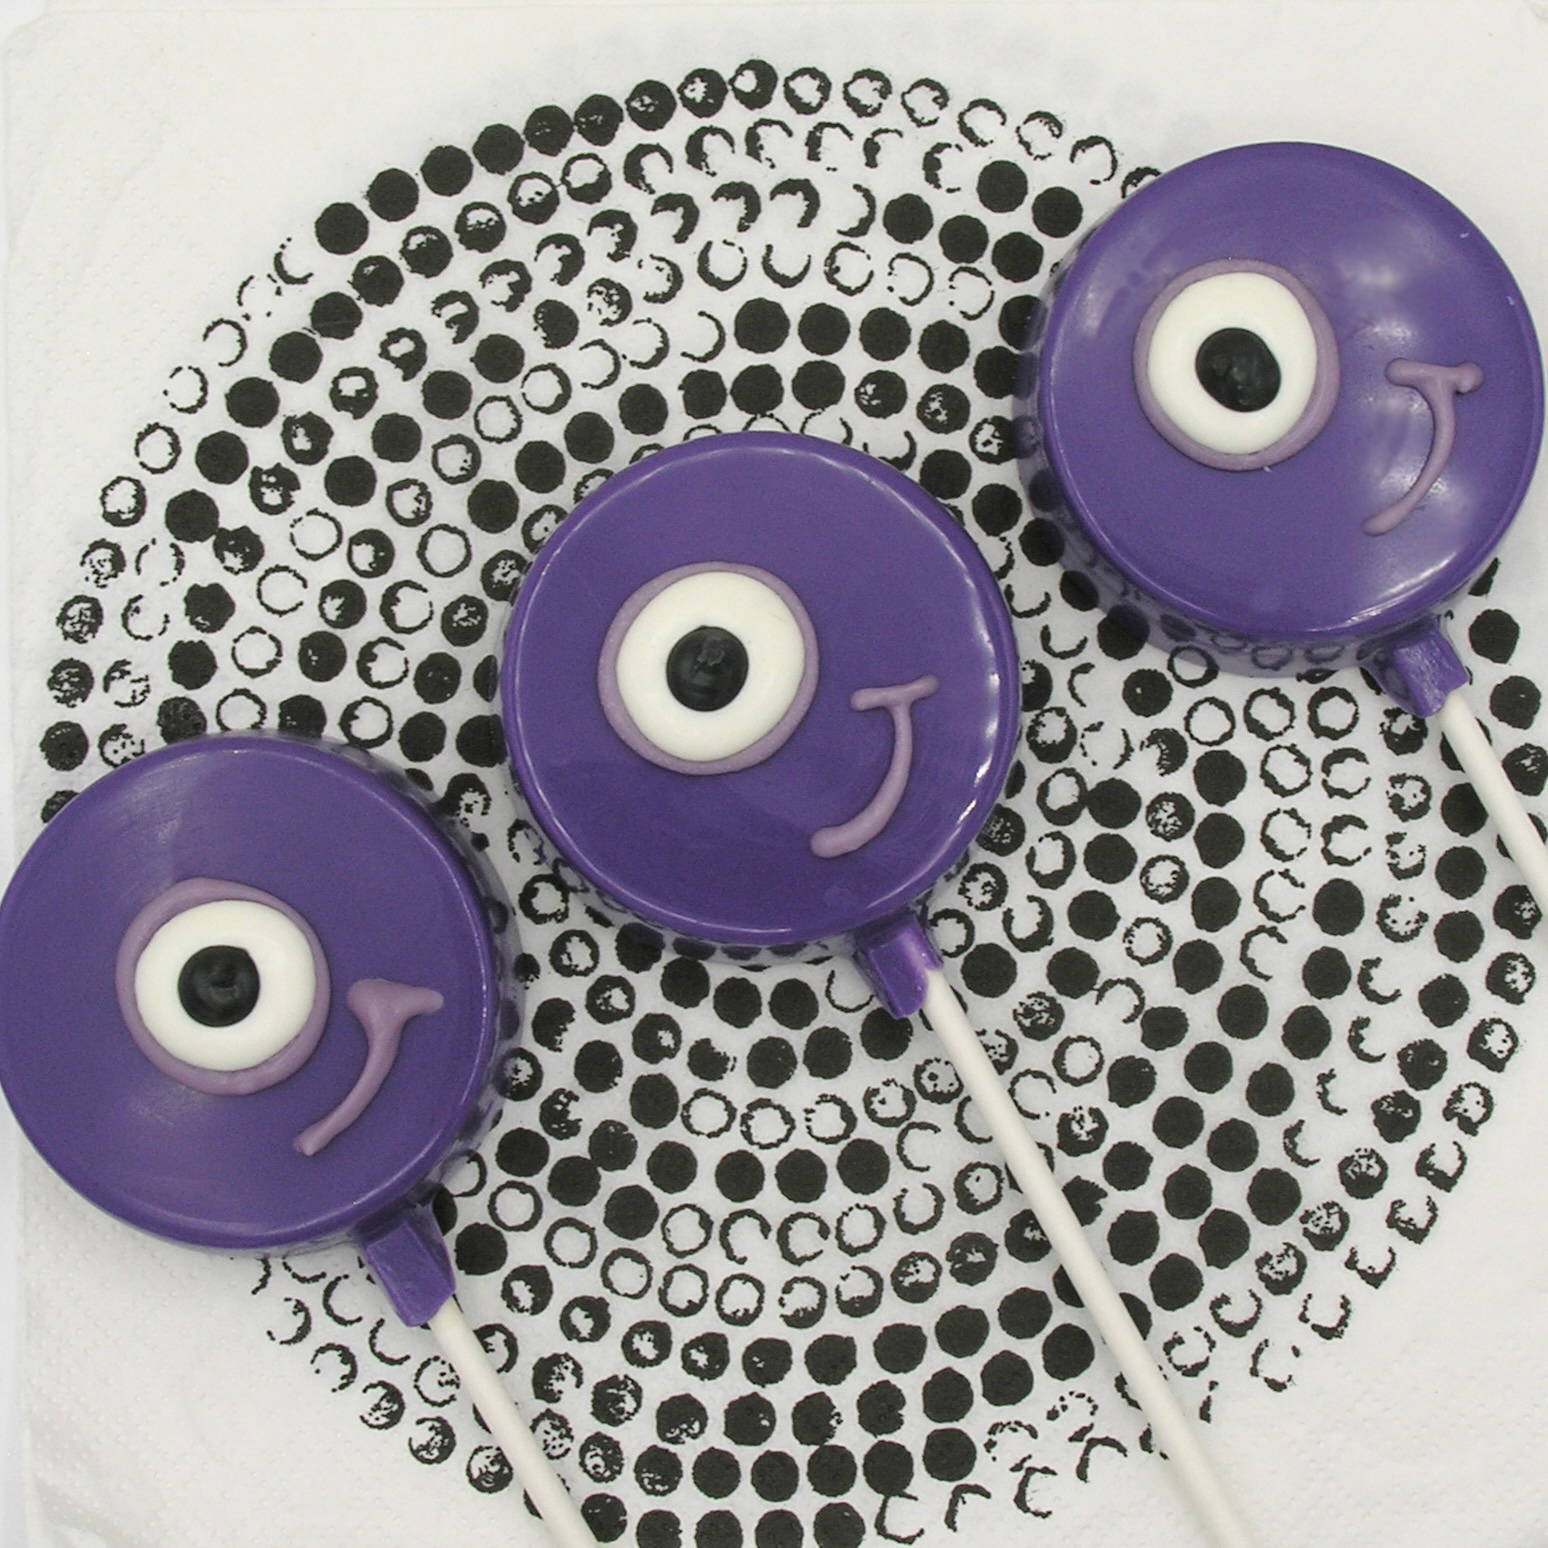
One note to make: Originally I made these, and photographed them on sticks, like an Oreo pop, but since then, I have made them in a mold without a stick, and they were much easier to eat, as they are very heavy on a stick. You choose which way you like them best, but use the correct Oreo mold (with sticks or without).
Ready to give these a try? Here is a printable recipe.
INGREDIENTS:
- 24 Double Stuf Oreos
- 2 12 oz bags of Wiltons Candy melts in dark cocoa
- 1 12 oz bag of Wiltons Candy melts in white
- 1 small jar of marshmallow fluff
- About 8-10 graham crackers
- 24 Hershey’s milk chocolate drops
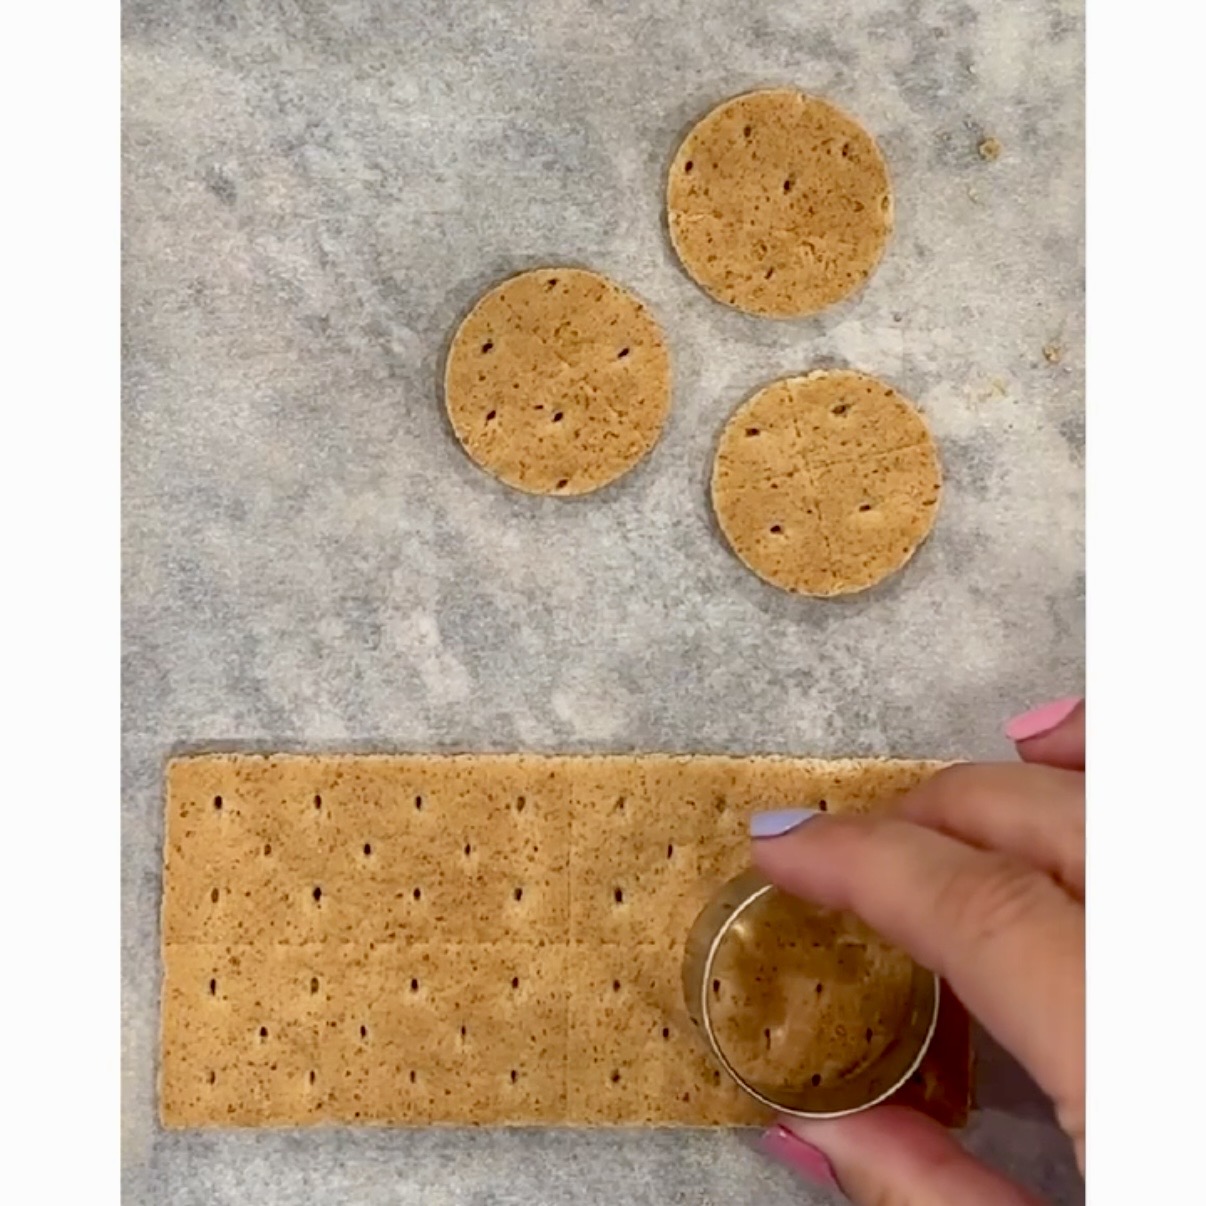
- You will also need a 1 inch circle cookie cutter
DIRECTIONS:
- Cut 24 1 inch circles out of graham crackers, and brush away crumbs.
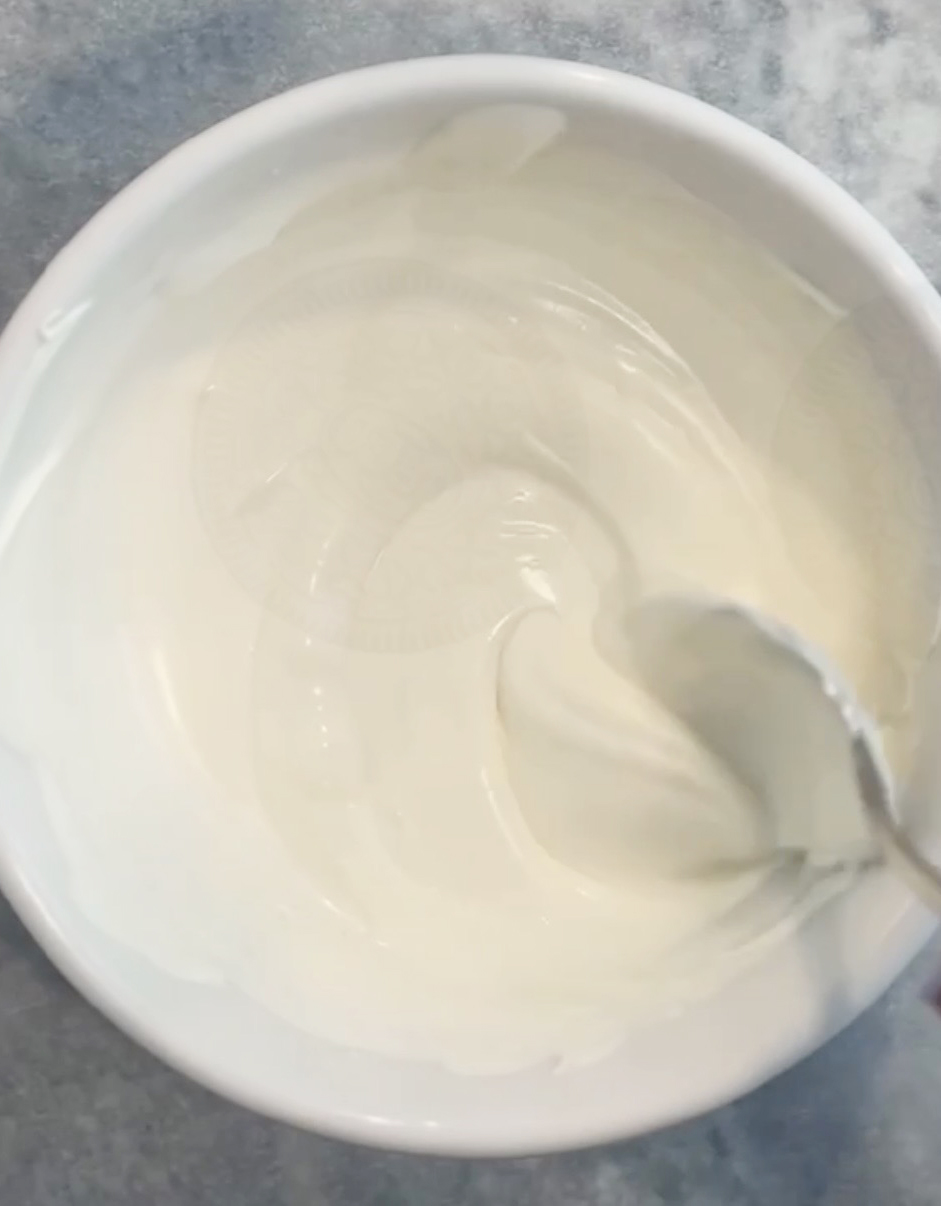
- Melt both white and cocoa candy melts in microwave-safe bowl in 30 second increments, stirring in between until smooth.
- Place a small amount (1/4 cup) of dark cocoa melts into a zip-top bag and clip a small corner.
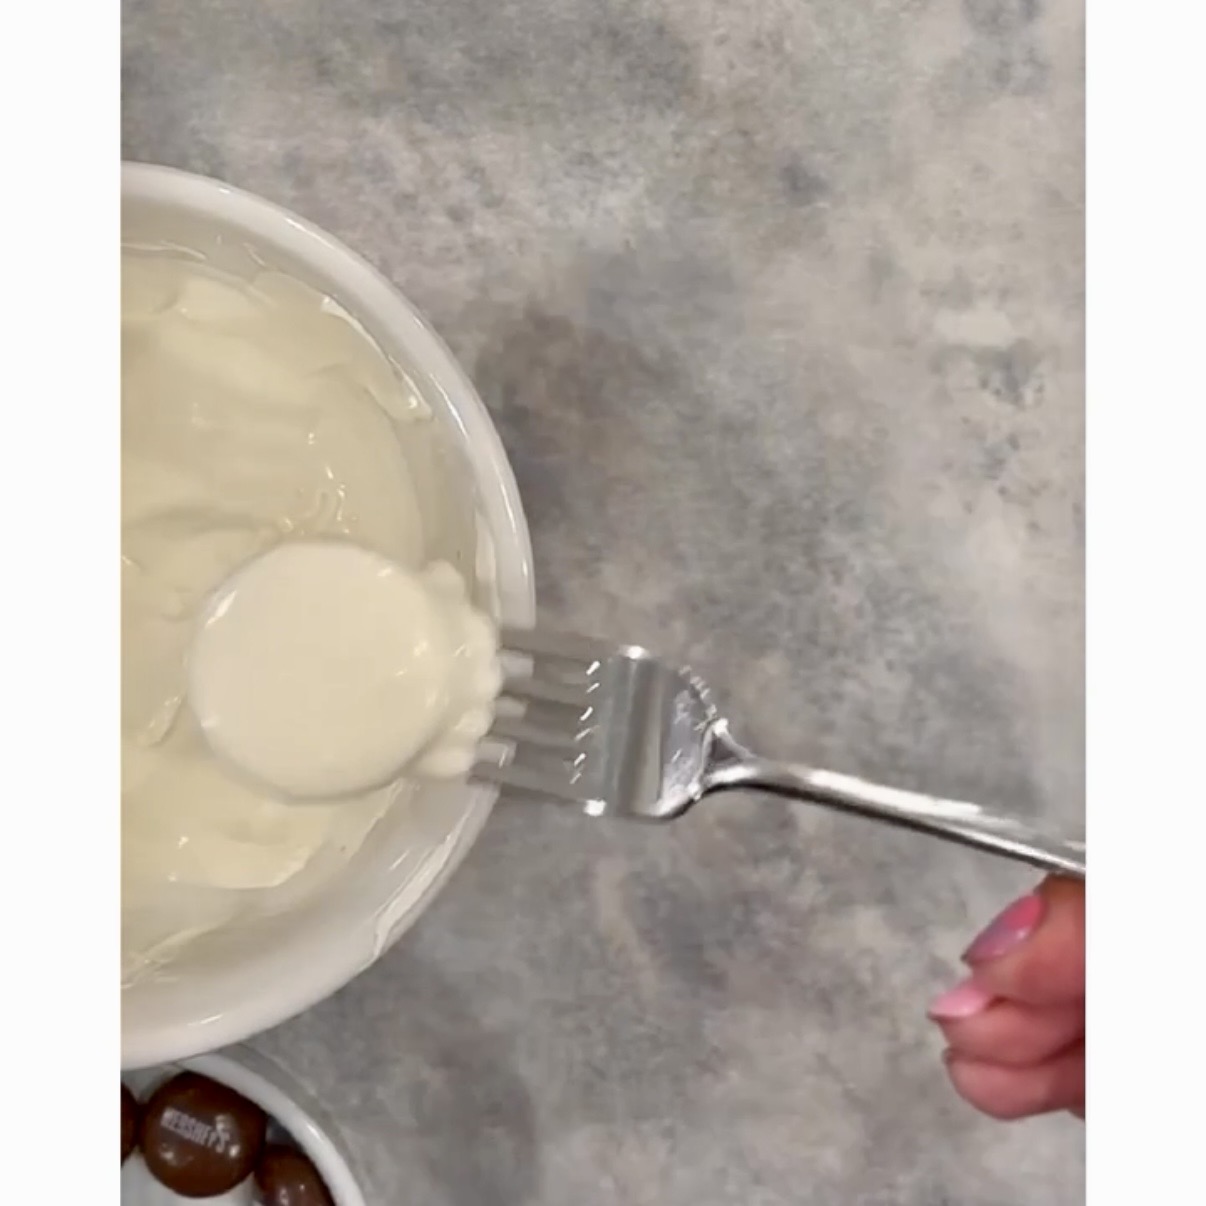
- Using a fork, dip graham crackers into white chocolate melts. Tap fork on edge of bowl and drag bottom of cracker along edge to get off excess white chocolate.
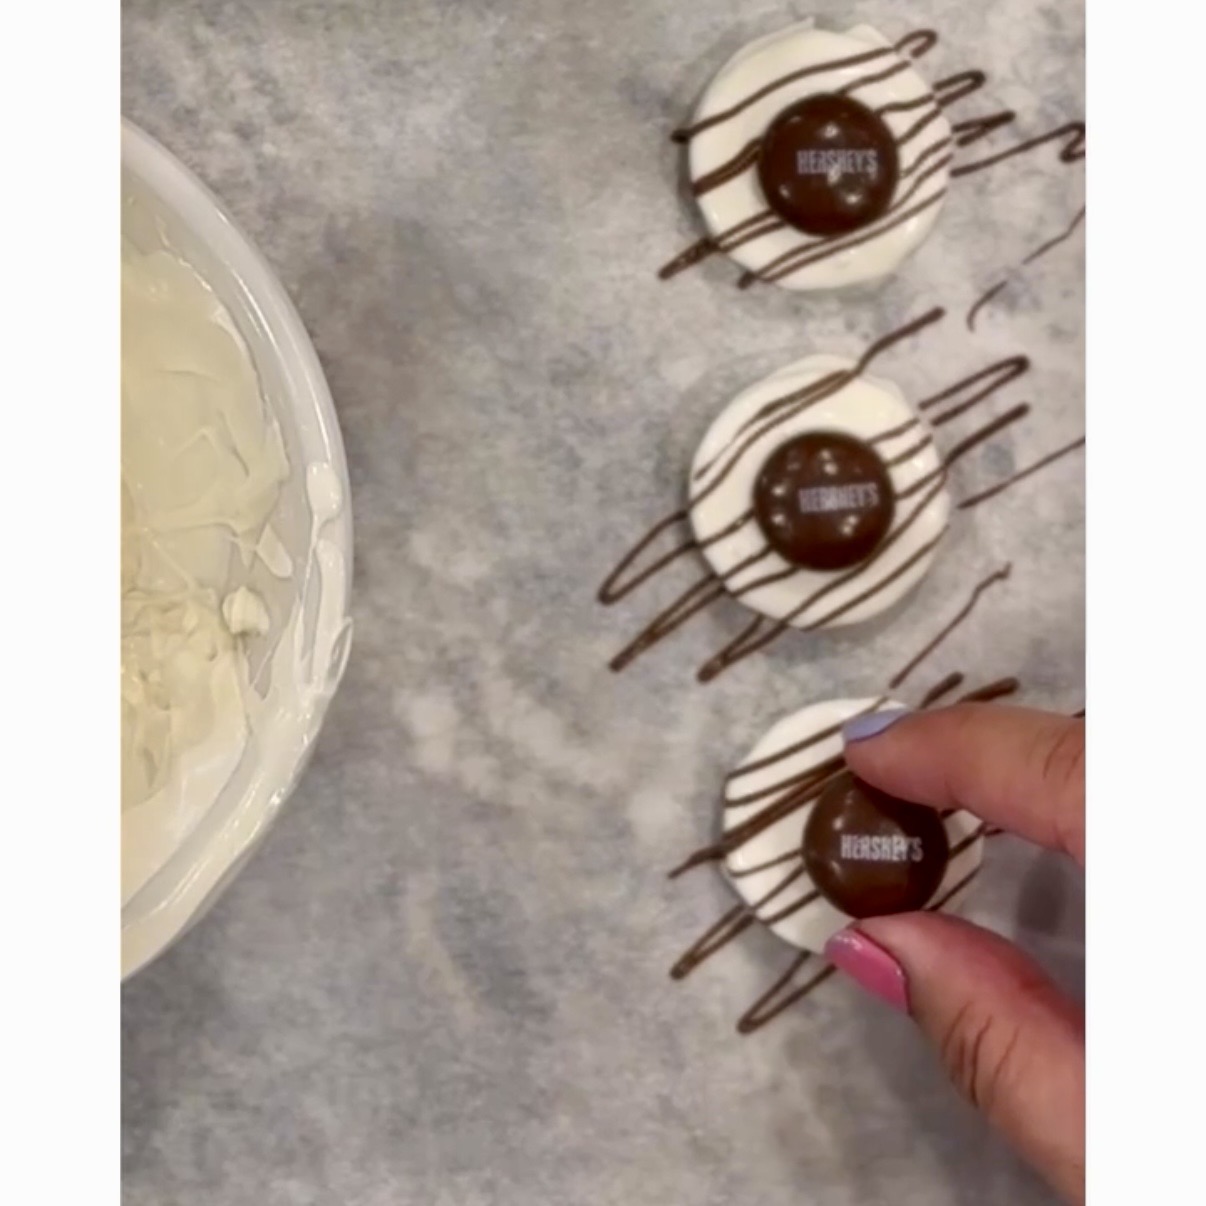
- Slide onto parchment paper and drizzle lines of dark cocoa across the top. Squeeze the remaining cocoa melts back into the bowl with the rest of the cocoa melts.
- Set a Hershey drop on top and allow this to cool and harden.
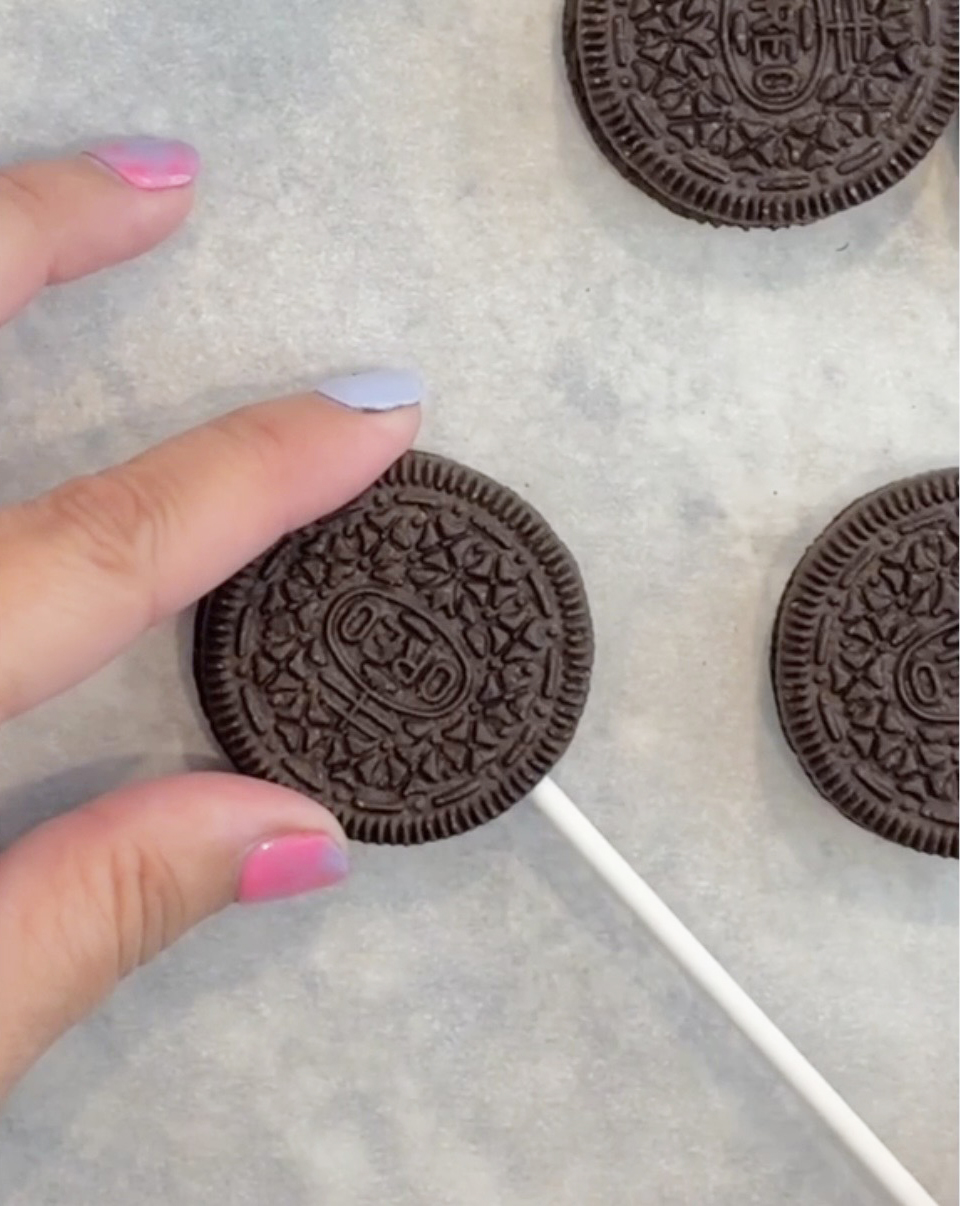
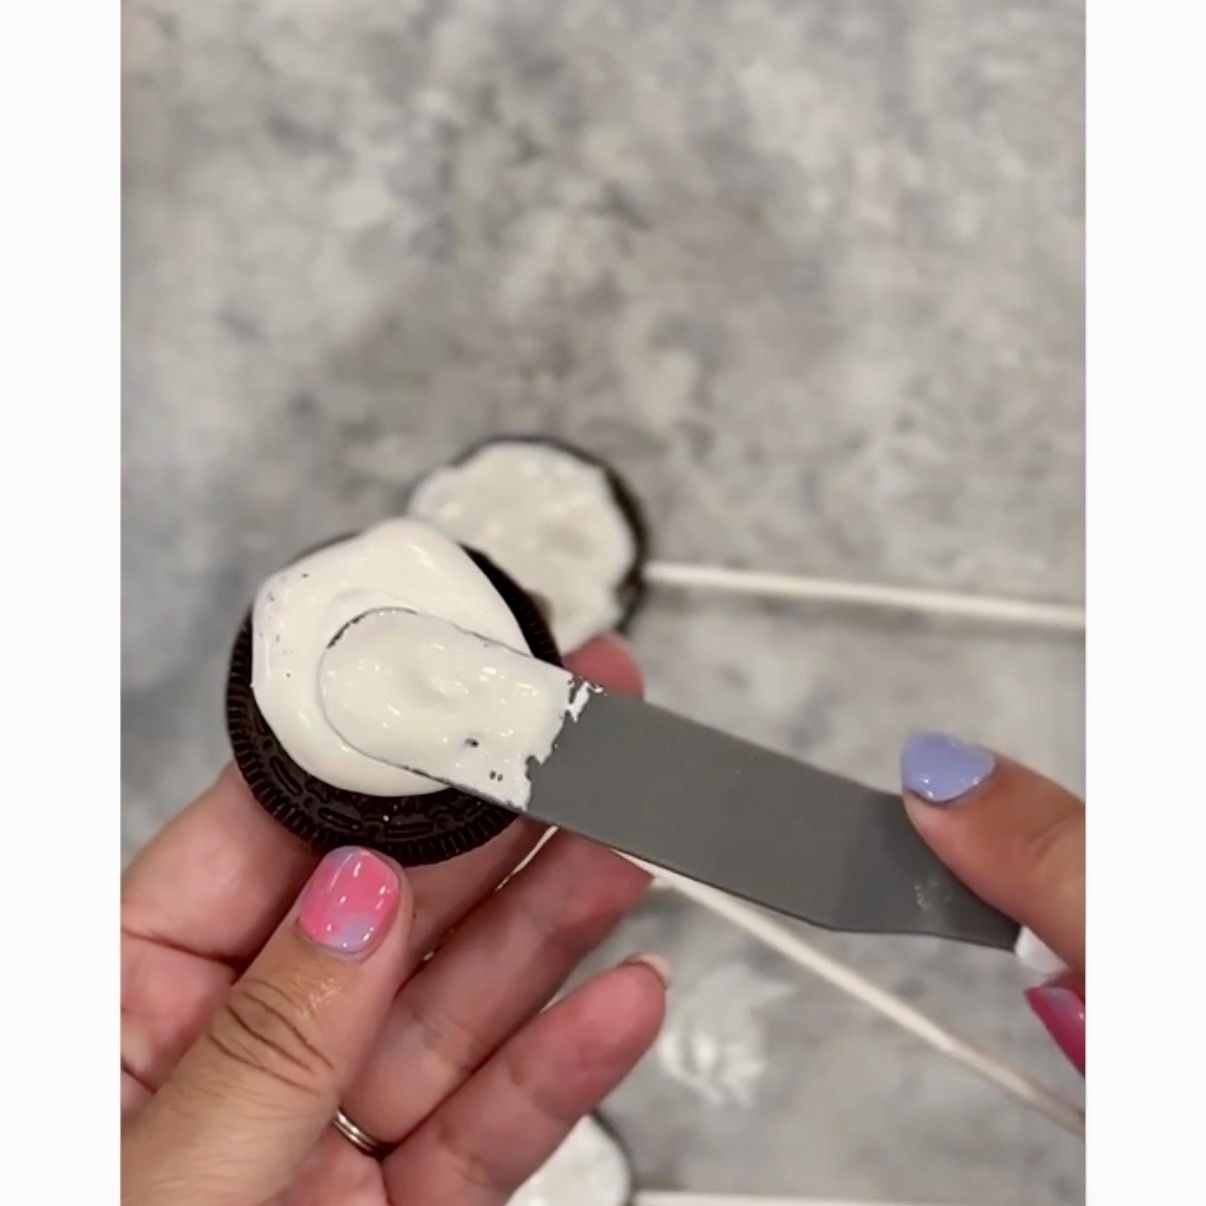
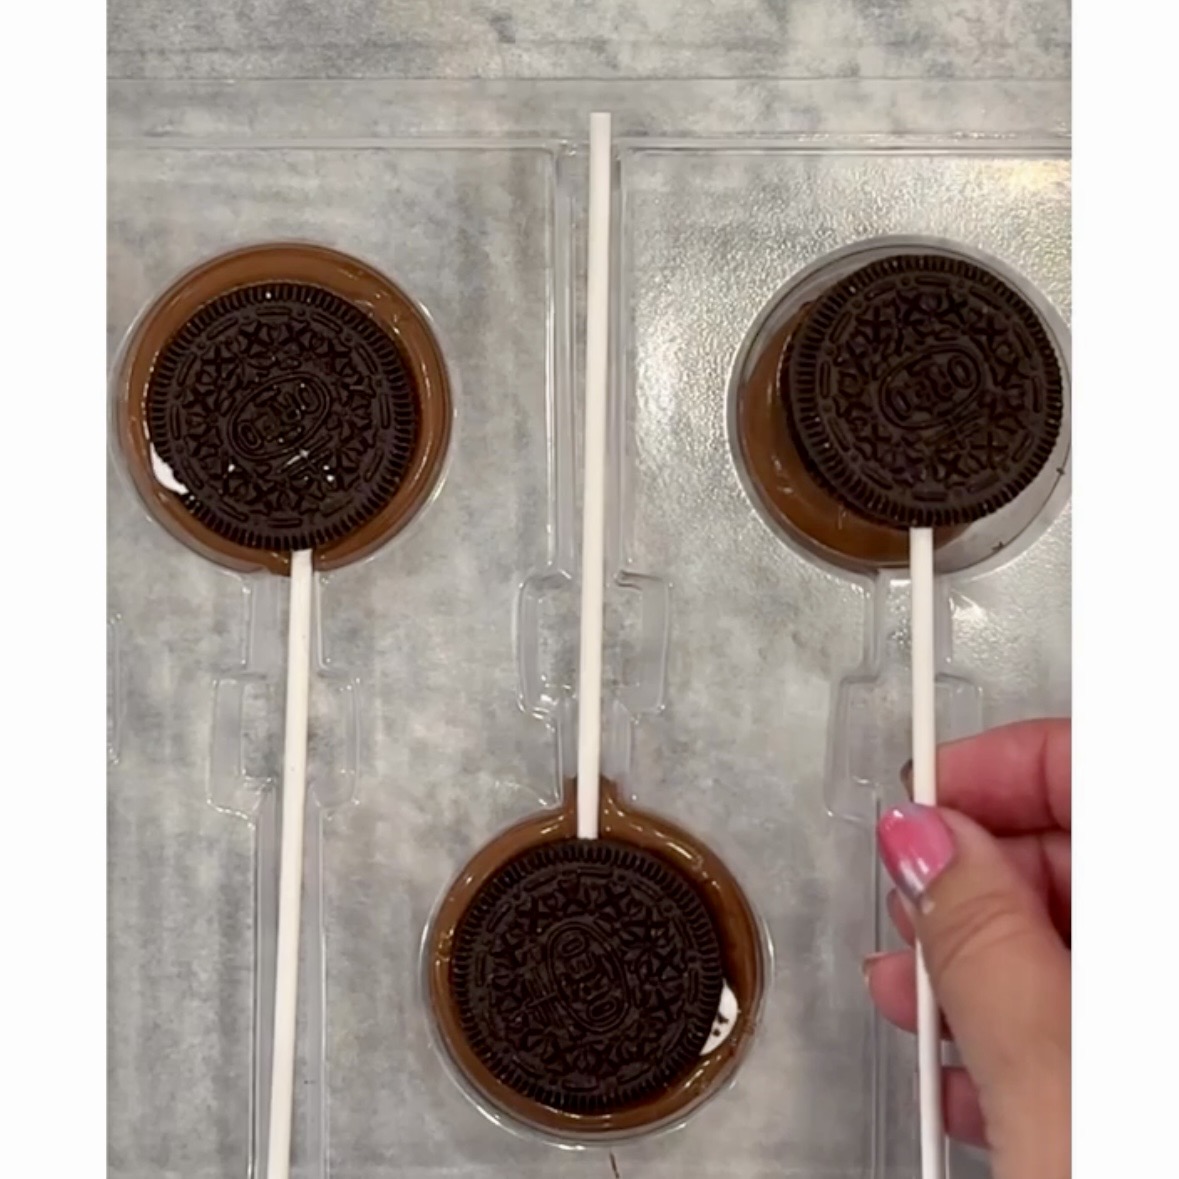
- Slide sticks into Oreos at this point (if using).
- Using a knife, spread a layer of marshmallow fluff on top of 4 Oreos.
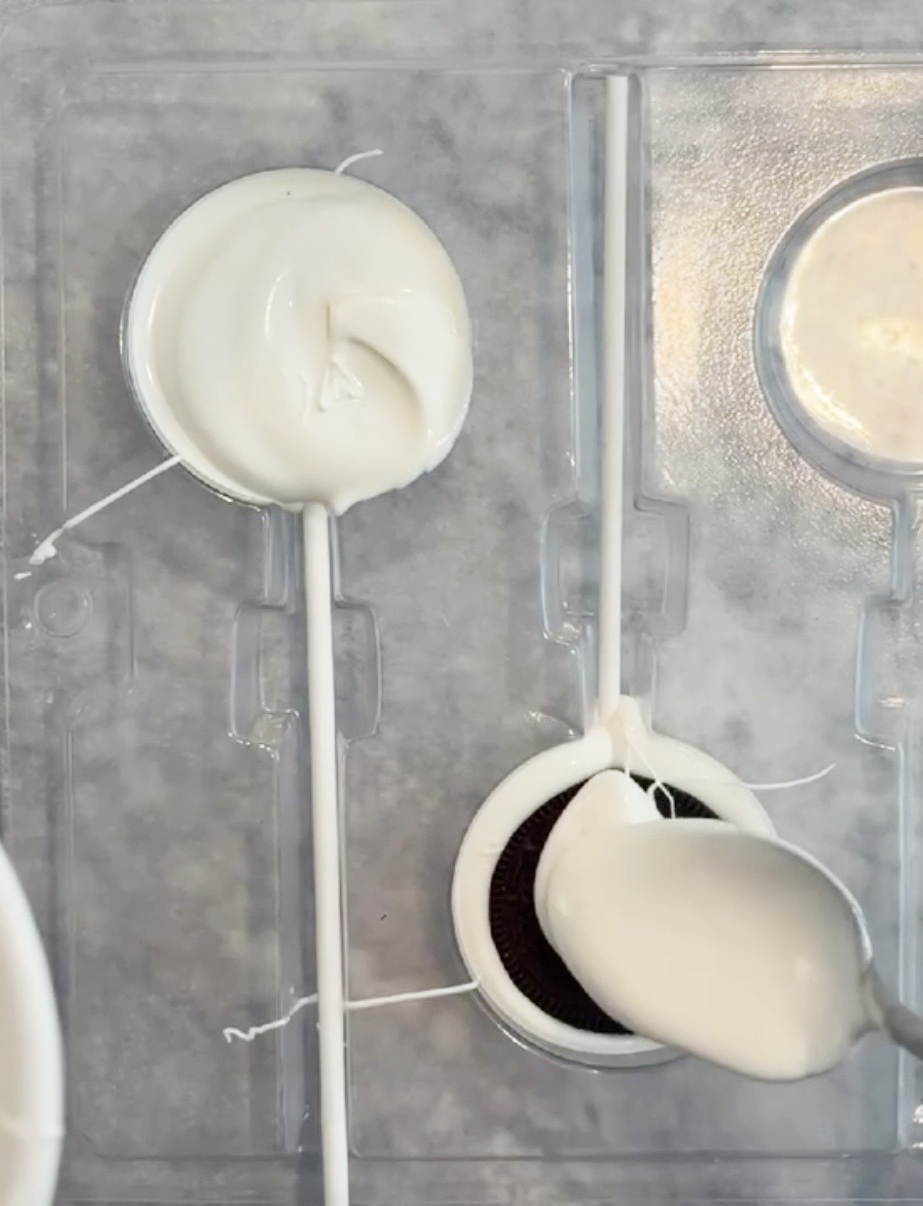
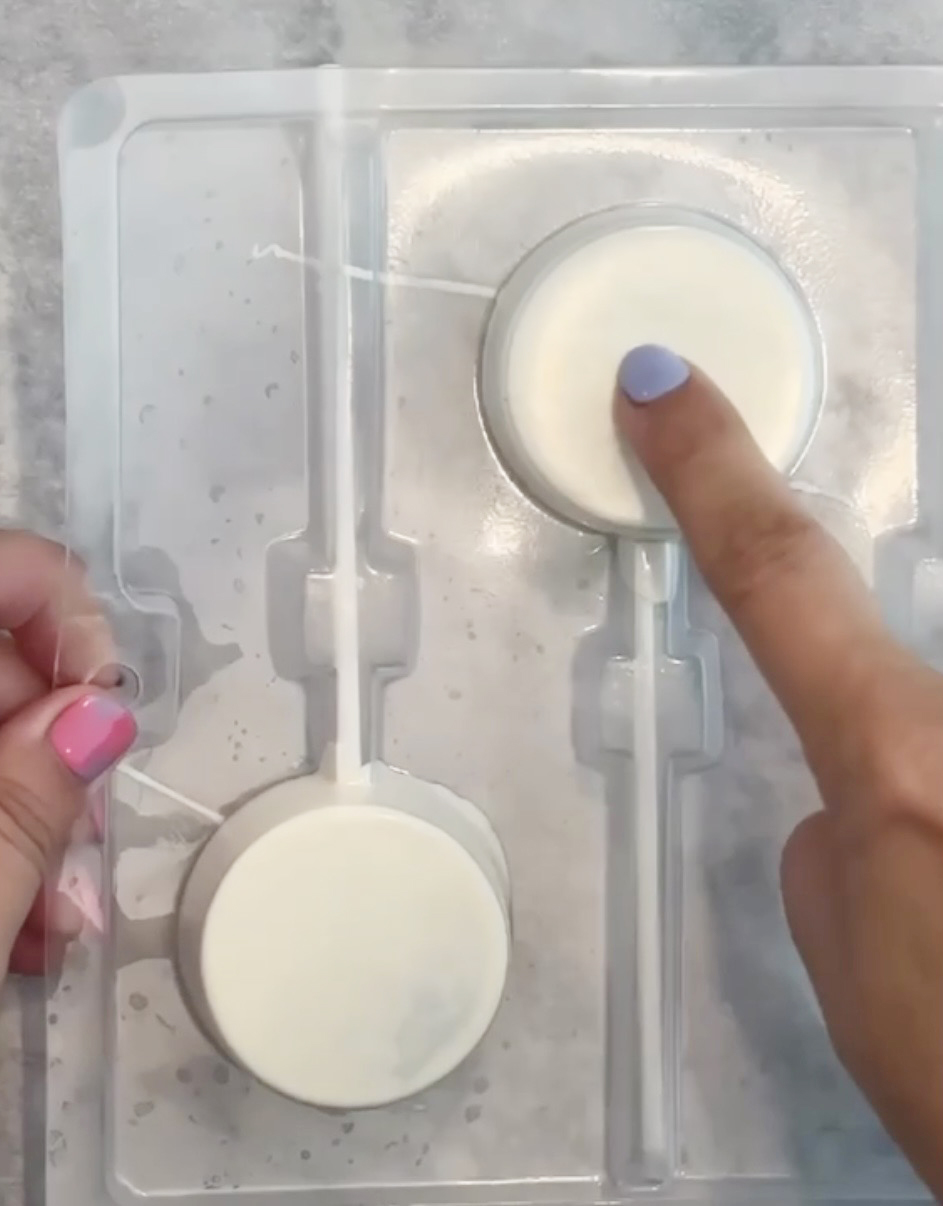
- Spoon about 1 tablespoon of cocoa melts into each mold cavity.
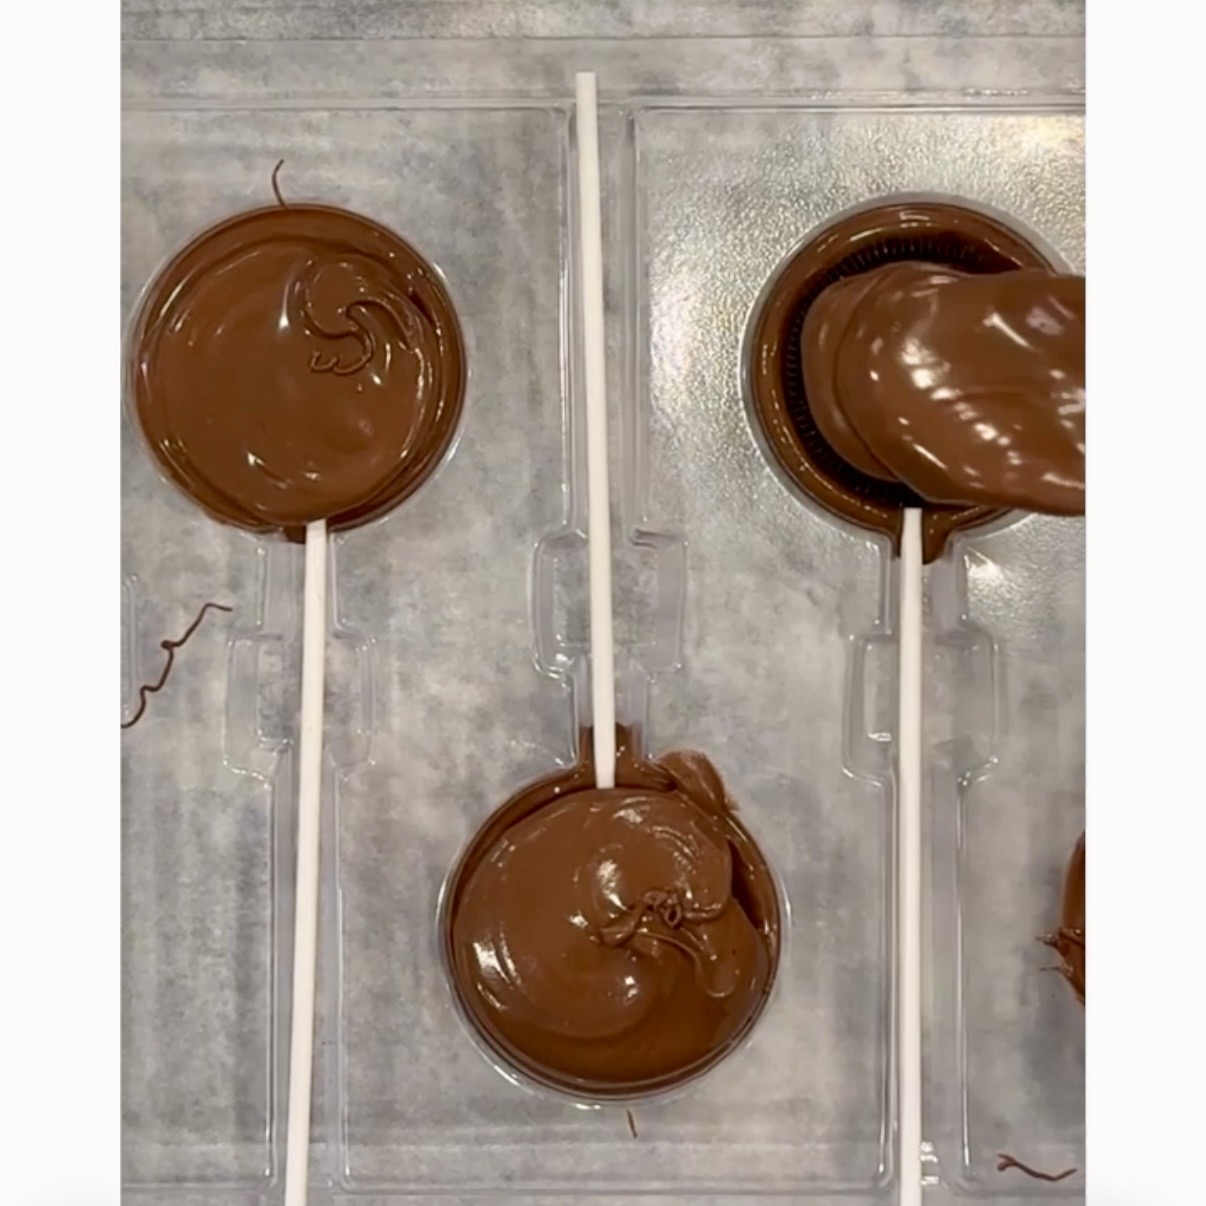
- Press an Oreo into each cavity, allowing melts to rise up along sides.
- Spoon a little more of the candy melts on top, and tap on counter to get bubbles out and fill in along the sides. Note: if you have these clear molds, you can lift them up and check for any areas that might have bubbles or where the melts aren’t covering the Oreo, and use a toothpick to poke those out and allow the candy melts to fill in.
- Allow candy melts to harden. I put these on a small cookie sheet and freeze them for about 5 minutes to speed up the process.
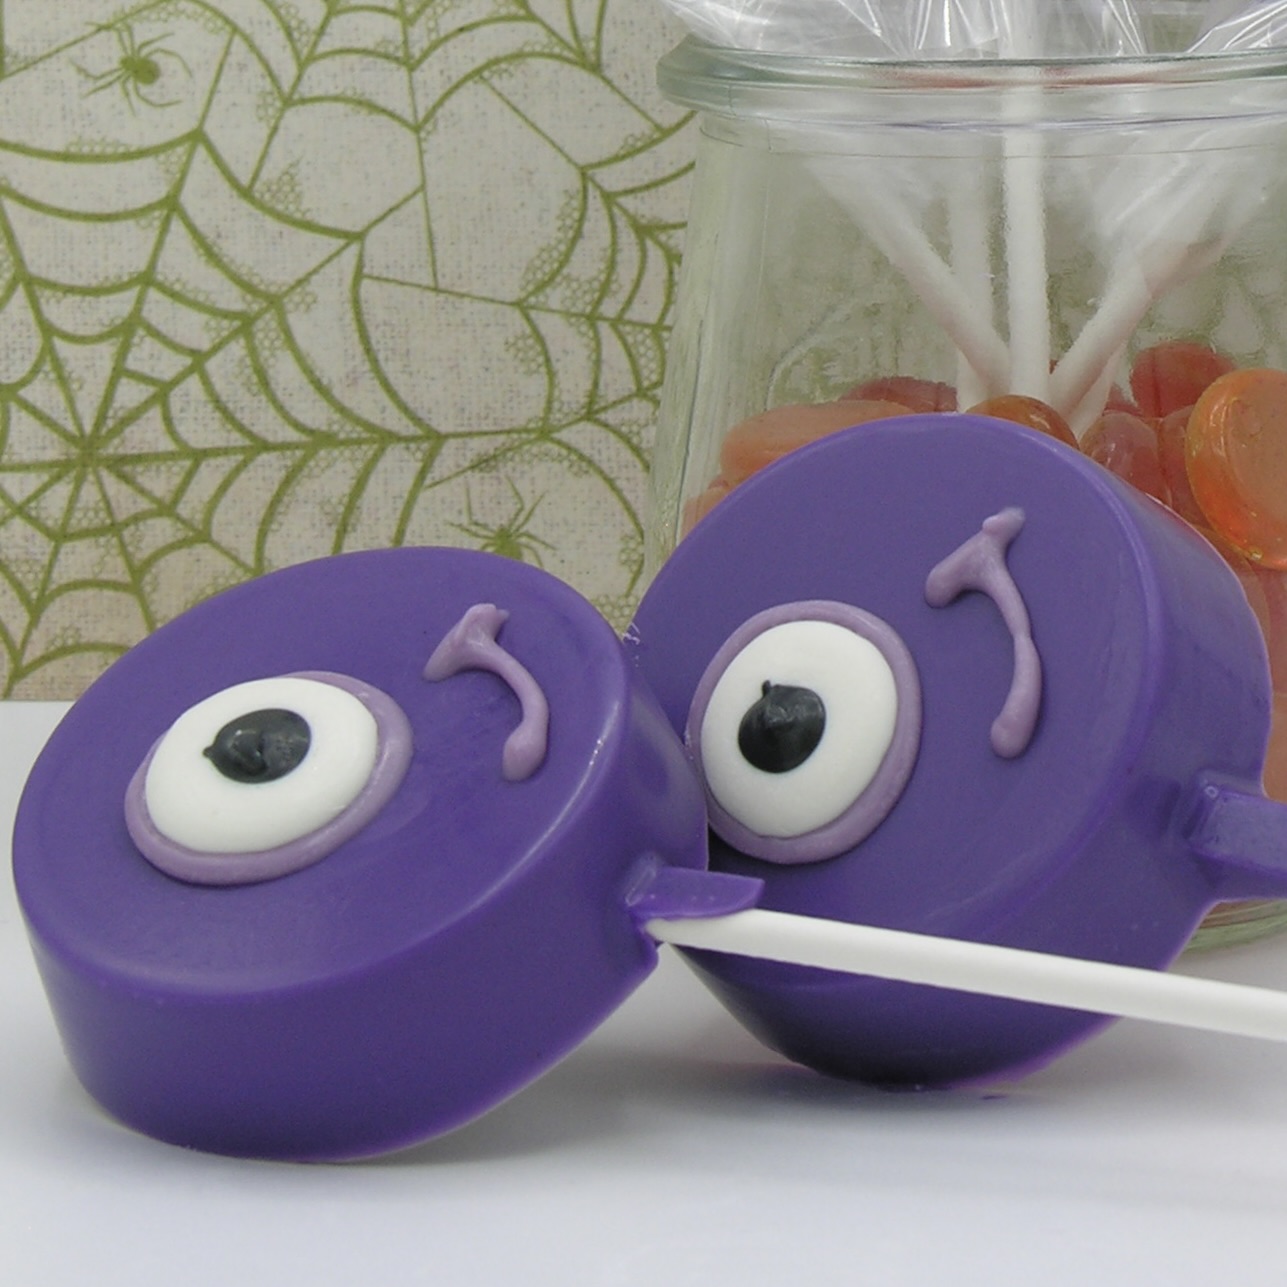
- Turn the mold over and tap to release the covered Oreo.
- Once these are room temperature, use a little of the white melts (reheat if needed) to spread on the bottom of each covered graham cracker and then press on top of covered Oreo.
- Allow this to harden, and wrap in a little cello bag to keep fresh. These will stay fresh for about 1 week if they are kept wrapped in one of these.
My thoughts: YUM! These are my favorite variety of Oreo dessert I’ve made so far (and we love Oreos around here!) Nick, my favorite taste-testing hubby agrees. These are the perfect blend of flavors! I really hope you get a chance to try them! Enjoy! ~r
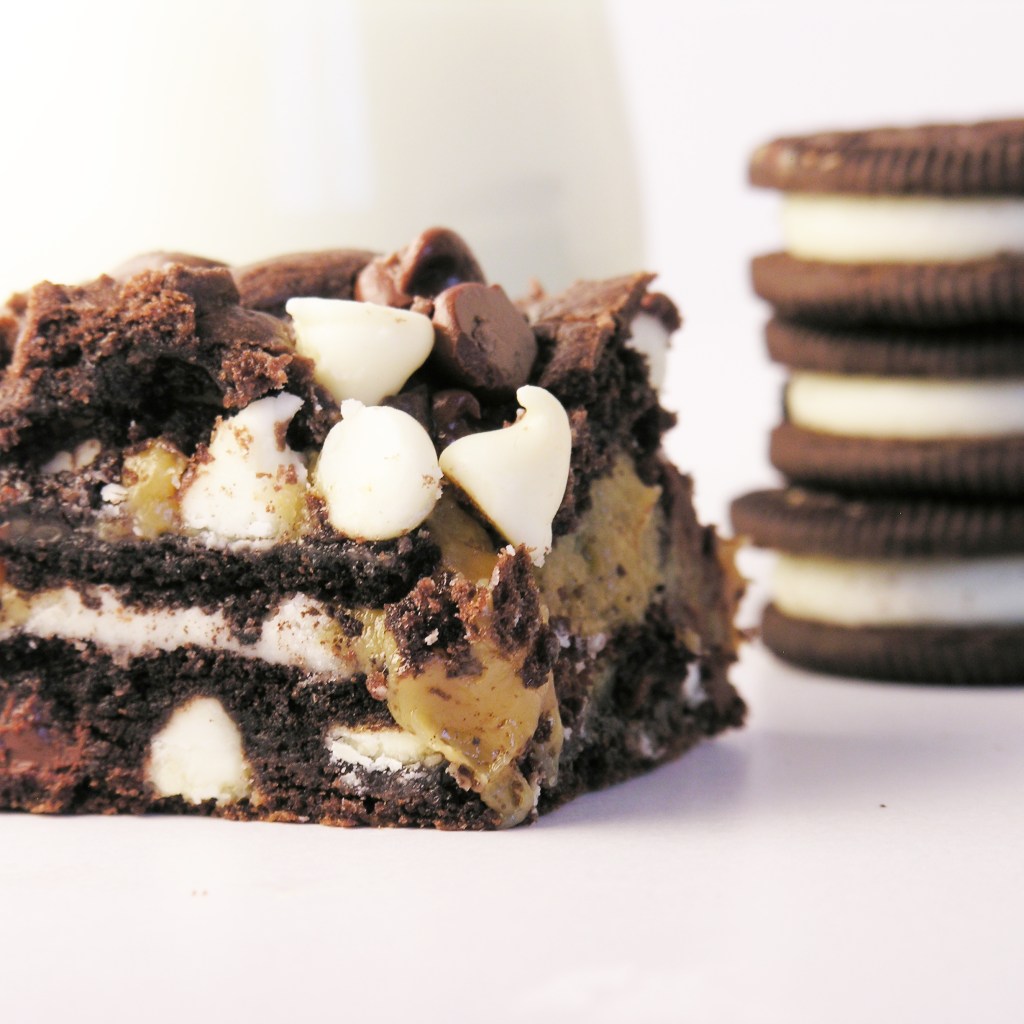
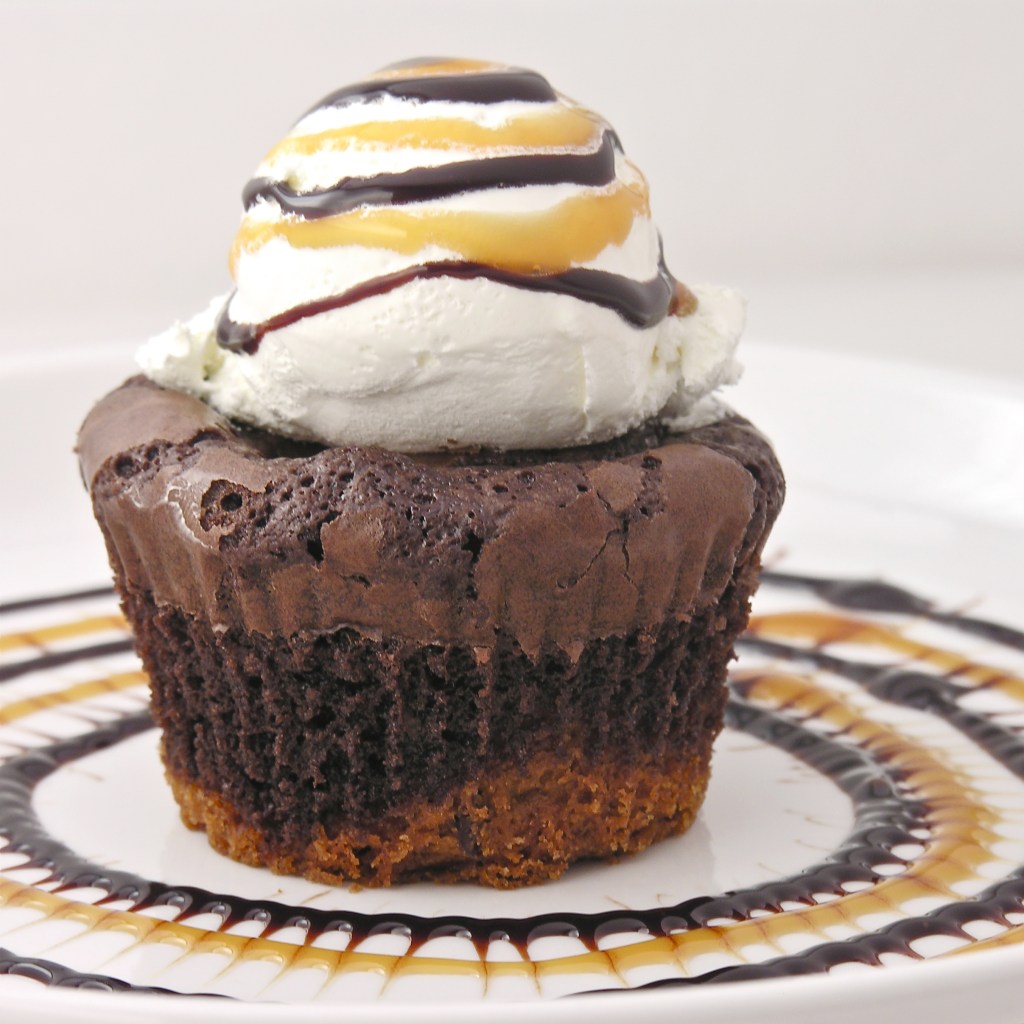
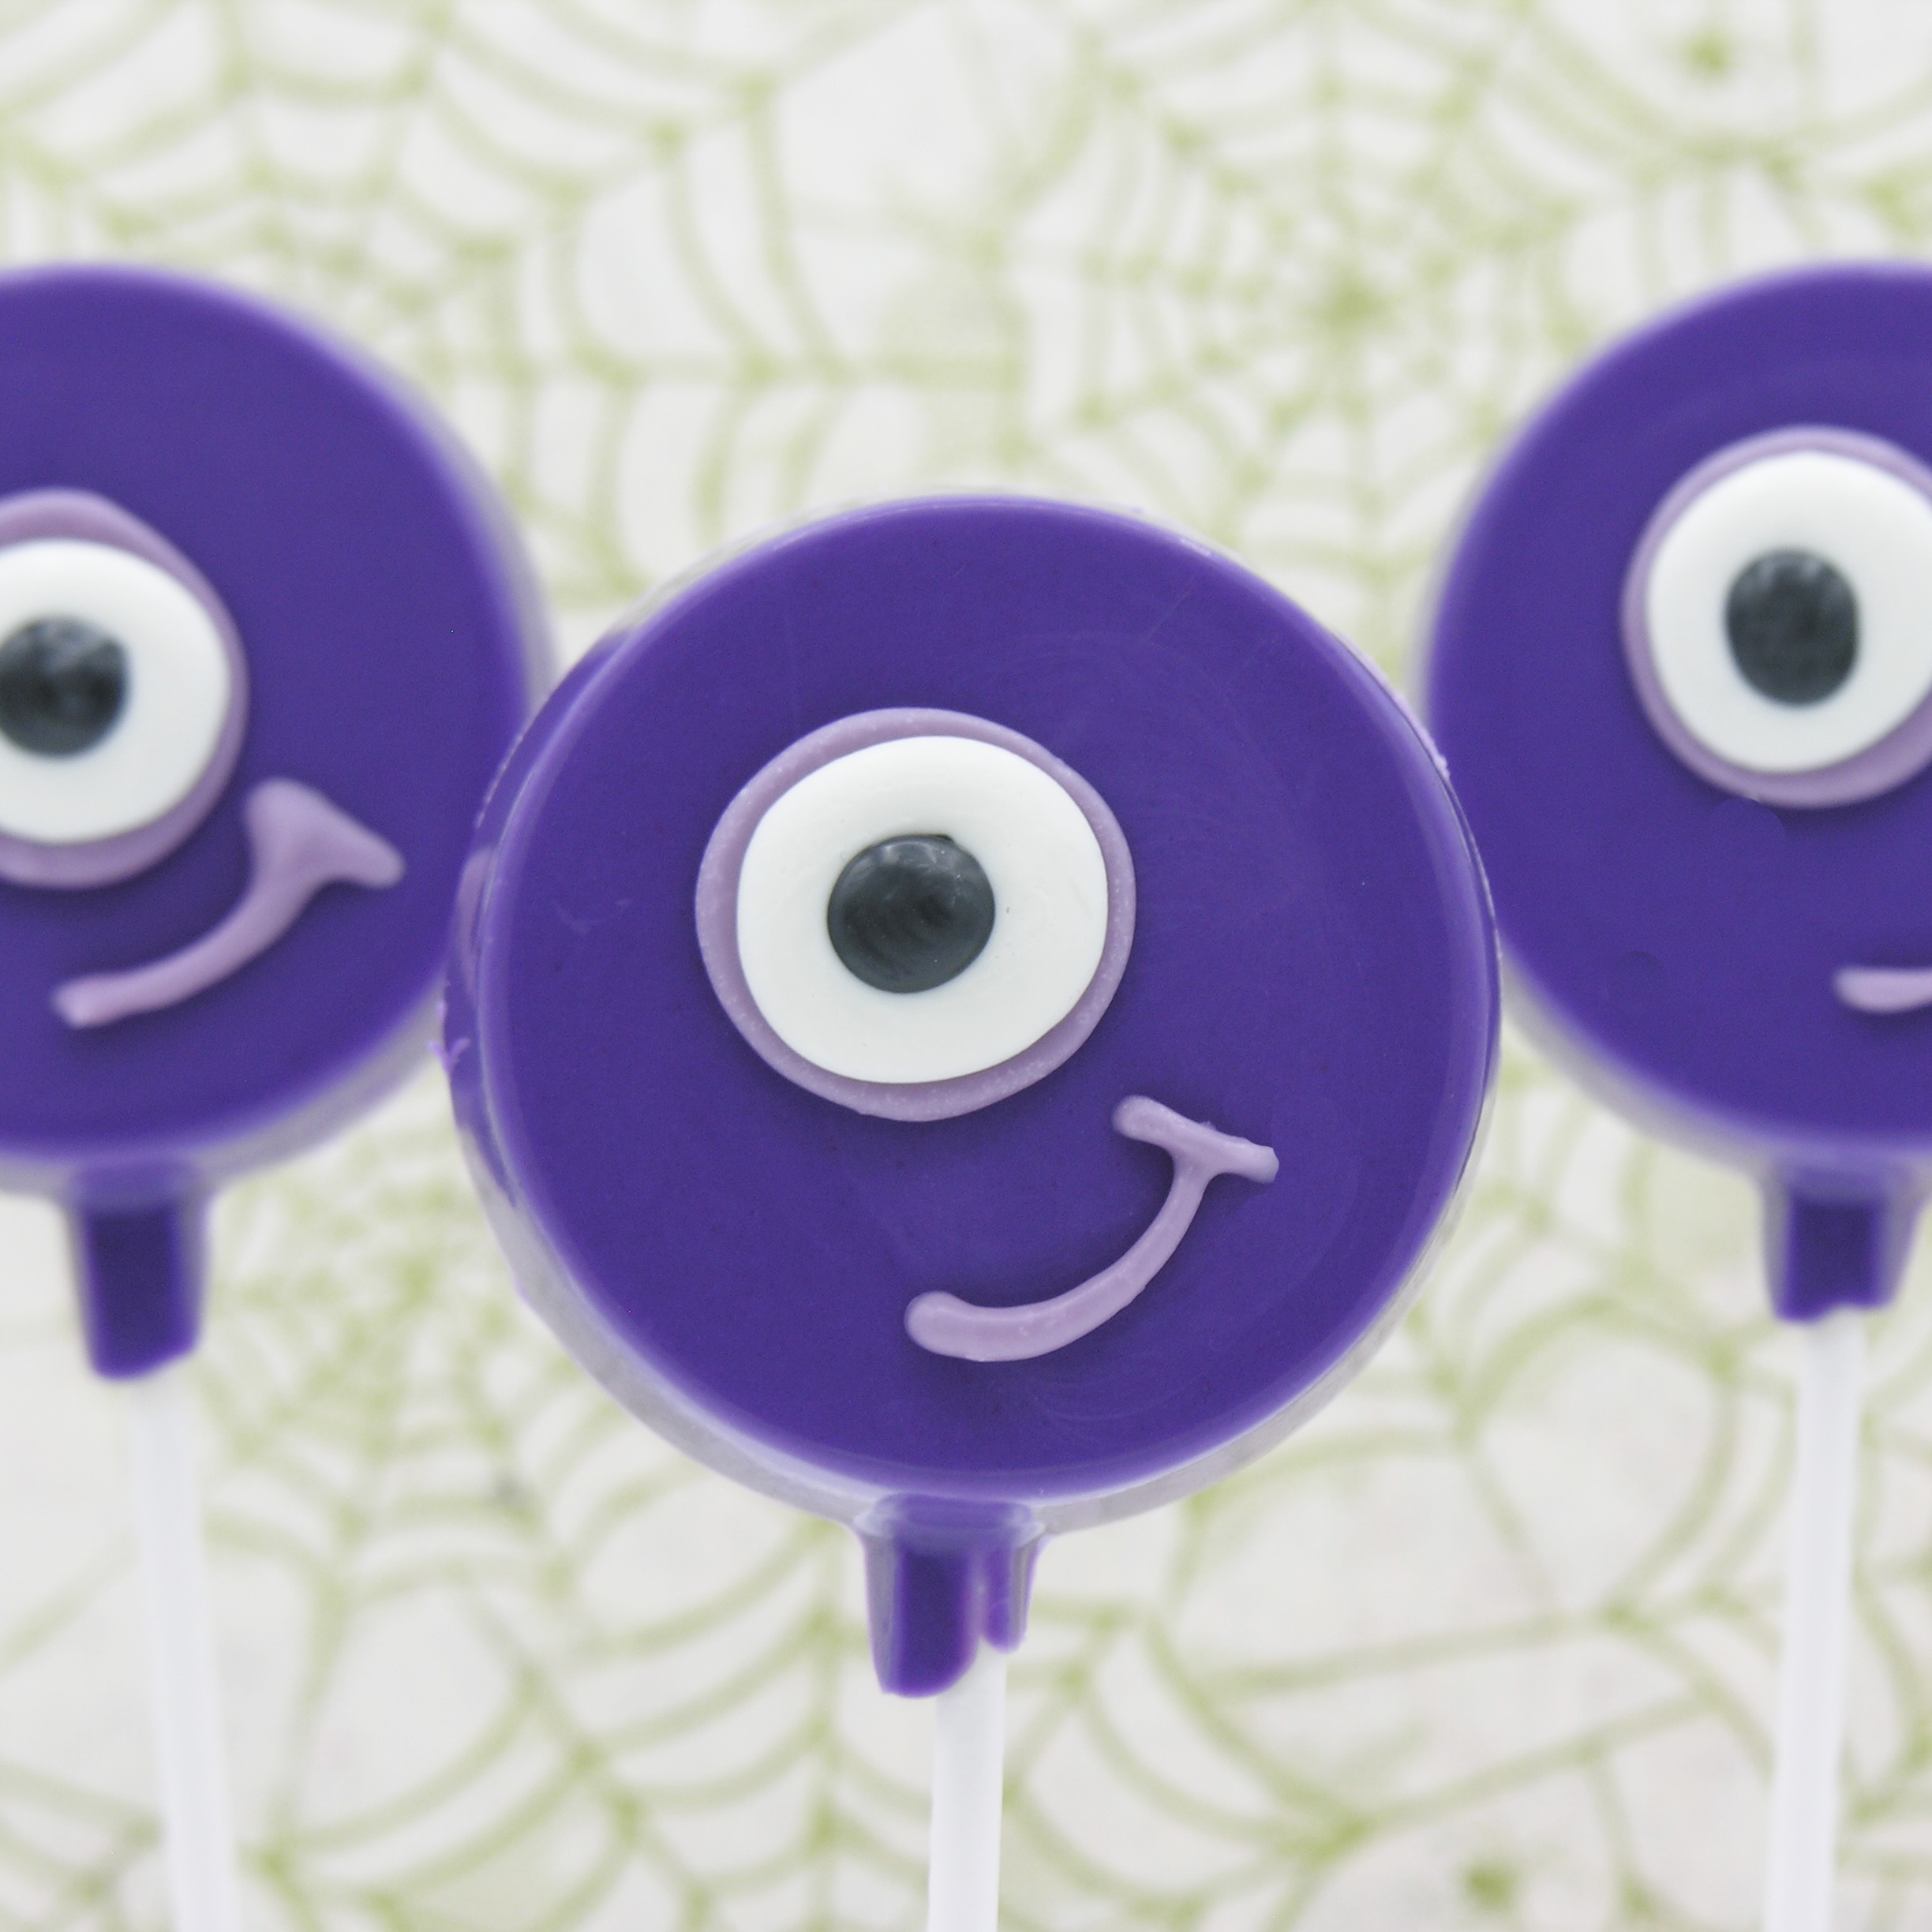
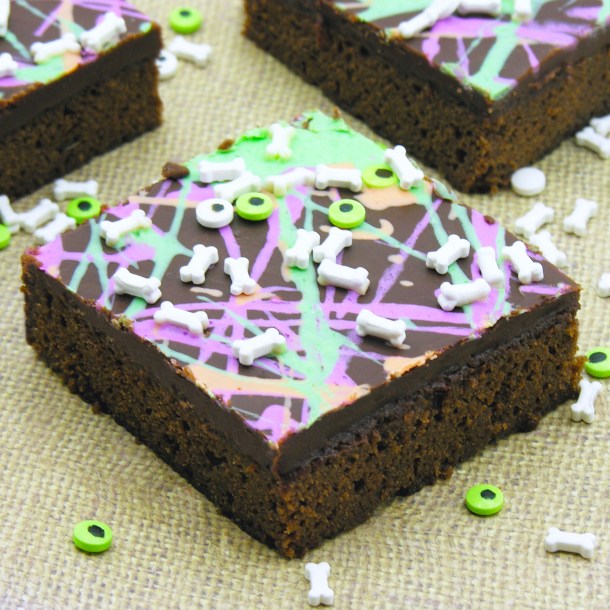
In case you love Oreo desserts, and want a few more ideas, click on a photo to see the recipe!