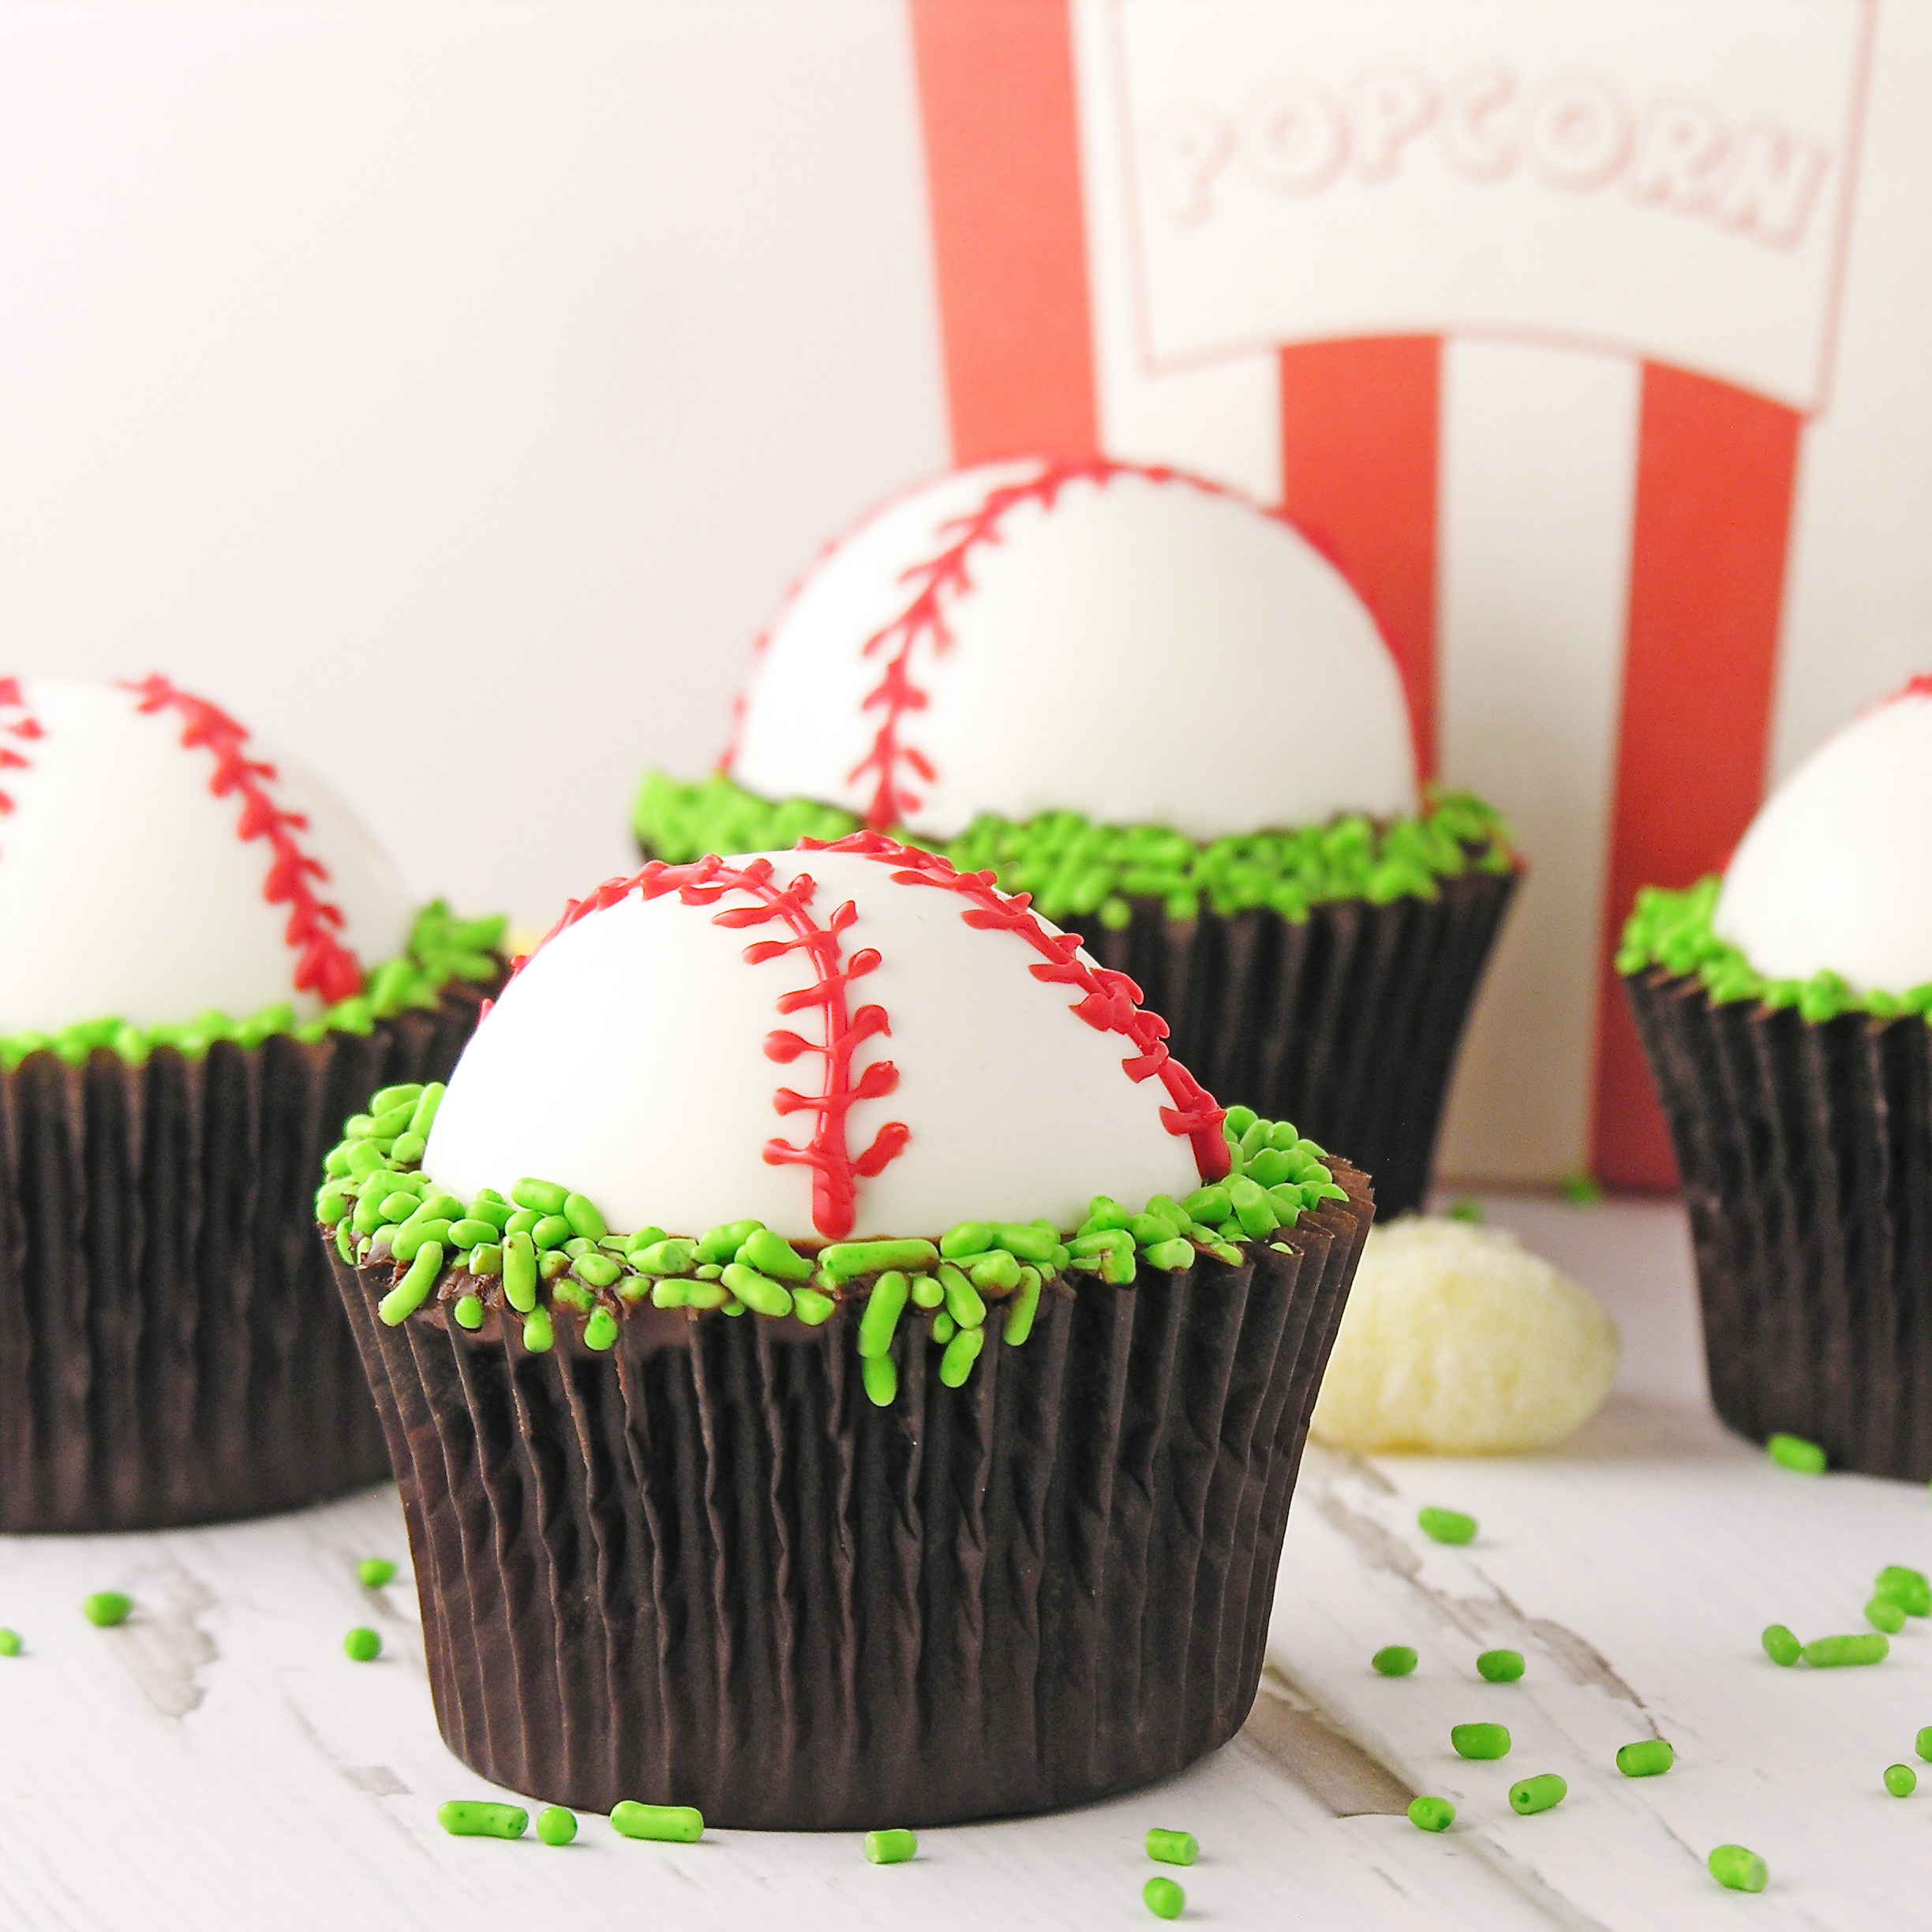
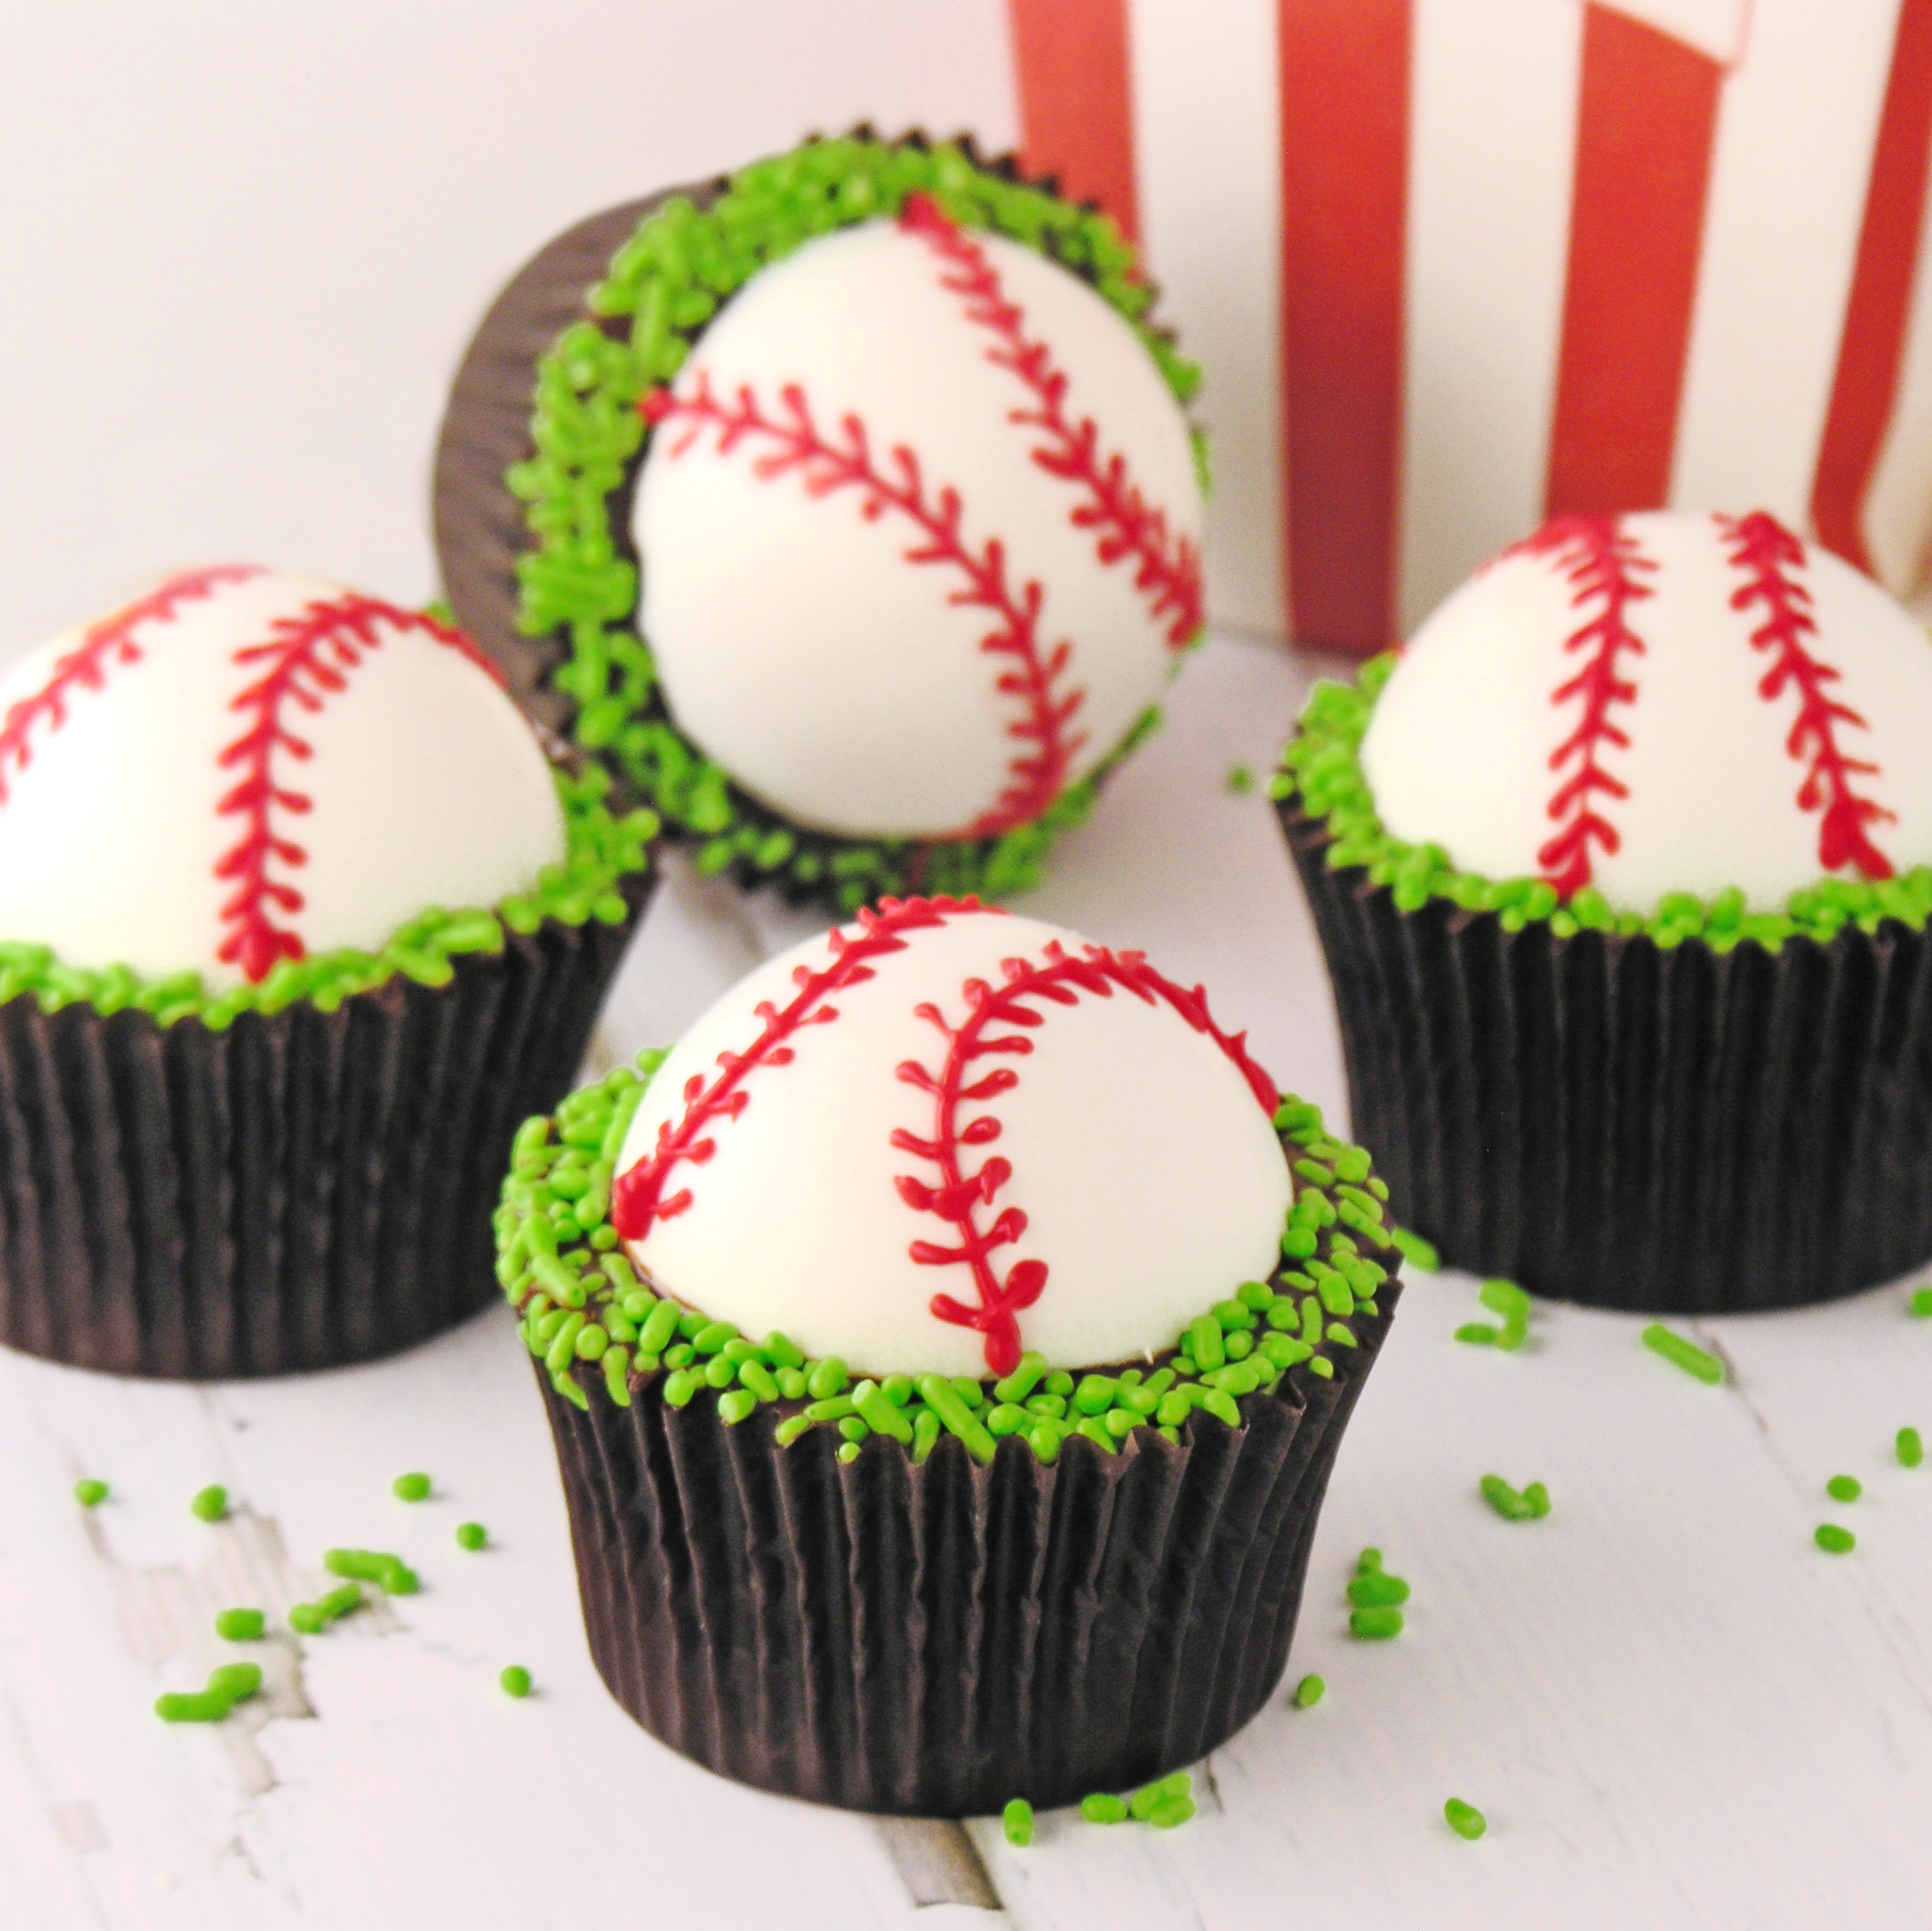
Dense chocolate brownie cups topped with fudge and a dome of creamy peppermint topping! These baseball brownies are a perfect idea for Father’s Day!
Our day to celebrate dad is almost here! I happen to have a pretty incredible dad. By the time this posts he will be in Canada fishing with my uncles and cousins (does Father’s Day get better than that??) I’ve celebrated all of his various hobbies over the years…fishing, golfing, football (watching), setting off epic firework shows… but I hadn’t made anything baseball. Until now. Let me introduce to you, the YUMMIEST baseballs you will ever meet!
Seriously- they are almost too cute to eat!!
Now, these look difficult to make. Let me assure you that they are not- until you pipe those little laces on top. Then, if you have shaky hands like me, these are AGONY. Just being honest. 🙂 If you have a steady hand (or have a friend to help) you will zip through that piping like nothing though! Promise.
Here is how we made these (printable recipe here):
Ingredients: (makes 24 baseball brownies)
Baseballs: (make these 1st)- you will need a little chocolate bomb mold to make these:
- 5 cups powdered sugar
- 8 tablespoons (1/2 cup) melted butter
- 2 teaspoons peppermint extract
- Food color in white
- One bag of Wilton’s Candy melts in white
- About 1/2 cup of Wilton’s Candy melts in red.
Brownies:
- 1cup butter
- 2 cup sugar
- 3 eggs
- 2 teaspoons vanilla
- 2 cups flour
- 1/2 cup cocoa
- 1/2 teaspoon salt
- 1 cup milk
Chocolate Glaze:
- 6oz. semi-sweet chocolate chips
- 6 tablespoons butter (do not substitute margarine here!)
- Green jimmies for grass!
DIRECTIONS:
Mint Baseballs:
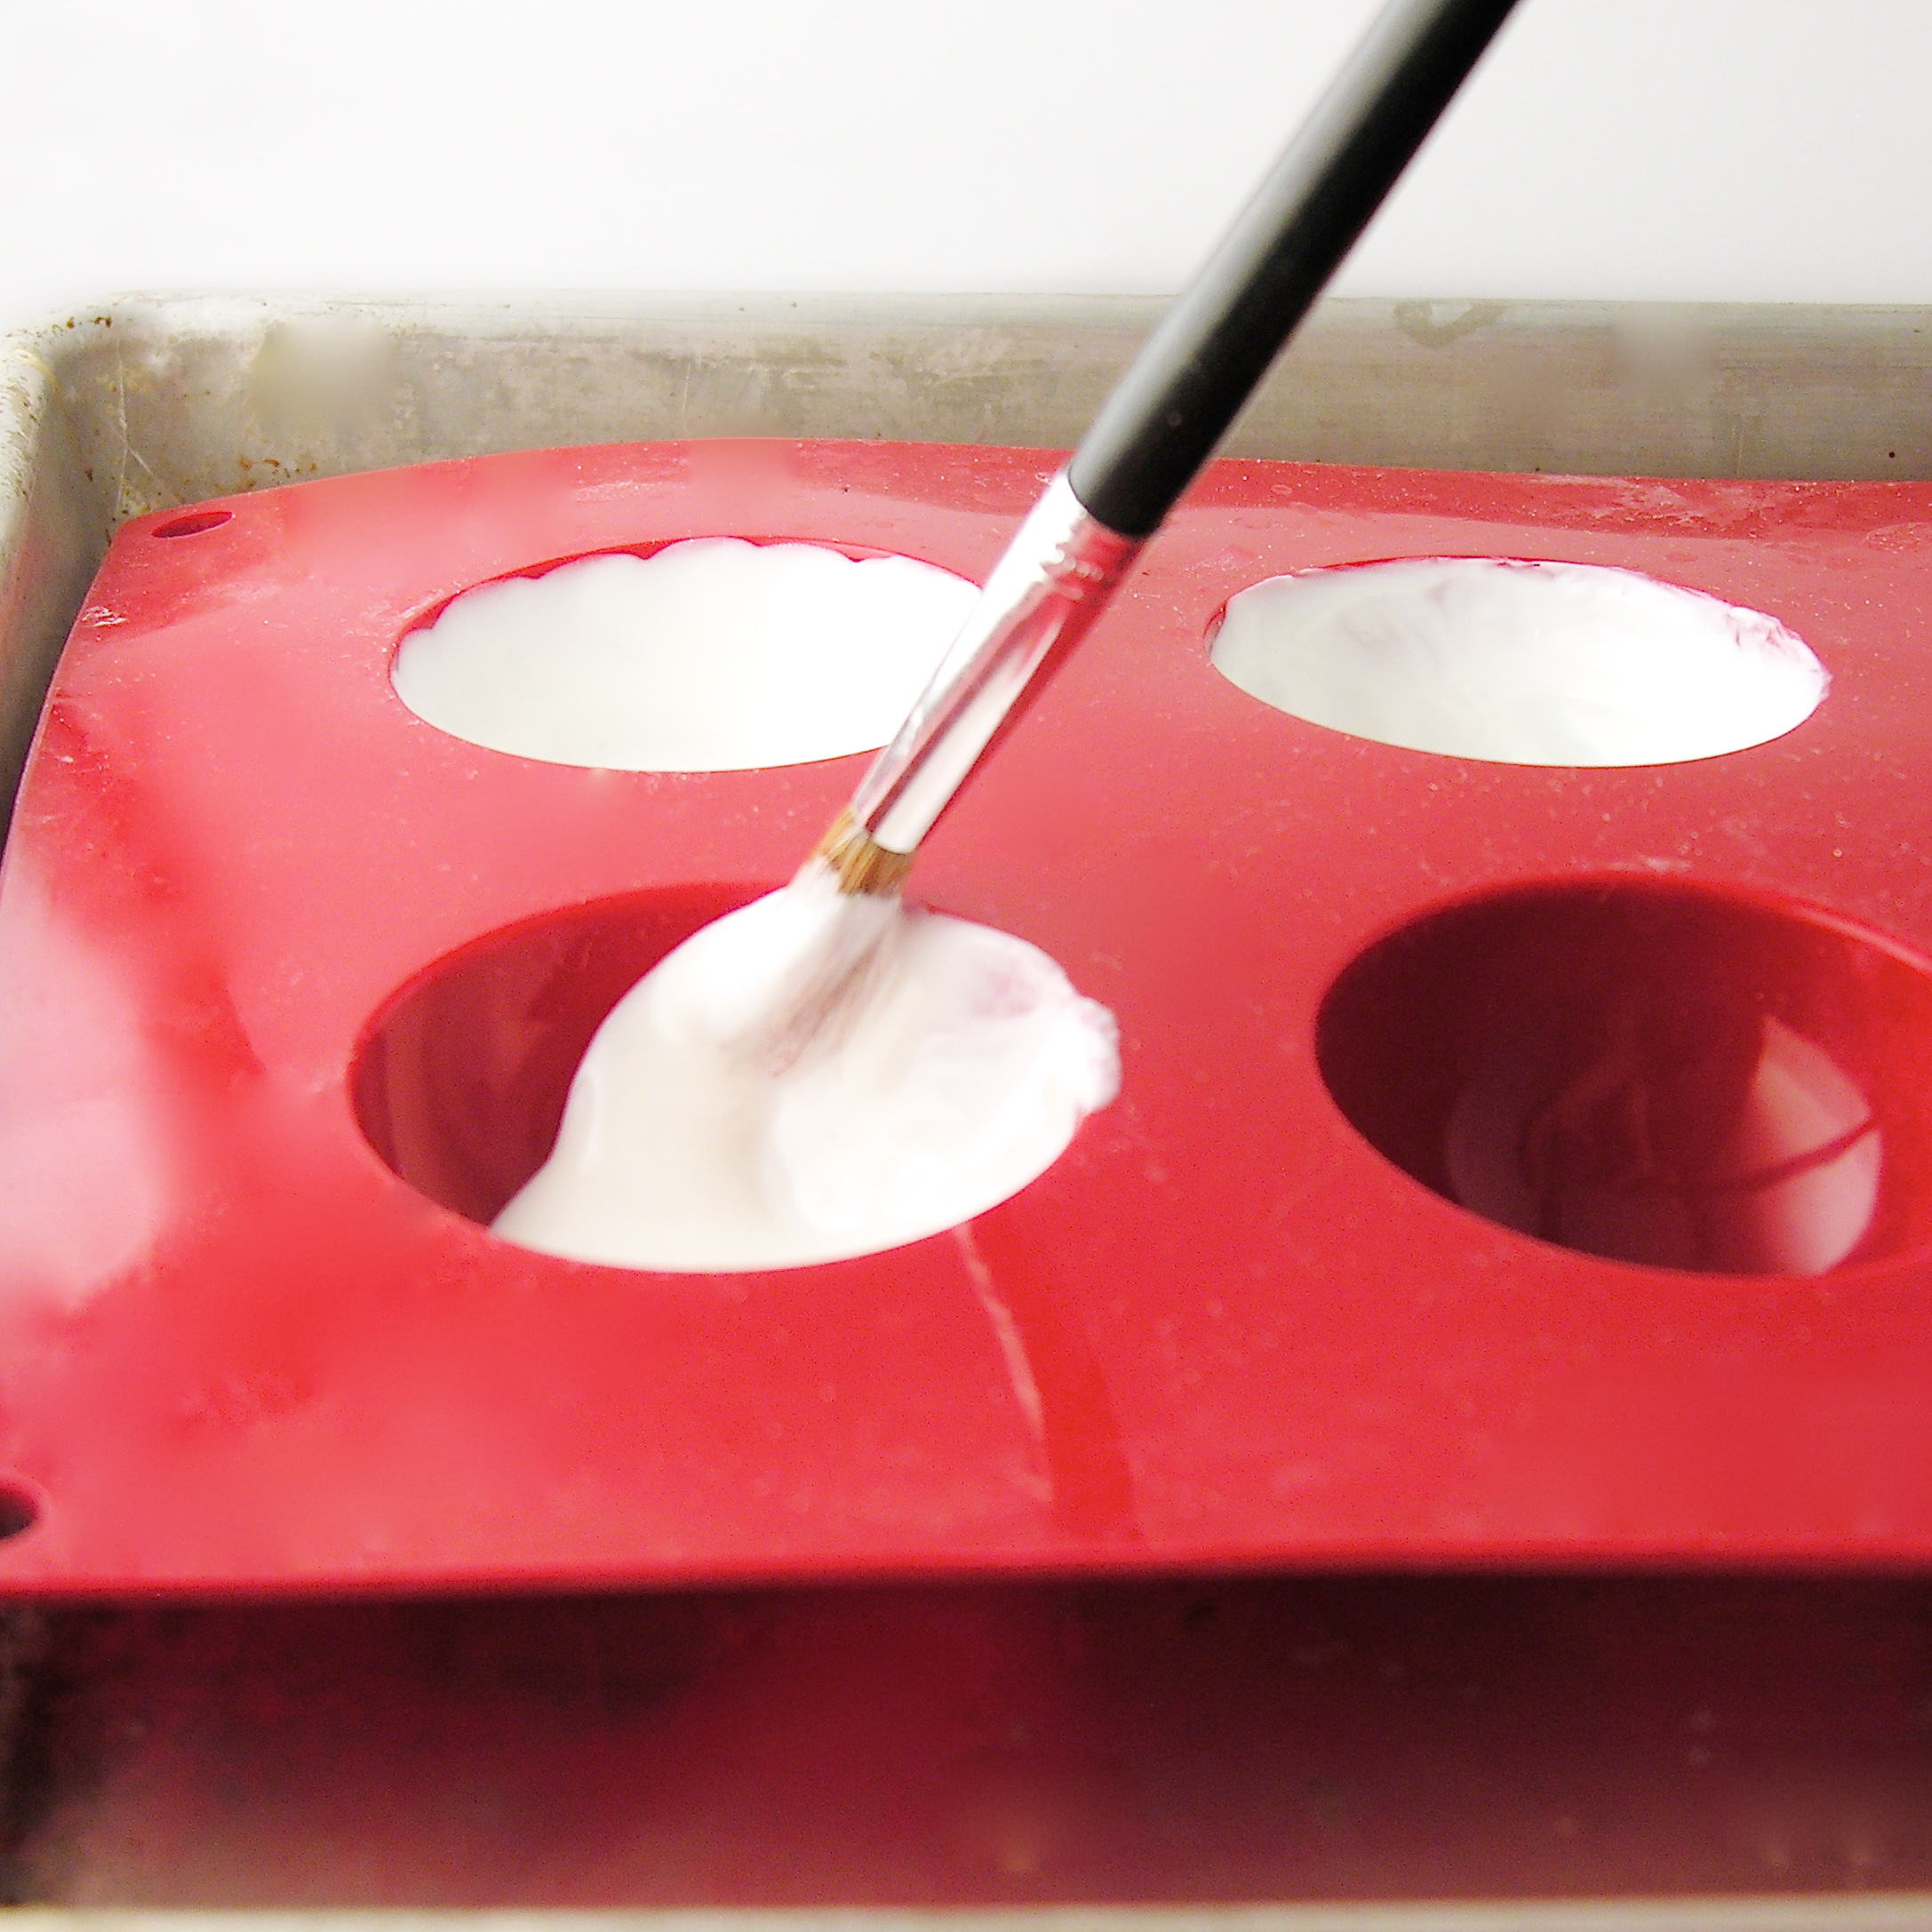
- Melt white candy melts in microwave in 30 second increments, stirring between until smooth.
- Use a pastry brush to brush melts into a chocolate bomb mold and freeze for a couple minutes until hard.
- Make mint filling by adding melted butter to sugar and extract.
- Mix well, using water to bring it to a thick but spreadable consistency.
- Add white food coloring to make it pure white (the butter gives it a slightly yellow color)
- Place filling into a large zip-top bag and seal tightly.
- Cut a corner off bag and pipe mint filling into each white shell- filling them about 3/4 full.
- Use a knife to spread mint filling to edges. It will dip in at the center just a bit- and you want this. If it is full all the way across it doesn’t settle on the curved top of the brownie well (see the gap along the bottom in the below photo).
- Refreeze these for a few minutes before gently popping them out and setting them on a plate.
- Repeat this process until you have 24 mint bombs ready.


Brownies:
- Preheat oven to 350F.
- Cream butter and sugar together.
- Beat in eggs, cocoa, vanilla and salt.
- Add flour and milk (alternating them and mixing well in between)
- Spoon evenly into 24 cupcake liners in a cupcake tin.
- Bake at 350F degrees for 15-18 minutes (don’t over bake- they will start to pull away from the liner)
- Cool.
- Melt butter and chocolate together in the microwave in 30 second increments, stirring in between until completely melted and smooth.
- Set aside until bombs ready to assemble.
- Assemble the brownies by spooning a little chocolate glaze on top of a brownie and spreading to all edges.
- Place a “baseball” in the center and sprinkle jimmies around edge.
- Allow this all to harden up (refrigerate to speed process up).
- Melt red candy melts in microwave in 30 second increments, stirring between until smooth.
- Place melted candy melts into a bag or squeeze bottle fitted with a tiny writing tip (I used a Wilton’s 1.5 size).
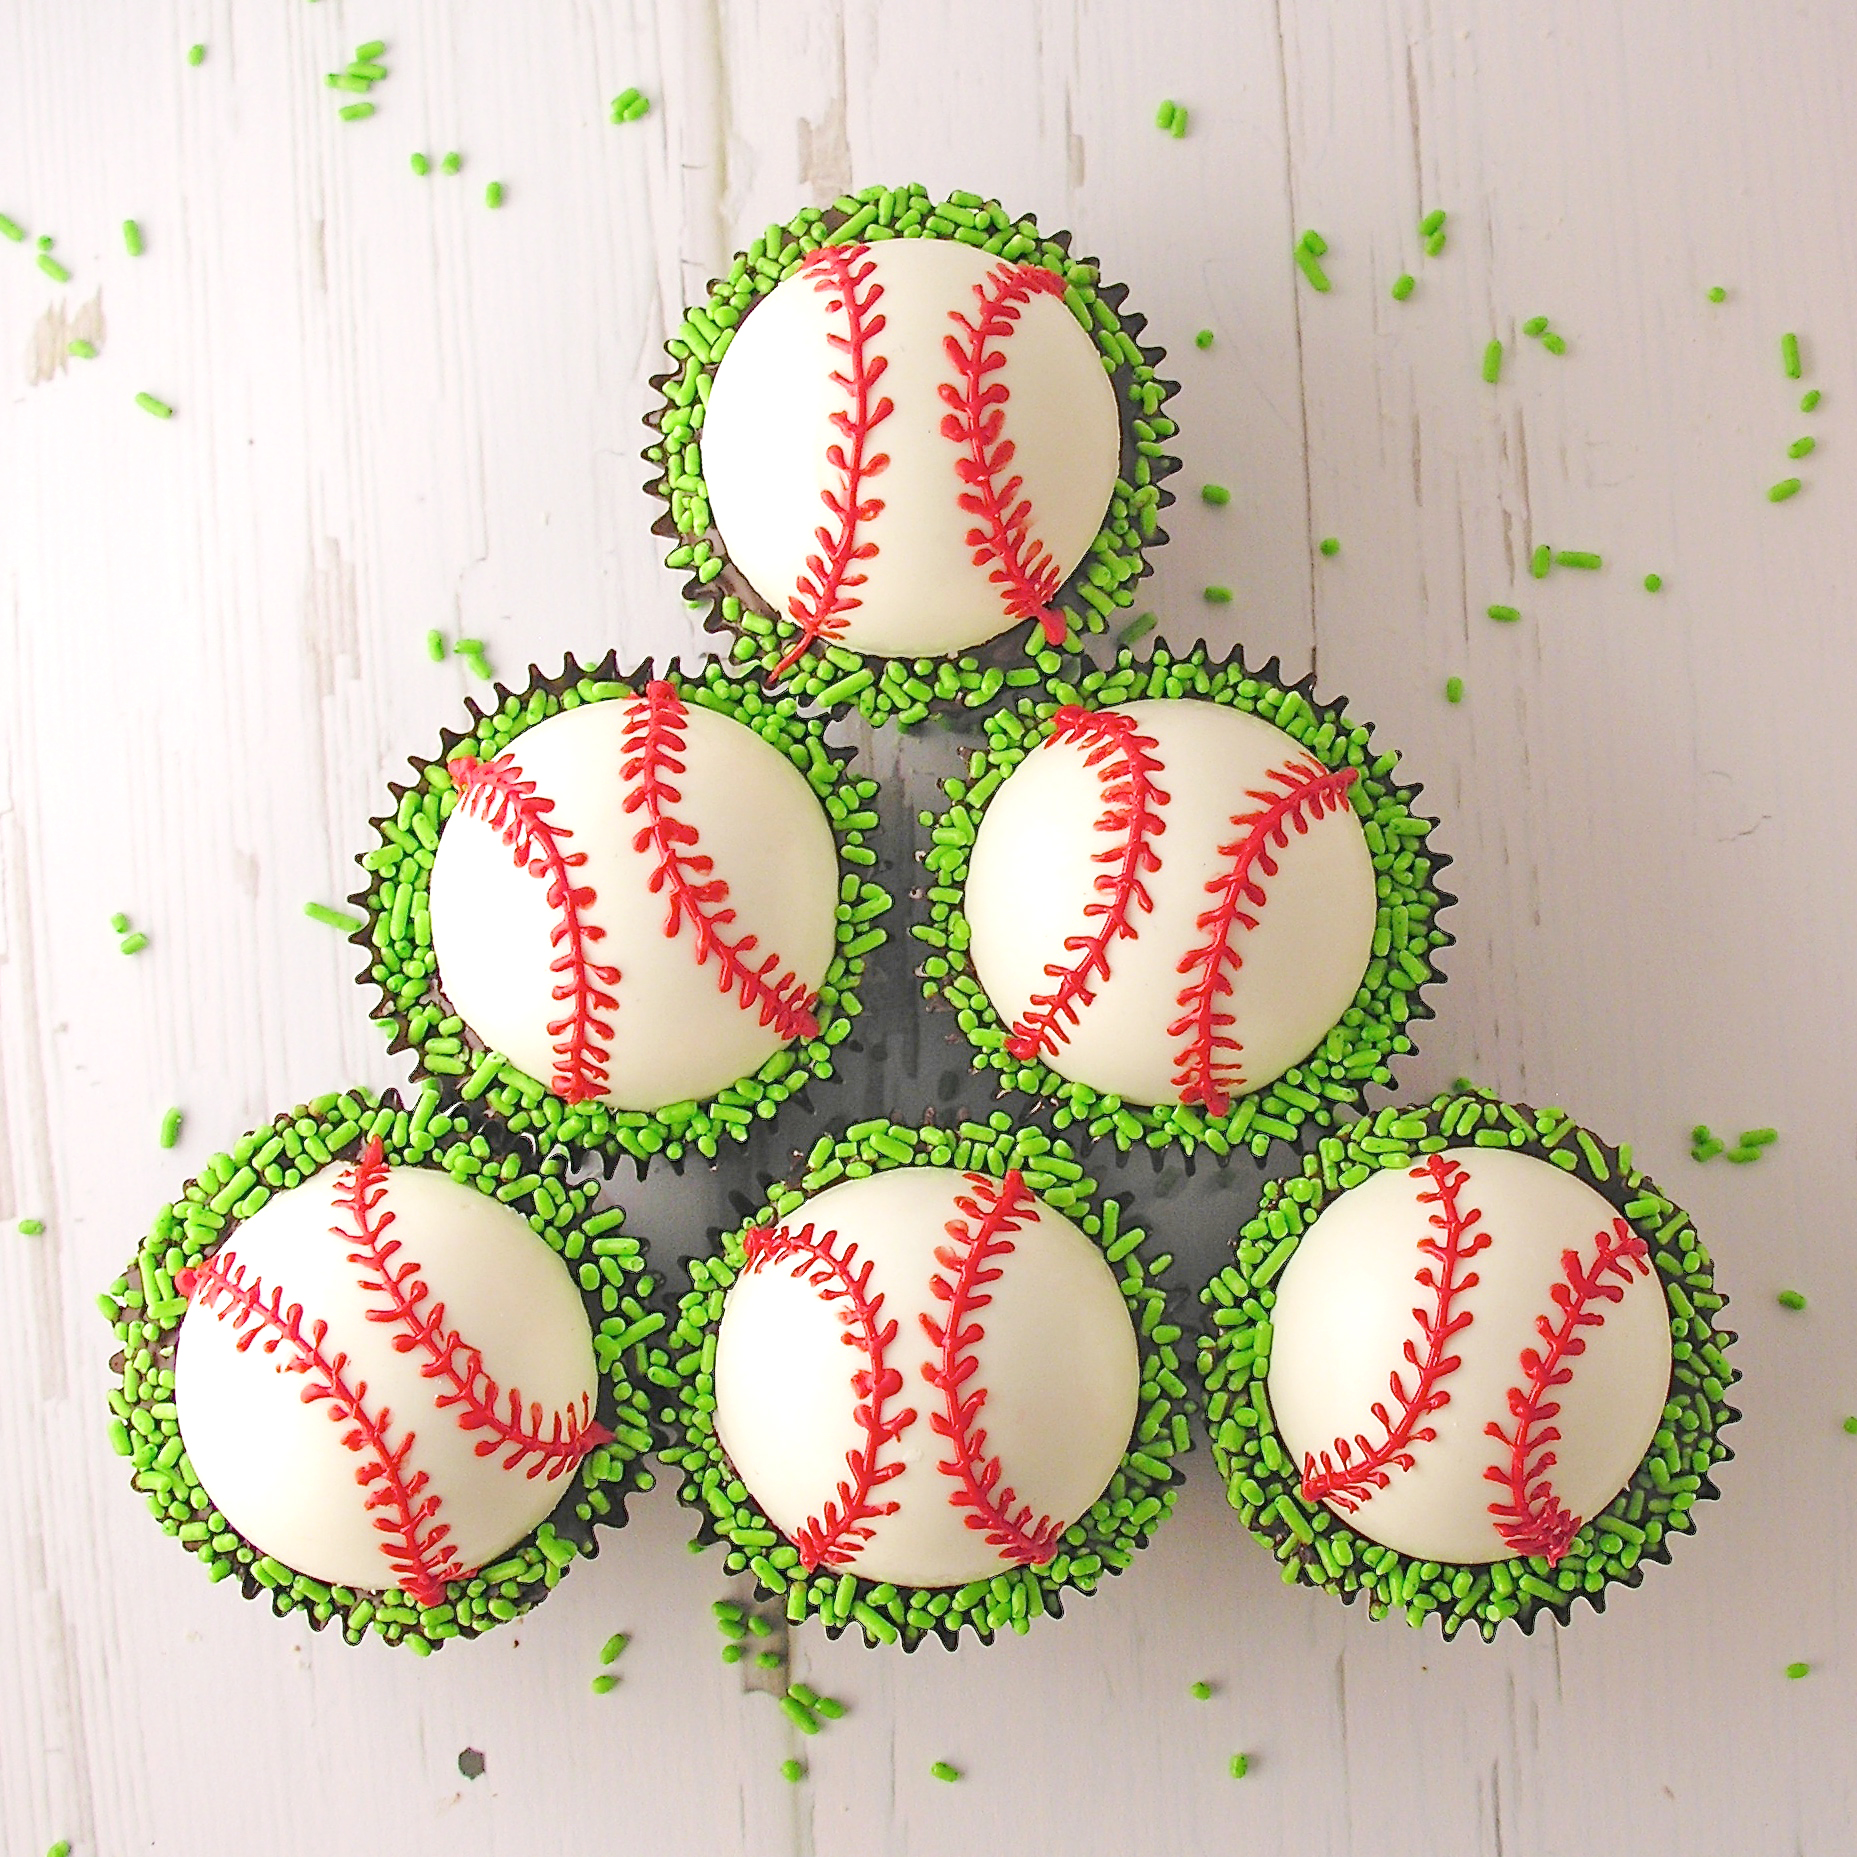
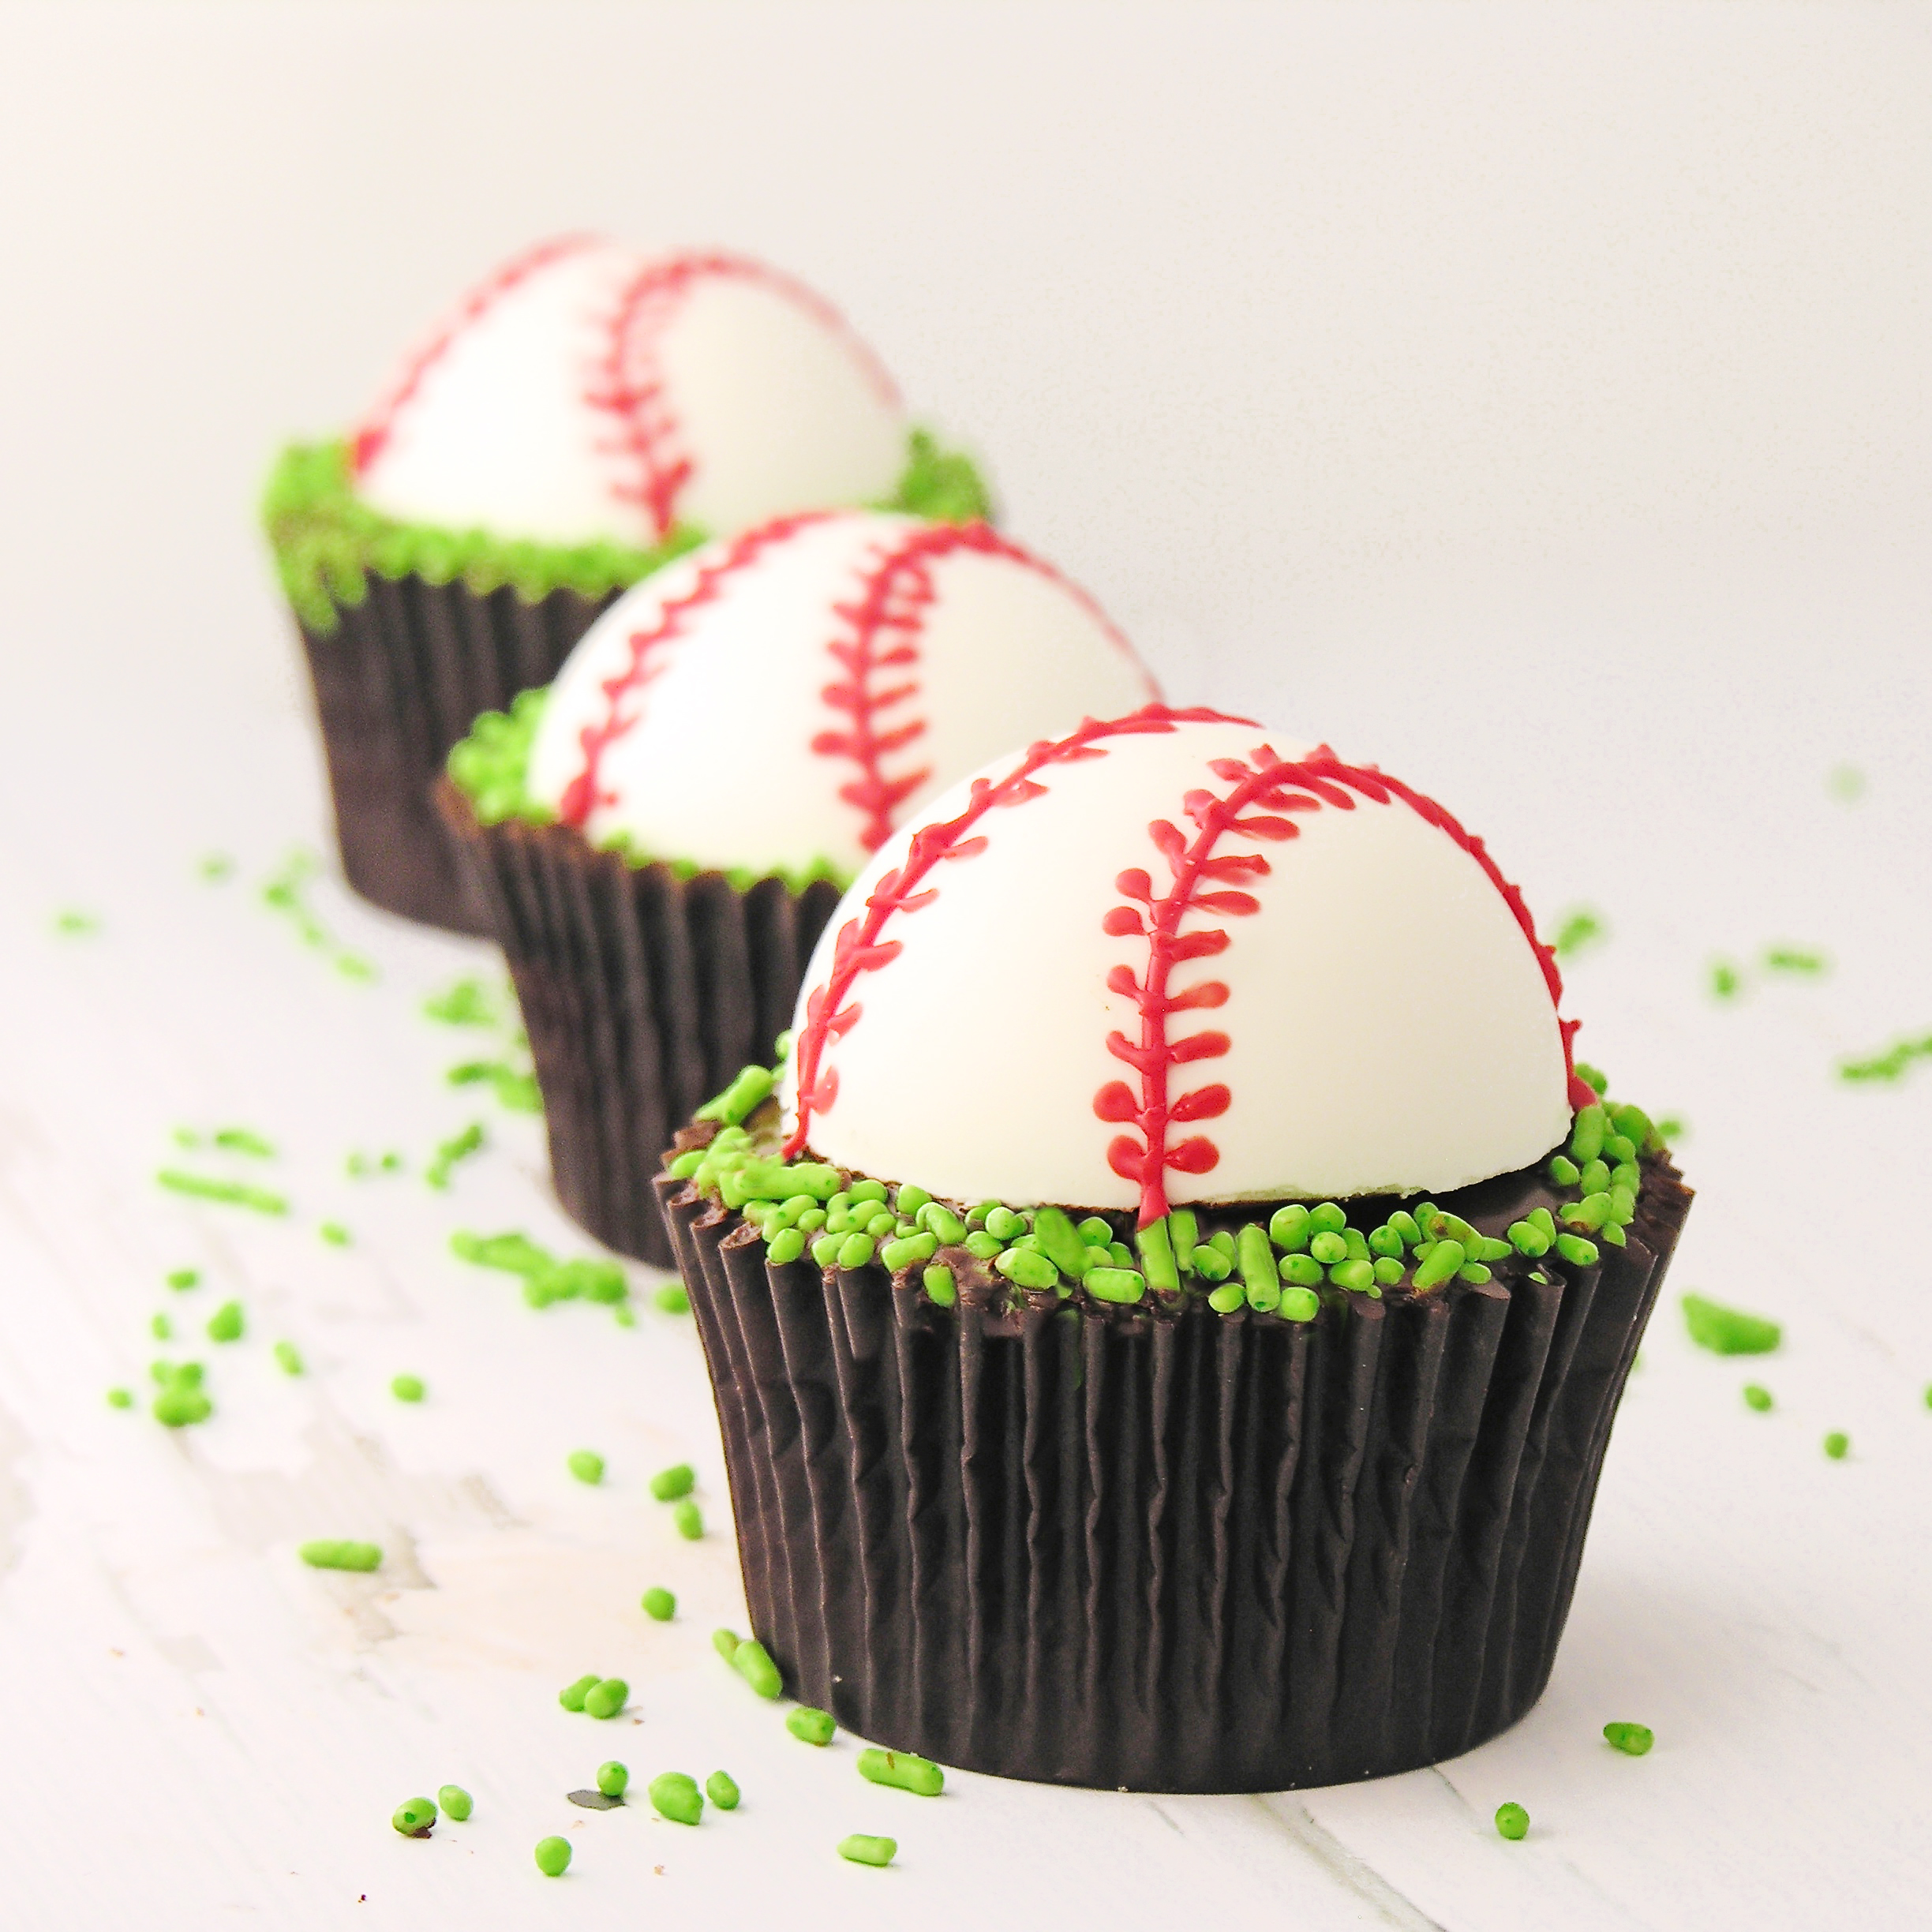
- Carefully pipe laces on top of baseballs (use photo as a guide) and allow these to harden.
- Store in a lightly sealed container for 3-4 days.
- Enjoy!

See how the center of each baseball needs to accommodate the dome-shaped top of the brownie? Here is what happens if you fill them too flat:
See along the edge how it doesn’t connect well? Yeah. Don’t do that. 🙂
My thoughts: Yes, these take some work. But they are SO CUTE!! I’ve spent way more effort on recipes that didn’t score this high in the fun/cute category. If you are going to waste time making something- waste it making these! Plus they are the BEST brownies… I promise. Delicious. 🙂
My dad doesn’t play much baseball anymore- but he used to, and I have fond memories of playing hours of catch in the backyard with him. Just for fun, here’s a throwback to his baseball days:
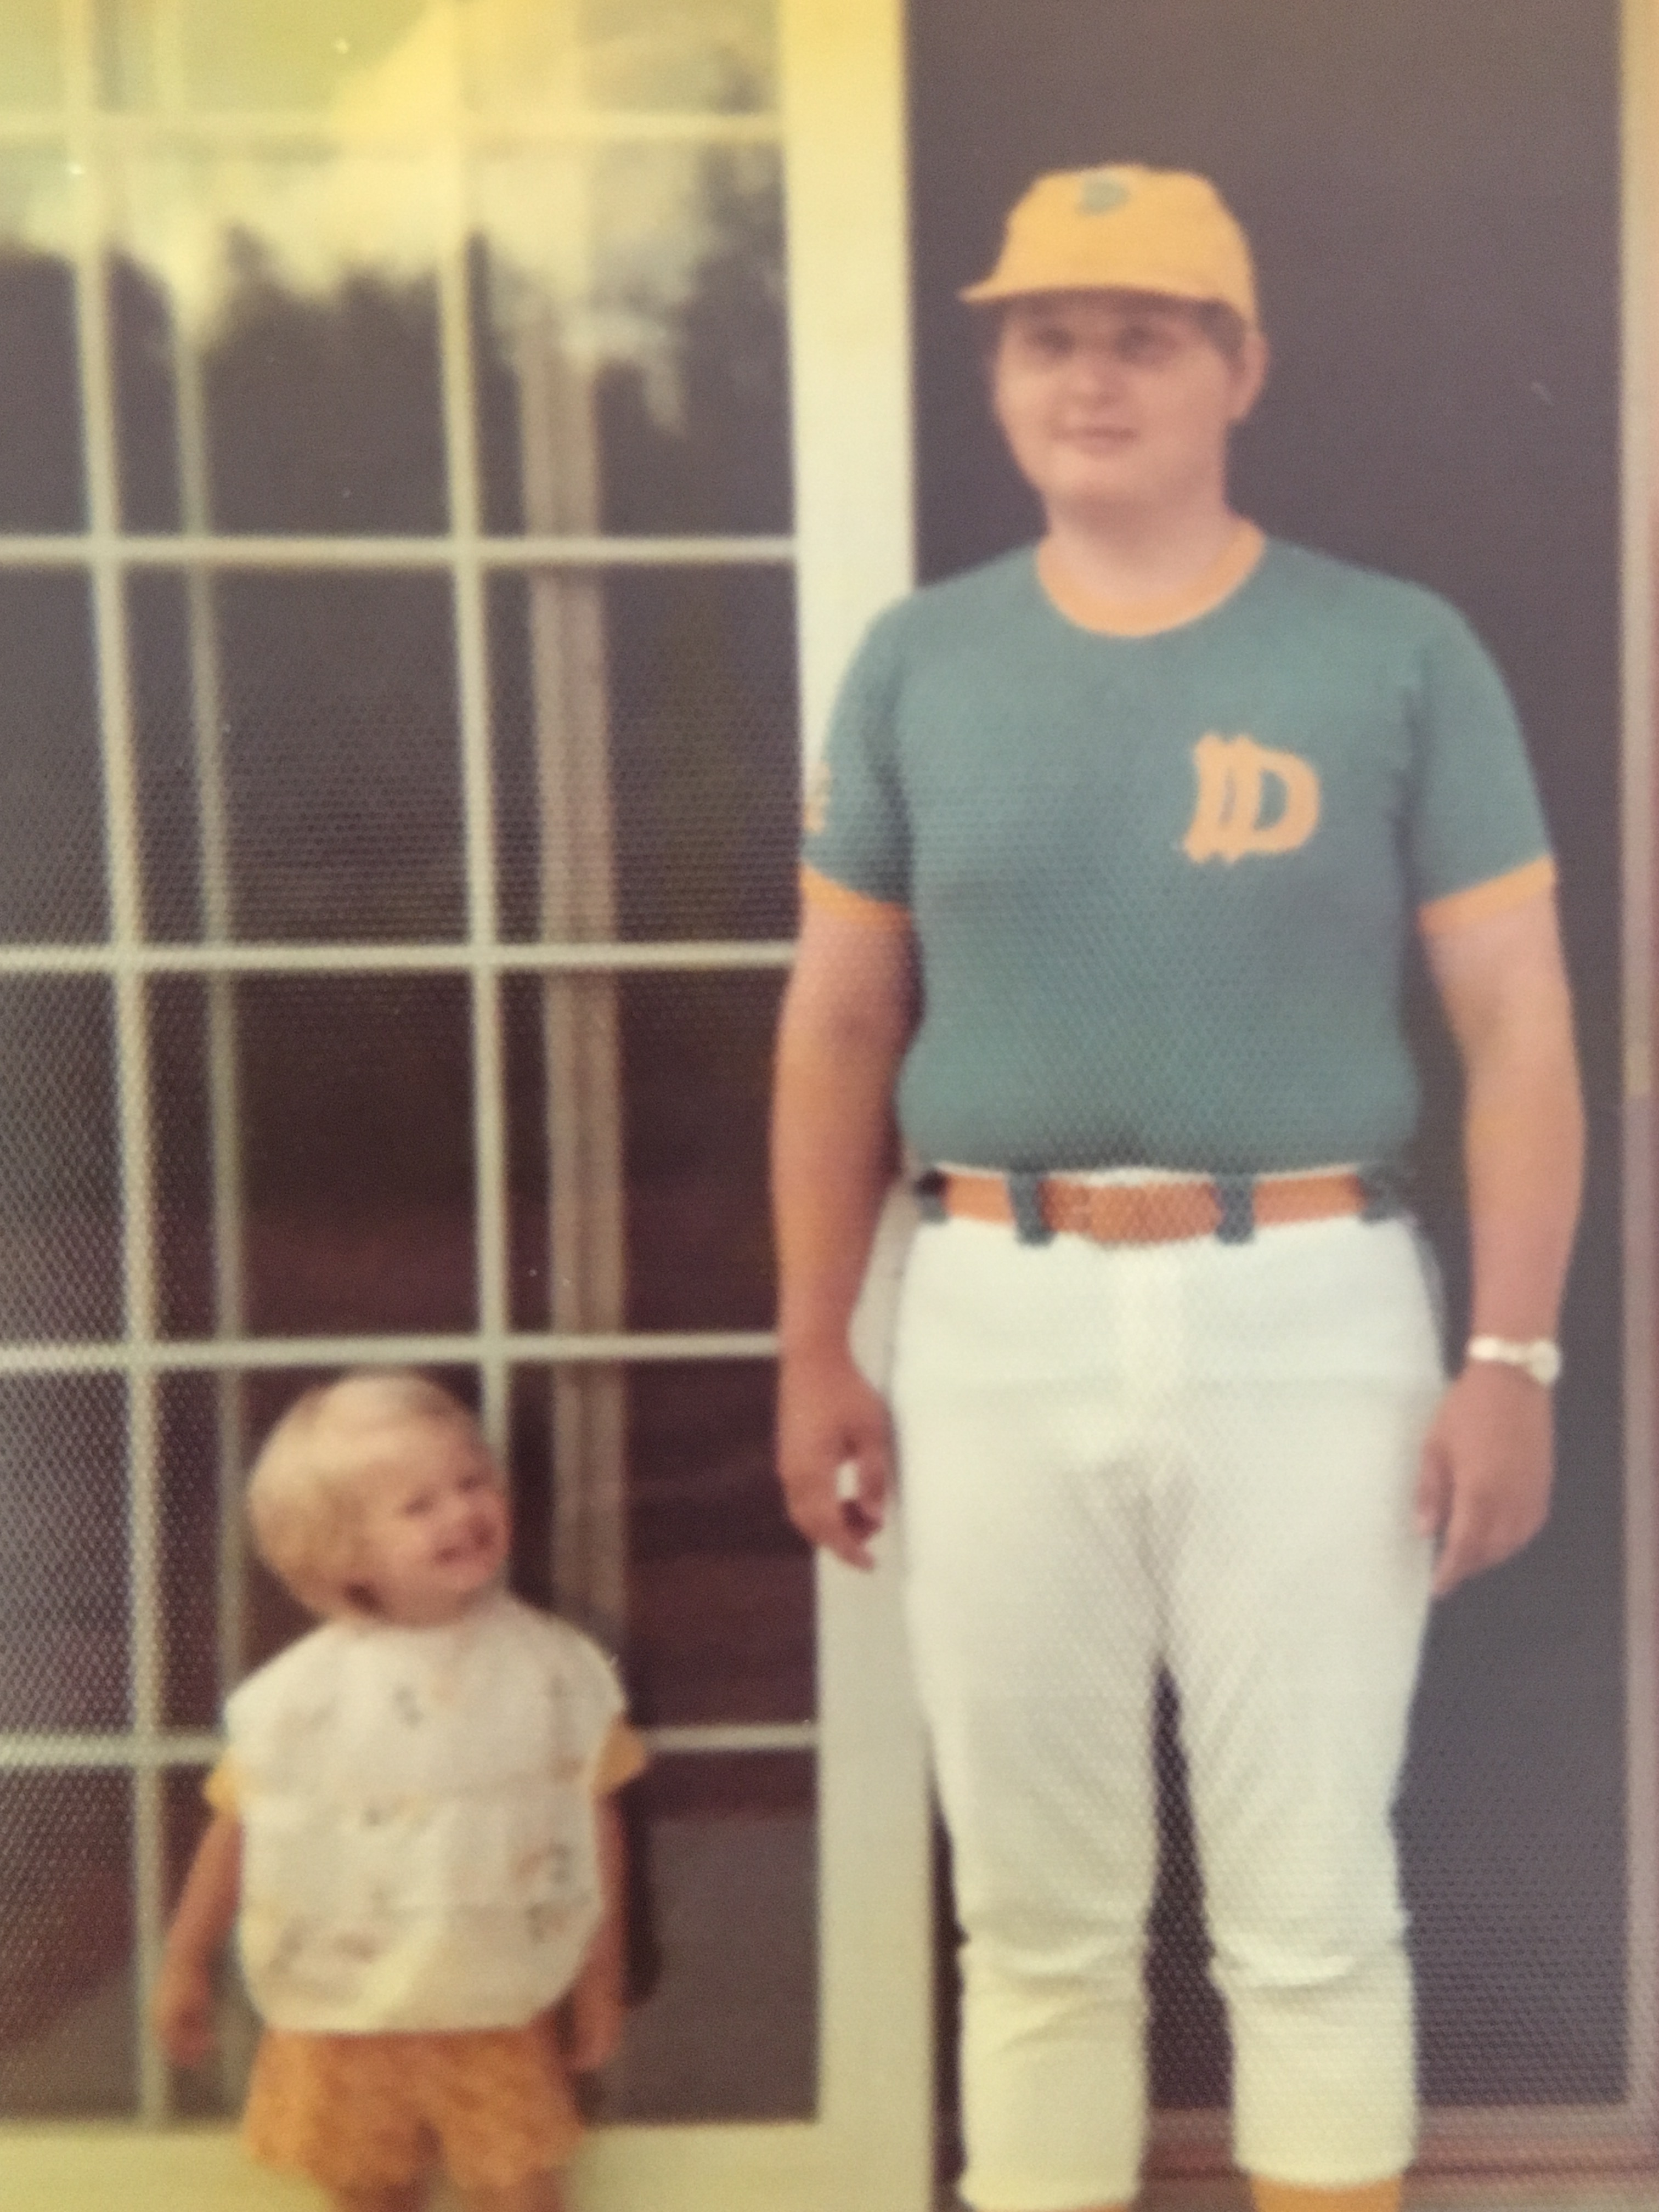
That’s me in the 70’s bib 🙂 And here we are now:

Happy Father’s Day dad! Love you!!!!!!
I know you will probably stop right here on this idea, but just in case you are making TWO desserts for dad, here’s a few other ideas. Click on a photo to see the recipe:


