I love making and getting creative edible gifts. I’m not talking just a plate of Christmas cookies here…I’m talking unique and different. Take Caramel Corn, for example. It is my grandmother’s favorite and I remember spending long evenings watching my parents try various caramel corn recipes in search of the perfect (yet not too messy!) one. There was the giant brown sack method (where you shake the caramel in) and the cookie sheet one where you pour the caramel on and try to mix it on the sheet (my dog liked that method– lots of popcorn on the floor!)
A few years ago a friend handed me an adorable little Christmas package with mysterious items inside (all tied up with a cute tag and bow) and when I opened it I found ingredients for caramel corn. All I needed was butter….. I promptly made it and YUM!!! Quick, easy, delicious and SUCH a creative gift. This post is dedicated to the recipes you can use this Christmas to make creative and memorable gifts for your friends and families.
CARAMEL CORN:
- Place 1/2c. packed brown sugar in a small bag and zip or tie it tightly.
- Place 8 large marshmallows in a small bag and zip or tie it tightly.
- Place both of the above ingredients in a larger bag or gift box with one packet of microwave popcorn.

Close the bag or box with the following directions:
- Pop corn in microwave according to package
- Place brown sugar, marshmallows and 1/2 stick (4T) butter into a 2 qt. bowl
- Microwave for 3 minutes, stirring well at 1 and 1/2 minutes. Syrup should be smooth and bubbly.
- Pour over popped corn and enjoy!


Click on the photo below to get free printable tags to use with this gift:

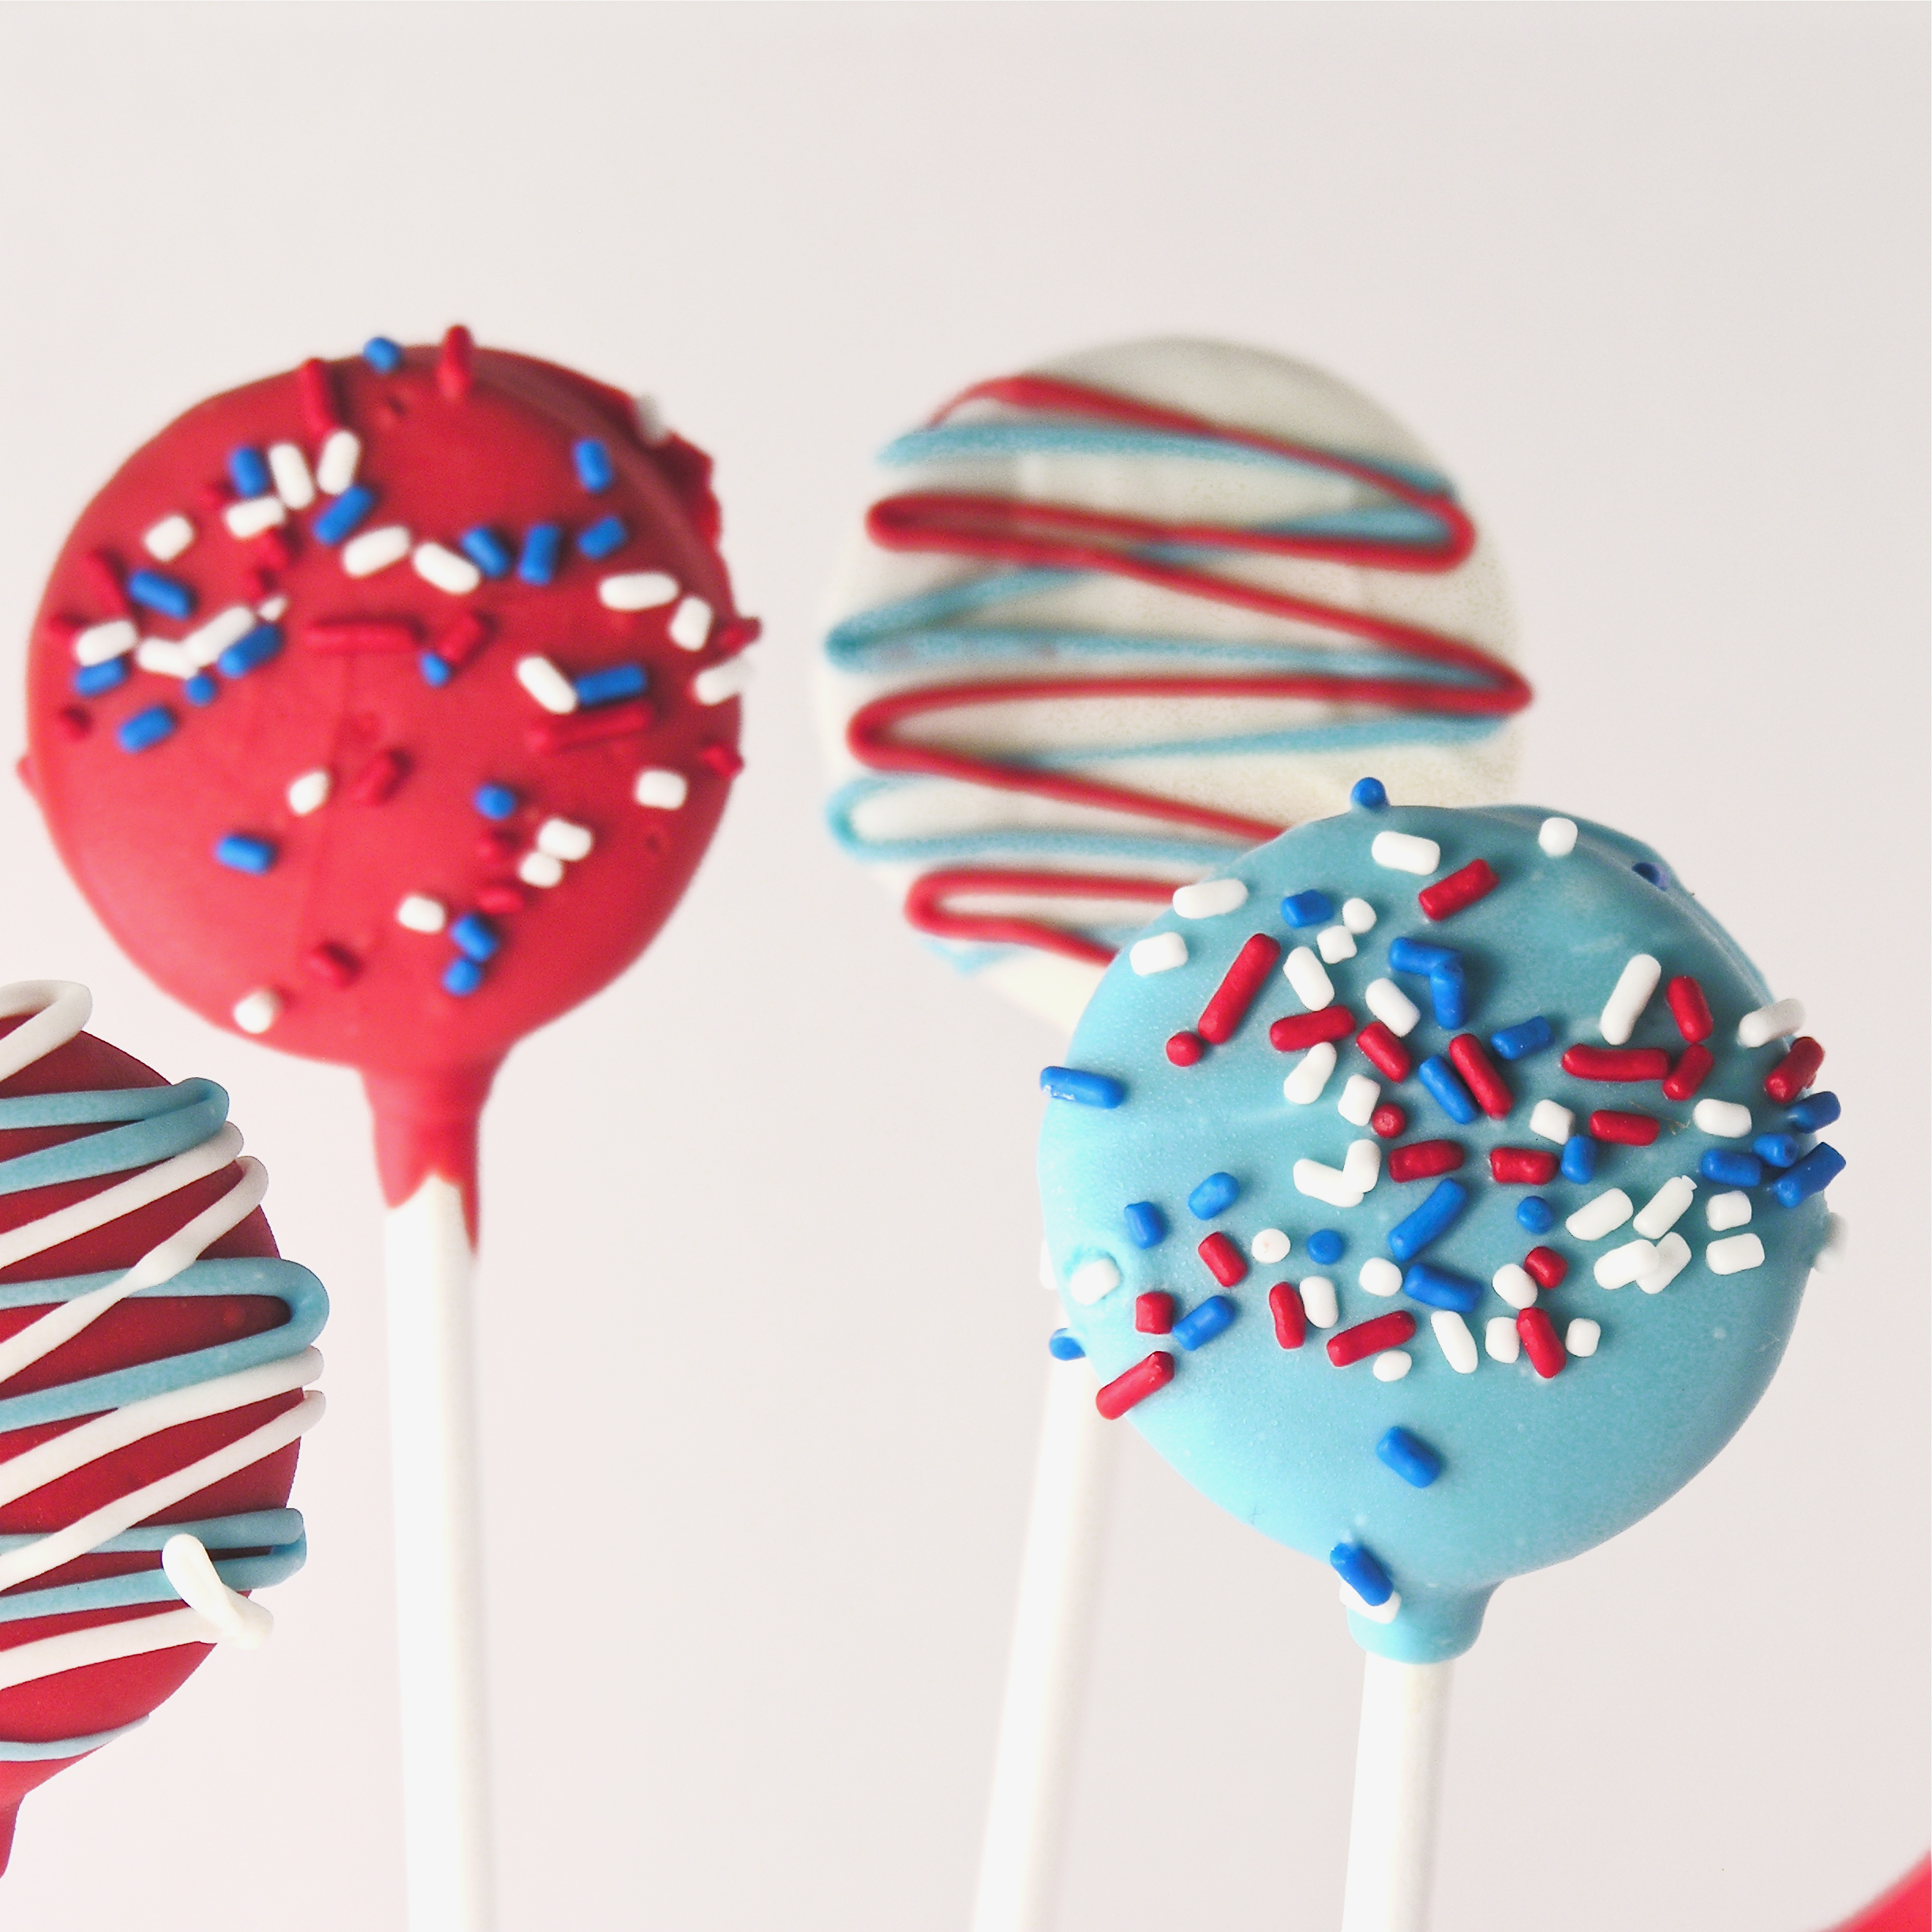
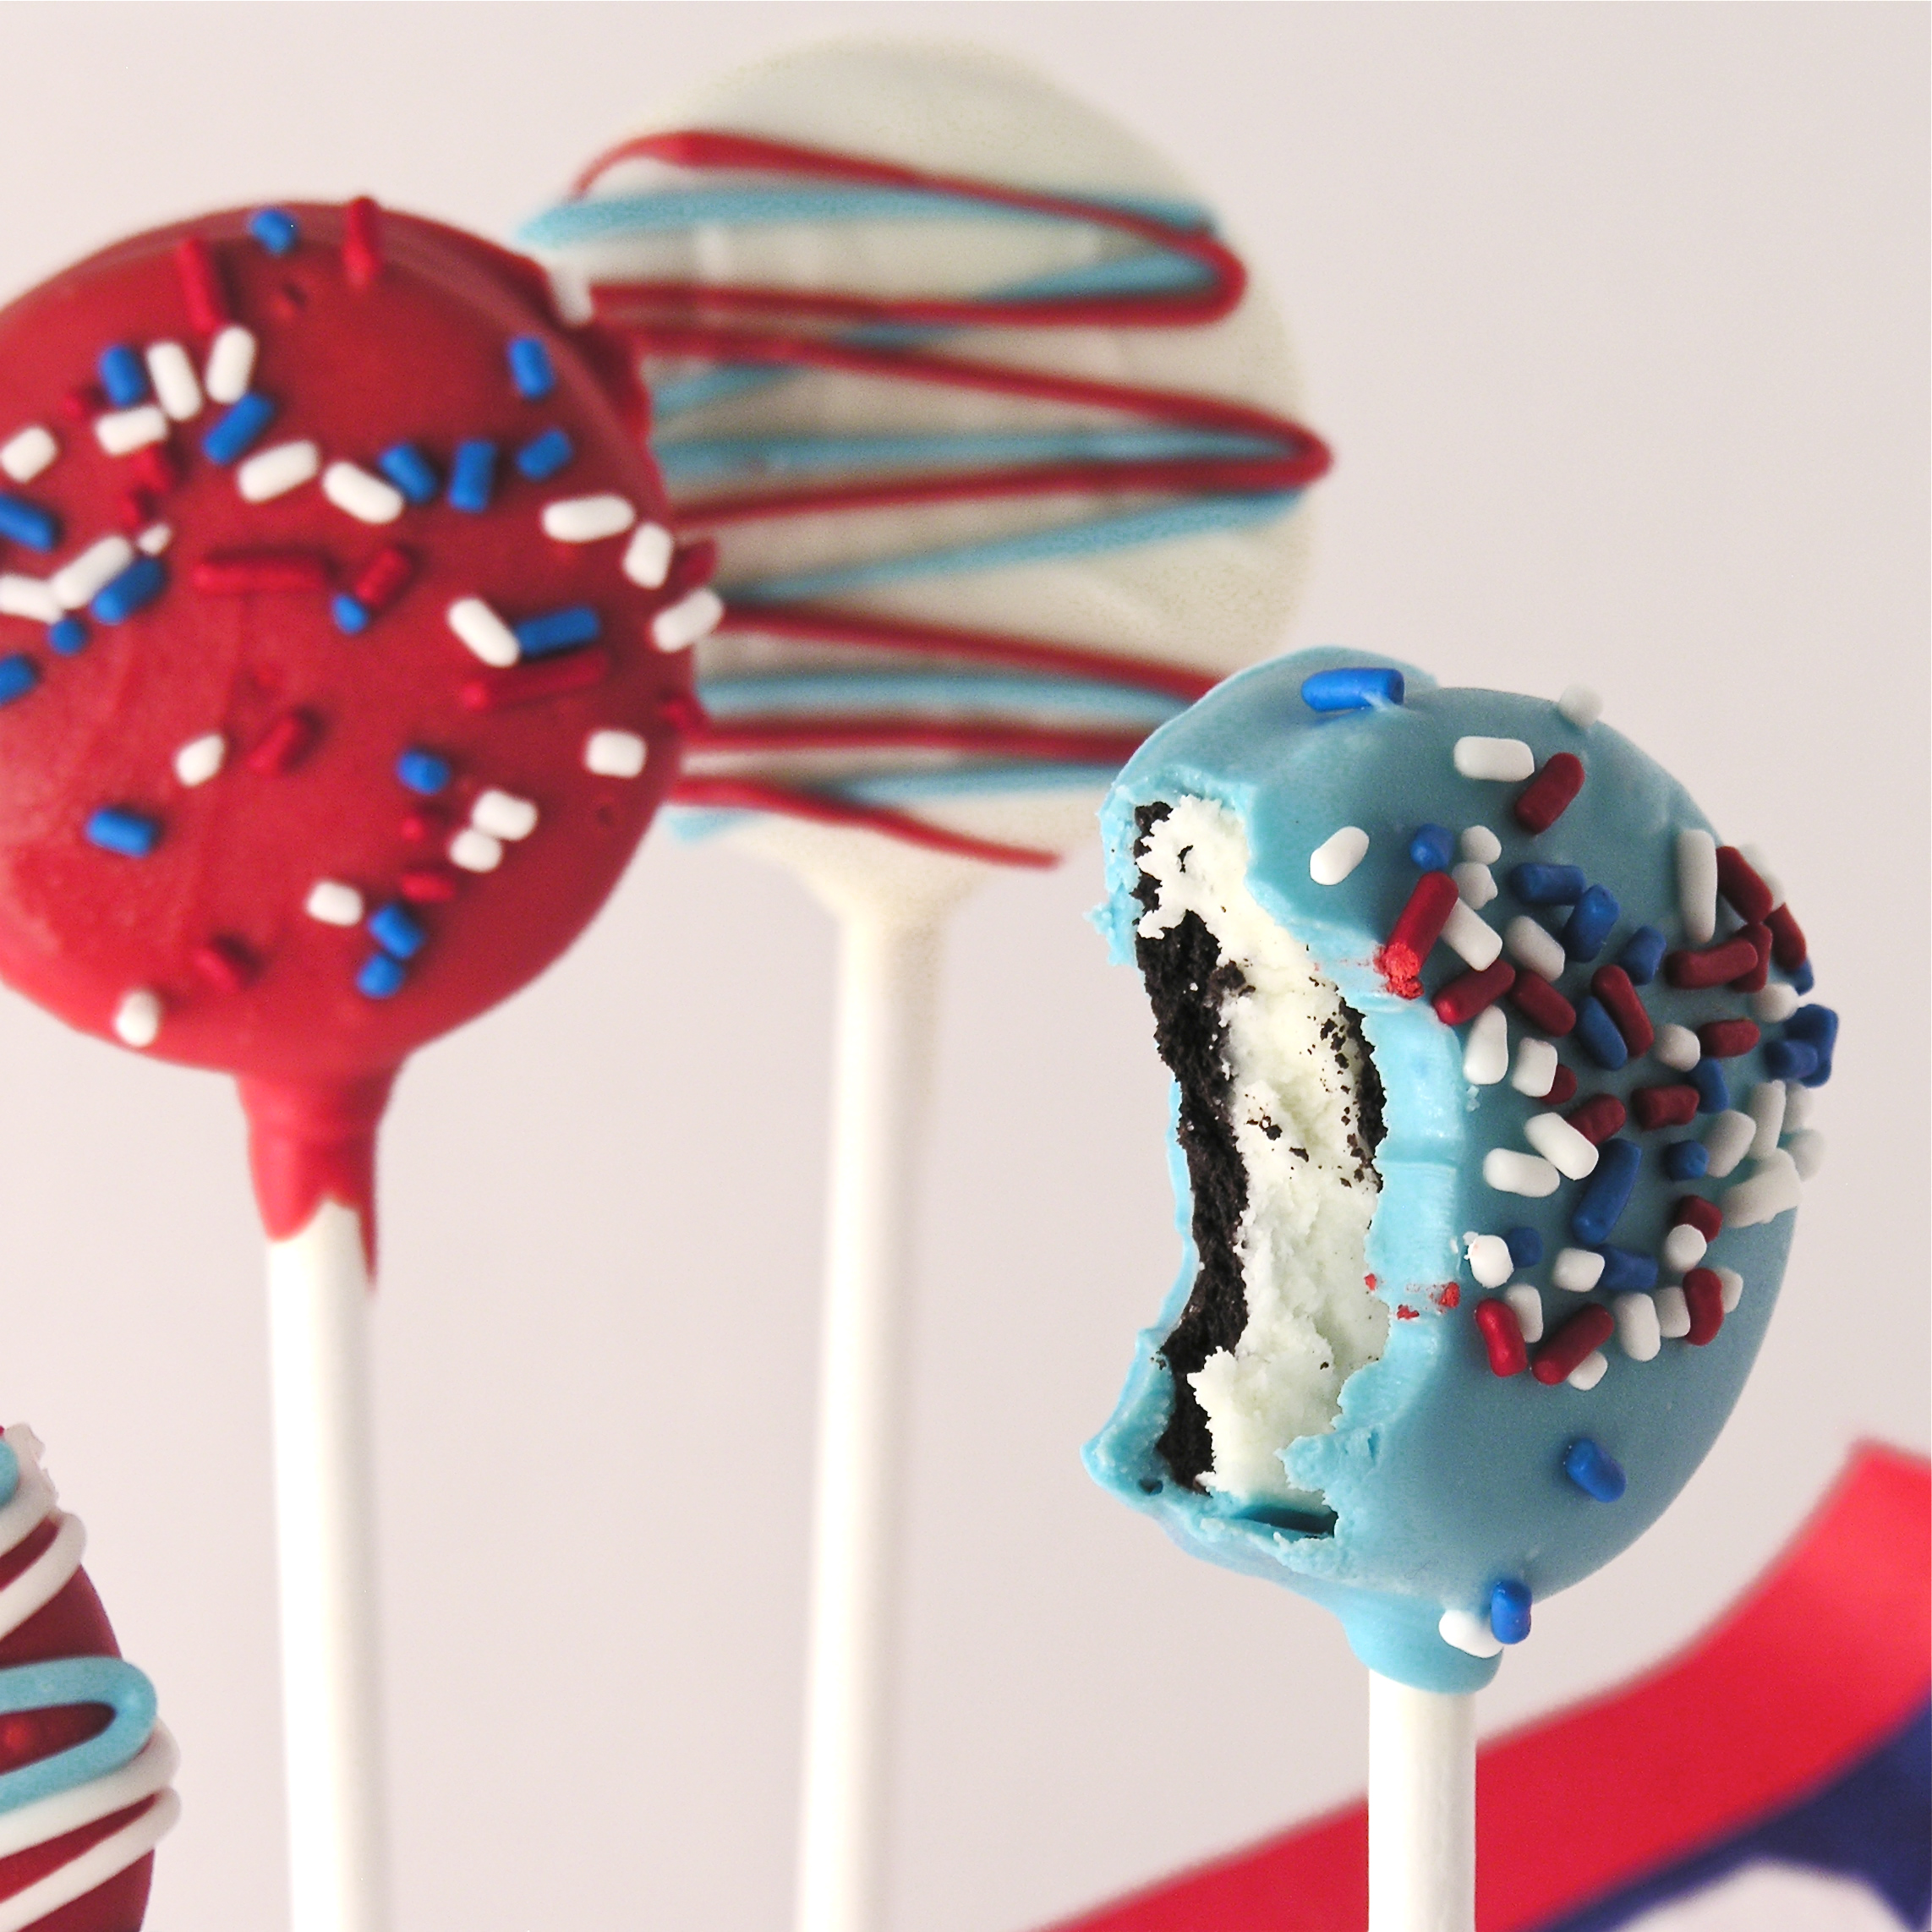
OREO POPS:

These fun chocolate-covered Oreos on a stick are great for any season. I made them for the 1st time last spring for a baby shower. Change up the sprinkles and tie some cute Christmas tags on and you have a great stocking stuffer- or even a holiday centerpiece bouquet! All the how-to tips, including pictures are available if you just click HERE. I also made up some free tags for you to tie on your pops~ Click on the picture below to get the free printable file:

HOT CHOCOLATE POPS:

I made these as gifts for SO many people last year. I made extra for myself. These are so easy and SO delicious~ everyone will LOVE them. What are they? Chocolate (in a variety of flavors and colors) hardened over a marshmallow on a stick. You stir them into hot milk and make the most creamy, delicious hot chocolate ever. The best part? You can make them WAY ahead. I made some in December and used them in March…still wonderful. The recipe and directions can be found by clicking HERE. If you want to print some free tags to tie on your pops click on the image below:

SPICED MOCHA MIX:

My cousin Eden made little jars of this wonderful mix for us several years ago at Christmas and I’ve used the recipe ever since. It’s just wonderful, easy to make, keeps for months in a sealed bag or jar and makes a great gift. Want the recipe and easy directions? Click HERE. Free printable tags? Click on the picture below to get them: (I actually printed these on full-sheet labels, cut them apart and made stickers for my jars…just another idea…)

I hope that these ideas have inspired you to create your own fun and unique Christmas gifts!!! Enjoy! ~r
Want to try some other fun Christmas recipes by Easybaked? Click on an image below to be taken to the recipe:


Shop Amazon – Black Friday Deals Week
 Day #4 of our celebration of past recipes. This week is going fast! Today’s recipe is the 4th most viewed recipe on the Easybaked site. It has had nearly 60,000 visits since it was published in February of 2012. Can you guess what it is????
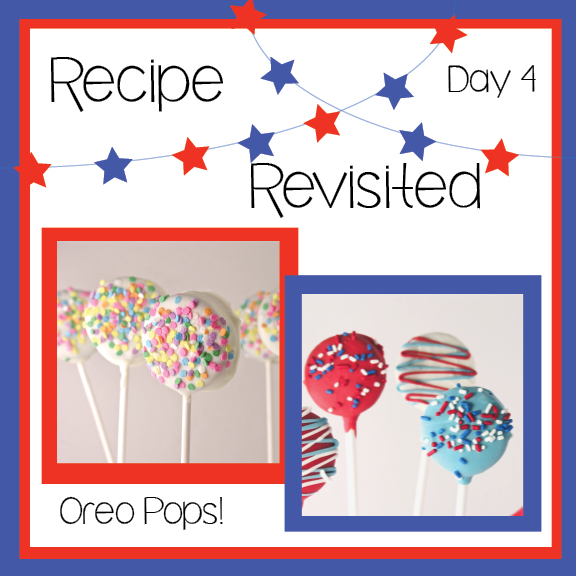 These little treats are a favorite of mine. They have been remade as mummies and snowmen already- the decorating possibilities are just endless!
 Don’t miss our very last recipe remake tomorrow morning~ you’re going to love it!!!