Tag Archives: dessert

Coconut Lemon Bars with Mimi!!!

Posted on

Baking is so much more fun with a friend!  Mimi came with the idea and the lemon juice- the rest is history!

INGREDIENTS:

Crust:

  • 1/2 c. butter
  • 1c. flour
  • 1/4 c. powdered sugar
  • 1/8t. lemon extract
  • 1c. shredded coconut

Lemon topping:

  • 2 eggs
  • 1c. sugar
  • 4 T. lemon juice
  • 1/4 t. lemon extract
  • 3T. flour
  • pinch of salt

DIRECTIONS:

  • Preheat oven to 350 degrees
  • Using a fork, cut butter into flour and powdered sugar.
  • Add extract and blend well.
  • Press into a 9×9 pan.
  • Bake 10 minutes, add coconut over top, bake 10 more minutes.
  • Combine all of the topping ingredients.
  • When crust is done and still hot, pour topping over it and bake an additional 20 minutes.
  • Allow to cool to room temperature, cut and serve!

My thoughts:  I’d never made lemon bars before tonight, so experimenting with these was a little challenging 🙂  They turned out wonderfully, but if you really like the creamy lemony part of bars you might want to double the topping.  Had a fun night with Mimi though- even Casper enjoyed our cooking experiments!

Mimi with our coconut lemon bars!

Casper begging for lemon bars...


Lemon kisses!!!!!

Turtle Upside-down Cake

Posted on

Layers of chocolate cake, caramel, pecans and chocolate chips make this cake unique and DELICIOUS!!!

INGREDIENTS:

  • 1 box of german chocolate cake mix
  • eggs, oil and water needed to make mix according to box
  • 30 Kraft caramels (unwrapped)
  • 8 oz. Philadelphia cream cheese
  • 1c. chopped pecans
  • 1c. semi-sweet chocolate chips

DIRECTIONS:

  • Preheat oven to 350 degrees.
  • Coat sides and bottom of 9-Inch Springform Pan
    with cooking spray and place a circle of parchment paper in the bottom.
  • Make cake mix as directed.
  • Scoop 1/2 of cake mix into bottom of pan and bake for 2o min.
  • While cake is baking, heat cream cheese in a saucepan over medium heat until smooth.
  • Add caramels and stir constantly until completely melted and smooth.
  • After 20 minutes, remove cake from oven.  Pour nuts and chocolate chips over partially baked cake layer.  Pour caramel over (this may sink slightly in the middle.)
  • Carefully scoop remaining cake mixture over the top, covering all of the caramel and bake for an additional 25-30 minutes (until center is firm and a cake tester comes out clean).
  • Remove from oven and run a knife around edges of pan.  
  • Allow to set until cool.  
  • Remove edges of pan and then turn over by setting serving plate on top of cake and flipping.  Remove pan bottom and parchment paper.
  • Top with powdered sugar and caramel sauce if desired.
  • ENJOY!

My thoughts:  I created this cake recipe thinking I could enter it into the RWOP contest (dessert week is coming!)  It simply took too long to completely cook and set though (the contest has a one hour limit).  I had to post it here for you all though because it was SO tasty!   Enjoy!


Rocky Road Fudge Bars

Posted on
These bar cookies are full of all your favorite Rocky Road ingredients with a twist– rice crispies and a thick Cream Cheese fudge. Easy and quick to make, this is sure to be one of your new go-to recipes!
INGREDIENTS:
  • 8 oz. Philadelphia Cream Cheese
  • 12 oz. semi-sweet chocolate chips
  • 2c. mini marshmallows
  • 2c. rice krispies
  • 1c. dry roasted, salted peanuts
  • 1/2 c. creamy peanut butter
  • 1/4c. powdered sugar
DIRECTIONS:
  • Melt chocolate chips in microwave in 30 second increments, stirring well in between, until smooth.
  • Soften cream cheese in microwave until creamy and smooth.
  • Combine chocolate and cream cheese until well blended.
  • Take one cup of chocolate/cream cheese mixture out and set aside in a separate bowl.
  • To original mixture, add marshmallows, peanuts and rice krispies- stirring well to completely coat.
  • Press this mixture into a 9×9 pan that has been lined with foil.
  • To remaining bowl of chocolate and cream cheese, add peanut butter, mixing until smooth.
  • Add powdered sugar to desired consistency (should be thick yet still spreadable)
  • Spread this fudge layer over the top of the bars and freeze for 30 minutes.
  • Remove bars from the pan using the foil to lift out.  Cut into squares and serve!
My thoughts:  This was another recipe created for the RWOP website competition….no winning for me yet, but I’m going to keep trying! 🙂
 It was inspired by bar cookies my grandmother used to make with me when I was little.  Hers were called O’Henry Krispies and they were delicious!  The addition of cream cheese gives these bars a rich and creamy feel.  This is an incredibly easy dessert- but oh soooo yummy!  Hope you enjoy them!  r-

Mint Creme Brownies

Posted on

If you like mint with your chocolate these brownies are the recipe for you!  Rich and chewy, these brownies are topped with a creamy mint layer and rich chocolate.

INGREDIENTS:

BROWNIE:

  • 1cup butter
  • 2 cup sugar
  • 3 eggs
  • 2 teaspoons vanilla
  • 2 cups flour
  • 1/2 cup cocoa
  • 1/2 teaspoon salt
  • 1 cup milk
  • 1 cup chopped walnuts (optional)

MINT FROSTING:

  • 5 cups powdered sugar
  • 8 tablespoons melted butter
  • 2 teaspoons peppermint extract
  • green food coloring (to desired shade of green)

CHOCOLATE GLAZE:

  • 12oz. semi-sweet chocolate chips
  • 12 tablespoons butter (do not substitute margarine here!)
DIRECTIONS:
BROWNIE:
  • Preheat oven to 350.
  • Cream butter and sugar together. 
  • Beat in eggs, cocoa, vanilla and salt.
  • Add flour and milk (alternating them and mixing well in between)
  • Spread evenly in greased jelly roll pan.
  • Bake at 350 degrees for 15 minutes or until done in center and just starting to pull away from sides.
  • Cool.  

MINT FROSTING:

  • Add melted butter to sugar and extract.
  • Mix well, using water to bring it to a thick but spreadable consistency.
  • Add food coloring to desired shade of green.
  • Spread over cooled brownies and chill for a few minutes to harden up.
CHOCOLATE GLAZE:
  • Melt butter and chocolate together in the microwave in 30 second increments, stirring in between until completely melted and smooth.
  • Pour over cooled mint frosting and spread evenly over top
  • Chill until top layer is hard and cut into bars.


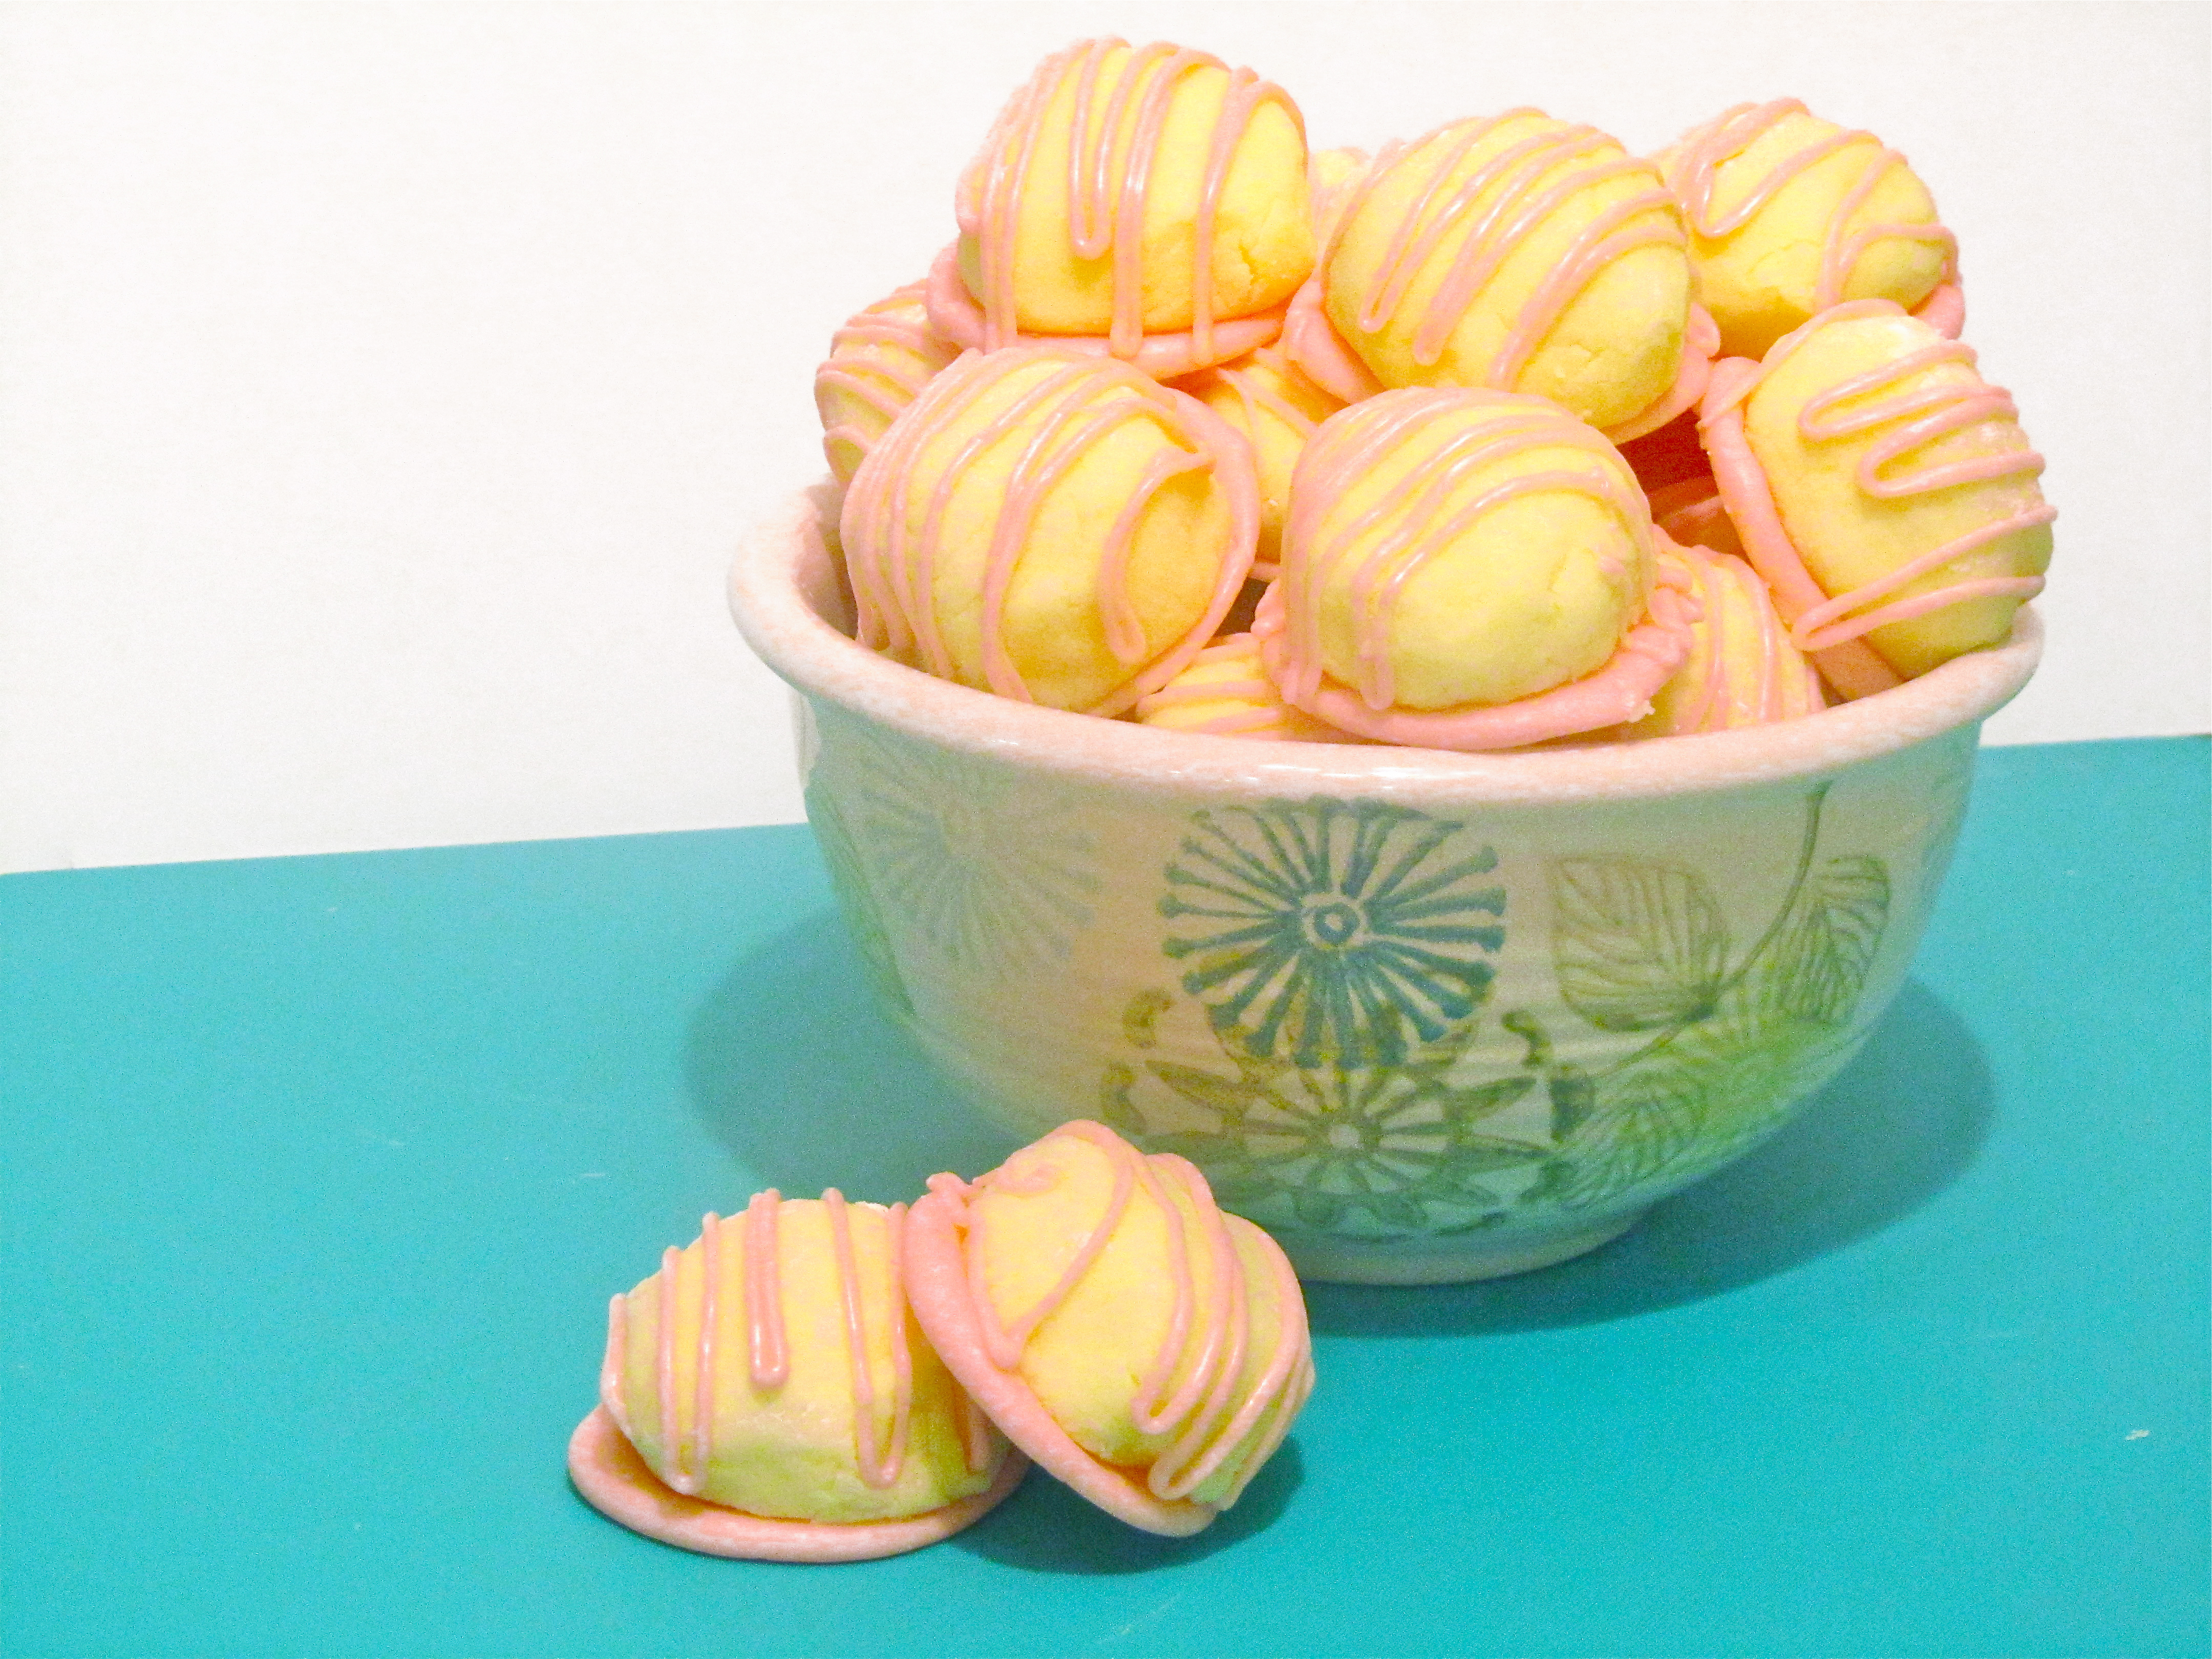
Optional decorating:
  • Using  green chocolate melts that are melted and placed in a ziplock with a corner clipped, drizzle over the top of the warm glaze.  
  • Draw a tooth pick , knife or skewer through the chocolate- 1st one direction and then back the other to make a fun design on the top of these bars.

My thoughts:  These brownies are 100% mom 🙂  I grew up enjoying these yummy treats (she always put the nuts in though and I really prefer them without!)  My mom is an amazing cook and baker- these are just one of many of her recipes I love!  I’ve no idea where she got this recipe– I do know that its been modified throughout the years (more mint…more chocolate- YUM!)  One fun twist to this is that you can color the mint layer with any color.  I’ve matched shower colors with these– made orange halloween brownies….etc.  REALLY fun and yummy recipe– enjoy!  -r

15252625_10153986260942513_8337325014979743591_o

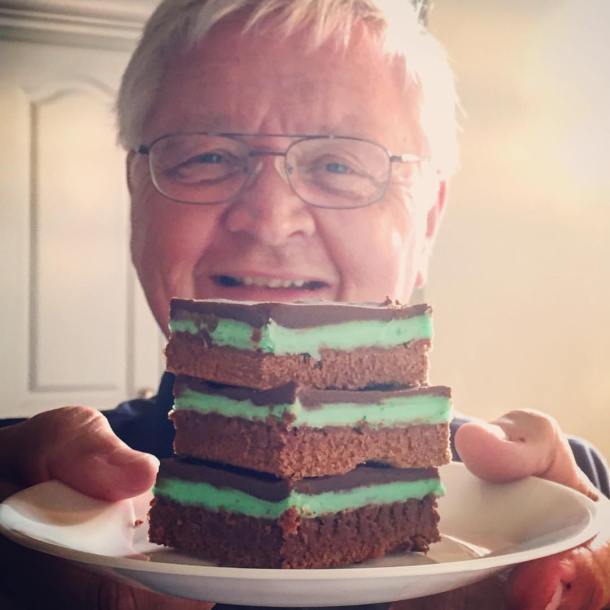
Here we are, six years later. We lost mom to cancer 2 years ago and we miss her SO much. When I asked dad what he wanted for his birthday this year he requested these yummy brownies. This picture was so fun, I thought I’d add it here! So thankful for the recipes that remind me of mom! ~r

Raspberry Lemonade Truffles

Posted on

img_0886

These soft and creamy lemonade truffles are accented with a sweet raspberry white chocolate.  Truly a unique dessert that will have you thinking summer as soon as you taste one!

INGREDIENTS: (makes 30 truffles)

  • 1 (8 oz.) bar of Philadelphia Cream Cheese (softened to room temp)
  • 1 packet (0.23 oz.) of Kool-Aid Lemonade mix (unsweetened)
  • 5 cups powdered sugar (plus a little extra to coat your hands as you work with dough)
  • 1 bag (12oz) Wilton White Candy Melts
  • 1/4 teaspoon imitation raspberry flavoring
  • Red and yellow food coloring (enough to get the color you desire)

DIRECTIONS:

  • Cream together Philadelphia cream cheese and packet of lemonade.
  • Add yellow food coloring to desired shade of yellow.
  • Add powdered sugar one cup at a time, blending well between each one.  After 4th cup, coat your hands in powdered sugar and mix in 5th cup with your hands until well blended.
  • Using sugar-covered hands, roll dough into 1 inch truffle balls and set on parchment paper.
  • Melt candy coating chips in microwave in 30 second increments, stirring between until smooth.
  • Add raspberry flavoring and red food coloring (to desired color) and mix well.
  • Spoon about 1/2 – 1 tsp. of chocolate onto parchment paper and then press a truffle on the top of it until the chocolate is visible around the edges.  Finish the rest of the truffles this way.
  • Spoon remaining chocolate into a ziplock bag and clip the corner.  Drizzle the chocolate over the truffles.
  • Allow topping to harden (about 5 minutes)
  • Peel off parchment paper and serve at room temperature or chilled.

Makes about 30 truffles.

My thoughts:  Wow!  These have been a huge hit with everyone in my life that’s tried them!  They are an original creation for Real Women of Philadelphia.  For all of you who love to cook and bake, you really should check this contest out– its a lot of fun and the sweetest people are a part of this community!  I was longing for something to remind me that summer is coming (in spite of all the yucky weather lately!)  Raspberry lemonade is such  treat- and these truffles capture the essence of it to me.  I hope you get a chance to try them– let me know what you think!  :o)r-

Turtle Cheesecake

Posted on

This rich vanilla cheesecake is topped with a thick layer of soft caramel, smooth chocolate and pecans–YUM!

INGREDIENTS:

Cheesecake:

  • 9 oz. chocolate wafer cookies (I use animal crackers)
  • 1/4 c. margarine (melted)
  • 2 (8oz.) packages of Philadelphia Cream Cheese (softened)
  • 1/2c. sugar
  • 3 eggs
  • 2 c. white chocolate chips (melted)
  • 1 c. heavy whipping cream
  • 2 tbsp. margarine (melted)
  • 3 tsp. vanilla

Caramel Topping:

  • 32 Kraft caramels (unwrapped)
  • 1/2c. margarine
  • 1 can (14oz.) sweetened condensed milk

Chocolate Topping:

  • 1/4c. heavy whipping cream
  • 1/2c. semi-sweet chocolate chips
  • About 15 pecan halves.

DIRECTIONS:

  • Preheat oven to 325 degrees
  • Crush cookies into fine crumbs and add melted margarine.  Combine well and press into the bottom of a 9-Inch Springform Pan
  • Beat softened cream cheese with sugar until smooth.
  • Add eggs one at a time, beating in between each one.
  • Add remaining cheesecake ingredients, beating until smooth.
  • Pour into crust and allow to sit at room temp for 30 minutes.
  • Place on a cookie sheet and bake for 60 minutes,
  • Turn off oven, open oven door a little and allow to sit for another 30 minutes.
  • Remove from oven and run knife around edge of pan.  Remove edge of pan. 
  • Allow to come to room temperature (make toppings during this time)
  • CARAMEL: Put caramels, condensed milk and margarine into a saucepan and melt over medium heat, stirring constantly until smooth (6-8 minutes)
  • CHOCOLATE:  Put whipping cream into saucepan and heat just until bubbling at edges.  Turn heat off, add chocolate chips, cover and allow to sit for 5 minutes.
  • After 5 minutes, stir until smooth.
  • Pour caramel over top of cheesecake, smoothing to edges
  • Refrigerate about 10 minutes.
  • Pour chocolate over caramel and smooth into a center circle.  
  • Place pecan halves around edges and drizzle with any extra caramel you have (if desired)
  • REFRIGERATE cheesecake overnight before serving for best consistency. Remove bottom part of pan when cake is chilled.

My thoughts:

I made this for my friends Spencer and Rachel this weekend.  They are having a party to celebrate their baby’s 1st birthday!  HAPPY BIRTHDAY ASILINN!!!!!  

I haven’t made a cheesecake in awhile and I’ve missed it!  This cheesecake recipe is my staple recipe– the toppings and crust may vary, but the cheesecake recipe stays the same– I haven’t found another that I like better…  The caramel on this is THICK (you may want to half the recipe for it if you aren’t a huge caramel fan like I am).  This might seem like it’s a difficult recipe because of all the steps, but it really isn’t hard– start early in the evening though because its a process!  Hope you get a chance to try this!  ENJOY!   -r


Caramel Coconut Cream Cups

Posted on

These chewy coconut cookie cups filled with rich chocolate and fluffy cream cheese are topped off with soft caramel, chocolate and toasted coconut.  More than delicious, these are truly a unique dessert that will have all your friends and family wondering how in the world you made them!

INGREDIENTS:

  • 2 c.  yellow cake mix (any variety)
  • 2 c. crushed coconut cookies (I use WalMart brand)
  • 2 eggs
  • 1/2 c. vegetable oil
  • 1 c. shredded coconut
  • 1/4 c. whipping cream
  • 1/2 c. semi-sweet chocolate chips
  • 16 Kraft Caramels (unwrapped)
  • 7 oz. sweetened condensed milk
  • 1/4 c. margarine
  • 6 oz. Philadelphia cream cheese (softened)
  • 1/2 c. sugar
  • 4 oz. Cool Whip (refrigerator temperature)
  • 12 oz. Wilton Dark Candy Cocoa Melts

DIRECTIONS:

  • Preheat oven to 350 degrees
  • In a mixing bowl combine cake mix, crushed coconut cookies, eggs and oil.  Blend well.
  • Scoop batter evenly into 12 un-greased muffin tins, pressing it down with spoon.  Bake at 350 degrees for 15 minutes.
  • Spread coconut over a small cookie sheet and toast at the same time your cups are baking for 10 to 15 minutes (check often to prevent burning!)
  • While cookie cups bake, make your fillings:
  1.  Chocolate ganache:  Place whipping cream in a small saucepan and heat it over the stove until it just starts to bubble at edges (20-30 seconds).  Turn off heat, add chocolate chips, over and allow to sit on warm burner for 5 minutes.  After 5 minutes, stir until smooth.
  2. Caramel Sauce:  Place caramels, condensed milk and margarine in a saucepan and heat until caramels are fully melted and mixture is smooth (about 5 minutes)  stir constantly.
  3. Cream filling:  Combine cream cheese with sugar  until smooth.  Fold in Cool Whip.
  • Remove coconut from oven when it is a toasty brown.  Place in bowl to cool.
  • Remove cookie cups from oven.  They look like muffins at this point–using a tart shaper or the end of a wooden spoon, press the middles of the muffin in to form a cup shape. (NOTE:  because ovens vary in temperature, your cups may need to bake longer.  When you press the middle in it should look a little oily from the coconut oil in the cookies- but it should hold its shape–  if it’s doughy and wont stay pressed down, place it back in the oven for a few minutes.)
  • Tip the muffin pan over a clean counter to release the cups and carefully turn them all upright to cool.
  • Melt chocolate candy coating in microwave in 30 second increments, stirring between until smooth.
  • Dip the top edge of each cup into the chocolate and then sprinkle with toasted coconut.
  • Spoon chocolate ganache evenly into each cup.
  • Place cream filling in a large ziplock.  Cut one corner and pipe the cream evenly into each cup.
  • Spoon caramel sauce evenly over each cup.
  • Drizzle any left-over candy coating over each cup and top with remaining coconut.
  • Keep refrigerated until serving.
  • Makes 12 cups.

My thoughts:  I “invented” this recipe for Kraft using Philadelphia Cream Cheese.  It has some of my favorite flavor combinations– coconut, chocolate and caramel– amazing!  It is also a great texture combination: chewy, creamy crunchy….yum.  This is a fairly time-consuming recipe.  If you love baking it is FUN FUN FUN!!!!  (I’m actually a little addicted to making these!)  I can’t give it an “easy recipe” tag though– its just too involved.  If you get a chance to try these let me know what you think!  Enjoy!!!! r-


Chocolate Easter Eggs with Peanut Butter Filling!

Posted on

These chocolate eggs are filled with a creamy peanut butter mixture.  Fill your Easter baskets with this easy to make recipe!!!

INGREDIENTS:

DIRECTIONS:

  • Combine margarine with peanut butter and add powdered sugar until mixture is thick enough to be rolled and molded by hand.
  • Form eggs in any size (I use an egg-shaped 1/3 cup measuring spoon, but you can shape by hand in other sizes as well)
  • Melt chocolate in microwave in 30 second increments, stirring well in between until smooth.
  • Using a fork, dip peanut butter eggs into chocolate until completely covered and slide off fork onto parchment paper.  Allow chocolate to cool and harden.
  • Decorate as desired (drizzle with other colored chocolate, or sprinkle with spring candy…).

My thoughts:  This is my second year making these eggs as a fundraiser for missions trips at my church.  We have improved our technique for making these in large quantities and had a lot of fun this year.  These are HUGE peanut butter eggs.  I always warn people to not eat a whole one all at once!  The filling is so creamy and rich.  I hope you get a chance to try these out for YOUR Easter baskets!  Here’s some shots of our egg-making extravaganza:

Chocolate Cheesecake Fudge!

Posted on

If you like cheesecake and you like fudge, this is a perfect combination!  Plus, I am convinced this is the easiest fudge recipe EVER!!!!!!

INGREDIENTS:

  • 2 bags (11.5 oz each) semi-sweet chocolate chips
  • 1 tub (10 oz.) Philadelphia Original Favor Cooking Creme
  • 1 tsp vanilla
  • 1/2 c. finely chopped nuts


DIRECTIONS:

  • Melt chocolate in the microwave in 30 second increments, stirring well between until smooth.
  • Add cooking creme, vanilla and nuts and stir until well blended.
  • Pour into a 9×9 pan that has been lined with aluminum foil.
  • Refrigerate for about 40 minutes (until fudge is hard).
  • Remove from pan, peel away foil, cut and serve!!!


My thoughts:  I created this recipe for Kraft.  They sent me all of their flavors of cooking creme to experiment with before it was placed in stores.  This is one of the “Original” flavor recipes I made.  I LOVE how easy it is and I love the cream cheese flavor– it adds a unique twist to the basic fudge recipe.  This is a wonderful dark chocolate fudge- but if you want it sweeter just use milk chocolate chips instead!  ENJOY!!!!!!!   r-

Coconut Carrot Cake Cookies!

Posted on

Confession:  I hate carrot cake—HATE it.  But I love these cookies so much that I could eat a whole plate of them in one sitting- they are so moist and flavorful– and they use a cake mix which makes them really easy to make!

INGREDIENTS:

  • 1 box of Betty Crocker Carrot Cake Mix
  • 12 oz. Philadelphia Cream Cheese (divided)
  • 1/4c. margarine (plus an additional 2 tbsp)
  • 1 egg
  • 1/2 tsp. of coconut extract (divided)
  • 1/2c. oatmeal
  • 1c. confectioners sugar
  • 1/2c. Wilton White Candy Melts

DIRECTIONS:

  • Preheat oven to 350 degrees.
  • Cream together the 1/4c. margarine and 8 oz. of the cream cheese (the remaining will be used in the frosting).
  • Using a mixer, add in the egg and 1/4 tsp. of coconut extract (the remainder will be used in the frosting)
  • When the mixture is smooth, slowly add the cake mix until blended (batter will be very heavy)
  • Fold in oatmeal until well mixed.
  • Using a small cookie scoop, place scoops of batter on an un-greased cookie sheet about 2 inches apart.
  • Bake for 8 to 10 minutes.  About halfway through, pull the cookies out and gently flatten the tops with a finger and return to oven for remainder of time.
  • Cool cookies completely on parchment paper.
  • Make frosting: cream remaining cream cheese with 2 tbsp. of margarine and 1/4 tsp of coconut extract. Add confectioners sugar to a thick consistency.
  • To put together: turn one cookie bottom up, spoon or pipe a little frosting on it and top with another cookie.
  • If desired, melt some white chocolate and drizzle it over the top of the cookies.
  • Makes about 24 cookies.

My thoughts:  Mmmmm….I want to have some of these cookies now!  I am on a baking freeze because of a kitchen remodel, so I am pulling some recipes from the archives.  This recipe was inspired by my friend and coworker Tammy.  Her daughter requested carrot cake cookies for a bridal shower, and Tammy (an amazing baker!) created cookies very similar to this.  I rethought them a little and added coconut for a recipe contest on Real Women of Philadelphia (RWOP).  Whenever I make them people ask for the recipe.  They are a little time-consuming, but SO worth the extra time in the kitchen!!  I hope you love them!!  r-