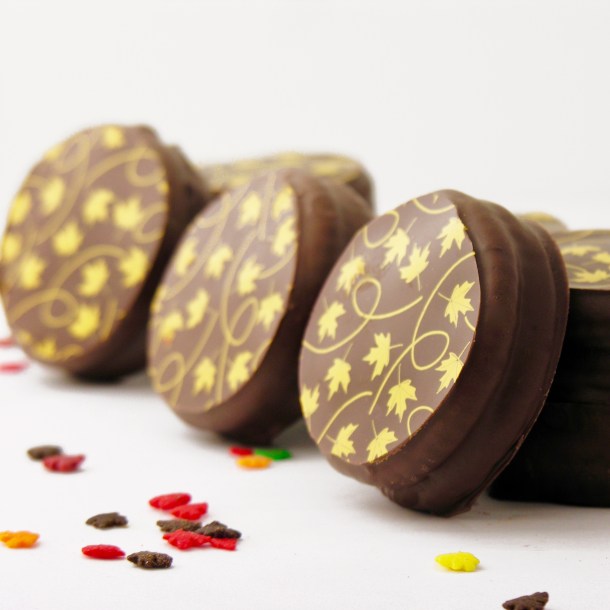
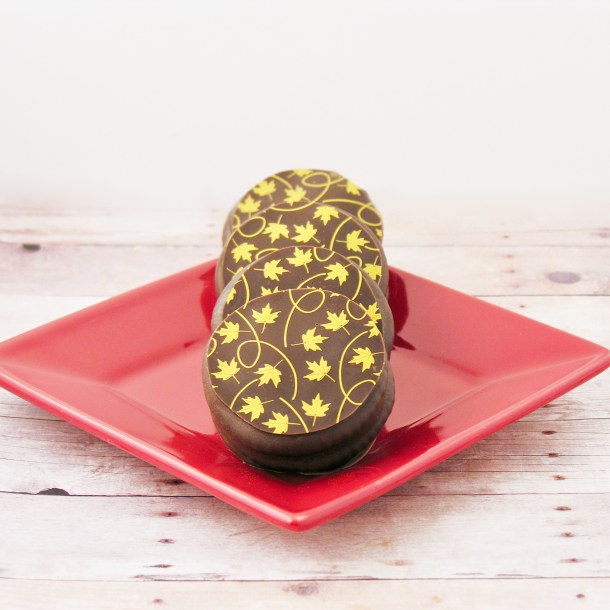
These beautiful fall cookies are special– not just because they are salty, sweet, crispy deliciousness– but because they use up your kids’ Halloween candy!!!!
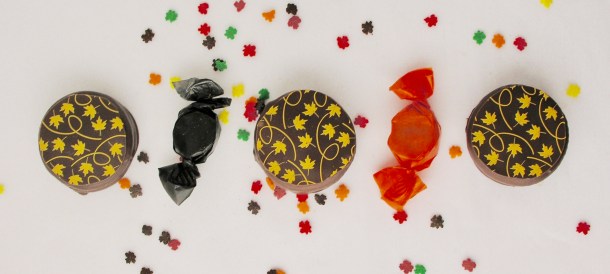
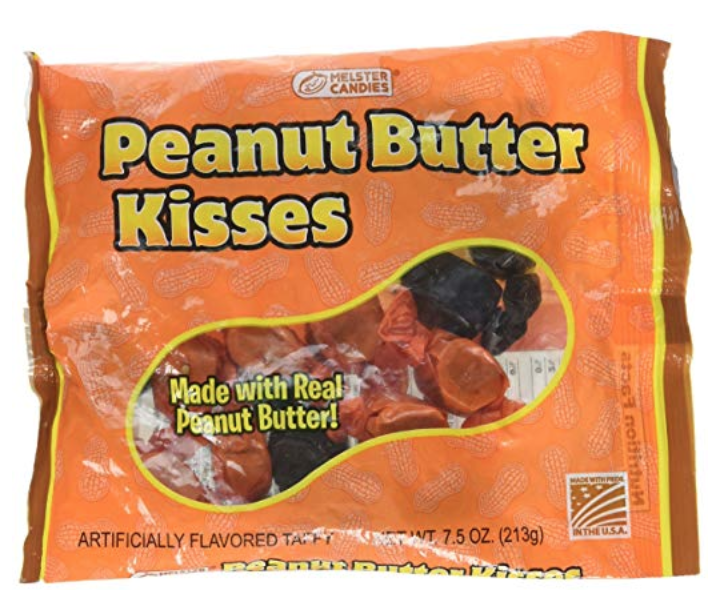
So… Halloween is over, and you are likely in possession of more candy than you know what to do with. The chocolate will be gone in days, and then the name-brand candy will slowly get picked away at. But there are always those candies that sit in the bottom of the plastic pumpkin until Thanksgiving. For me, those candies were always Bit-o-Honey and the bright orange and black-wrapped “Peanut Butter Kisses“. These are a candy that only seems to make an appearance at Halloween. A combination of taffy and peanut butter, they just always seem to make the left-over candy list.
But not any more!!! Go ahead, dig through all of that Halloween candy and pull these little guys out- they make the best filling for these beautiful cookies!
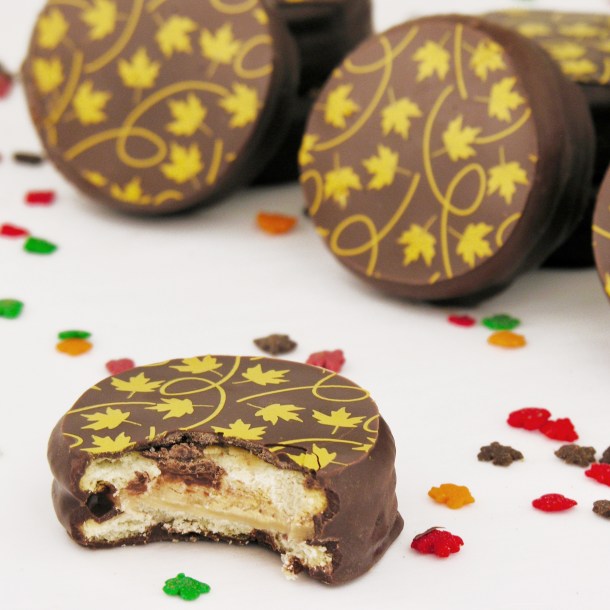
You can also grab other candies to fill these cookies with- rolos, kisses, peppermint patties, mini snickers… all work in this recipe! I actually began making these crisp cookies with Rolos about 5 years ago at Christmas.
Want the recipe? Here it is!! (printable version)
Ingredients: (makes 20 cookies)
- 40 Ritz crackers
- 20 Peanut Butter Kisses (or other small candy that melts at a low temperature)
- 1 bag of Wilton’s dark chocolate candy melts
- 1 chocolate transfer sheet (I used 12×16″, and I got mine here).
Directions:
- Preheat oven to 350F degrees.
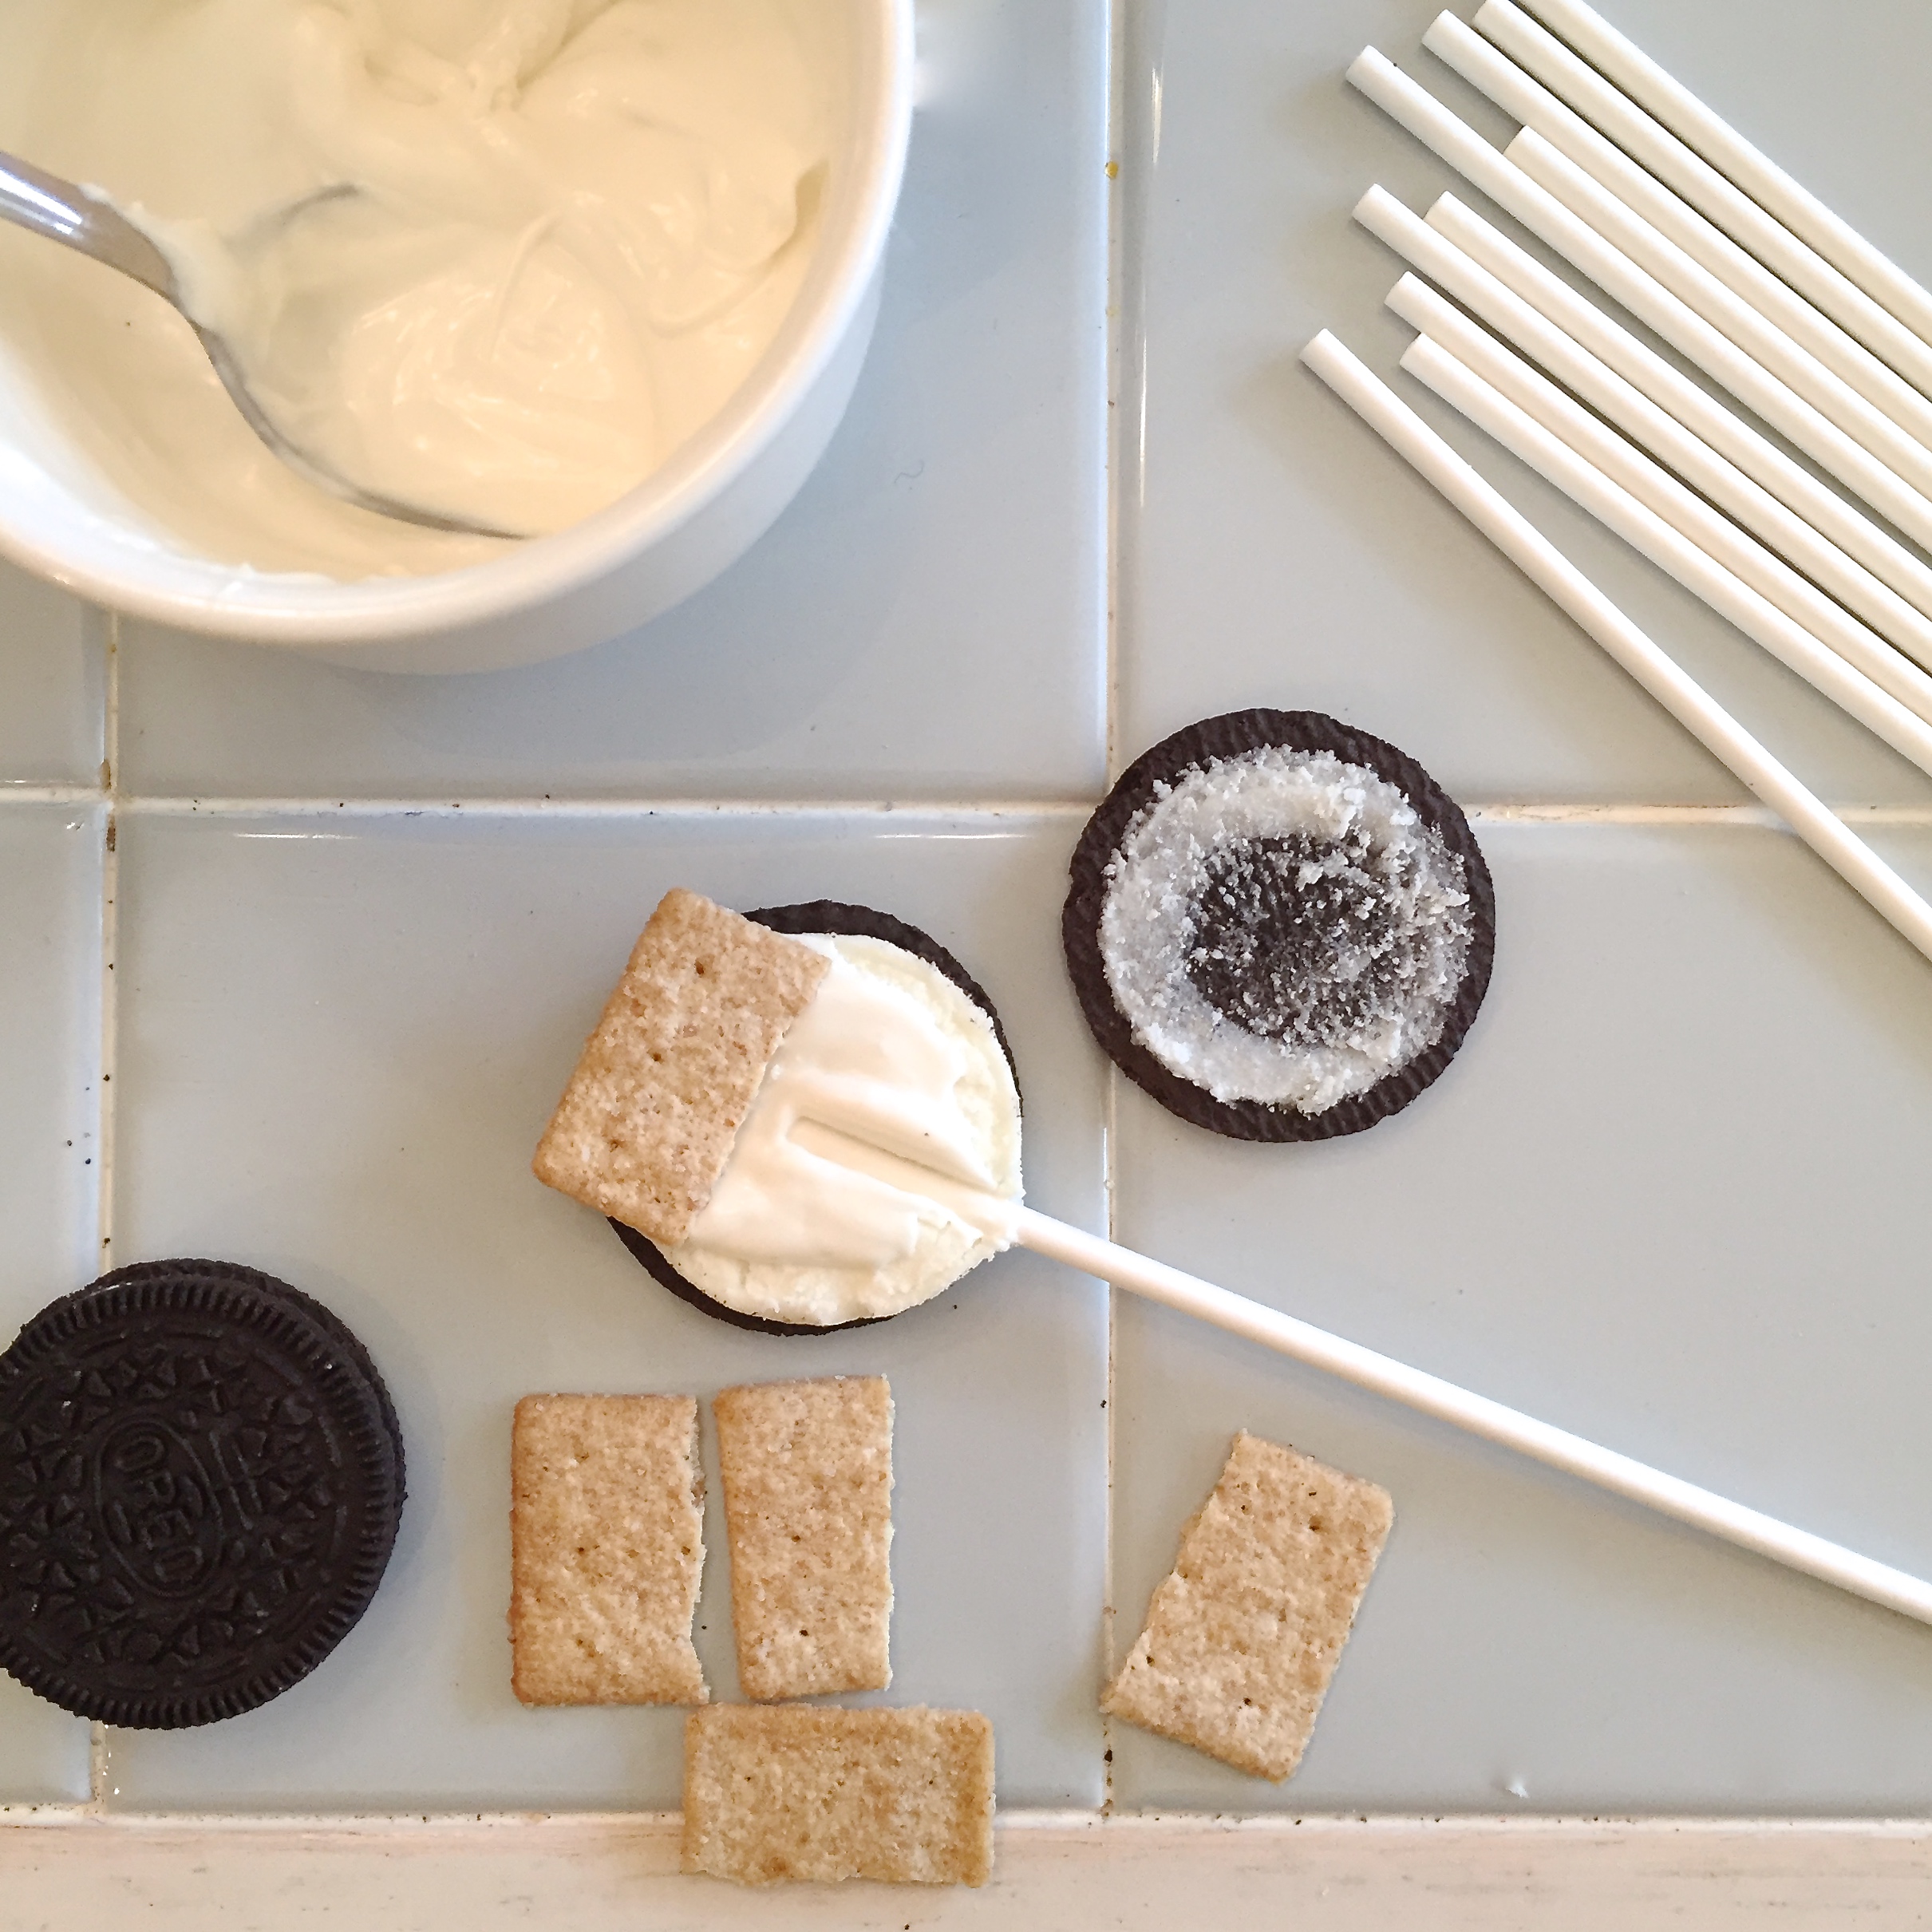
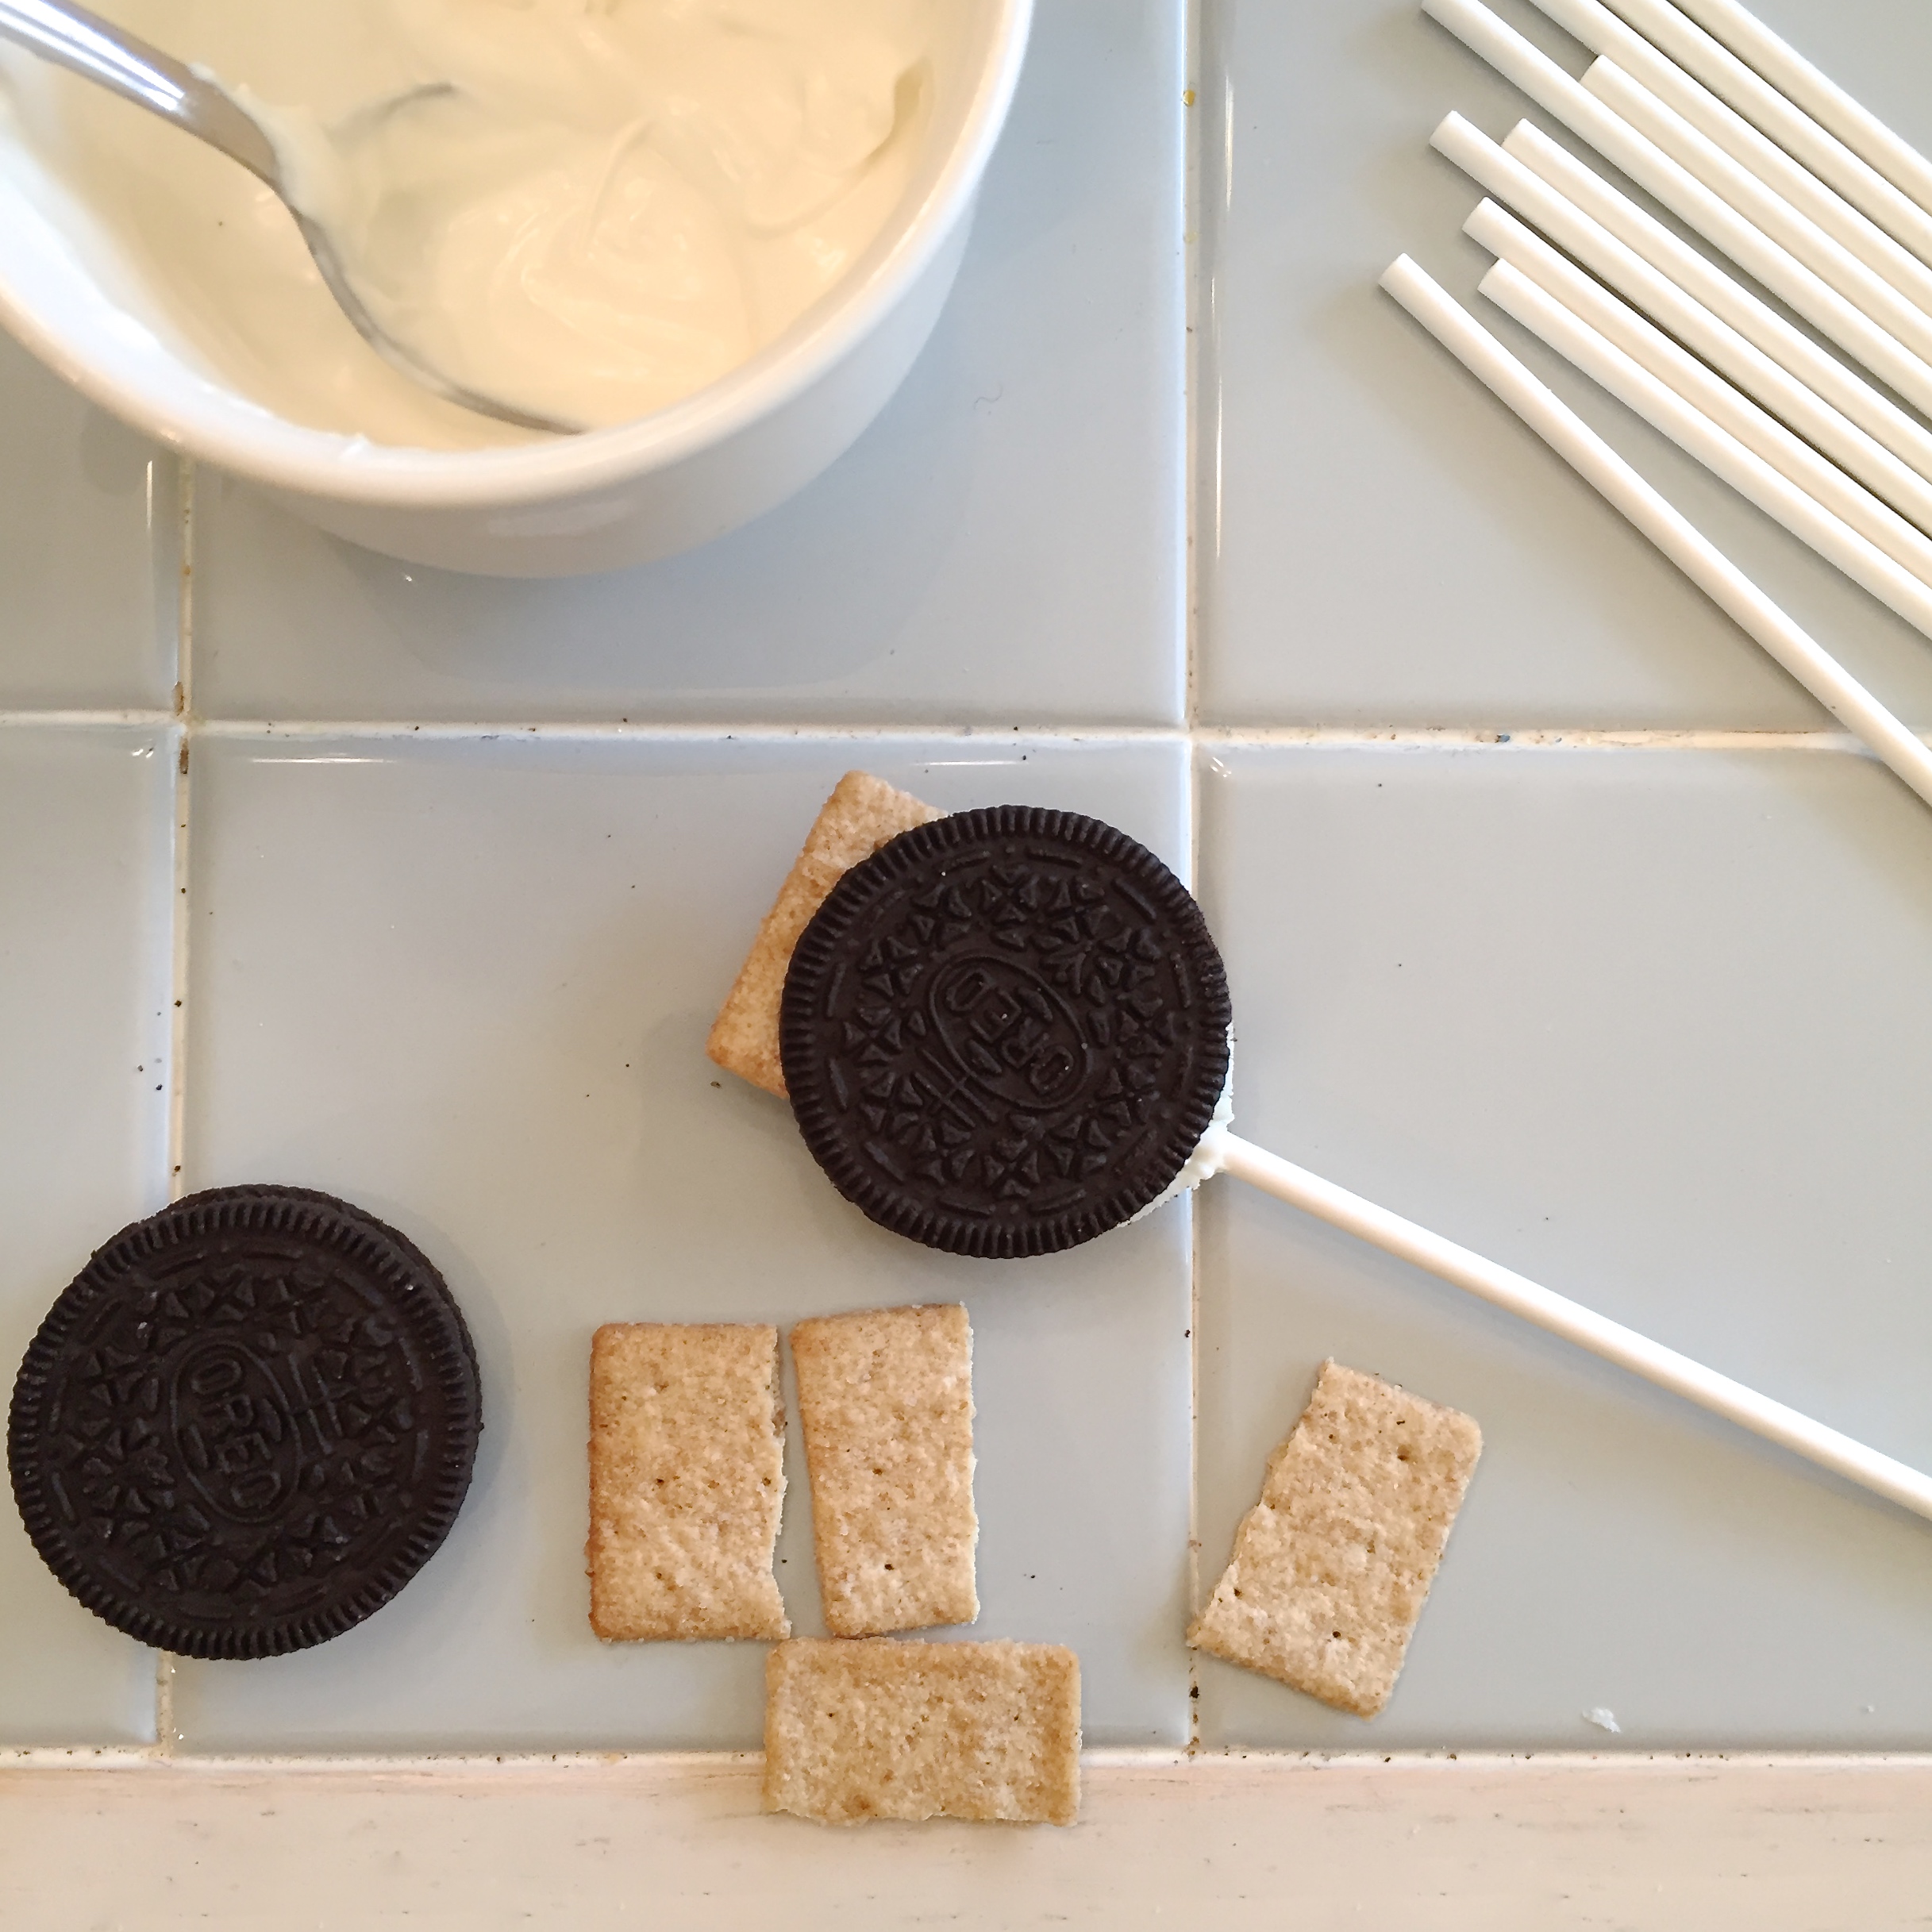
- Place 20 Ritz crackers on a cookie sheet, bottoms up.
- Unwrap all 20 peanut butter kisses, and set one on each Ritz cracker.
- Place cookie sheet in oven for about 4-5 minutes- check! Candy should be soft but not completely melted.
- Remove from oven, and place Ritz cracker, bottom side down, on top of candy and press to spread candy to edge.


- Place entire tray in freezer to chill for a few minutes.
- Melt chocolate candy melts in a bowl in the microwave for about 2-3 minutes, stirring once every 30 seconds, until completely melted and smooth.
- Place parchment paper on a cookie sheet (that fits in your freezer!)
- Cut chocolate transfer sheet into 20 squares.
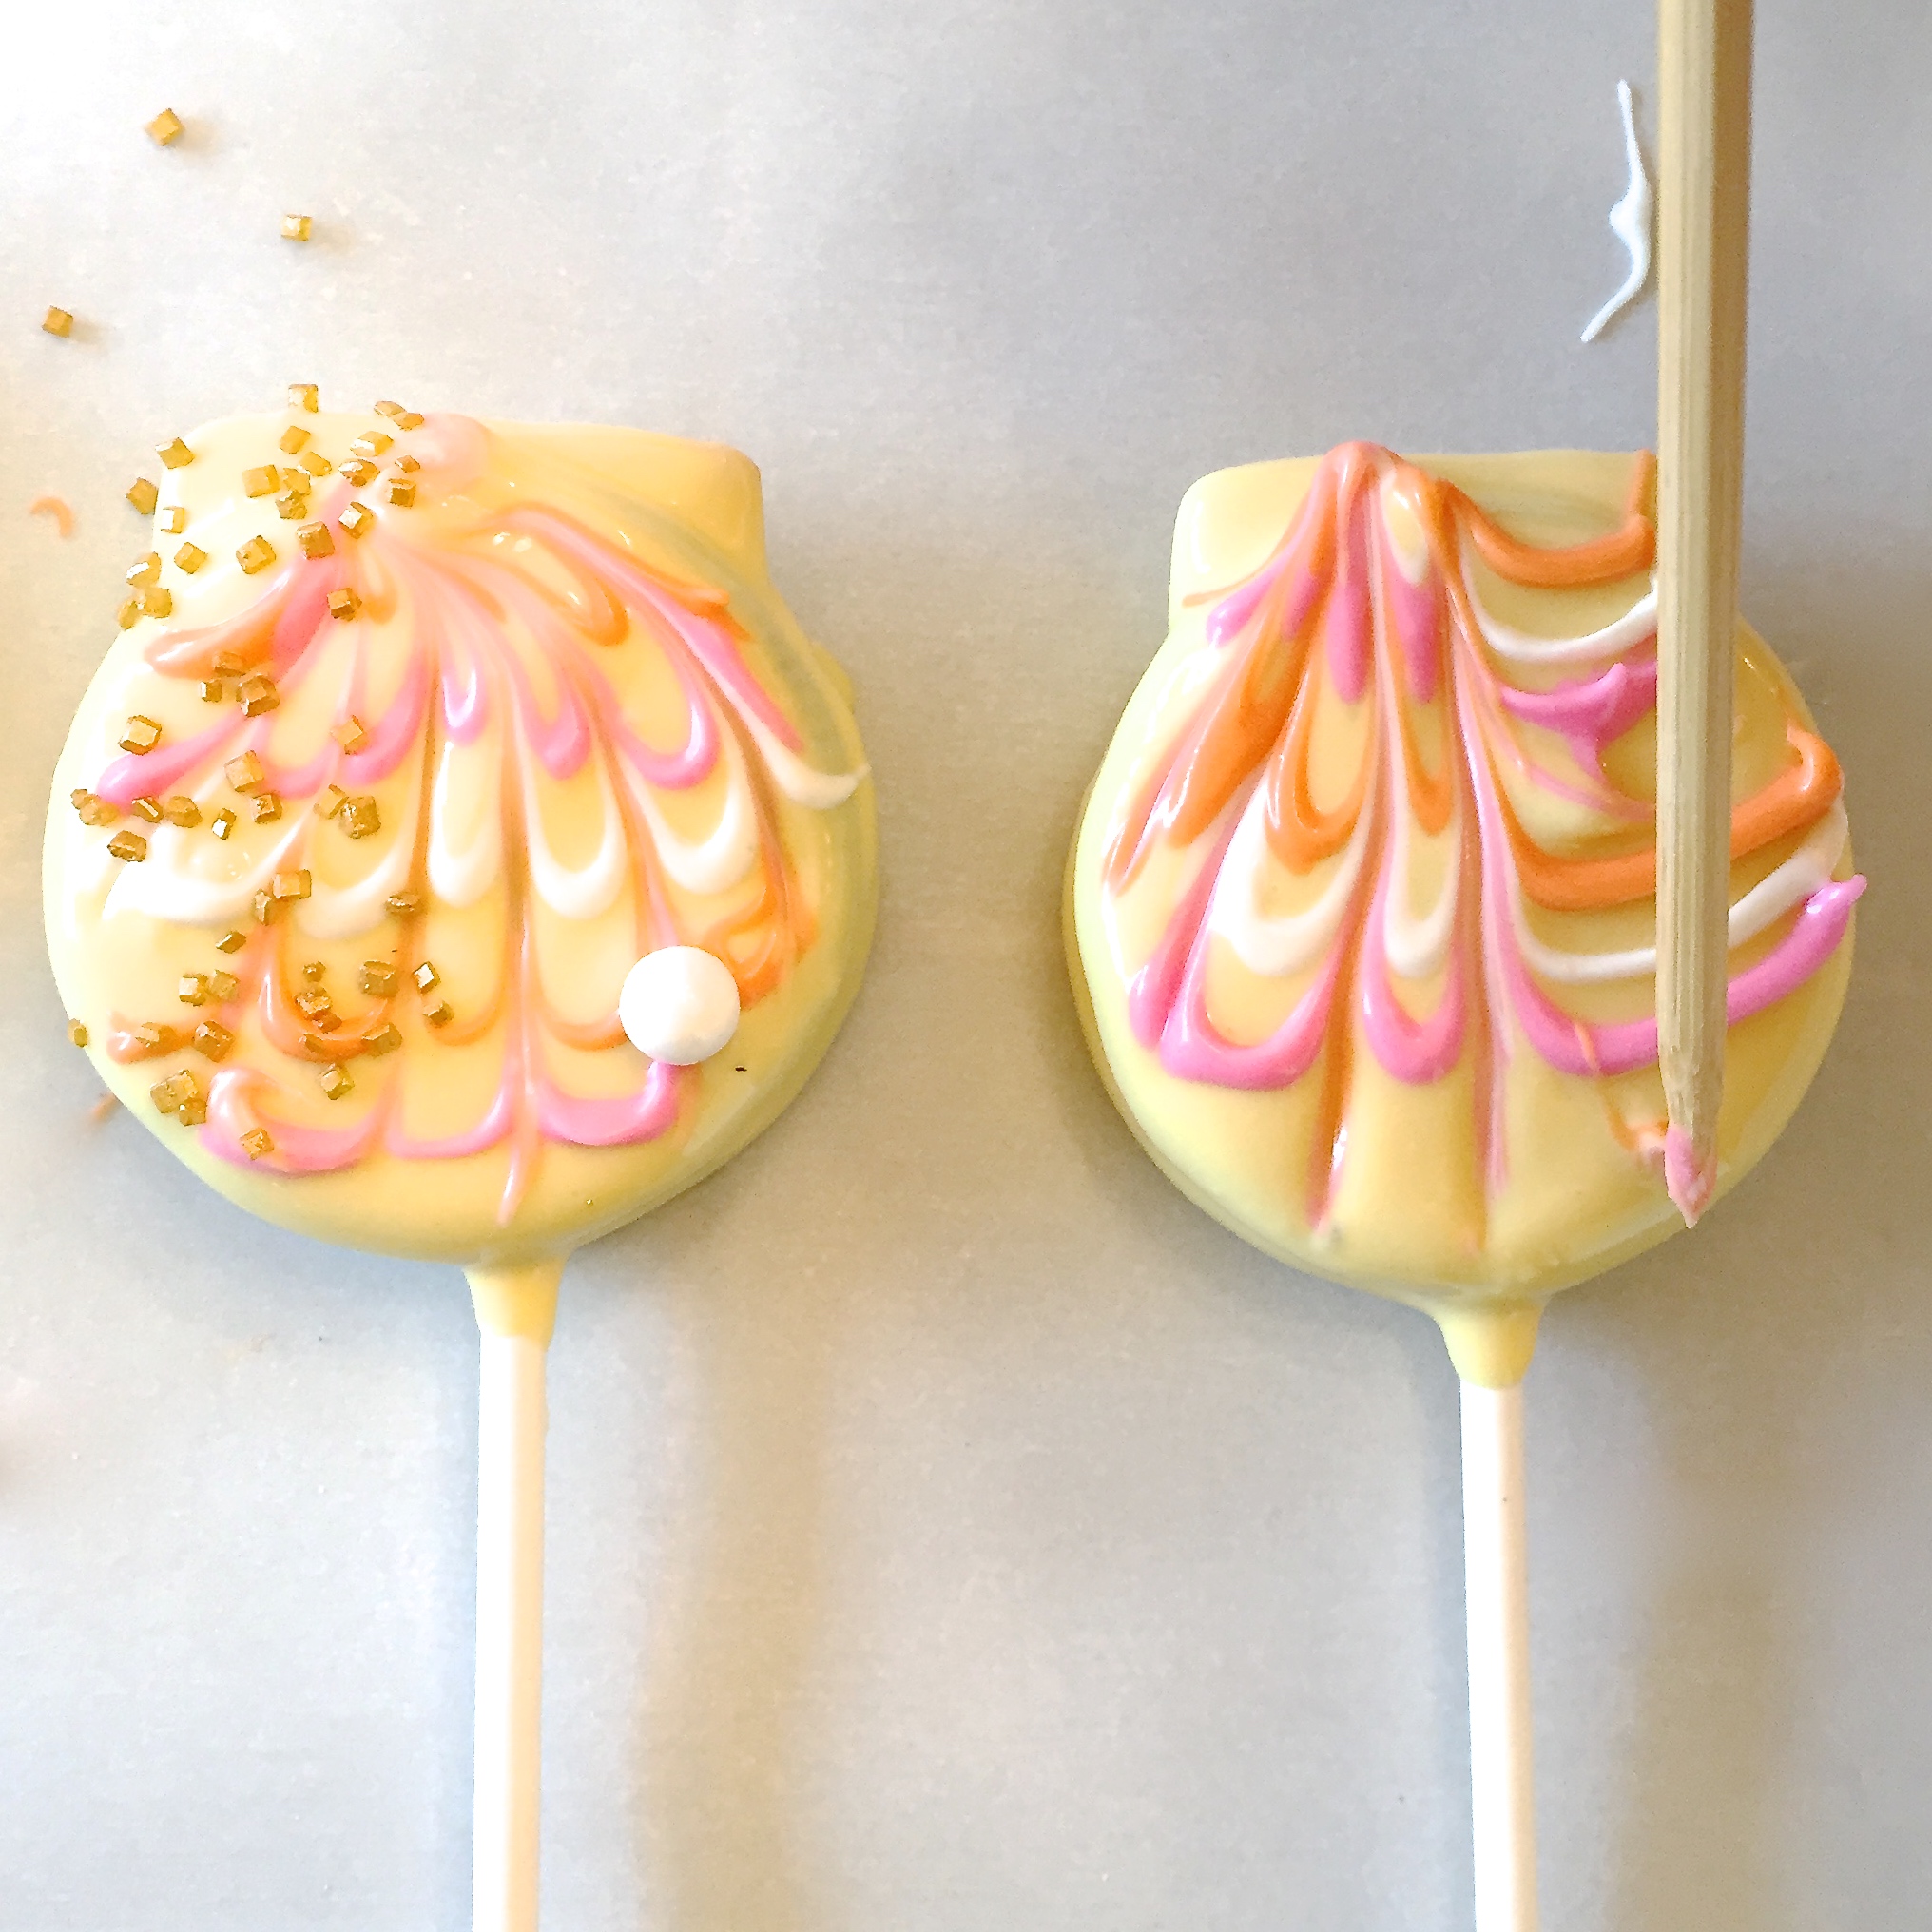
- Take a cookie, place it in the melted chocolate and cover it completely. Use a fork to pick it up and tap on the side of the bowl until all excess chocolate drips off the bottom. Slide bottom along edge of bowl, and using fork, slide onto parchment paper.


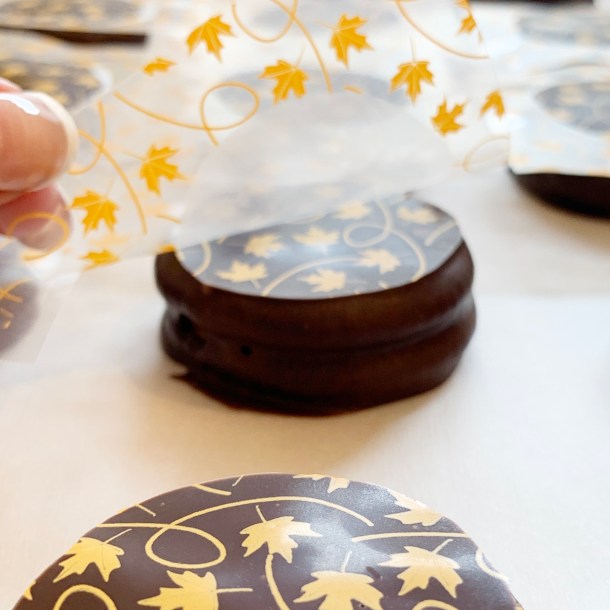
- Immediately place chocolate transfer sheet square on top of the melted chocolate (you’ll need to put the rough side down- the smooth side up) and gently press it into contact with the entire top of the cookie. Repeat 20 times.


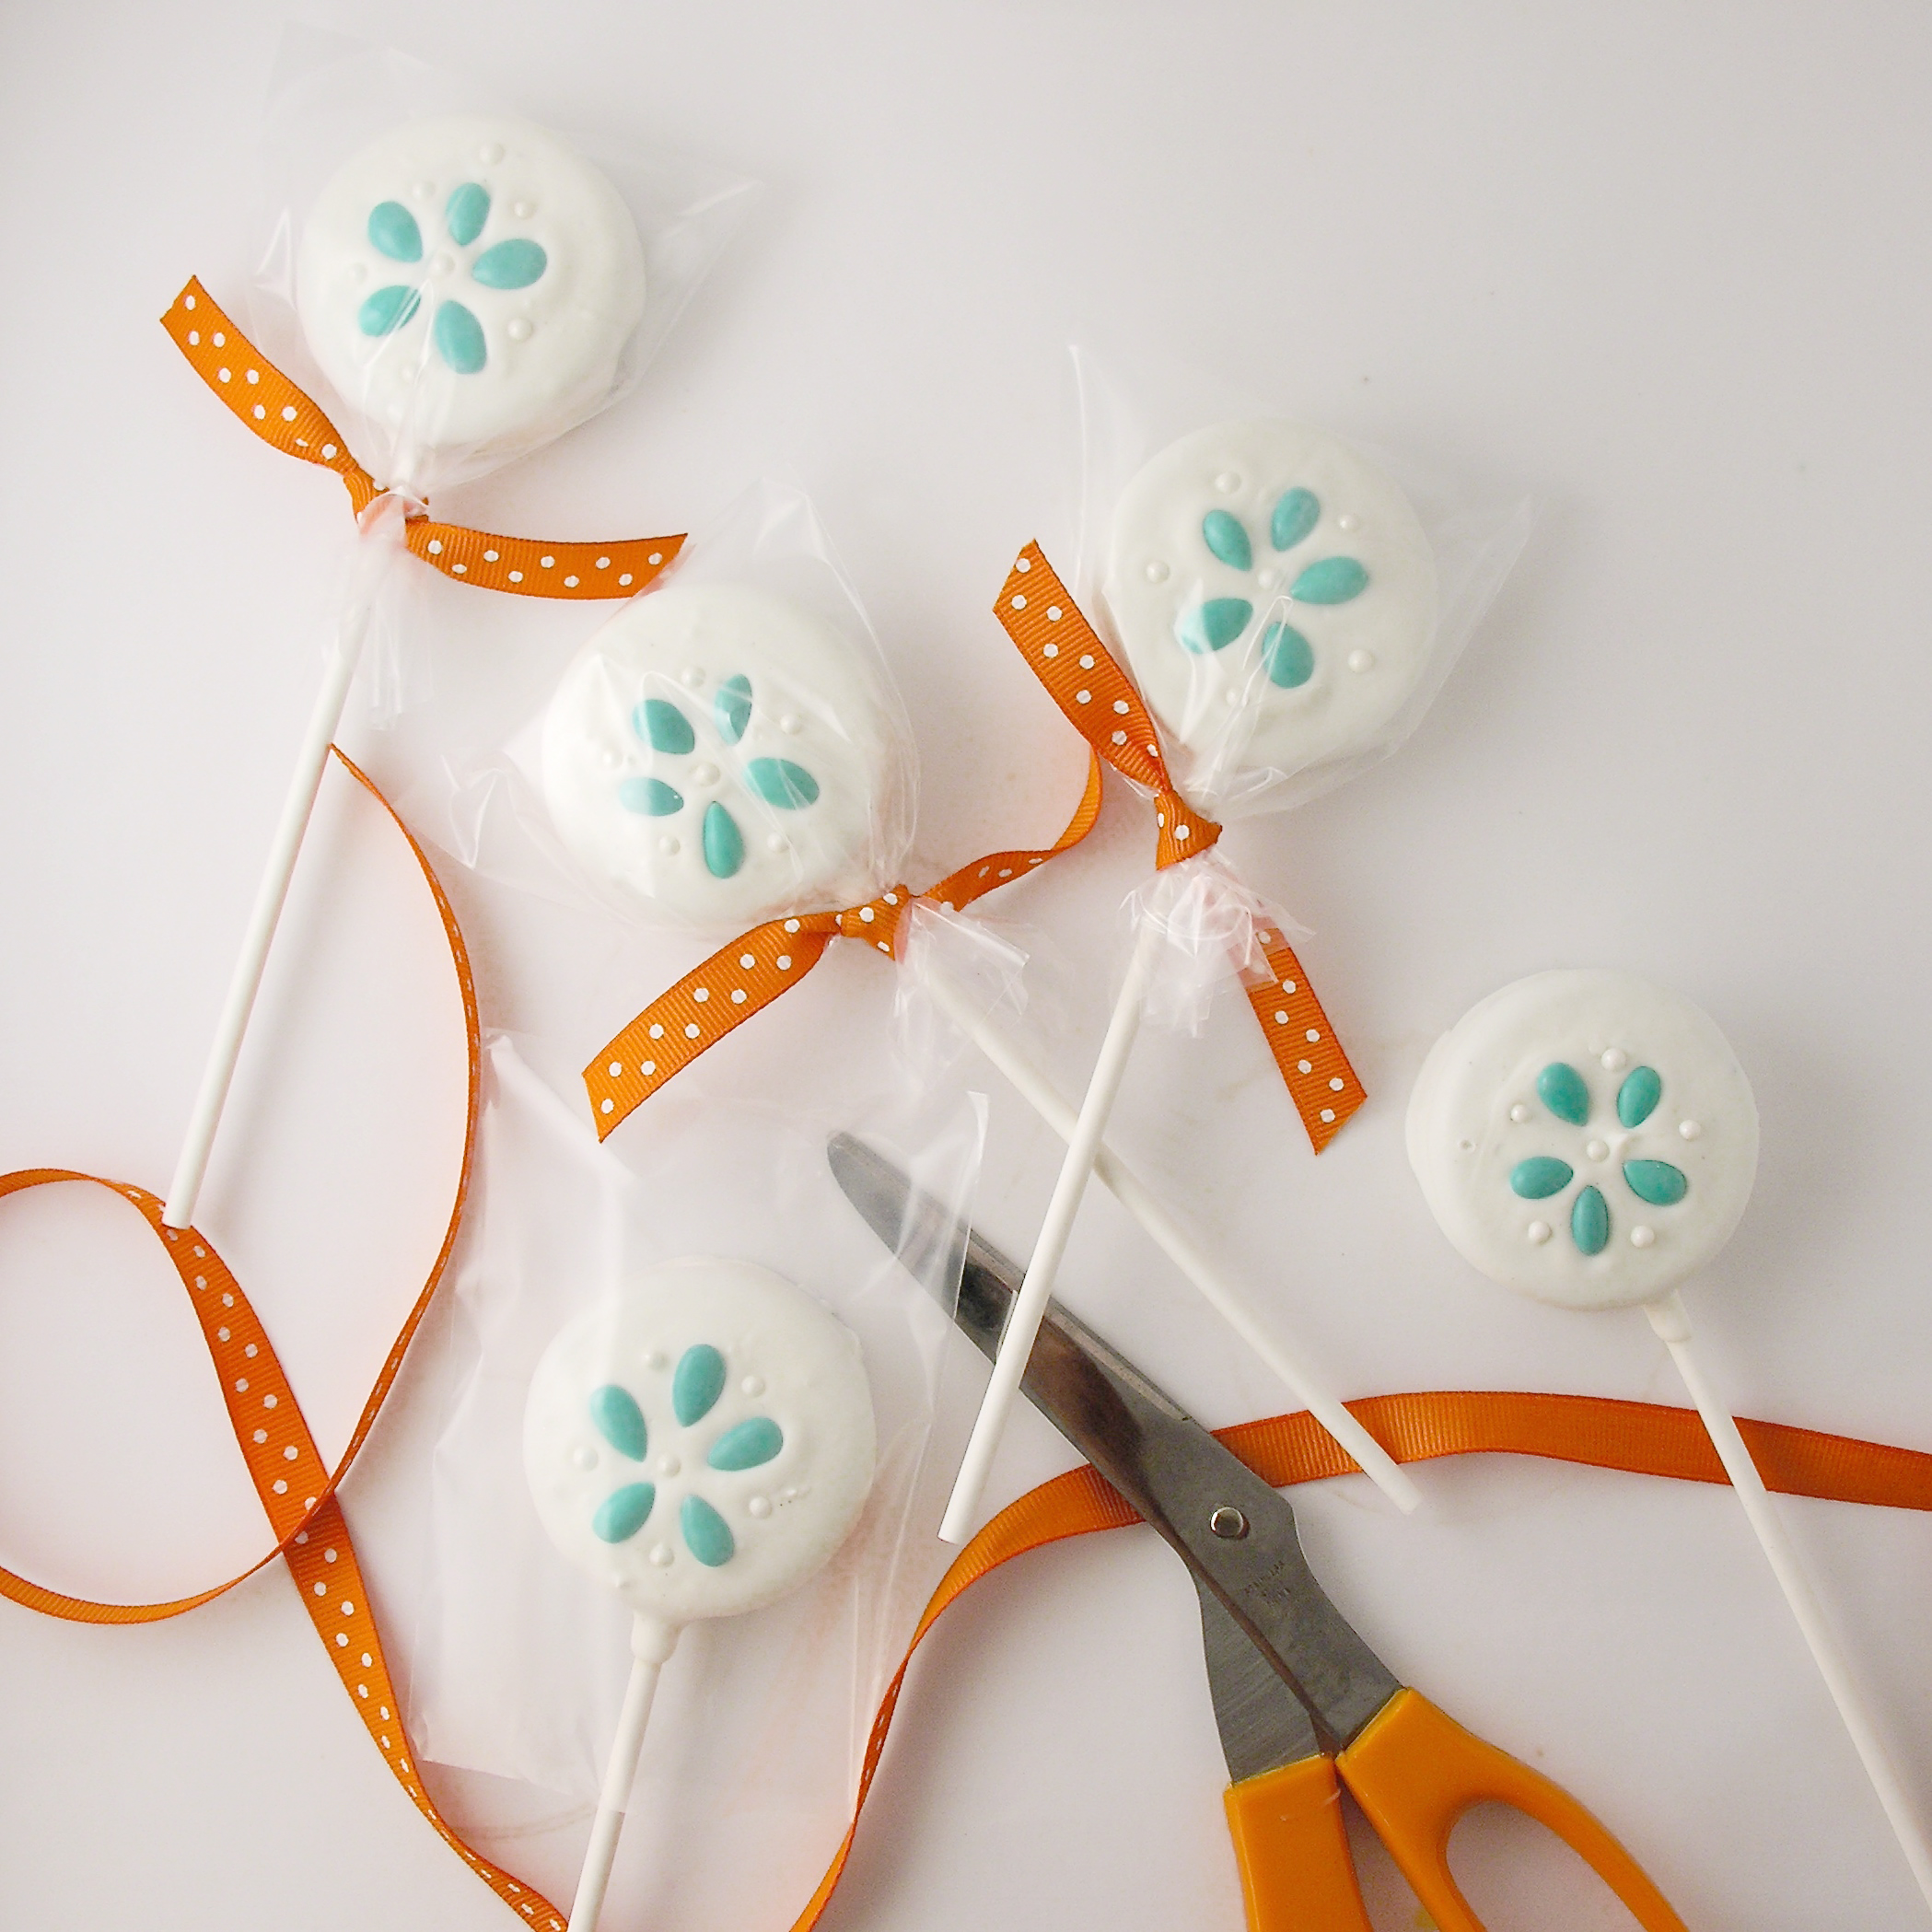
- Place entire cookie sheet into the freezer for 5 minutes or so. As soon as you remove it, gently peel off the transfer sheet from each cookie- and enjoy!!!
My thoughts: There are three things that I love about these cookies…
- They are EASY to make- they take almost no time but look so fancy!
- They are CHEAP to make- the Ritz crackers and peanut butter candies are really inexpensive (I got mine at the Dollar Store), the chocolate isn’t too costly, and the transfer sheet is like $4.40, but SO worth it! (you could use sprinkles instead, to cut the cost even more though!)
- They keep for a long time. Put these little guys in cello bags, tie them up, and use them to decorate your place settings at Thanksgiving!
They also can use a variety of candies up- and you can decorate them so many fun ways!
Go – find your kids’ candy and re-purpose it into these beautiful, crunchy, deliciously salty but sweet treats!
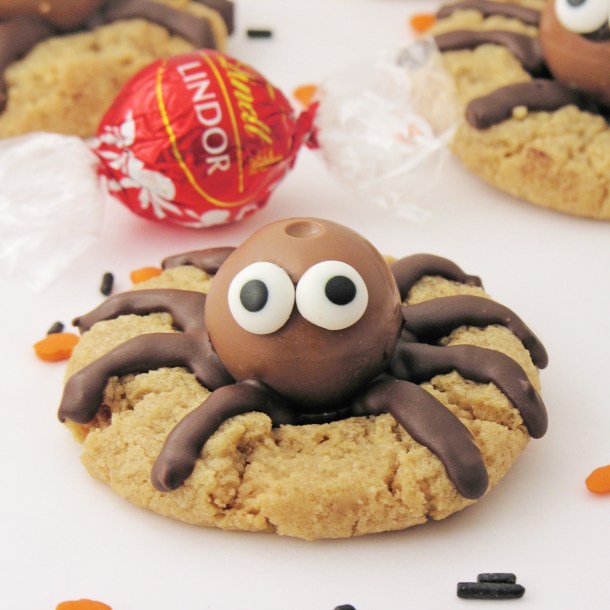
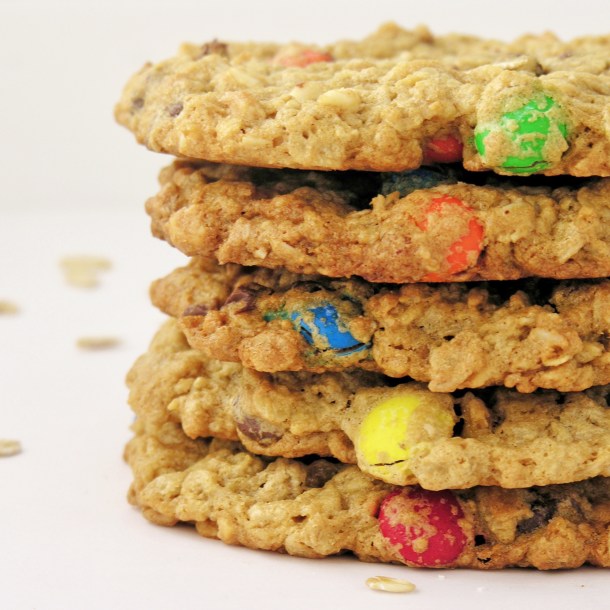
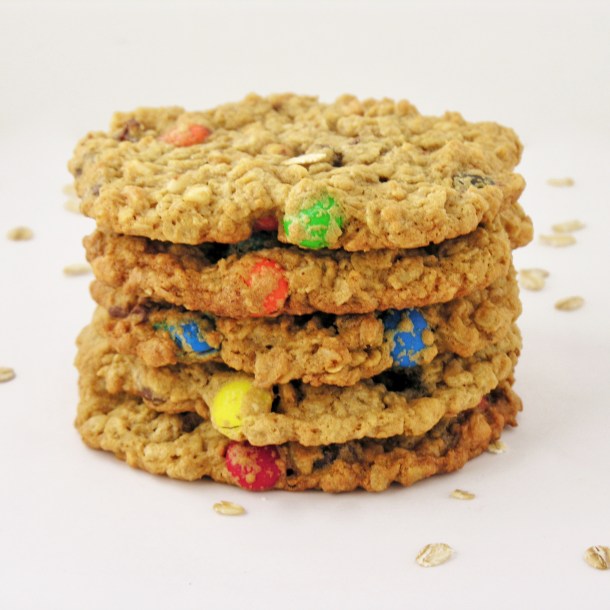
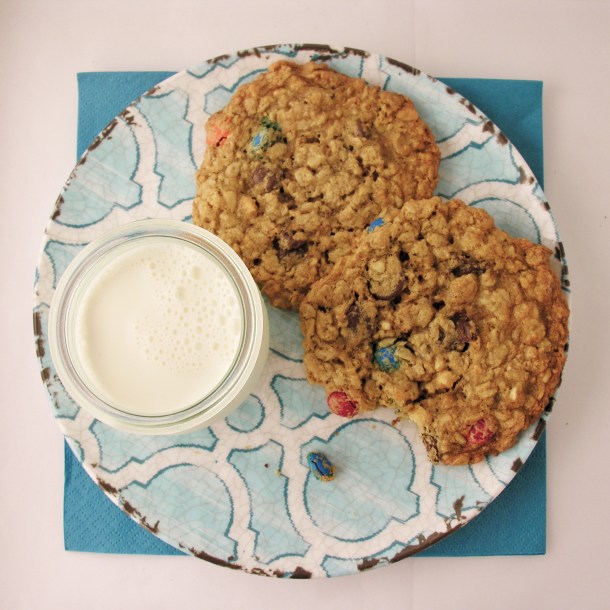
Need other ideas for using up that Halloween candy? This is a project we have a few ideas for! Click on a photo to see the recipe.


 I love my


